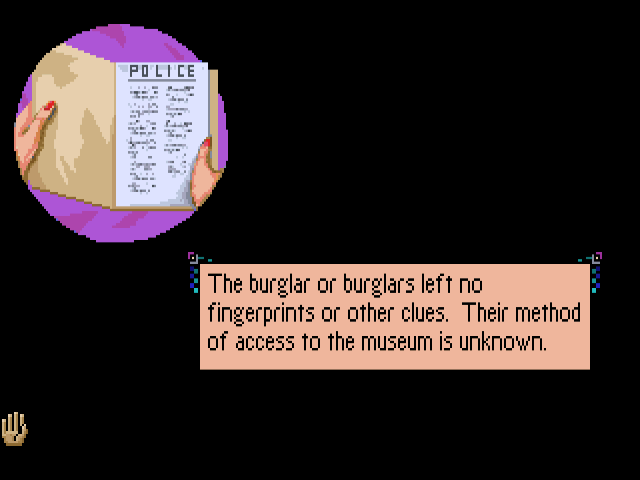
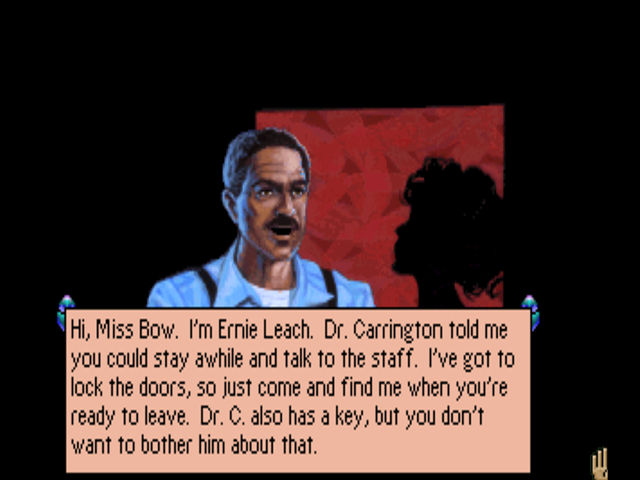
Update 10: Memory Loss
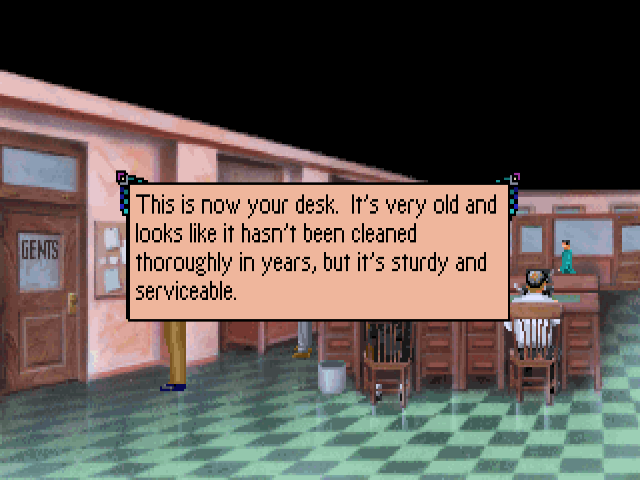
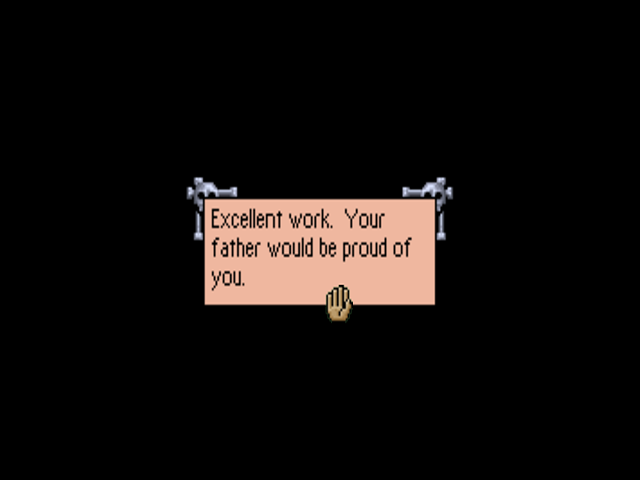
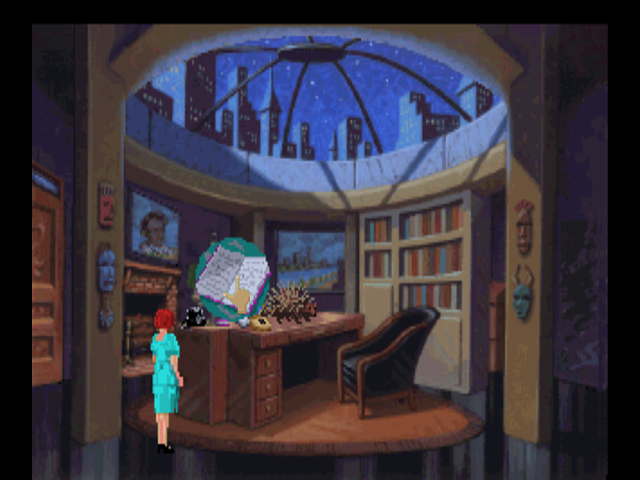
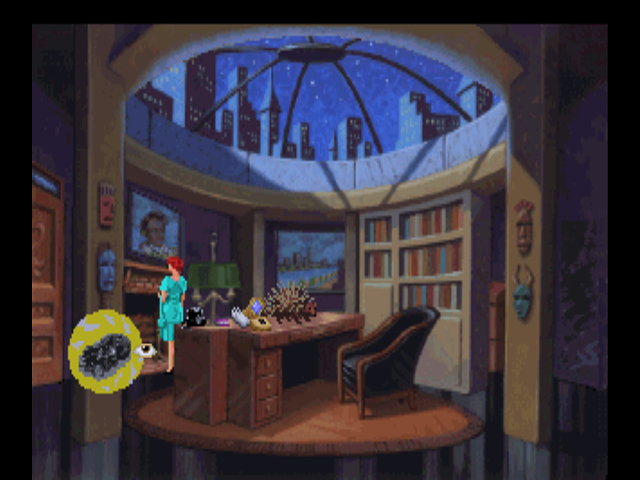
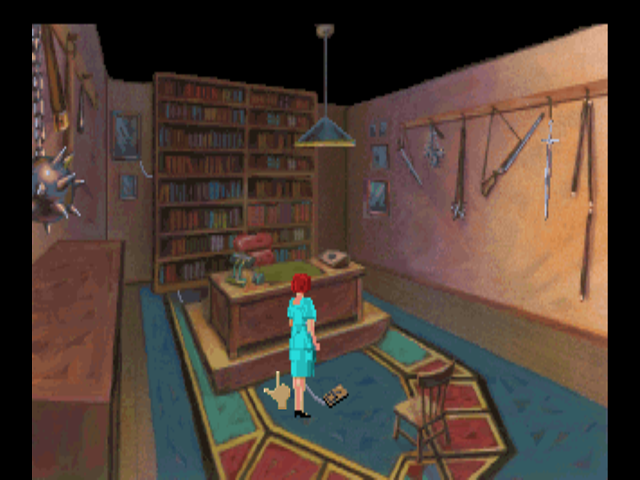
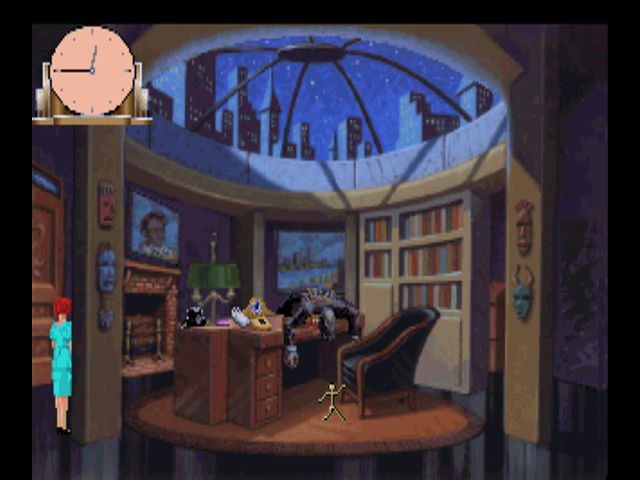
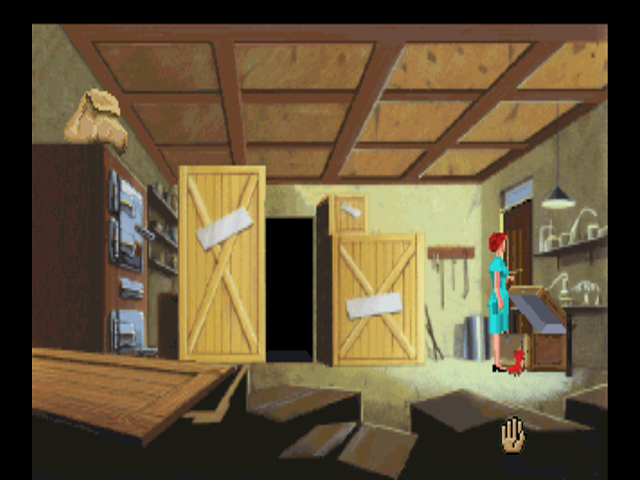
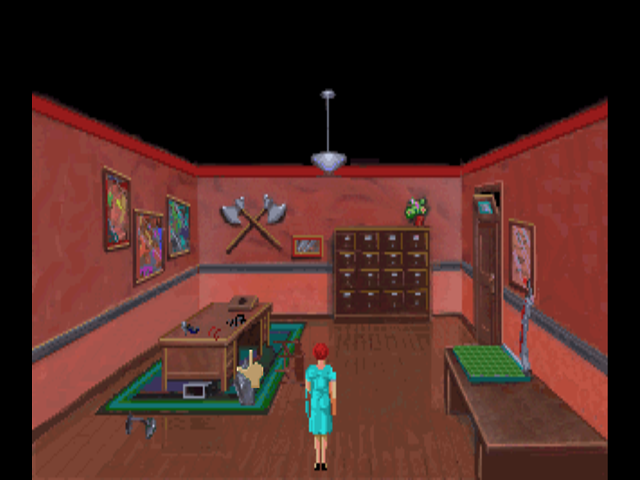
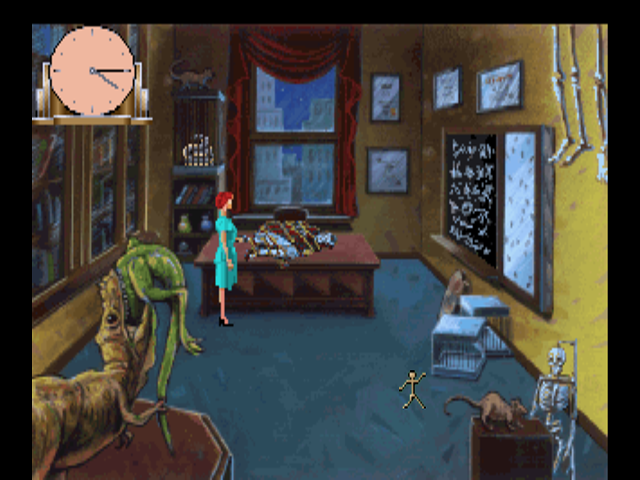
So… there was one little thing I forgot to do while still on the first floor. This isn’t actually a problem - I believe you can do this at any point before going past the Alcohol Lab. We need to do this to trigger an event flag. Before we head on, let’s go back upstairs and go to Dr. Myklos’s office.
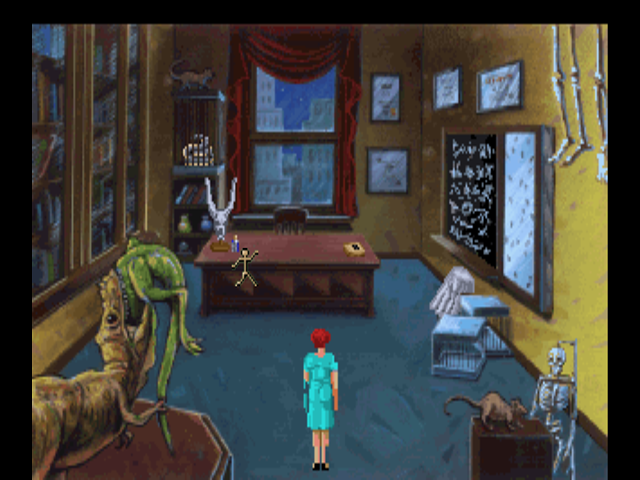
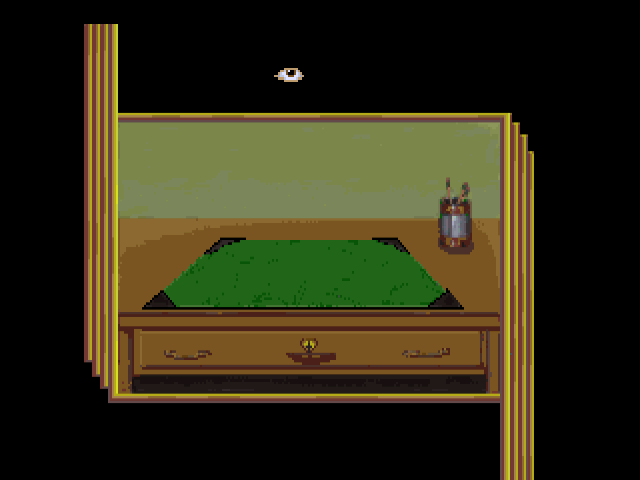
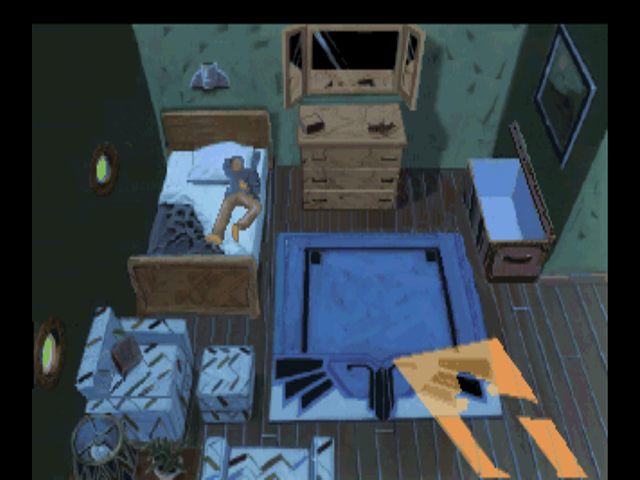
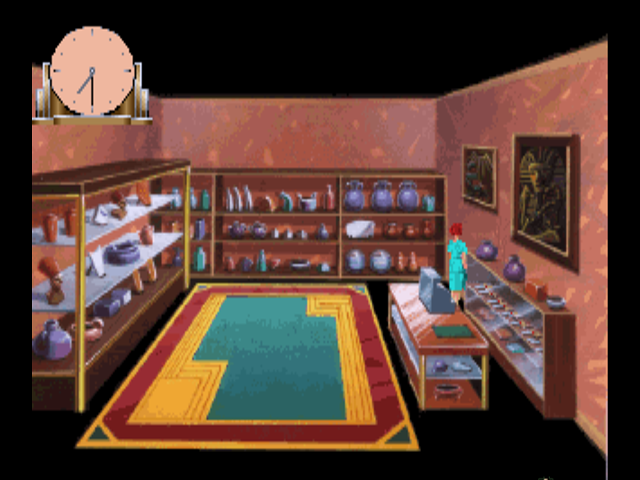
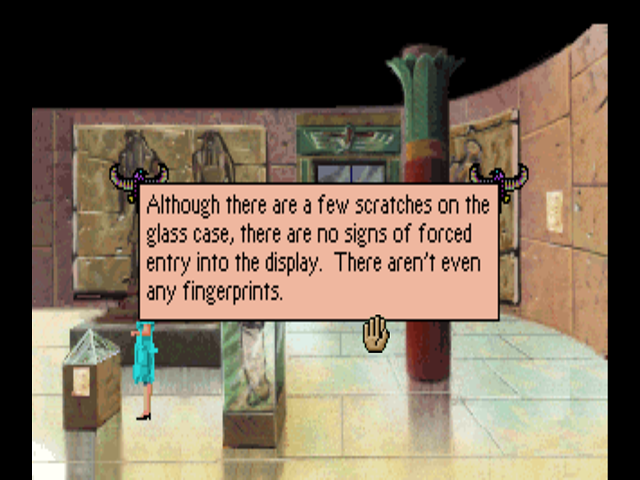
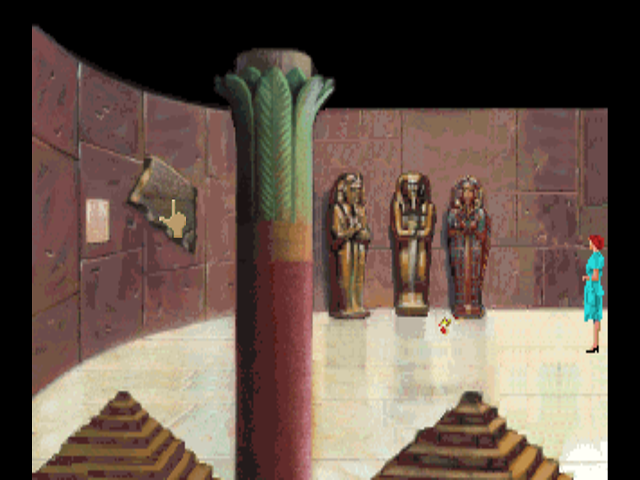
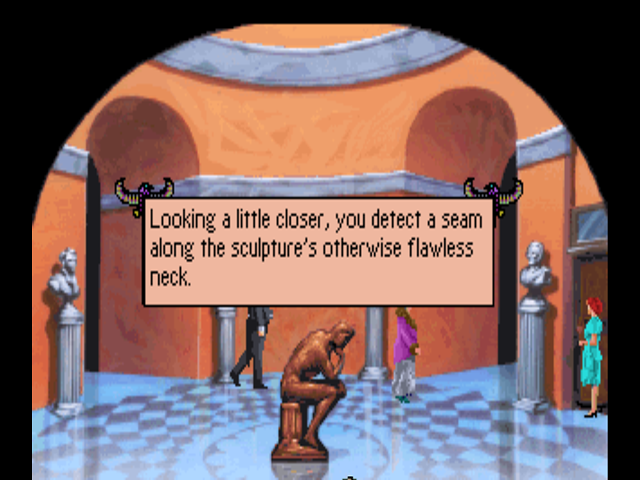
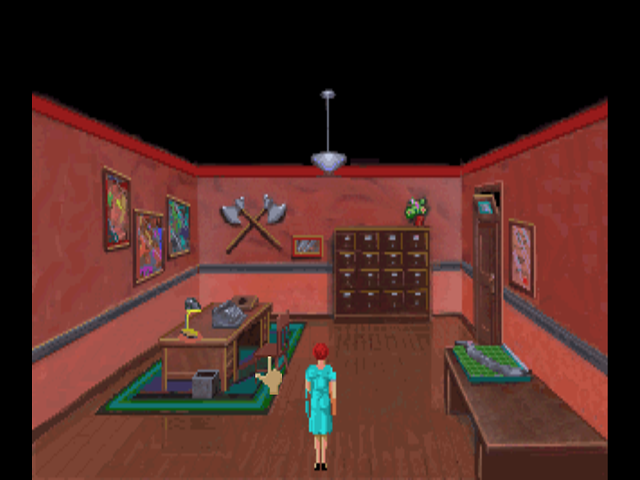
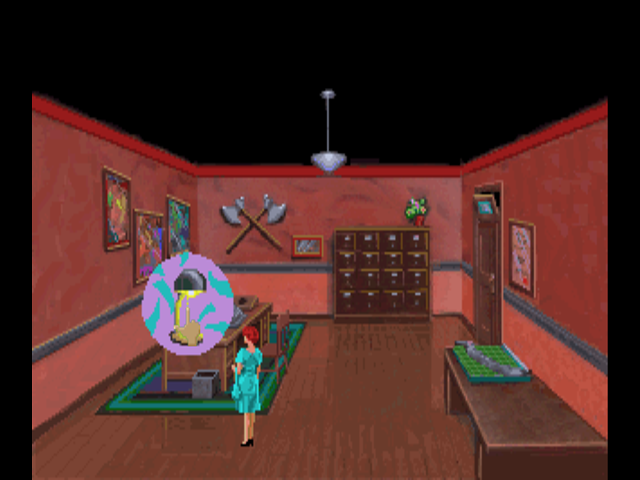
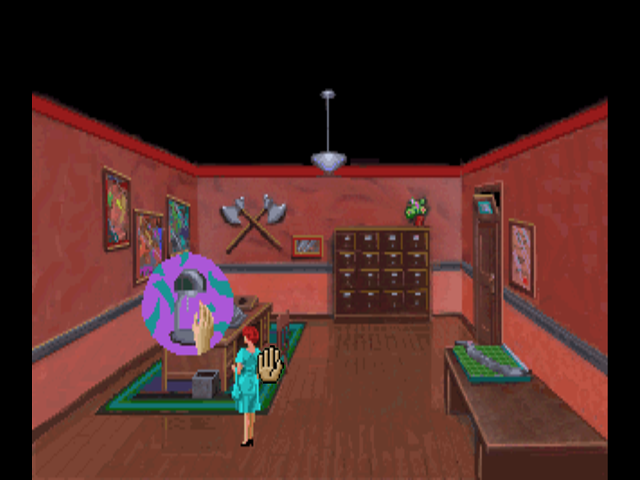
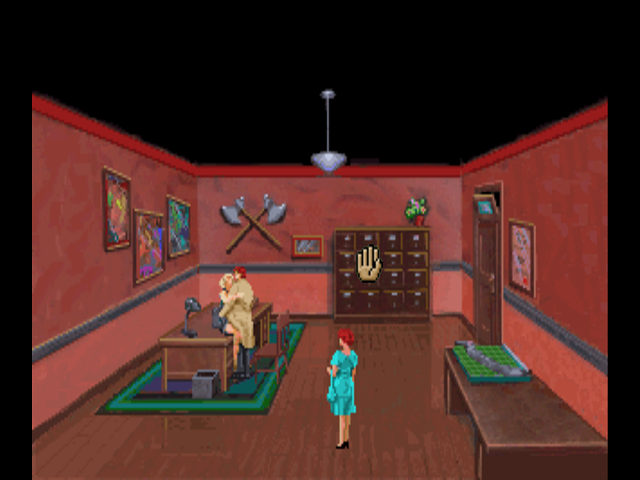
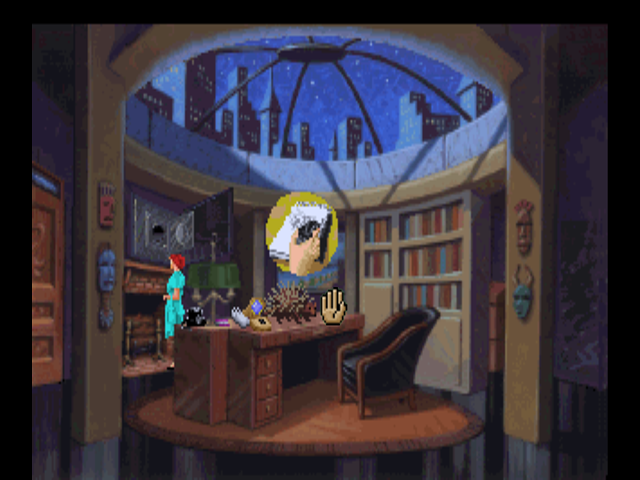
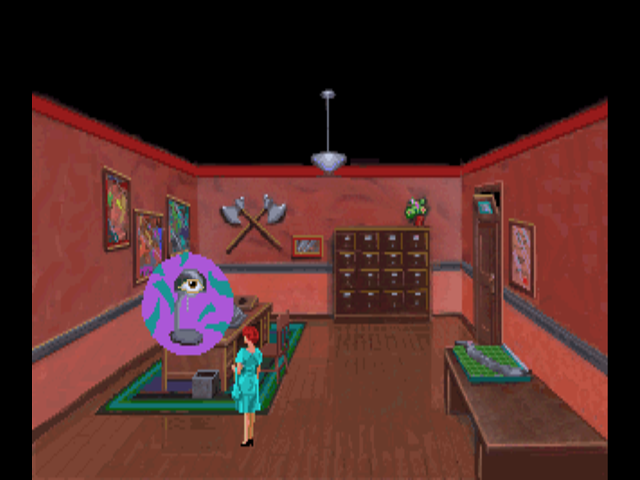
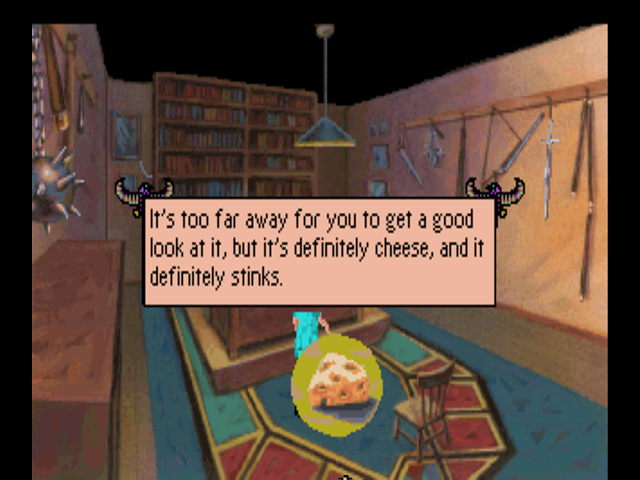
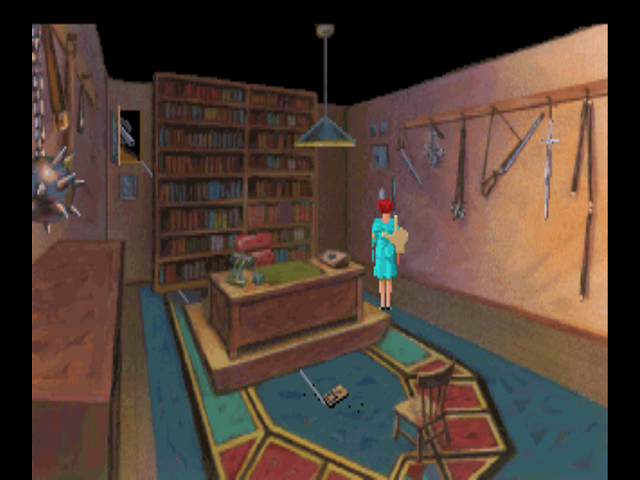
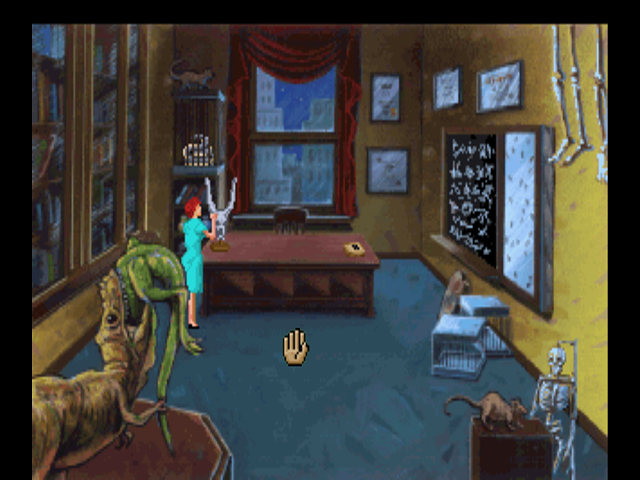
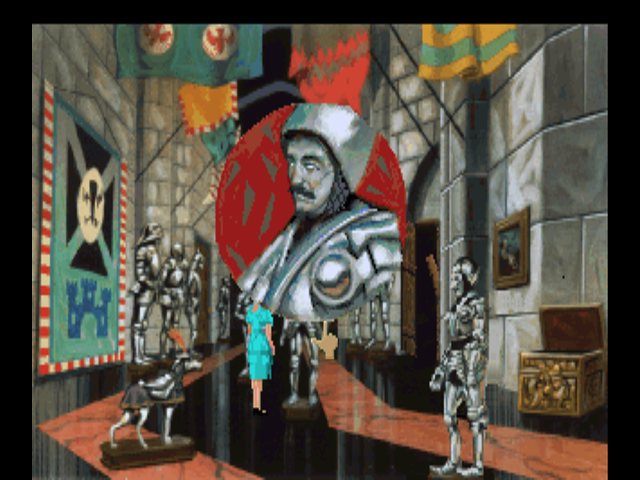
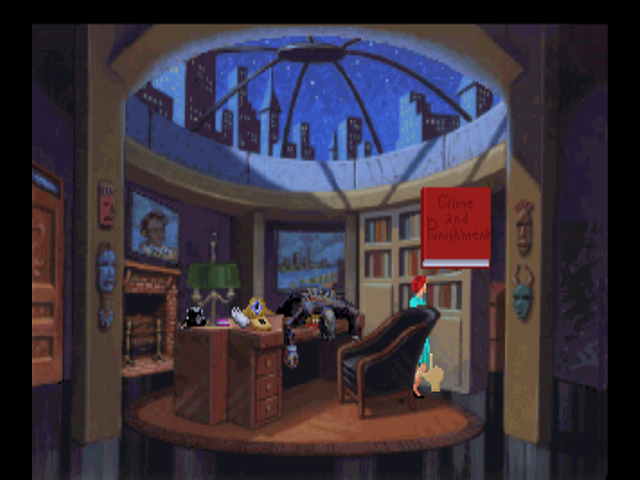
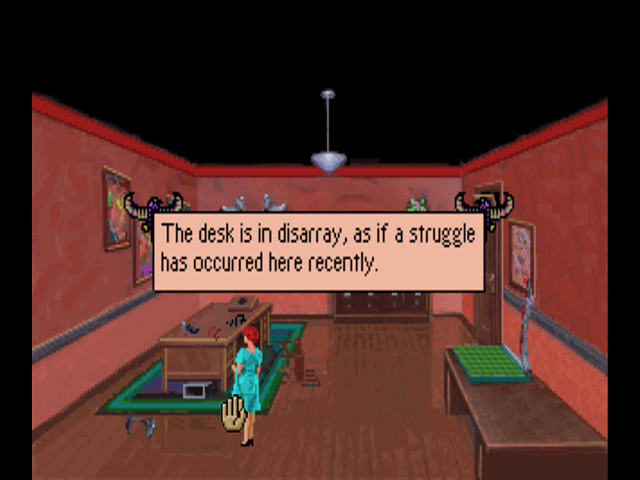
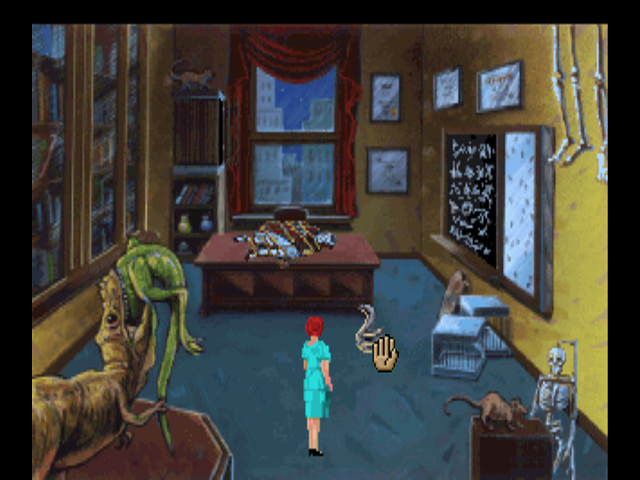
Dr. Myklos’s office is uh… yeah. While the little bottle near the cursor is actually what we came in here for, there’s actually something more important (assuming you’re not using a guide) in here. See that object in the sheet underneath the blackboard, against the right wall?

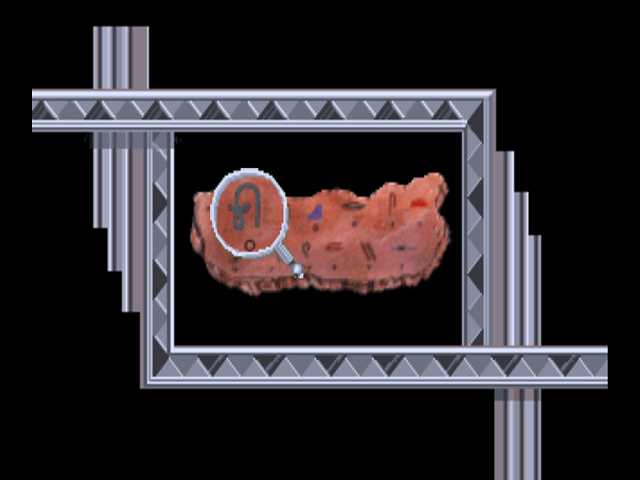
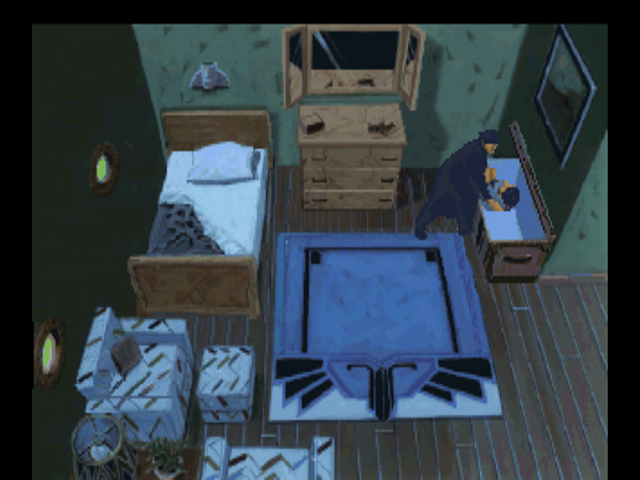
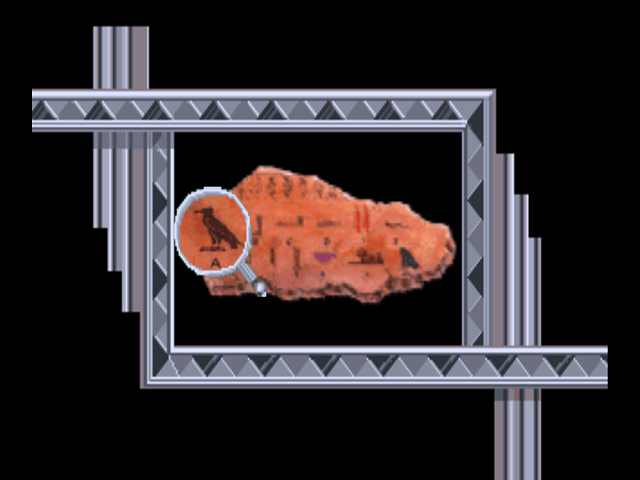
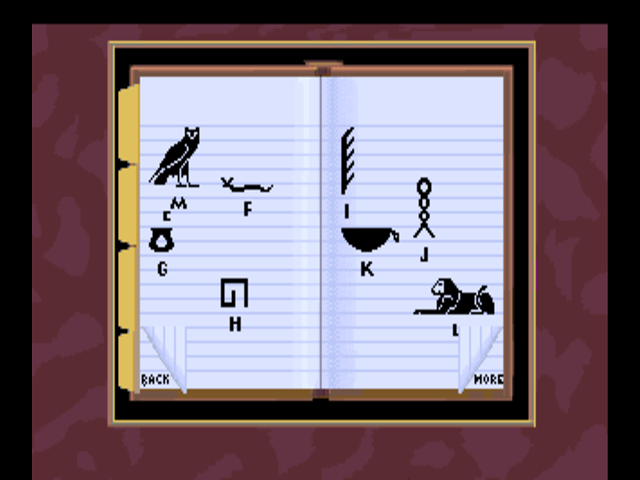
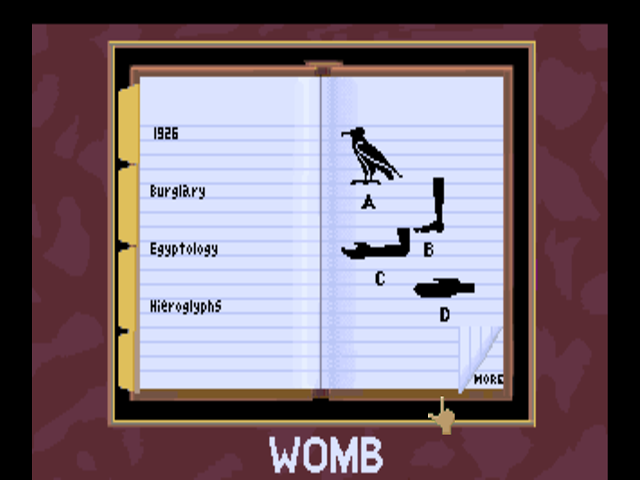
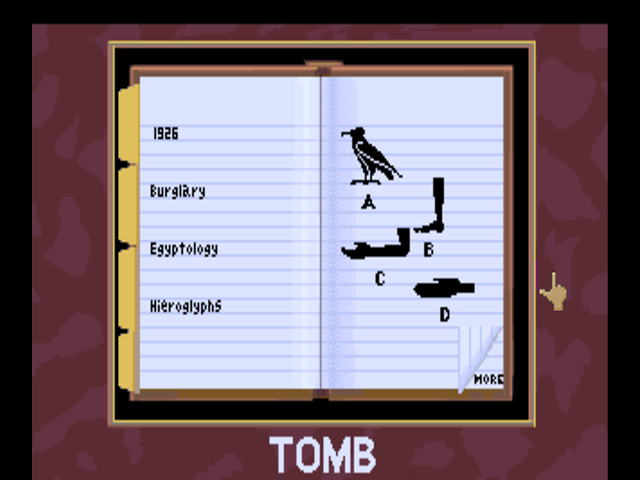
Seeing the second half of the Rosetta Stone gives us the translations for the latter half of the alphabet. This actually glitches out one of the conversation topics in Laura’s notebook (namely the journal we found in Carrington’s safe, called “Sterling W-C’s Journal” in the notebook) because it happens to sit in the middle of the hieroglyph translations. Just above the Rosetta Stone, on Dr. Myklos’s blackboard, is the puzzle we’re actually going to need it for.
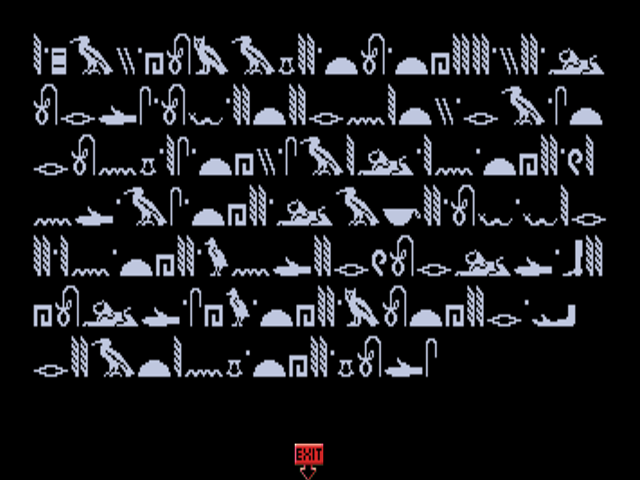
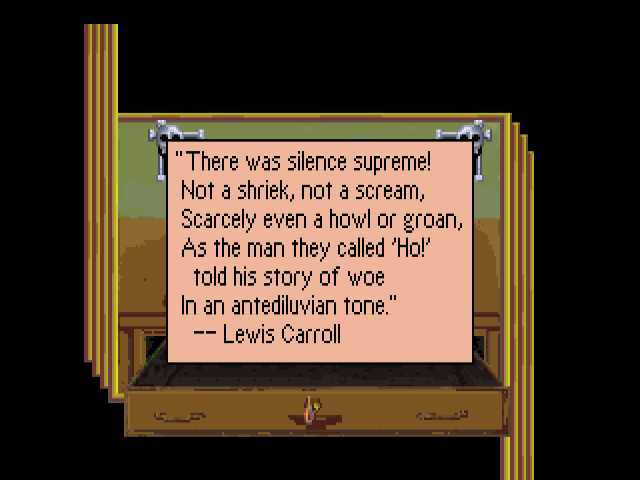
According to Gamefaqs (since I am far too lazy to do a puzzle like this), the message translates to:
I PAY HOMAGE TO THEE, YE LORDS OF ETERNITY. RA, STRONG IS THY SAIL IN
THE WIND AS THE LAKE OF FIRE IN THE UNDERWORLD. BEHOLD SHU, THE MOTHER,
CREATING THE GODS IN SILENCE FROM WOMB. QUICKER THAN GREYHOUNDS AND
FLEETER THAN LIGHT, LET ME NOT BE BURNT, LET ME NOT BE CONSUMED, LET ME
NOT PERISH AS MY MUMMY LIES PROSTRATE IN MY TOMB.
I was kind of surprised that they mentioned greyhounds in something supposedly from ancient Egypt. It’s actually debated where the dogs came from - some people say Egypt, while others say that while the Egyptians had dogs similar to greyhounds, they’re not actually related. Interesting stuff.
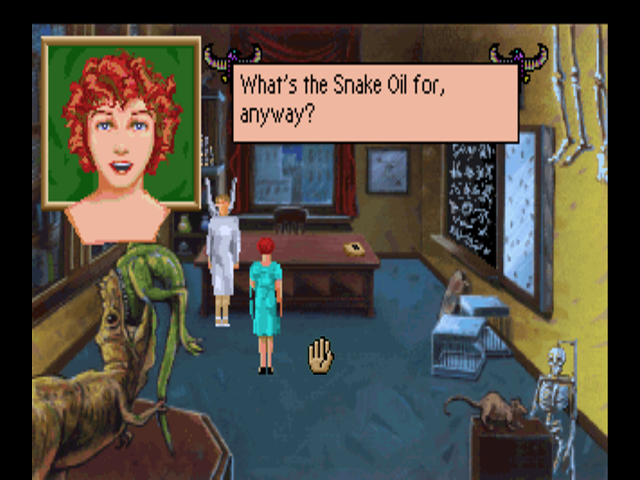
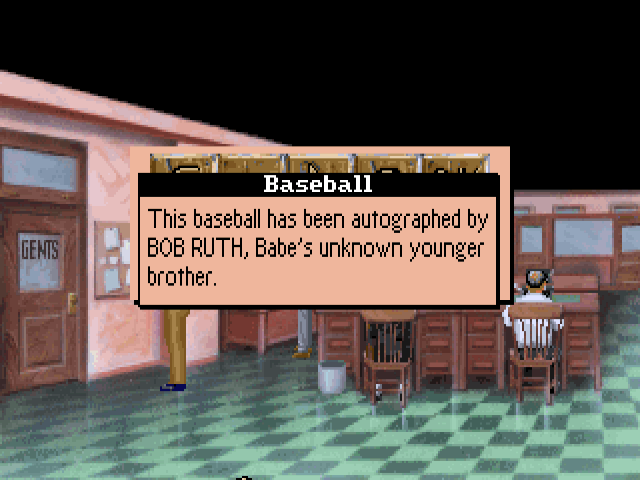
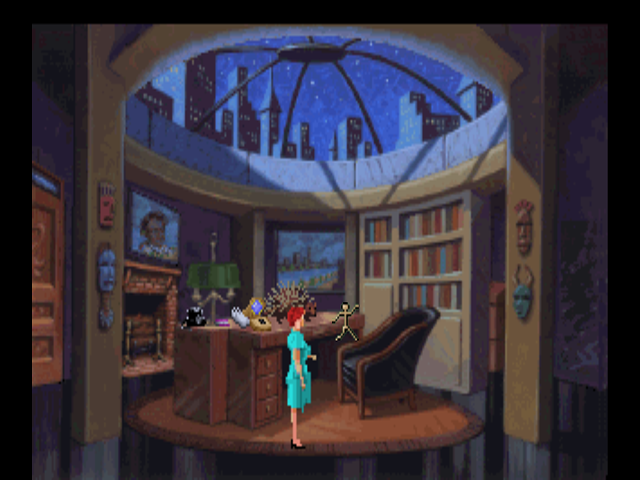
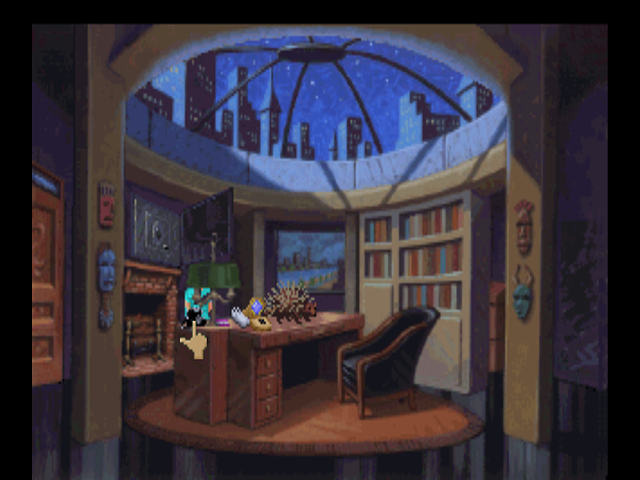
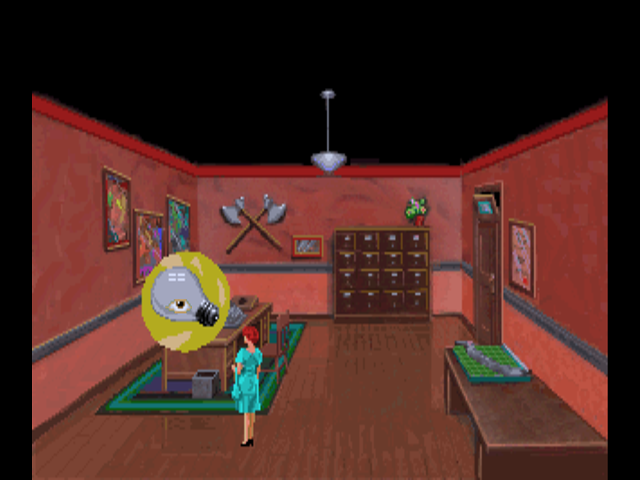
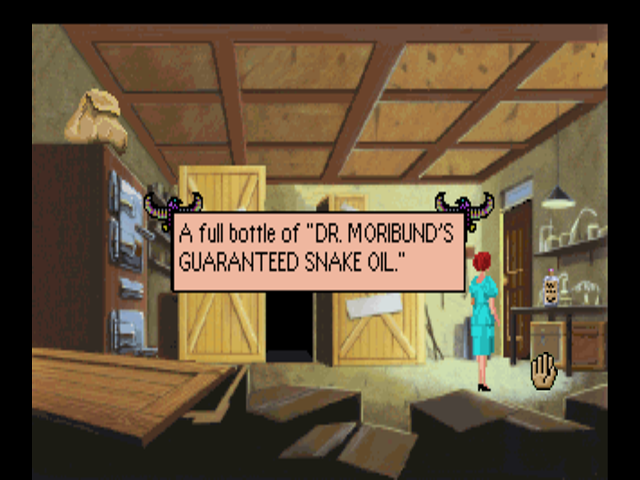
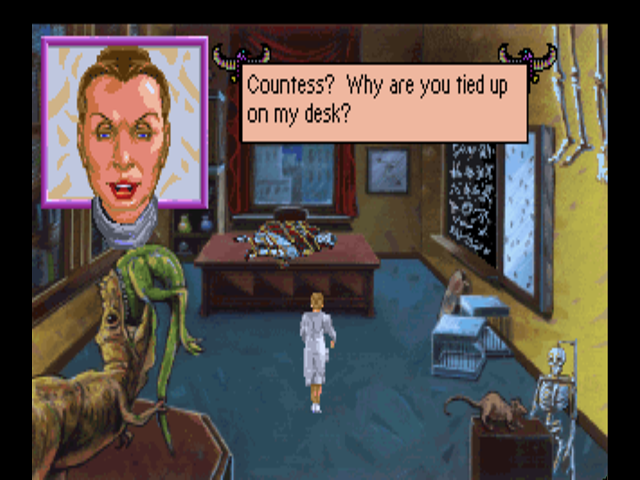
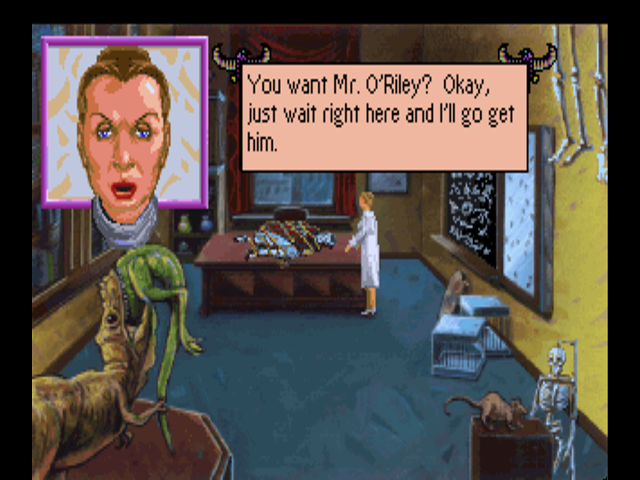
Anyway, once we’ve checked out everything else in the office, we can take a look at the bottle on the desk.
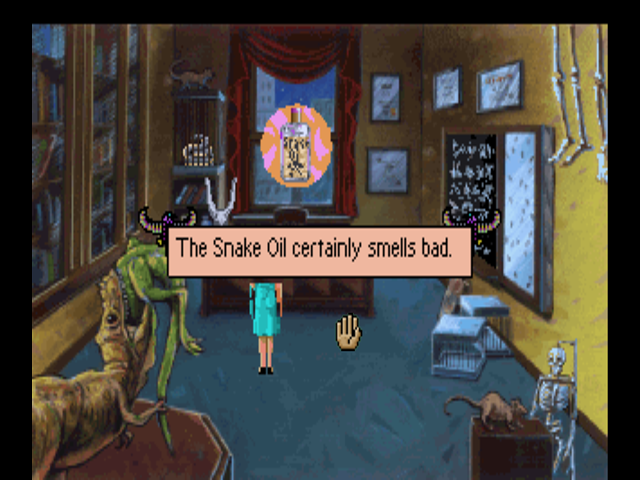
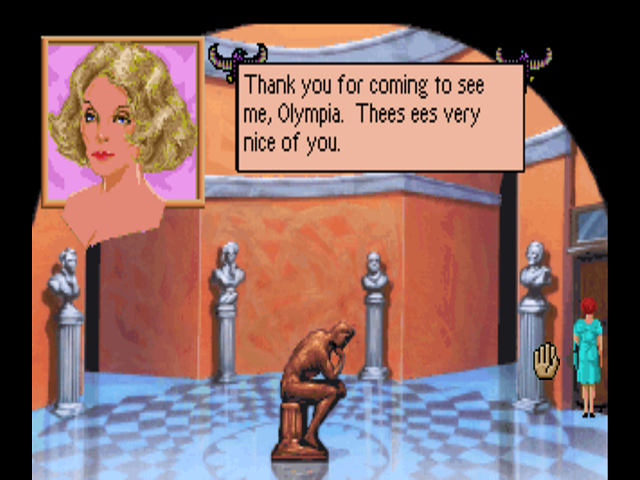
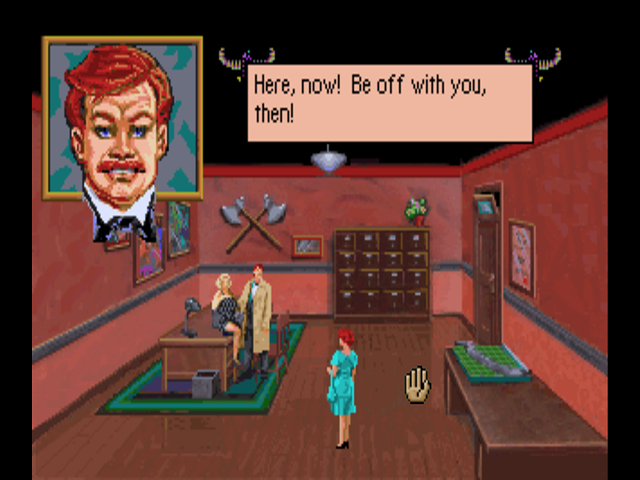
If we try to take it, however, Dr. Myklos will drop whatever she was doing and run upstairs to grab it.
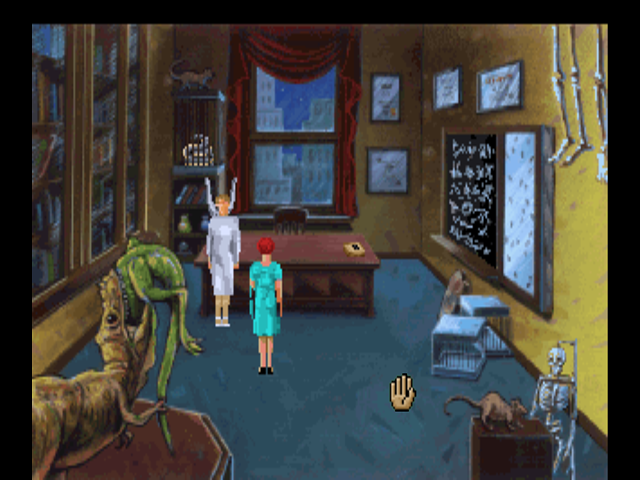
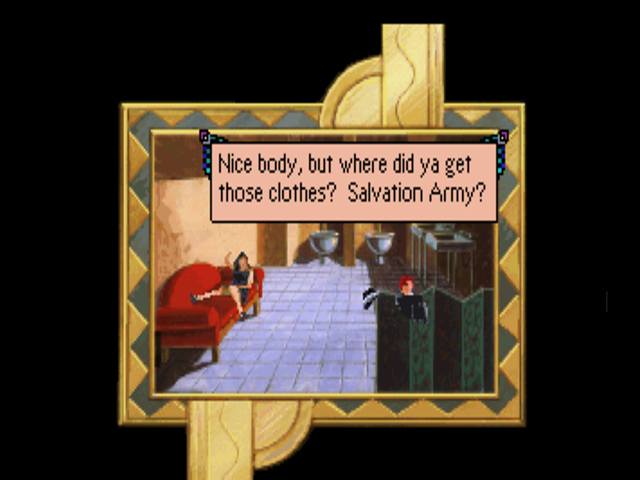
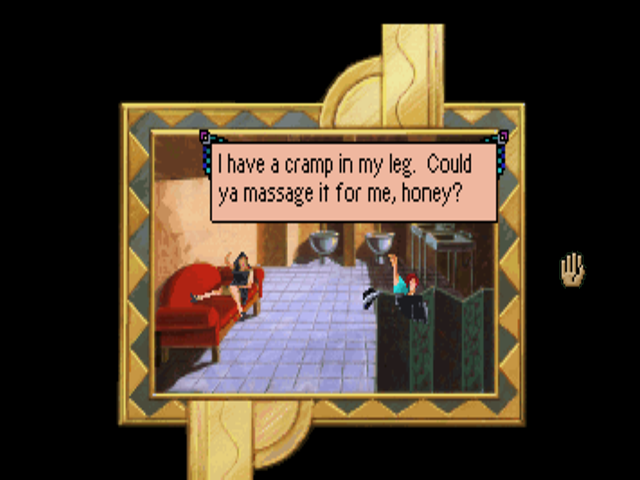
After an exchange of pleasantries, Laura asks why Dr. Myklos is keeping a thing of snake oil on her desk in the first place.

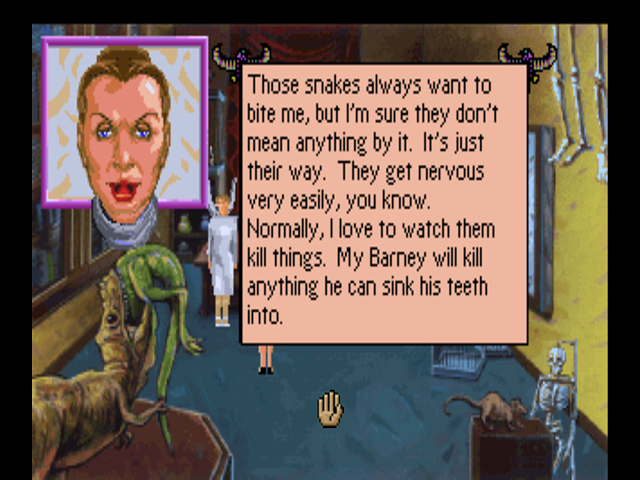
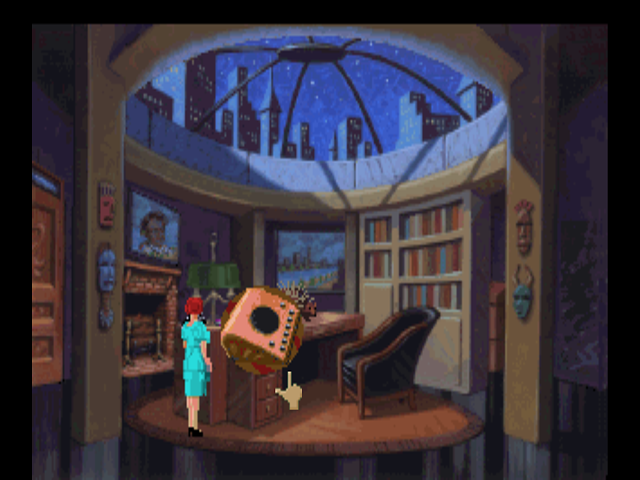
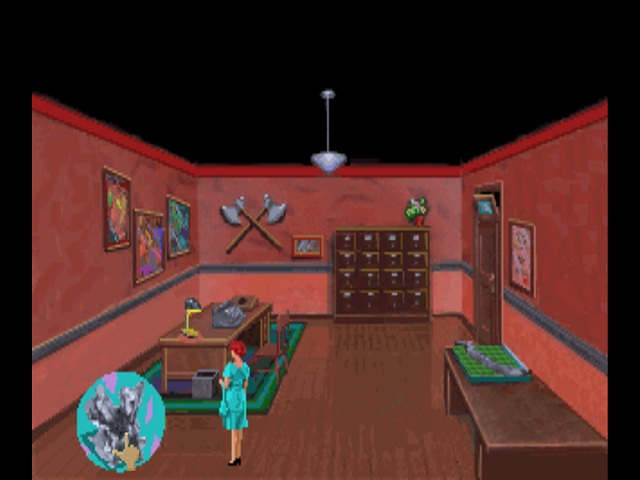
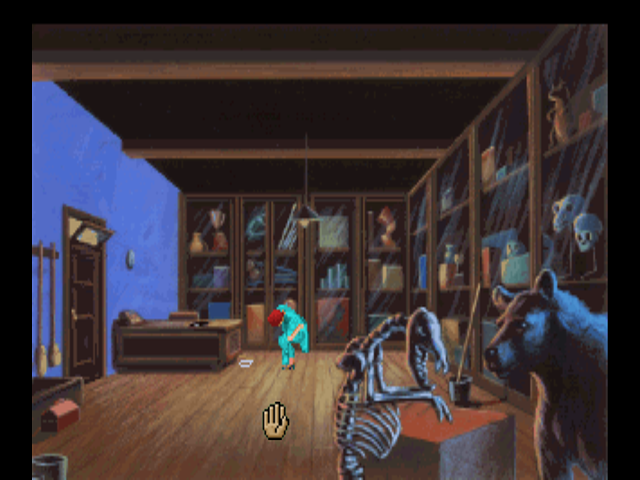
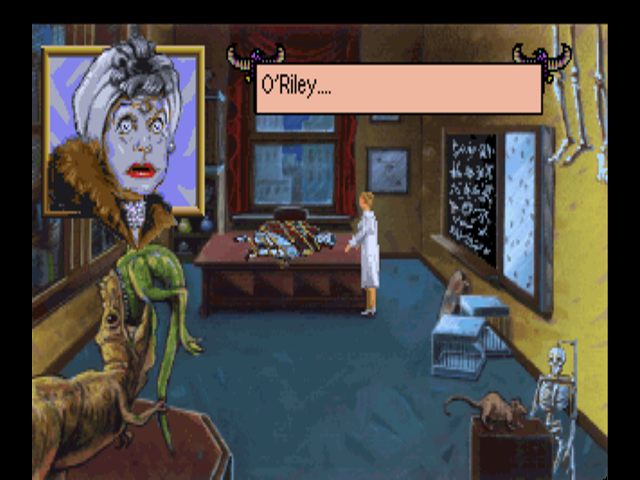
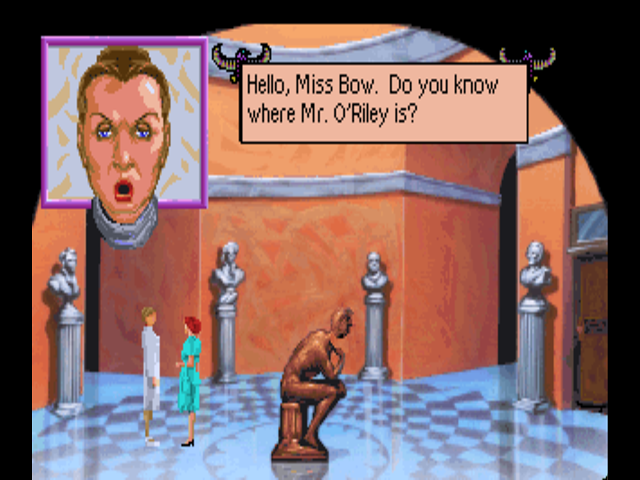
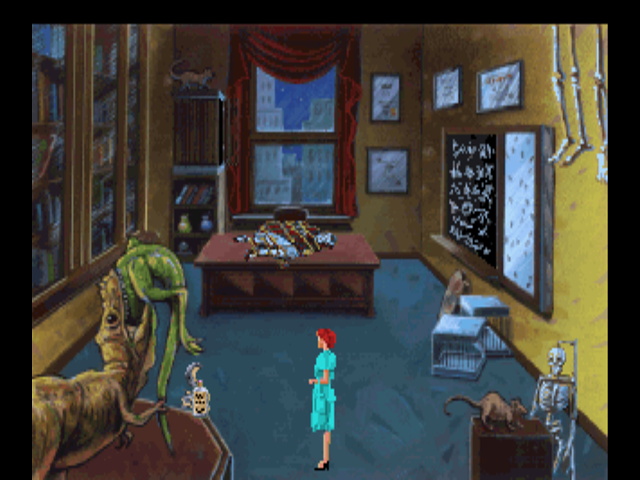
Speaking of Barney, let’s take a look at him (once Dr. Myklos wanders off again).
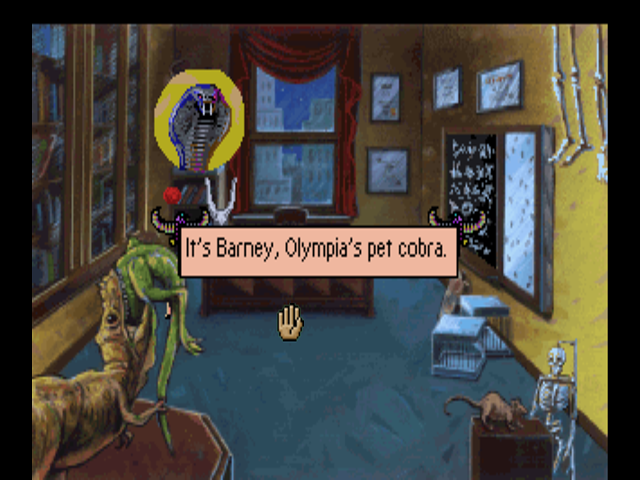
Little red pixels for eyes, constantly bared fangs, a cage sitting on top of a bookshelf… what could possibly go wrong?
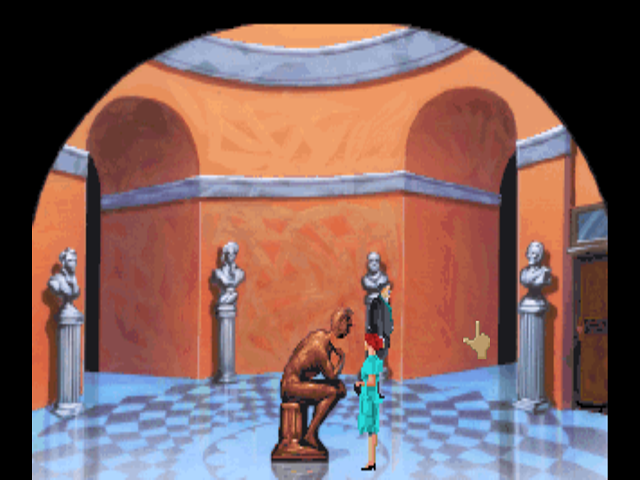
Oh right, one other thing I wanted to mention here. Going into Dr. Myklos’s office is actually one way to find out about the secret staircase - once you leave her office, you’ll hear the door go off and see the statue’s head pop up. This is assuming you haven’t opened the stairs at least once before, in which case she’ll actually close them on you. I’ll skip the trip back downstairs, which we’ve already seen.
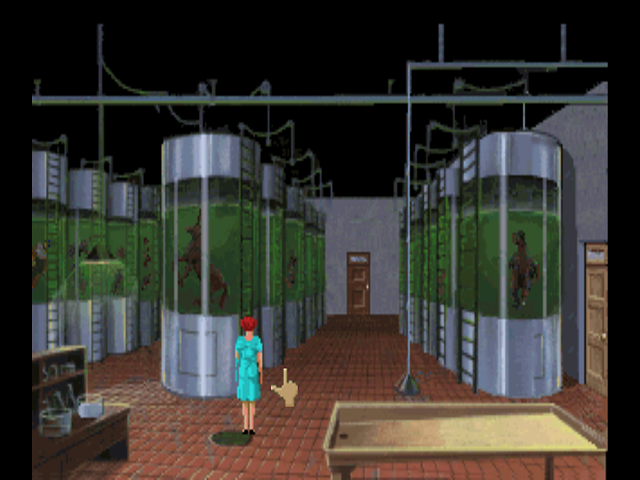
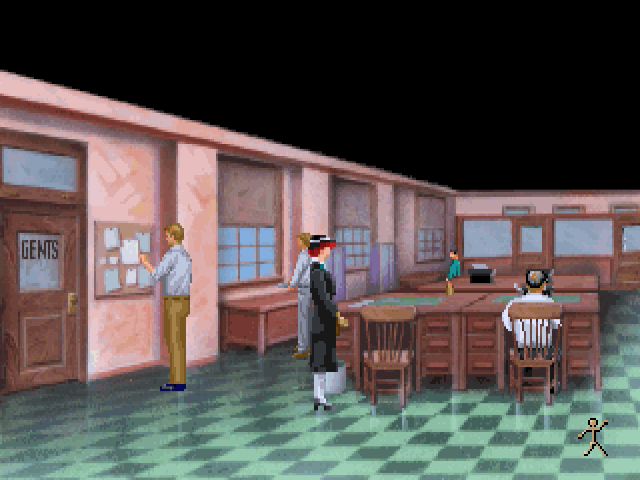
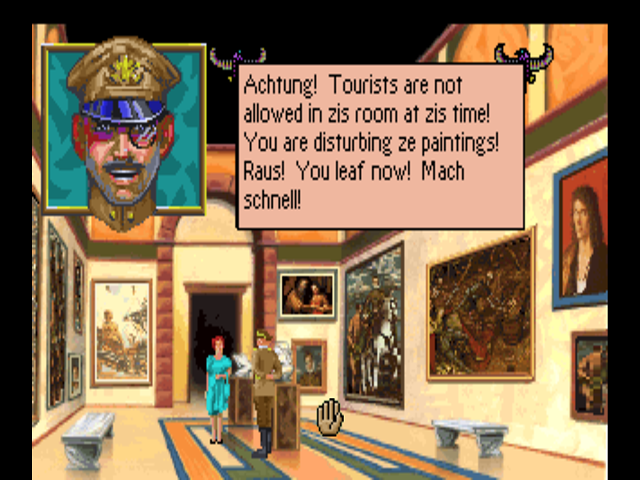
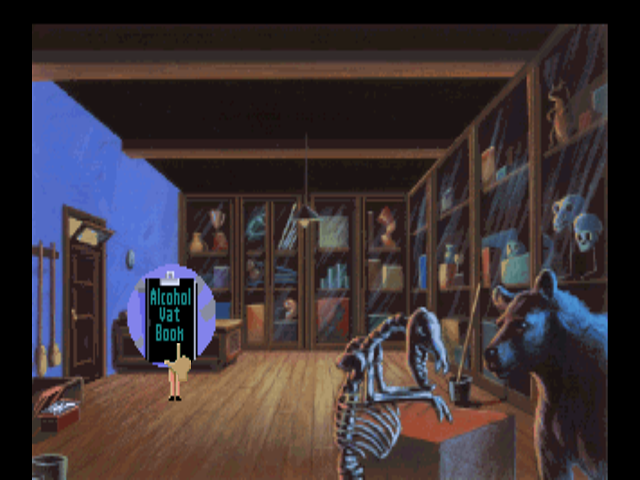
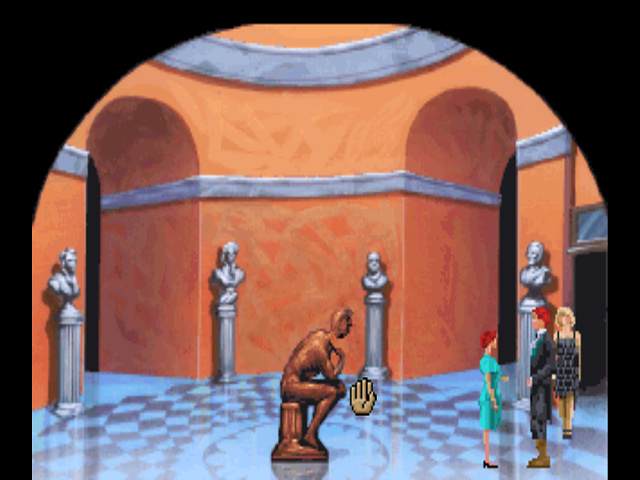
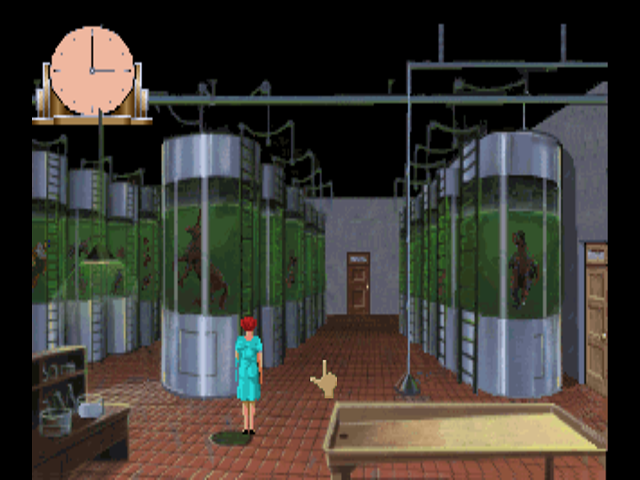
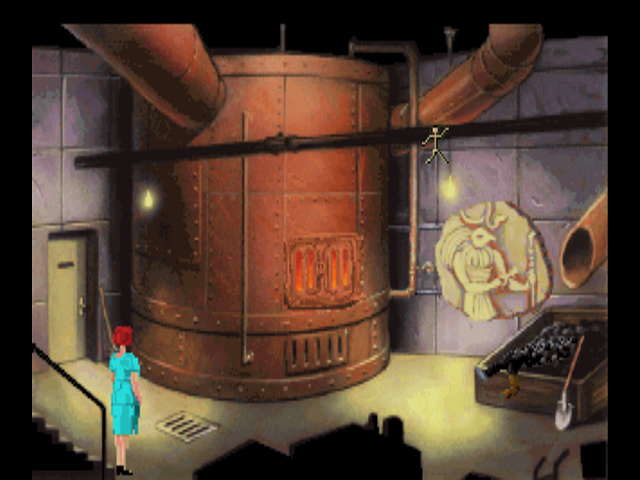
This is the Alcohol Preservation Lab. This is another relatively deadly room in that there’s a gimmick - because of the strong alcohol fumes, no one is allowed in here for very long. Once you enter the room, you’re put on a death timer. The game does give you some warnings, but if you don’t know what you’re looking for in here it could actually be pretty easy to die.
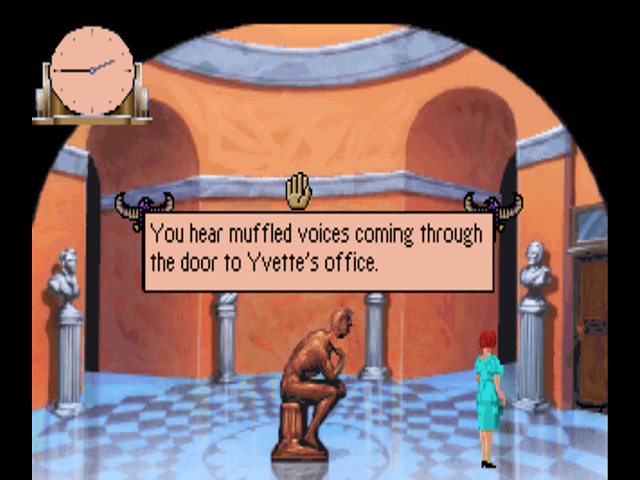
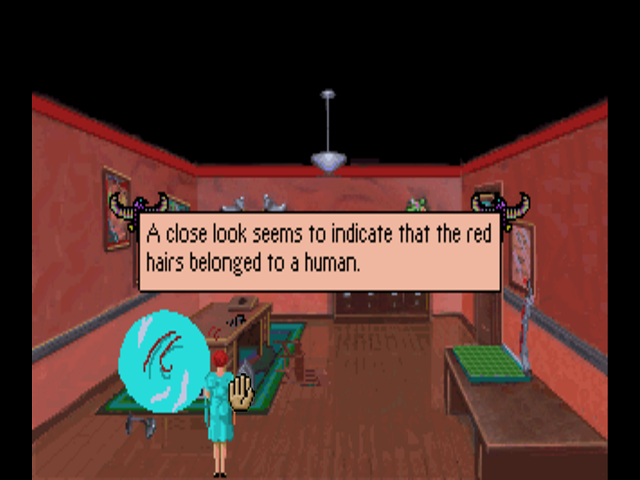
As soon as we enter, the game gives us a message about hearing whispering coming from Ernie’s office. Ernie’s office is the door to the right - the door on the back wall is the Mammalogy Lab, which is locked right now. Let’s go ahead and use the water glass on Ernie’s door. This might be important…
 : “Interesting. I never noticed that before.”
Oh boy. Here comes the juicy part where Ernie reveals a secret door or something…
 : “You never noticed what, my love?”
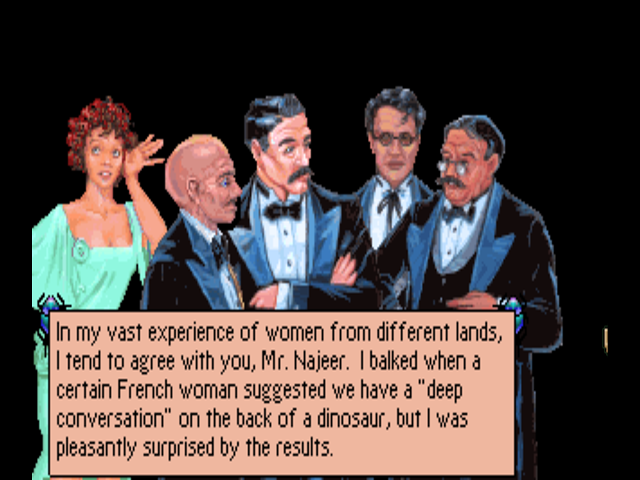
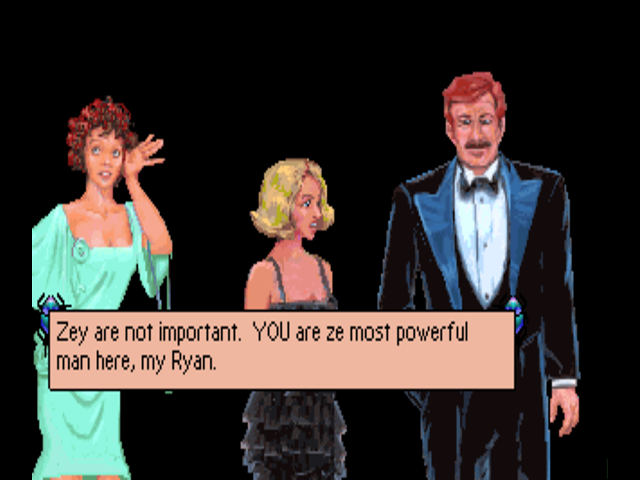
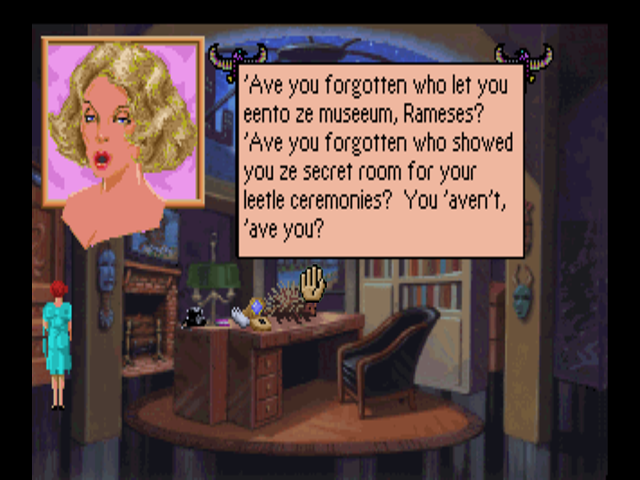
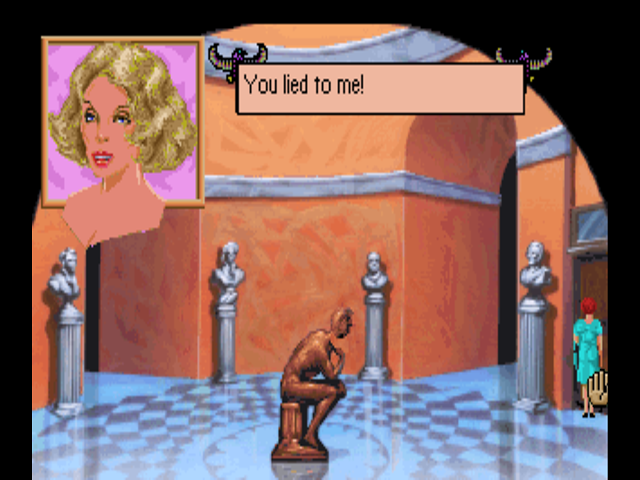
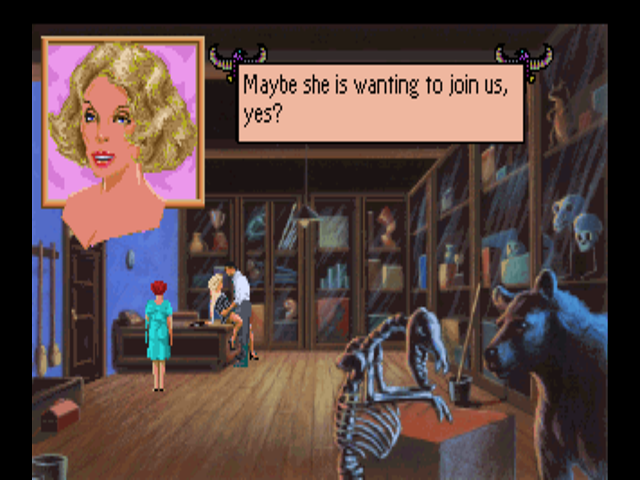
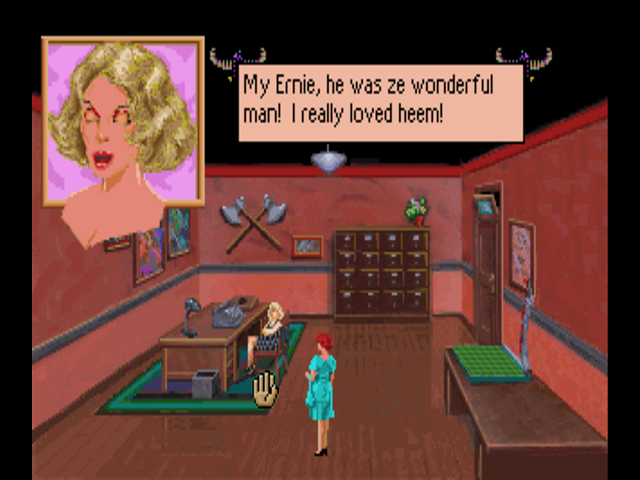
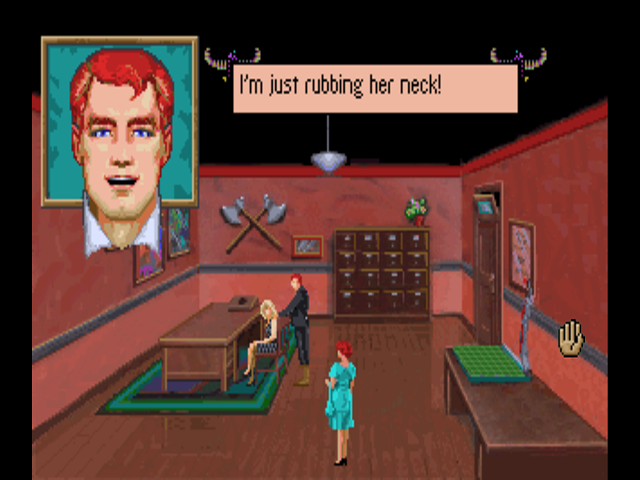
Holy SHIT. To get a sense of time here, Yvette was busy making out with Detective O’Riley in her office when we came down the stairs after visiting Dr. Myklos. She quite literally teleported from making out with O’Riley to flirting with another man in under a minute. THAT’S Heteromancy if I’ve ever seen it.
: “You have a tattoo of the Eiffel Tower on the inside of your left thigh.”
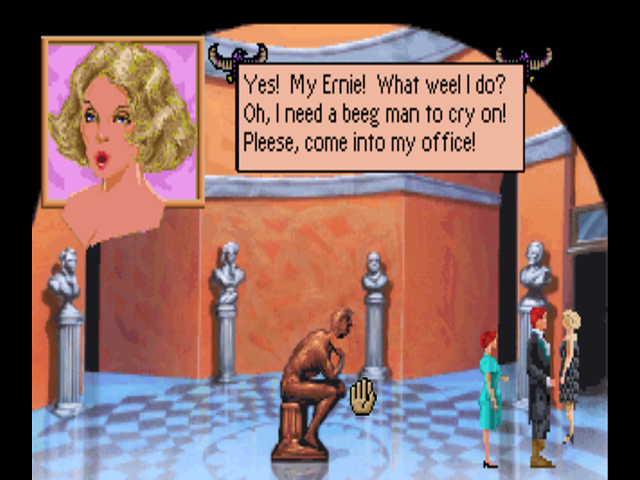
: “Ahh, you are doing zees to distract me, no? But I am worried about you, my Ernie.”
: “You are so beeg and so strong, but zees Icepick fellow, he is a dangerous one, no?”
: “Yeah, he’s dangerous. But I’ll pay him his dough. Ernie Leach always pays his debts.”
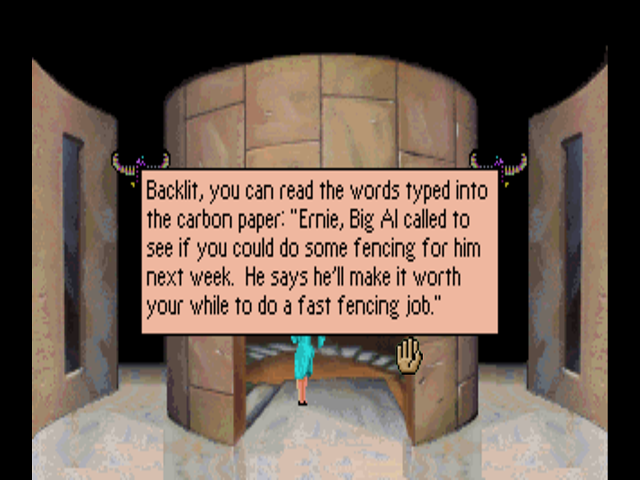
: “Maybe you can do some more fencing for zees Big Al. He pays well.”
: “Yeah, Big Al’s a good customer, but there’s only so much fencing I can do for one guy.”
: “Zees Icepick might try to make an example of you before you can pay him off. He keeps leaving ze threatening messages!”
: “Don’t worry, baby. Icepick knows he won’t get his dough if he kills me.”
: “Maybe I can get into a hot poker game down at the Harlem Swinger and win enough to pay him off.”
: “No, no, no! Ze gambling is what got you into zees mess, my Ernie!”
: “Maybe you’re right. But I’ve got bigger problems tonight. I saw something I wasn’t supposed to see.”
: “What?”
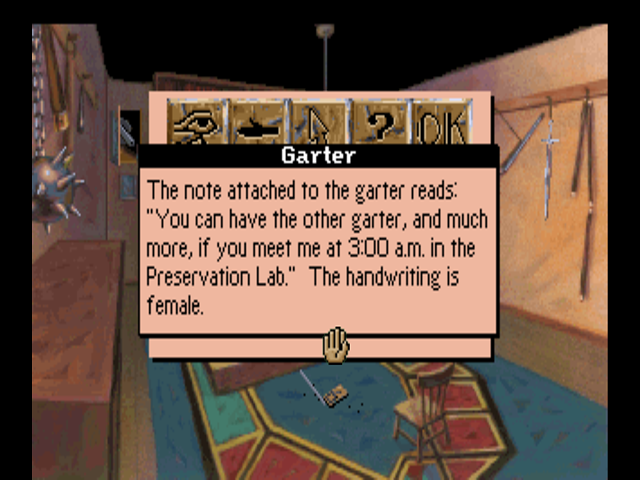
: “You’re better off if I don’t tell you about it. Now, what’s this on top of your Eiffel Tower tattoo?”
Wow. Yvette might actually be a better journalist than Laura. I mean, yeah she flirts with absolutely everyone but she’s gotten far more scoops than Laura has tonight - assuming she saw Dr. Carter’s body first and wasn’t the killer. I’m not entirely sure what Ernie is referring to here (it might come up later, I’m doing these updates as I go) but it’s reasonable to think he’s talking about Dr. Carter’s murder, since he showed up right around the time it happened.
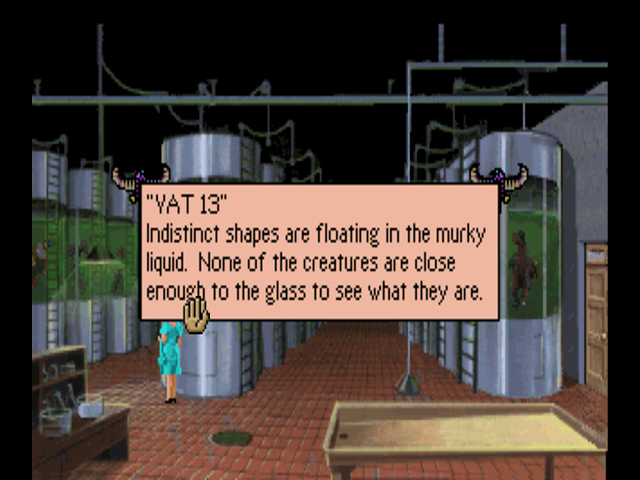
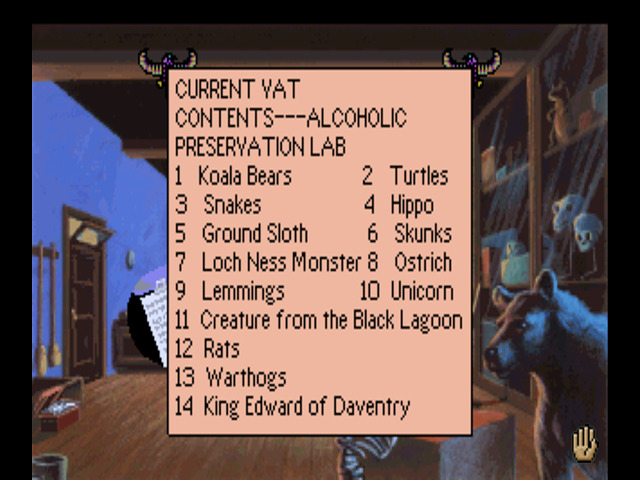
While we’re here, we may as well look at some of the vats. Most of them don’t have anything interesting in them, least of all Vat 13, which is the second one to the right in the row of vats Laura is looking at.
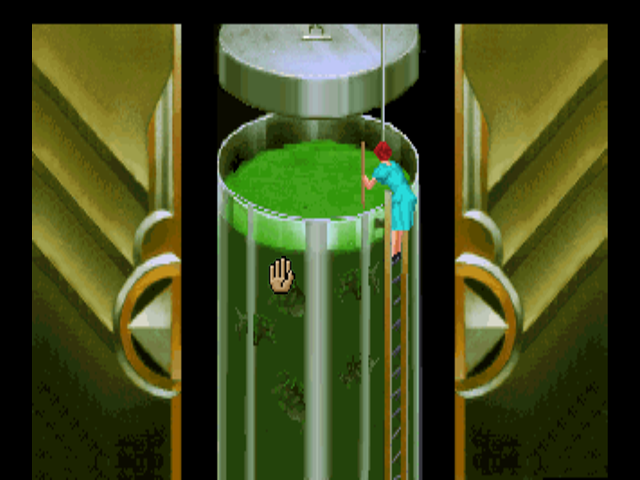
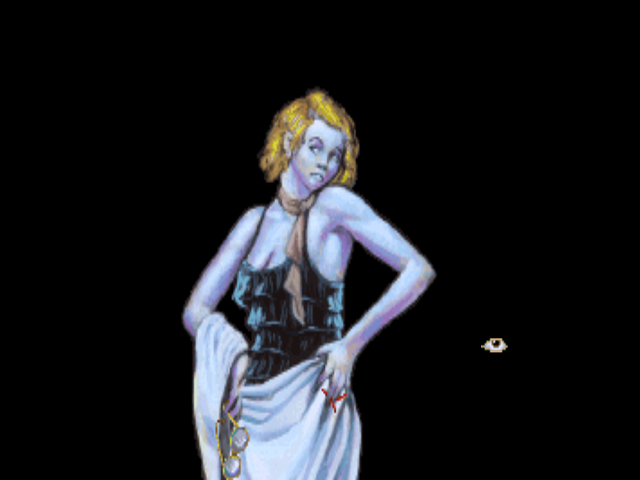
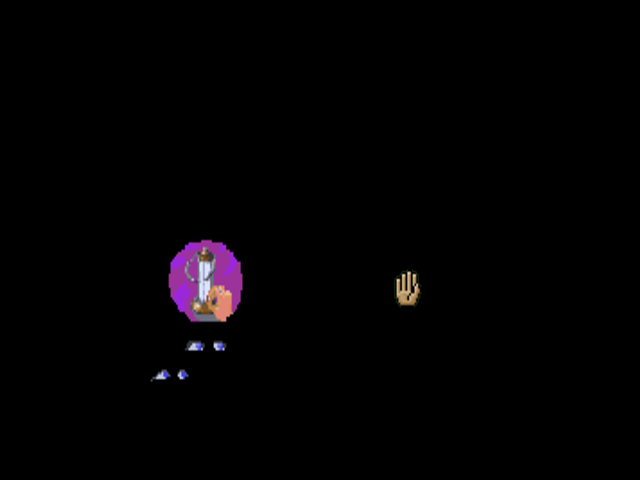
I think you’re supposed to find the clue on this later, but let’s find out what’s actually in that vat. Laura can climb up any of the vats and will grab a mysterious wooden scoop from thin air to stir up the contents. I can’t say for certain, but I think checking a vat lowers the amount of time you have in here faster than if you simply stay on the ground level.
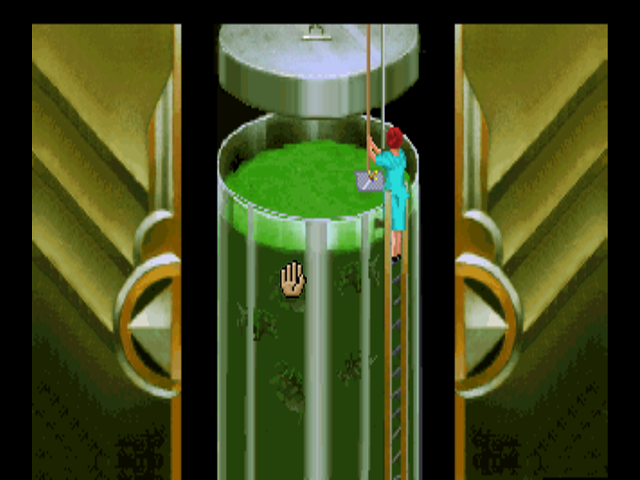
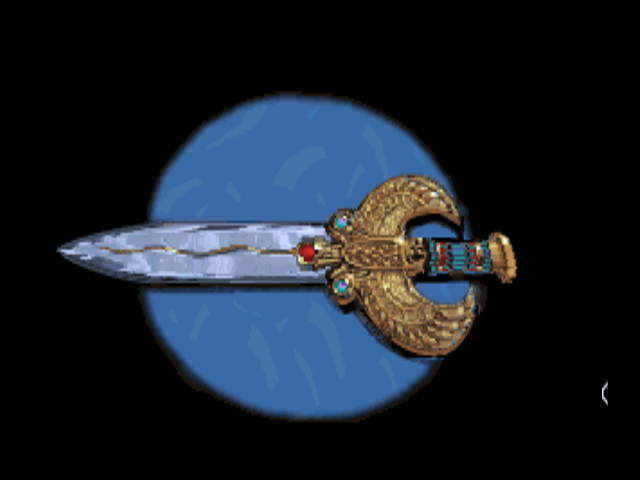
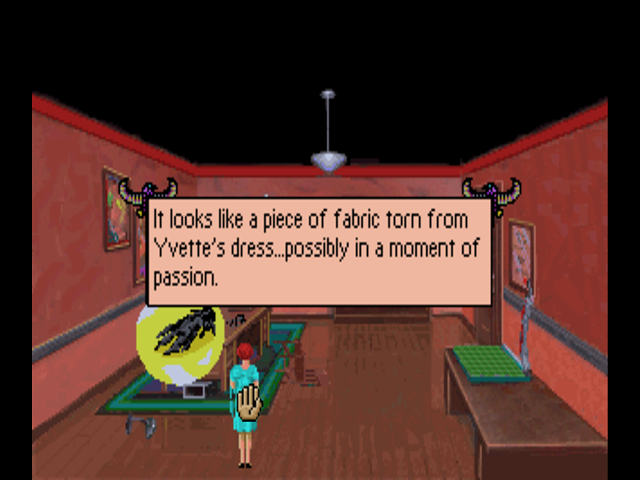
Wait. That shape… and the colors…
The game actually has like, eight text boxes that pop up hyping your discovery. Unfortunately, due to the way the game handles transparencies on this screen, I can’t get a screenshot of them.
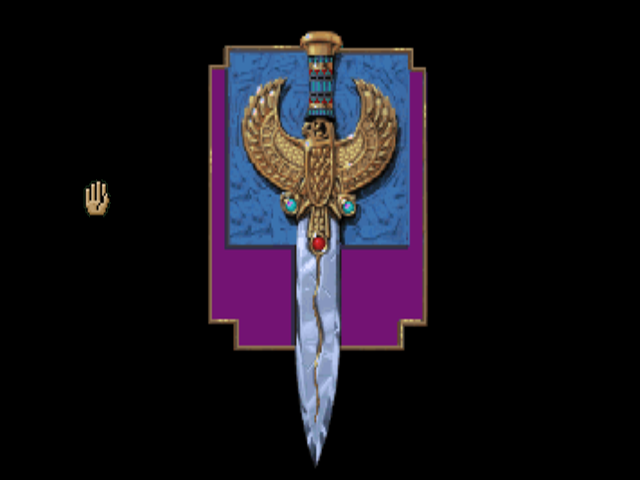
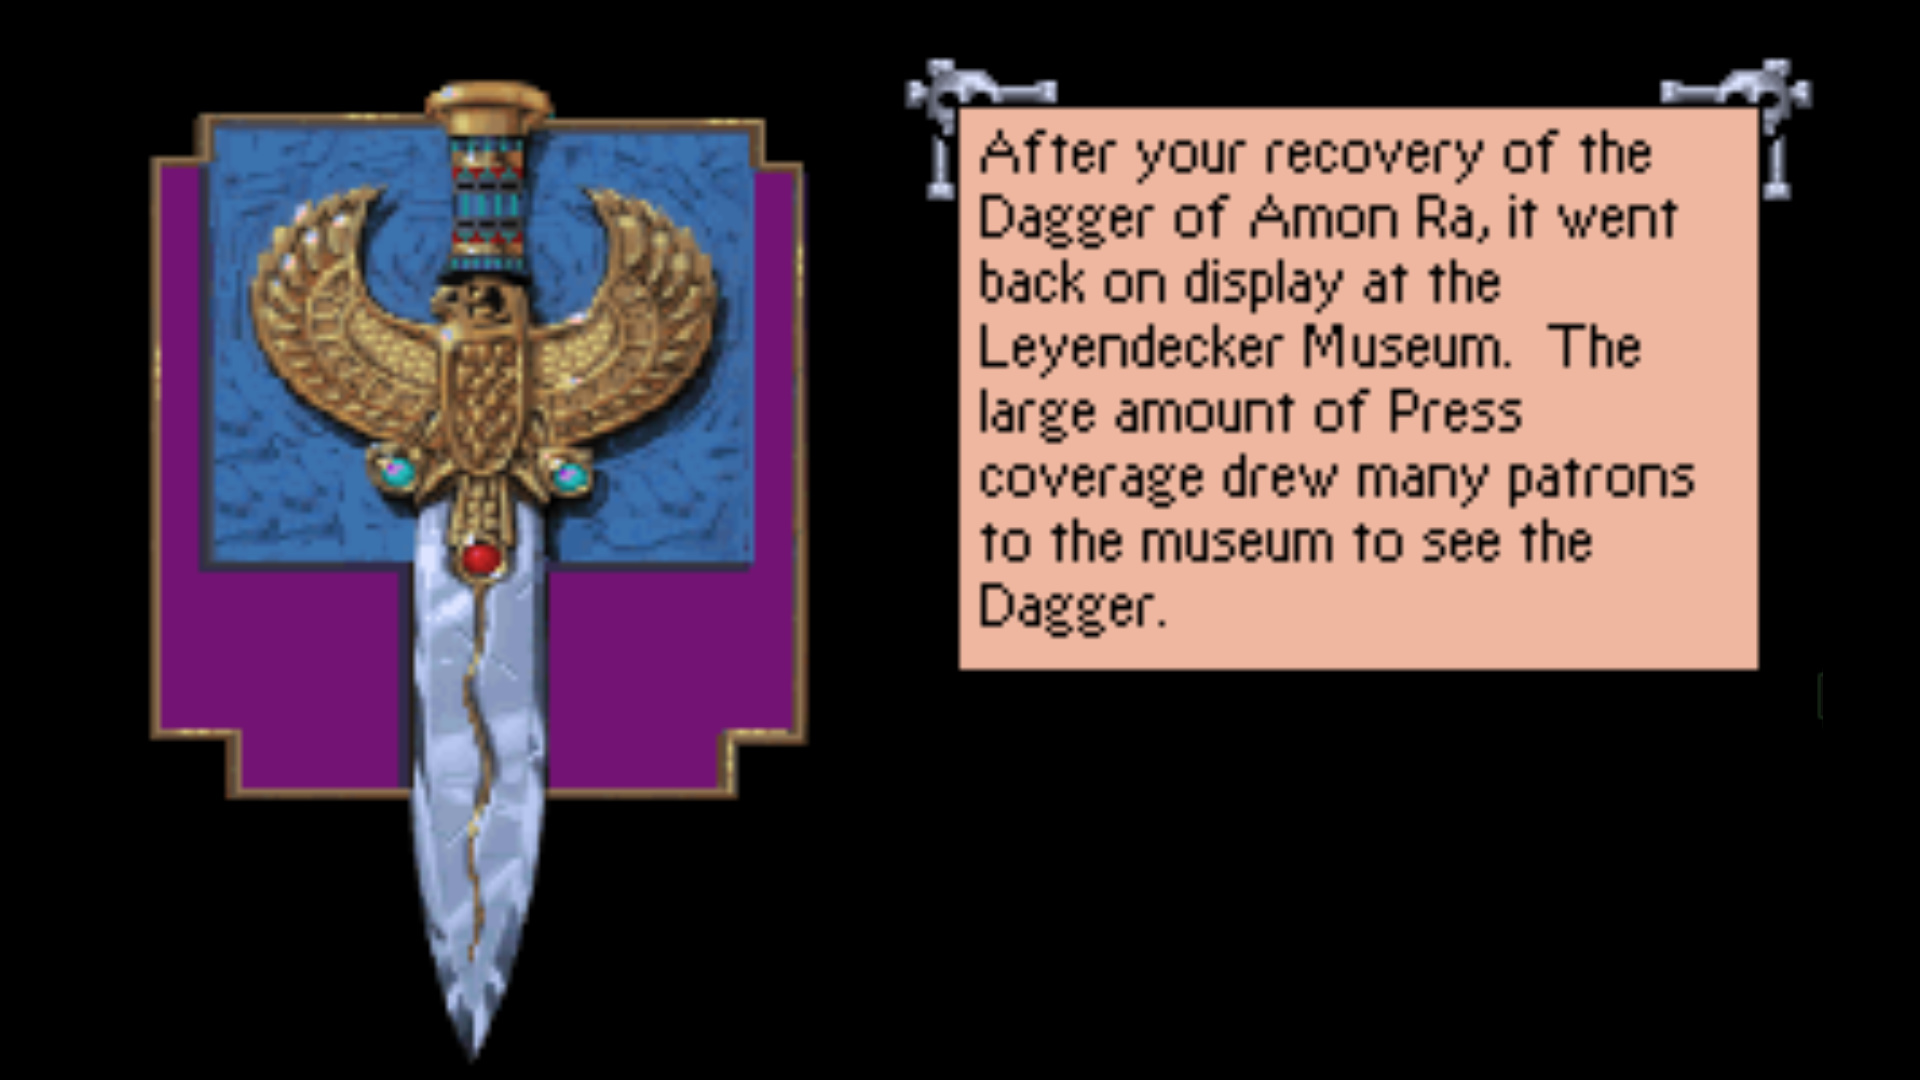
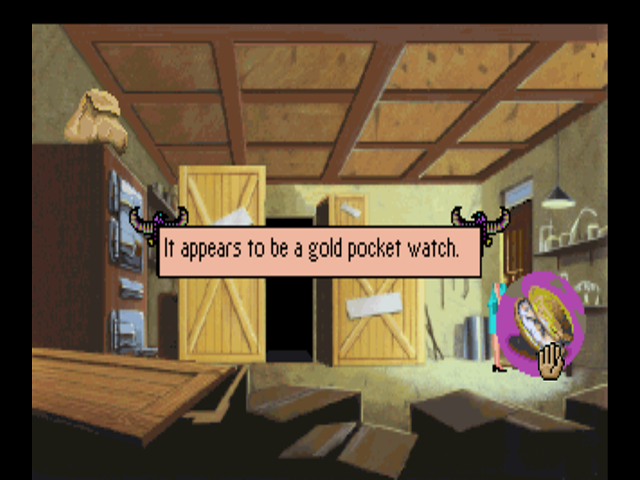
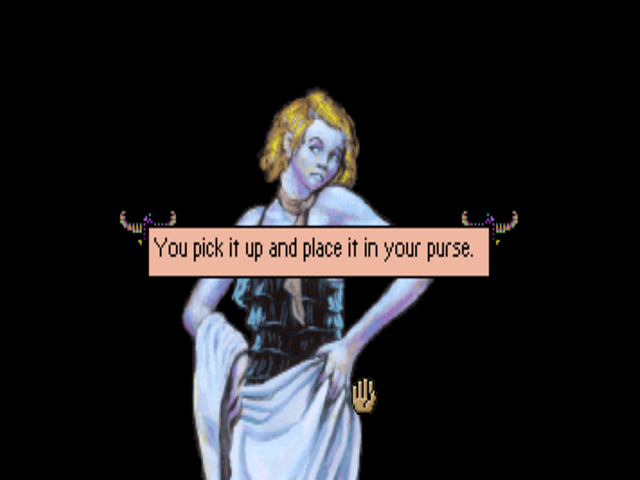
Oh look, we found the real Dagger of Amon Ra! This time, Wolf’s not around to stop us taking it. So, what does Laura do with it?
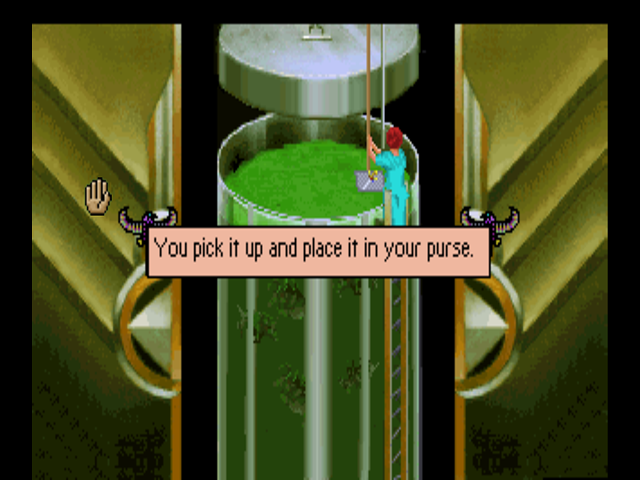
Well, I guess that’s one way to handle a priceless artifact. Laura then quickly gets down before the alcohol fumes cause her to fall into the vat.
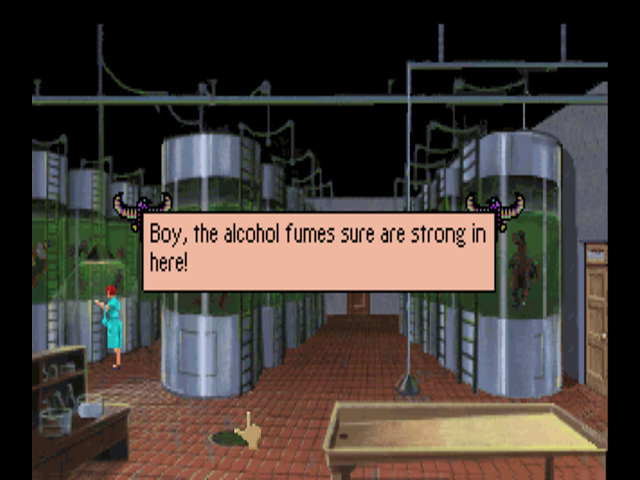
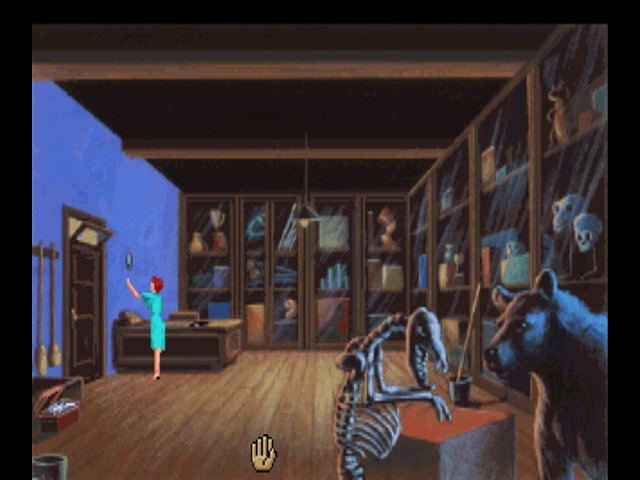
As we touch the floor again, the first warning about the fumes pops up. Fortunately, we won’t be in this room long enough to trigger the death - in fact, what we’re going to do is go immediately north to the Mammalogy Lab.
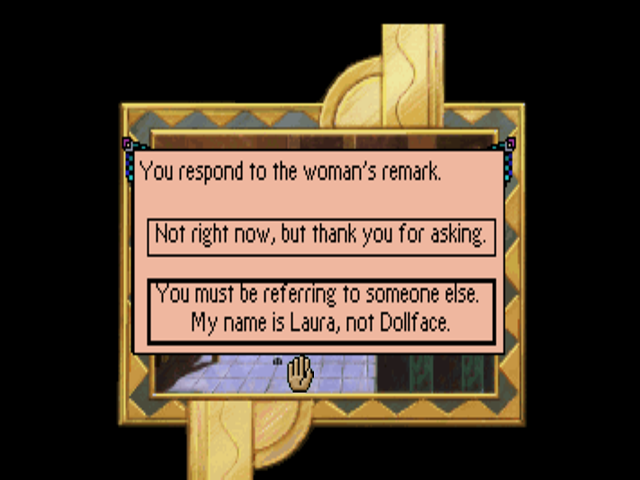
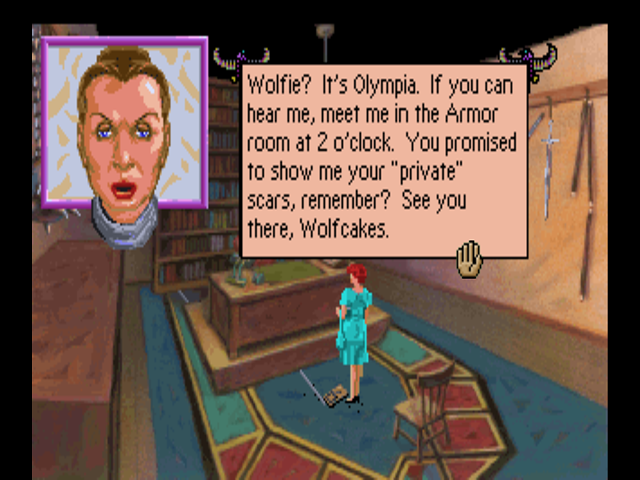
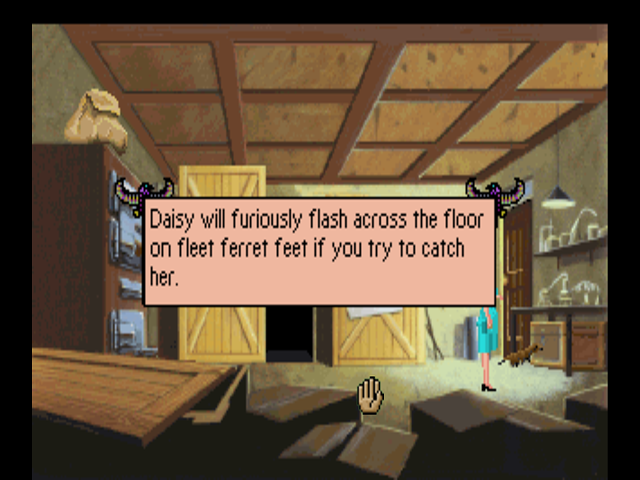
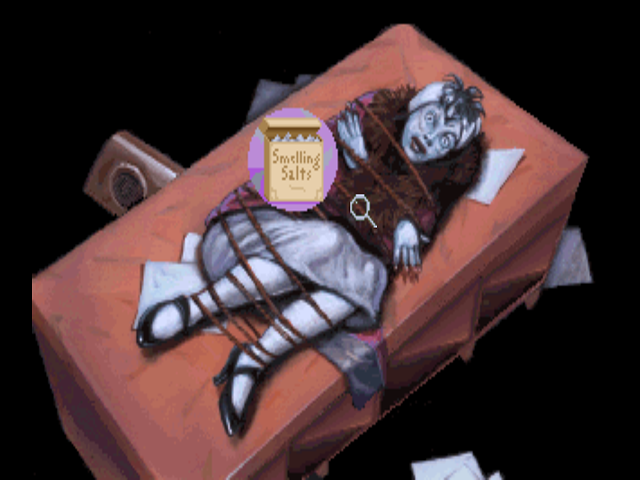
This conversation with Dr. Myklos is actually word-for-word identical to the one in her office… minus this part. It’s also easily missable - you’ll see why soon.
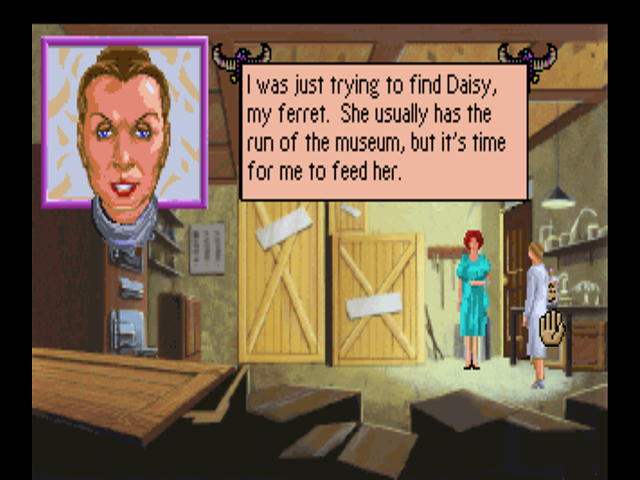


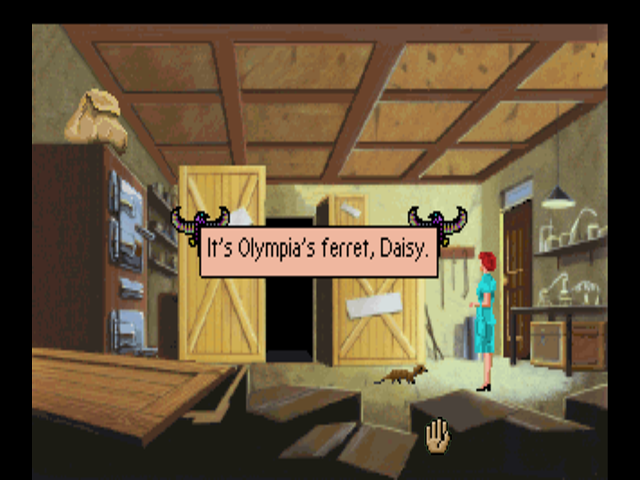
Jeez, I guess those alcohol fumes really did get to Laura. She looks stoned off her gourd. Dr. Myklos urges us to leave so that she can lure her ferret out of hiding, causing Laura to leave the room automatically. When we get back to the Alcohol Lab…
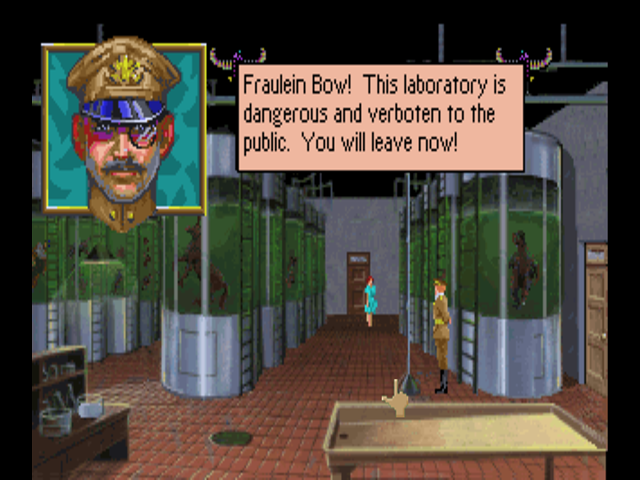
The reason the conversation in the Mammalogy Lab is so easy to miss is that once you pick up the Dagger, you’re put on a very short timer before Wolf automatically shows up and throws you out. You have to be pretty quick to make it to the lab in time.
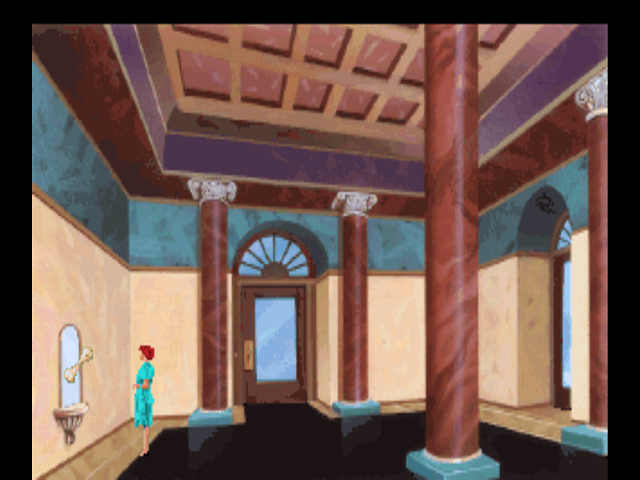
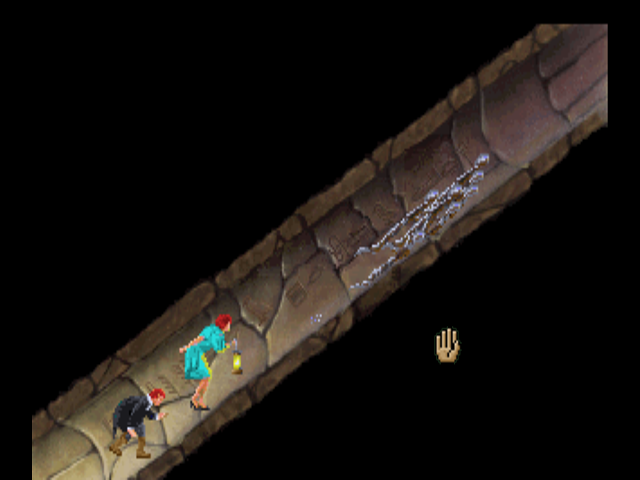
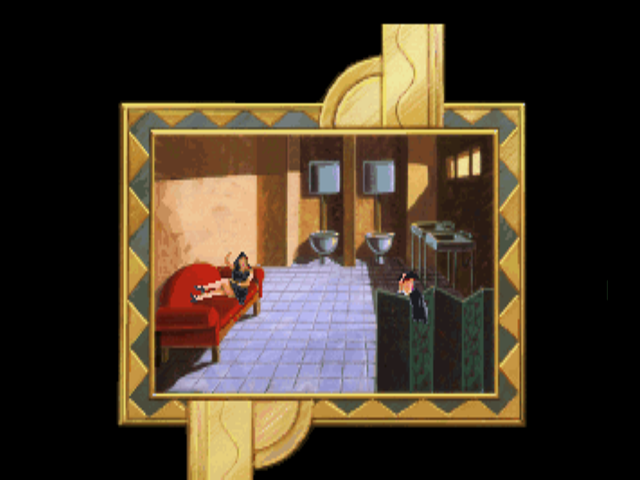
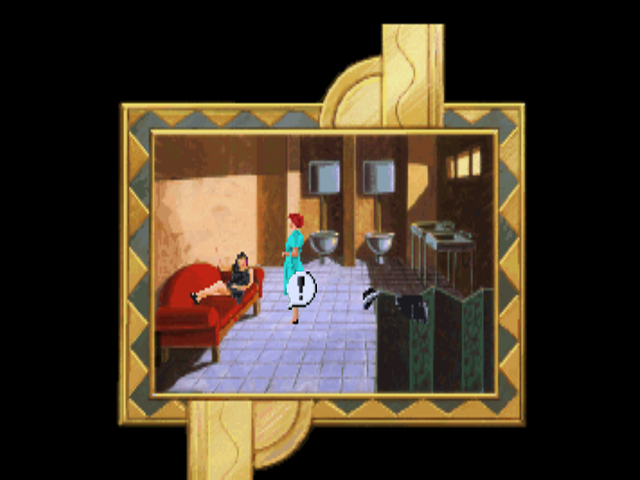
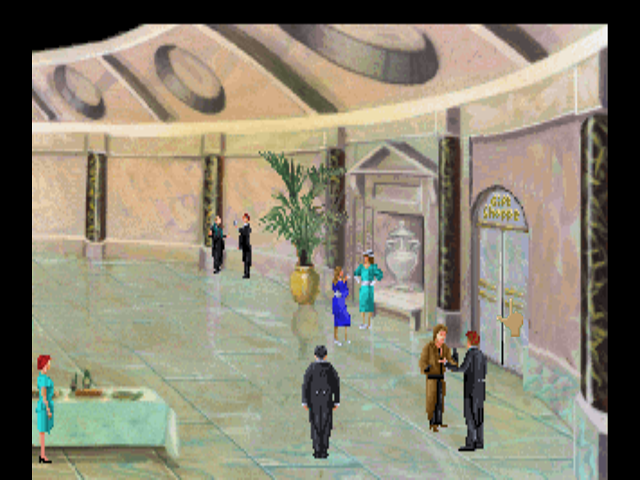
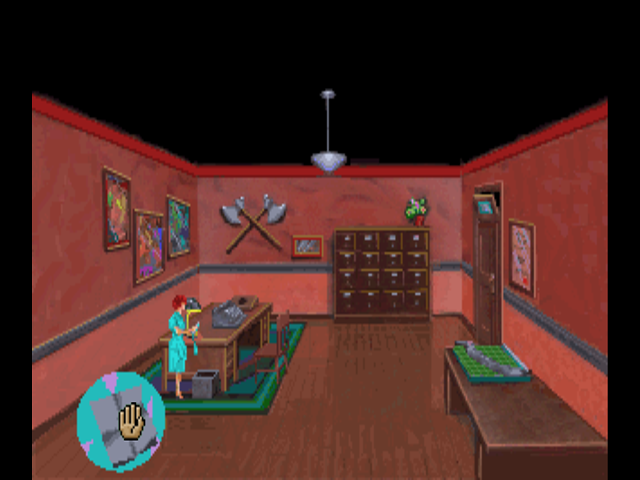
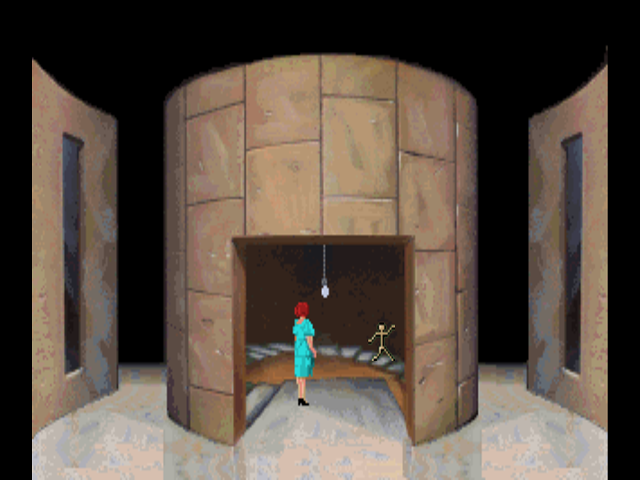
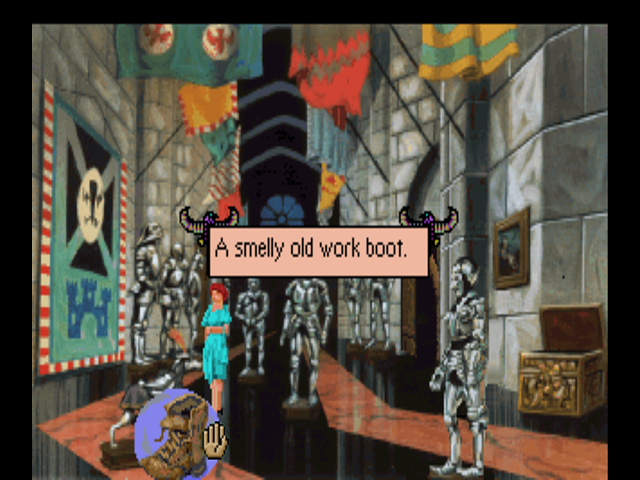
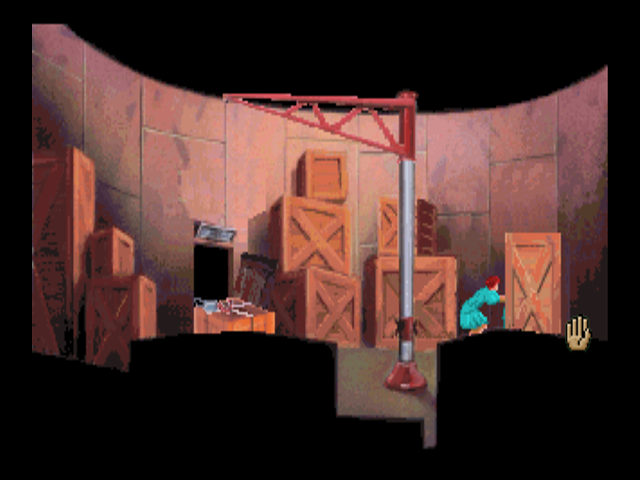
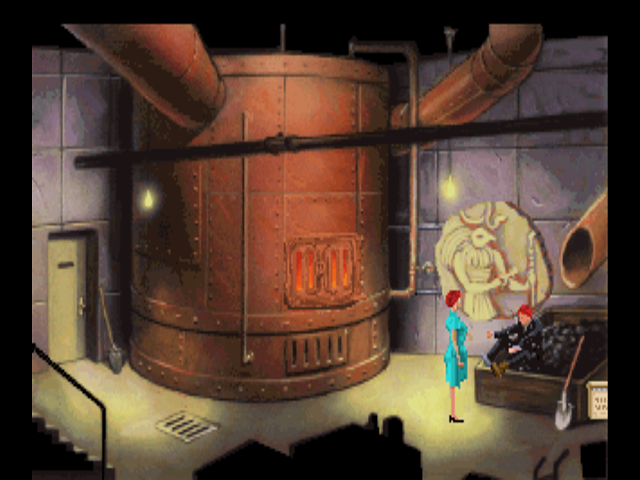
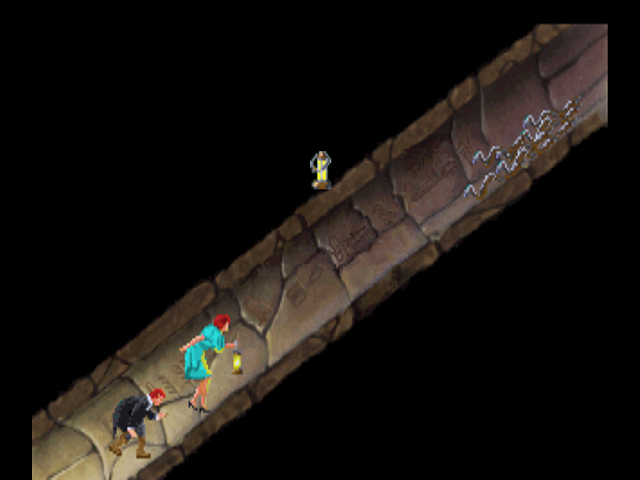
Wolf throws us back into the downstairs foyer. It’s kind of weird that he doesn’t force us upstairs (since the areas downstairs are meant to be staff-only) but this will give us the chance to give Wolfie the finger… say by using this bone to smash the emergency glass.


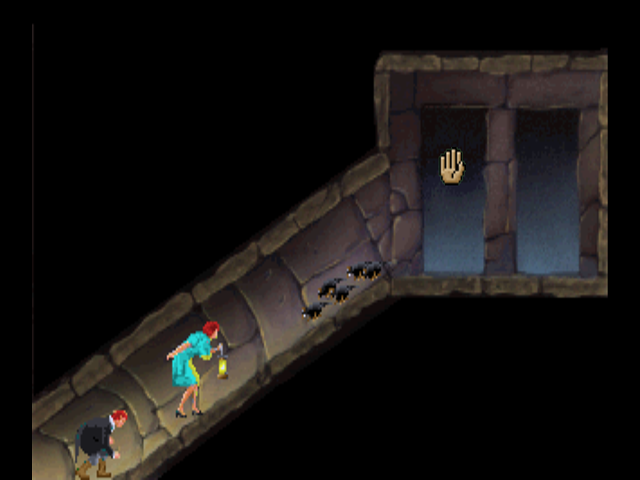
Behind the glass is a lantern, presumably put there in case of the power going out in the basement. The real question is how they’d expect anyone to find and break the glass in the dark. Now that we’ve broken Wolf’s precious emergency case and stolen the lantern, we should probably book it upstairs. There’s nothing more to do down here anyway… plus, we have the Dagger! At this point, it would make sense to go look for Dr. Carrington (since Ernie is still presumably in his office staring at Yvette), show him the dagger and get out of the museum. Mystery solved!
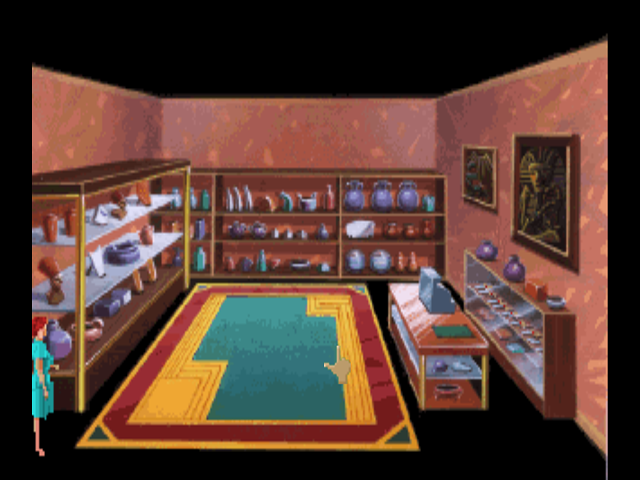
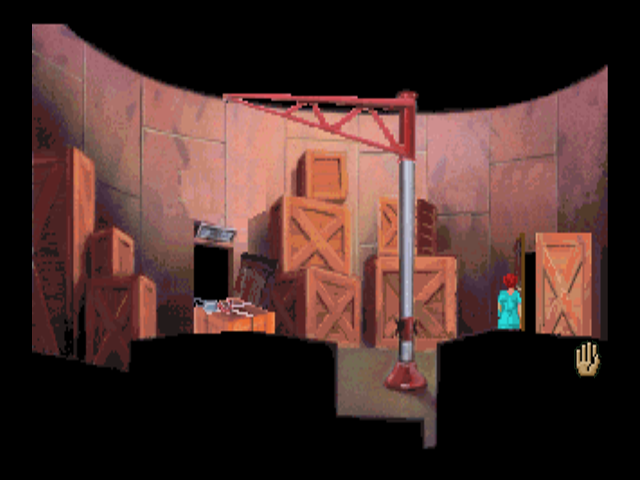
Actually, before we do that… there’s something we can use the priceless Dagger of Amon Ra for. We’re headed past there anyway if we’re going to find Dr. Carrington, so let’s just do it on the way there.
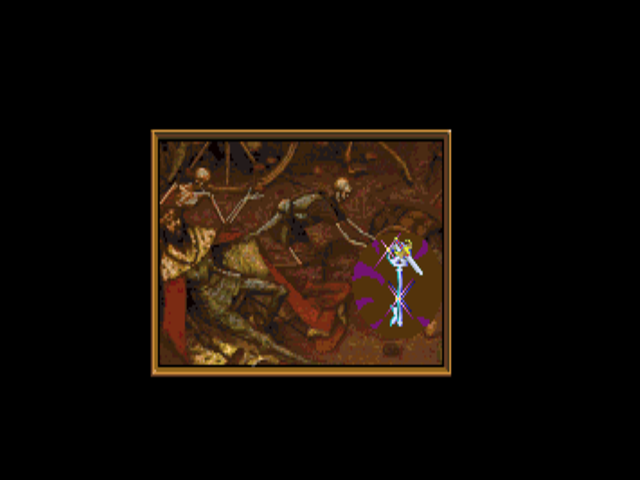
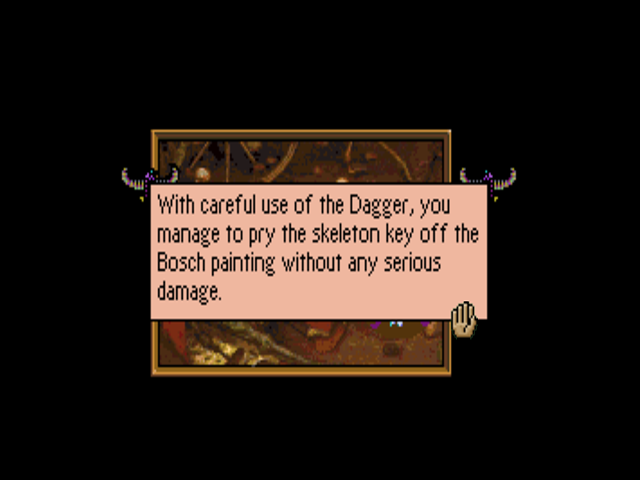
We now have the skeleton key, though we don’t know what it goes to yet. Still, can’t be a bad thing to have, especially with the workers locking stuff up at random all the time.
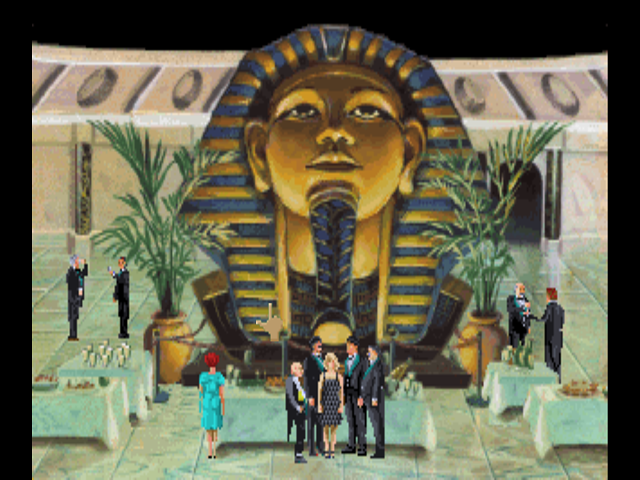
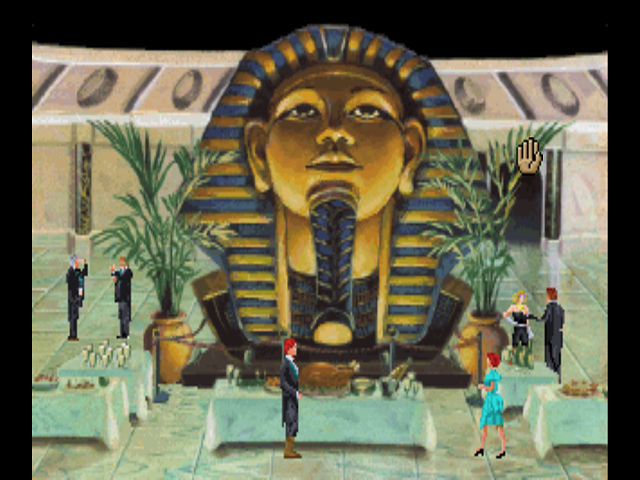
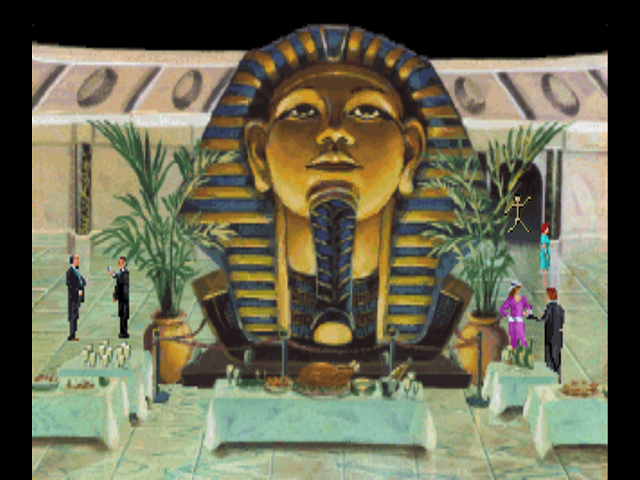
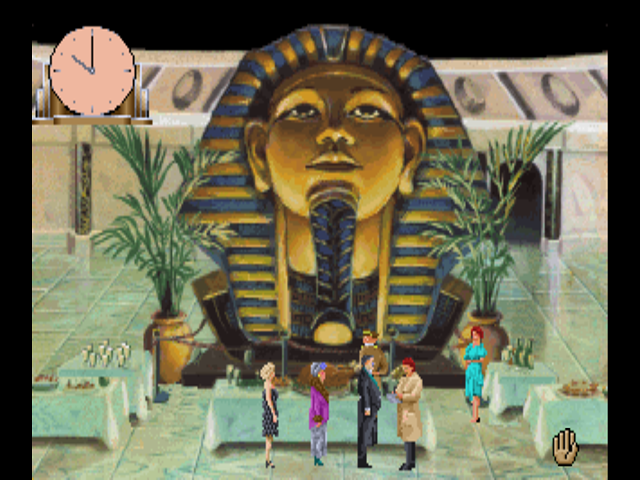
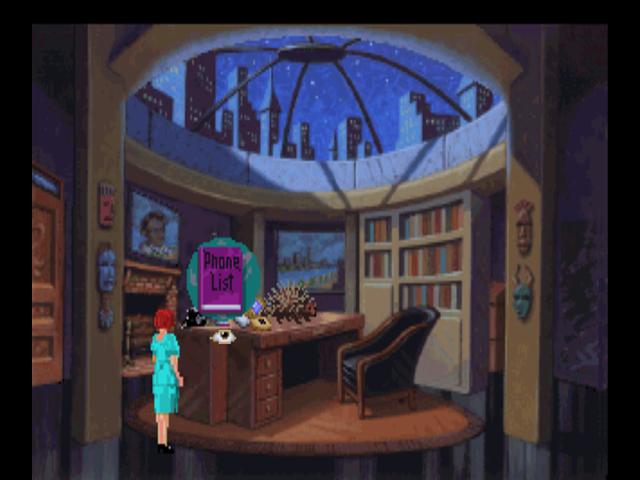
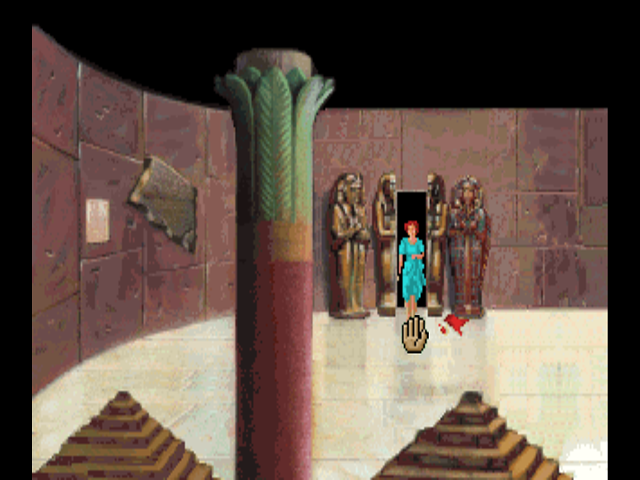
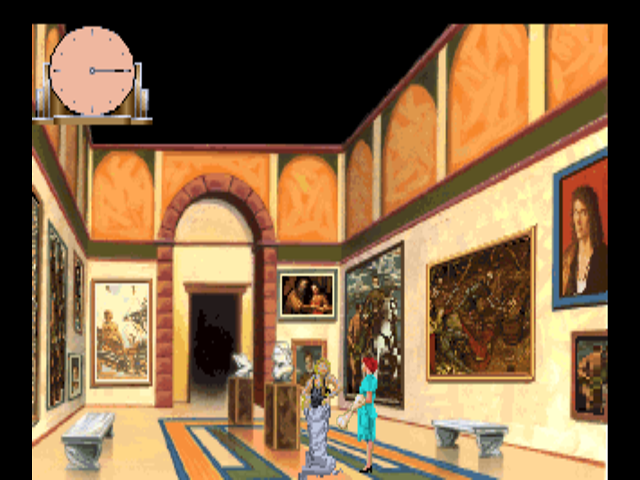
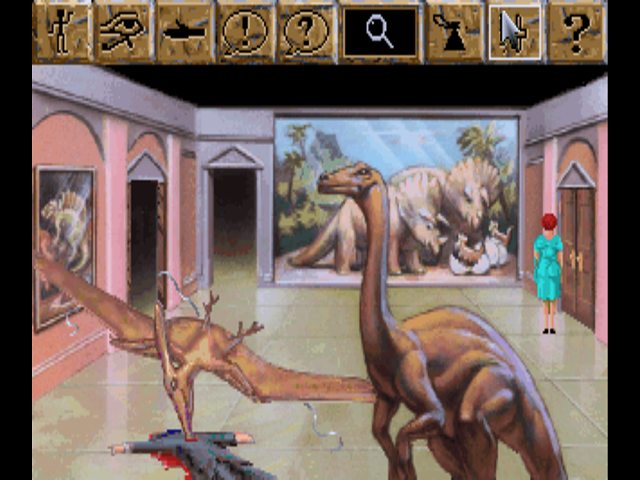
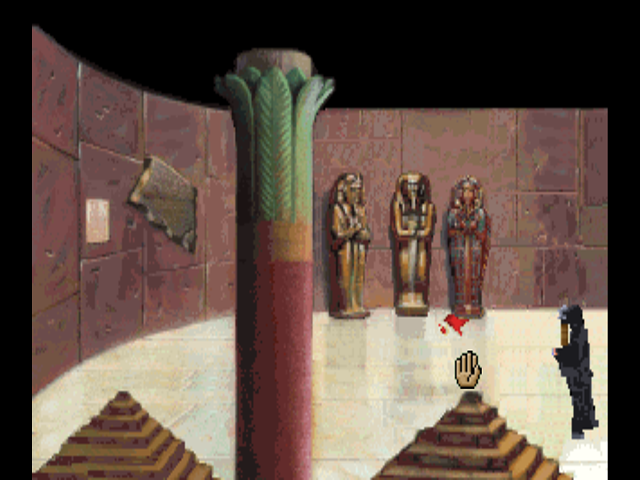
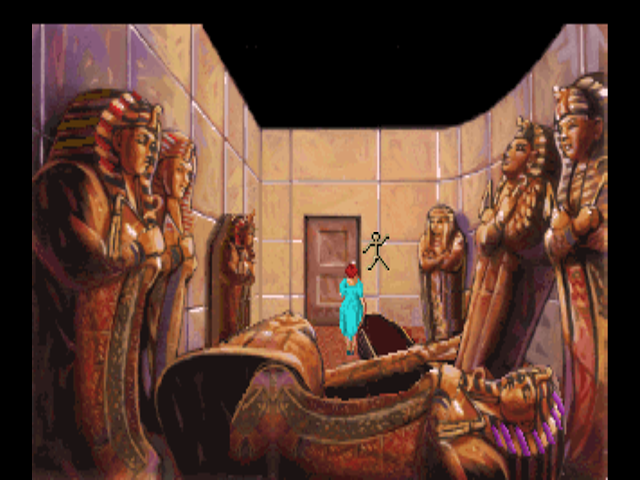
Now that we’ve gotten the dagger, there are a few things we can do. We COULD wait for time to advance by running around the museum or waiting in a room until the game’s timer ticks down. However, we also have that note from Dr. Carter’s notebook that said he was going to meet Dr. Smith in the Egyptian room at 10:00. Let’s see if we can sneak up on him there.
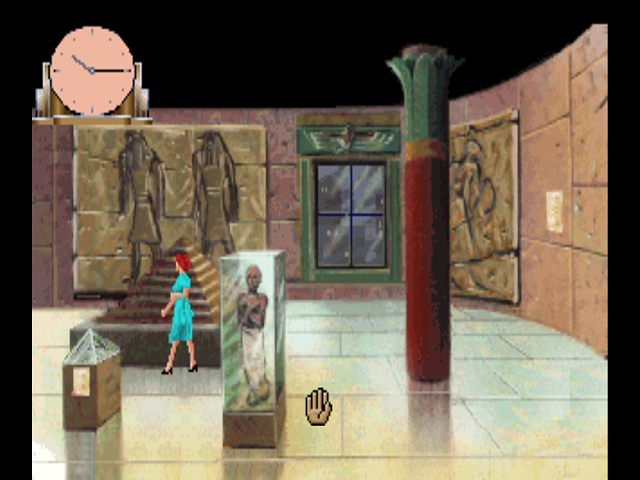
Going to this room at this point automatically shifts the time to 10:15 p.m.
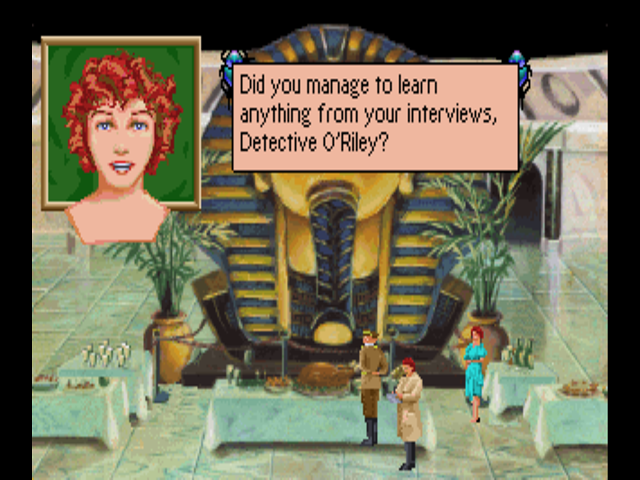
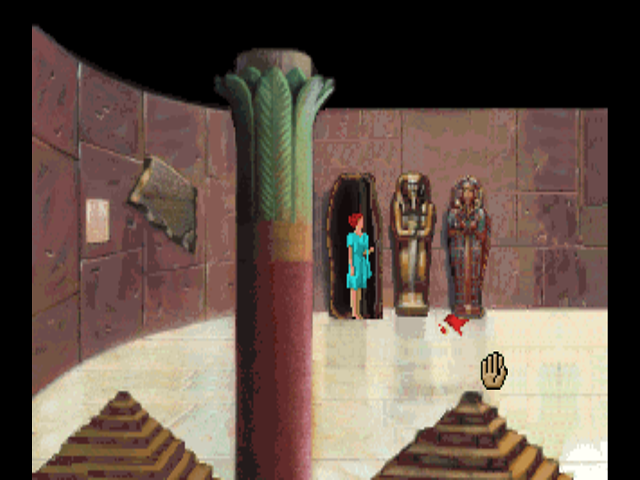
Dr. Smith shows up, and says a few lines about being surprised. He actually doesn’t seem to know that Dr. Carter is dead. When Laura asks him about his alibi…
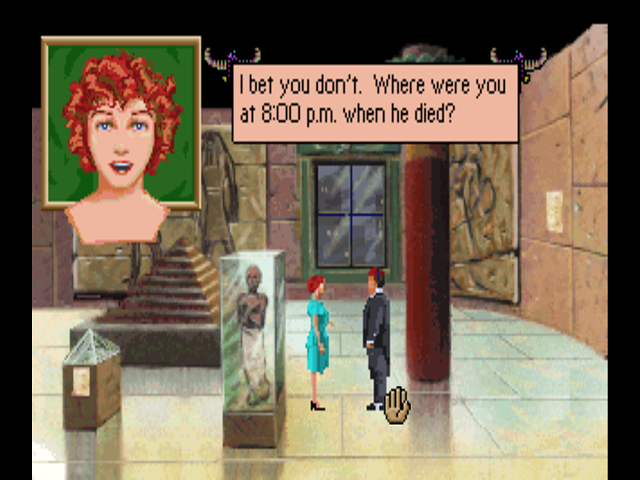
 : “At the party, of course. You saw me there.”
 : “Actually, I didn’t see you there at that time.”
What Laura fails to mention is that she didn’t see him at 8:00 because she was busy discovering his dead body.
: “But you must… oh, well, there was that phone call.”
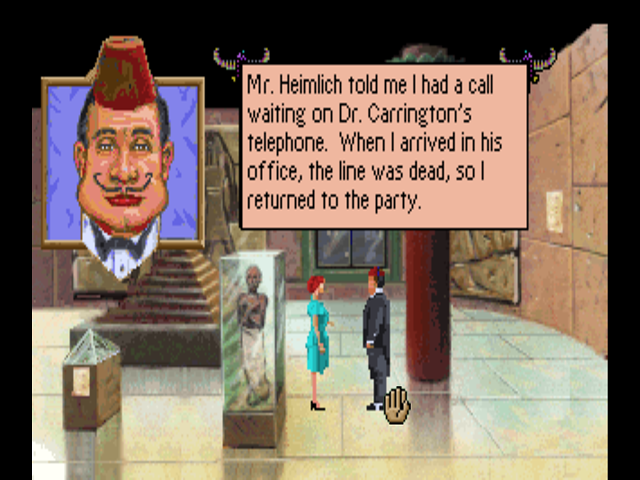
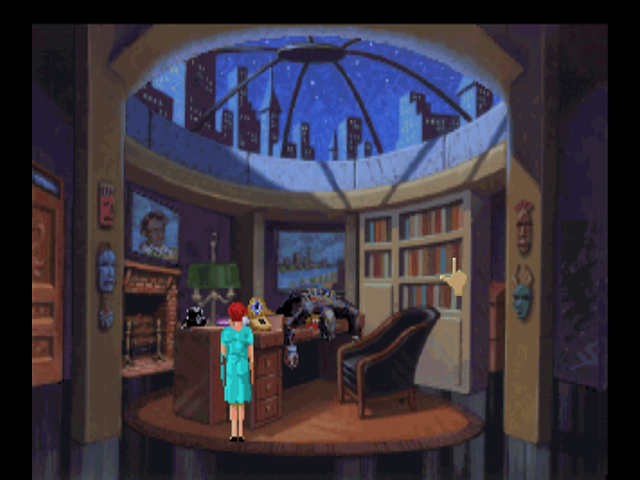
: “Was Dr. Carrington in his office?”
: “No, he was at the party.”
: “Did Mr. Heimlich tell you who was calling?”
: “No. He didn’t take the call… and I don’t know who told him about it.”
: “You and Dr. Carter seemed to argue a lot about the Dagger of Amon Ra…”
: “We had our differences of opinion, yes.”
: “Did you kill him?”
: “Miss Bow! I am shocked that you would ask me such a thing! I’m leaving!”
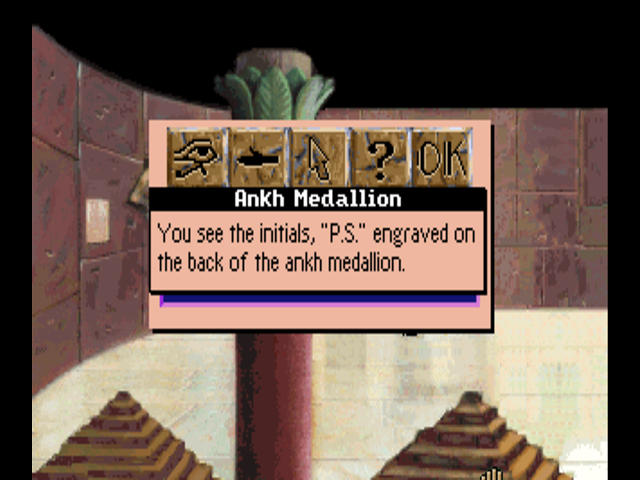
With that, Dr. Smith leaves the room. While he doesn’t have a great alibi, it would seem weird for him to be the killer but then insinuate that Wolf can corroborate his alibi, don’t you think? There is one other problem as well: if he was in Dr. Carrington’s office on the other side of the museum taking a phone call, how did his ankh necklace wind up at the crime scene? We actually can’t ask him about that now, leaving us with no choice but to go back and try to find Carrington somewhere else. Let’s try his office - maybe there’s a clue over there! At the very least, maybe Wolf has fucked off so we can explore downstairs some more.
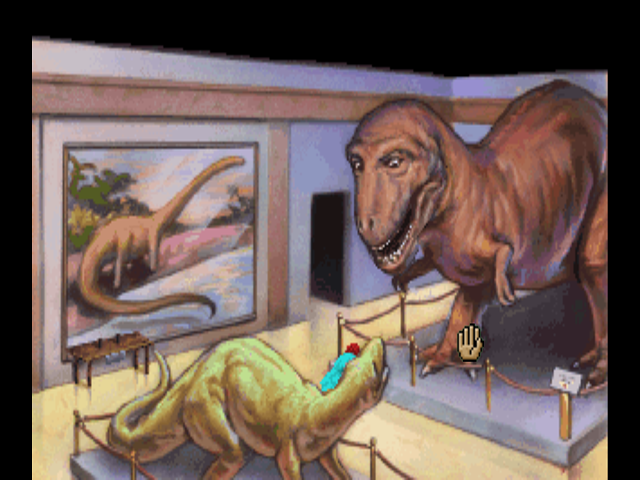
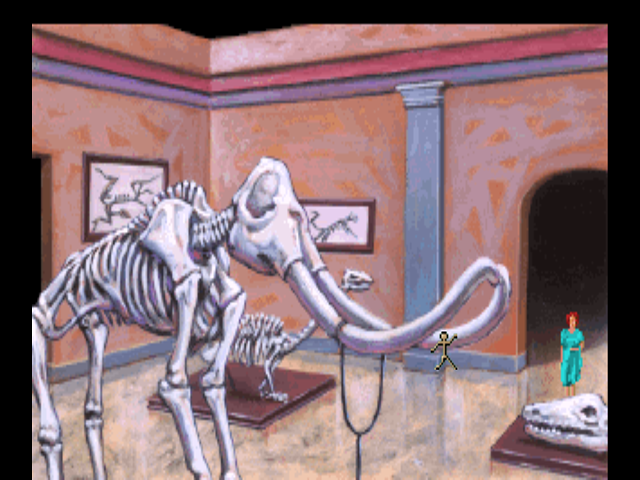
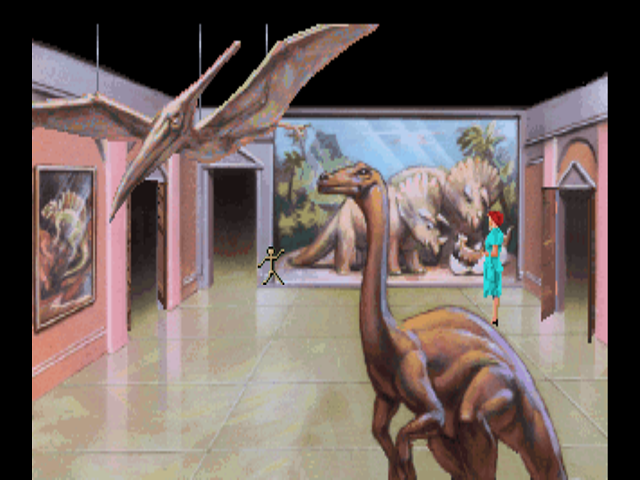
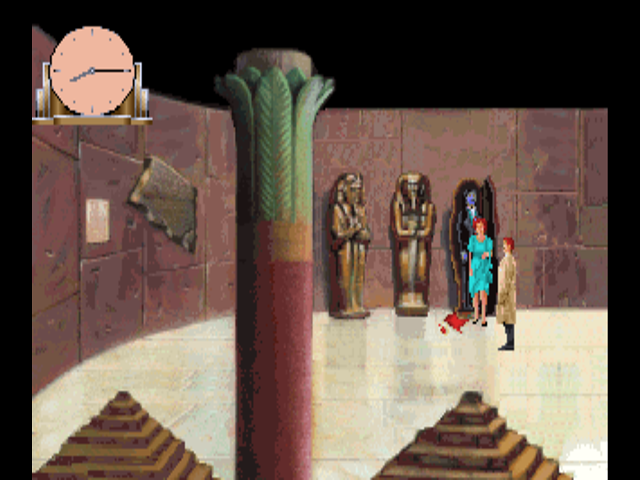
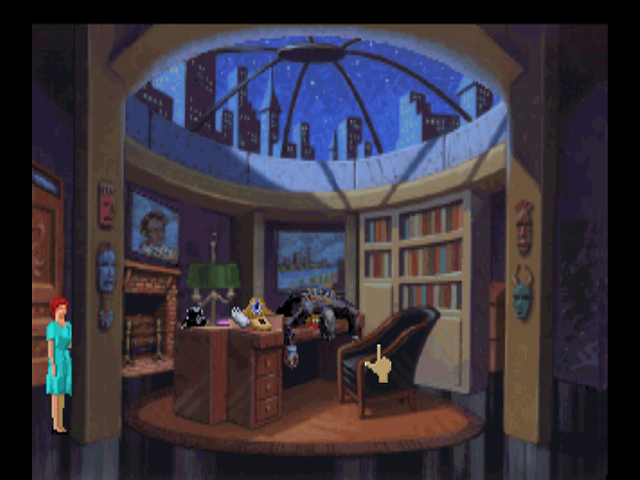
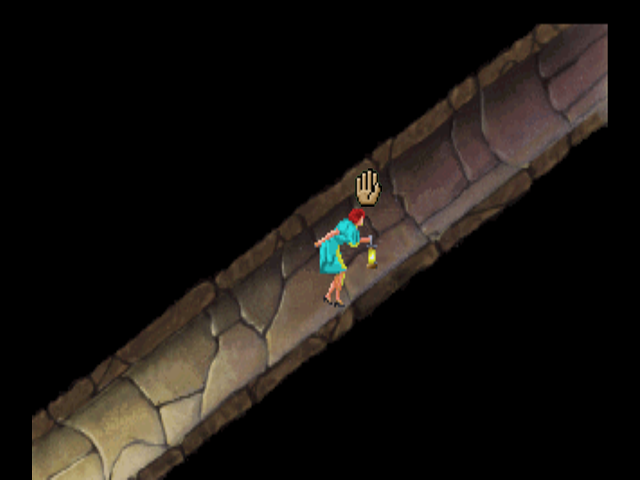
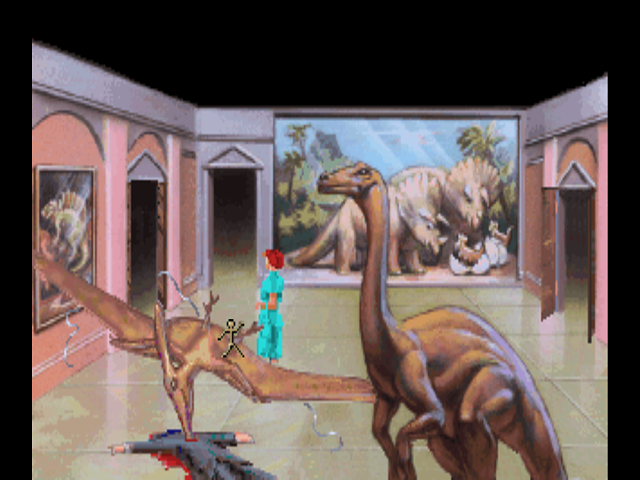
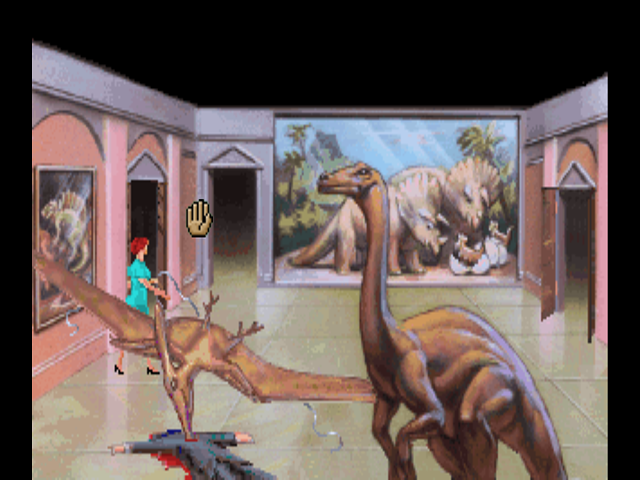
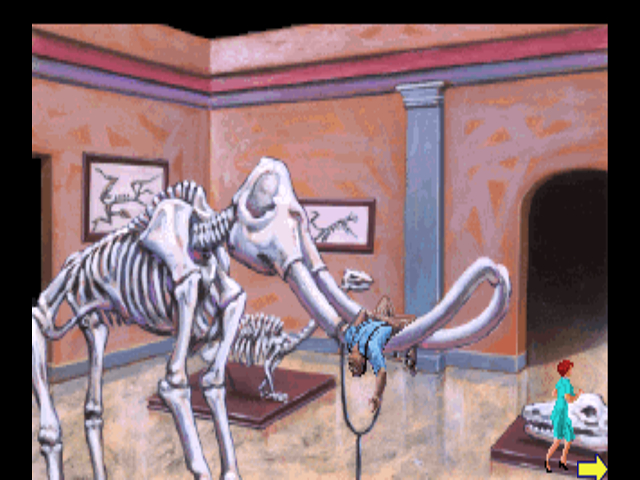
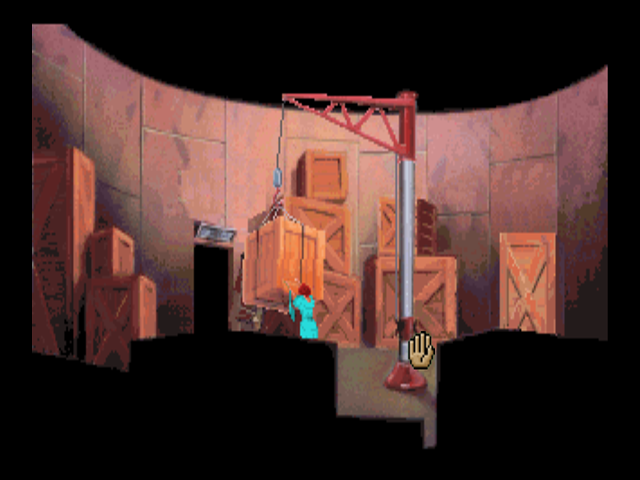
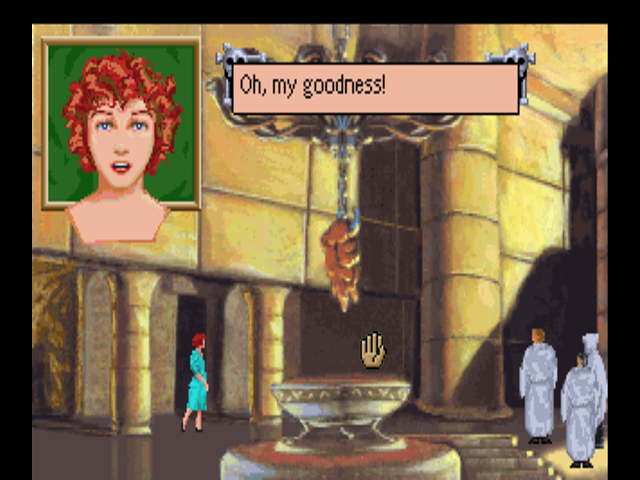
On the way back to the stairs, we come to the Pterodactyl room, and for a brief second, this flashes.
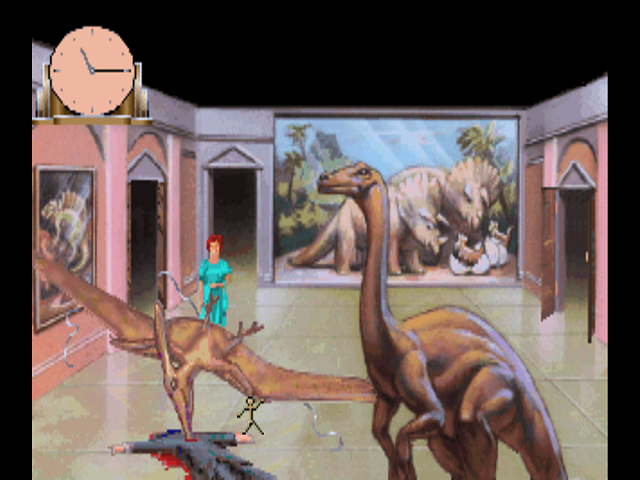
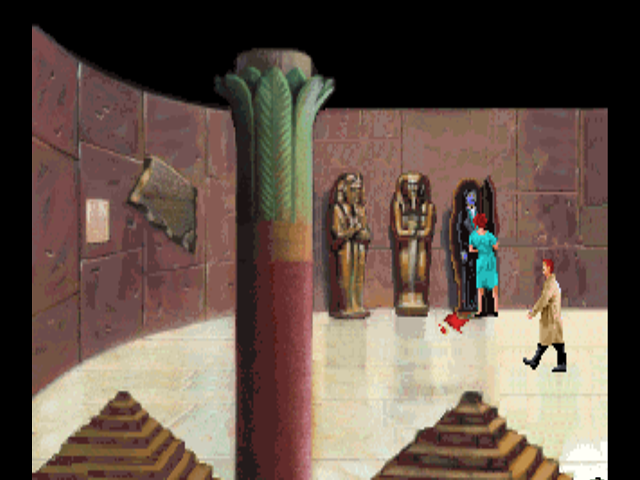
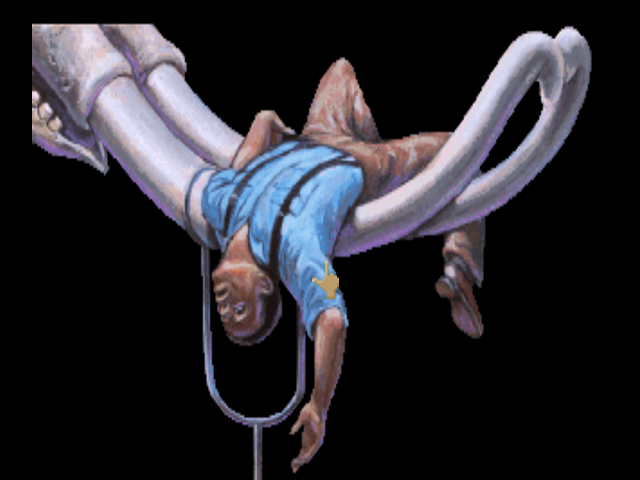
This is one of the more weird time shifts in the game - this one is actually scripted, but it means we somehow spent an entire hour talking to Dr. Smith. Okay, Laura. Remember your training. Remember what happened the LAST time you screamed after you found a body? Just keep calm, ignore what’s happening here and go directly to Carrington’s office. Finding him and returning the Dagger is a top priority. If O’Riley or Wolf find you, they’re going to search your purse and find the Dagger!

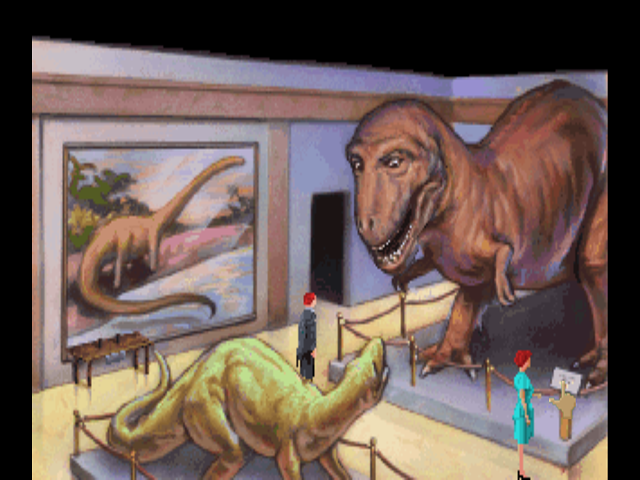
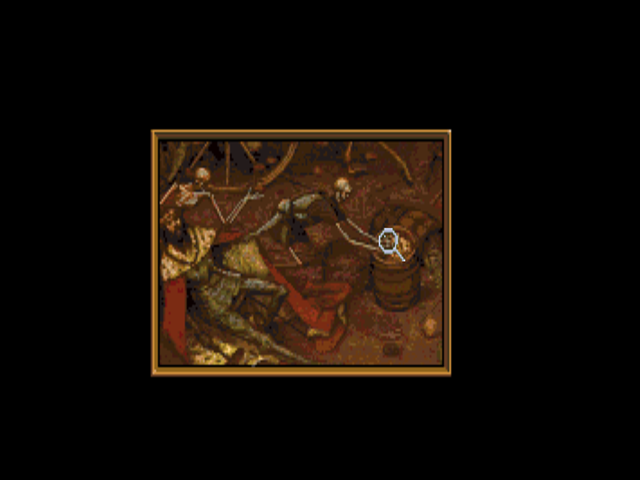
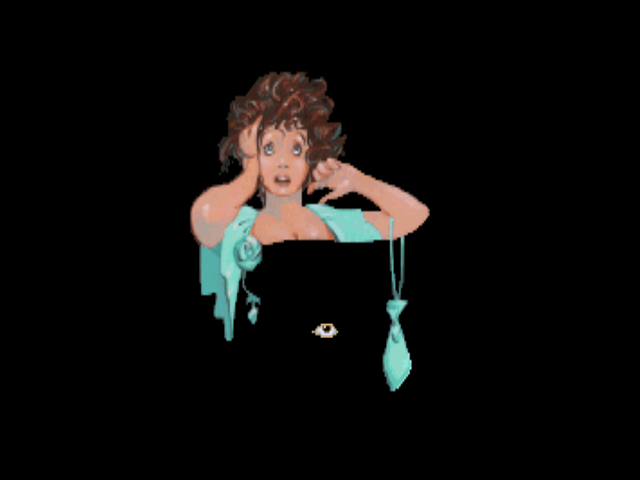
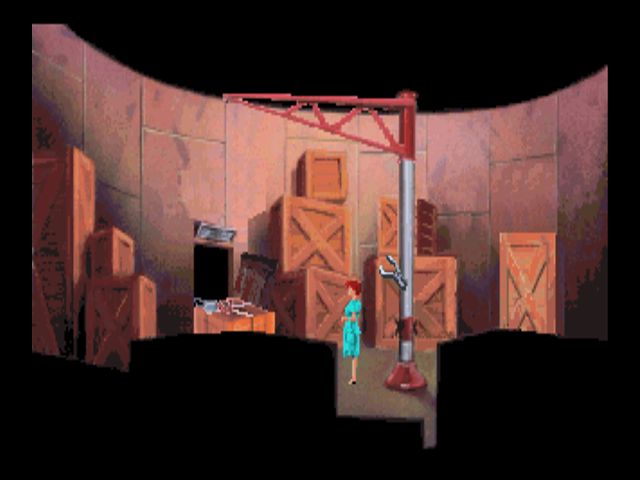
Dammit, Laura!
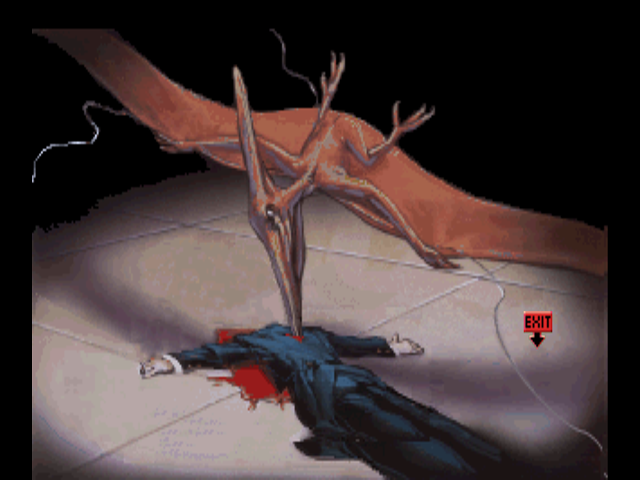
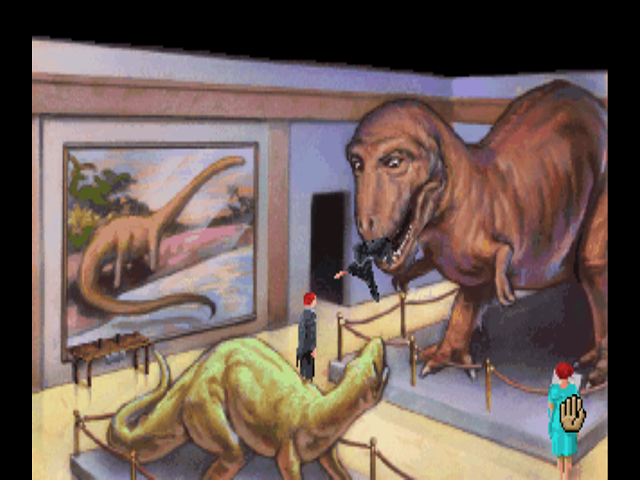
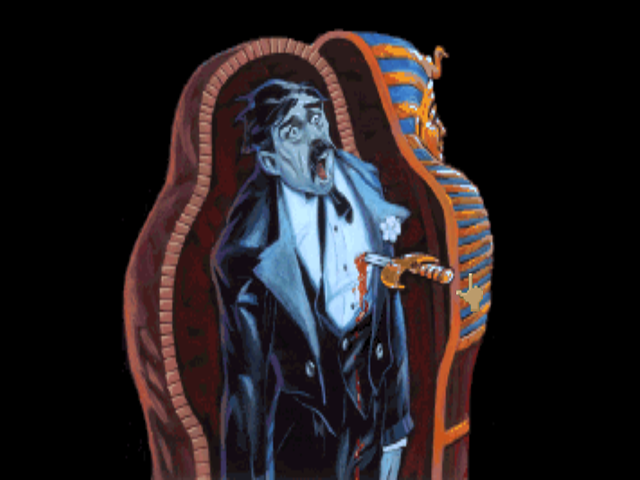
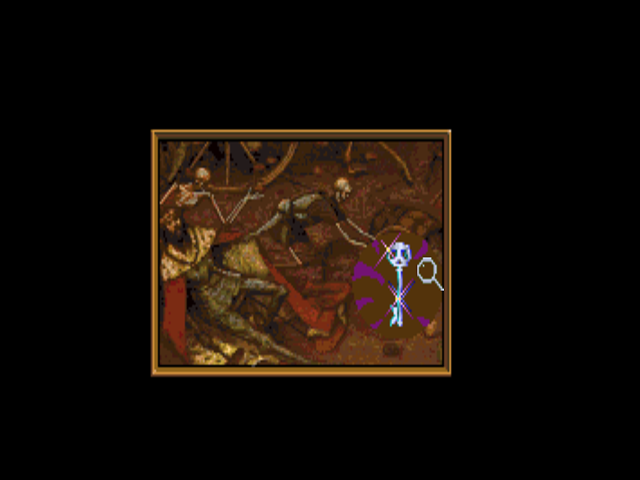
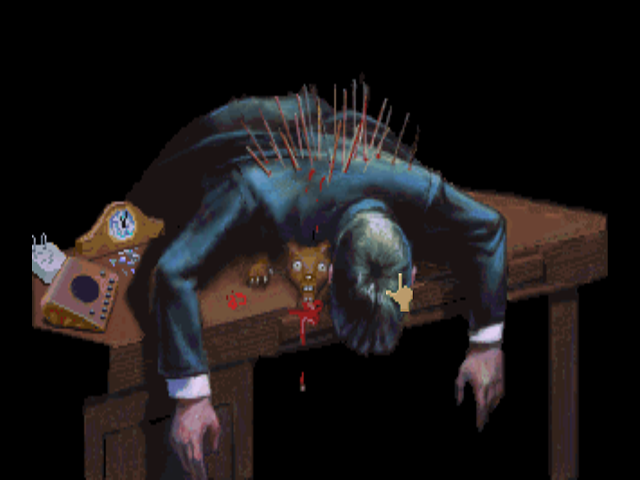
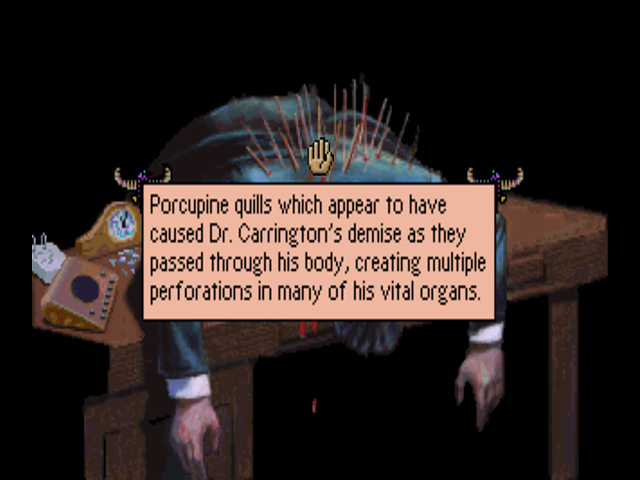
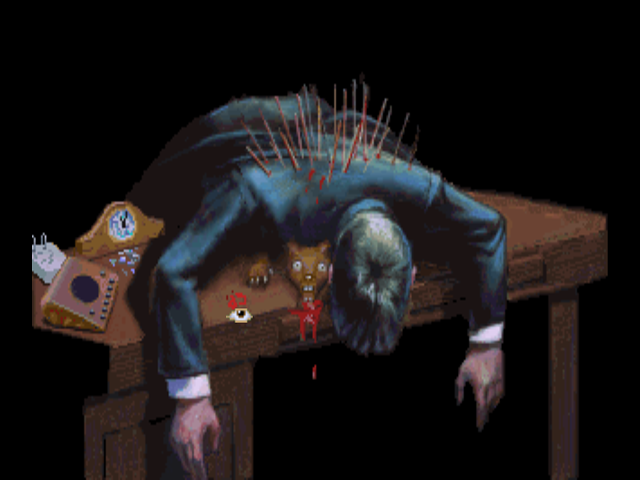
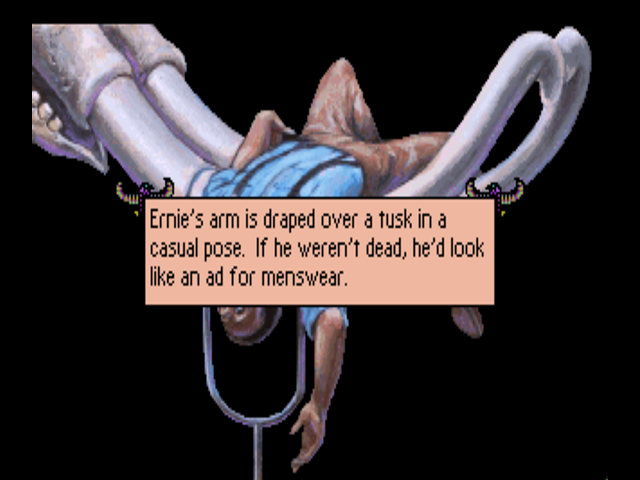
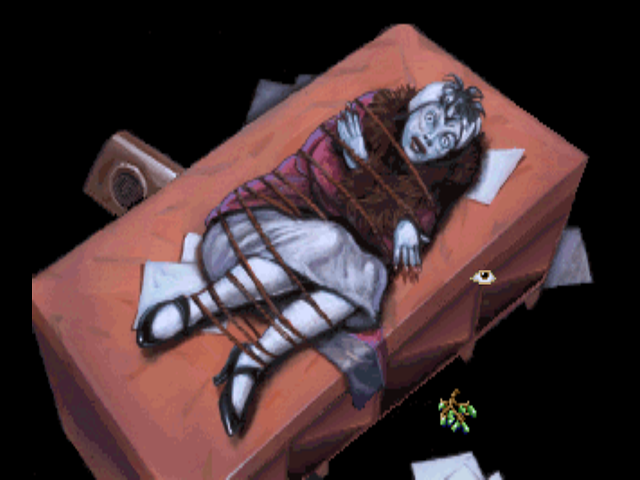
Like Dr. Carter’s death, we get a close-up of this new dead body… which is also headless. It looks like someone cut the wires holding up the pterodactyl and impaled the person before decapitating them - except wait, something’s off here. Even if you had the pterodactyl rigged to fall on someone, it wouldn’t pierce them like that. This body reeks of having been killed somewhere else and then arranged here for us to find.
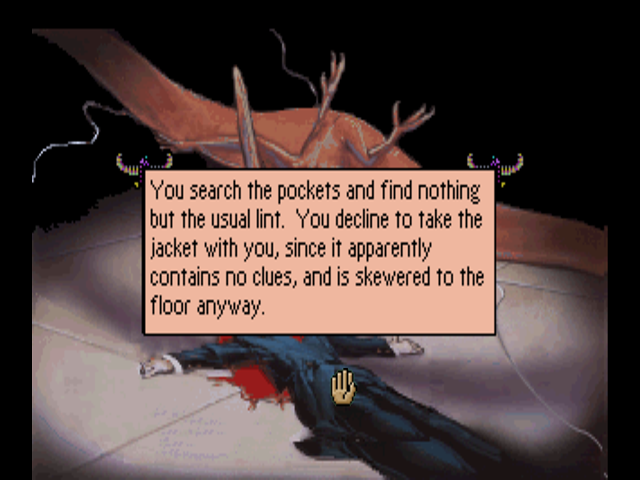
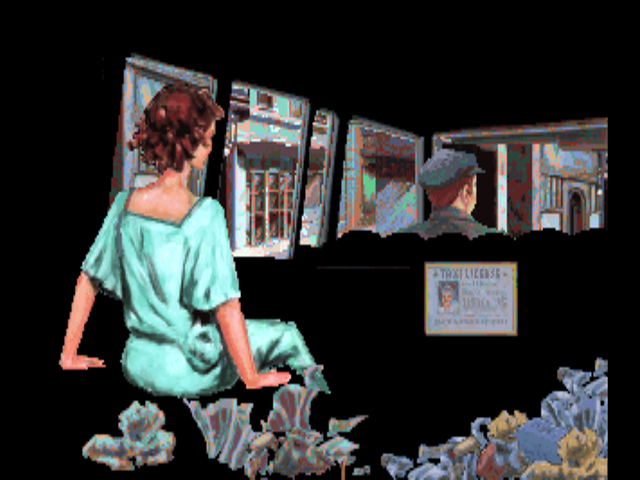
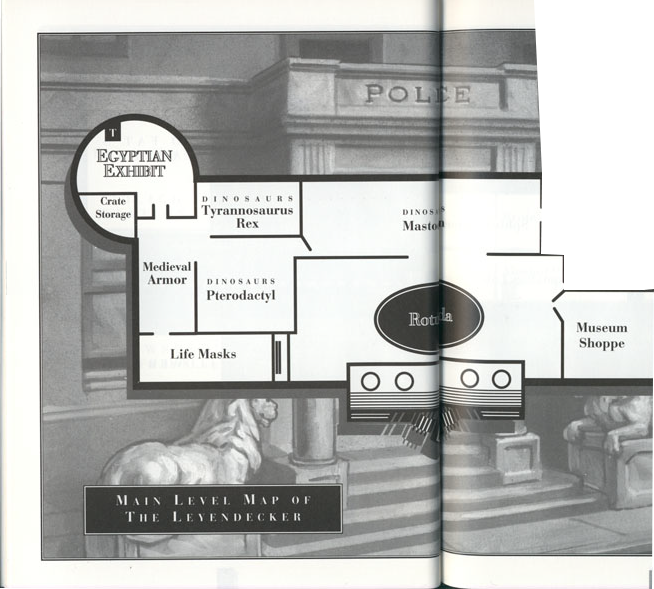
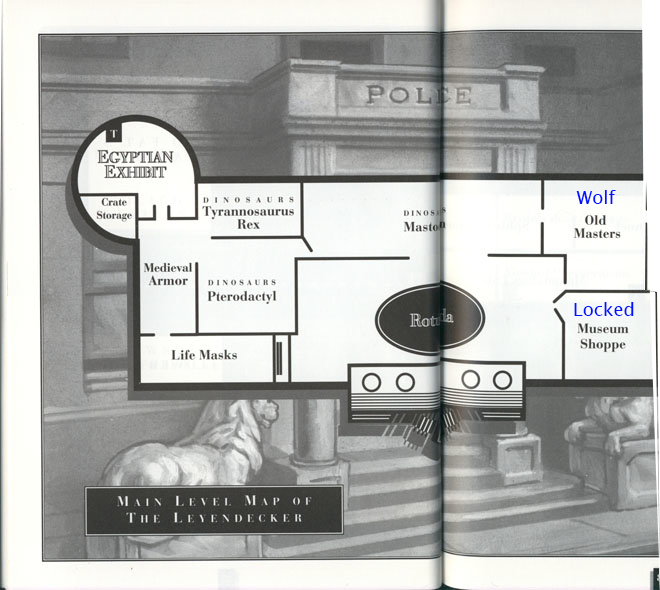
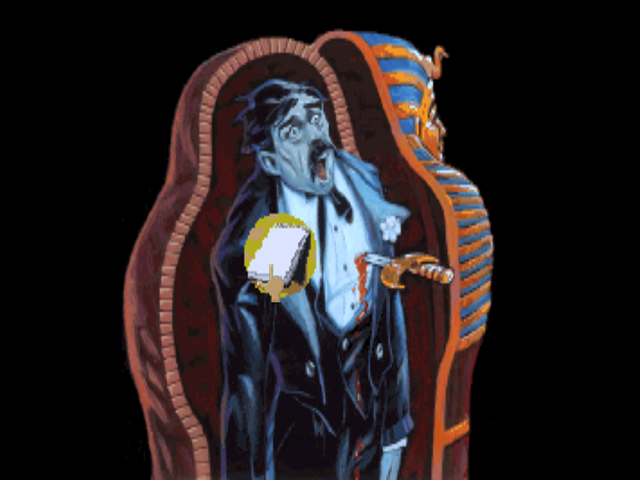
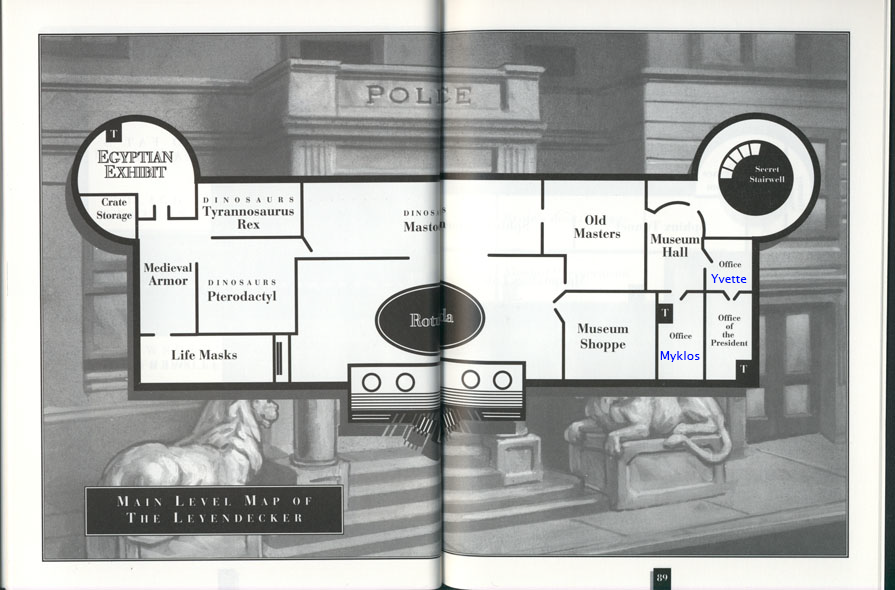
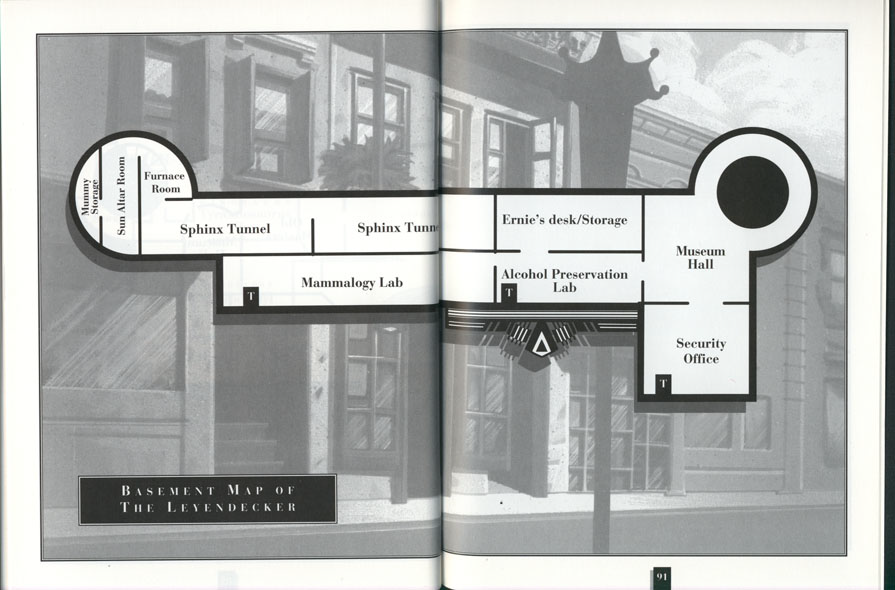
The killer was even smart enough to remove anything that might’ve been in the corpse’s pockets. They must realize that we found Dr. Carter’s notebook! Okay Laura, change of plans. We need to hide somewhere. We don’t know when this person was killed, but it would have to have been within the last hour, since we came through here to get to the Egyptian room and didn’t see the body then. Let’s take a look at the map…
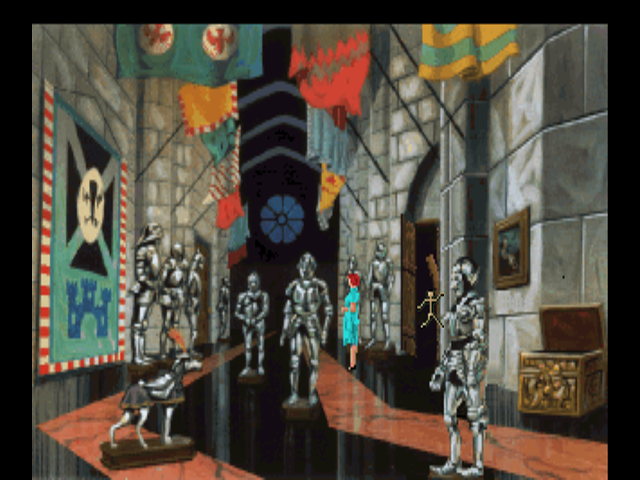
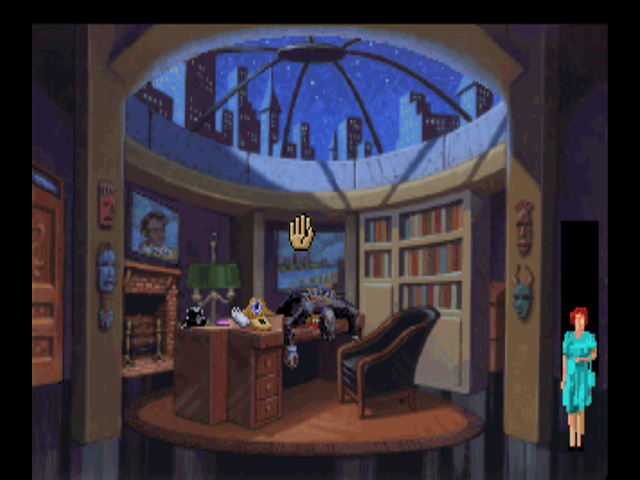
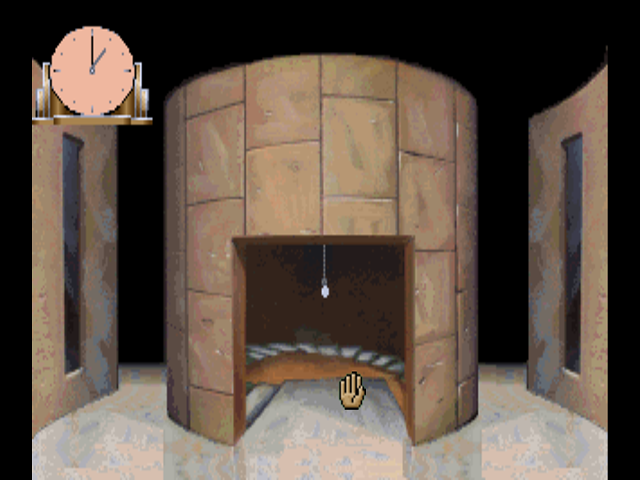
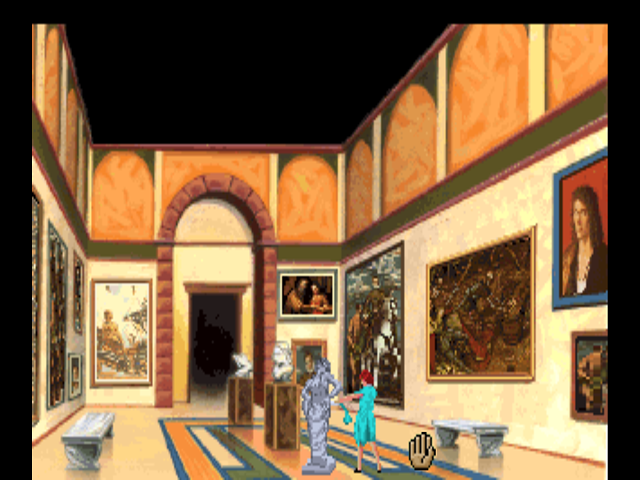
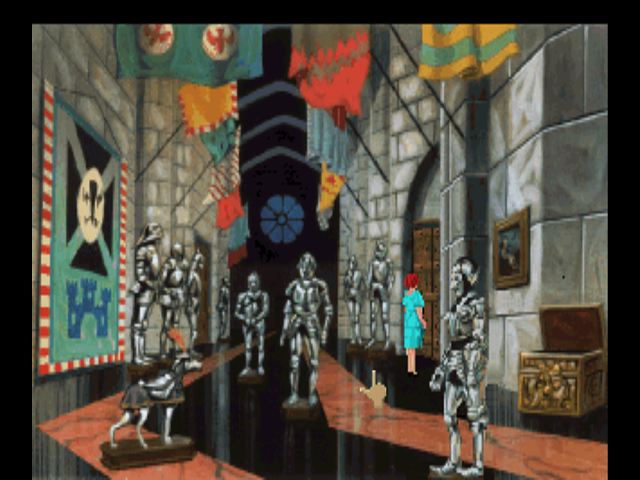
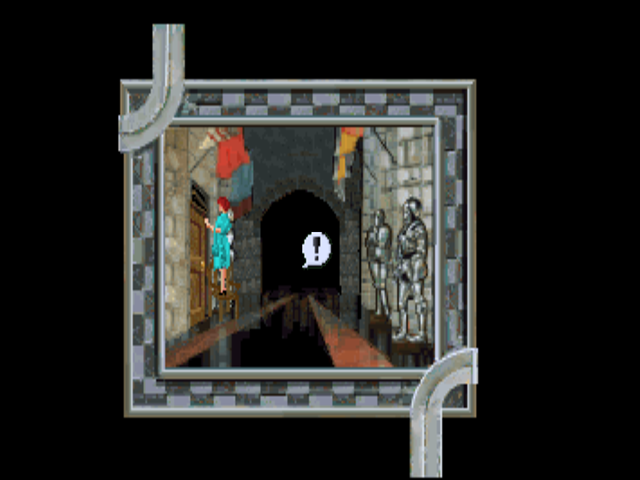
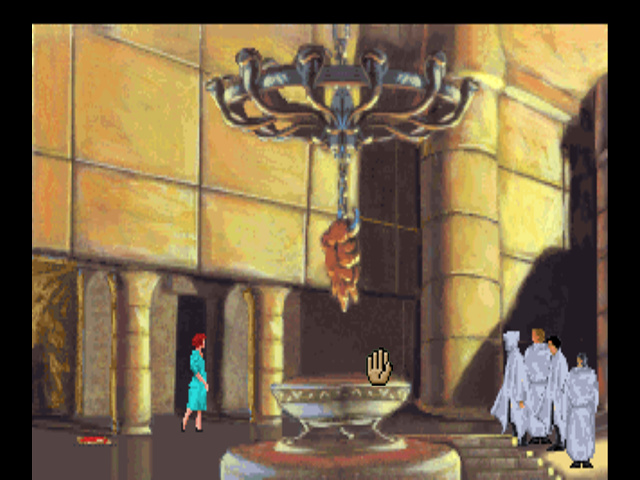
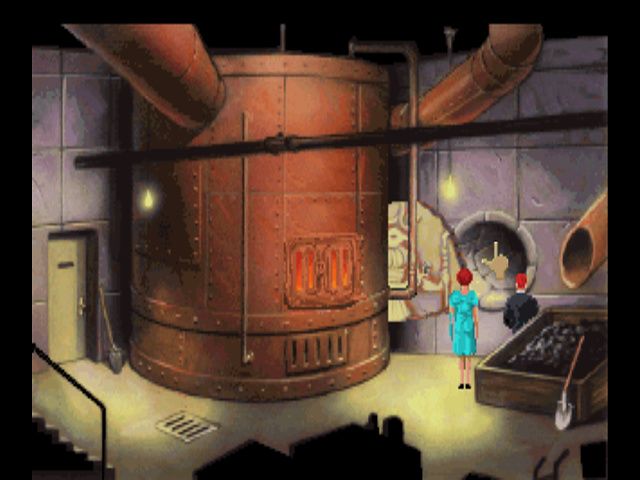
Oh, I know a good spot! Yvette mentioned there are secret passages in the museum, right? See that little room between the Life Mask exhibit and the foyer? Maybe there’s a passage there, and we can use that to go back to the foyer and then book it to Carrington’s office!

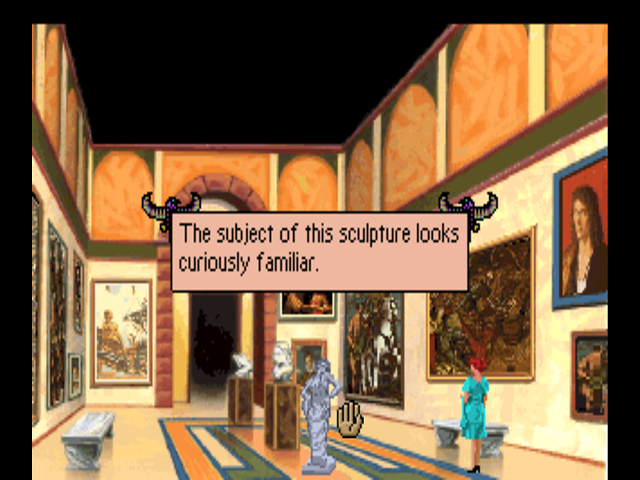
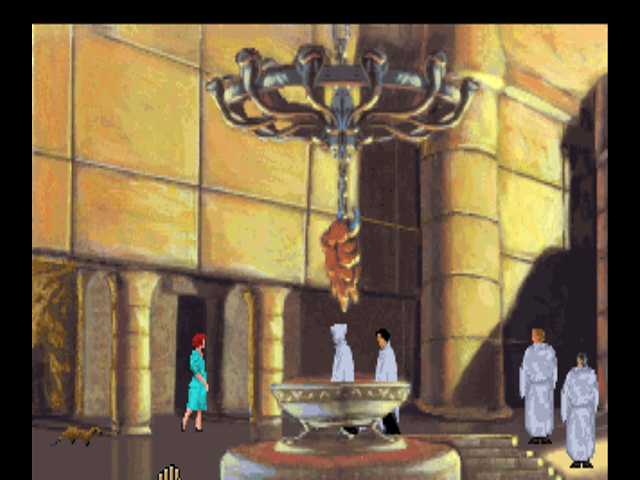
Uh-oh. I don’t see any hidden doors here. Wait a second… look at that mask up in the top-right, across from Japan. It’s a different color. Maybe that’s the switch!
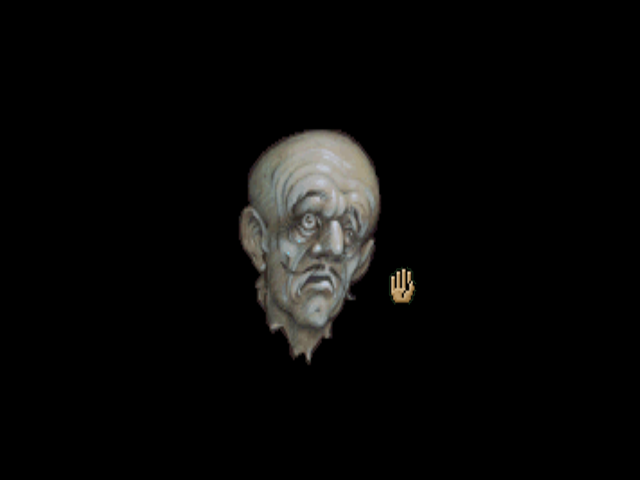
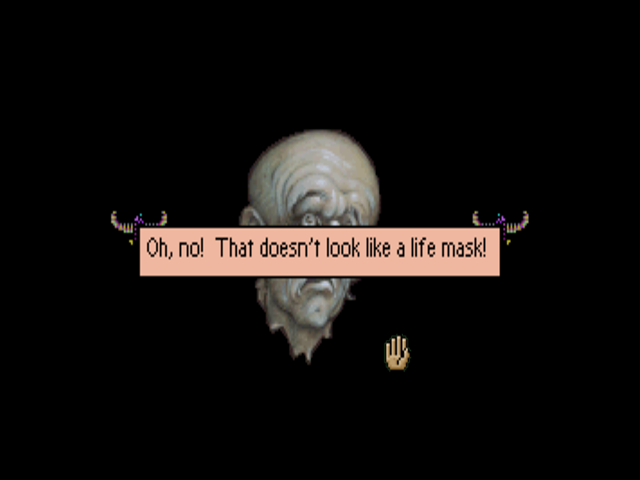
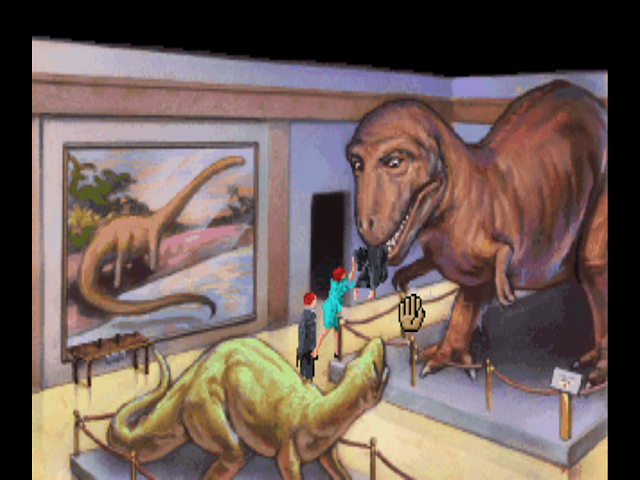
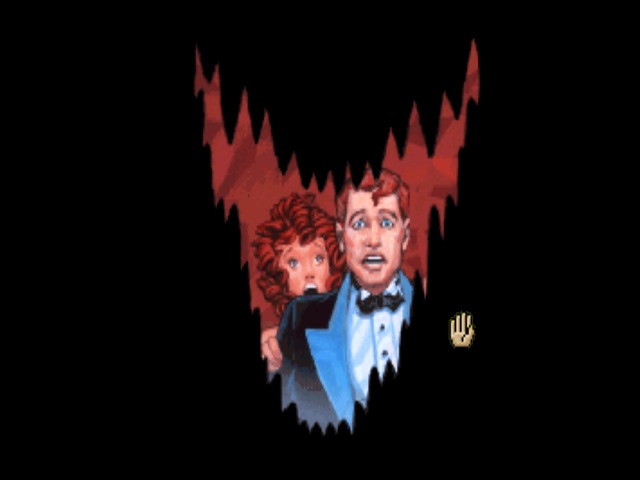
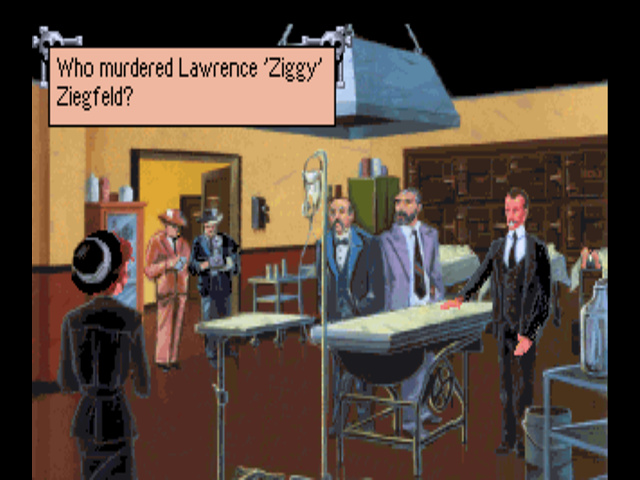
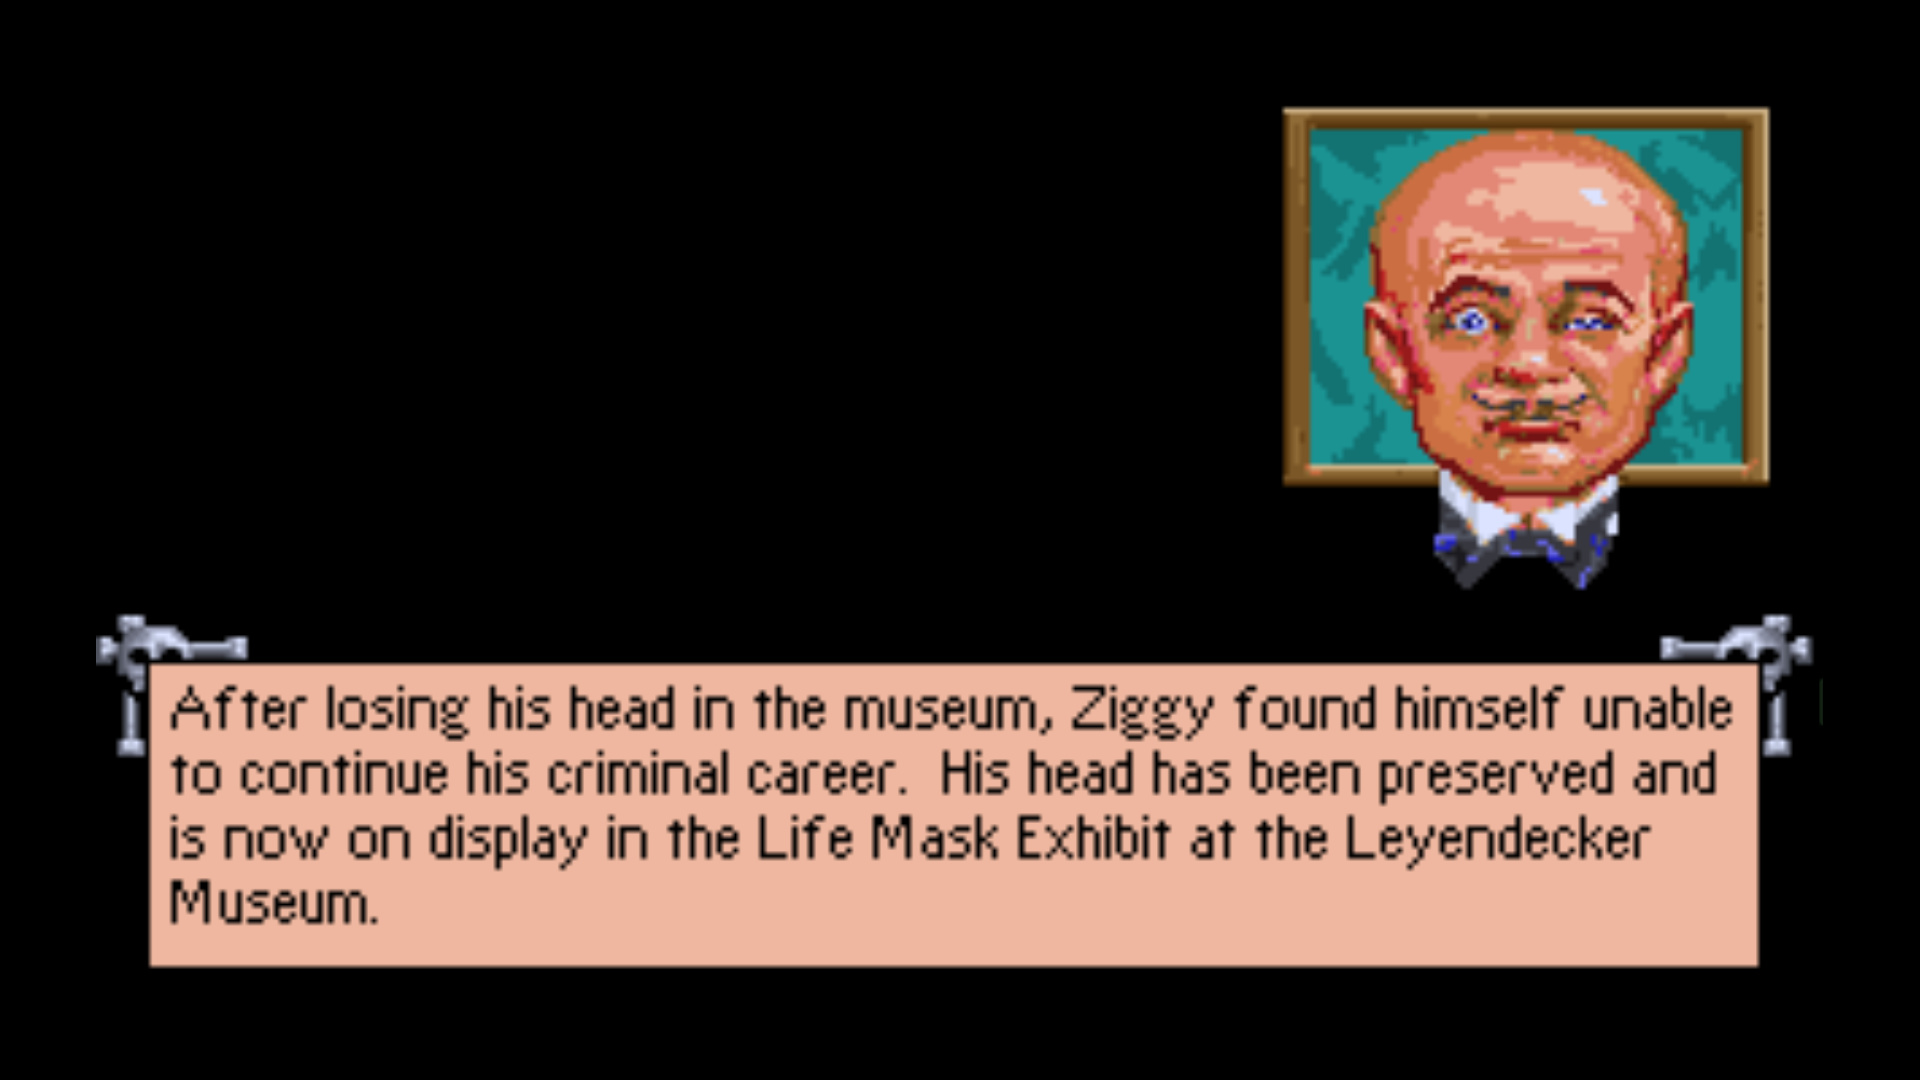
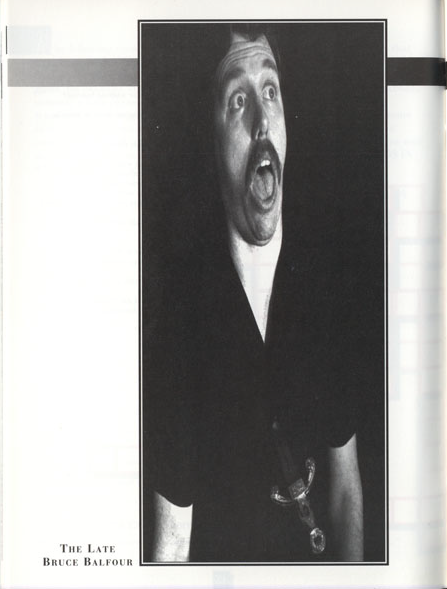
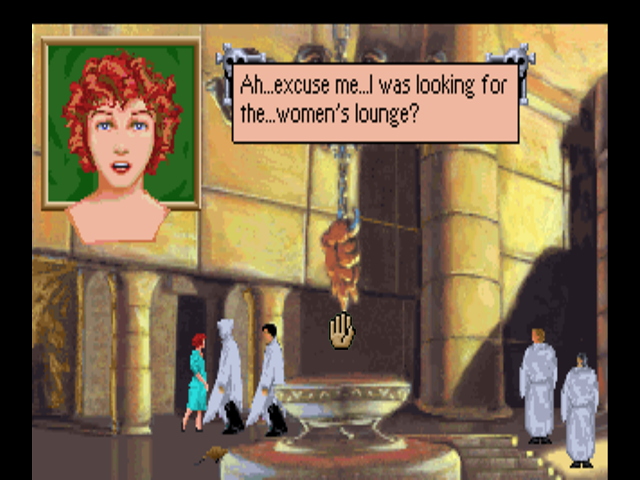
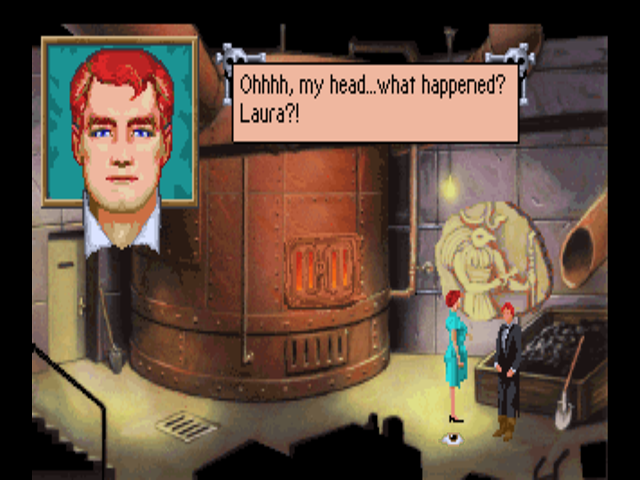
Oh boy. That’s Ziggy’s head. I’d tell Laura not to scream again, but we all know what’s going to -
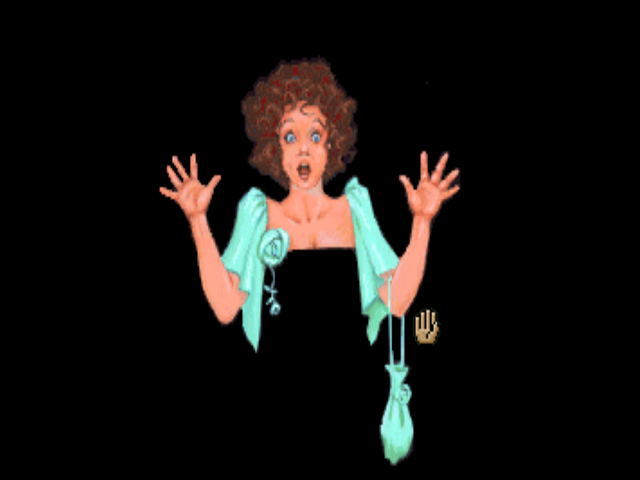
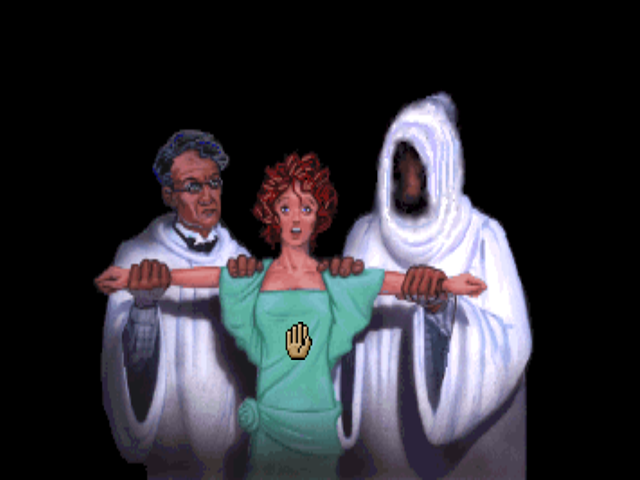
Yep. There it is.

Oh, crap.
Next update: Laura nearly has her cover blown… and another murder!


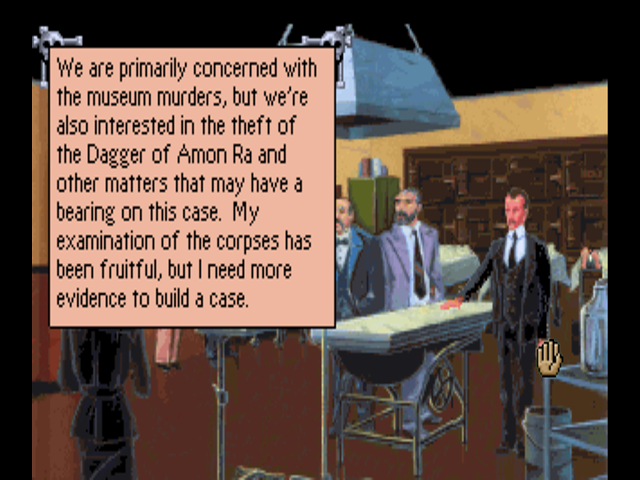
 Laura Bow:
 Detective Ryan Hanrahan O’Riley:
 Dr. Archibald Carrington III:
 Dr. Pippin Carter:
 Dr Olympia Myklos:
 Wolf Heimlich:
 Countess Lavinia Waldorf-Carlton:
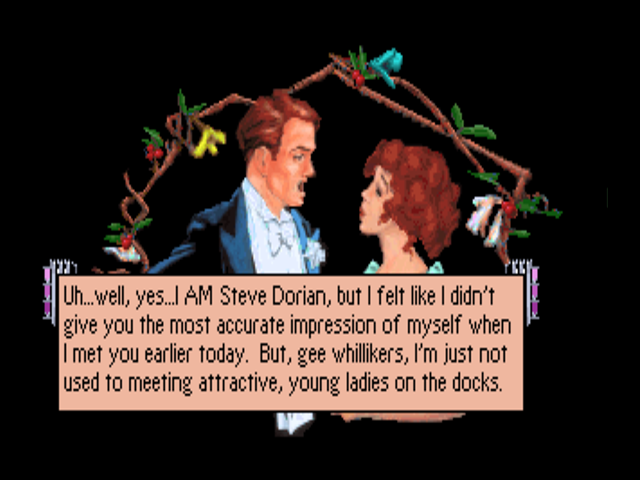
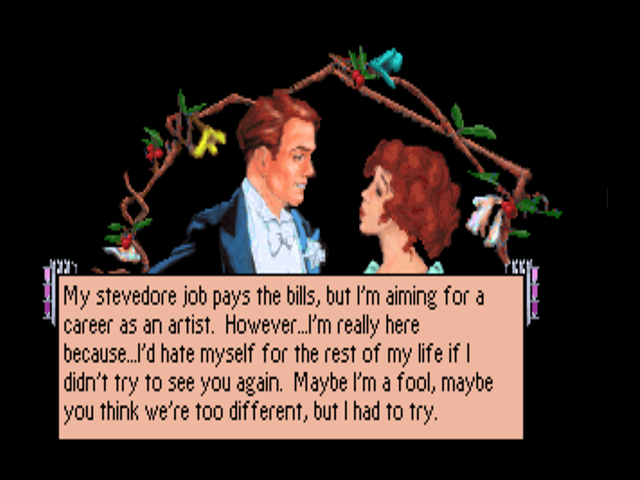
 Steve “King Graham” Dorian:
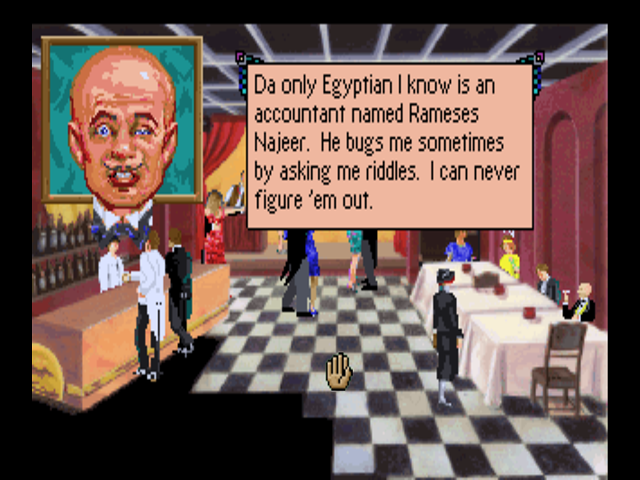
 Rameses Najeer:
 Laurence “Ziggy” Ziegfeld:
 Ernie Leach:
 Crodfoller Rhubarb:
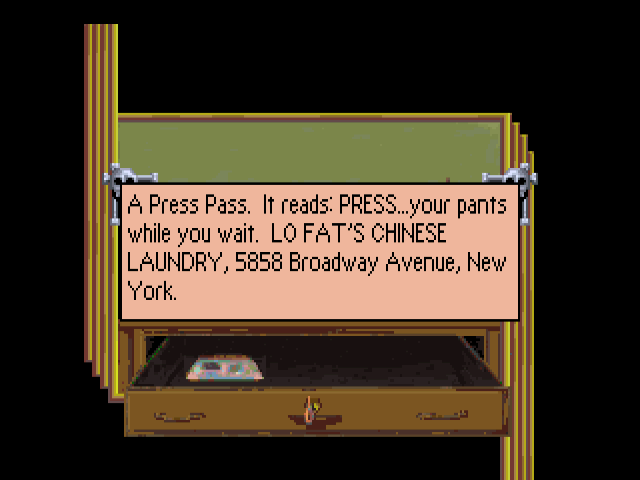
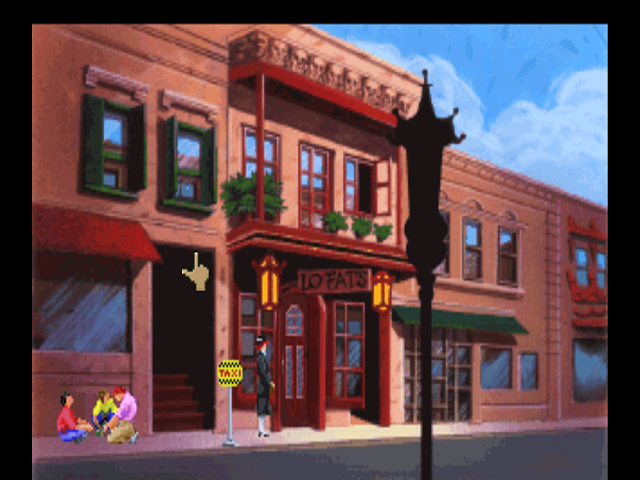
 Lo Fat:


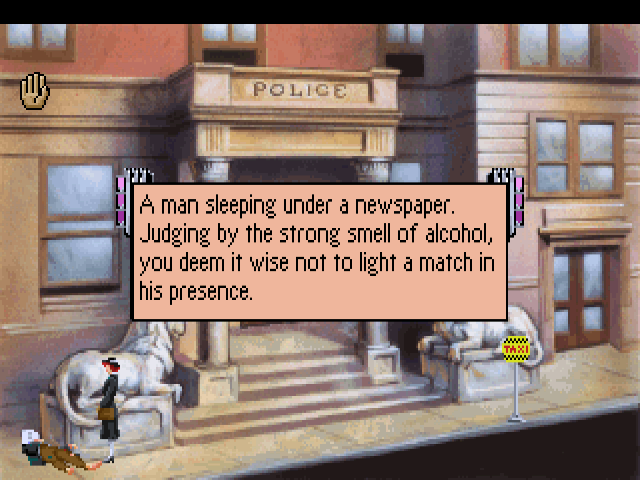
 : “Don’t bother me, lady! I’m sleeping!”
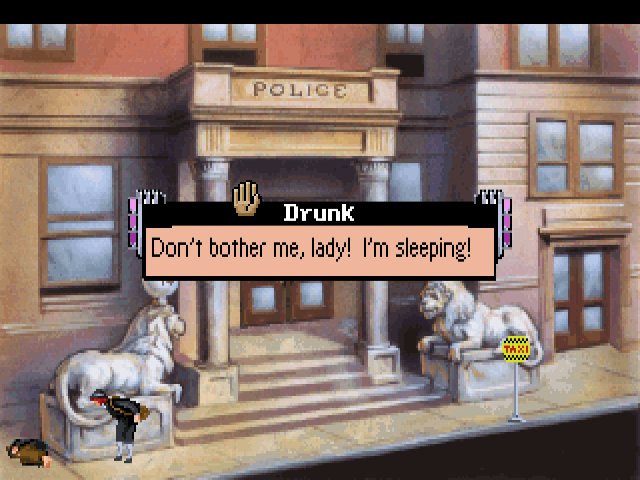

 : "Well, take yerself down to the Liberry, then.

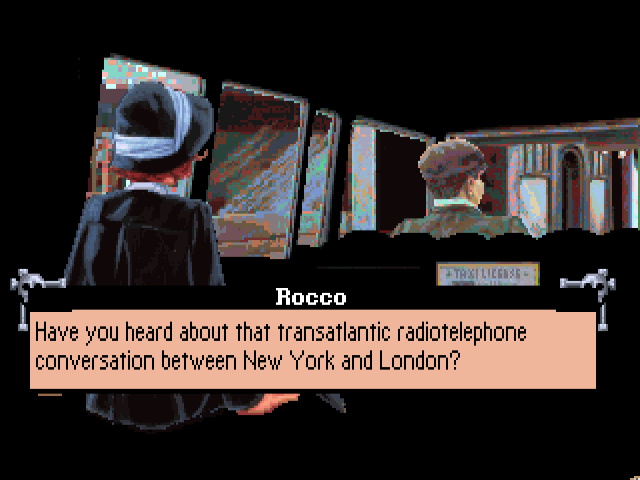
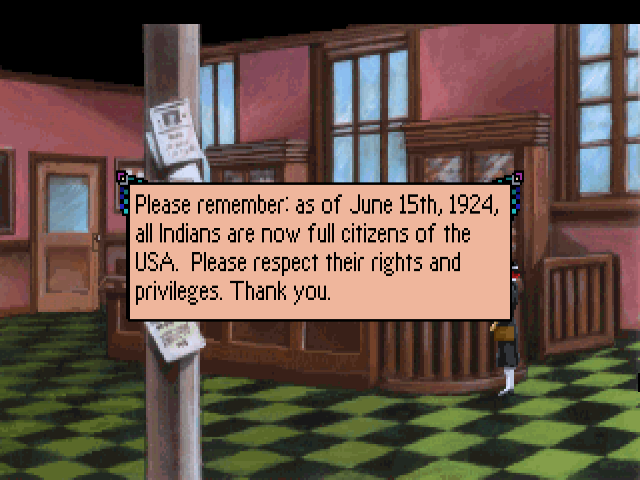
 : “Imagine hearing someone’s voice from that distance. Just amazes me!”
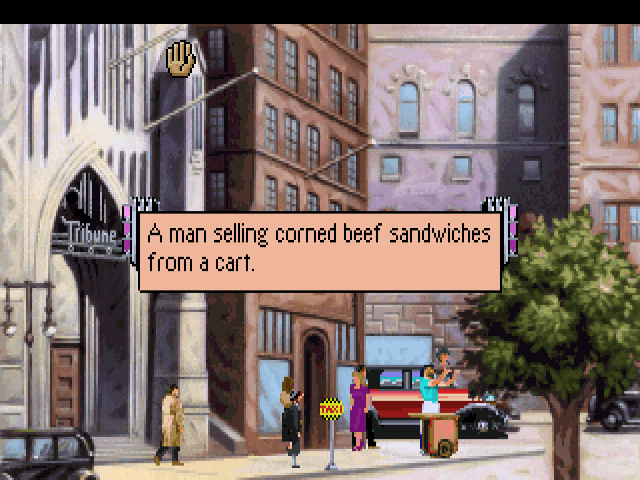
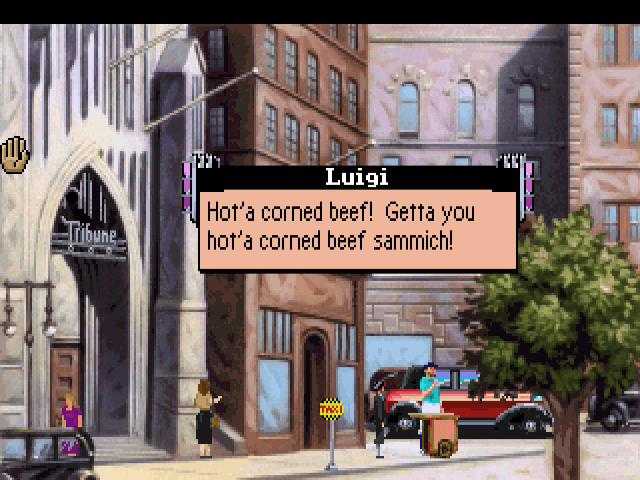
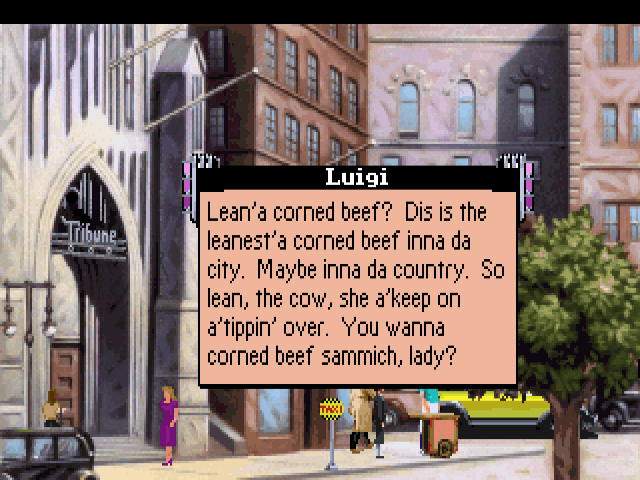
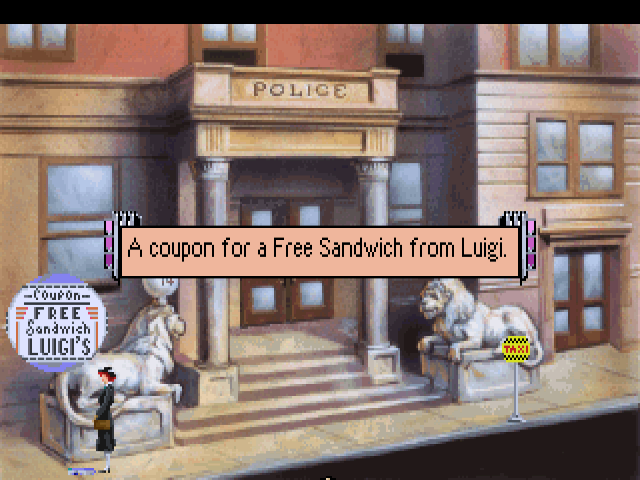
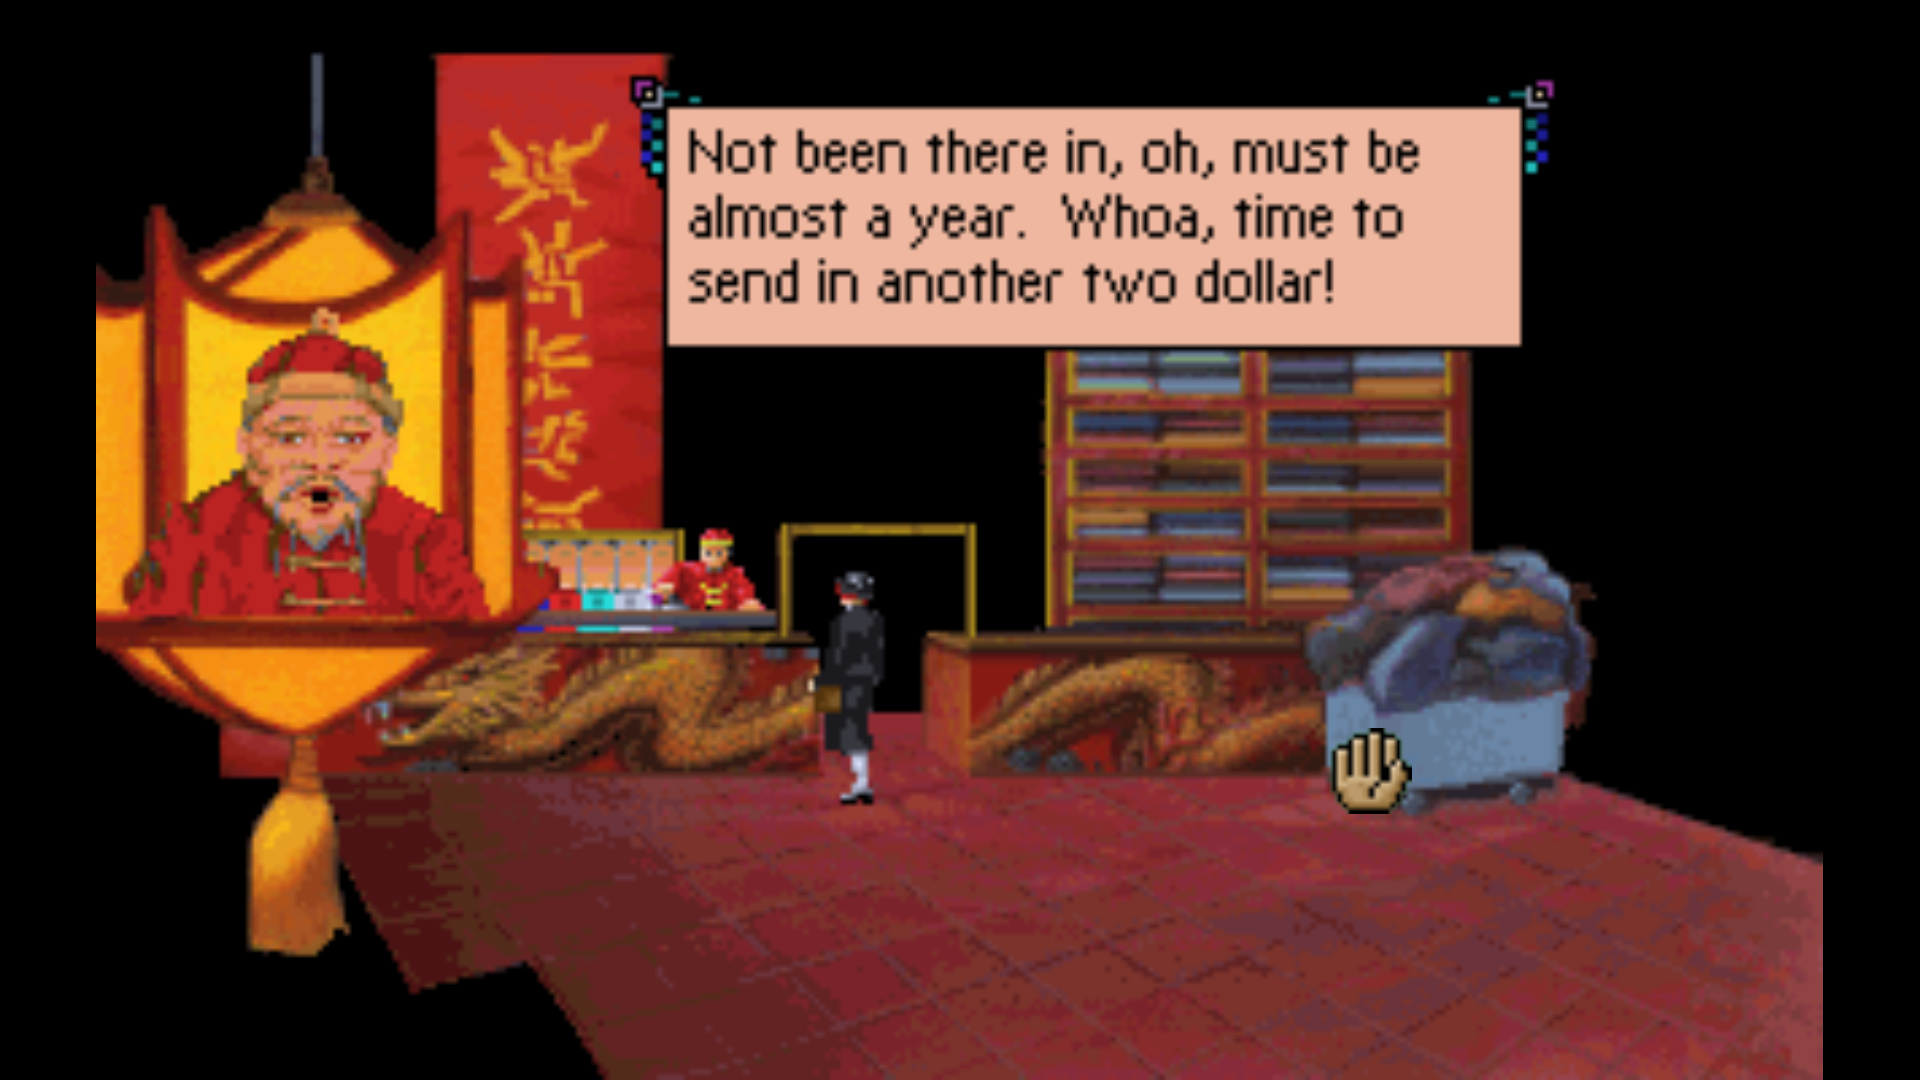
 : “Mama mia, another coupon! I’m a gonna go broke!”
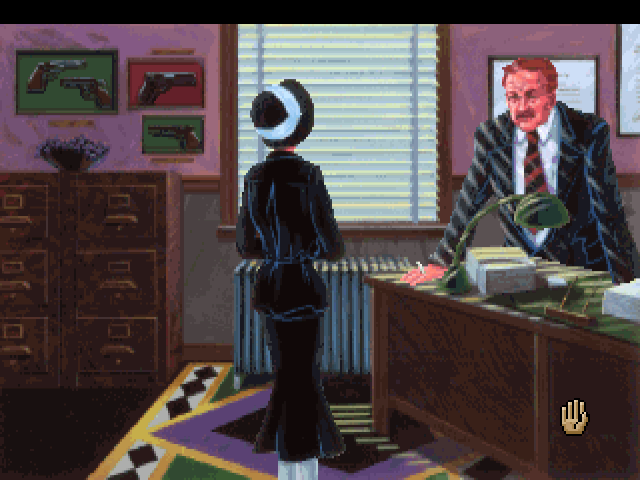
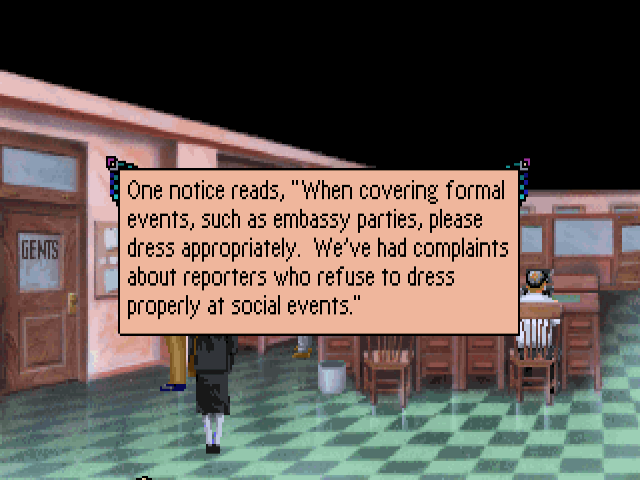
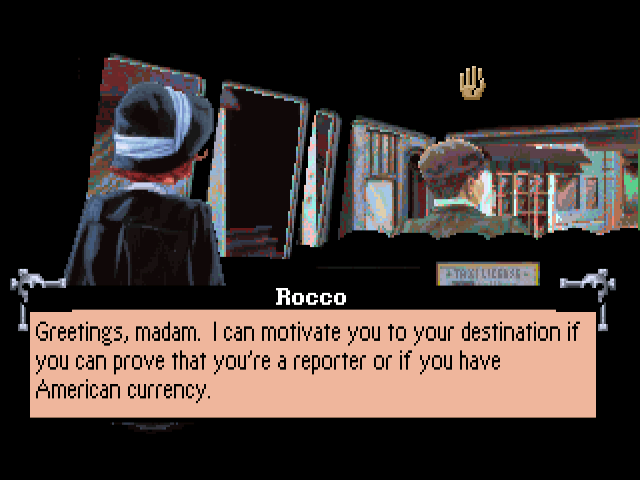
 : “You can’t be a reporter, lass. The Trib only hires men.”
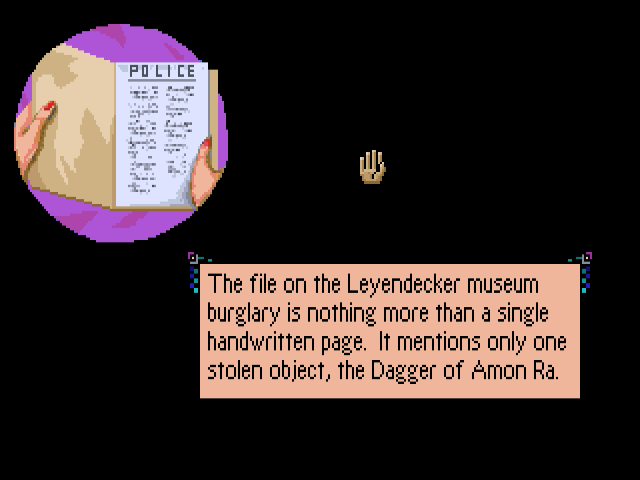

 : (in an assholish tone) “Biff.”
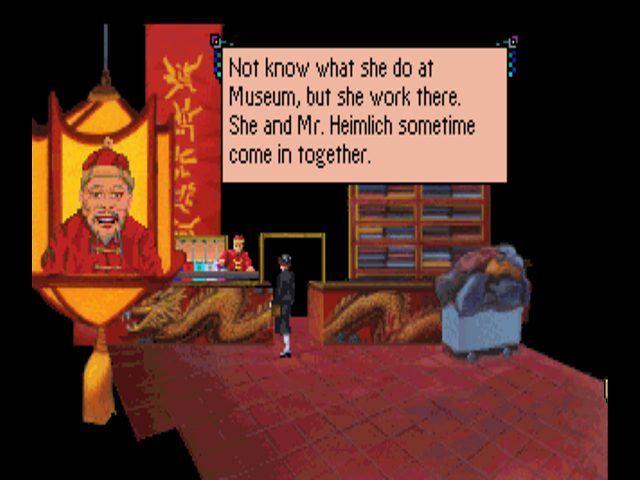

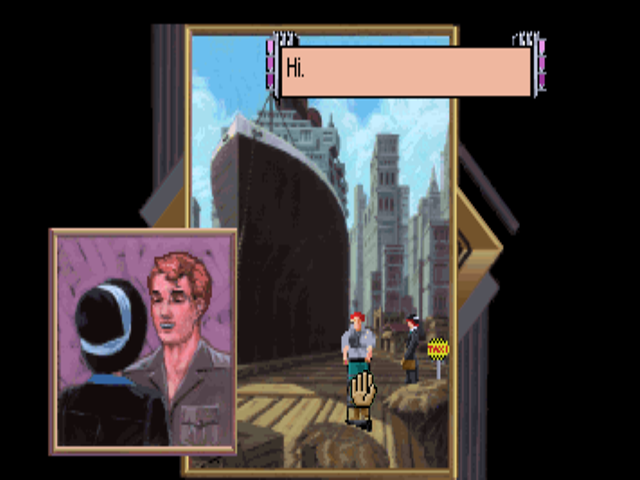

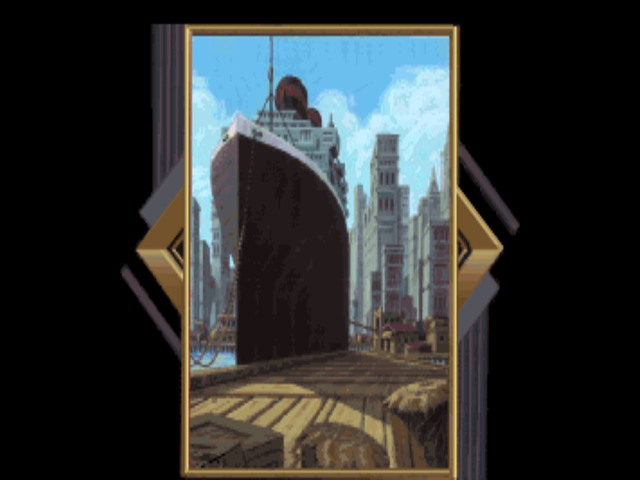
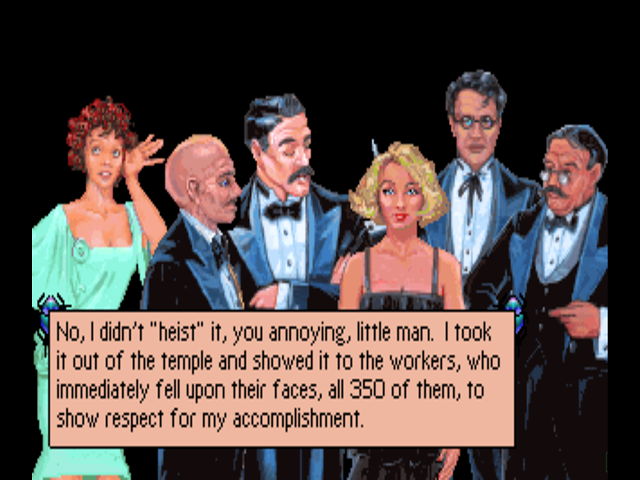
 : “That’s where Mr. Carter’s Egyptian crates were going. Nice place. Ever been there?”
 : “That’s DOCTOR Carter to you! I didn’t go through several years of vague archaeological training to be called Mister!”


 : “You’ve got Sam’s address at the paper?”


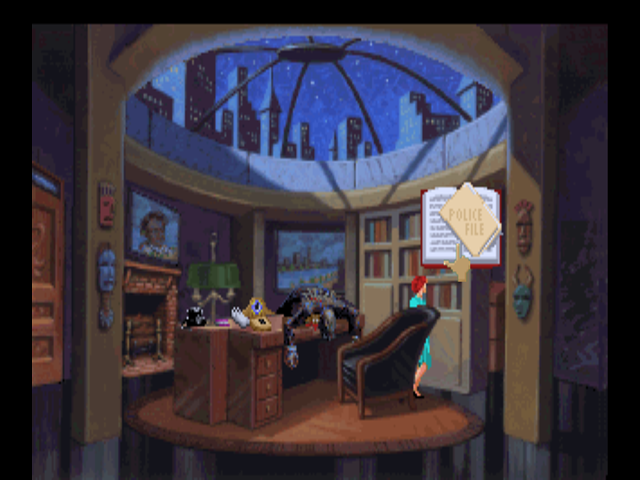
 : “You read a police report on the criminal career of Watney Little, con-man extraordinaire.”
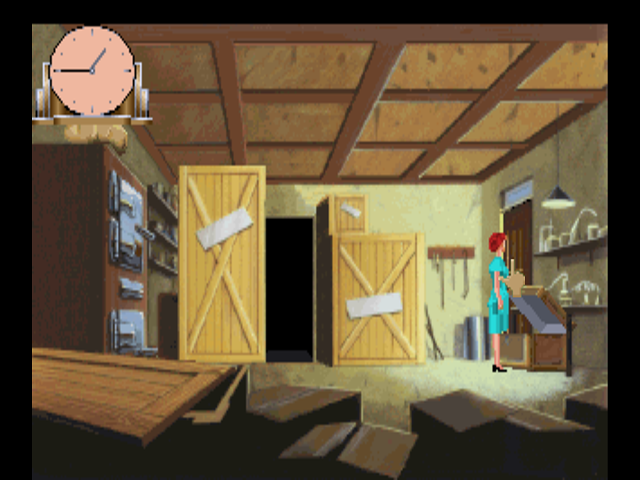


 : "Miss Bow!’


 : “Metal Gear?!”

 Dr. Archibald Carrington III
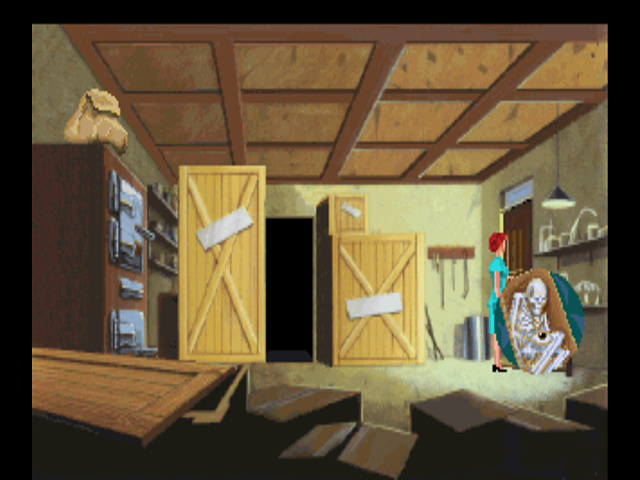
 Dr. Pippin Carter
 Countess Lavinia Waldorf-Carlton
 Ernie Leach
 Watney Little
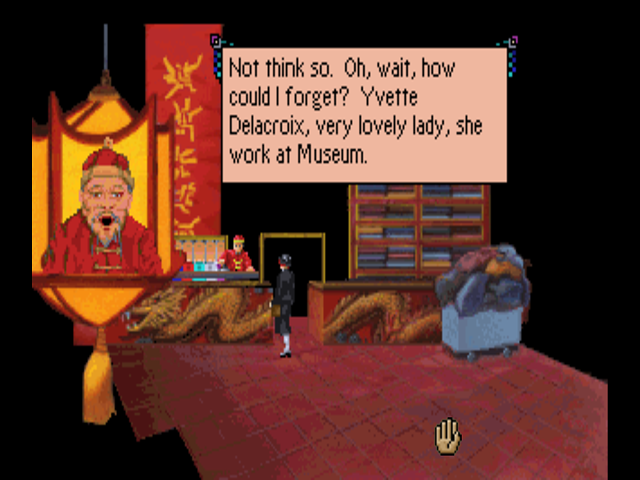
 Yvette Delacroix
 Laurence “Ziggy” Ziegfeld


 "
"