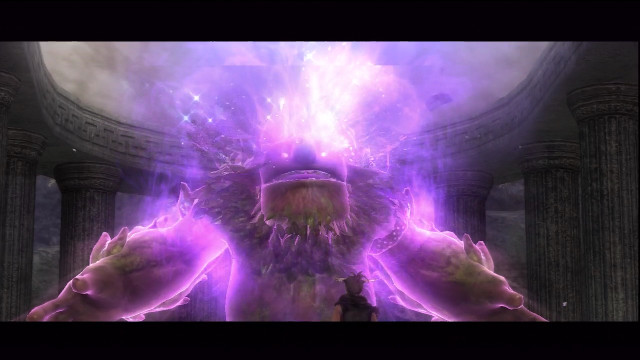
In this video, we unlock the Majin’s second power, and it’s hardly a secret because we’ve already been told what it is. It’s a fun power to use in combat, though, particularly because it powers up Tepeu’s weapon as well as attacking enemies directly. It’s also probably the solution to the most annoying type of puzzle - the jumping puzzles are only difficult because I’m bad at jumping. Fortunately, we’ll get a few of them early on, and then they’ll mostly go away.
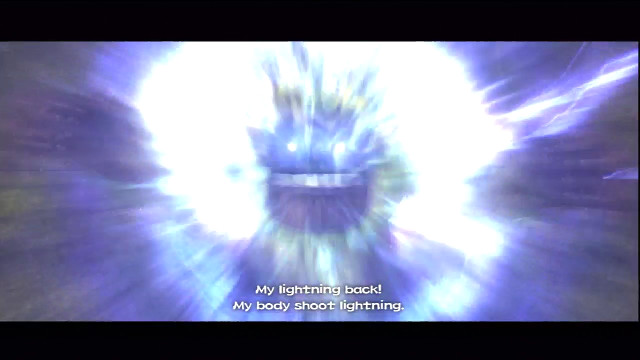
Part 10: Zap! Polsy Youtube
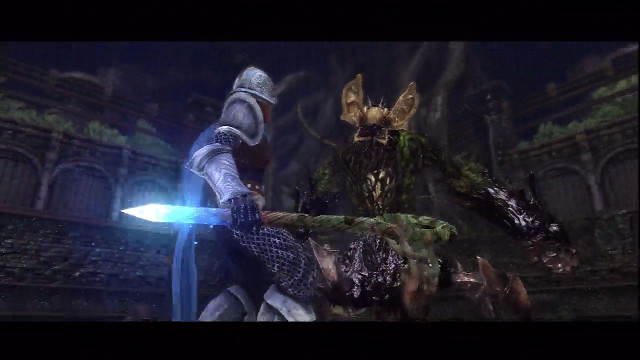
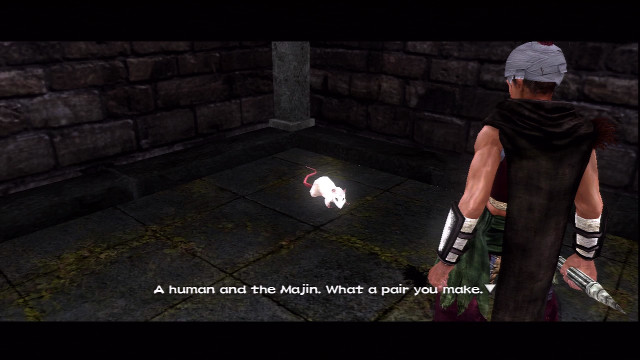
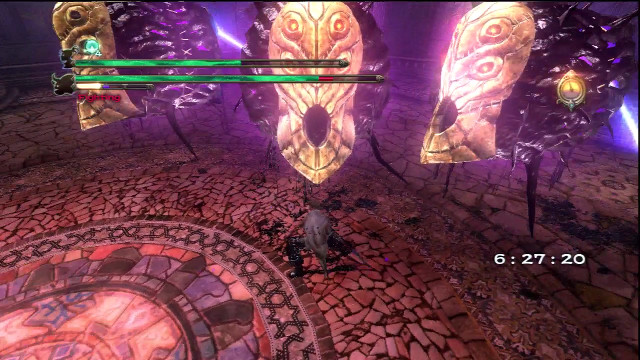
It’s time for one of the most intense fights we’ve had so far! Our buddy will be rather incapacitated for a significant portion of this video, which is a deviation from the rest of the game, but we’ll find ways to accomplish things anyway. Eventually. I’m frankly embarrassed by how long it took me to figure out most of the things I needed to do, and the amount of backtracking I did in the meantime. But don’t worry. I carefully edited out the most boring parts and left you with only the slightly boring parts. The fight is pretty good, though. Short, but good.
April Fools’ bonus video: Polsy Youtube
It was fun to get back to my old April Fools’ tradition. Here’s the real B’alam boss fight and a bit of item collection, as well as the first use of the Room of Transport.
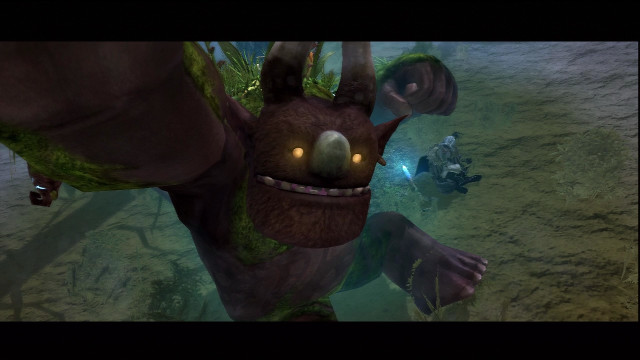
Part 11: B’alam, the Dark Prime Minister Polsy Youtube
Today, we set out into the third region of the game, the desert. Here, we’ll find a few tougher types of enemies, new mechanics, and ultimately, another new power. We’ll also learn a bit more about the Majin and the Kingdom’s past.
Part 12: Jump on my Back Polsy Youtube
I tend to move slowly in new areas because there are huge rooms with lots of stuff to find, but there is progress in this video eventually. Just give it time. We’re still bulking up and preparing for the tough battles to come. We’ll even get a glimpse of the lair of the next boss, although it’s going to be a while before we get to fight him.

Part 13: Royal Darkness Navy Headquarters Polsy Youtube
I pick up the pace in this video a bit and complete the entire volcanic area. Admittedly, there’s only one scarecrow left, but we’ll be ready to infiltrate the Chibirias once we’ve broken it. Also it occurs to me that I should have called the last video “Navy of Darkness” and I’m sad that I didn’t think of it sooner.
Part 14: Water That Burns Polsy Youtube
Today, we board the Chibirias and gain the power of fire. Combat-wise, there’s not much difference between fire and lightning, aside from how they interact with Tepeu himself. But fire power will open new paths and let us get some new upgrades. The third Dark General is right around the corner as well, but let’s not try to do too much in one video.
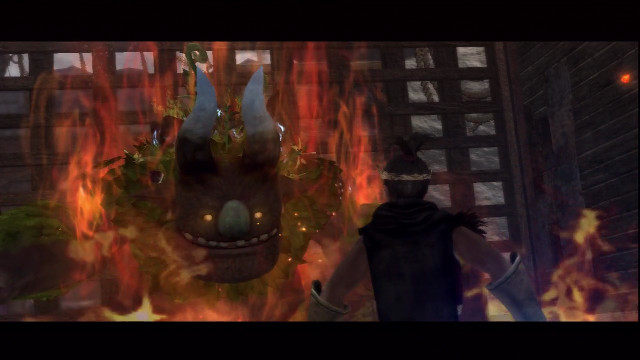
Part 15: The Majin is on Fire Polsy Youtube
At last, it’s time to take on the third Dark General. This one’s tricky, because there’s no way to recover magic power during the fight unless you manage to expose his weak point, which is much easier if you already have enough magic. Fortunately, unlike Wind and Lightning, we’ve found substitutes for Fire that don’t require magic to use. It still takes me quite a while to figure out how to use the tools at my disposal effectively. We’ll also get to see more of the Majin’s memories, of course.
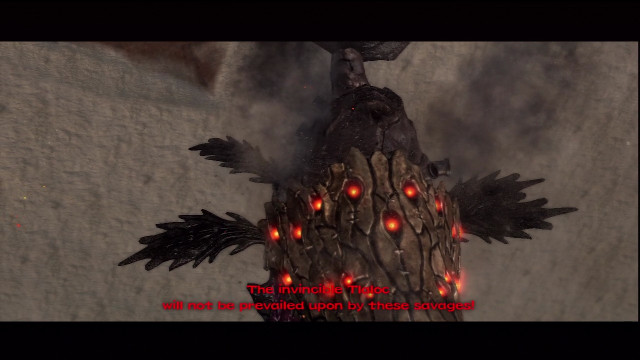
Part 16: Tlaloc, the Dark Admiral Polsy Youtube
In this video, we move into a new area and get some backstory about the characters we’ve yet to meet, which will help to tie the story we’ve heard so far with the revelations that will be coming later.
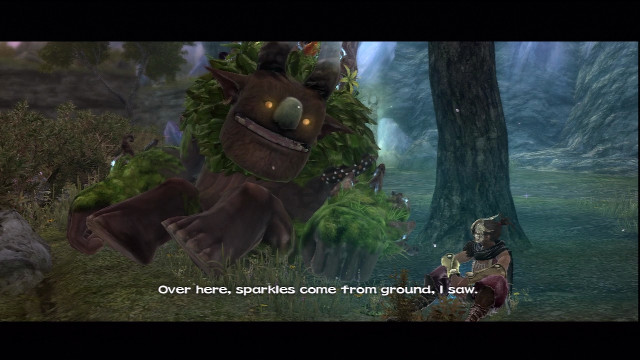
Part 17: Humans love sparkles Polsy Youtube
We’re still trying to open the next door, so there’s not much adventure going on right now, but there are puzzles to solve, lots of enemies to fight, and most importantly, new moves to learn.
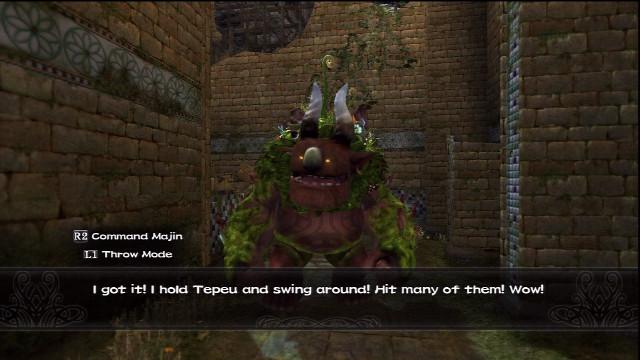
Part 18: The Majin is Having Fun Polsy Youtube
We’ve been steadily gaining power over the past few episodes, but now it’s time for the Majin to really shine. Or perhaps “sparkle” would be a better word. His final power is the most devastating, so it’s quite a relief that he only hits enemies with it. But there’s a bit more story behind this power than some of the others we’ve seen.
Part 19: The Majin Makes Things Sparkle Polsy Youtube
I recorded up to part 19 a long time ago, then returned to the game after a long break to do this part and the DLC. Naturally, I’d forgotten most of the controls in the meantime, which made this a rather awkward video. But that’s okay, because I was just as awkward trying to talk about what I was doing, so it all kind of balances out. On the bright side, it’s the fourth boss fight! Most of the controls don’t really matter here, and it’s just a question of whether you can figure out the pattern before you die. It’s a close one in my case.
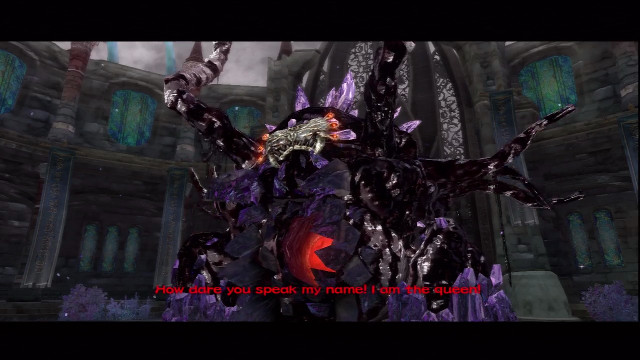
Part 20: Ixtab, the Dark Queen Polsy Youtube
As always, I make an effort to pack all of the extras in right before the finale, so anyone who’s anxious to see how the story ends will have several weeks of waiting. But it also means you can skip the extra parts if you don’t want to see them. The next few videos will be exploring the game’s DLC, which contains several unique costume items, some of which have abilities that I don’t think you can get from other items of the same type. This video has the first level of each of the three challenges - Stealth, Battle, and Puzzle. The later levels of each challenge will get their own videos, so you can skip any that you don’t find interesting. I’ve tried to edit to just the essential elements, so hopefully, none of them will be too inherently boring.

DLC Bonus 1: Easy Missions Polsy Youtube
The DLC journey continues with a more in-depth playthrough of the remaining three levels of Stealth Challenge. There are definitely puzzle elements, in terms of figuring out the order in which to do everything, as well as the skill to pull it off in the time limit. I’ve got, at best, a bare minimum of each, so it should be an interesting experience.
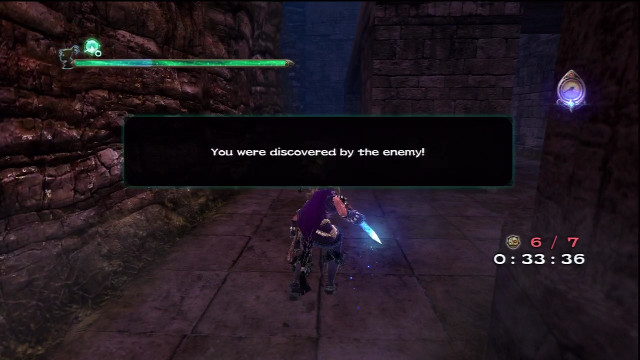
DLC Bonus 2: Stealth Challenge Polsy Youtube
Concluding our tour of the DLC for the moment, I take on the Puzzle Challenge, and fail to understand how the difficulty is intended to correspond to the increasing numbers. The times are pretty generous, as long as you can complete the puzzles with the resources you have. This is, as I’ve stated previously, a real weakness for me. But don’t worry; I’ll return to finish the challenges eventually, having learned from watching my embarrassing mistakes again and again while editing the videos. You can probably figure out where I went wrong yourself.
DLC Bonus 3: Puzzle Challenge Polsy Youtube
Behind the scenes, I’ve finished the game, so I thought I had all the footage I needed. Then I realized that I’d need to play through the entire game again to capture one more thing, so I’ve been doing that this weekend. Yesterday, I started from scratch and made it through beating Tlaloc. This is a really short game, all things considered, but there’s a lot you can spend time doing if you feel like it. Case in point, most of this video is backtracking to the places I’ve already been to pick up the treasures I missed and the Memory Shards I couldn’t get when I passed through the rooms because it was daytime, or I just didn’t find them. However, there’s one room I skipped because I didn’t have what I needed to complete it the first time I passed, and another that I didn’t even know existed until I stumbled into it. So there’s plenty of fun this time around. I can’t really make that promise for the next video, but at least it should go by pretty quickly.
Part 21: The Laboratory and the Bridge Polsy Youtube
Today, much to my future regret, I finish collecting everything I missed or couldn’t get while traversing the portions of the kingdom outside the castle. This obviously involves a lot of waiting, but thanks to video editing, only I needed to suffer that. There’s only one thing left to do before we storm the castle.
Part 22: The Final Memory Shard Polsy Youtube
This is a short update, but I’ve got a few nagging things to wrap up before jumping into new, more difficult territory. My performance in the DLC so far has been pretty bad, but with the benefit of hindsight, I figured out where I went wrong and how to fix it. Most LPs just leave that sort of thing in the comments and post some sort of half-hearted apology, or describe what they did somewhere and leave the rest to your imagination, but I don’t like to do things by halves, so here’s the right way to do the parts of the DLC where I didn’t before.
DLC Bonus 4: A Notable Improvement Polsy Youtube
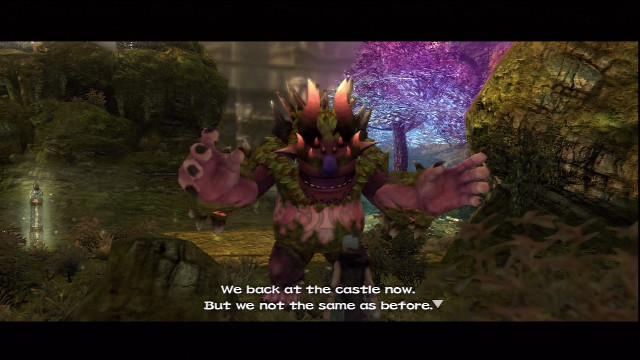
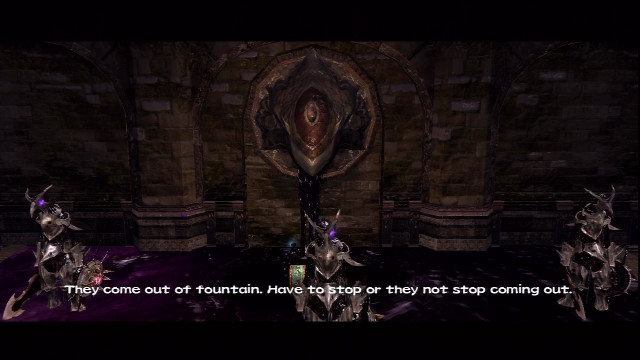
It’s time to enter the final area of the game. We’ve got all of our powers, we’ve gained a lot of strength from fighting tough enemies, and we’ve got a cool wrench that tears the souls out of everything. So let’s storm the castle, defeat the King of Darkness, and rescue Toci! (Note: Some of these activities may not be depicted in this video.) The challenges ahead are the most difficult, including new enemies, old enemies, tricky puzzles, and the fountains that all of these enemies have been coming from all along.
Part 23: Return to the Castle Polsy Youtube
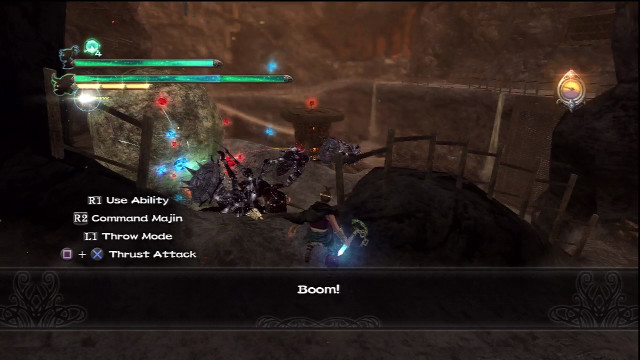
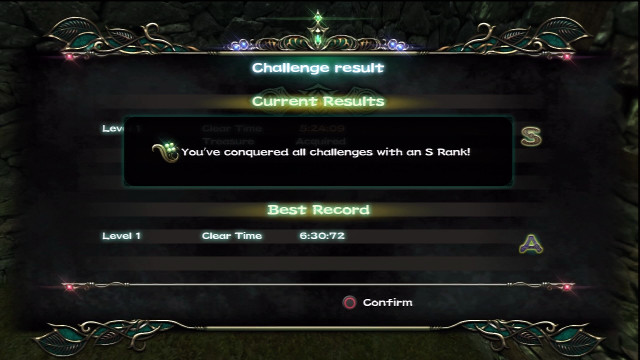
Before we finish the game, there’s one more round of DLC that I couldn’t complete earlier because we had one new type of enemy to meet. Having accomplished that, it’s time to try my hand at the Combat Challenge. Contrary to the other challenges, this one becomes significantly easier as you progress through the game and gradually become stronger compared to the enemies. Since the last level isn’t even available until the very end, however, the difficulty is pretty high to start with. I even considered going back and grinding before attempting to finish the challenge. How much of that did I really need to do? I’ll let the picture speak for itself.
DLC Bonus 5: Too Many Monkeys Polsy Youtube