Click here to open the update!
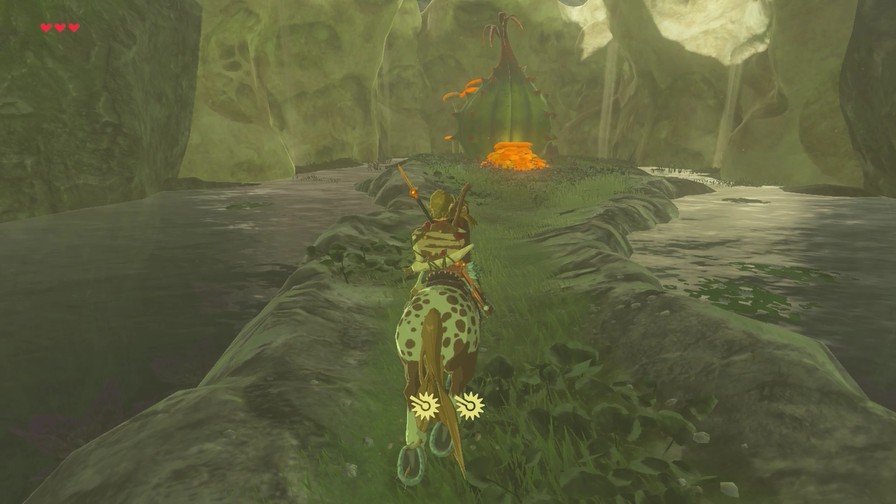
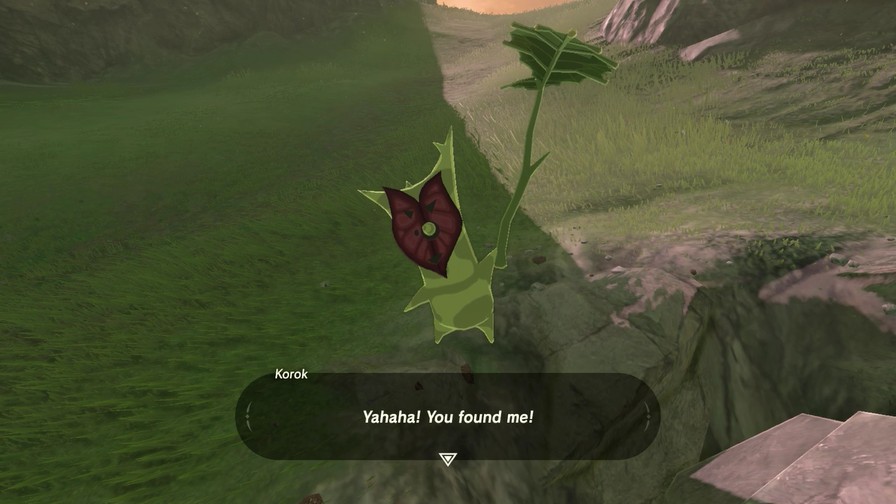
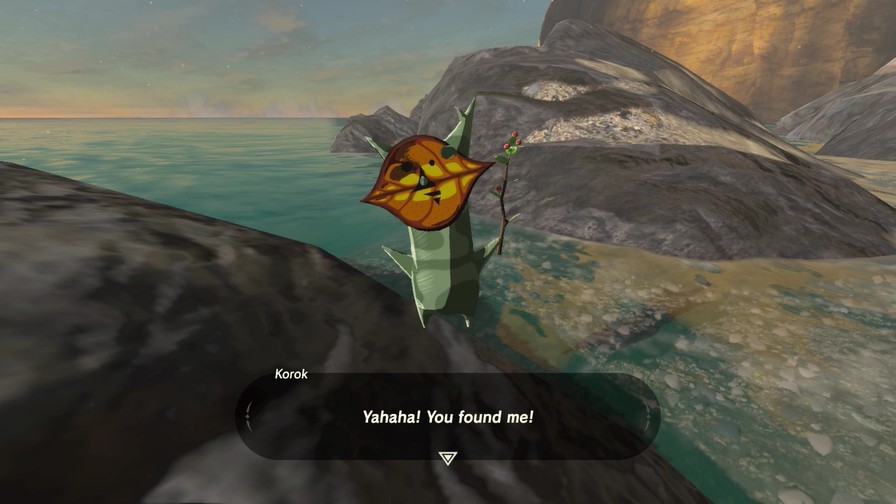
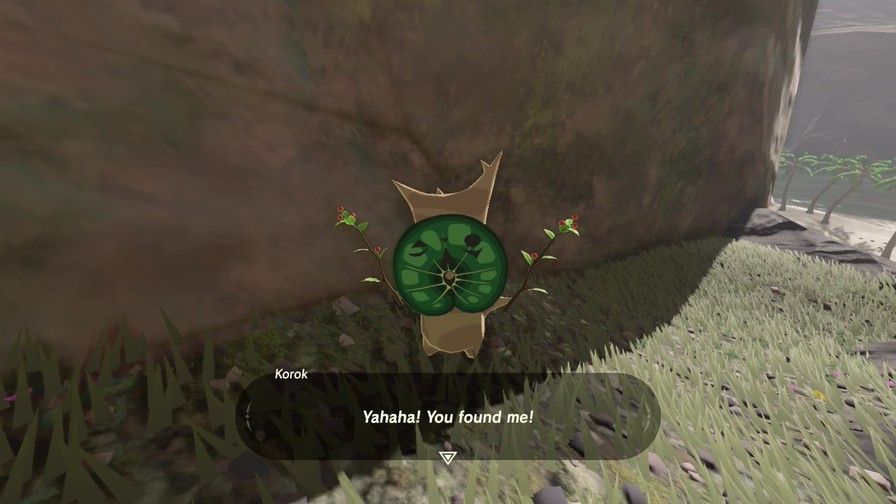
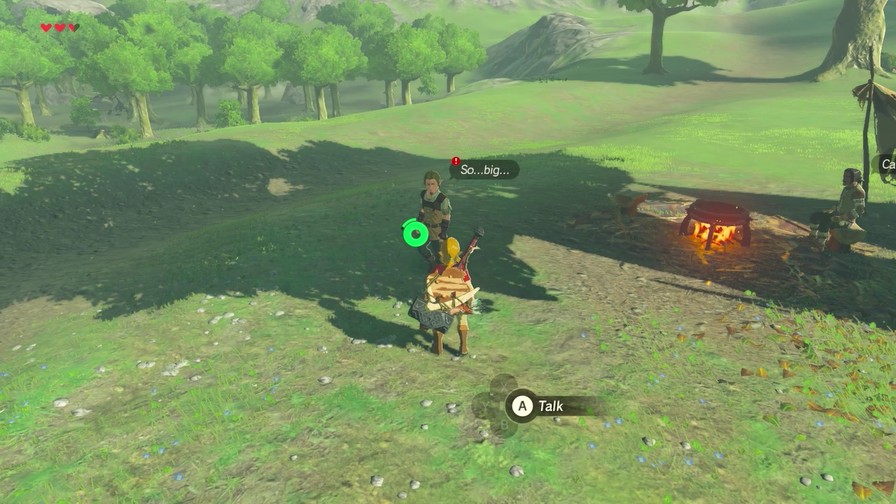
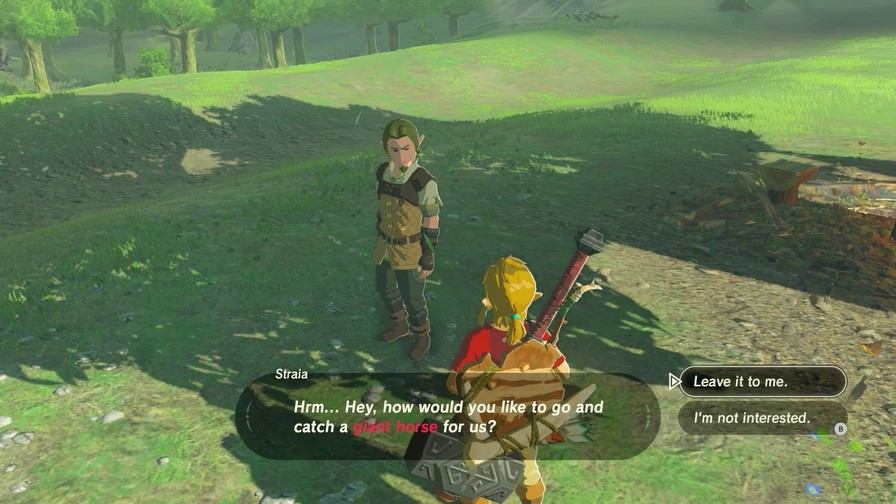
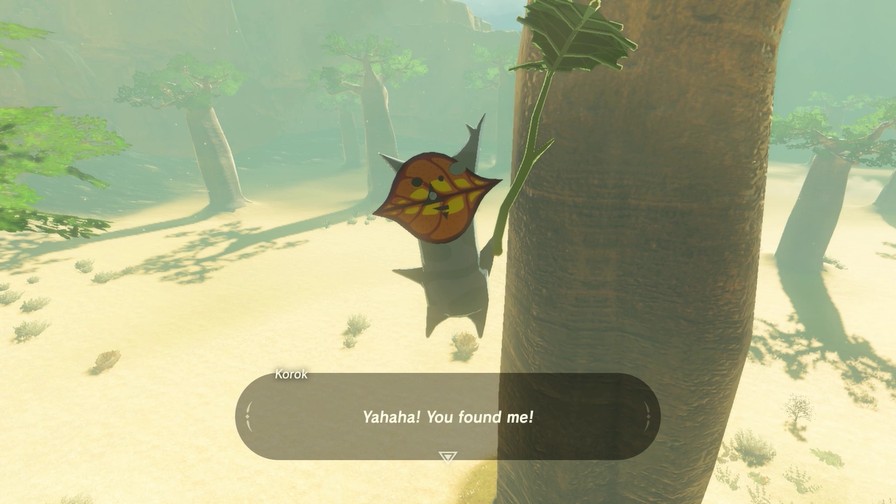
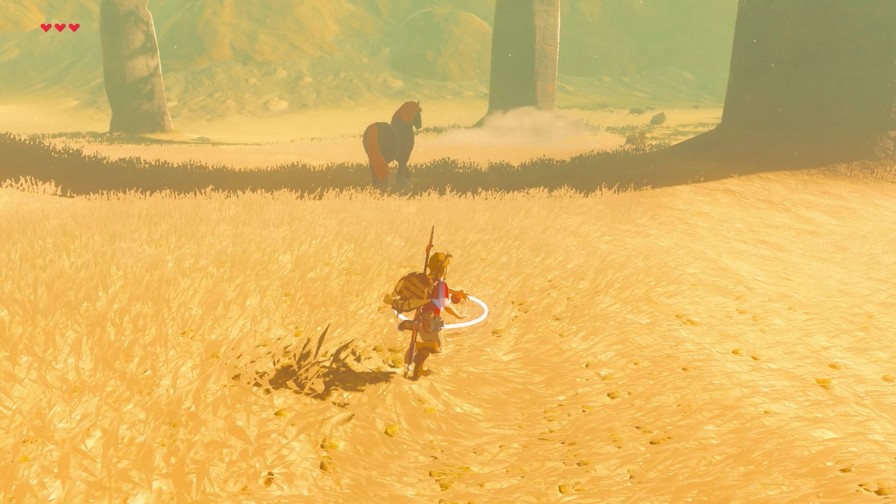
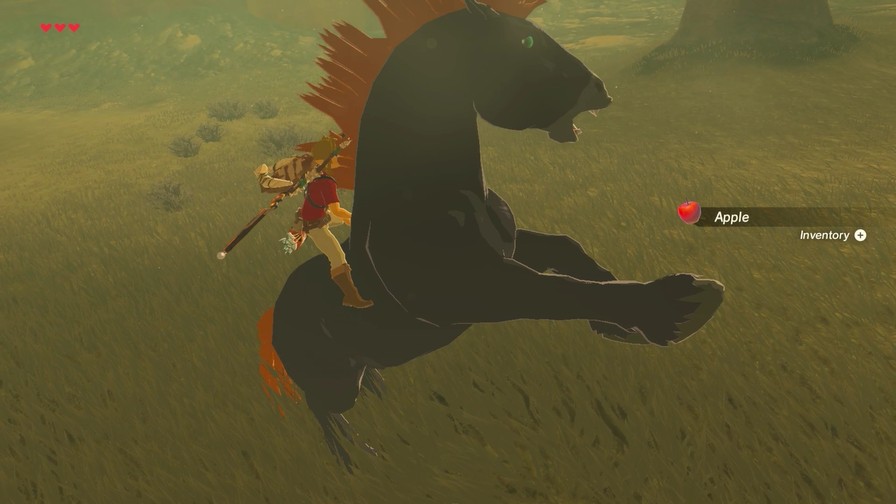
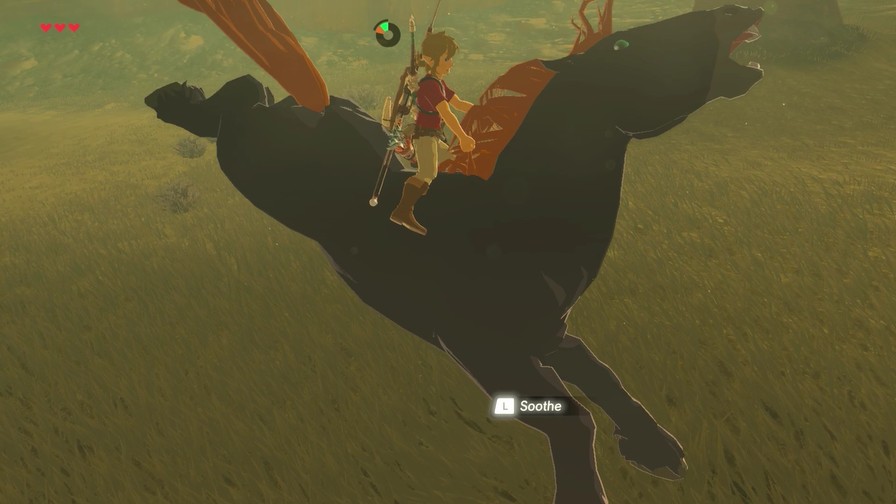
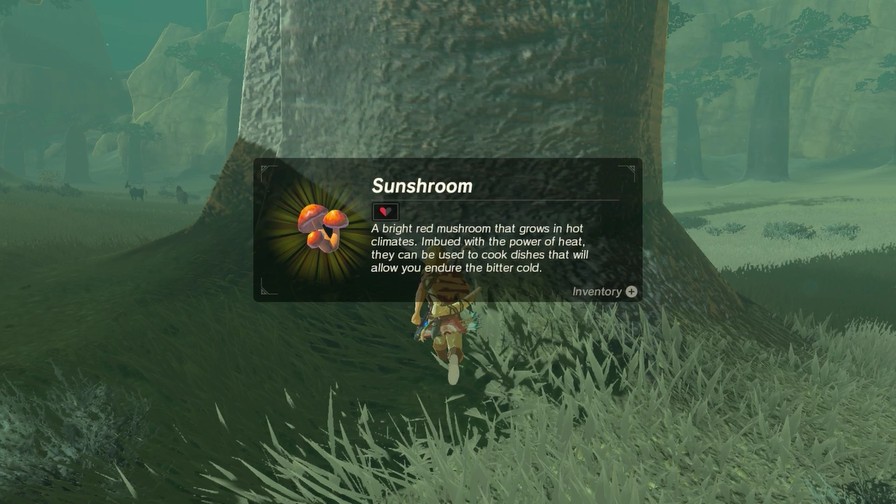
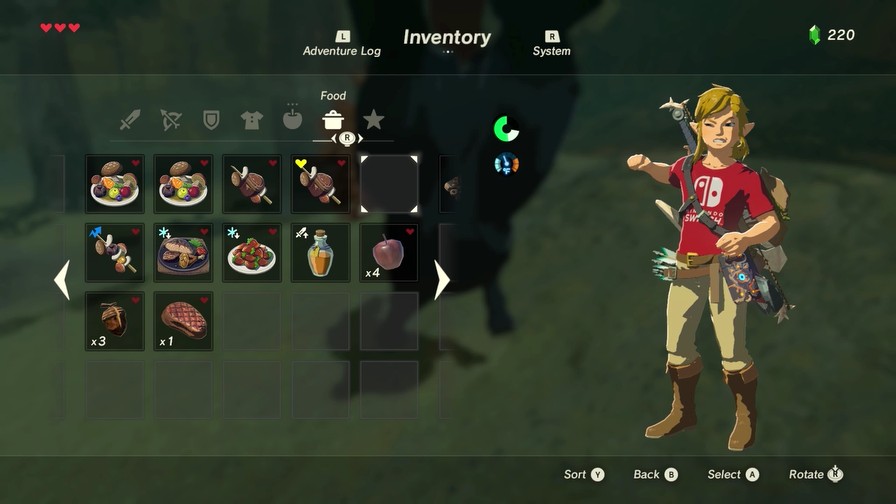
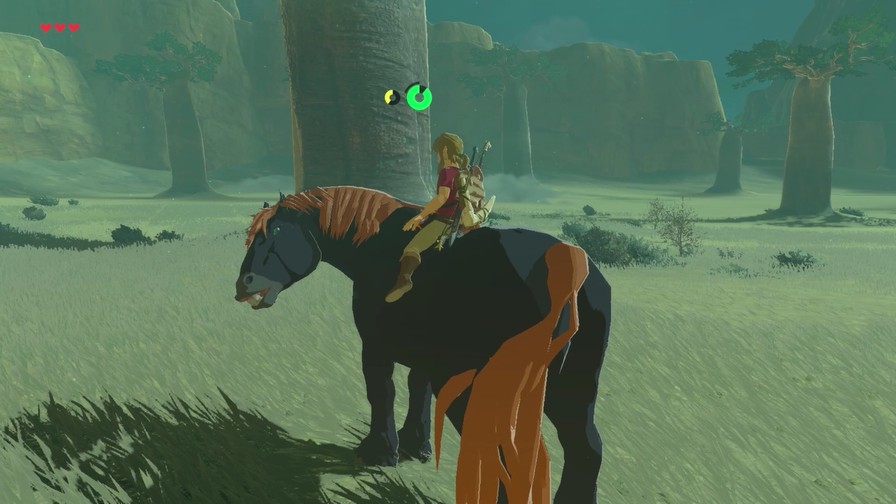
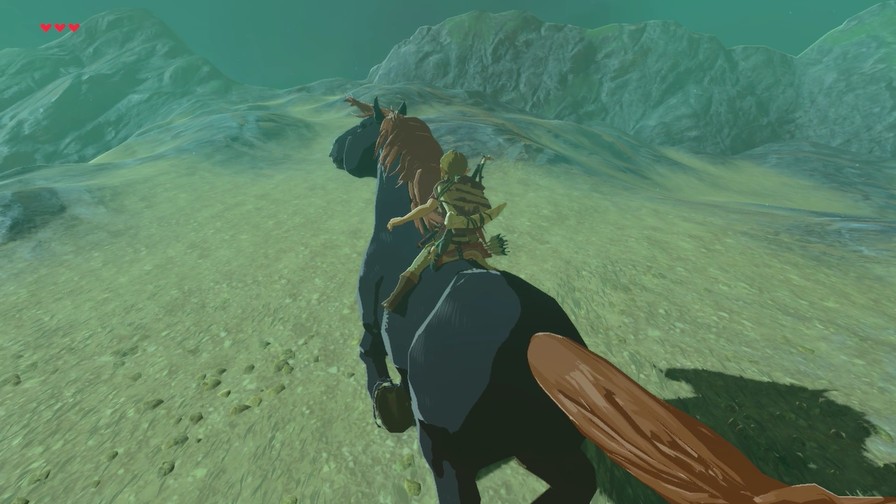
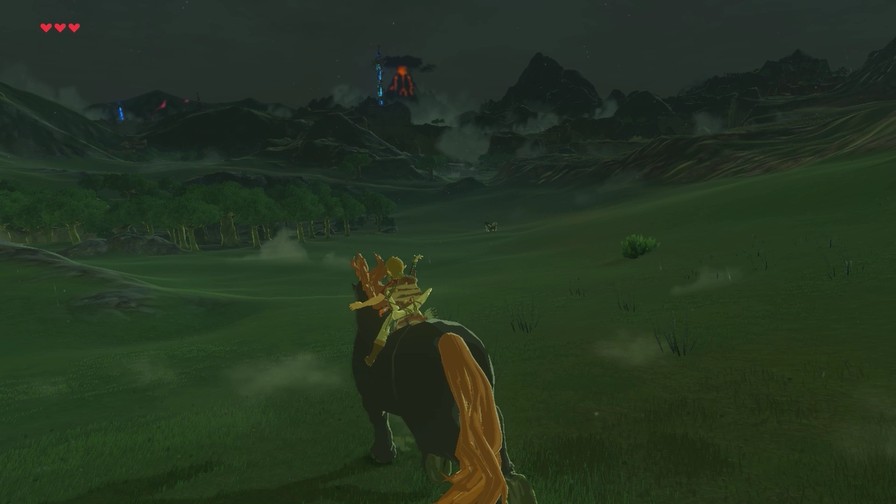
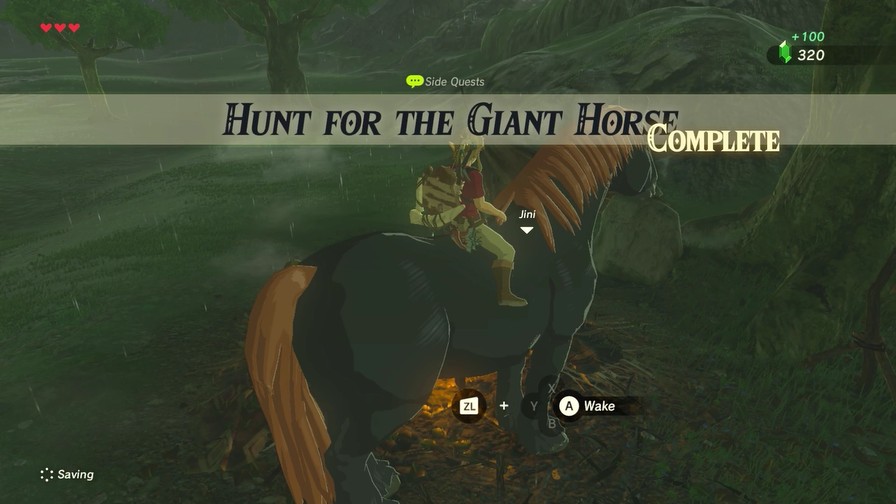
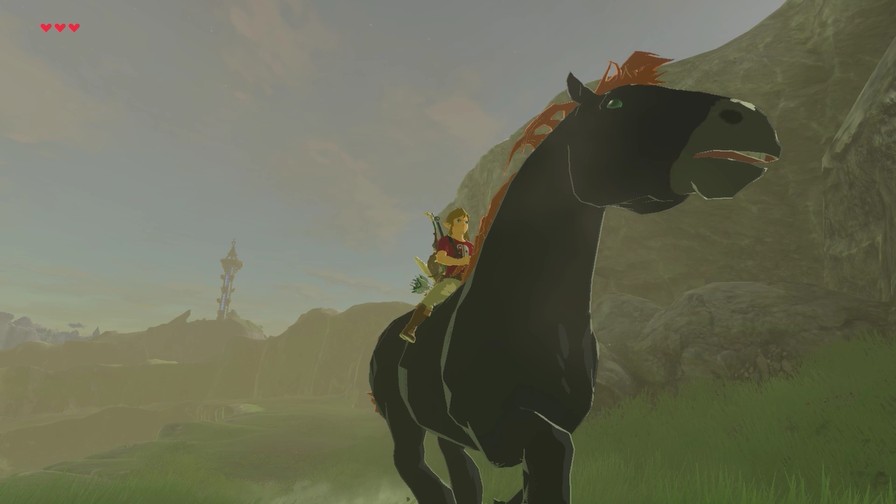
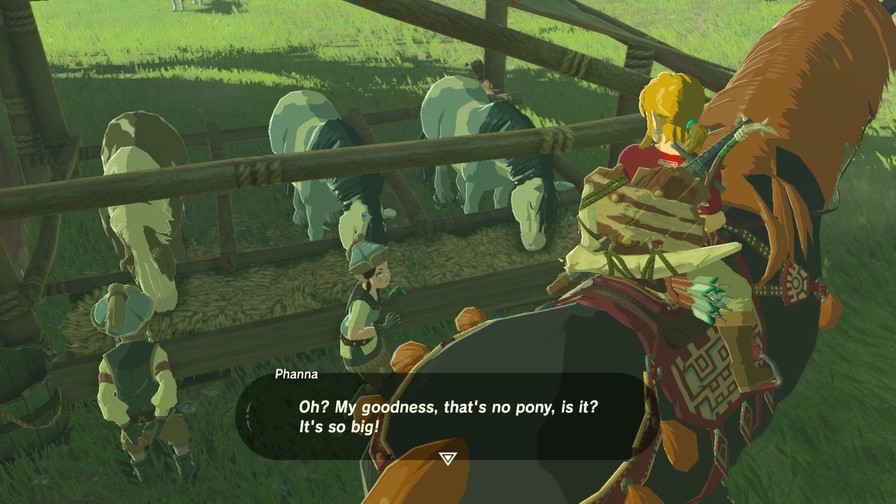
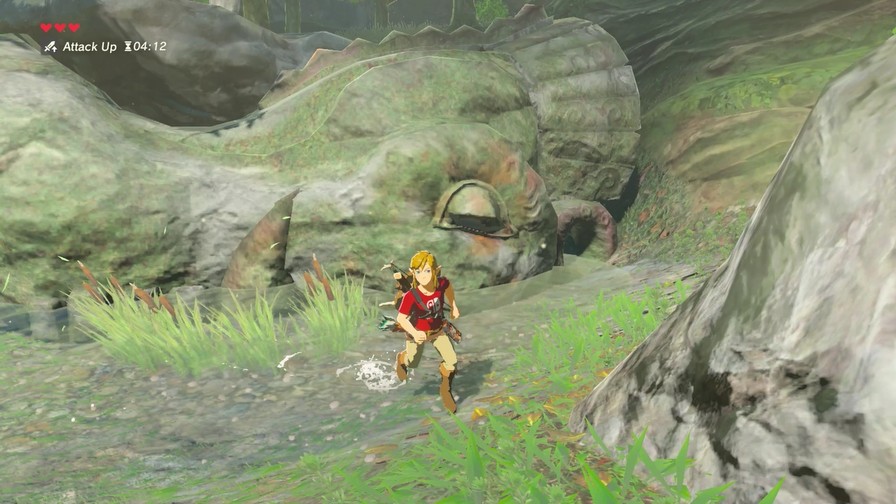
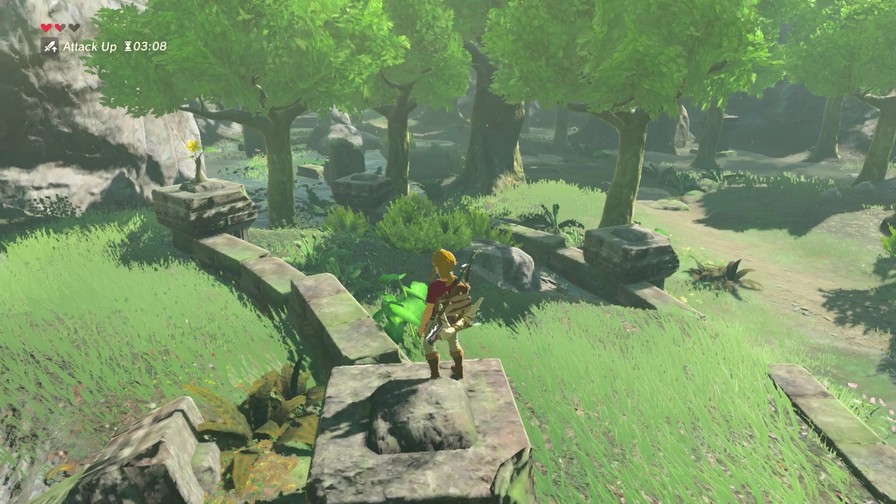
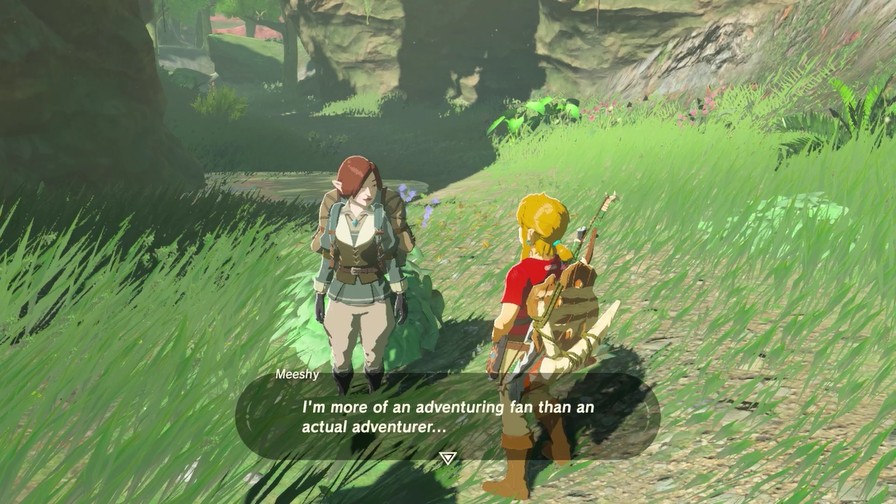
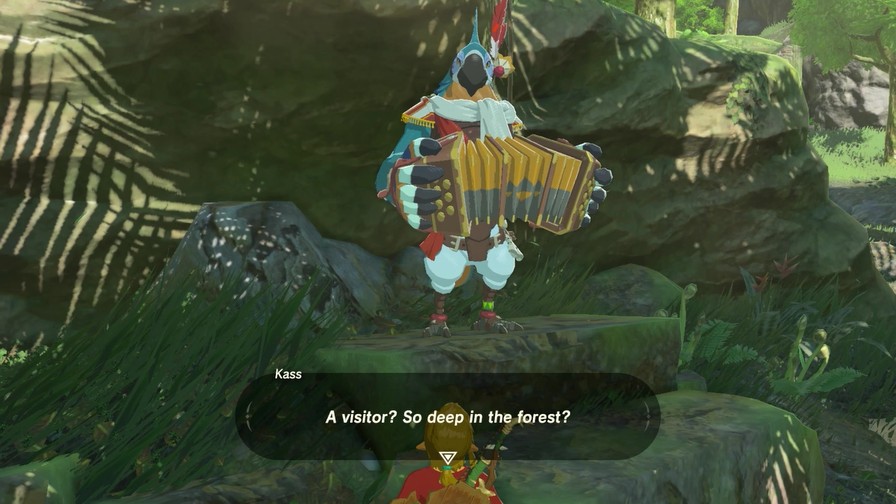
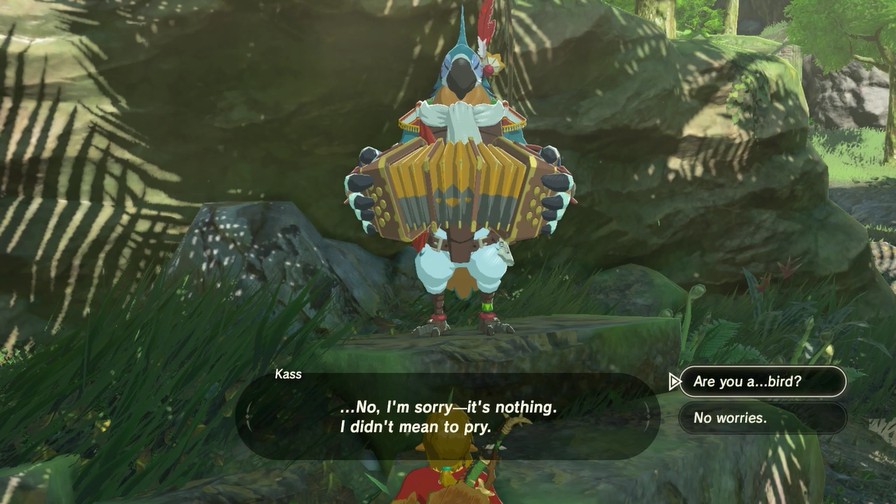
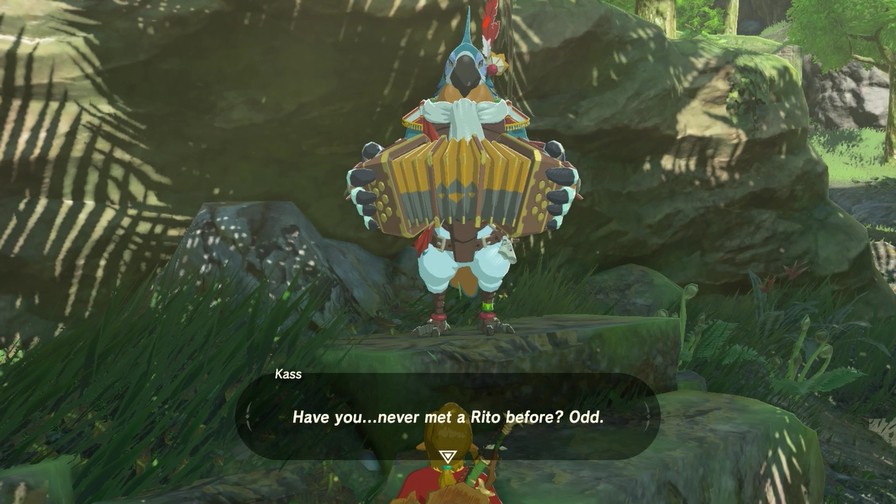
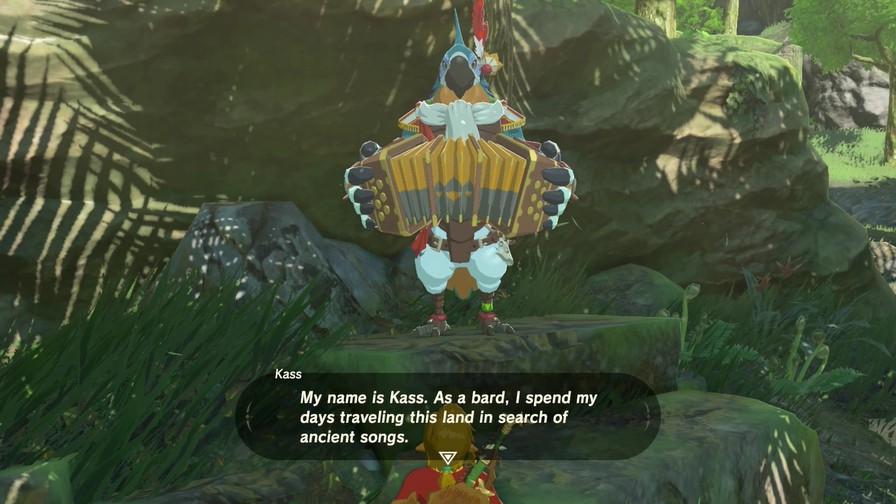
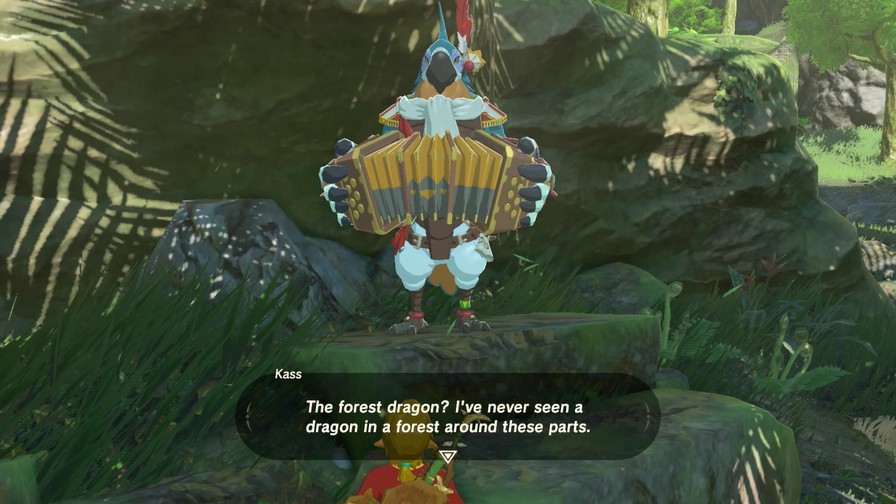
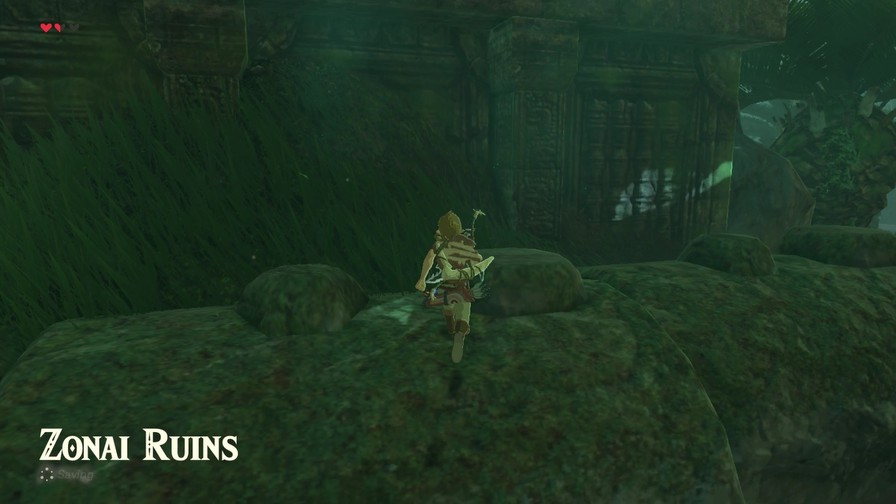
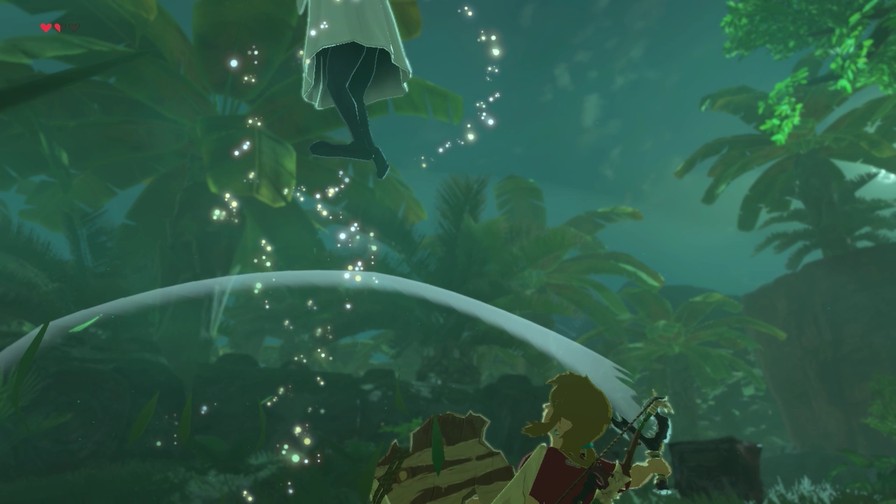
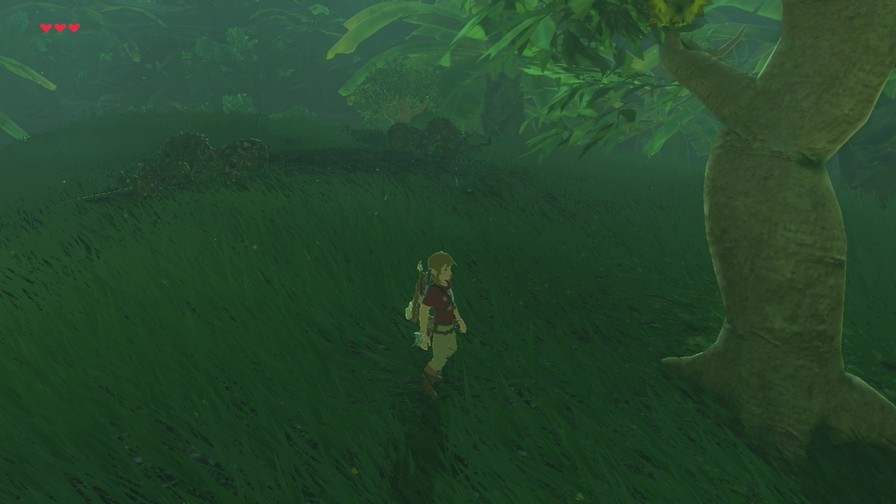
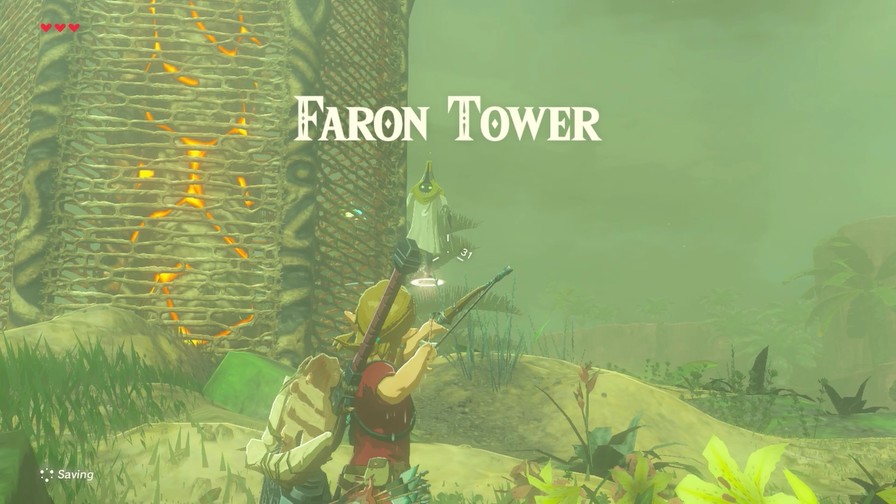
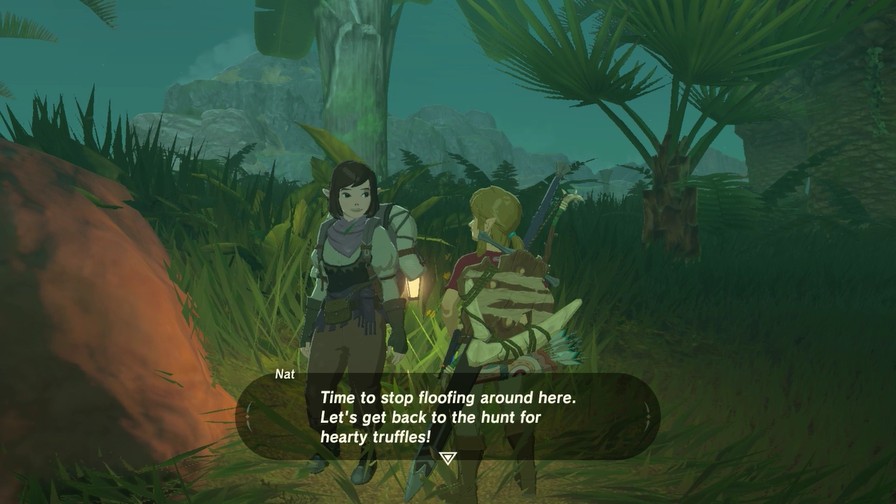
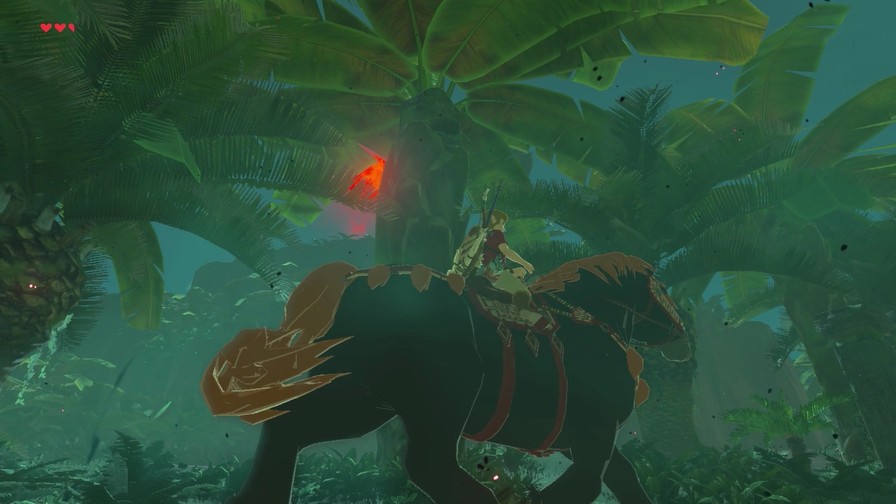
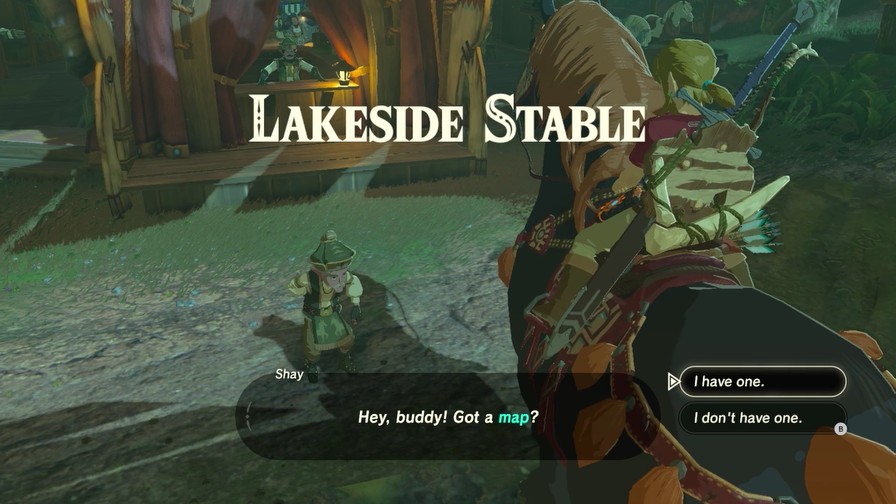
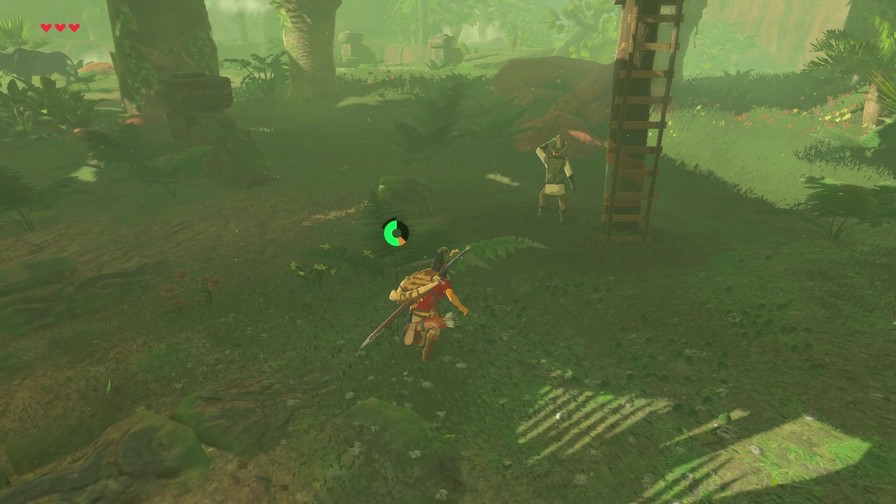
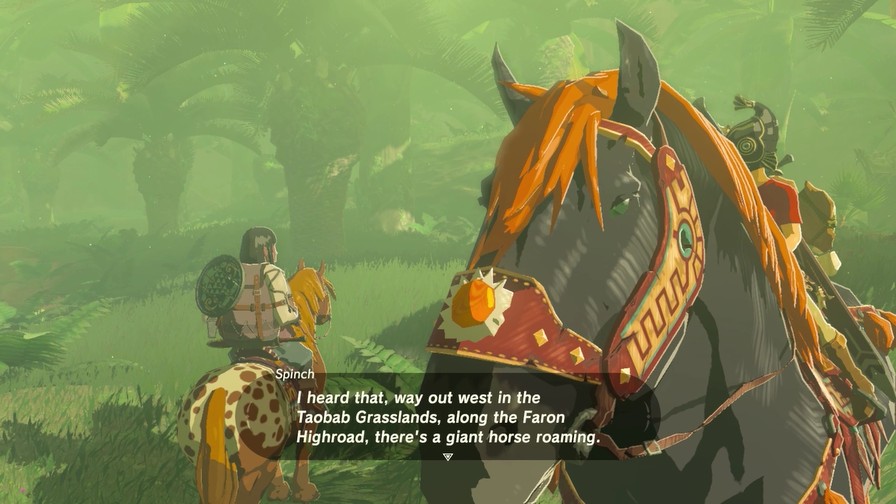
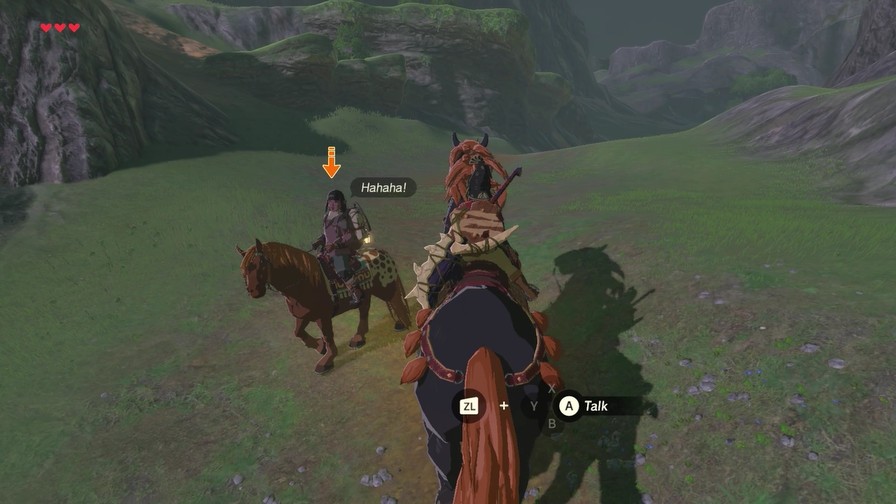
Somehow I’ve never run across this guy in my first playthrough.
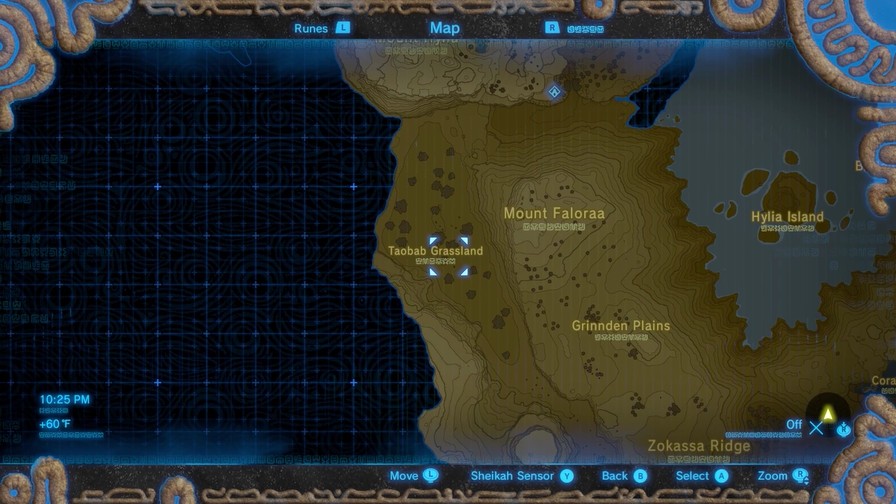
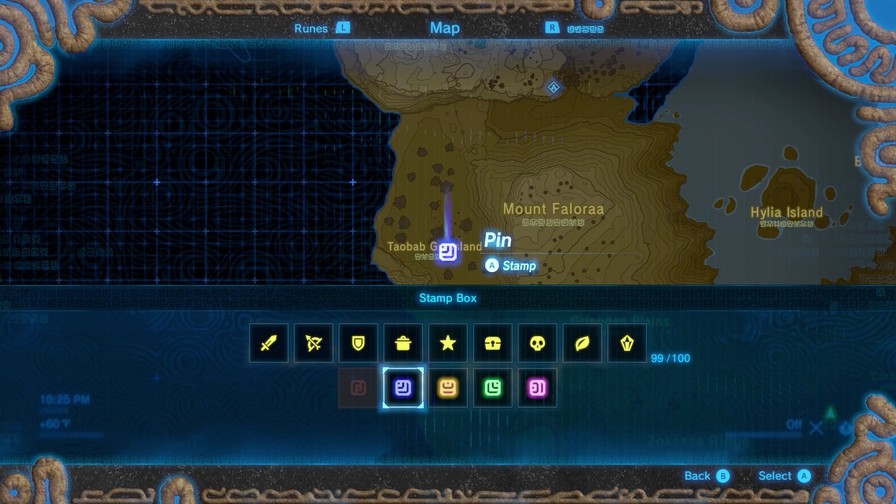
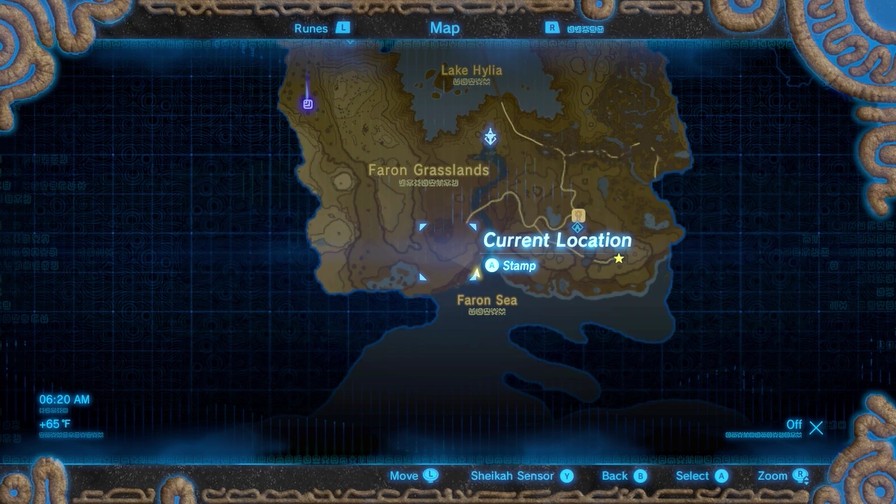
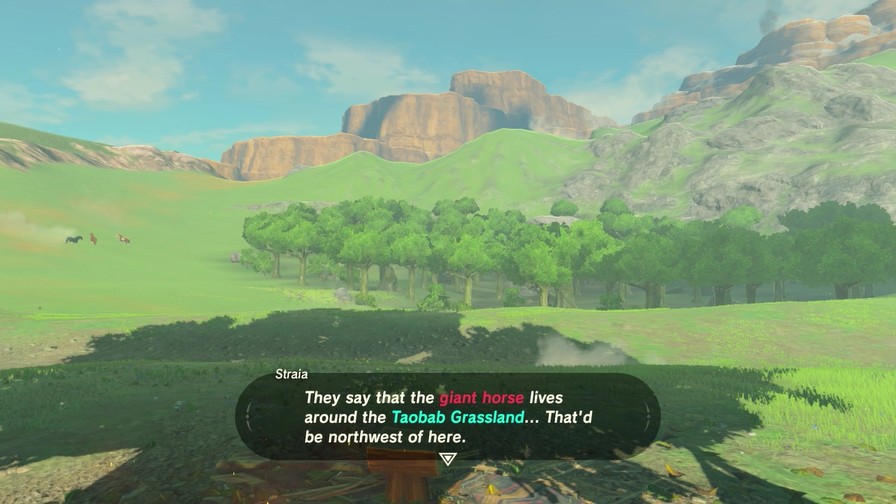
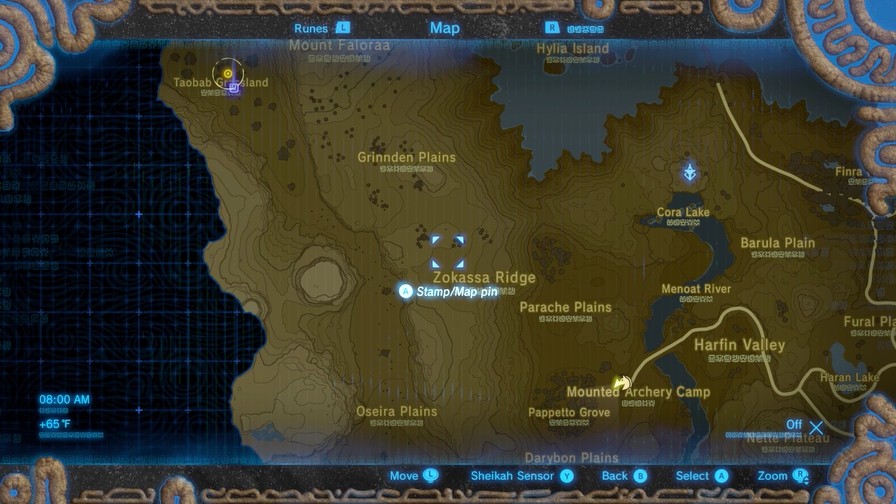
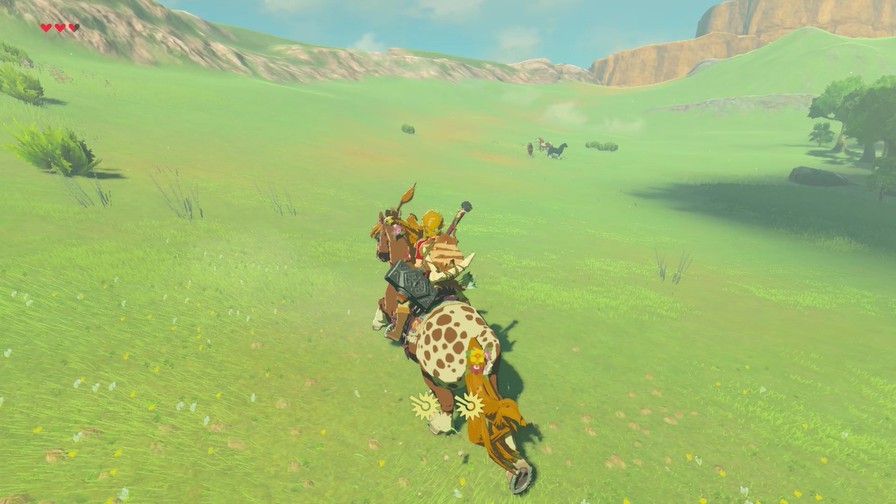
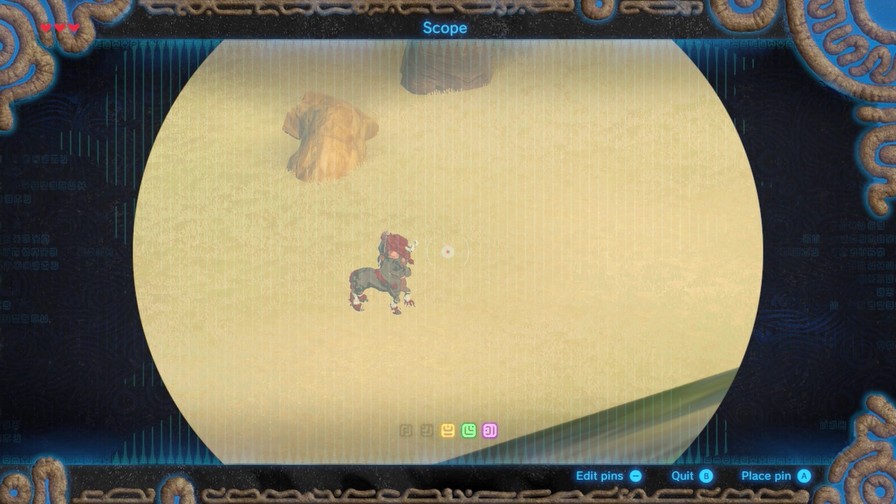
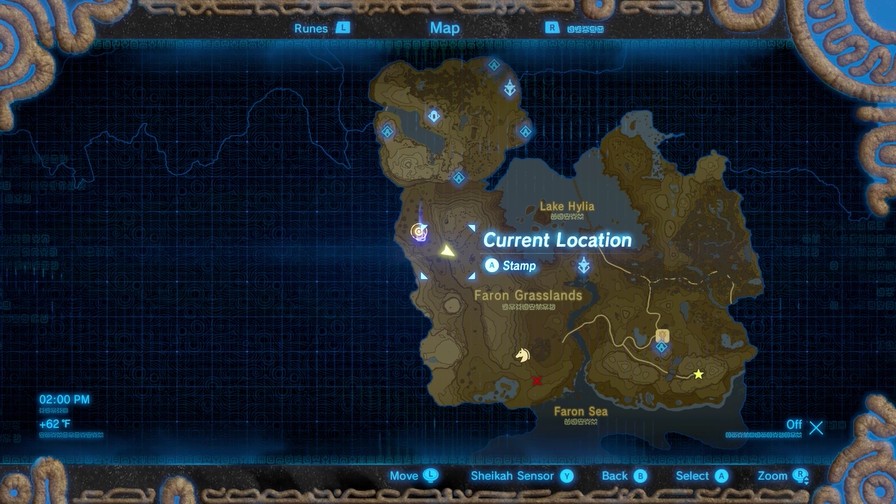
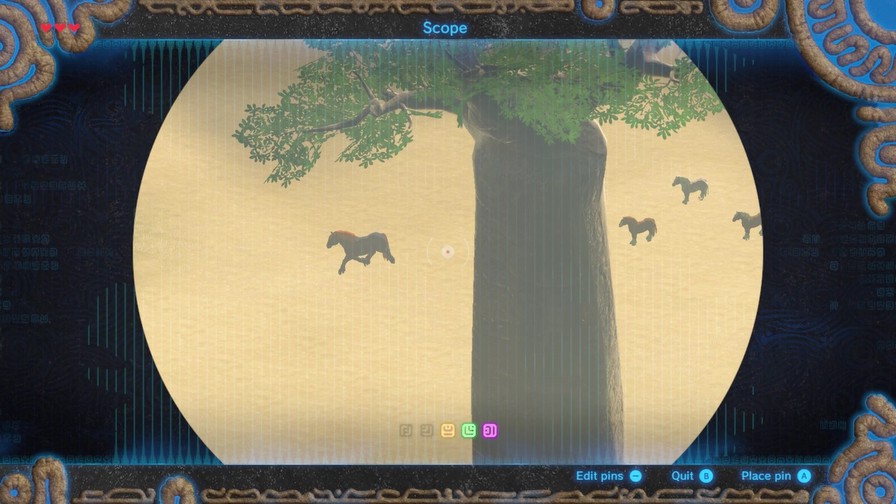
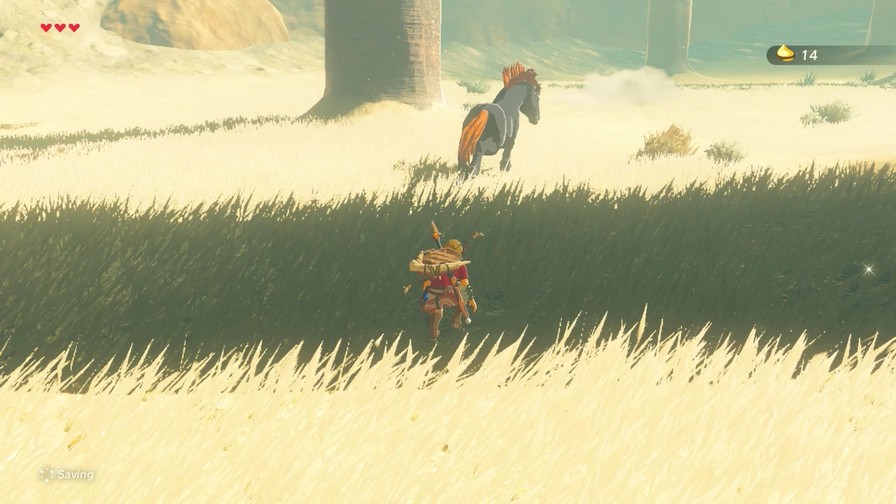
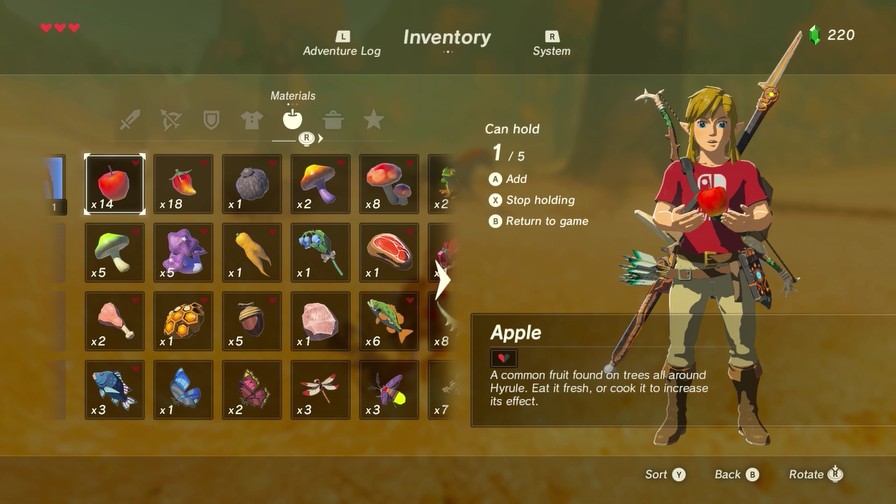
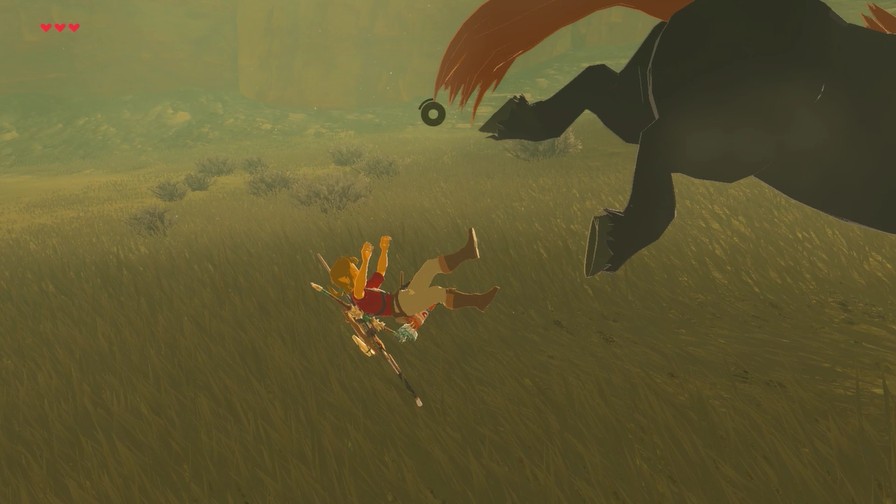
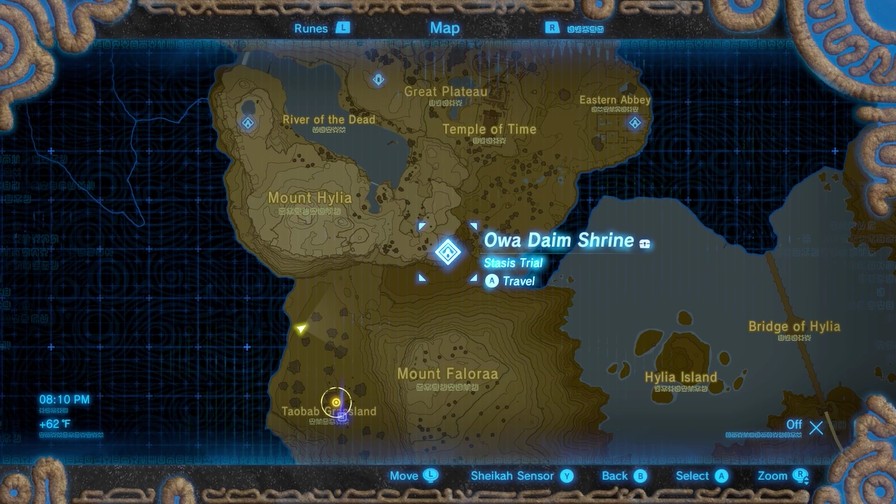
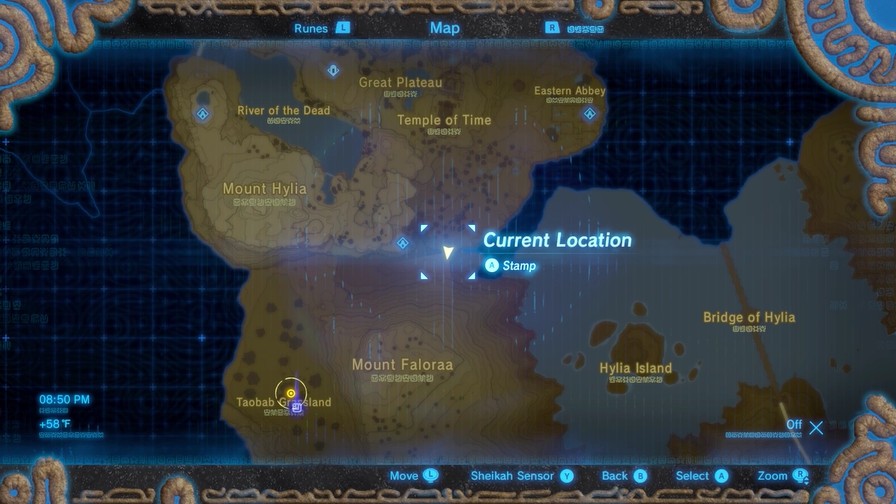
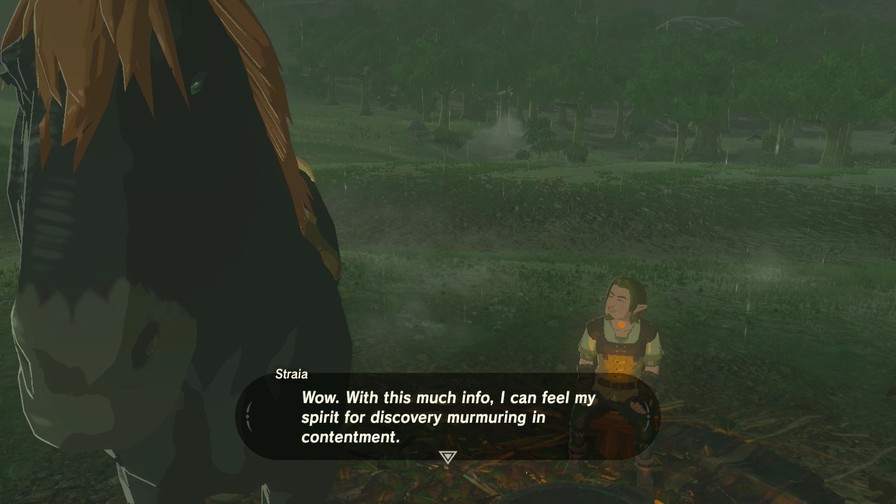
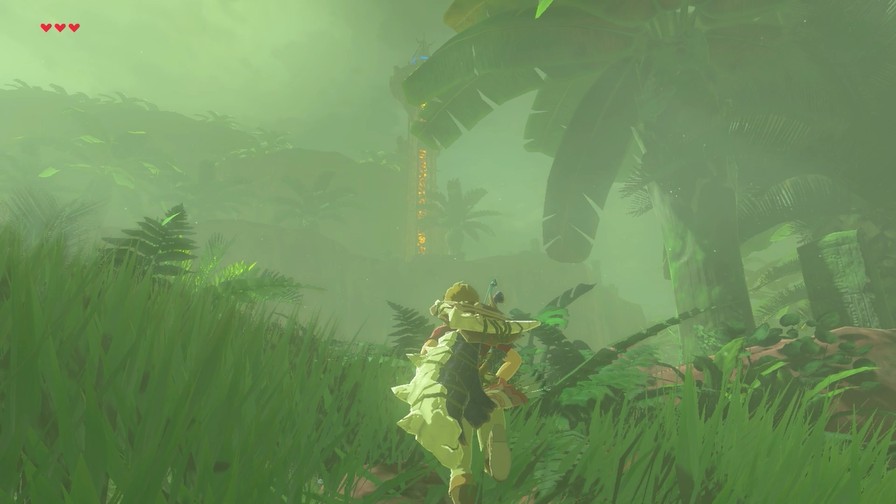
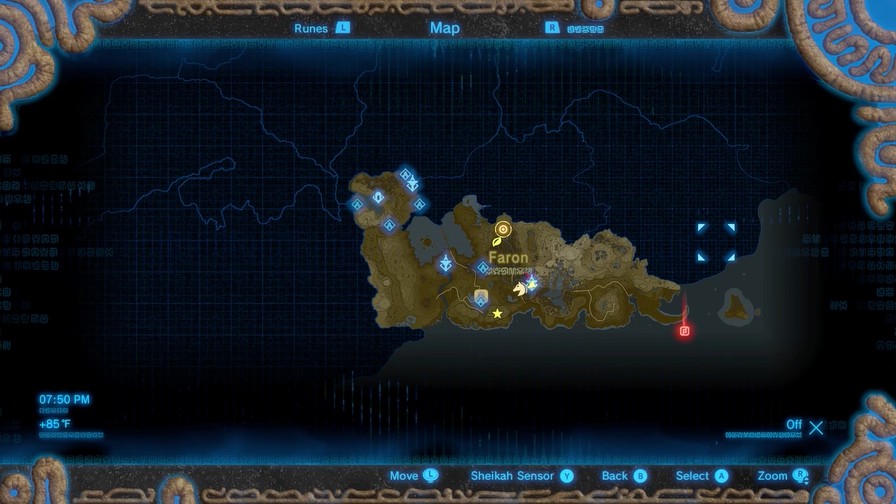
 Did you know… Way out west in the Taobab Grasslands, along the Faron Highroad, there’s tell of a giant horse?
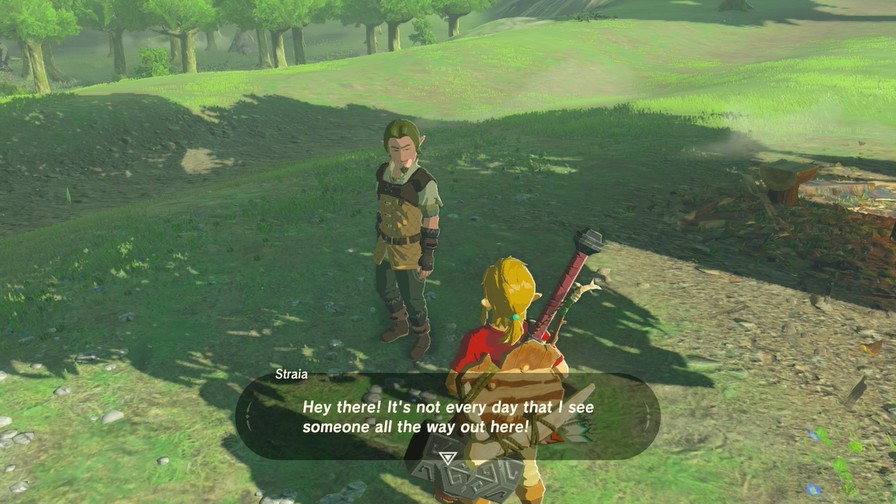
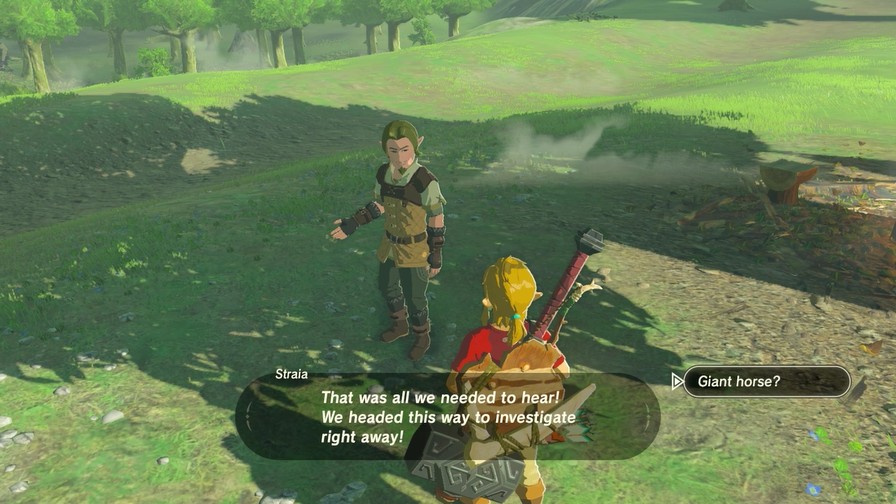
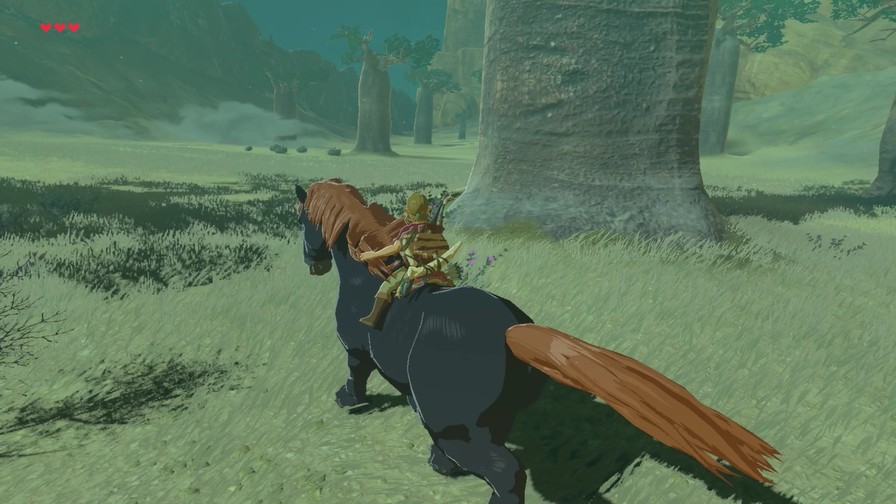
I…may have heard about that, yes.
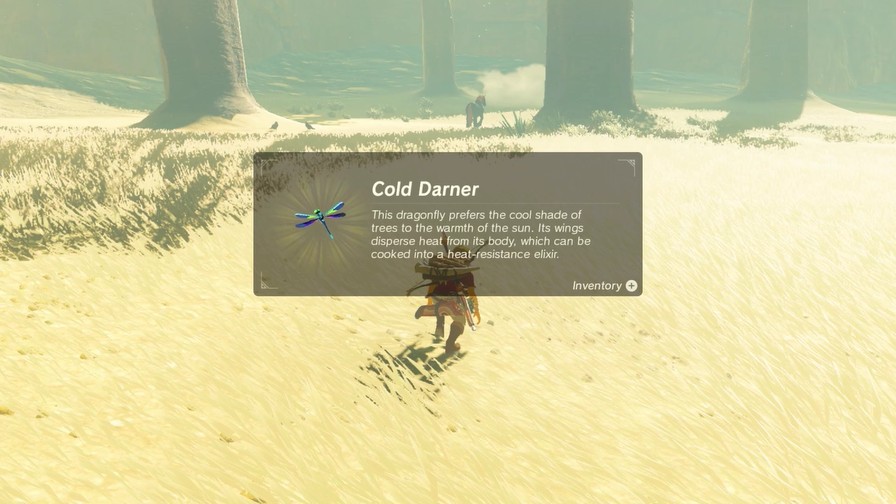
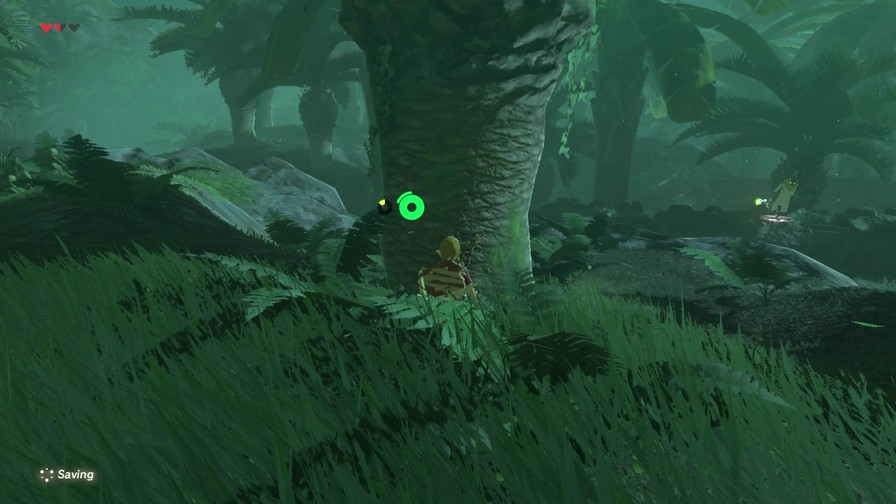
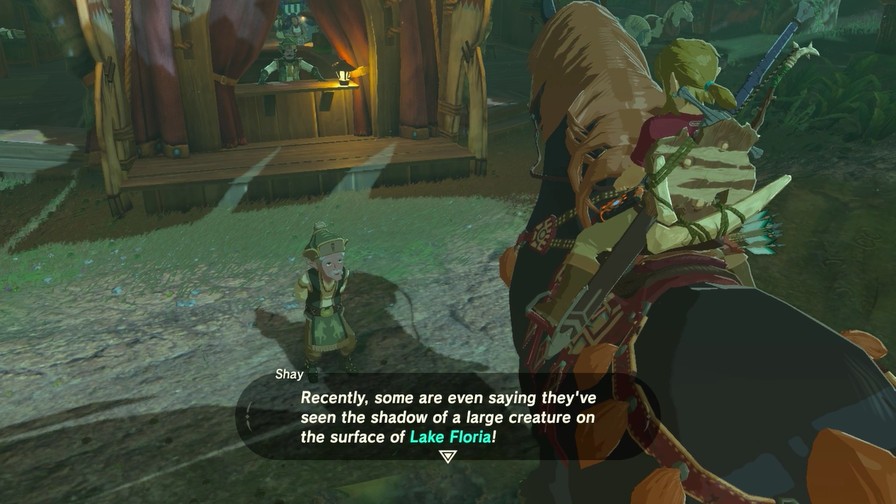
The Spinches certainly aren’t observant, it seems.
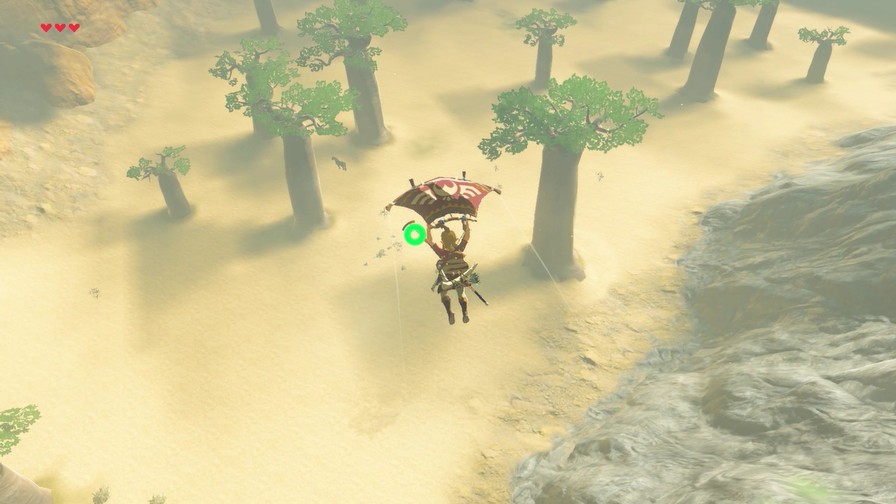
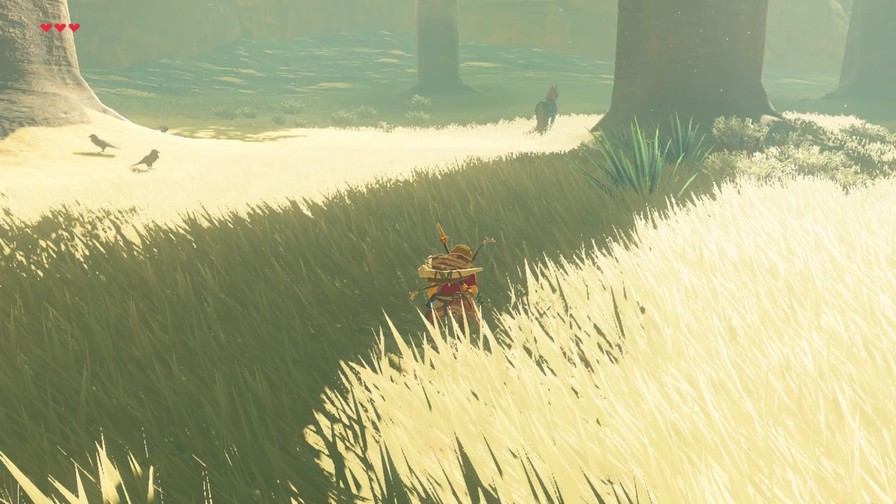
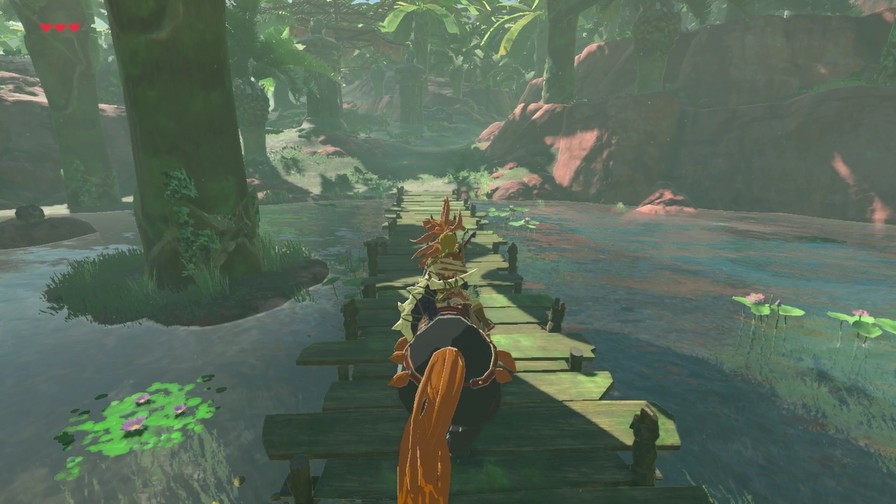
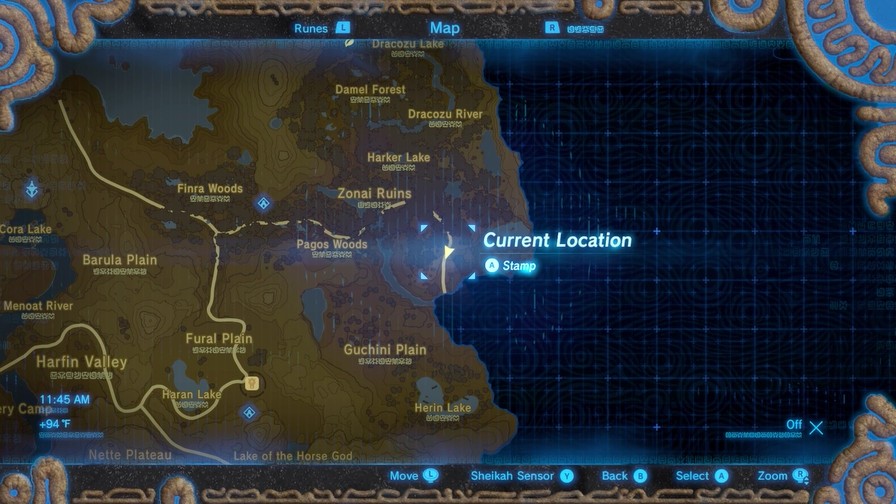
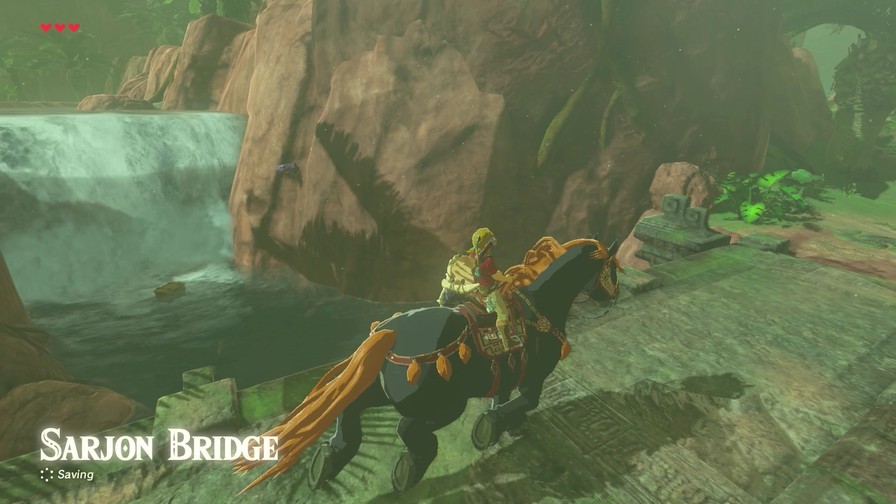
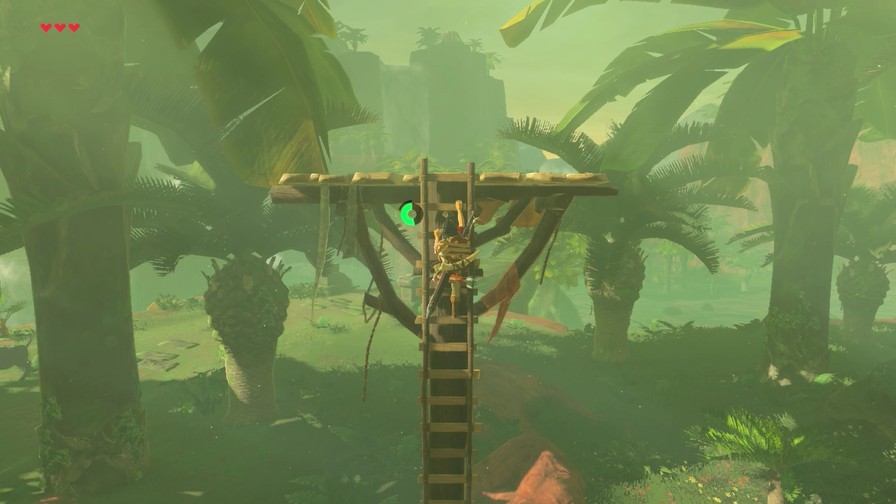
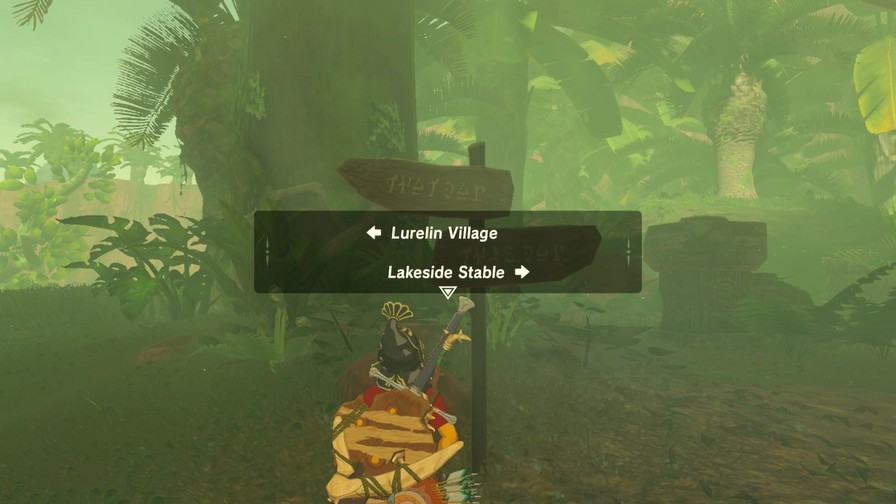
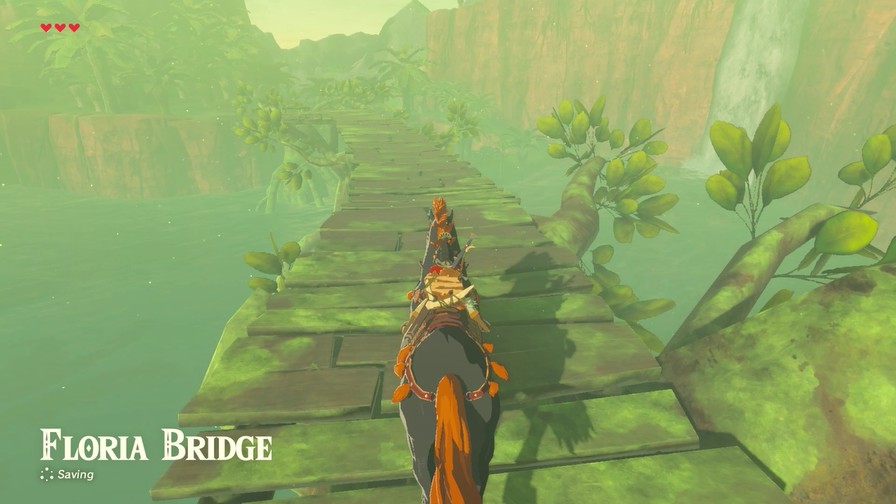
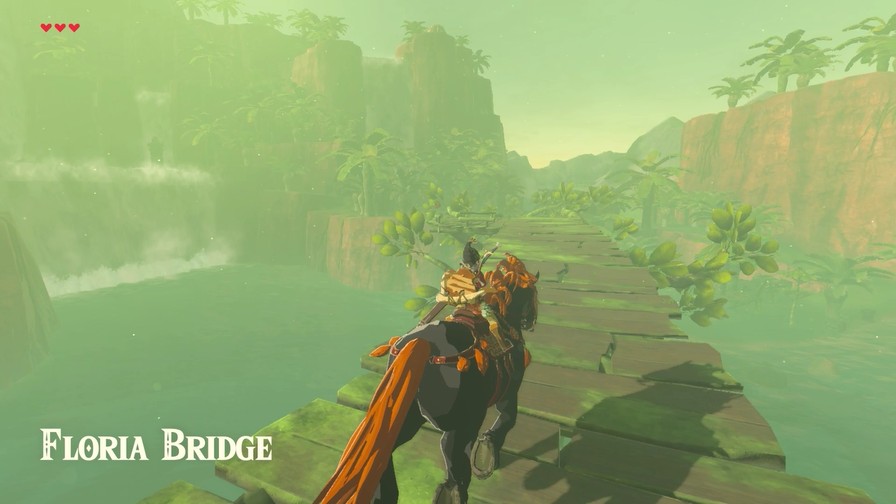
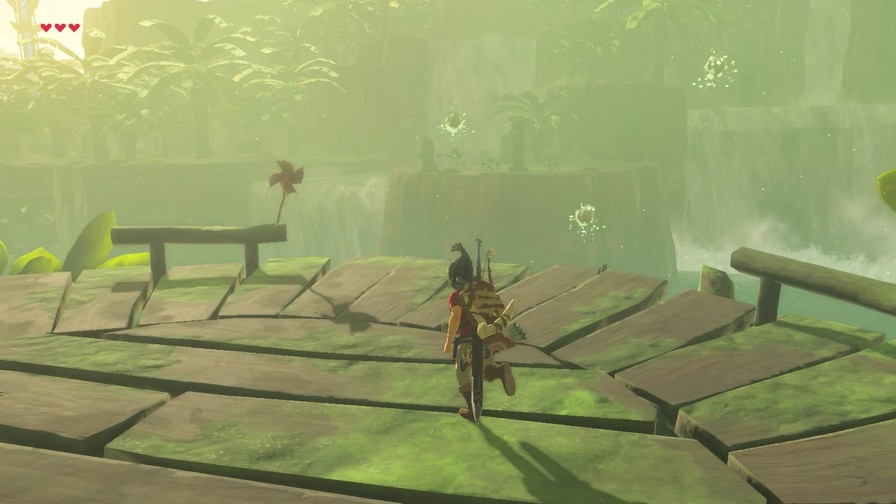
To cross the lake, we’re going to take this bridge supported by several trees in the lake.
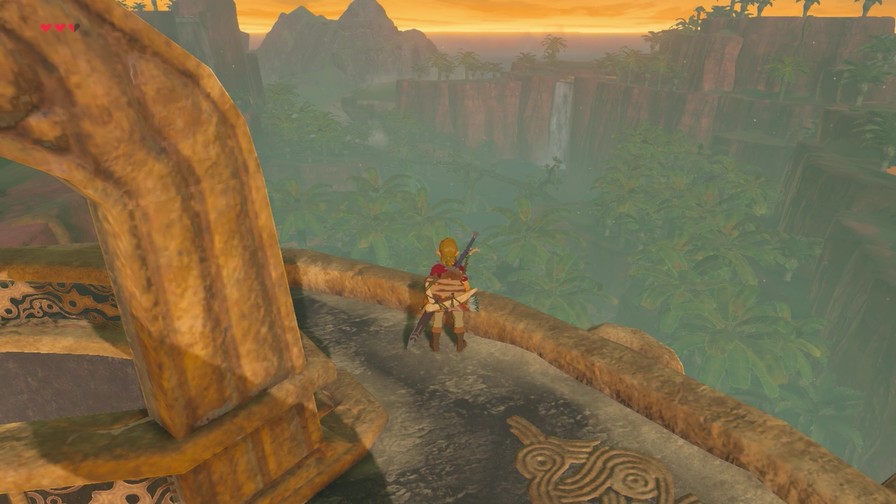
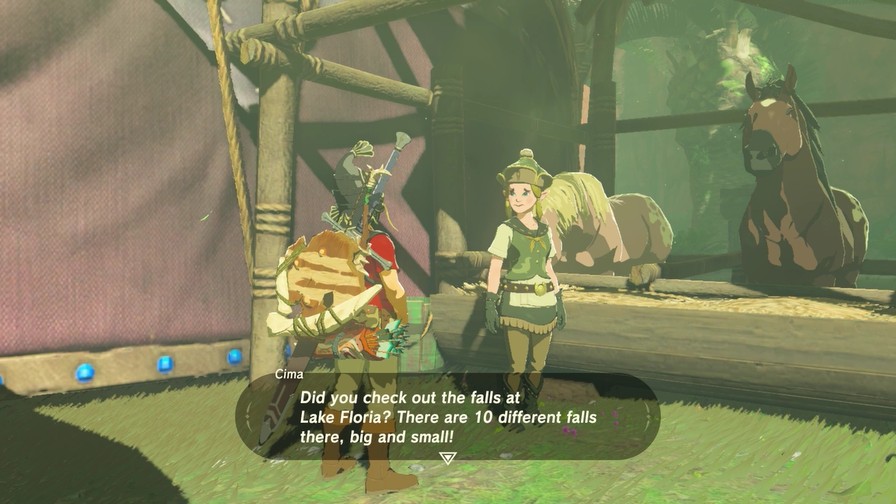
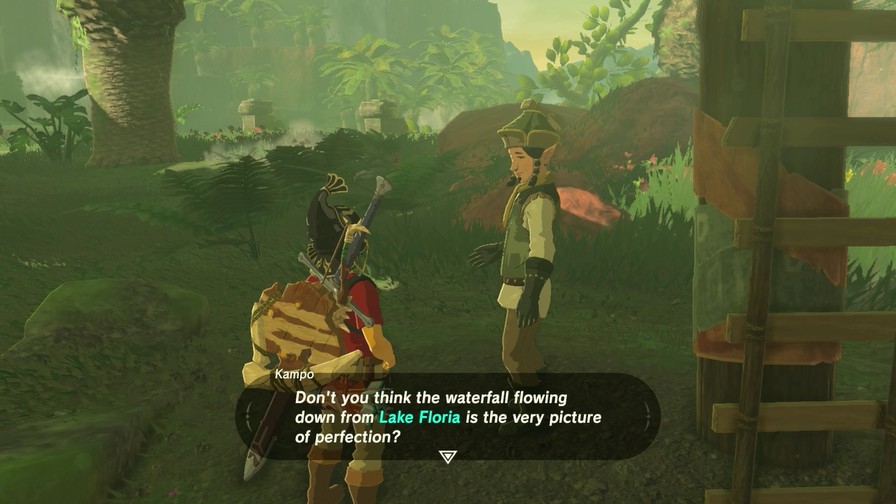
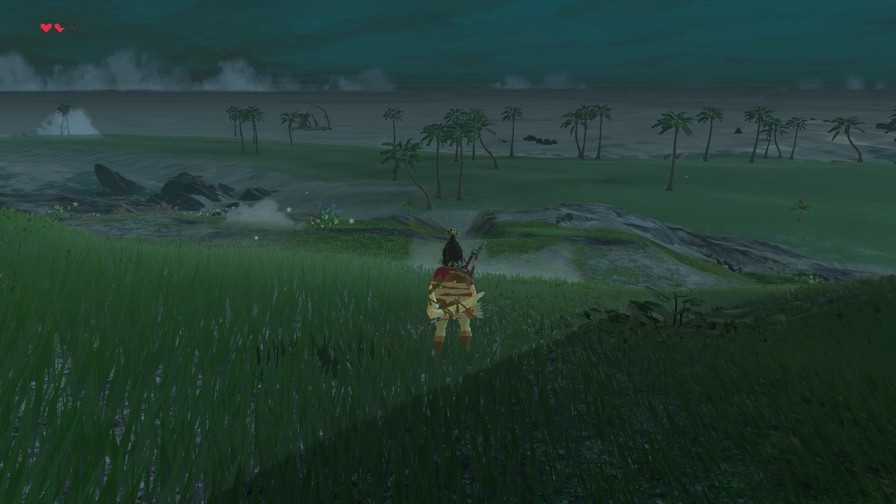
It’s a bit hazy but we’ve still got some nice views of the various waterfalls around here.
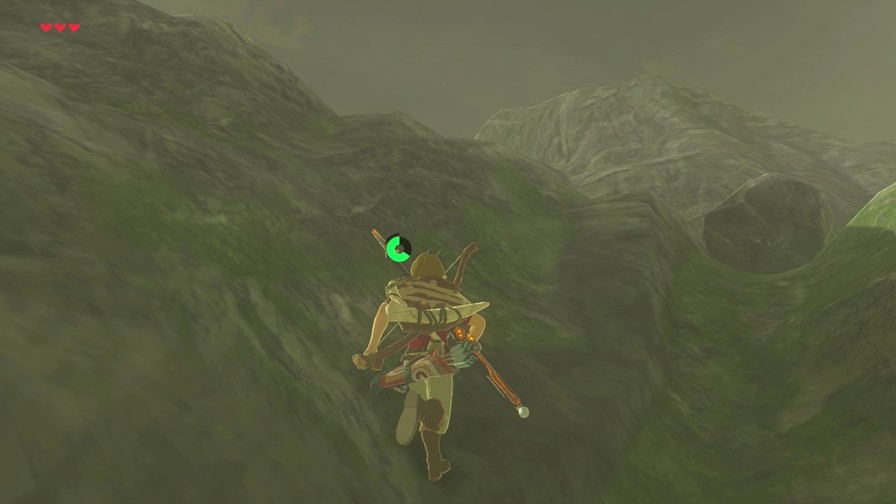
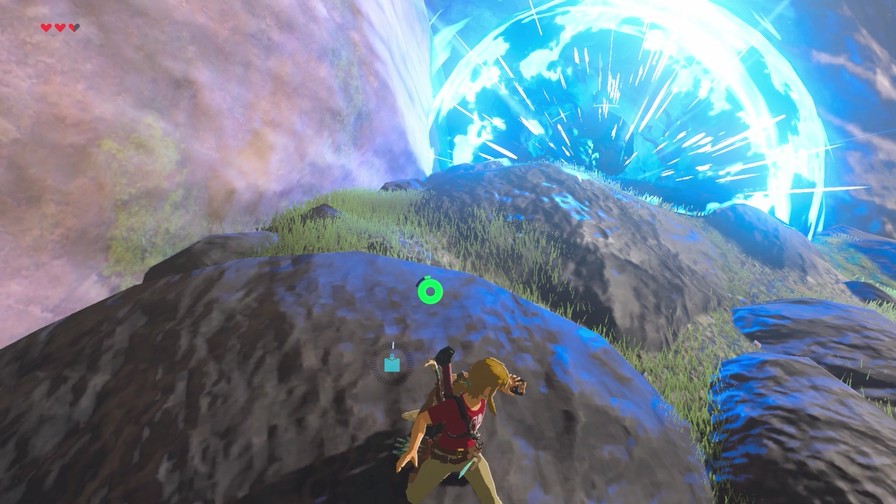
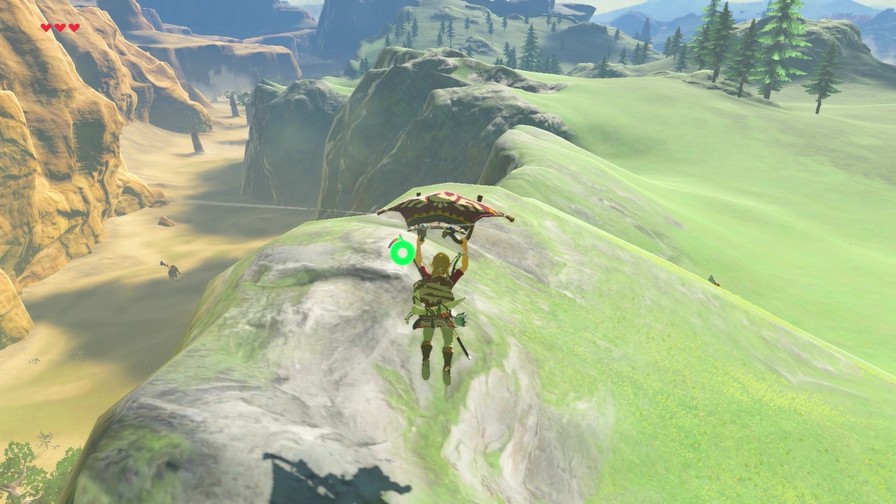
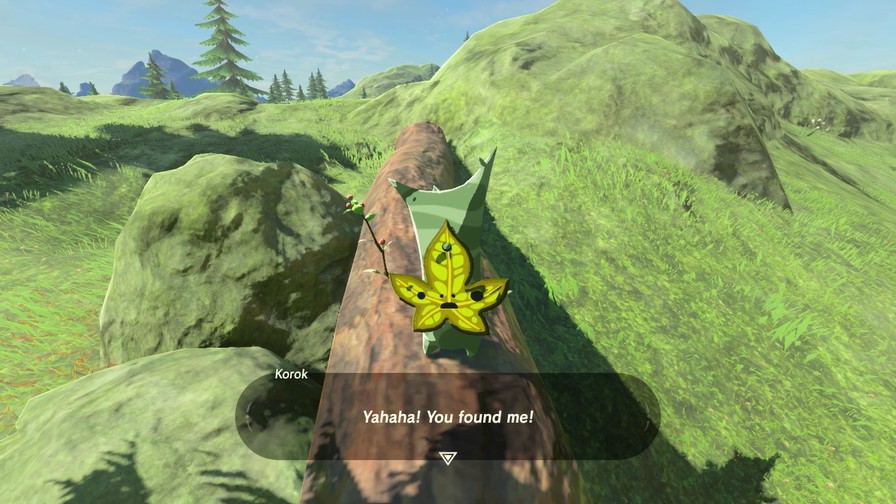
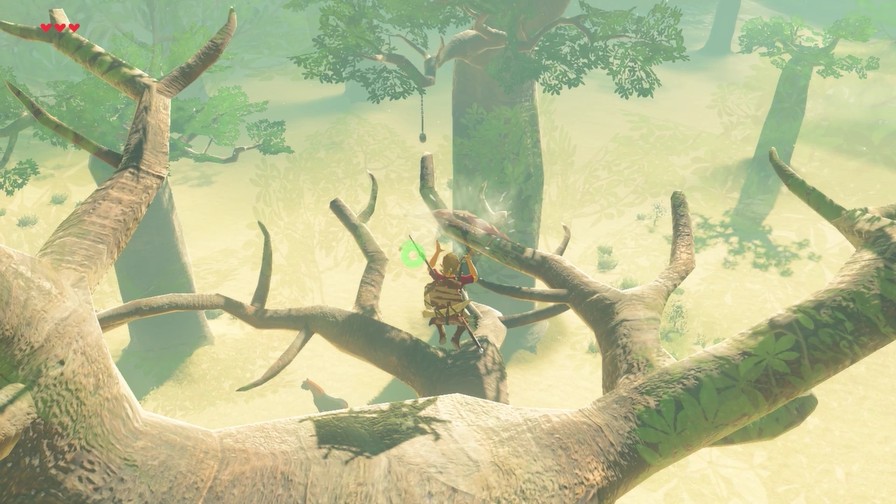
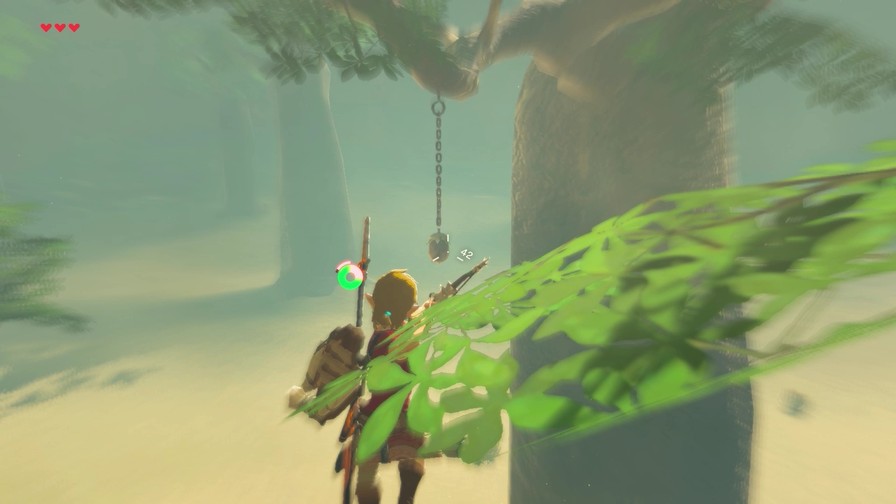
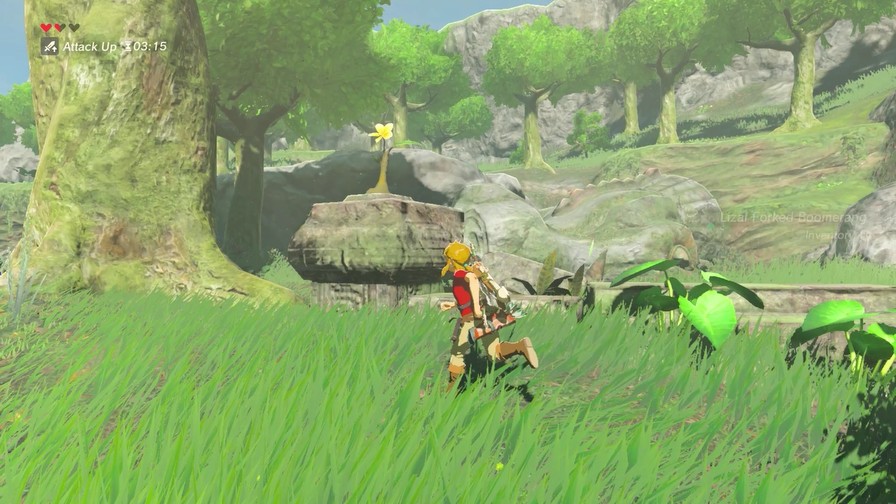
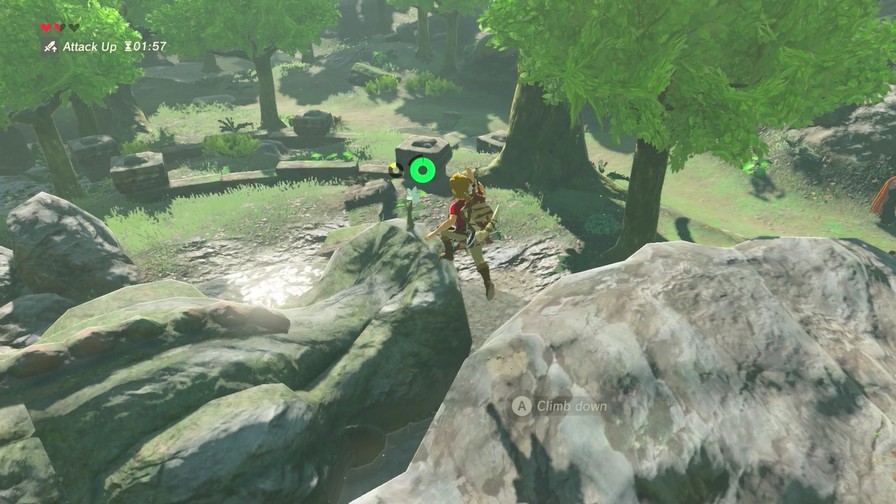
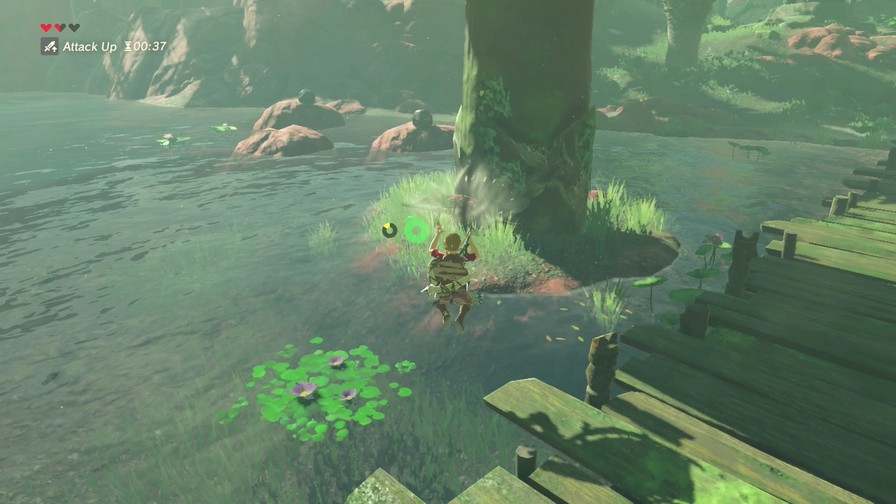
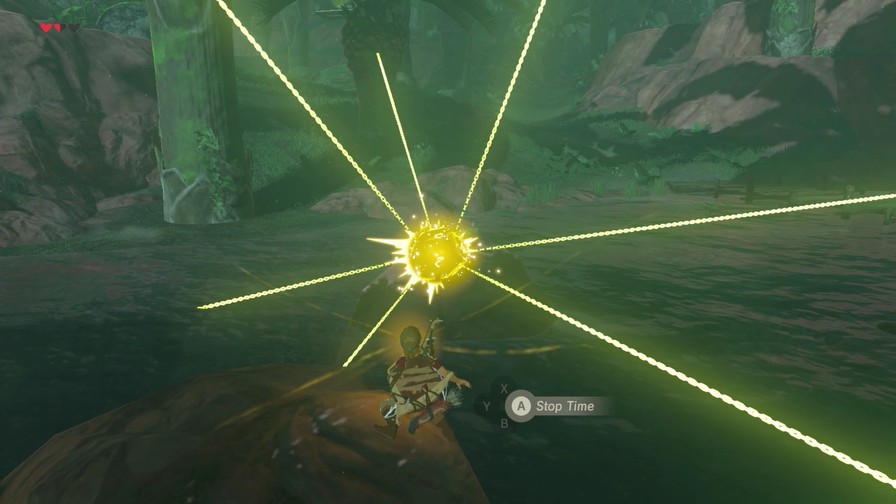
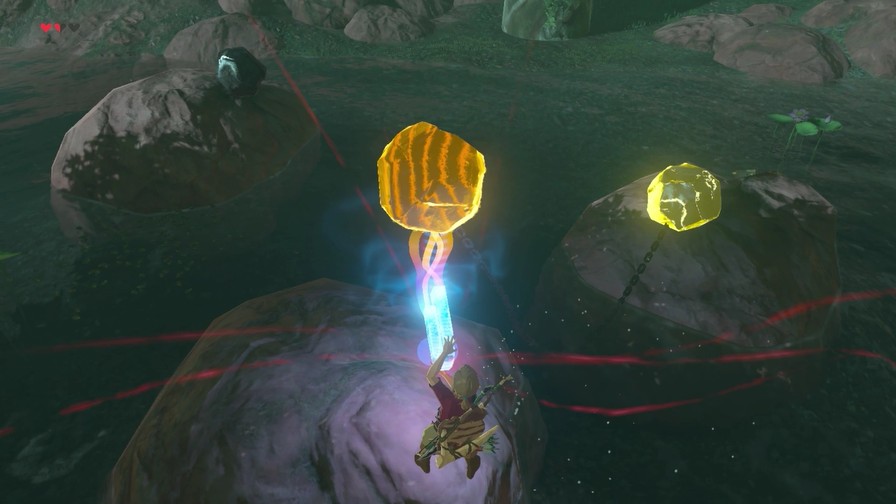
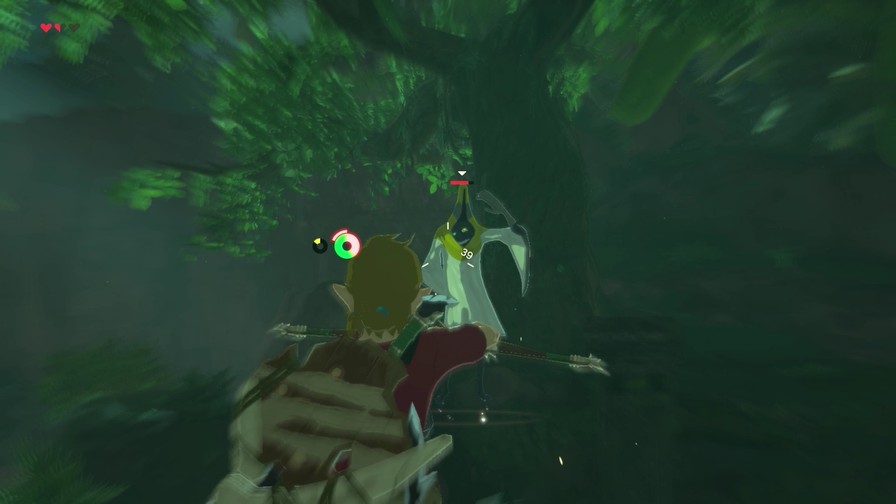
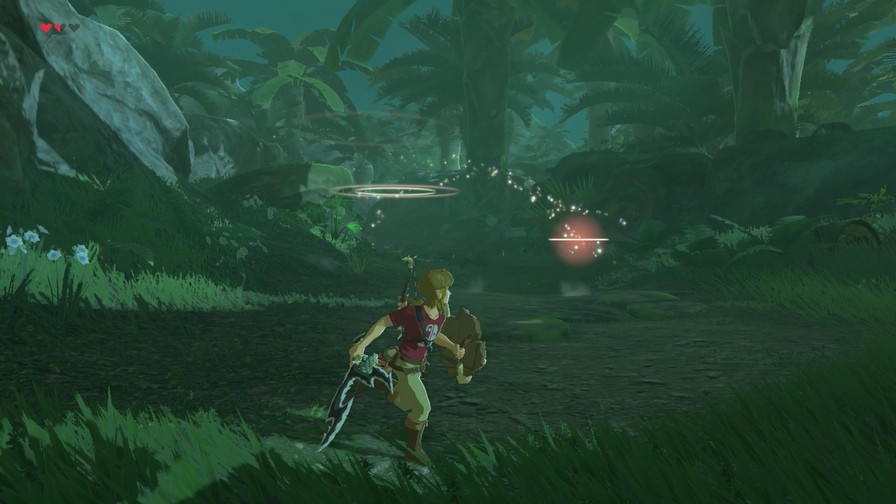
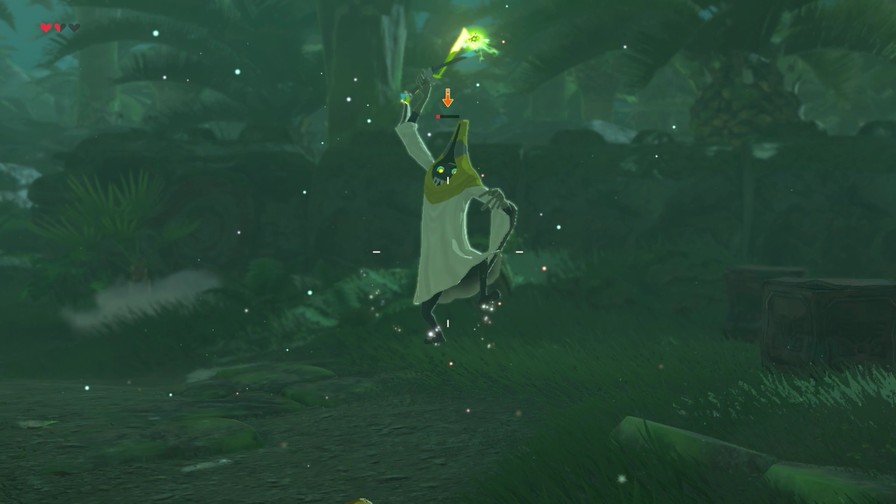
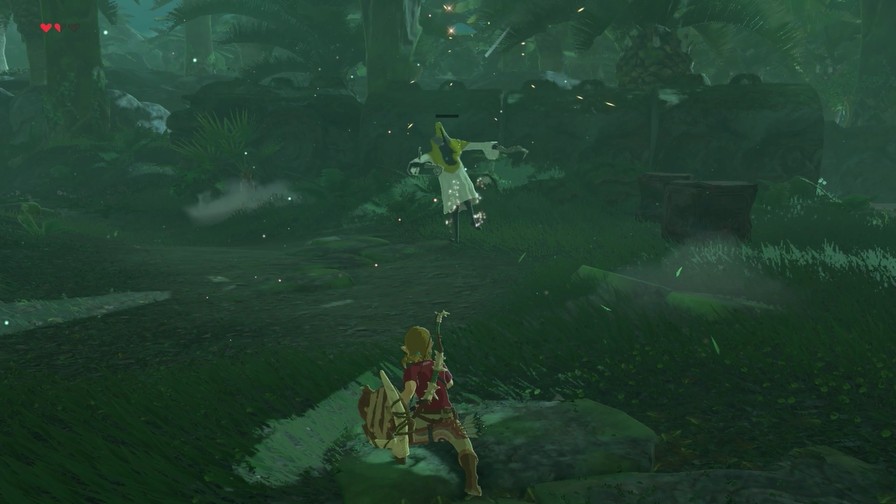
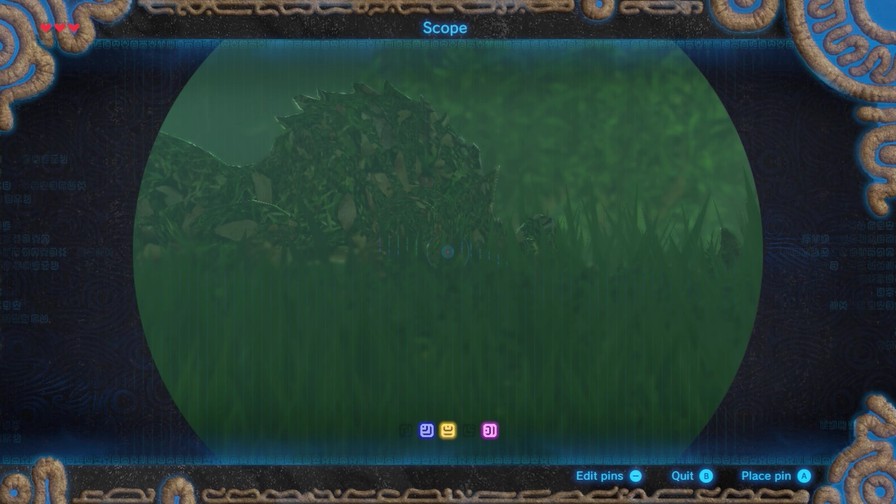
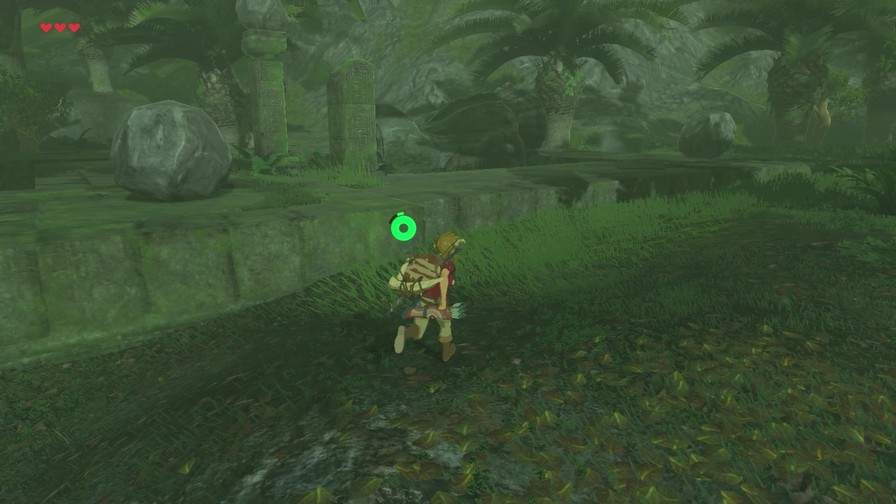
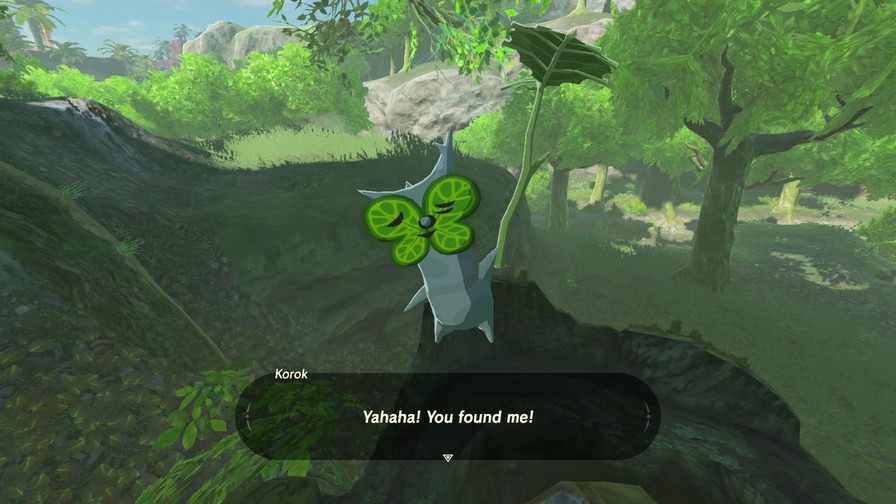
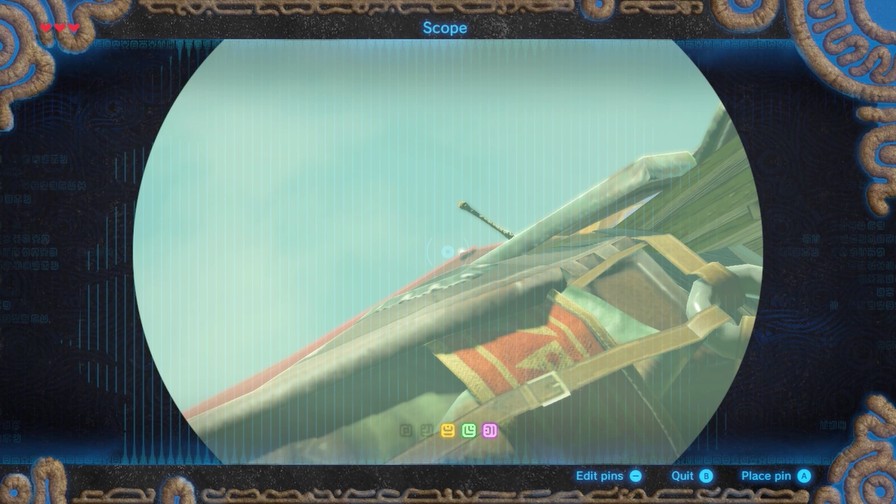
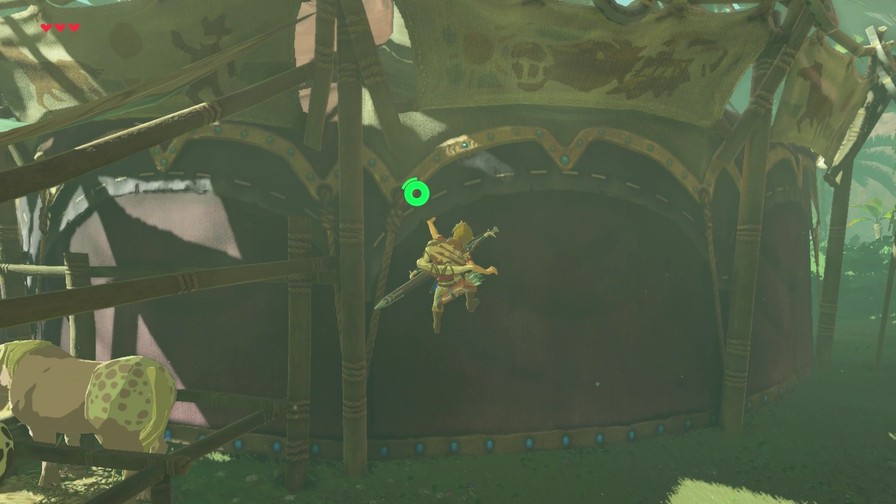
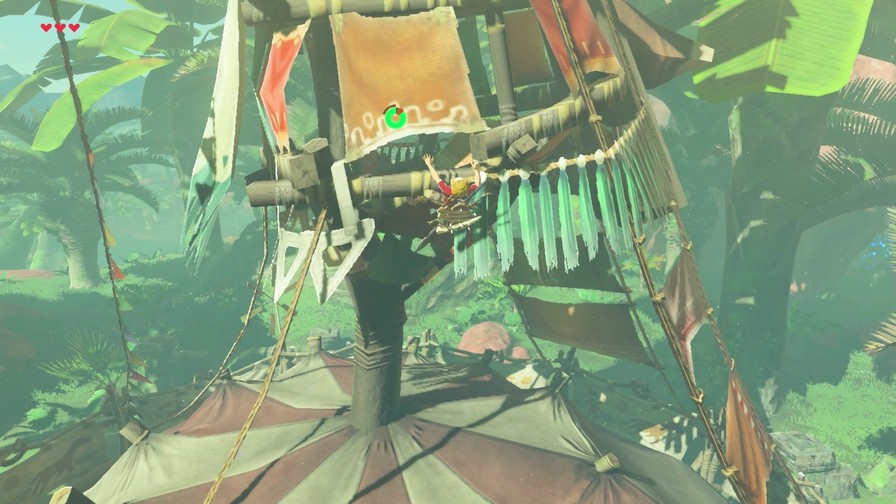
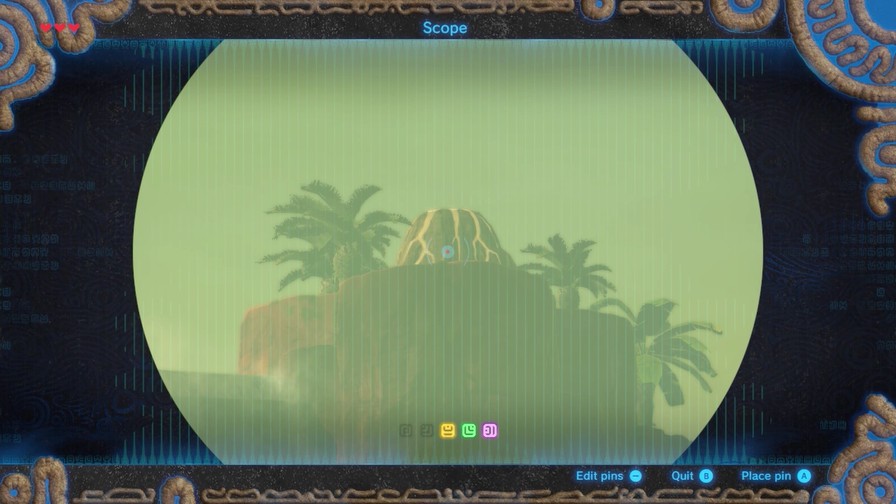
Here’s another Korok challenge. Seems simple, hit the stationary balloons, right?
We can’t shoot that far, sadly. We’ll have to put this on the backburner for now.
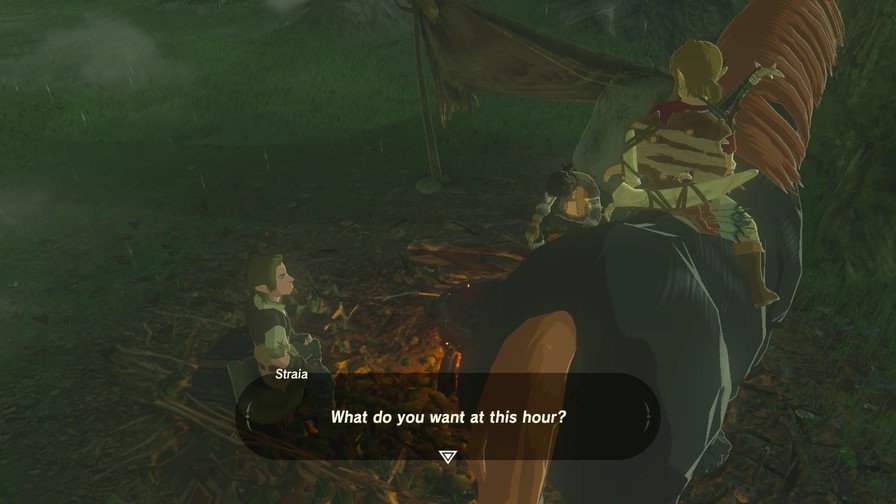
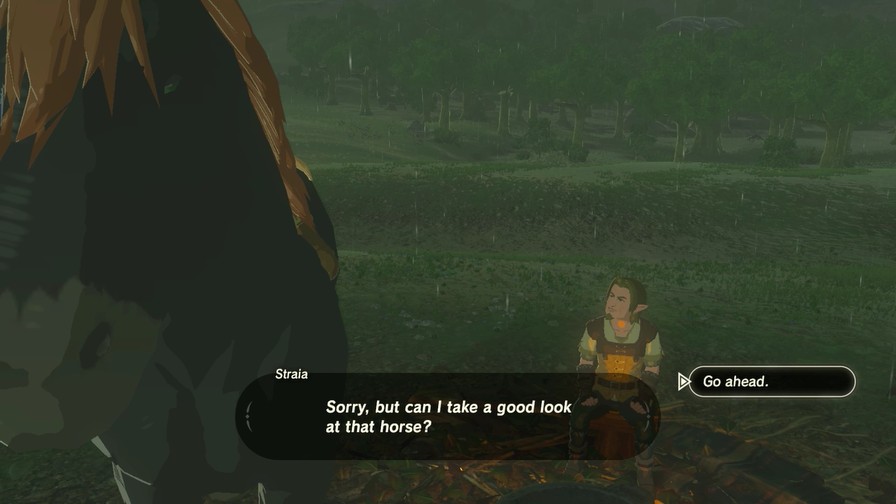
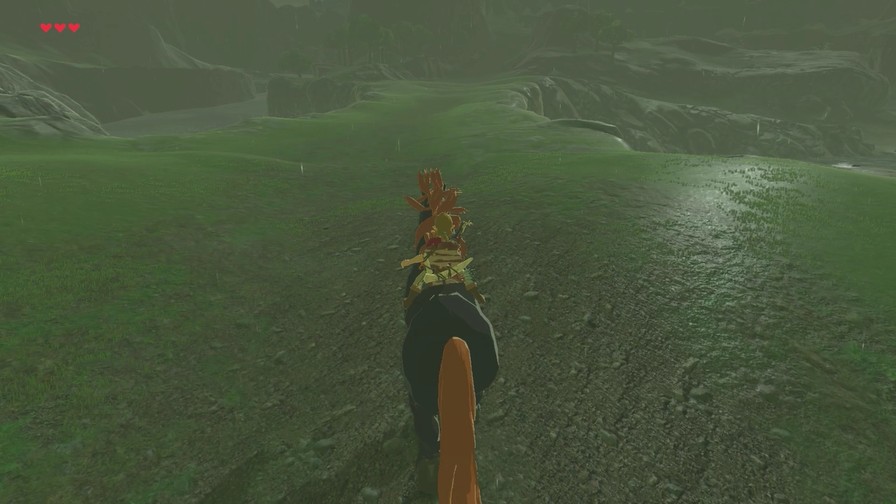
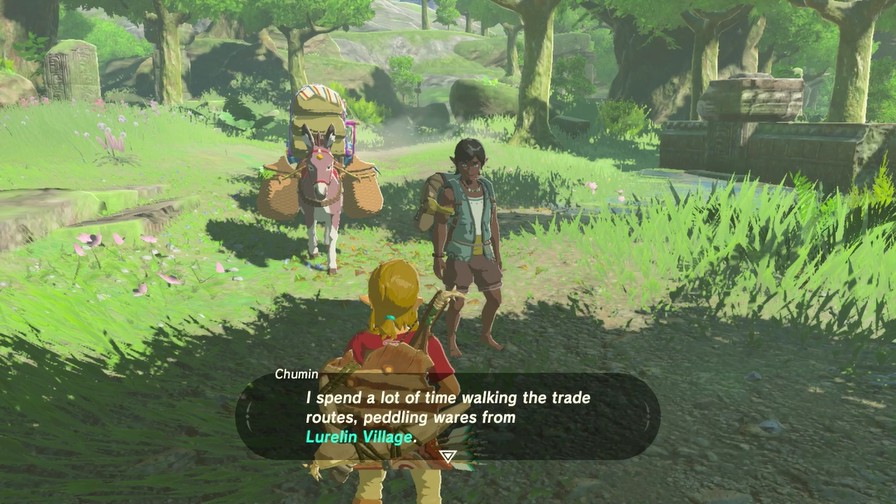
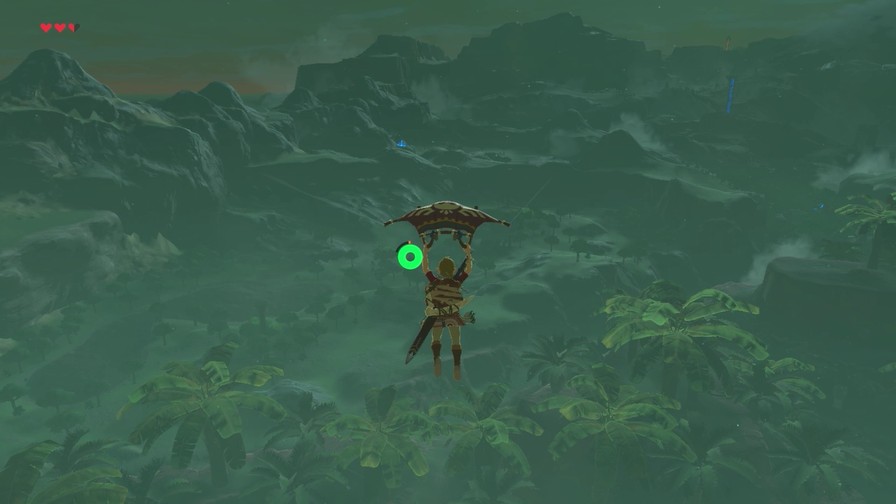
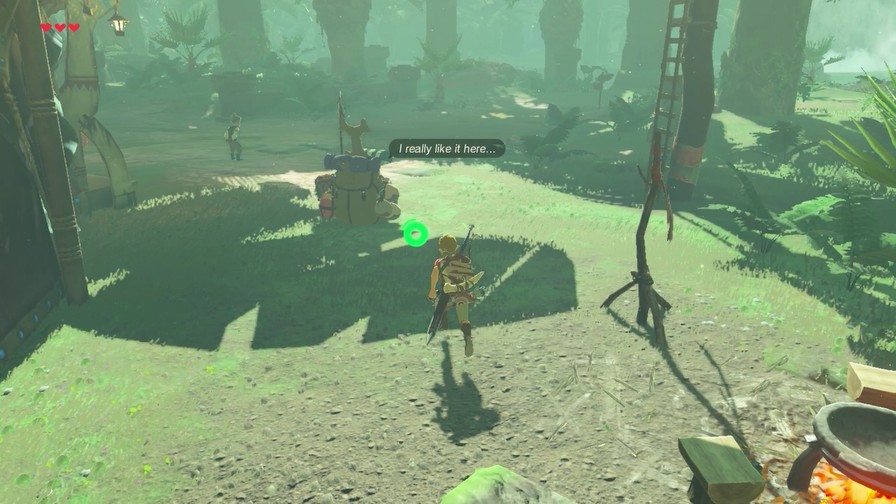
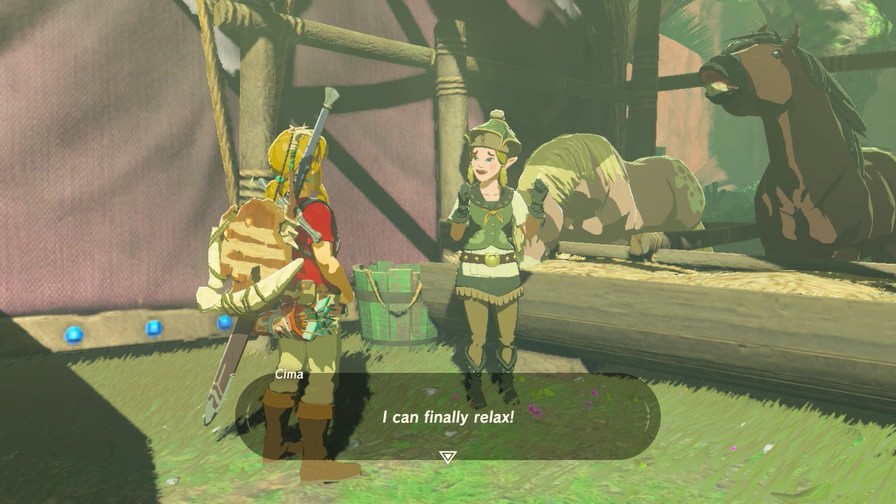
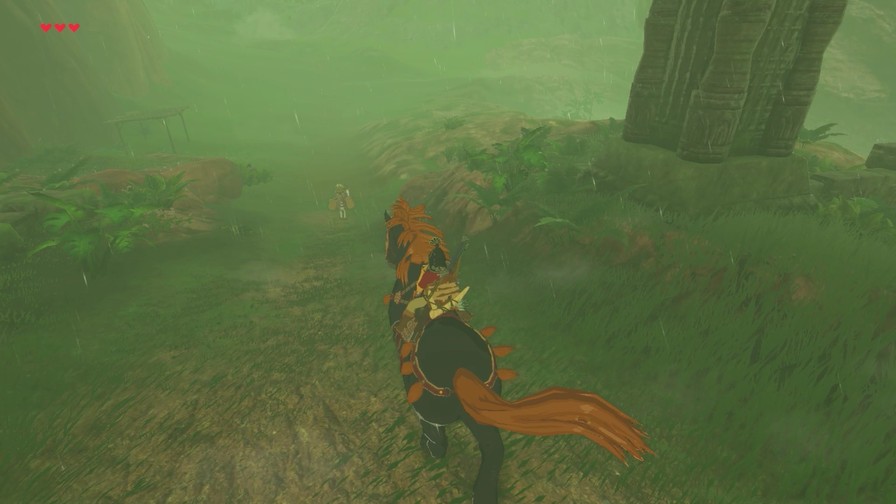
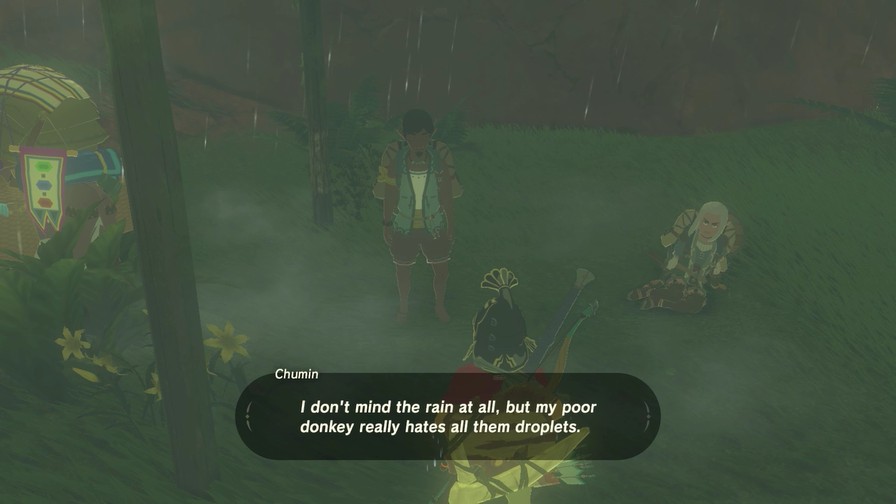
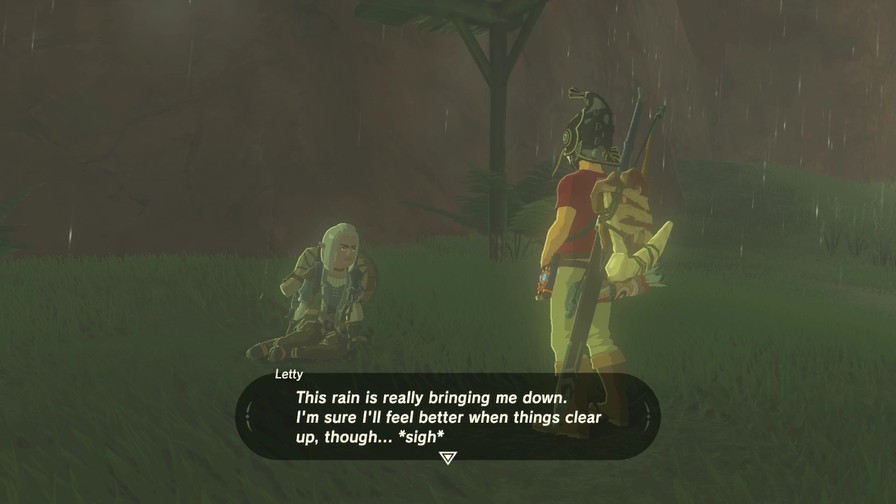
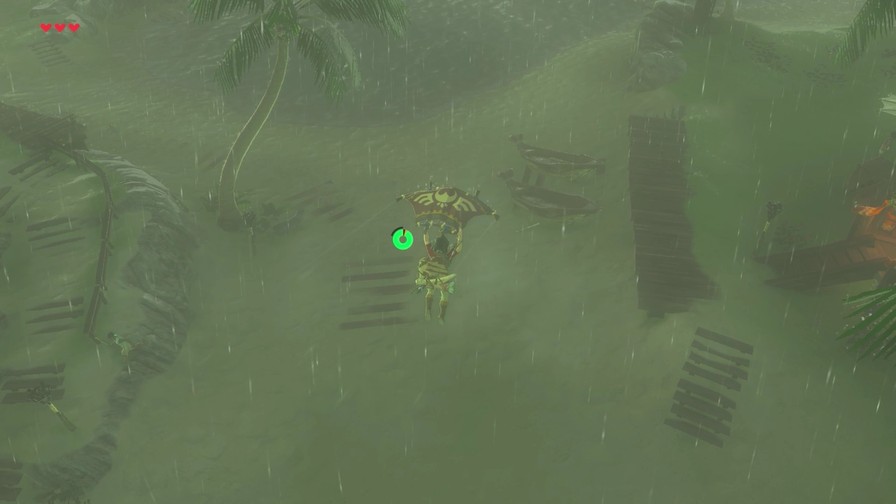
Further on, it starts raining. A couple of fellow travelers take shelter under a nearby canopy. A pretty nice touch.
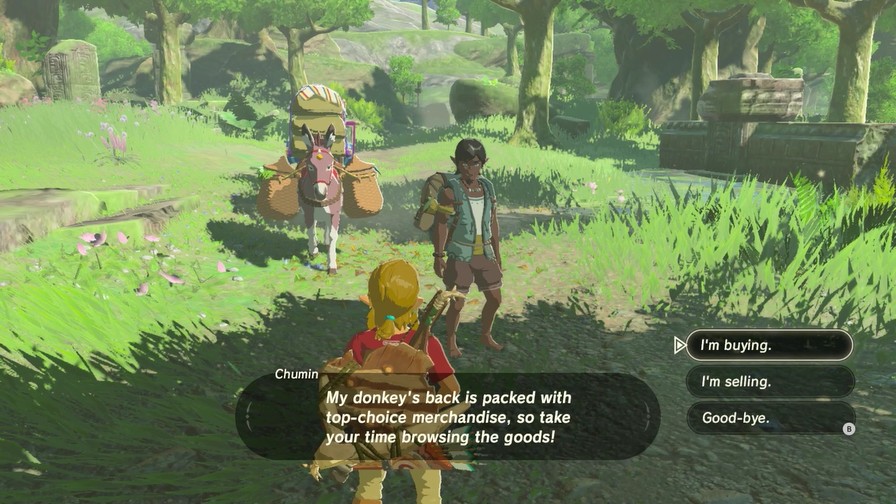
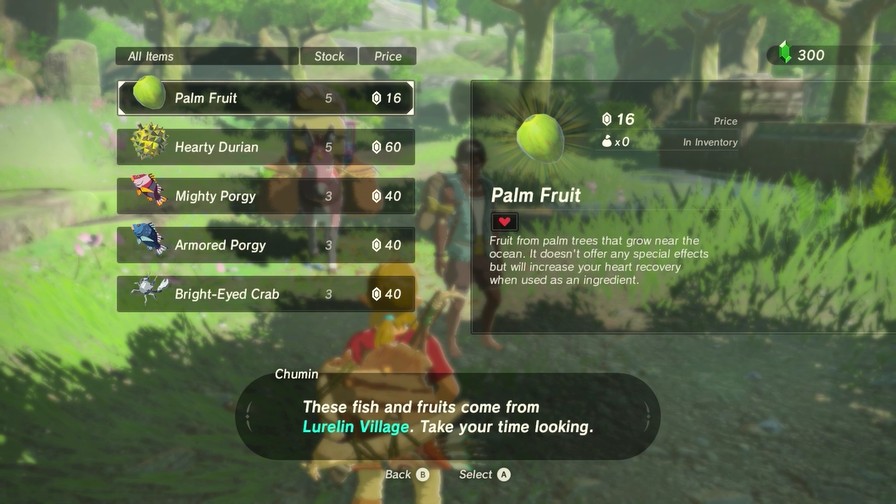
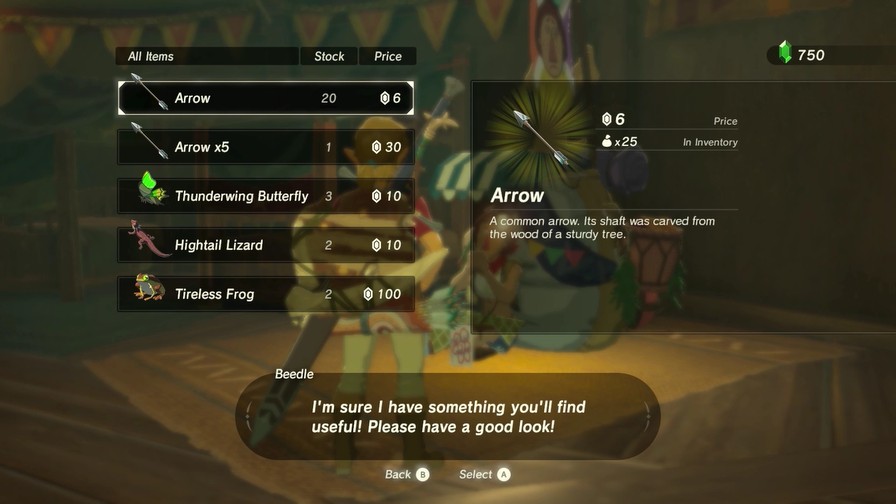
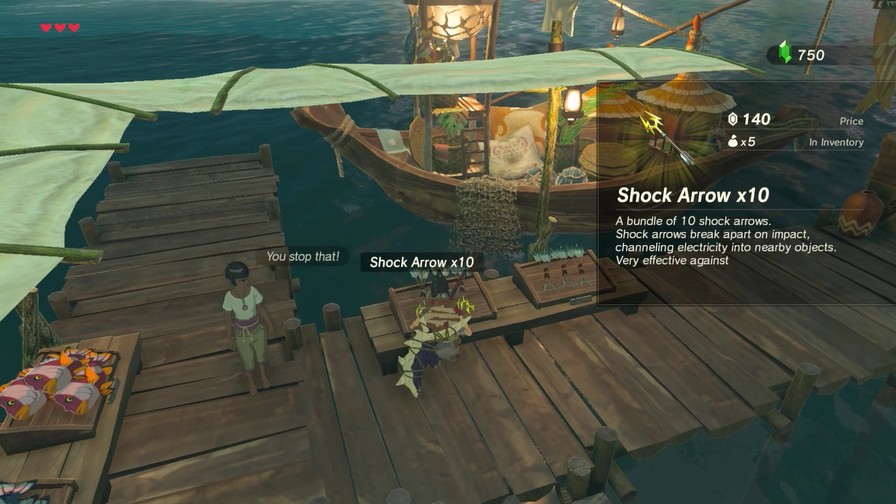
Chumin has more stuff to sell, nothing terribly interesting though.
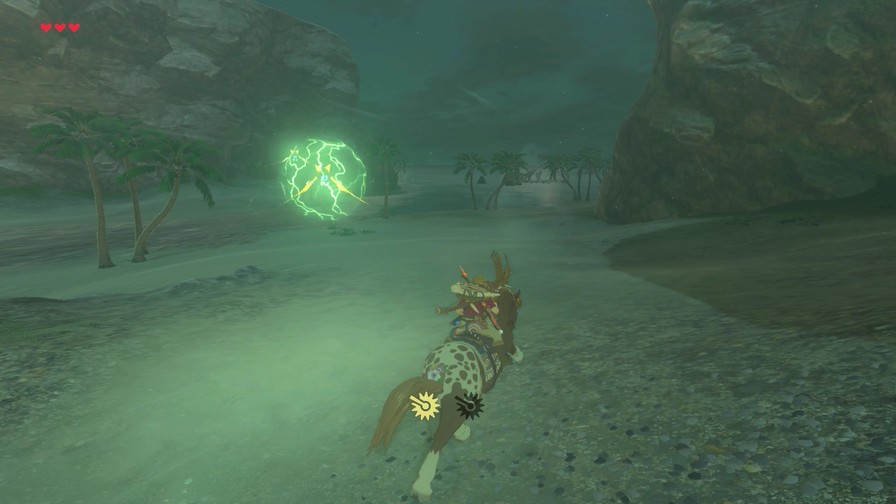
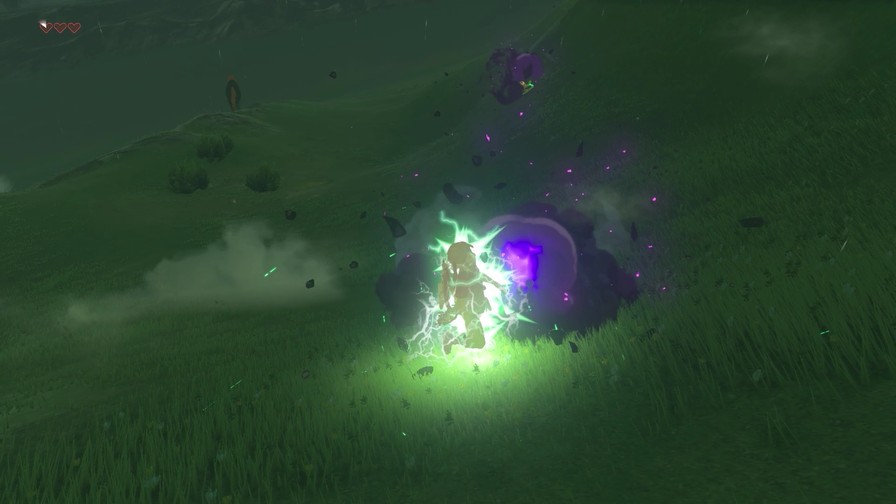
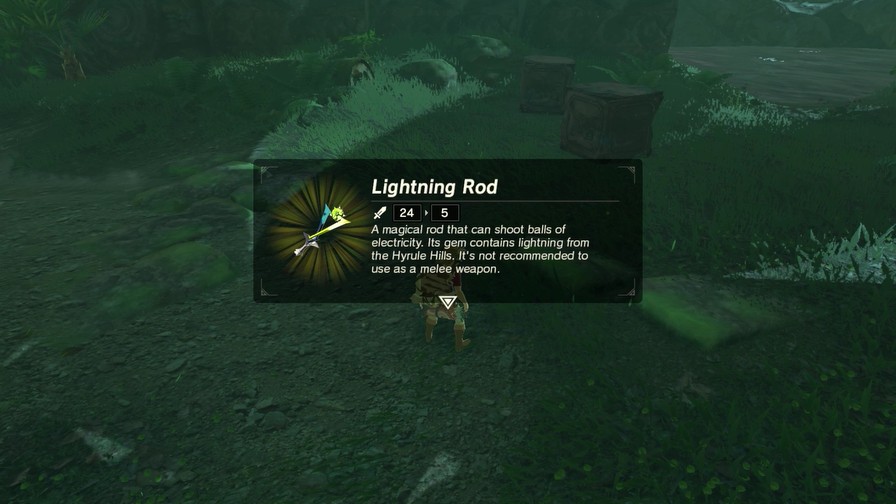
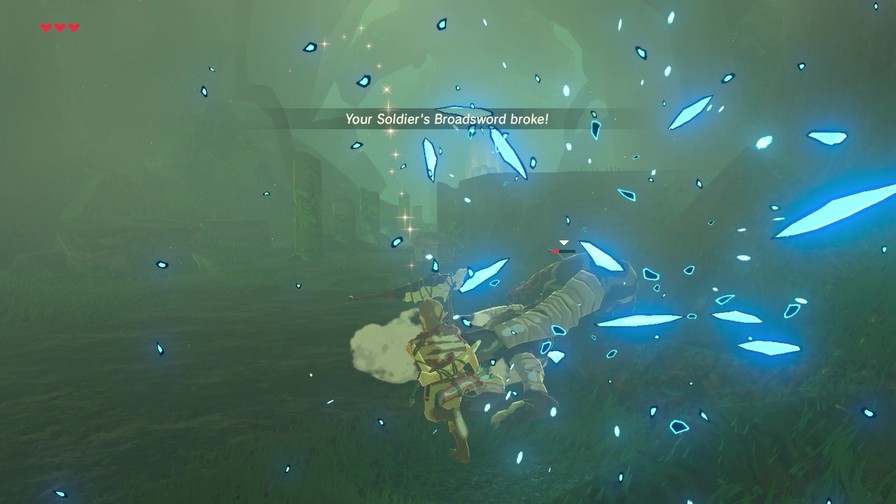
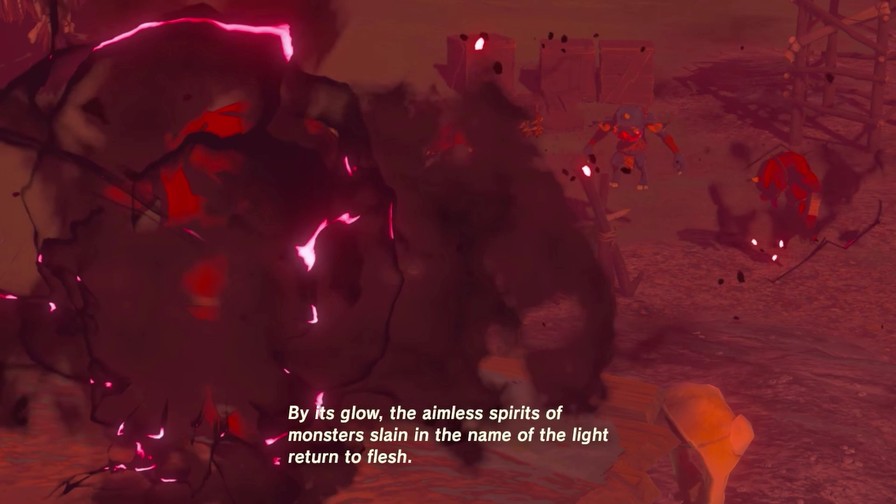
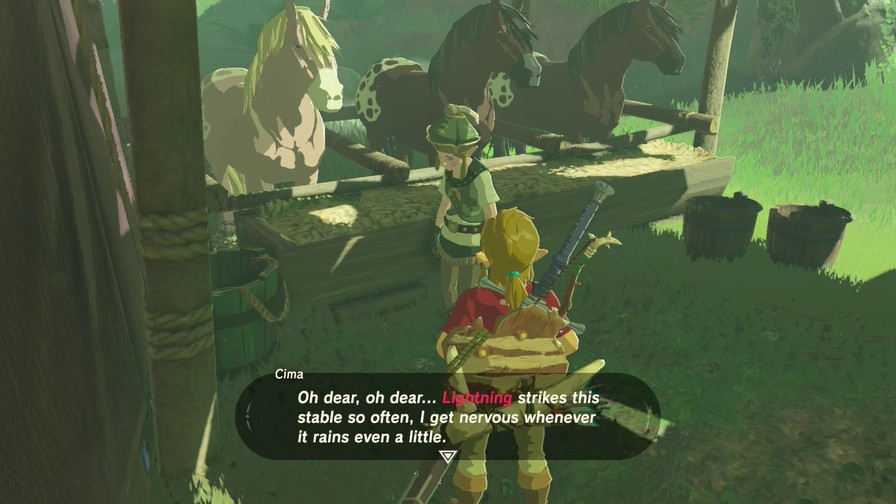
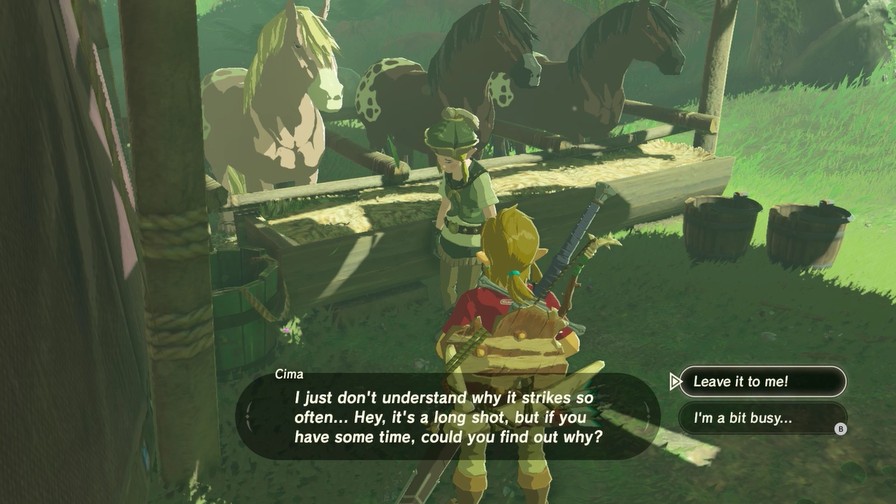
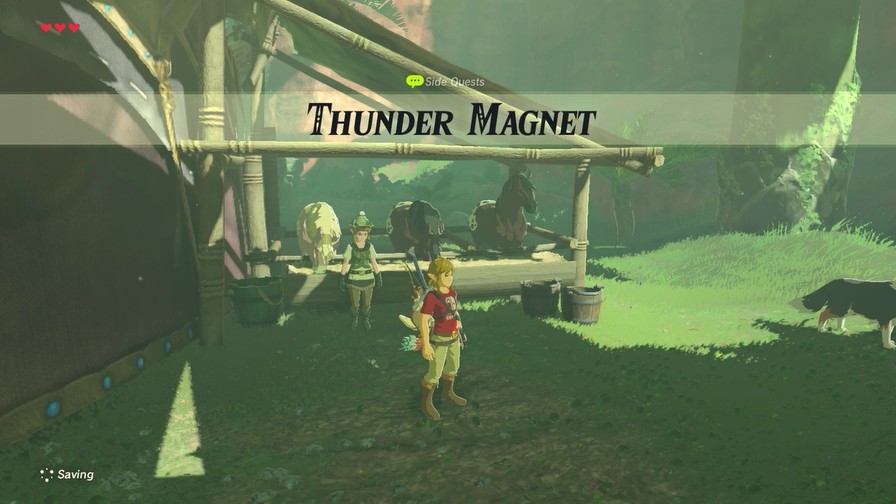
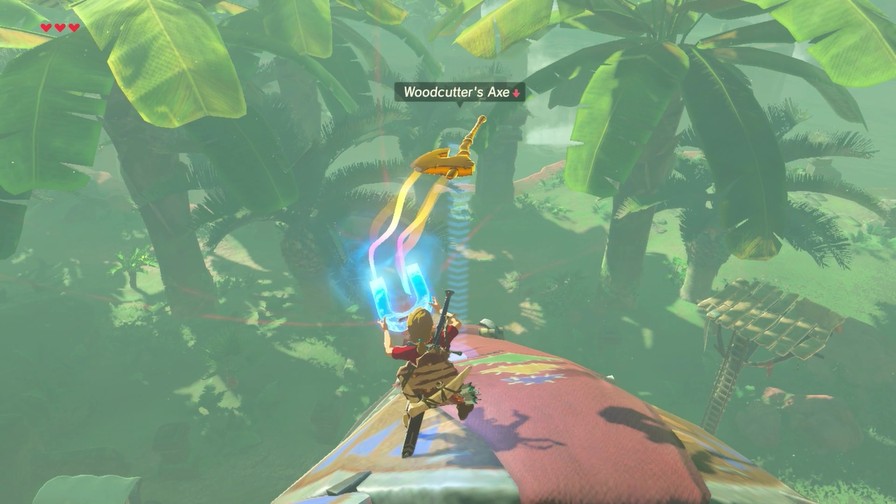
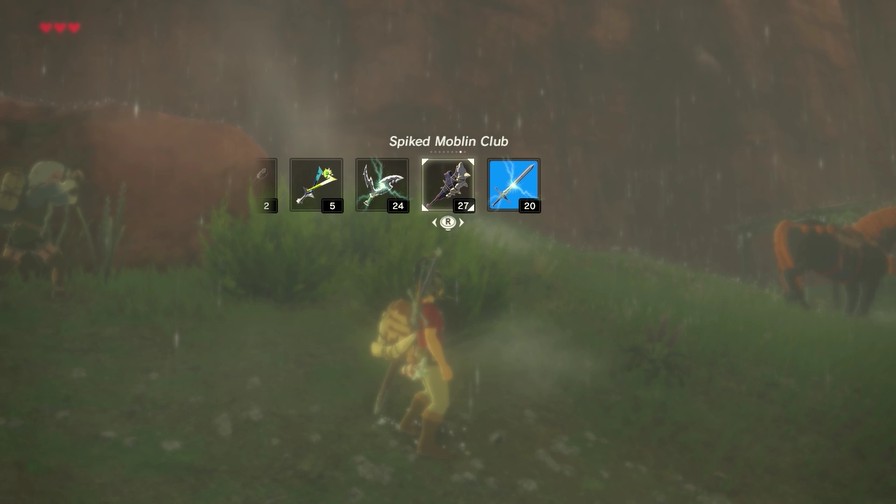
Anyway, this isn’t mere rain, but a thunderstorm. The difference?
https://mp4.mega64.net/botw/u14/015.mp4
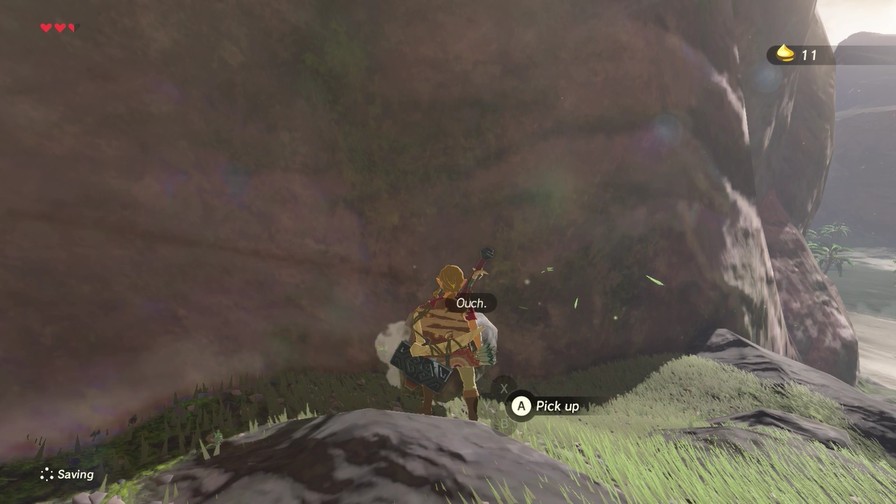
That.
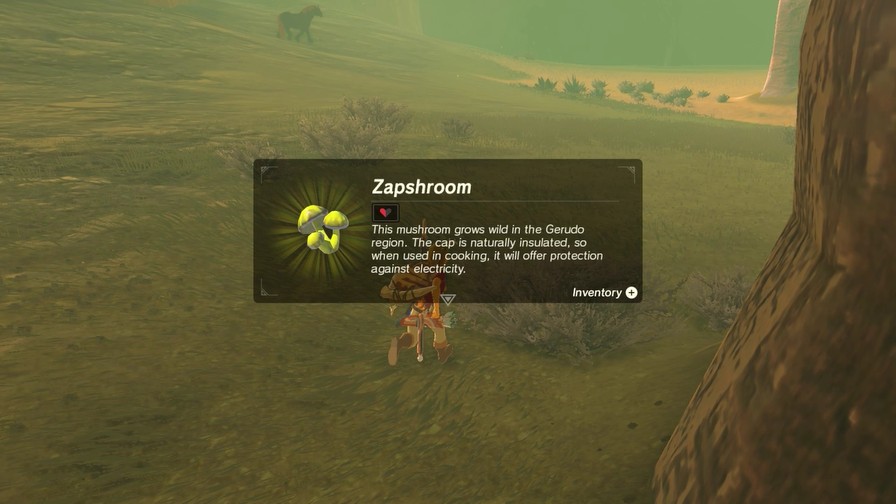
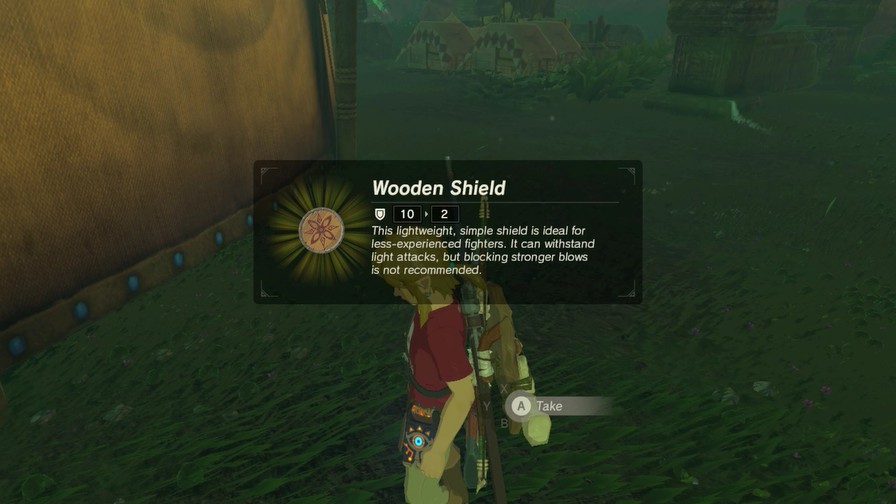
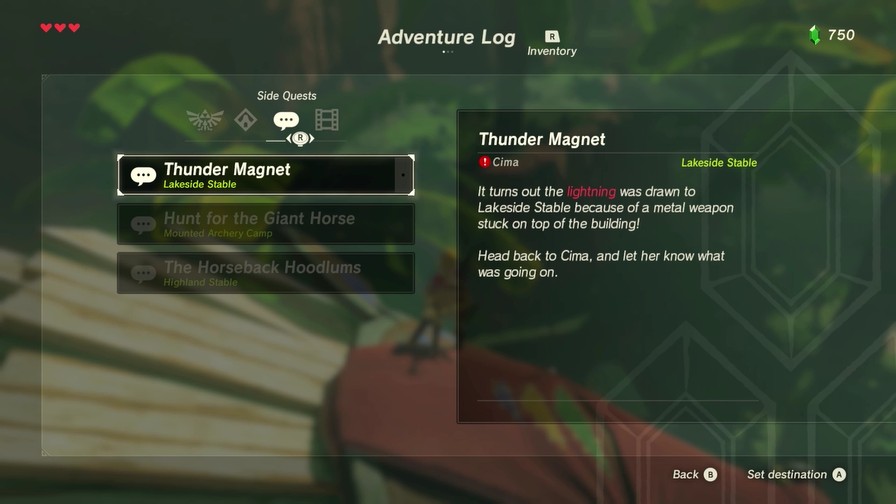
Metal weapons and shields make you into a lightning rod. Thus you’ll want to switch to wood or no weapons at all.
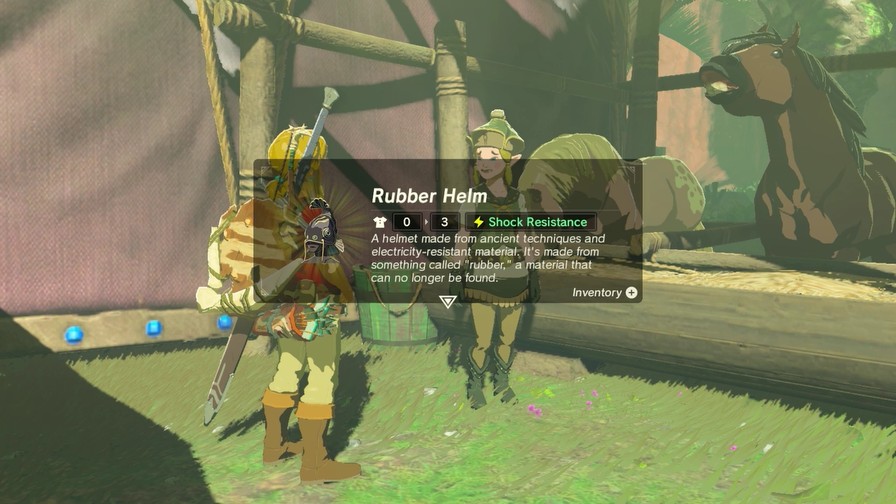
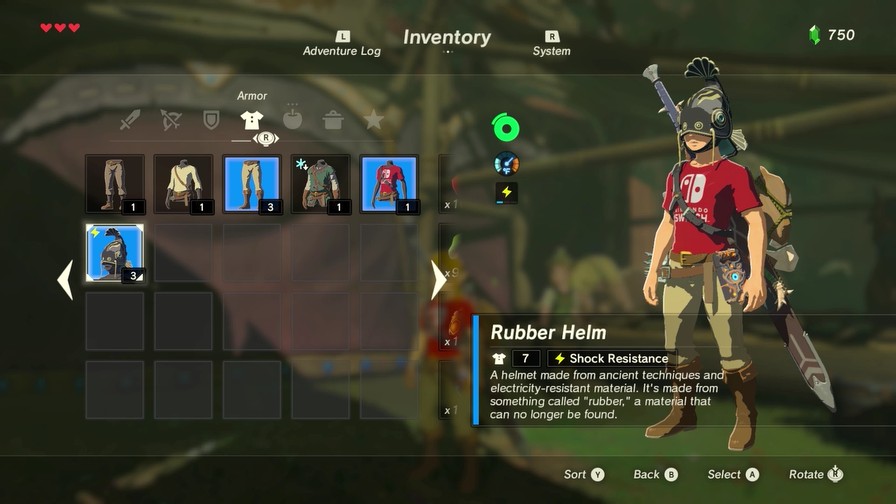
And no, our helmet can’t stop the lightning. It can only resist so much damage, and lightning is crazy powerful. Getting hit by it hurts.
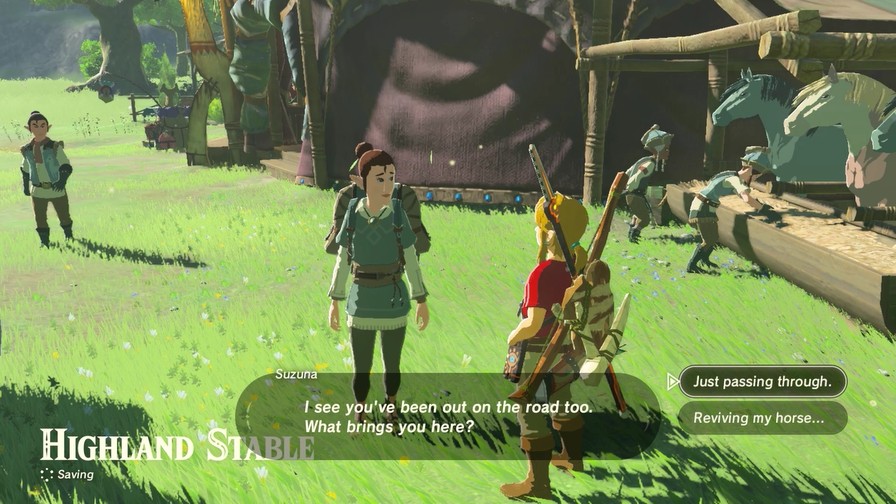
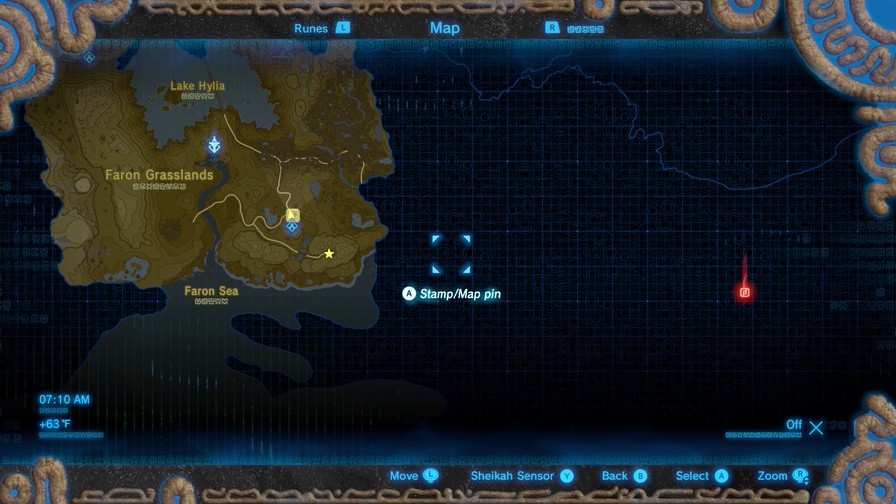
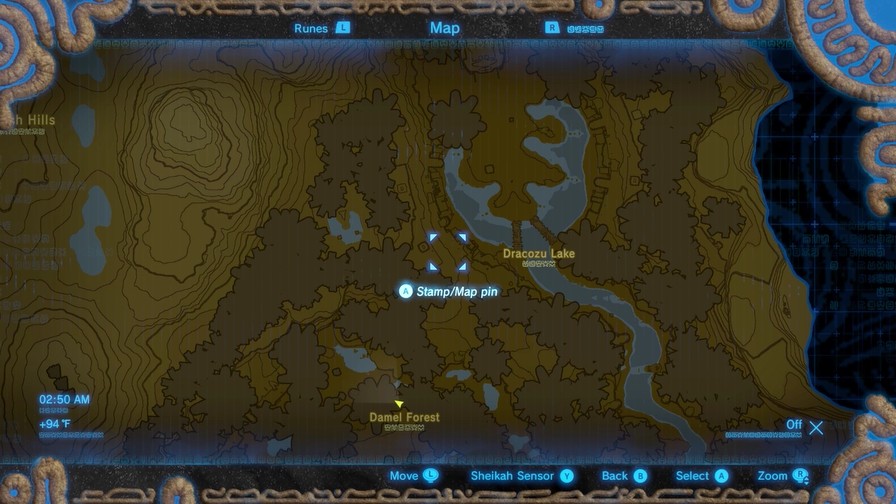
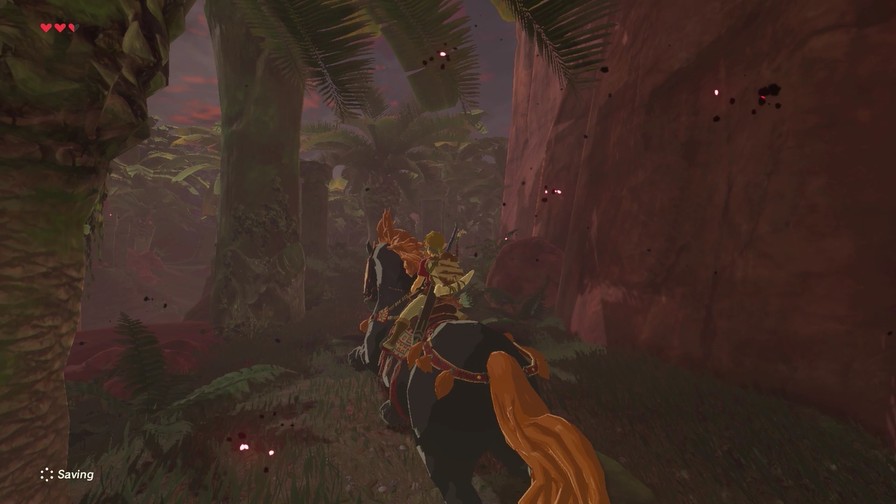
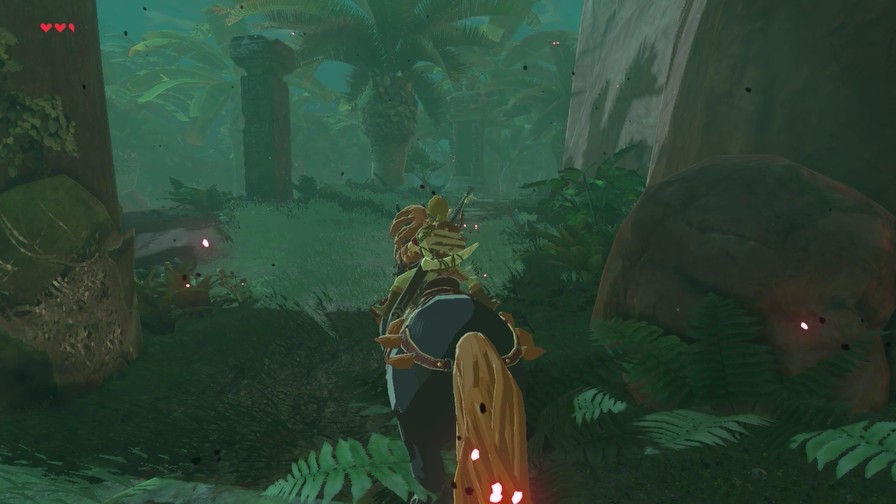
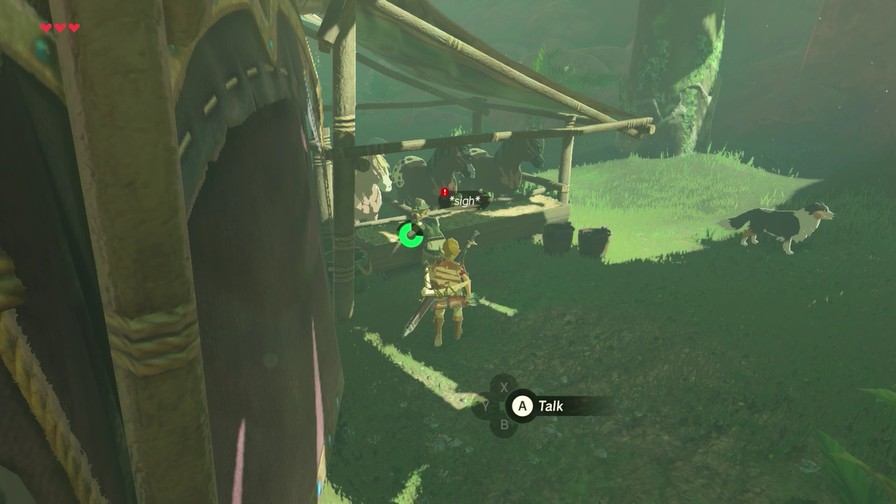
There’s a place out there called Highland Stable. But be careful - there’s a bunch of monsters on the way.
Got some new dialogue after reloading the save, but nothing terribly exciting.
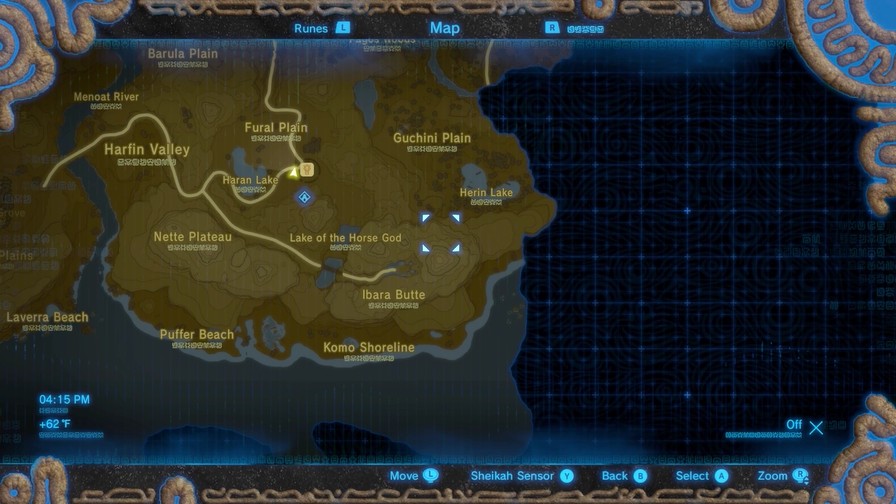
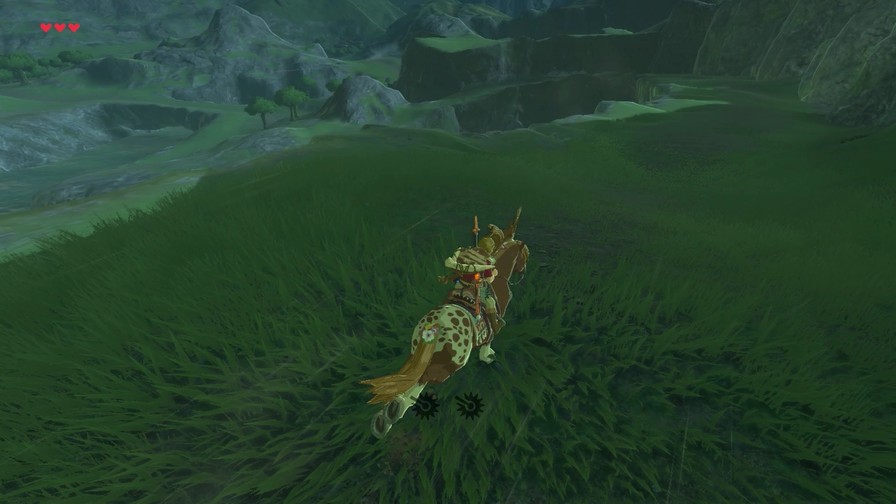
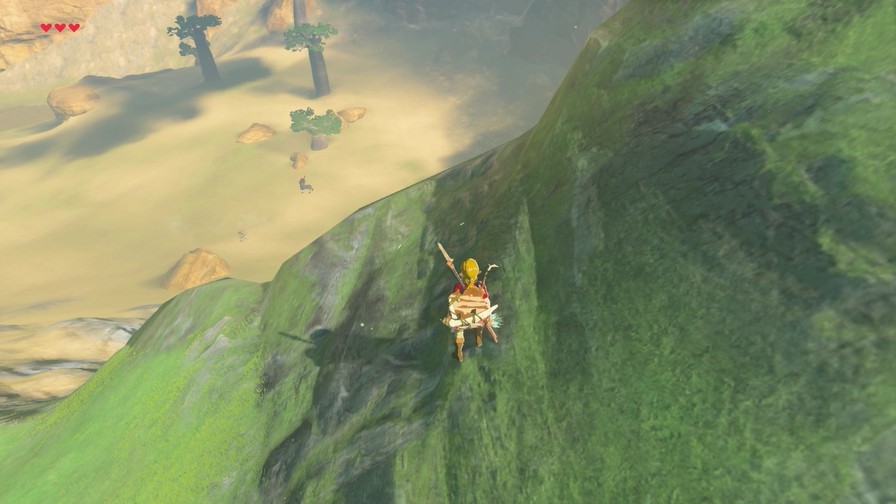
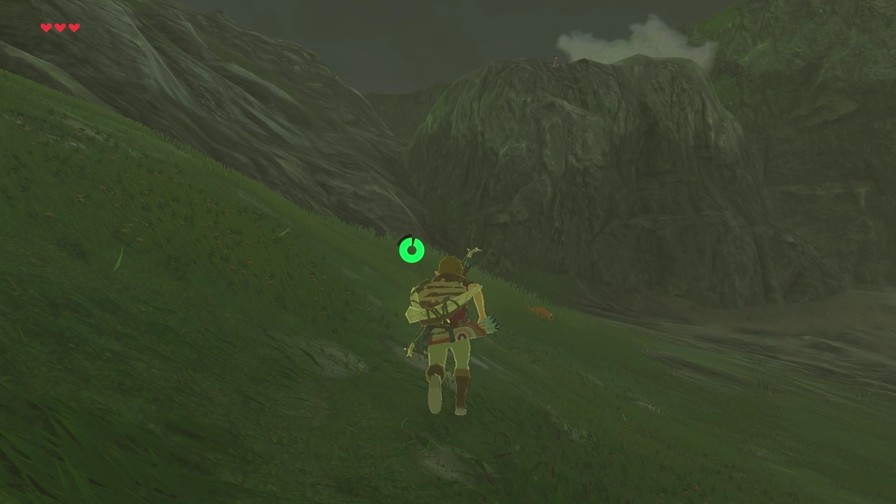
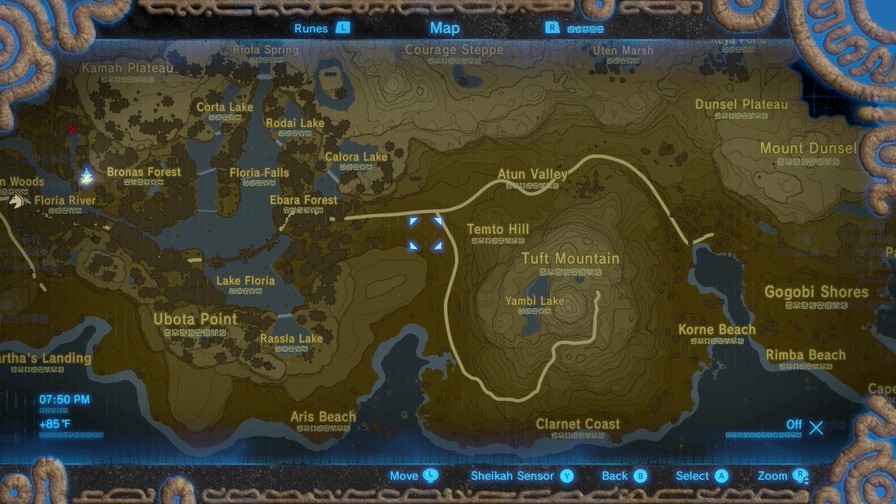
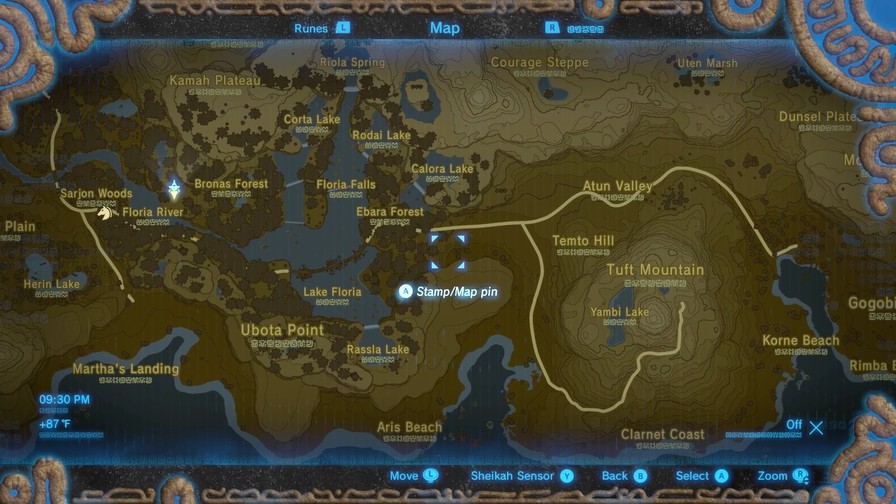
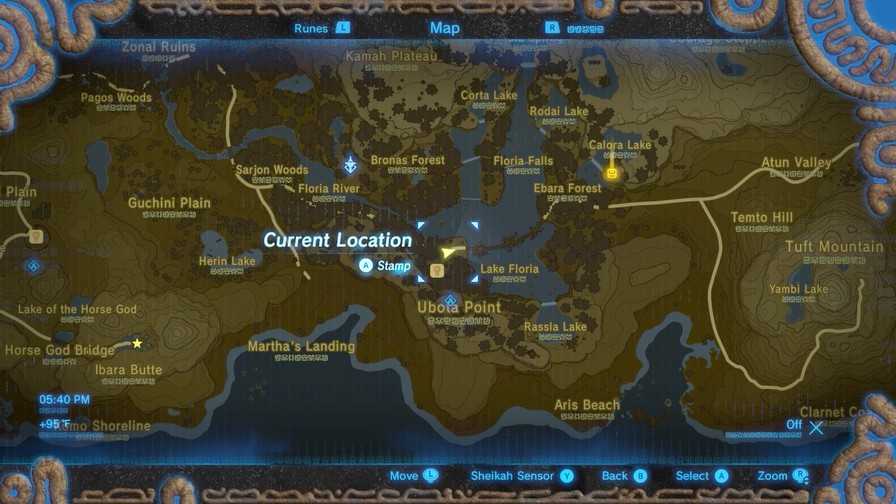
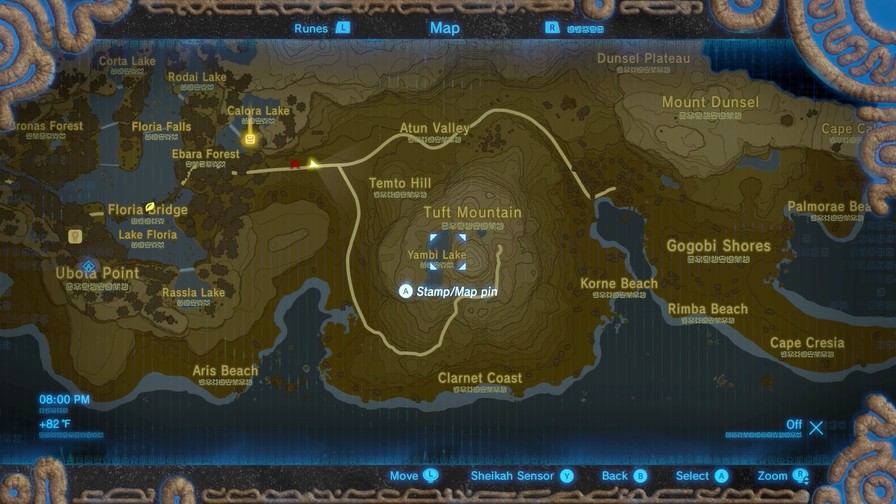
We’ll be skipping the mountain in favor of taking the northern road to its end point.
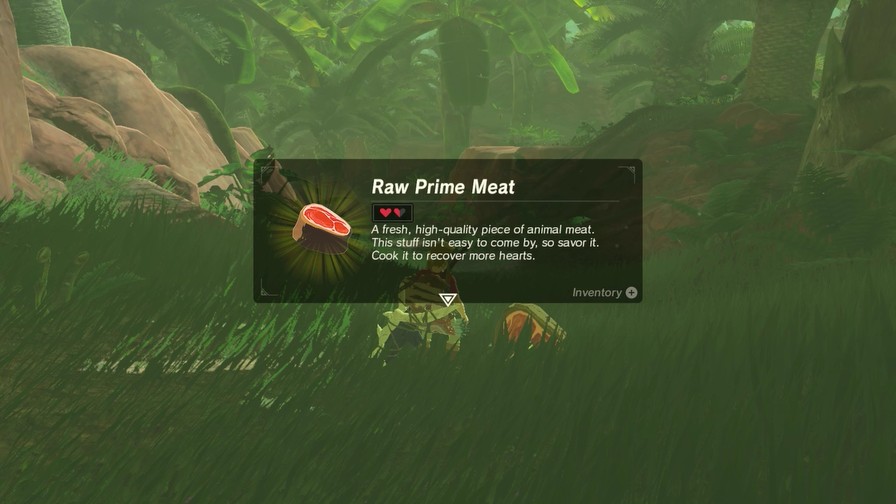
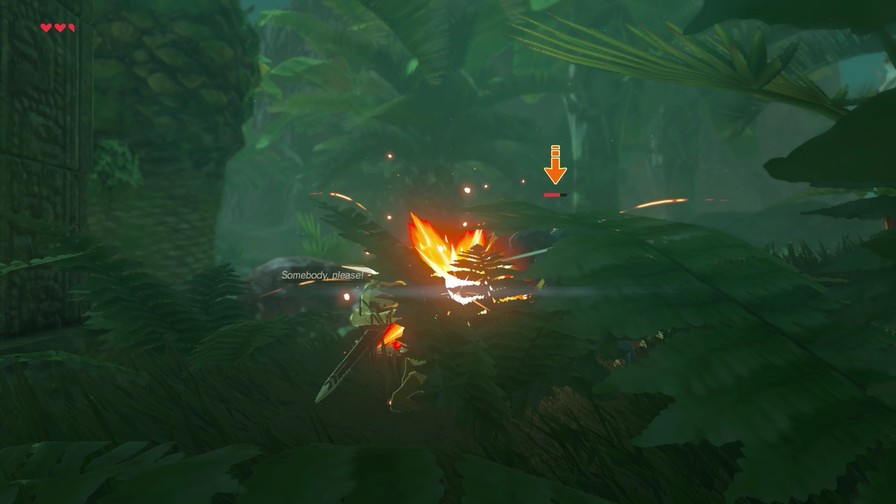
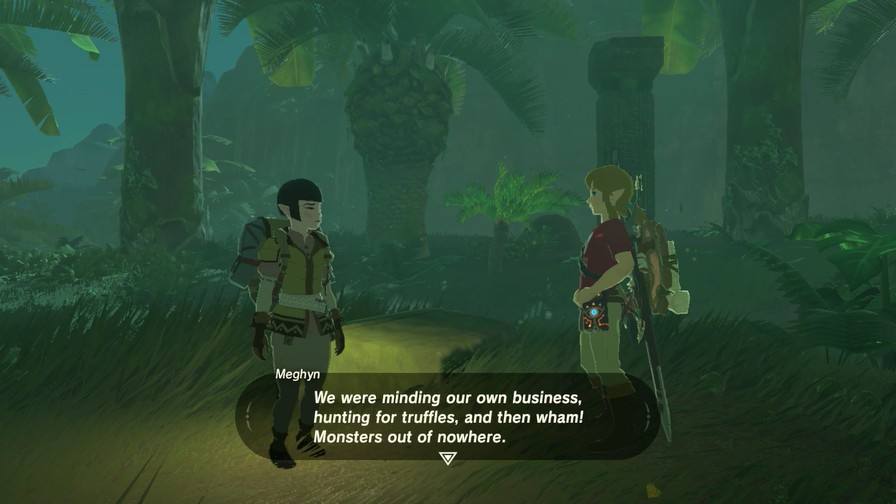
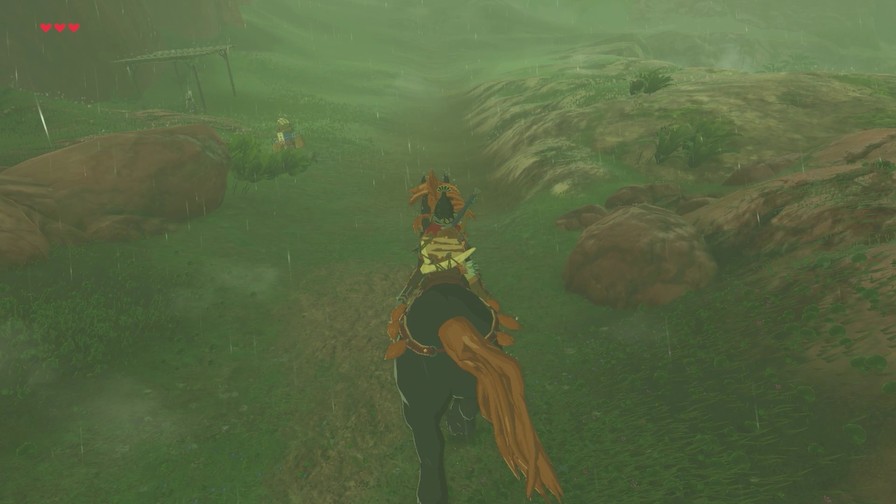
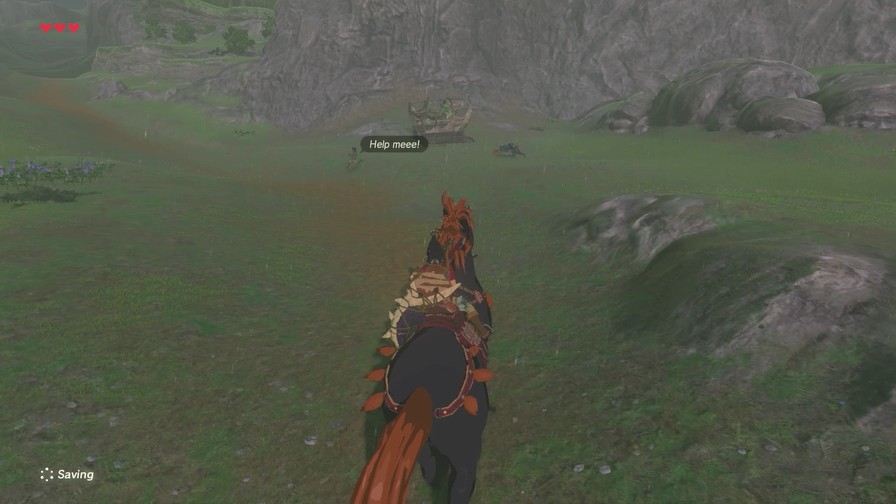
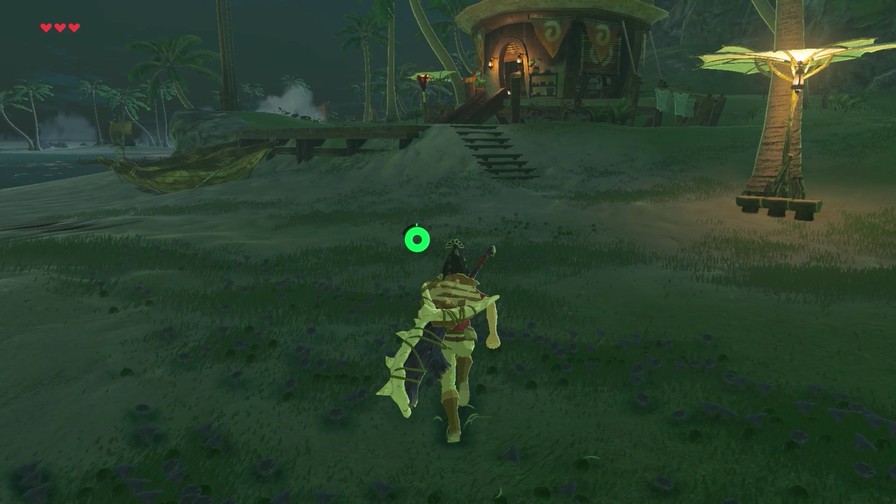
Another person in distress.
Nothing special.
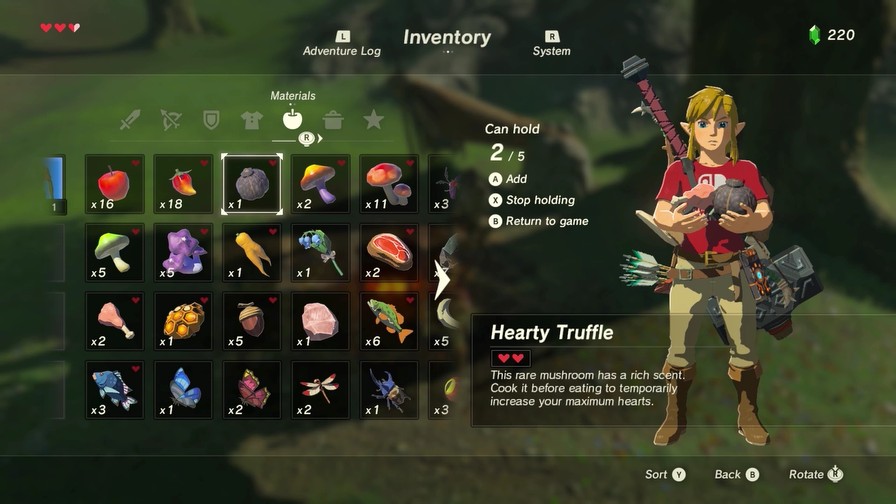
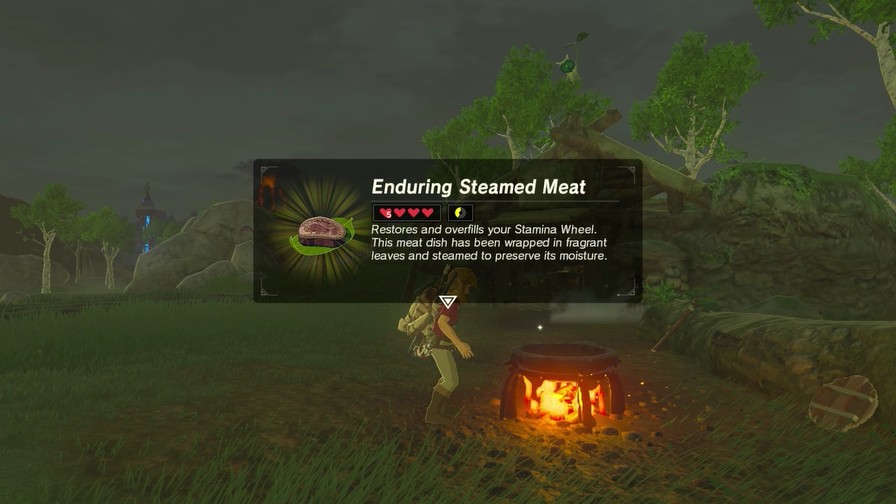
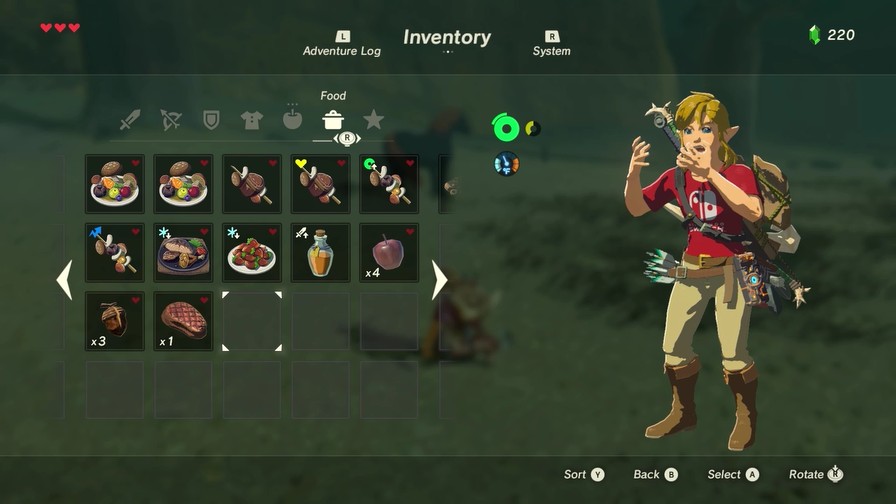
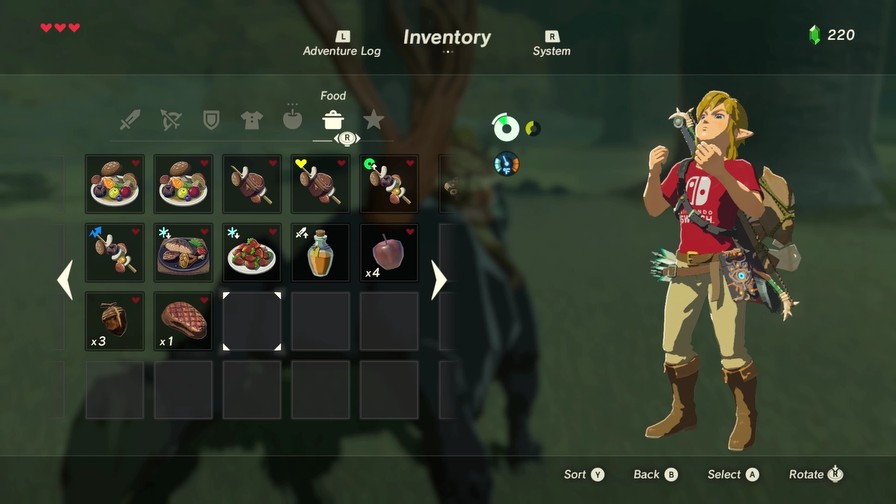
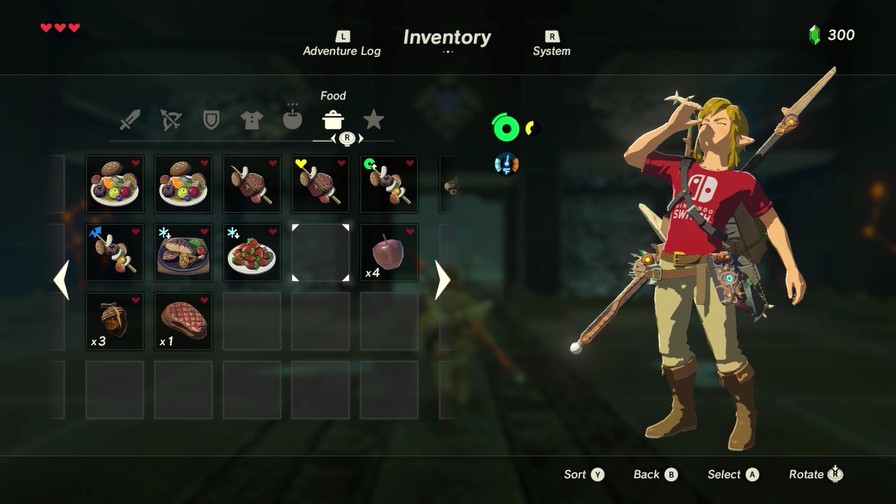
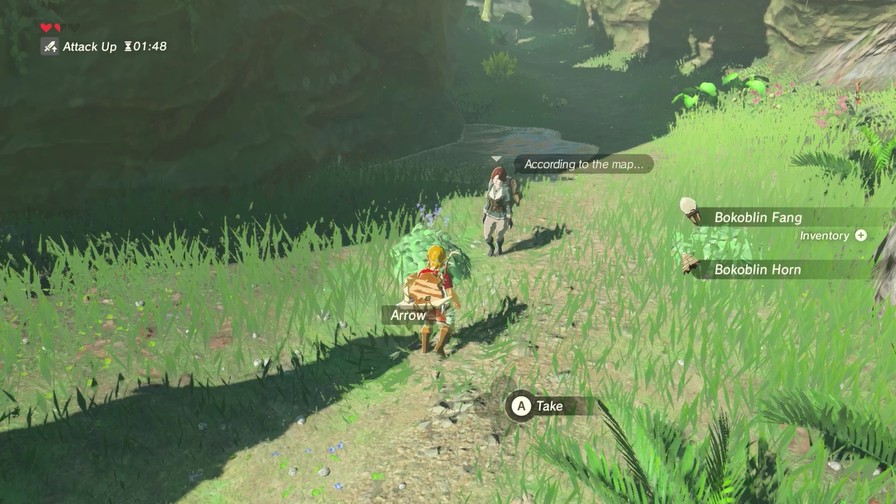
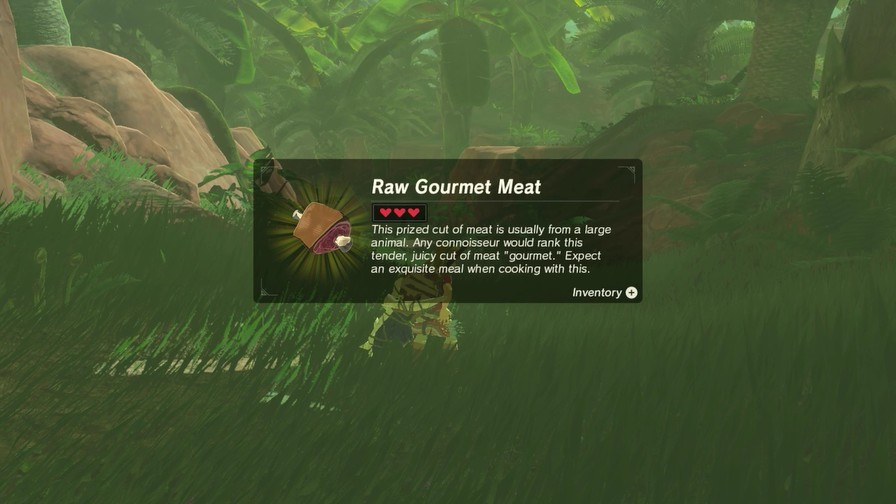
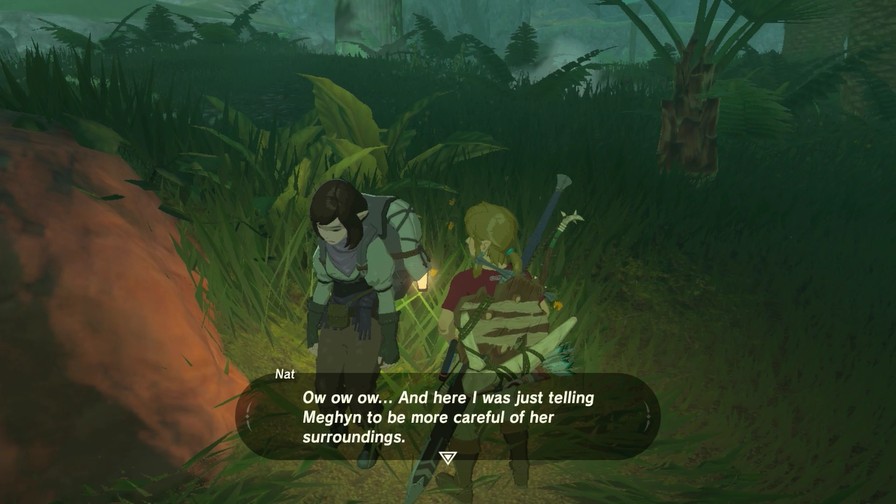
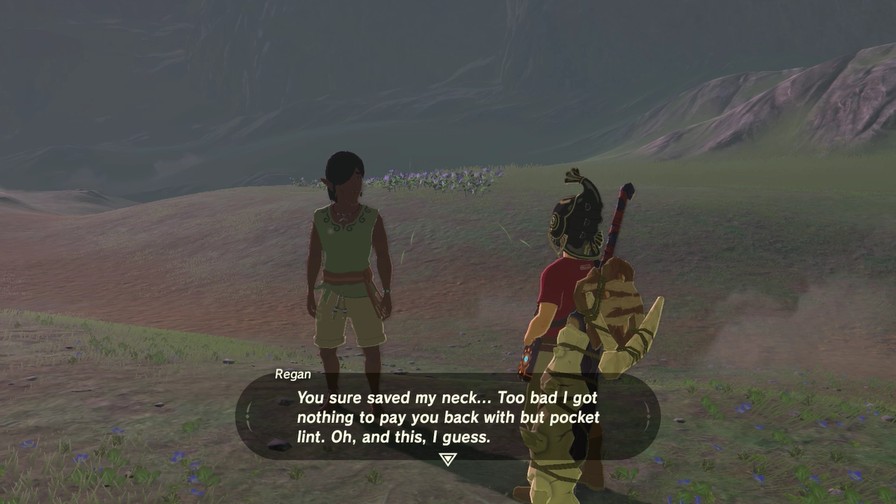
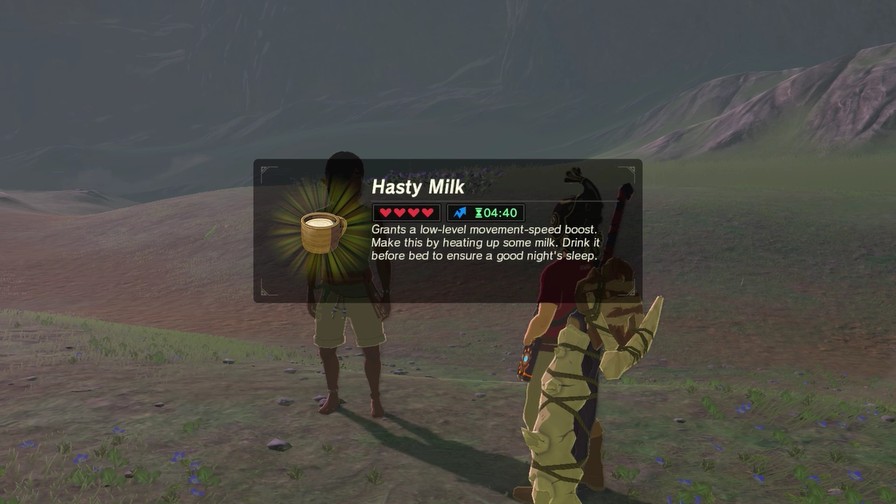
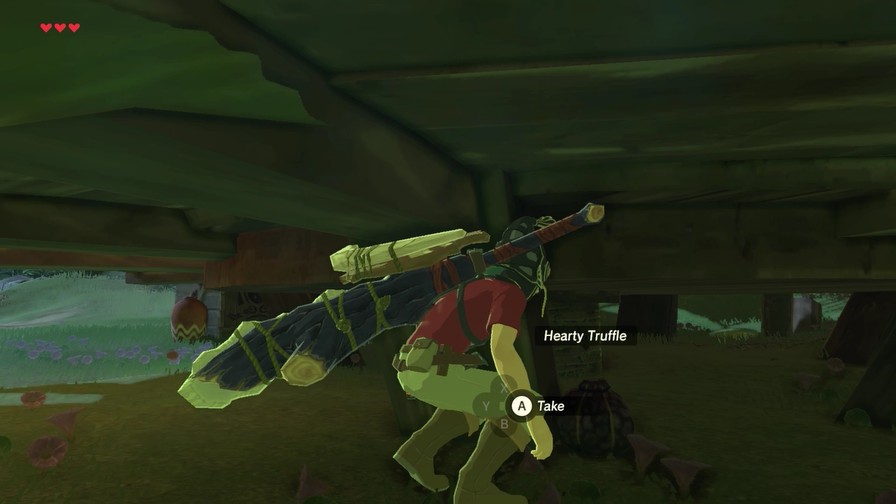
Most travellers will actually give you simple meals for saving their hides. You know, travellers not obsessed with truffles.
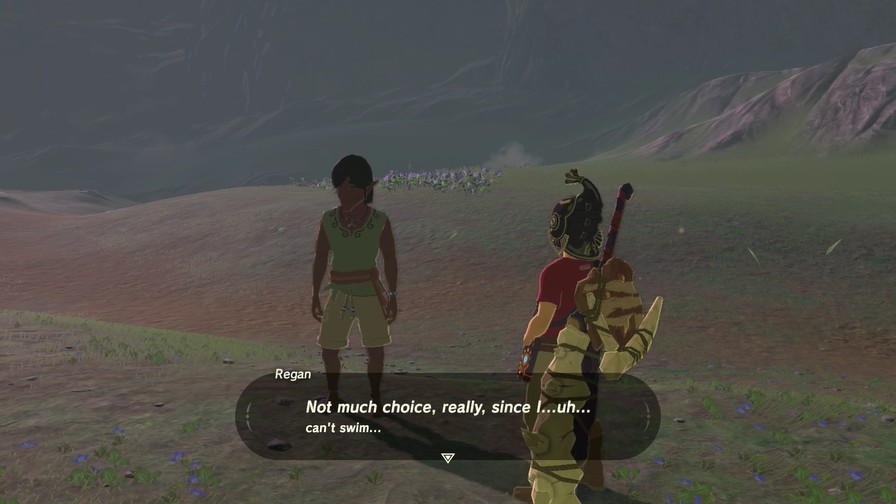
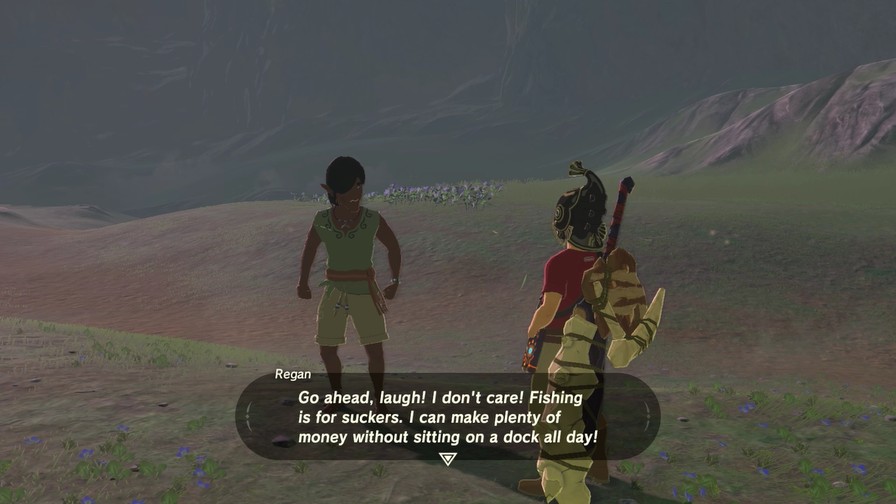
I ran away from Lurelin Village just up the road. The whole place stinks of cut-up bait and fish guts. Well, that’s no life for me! I’m gonna make my living as a scavenger, fishing around Hyrule’s rubble for neat stuff!
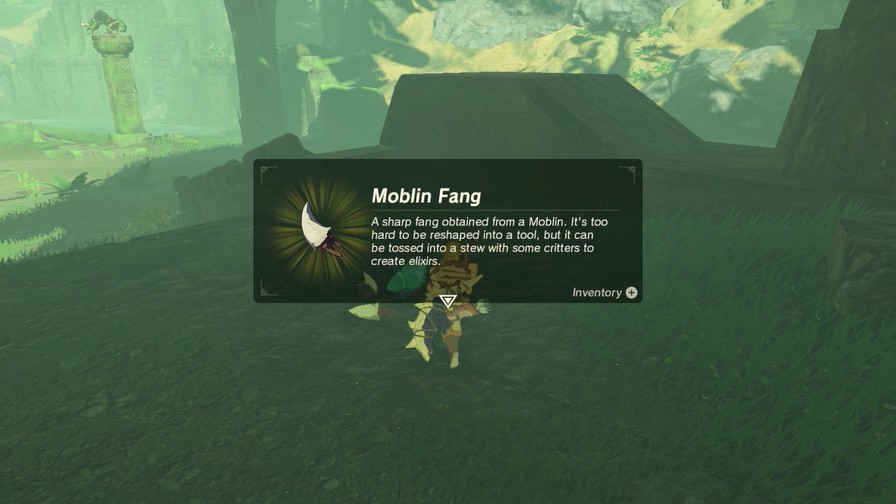
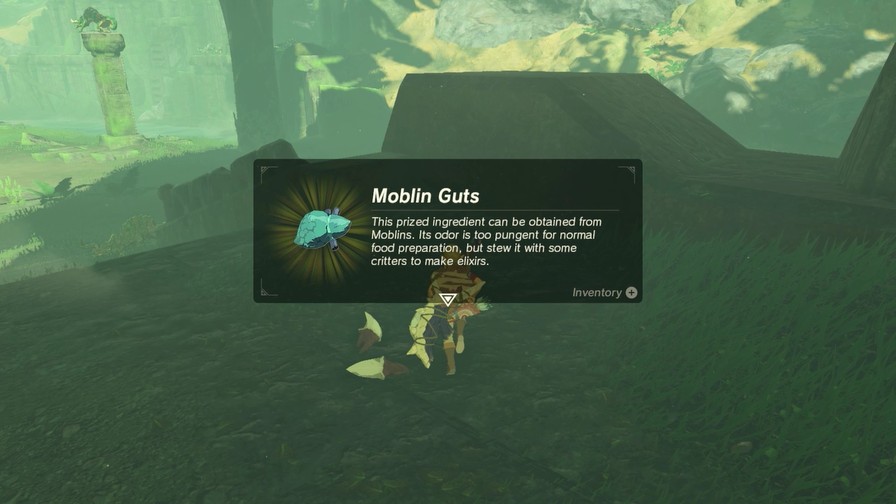
Yeah, good luck with all that scavenging. You know, with all the Bokoblins and Moblins and such about.
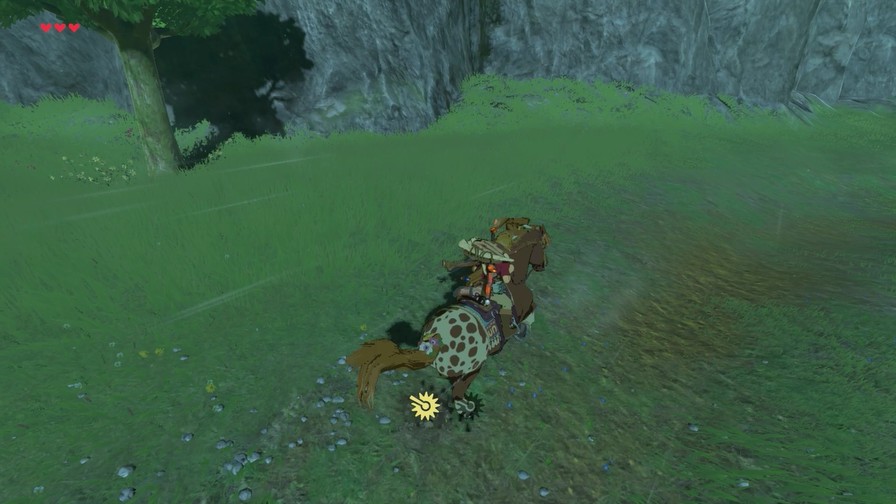
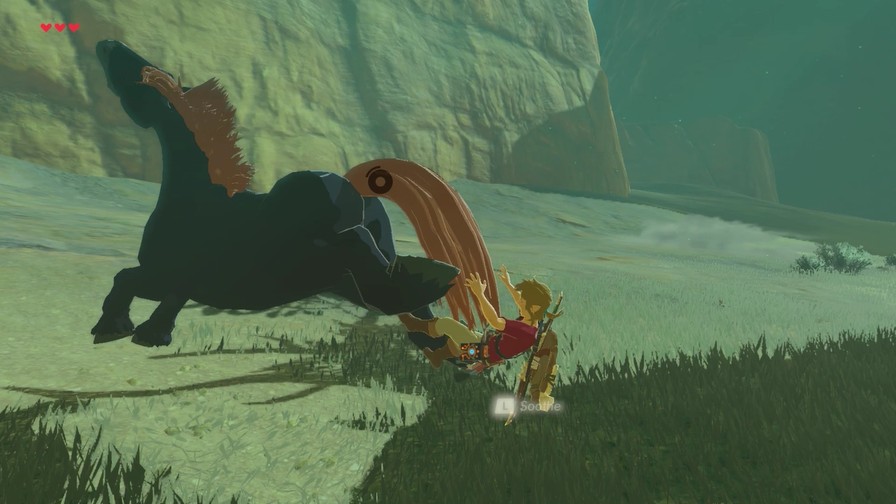
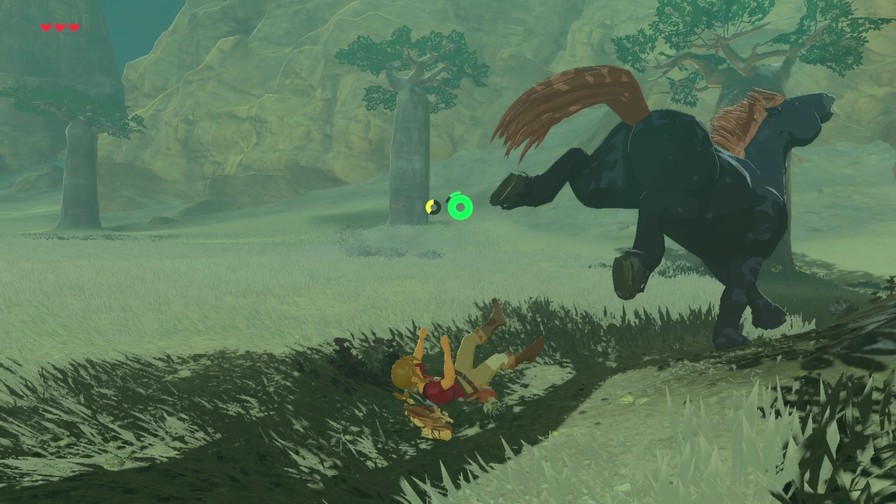
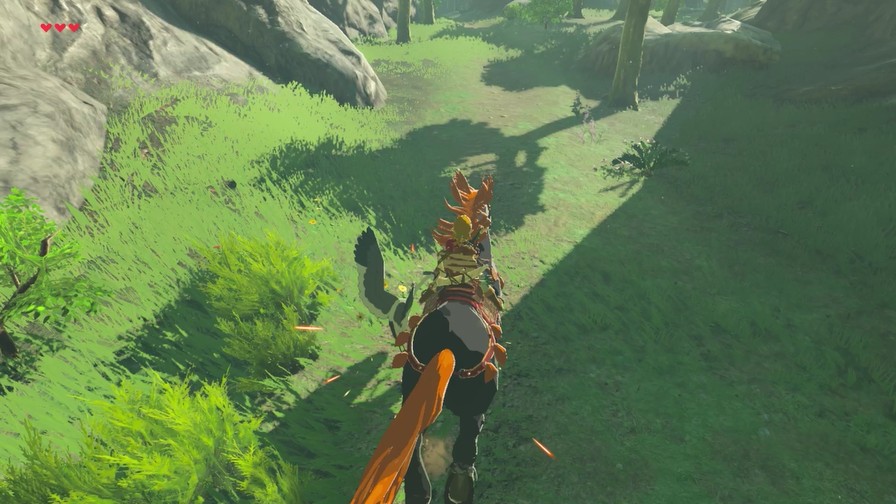
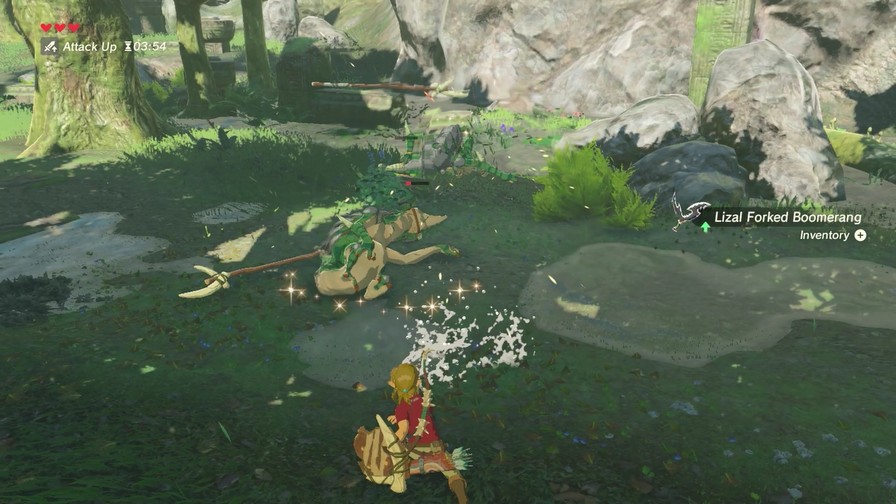
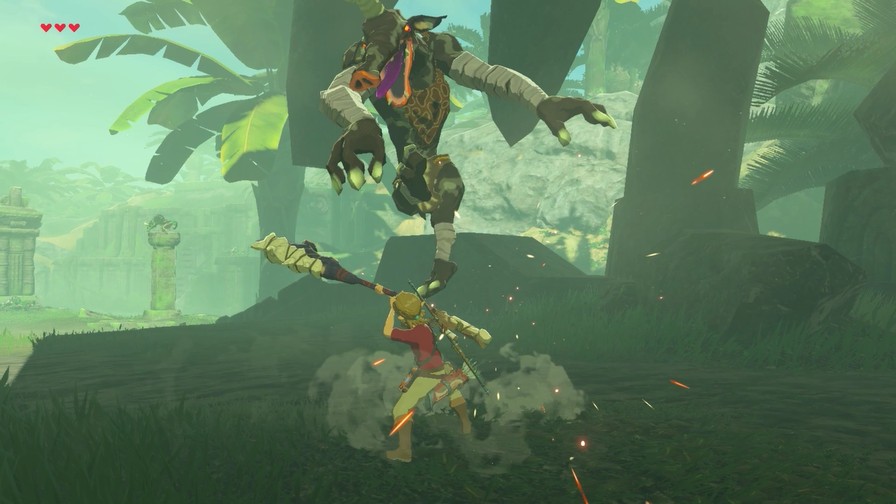
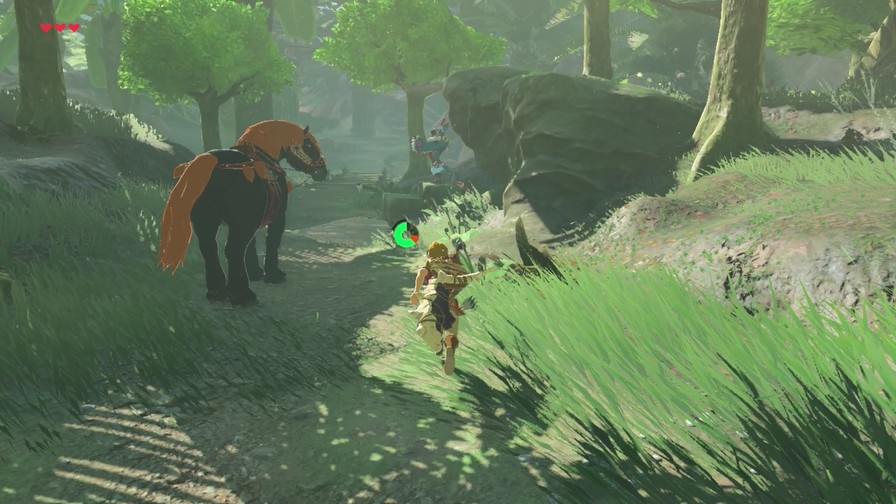
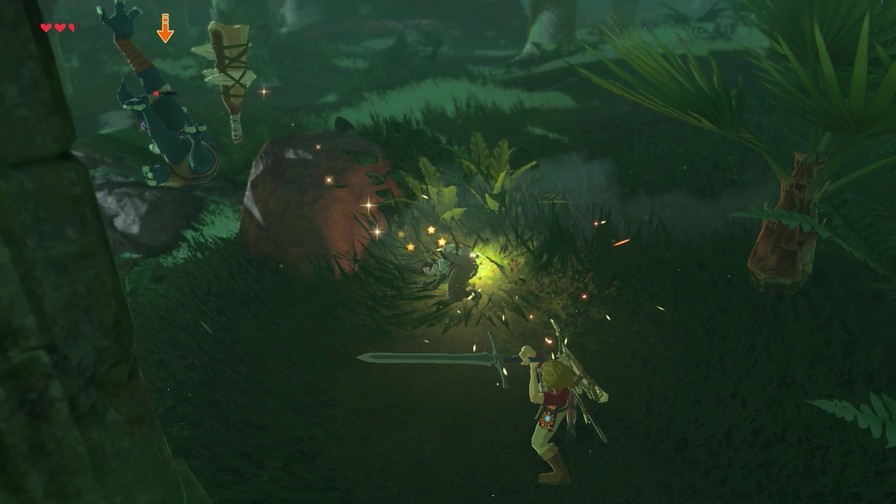
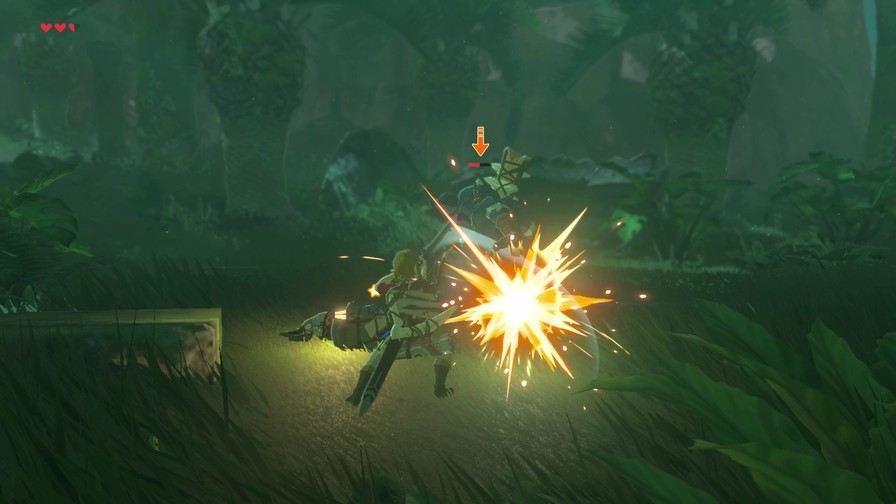
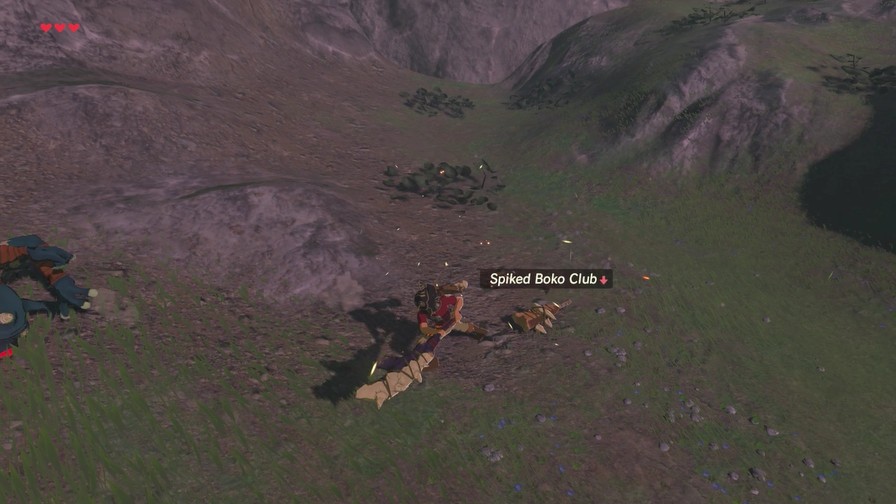
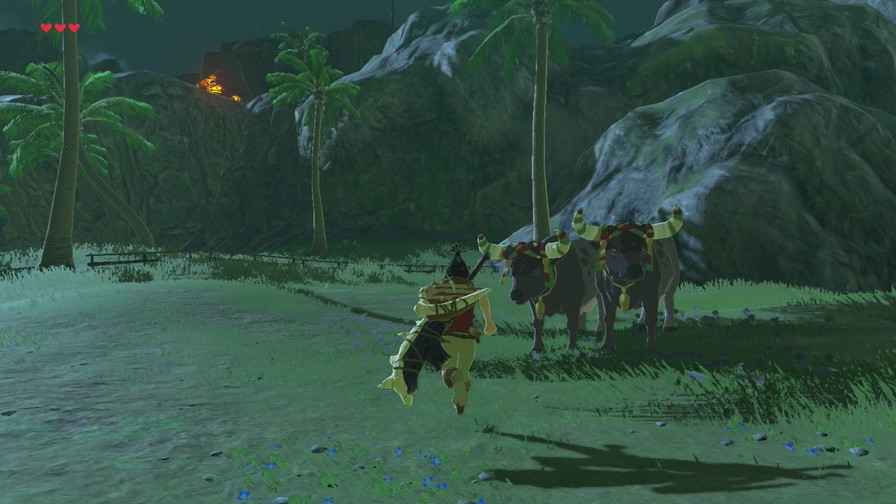
One dead ram later…
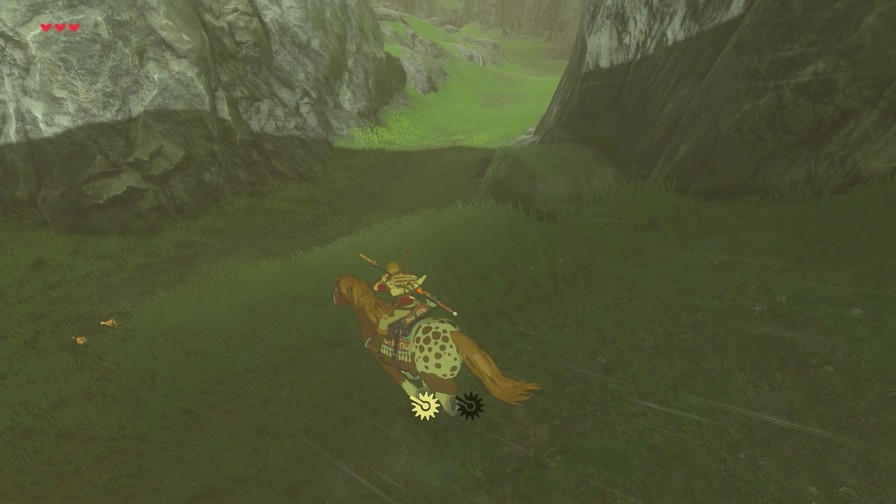
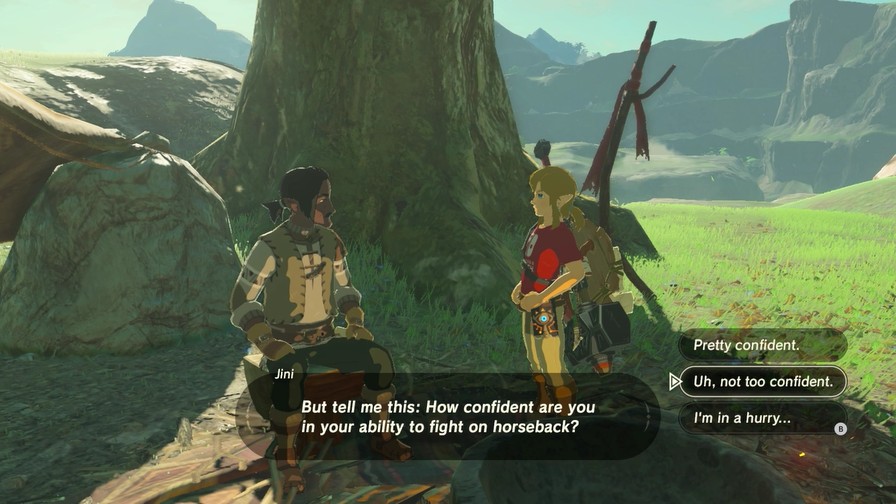
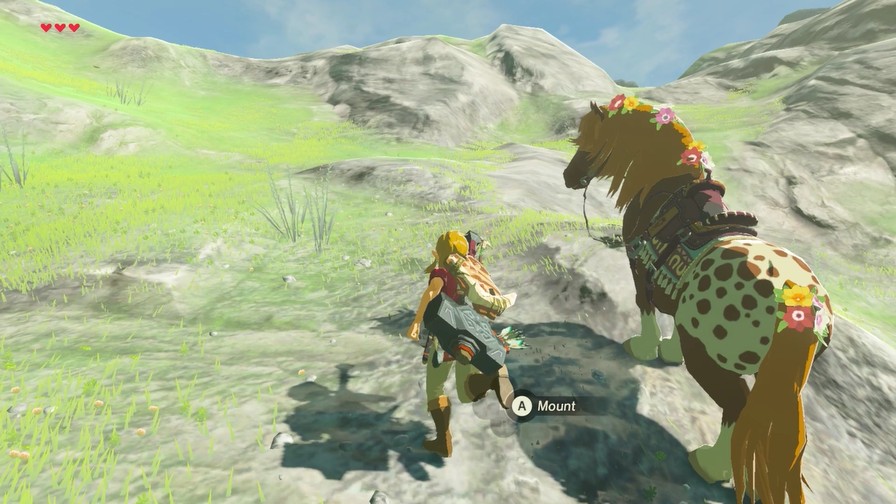
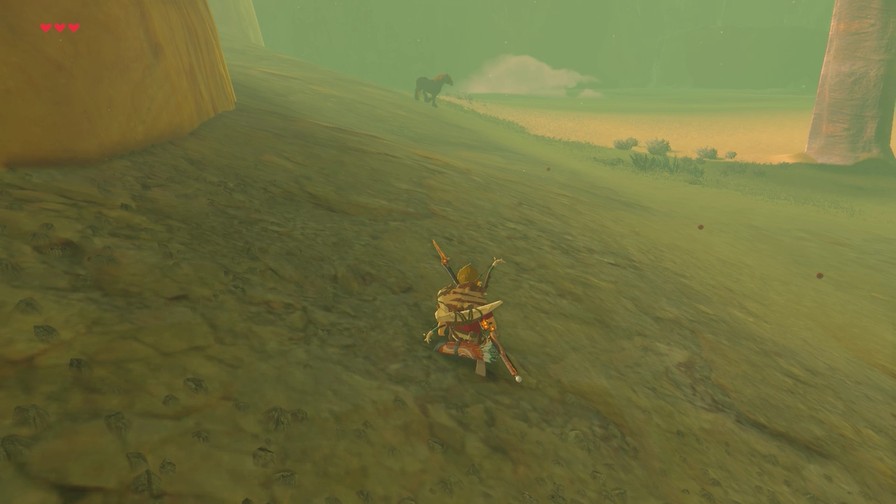
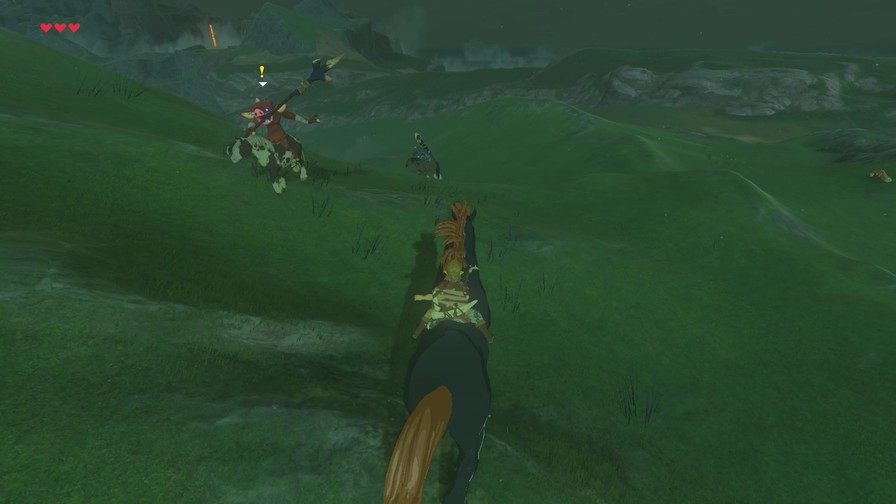
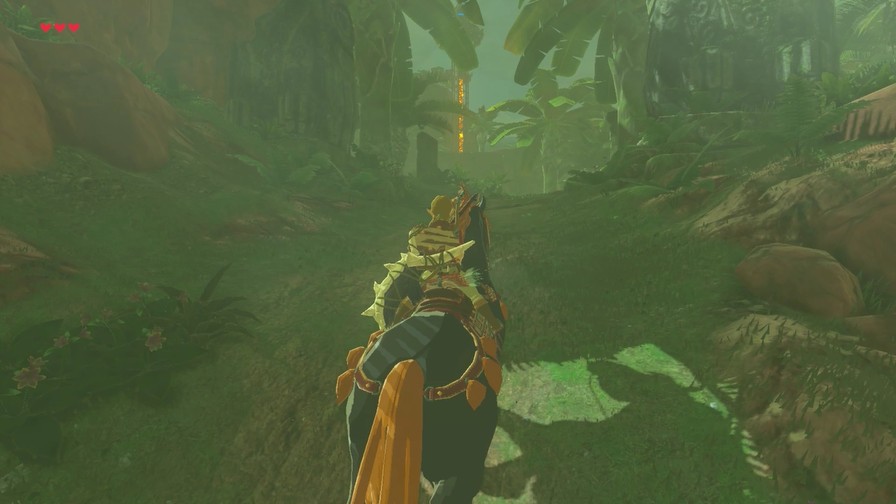
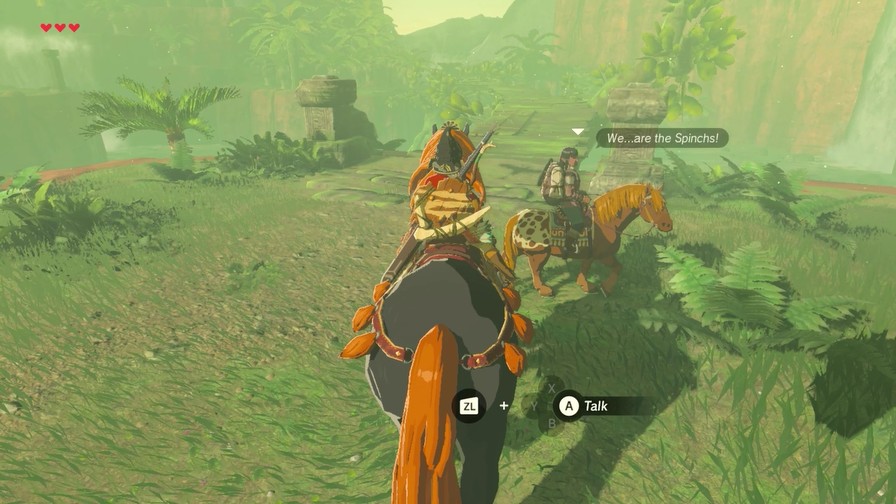
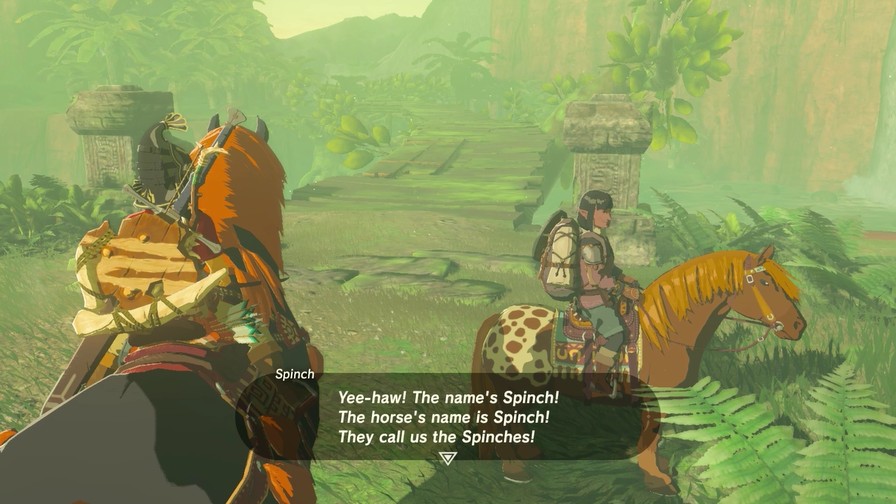
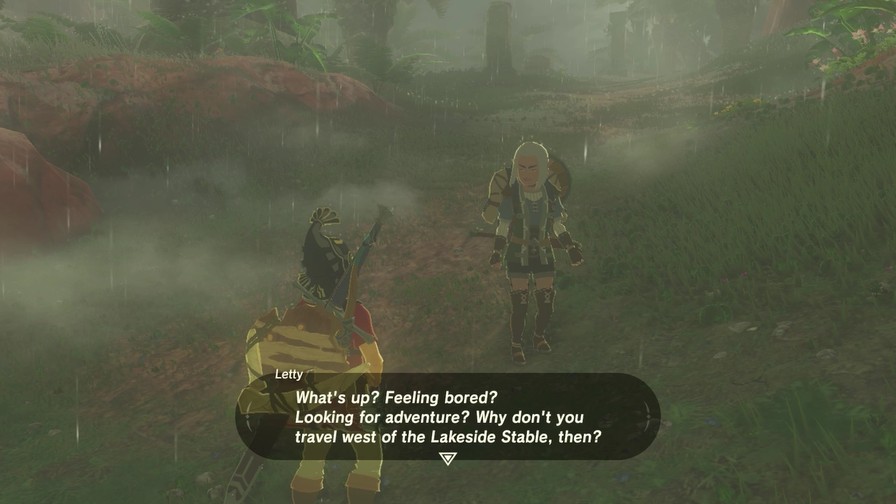
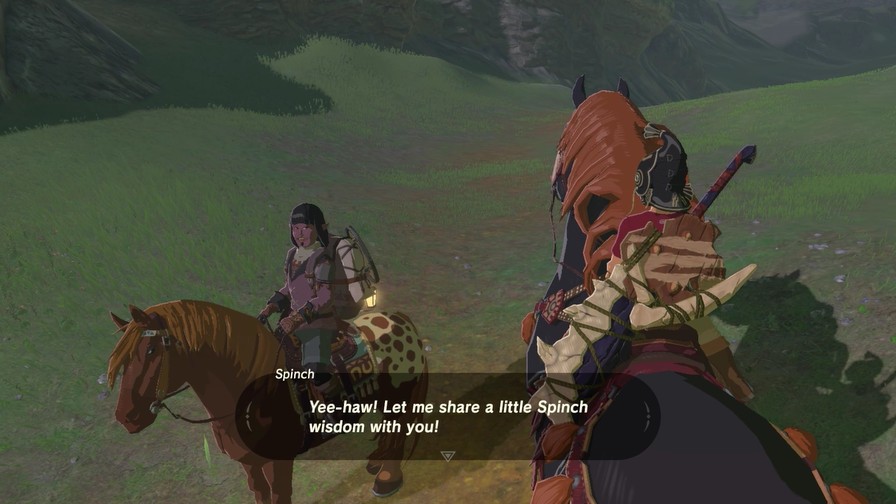
…Spinch again?
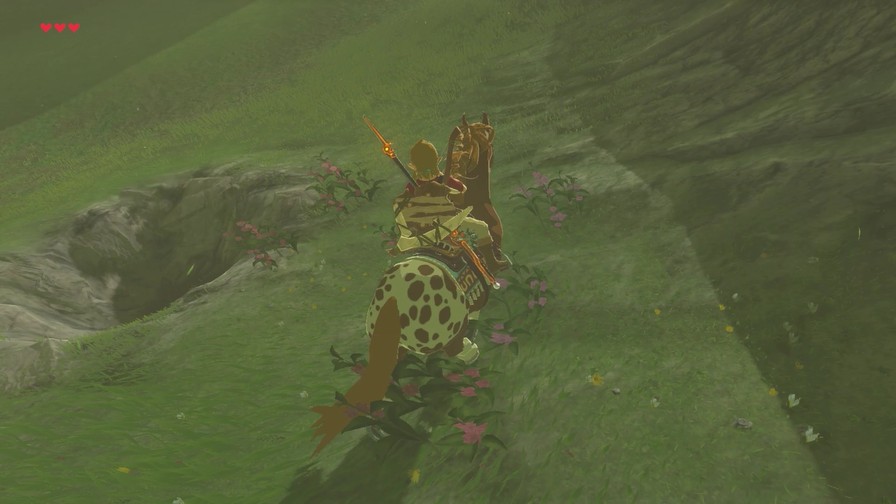
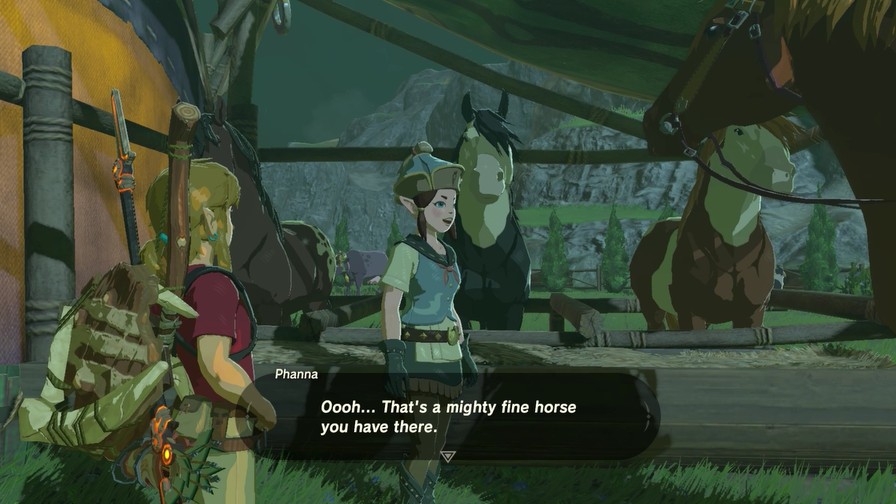
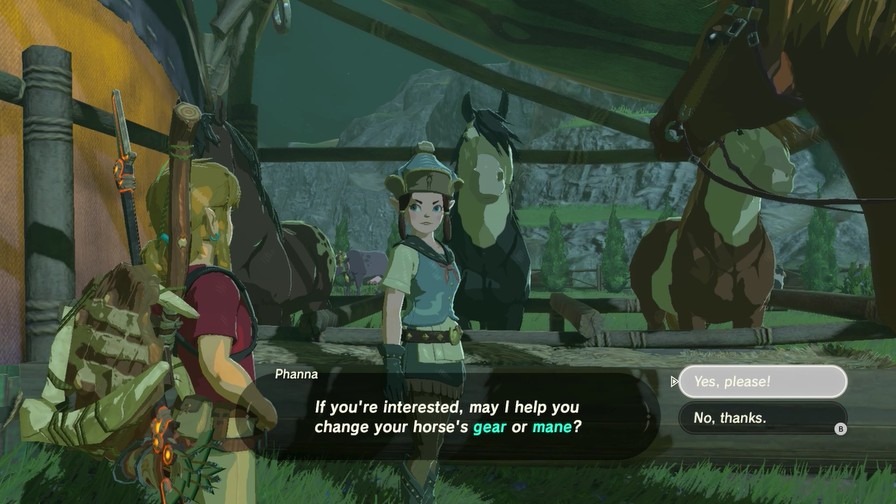
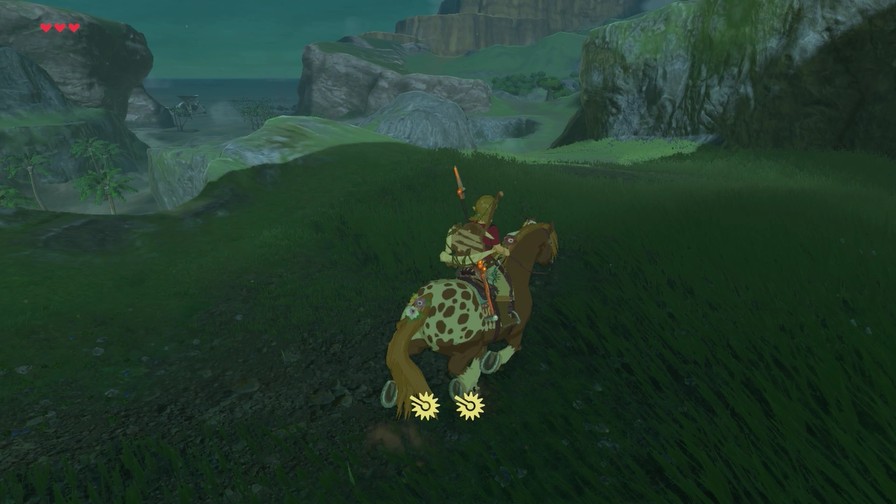
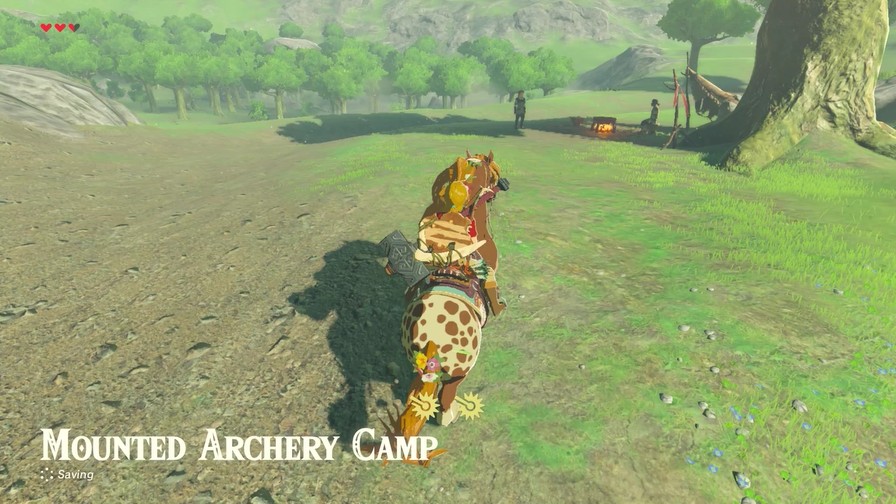
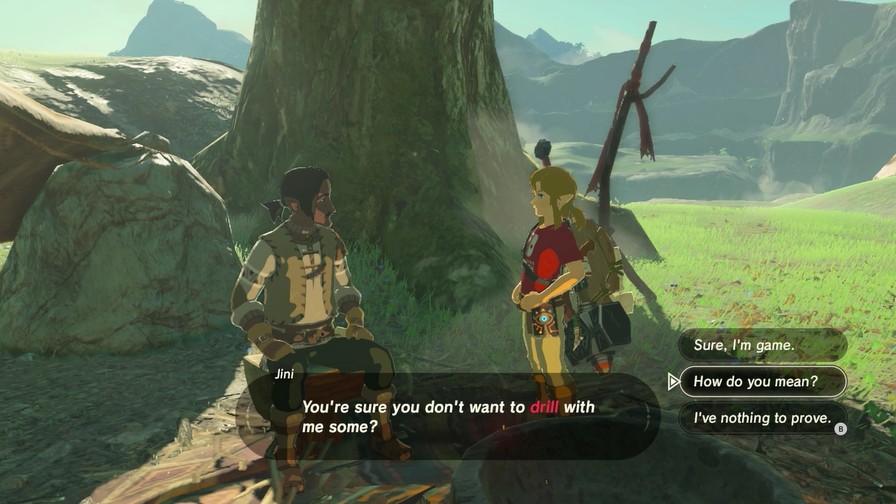
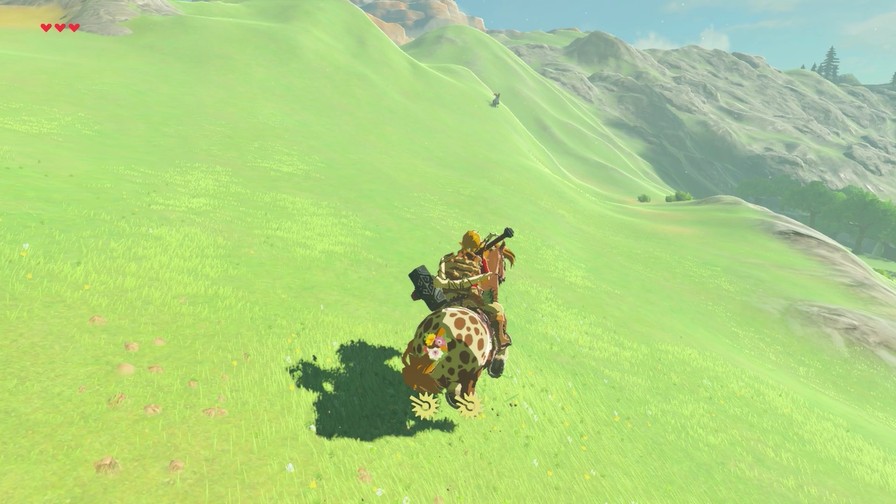
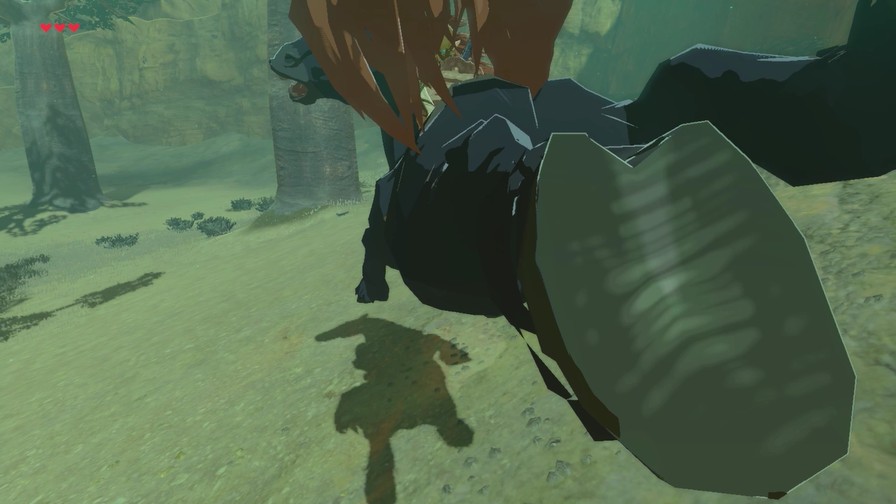
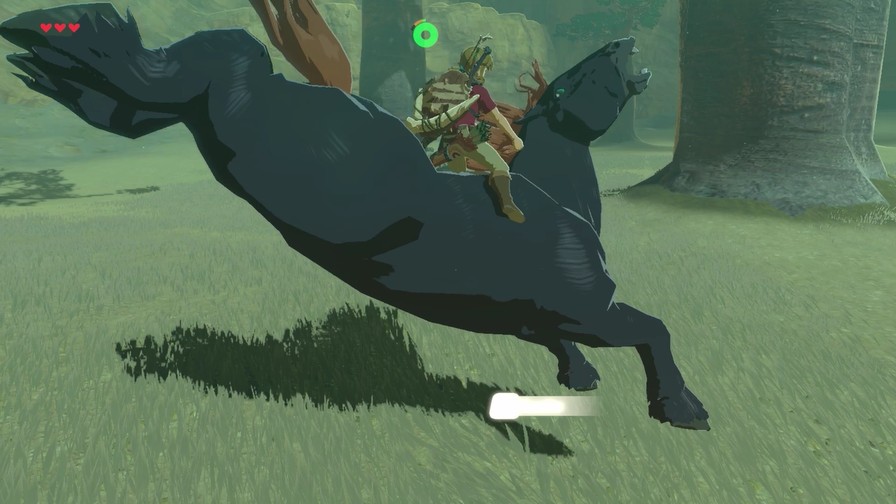
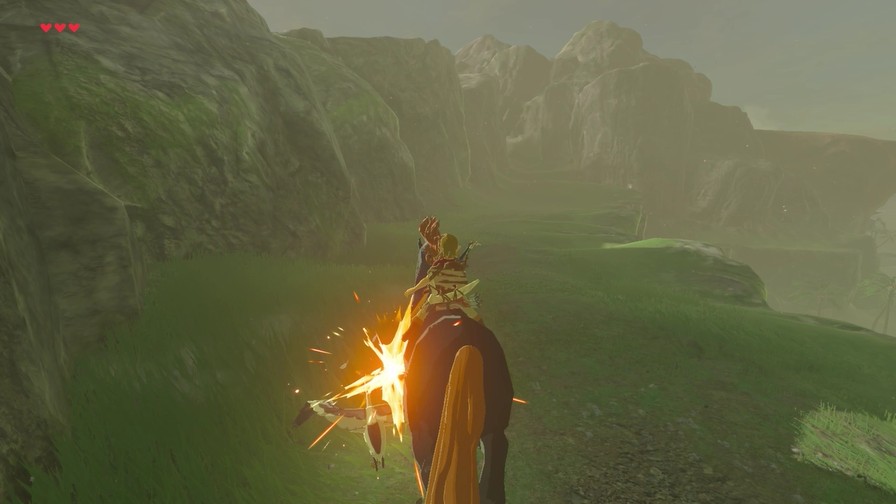
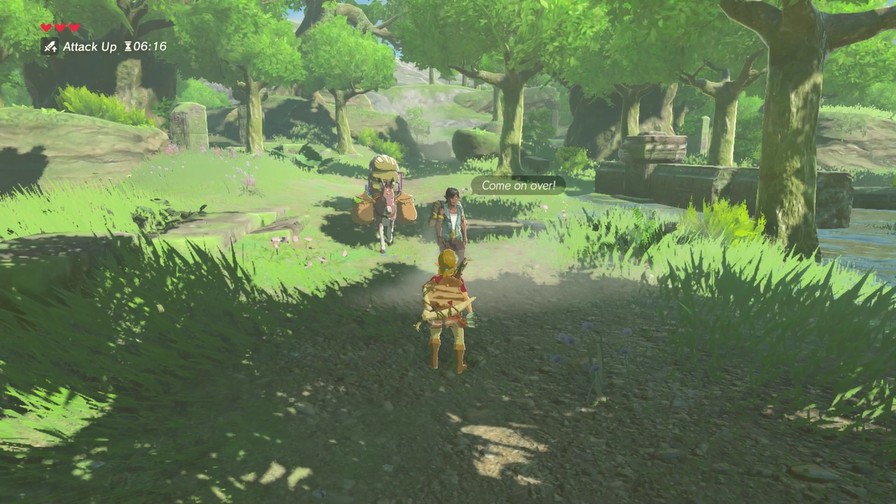
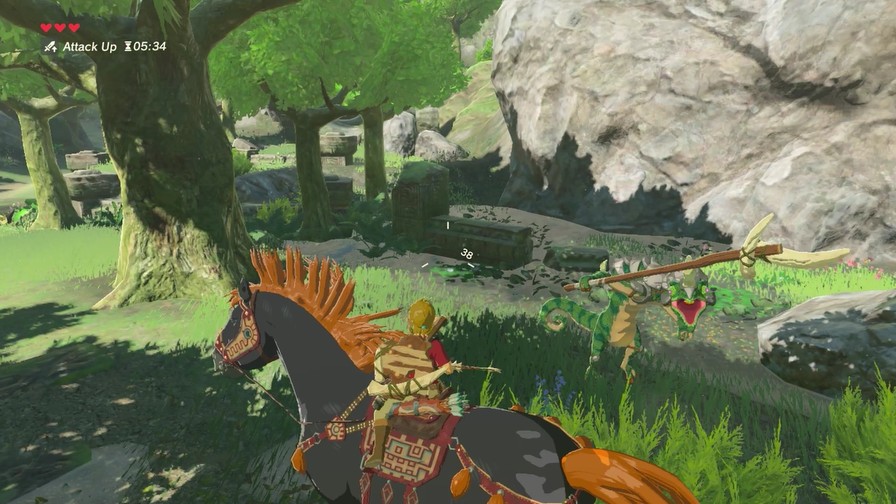
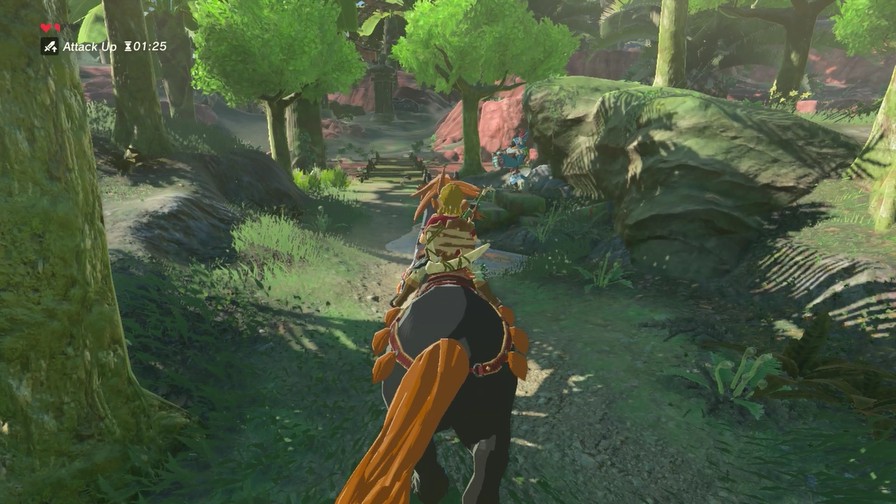
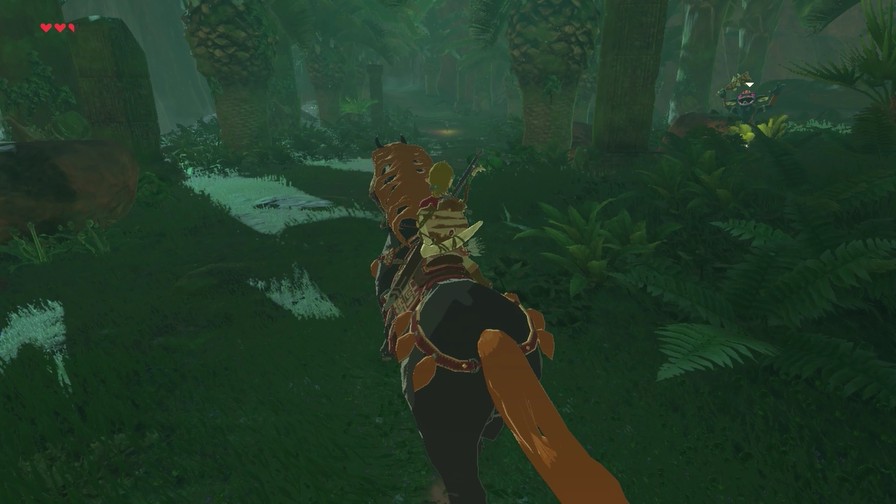
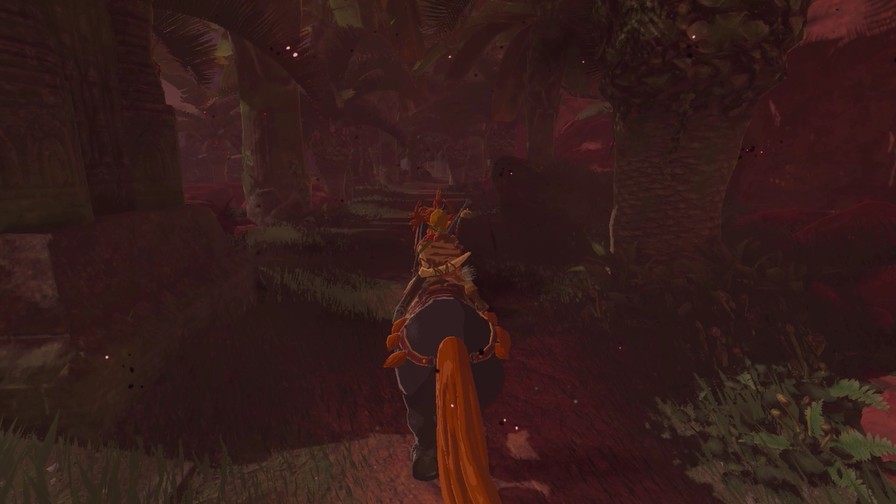
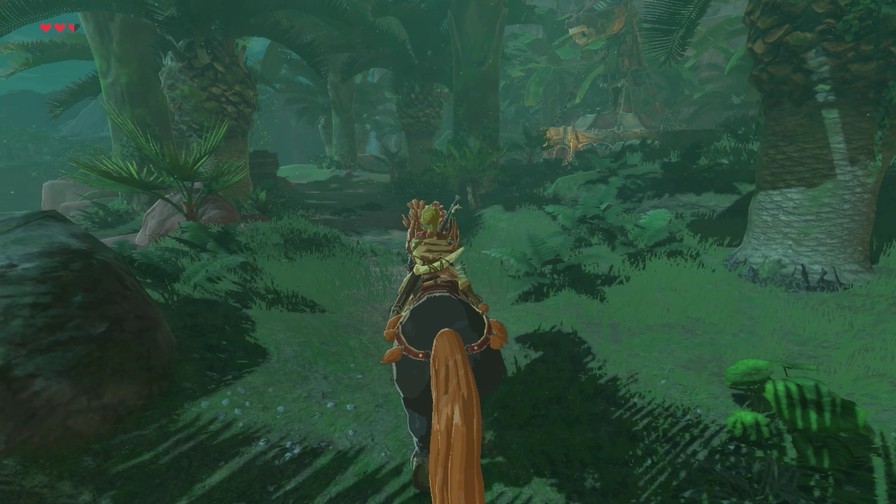
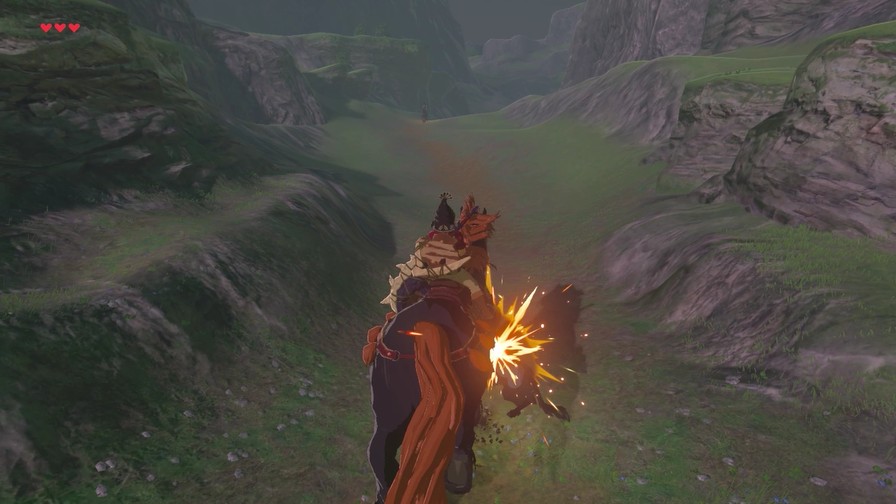
If you want to take down monsters while riding on horseback, you’ve got to really practice your archery skills!
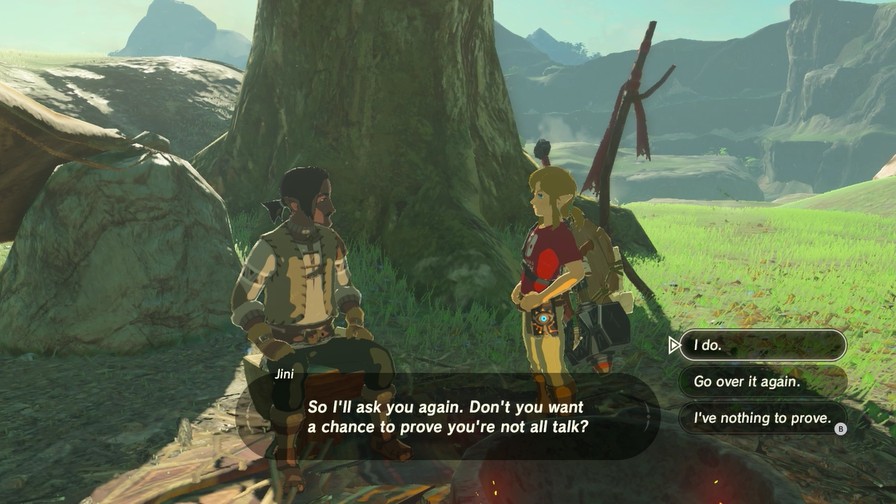
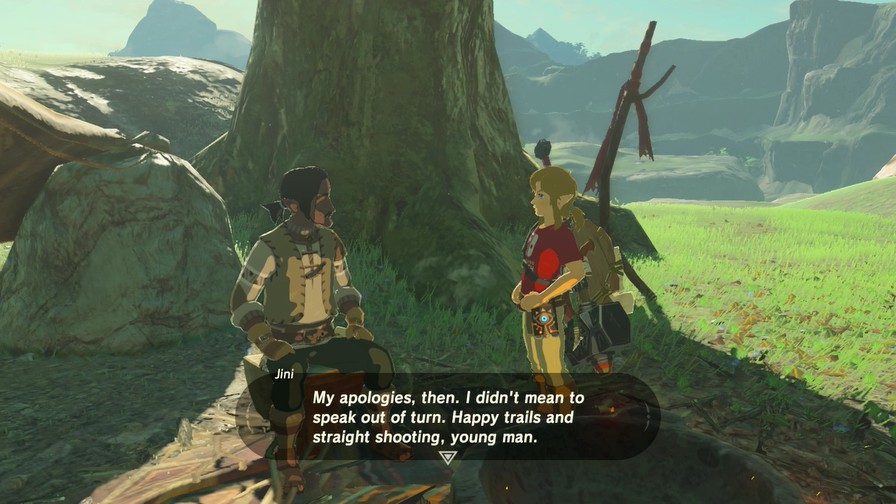
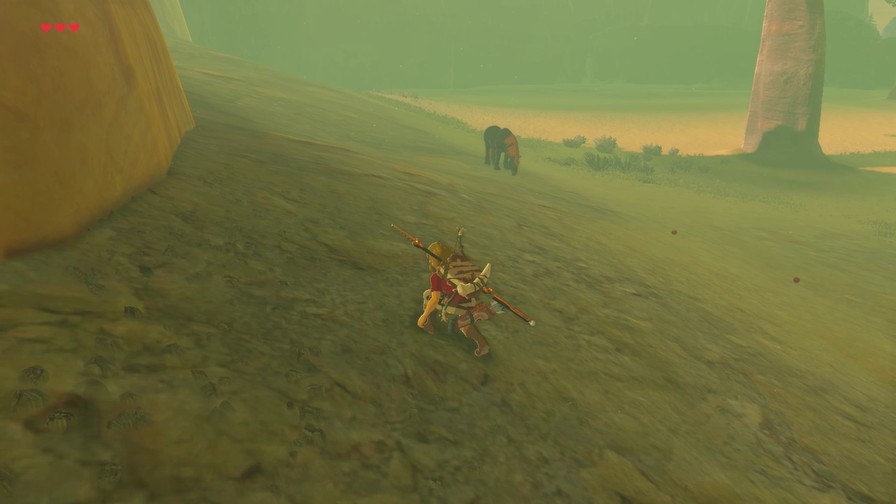
Spinch is an incredibly helpful character.
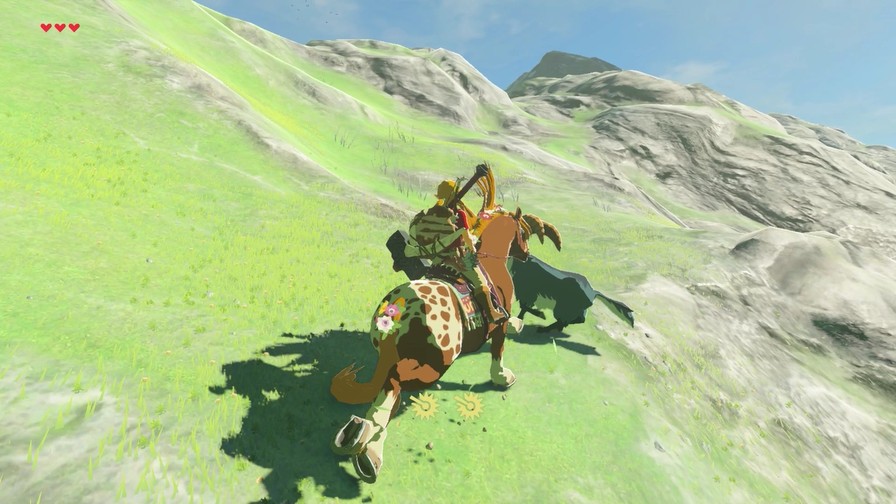
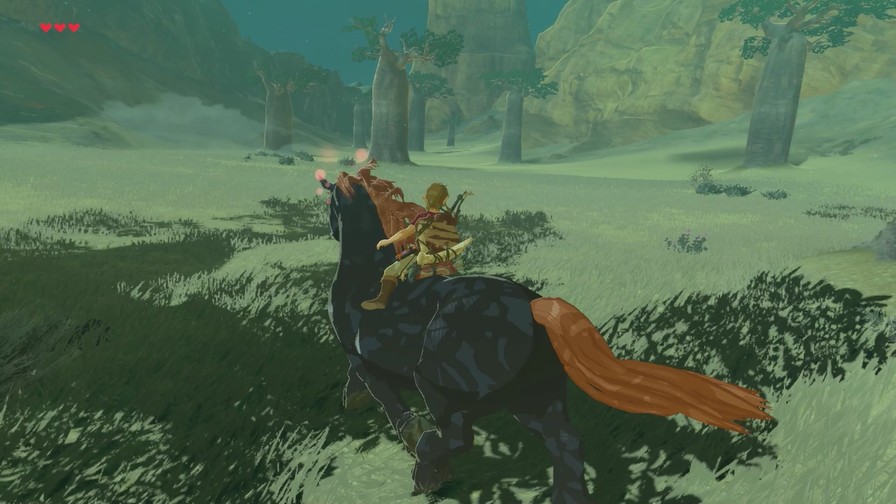
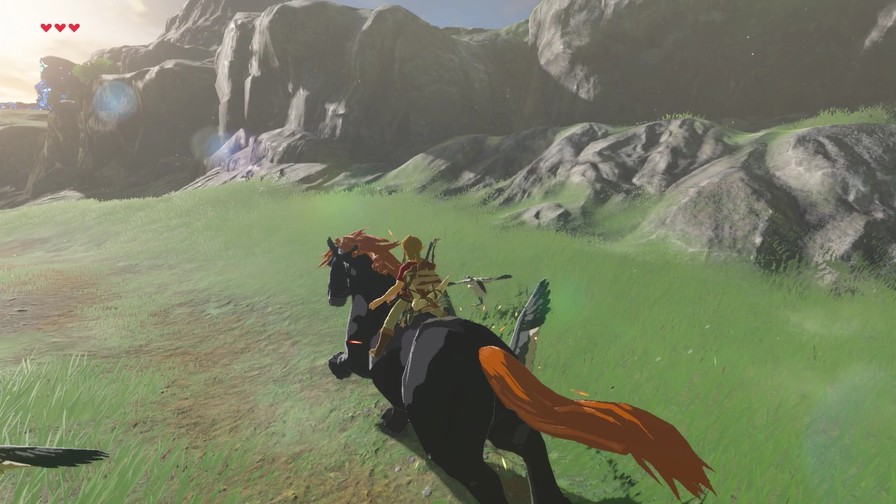
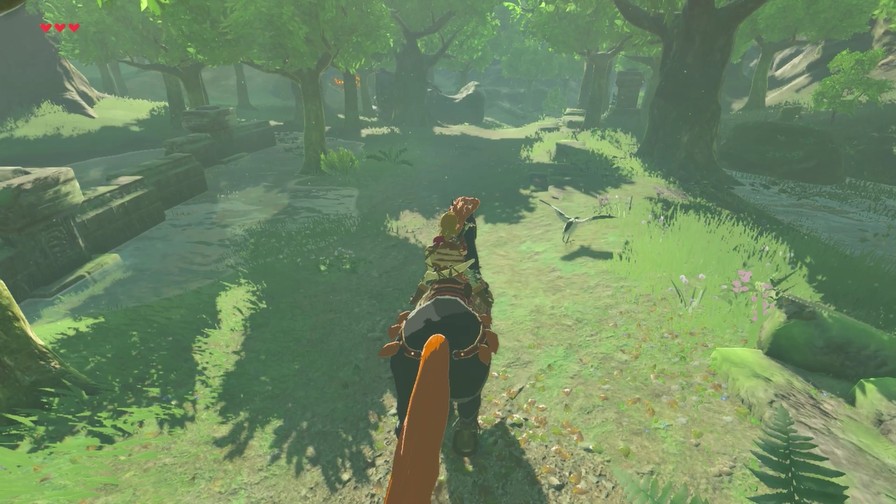
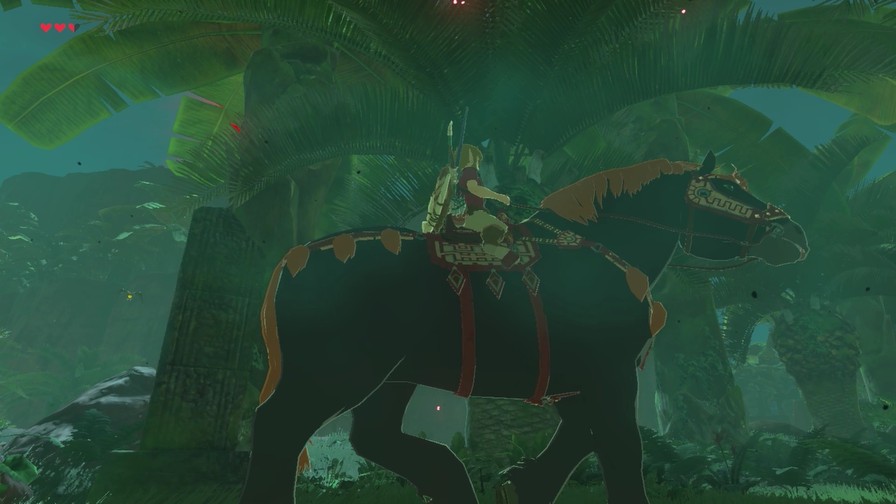
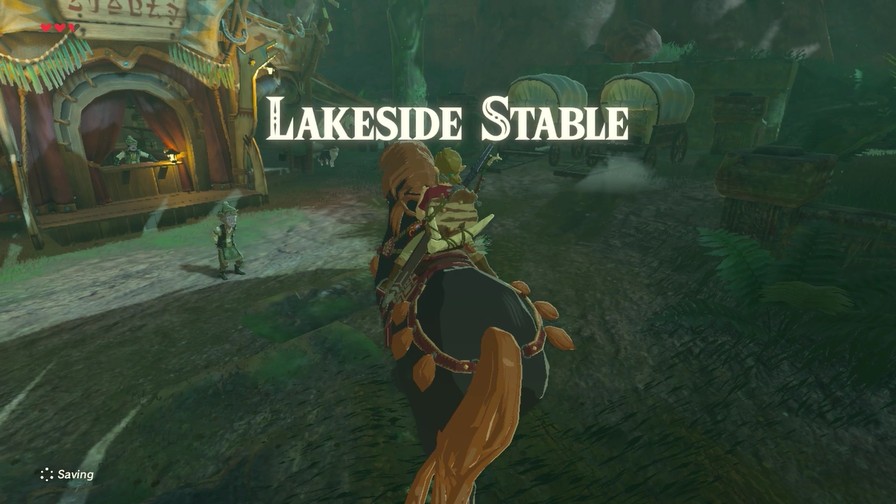
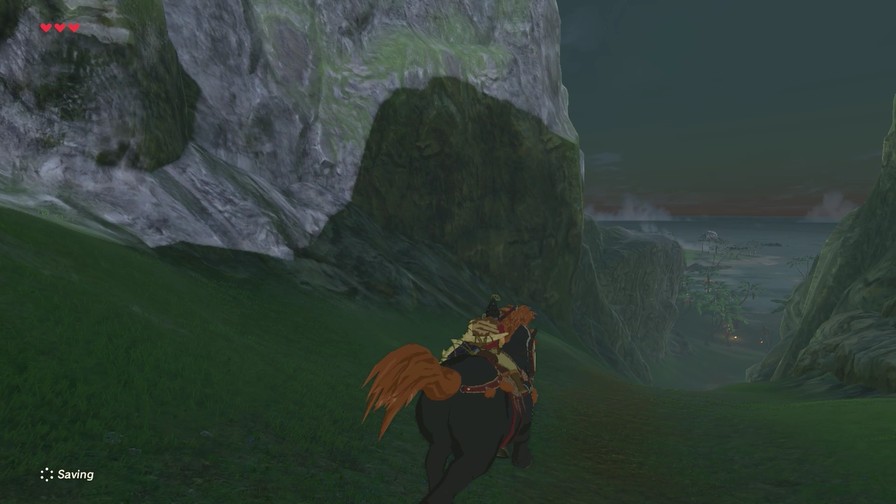
The rest of the ride is uneventful. So eventually we make our way to…
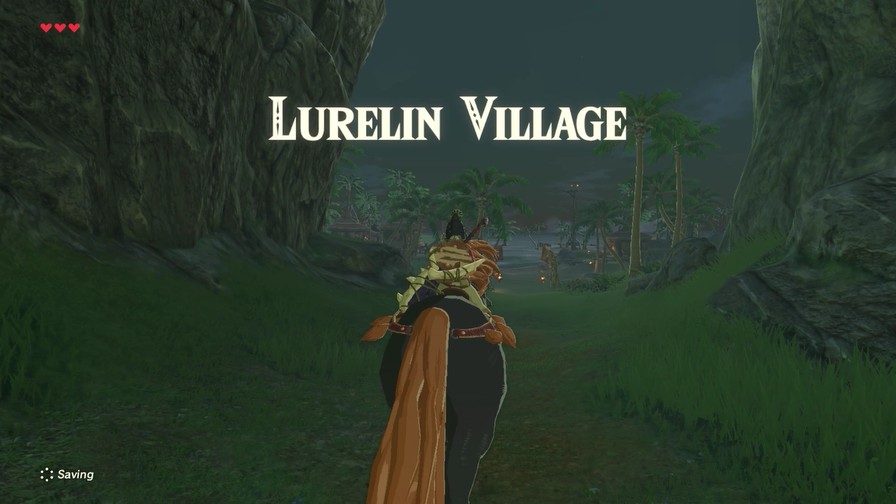
Music: Lurelin Village (Night)
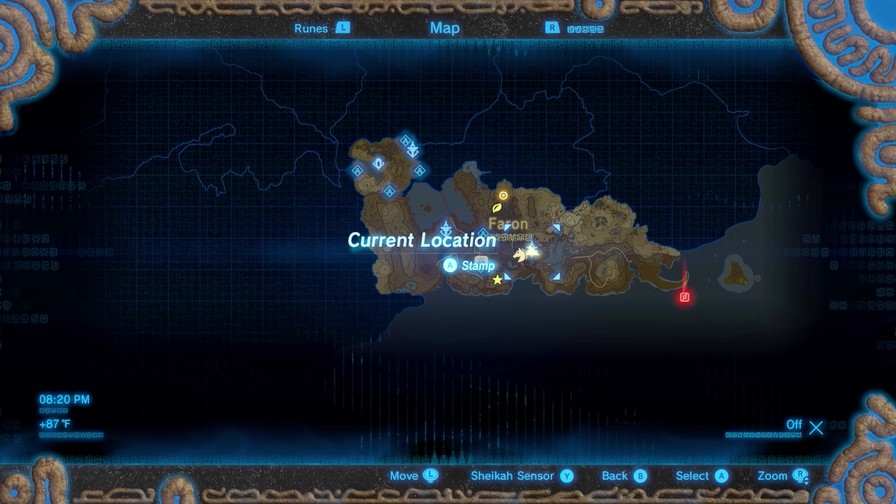
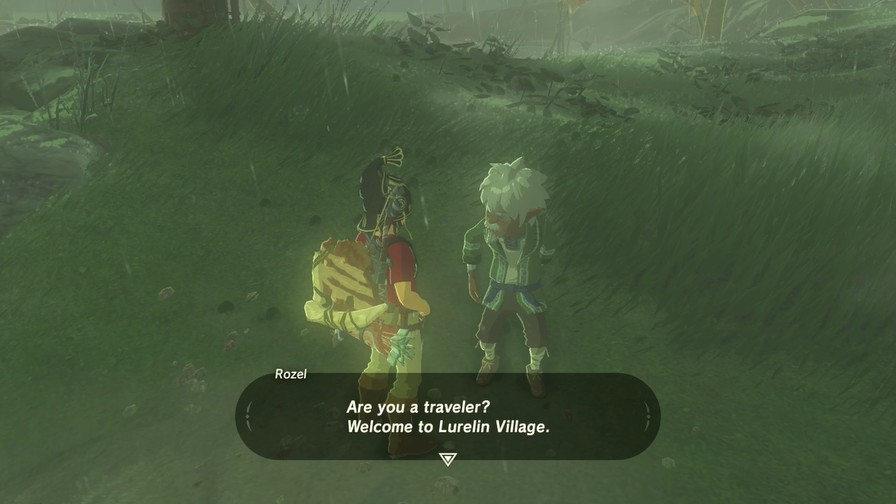
Welcome to Lurelin Village, the first of several villages we’ll encounter in this game.
This is probably the least-interesting of the villages, but still has quite a bit to it.
Not much right now, though. This place isn’t that lively at night.
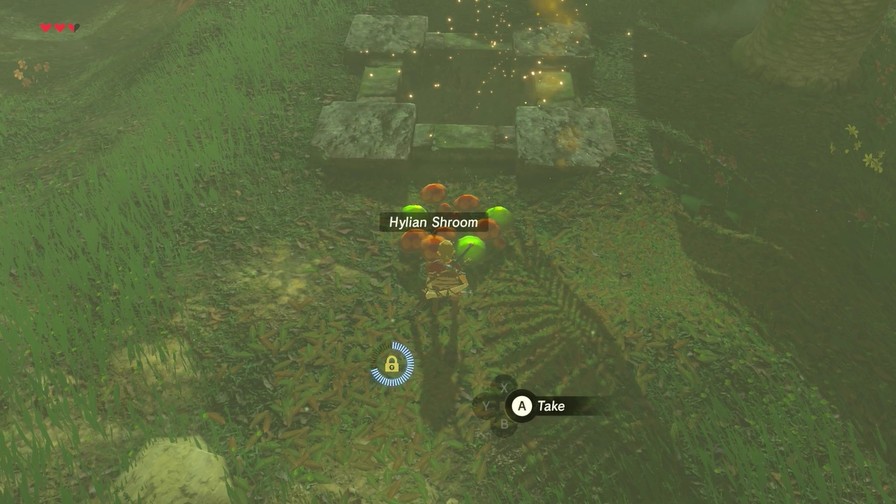
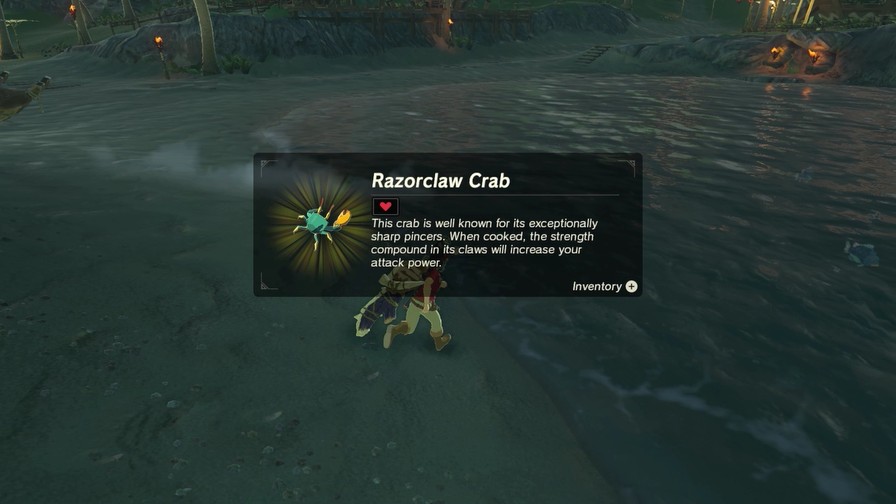
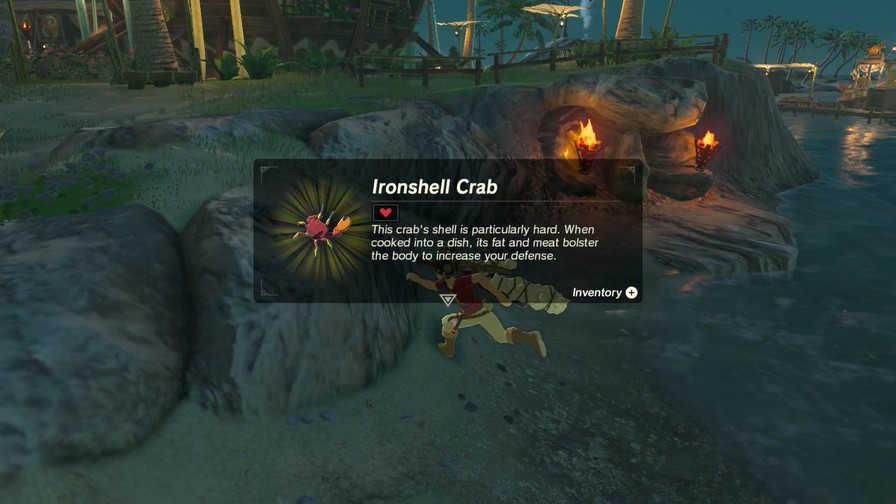
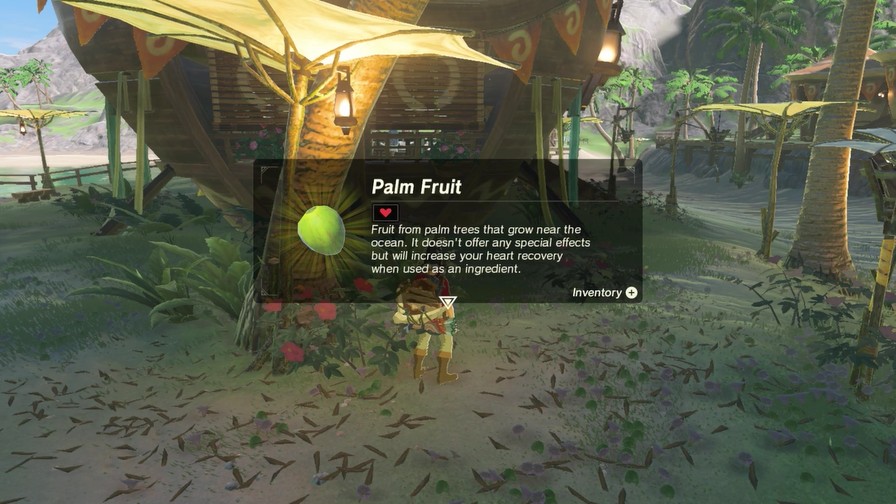
Plenty of crabs to cook, though.
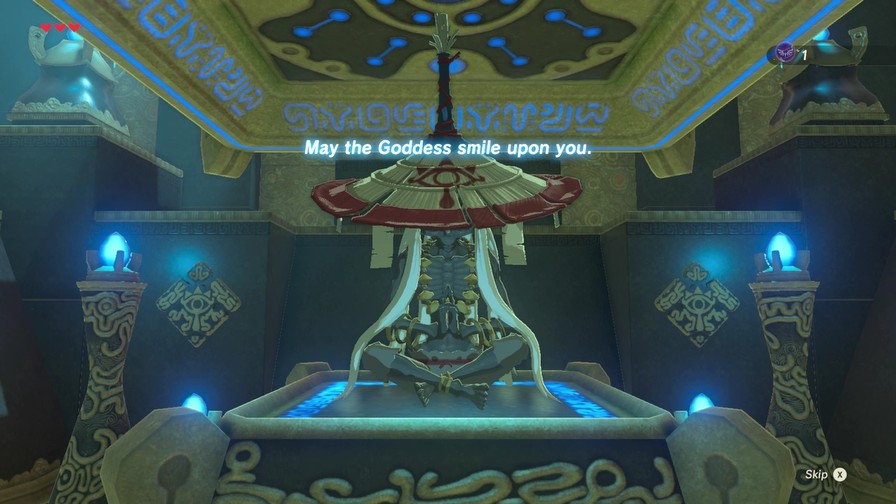
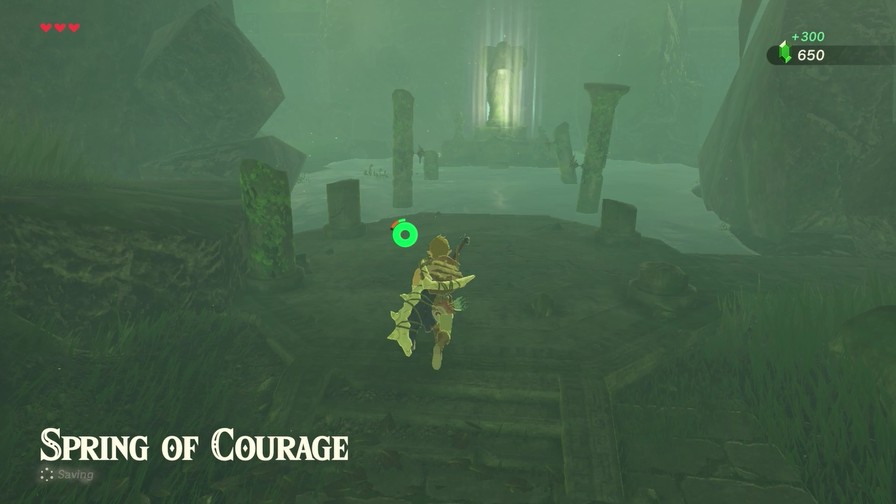
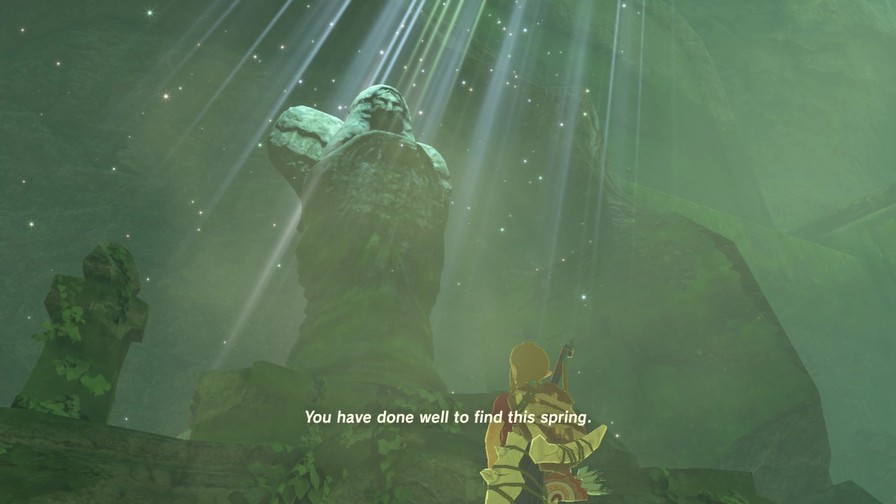
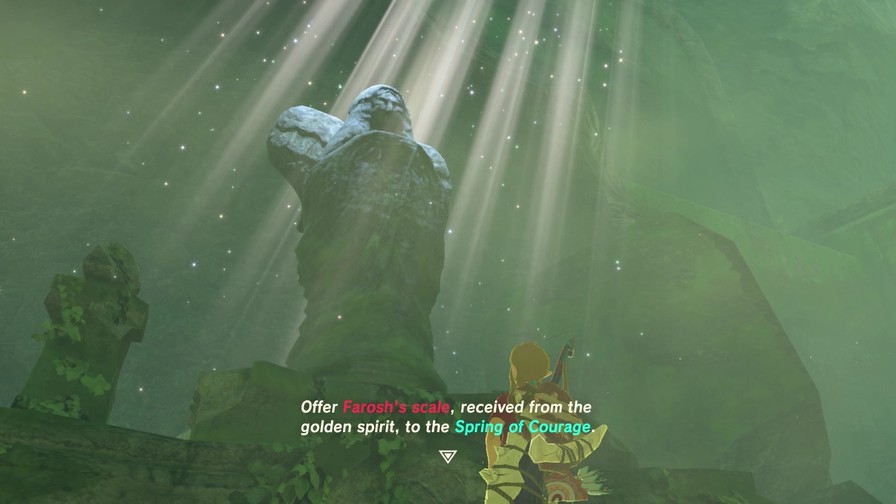
Each village has a Goddess Statue that we can trade Spirits Orbs to, same as the one in the Temple of Time.
We’ll get our fourth soon enough.
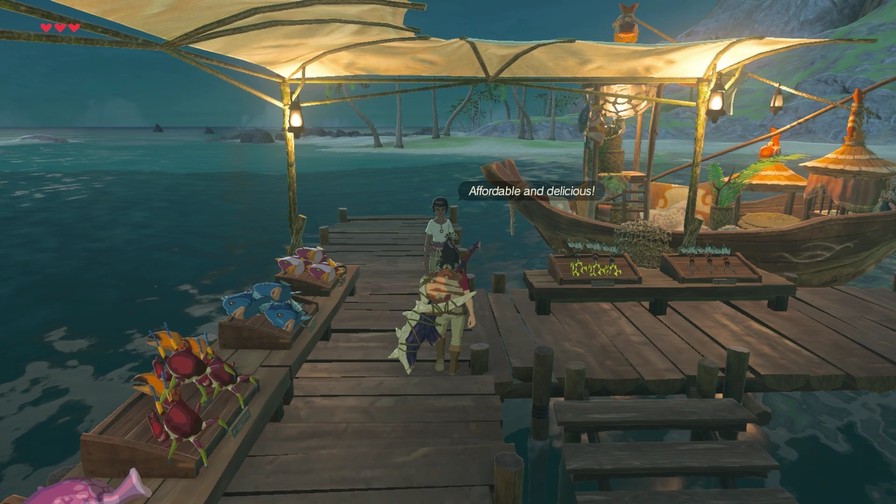
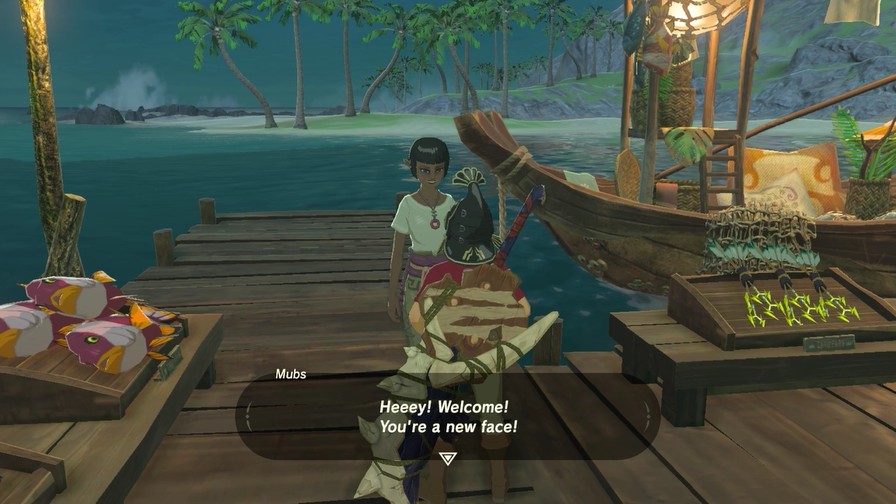
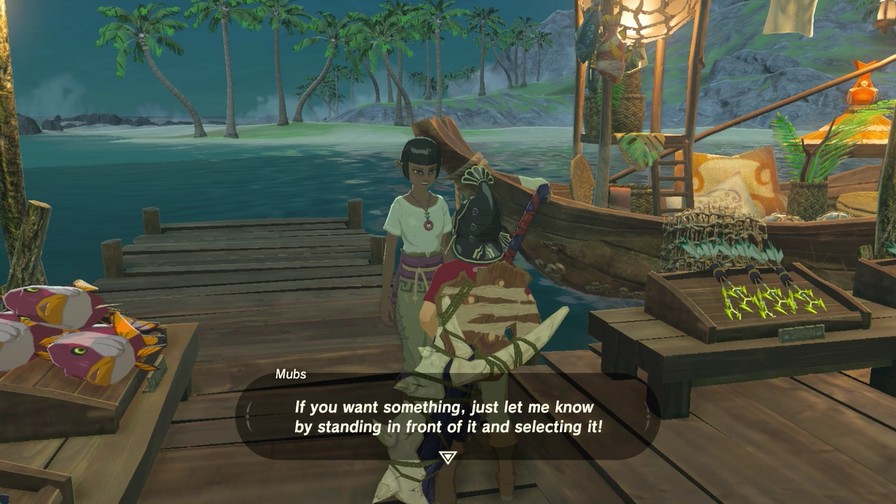
There’s also a shopkeeper here.
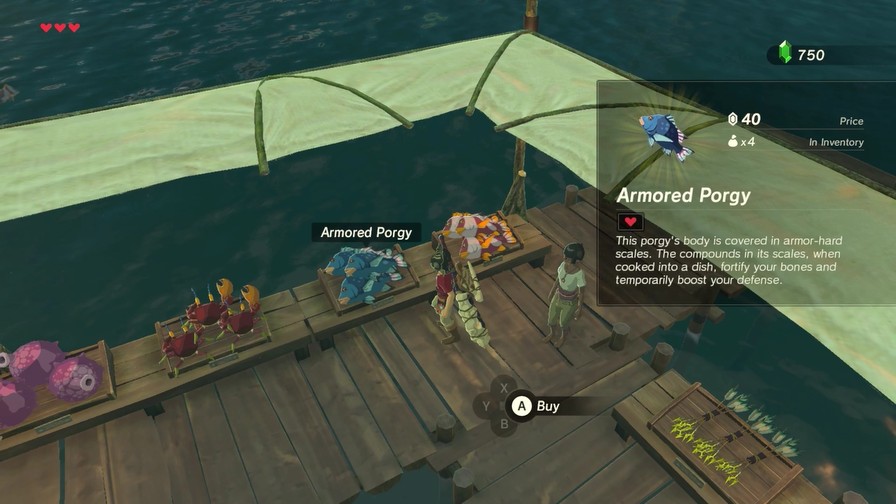
For village shopkeeps, you walk up to the item to buy it.
Every village has a general store, and every village has an armor store except two…including this one. Such a shame.
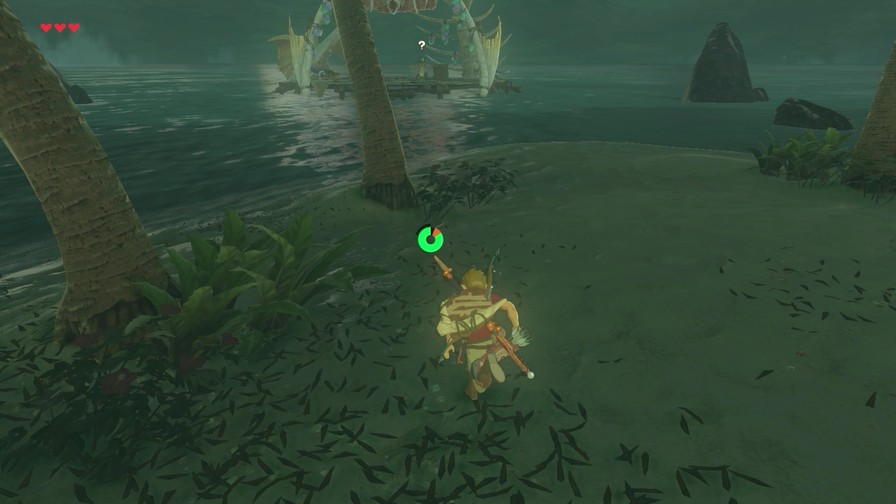
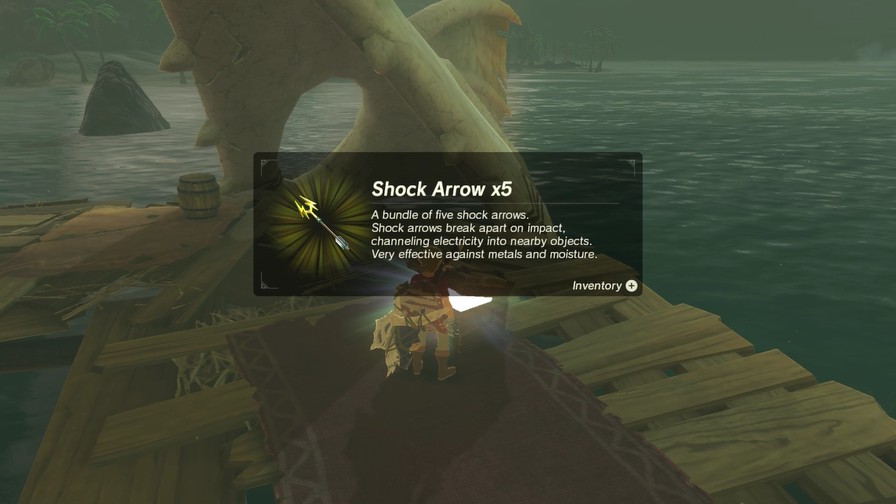
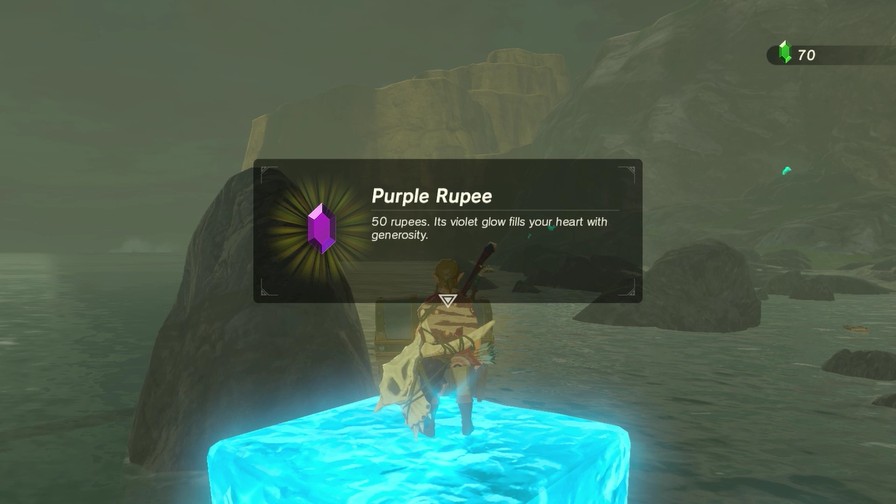
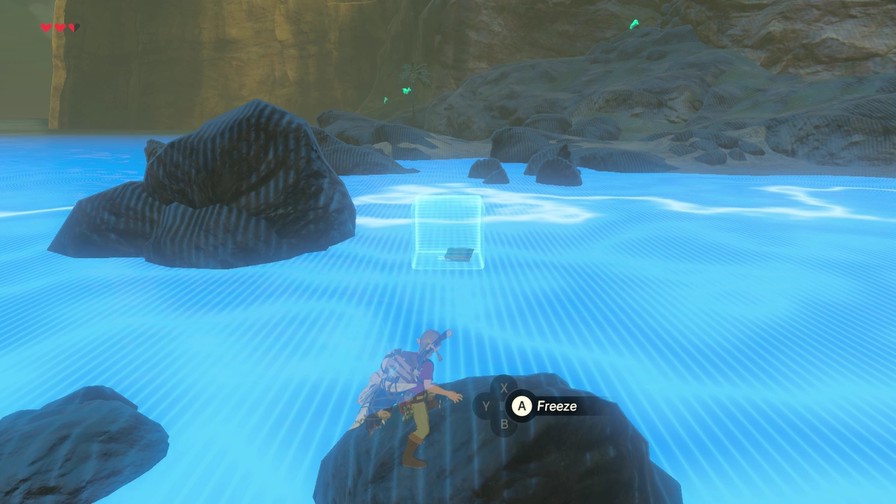
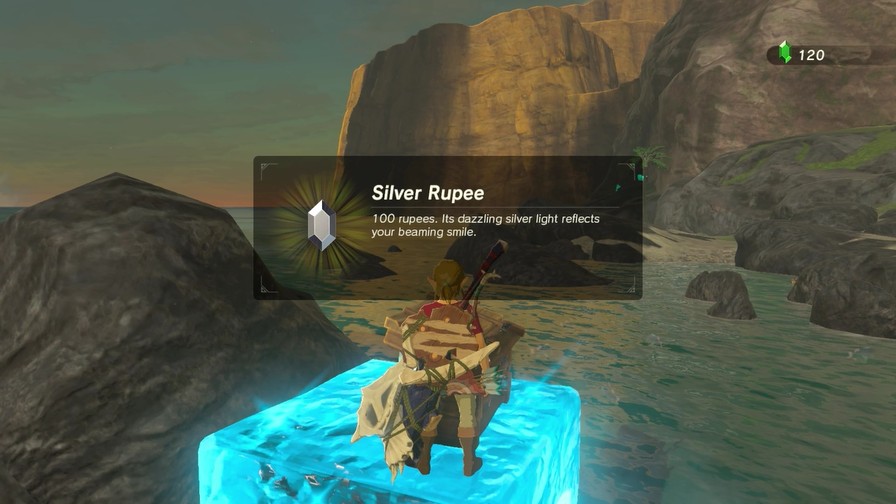
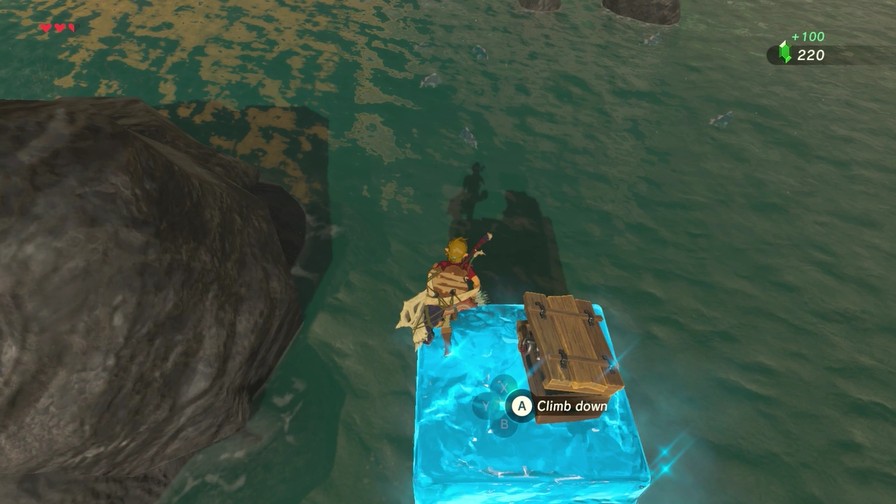
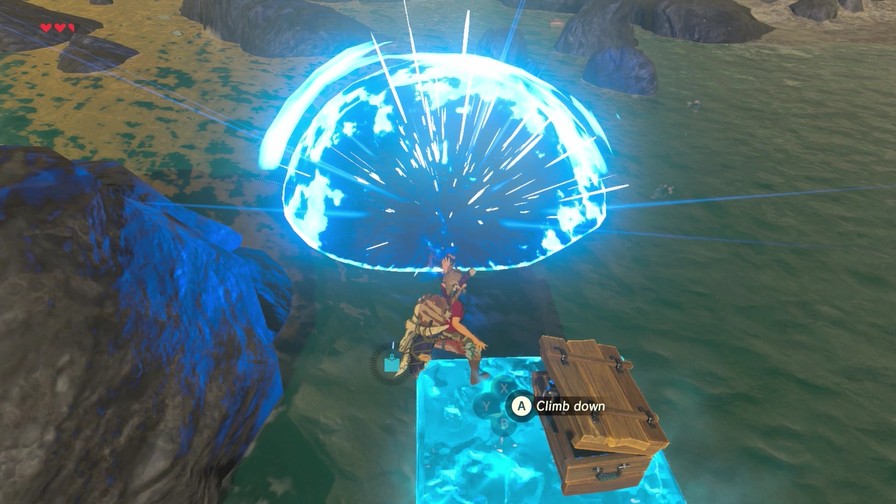
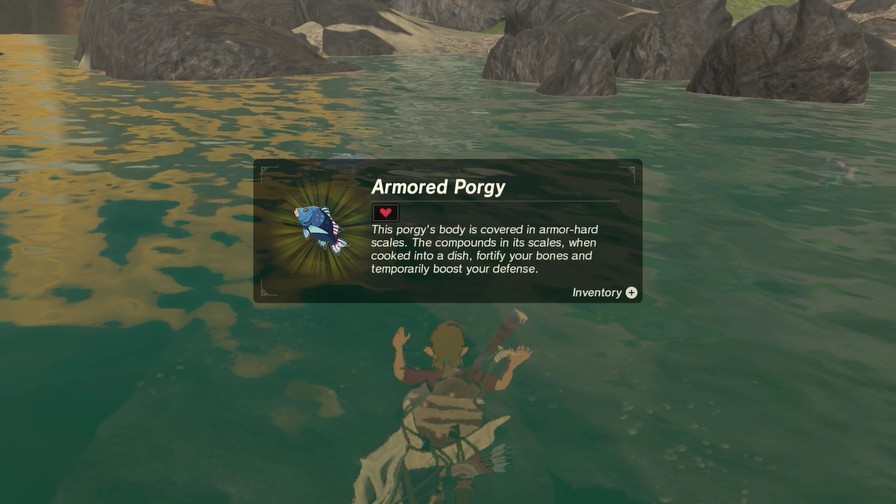
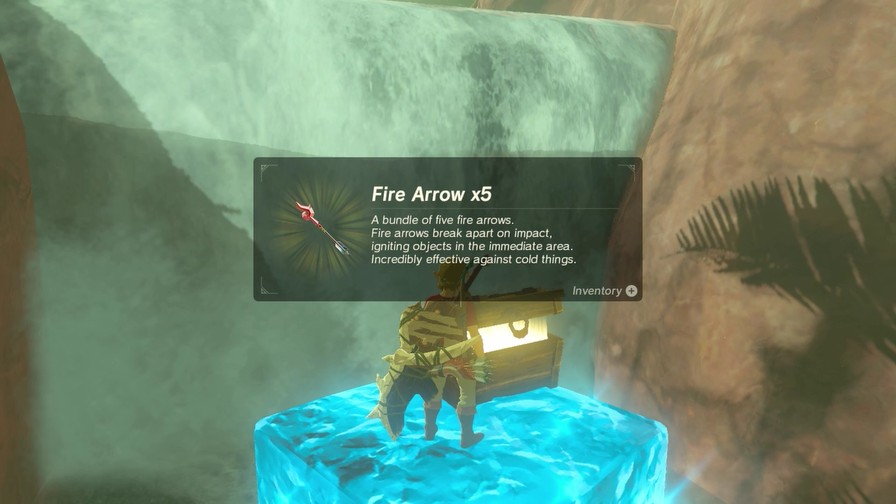
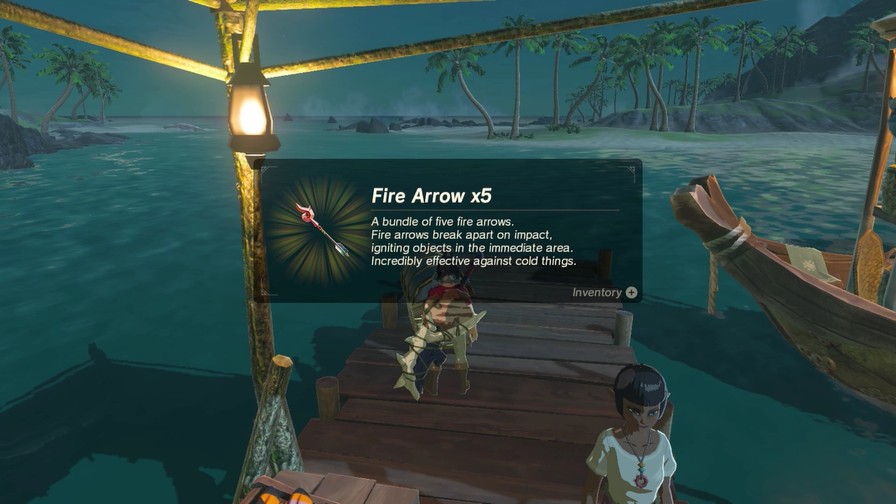
Just because it’s night doesn’t mean we can’t find stuff to do! There’s underwater chests all over the area.
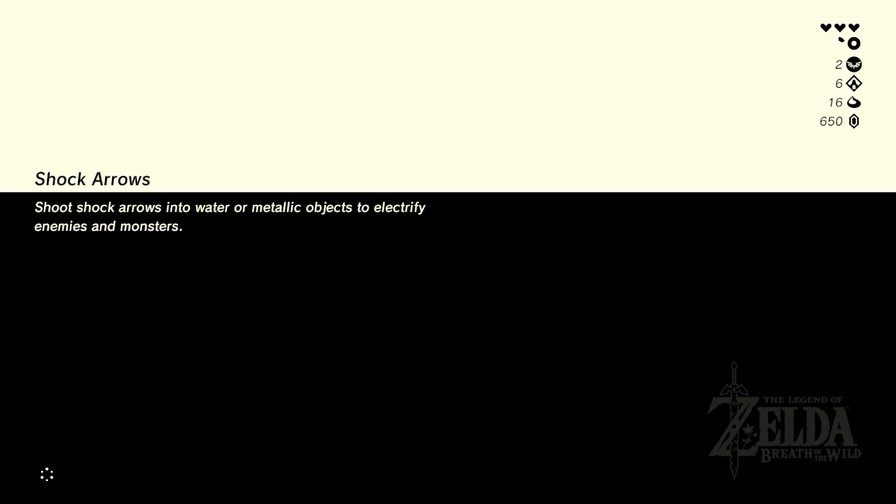
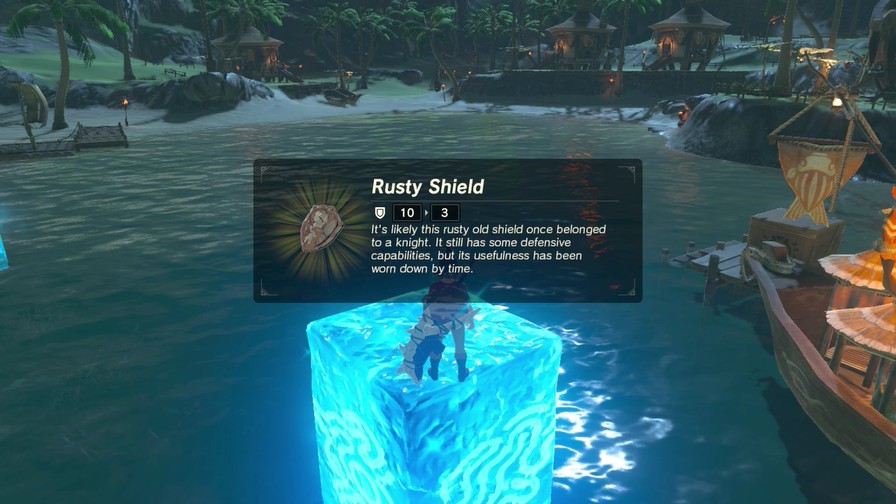
My haul: 50 rupees, two Amber, Fire Arrows, and…
…a shield that rusted in the salt water, surprisingly enough. Pass.
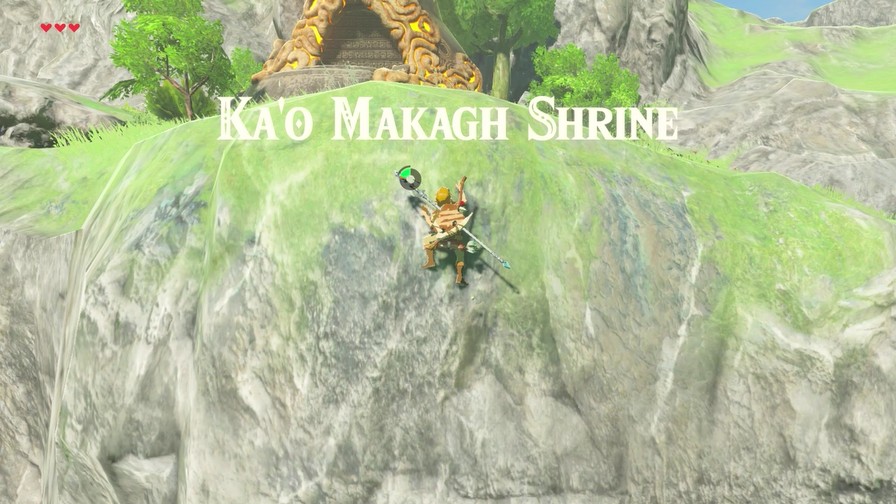
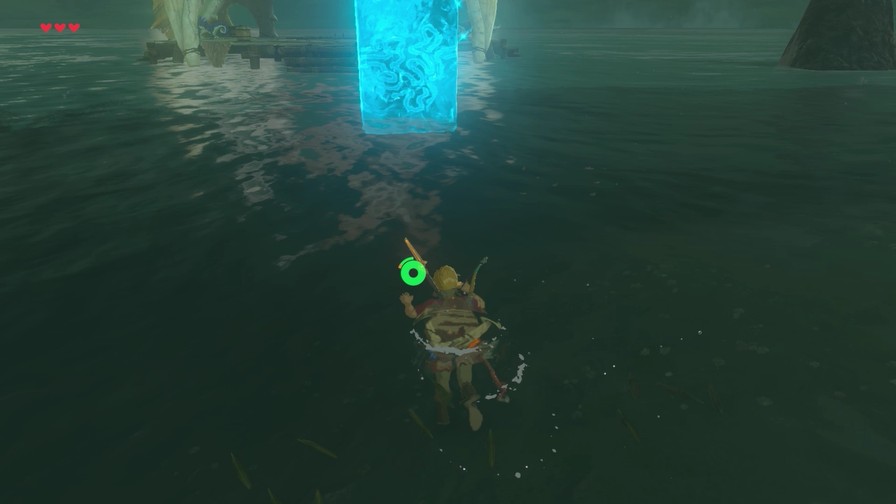
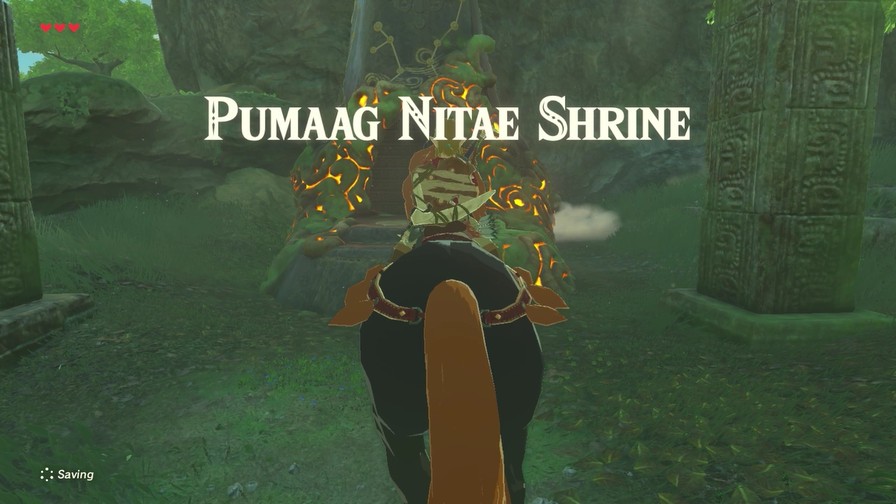
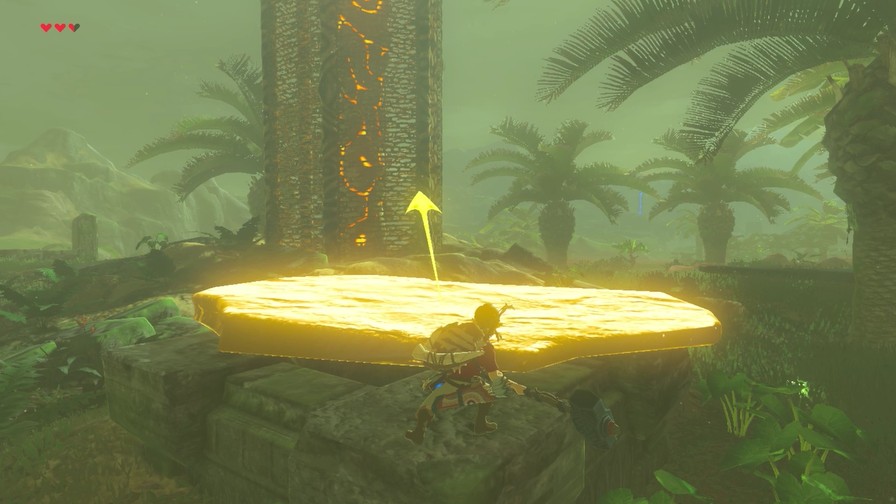
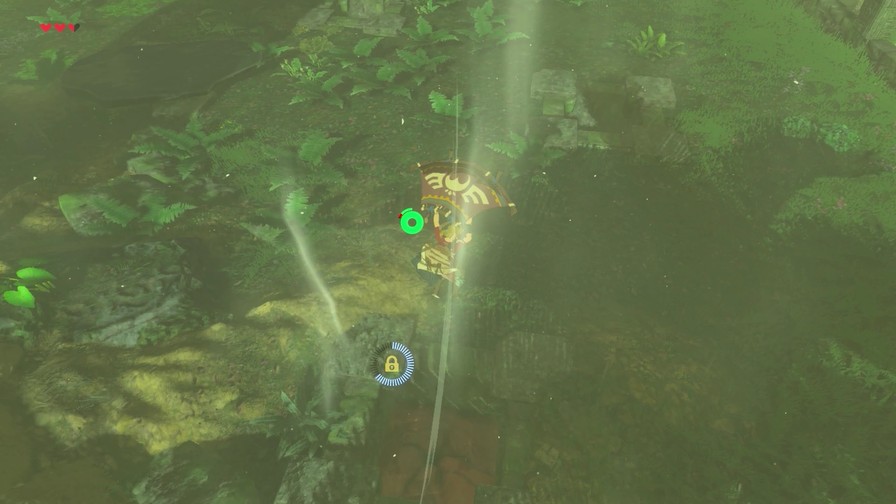
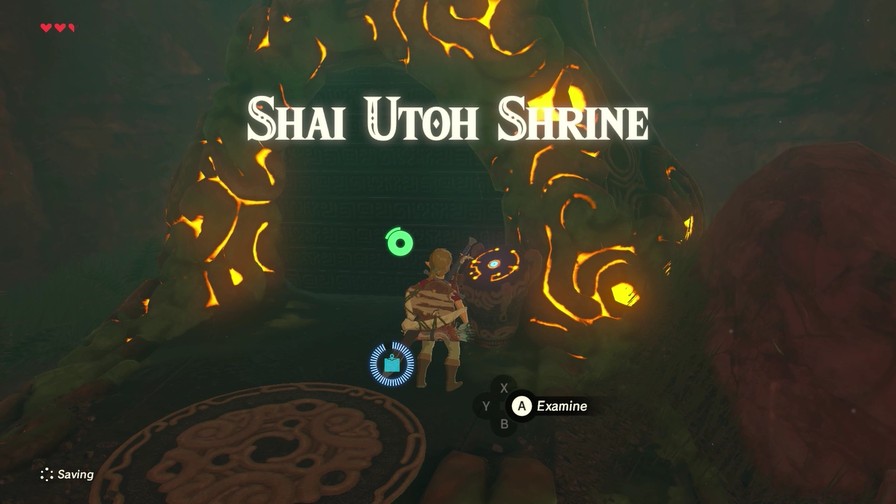
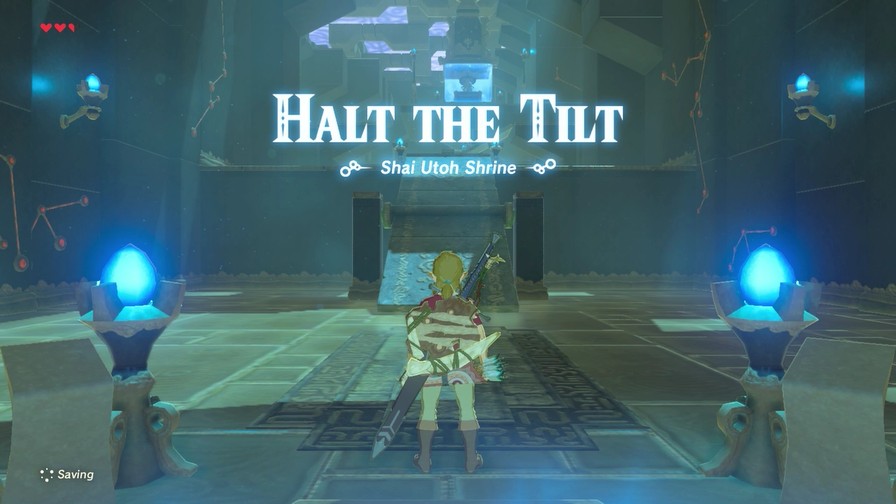
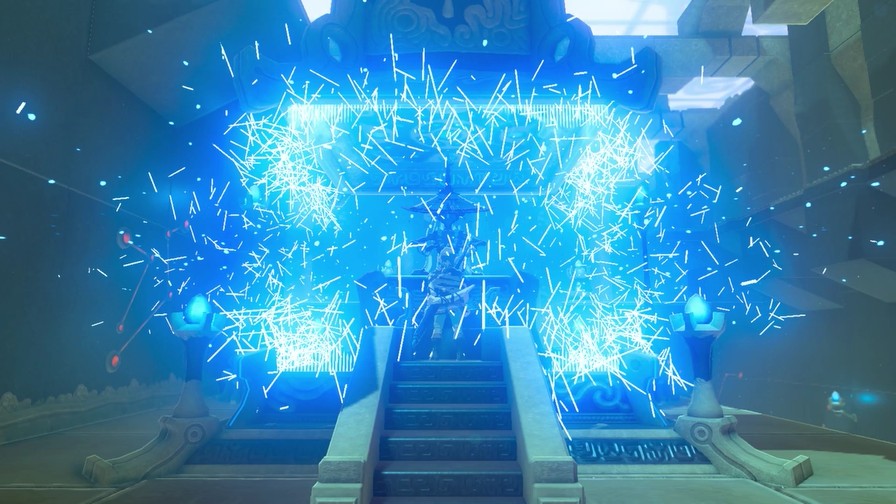
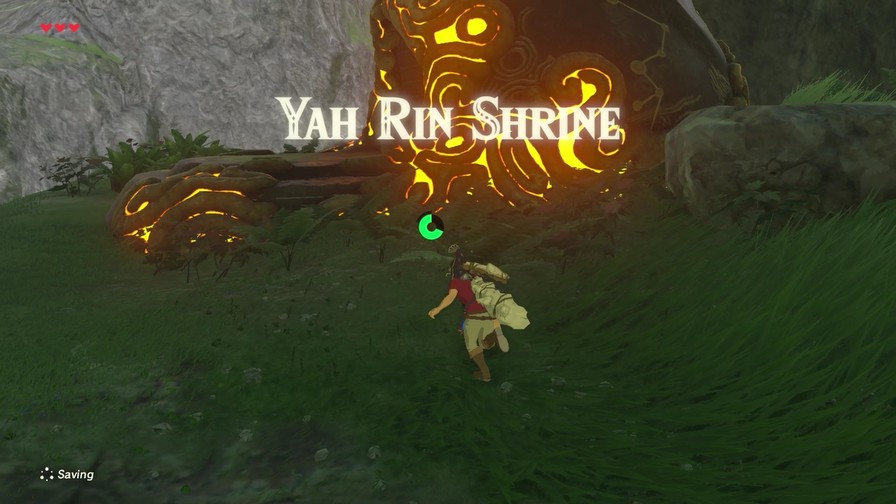
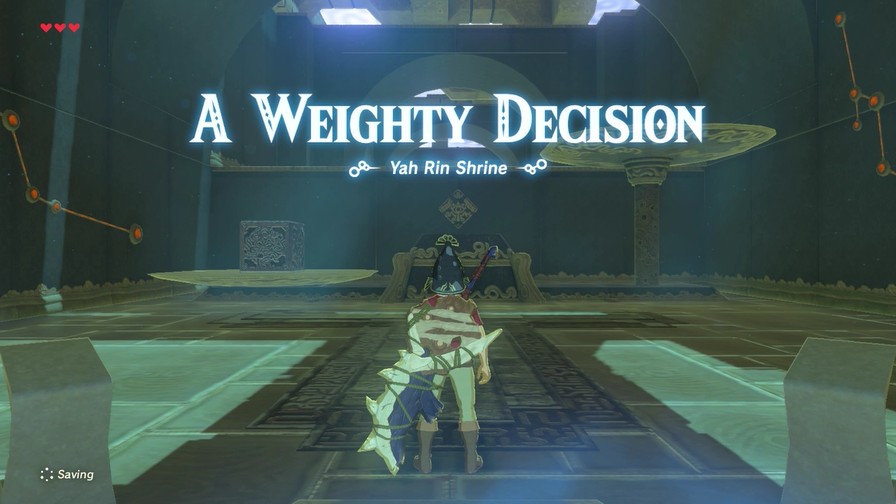
Otherwise, the only other thing really worth doing right now is that shrine up there.
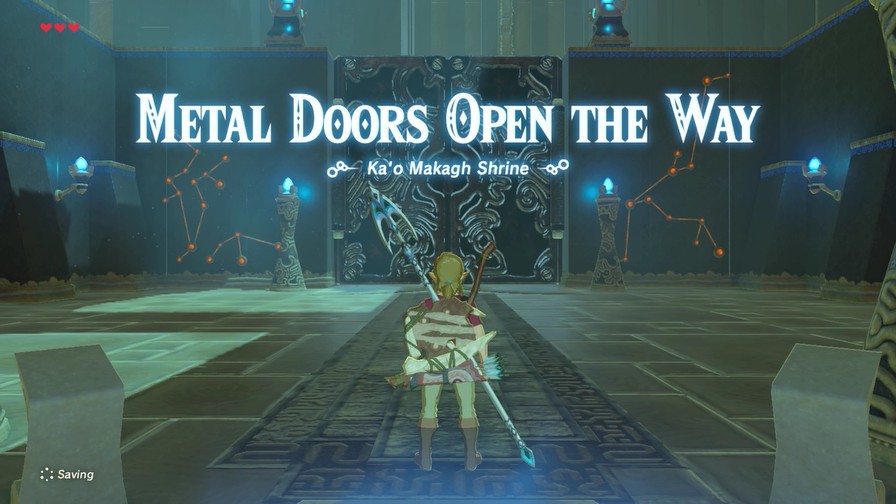
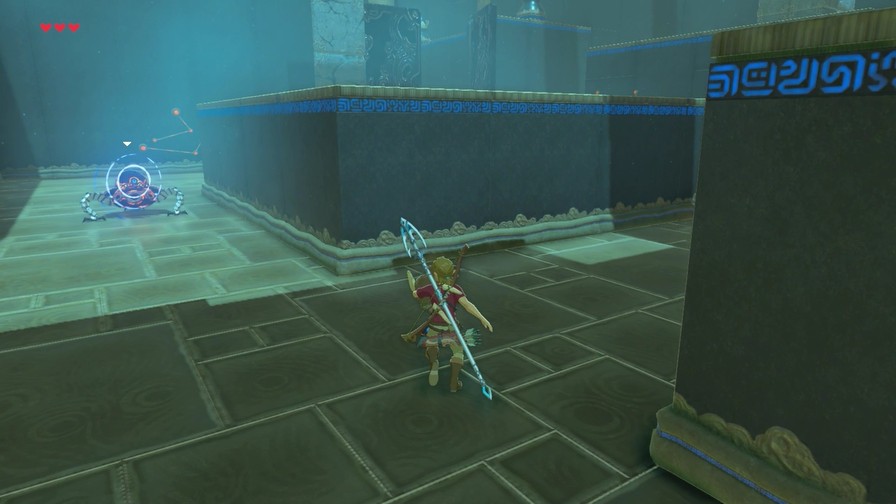
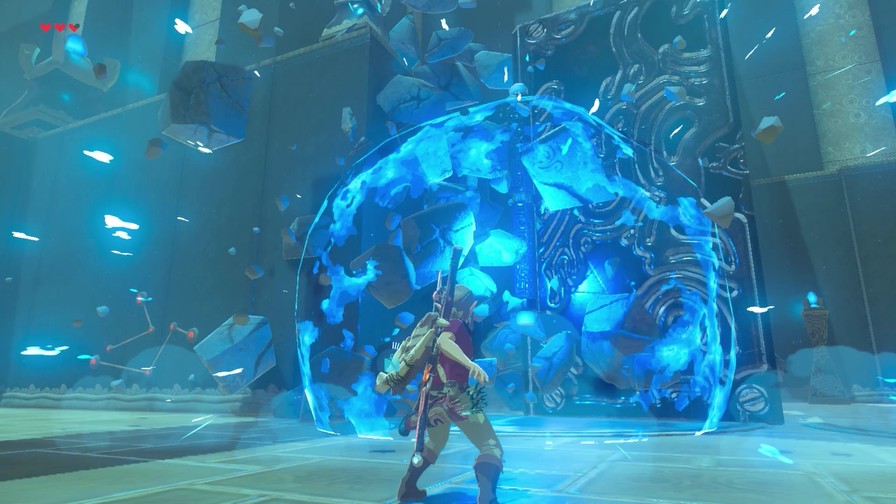
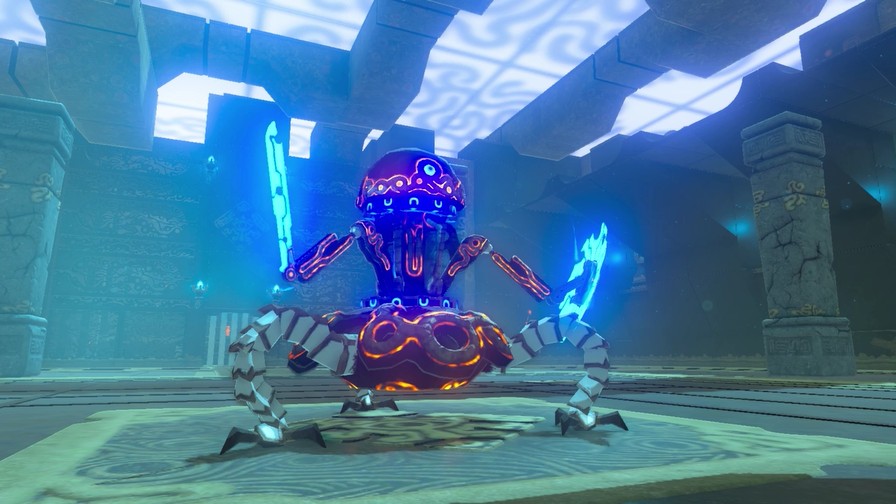
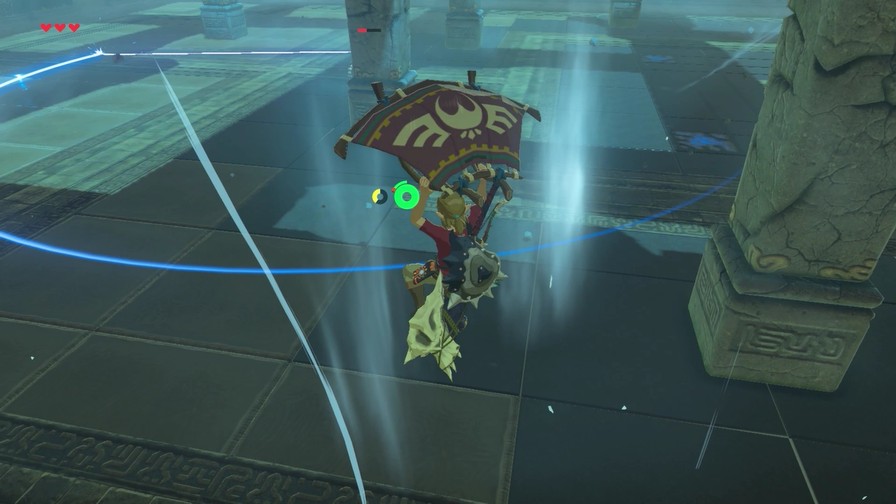
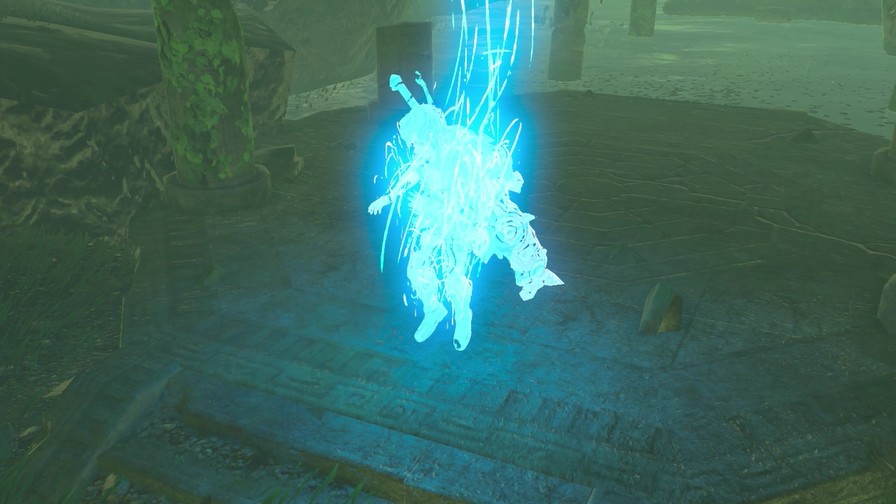
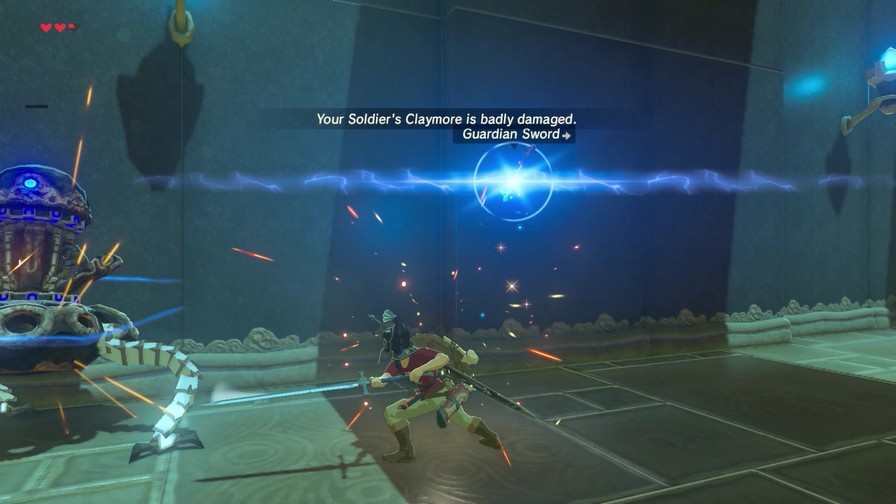
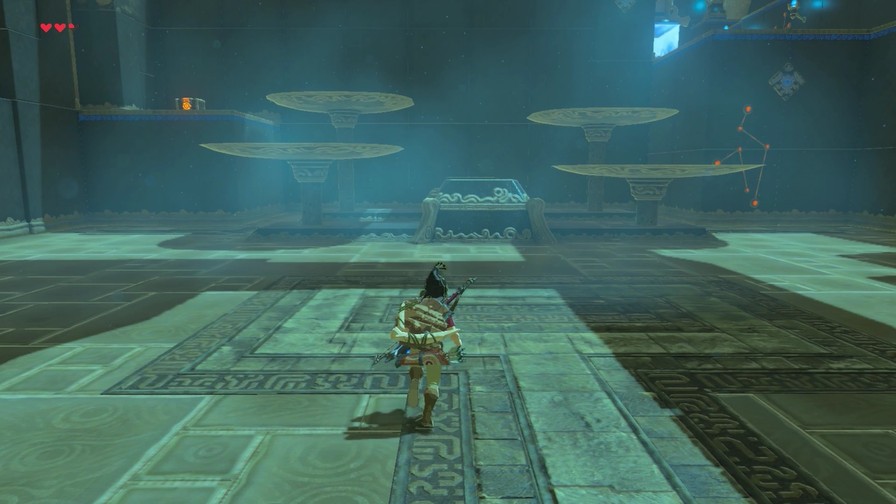
Music: Shrine Theme
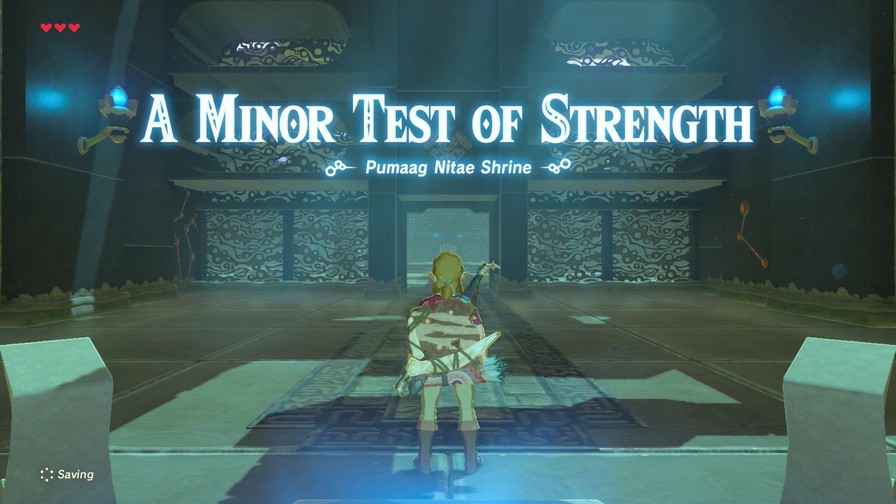
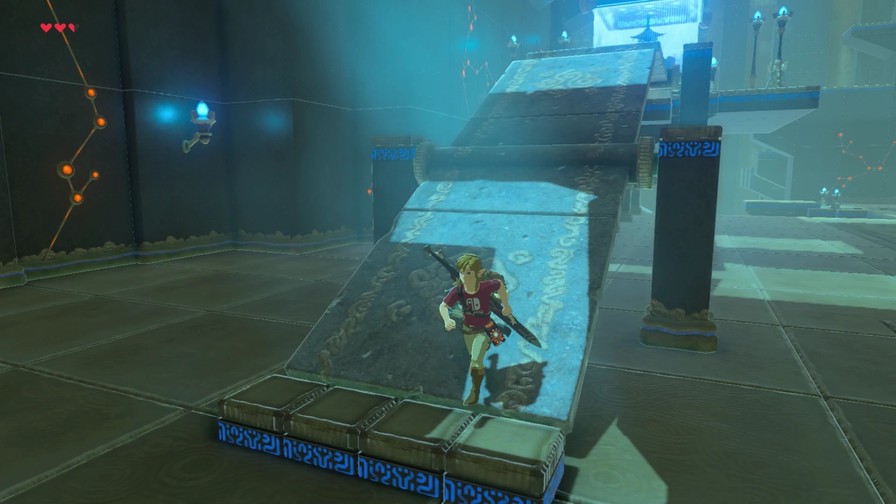
Yet another short and simple puzzle shrine. The more interesting ones are going to be away from points of civilization.
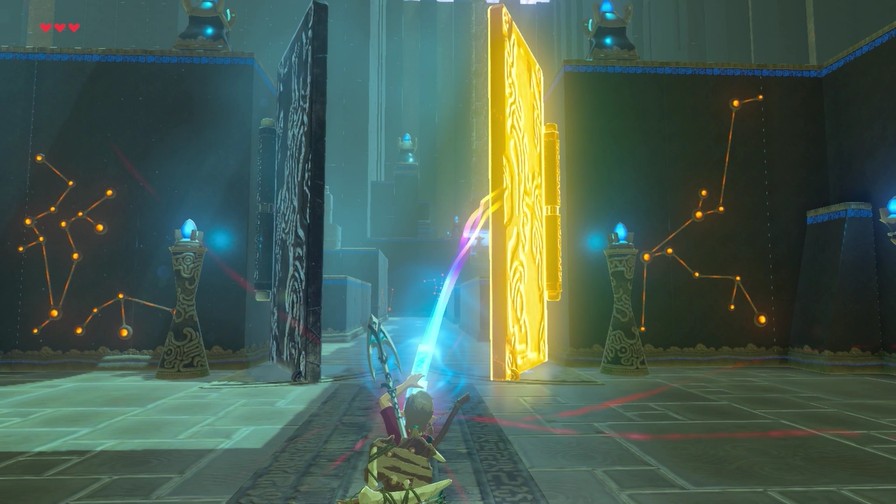
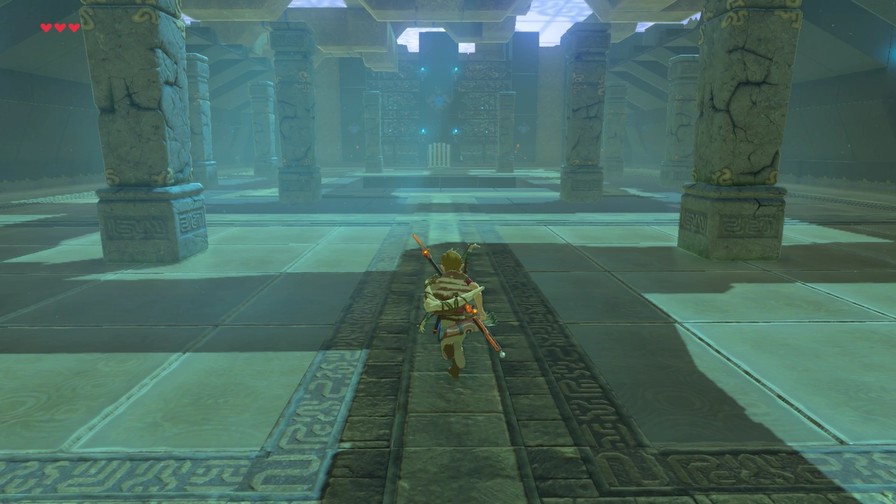
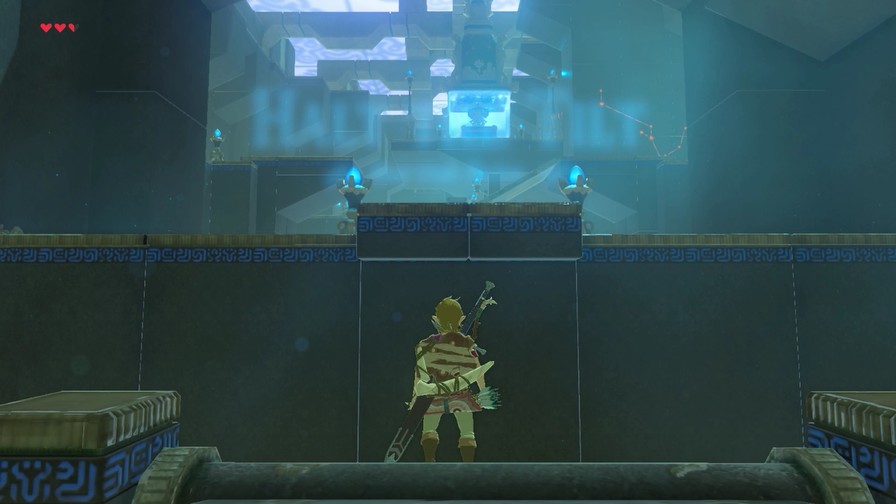
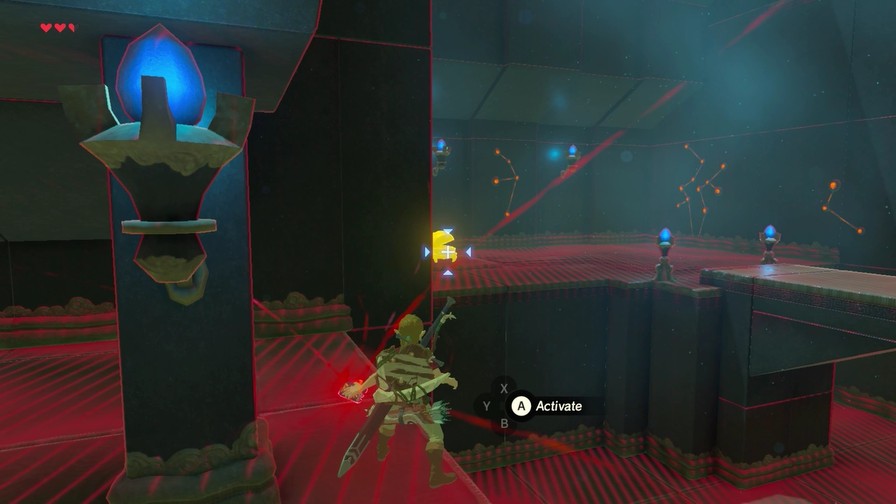
Intro puzzle is obvious enough, so enjoy this shot of Link’s ass.
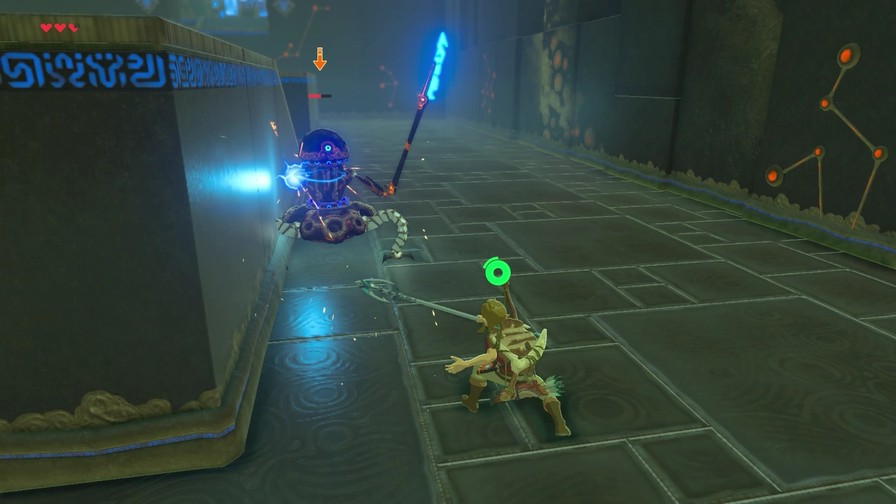
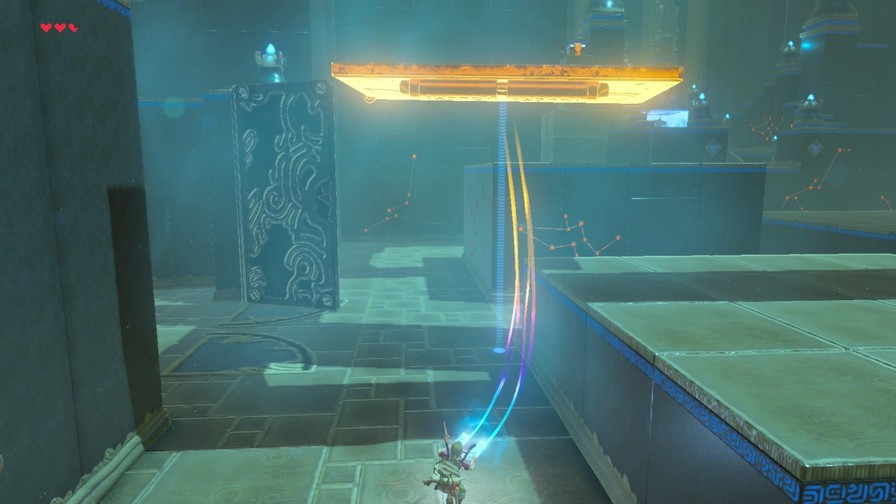
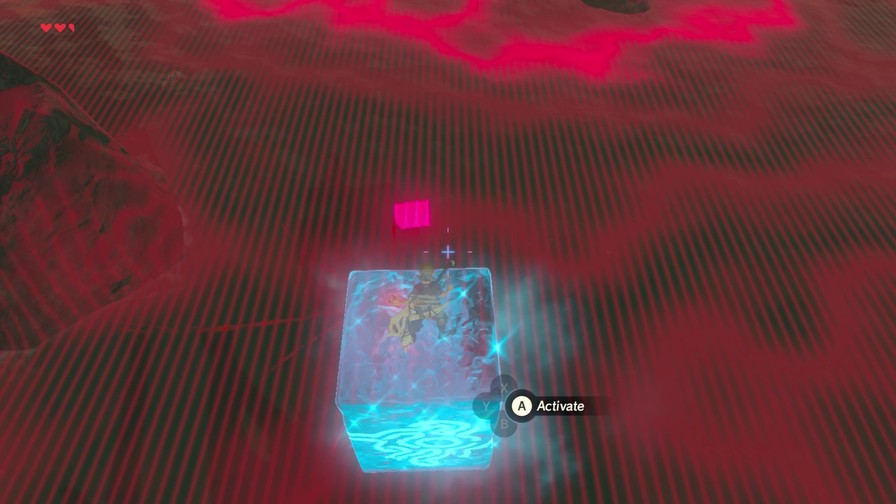
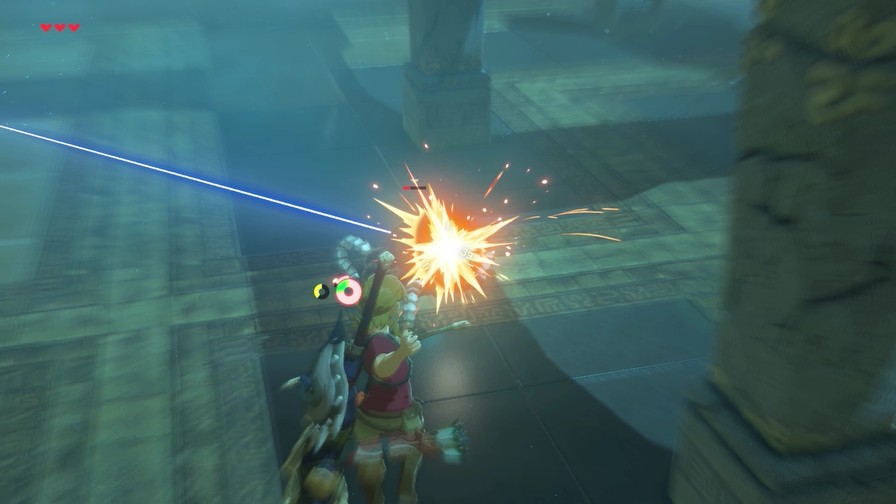
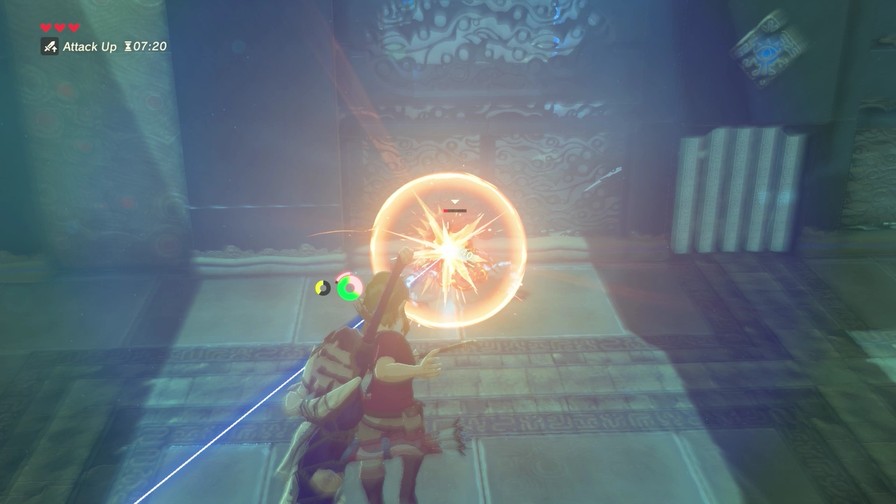
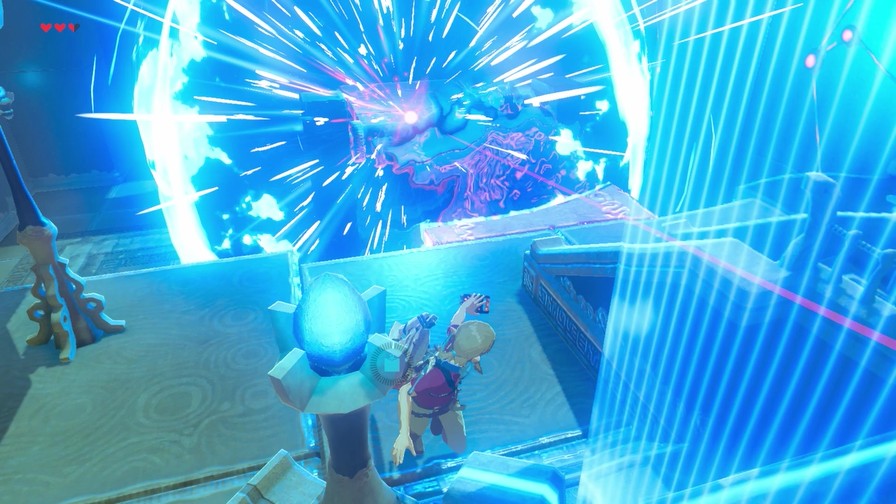
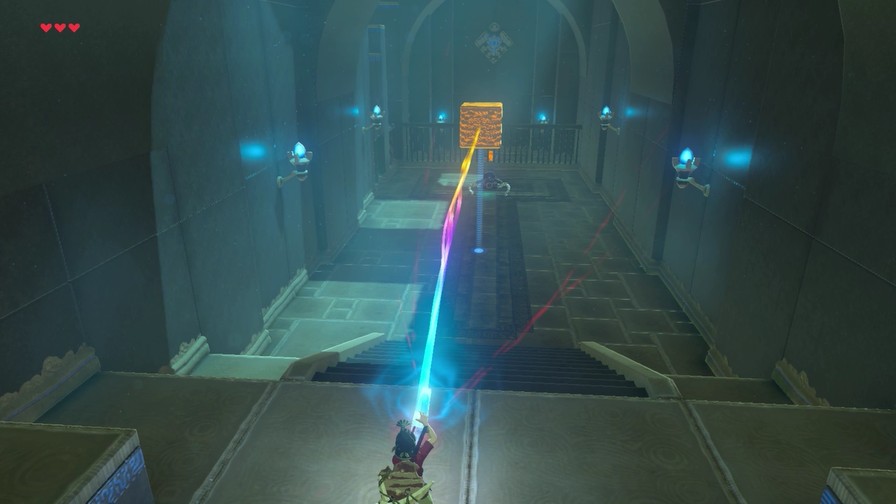
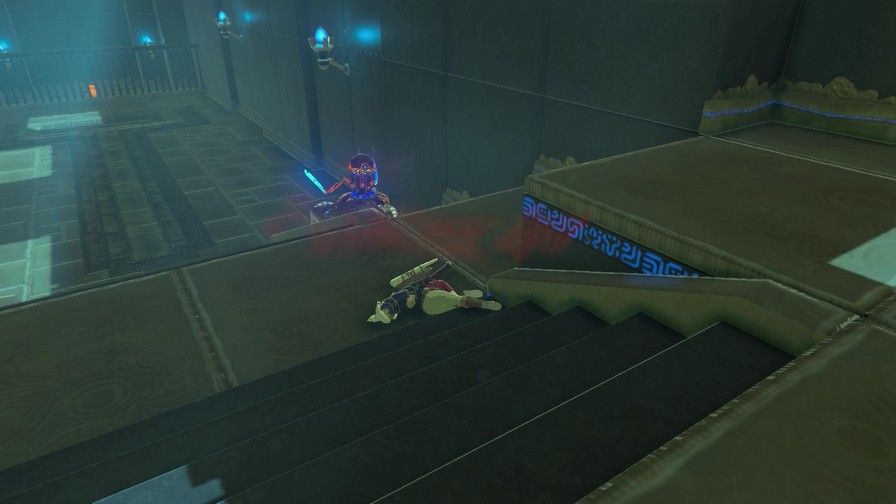
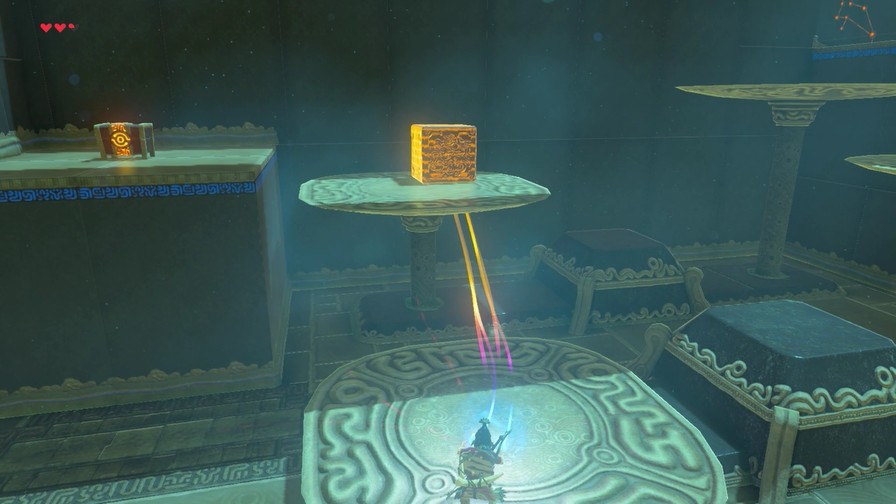
I try to get fancy and kill this scout with the metal block.
I fail.
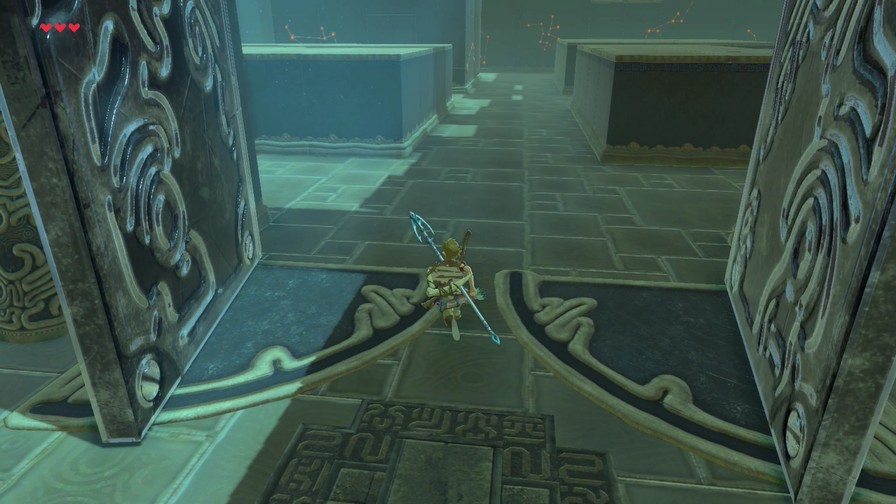
So tried and true it is!
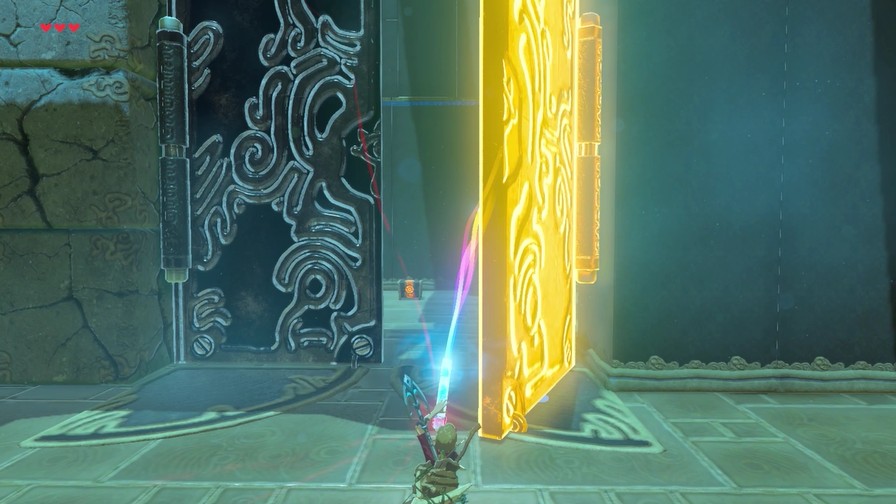
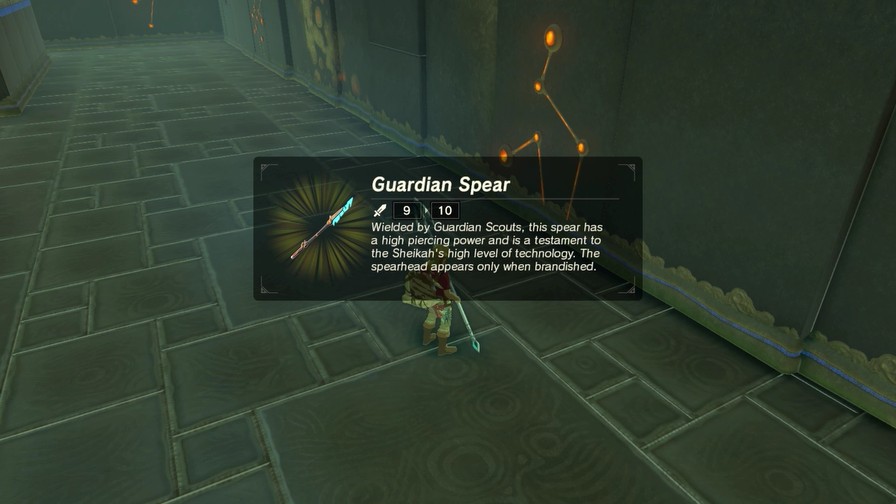
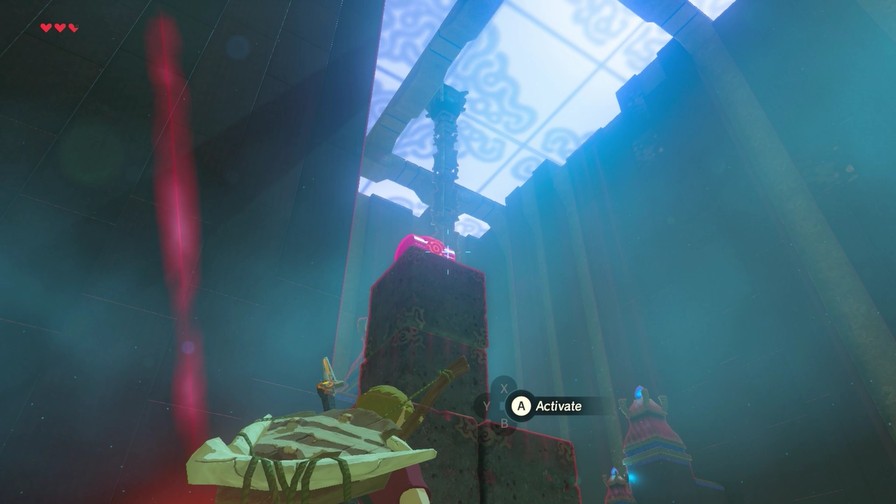
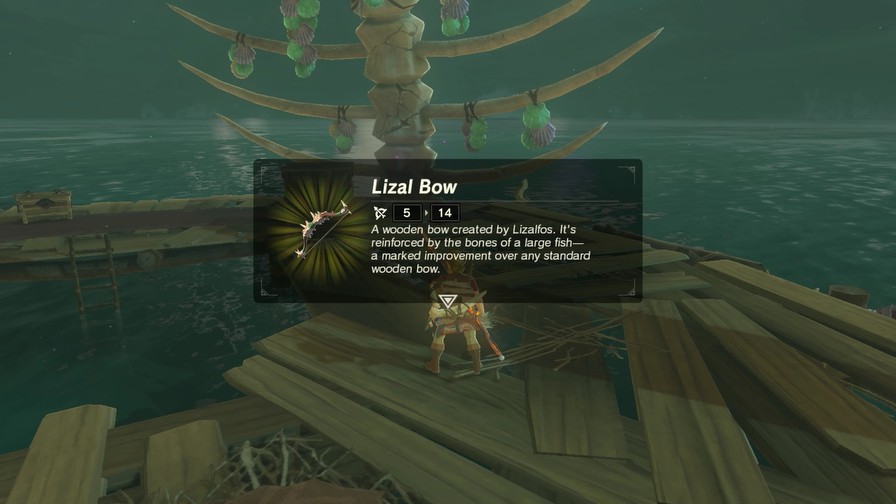
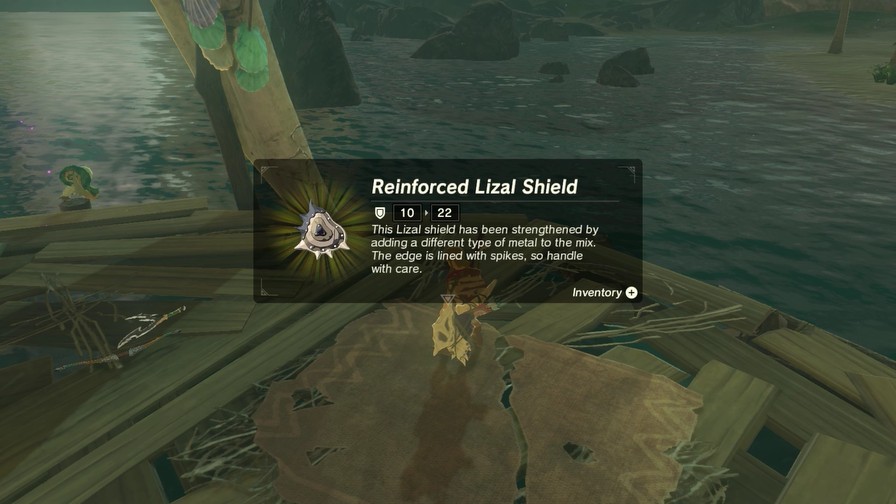
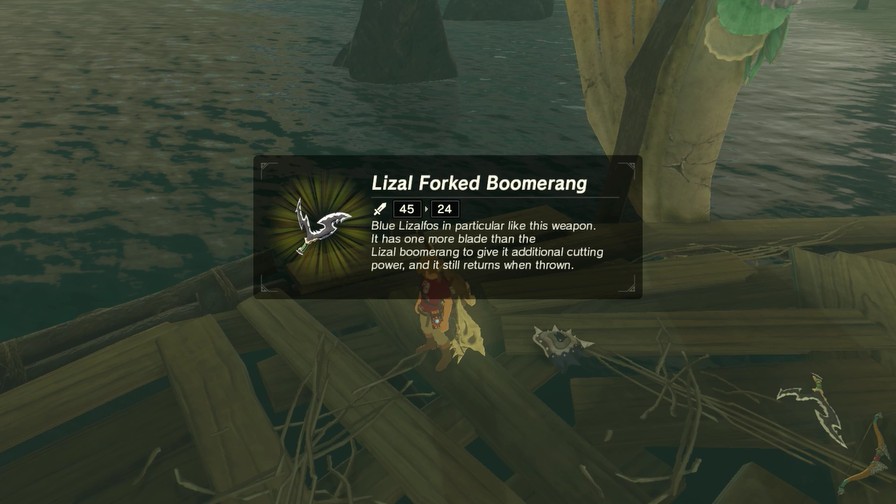
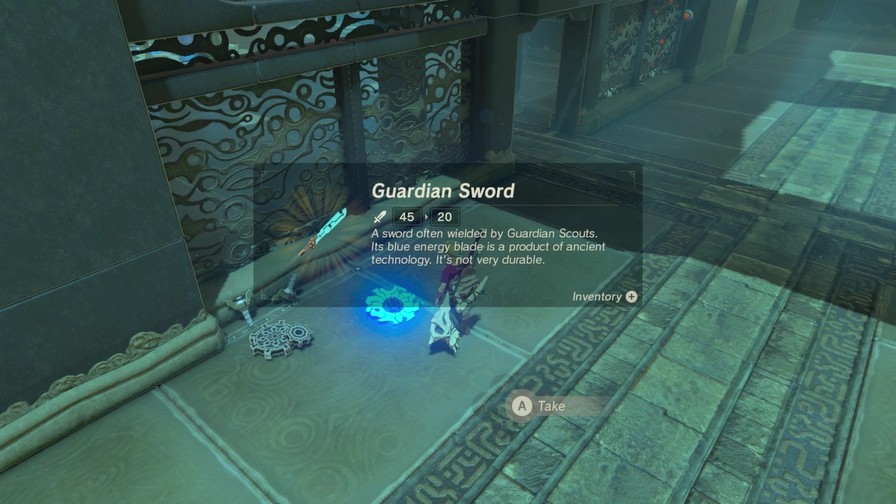
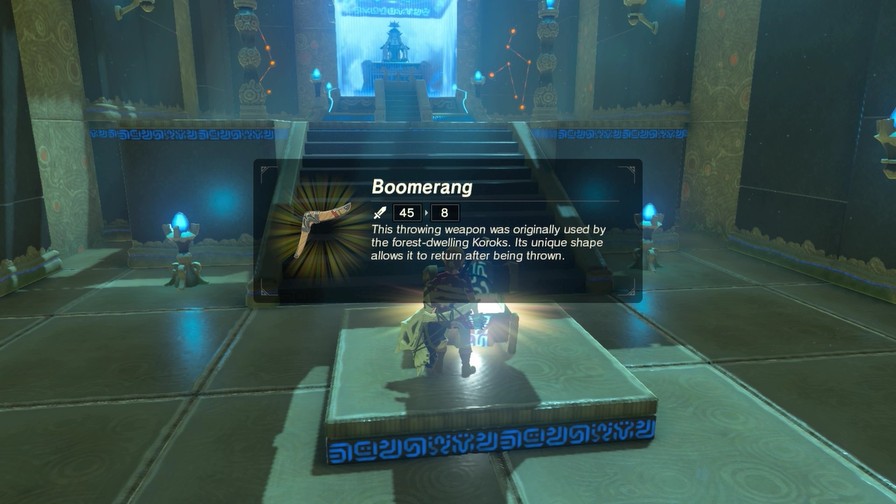
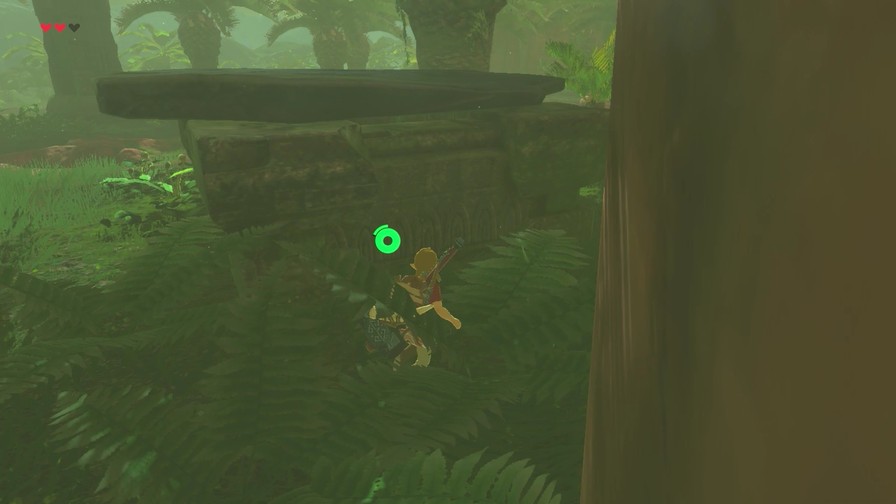
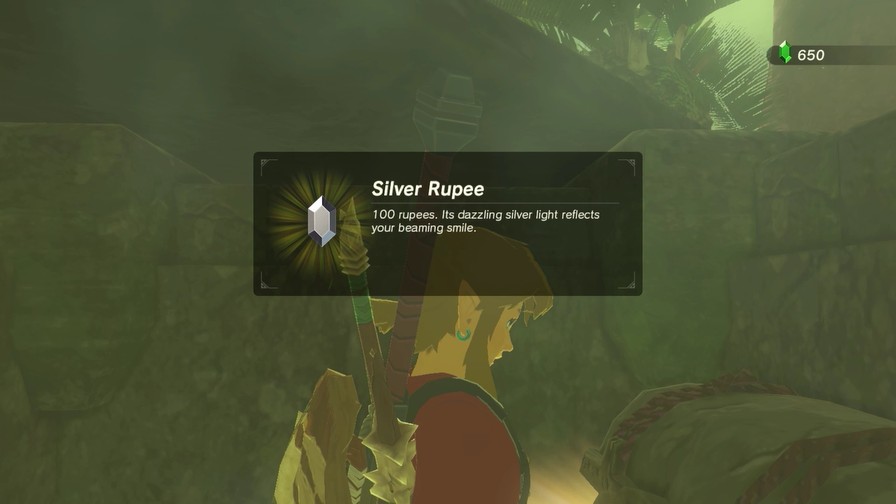
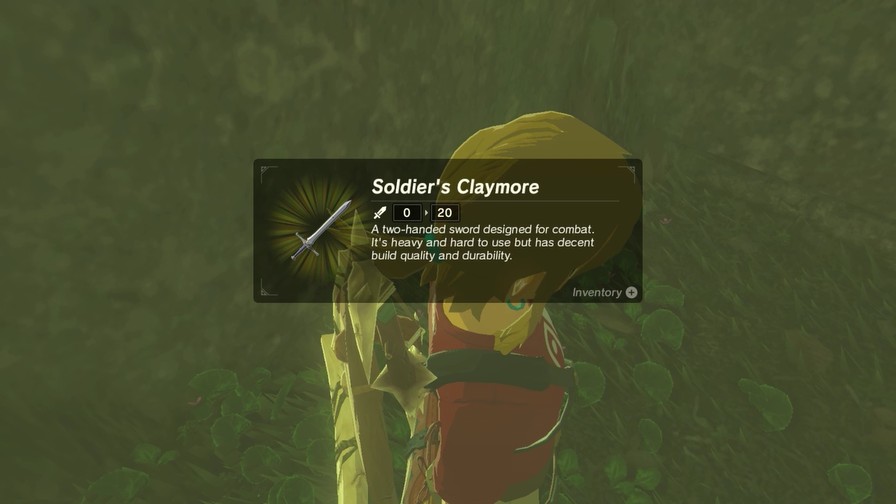
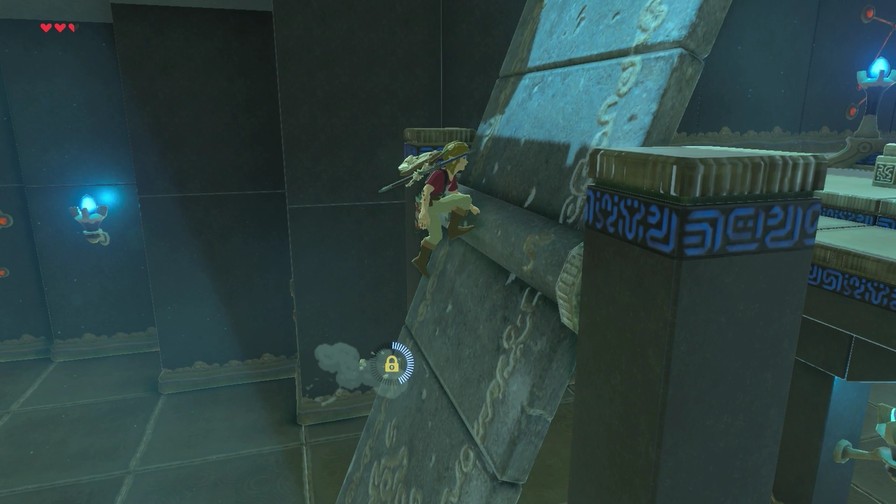
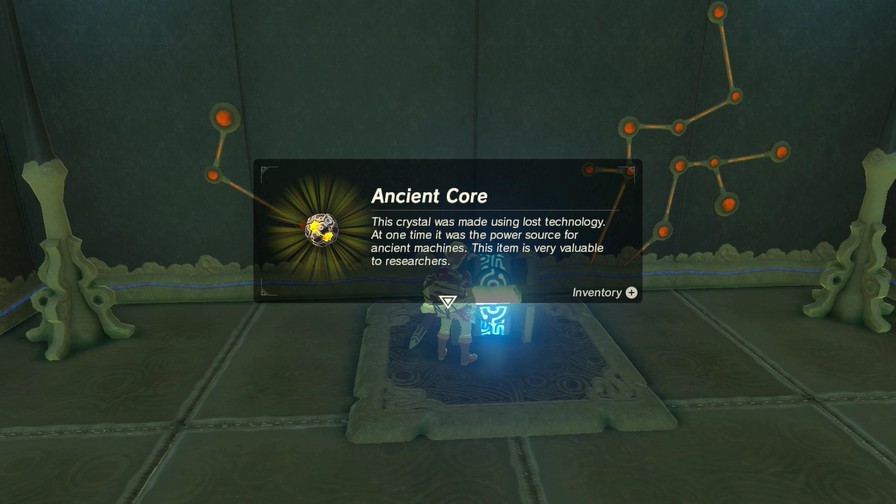
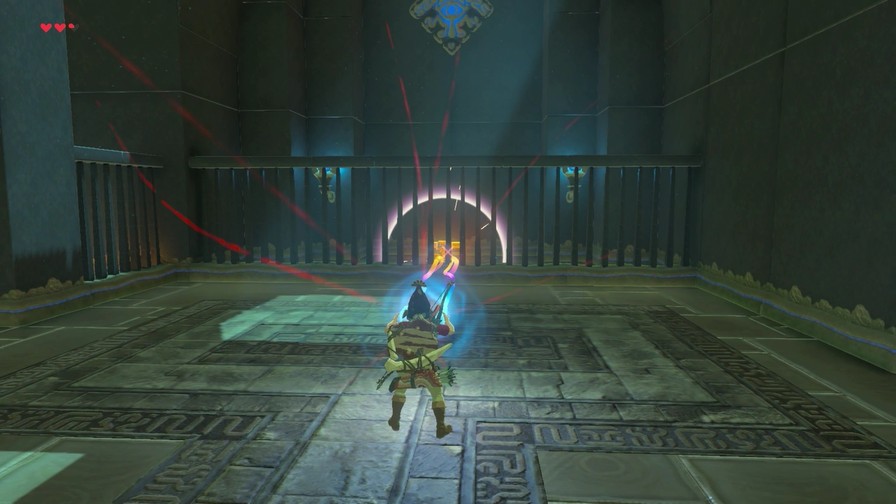
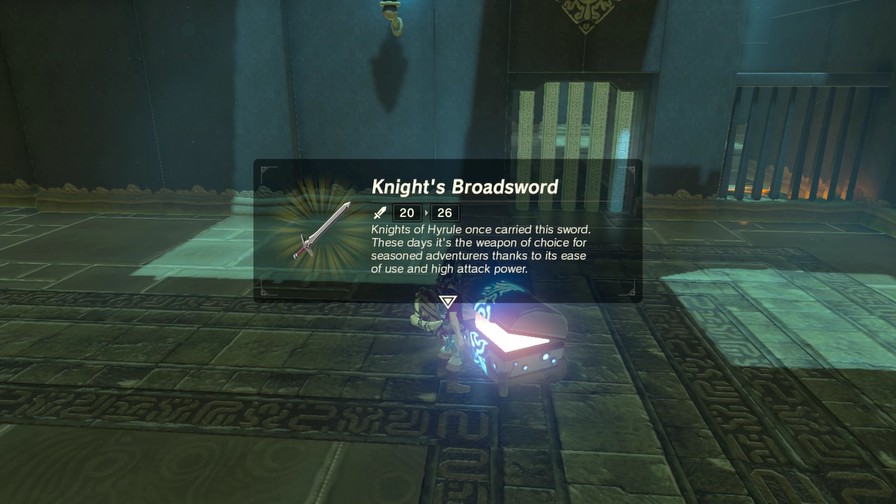
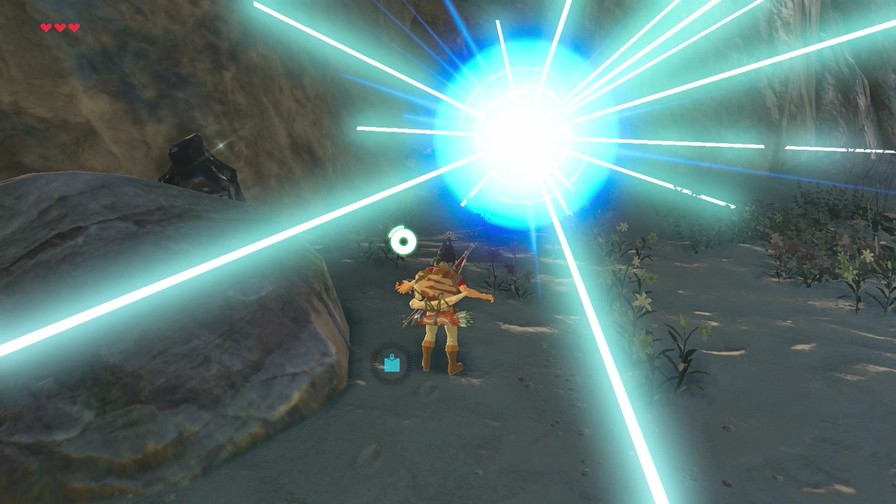
There’s a chest behind this cage. Magnesis!
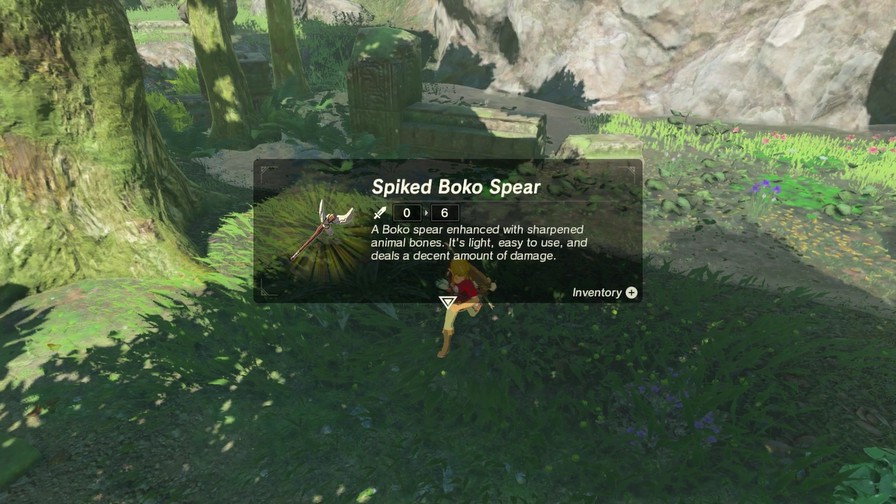
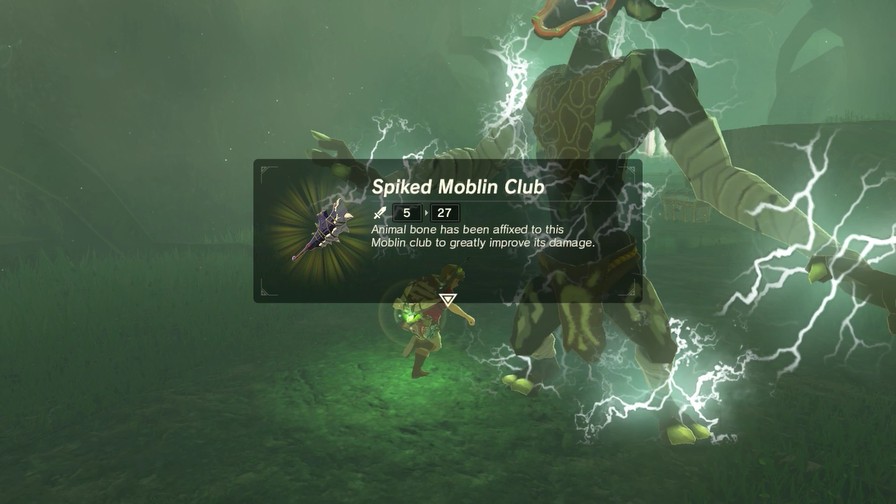
This actually holds a really nice weapon upgrade for once.
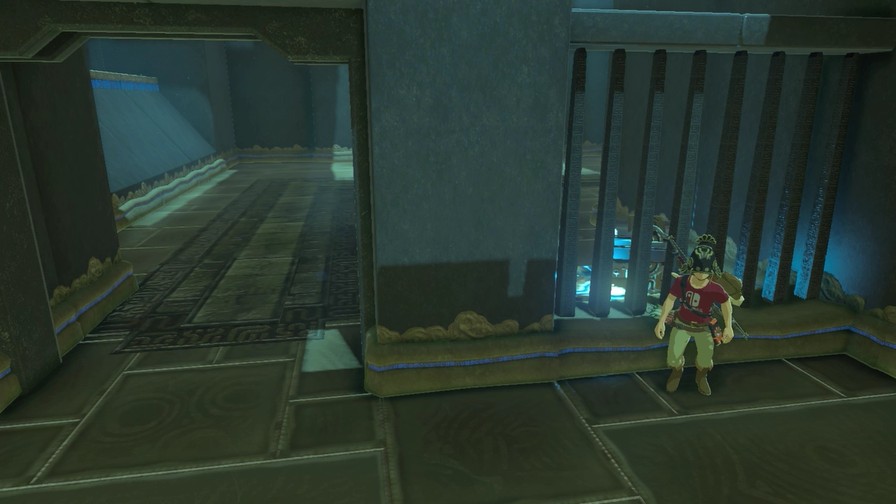
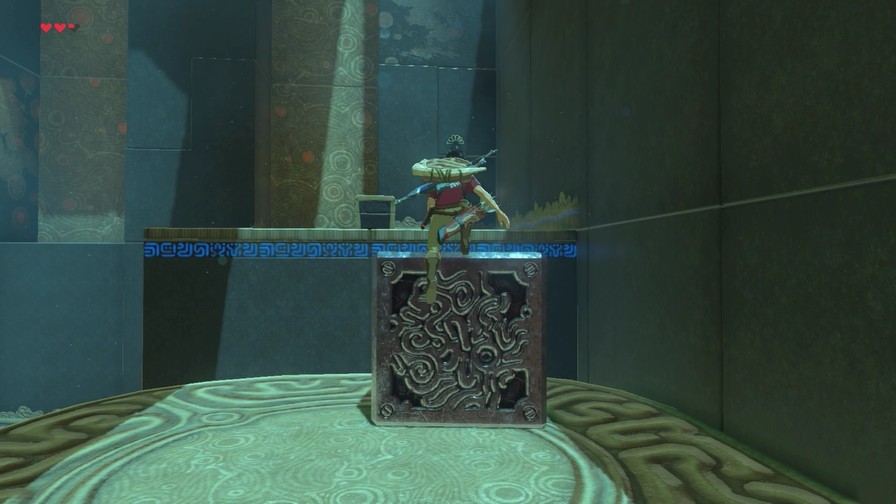
Then we use the chest to press the switch to let us advance.
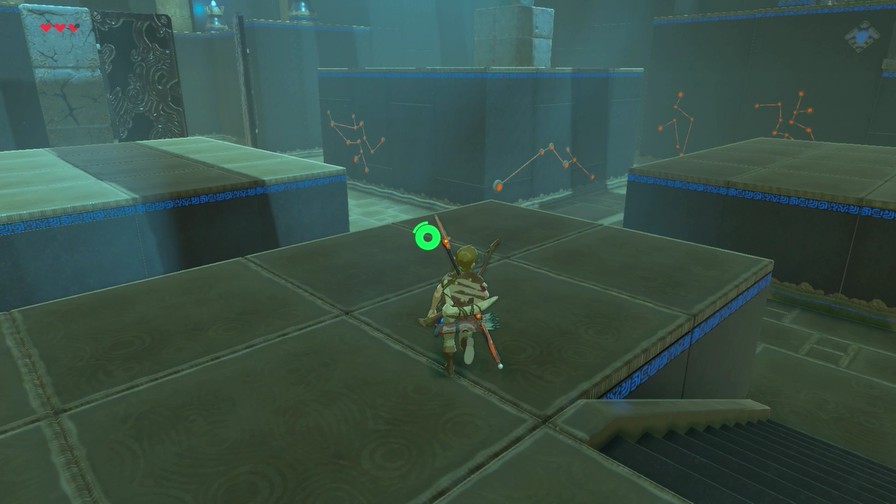
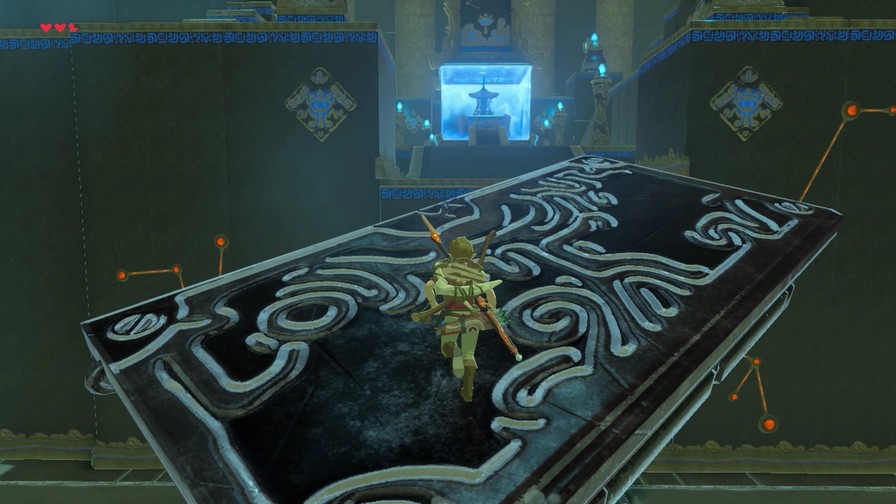
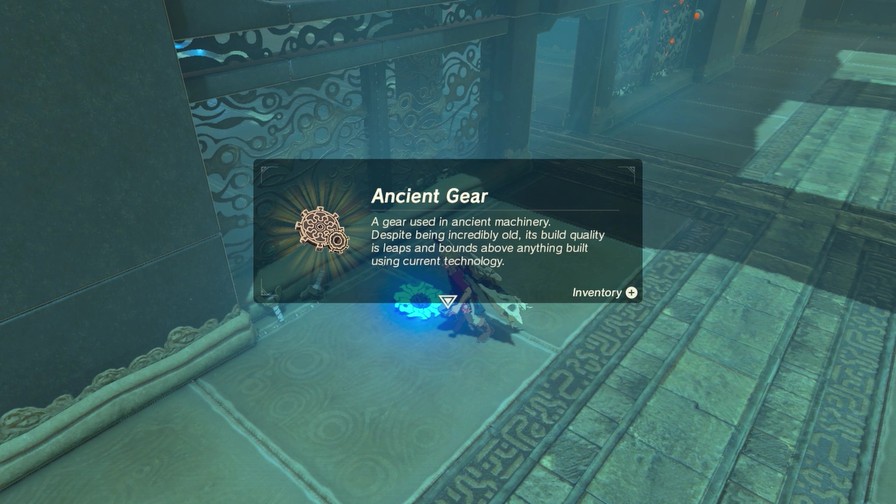
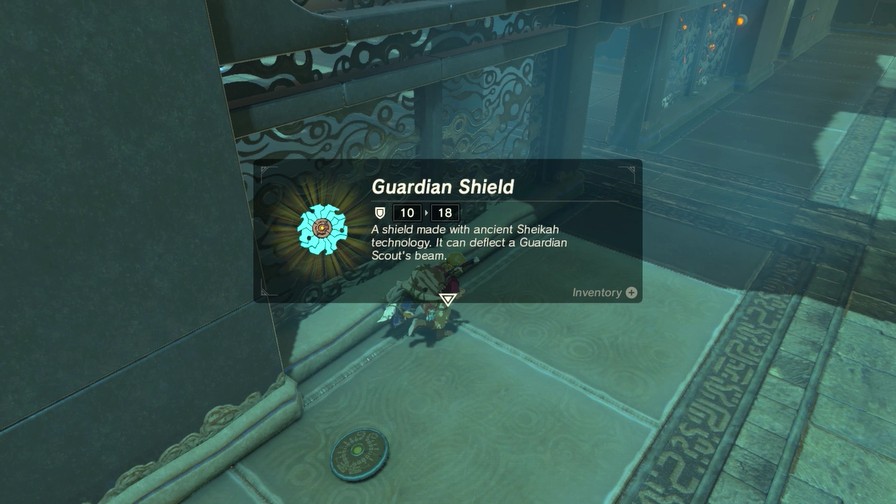
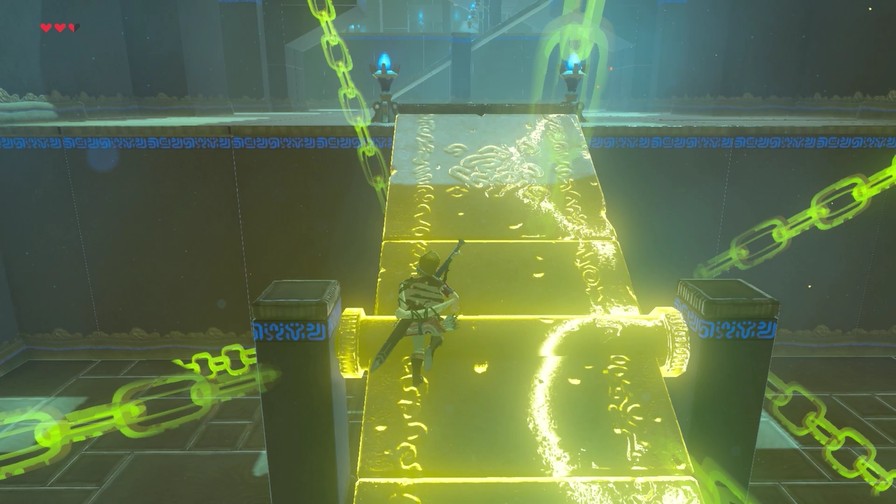
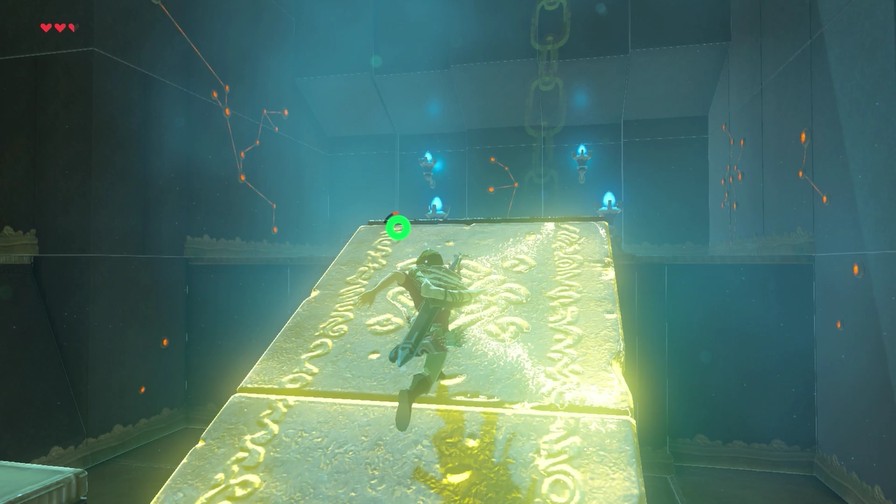
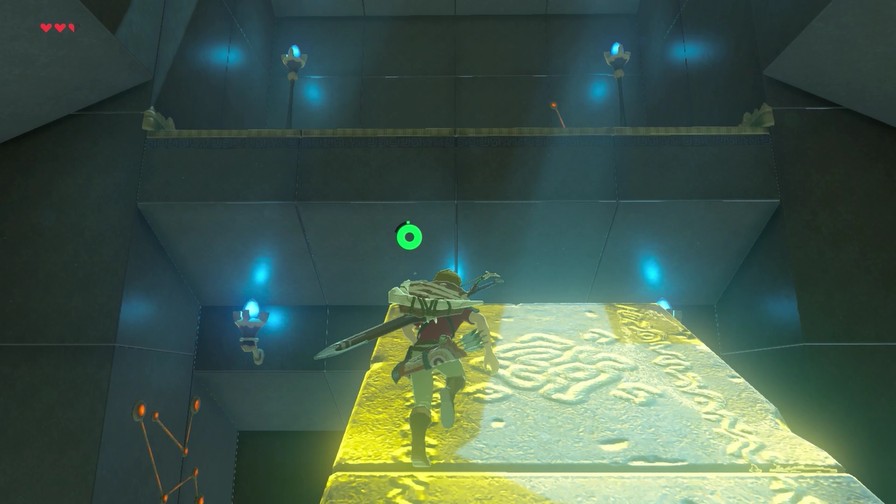
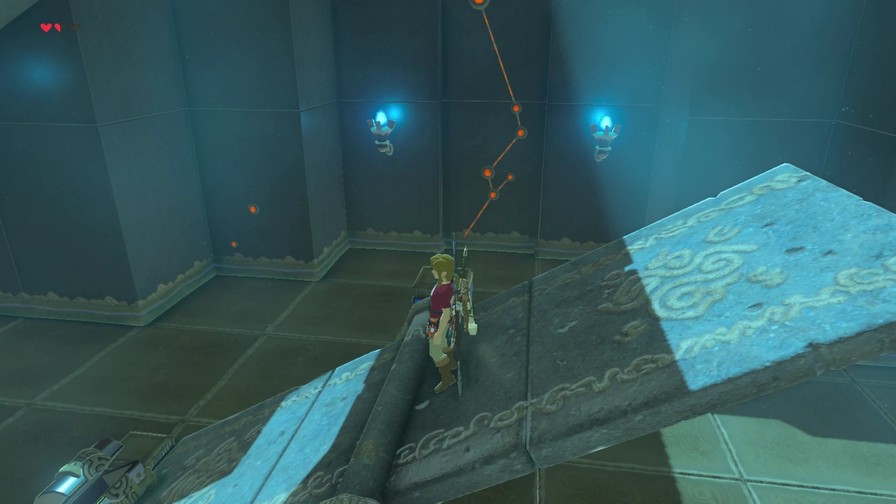
The last room has two separate sets of scales. On the left, a chest with an Opal inside. The right leads to the monk.
Chest is simple. You can climb the middle of the scale to reach the chest with the help of climbing the metal block. Then simply return to the scale, weigh down the other scale, then fly over and weigh the first scale. Or you know, mess around until stuff works. Hell, throw in the chest if you want.
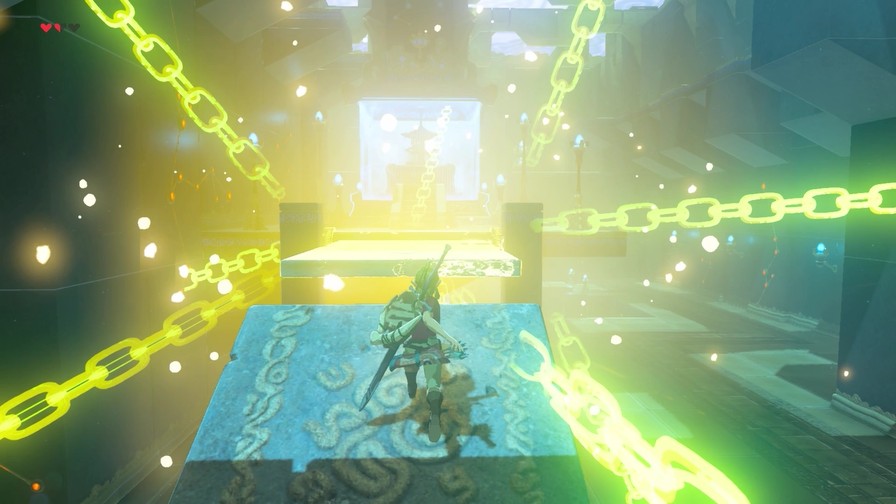
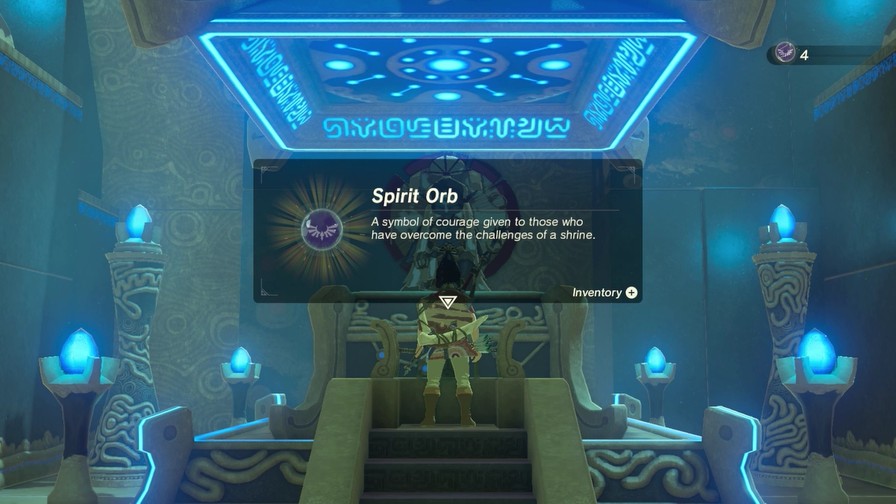
At any rate, we’ve got four orbs now. I’ll let you guys vote our upgrades at the end of the update.
Music: Lurelin Village (Day)
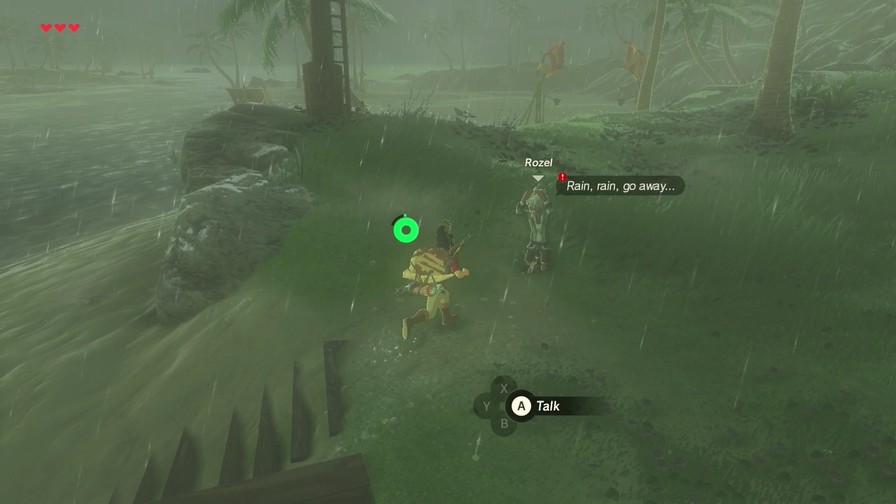
It’s rainy, but at least it’s day now. We can start chatting people up.
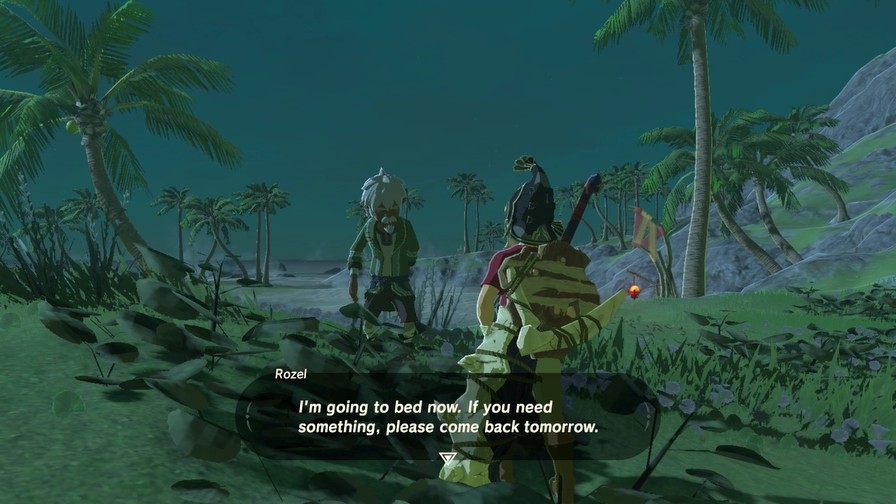
A couple have quests for us, including this guy.
I’m Rozel. I’m the head of this village.
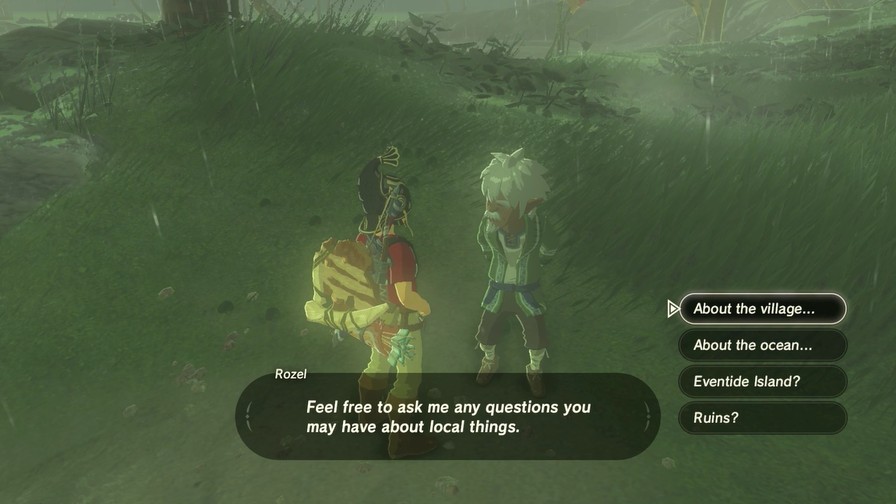
The ocean option is the one that has a quest for us, so I’ll save it for last.
Village
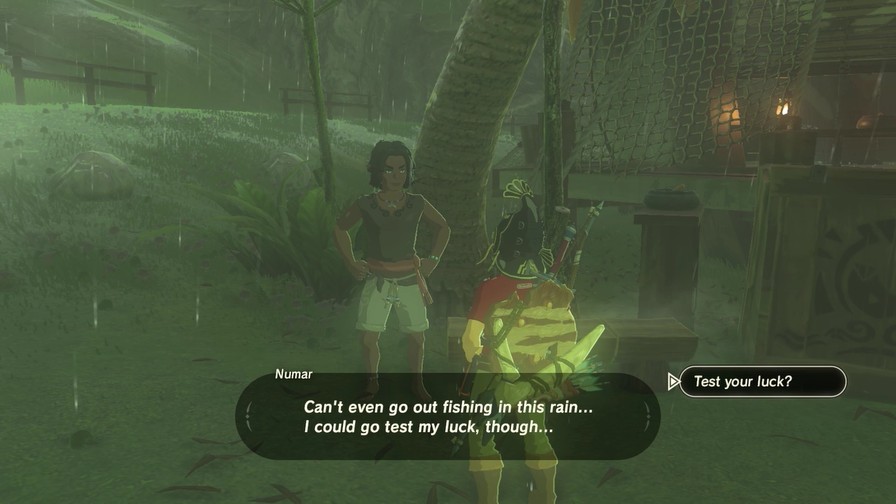
Lurelin Village is a fishing village. When I was younger, I used to be a fisherman myself. But you can’t go out fishing on a rainy day like this. It’s just too dangerous.
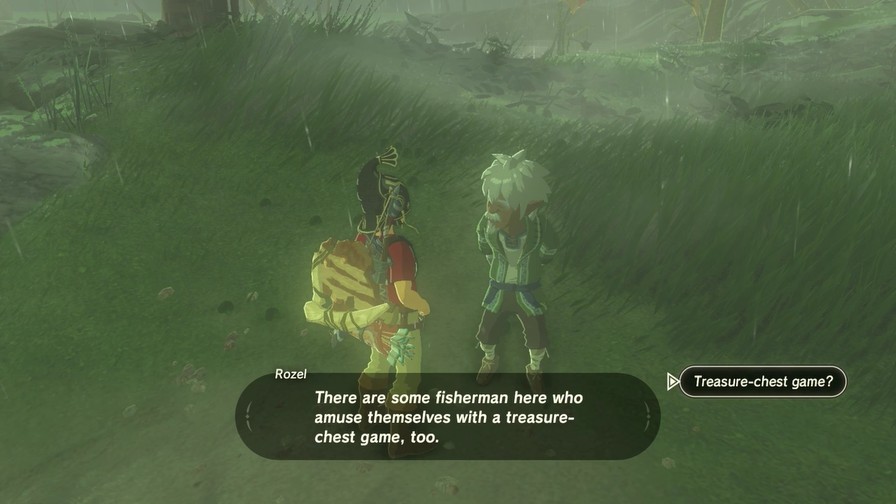
I’m intrigued.
That’s right. Cloyne runs a shop where you can test your luck in his treasure-chest game. It’s fun to try every once in a while, but definitely don’t go crazy with your savings.
We’ll visit that in a bit.
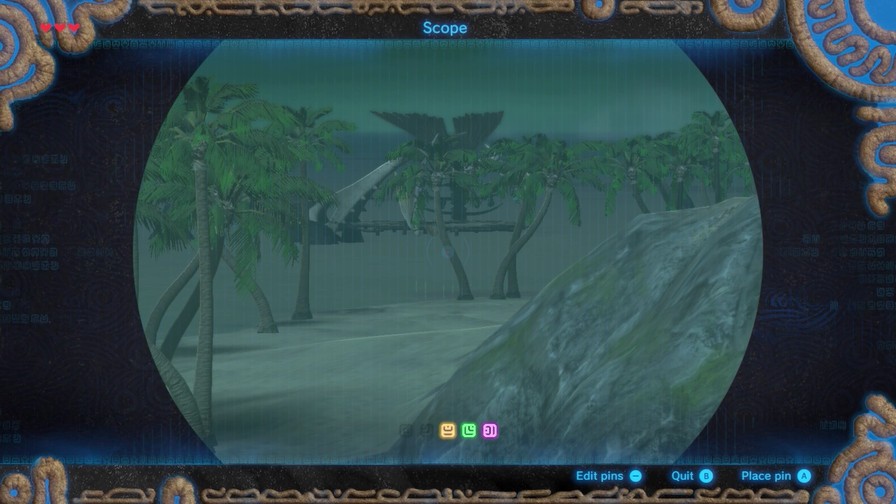
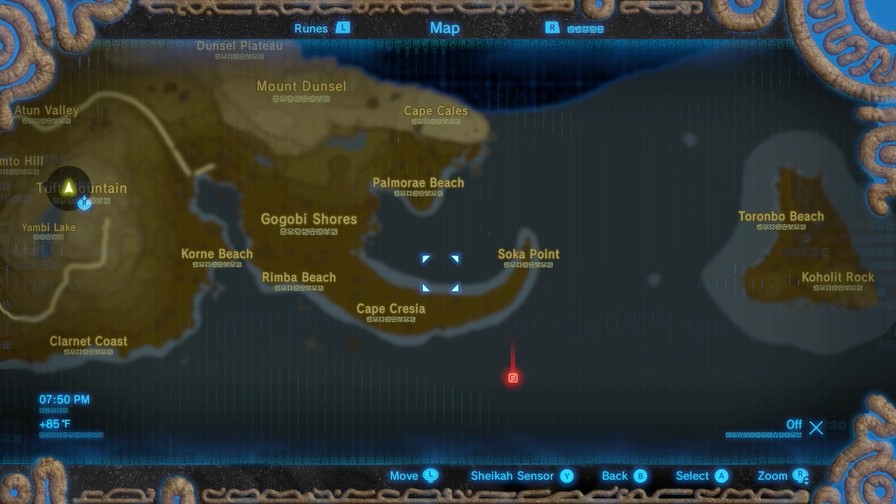
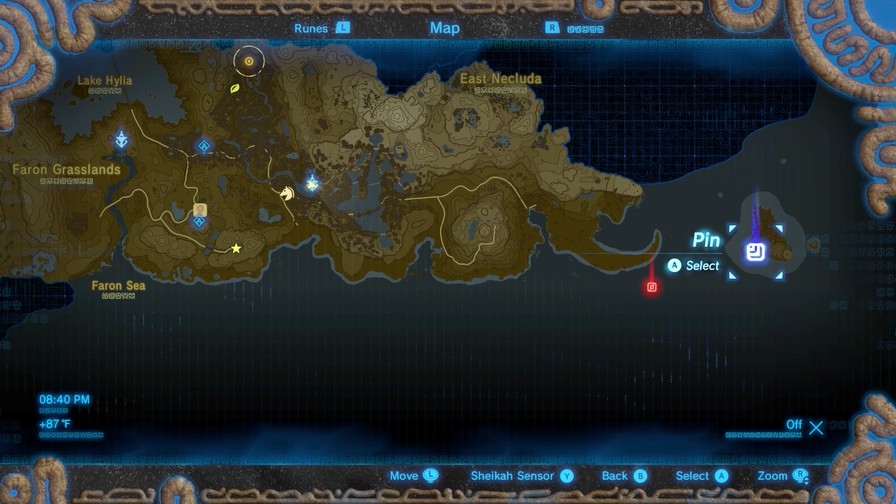
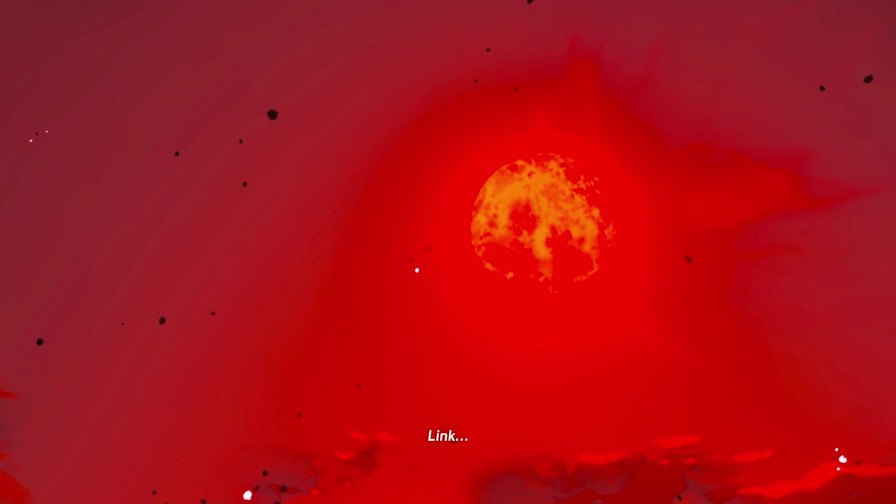
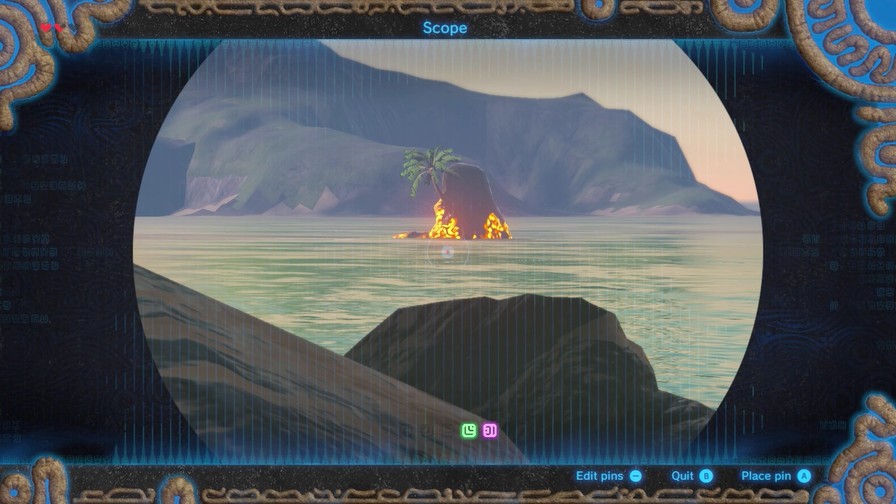
Eventide Island
The large island in the sea to the east of the village…is called Eventide Island. There are some legends about that island, so the village fisherman tend to avoid it whenever possible. When you’re on the island, you start hearing voices… I don’t know if it’s real or just a dream, though.
Looks like the island we’re heading to is named Eventide Island and has a bit of mystery to it. Makes it all the more exciting to check it out!
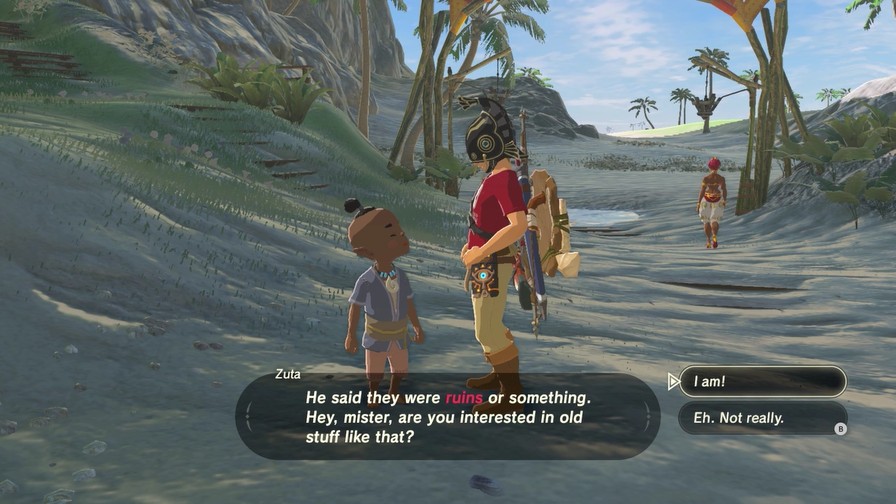
Ruins
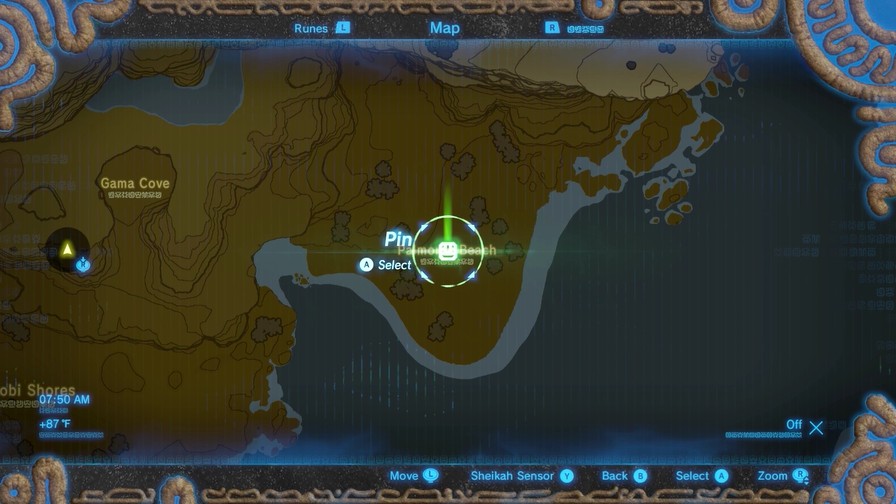
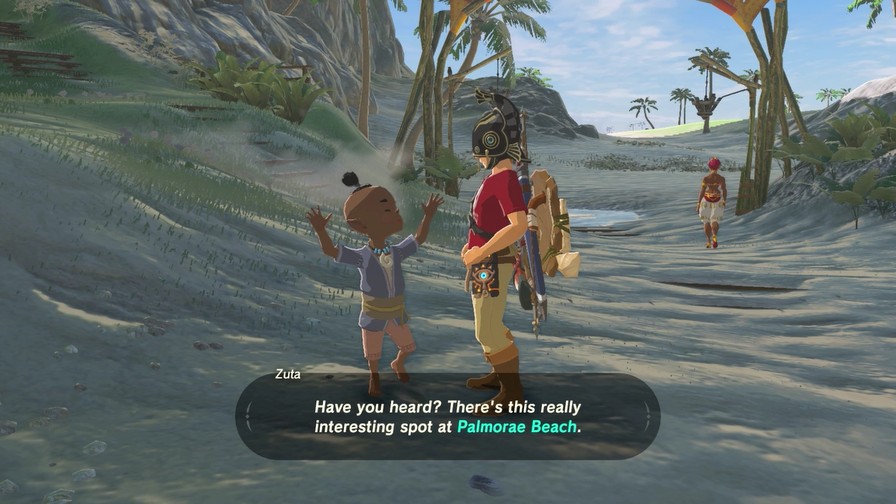
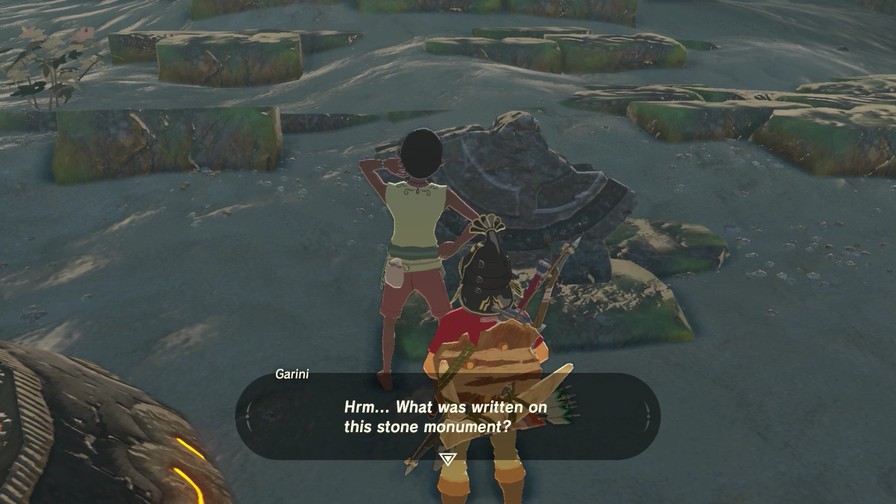
If you walk east from the village and keep going for a bit, you’ll end up at Palmorae Beach. There are some old ruins there. One of the youths from the village, Garini, goes there often to poke around. Garini visits the ruins often, even when it rains. If you’re interested, you should definitely go check them out.
Always another detour. We’ll visit it later.
Ocean
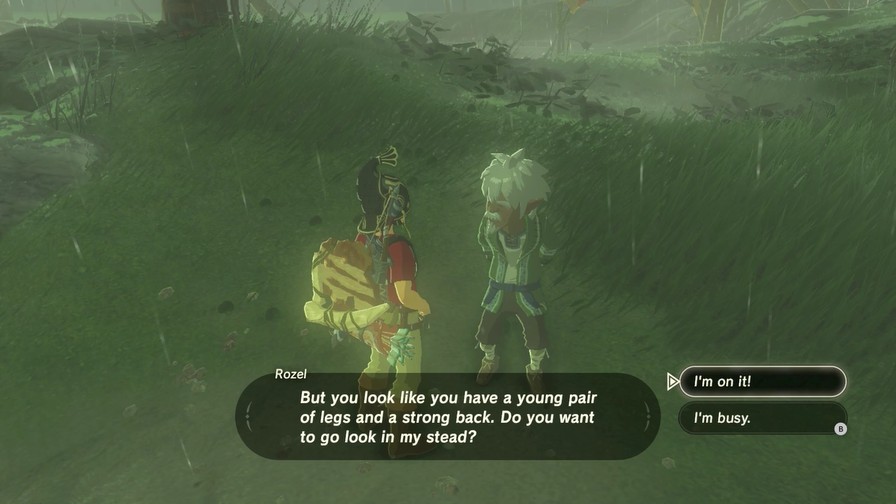
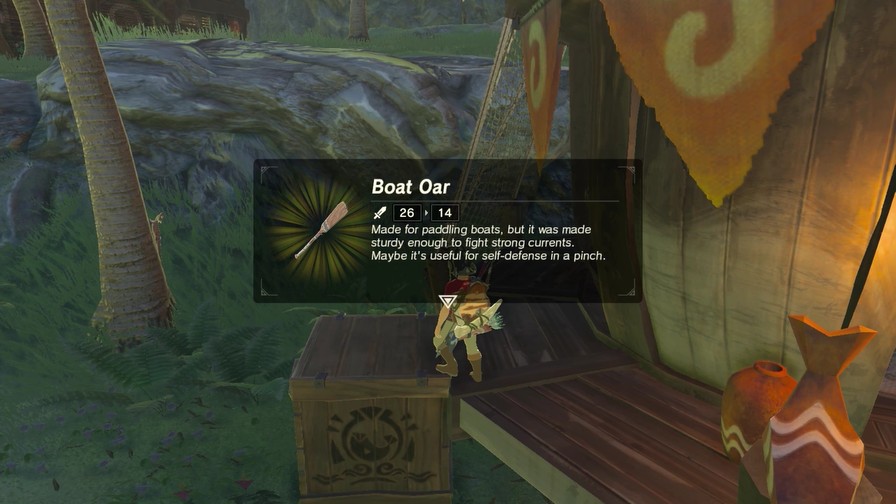
There are tales passed down of sunken treasure in the ocean around here… I would look for it myself if I were a bit younger, but I’ve grown old…
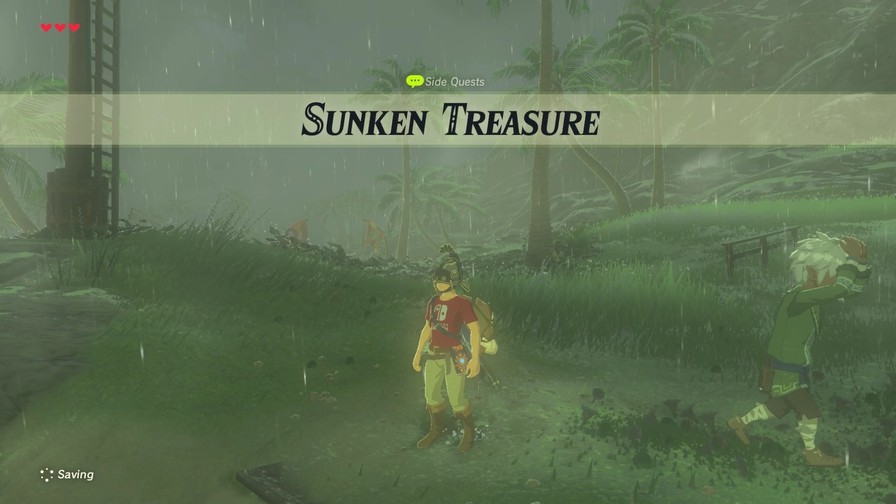
Buried treasure? Sign me up!
I couldn’t be happier to hear it. Now, according to the old tales… “The treasure sleeps in the center of the golden triangle.” Oh, by the by, do you happen to have a boat? If not, I can lend you my raft. It’s tied up at the wharf. Help yourself. On rainy days like today, it’s best to stay away from large bodies of water. It can be lonely out there. Don’t do anything reckless.
We’ll investigate in a future update, probably the next one.
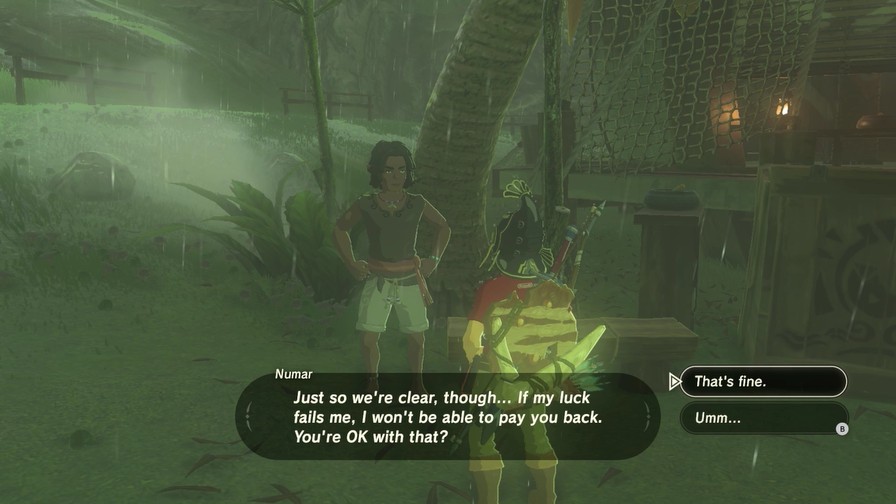
Yeah. Cloyne runs a treasure-chest game. It’s really fun, especially if you win! The ol’ war chest has seen better days… See, I’ve gotten really into gambling lately, but the gambling hasn’t gotten really into me, if you get my meaning.
Probably not a wise idea to further support someone’s gambling tendencies.
But what the hell!
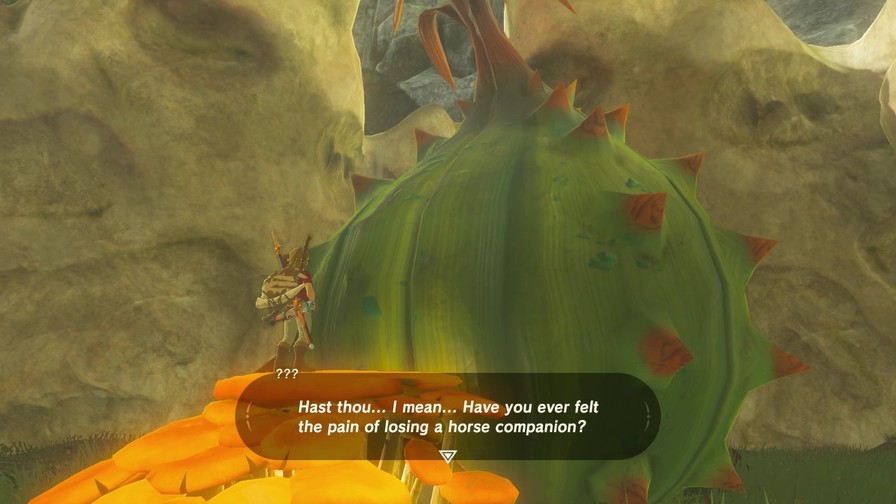
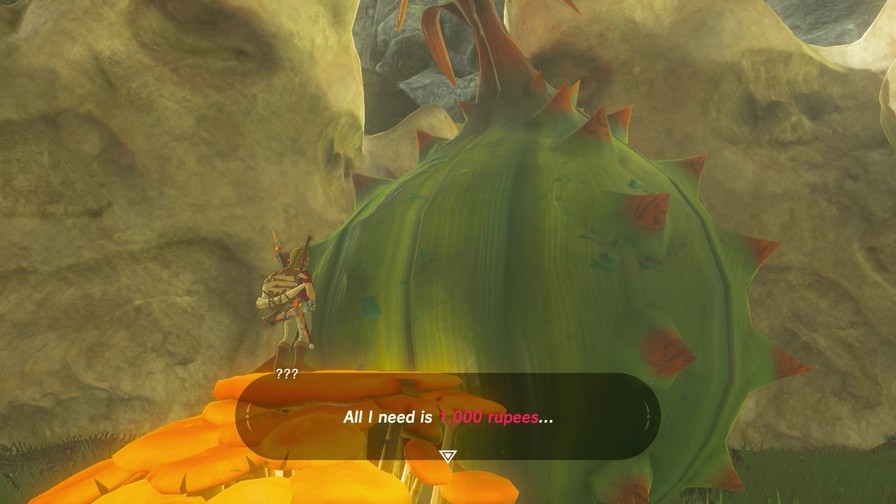
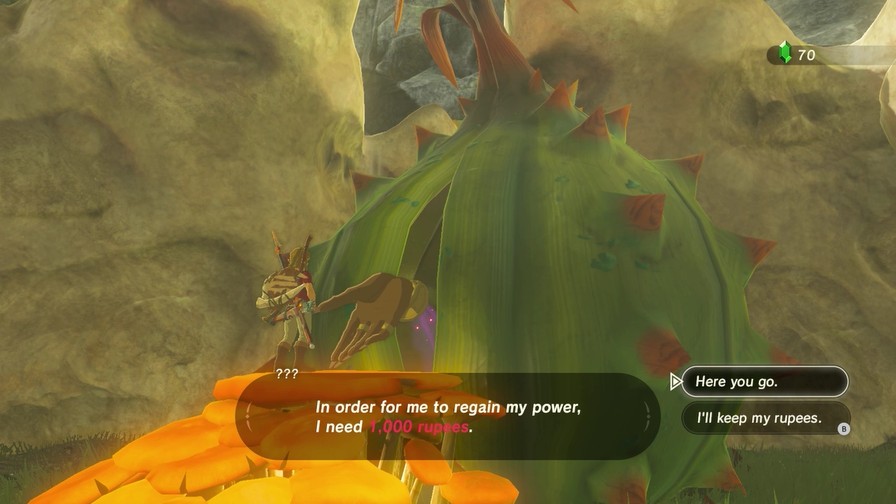
Link’s pretty well-off at this point. Plus if we do get our money back ten times over, we can gain the powers of the horse god!
Let’s go for it.
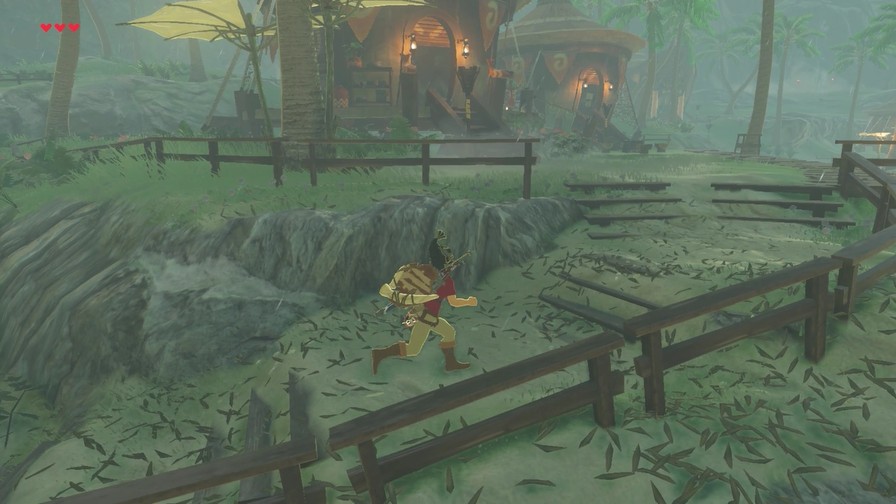
Ah, thanks. I’m most grateful. I’m gonna go use this to make us some money. Don’t you worry. Come back after tomorrow to hear how it went.
Can’t wait.
Time to check out the rest of the village.
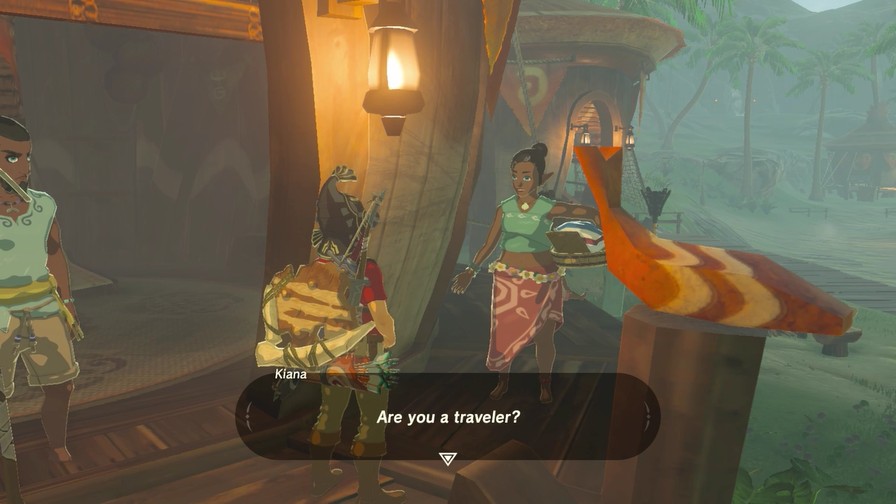
This is Lurelin Village. We’re a small fishing town and proud of it! My husband is a fisherman, and I have two sons who will probably grow up to be fishermen too. What should I cook for tonight’s dinner?
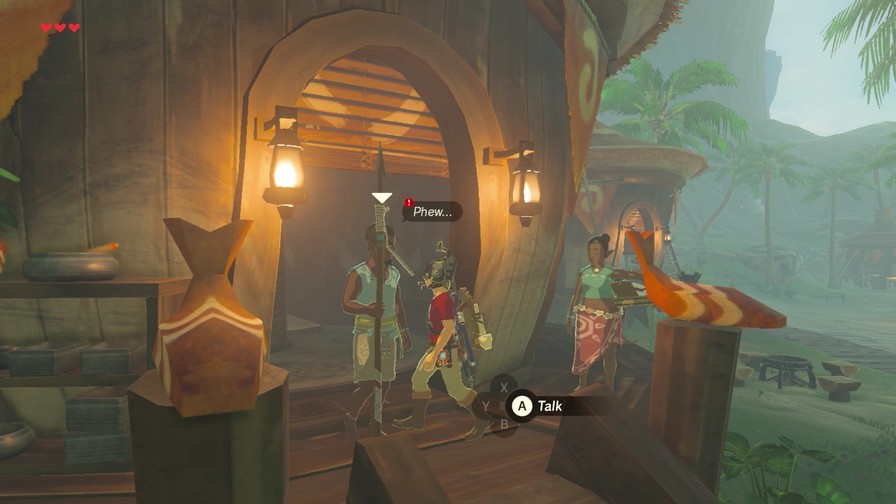
Time for another quest!
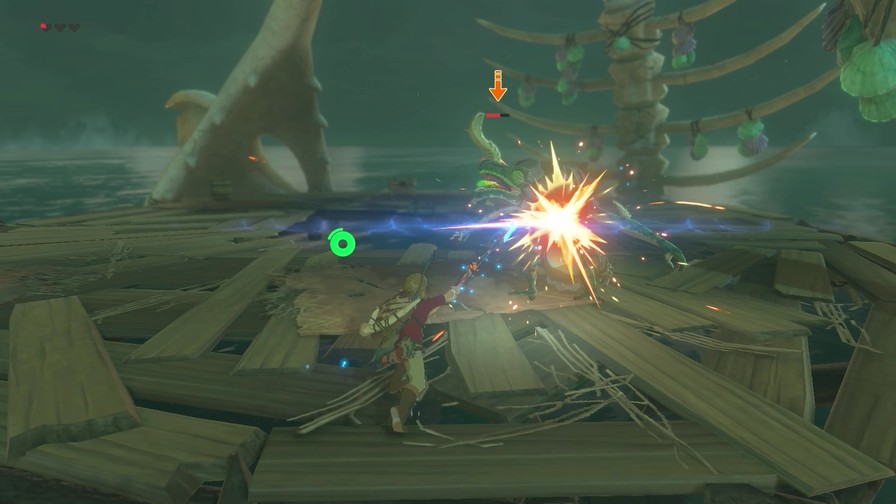
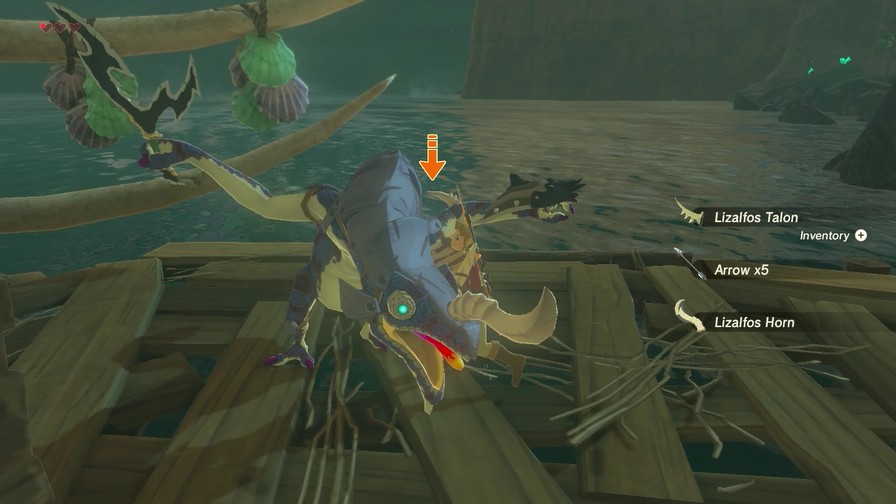
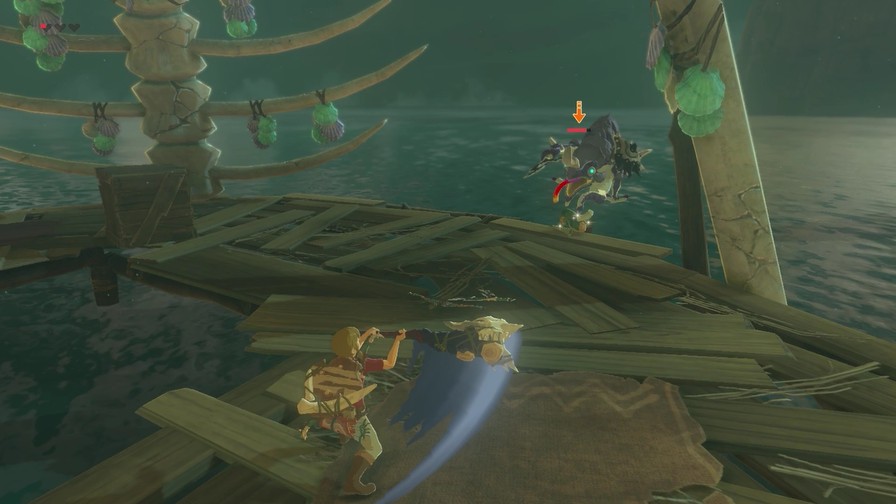
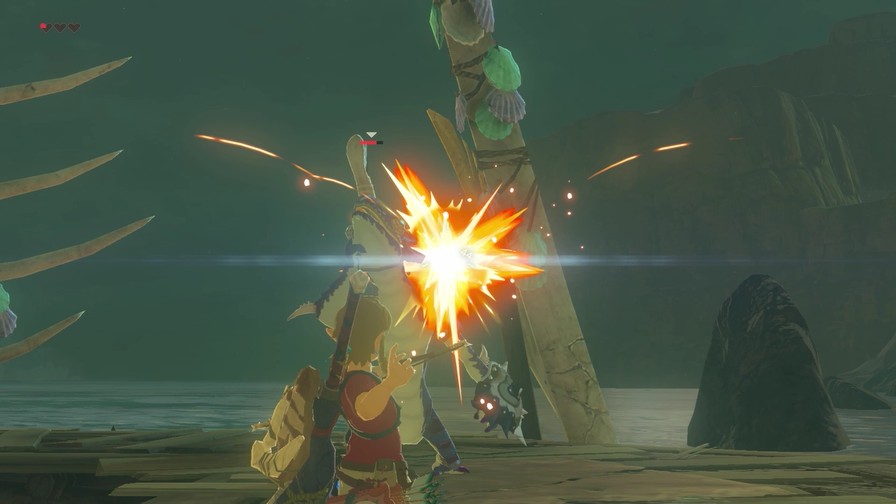
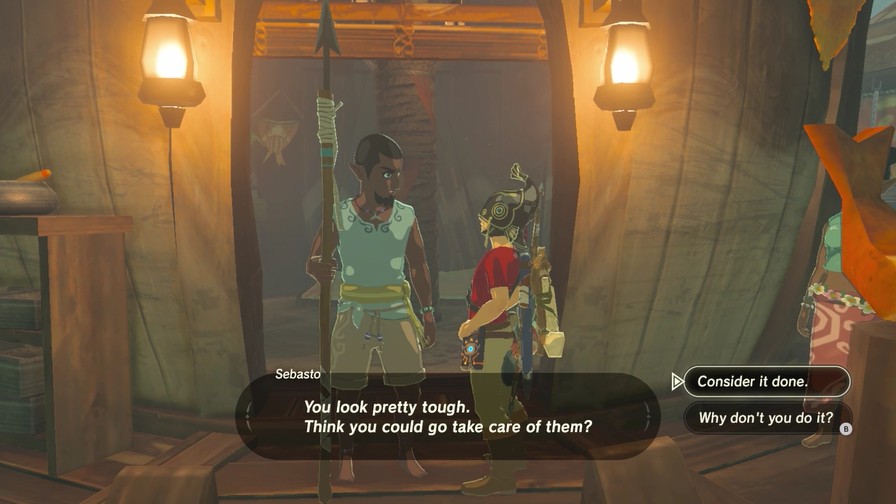
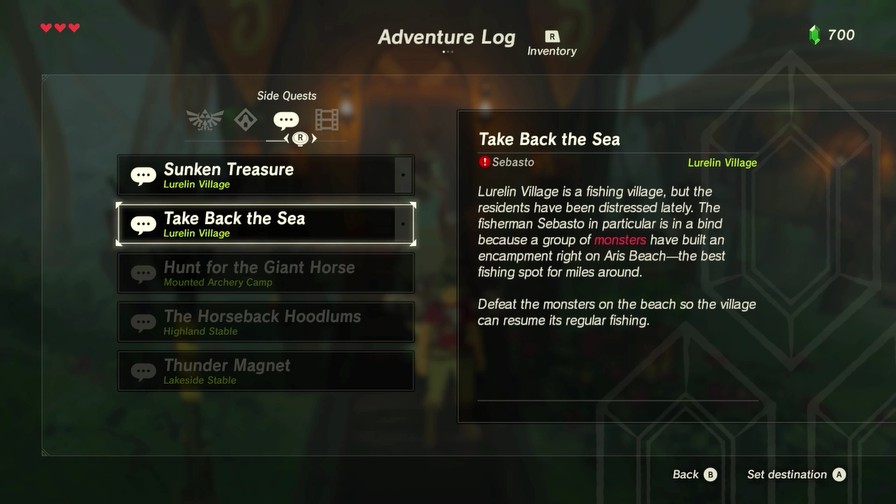
Monsters have taken over the best fishing spots. You used to be able to pull in a good haul at Aris Beach, but these days you’d be lucky to leave there with your life.
Sure. Killing monsters is our specialty.
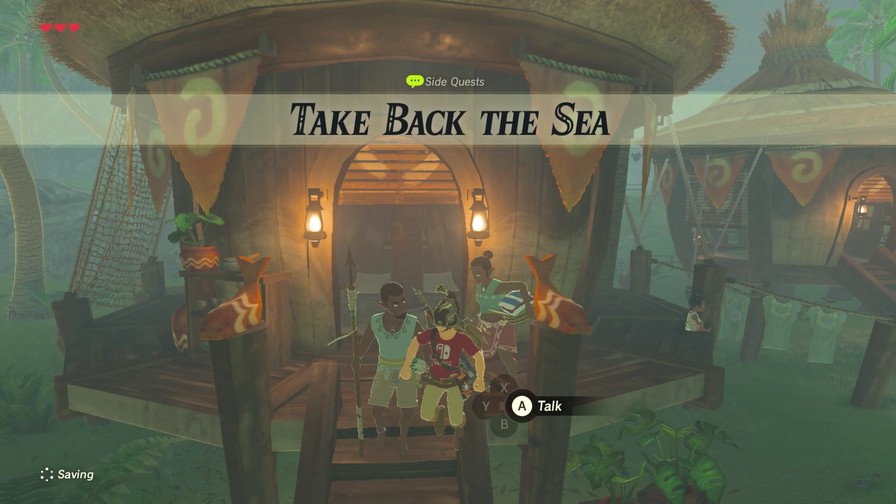
Good stuff. Remember, it’s called Aris Beach. The monsters have set up shop there. Stay sharp.
Another quest that will wait for the next update.
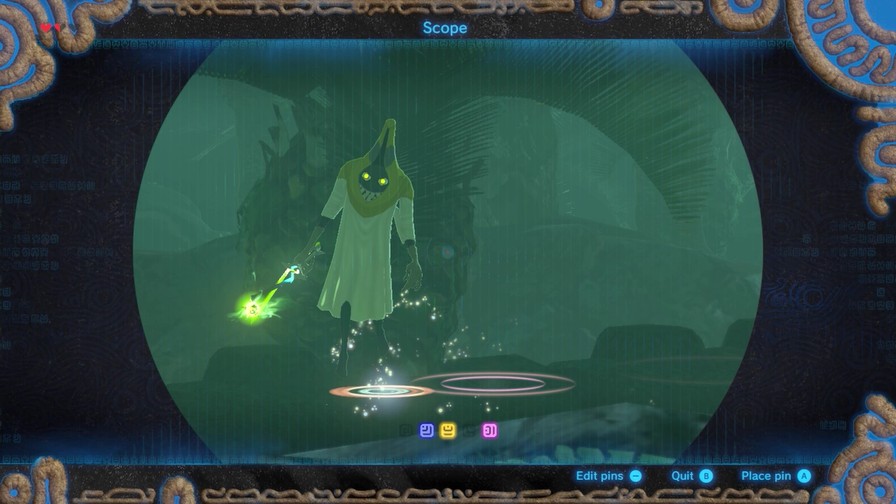
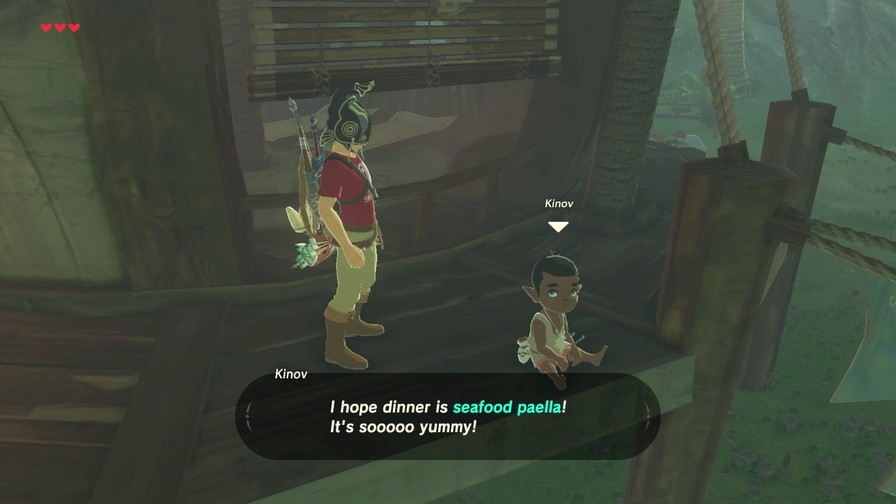
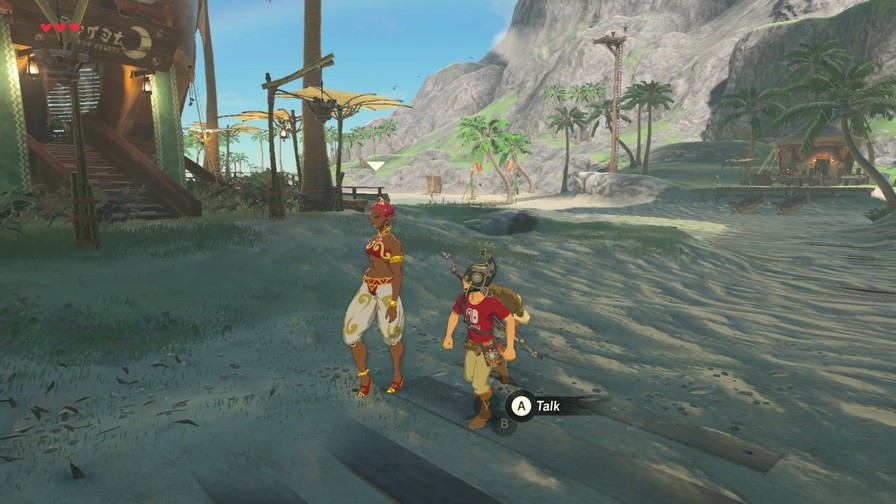
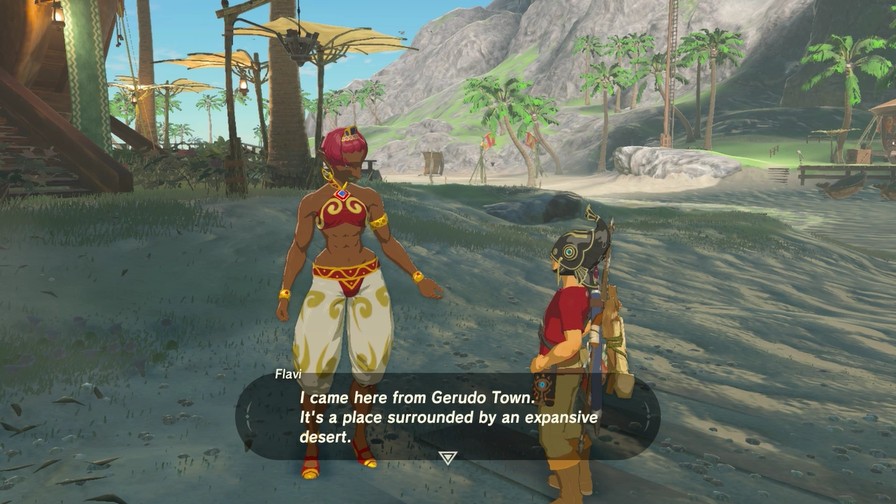
At this point, the rain has stopped and we see someone who looks quite out-of-place here.
Mmm, the weather here is nice and warm. It’s not at all like that blazing heat in the desert!
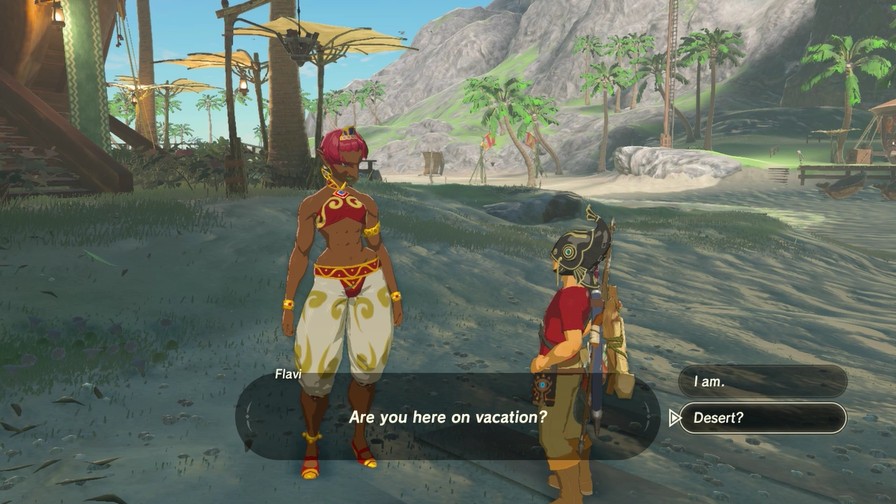
I’m more interested in this desert.
The isle far off the shore to the east is called Eventide Island. It was tales of that island that brought me all the way out here. However, it’s actually hard to get there by sea. It feels like you’d need to grow wings to go there…
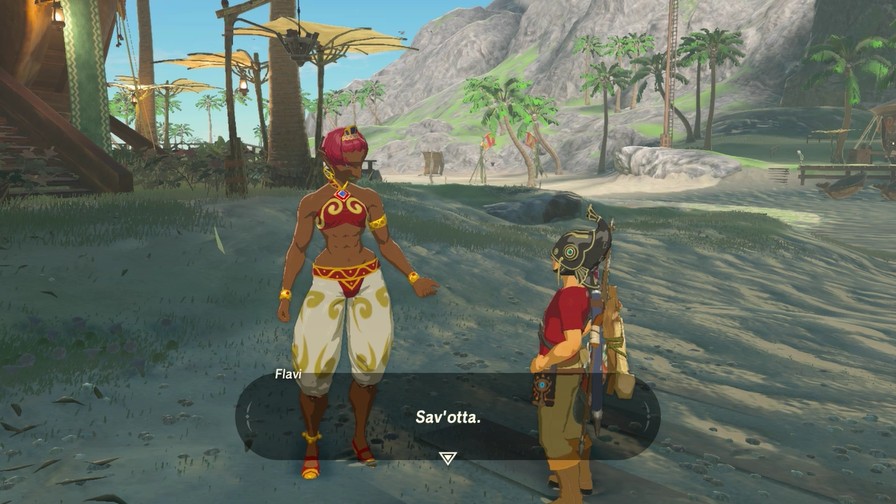
We’ve met our first Gerudo, a race that’s almost entirely women. For being one of the most known races in the Zelda series, it’s kinda surprising to note they only really appear in Ocarina of Time and Majora’s Mask (and Four Sword Adventures). They usually stick to the desert and are more seen as a warrior race, though Gerudo in Breath of the Wild have a large mix of jobs. Ganondorf in fact is the lone Gerudo male in the series.
Anyway, it might seem like Eventide Island may be more difficult to get to than anticipated, though I still feel good about going for it.
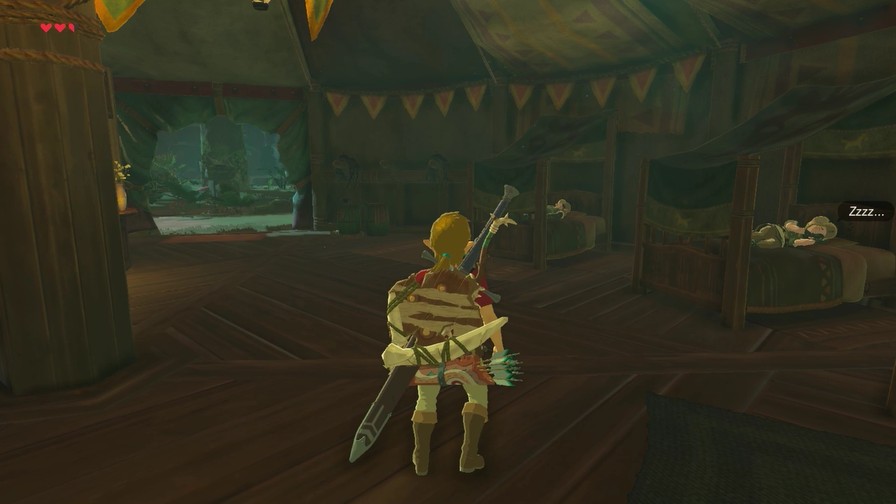
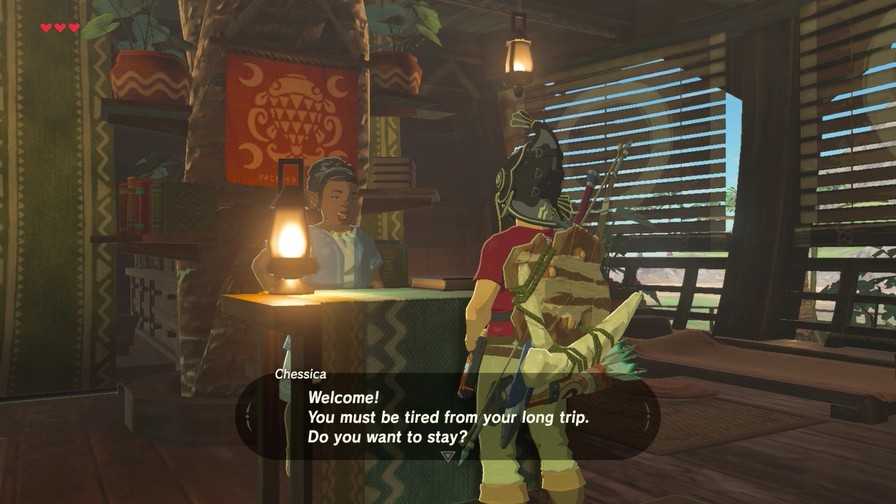
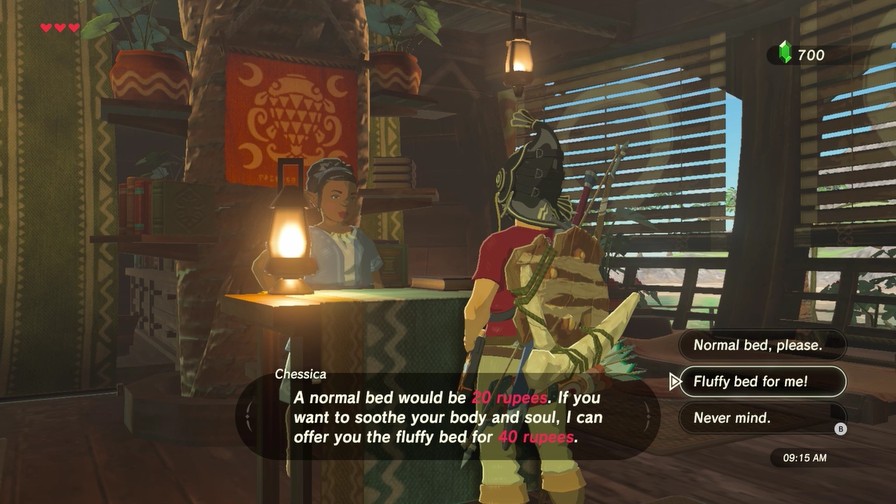
Inns let you recover health and pass time. There’s usually a more-expensive option that will give you bonus hearts, though it’s usually only one or two. In my experience there’s never a reason to spend money on inns when you can cook food instead.
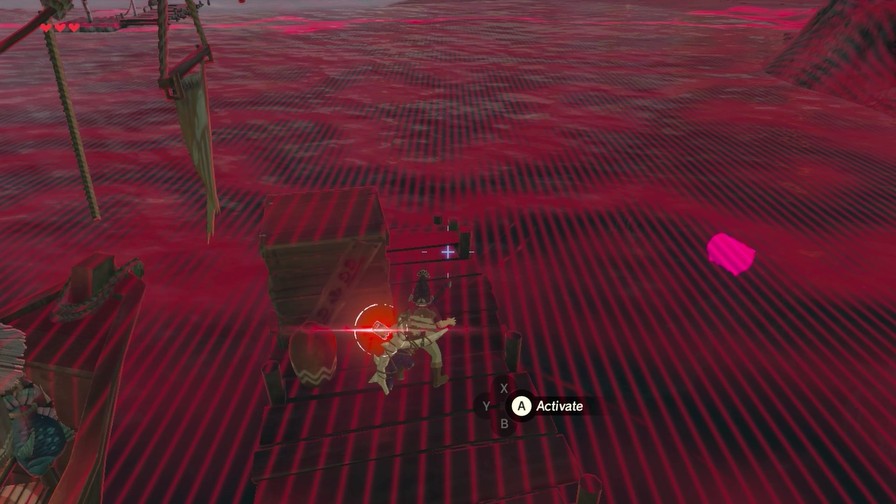
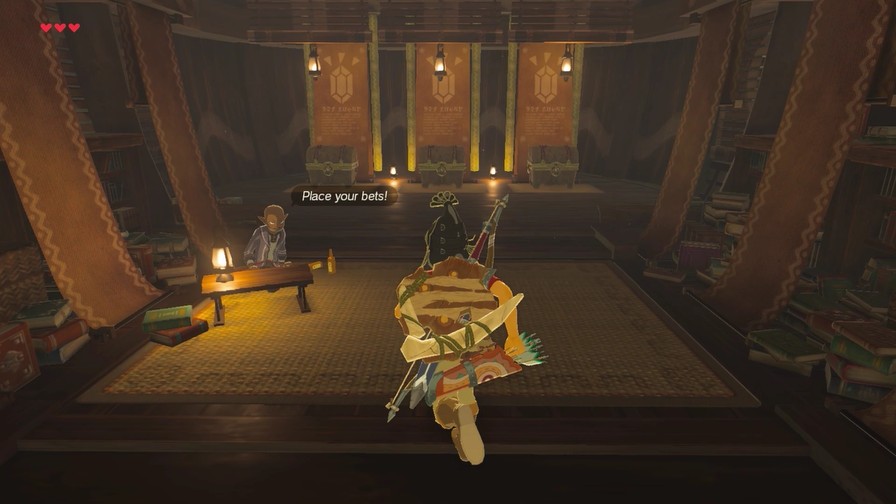
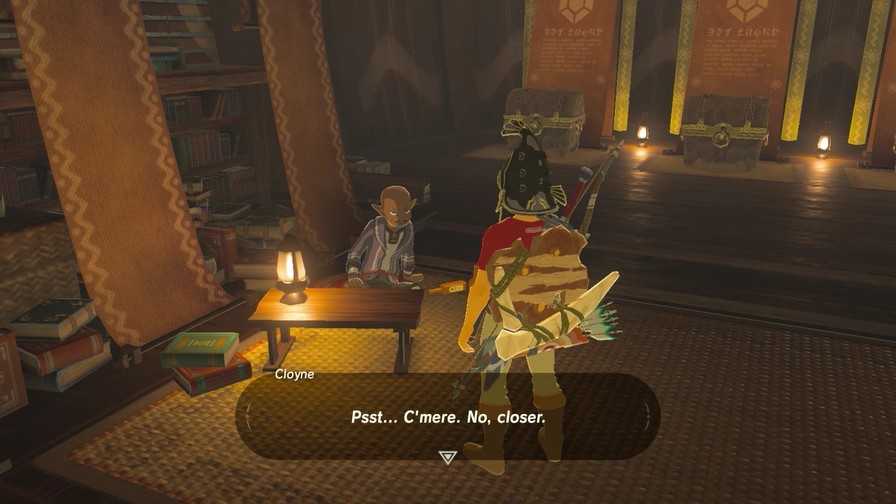
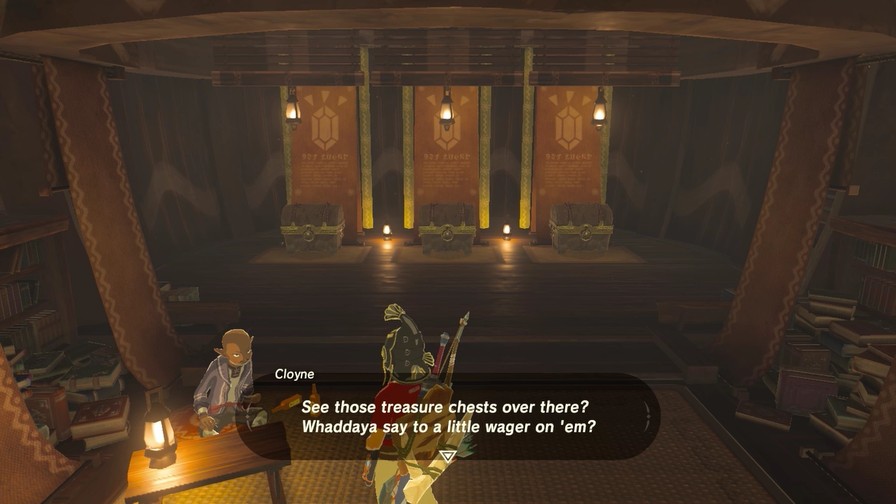
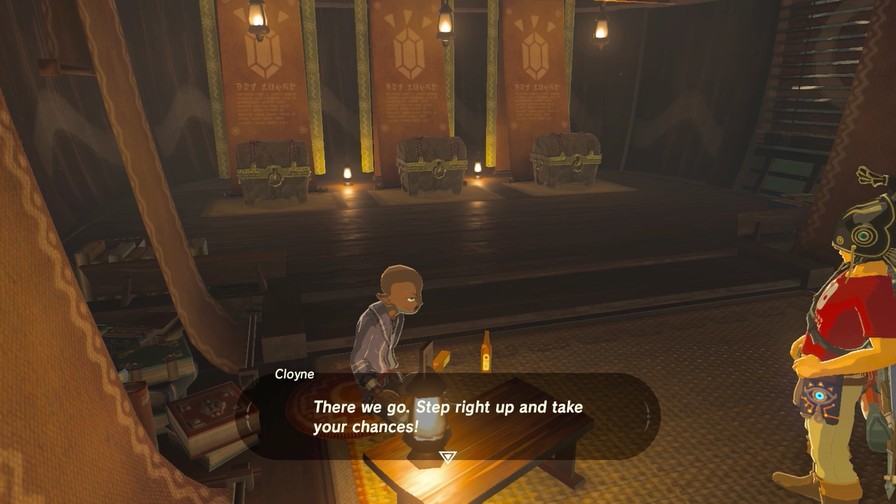
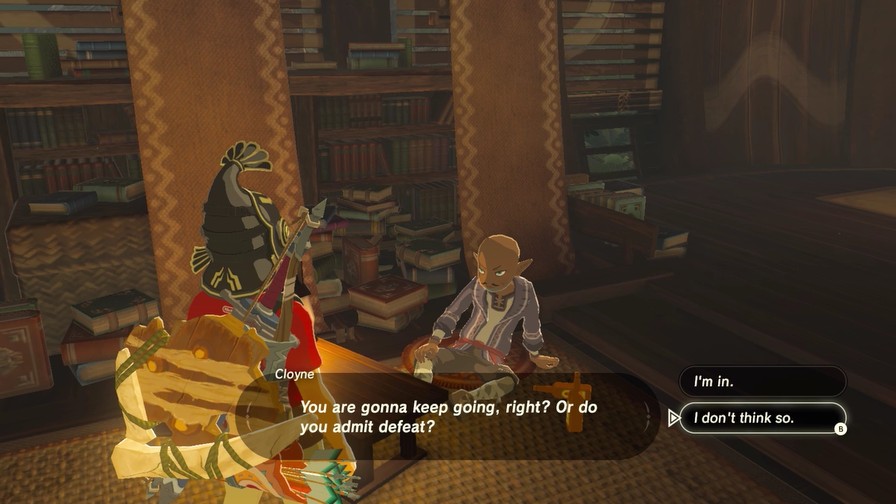
Finally, the treasure game we’ve heard so much about.
How’d you like to be rich…without having to work for it?
Hey, hey, simmer down. I’m not talking about anything illegal here.
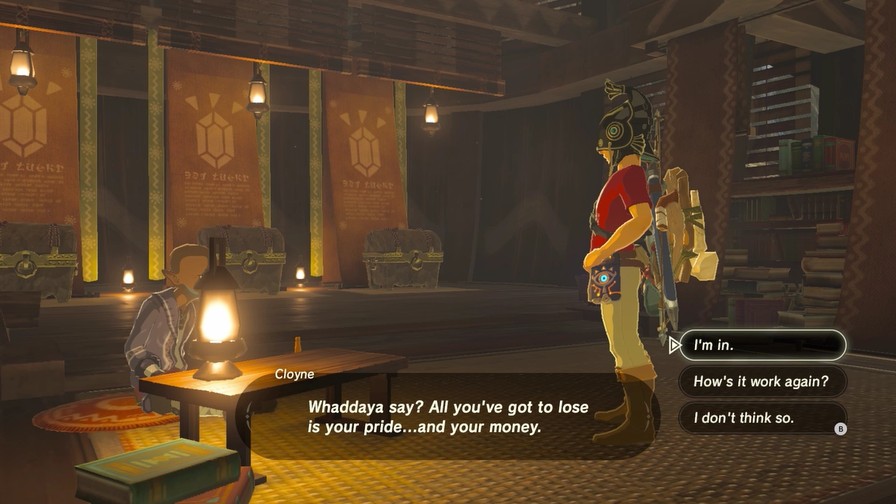
The idea is you pick any chest you want and open it. Simple, right? The best part is whatever chest you open, you get all the money inside. Course, only one chest is worth opening, heh heh. Don’t come crying to me if you pick wrong. Before you go opening any boxes, you’ll have to show me what it’s worth to you. What’s a bet, after all, if you don’t stand to lose a bundle on it? That’s the part that really gets a man’s heart racing! It’s up to you how much you want to throw in. But the more you bet, the more you stand to win. A man like you must have expenses. Couldn’t hurt to make some quick cash - right here, right now - am I right?
I’ll do it if you stop yapping already.
Attaboy…
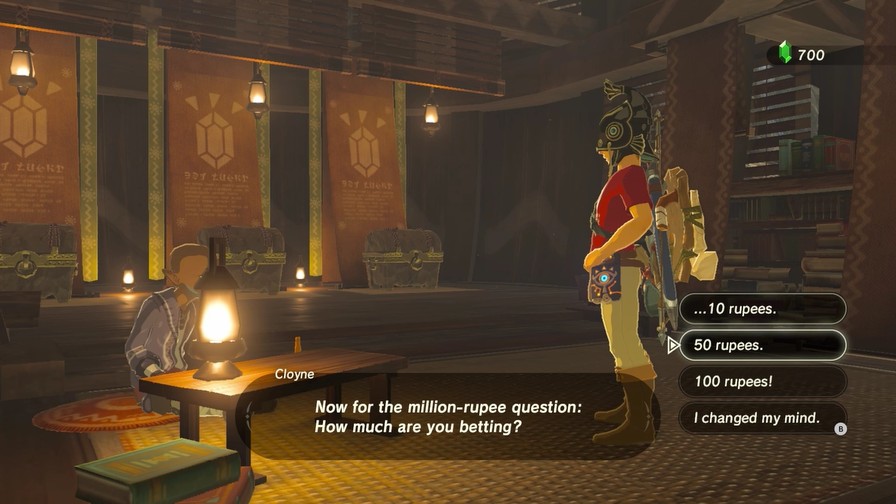
I’ll take the middle route and bet a respectable 50 rupees.
Now we’re talkin’! Looks like someone’s ready to make some REAL money! I’ll go get set up. No peeking while I’m fiddling with the chests, got it?
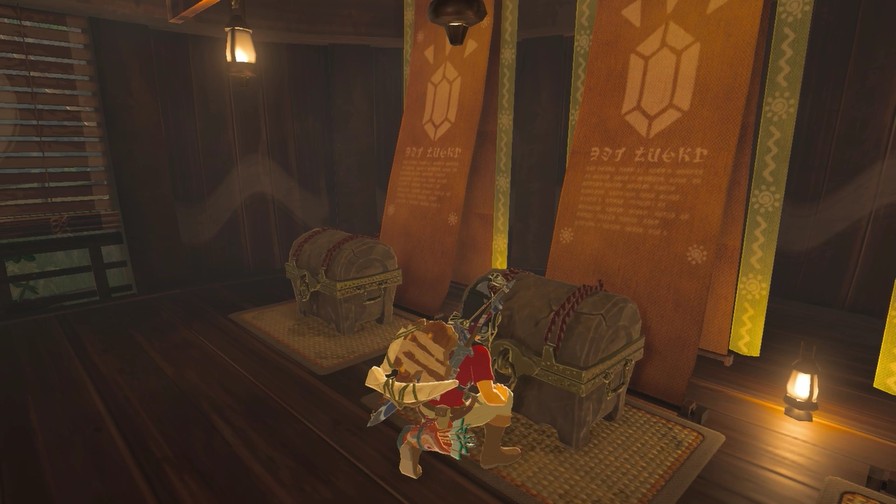
Take all the time you need to choose a chest to open. Look, listen, smell…taste 'em if you think it’ll help.
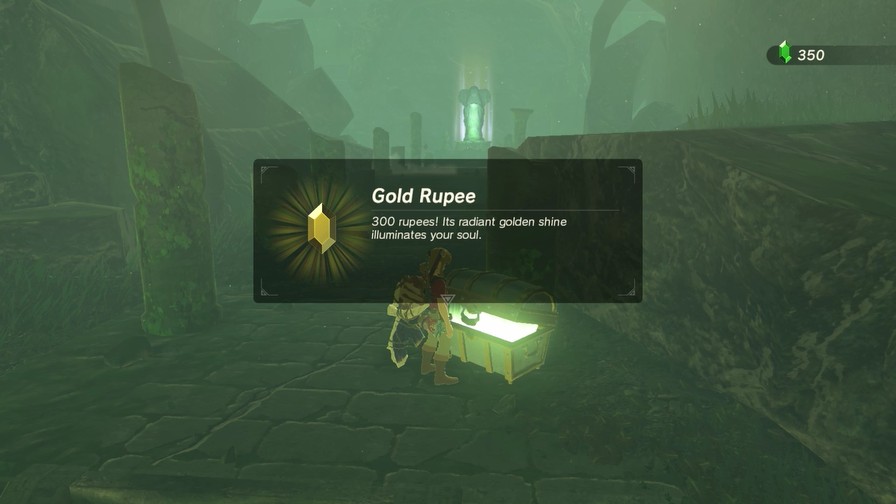
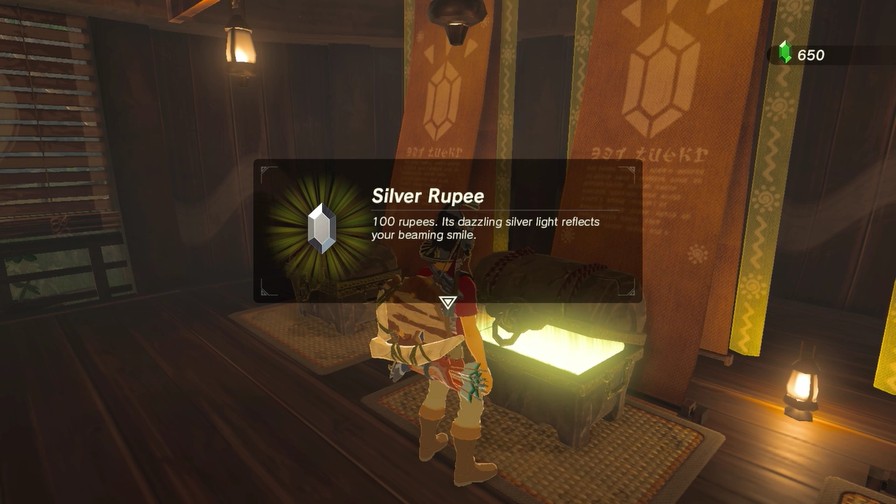
I beat the system!
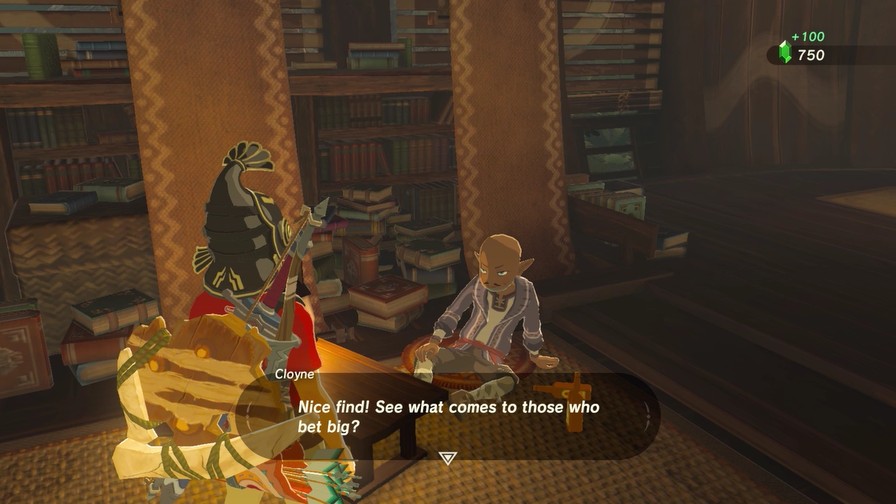
Nah I’m good.
I hear you. Hey, if that’s what you want… Fair enough. Every good gambler knows there’s a time to walk away. I’m always here in case you ever feel like trying your luck again.
Save scumming this could get you easy money, but there’s much faster ways to go that route.
More objects. Now let’s finish up things by talking to one more NPC.
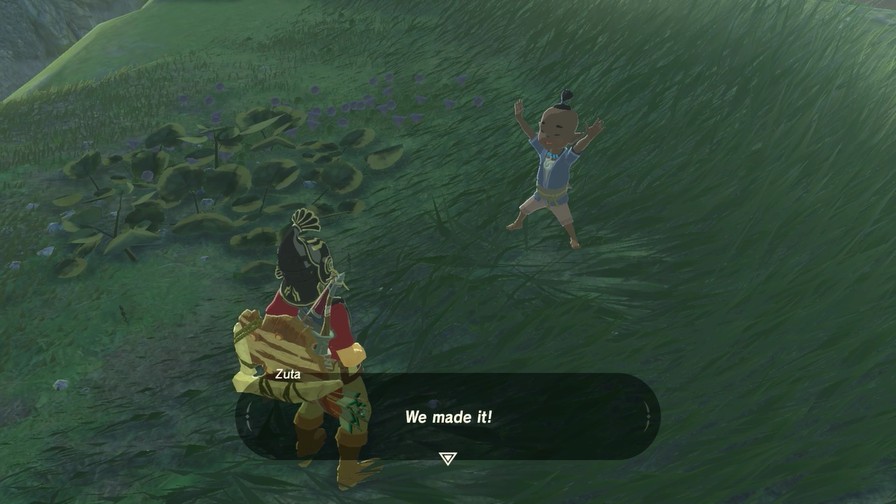
I went there with Garini before, and it was so exciting!
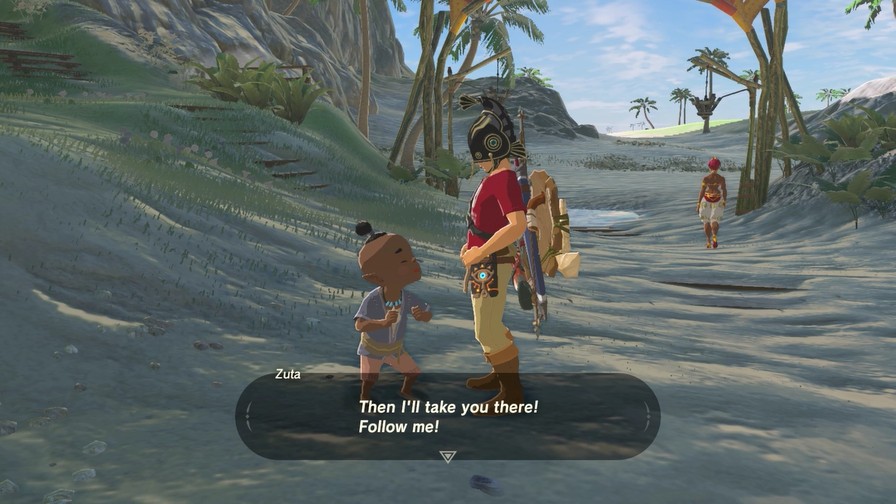
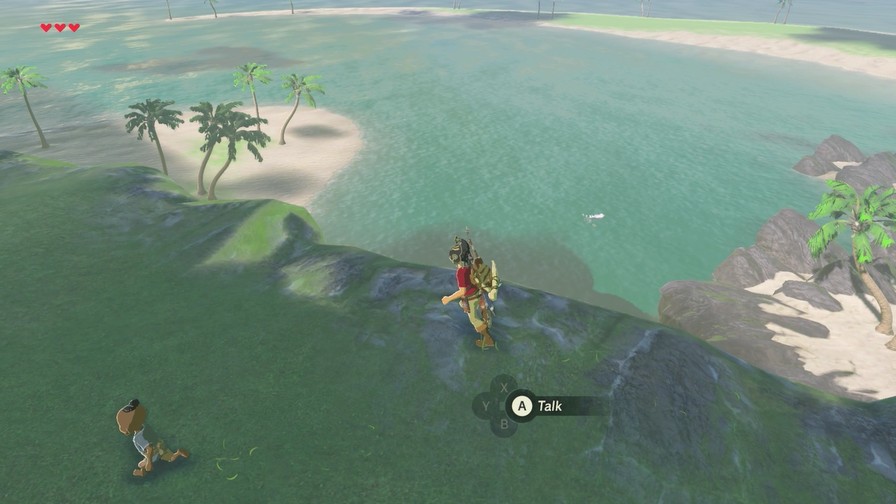
You bet we are!
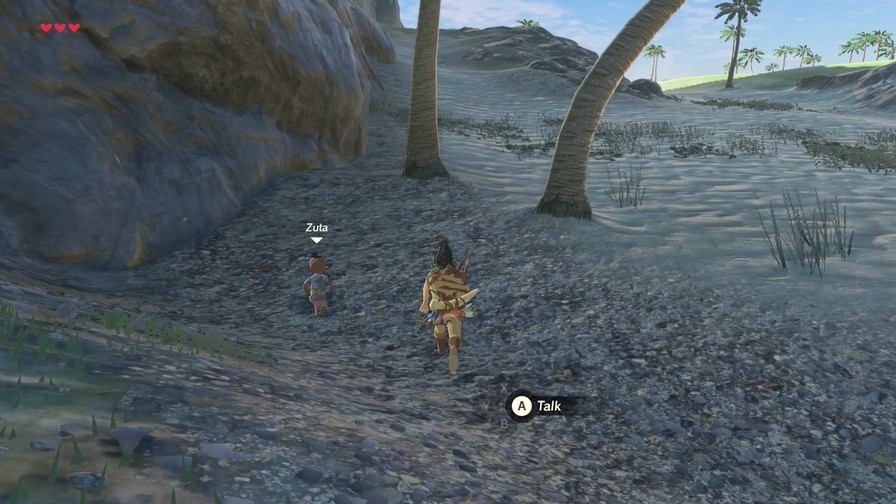
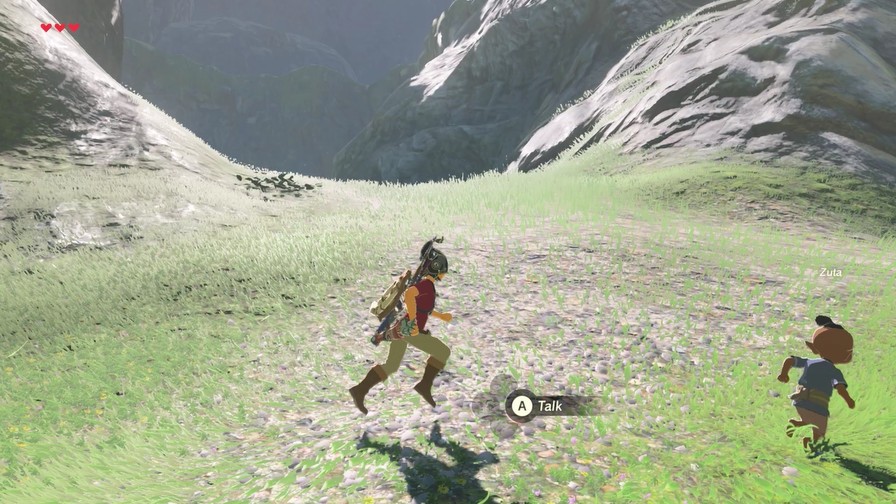
Zuta’s not that quick, and it’s a long trek. It’s uneventful, though, so eventually…
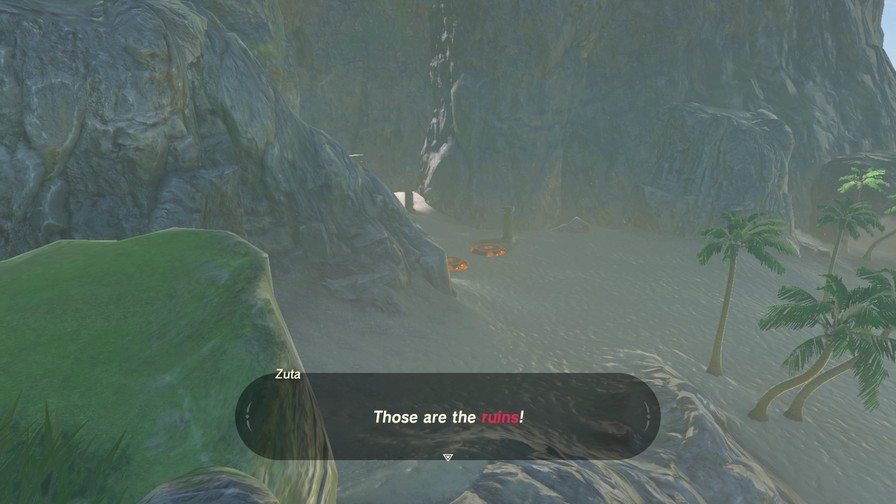
See ya!
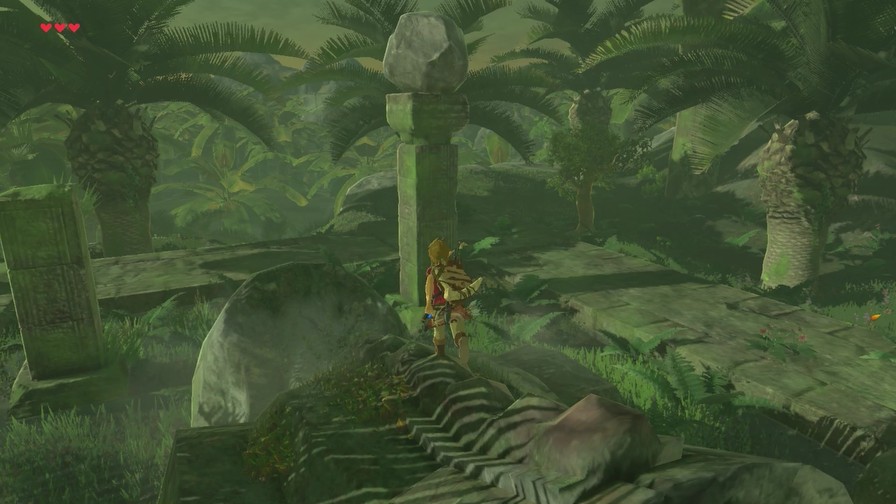
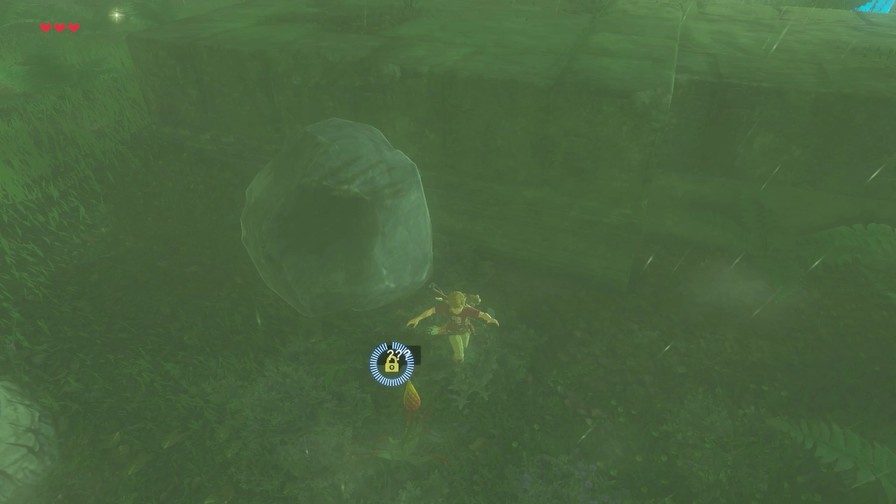
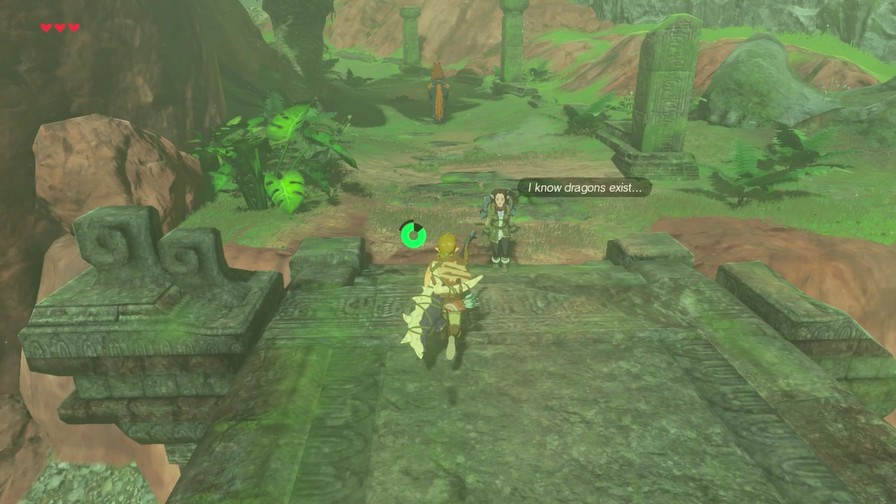
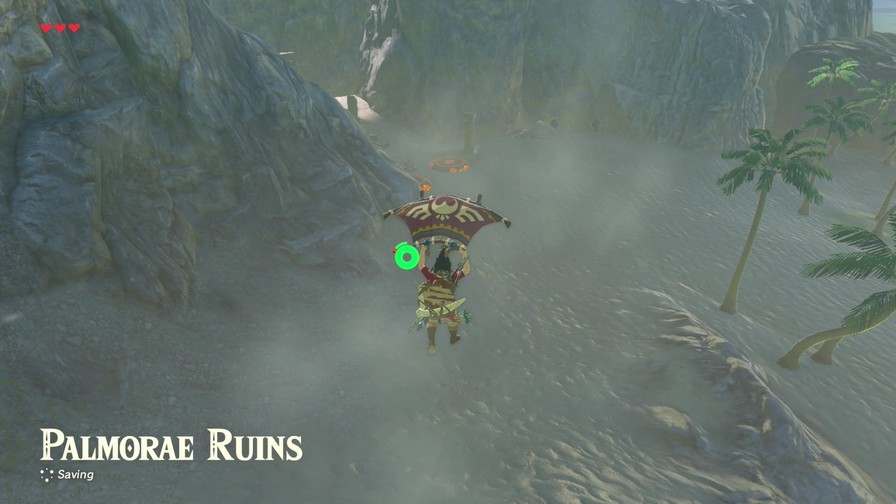
So let’s check out these ruins, then.
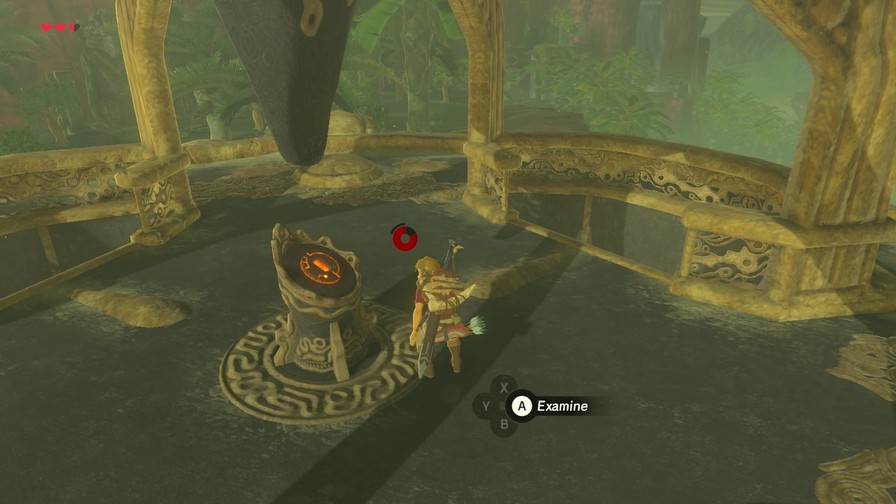
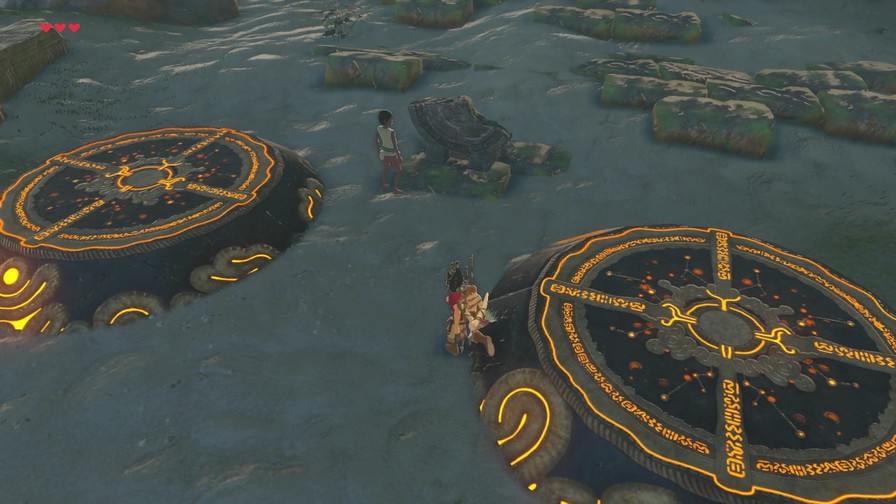
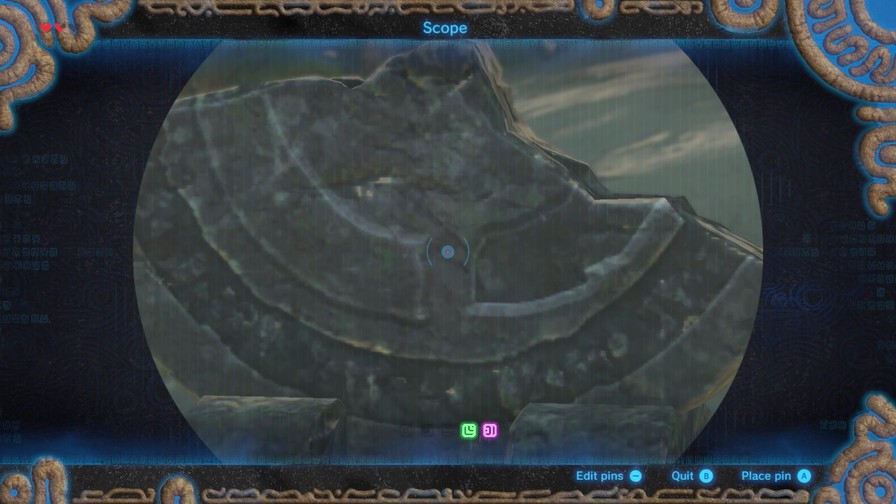
Two pedestals, but no clues around us. At least none I can find. I’ll be honest, this was one of the few I didn’t find my first playthrough and I have no idea how to open it. Suggestions (but not solutions) are welcome!
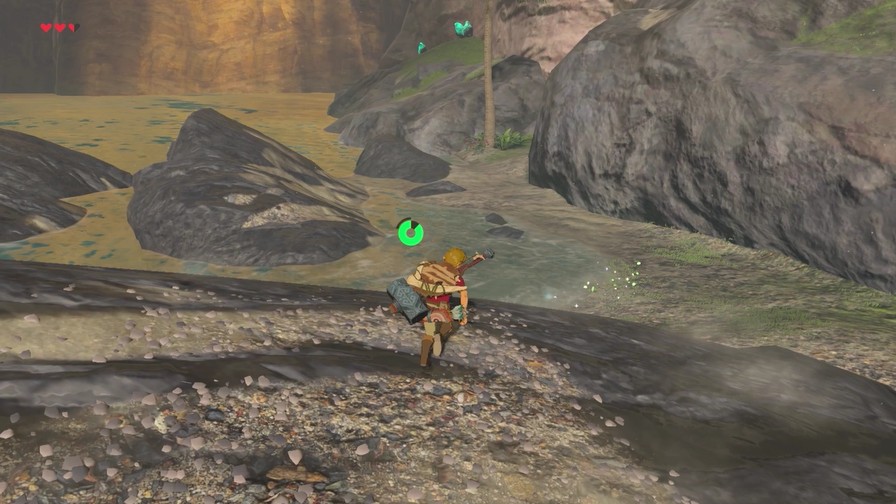
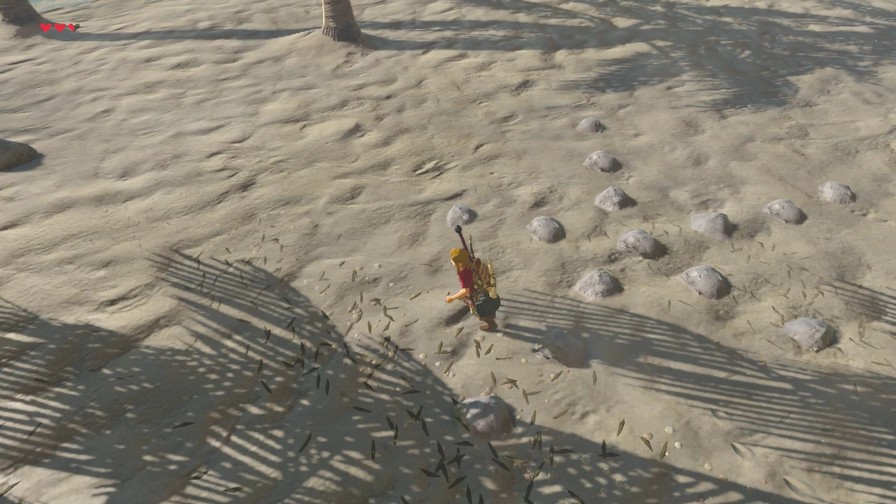
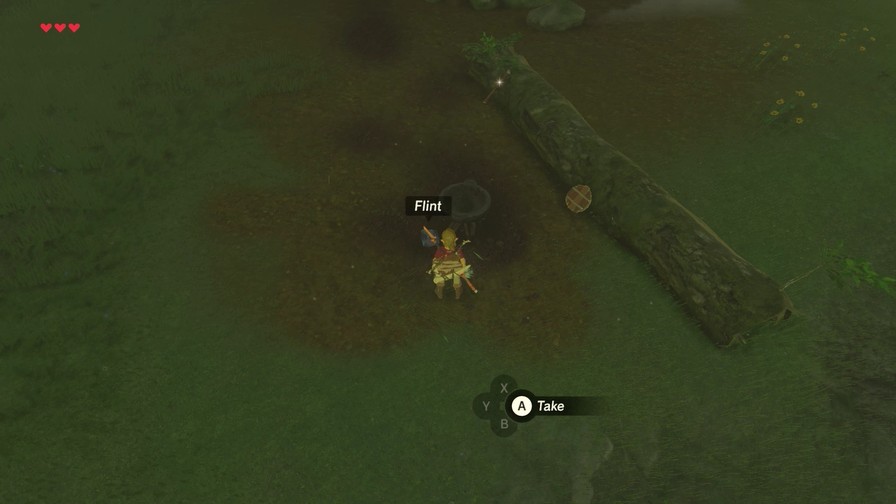
In the meantime, I explore the beach area some. More stuff to mine.
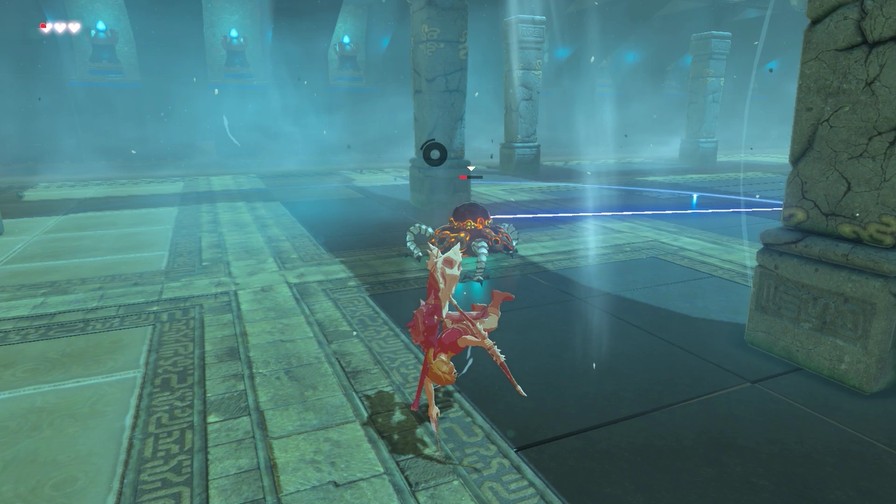
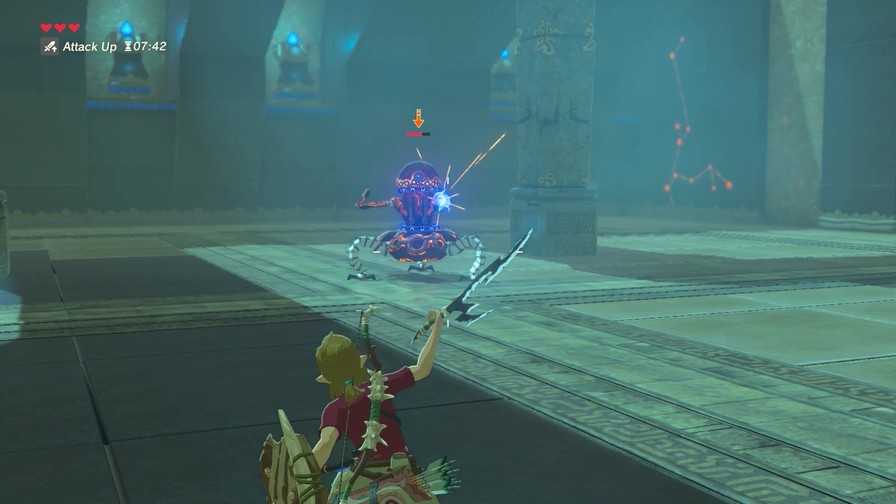
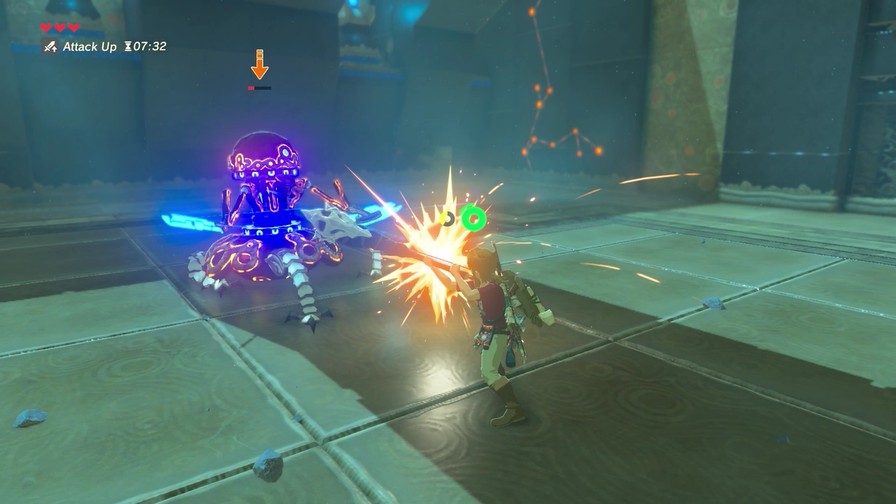
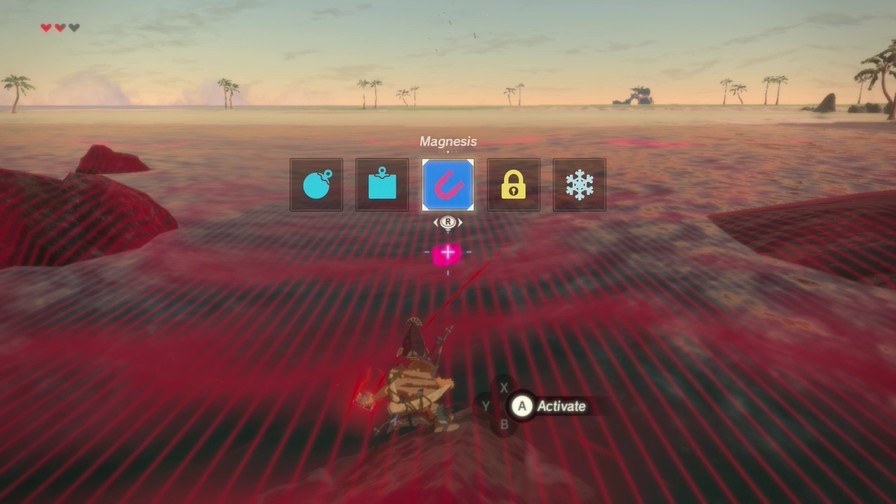
https://mp4.mega64.net/botw/u14/194.mp4
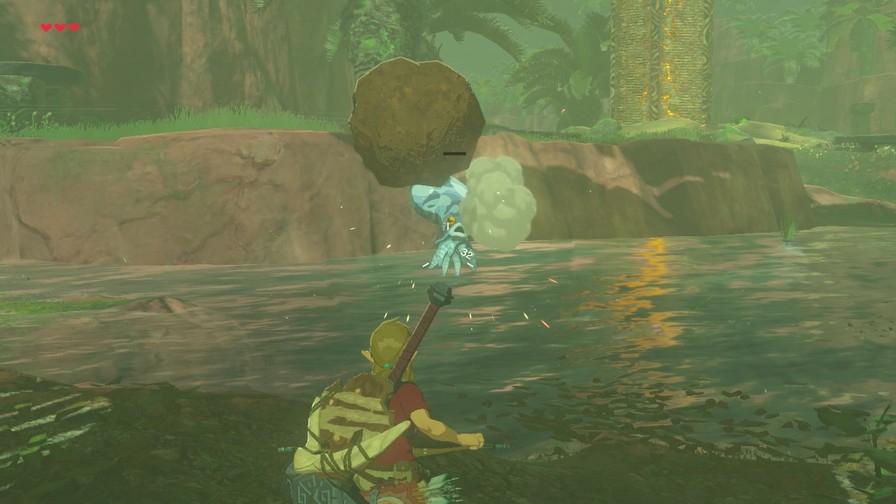
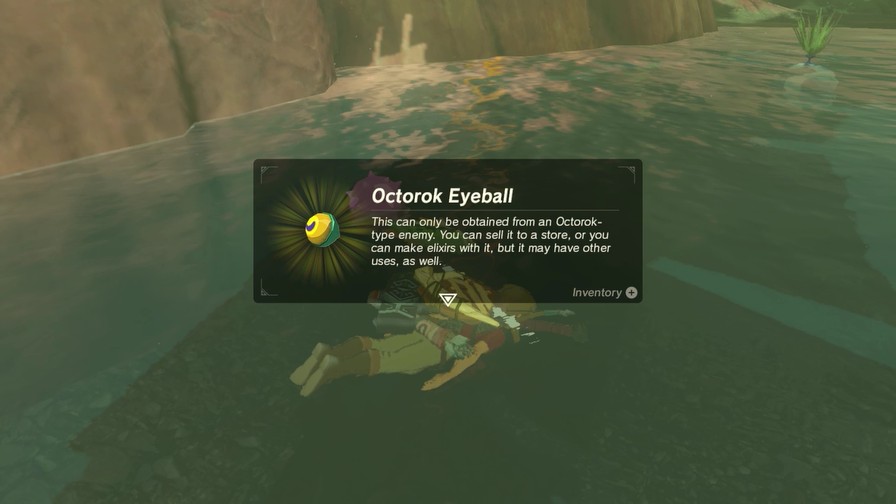
We also encounter a new enemy, the Treasure Octorok. It’s sort of a mimic, except when caught it panics and tries to run away. You can tell it’s a fake since you can’t use Magnesis on the chest. Sadly, there’s no extra loot besides the usual Octorok drops.
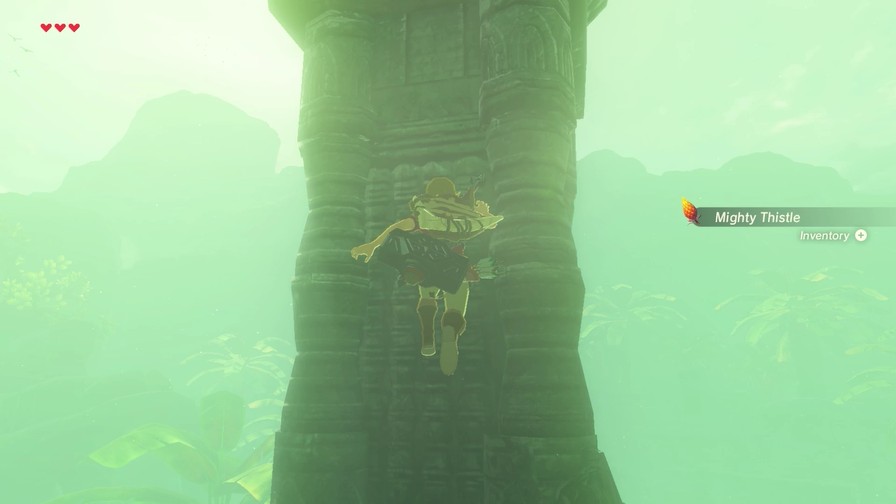
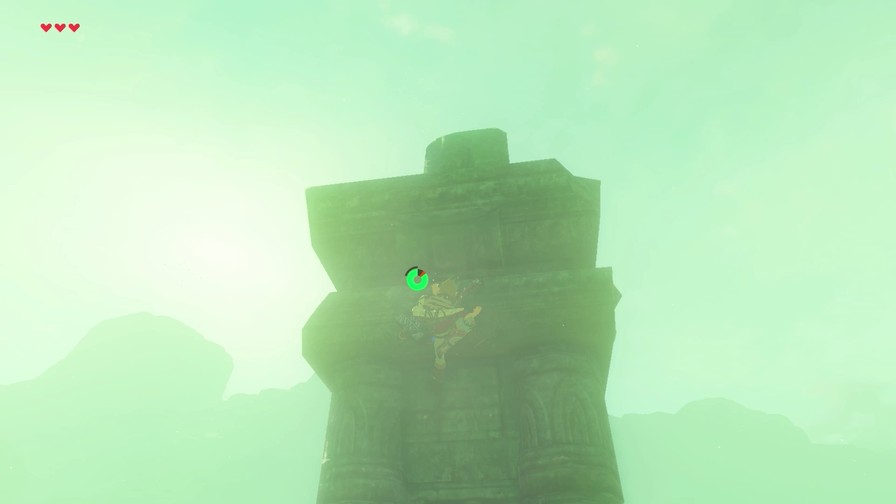
I spot a shrine off in the distance, surrounded by water. Cryosis would make getting there relatively simple, though I’m gonna hold off for now.
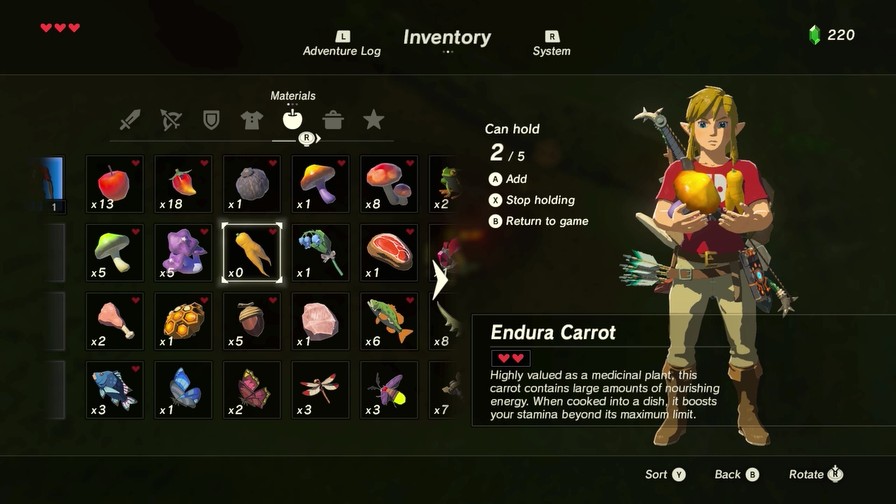
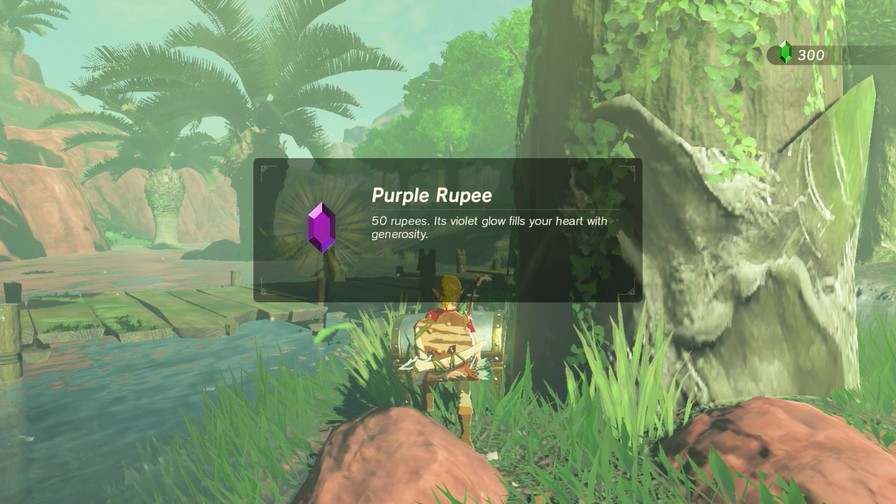
Got another gem type.
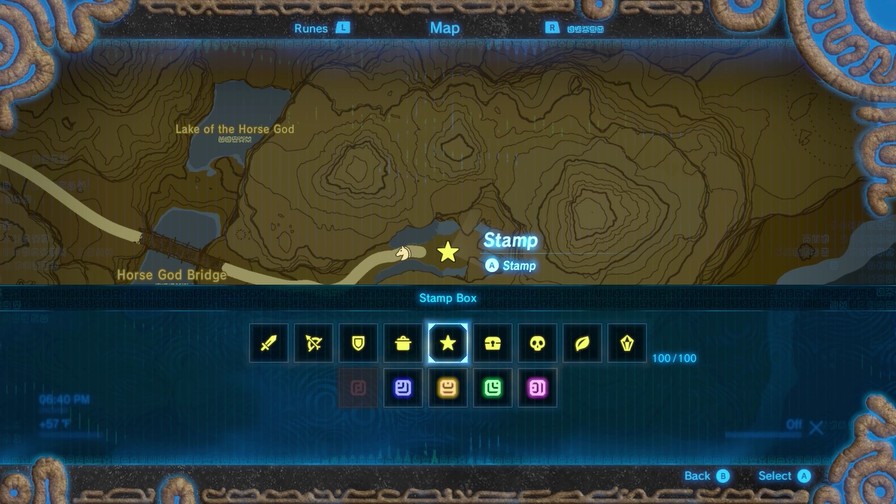
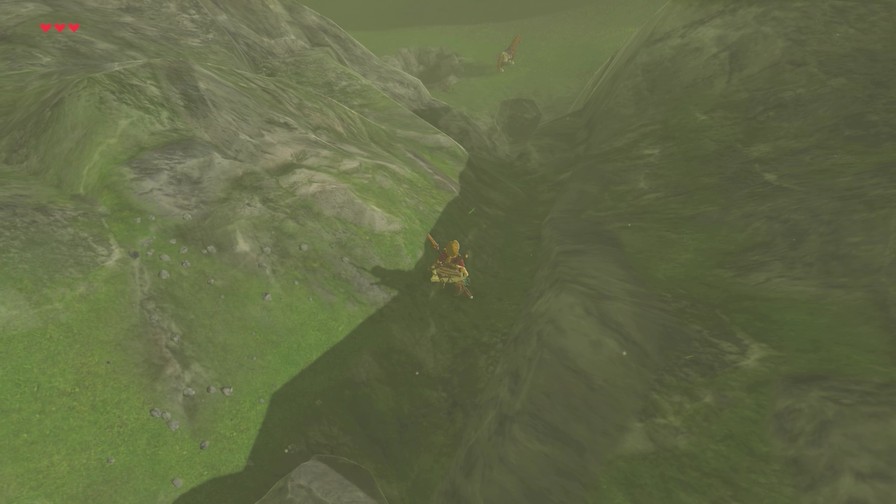
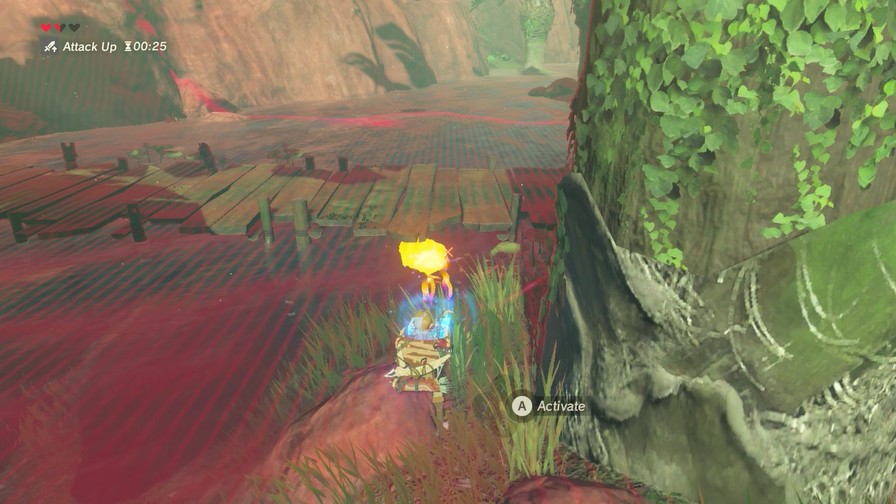
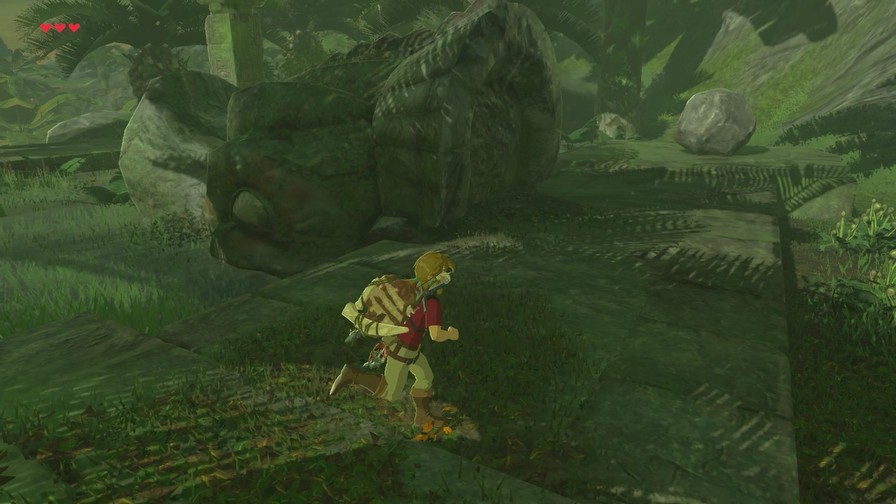
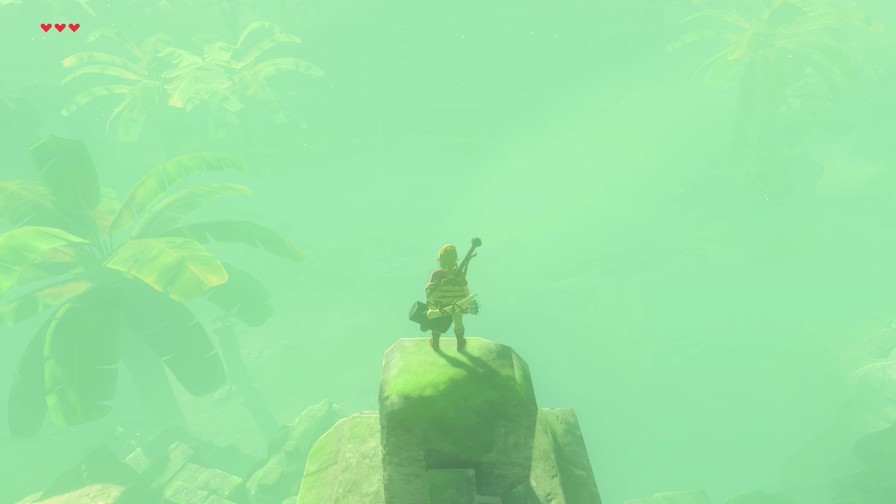
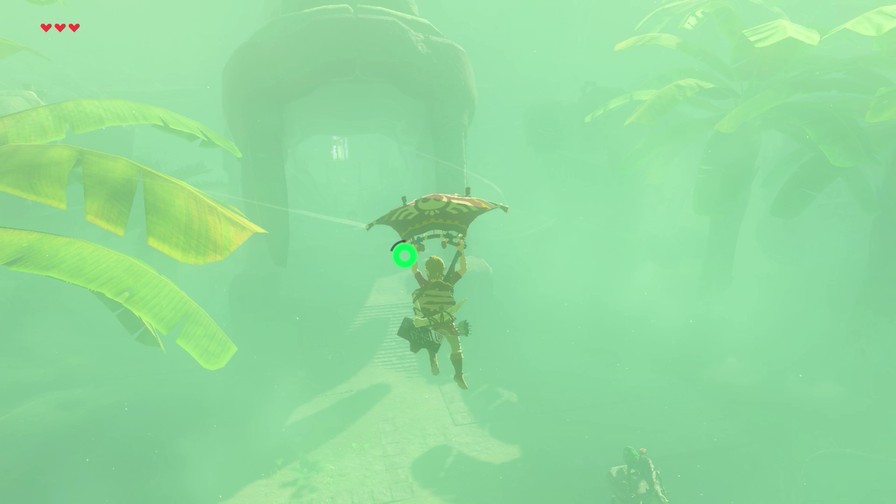
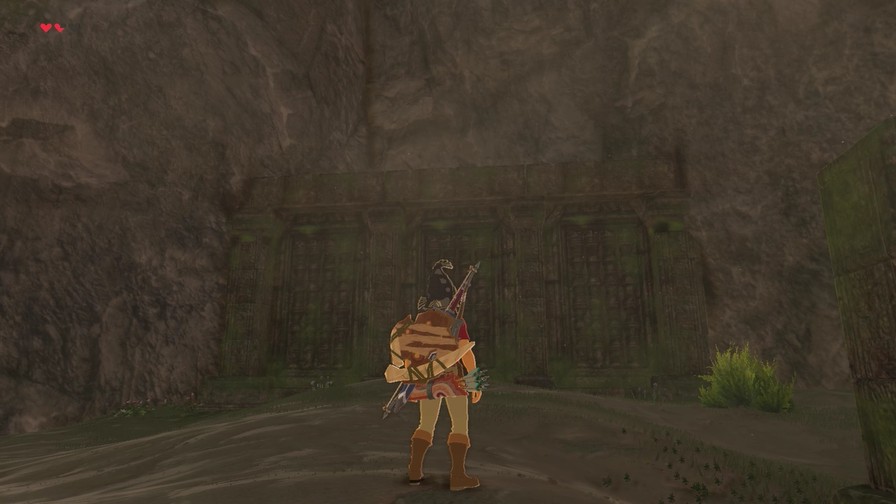
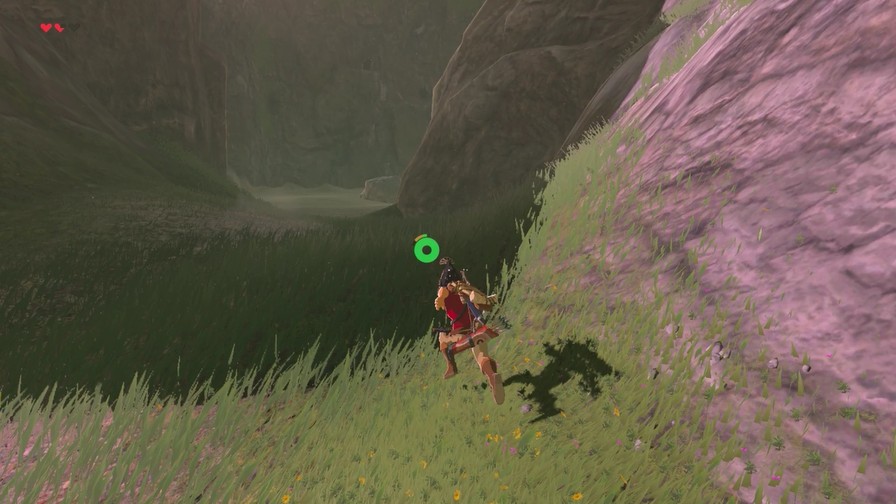
Let’s close this thing out by doubling back to an area that caught my interest earlier. It’s an enclosed area within these mountains.
https://mp4.mega64.net/botw/u14/202.mp4
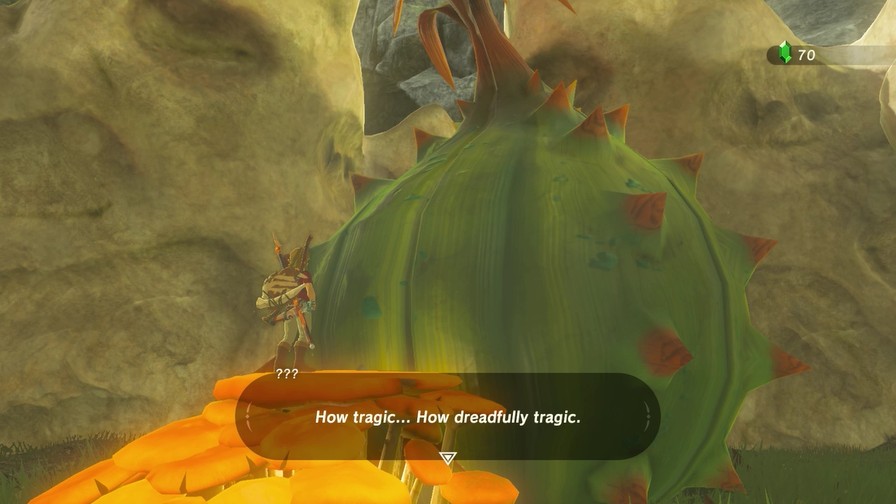
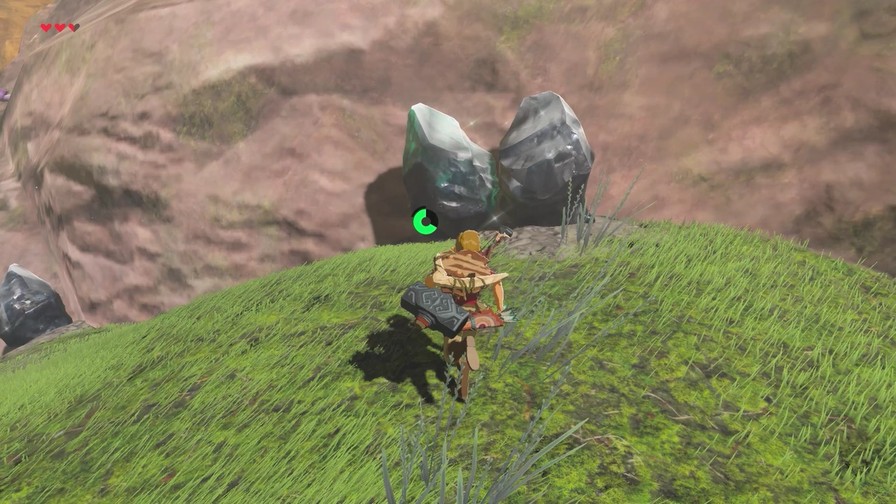
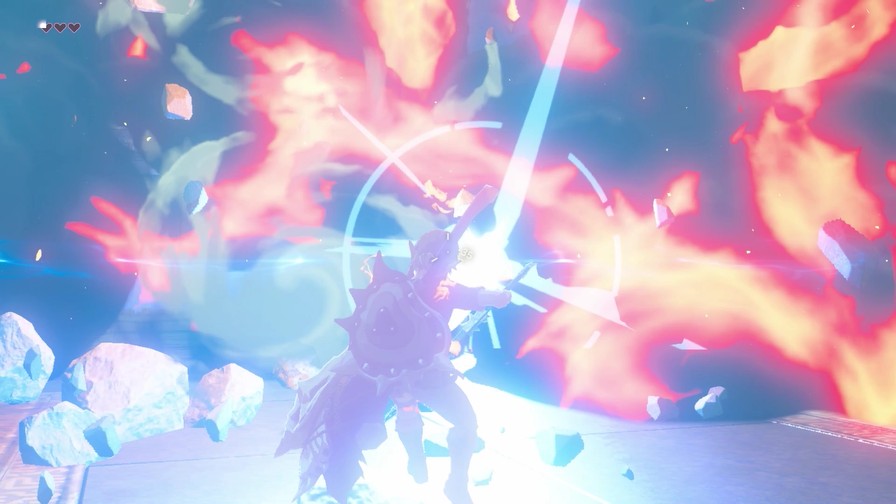
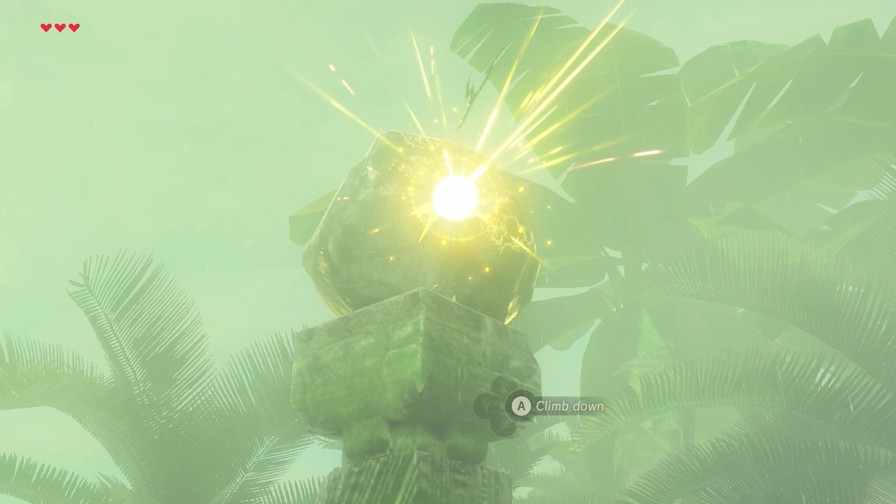
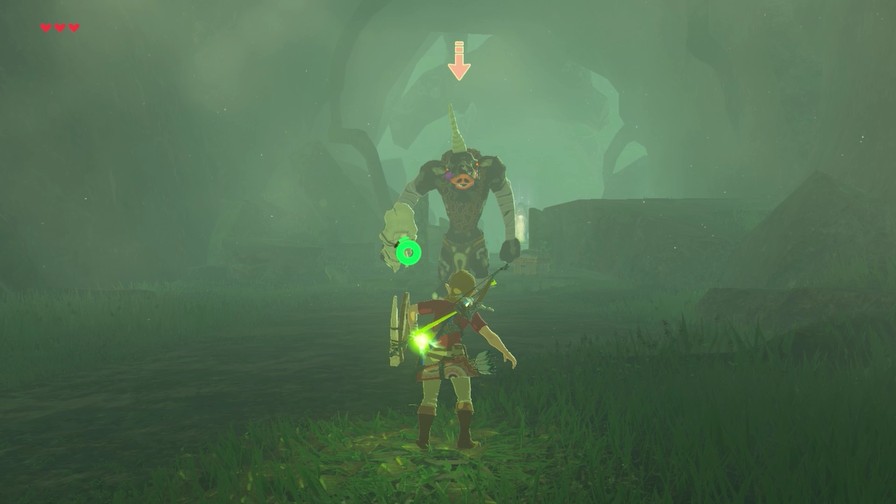
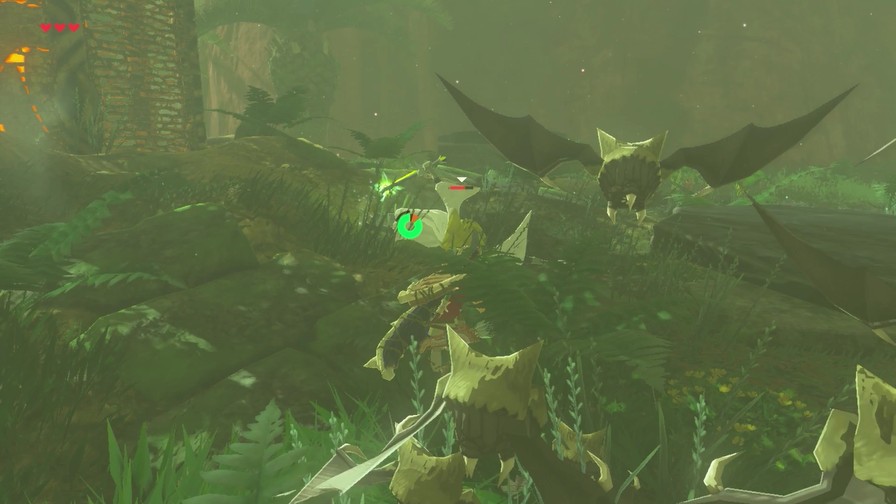
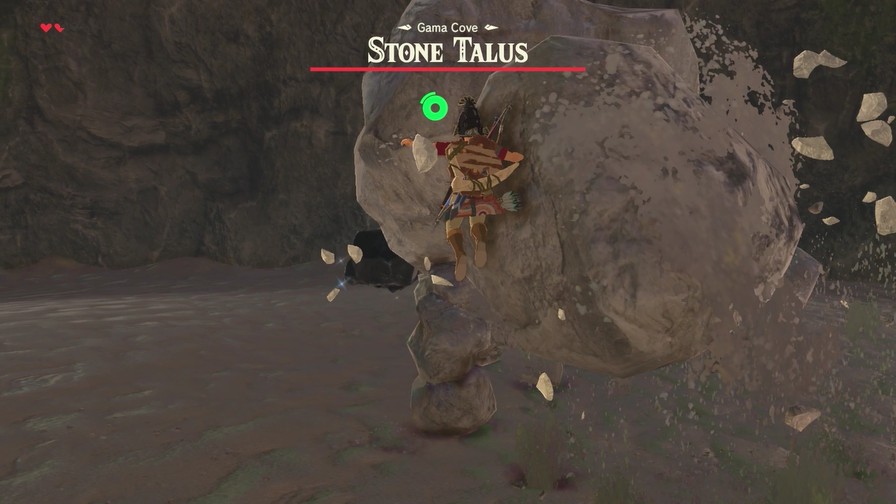
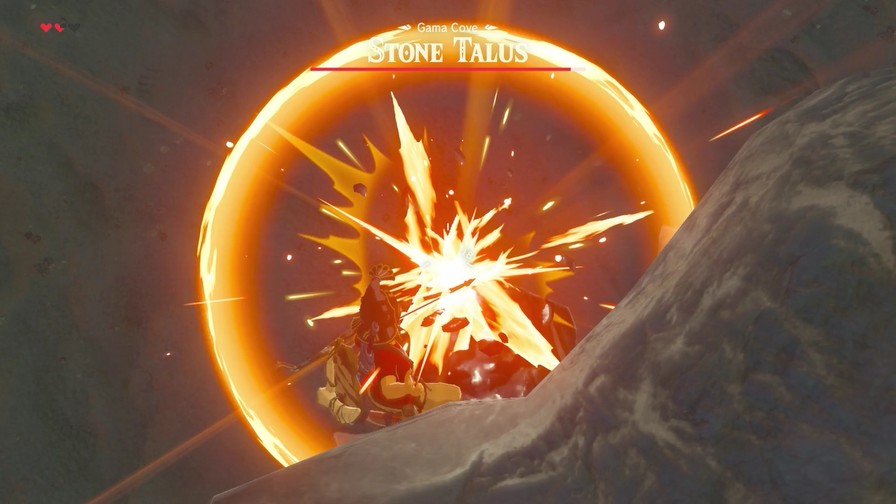
Music: Talus Battle
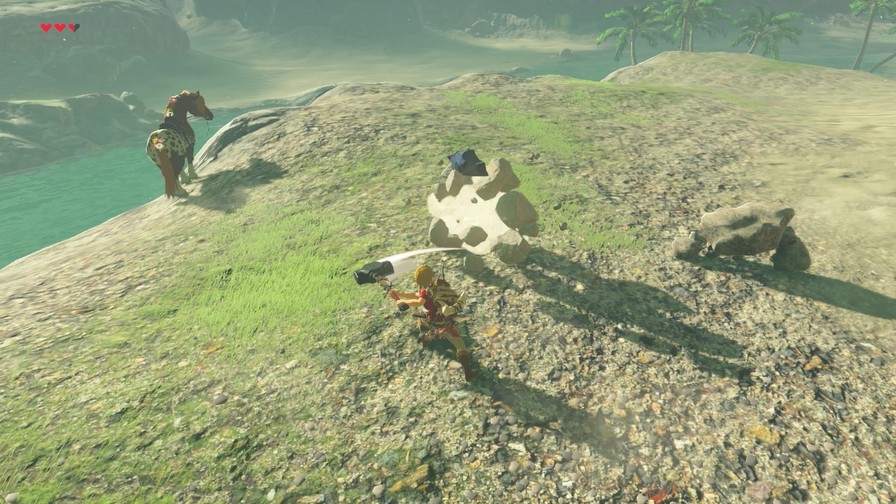
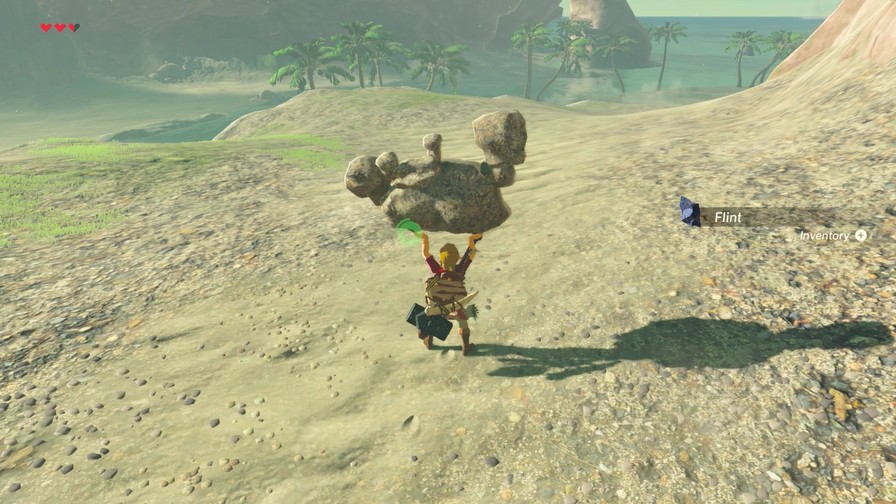
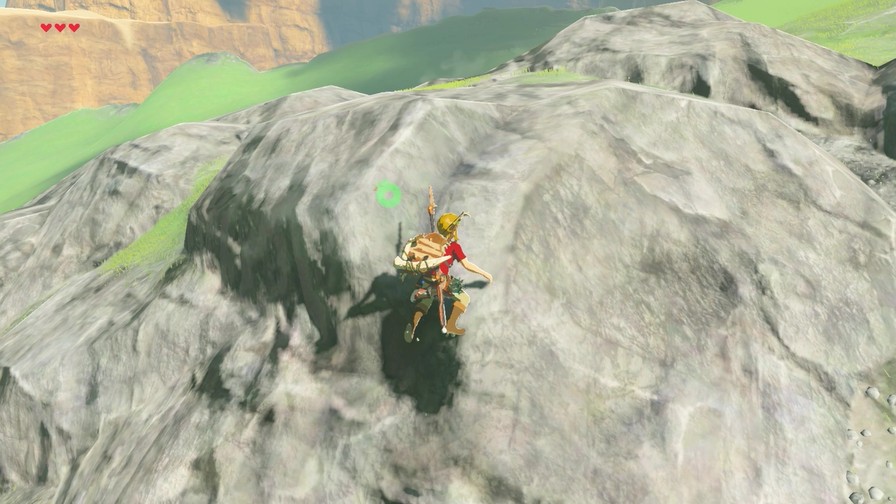
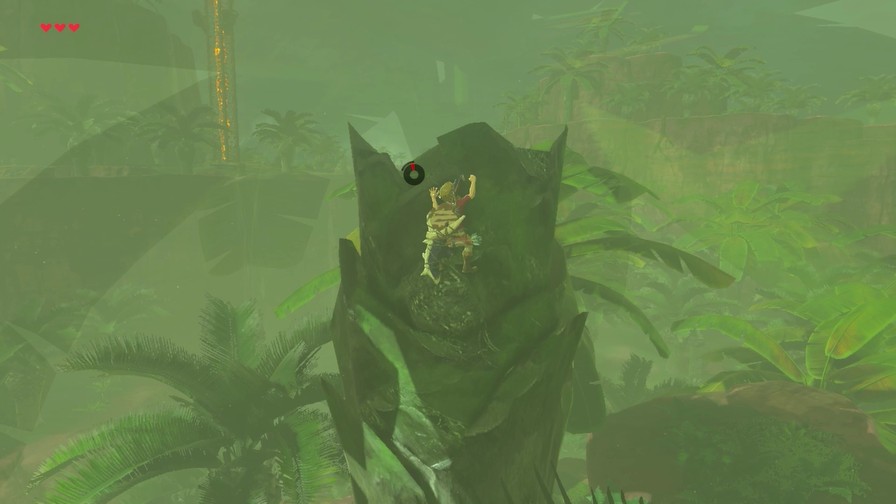
This is the first of the various types of overworld mini-bosses we can encounter, the Stone Talus. It’s a massive version of those Pebblits we’ve seen earlier.
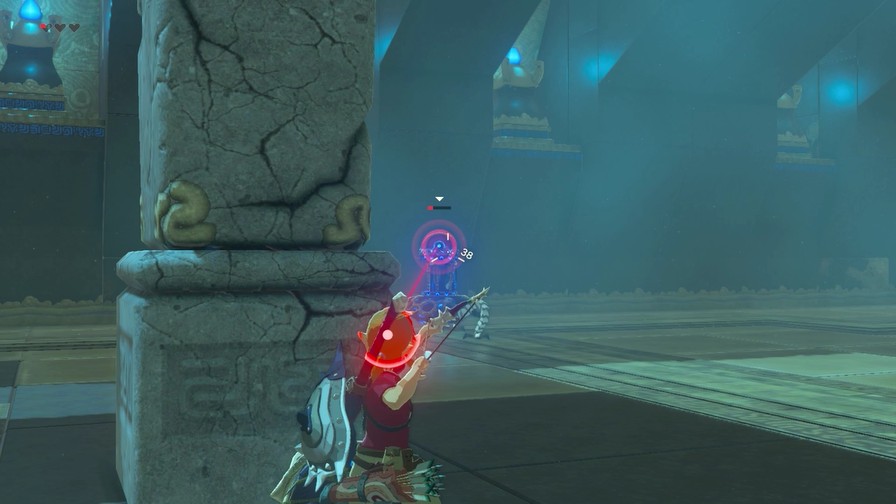
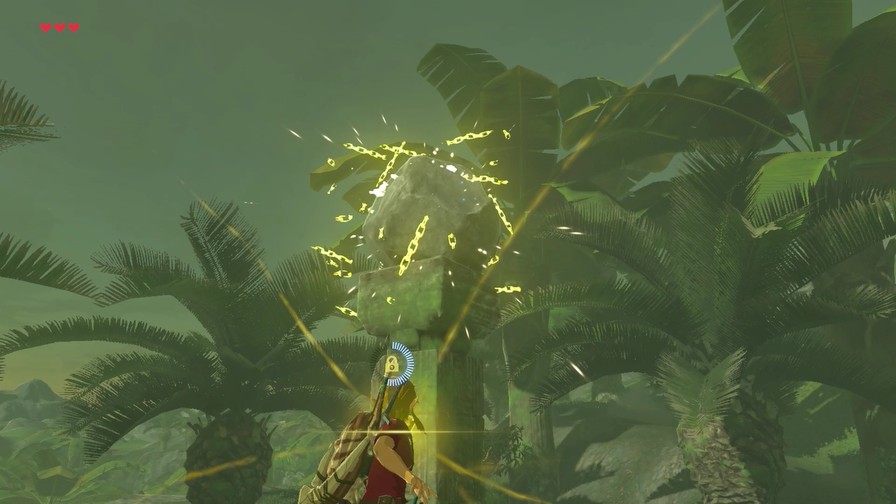
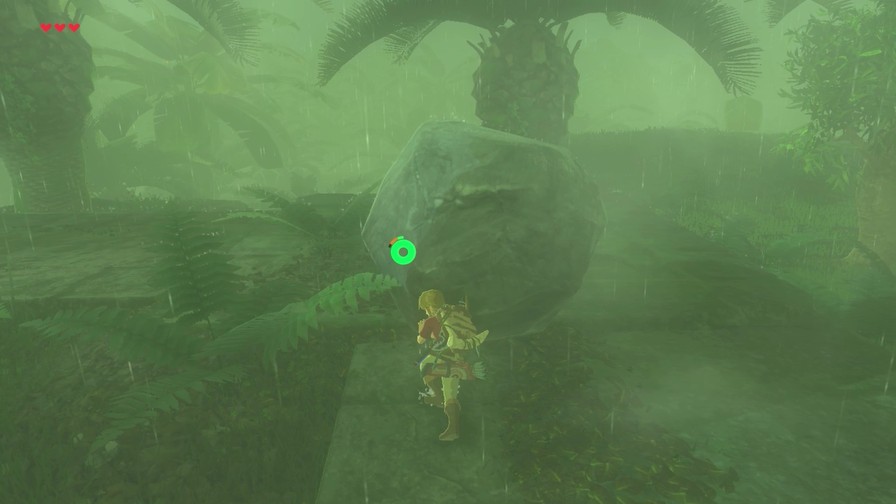
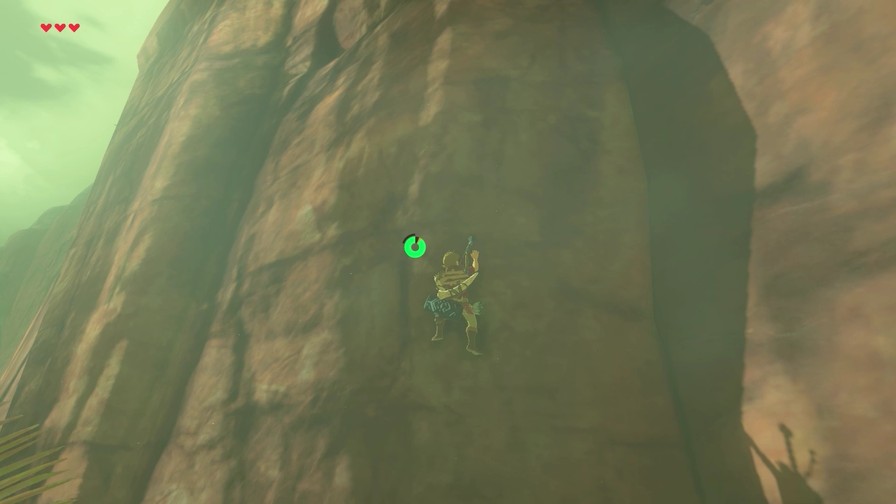
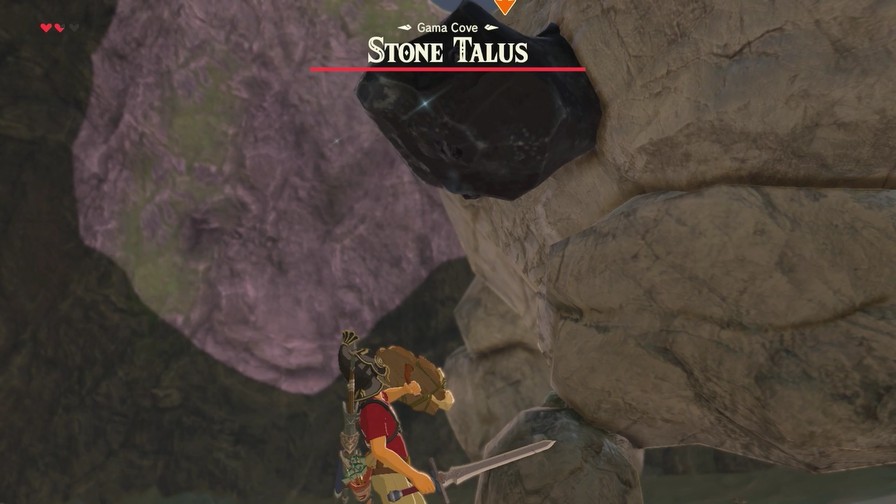
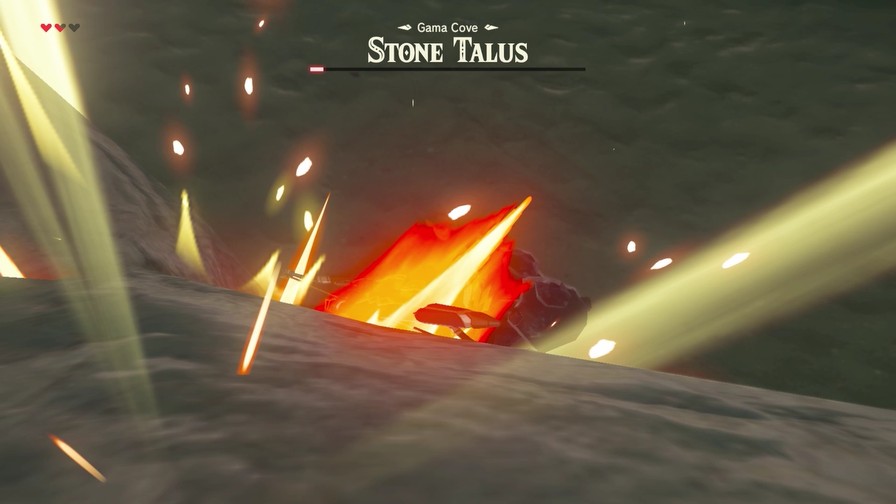
The weak spot is this black outcropping, though we can’t always reach it from the ground.
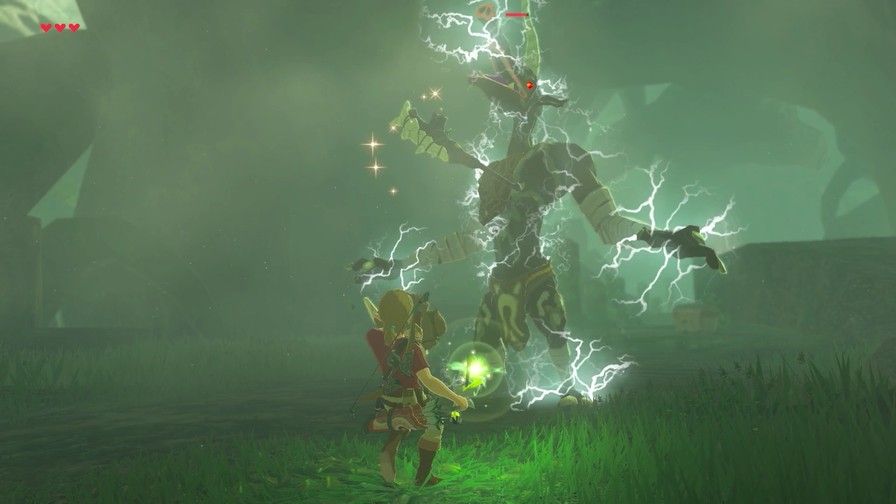
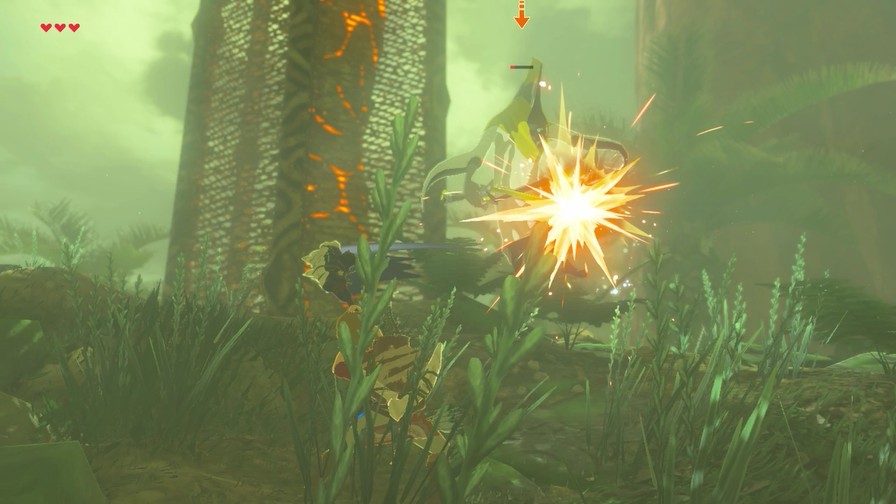
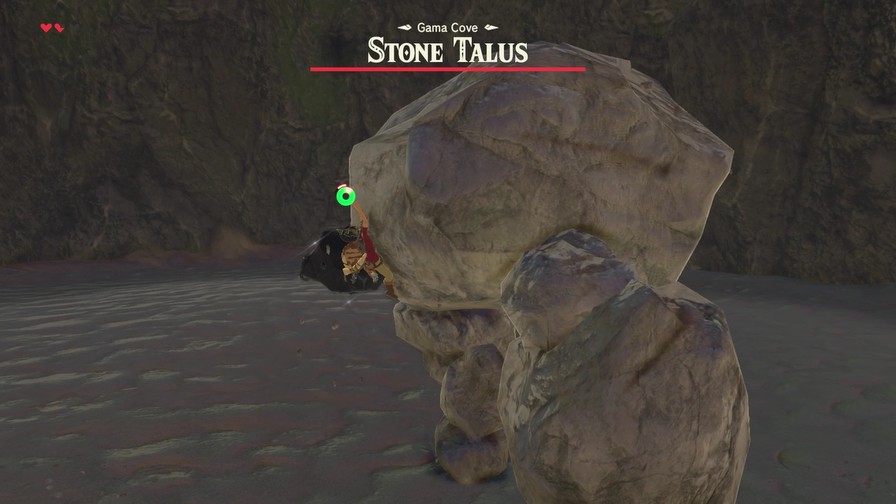
The trick is to either have the Talus throw both its arms, thus knocking it out while it regenerates, or simply climb up and start whacking at the thing.
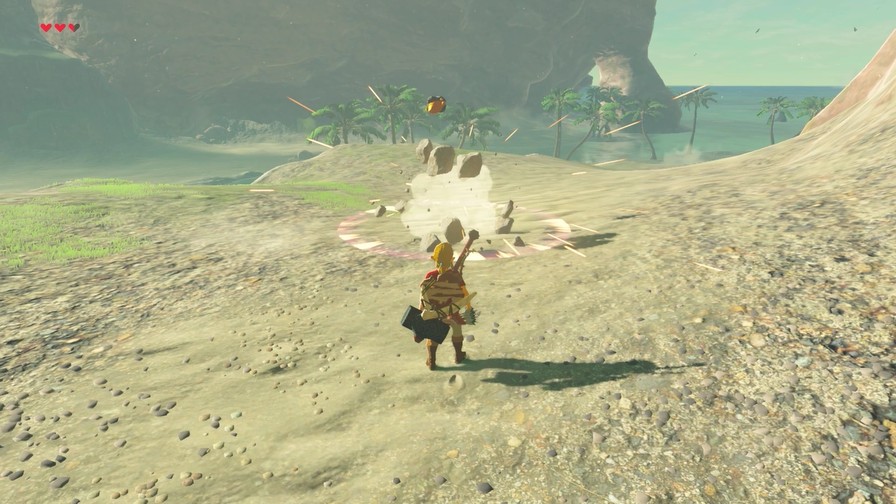
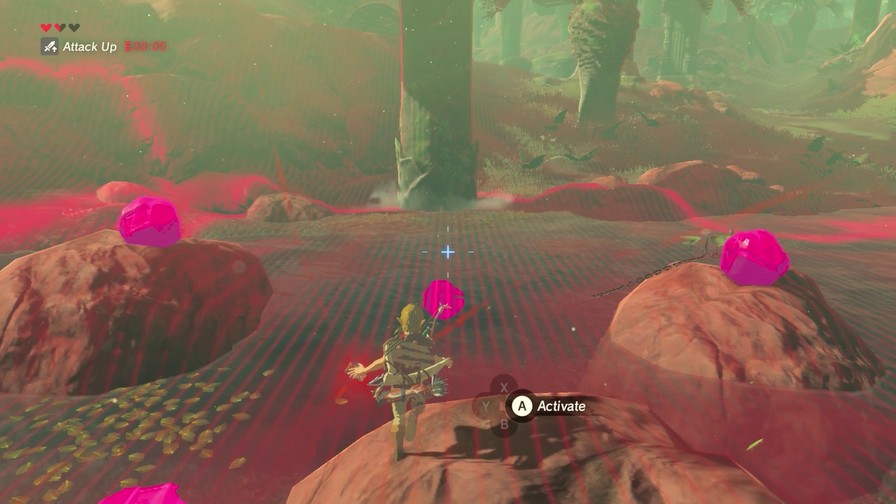
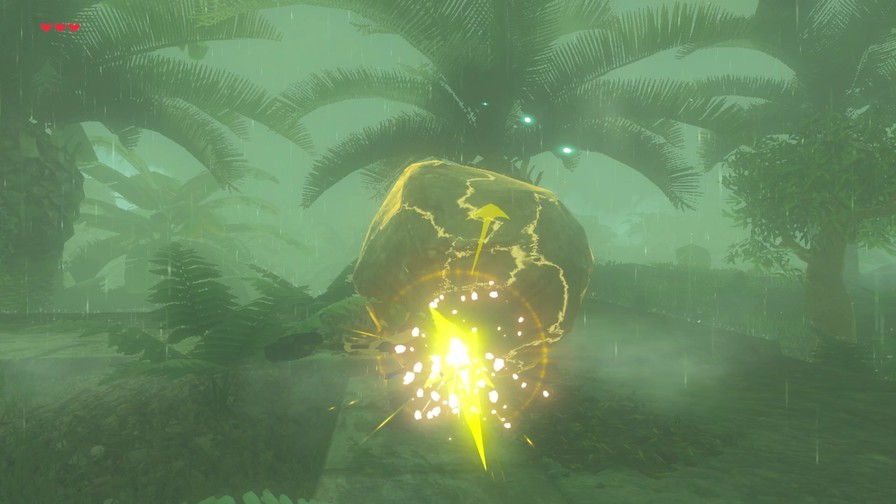
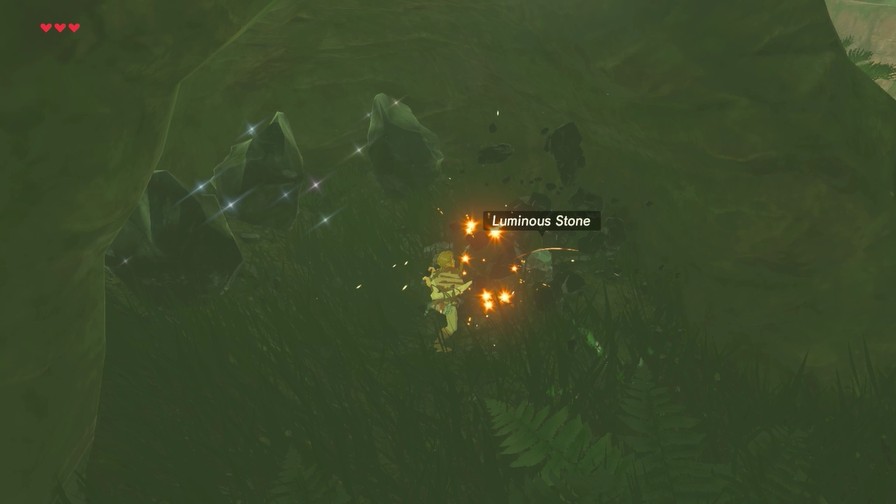
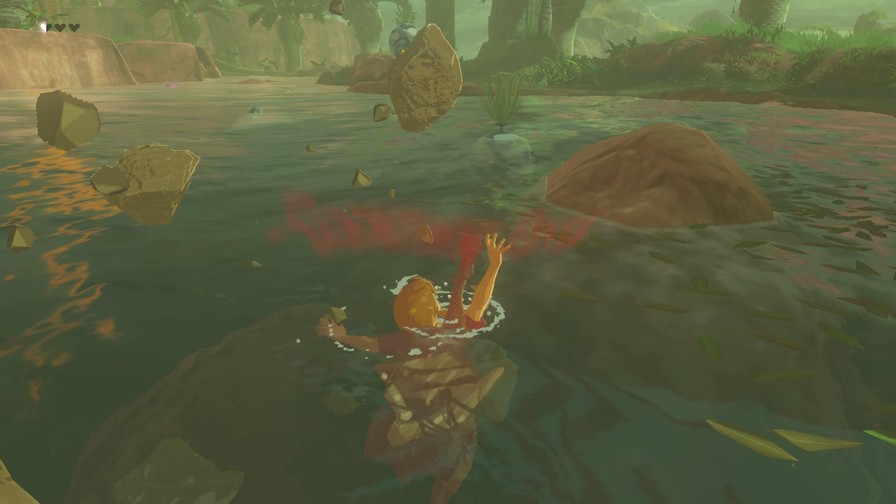
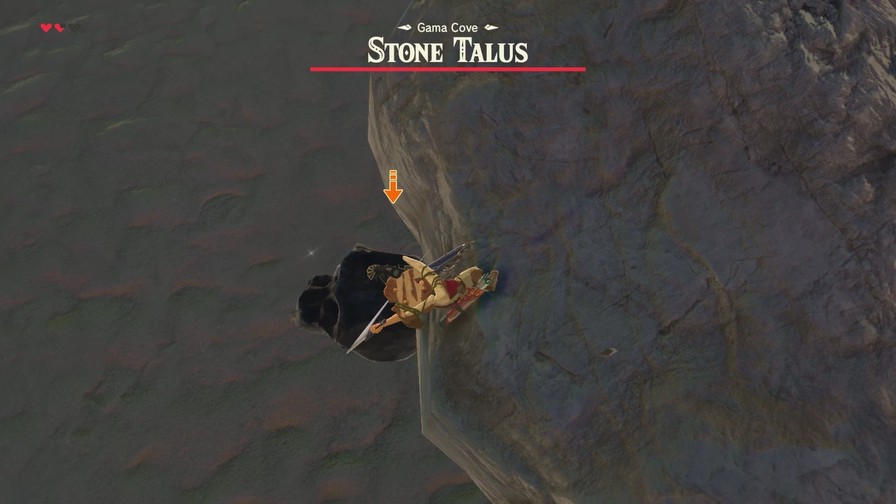
As you hit the black spot, random gems will fly out.
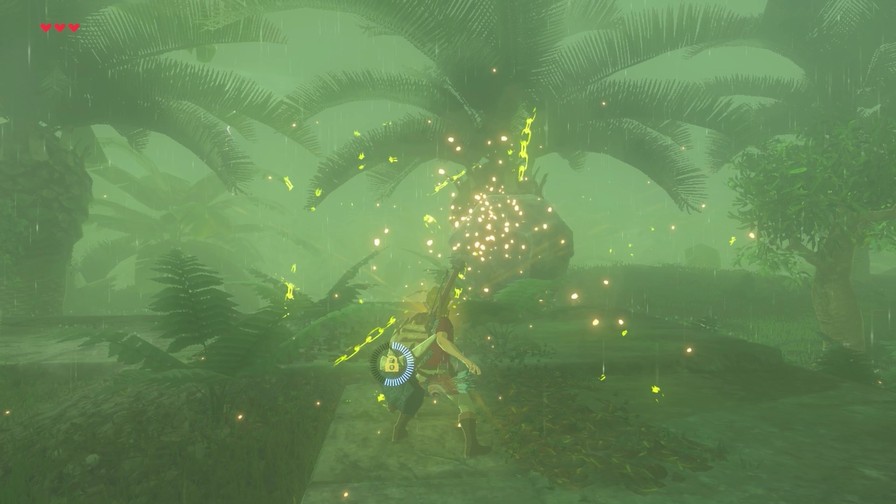
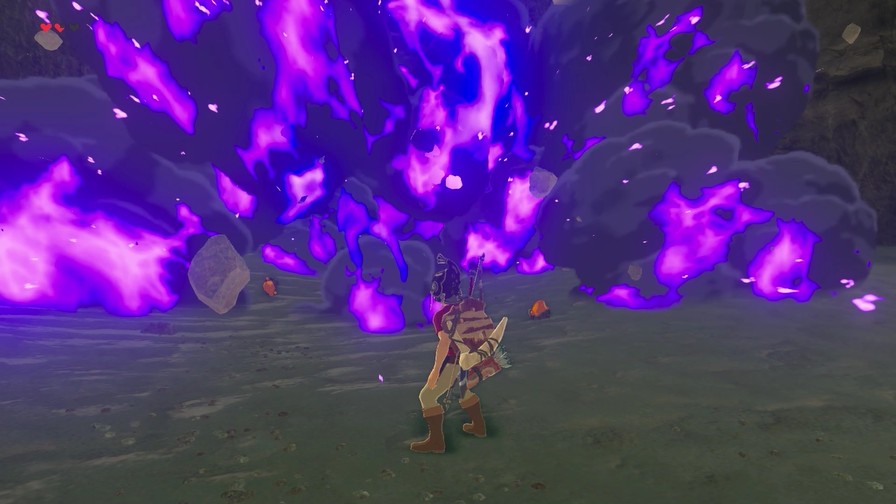
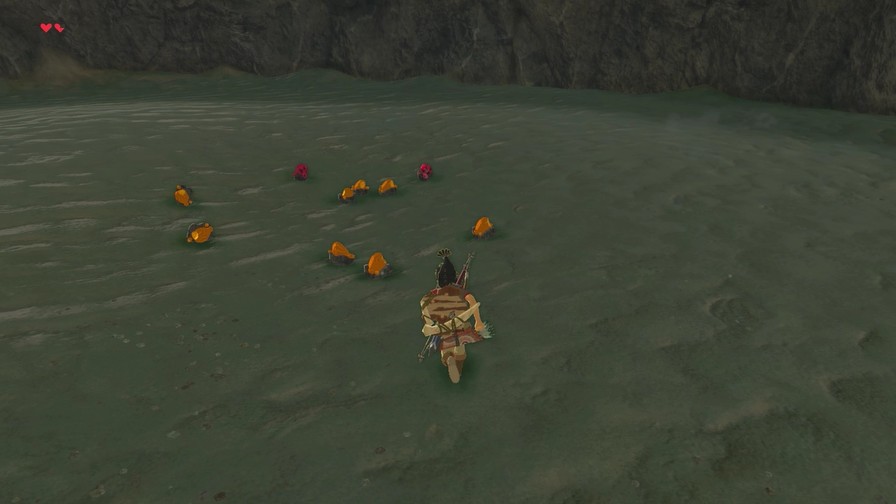
When defeated, the Stone Talus explodes into a bevy of gems. It’s probably my favorite of the overworld fights since they’re usually somewhat tricky but not too difficult, and very rewarding.
Next time, we’ll finish up some quests and other loose ends, then begin our journey to Eventide Island.
Also vote for our Spirit Orb upgrade. It’ll probably only run a couple or so hours this time since I want to get some gameplay going today.