Went ahead and replaced the GIF links with an image. I was going to inline them all but for some mysterious reason it turns out 10+ MP4s playing at the same time is a terrible idea! So I quickly made them links and will do the image for future updates to make it easier to see.
Chrome had no problems with these for me, but likely because the videos were paused until the play button was clicked. If other browsers automatically play the videos, maybe you can confirm there isn’t a way to make them paused in all browsers?
Clicking a link to see an animation is a bit inconvenient, and you have to remember to specifically open links in a new tab since this forum does not do that for some reason.
I’ll experiment later to make sure, because I agree it’s inconvenient to have them all as separate links. Thanks for the suggestion!
Looks and seems to load fine with me with all the MP4s edited in. Please let me know if this causes any issues for you, otherwise I’ll just inline them from now on.

Click here to open the update!
This game utilizes gyro aiming in both the Wii U and Switch versions. I don’t use it myself, but it’s pretty nice to have if you’re used to it through Splatoon or whatever.
Plus it’s a good bit better than the other areas where the game uses gyro…ugh…
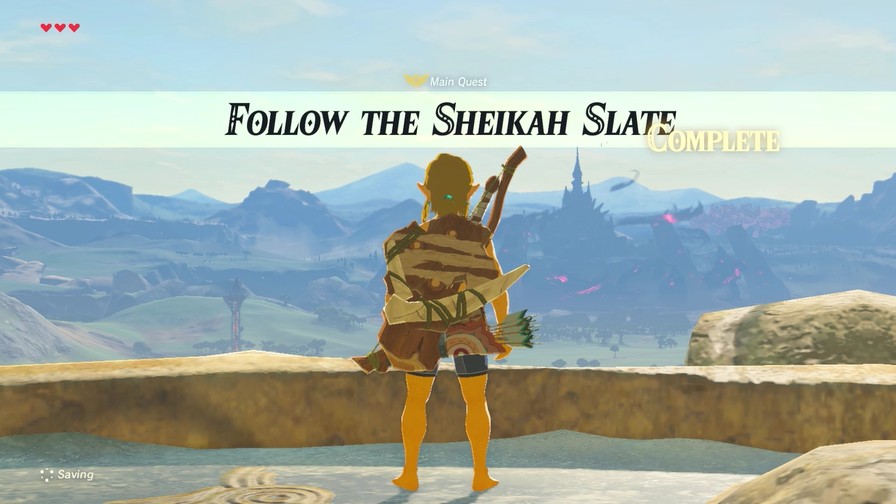
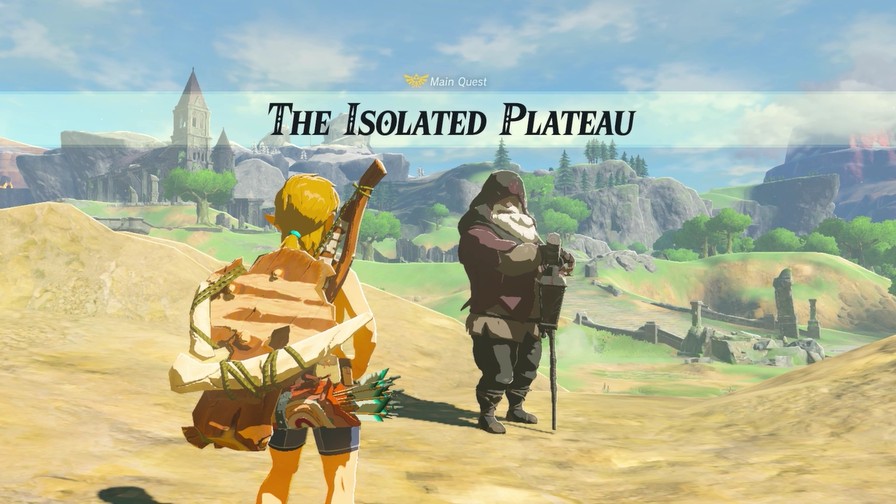
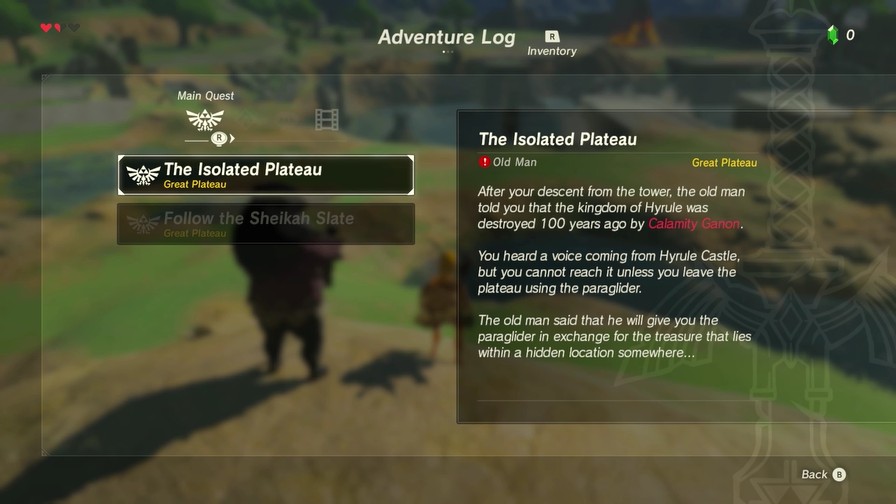
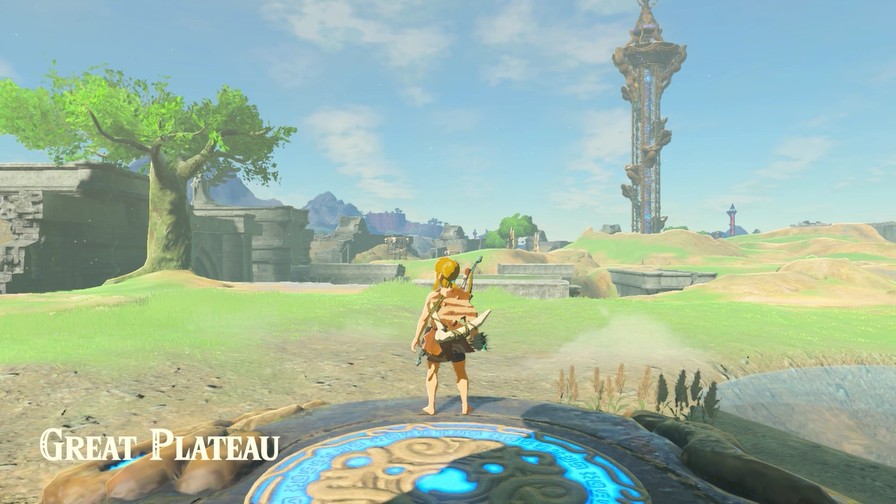
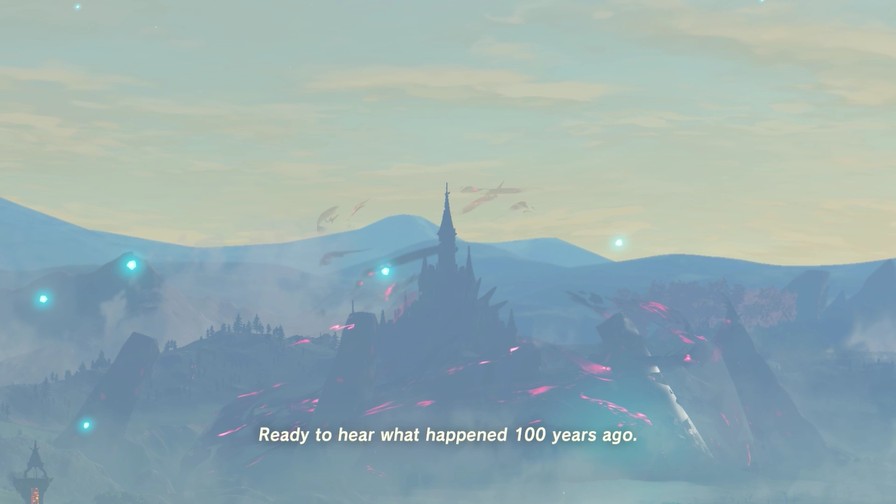
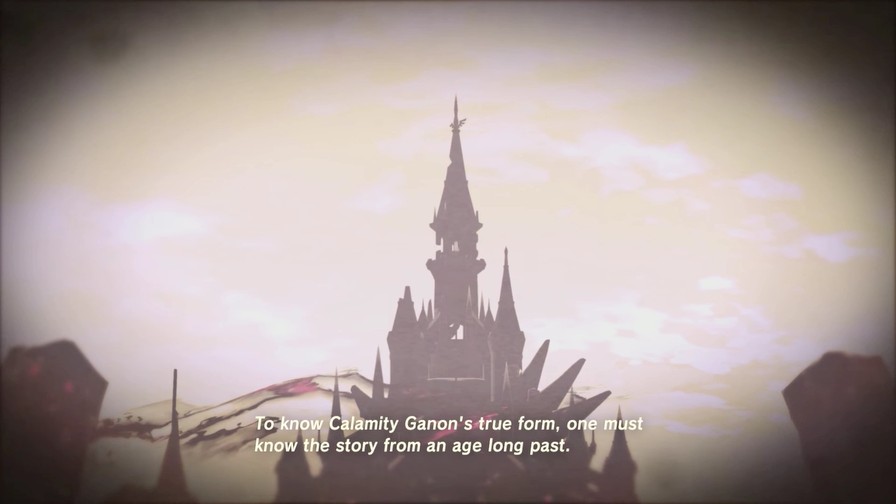
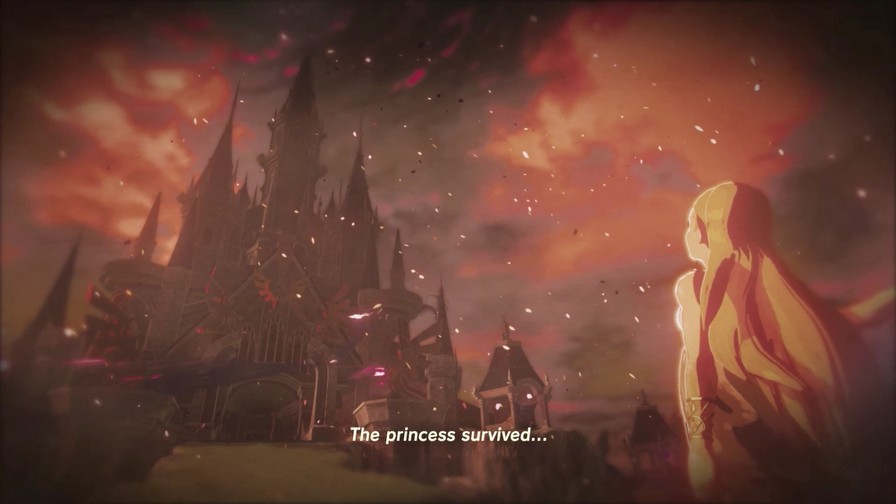
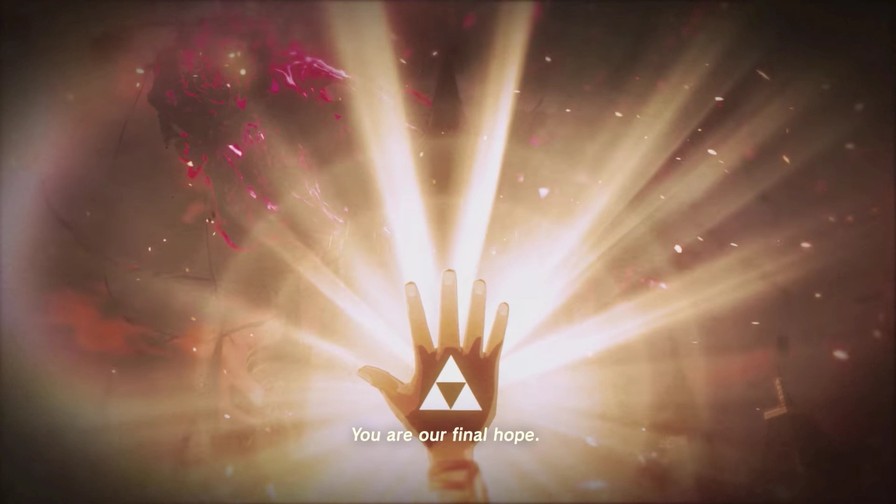
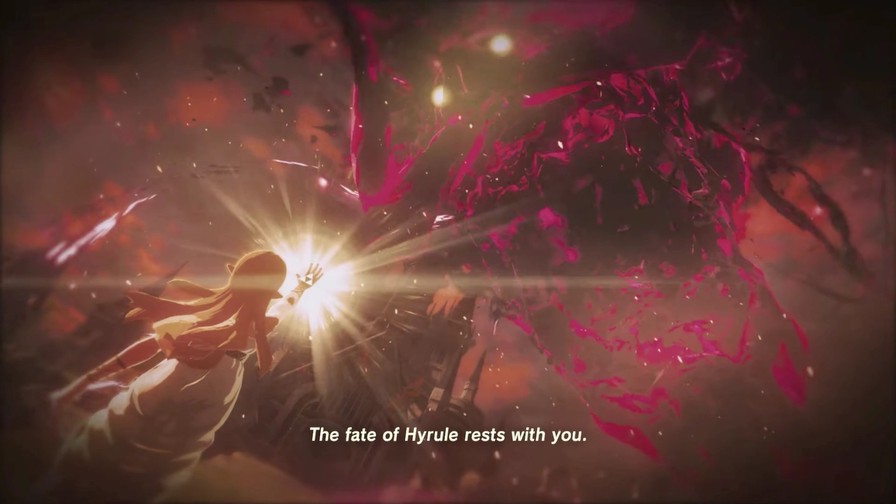
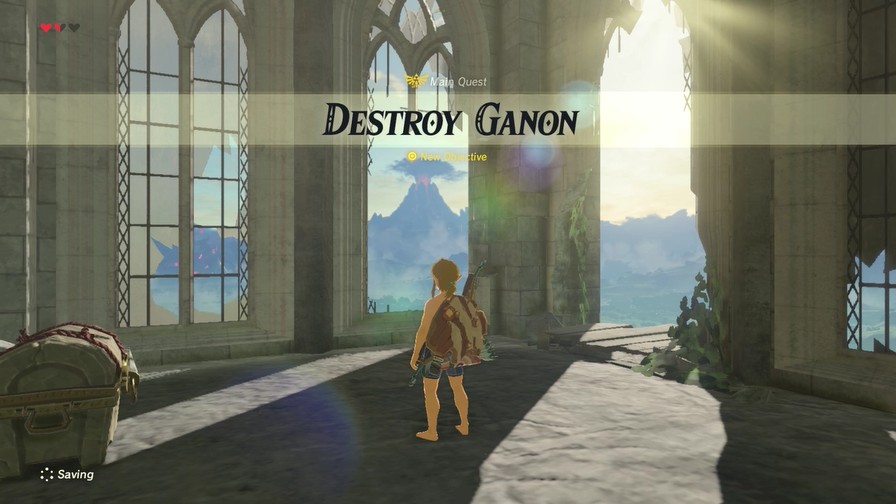
So last update, the mysterious voice from what appears to be Hyrule Castle told us that Link’s been asleep for the past one hundred years and there’s a terrifying beast that’s close to destroying all of Hyrule and we’re the only thing that can defeat it.
So, uh, we may want to get on that.
But first…
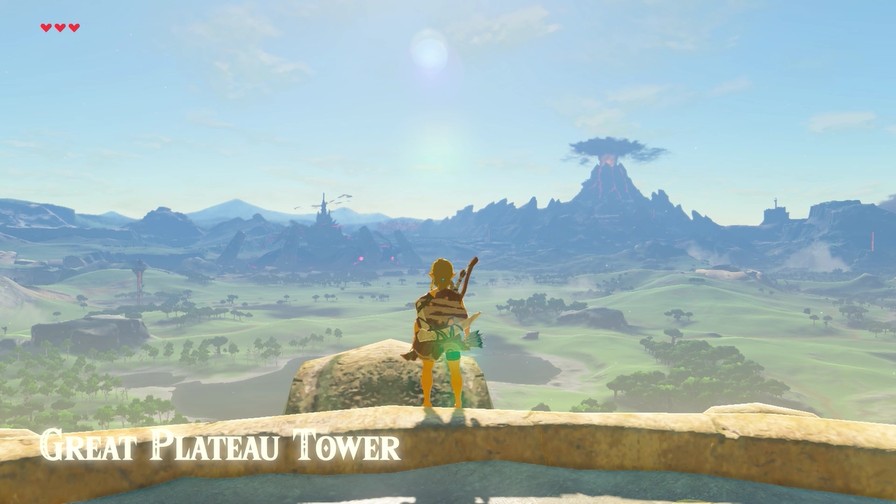
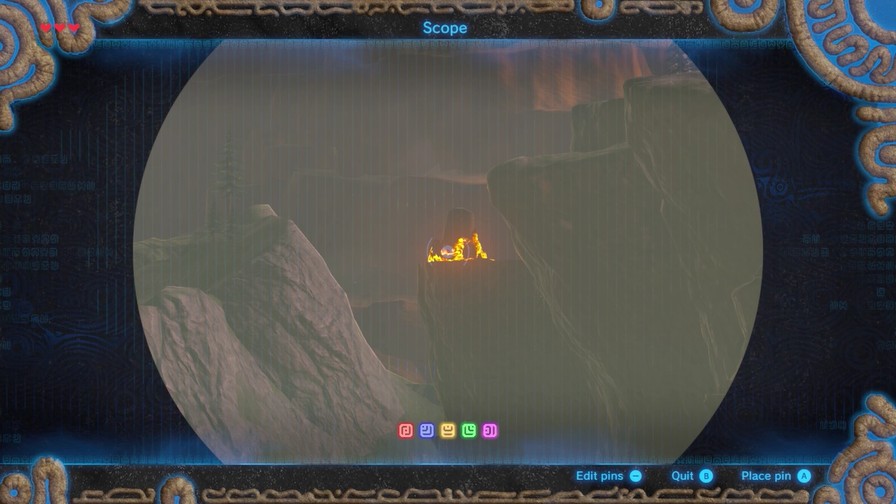
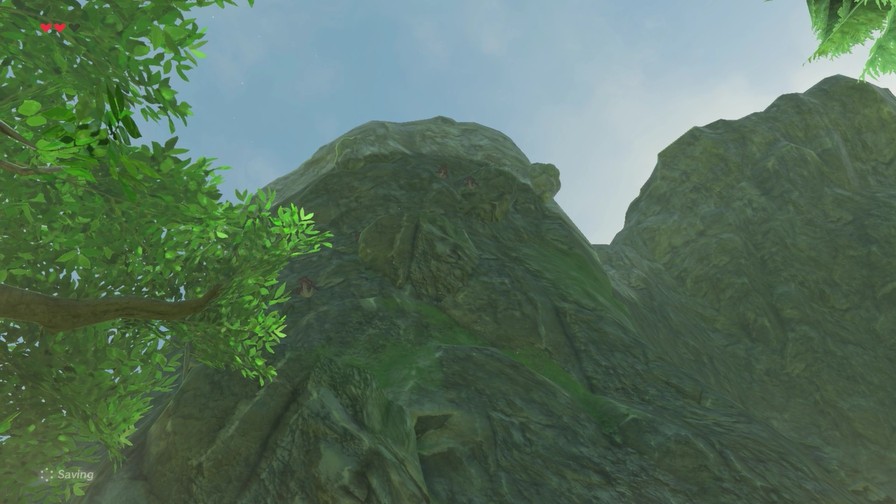
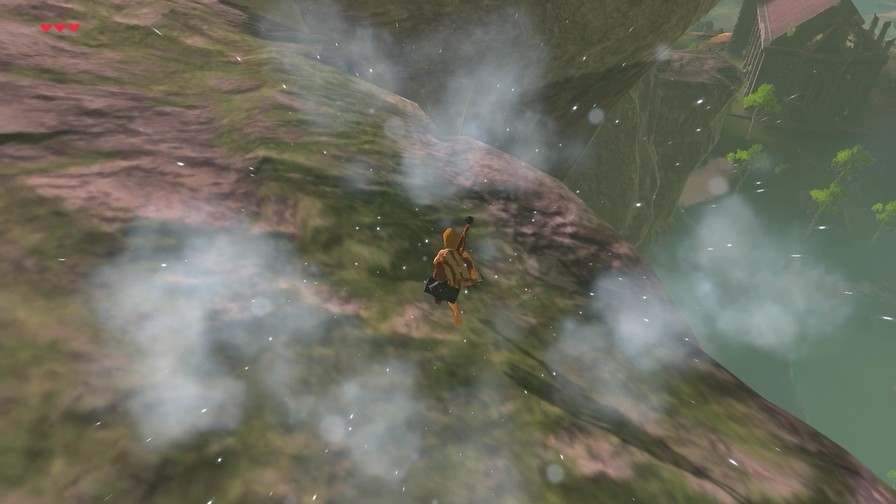
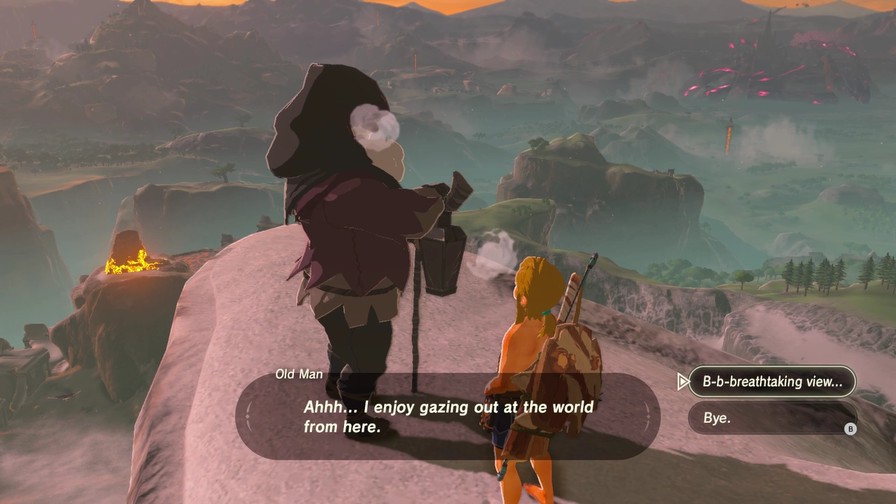
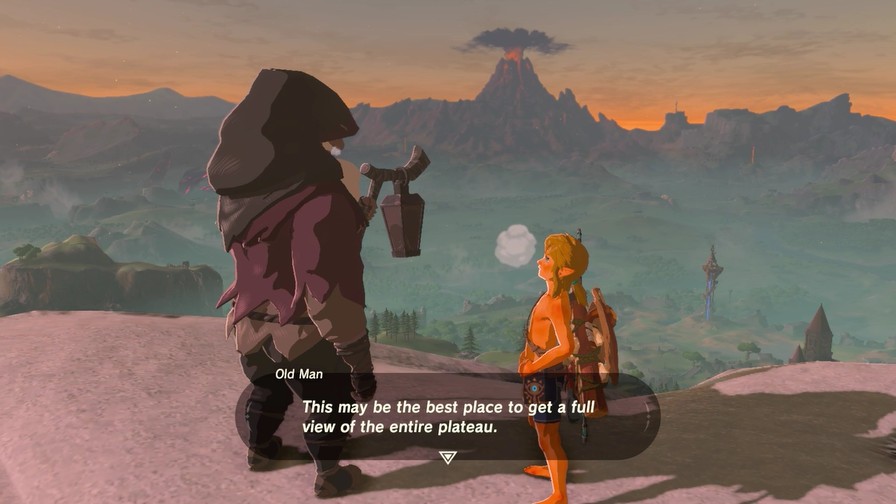
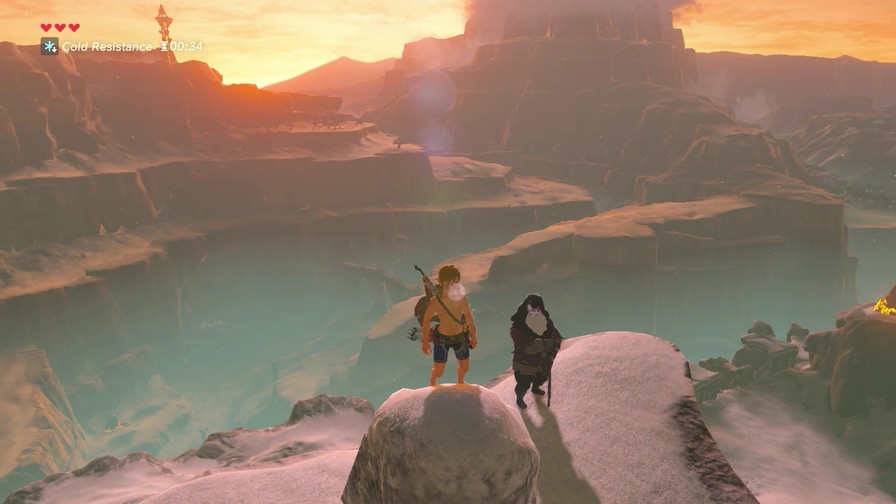
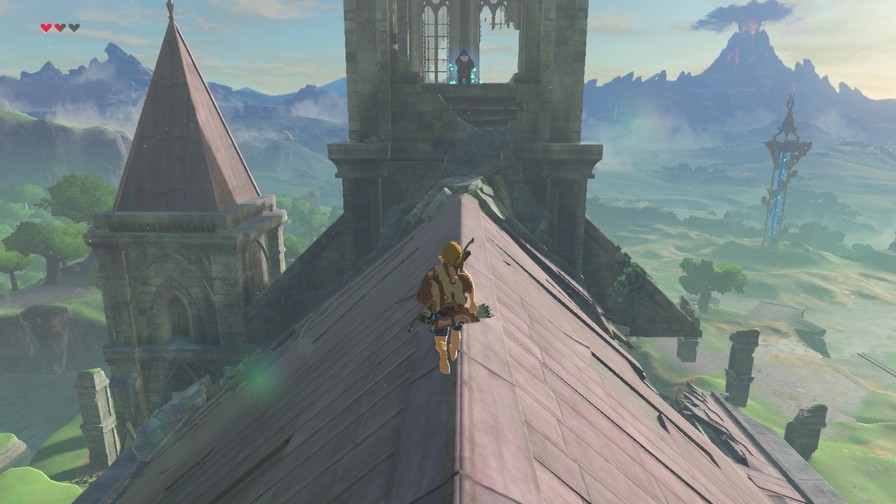
There’s the castle slightly to the left, and a volcanic mountain slightly to the right.
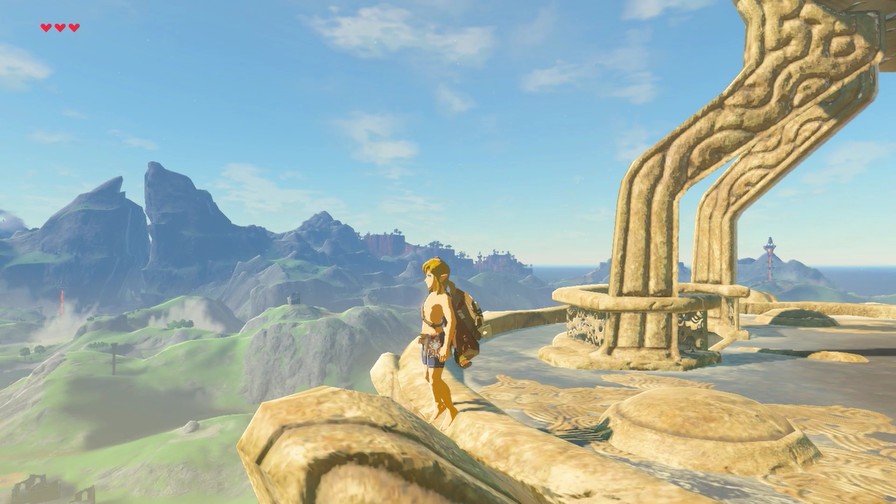
Going clockwise are these two peaks and some sheer cliffs beyond.
A nearby temple, and lots of mountains.
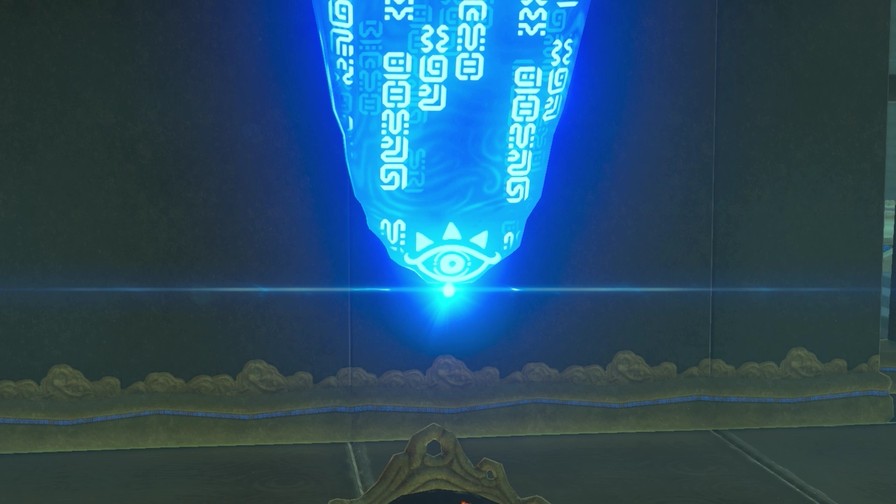
There’s something in the air off in the distance.
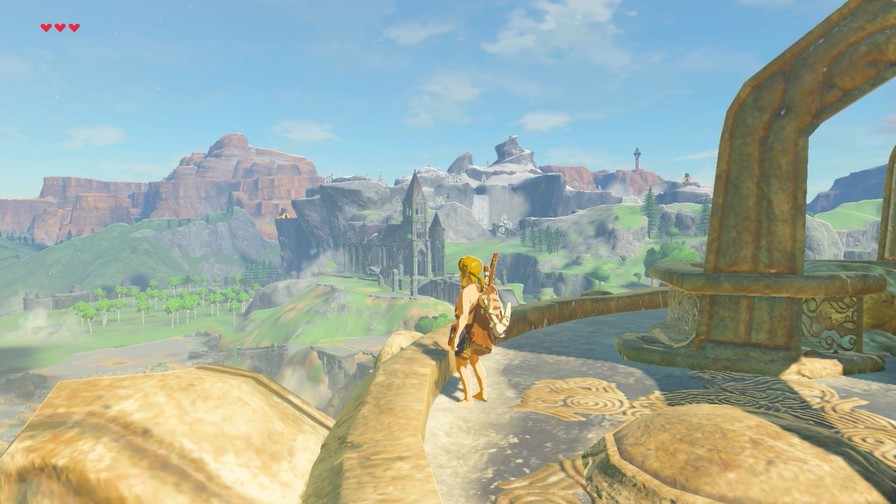
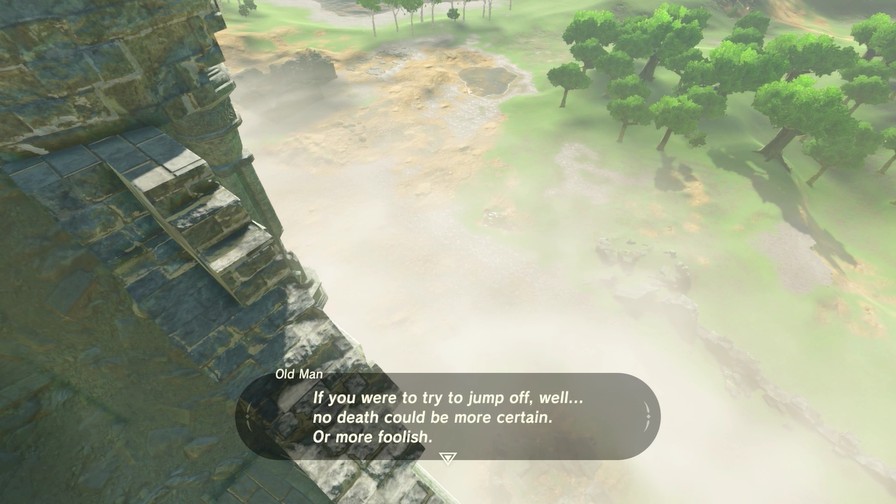
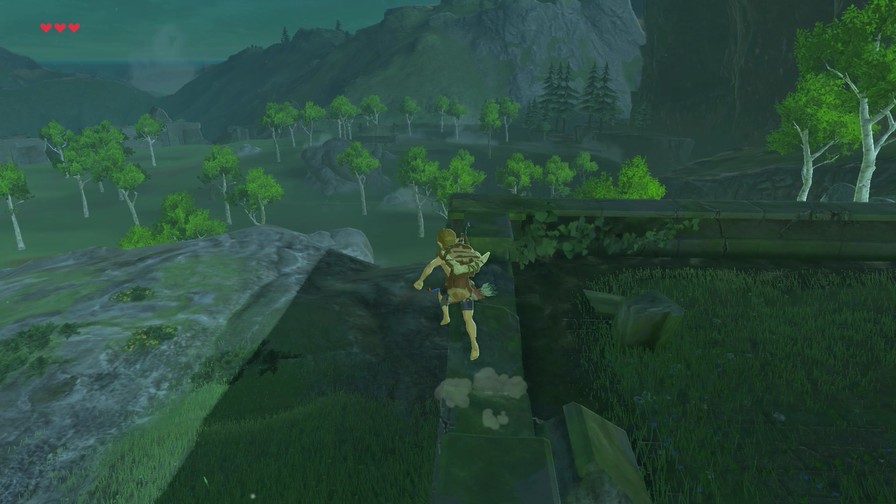
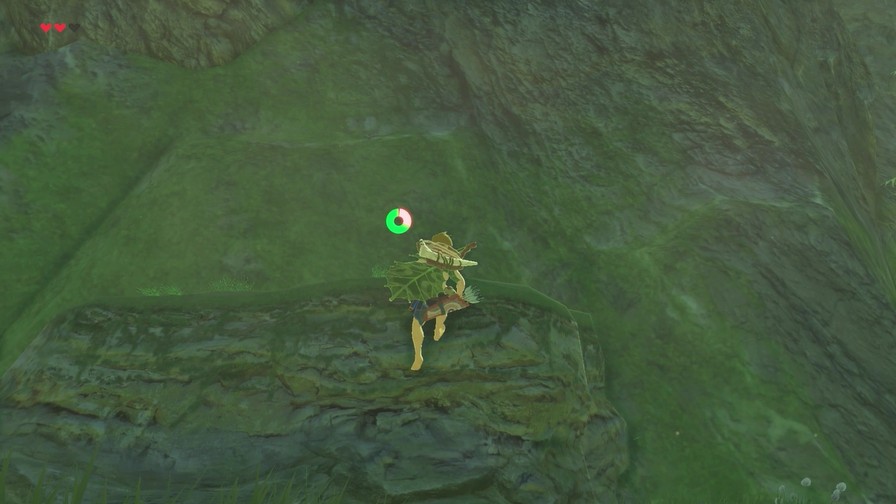
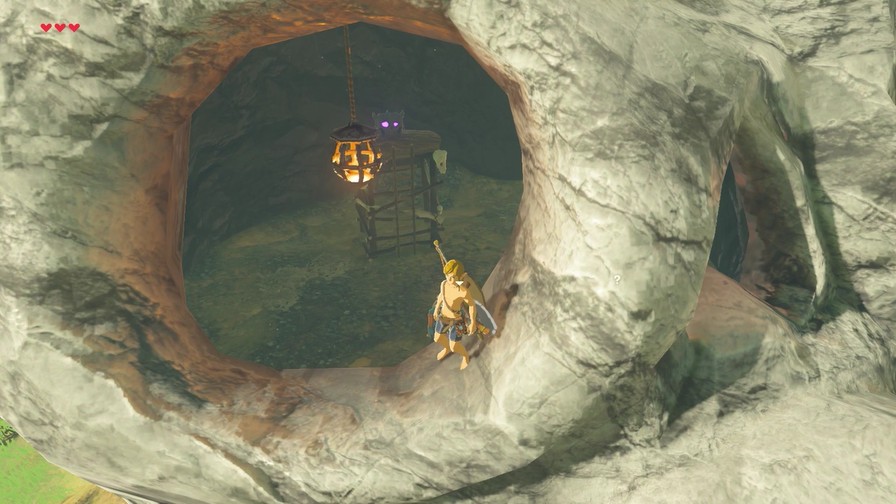
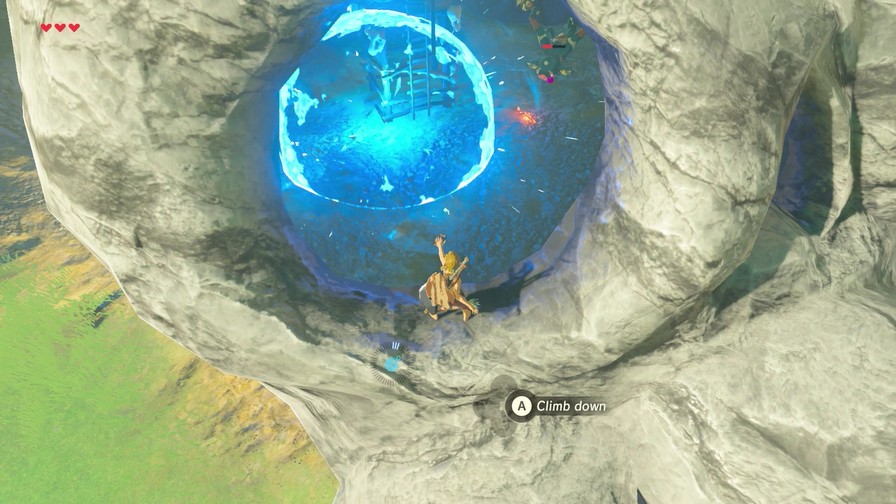
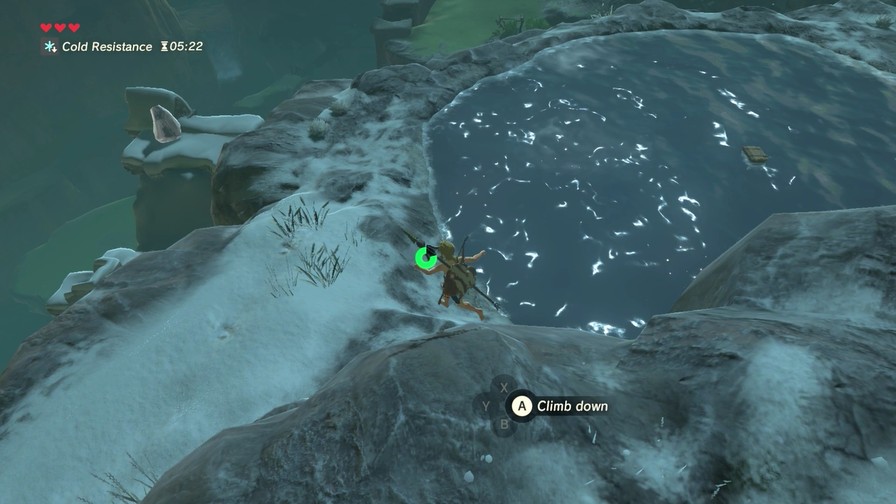
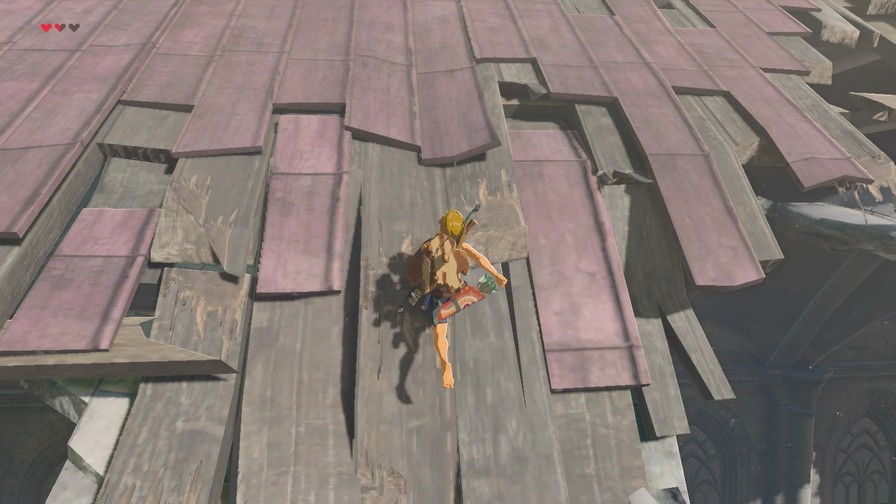
This is the only way down that doesn’t involve us dying, so let’s get to it!
https://mp4.mega64.net/botw/u03/009.mp4
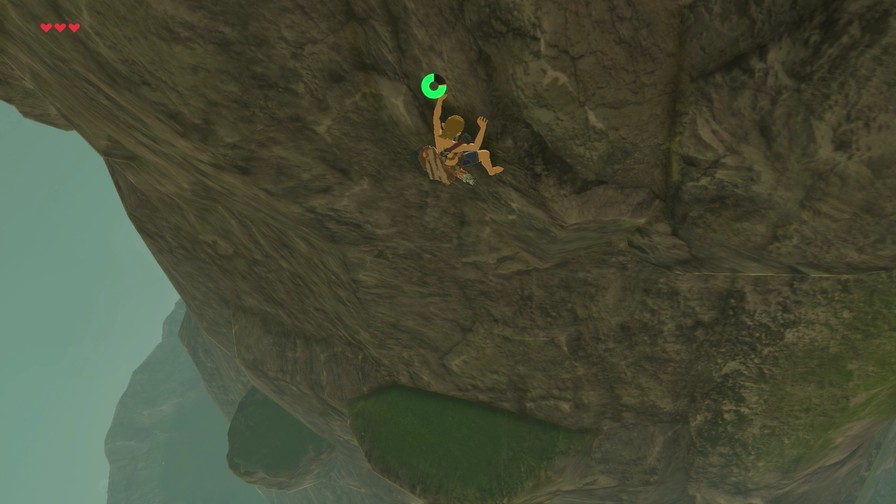
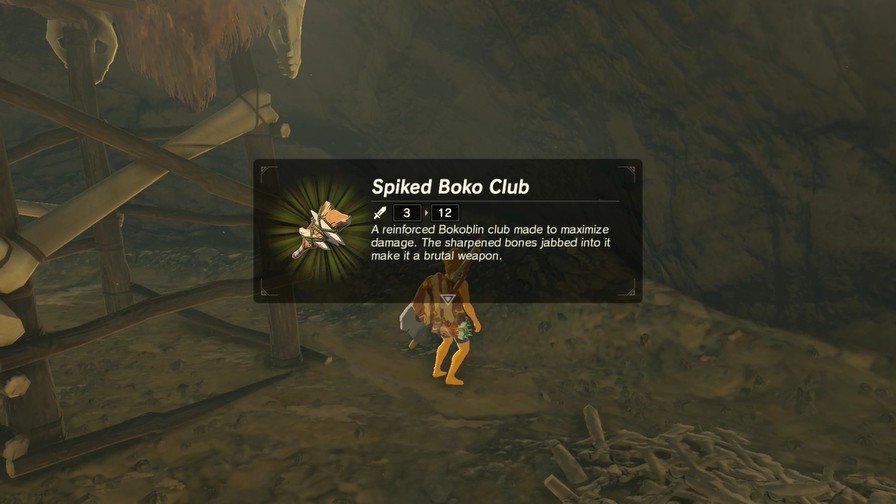
…Maybe with a little more care next time.
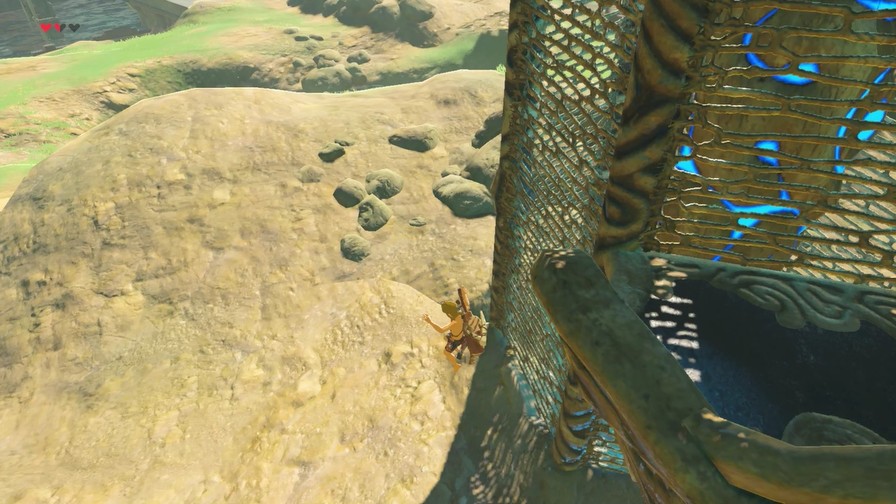
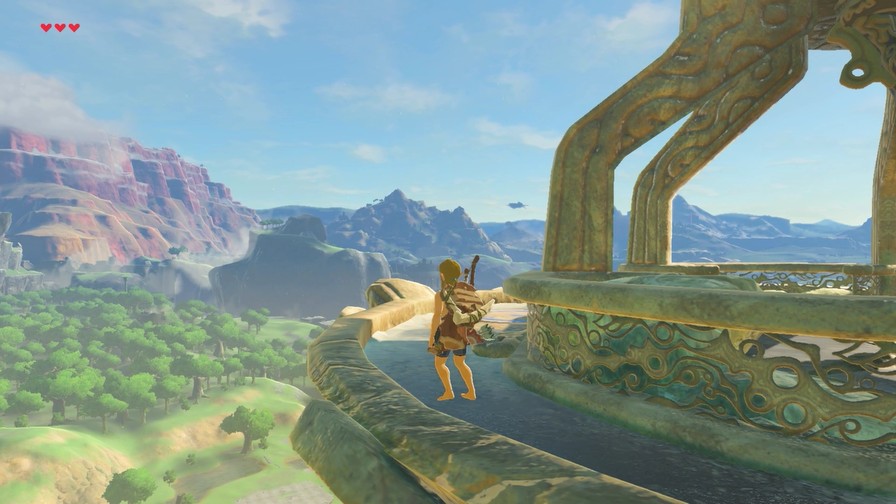
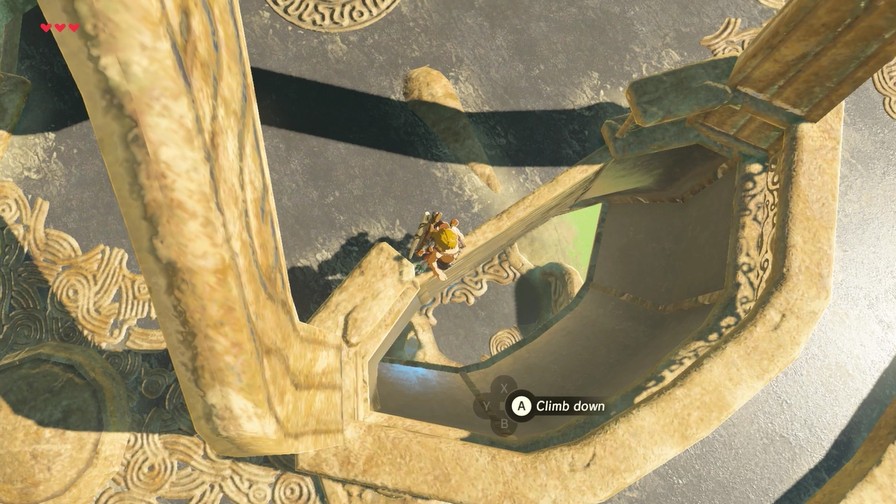
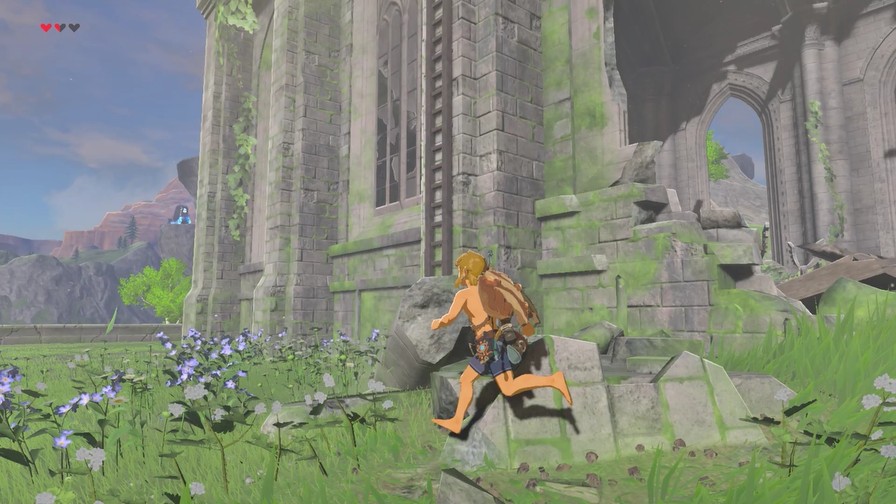
We manage to climb down with slightly less incident, when…
https://mp4.mega64.net/botw/u03/011.mp4
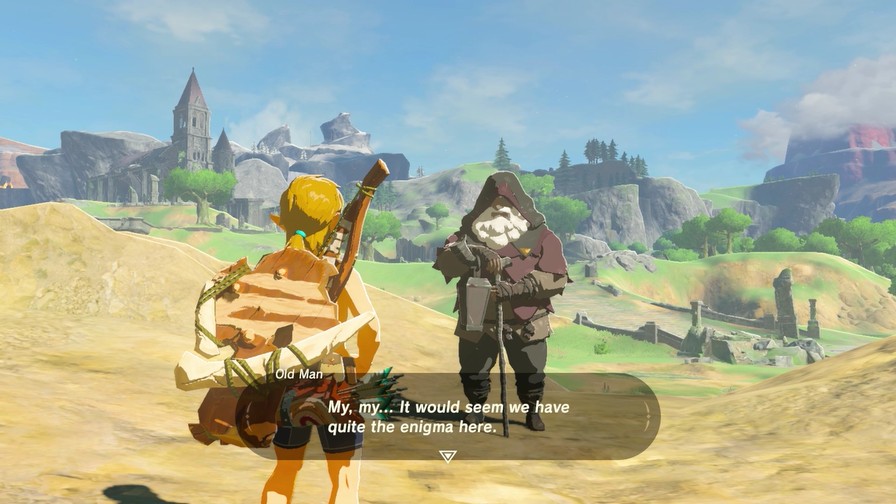
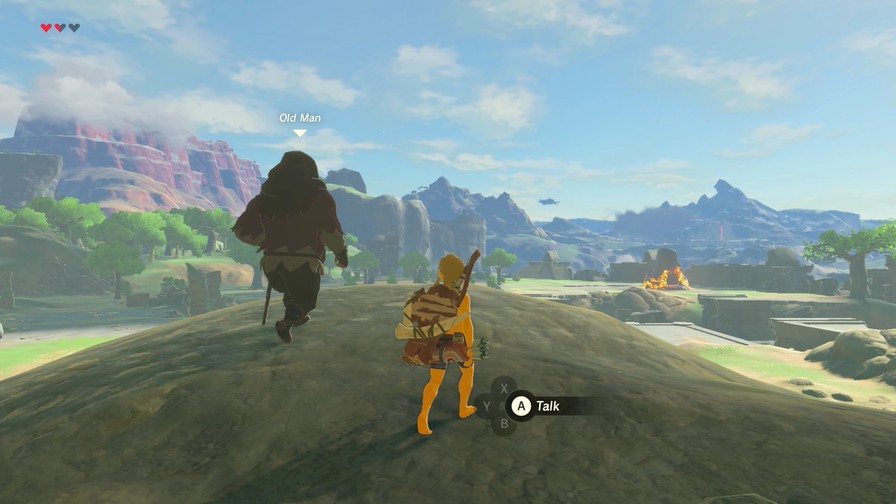
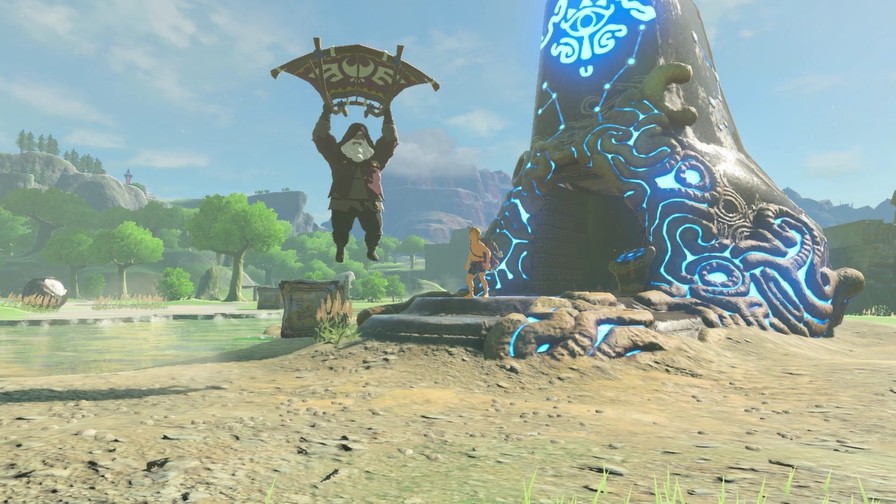
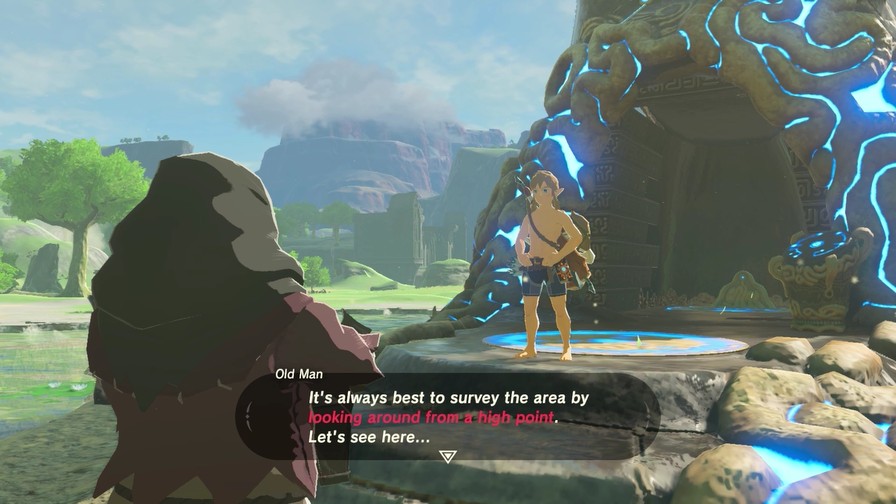
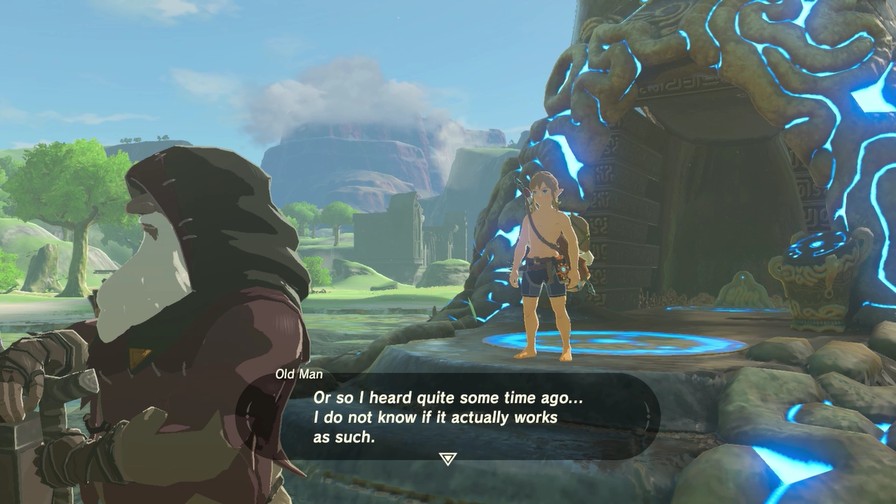
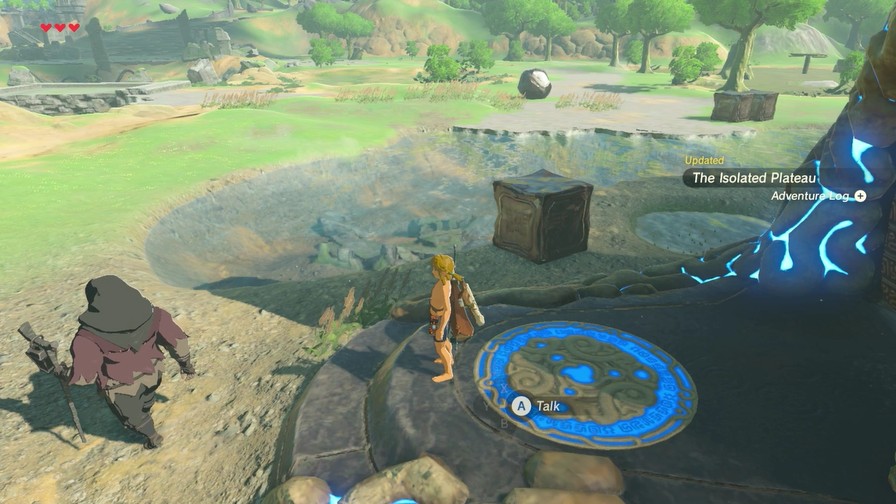
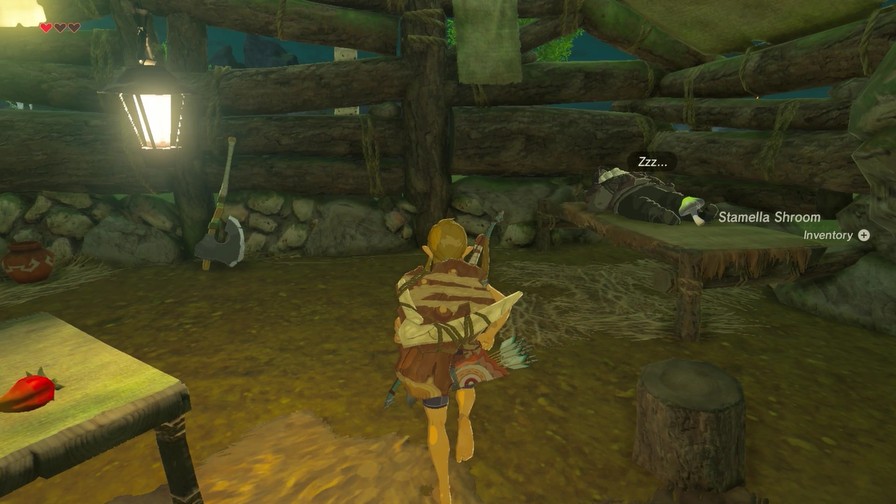
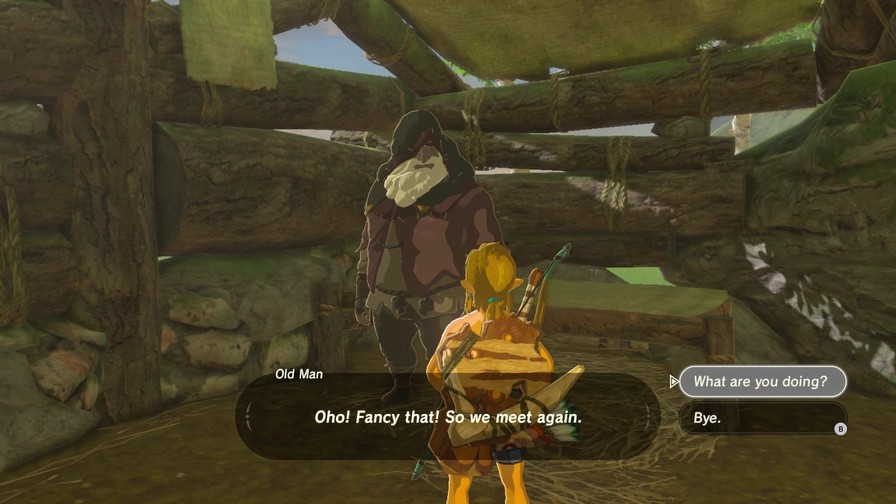
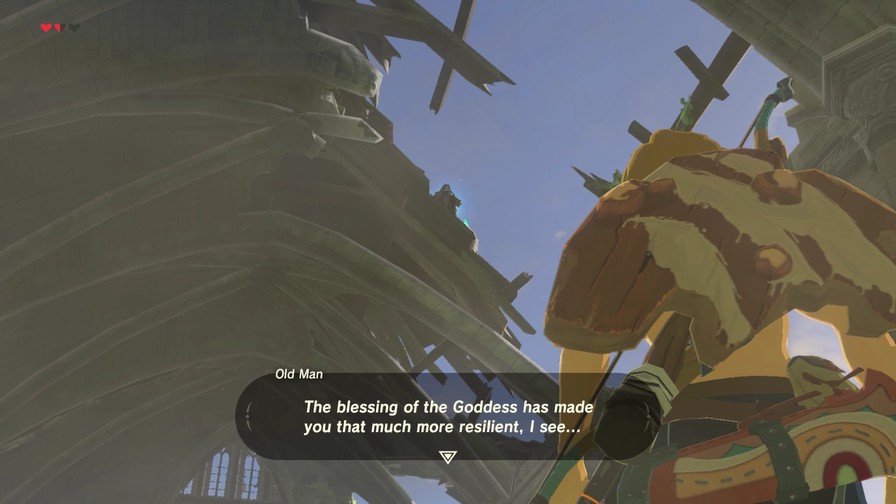
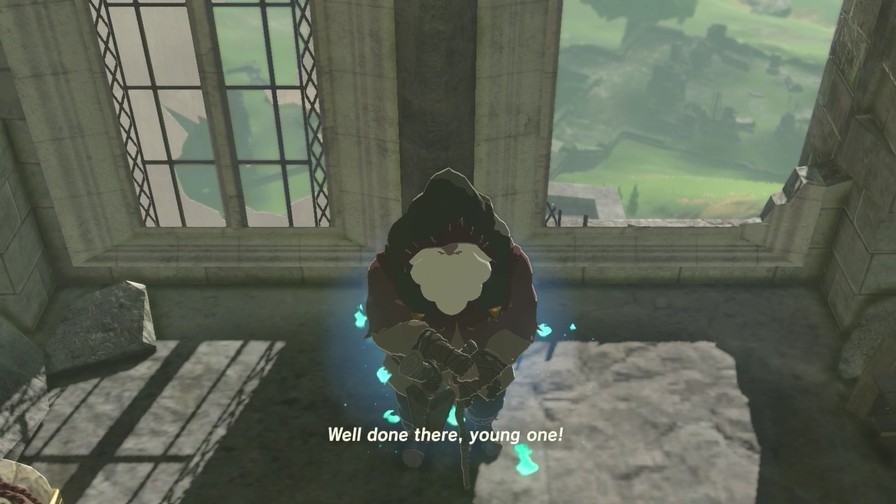
You didn’t think we’d avoid the old man forever, did you?
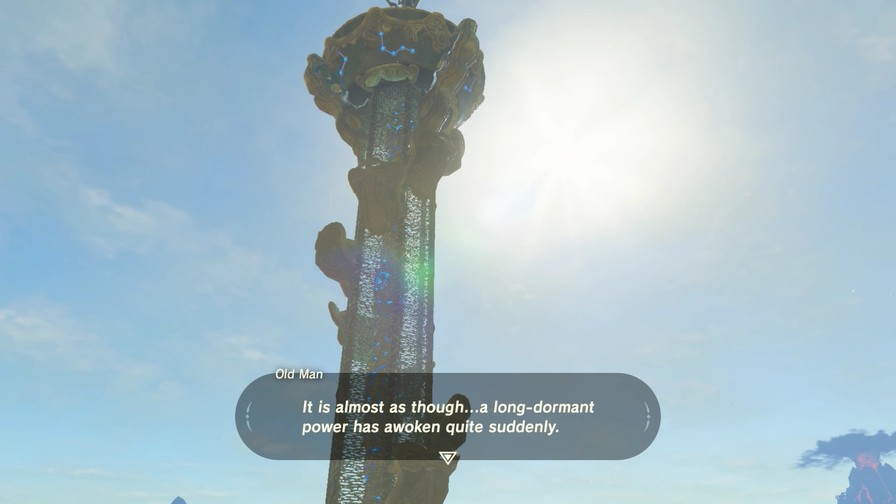
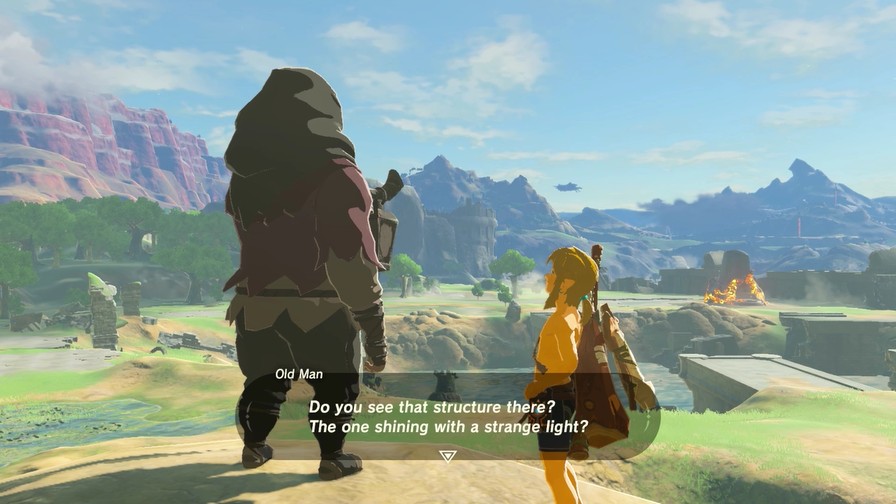
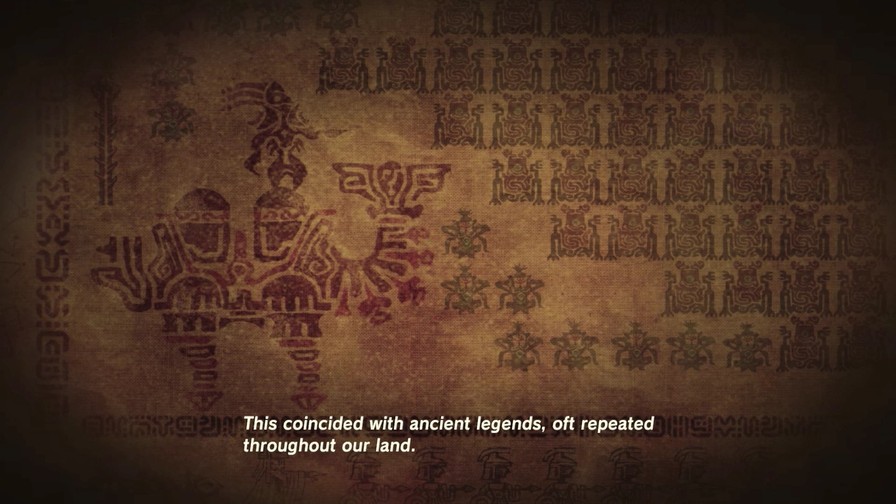
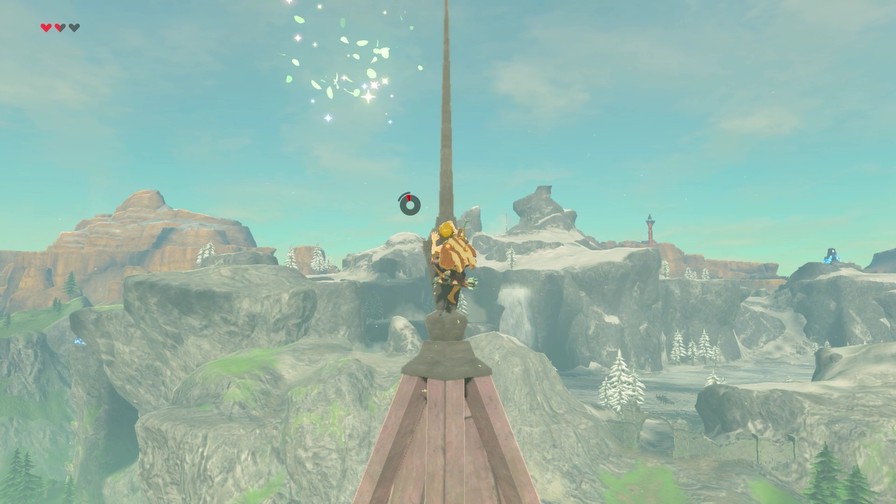
 This tower and others just like it have erupted across the land, one after another.
Link, as usual, is a silent protagonist who mainly communicates through answering questions.
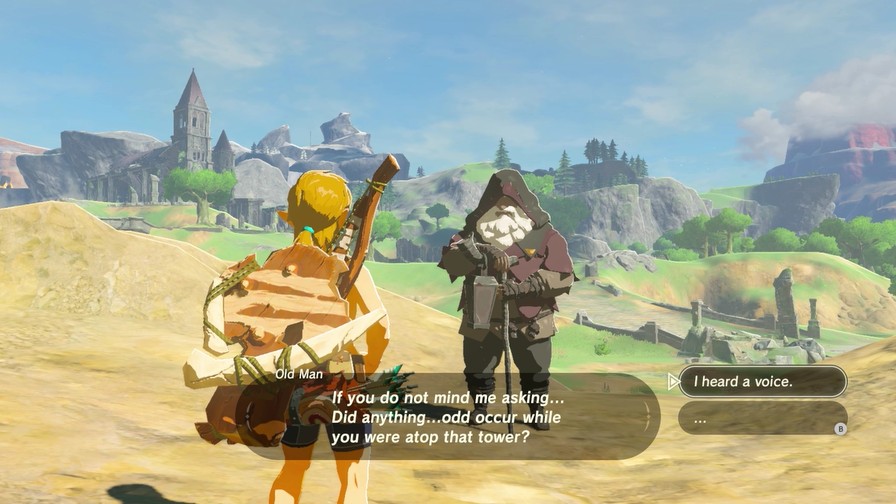
He doesn’t really have much reason to hide what’s going on from the only other human being around though, so he tells the old man about the voice he heard.


Unfortunately not.
I see. Well, that is unfortunate.

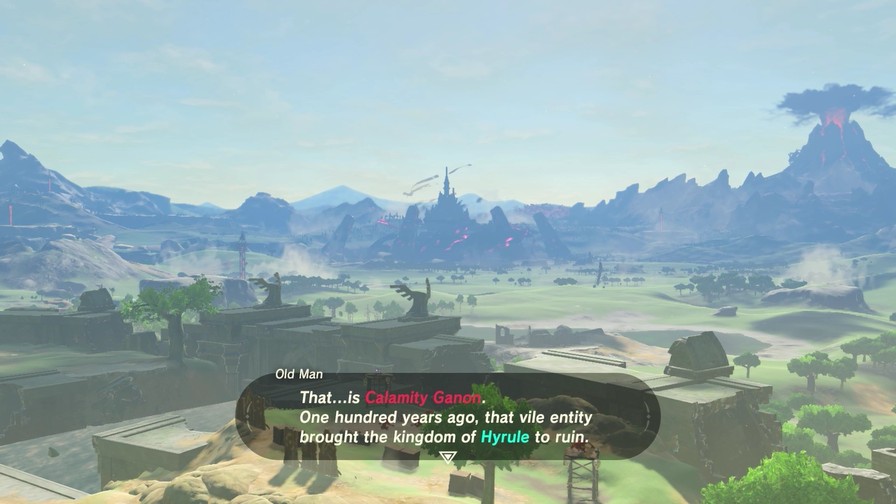
It appeared suddenly and destroyed everything in its path. So many innocent lives were lost in its wake. For a century, the very symbol of our kingdom, Hyrule Castle, has managed to contain that evil. But just barely. There it festers, building its strength for the moment it will unleash its blight upon the land once again. It would appear that moment is fast approaching…
We don’t know much. Link’s been asleep for a hundred years, this thing has conquered Hyrule Castle and remains there for some mysterious reason, and only we can save it.
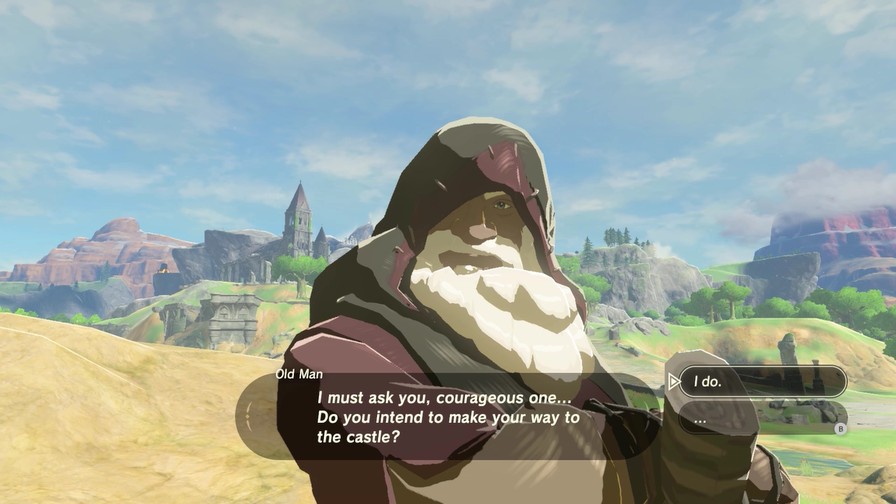
But the one thing the various Links have shared throughout this series is a sense of courage. And our Link is no exception. We will.
I had a feeling you would say that.

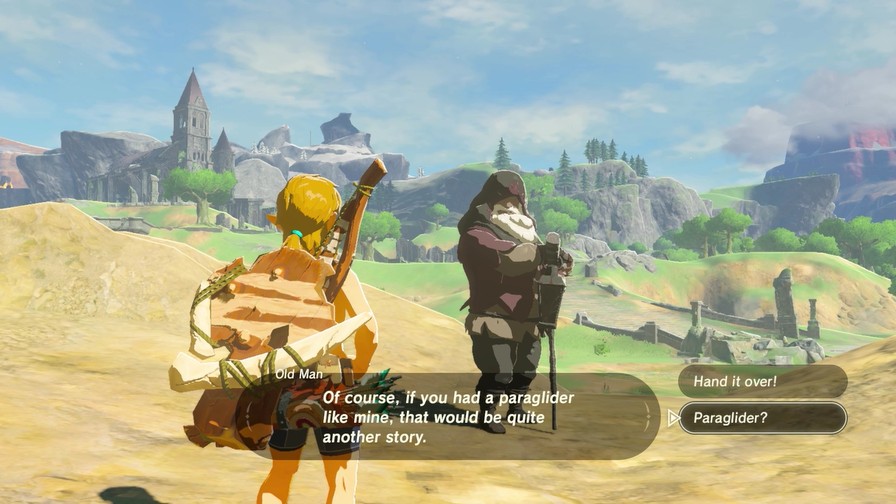
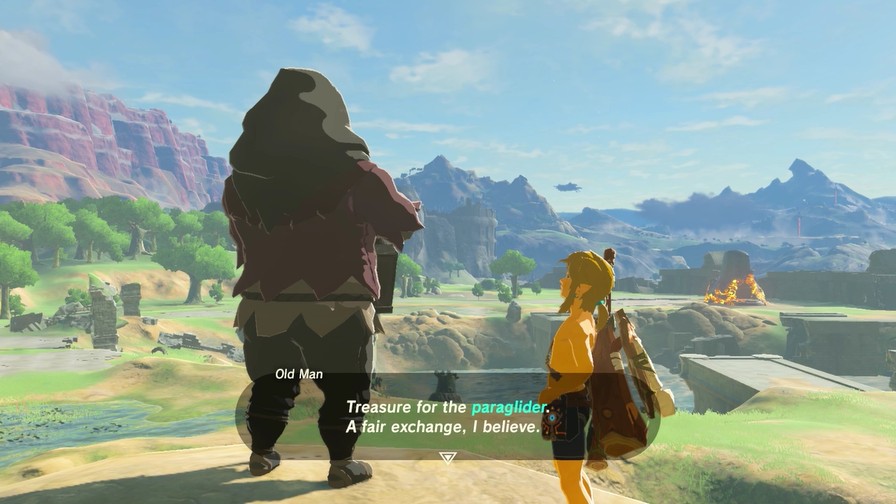
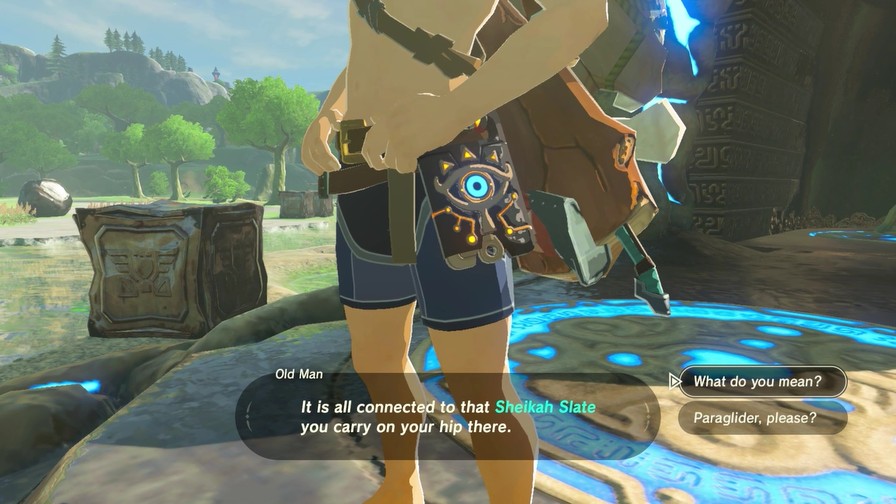
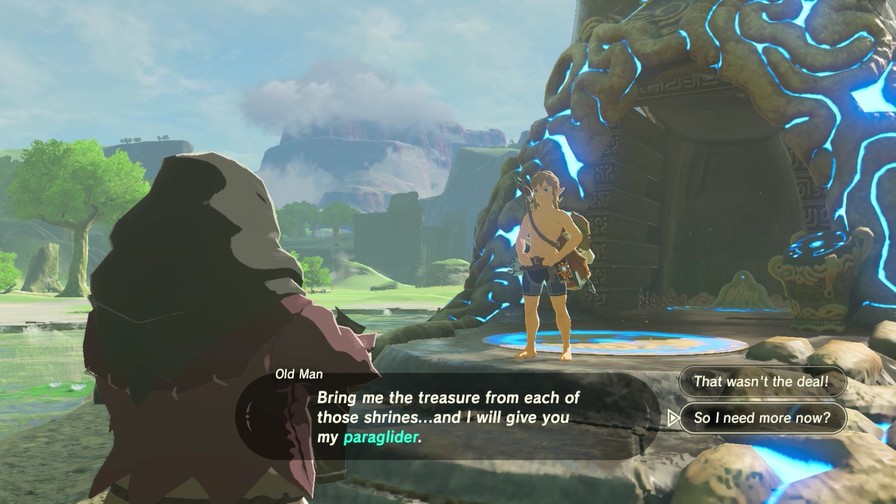
So we’re pretty much stuck here until we get that paraglider. Wait, what’s this about a paraglider?
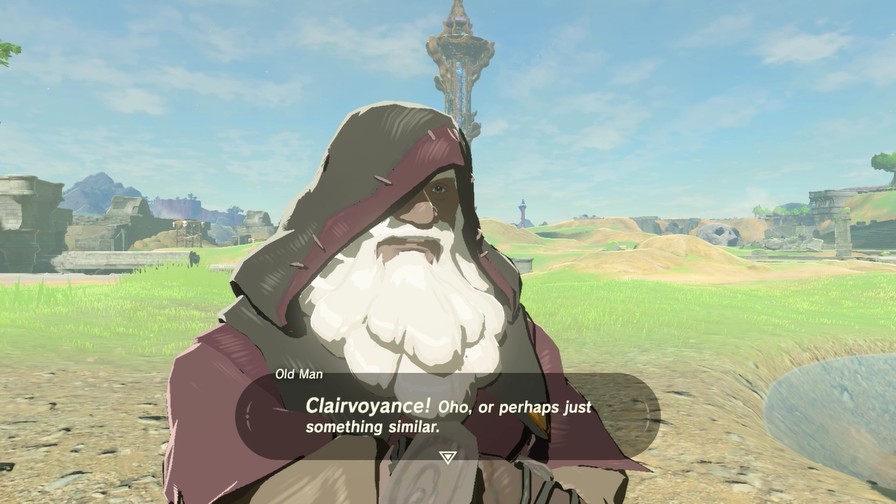
Oho! Piqued your interest, have I? Yes, I didn’t come soaring down here on my own feathery wings, you know!

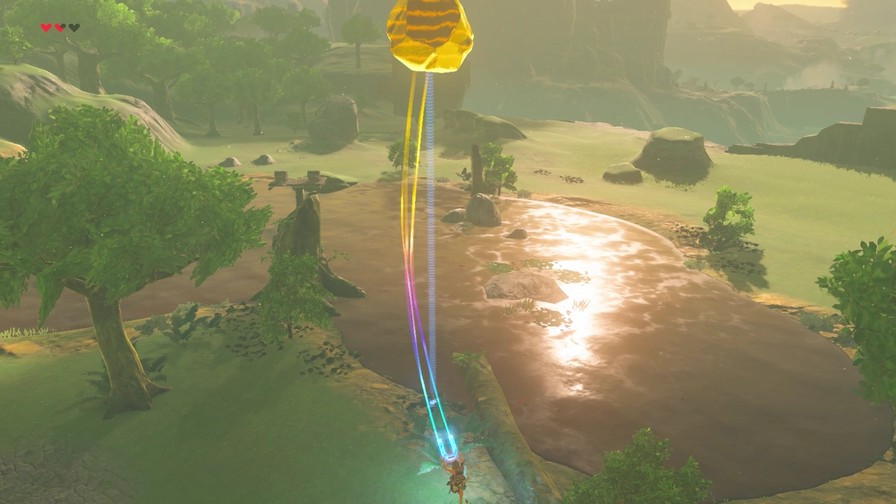
Let’s see now… How about I trade it for a bit of treasure that slumbers nearby?

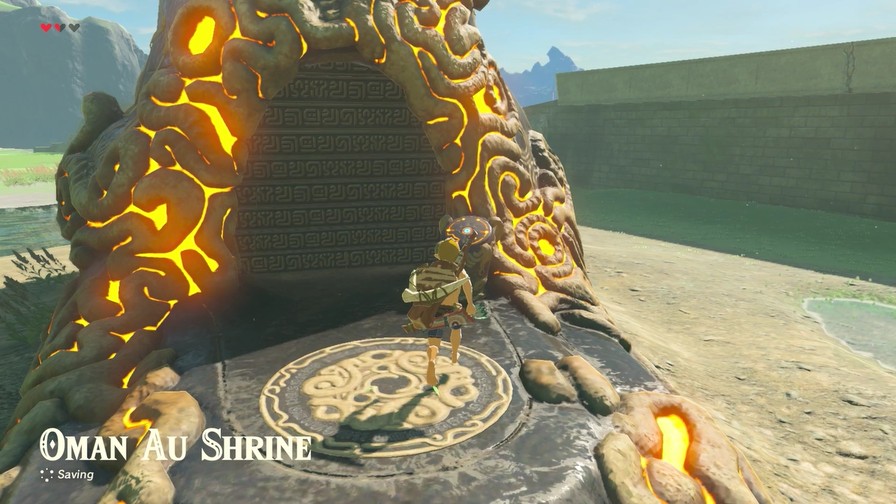
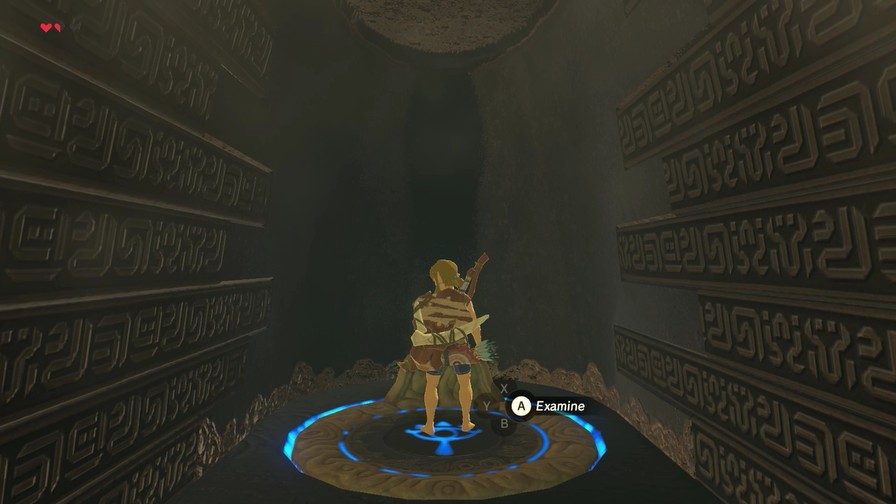
A quick walk over to this hill, where the shrine we previously visited looks a bit different now.
It began glowing at the exact moment those towers rose up from the ground. I would think such a place might house some sort of treasure, wouldn’t you?
Welp, looks like we’ve got our next objective.
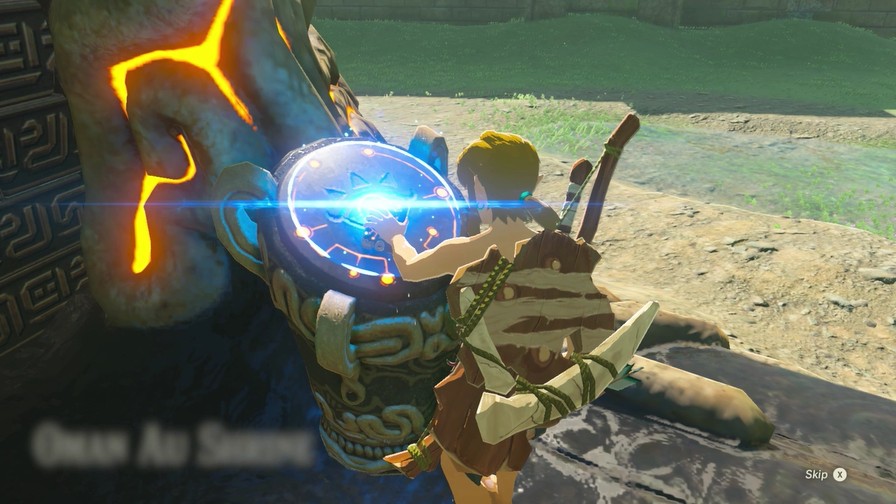
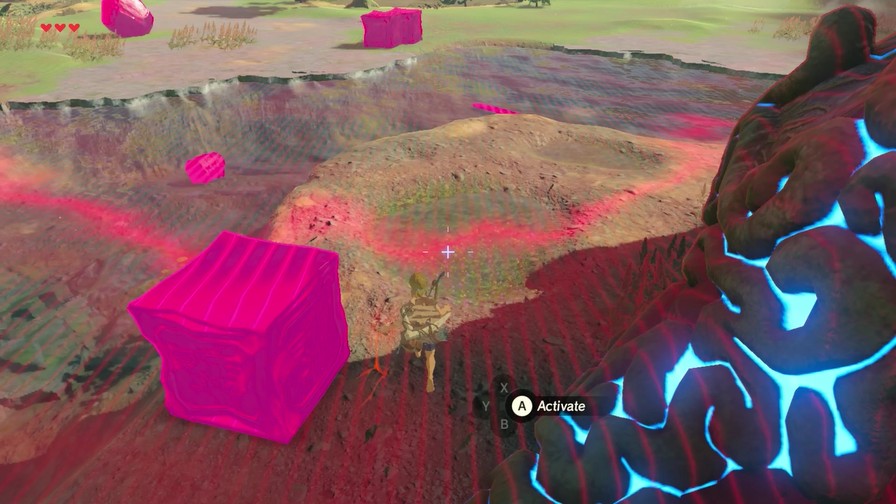
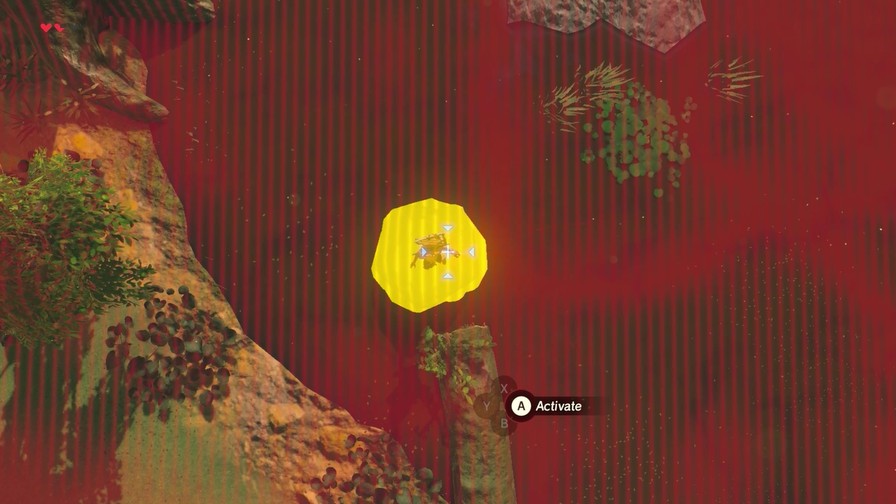
Anyway, this pedestal is now active, so let’s try interacting with it.

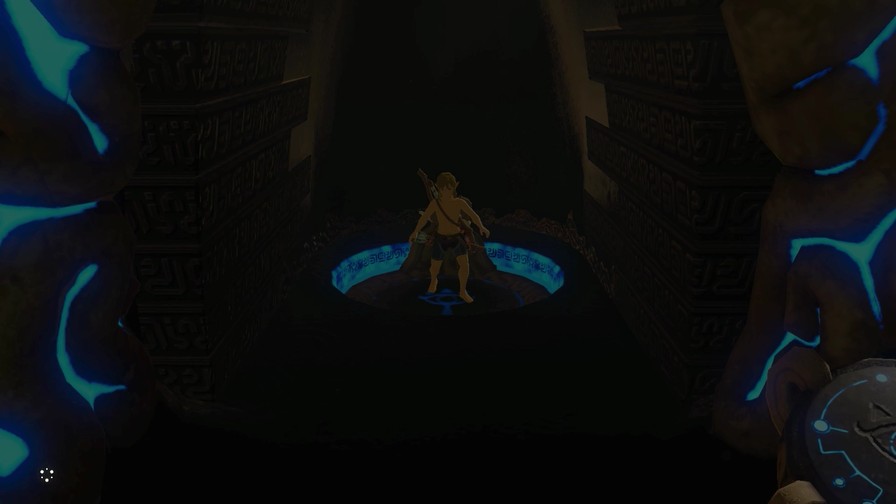
https://mp4.mega64.net/botw/u03/049.mp4
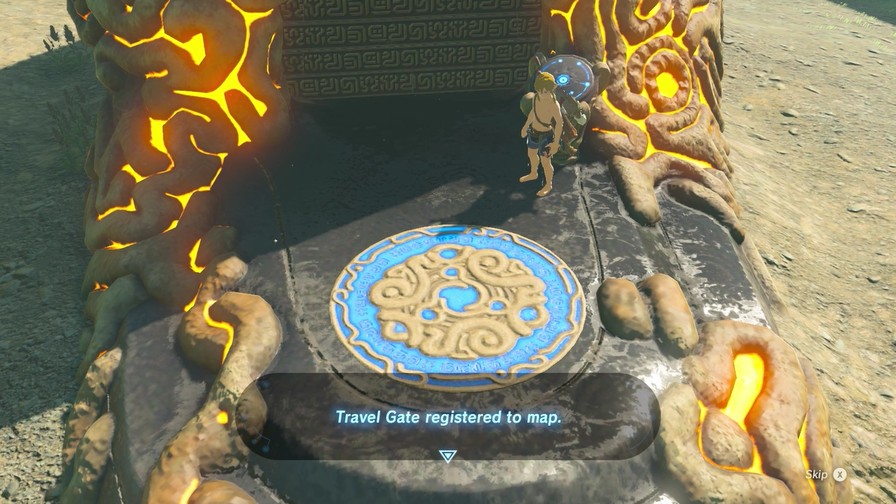
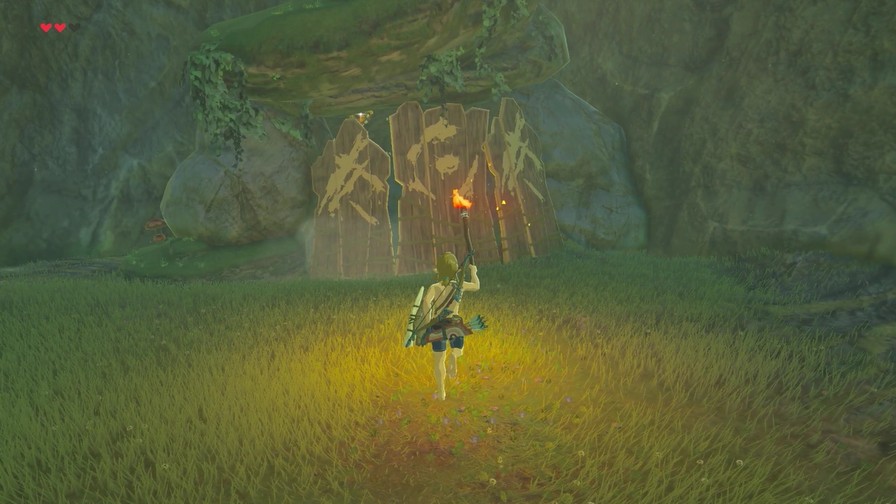
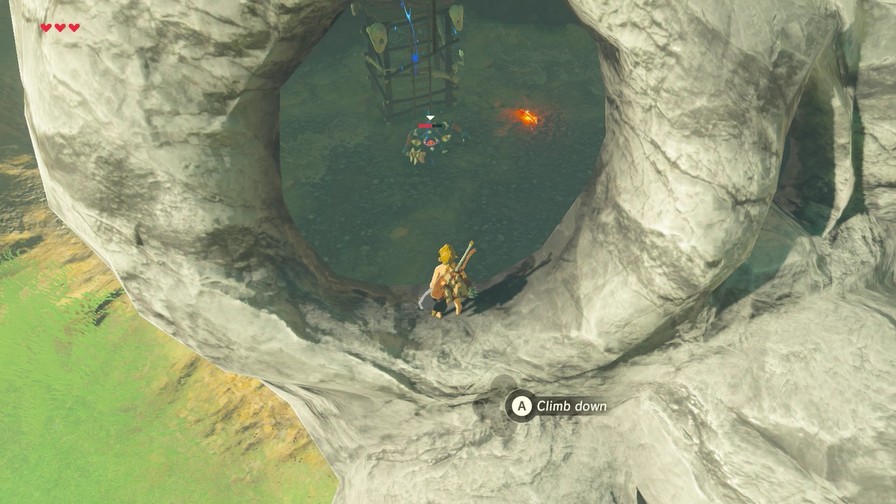
Looks like we’re clear to enter!
So, what exactly is this place?

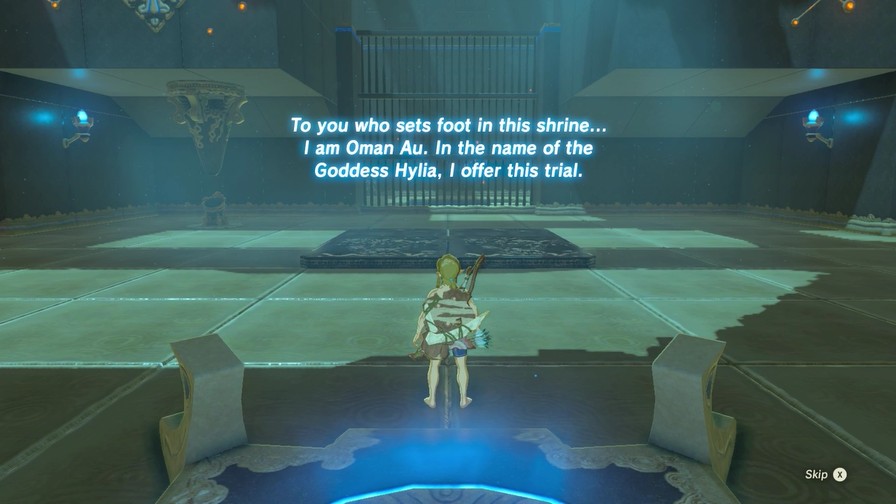

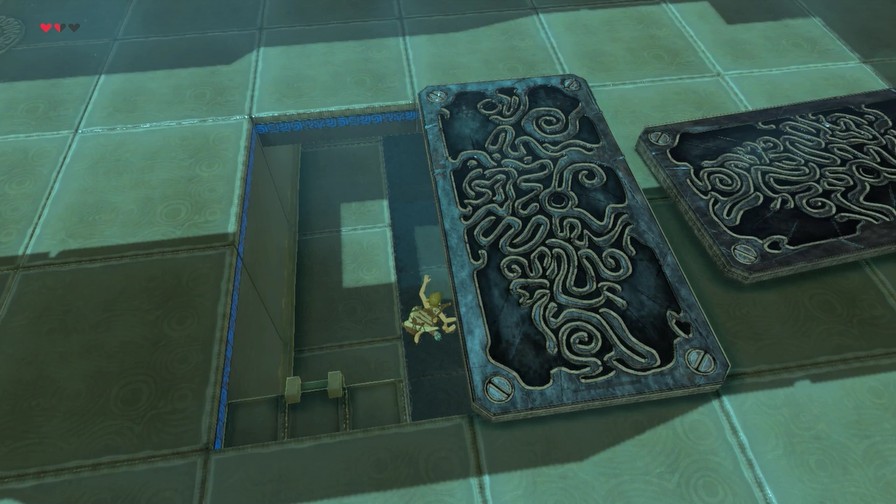
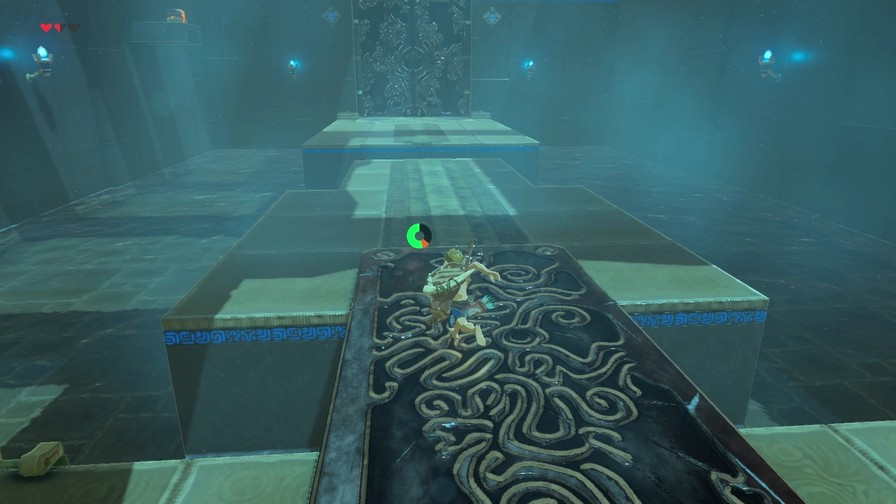
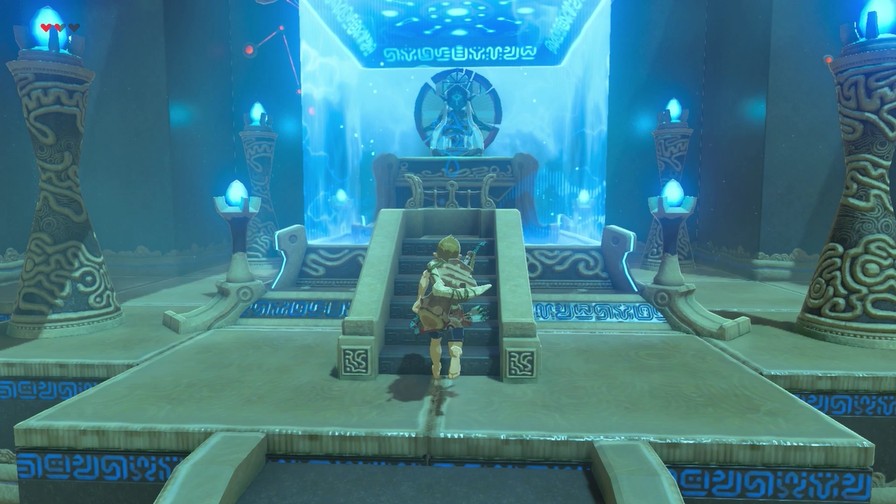
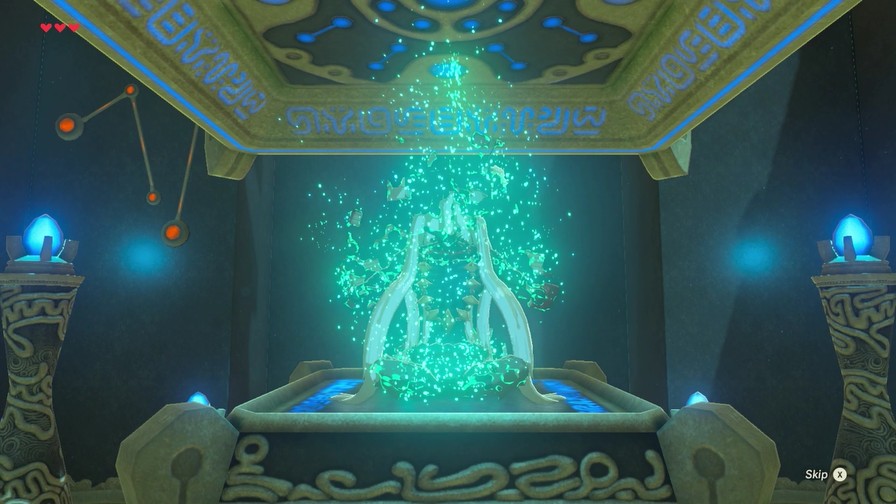
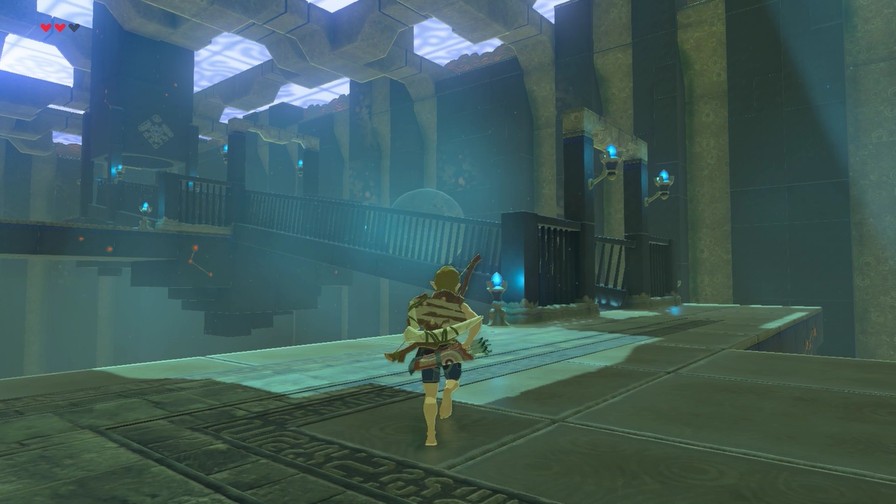
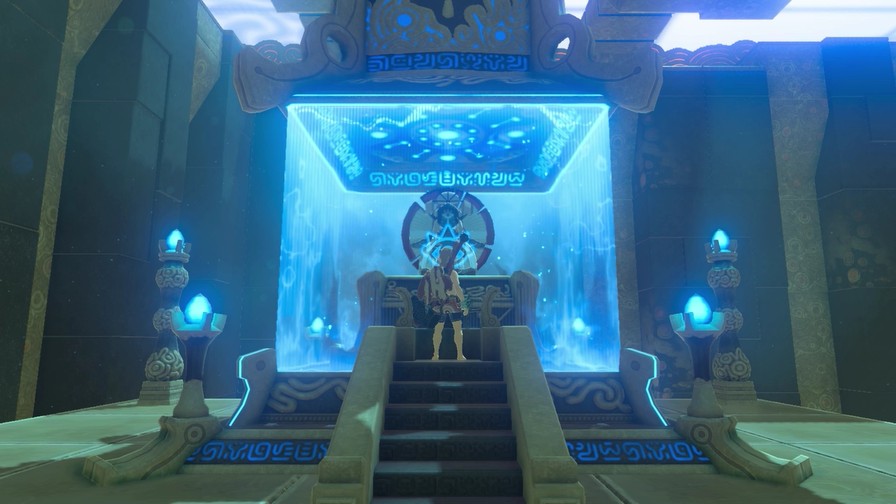
Welcome to our first shrine!
As you may be aware, there’s not really traditional dungeons like in earlier games, though there’s areas that are pretty close to them. Otherwise, much of the more puzzle-oriented gameplay takes place in these shrines, which are usually short areas that test your skills and logic. The nice thing is, because of the nature of the game, there’s usually more than one way to solve many of these shrines, especially if you’re particularly creative and can master some of the game’s weirder mechanics. There’s also shrines that are combat tests, and shrines that don’t have any challenge to them, usually because the challenge is to gain access in the first place through some overworld puzzle or test or what have you.
This shrine and the next several exist to introduce you to the major mechanics this game uses for interacting with the environment.
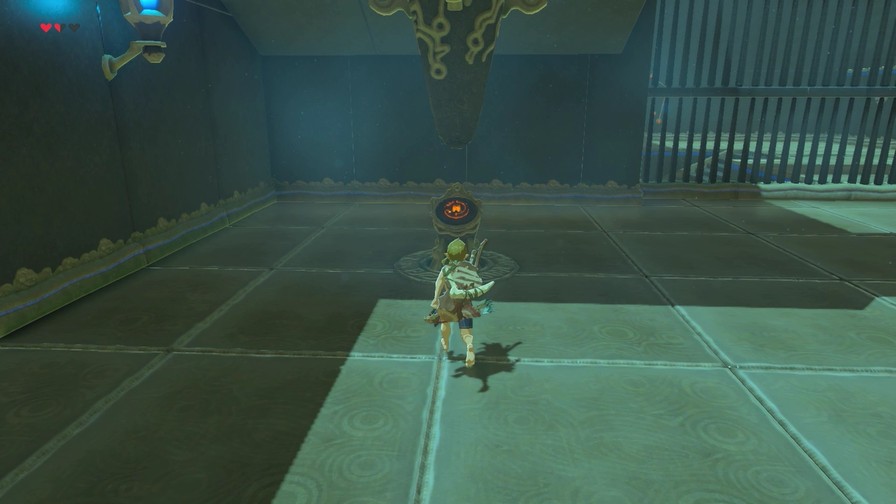
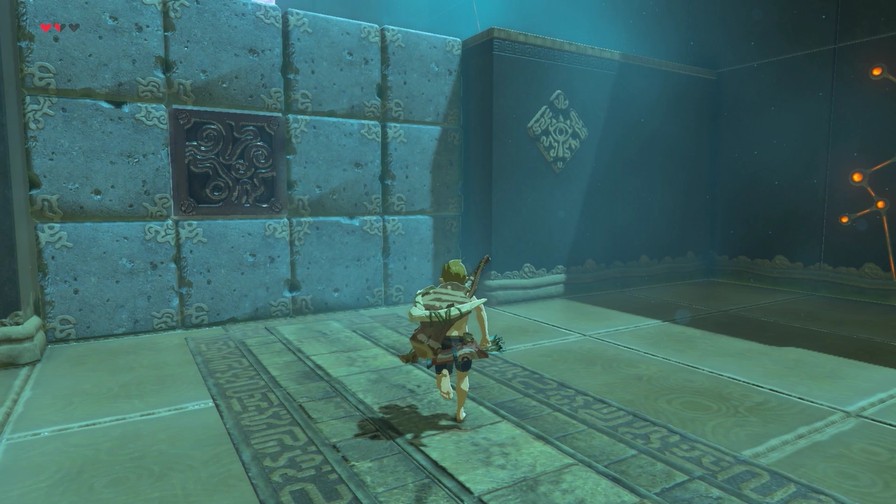
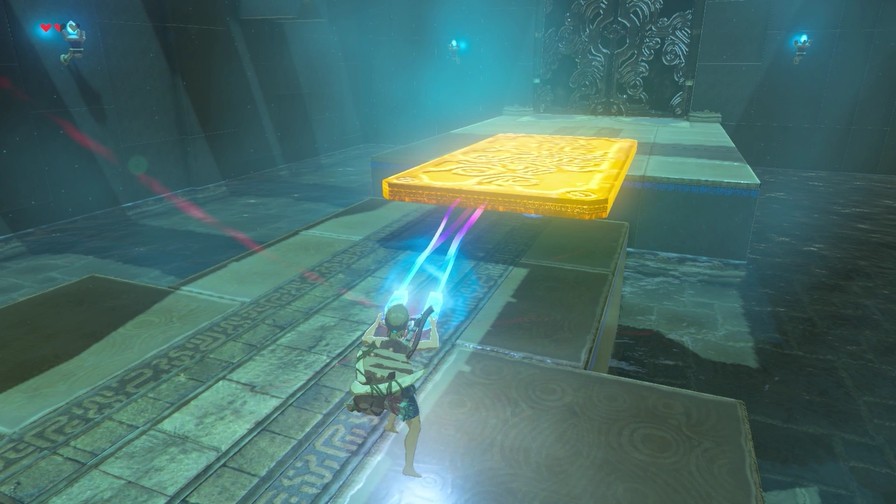
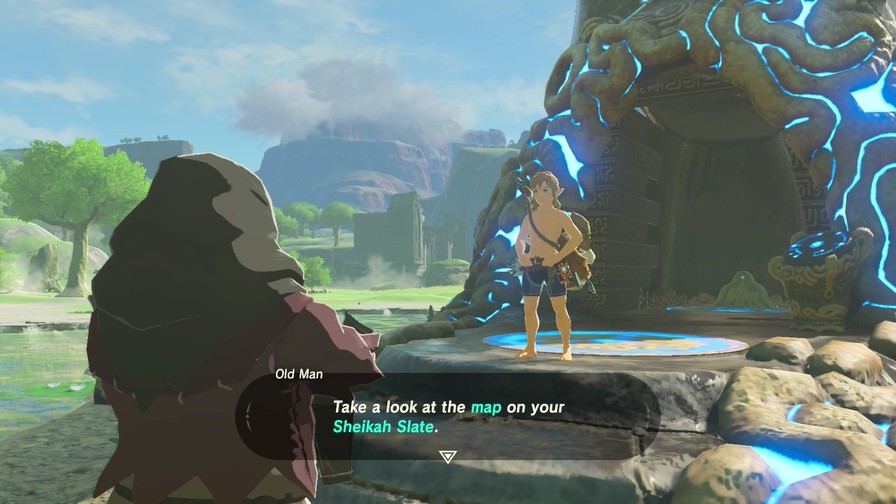
To be able to progress, we’ll have to insert our Sheikah Slate here.

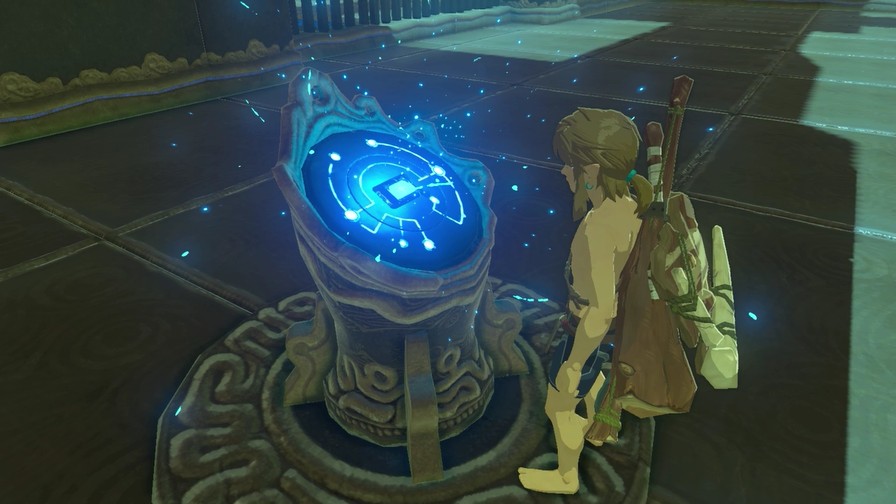
And undergo a rather weird upgrade procedure…
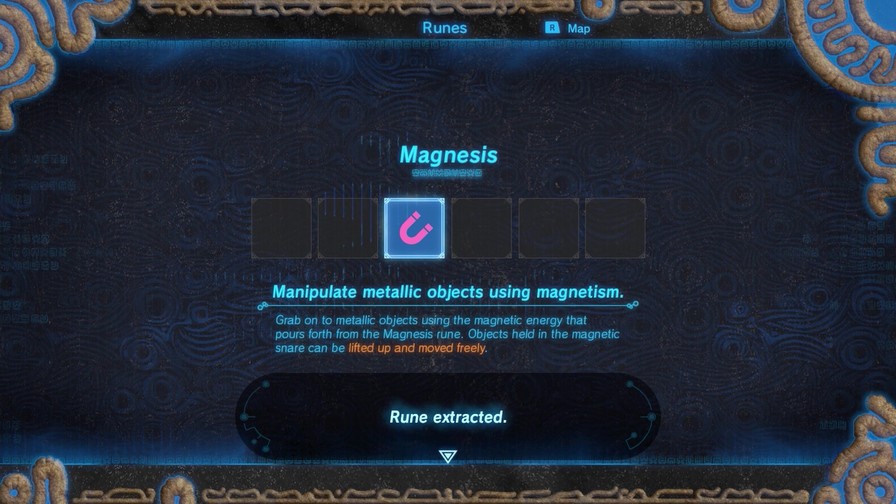
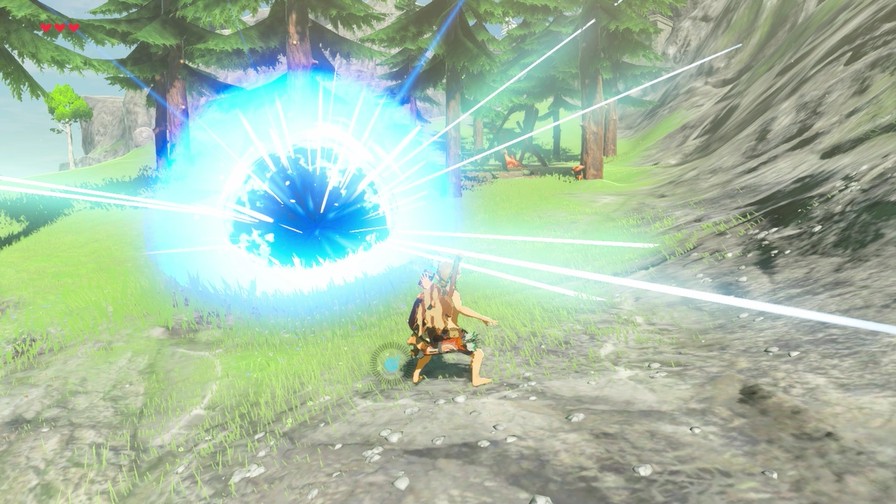
…to get our first rune, Magnesis! And boy, is it a fun and sometimes broken one to play with.
Magnesis is rather simple. Activate the rune with the L button, use the camera to highlight any metal object (the rune helpfully highlights all metal objects that can be interacted with), and…
https://mp4.mega64.net/botw/u03/063.mp4
…lift the metal object up! Manipulate the camera to control where it goes, with Up and Down on the D-Pad moving the object towards or away from you. B to stop manipulating the object.
Removing this slab of metal reveals a secret entrance to bypass the gate.
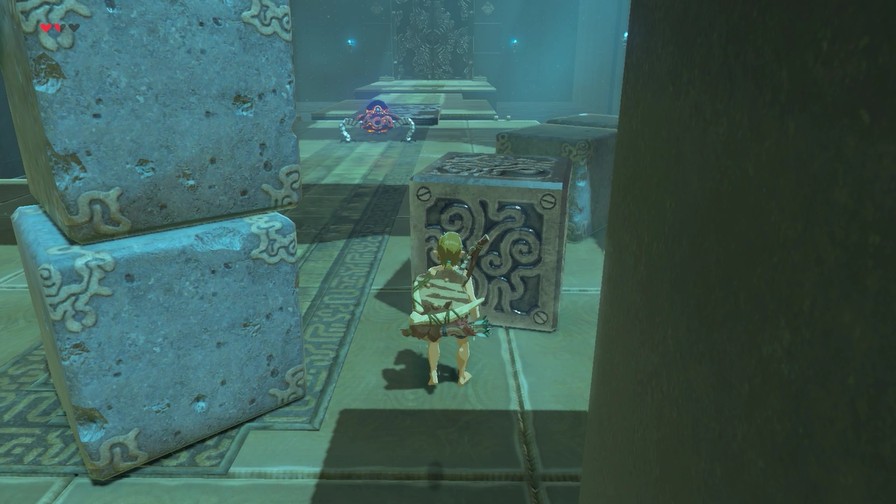
Next up, a stone wall with a rather obvious metal block in it.
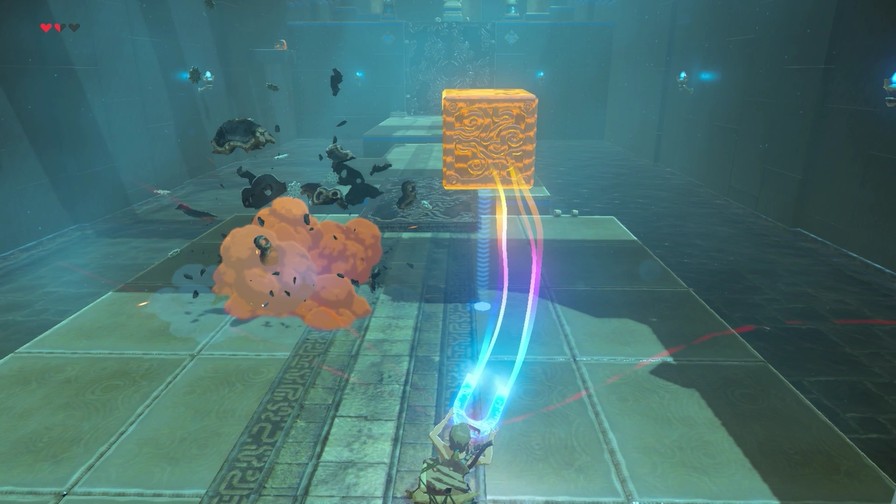
Now, you may think, “Why not just climb up the wall?” While you can climb almost any surface in the overworld, you can’t in shrines to keep things from getting too busted. That’s no problem here, though, thanks to MAGNESIS!
https://mp4.mega64.net/botw/u03/066.mp4
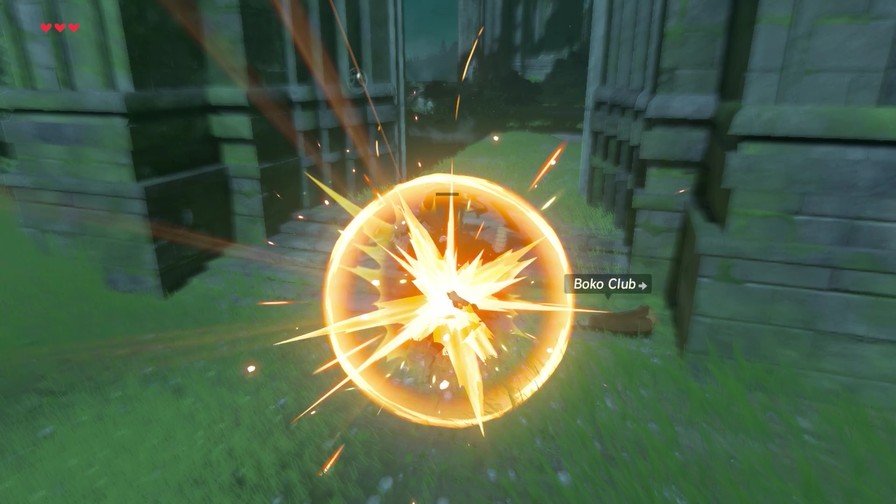
Rather than crawl through a hole in the wall, we proceed to knock it down instead. And also run into a new enemy.
This is a Guardian Scout. These guys are a bit more durable than the Bokoblins we’ve faced before, plus they can fire lasers. They’re pretty slow to attack though so if you’re agile enough they should be little threat.
https://mp4.mega64.net/botw/u03/069.mp4
But this is Breath of the Wild, after all! We have options, including our handy new power! Heavy metal objects can do some damage as well as block projectiles. Not necessarily something you can count on in every battle, and it’s not very damaging later in the game, but it’s a great way to save a bit of wear and tear on your weapons.

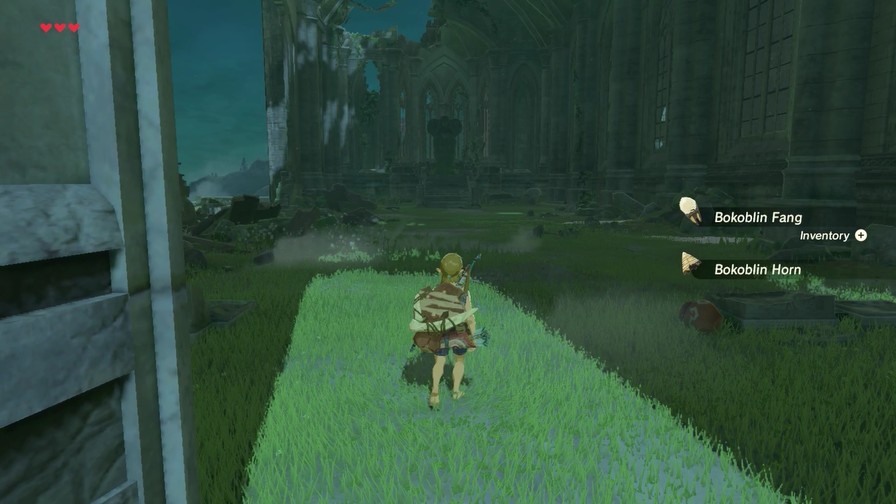
The Scout goes down easily and we get some screw for our troubles. Alright, then.
Next little puzzle is this gap. If only we had a bridge…
Oh, wait!
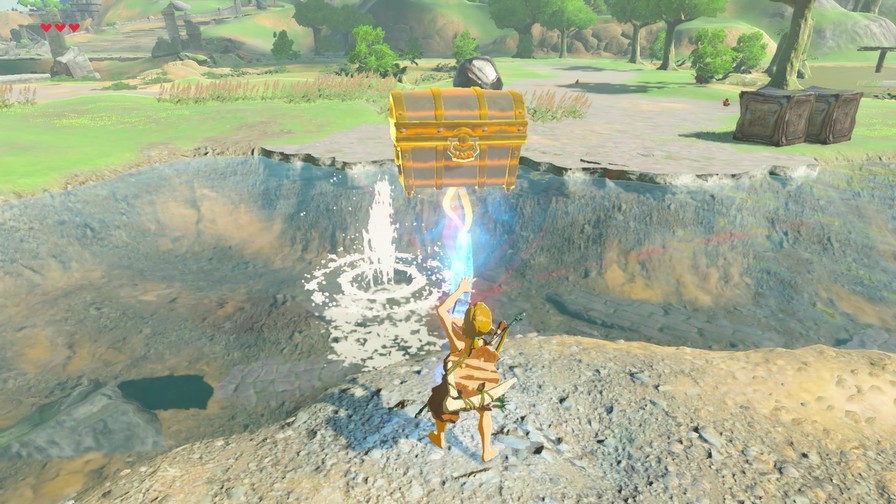
Many chests are considered metal. We grab it and bring it right to us!

Free bow is always nice.

Last “puzzle” is opening these doors.
Mainly a way to make sure you understand how to pull objects towards you.
Nothing too hard, just making sure you understand the basics of your new power. It’s enough to get you started, at any rate.
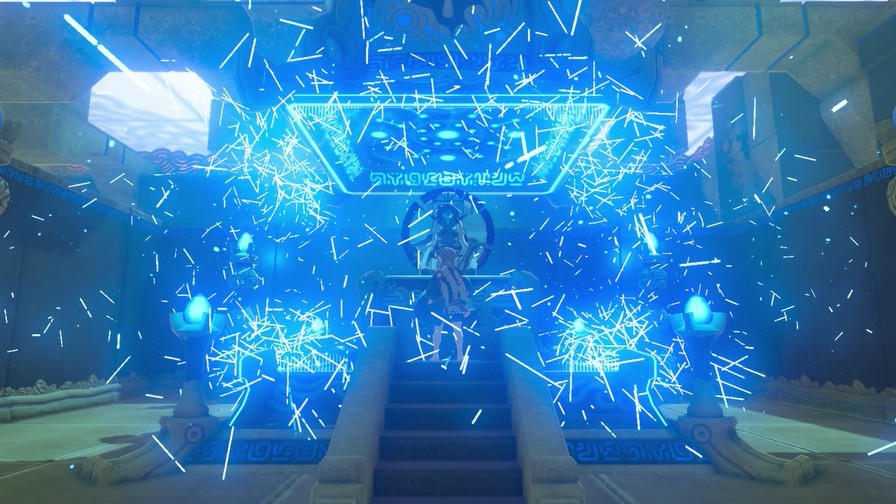
The end of the shrine has…uh…
https://mp4.mega64.net/botw/u03/080.mp4
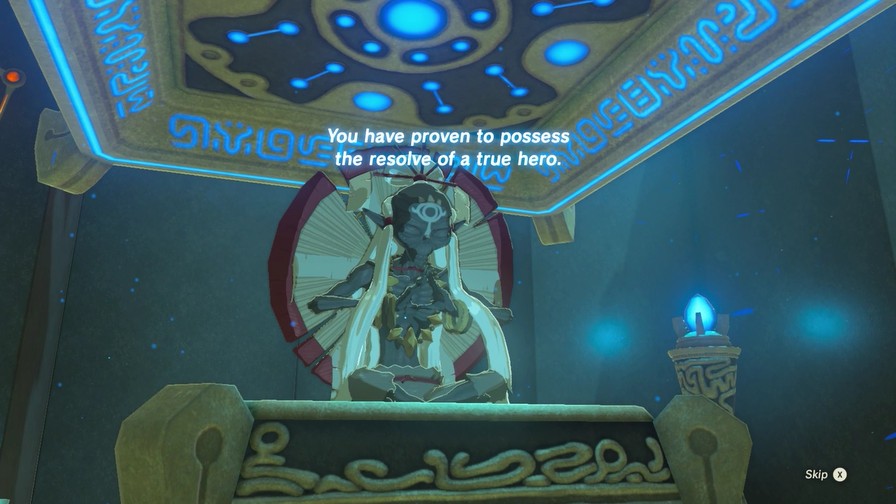
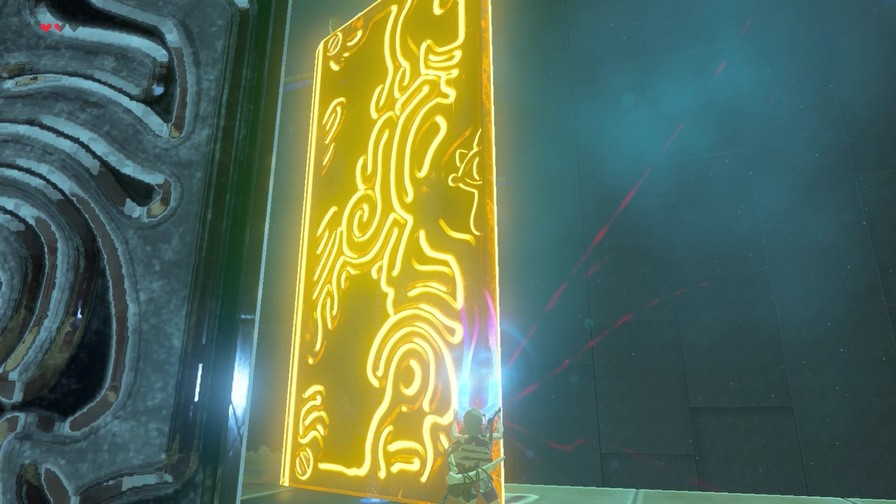
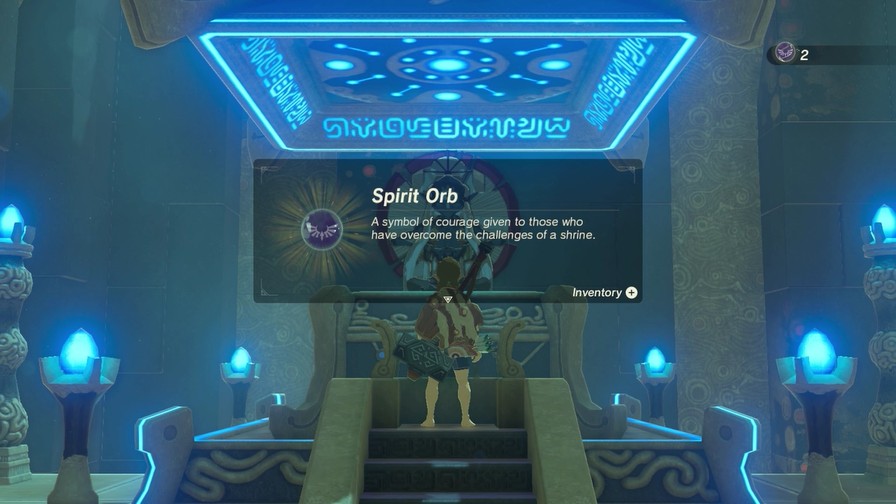
 I am a humble monk, blessed with the sight of Goddess Hylia and dedicated to helping those who seek to defeat Ganon. With your arrival, my duty is now fulfilled. In the name of Goddess Hylia, allow me to bestow this gift upon you.

https://mp4.mega64.net/botw/u03/087.mp4

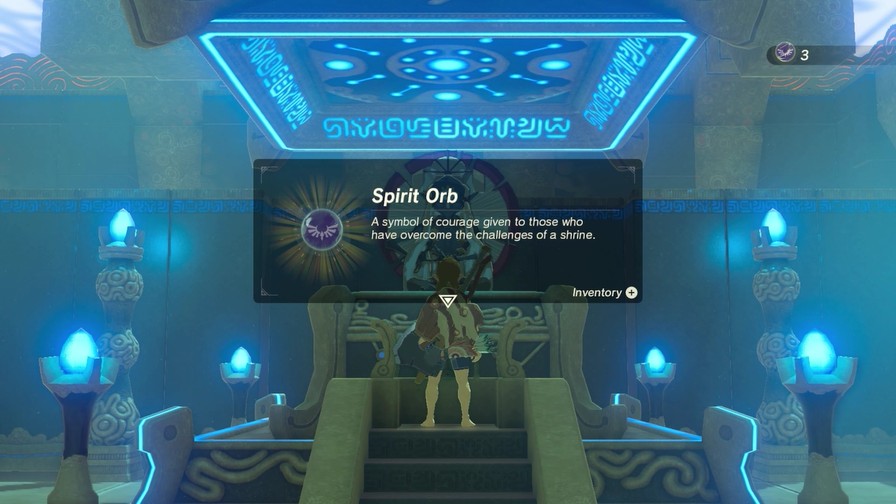
This is the reward you get for completing a shrine. As for what they do…you’ll find out soon! But not now.
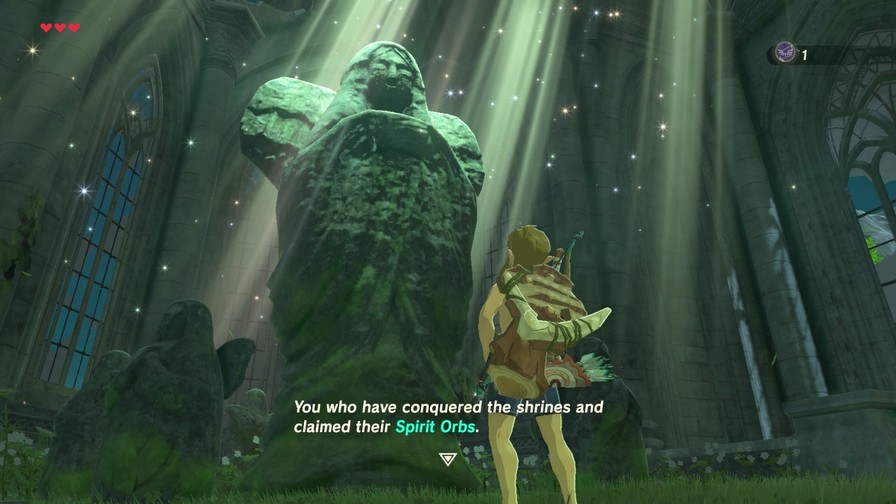
And the monk disappears into the aether. And that’s our first shrine completed!
Only 119 to go…
Well, that was quick.
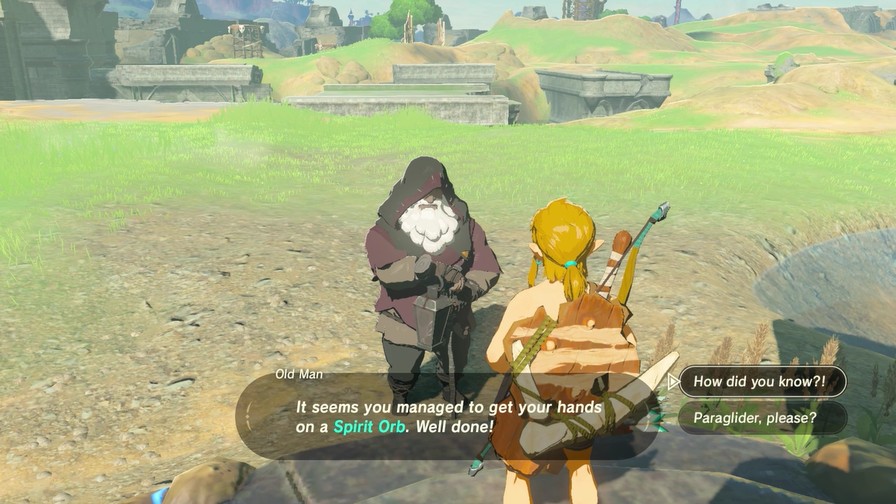
I’m quite curious as to how he knew a spirit orb was inside.
As one gets older, it can become more difficult to see what is right before one’s own eyes… However, that which was once hidden from view can often be crystal clear. But perhaps that is not true for everyone! Oho ho! The appearance of those towers and the awakening of this shrine…
Huh?
It has been quite some time since I have seen that Sheikah Slate…

The great power of their wisdom saved this kingdom time and time again.

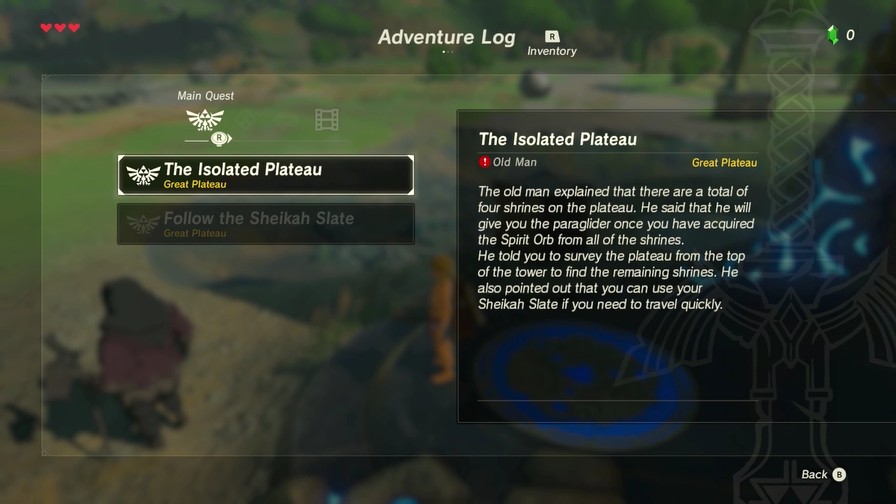
It is interesting, however, to think… how something like that survived all this time, hidden away in a shrine. These shrines are tucked away in numerous places all across this land. On this plateau alone, I believe there are still three more.
Ahahahahahaha, we’re never getting off this plateau are we. So apparently we need four total.
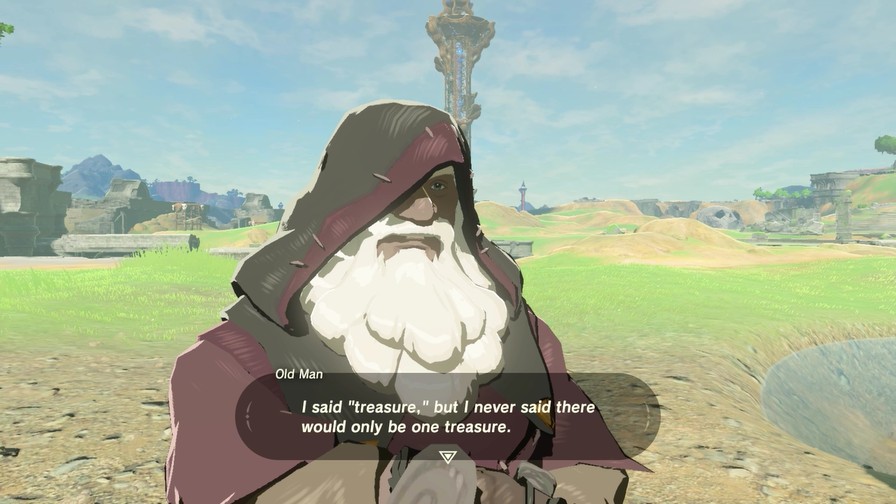
Whether it’s one treasure or four, what’s the difference for a young go-getter like yourself? Since I’m feeling generous, I will also teach you a trick for finding shrines.
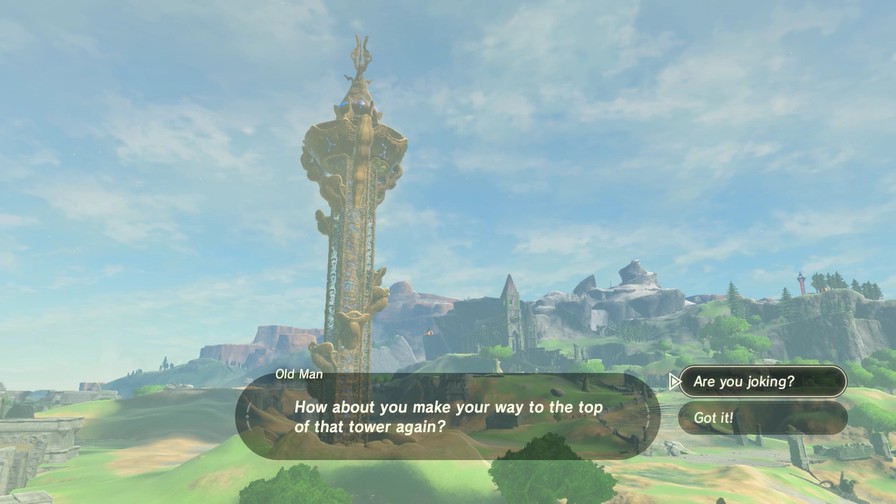
Climb…up the tower? Really?
Oho ho! I am afraid not. But do not worry! I have another little trick to share with you for your effort.
You can travel instantly to any of those places with the Sheikah Slate.
…You’re terrible at this, old man. Anyway, we can simply fast-travel to the top of the tower, which is quite handy.
Next time, we’ll track the other three shrines and then proceed to ignore them in favor of futzing around some more.
1 Like
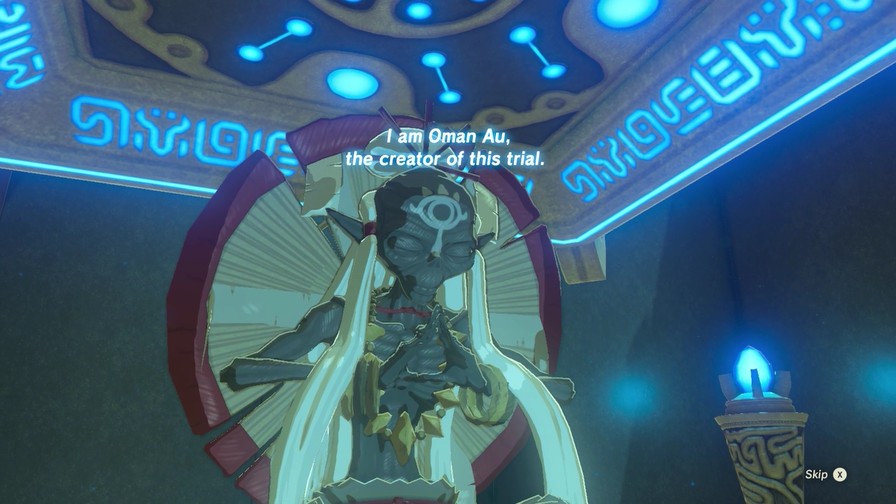
Are you gonna talk about the script used in the Shrines of Trials? 'Cause if there’s one thing I love in Video Games, it’s cyphers with tiny details/easter eggs/jokes.
Above Oman Au it says ‘GOALPOINT’!
Wasn’t even aware of that! Looks like I’ll have to now, haha.

Click here to open the update!
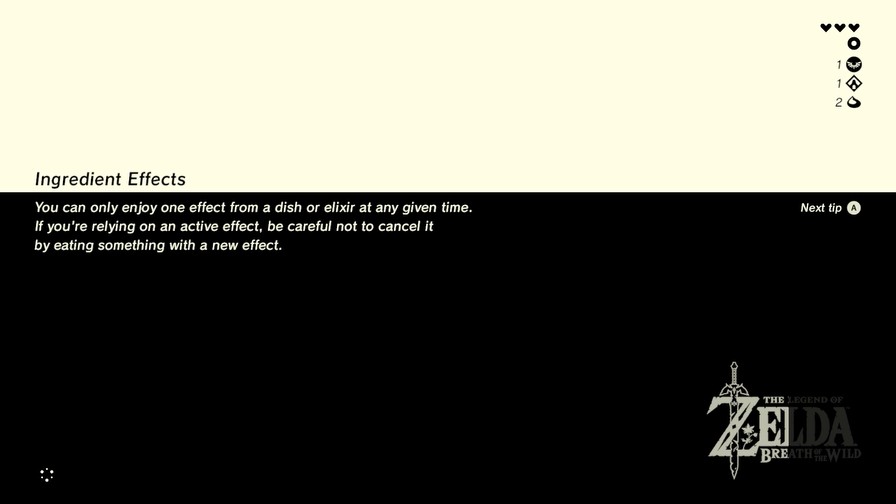
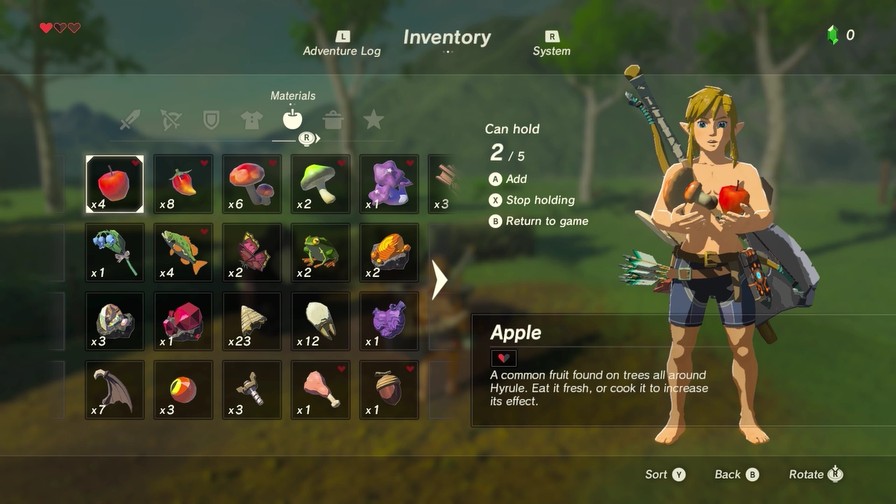
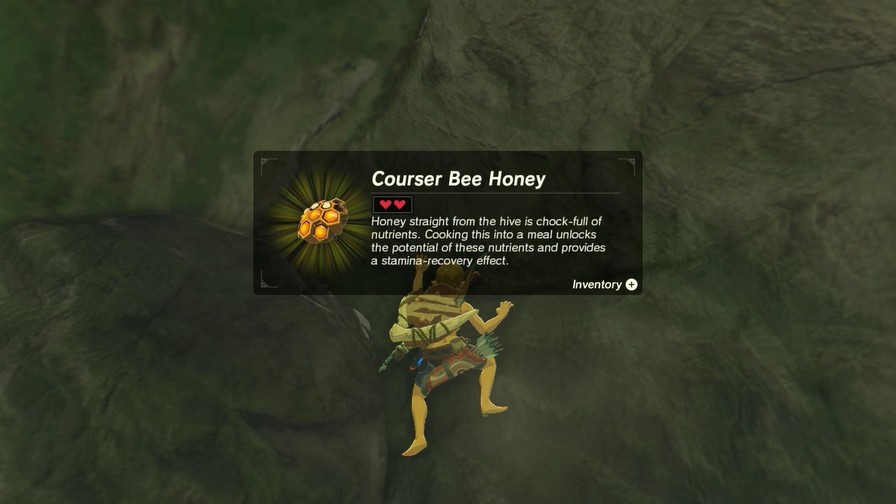
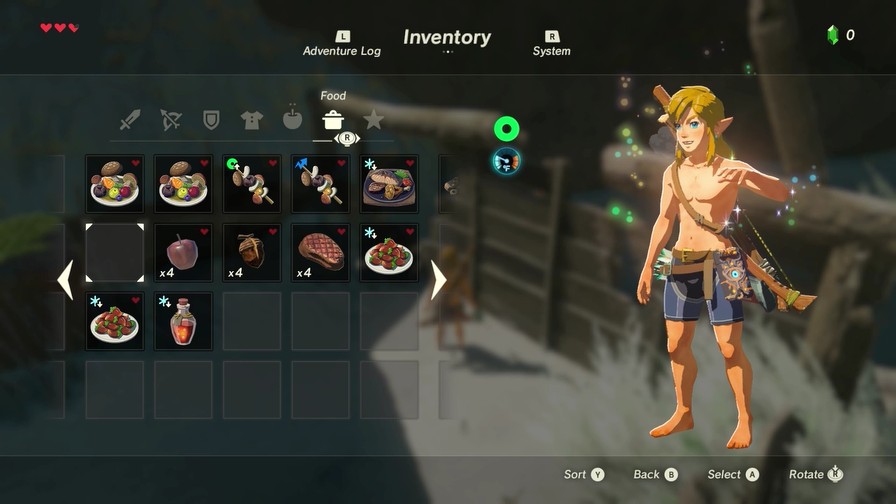
I’ll get into cooking proper later this update, but you can only have one active effect per food item. Thus it’s better to cook stuff to amplify the one effect you have, or to add more hearts.
Last time, we endured a lot of words and got a sweet new power.
So let’s use it!
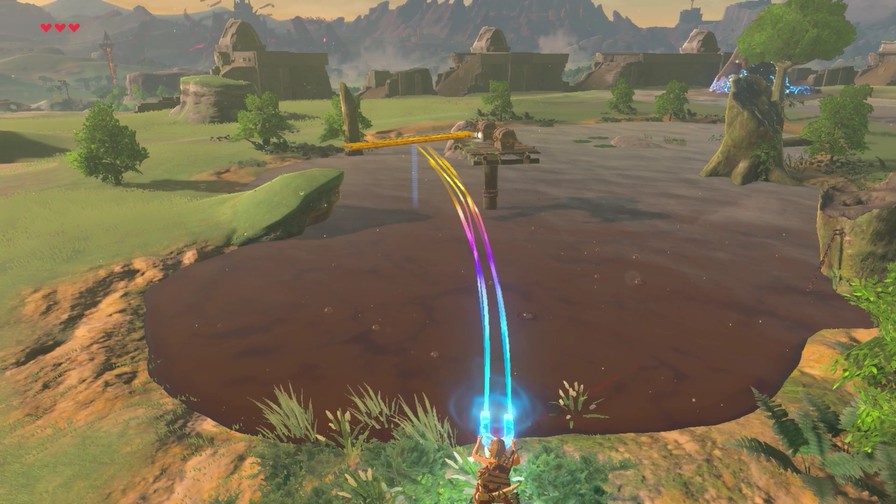
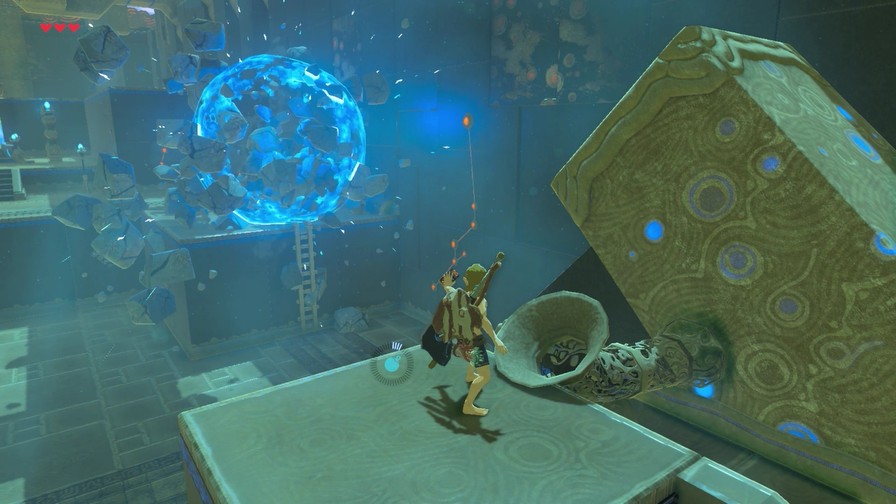
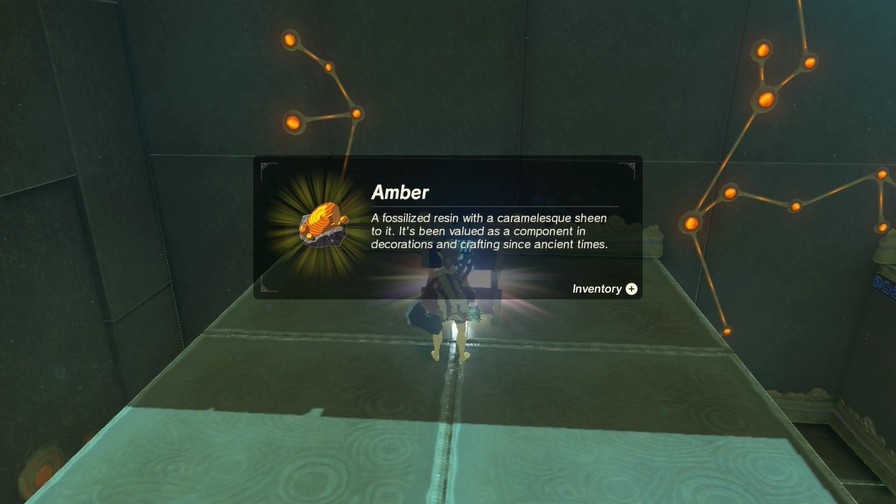
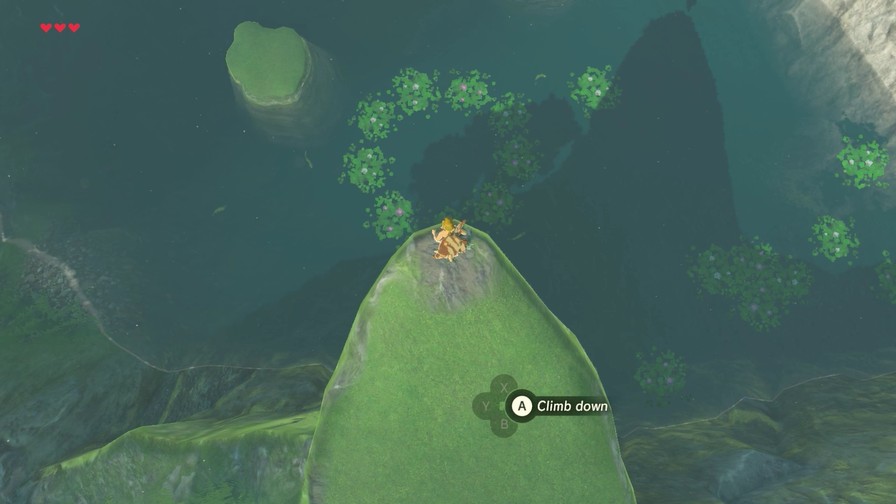
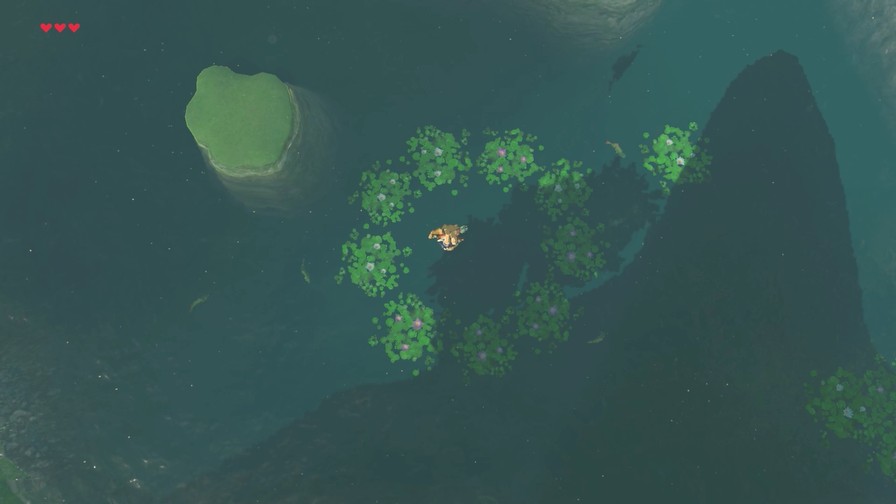
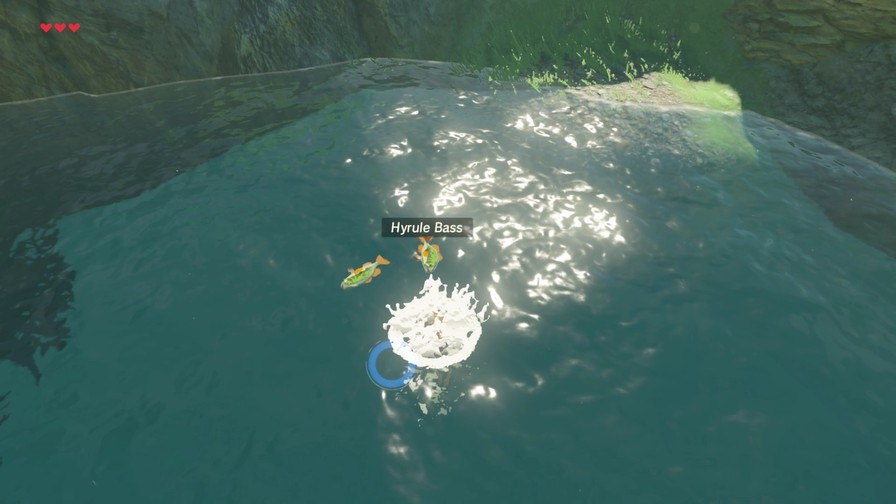
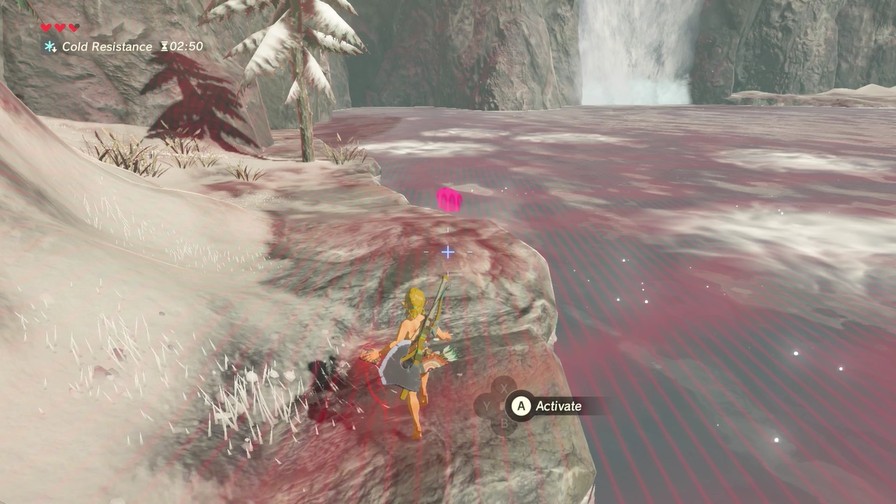
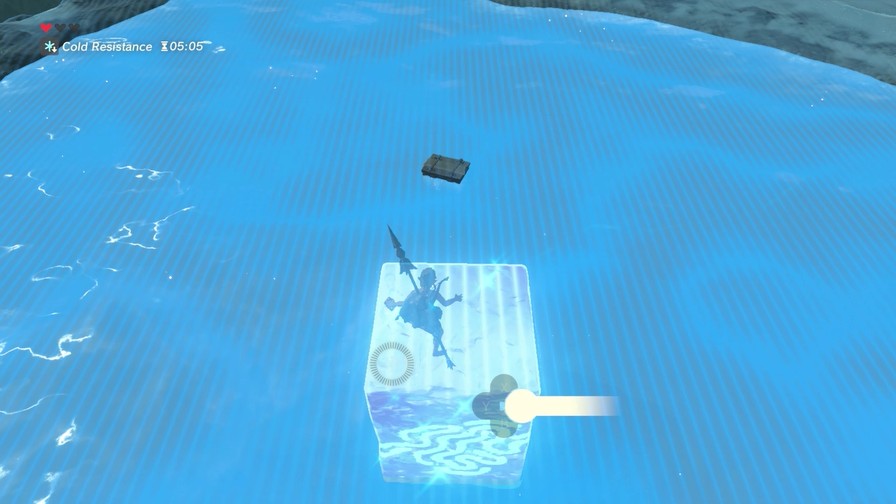
Whenever you’re near water, it’s good to let loose Magnesis to see if there’s any chests hidden below water, as there often are. There’s two chests here with an Amber and Opal.
This gave me an idea.
https://mp4.mega64.net/botw/u04/007.mp4
Hmmm. Well, if he’s impervious, then surely Link is too, right?
https://mp4.mega64.net/botw/u04/008.mp4
Nope!
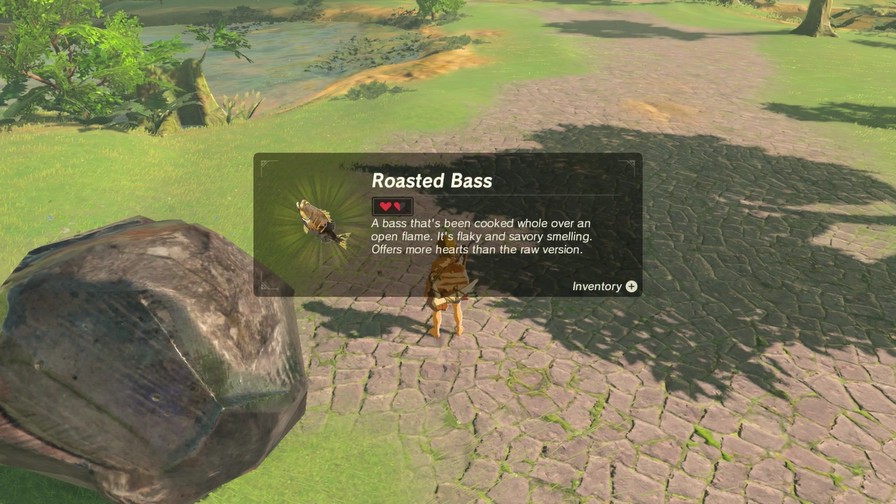
Busting open those metal crates reveals roasted bass within. Alright, then.
This is a bog. If you try to swim in it, you’re going to drown.
Magnesis is good for navigating the pitfalls here.

…Assuming you don’t throw your object too far and strand yourself.
https://mp4.mega64.net/botw/u04/015.mp4
If you die from drowning, the Game Over text is blue. Nice touch.
It’s very rare you get into a position where you’re screwed, though. You have to actively try to get in that position, like I did.
Anyway, we can make a bridge to these two treasure chests thanks to Magnesis.

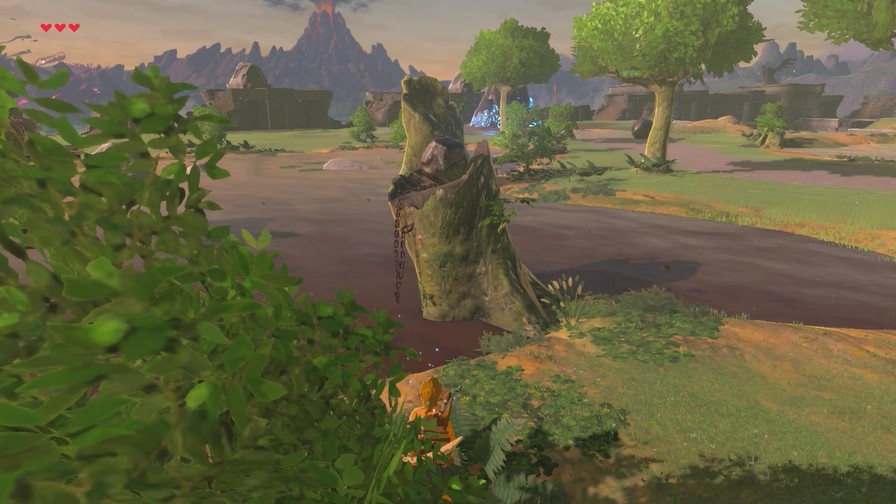
While we’re here, we also find a rock attached to a stump. Place it in the stump, and…

Another seed! It’ll be awhile before these become relevant.
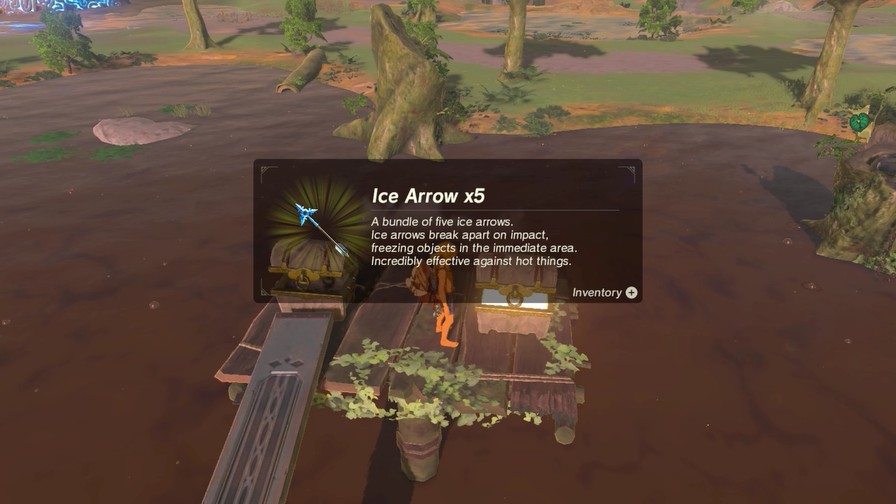
Anyway, the chests. Another set of fire arrows, and then ice arrows. They don’t have as much utility as fire arrows, but ice arrows freeze enemies and thus are much more useful in combat.
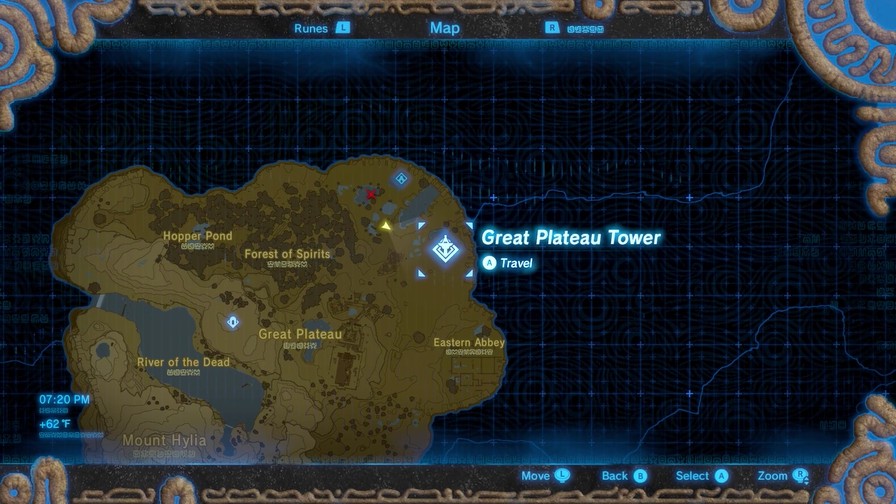
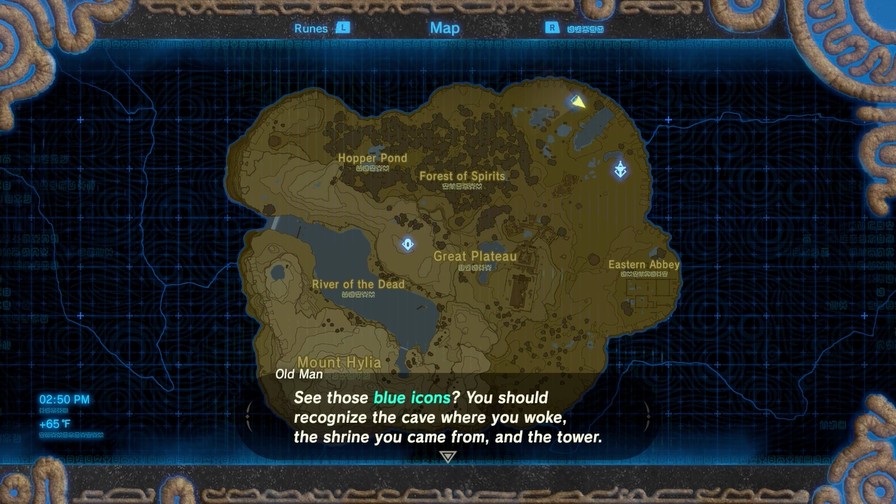
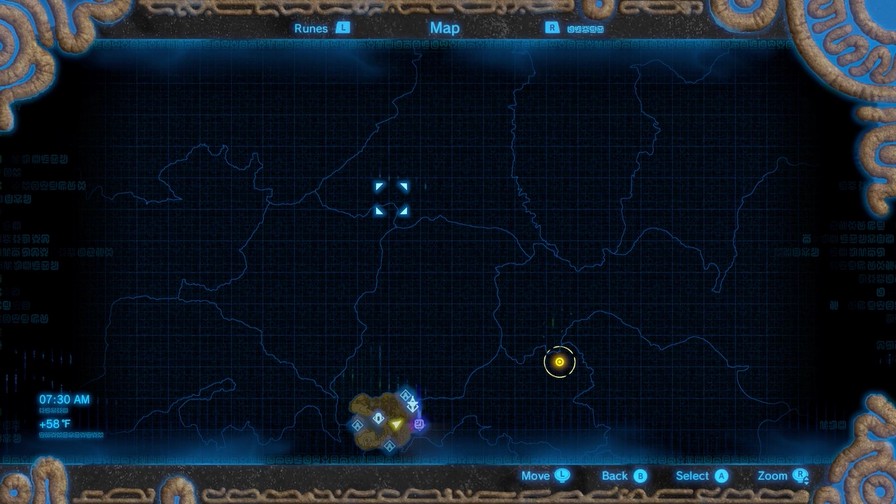
Anyway, we can use the Sheikah Slate to fast travel to towers, shrines, and a few other locations we’ve already visited. Since we need to climb the tower to scout for shrines, let’s travel there instead.
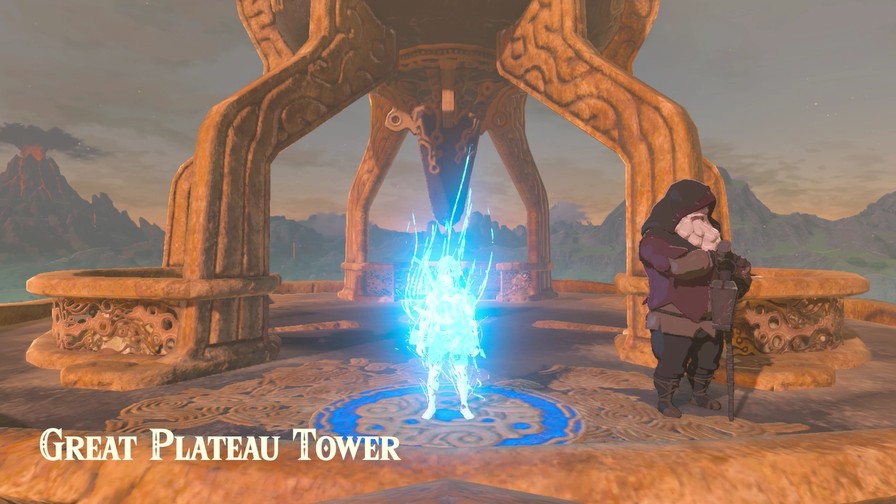
And one loading screen later, we’re here!
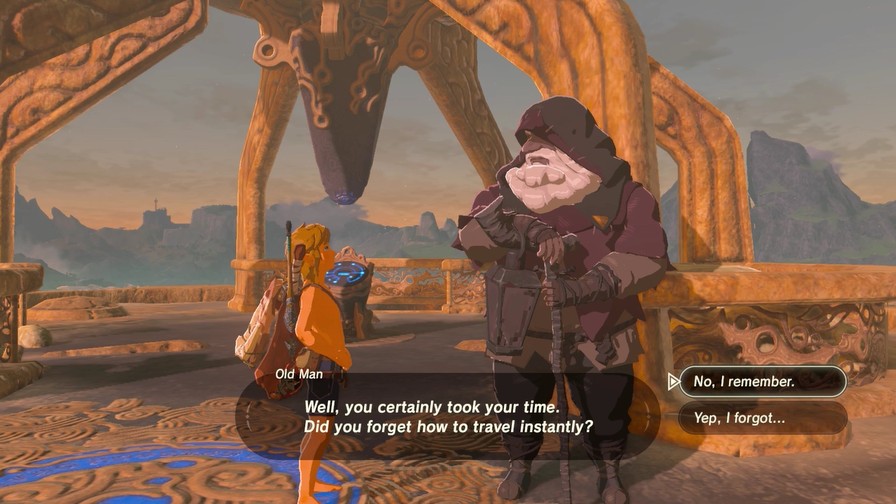
I definitely remember. I just got a little, uh, distracted.
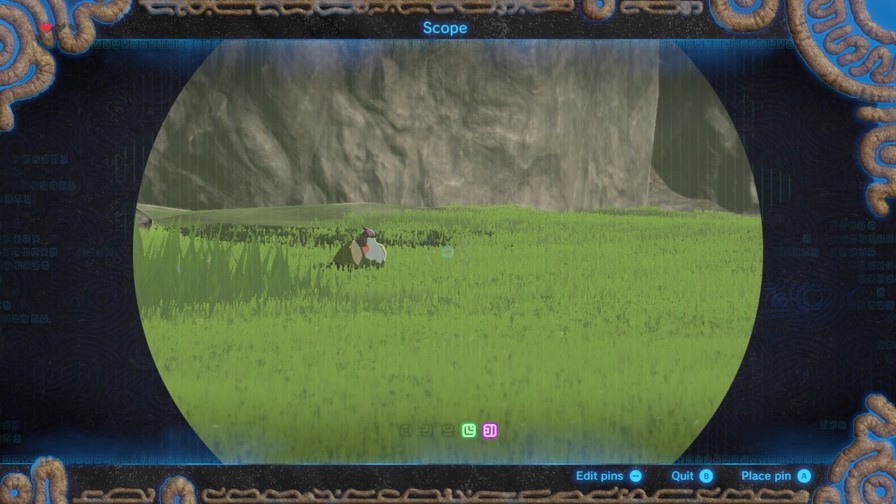
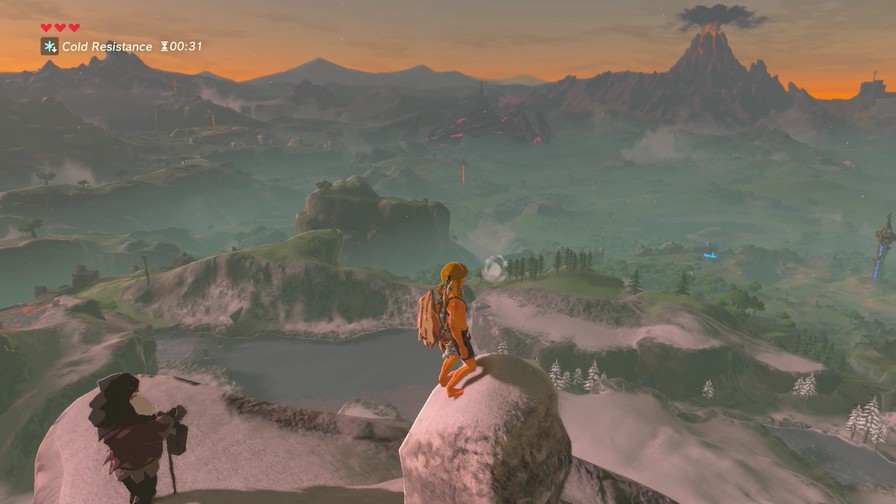
Now then… I wanted you to join me up here so you could use this as a vantage point to search for shrines.
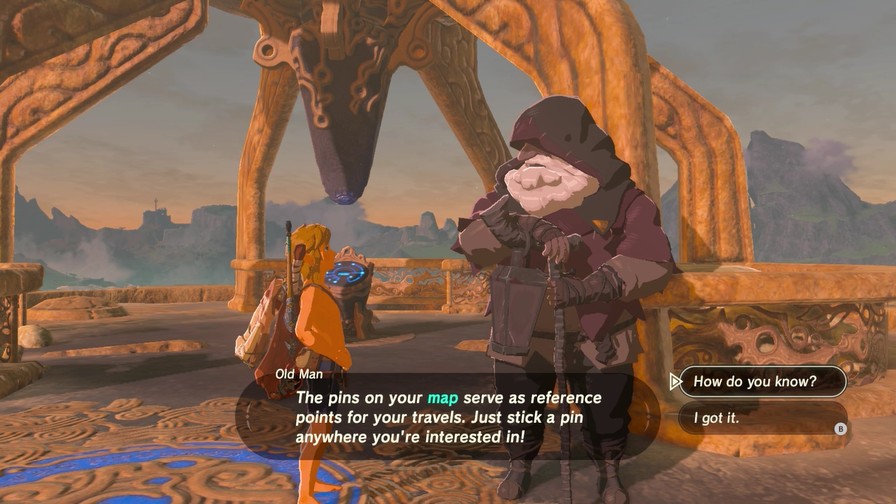
Look through it, and you can stick a pin anywhere you’d like to mark on the map.
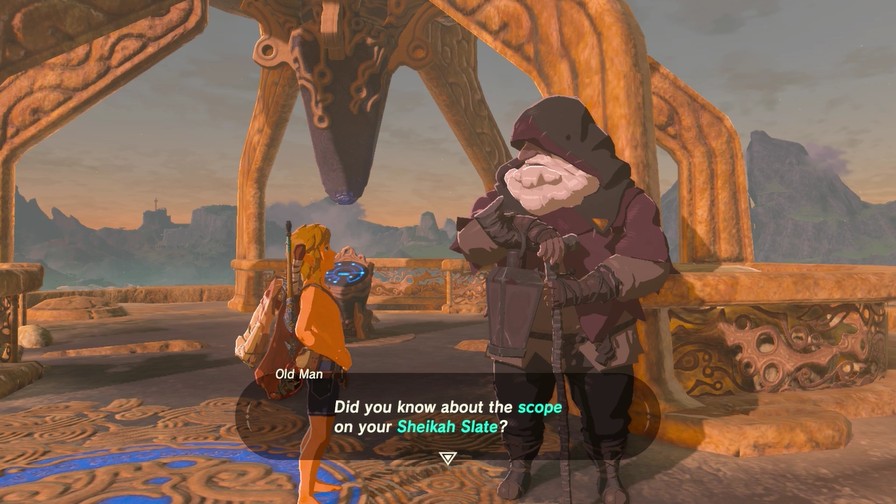
Seriously, though, you know an awful lot about the Sheikah Slate that was apparently sealed with us for the past one hundred years, and all these towers and shrines that were hidden until now. Are you going to tell us how you know all this?
Oho ho! Just a few tricks I’ve picked up after many, many years in the wild… You may take my advice or leave it. Go ahead and take a look if you feel inclined to do so.
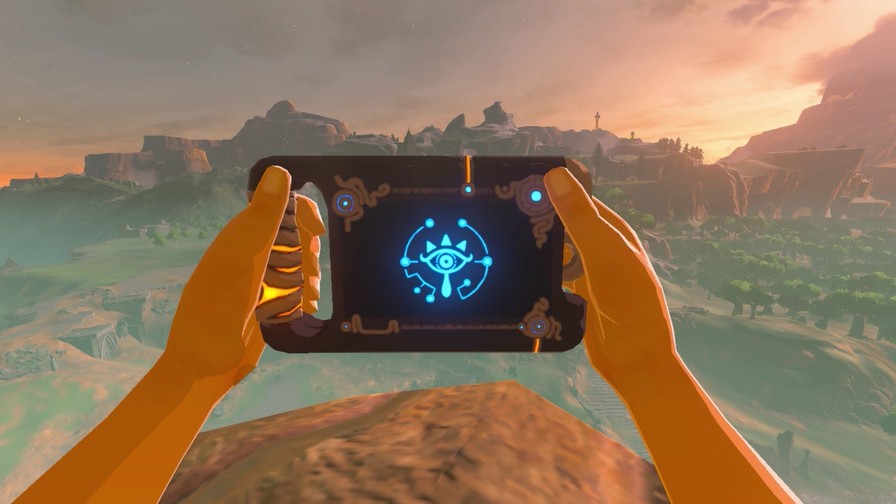
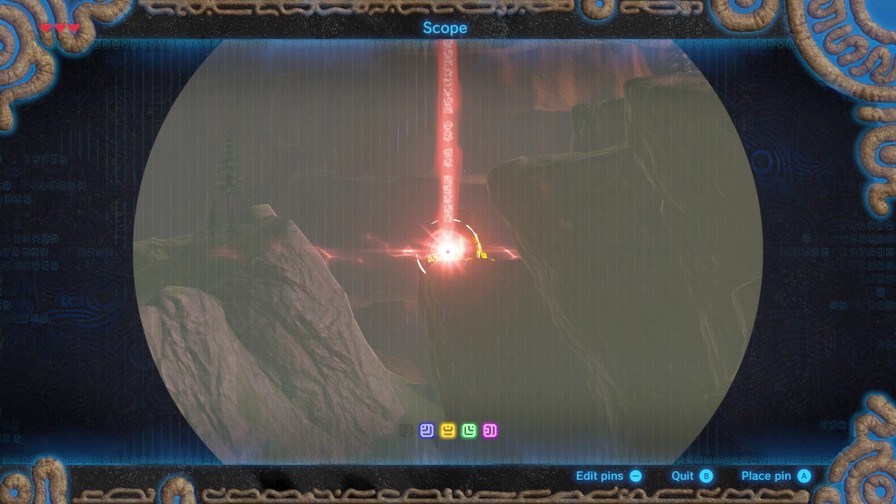
Pressing the right control stick lets you zoom in on your surroundings.
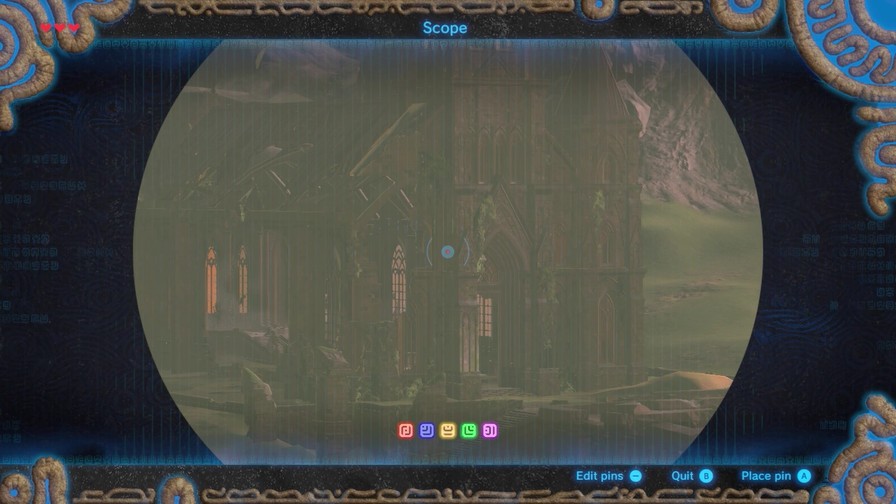
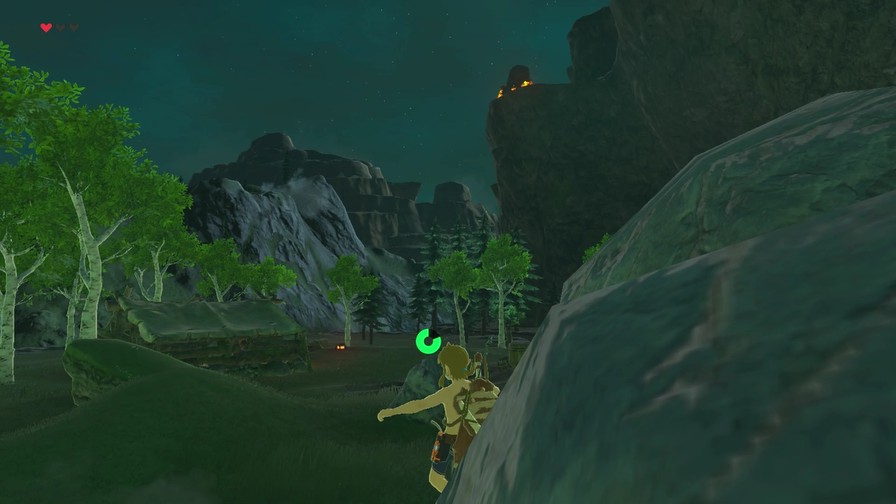
At the edge of this mountain is a shrine.
We can assign up to five pins to highlight areas to investigate. They will show up on your map (and mini-map if you have the HUD enabled, which I declined to do for atmosphere) and when you use the zoom function on your Sheikah Slate.
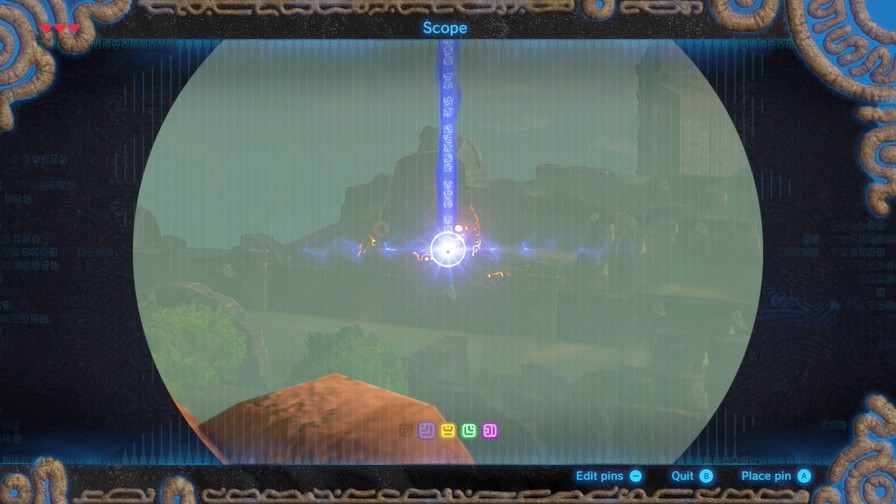
Further to our left is another shrine, this one on the base of the plateau, though surrounded by walls.

Finally, beyond the snowy mountains, the third shrine.
We won’t be doing any of these today. Instead, there’s a bit more worth exploring.
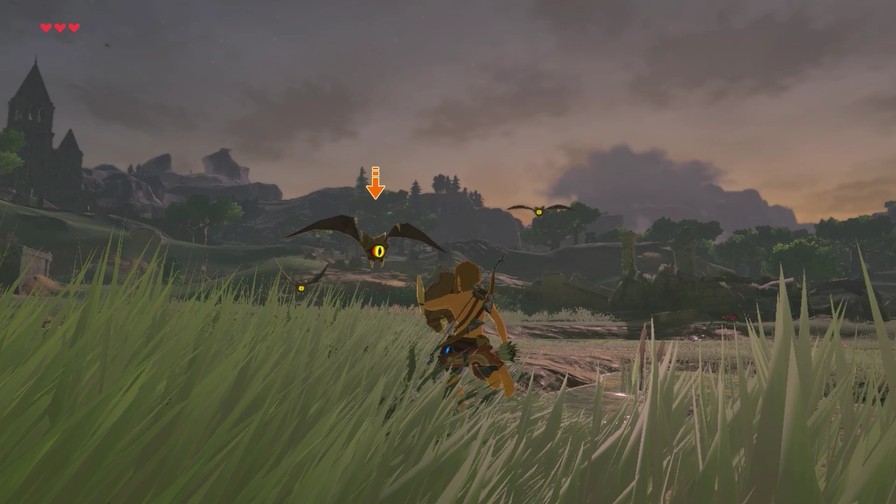
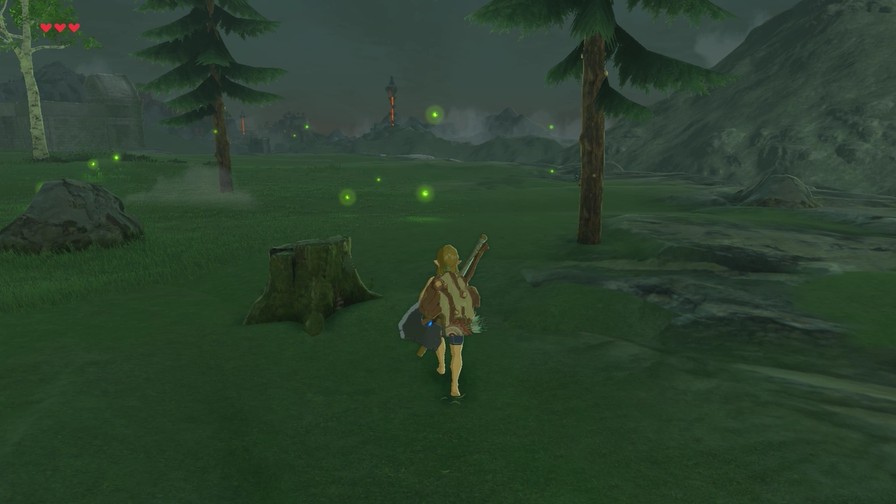
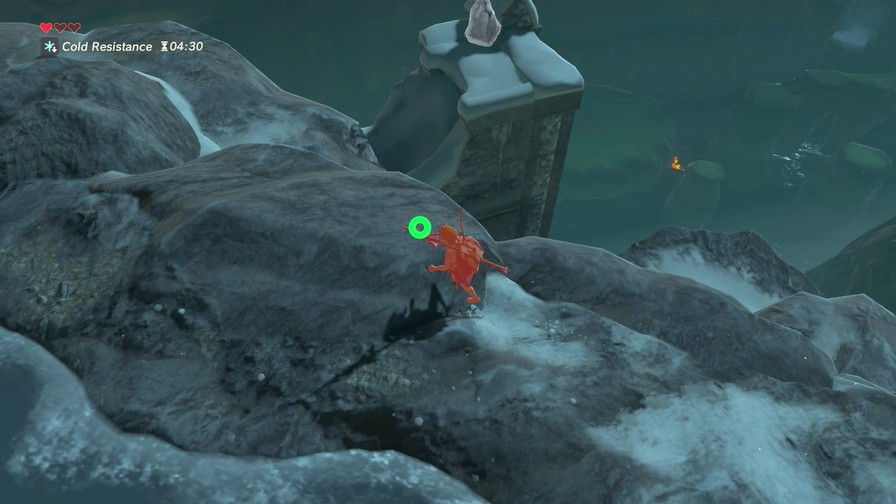
Keese are a Zelda series staple, even though they’re nothing more than monstrous bats. They only show up at night and, being weak both offensively and defensively, are more of a nuisance than anything. They usually show up in small groups and only during night.
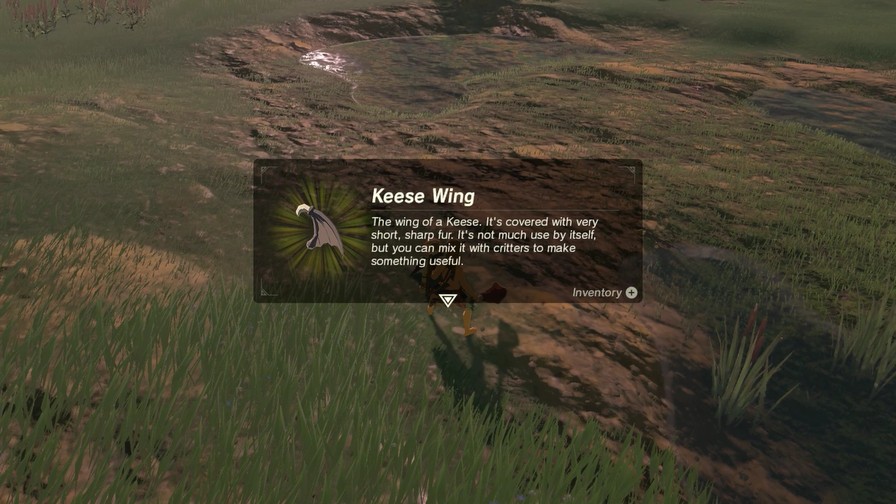
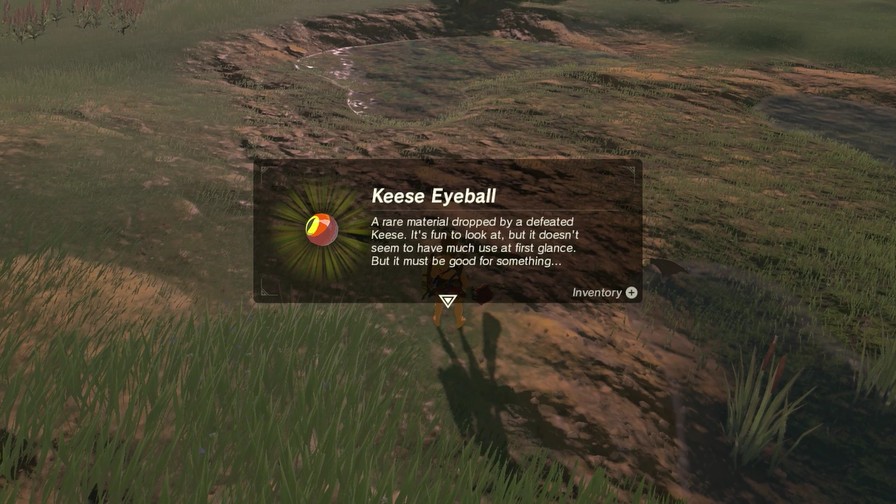
They have their own drops as well.
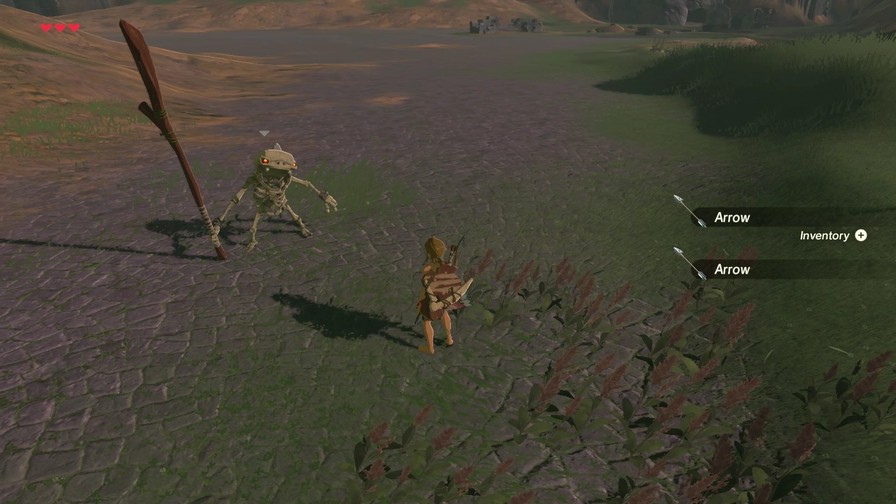
Another night-exclusive enemy is the Stalkoblin, the skeletal version of the Bokoblin. They usually carry weapons similar to their living kin.
https://mp4.mega64.net/botw/u04/043.mp4
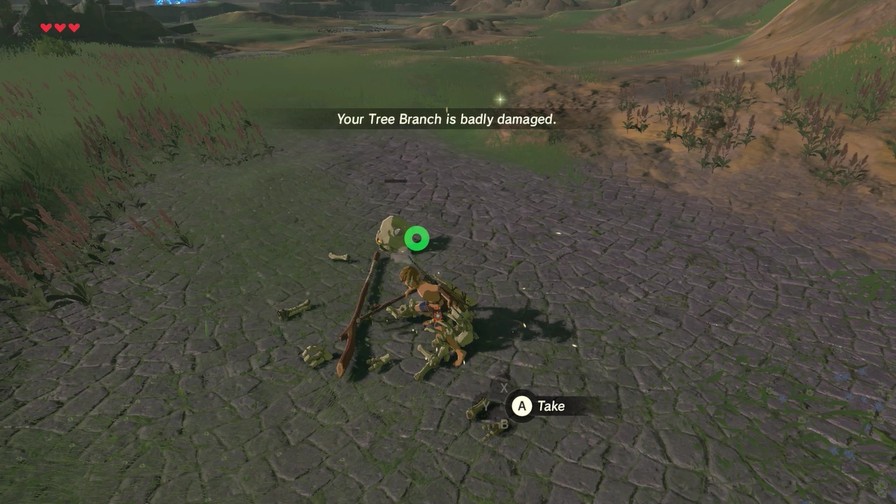
However, these skeletal enemies are also very fragile. One hit knocks their skull off, and hitting the skull kills the enemy. If the skull is left alone, eventually the Stalkoblin’s skull will return to its skeleton.
My personal favorite way of dealing with these guys is picking up their skulls, finding the nearest cliff, and booting them off into the beyond. I’ll be sure to show it off when I inevitably do so, of course.

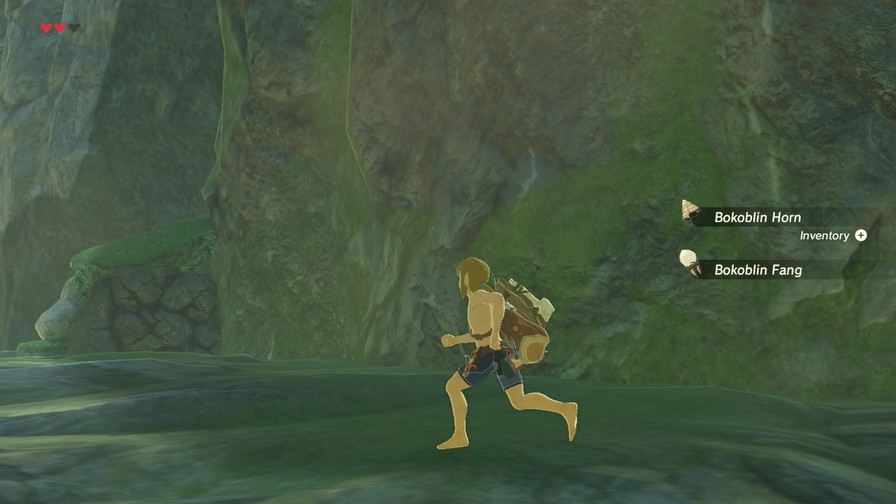
They have similar drops to Bokoblins (though they don’t drop guts for obvious reasons), and sometimes they’ll even drop their arms, which serve as weapons.

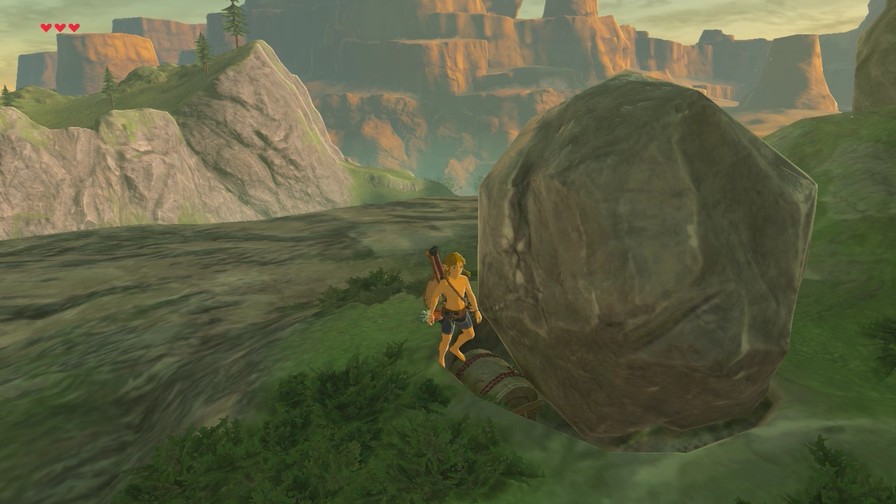
Hmm. A boulder, Bokoblins, and a bunch of exploding barrels nearby…
Hmmmmmmm…
https://mp4.mega64.net/botw/u04/048.mp4
Sometimes the obvious move is still the most entertaining.
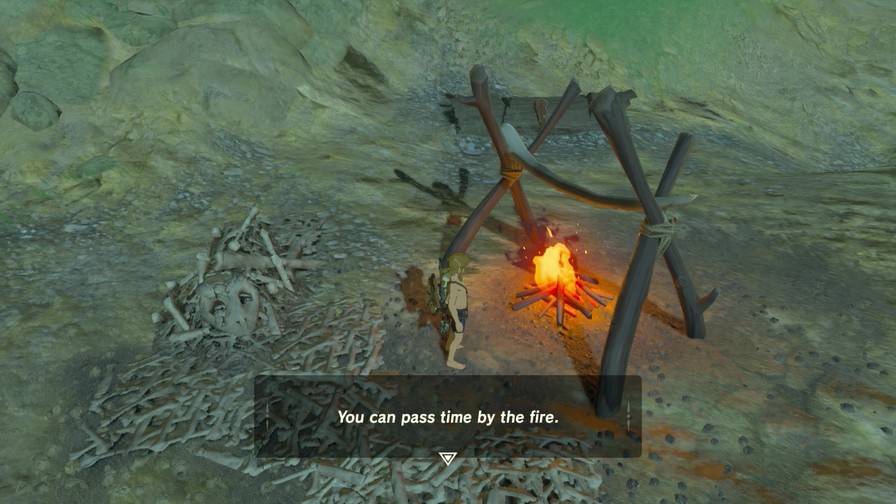
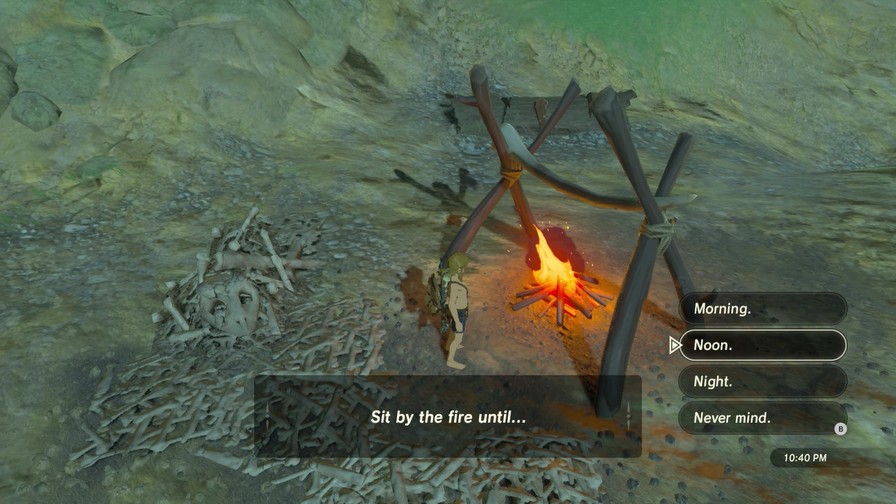
Some stuff is locked behind time of day, so you can wait by fires to pass the time. There’s a few reasons to use this, one key reason being that exploring can be more difficult at night due to all the Keese and skeletal enemies randomly popping up. Then again, enemies may also be asleep during the night.

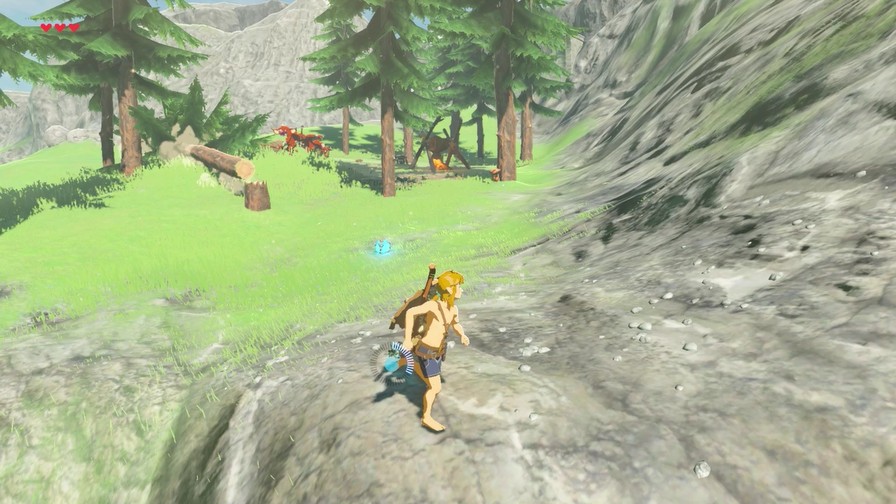
Anyway, I wanted to show off a couple of things for this update. We would’ve inevitably gone here if we went the route the game lays out for us, i.e. walking to the old man first thing, who then points this building out to us.
It would’ve been a better introduction to combat, since you only face lone Bokoblins here.
https://mp4.mega64.net/botw/u04/054.mp4
At this point I can simply slap 'em silly.
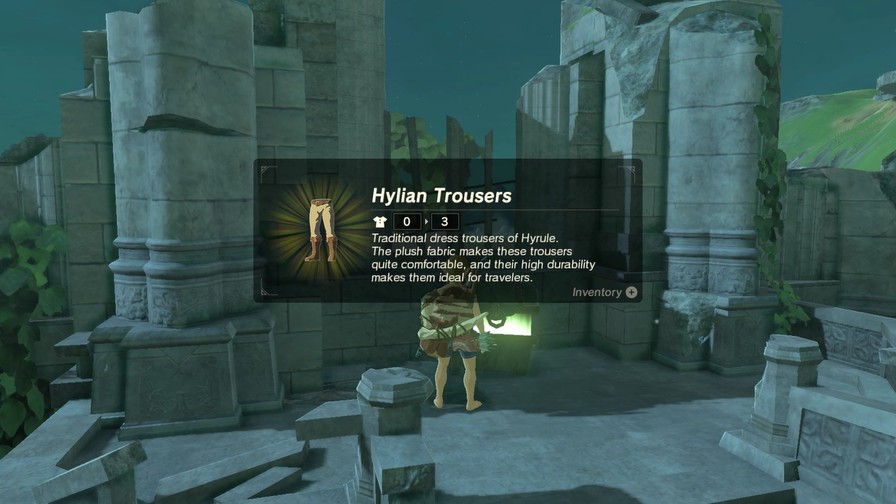
This chest hides better pants. Useful!
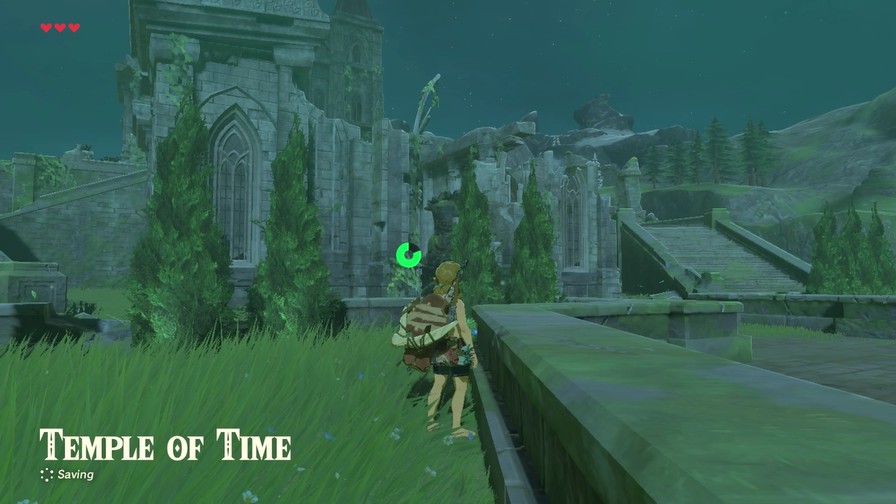
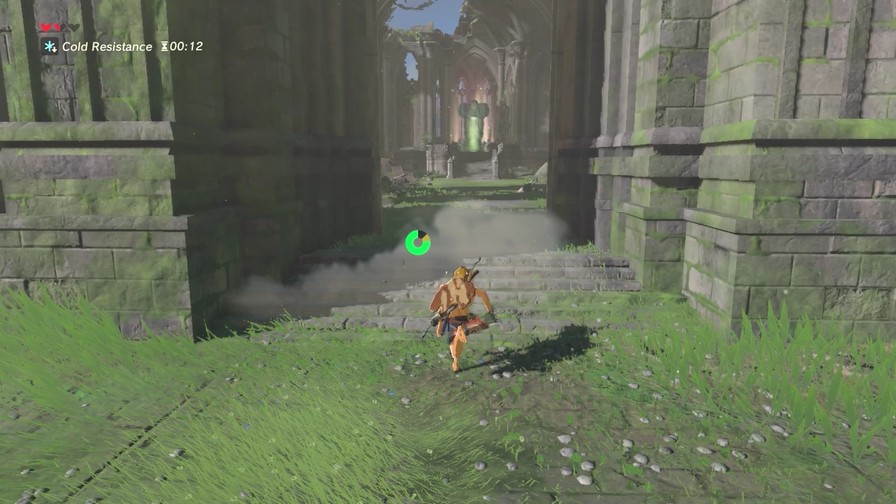
Anyway, this area is…the Temple of Time, huh?
Series fans will surely recognize this place. It’s one of the most iconic locales of Ocarina of Time, and also pops up in Twilight Princess and Skyward Sword.

Strewn across the area are these massive stone structures.
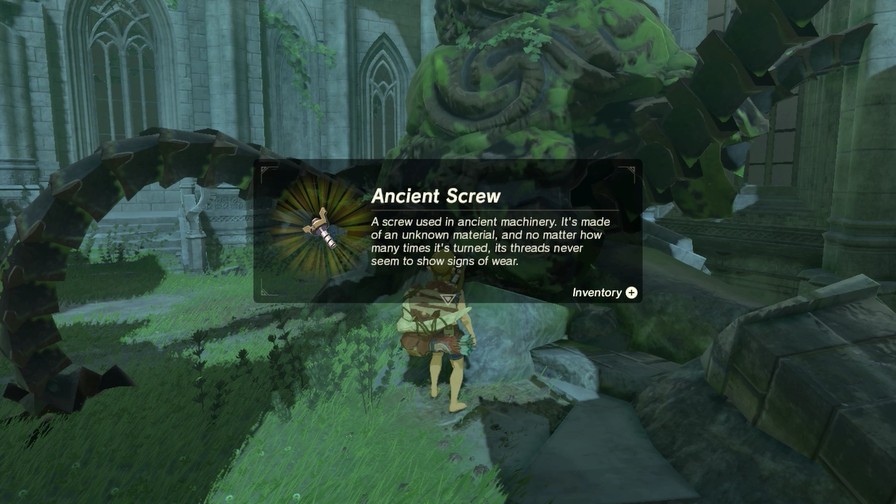
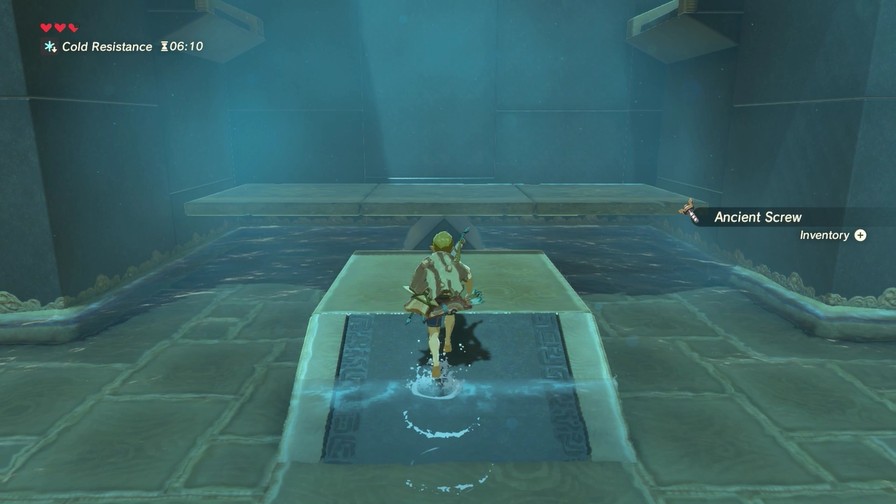
Searching them lets you find ancient pieces like these screws.
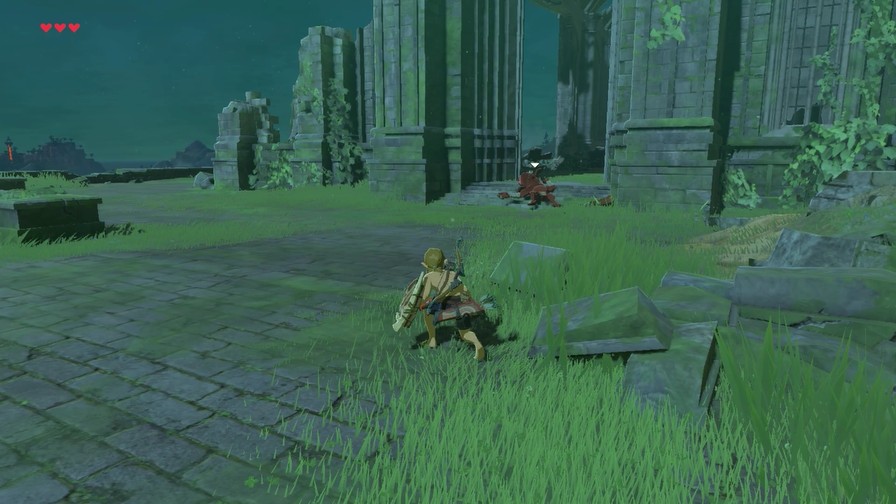
The temple itself is guarded by a lone sleeping Bokoblin.
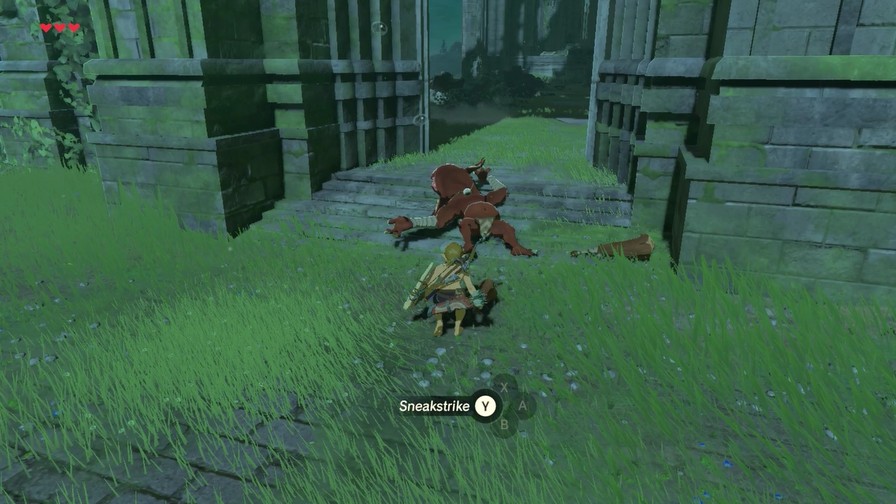
Sneak up on a sleeping enemy to Sneakstrike for increased damage.
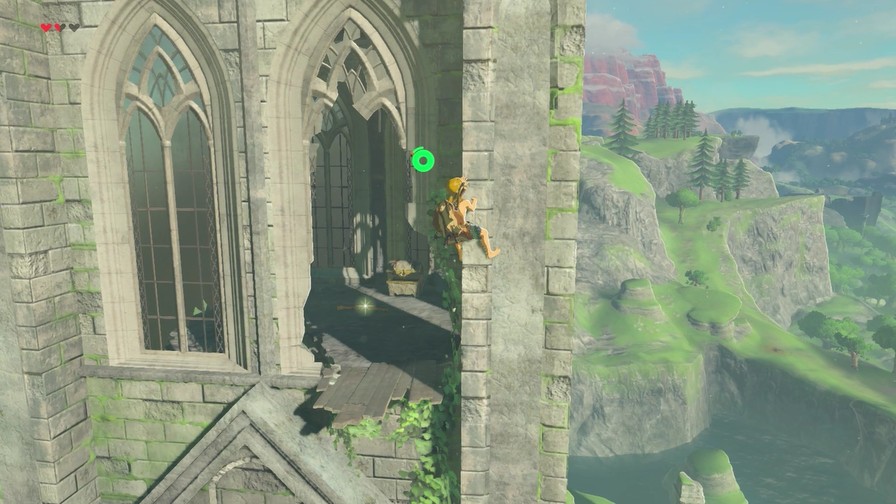
The Temple of Time has seen better days. The whole left wall has collapsed in what must have been one nasty battle.
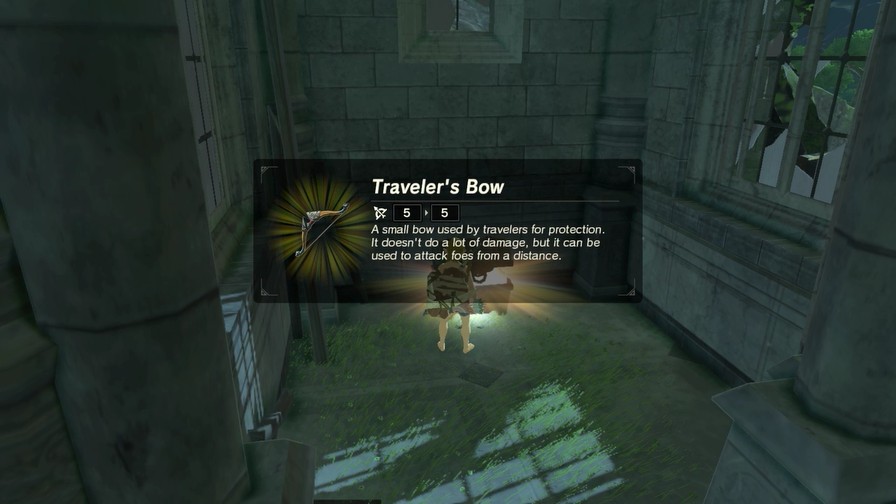
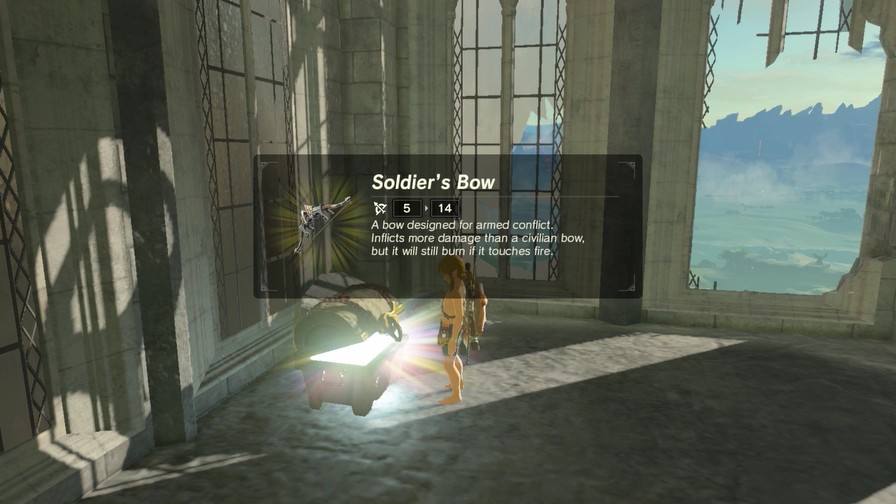
Off to the side is a chest with a bow.

Really, all there is to note here is this statue.

I can offer you great power. But you do not yet have four Spirit Orbs. Seek out the shrines scattered across Hyrule, and face more challenges.
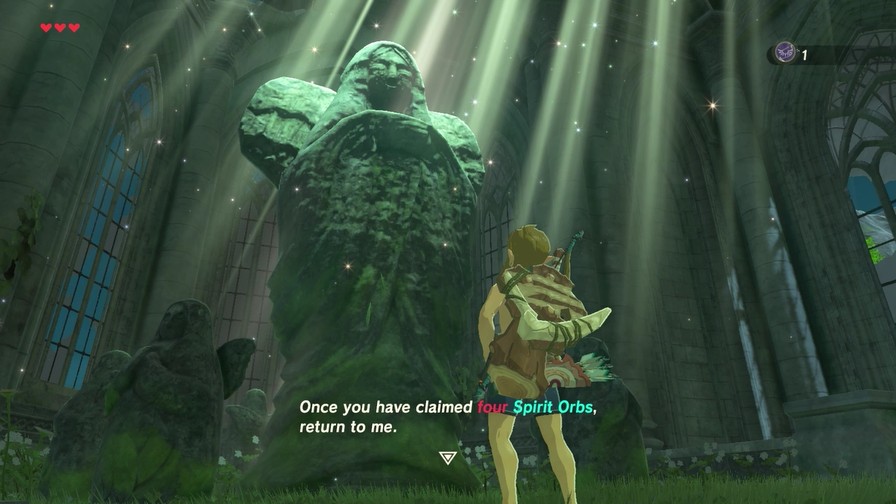
I’m going to jump ahead a bit and spoil what the Spirit Orbs do since I’ll probably have you vote on our reward once we do the other three. Spirit Orbs are essentially this game’s heart pieces, though when you give them to the goddess you can choose whether you gain a Heart Container (an extra heart, max of 30) or a Stamina Vessel (adds a fifth of a ring of max stamina, maximum of three rings). Both are great early on, as hearts obviously let you live longer and stamina lets you explore more easily.
That’s all there is to the temple right now. There’s one more major area to check out before we go shrine hunting.

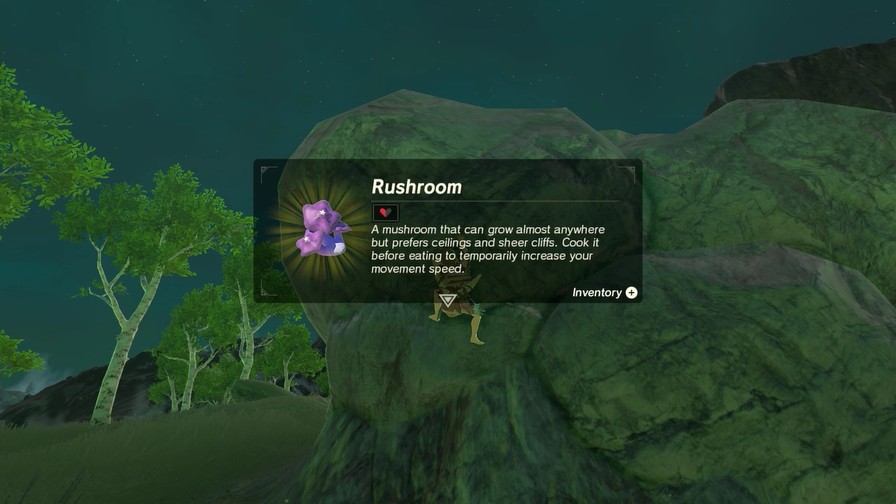
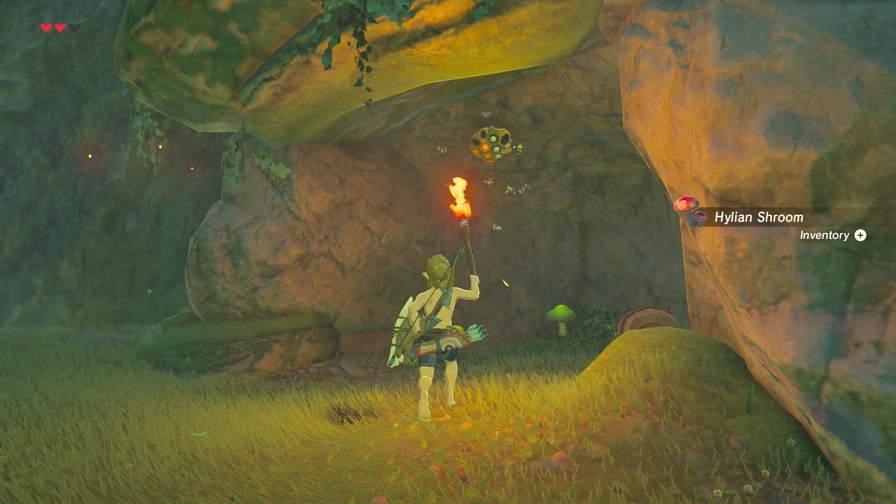
This rock has a rushroom, a mushroom that grows on the side of mountains. Cooking it increases movement speed, which is handy.
We’re actually close to the first shrine we saw, but I’m more interested in this cabin.
The old man must be living here.
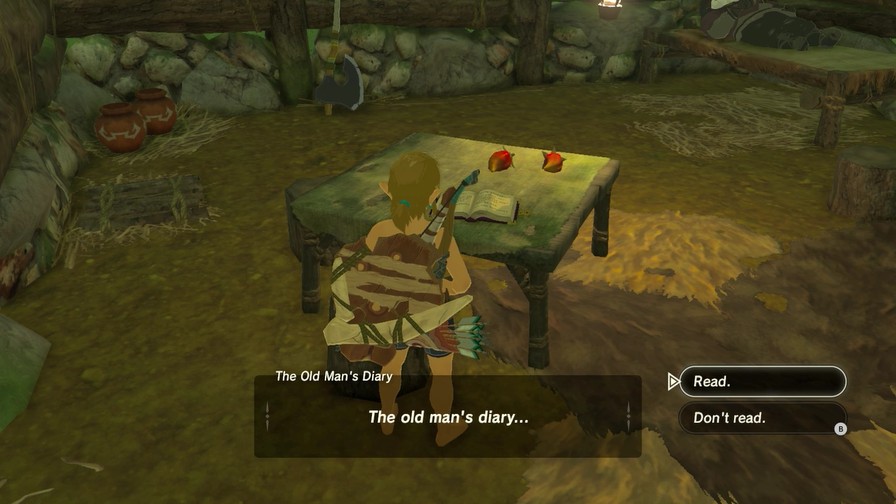
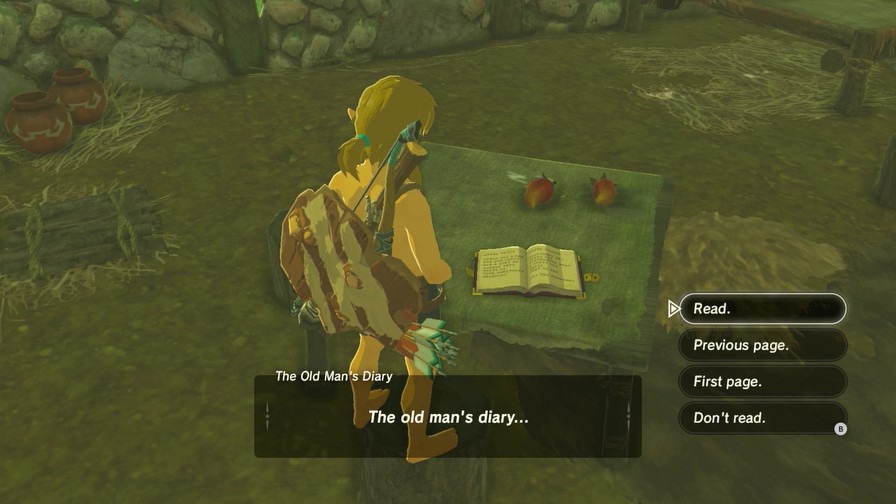
In the meantime, let’s check out his diary.
[quote]
On this desolate plateau, the only pleasure that brings me comfort is cooking. And today, I outdid myself! Truly, I created the perfect dish. I call it…spicy meat and seafood fry. This recipe not only restores health, but it also keeps me warm, even when traveling in the snowy mountains. With this dish on my side, I no longer have need of that itchy warm doublet.
I do not know how I allowed this to happen, but it seems I forgot to write down a very important recipe. I know it contained raw meat and spicy pepper. However… I simply cannot remember what else I used! My age is catching up to me.
Sadly, on this lonely plateau, I have only my own knowledge and memory to rely on. Still… If I did find someone who knew the missing ingredient, I would happily reward them with my warm doublet. However, it seems unlikely that such a miraculous wish will ever be fulfilled.[/quote]
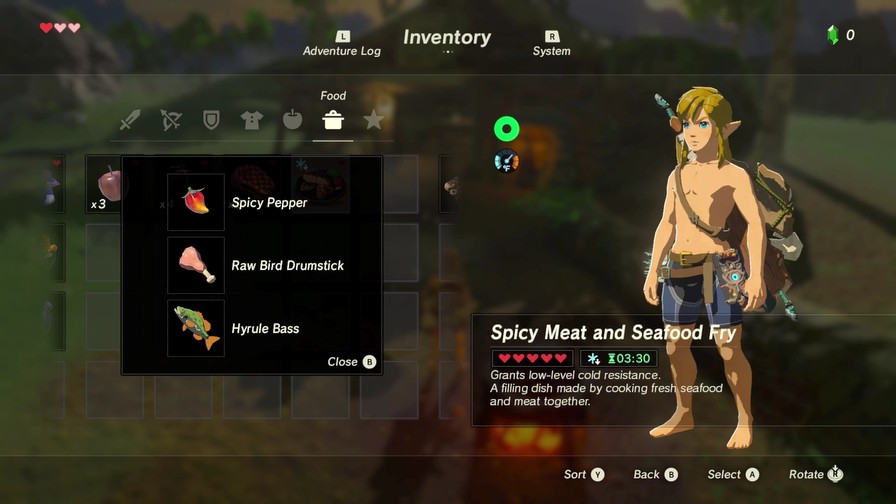
So, spicy meat and seafood fry. The spicy pepper’s the spicy part, the raw meat is the meat part, so that leaves…

Pot Lids are the weakest shields. That said, you can still humiliate a large number of enemies with one if you know what you’re doing.

This is the wild. You’ve gotta use what you can get!
There’s not just enemies out here, you know. There’s a large variety of fauna as well, such as this pigeon.

And we’ve now got the raw meat part! And now we’re set to cook!

Alright, cooking. To actually cook, go to the menu, press X to hold items, then select up to five items to hold. For this recipe, we need a spicy pepper, any meat, and of course a fish.
Then go up to a lit cooking pot until it says “Cook”. Then…
https://mp4.mega64.net/botw/u04/097.mp4
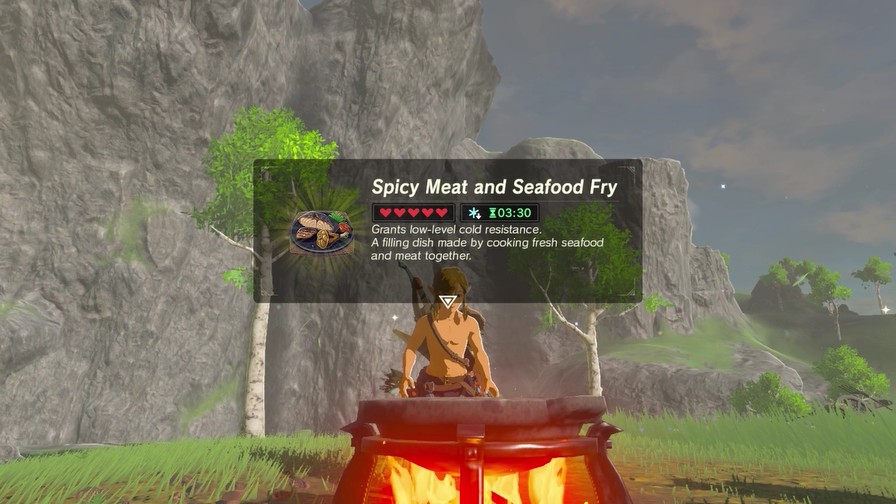
There we go! As mentioned earlier, each dish can only have one effect. Each ingredient will add a specific strength of an effect, so stacking those up could make the effect stronger or last longer. Some ingredients don’t add effects and will instead add more hearts to be recovered.
This dish will increase our resistance to cold, letting us explore the snowy mountains from before without taking damage.
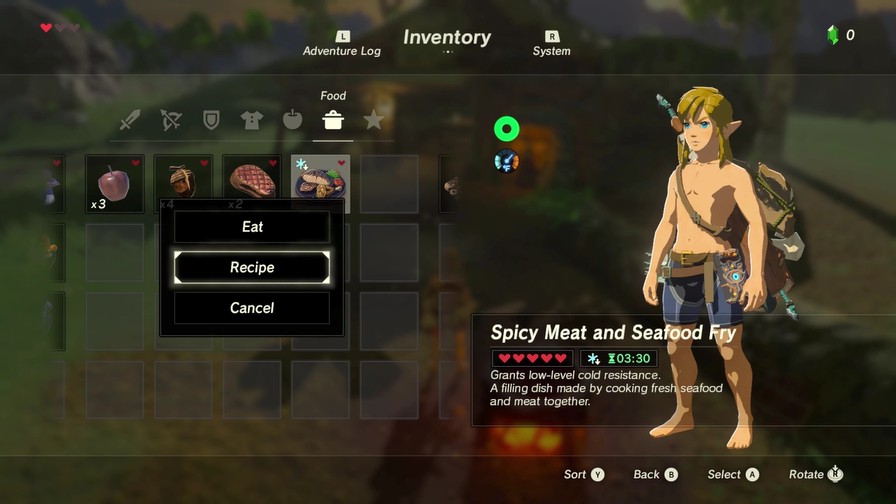
Any dishes you cook have an option to check the ingredients used. This is useful since most cooking is simply throwing stuff together to see what works, at least until you look up how it actually works. I won’t get into that here, though.
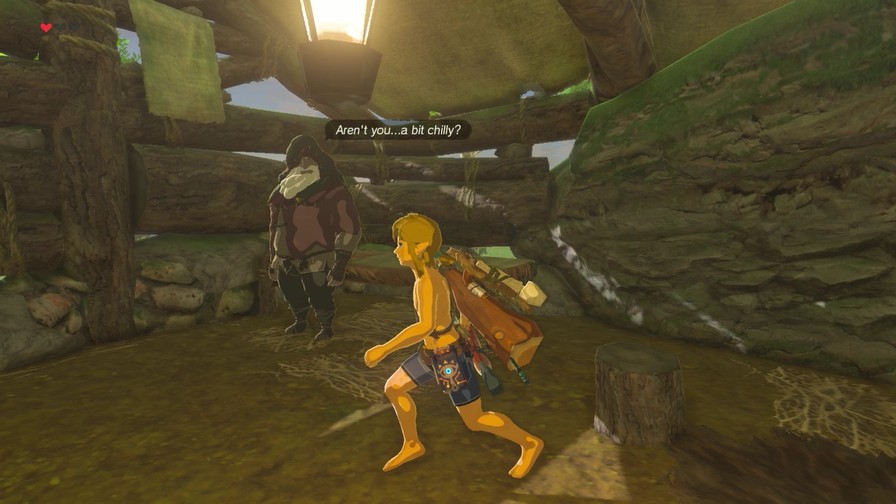
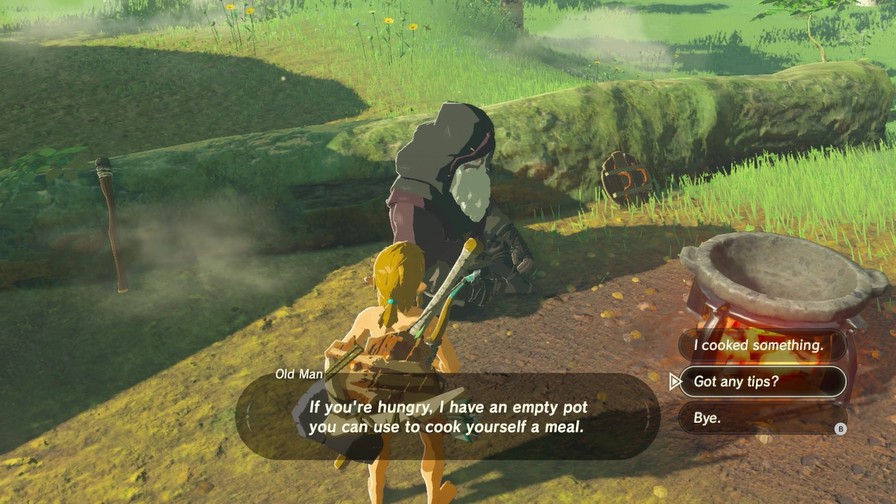
Anyway, the old man has woken up, though we can’t show him our meal quite yet.
I was just about to go cut down a few trees over there. We’ll have to talk later.
Let’s join him!
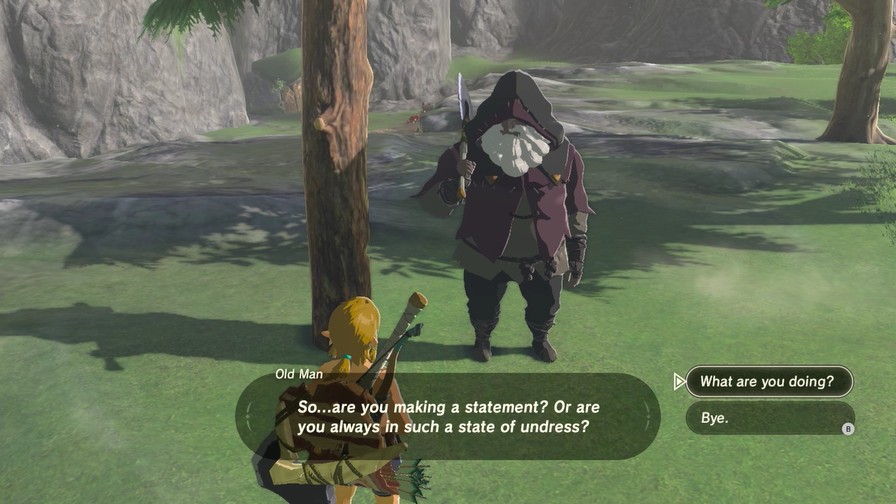
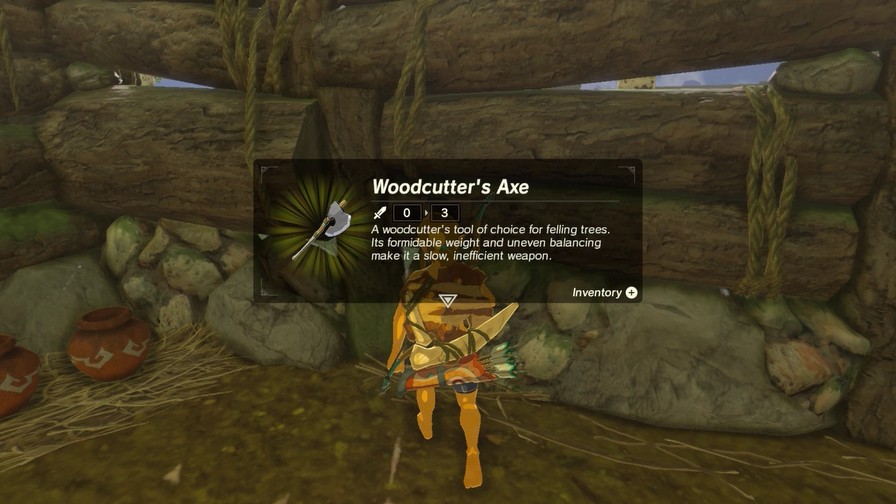
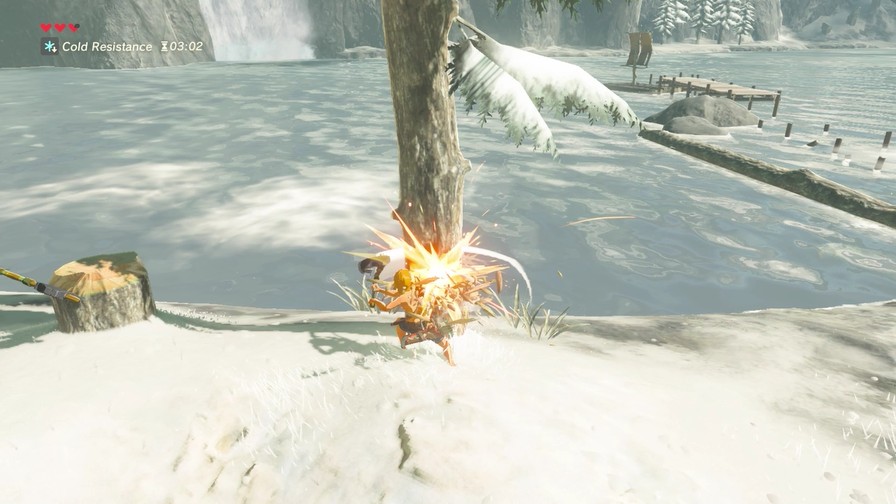
Isn’t it obvious?! I thought this tree here might make for some good firewood. However…getting a tree to fall exactly where you want it to is quite an art. The trick is to turn your hips so that they face where you want the tree to land. So… I see you found my axe. Why not help me out and give it a few swings? I’m working up quite a sweat here… but these bones could use a break.
https://mp4.mega64.net/botw/u04/113.mp4
Basically, the tree will fall where you’re facing. You don’t need an axe either, any sharp weapon will do. So will explosives.

Also a good way to get acorns.
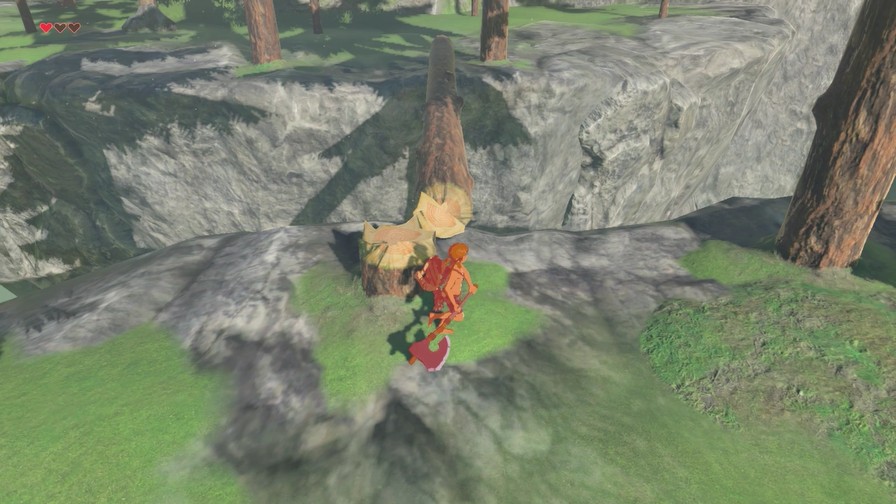
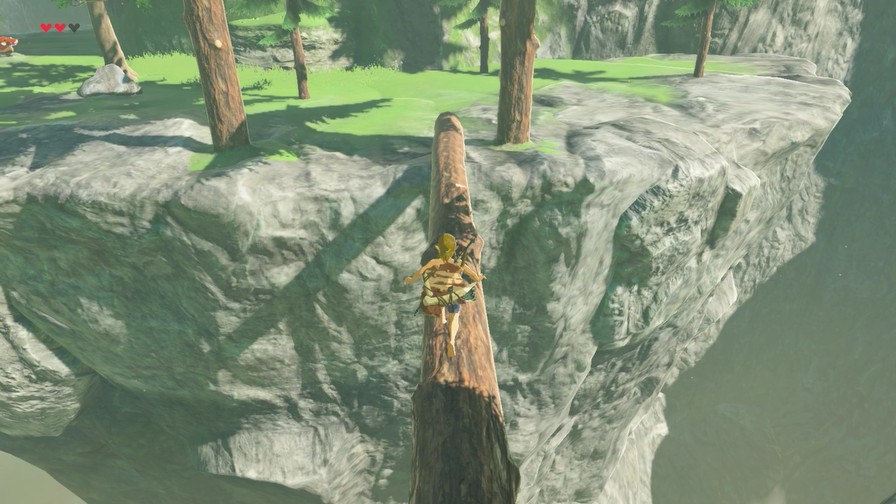
And to cross gaps, though this is honestly the only time where you’d use a log to cross a crevice.
Really, a lot of the little things set up around the Great Plateau, like rolling rocks onto enemies, aren’t things you’re going to do often once you hit the rest of the game. What’s important, though, is it trains you to learn to interact with the environment to figure out how to approach enemies and obstacles, as we haven’t seen even a sliver of what this game has to offer. So while cutting a tree to cross a gap won’t be useful later on, it’s a nice way to tell you to stay on your toes and see what various options you have to approach whatever stands in your way.
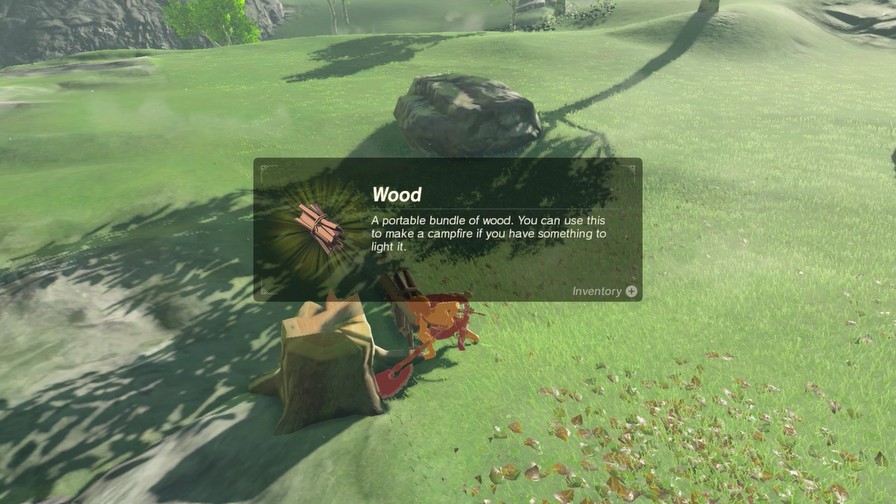
If you chop a log, you get wood. Drop it and set it alight (there are several methods, including our Fire Arrows) to start a fire to pass time at.

How about tips?
Simply open your inventory, grab hold of your ingredients, and toss them in! Try to consider how the ingredients will complement one another. You can even make a dish that increases your stamina! It’s all about being creative and trying different things. Oho ho!

Let’s show him what we cooked.
Wait… Is that… That looks just like my signature perfect dish, spicy meat and seafood fry! But how did you-?! Well, I suppose that is not important. Can I trouble you to share the recipe?

Well done! Now, please allow me to reward your culinary efforts with this warm doublet.
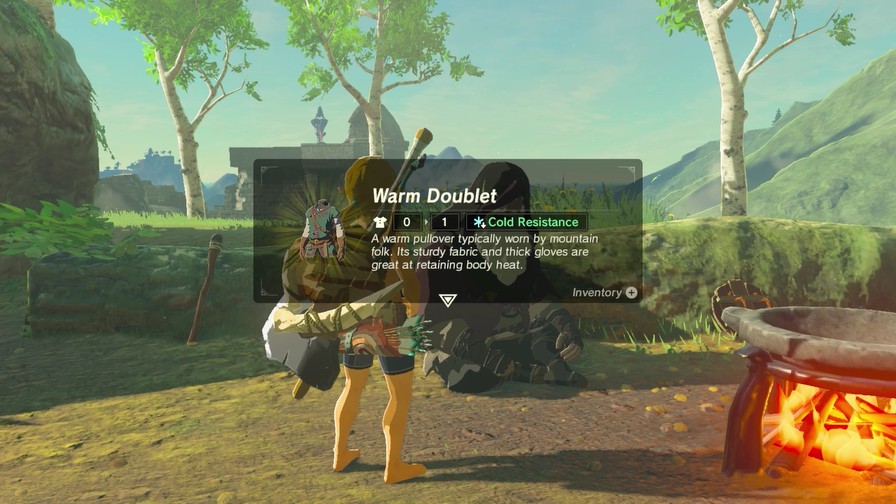
Showing the meal to the old man nets us a nice warm doublet. Same defense as the old shirt, but it gives a level of cold resistance, which gives us another way to survive the cold.
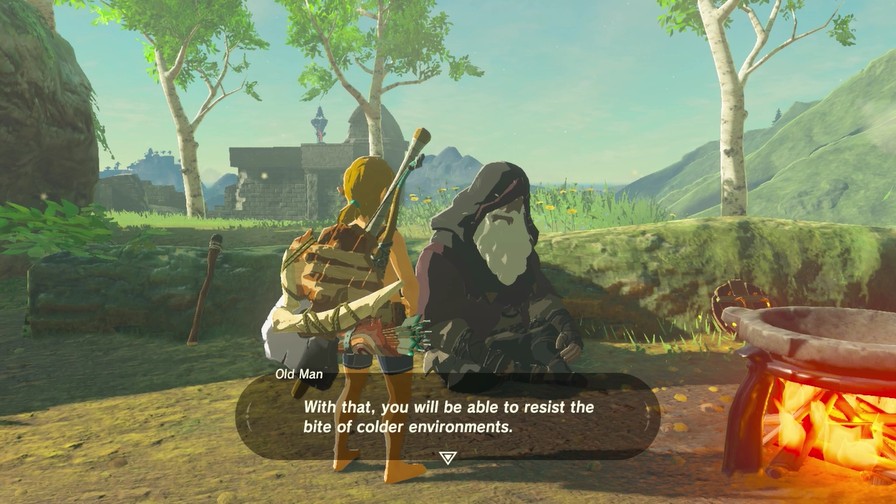
As for me, I know a great spicy meat and seafood fry recipe, so I can do without that warm doublet.
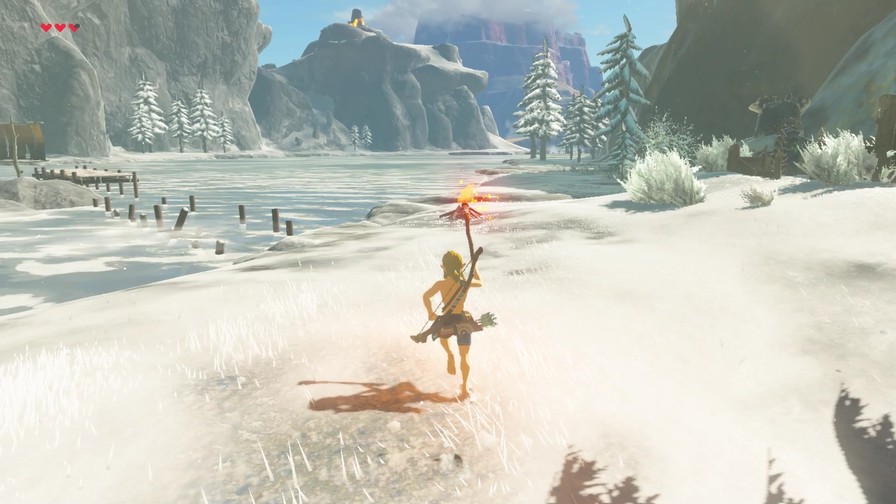
It’s nice this game gives multiple ways to handle the cold to reach the shrine above. You can cook foods to resist the cold, you can do this mini-quest to gain the doublet, you can carry a torch to stay warm, or you can just tank it and constantly eat to recover hearts.
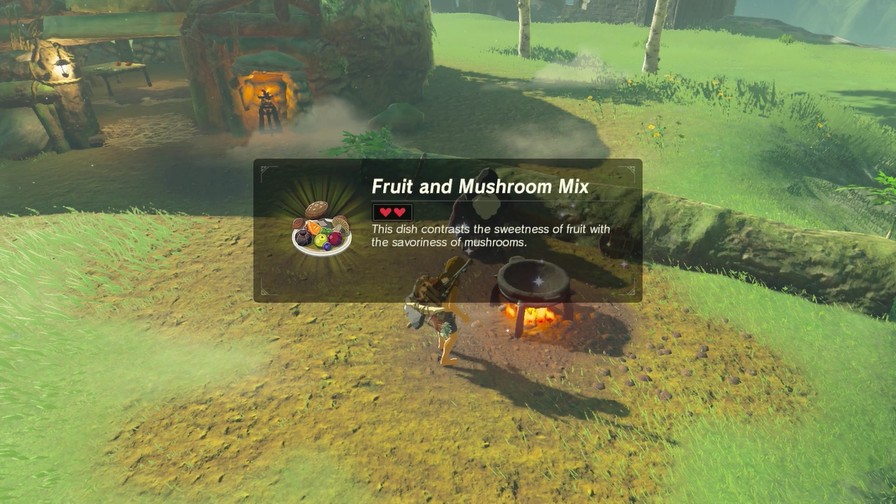
At this point, I mess around, combining stuff with apples and mushrooms to make a few more dishes.

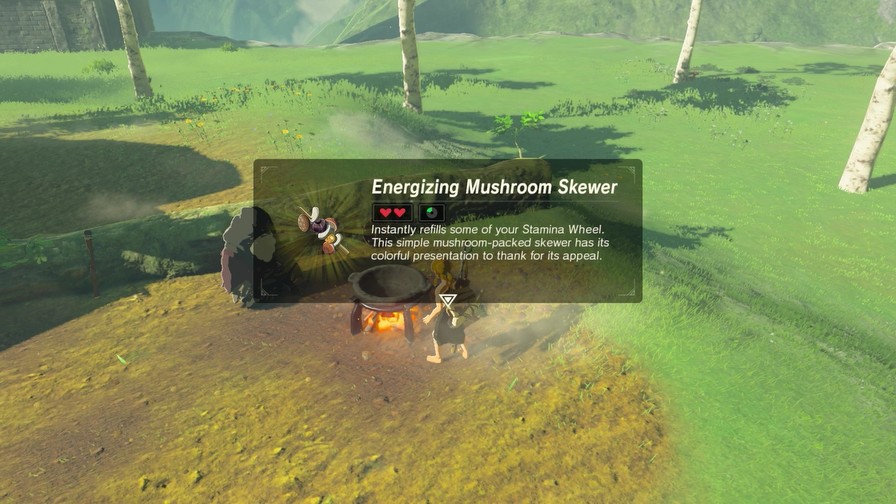
The Rushroom gives a small movement boost, and the Stamella Shroom recovers Stamina, which is great when climbing.
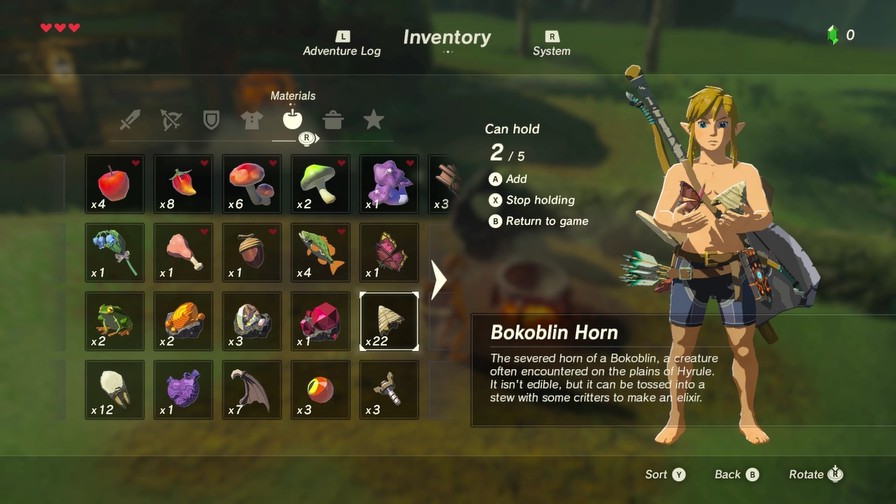
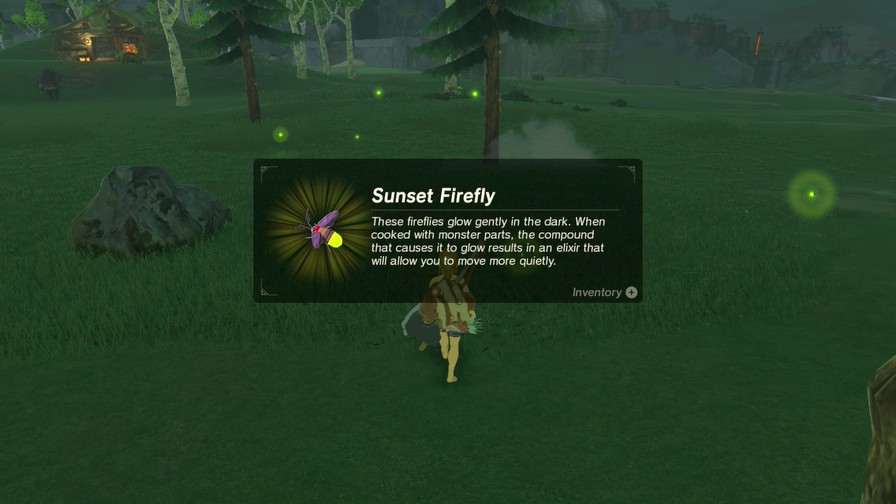
We can also make Elixirs. To make these, we need both an insect (like the Summerwing Butterflys that fly around the plateau) and a monster part (like one of the numerous Bokoblin Horns I have). The insects increase the strength of the elixir, the monster parts affect the duration.

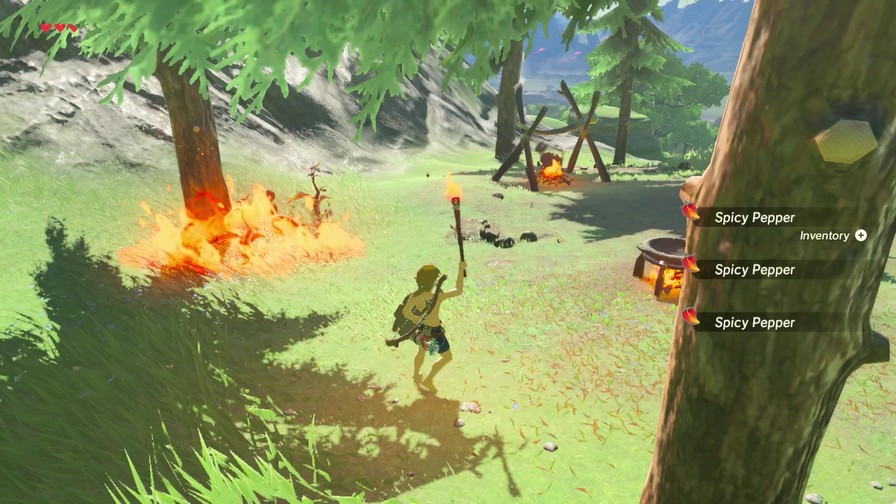
There’s a group of Bokoblins nearby, and I’ve got the perfect disguise.
…Well, it’d be perfect if I was good at stealth.

I’m good at fighting, at least!

This spear is optimized for throwing, though usually you only throw weapons when they’re about to break and want to make room for the next one.
The main reason I dealt with these guys is to reach this poorly-disguised area.
Once we scare off the bees with fire…
Kinda rare but also a pretty nice ingredient. But that’s not all!

Now we’re talking! Bomb Arrows explode on contact. They’re as wonderful as they sound.
So how about we actually finally cross over to the other side of where this log leads?
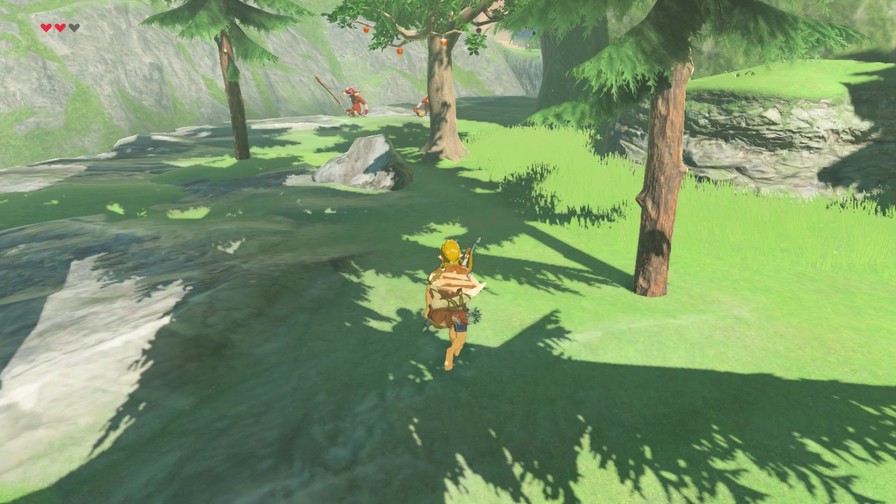
Honestly not much here. Just these two Bokoblins.

Did you know Bokoblins are omnivores? They’ll eat pretty much anything.
https://mp4.mega64.net/botw/u04/150.mp4
And I do mean anything.
Otherwise, there’s an apple tree and a dead end. Maaaybe we could go up?
Anyway, that’s it for this update. Next time, we start tackling the other shrines. However…
…I need your help! Which order should I do them in? As a reminder:
Red is up on a high ledge.
Blue is on level ground, but surrounded by walls and other stubborn terrain.
Yellow is high up in the cold mountains.
VOTE FOR YOUR PREFERRED ORDER HERE! After a couple of days I’ll go with whatever’s winning and go from there.
Two or three more updates and we’ll be ready to explore Hyrule!
1 Like


Click here to open the update!
Oh hey, I already explained this last update and it pretty much explains itself here. Oh well!

Results were a strong Red -> Blue -> Yellow, probably because that was the first option. It’s also the most roundabout way since Red and Yellow are much better to do together, but it does let me show off a lot more stuff so it’s cool.
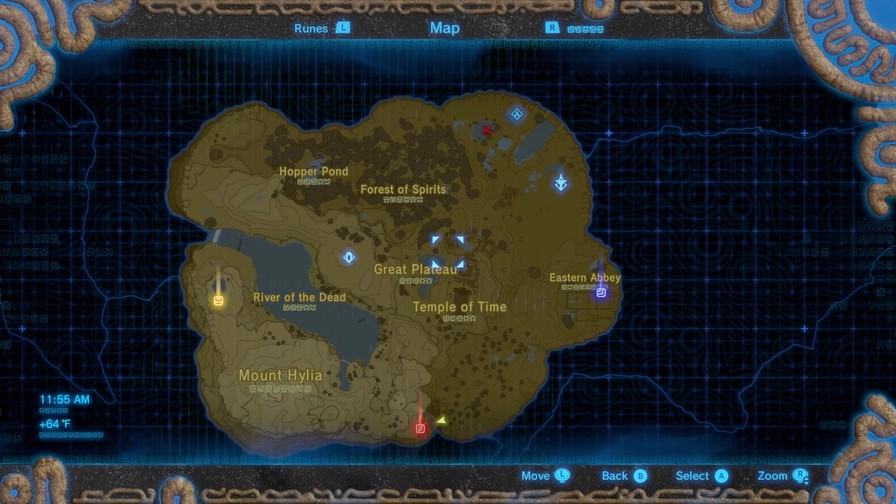
Normally, to get to the red-marked shrine, you’d have to climb towards the yellow-marked shrine and then travel southeast to reach the edge of the mountain range. However, there’s always another way…
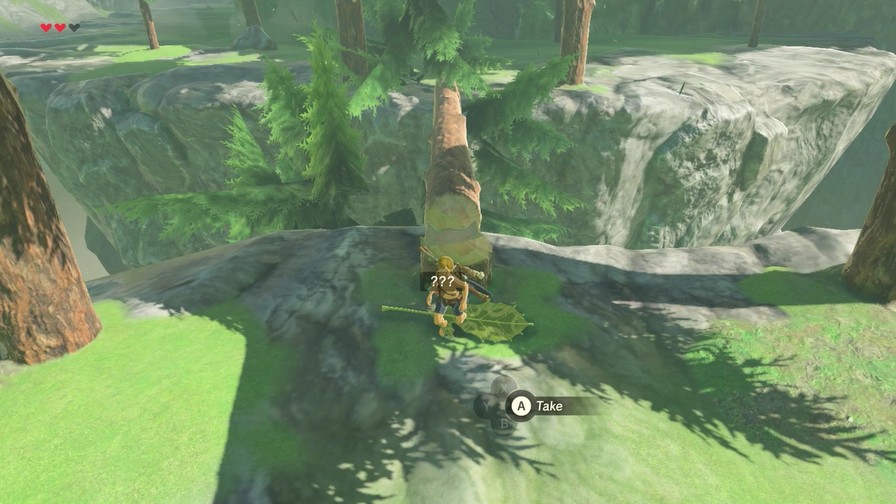
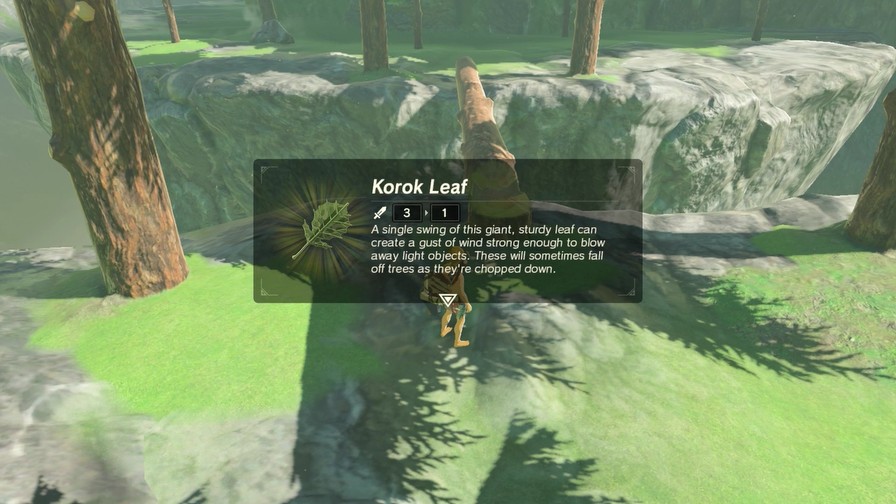
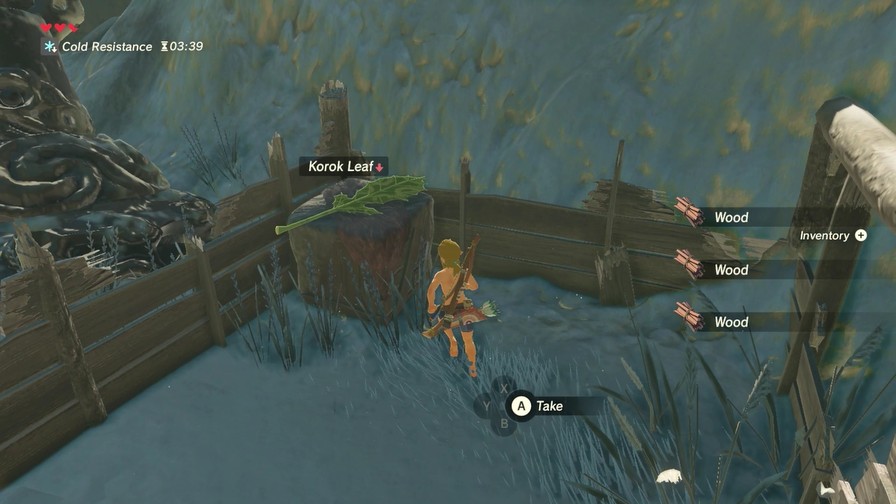
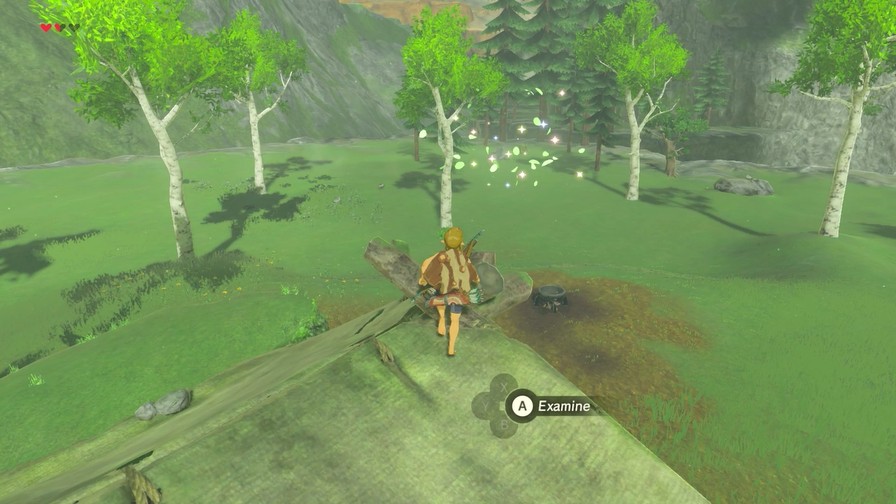
Several things can drop from trees when you cut them down. Korok Leaves are probably the most entertaining of the bunch.
https://mp4.mega64.net/botw/u05/005.mp4
Korok Leaves make for terrible weapons, but their gust effect can lead to a lot of fun interactions. And they have other uses as well, one of which we’ll see later this update…
So, the shrine is up there.
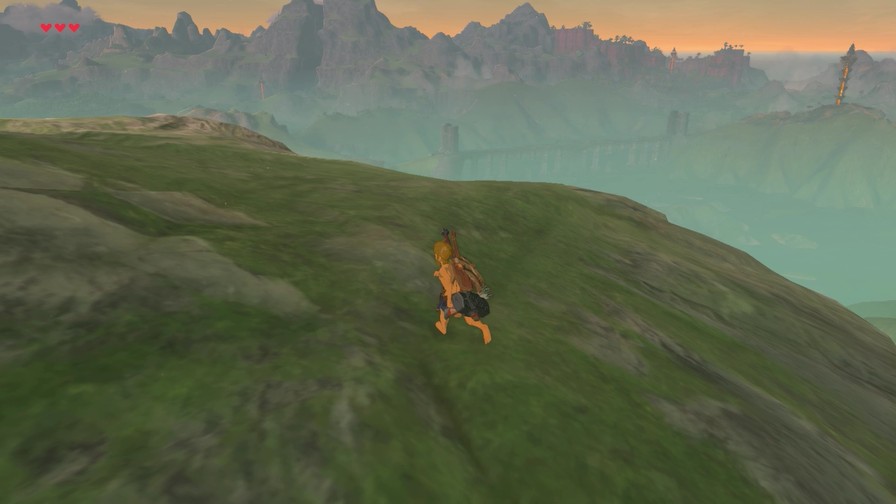
Normally, such a climb would be near-impossible for Link without a lot of stamina-recovering food. However, this way has a lot of helpful outcroppings where Link can stop and recover his stamina.
Eventually, Link makes it to the top. I really appreciate that there’s an alternate way up here besides traversing the snowy mountain range. It’s a shortcut that rewards exploration rather than discourage it, something I really wish more games would learn to do.
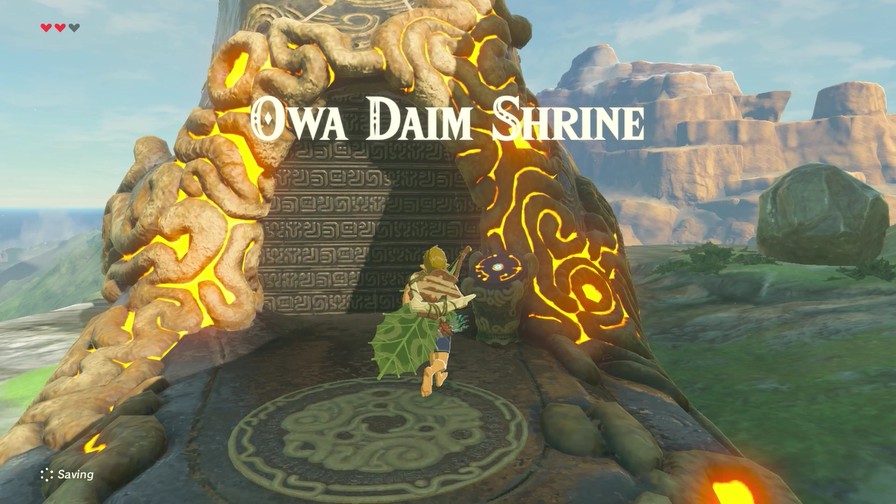
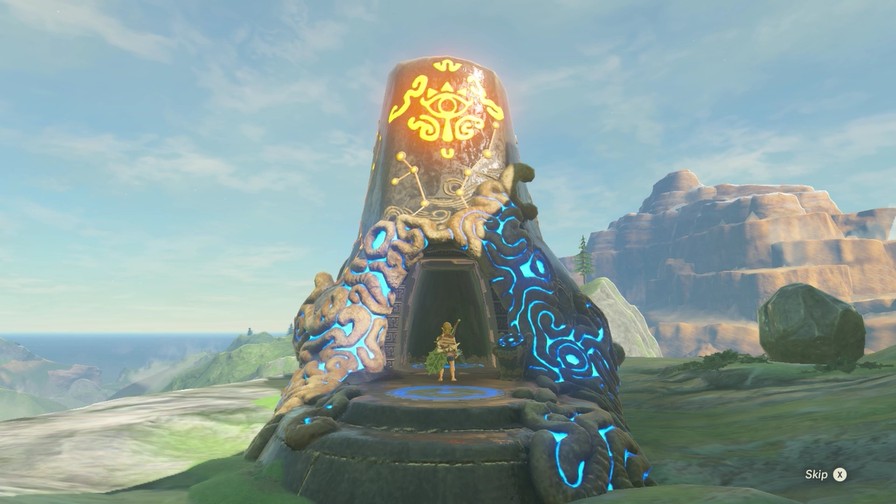
Anyway, we’re at our next shrine.
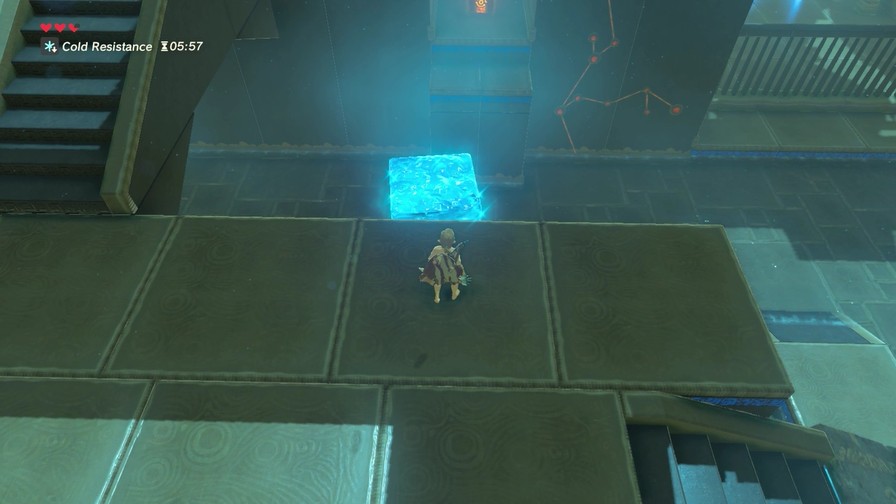
Shrines start off orange. When activated, the base turns blue and the top yellow, activating fast-travel to that shrine. When the shrine is completed, the entire shrine is blue. The map on the Sheikah Slate also distinguishes between unactivated, activated, and completed based on the color of the icon.
The four shrines on the Great Plateau give you your main abilities for the entire game and are tutorials on how to use them, though they certainly don’t teach you every trick for using them.
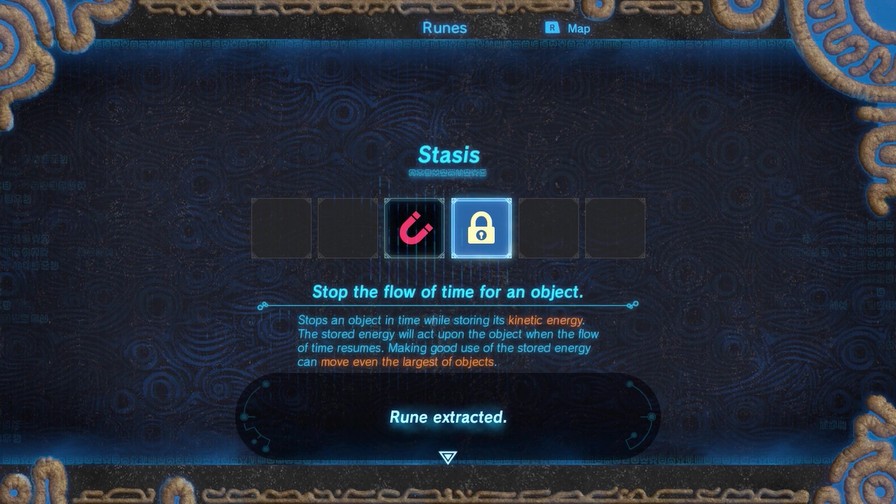
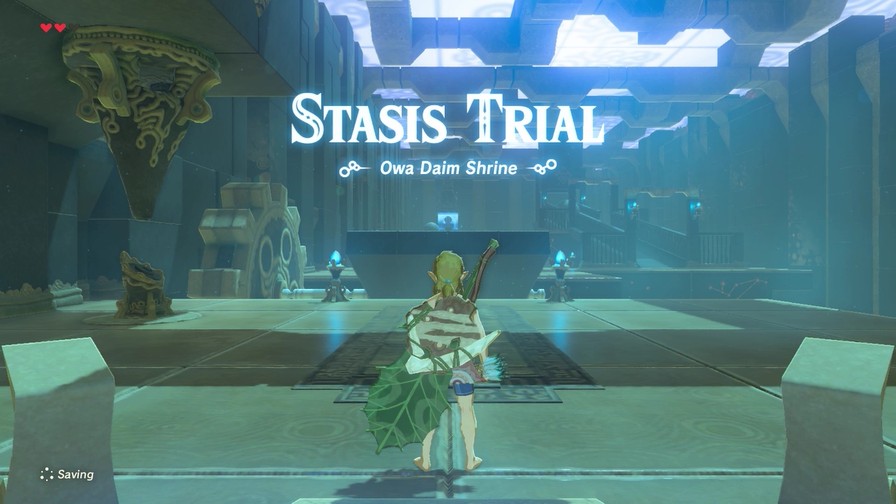
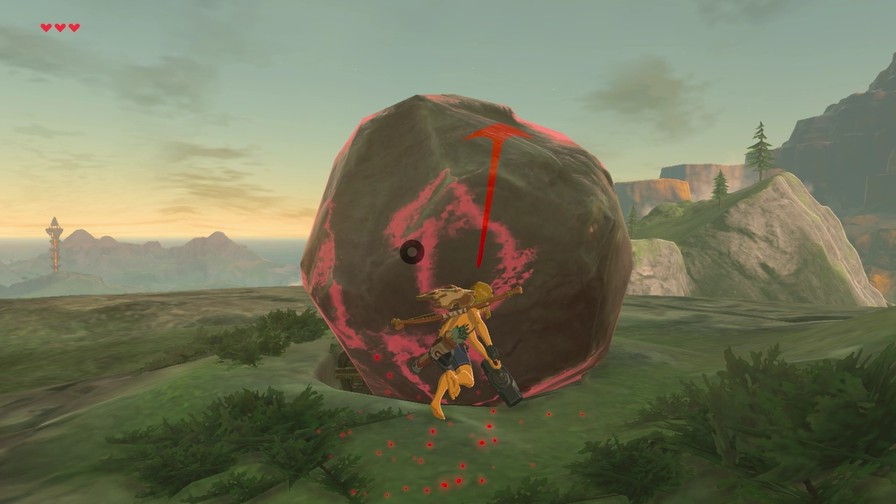
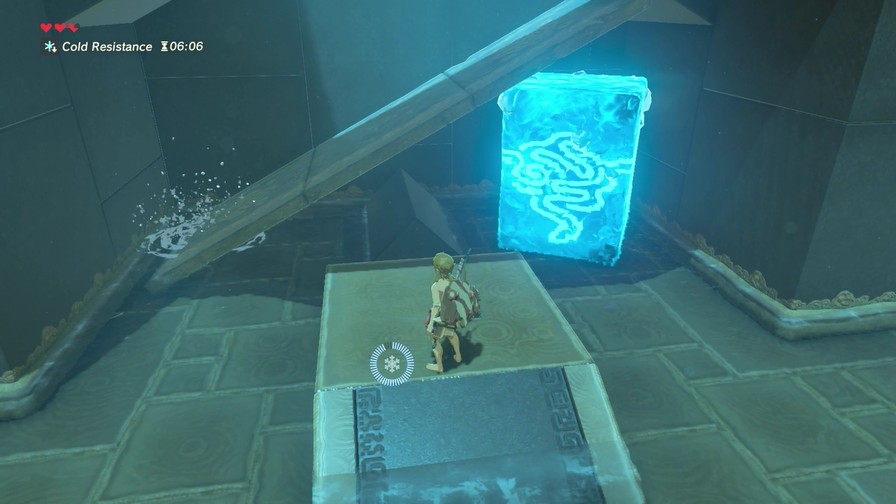
This shrine gives us Statis, one of the more fun ones to use.
https://mp4.mega64.net/botw/u05/016.mp4
Statis stops time for the chosen object, though it wears off over…time. Obvious puzzle applications, but there’s a bit more to it…
Next puzzle. This ball respawns when it rolls off the map.
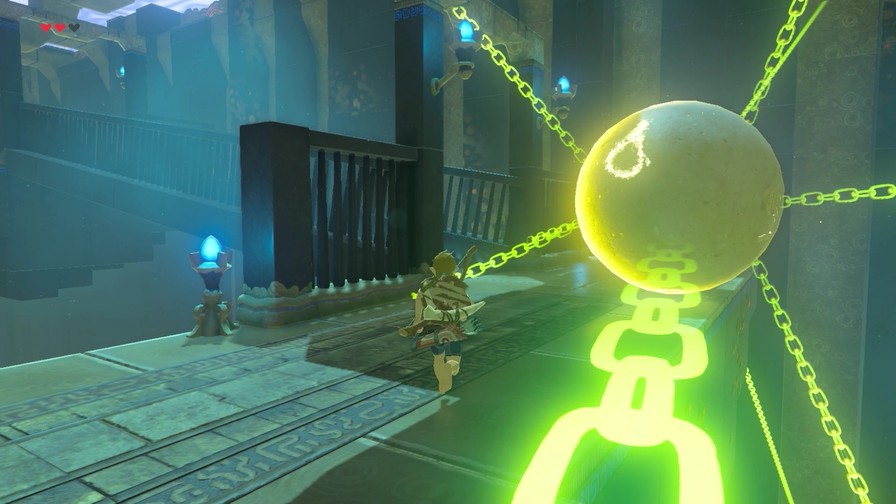
Statis, as you may expect, is the solution!
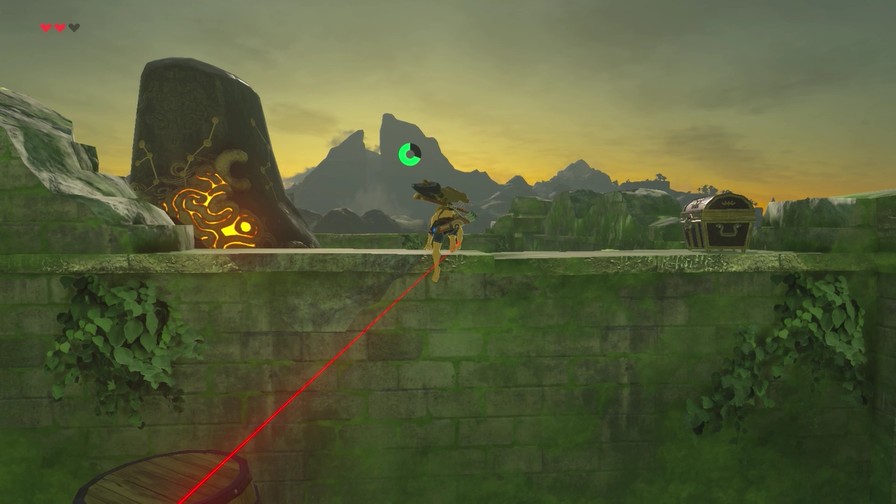
We don’t have to go all the way up here, but free treasure.
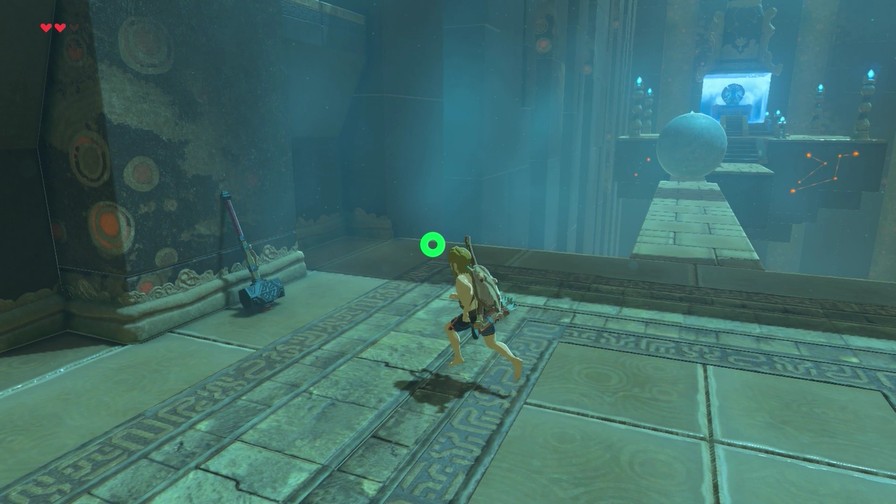
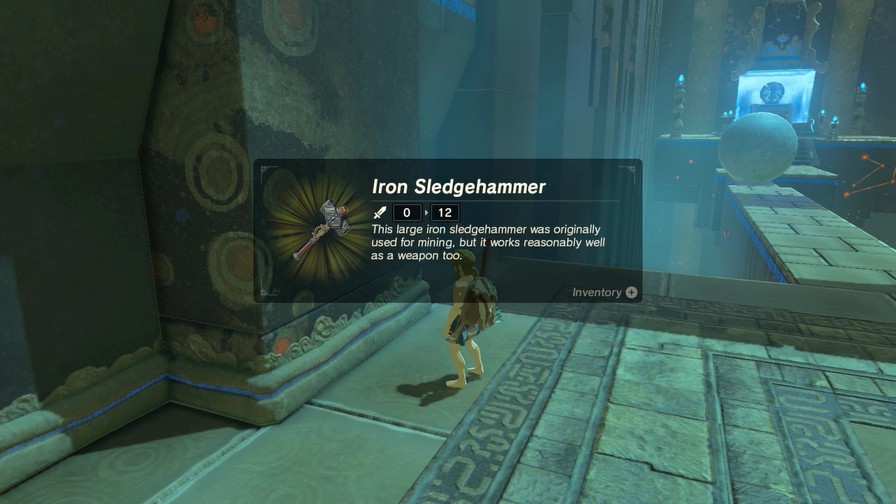
This sledgehammer should give you a clue as to how to handle the final puzzle.
https://mp4.mega64.net/botw/u05/022.mp4
All those hits do nothing, obviously. Link’s pretty athletic, but he’s no powerhouse.
Obviously the answer lies with Statis, but how? Go back and reread the rune description, then if you still don’t know, watch and see.
https://mp4.mega64.net/botw/u05/023.mp4
An object in stasis will store kinetic energy. That means hitting an object three times will apply all three hits at once as soon as it’s out of stasis. More hits makes the object fly further.
Also, you can charge your attack to do a special move at the cost of stamina. This attack depends on the weapon type. The two-handed whirling around is probably the most useful of the bunch.
Anyway, that’s all there is to the Statis Trial.

From now on, every shrine ends basically the same way. Dialogue only changes depending on whether the shrine is a trial, combat, or blessing (i.e. “You already did the puzzle to unlock the shrine, have a free Spirit Orb”).
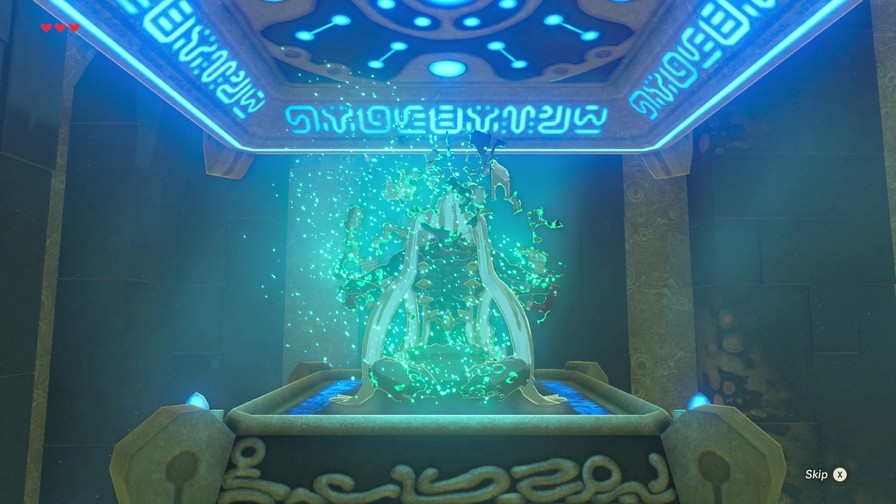
Then the monk dissolves and after a short loading screen you’re back at the overworld.
Each shrine also has a thing around it to test your new power out.
To go more into stasis, once you have a red arrow, the energy is maxed out and hits won’t make further impact. More importantly, the direction the object goes is based on the direction of the last hit. This is important for instances where direction matters.
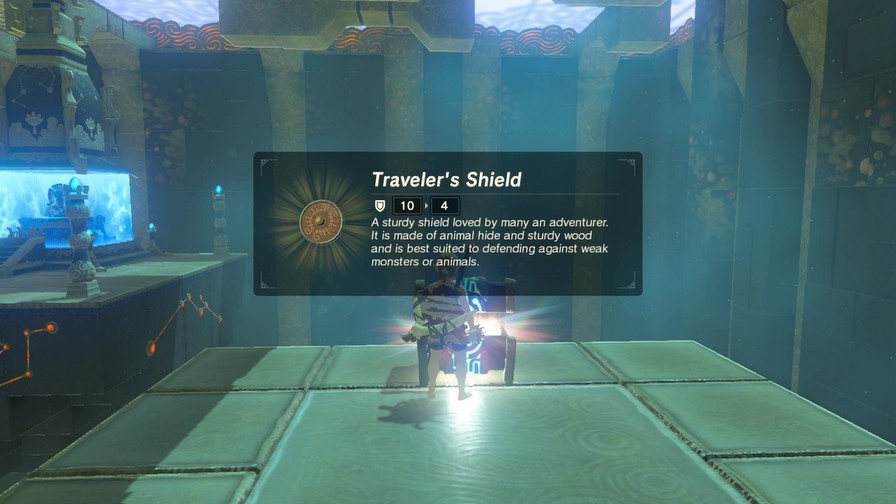
Sadly, the boulder fades out of view before we can see it hit outside land. At least the chest nets us another Traveler’s Bow.
That’s a pretty big bridge.
Further on is cold weather and the path to the yellow shrine. But first we’ve gotta go blue!
Sadly, we can’t just jump off quite yet, so we slowly descend.
Night hits, and we see a new insect.
Not this one though, this guy was always available. I just managed to sneak up on it as I try to get…
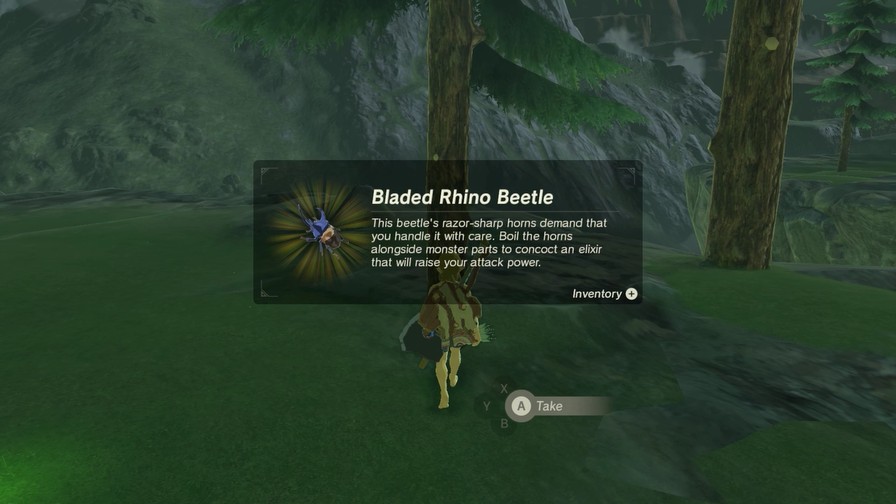
…this guy. The beetle is better though because attack boost is one of the best buffs in the game, for obvious reasons.
To the left side of the Temple of Time, you can descend to this area of ruined robots.
https://mp4.mega64.net/botw/u05/040.mp4
…and not-so-ruined robots. This guy is called a Decayed Guardian and basically acts as a souped-up Beamos. That laser freaking hurts, and right now our weaponry is way too weak to do much against it.
We could simply rush to the shrine or sneak around, but I’ve got a much more entertaining idea.
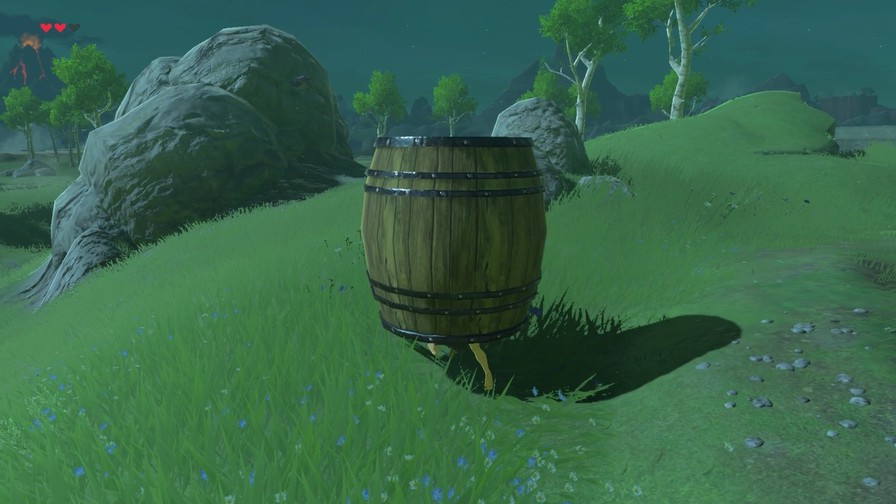
Behold!
https://mp4.mega64.net/botw/u05/042.mp4
Moving inside the barrel doesn’t quite work, but it does block line-of-sight from the guardian. Isn’t it wonderful when your weird plan works?
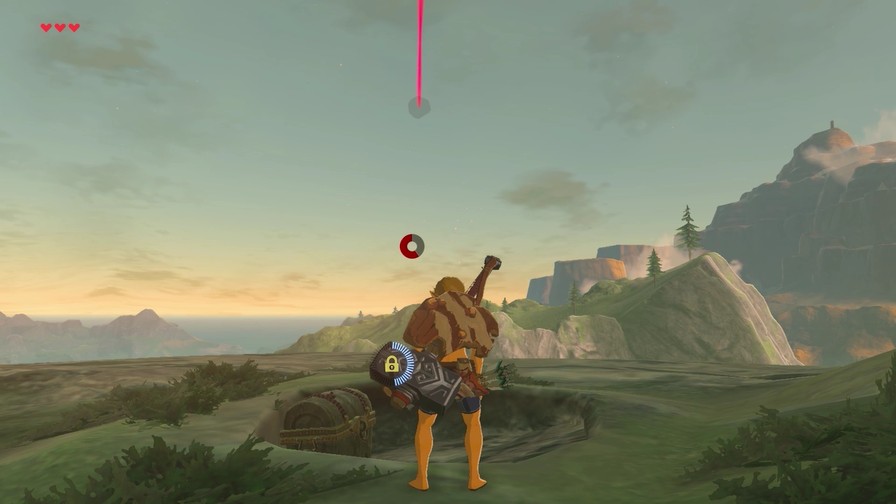
There’s a chest here, but no ordinary chest.
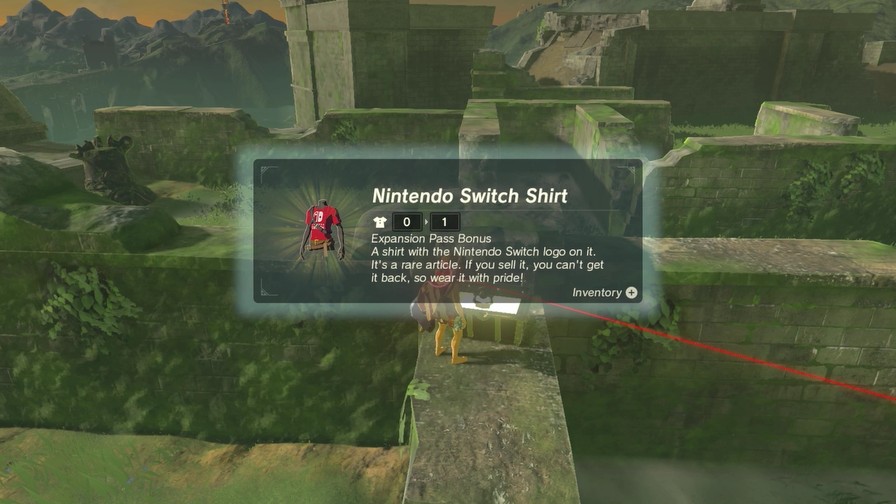
This is the Switch version of the game, and because I love the game so much I went ahead and purchased the expansion pass, which nets this baby as well as a couple other chests (a Ruby and some Bomb Arrows).
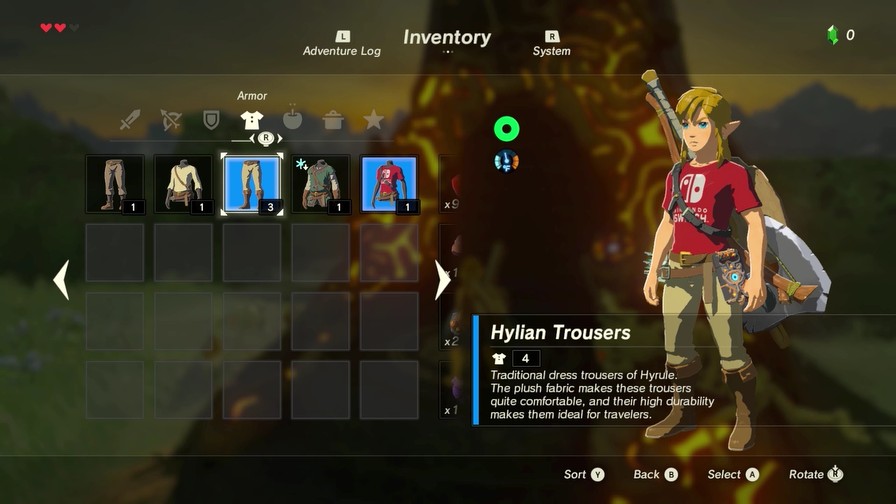
I’m not going to wear it right now because bare Link.
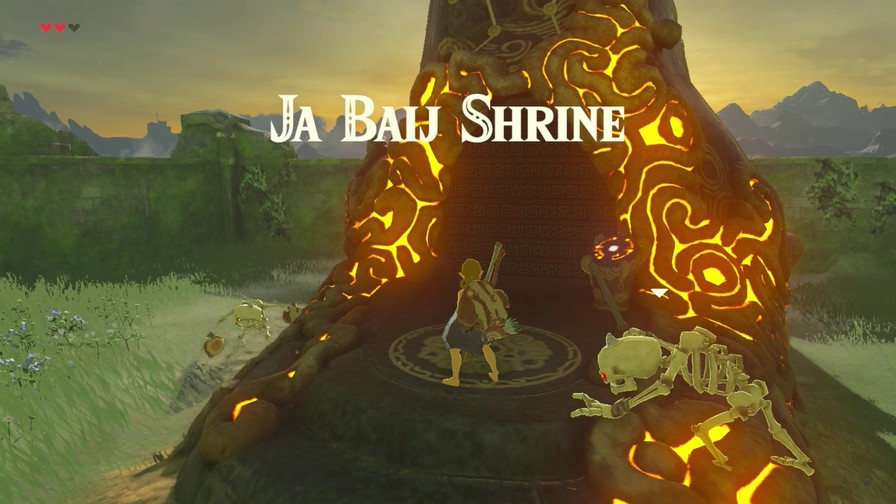
Also, our next shrine.
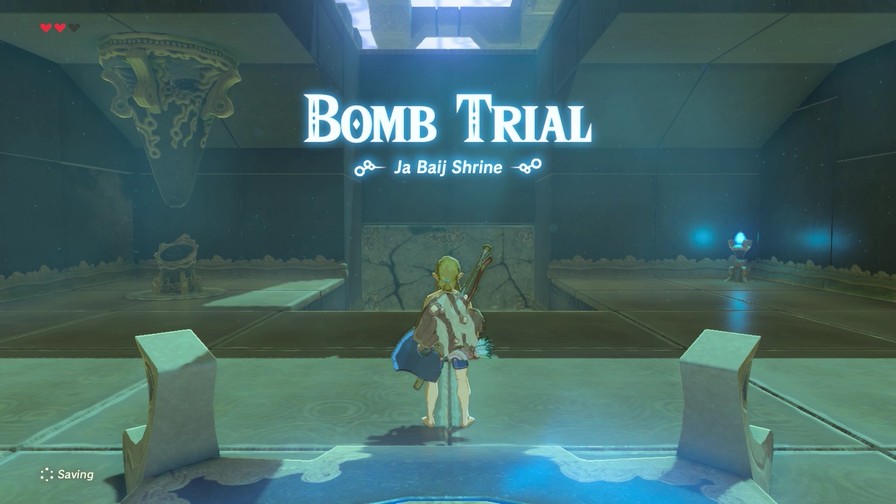
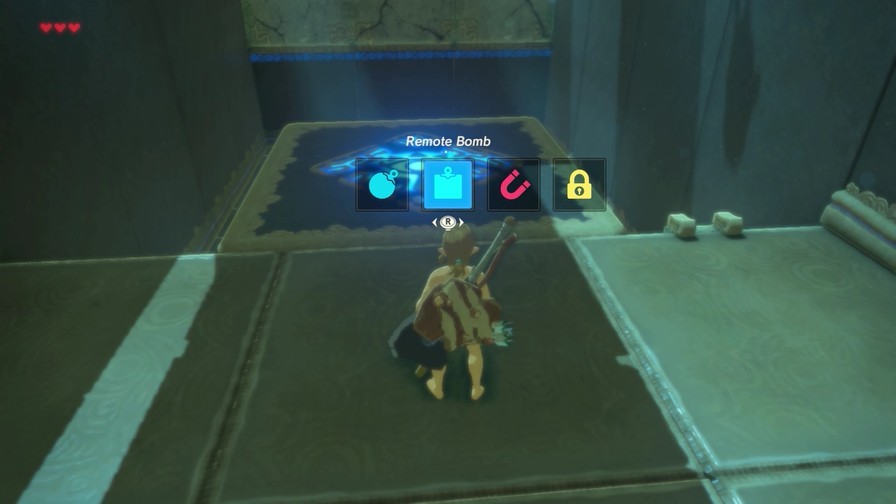
So, our next trial introduces a new spin on a classic Zelda item.
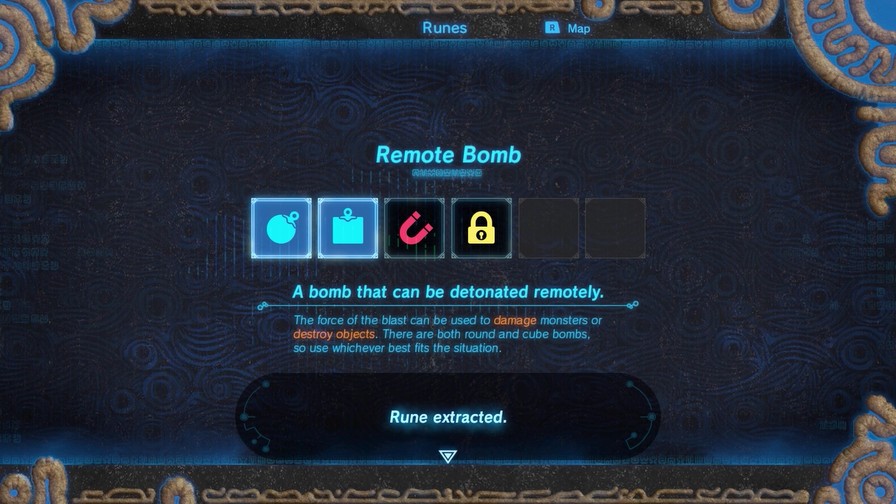
Bombs are a rune in this game. This means bombs are unlimited (though you have to wait on a recharge time between bombs).
There are a few differences between bombs in this game and bombs in other Zelda games.
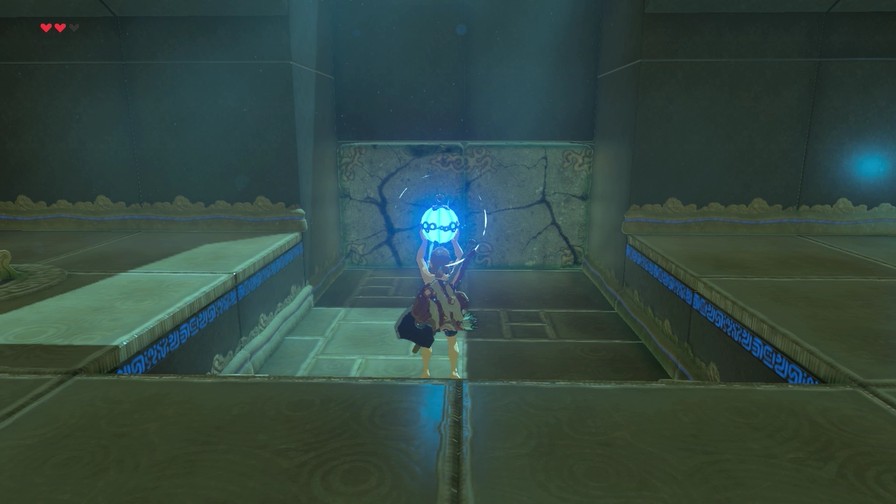
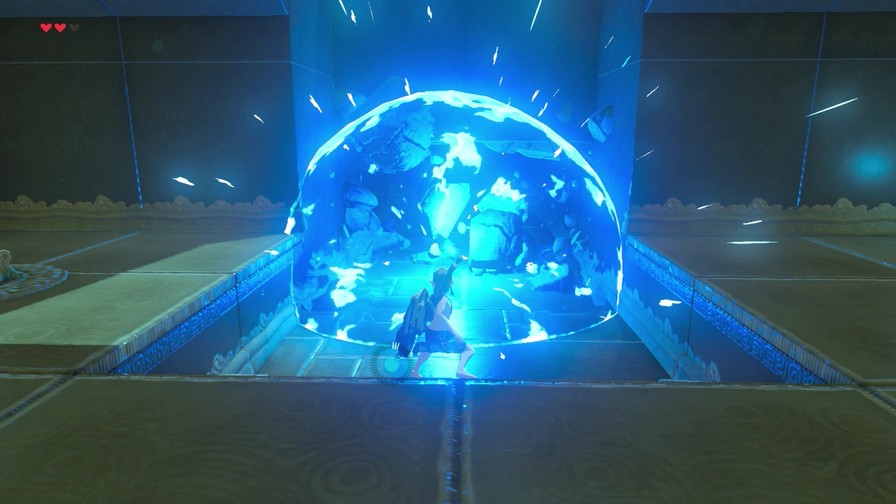
First off, bombs here are detonated remotely rather than on a timer. This gives you plenty of time to choose when to detonate.
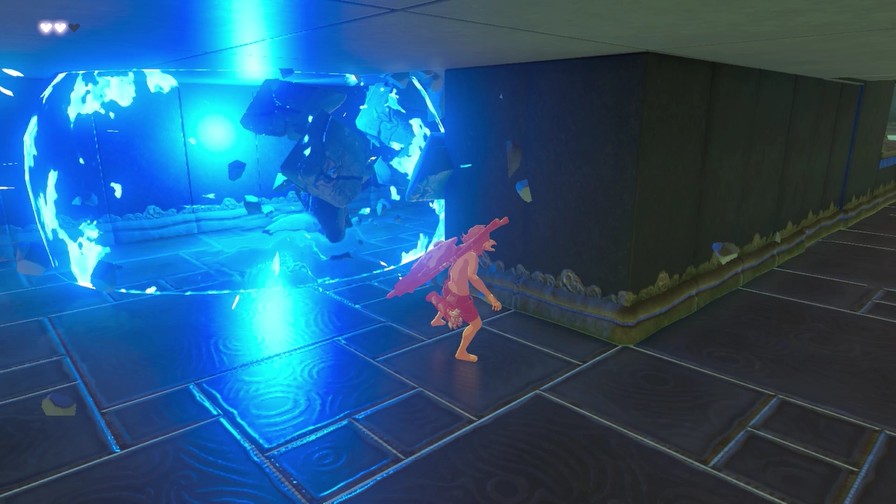
Like, say, when you’re away from the bomb.
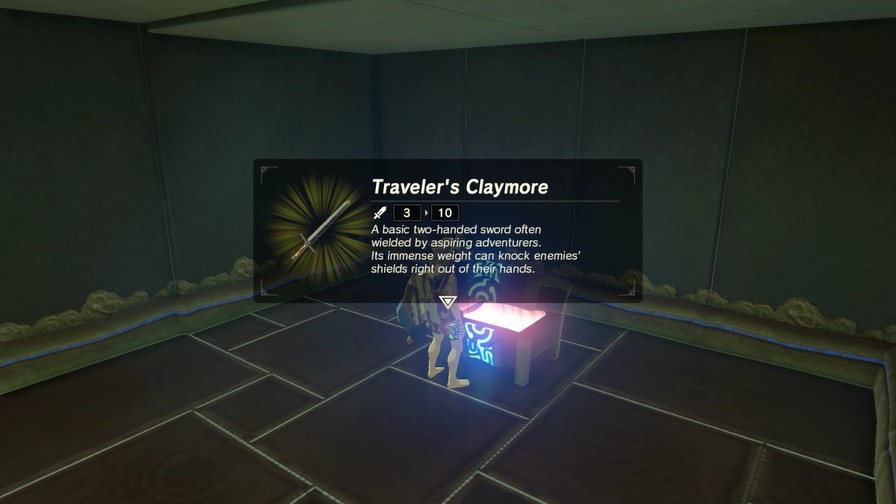
This chest does give us a nice two-handed weapon though.

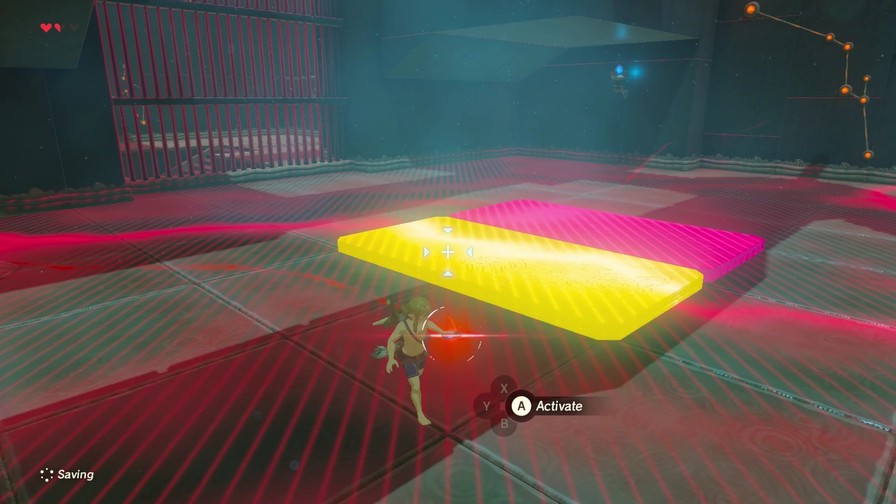
We get two bomb types: Round and Square. Square bombs don’t roll as easily (though they’ll still roll on a steep incline) so are better for more precise moments, like this moving platform.
https://mp4.mega64.net/botw/u05/057.mp4
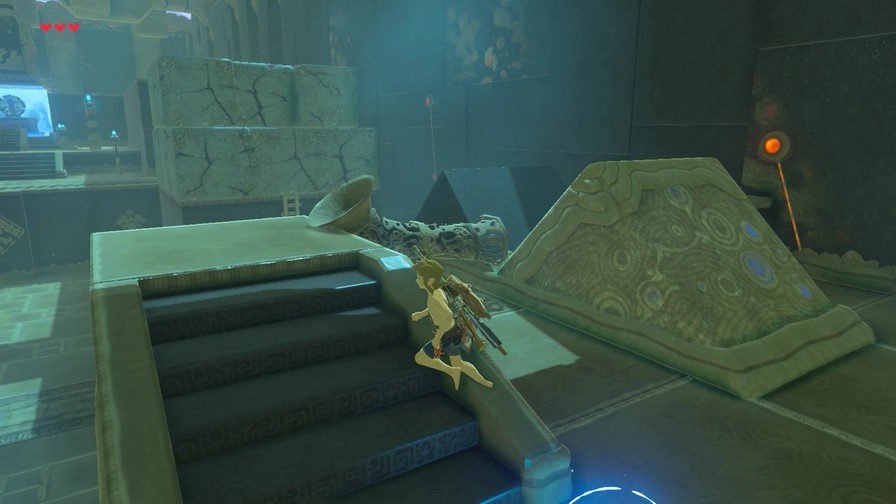
Round types are better when the rolling would be beneficial, or in contraptions like this that only take the round type.
The puzzle here is obvious enough.
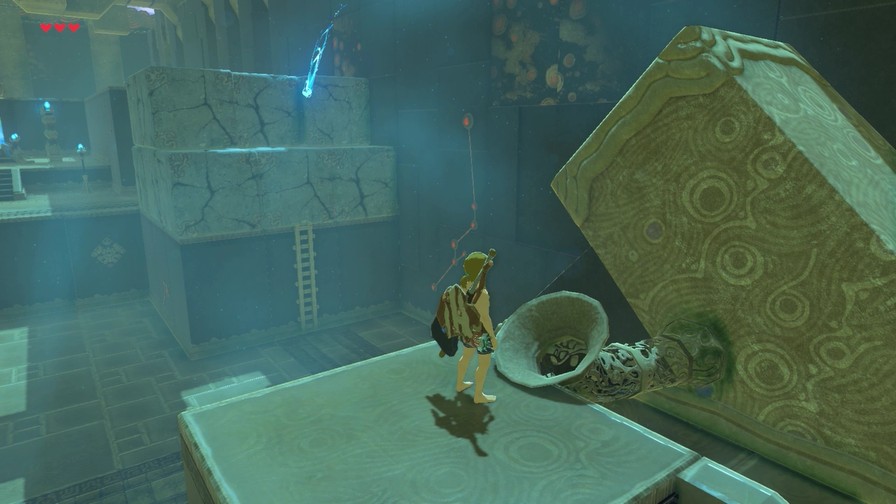
Of course we can get on one of these platforms as well and get propelled to a treasure chest.
And that’s bombs!
https://mp4.mega64.net/botw/u05/065.mp4
Traditionally, bombs in this series are a somewhat-viable method of attack. They’re decent early on, but their attack power does not scale and thus they’re pretty poor for damage later in the game. They still have their uses, though!
Hmmm.
Goes as expected.
A blue Bokoblin is left, but…
…arrows and bombs take it out quickly enough.
Also got its weapon (and more fire arrows from a chest).
Further up is this spot.
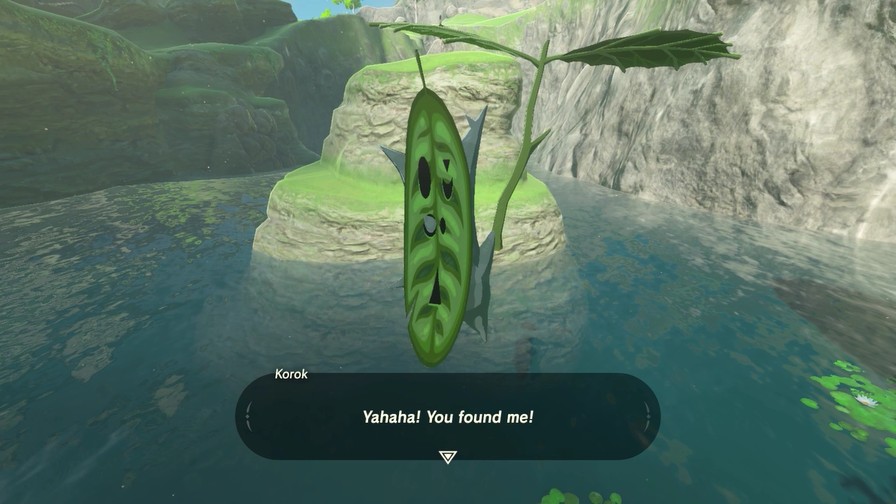
Diving in nets us another Korok Seed.

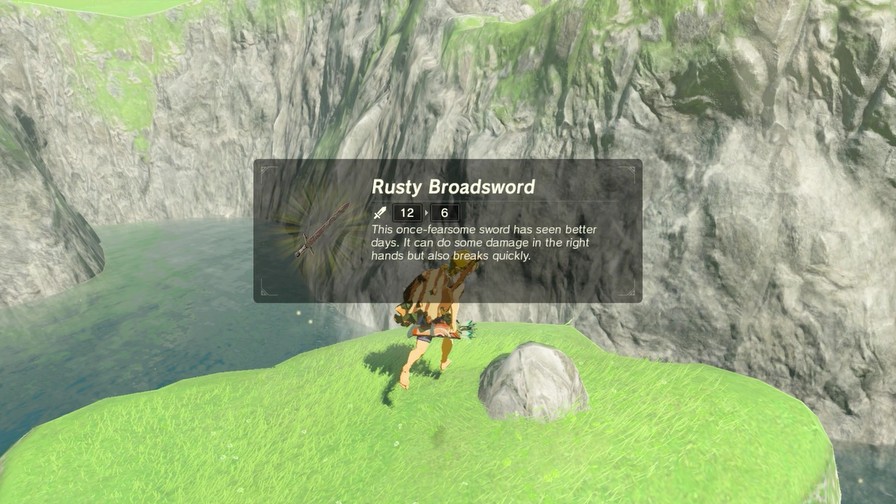
On top of this area is an embedded Rusty Broadsword. Better if we went here earlier, of course.
A few bombable walls around the area. This holds an Opal.
And, of course, bomb fishing. These bombs float on water, and since they’re from a magic rune, will still explode.
They also knock down trees!
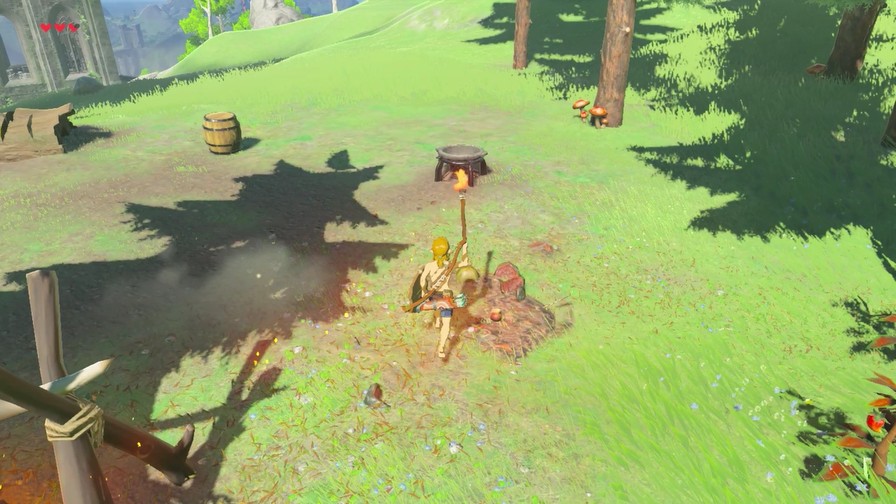
I pick up some fire to light the pot.
…and get a little carried away.
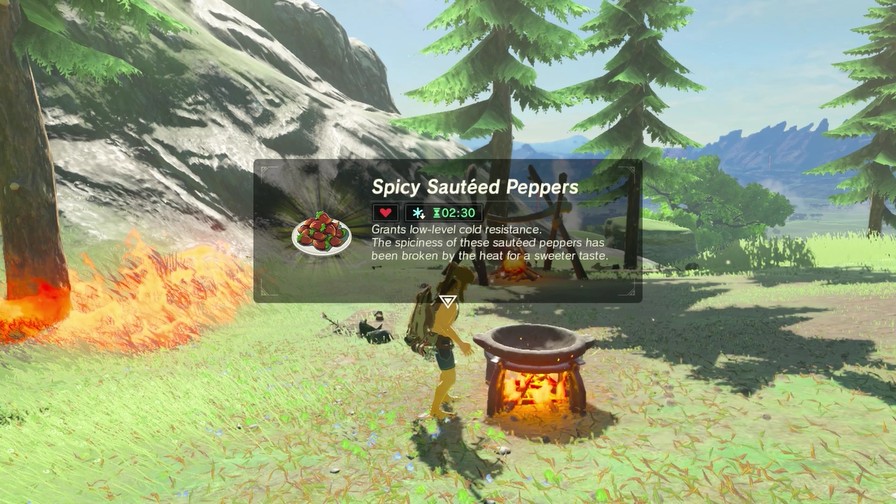
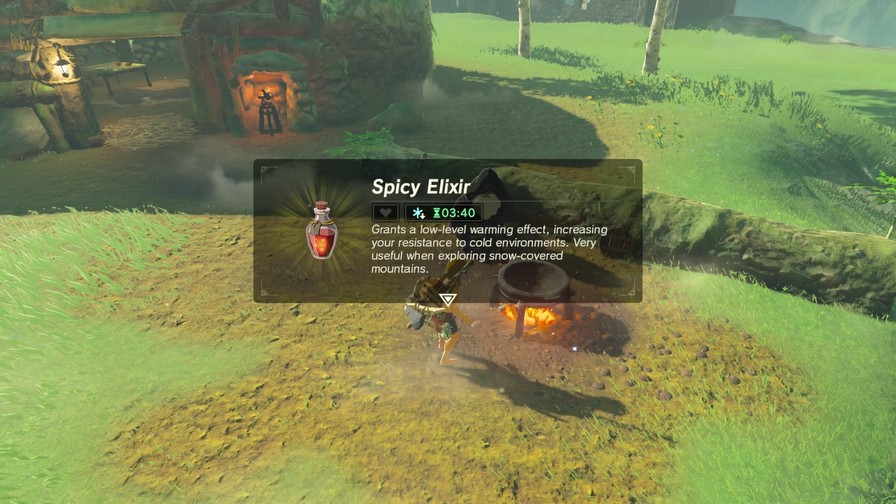
Cooking just a single chili pepper gives us a nice 150-second resistance to cold.
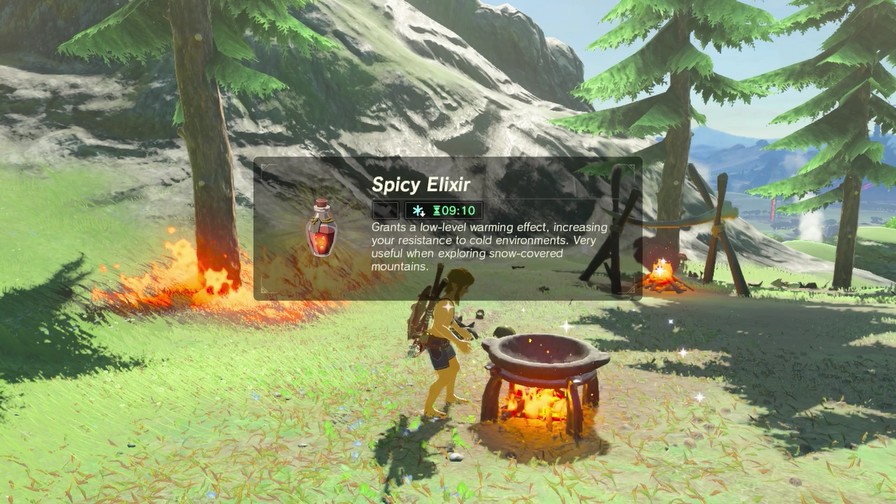
A Summerwing Butterfly, a horn, and three fangs nets me a rather-lengthy elixir. Should be more than enough to get me through the cold!
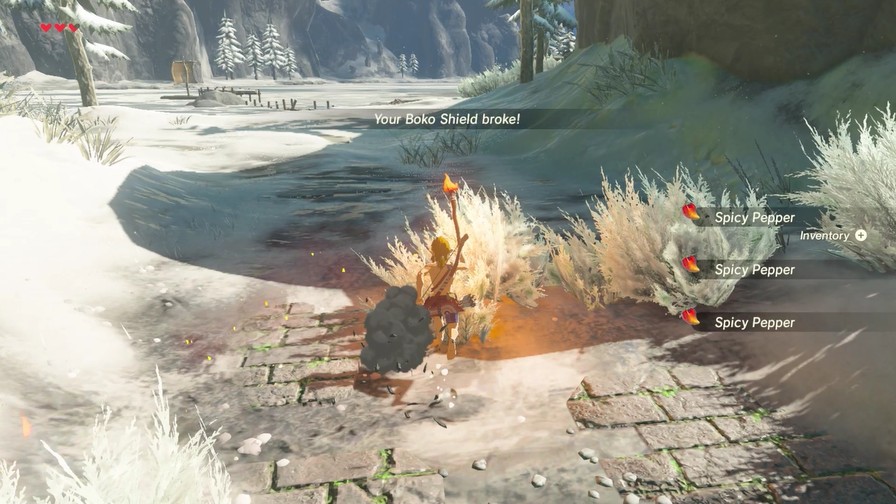
All that playing with fire burns away my shield. Wooden items can catch on fire and burn away, so be careful! Of course, wooden weapons on fire will do more damage.
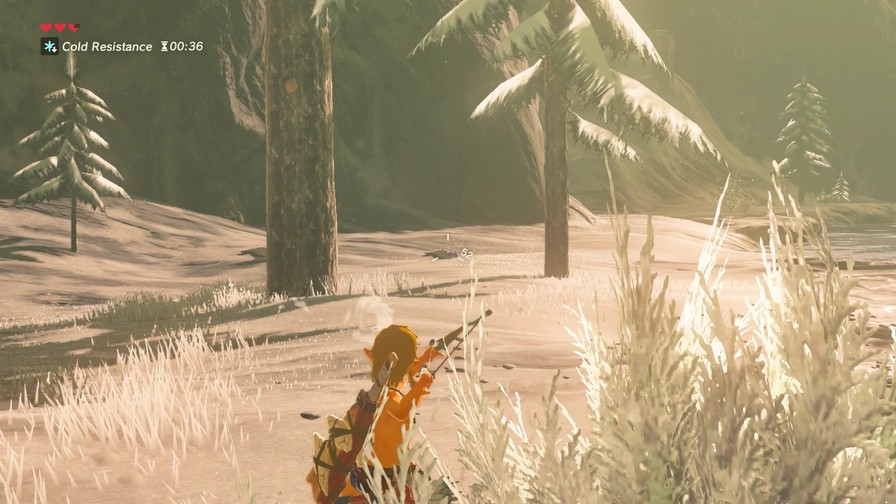
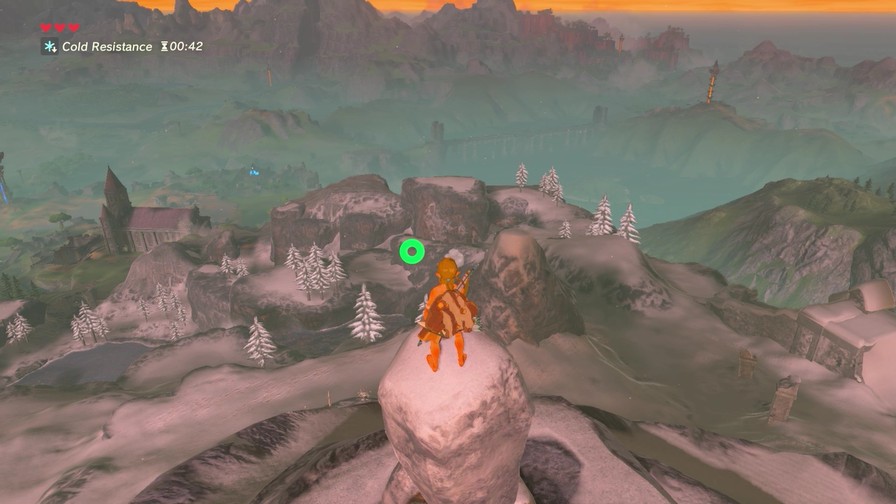
Anyway, we’re at the entrance of the cold mountain range.
There’s several ways across this lake. If we go further down, we’ll see the bridge we saw in the second update. Except we can now use Magnesis on a slab of metal to finish the bridge and cross that way.
Alternatively, we can climb the mountain range to the left and work our way up that way, near where the Statis Shrine is.
I’m not taking either of those ways, though.
First, I’m going to need to use something other than the torch, so time to feast!
There’s a handy Korok Leaf here.
We need to make a bridge, since if we get in the water we take damage very quickly.
Meanwhile, Magnesis up a couple of chests with Amber inside.
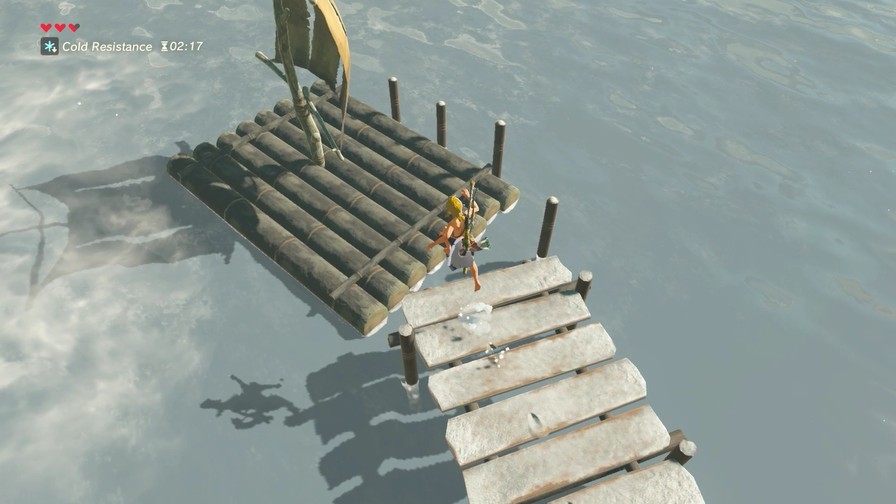
And then make it to this raft!
https://mp4.mega64.net/botw/u05/099.mp4
The raft is stuck on those poles, so it looks less graceful than it really is. But the wind effects of the Korok Leaf make for a great way to navigate a raft.
Sadly, using Magnesis to use a metal weapon or object to propel the raft forward like a motorboat got patched out.
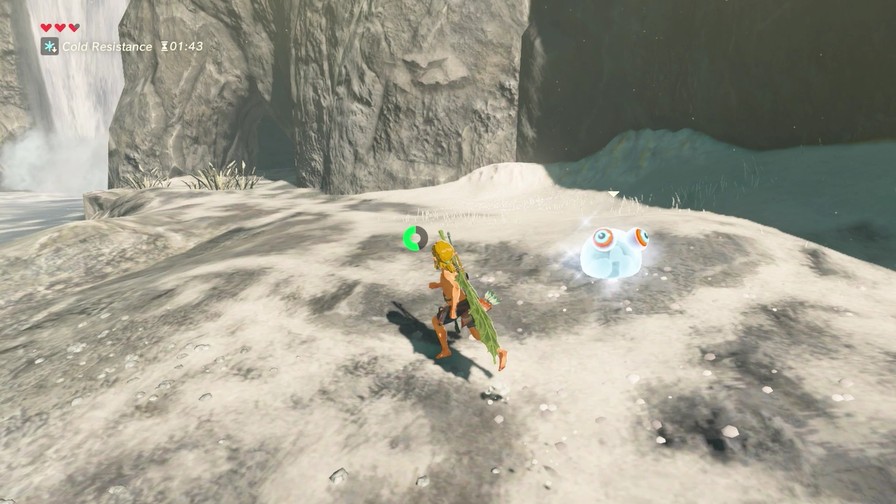
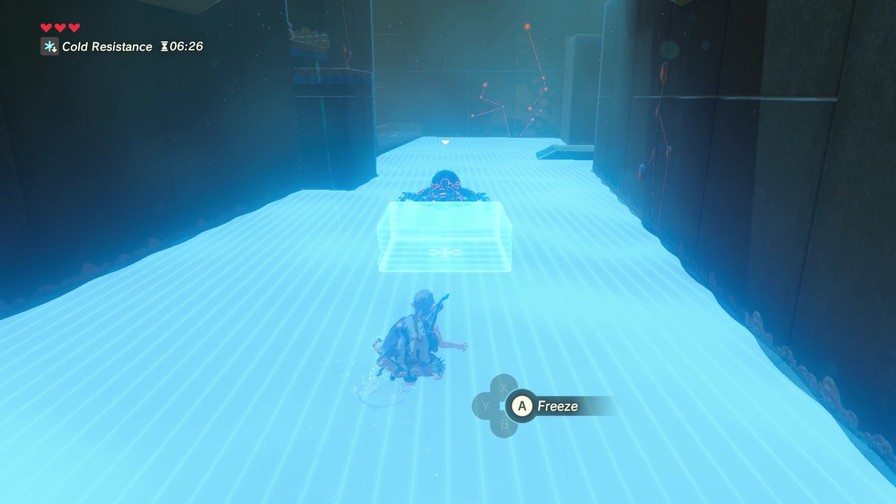
We meet our first Chuchu, an ice type no less.
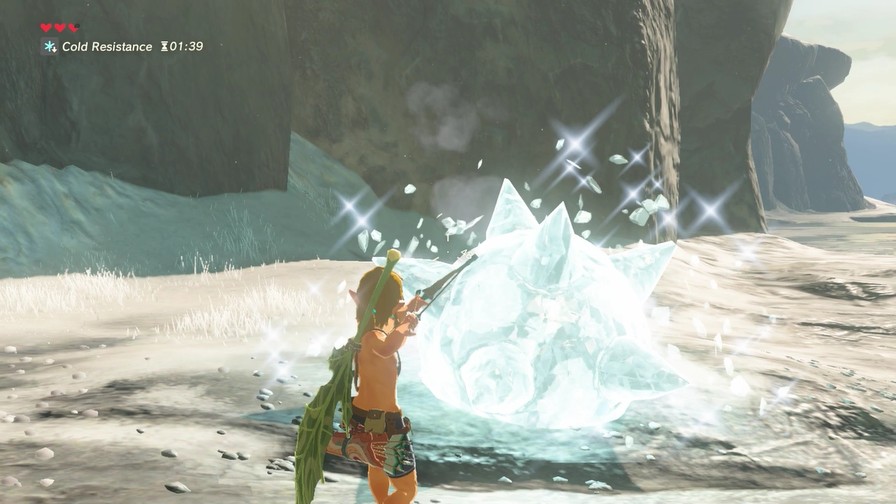
It’ll dive towards you and briefly become vulnerable to melee weapons. Trying to attack one while it’s icy will just freeze you instead.
The best part about Chuchus is they aren’t really that hostile. They’re just giant goofy creatures that want to give you a hug without realizing they’re hurting you.
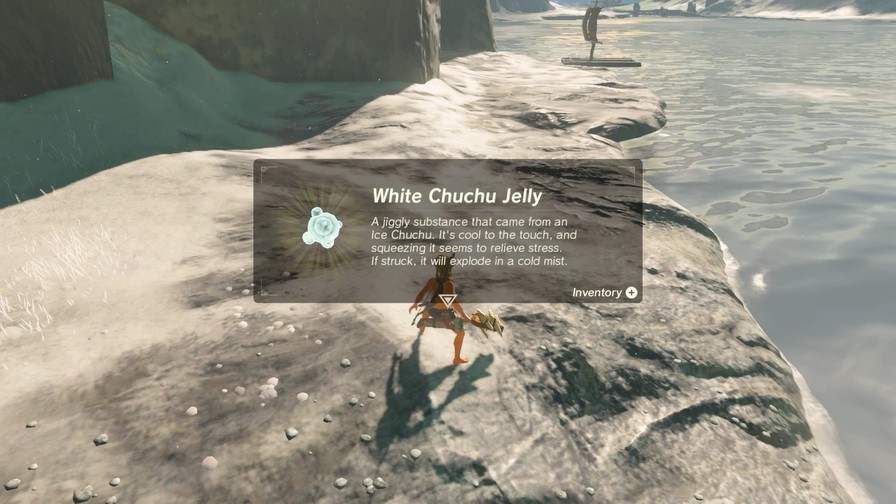
They also drop different types of jelly, depending on the element. This one will freeze nearby enemies if you hit it near them. Thus Chuchu jellies make for effective traps should you trigger them. Not really necessary, but who cares if it’s inventive and fun to utilize?
Behind the left waterfall is a treasure trove.
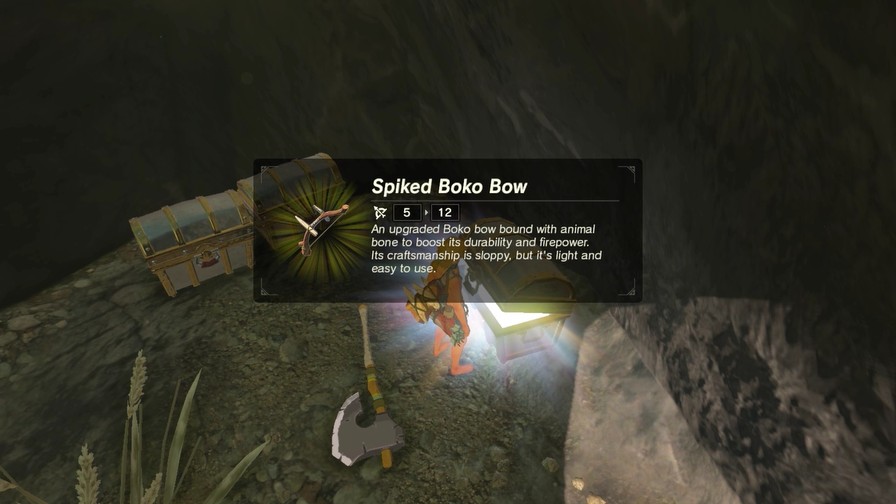
A Spiked Boko Bow, another Soldier’s Broadword, and some regular and Fire Arrows.
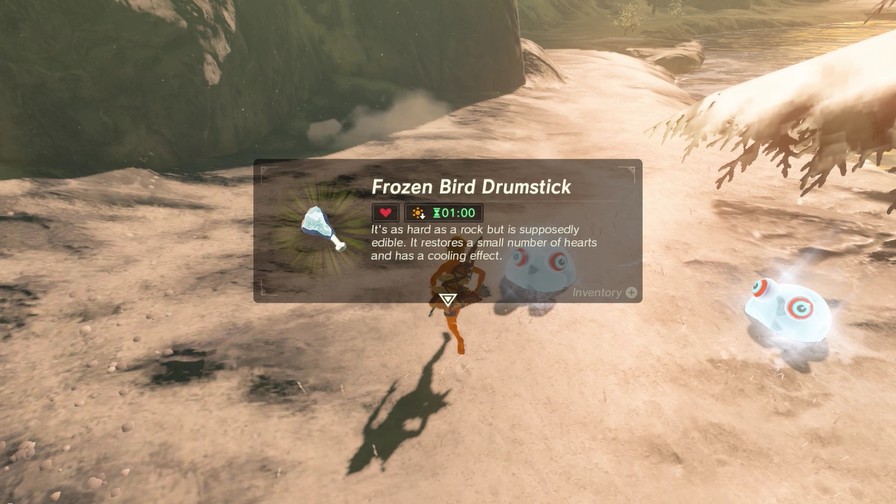
The elements will affect your drops as well. After killing a pigeon, one of the drumsticks froze, giving me this.
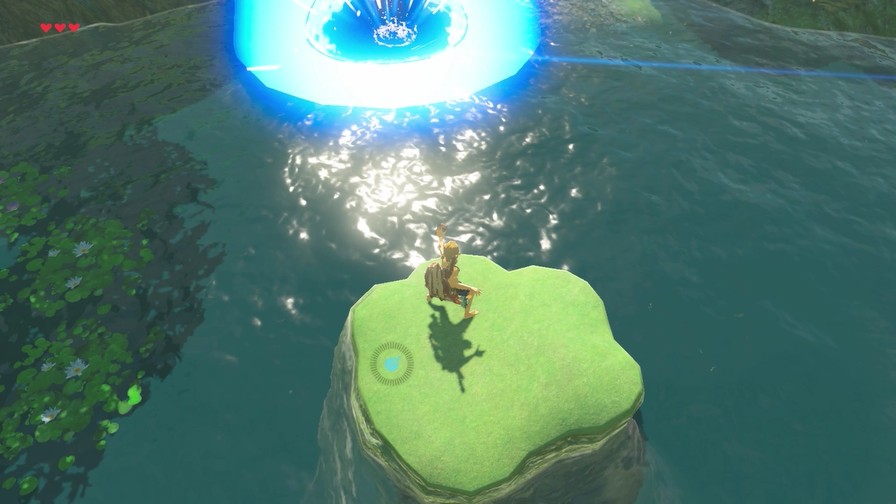
Eventually there’s a path that leads up, and going to the left of that path gets us to the base of this mountain peak.
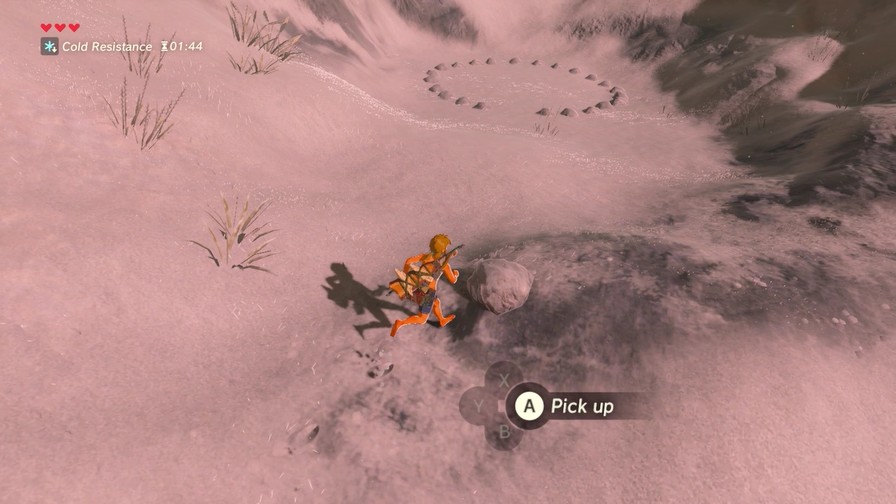
There’s a circle of rocks, with the missing one off to the side.
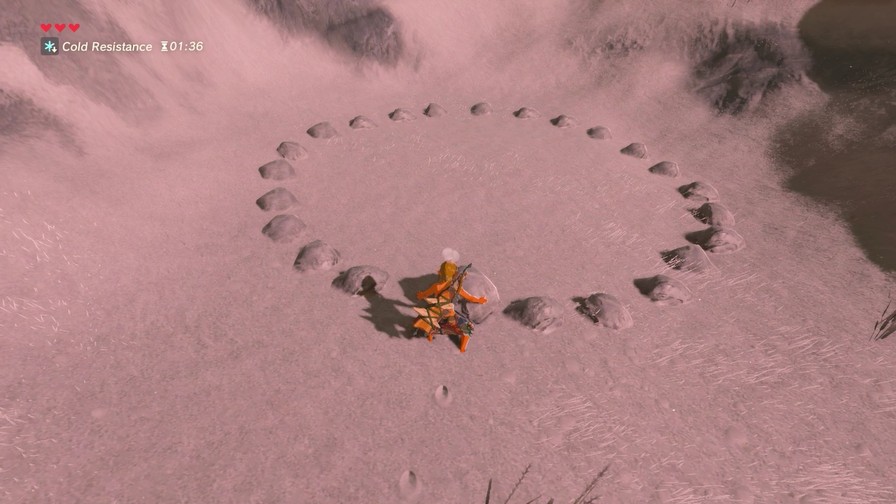
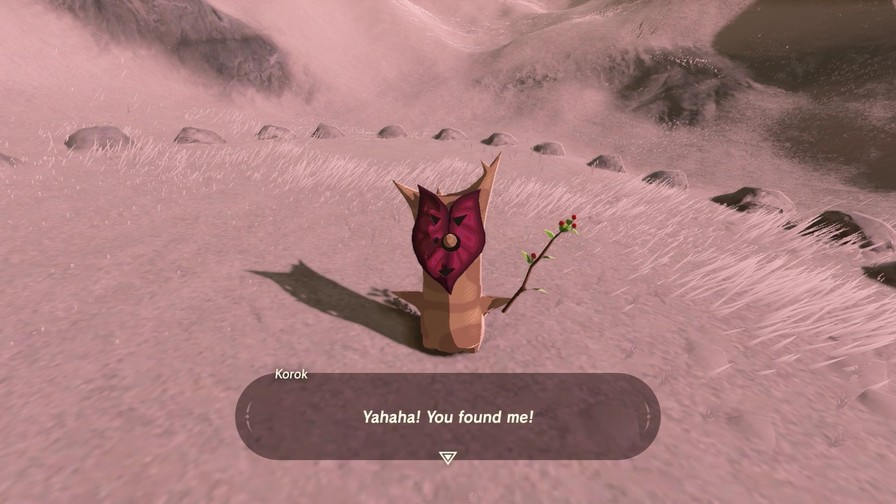
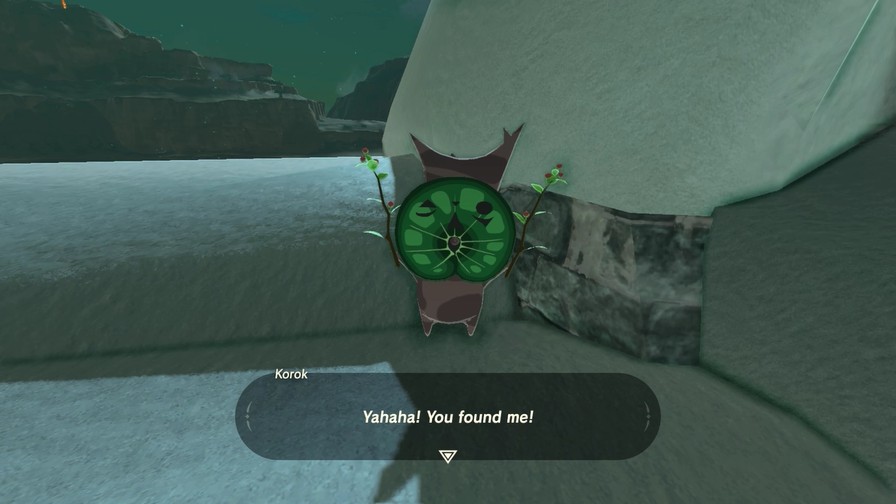
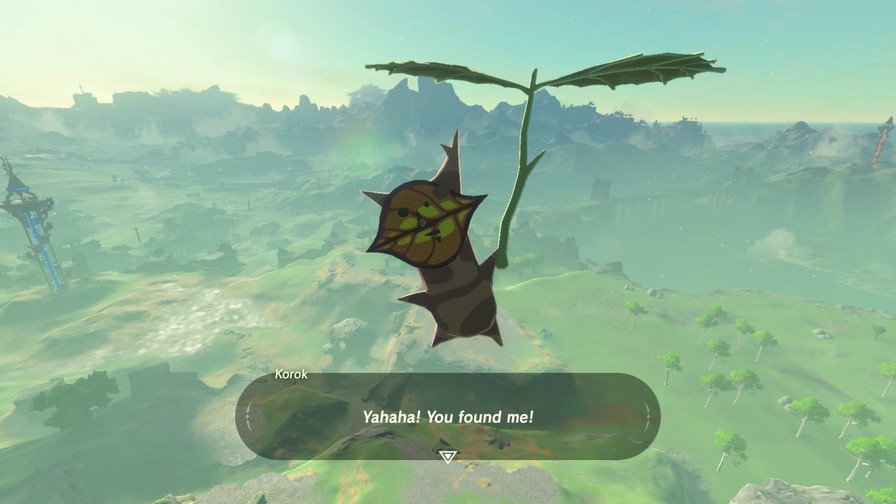
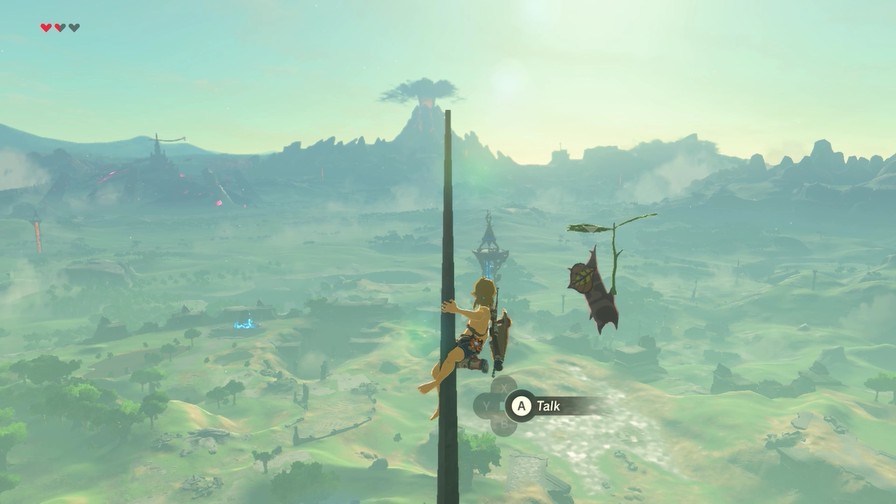
Another Korok puzzle.
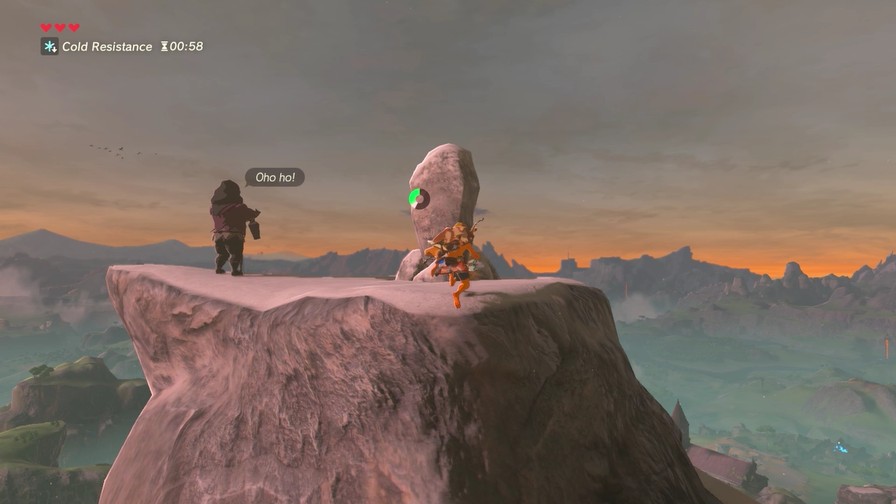
At the top is the Old Man.
Apparently he’ll give you the Warm Doublet here if you hadn’t gotten it yet. I have it but refuse to wear it. Anyway, let’s enjoy the view in the buff.
Use your scope to look for shrines. When you locate one, place a pin on your map as a marker.
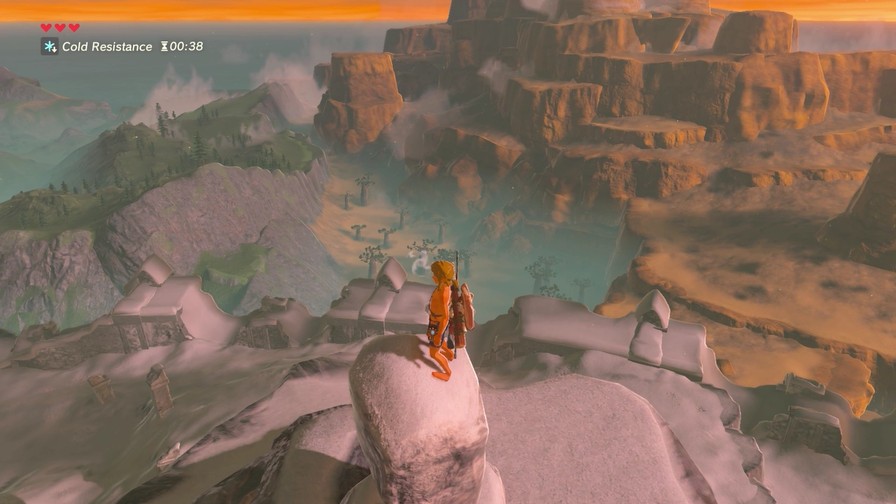
Quite the view, indeed.

Now to the final shrine. On the path to it, yet another camp of Bokoblins. So how do I handle this group?

I ignore them and climb to the top. I’m kinda tired of dealing with these weaklings at this point.
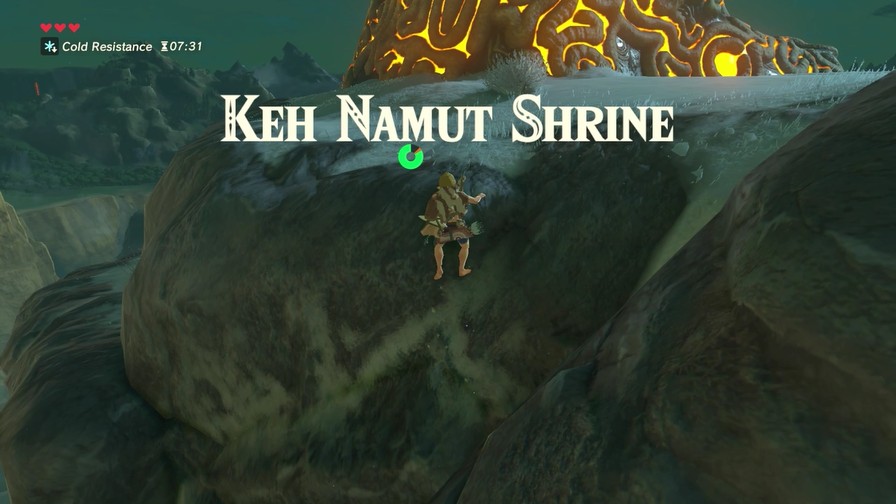
Eventually, I reach the final shrine of the Great Plateau.
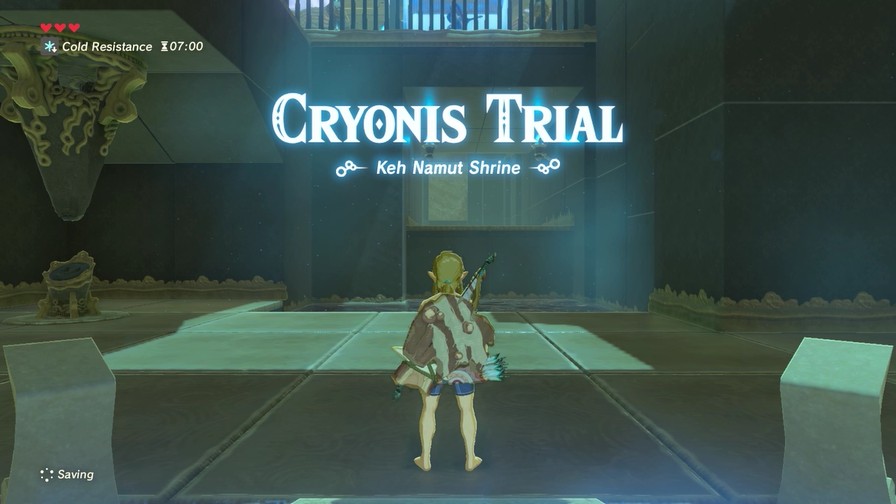
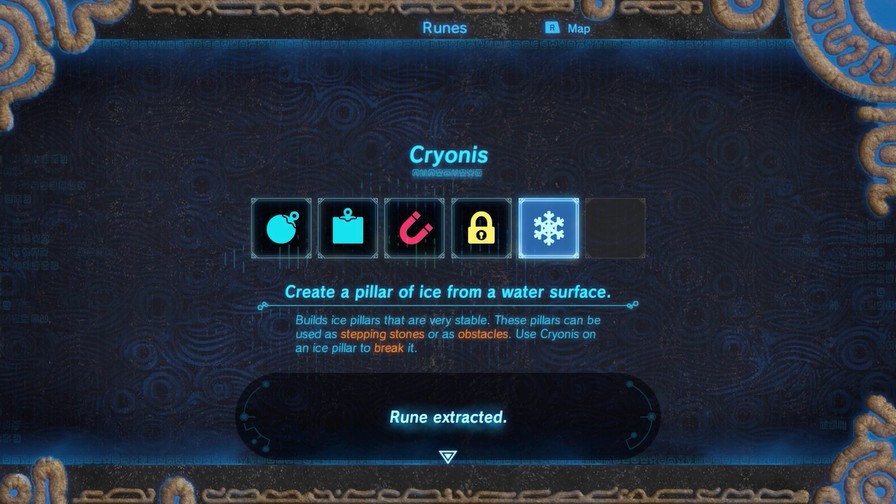
The final rune for now is Cryonis. It’s the most simple of the bunch.
https://mp4.mega64.net/botw/u05/131.mp4
Use it on water to make a pillar of ice. There you go.
It’s much more limited compared to the others, and its uses are much more obvious. But don’t get me wrong, it’s still very handy and can be used creatively. If nothing else, you can use it to cross great stretches of water without running out of stamina from swimming.
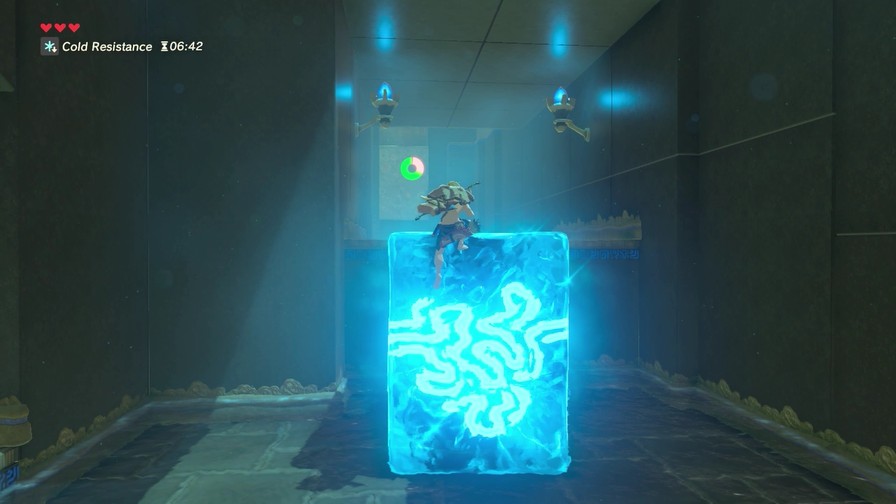
A gate blocks the path?
Cryonis! Note you can only have three pillars up at a time. Try to make a fourth, and the earliest-made pillar breaks. Of course, you can also use the power to break ice pillars you’ve already made.
There’s another guardian scout here. I guess the idea is use cyronis pillars to block its lasers.

It works better in theory than in practice though, so I just wallop it instead.
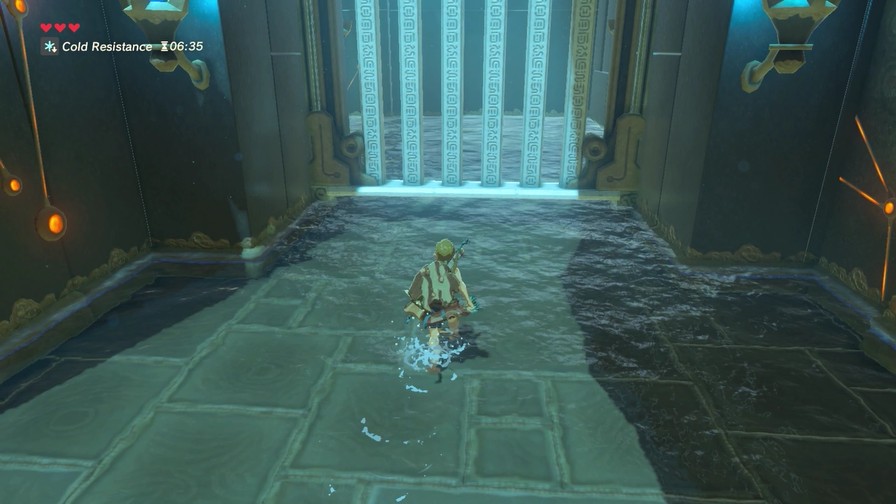
So what’s the solution to thi-
Oh you already know it’s freaking Cryonis.
Rule of Thumb: If water’s involved, it’s probably Cryonis.
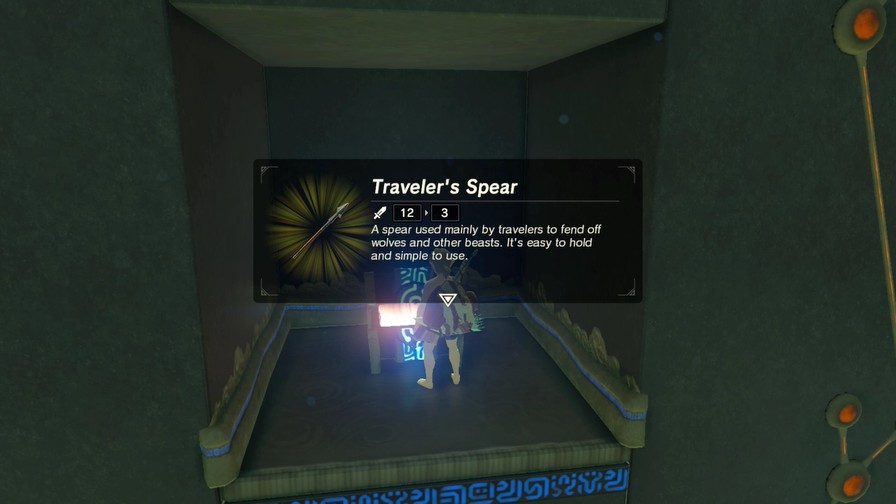
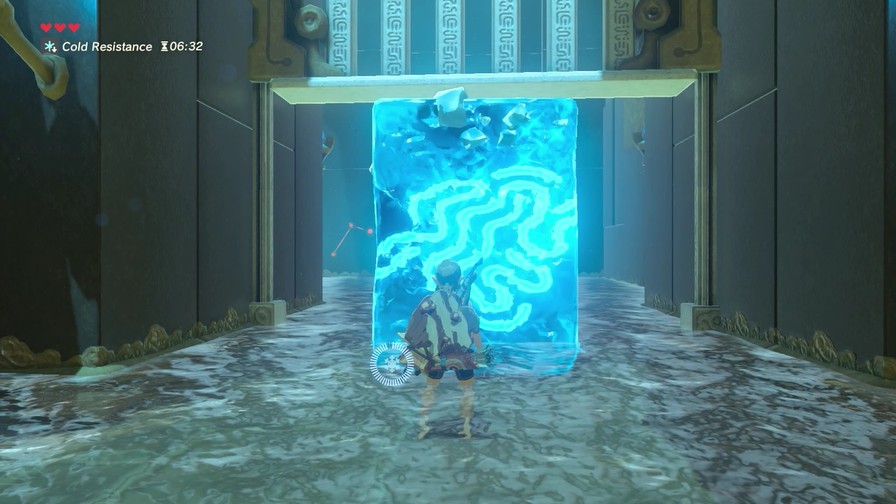
And another spear for the chest here.
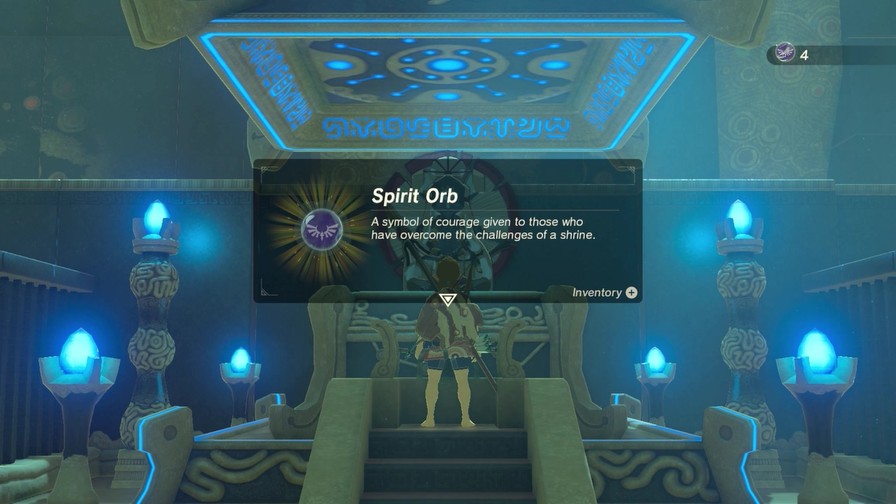
And that completes our fourth shrine! We’ve got all four shrines finished!
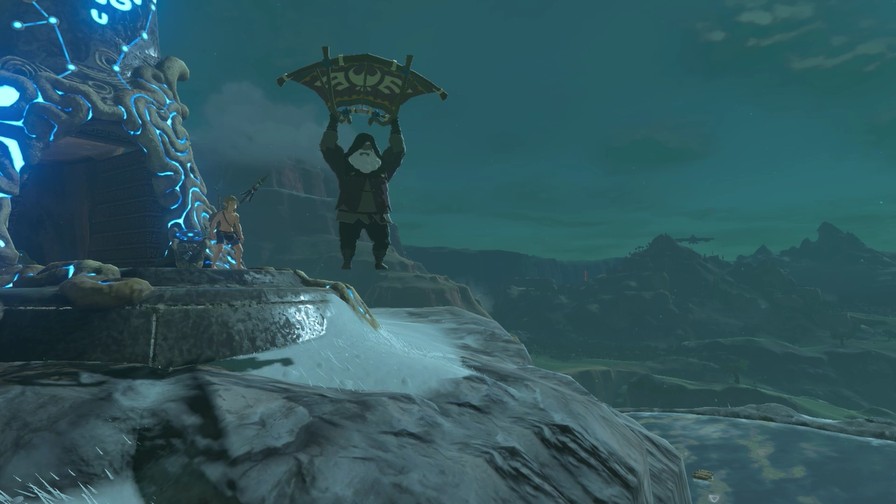
And look who decided to visit us!
Oho ho! Extraordinary!
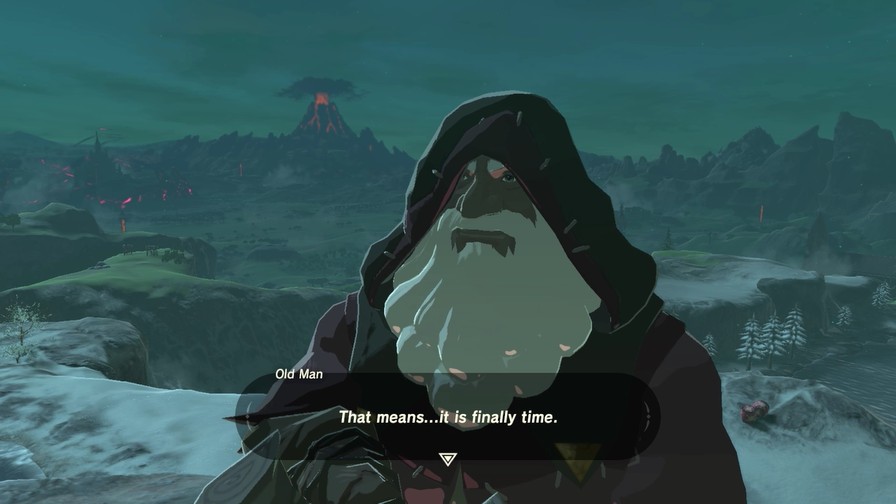
Link, it is finally time for me to tell you everything. But first…
I shall wait for you there.
https://mp4.mega64.net/botw/u05/152.mp4
Uh…huh…
Next time, we get our rewards, get a nice old plot dump, and finally finish up the tutorial!
Speaking of rewards, which Spirit Orb reward should we obtain, a Heart Container or Stamina Vessel?
1 Like
…how does he enjoy that spicy fish and meat when he’s dead!?
Anyway, my vote is for heart container.
I want Link to have enough stamina so that he can scale the tallest mountain in the game in one sitting. Then he can worry about health.

Stamina it is! Which is good because I already had recorded the next update taking the stamina upgrade.
Update either tonight or tomorrow.
Cryonis is the one rune that would have been wayyyyy more useful if I remembered I had it all over the place on the overworld.
1 Like

Click here to open the update!
Note this is a poor idea early on since you can take fall damage in this game. It should become slightly better once we get the paraglider, though.
Speaking of which! We’ve done all four shrines, so we’re about done with the Great Plateau! But first, a couple of things.
This wood chest cannot be Magnesised, but we can take advantage of it floating!

It contains an Opal.
Up top is a frozen block of ice.
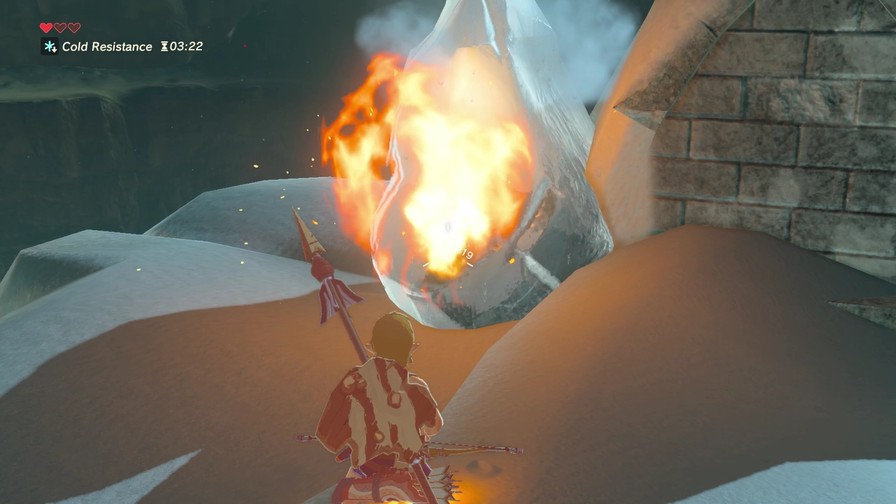
Fire of all varieties work, some better than others. Right now the only reliable fire method I have though are Fire Arrows, so four of these melt the ice…
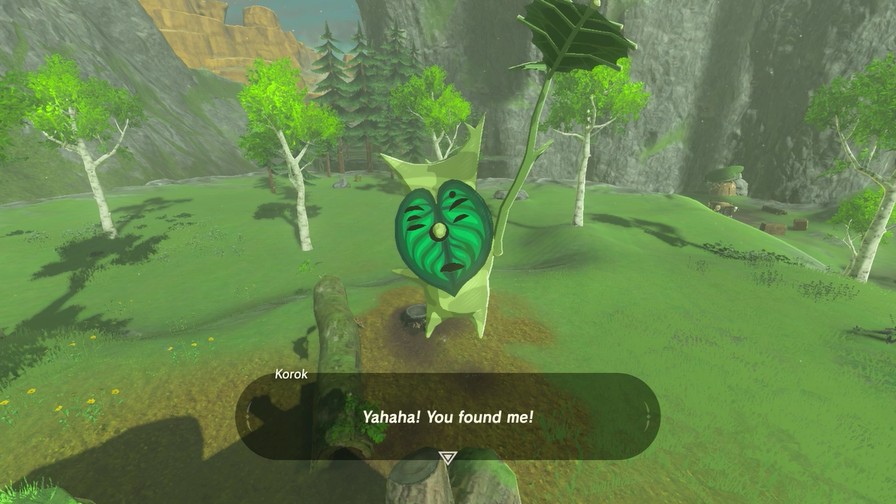
…and net us a Korok!
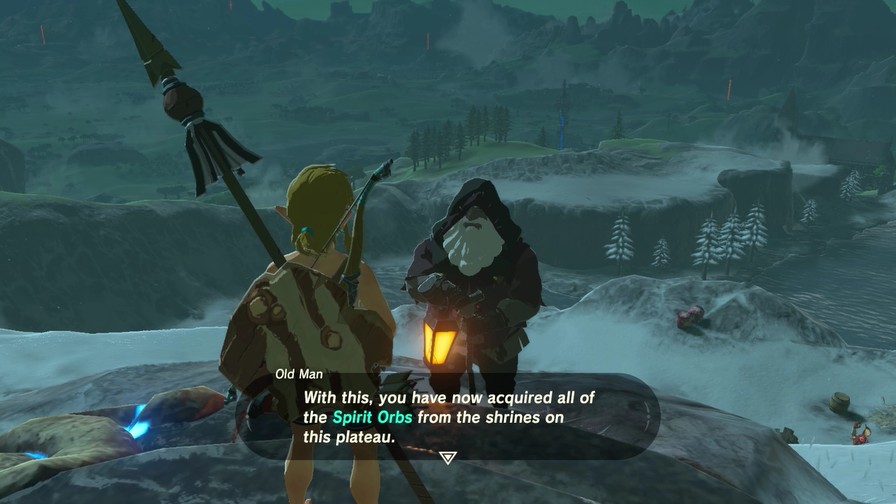
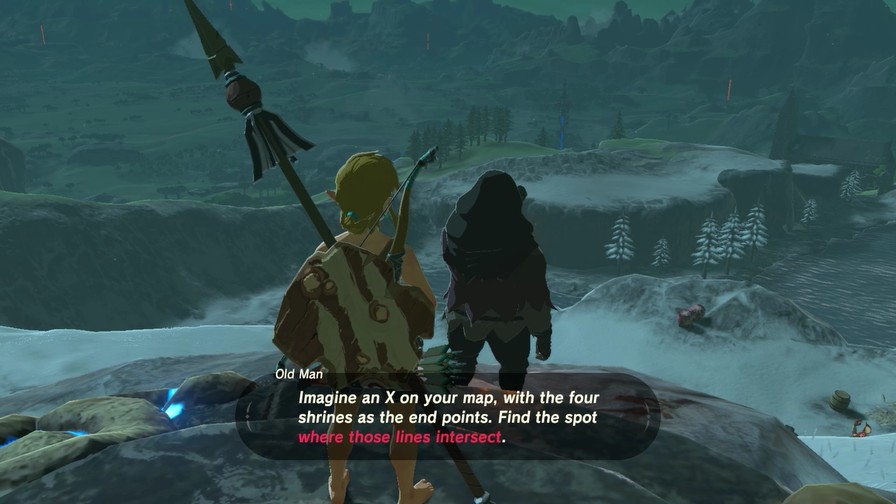
The Old Man said to go where the four shrines intersect. Hard to see from here, but that is describing the Temple of Time.
Now that we have four Spirit Orbs, the goddess statue is shining.
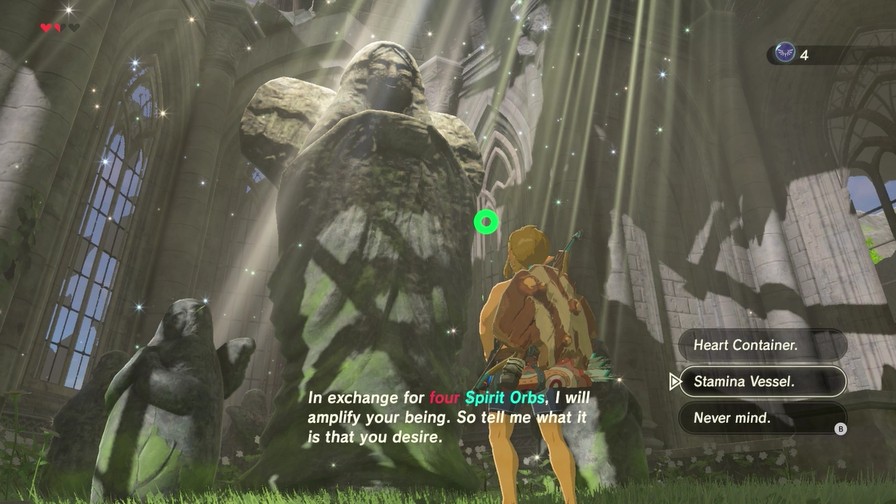
You guys ultimately voted for the Stamina Vessel. Which works for me because that’s what I picked before asking you guys and it means I don’t have to replay this section again.
https://mp4.mega64.net/botw/u06/016.mp4
We gain a fifth of a stamina wheel. We can have three circles max, so we can only get ten Stamina Vessels before we can no longer increase stamina (outside of foods that temporarily boost max stamina, of course). More stamina is always nice because it makes exploration easier, and exploration is always fun to do in this game.
https://mp4.mega64.net/botw/u06/017.mp4
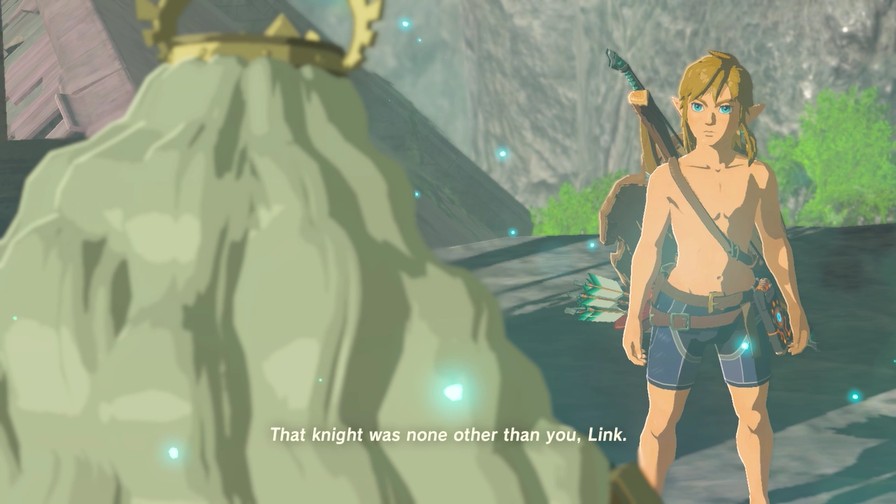
Suddenly, someone shouts out to Link. Considering we’ve literally only met one other person on this plateau, it can only be…
Here I am… Get up here-quickly!
Fortunately, there’s a ladder to the roof right outside the temple.
I was not aware of this ladder the first time I played this game. Fortunately the front end is varied enough to make climbing it the old-fashioned way viable.
Once we reach the old man, we get a rather lengthy cutscene that serves as this game’s backstory. It’s got some voice acting and some nifty visuals, but I’ll also recap it here.
Now, then… The time has come to show you who I truly am.
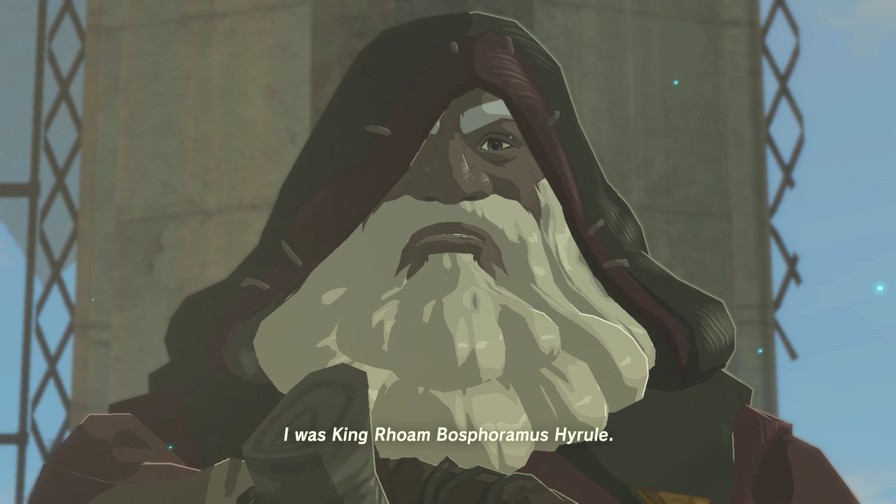
I was…the last leader of Hyrule. A kingdom which no longer exists.
Music: The Last King of Hyrule
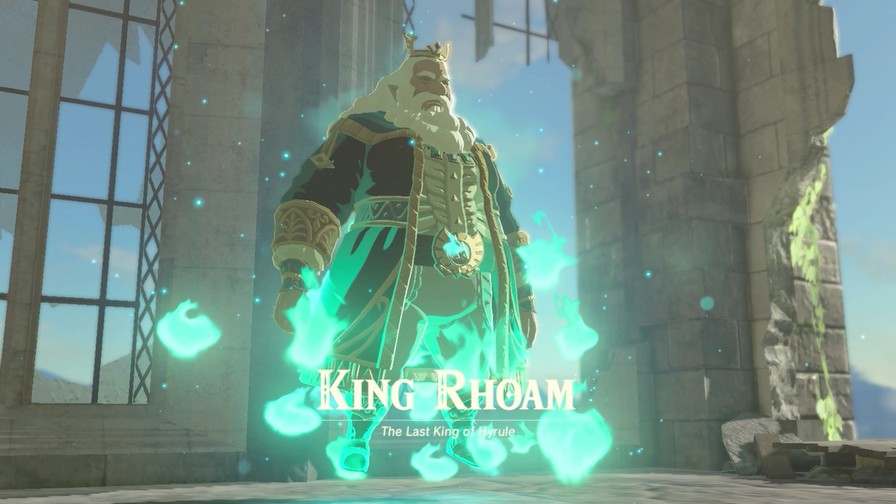
Yes, the old man watching over Link was no mere wanderer, but the spirit of the last king of Hyrule, one hundred years before Calamity Ganon struck.
The music here is a nice callback to the Hyrule Castle theme, first appearing in Link to the Past and then popping up here and there in other games since.
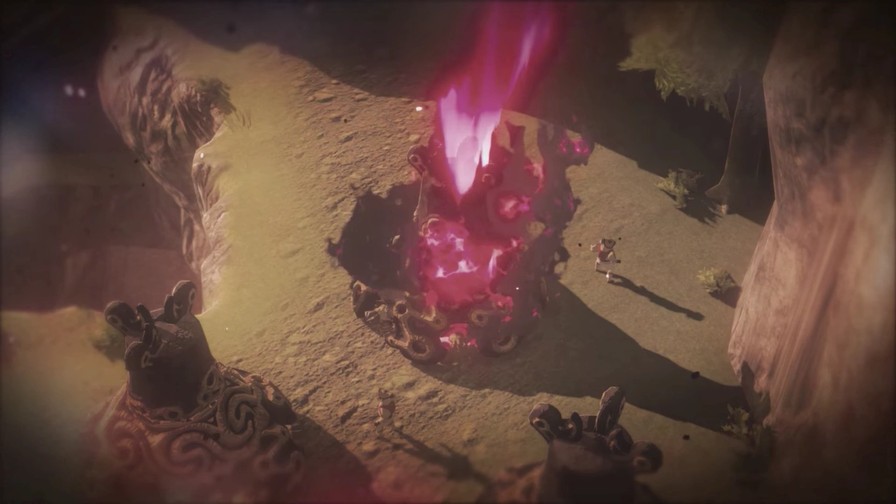
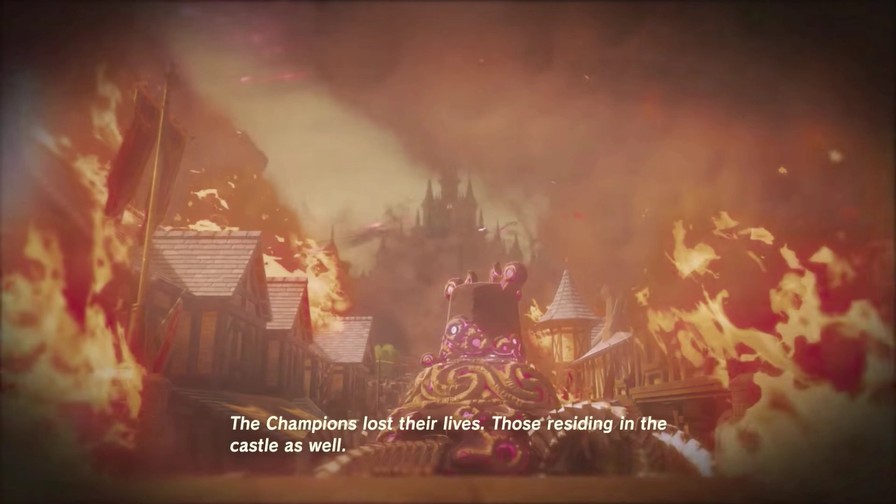
 The Great Calamity was merciless… It devastated everything in its path, lo, a century ago. It was then that my life was taken away from me.
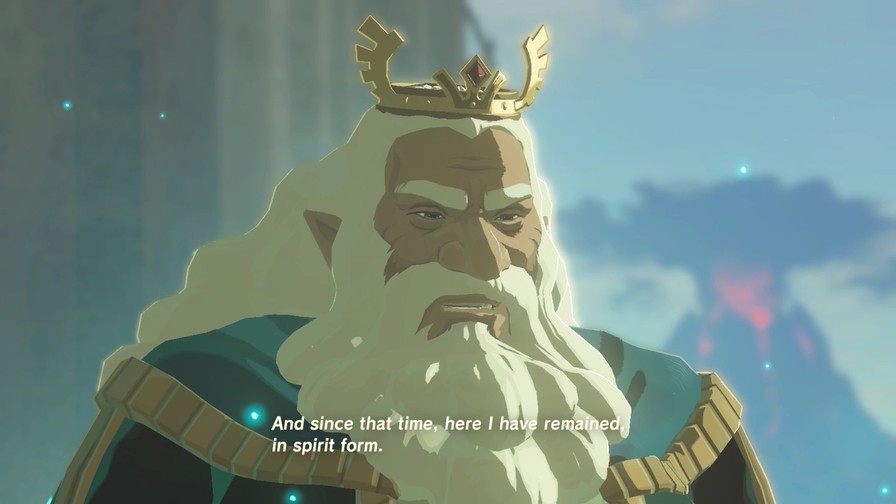
I did not think it wise to overwhelm you while your memory was still fragile. So rather than that, I thought it best to assume a temporary form.
I think you are now ready.
The demon king was born into this kingdom, but his transformation into Malice created the horror you see now.
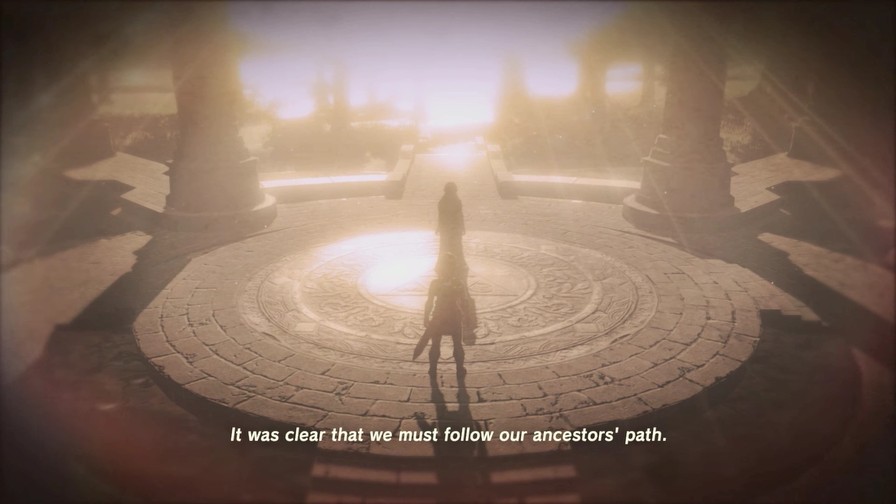
But there was also…a prophecy. “The signs of a resurrection of Calamity Ganon are clear. And the power to oppose it lies dormant beneath the ground.”

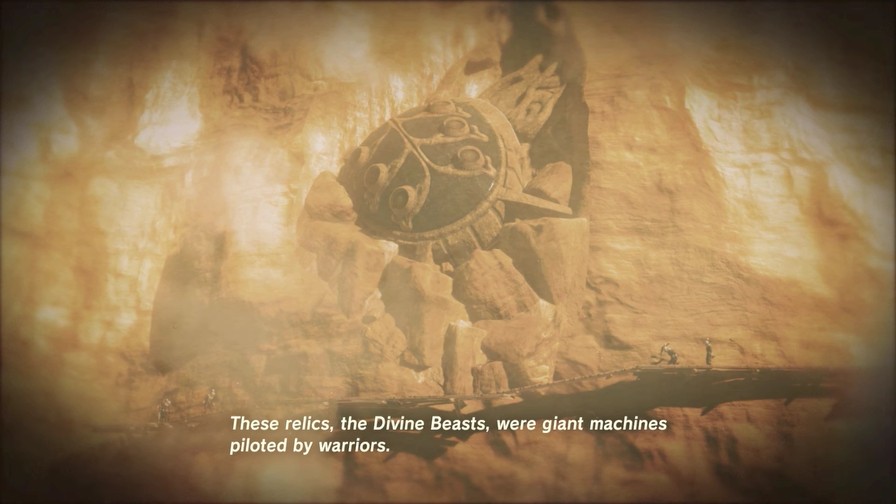
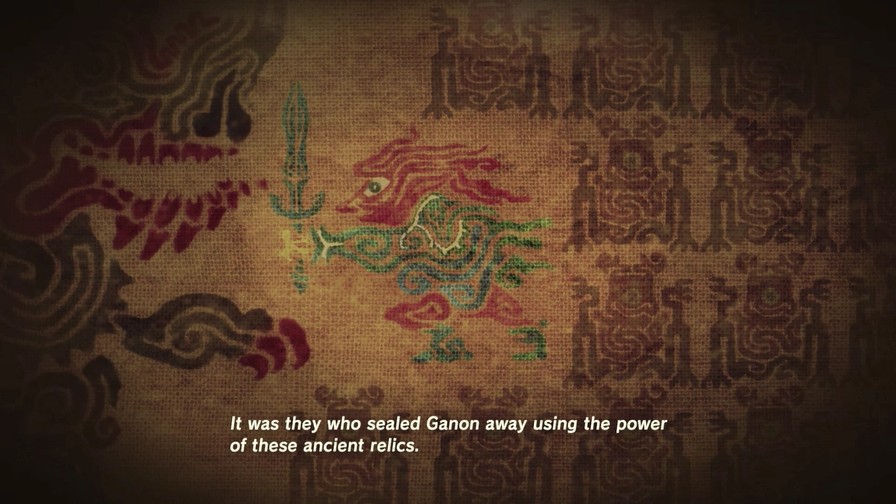
It wasn’t long before we discovered several ancient relics made by the hands of our distant ancestors.
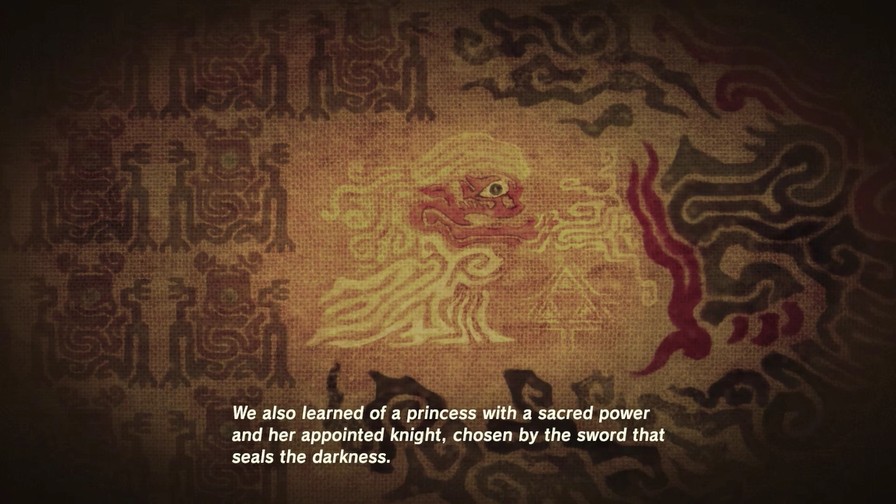
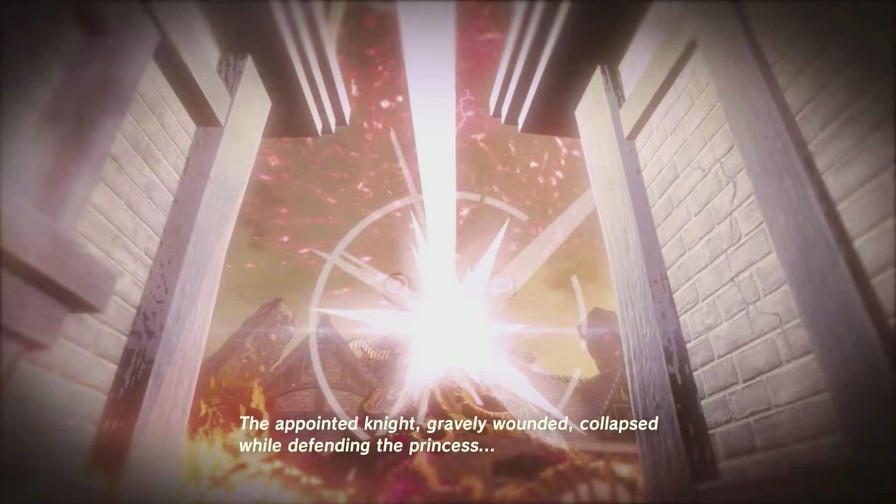
One hundred years ago, there was a princess set to inherit a sacred power and a skilled knight at her side.
We selected four skilled individuals from across Hyrule and tasked them with the duty of piloting the Divine Beasts.
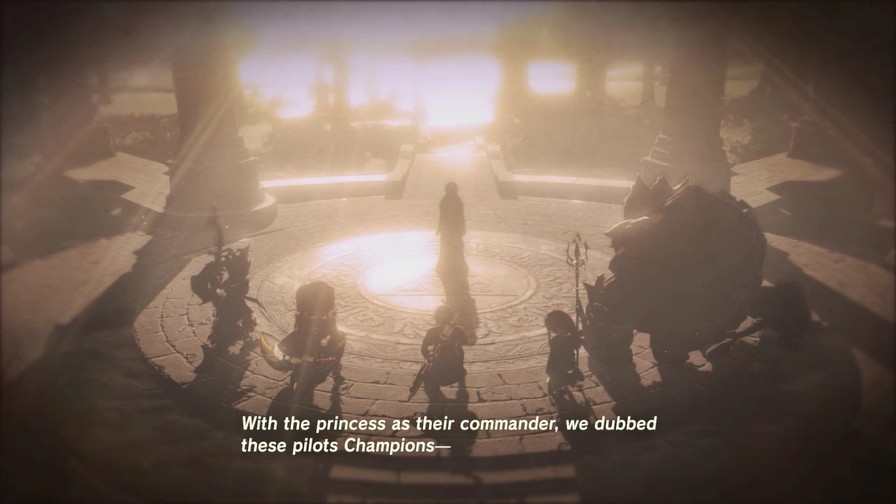
…a name that would solidify their unique bond. The princess, her appointed knight, and the rest of the Champions were on the brink of sealing away Ganon…
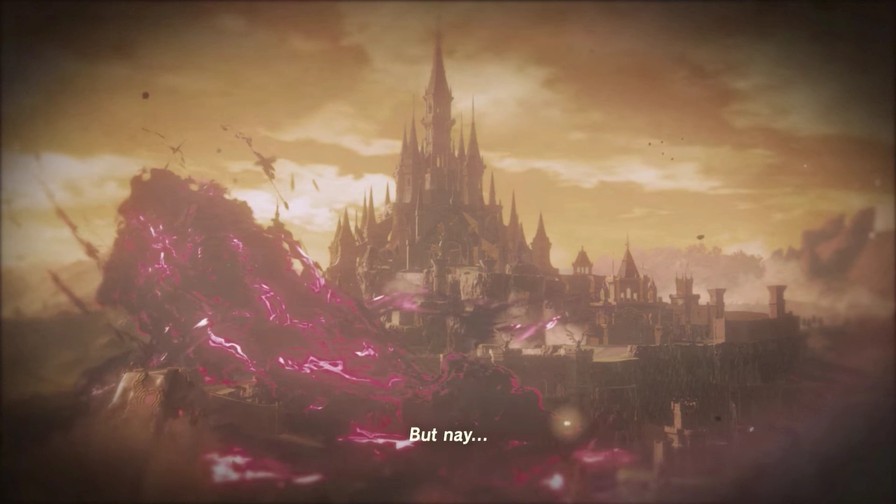
Ganon was cunning, and he responded with a plan beyond our imagining.
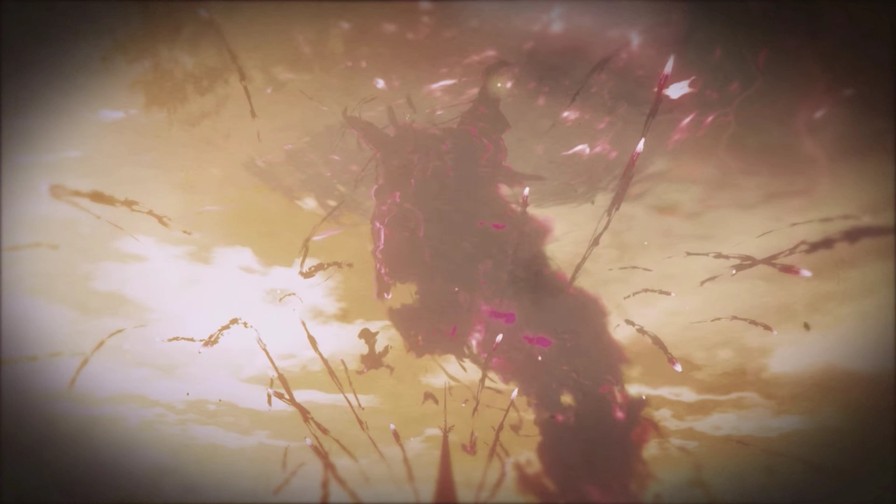
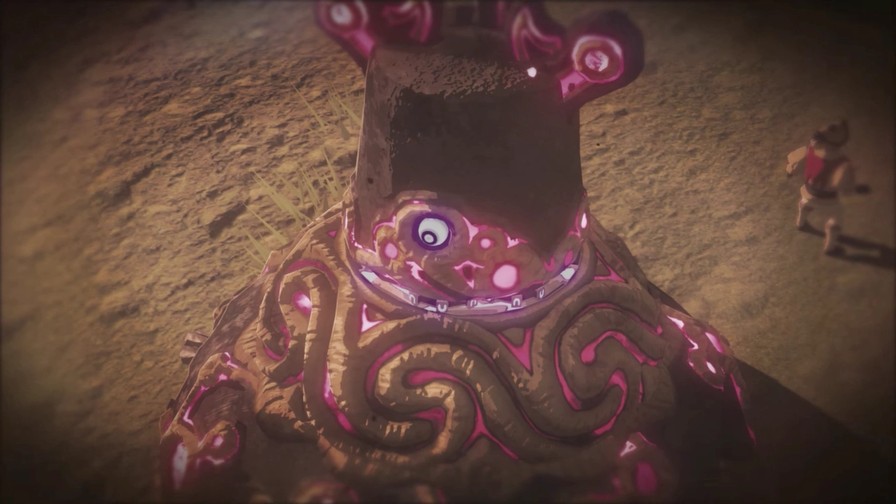
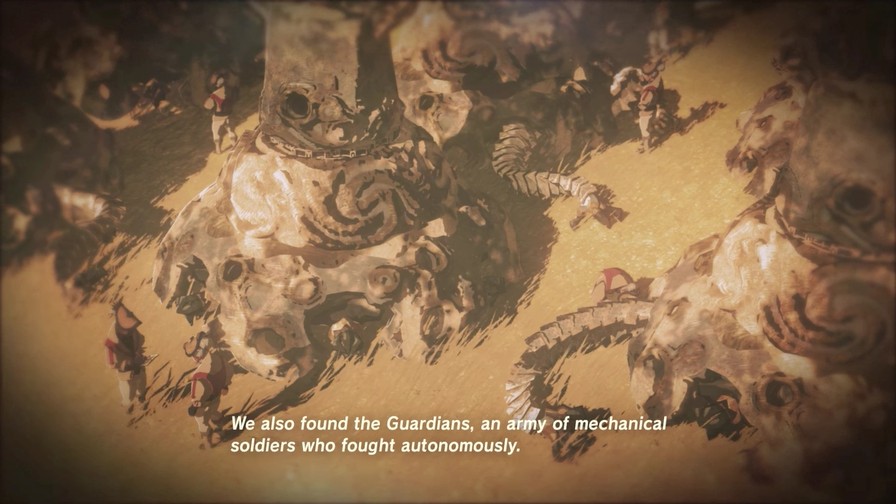
He appeared from deep below Hyrule Castle, seized control of the Guardians and the Divine Beasts, and turned them against us.
However…

 Link…
Link…
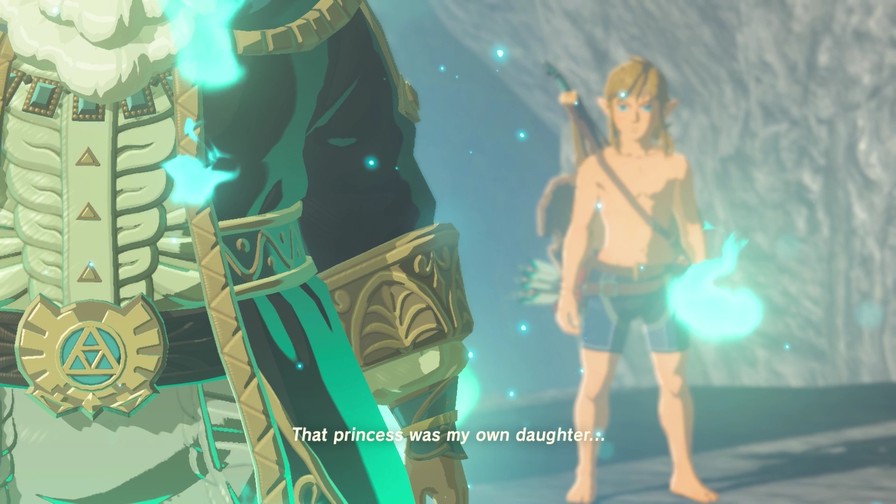
My dear Zelda.

You fought valiantly when your fate took an unfortunate turn. And then, you were taken to the Shrine of Resurrection. Here you now stand revitalized, 100 years later.
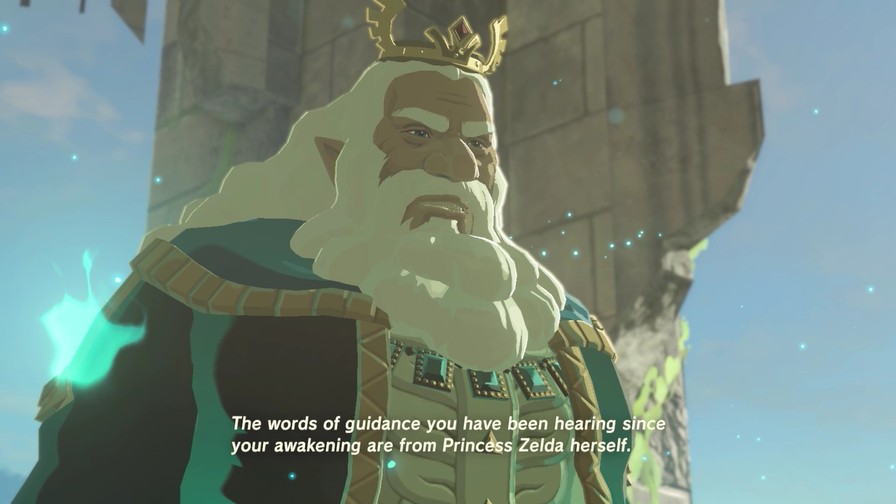
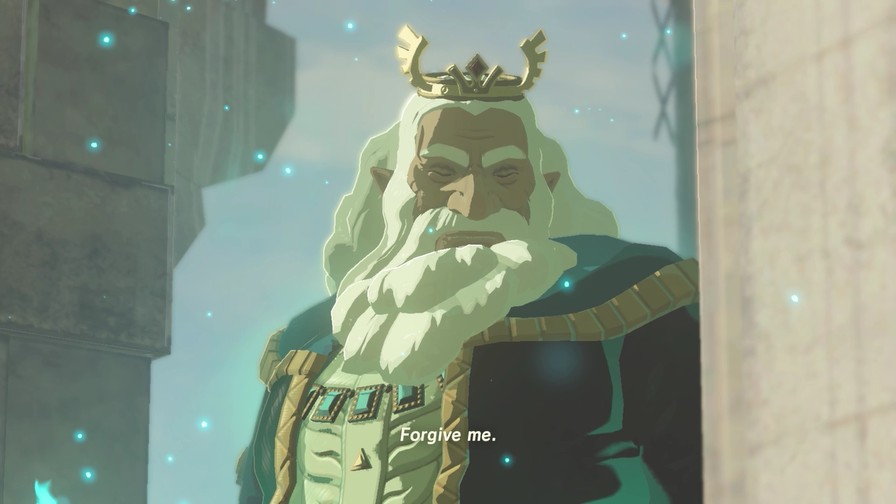
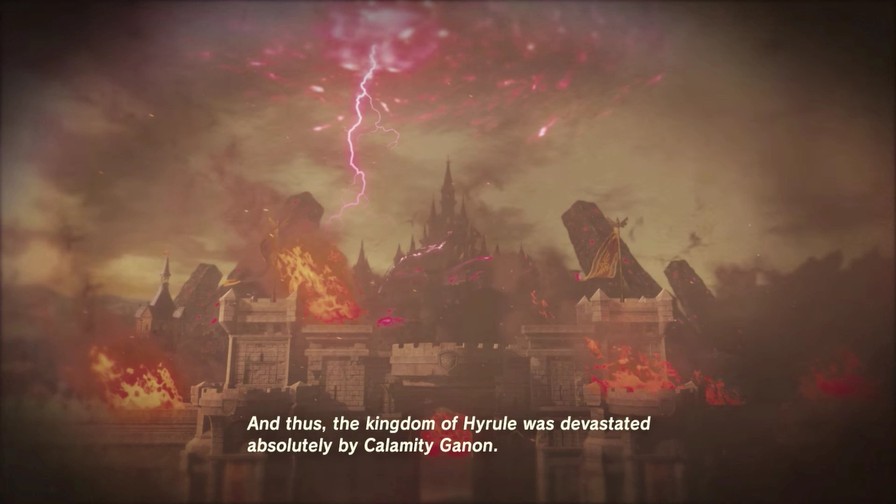
Even now, as she works to restrain Ganon from within Hyrule Castle, she calls out for your help. However, my daughter’s power will soon be exhausted. Once that happens, Ganon will freely regenerate himself and nothing will stop him from consuming our land. Considering that I could not save my own kingdom, I have no right to ask this of you, Link…
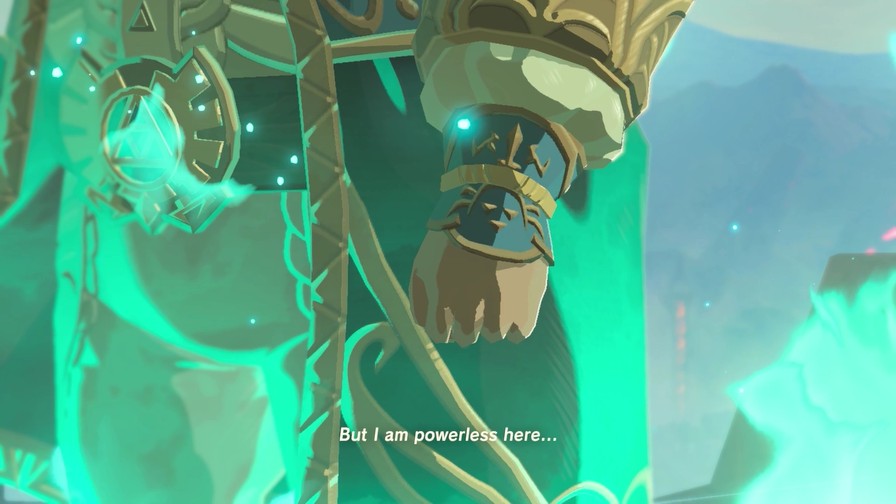
You must save her…my daughter.
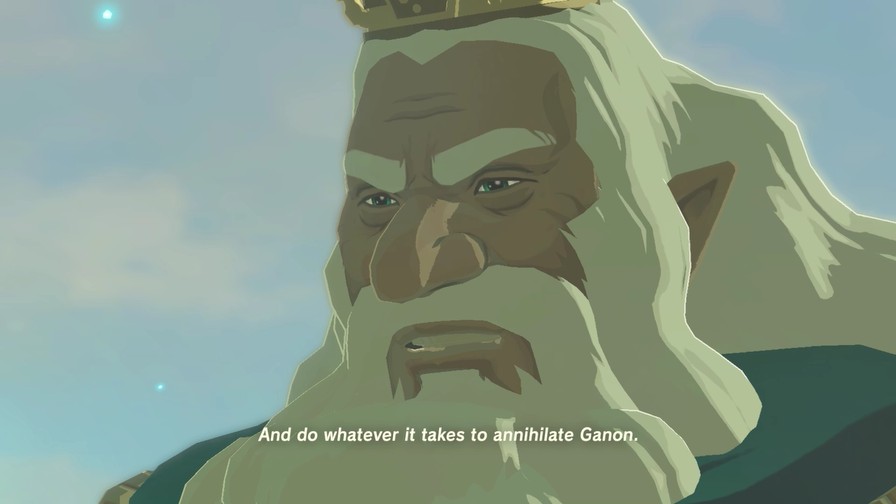
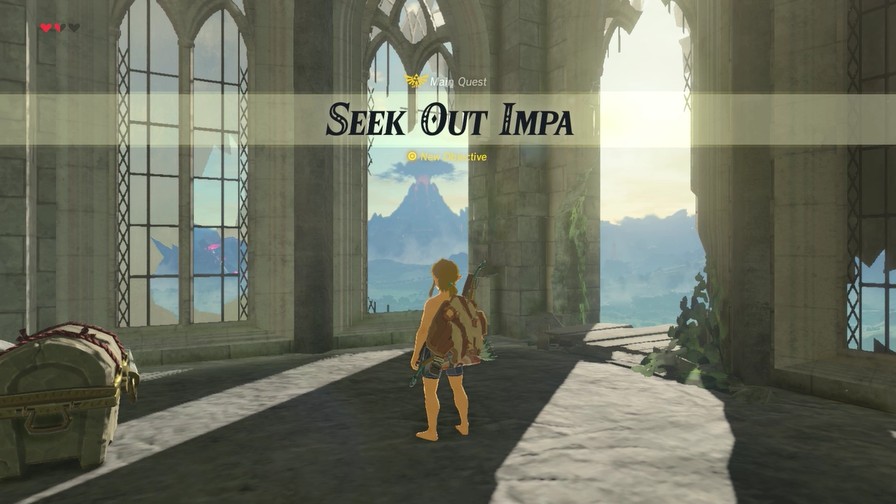
Somehow, Ganon has maintained control over all four Divine Beasts, as well as those Guardians swarming around Hyrule Castle. I believe it would be quite reckless for you to head directly to the castle at this point. I suggest…that you make your way east, out to one of the villages in the wilderness.
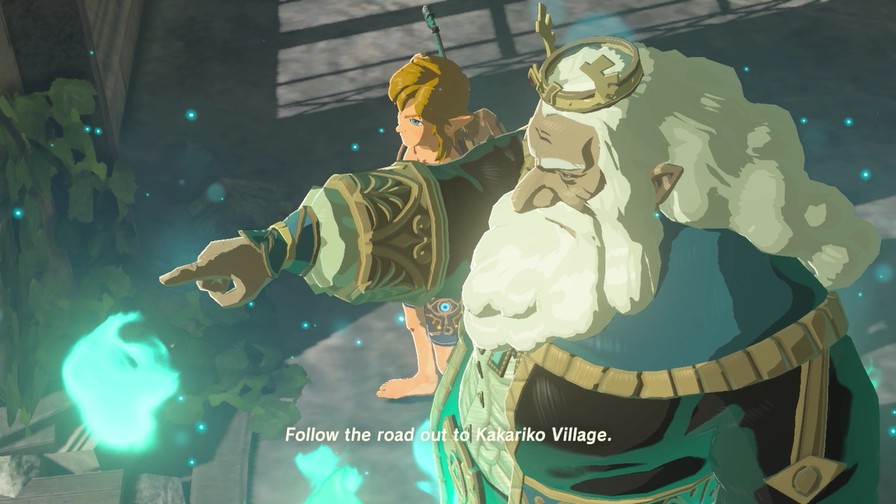
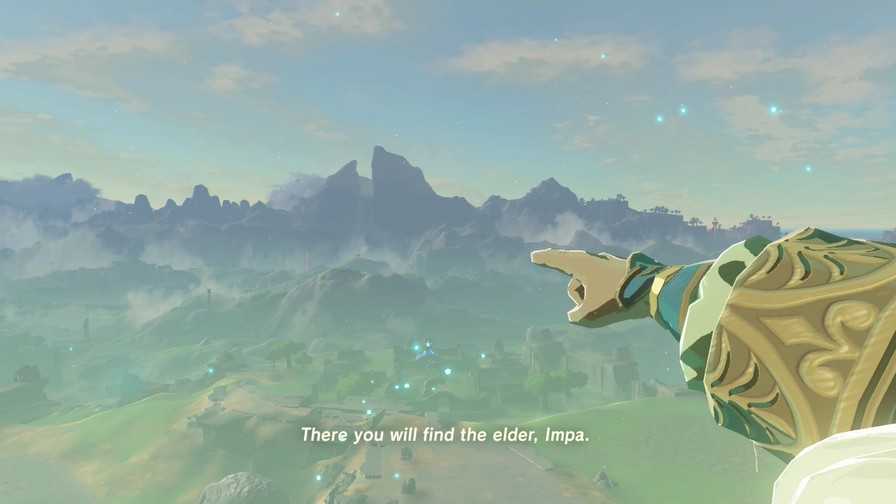
She will tell you more about the path that lies ahead.
Make your way past the twin summits of the Dueling Peaks.
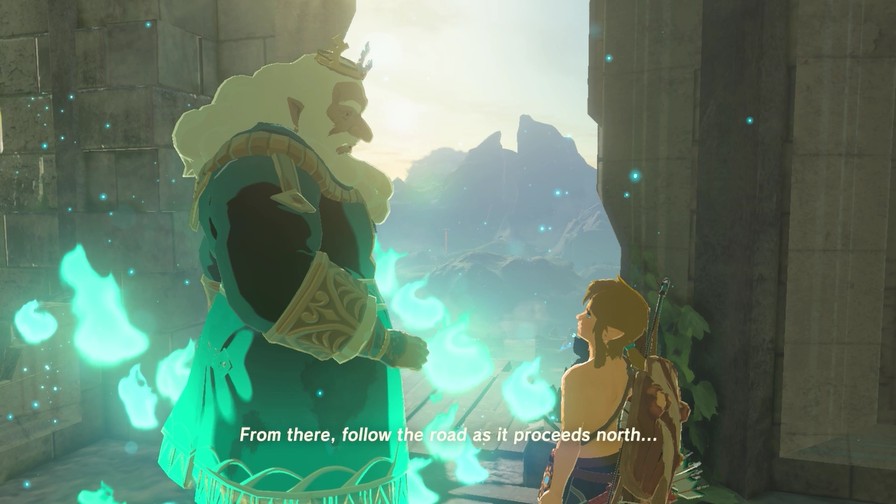
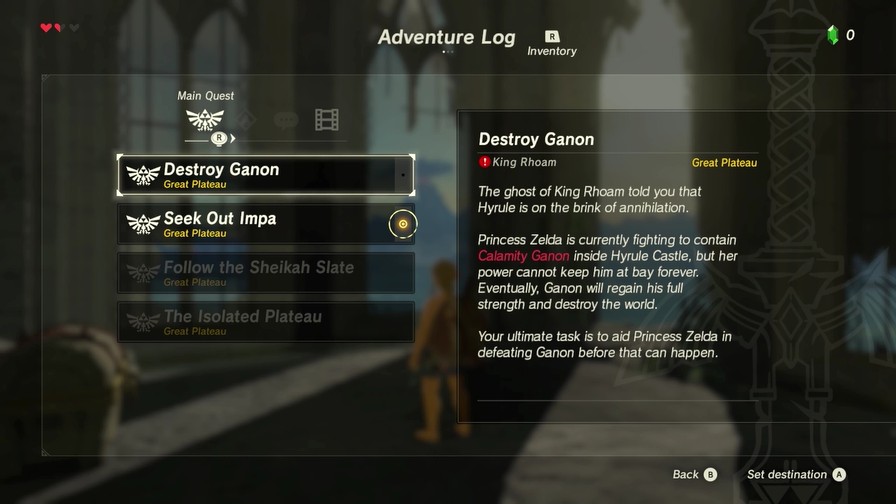
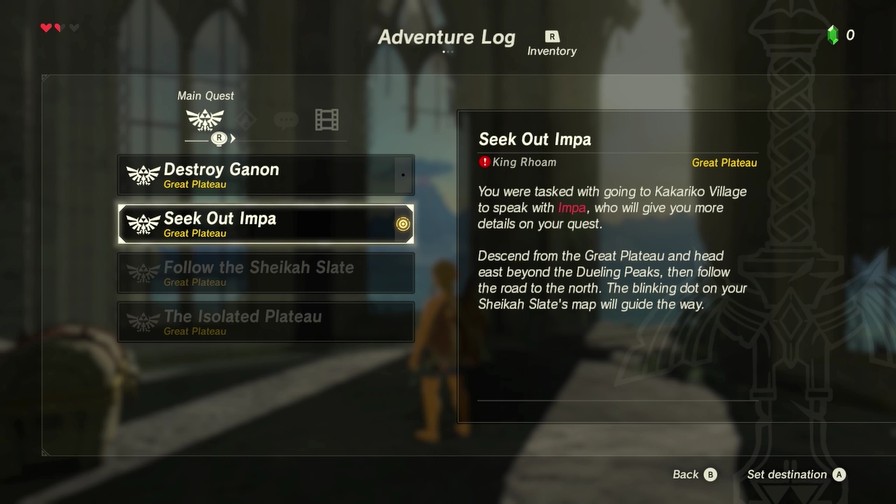
It’s a lengthy cutscene for sure, but it also sets up what exactly happened to Hyrule a hundred years ago as well as sets up both our overall goal (Destroy Ganon) and our immediate goal, should we choose to do it of course (visit Kakariko Village and consult with Impa). Of course, we’re still missing a lot of finer details, but those will get filled in over the course of the game.
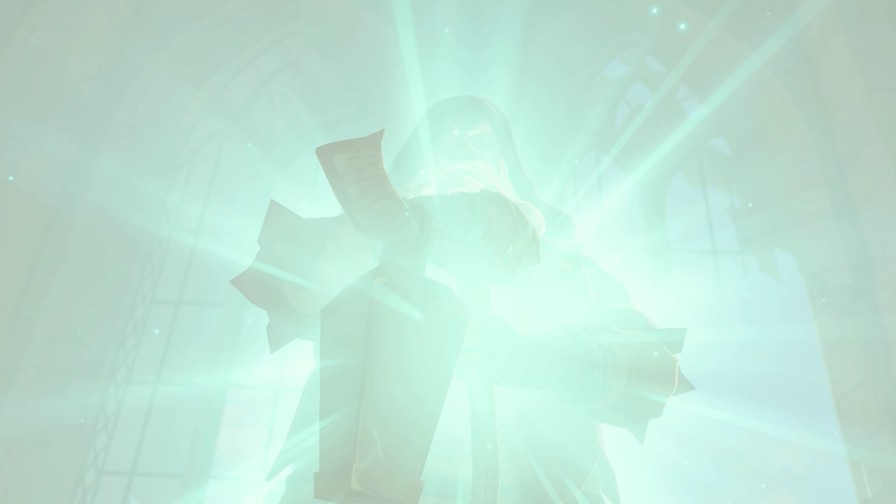
At this point, the voiced cutscene ends and we’re back in-game, though with a bit more dialogue still…
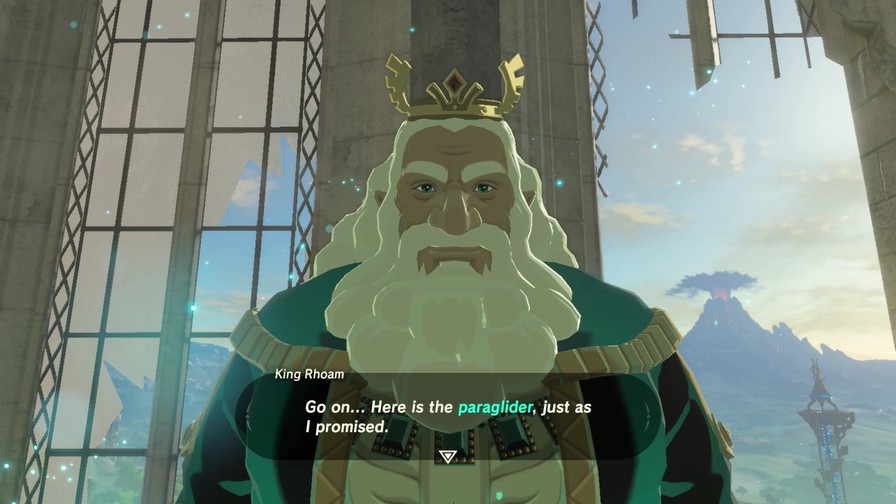
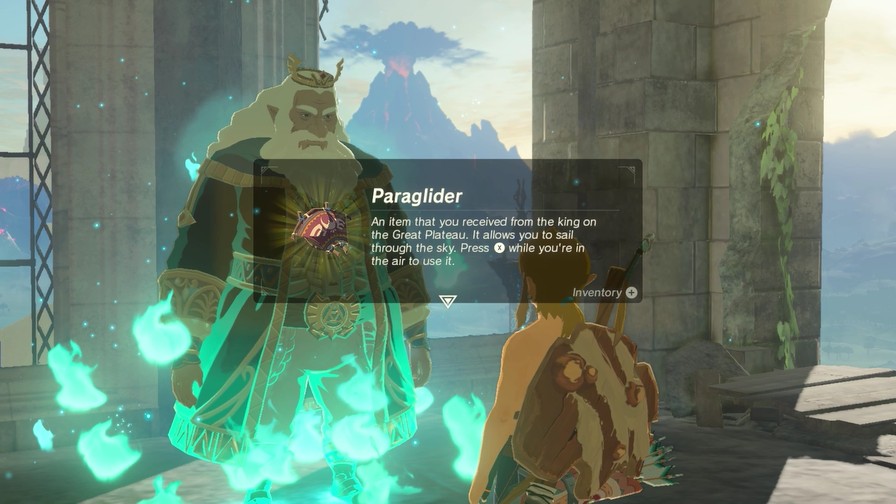
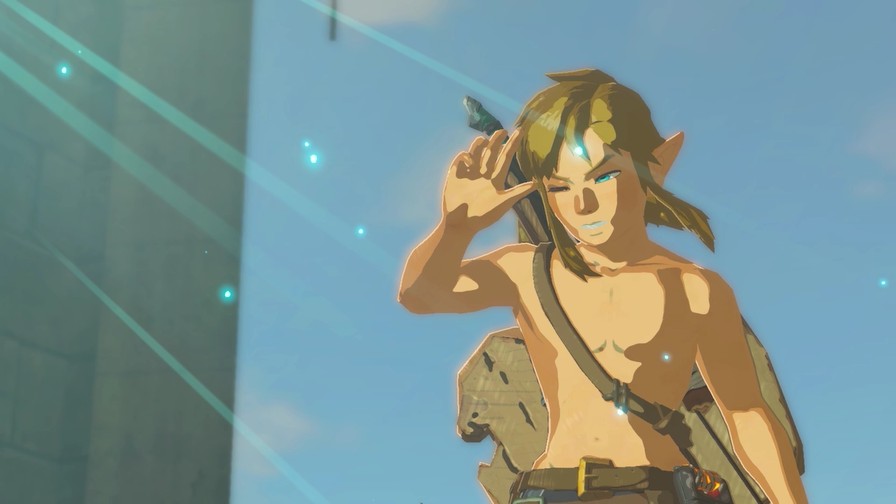
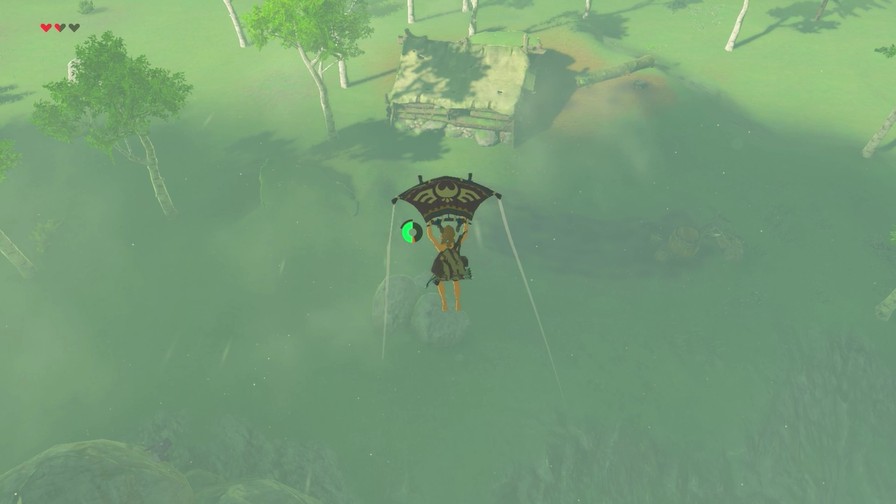
And we’ve finally got the Paraglider! This baby is essential in our travels, one of many reasons being we can’t leave the Great Plateau without it. Now we can travel through all of Hyrule!
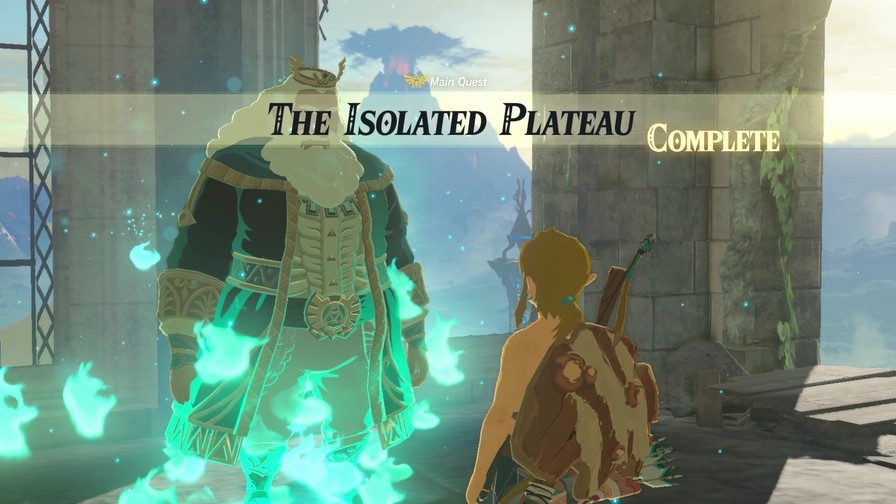
Which also means we’re finally done with the tutorial section of the game.
And…I think that’s it. I told you everything I can…
https://mp4.mega64.net/botw/u06/111.mp4
And there goes our only companion thus far.
We’ve got our two new quests.
And here are the results from the last quest for good measure.
Also, an upgraded bow. Nice.
Before we finish things off here, let’s do a couple more things.
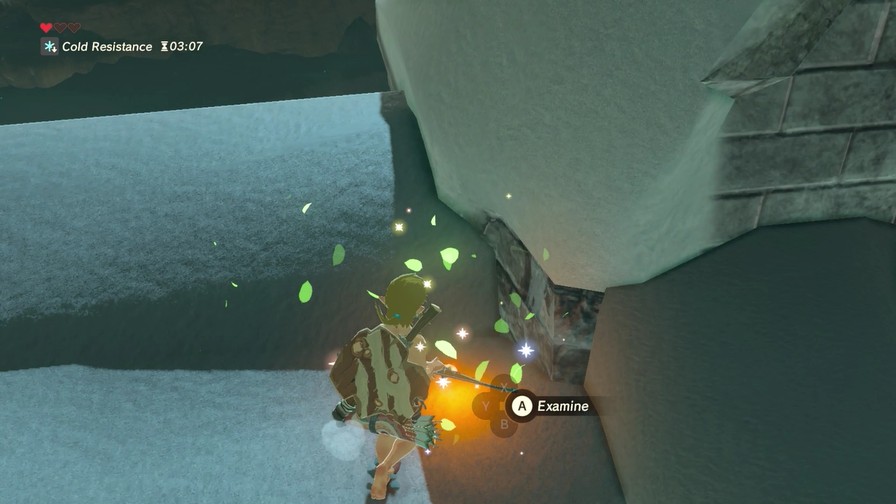
First, scaling the Temple of Time nets us another Korok.
We also get a nice bird’s-eye view of the surrounding area. We can explore all of it now.
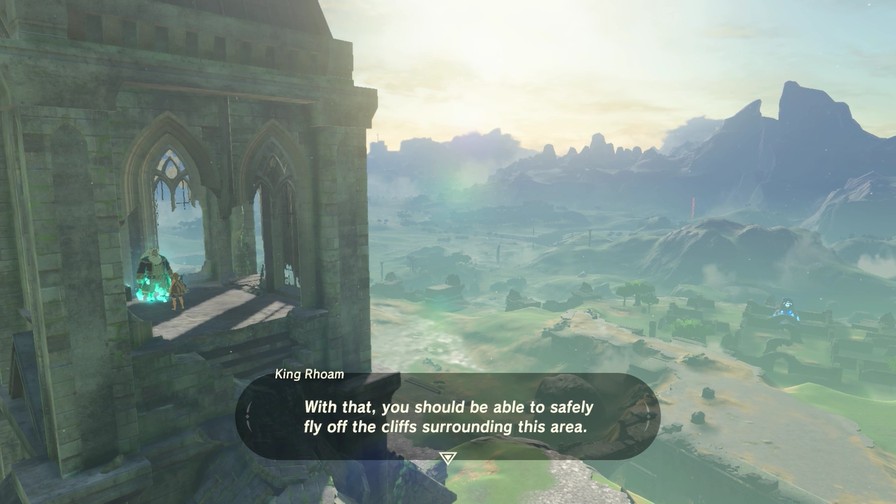
So, how big is Hyrule?
This is the Great Plateau…
…and this is the rest of Hyrule. The yellow dot is where Kakariko Village is.
So, uh, this might take awhile.
https://mp4.mega64.net/botw/u06/129.mp4
Paragliding is simple. Press X to open your paraglider in mid-air. This lets you cover large distances, which is very handy since the distances in Hyrule are…even greater than “large”. It does require stamina, though it doesn’t use too much unless you’re going really far.
To close things out, we’re going back to the cabin to check on one last thing.
Well, two.
The diary’s been updated now that we’ve learned who the Old Man really is.
And with that…we’re ready to explore Hyrule!
We’ll do this in two phases. First phase, I’ll ask people for input on what we should do. After I have enough suggestions that are popular and/or I like, we’ll then do an overall vote and I’ll follow through on it to the best of my ability (meaning if everyone chooses “Go kill Ganon” I probably won’t be successful, plus it’d kinda make for a short and anticlimatic LP if I do).
I’m gonna aim for 6-10 suggestions, including the two the game has for us (listed below). After I have enough I like, I’ll throw up a vote for around a day or so.
Go to Hyrule Castle and (attempt to) kill Ganon.
Visit Kakariko Village.
Bold your suggestions. If you like someone else’s suggestion, please say so! And I’m always open for suggestions on other gameplay ideas, like what clothes (if any) to wear or any reasonable gameplay gimmicks. I’ll try to accommodate as much as I can, within reason of course.
Next time, the adventure truly begins! …Probably.
Hurray, the game finally opens up, literally. The rest of the map doesn’t load in until you have the Paraglider so even if you somehow found a way to get off the plateau without dying, you will just map out and die.
Being boxer-briefs link is cool but lets go find some sweet clothes somewhere.
Poll is up! It’s a checkbox poll so feel free to pick multiple choices if you wish. I’ll run it until around this time tomorrow.
And yes, I’m going to start wearing clothes.
Head south.
Also, get ye clothes?
