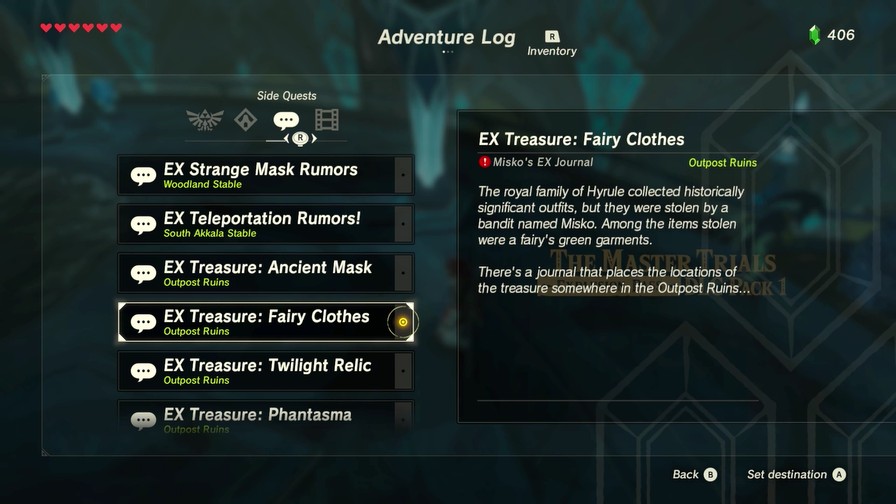
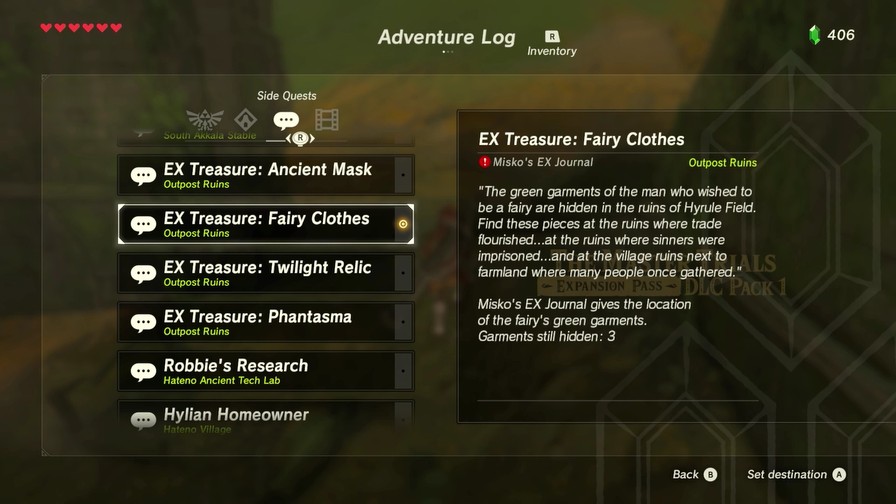
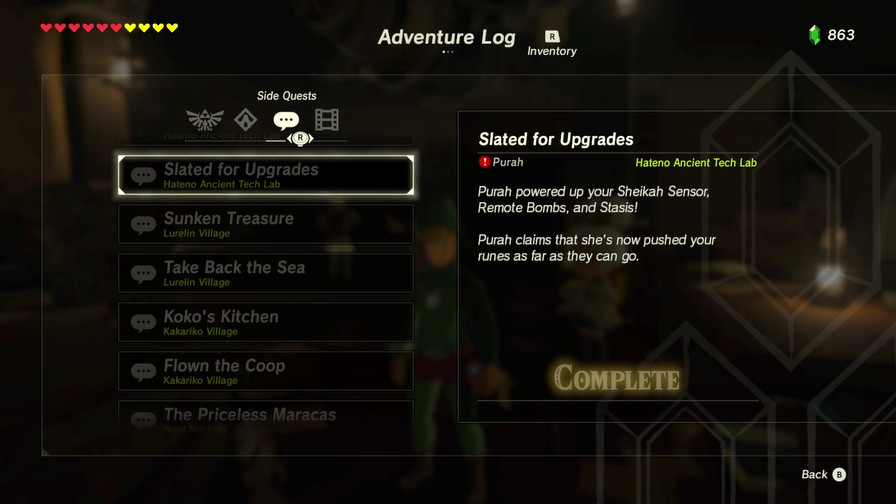
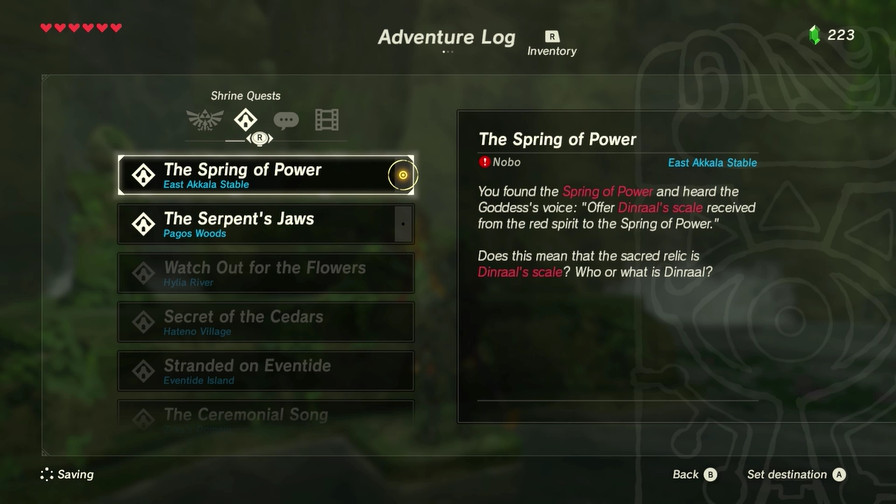
Click here to open the update!
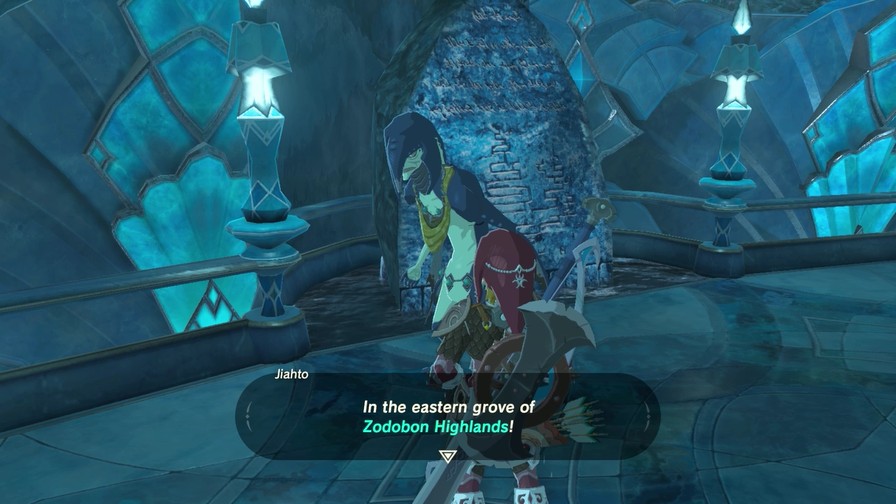
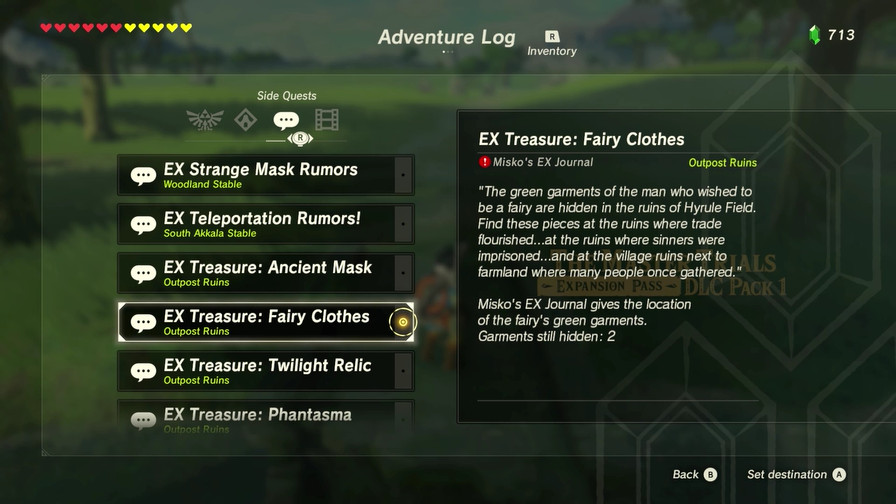
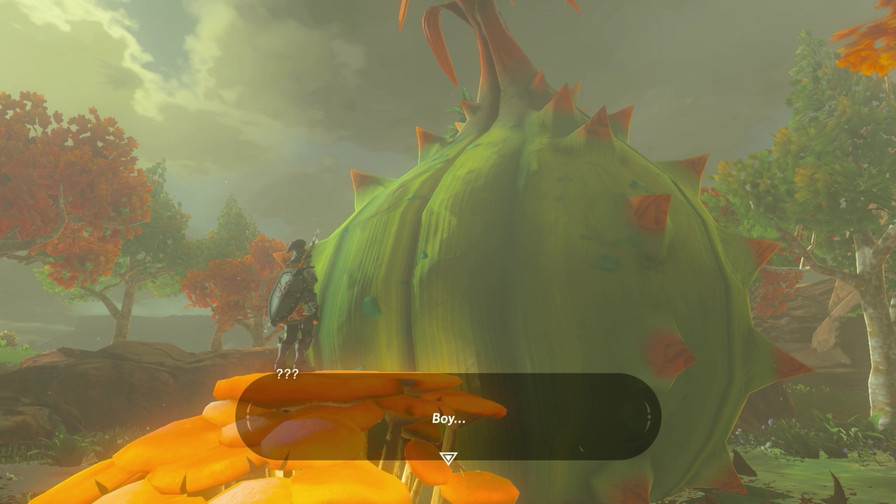
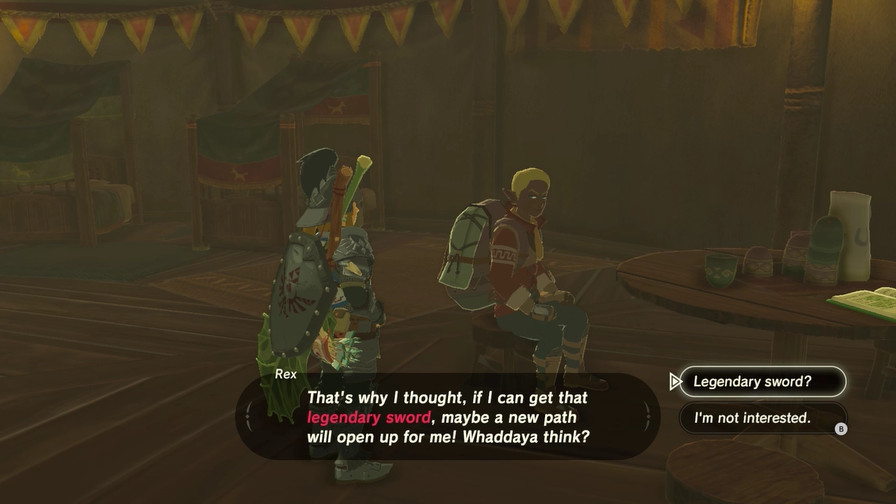
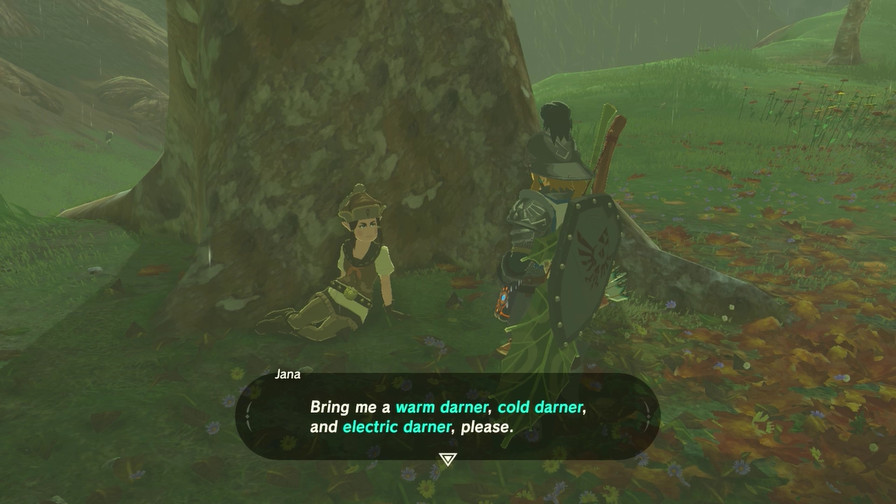
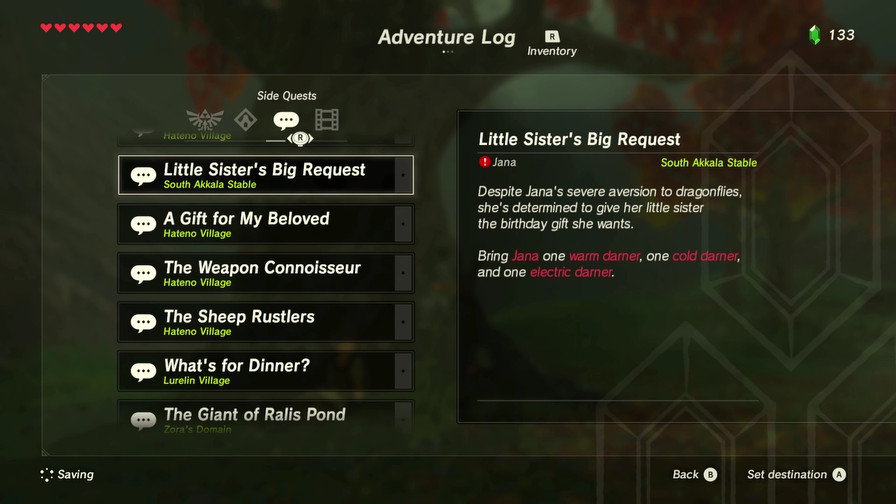
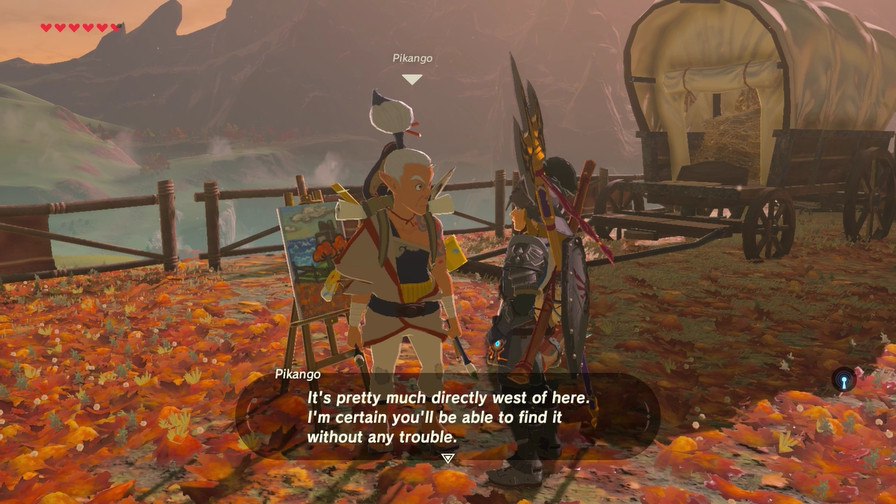
So…we’ve got a long search ahead of us.
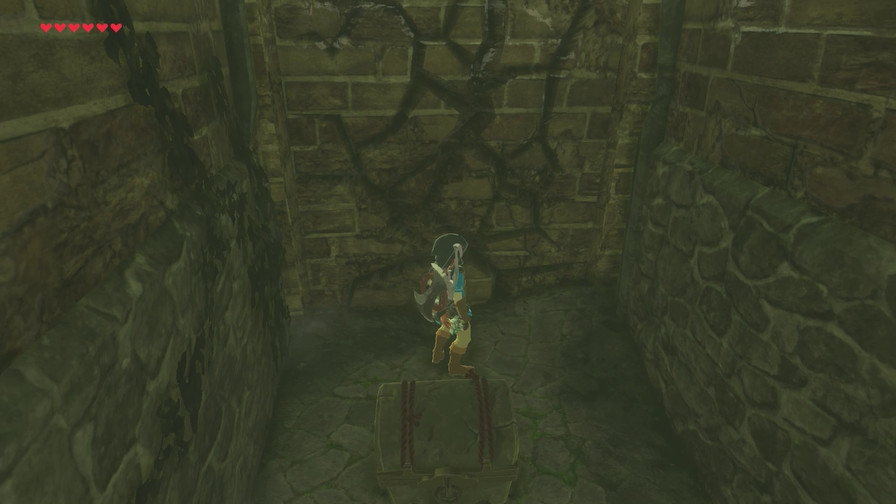
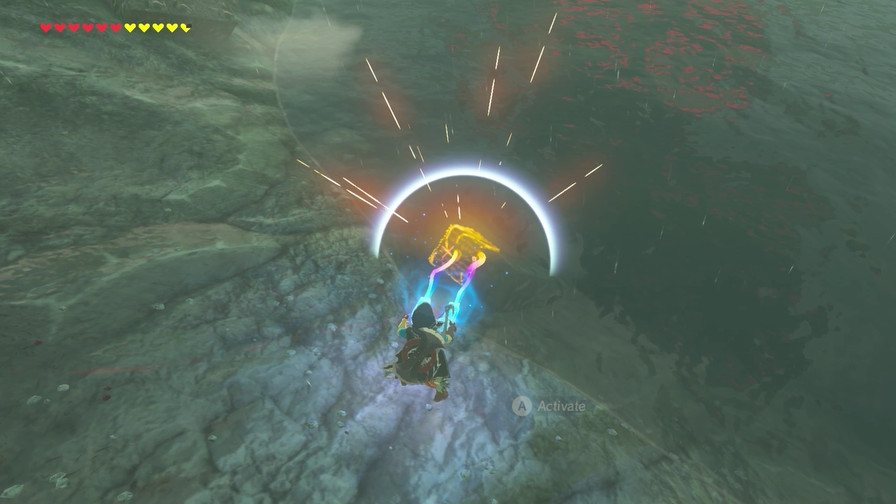
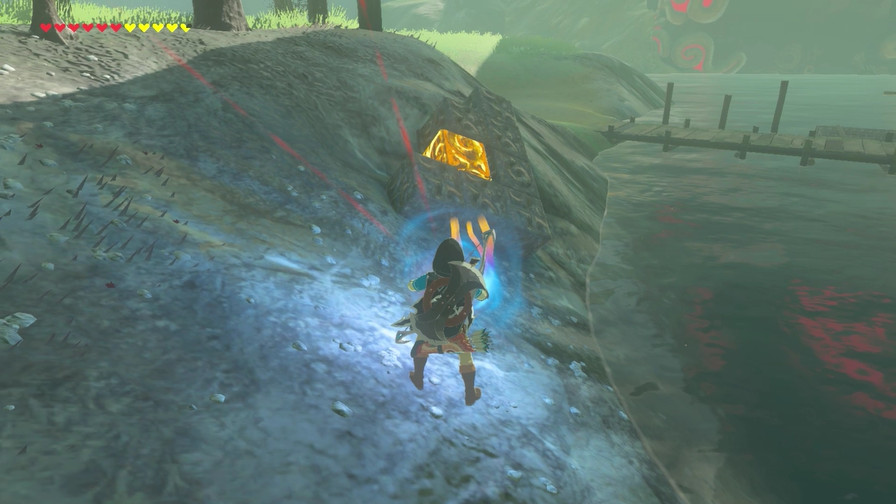
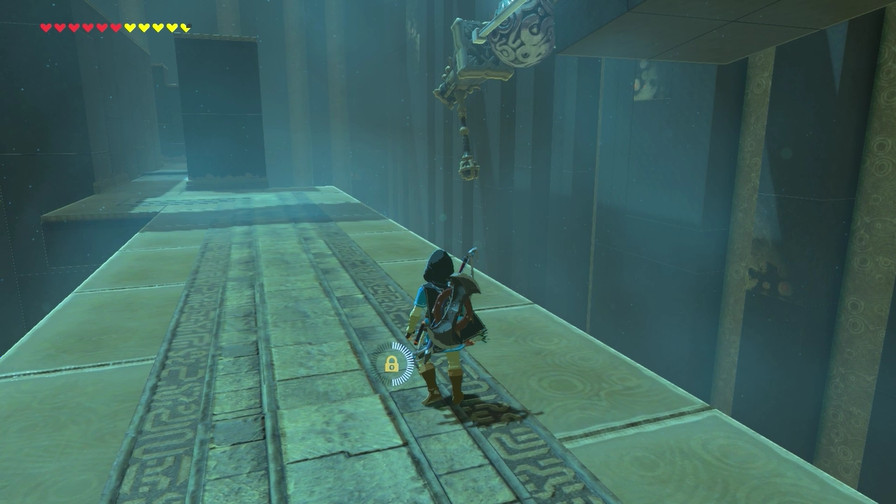
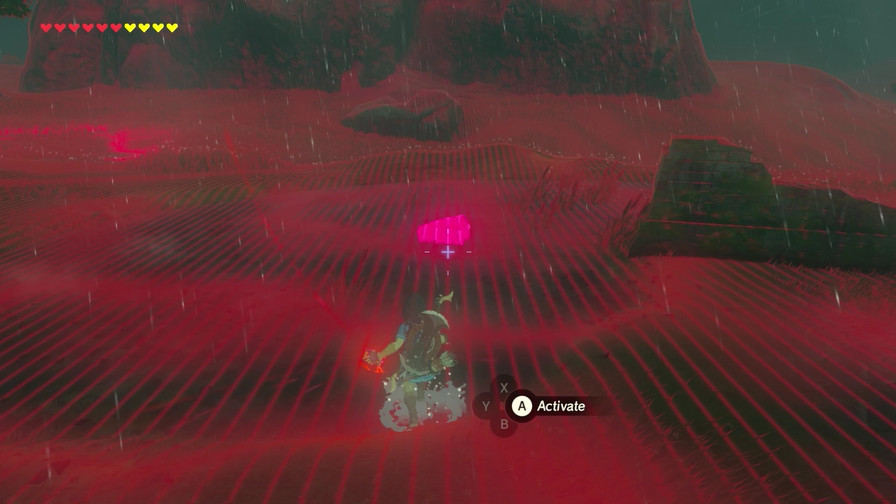
One thing I did not realize is that all the clothing chests, or at least the fairy ones, are partially underground and thus need Magnesis to unlock.
I still die a lot, of course.
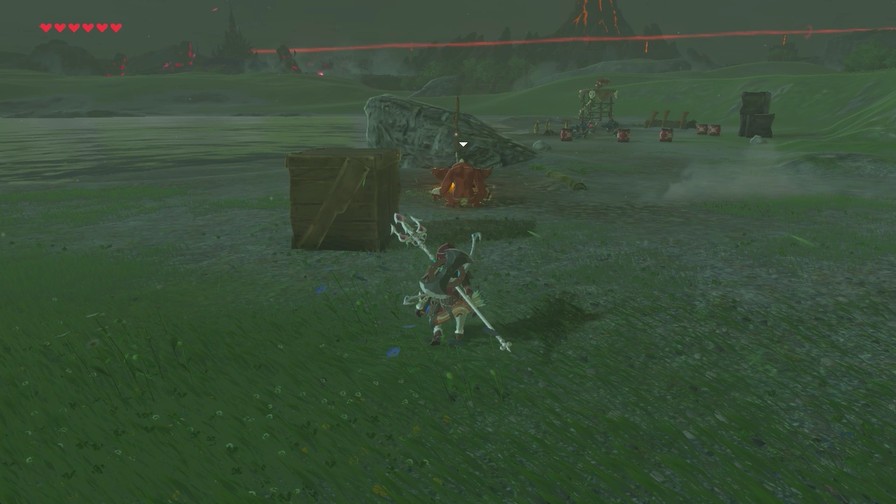
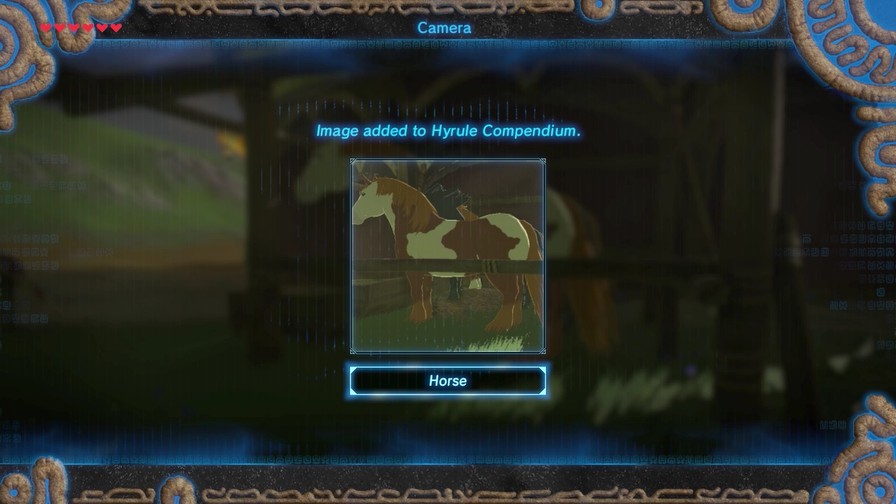
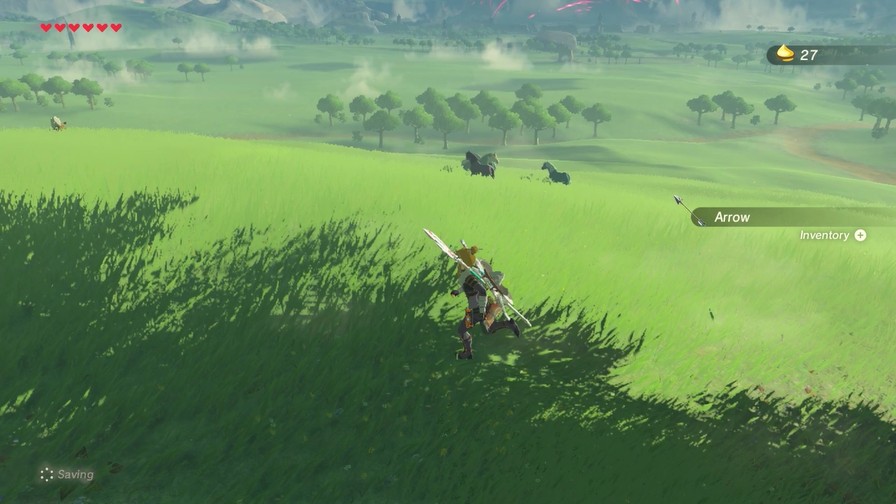
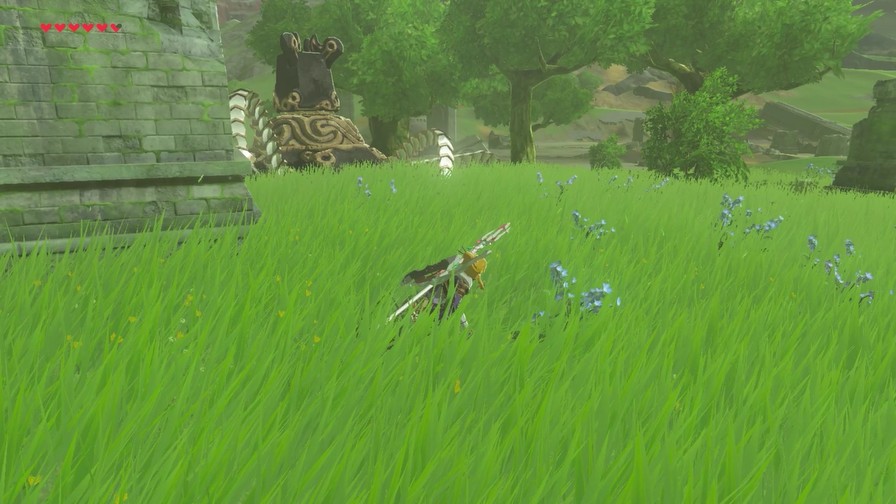
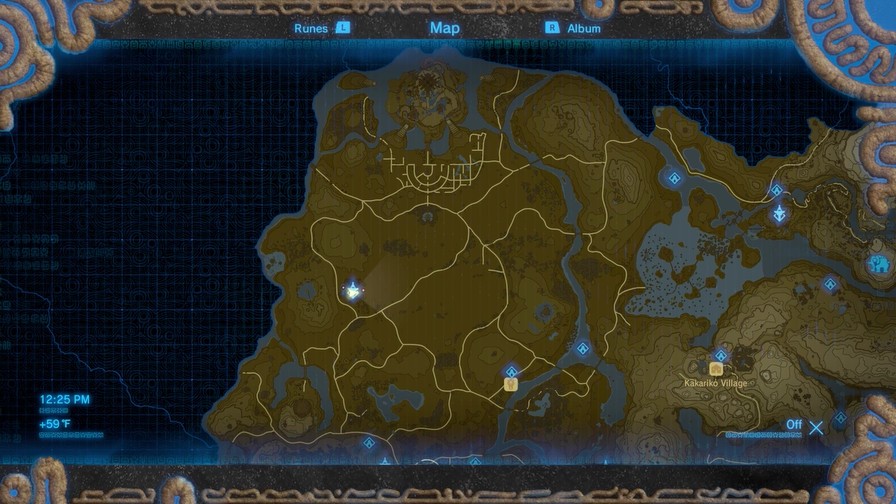
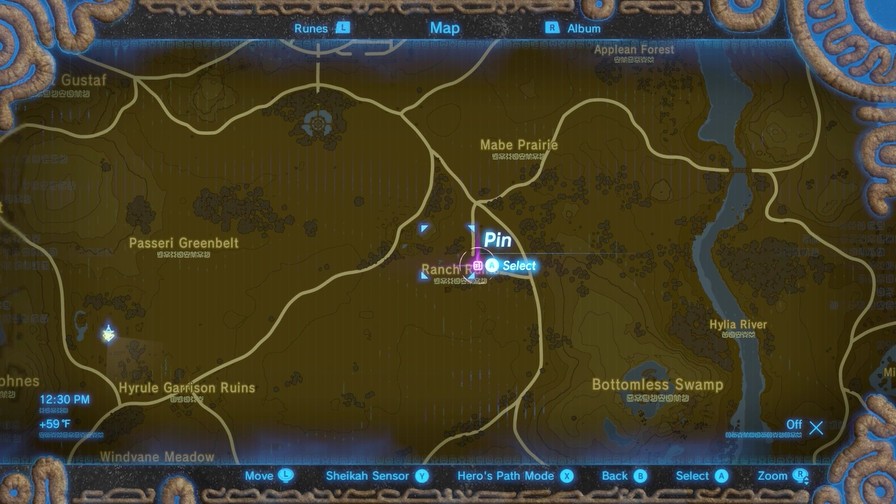
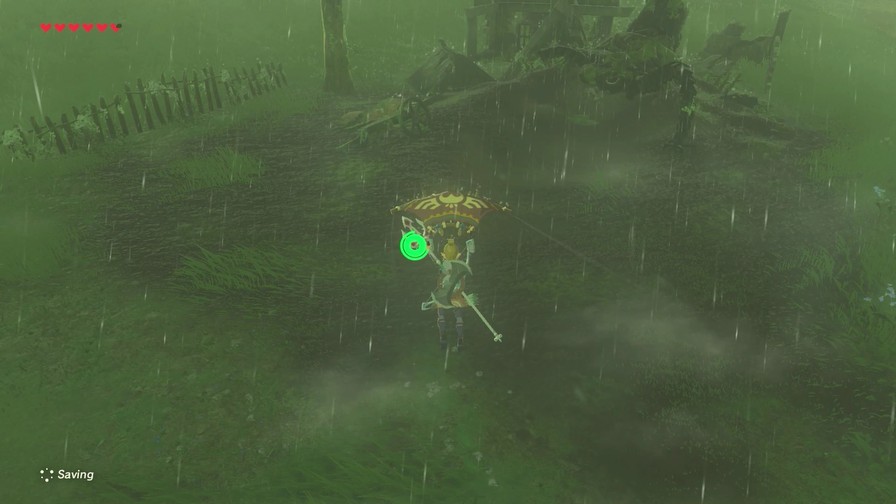
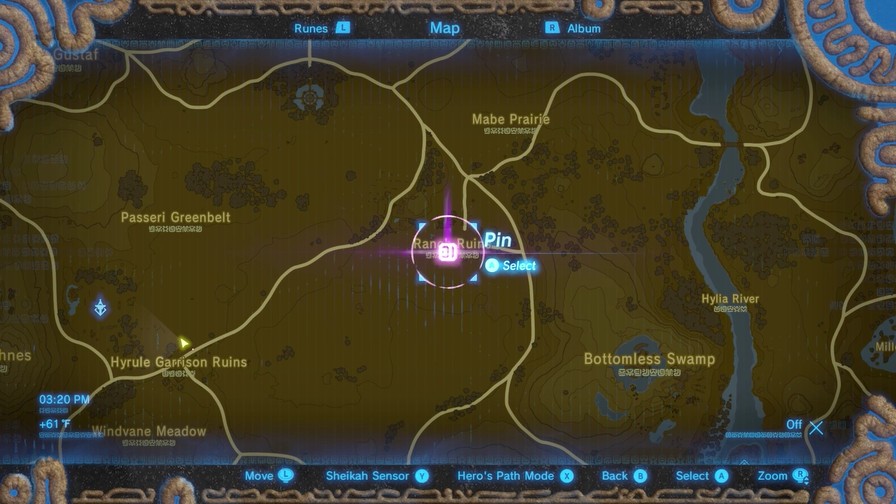
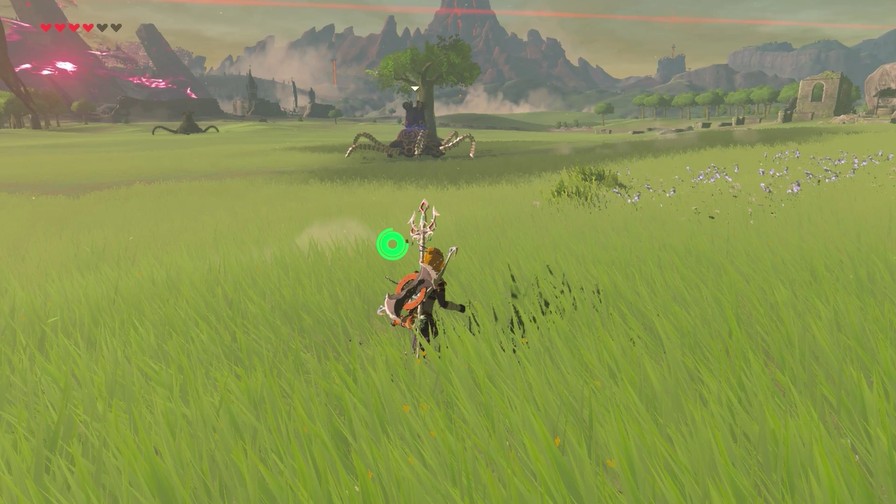
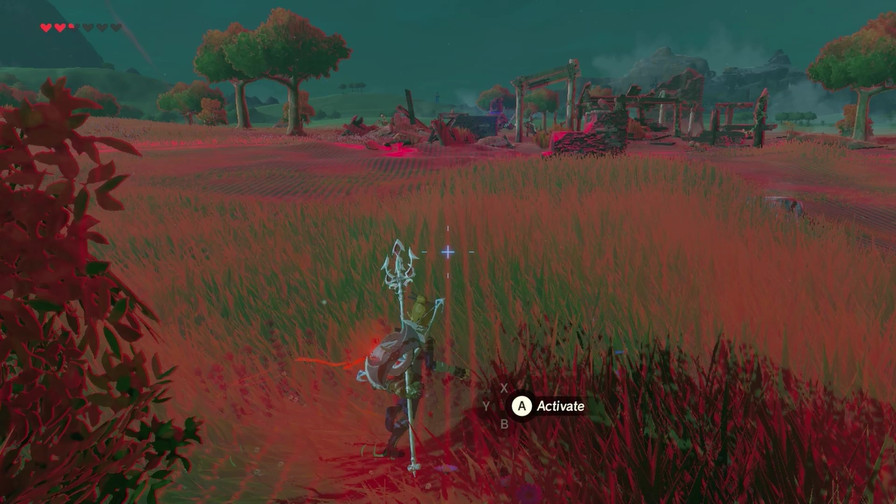
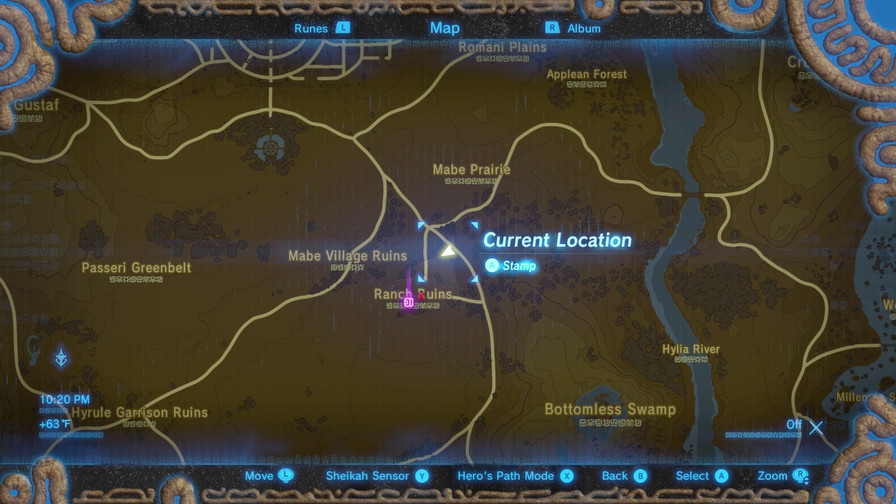
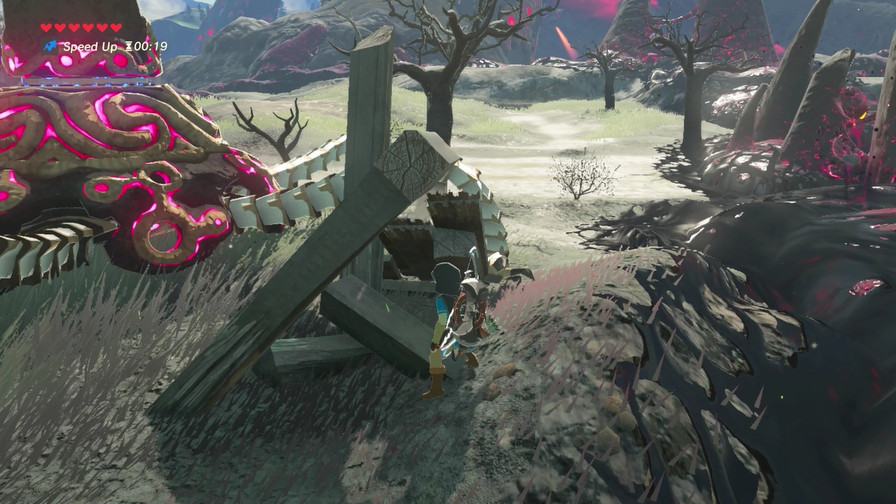
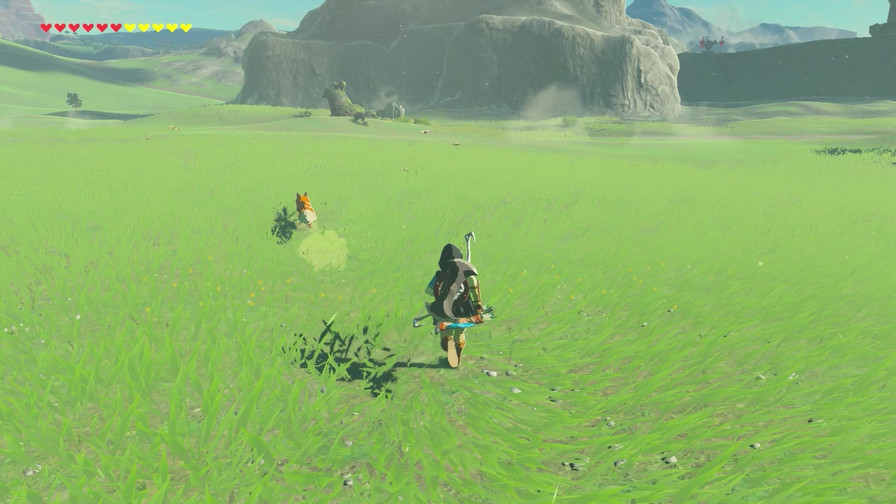
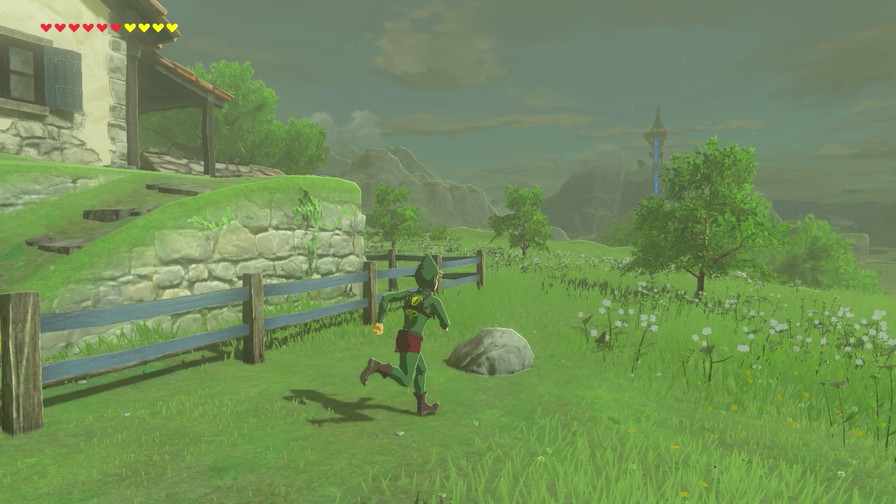
I decide to go back to Ranch Ruins with this new information.
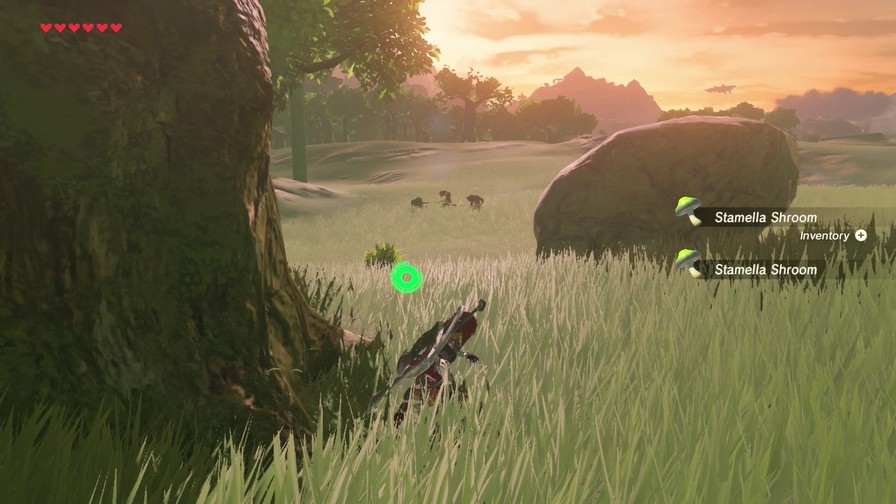
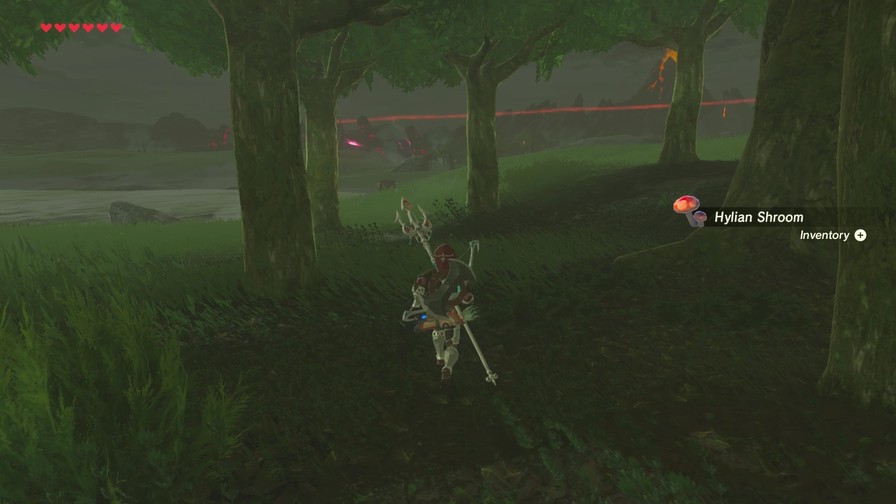
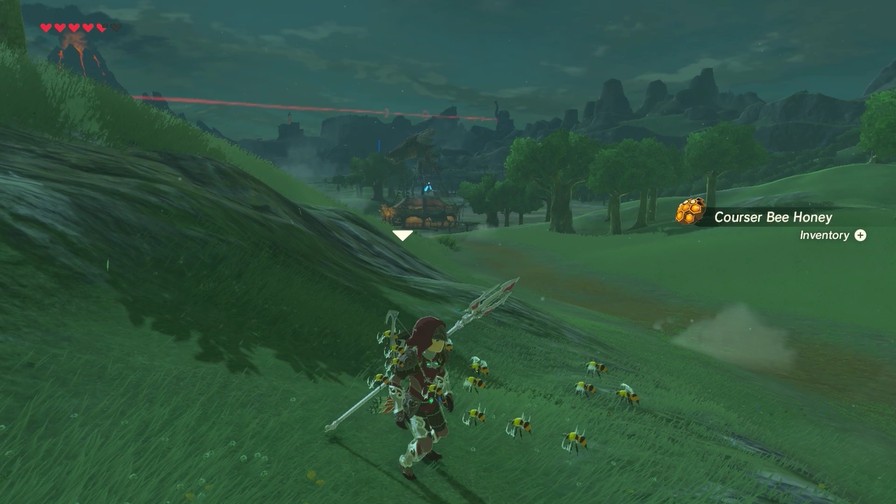
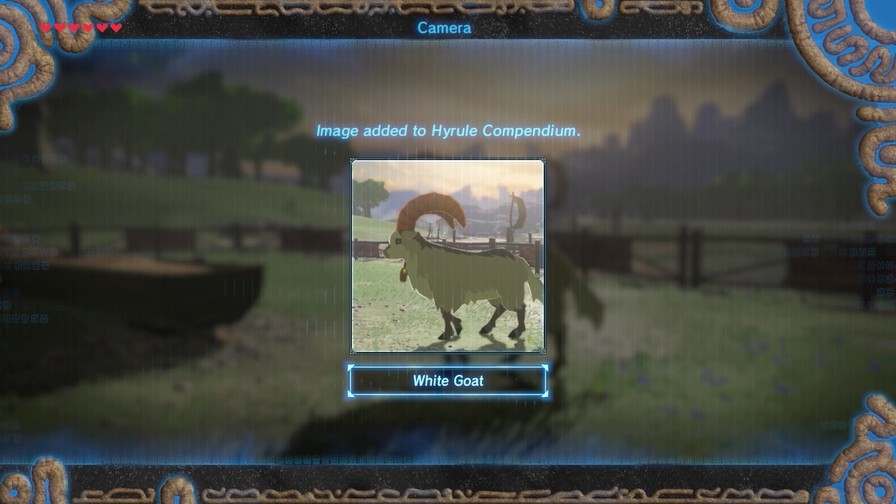
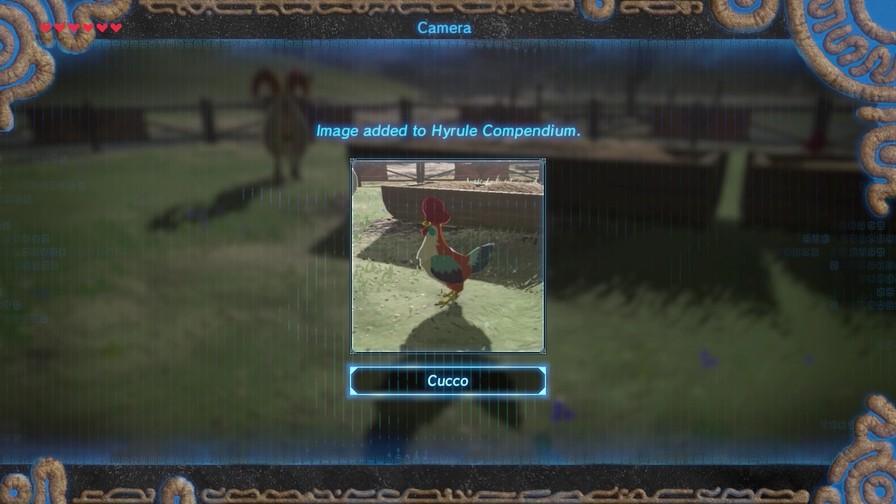
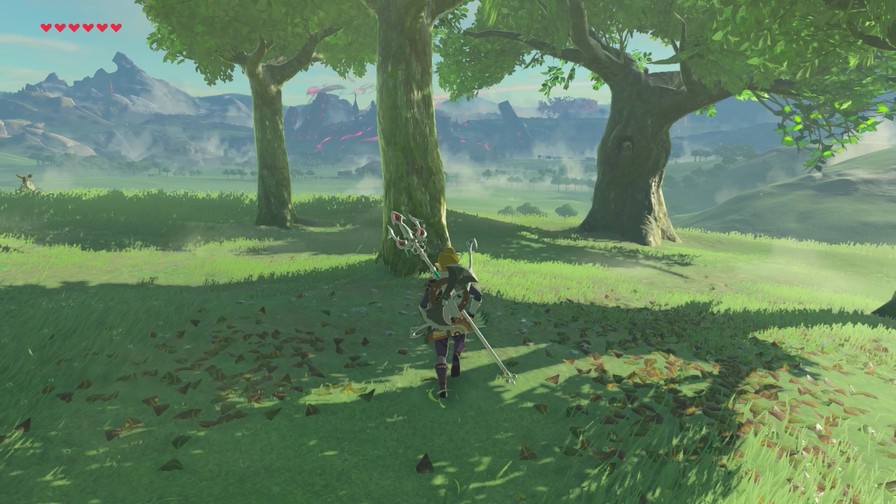
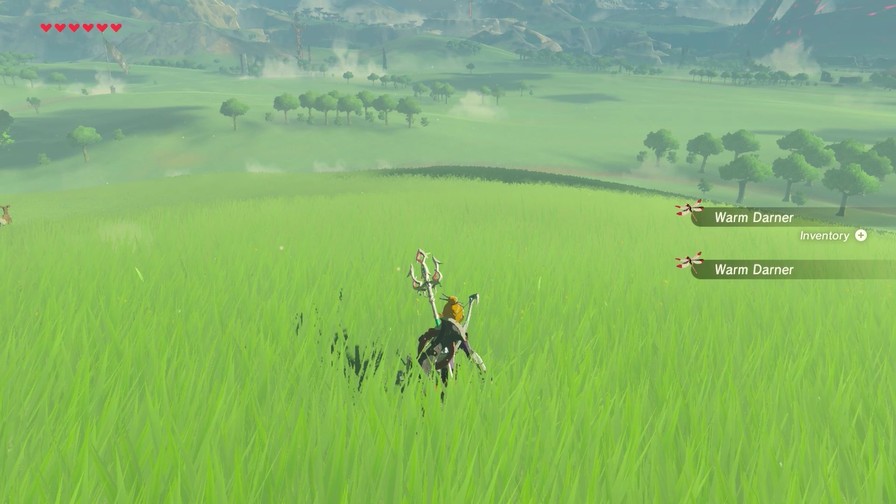
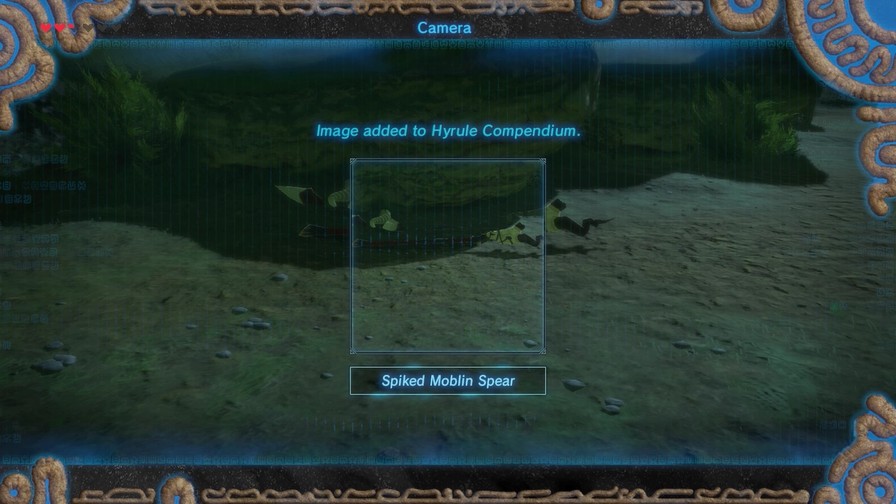
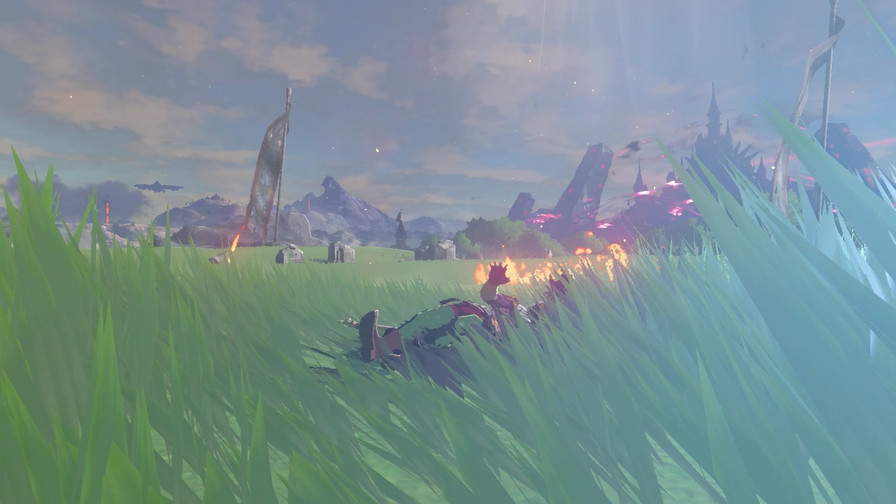
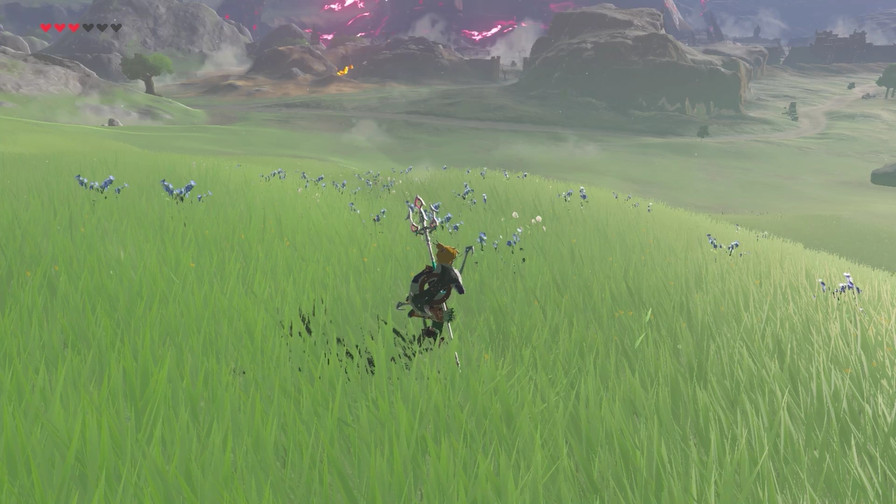
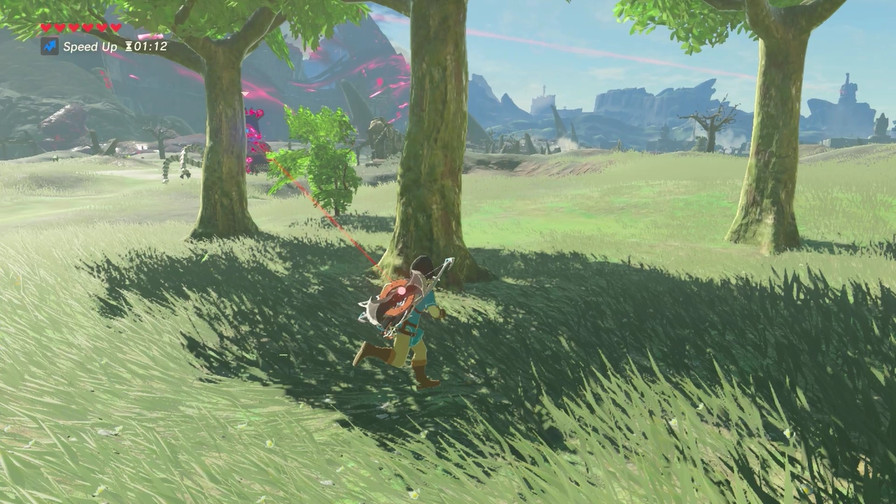
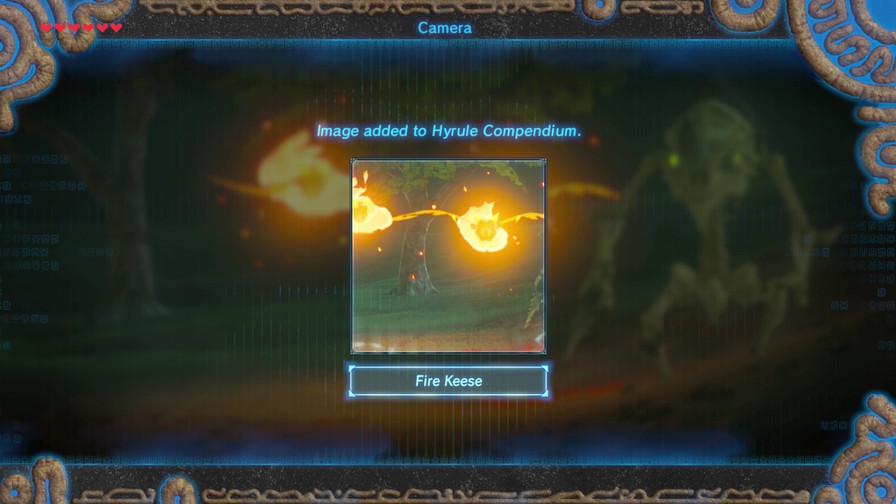
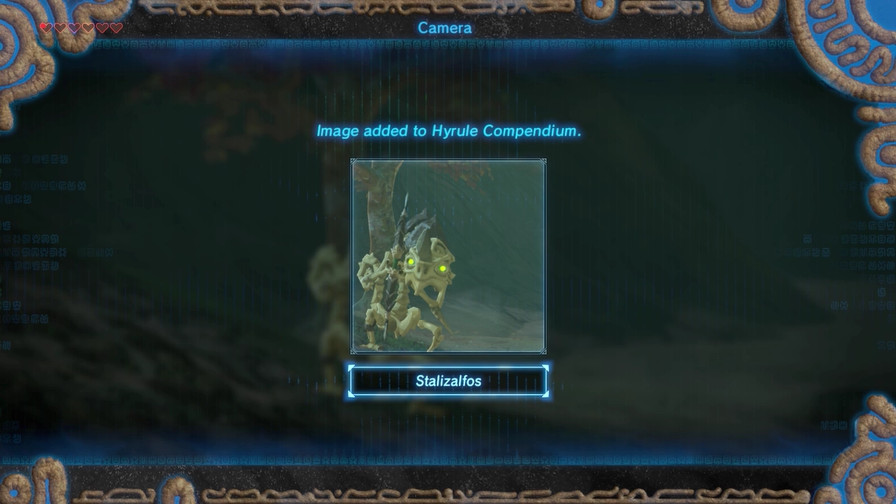
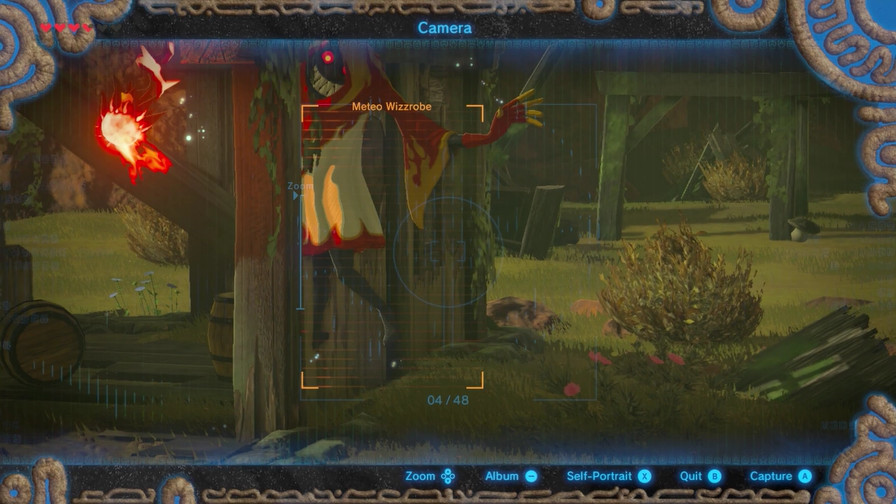
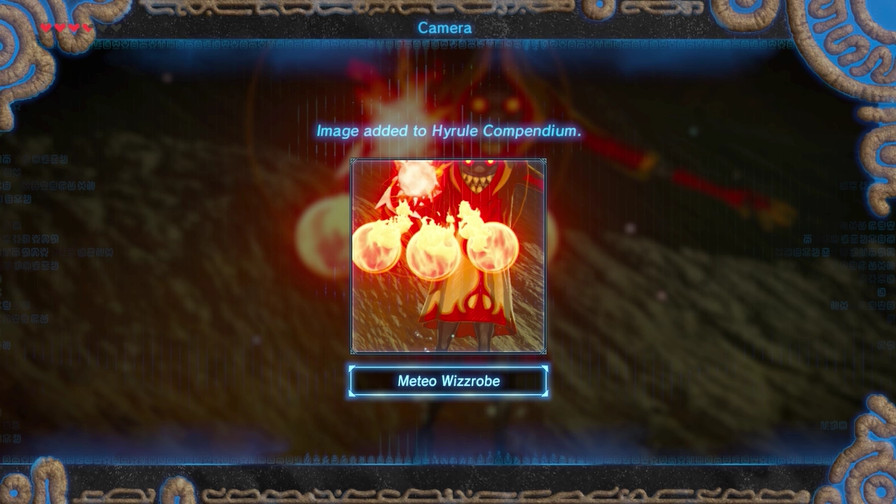
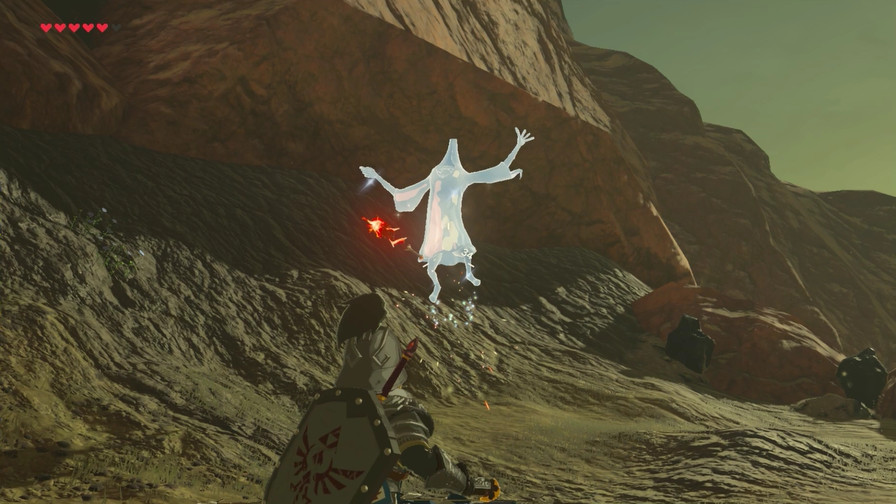
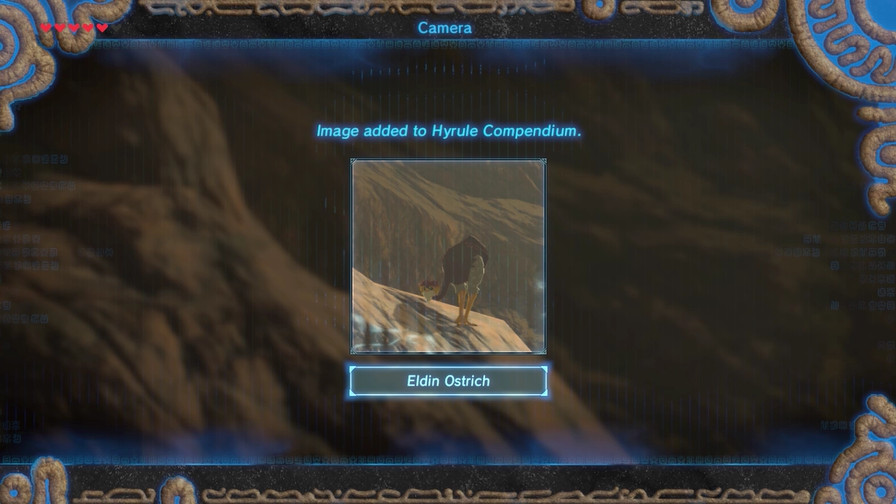
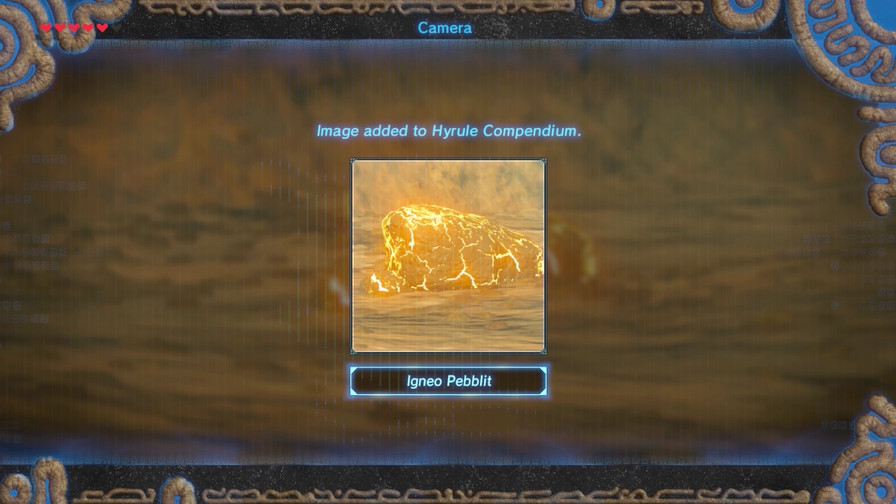
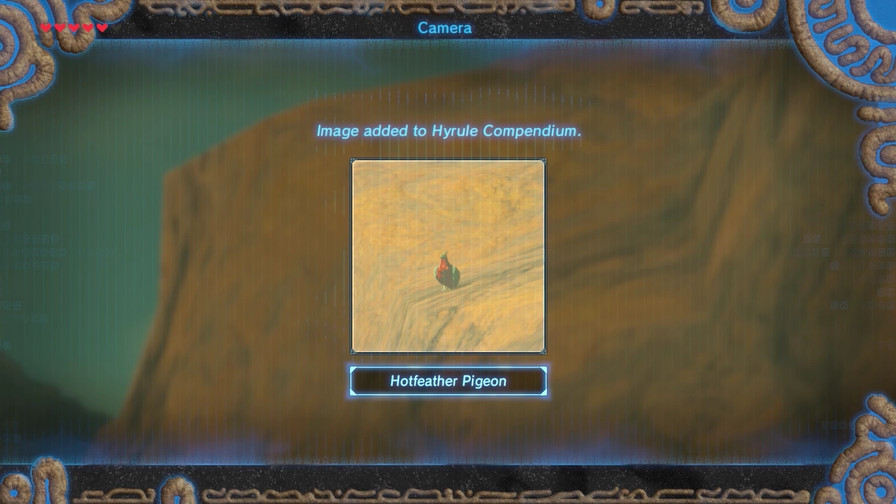
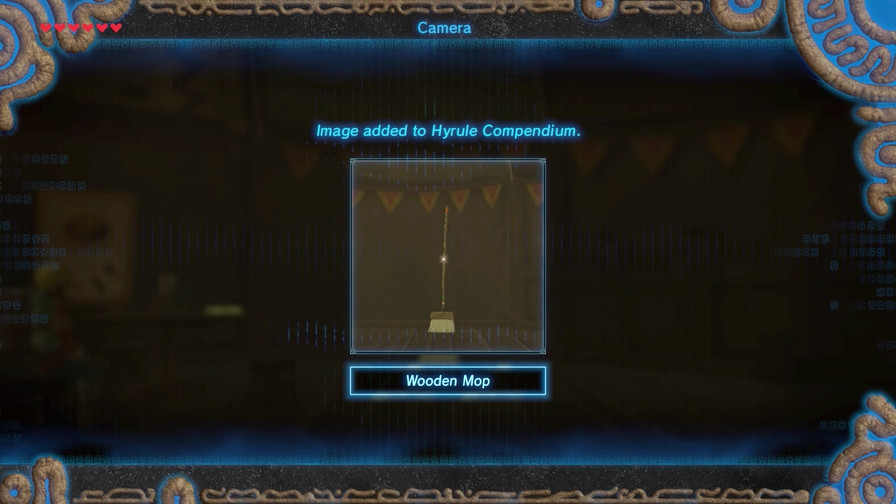
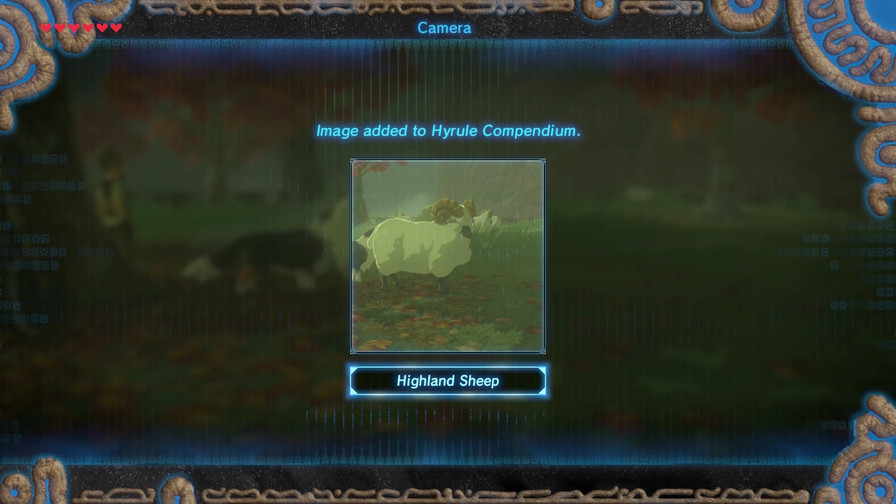
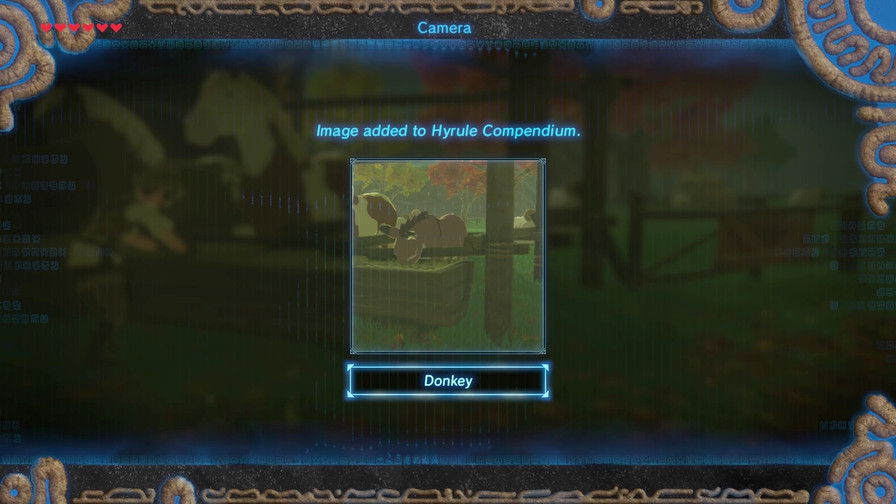
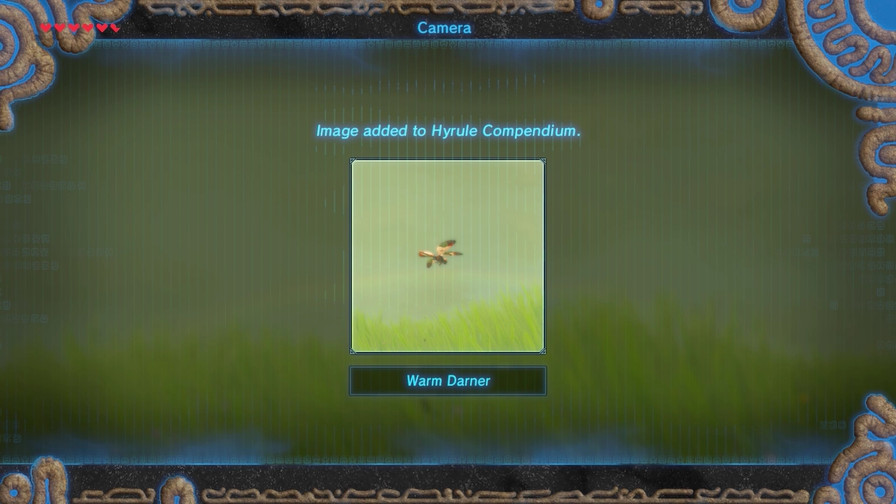
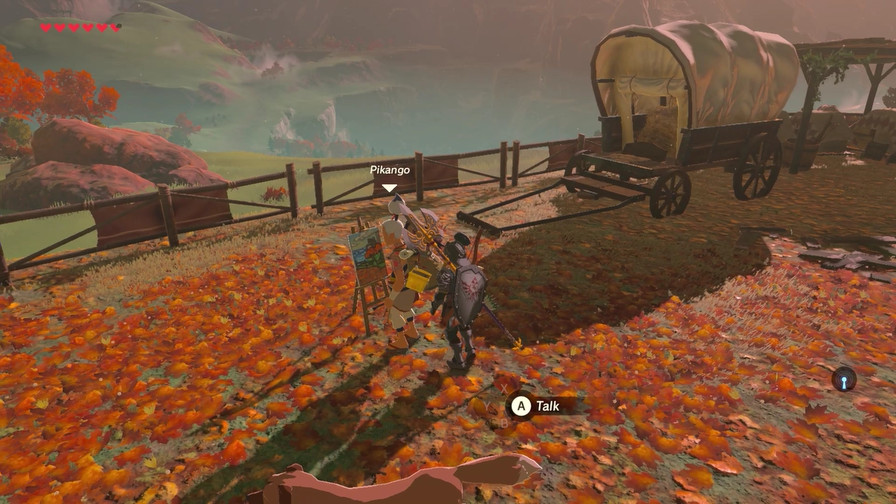
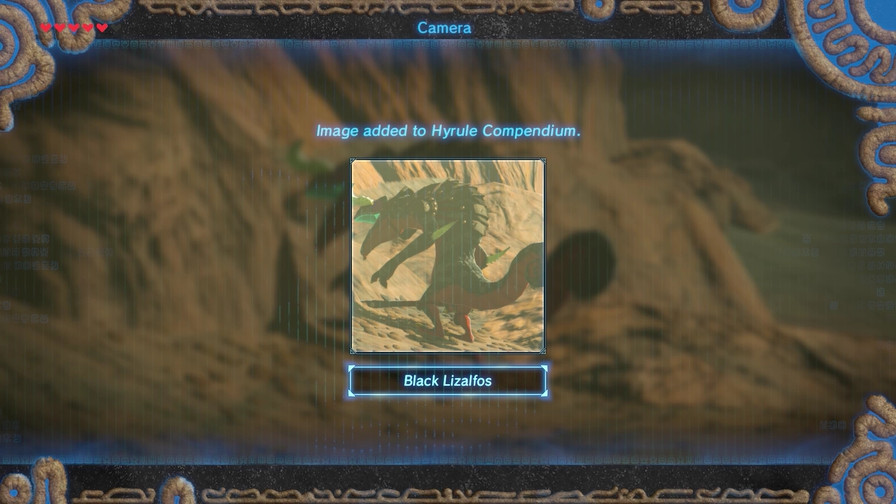
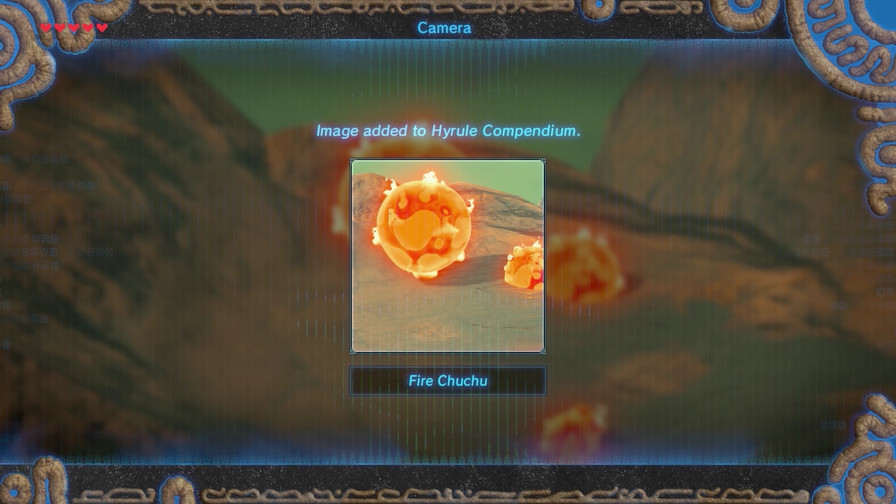
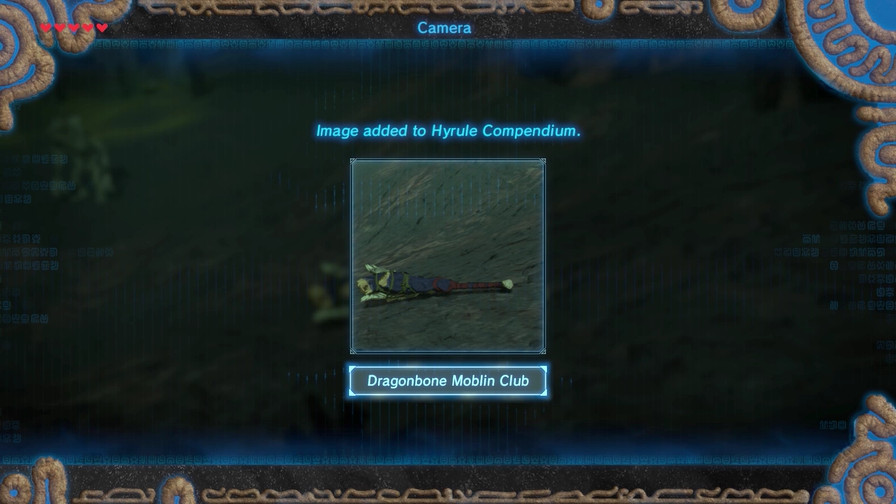
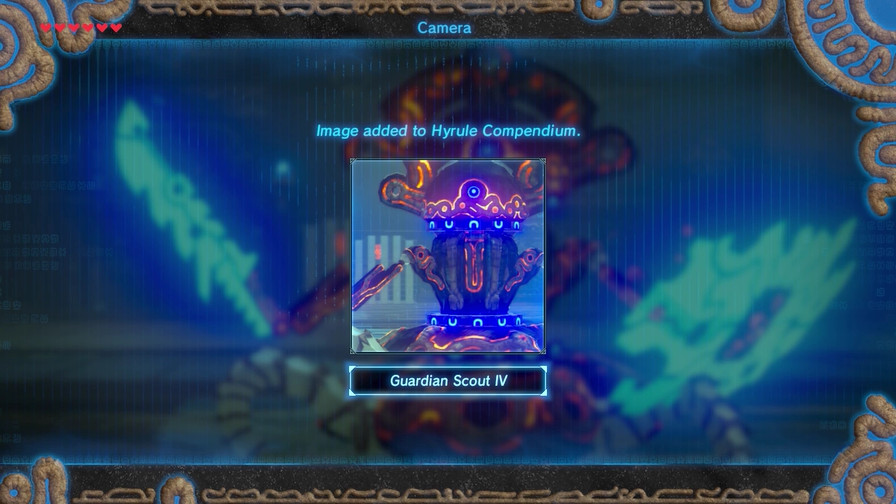
And take ample opportunity for pictures.
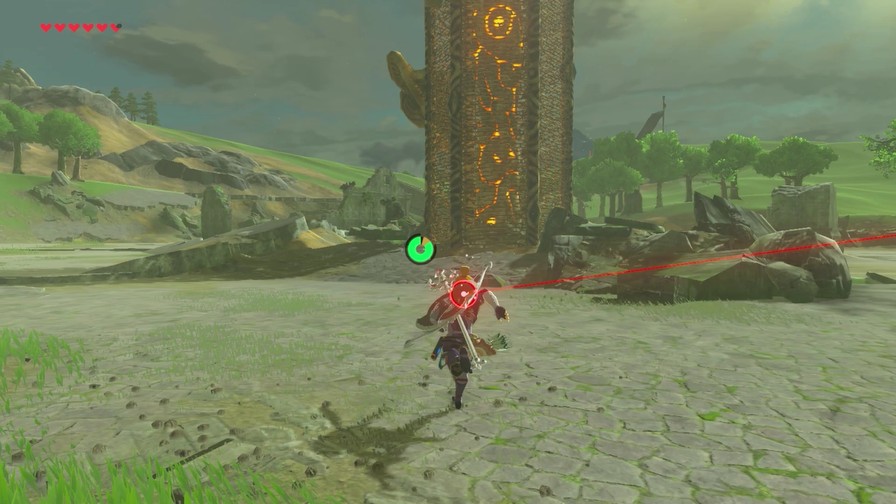
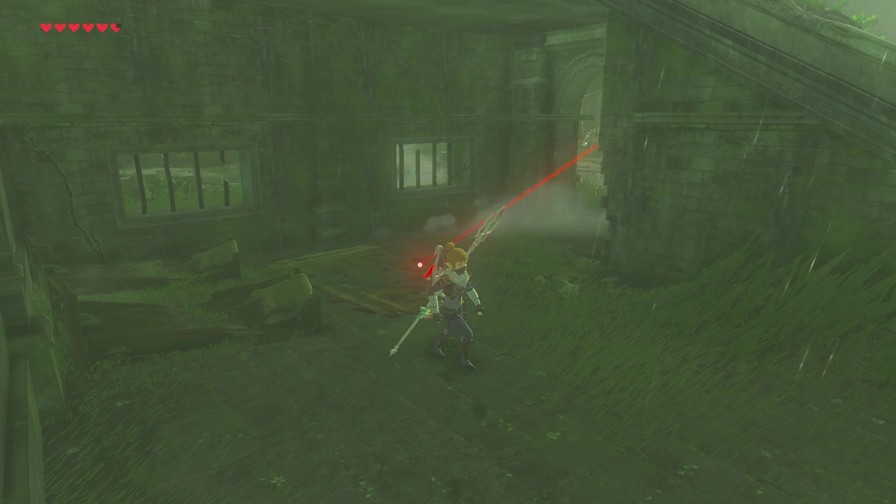
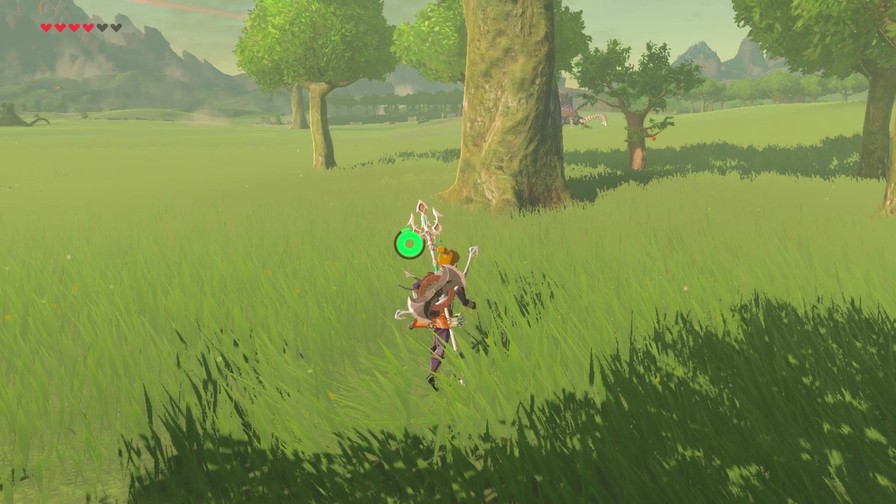
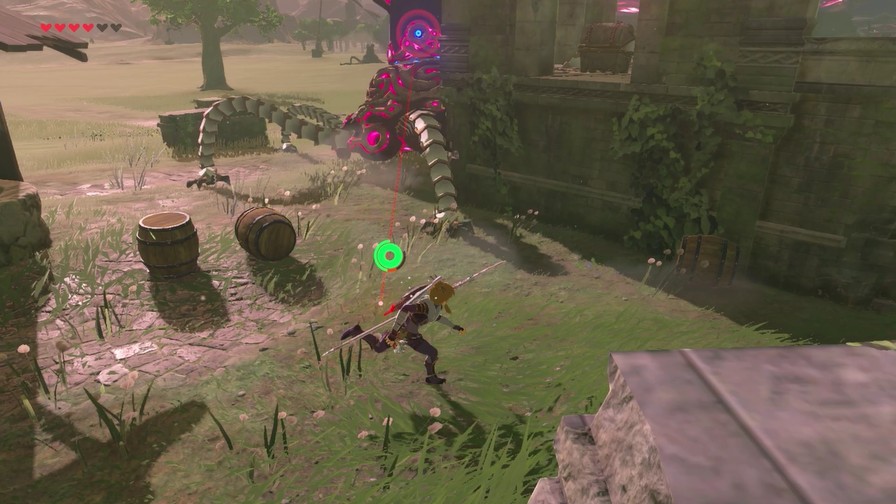
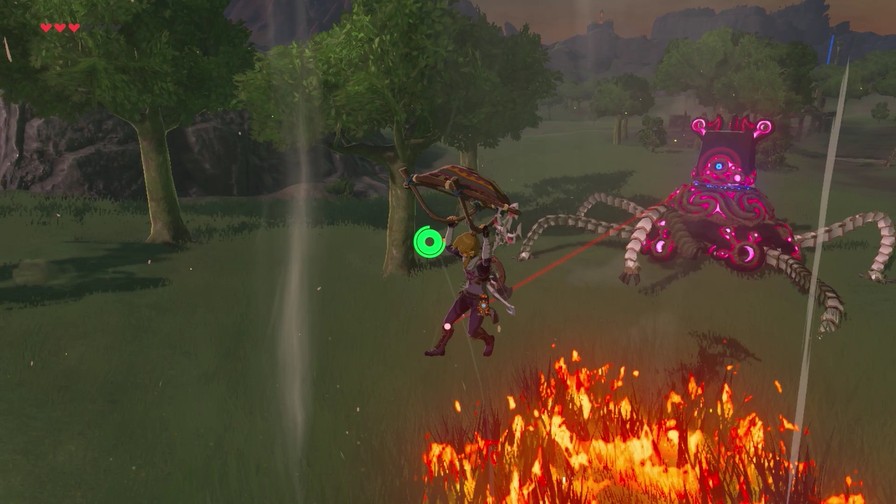
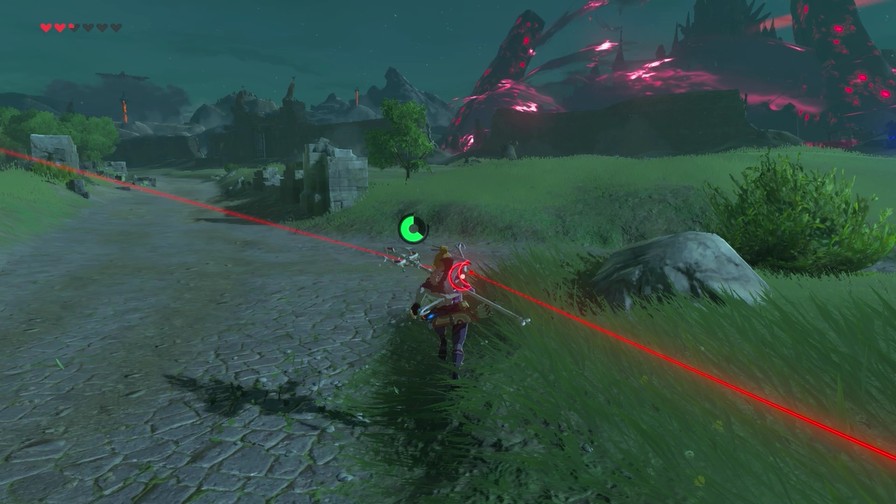
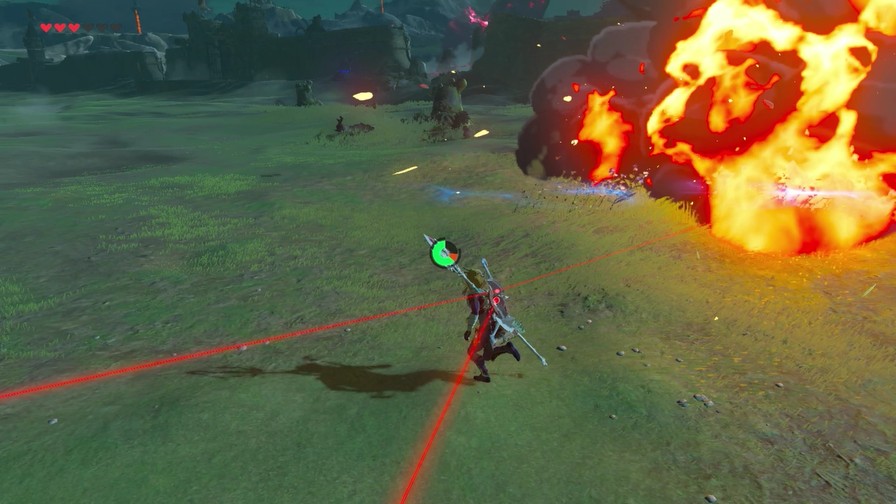
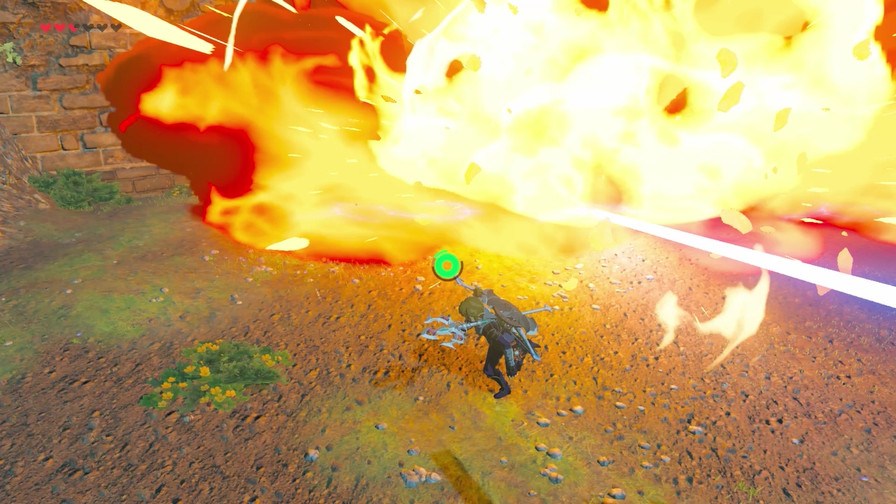
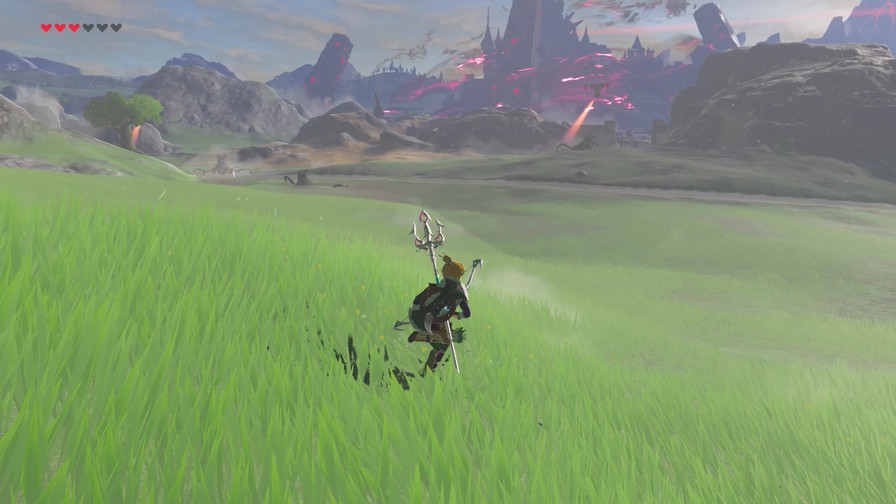
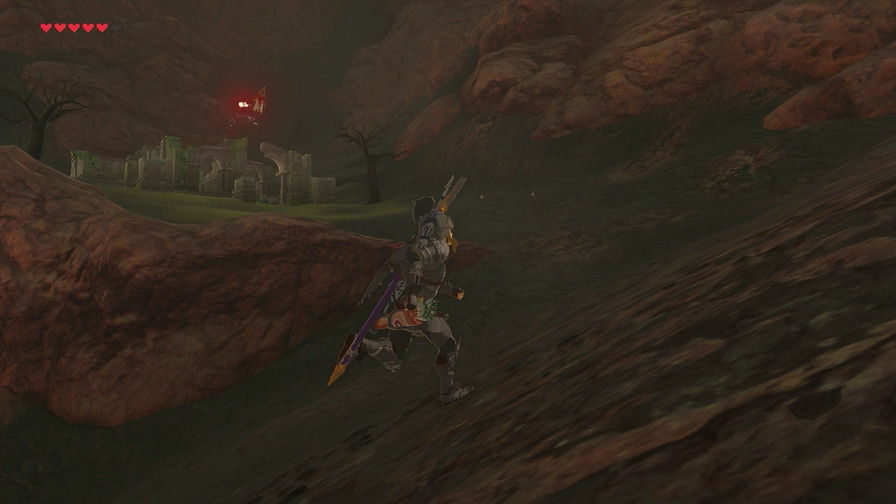
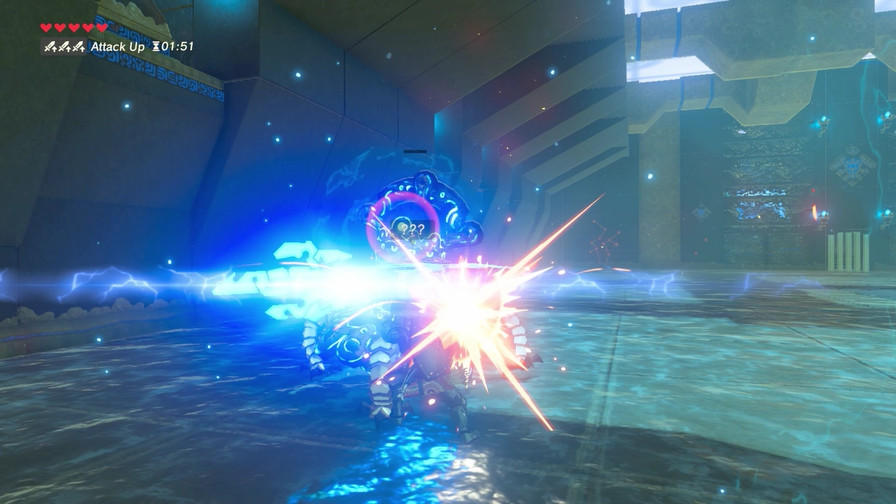
Seriously, it’s a chore to navigate Hyrule Field without some way to nullify the Guardians. I can’t really stress that enough.
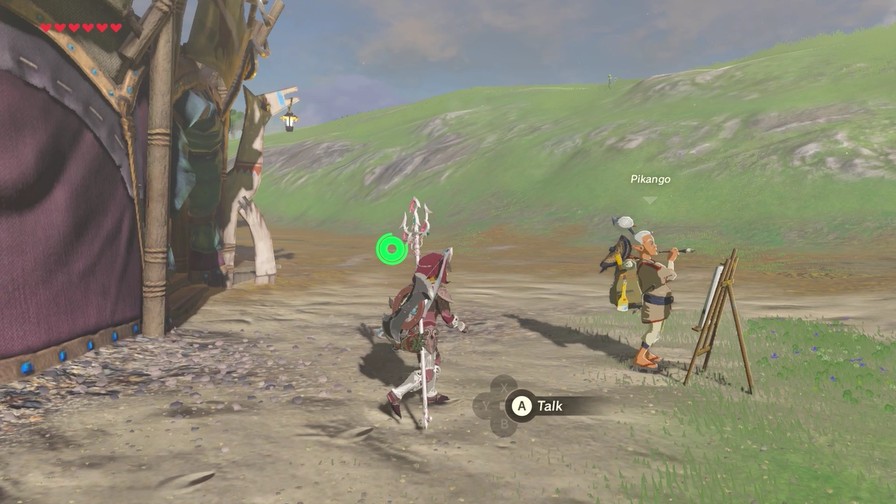
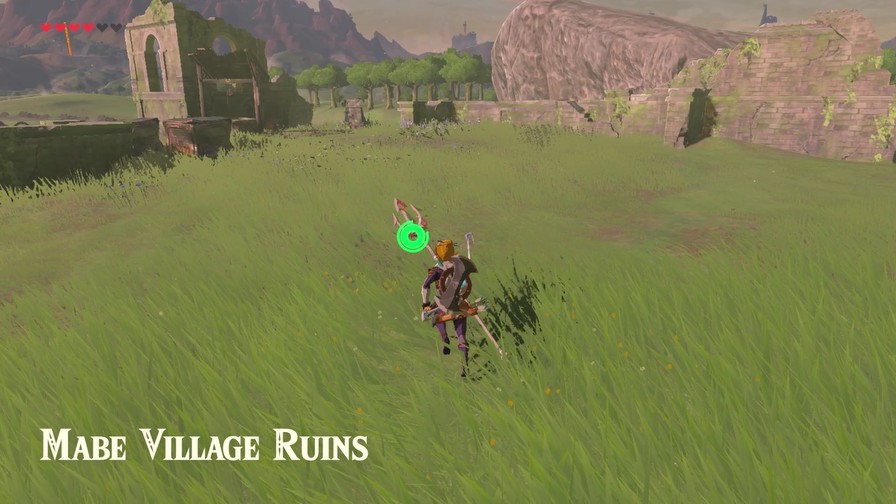
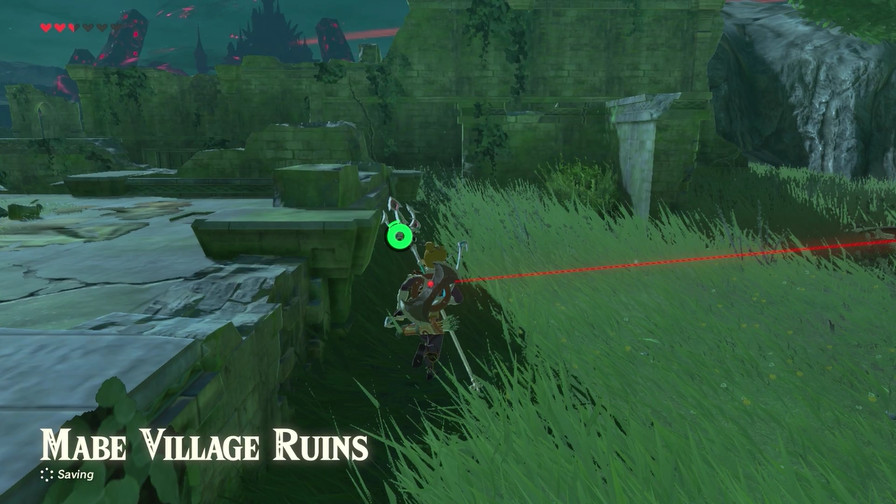
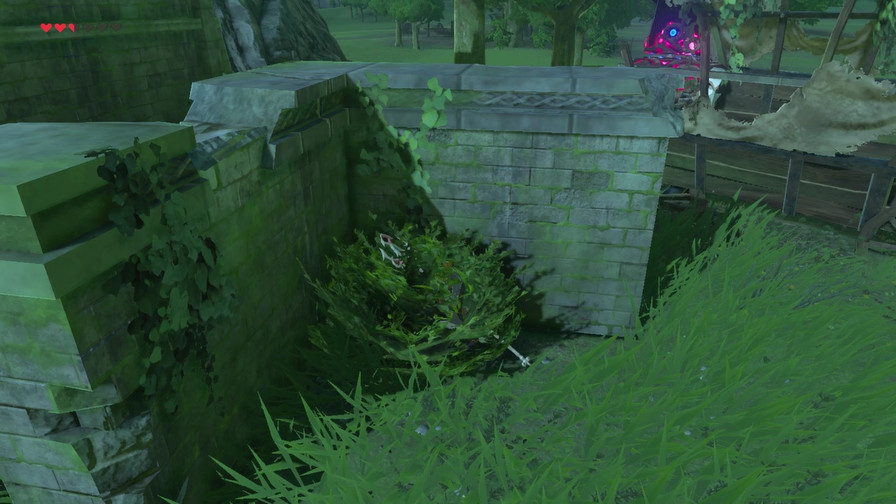
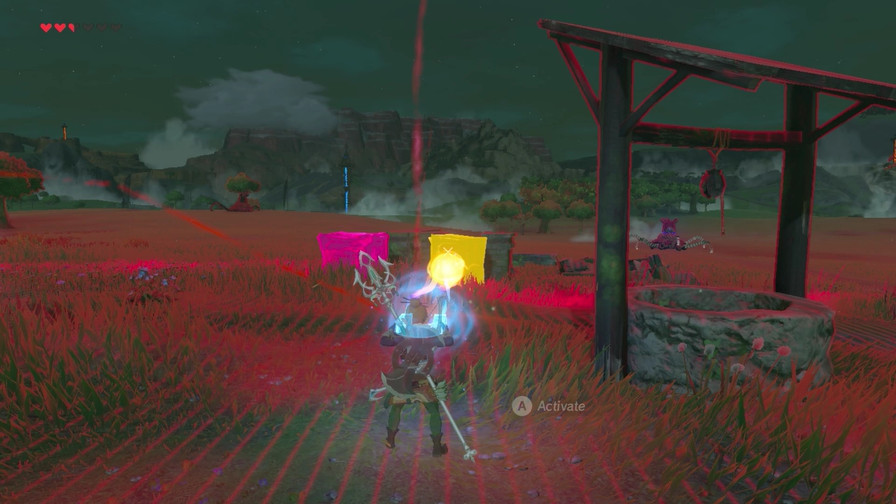
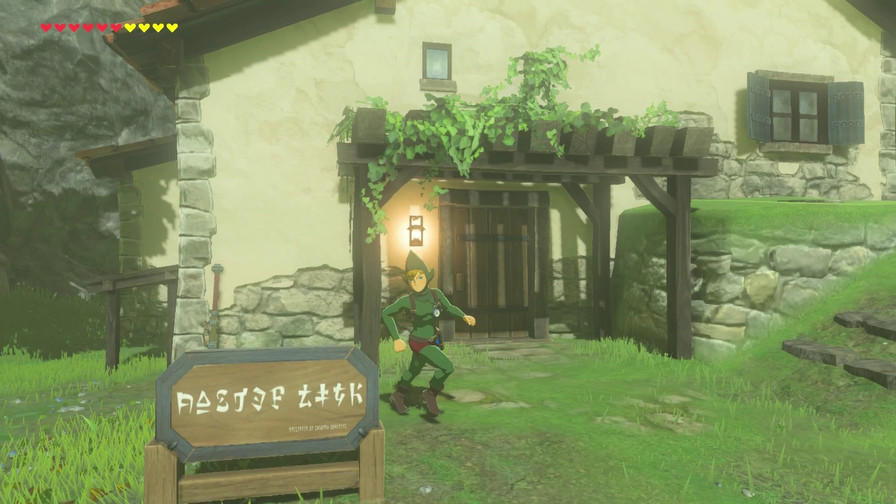
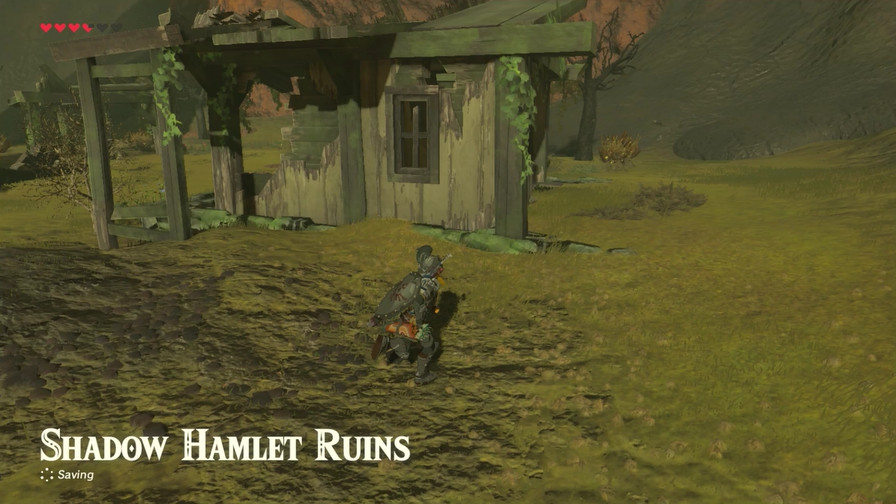
I then head to Mabe because one of the clues said it was in village ruins next to farmland.
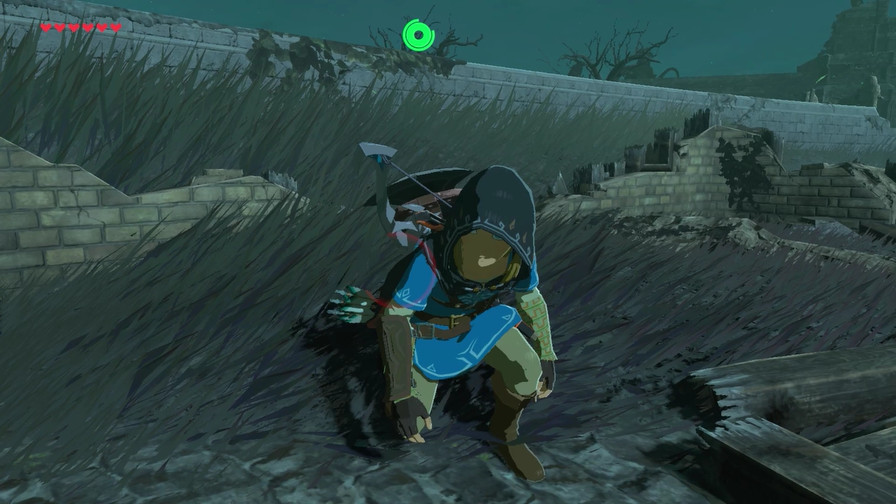
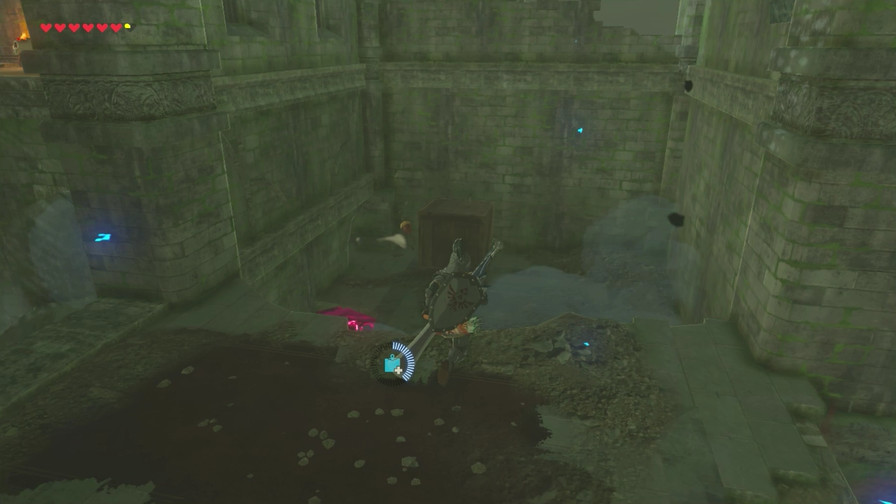
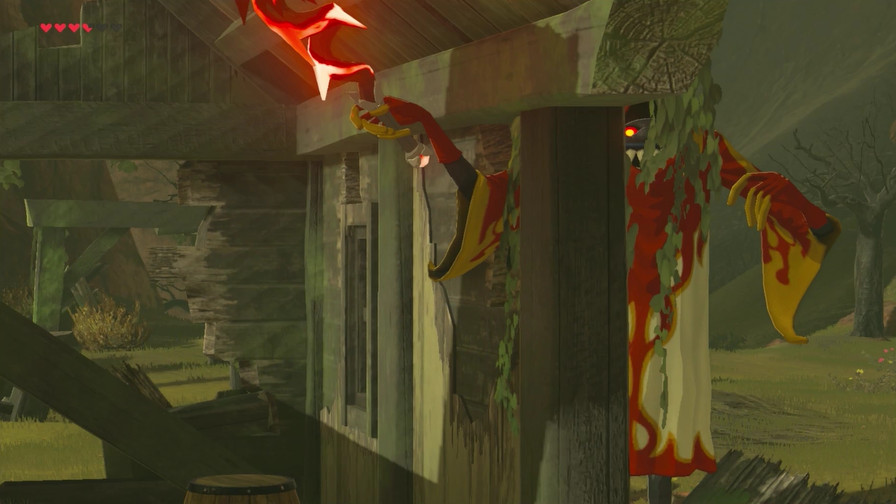
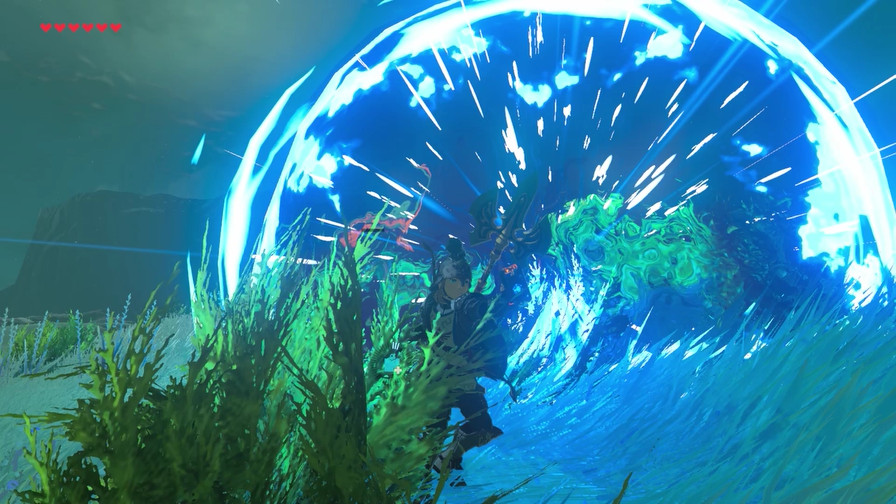
After some more cowardice, I make my move.
https://my.mixtape.moe/mhehdo.mp4
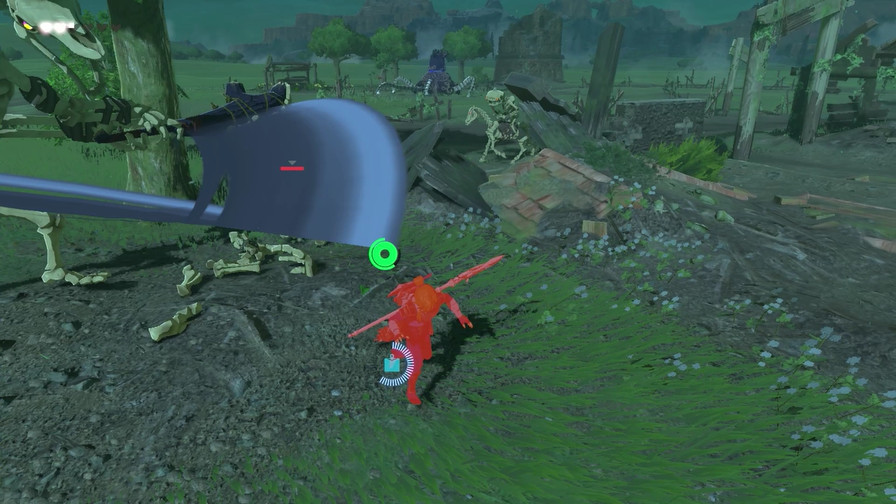
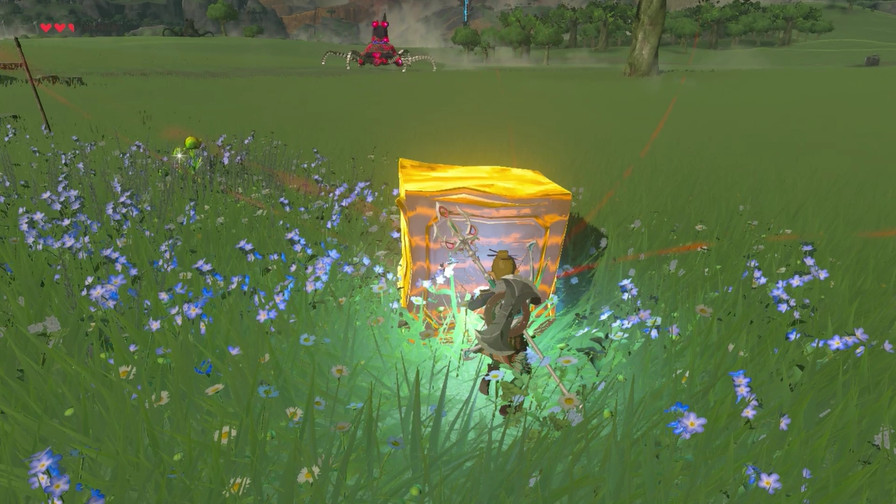
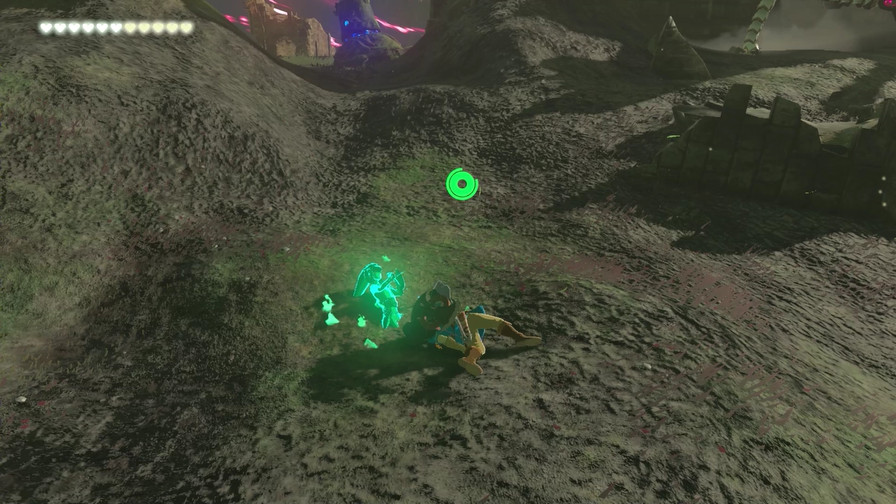
So, you can knock over dead Guardians with Magnesis manipulation. They’ll even have screws under them!
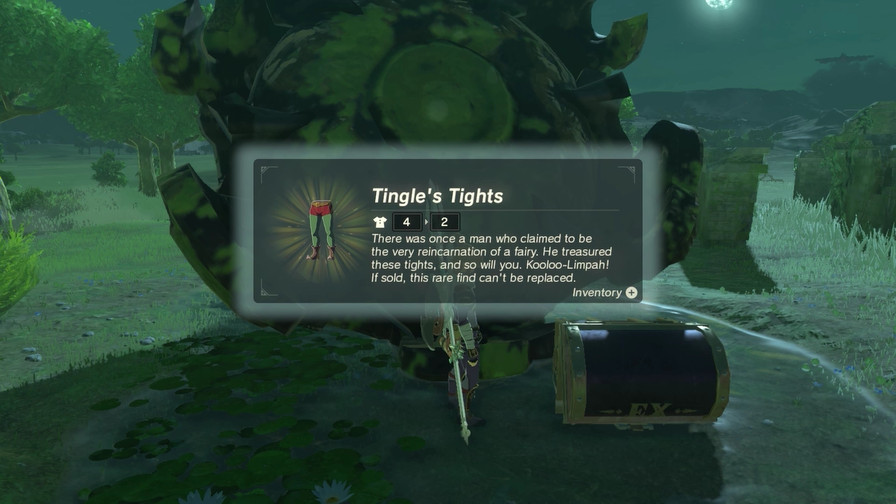
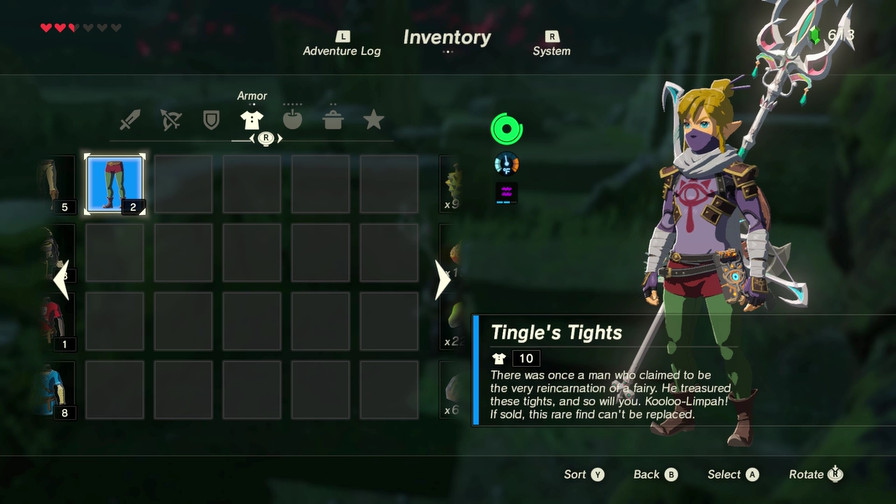
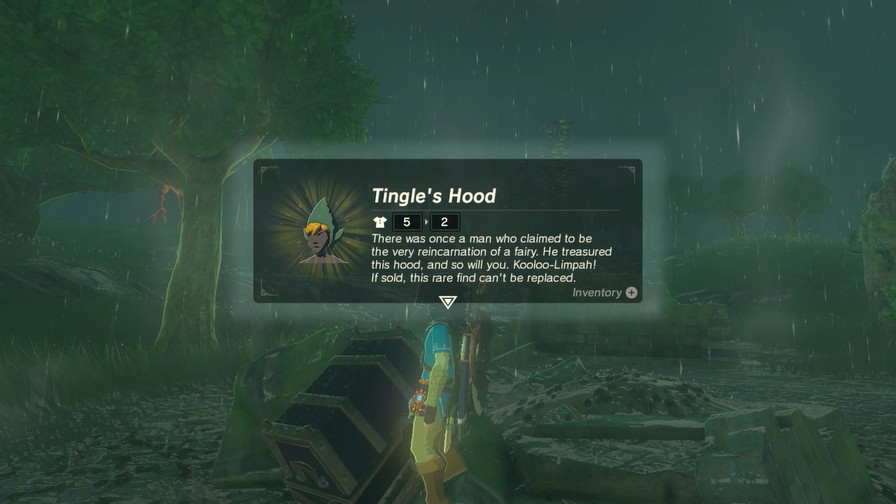
And we find our first item of clothing! Those tights fit very well.
I opt away from them after a bit, I’d rather have the full experience first.
At this point, I didn’t really know where to go next.
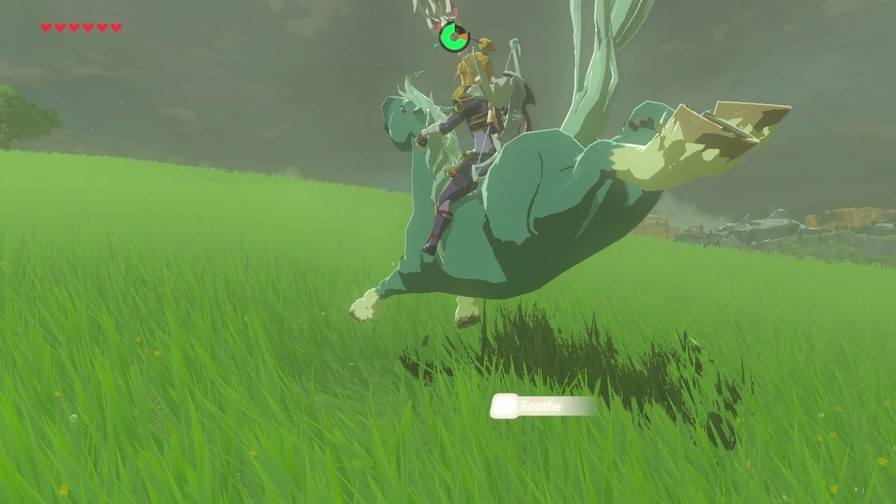
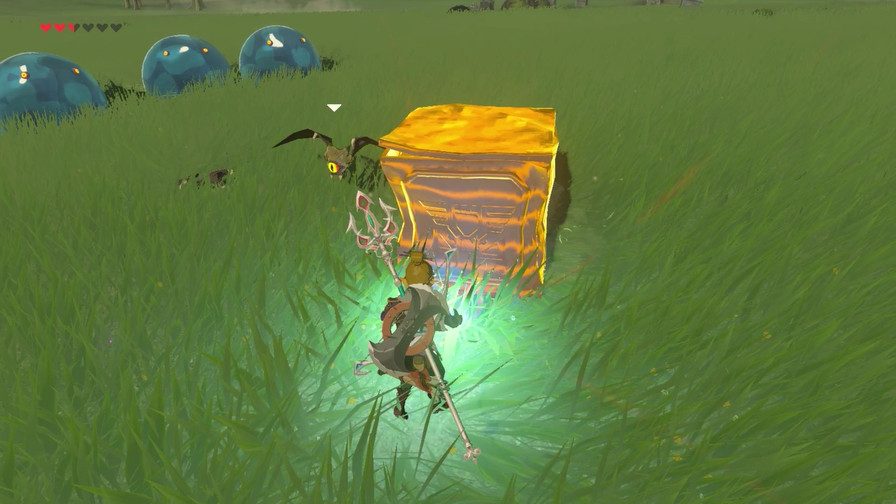
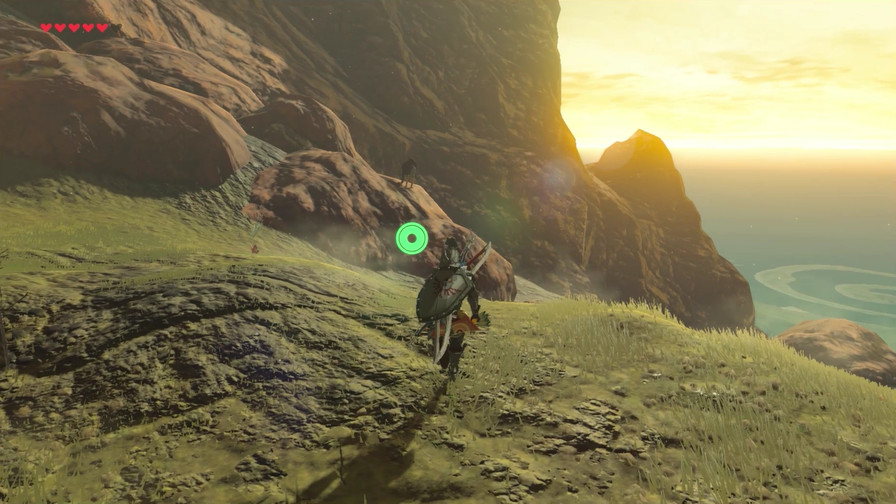
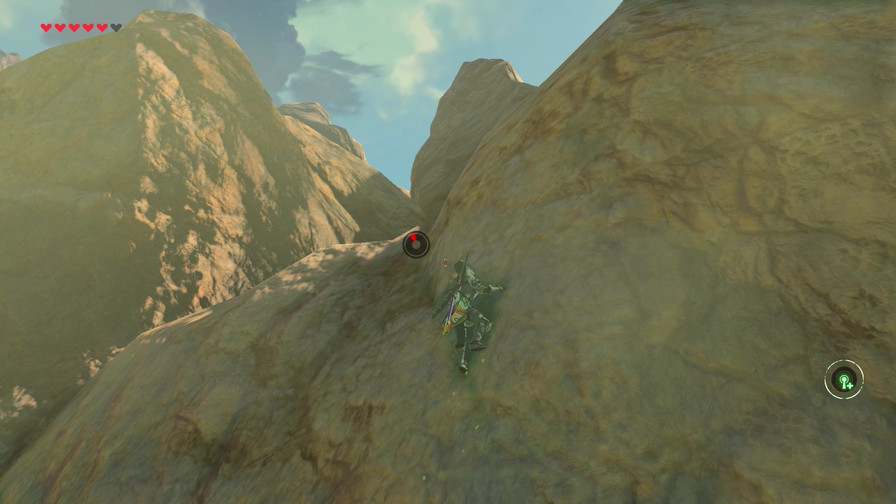
I did find a handy trick to sneaking past Guardians, though.
Not so helpful with the dumber enemies, though.
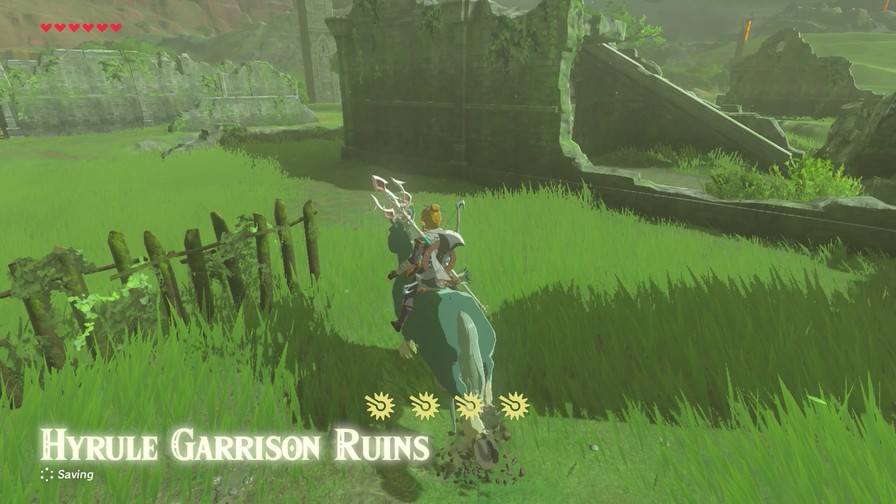
From here, I decide to try my luck at the Garrison again.
Nothing new besides a few more third-degree burns.
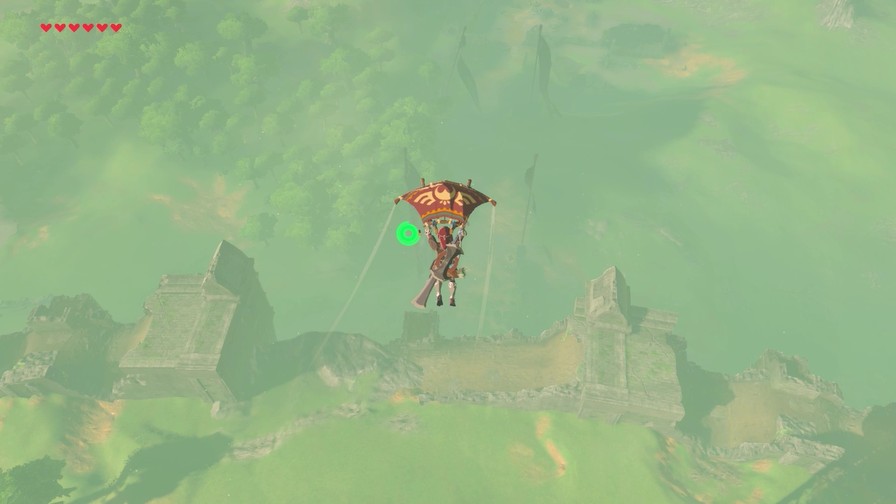
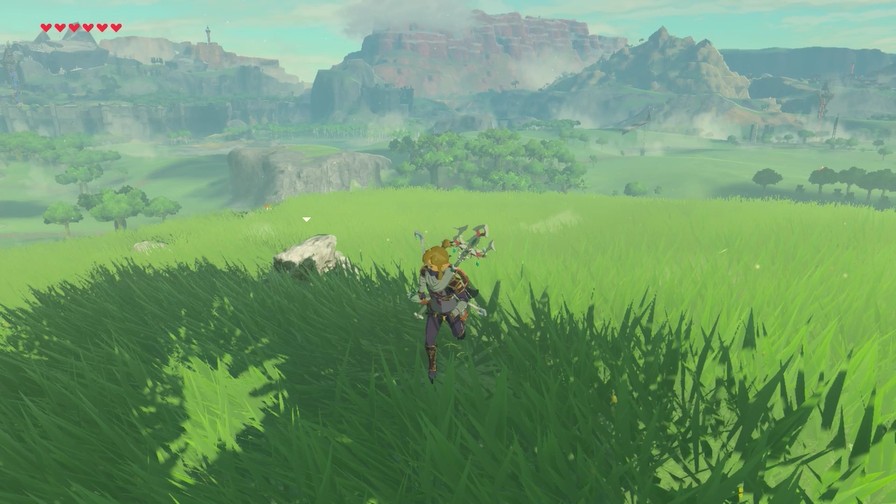
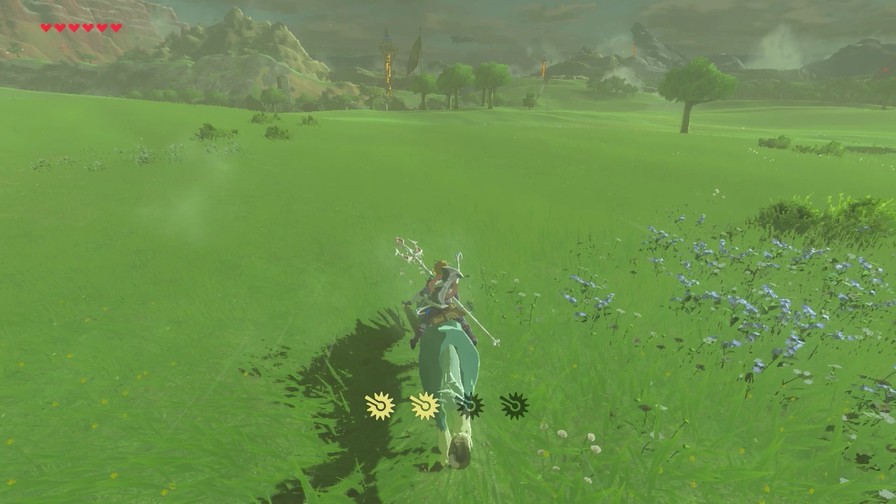
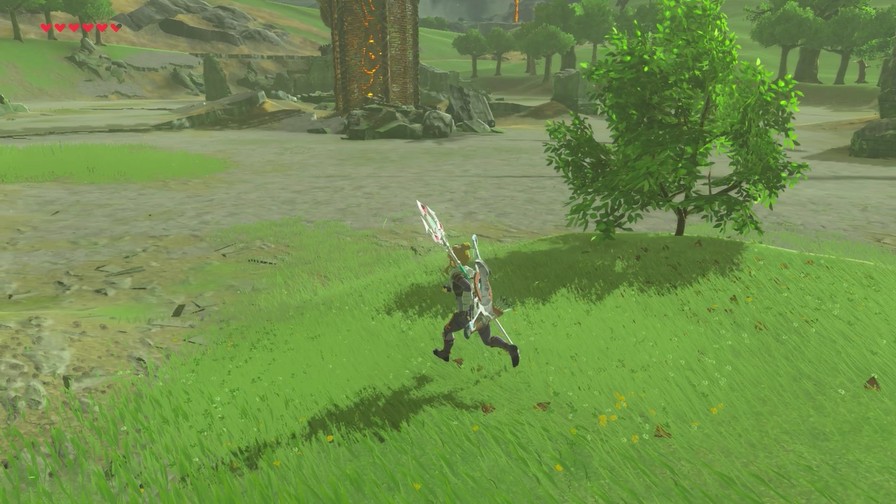
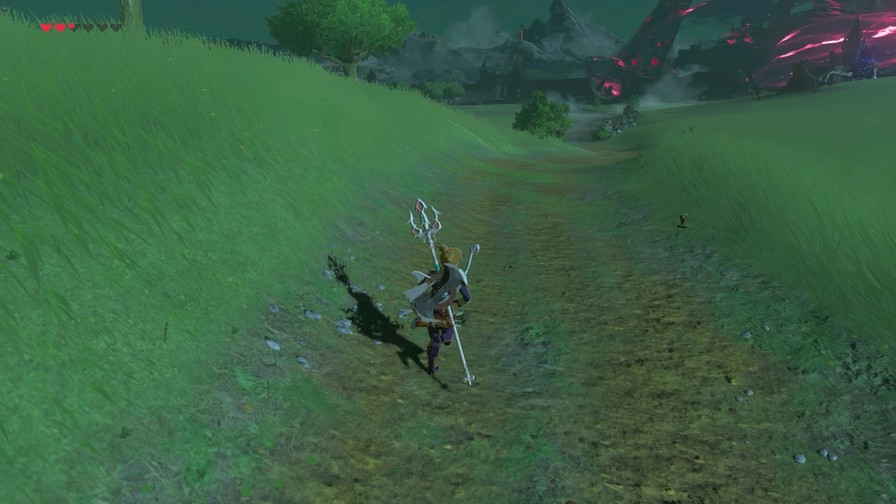
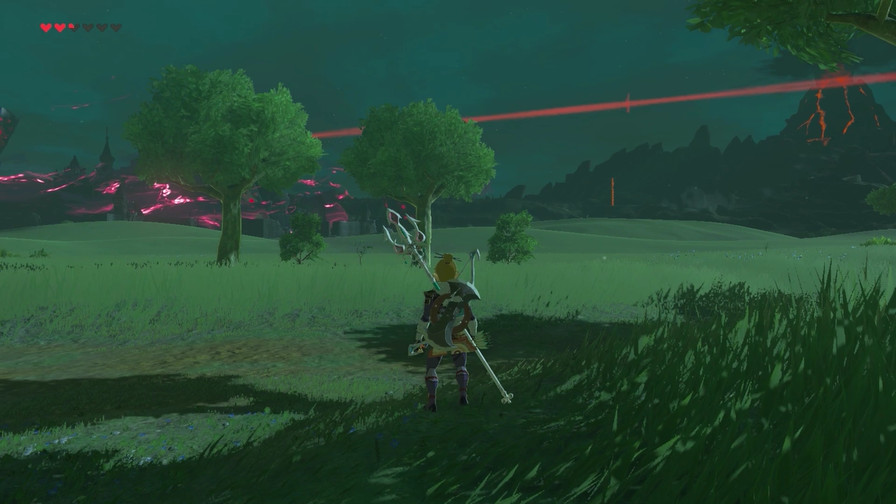
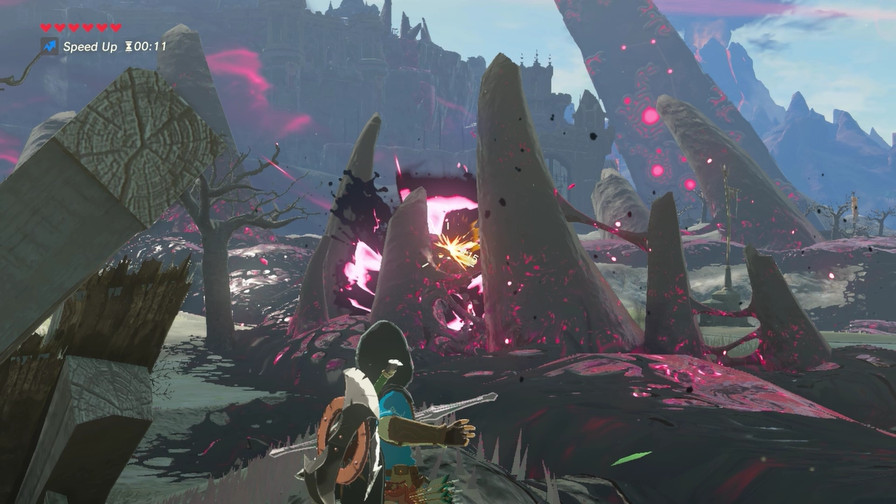
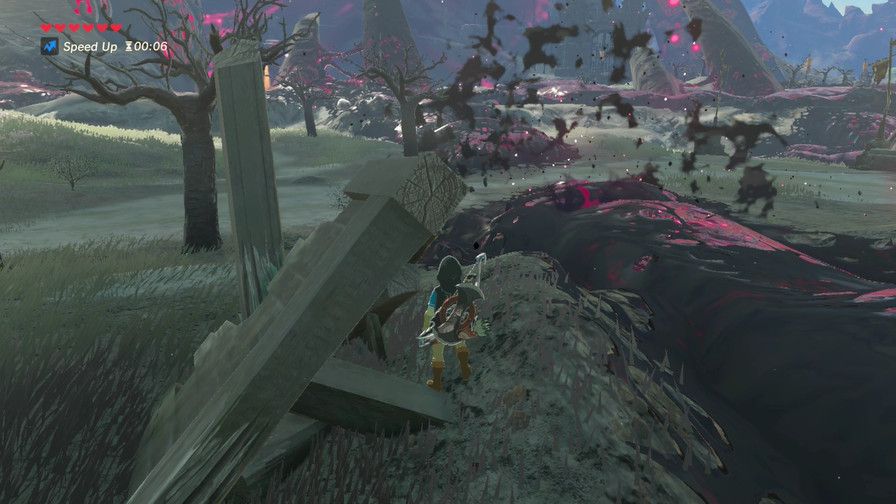
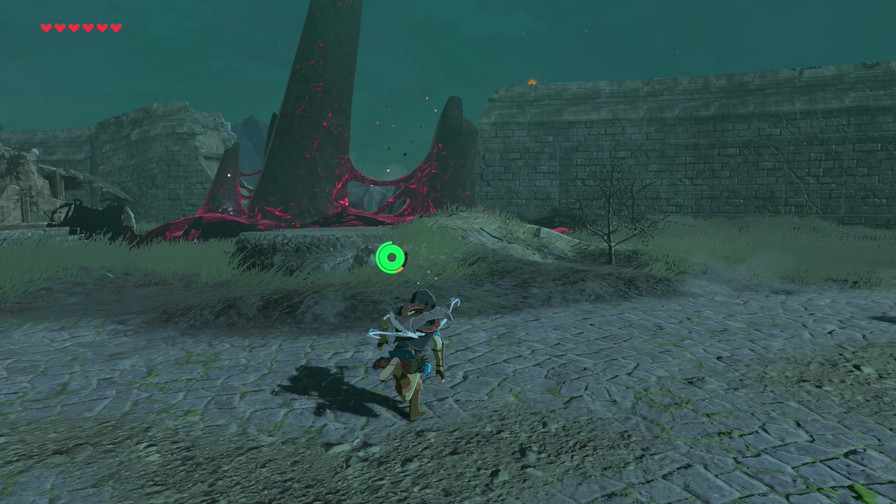
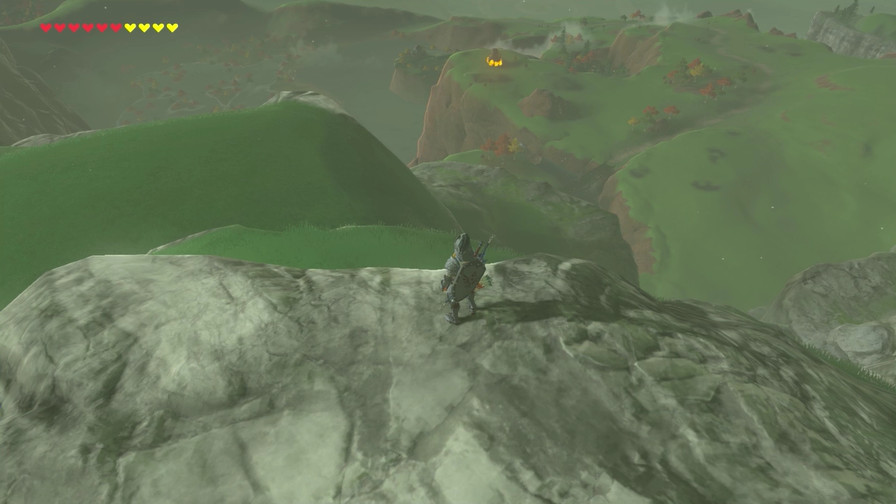
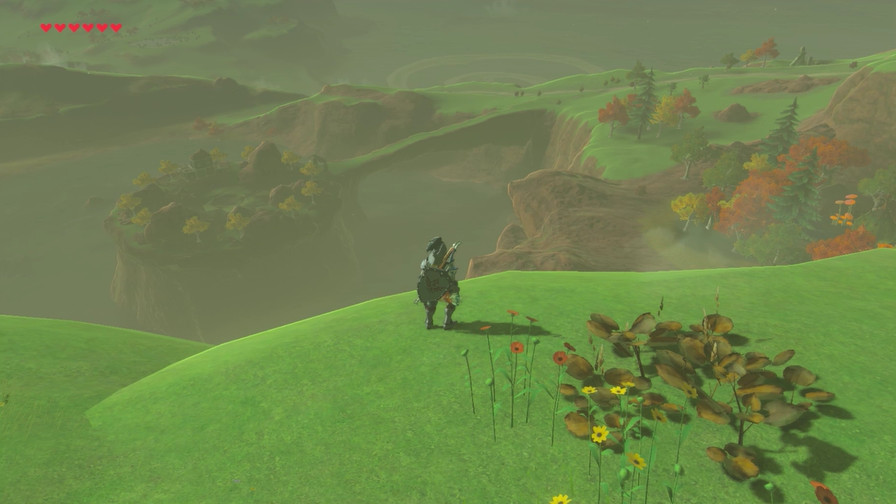
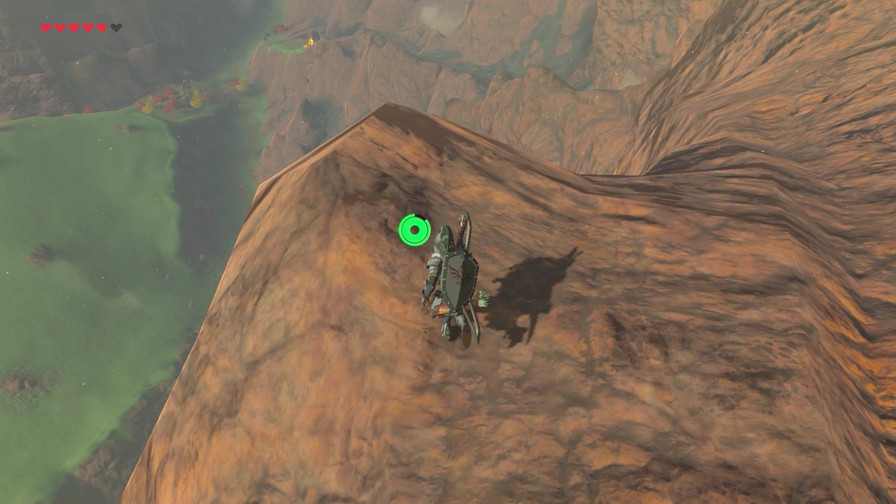
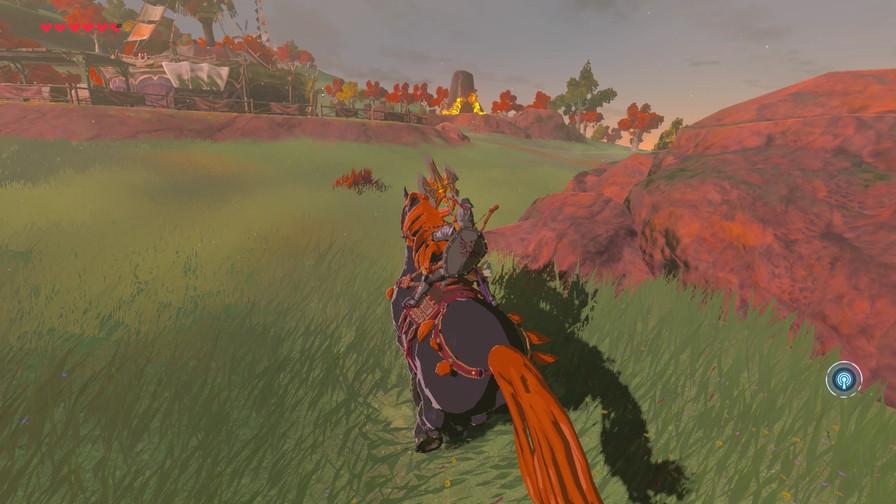
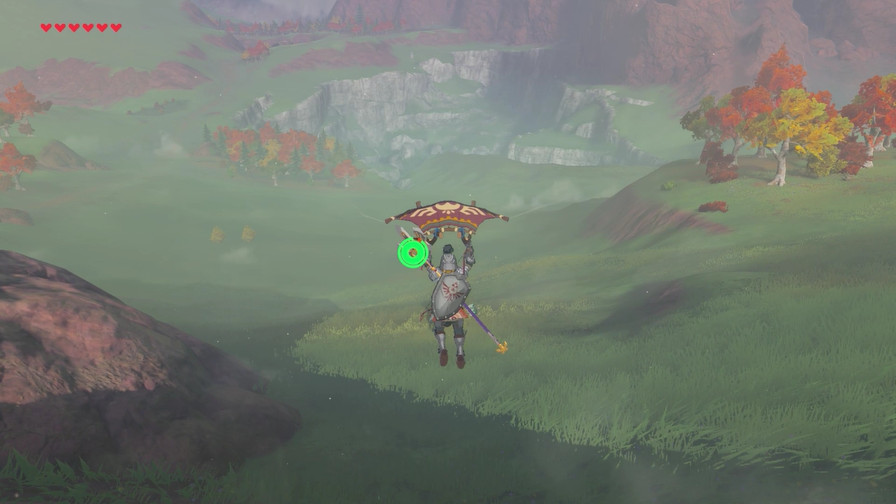
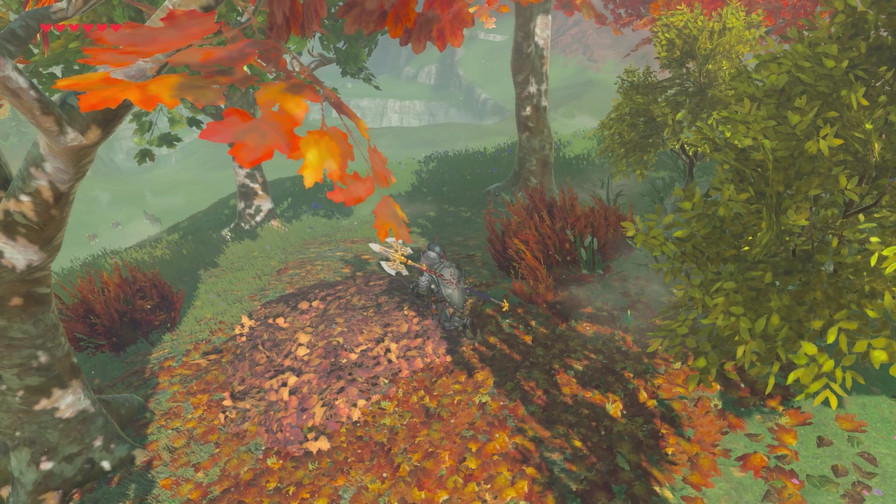
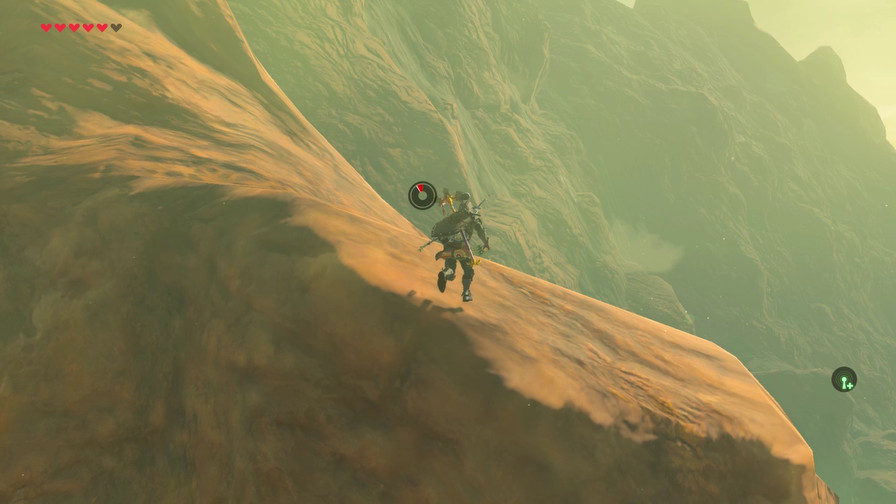
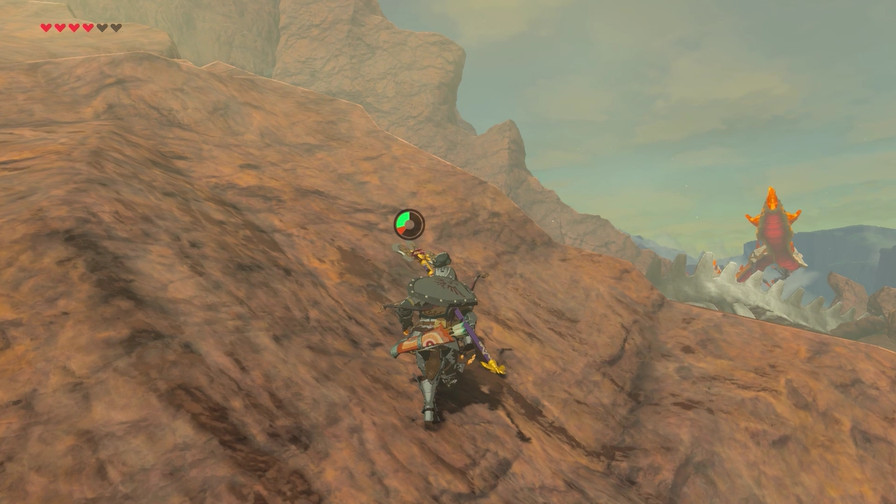
This time I opt to go northwest because why not. The scenery is nice, at least when things aren’t trying to kill me.
Sadly the scenery is never nice.
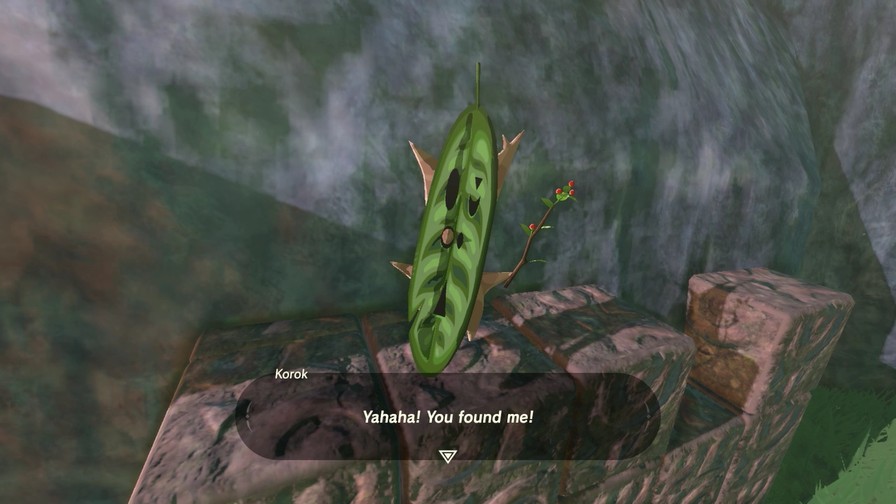
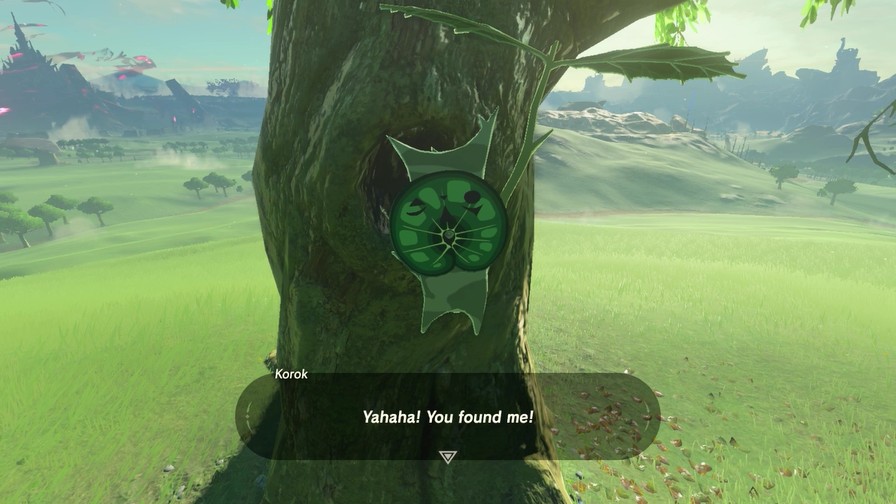
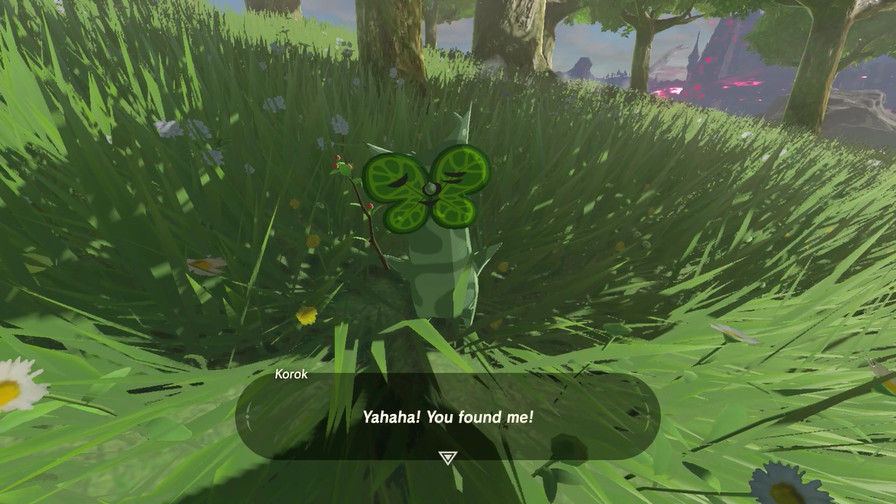
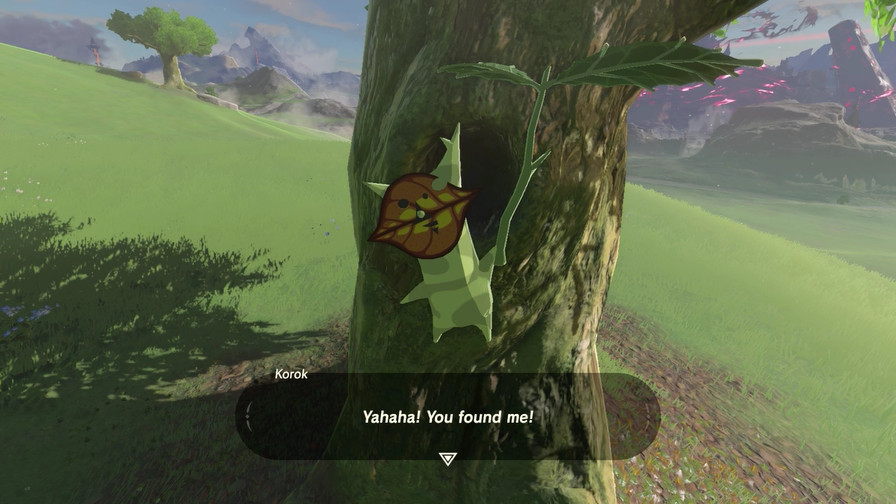
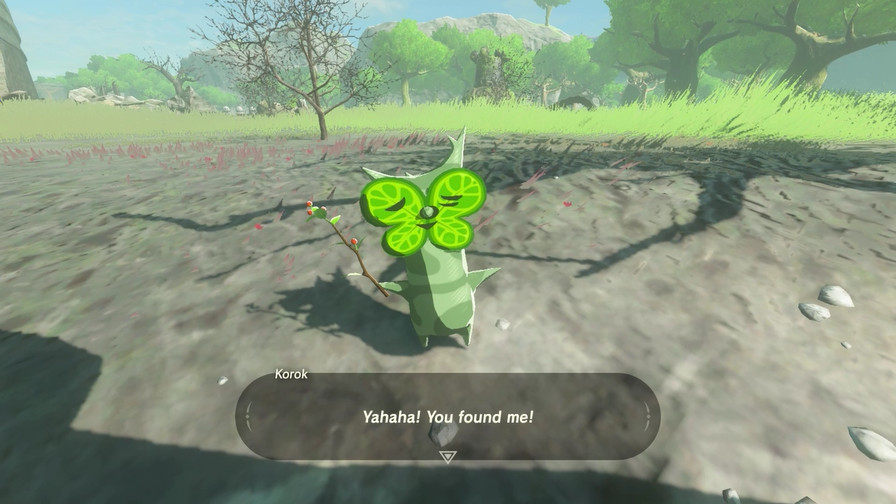
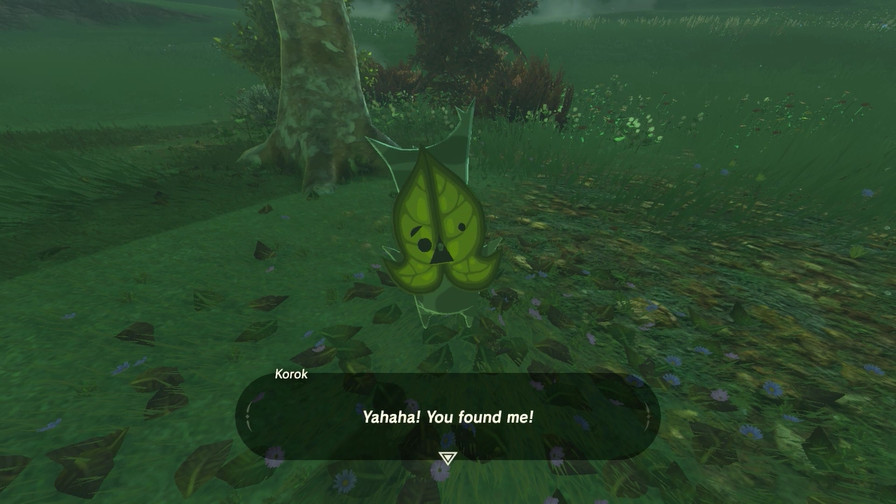
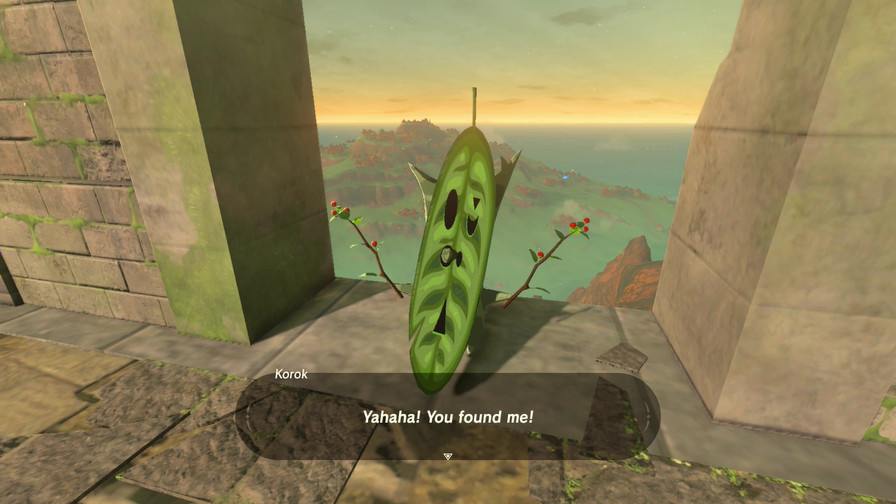
One location, two Koroks.
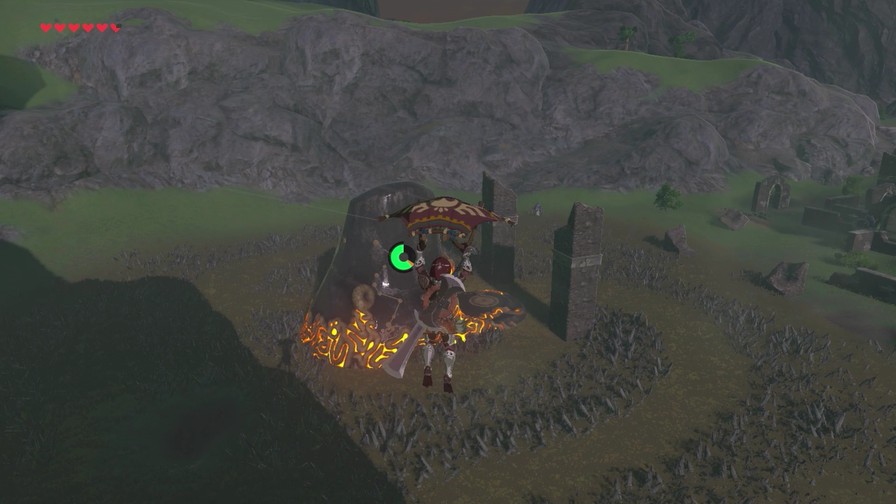
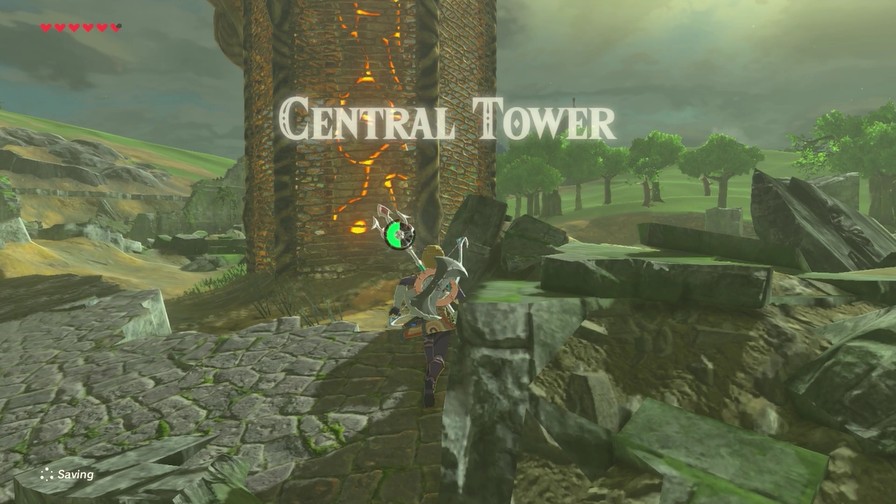
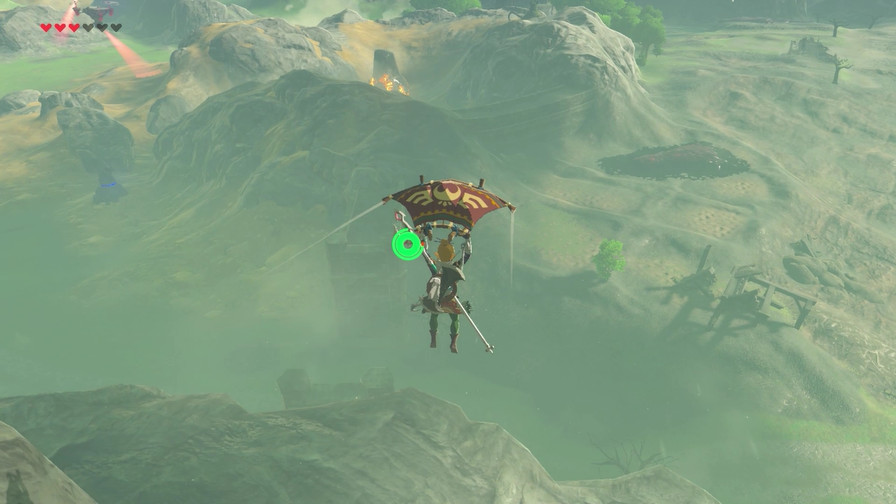
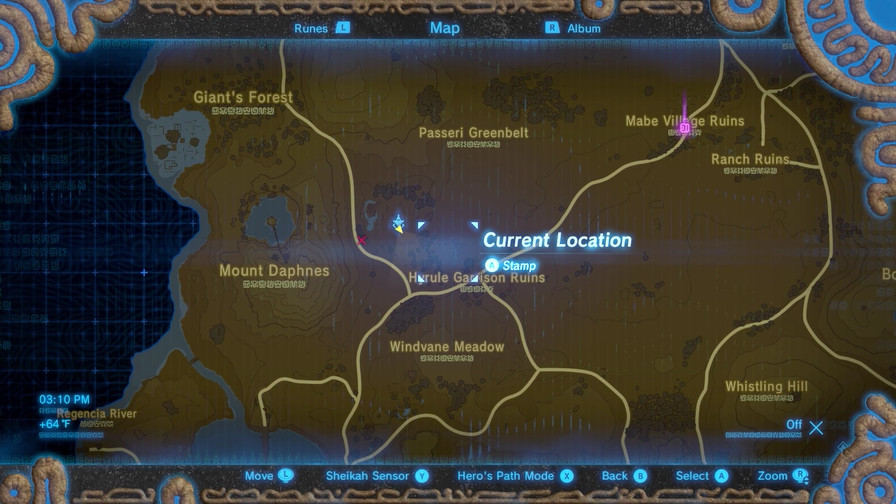
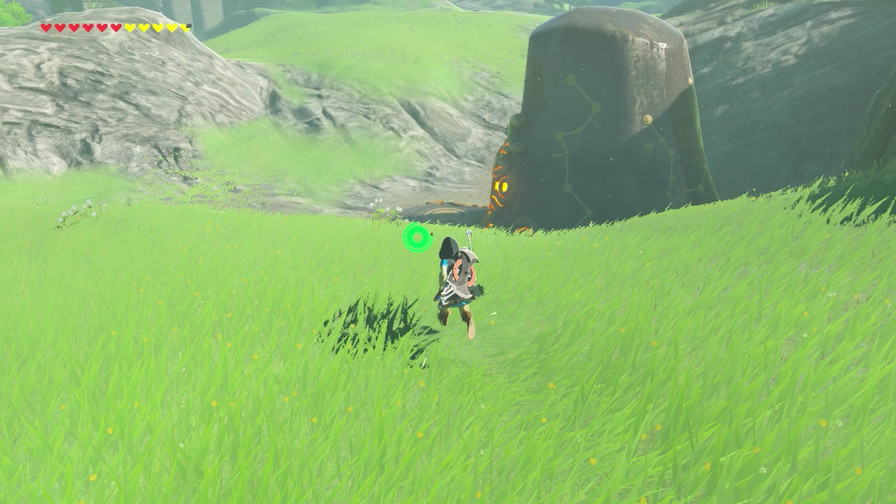
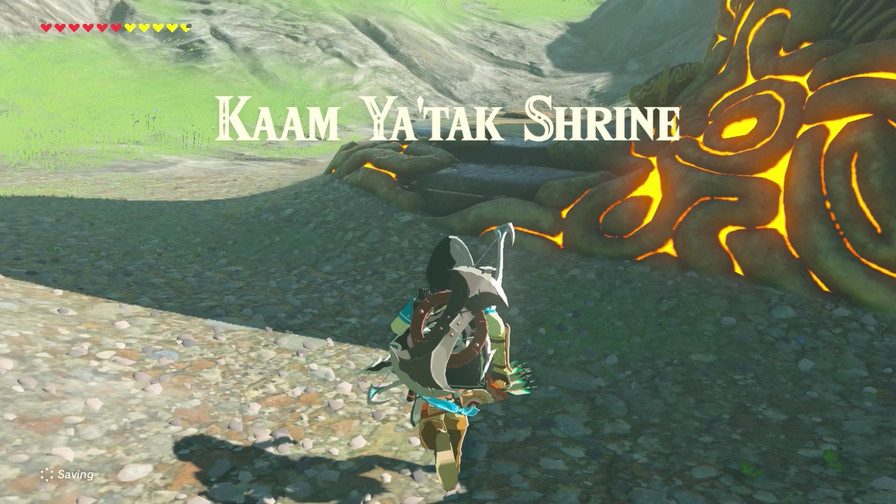
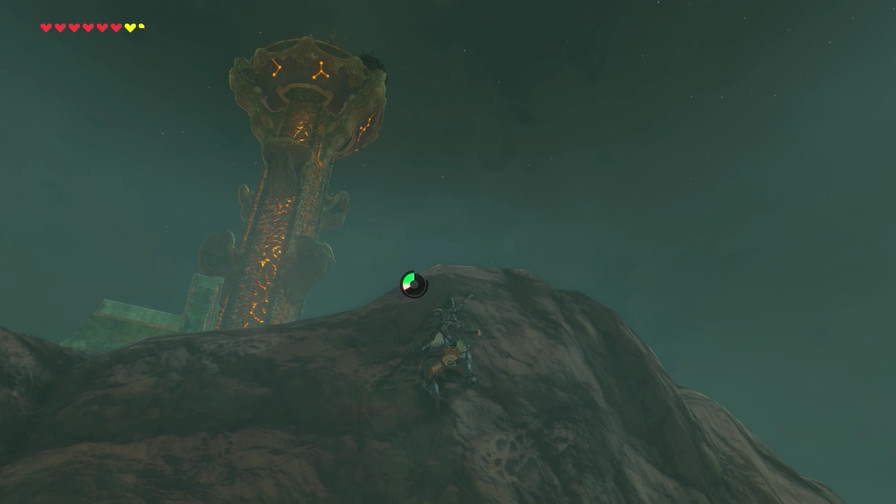
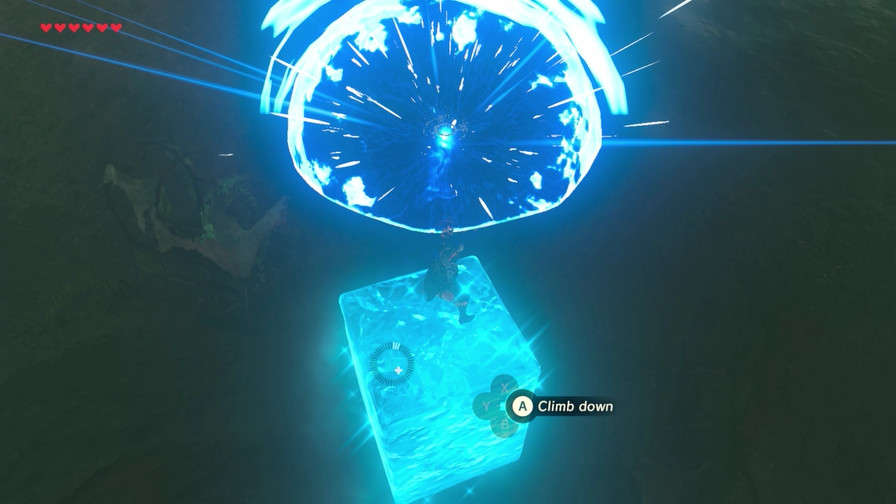
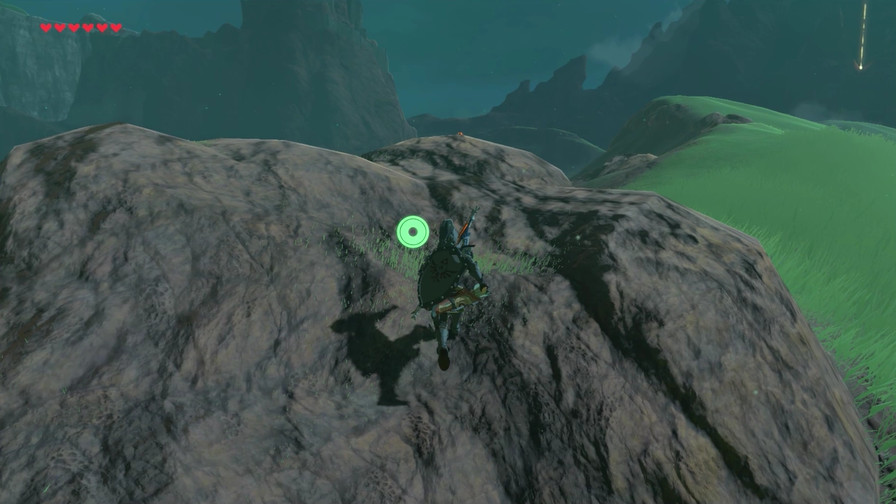
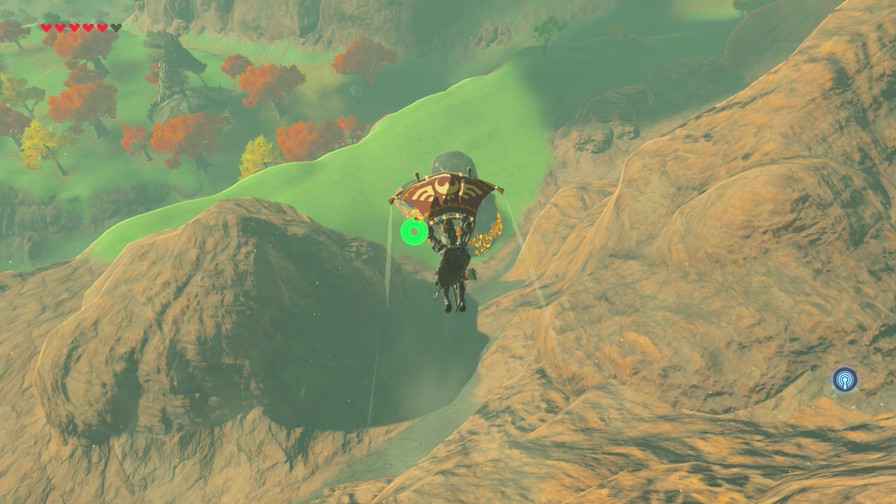
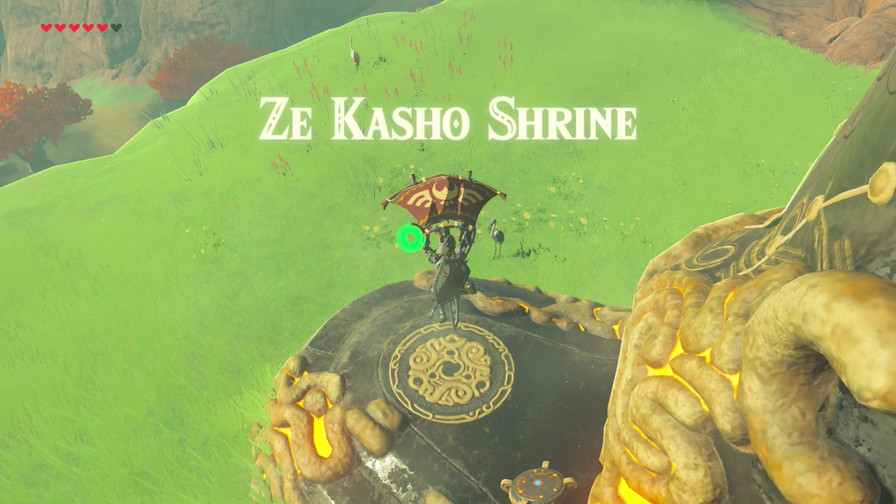
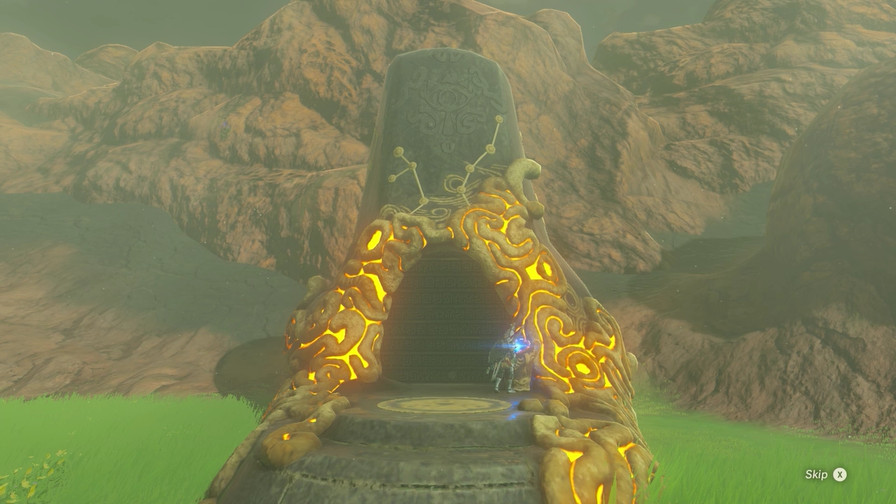
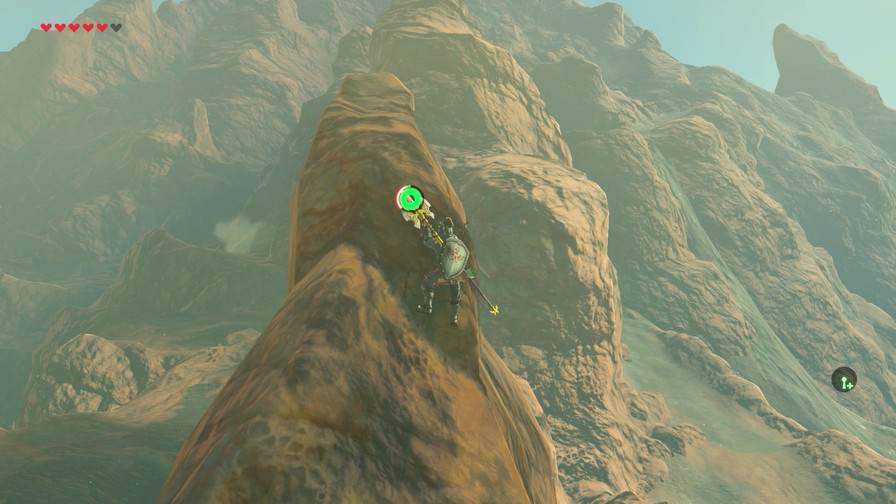
There’s a shrine up ahead.
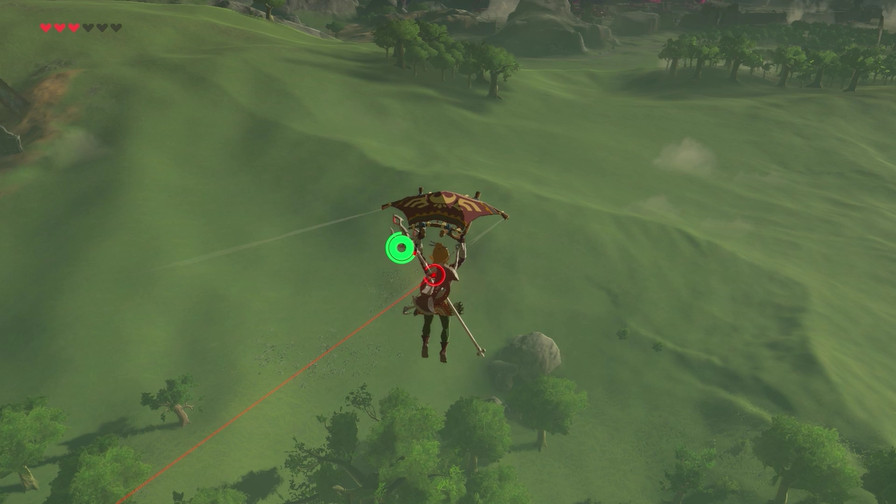
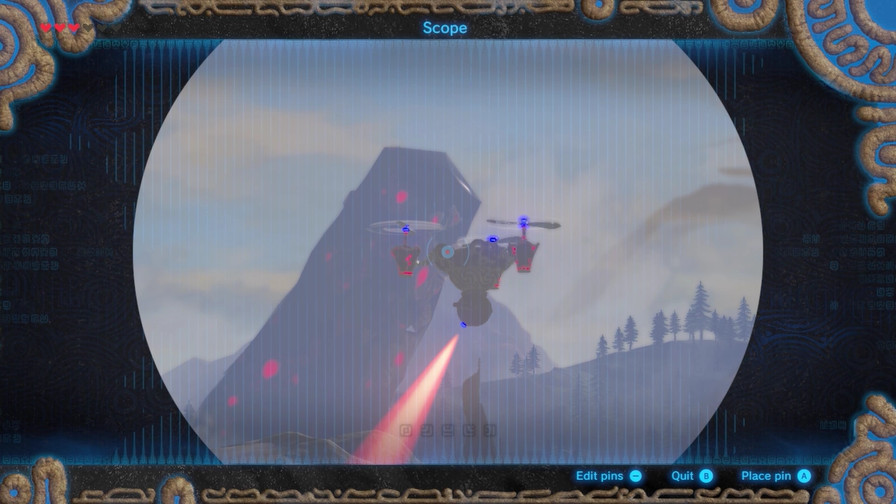
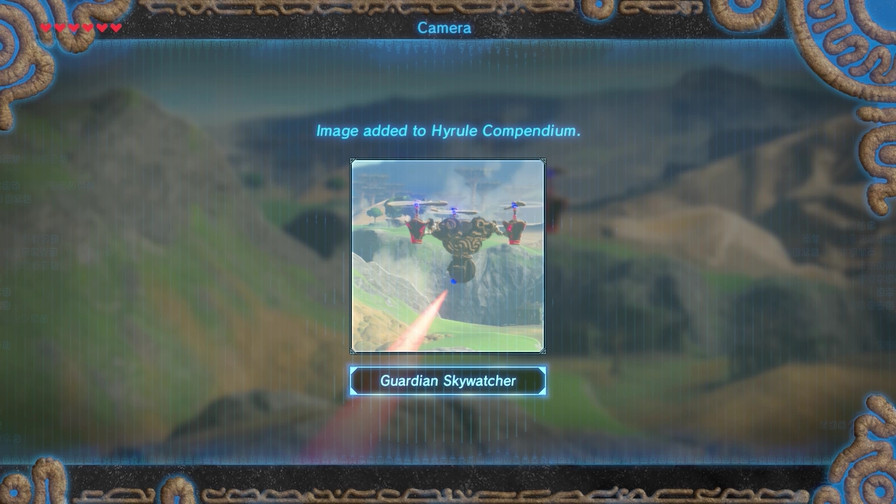
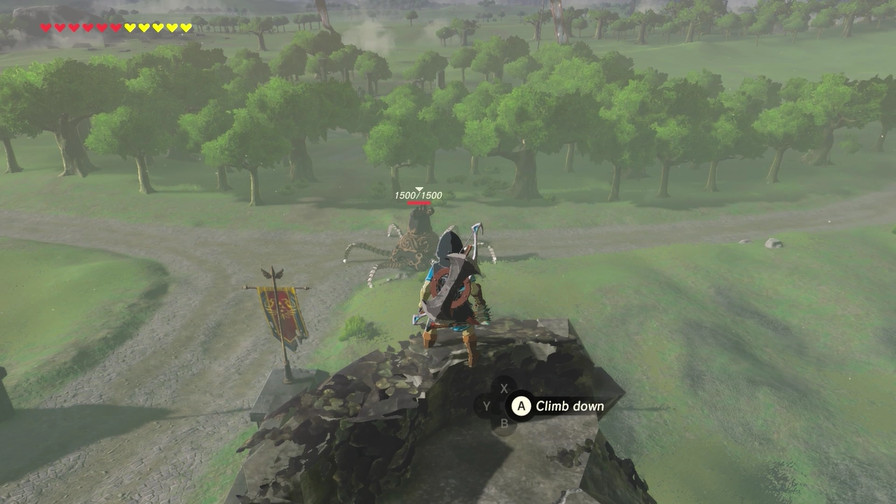
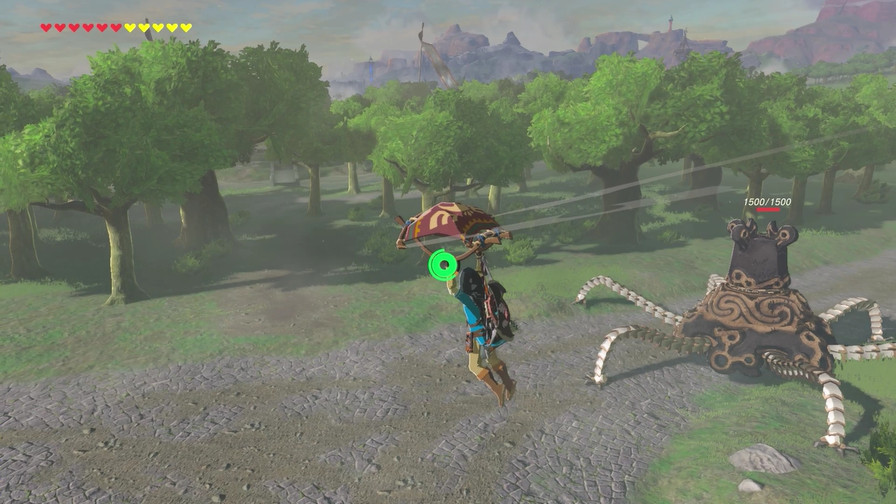
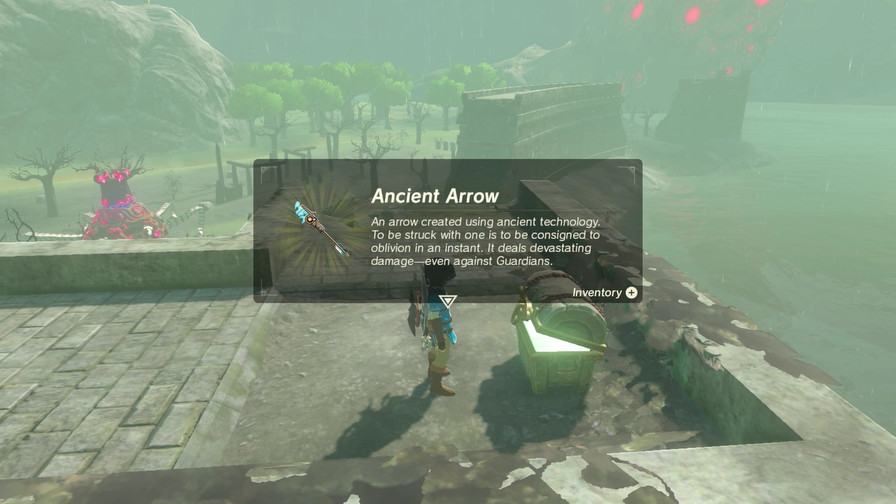
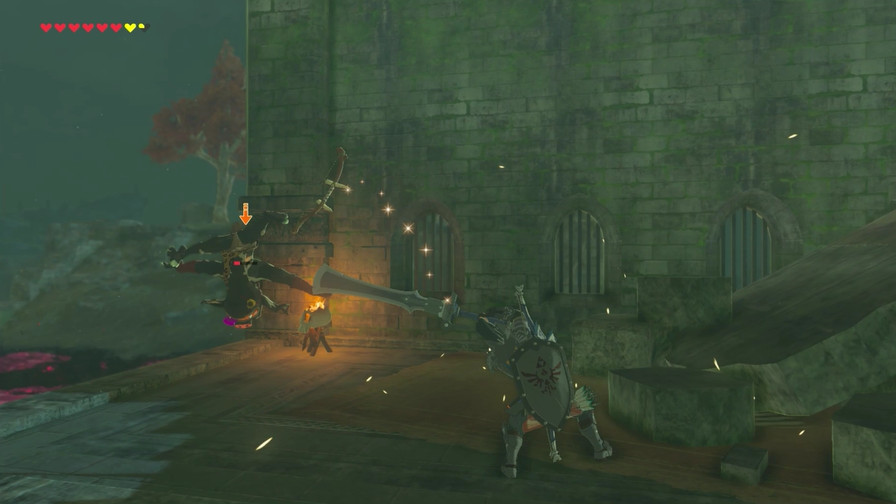
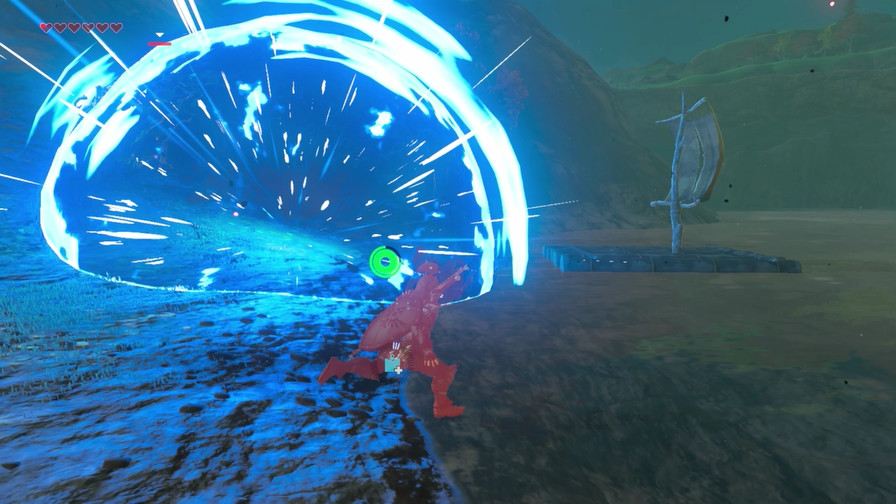
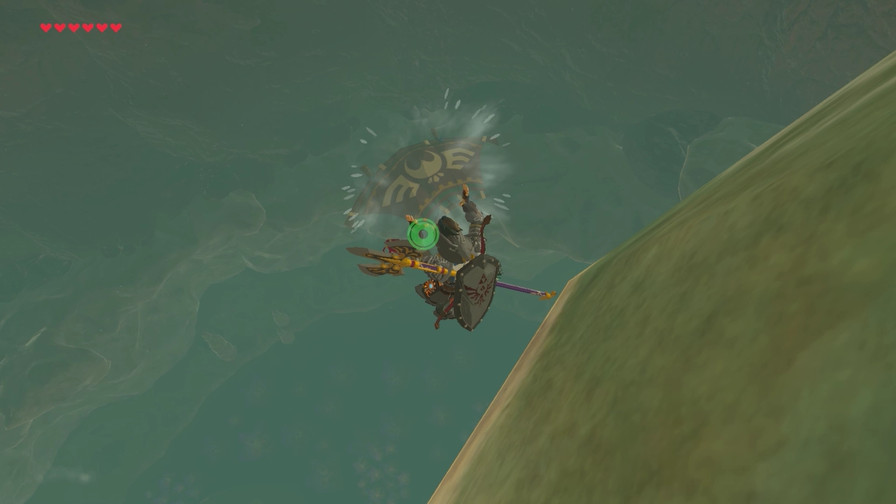
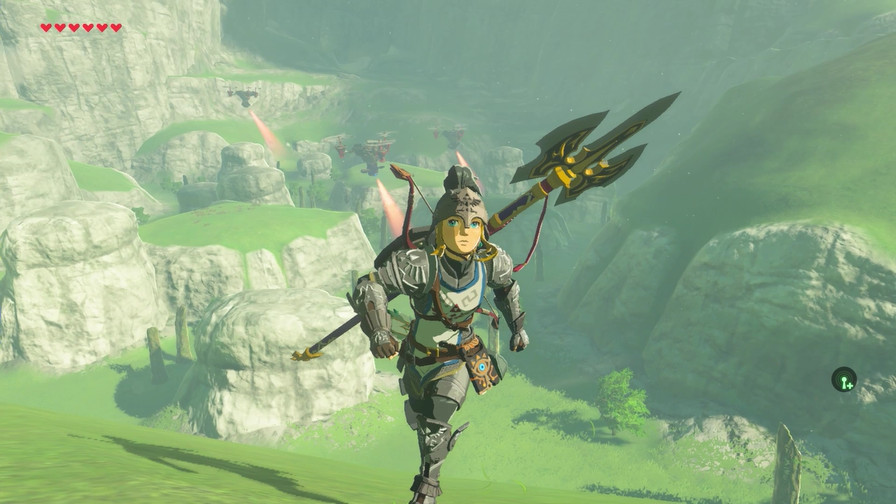
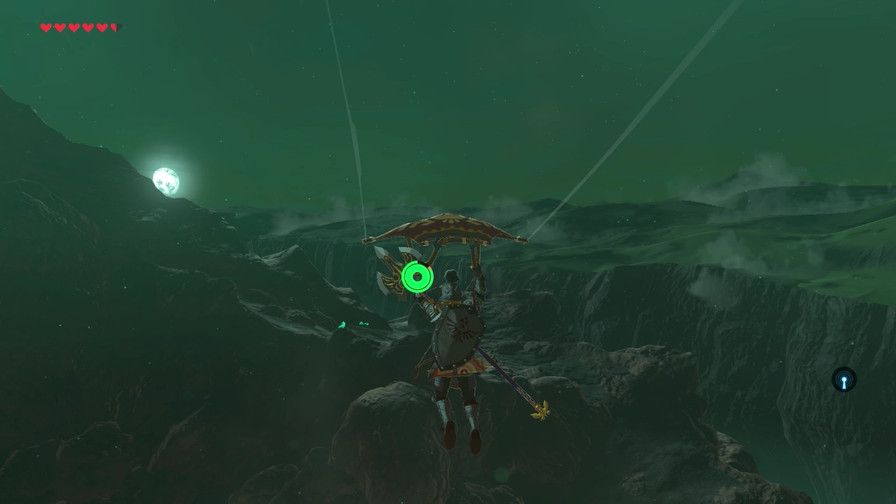
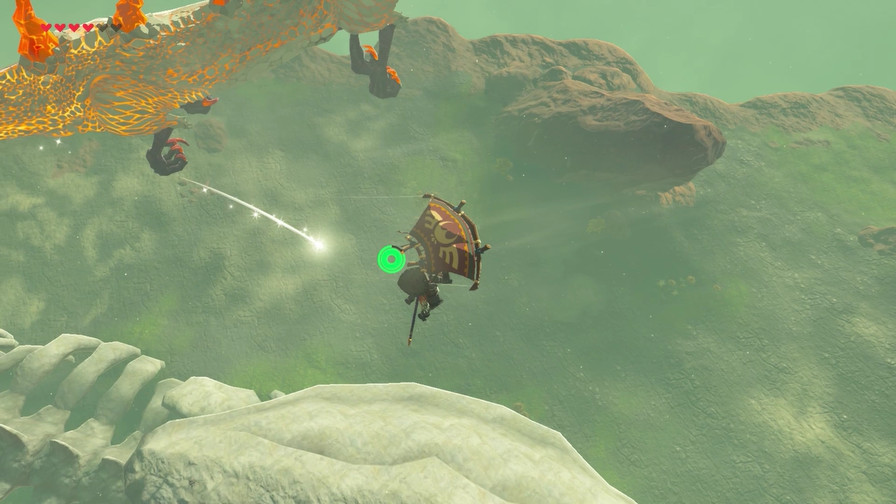
Oh yeah, close to Hyrule Castle there are flying versions of the Guardians. Honestly they’re a massive pain to kill and the loot isn’t worth it. At least they’re easy to evade, so just walk around them or down them with an Ancient Arrow.
https://my.mixtape.moe/waqilh.mp4
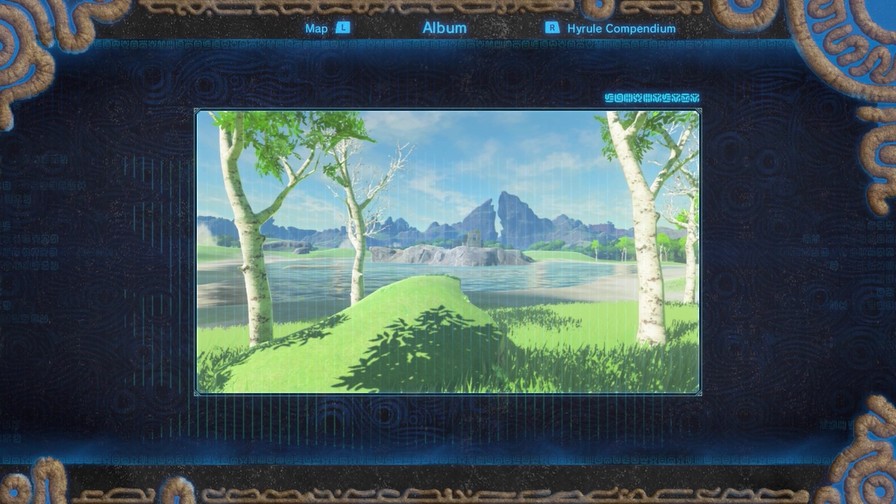
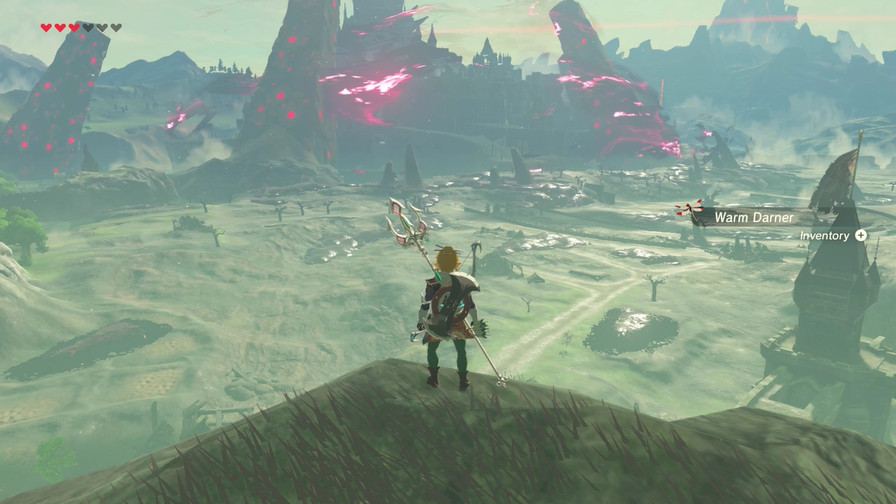
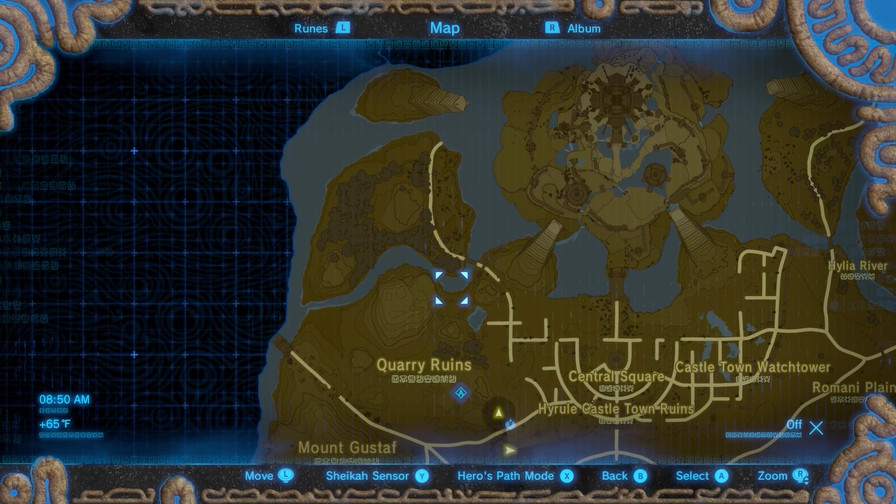
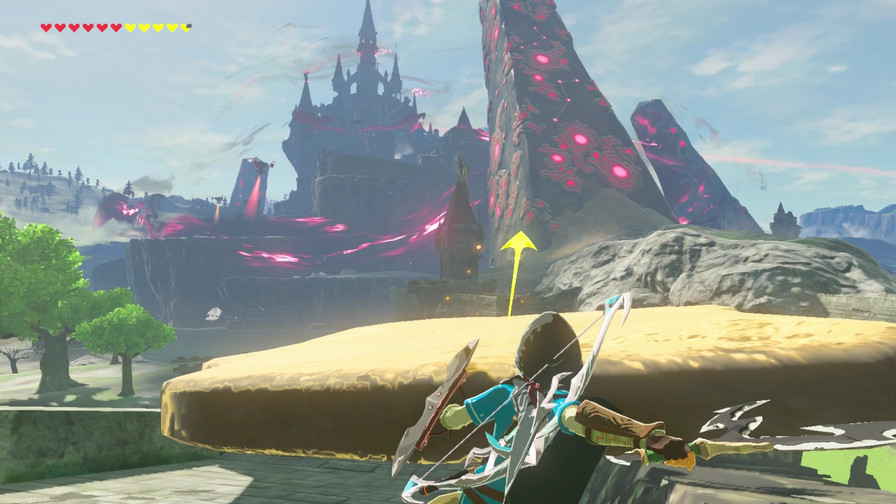
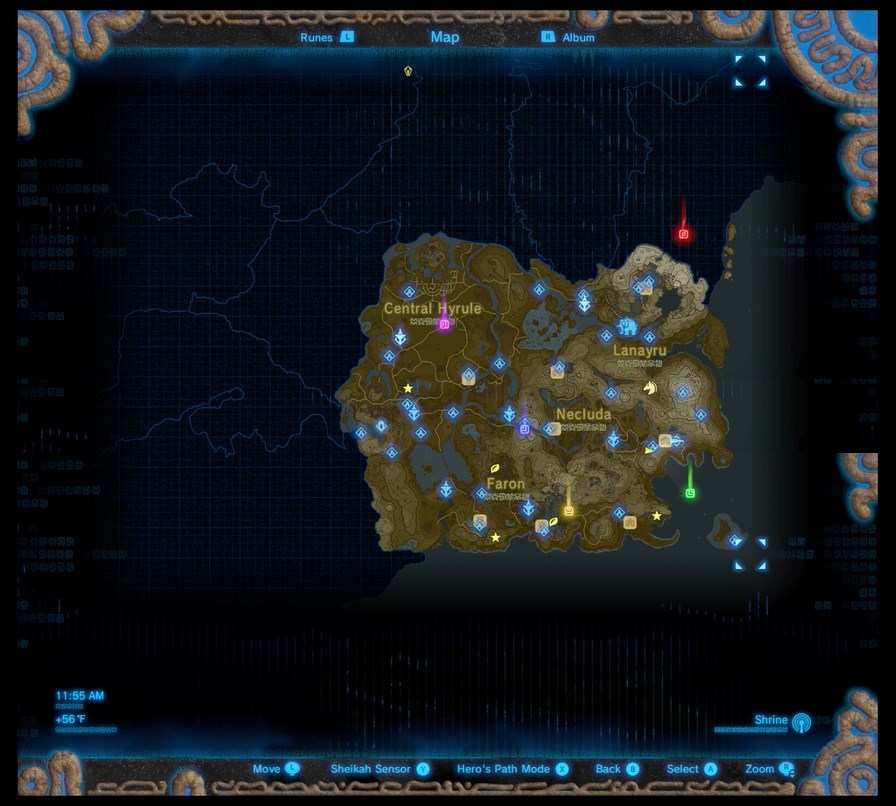
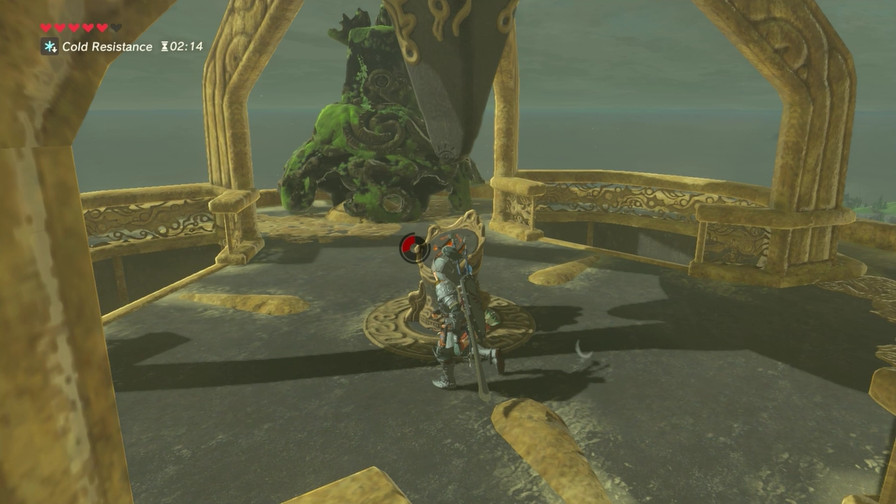
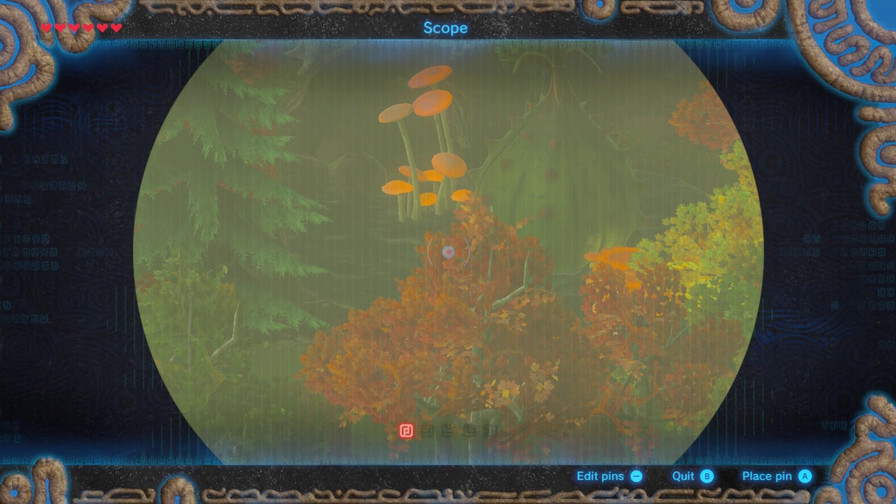
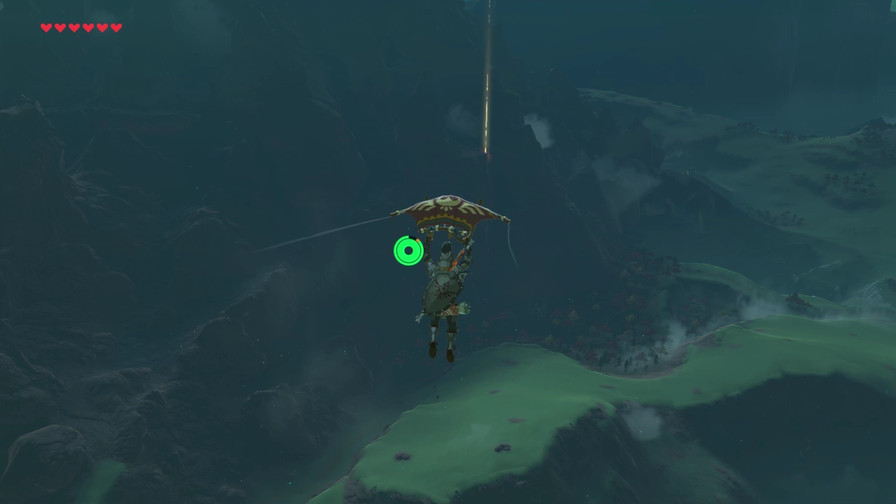
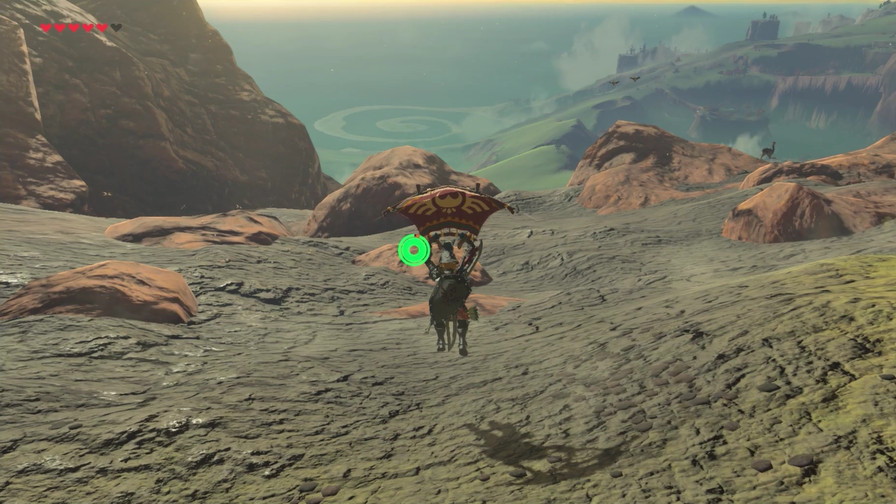
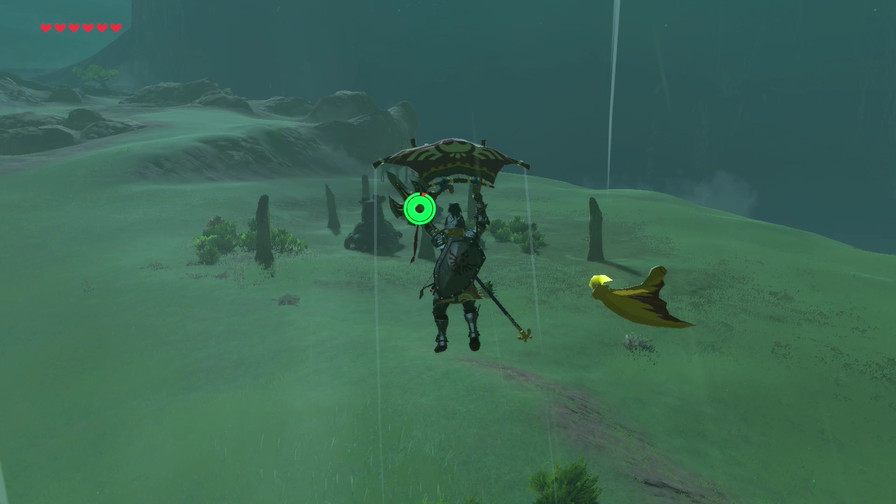
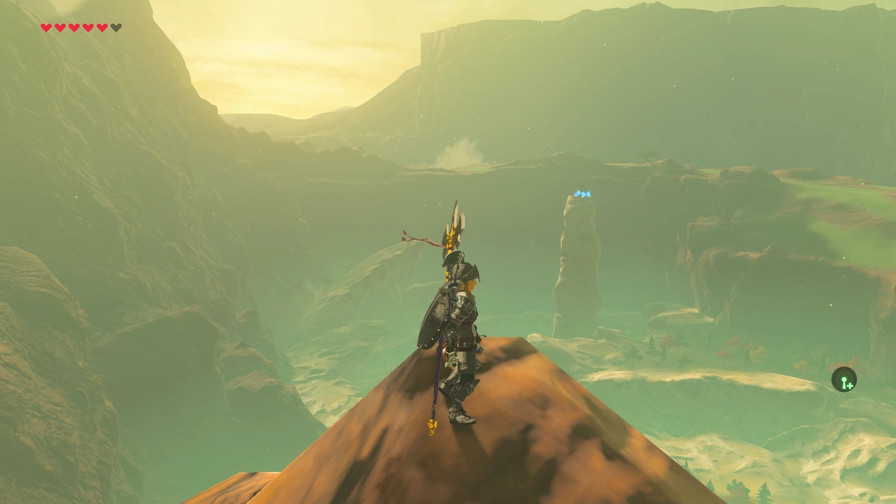
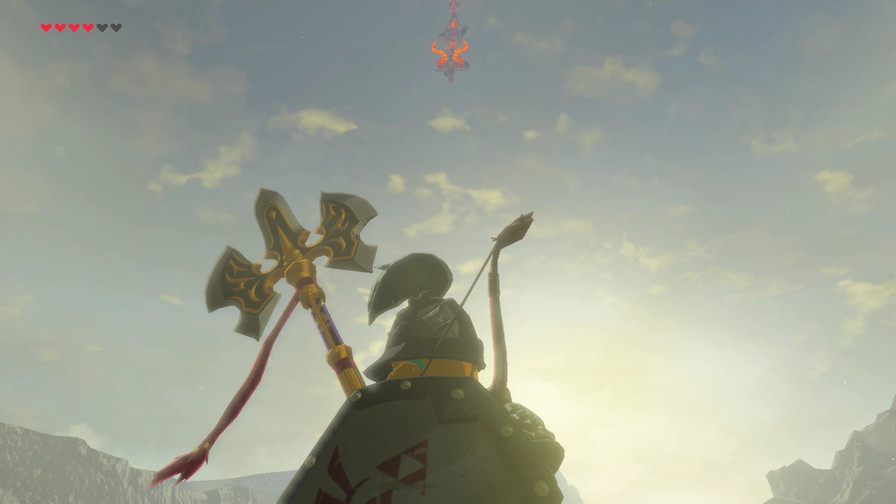
Since this is the closest we’ve been so far, I also take the opportunity to get a better look at that floating island. Hmm.
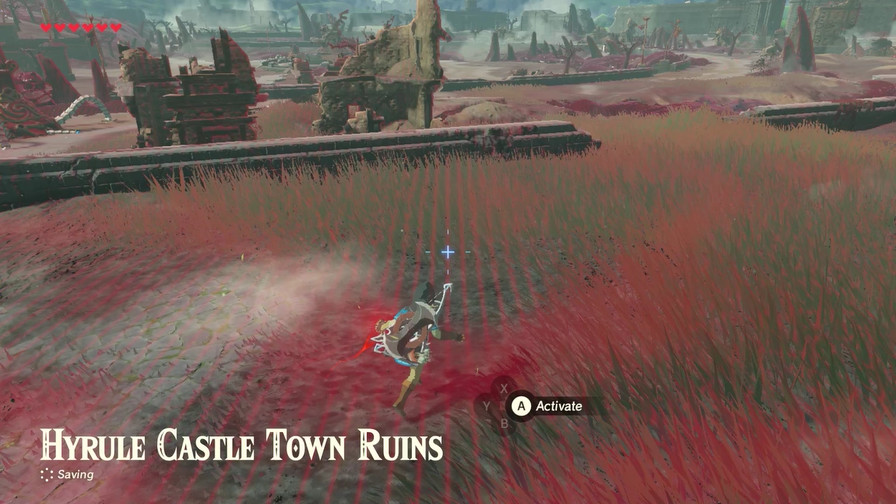
We’re very close to Hyrule Castle. Between it and us are the ruins of Castle Town. It’s seen better days.
Anyway, let’s take a break from clothes shopping.
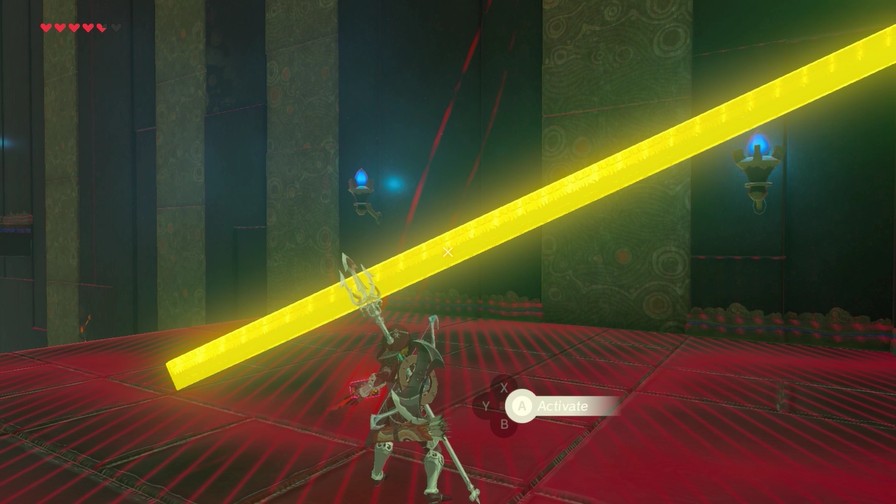
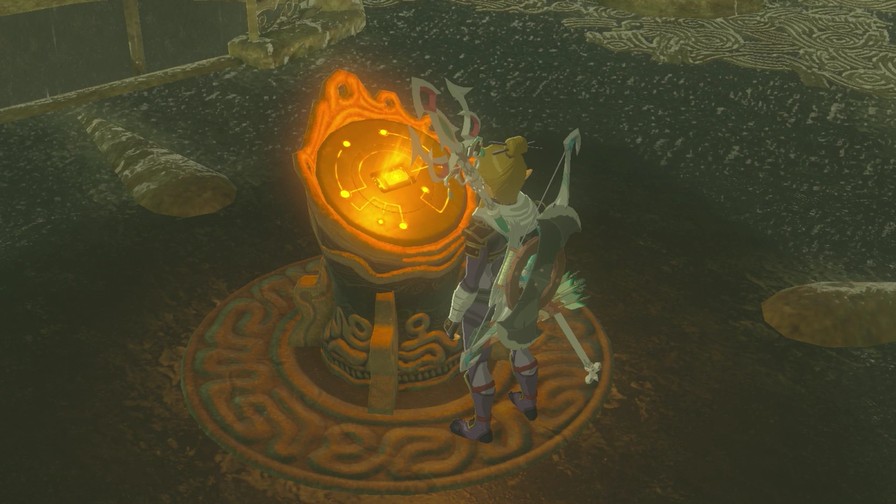
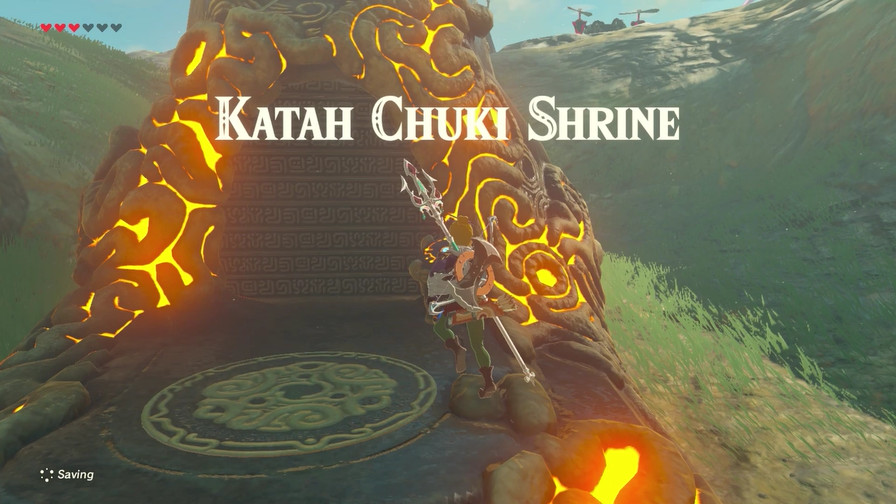
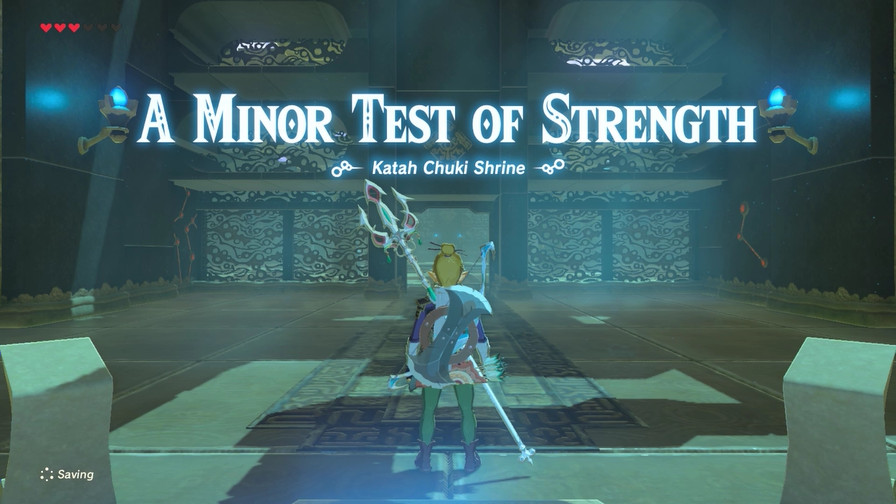
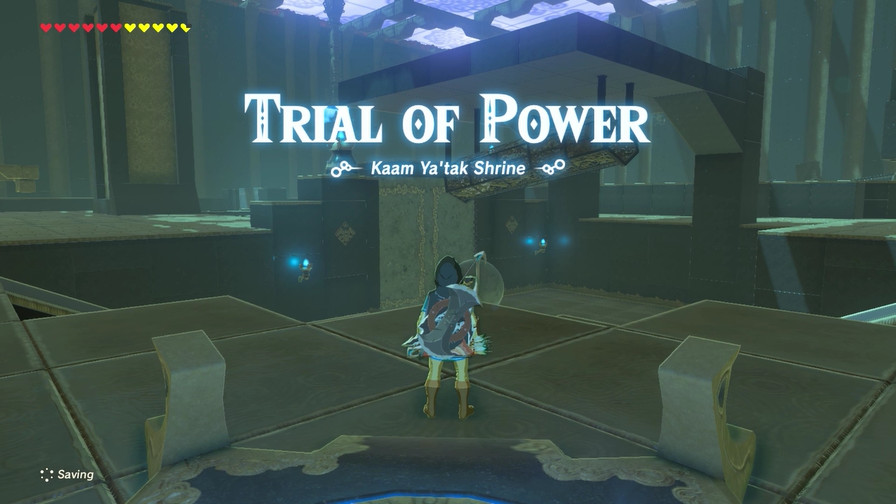
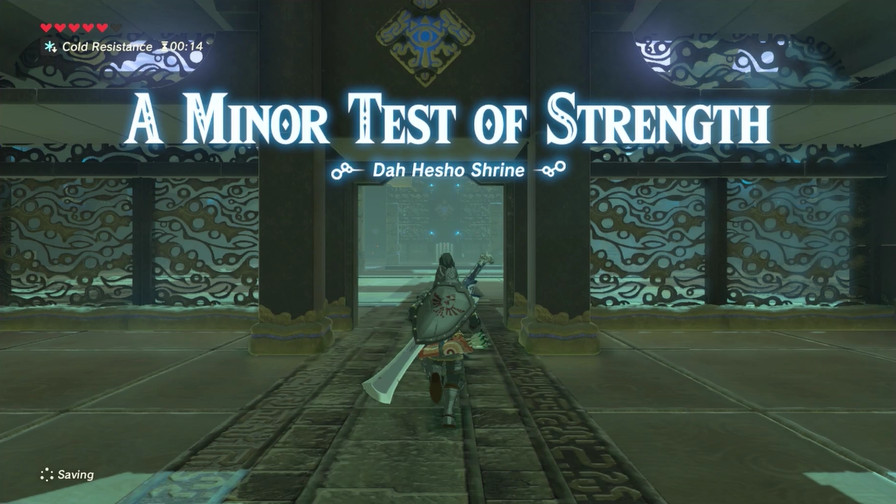
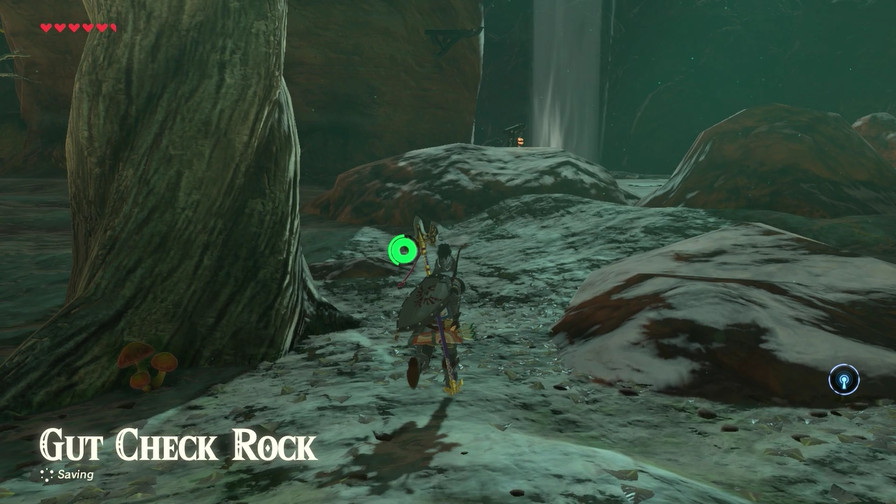
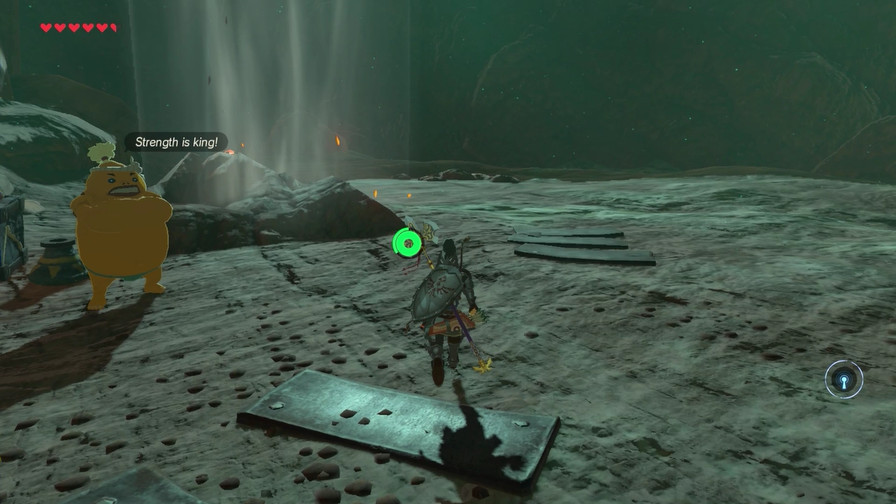
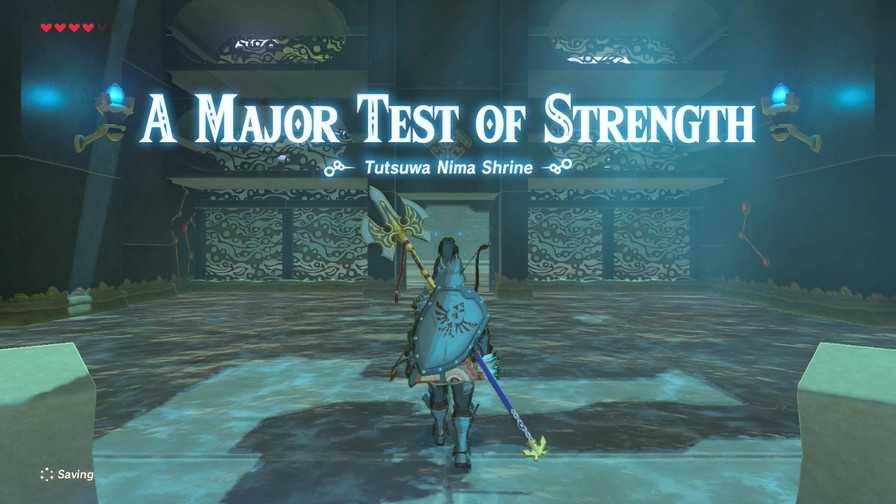
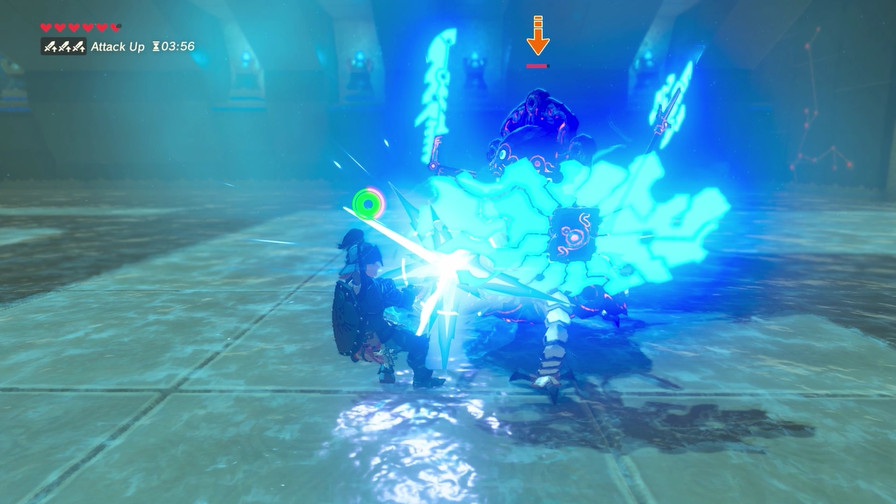
Oh boy, another Test of Strength.
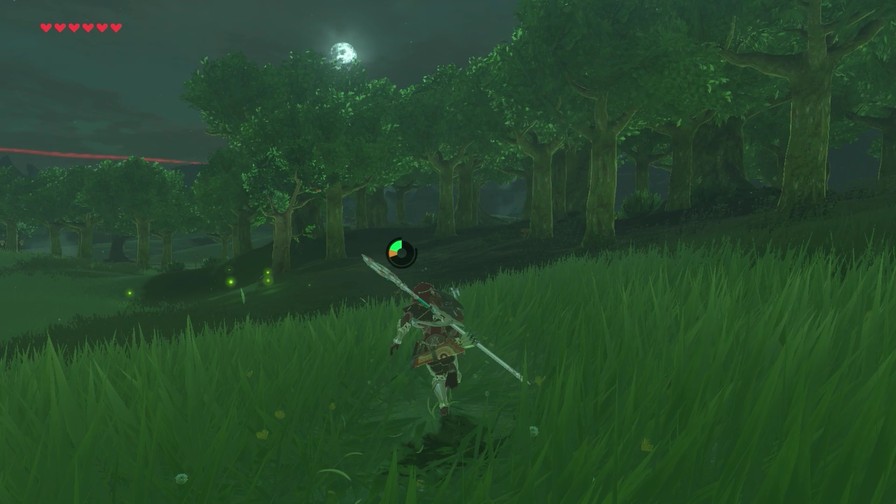
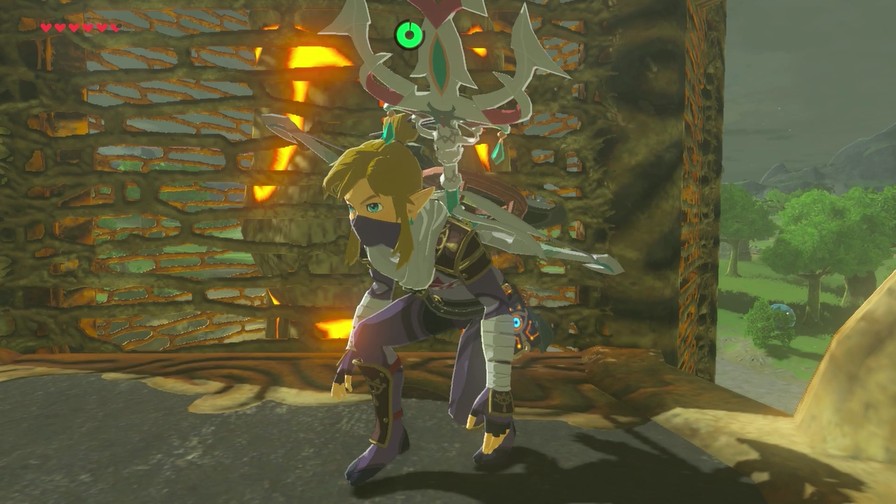
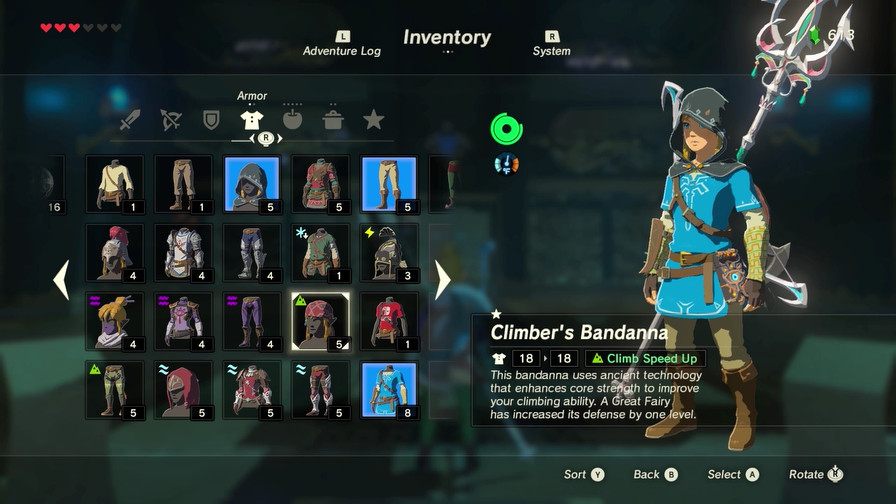
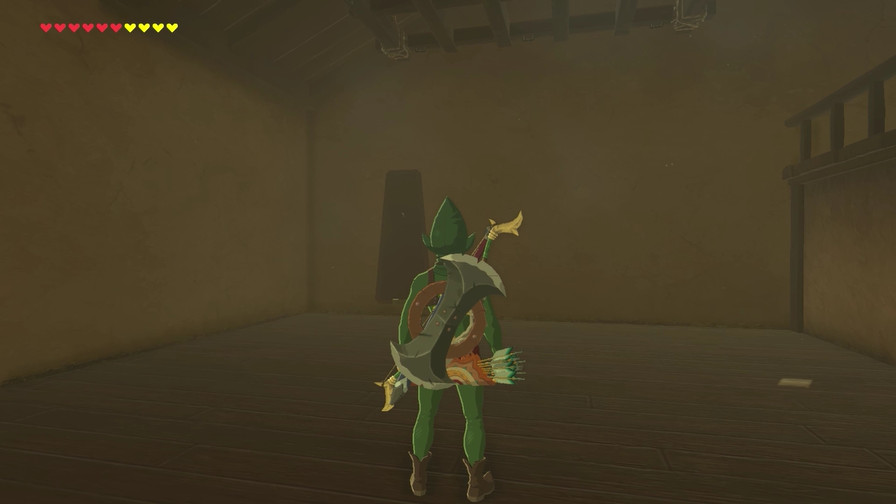
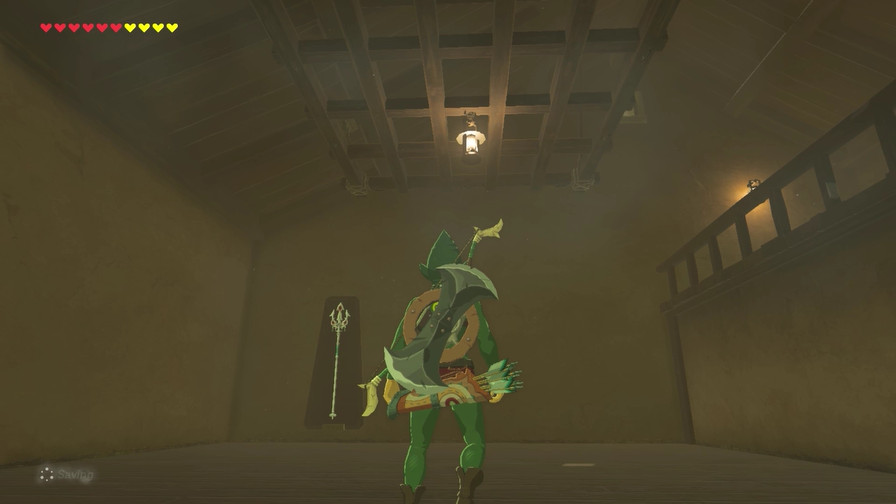
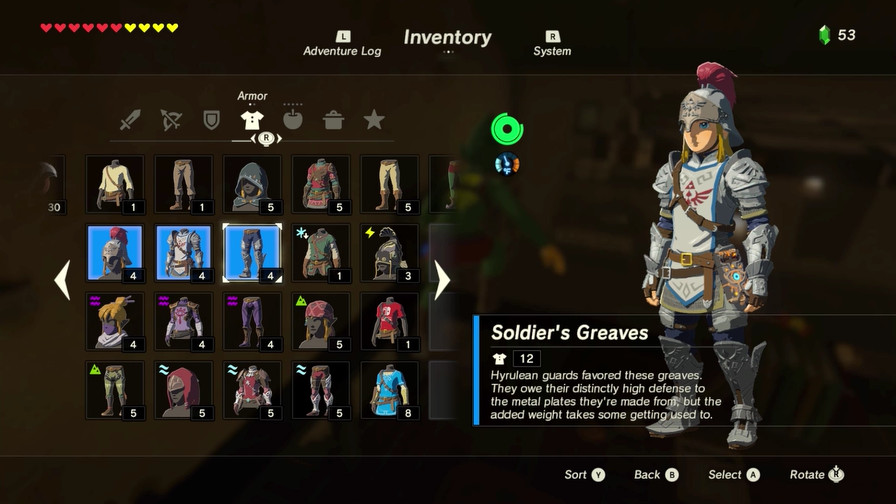
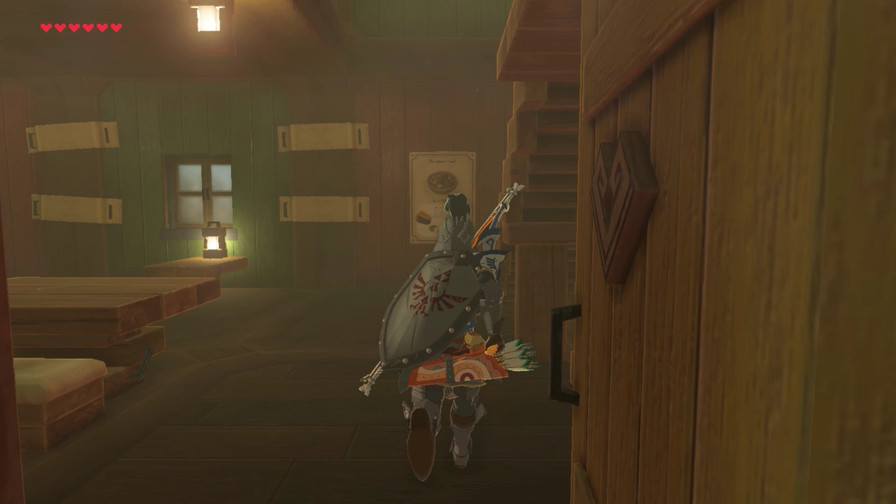
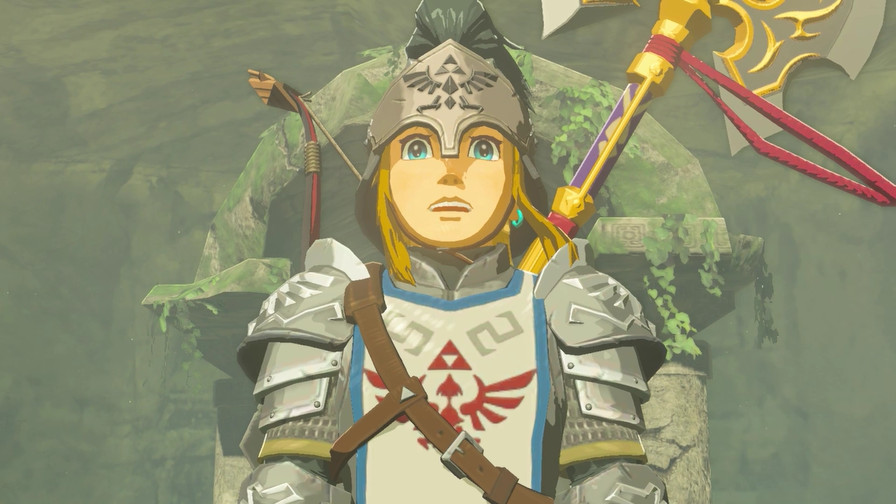
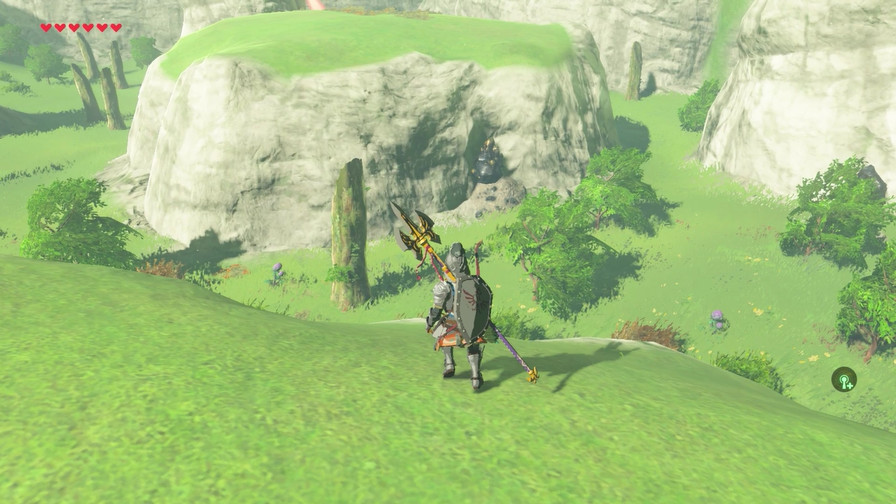
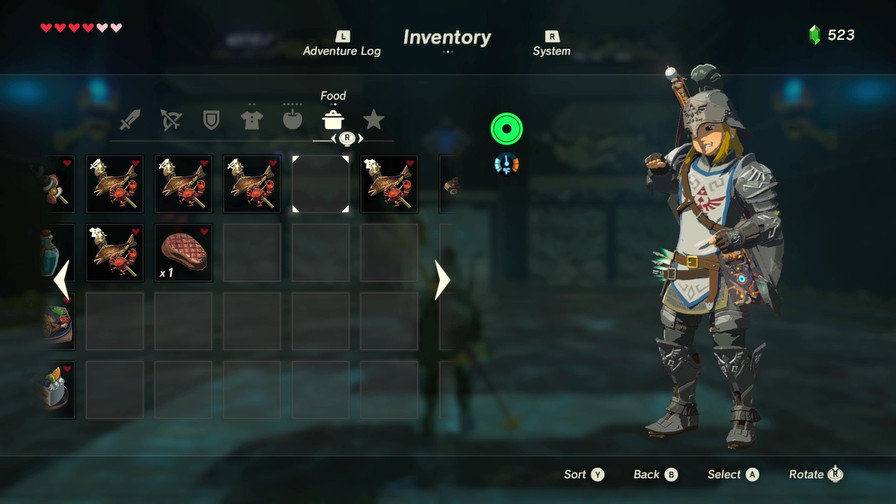
At this point stealth is kinda pointless and I like not dying as much, so I go Champion Tunic and Hylian Hood/Trousers.
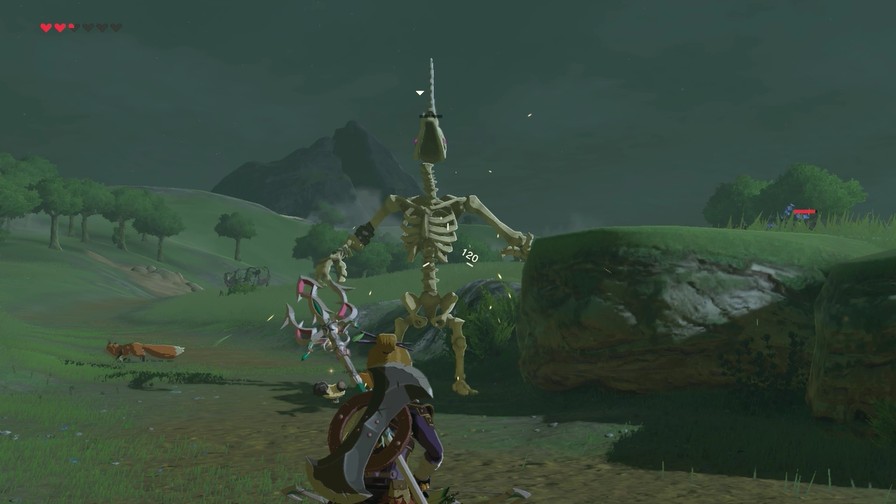
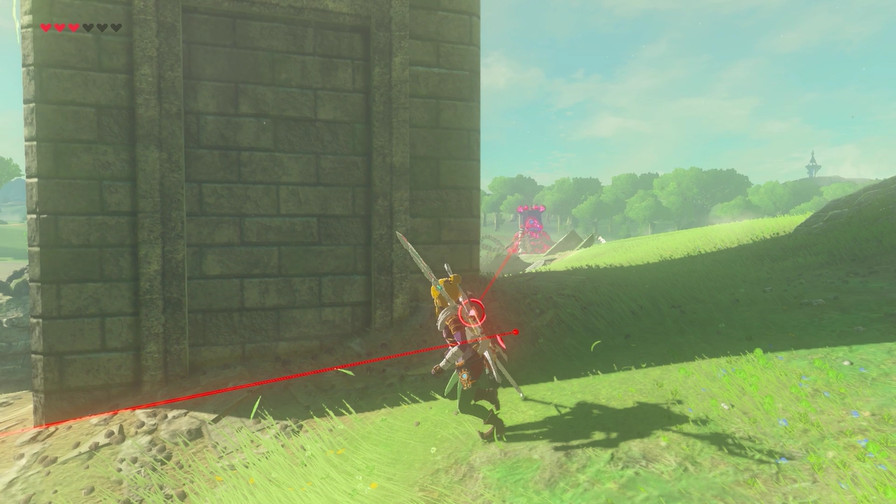
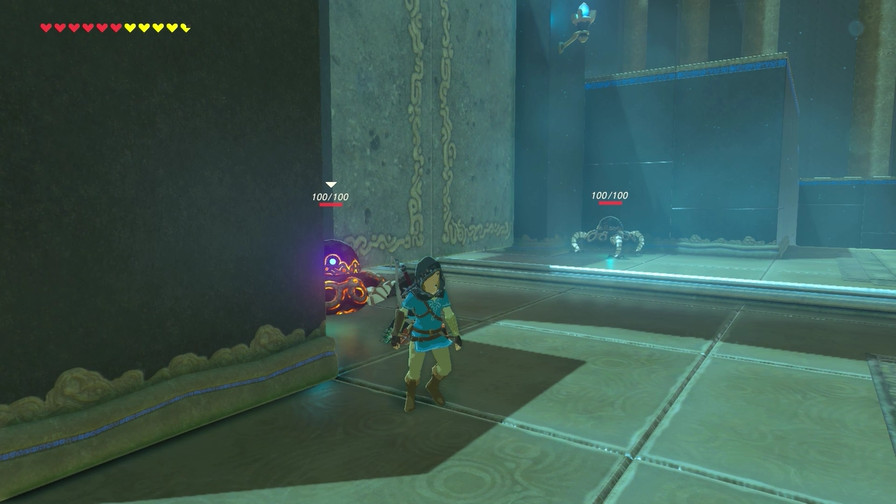
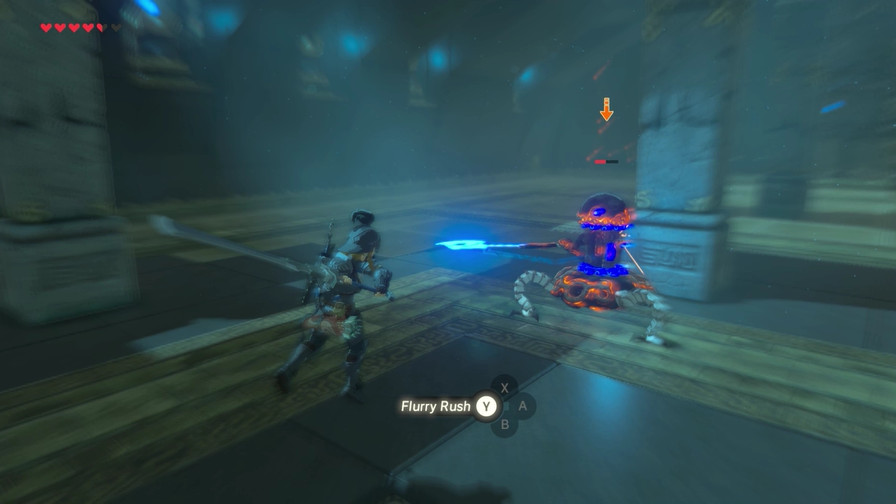
The Champion Tunic’s special ability is displaying the health of enemies, giving the added bonus of showing hidden enemies.
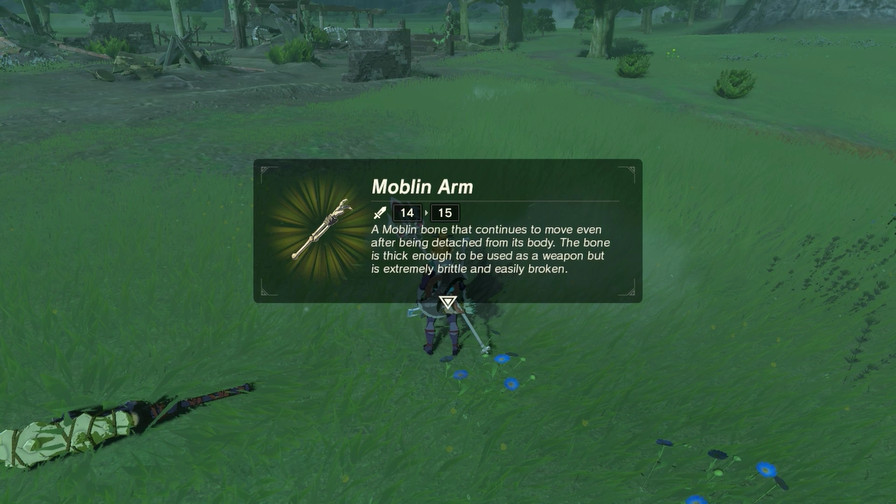
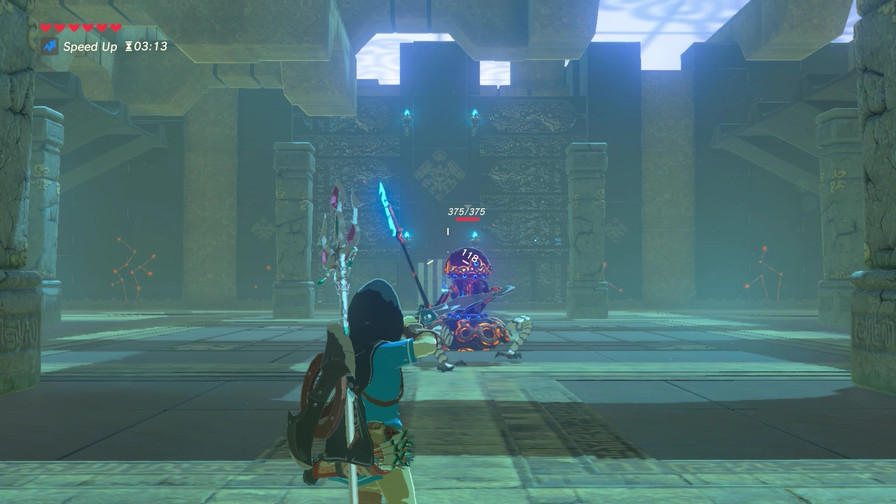
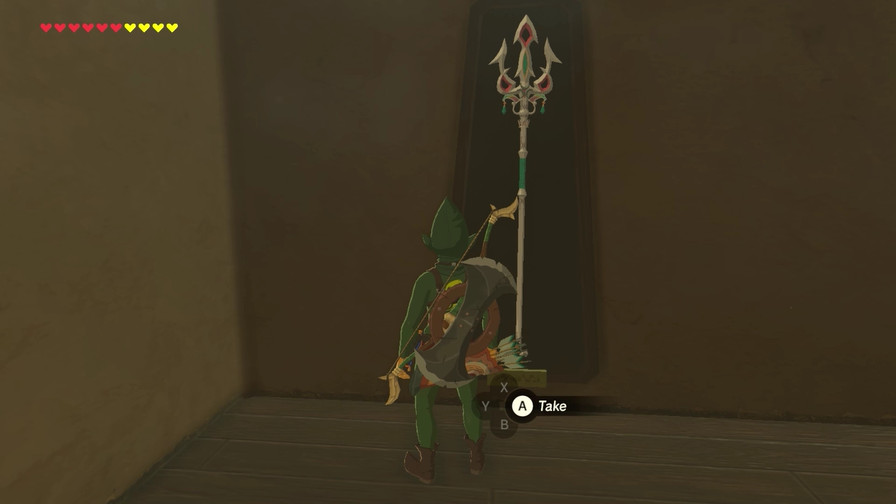
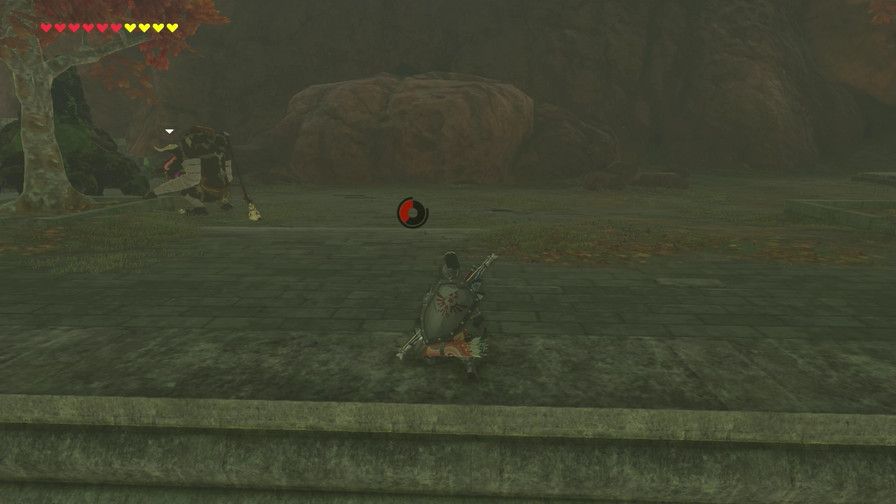
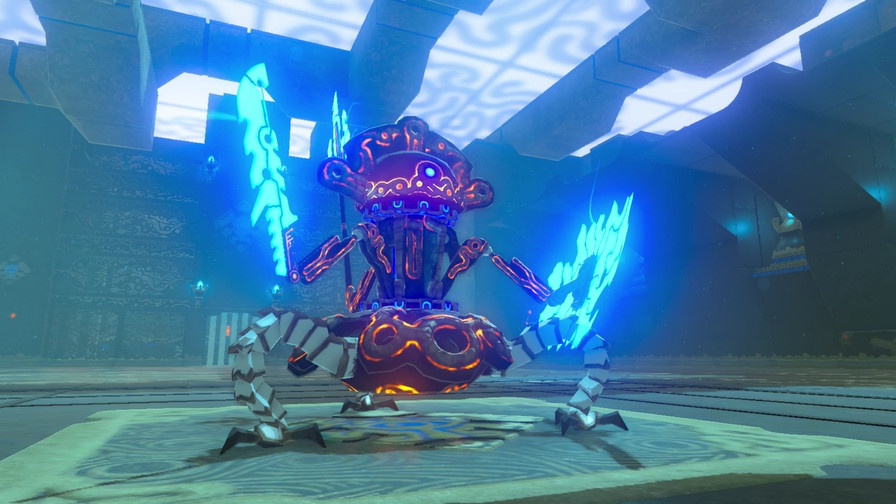
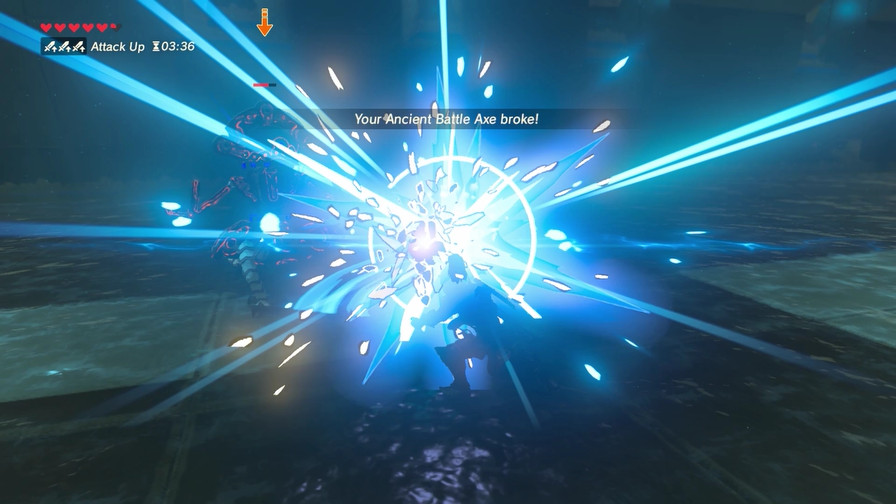
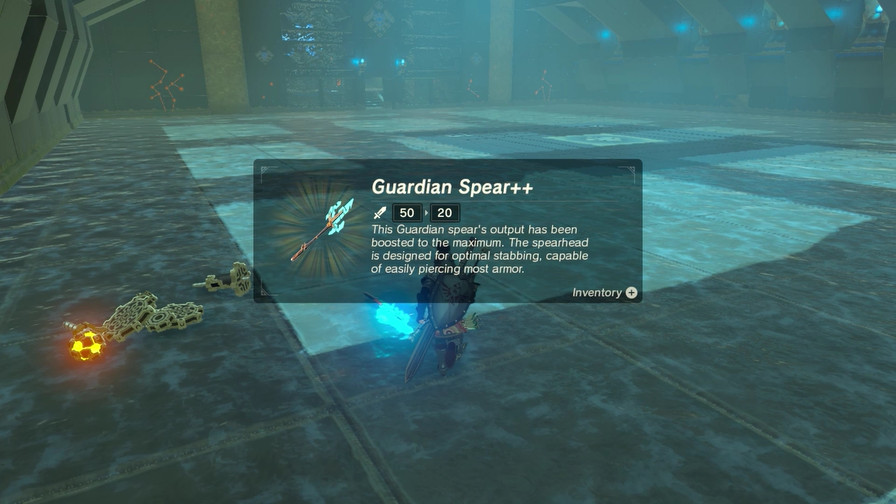
Damage formula is a simple “deal whatever strength your weapon has” damage. The Ceremonial Trident has a strength of 14, so yeah.
Of course, if your last attack breaks the weapon, or if the weapon is thrown, it’ll deal double damage.
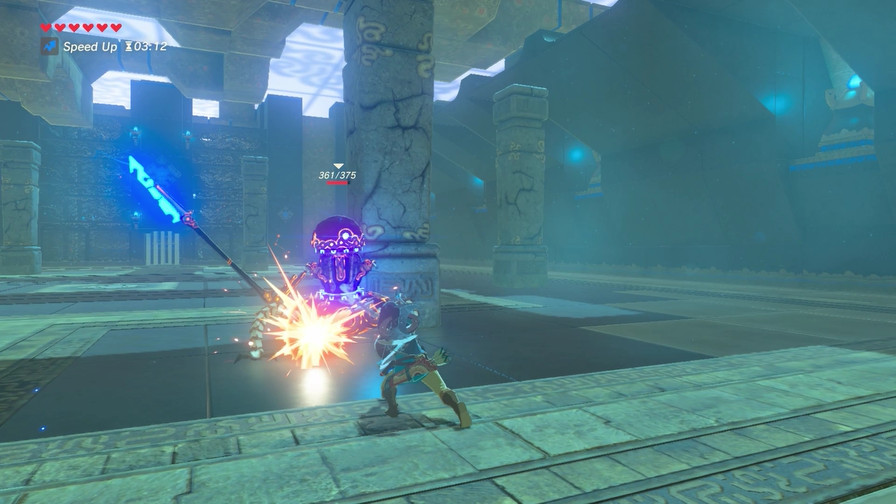
There’s also certain properties that can affect damage. For instance, here the Guardian Sword did 26 damage instead of the usual 20. If you use Guardian weapons on Guardian-type enemies, they deal an extra 30% damage. Certainly good to know!
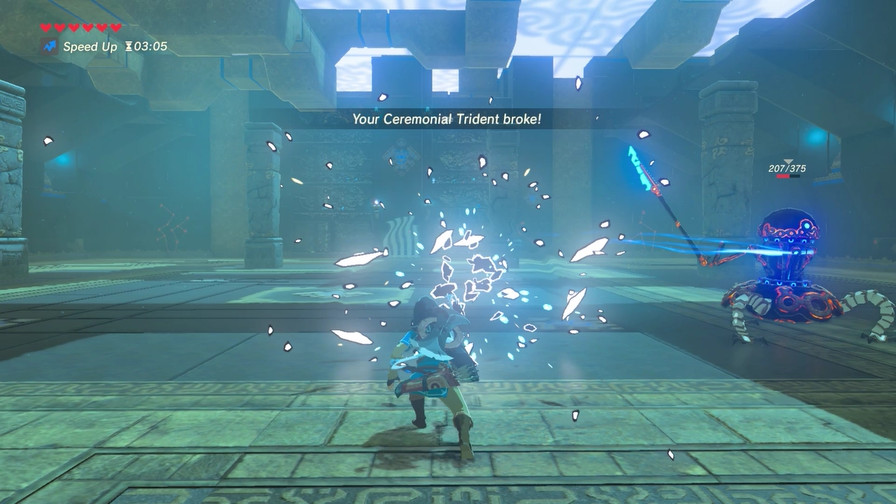
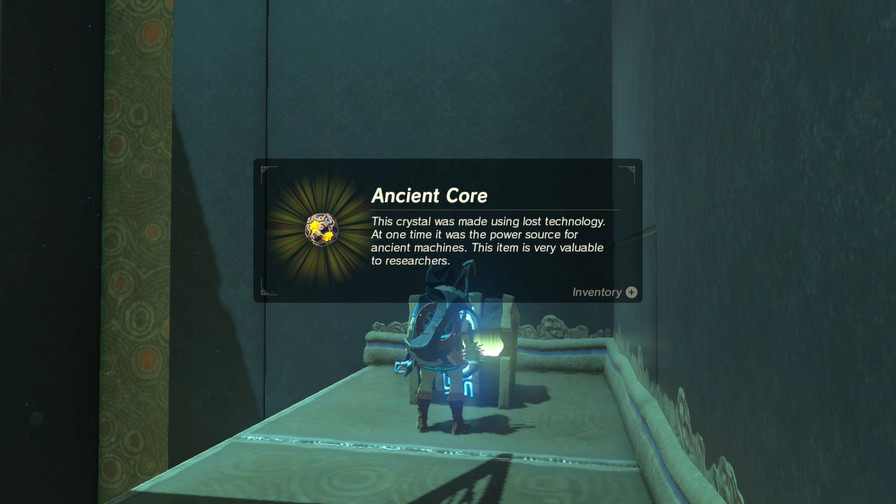
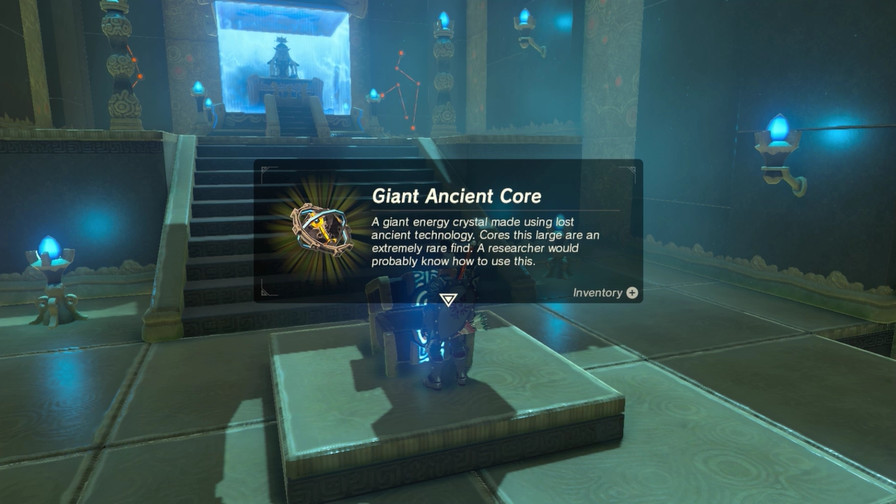
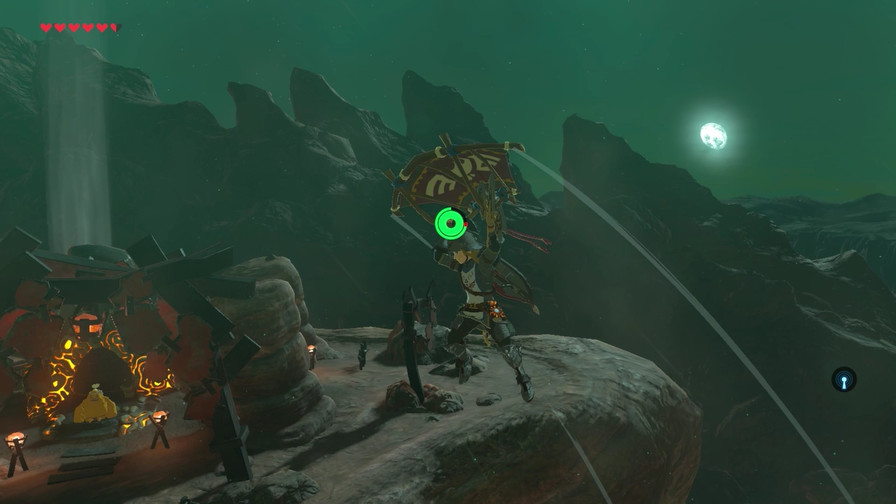
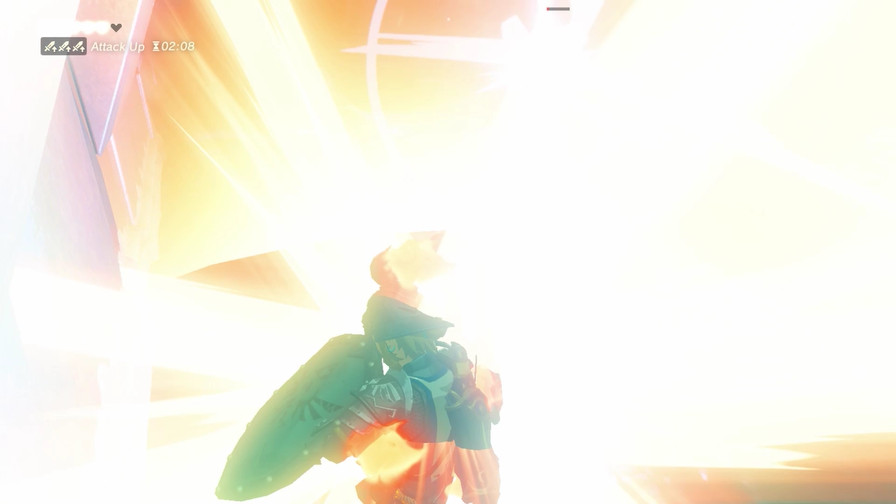
The Scout goes out quickly, and here’s our reward.
And here’s the garbage our reward replaced.
Another shrine done!
From here, I decide I’ll try my luck exploring Castle Town. Surely there’s some good loot hidden around here.
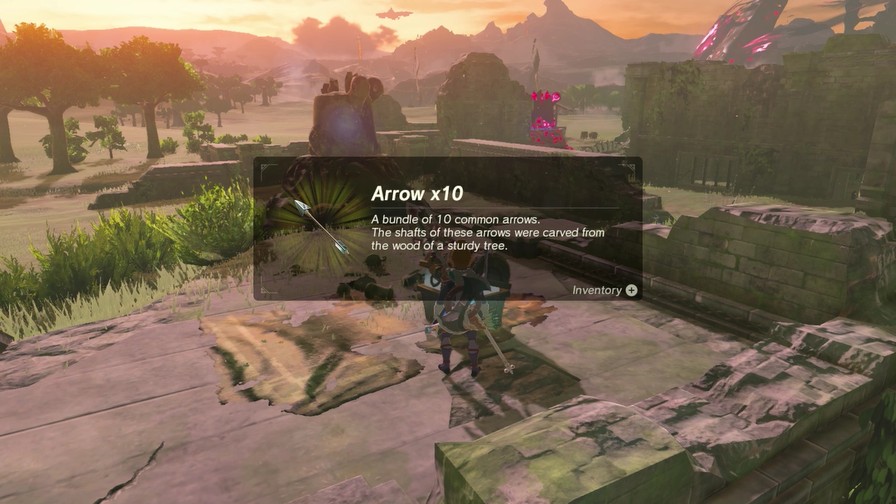
Or at least some nice photography opportunities.
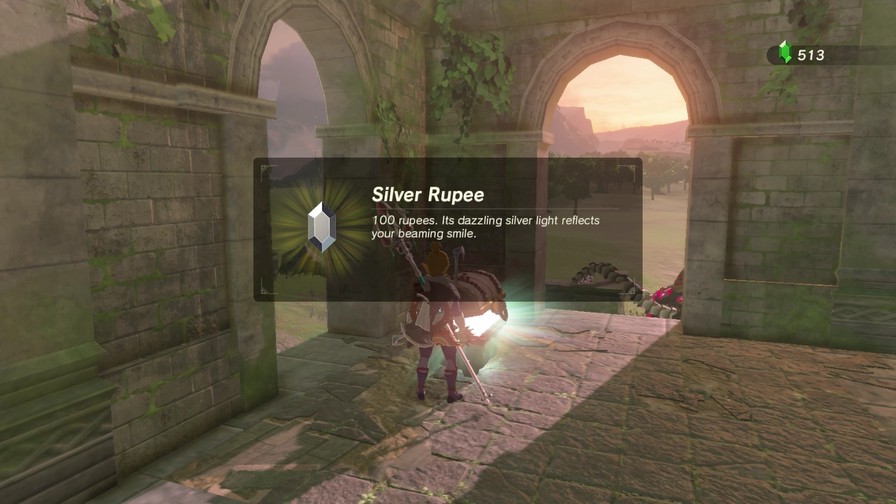
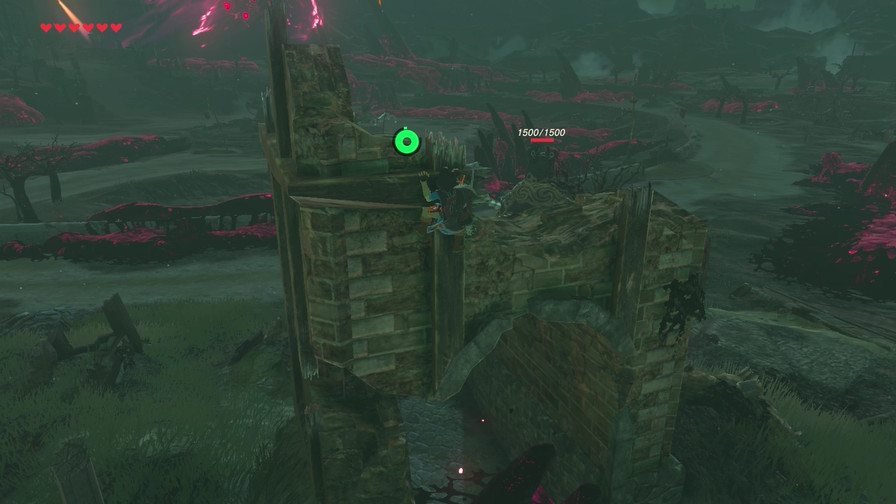
A lot of wall fortifications have some nice loot hidden in the junctions between walls.
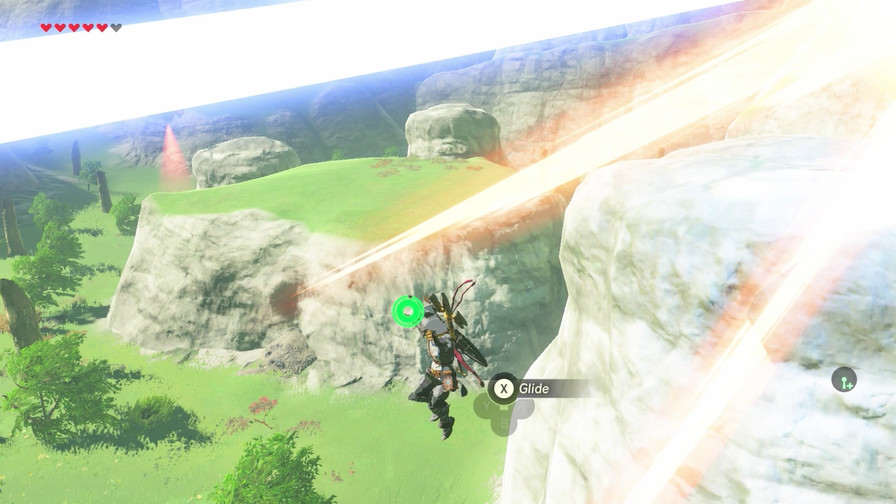
There’s large structures jutting towards Hyrule Castle at a 45 degree angle. They don’t really do anything, you can’t climb them though if you glide down from Hyrule Castle itself you can reach the tops, which don’t really have anything valuable. They’re just there to look menacing.
Not that they need the help.
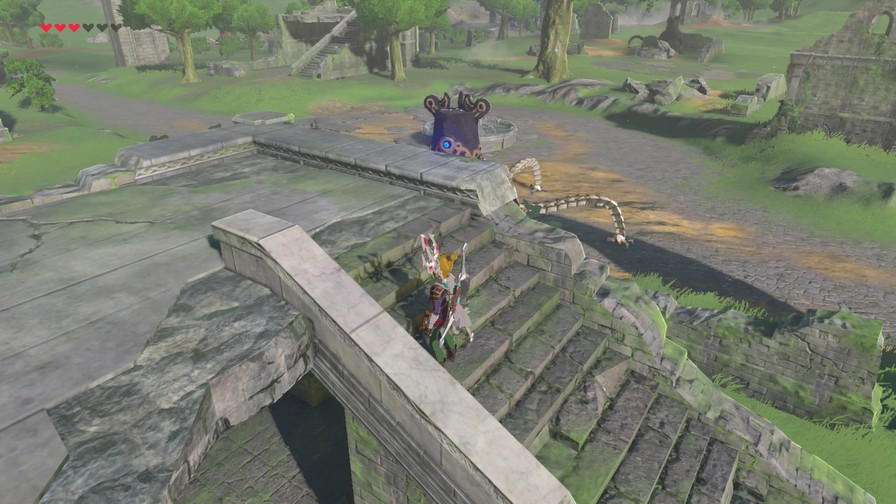
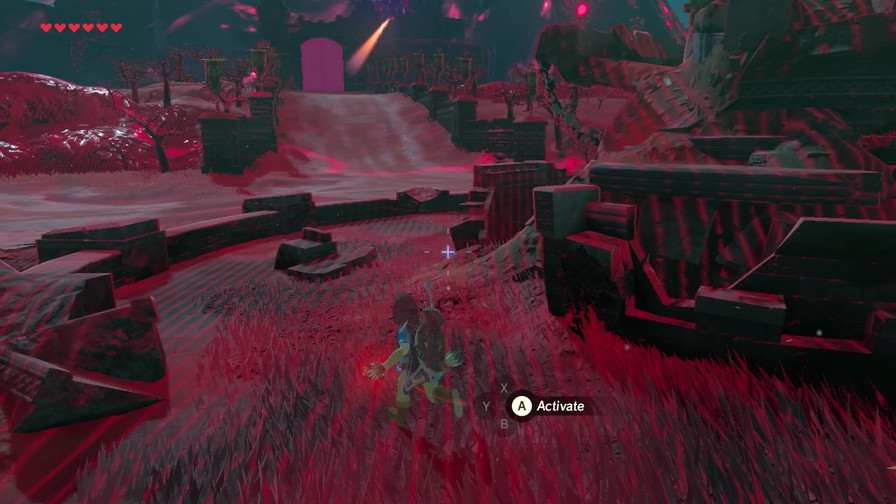
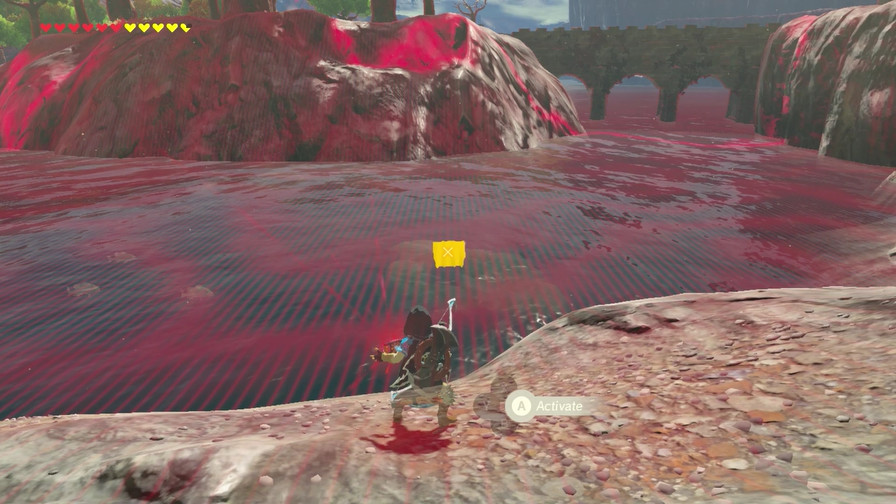
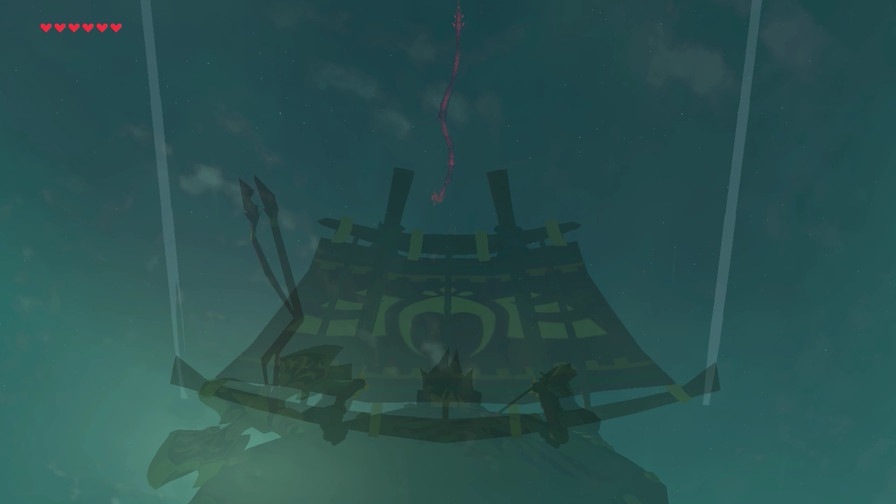
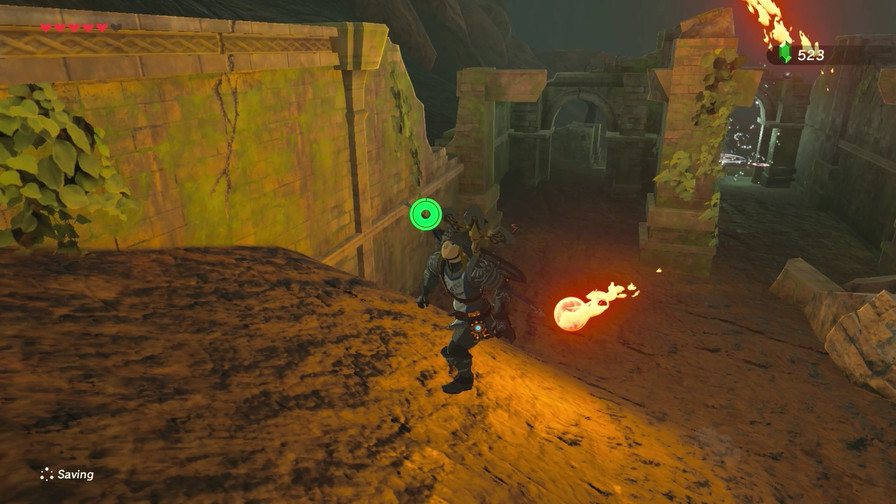
There’s a lot of malice around. Fortunately there’s also an eyeball to open up a path to the town ruins.
Music: Hyrule Castle Town
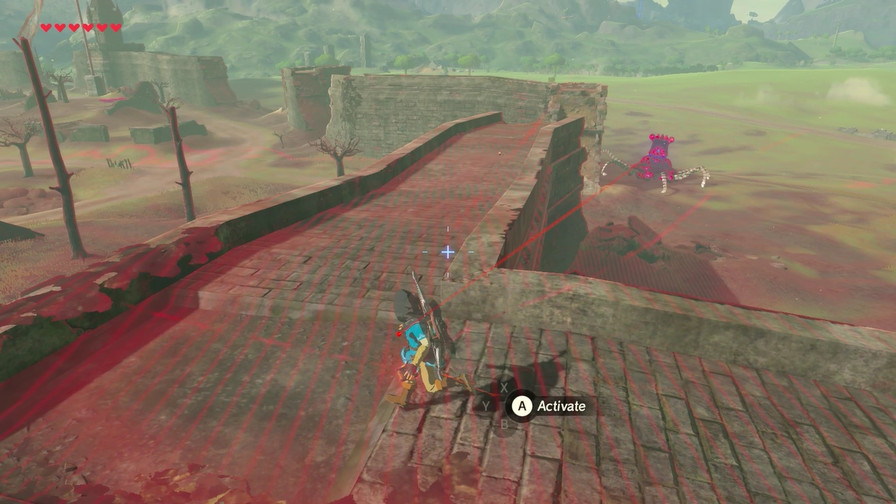
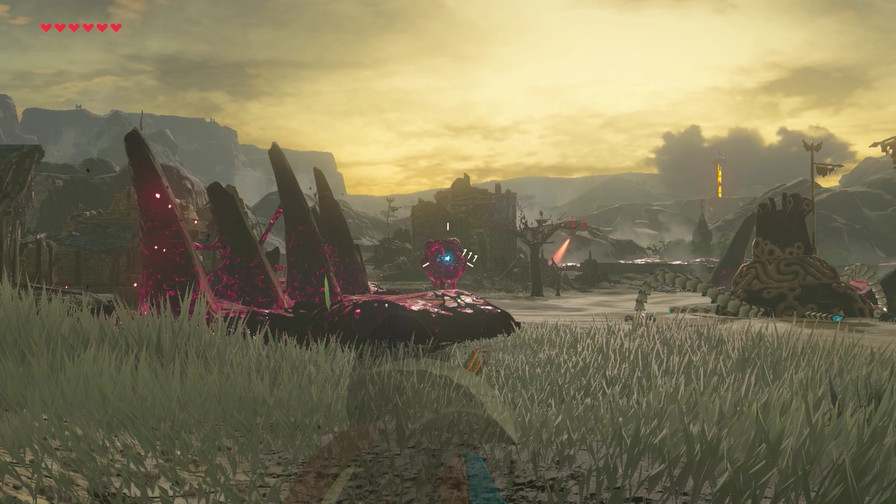
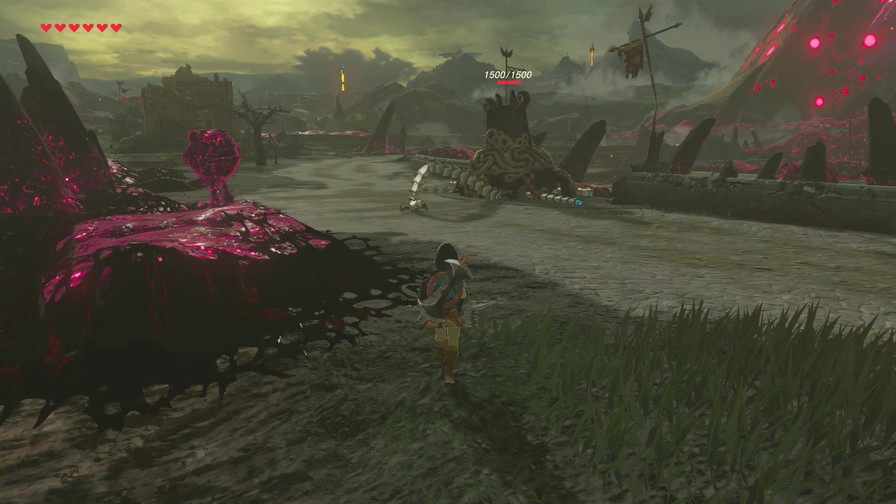
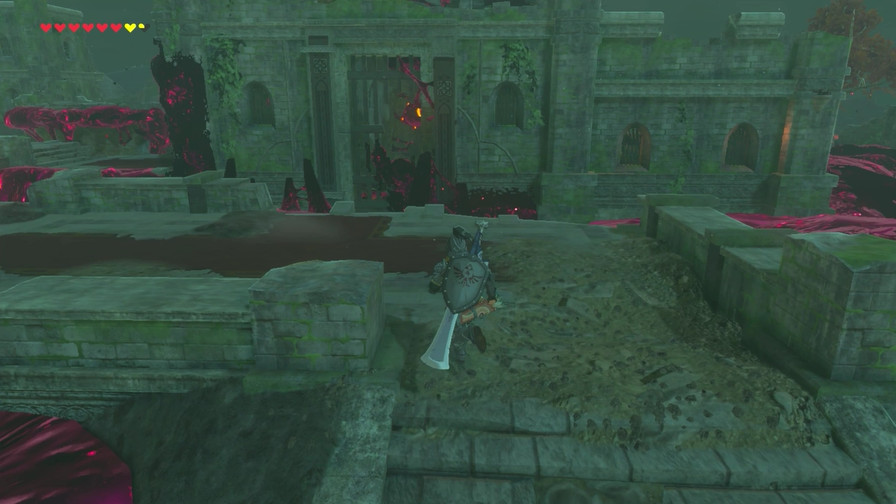
Being right outside Hyrule Castle, Castle Town received the brunt of Calamity Ganon’s wrath. There’s nothing here besides Guardians and long-forgotten treasures.
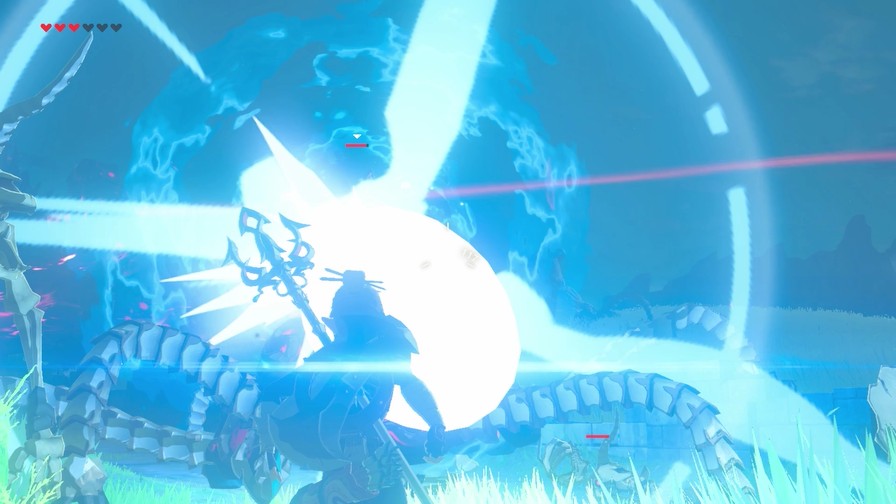
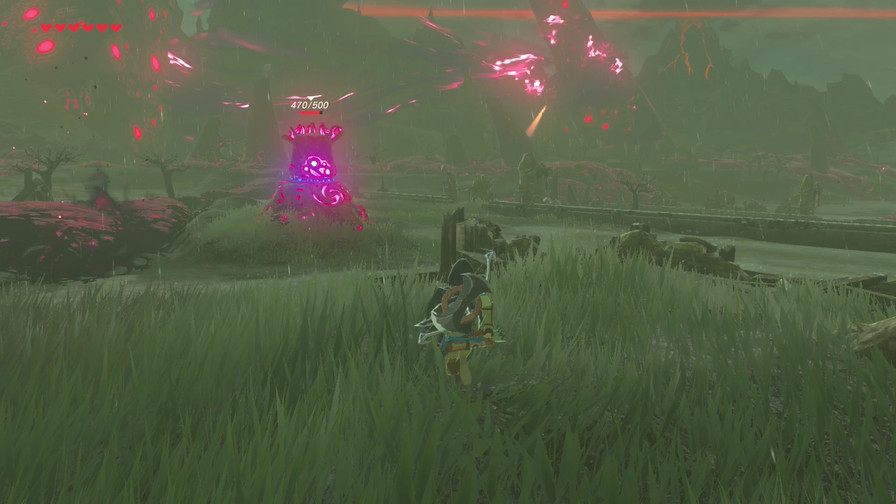
I opt to press my luck on a turret.
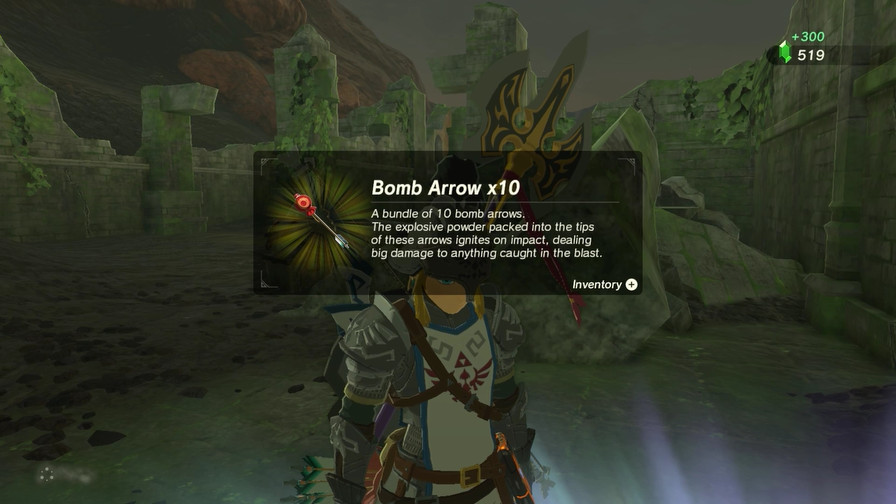
After a lot of wearing down and taking advantage of its difficulty aiming at me when I’m right at its face, I break it up and get some decent loot.
It had a whopping 500 HP. Now keep in mind the walking and flying versions have three times that.
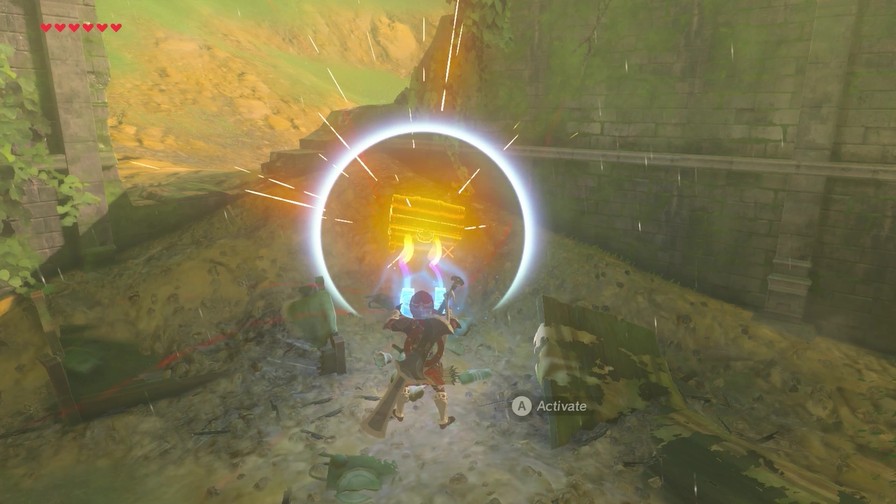
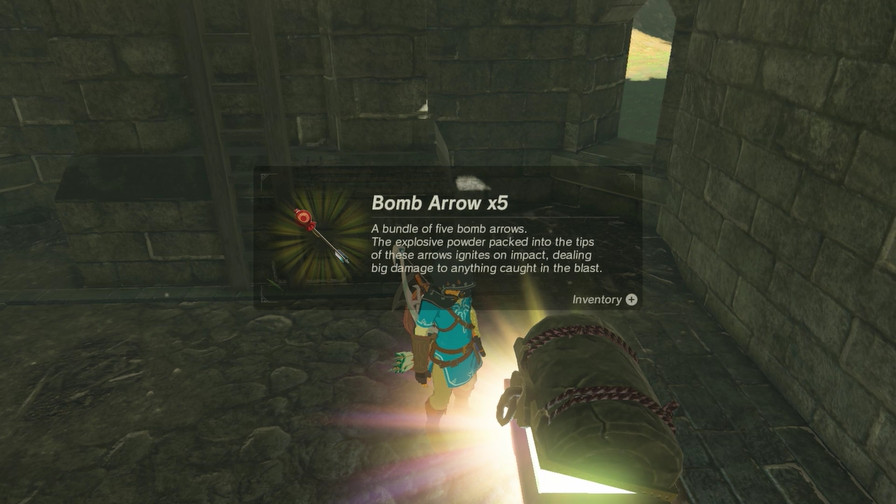
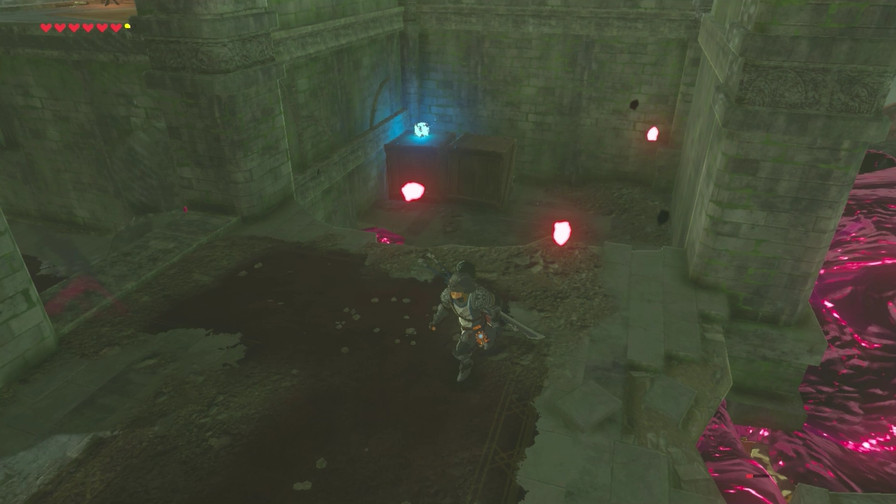
This chest has malice in front of it. The idea is to bomb the back wall, but I just climbed inside since there’s no ceiling.
Then I bombed it.
There are a lot of treasures, but honestly many aren’t worth the significant risk that being out here entails. And when you can handle yourself, you don’t really need this stuff anymore. It’s mainly for the insane who embrace death by laser, which is why we’re here.
After I cut through the middle of town to the east side, I head for the outer fortifications.
Guardians are still everywhere.
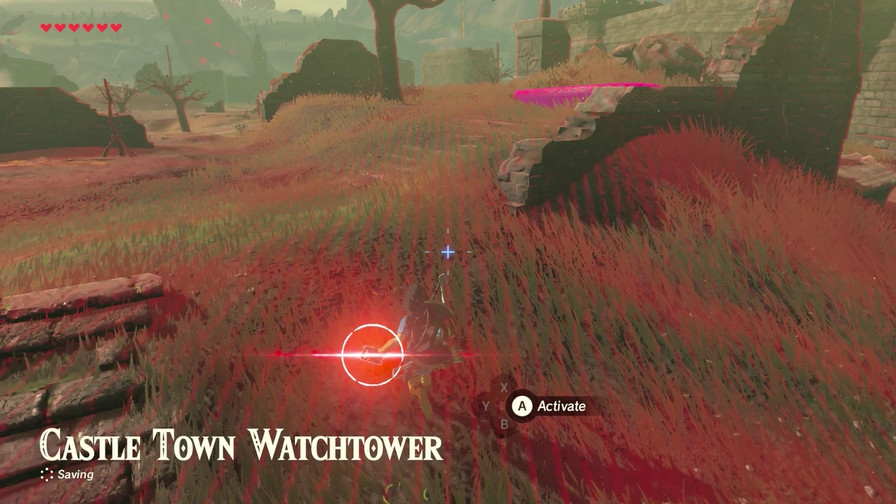
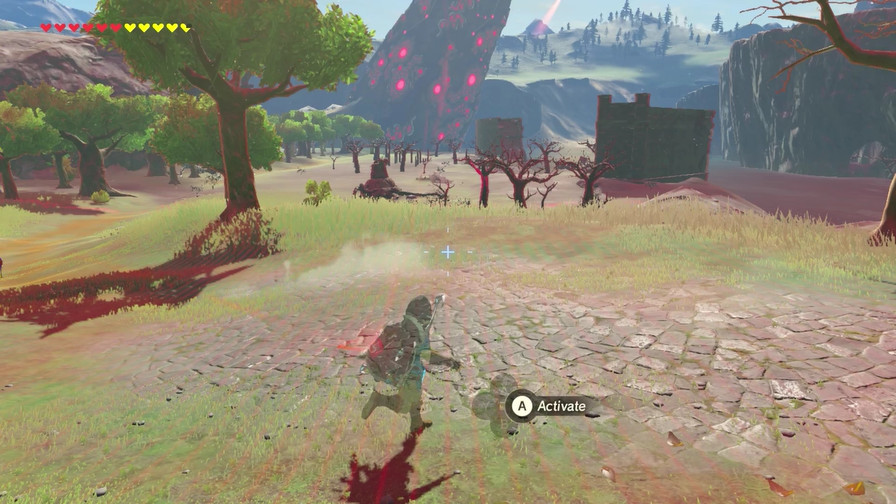
In the eastern side is this random metal door.
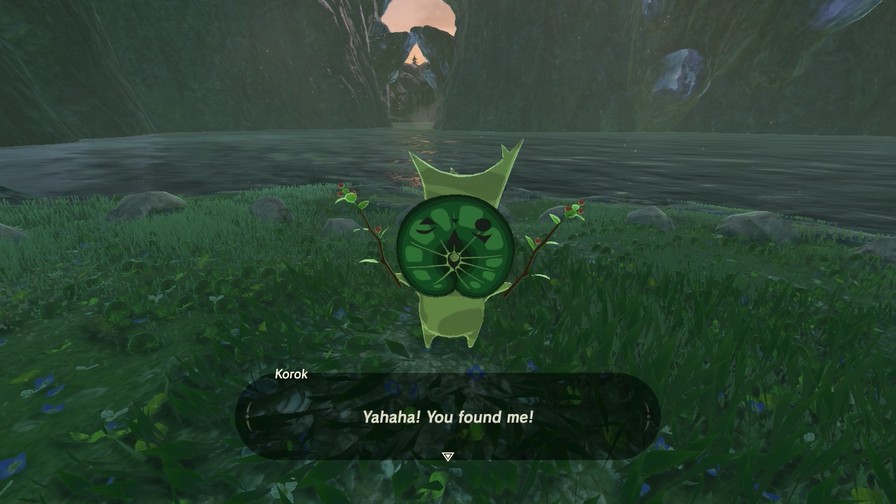
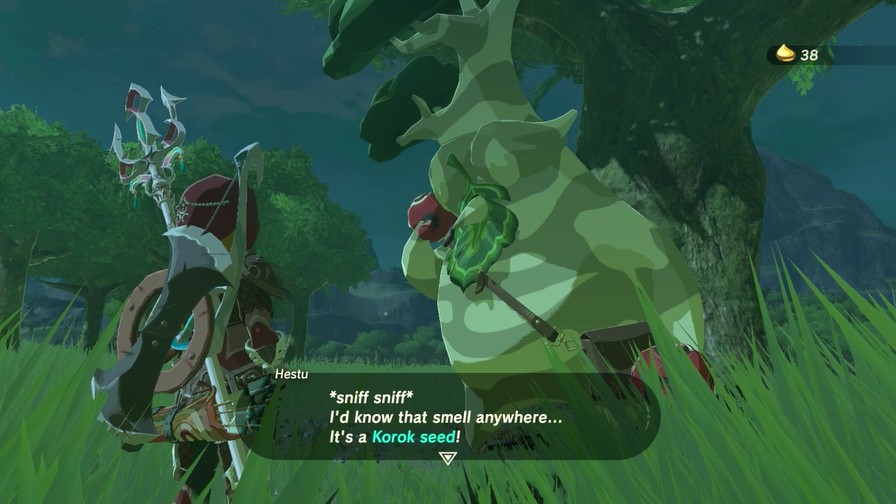
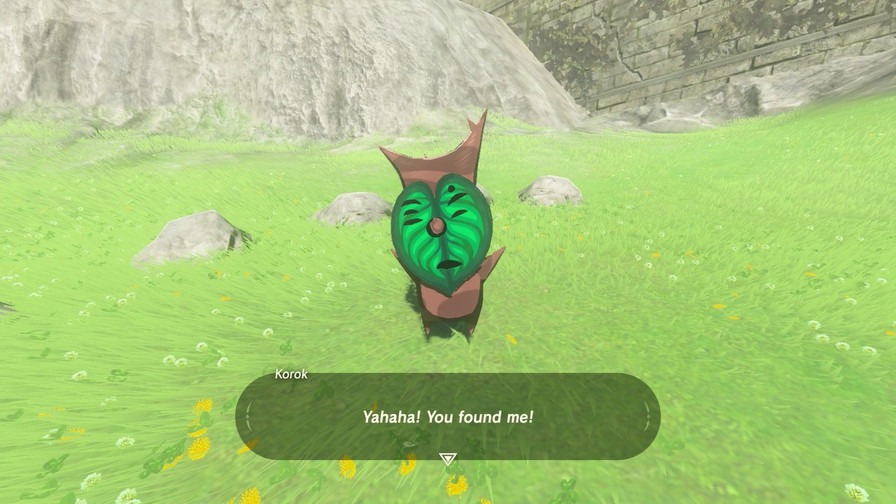
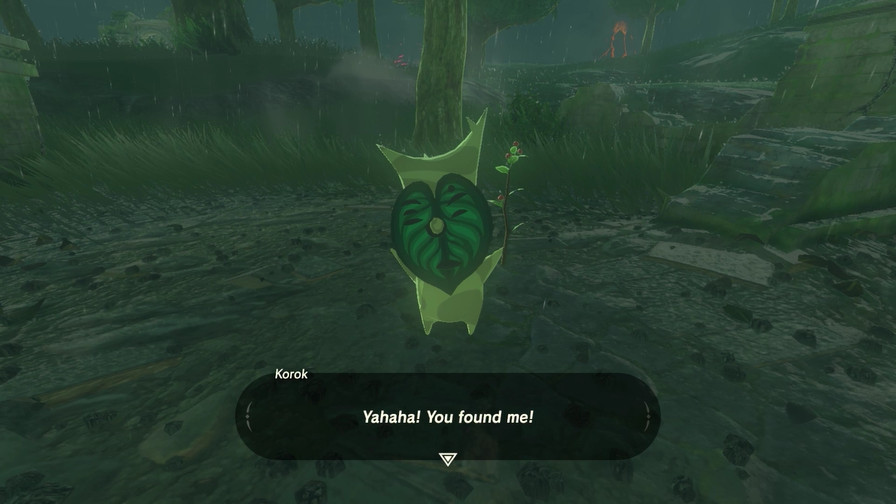
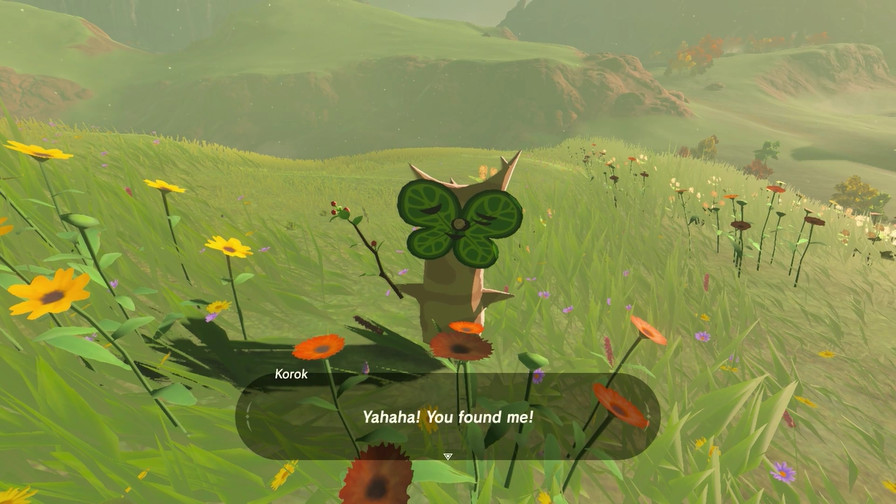
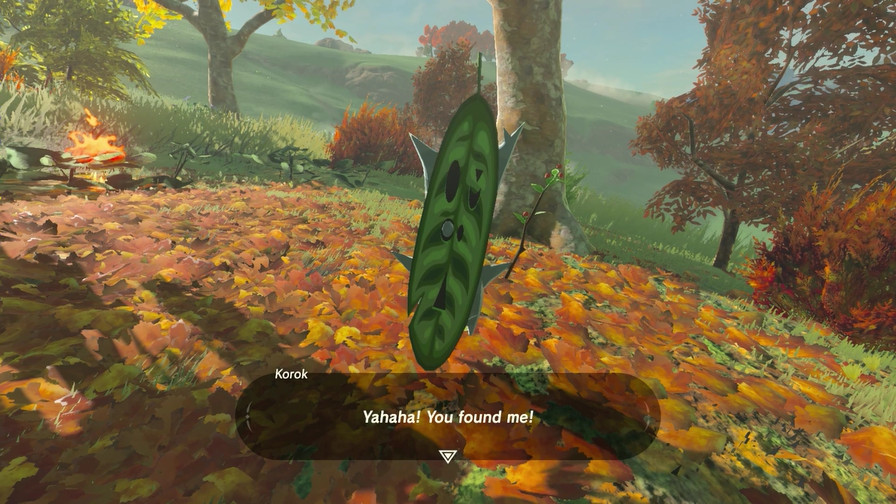
It’s a Korok.
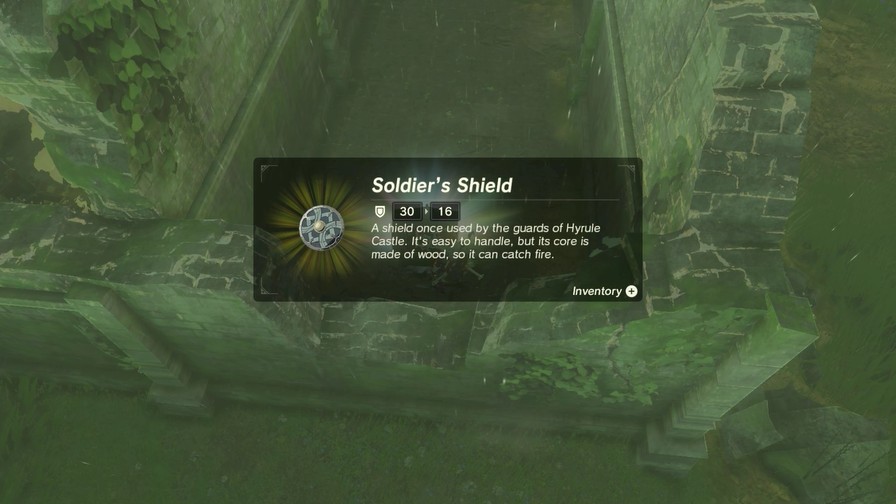
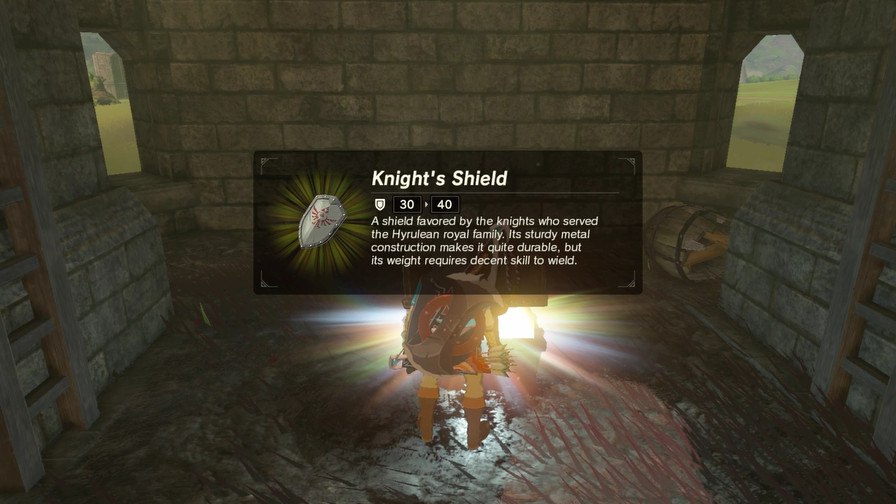
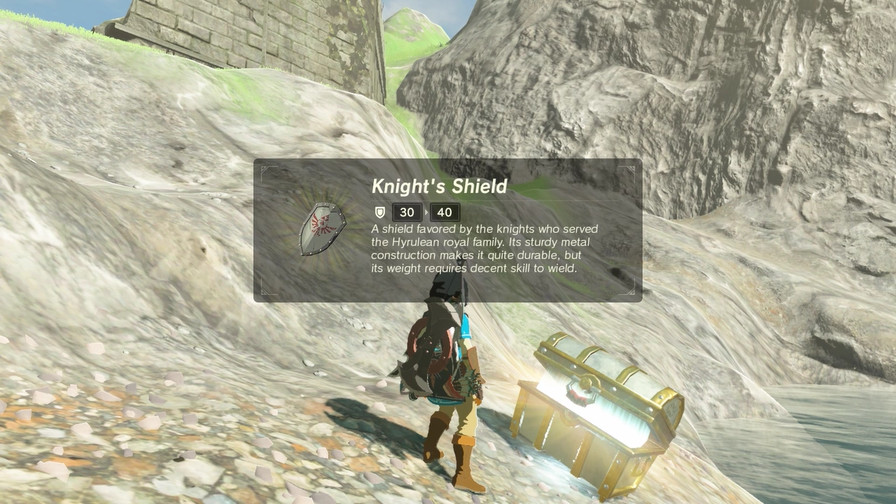
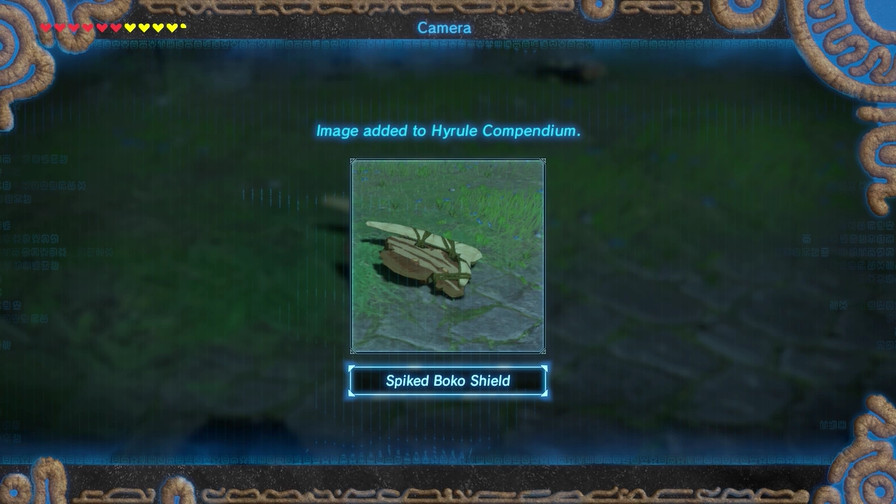
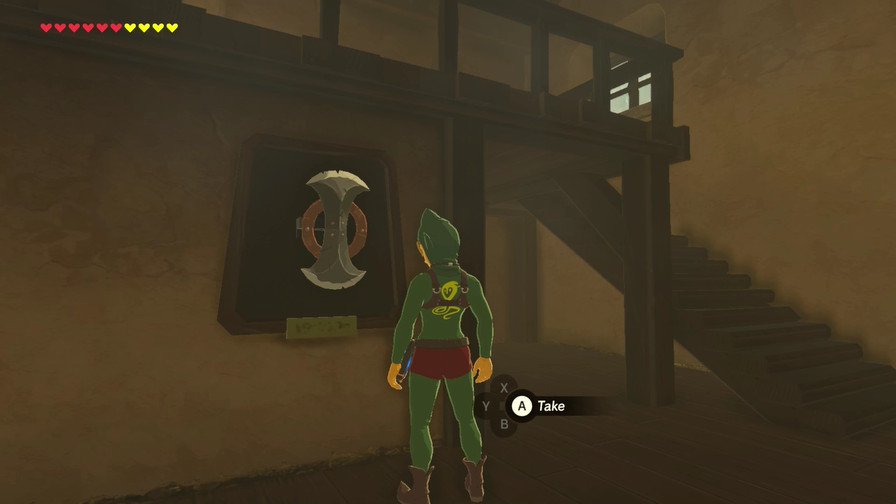
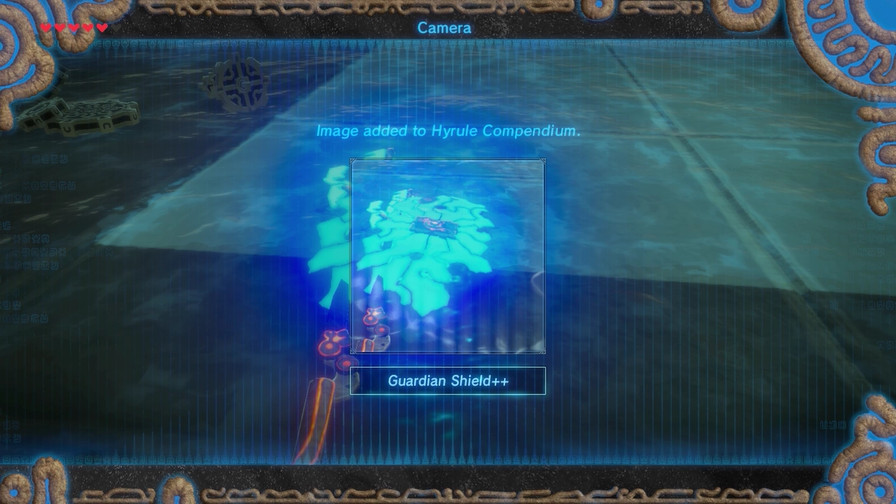
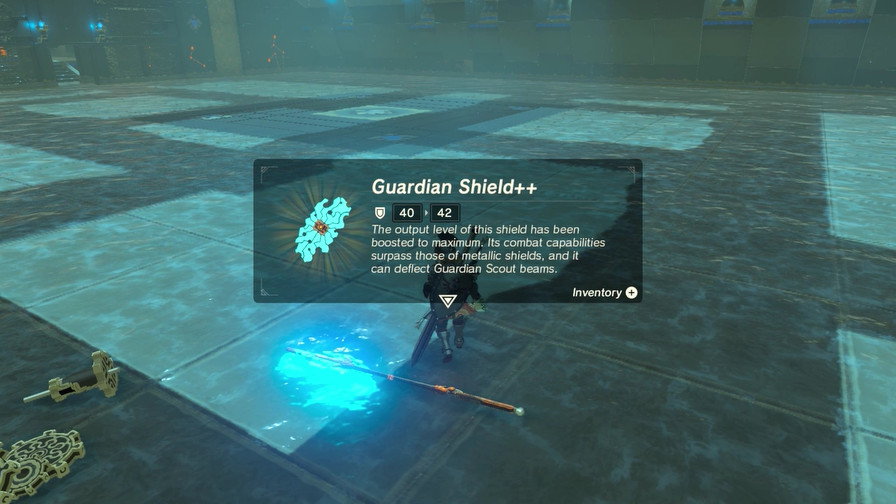
This is probably the best shield we’ll find for awhile. Shields are pretty much linear in upgrades, there’s pretty much no reason to not have the strongest shields except maybe a wooden one for lightning storms.
So away this goes.
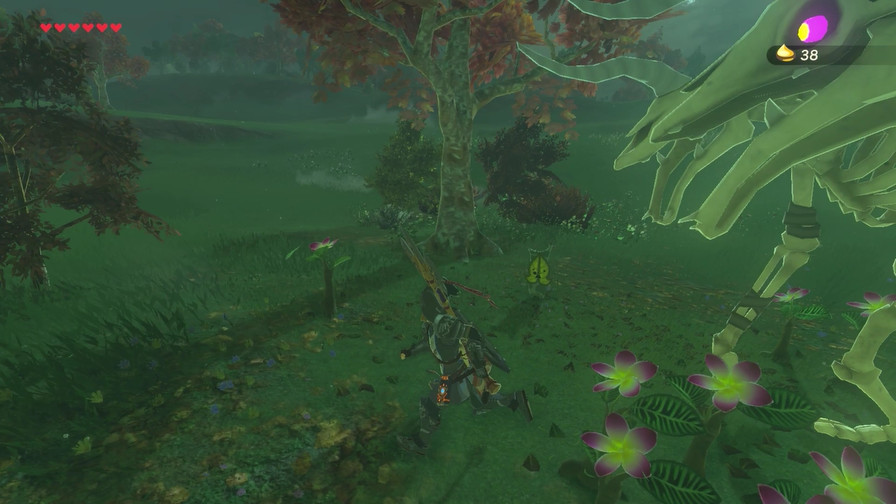
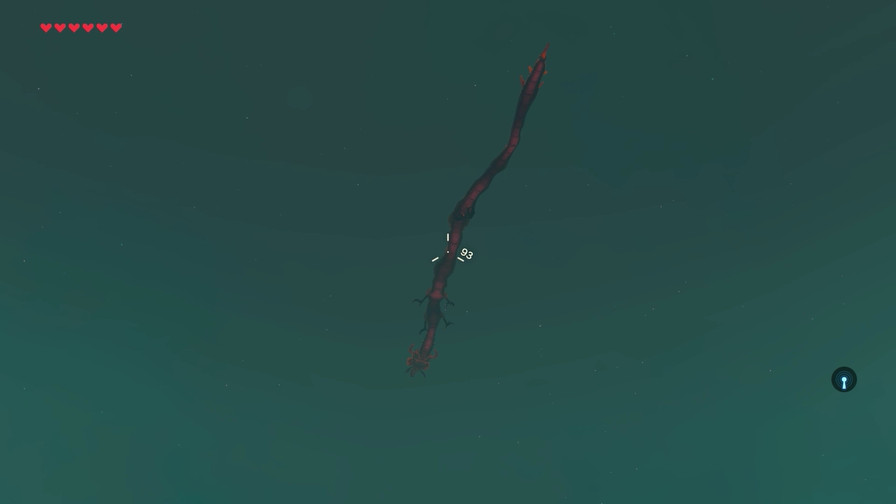
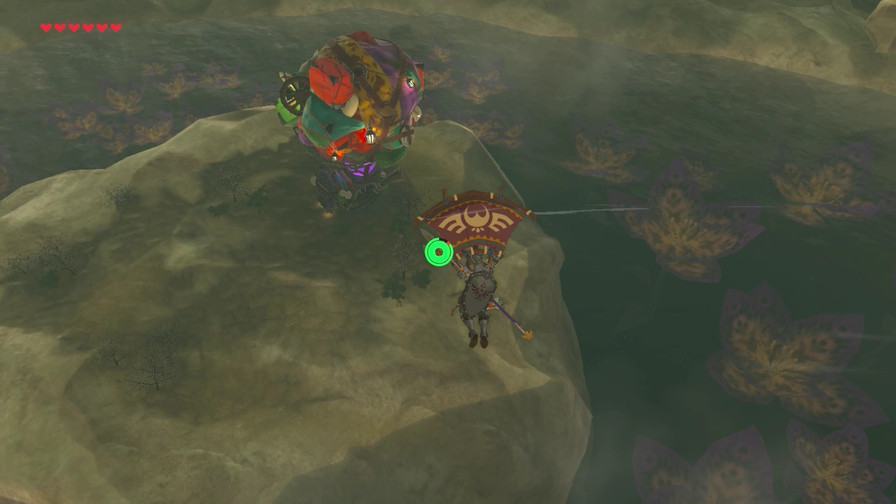
I try to kill this thing but it wouldn’t open its eye.
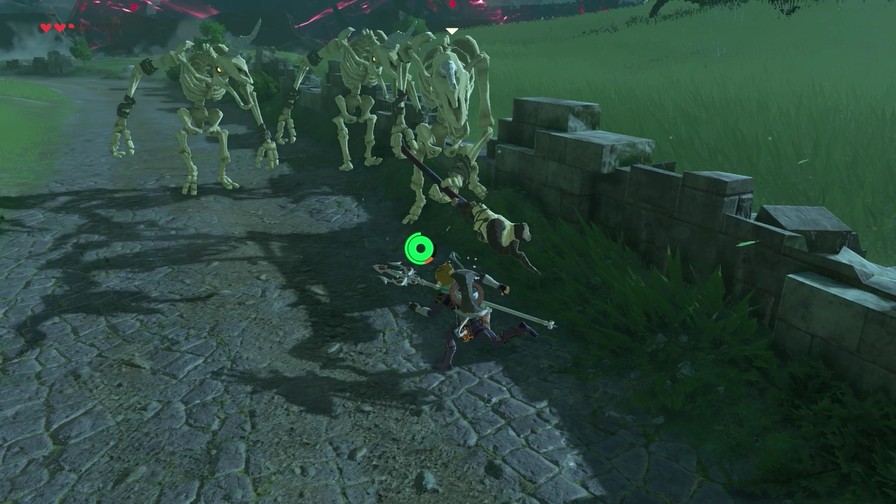
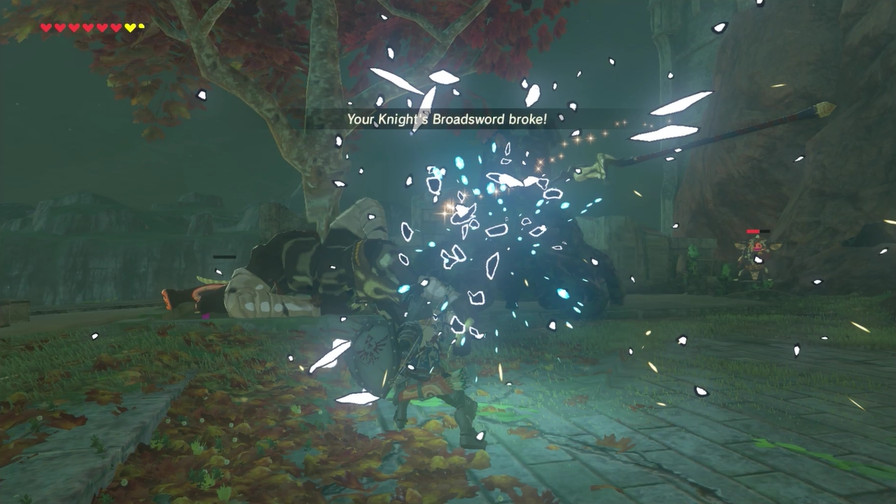
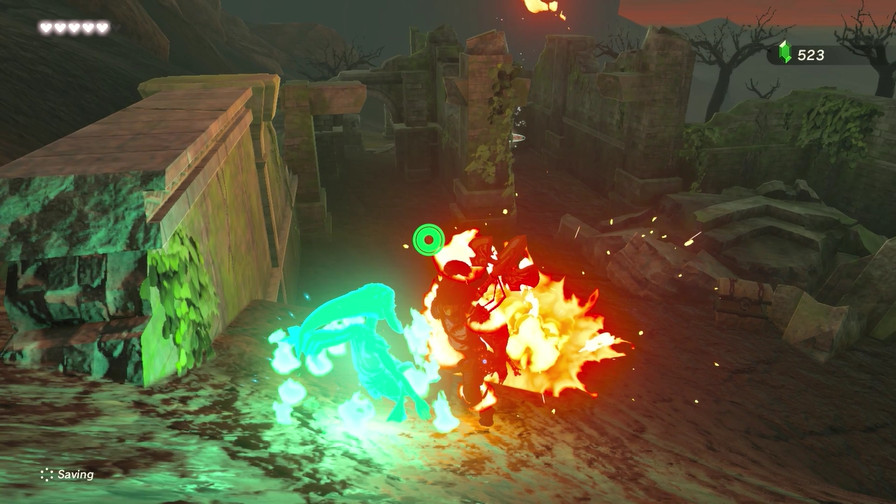
It’s also a trap because that seemingly-dead Guardian…isn’t. This is where the Champion Tunic can save your butt.
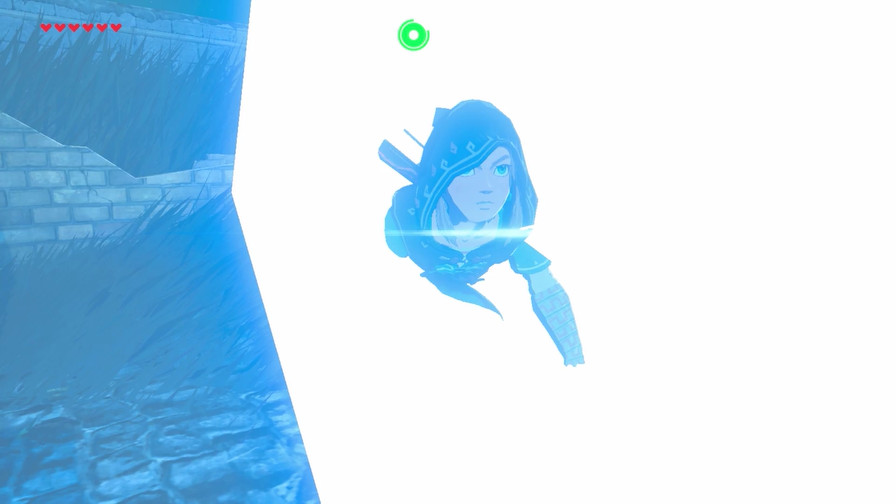
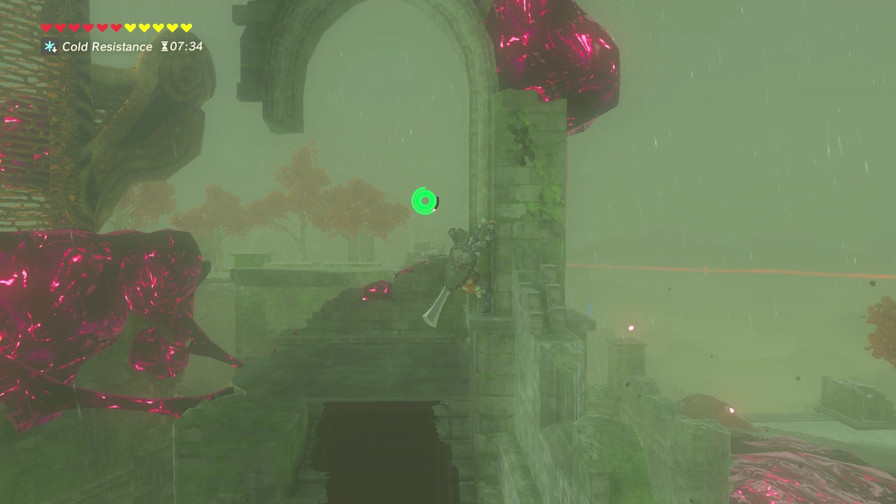
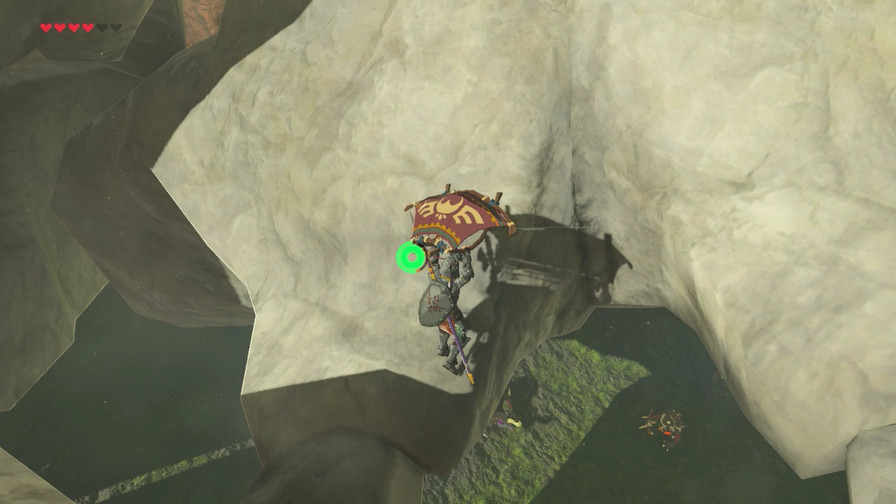
Though the malice eye distracted me enough that I activated the Guardian anyway. Did you know simply hanging on to something won’t deplete stamina? This can actually be useful at times!
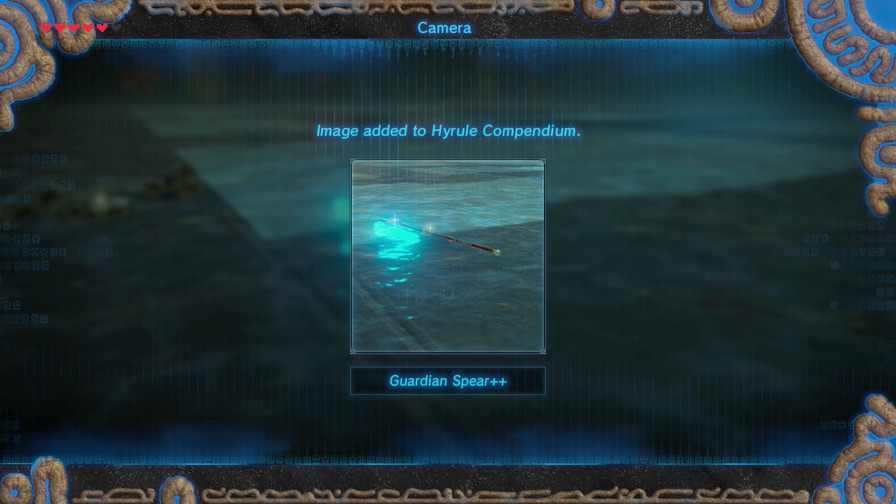
A discarded sword and shield in front of the ruined fountain.
And a shield I discard to make room for the other shield because I’m a giant litterbug.
That door in the distance is the front entrance to Hyrule Castle. I’m not going to bother today, as I’m sure it’s heavily guarded.
Eventually, though.
Business as usual!
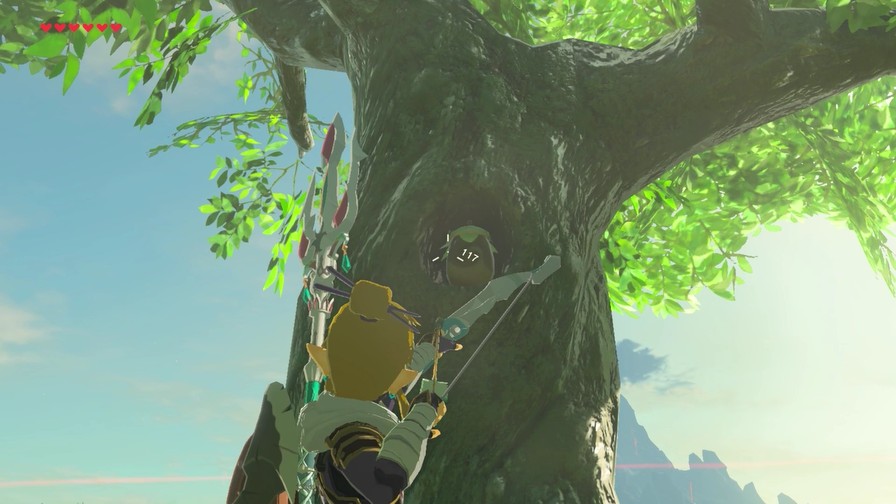
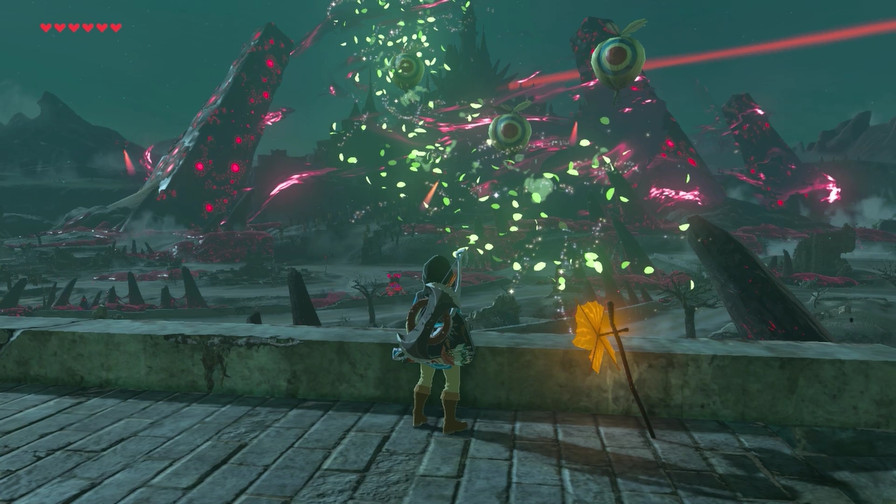
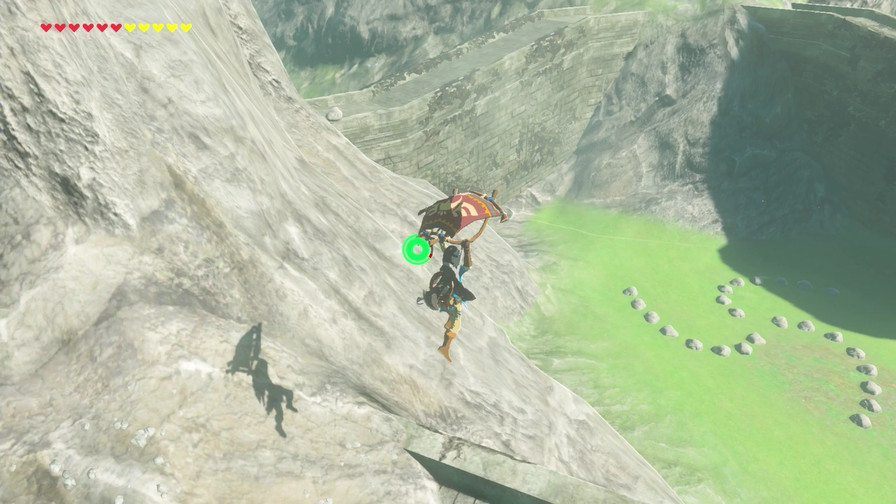
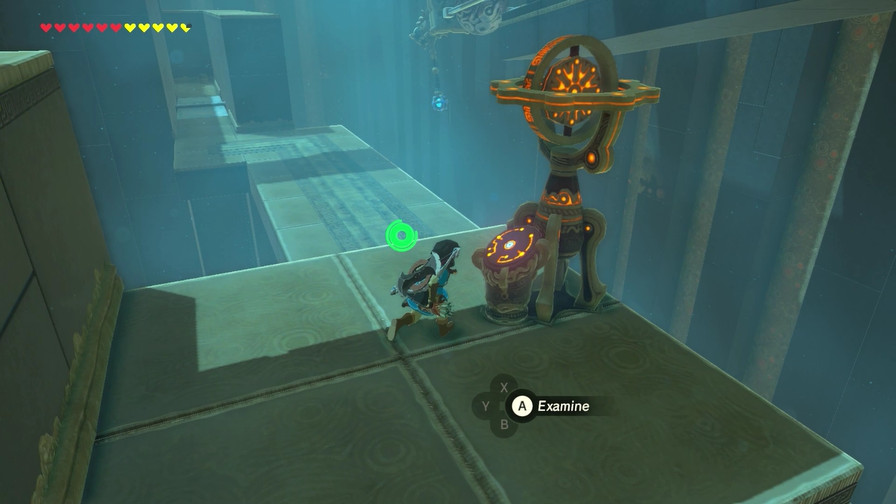
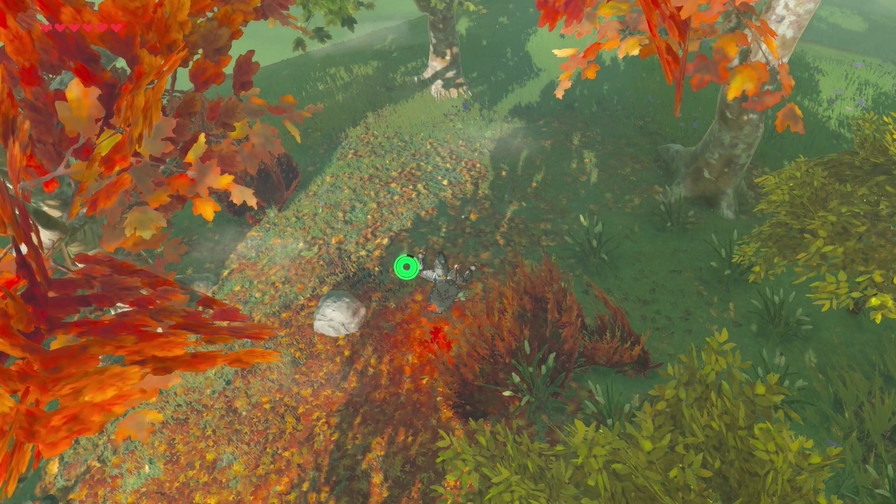
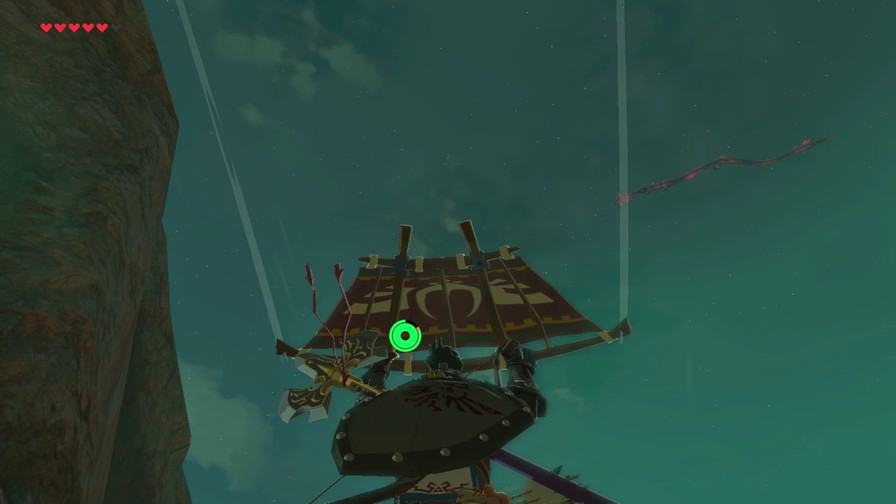
I see a pinwheel thing up top, which means…
Hit the balloons challenge!
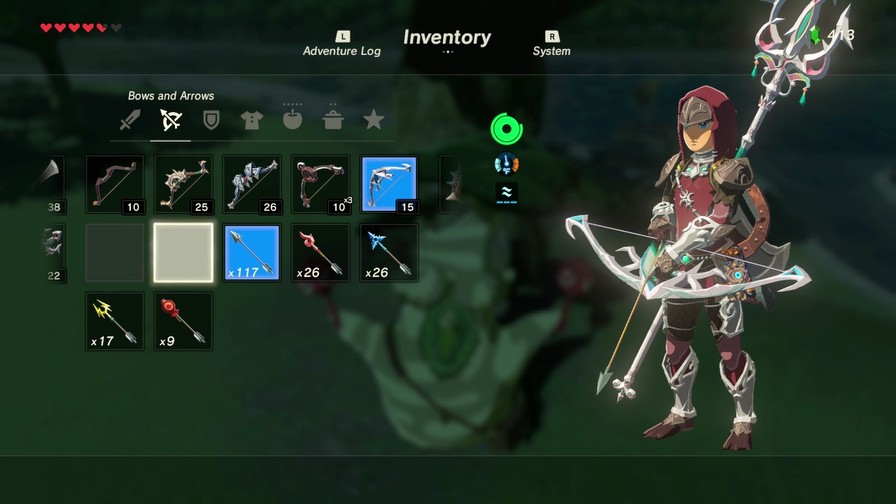
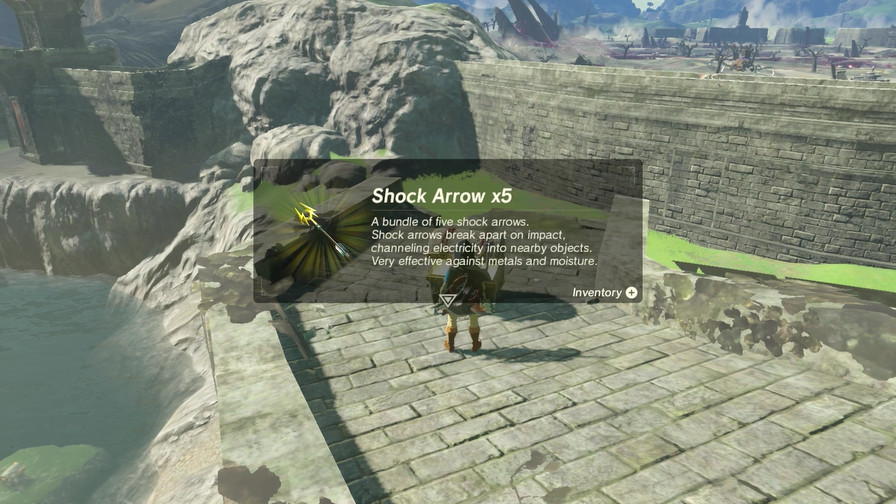
I opt for the Lynel Bow to take advantage of the triple shot. It only takes one arrow, too!
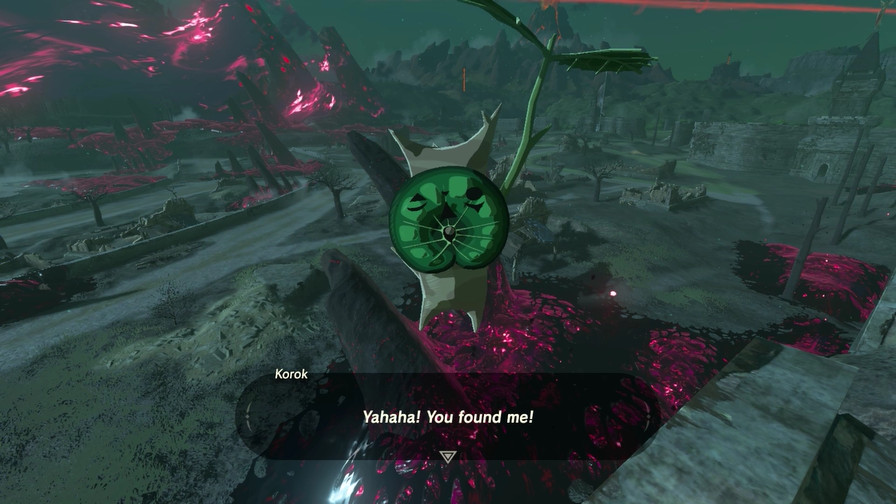
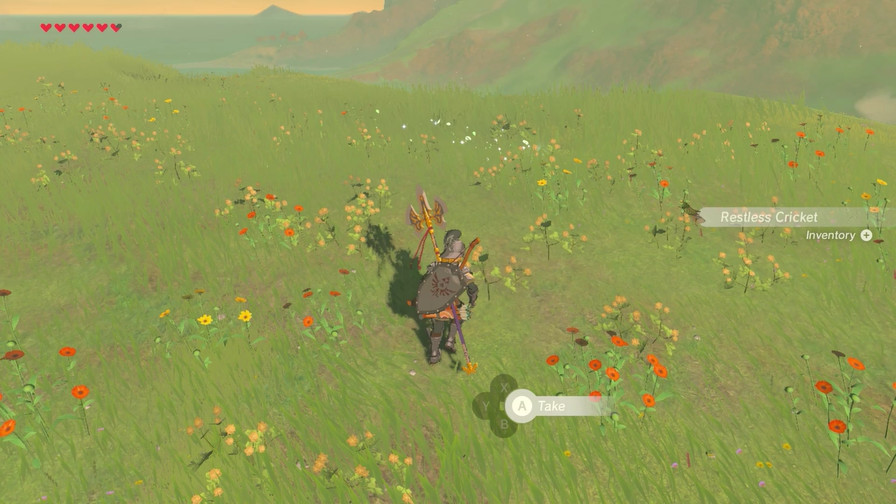
I’ve been cleaning up on Koroks this update!
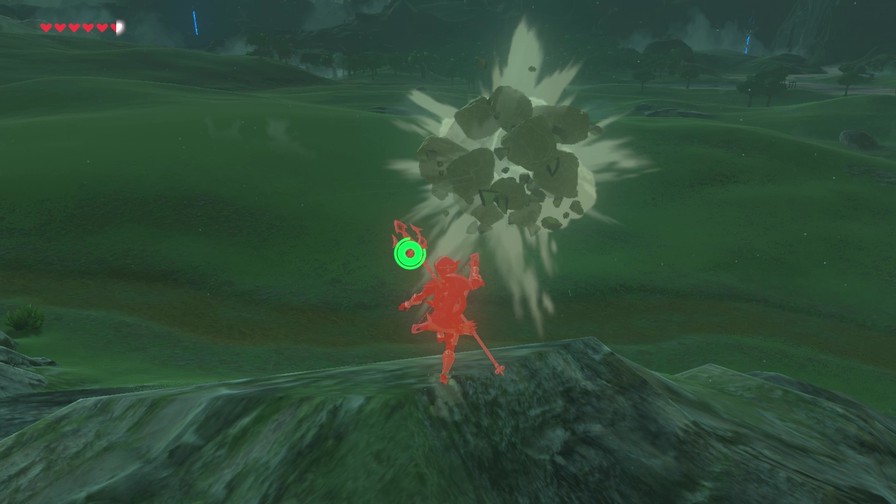
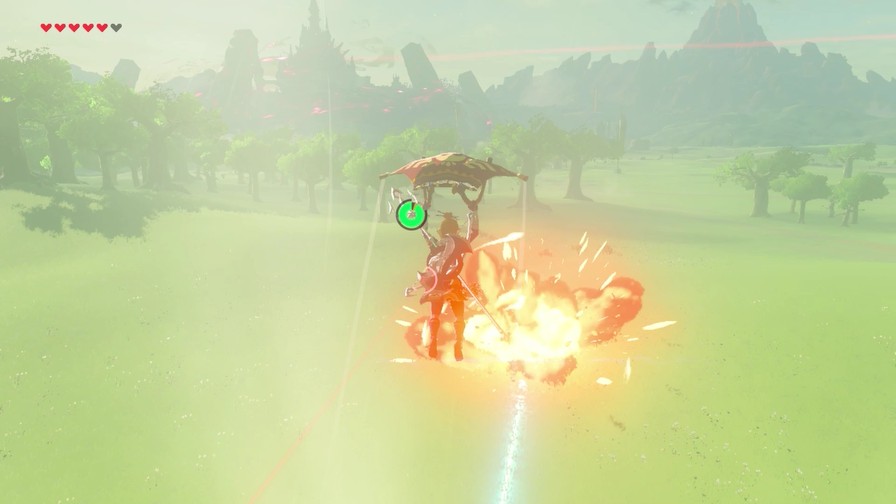
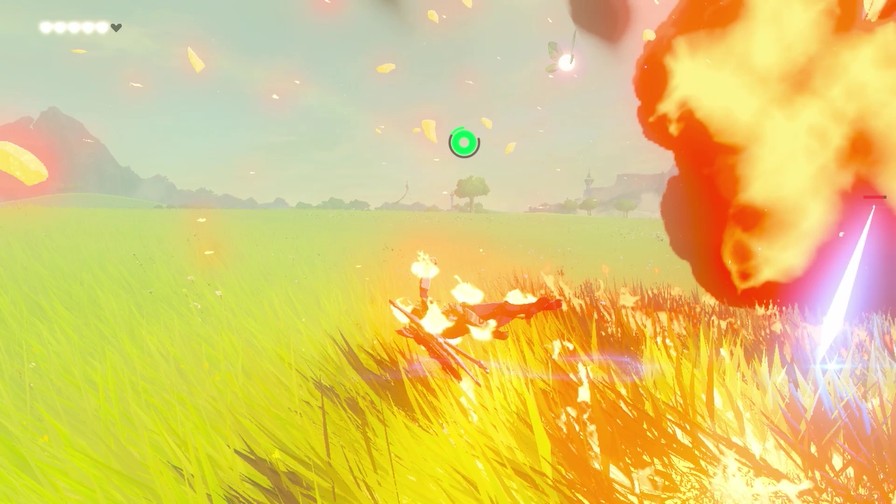
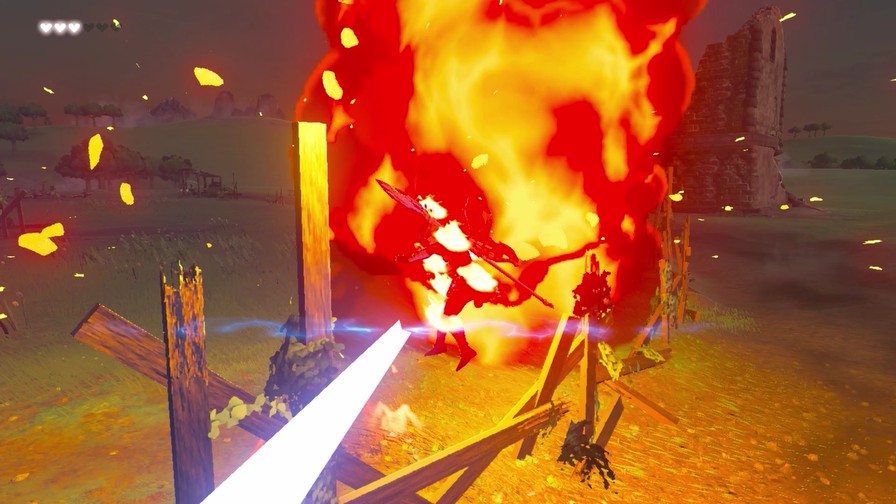
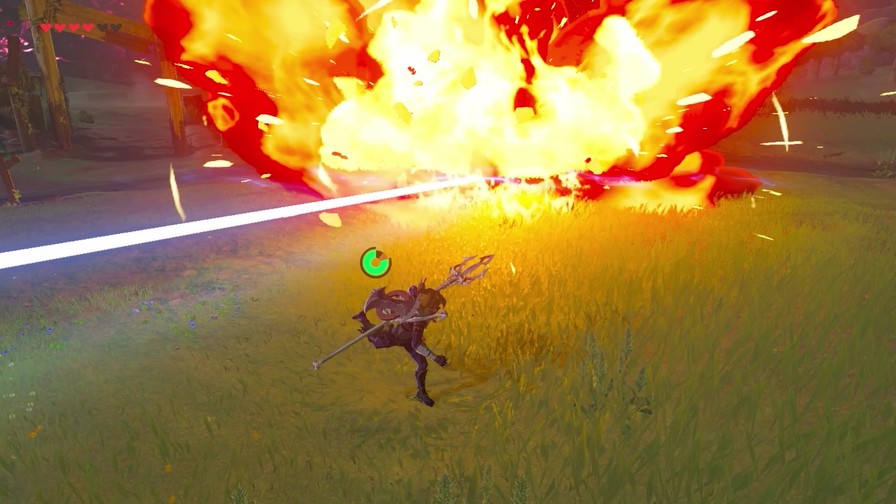
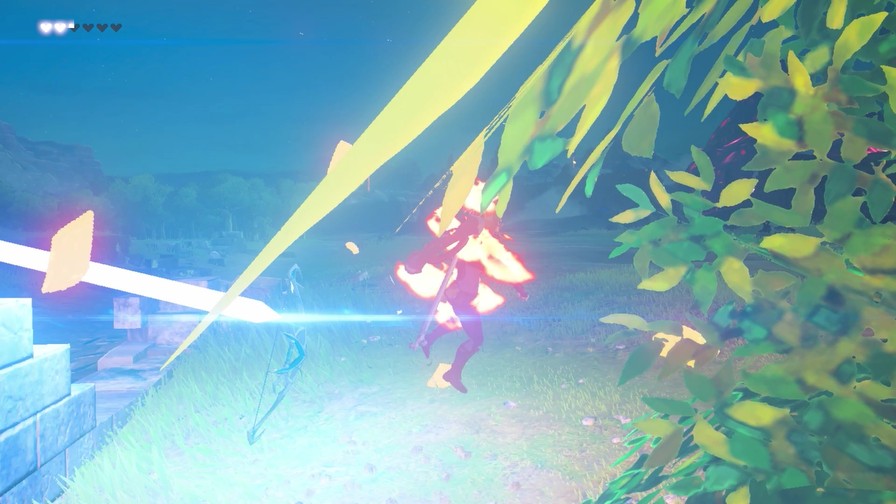
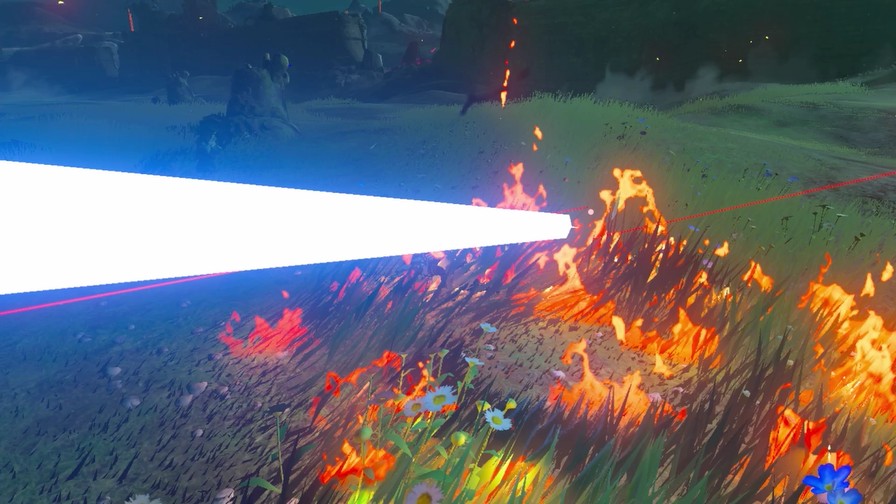
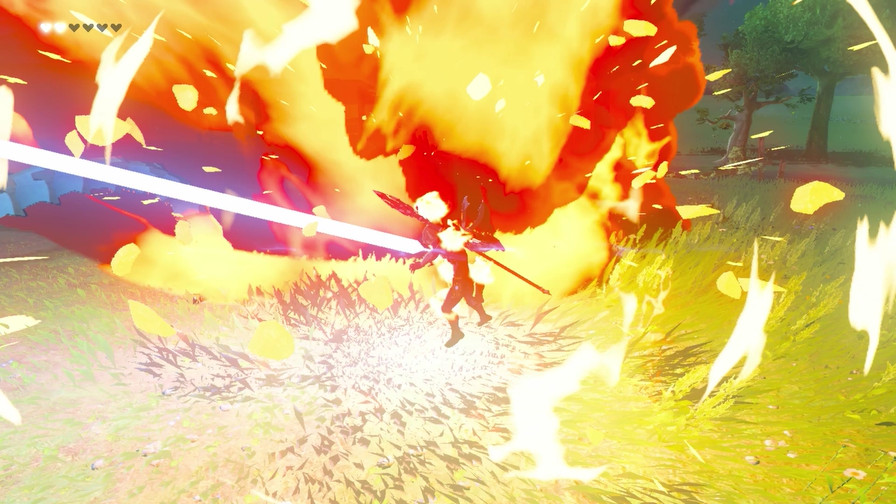
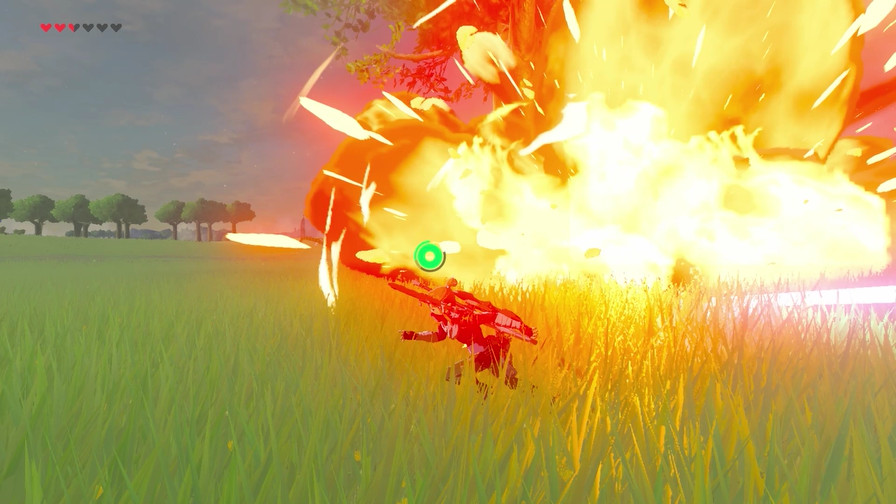
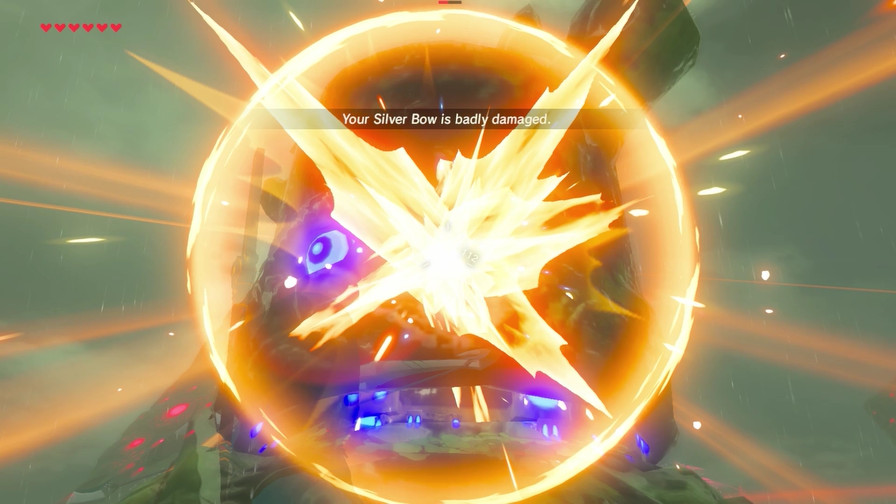
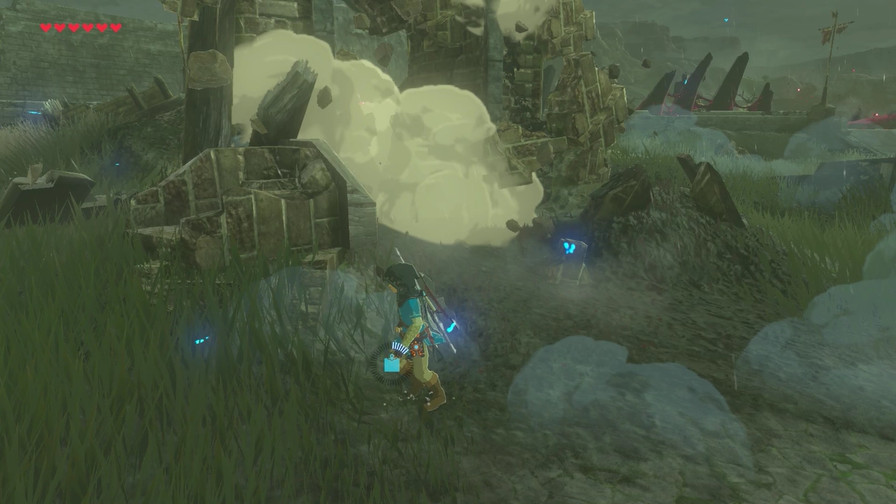
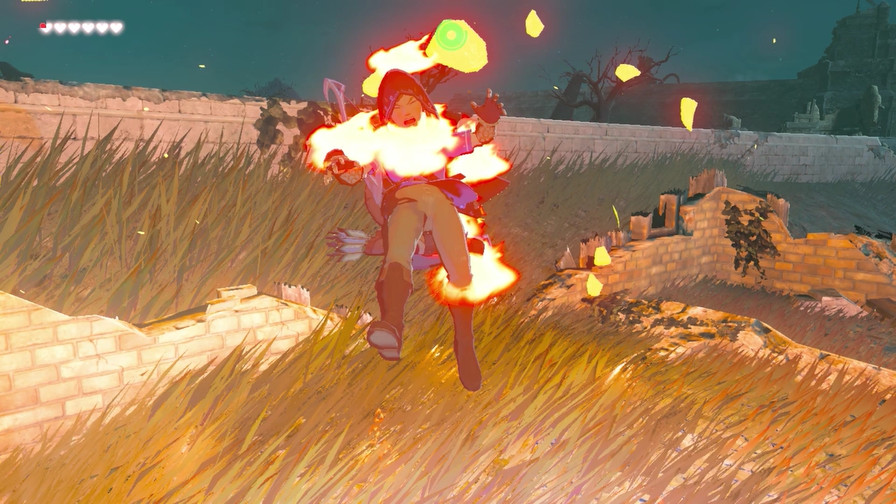
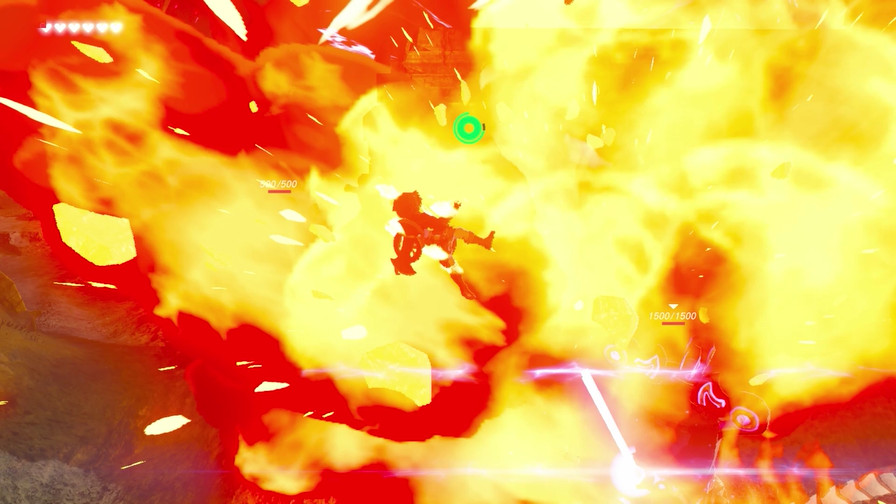
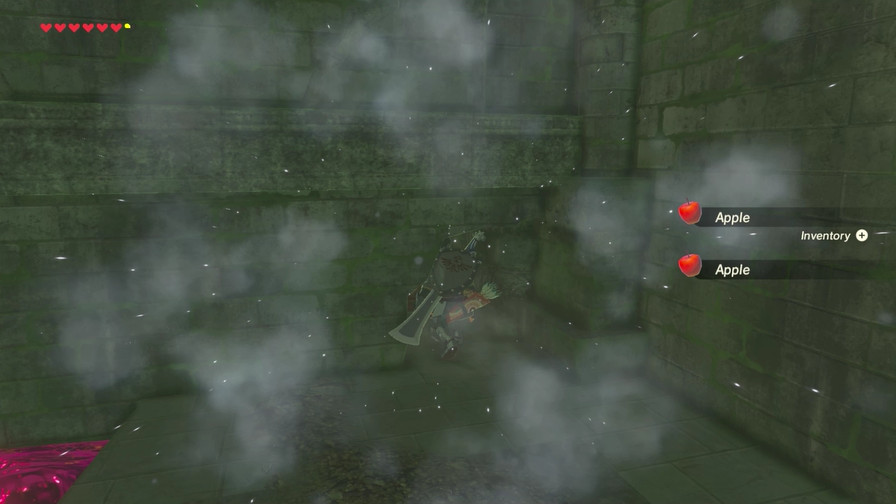
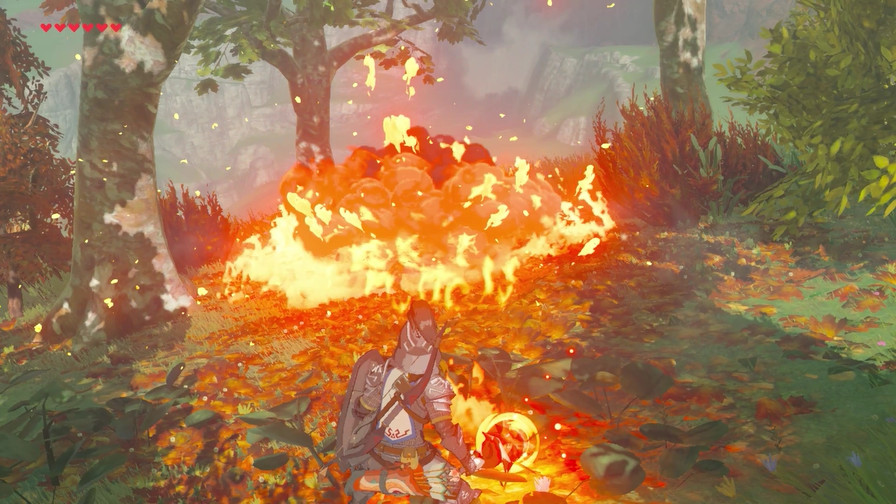
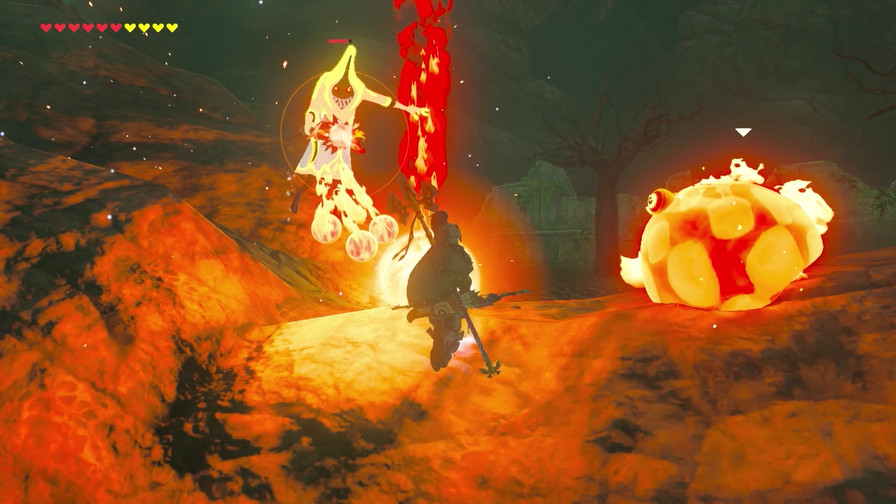
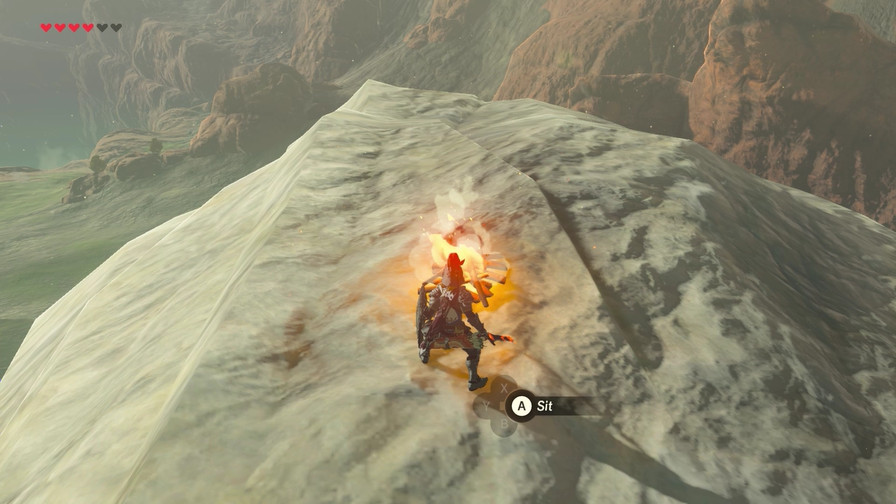
And also on explosions.
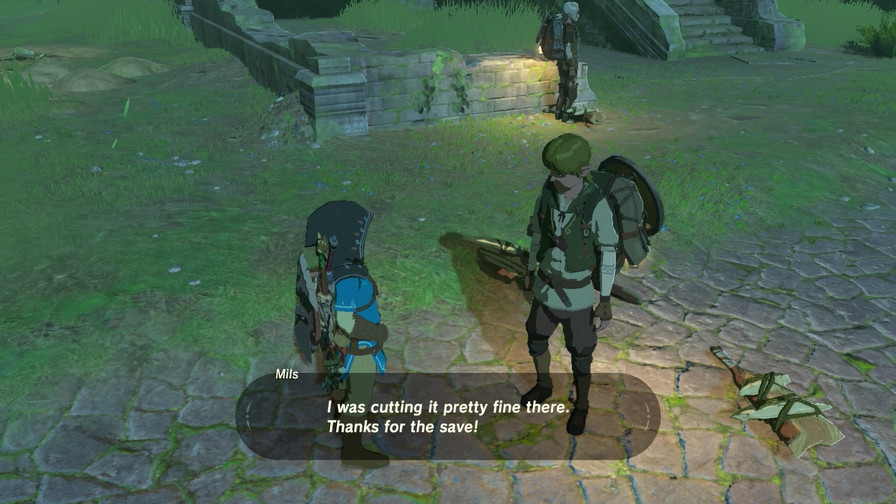
Luckily Mipha’s there to save my incompetent butt. We barely survived the blast, but the resulting fire would’ve killed us.
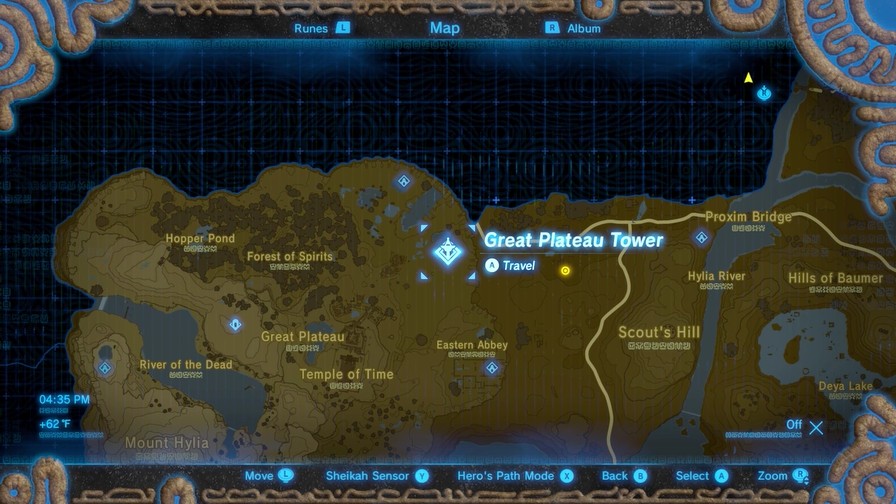
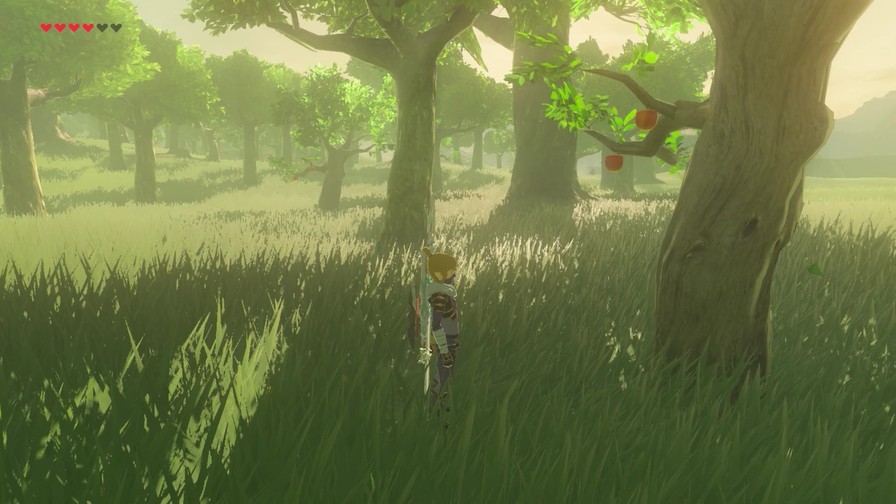
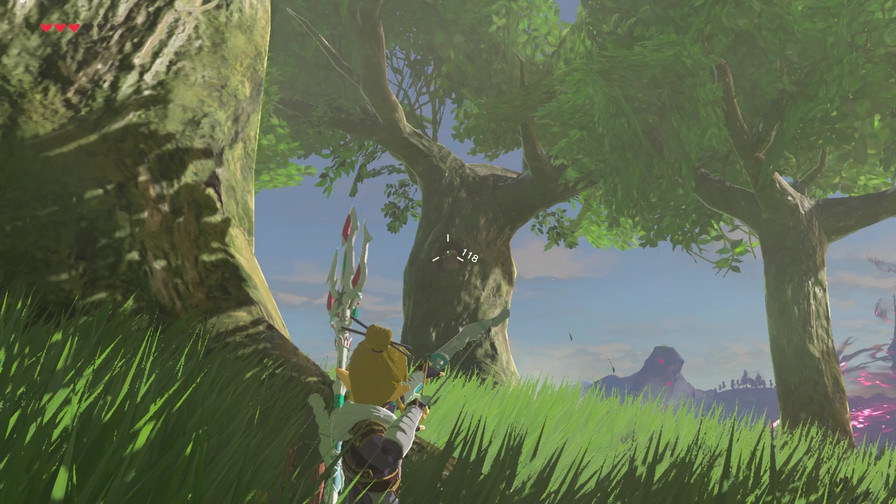
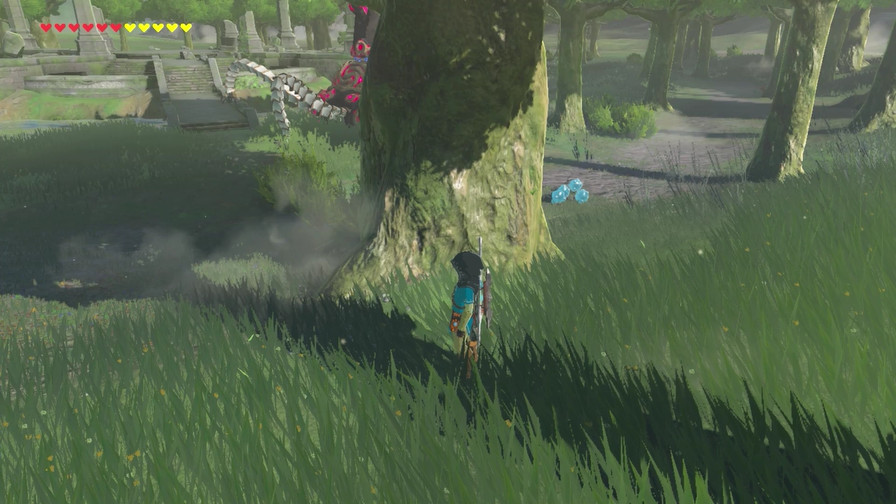
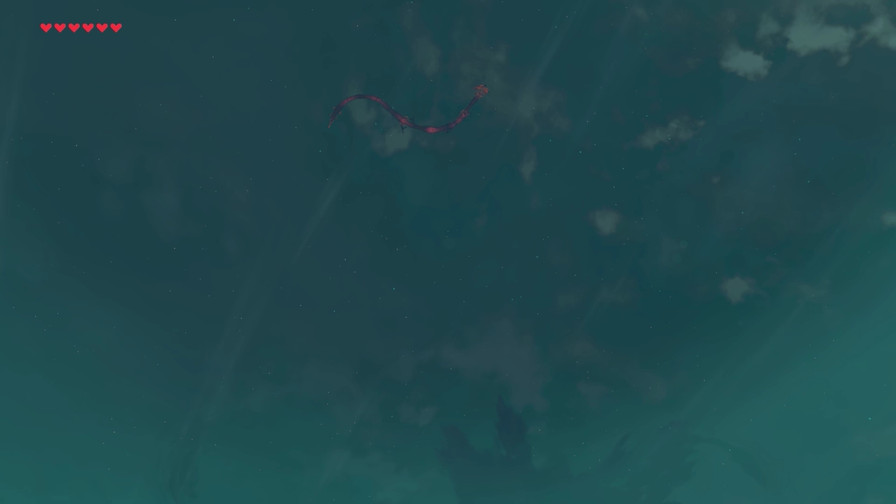
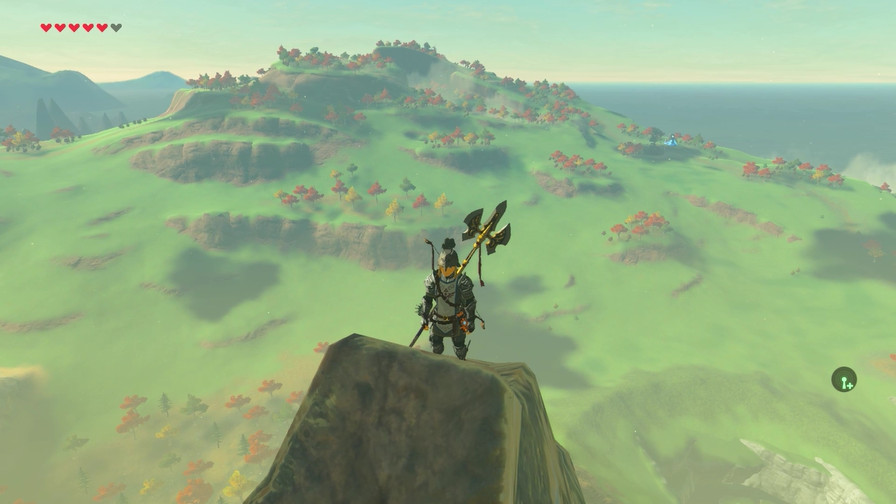
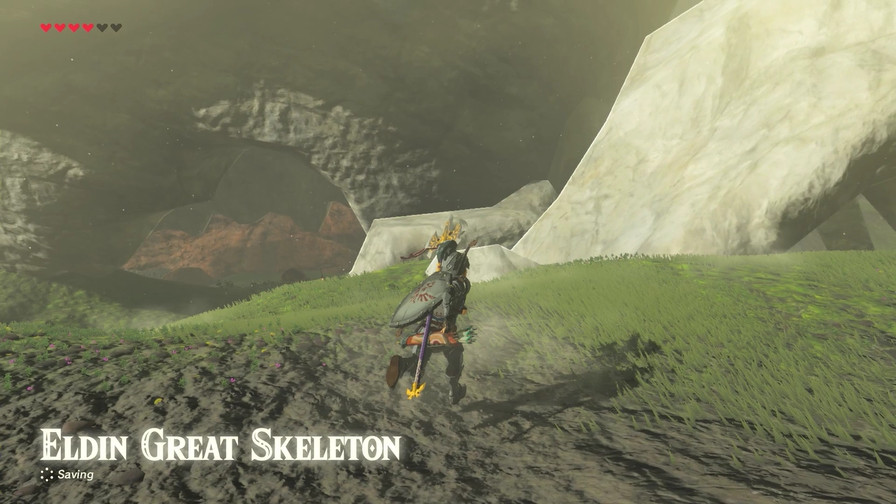
Oh yeah, this made me realize that we’re right in front of Hyrule Castle, so we’re likely near this place too. Not enough trees though.
Hmmmmmm.
Waiting out the wrath of two Guardians later…
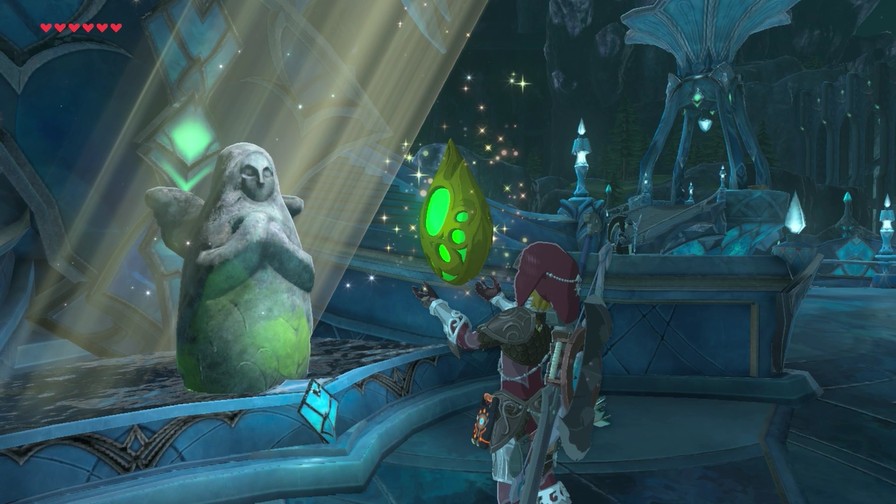
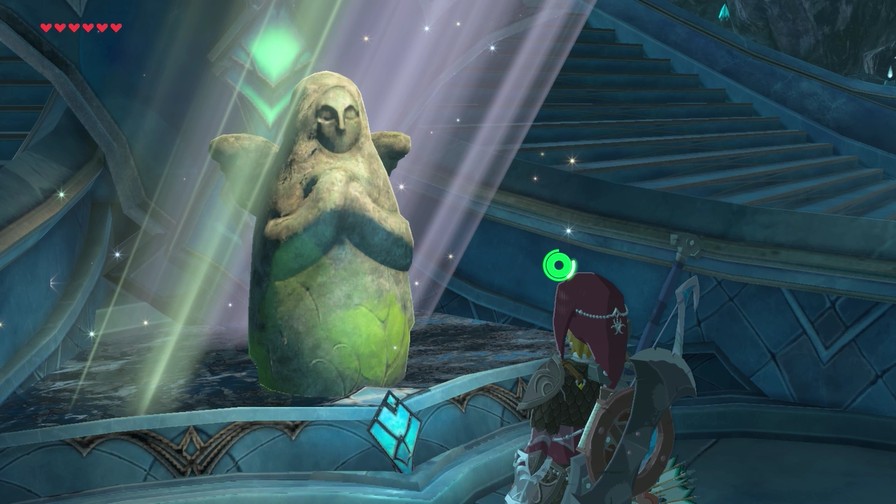
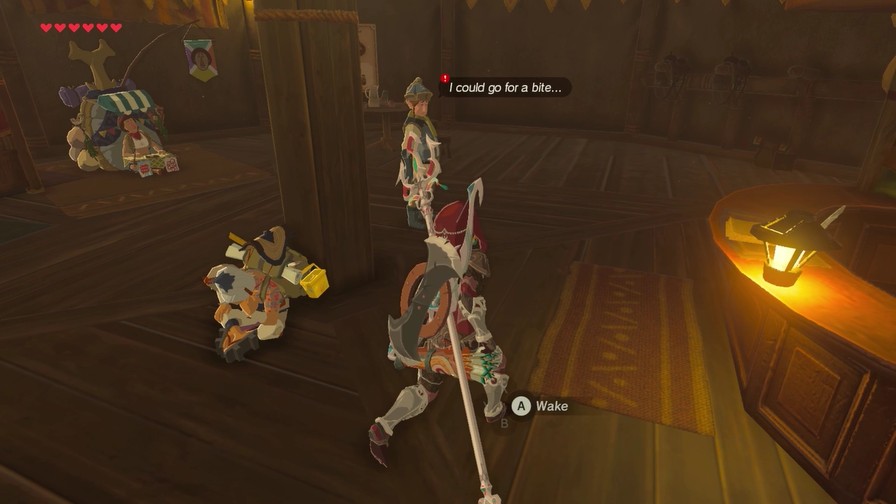
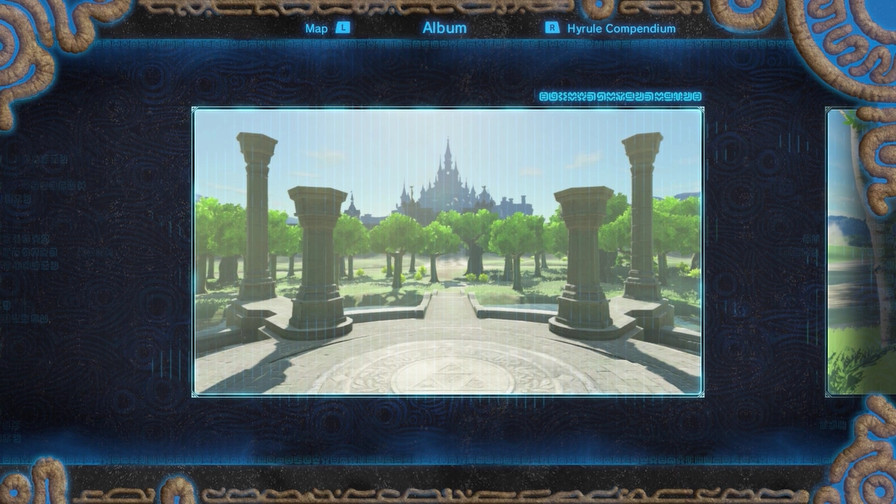
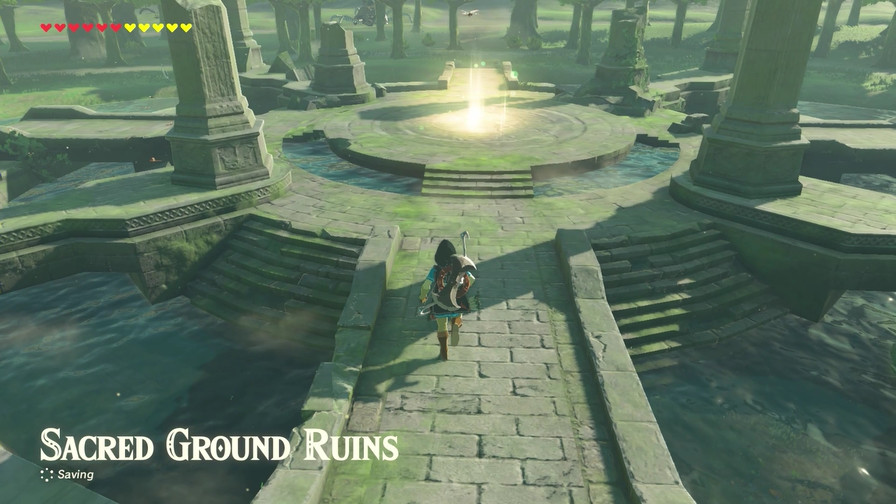
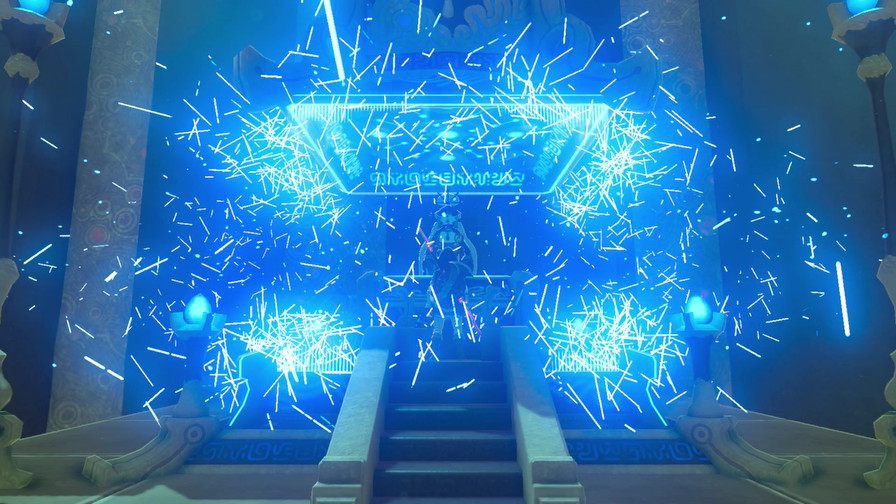
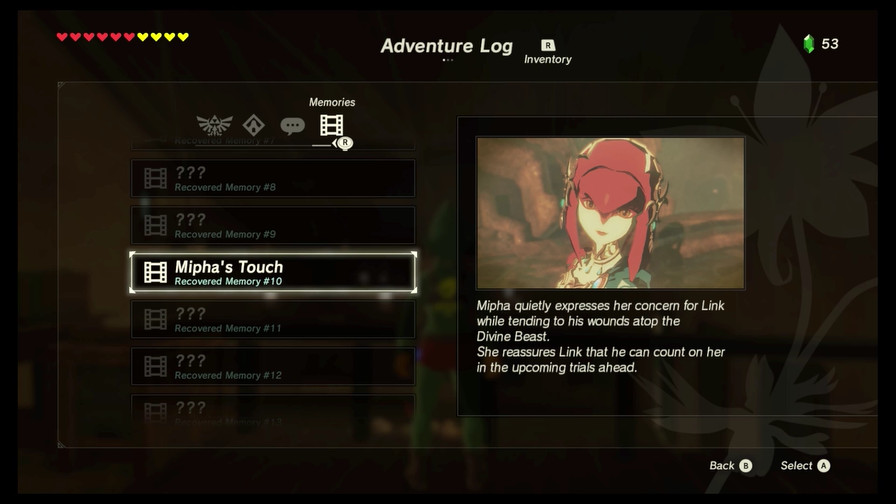
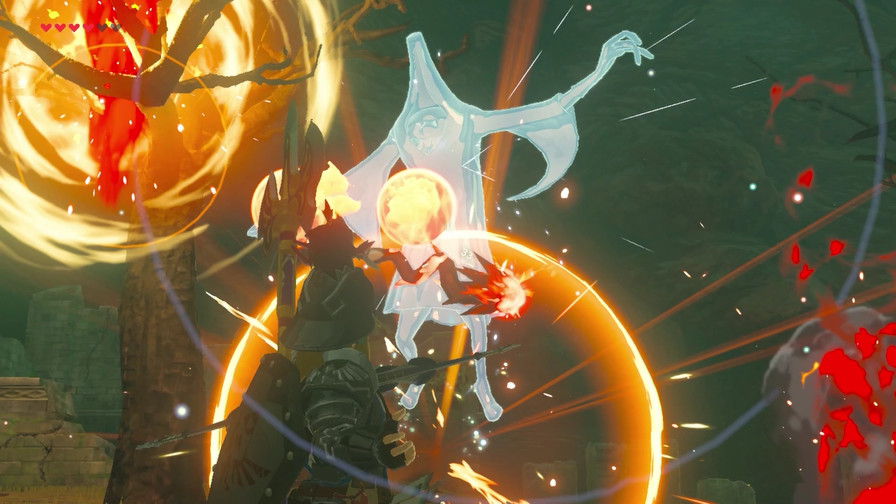
Look what we have here! It’s time for another memory.
https://my.mixtape.moe/aibnta.mp4
https://youtu.be/GE0DTr8985w
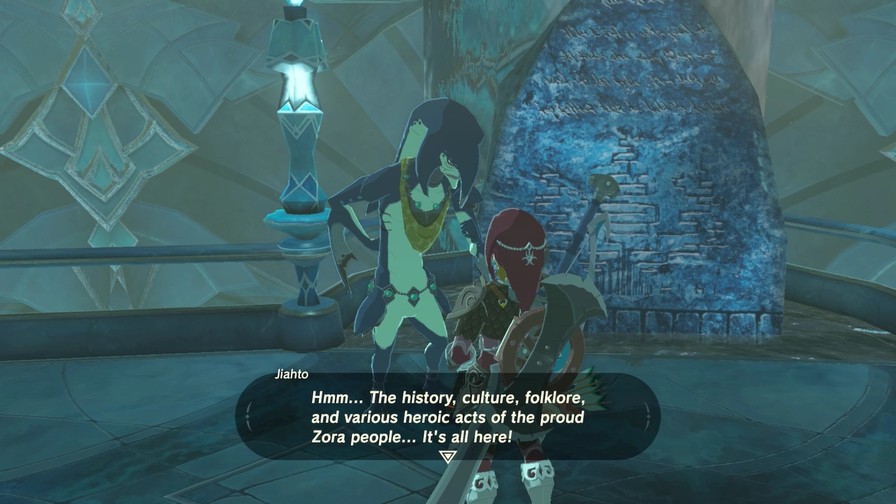
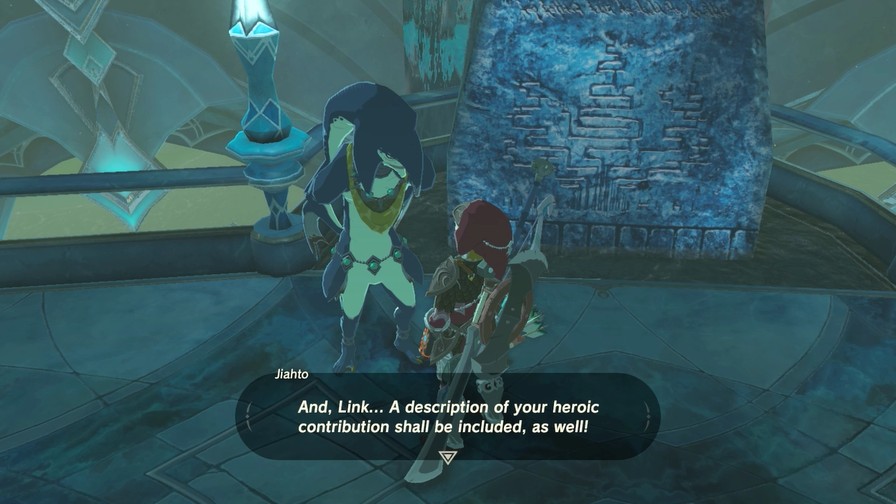
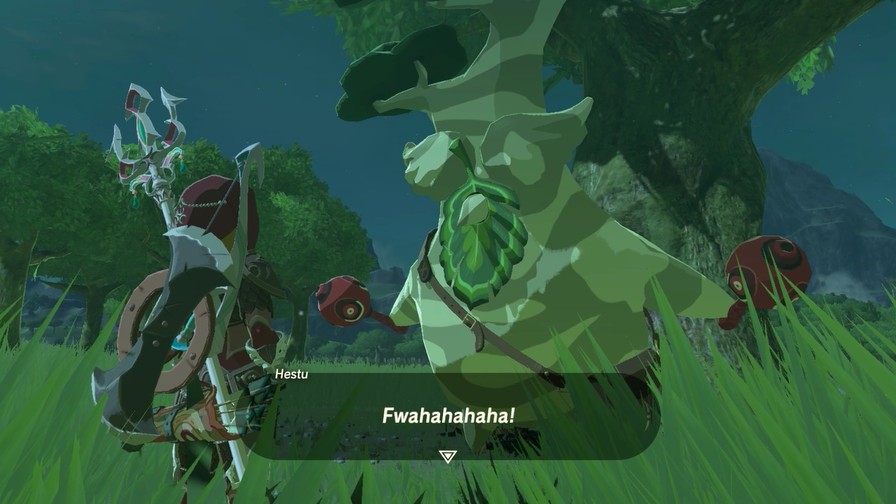
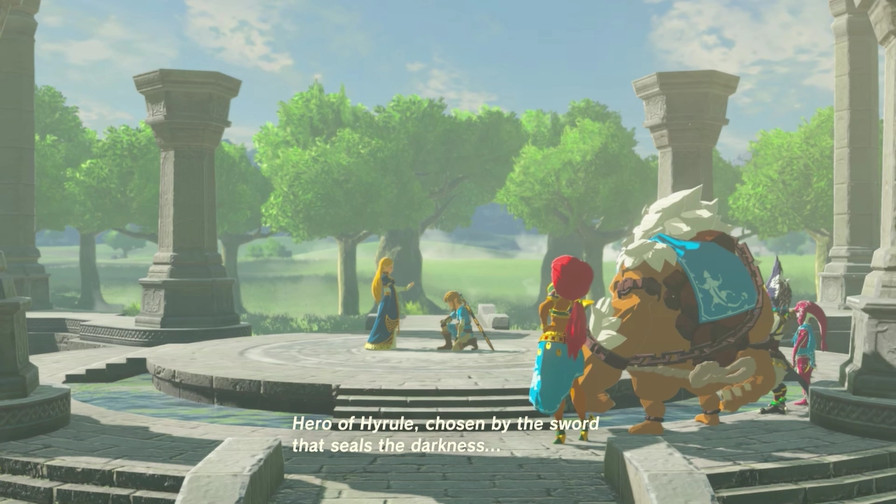
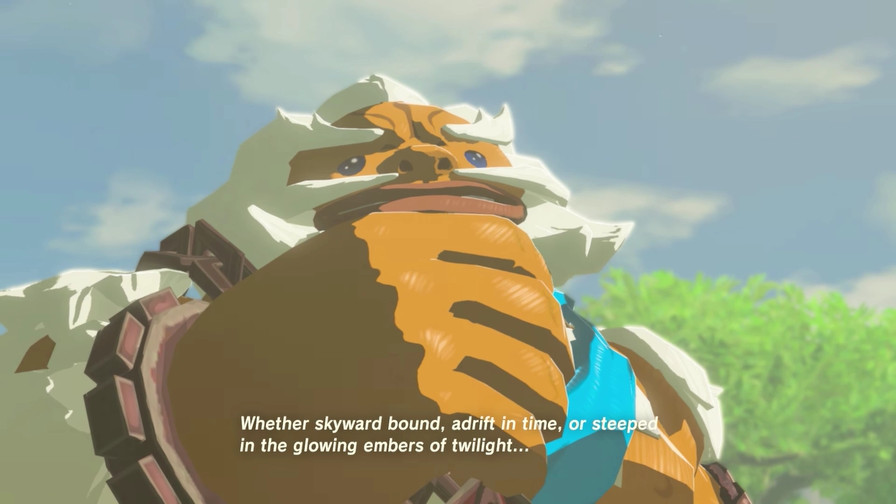
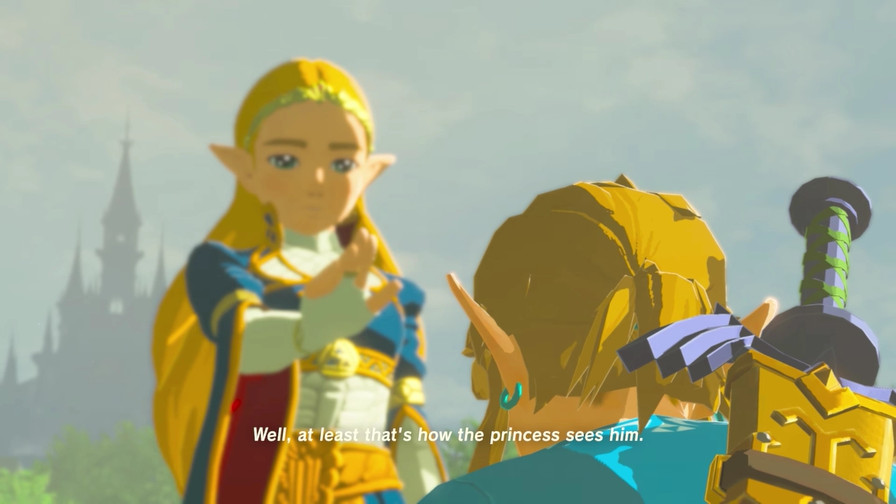
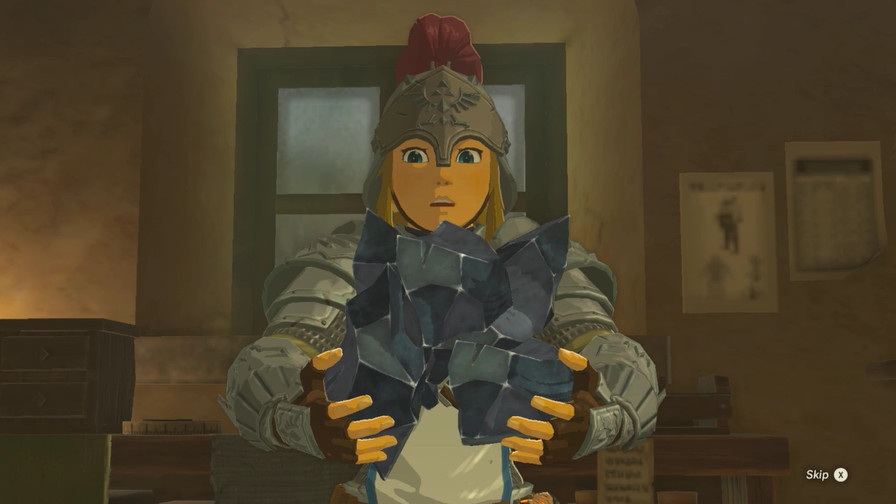
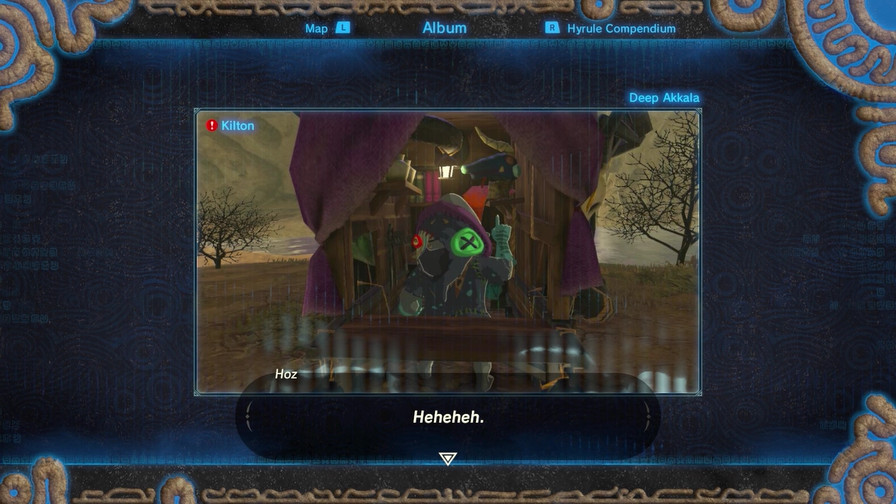
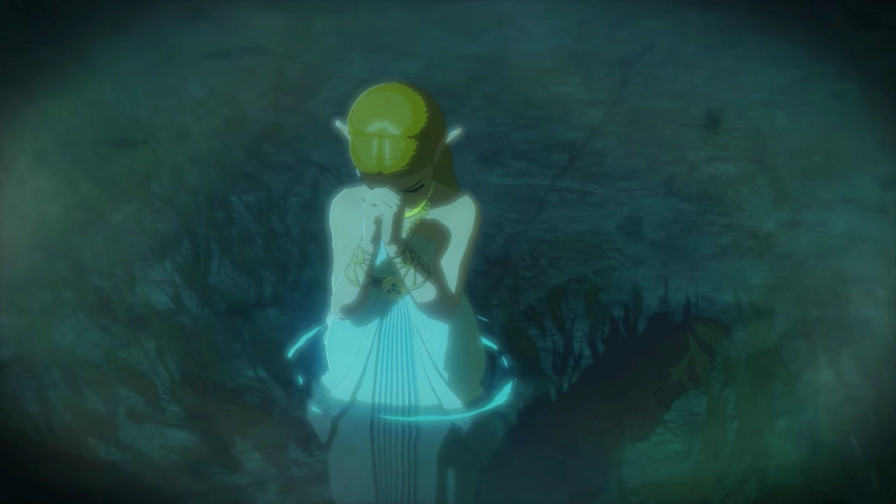
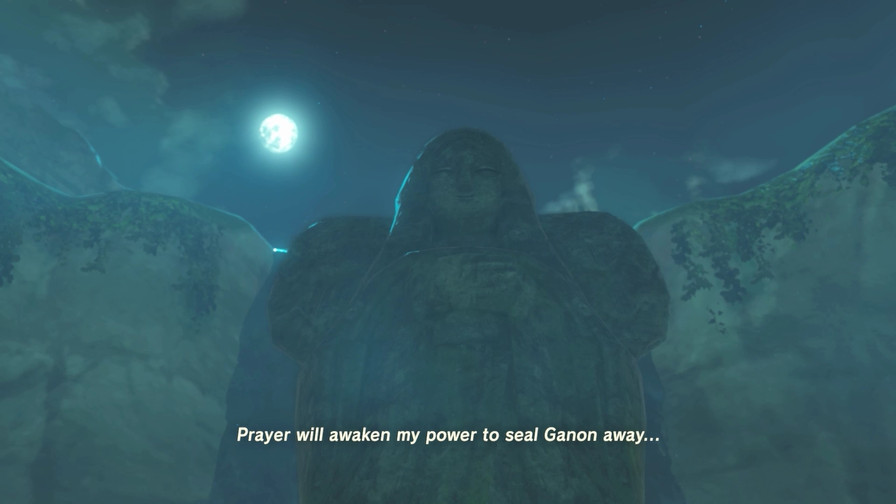
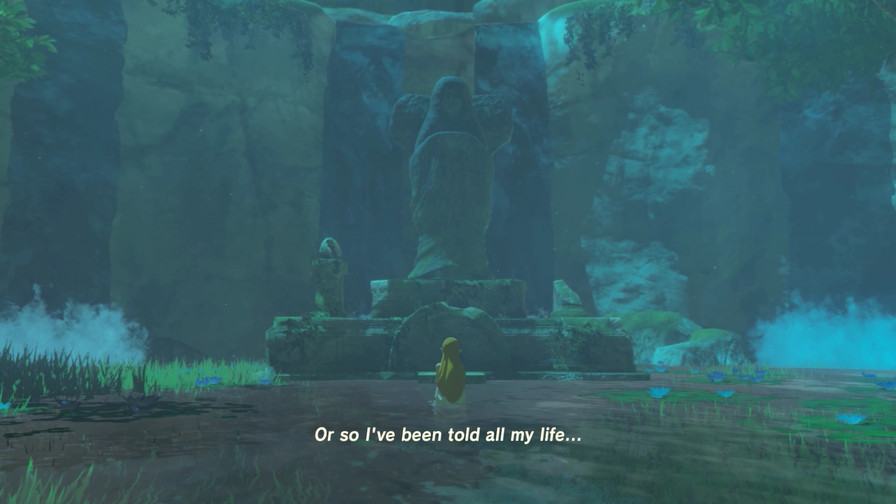
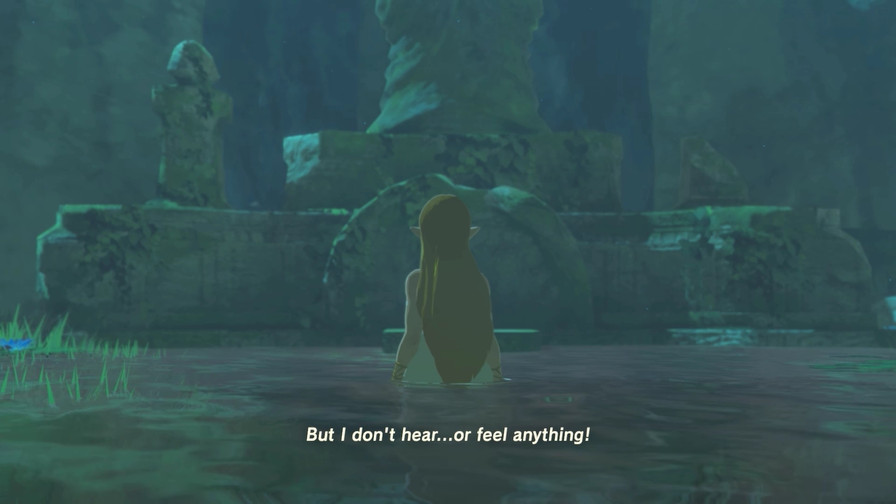
This one appears to be some sort of ceremony.
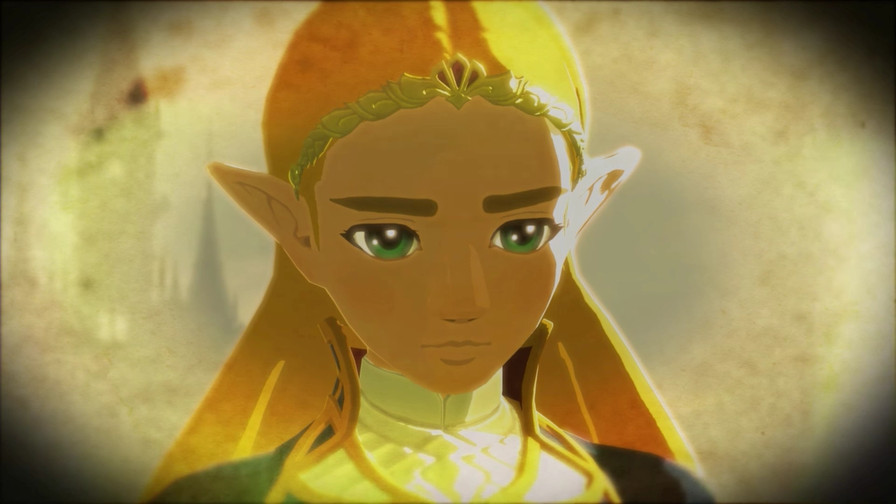
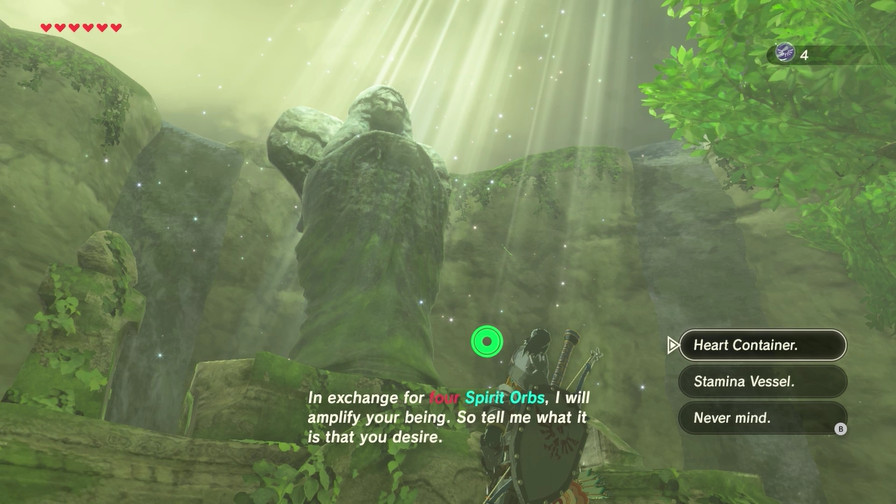
 You have shown unflinching bravery and skill in the face of darkness and adversity. And have proven yourself worthy of the blessings of the Goddess Hylia.
The sacred blade is forever bound to the soul of the Hero. We pray for your protection…and we hope that - that the two of you will grow stronger together, as one.
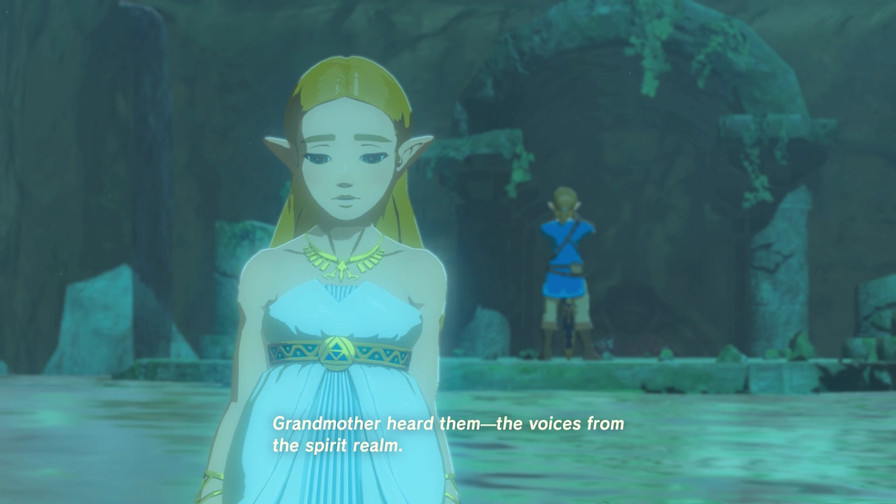
If you’re not watching the video, Zelda delivers this dialogue in the most monotone, bored-out-of-her-skull way possible. She clearly couldn’t be less enthused.
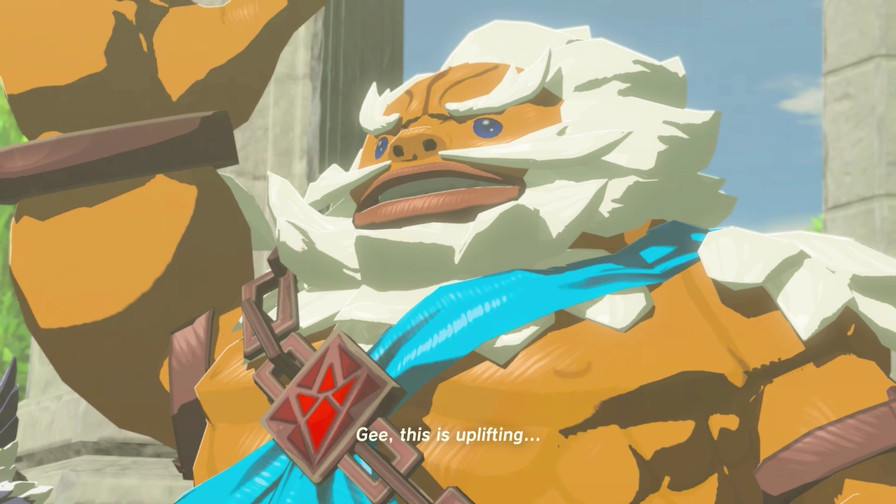
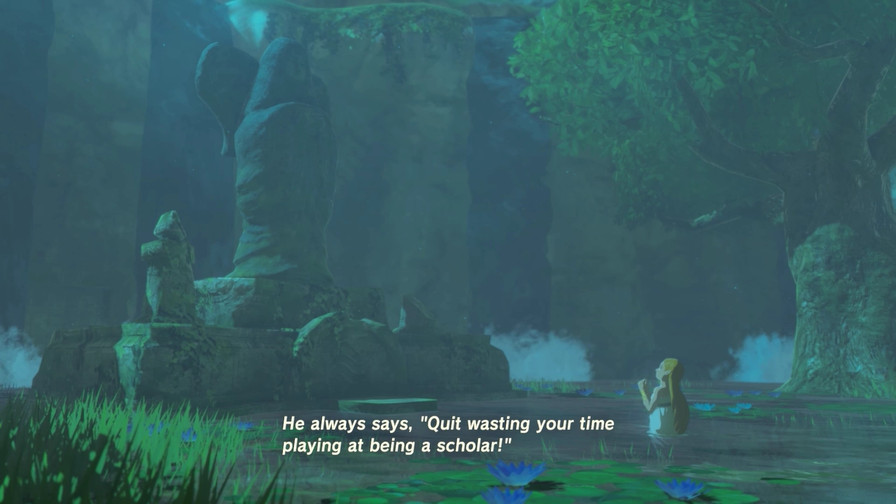
 She’s making it sound like we already lost.
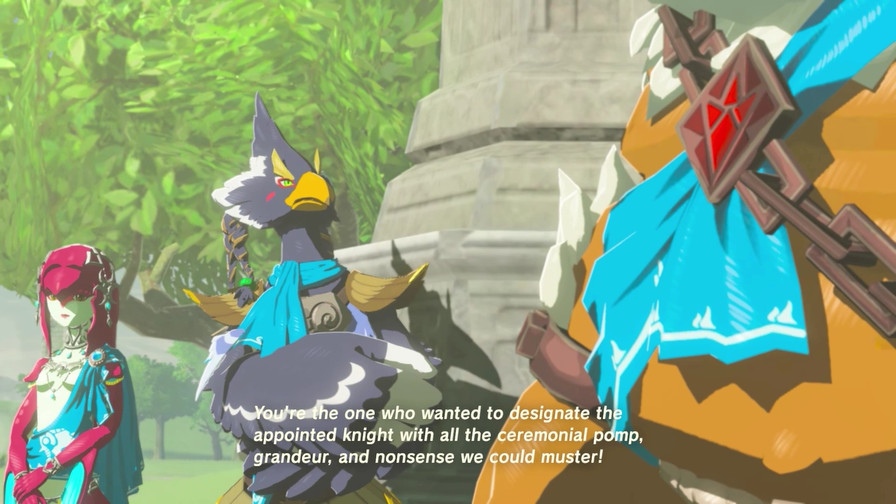
 Wasn’t this your idea?
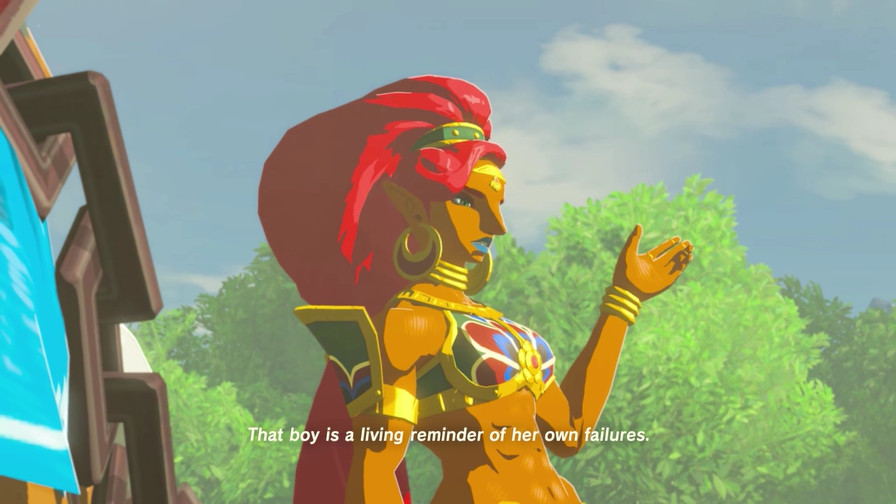
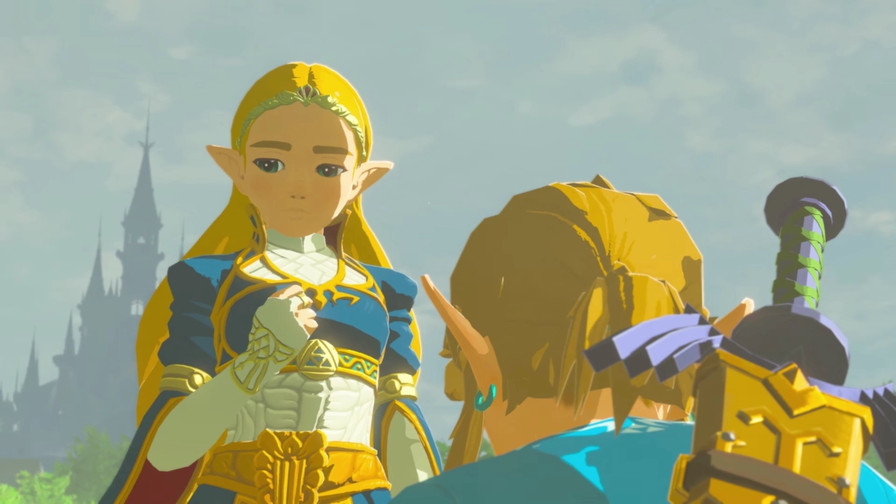
And if you ask me, the whole thing does seem to be overkill. I think I’m on the same page as the princess regarding…this boy.
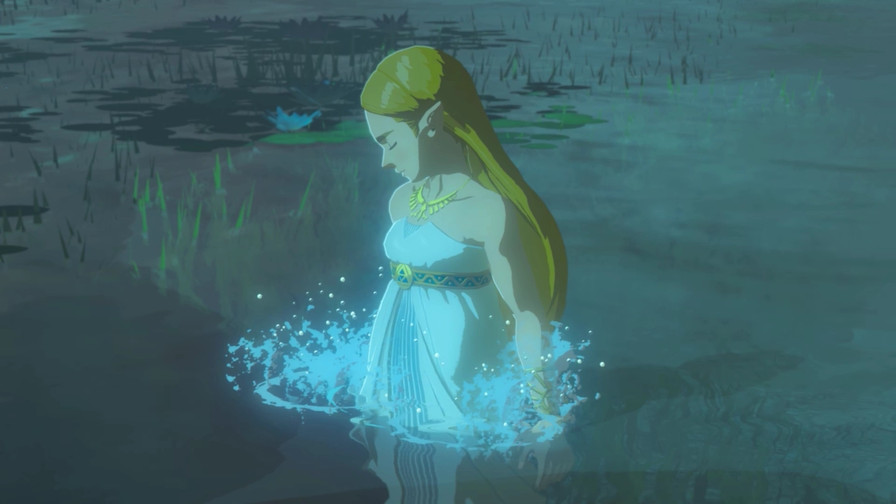
 Oh, give it a rest.
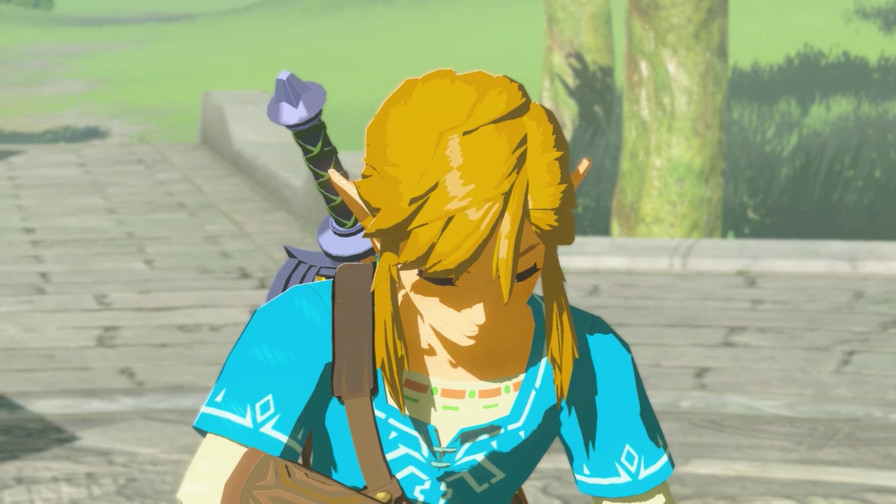
I’d like to think she can clearly hear them the entire time, which…maybe this isn’t the best place to bicker.
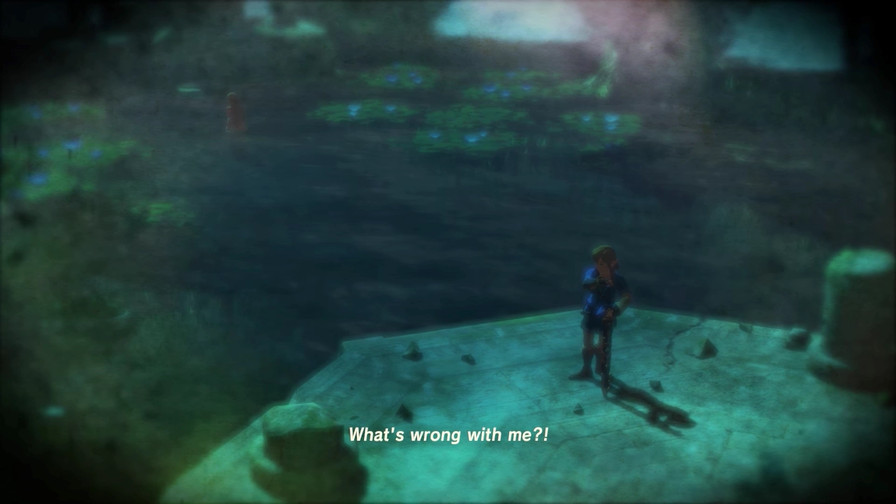
At any rate, this is definitely a different Zelda from the one still waiting patiently a hundred yards away while we search the entirety of Hyrule Field for Tingle’s used clothing.
Oh, right! The clothes!
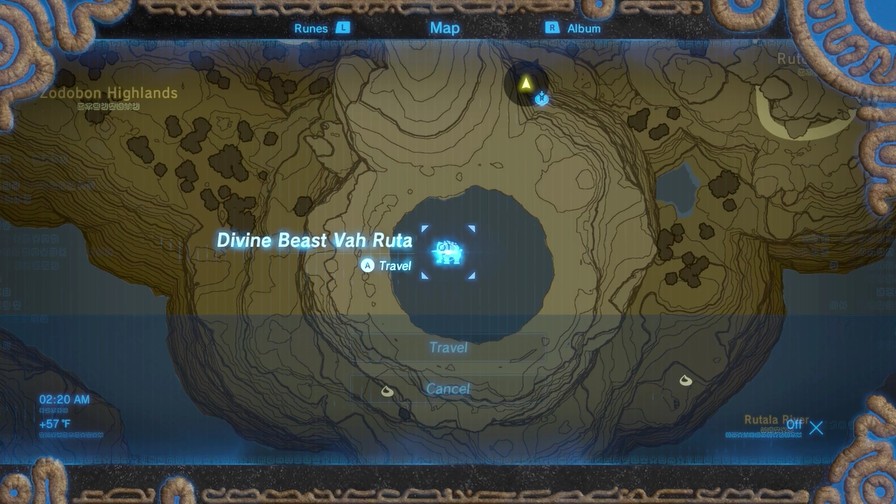
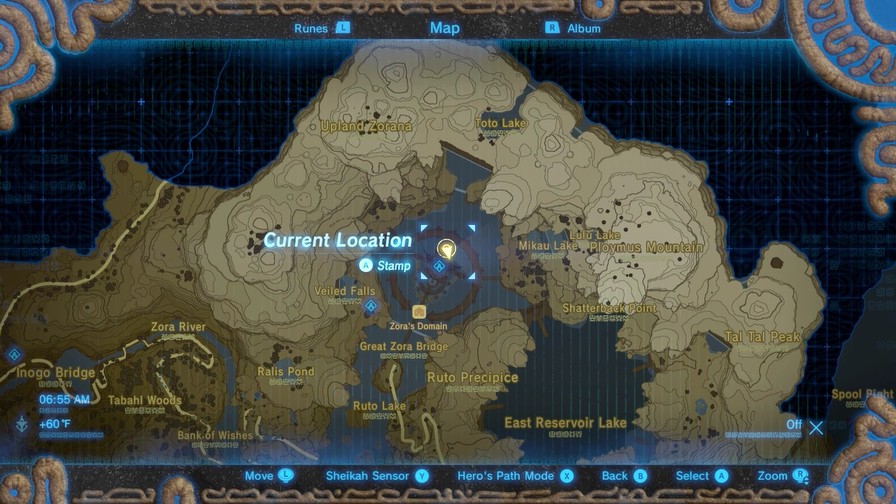
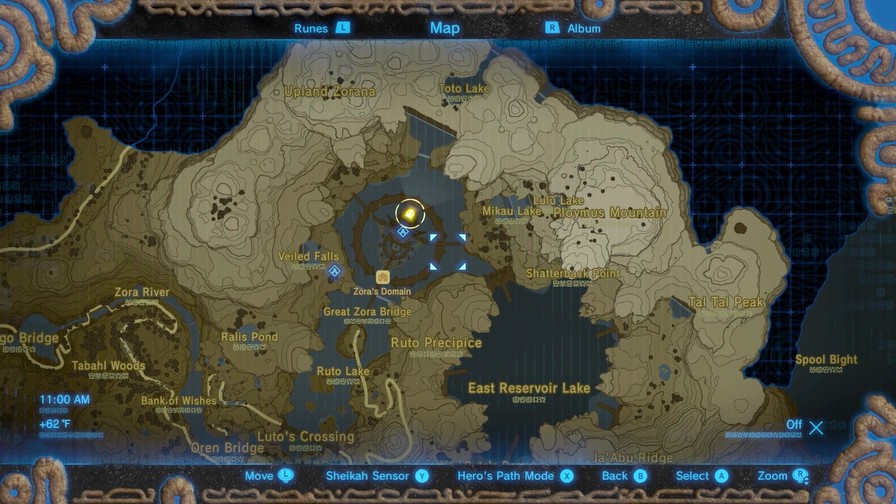
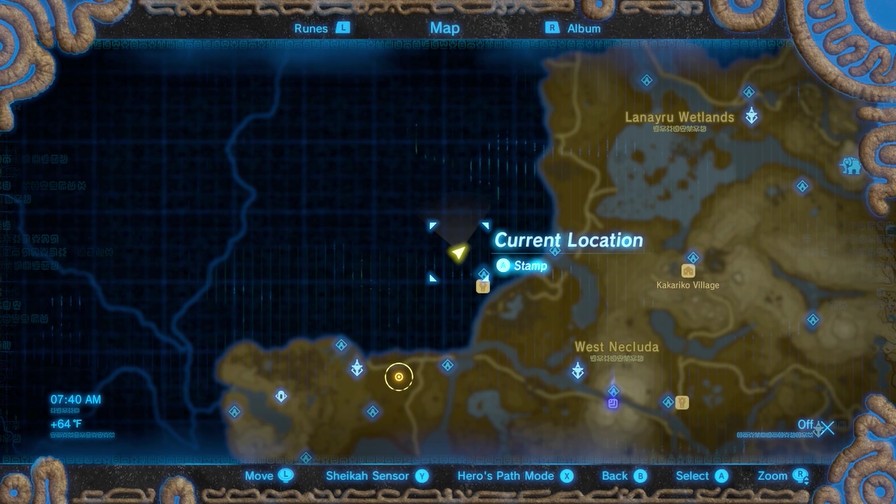
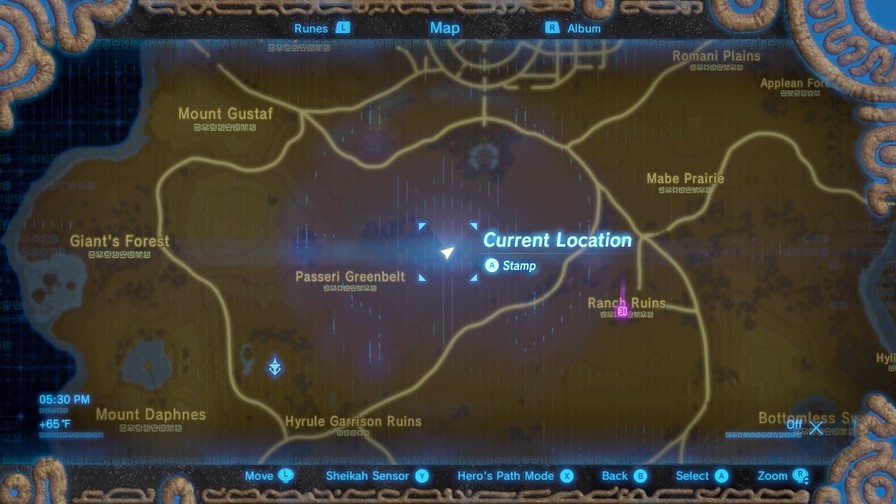
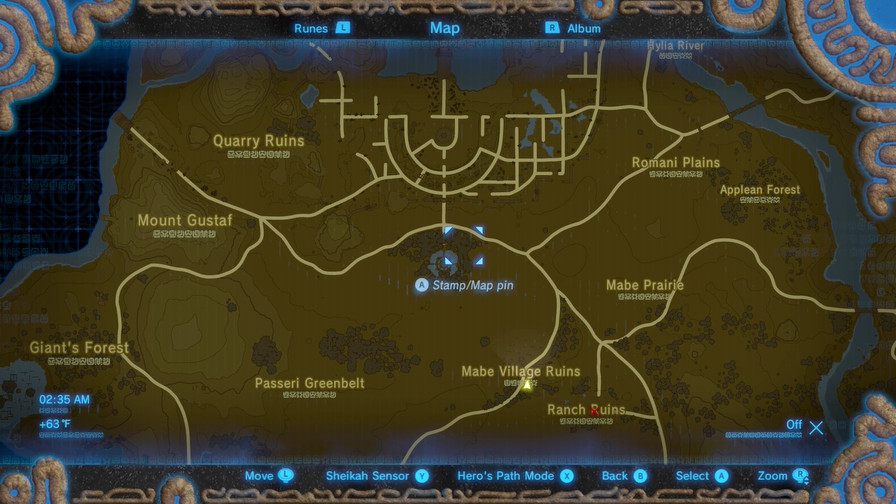
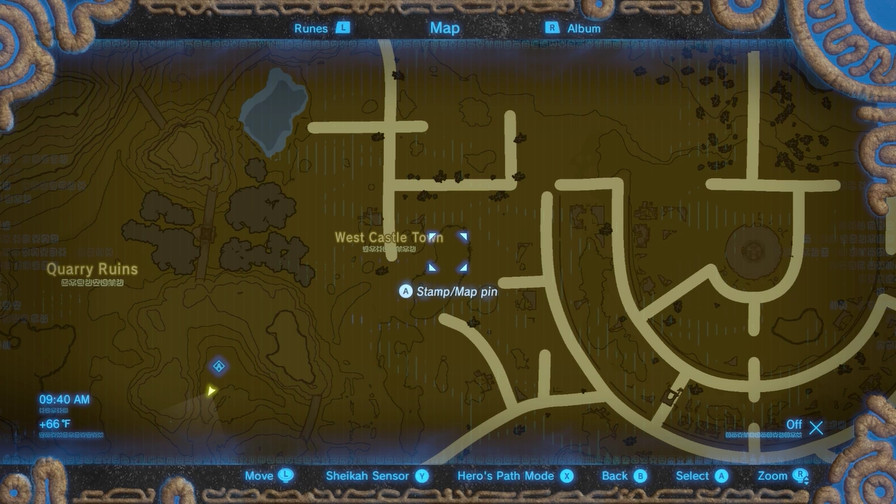
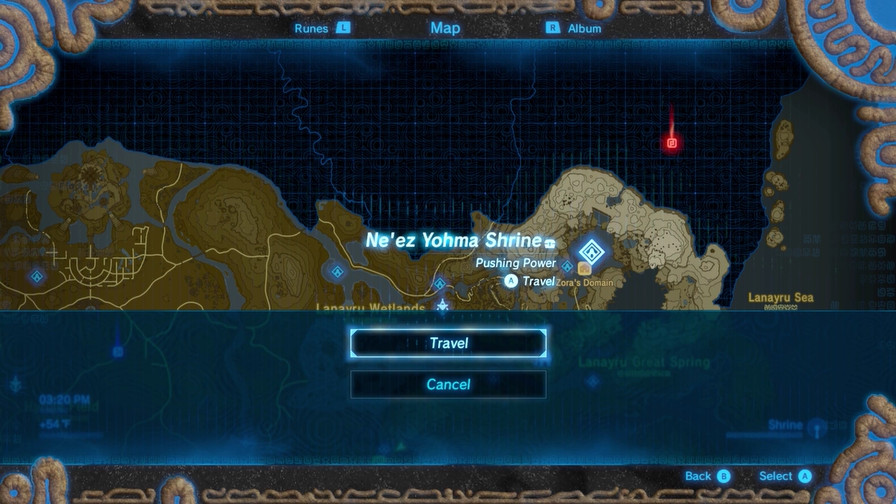
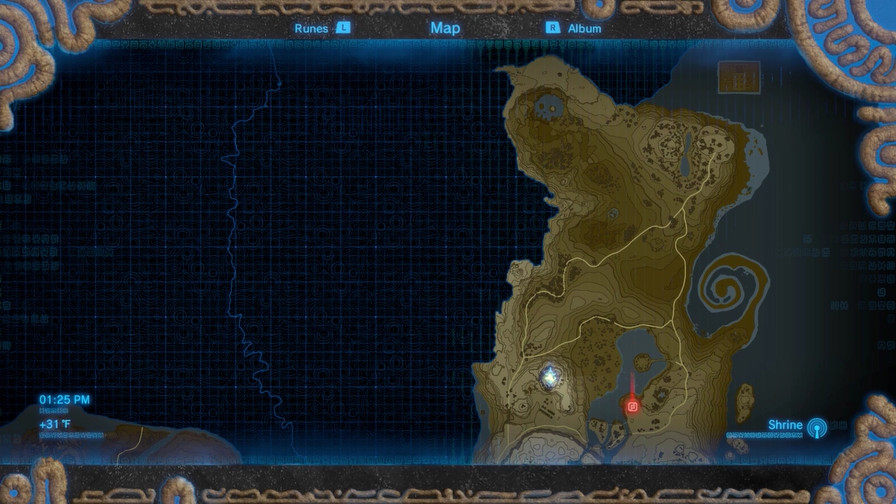
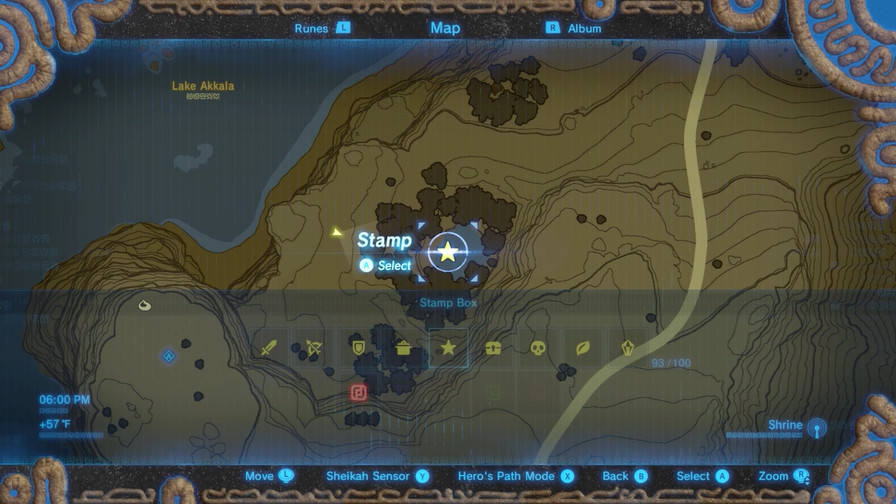
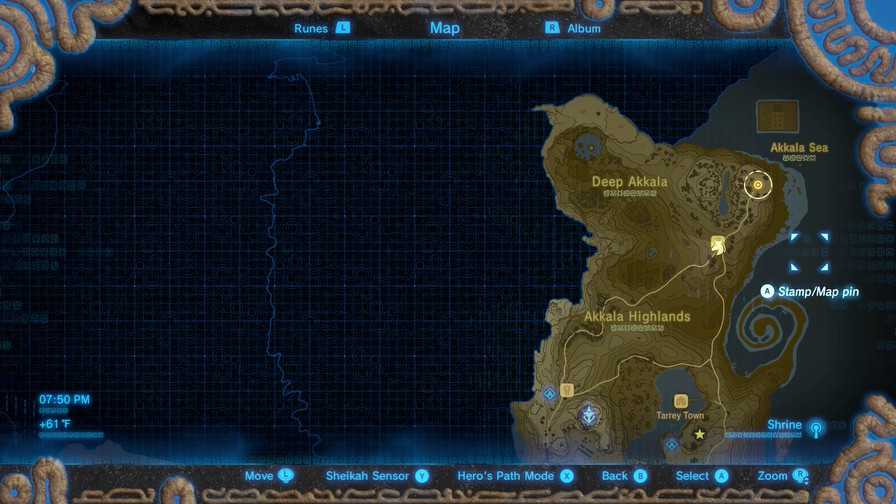
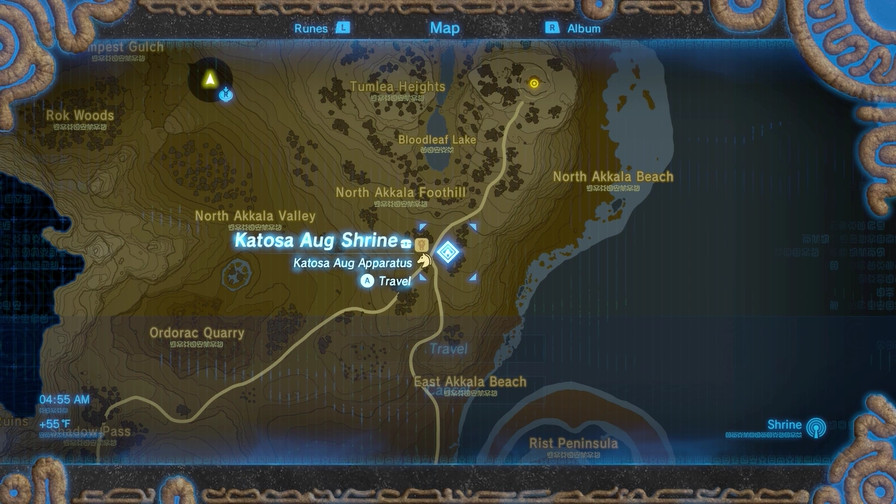
At this point I became sick of looking around and looked up where the other two were. Turns out I was way off and would’ve taken forever to find them since neither location is marked on the map until you travel to them!
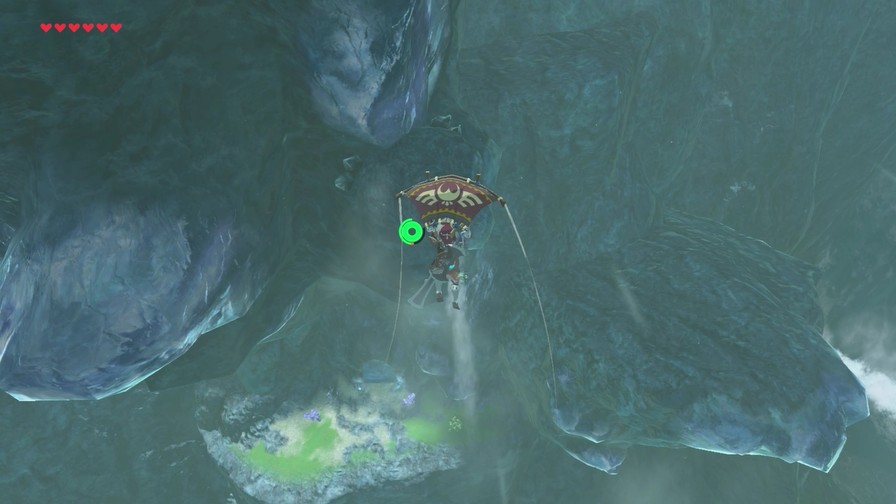
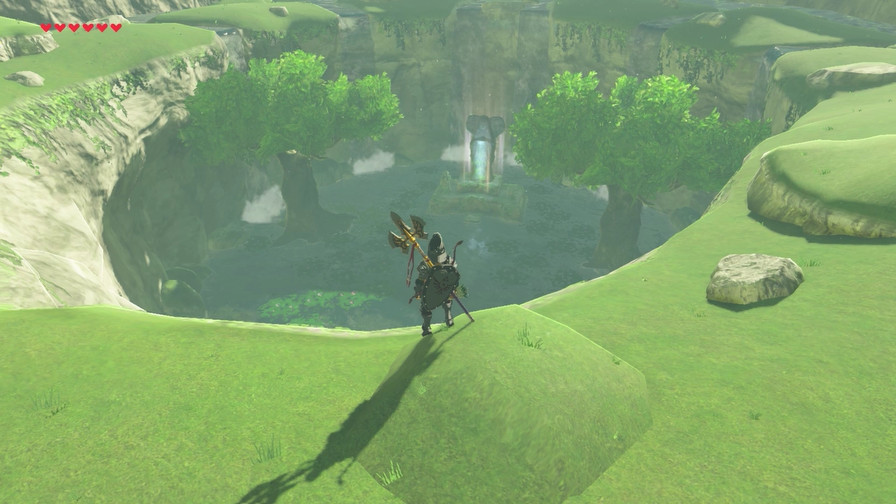
First, back to the area where we stumbled upon the shrine.
Our first goal is that large island on the left.
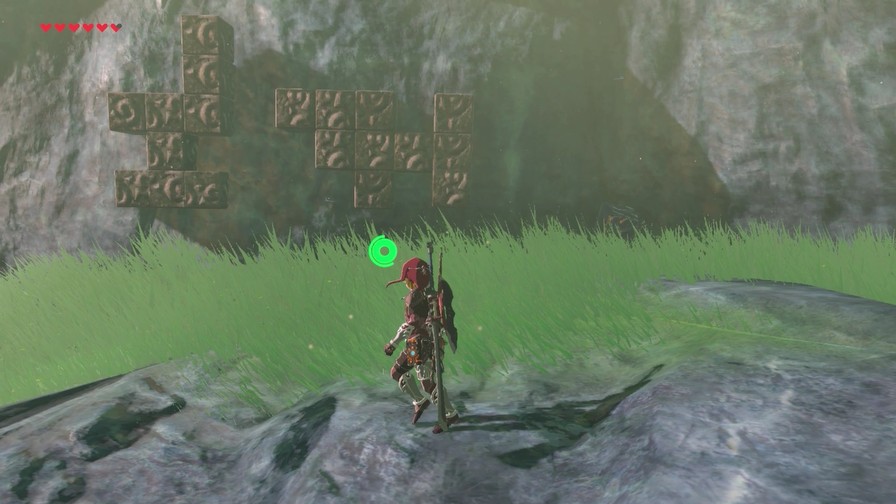
These were on the wall right next to the shrine. Missed them the first time, but got them now!
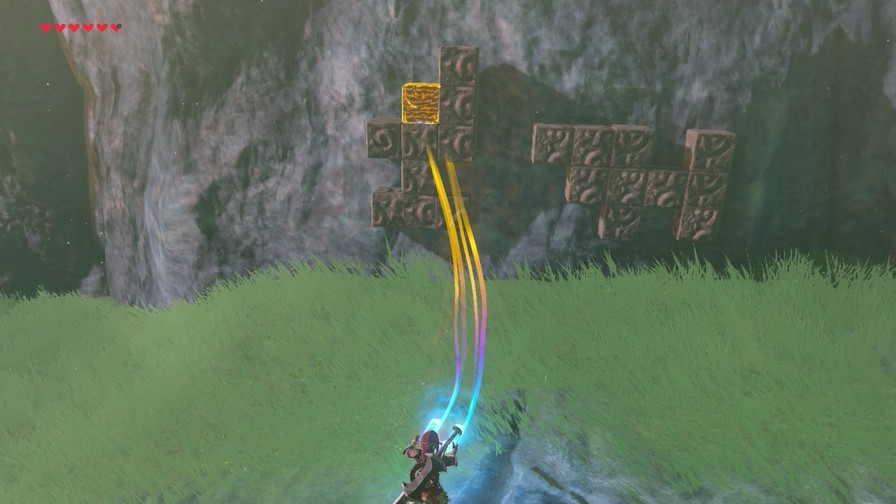
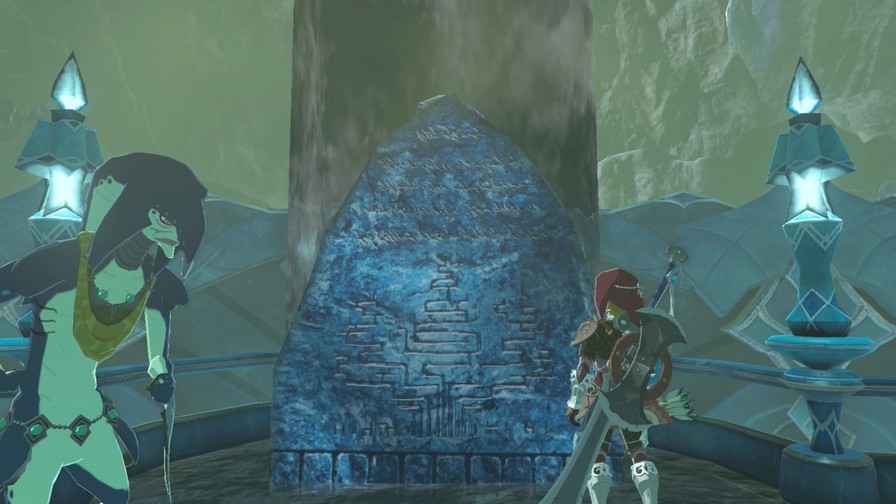
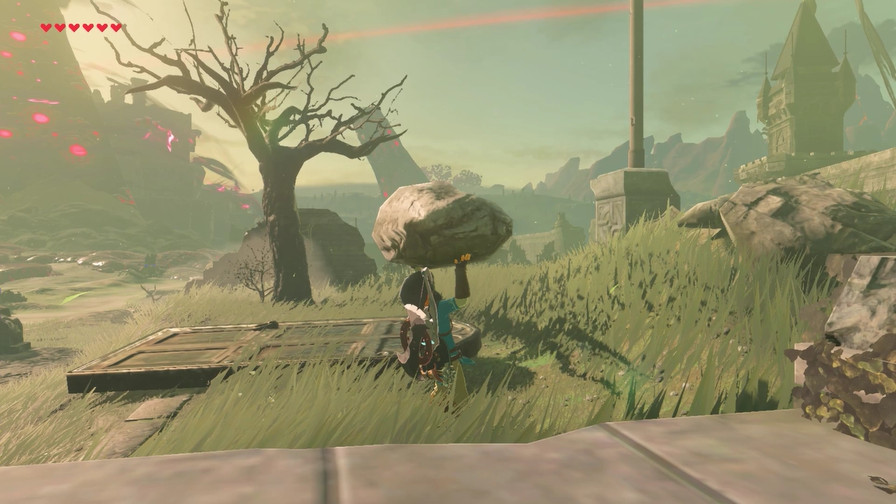
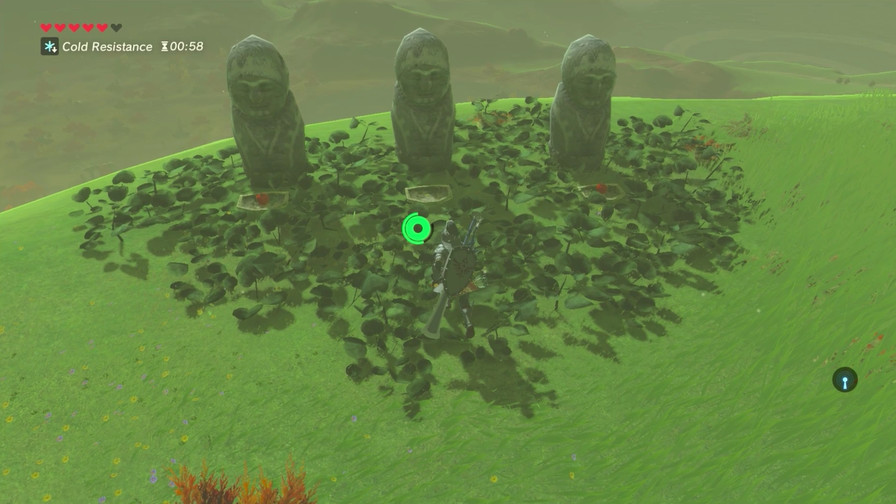
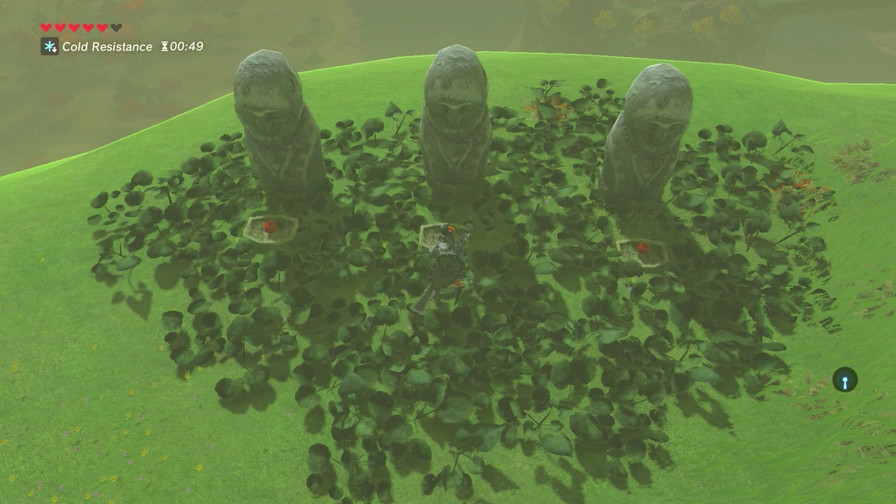
Rock on the wall, and a pattern with a missing rock in the center.
Yep!
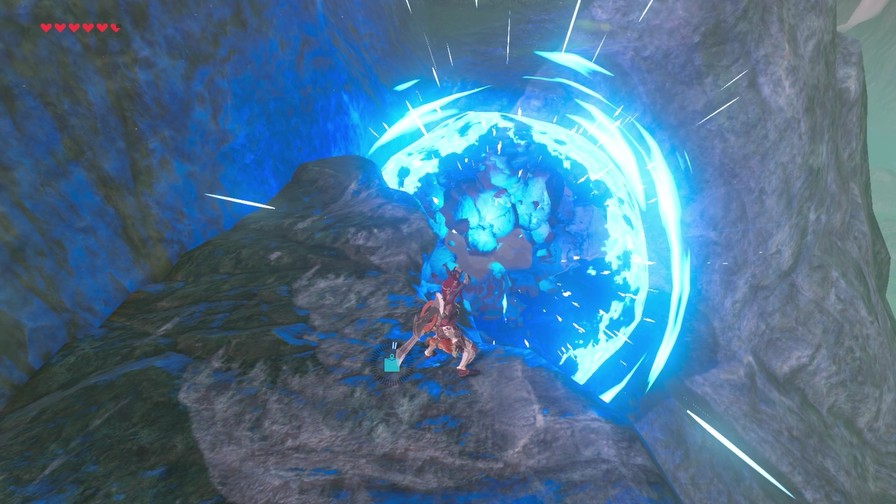
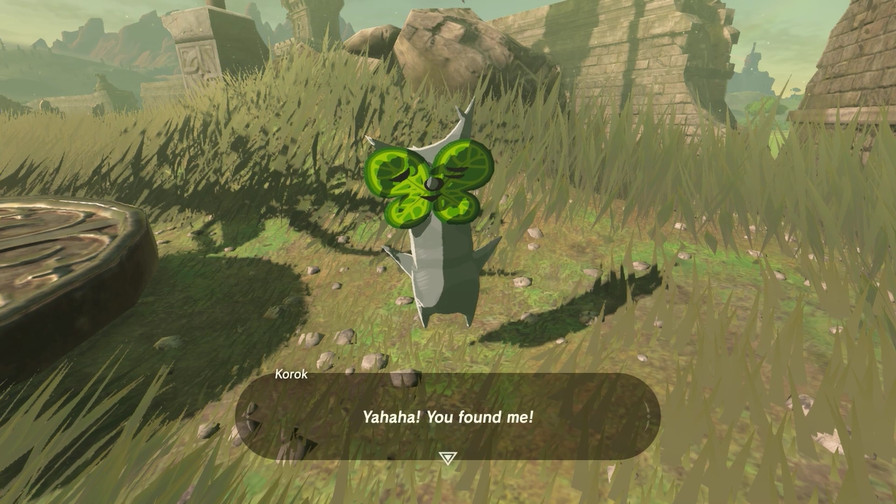
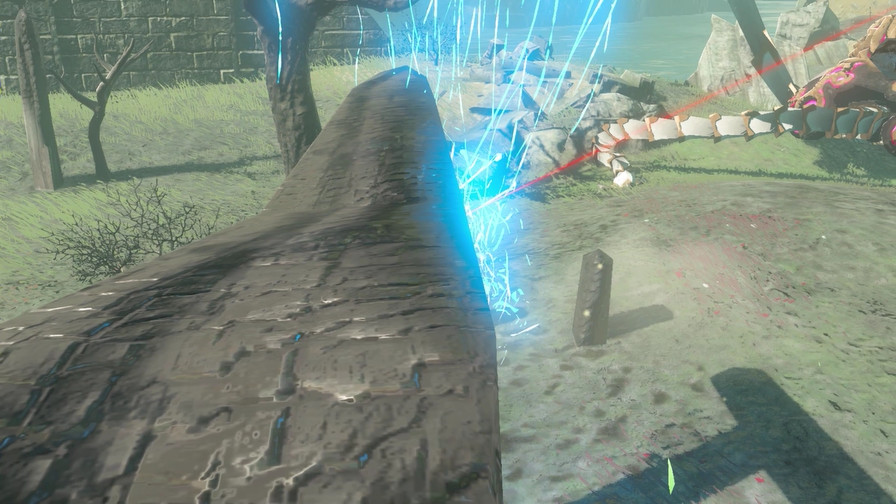
A giant stone slab covered these, at least until I Stasised it away.
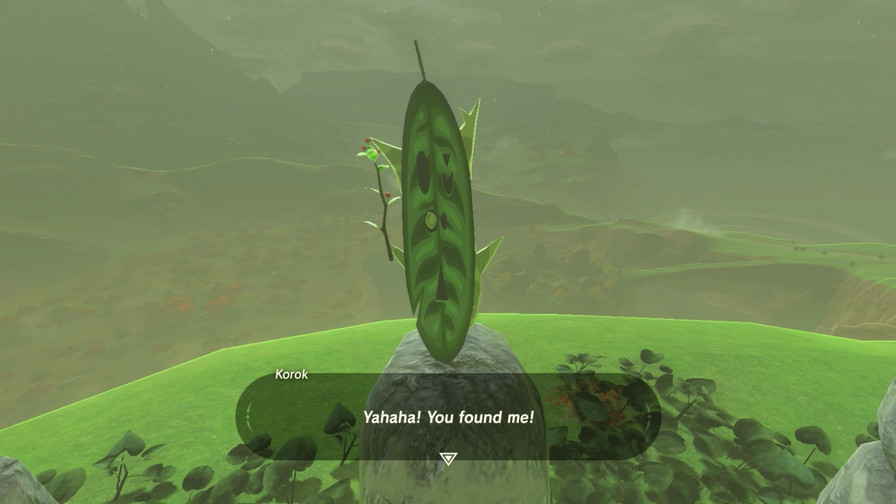
This is our third one this update.
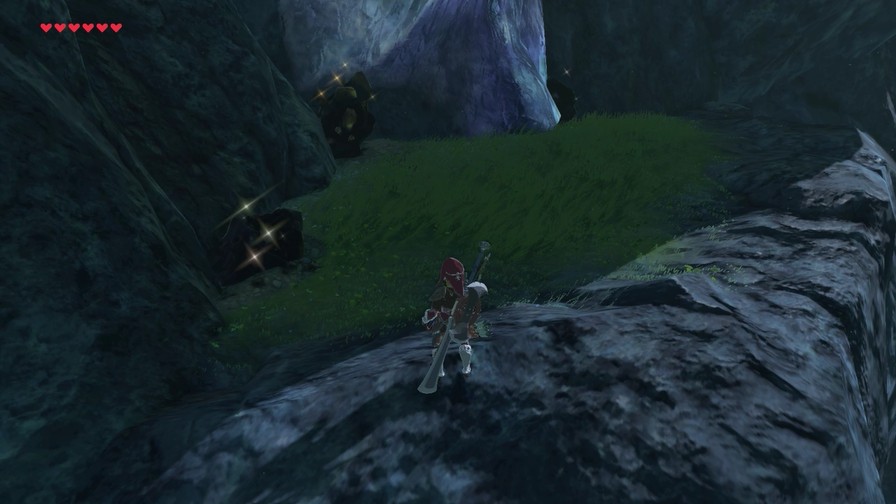
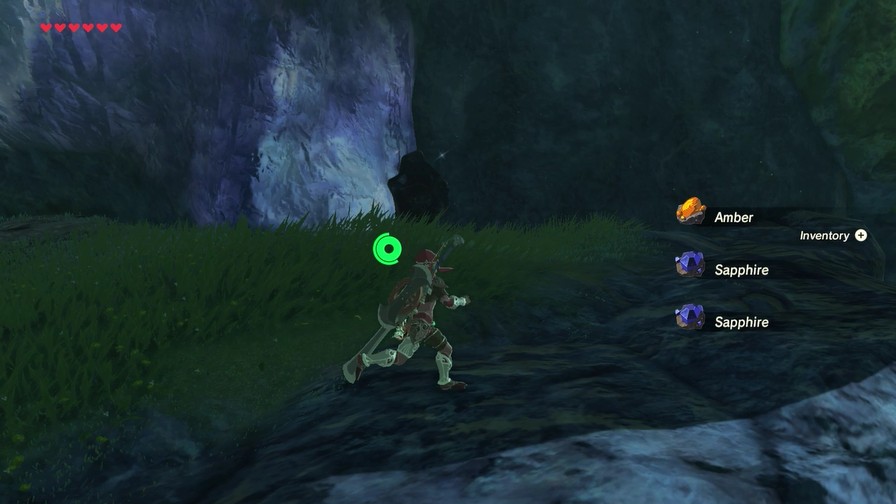
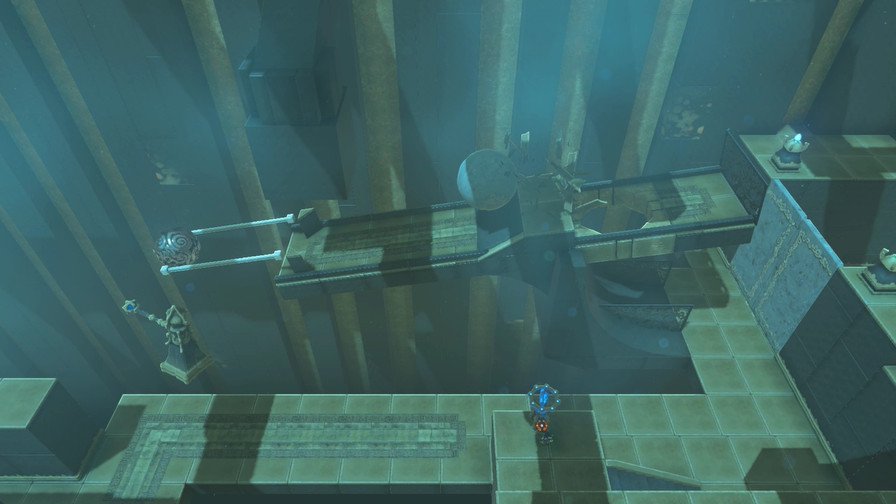
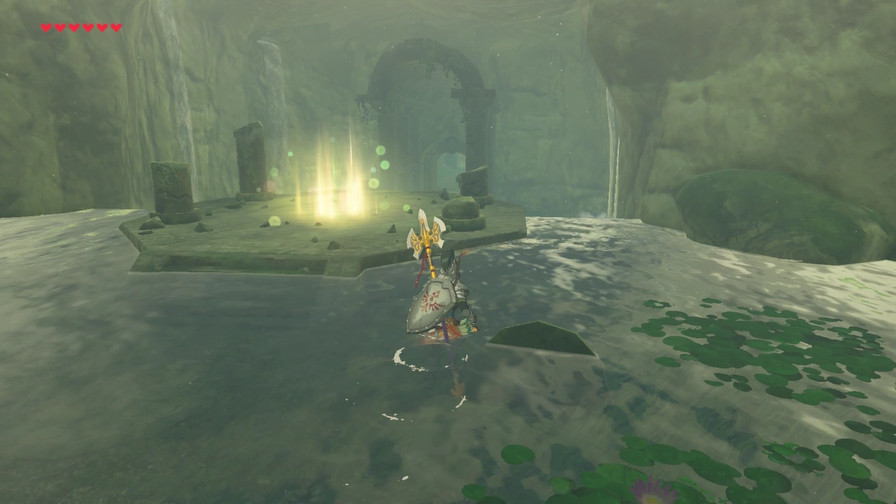
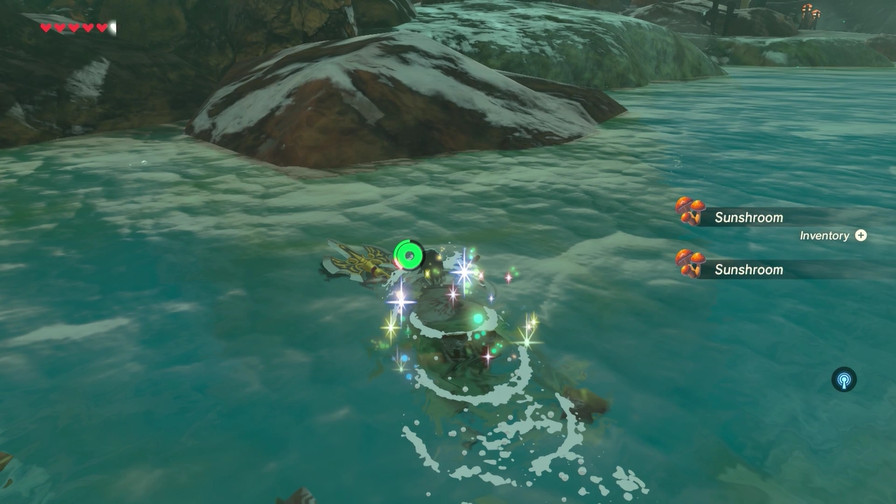
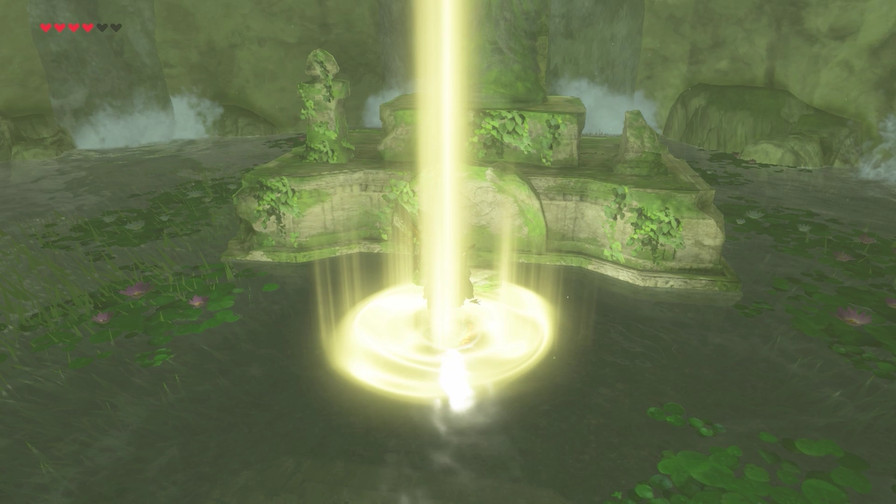
Anyway, this area has what we seek.
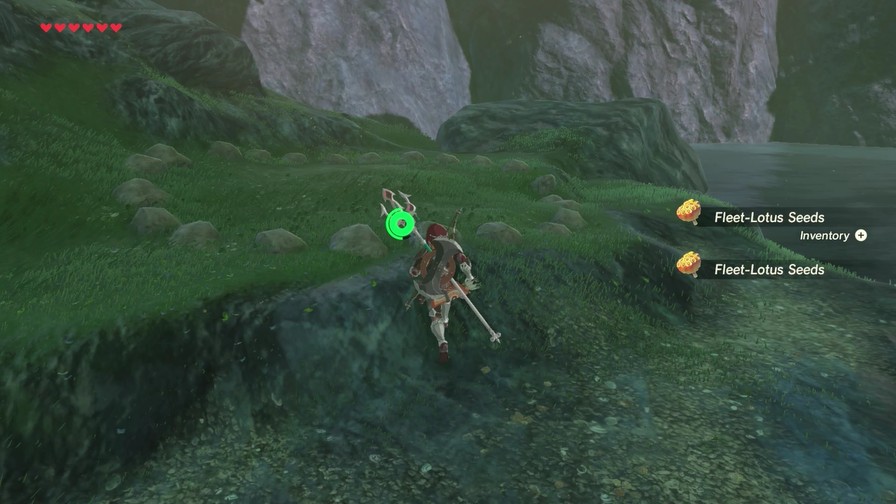
Not these, though they’re a bonus.
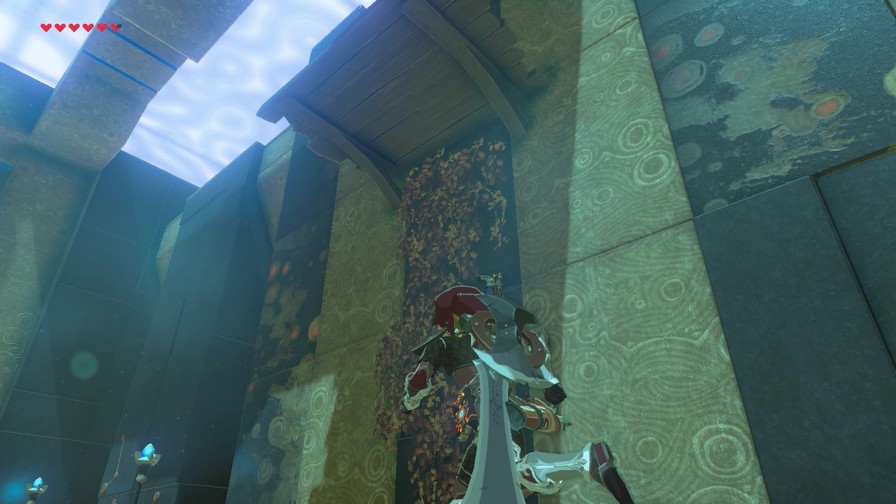
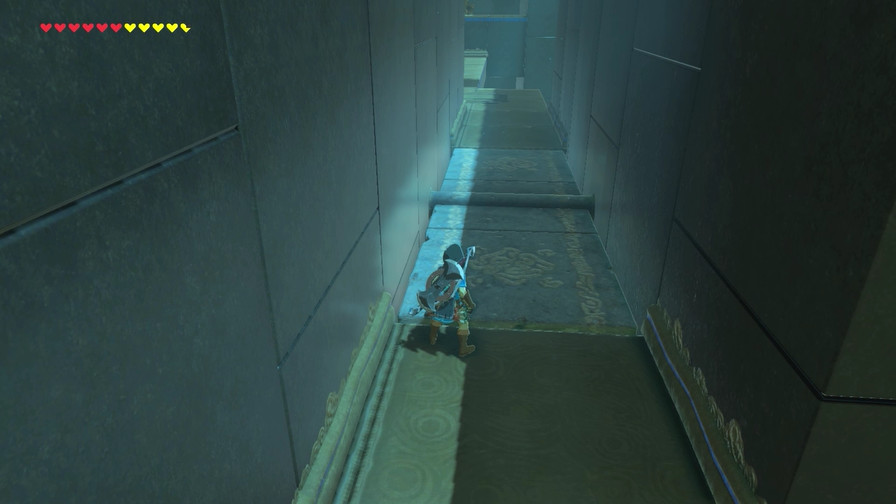
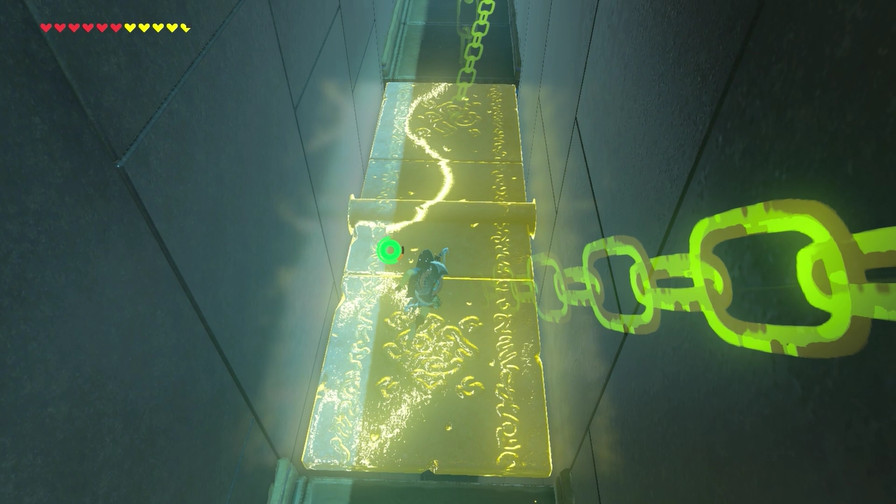
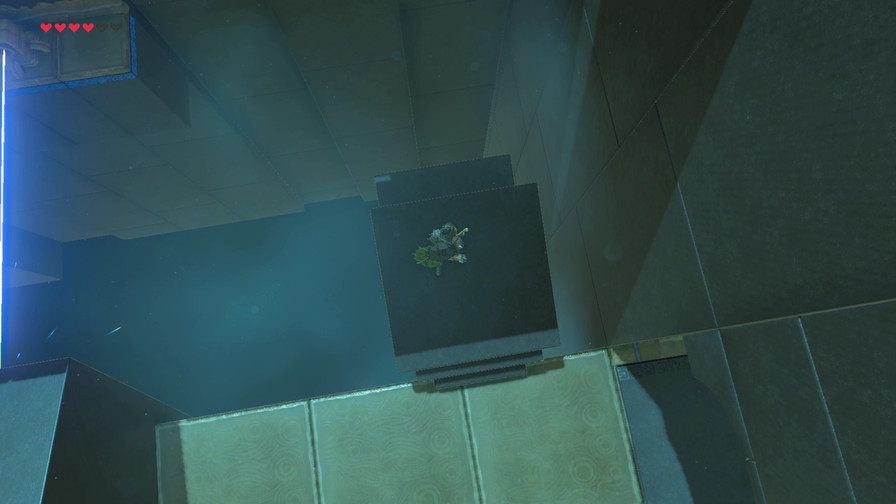
Nor the Korok, though having one of the puzzles partially underwater is a nice touch.
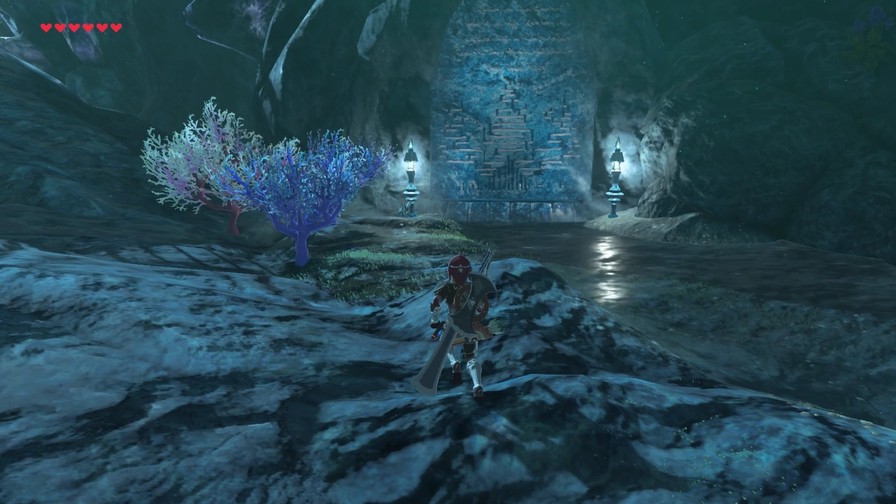
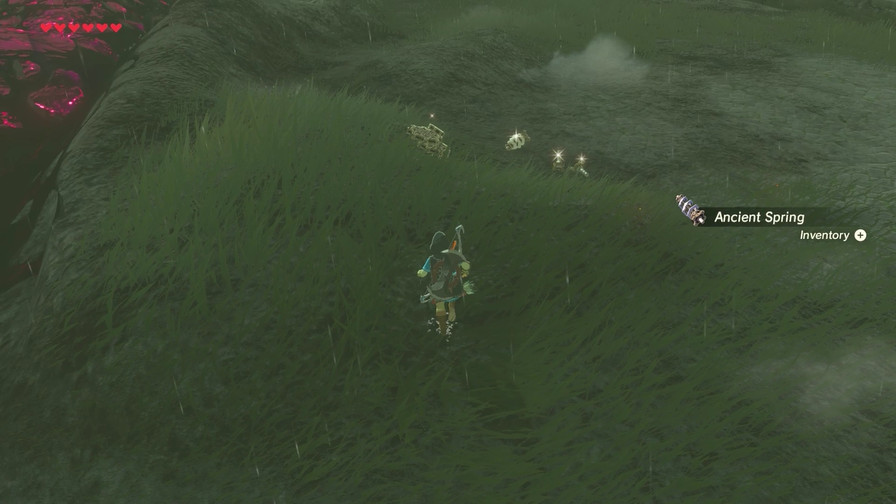
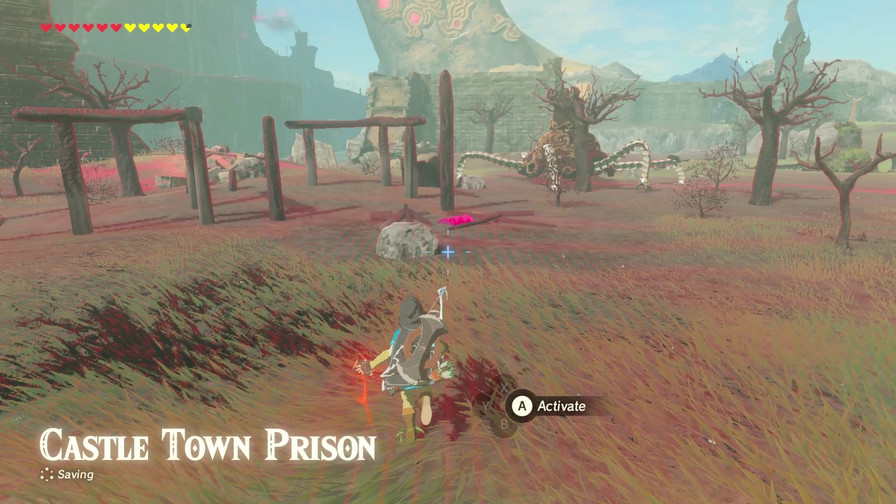
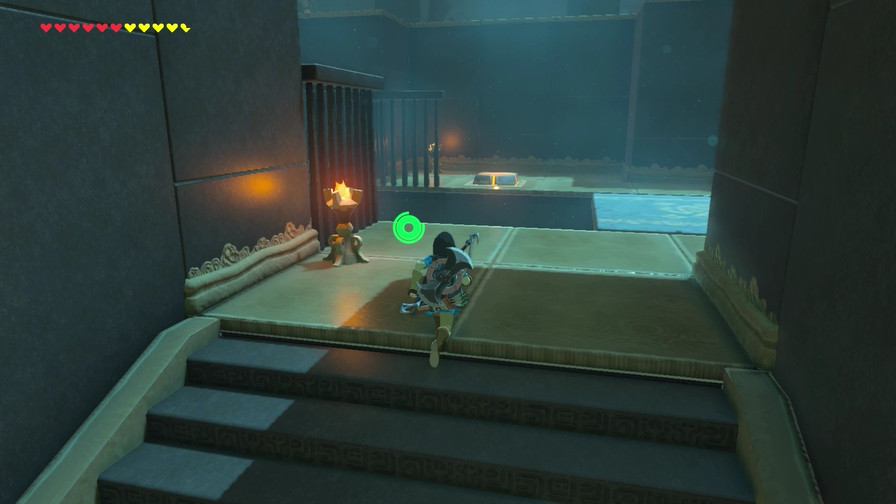
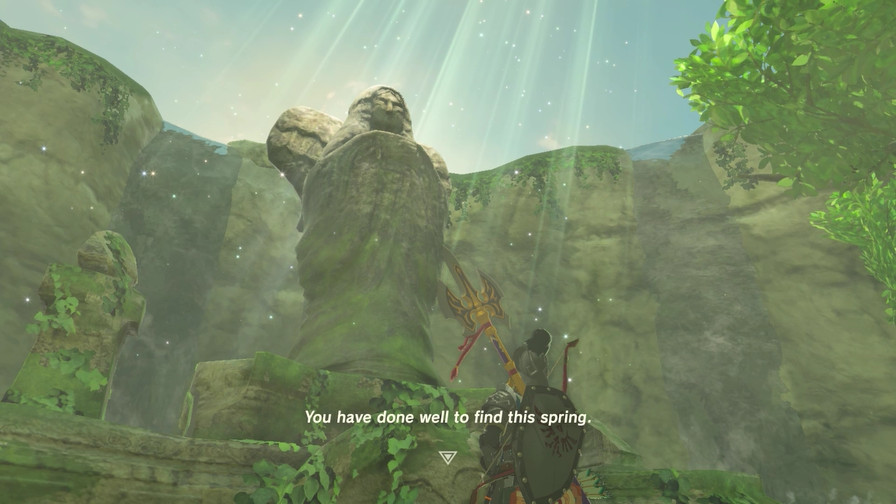
This is the prison area we heard about earlier.
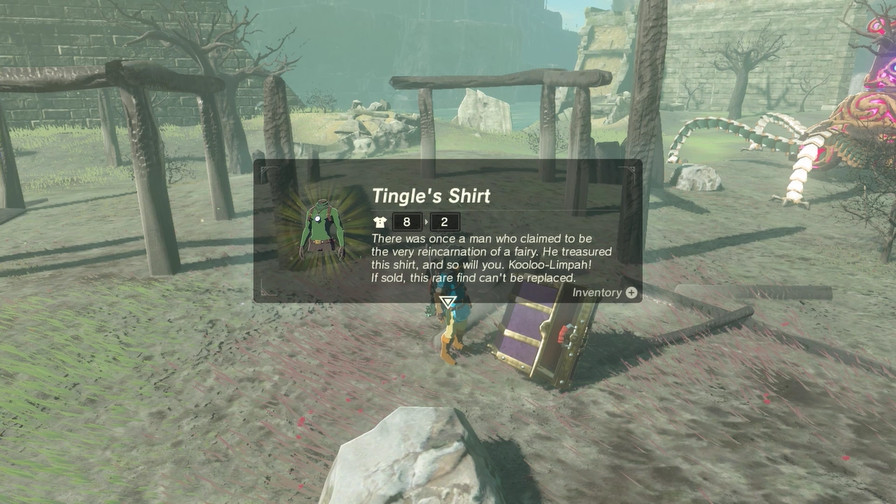
And there’s our second piece of fairy gear!
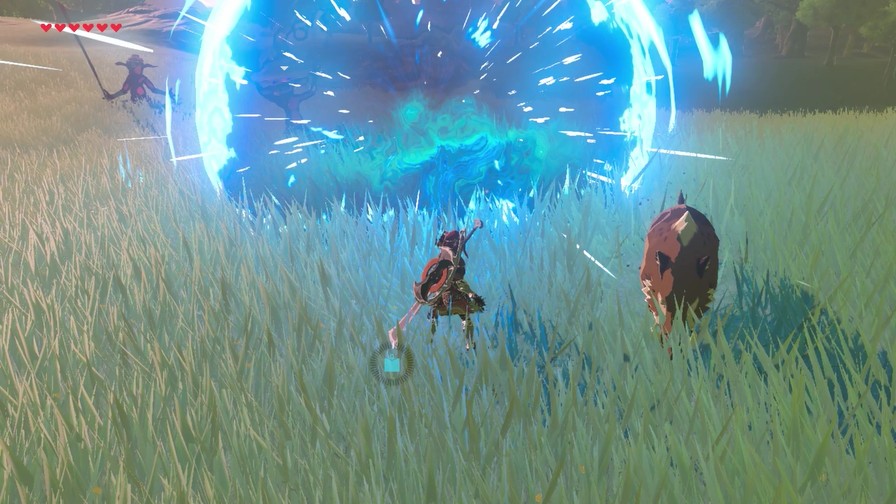
Fun Fact: You can fast travel in the middle of combat. Nice try, Guardian!
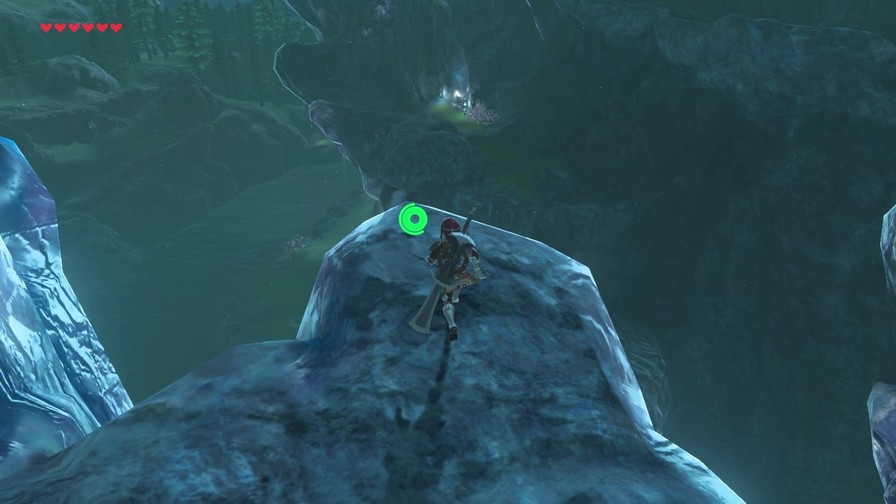
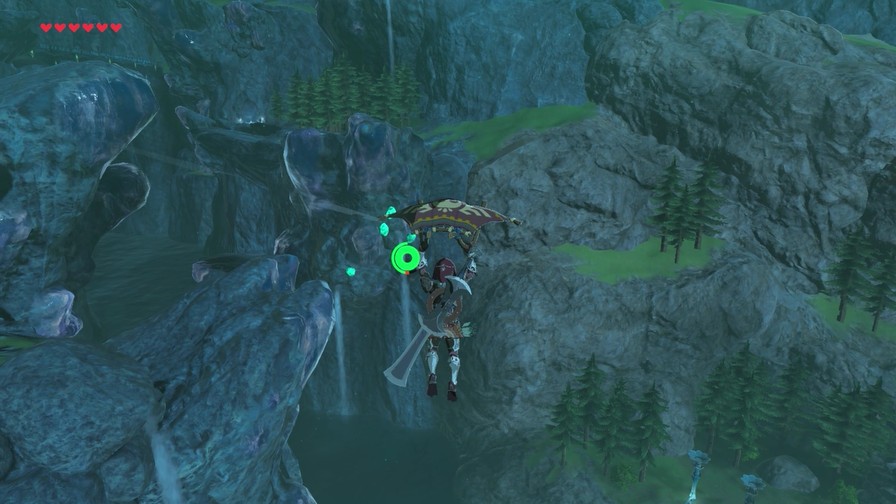
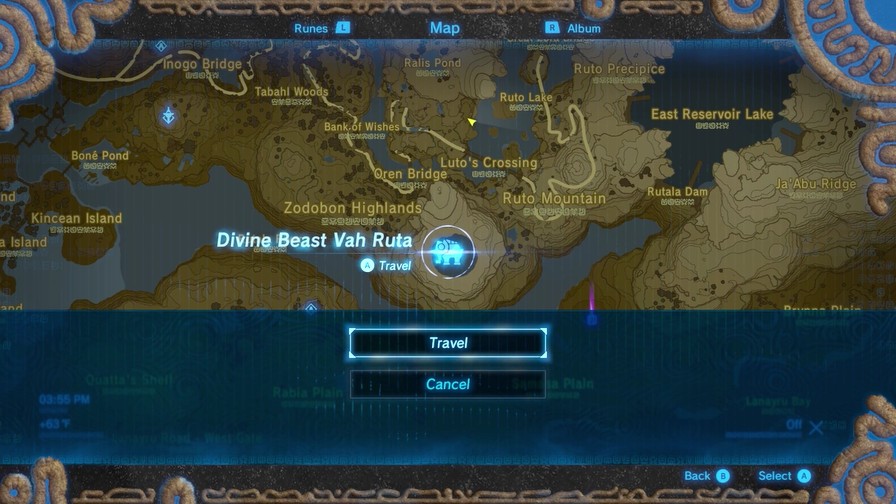
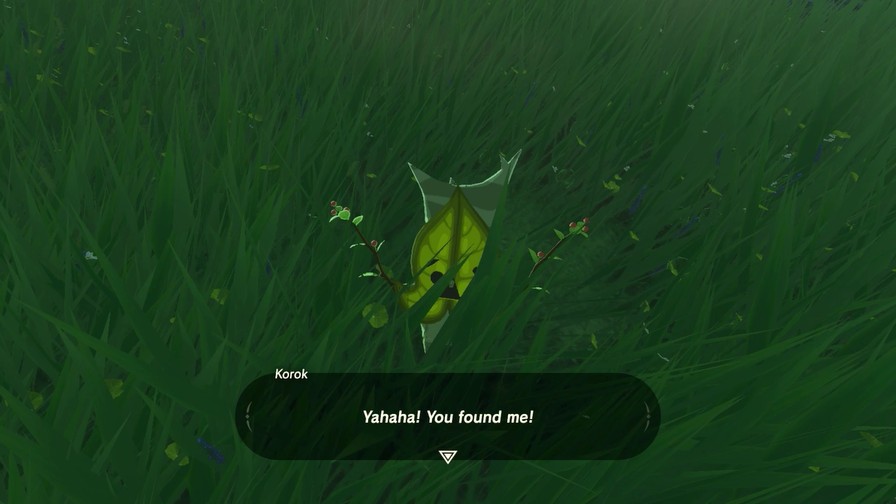
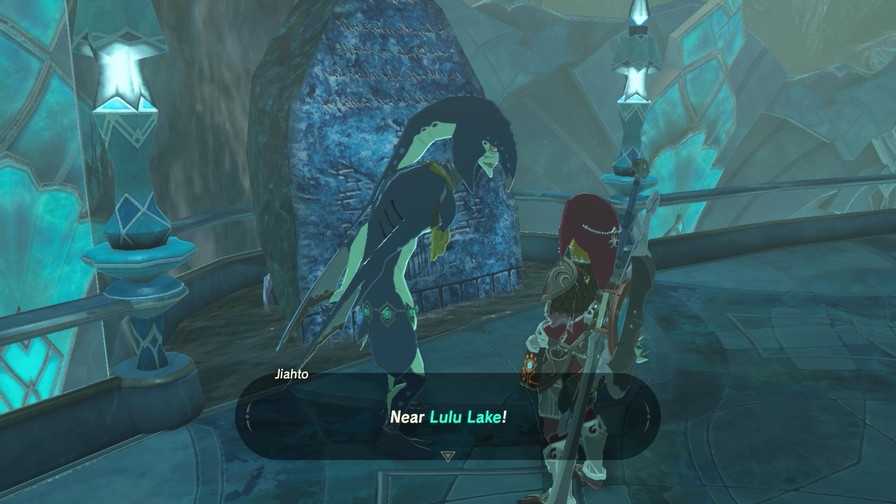
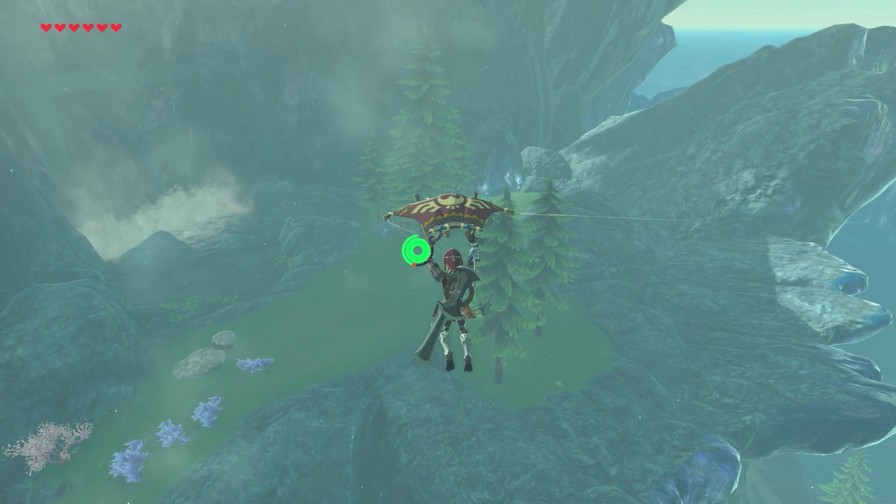
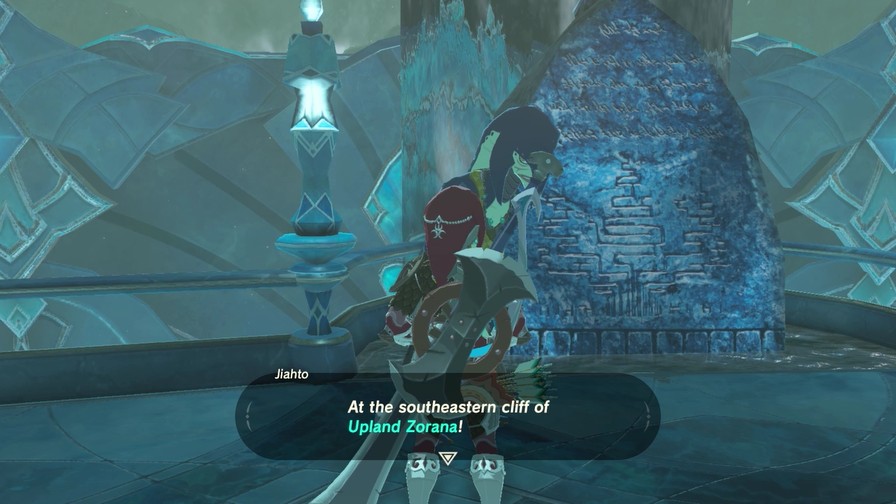
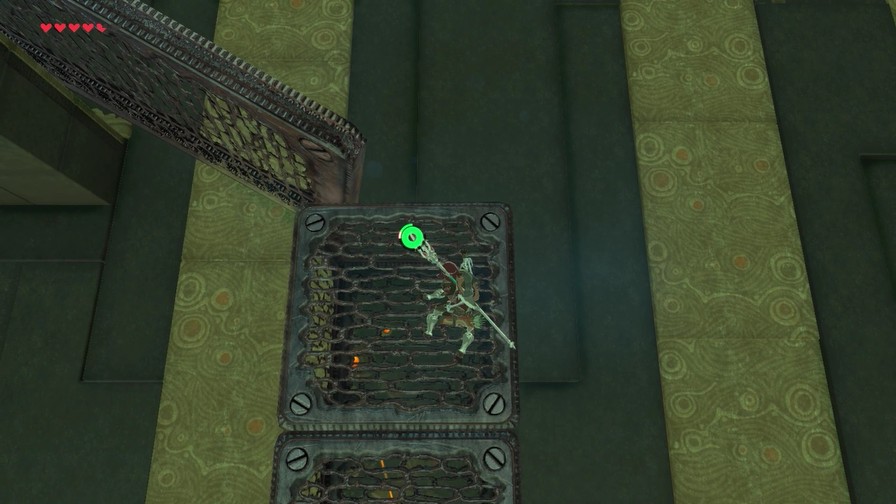
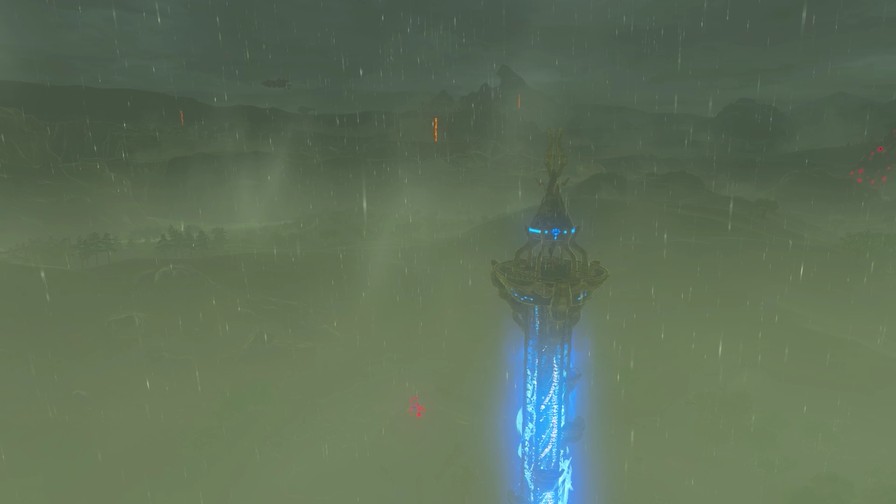
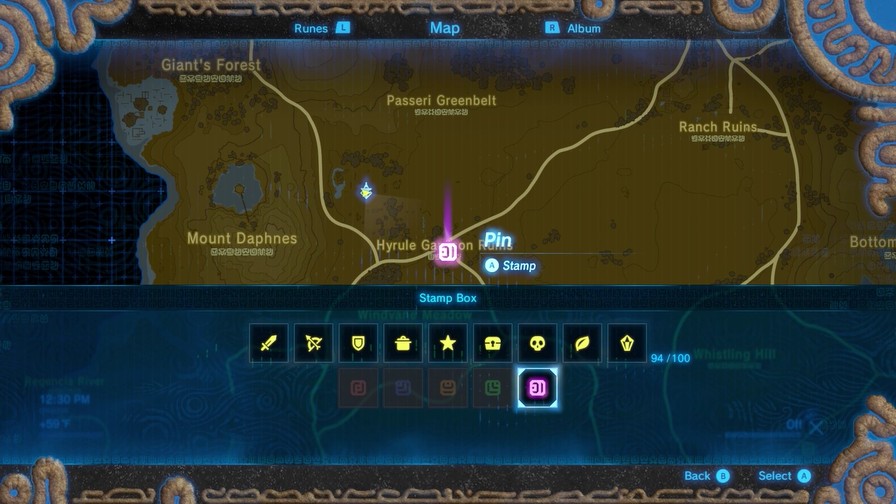
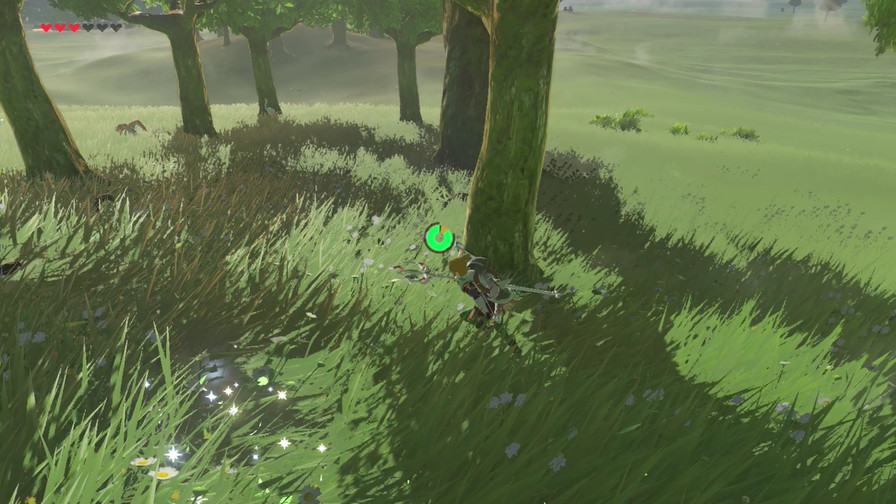
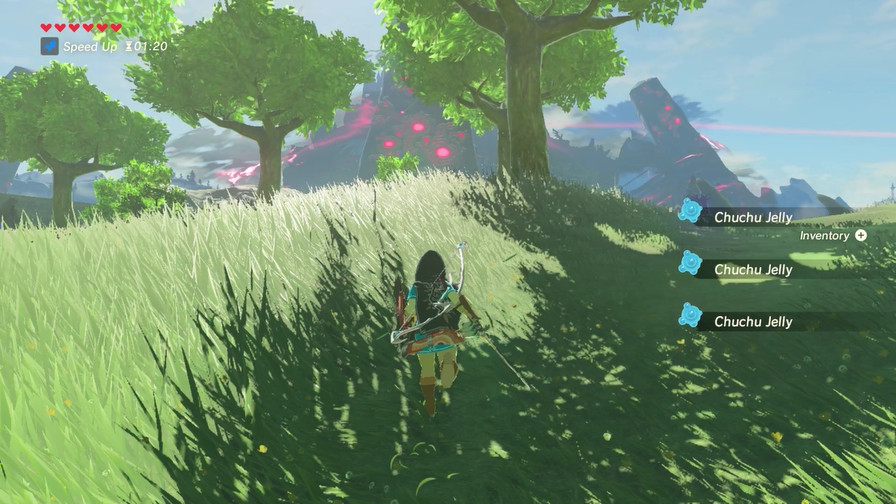
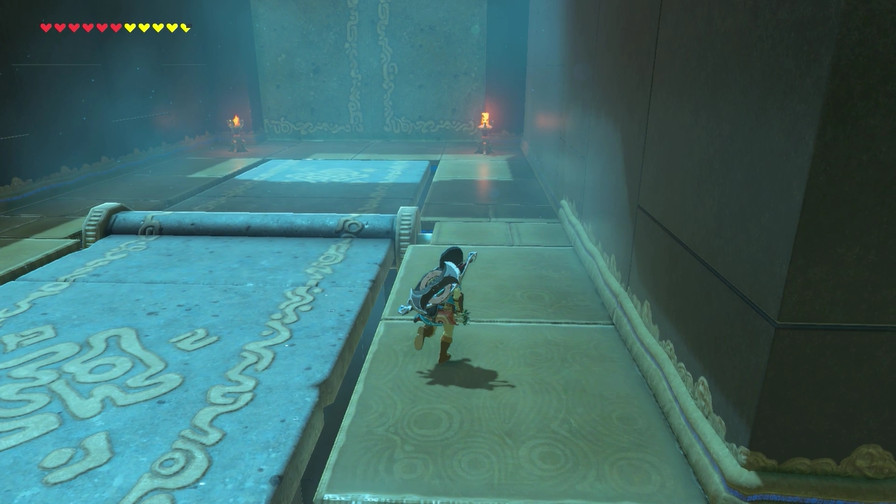
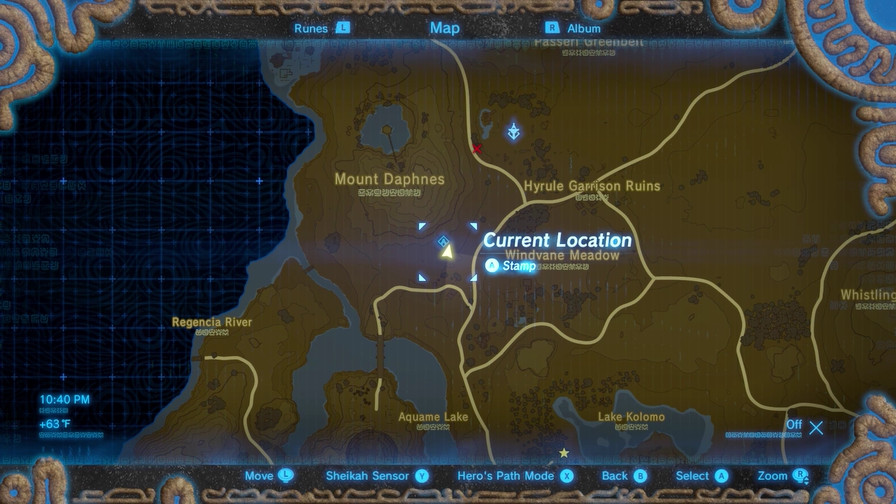
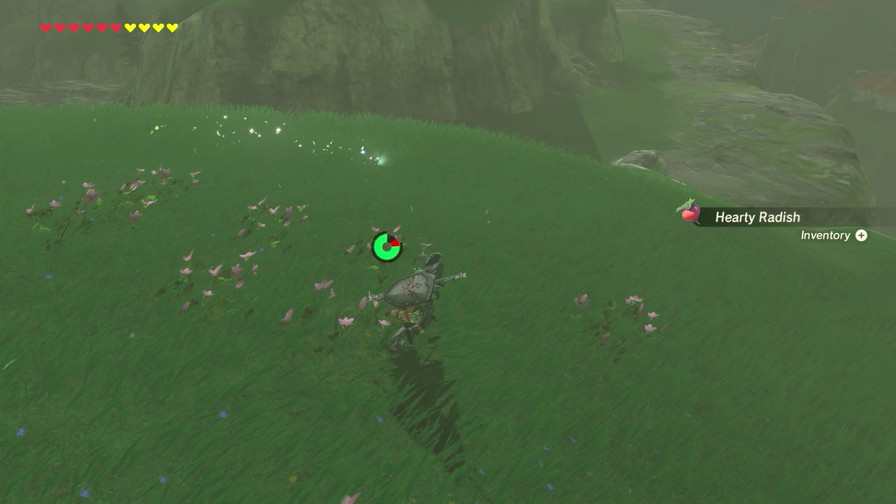
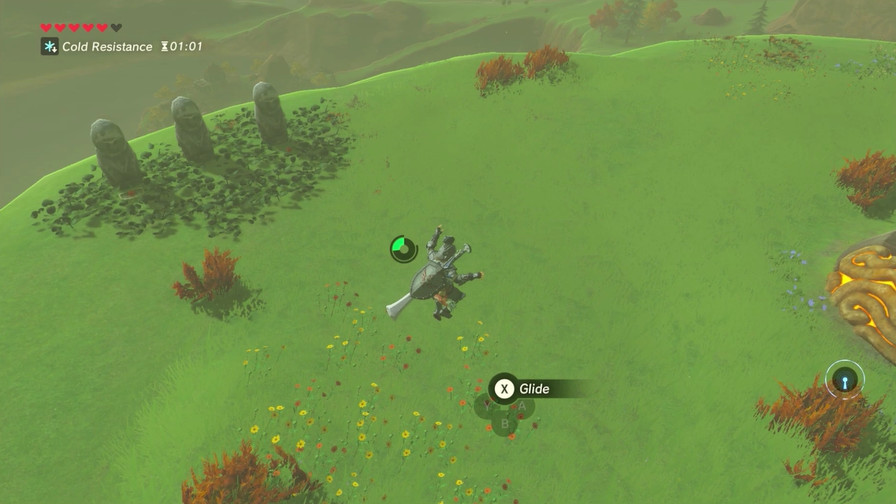
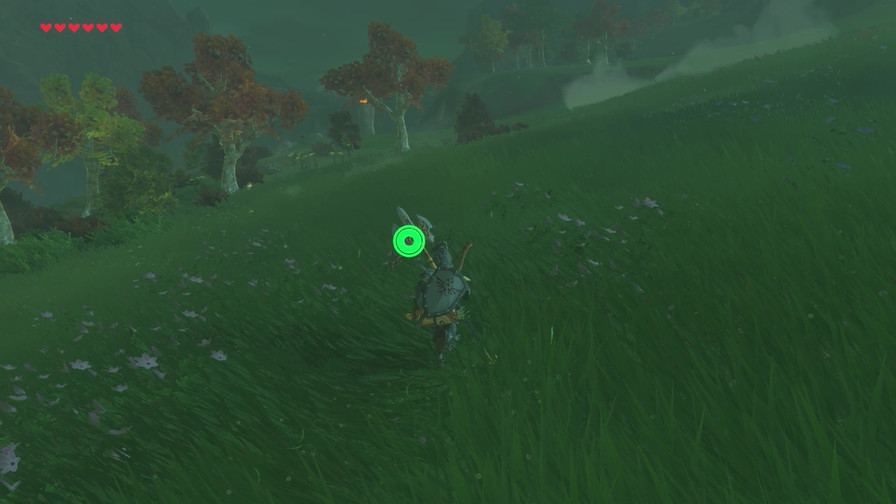
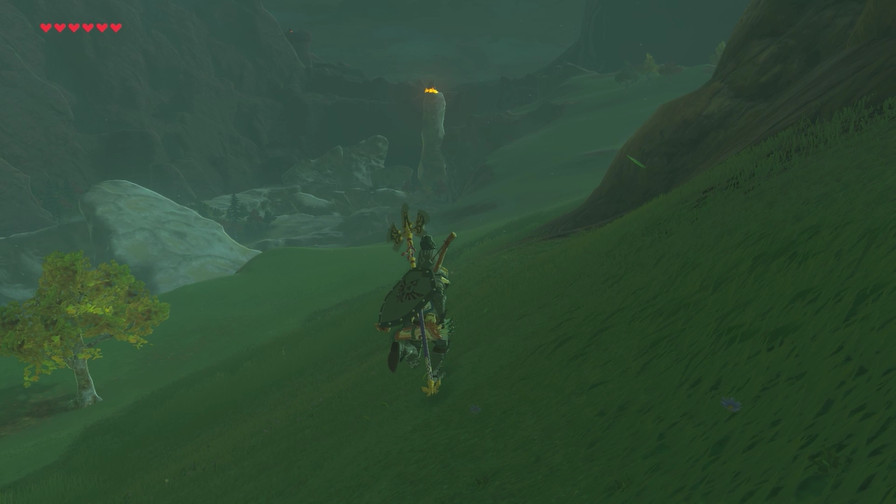
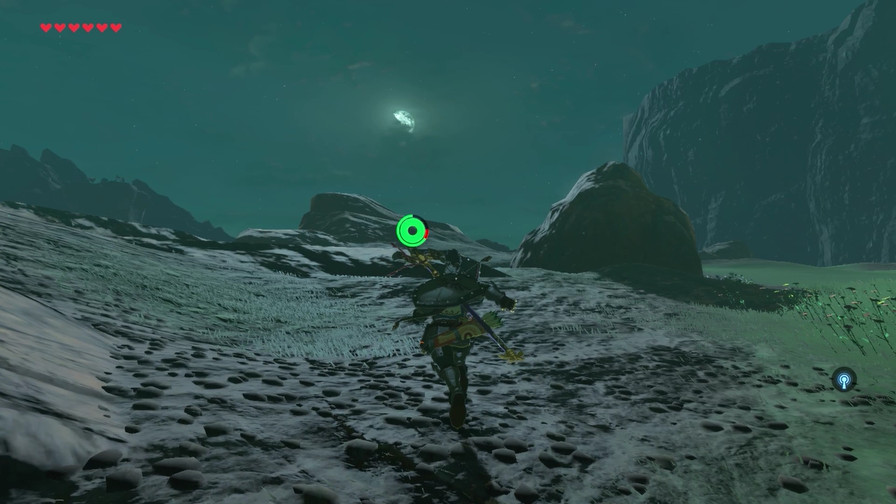
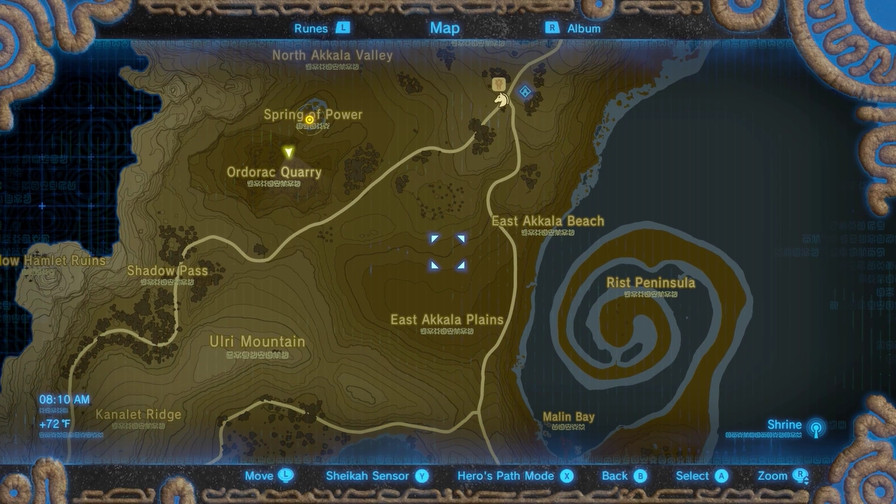
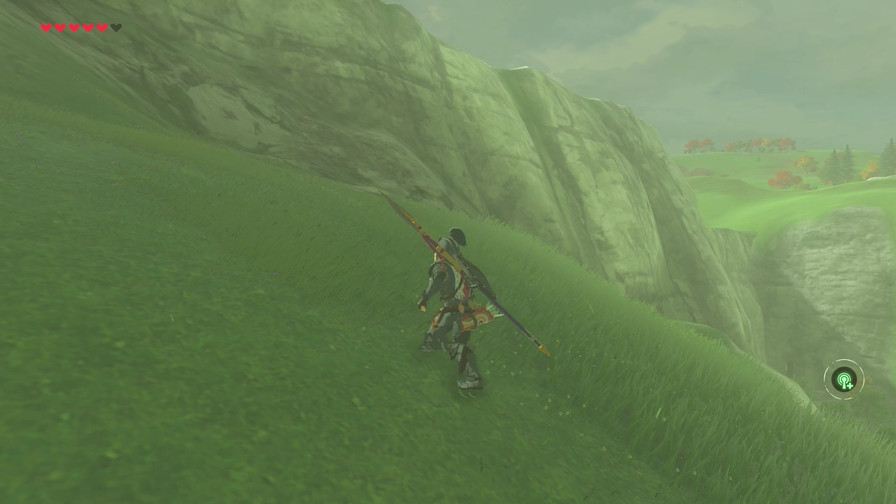
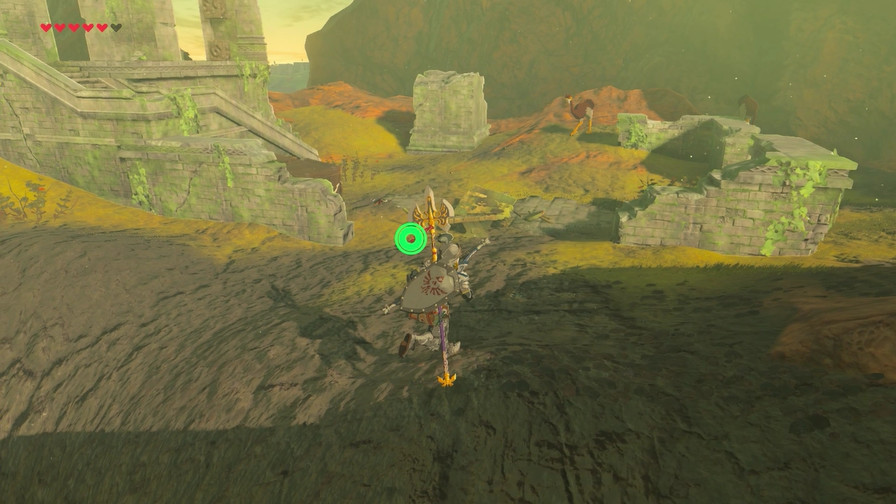
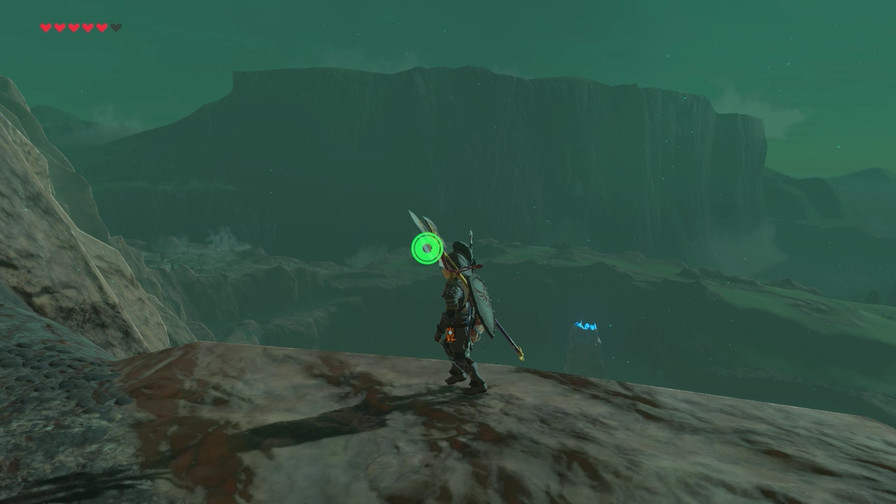
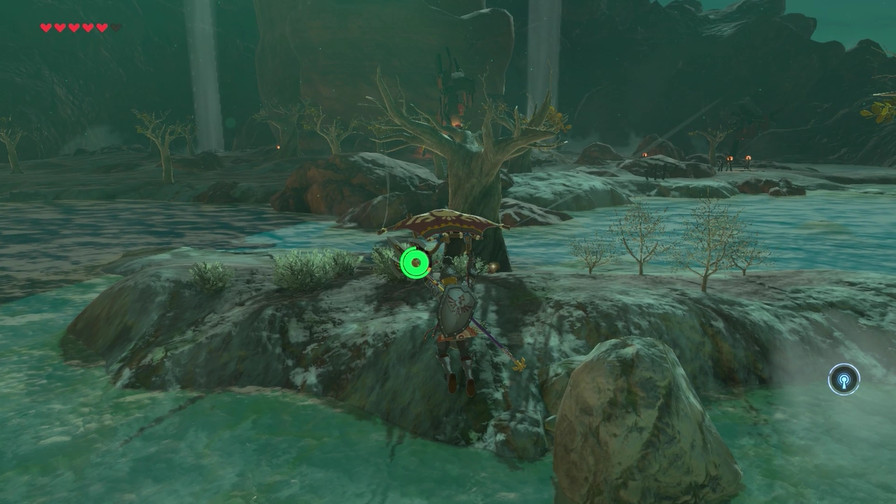
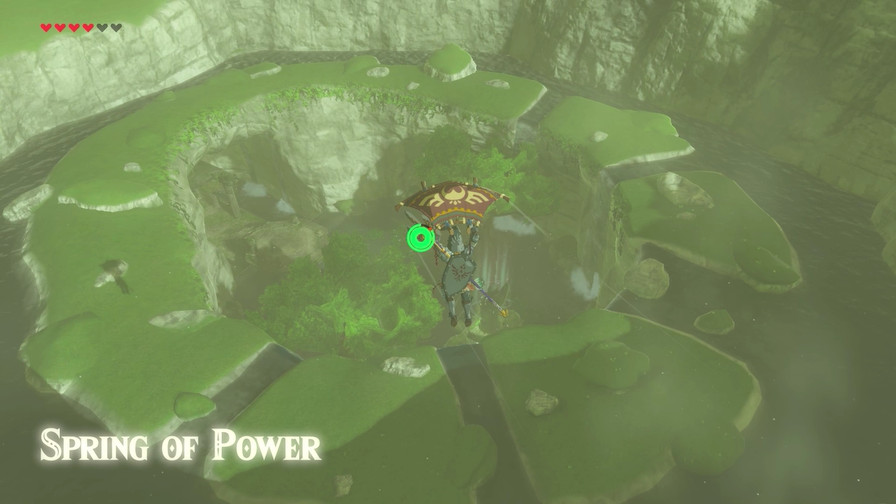
The last one is around Windvane Meadow.
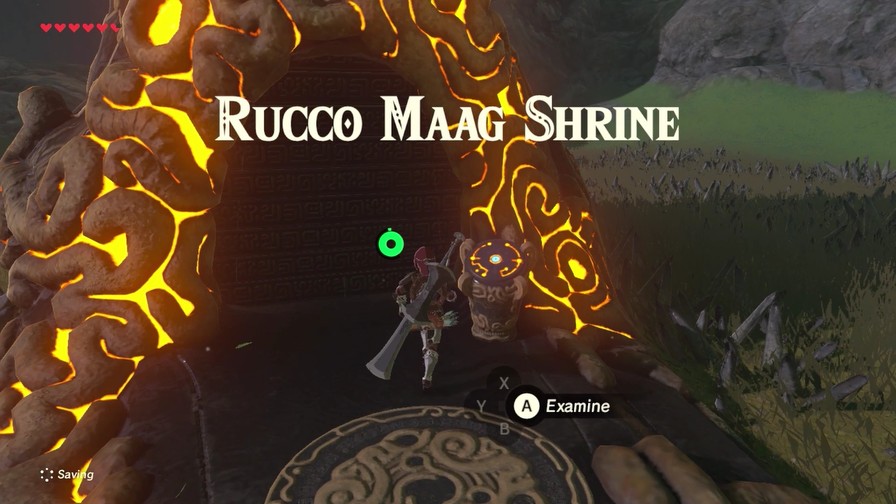
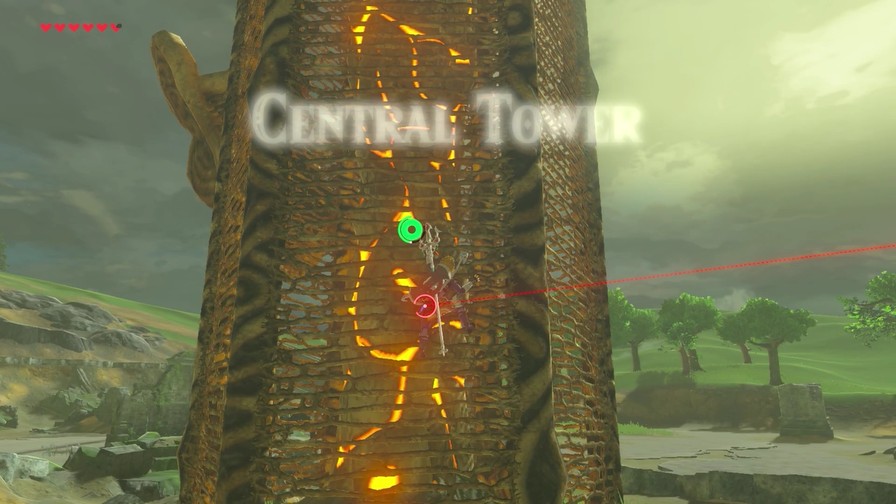
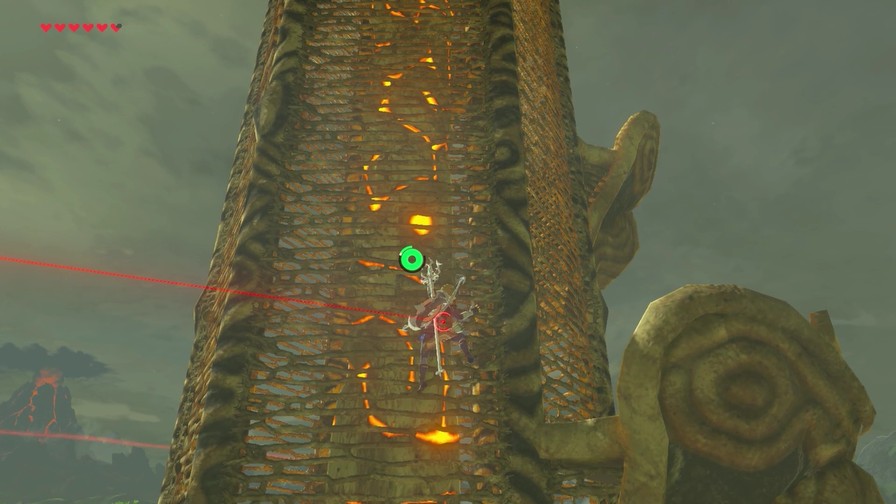
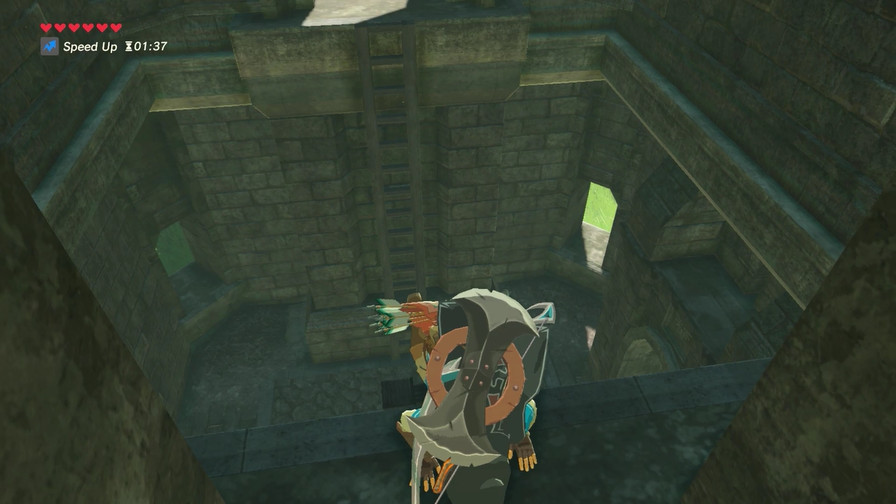
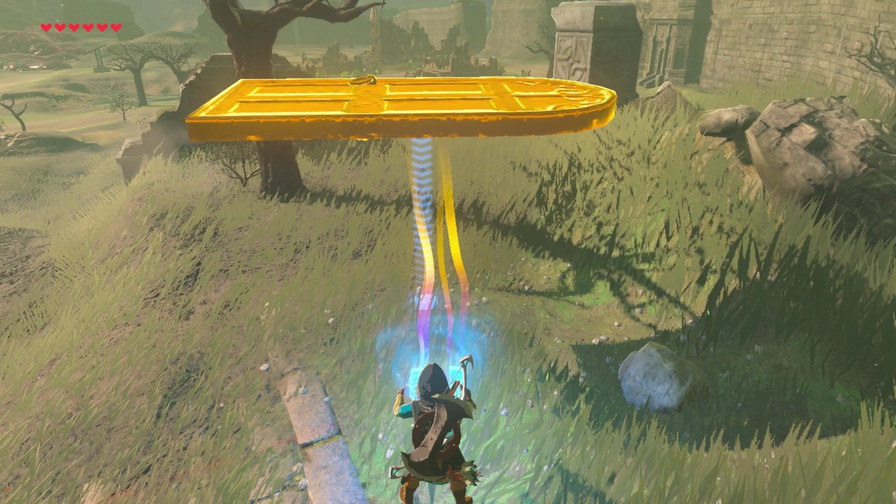
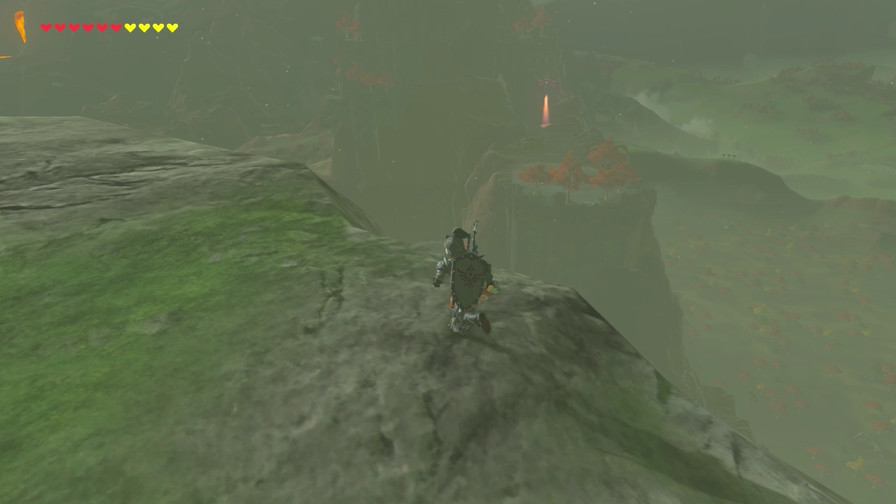
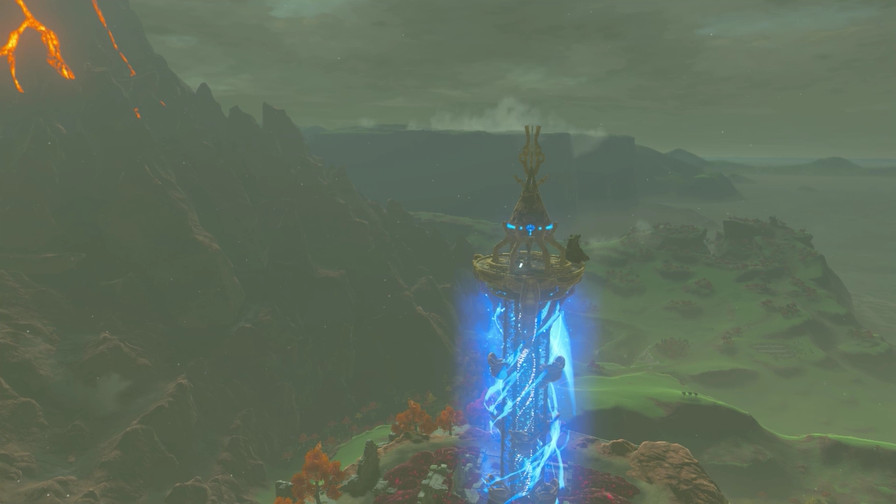
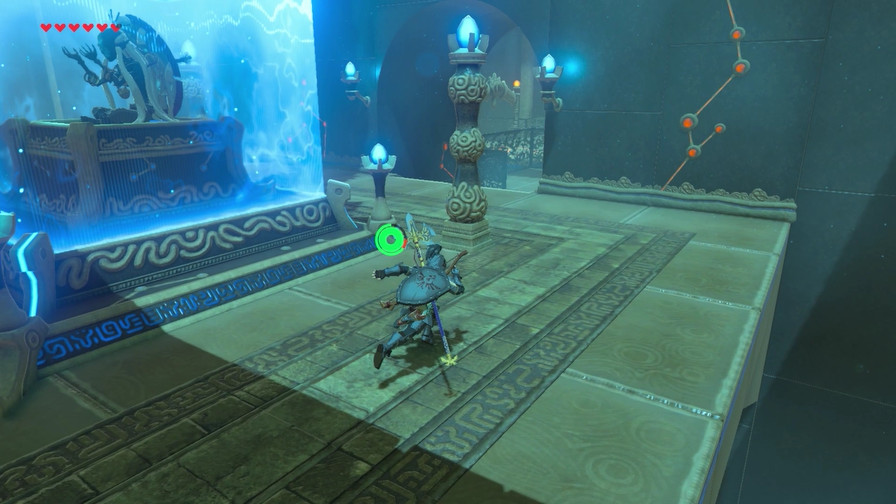
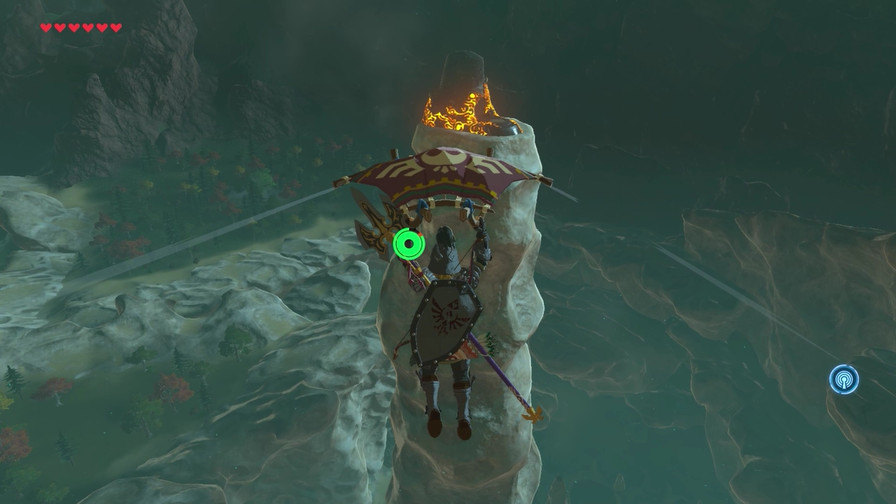
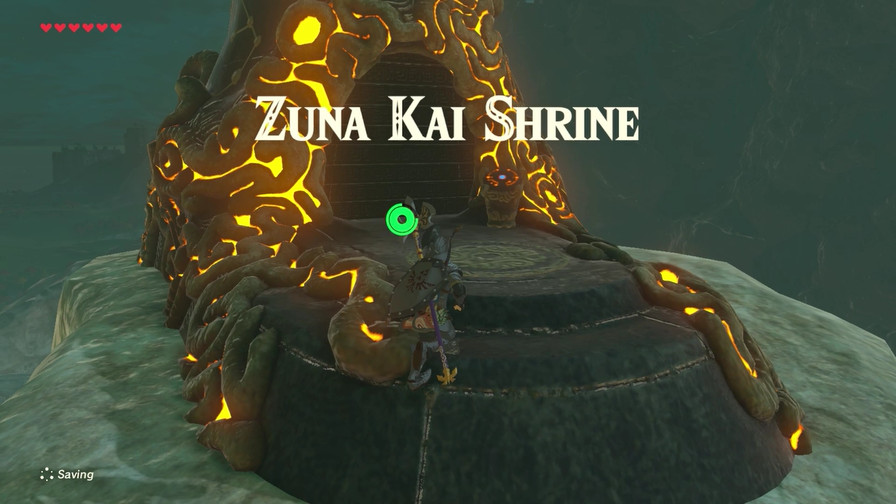
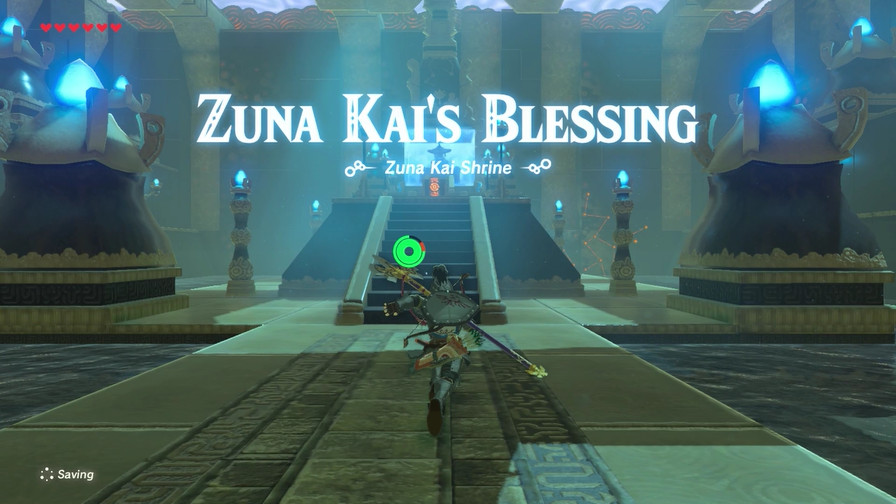
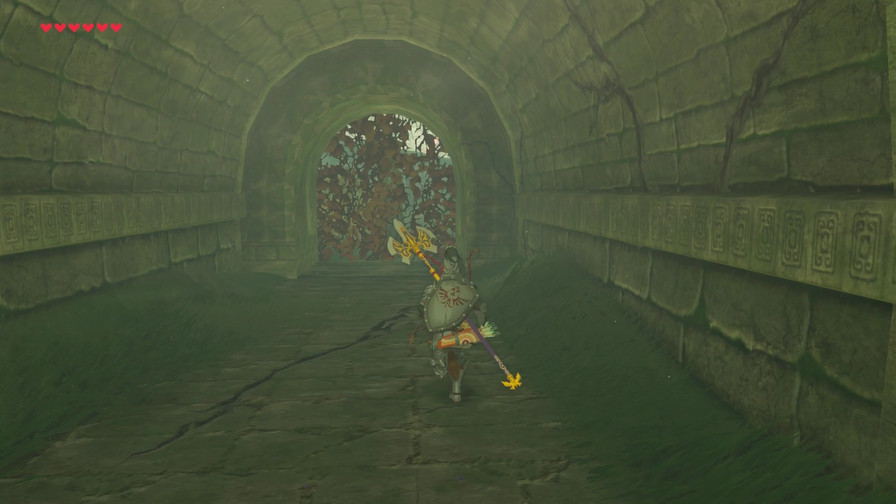
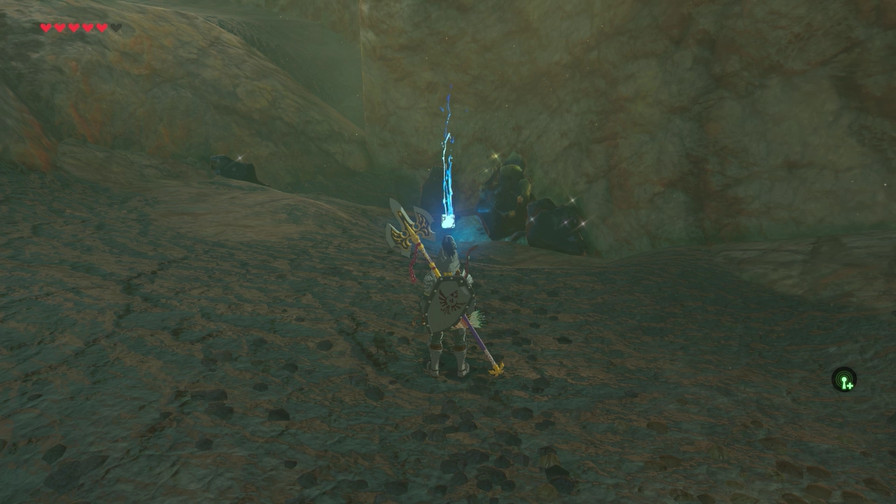
On the way from the tower, I run into another shrine.
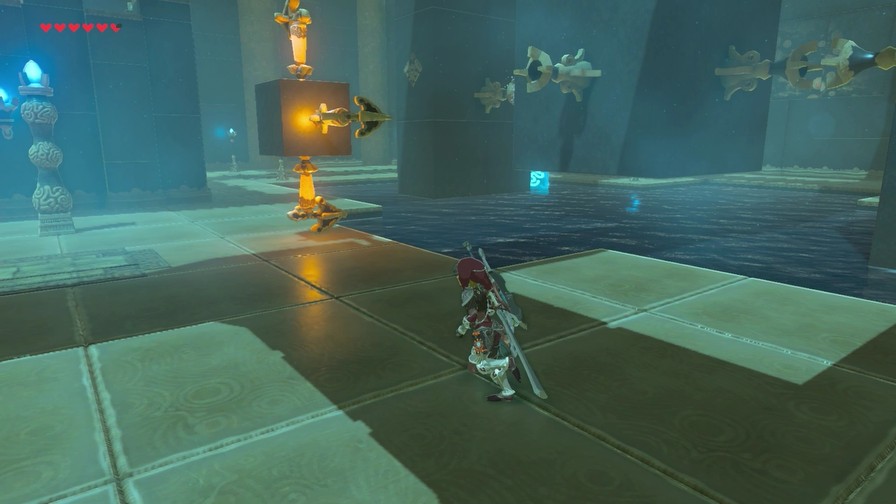
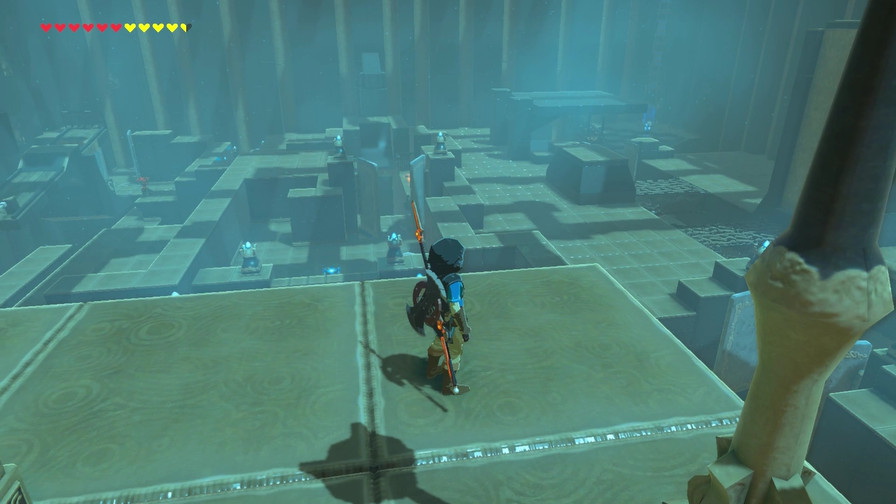
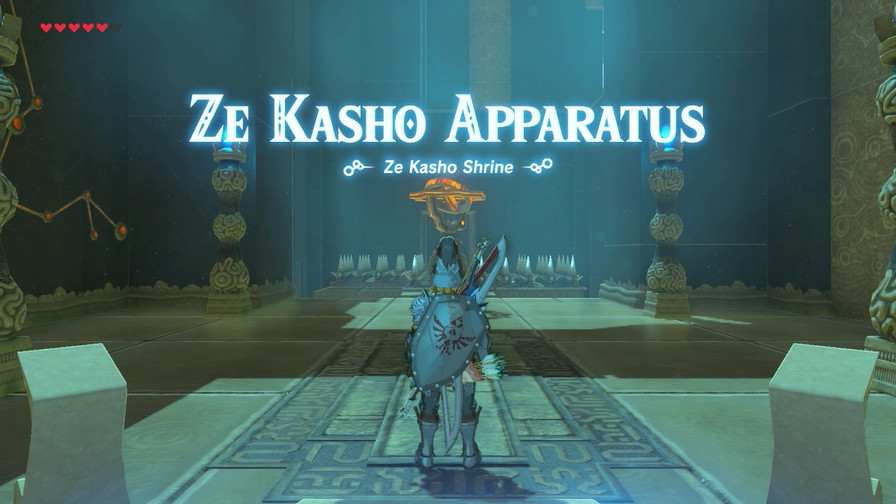
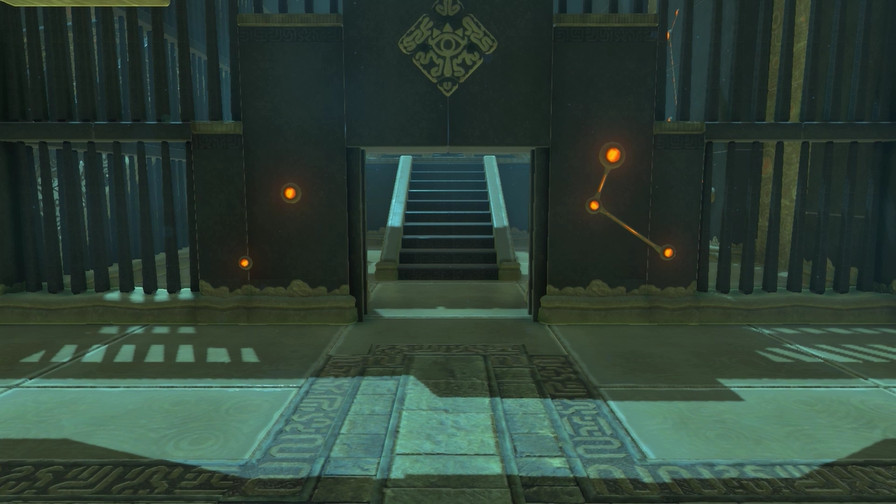
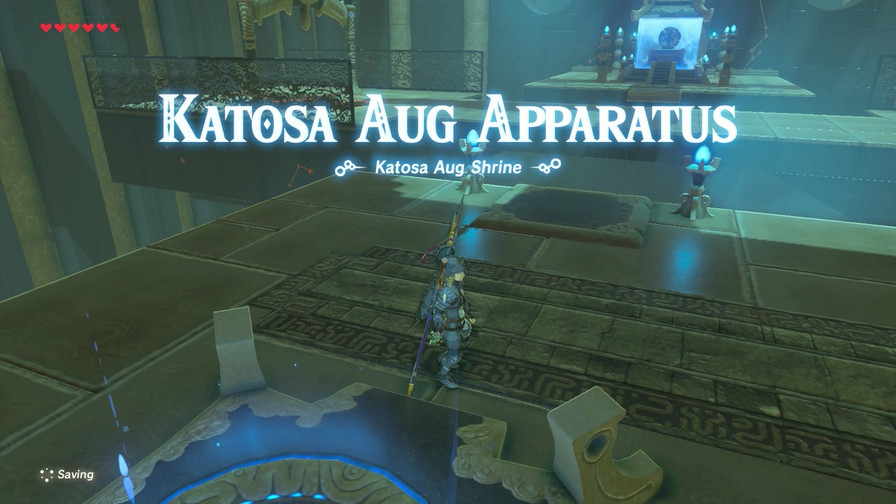
And this one is…quite involved. Probably the largest shrine we’ve seen yet.
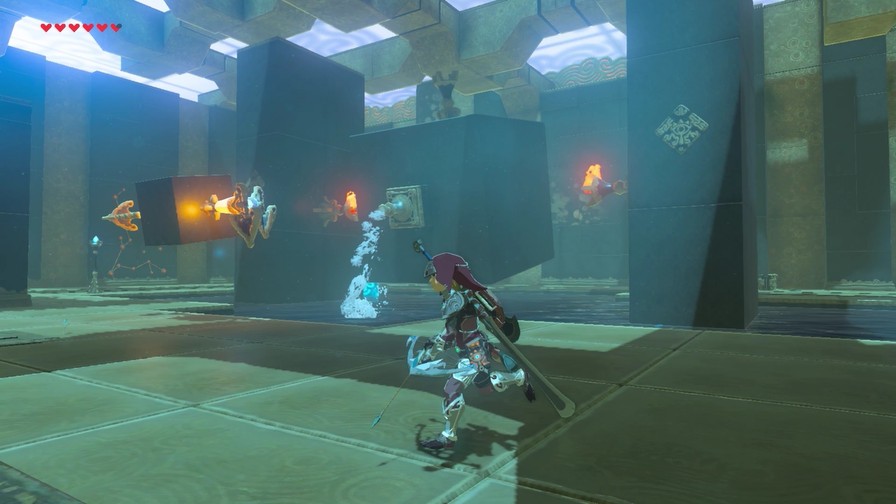
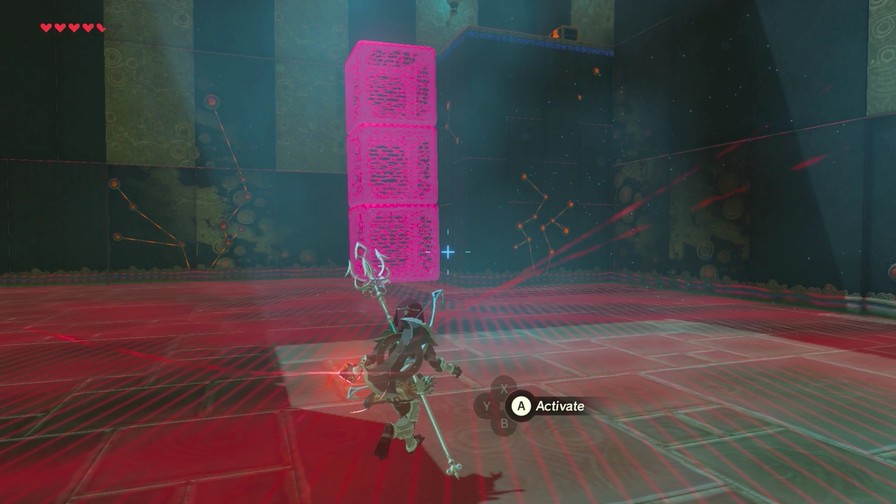
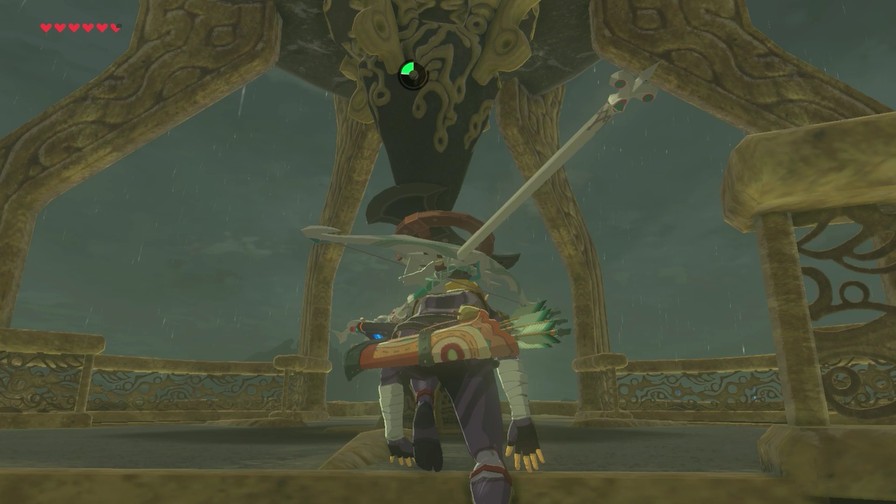
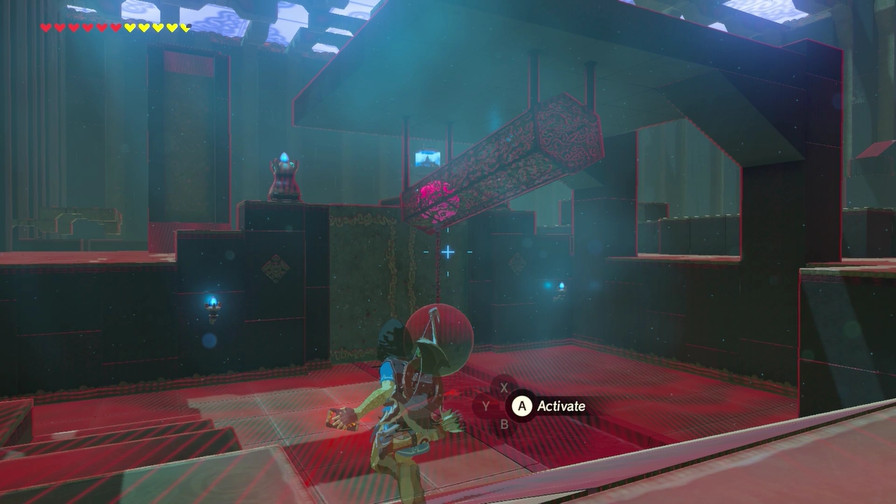
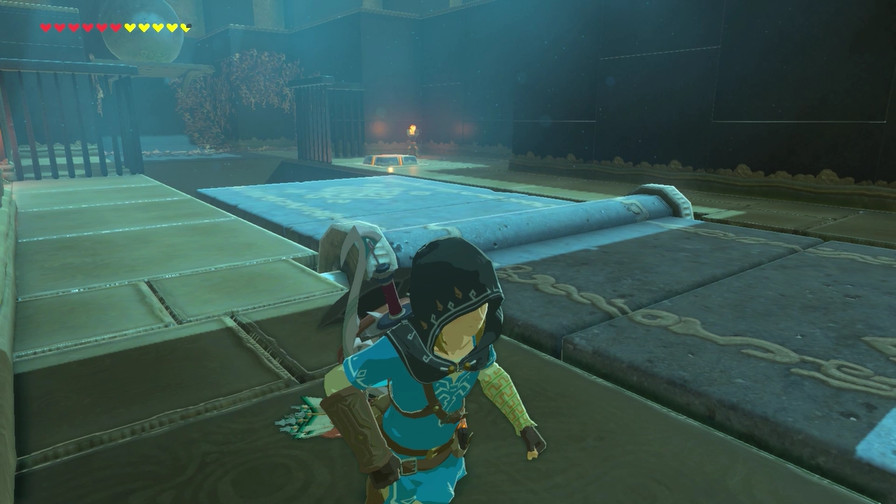
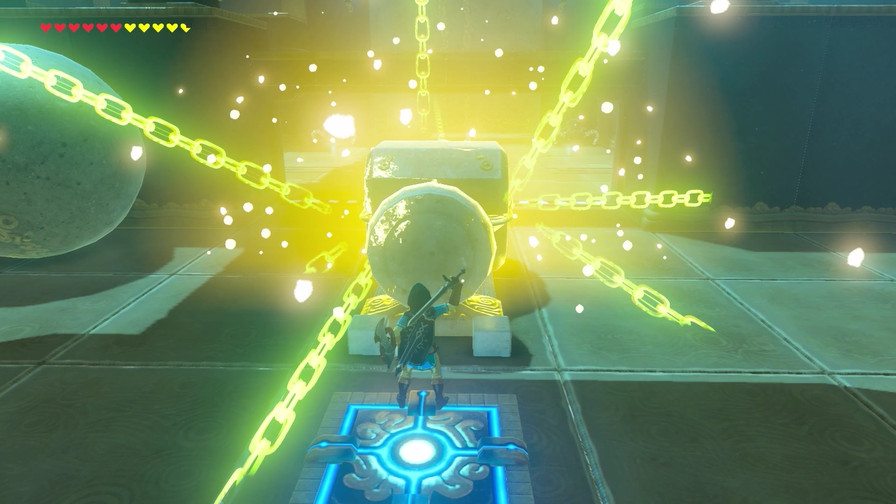
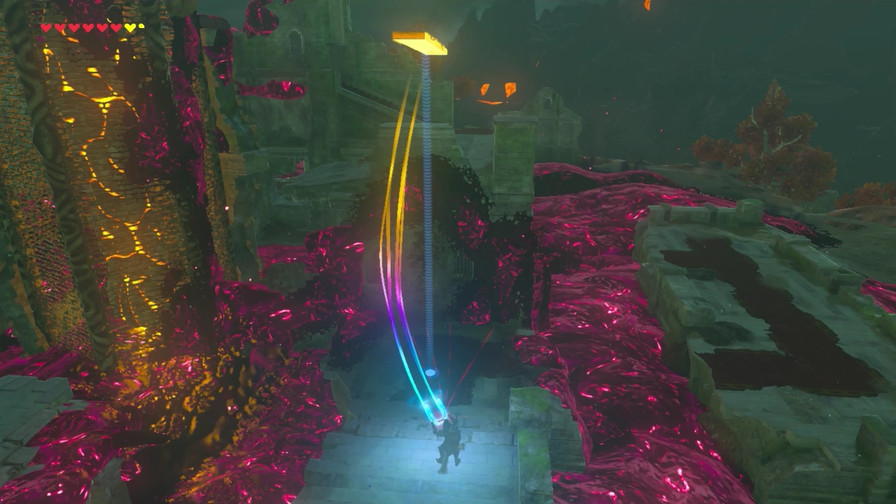
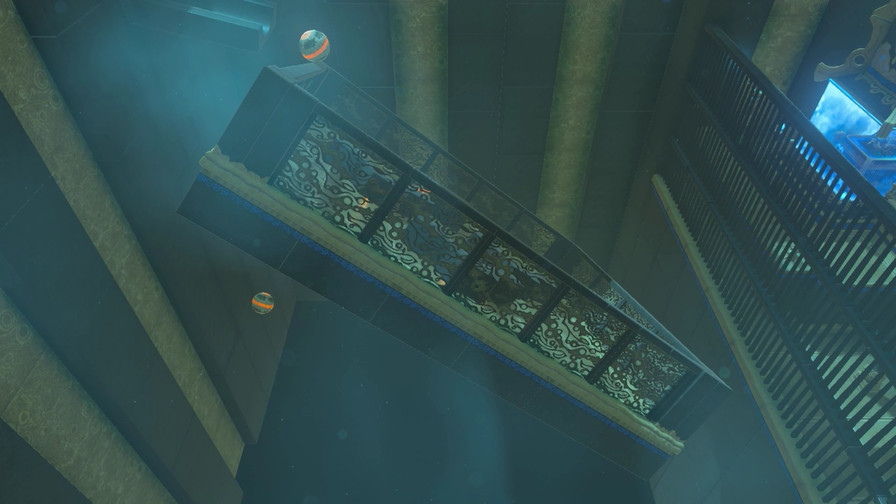
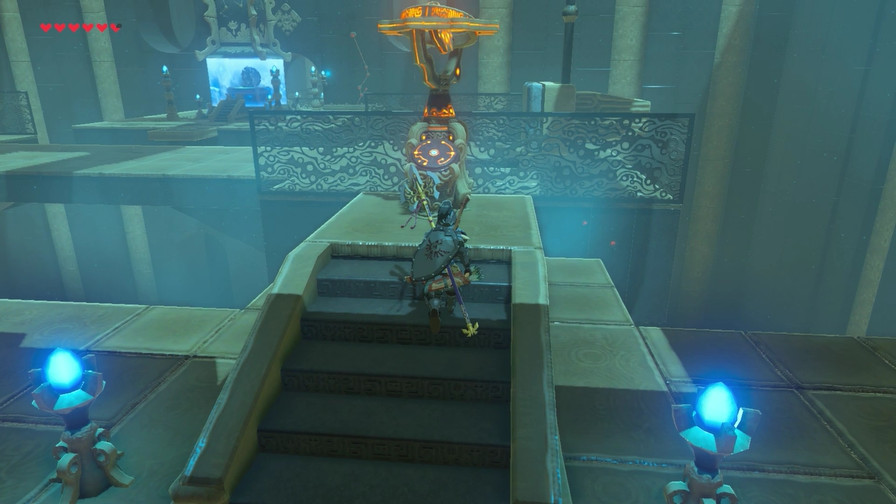
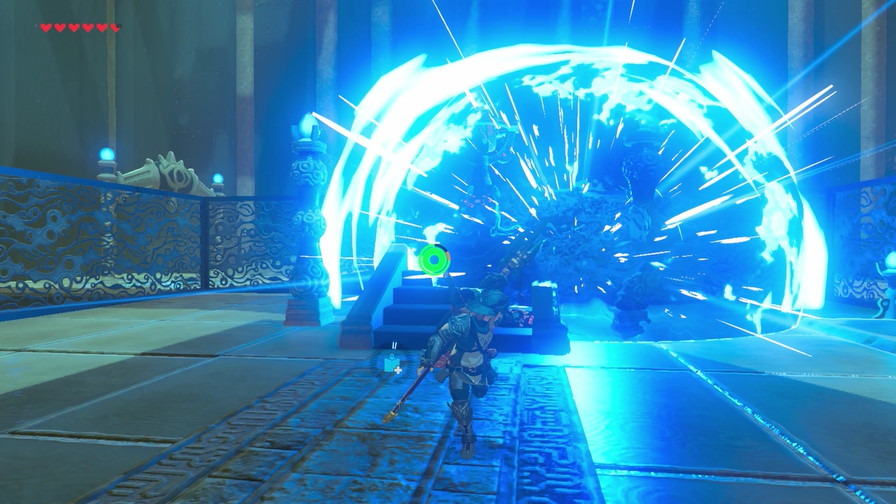
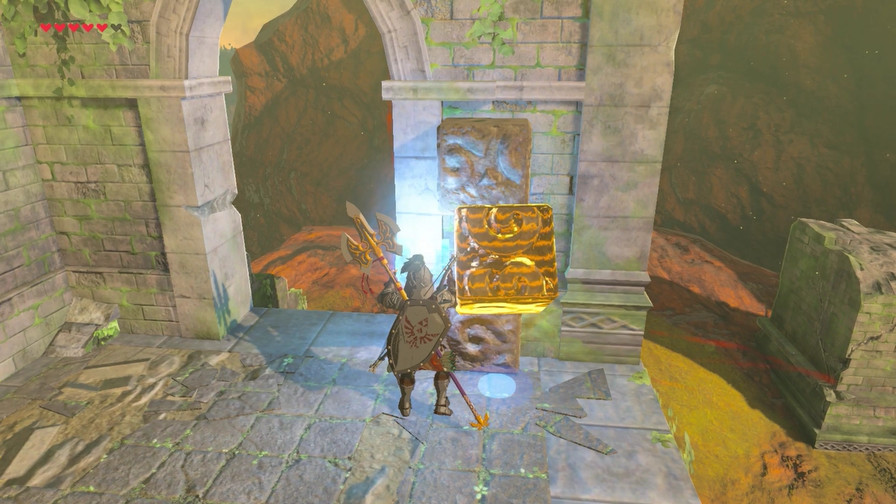
The theme here is finding various ways to open giant stone doors, though the method is usually obvious.
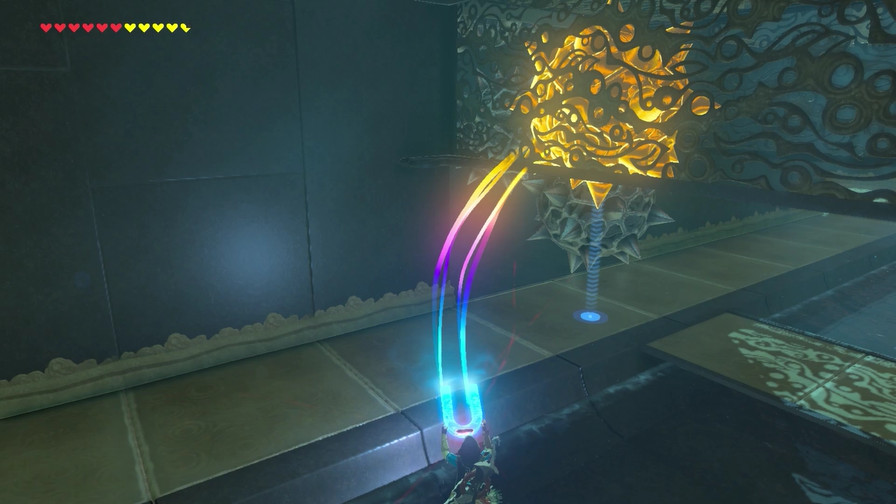
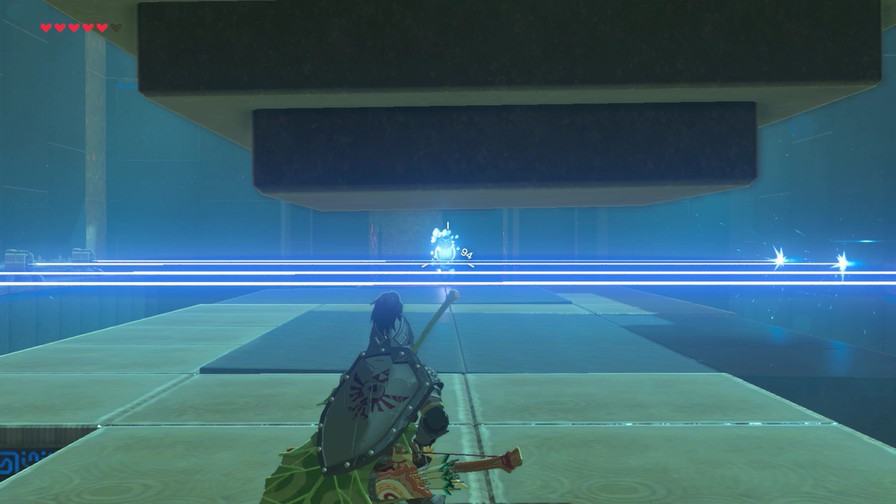
For instance, use Magnesis to pull the ball back and upward to hit the door open with momentum.
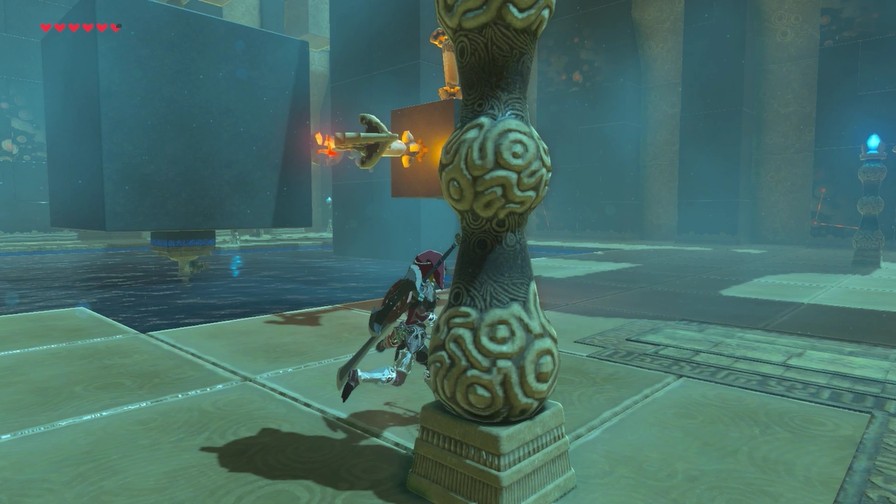
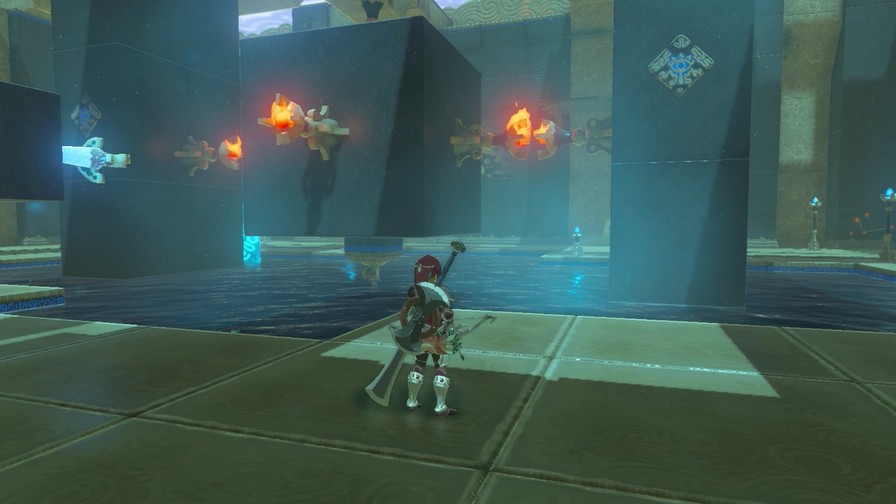
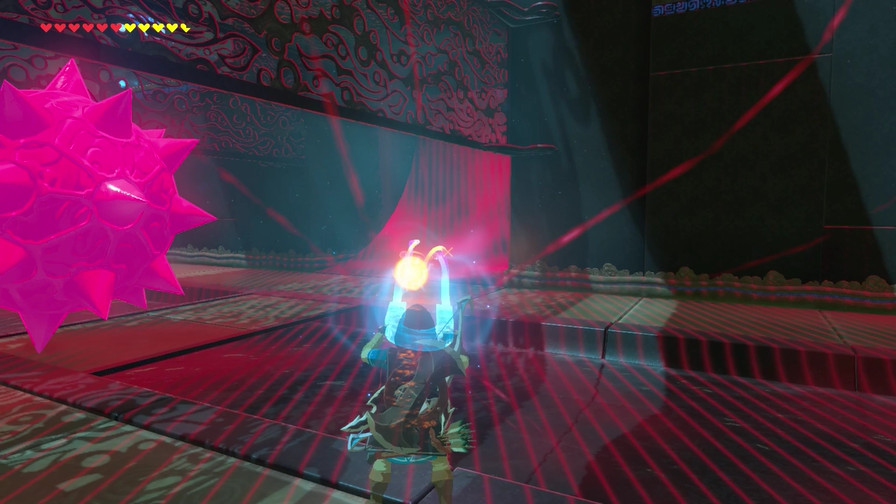
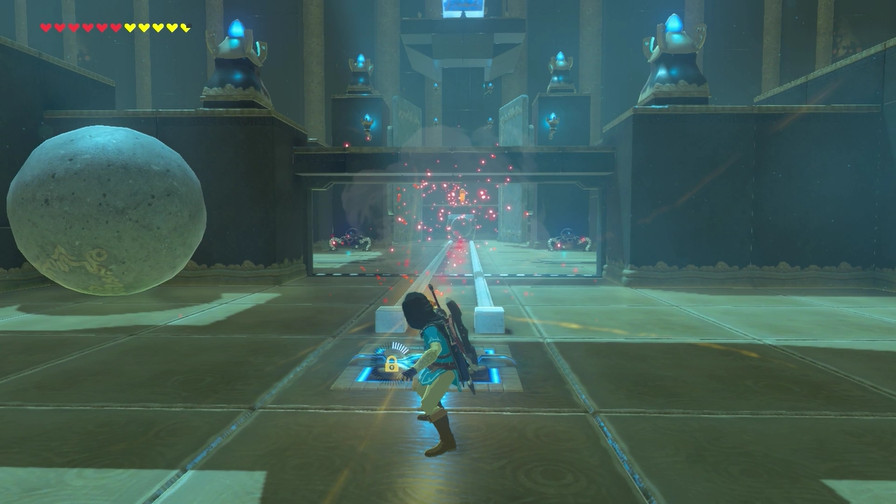
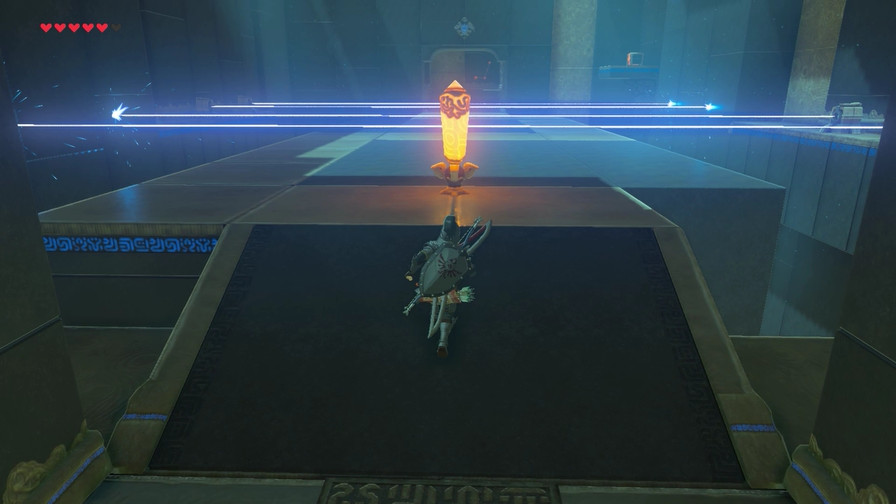
Next, two rows of spiked balls hurling on by. Magnesis to stop them so you can pass.
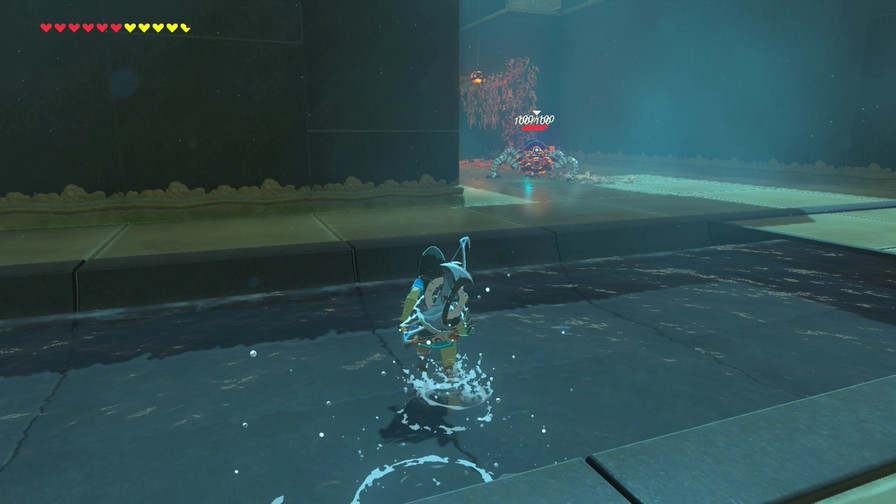
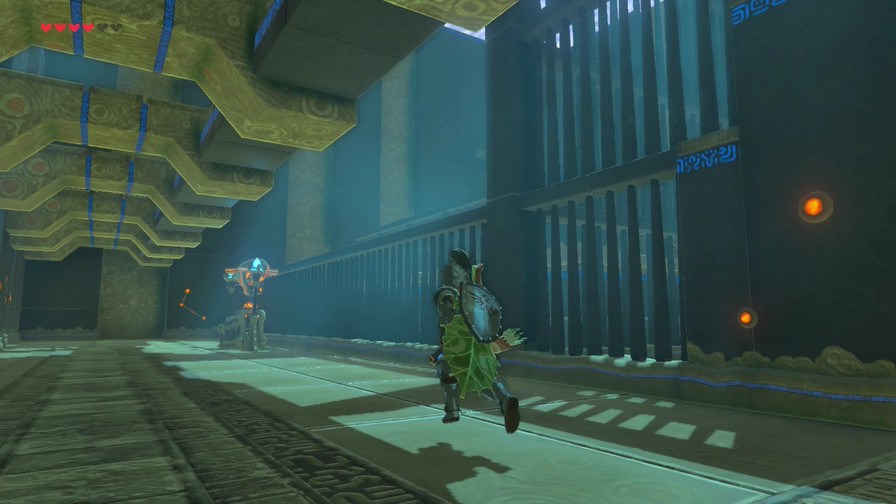
A couple guardians protect the next trick.
https://my.mixtape.moe/oodser.mp4
Classic.
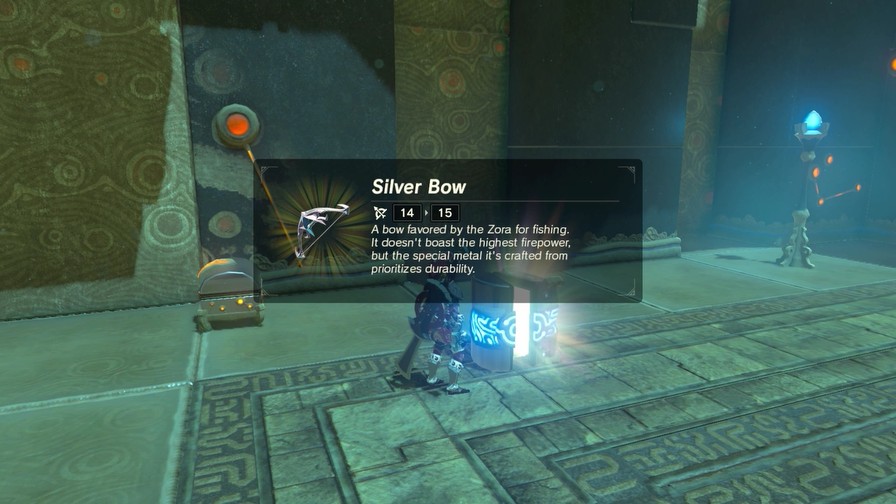
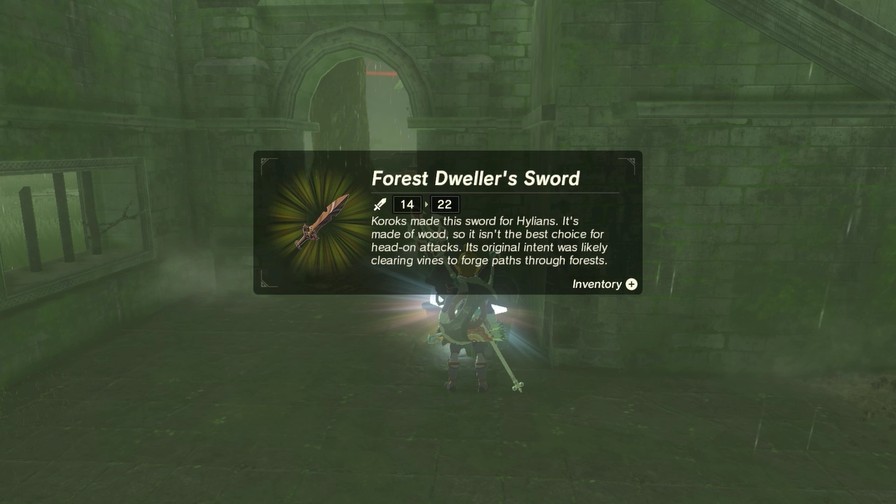
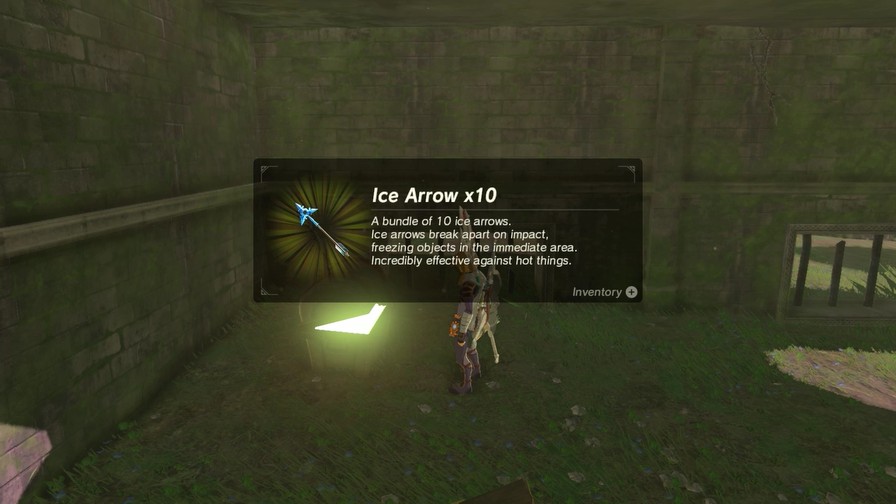
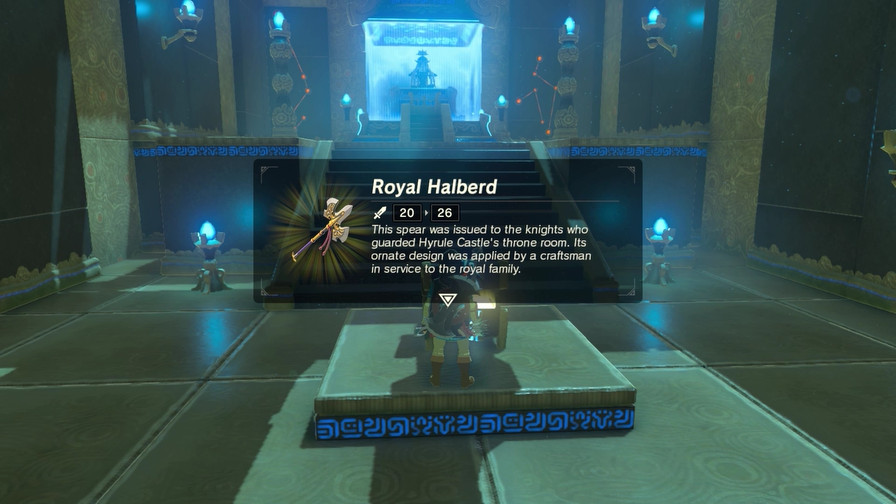
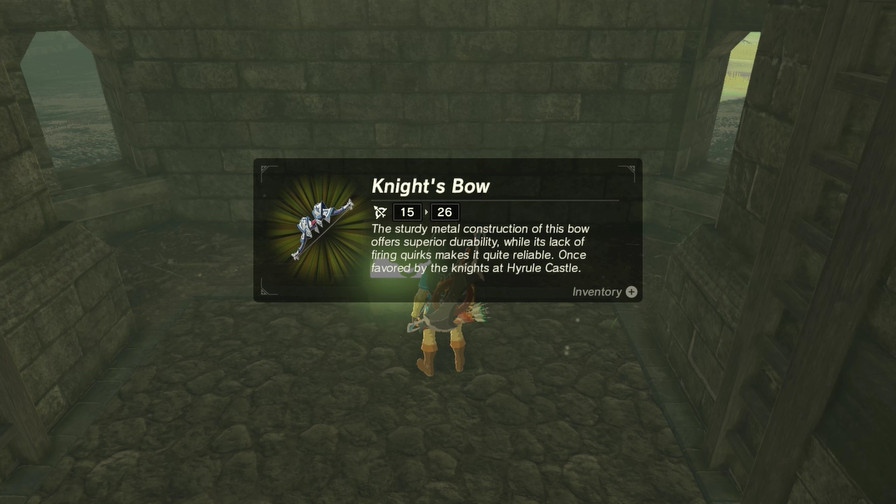
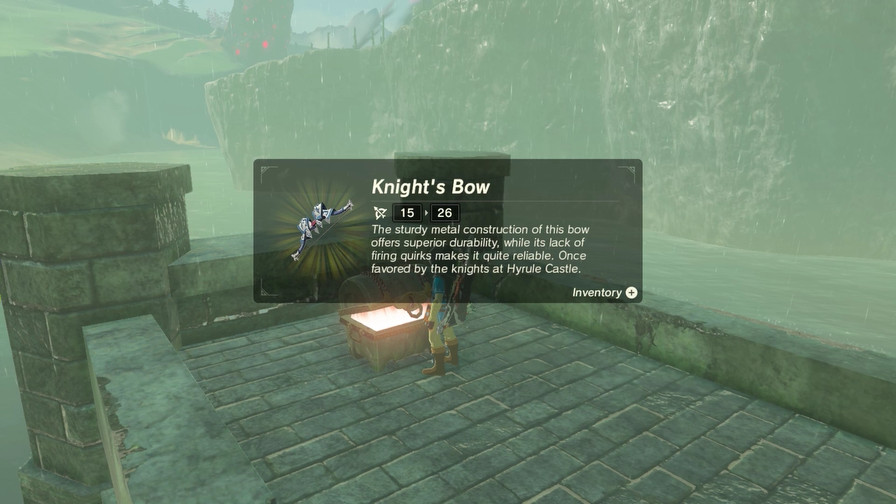
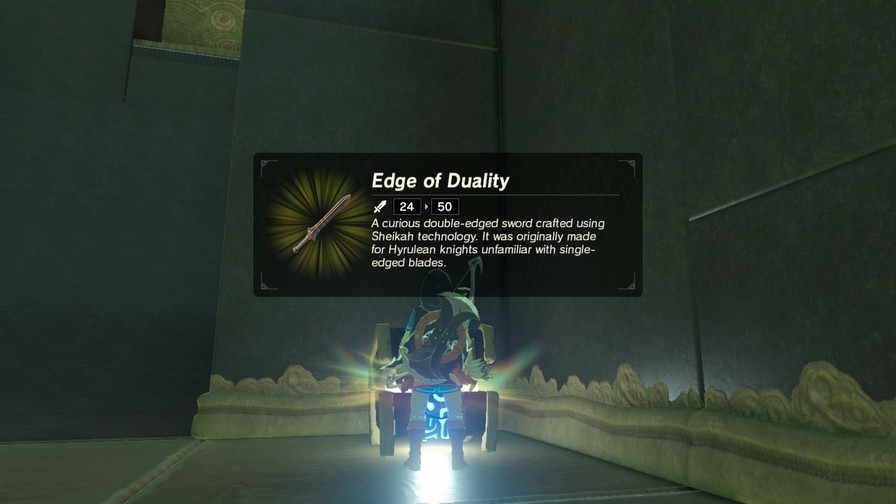
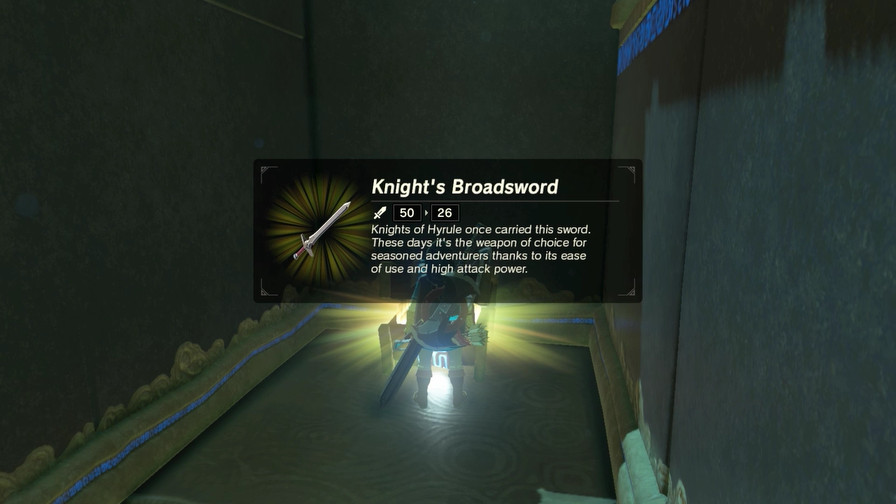
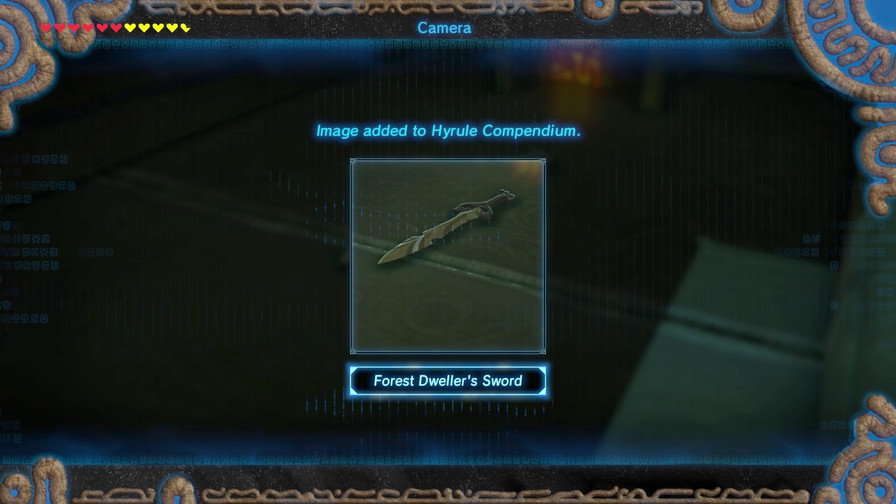
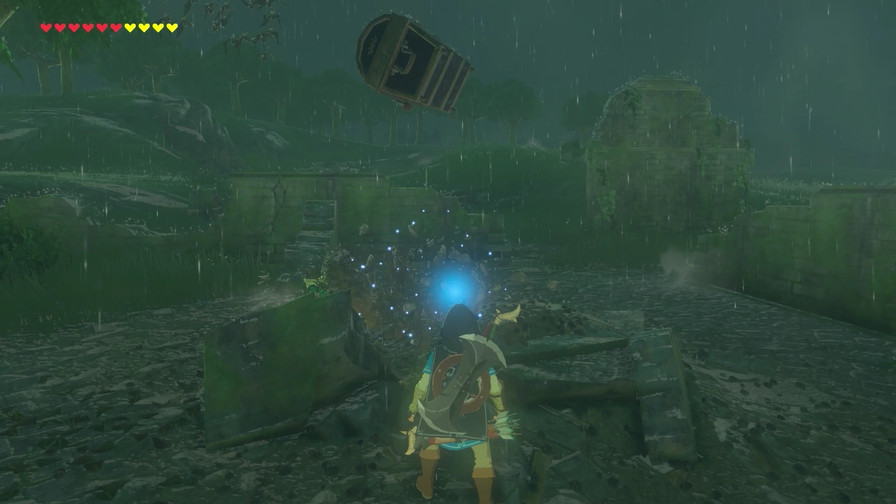
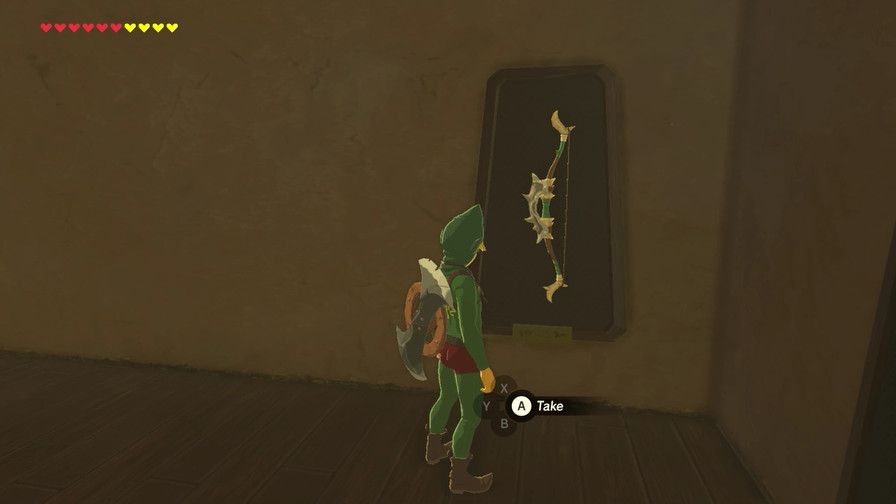
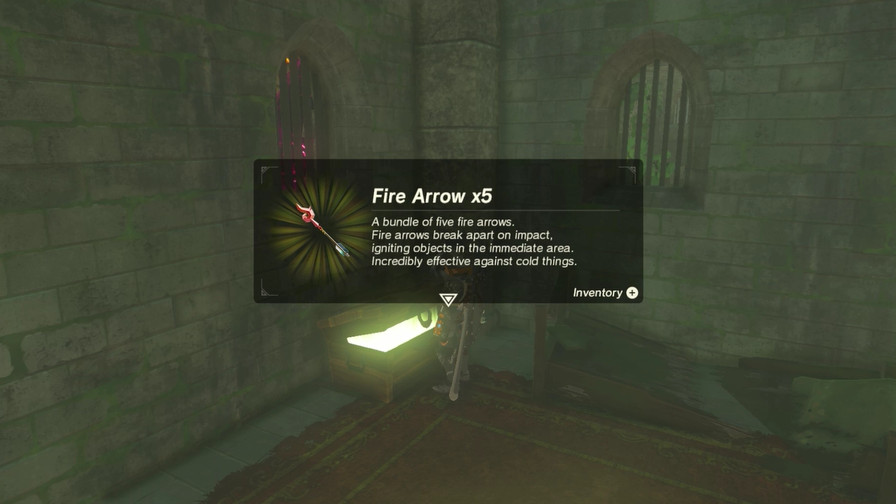
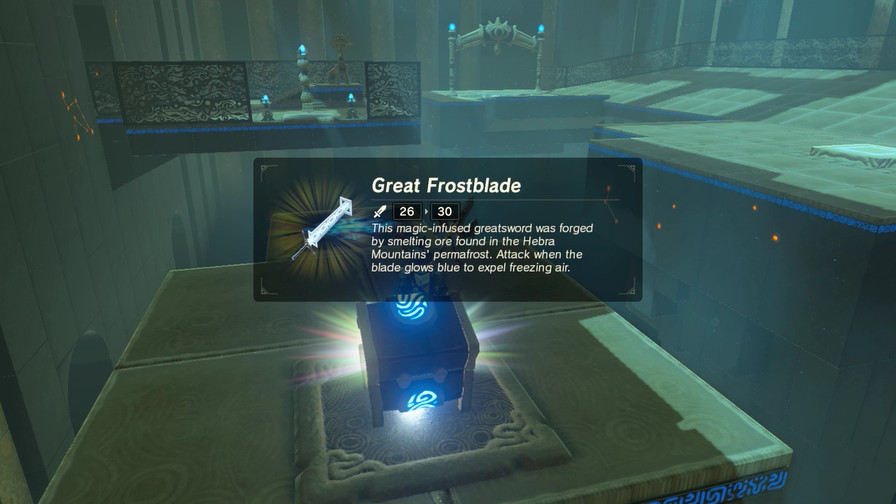
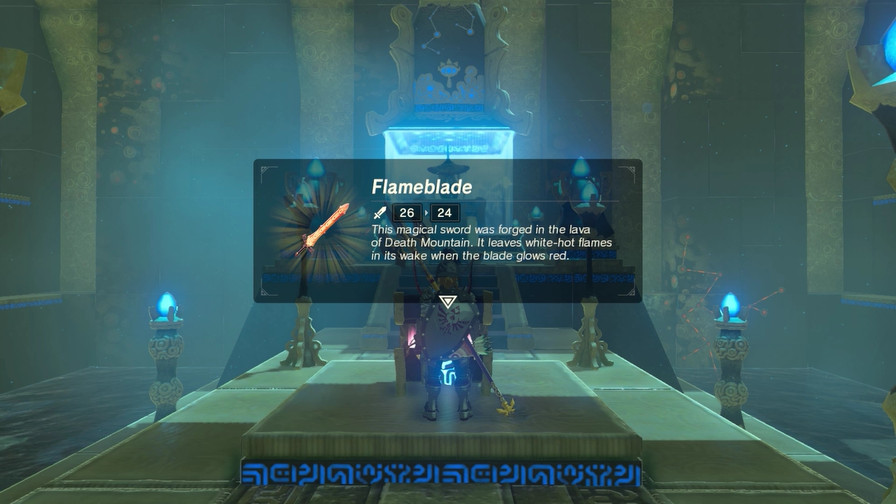
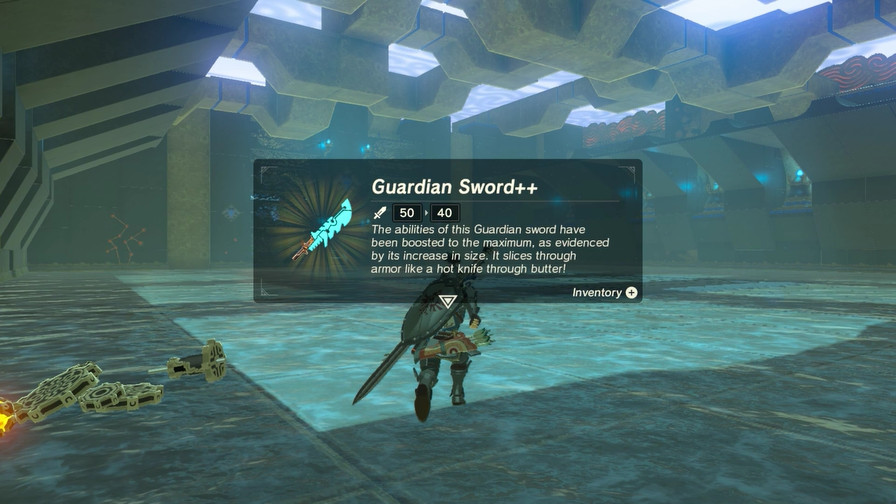
There are a lot of chests in this shrine. This is one of the strongest blades we’ve seen yet.
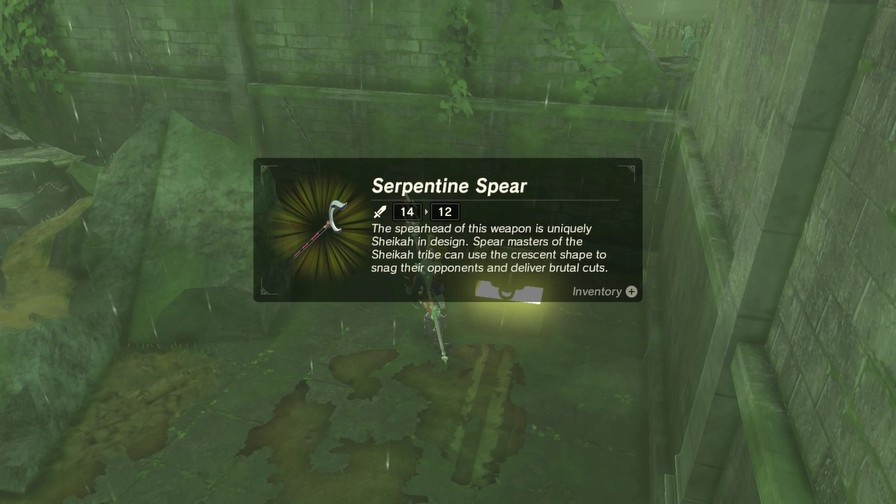
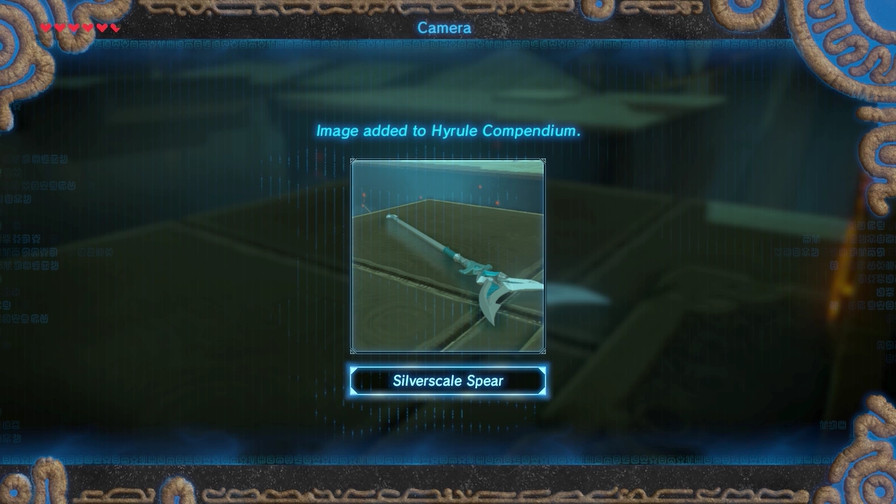
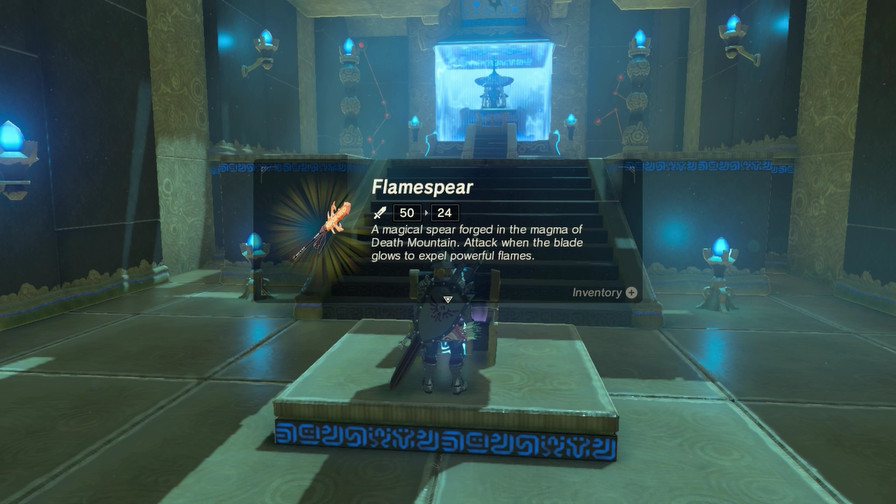
This isn’t as strong, but it’s only one-handed so still pretty nice.
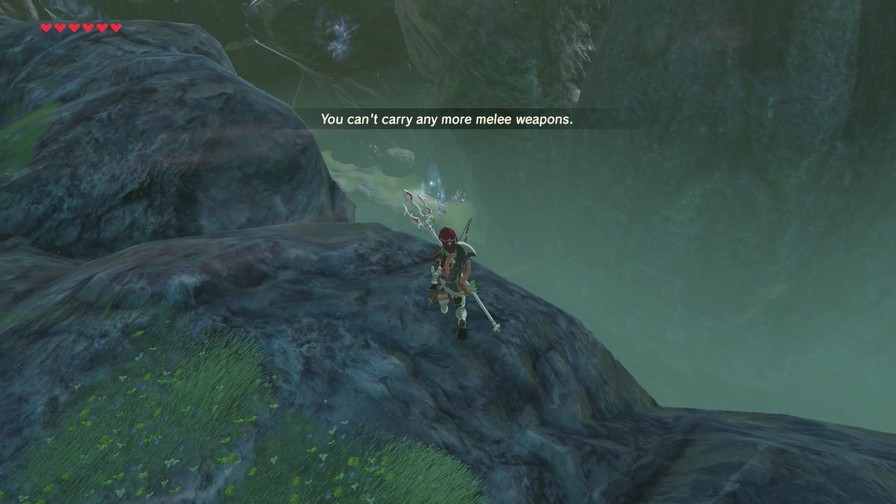
Something has to go.
We’ll get back to this door later. There’s a path forward on the other side for now.
Nice try, game.
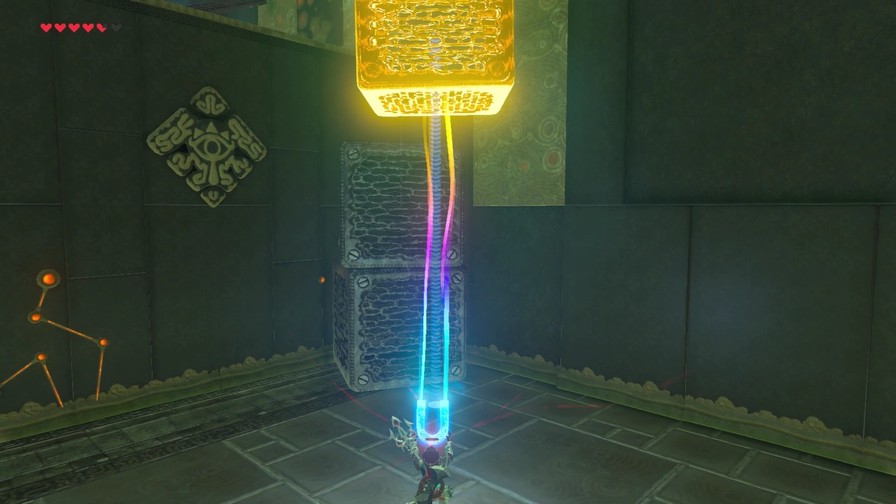
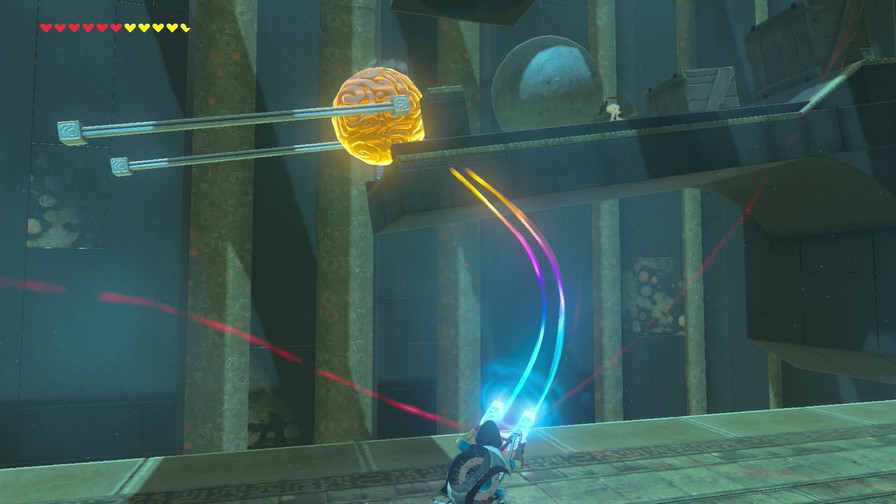
Here there’s a weird floating hammer and a ball next to it.
You might expect Magnesis, but no.
oh no
Yes, we’re back to the dreaded Gyro controls. Though at least this time you “only” have to hit the ball with the hammer several times.
https://my.mixtape.moe/hscibd.mp4
Easier said than done, but it’s still trivial.
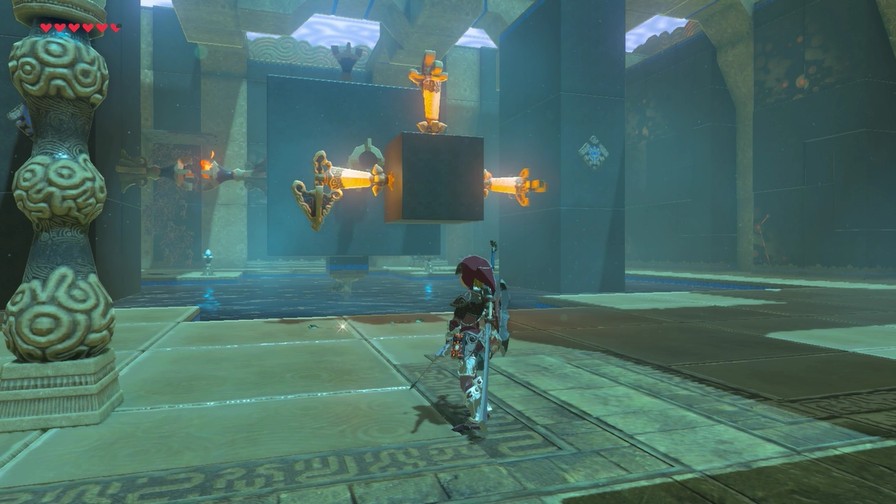
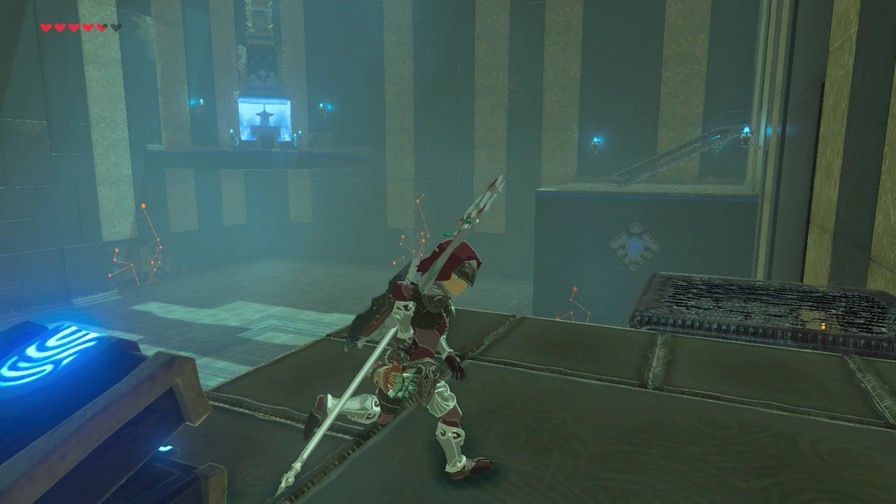
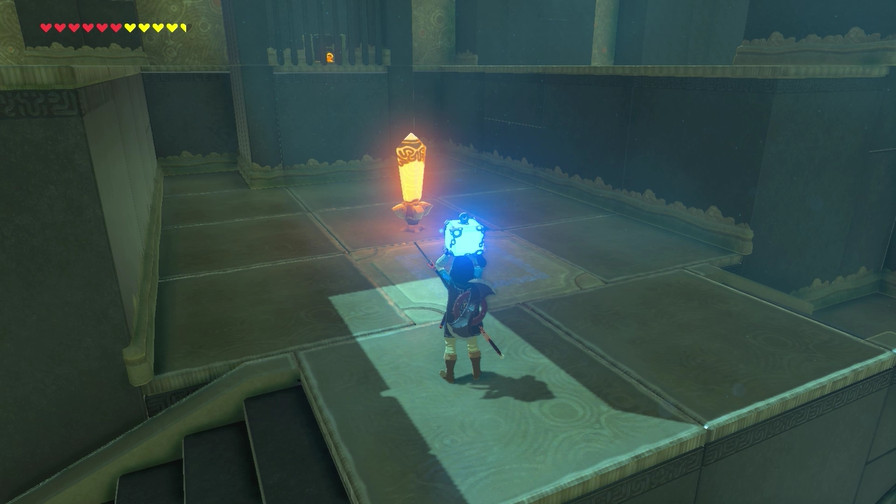
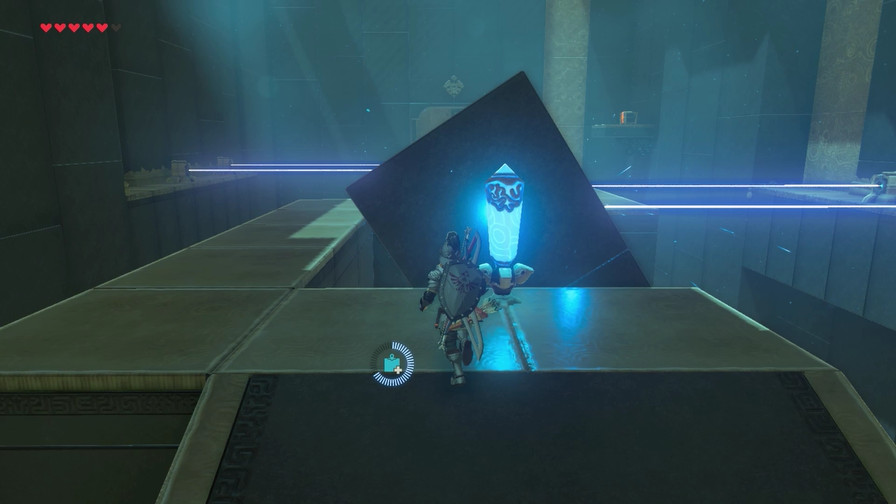
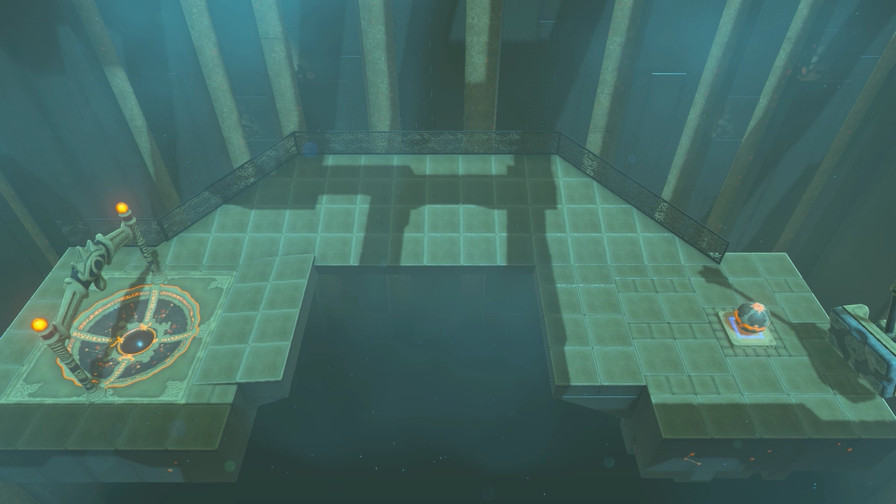
This one’s a bit more elaborate.
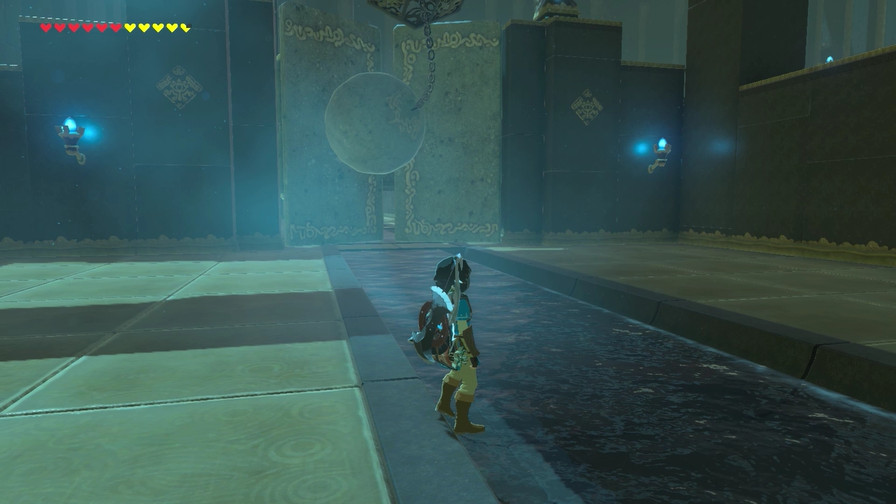
There’s a door and a giant tilt platform on this side.
On the other, a flammable platform holding up a giant ball, and a switch. This is honestly the only somewhat tricky one in here, since it requires several concepts, and even then it’s simple once you figure out what the switch does.
The switch flips up the platform below where the ball is.
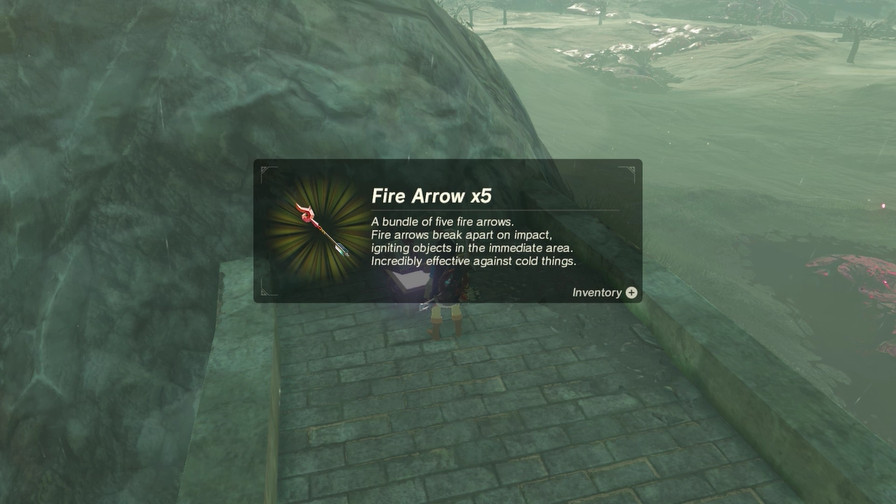
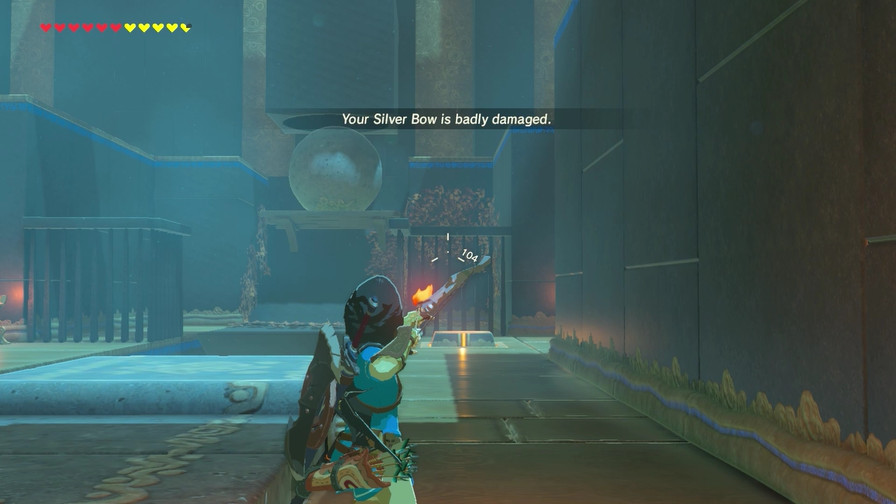
Notch your arrow on one of the torches to save on fire arrows. I guess you could always throw a lit torch too, though that’d take a bit more luck.
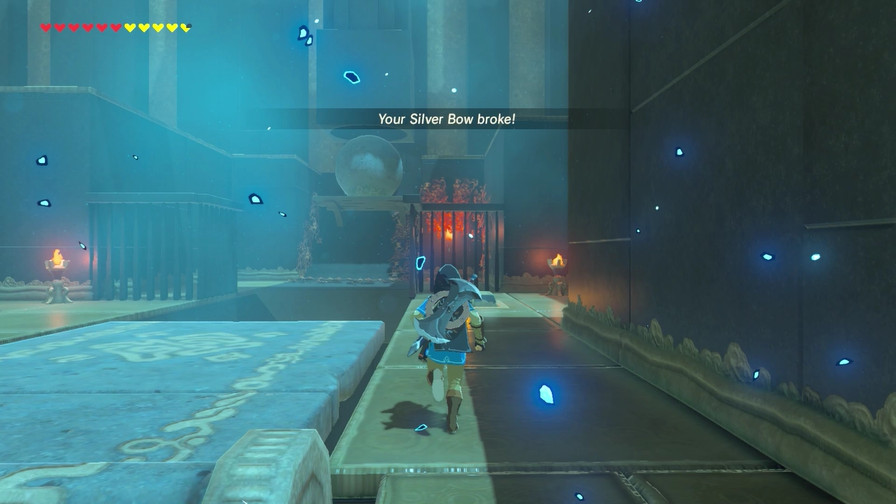
Lost the bow, but the arrow hit. Now for the magic to happen.
https://my.mixtape.moe/fkoopr.mp4
Quickly stasis the tilt, flip the ball up, and hope it has enough momentum to make it. Got it first try.
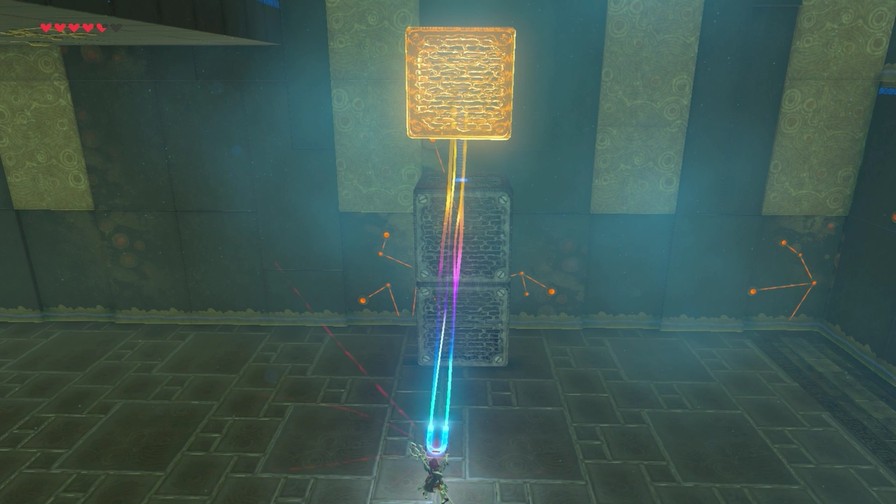
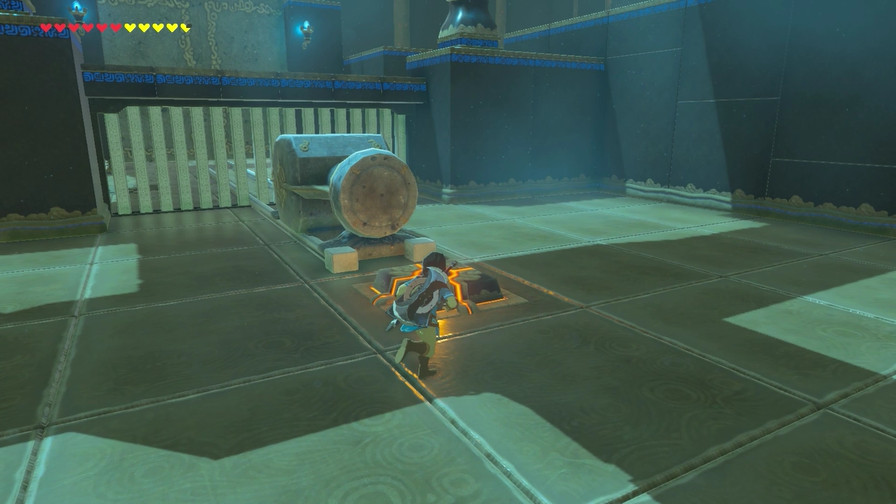
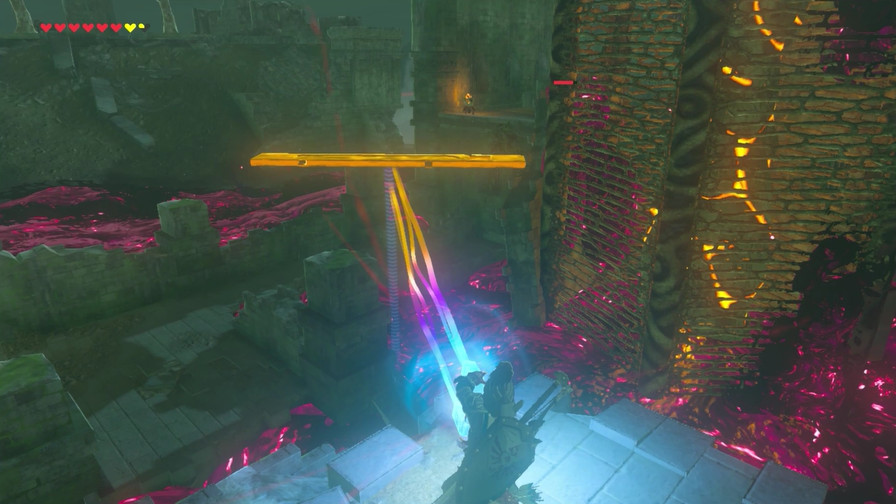
Remember that door we skipped earlier? Now we’ll open it. The switch lowers the gate.
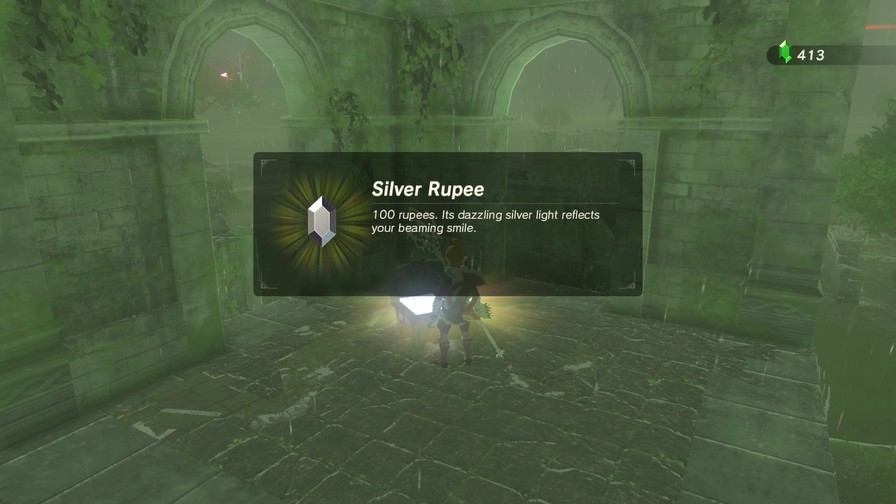
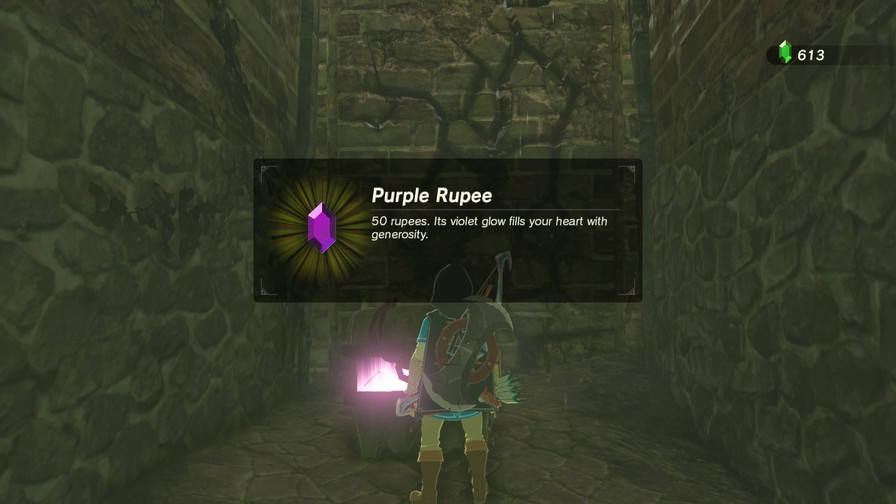
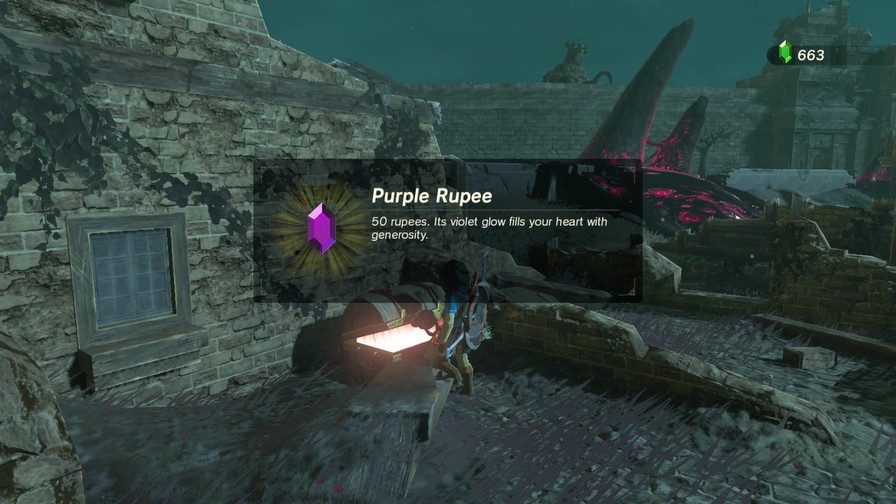
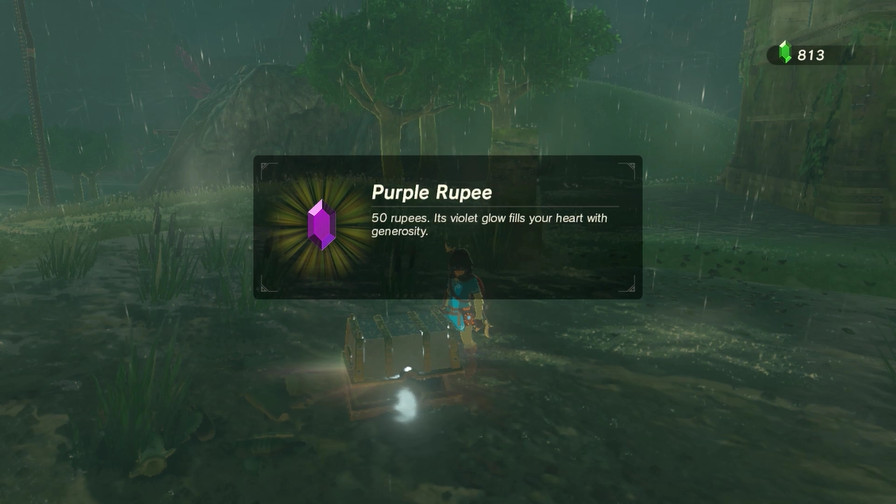
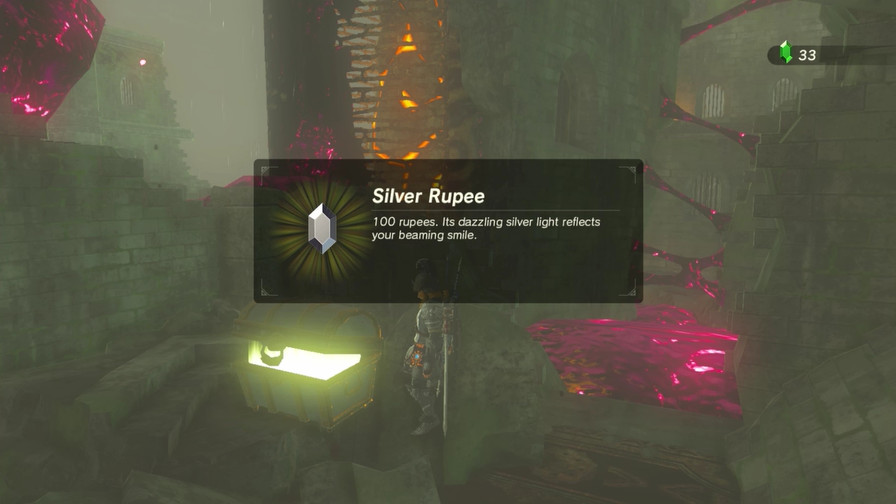
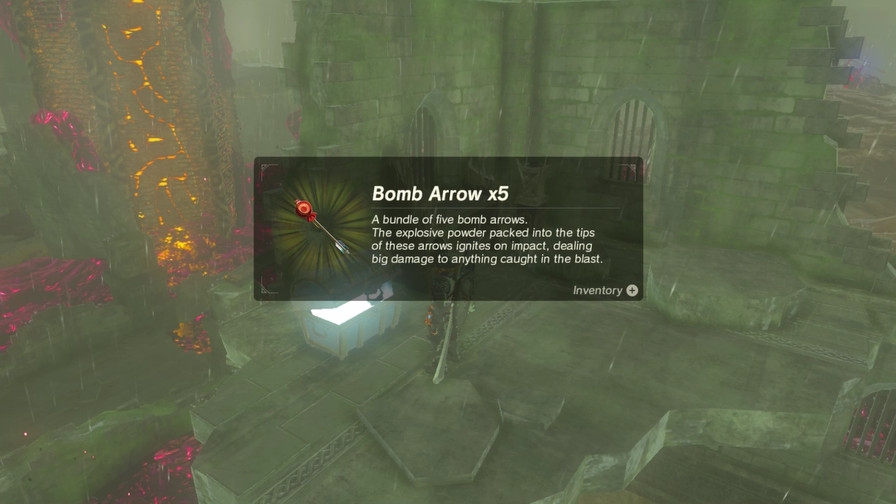
Bombable wall with rupees.
This thing is on a track leading to the door, so now we just do a simple stasis smash-up.
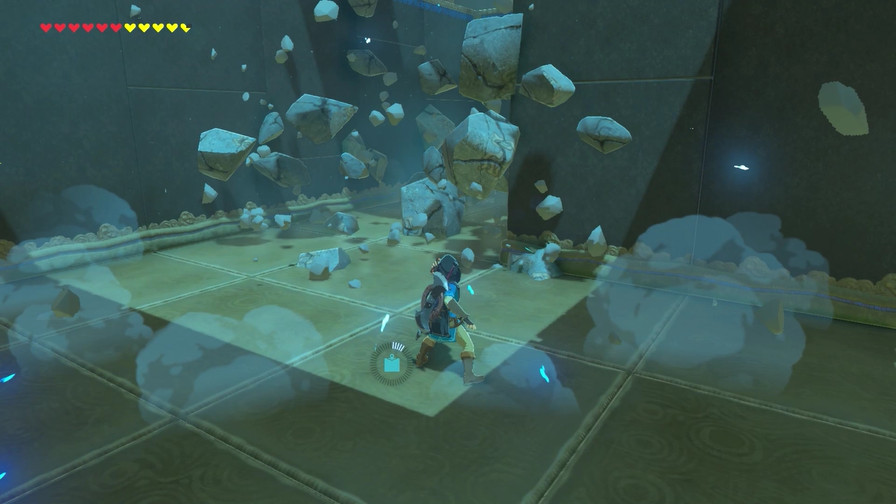
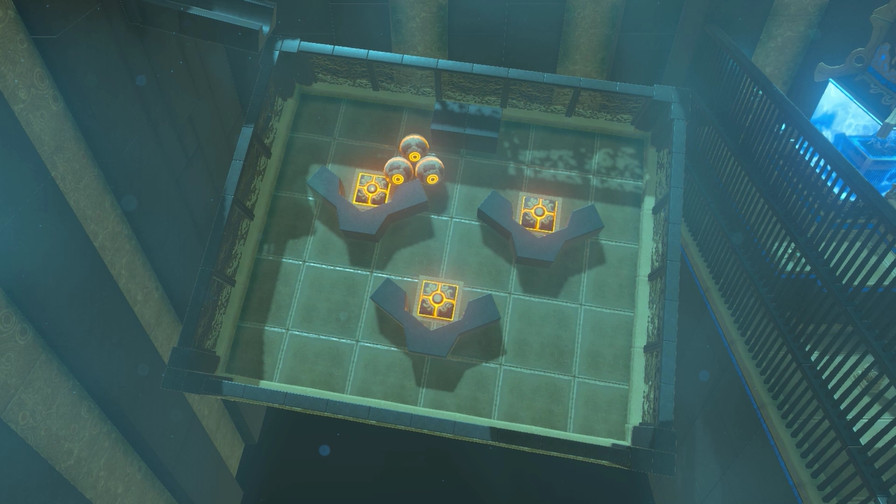
And the last puzzle!
https://my.mixtape.moe/nvyzhq.mp4
Well, if you can call it that.
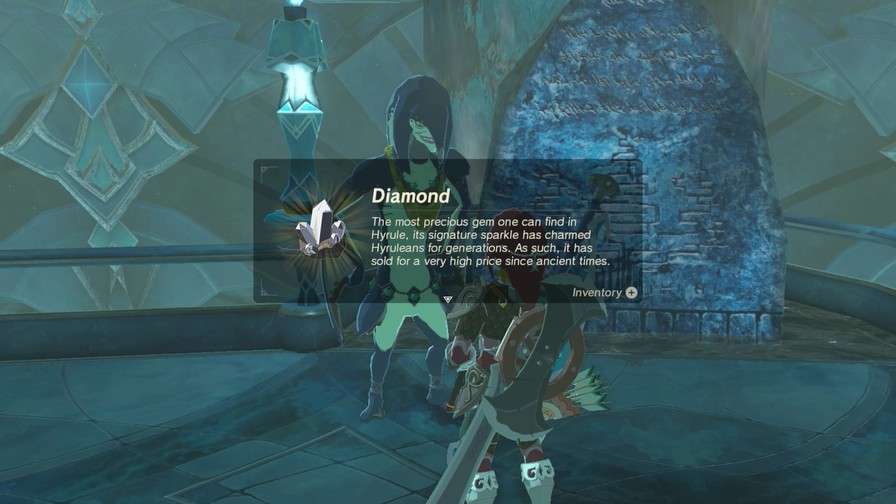
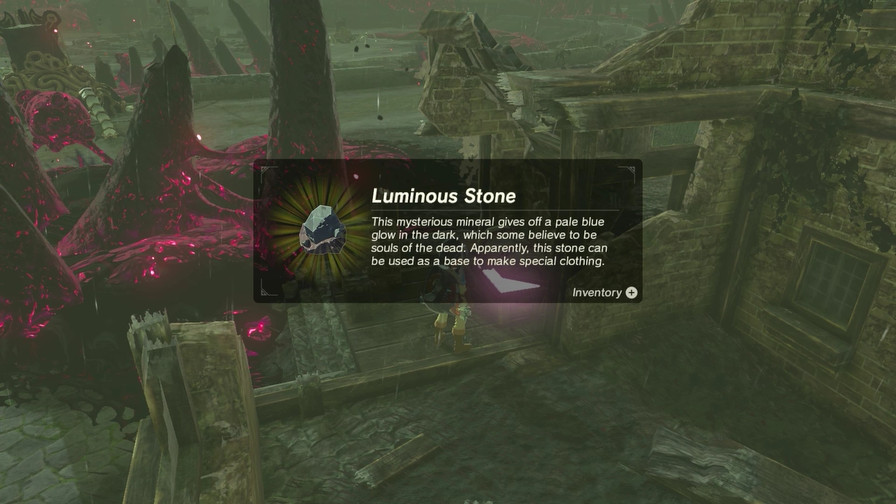
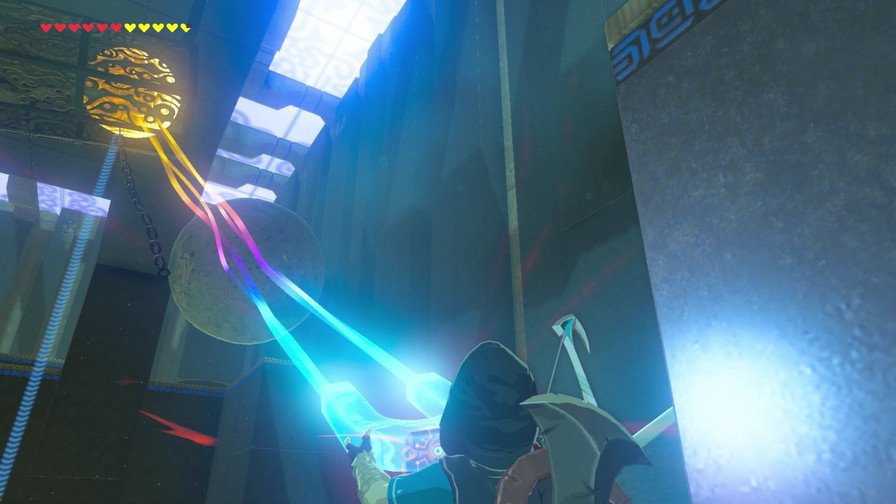
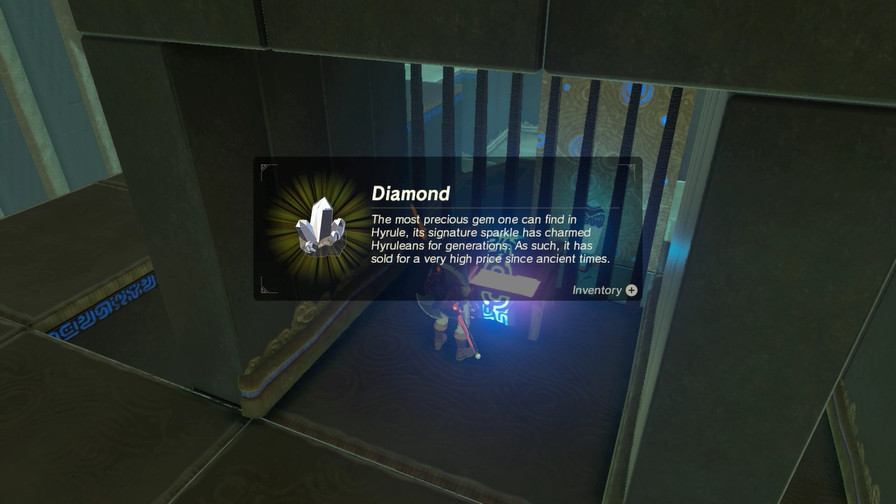
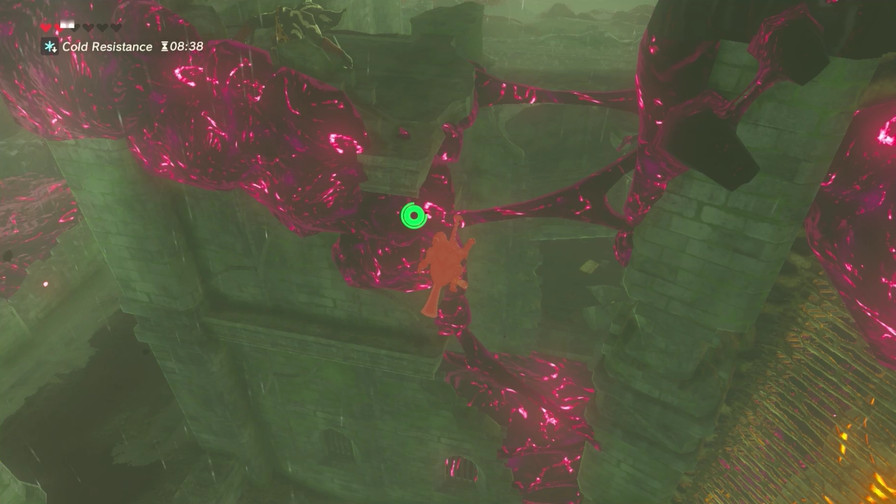
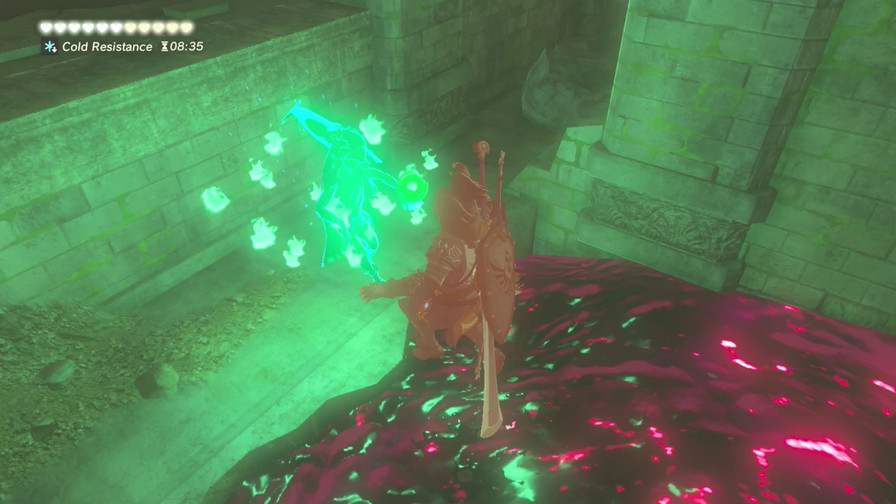
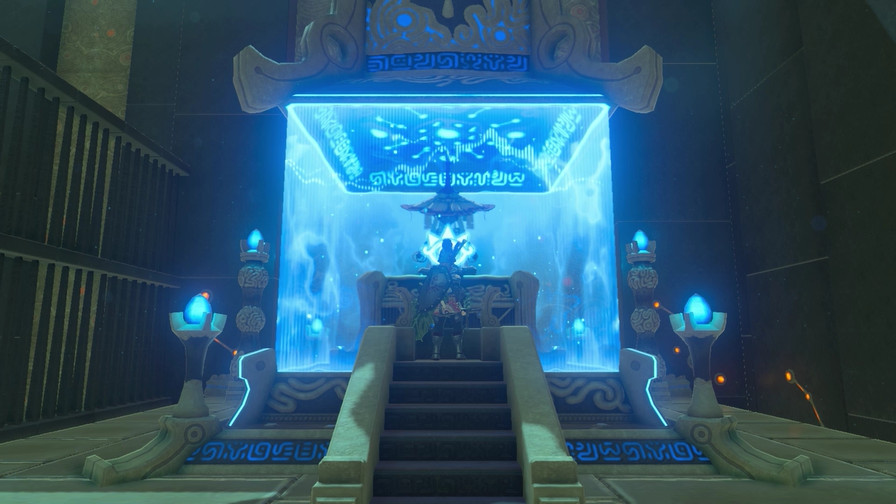
First, go around to pick up the Diamond.
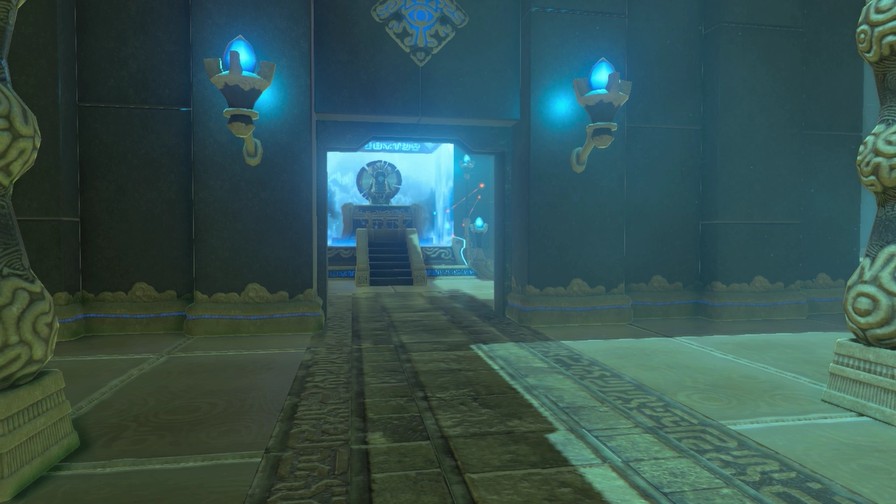
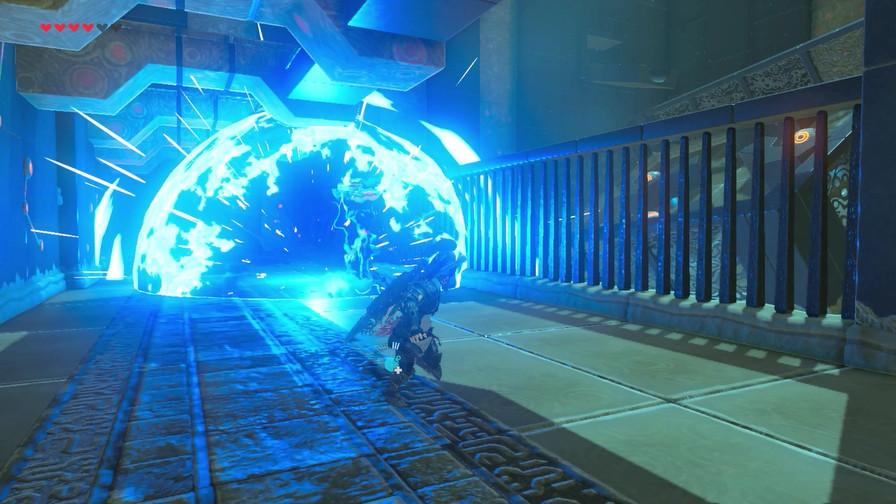
And before we get the orb, let’s see just how much ground we’ve covered here. This place is huge!
Finally, we’re done. It was alright, kinda wished the puzzles flowed together more like a traditional Zelda dungeon though rather than a bunch of random thematically similar puzzles. Got my money’s worth, though.
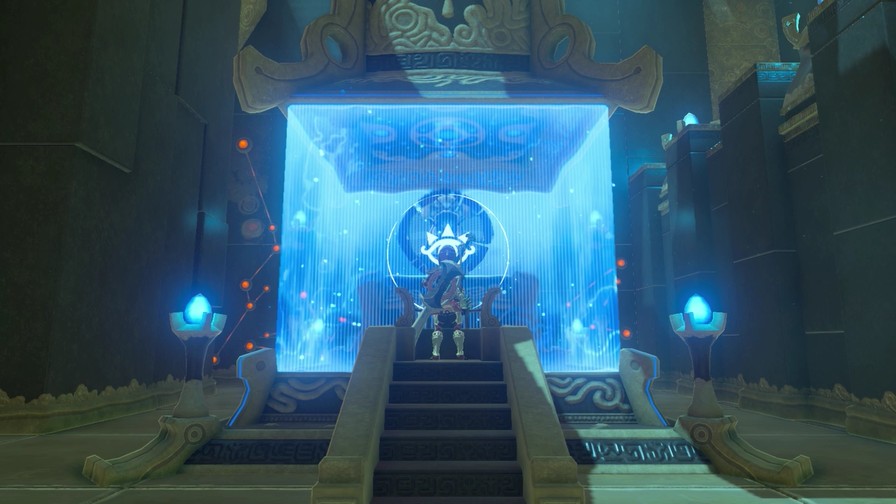
We’re pretty close to our final prize, too!
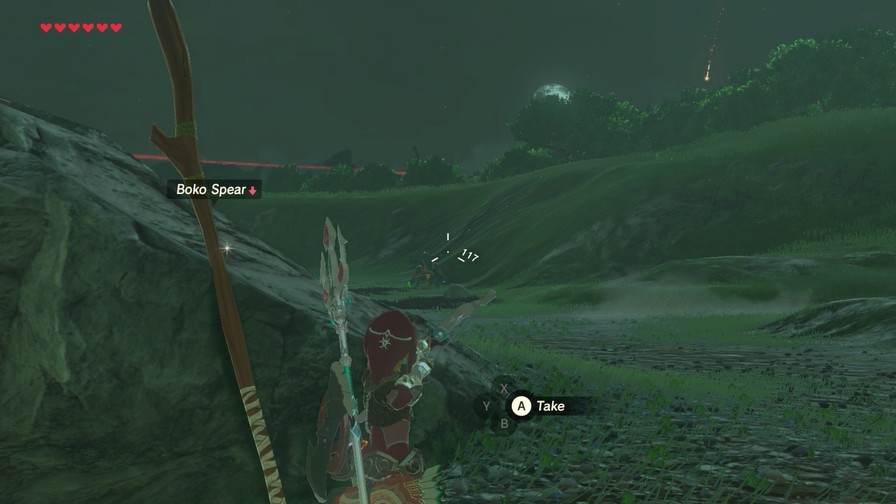
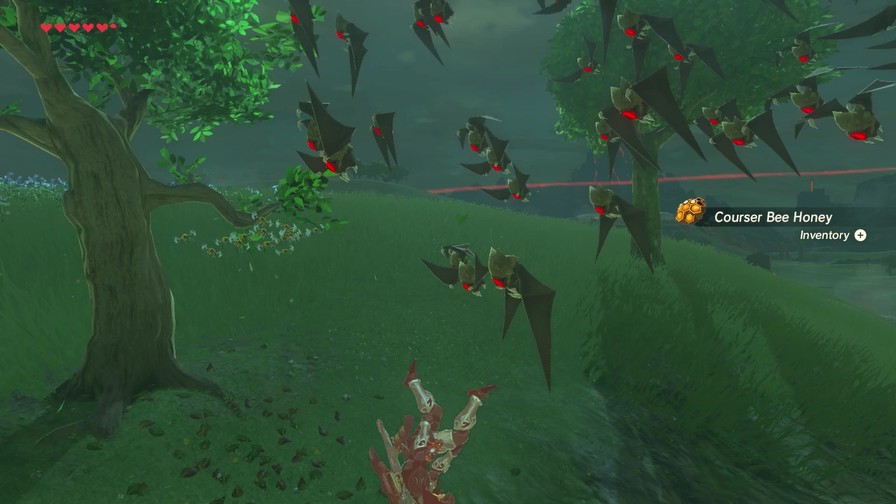
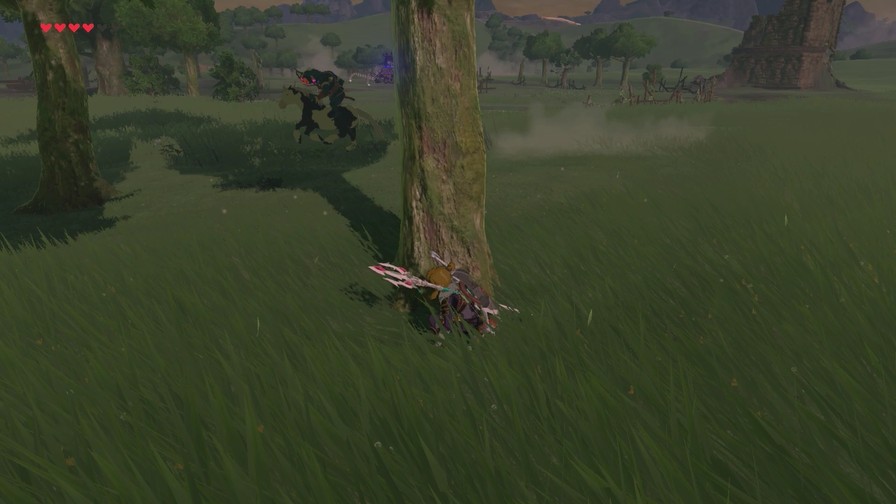
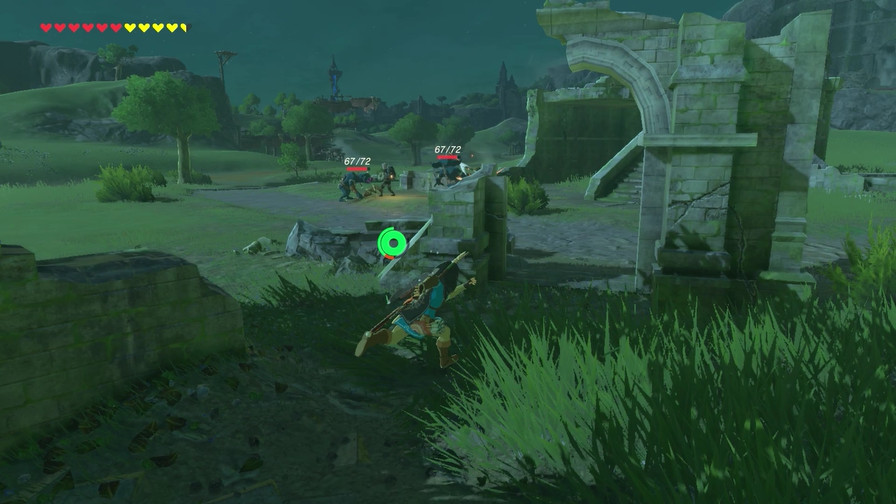
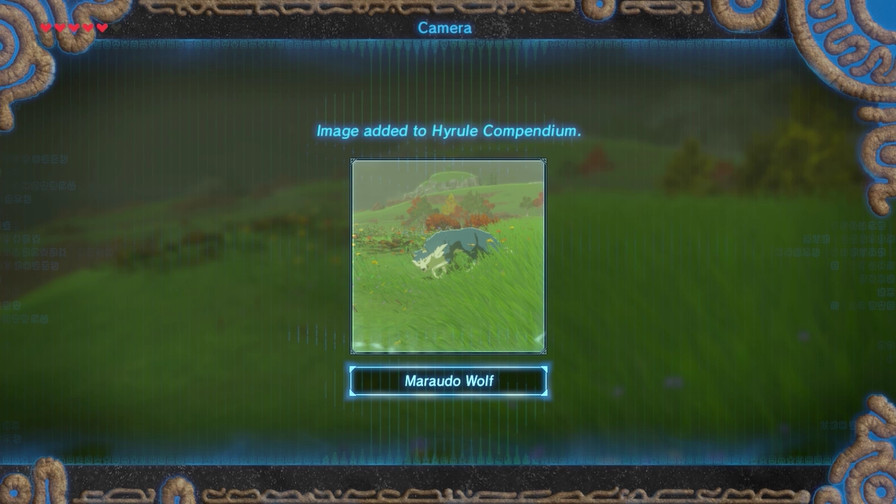
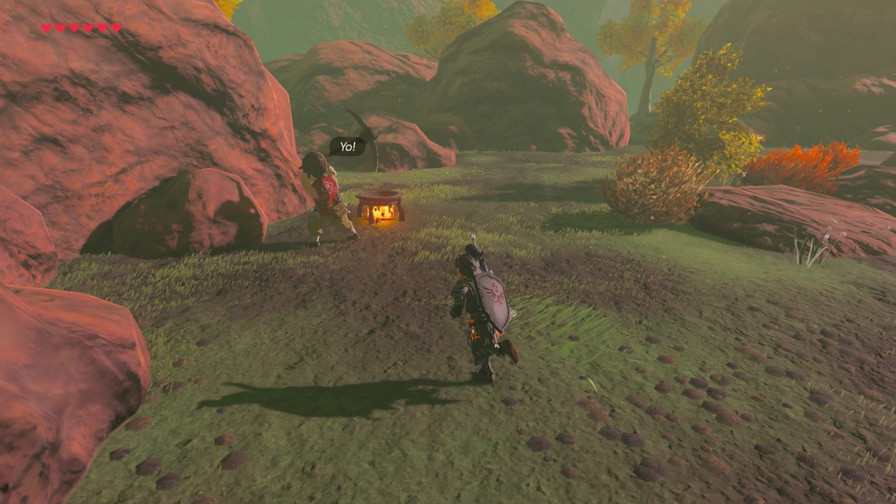
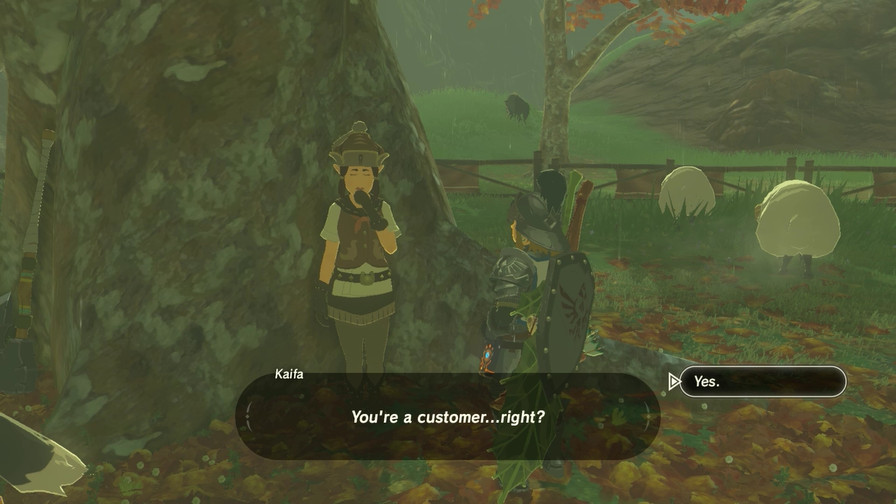
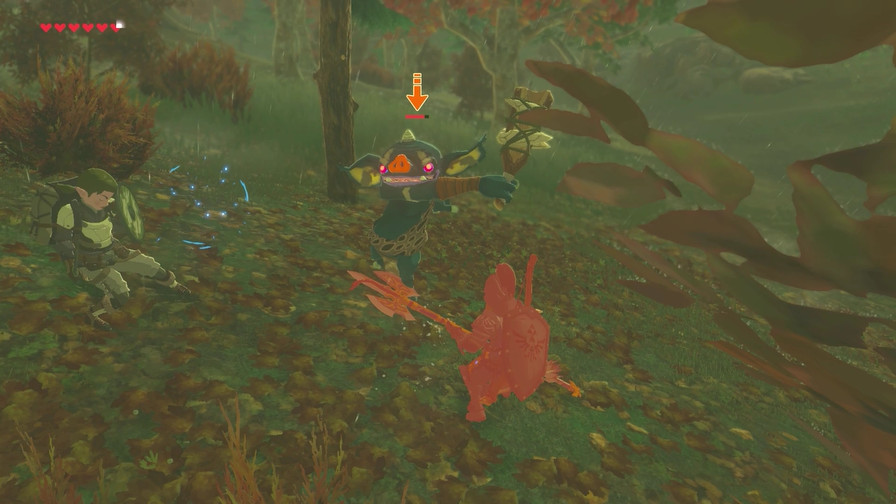
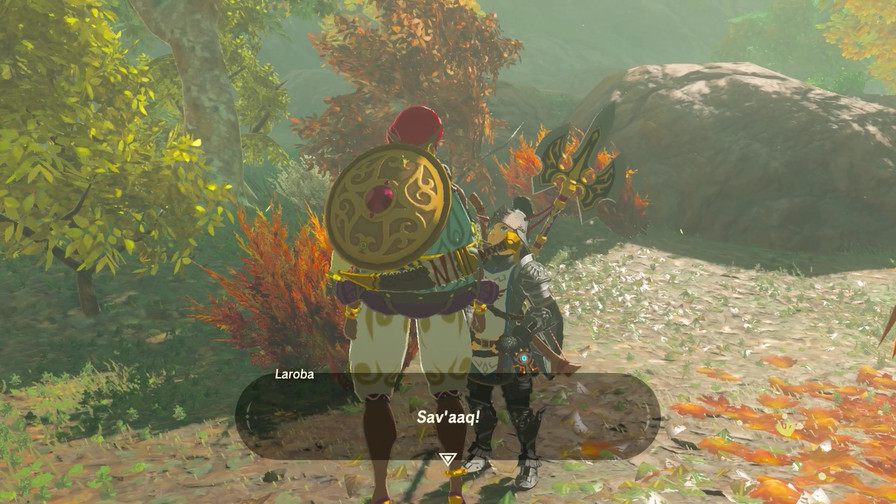
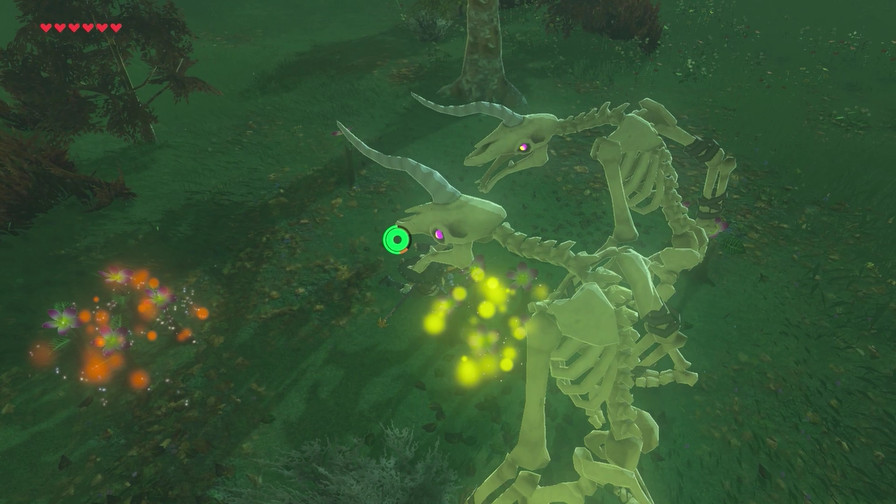
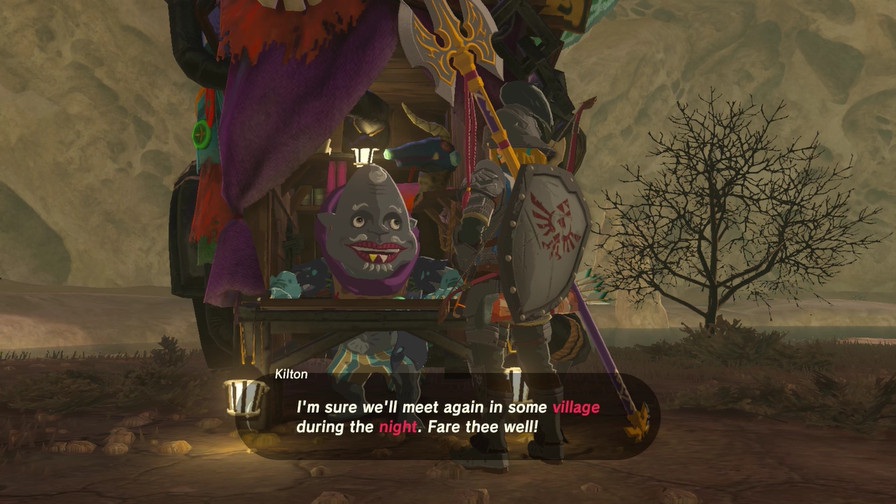
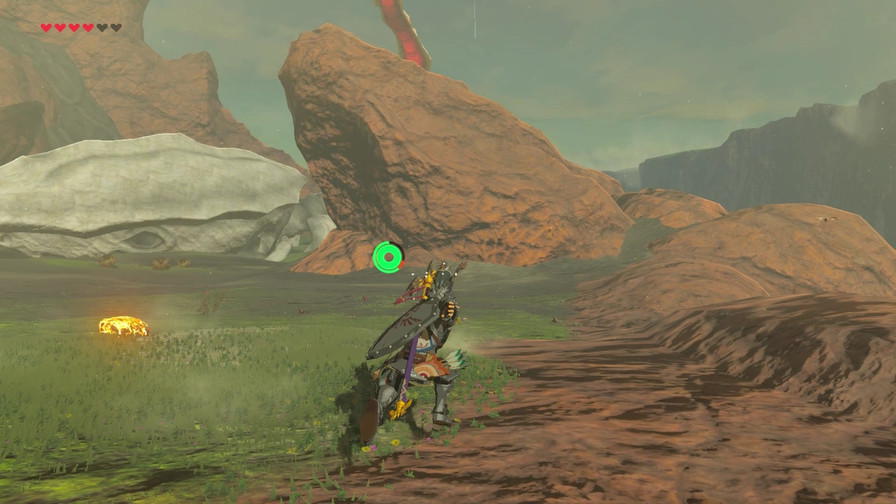
A couple travelers vs. a couple of Bokoblins.
Guess who wins.
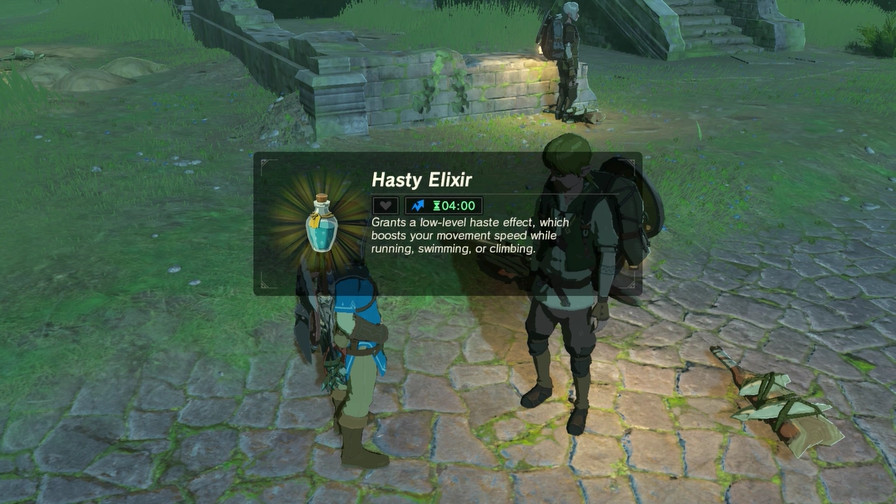
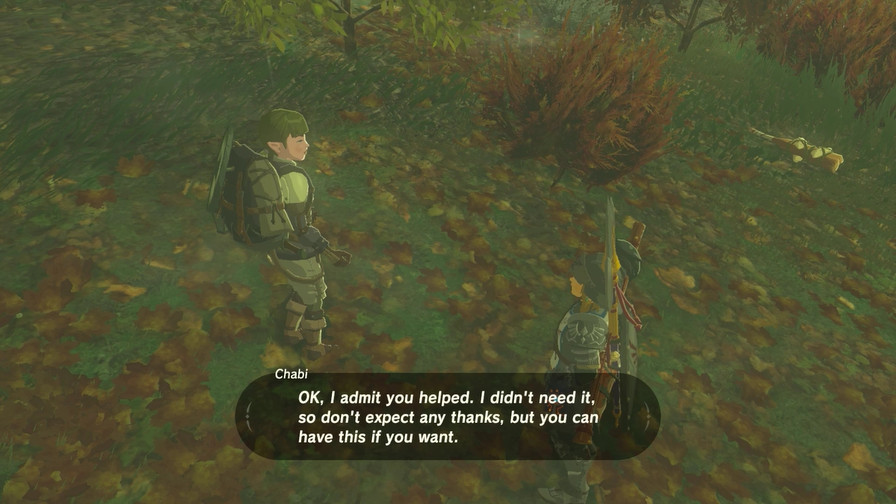
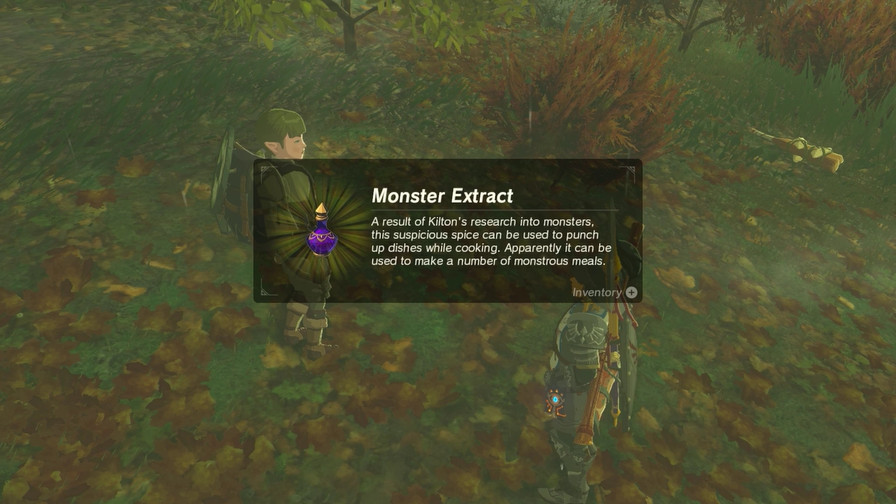
Not too shabby.
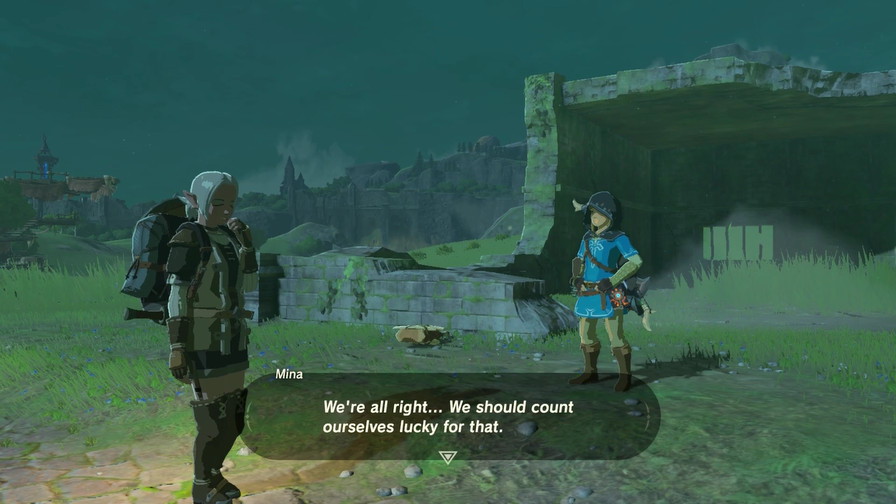
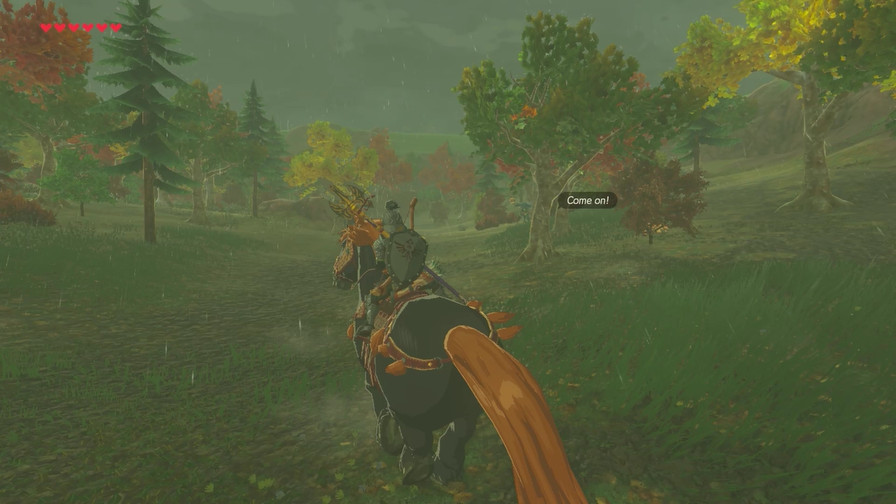
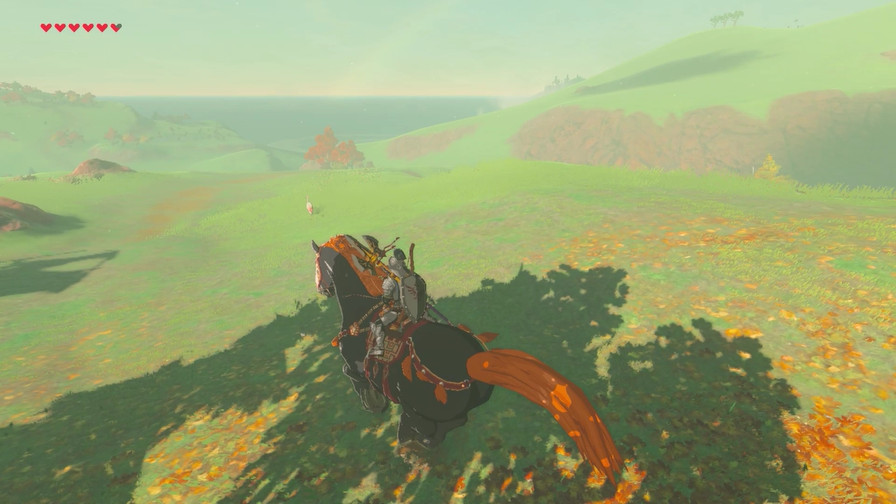
 We really need to get to safety.
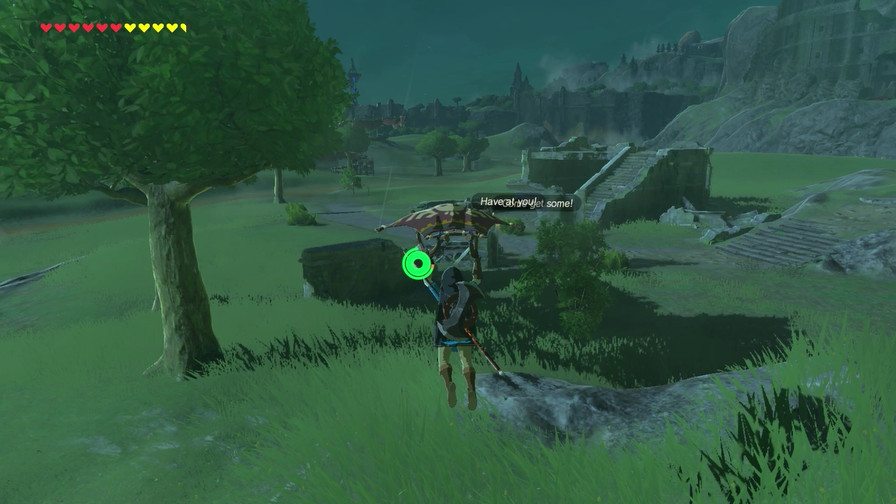
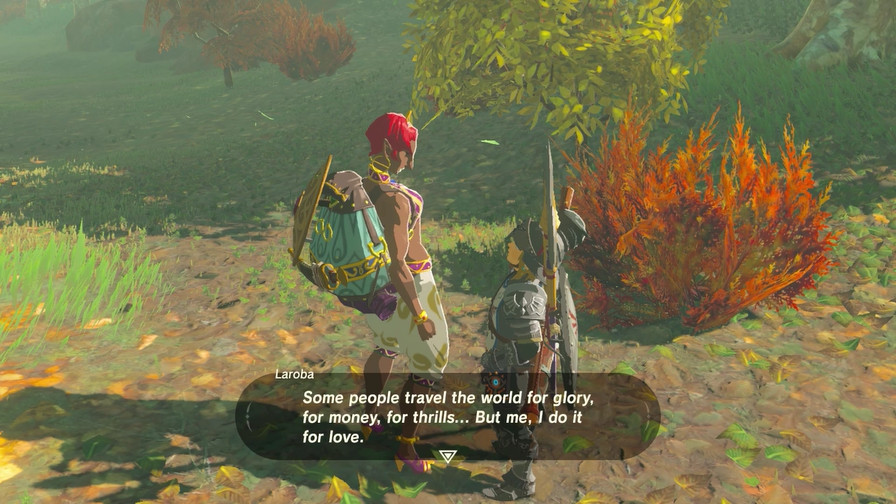
Have fun!
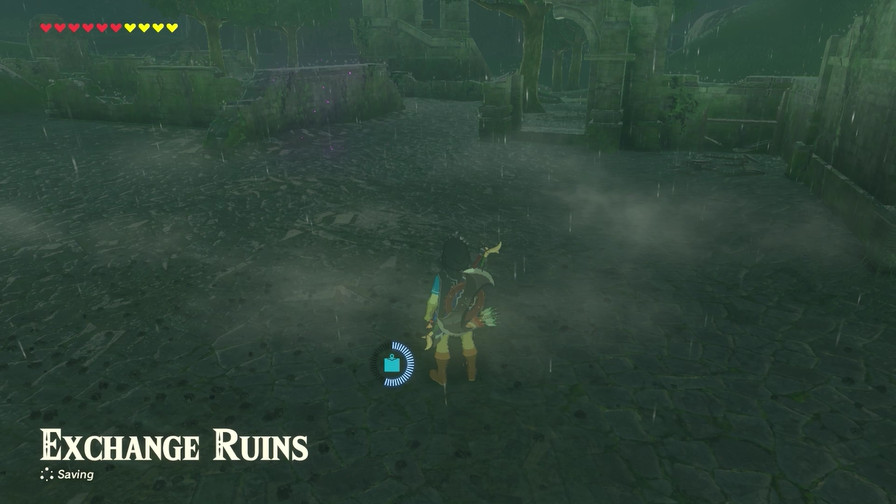
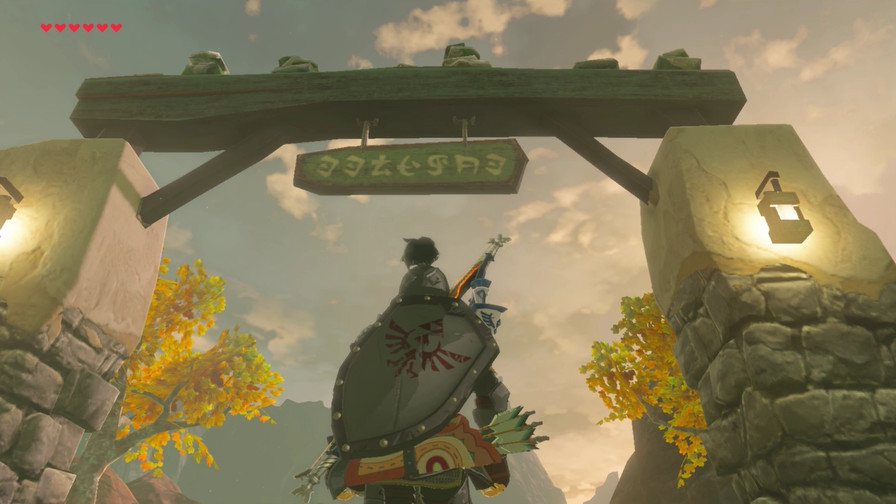
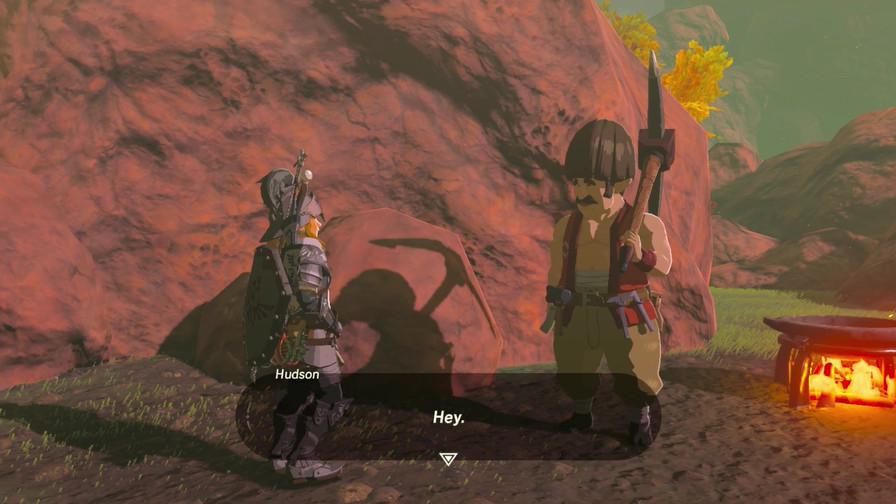
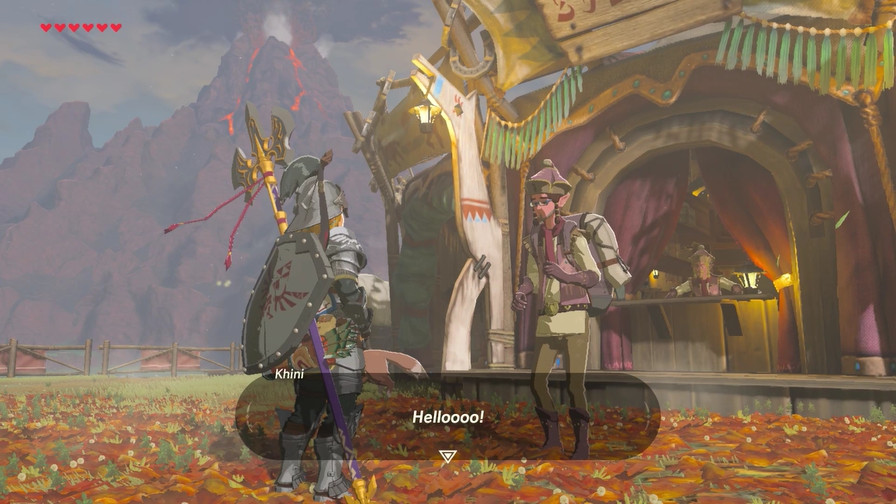
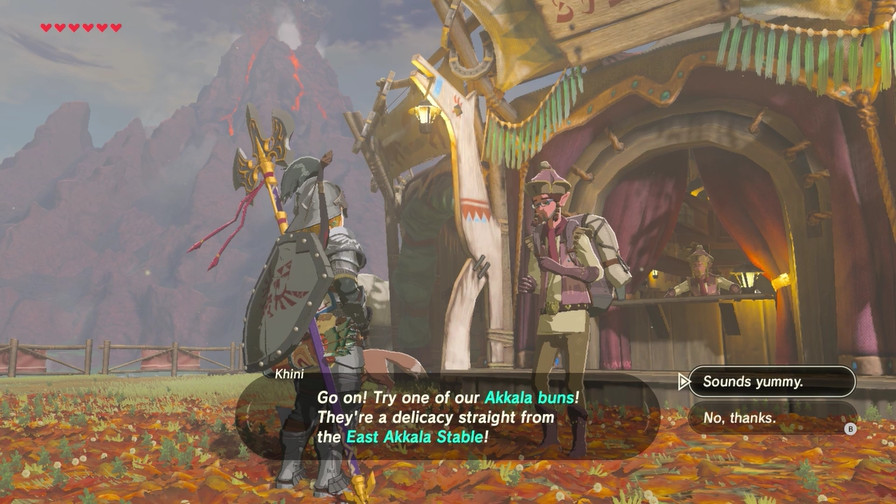
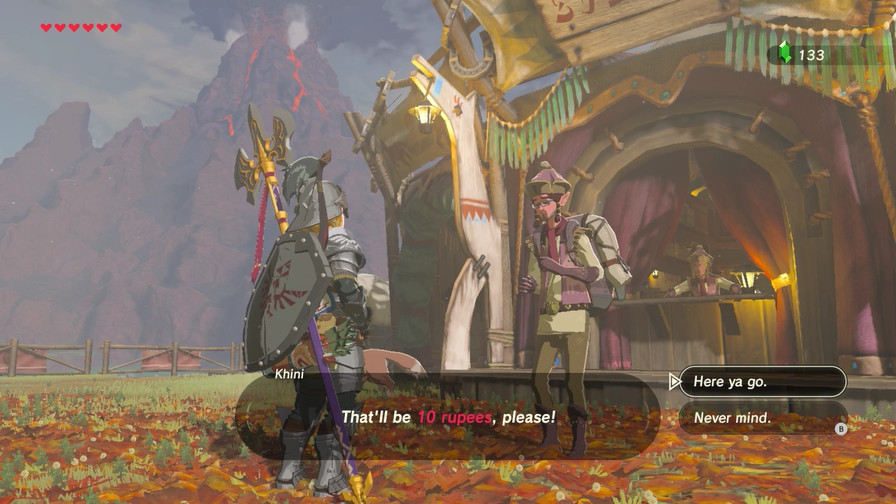
Finally. The area where a lot of trade occurred.
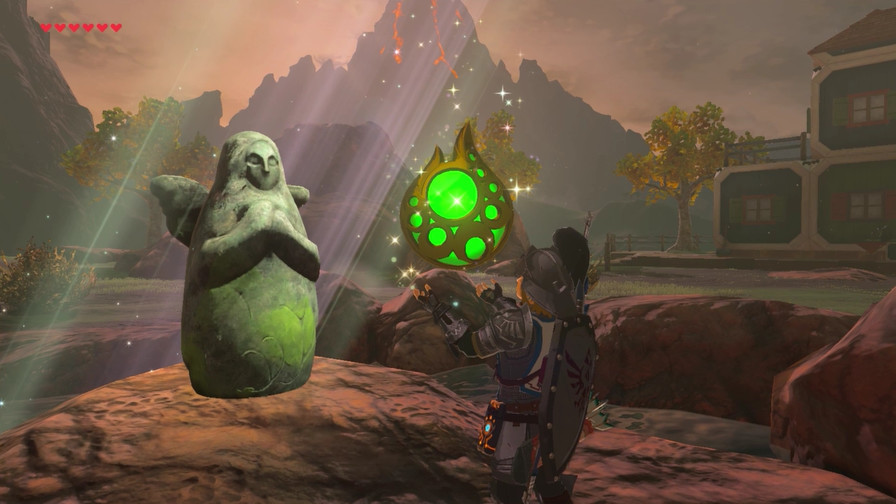
Oh wow a Korok what a surprise
Nope! Just another chest.
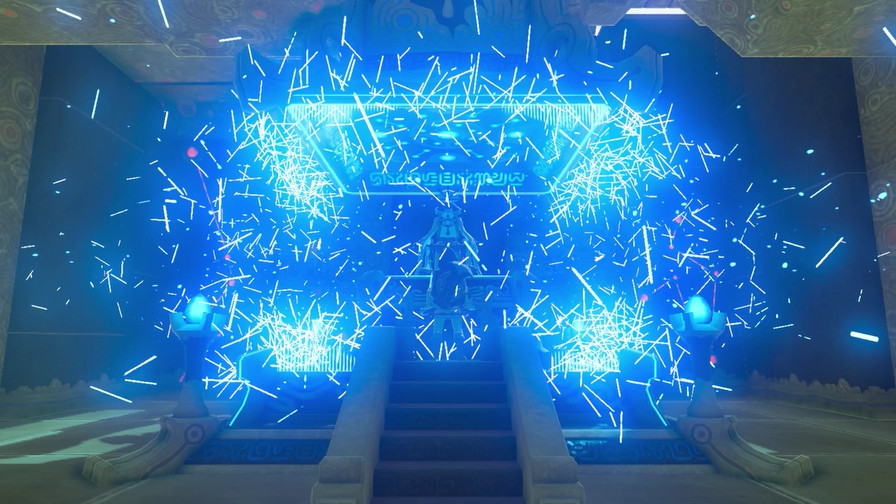
There we go.
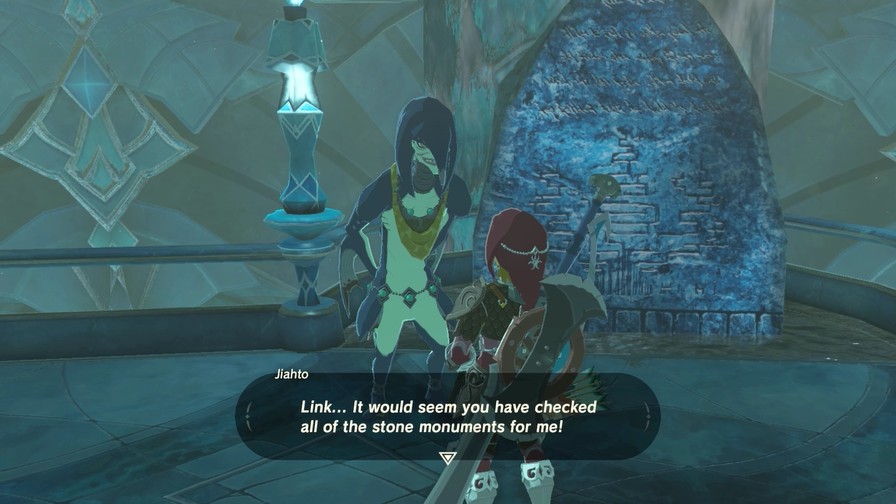
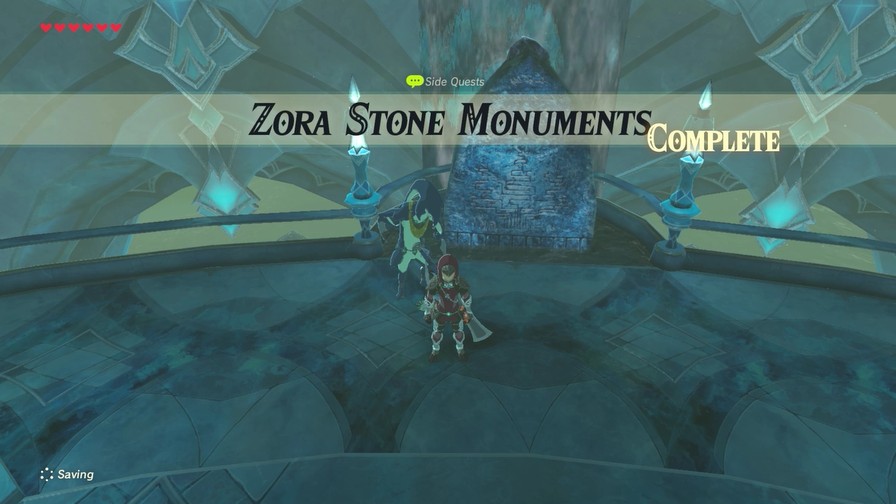
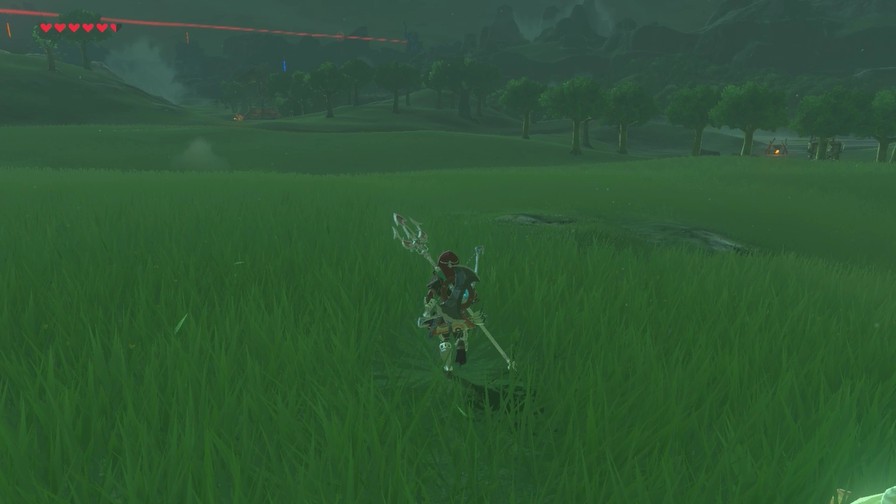
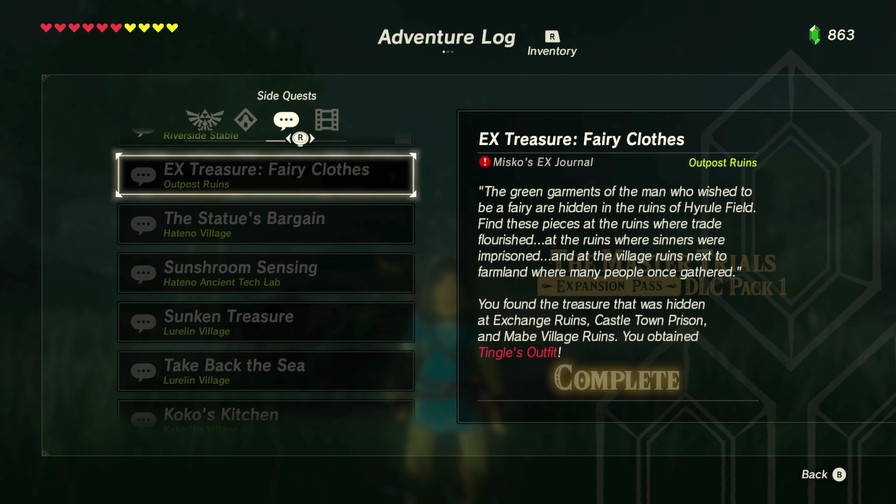
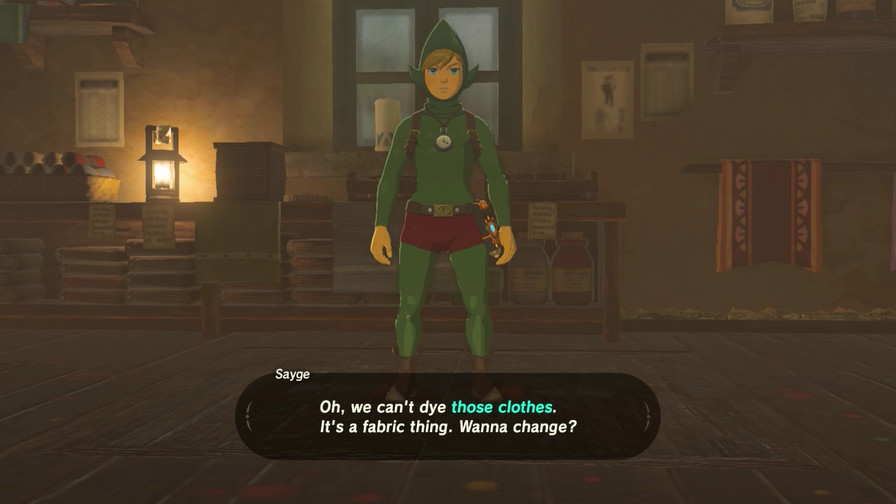
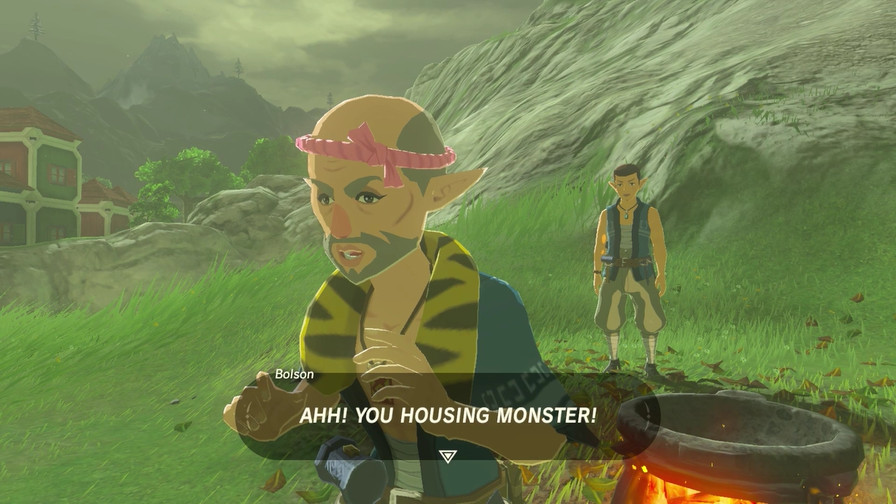
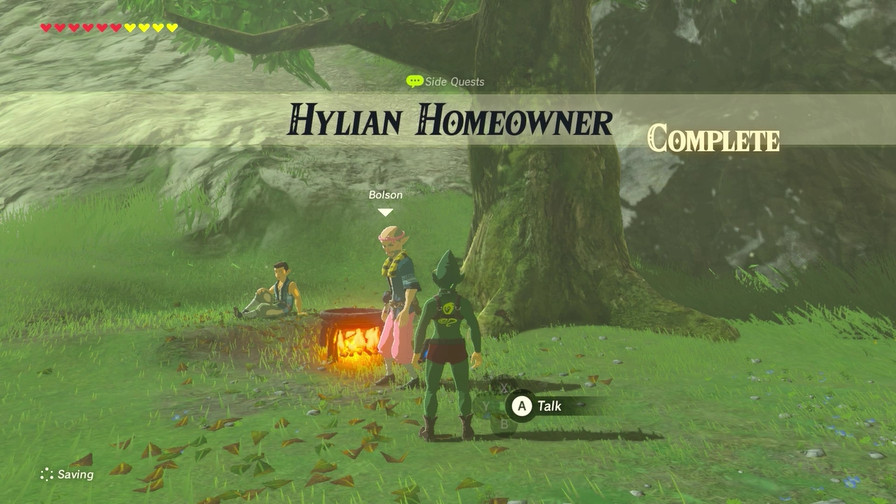
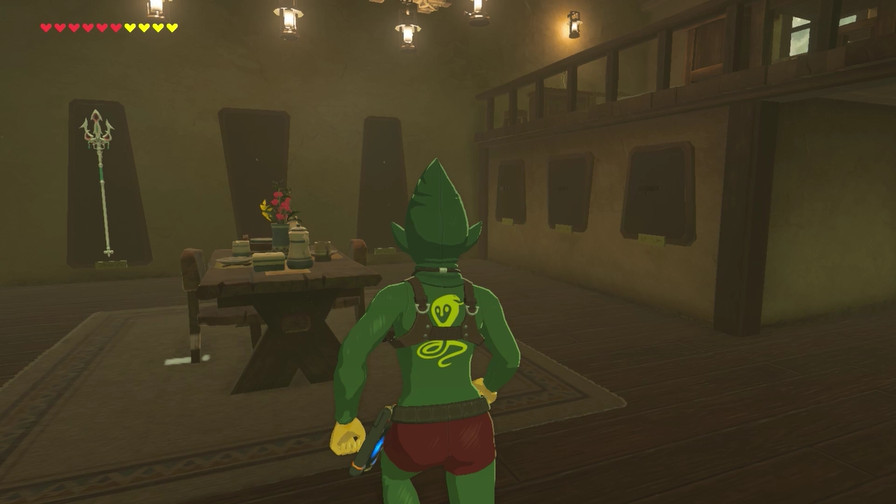
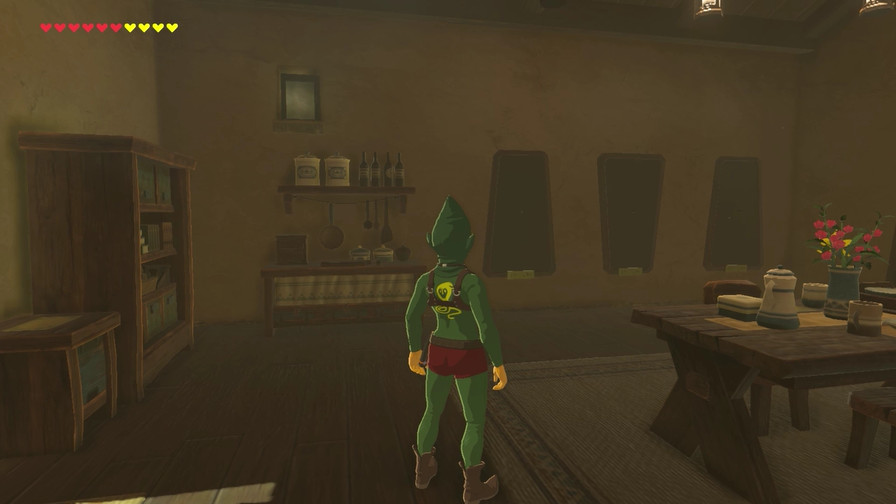
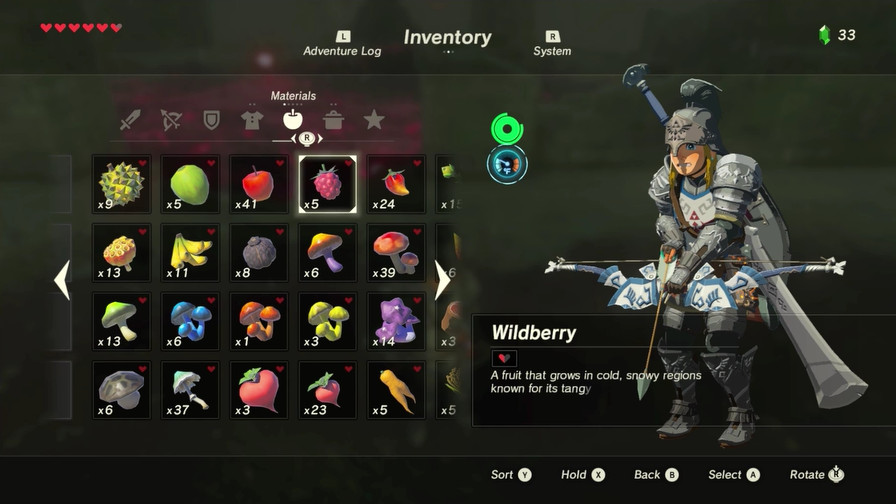
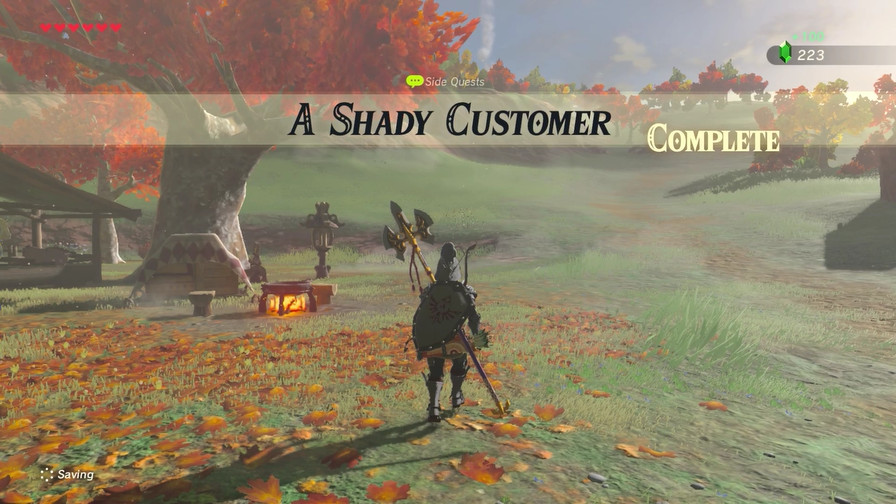
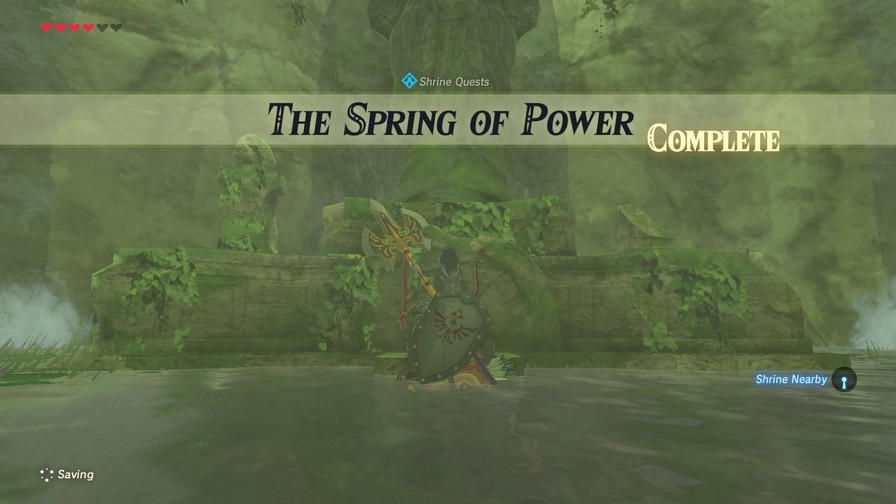
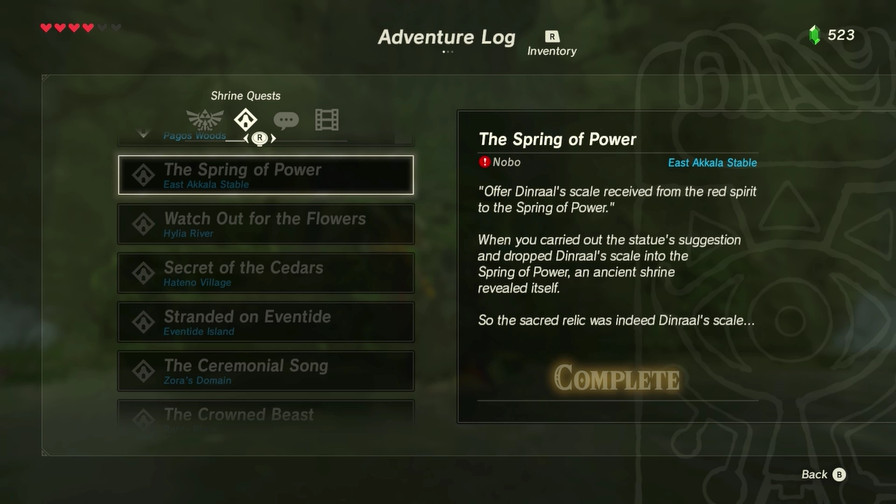
At last, our quest is complete!
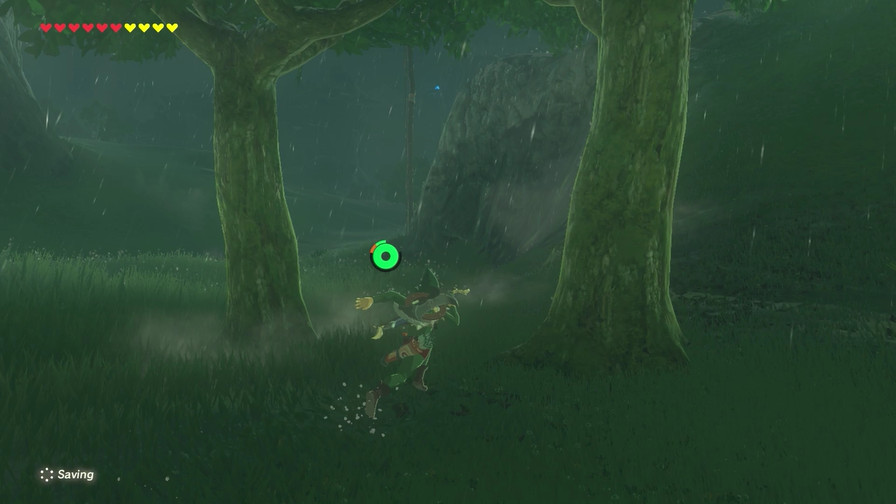
And it was so worth it.
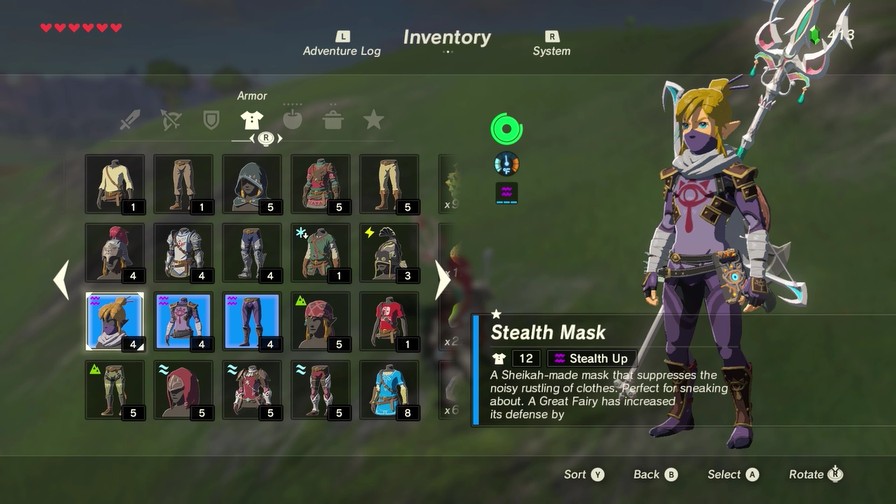
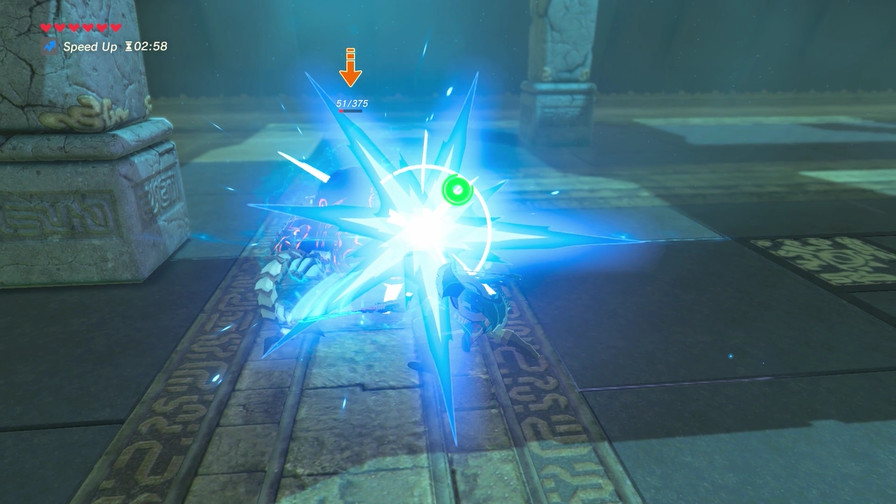
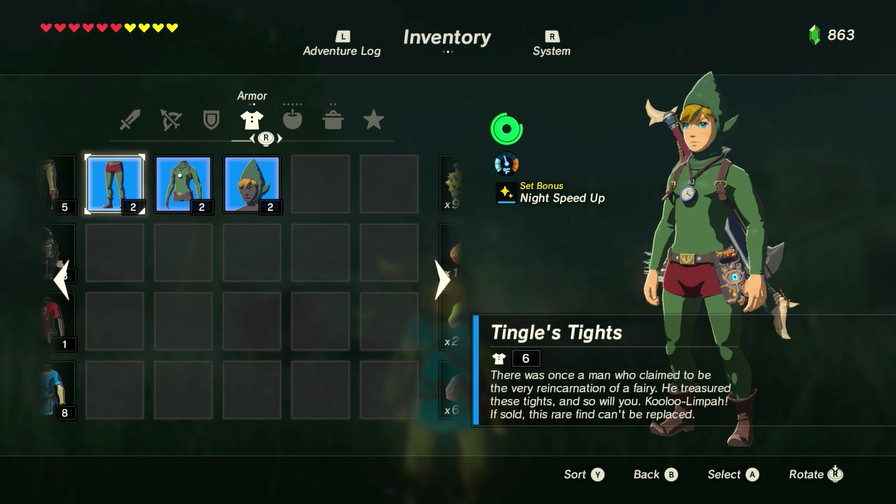
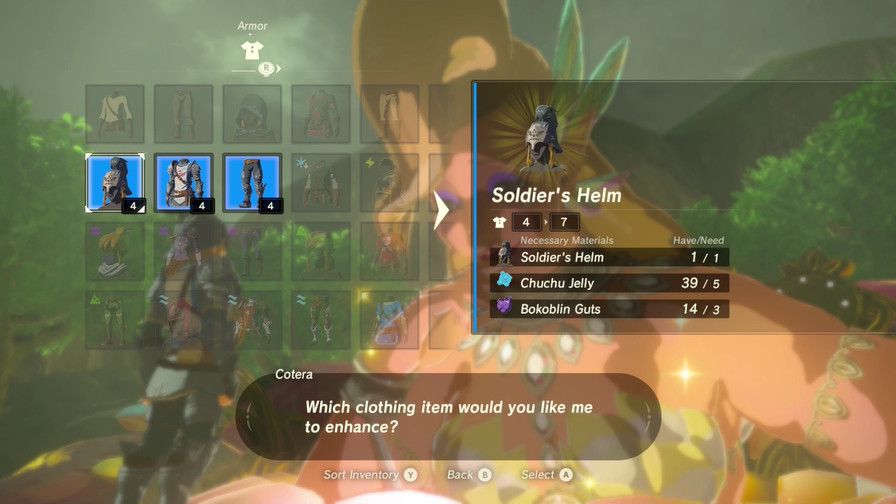
If you look at the menu screen, you’ll see it says “Set Bonus - Night Speed Up”. Many sets have bonuses when you wear all three parts of it. The trick is you have to upgrade each piece of clothing twice in order to activate the set bonus. The DLC gear is an exception, of course, as are a few other novelty sets.
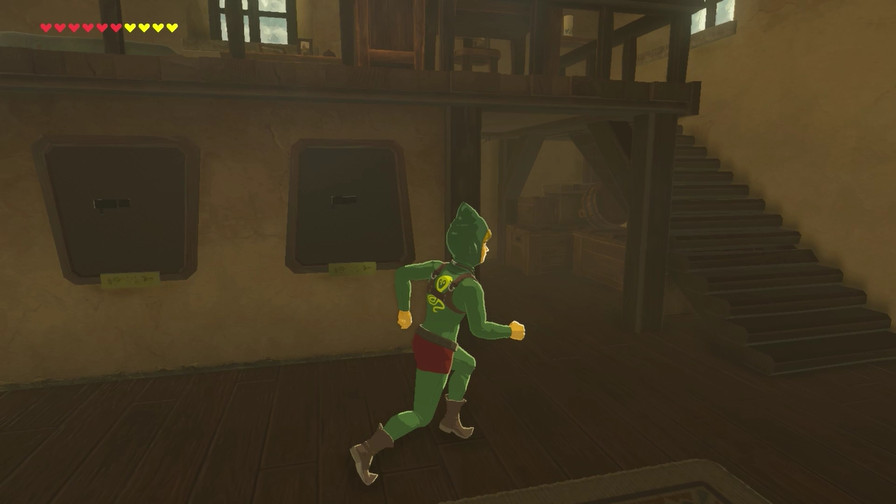
The Fairy Clothes let Link run faster at night. It’s pretty nice, though it’s a bonus copied by several other sets, most notably the Sheikah gear. Still, it’s the only way we can do it now, and who doesn’t want to dress like a fairy?
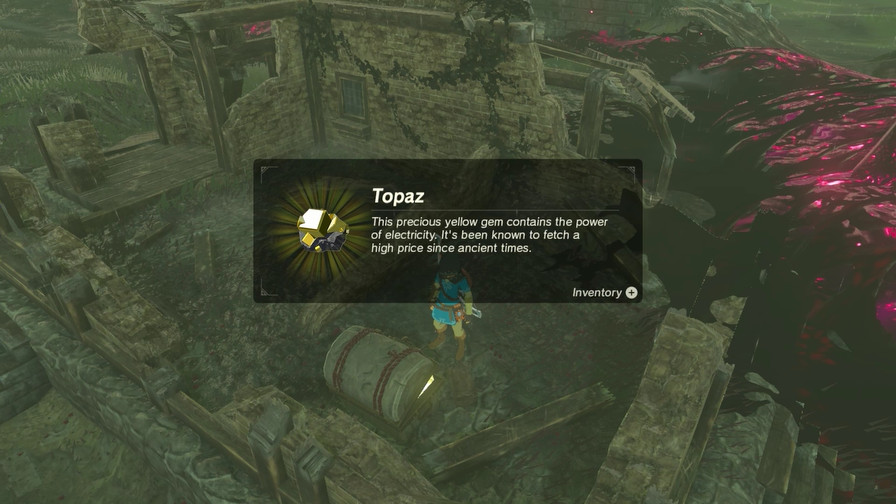
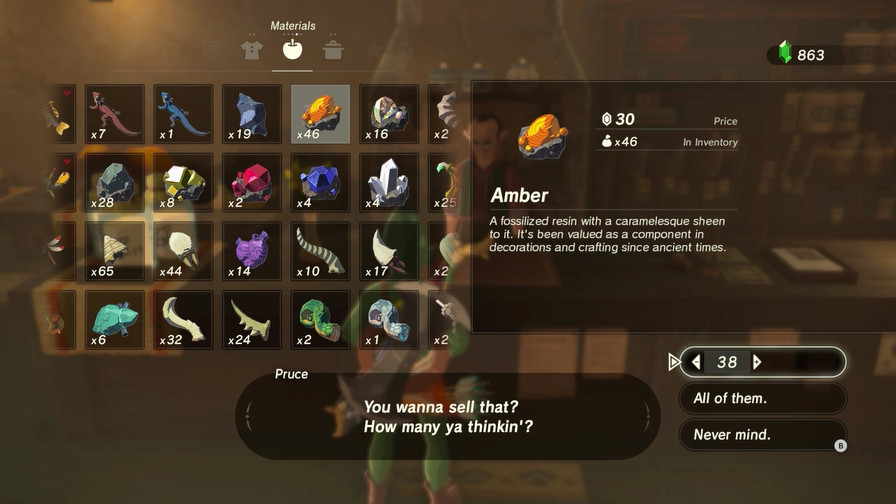
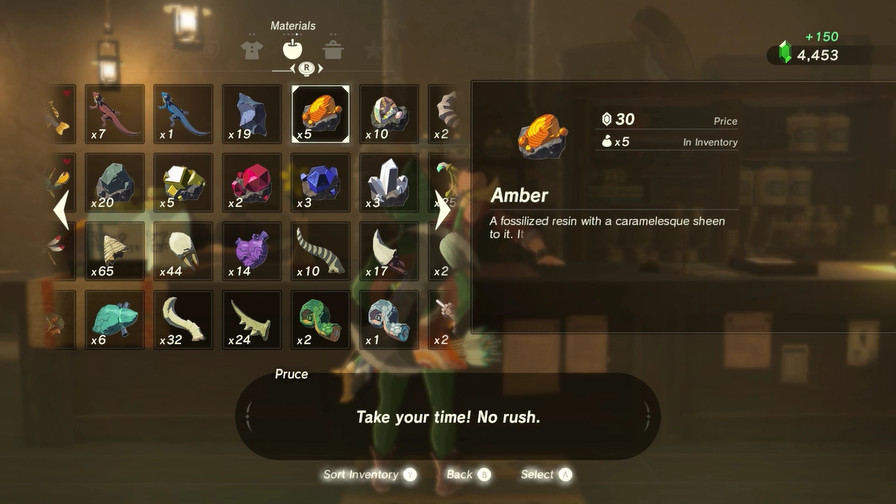
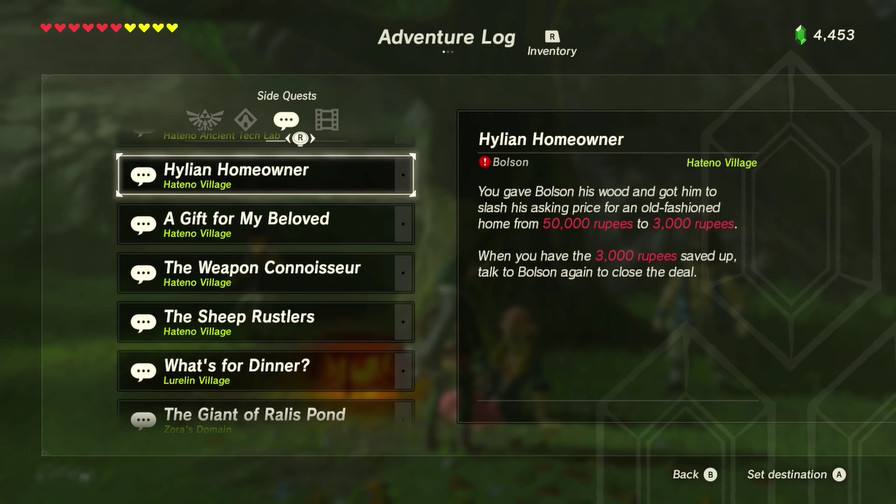
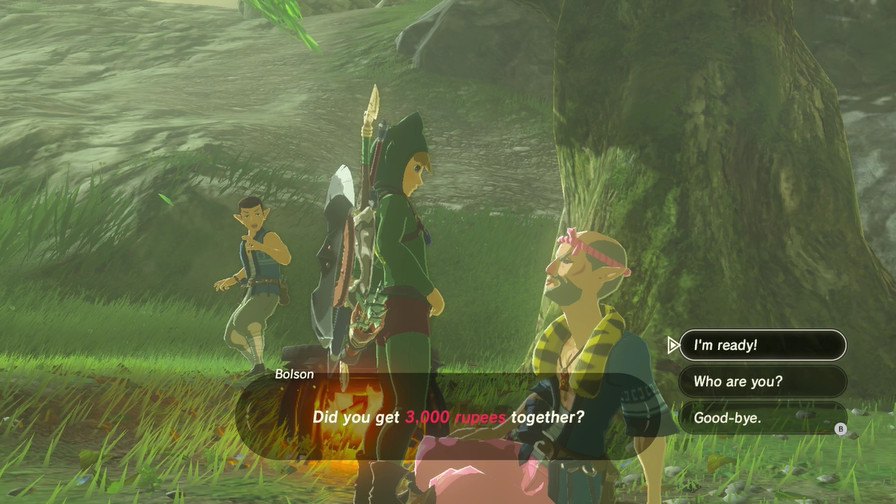
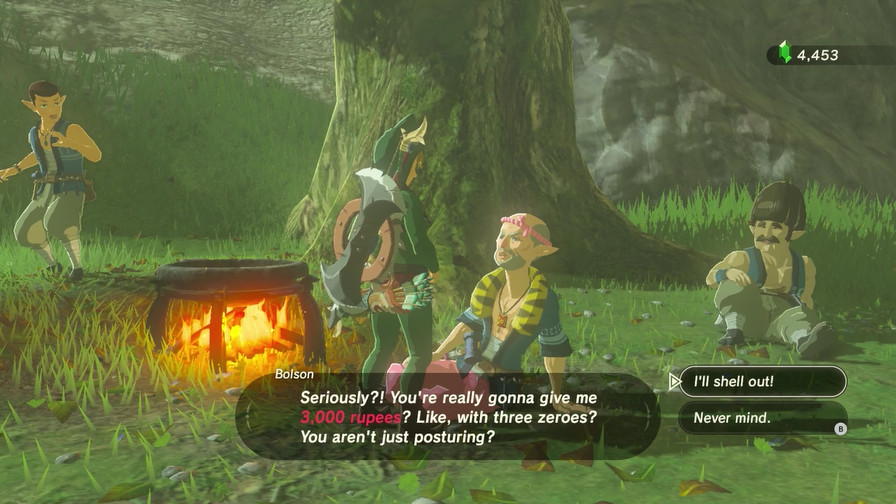
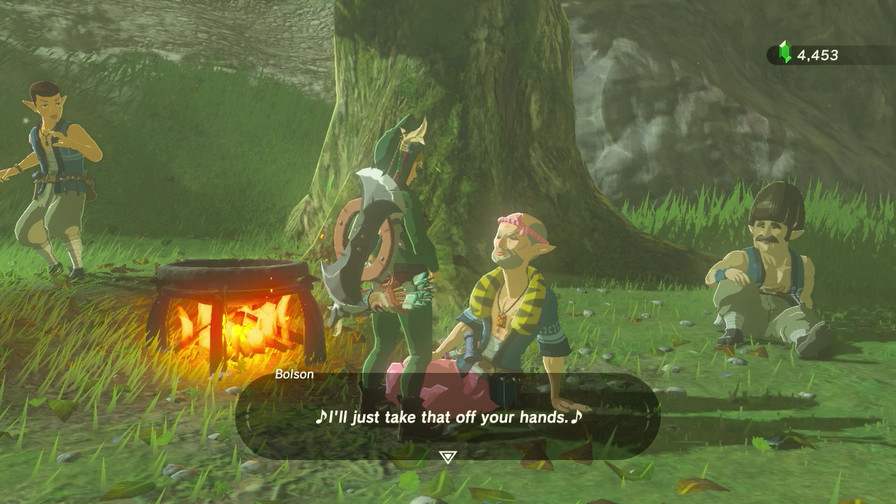
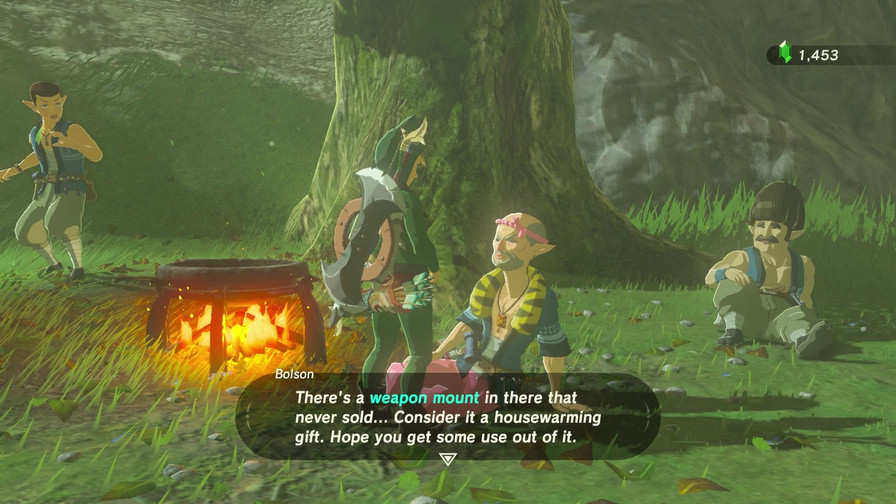
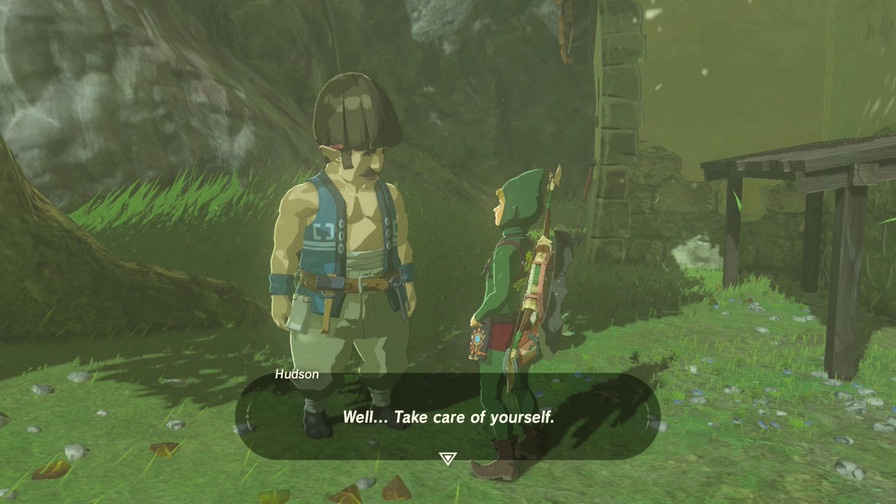
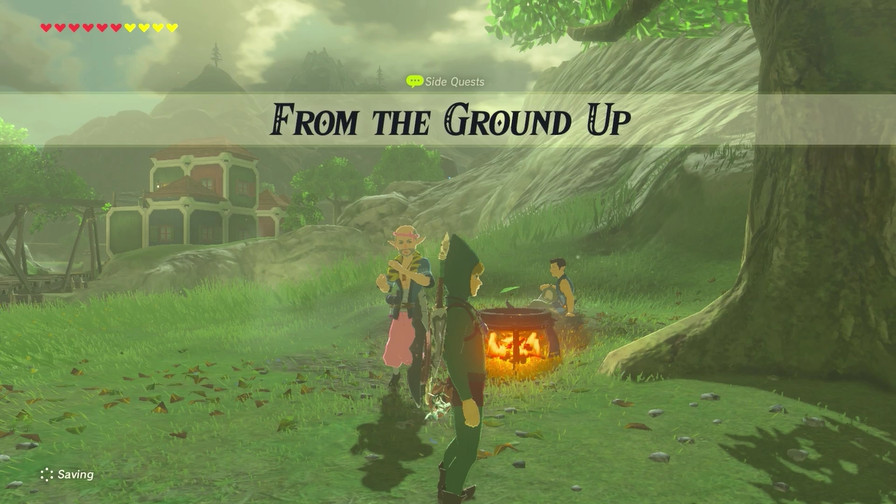
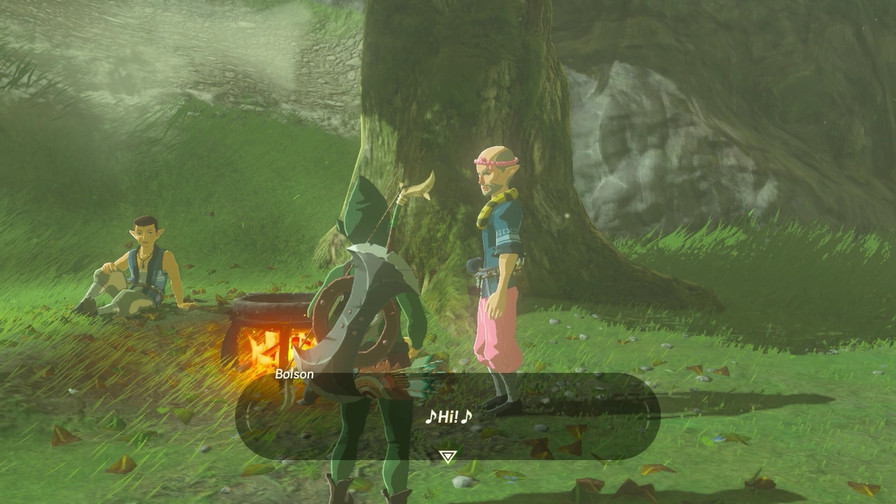
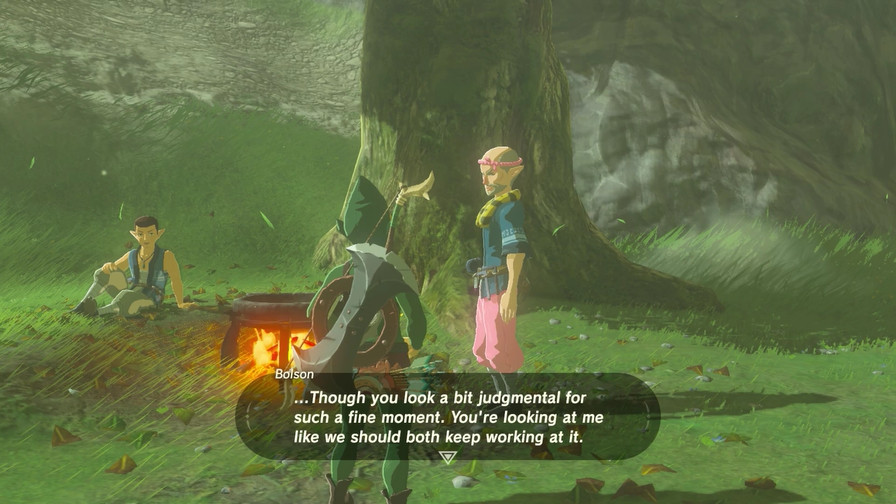
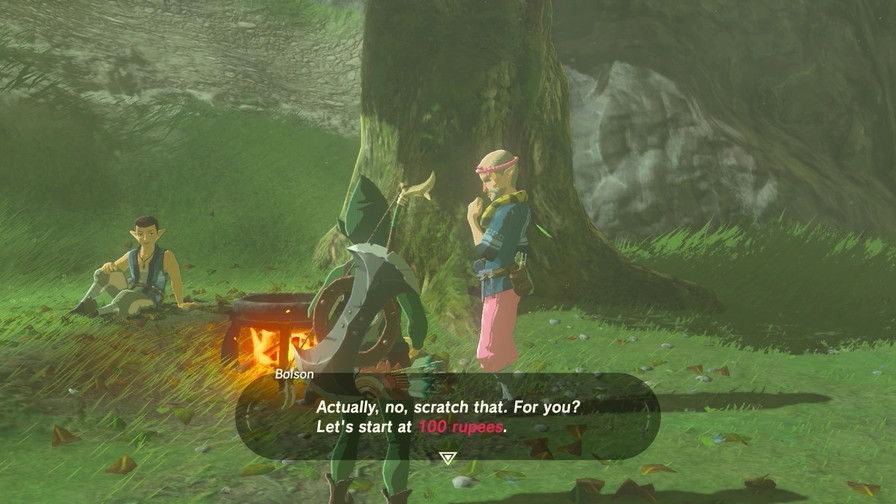
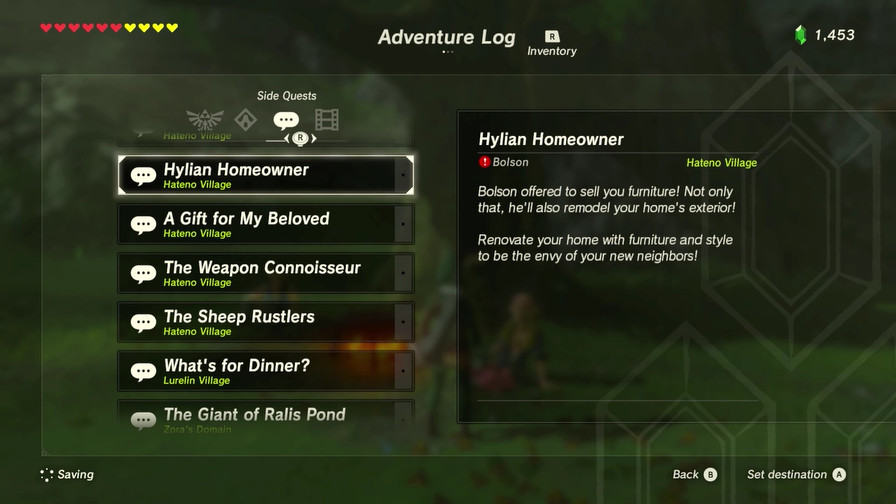
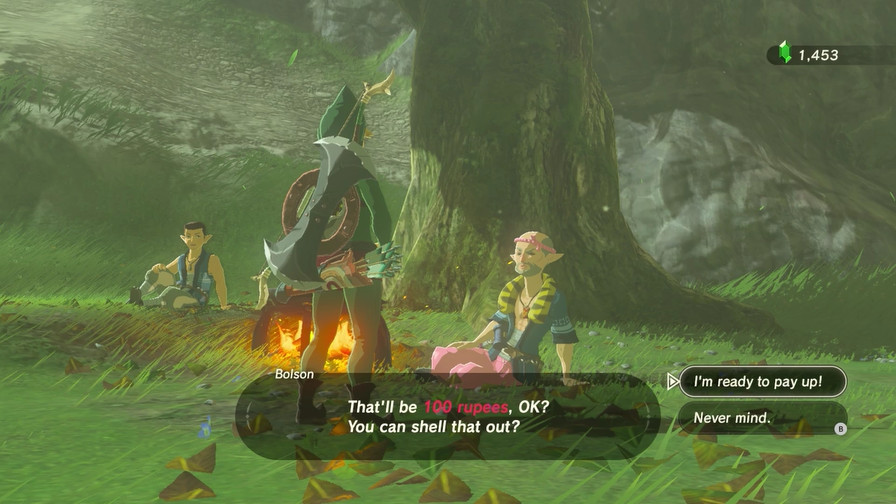
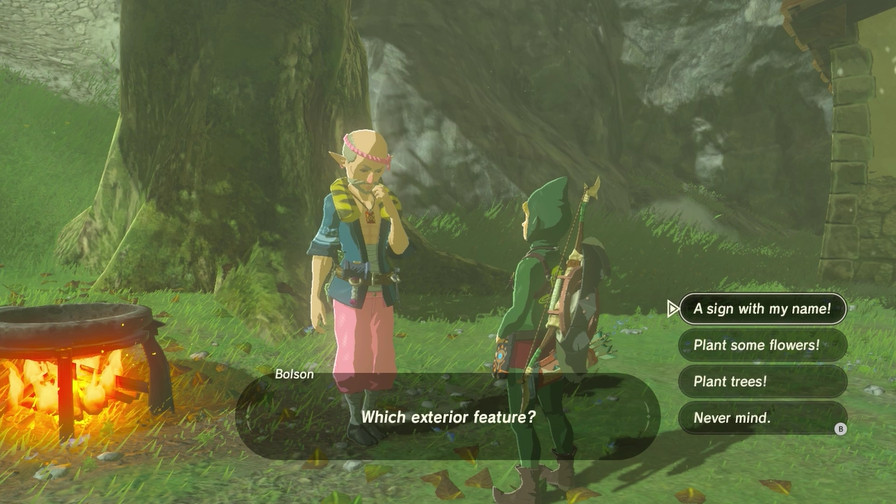
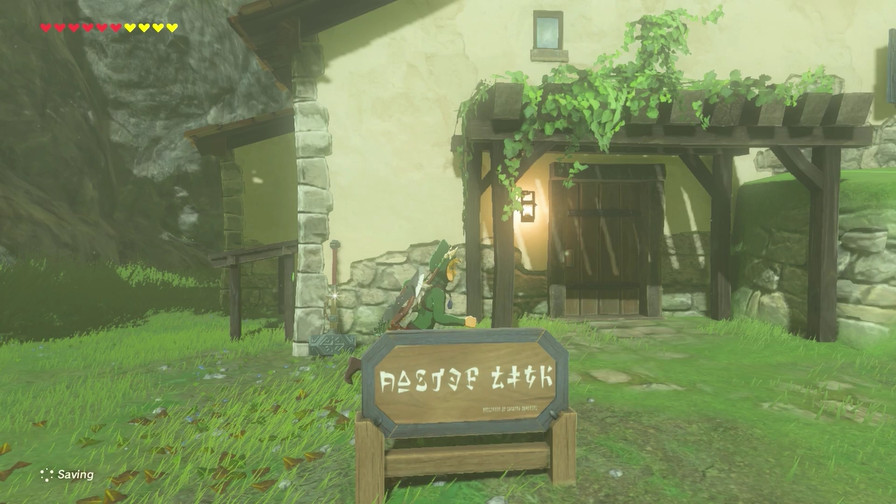
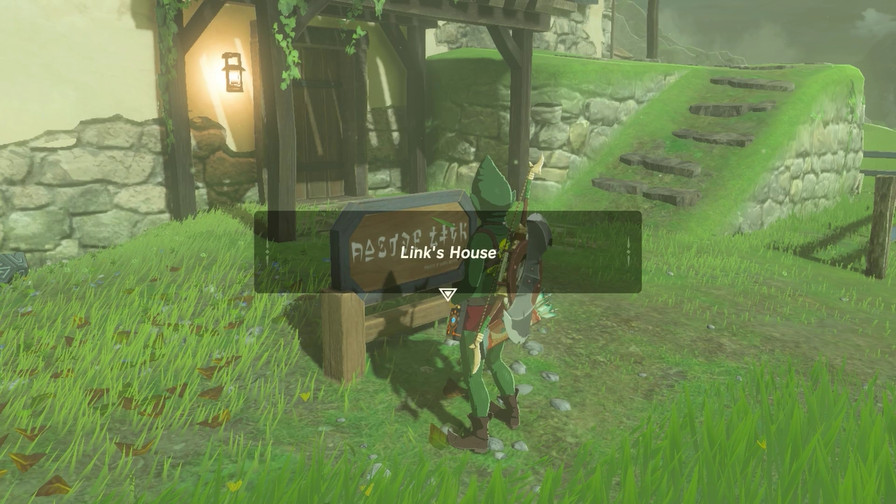
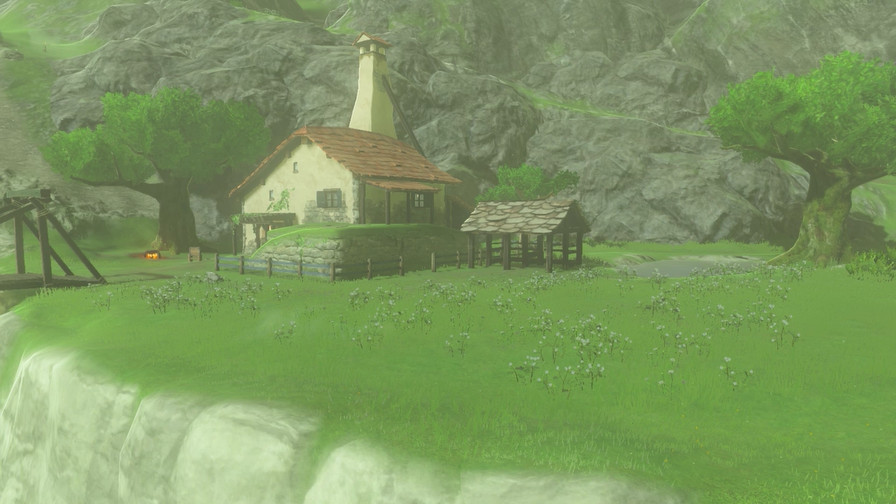
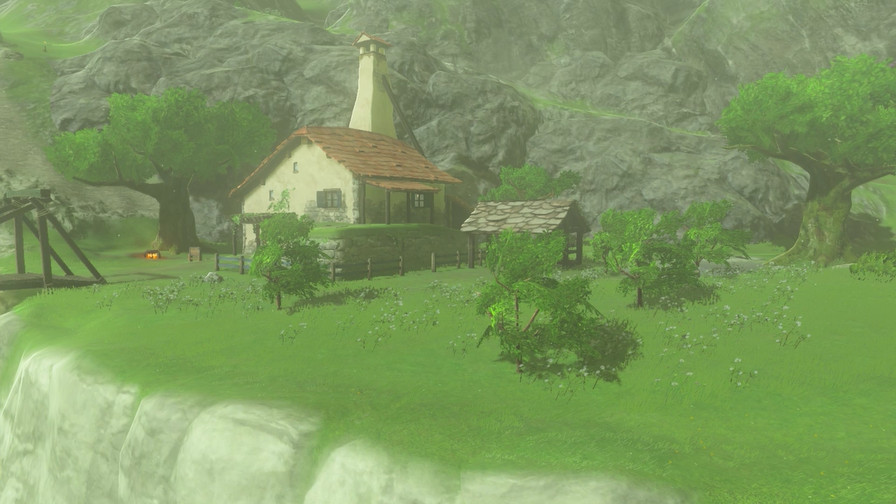
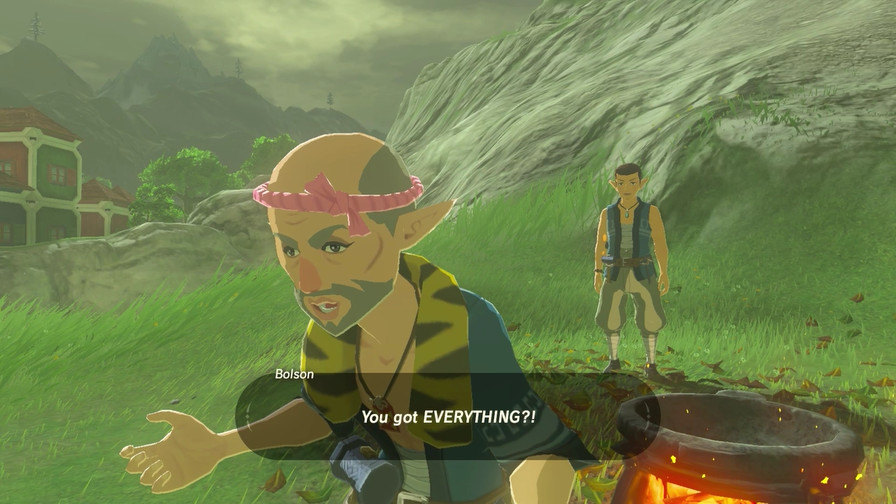
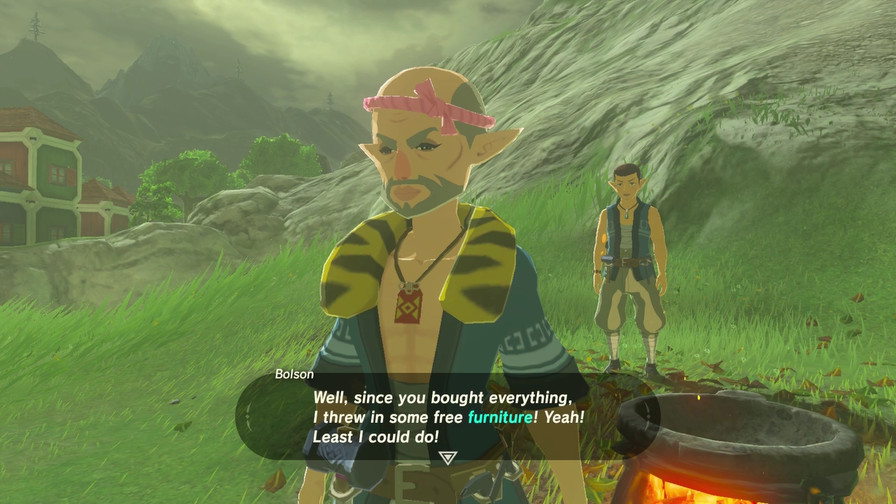
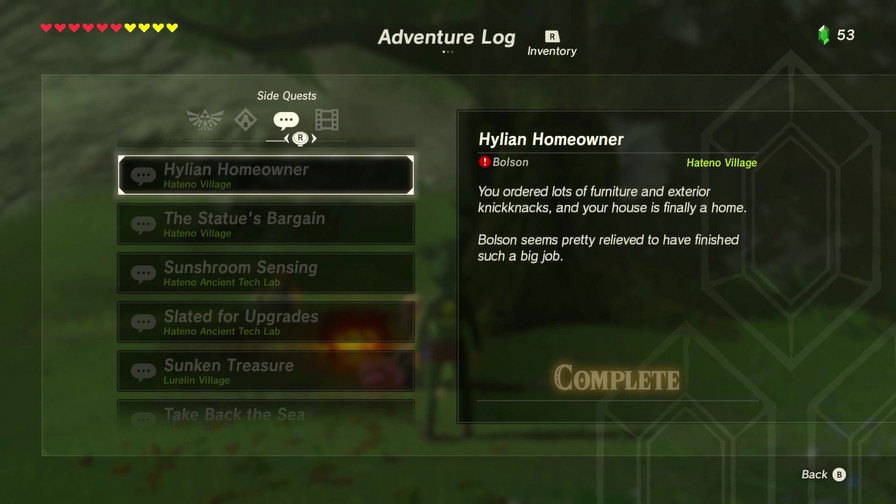
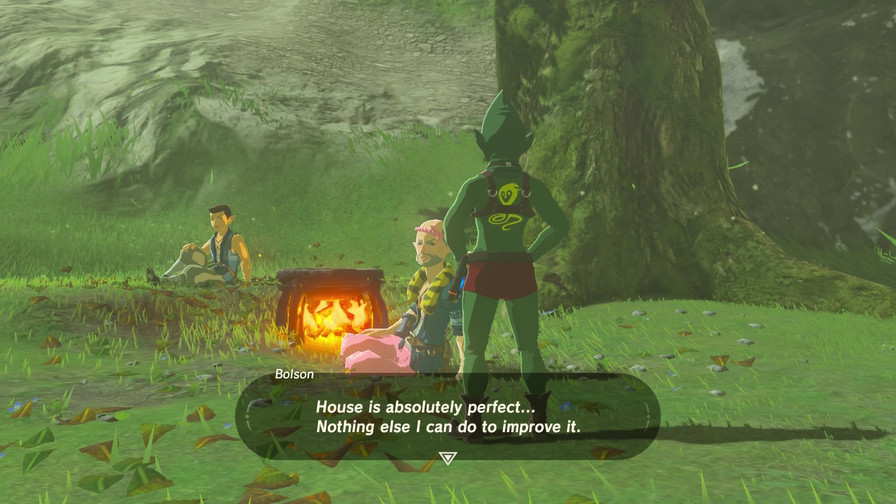
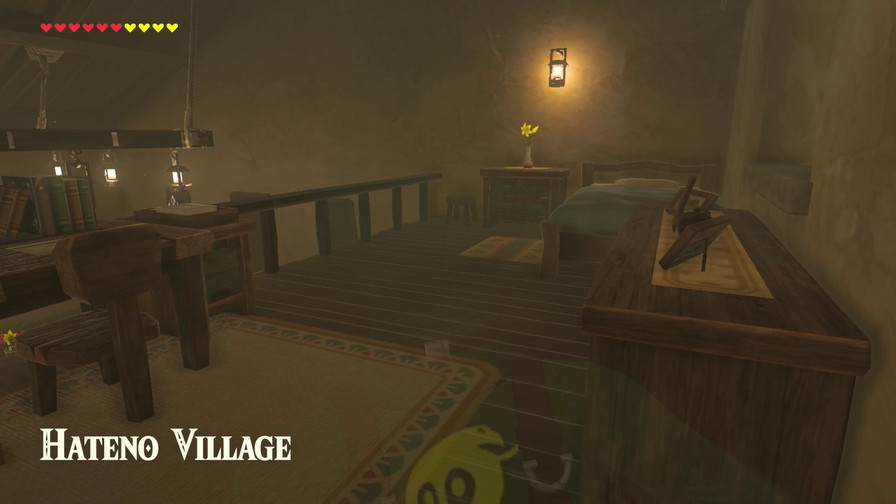
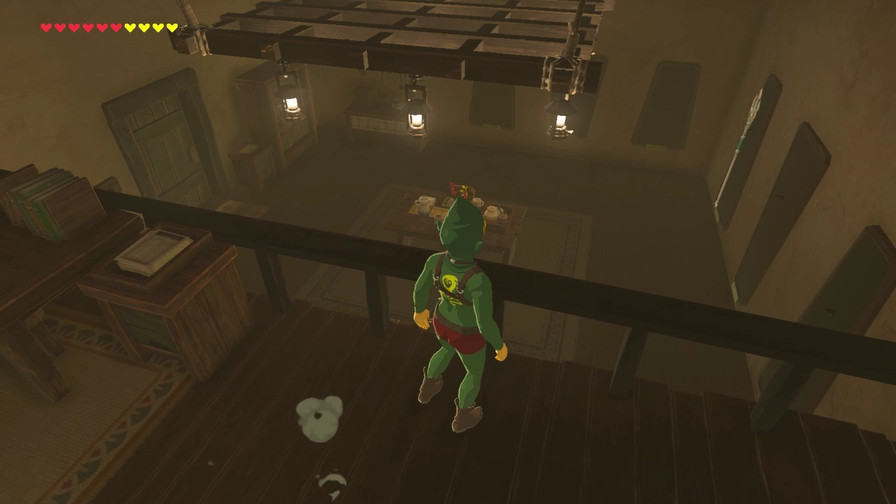
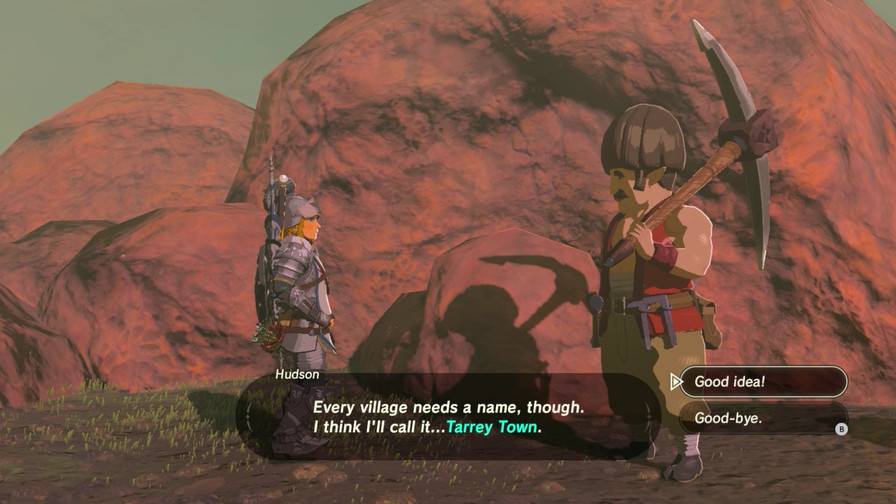
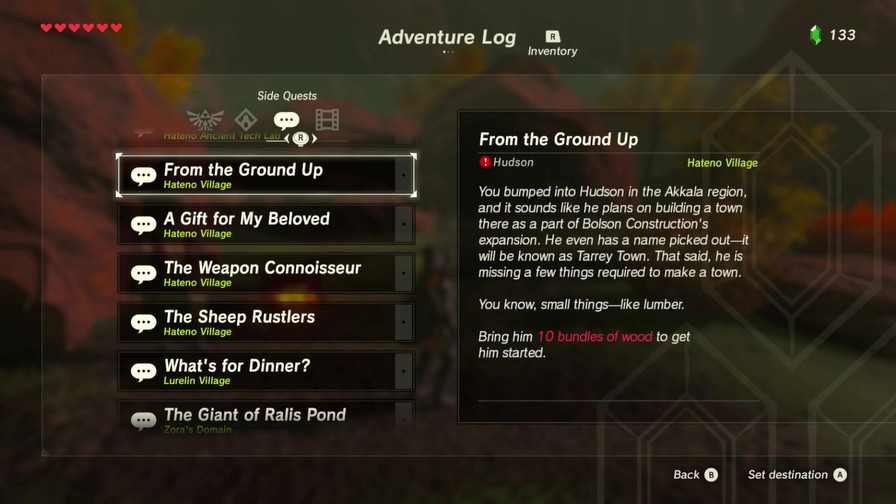
One bright side of that whole ordeal is Link finding a ton of money and gems, so next time, Link becomes a home owner.