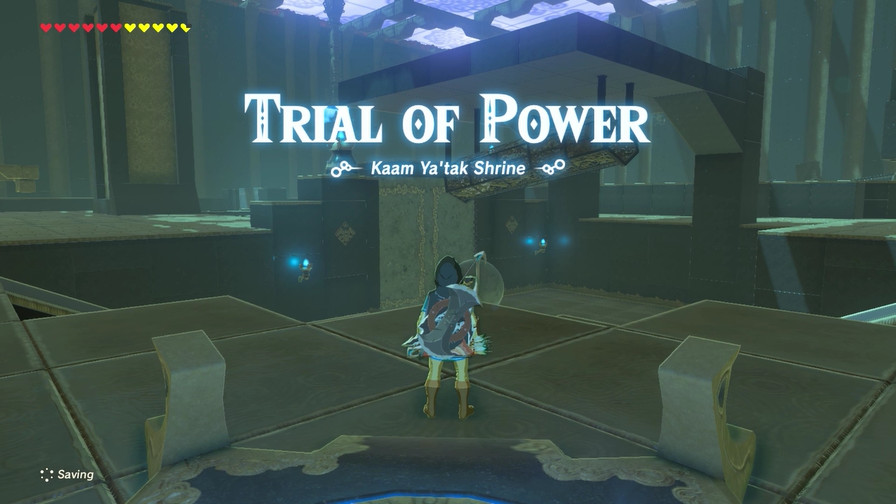
Click here to open the update!
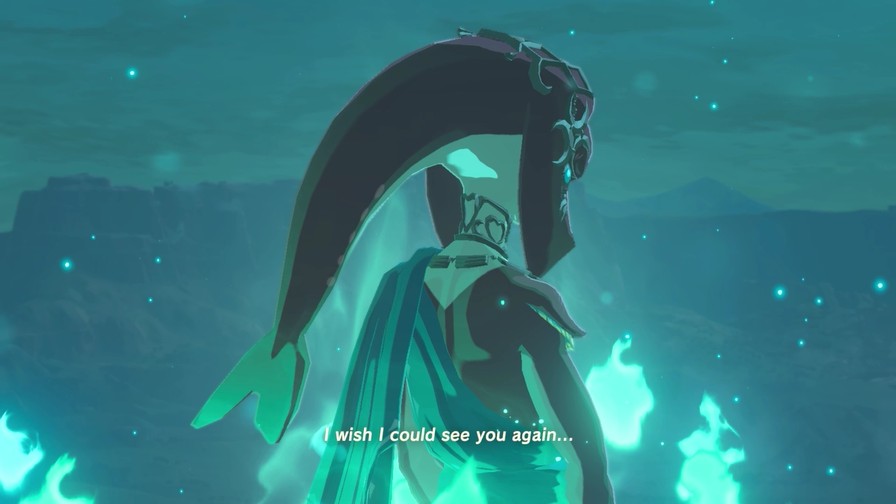
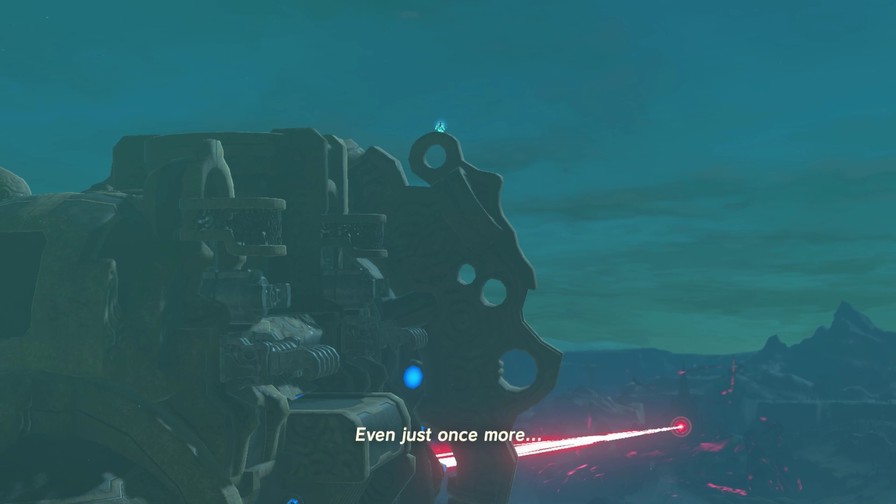
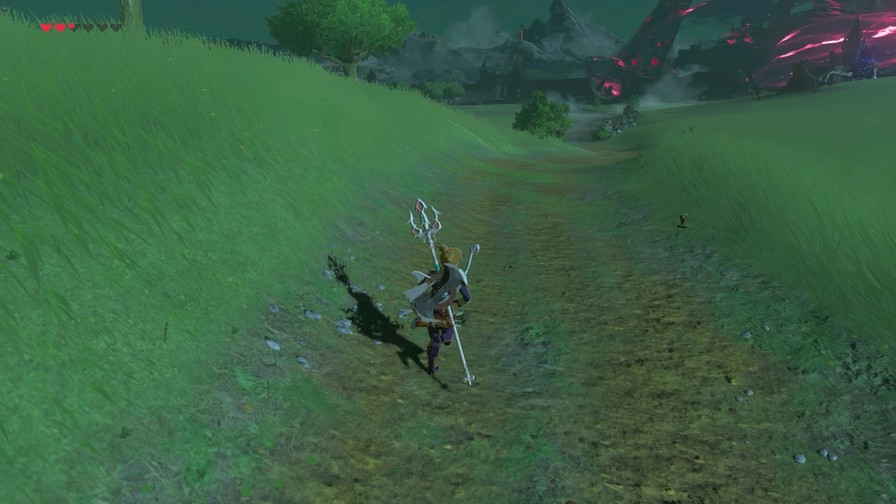
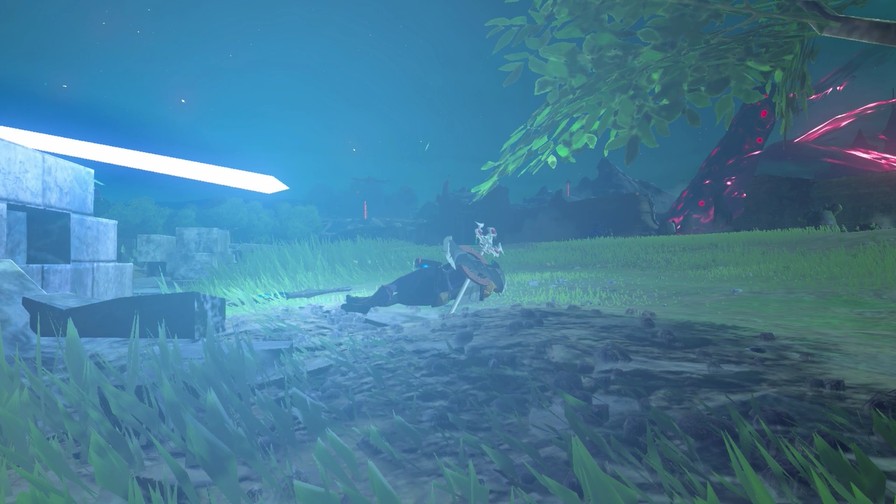
Music: Zora’s Domain (Night)
https://my.mixtape.moe/yfqdqe.mp4
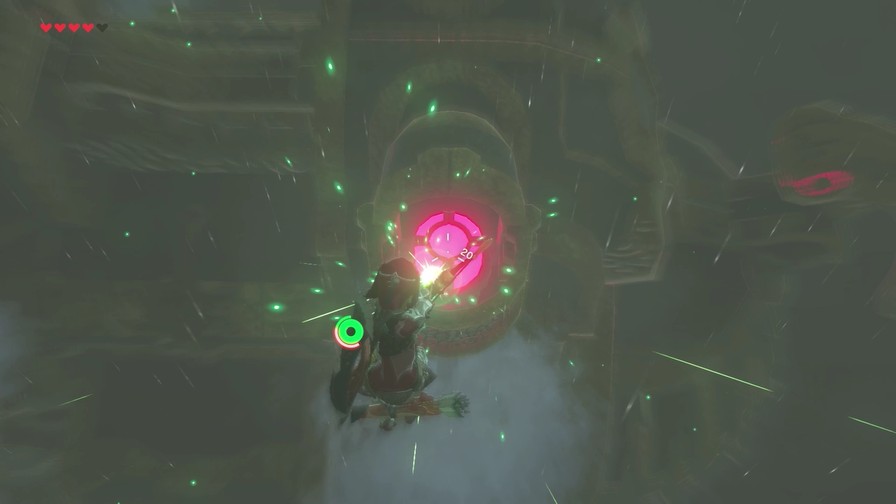
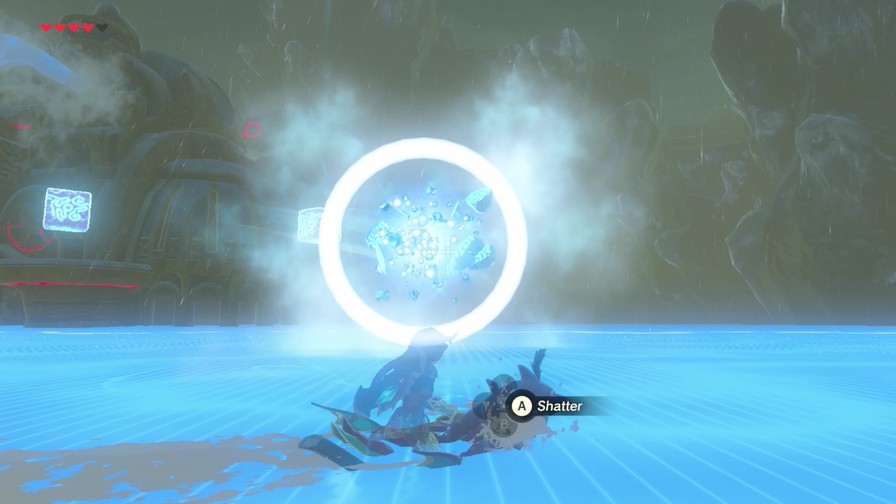
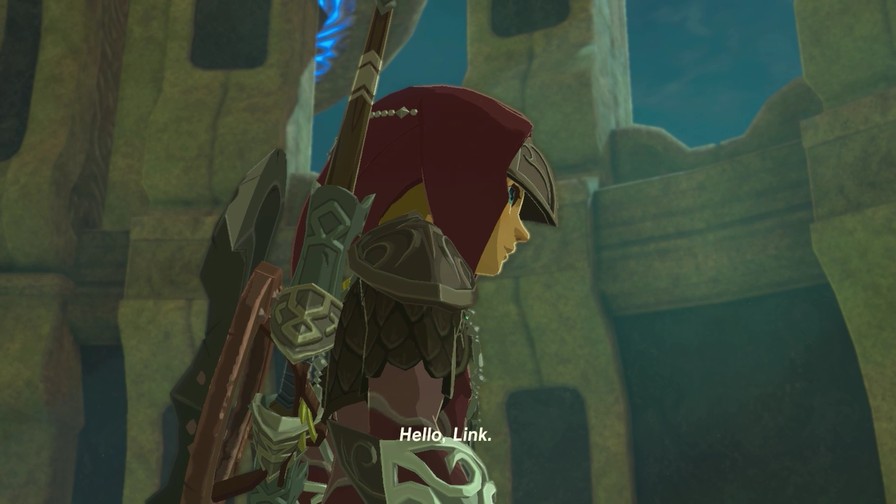
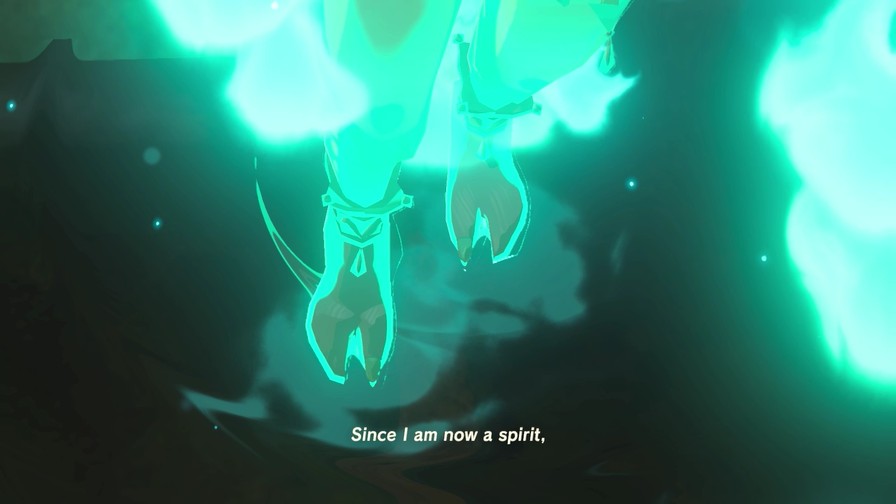
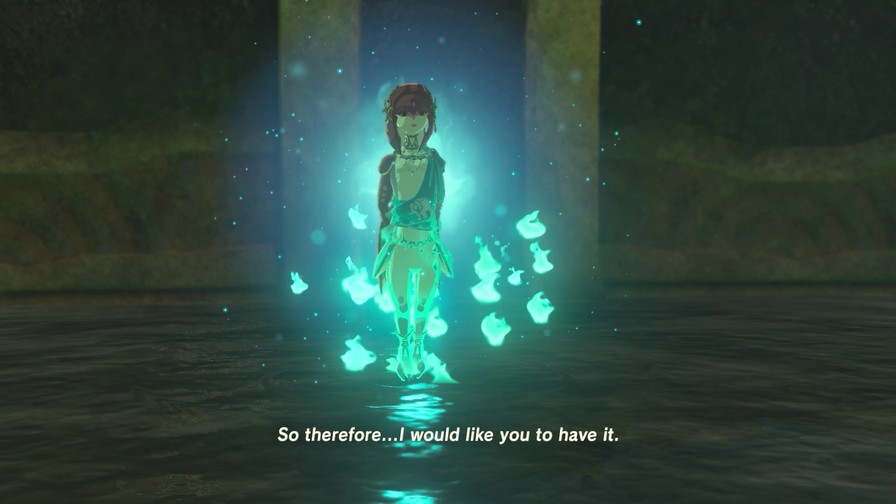
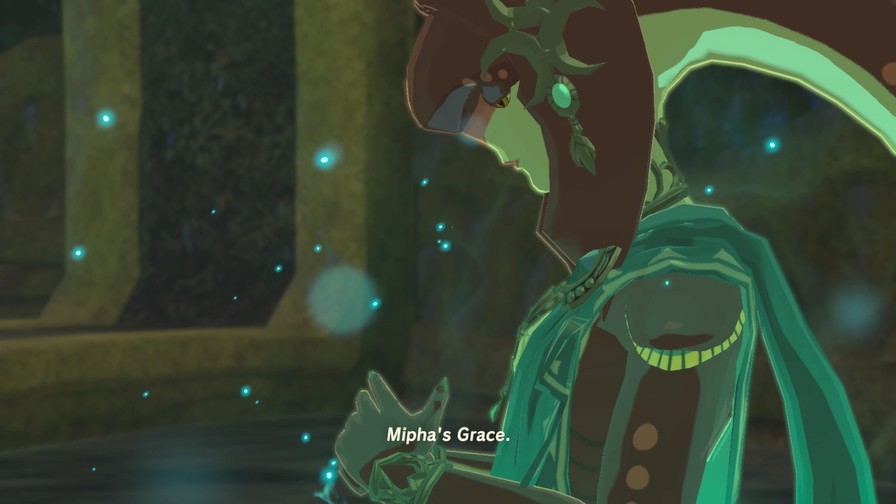
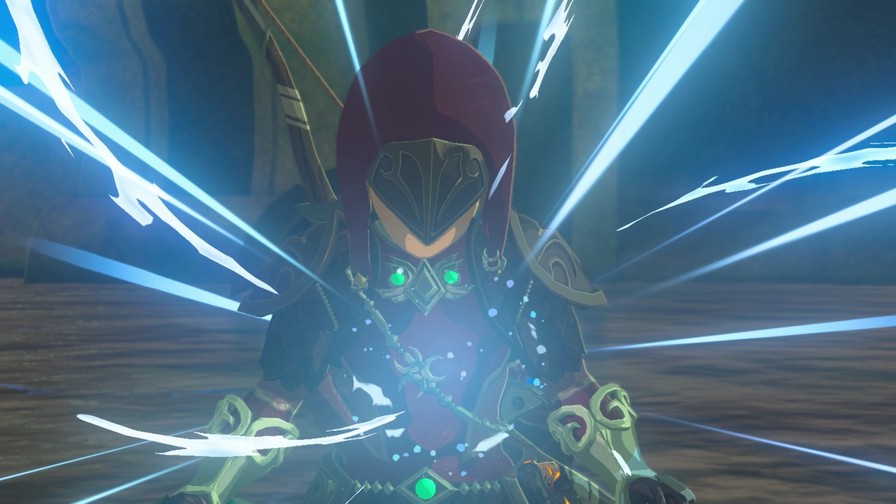
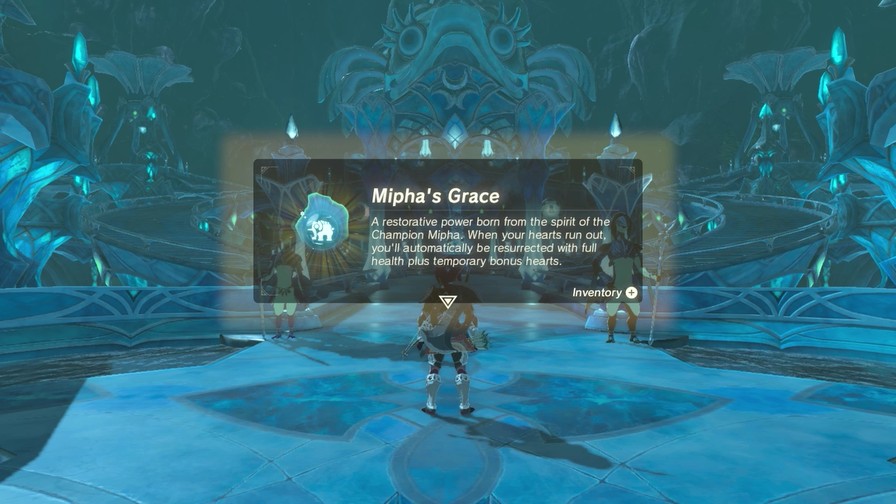
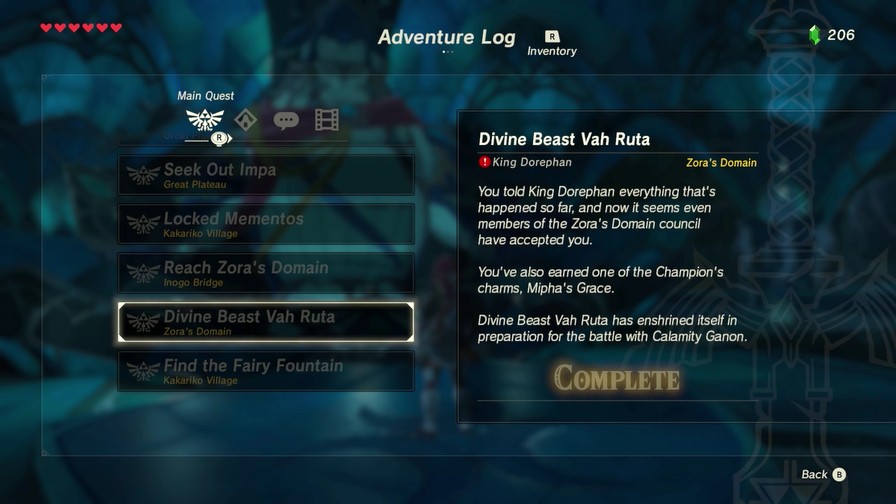
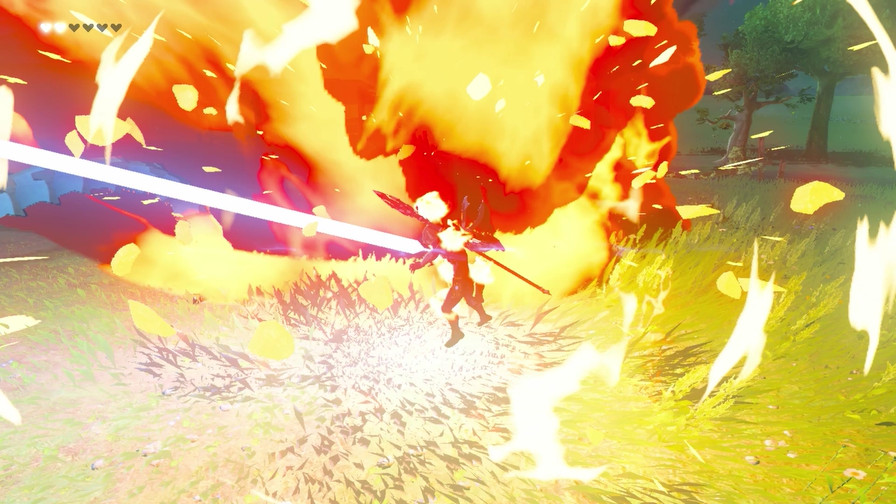
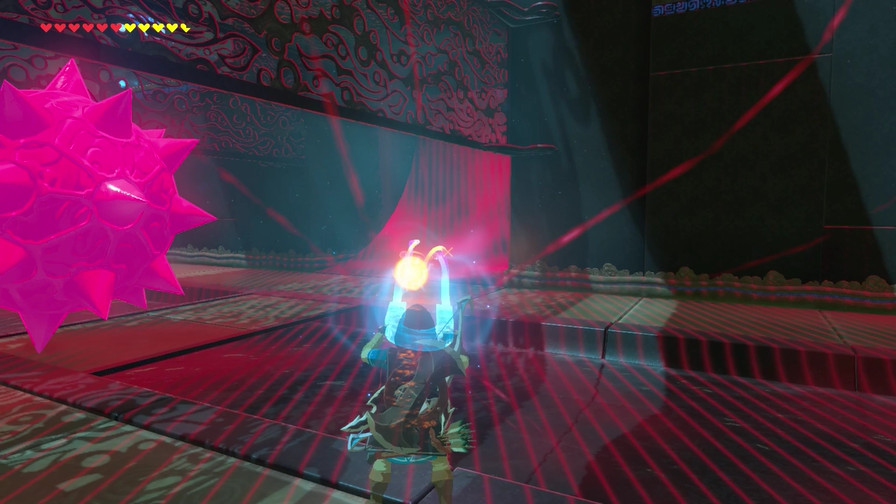
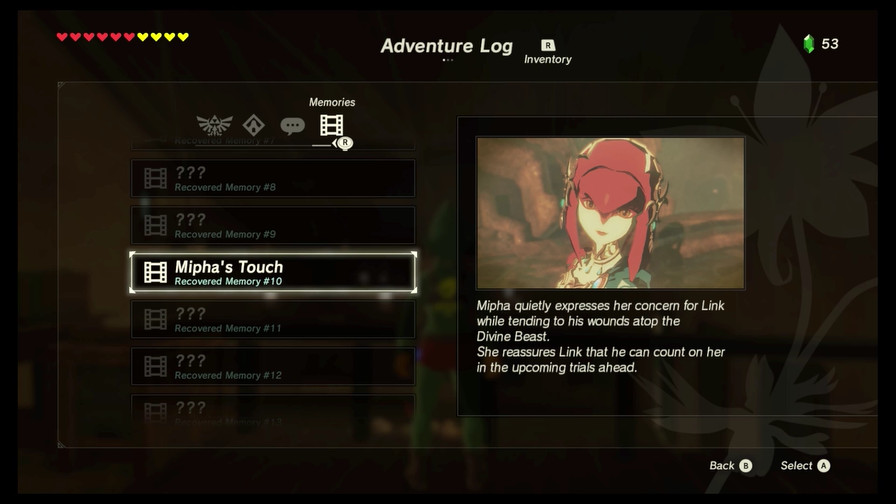
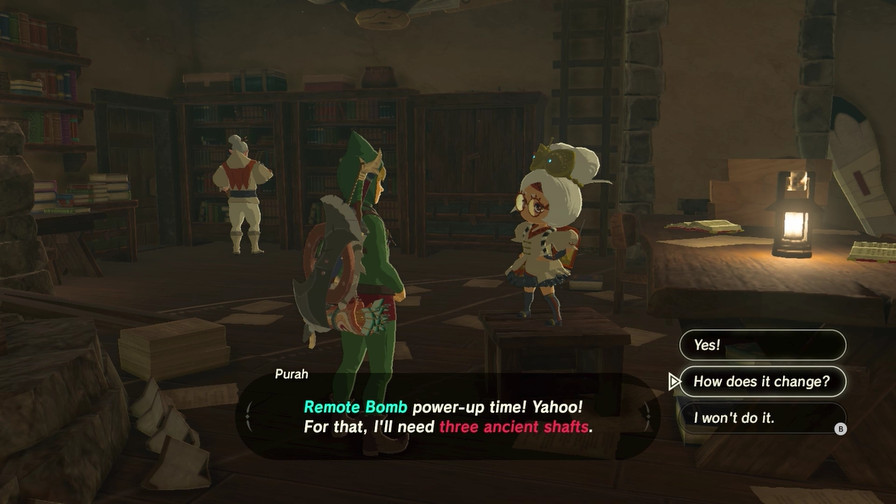
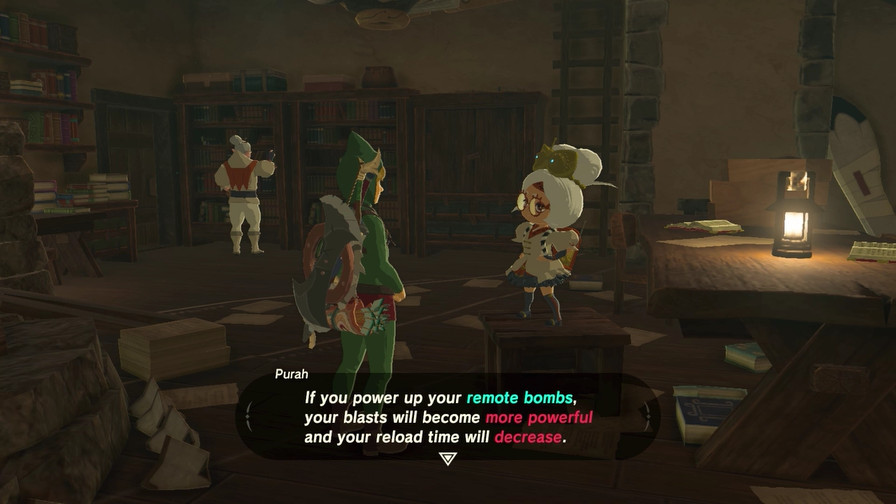
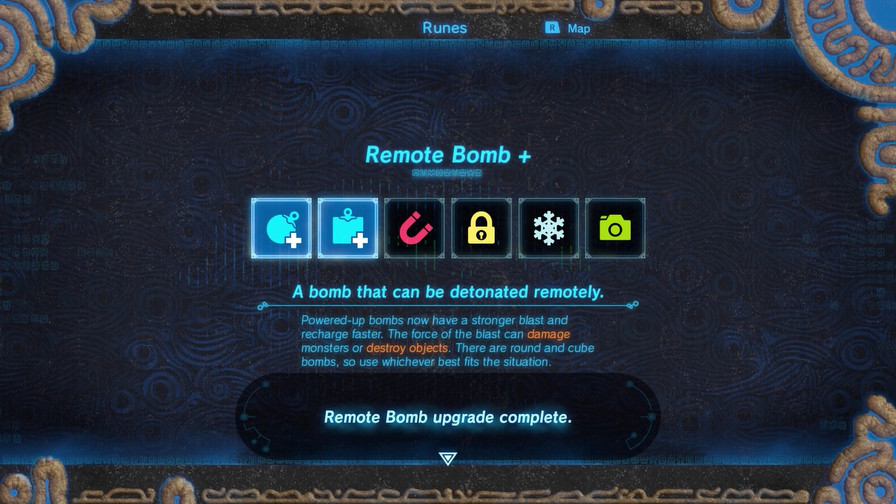
When you beat a Divine Beast, you get that Champion’s signature power, all of which are varying degrees of useful. Mipha’s Grace is essentially a super-fairy, where instead of recovering five hearts when you die like a normal fairy grants, you come back at full health with five extra hearts on top of that. Dying becomes much less of an issue with this ability, though once you use it you have to wait awhile before it’s ready to be used again, so it doesn’t make you immortal. But this ability significantly reduces how much you die, at least it did for my first playthrough, and I’m happy to have it.
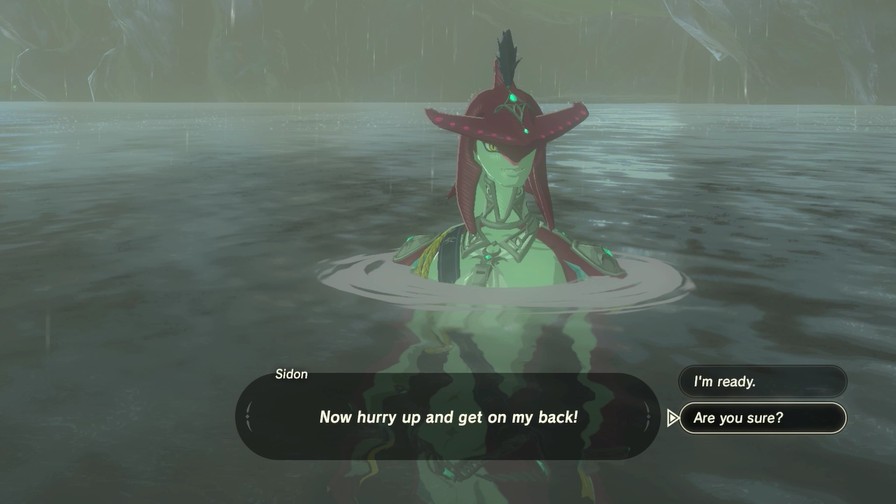
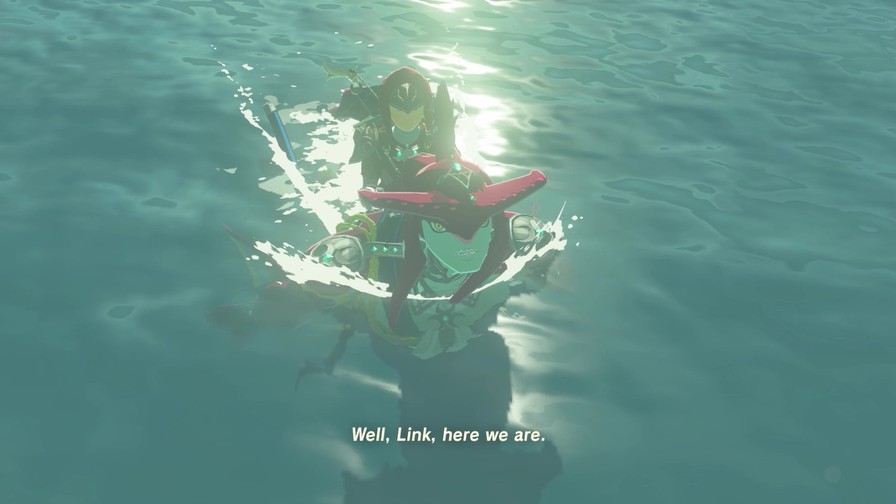
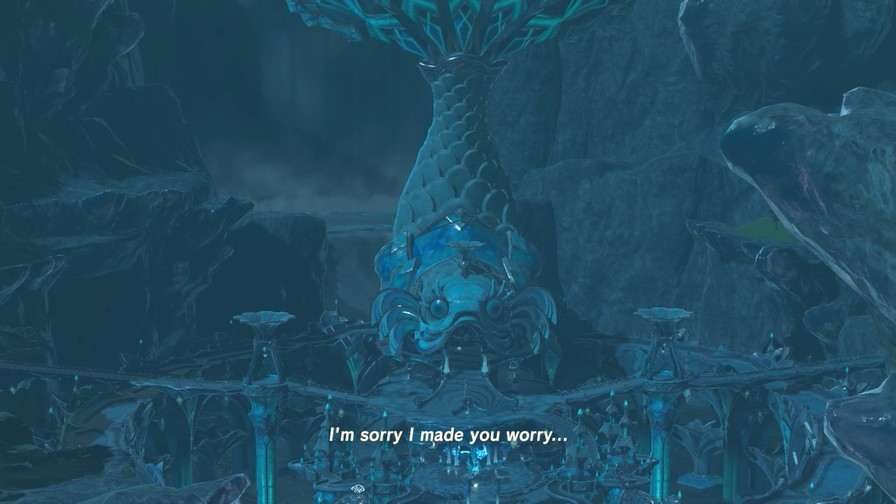
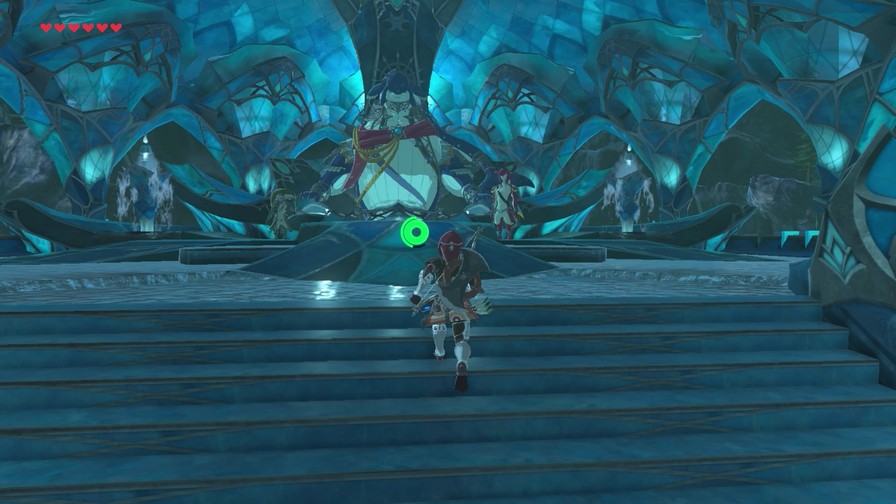
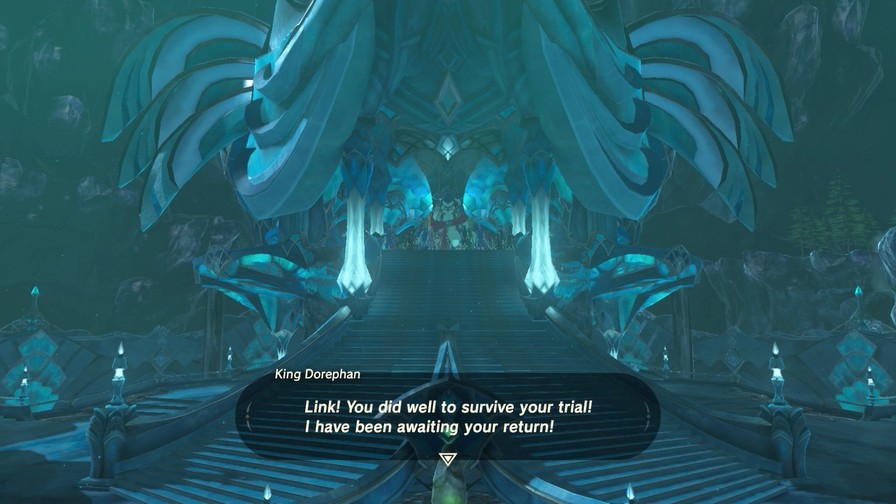
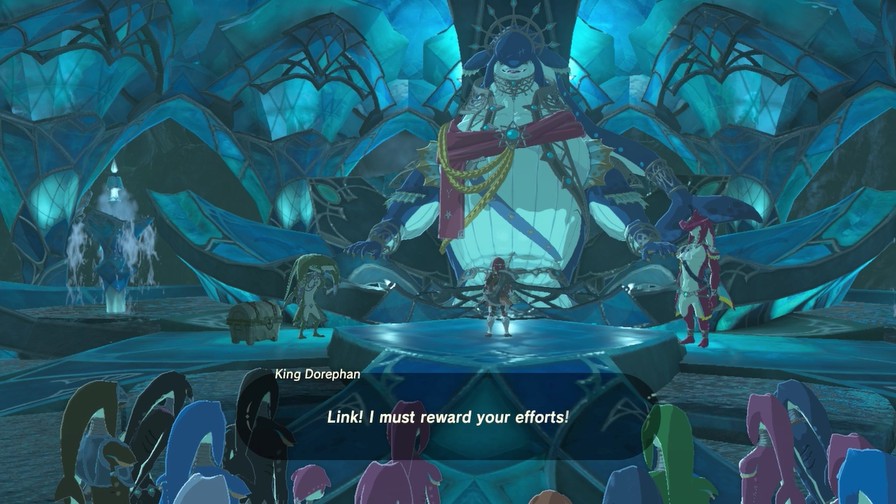
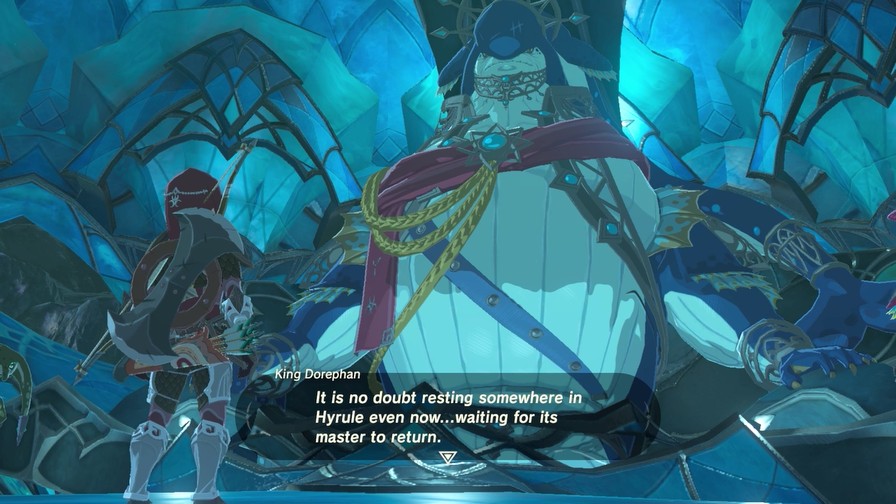
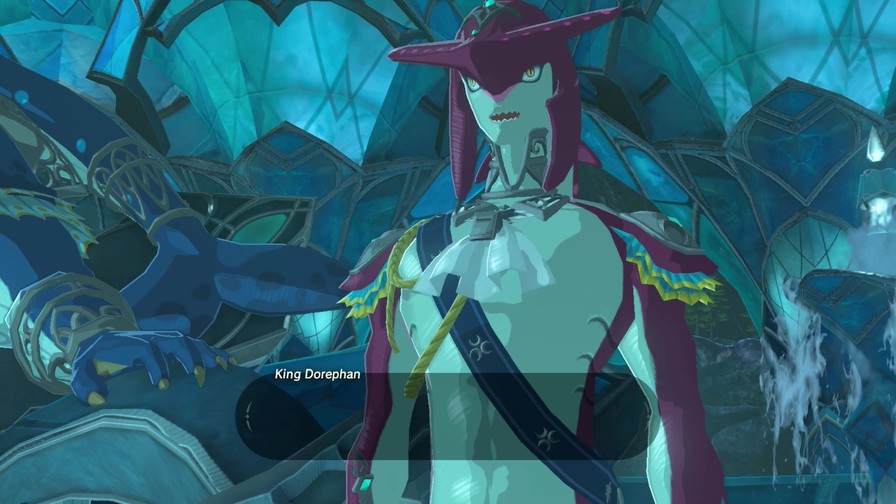
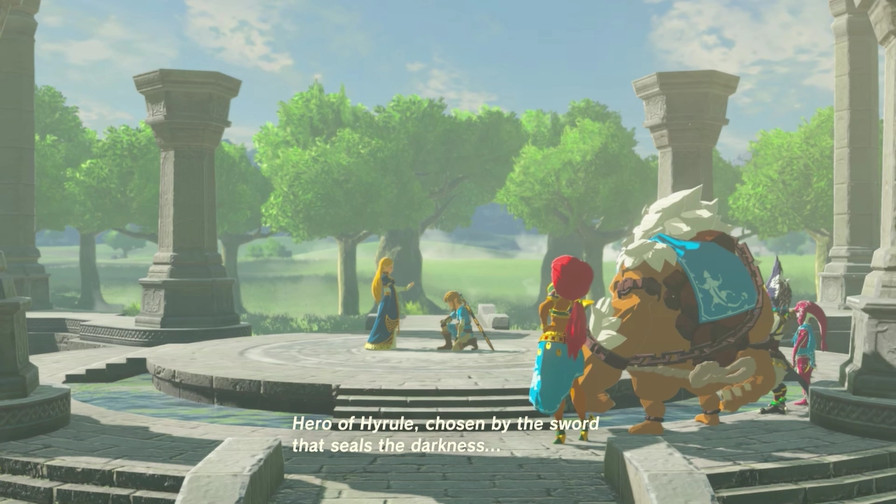
At any rate, let’s check in with King Dorephan to debrief.
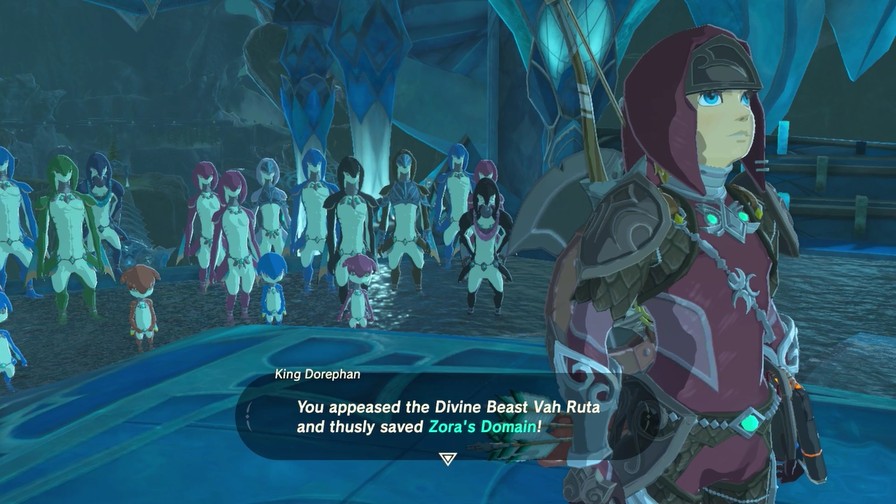
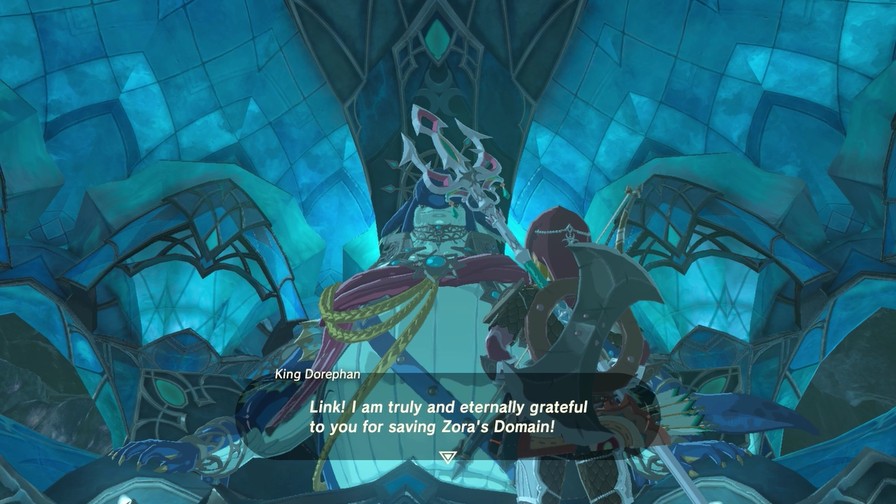
 Thanks to your efforts, there is no longer any danger of a great flood laying waste to Hyrule!
We are all truly grateful! What you did for us is more than we could have ever expected of you.
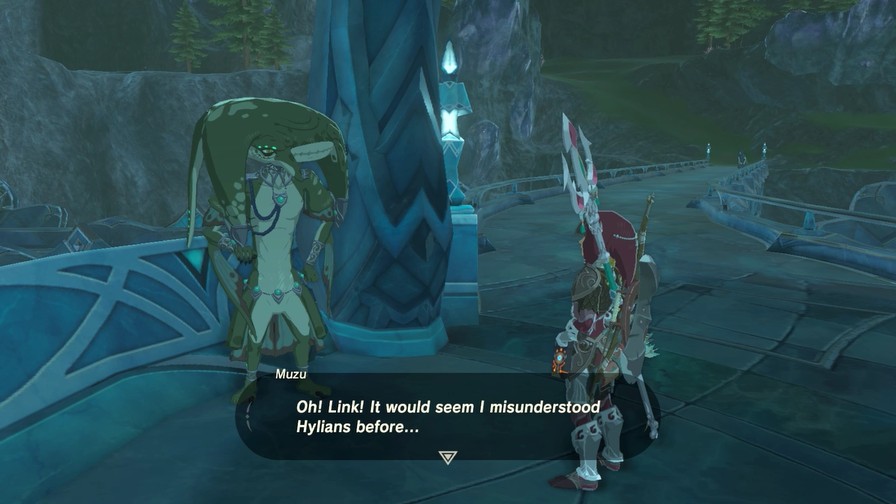
 That whole time, you were thinking of Hyrule’s and Lady Mipha’s well-being, just like the rest of us. All of the members of our council humbly fold our fins back in gratitude, along with the rest of our people. Perhaps the older generation of Zora, myself included, misunderstood Hylians after all. It would seem so. That said, I would be overjoyed if you could find it in your heart to forgive me. If not now, then perhaps one day.
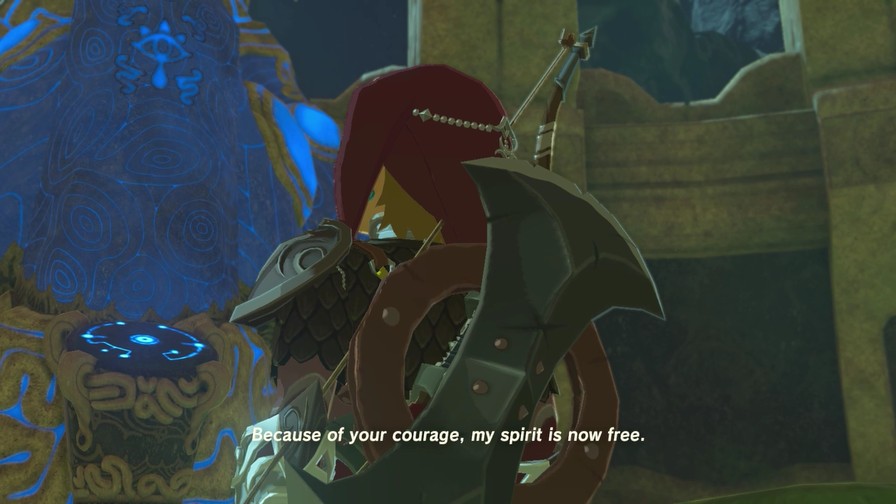
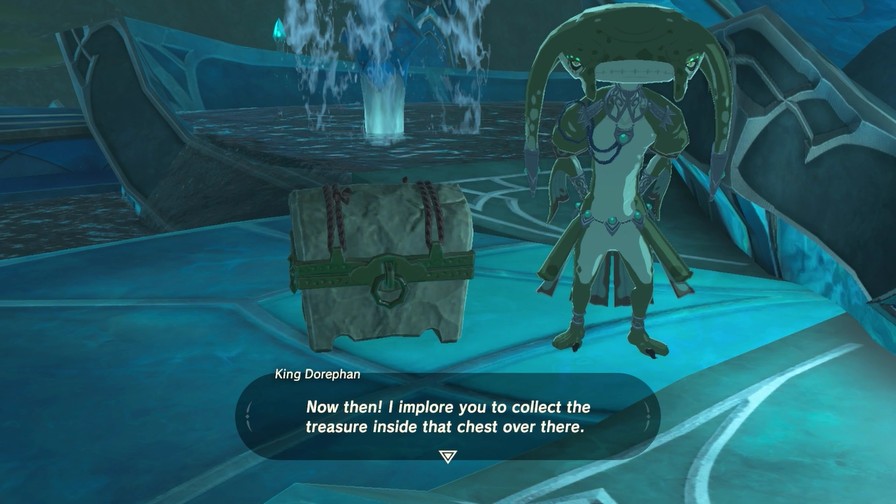
It was cherished by Mipha. A memento of sorts. I would like you to have it as a token of our friendship. Please take good care of it.
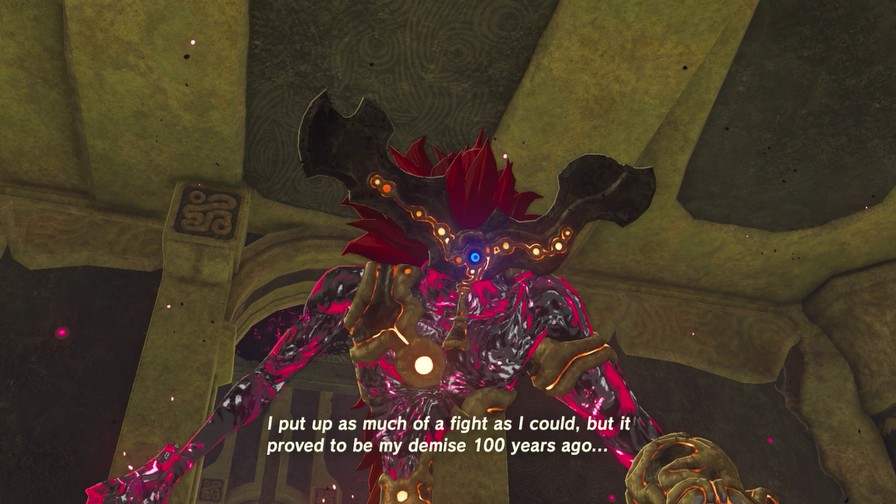
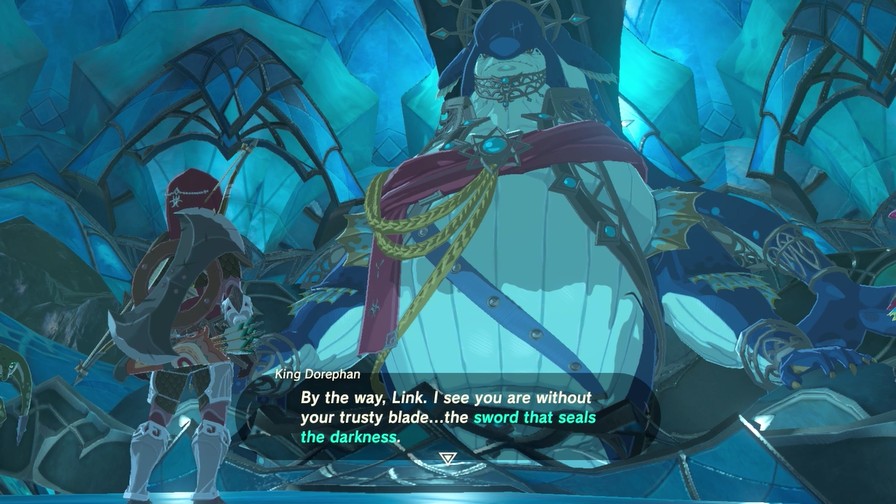
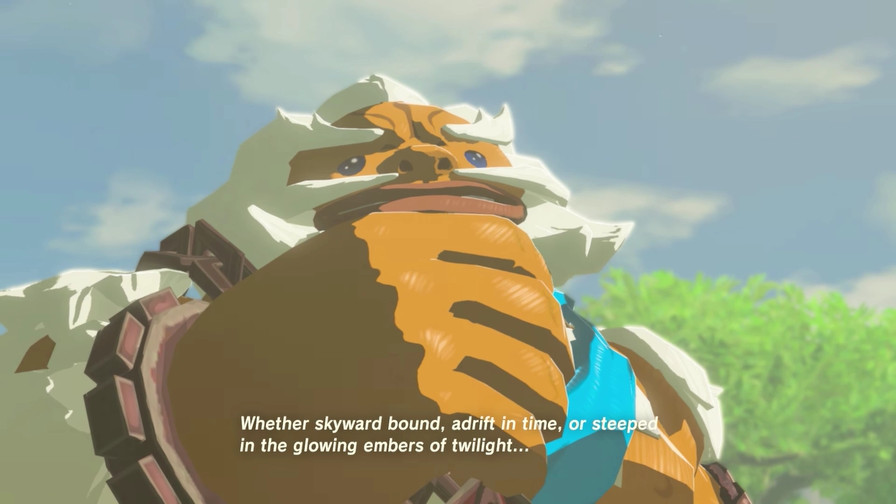
Wait…Link had a signature sword that can seal away darkness? Surely you don’t mean…
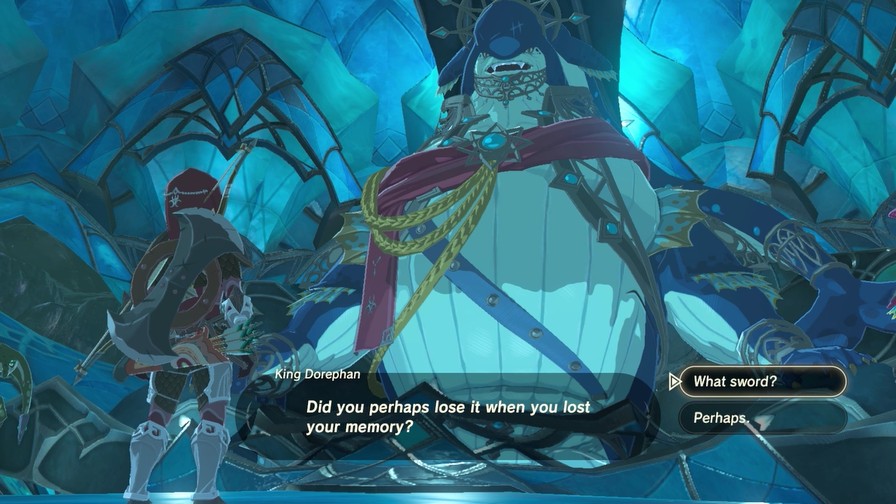
Hm. So you have forgotten that as well… That is a legendary blade that only you, the Hylian Champion, can wield.
The game likes to dance around it, but who are we fooling here. Yes, the Master Sword exists. Hell, it’s in the game’s trailer and promotional materials. Even the first DLC has a focus on it.
But who knows where it could be?
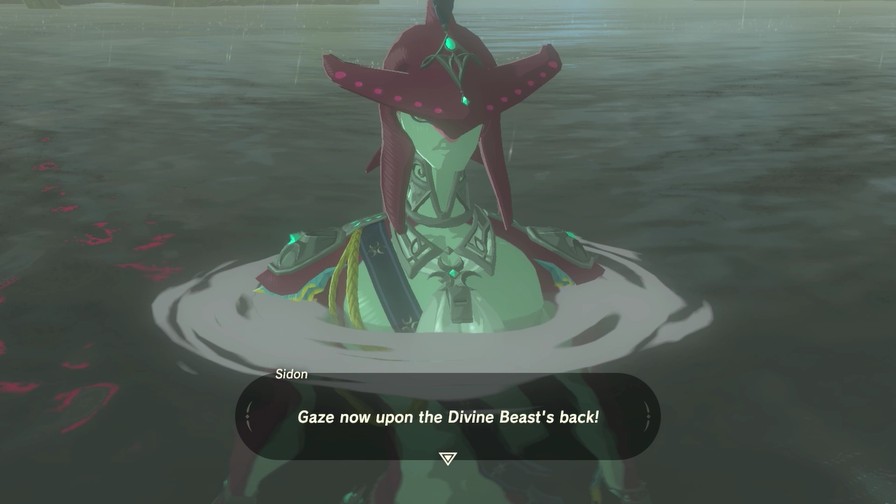
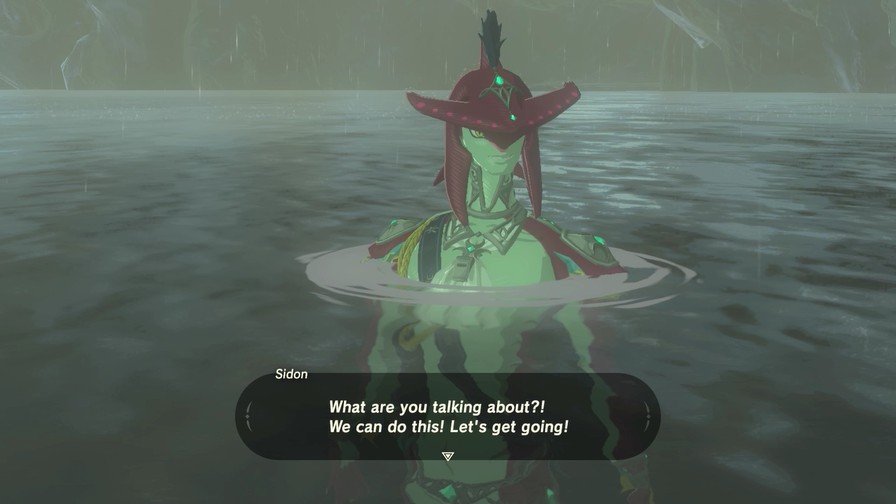
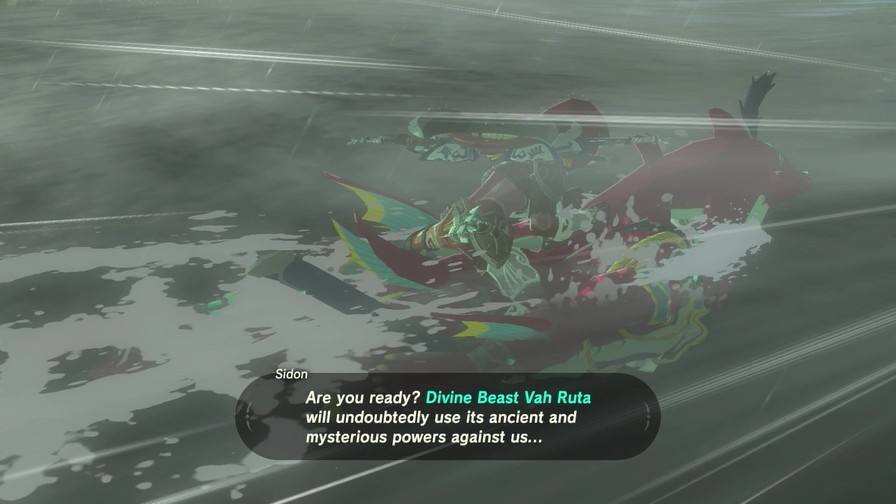
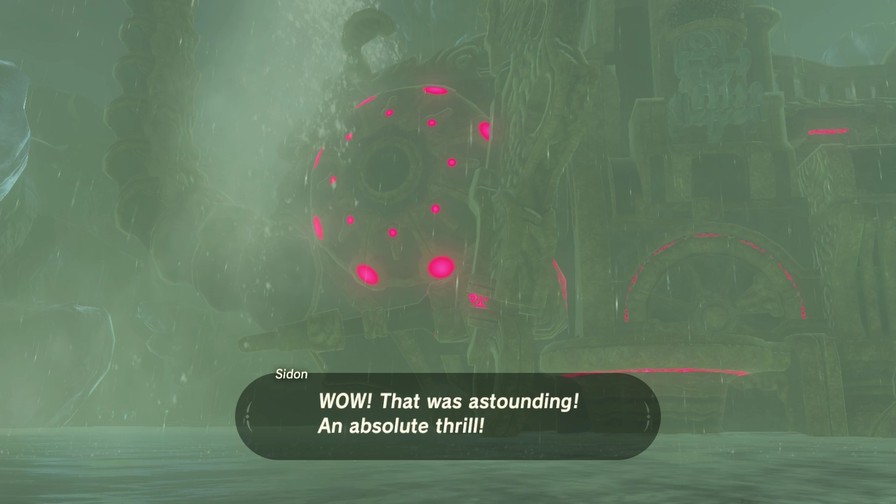
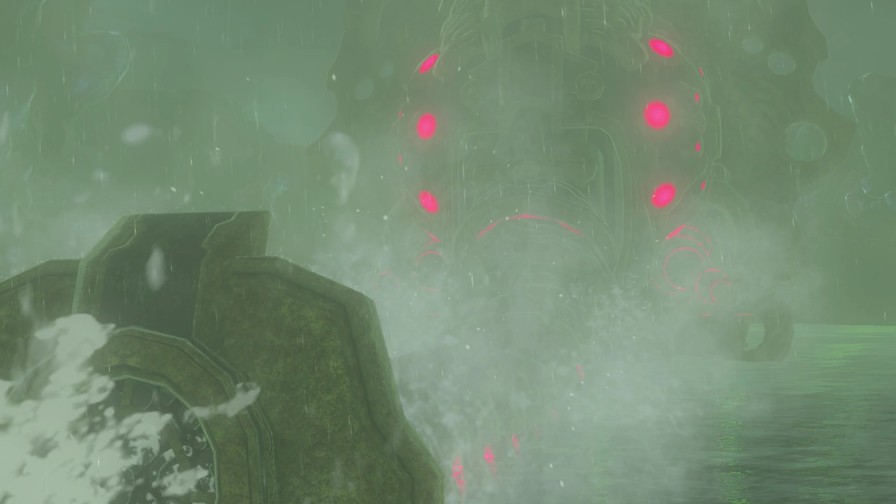
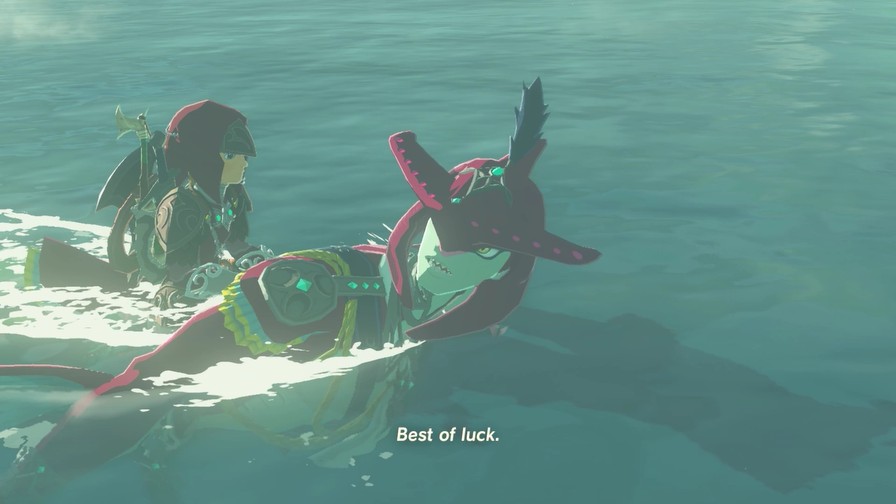
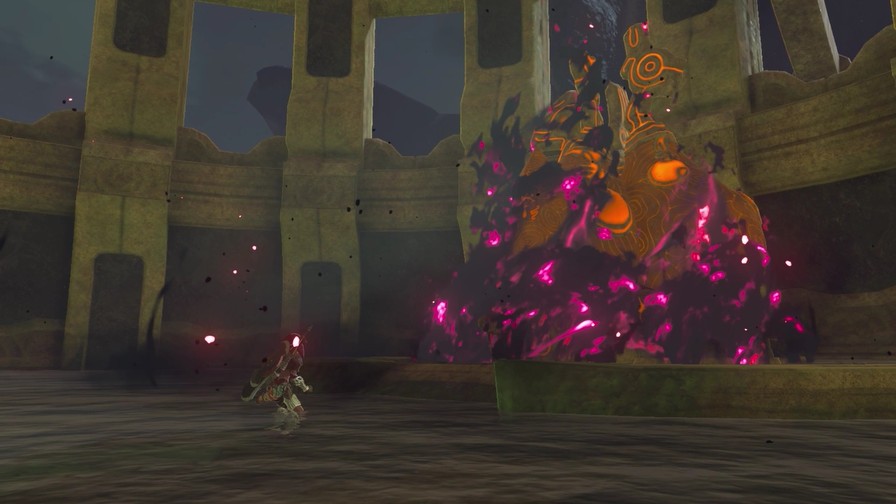
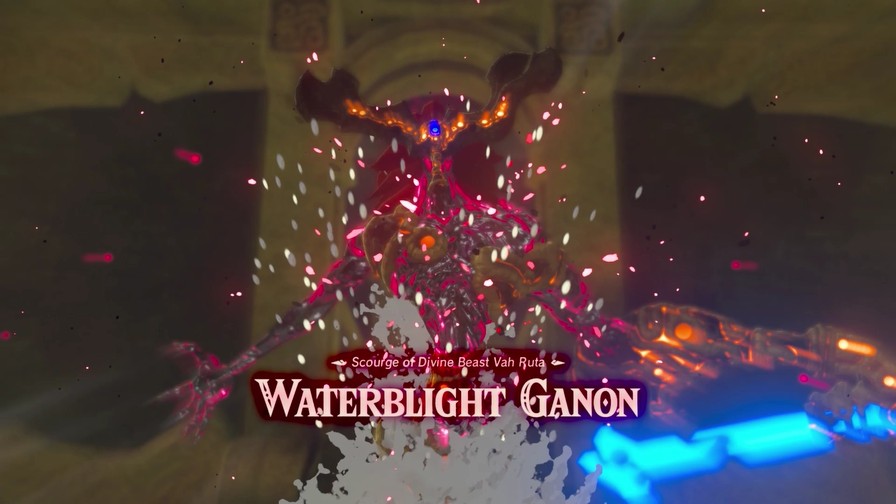
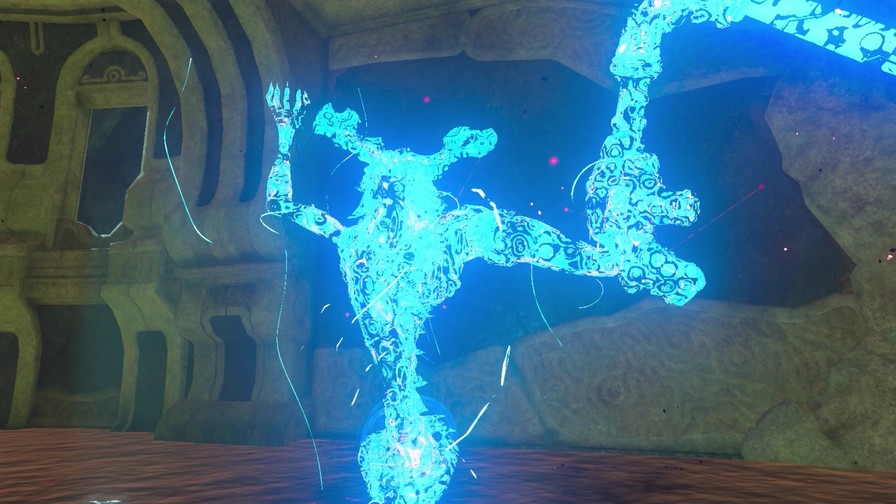
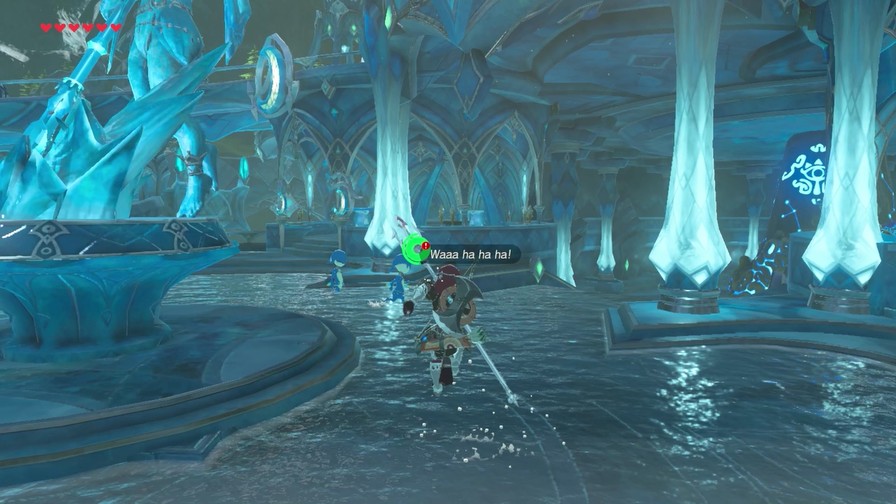
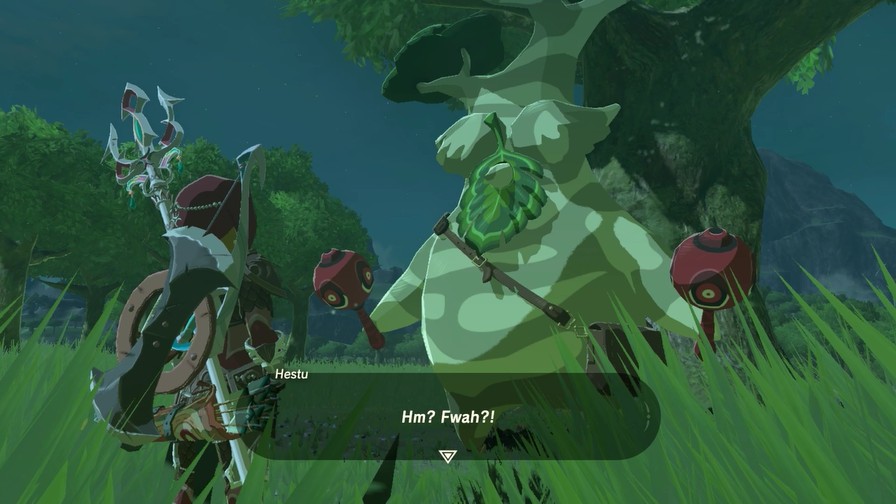
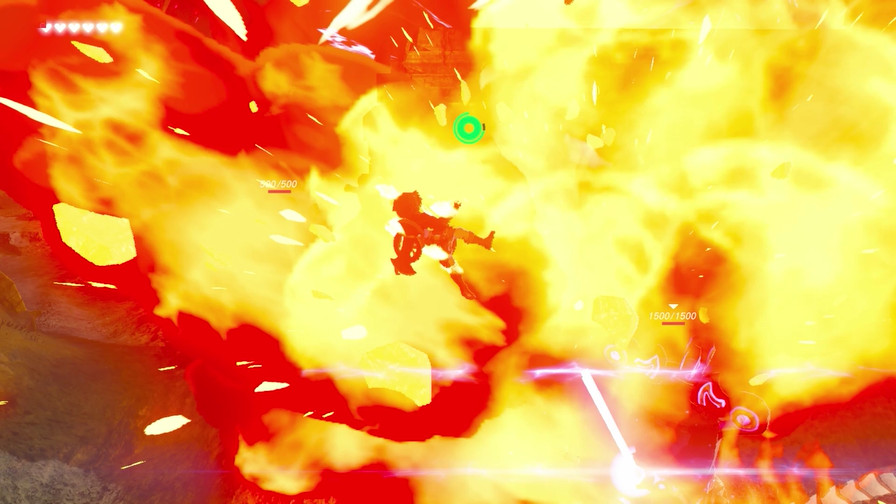
The heavy rains have stopped, and the Divine Beast is our ally once again! How glorious! Truly splendid! Wah ha ha ha!
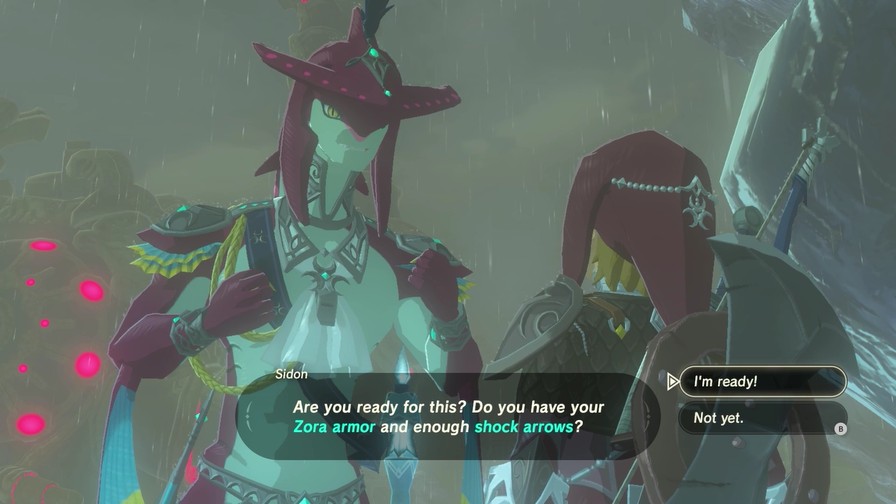
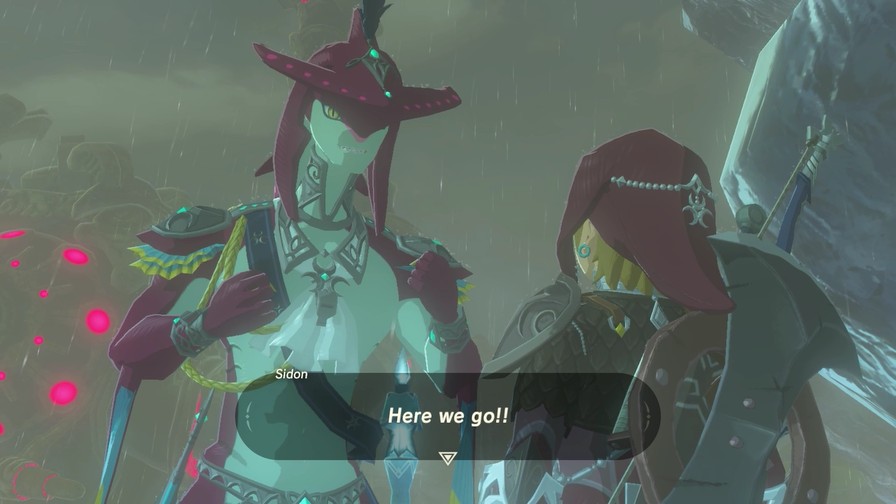
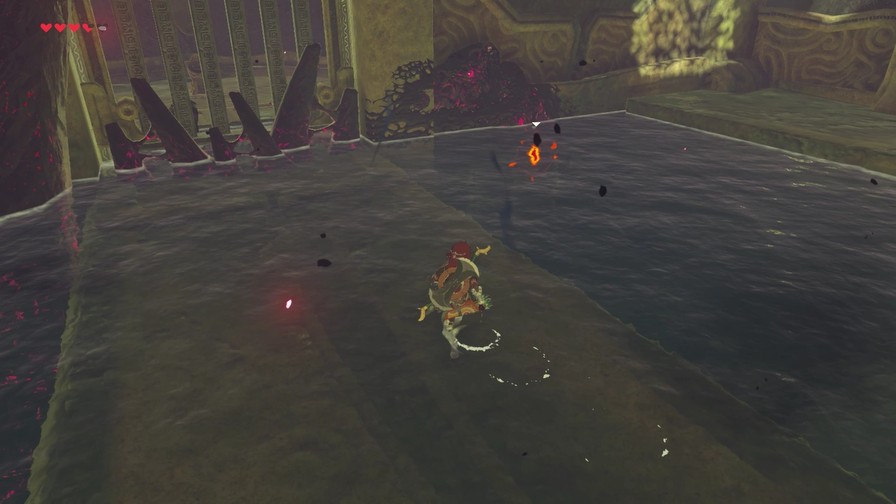
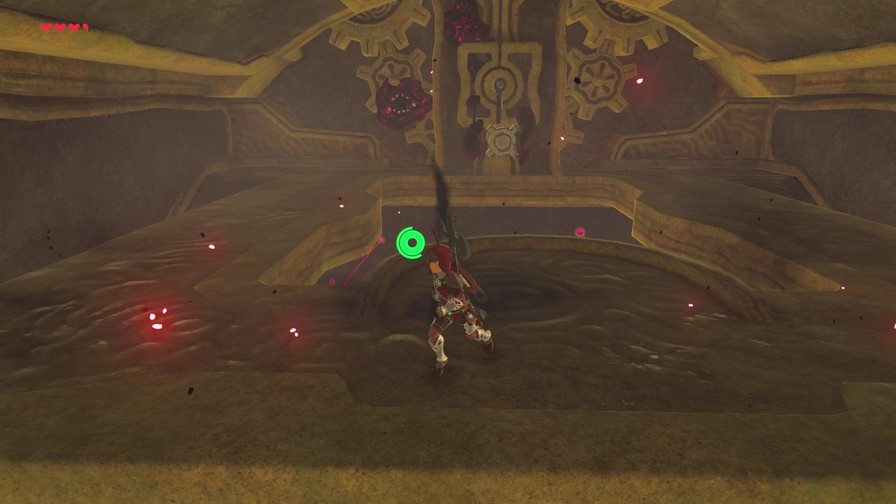
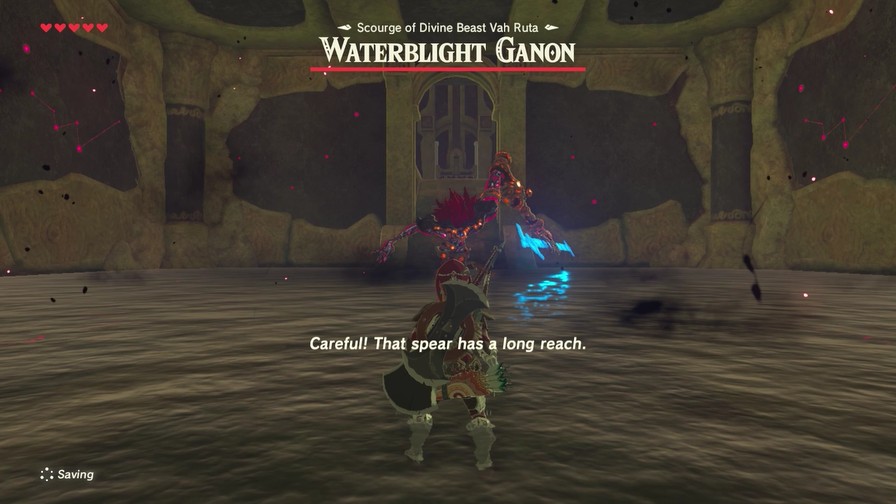
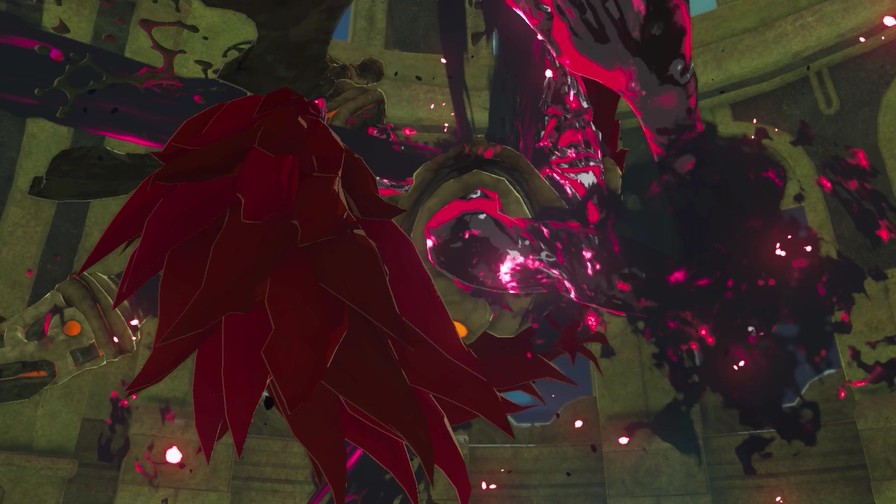
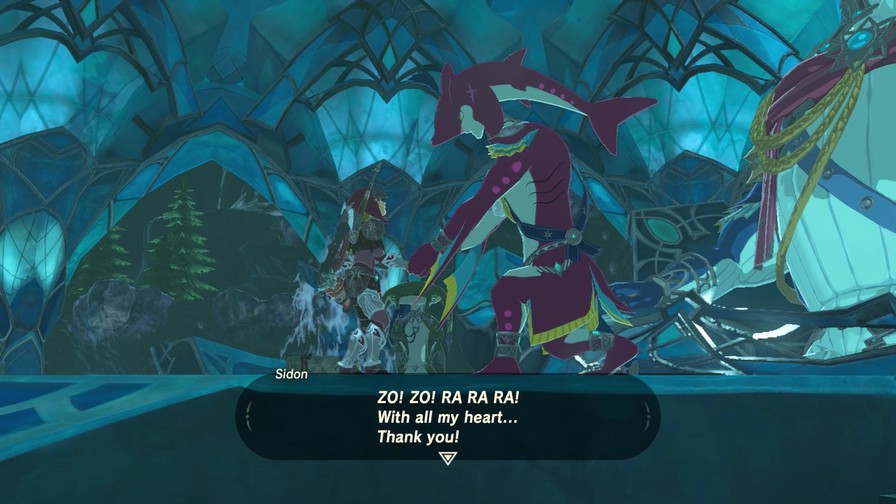
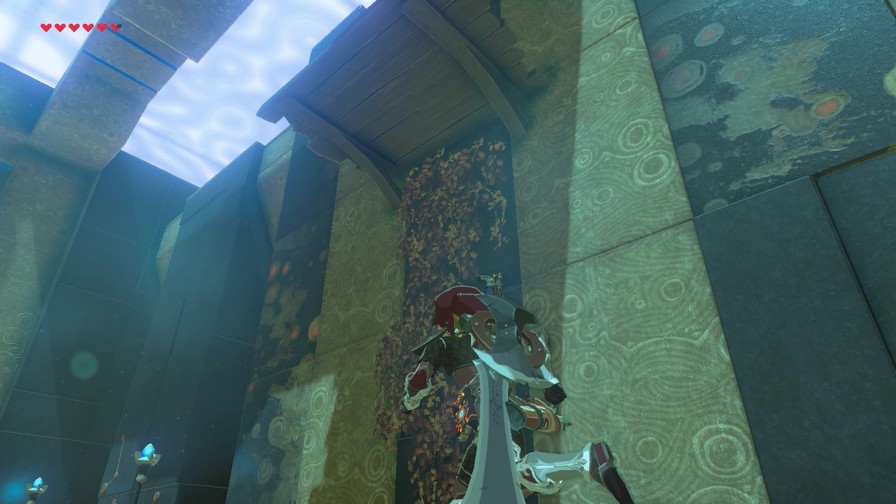
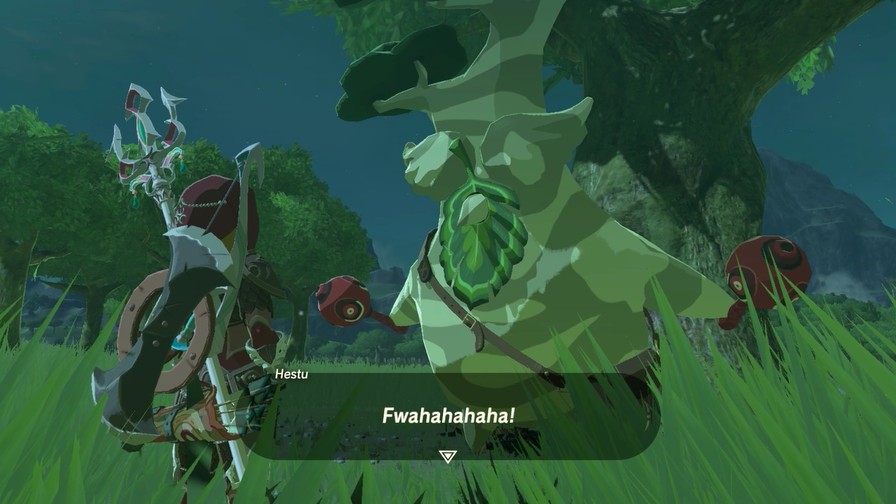
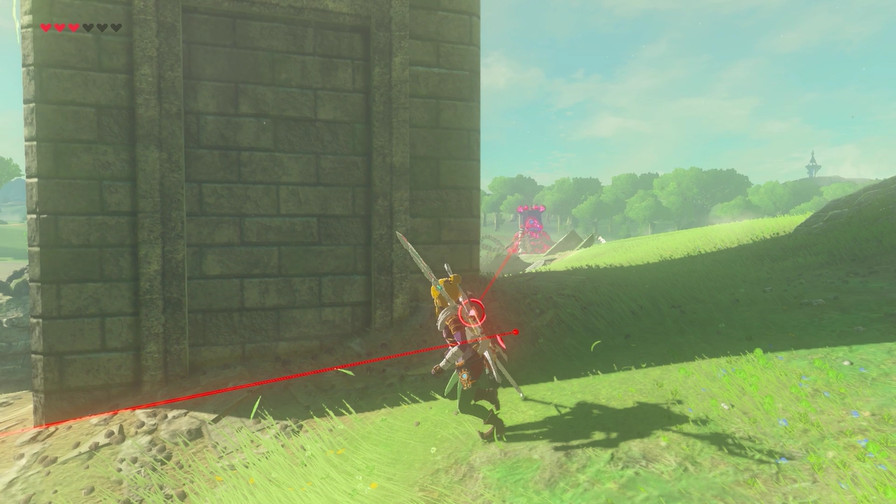
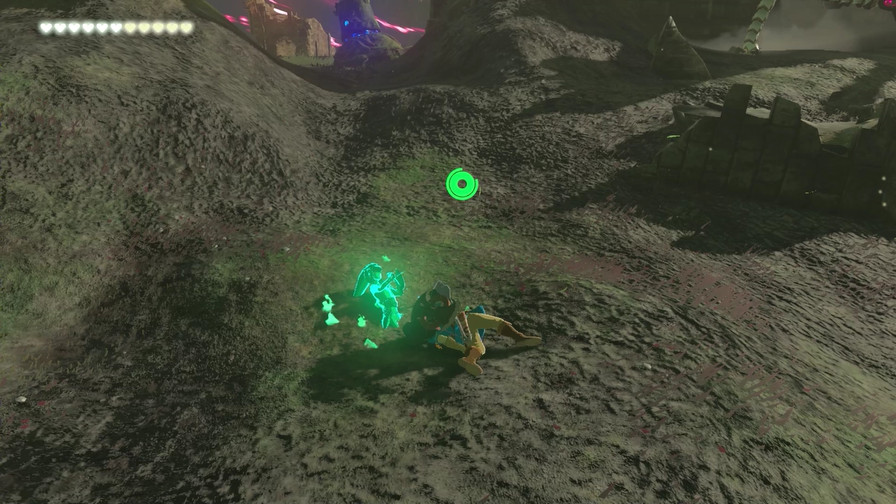
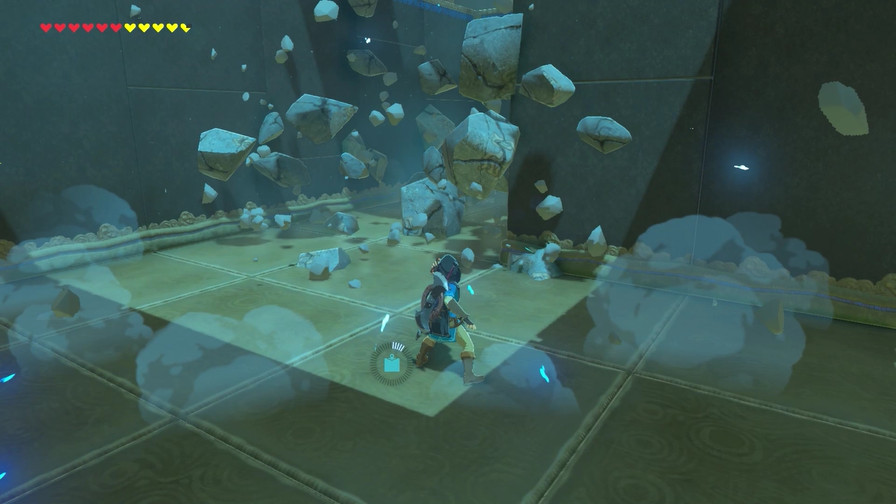
I’m breaking the flow a bit here, but there’s a few frames before Sidon does his next action where he’s just staring blankly into space and, hell, like I’m not going to include that.
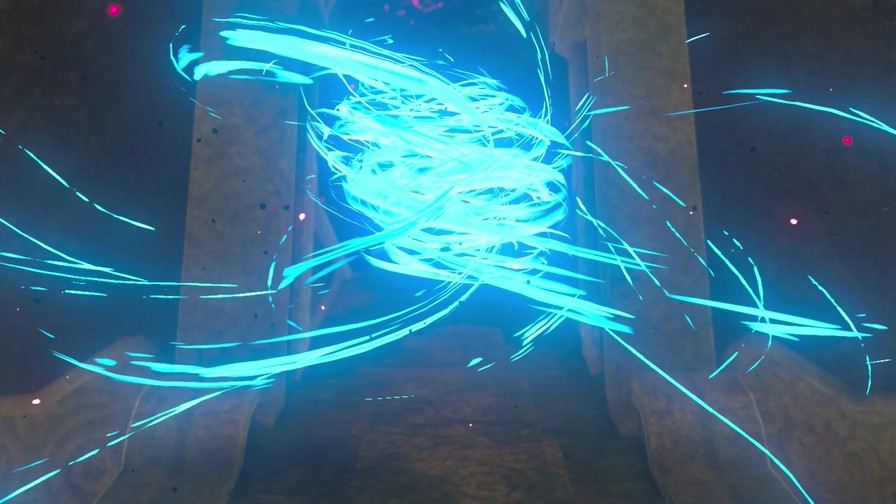
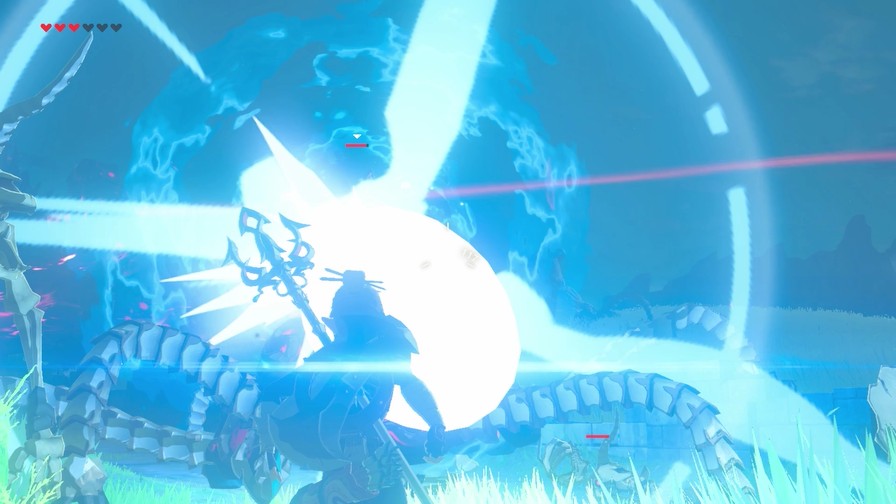
https://my.mixtape.moe/nrmiic.mp4
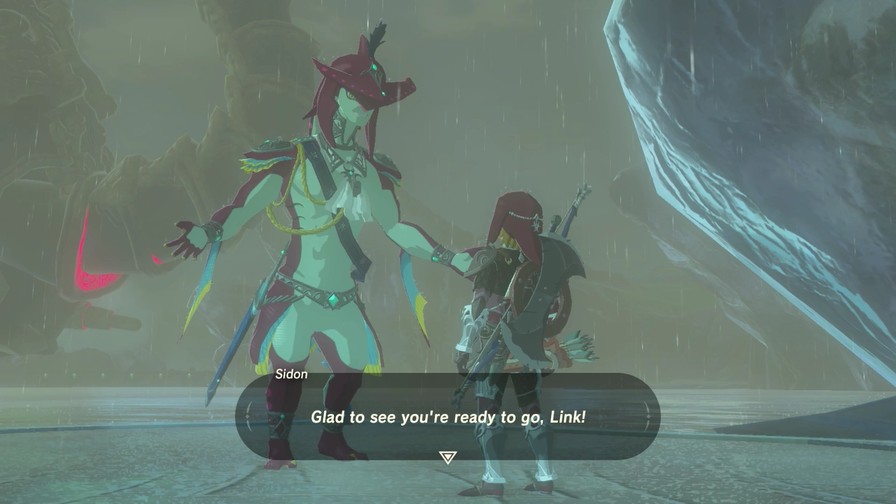
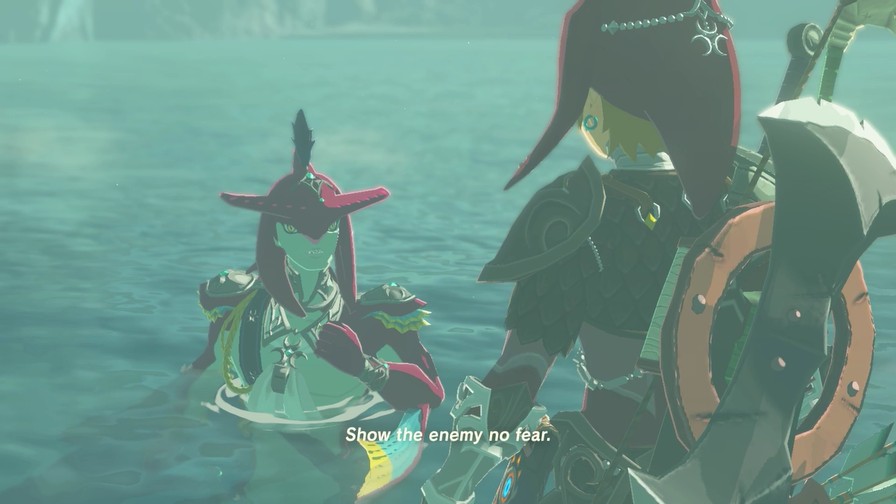
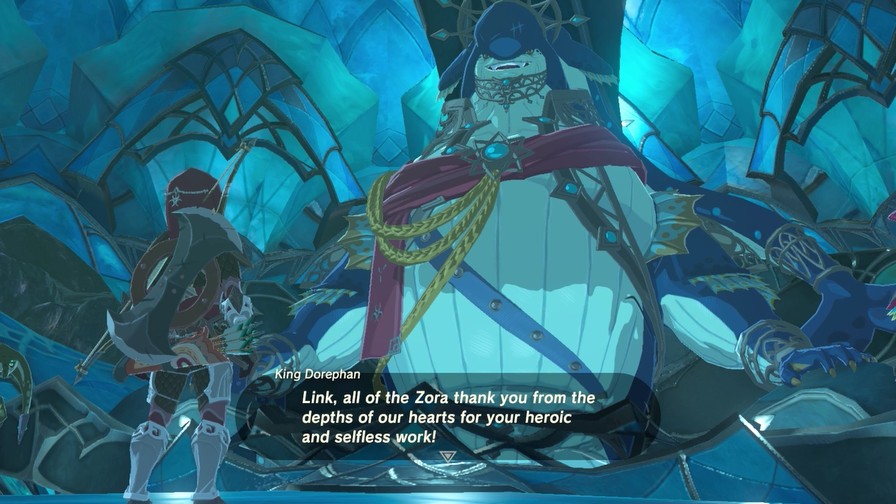
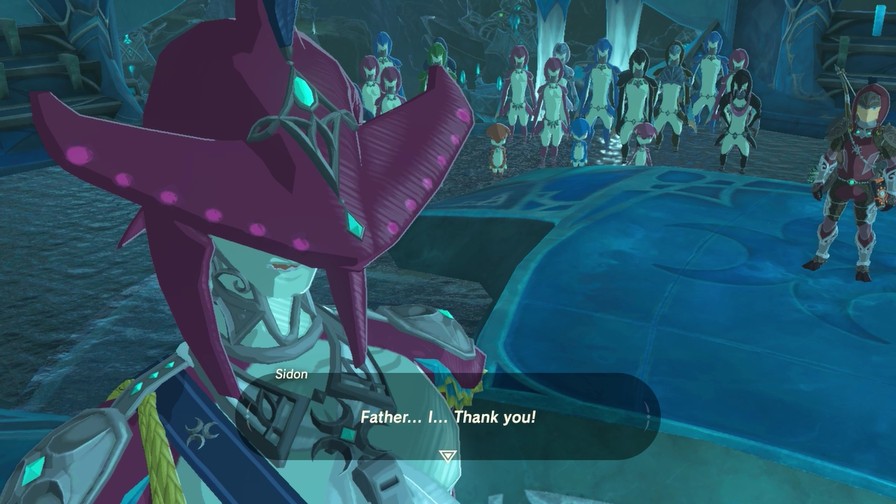
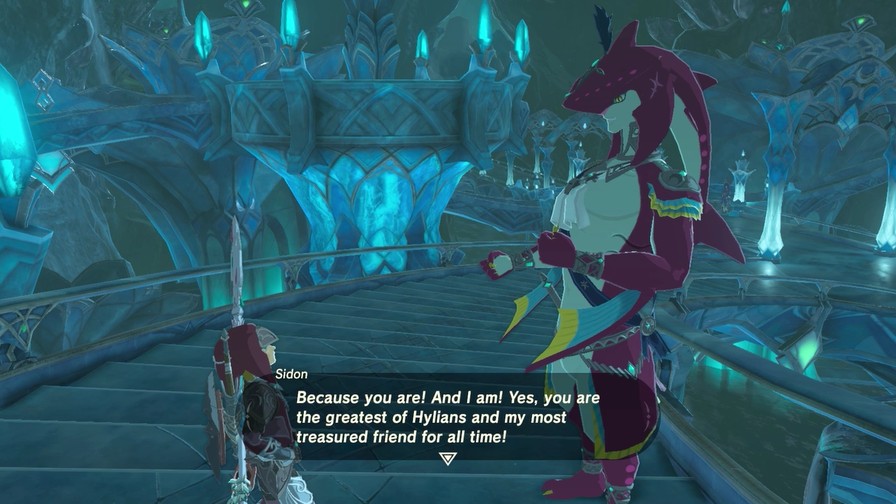
 Link! Thank you so much! Truly, I could never thank you enough! You helped save our home from vanishing away! This calls for a top-tier expression of gratitude!
https://my.mixtape.moe/kyplzh.mp4
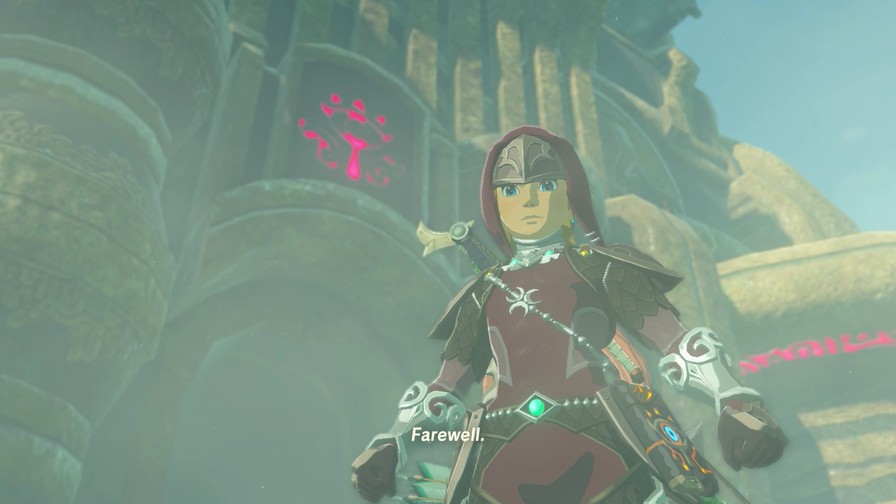
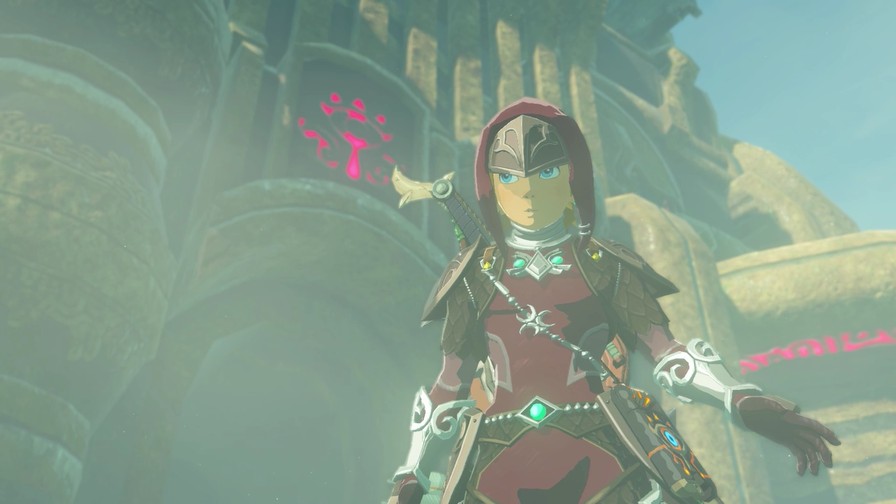
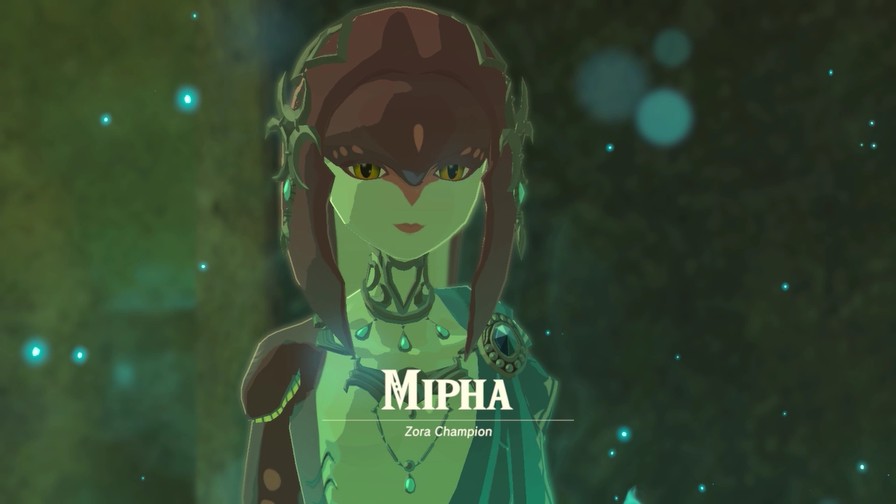
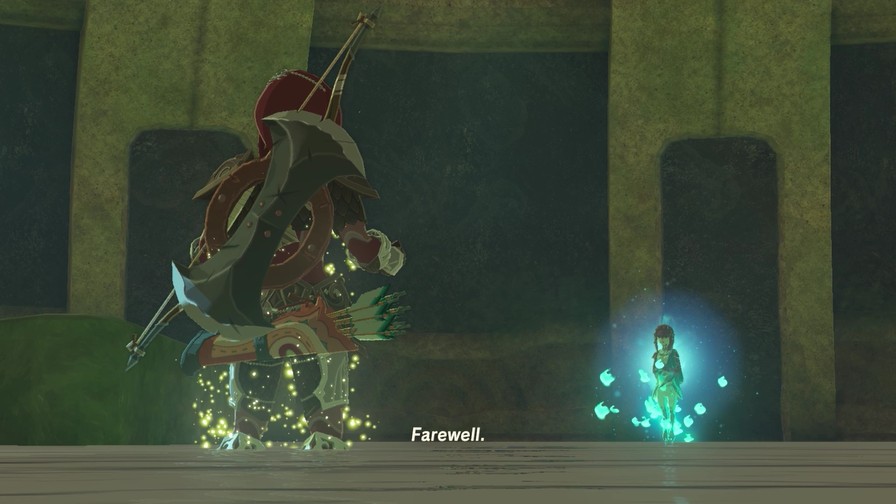
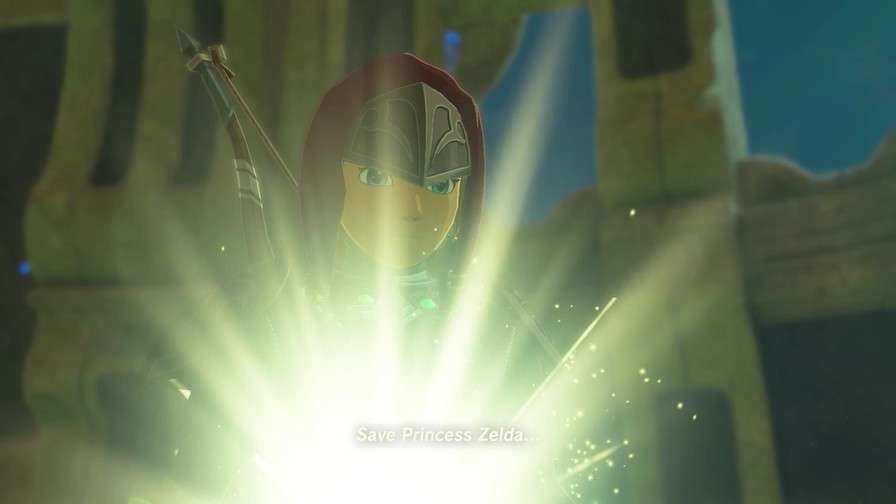
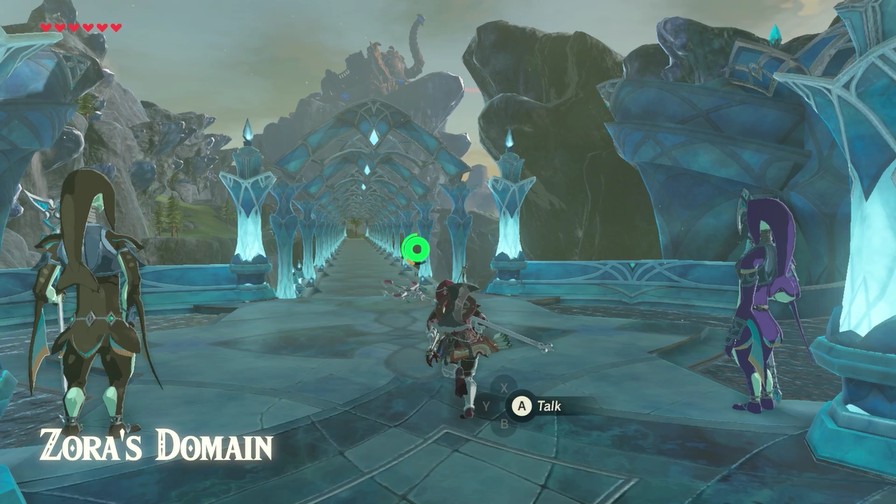
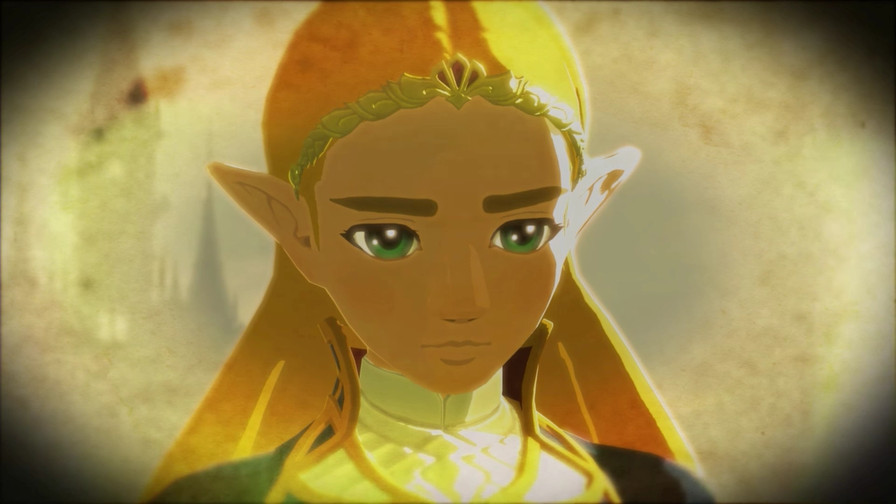
Link, Savior of Zora’s Domain.
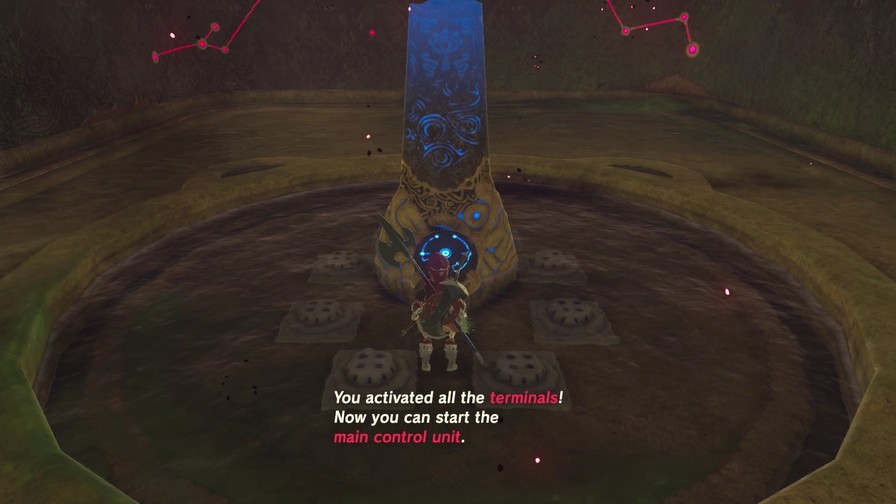
We’ve successfully completed one Divine Beast, but we’ve still got three more to go!
But what’s the rush?
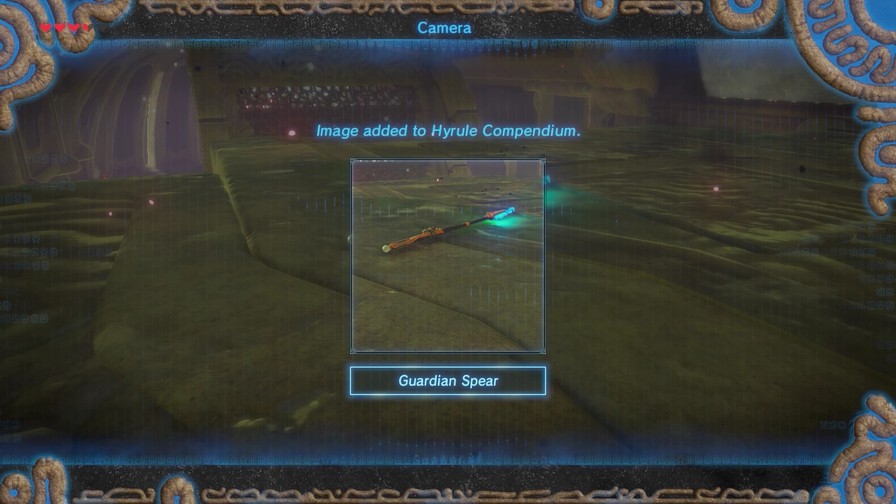
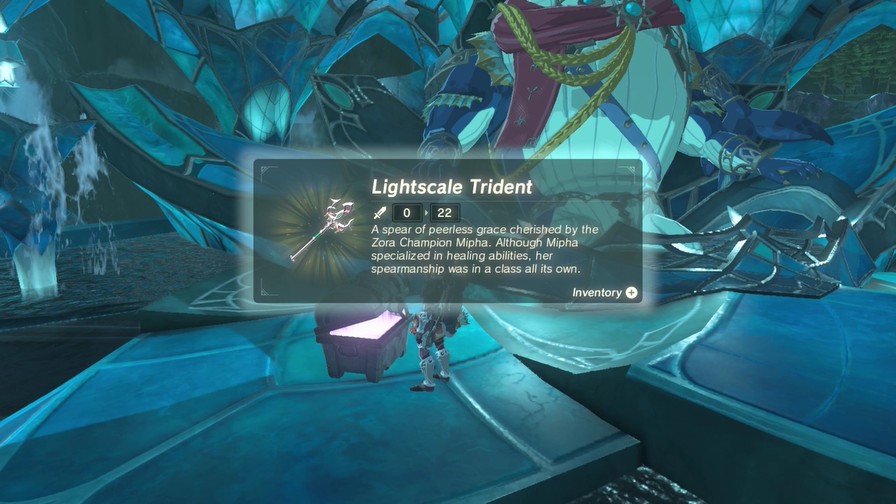
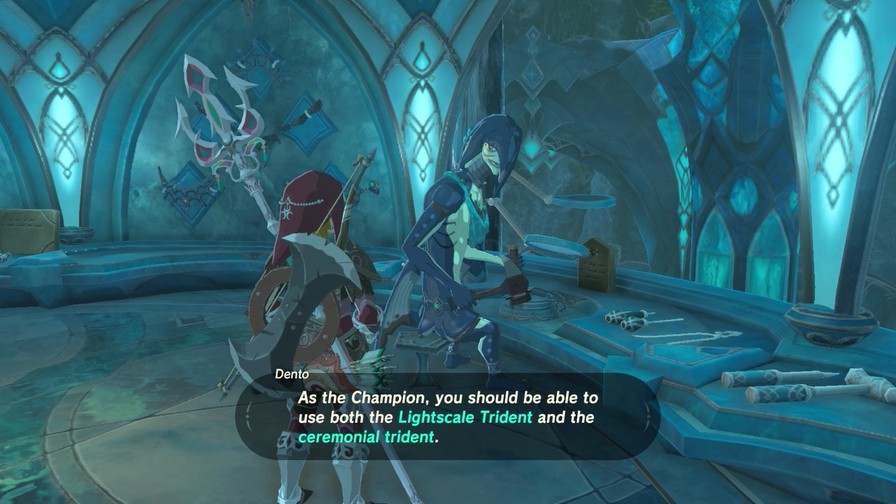
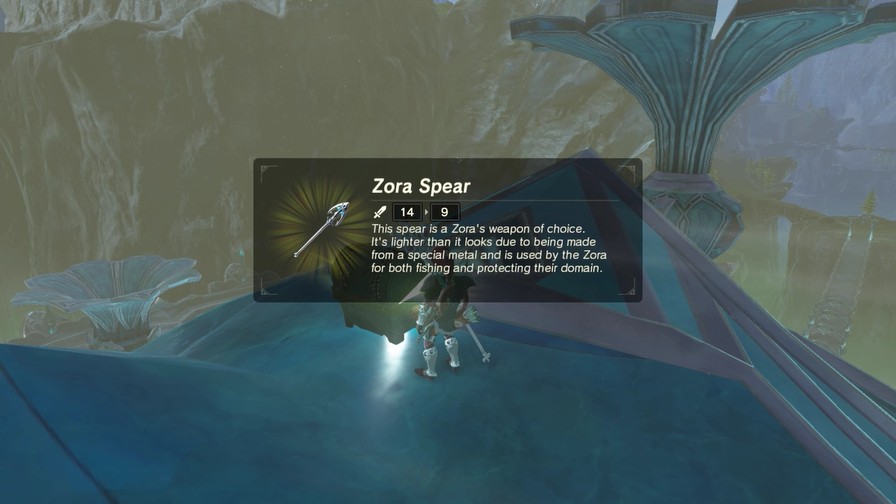
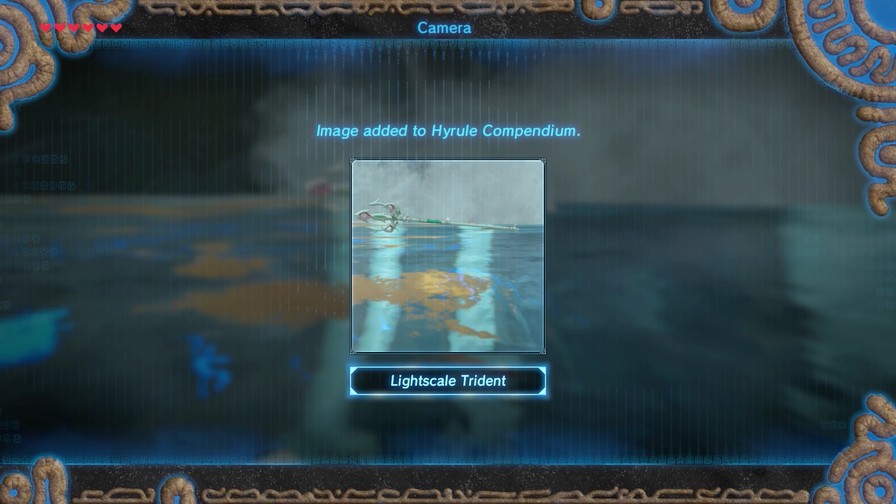
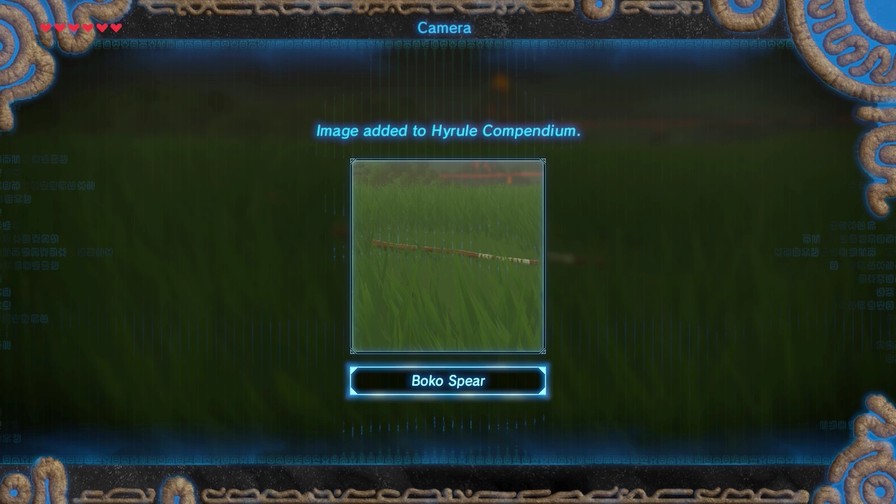
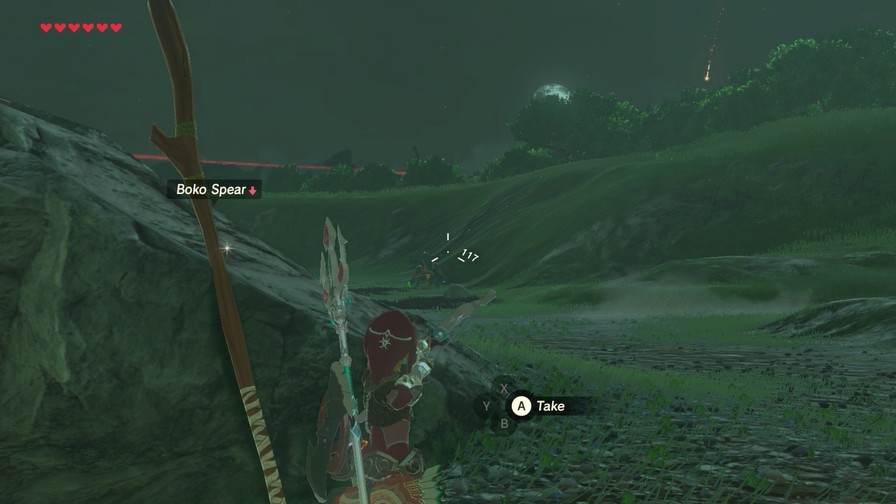
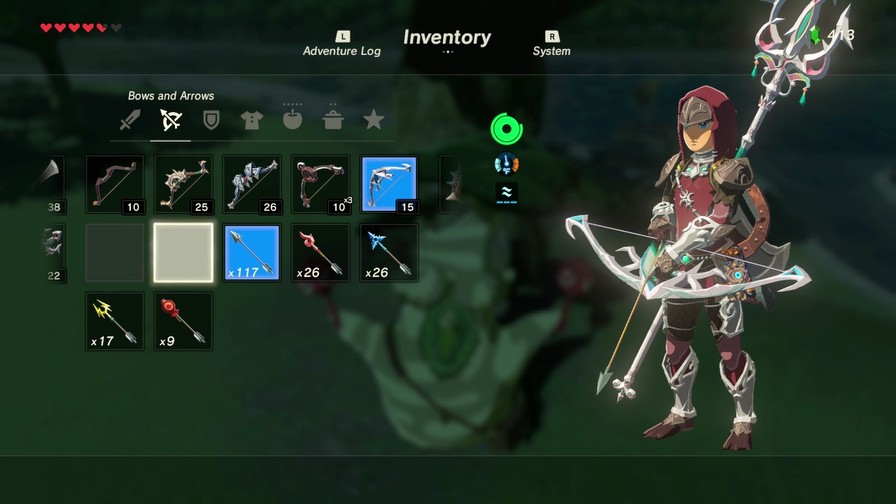
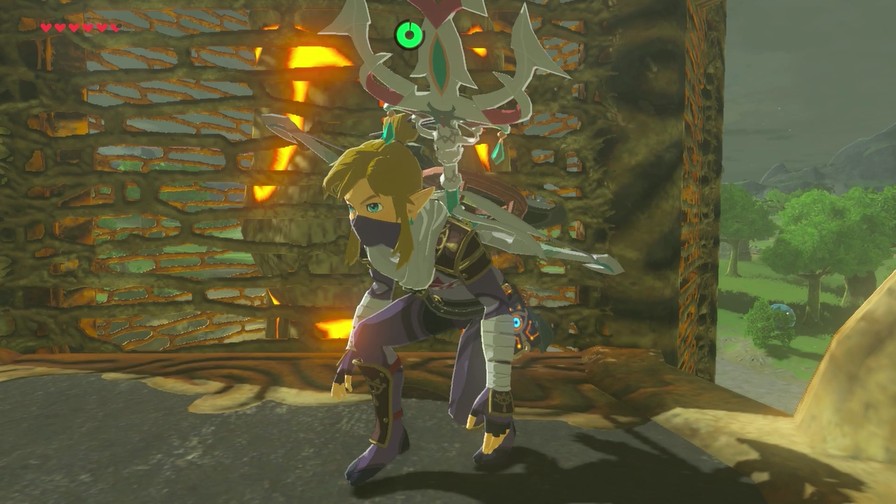
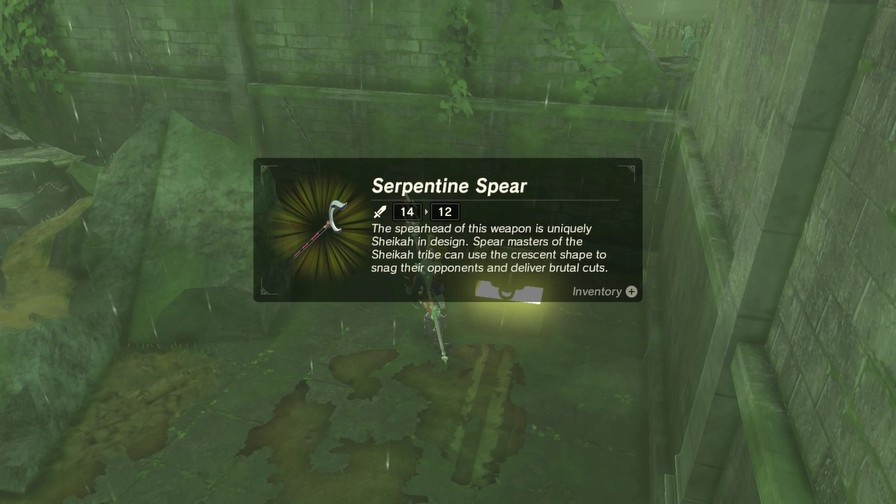
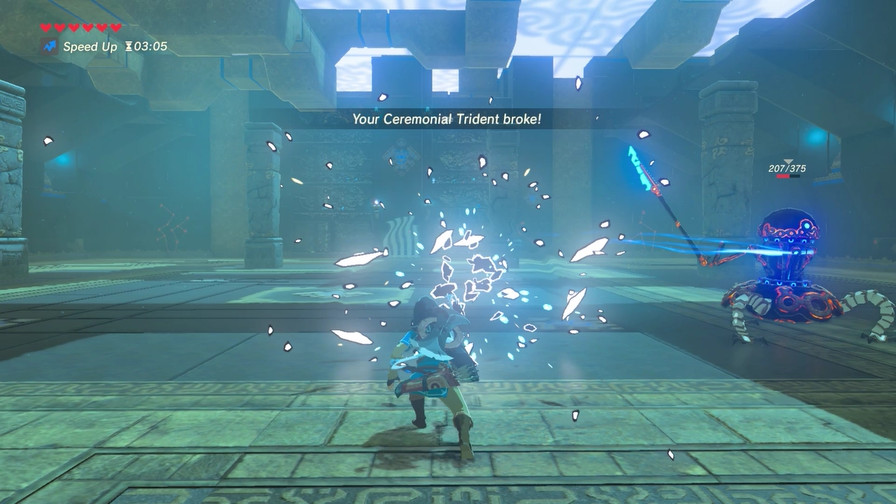
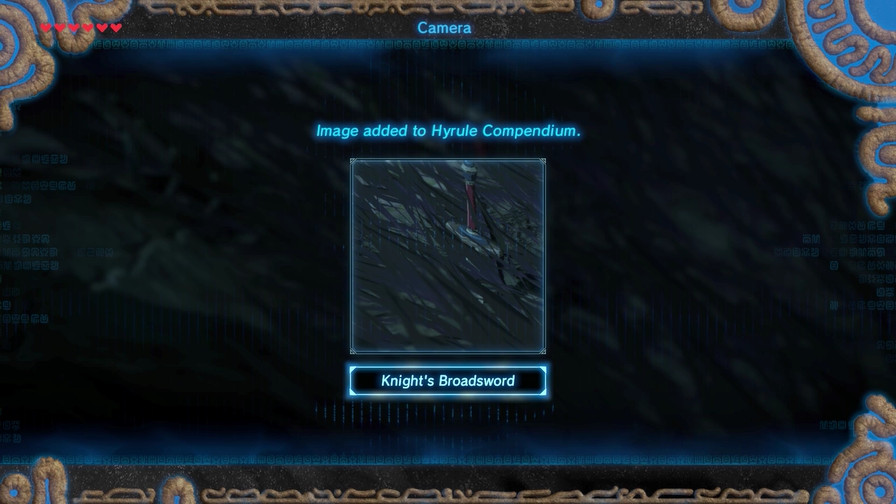
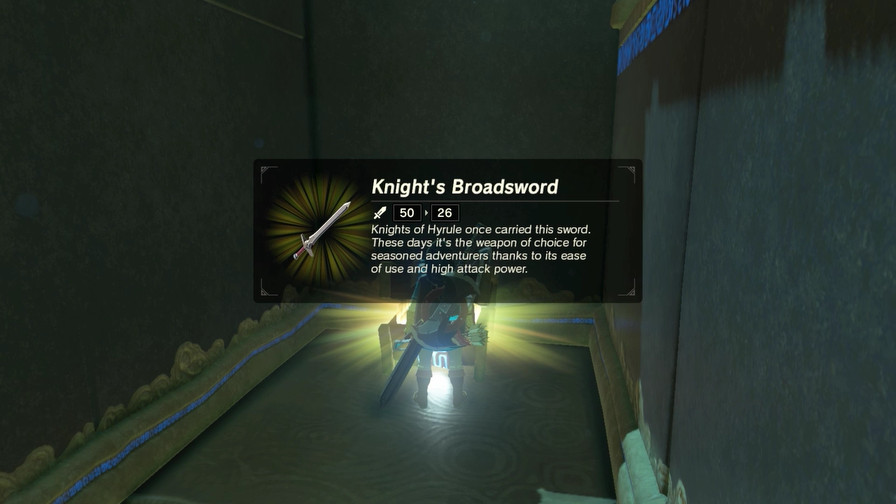
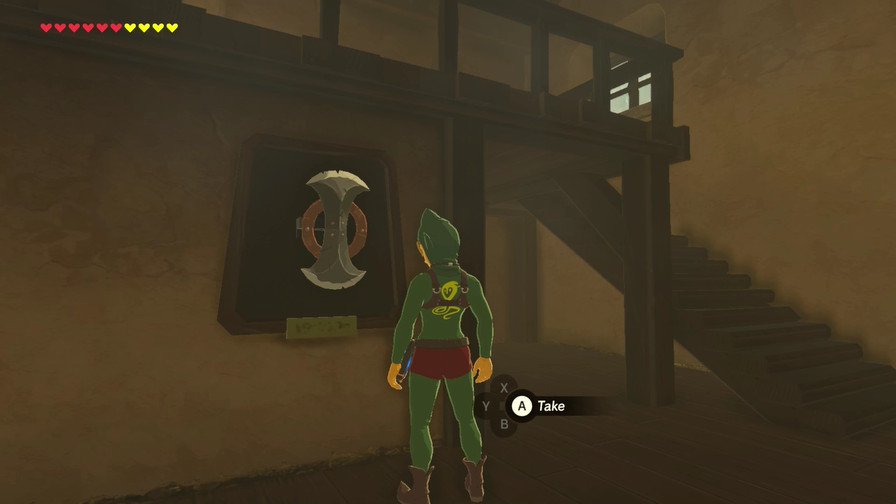
Each Champion also has a signature weapon we obtain when we conquer their respective Divine Beast. Mipha’s is the Lightscale Trident, which makes sense since spears are the perfect weapon for an underwater race.
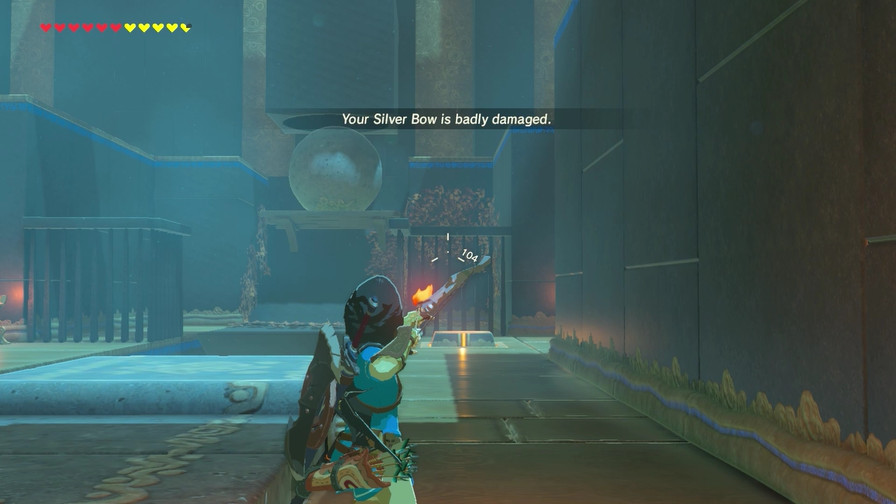
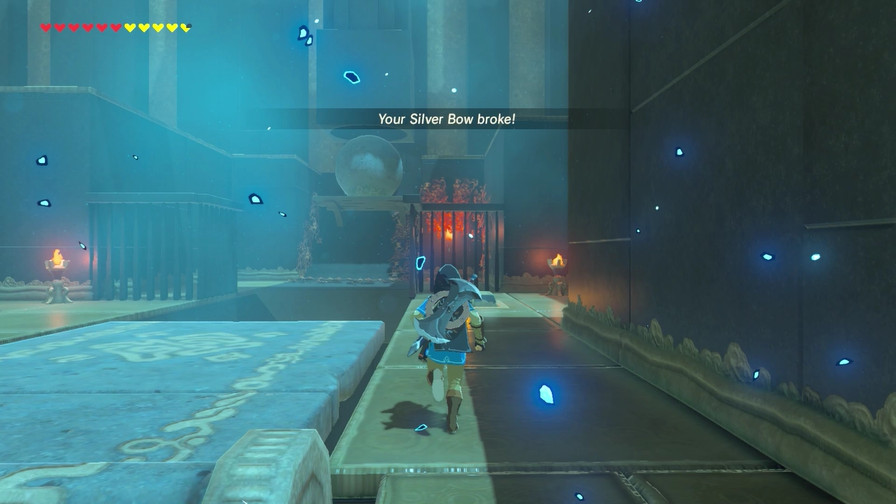
These weapons are generally pretty strong for their respective class of weaponry, though not the strongest. They can also be a pain to replace once they inevitably break.
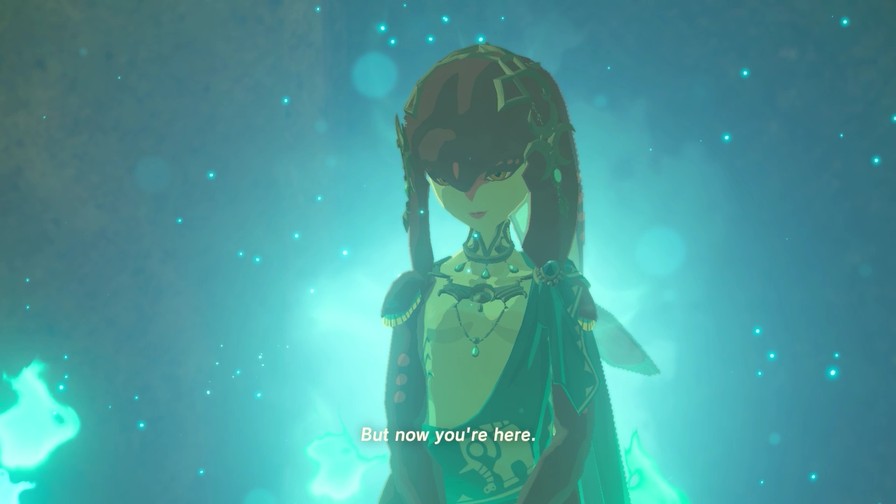
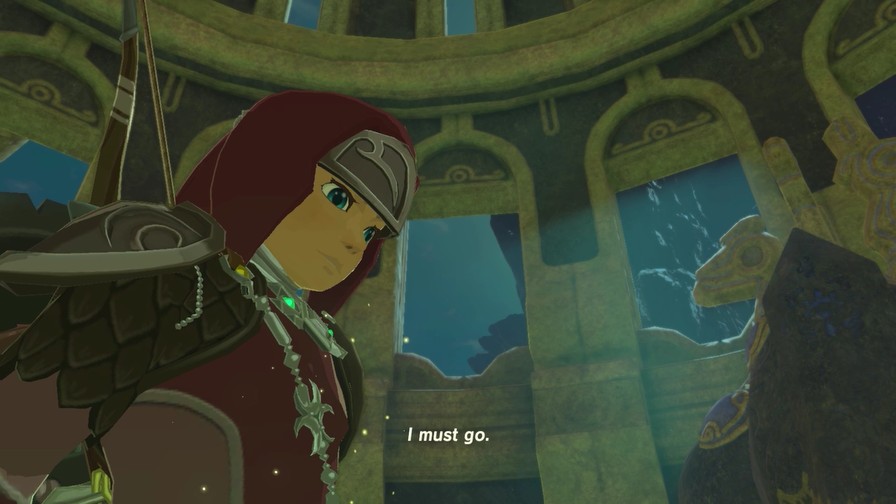
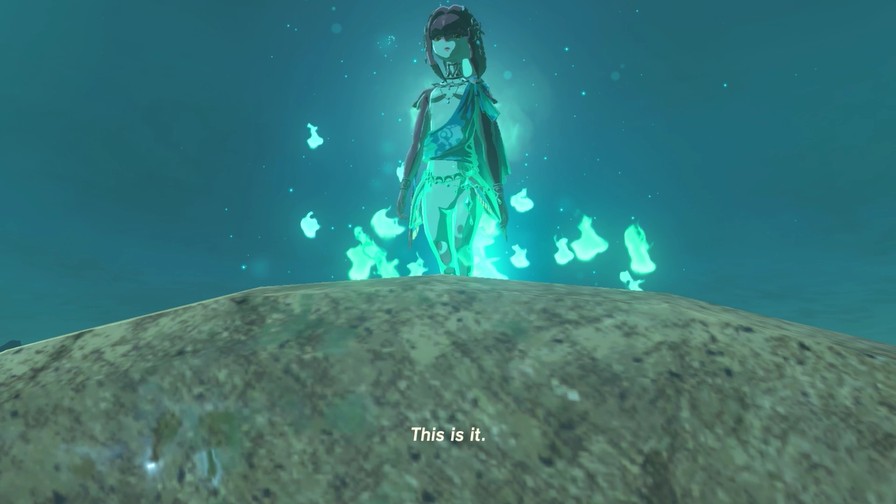
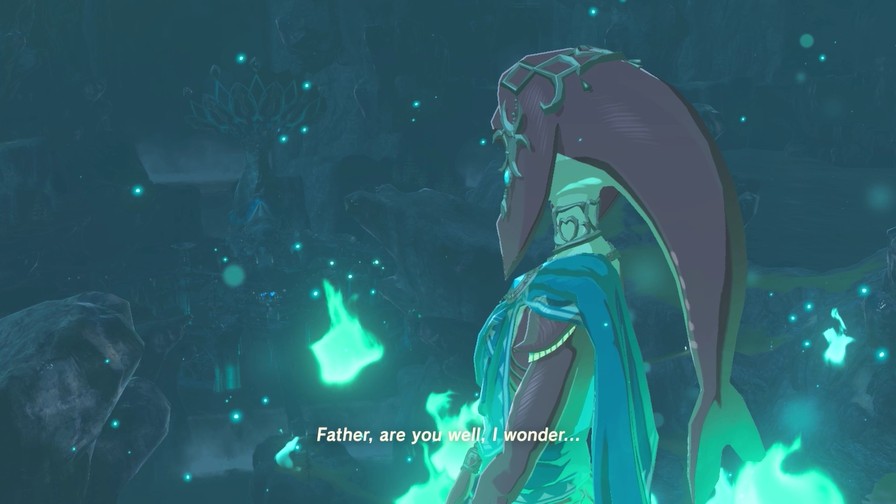
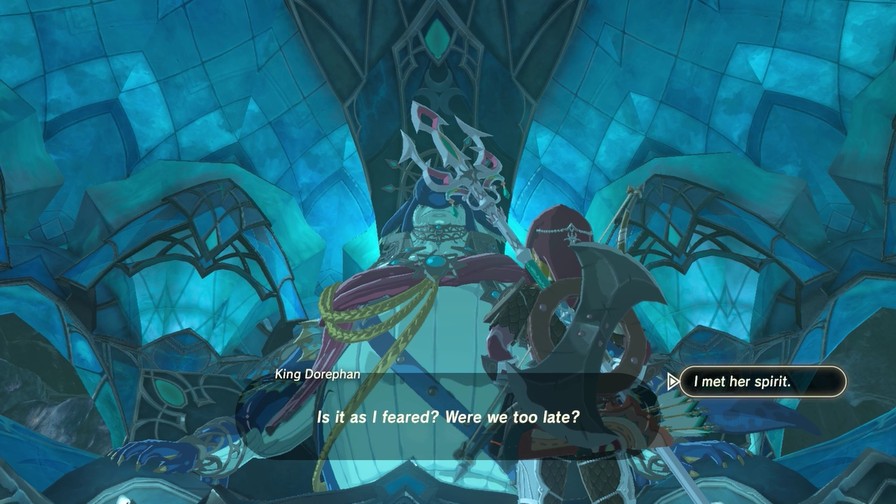
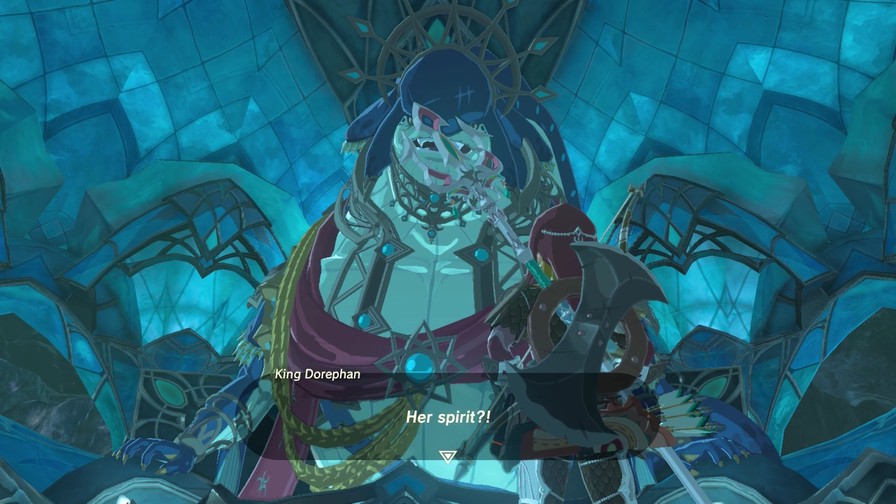
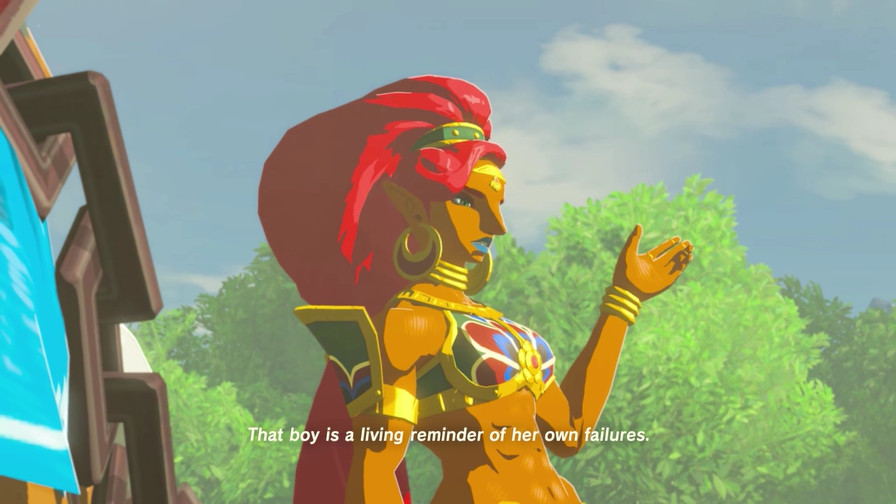
Everyone is rejoicing! There is no happier place in the world! But Link… There is something I wish to ask you. You journeyed within Ruta, the Divine Beast of Water… Now you are back, but Mipha has still yet to return…
About that…
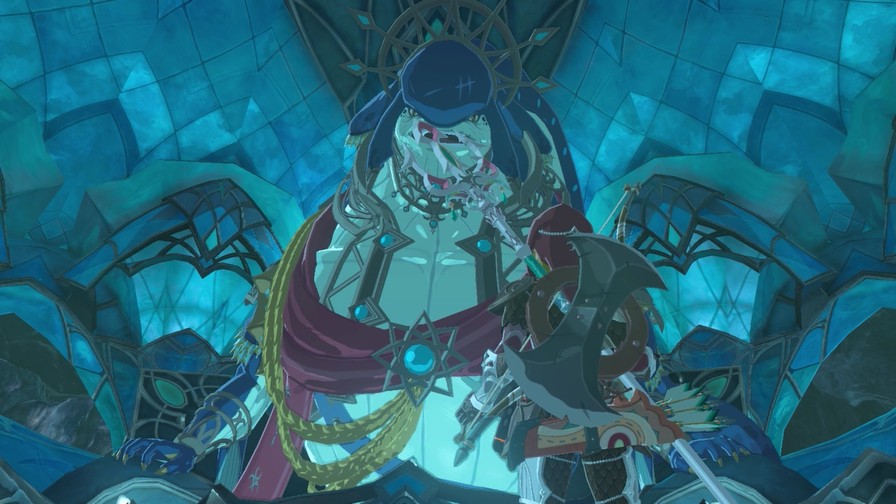
So that means Mipha is… Did…did she say anything to you?
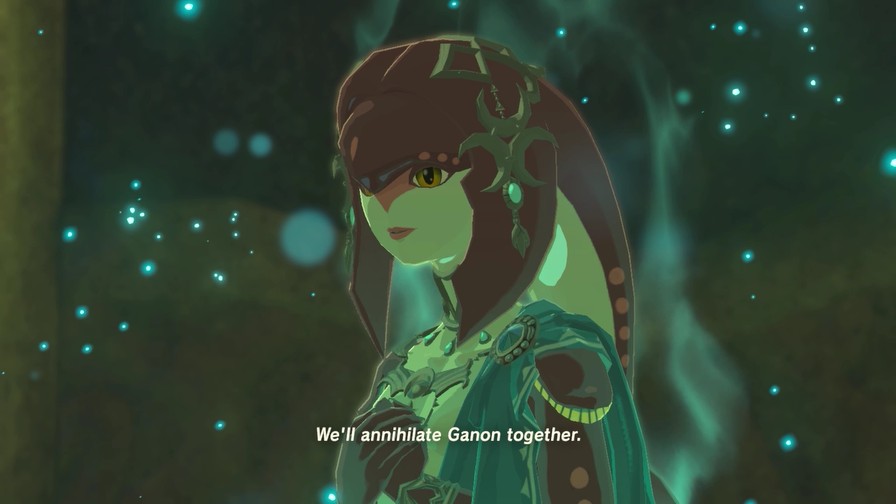
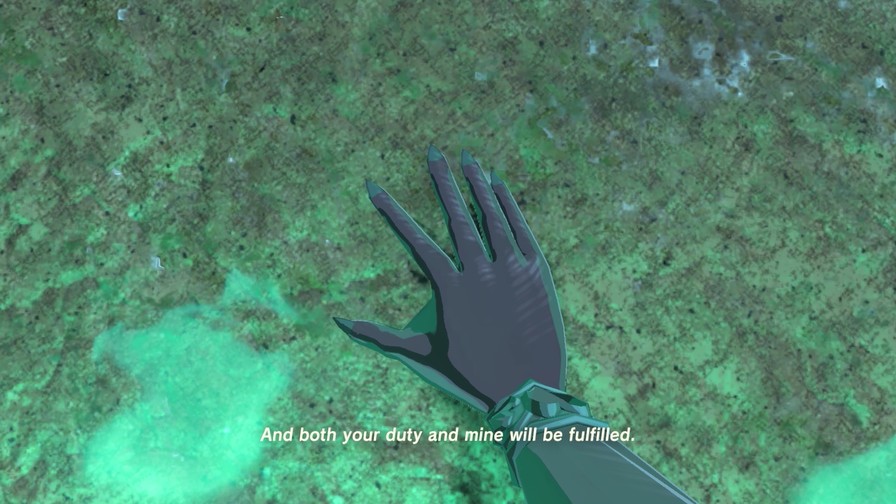
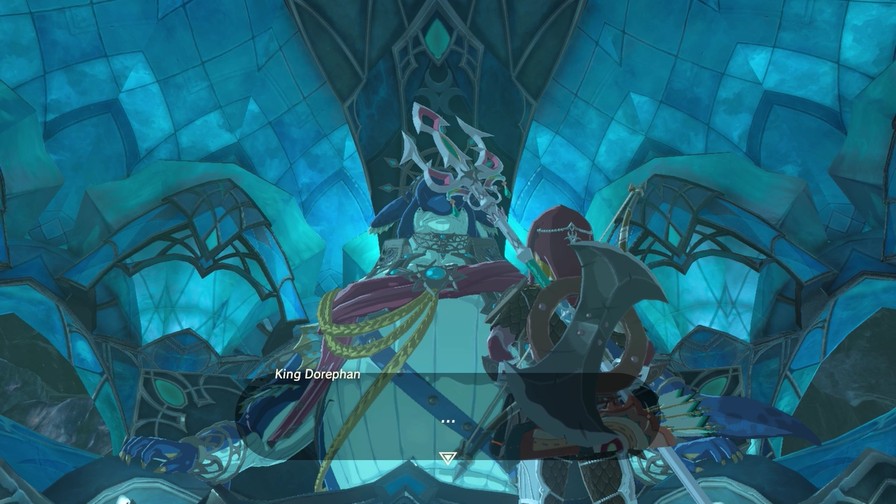
I see. My dear Mipha… I simply cannot believe it. There was nothing I could do to save her… Still… Mipha fulfilled her heroic duty as Champion. And she will never be alone… It is my duty as her father to watch over her, even now.
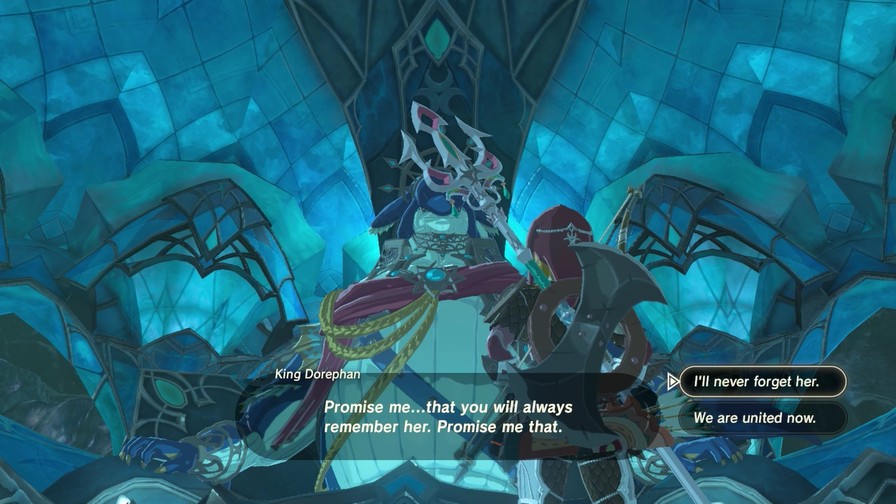
Link… She really loved you, you know. There is no mistaking that even now she is overjoyed to be able to help you.
Of course.
I appreciate you saying that. You are a good man. If you ever run into trouble, know that you are always welcome here. No matter the time, we shall all greet you with open fins!
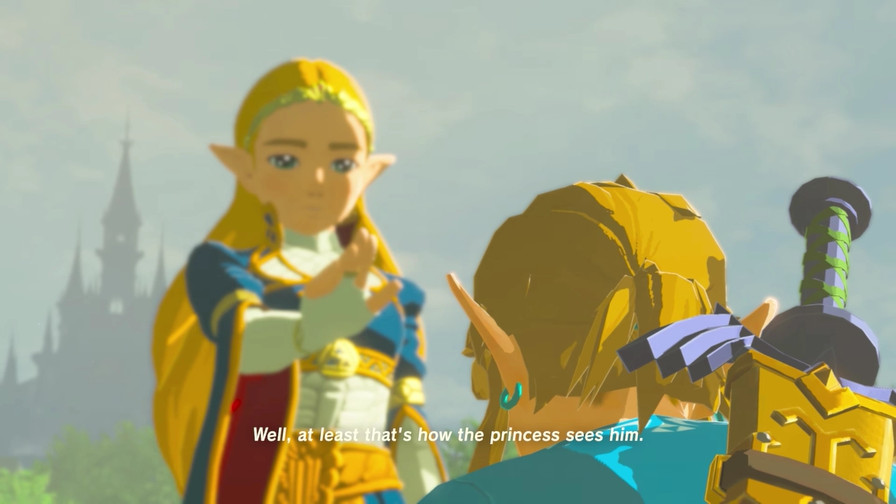
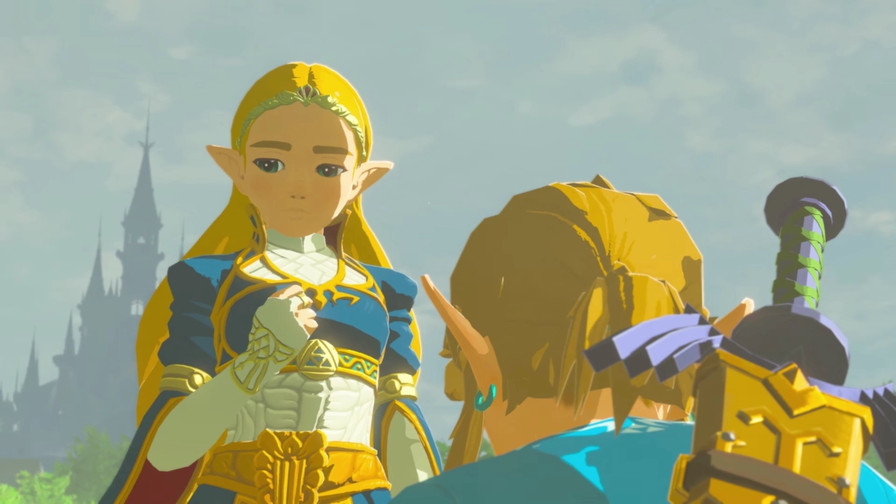
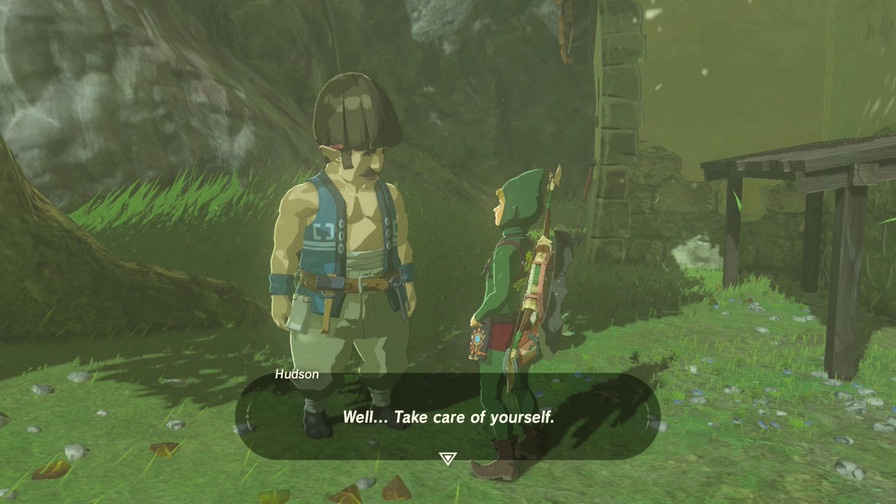
Not the best terms of closure in terms of Dorephan and Mipha, but sometimes you have to take what you can get.
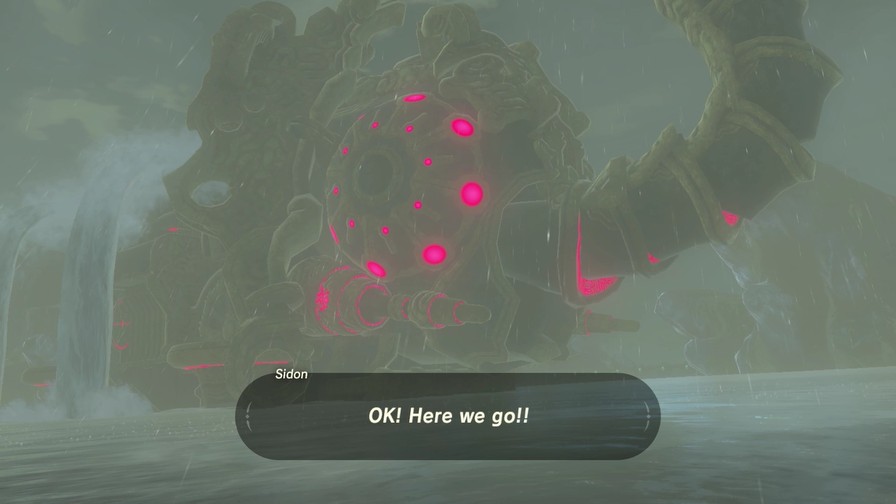
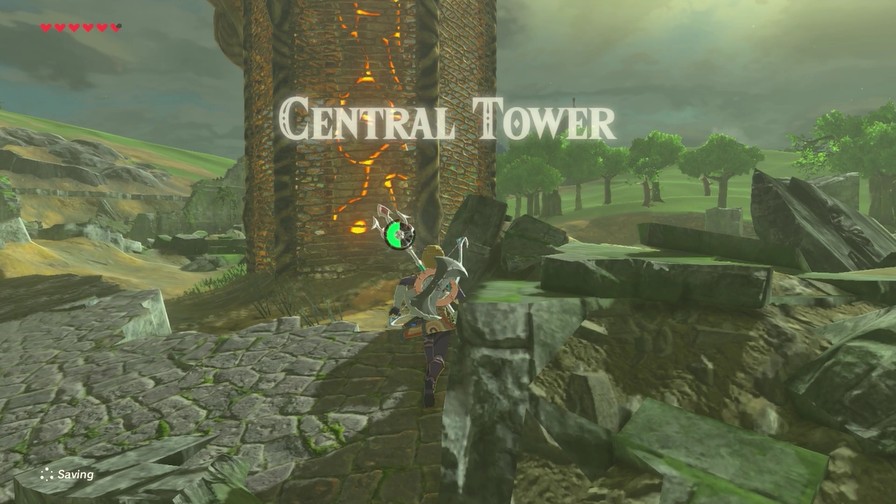
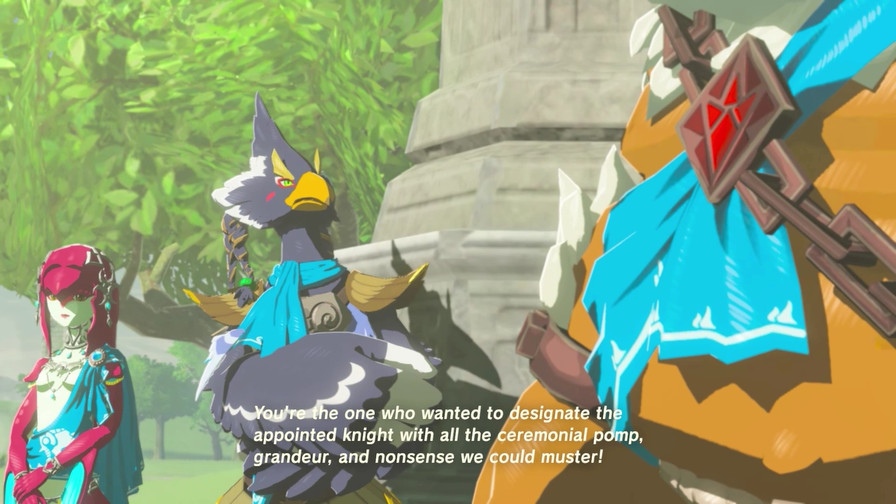
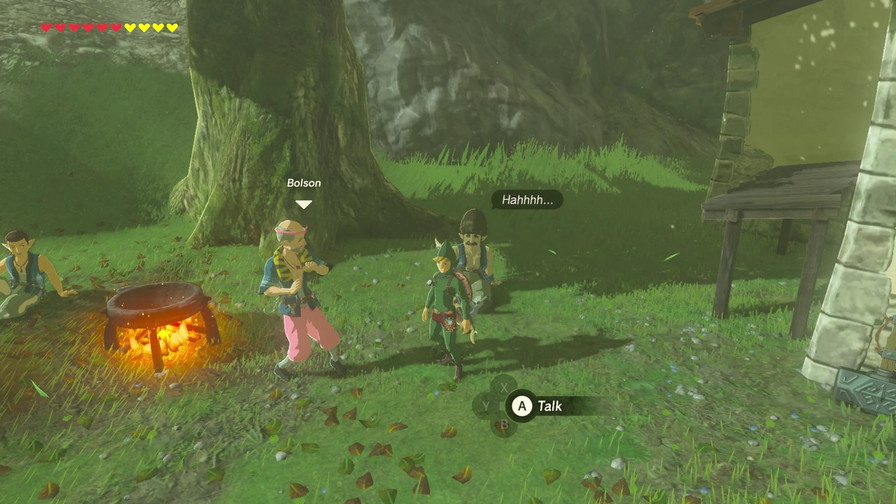
Next up, Sidon.
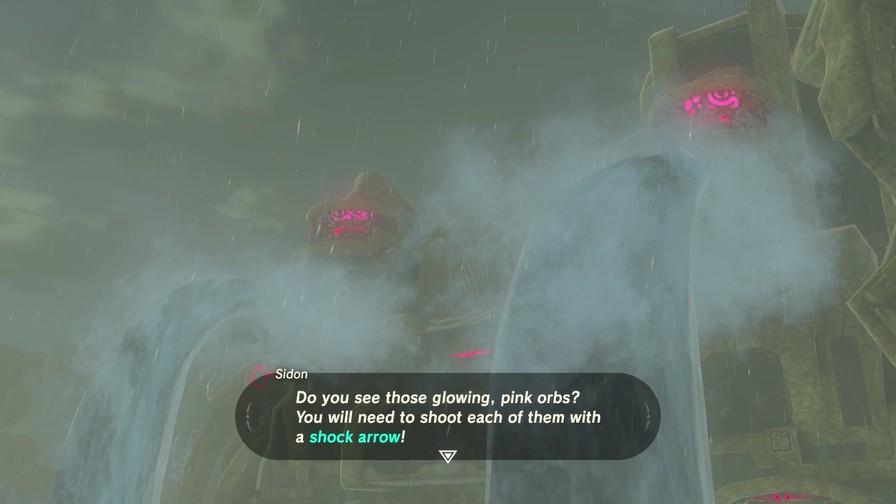
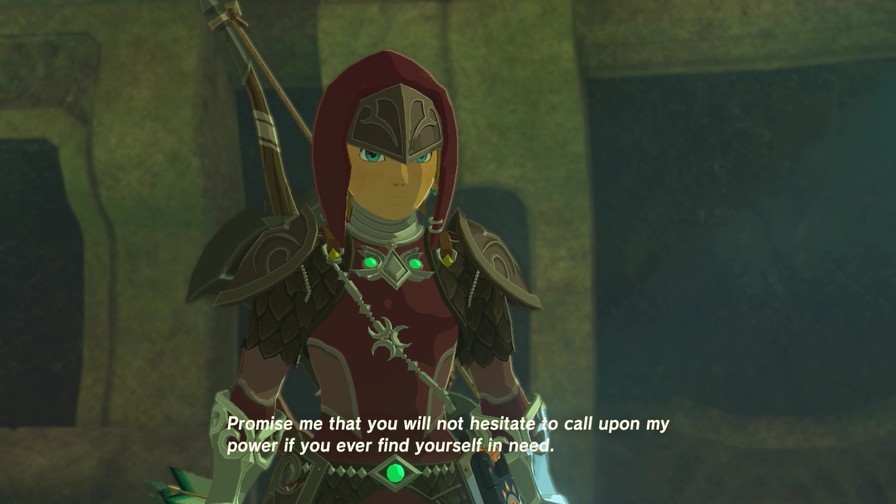
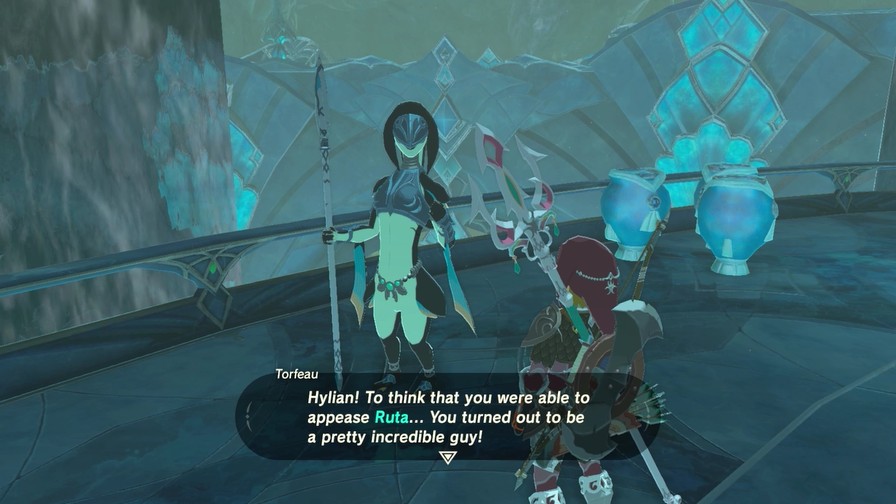
You somehow overcame the objections of the old geezers on our council, all to help save our home! Yes, you are a treasure of a Hylian! Taking time out of your journey to come to our rain- and monster-ridden home! And here you activated those orbs with shock arrows, freed Ruta, and released my sister from her lingering regret. Link… I simply can’t thank you enough! Especially for following me to the end, pushy and unreasonable as I am! Zora’s Domain would still be in peril if not for you. You are welcome anytime, and we are ever at your service!
It’s hard to tell, but I think there’s hints there that Sidon may appreciate everything we did here. Maybe it’s just me though.
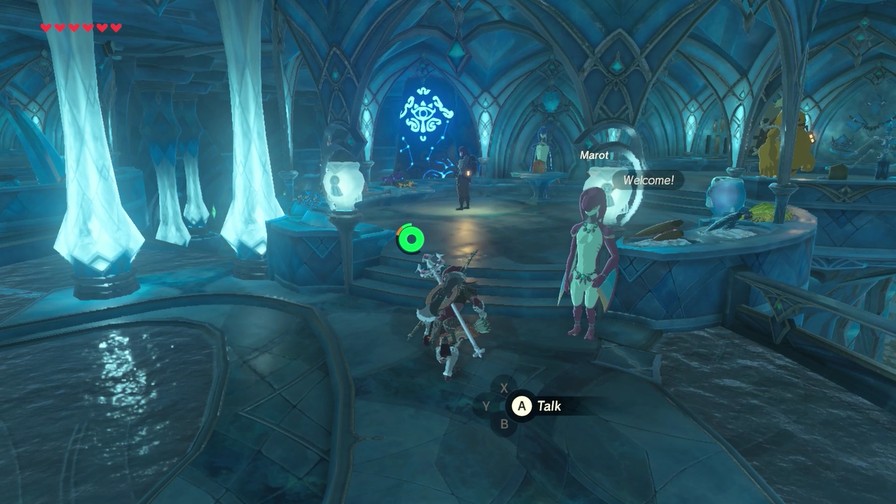
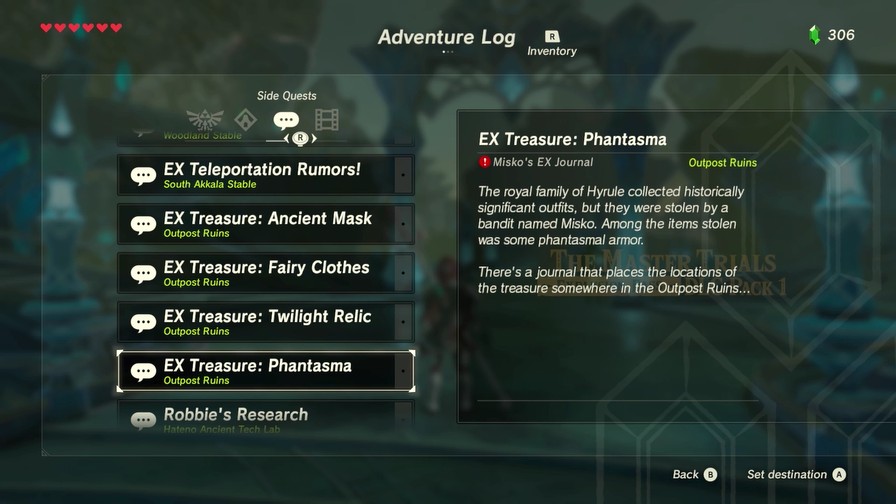
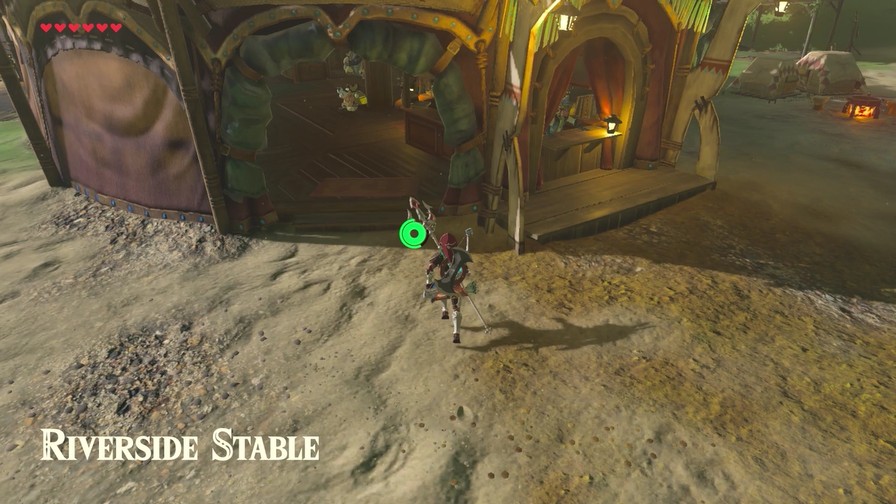
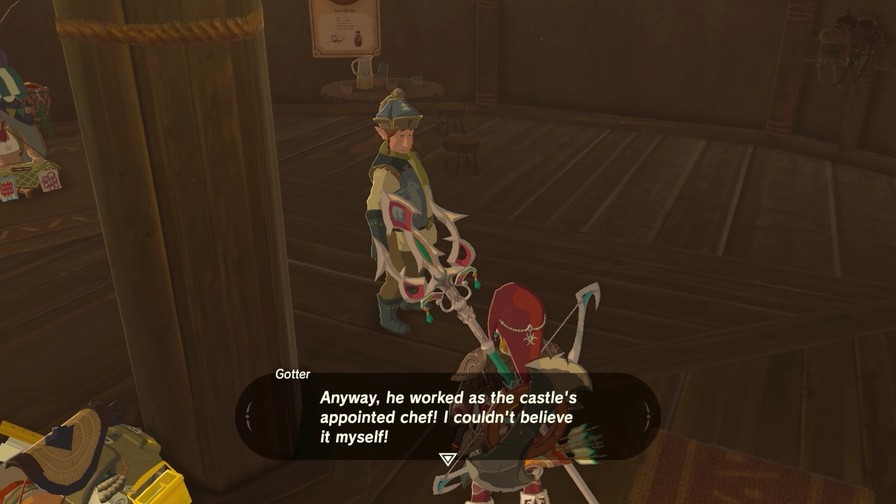
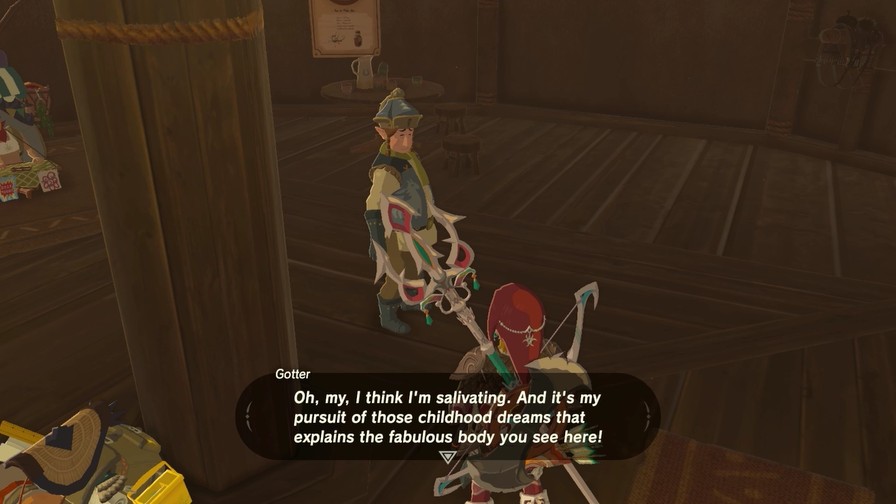
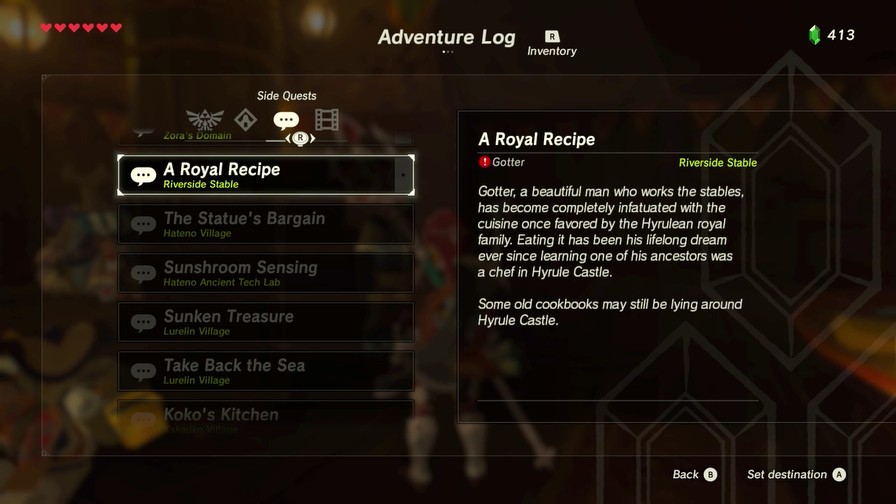
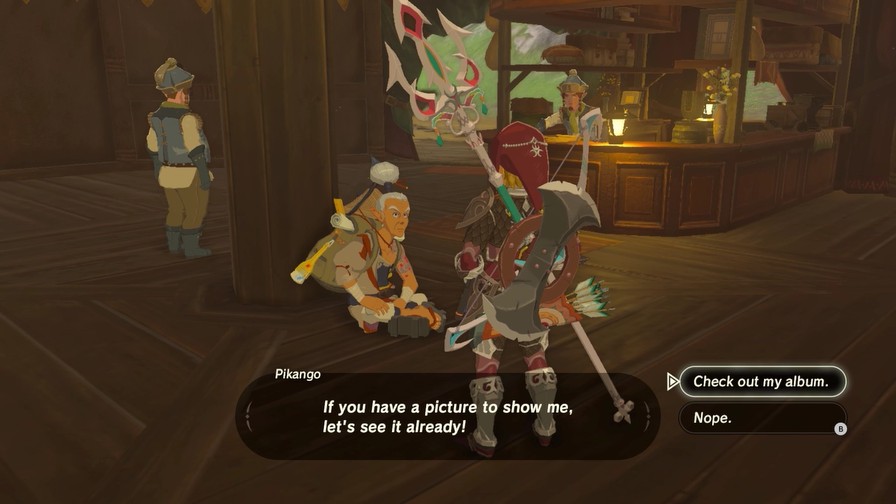
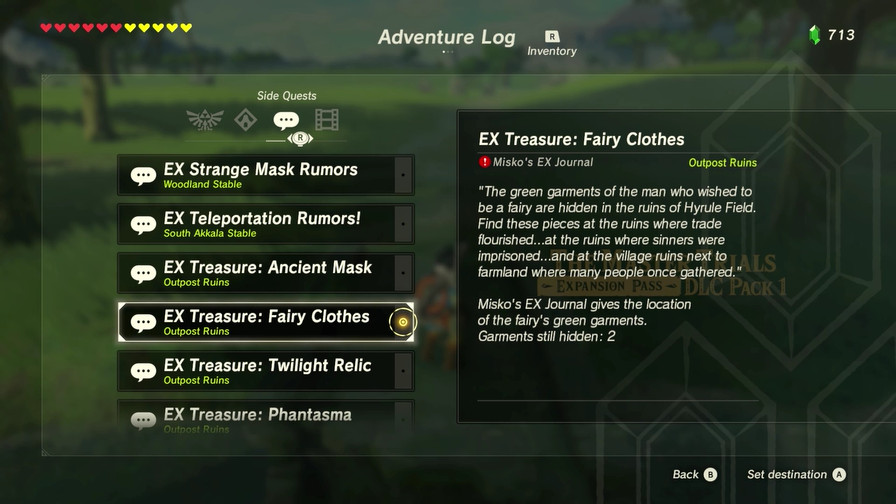
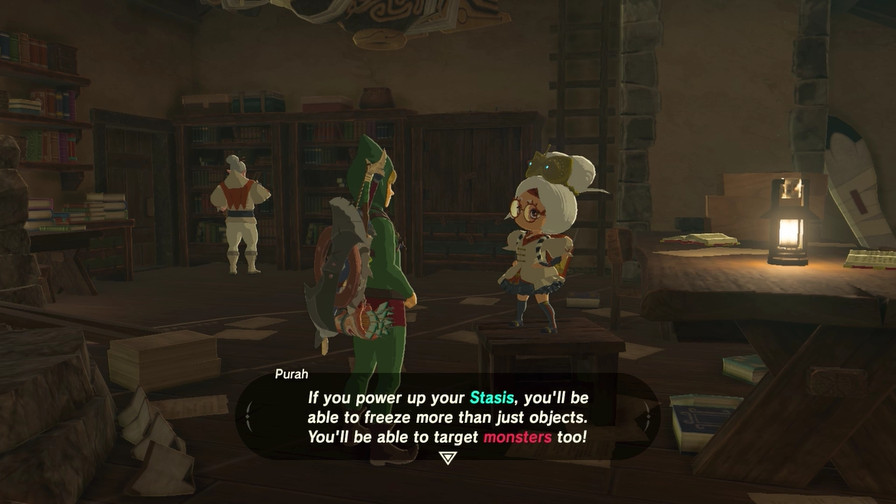
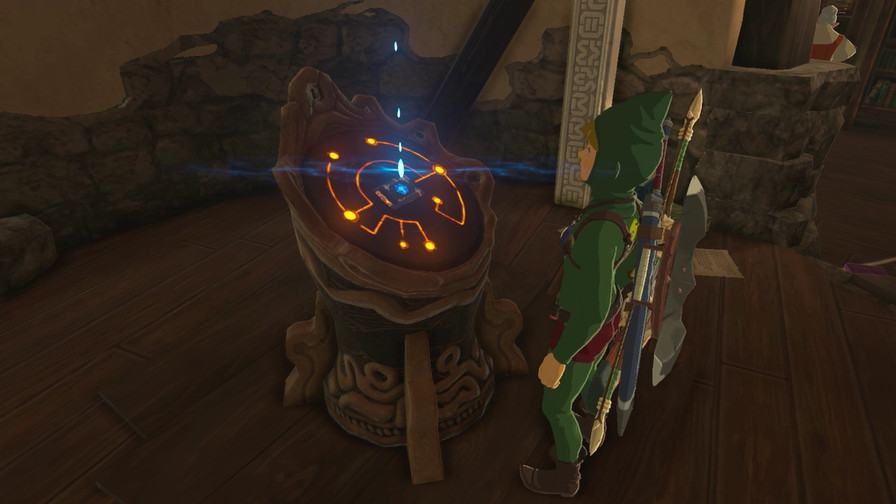
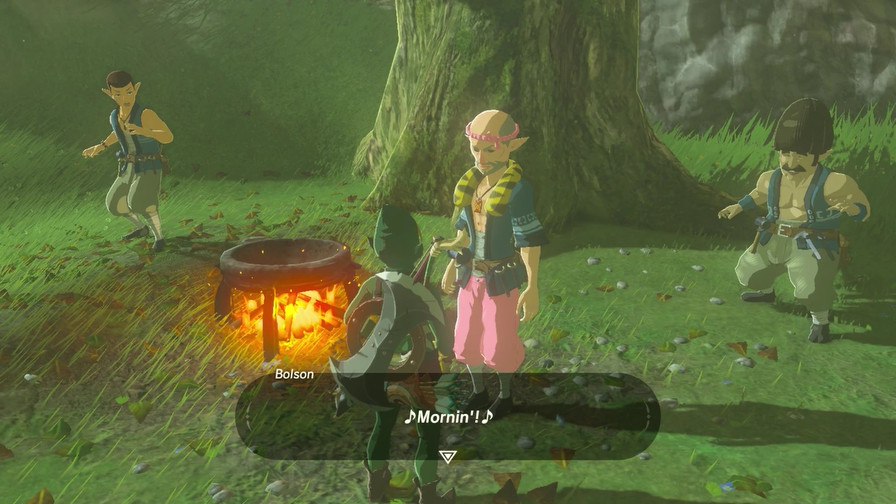
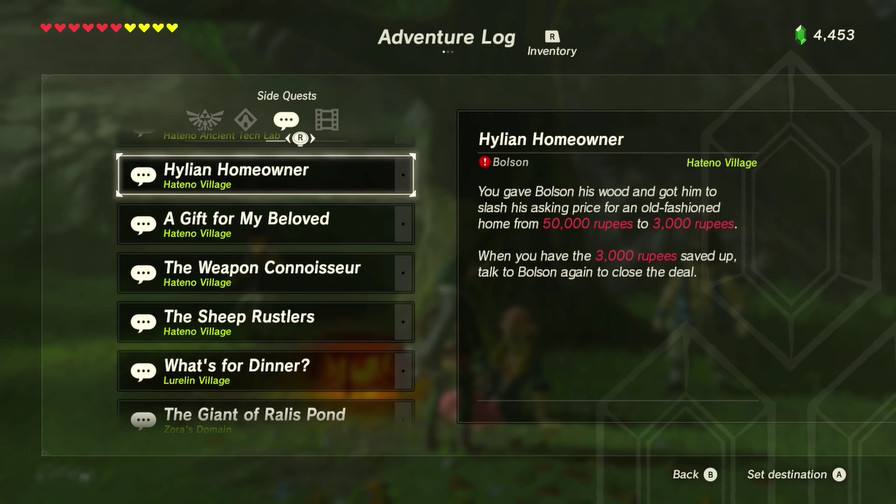
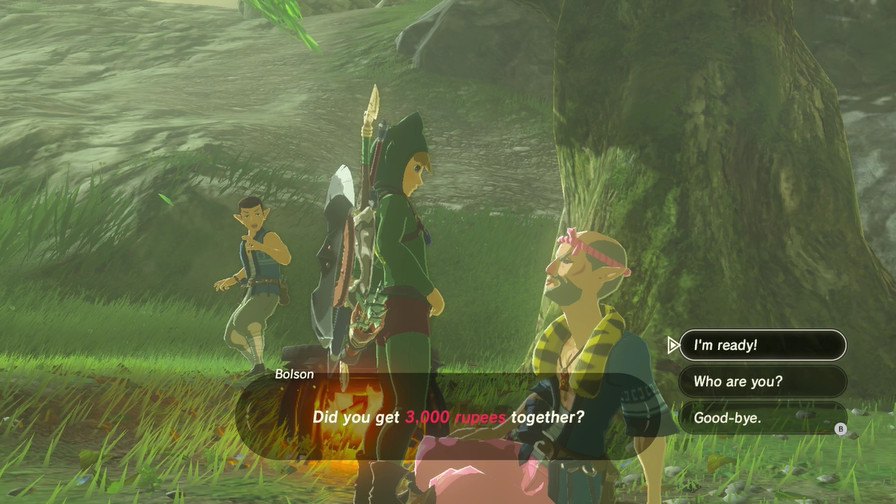
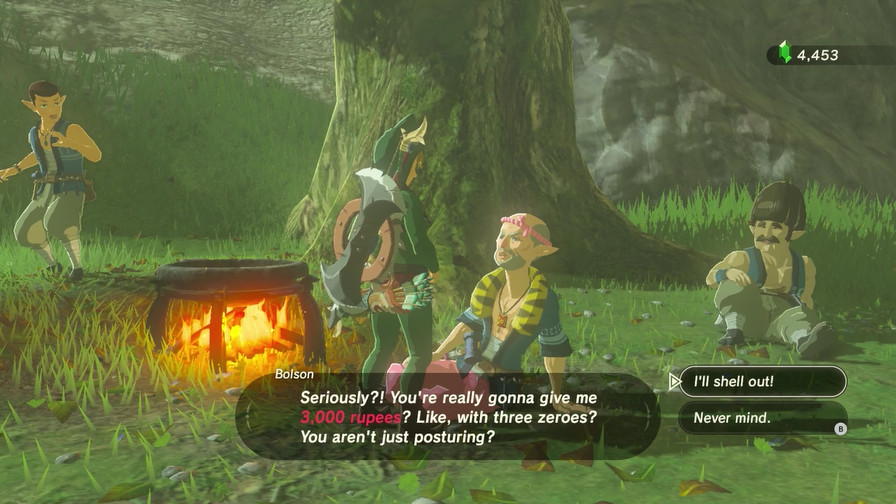
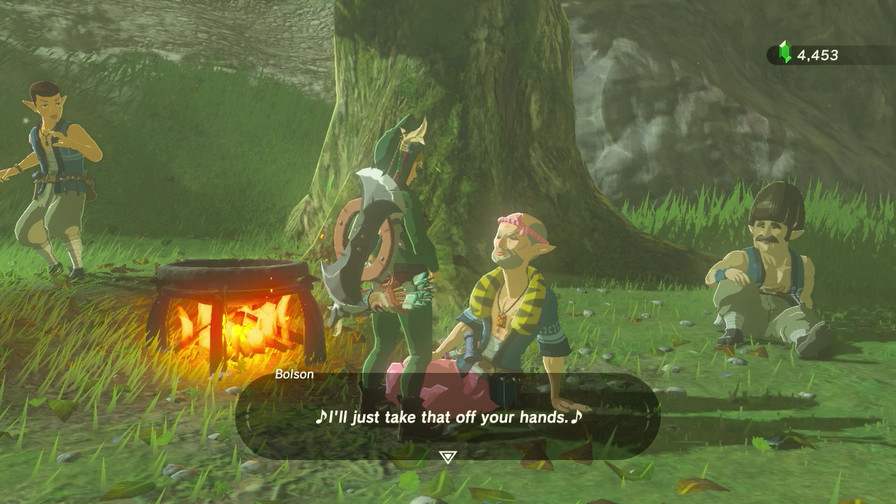
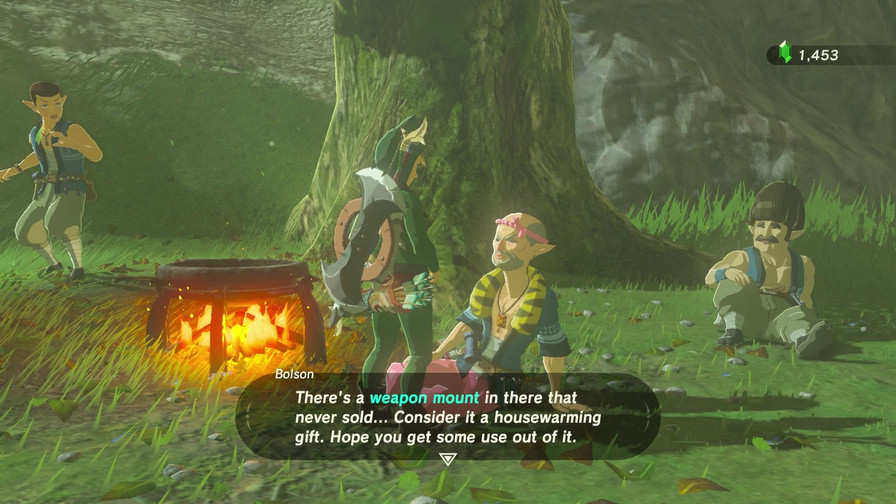
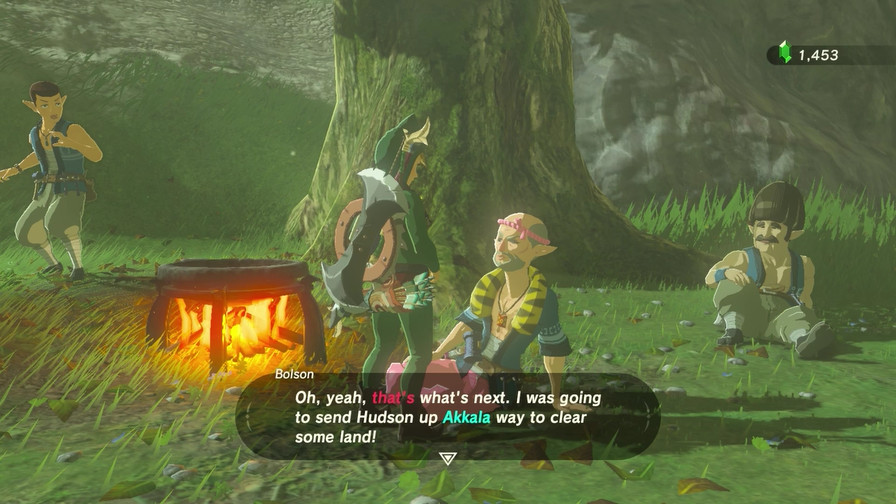
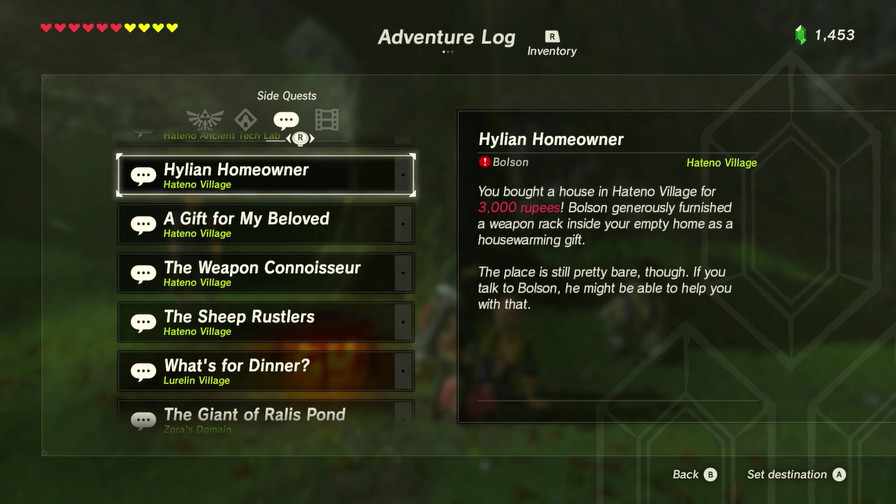
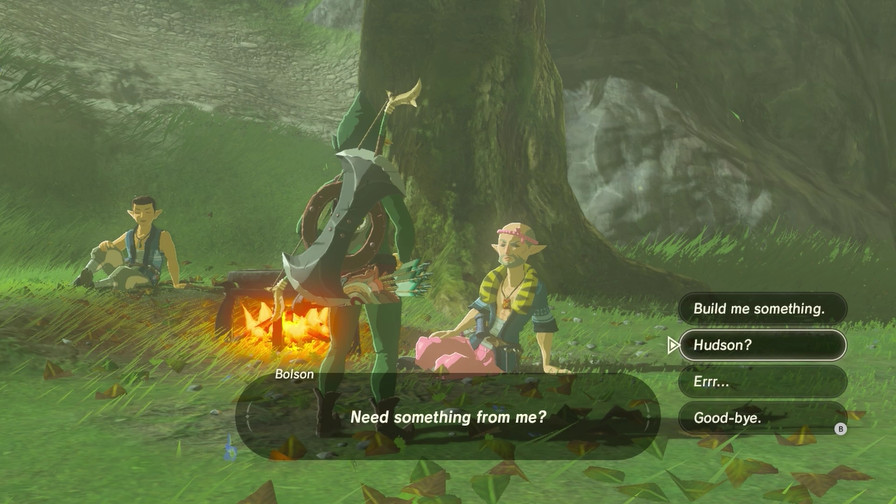
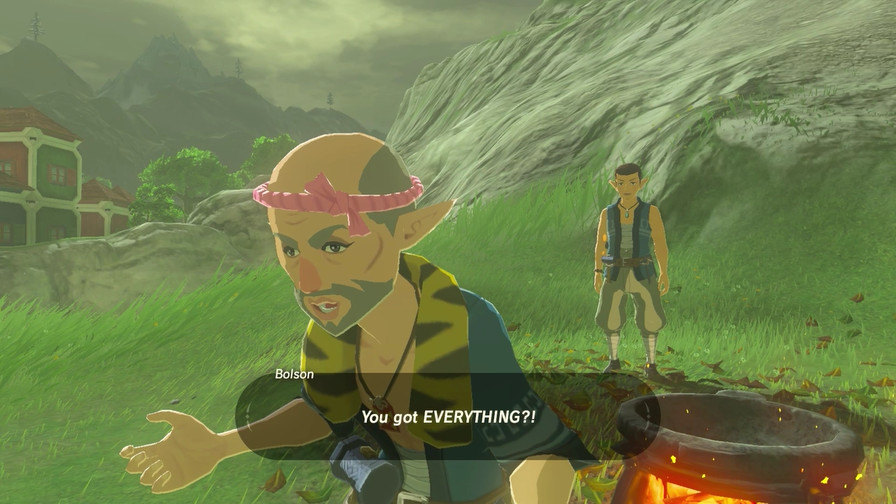
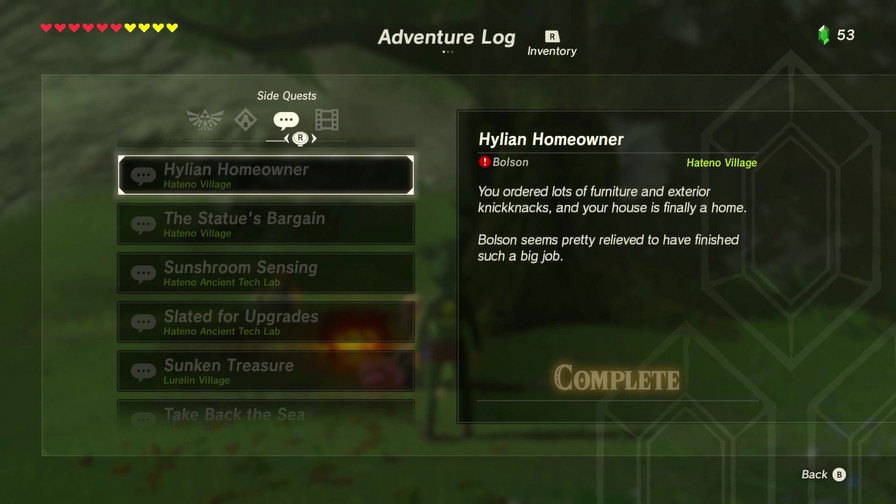
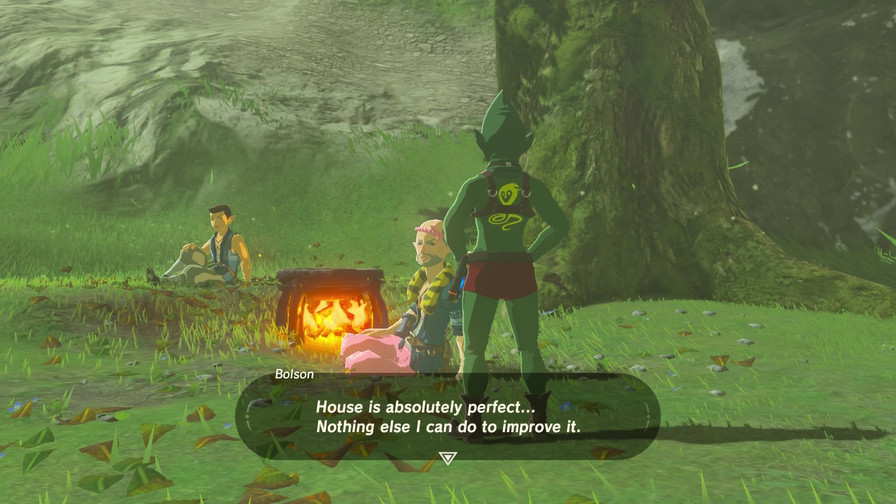
That’s pretty much it for story stuff. We’ll do a bit of chatting with townspeople, but the rest of the update is going to focus on the various side quests that are now available, including completing a couple of them.
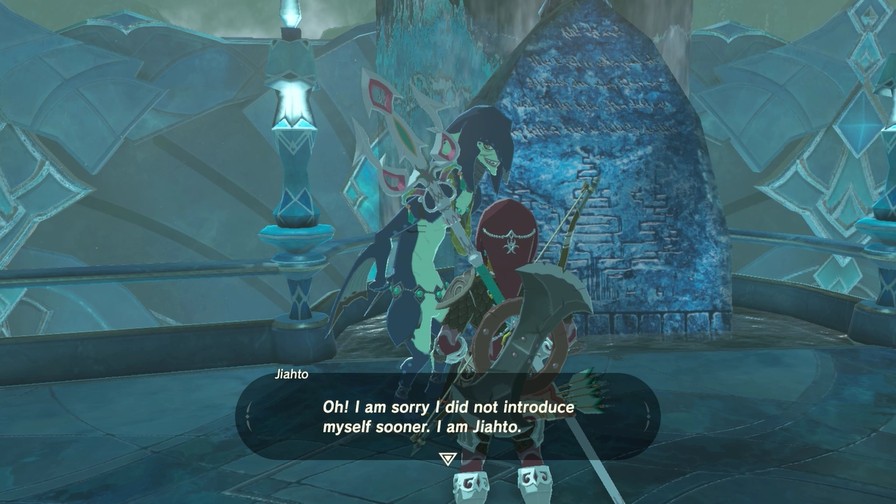
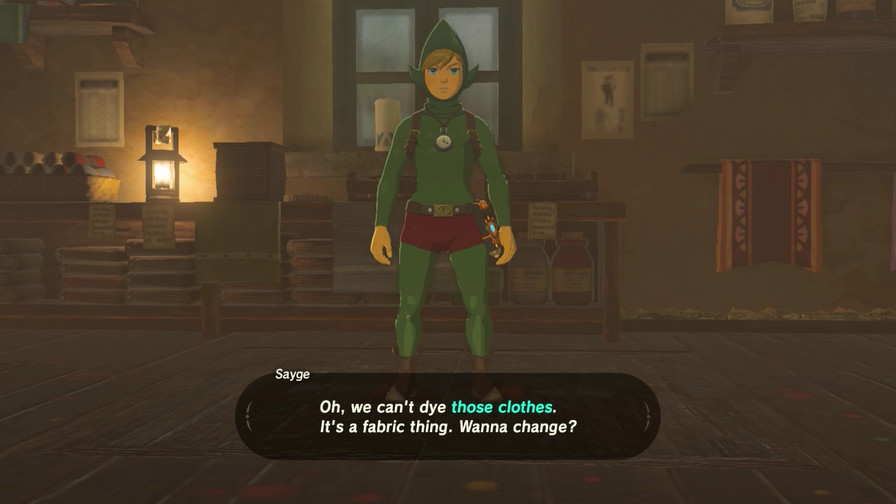
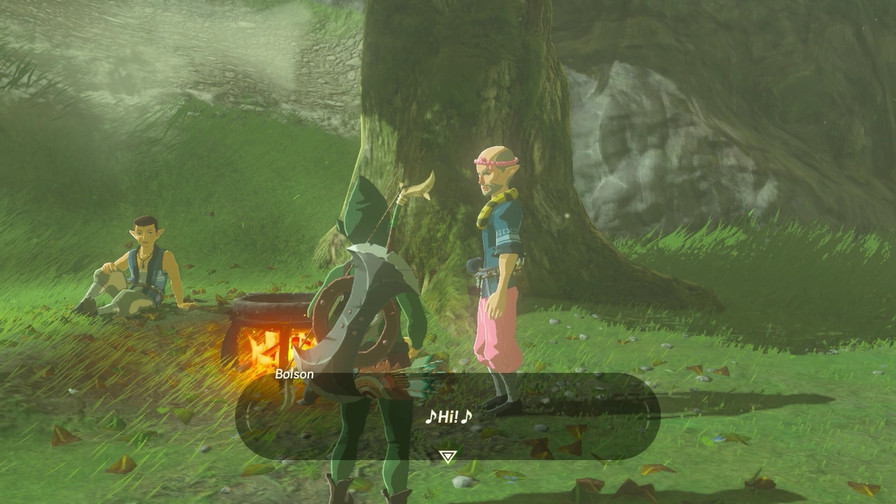
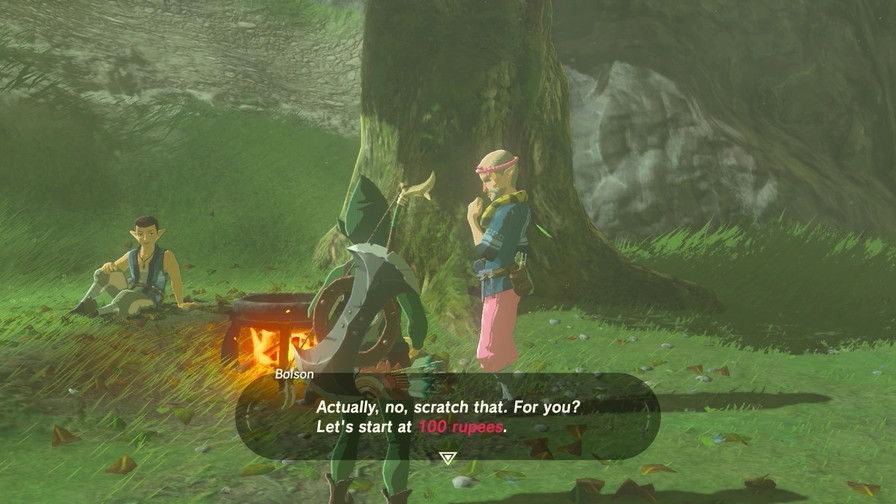
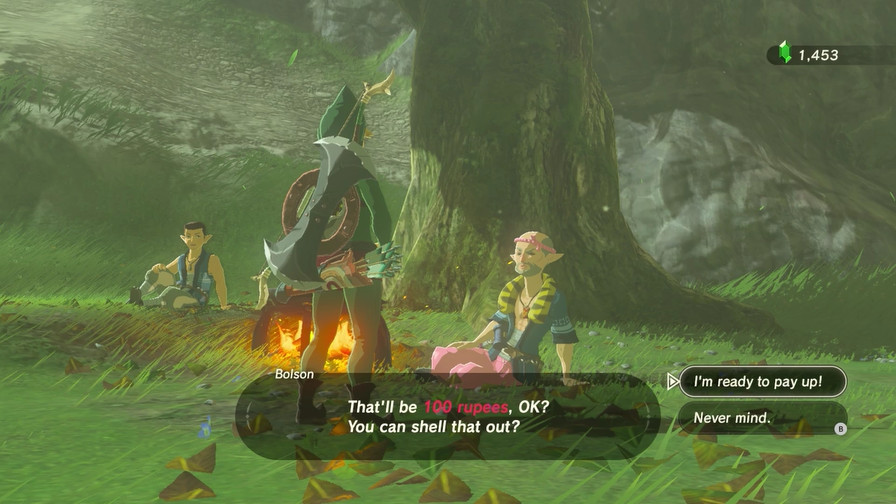
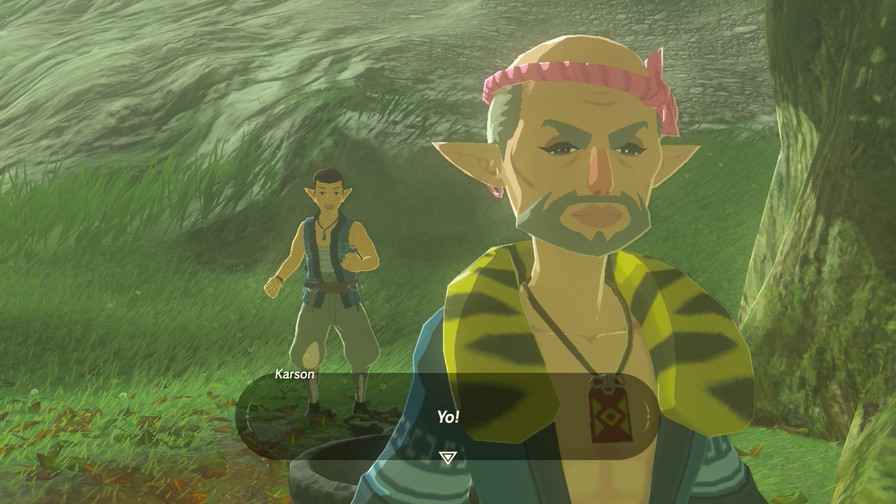
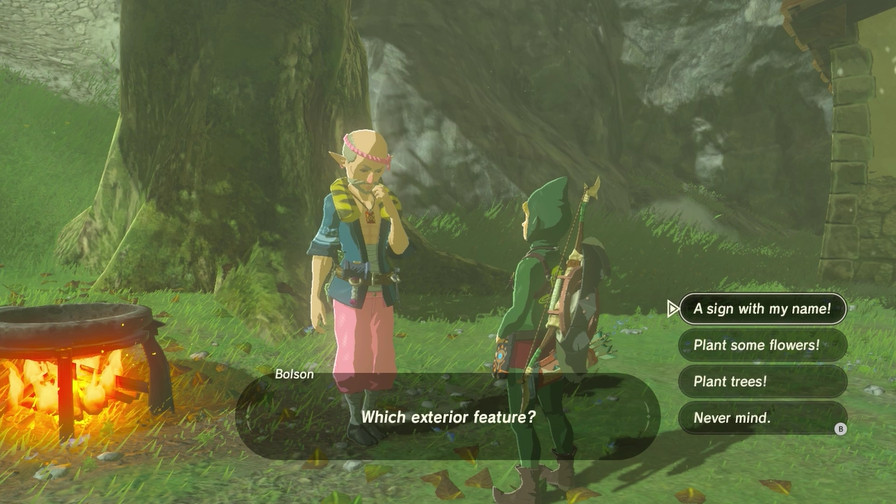
First off, a new face.
Same.
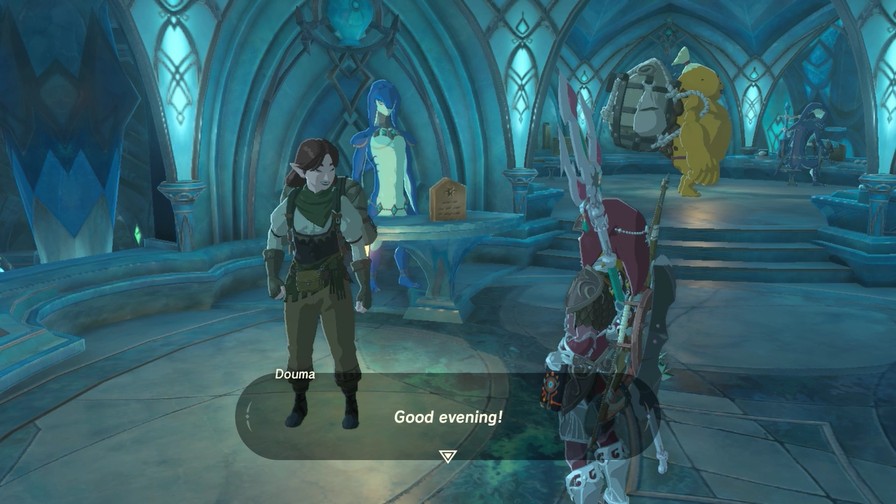
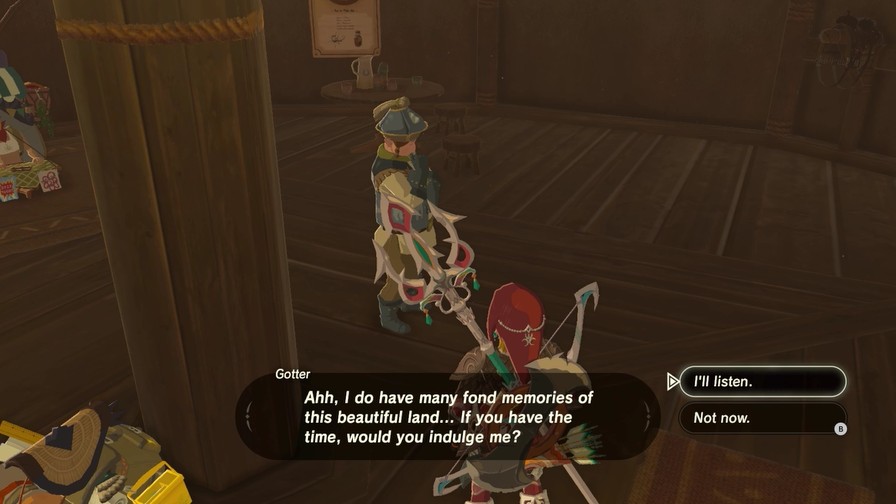
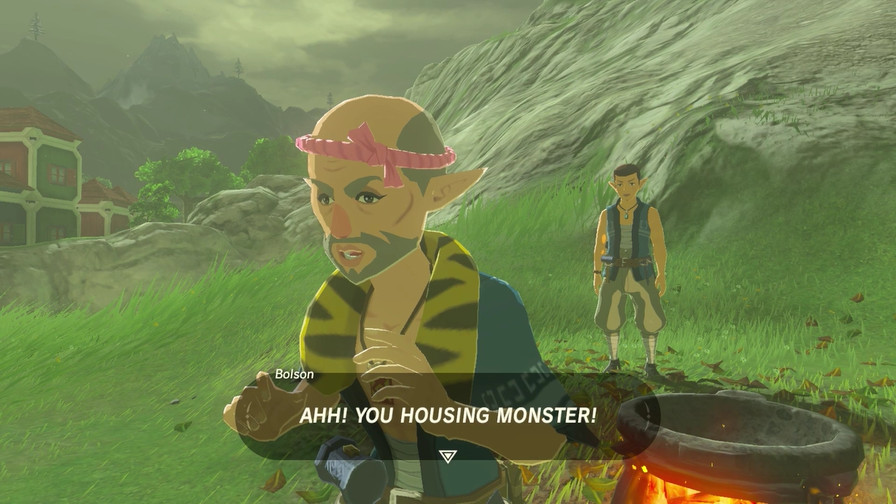
 I’m a traveling merchant. I’m everywhere! Oh! I should introduce myself… I’m Douma! Nice to meet ya! Ya know, it used to rain aaaall the time around here. The rain stopped! That’s why I was finally able to reach Zora’s Domain! Now I’m gonna stock up on rare goods at the general store here. Don’t get in my way, understand?
Now that Ruta’s appeased, trade can finally start building up again here.
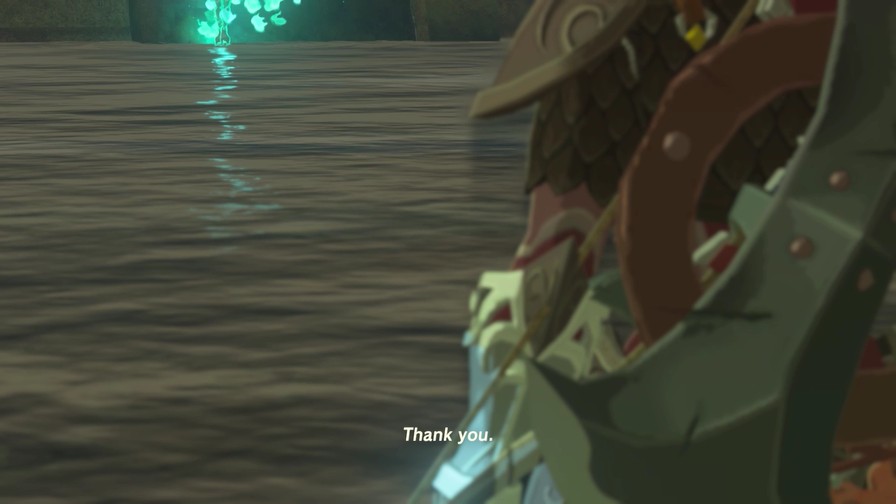
Now Lady Mipha’s spirit can finally rest in peace.
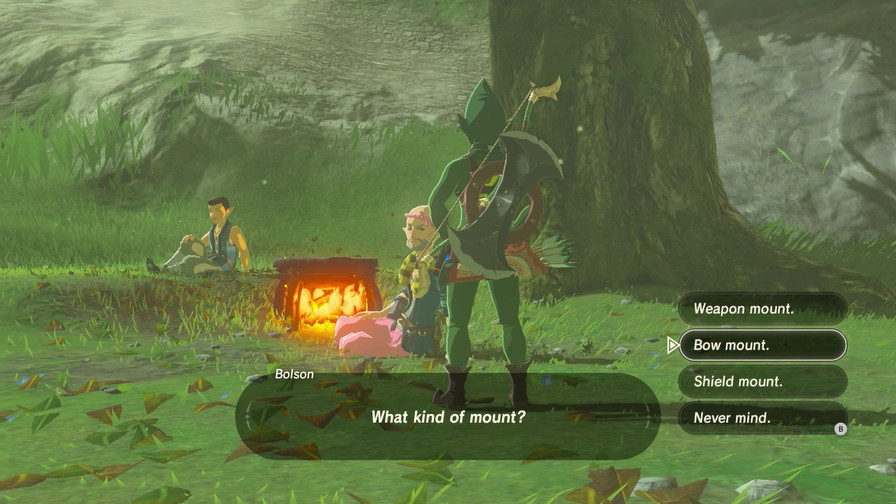
If you break either one…please let me know so I can remake it for you.
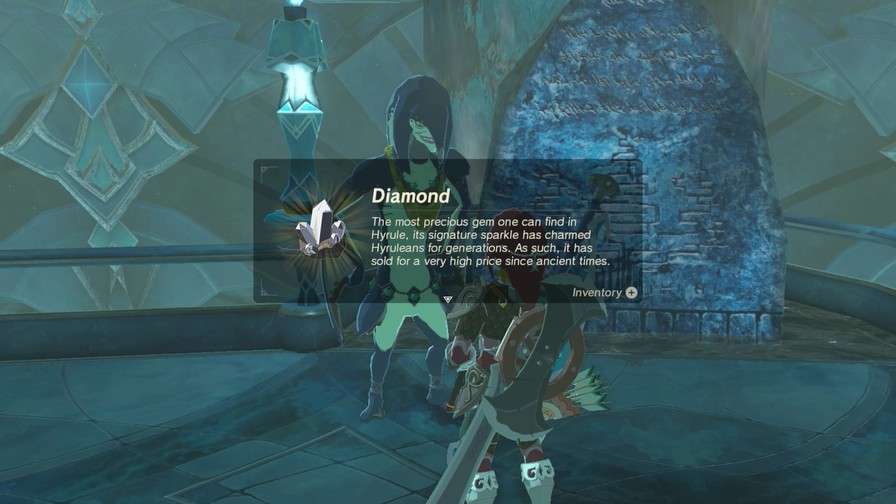
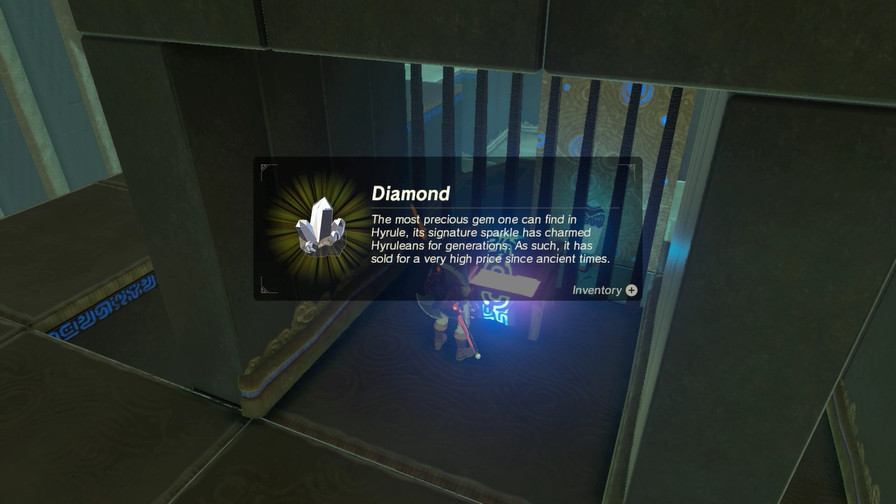
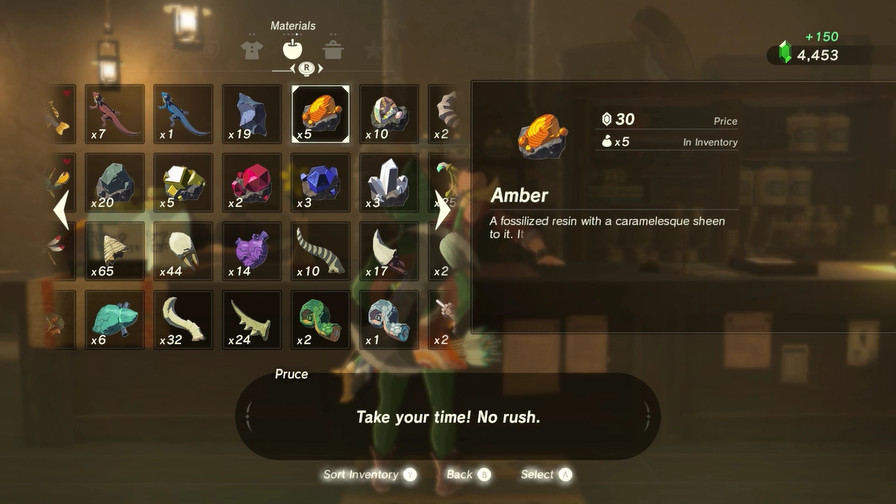
When the Lightscale Trident breaks, we simply bring materials to Dento and he’ll make us a new one. IIRC, for the Lightscale Trident is requires a Zora Spear, five pieces of Flint, and a Diamond. There’s usually a Zora Spear hidden in the water in the area under the throne room, and flint is simple to get. The Diamonds are the tricky part, especially since most if not all the other Champion weapons also require them to rebuild. I never really bother making new ones myself since by late-game you’ll be swimming in powerful weapons anyway.
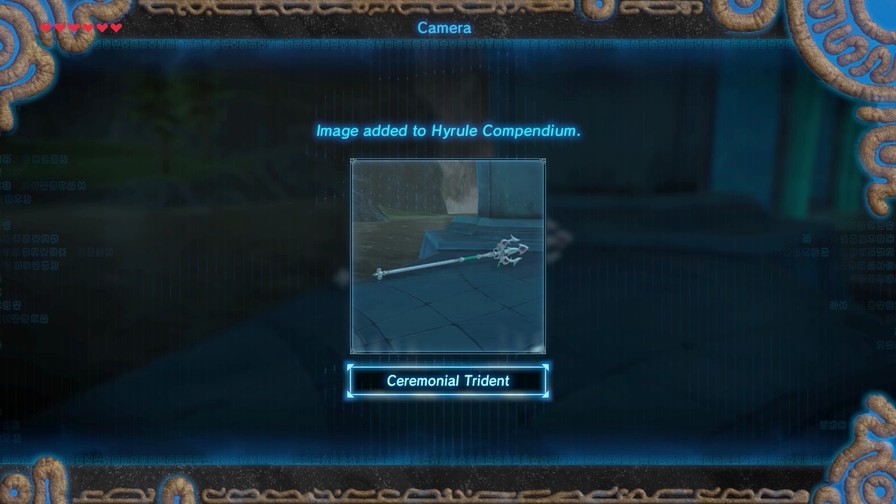
As for the Ceremonial Trident, it costs the same except for the Diamond. More on that weapon in a bit.
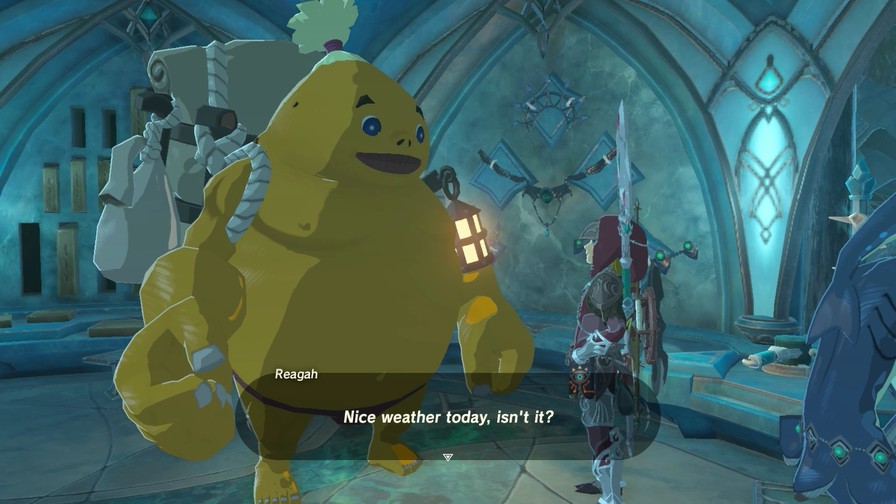
It’s worth talking to this Goron for the reactions. After each response, a new one pops up.
Where are you from?
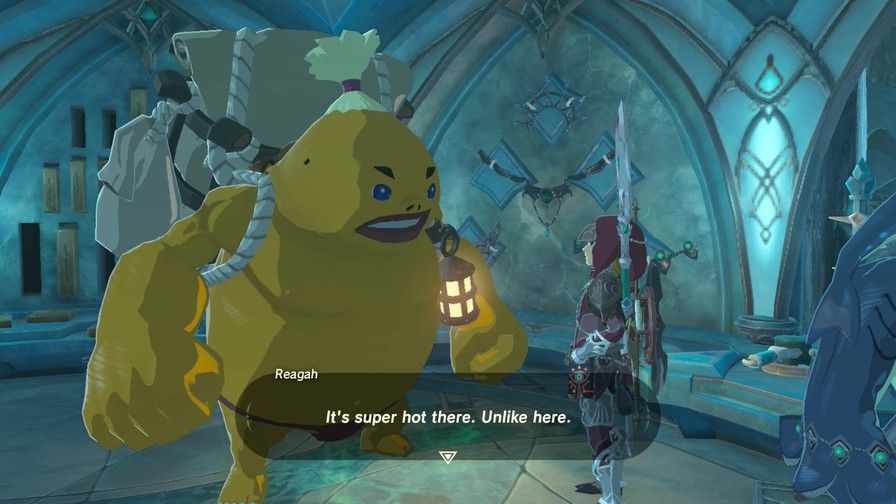
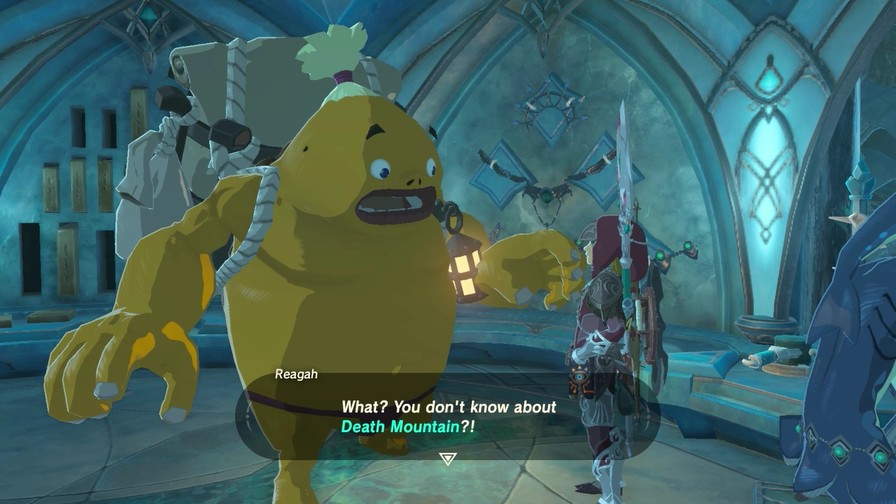
I’m from Goron City! It’s near Death Mountain.
Death Mountain?
On a sunny day, you can see the volcano from anywhere in Hyrule! Us Gorons eat rocks, ya know. So it’s really comfortable for us to live around Death Mountain.
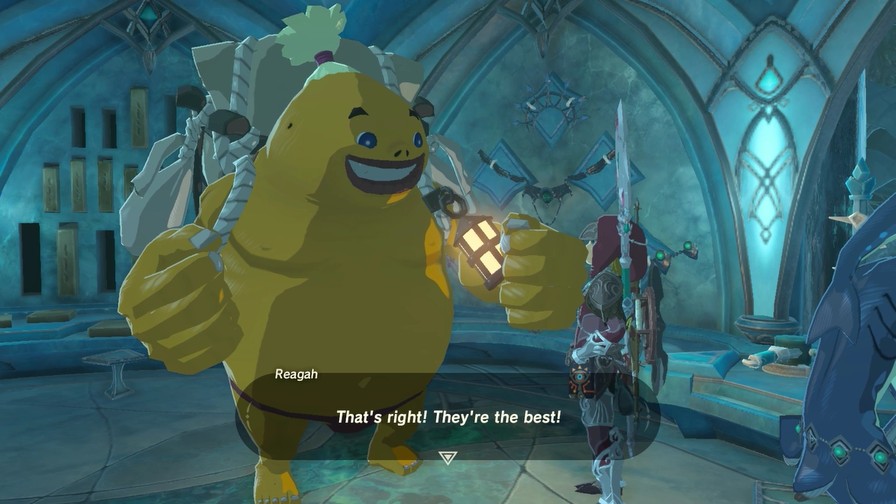
You eat rocks?
Rocks are great, but the ones called gems… Ya know, the sparkly ones? Those taste terrible! Nothin’ to do with those but sell ‘em…or use ‘em as craftin’ materials in the ol’ workshop.
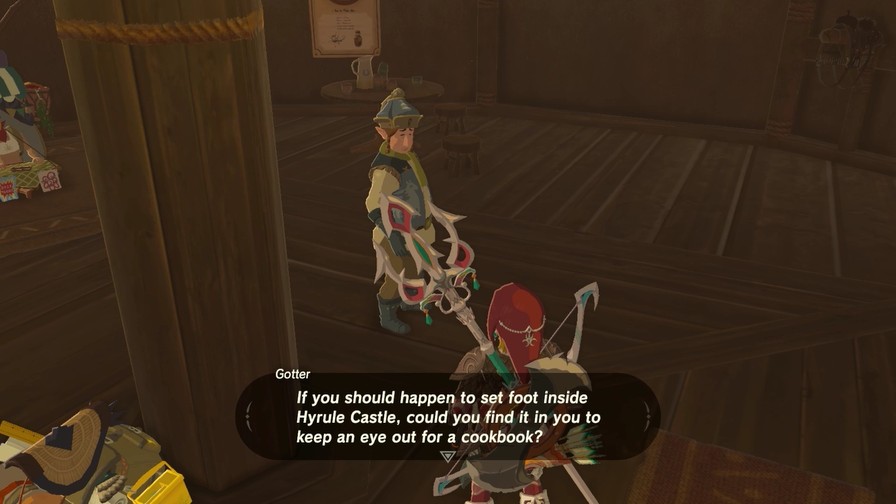
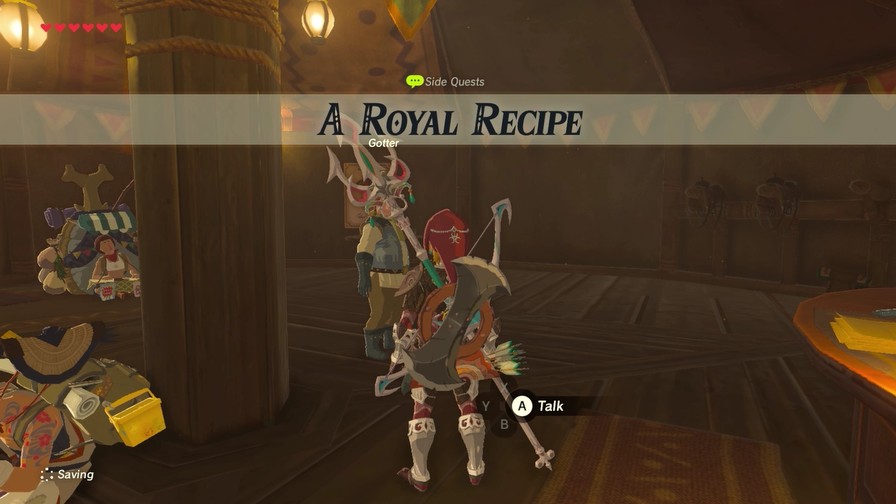
That’s enough chatting. Let’s get to some side quests!
Your trial awaits… It’s glowing bright… Oh! You’re the Hylian who helped our Prince Sidon! You’re sooo handsome! Your looks still don’t compare to Prince Sidon, of course… But you’re not half bad! In fact… I wouldn’t mind talking with you for a bit. Hee hee.
Prince Sidon?
Prince Sidon is soooo handsome! He’s what every girl dreams of!
That song?
I just looooove singing! I even remember the song from the Champion Festival!
Sure.
OK! I’m gonna sing it now! The Champion Festival Song!
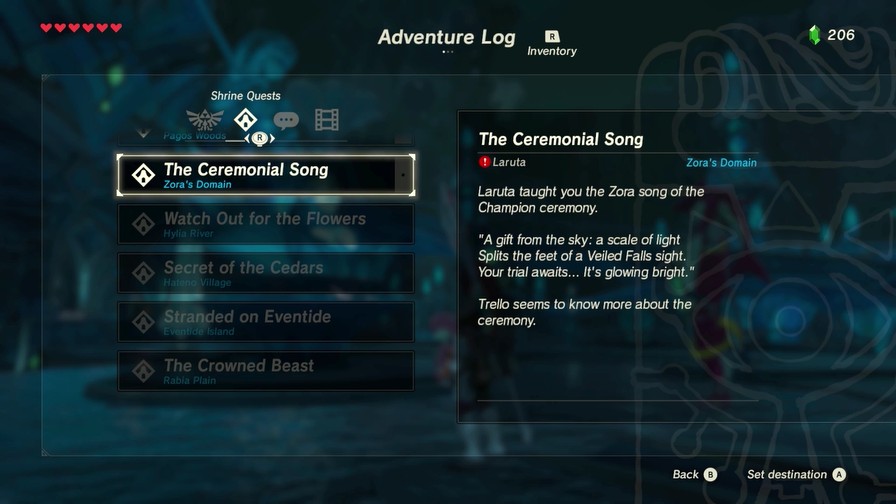
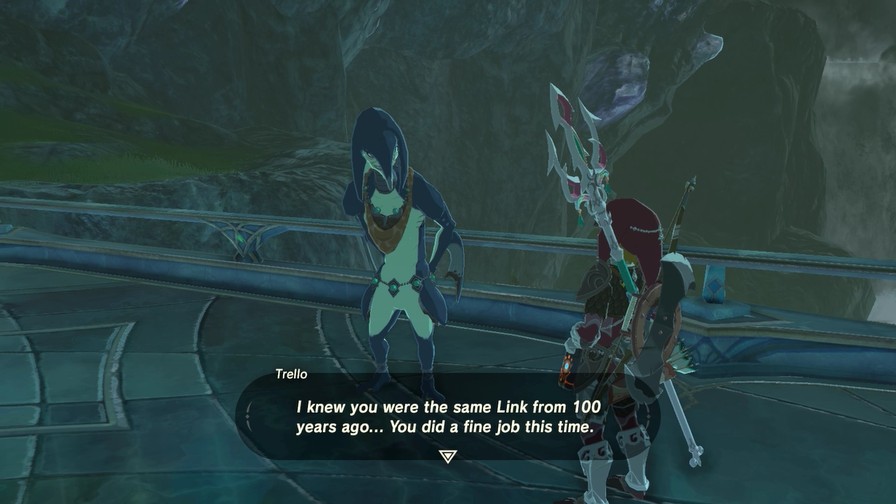
I don’t really get what the song’s about, but I’m gonna sing it at the next Champion Festival! Mr. Trello is supposed to get the festival together, but he hasn’t done anything for it yet. I wonder what’s wrong with him… Did he forget that’s his job?
First thing we need to do is talk to Trello to get more information.
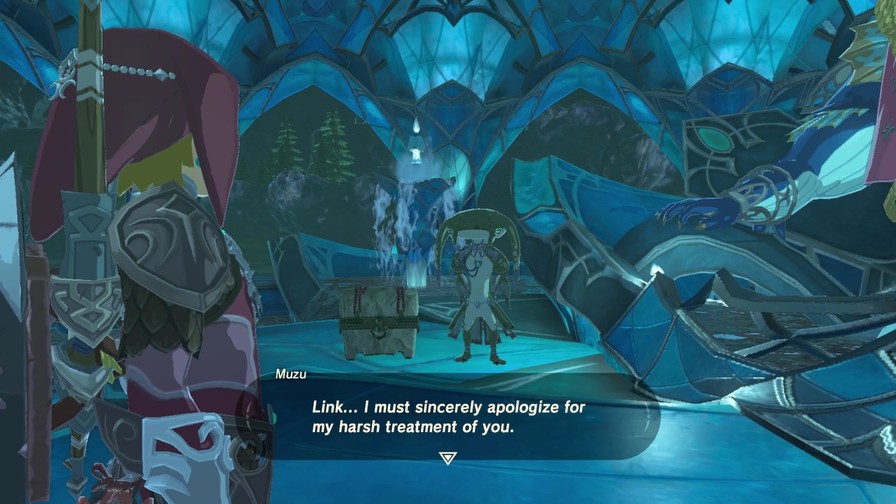
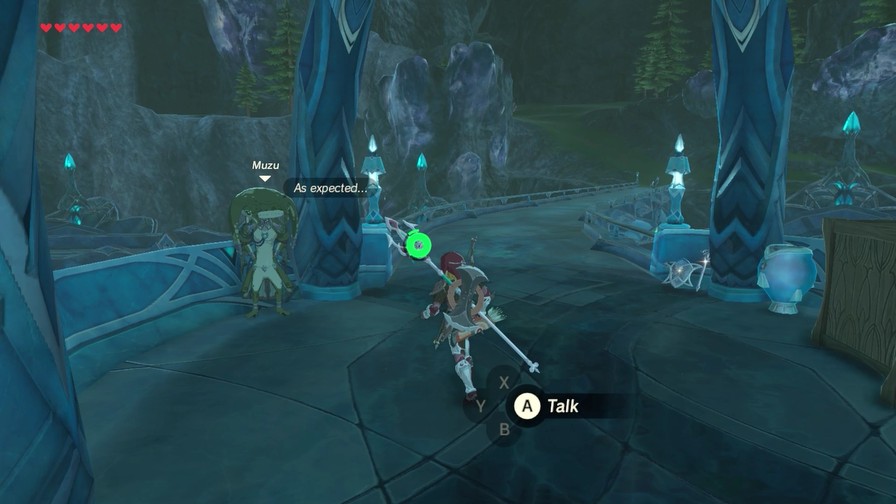
Along the way, let’s chat up Muzu.
You don’t have any fins or gills, yet you still managed to stop the Divine Beast… I should have expected as much from Lady Mipha’s beloved. Well done. I hope you can find it in your heart to forgive an incompetent fool such as me!
Here’s Trello.
May Lady Mipha’s spirit live on within all of us…
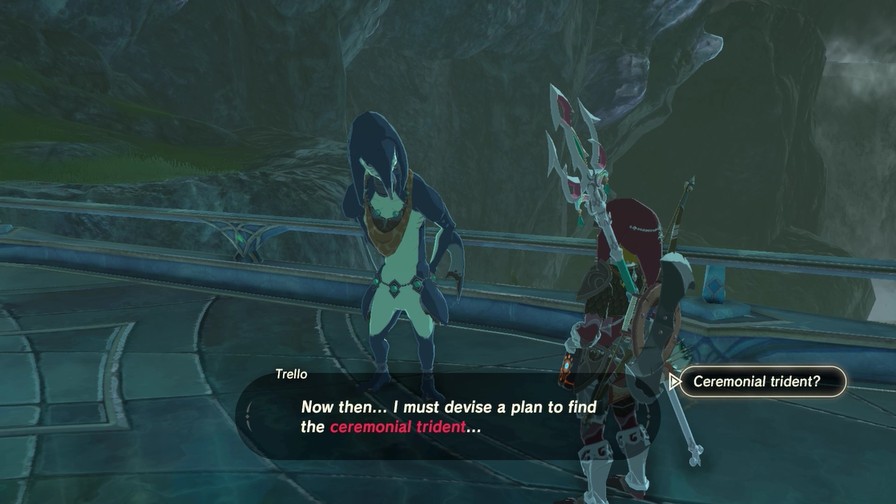
What’s this about a ceremonial trident?
The ceremonial trident is used in a festival to honor Champion Mipha… The Champion Festival’s Lightscale Trident… Well, it’s a fake.
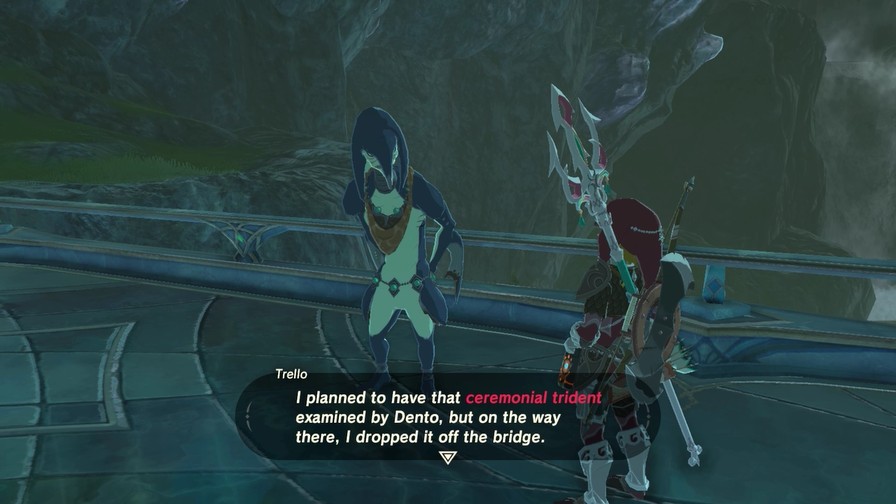
It doesn’t really matter. It’s a fake, after all… I’ll have to ask Dento to make a new one. If someone happens to pick it up, they can just keep it.
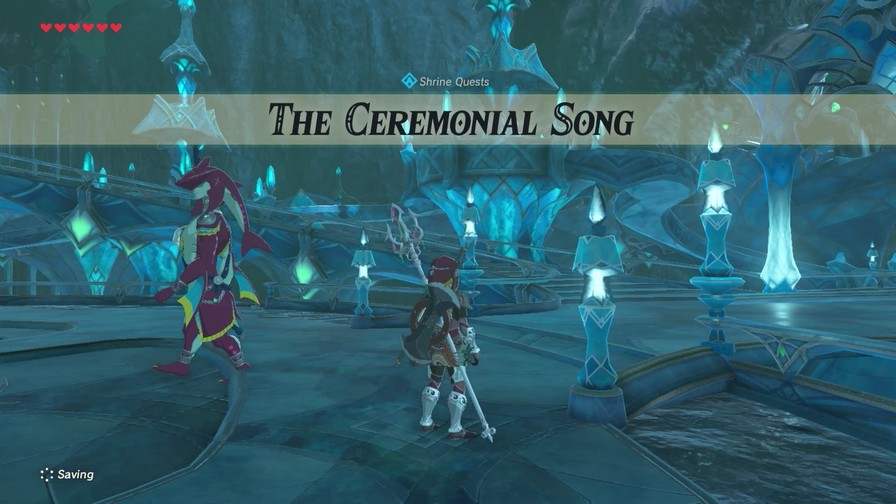
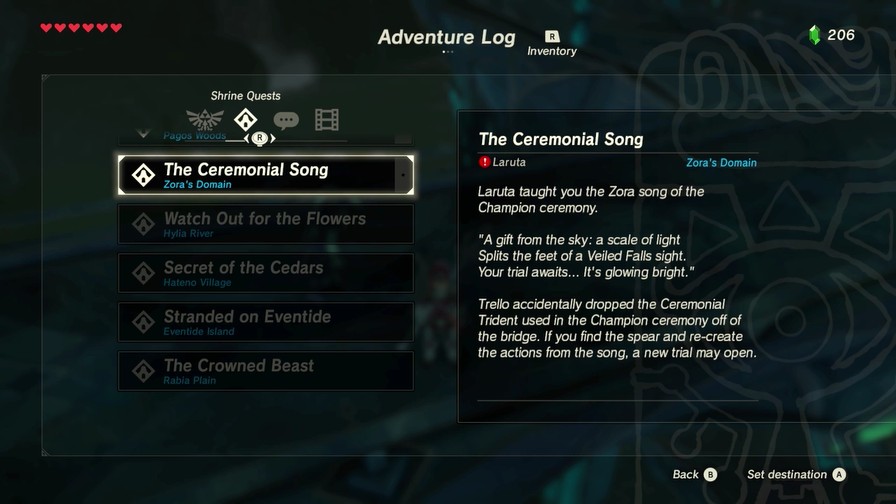
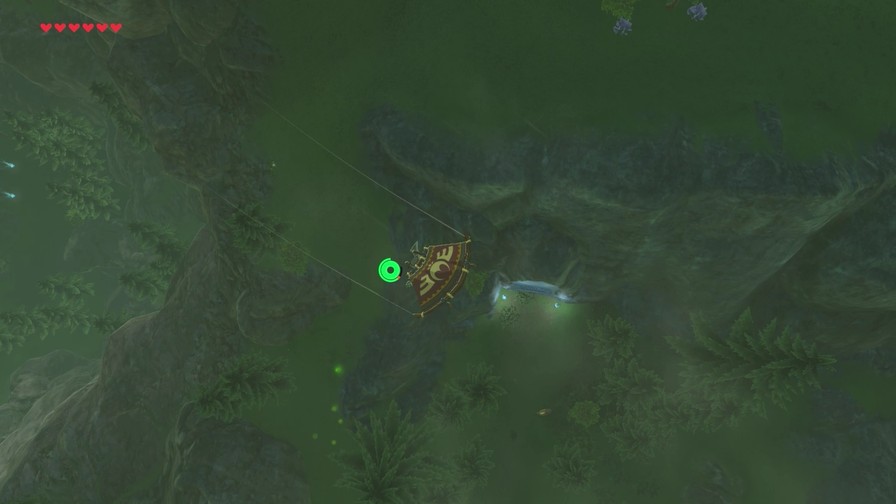
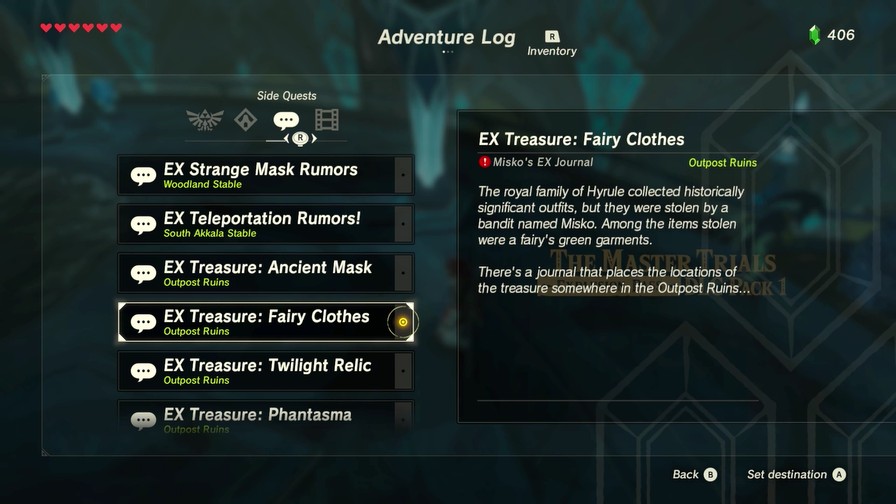
So we need the Ceremonial Trident to do this (I believe the Lightscale Trident will work too, but let’s roll with this for now). “Scale of light” obviously refers to the Lightscale/Ceremonial Tridents. So let’s find that trident first.
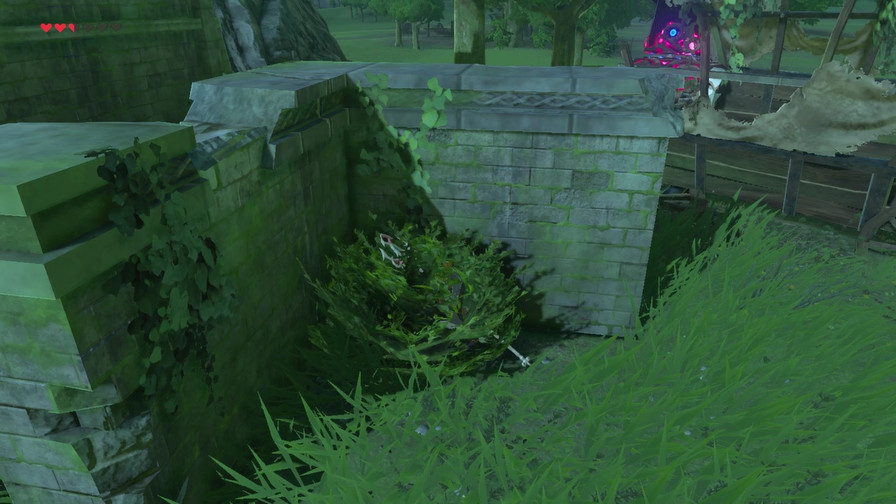
It was dropped from the bridge, so…
Bingo.
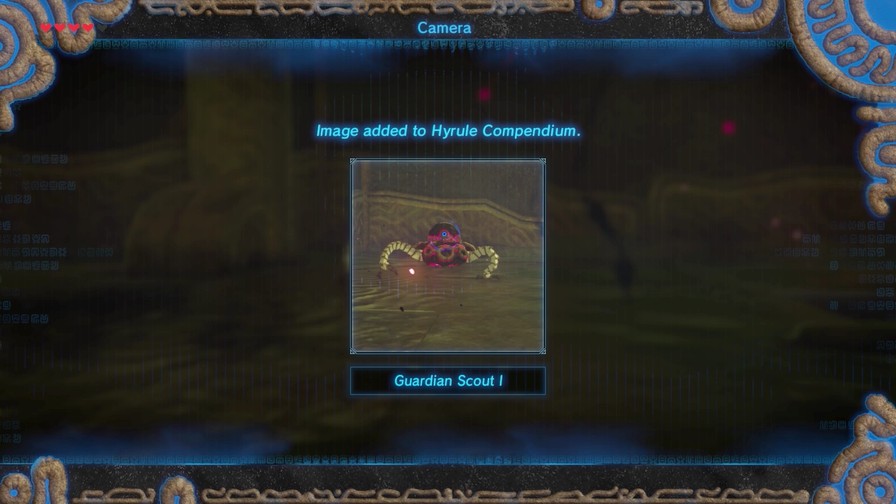
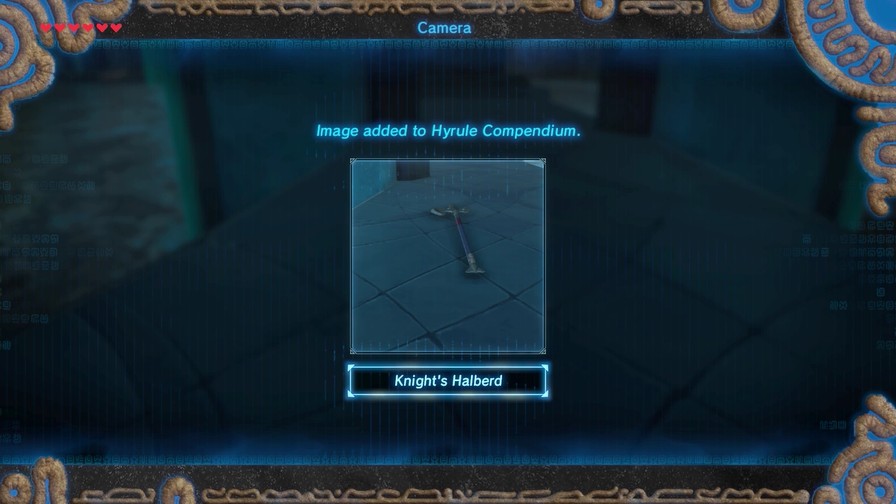
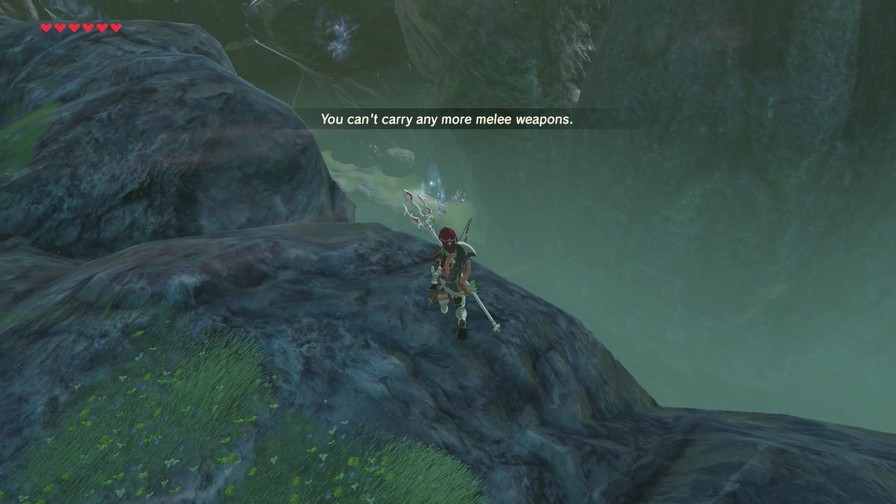
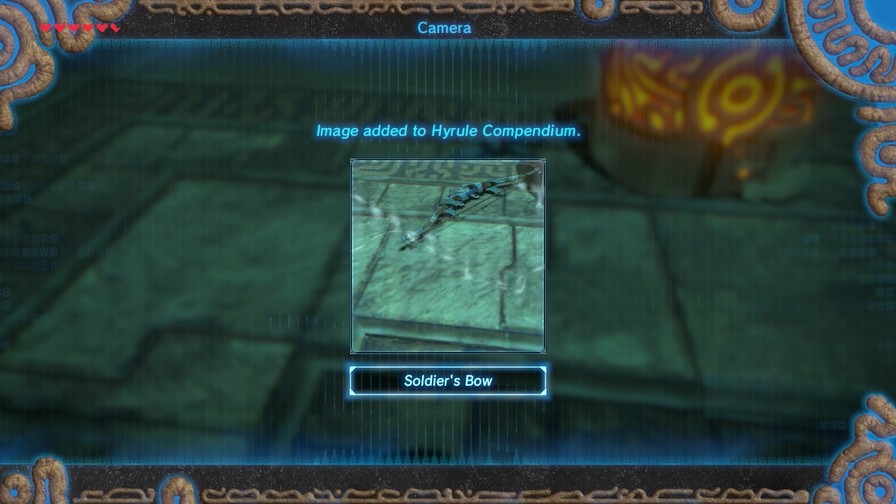
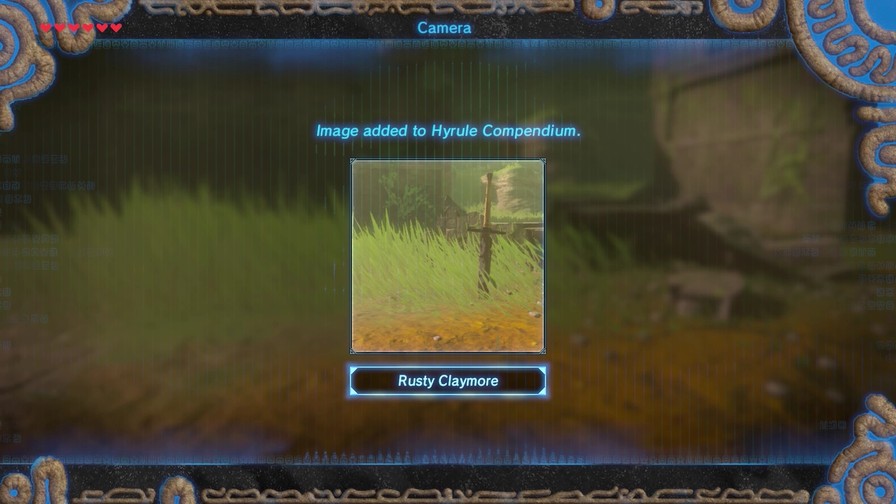
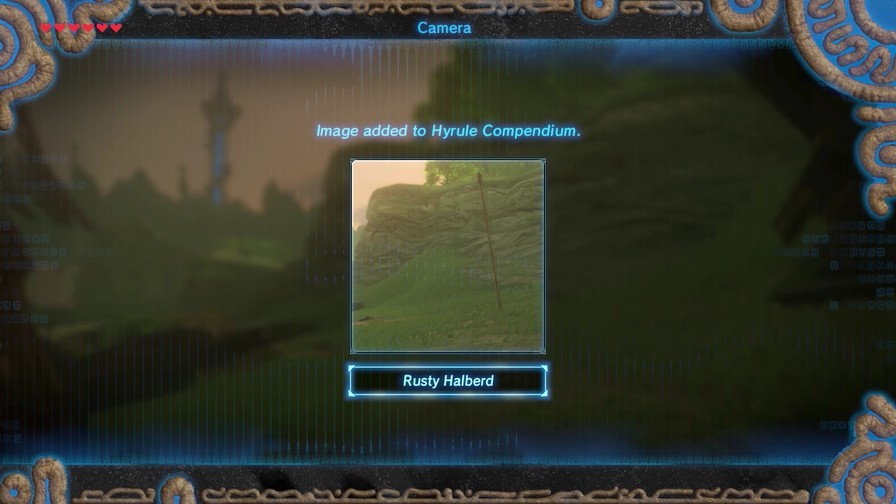
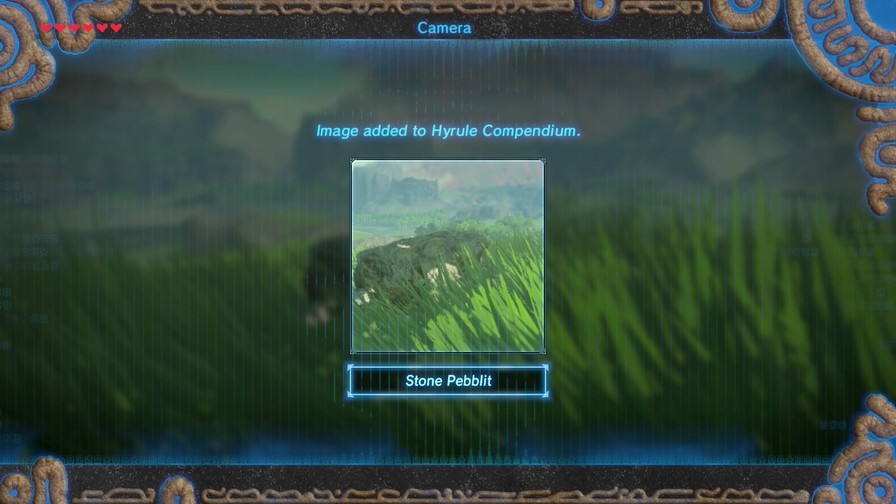
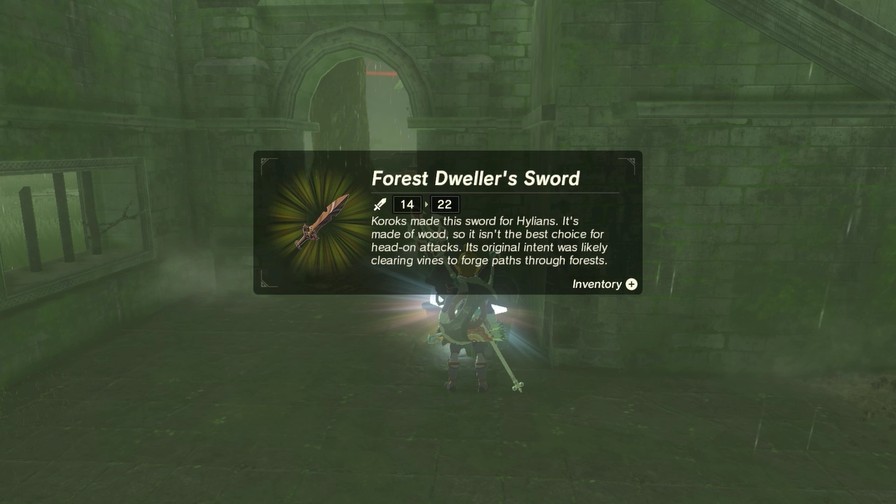
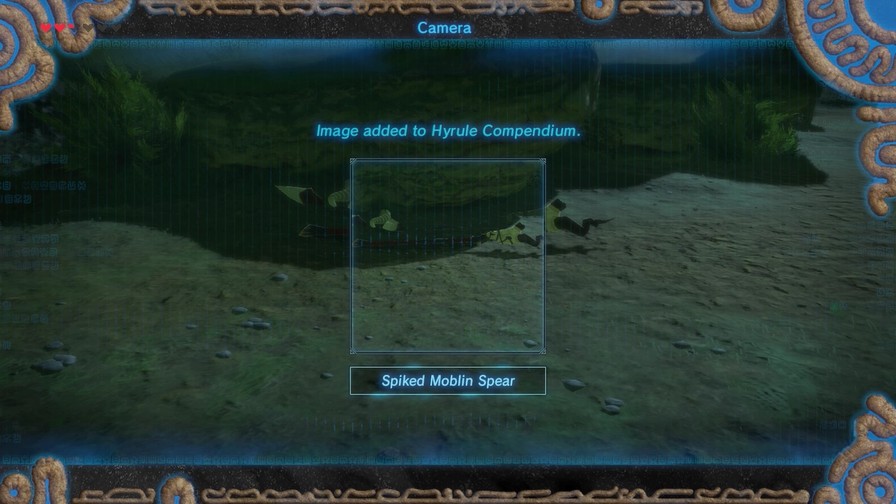
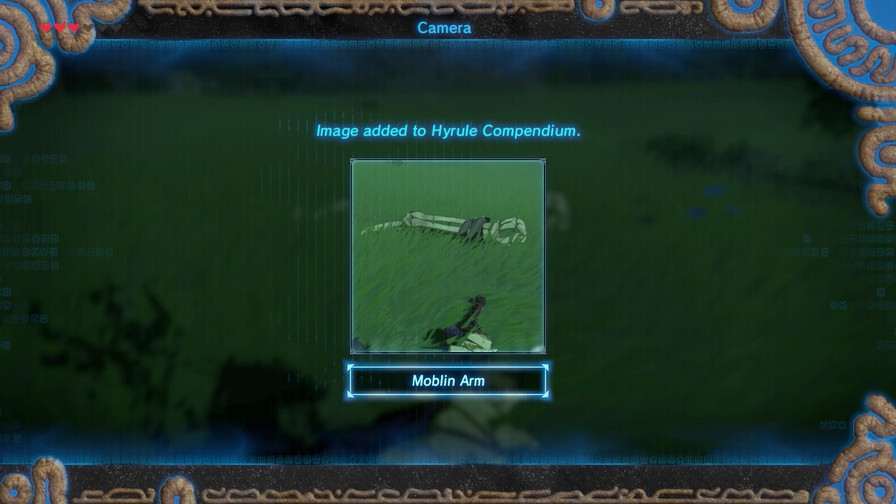
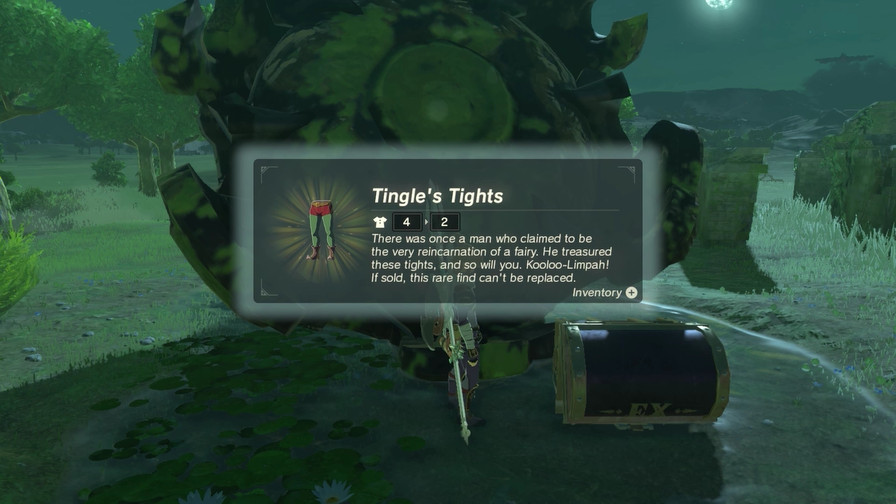
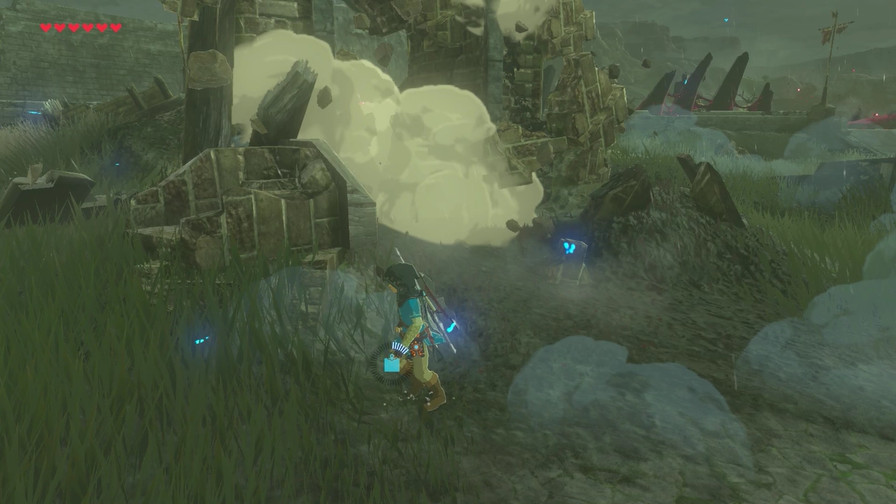
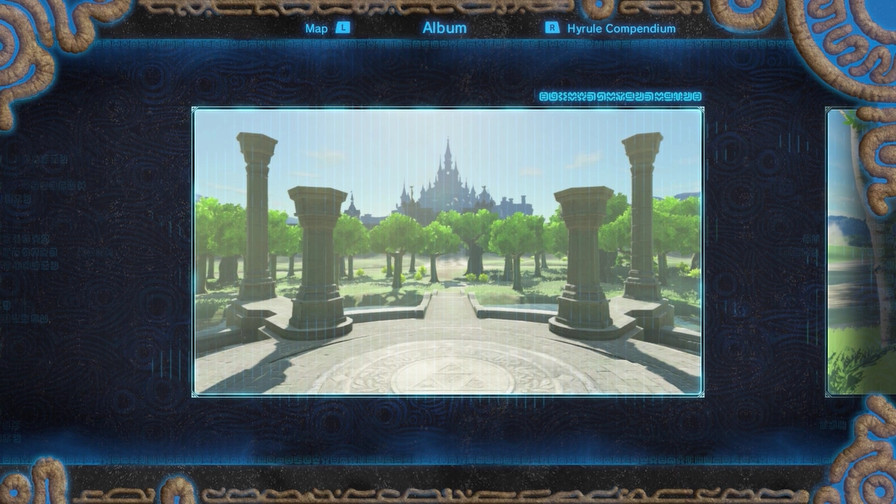
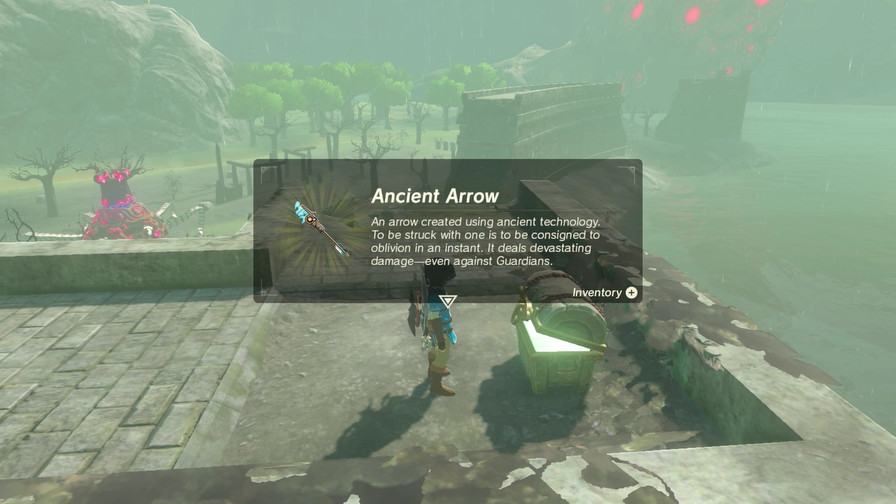
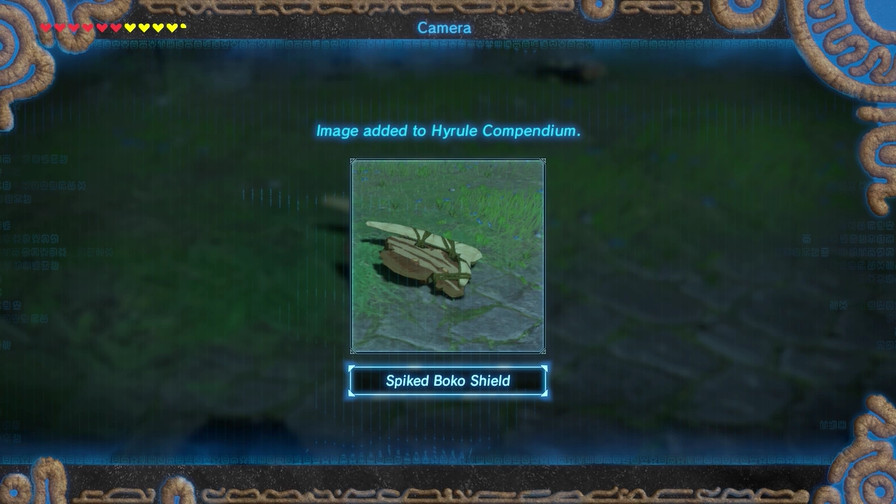
Had to throw this away to make room, so here’s a picture of that.
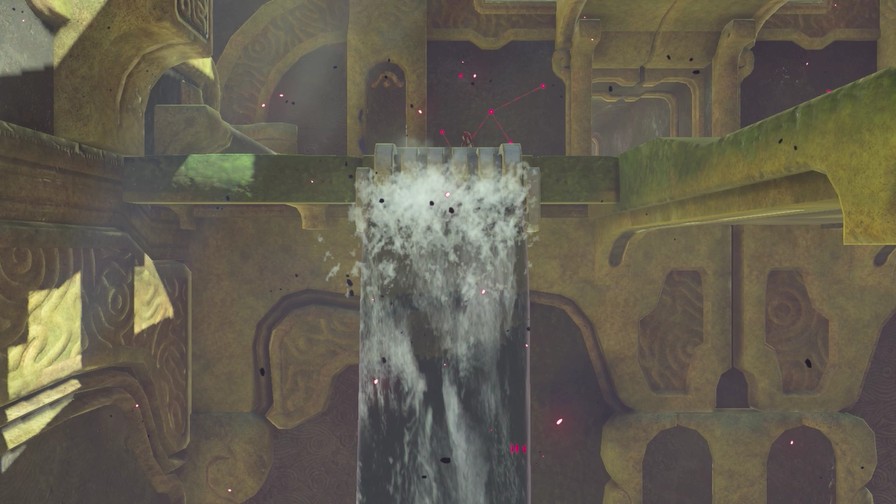
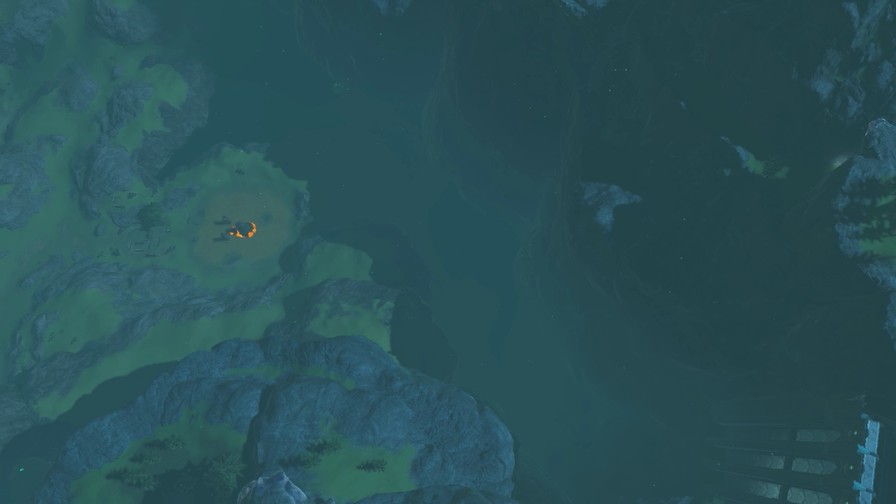
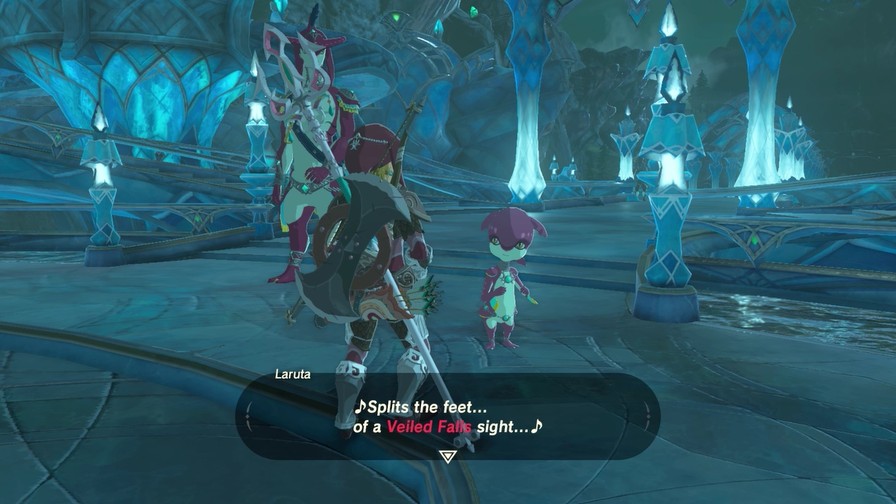
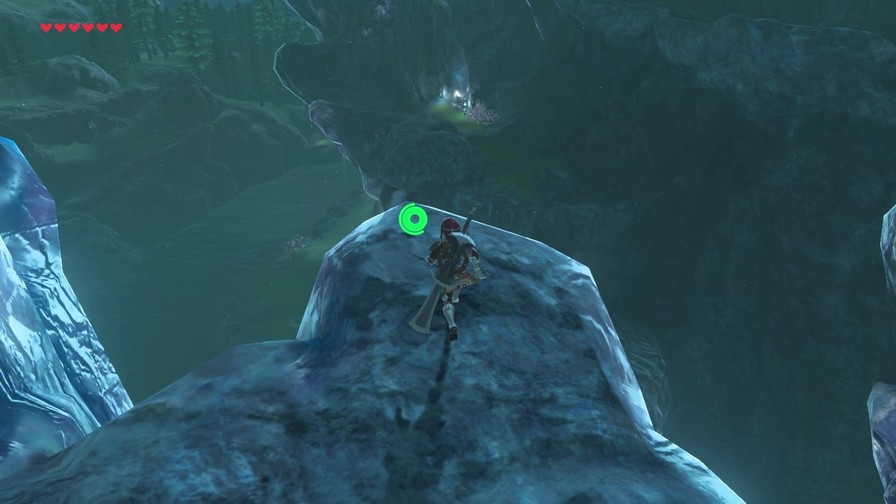
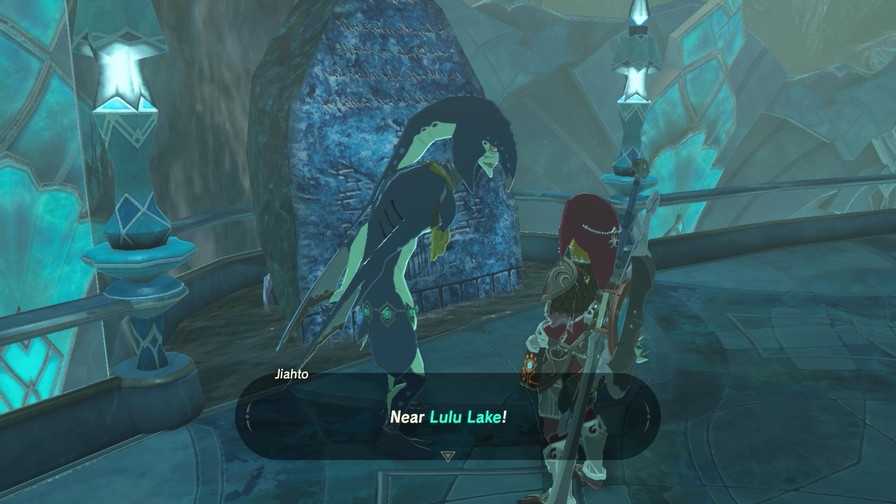
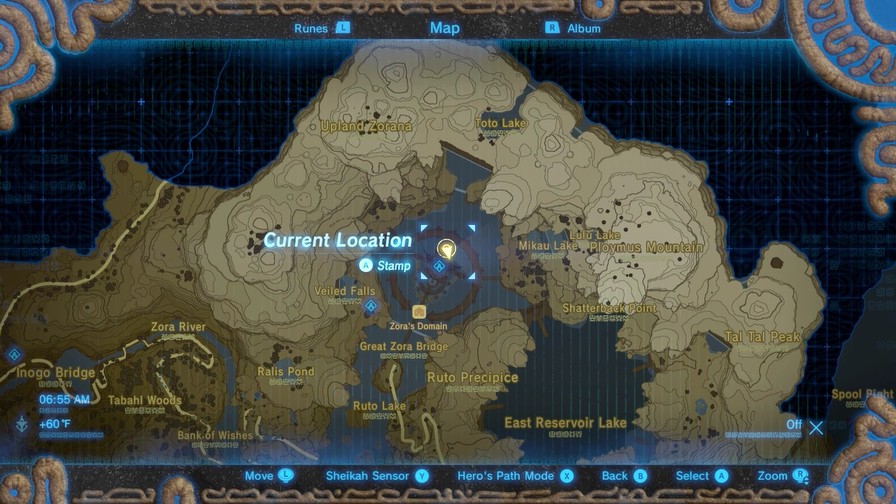
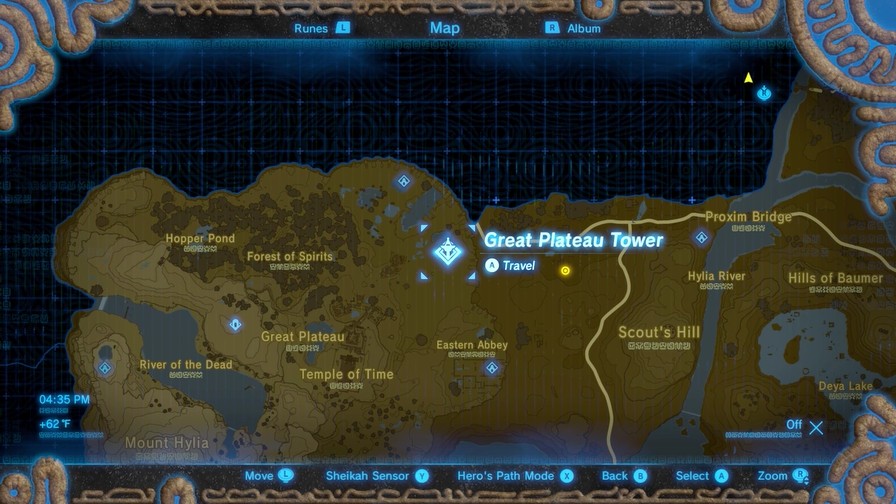
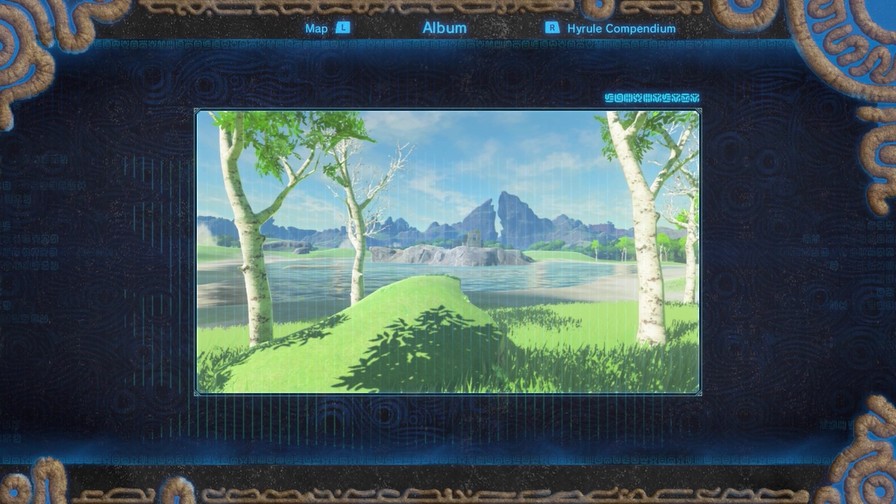
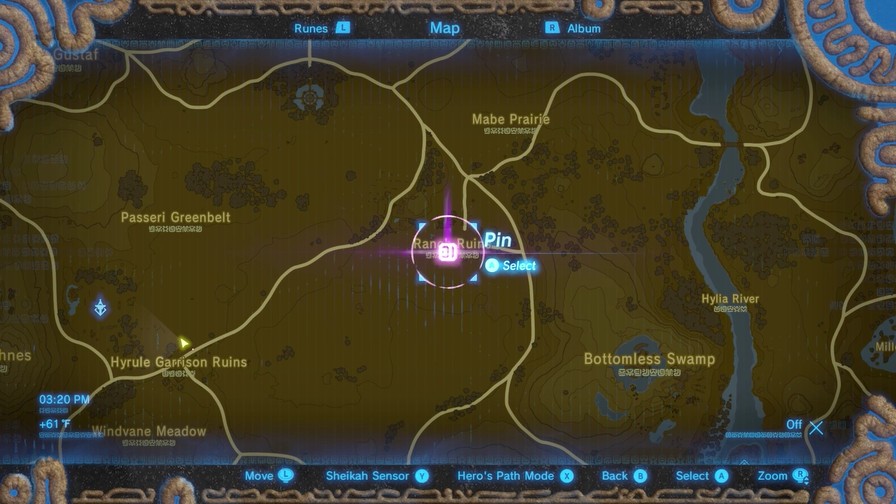
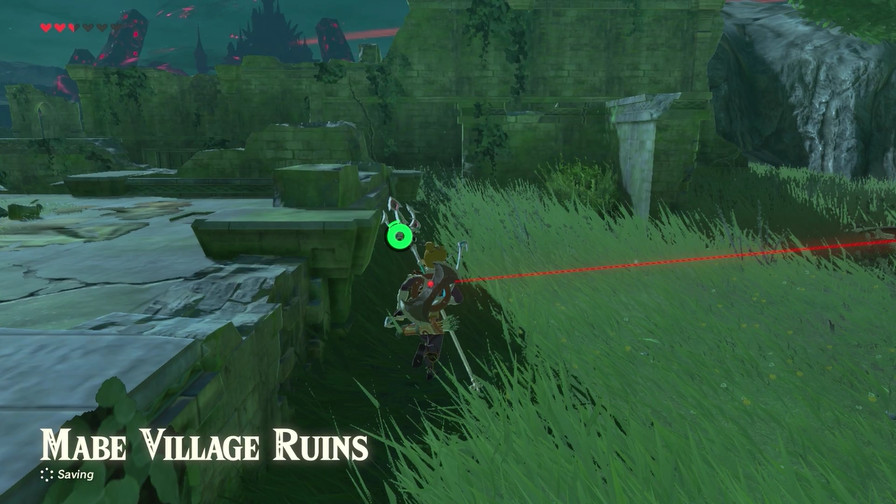
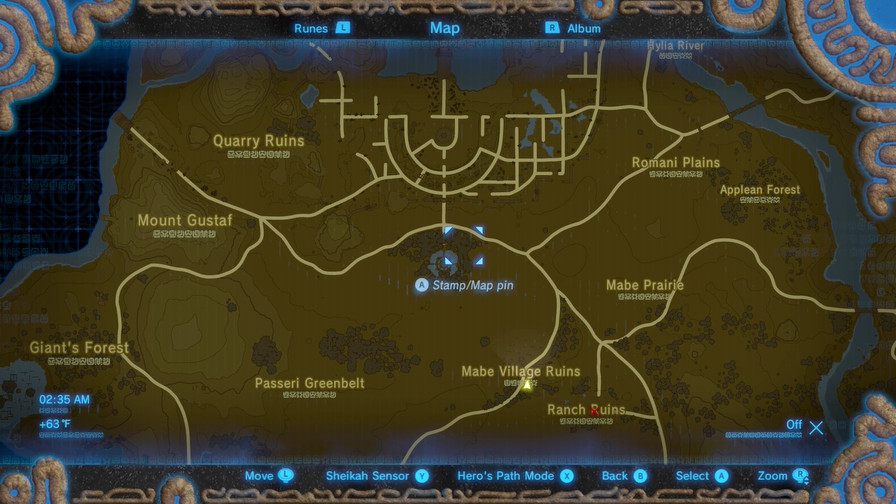
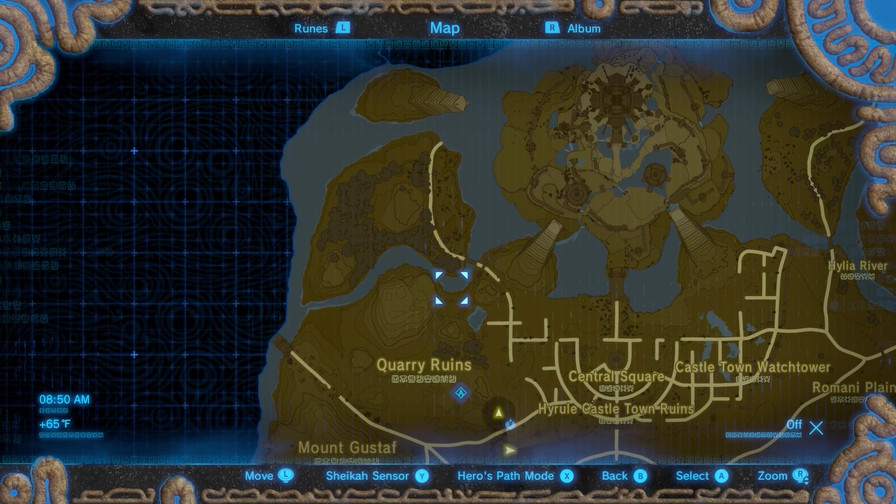
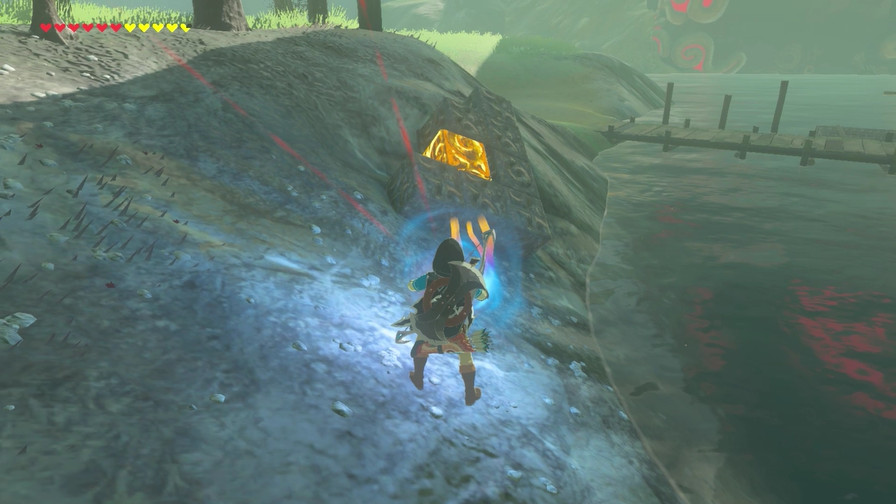
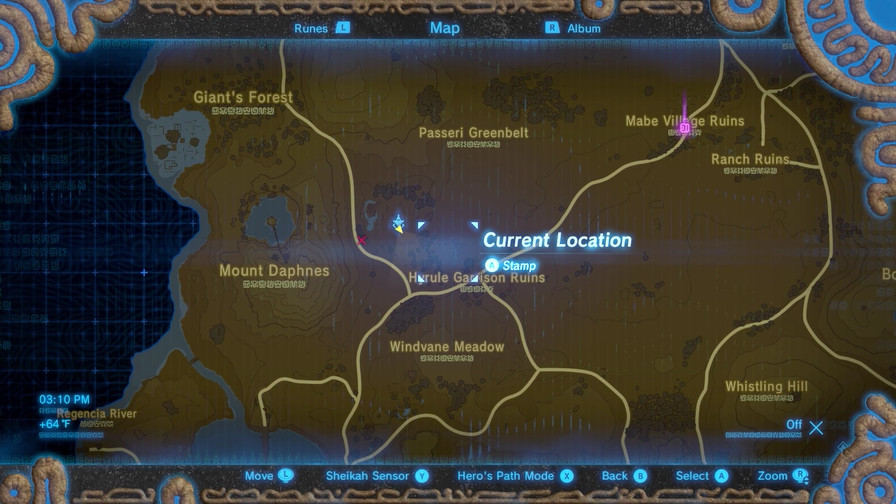
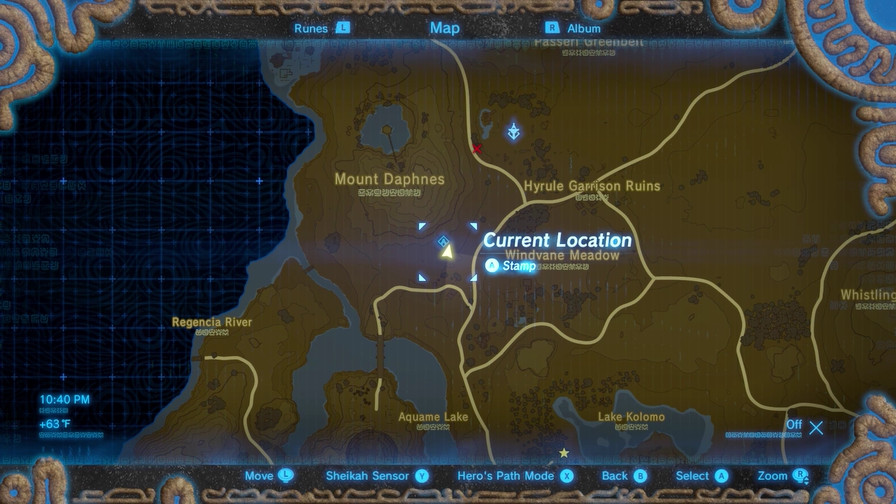
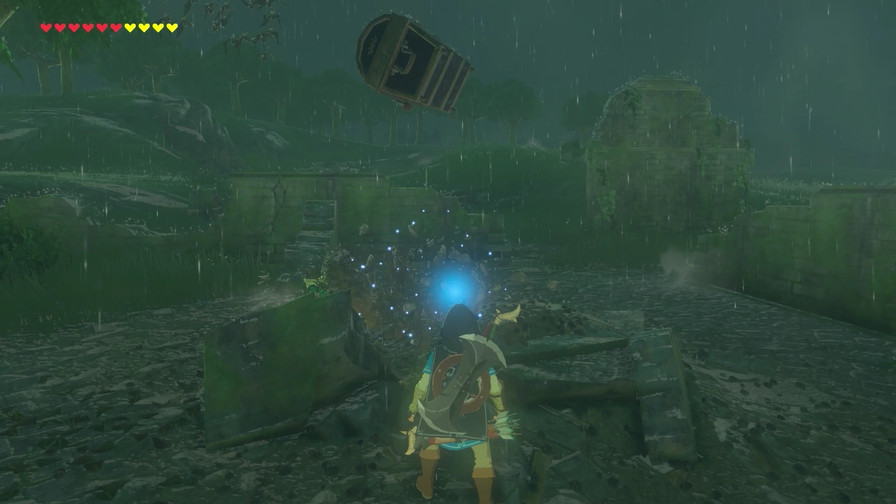
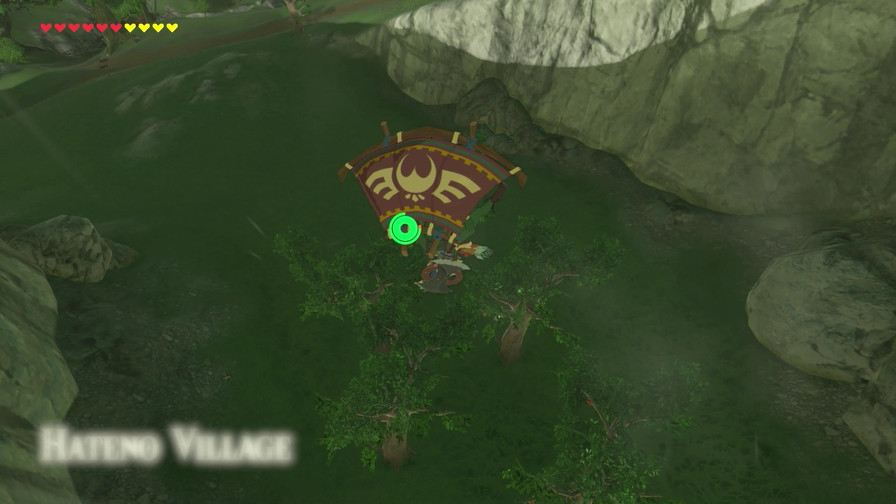
“a Veiled Falls sight”… Look what’s west of Zora’s Domain.
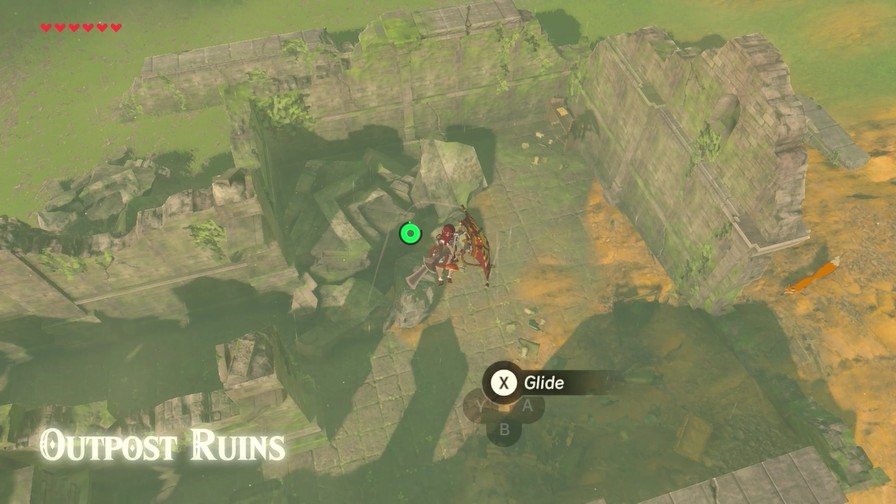
Also this chest on top of the giant fish decoration.
Veiled Falls is to the left.
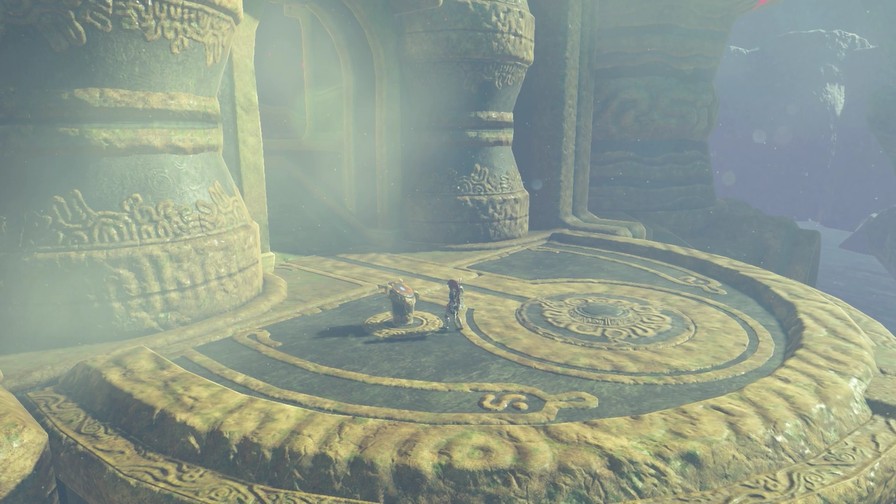
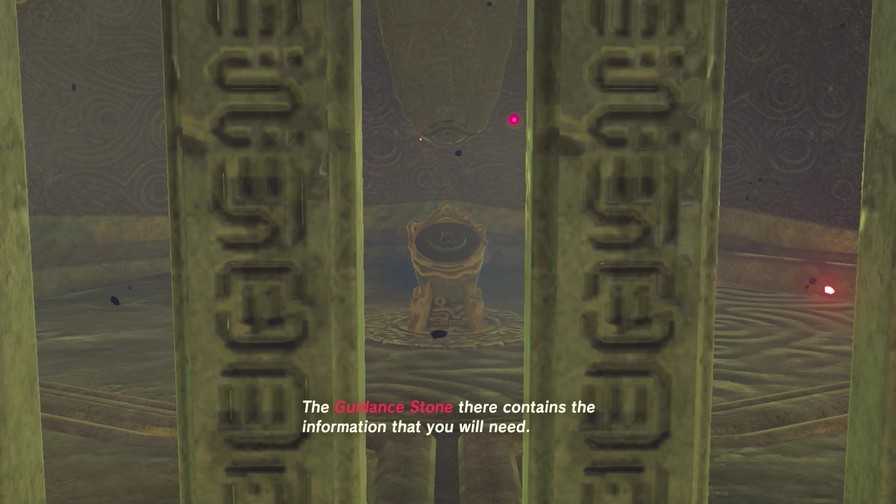
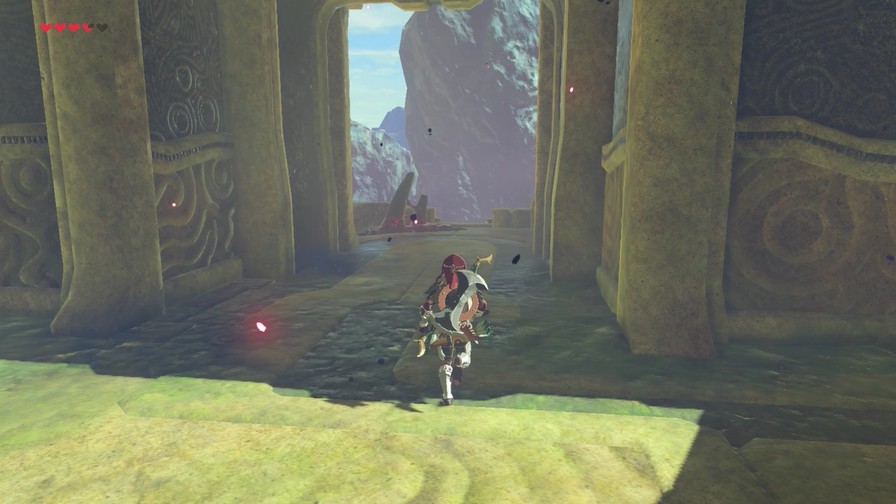
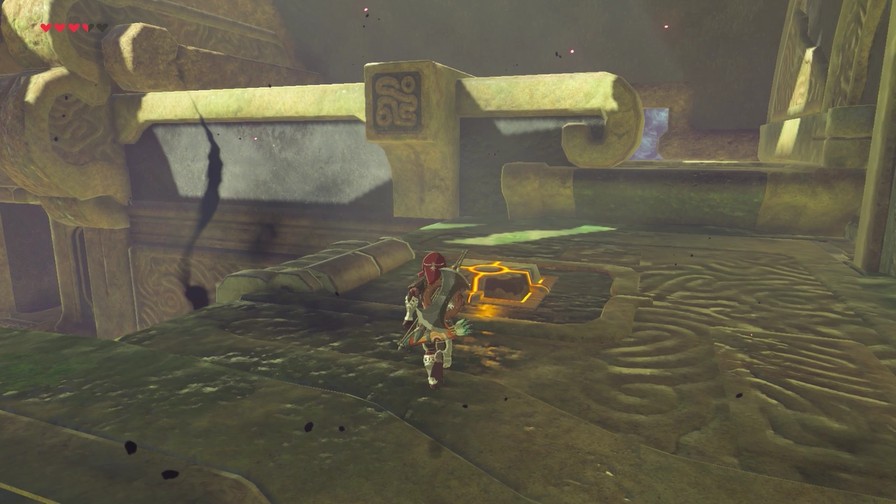
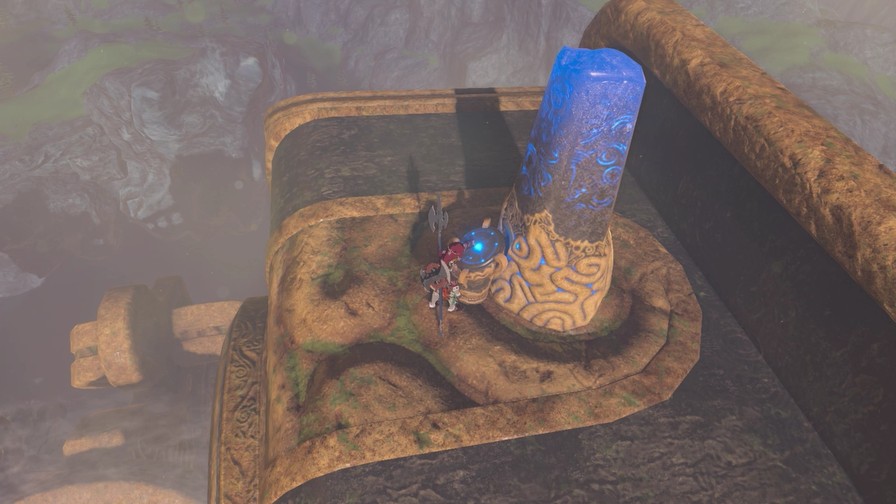
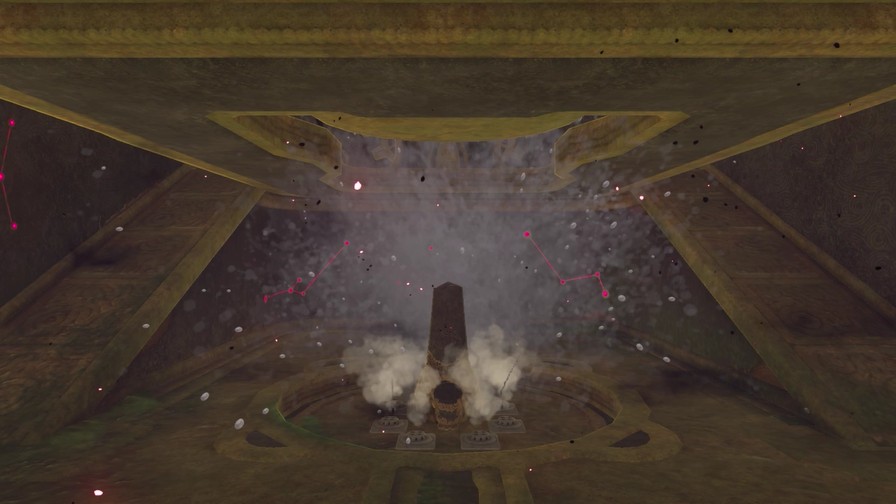
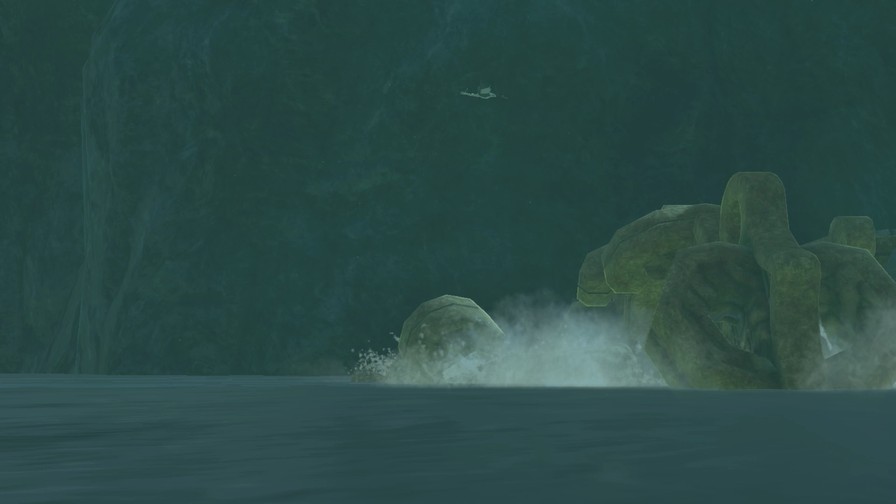
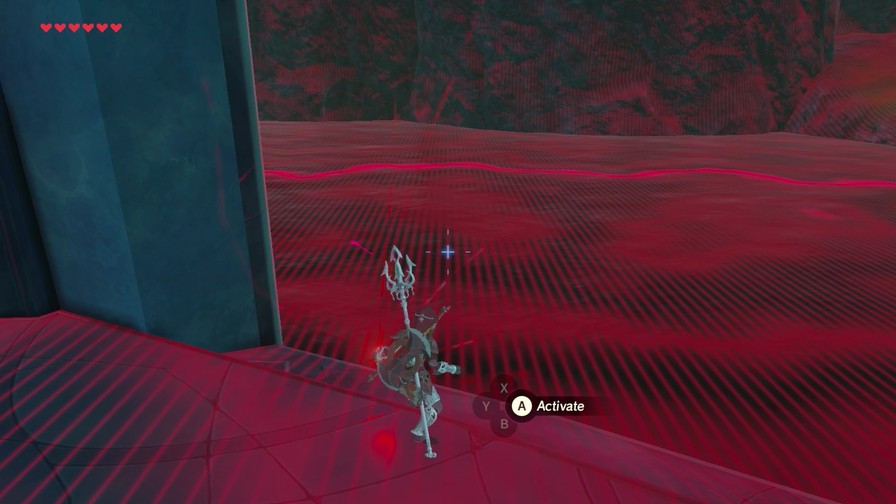
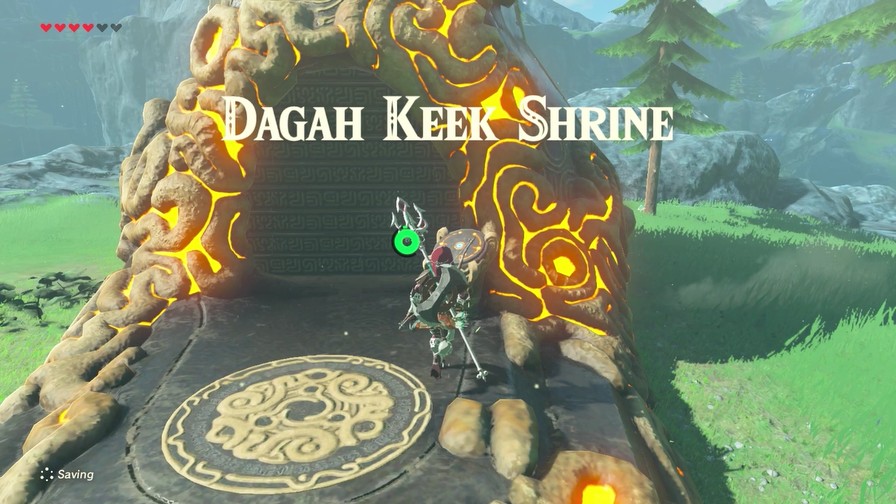
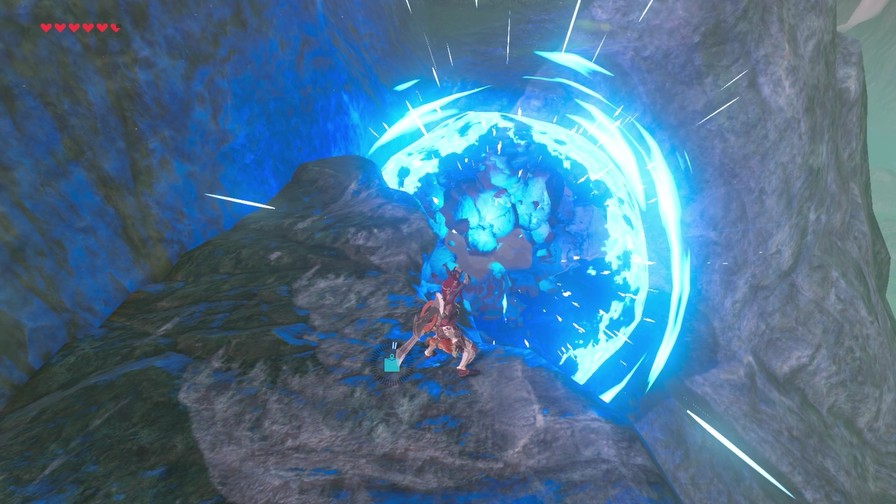
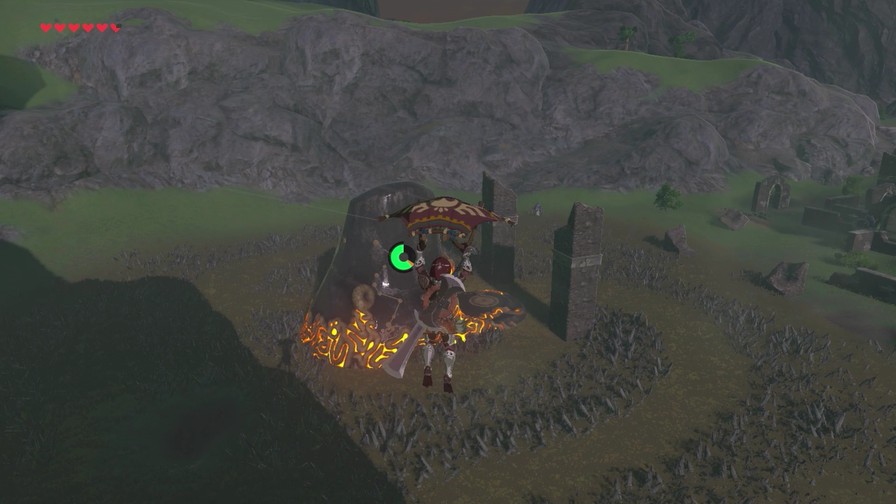
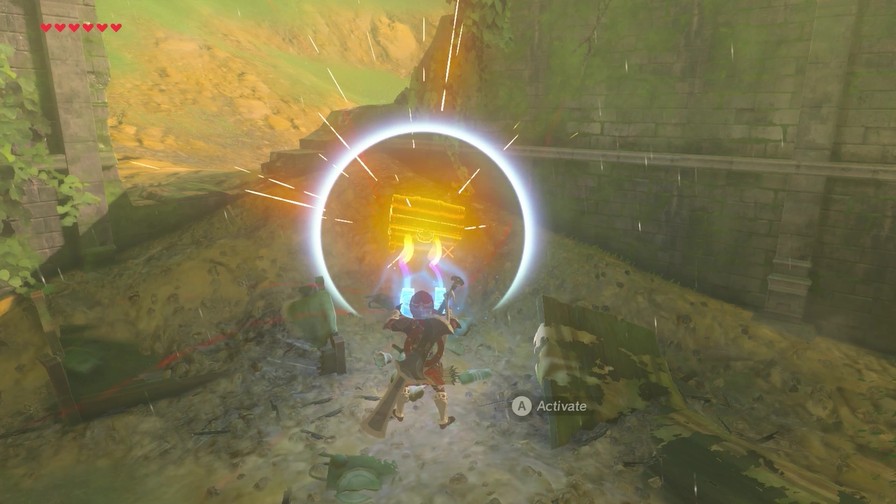
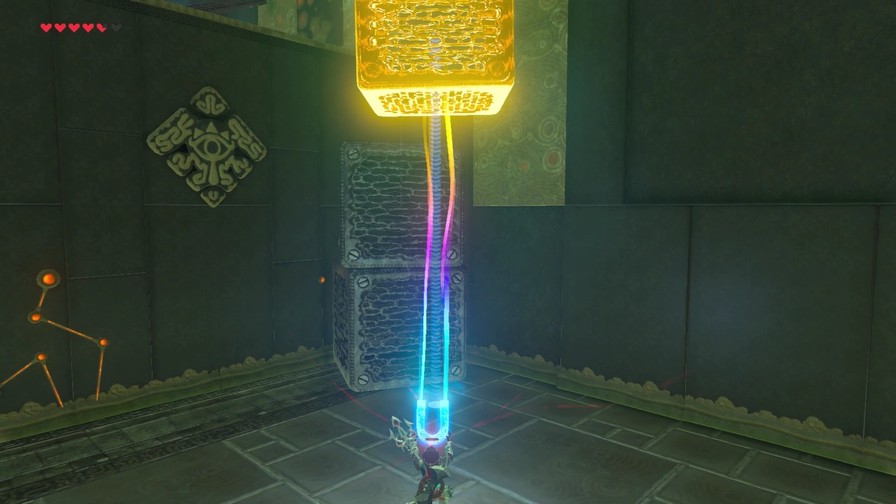
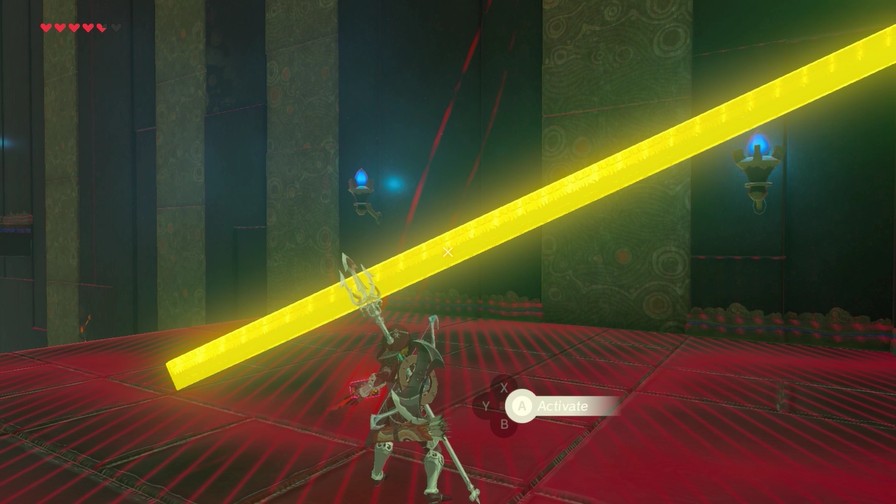
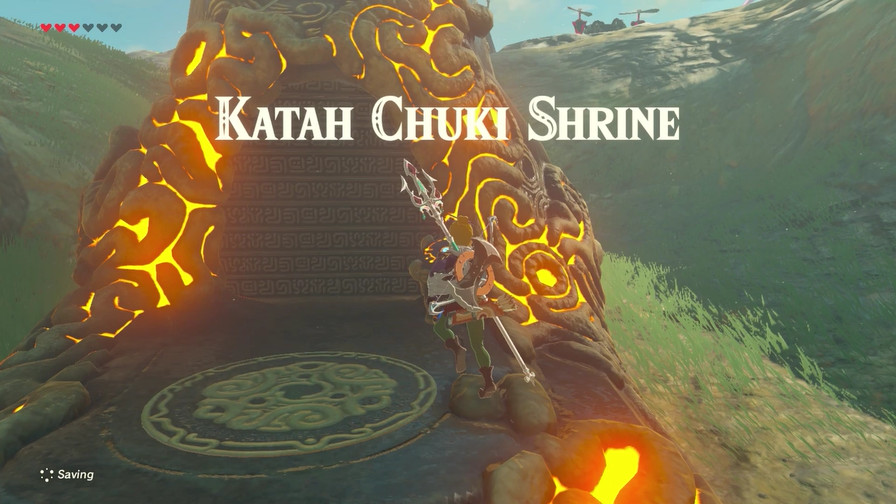
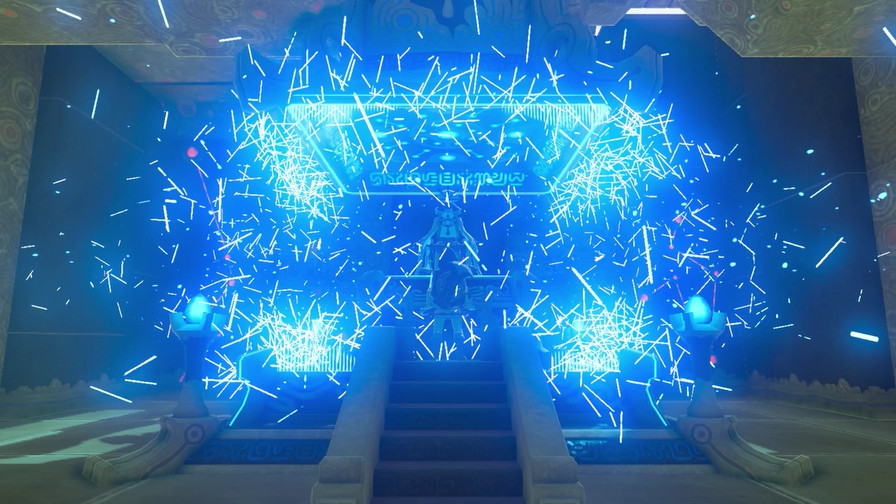
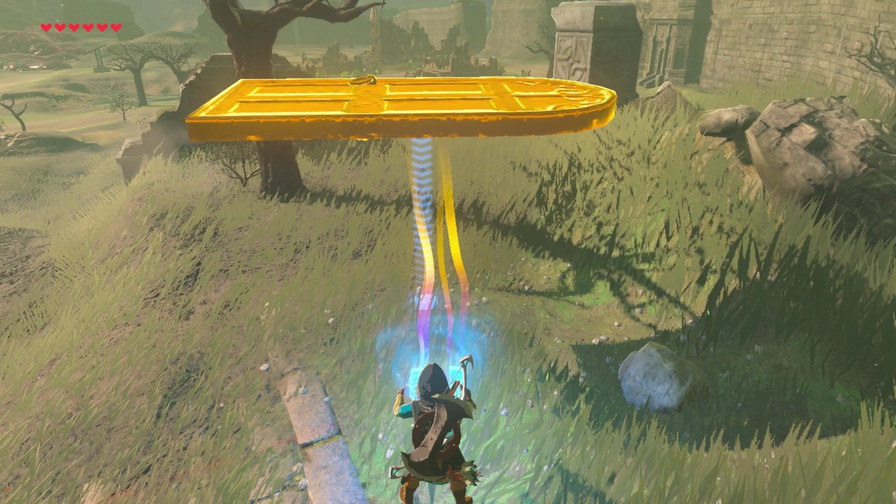
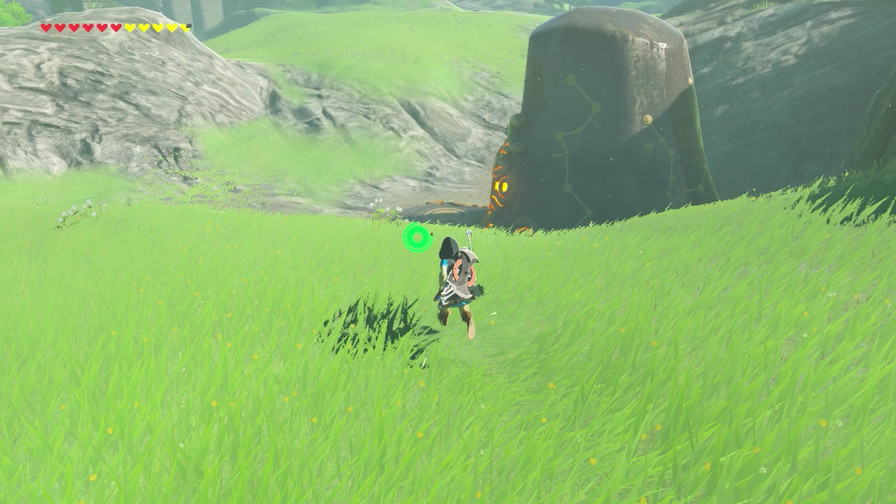
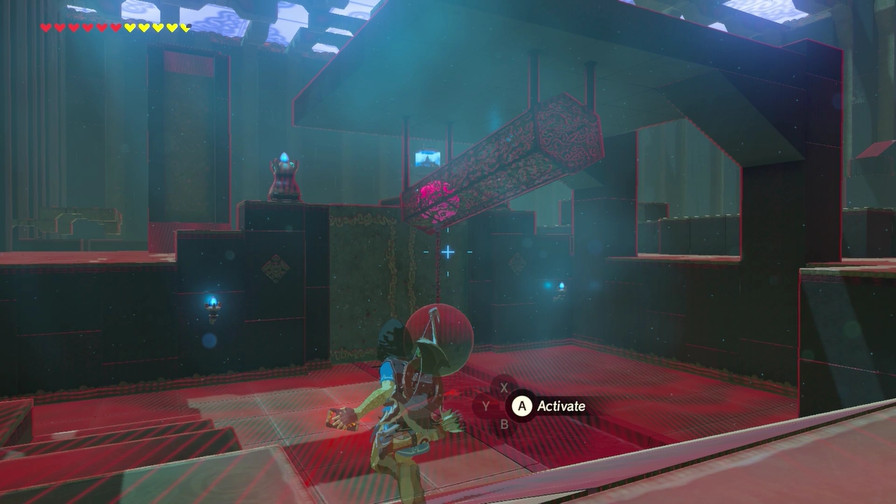
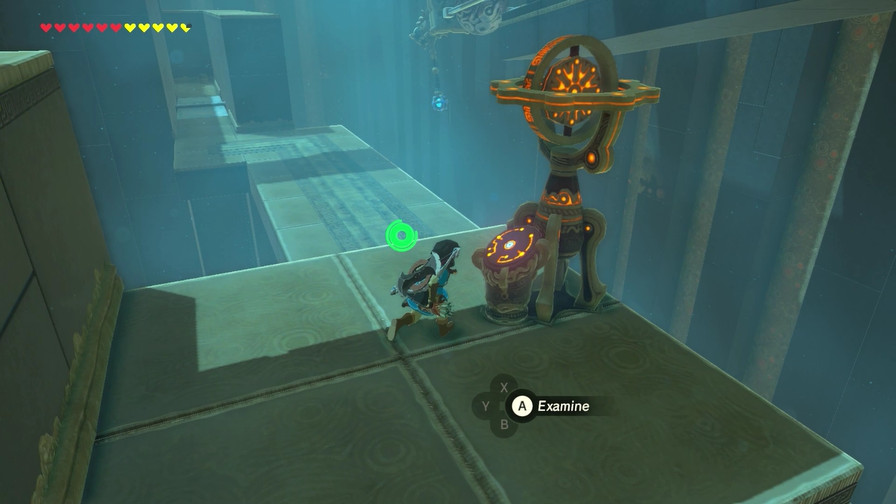
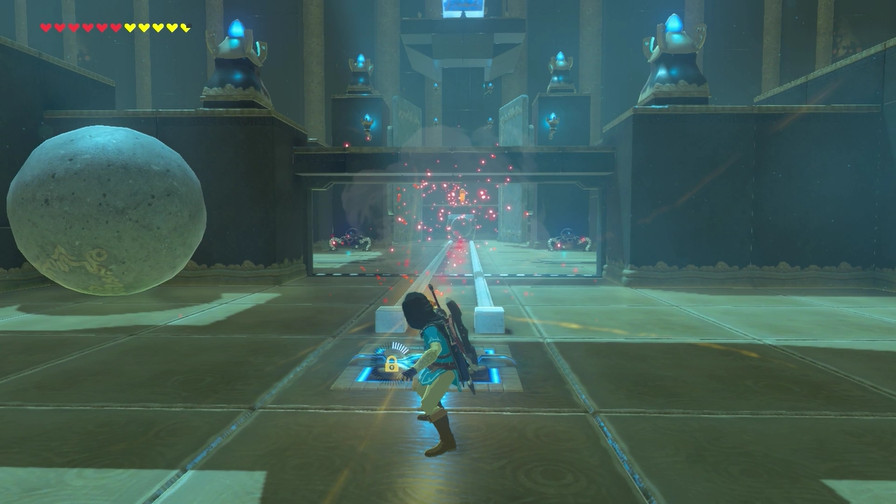
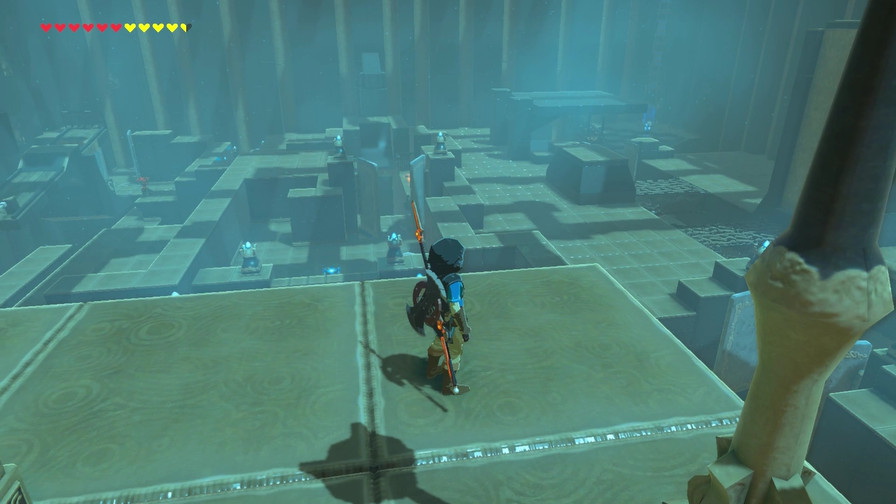
And sure enough, a platform that usually triggers a shrine.
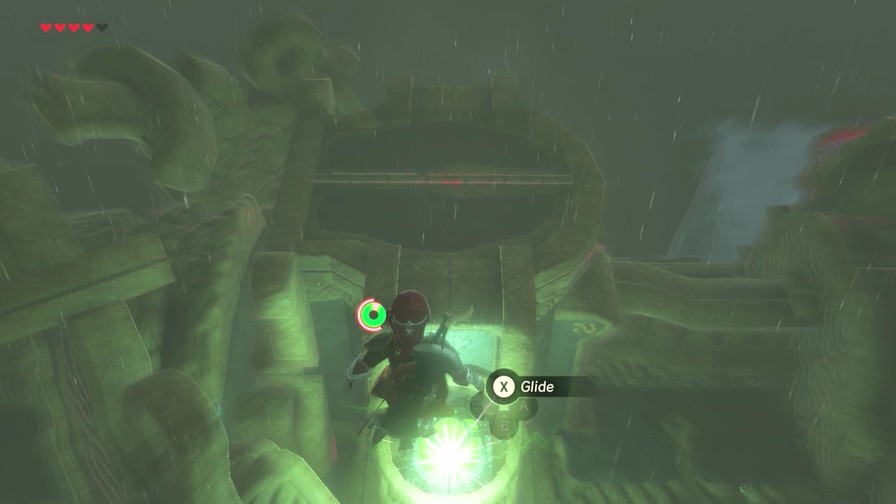
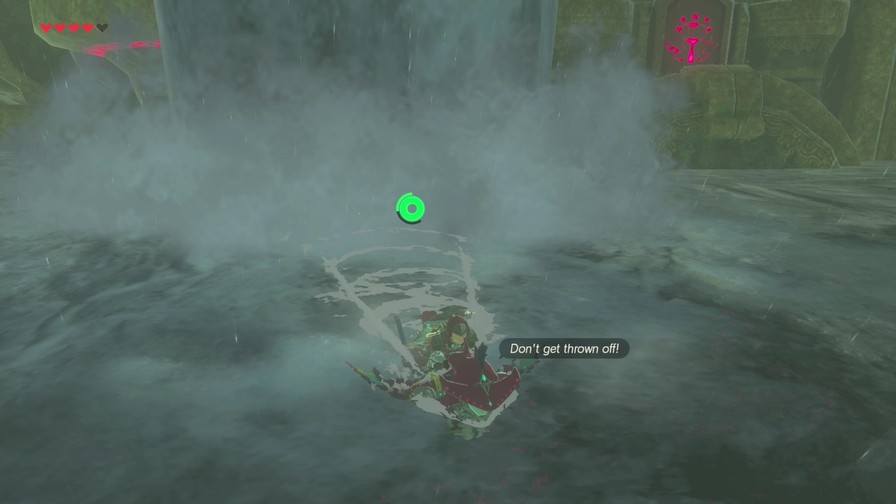
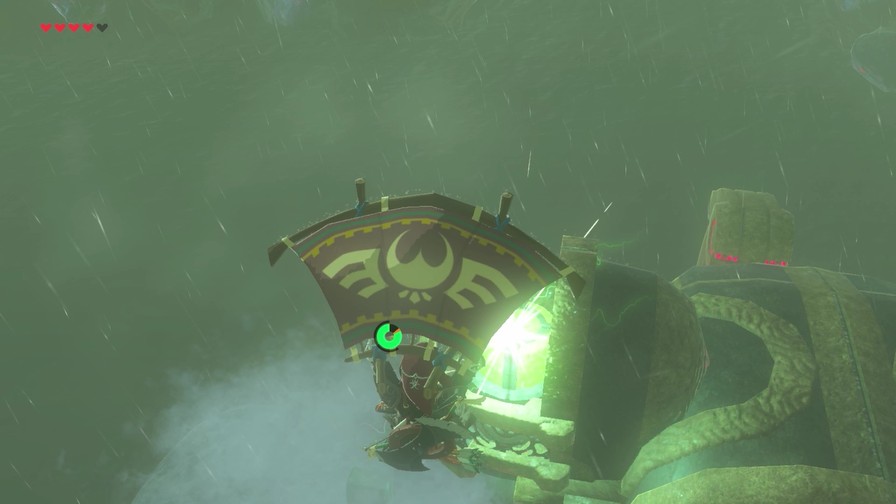
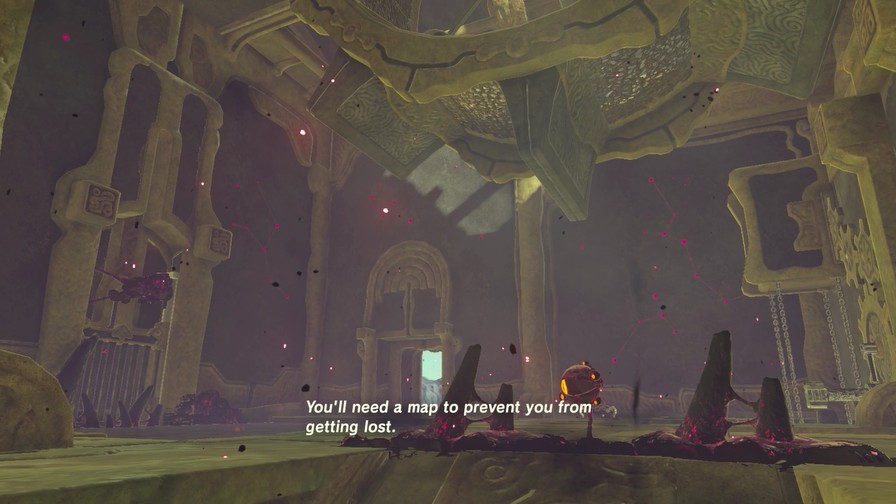
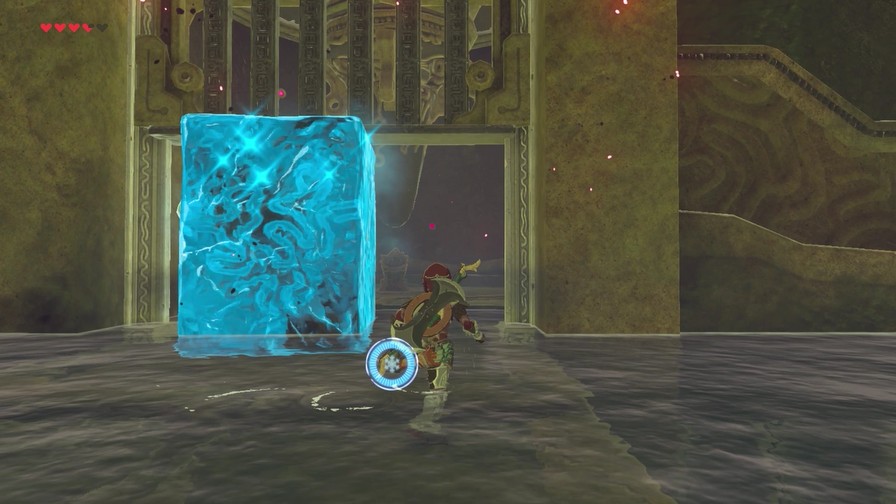
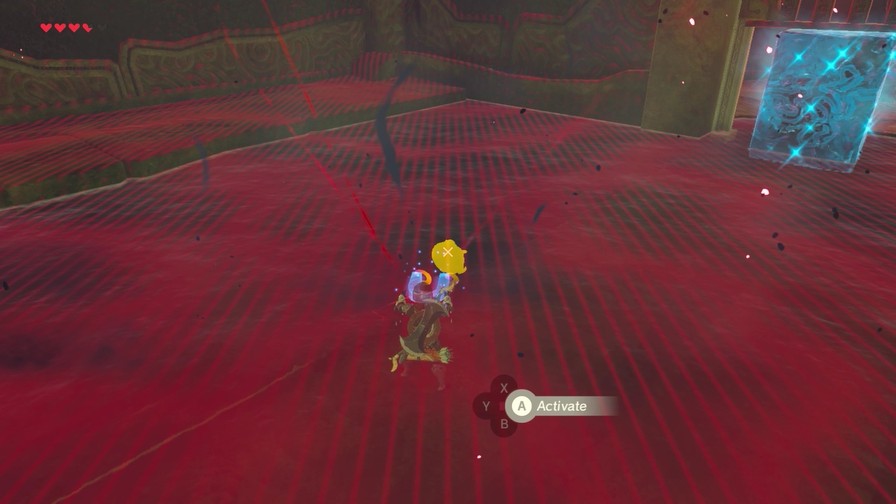
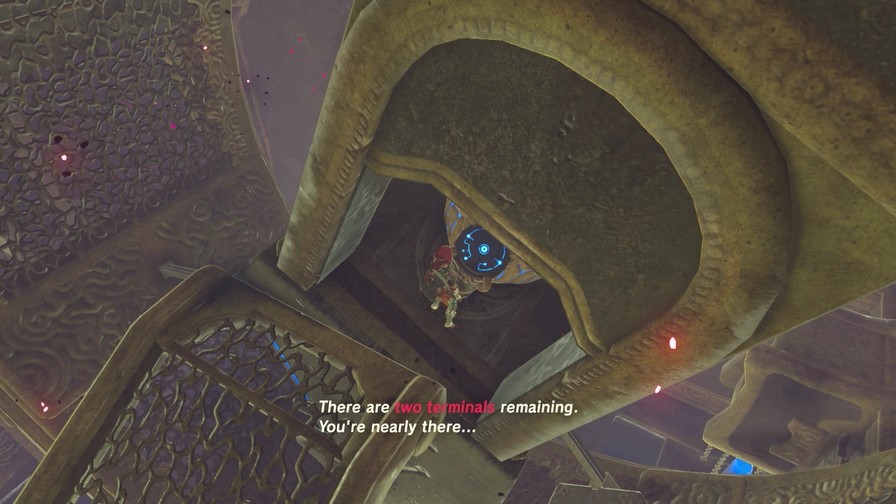
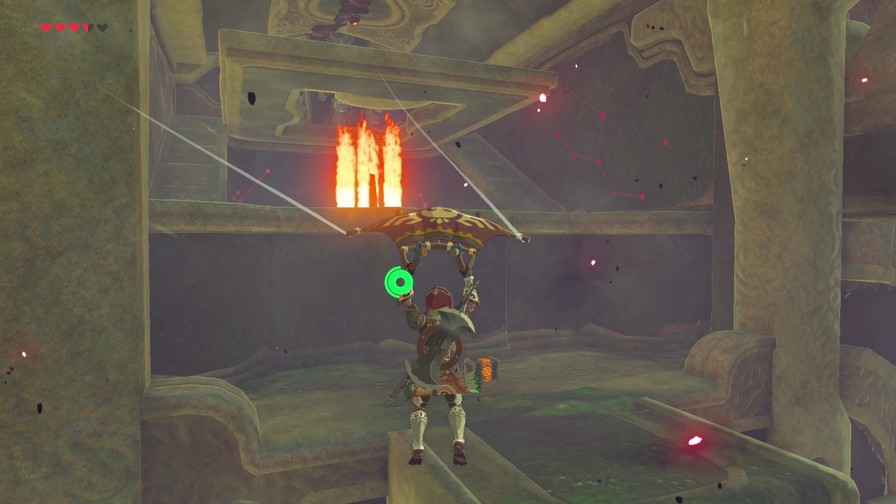
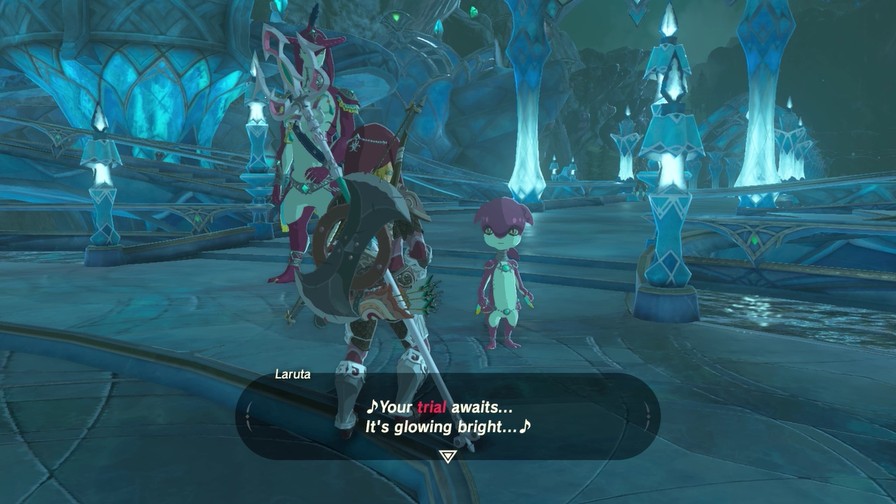
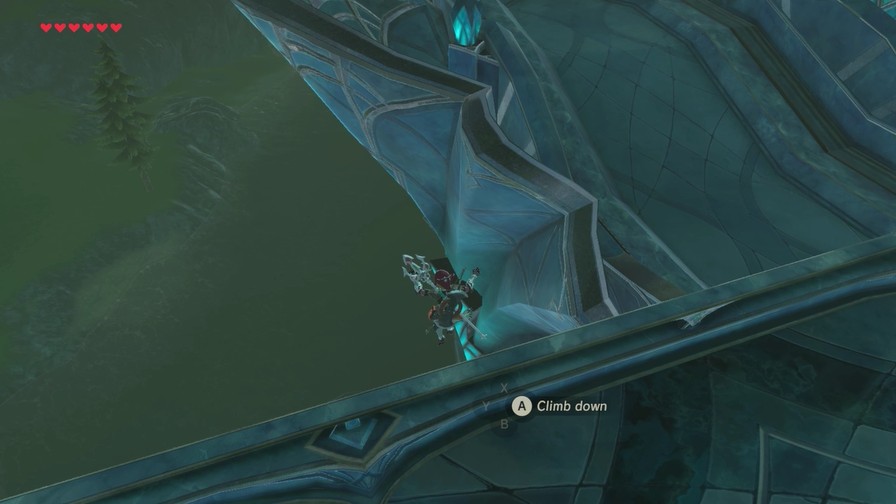
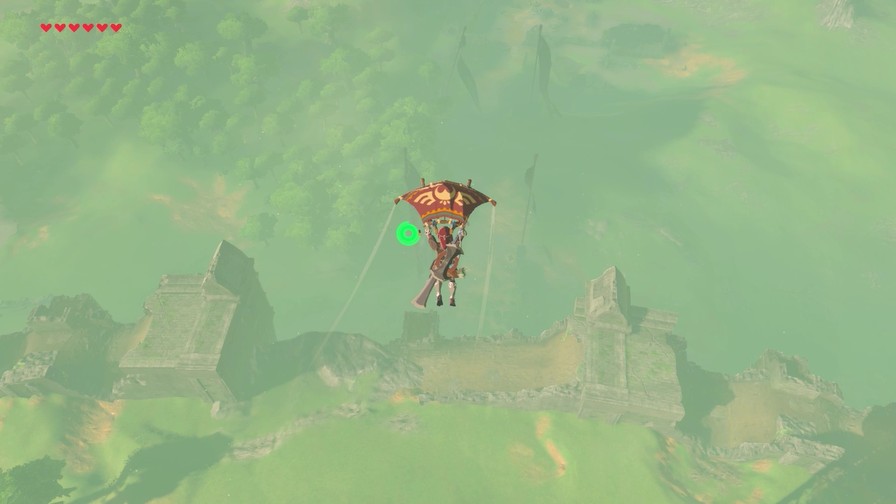
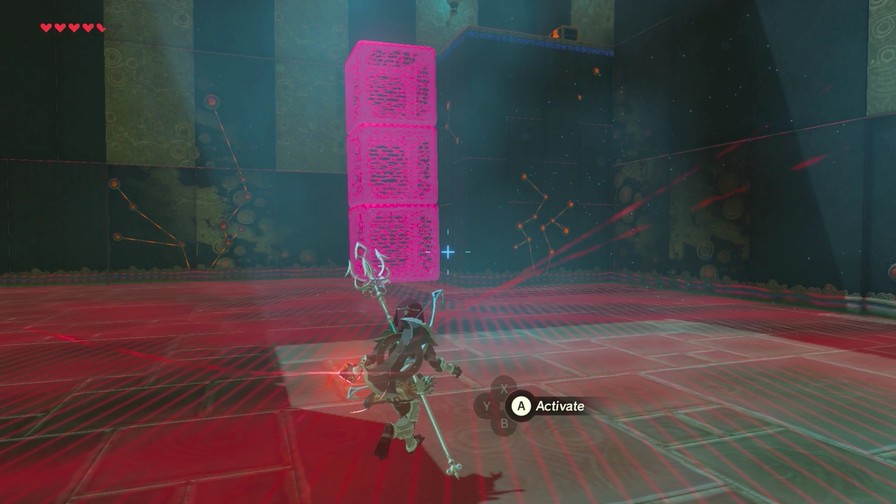
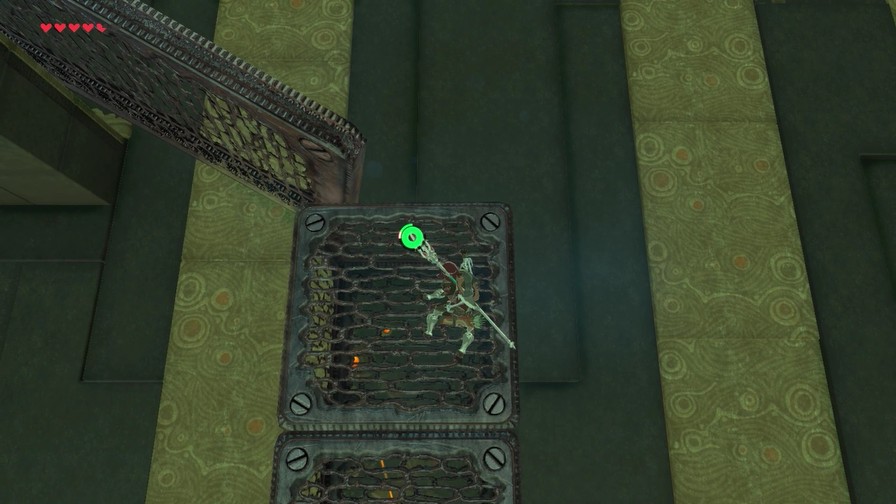
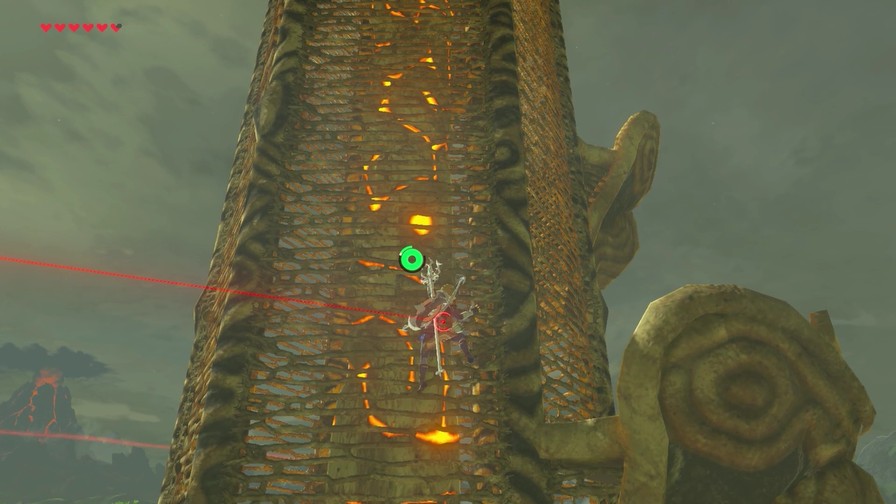
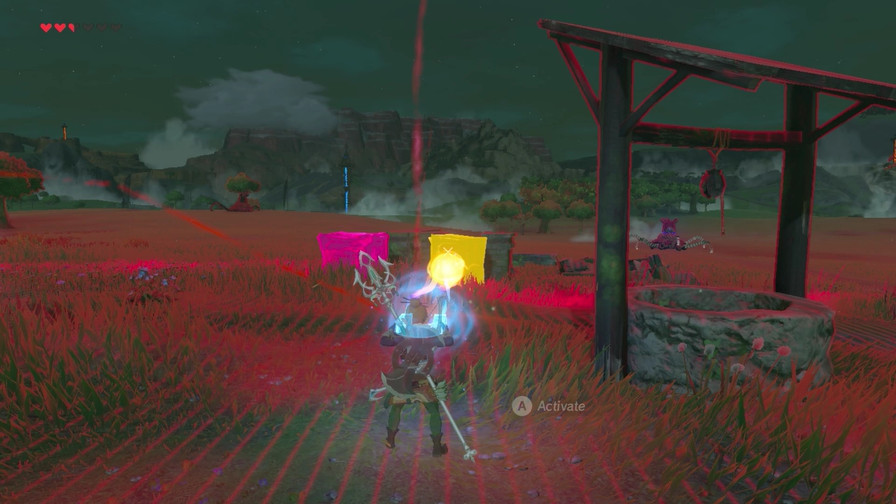
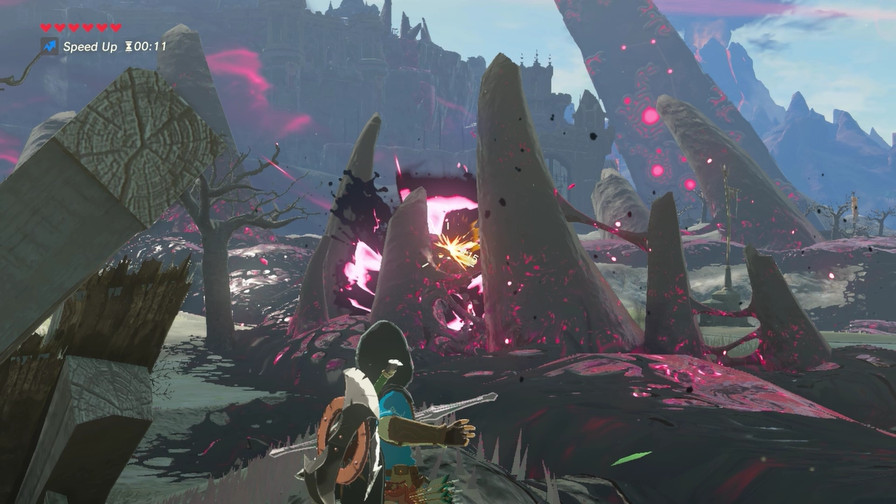
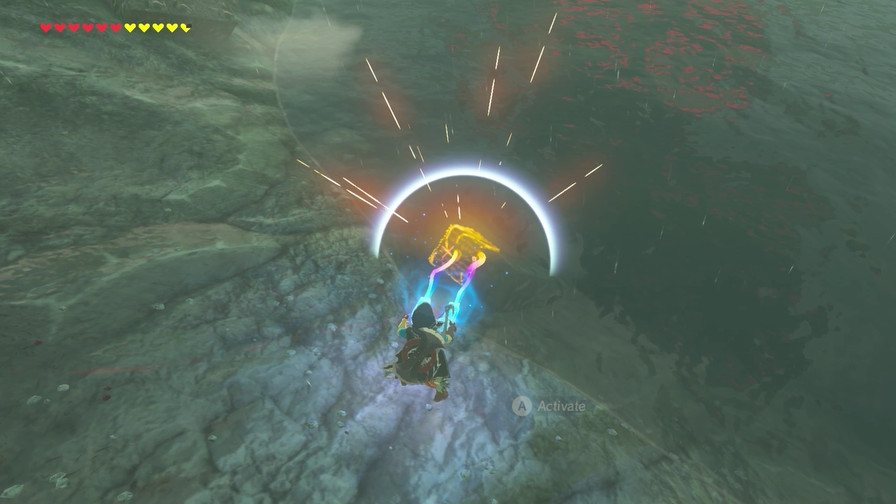
Which leaves the rest of the song. “A gift from the sky” and “splits the feet”. It implies we have to activate the shrine from the air.
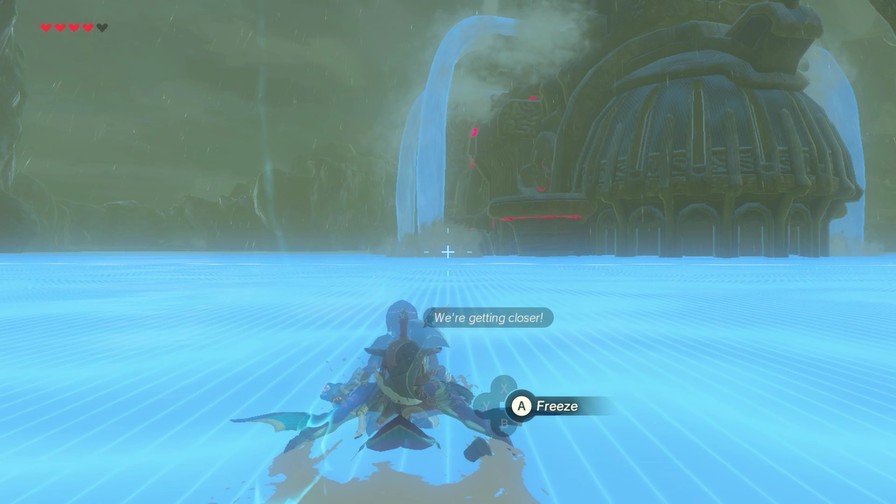
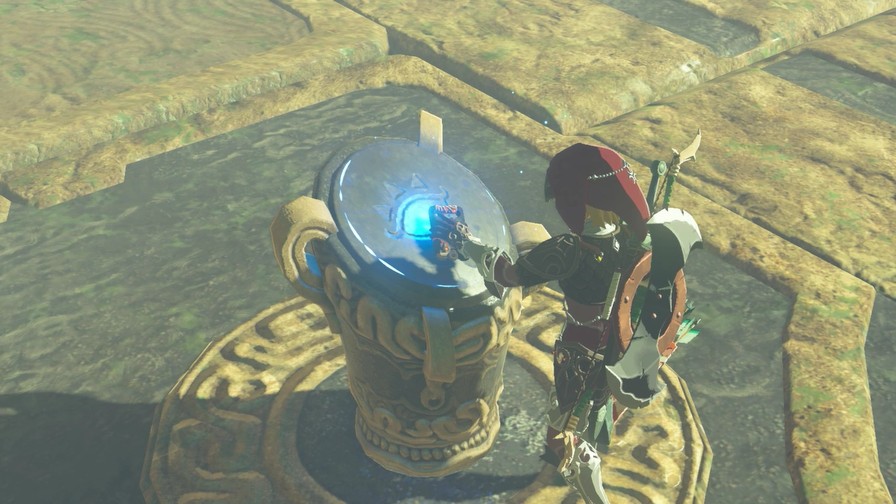
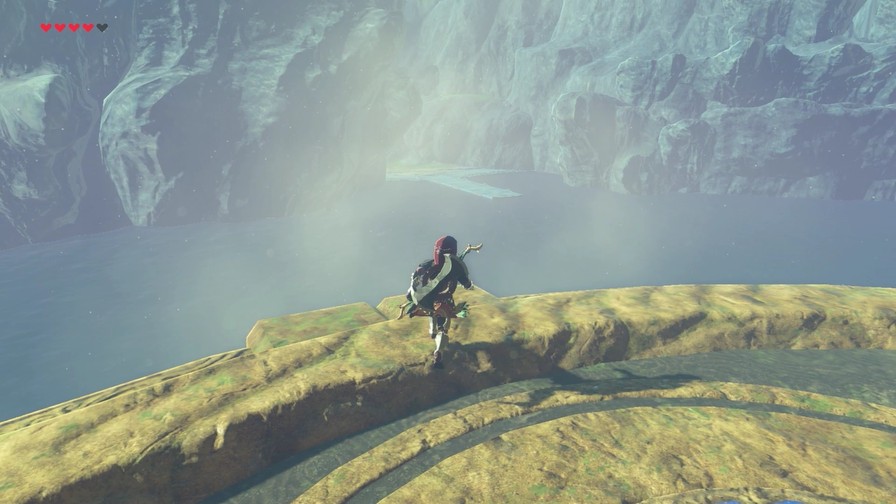
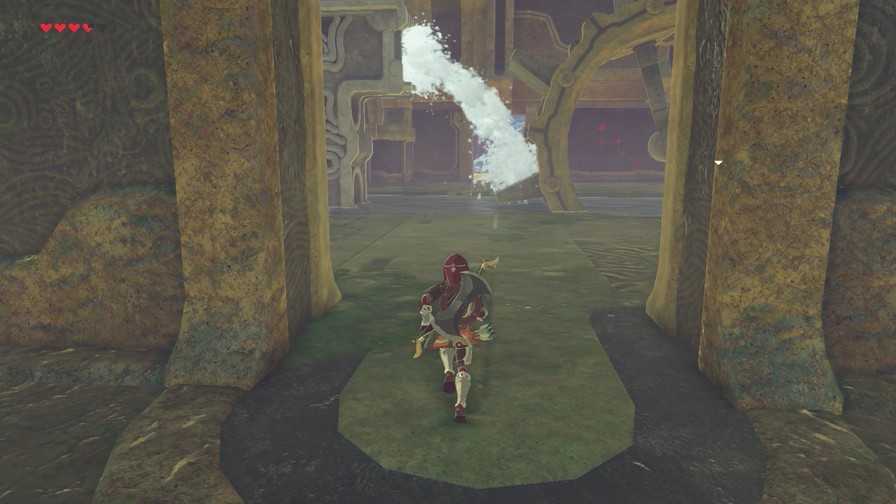
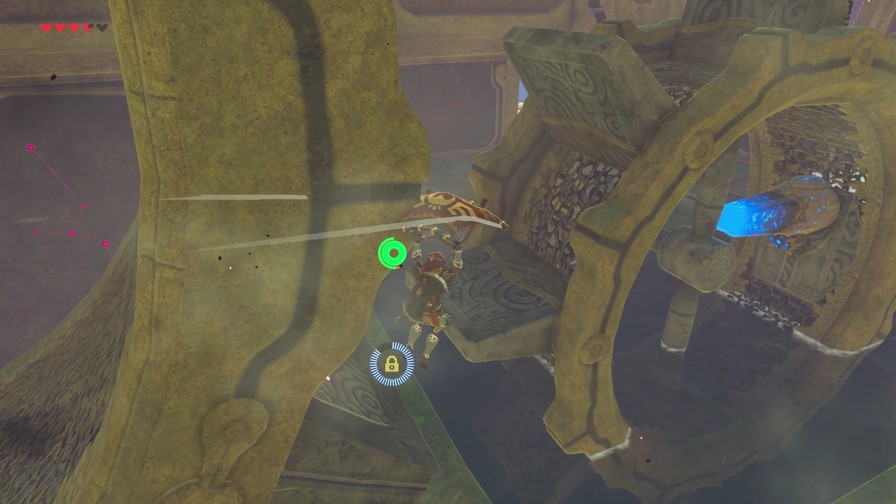
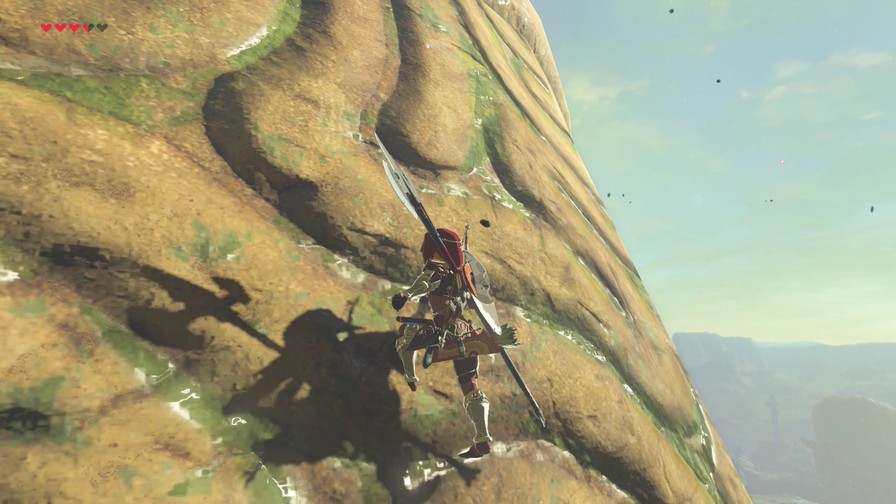
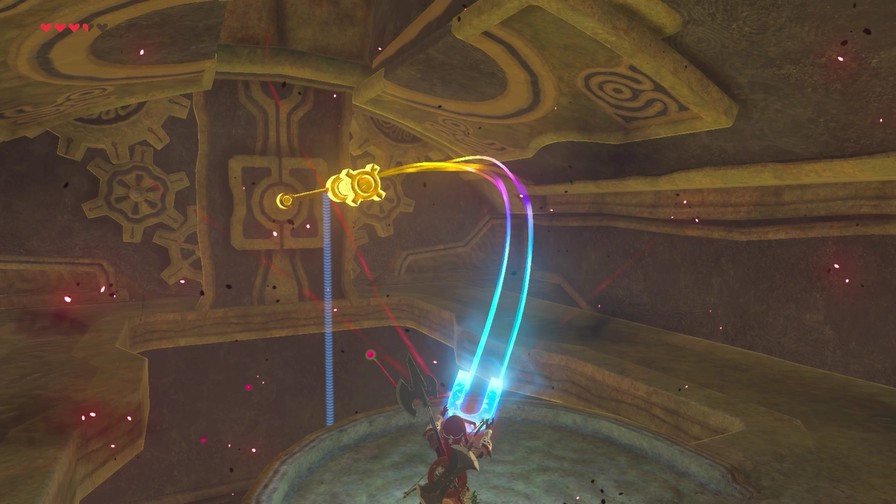
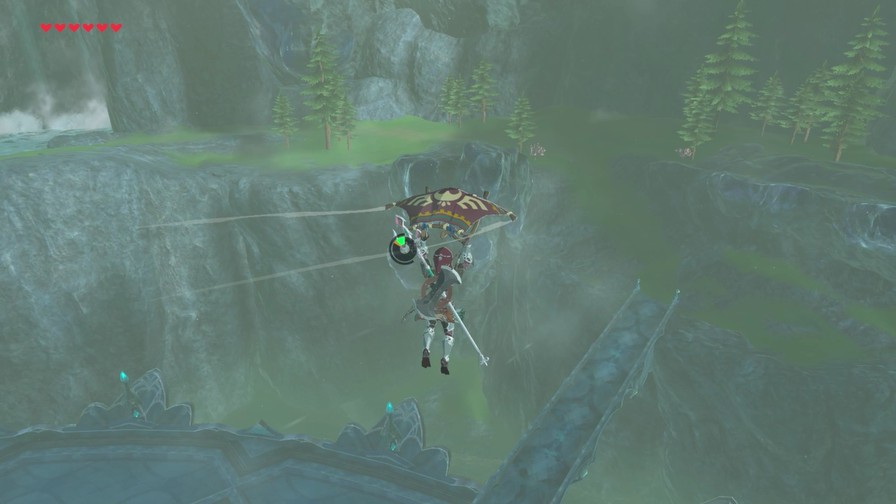
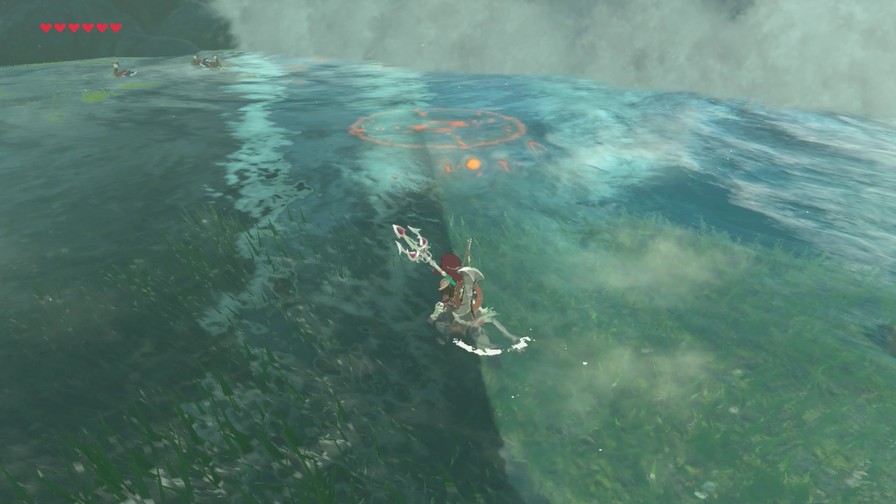
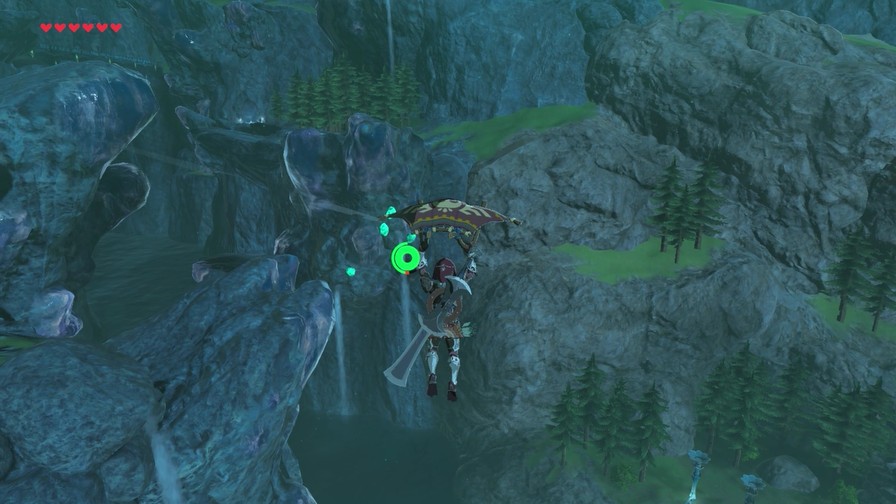
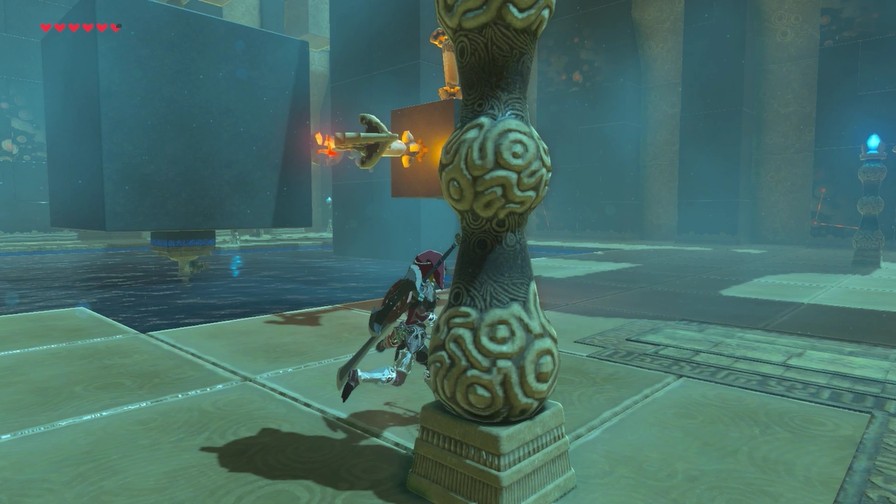
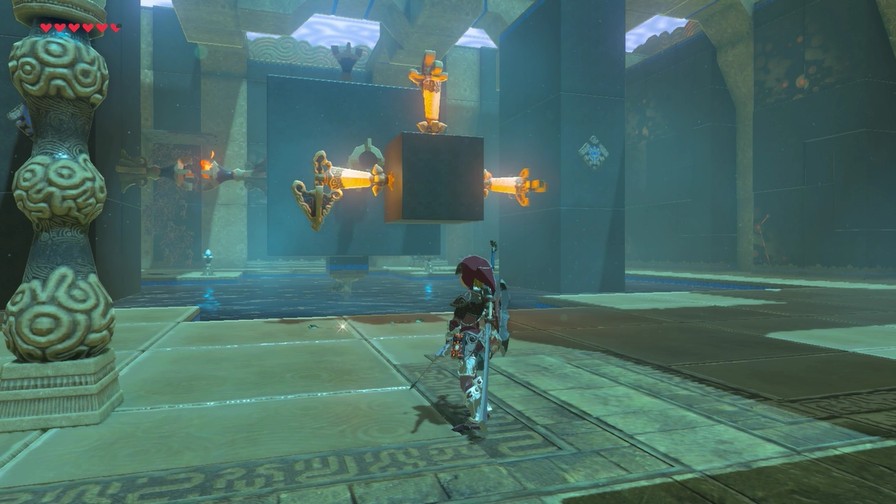
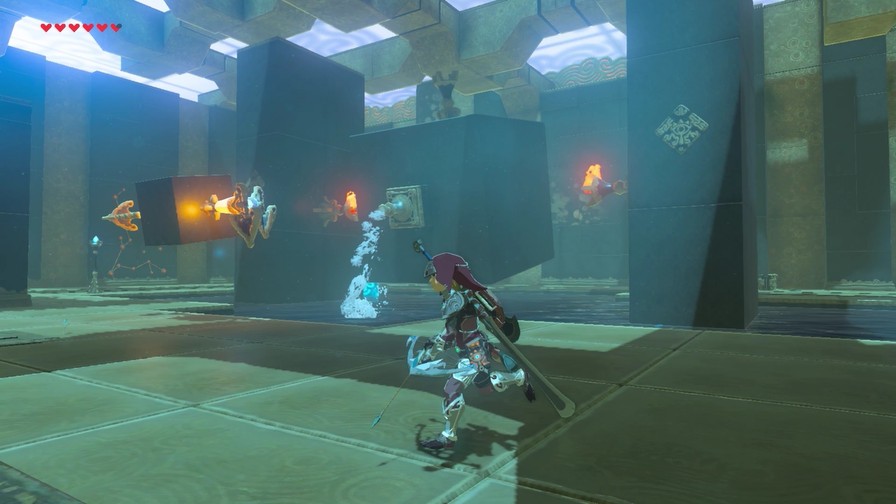
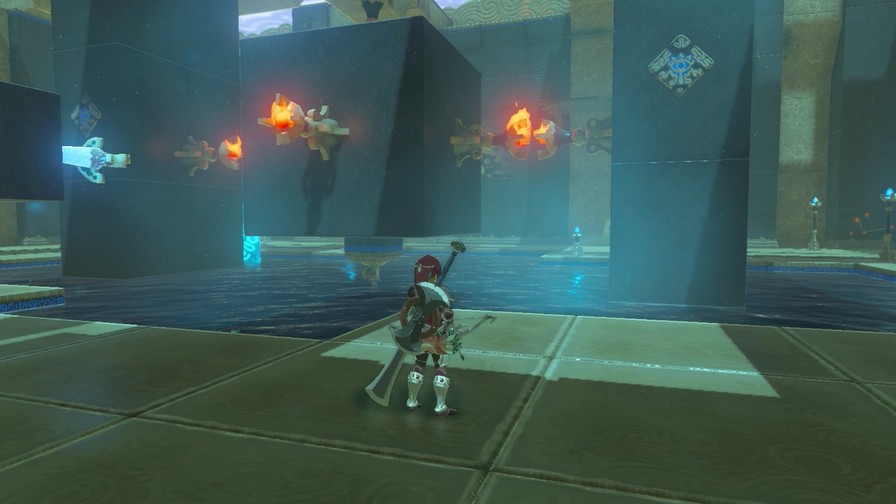
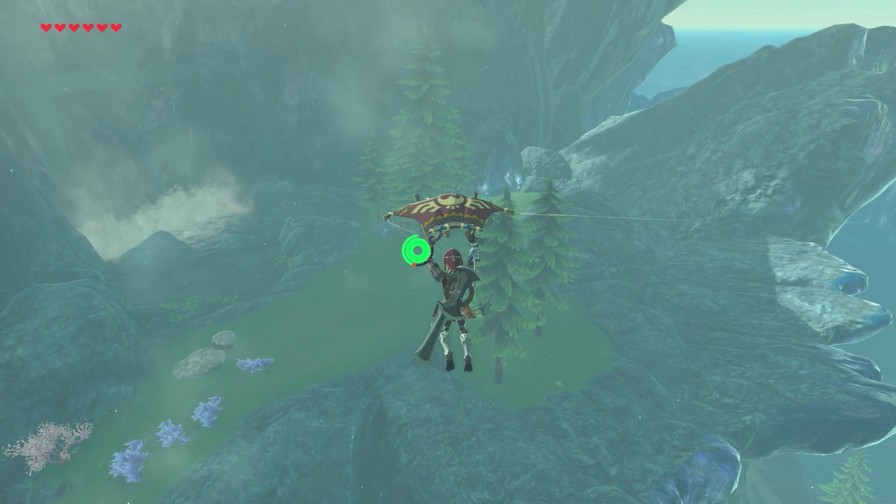
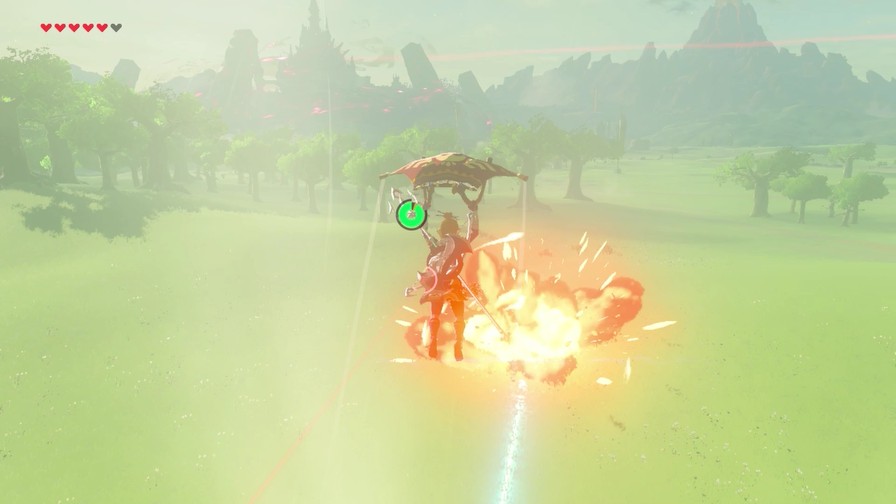
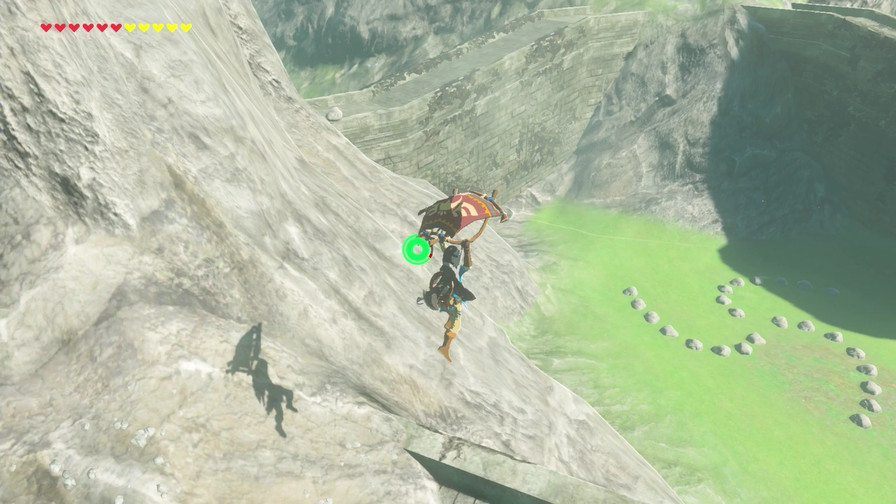
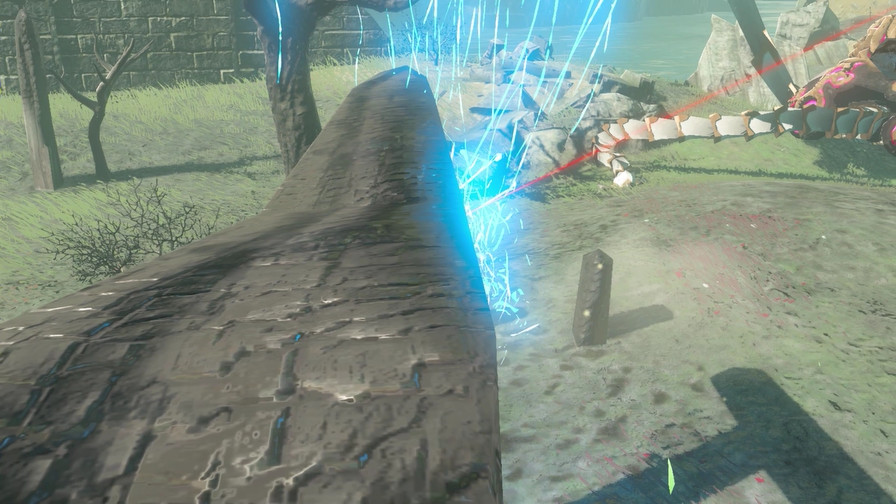
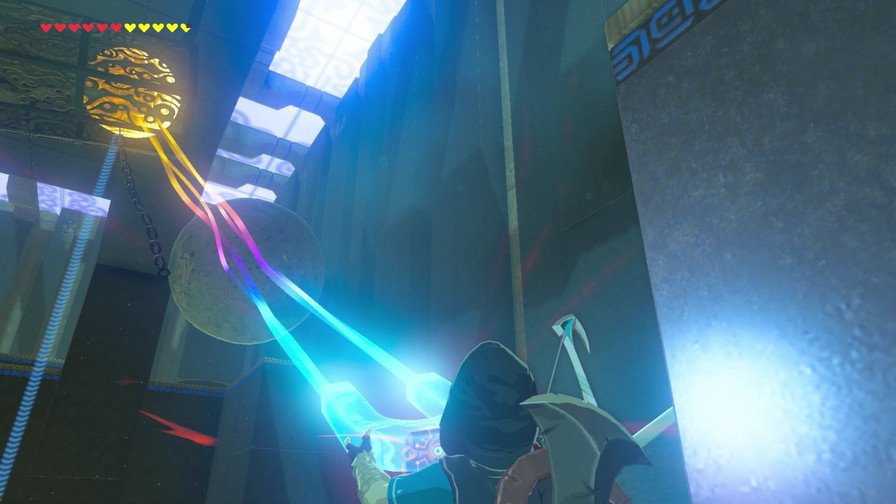
I make this sound easy, but this took me days, if not weeks to finally unlock. I’ve spent literal hours mulling over this one single shrine. I was very close to the solution, but I couldn’t nail it down. Jumping up from a Cryonis block or even the top of the falls and doing a lunging spear strike doesn’t work. I tried throwing the spear at it, from above, and it didn’t work.
So what’s the solution?
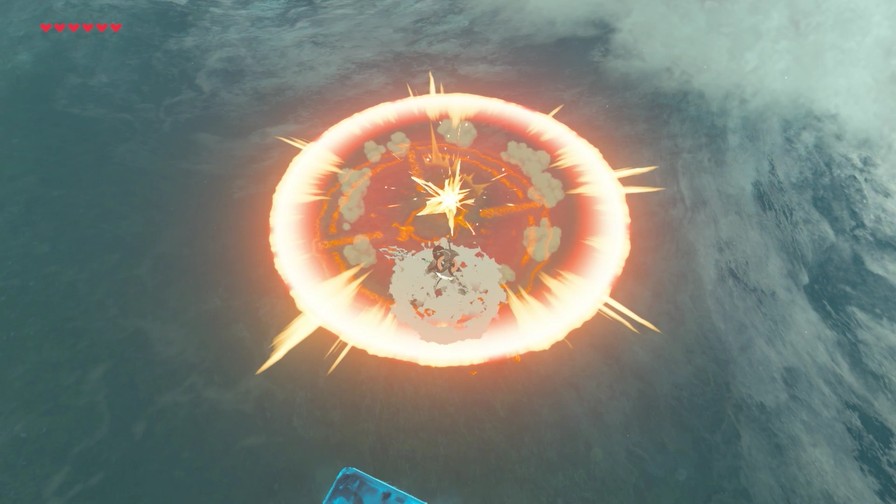
https://my.mixtape.moe/hmuxpk.mp4
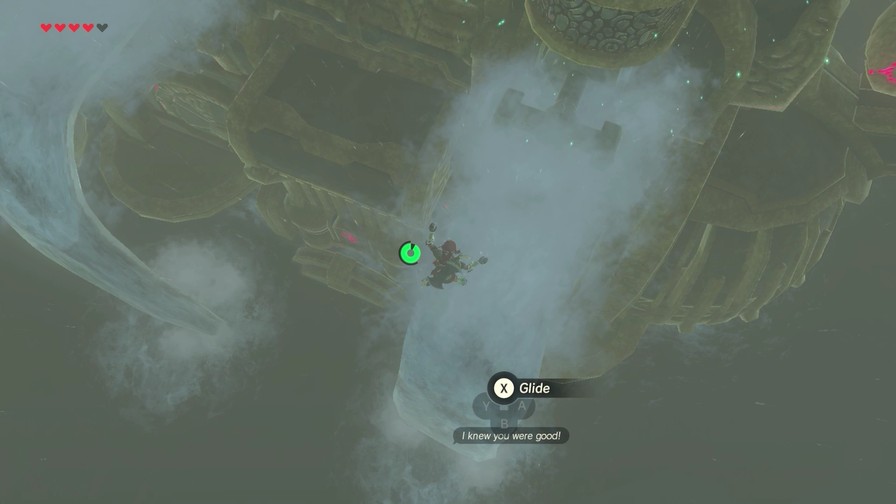
You have to be gliding before using the attack button to lunge the spear into the platform.
I’m…not a big fan of this one, to say the least. The puzzle’s pretty clever, but the execution is dumb.
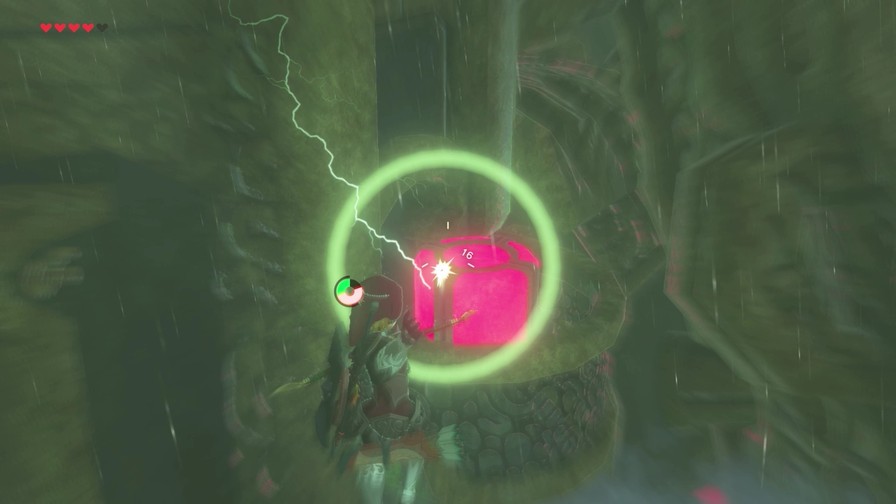
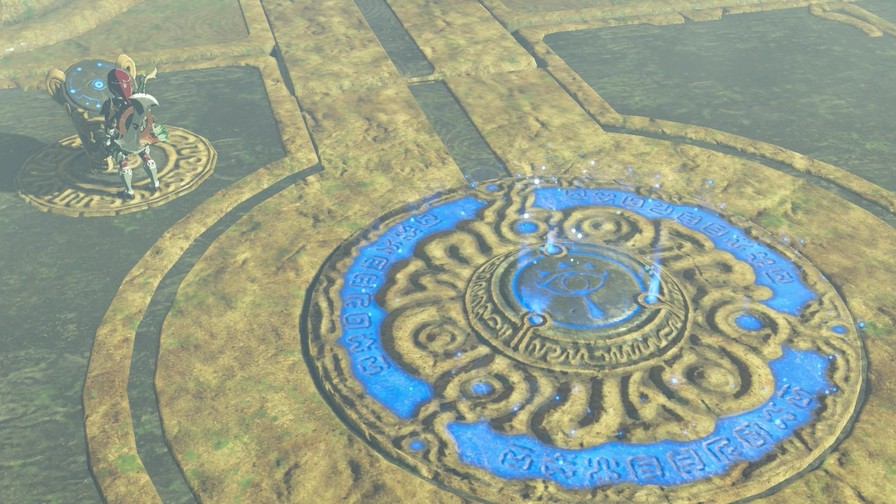
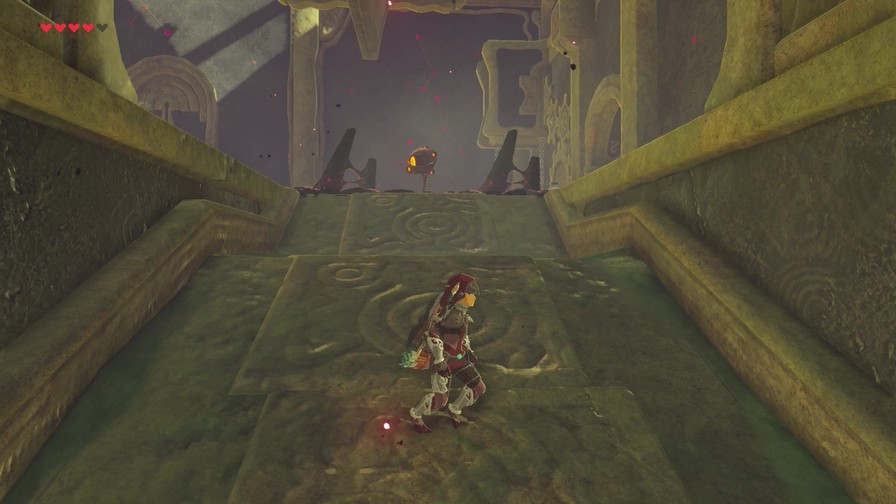
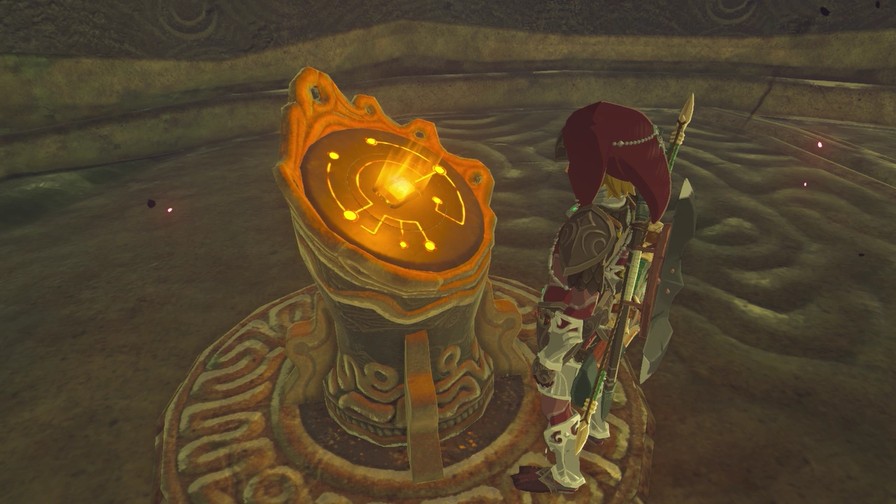
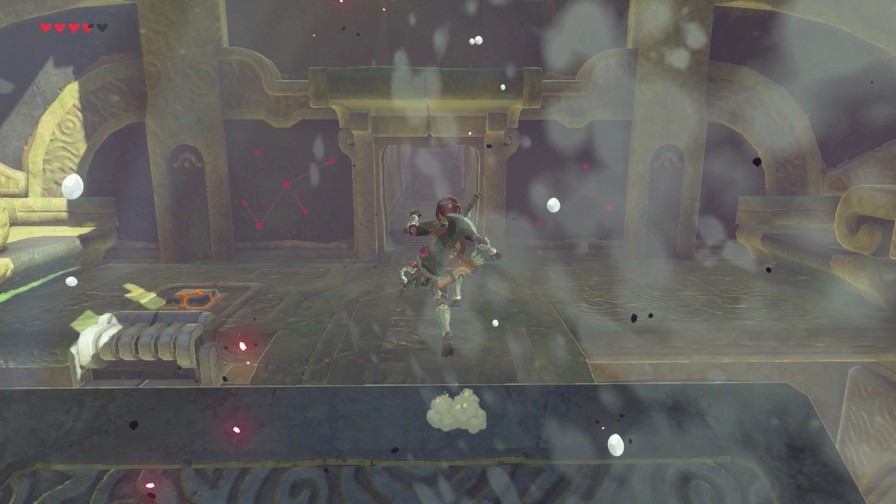
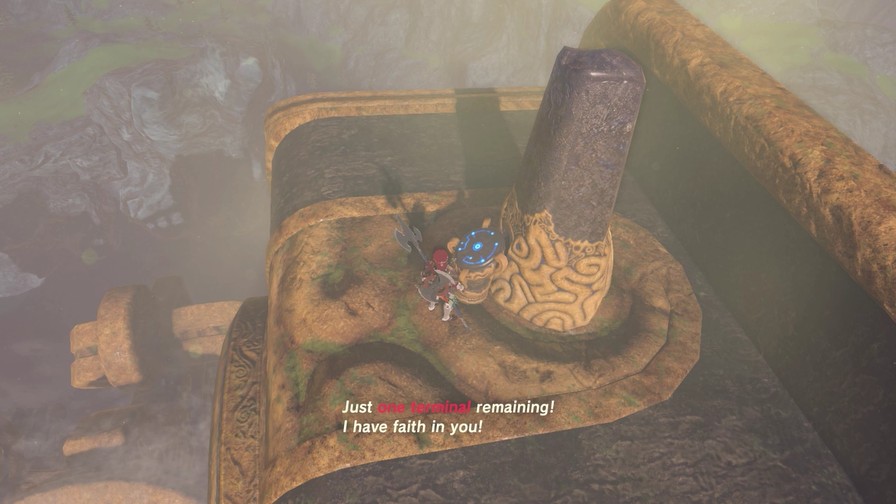
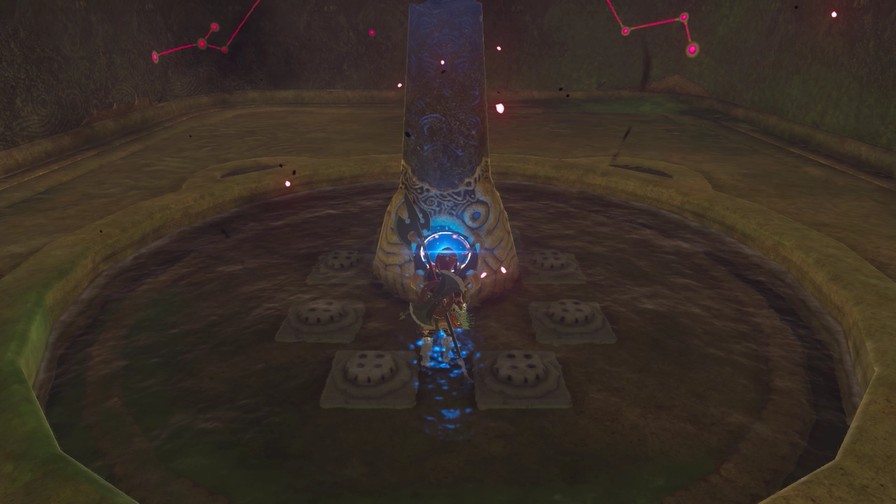
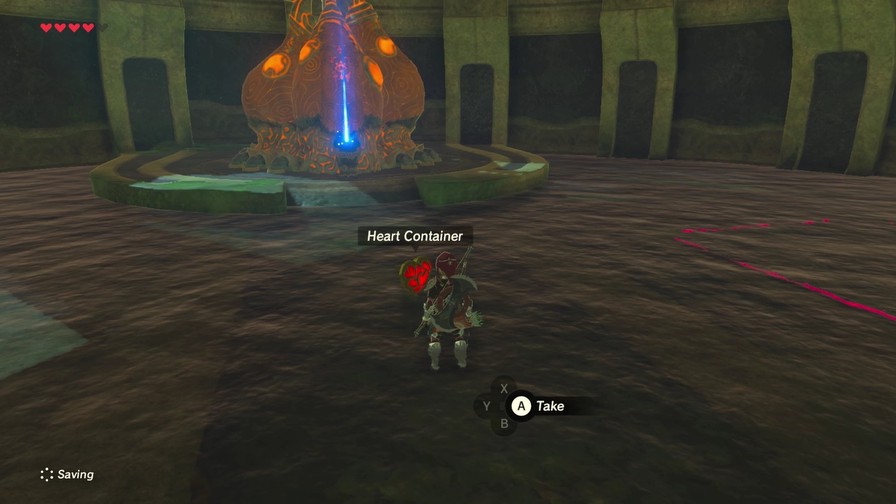
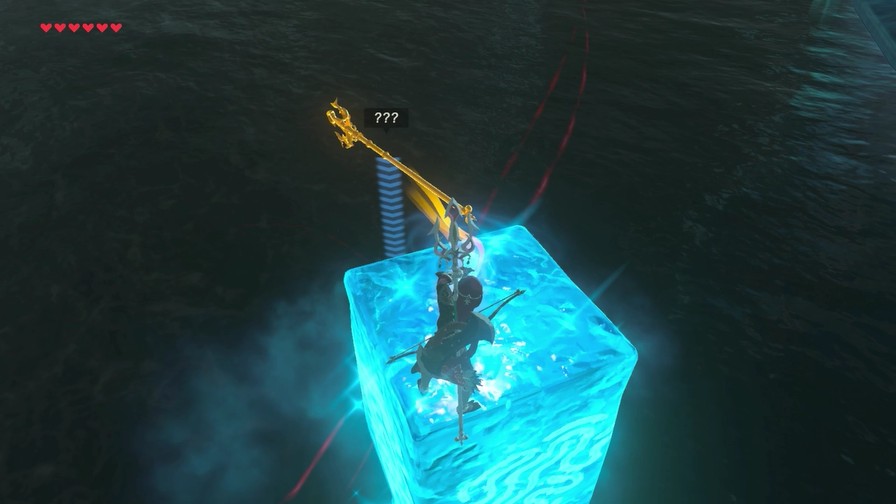
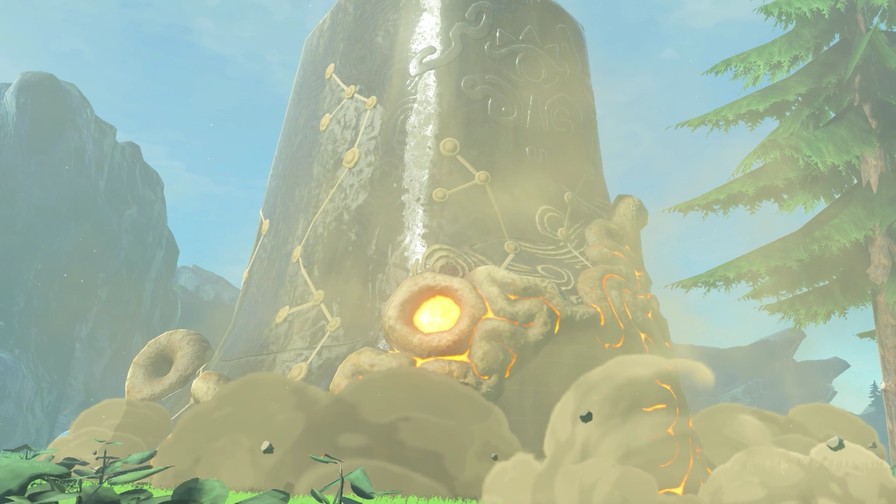
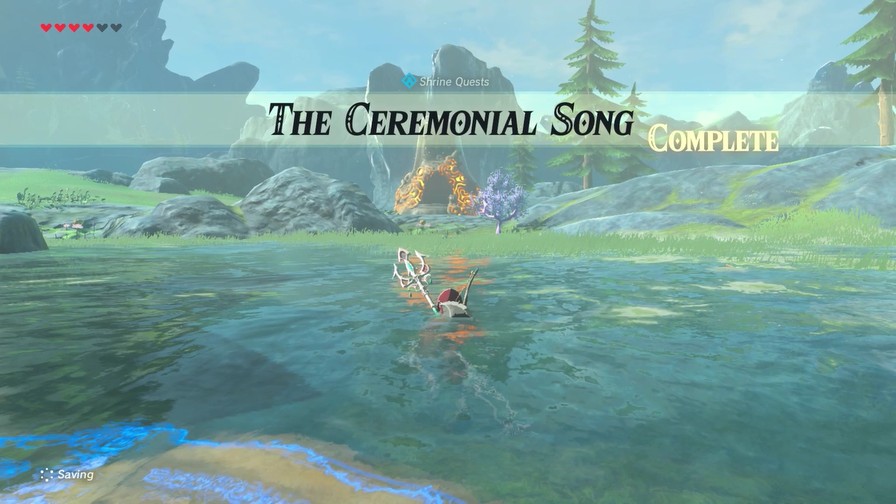
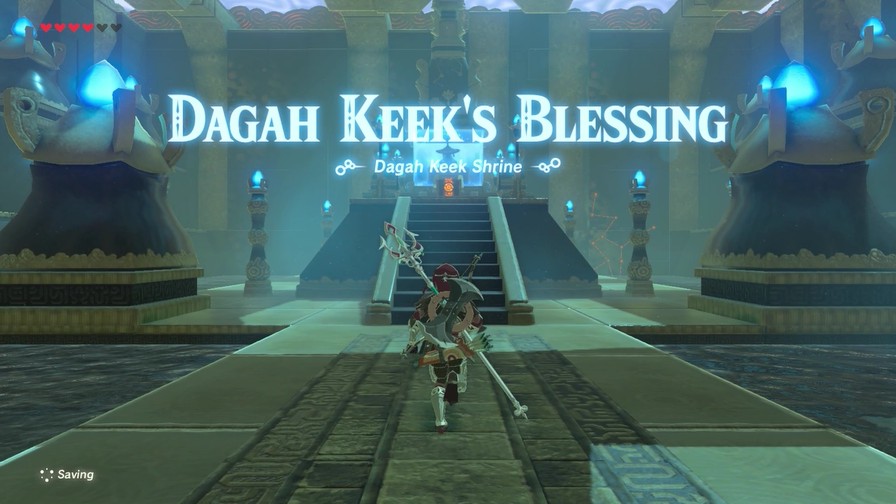
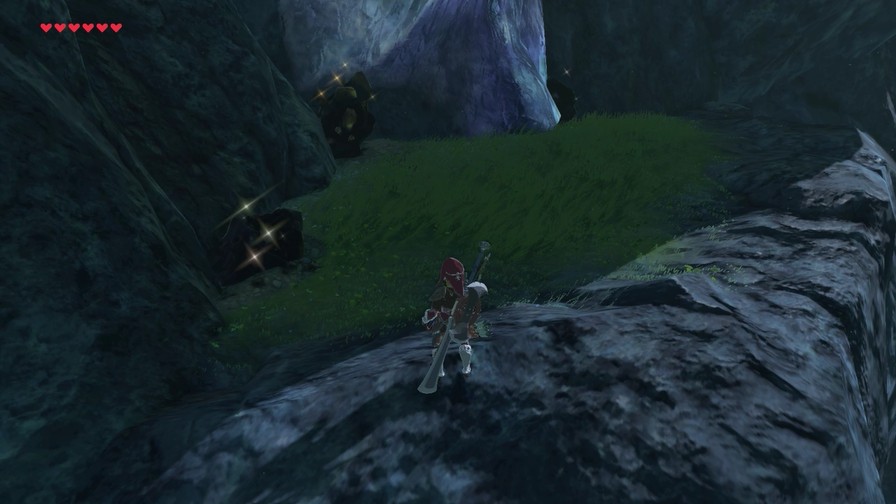
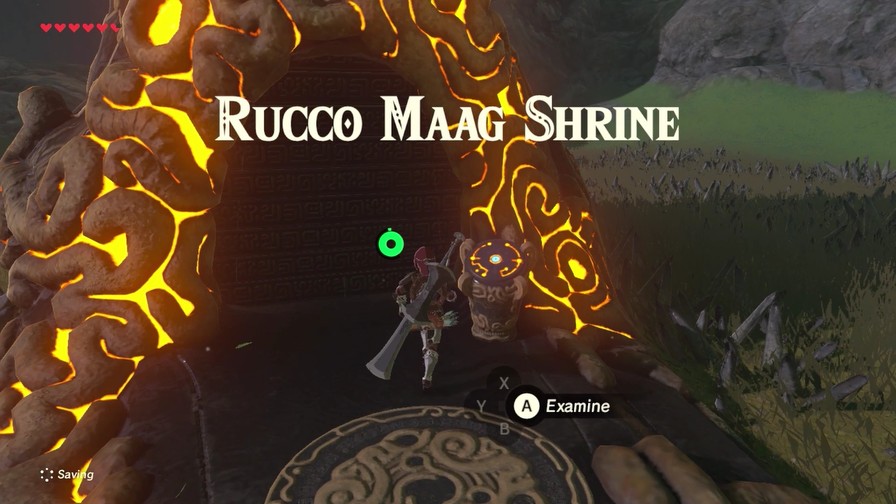
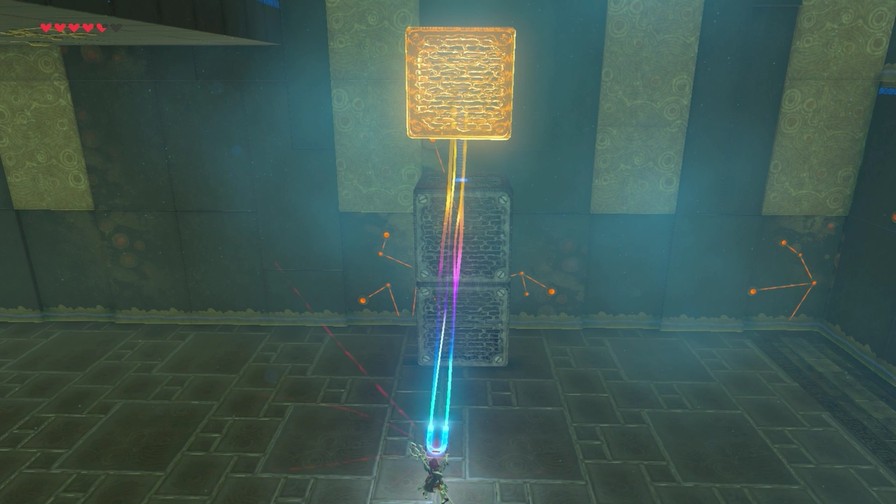
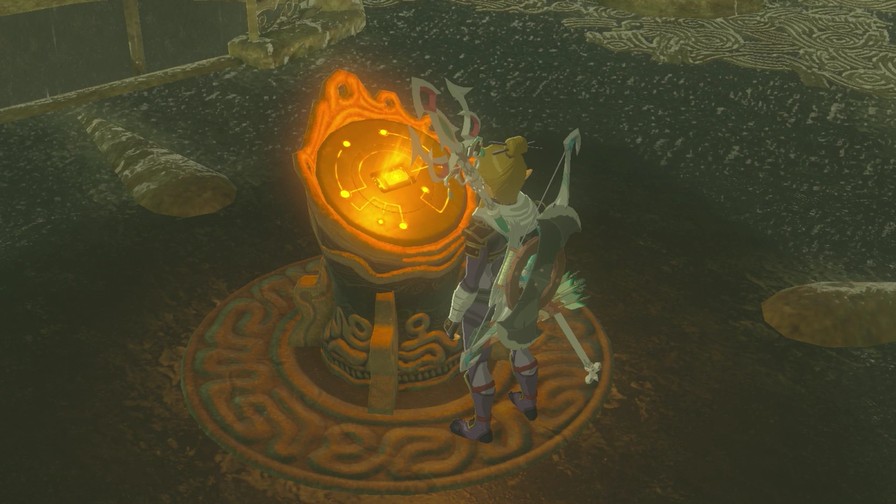
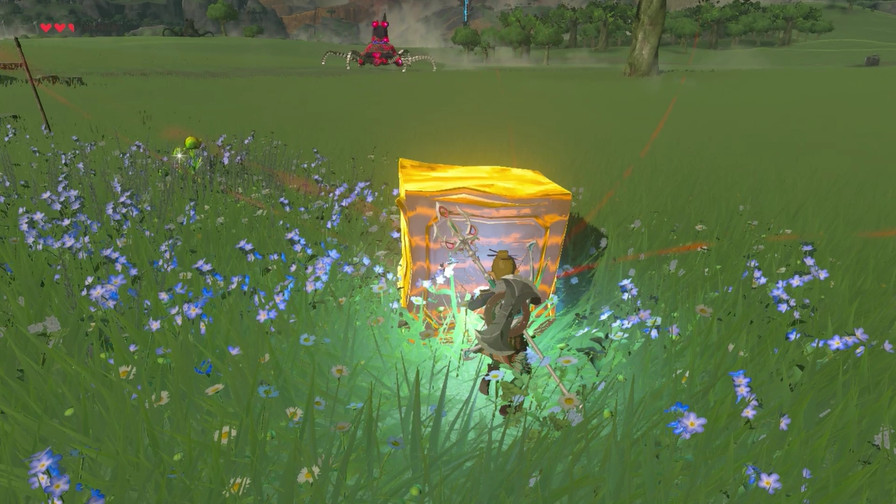
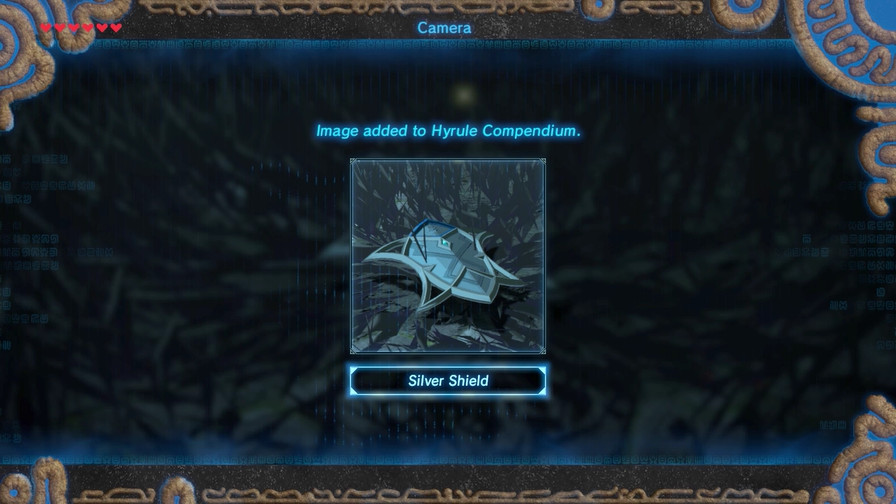
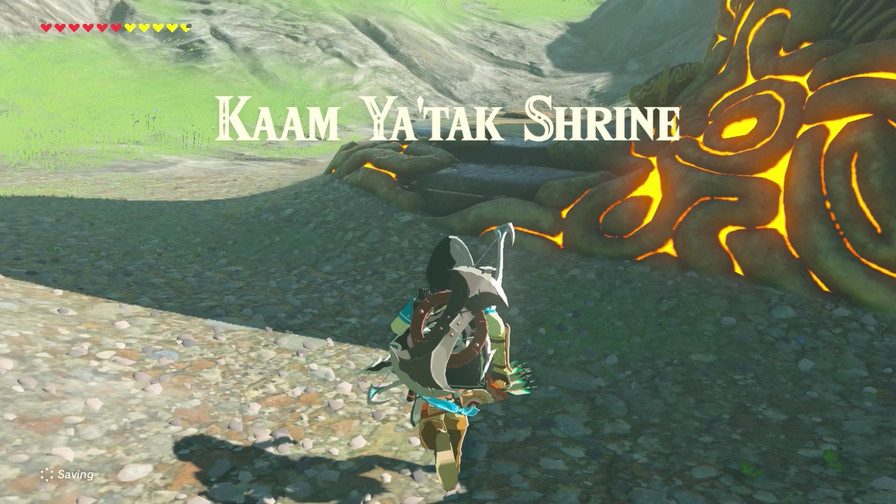
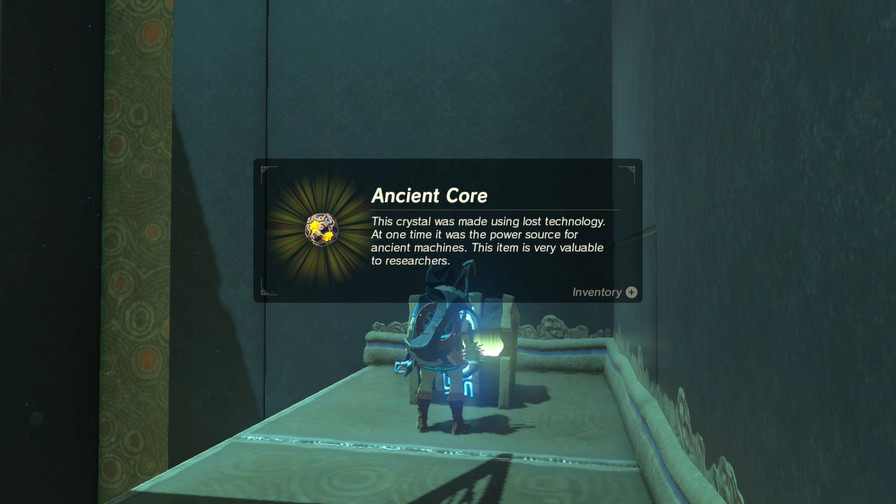
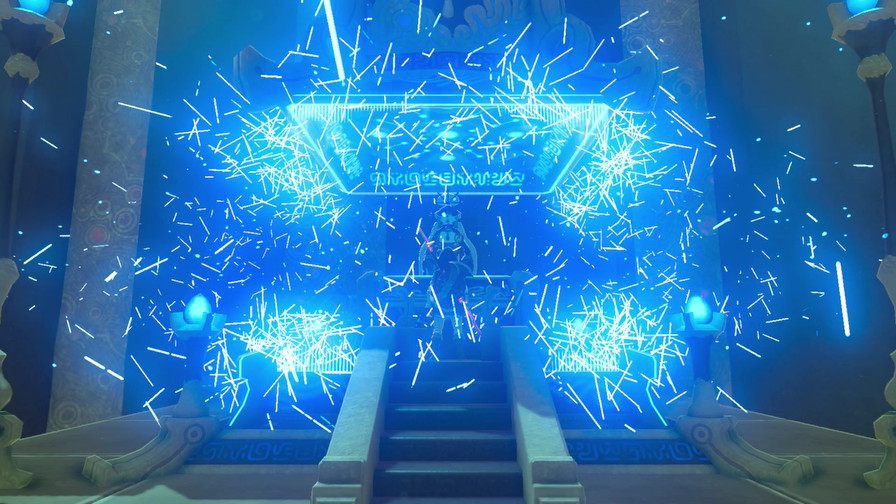
We’ve got our shrine, at least.
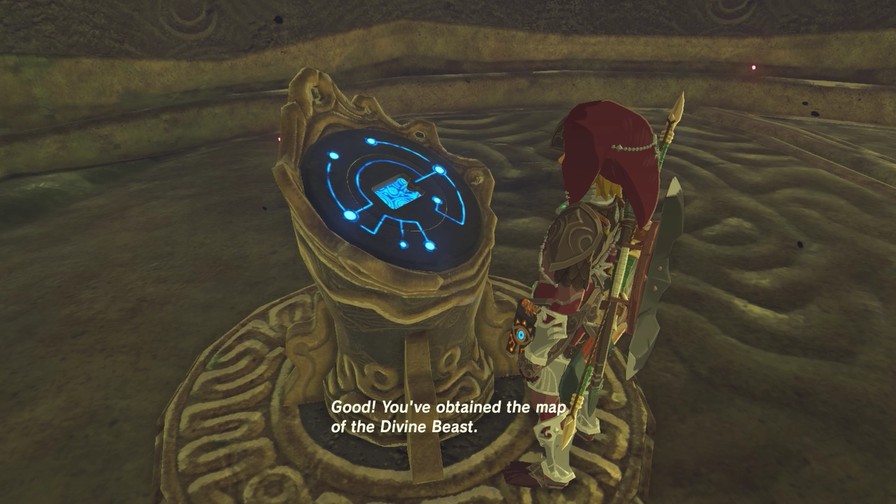
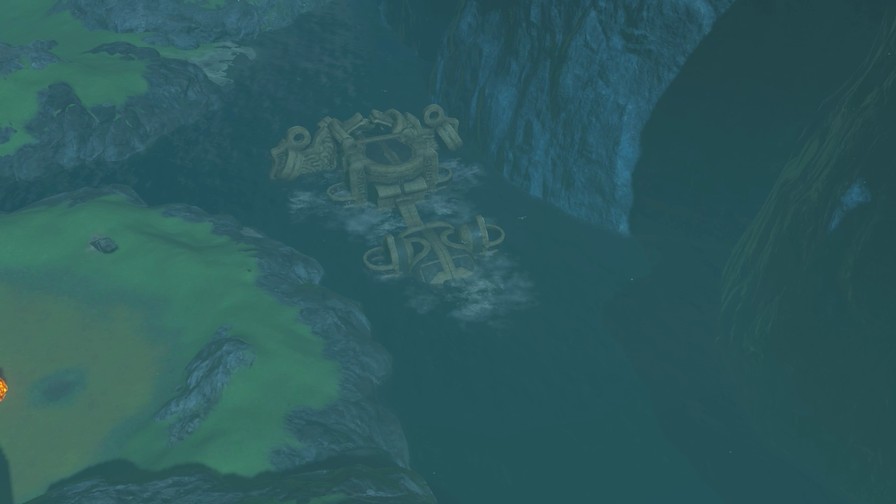
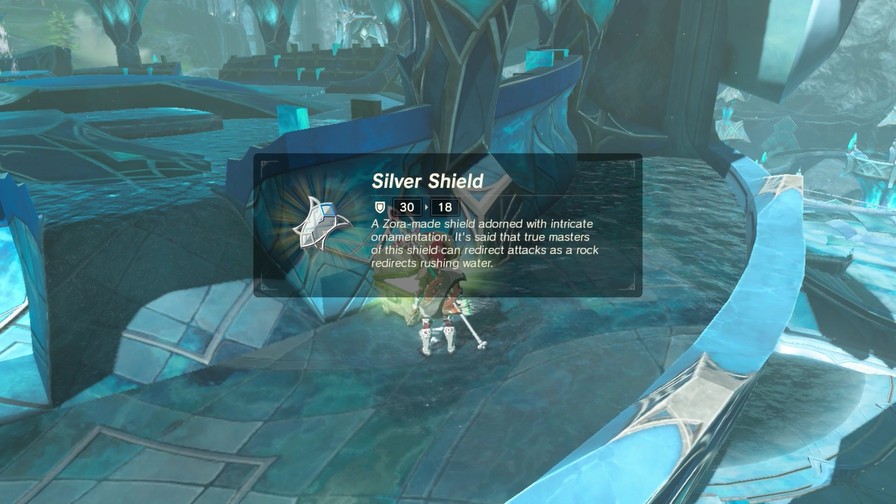
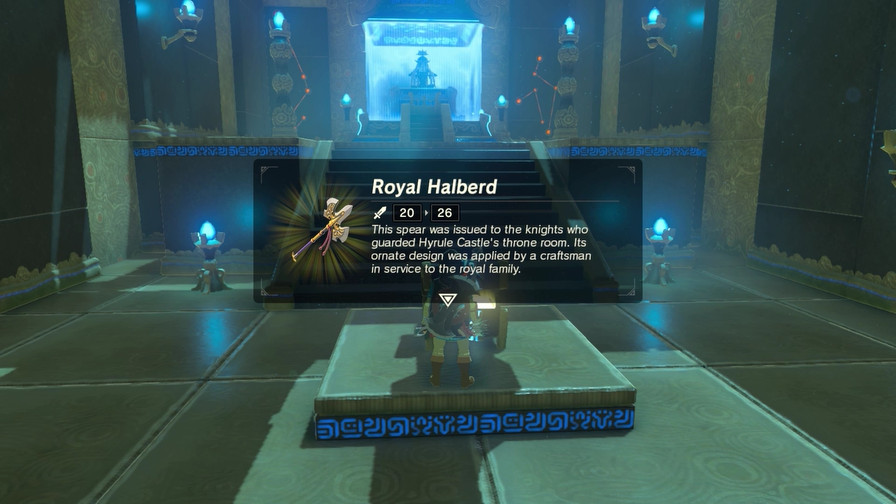
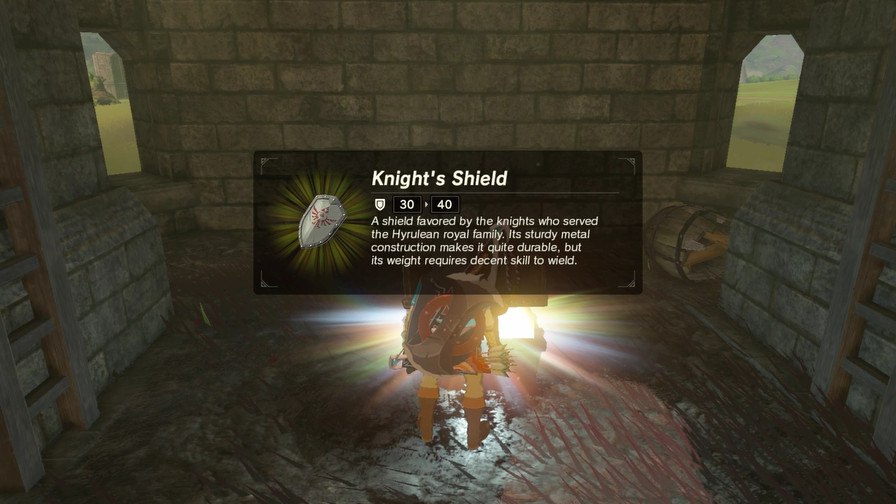
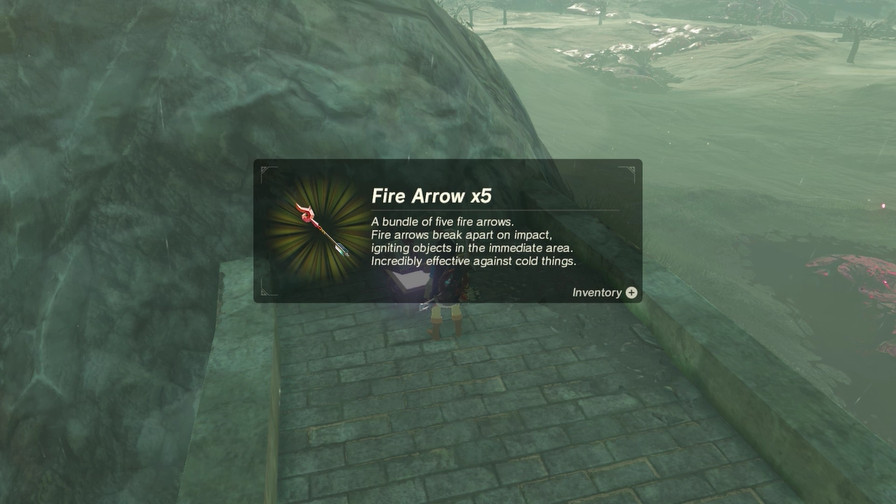
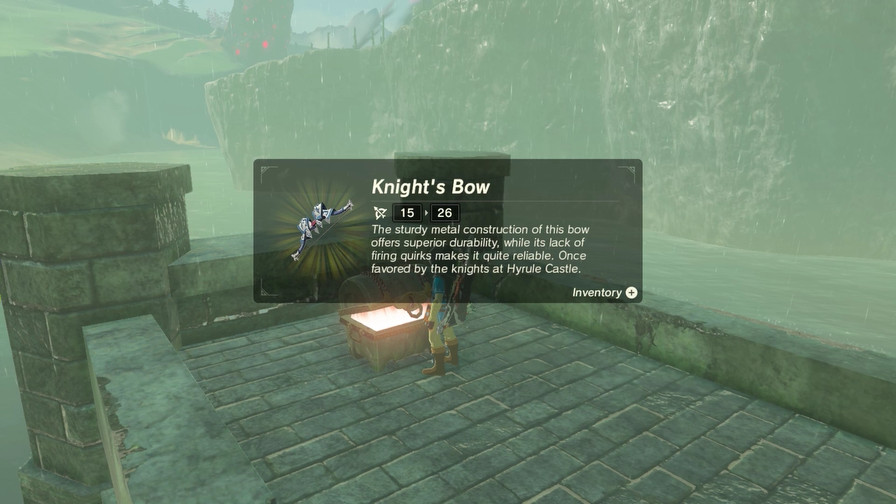
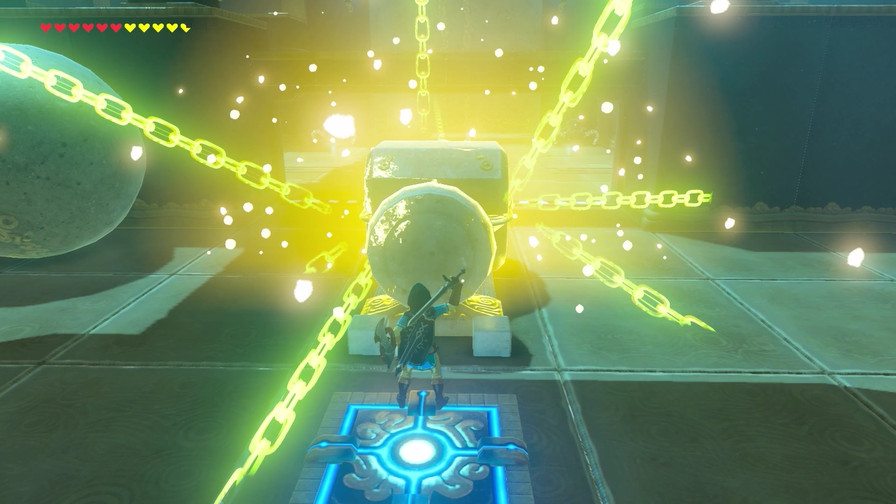
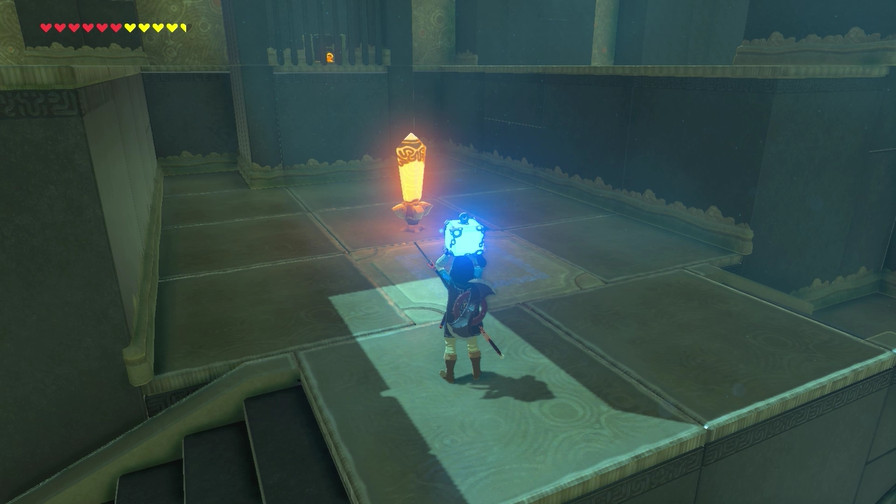
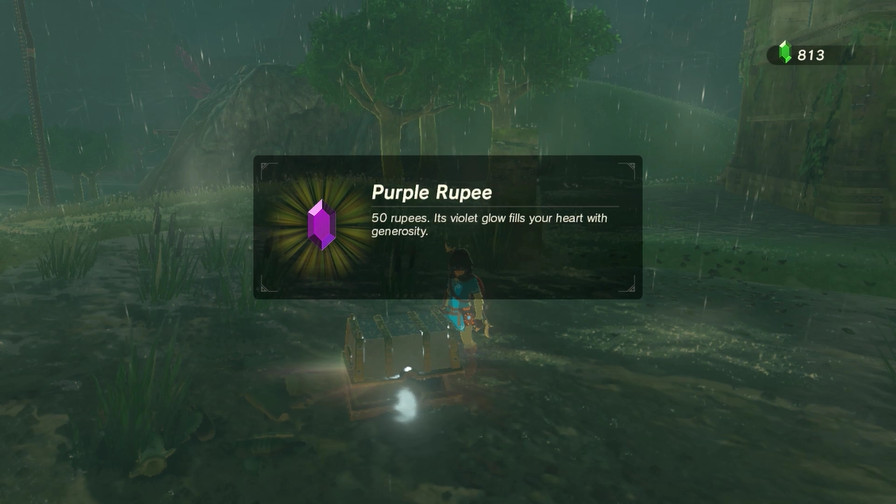
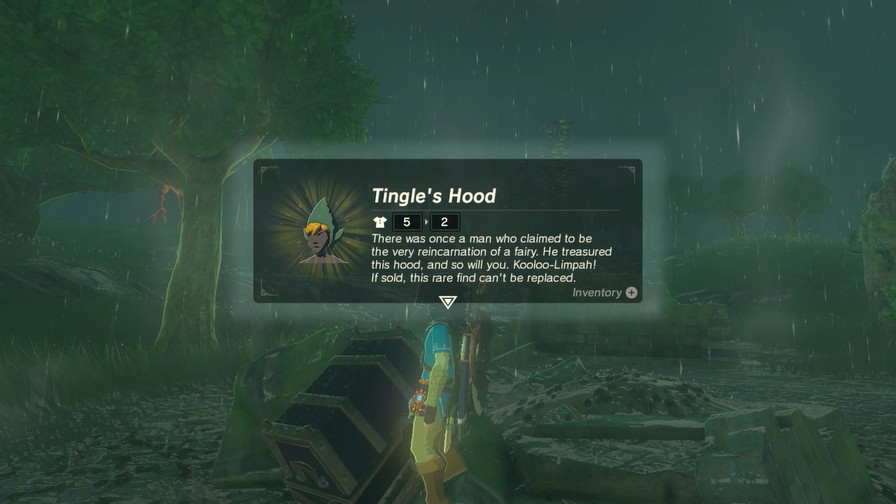
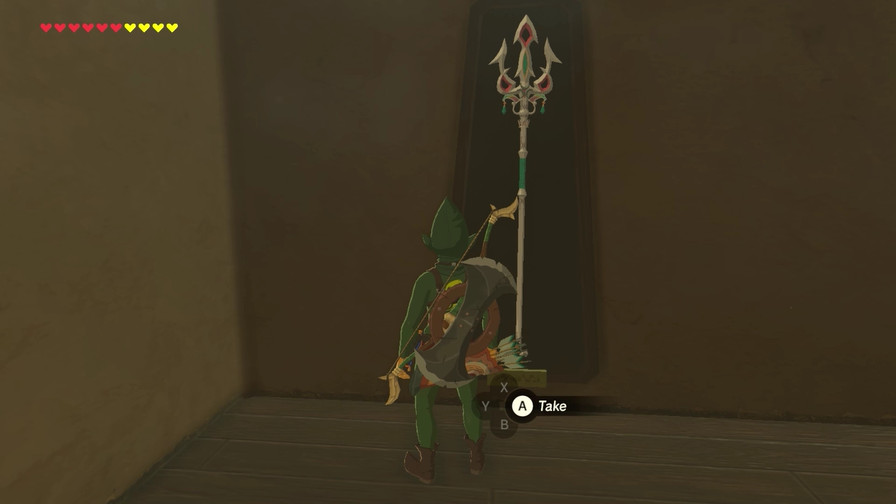
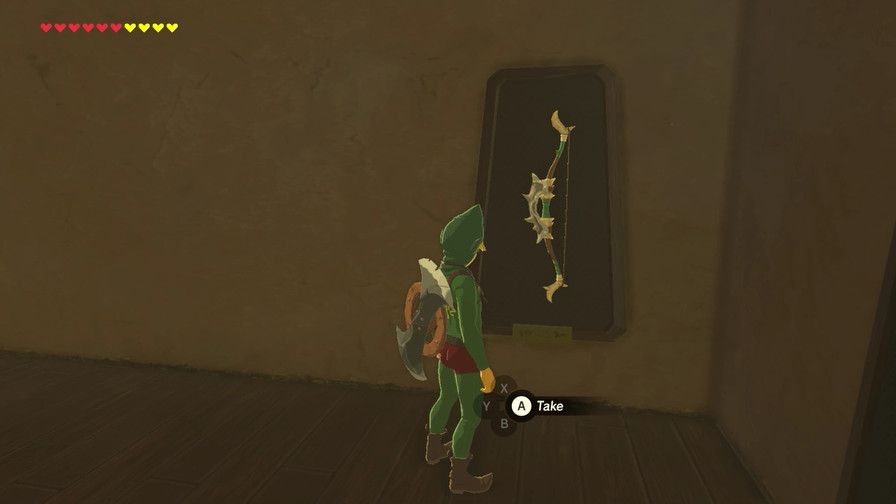
The puzzle was finding the shrine, so here’s our rewards.
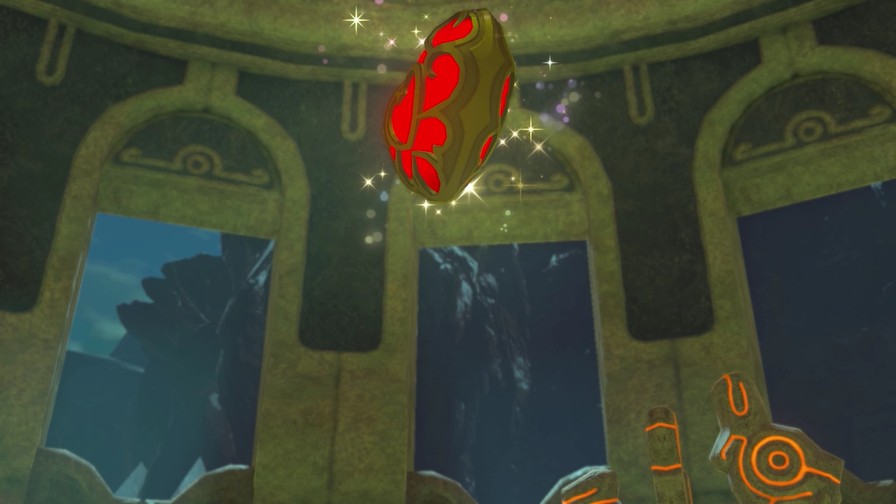
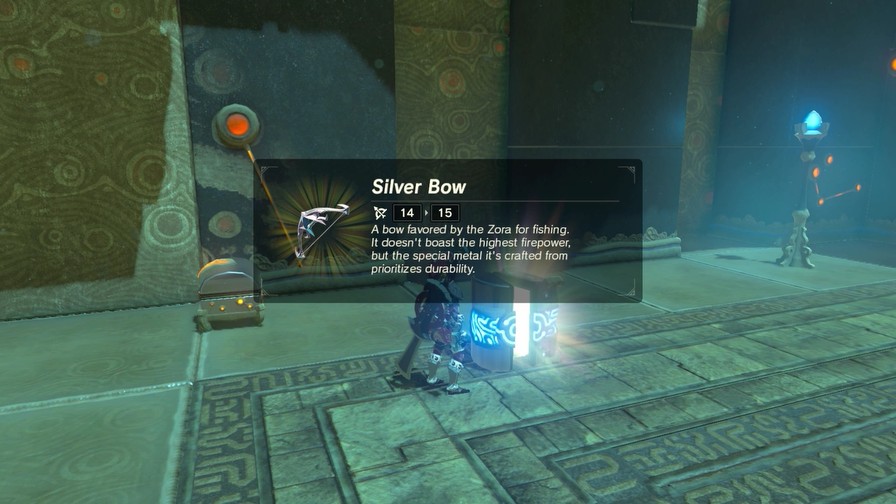
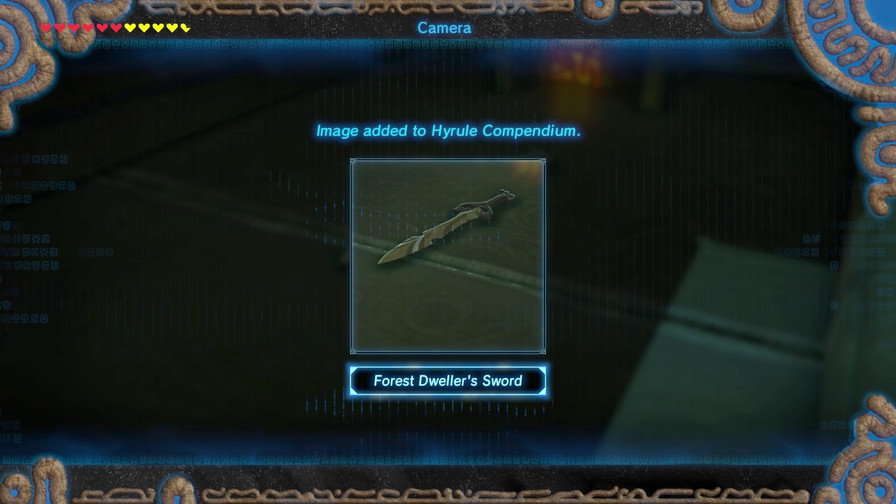
And to cap it off, this glamorous picture of the Lightscale Trident. Treasure it.
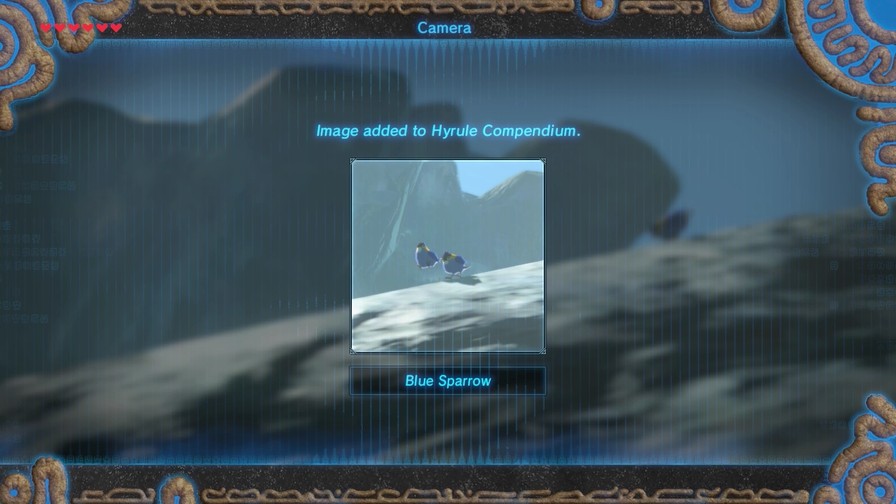
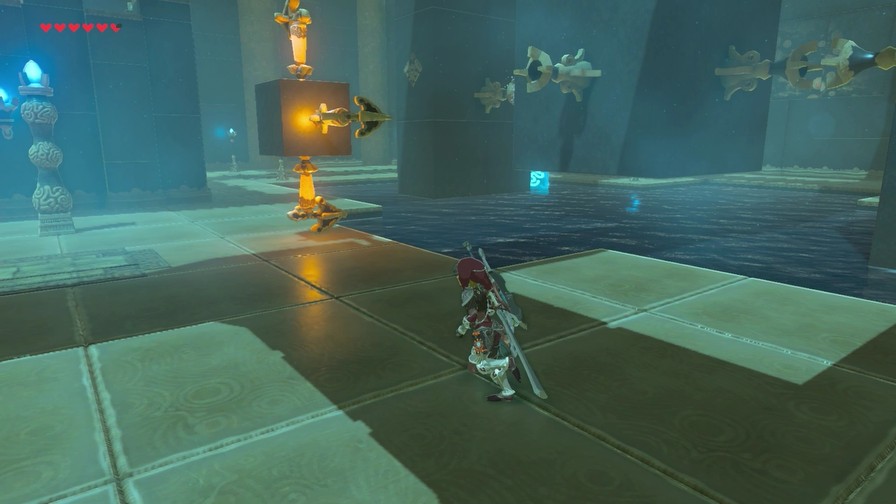
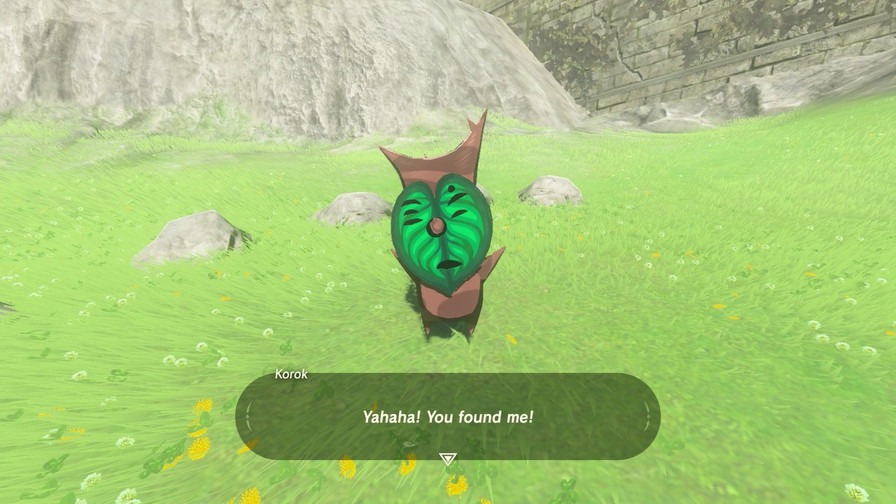
Also birds.
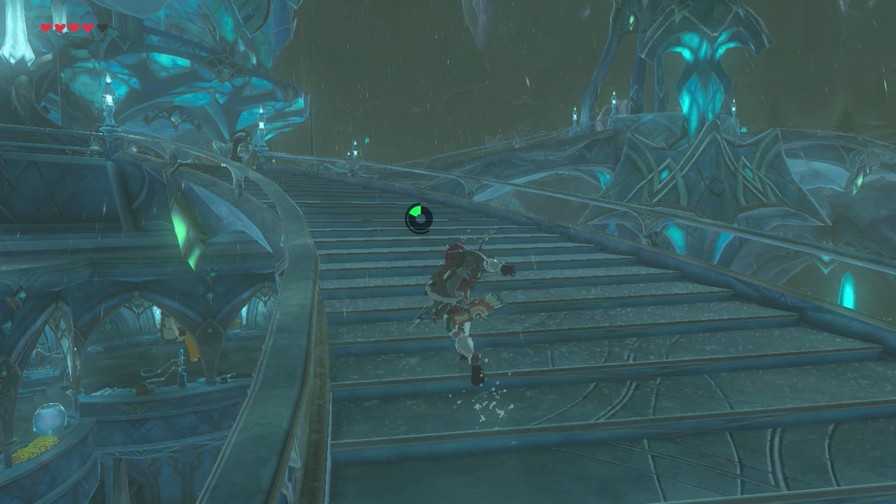
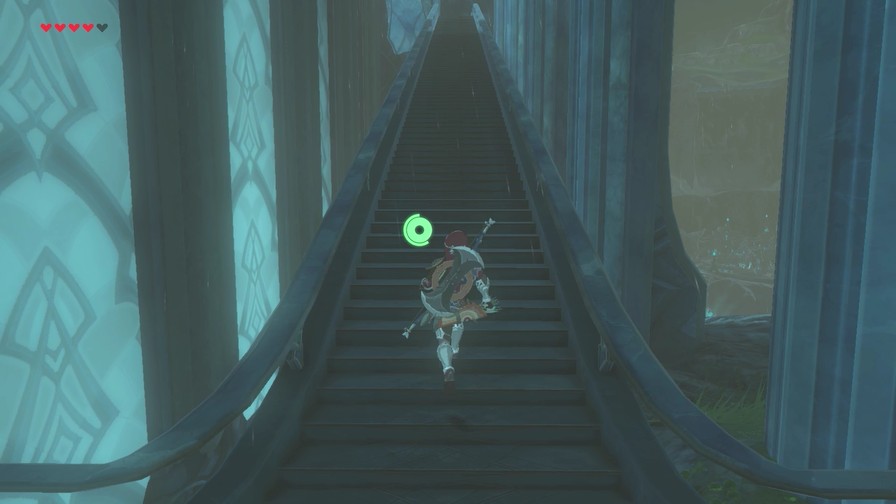
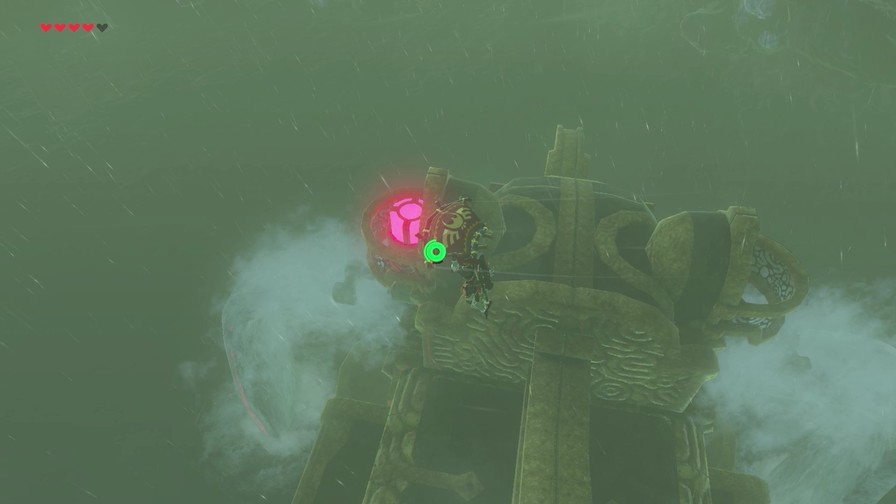
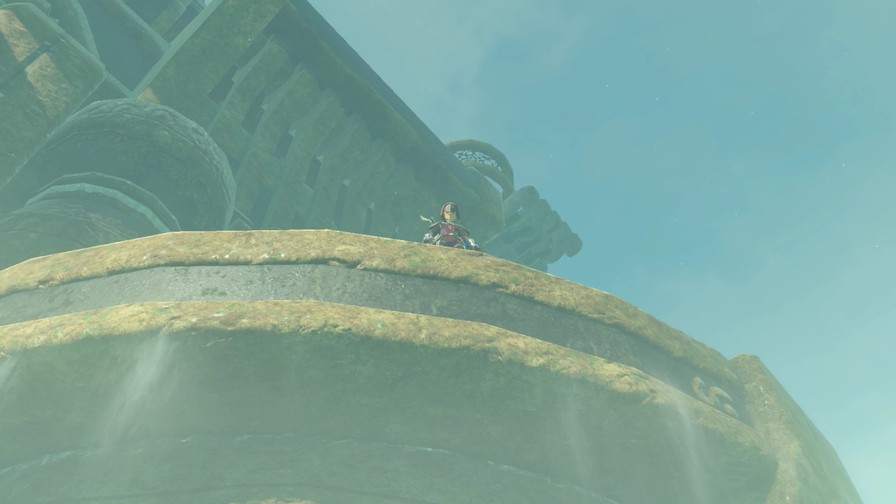
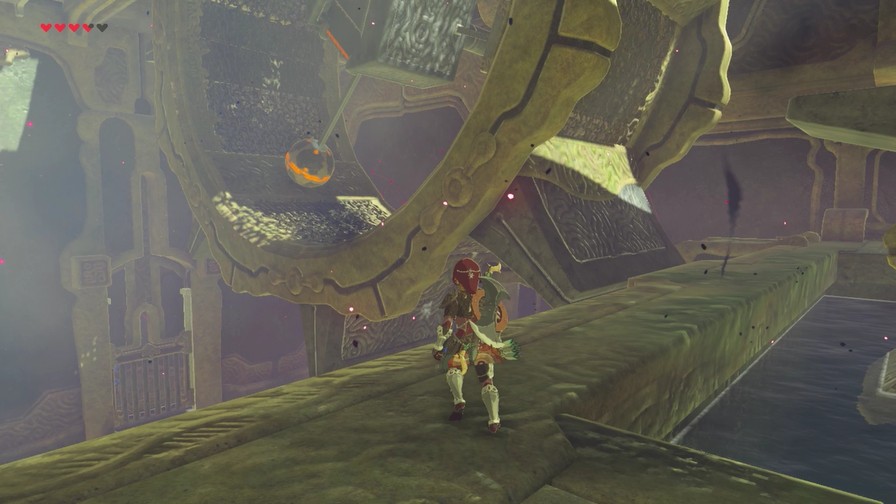
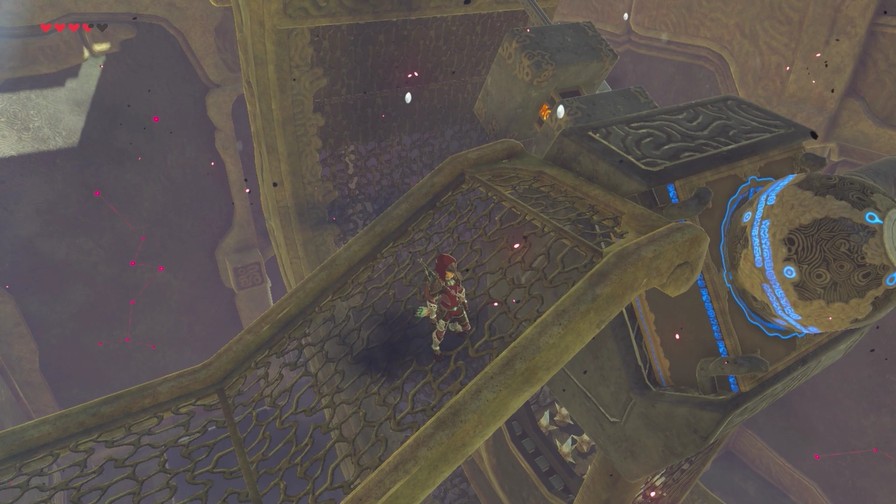
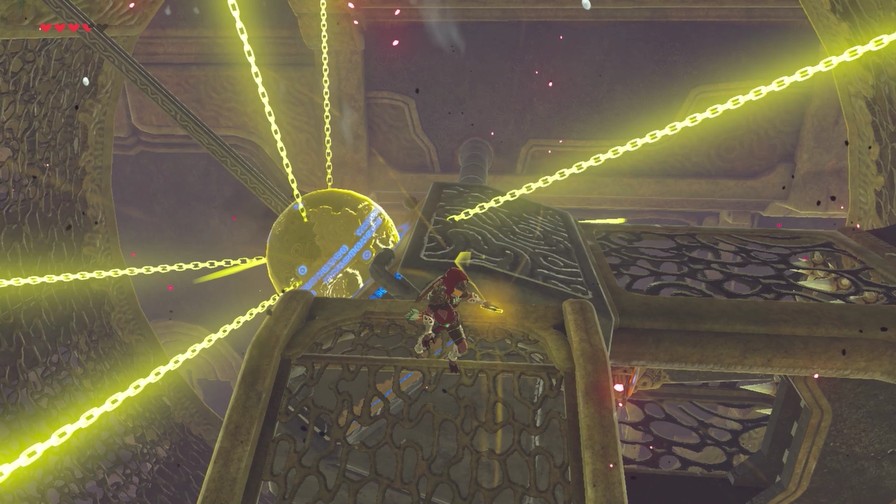
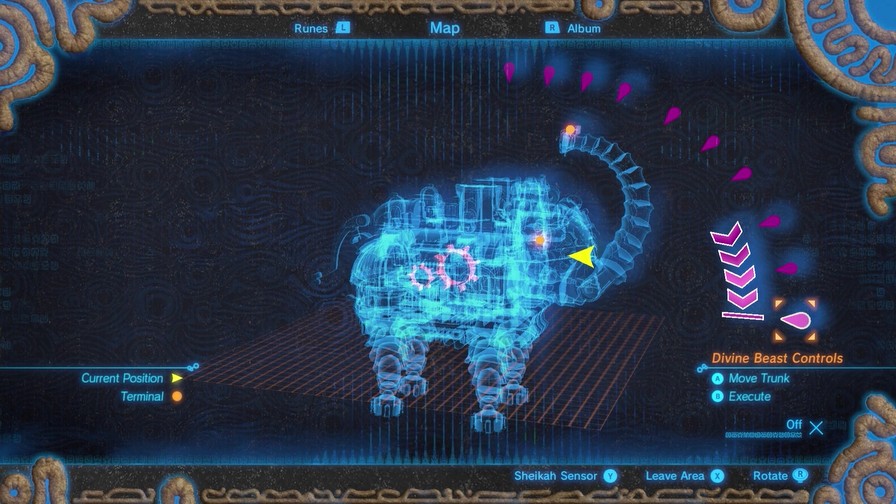
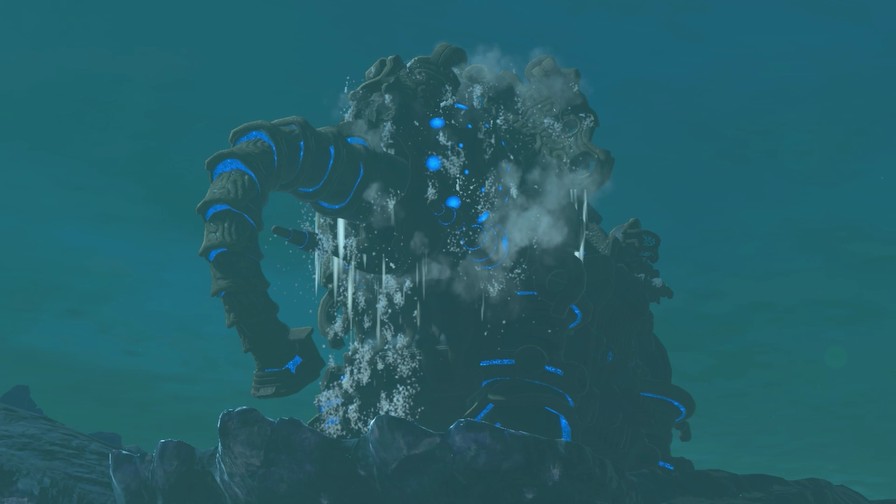
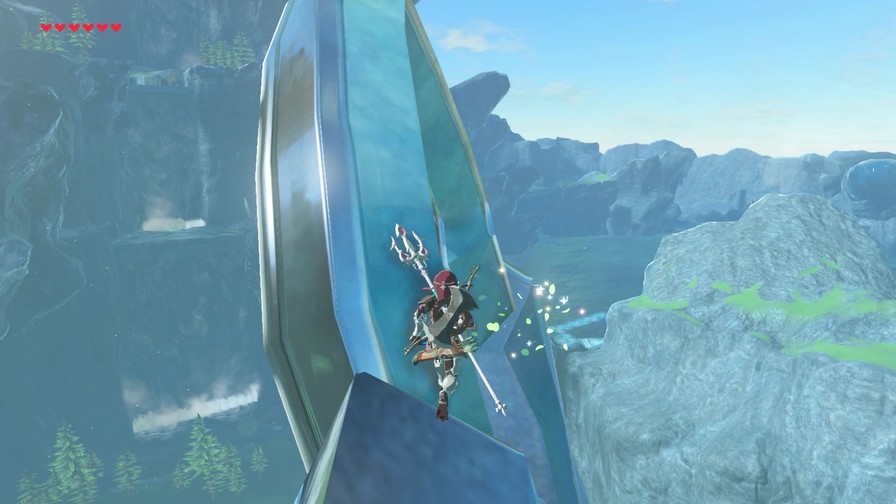
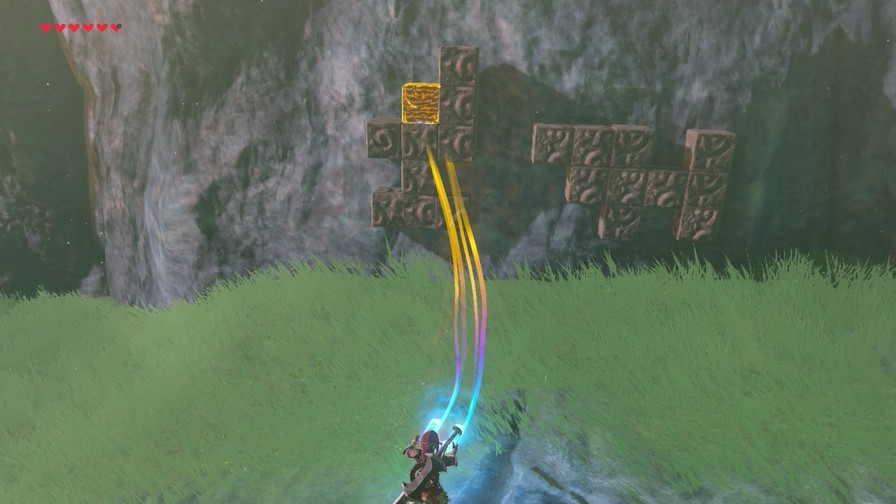
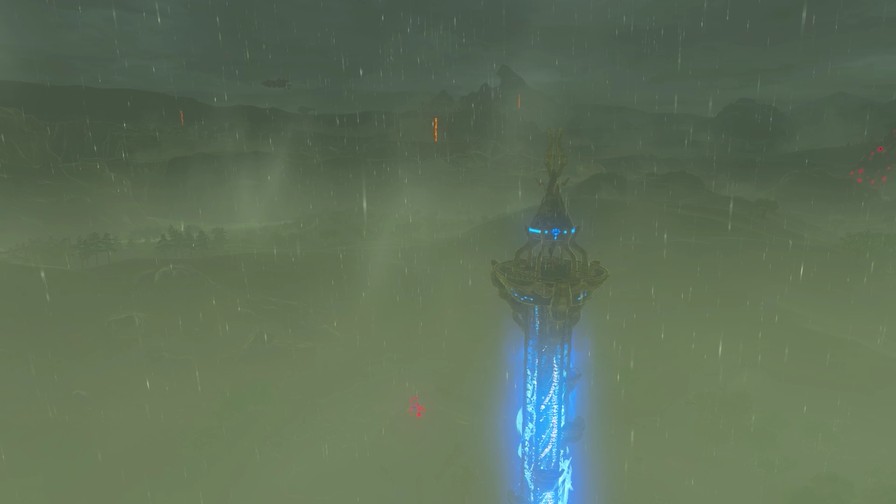
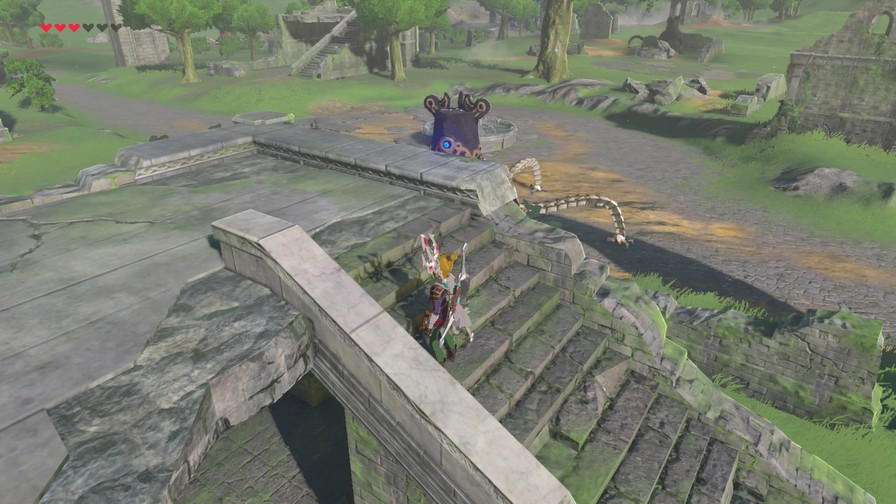
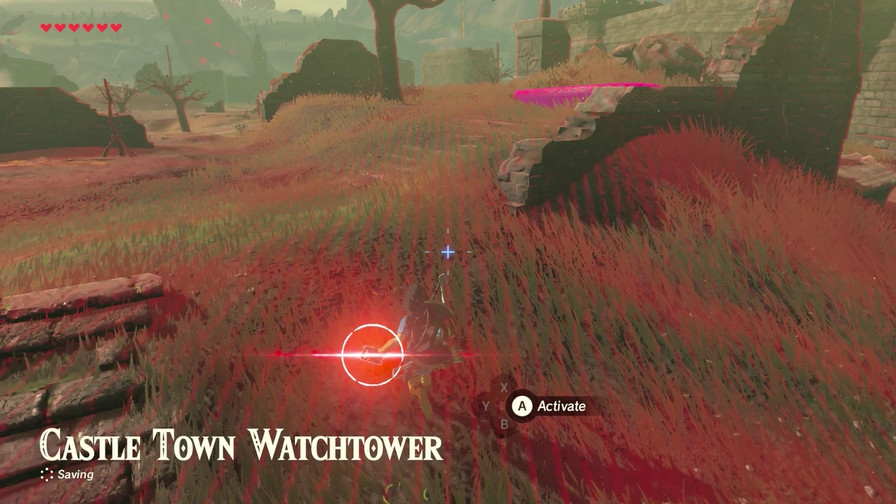
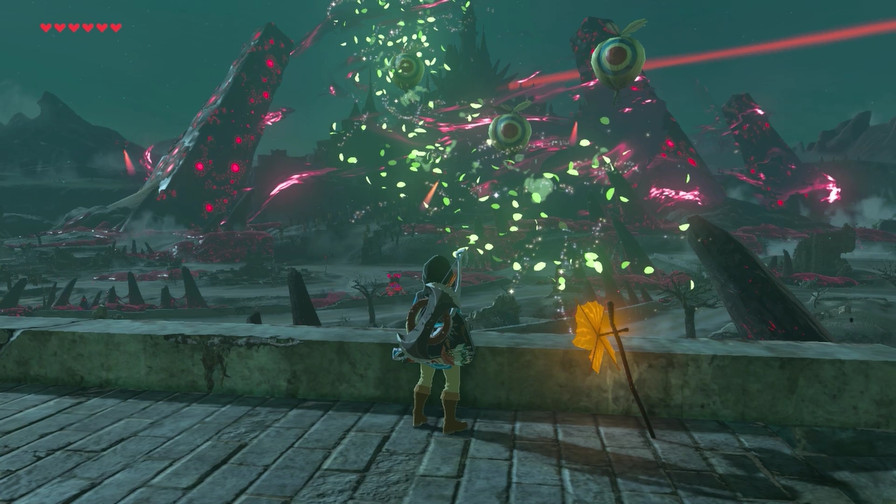
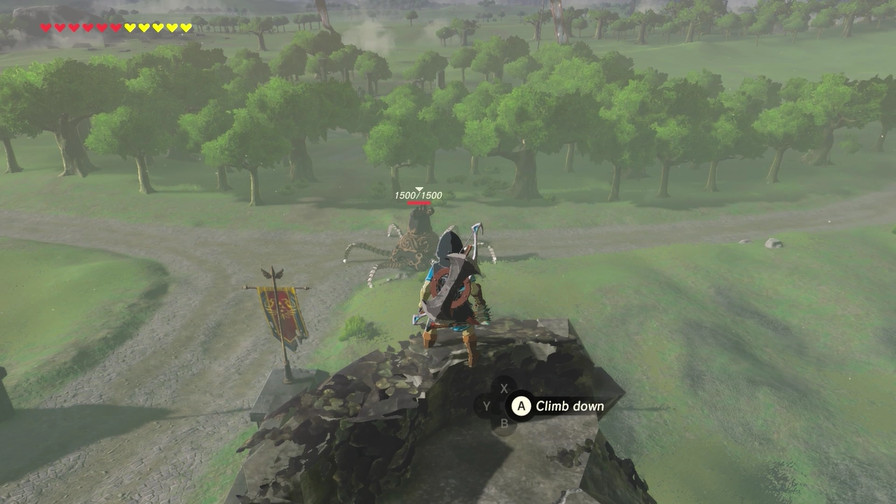
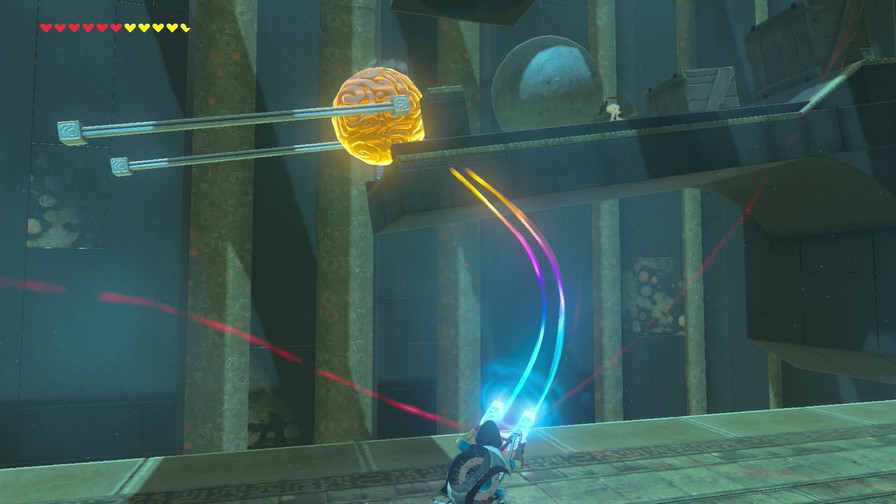
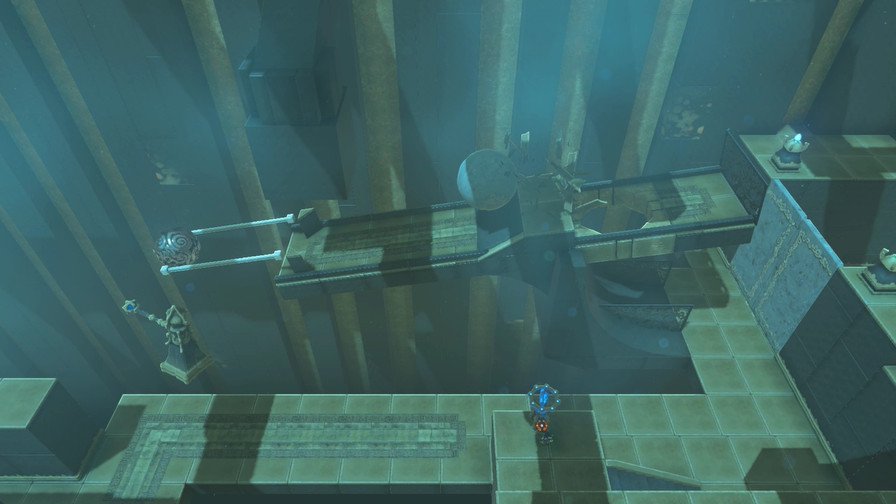
Now to get on top of this thing.
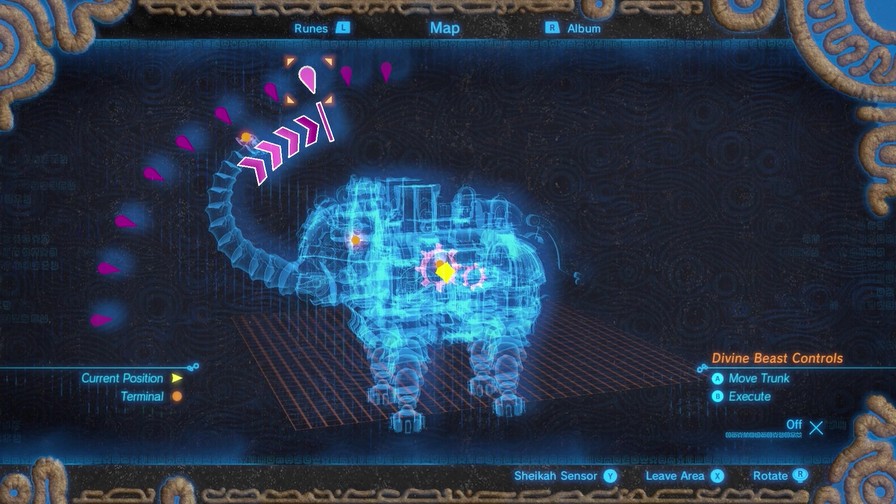
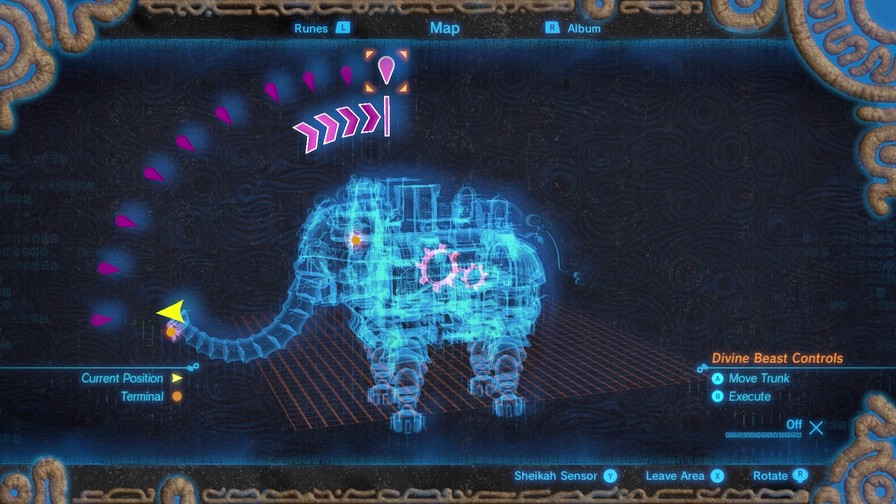
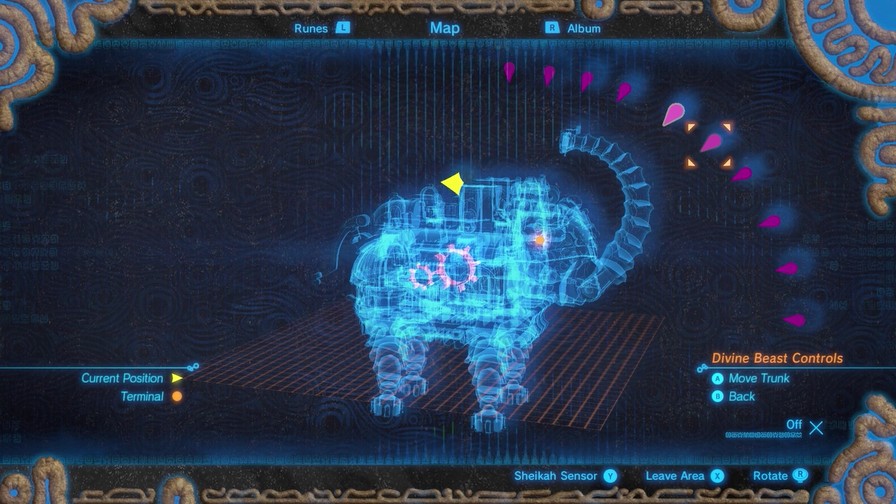
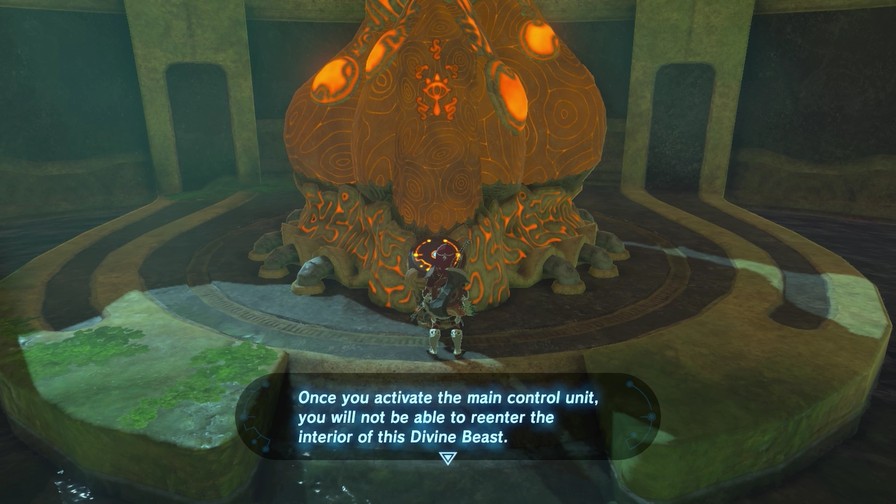
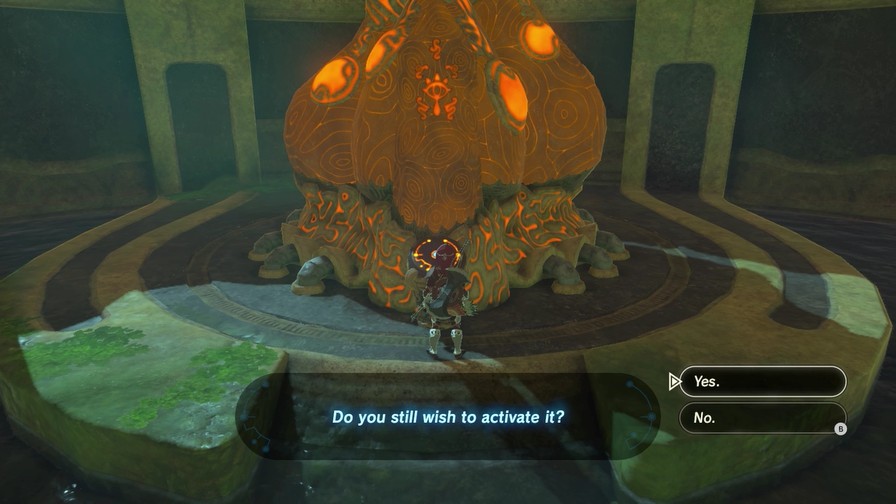
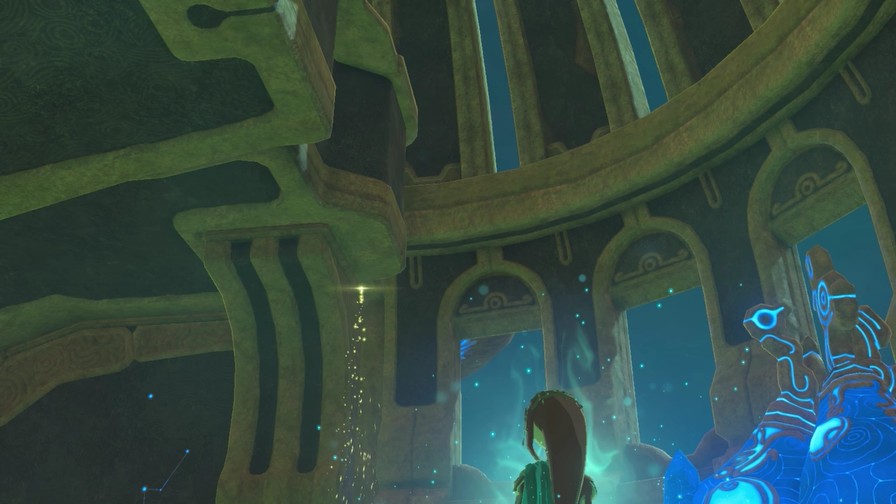
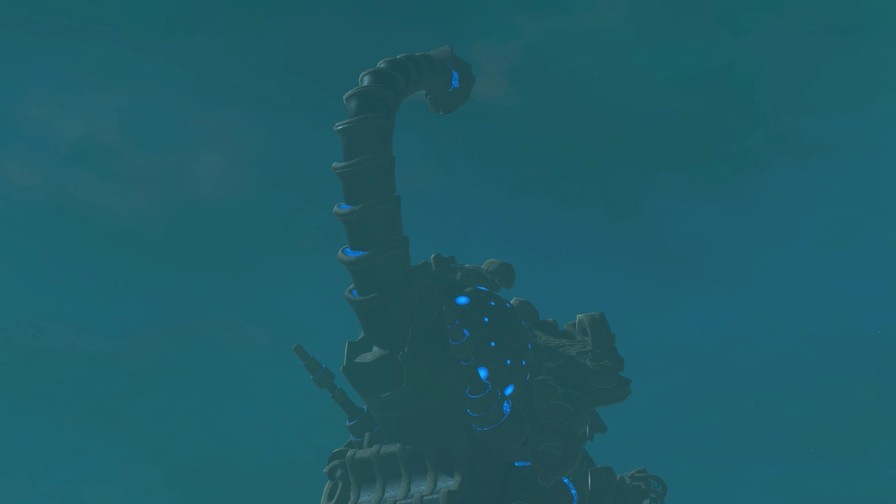
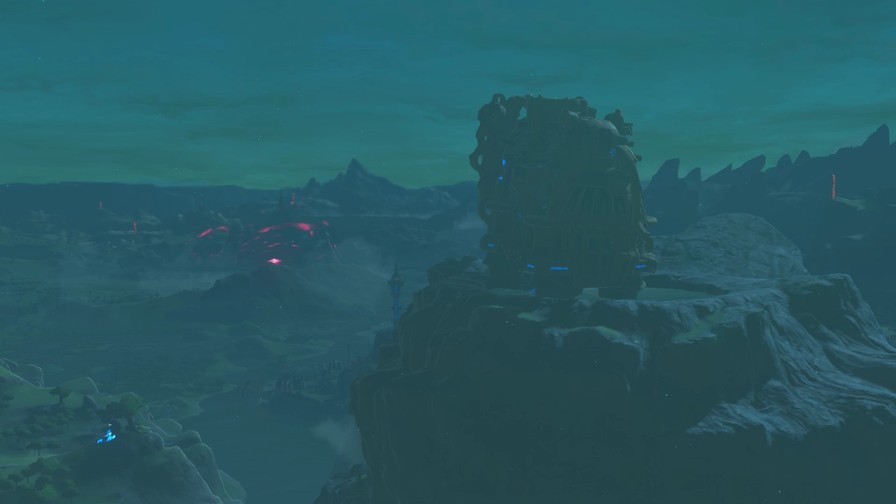
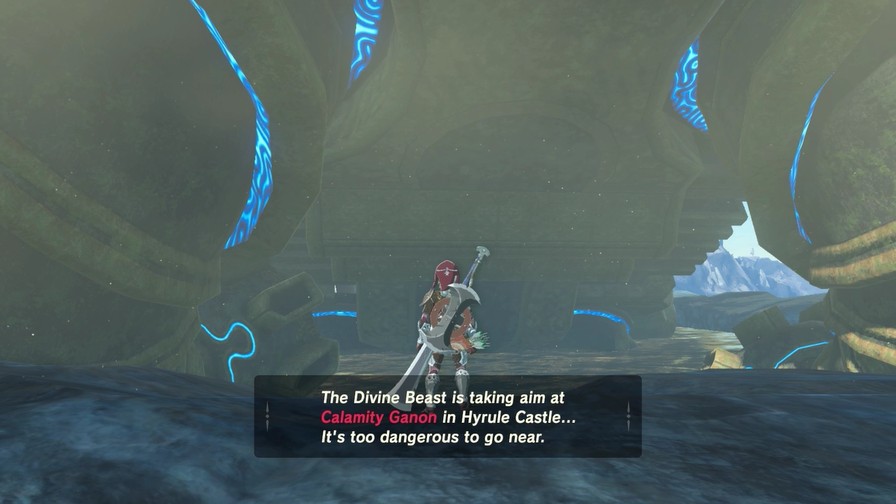
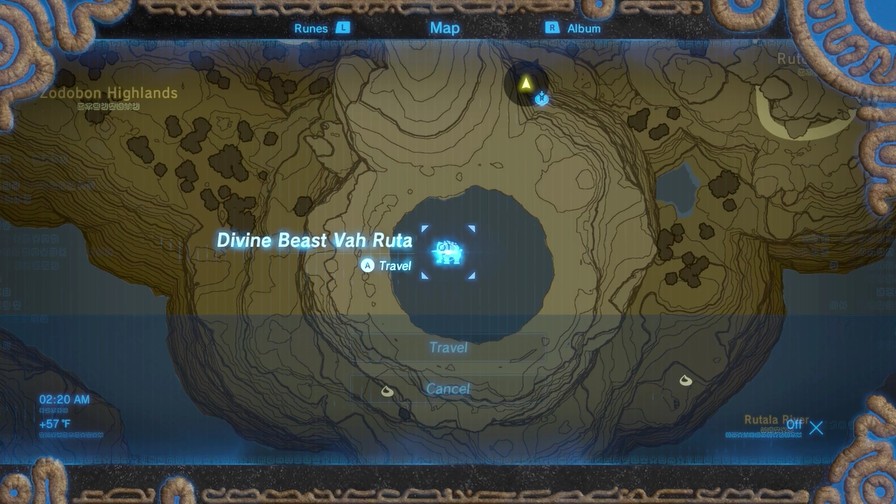
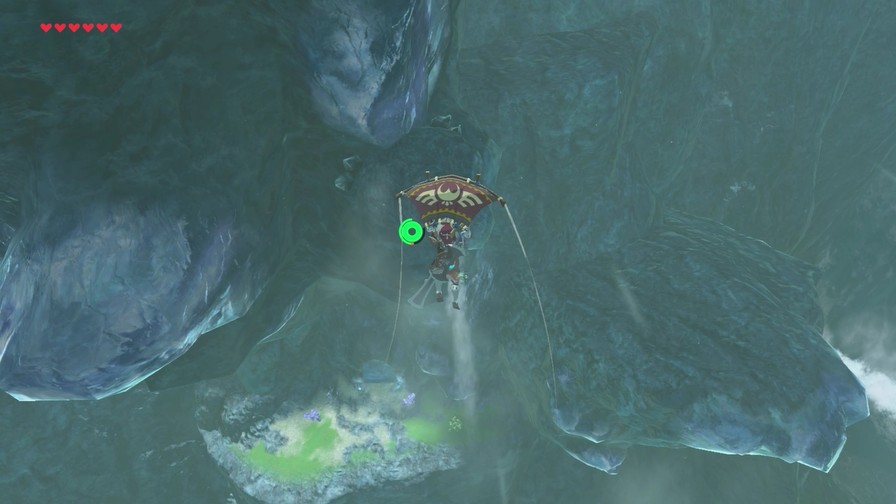
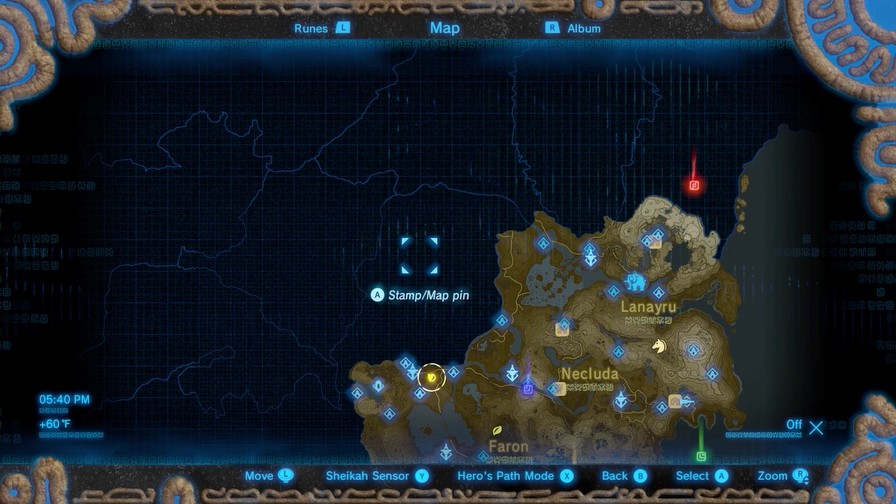
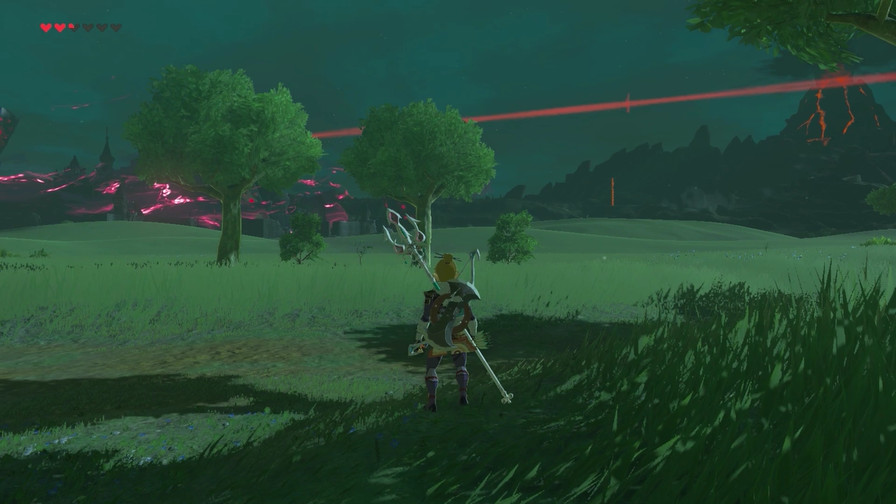
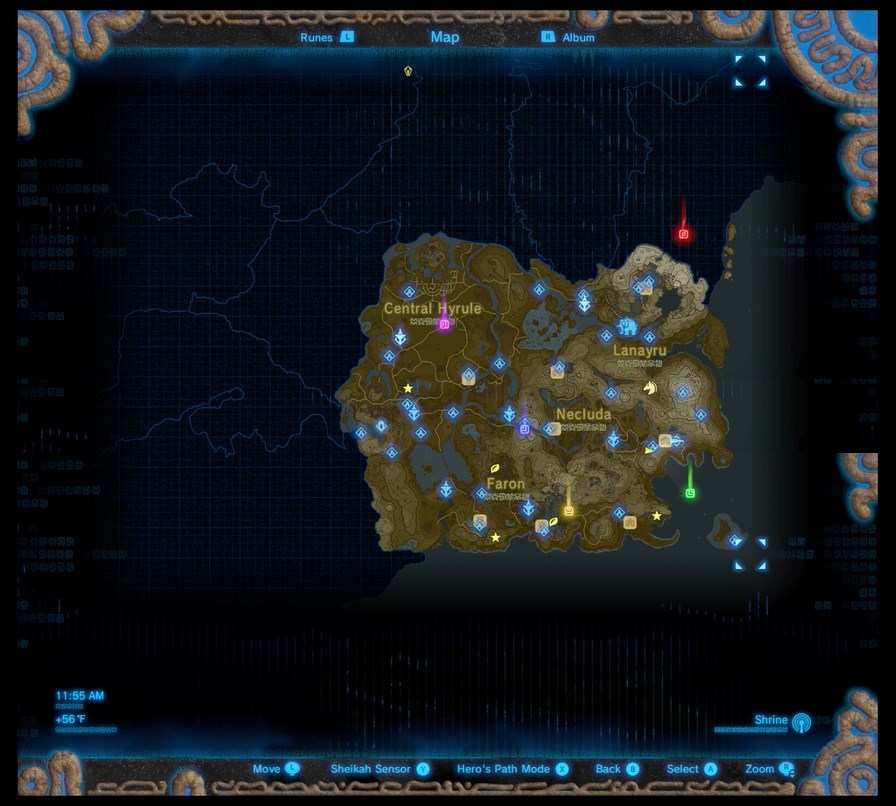
You can teleport to where the Divine Beasts ultimately end up, though you can’t go near them and can’t re-enter them. It’s basically another high point you can access easily to explore.
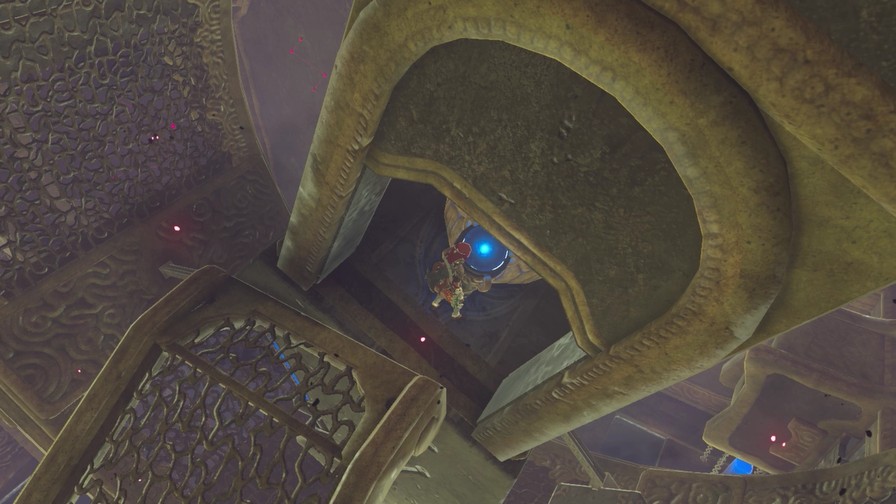
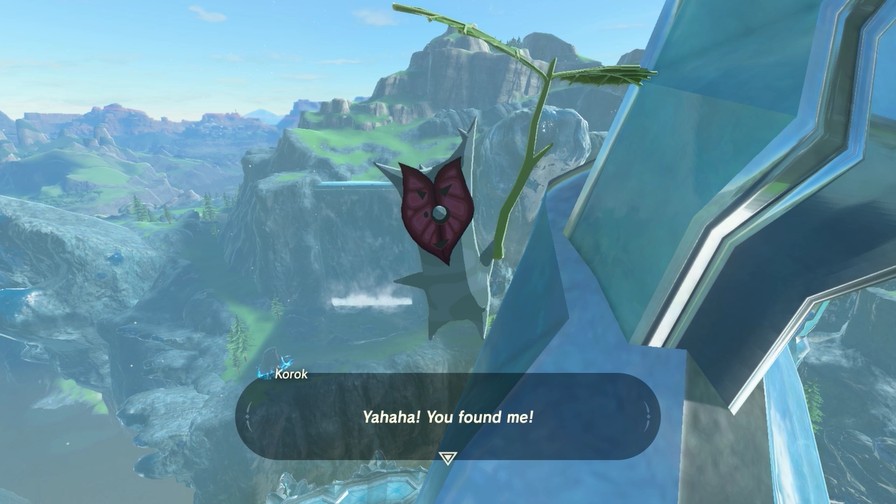
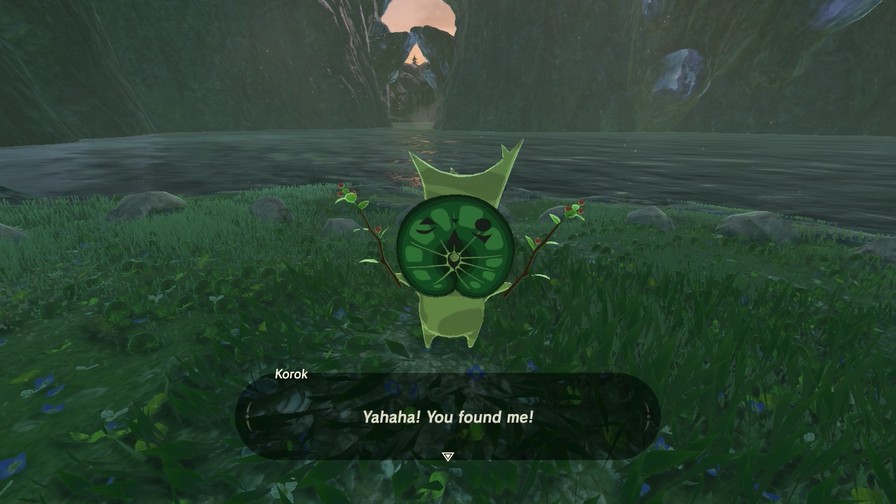
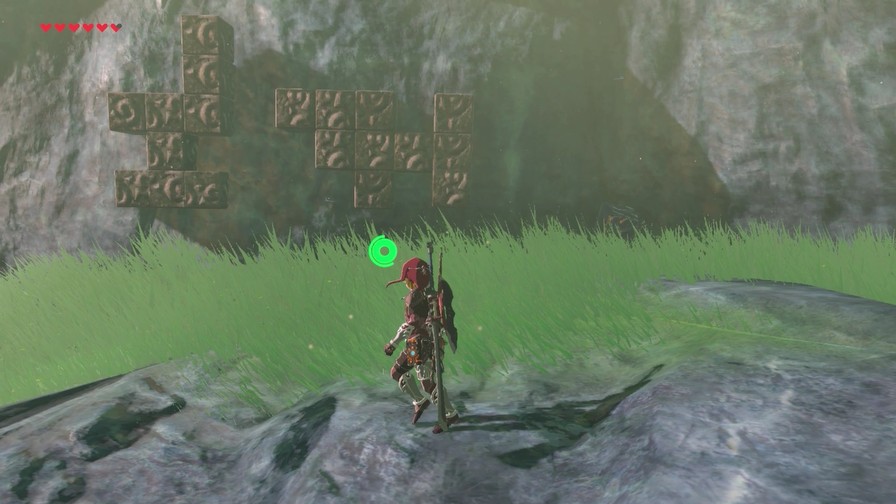
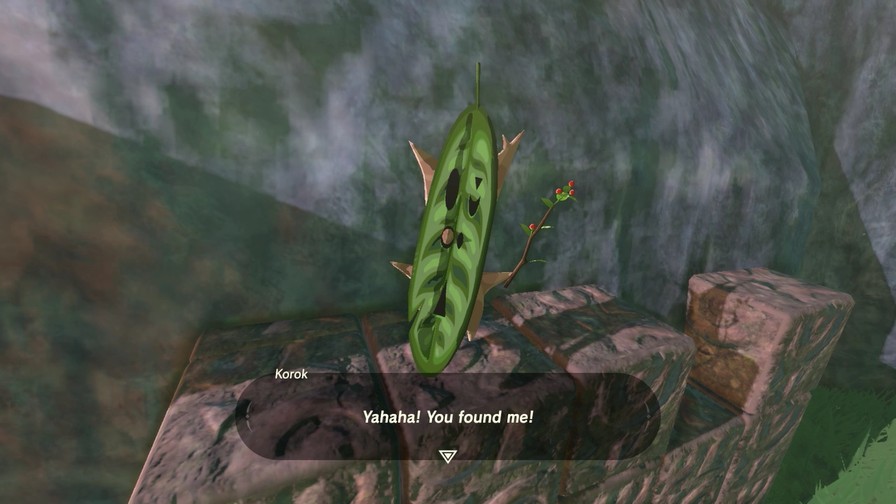
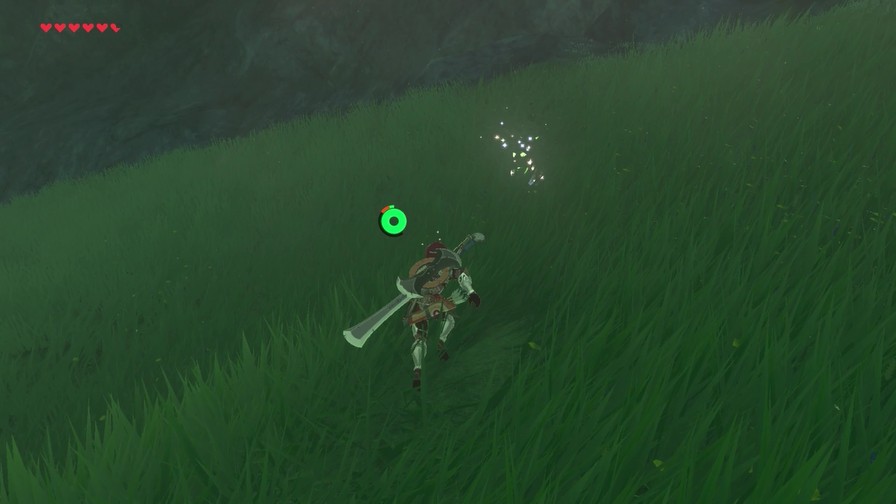
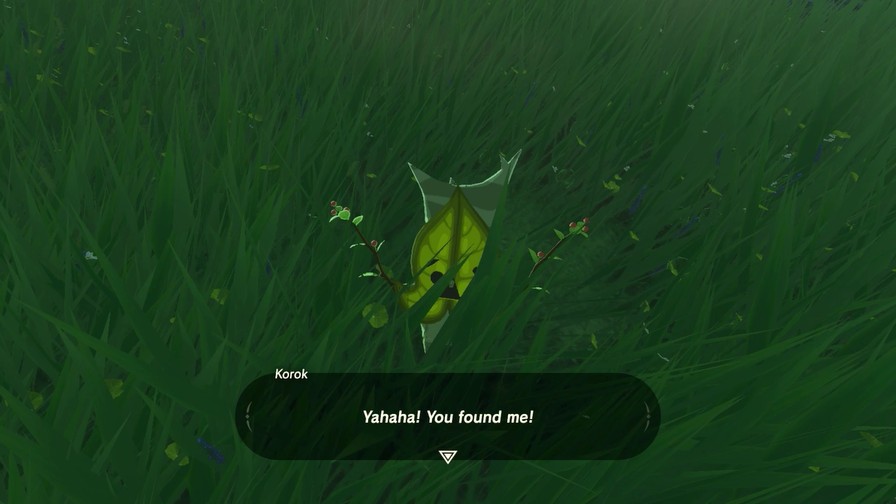
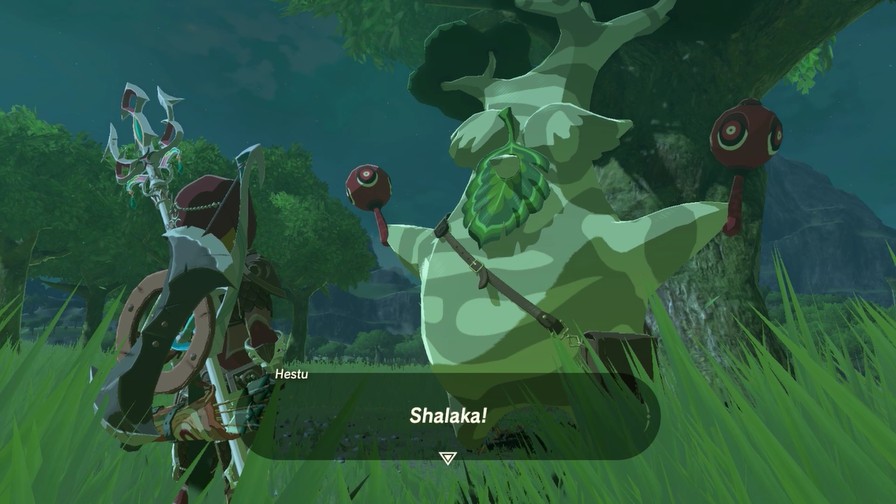
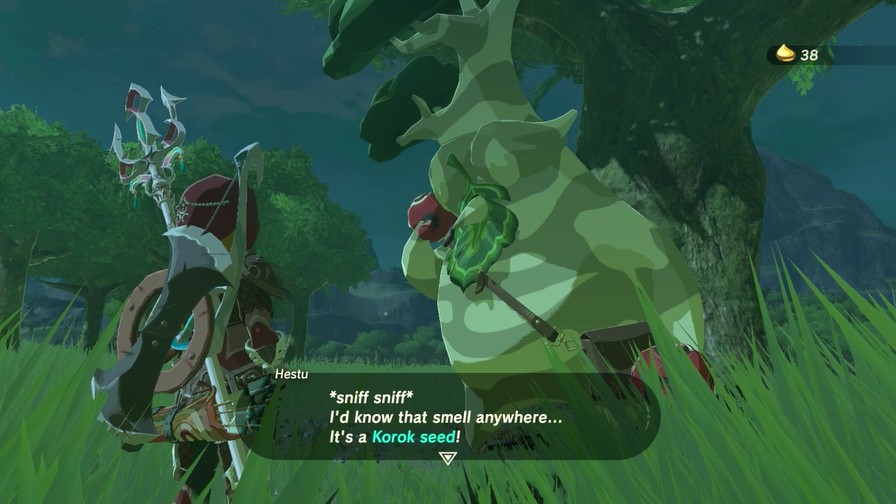
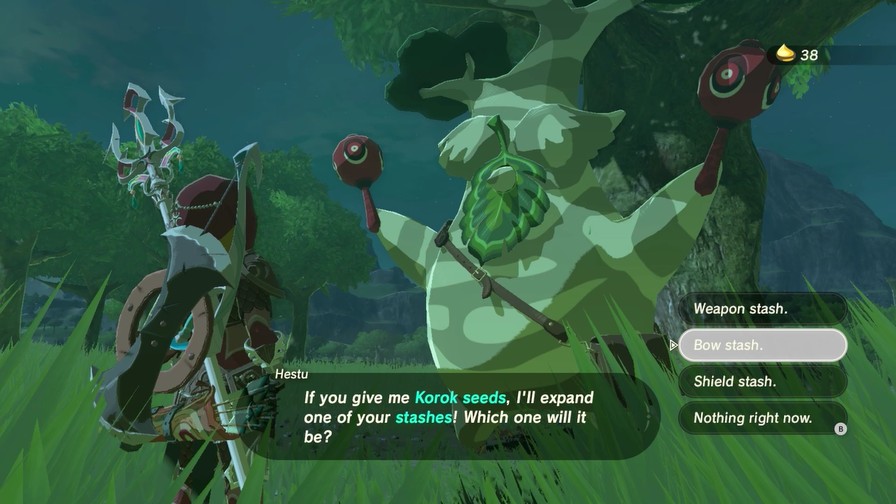
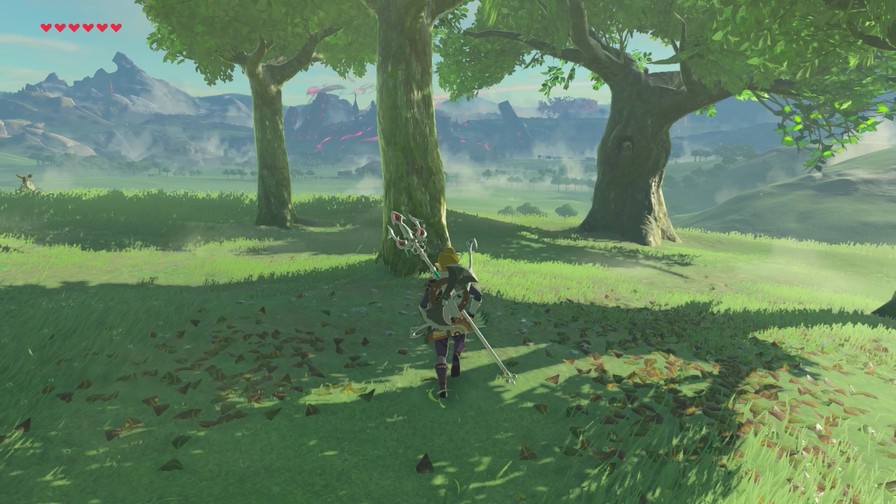
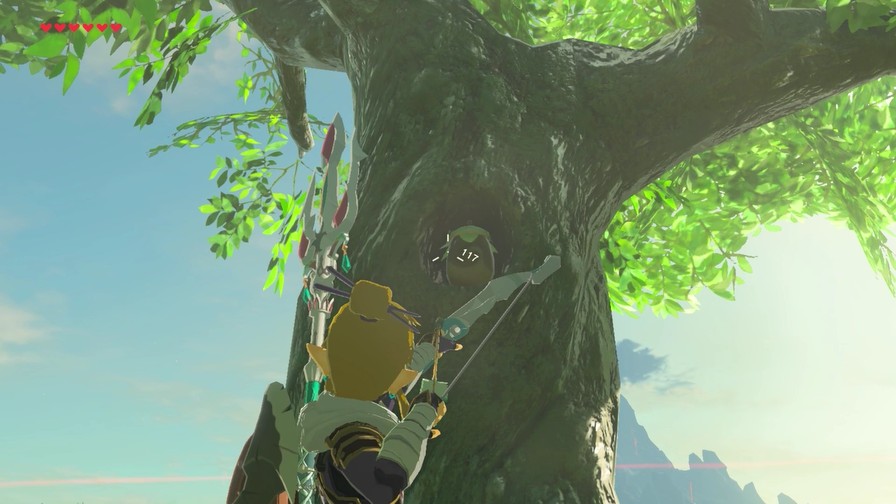
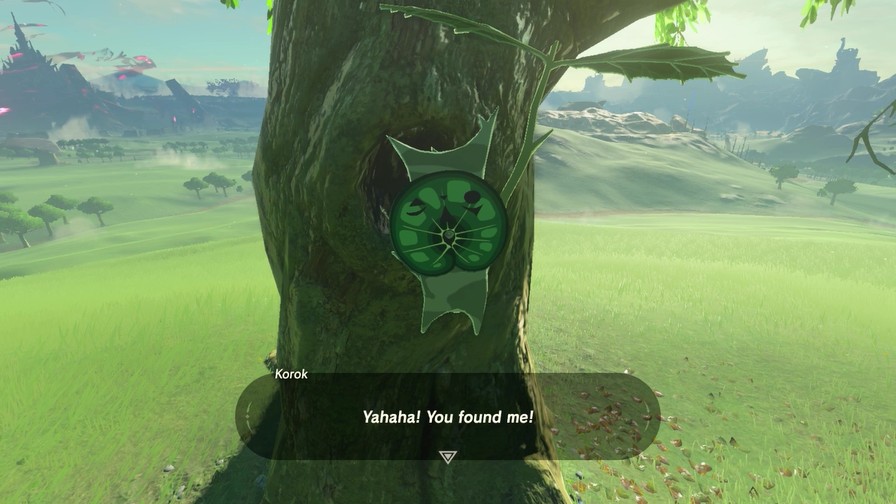
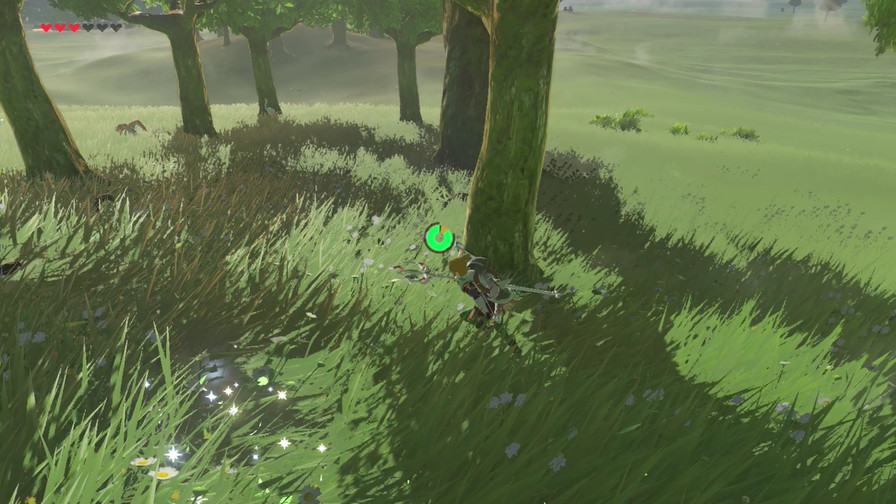
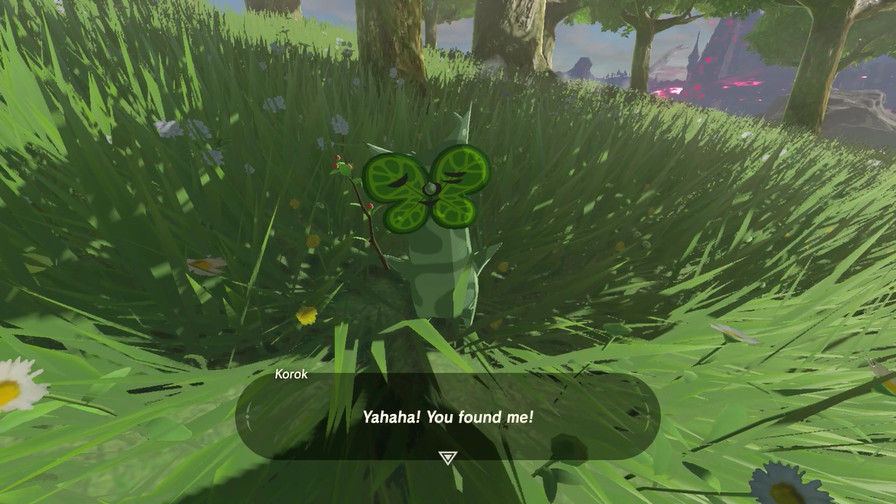
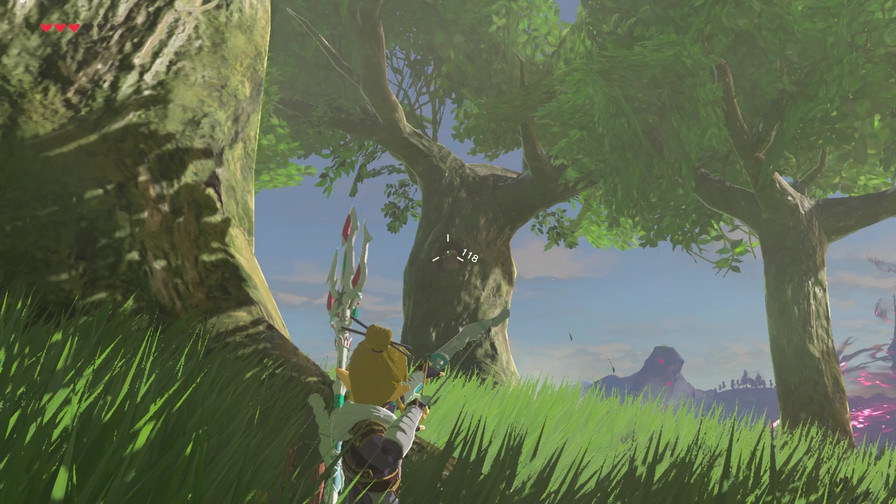
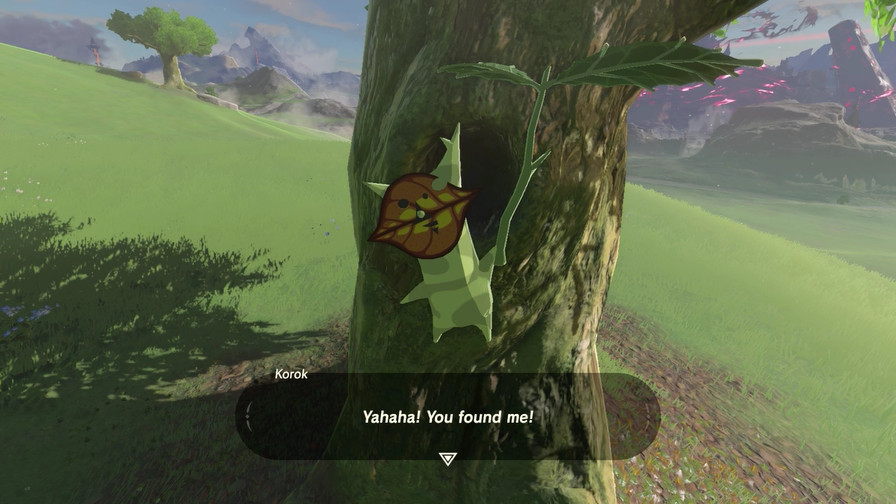
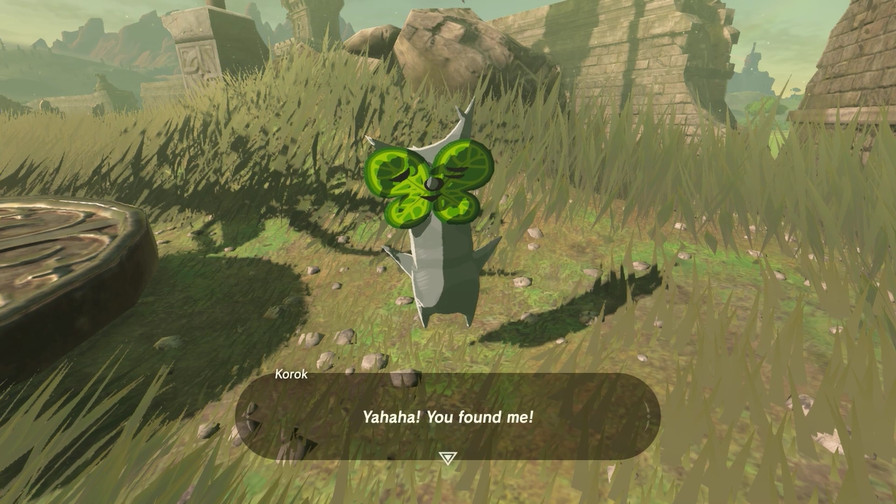
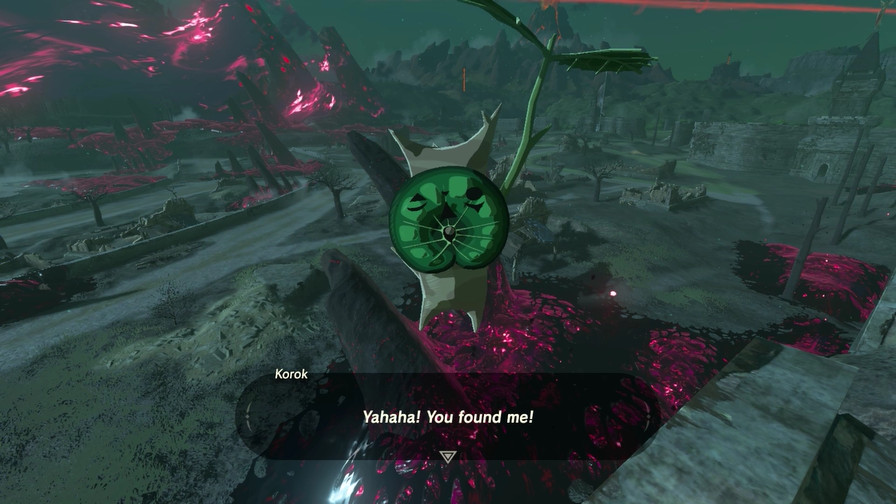
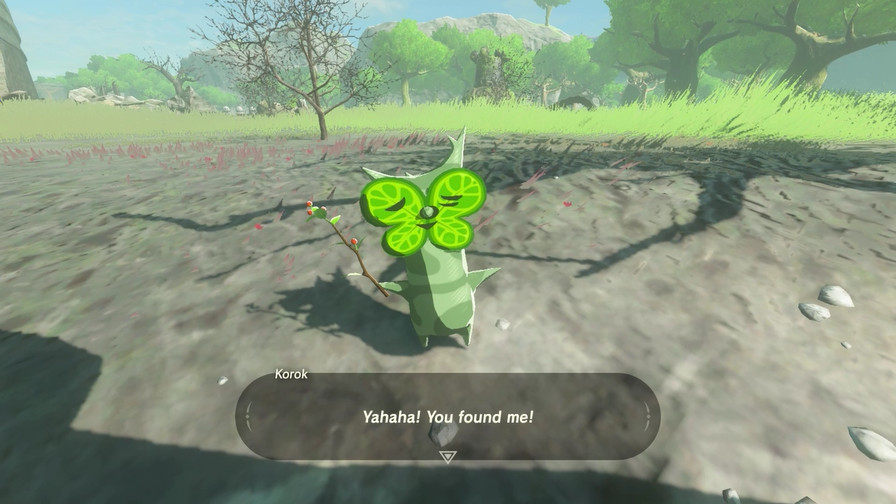
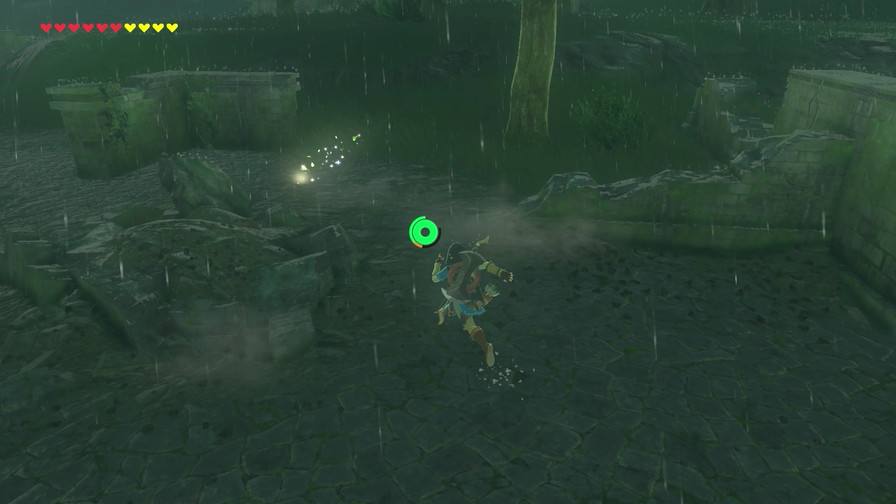
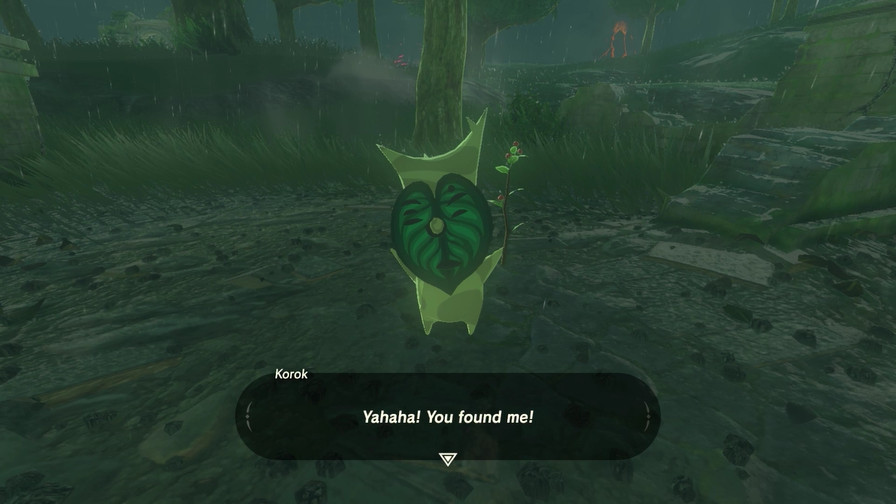
Anyway, finally got that Korok.
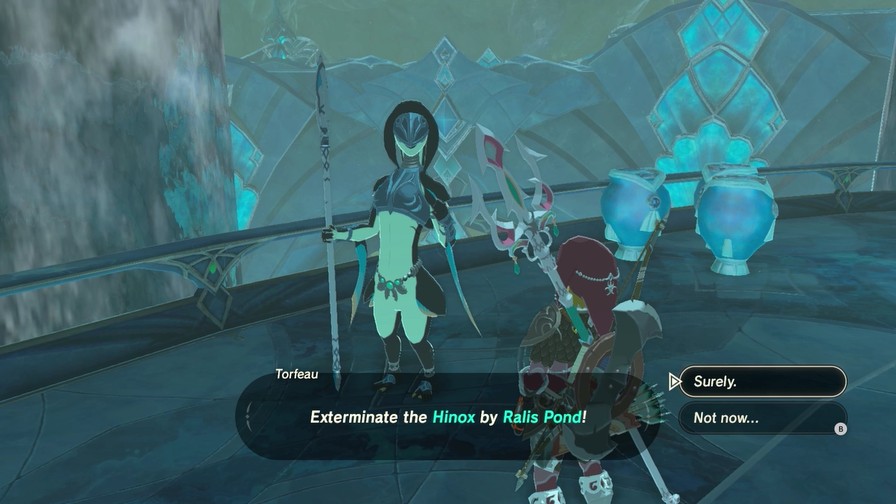
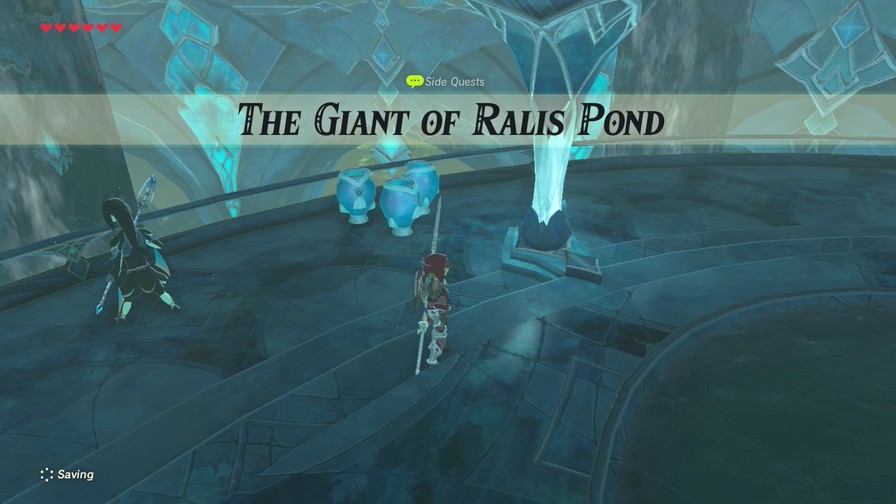
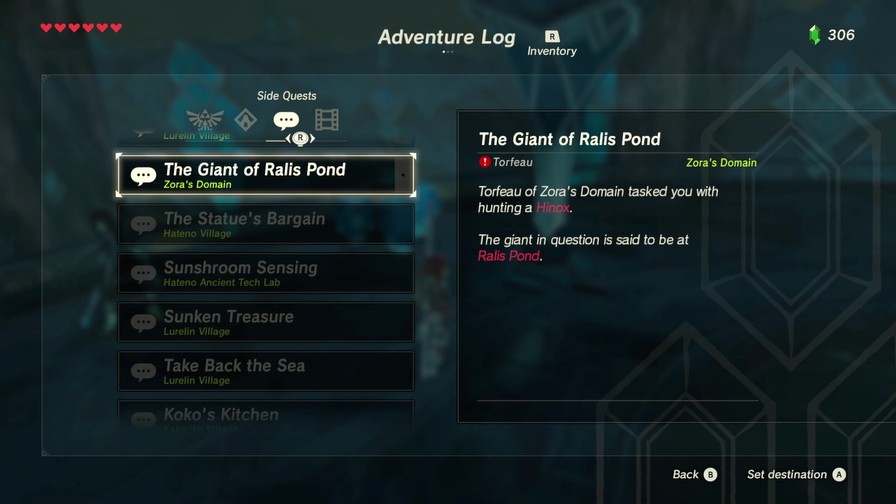
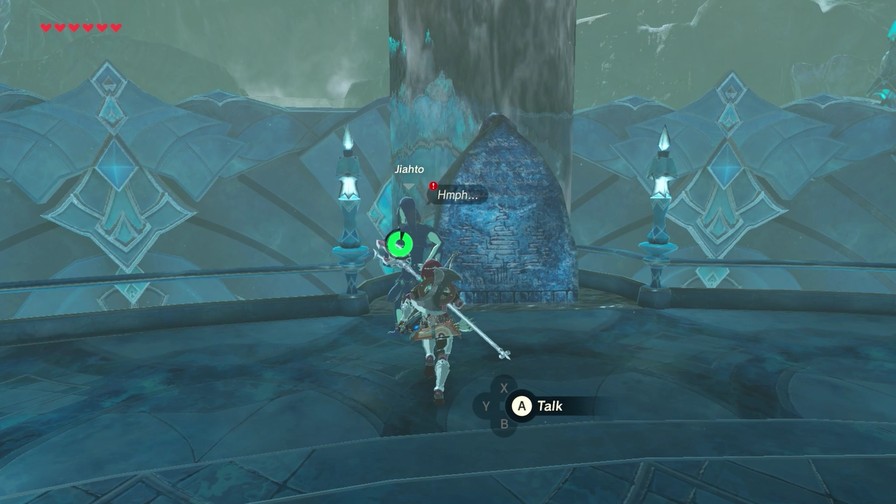
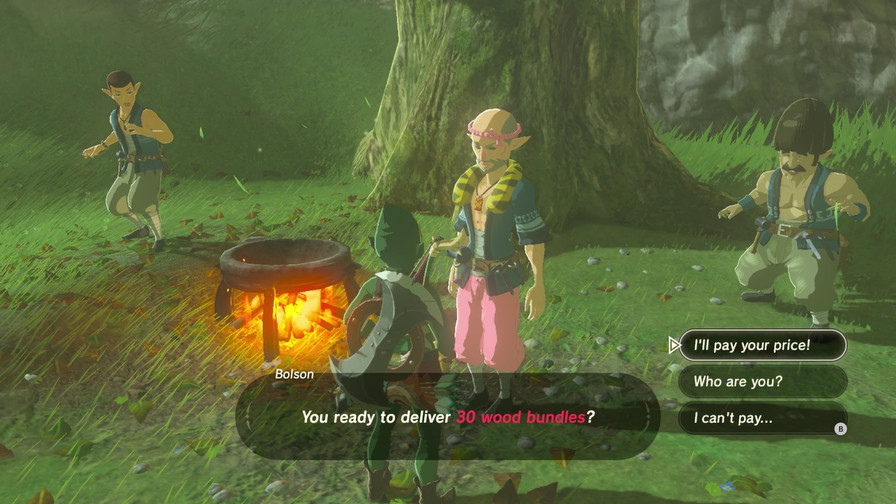
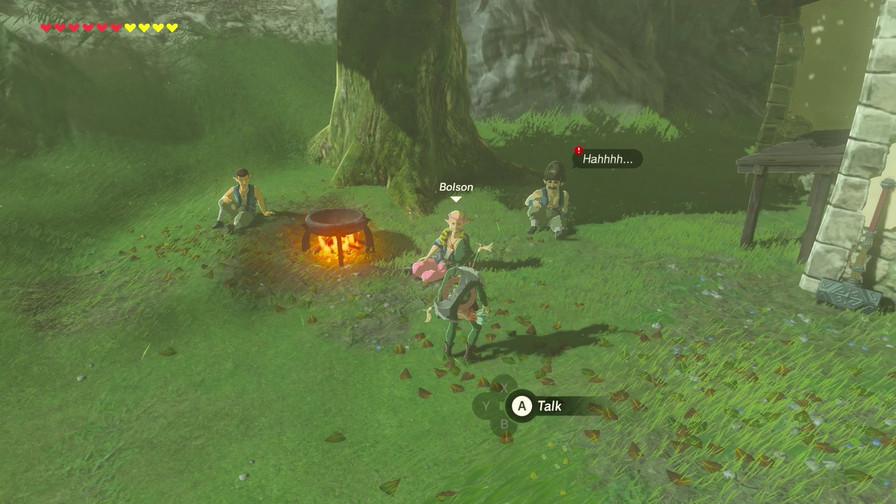
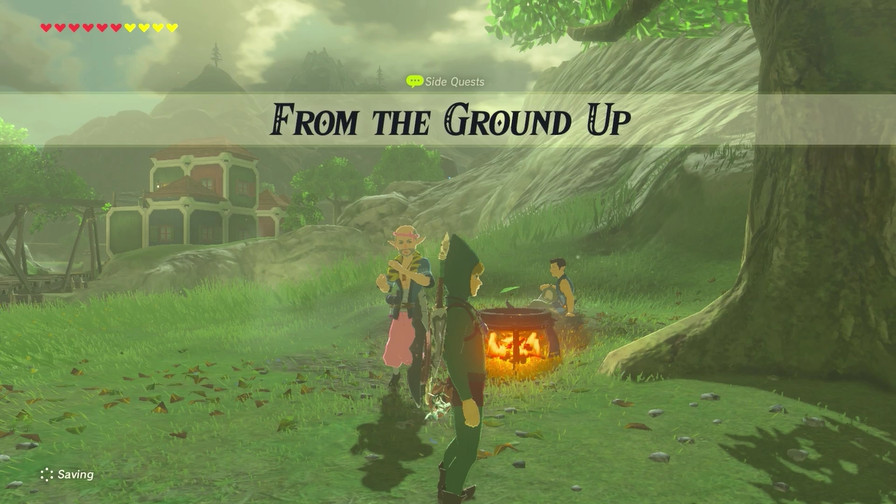
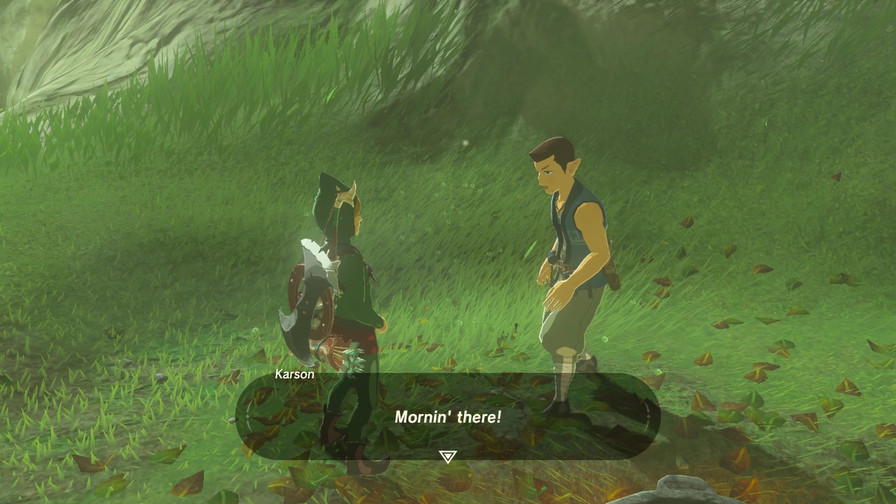
Now let’s gather some more side quests, though we’ll only do one of them today.
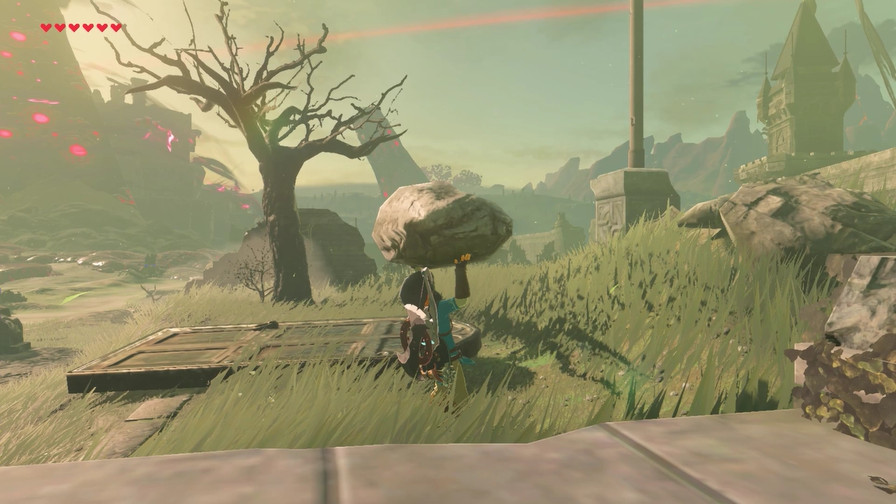
In fact, I wonder if you can do this, too…
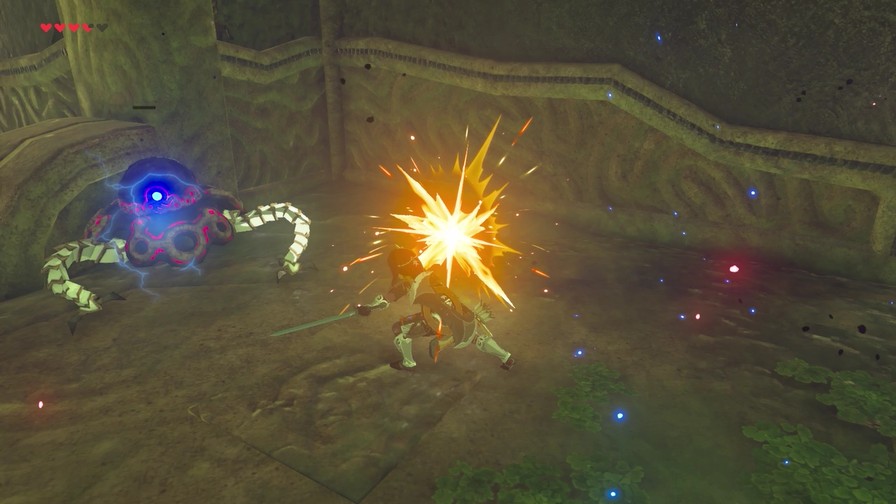
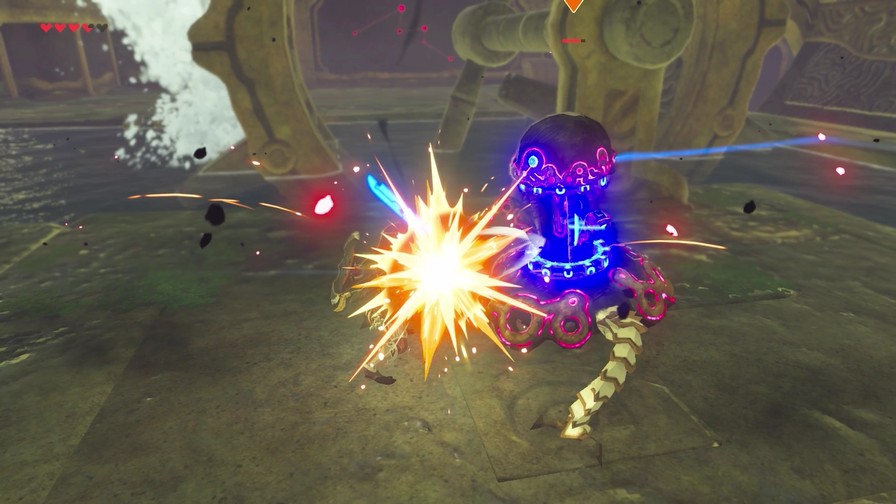
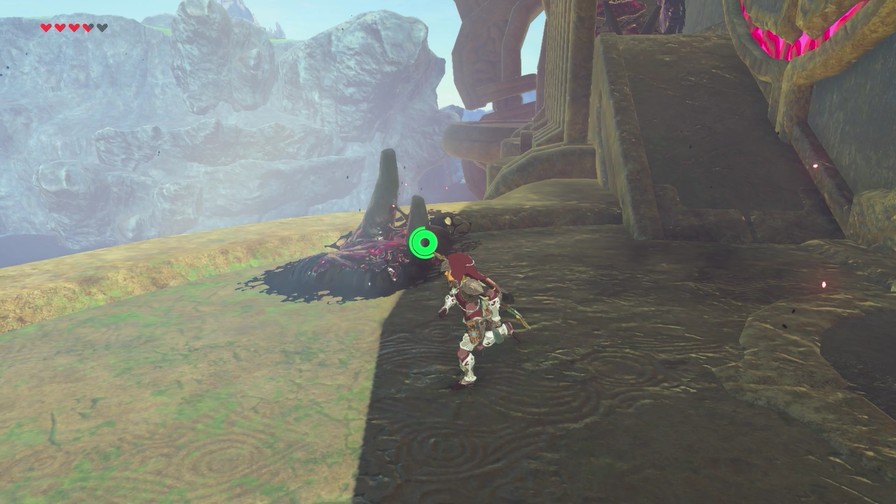
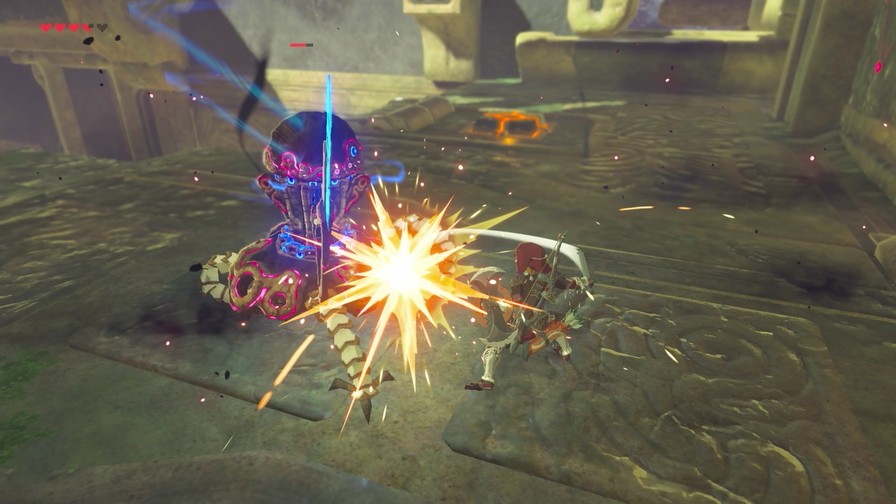
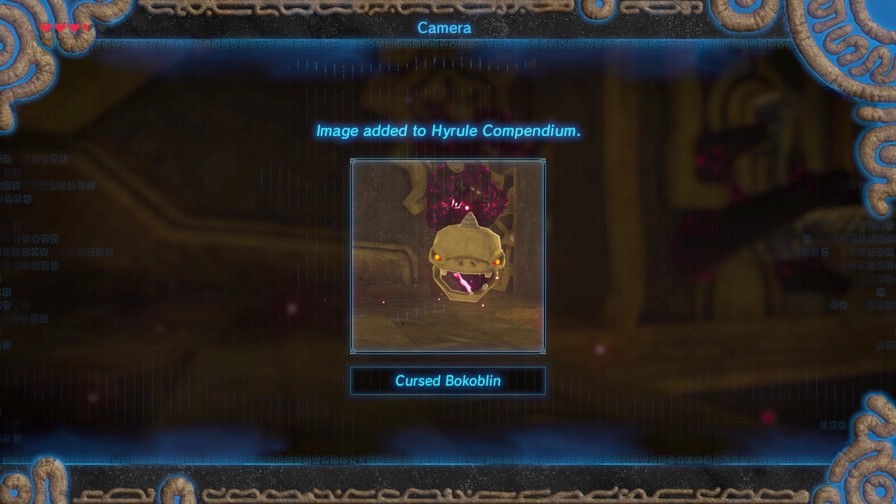
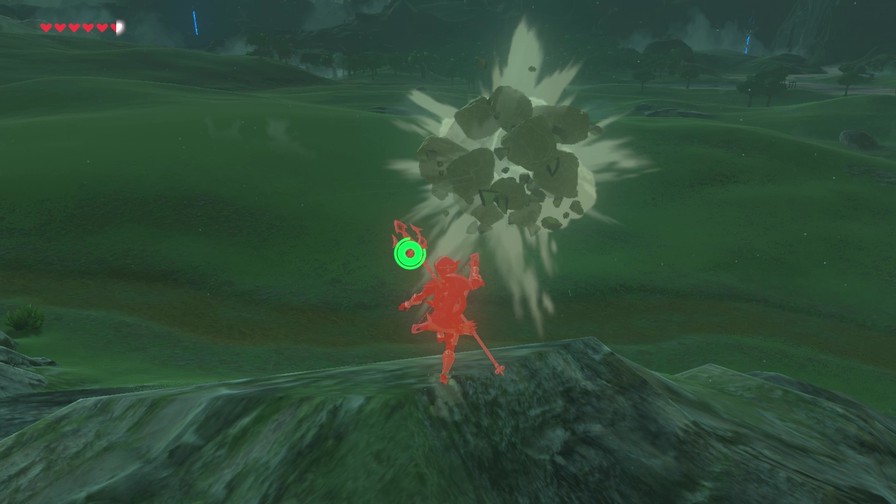
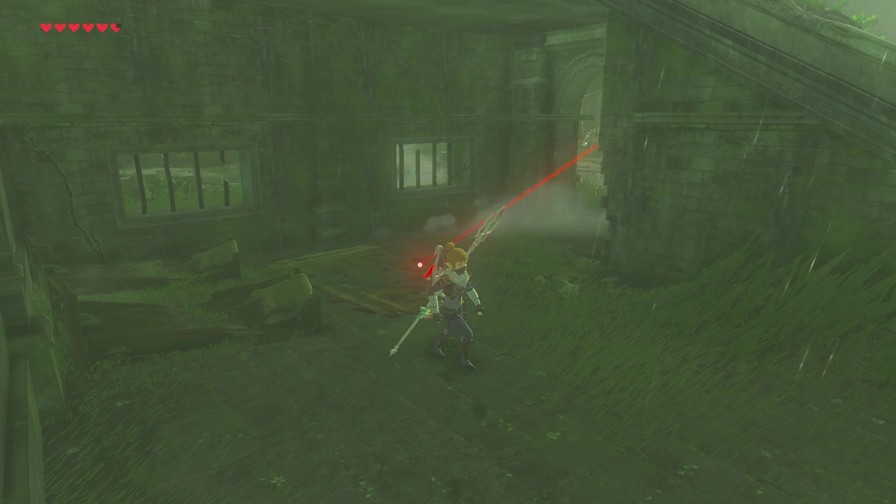
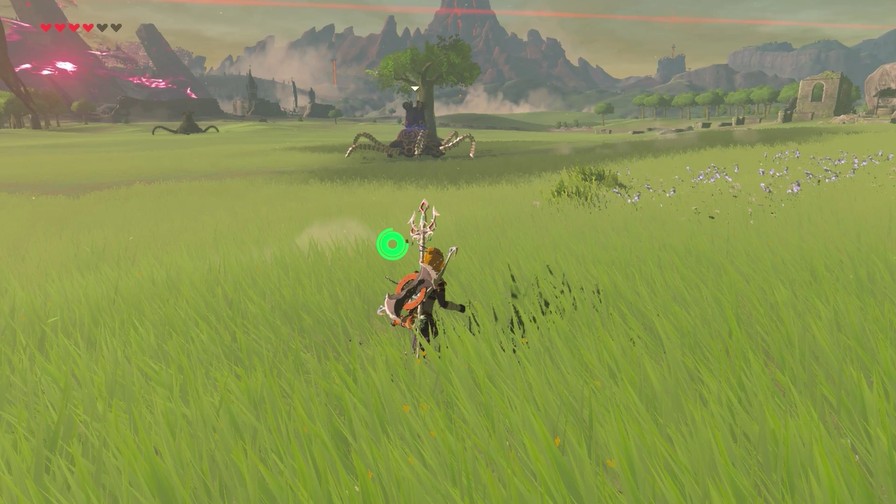
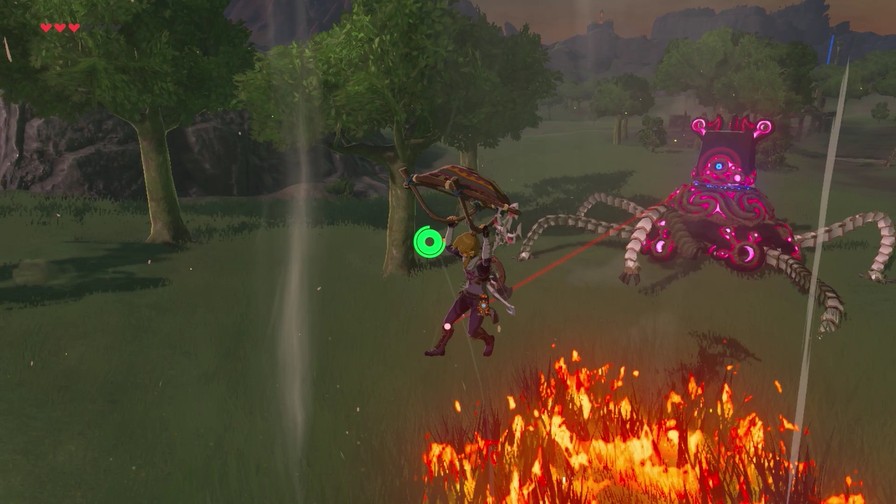
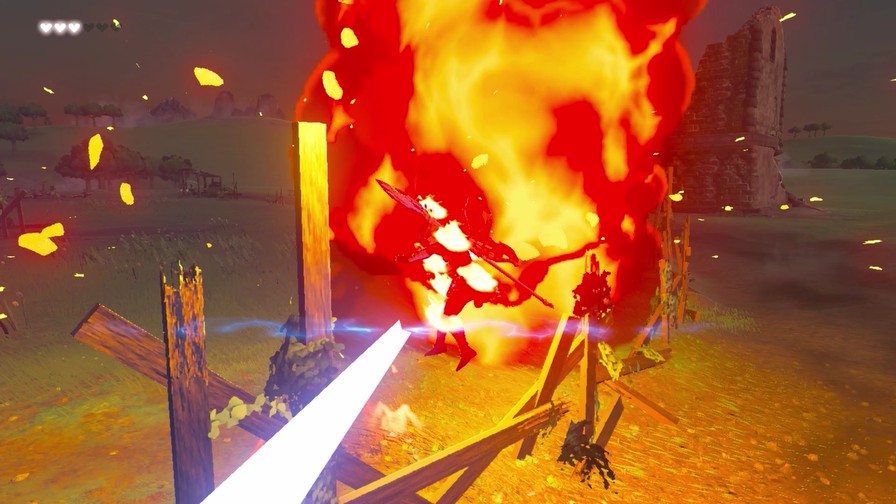
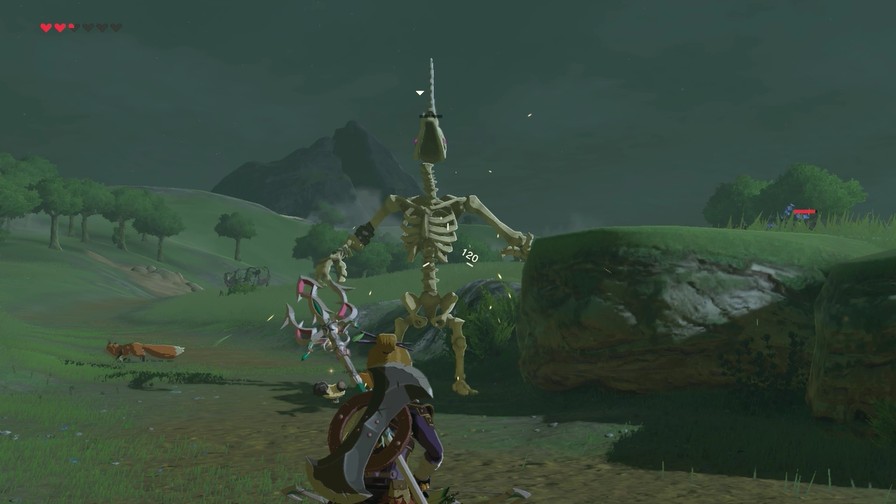
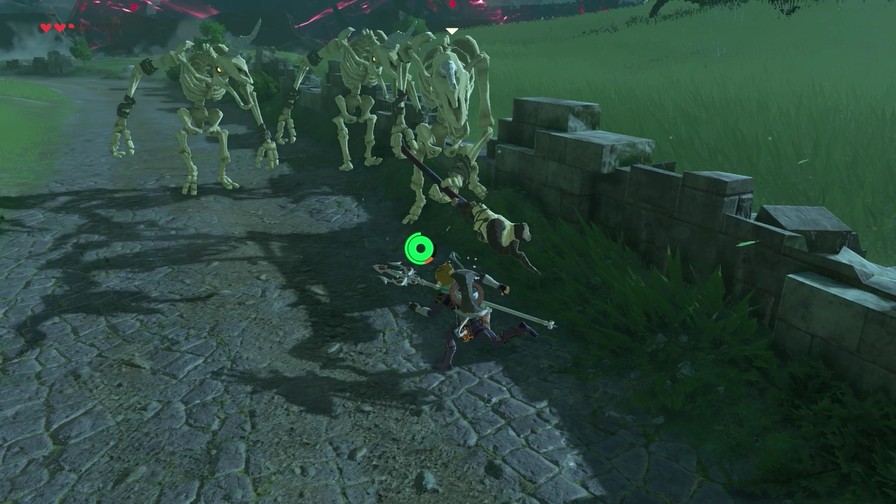
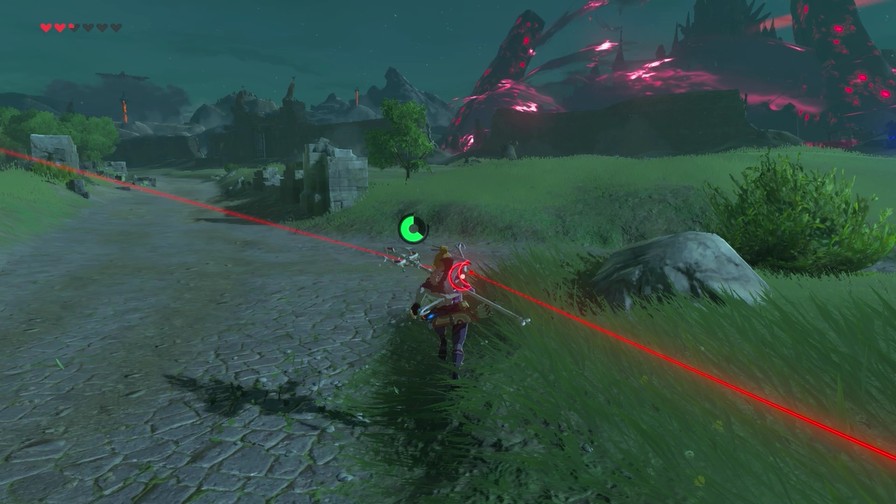
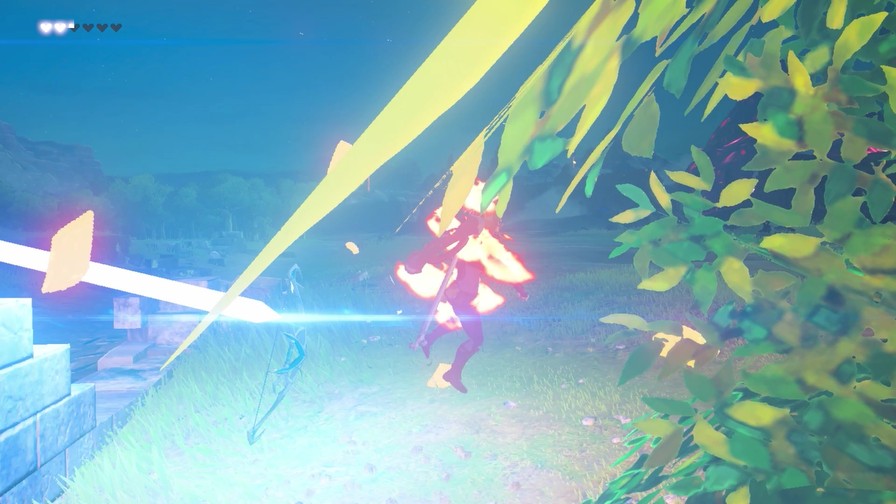
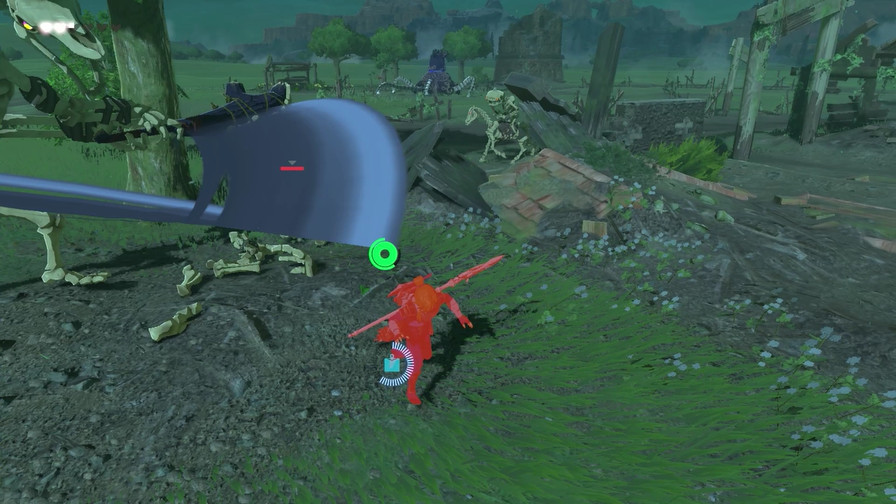
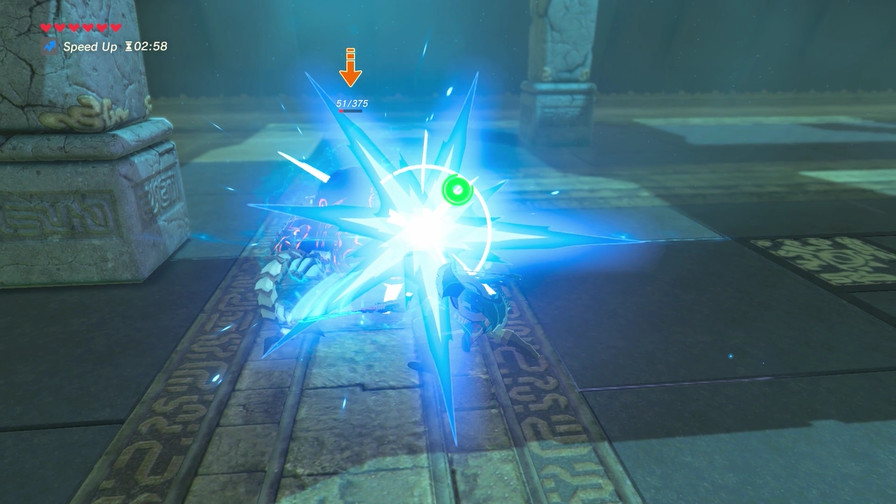
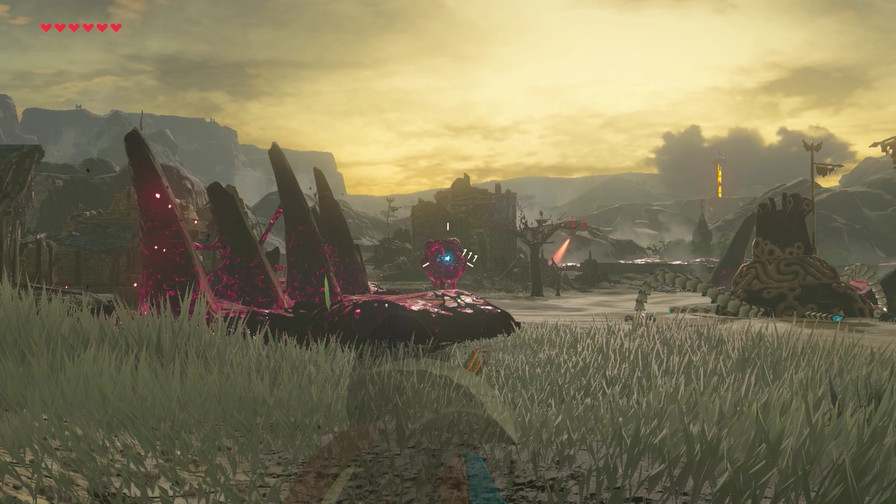
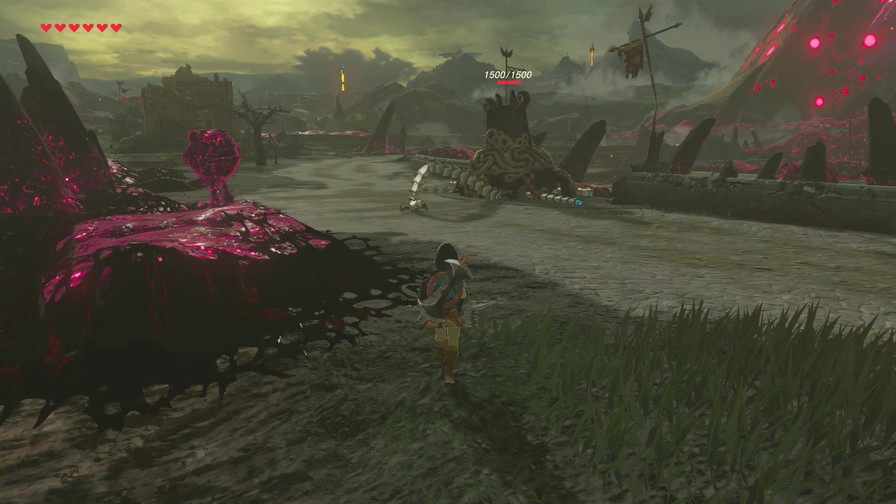
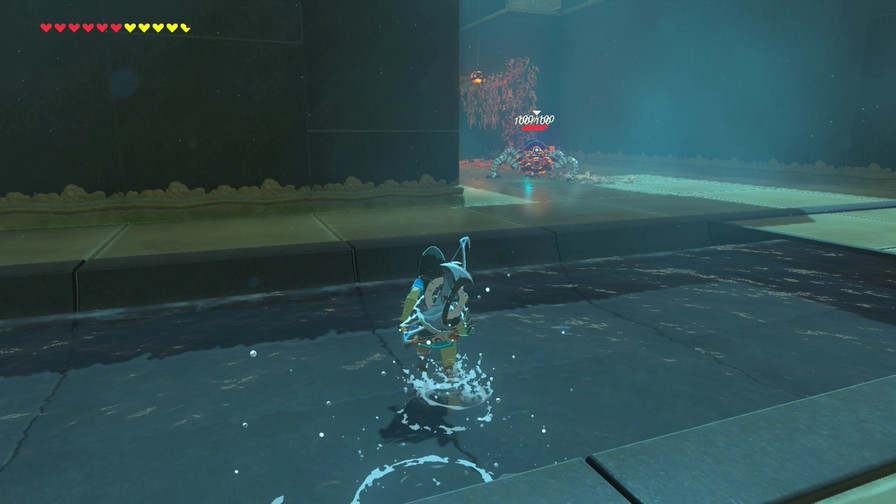
A Hinox? No problem.
OK… In that case, give it a try! For he who saved the domain, this should be a piece of fish cake. Go on, I’m counting on you!
Slaying a Hinox? Simple work at this point.
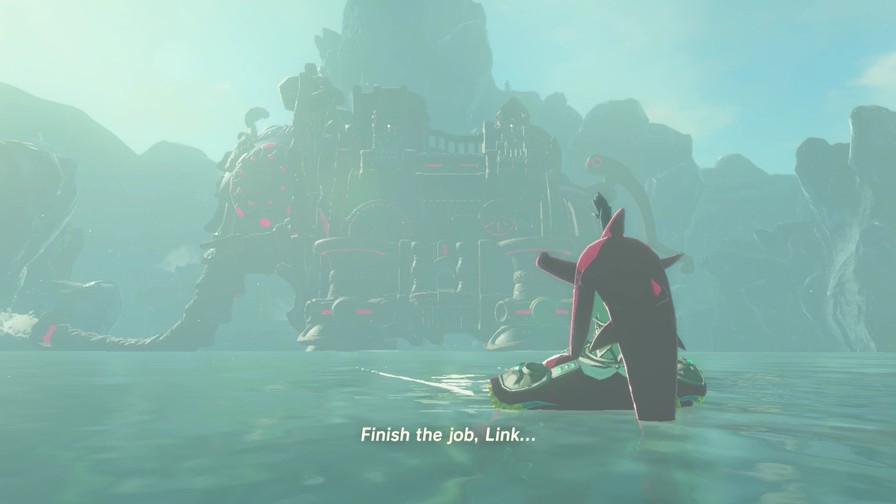
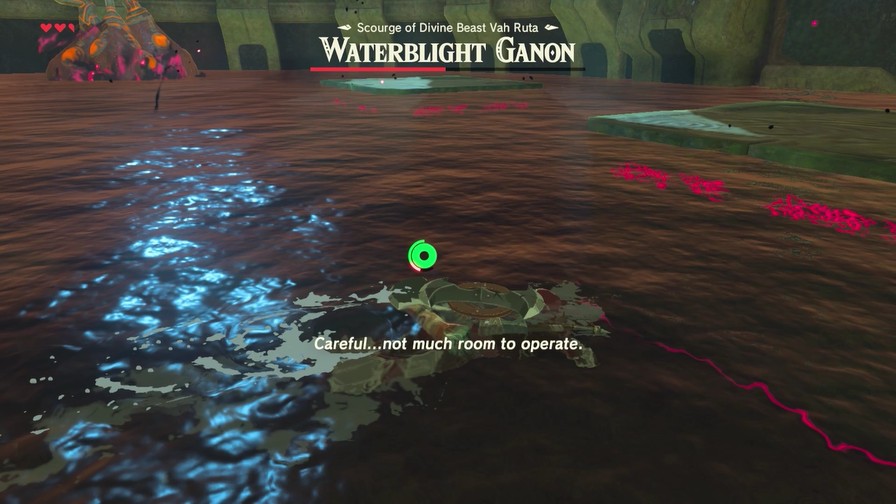
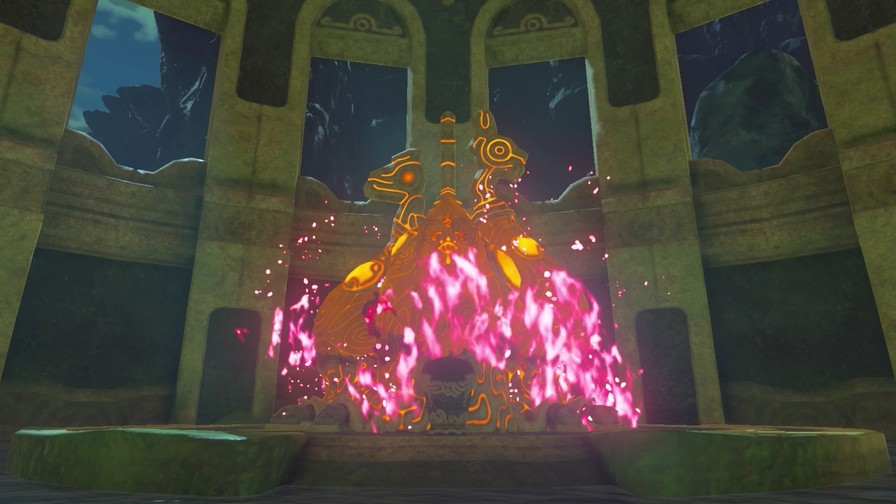
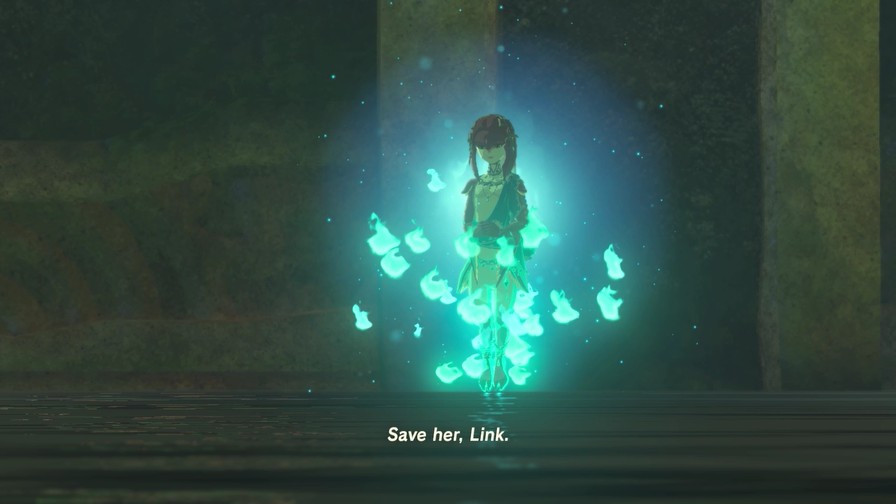
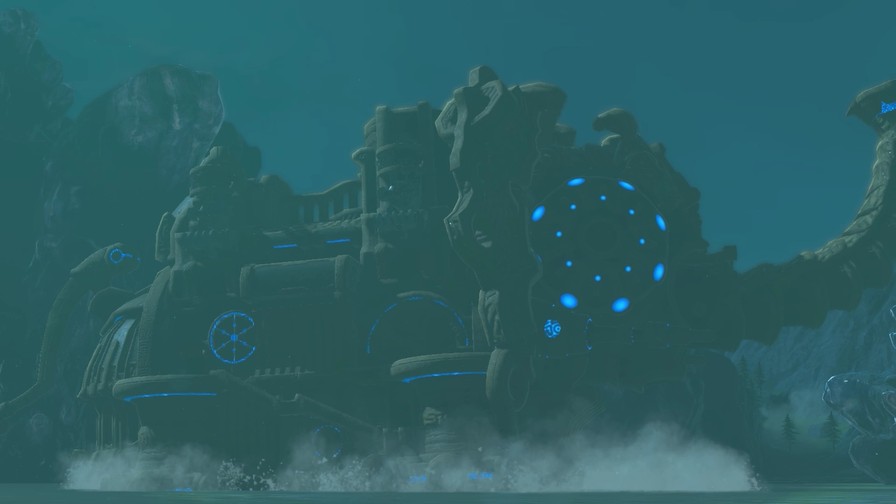
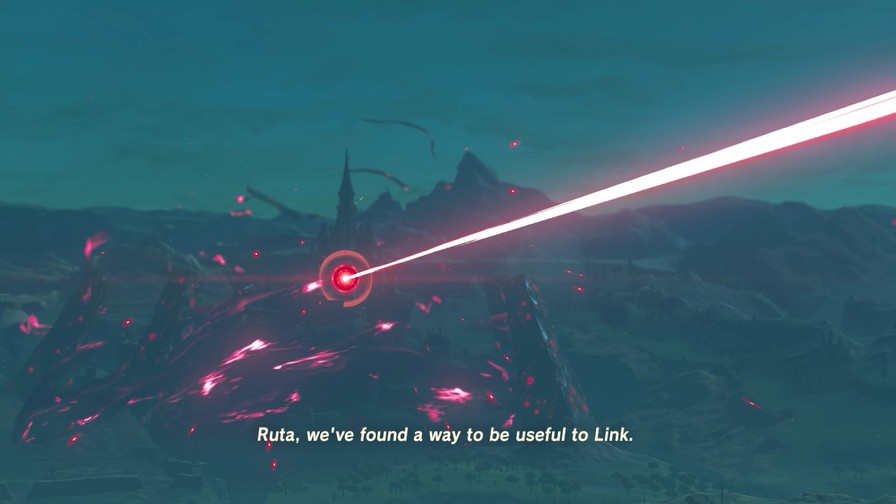
Seeing Divine Beast Vah Ruta’s form there… Even though we lost Lady Mipha, it seems she can still help you fight against Calamity Ganon…
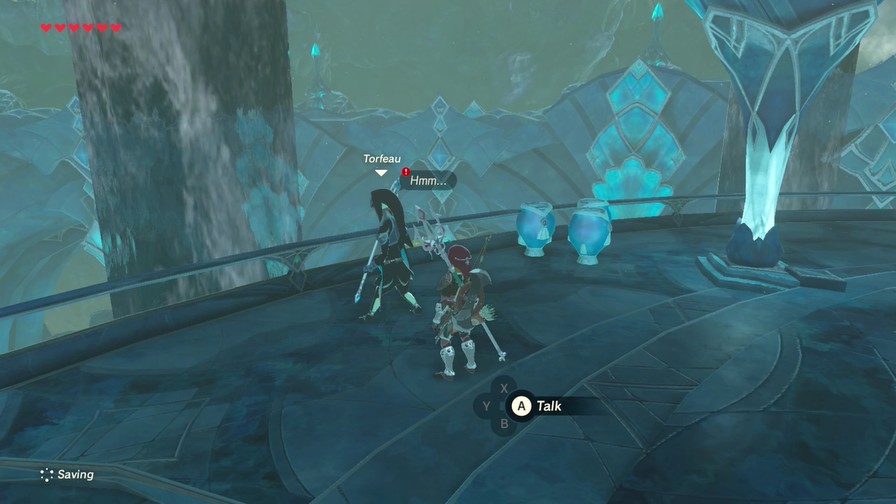
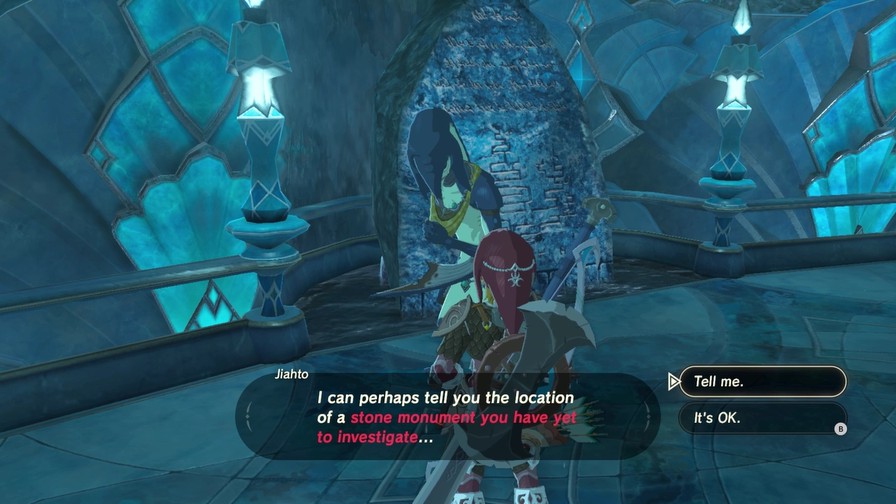
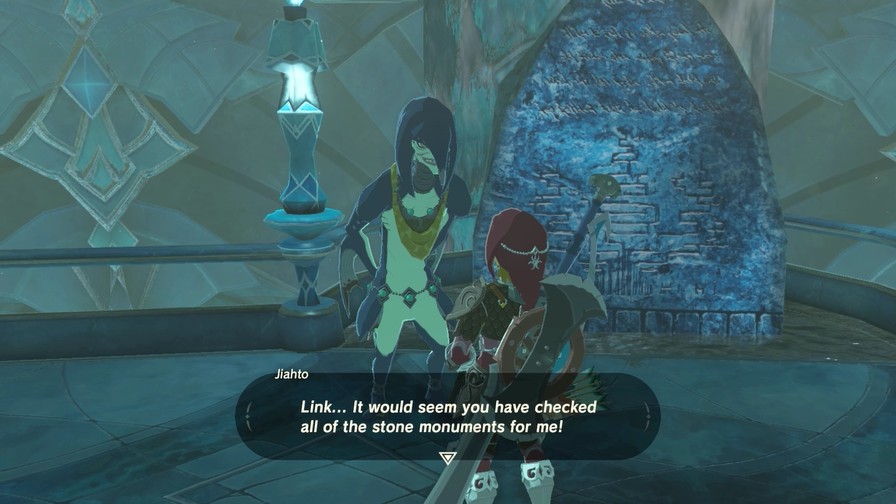
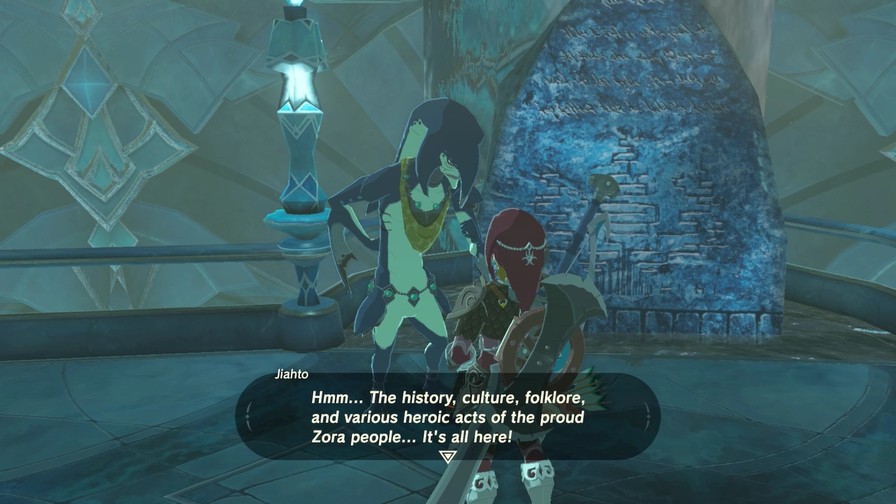
I am a historian who studies Zora history and preserves it for future generations.
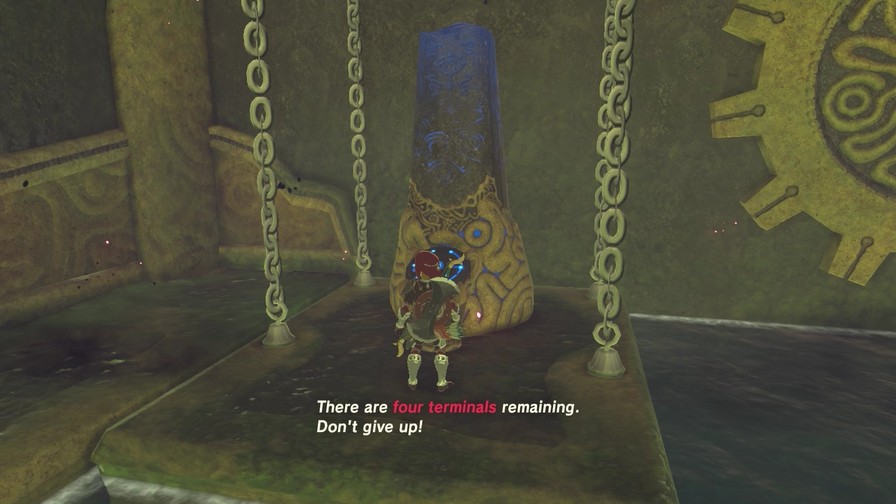
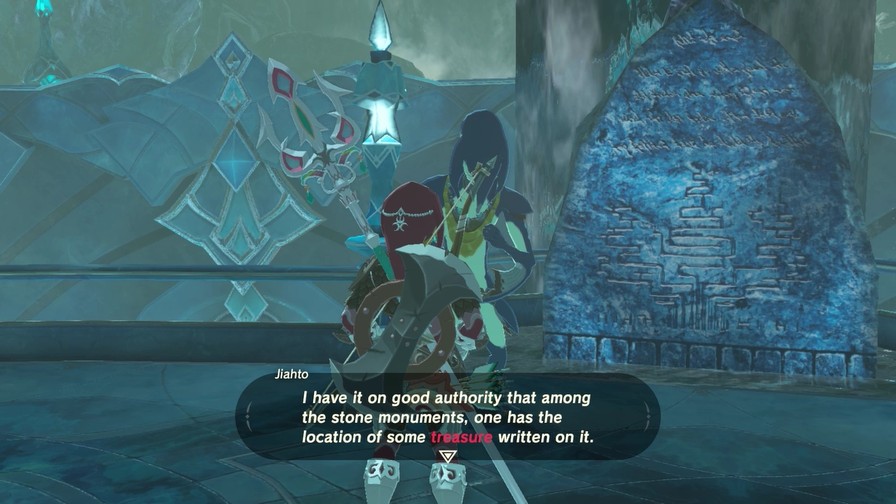
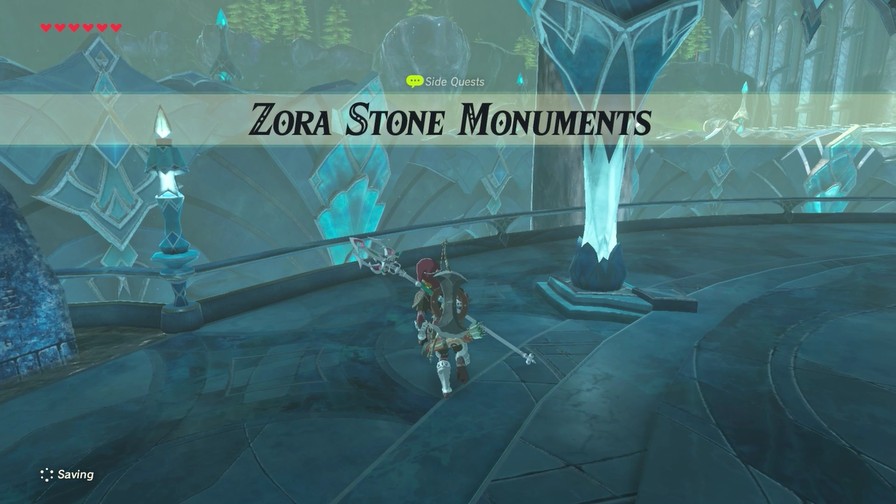
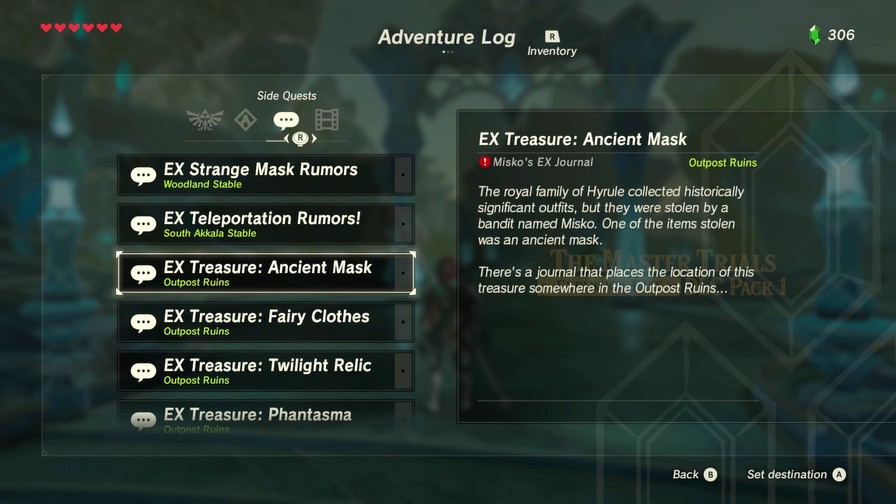
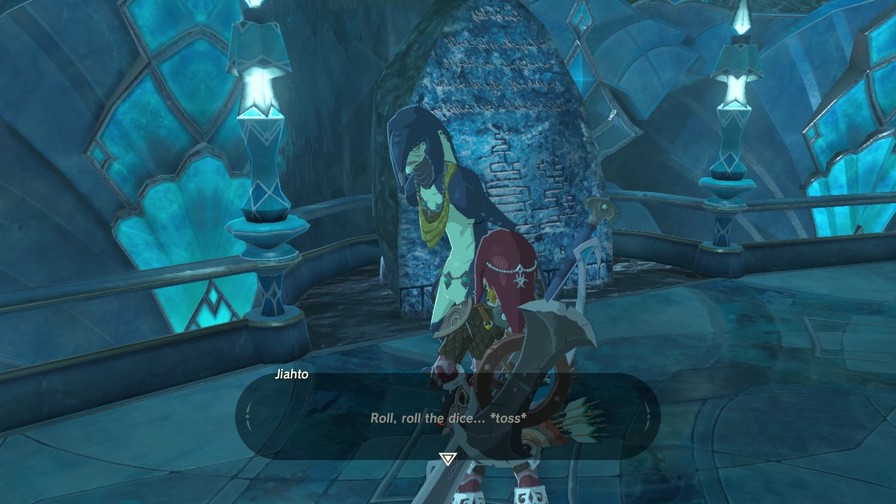
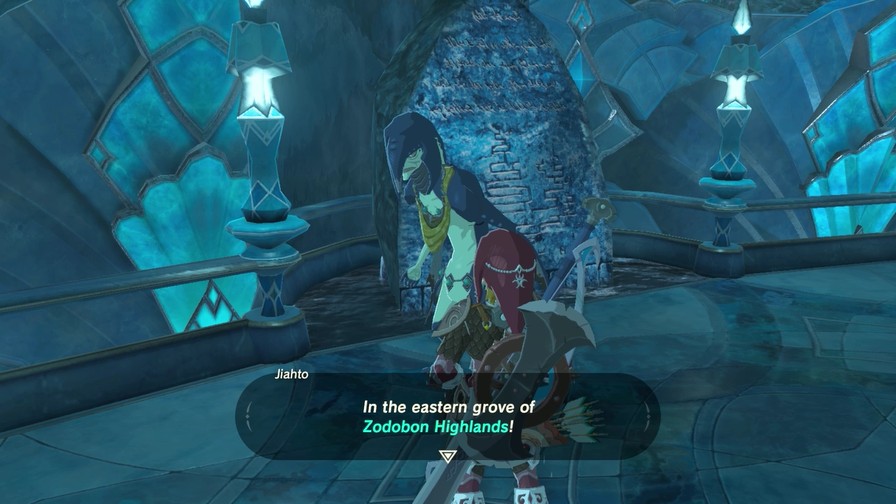
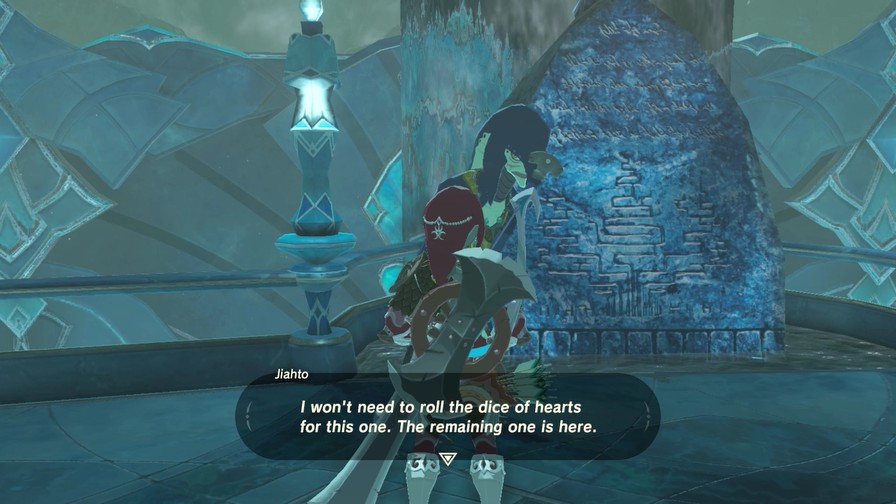
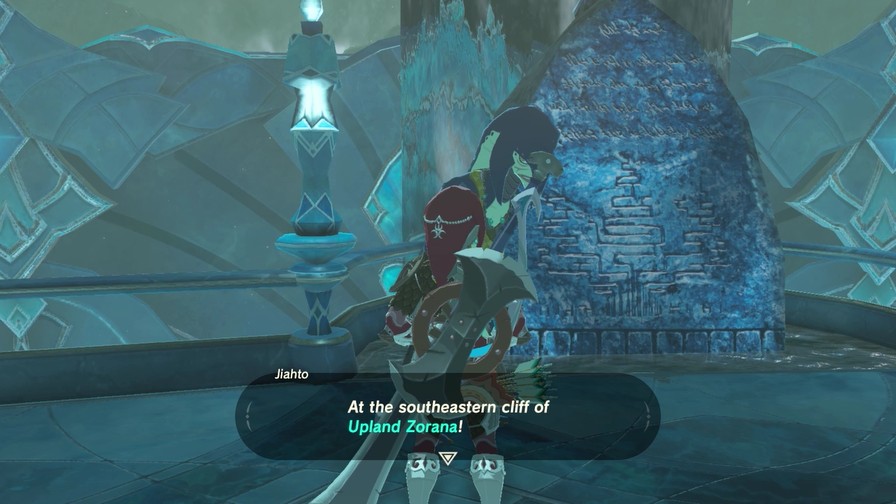
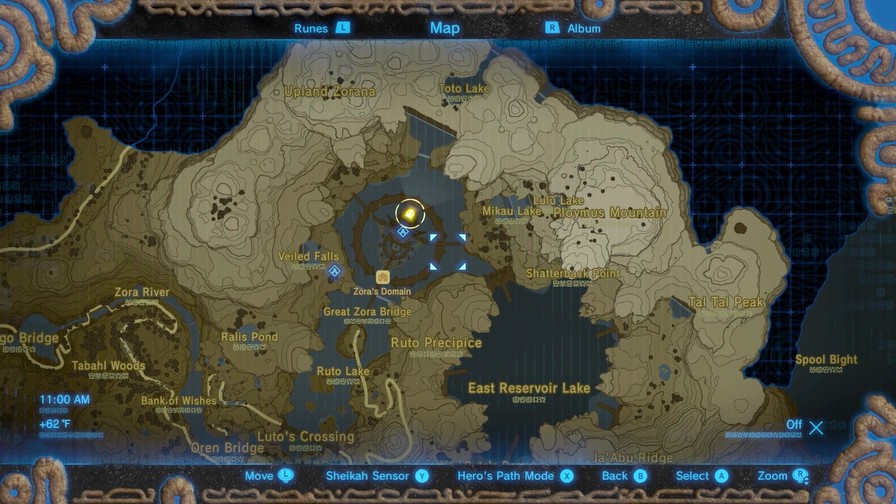
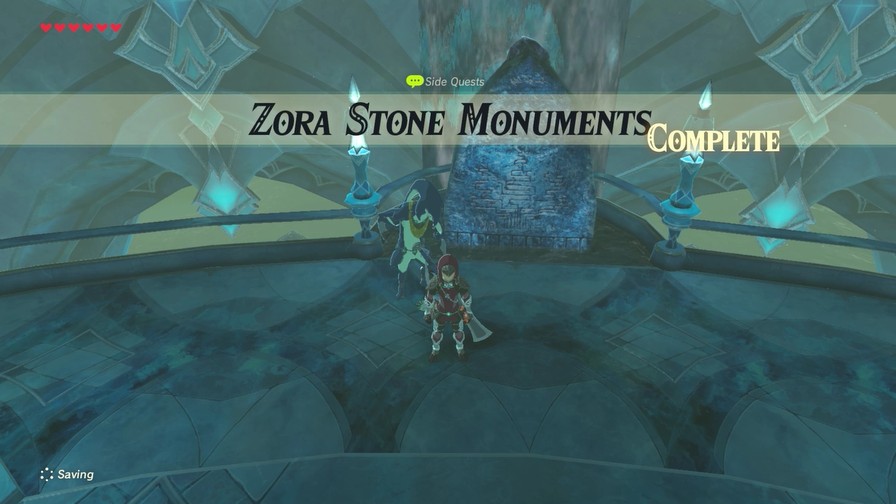
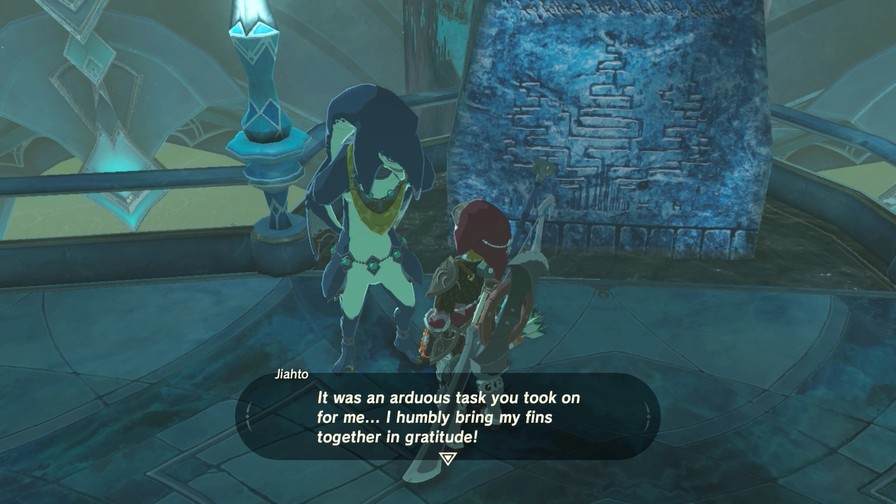
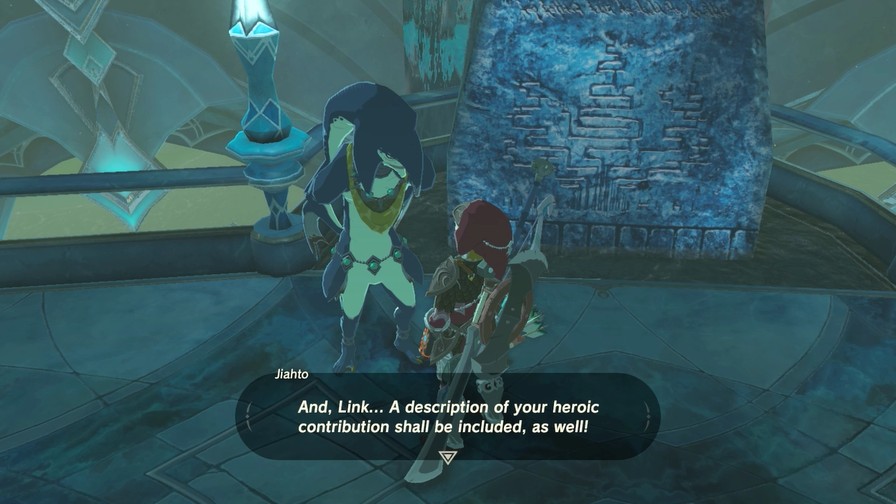
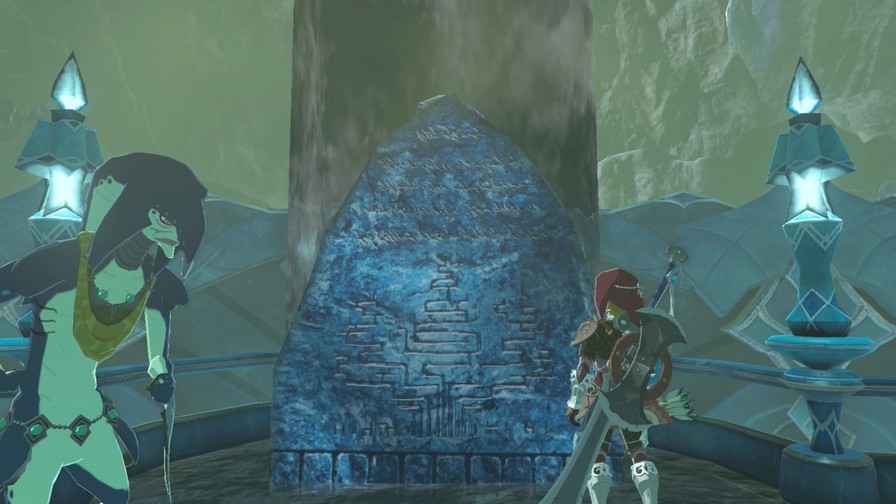
Most likely, the 10 stone monuments outside of the domain are in the same awful condition. I’m thinking about collecting the contents of all of the stone monuments and compiling them into a book. But with these old legs and fins, traveling to all 10 stone monuments will take a great deal of time. That is why… Link… I’d like to ask a favor of you.
Uh, OK.
Oh! Thank you! You truly are a lifesaver! How reassuring that the Champion will search for those monuments for me!
If you happen to find said treasure, feel free to keep it. It will most likely be something that a Zora wouldn’t need. Yes, you’ll find the 10 stone monuments around Zora’s Domain… I believe in you. In fact, I’m counting on you!
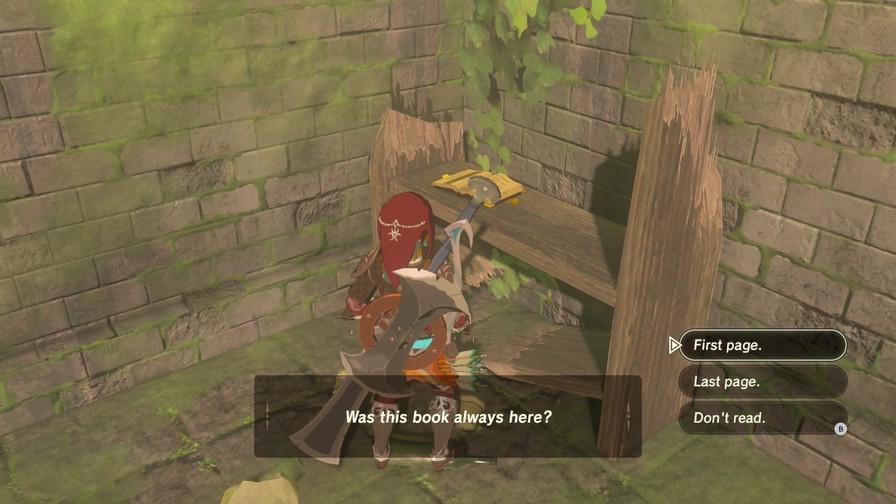
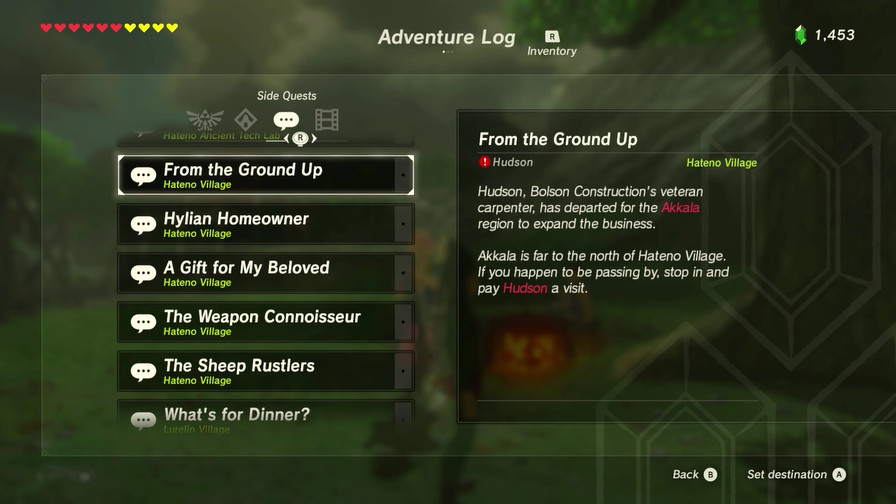
We’ve already read a few, but it’ll require thorough searching to find all ten. Backburner.
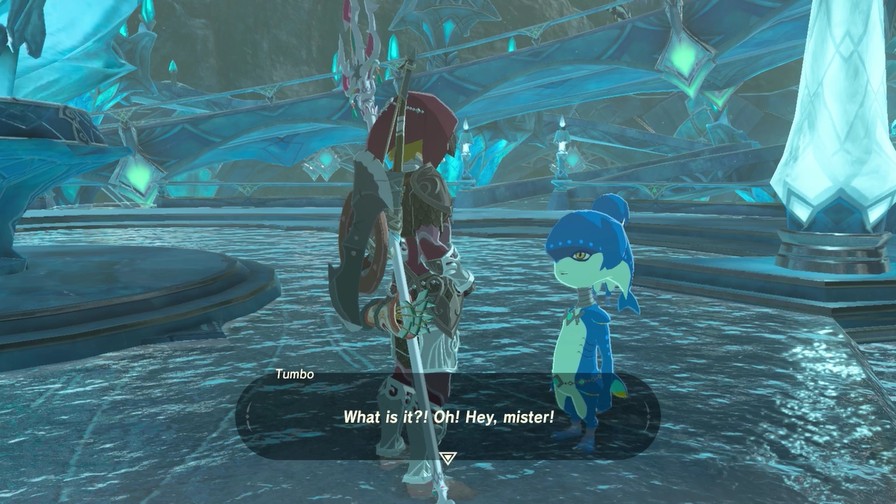
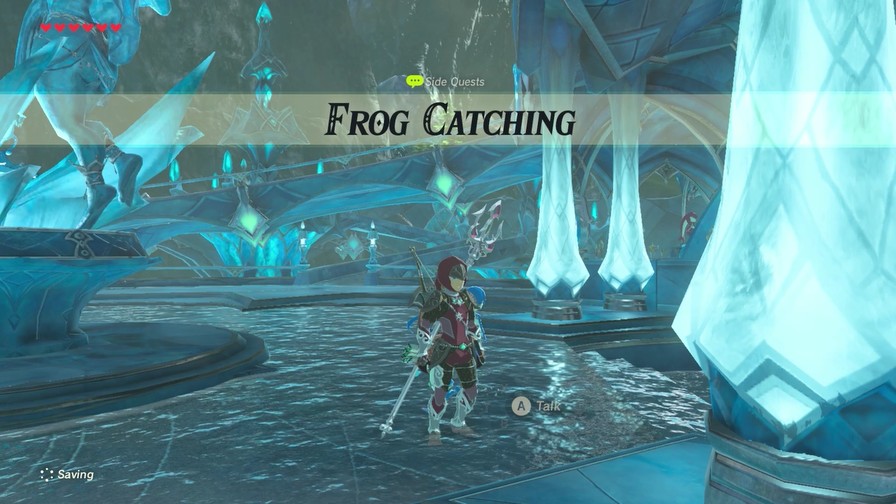
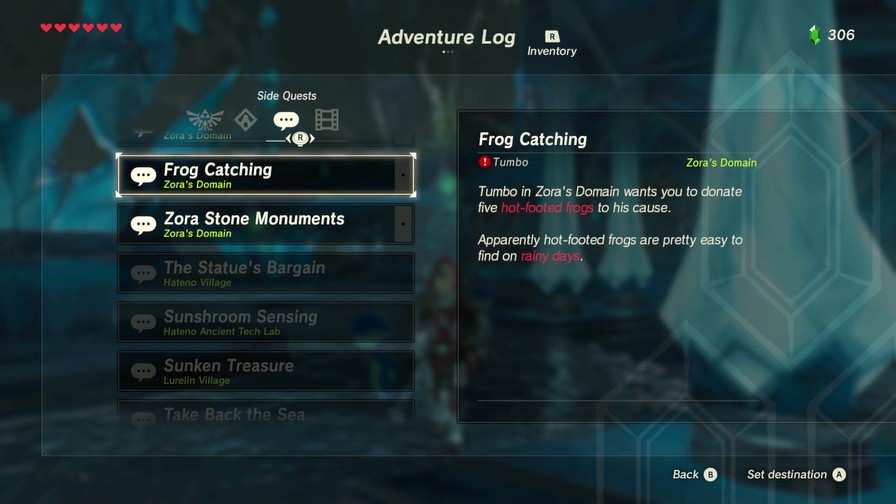
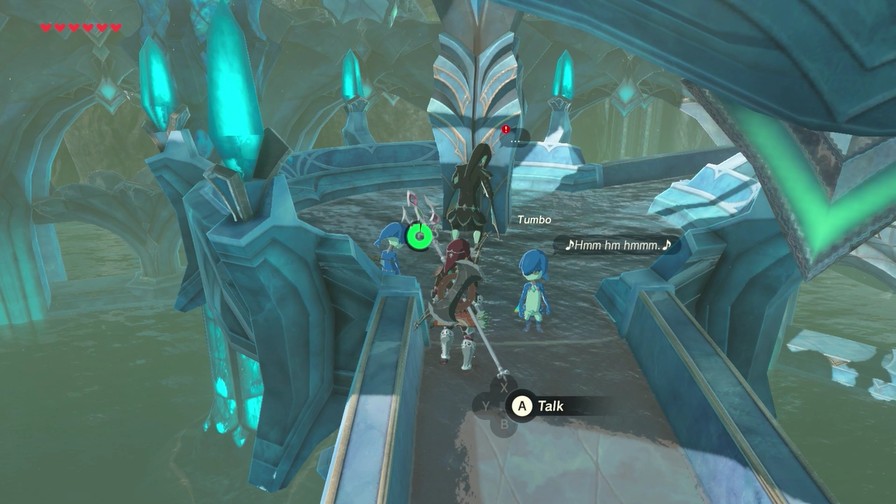
Found this right outside the throne room.
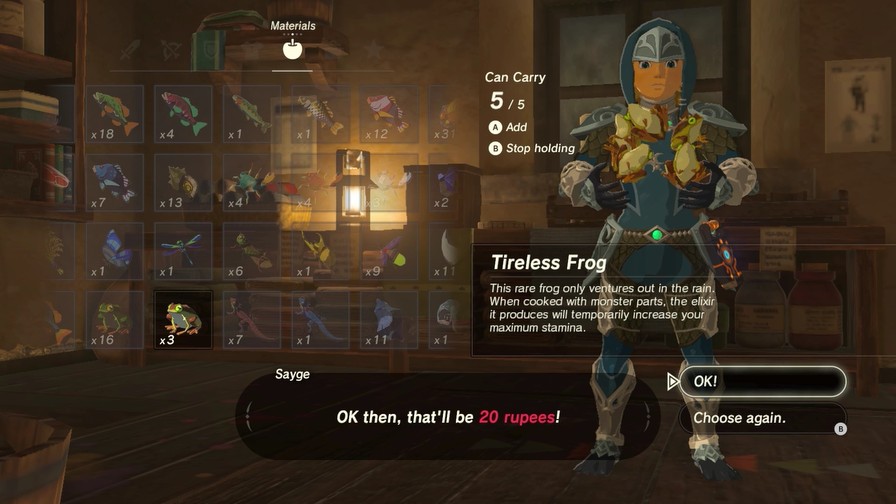
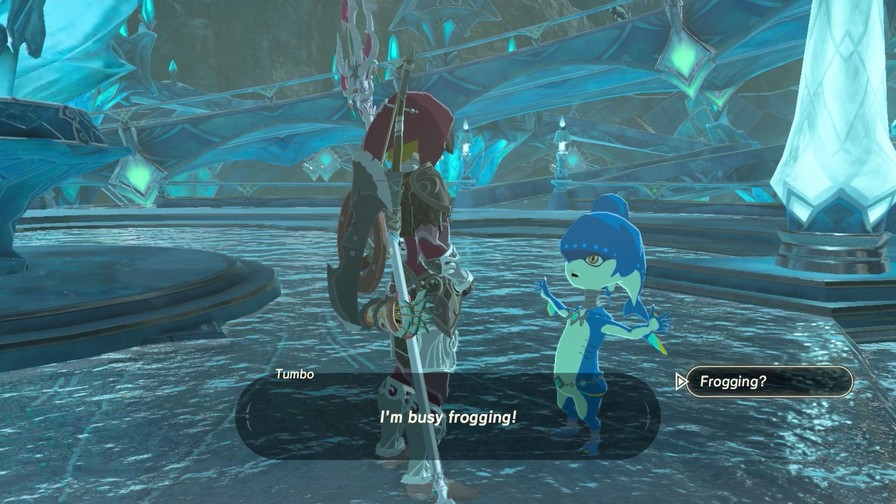
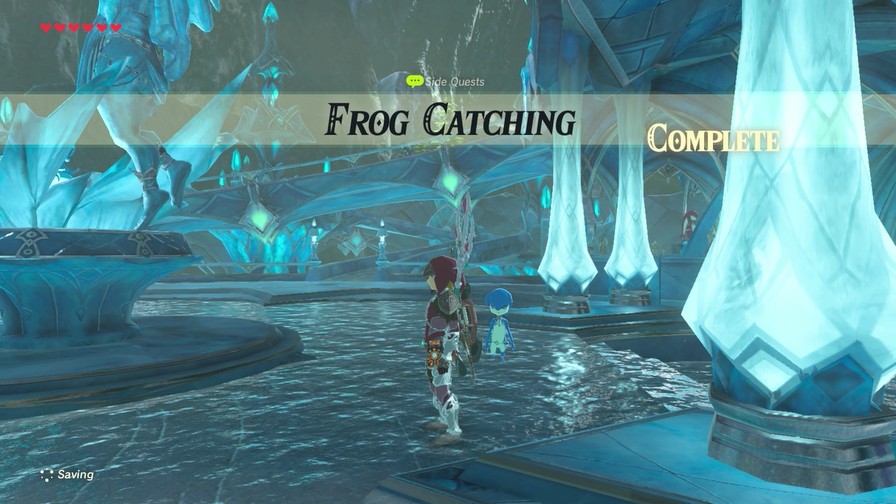
Frogging?
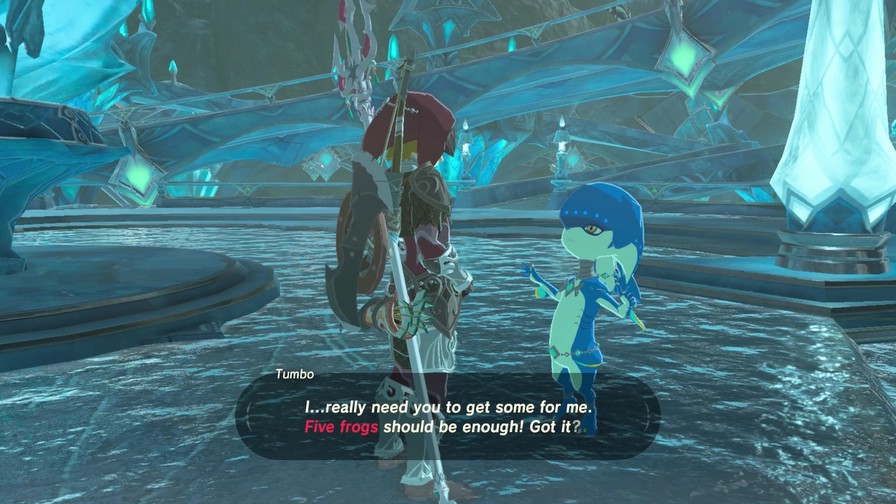
Yep! Since Mom hasn’t come back from fishing yet… I’ve been catching hot-footed frogs and selling them to earn some money for our family. You…were just pitying me, weren’t you? You felt sorry for me…didn’t you? Well, I don’t need your pity! If you wanna help, donate some hot-footed frogs@ You can find them easily on rainy days.
This is simple enough, so simple that we already have more than enough.
So what happened to your mom?
My mom, Mei, has been gone ever since that water monster went nuts. But I’m pretty sure her work is just taking longer than usual. I bet she’ll come home any day now!
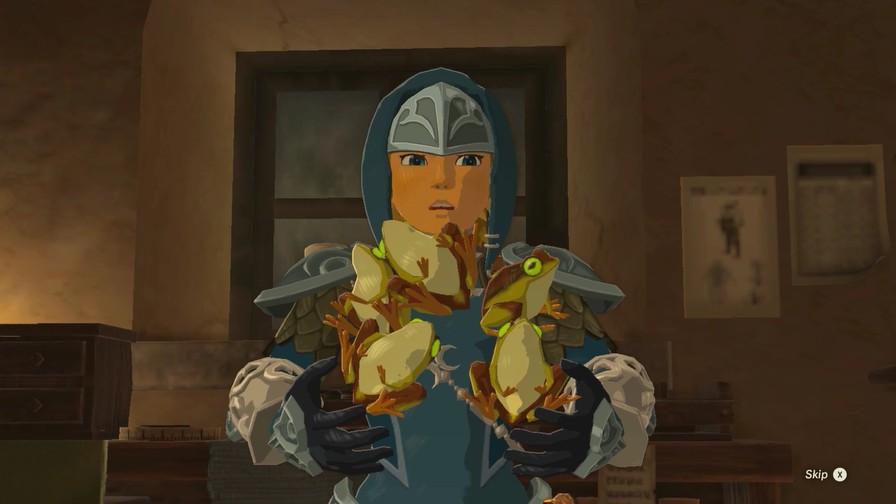
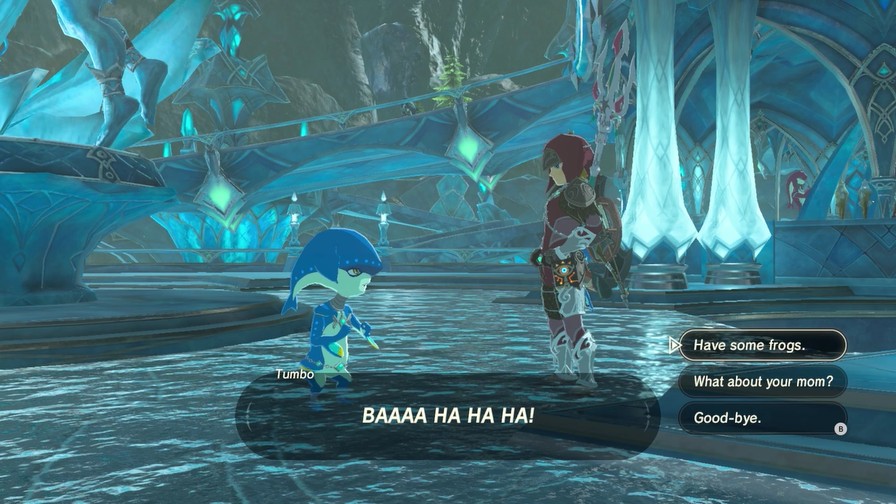
Yikes. Have some frogs, kid.
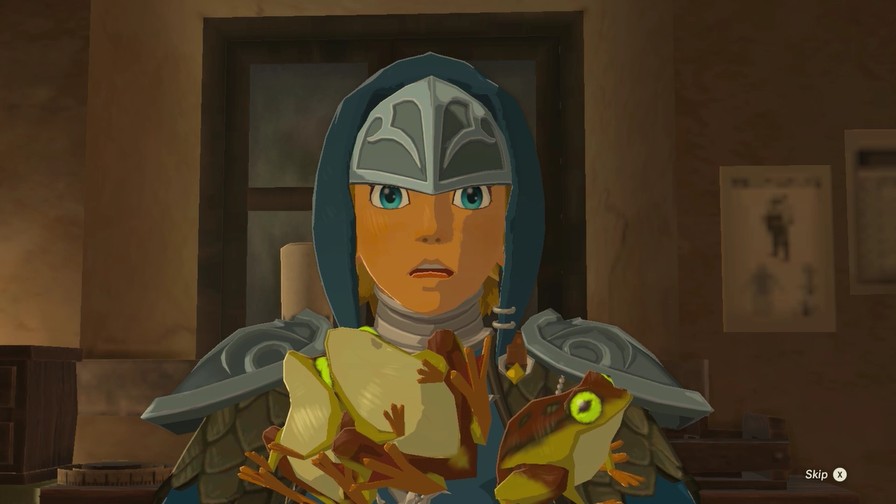
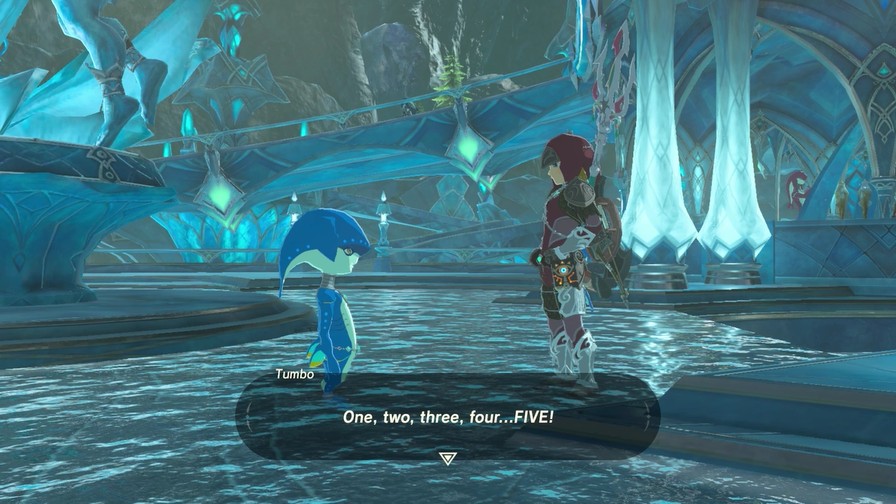
What? Really?! OK, I’m gonna go ahead and count them!
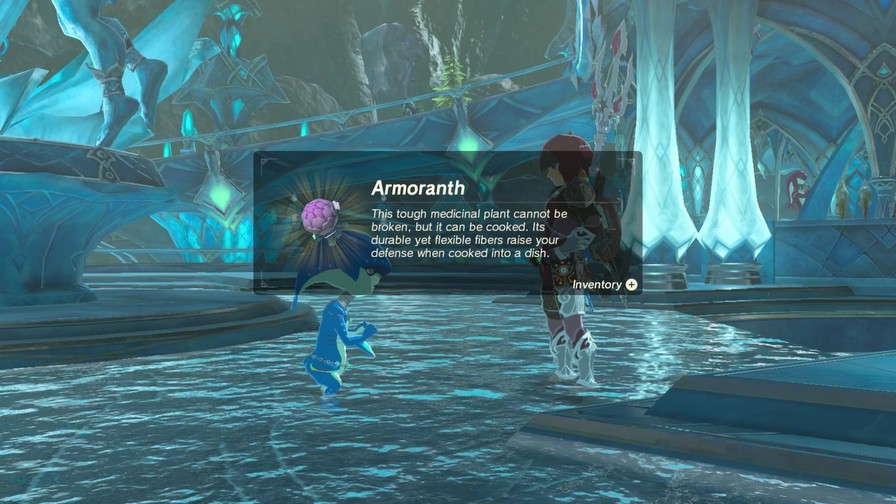
Wow! You really brought them! Here, take this as thanks!
This is called armoranth! I picked it because it’s unusual, but it doesn’t really suit me…so it’s all yours!
Gotta love the easy ones.
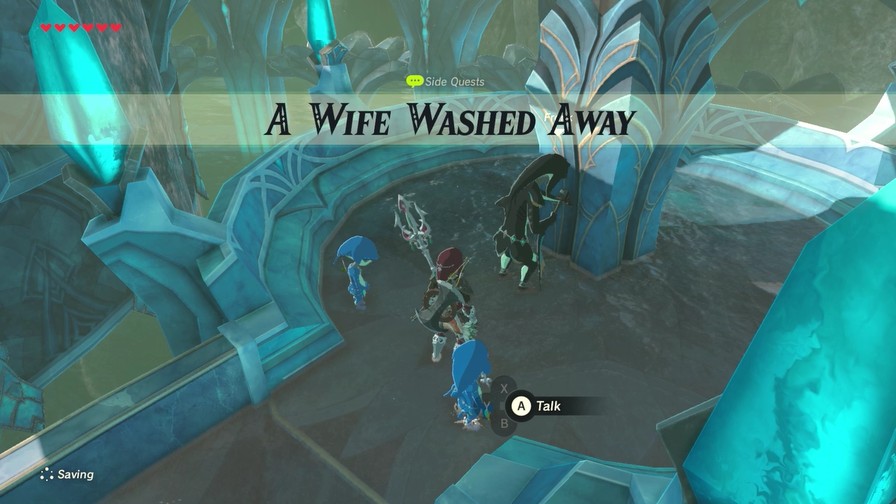
Last one for today.
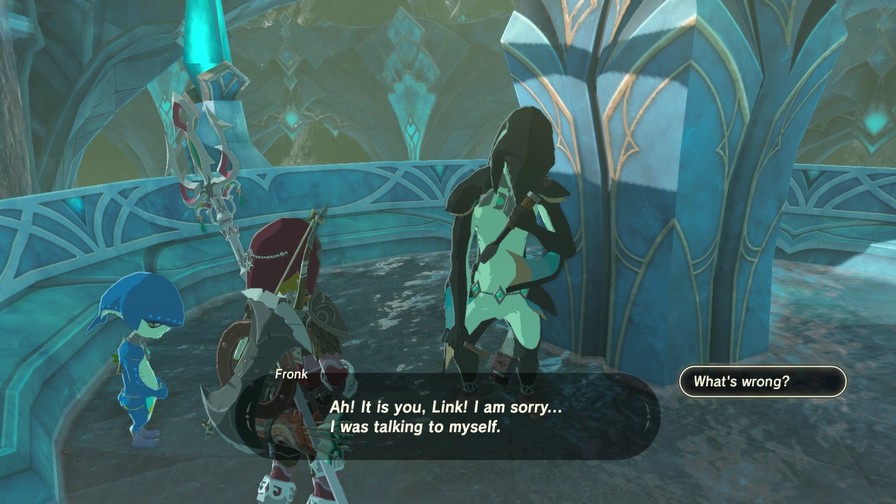
Huh?
What’s the problem?
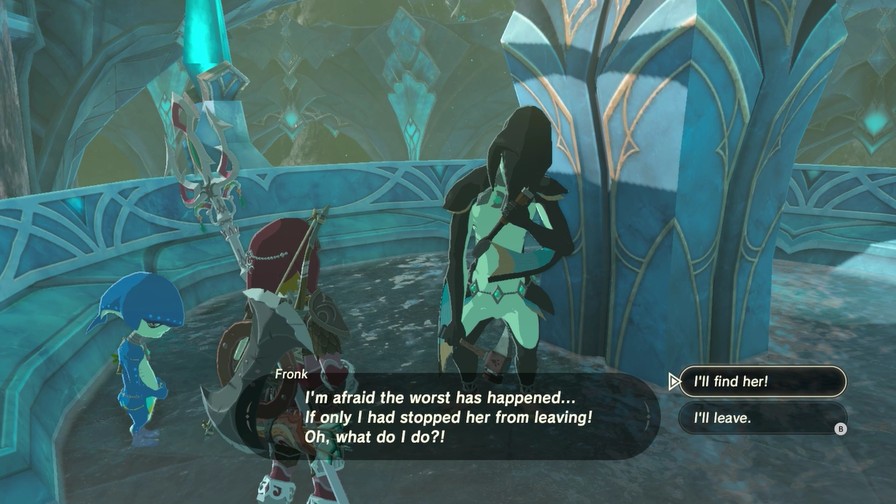
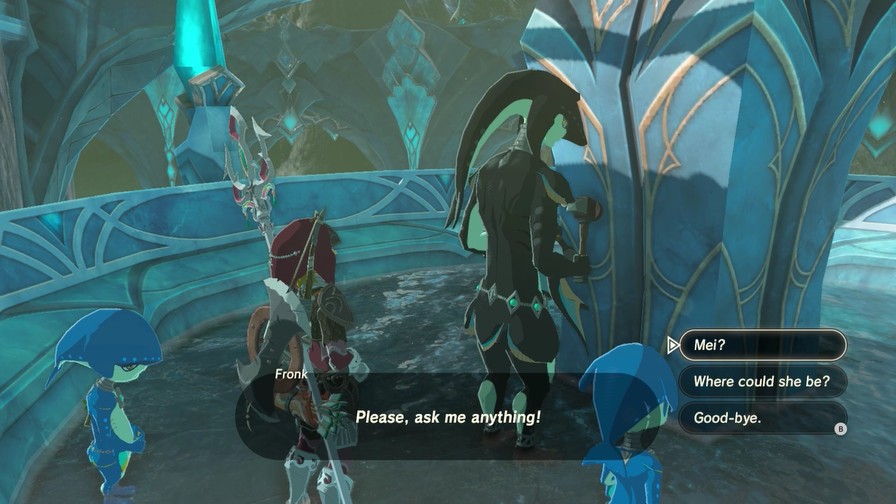
The truth is… My wife Mei left and hasn’t come back yet. After the Divine Beast Vah Ruta started rampaging, she went out to go fishing like everything was normal. And now Ruta has settled down, but she still hasn’t returned…
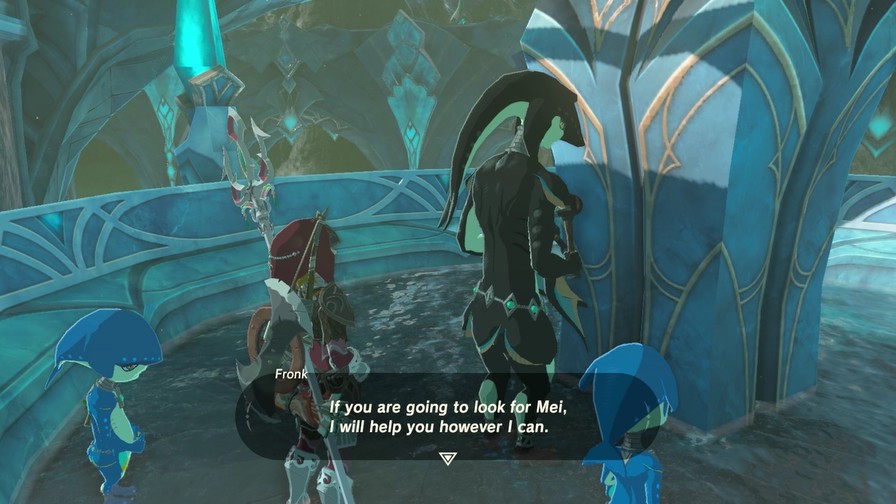
Leave it to me!
Link… You saved Zora’s Domain, and now you’re going to help me find my Mei, as well? You are a true Champion! I am sorry to put this burden on you, but please… Please bring her home!
We’re going to need a bit more info for this to be feasible.
So who is Mei?
Mei is my wife. She is also Tumbo and Keye’s mother. She spends her days catching fish and selling them at the general store. Unlike me, she is very lively and cheerful… I suppose Tumbo gets that from her.
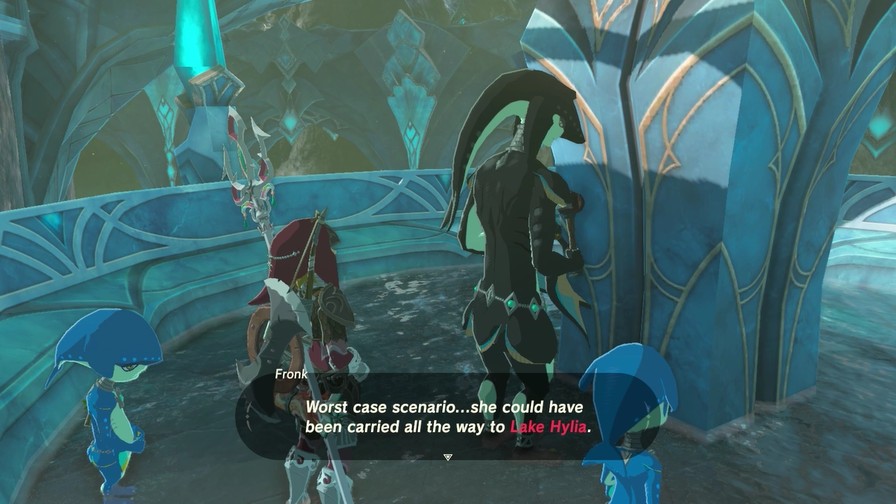
Where could she be?
The day Ruta started raging, she said she was going fishing in Zora River. Ruta’s rage caused the river to swell. She may have been swept downstream! However, if Ledo’s group didn’t see anything, maybe she passed through Zora River and is beyond there…
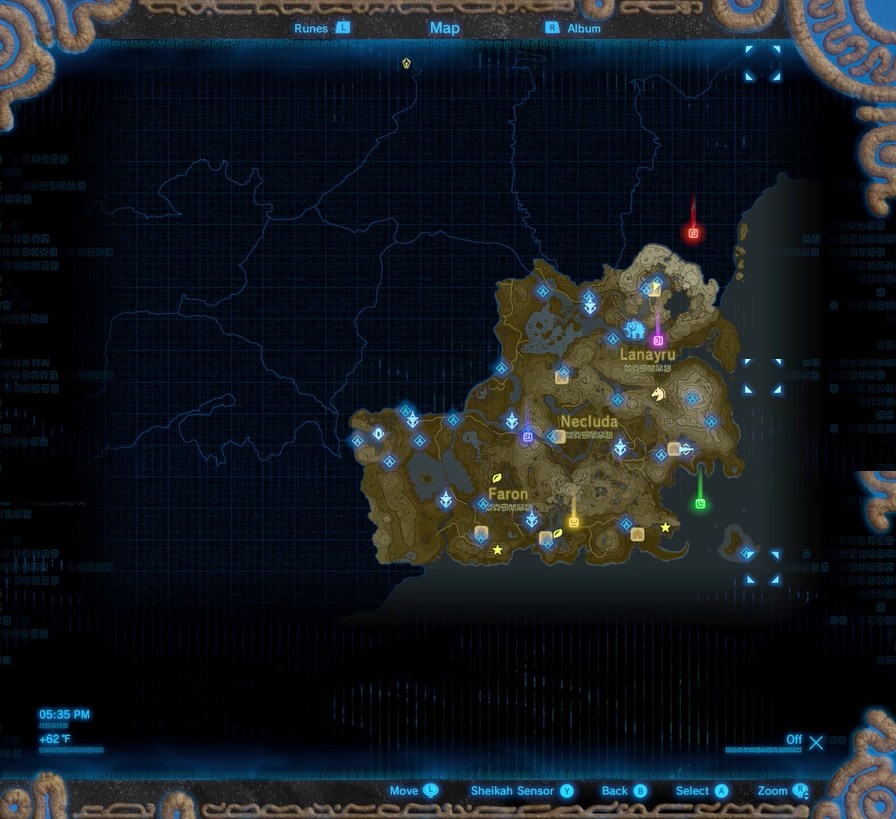
That’s…a pretty large area to explore.
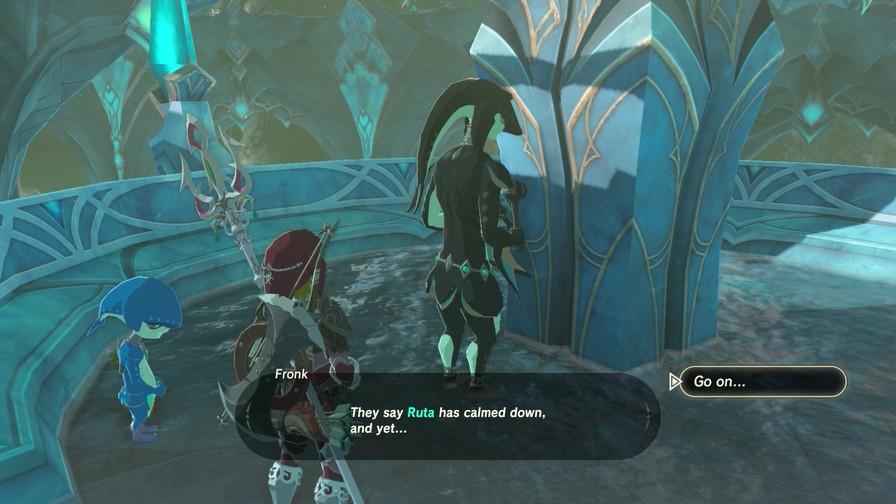
So…that’s it for Zora’s Domain. I think there’s at least one more quest here but I couldn’t find the trigger for it, so we’ll get back to it. So normally, this is where I do the “Vote for what we do next” thing, but there’s one little thing left…
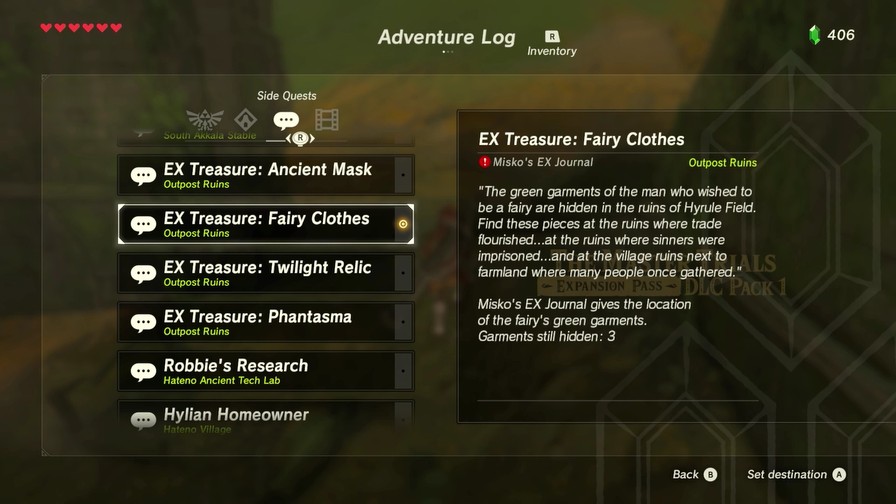
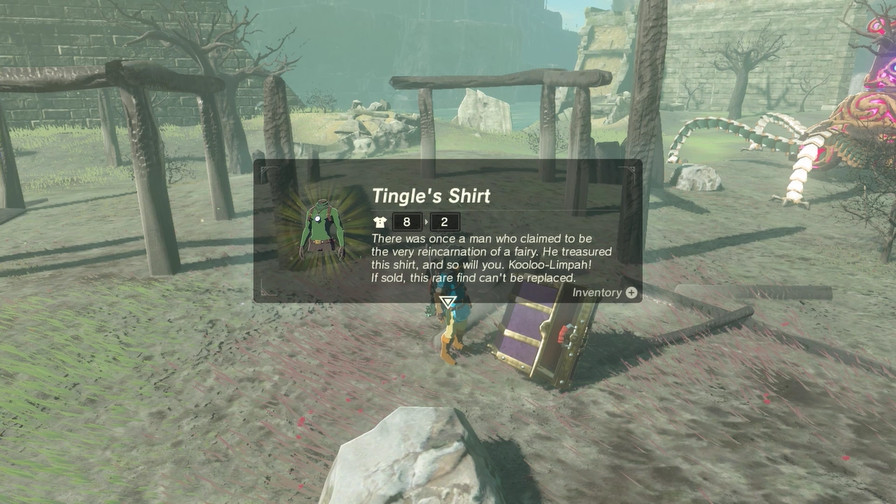
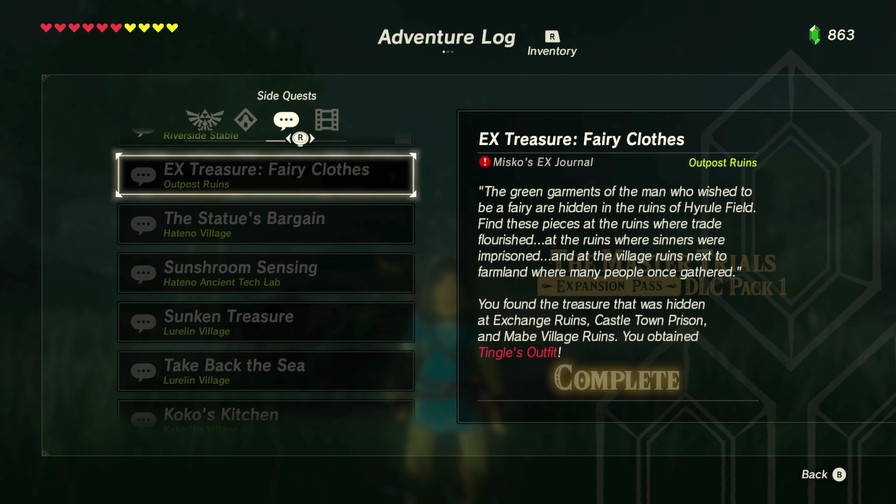
As of yesterday, the first wave of DLC has come out. This includes a hard mode (which I won’t be doing because it involves starting a new game, and I value my sanity), a mode we can’t access yet, a cute map feature that shows where you’ve traveled, and new clothing based on previous Zelda games.
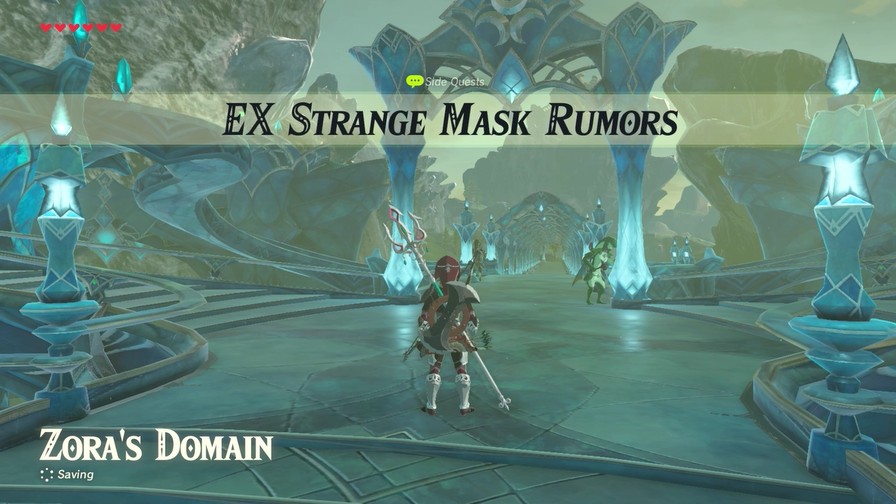
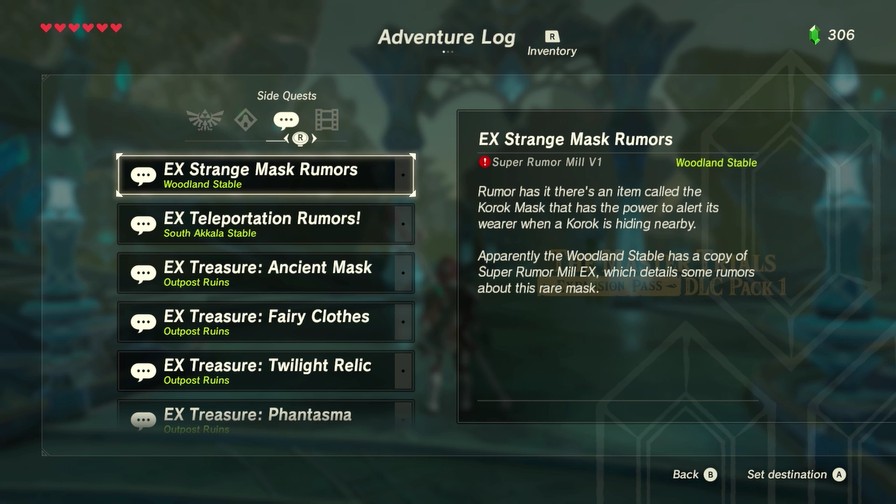
First off, there’s a new mask that will alert you about nearby Koroks.
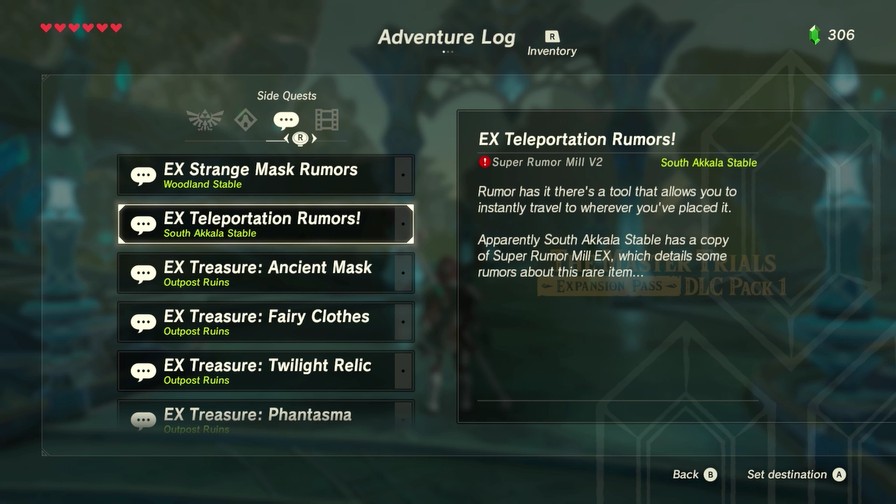
Next, there’s a new item that lets you set a waypoint to fast travel to, which certainly can have its uses.
An iconic mask that fans of the series would probably recognize…
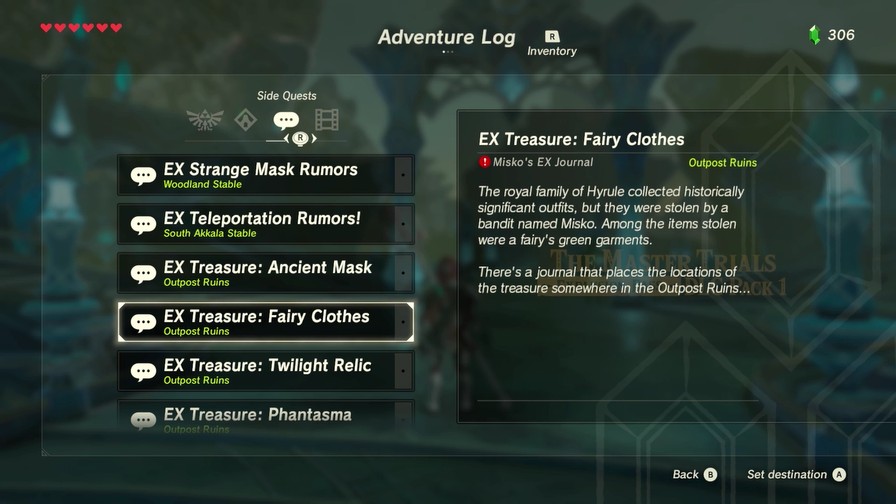
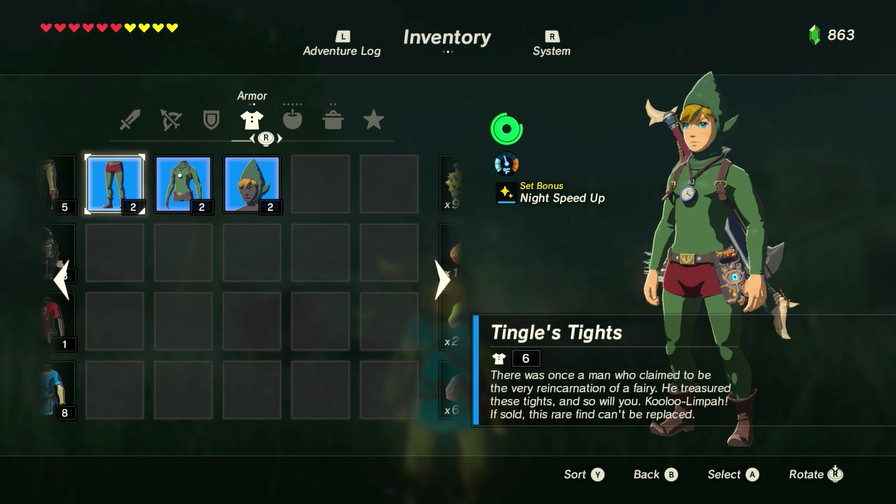
Famous green garments that must be from a rather large fairy, or at least someone who really really wanted to be a fairy…
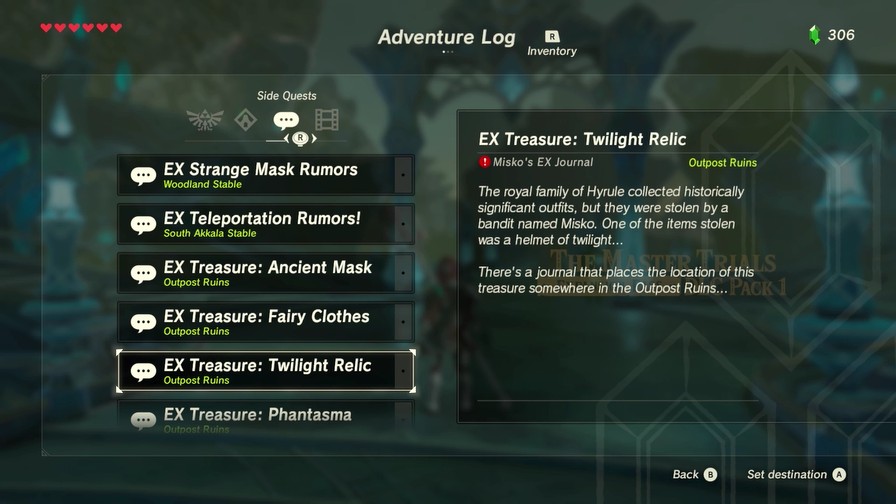
A helmet that must’ve been worn by an important figure from the Twilight Realm…
And some intimidating armor from a powerful foe (from the DS games since this one may be a bit obscure).
Alright! So let’s get started here.
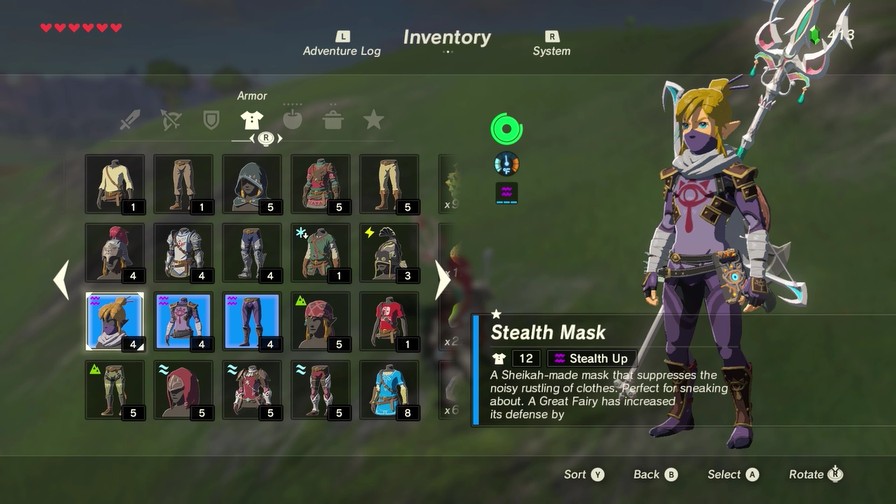
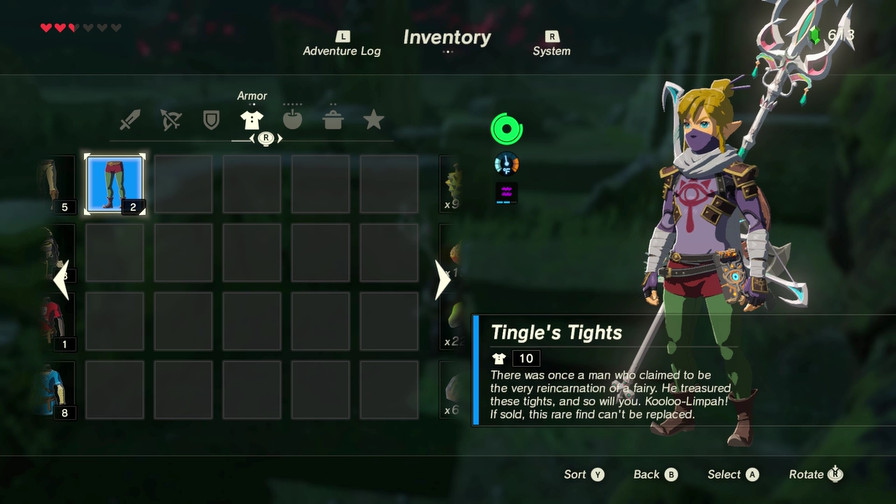
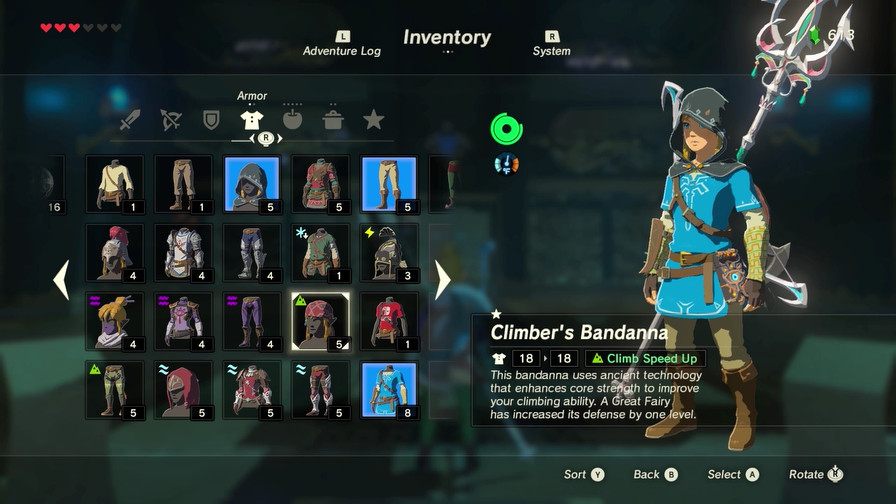
First, do we want a new outfit? Our current options:
[quote]CURRENT ARMOR
* Cannot be dyed
Head
Climber’s Bandanna
Hylian Hood
Rubber Helm
Soldier’s helm
Stealth Mask
Zora Helmet
Body
Champion’s Tunic *
Hylian Tunic
Nintendo Switch Shirt *
Old Shirt
Soldier’s Armor
Stealth Chest Guard
Warm Doublet
Zora Armor
Legs
Climbing Boots
Hylian Trousers
Soldier’s Greaves
Stealth Tights
Well-Worn Trousers
Zora Greaves
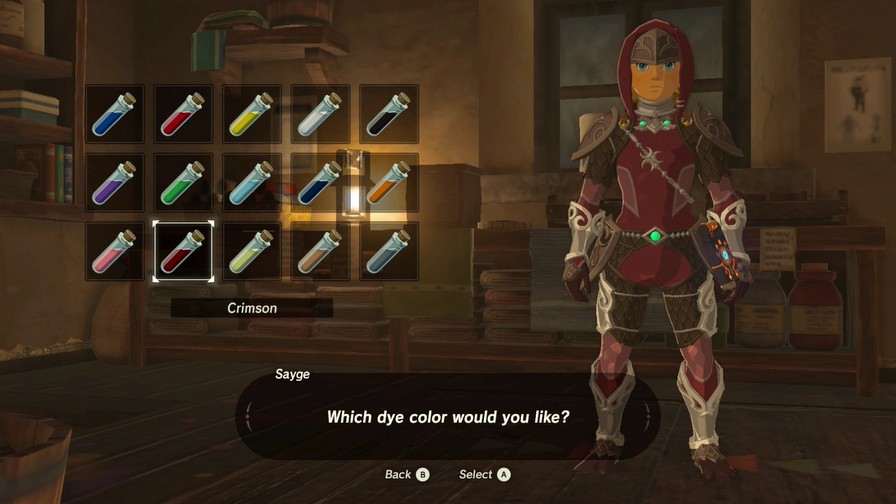
Dye Colors:
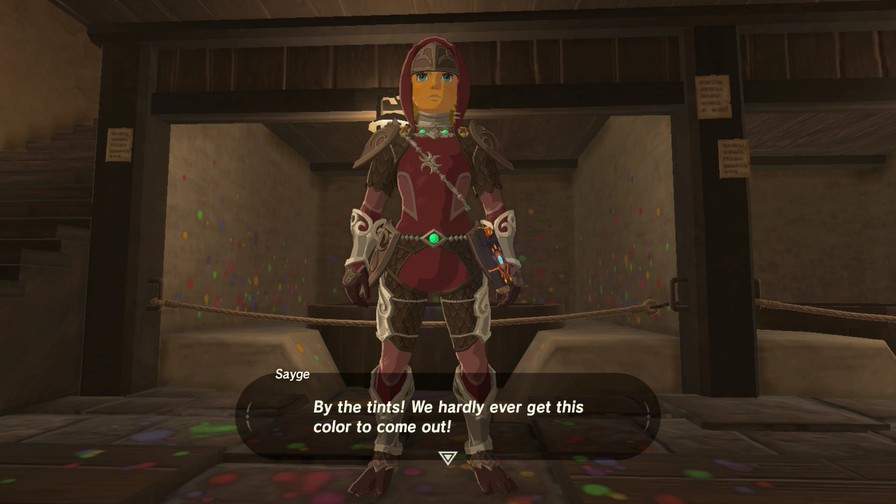
Blue, Red, Yellow, White, Black, Purple, Green, Light Blue, Navy, Orange, Peach, Crimson, Light Yellow, Brown, and Gray.[/quote]
Second, and by far most important: What now? More Divine Beasts? Search for more memories? Find the legendary sword? Search for some of these new relics? Do sidequests? Or just go in a random direction and see what destiny leads us to? I’ll do the usual thing, gather up some choices, throw them into a poll, and then have voting until I decide to record the next update. As usual, post and bold your suggestions.
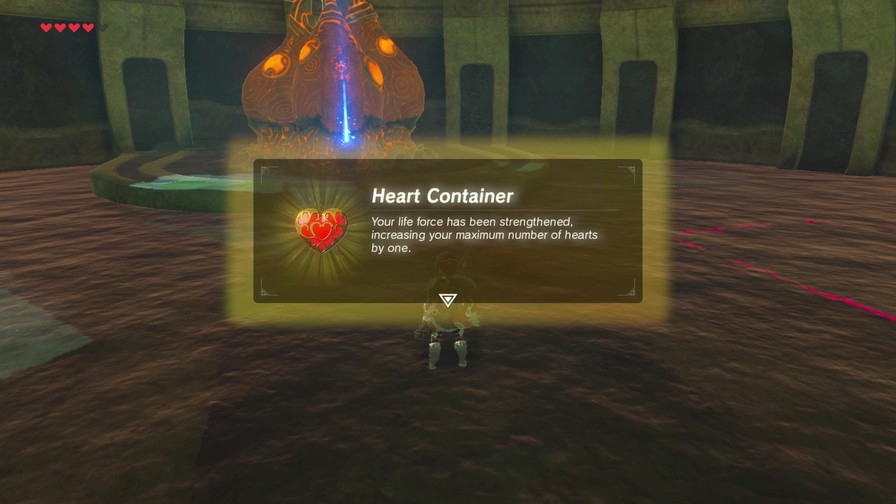
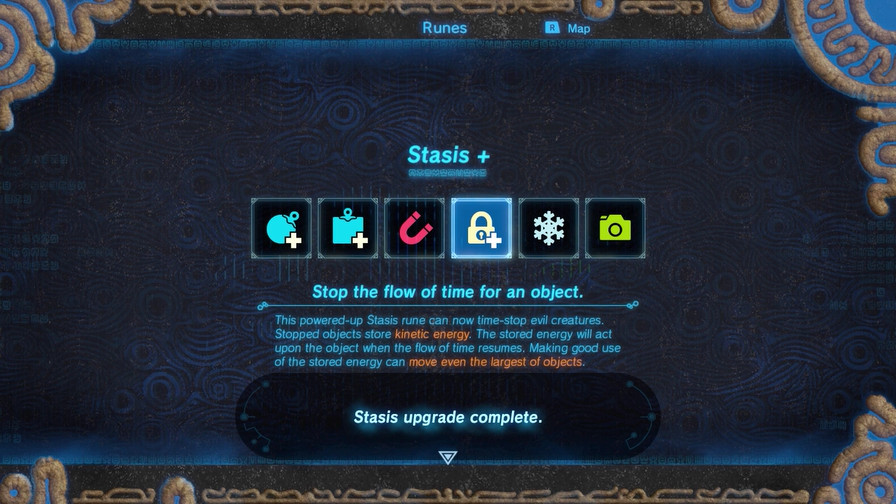
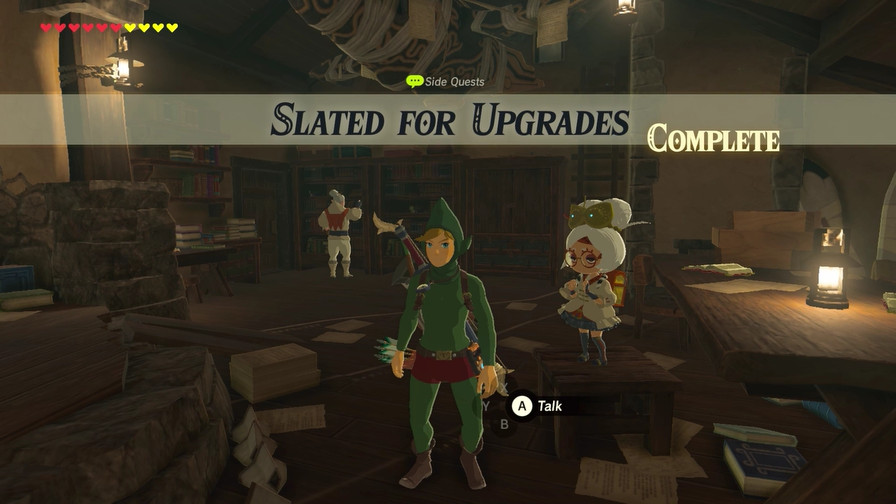
Finally, since we’re almost at four again, Vote for our next Spirit Orb Upgrade.
Here we go again!


