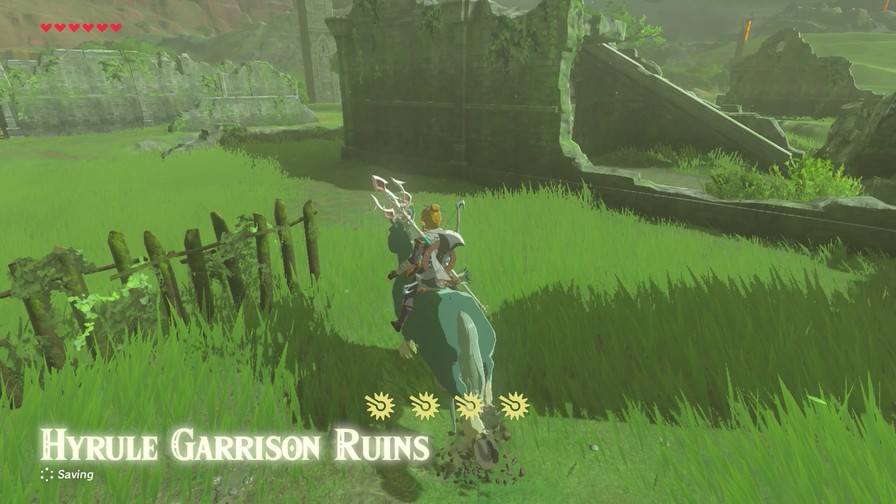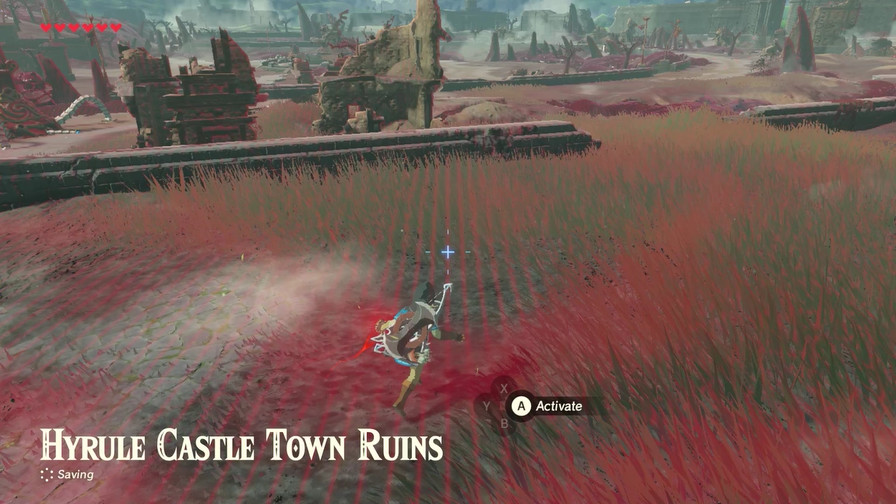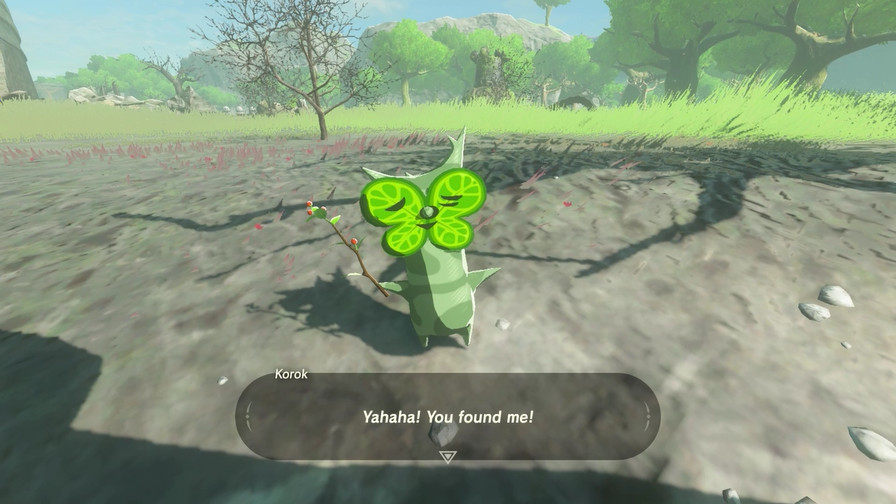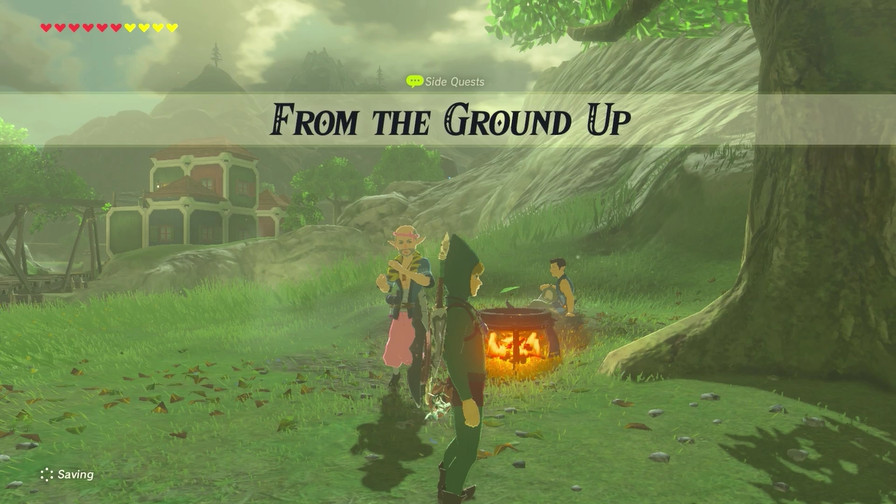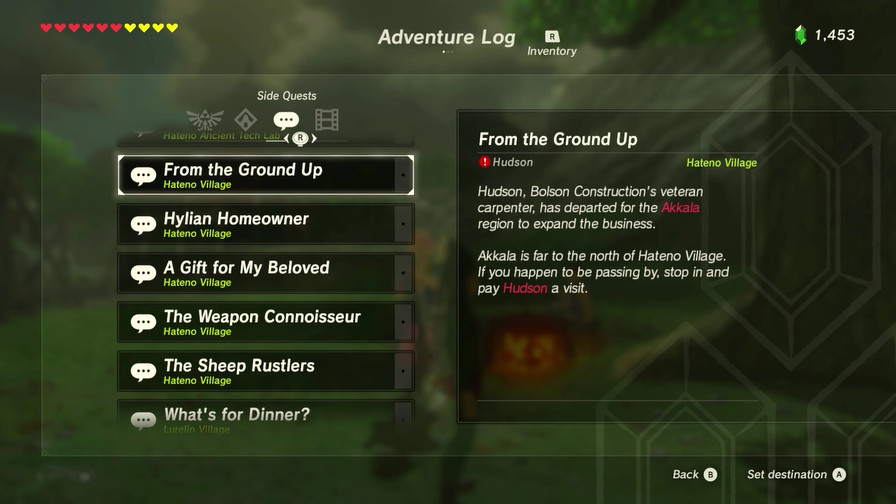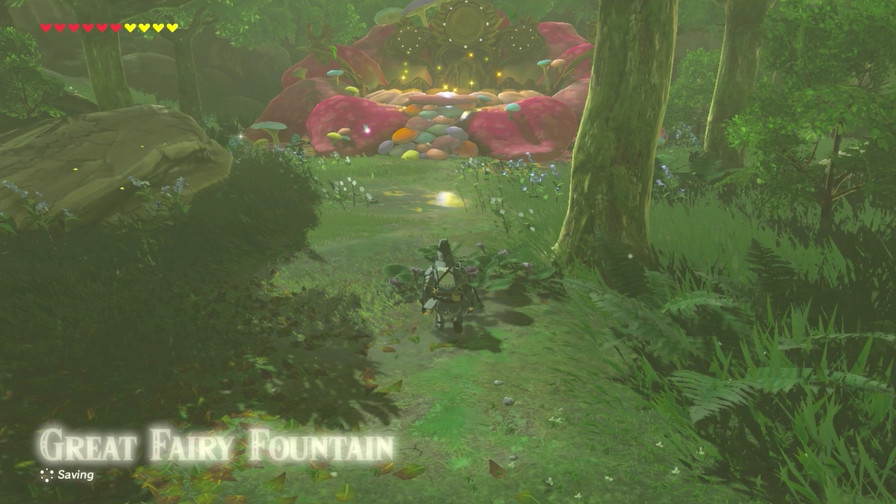
Click here to open the update!
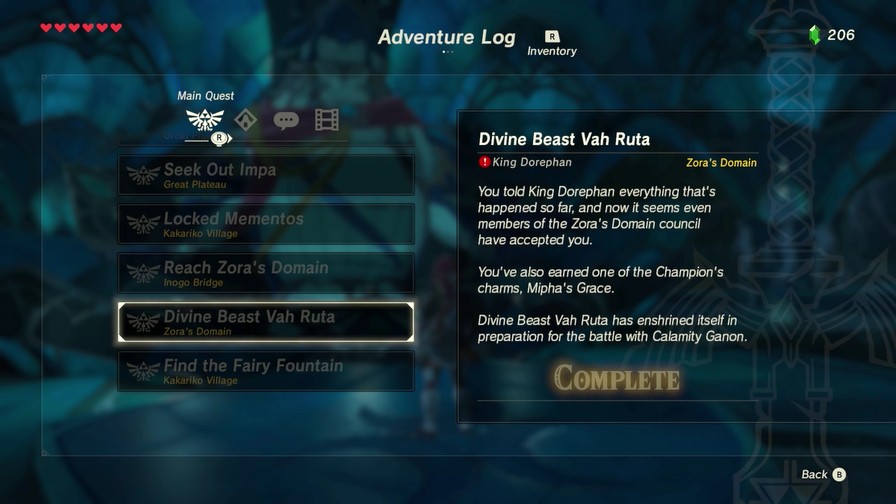
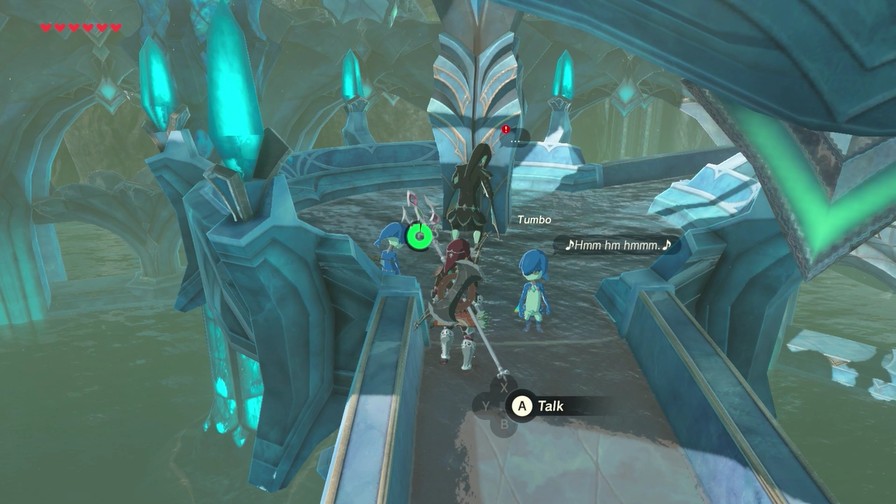
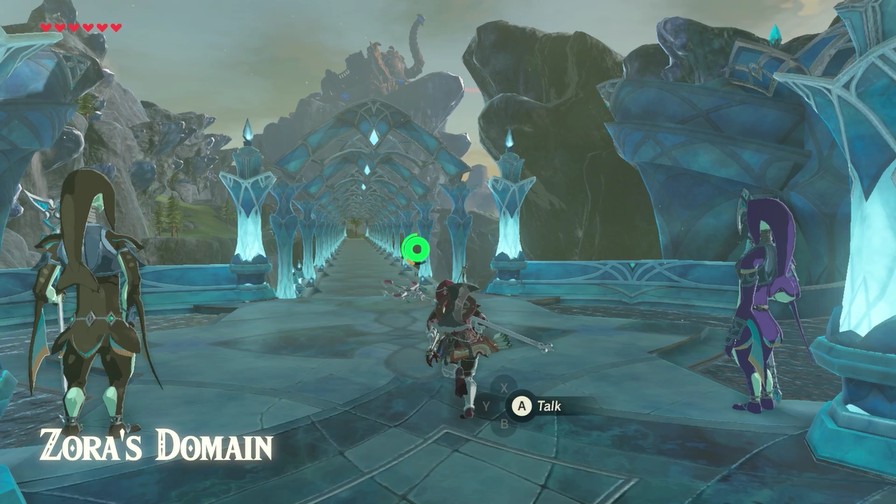
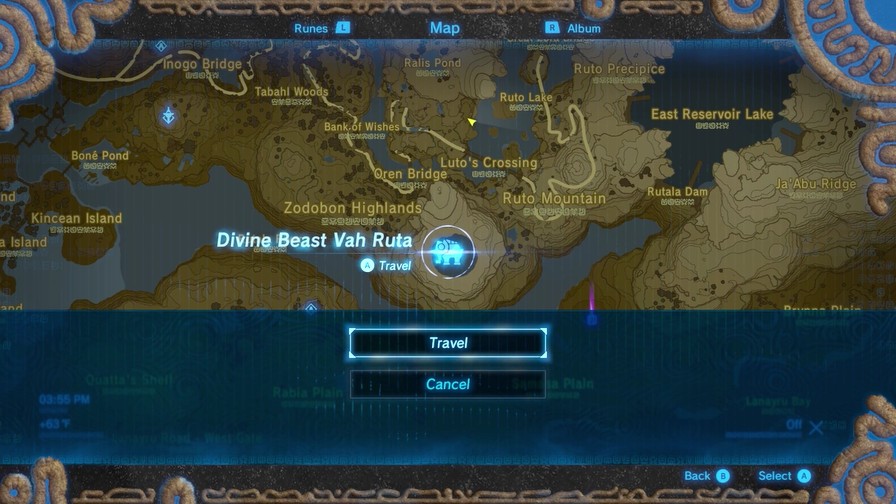
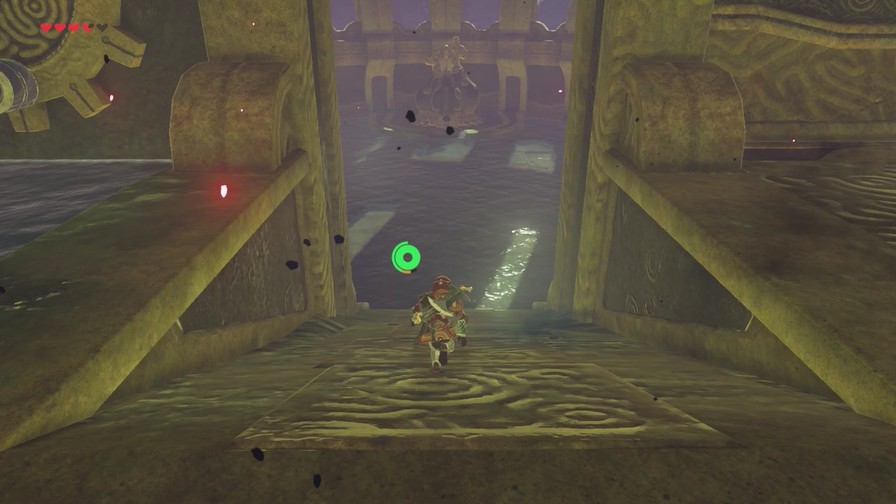
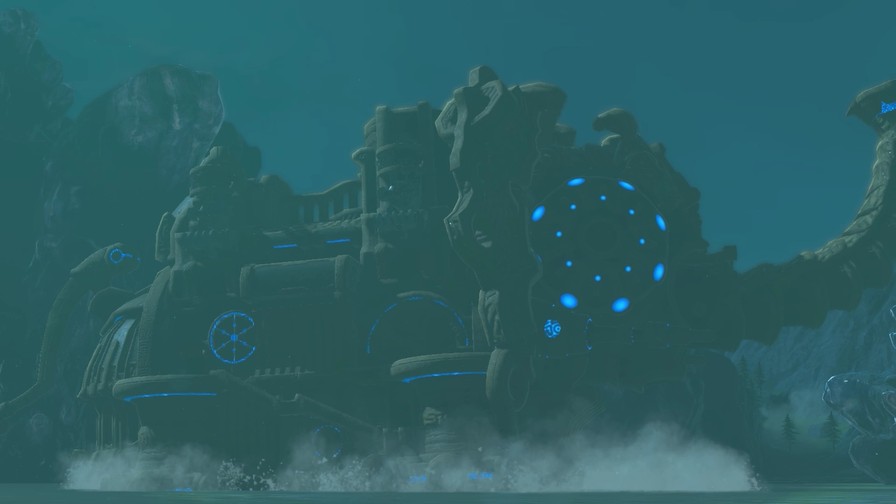
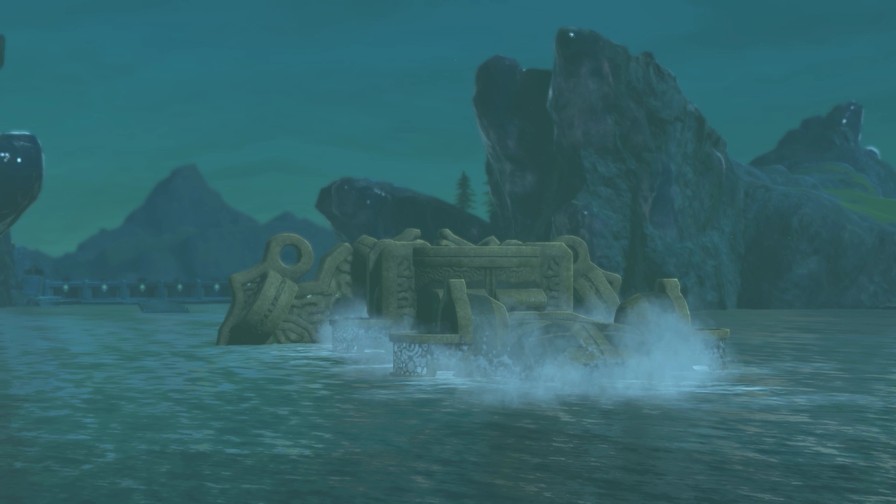
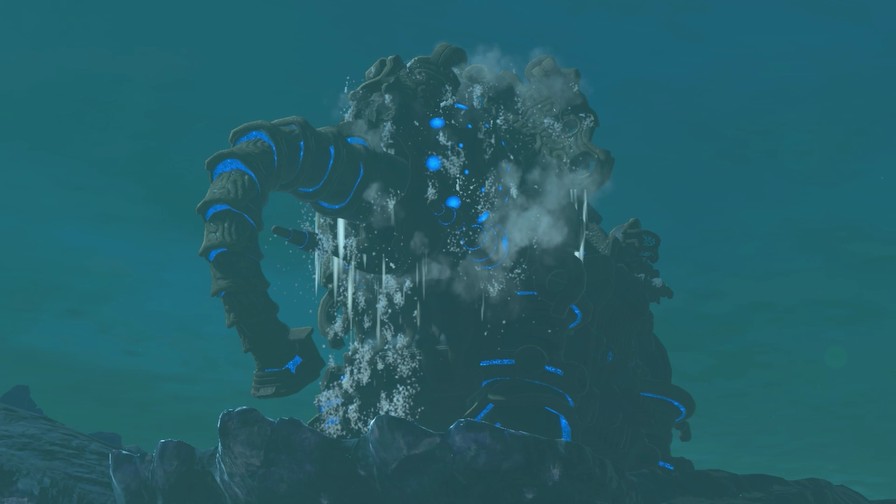
Vah Ruta has been pacified for now, giving us a chance to enter the Divine Beast.
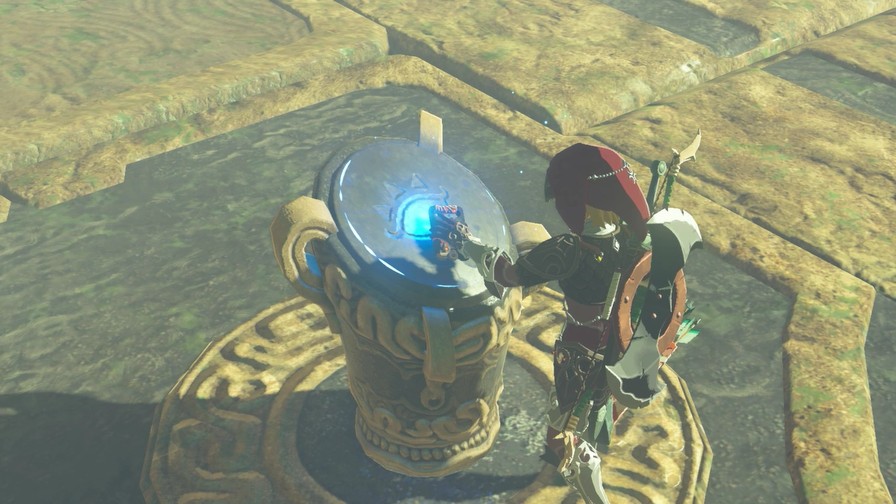
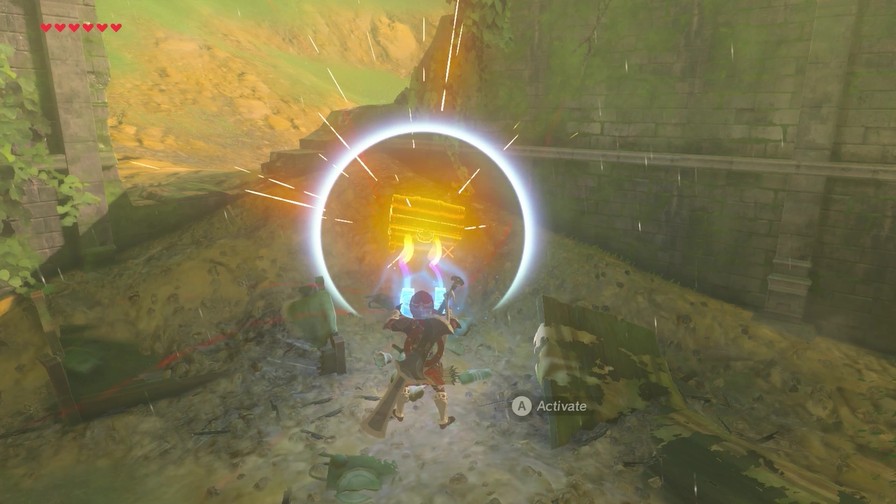
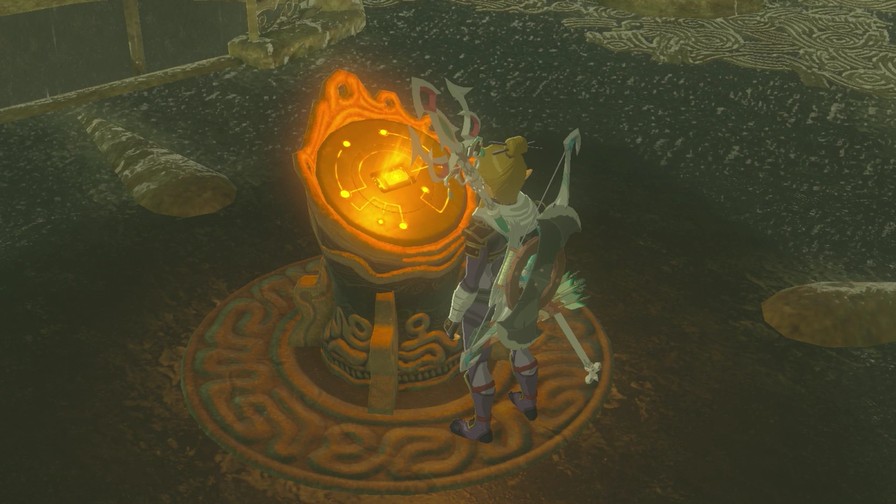
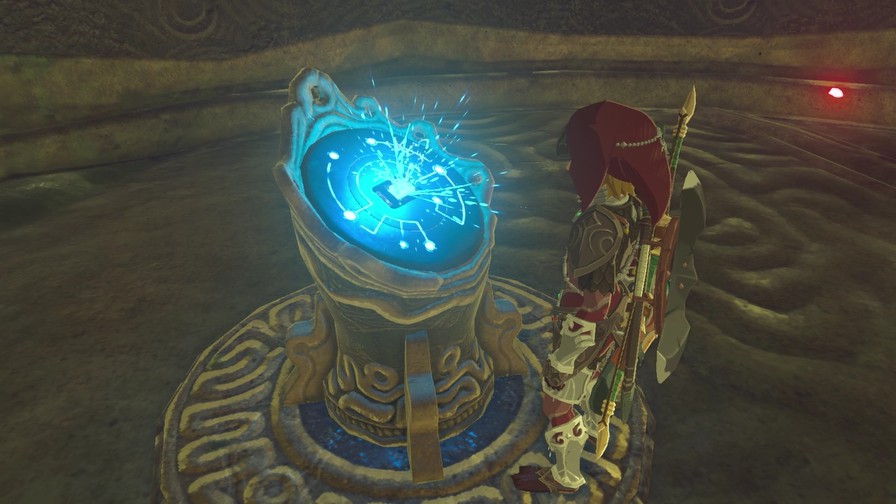
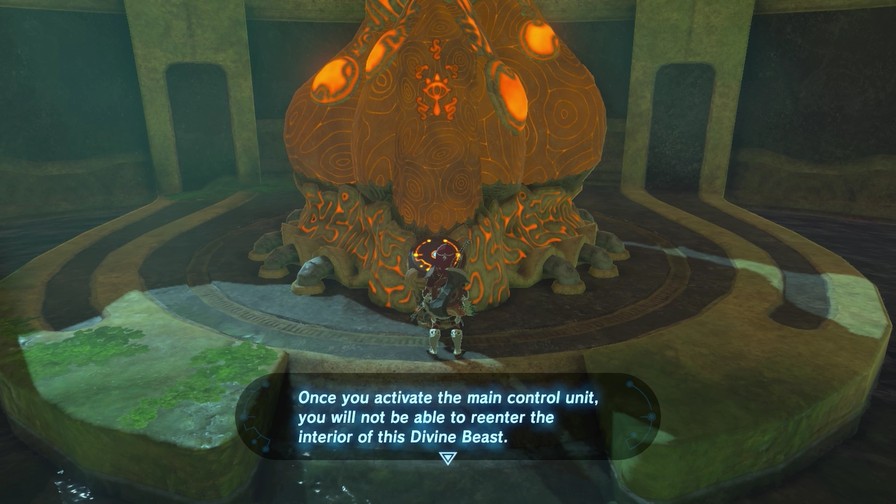
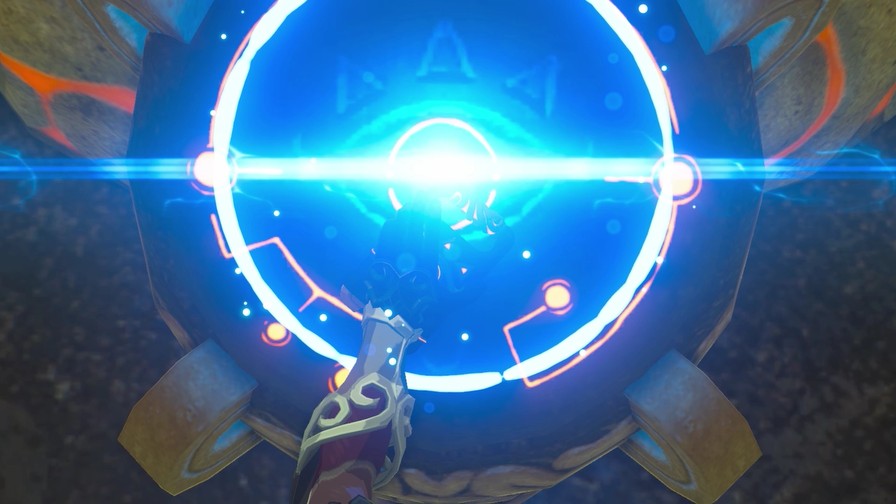
Upon activating the pedestal, we open a travel gate. The Divine Beasts are their own area, so we have to warp out to actually leave. Falling off simply acts like falling into a pit, resulting in us respawning where we last fell with a little less health.
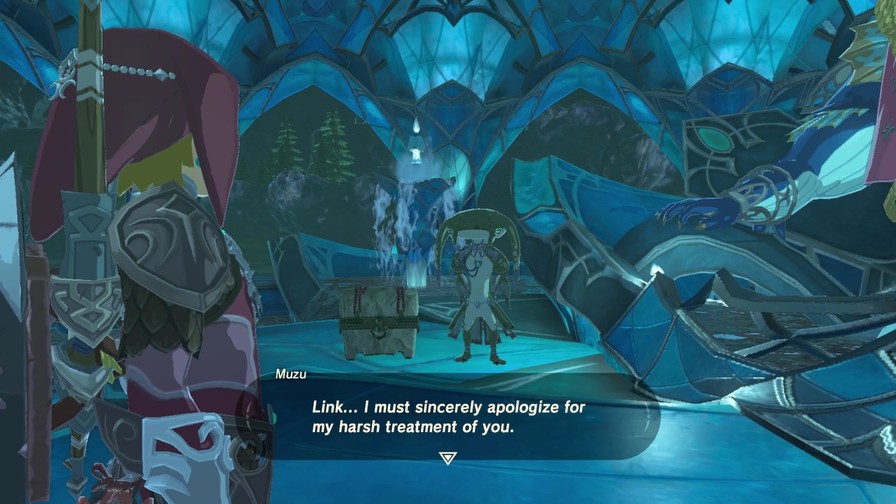
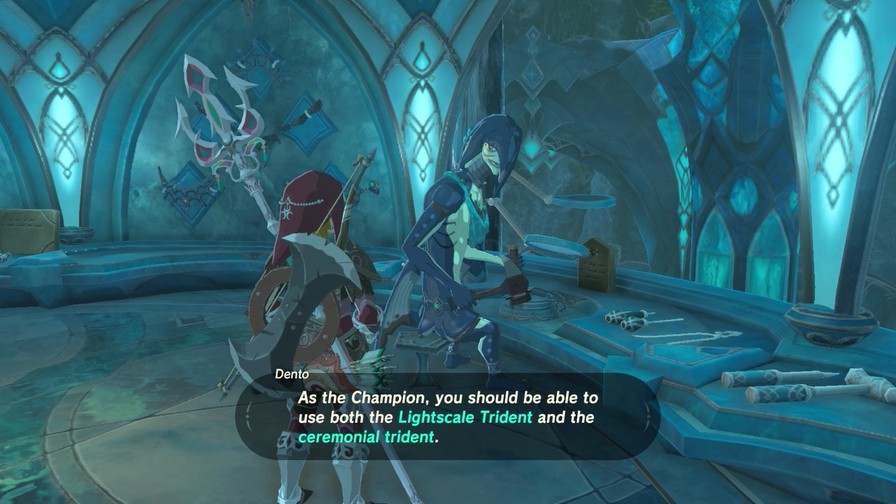
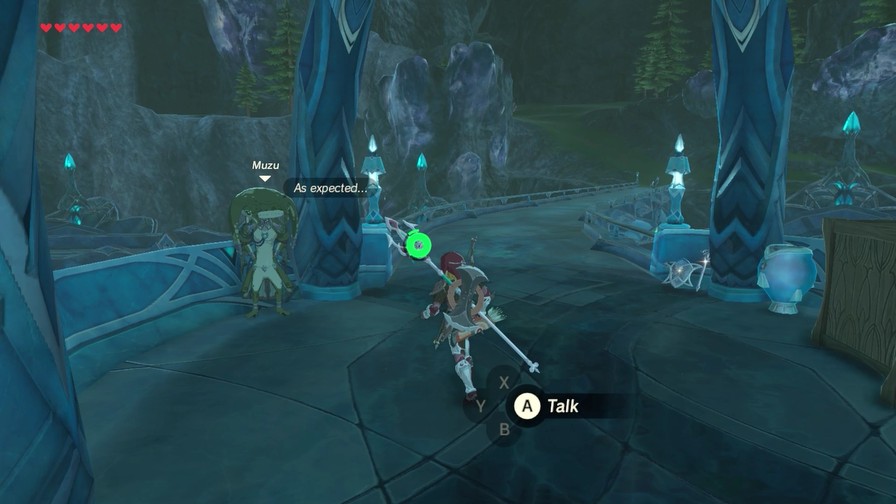
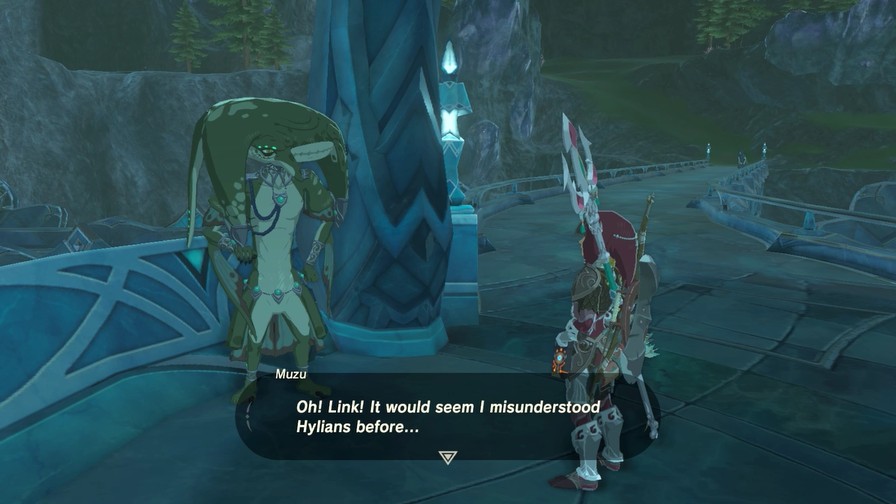
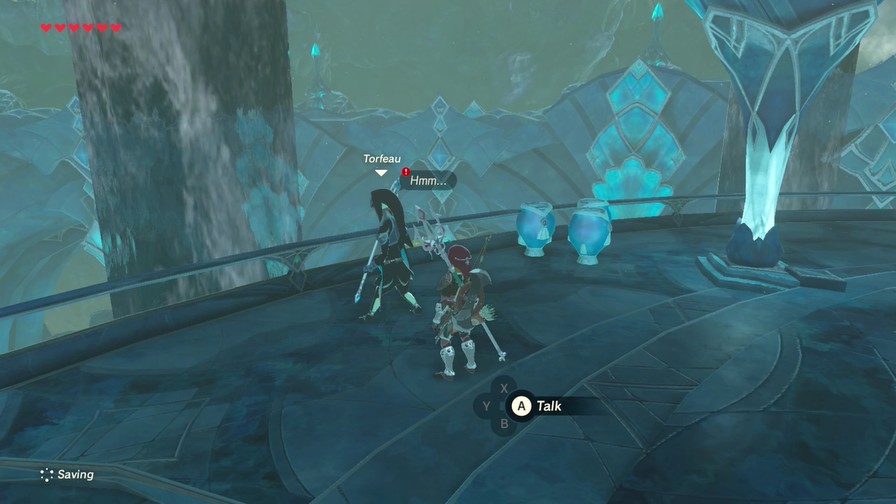
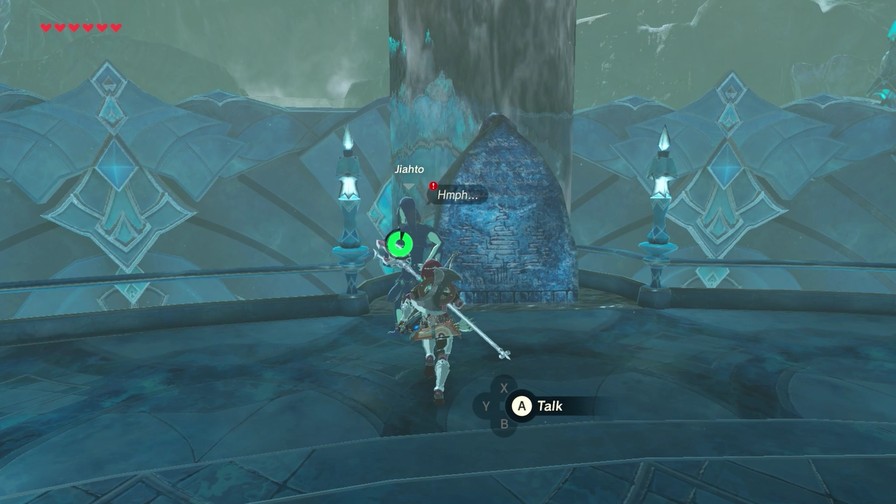
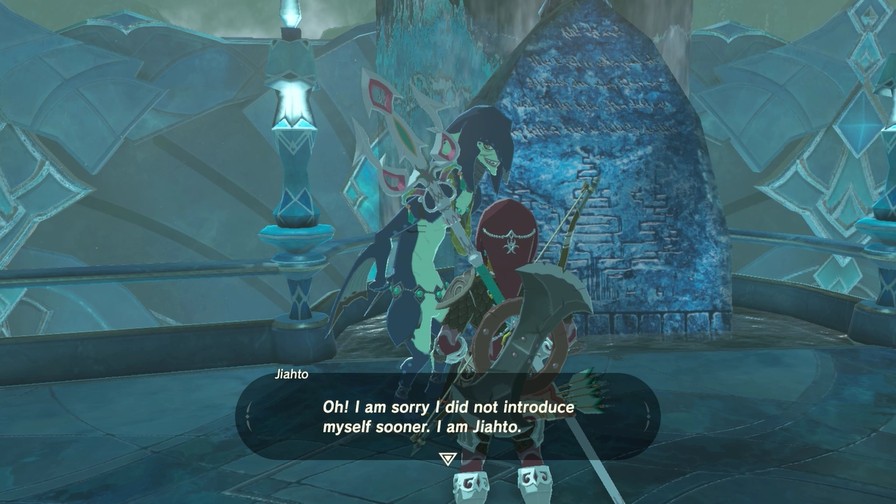
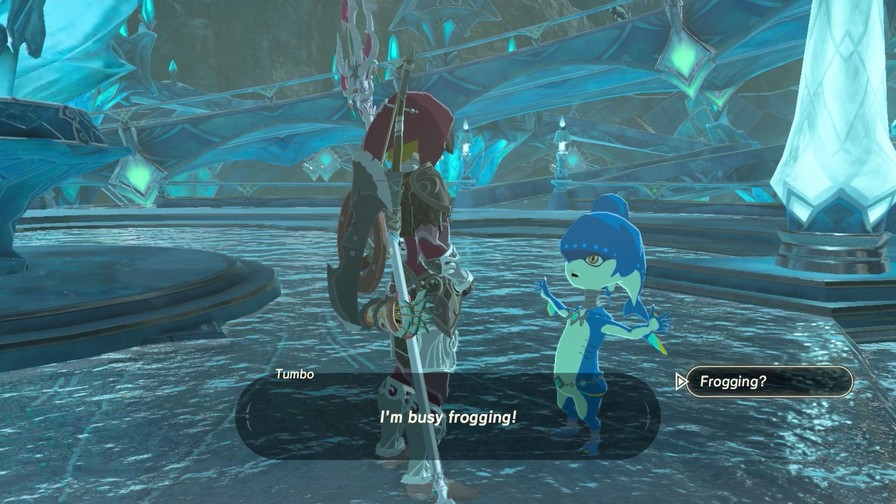
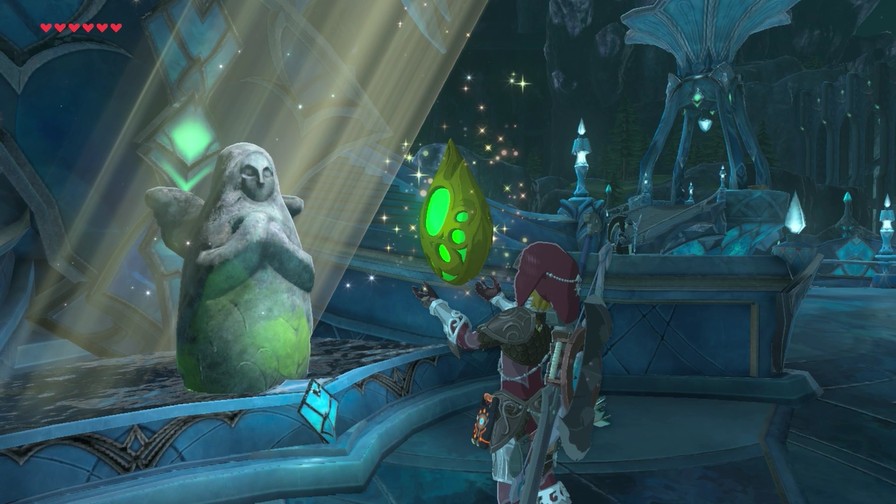
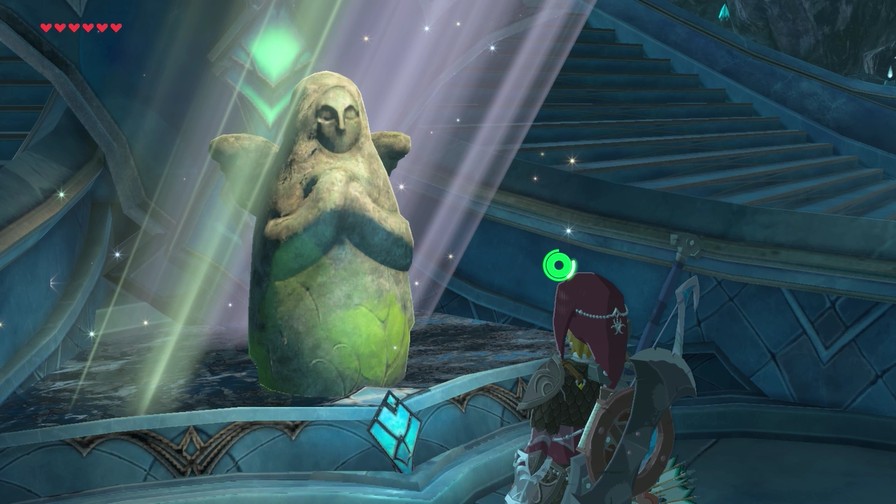
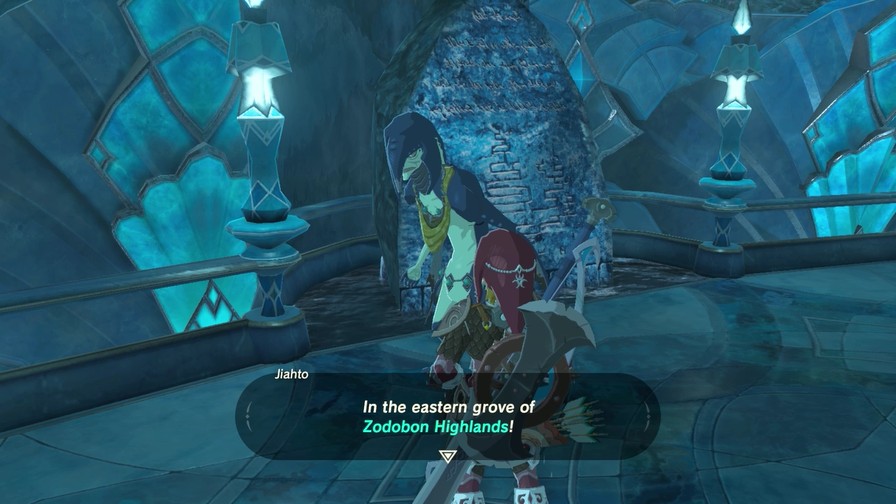
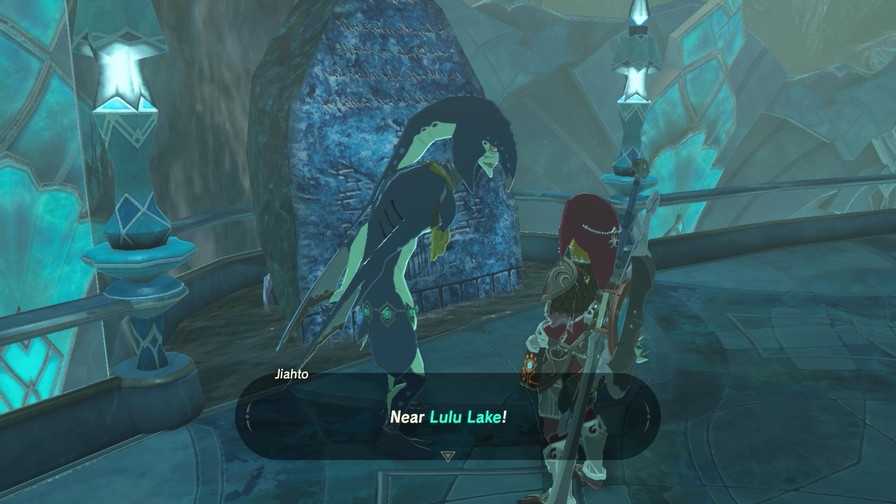
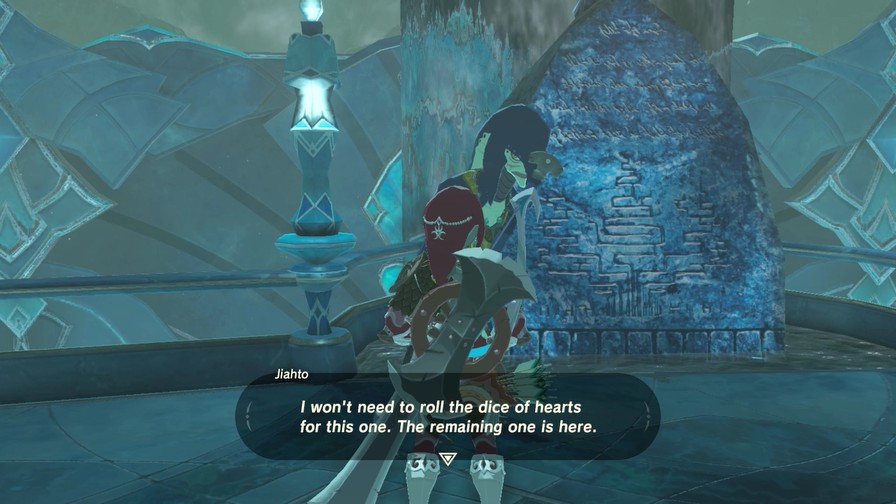
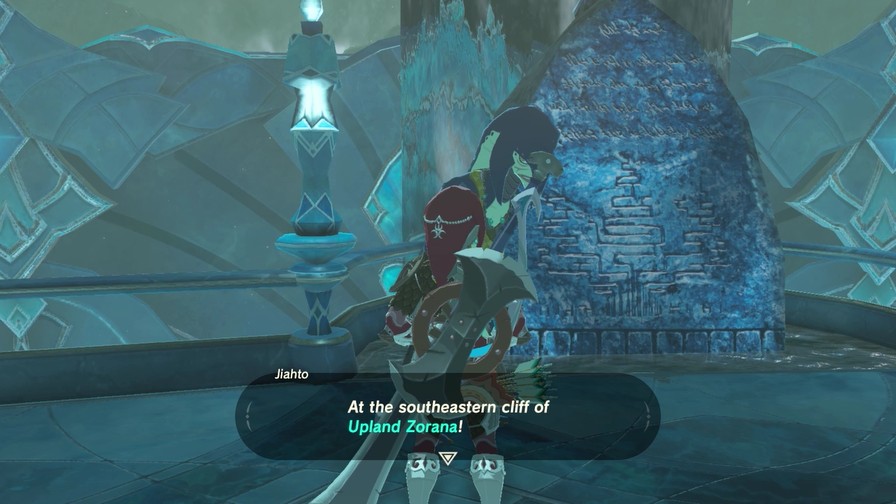
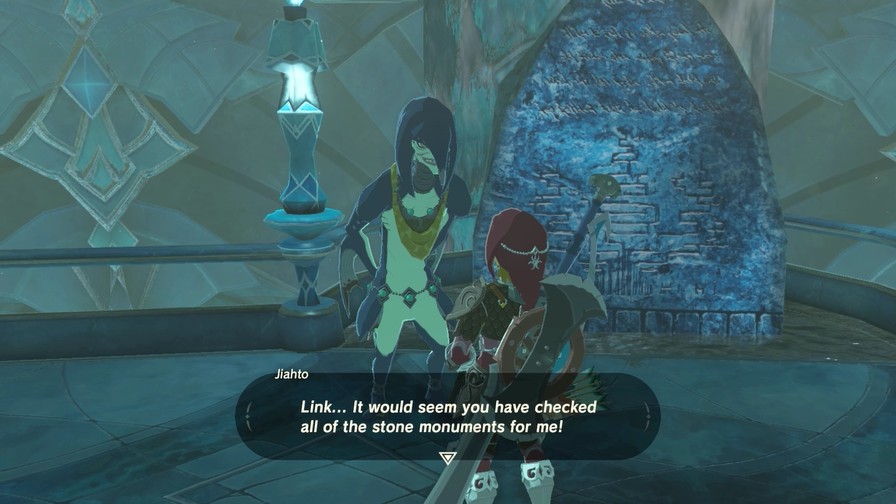
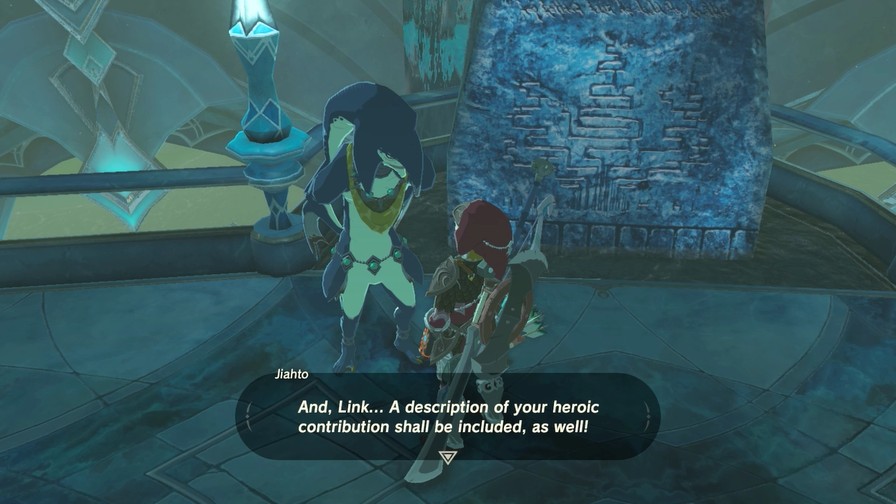
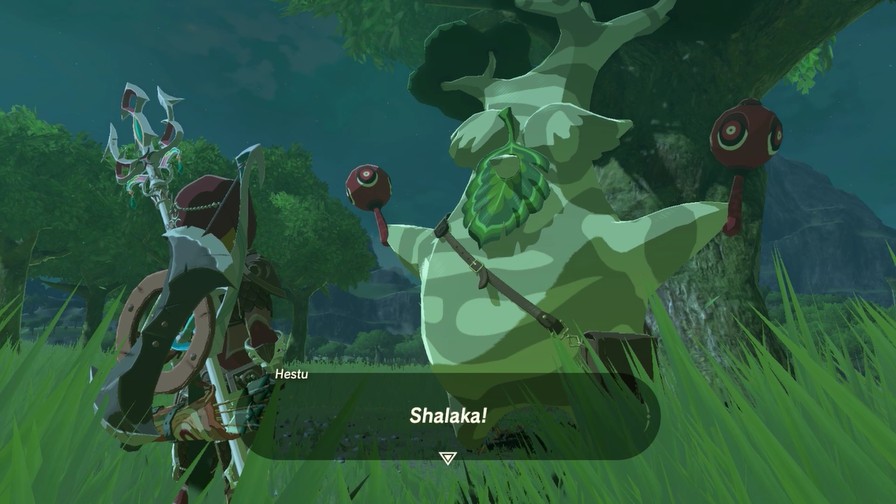
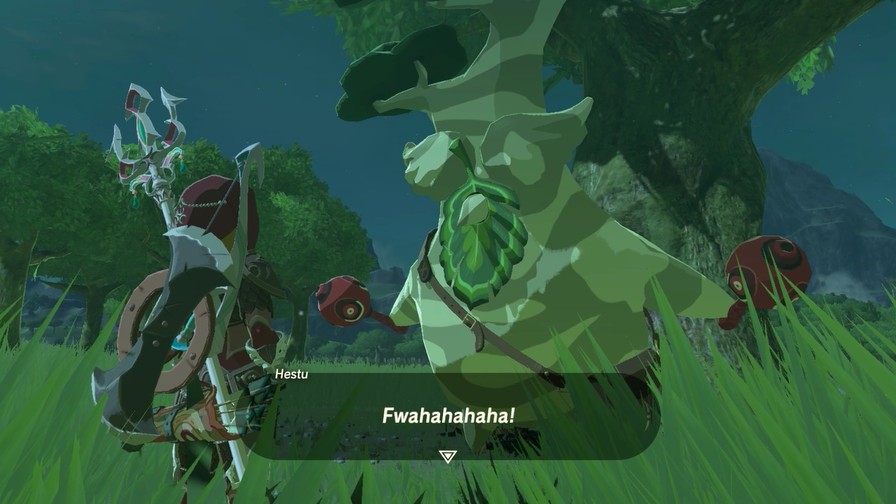
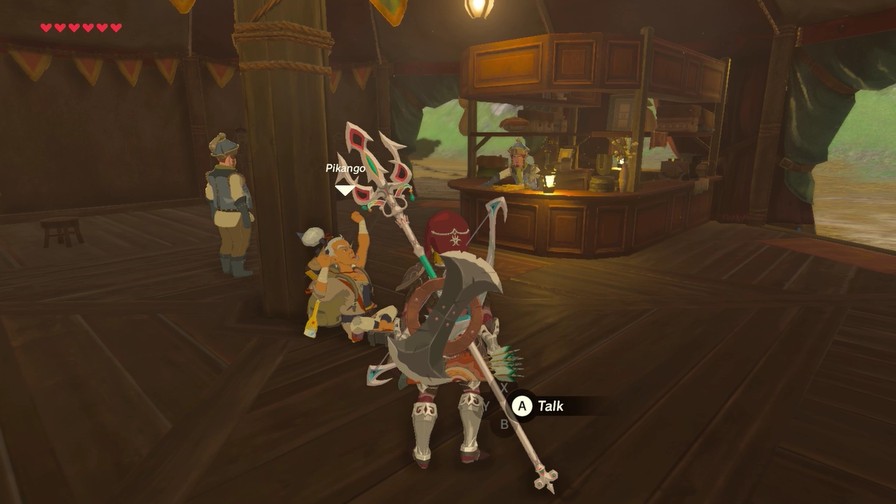
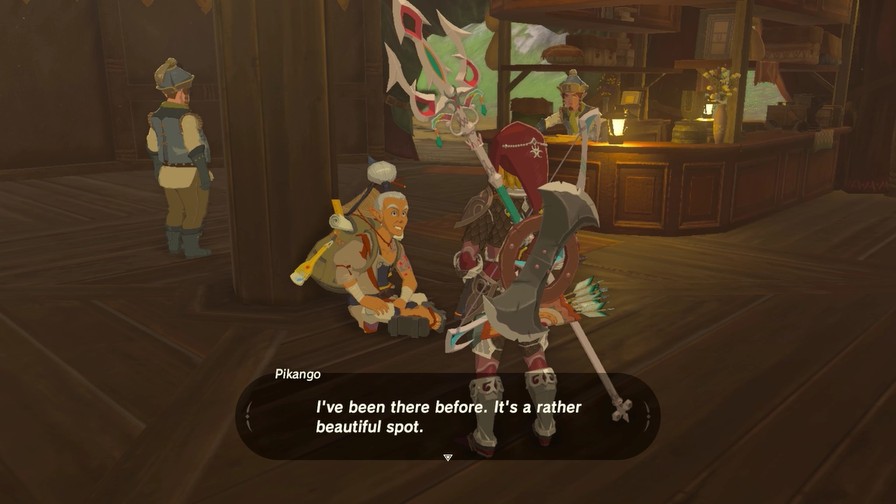
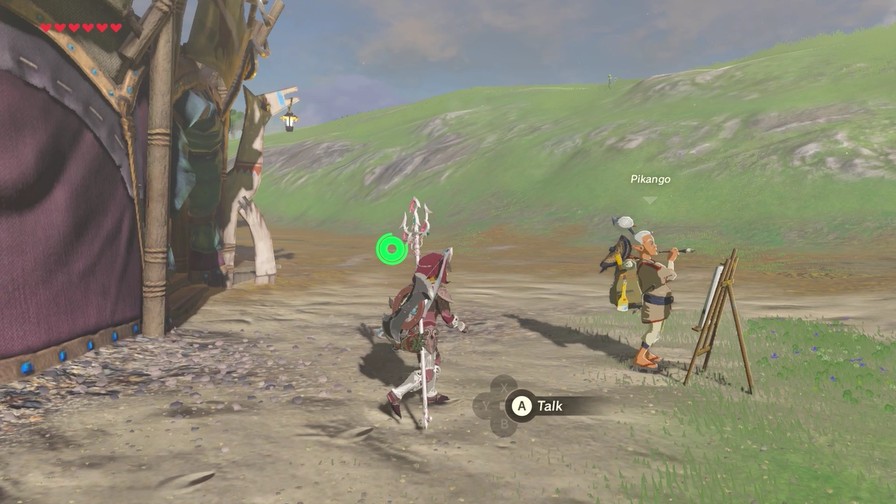
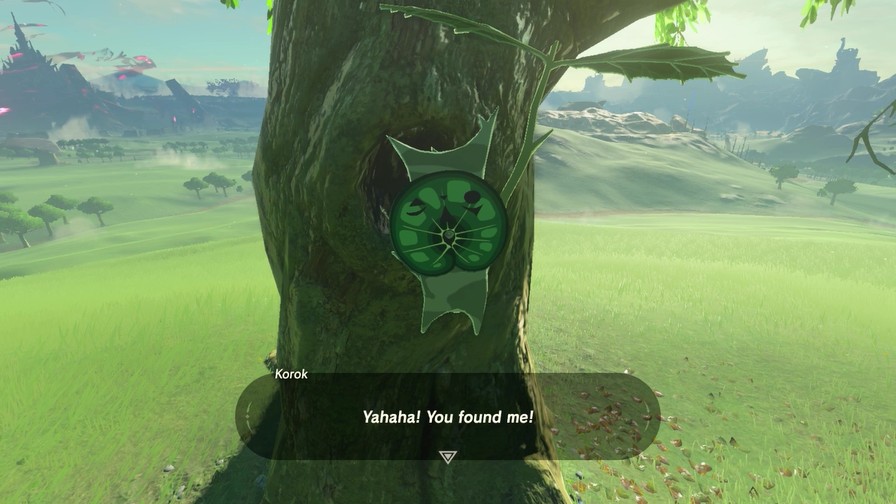
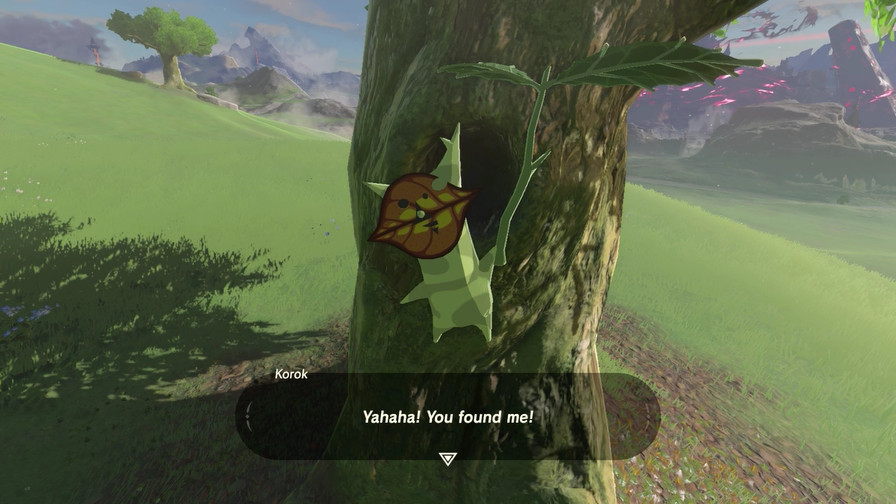
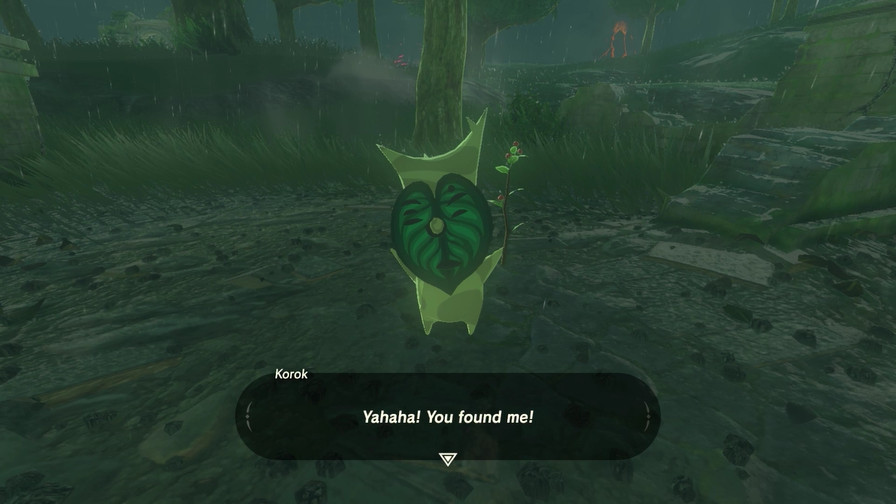
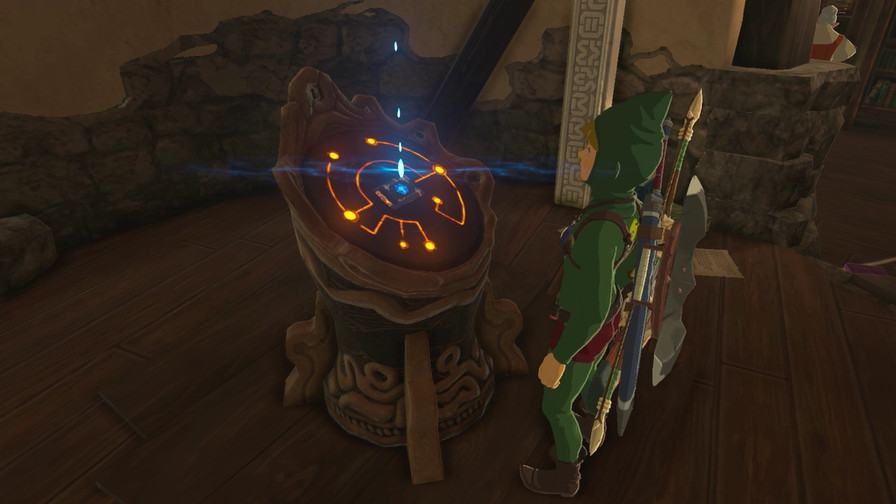
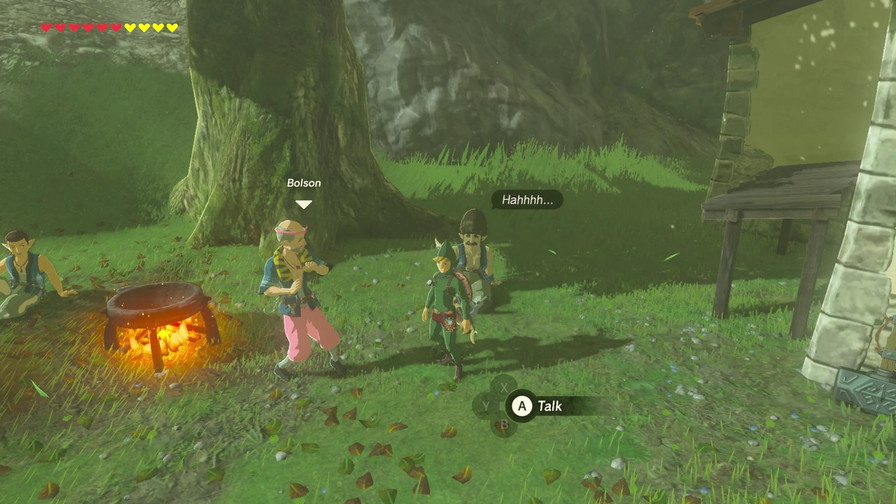
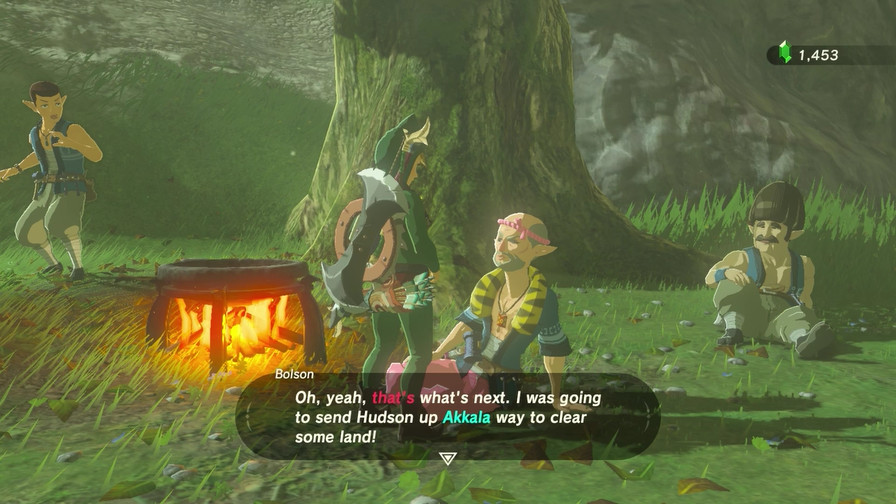
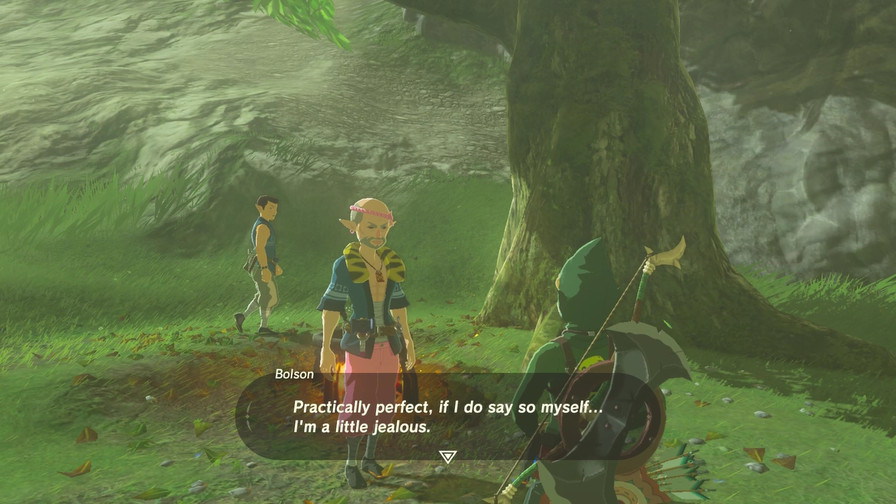
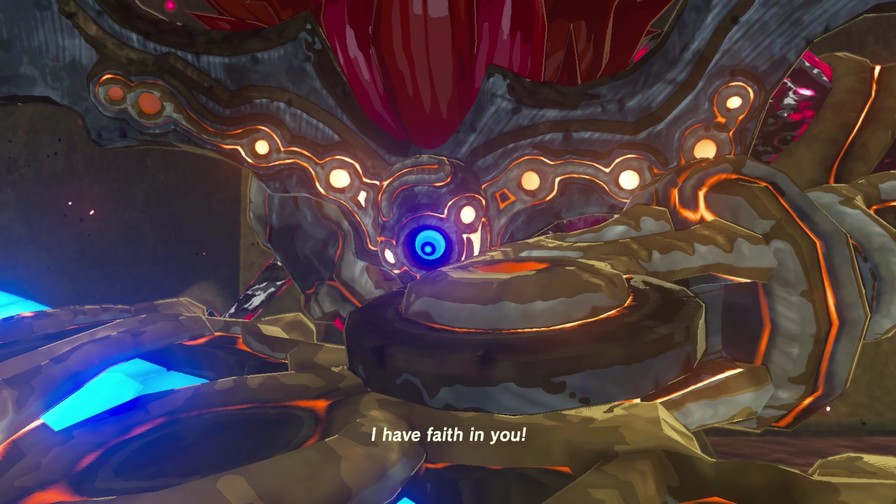
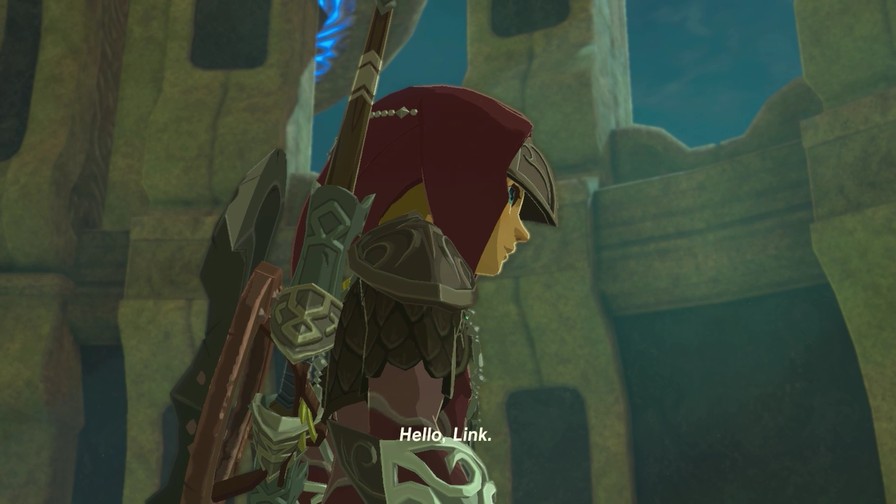
Also upon activating this, we meet our guide for this place…sort of.
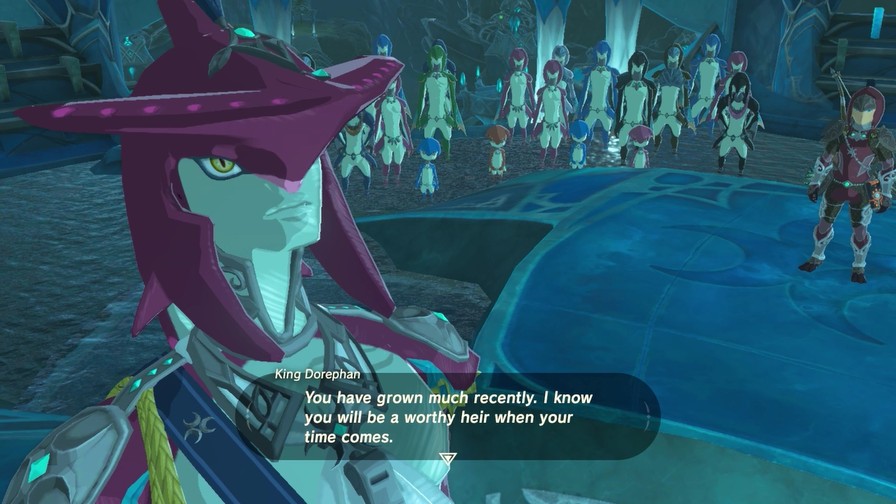
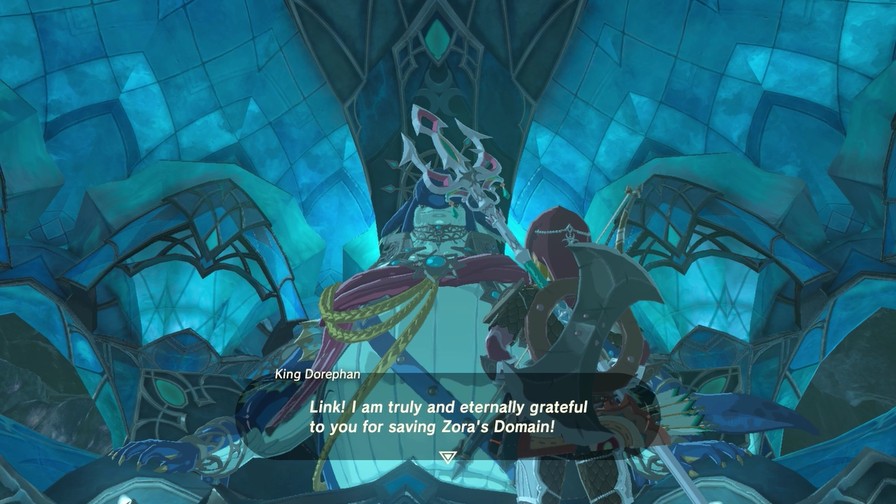
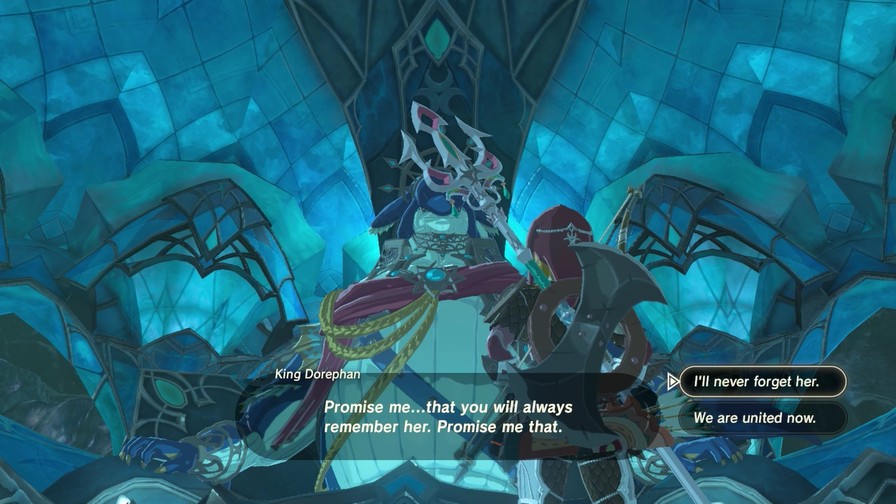
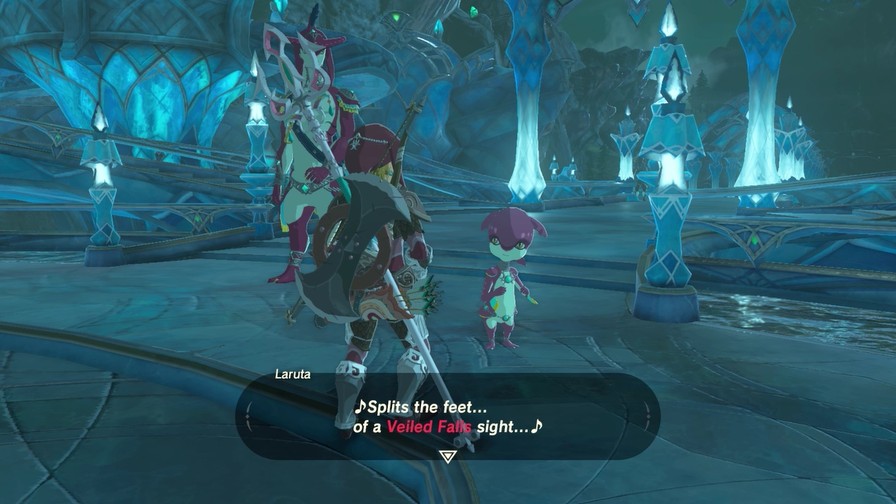
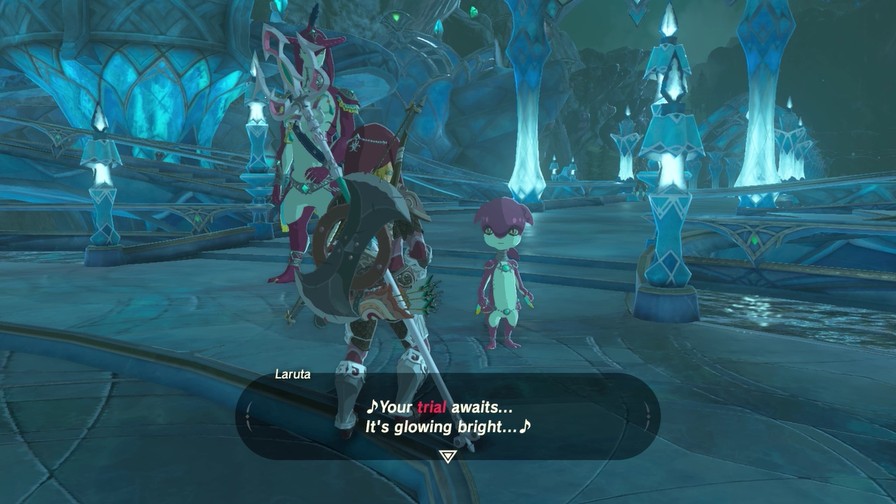
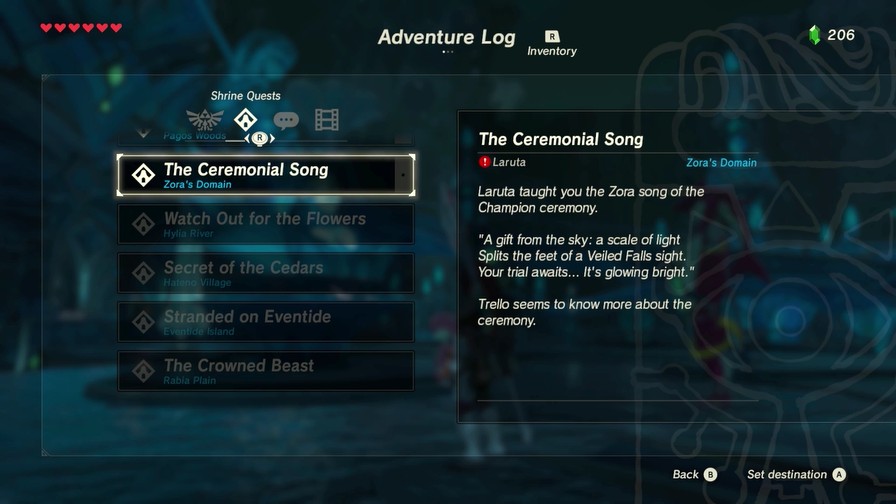
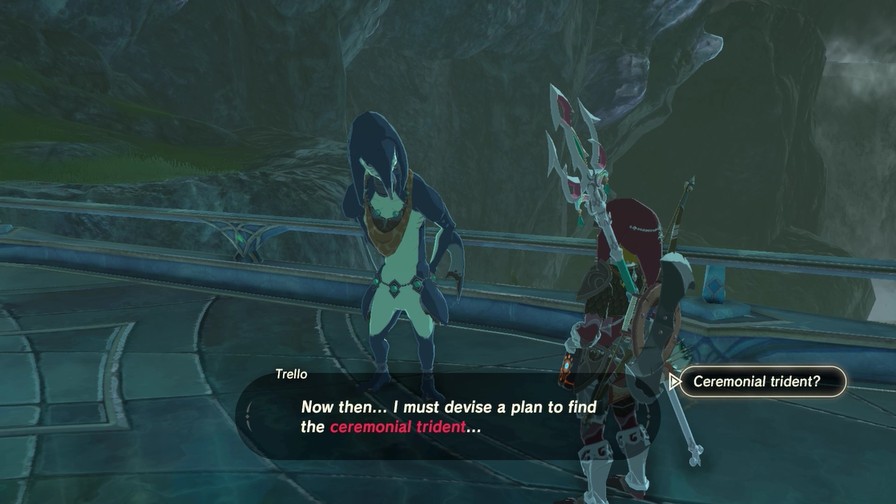
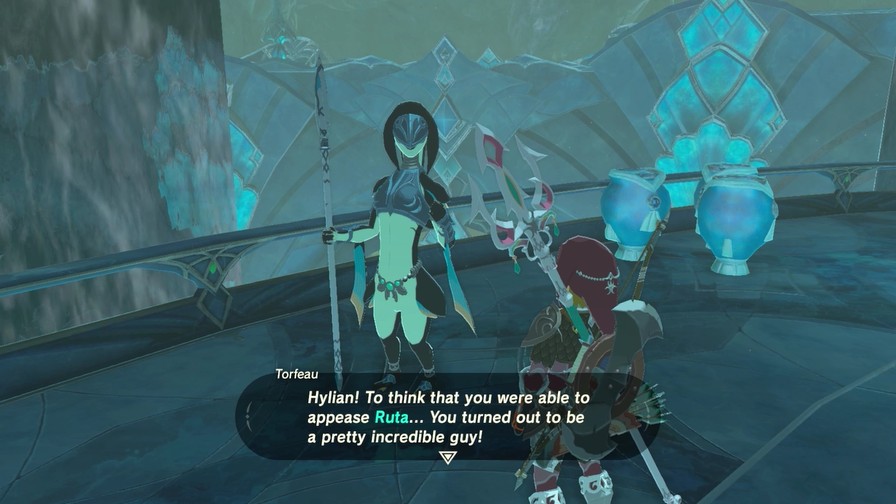
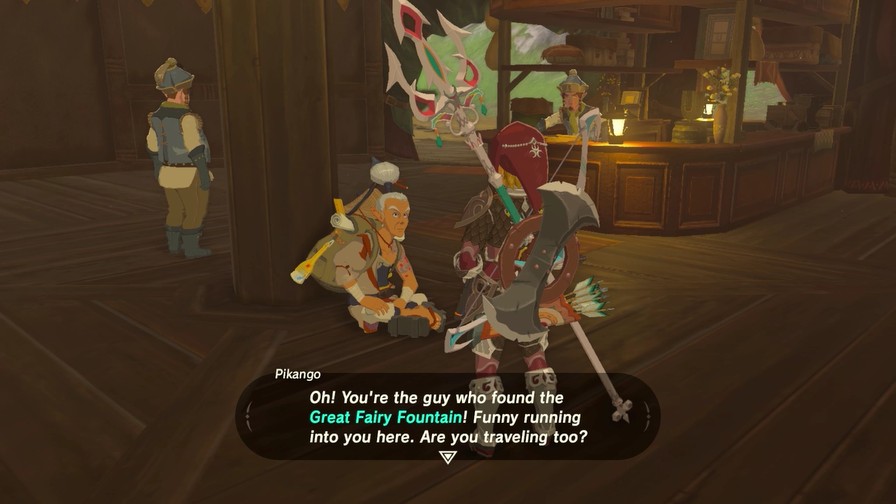
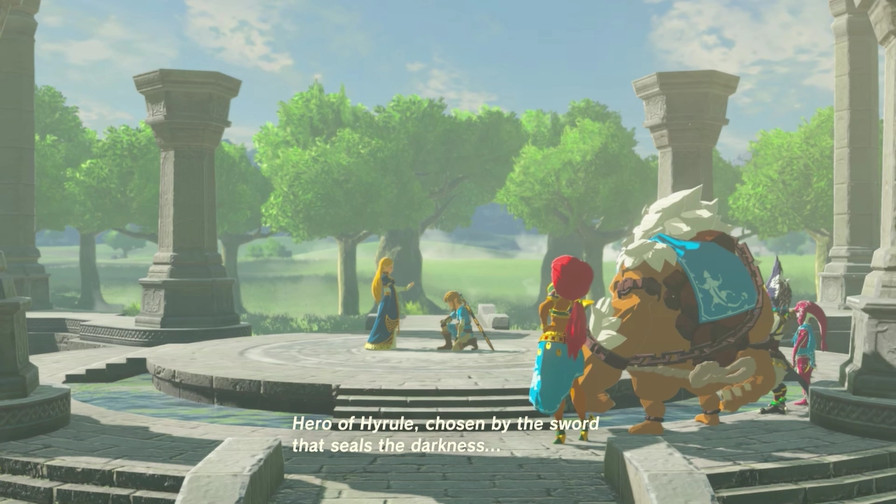
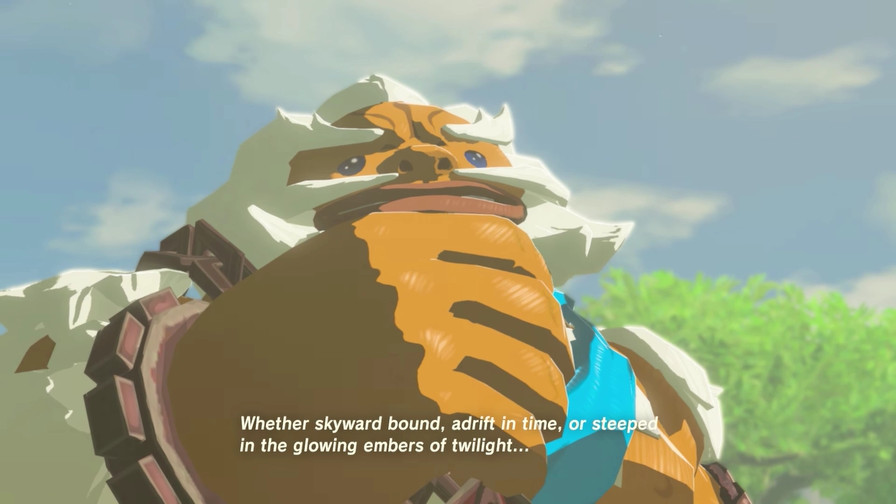
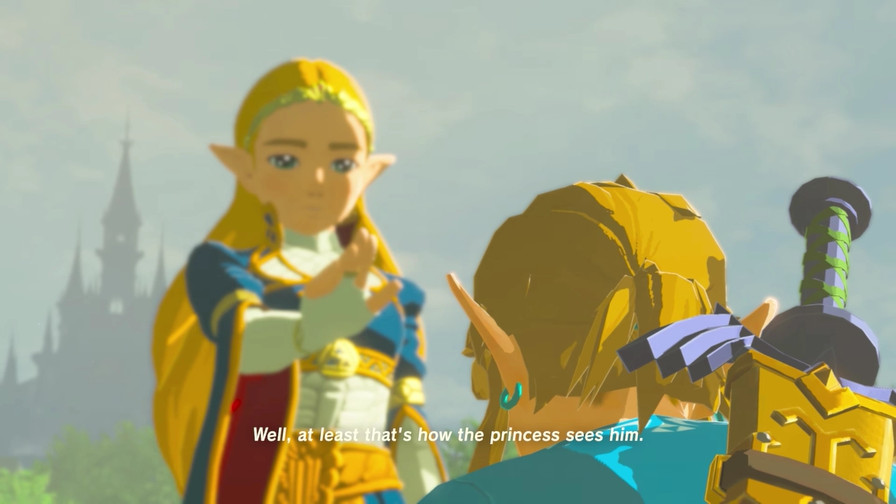
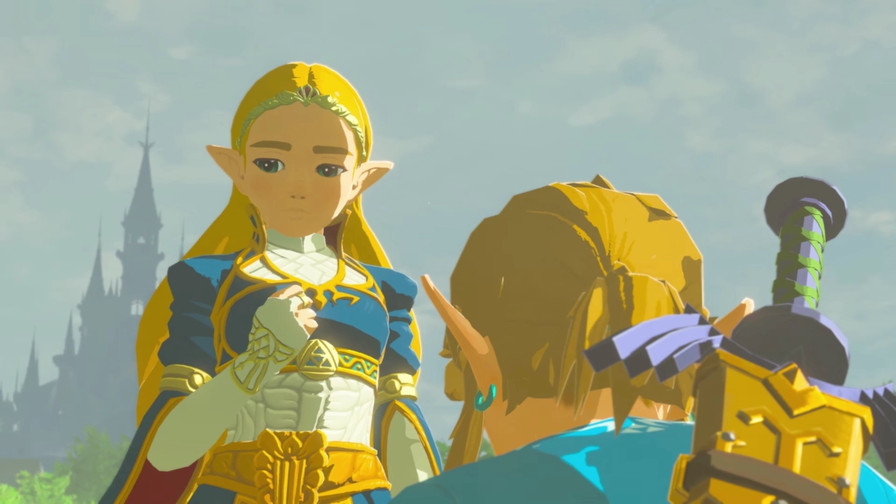
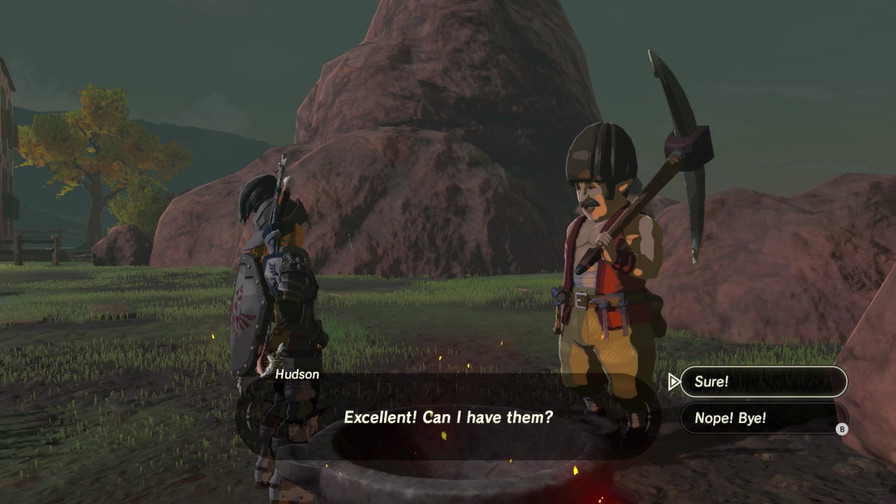
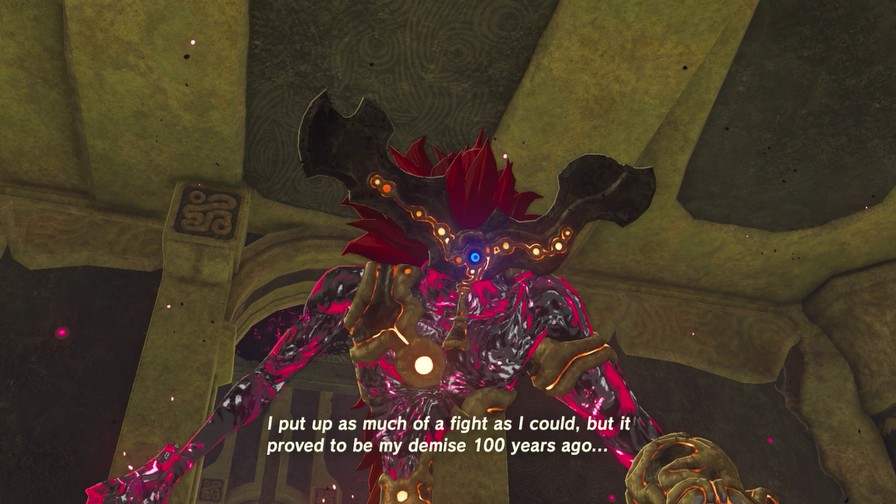
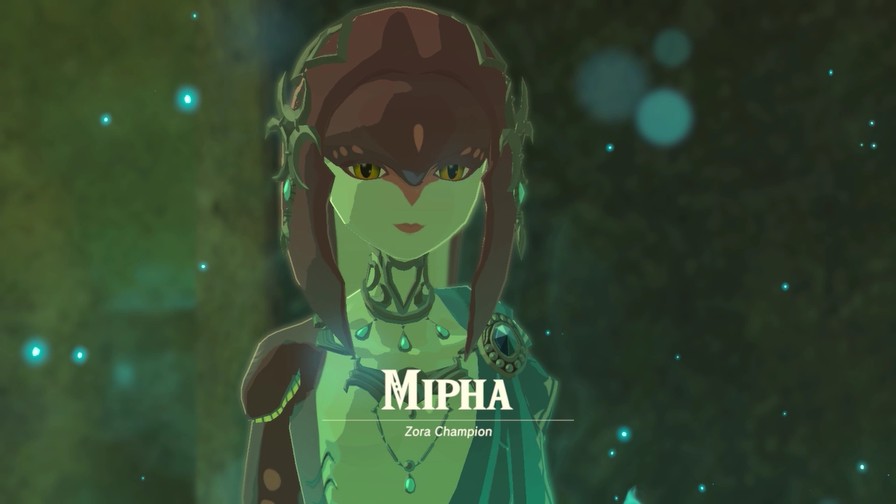
 I must say…that I am so happy to see that this day has finally arrived. Now Ruta can be freed of Ganon’s control.
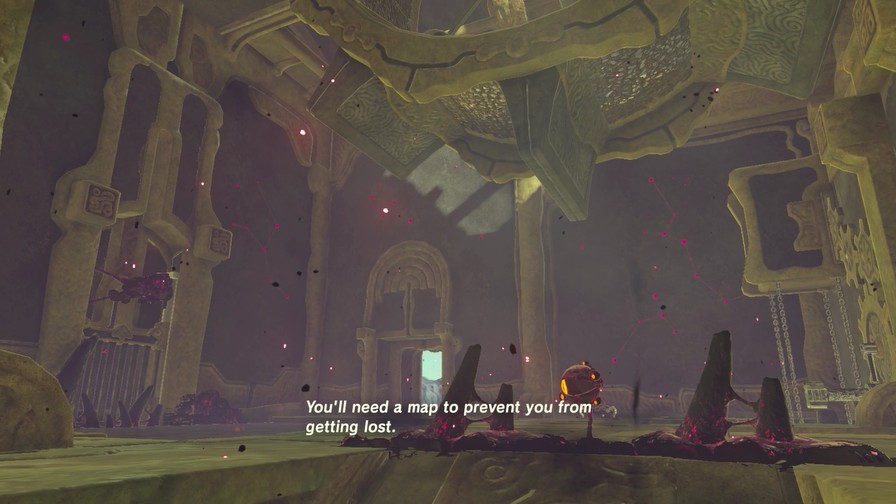
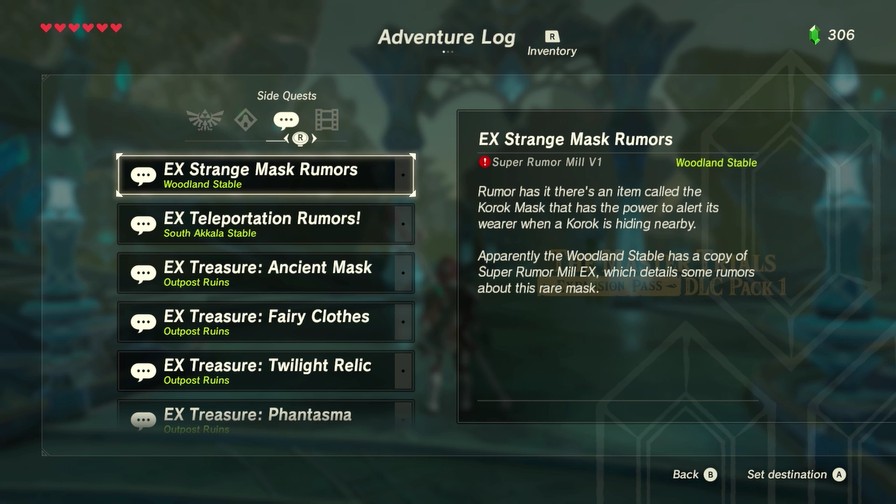
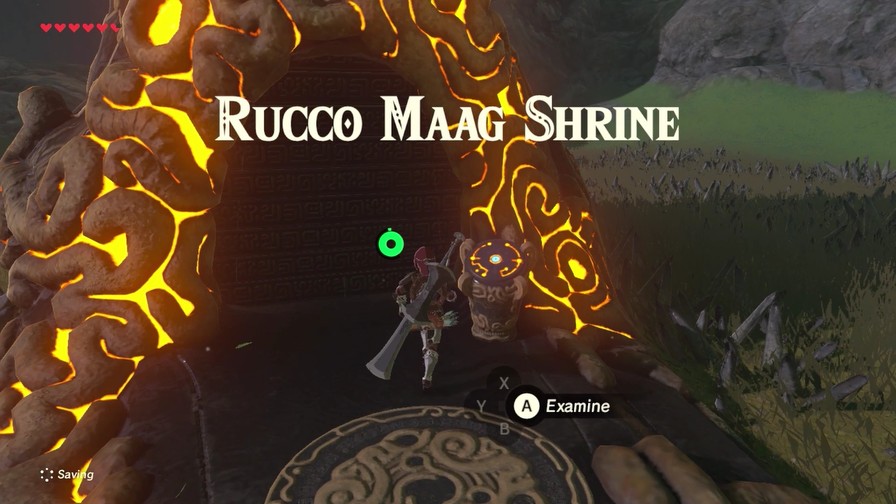
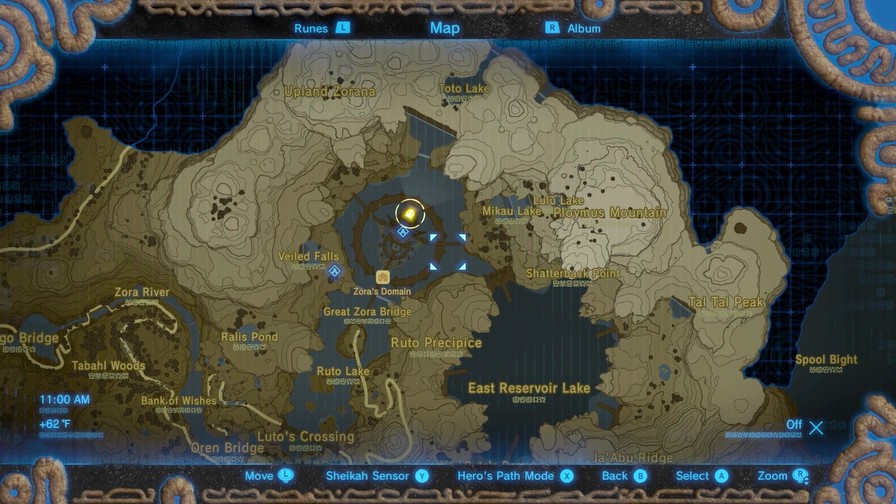
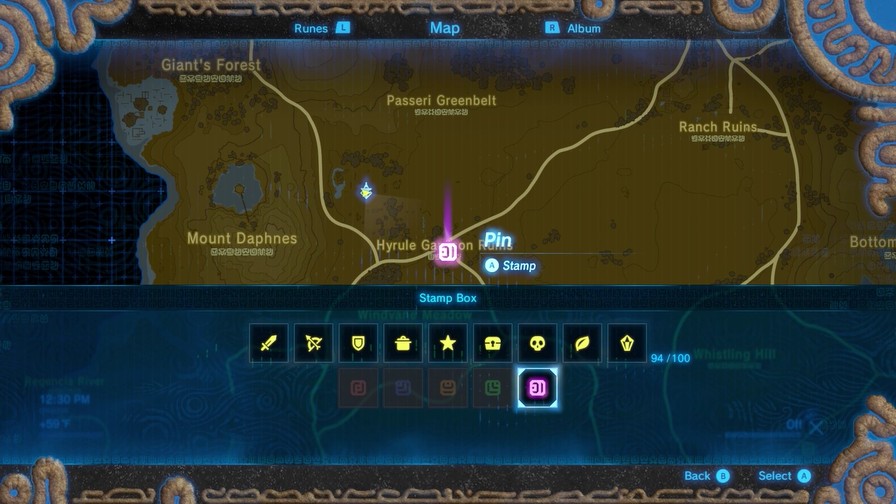
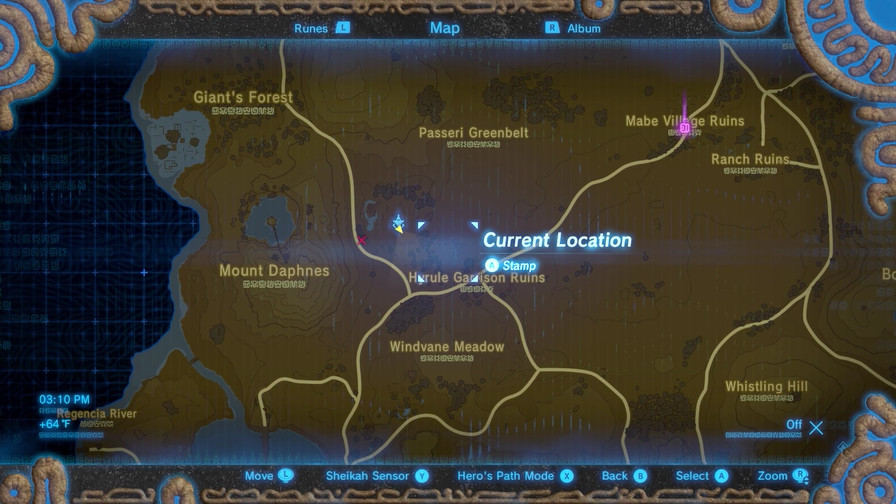
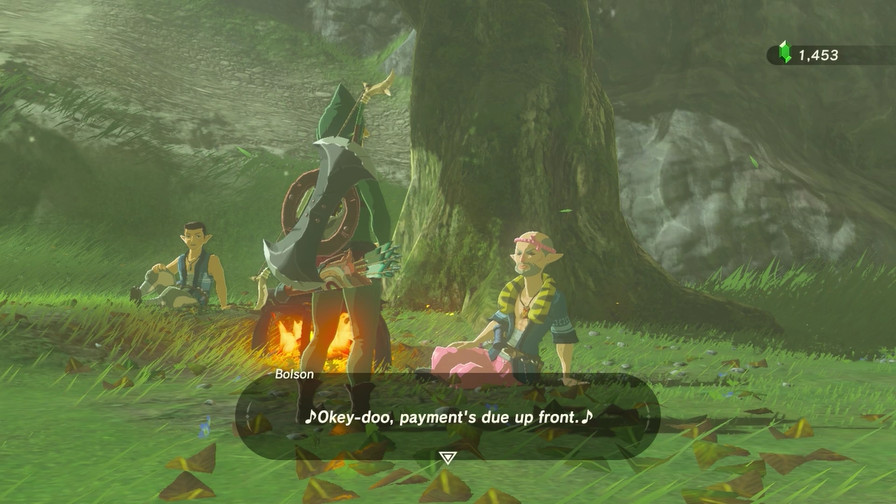
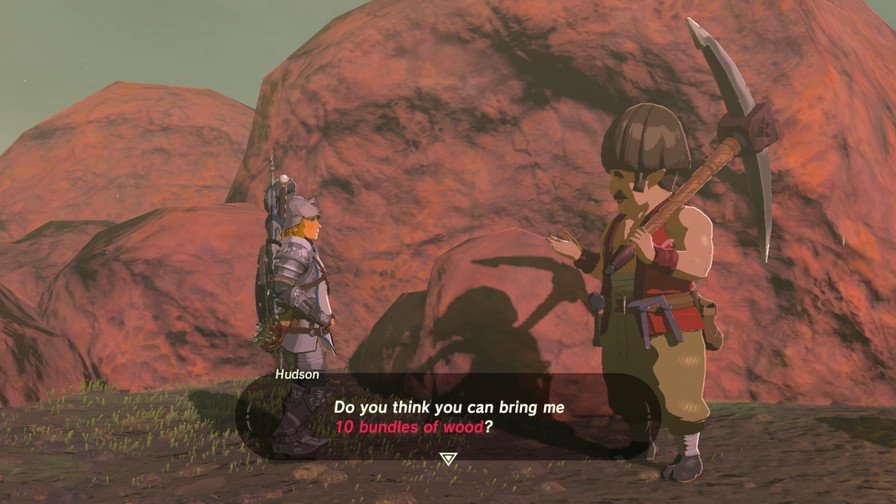
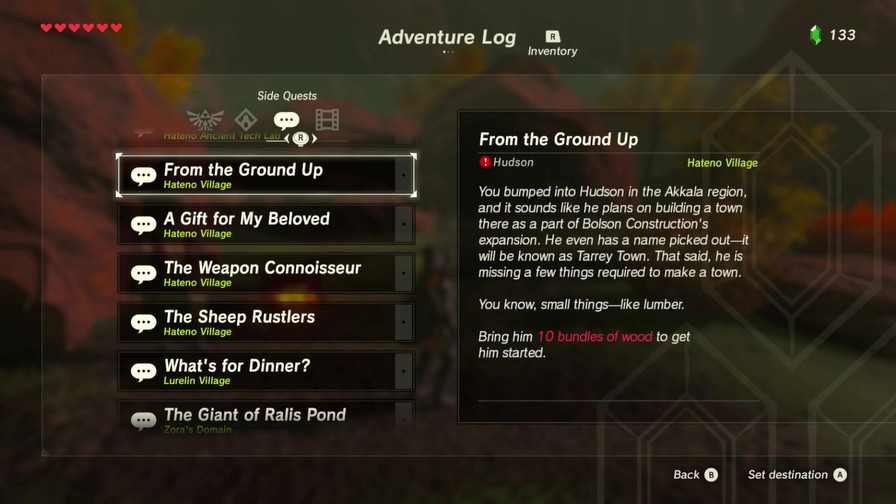
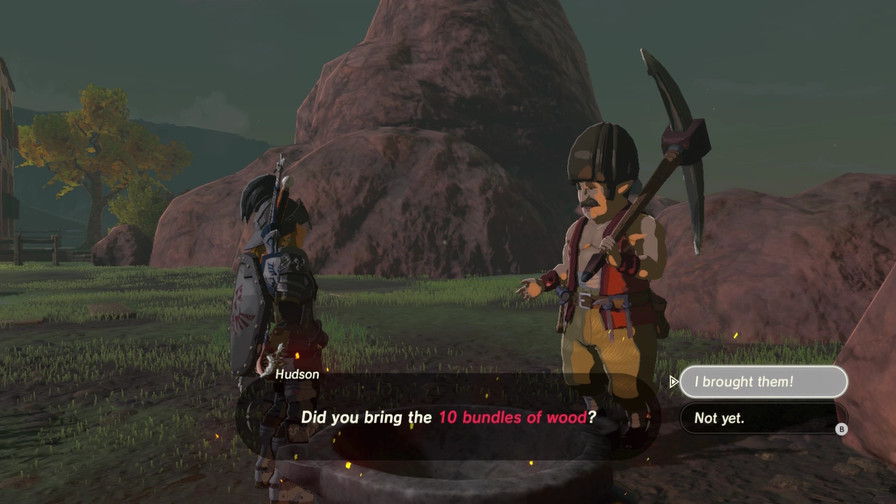
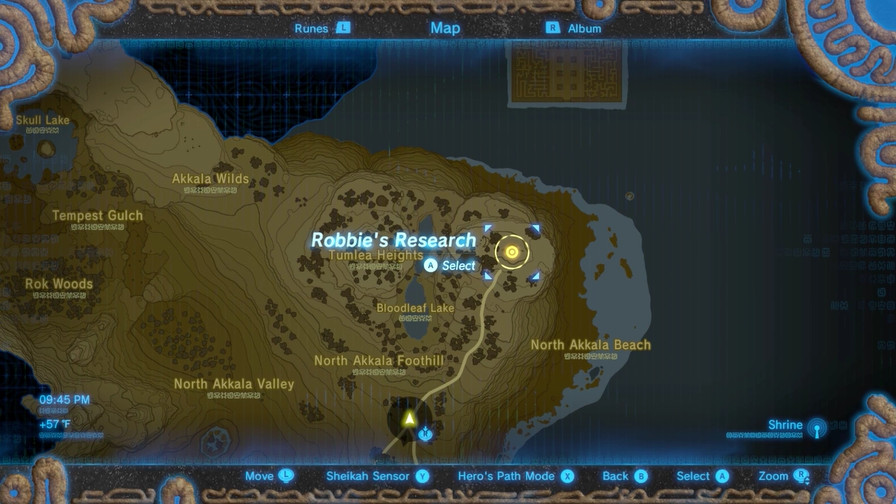
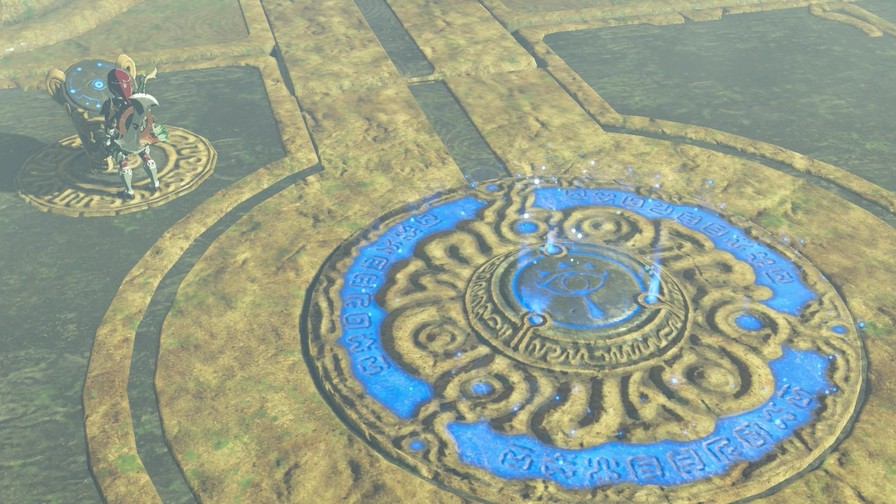
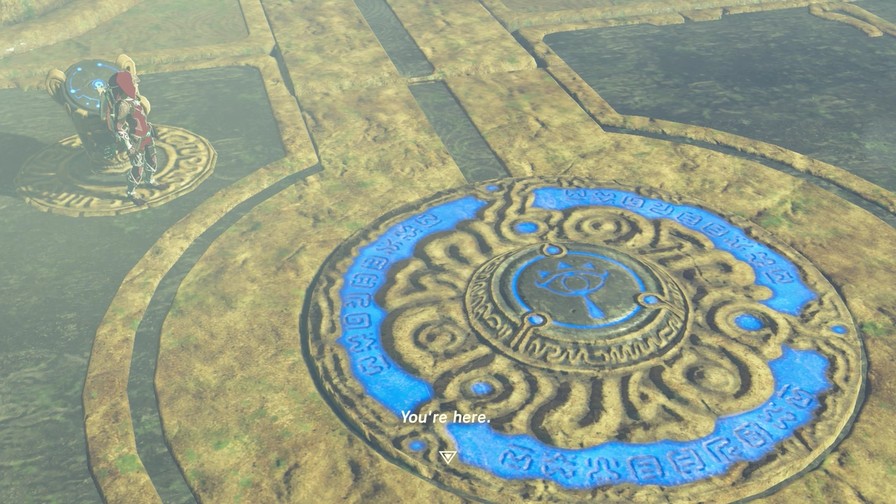
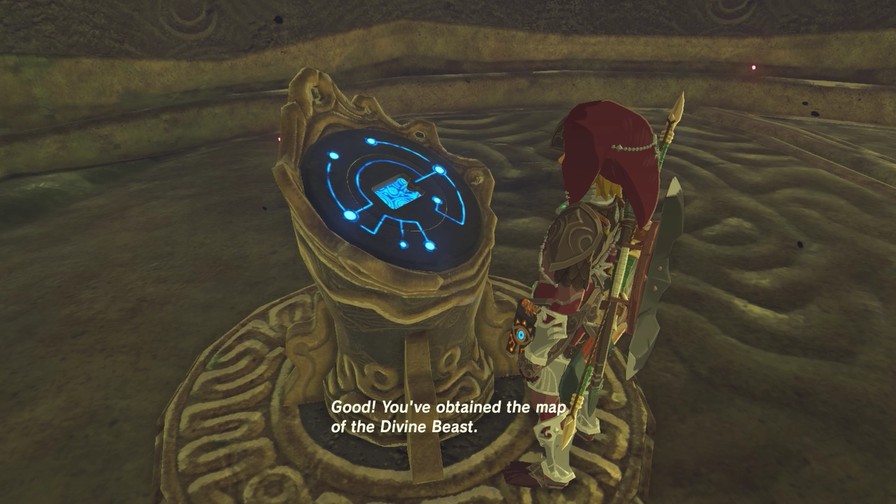
Now you may scoff at the idea of us needing a map, but it’s actually required to obtain for reasons you’ll see shortly.
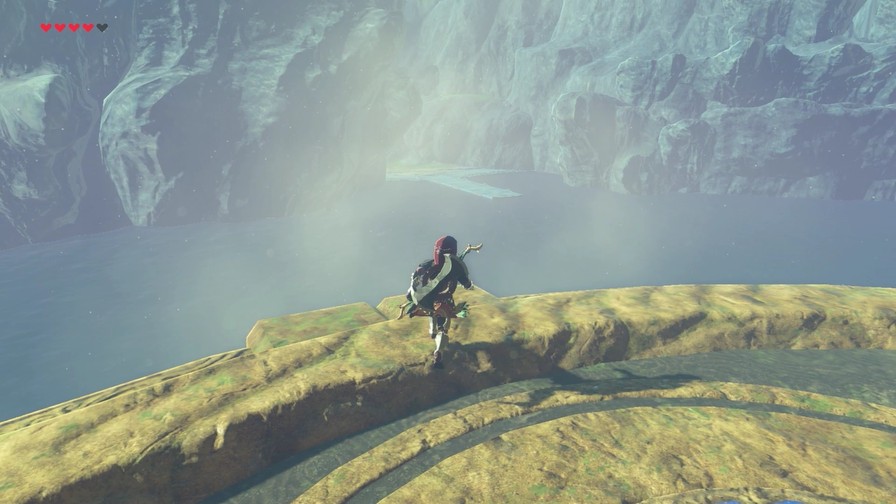
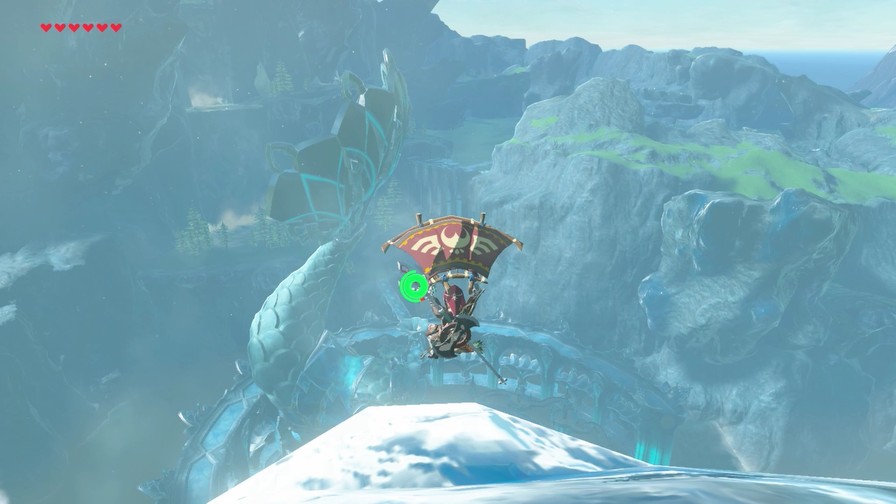
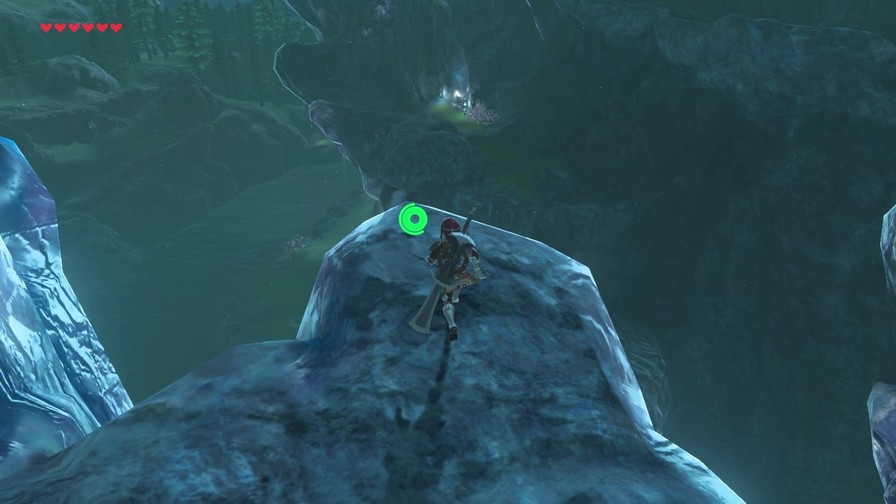
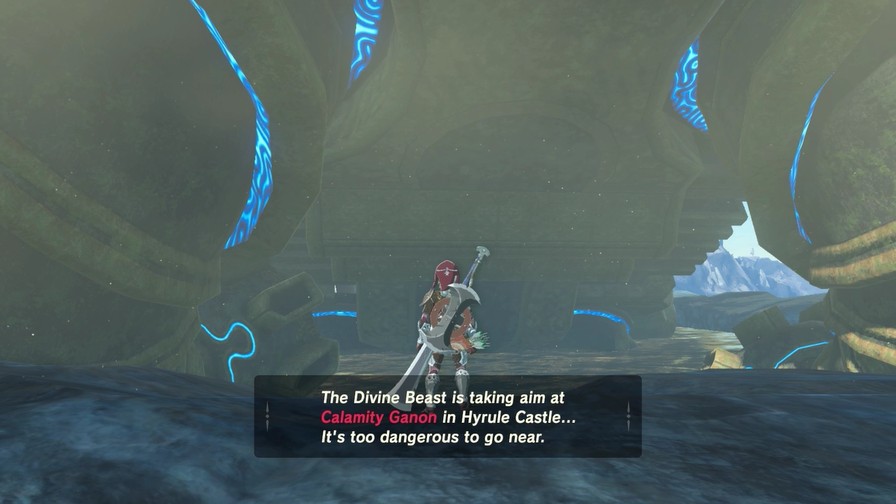
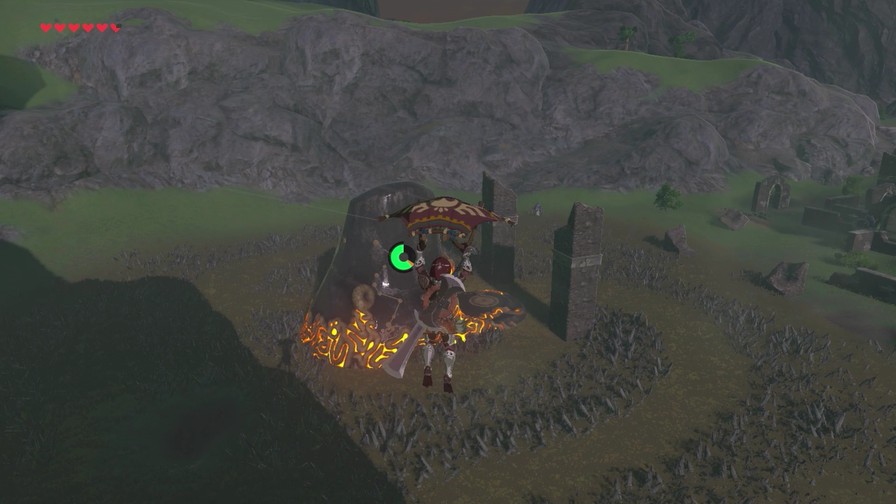
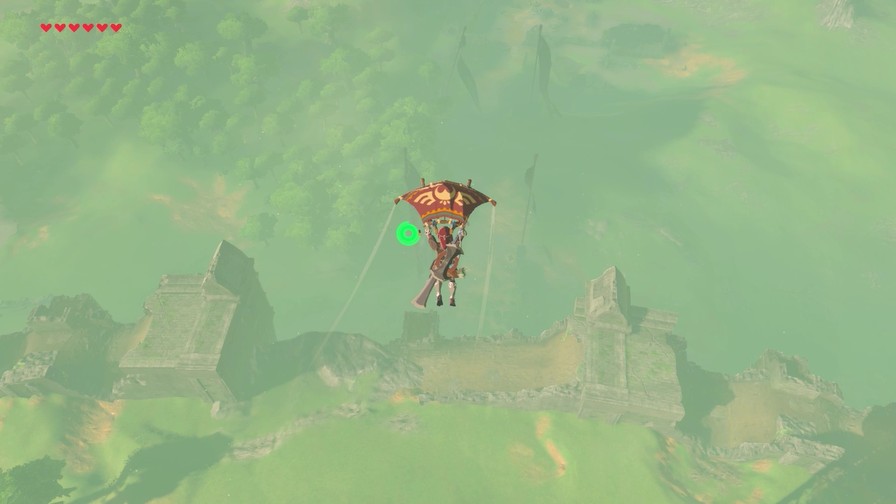
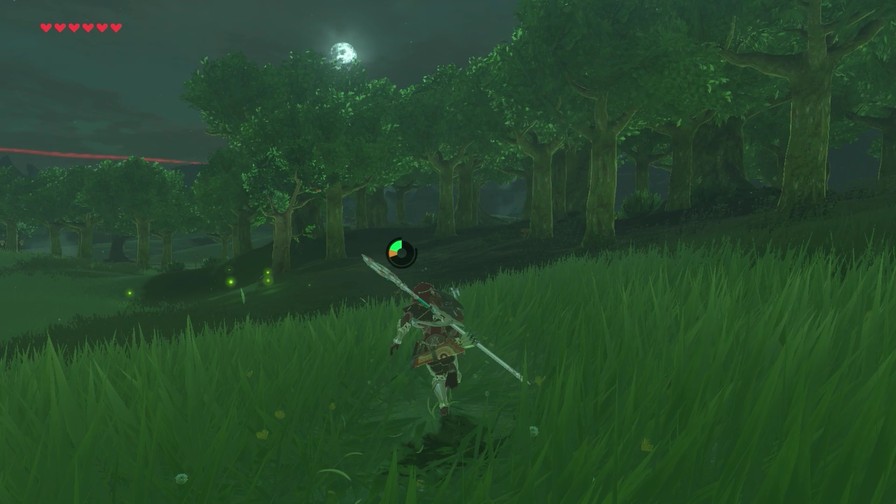
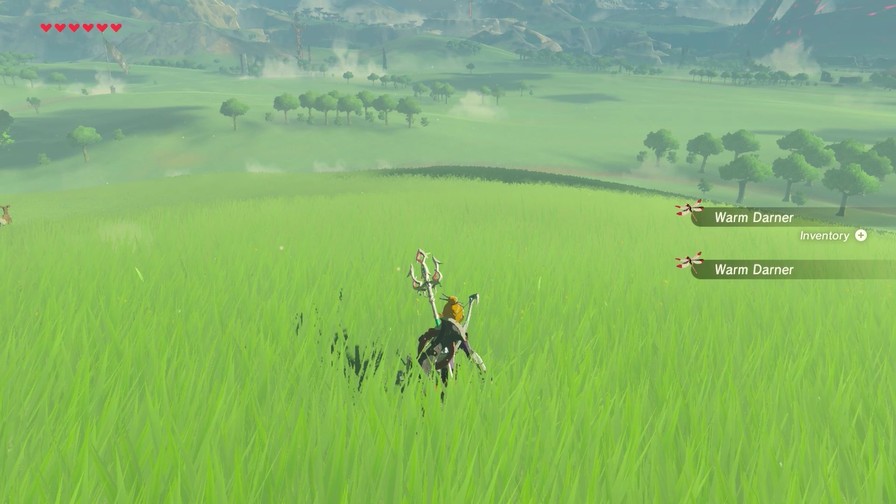
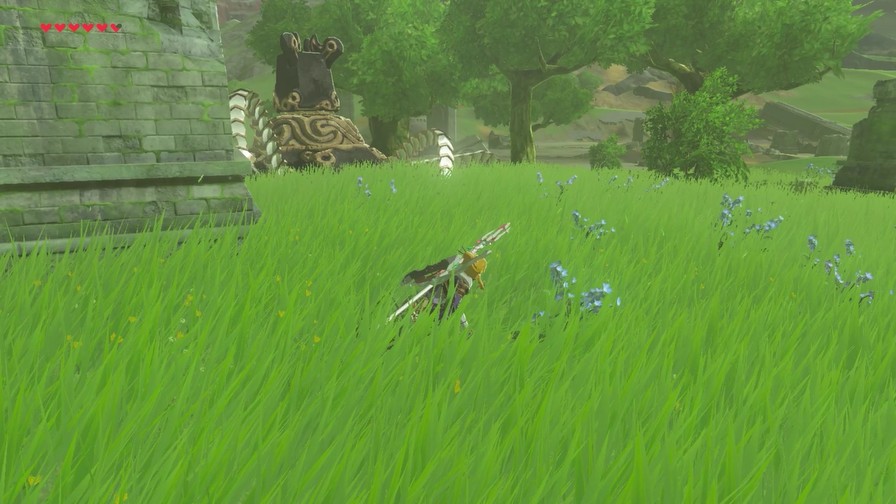
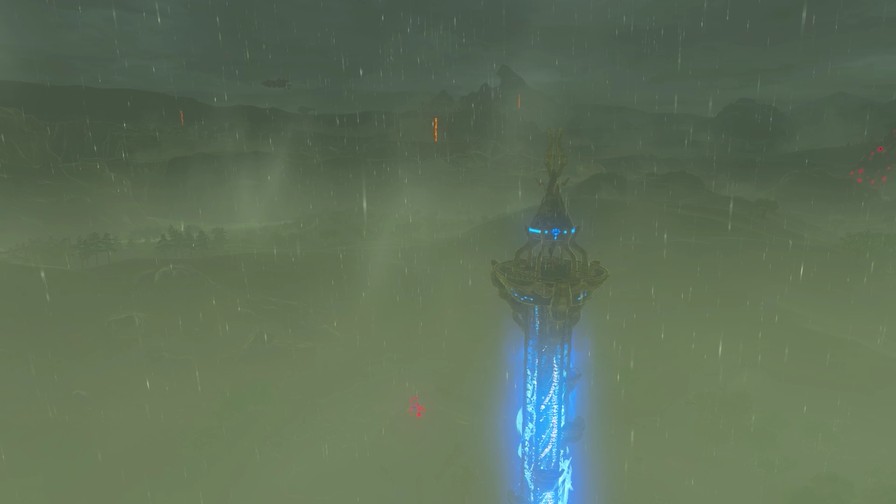
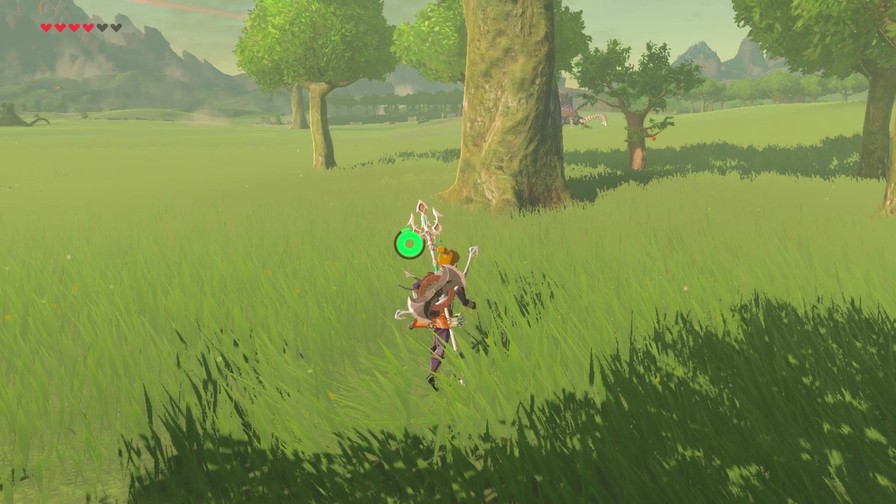
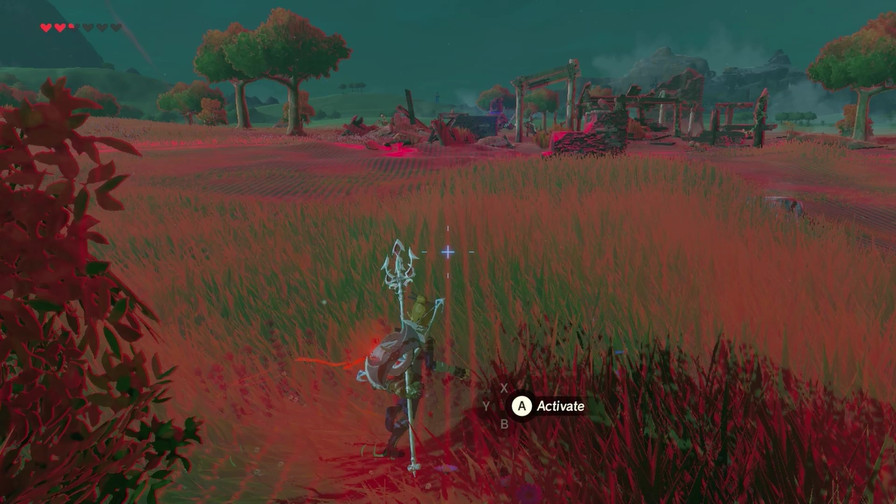
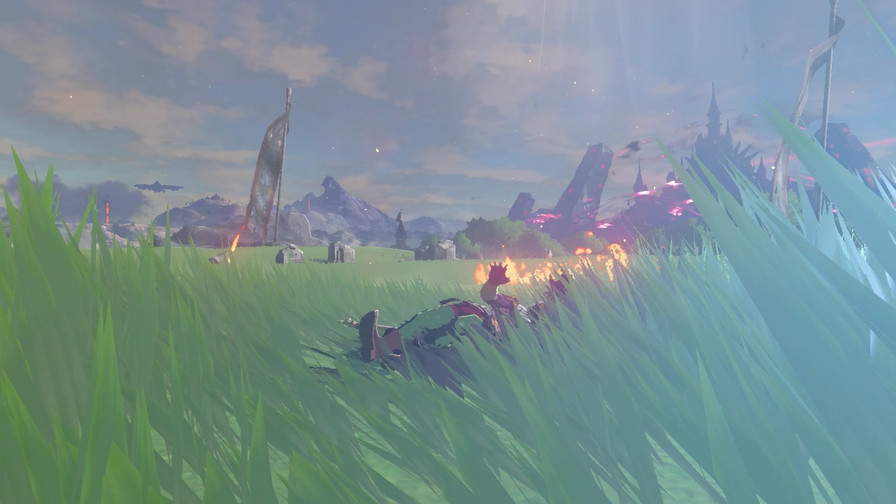
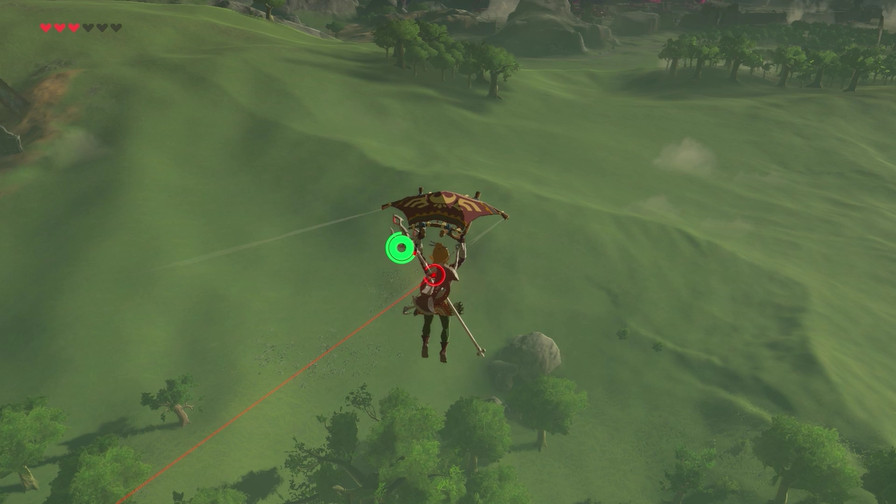
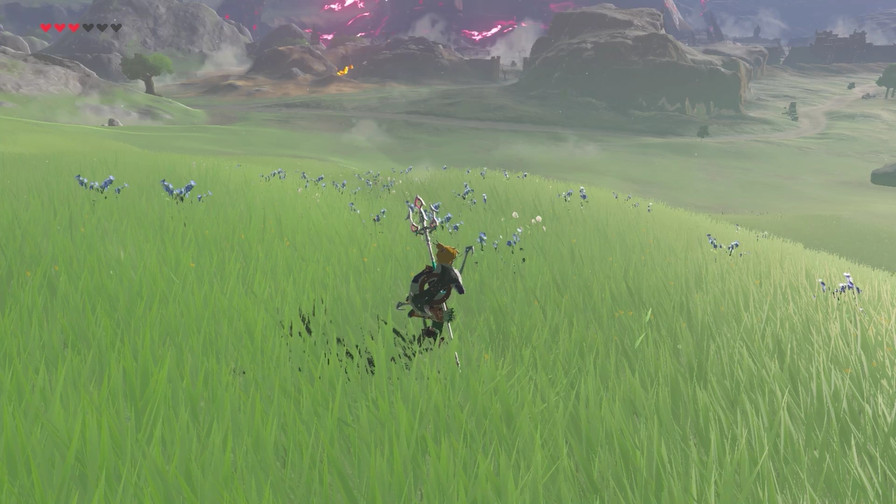
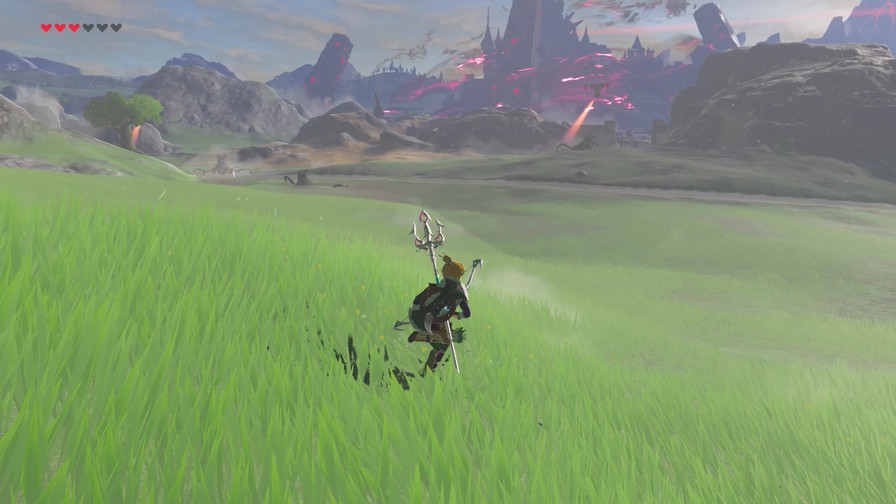
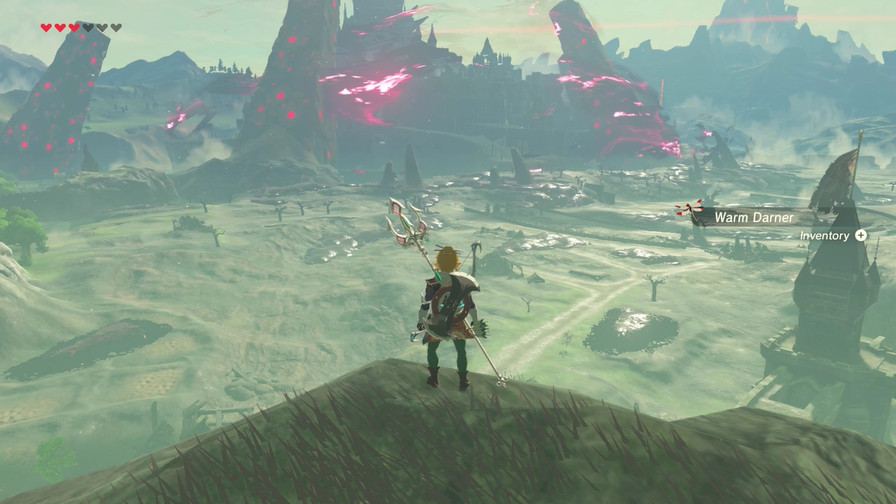
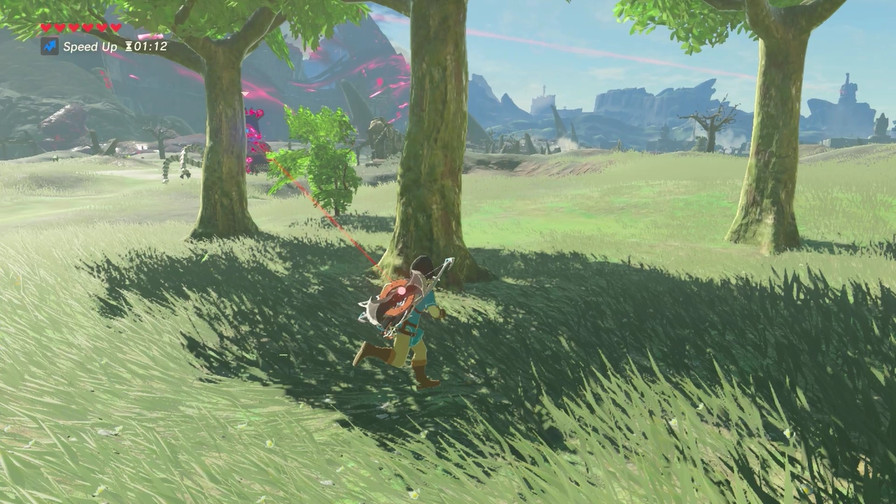
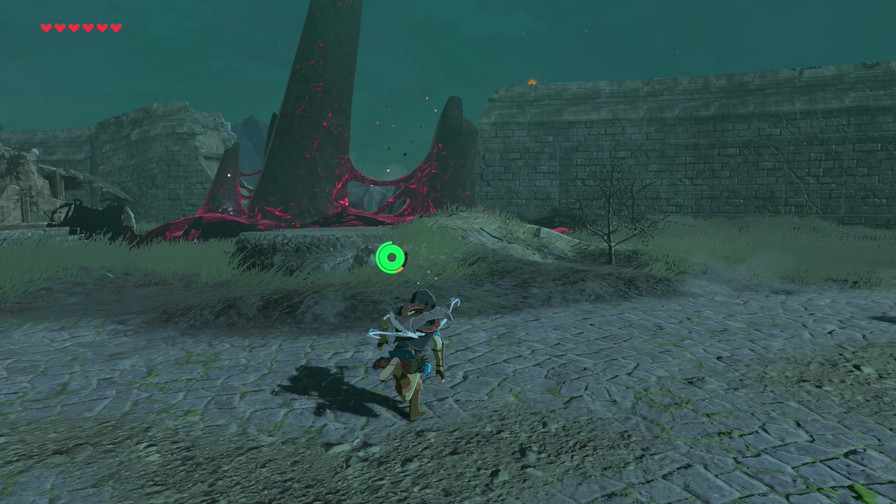
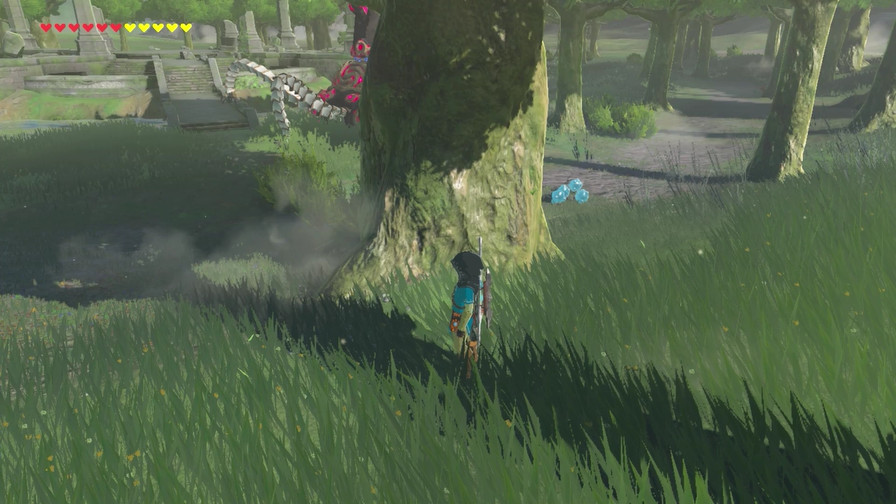
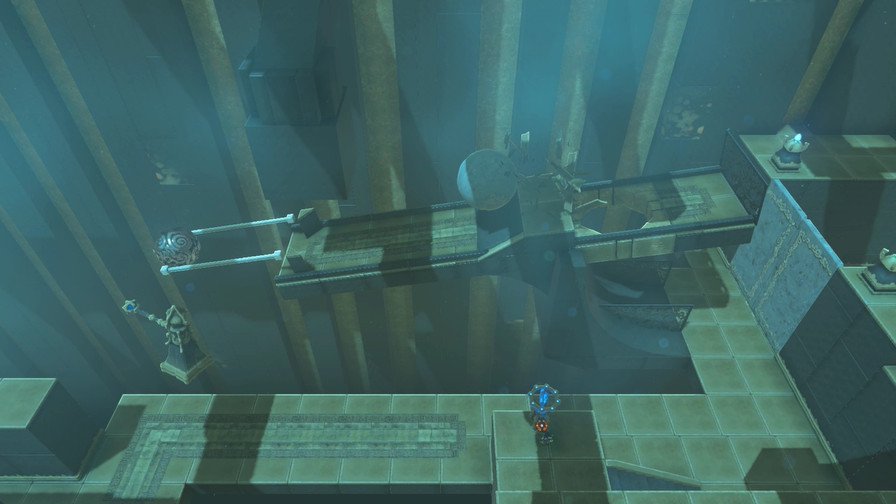
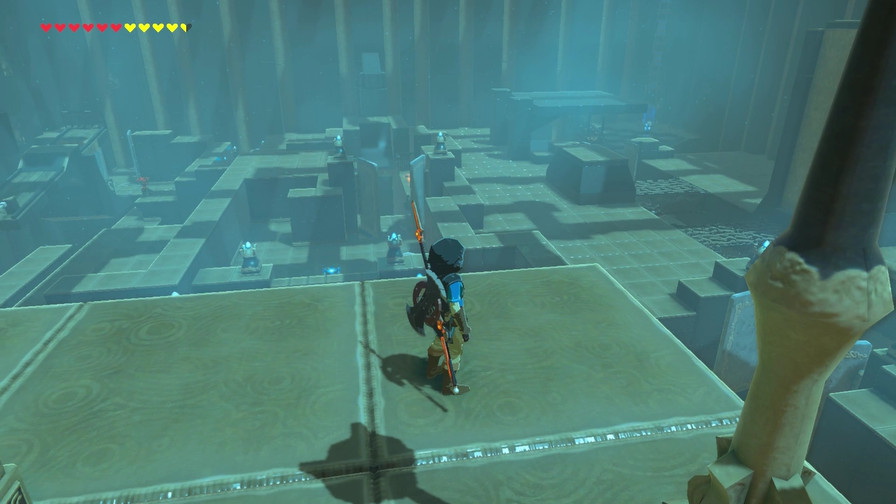
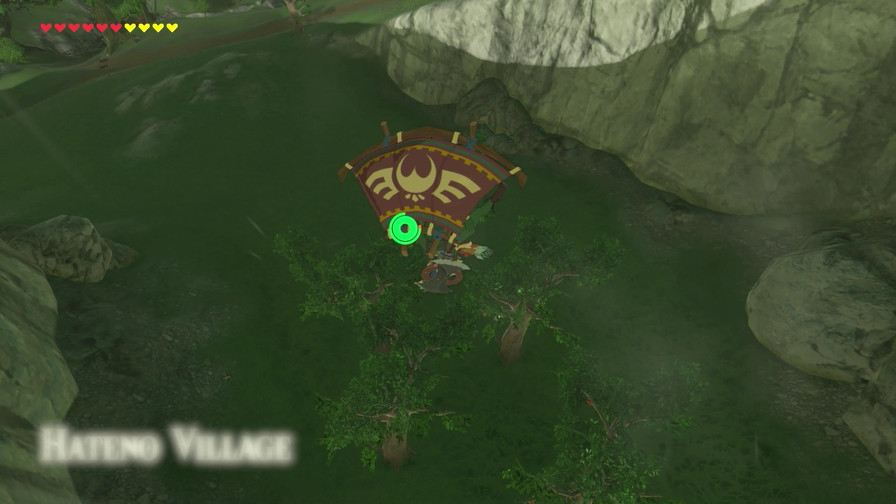
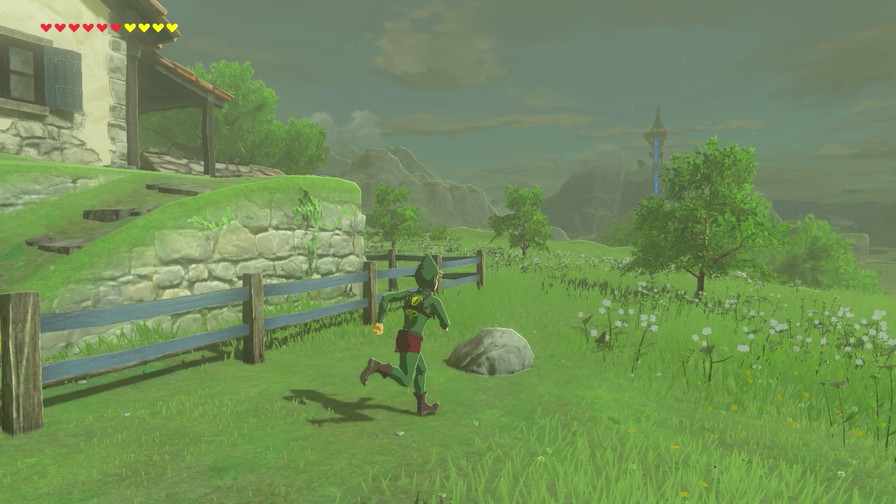
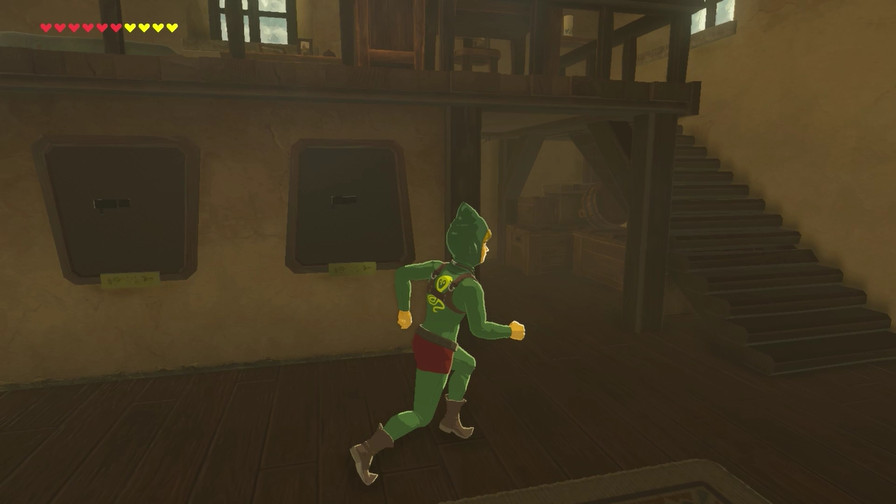
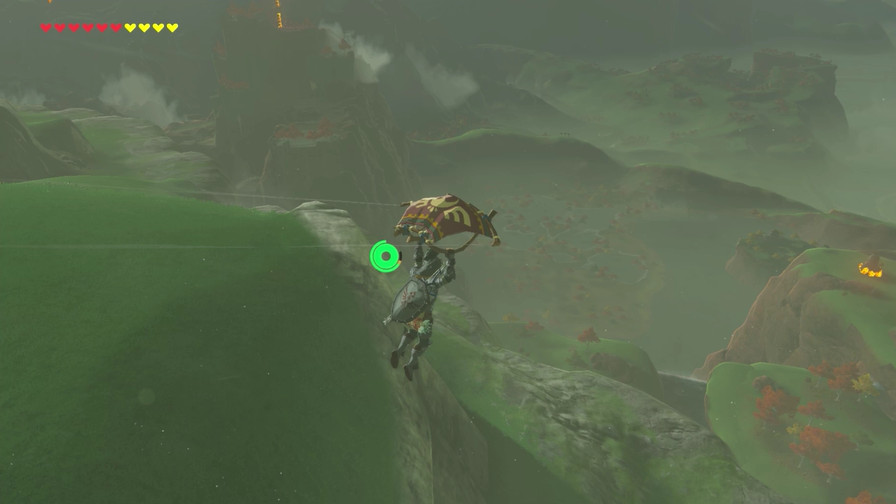
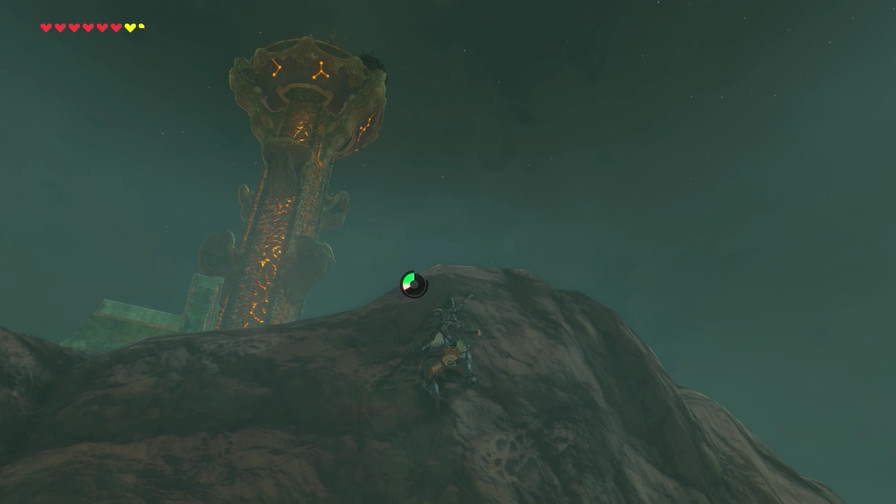
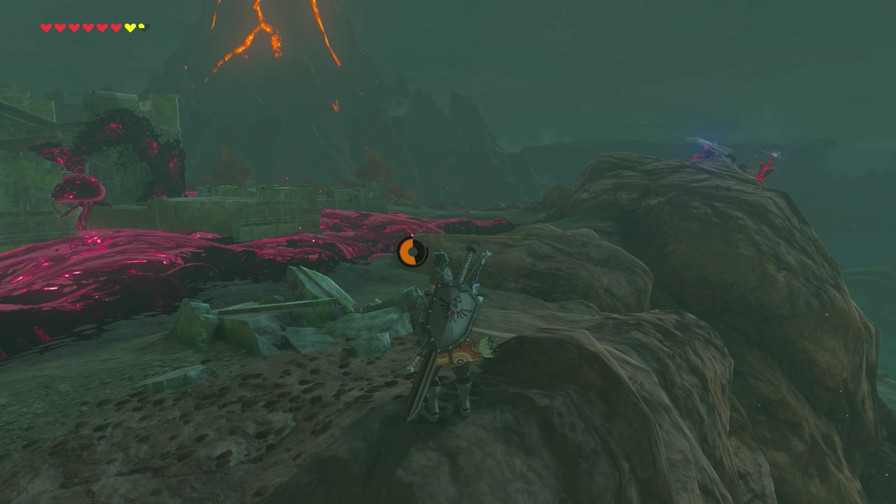
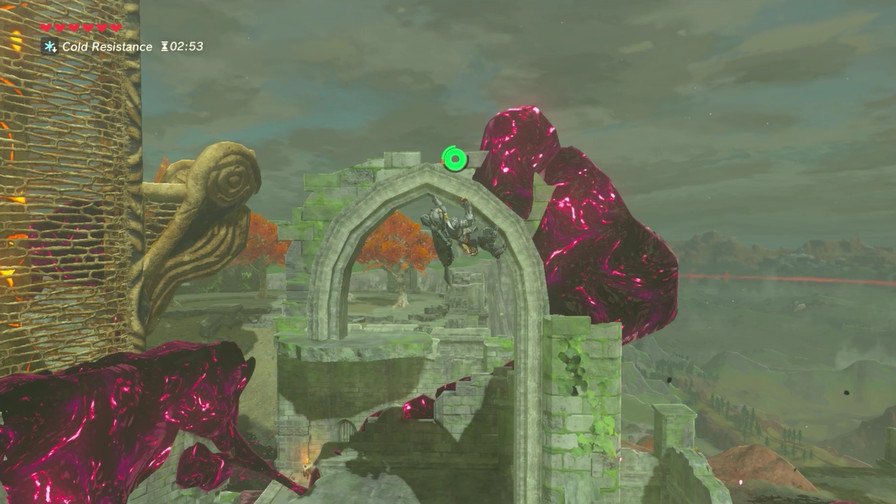
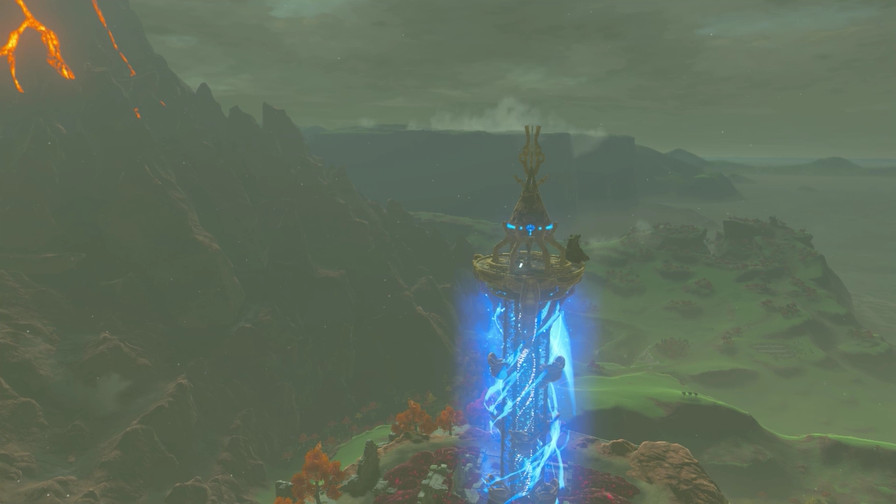
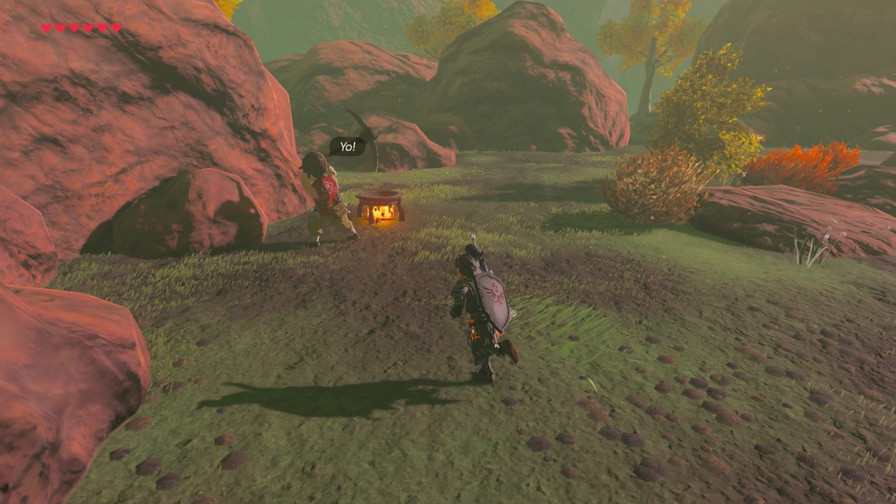
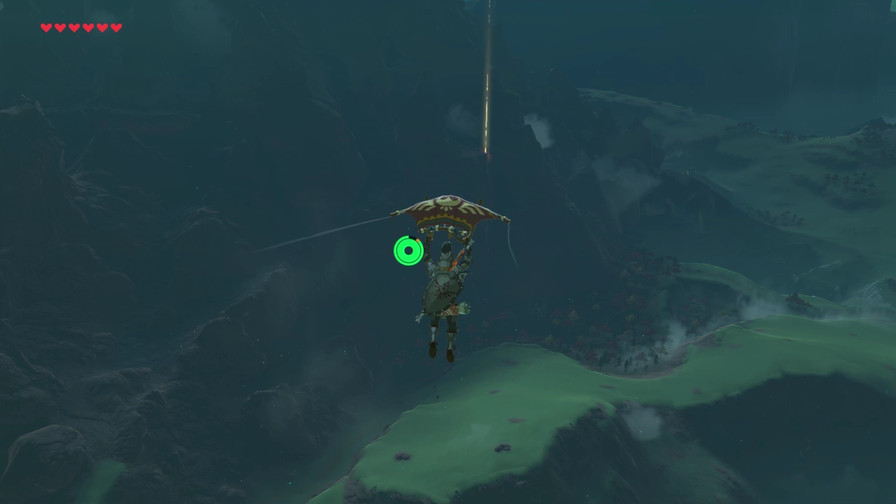
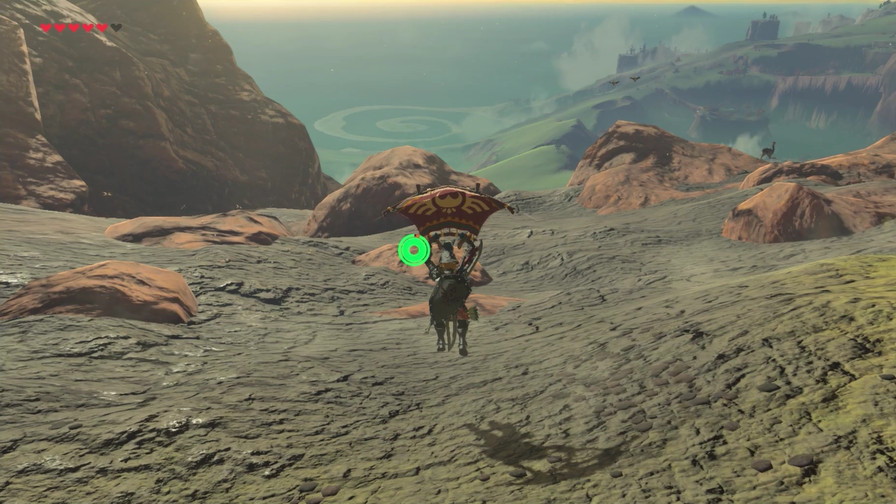
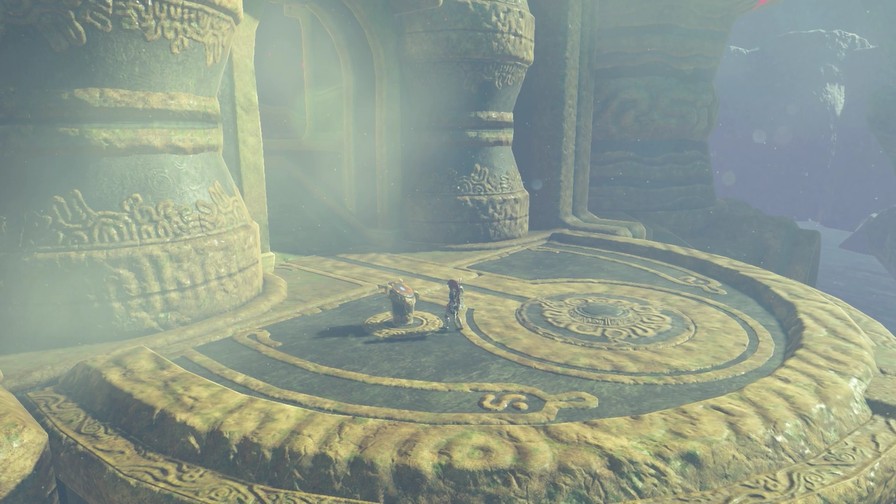
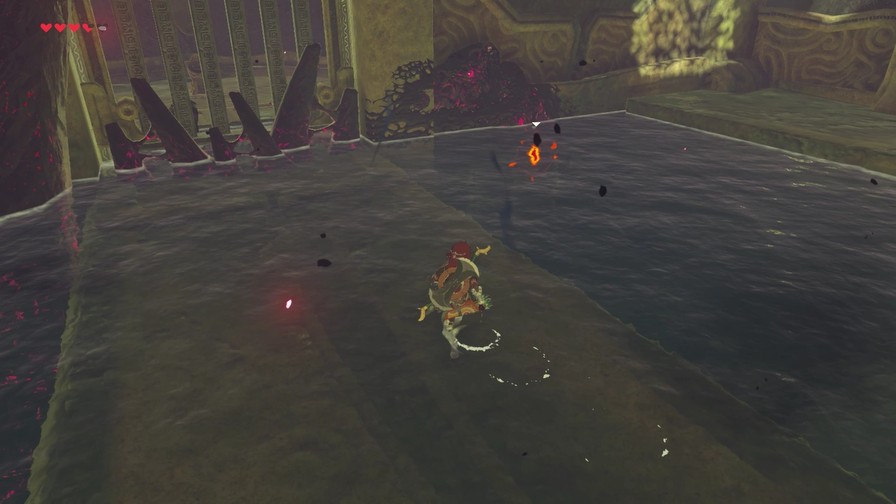
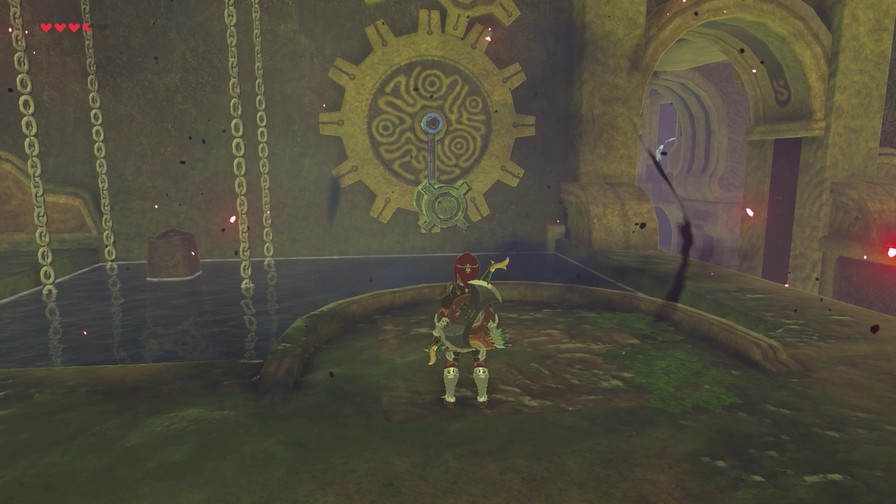
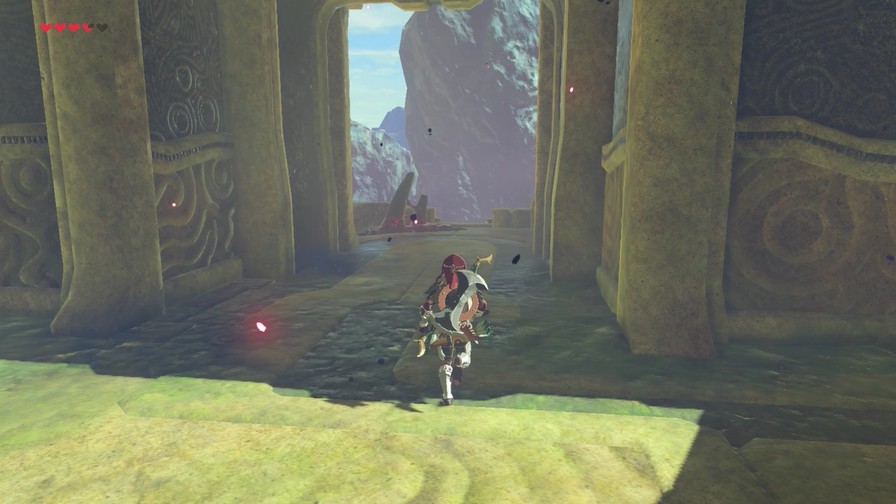
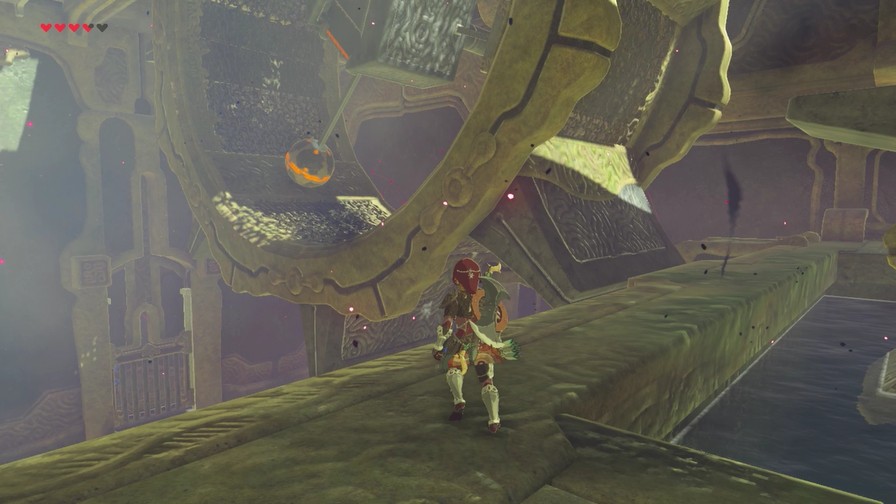
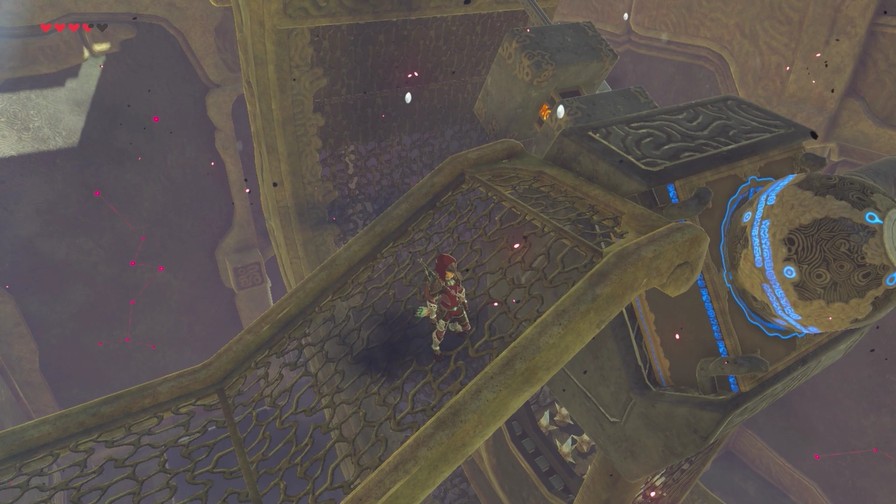
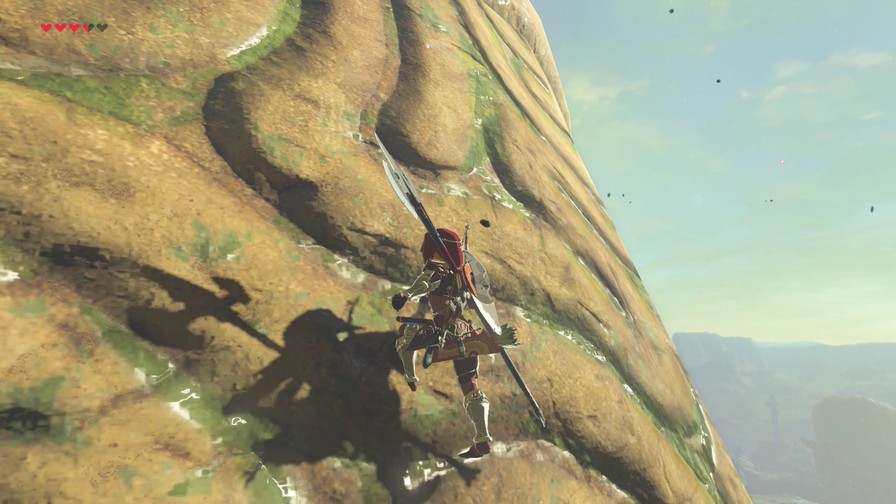
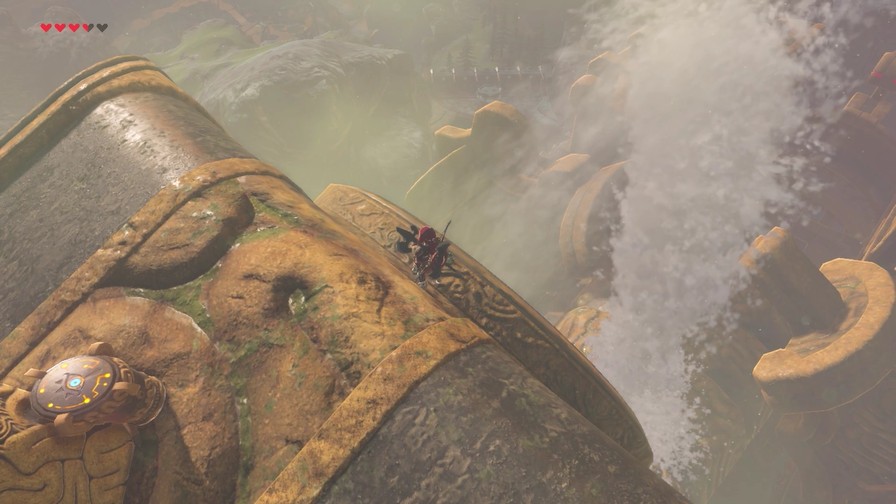
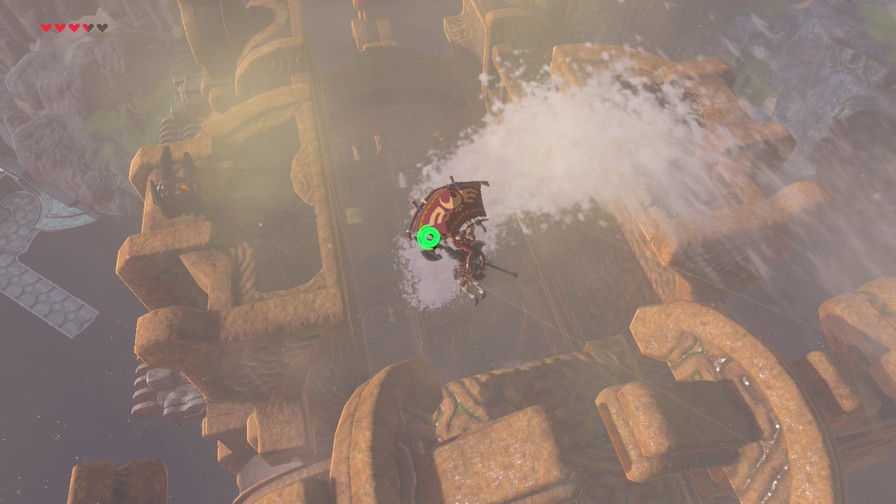
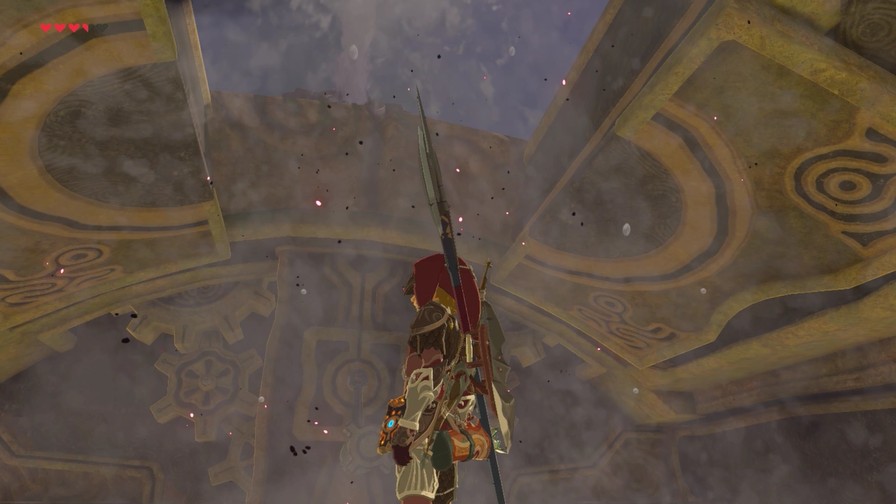
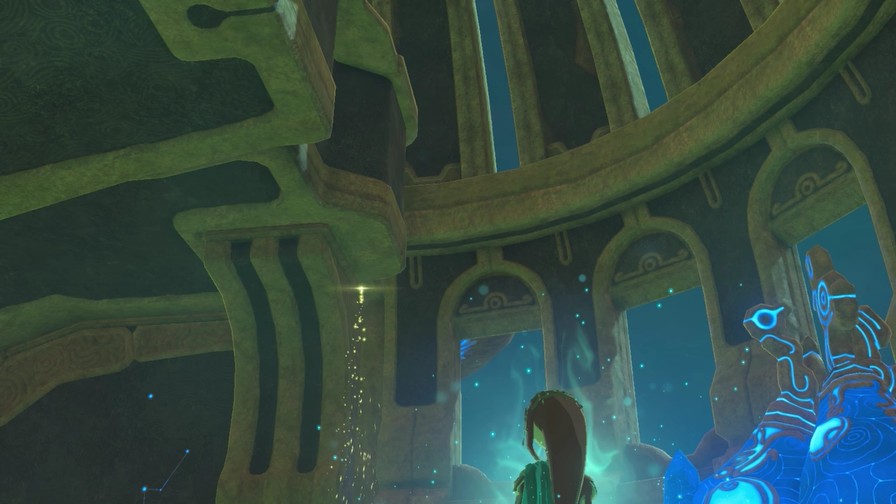
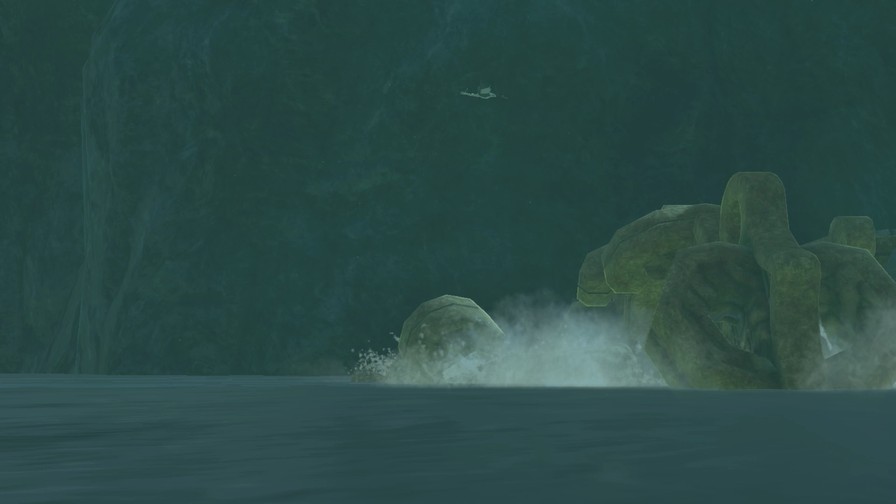
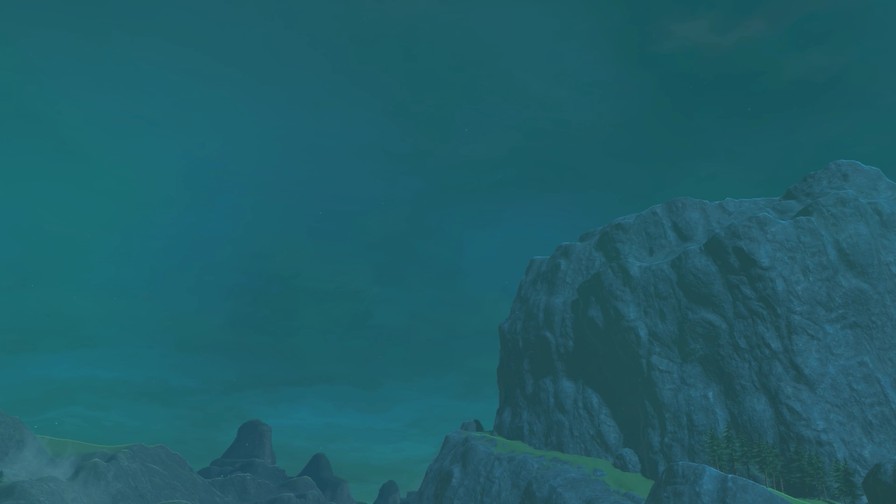
Even though we can’t just glide off, we still get some nice views from the outside. But we kinda need to go inside to tackle this place.
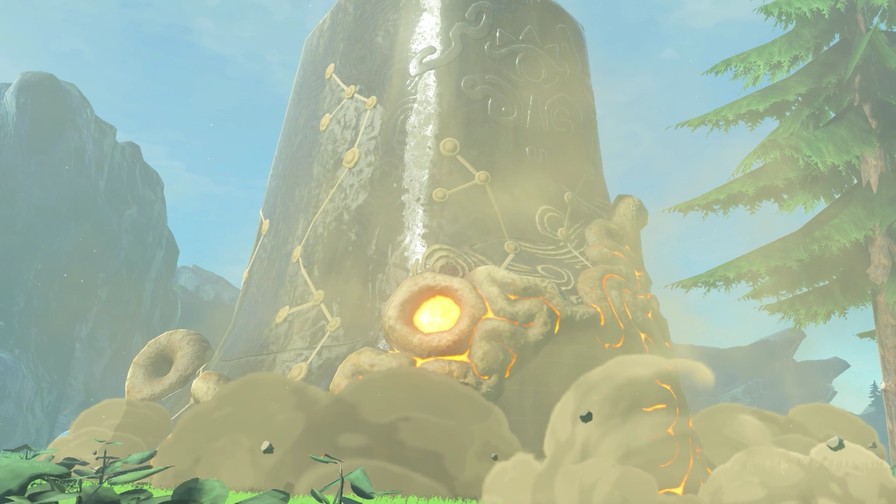
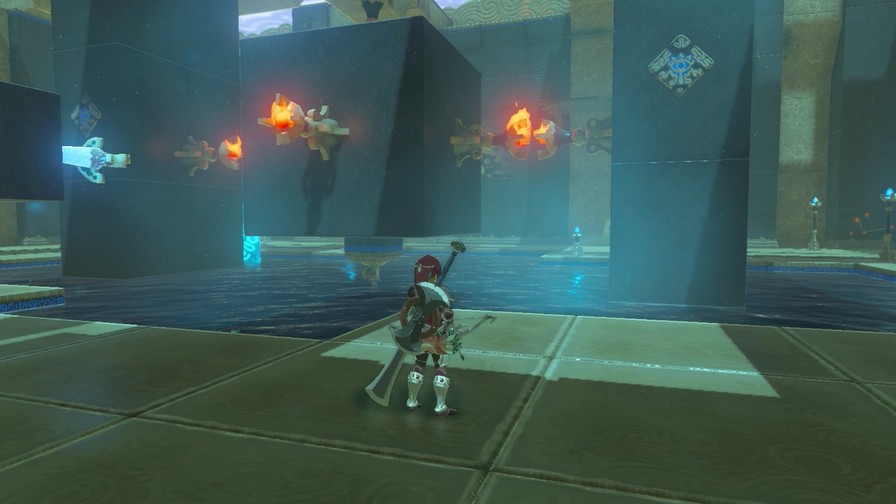
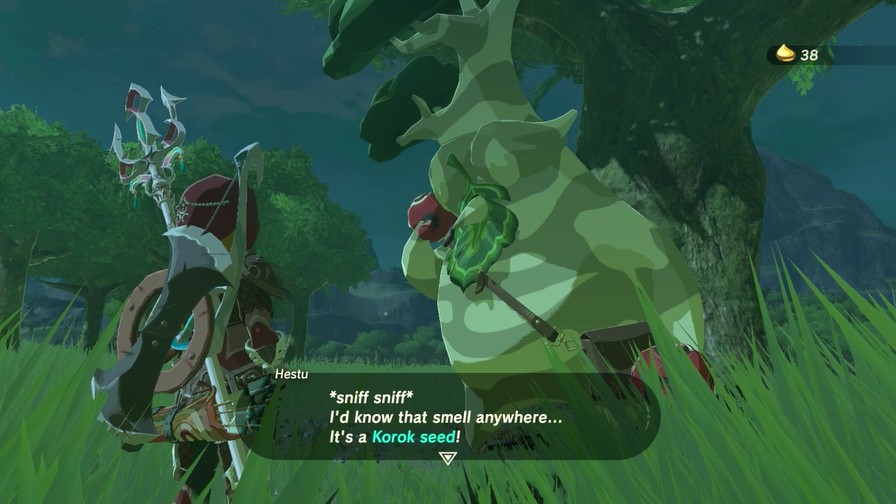
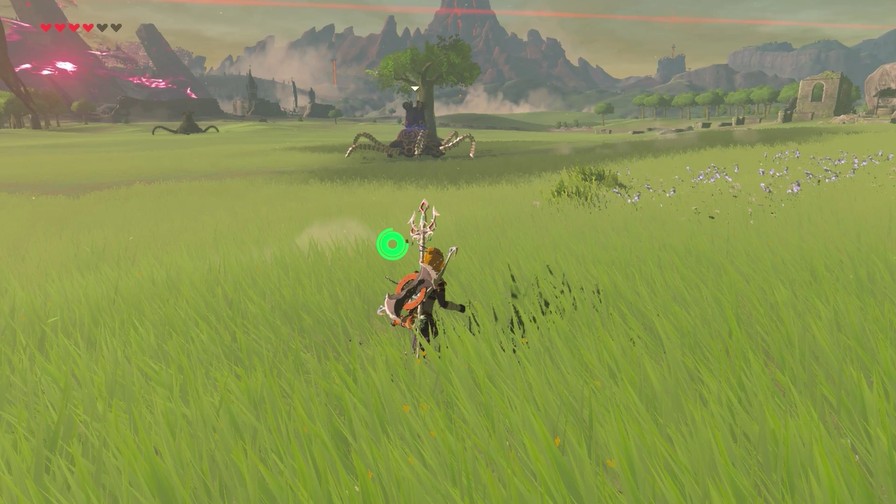
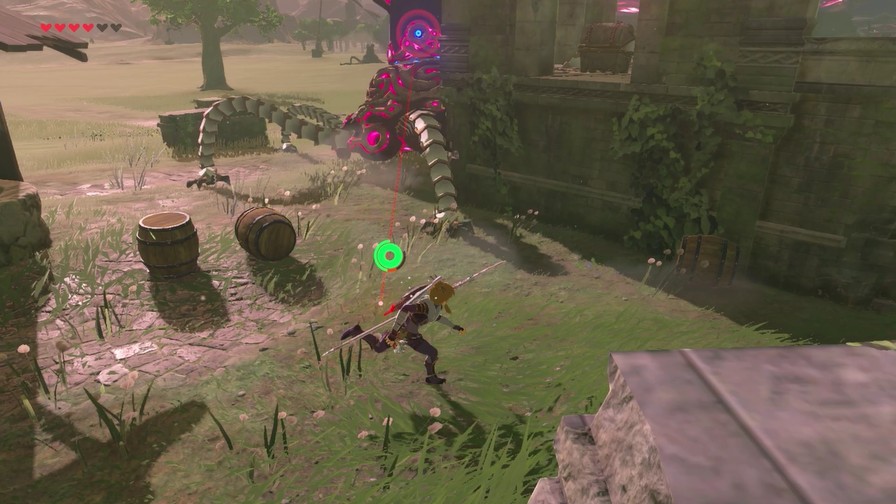
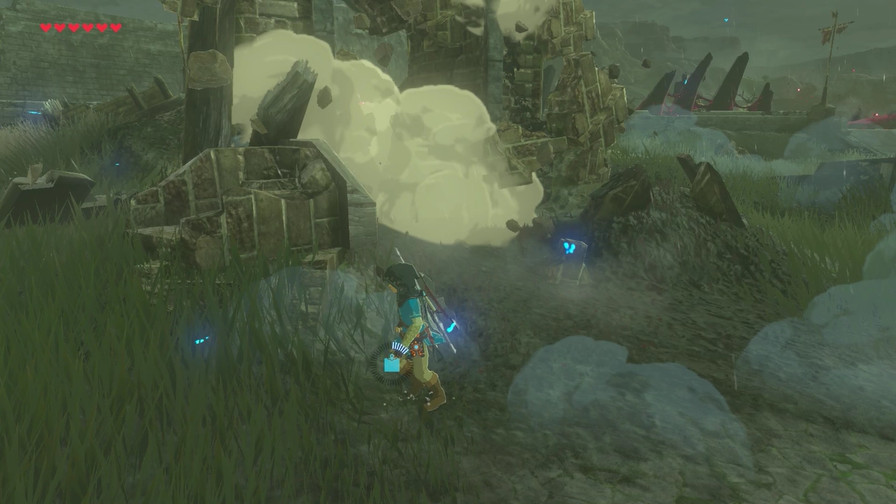
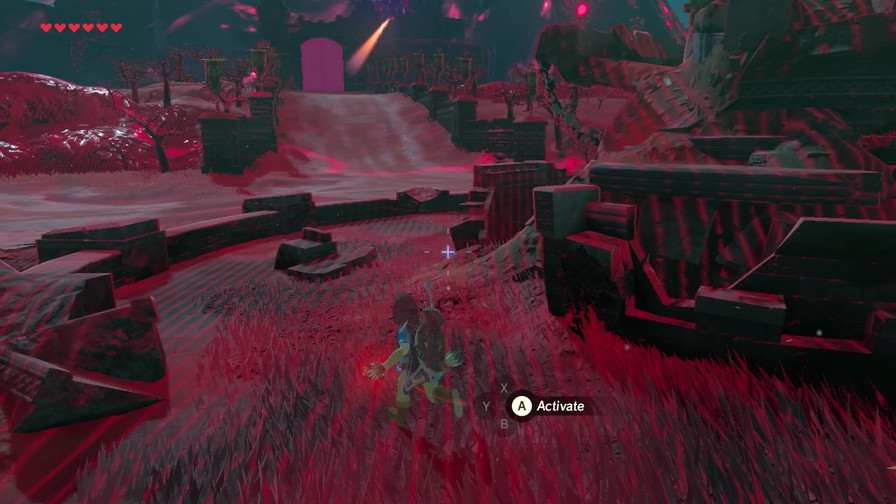
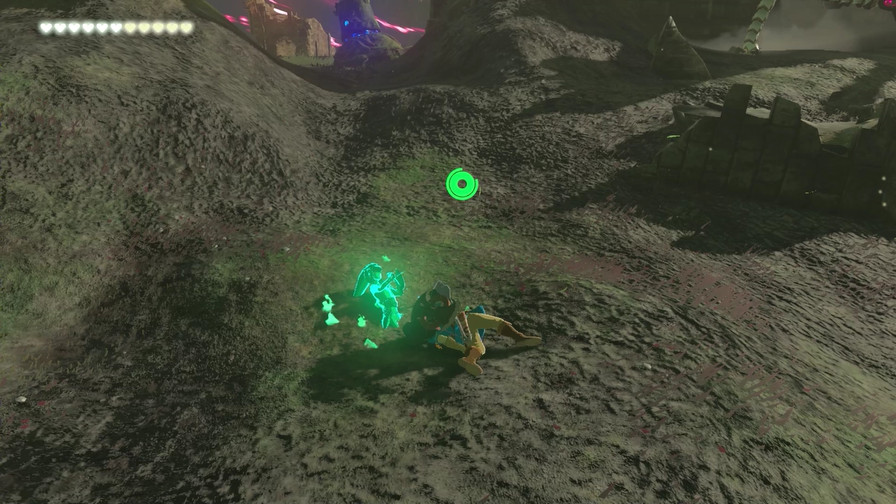
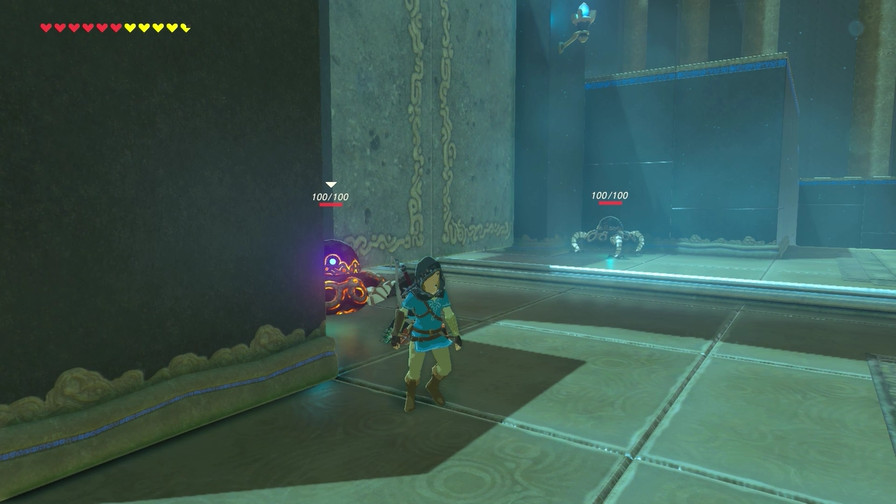
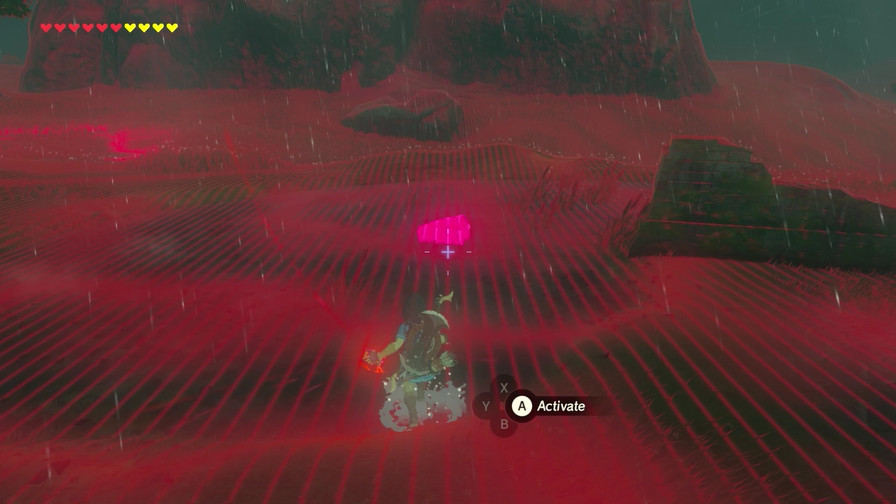
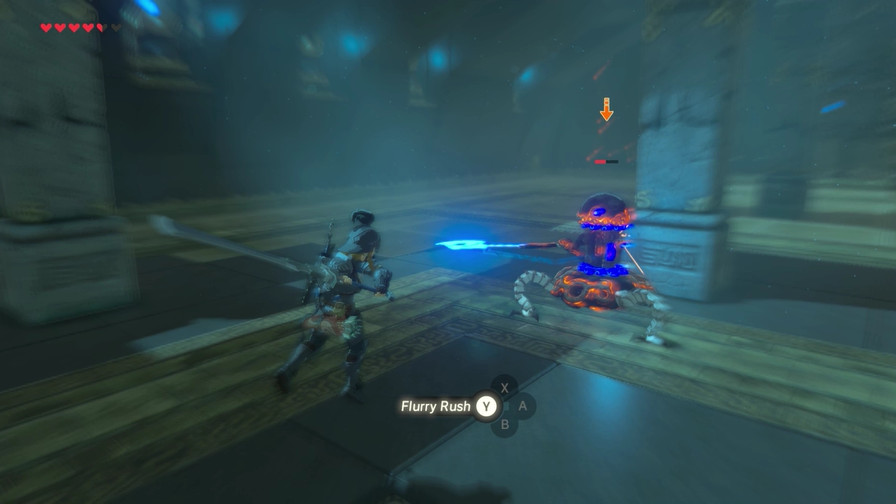
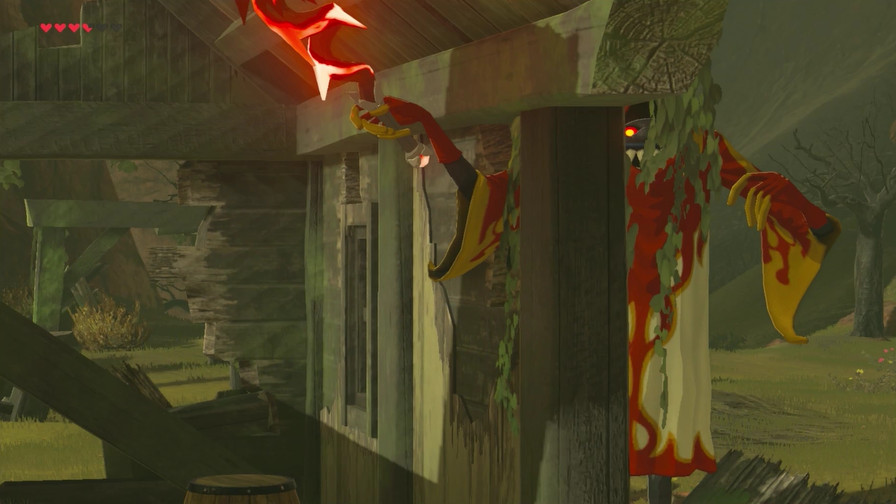
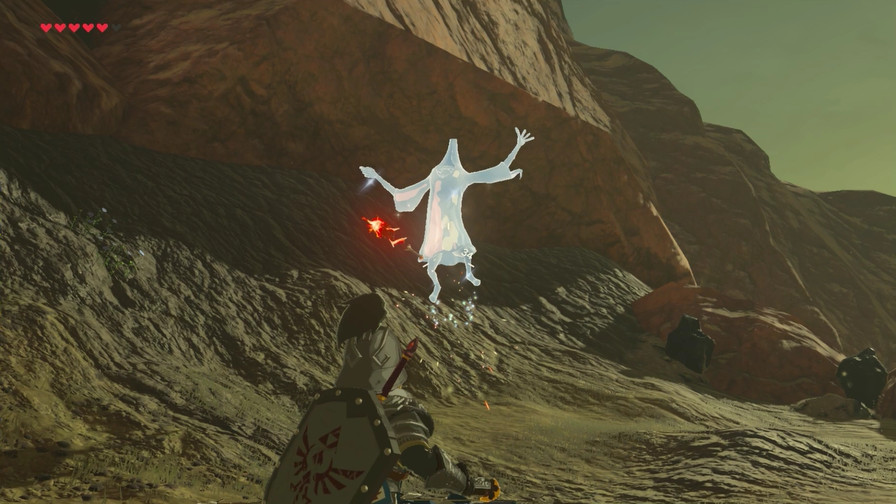
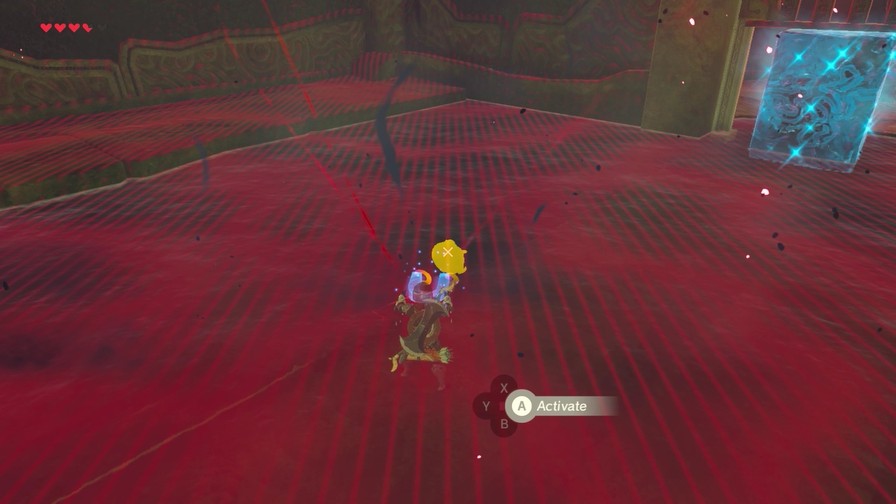
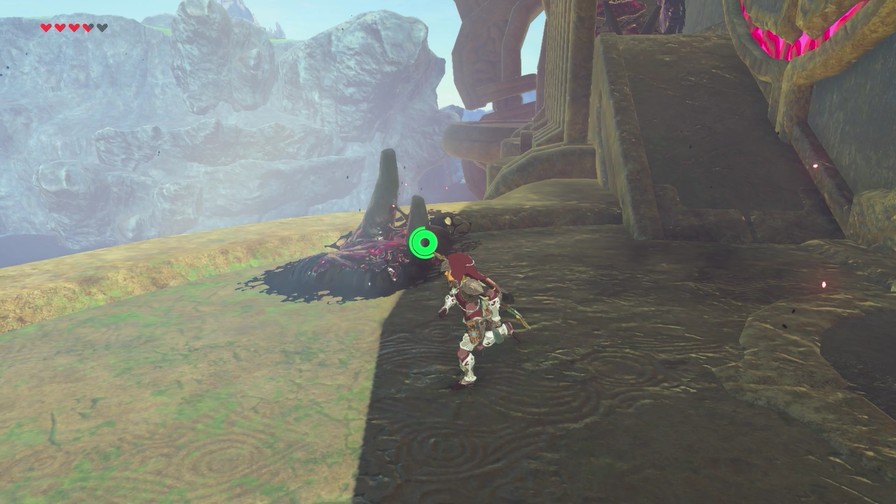
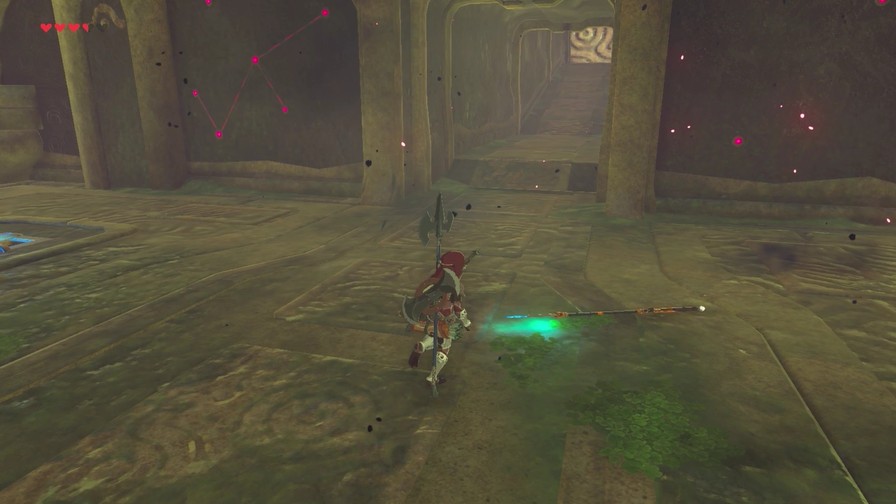
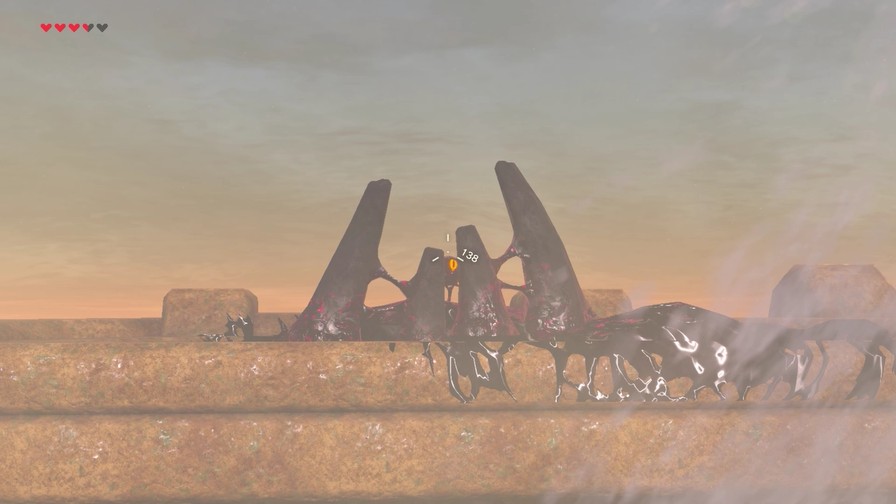
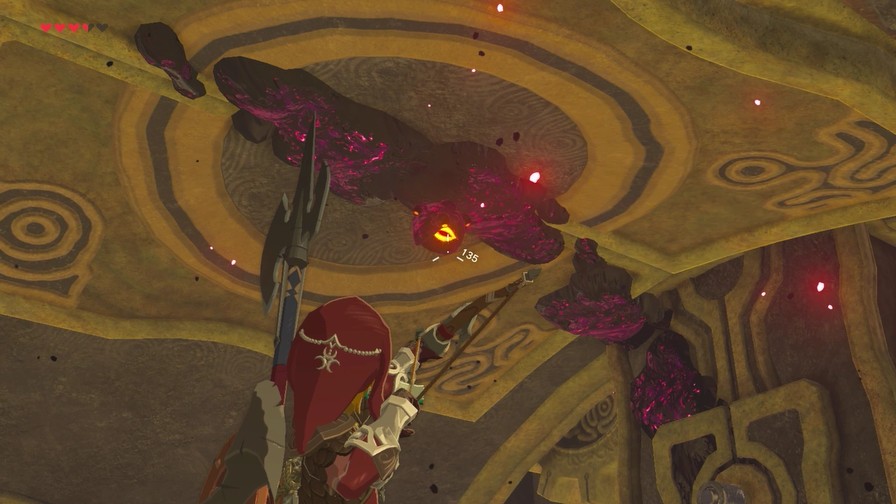
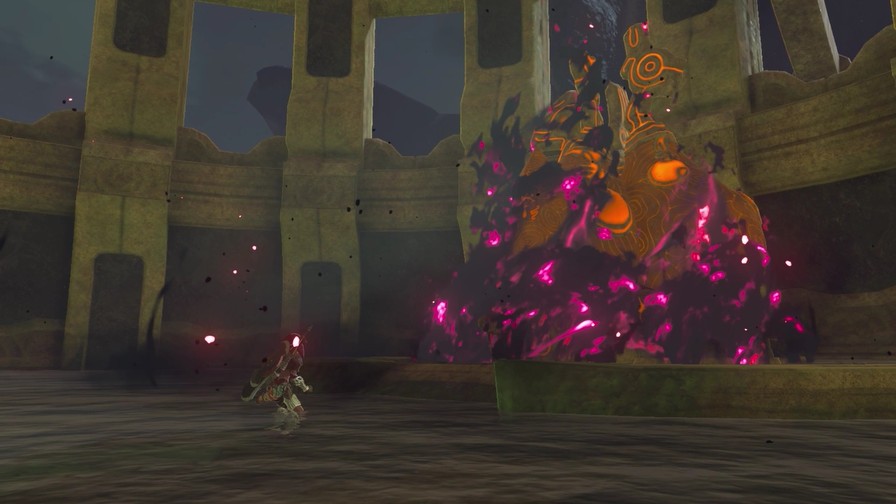
This black stuff is the Malice of Ganon. Many times, there’s an eyeball attached somewhere nearby.
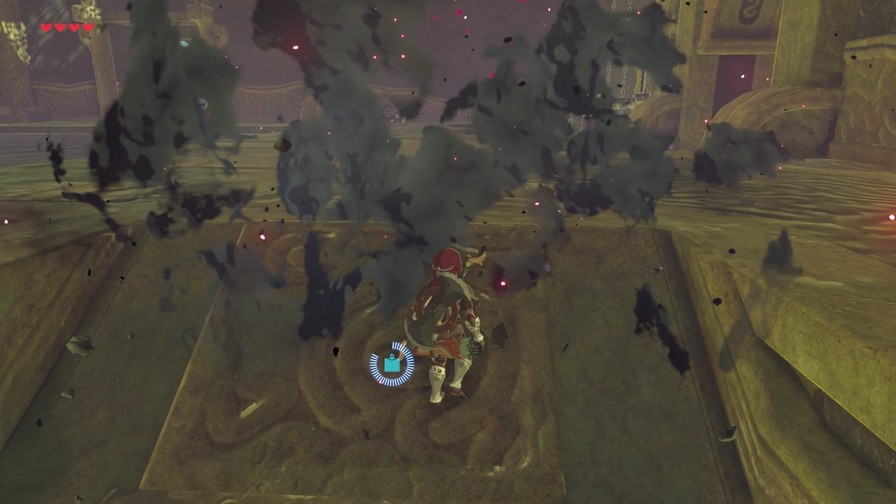
Destroy the eye, and the malice disappears.
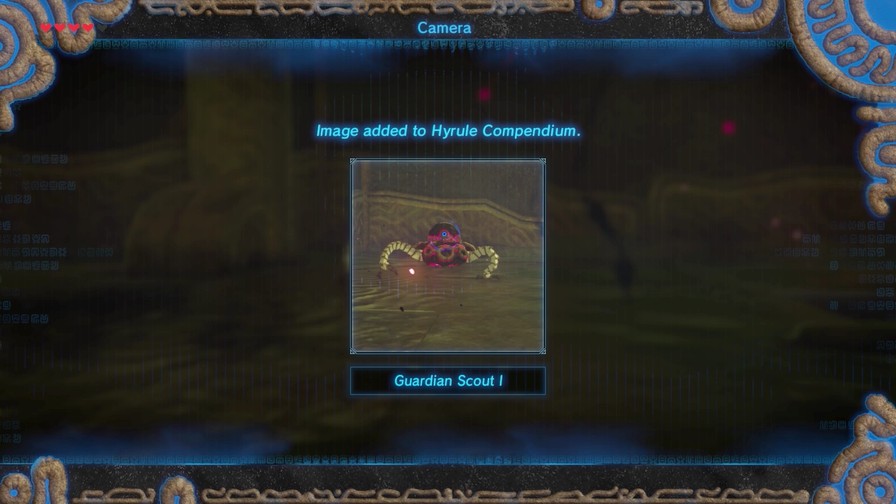
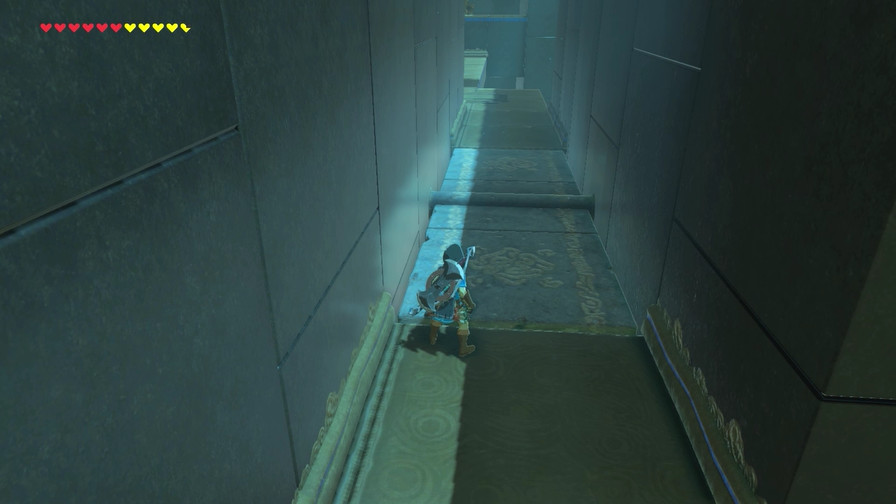
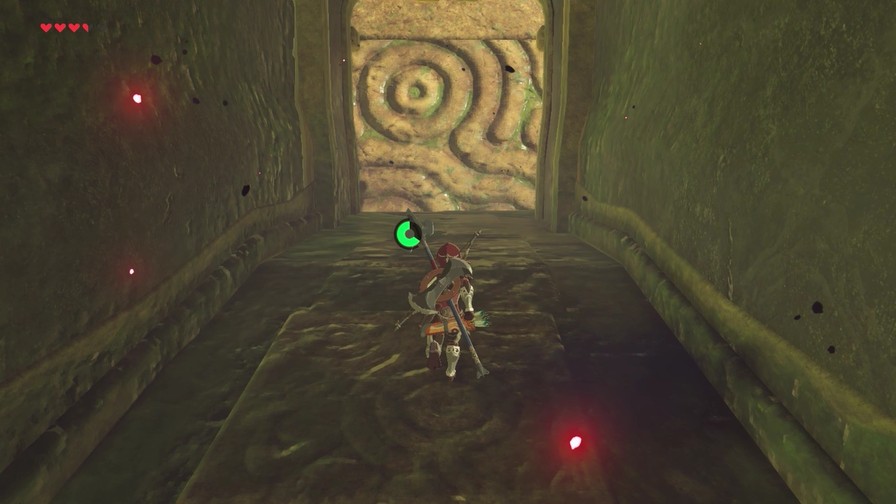
Unlike traditional Zelda dungeons, combat is minimal here. There’s several Guardian Scouts about and a few minor enemies, but these areas aren’t about testing your combat skills.
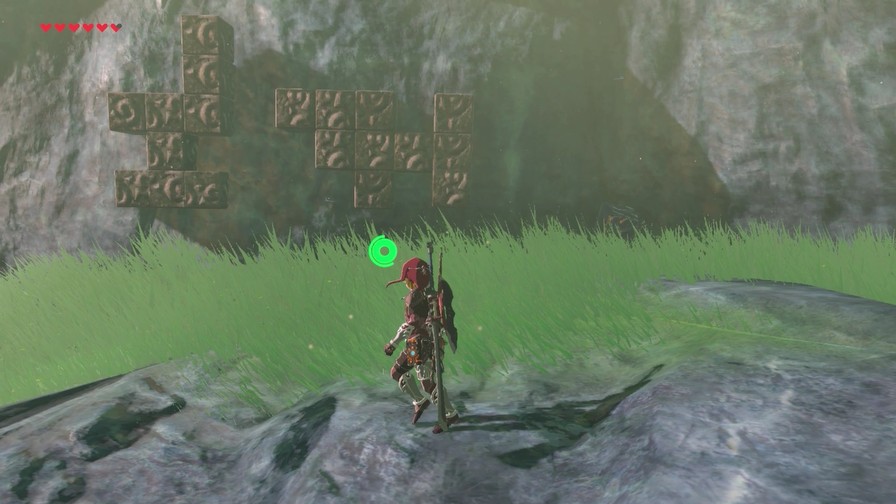
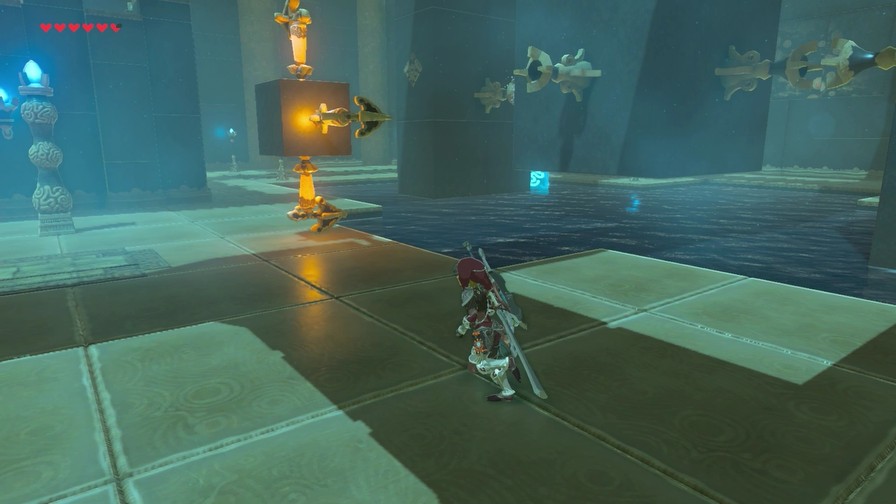
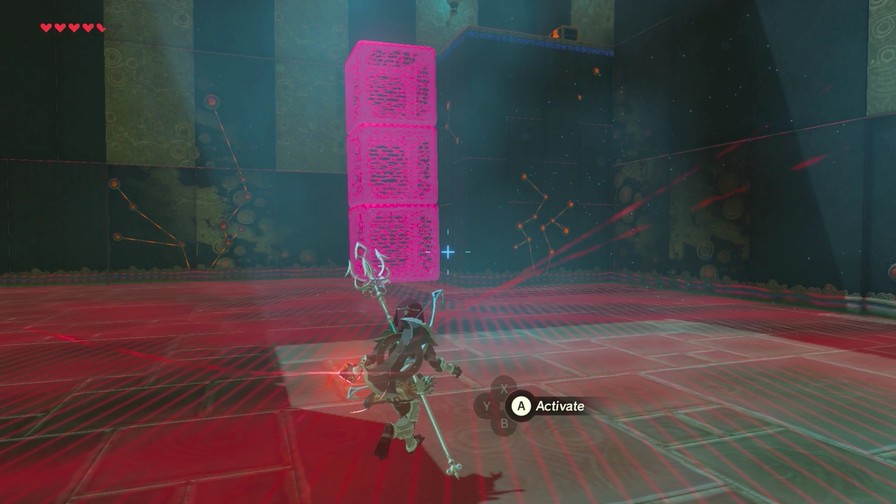
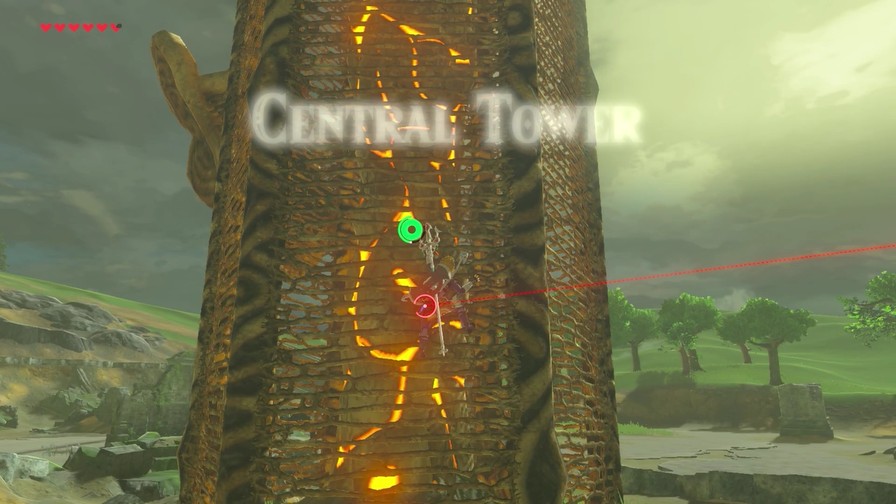
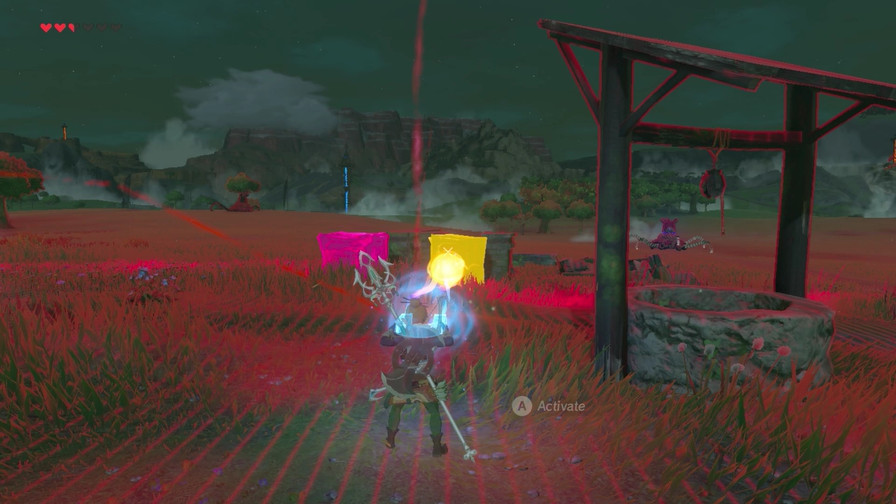
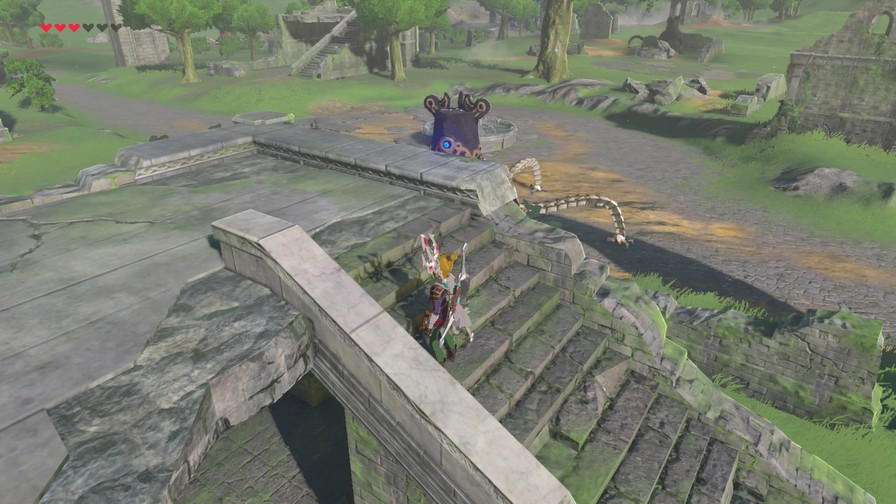
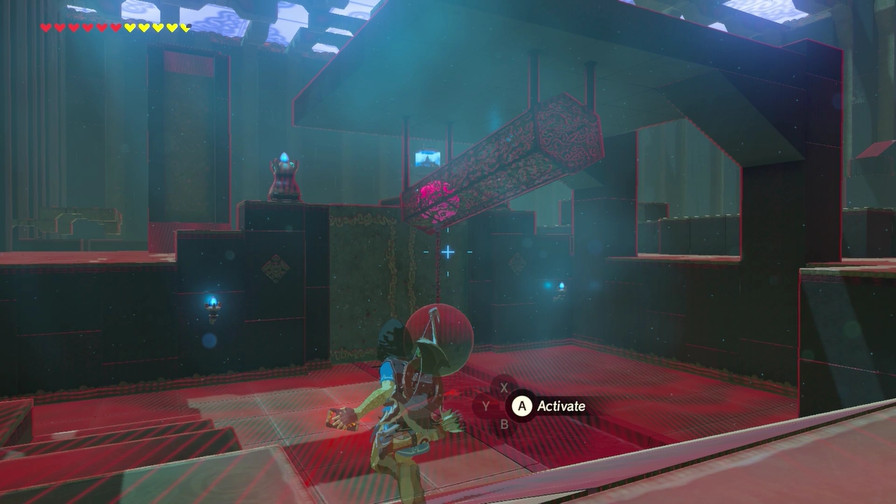
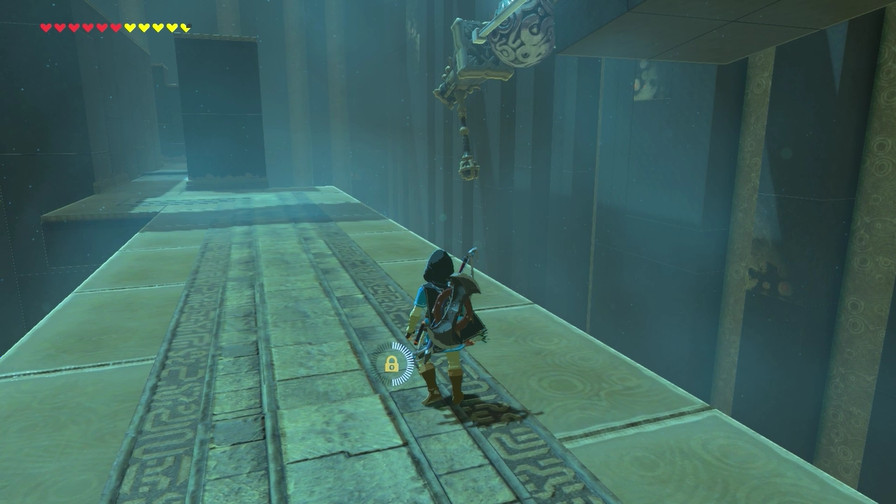
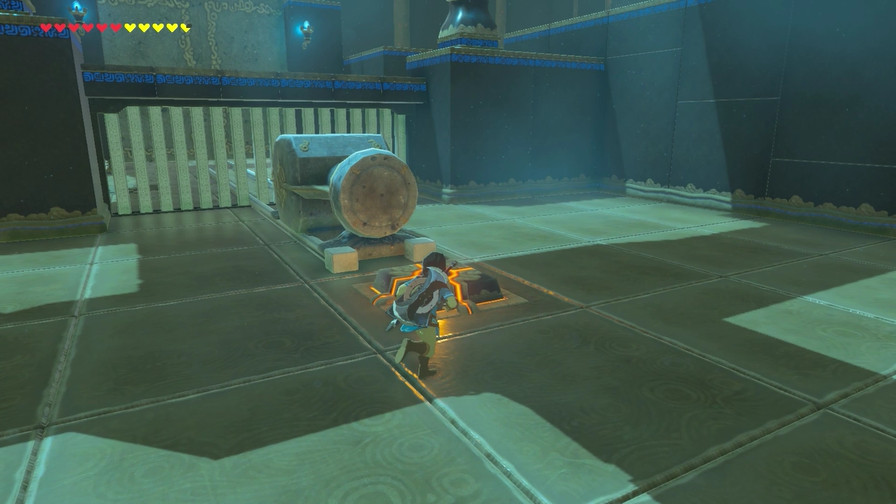
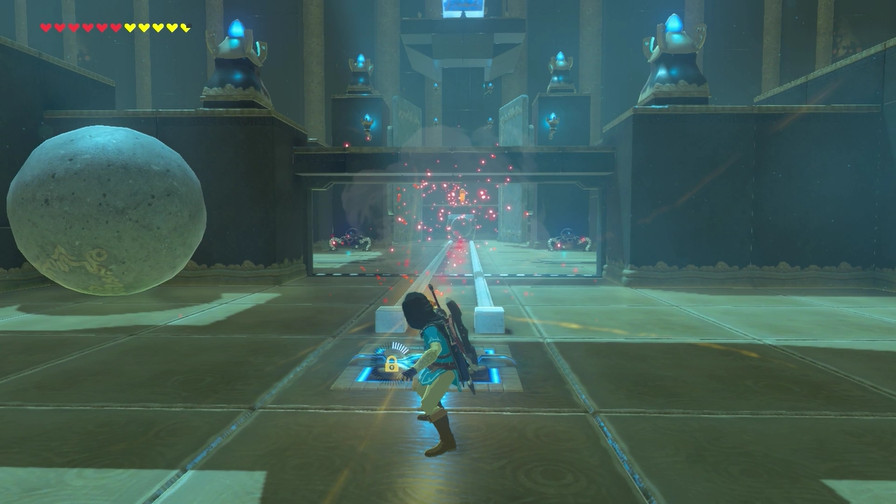
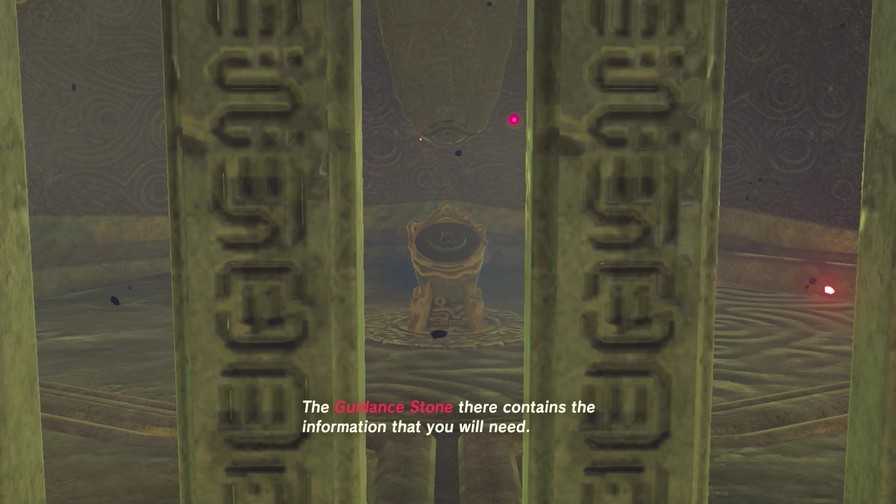
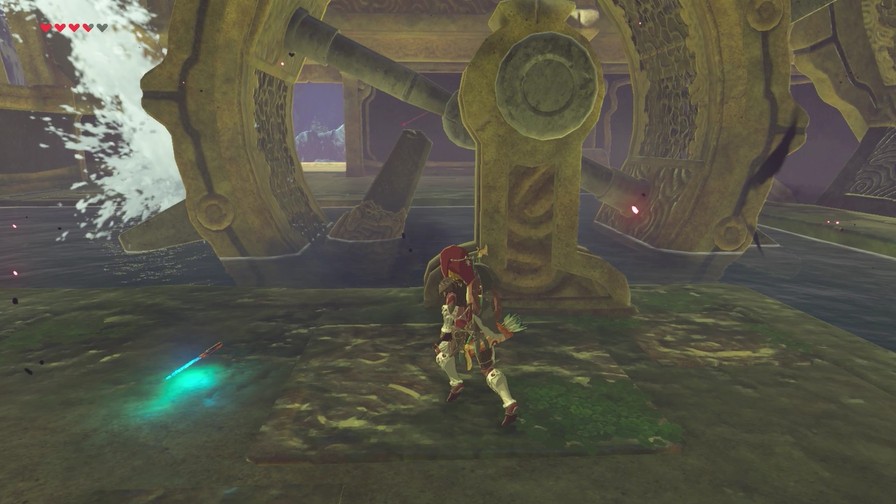
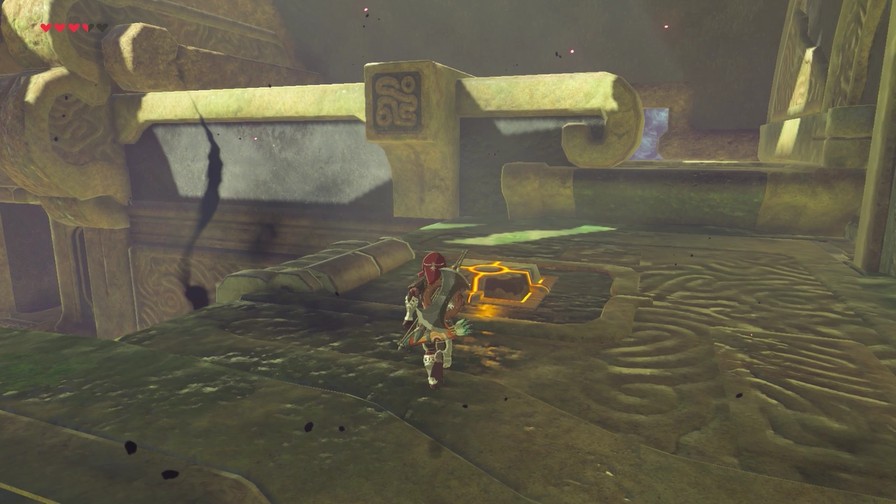
The Guardian Stone is behind this gate, which is further blocked by malice.
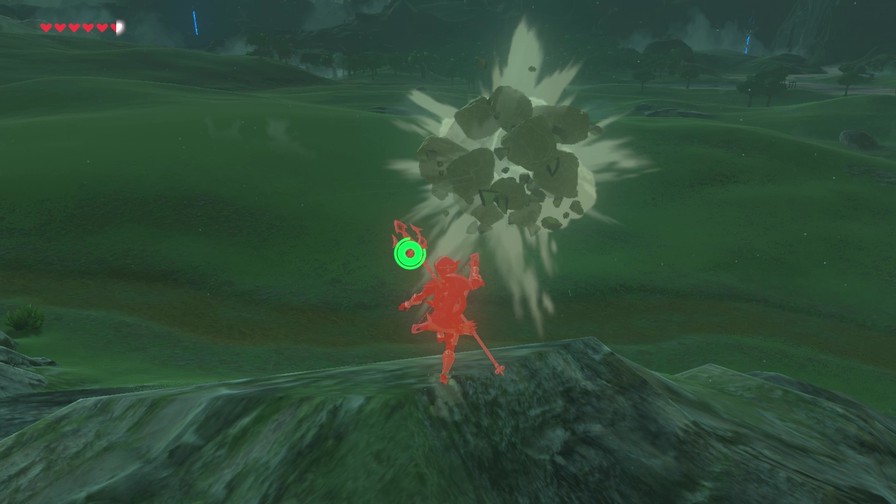
Bombs clear the latter, but what about the former?
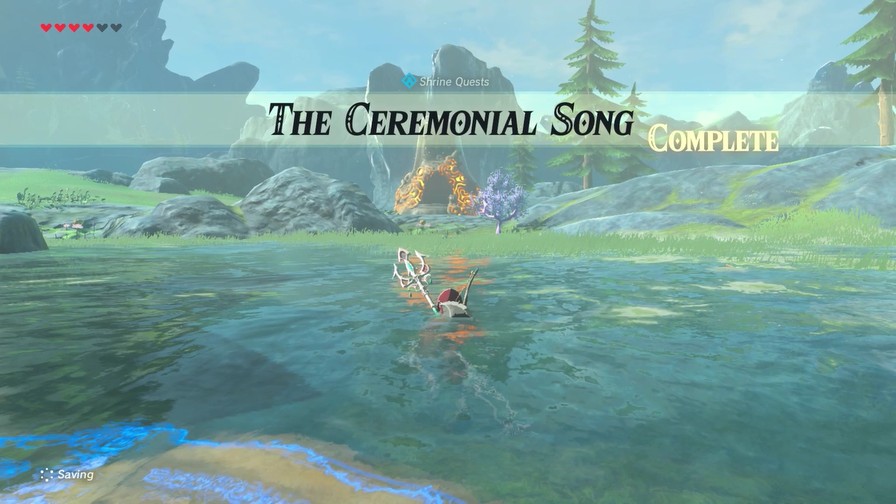
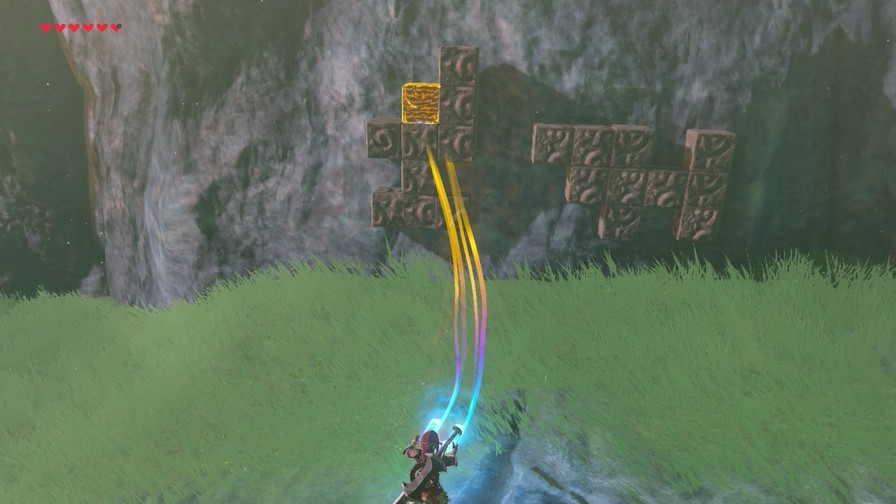
Remember the shrine where we obtained Cryonis? One of the very first things we did was use Cryonis to open a gate just in this manner.
Of course, I didn’t think of it the first time I did this dungeon. Instead, I used Stasis on the gate and walloped it until it went high enough that I could quickly get past it before it would fall and crush me.

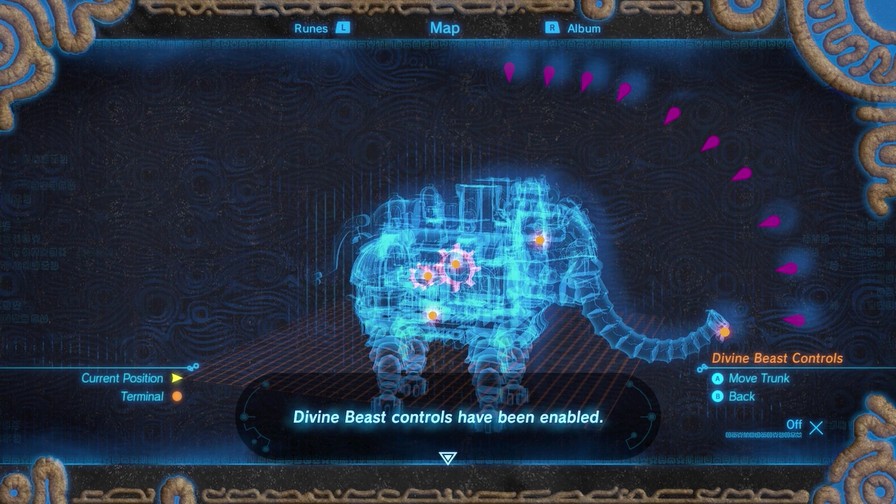
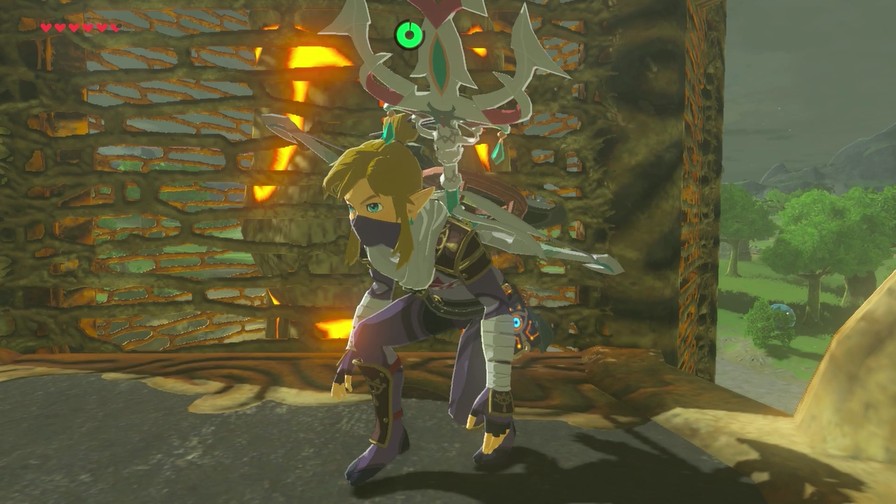
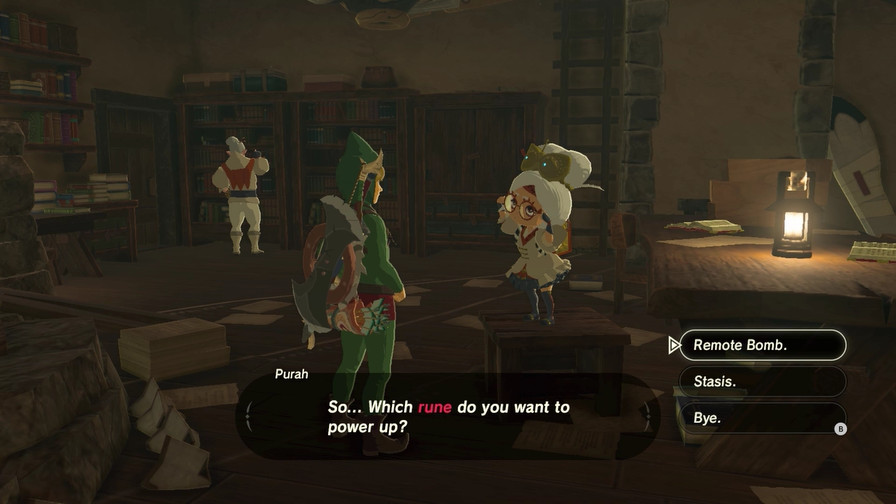
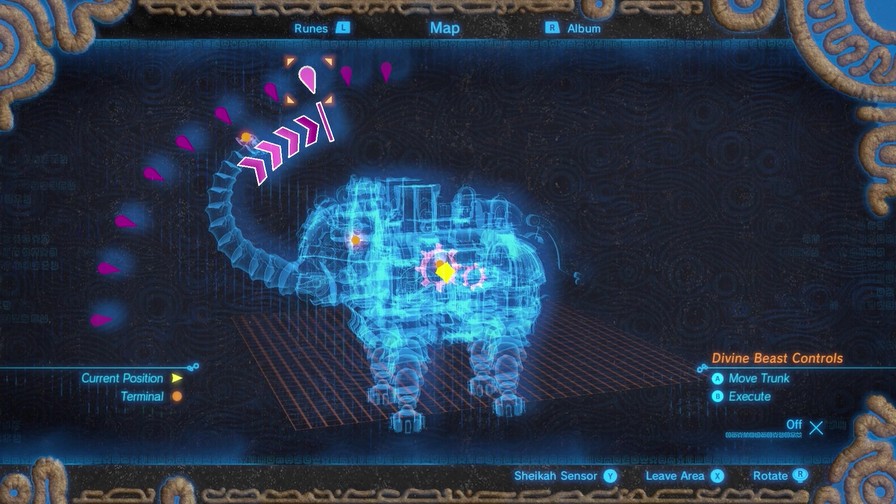
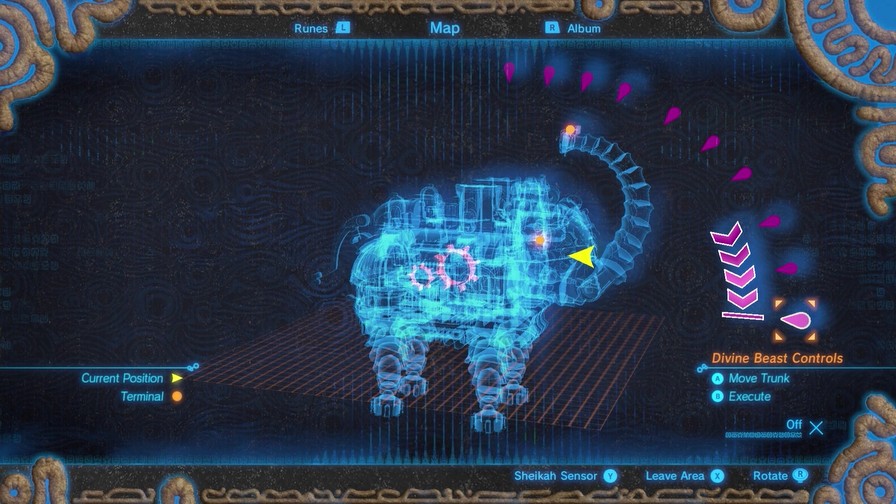
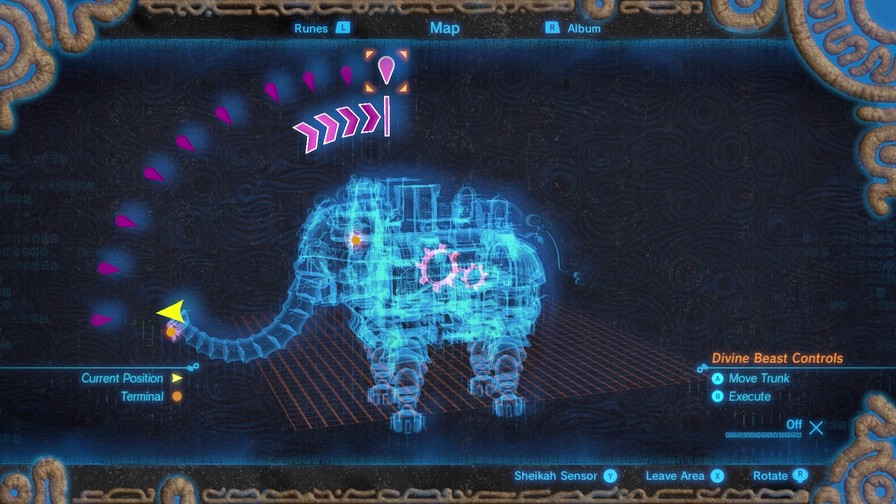
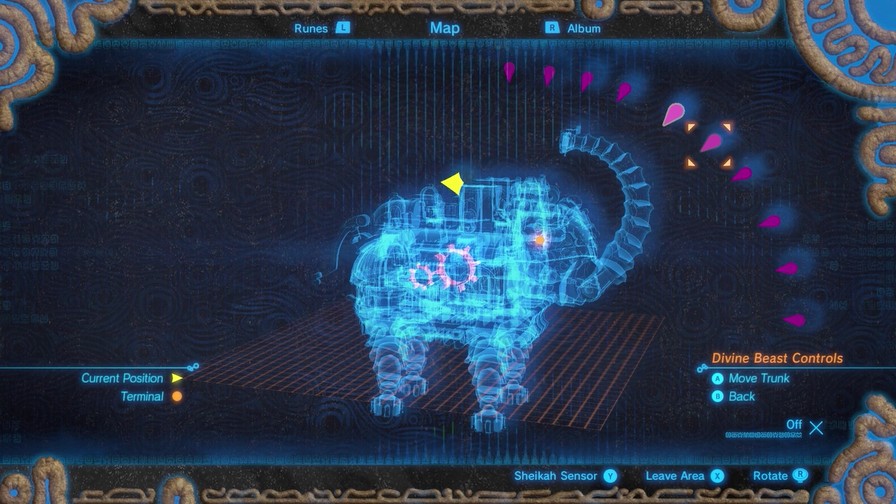
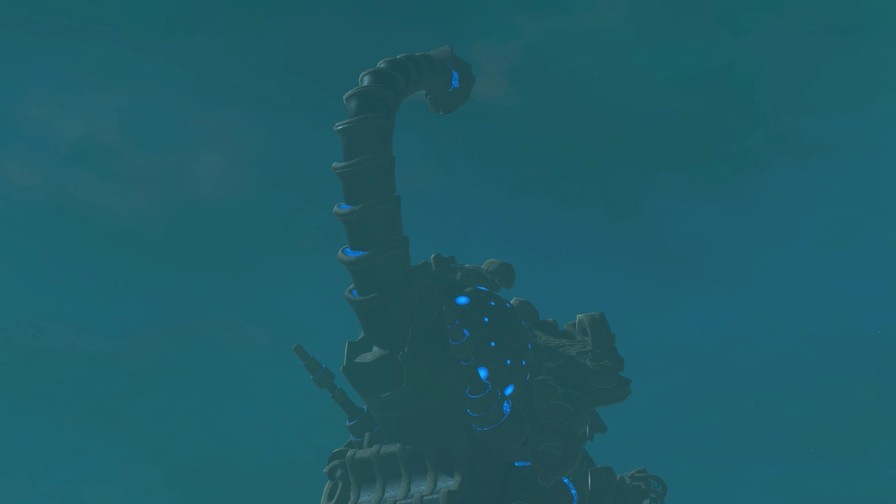
Each Divine Beast has a gimmick where you can control certain aspects of the beast itself using the Sheikah Slate. For Ruta, you can control the angle of its trunk.
All dialogue here is voiced. Since the video’s nothing to note, I’ll include audio links in case you really want to hear bland voice acting.
(Audio)
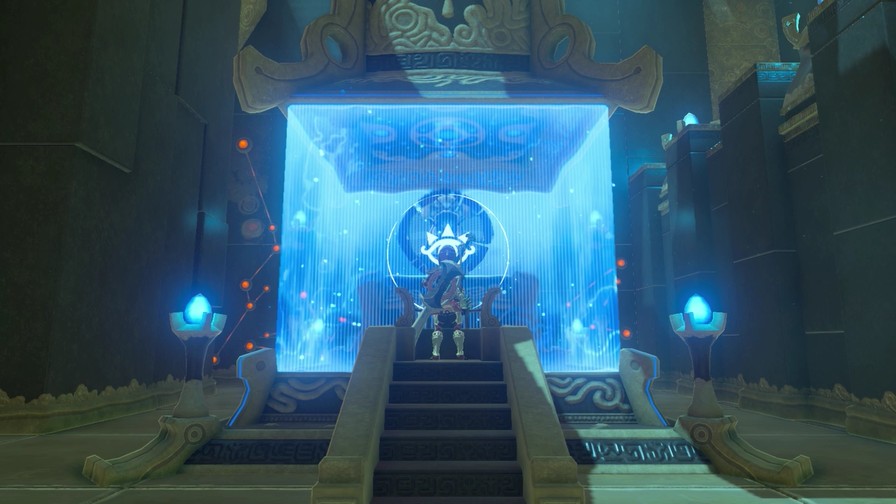
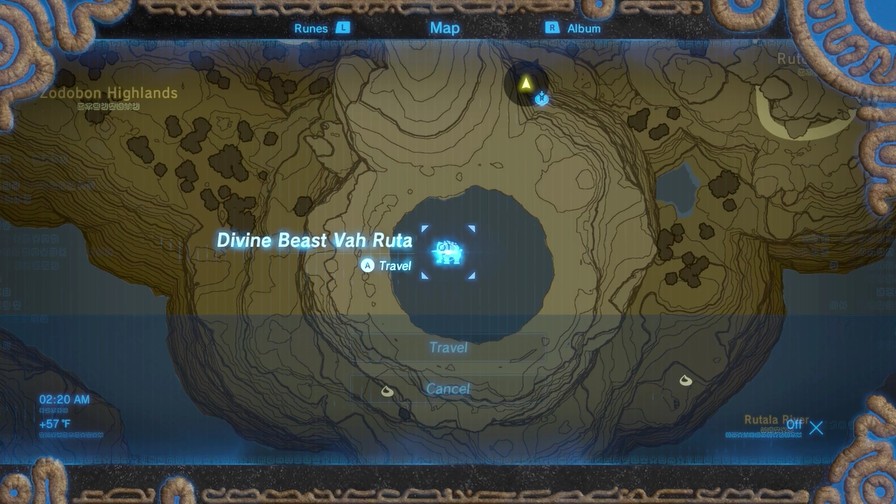
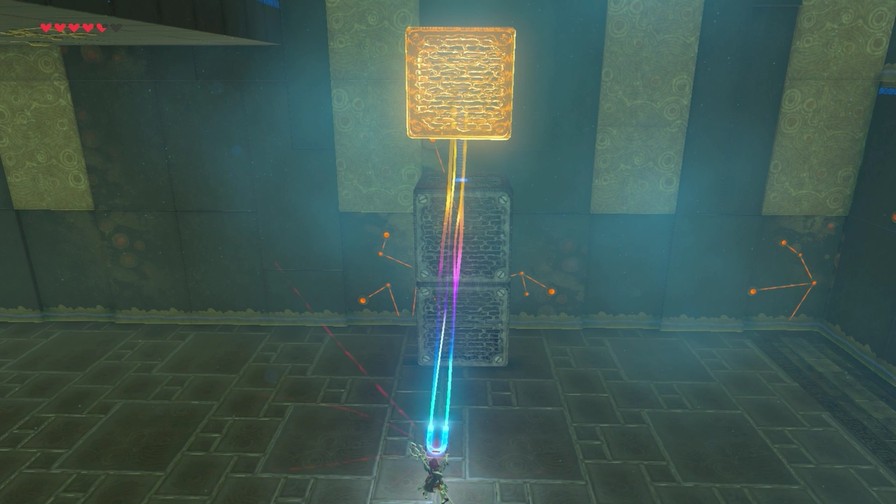
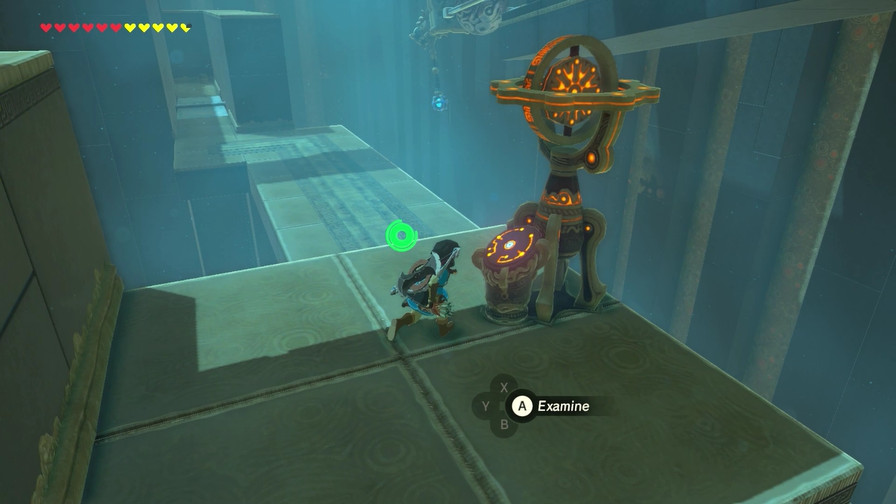
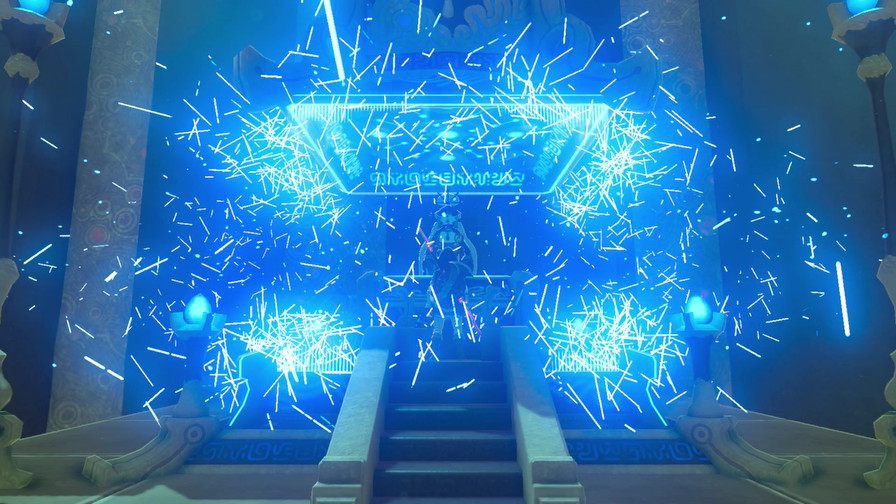
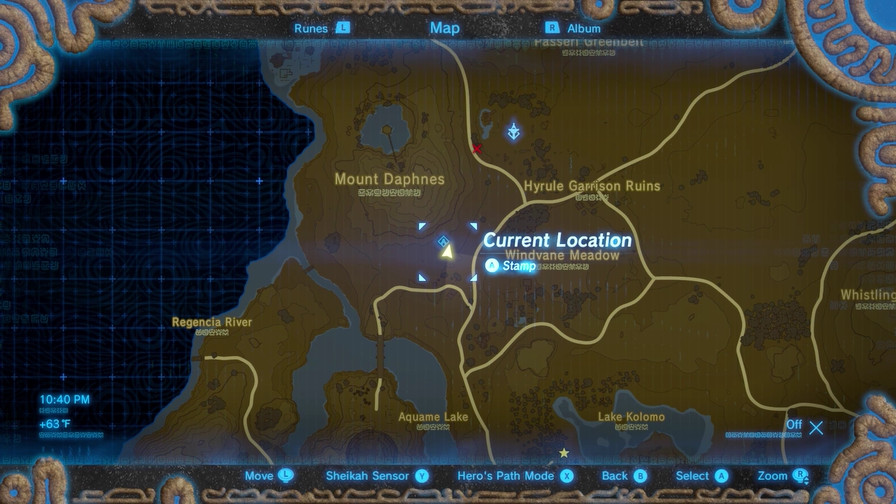
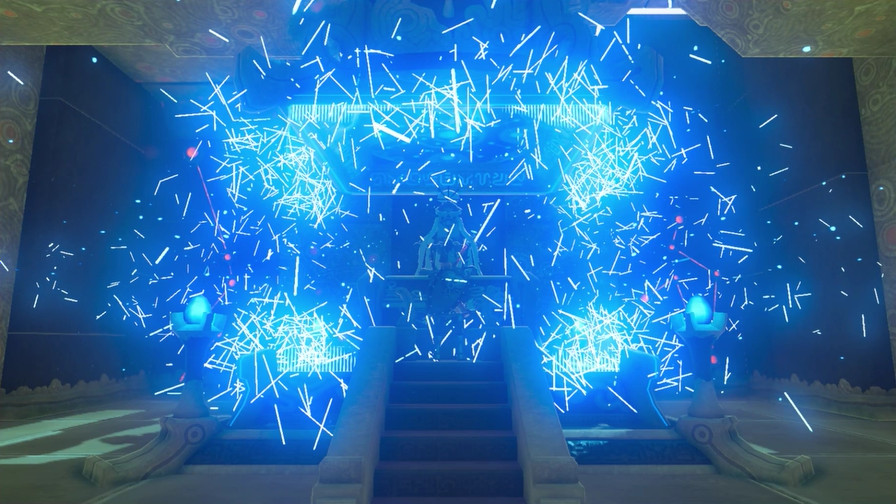
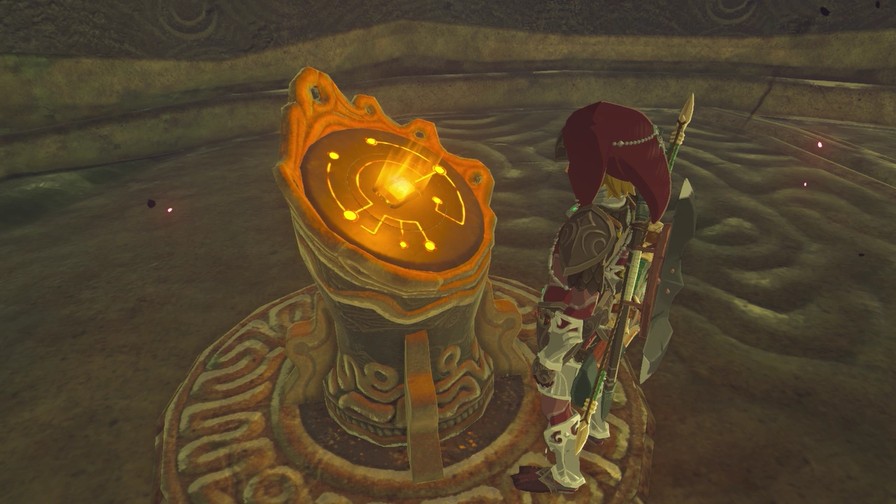
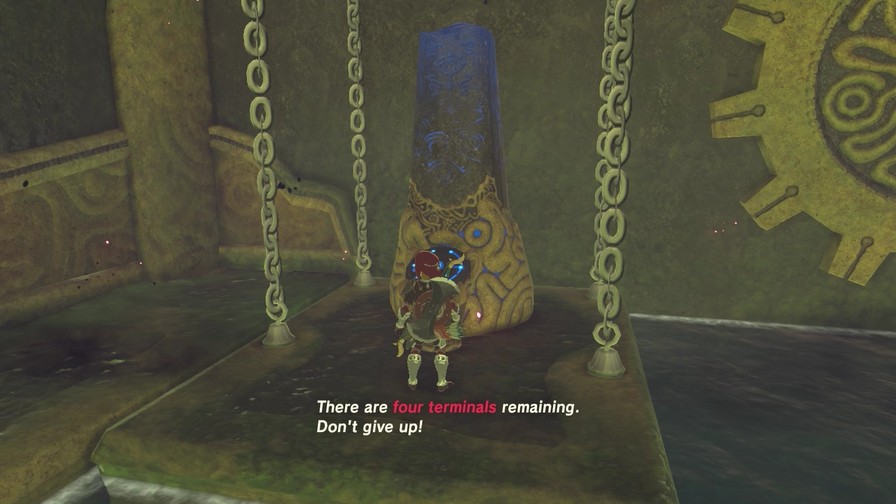
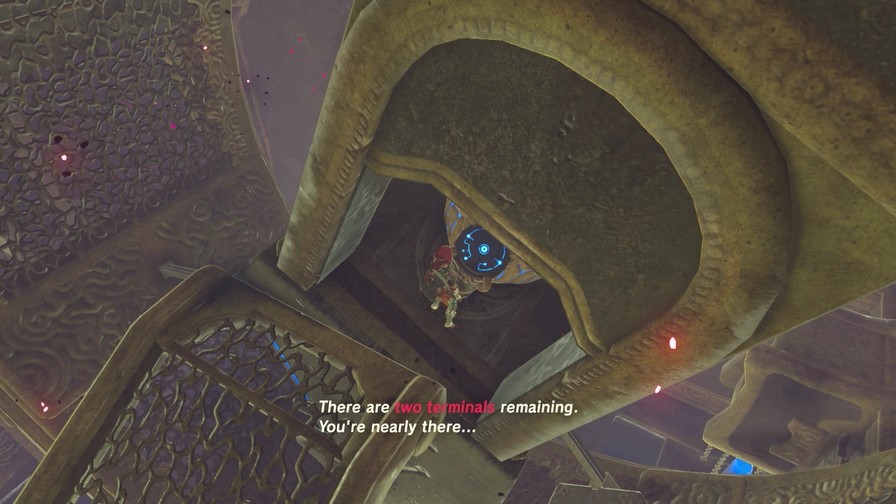
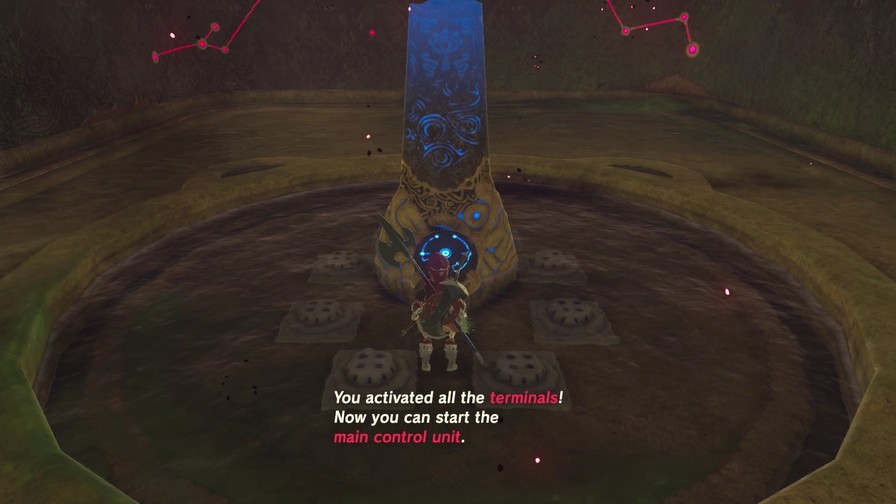
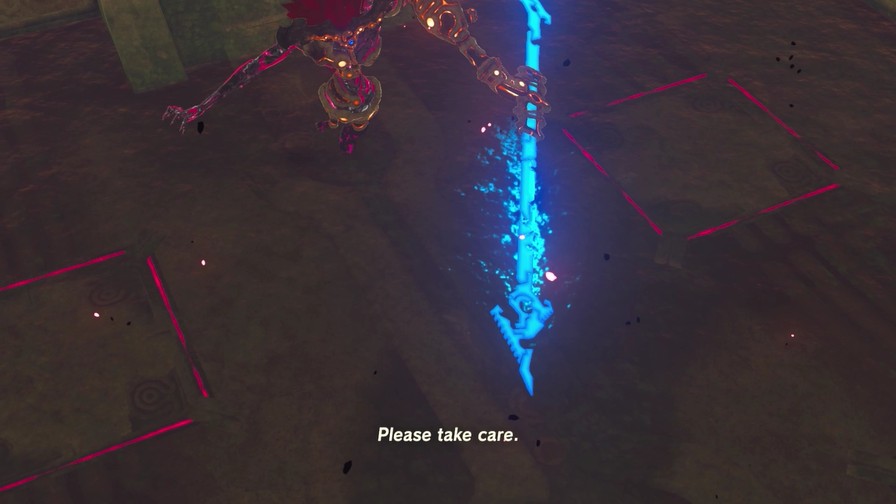
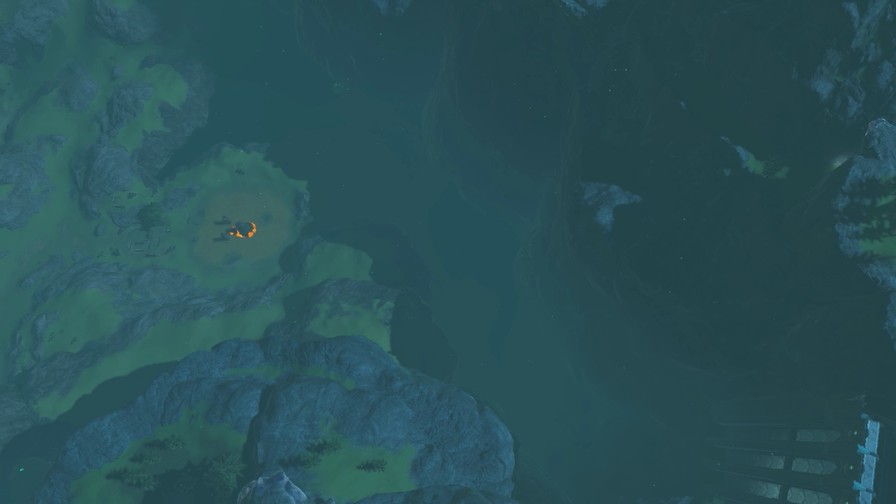
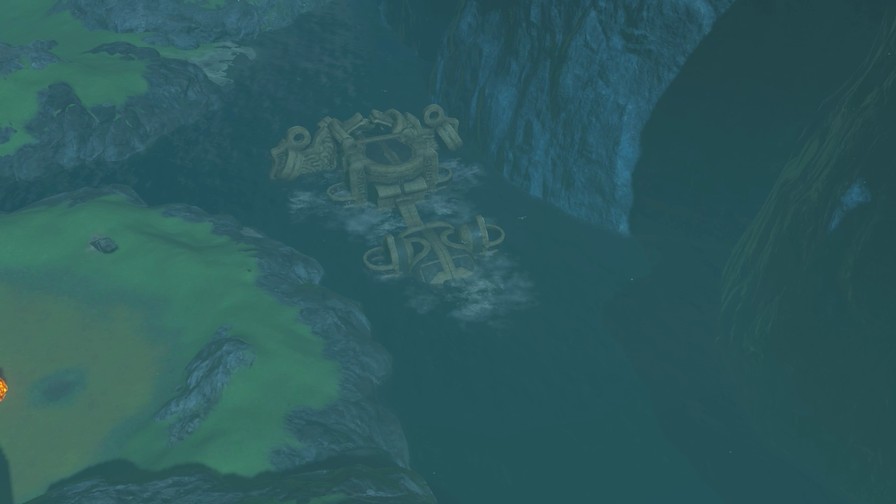
You will see several glowing points on your map which represent the terminals that control Ruta. Take Ruta back by activating all of the terminals. Be careful.
There are five terminals in each Divine Beast. Our ultimate goal is to activate all five and then activate the controls for the Divine Beast, thus regaining full control.
Of course, things won’t be that simple.
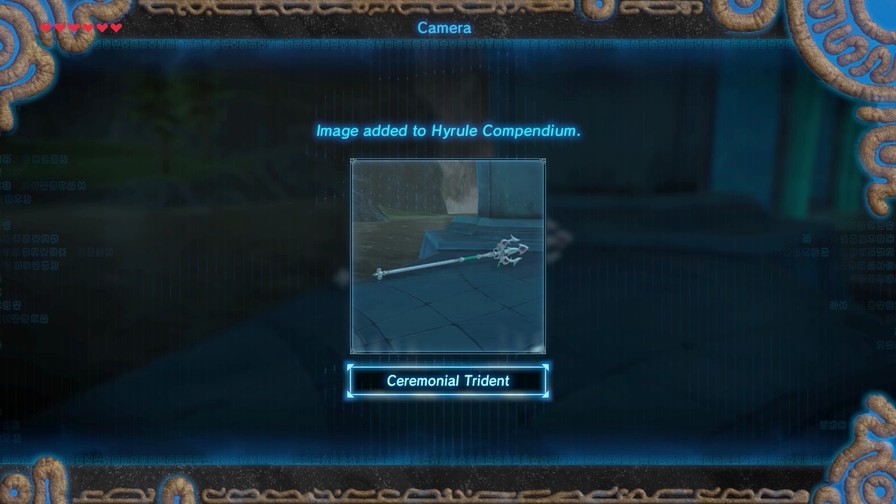
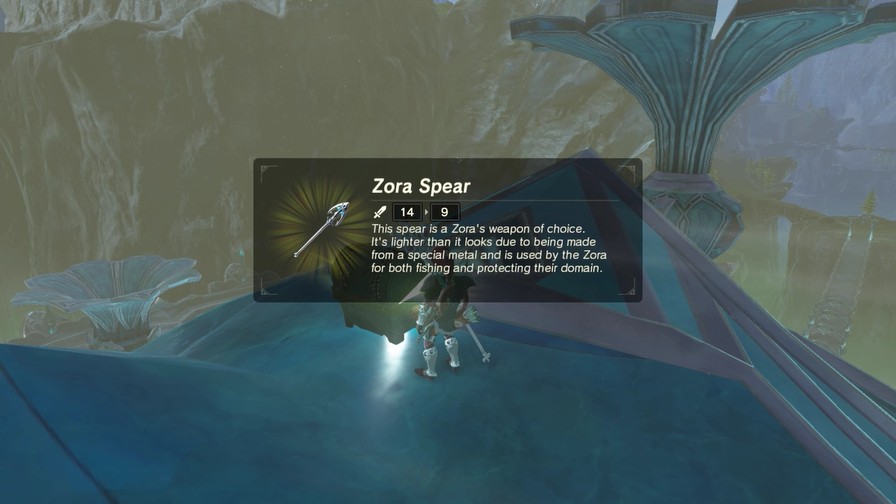
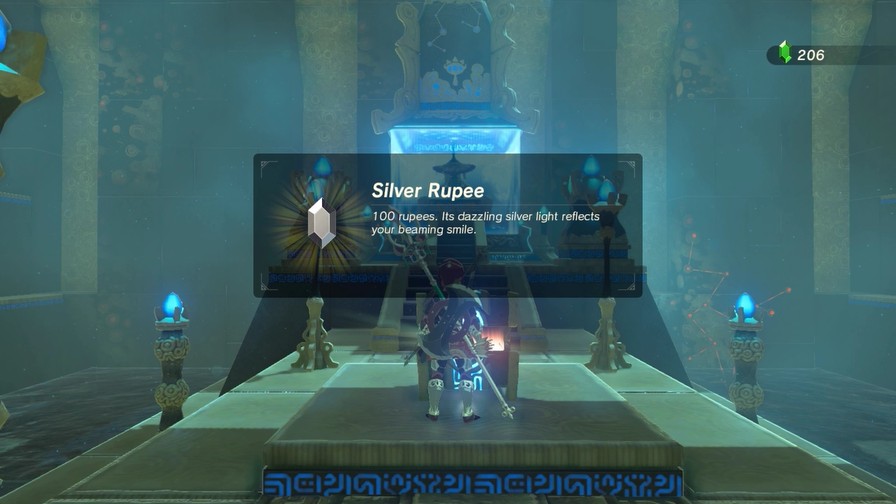
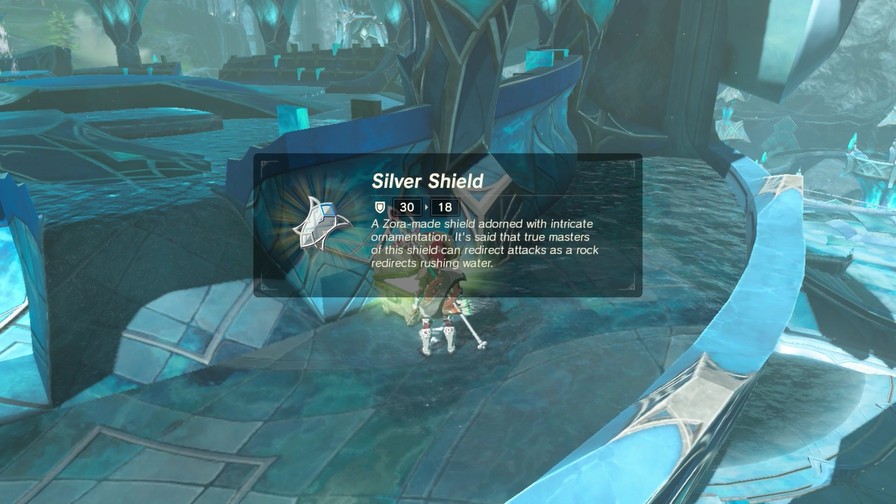
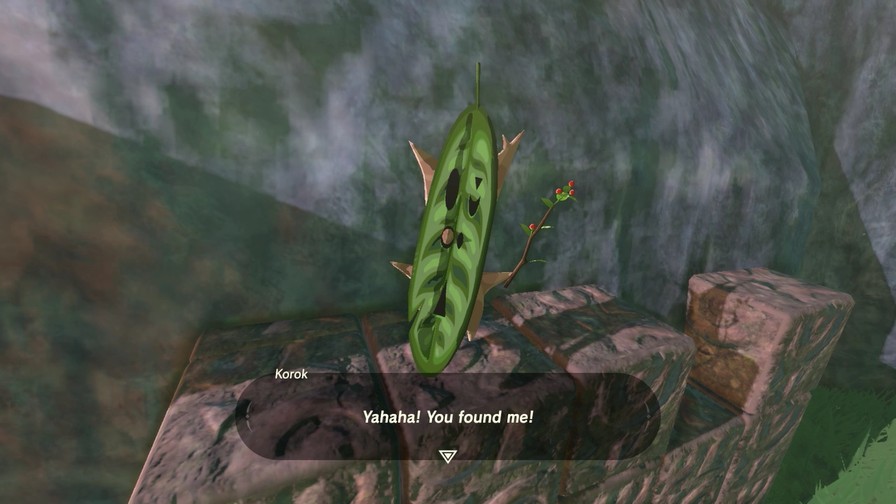
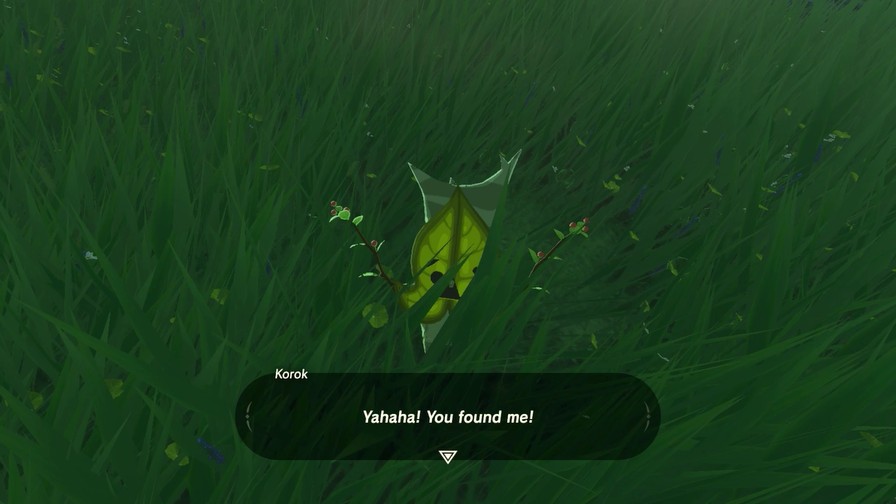
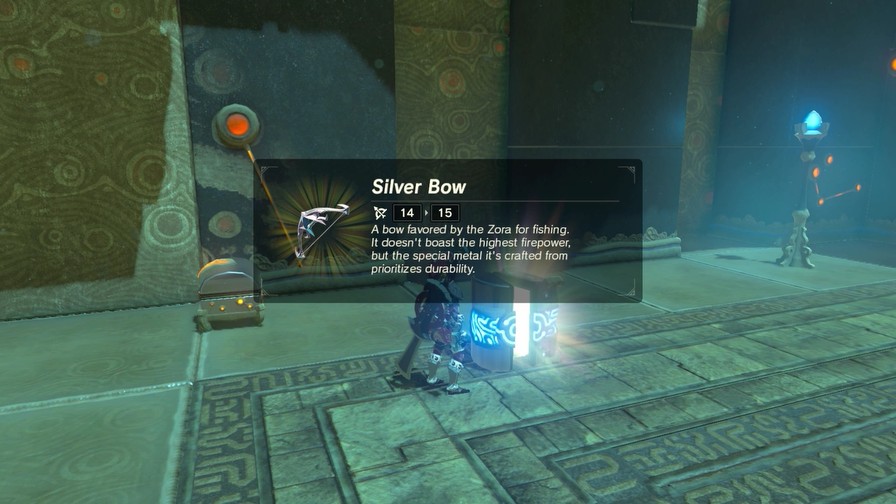
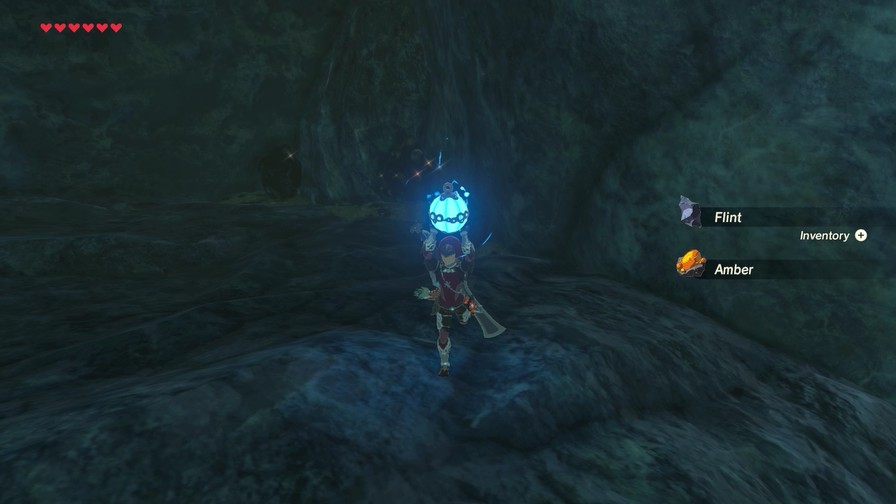
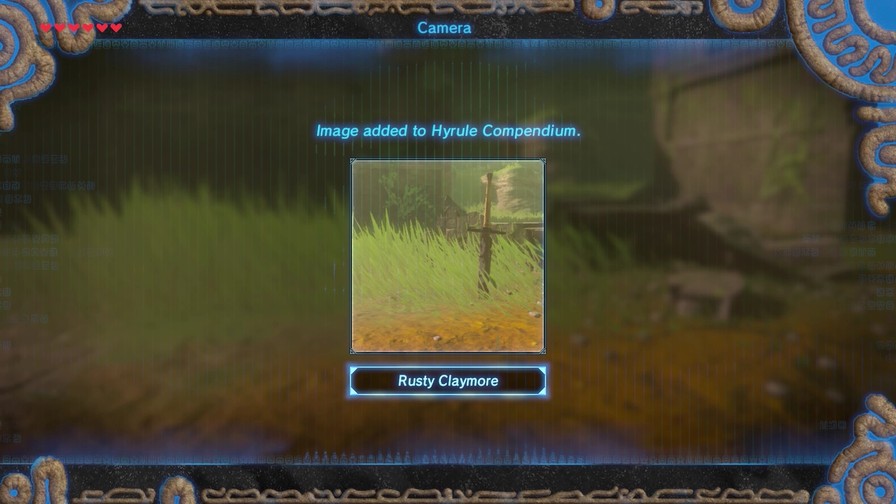
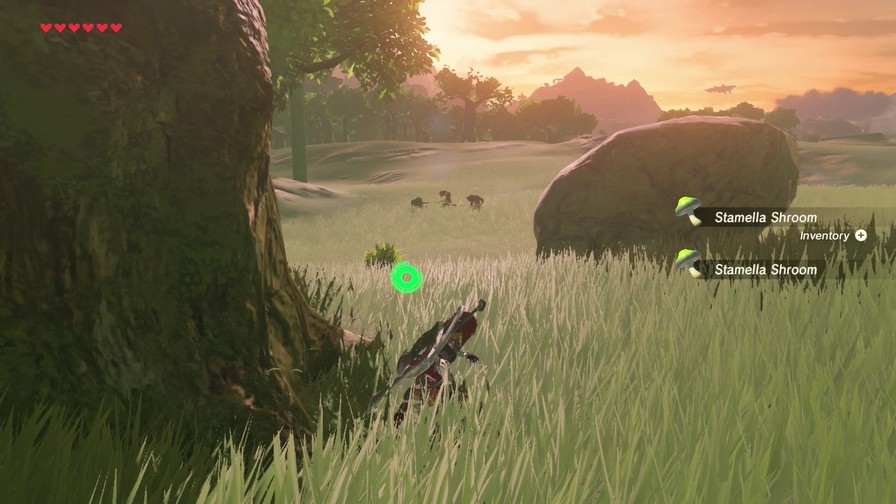
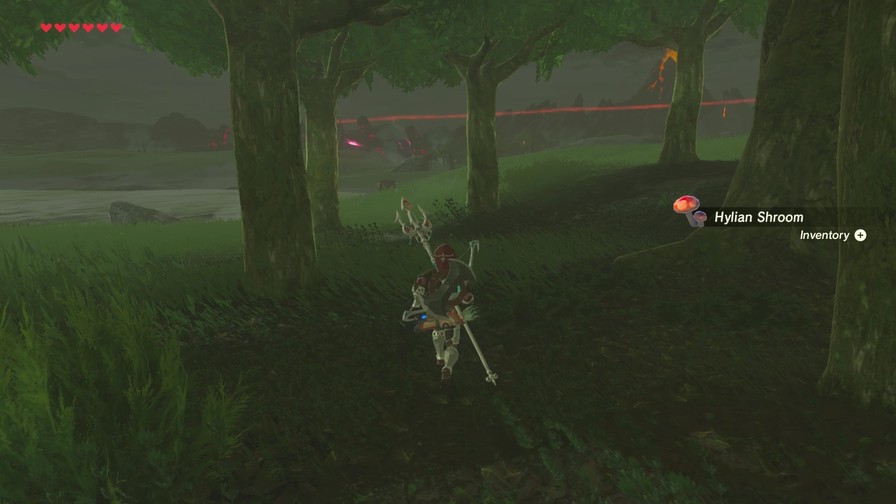
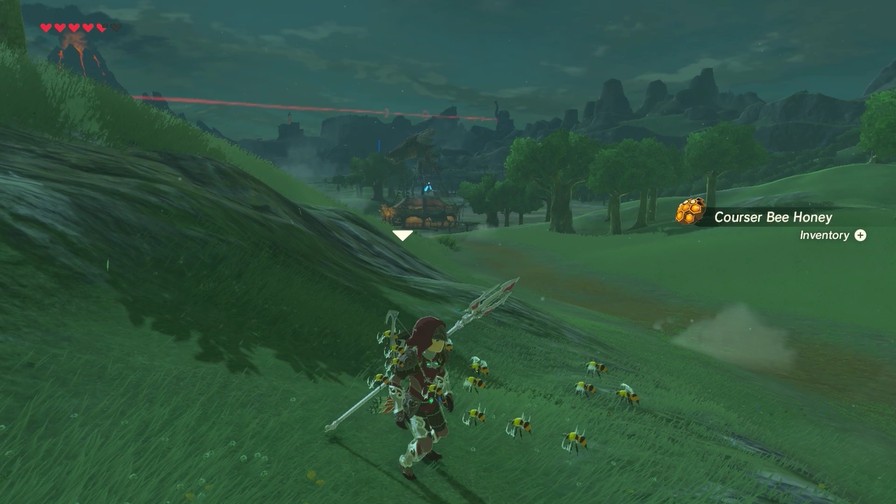
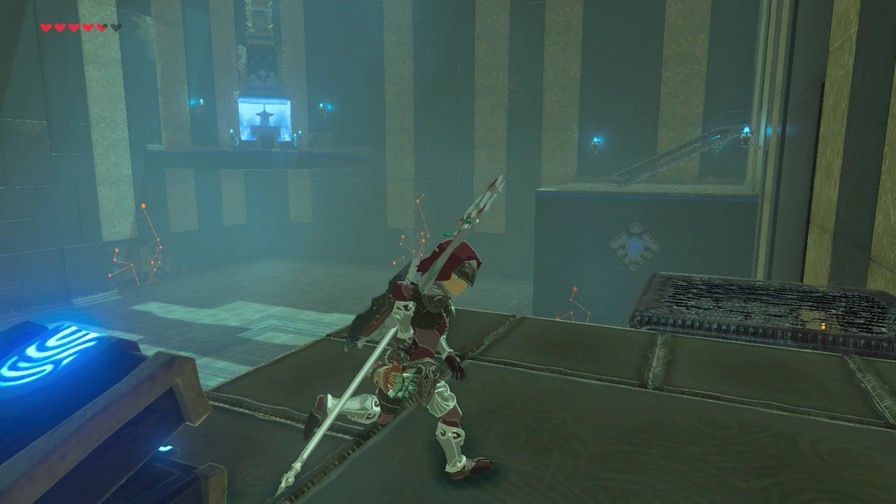
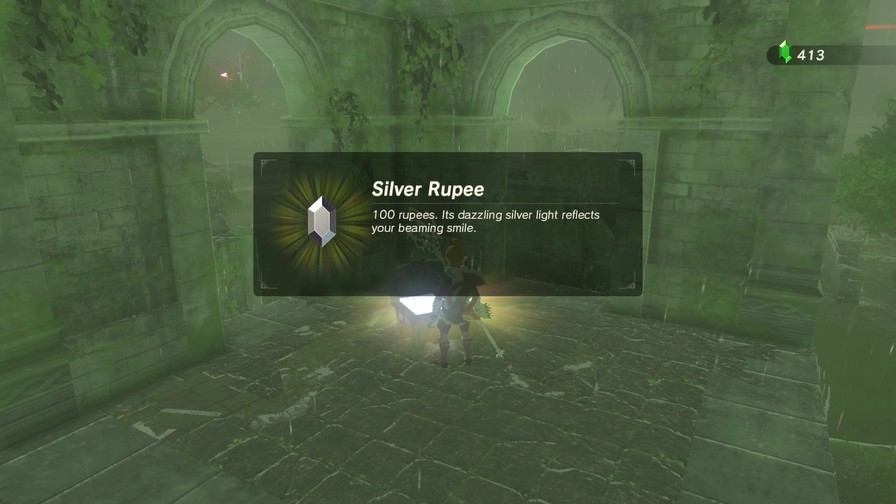
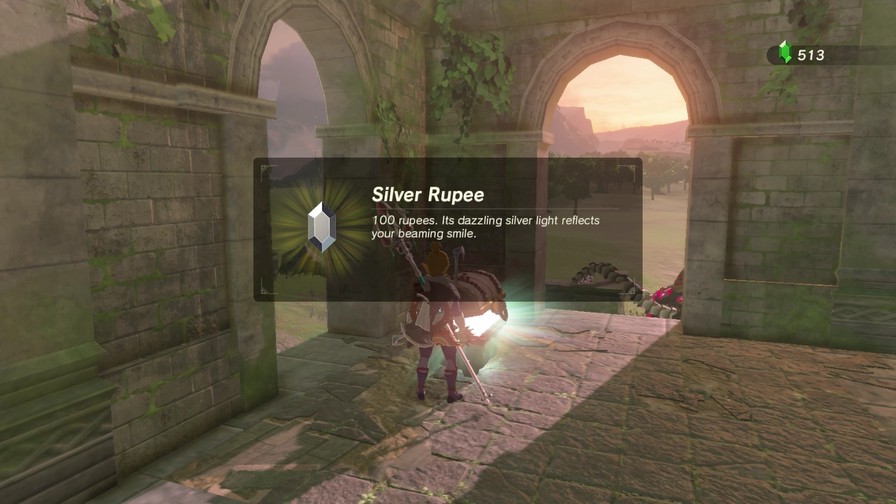
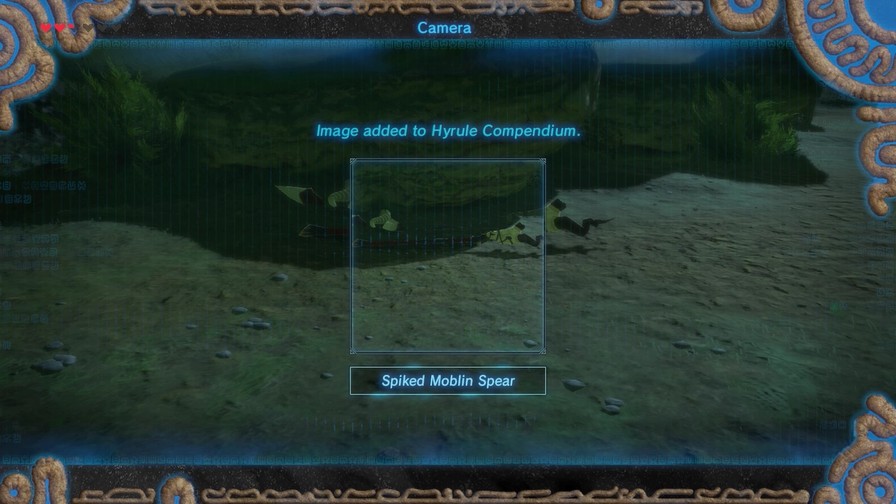
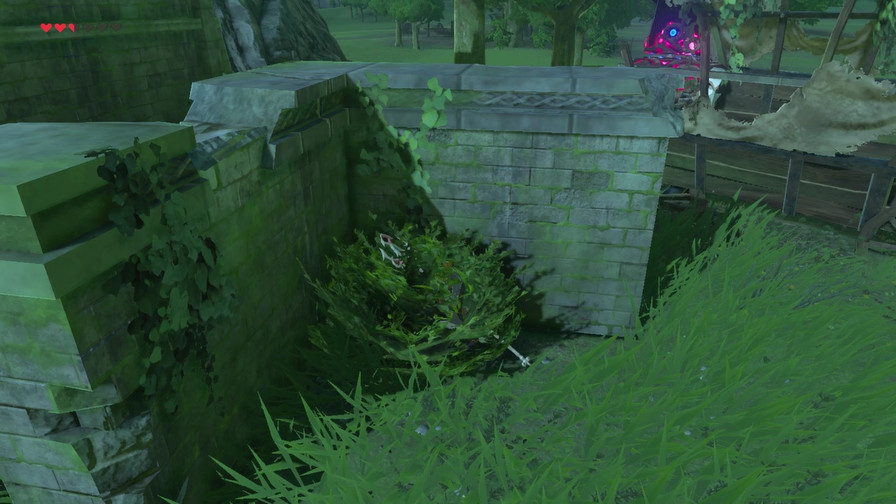
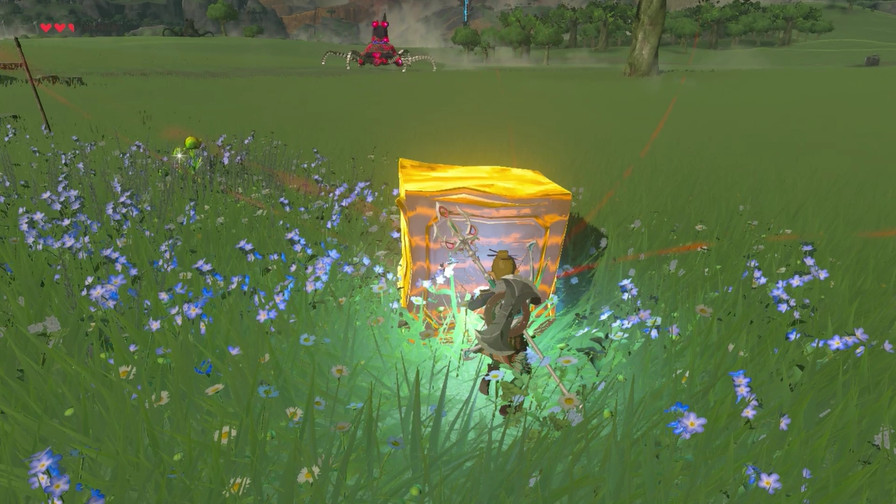
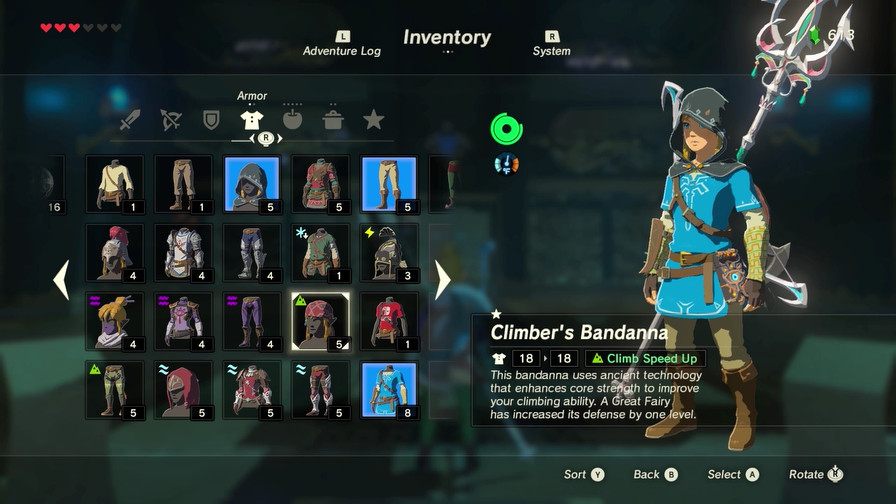
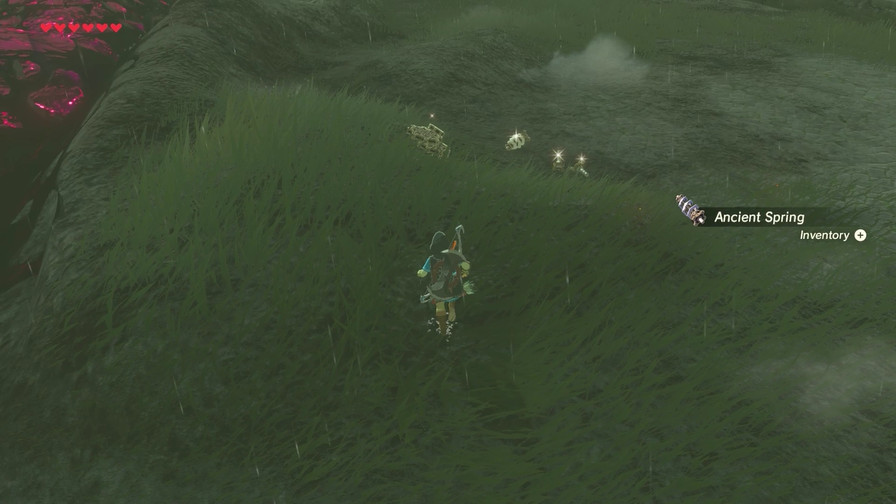
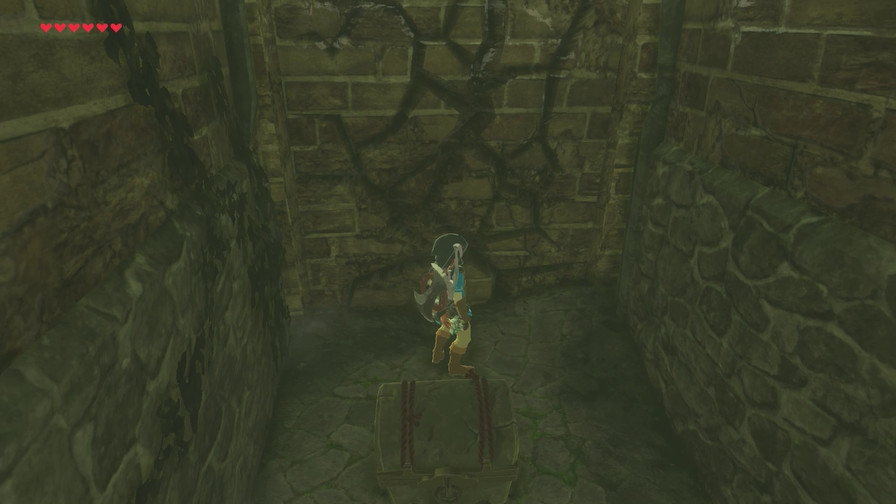
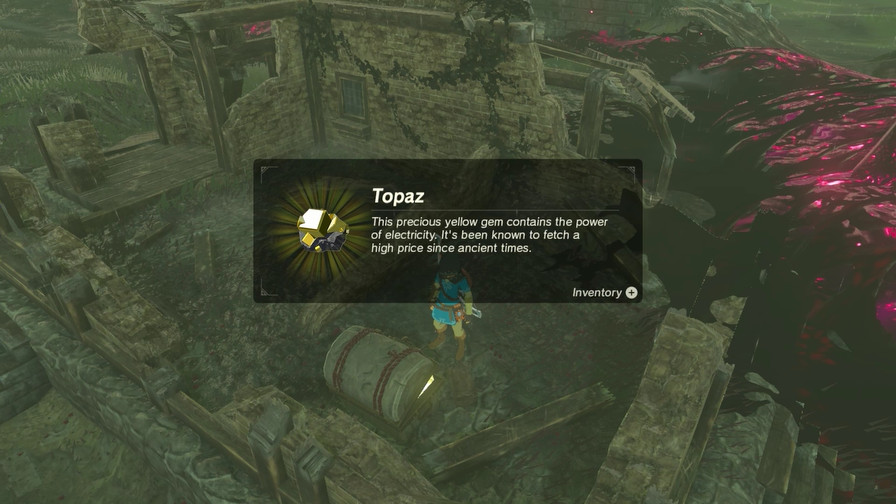
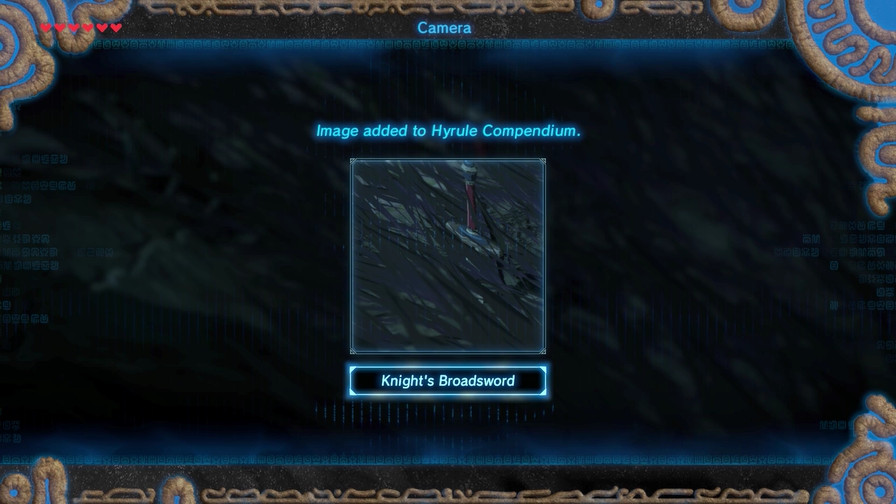
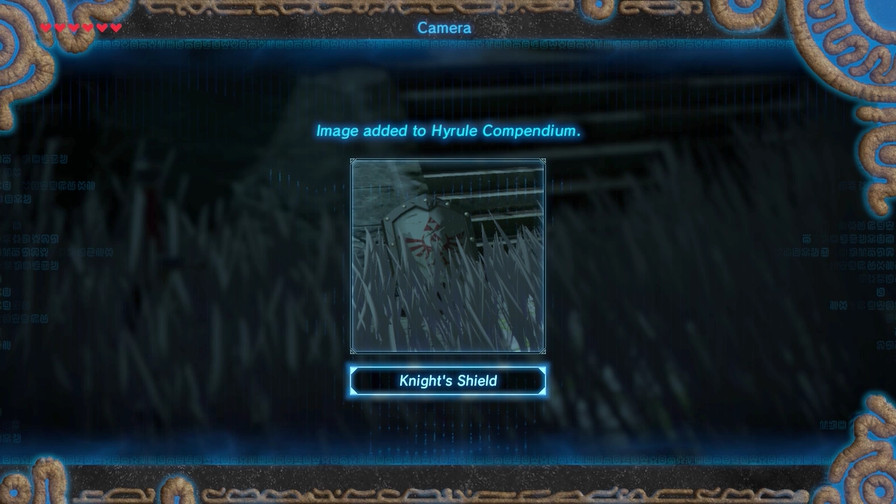
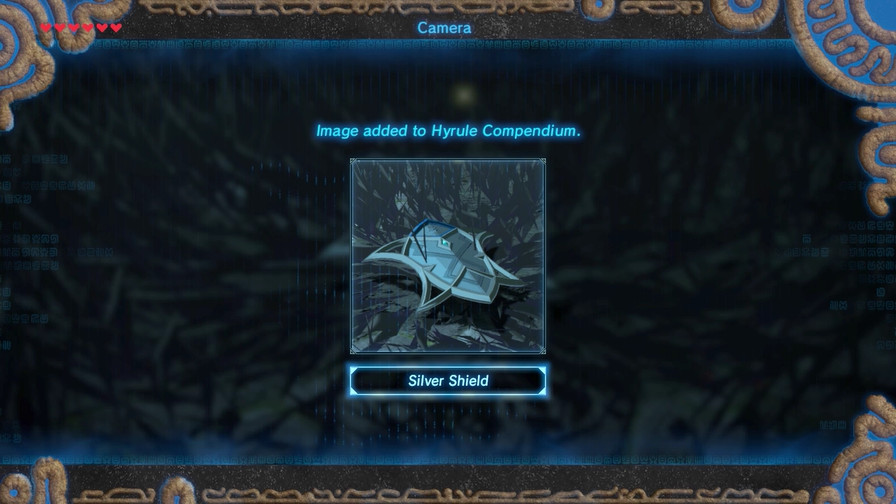
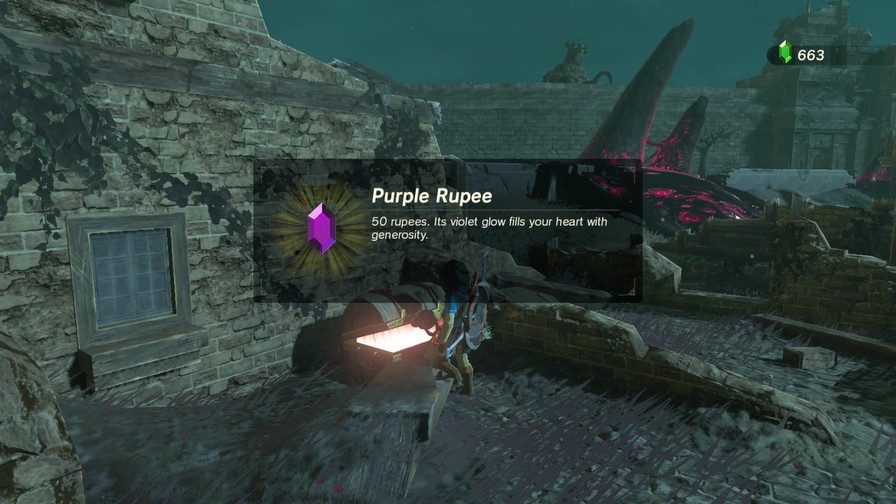
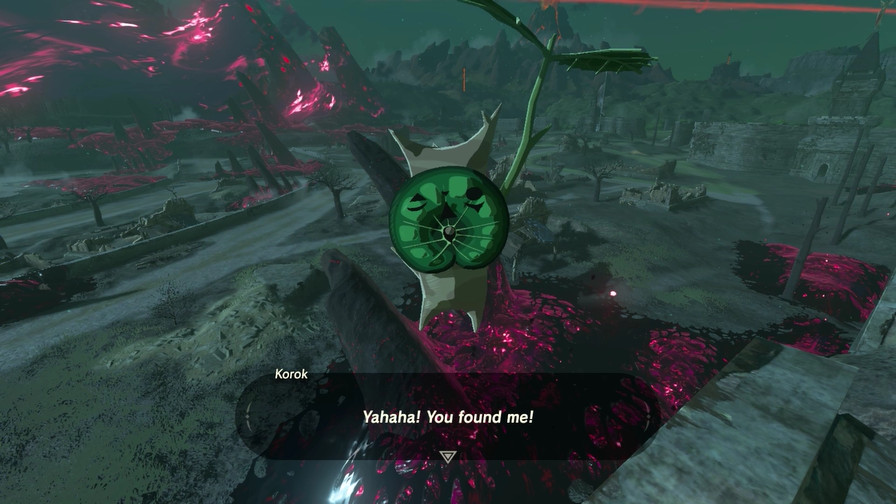
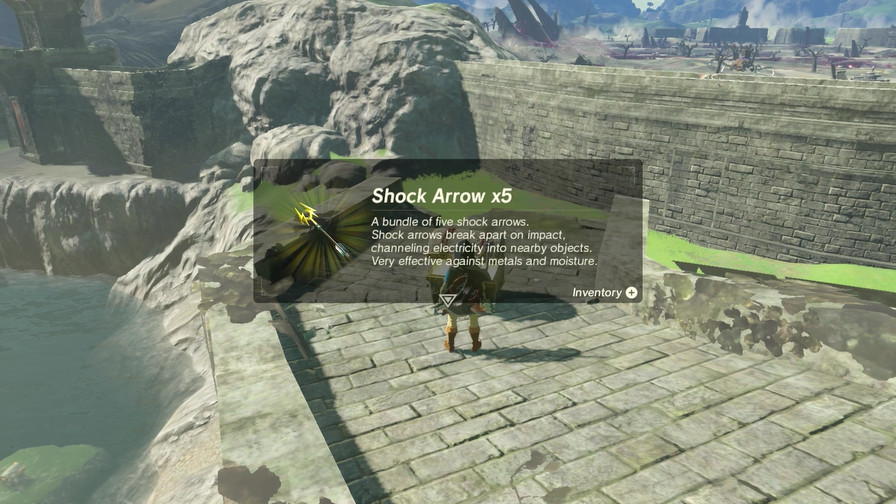
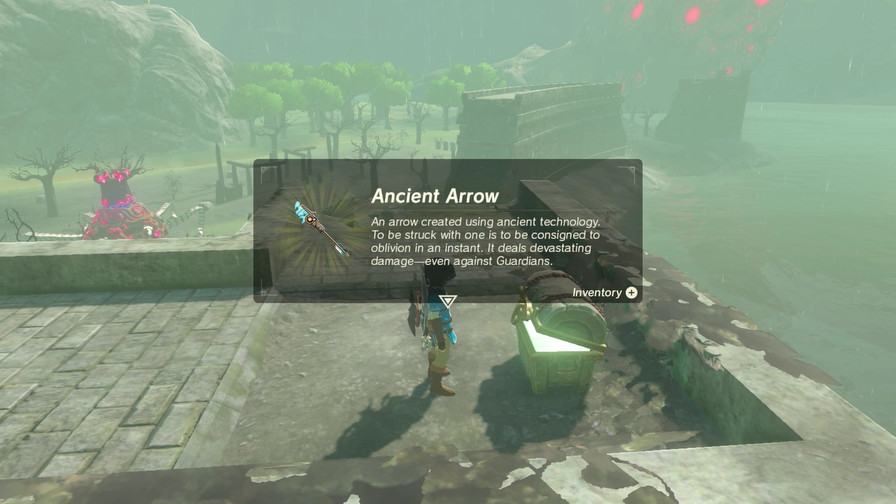
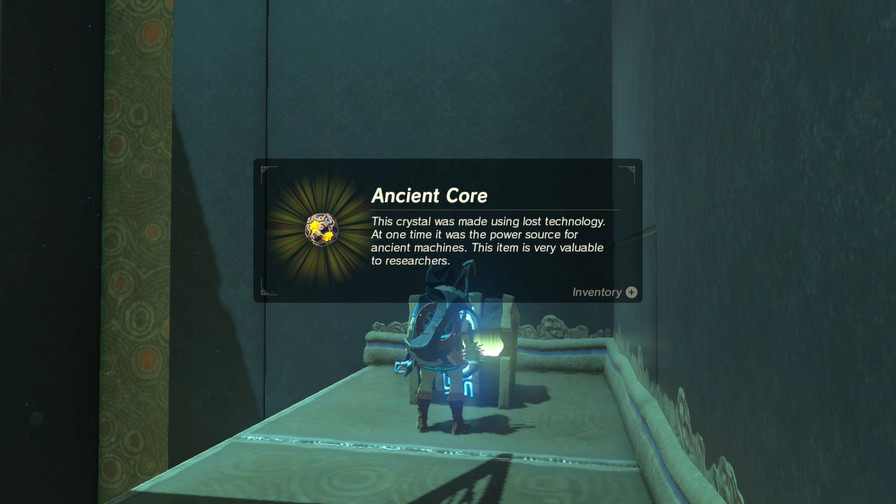
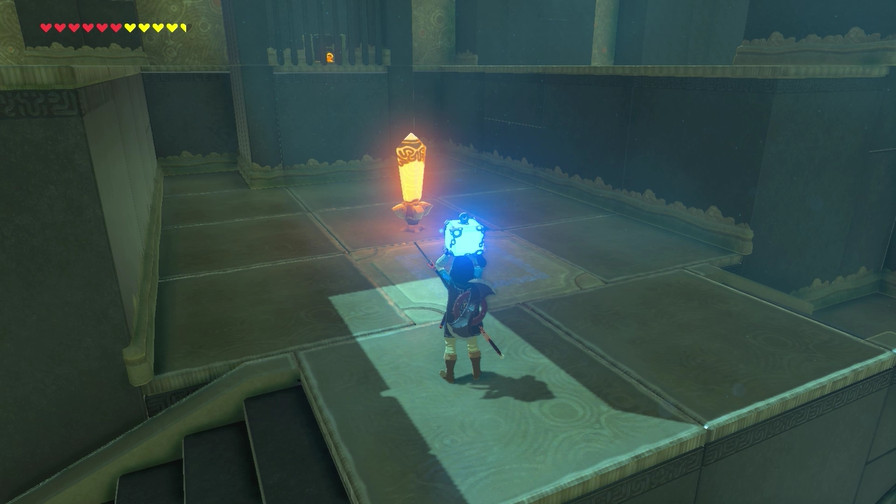
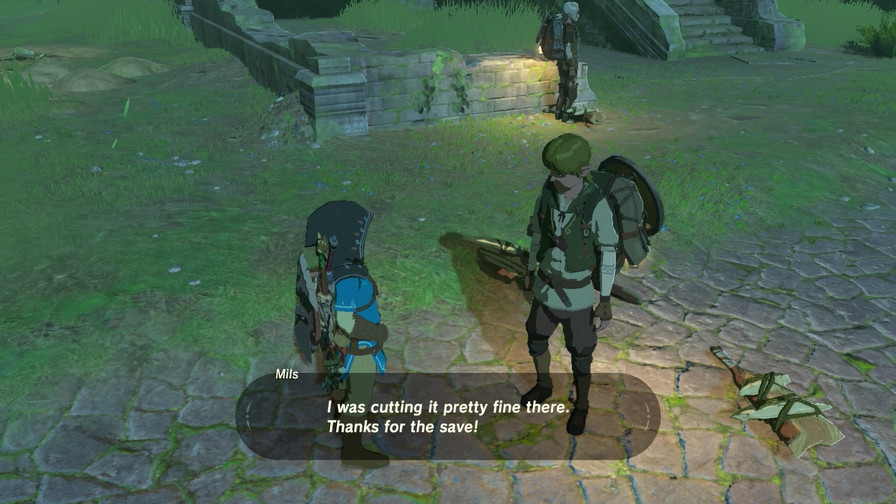
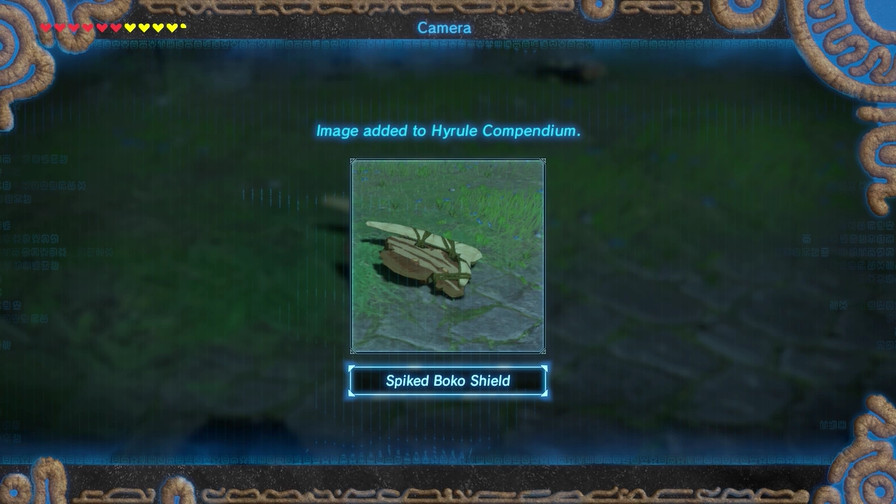
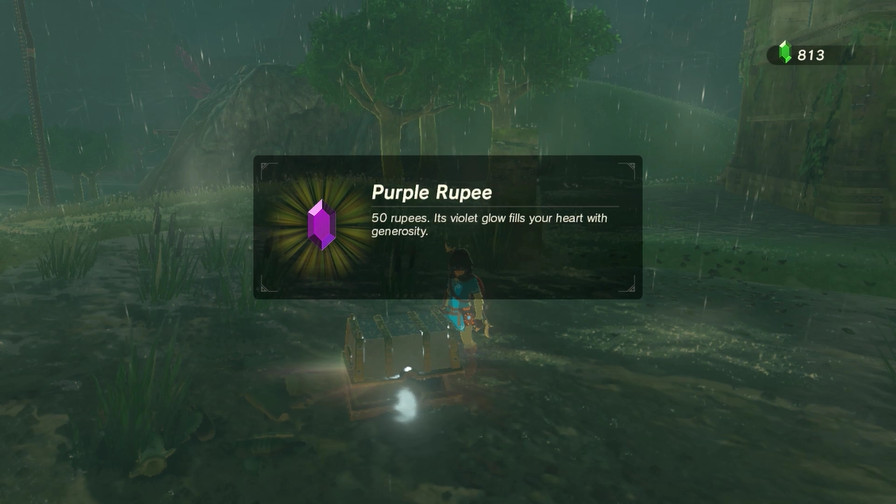
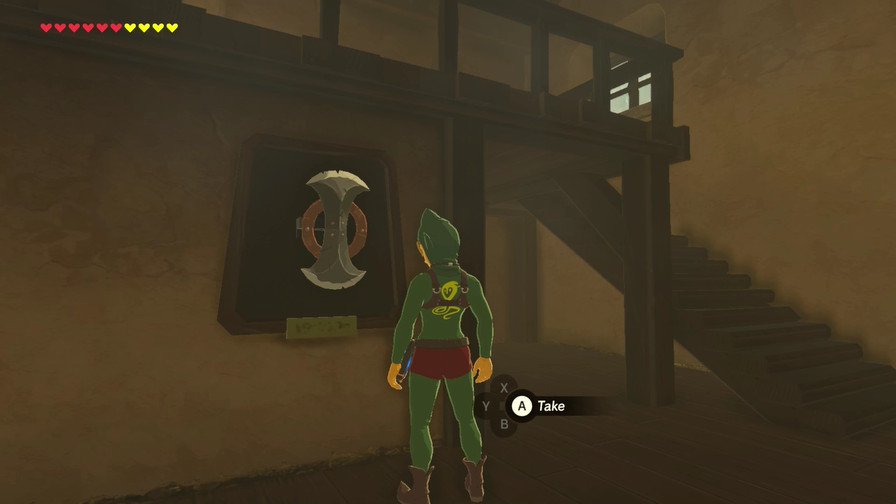
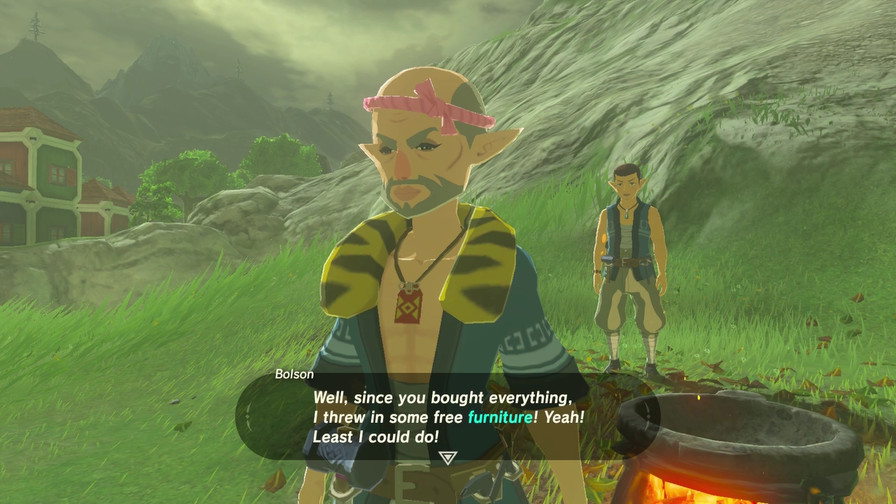
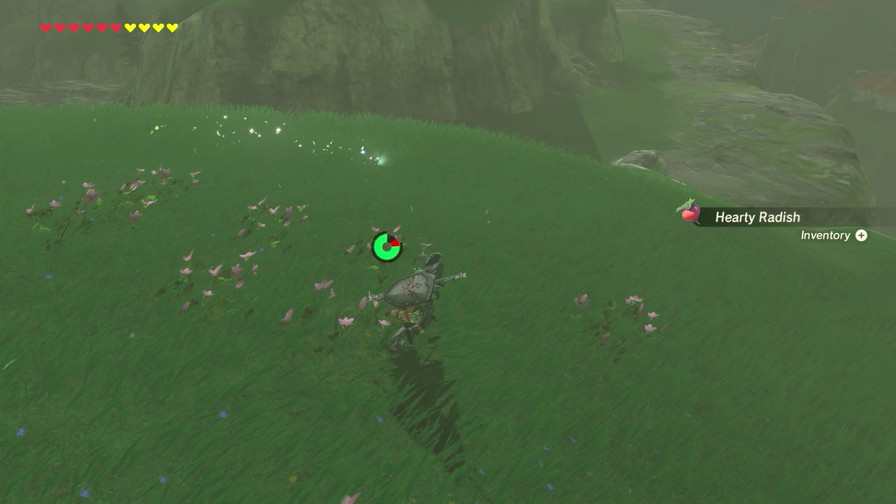
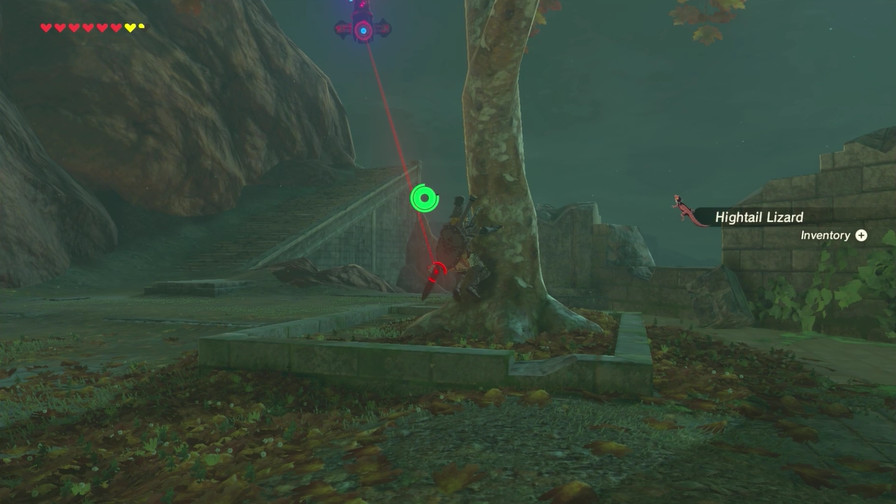
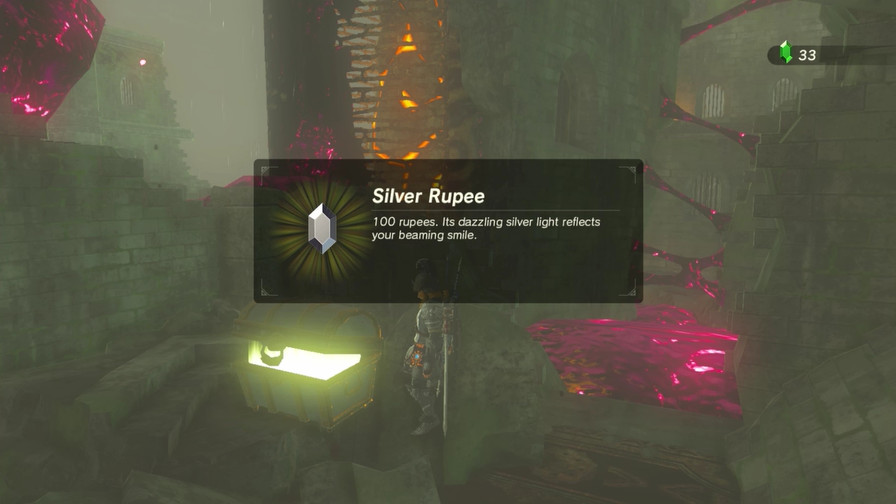
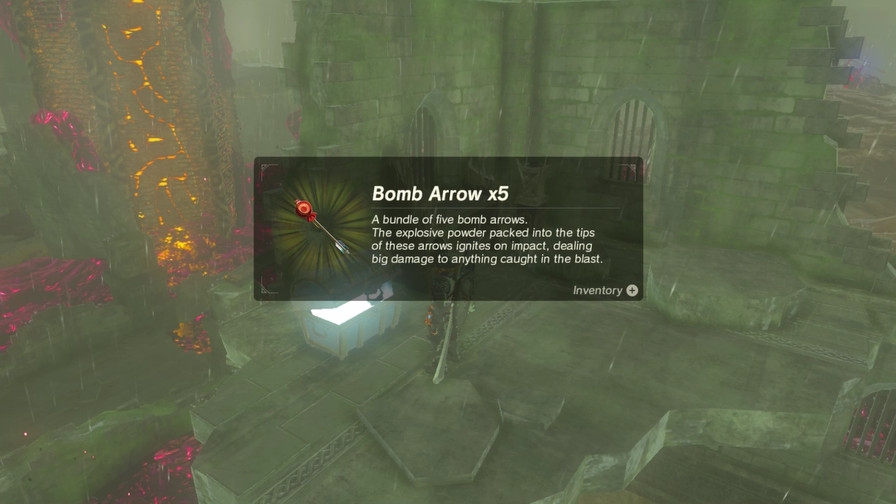
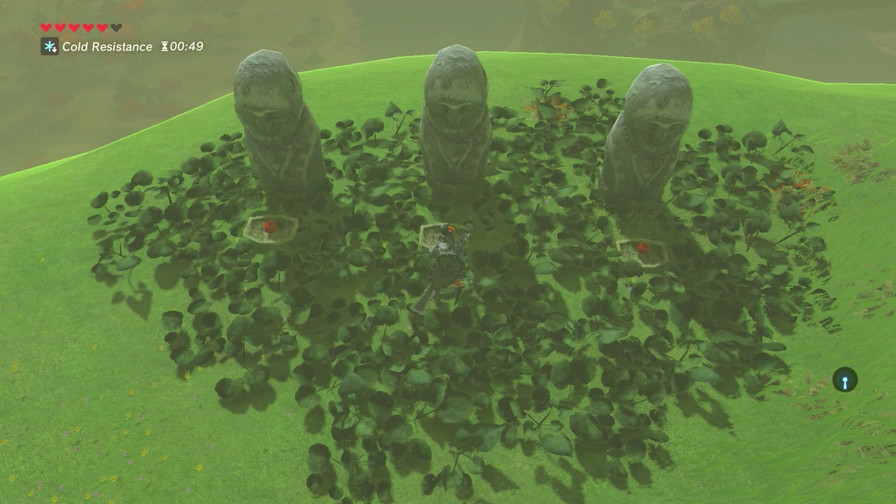
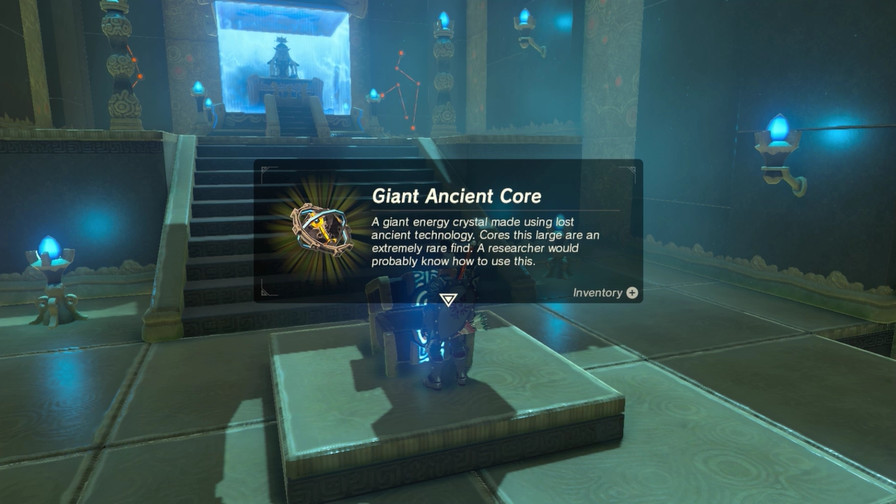
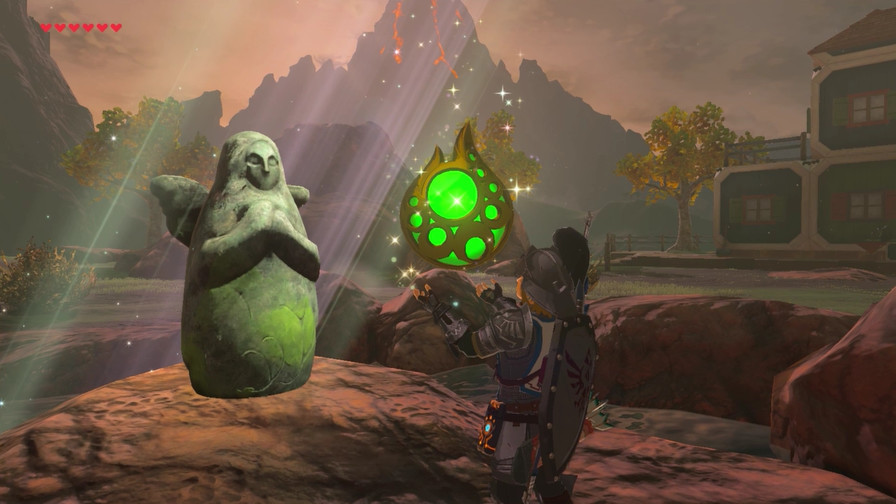
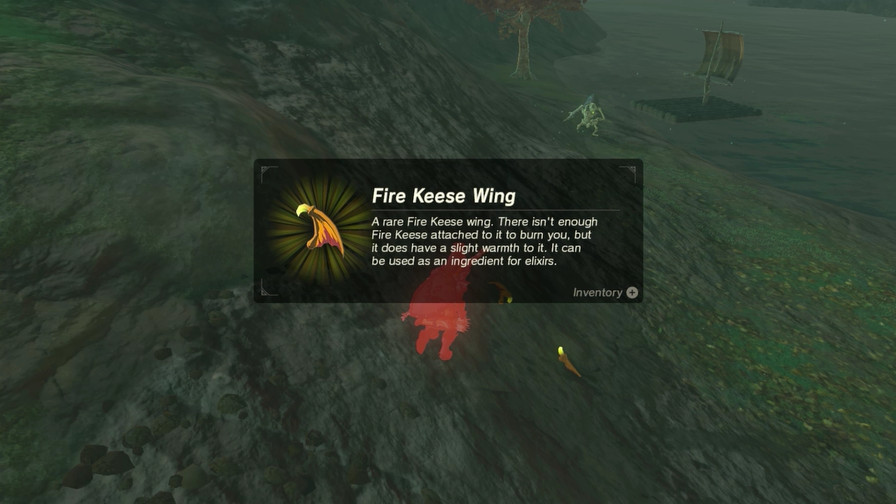
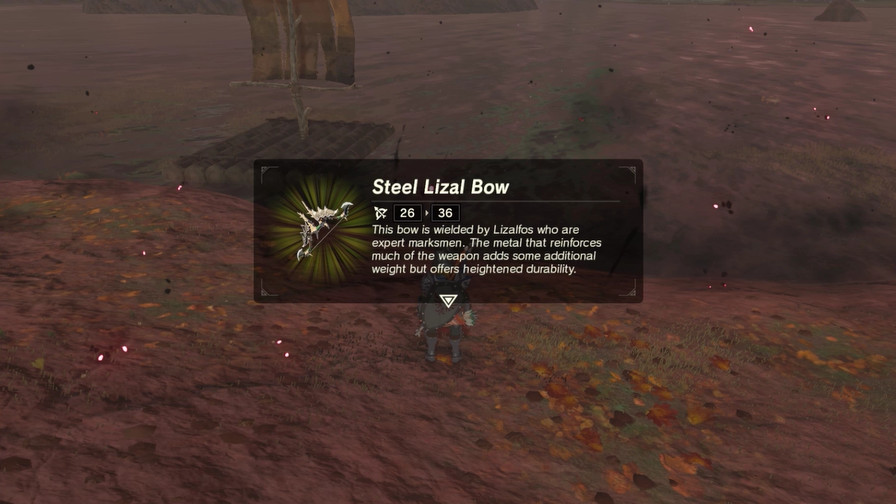
There’s a few treasure chests hiding around. This one has an Ancient Spring.
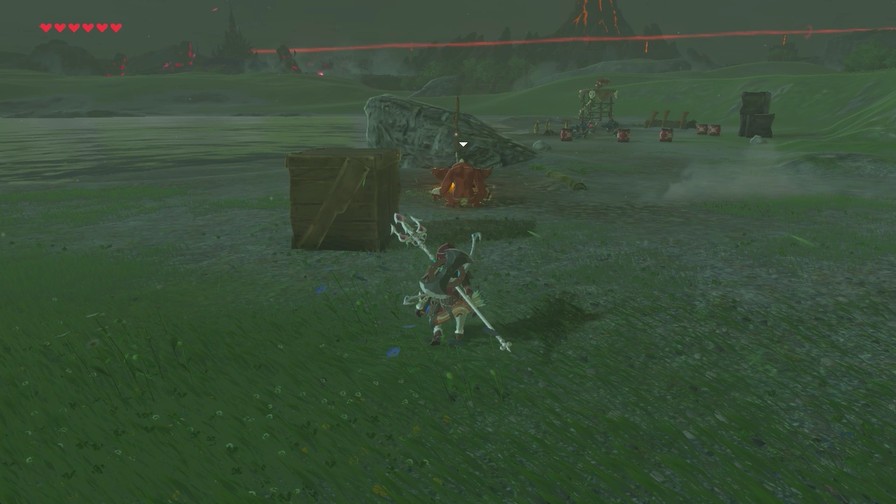
There’s never anything special, but Divine Beasts are one time events. Once you finish the dungeon, you cannot return, so loot what you can!

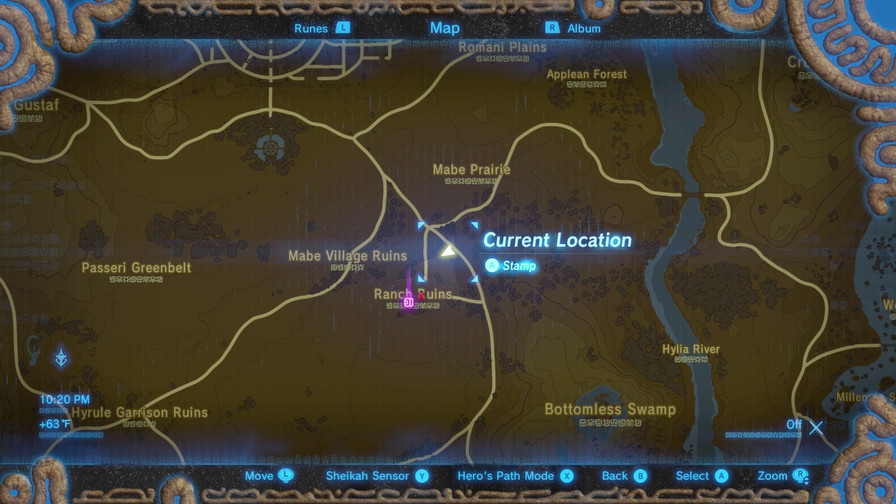
This is where we’ll go after we activate all five terminals.
The terminals are basically puzzles. At least Ruta’s are all separate, nothing that really builds on past puzzles like previous Zelda dungeons. So you can do the terminals in any order, but they can all be somewhat easy once you’ve figured out the tricks.
This one should be pretty simple if you simply try everything.
https://my.mixtape.moe/xkxcum.mp4
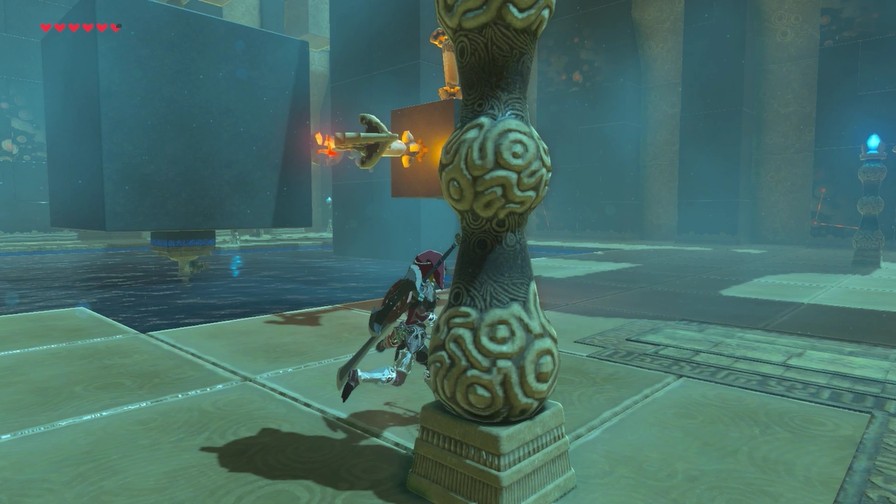
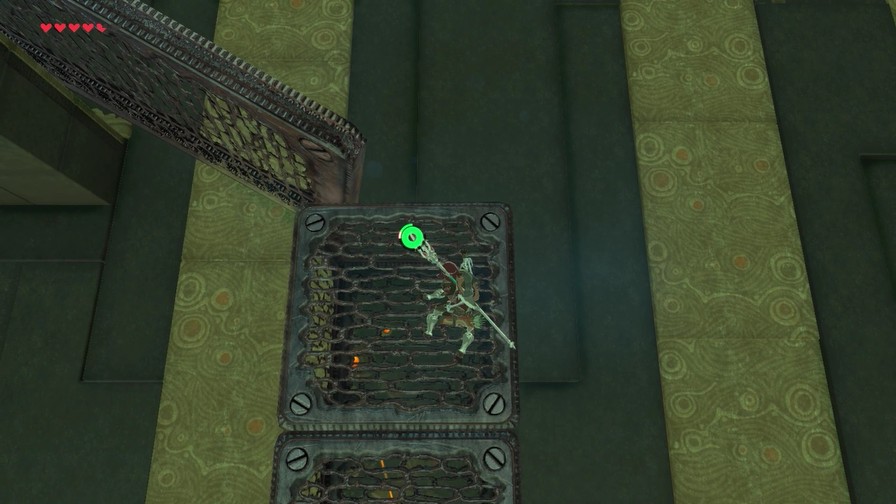
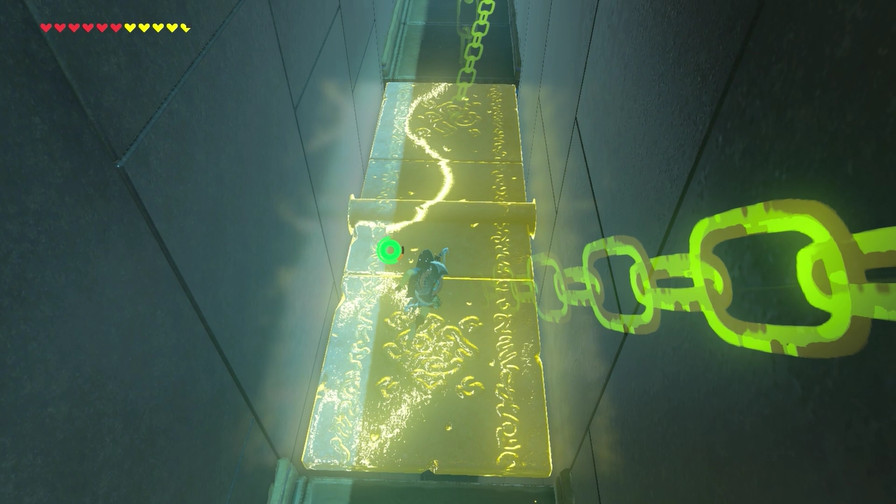
Just using Magnesis will show this can be interacted with, so you’ll try moving it. Moving it clockwise will eventually raise the terminal.
(Audio)
After every terminal, the dungeon music changes.
Music: Vah Ruta (Four Terminals Left)

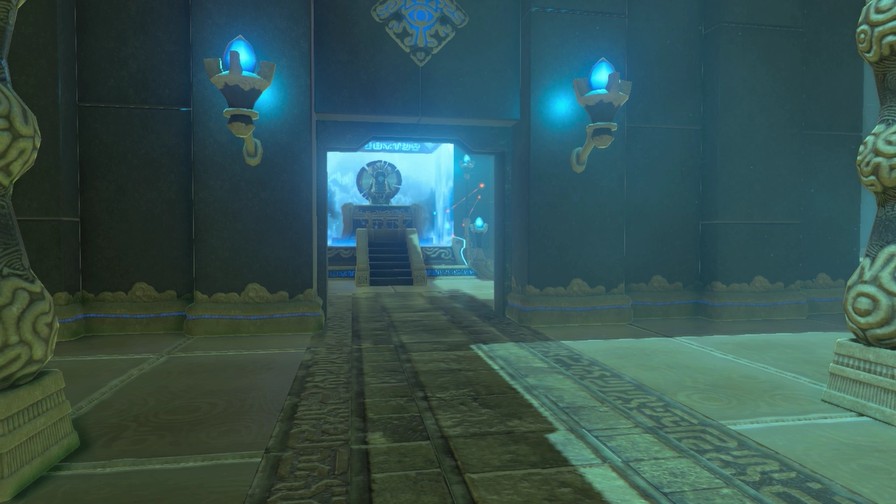
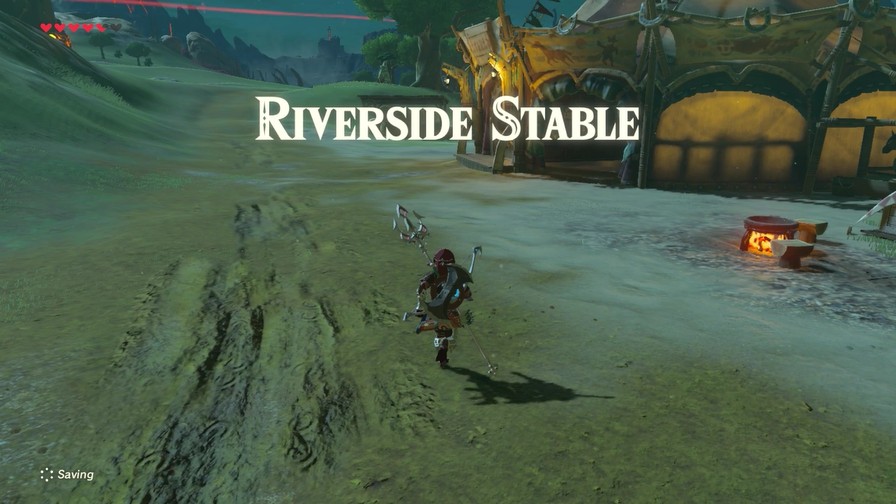
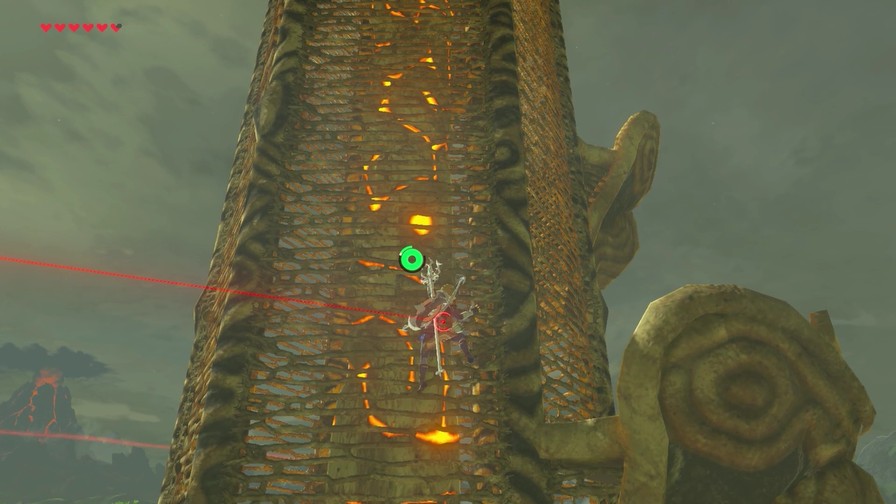
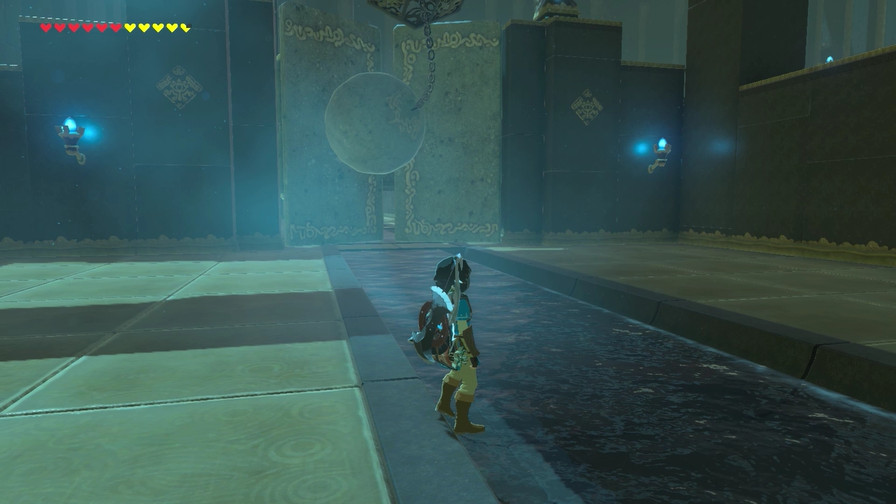
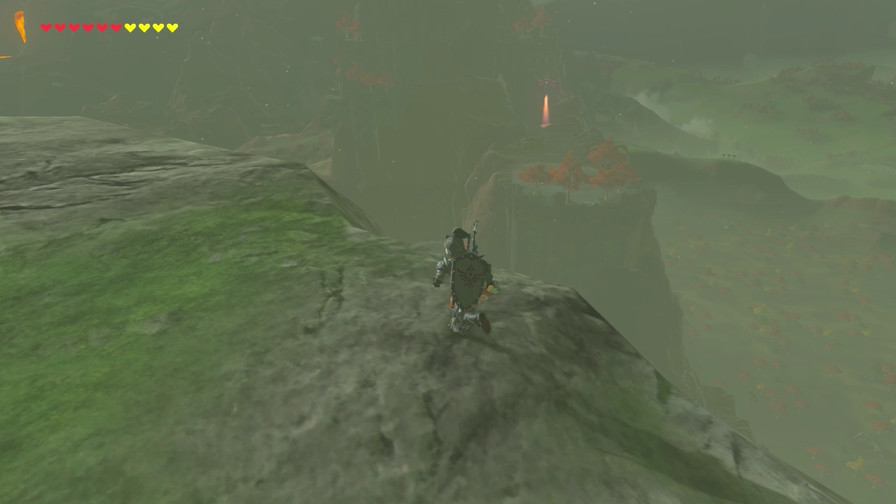
There’s nothing left to do down here, so next we’ll go outside to ascend Vah Ruta.
Things get a bit more interesting here.
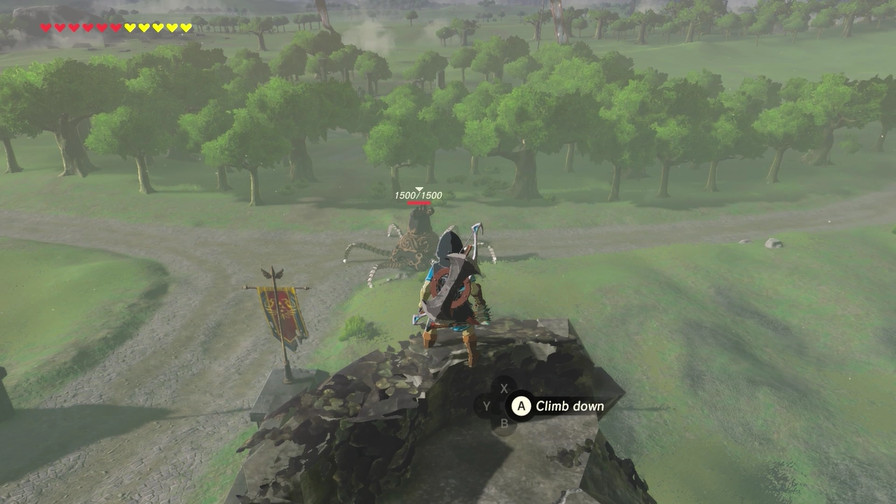
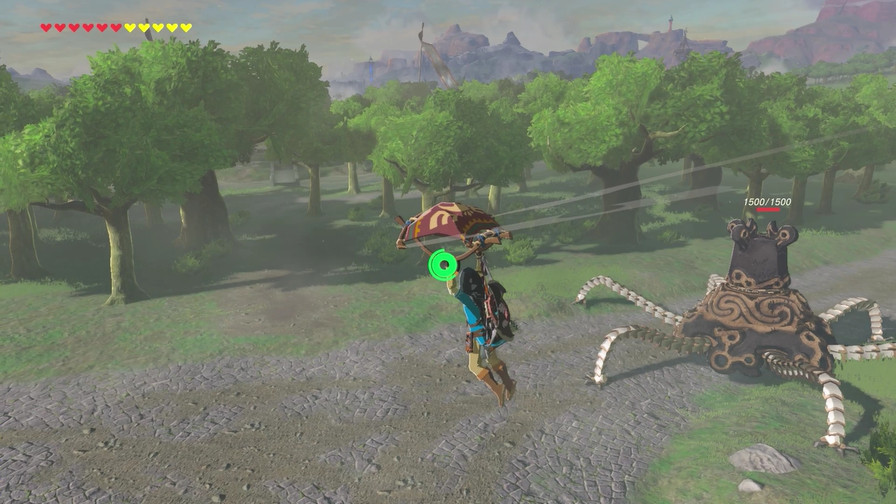
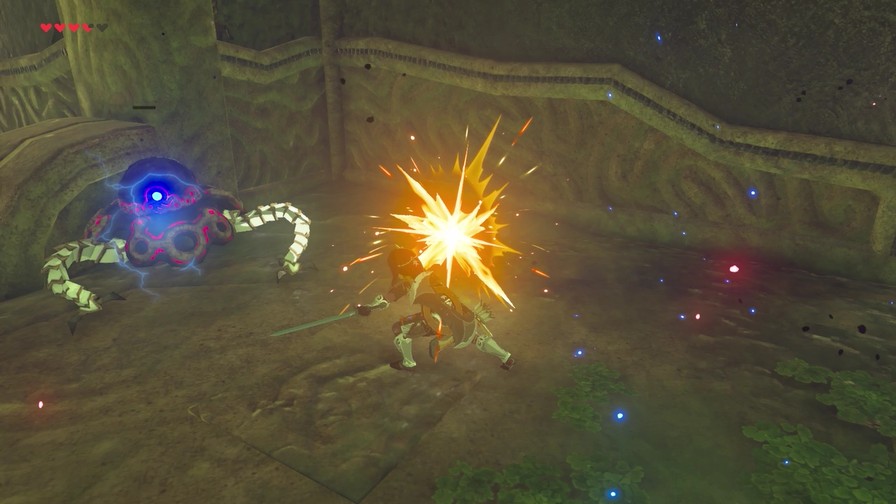
Another guardian to dance around.
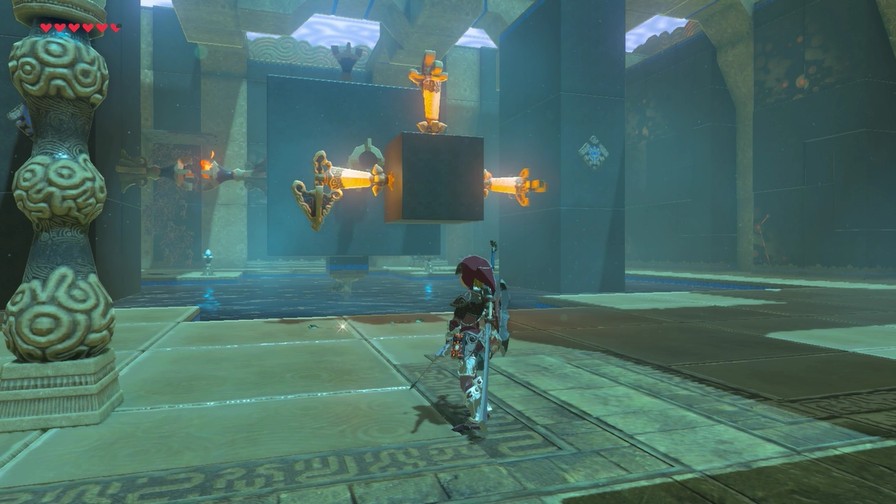
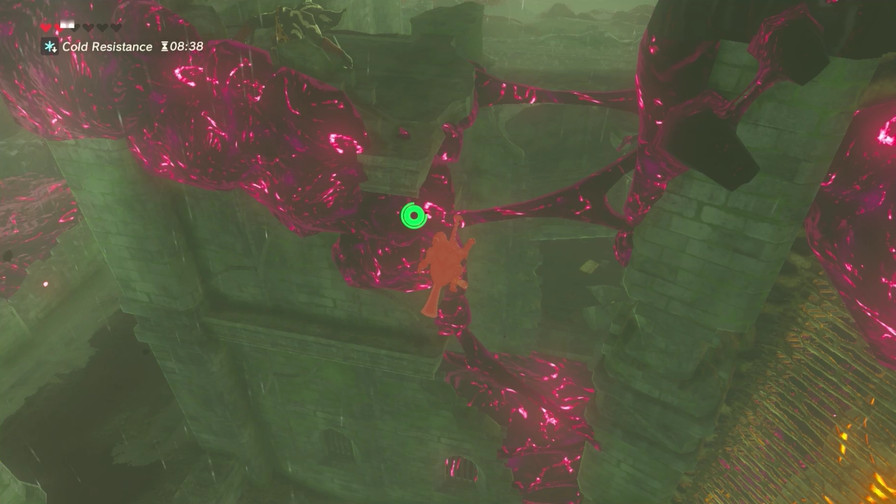
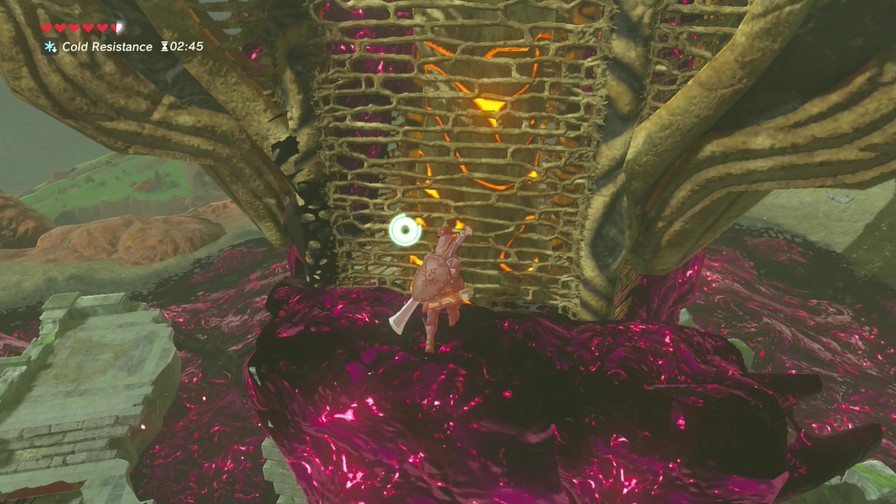
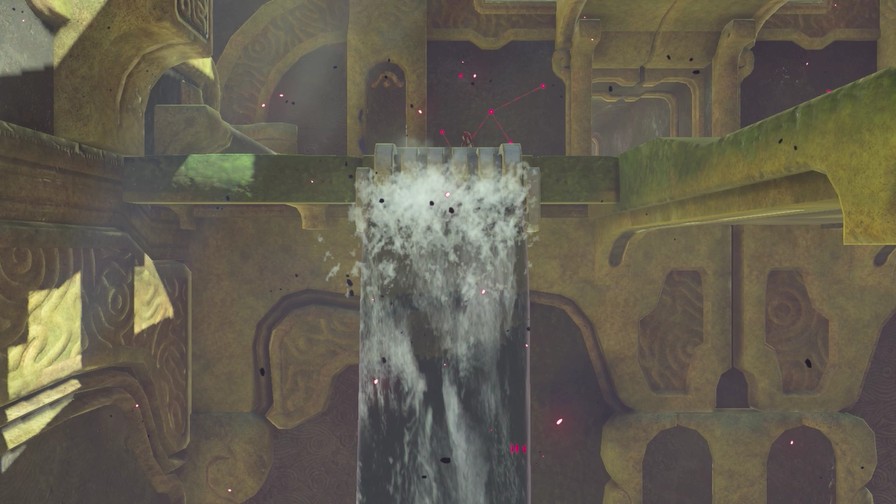
There’s a terminal on this gear, but due to the gear’s constant spinning and the high water level, we can’t currently access it. Thus we need to find a way to stop the water flow.
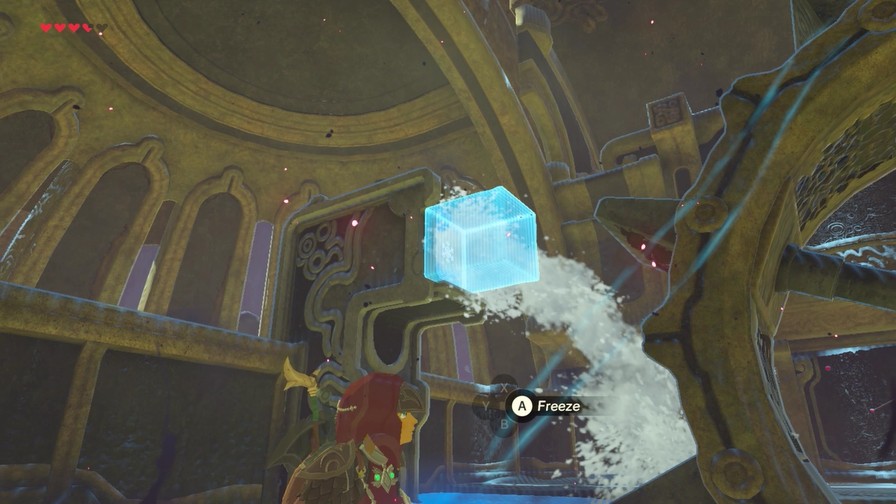
All you have to do is freeze this source when the terminal is at the bottom of the gear, stopping the gear and lowering the water level.
I say this like it’s trivial, but I spent far, far longer on this one terminal than I care to admit. I didn’t do the shrine where you froze water sideways until after this dungeon, so I was completely stumped until I stumbled upon the solution.
(Audio)
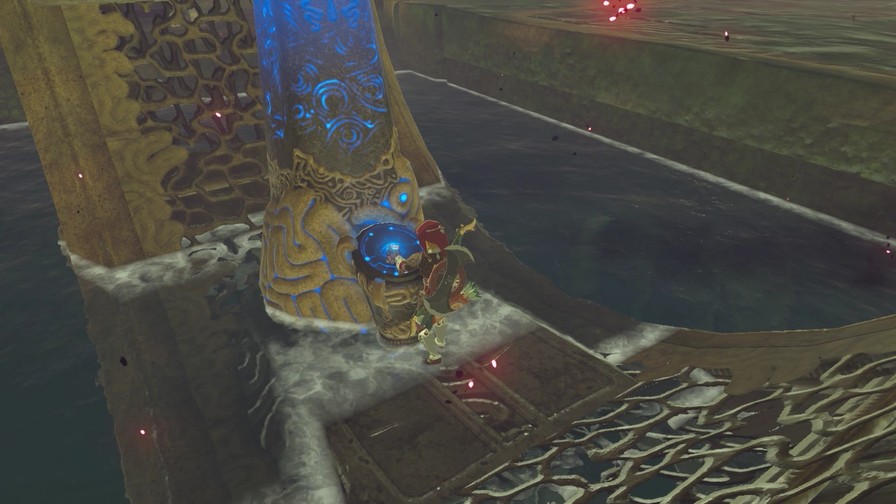
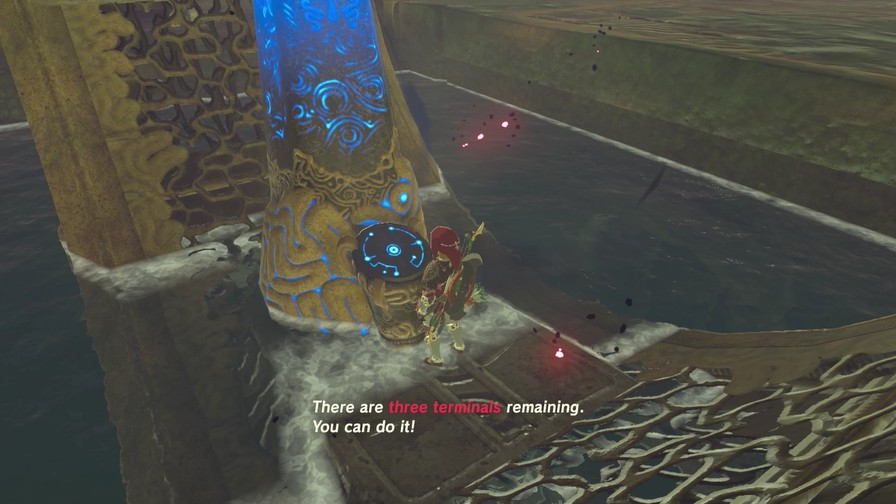
Anyway, that’s two down.
Music: Vah Ruta (Three Terminals Left)
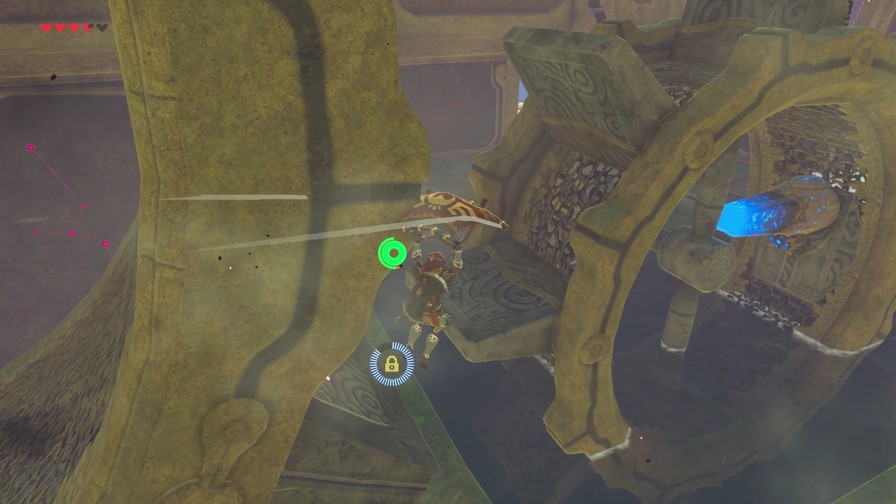
Next to us is this much larger gear, though it’s not moving and is kinda hard to access from here. We’ll have to leave the other side of Ruta and ascend again to reach it.
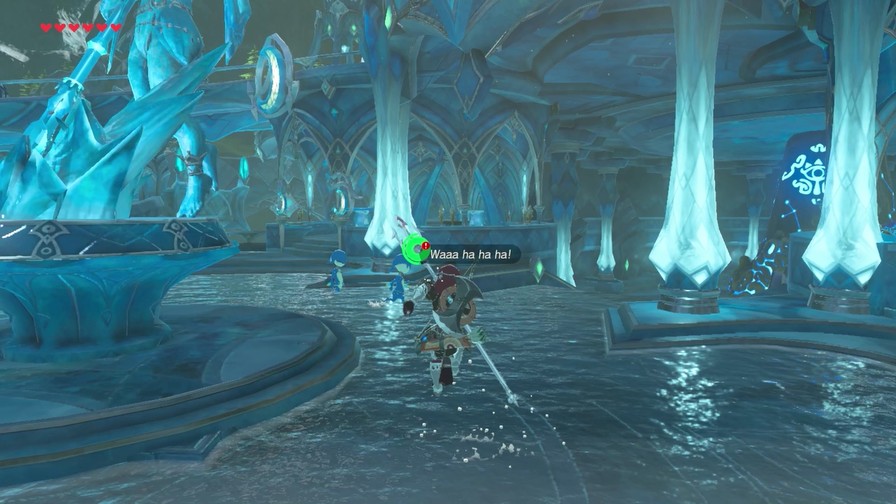
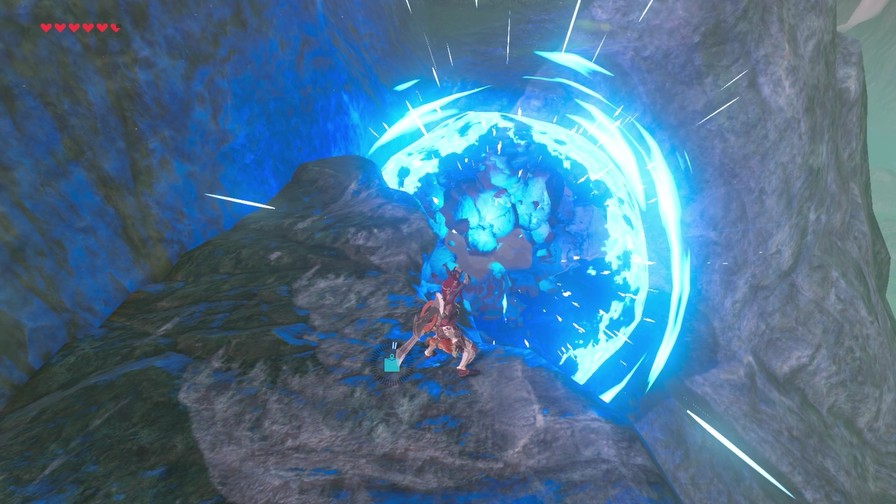
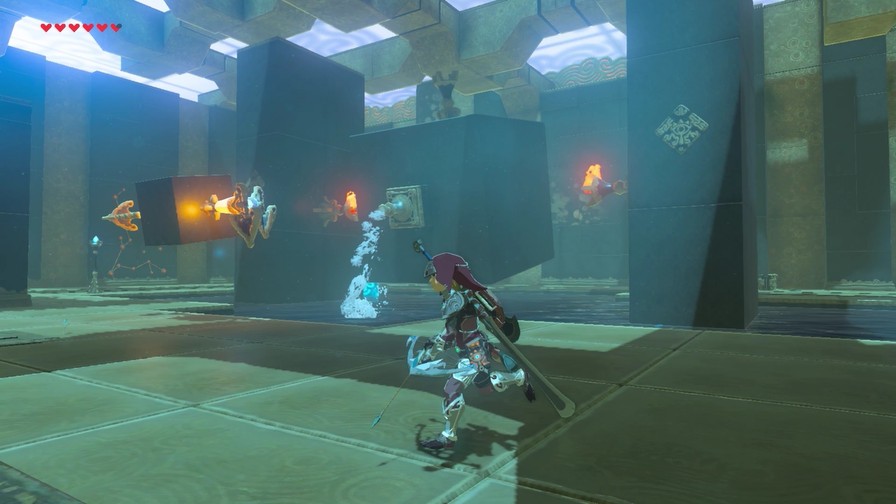
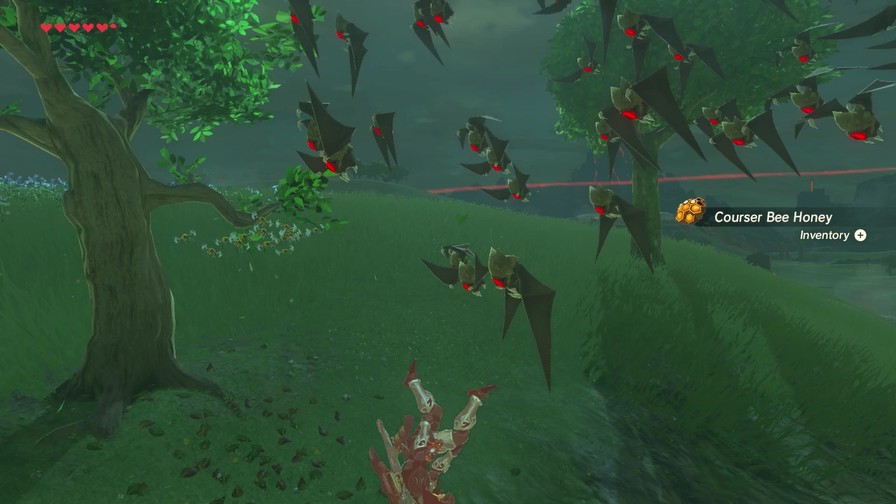
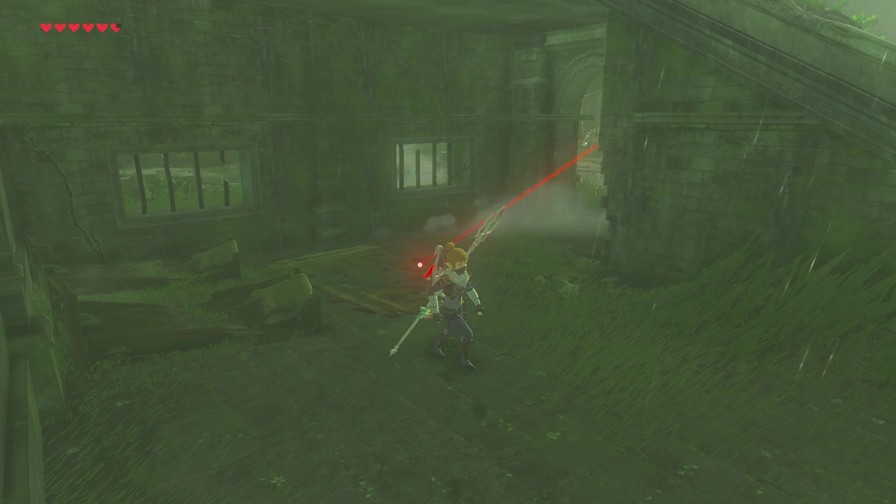
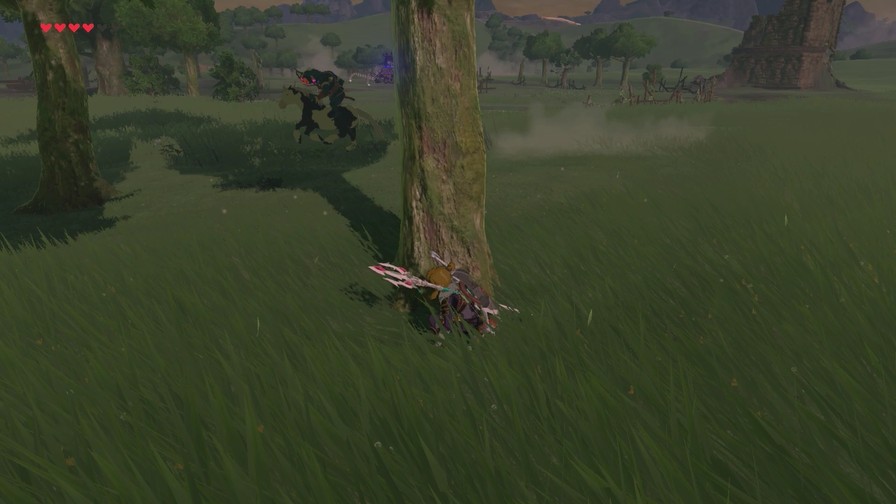
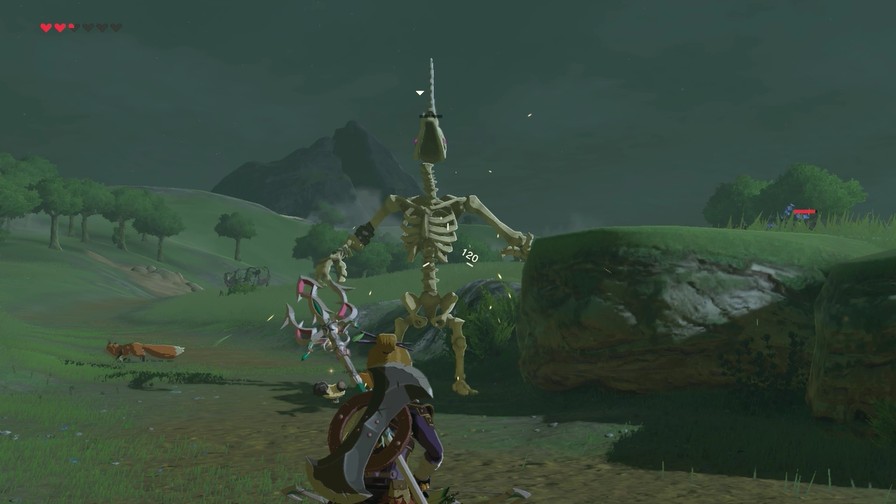
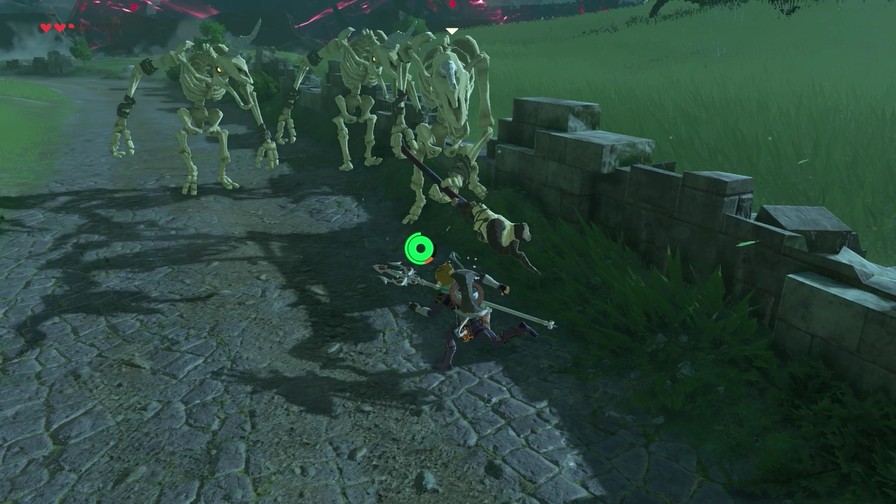
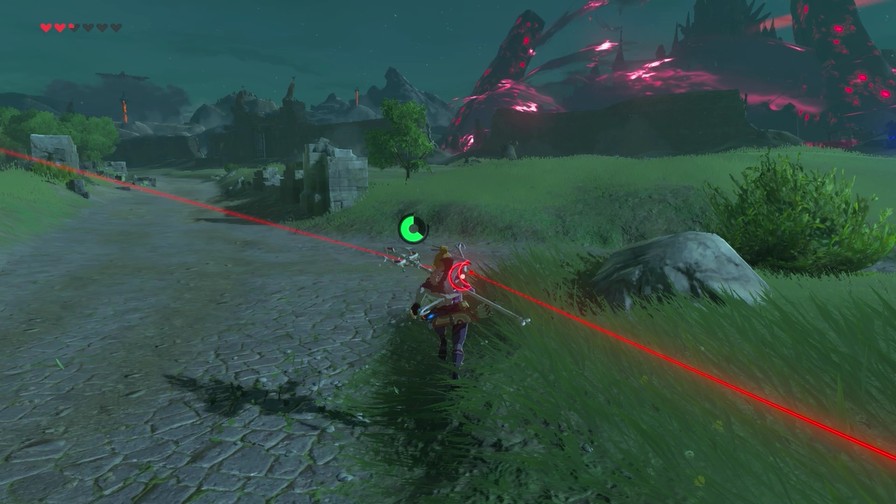
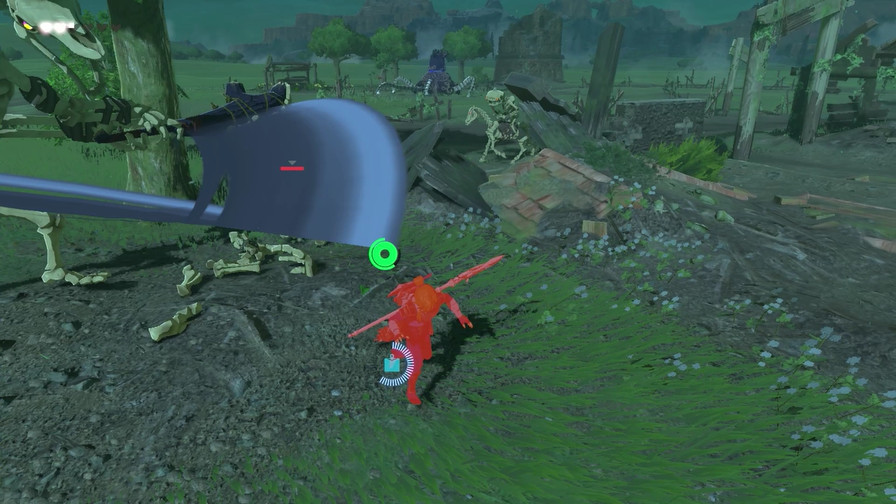
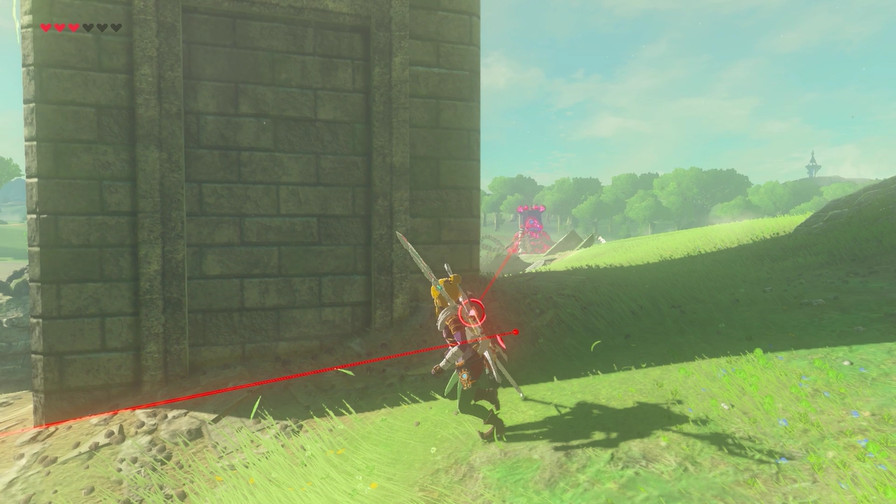
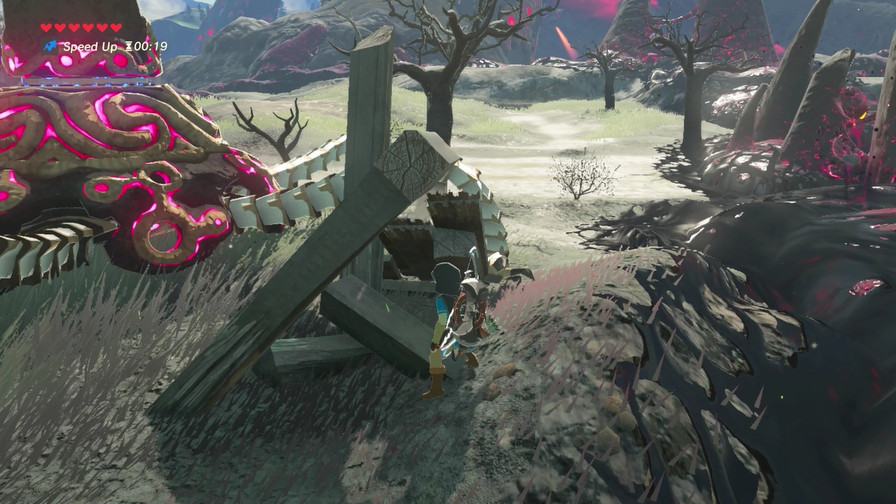
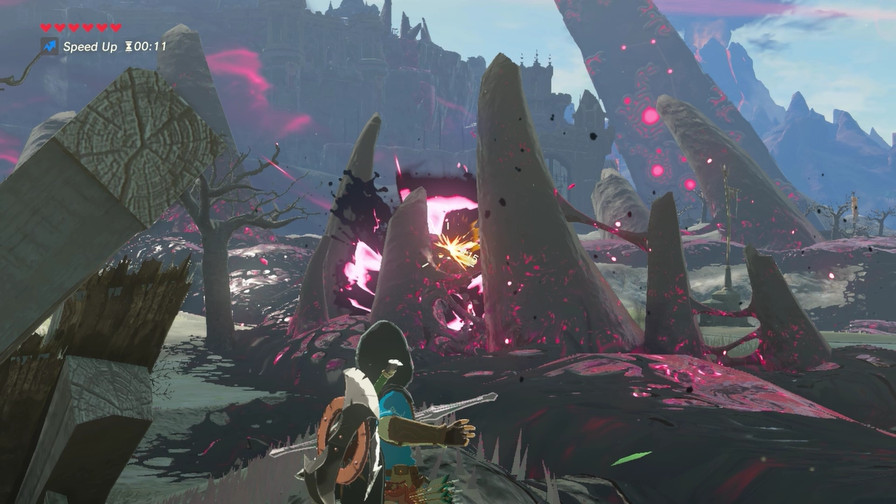
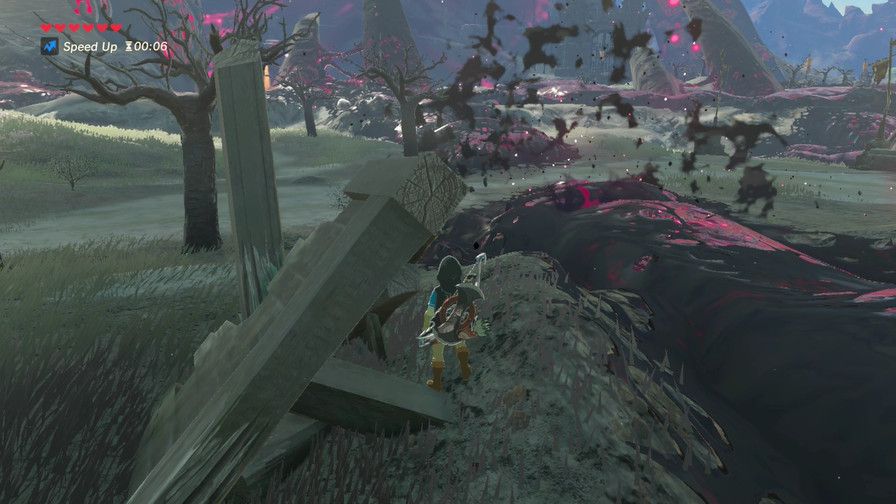
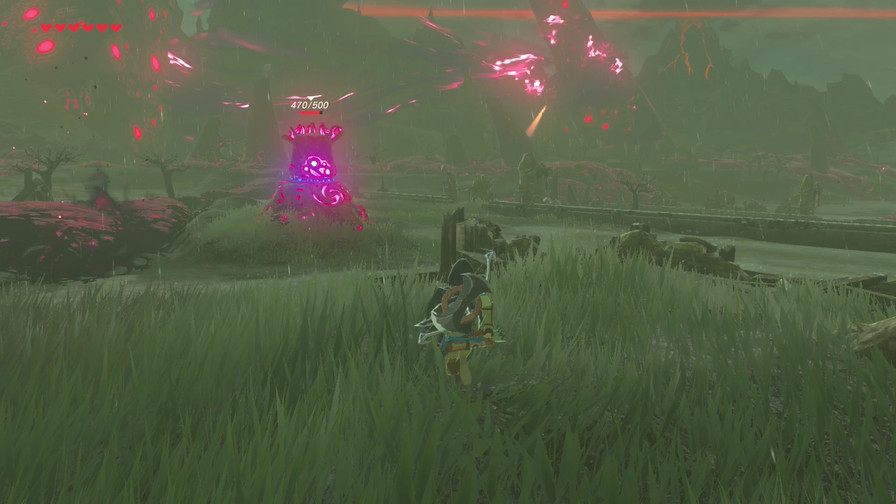
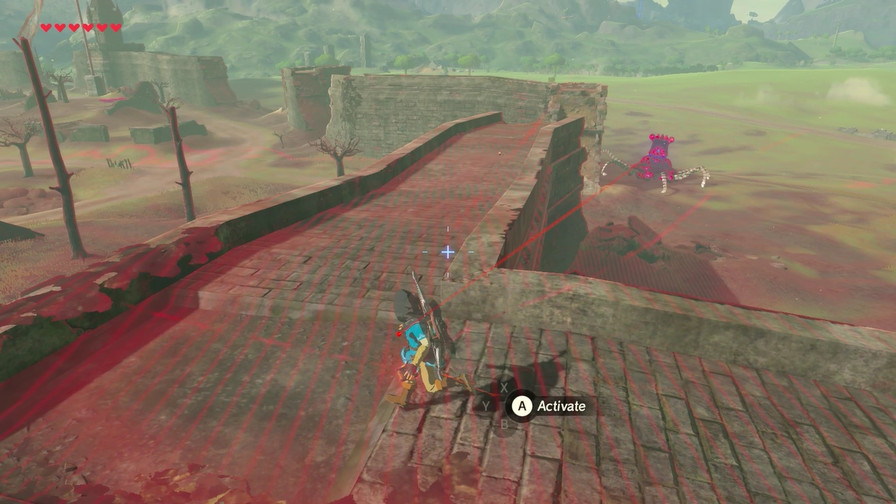
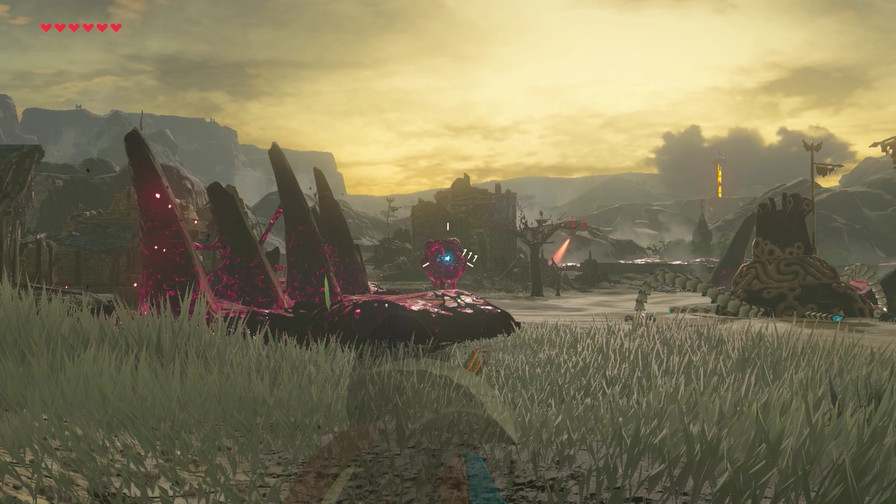
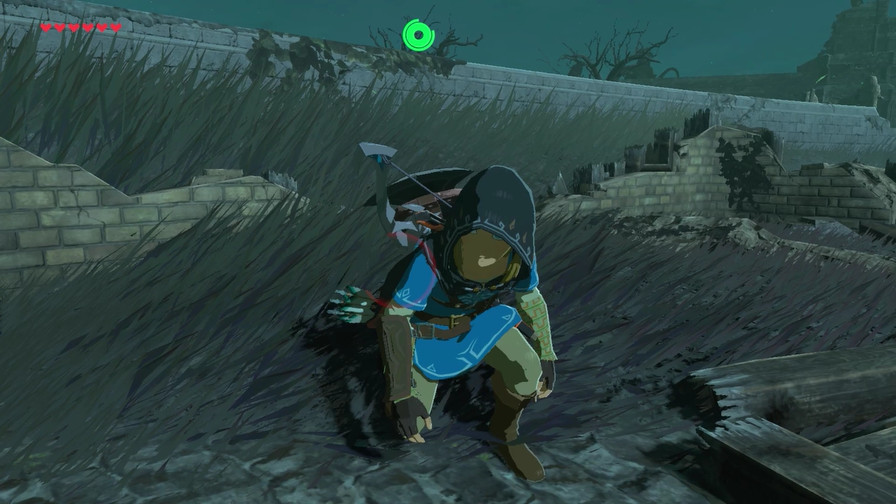
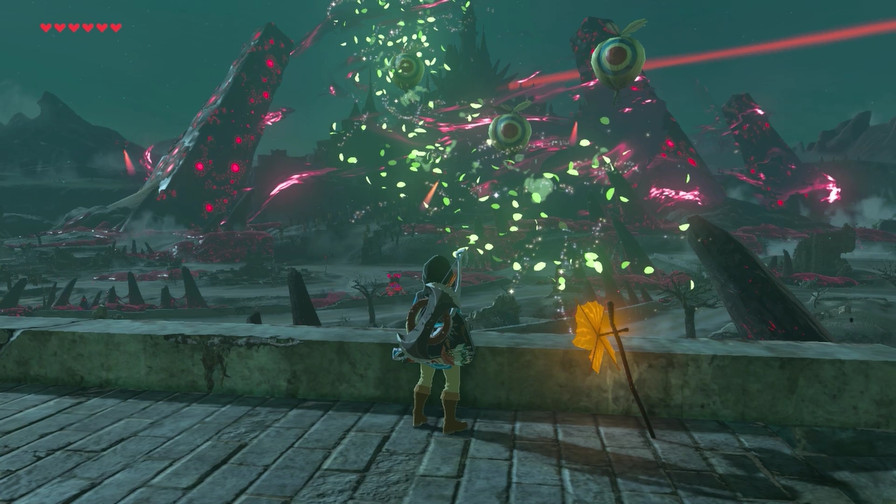
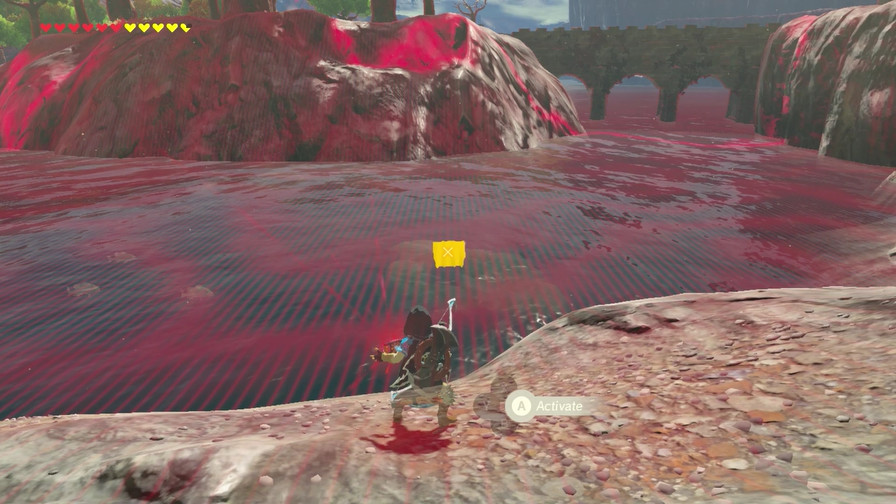
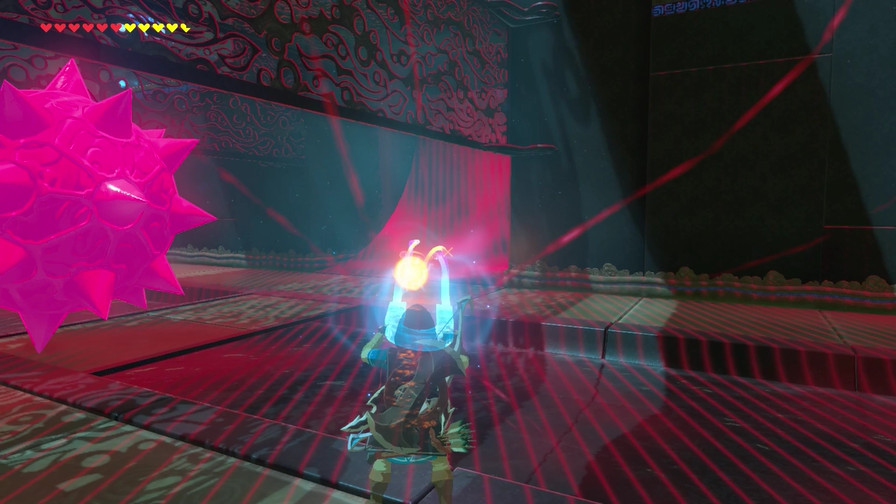
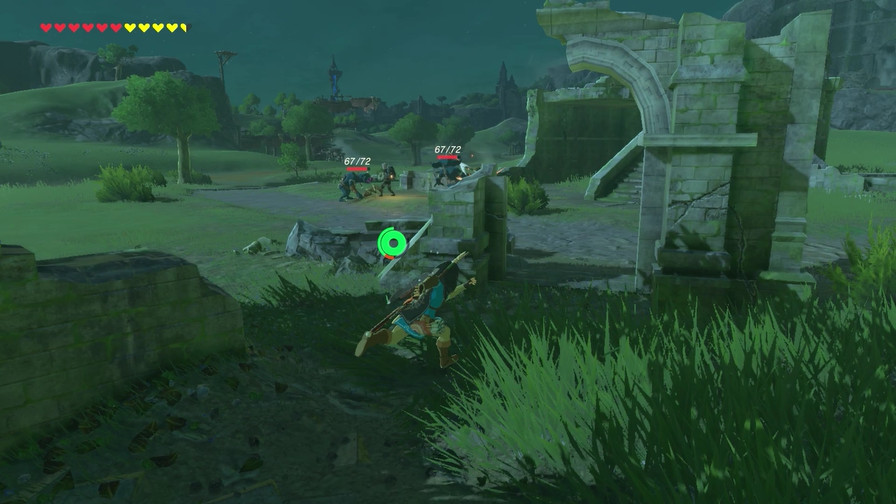
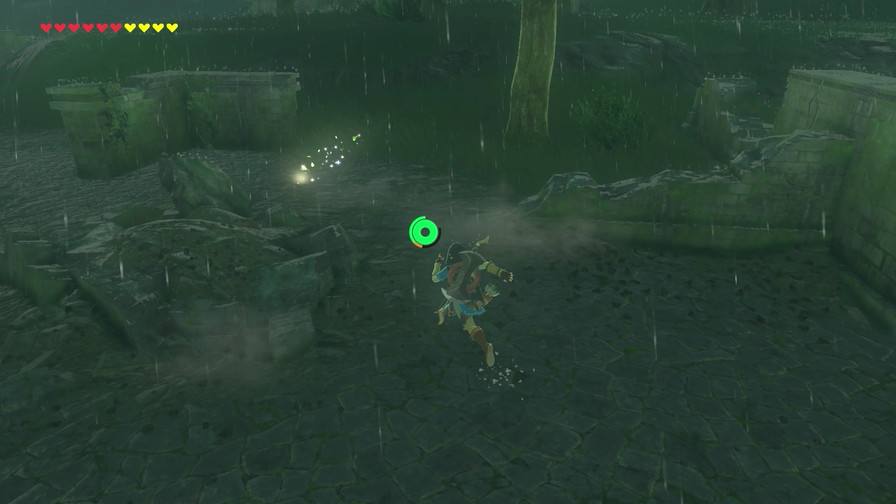
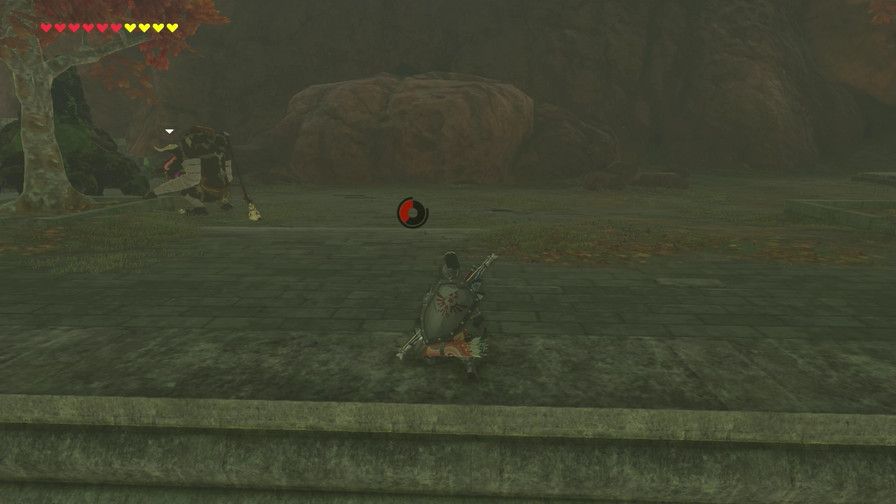
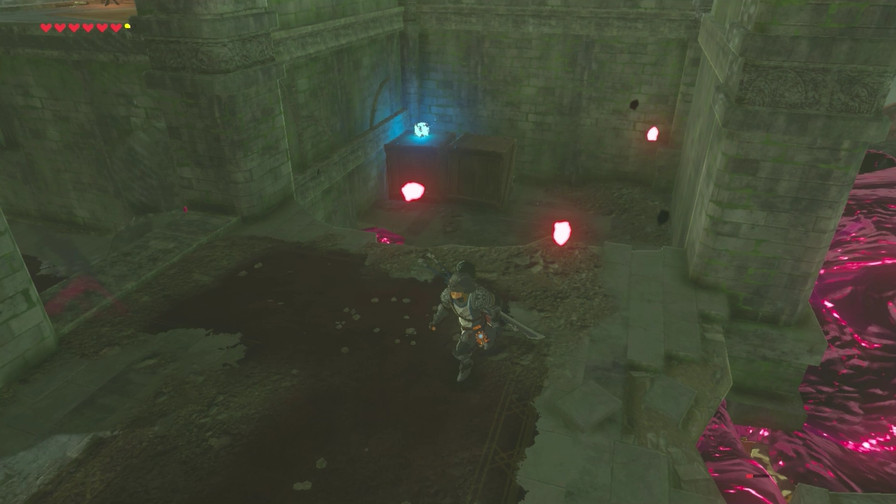
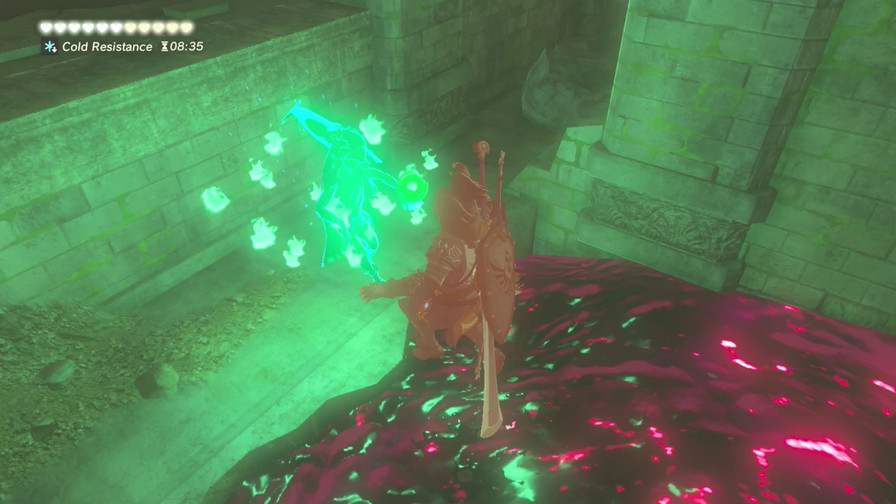
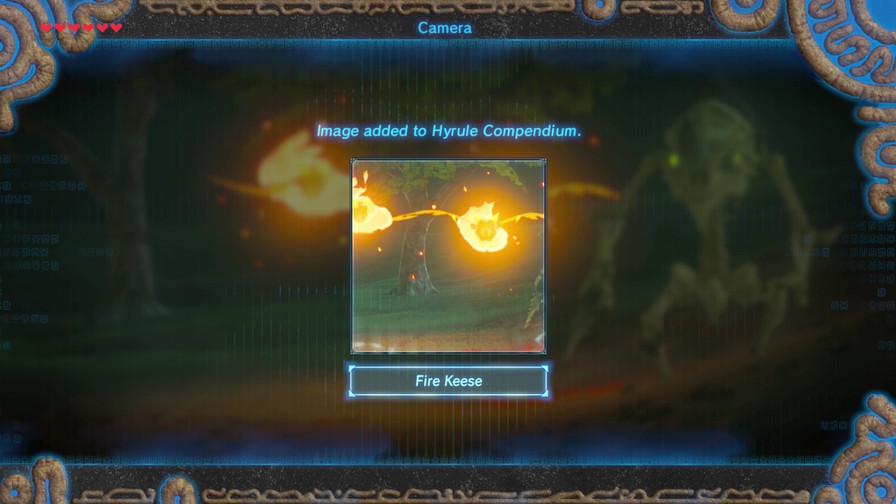
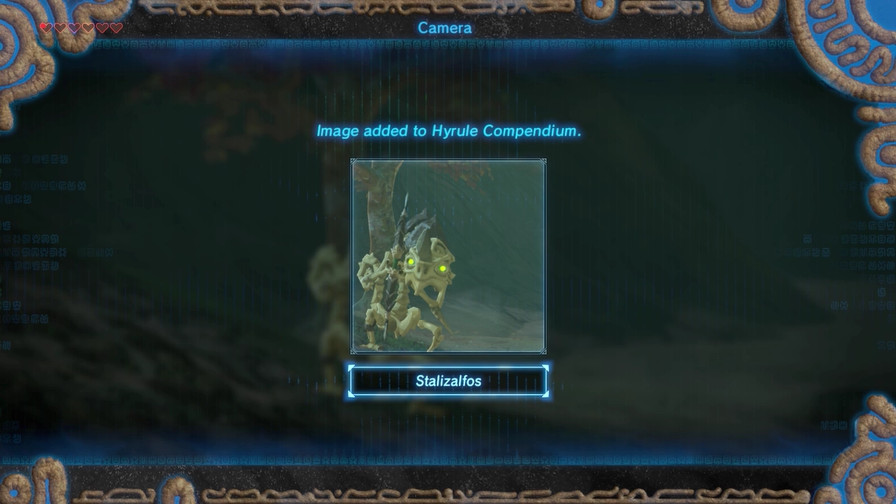
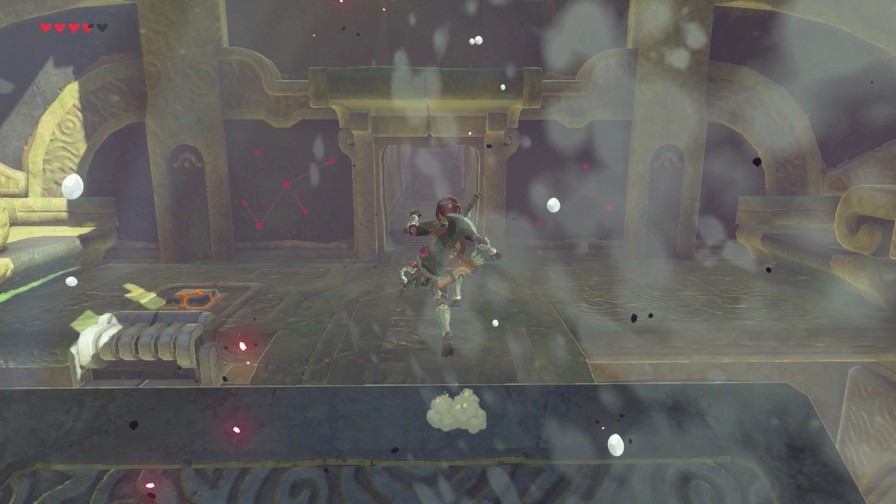
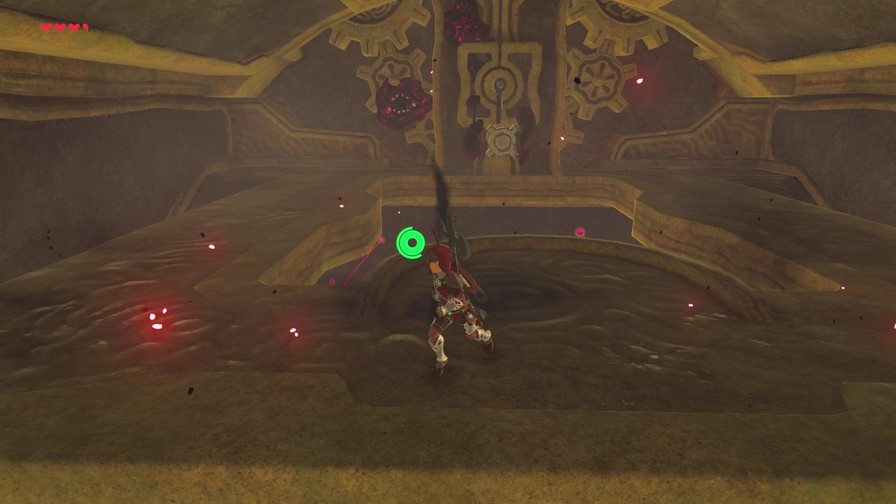
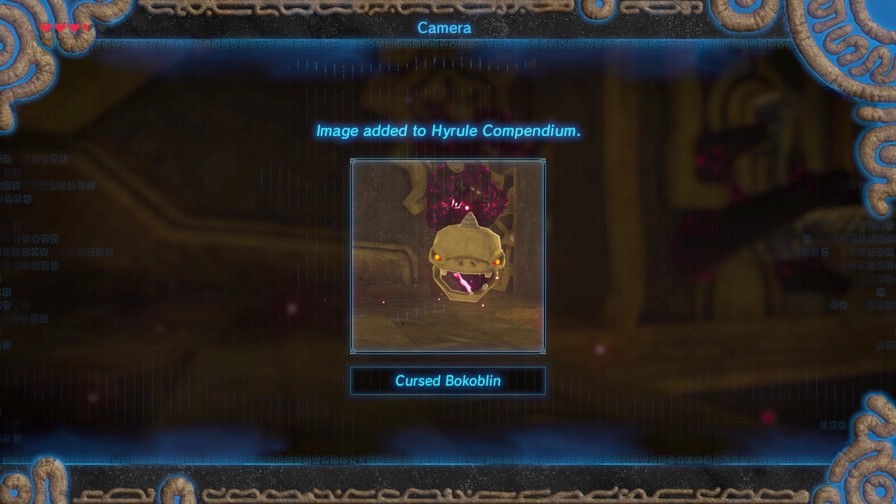
There’s more malice here, and a new enemy.
https://my.mixtape.moe/taillu.mp4
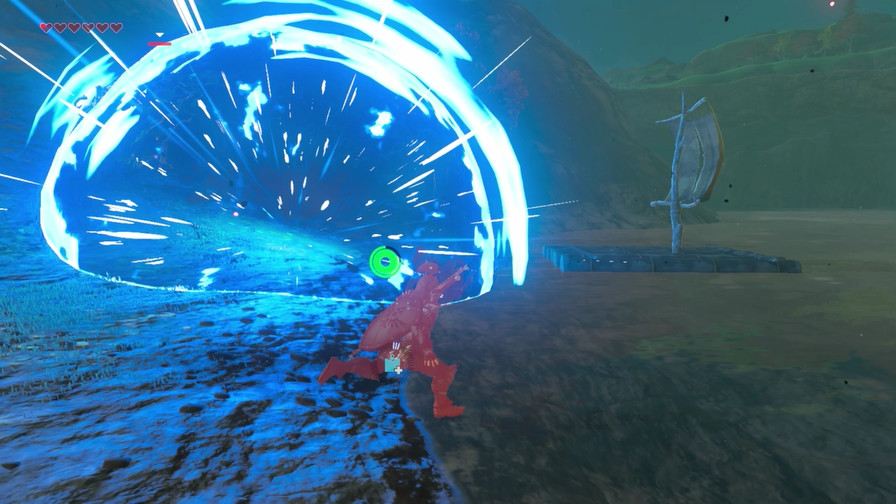
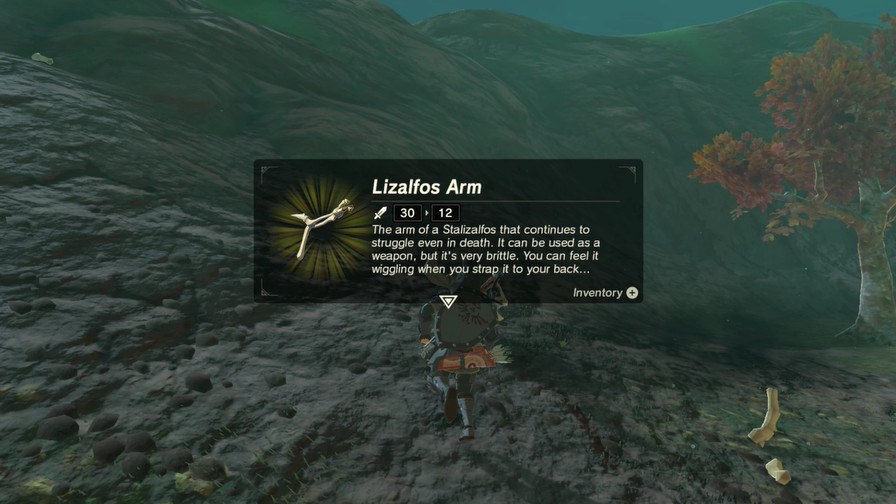
These pools of malice will spit out various skulls of familiar enemies, which will lunge at us. They’re pretty fragile, though.
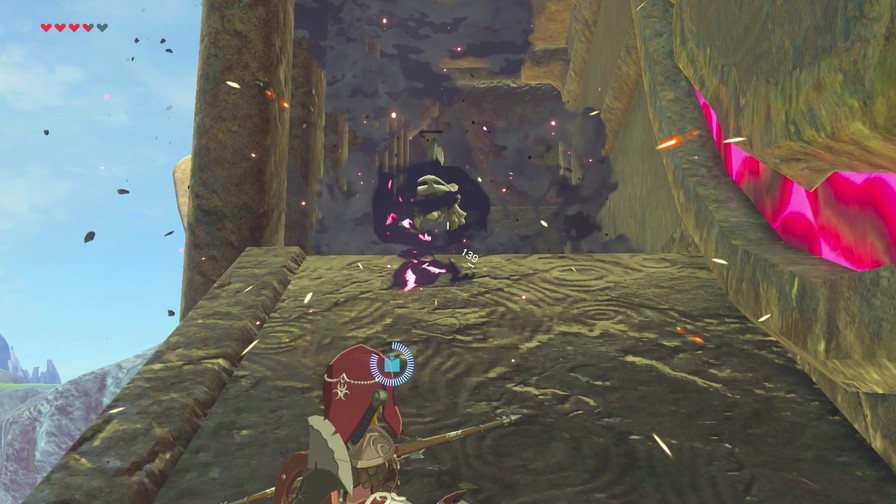
Gotta clear out the malice to stop the cursed enemies from spawning.
We make it up to the giant gear, but there’s nowhere else to go. The path ends here, and we aren’t high enough to glide to the side opposite the second terminal.
What to do?
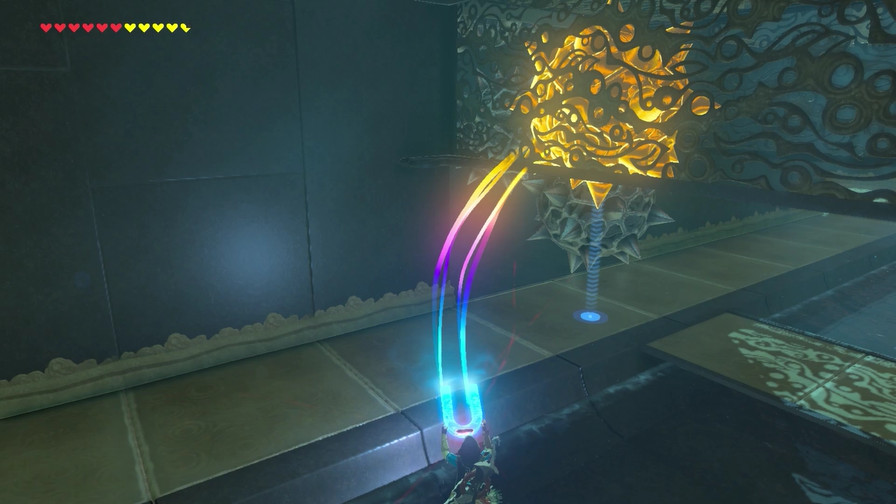
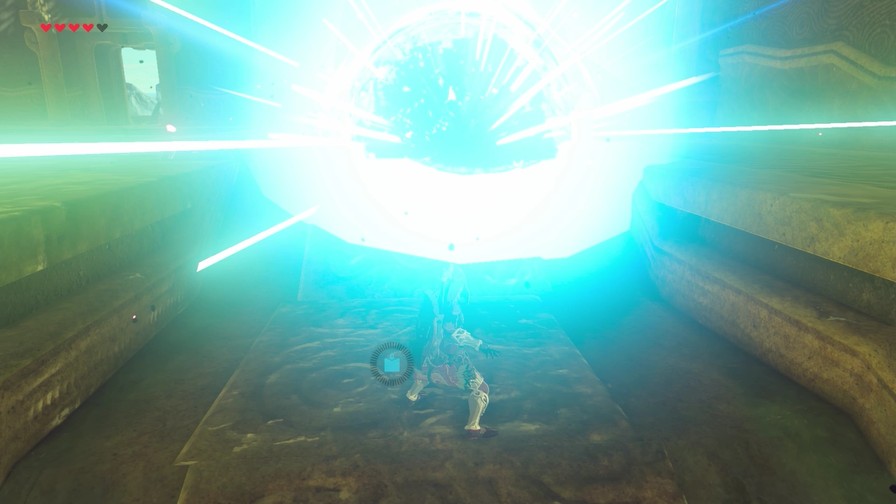
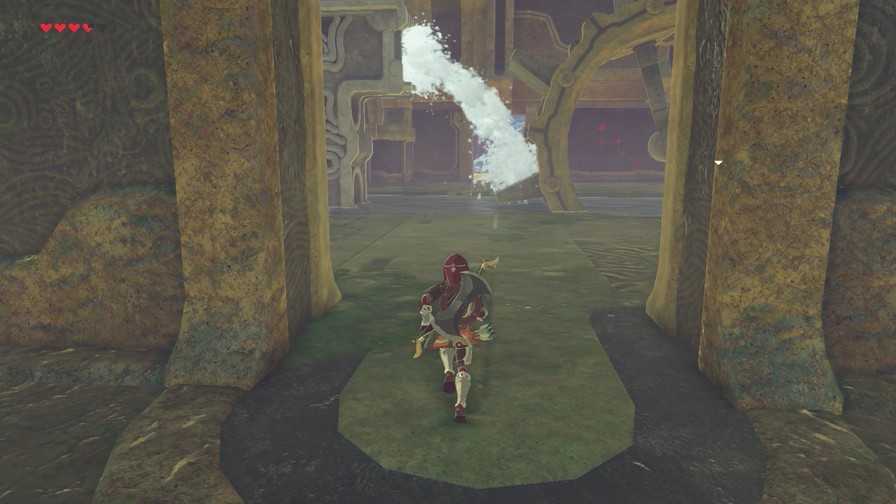
It’s time we activated the beast itself. Though the water rate has slowed significantly, Vah Ruta’s trunk is still emitting a steady stream of water.
https://my.mixtape.moe/okyuxo.mp4
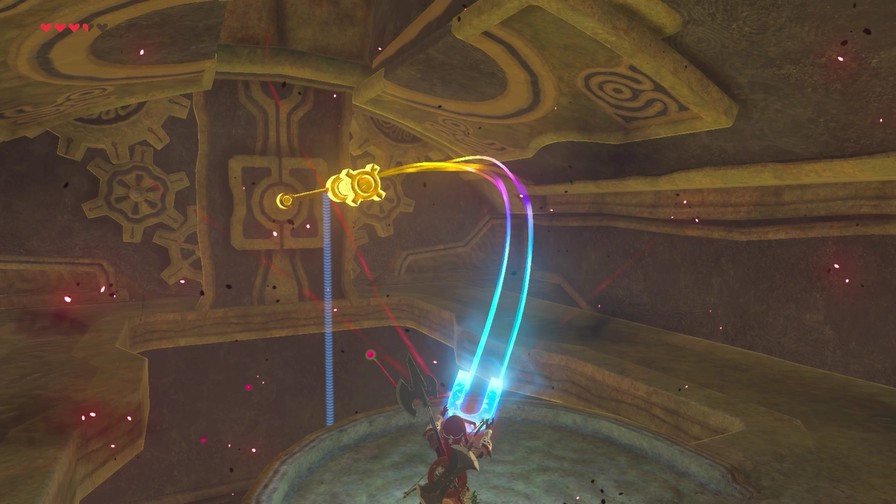
The sky is open over here, so the trunk’s stream starts the gear turning.
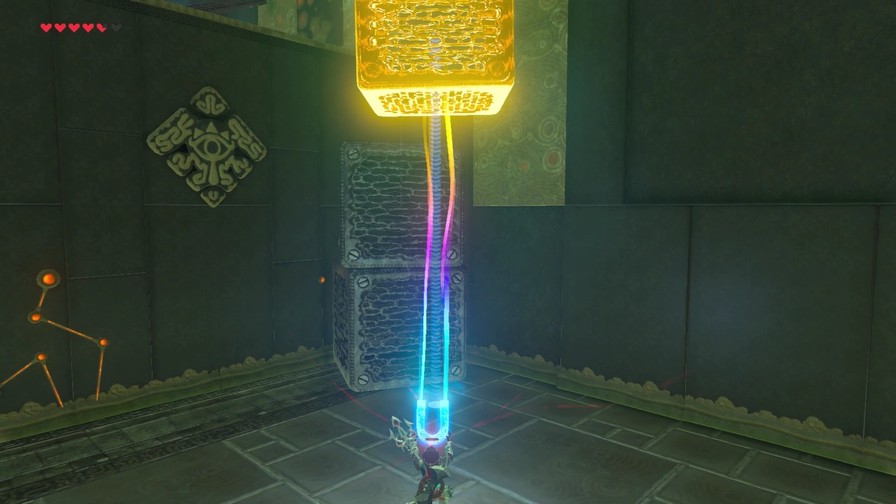
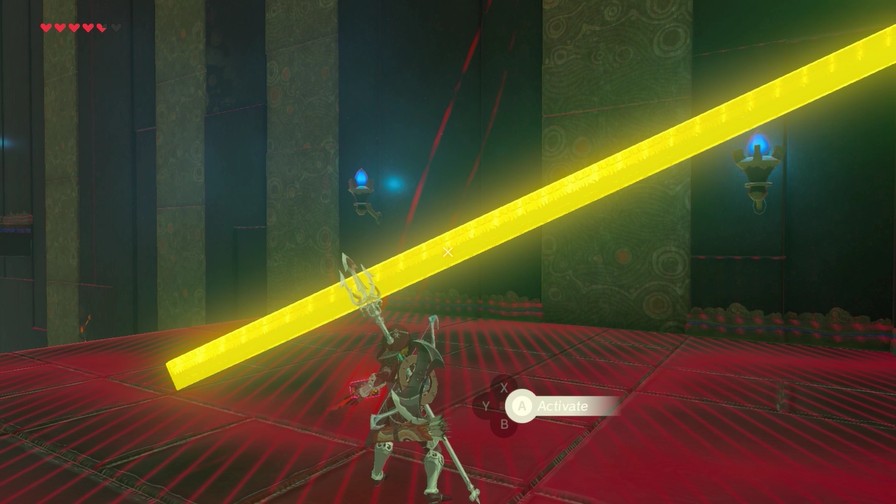
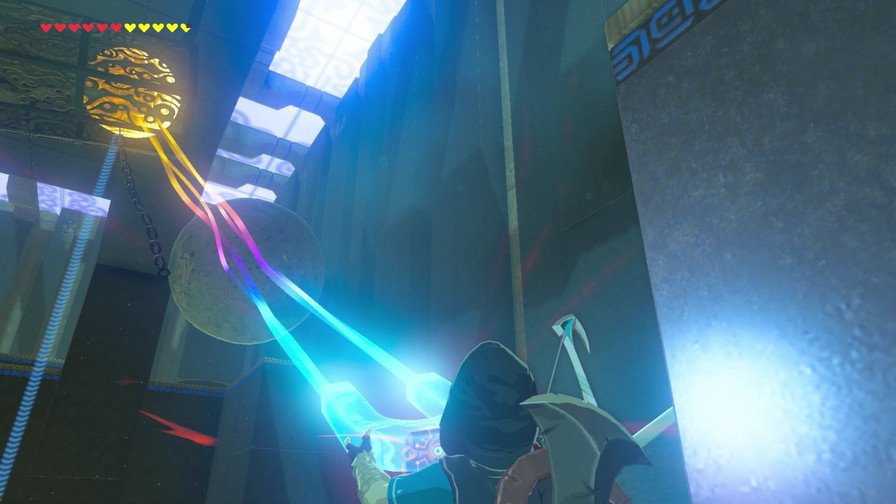
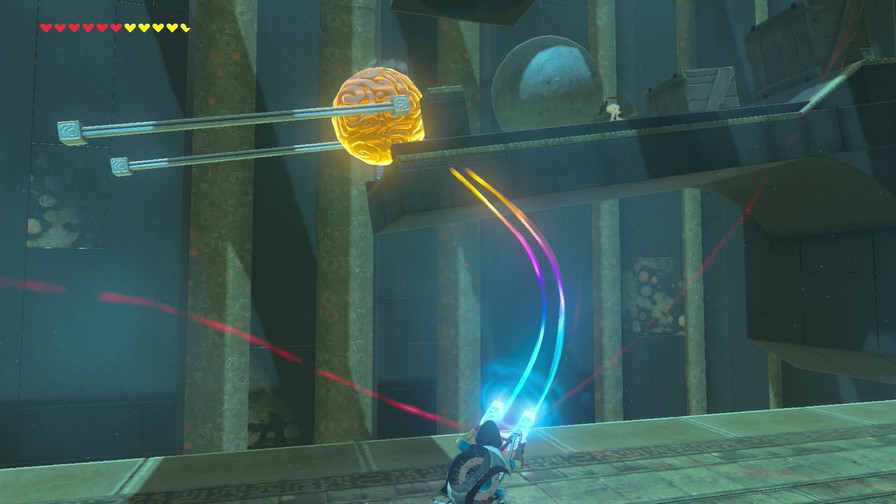
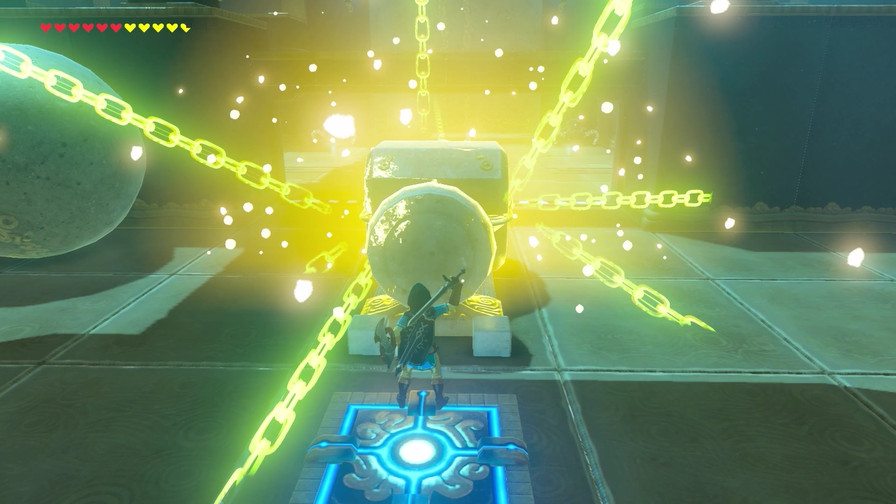
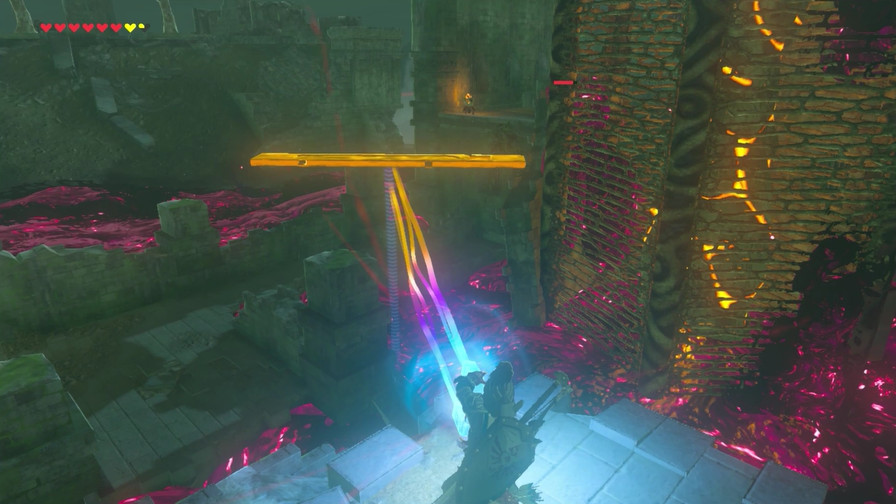
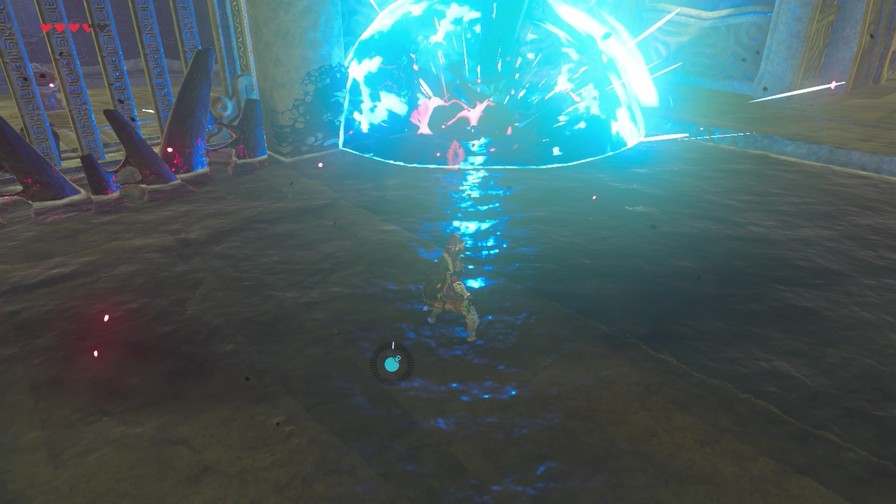
Gravity will cause the ball to hit the pedestal, opening the gate holding the third terminal. However, we can’t just glide from above since there’s spikes on the ceiling of the small room. The solution?
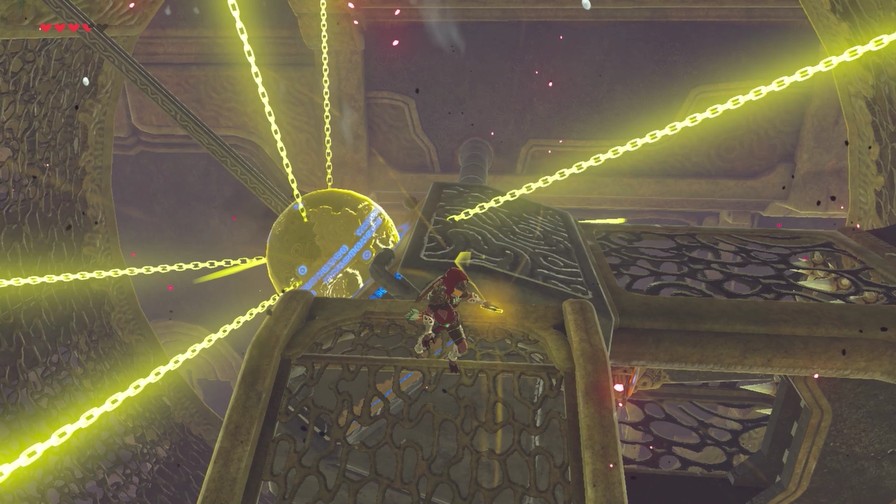
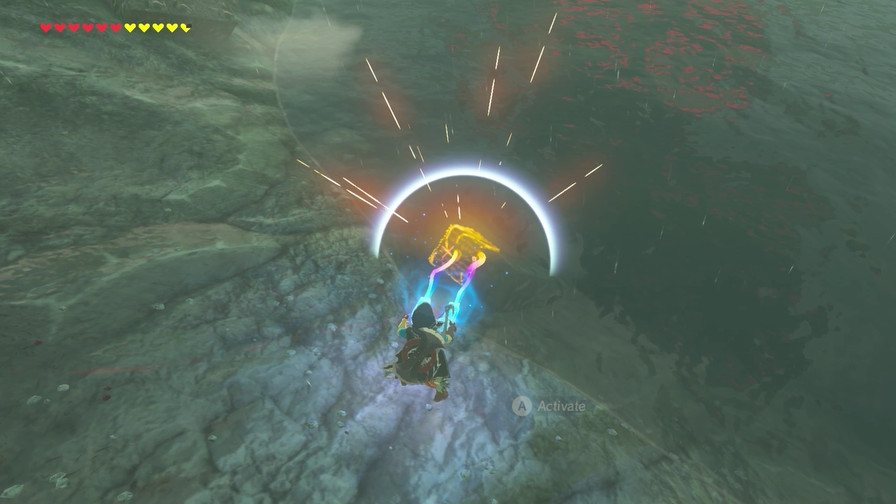
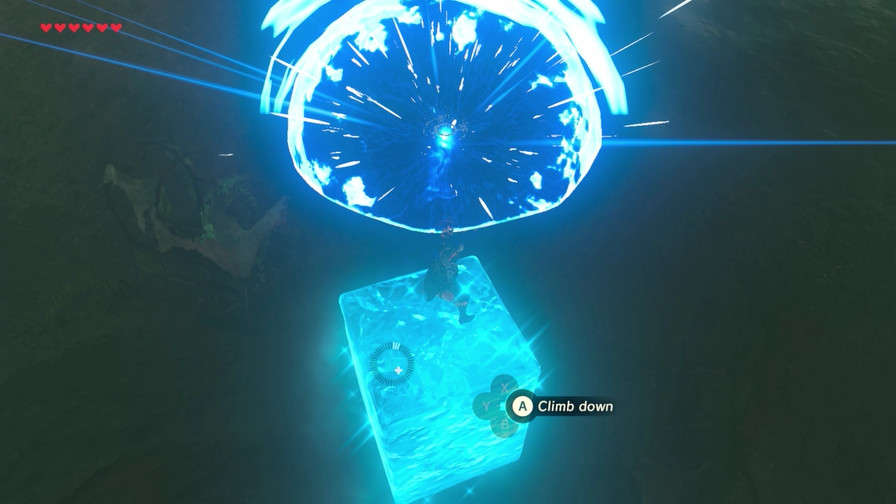
Stasis the ball just as it’s about to fall back down. It’ll stay in place, keeping the gate down as the terminal rotates up to where we can access it pain-free.
(Audio)
Making progress! But…now what?
Music: Vah Ruta (Two Terminals Left)

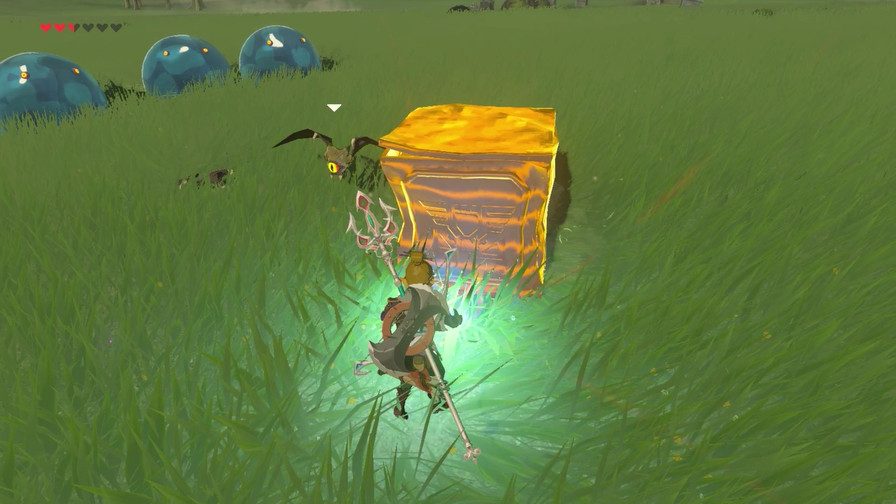
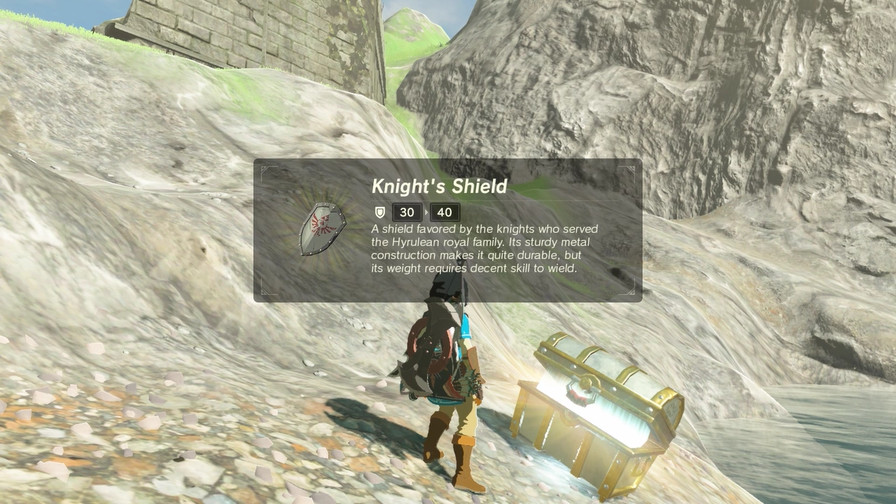
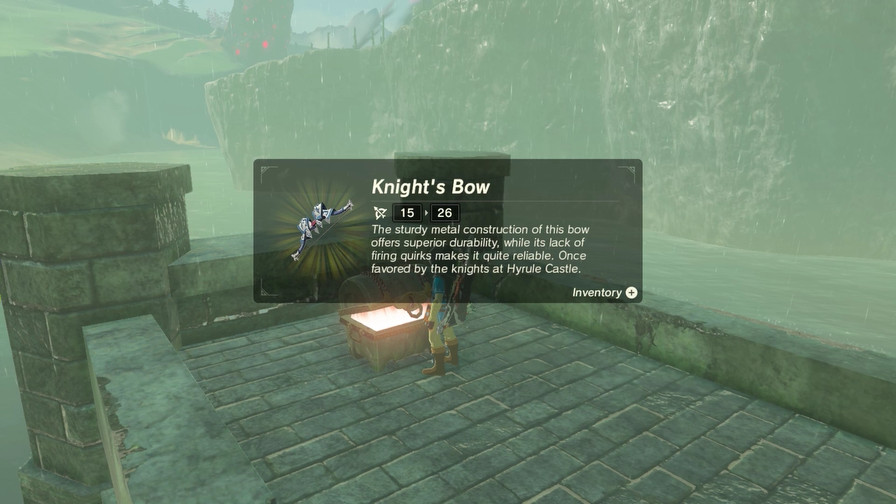
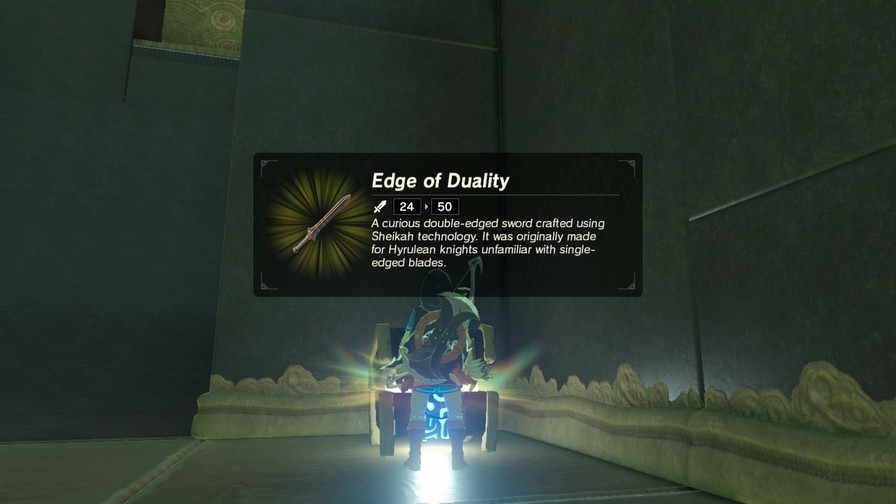
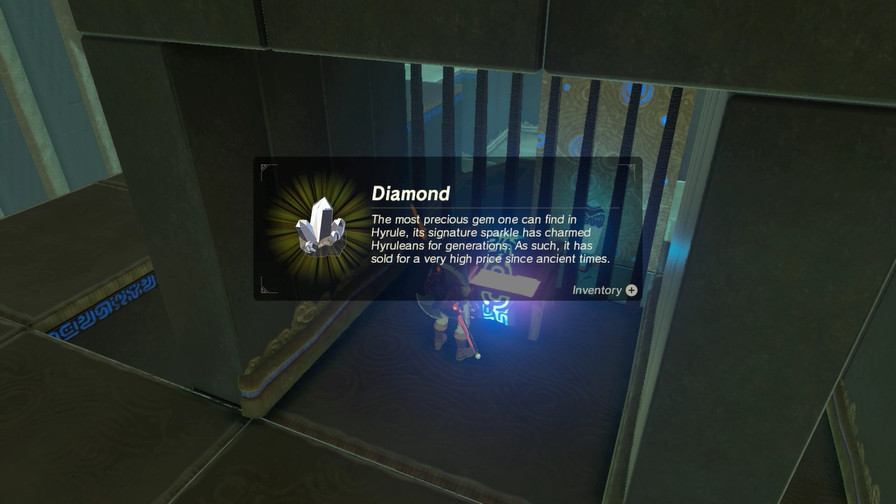
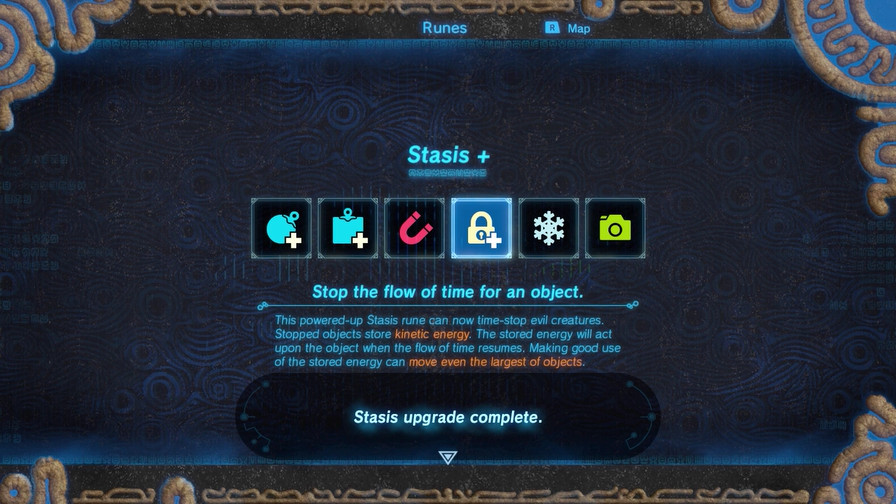
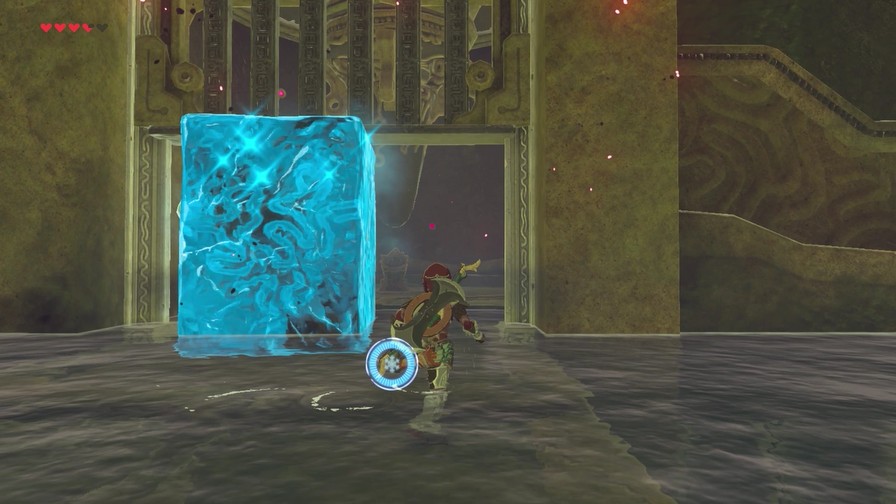
You may have noticed that chest earlier. We can’t open it with the block on top of it, but of course stasis will take care of that.

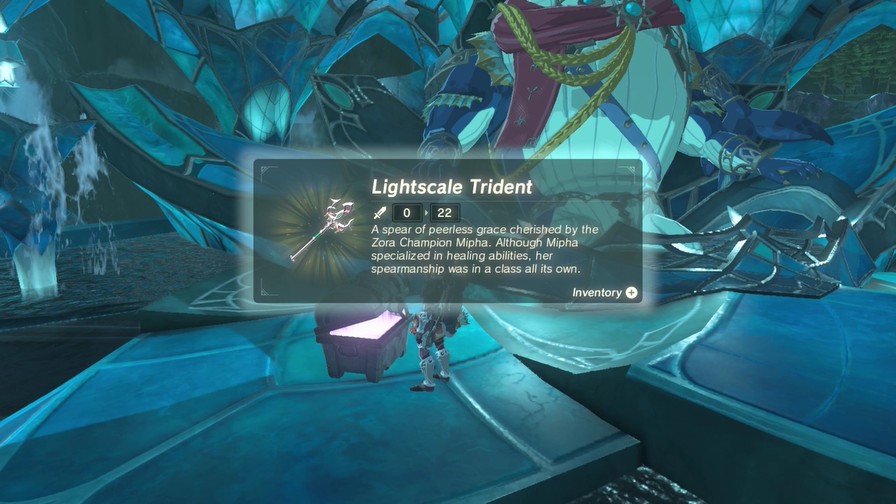
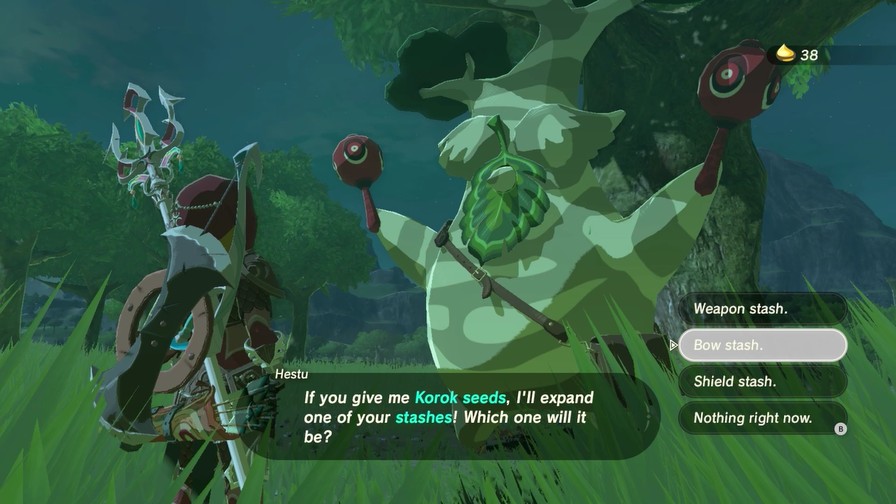
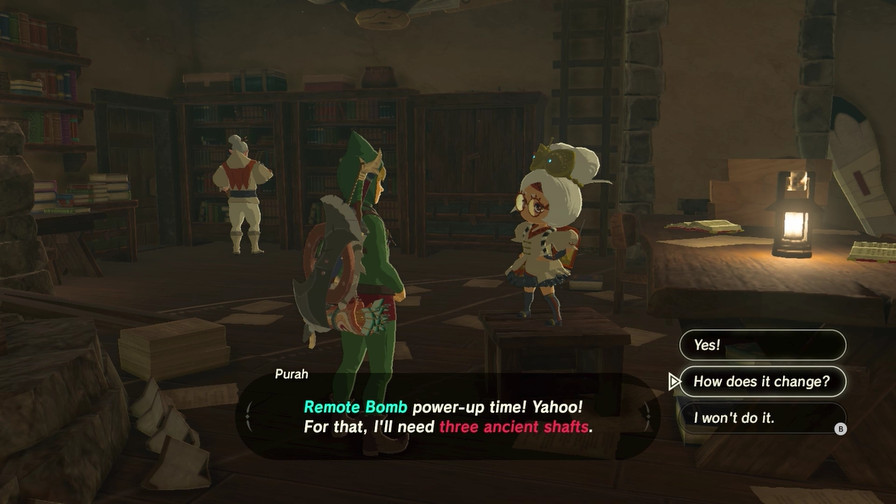
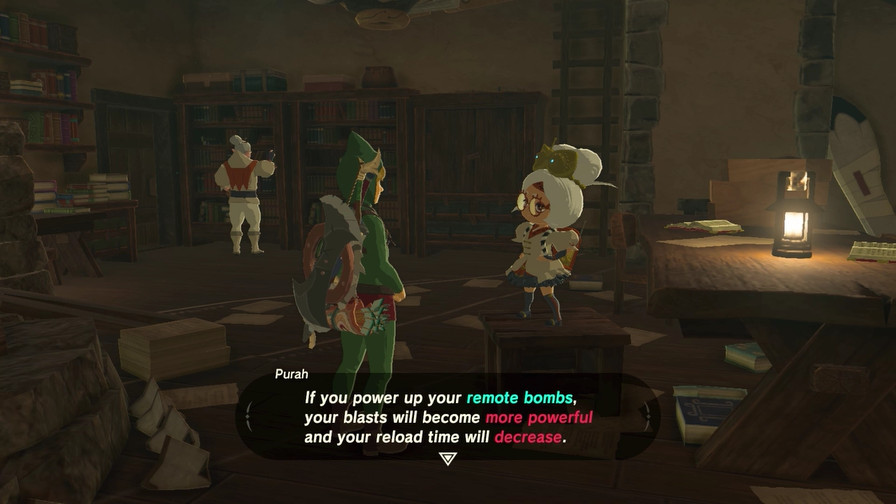
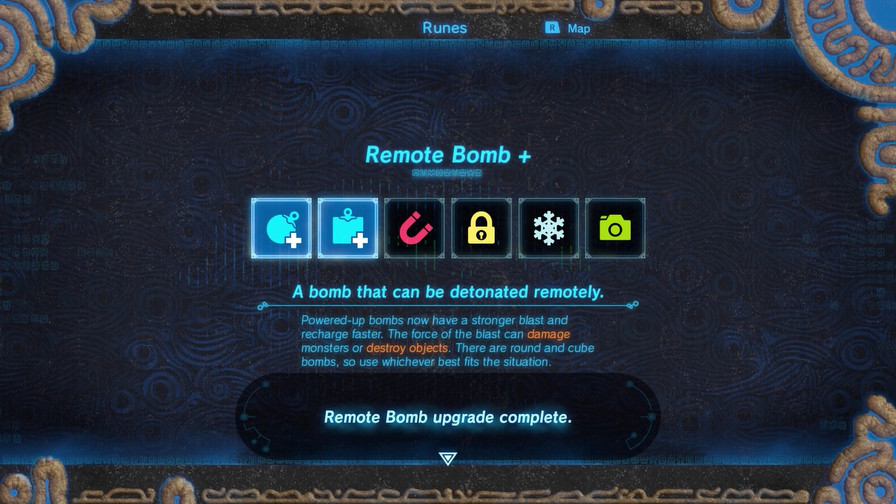
The reward’s pretty nice considering we want these to upgrade one of our runes.
That said, there’s no path forward from here. We need to figure out how to reach the other side of Vah Ruta.
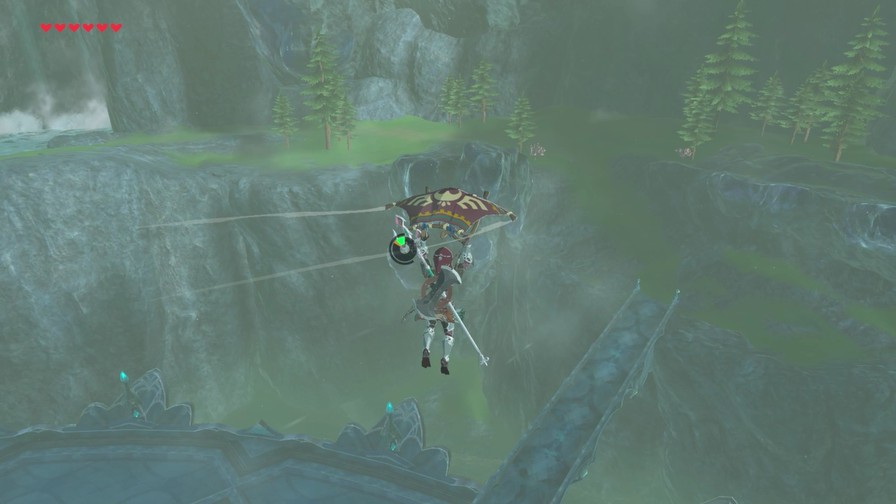
Well, why not just ride the gear up? It’s going counter-clockwise, so it’ll lift us up top, where we can glide to where we need to go.
Like so!
One more guardian later…
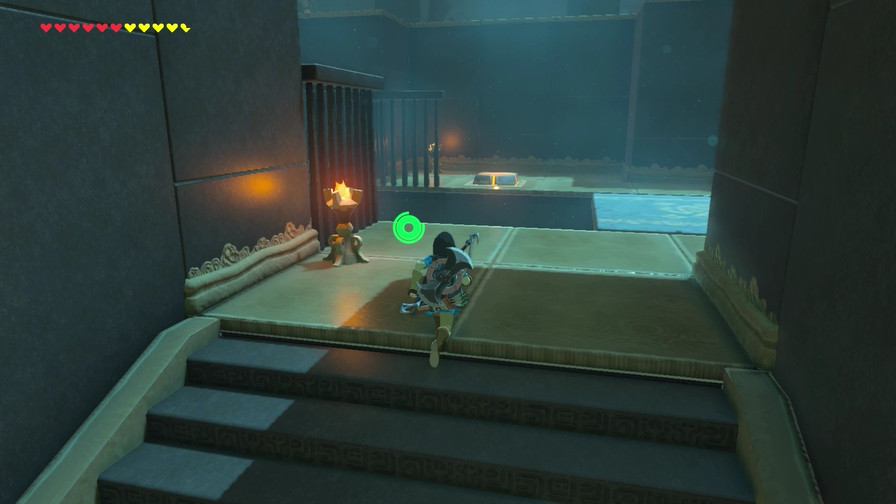
This switch unlocks a shortcut to quickly get back here from the main room at the bottom of the beast.
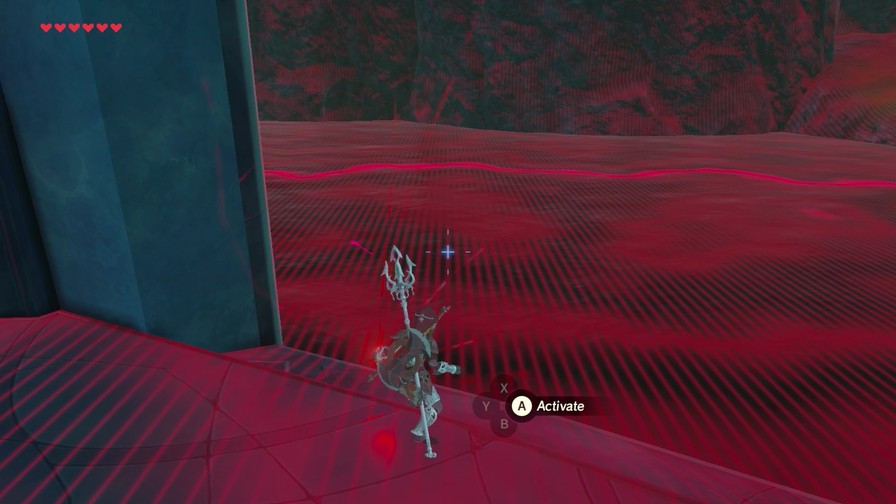
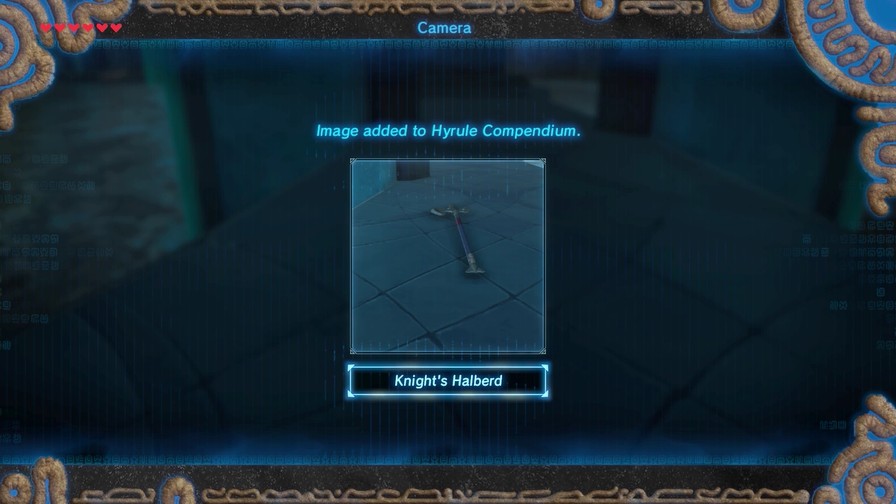
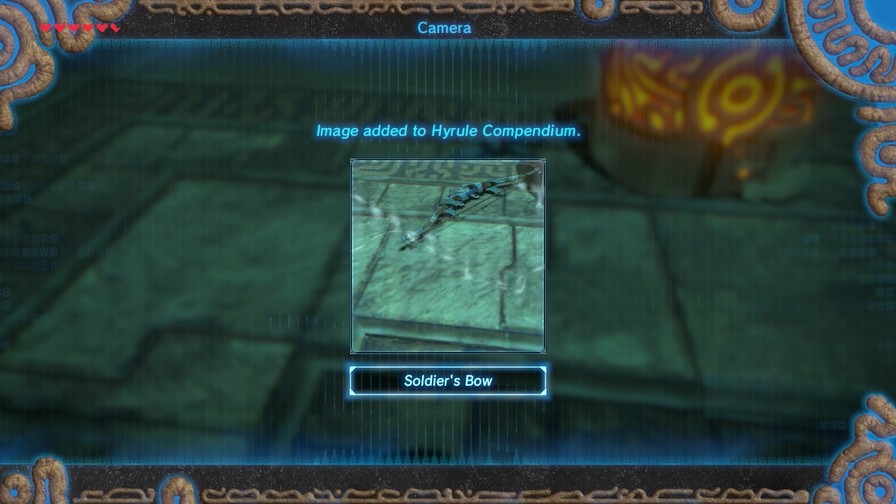
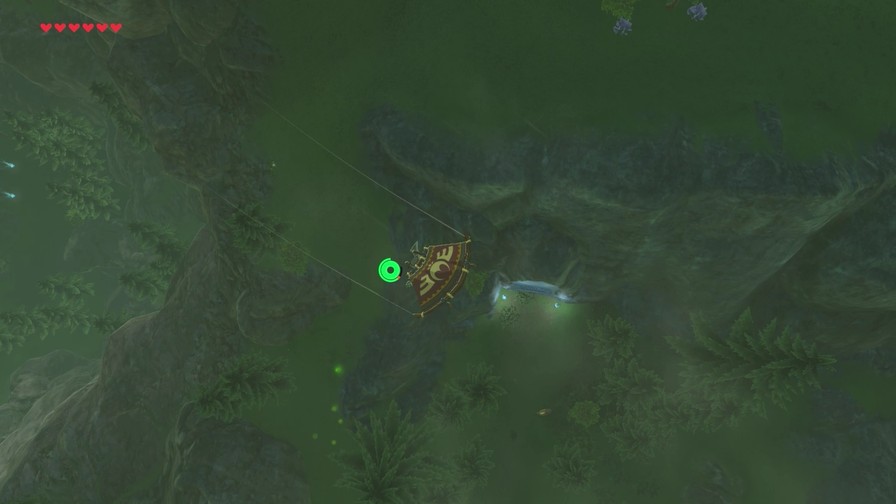
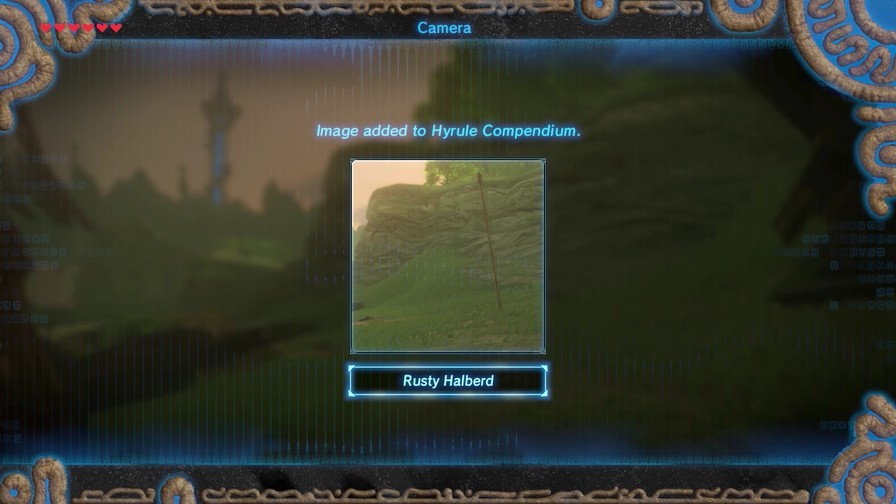
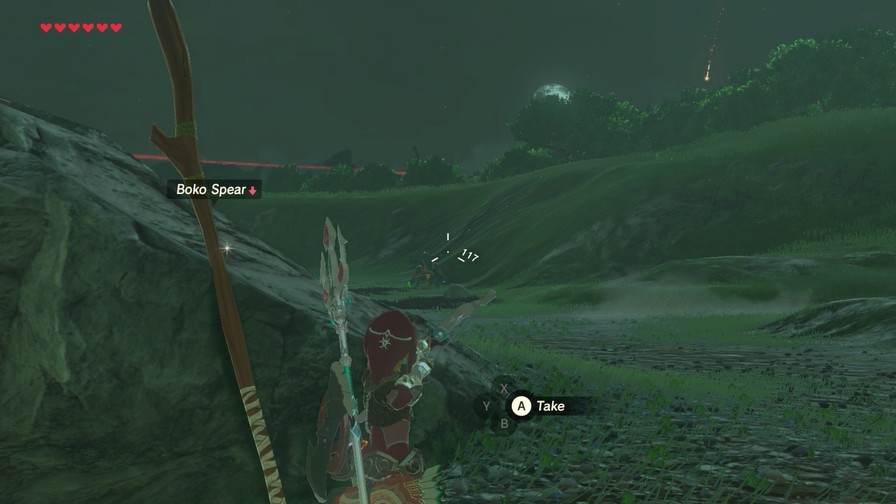
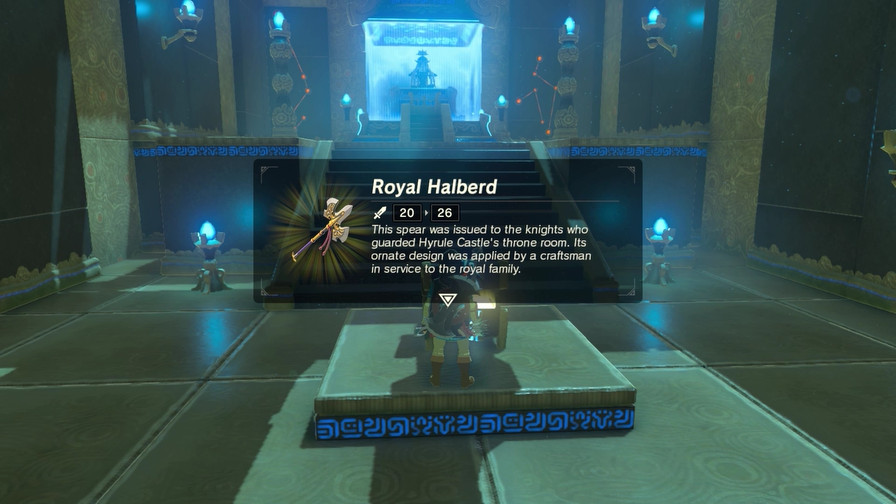
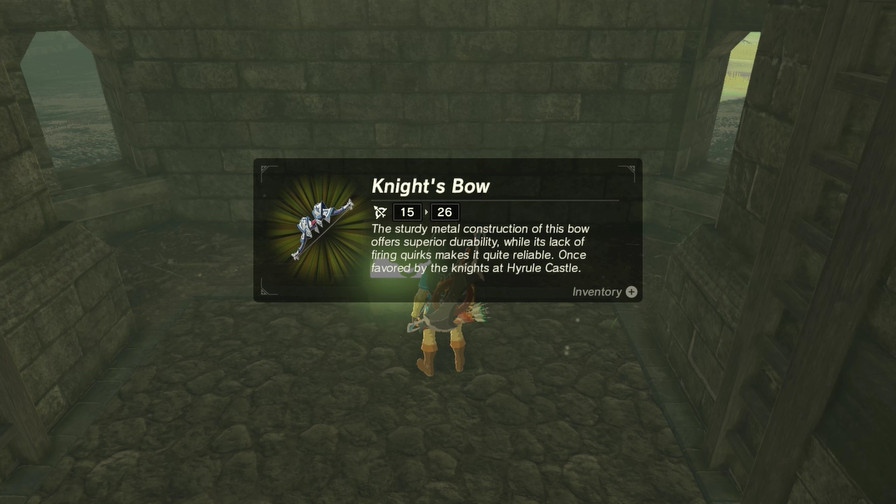
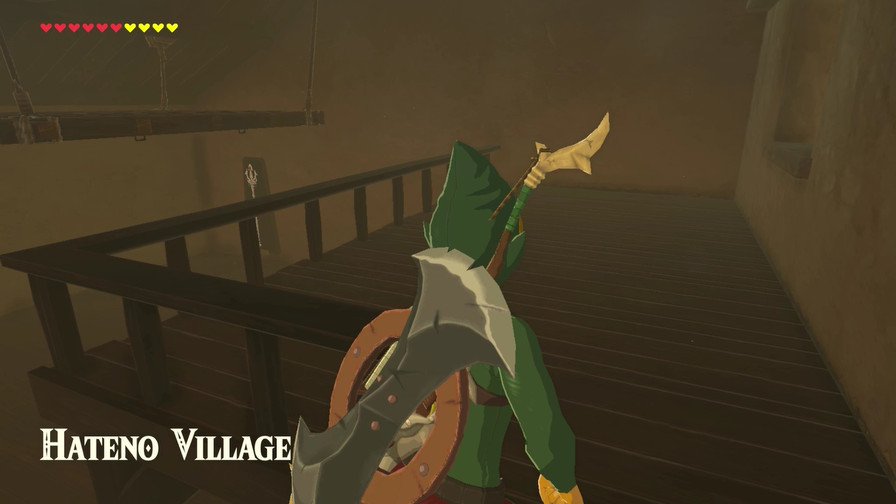
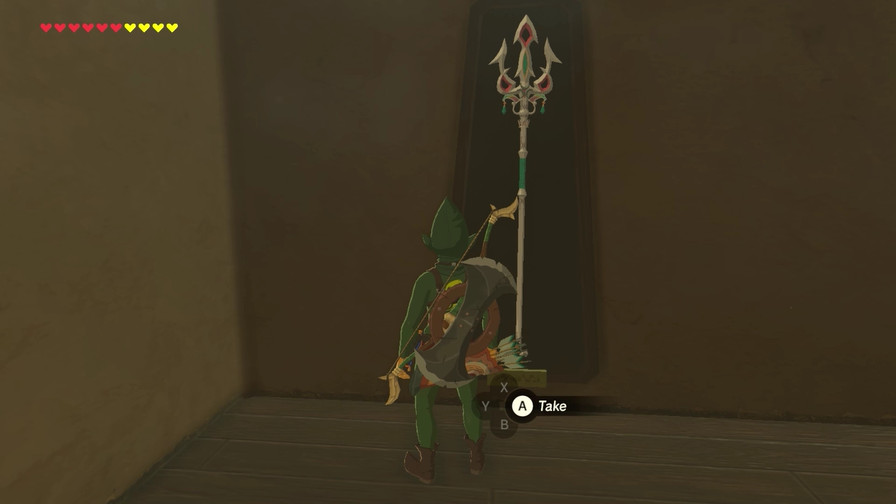
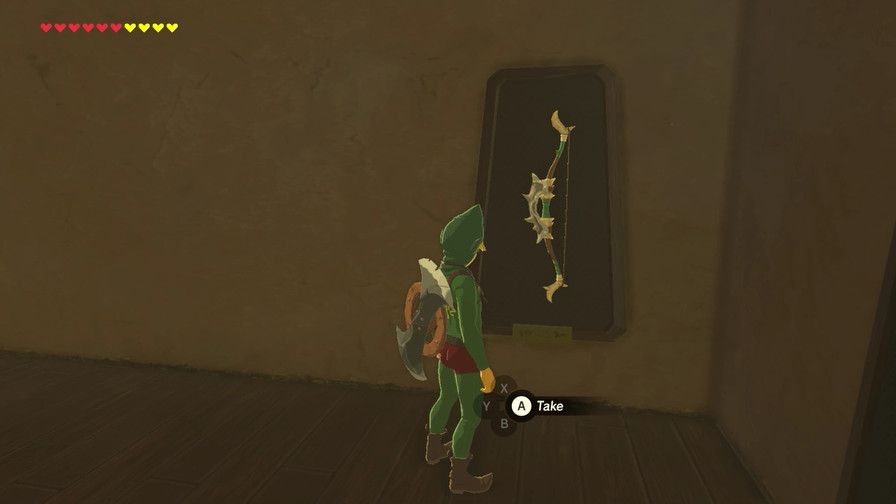
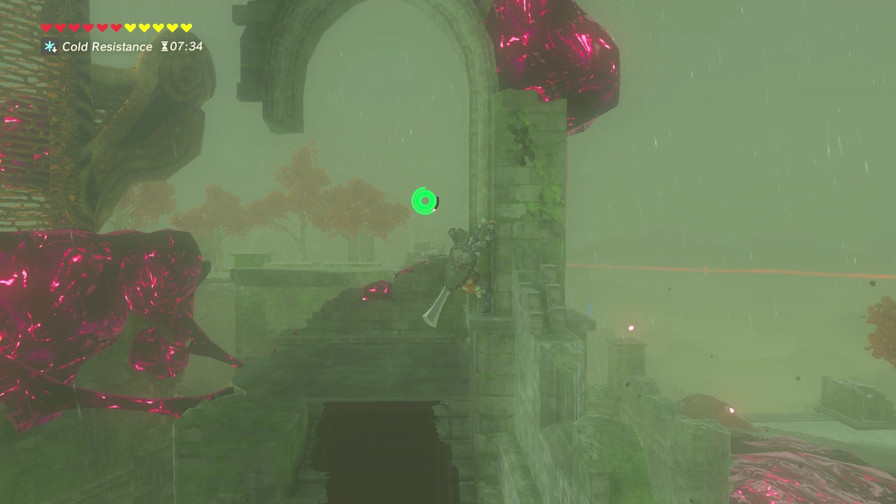
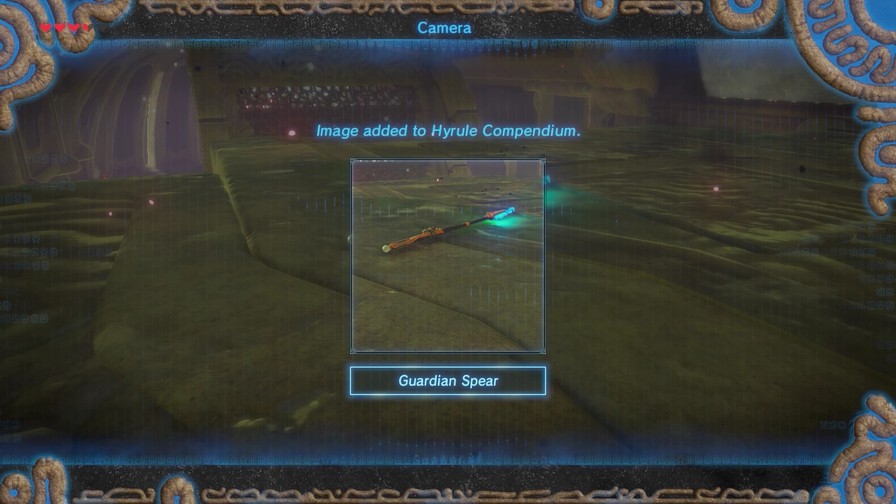
Of course, we can also use that waterfall to gain some height to explore higher ground, though all that we can reach with that added height is a Knight’s Halberd.
So let’s go past where we hit the switch and see what’s beyond here.
A dead end…or is it?
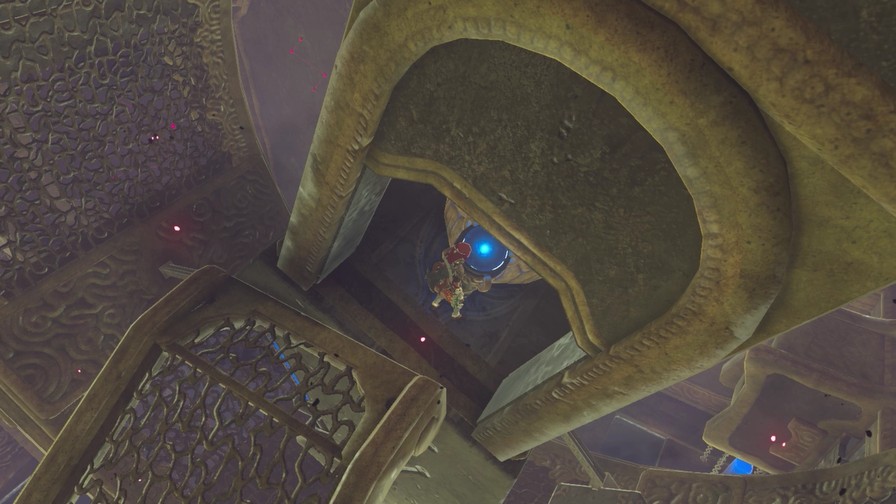
This is the trunk of Vah Ruta, which is currently raised. So if we lower it…
https://my.mixtape.moe/bizegn.mp4
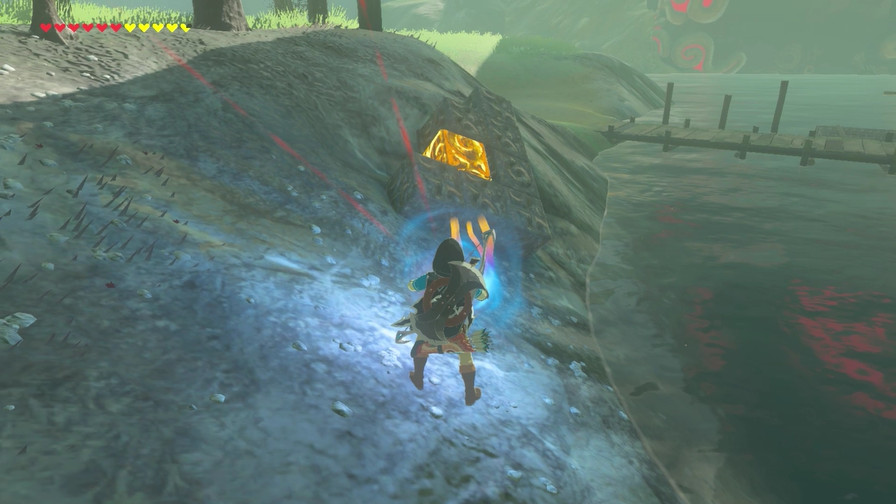
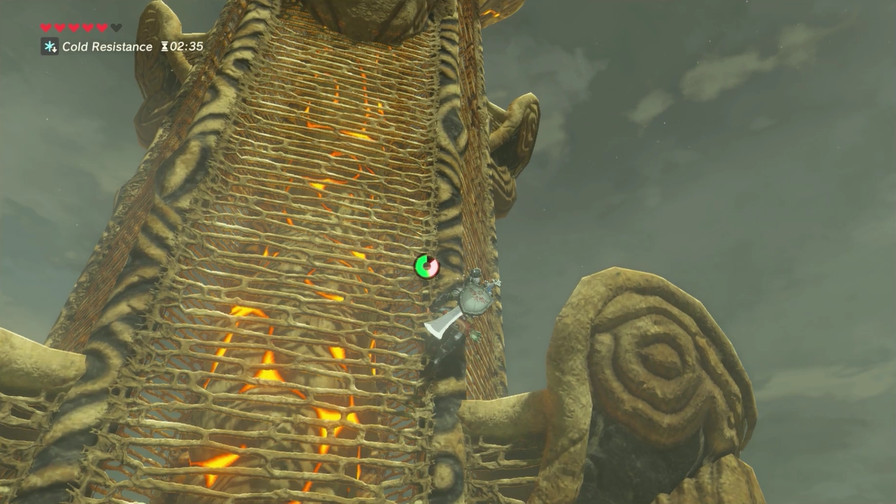
And now we can ride the trunk back up all the way to the top of Ruta itself! After we get that chest with an Ancient Shaft first, of course.
The fourth terminal is on Ruta’s trunk itself. However, we can’t reach it unless Ruta’s trunk is raised high enough due to where it’s located. If you can keep your footing and adjust the angle a bit, though, it’s pretty easy to nab.
(Audio)
Almost done!
Music: Vah Ruta (One Terminal Left)
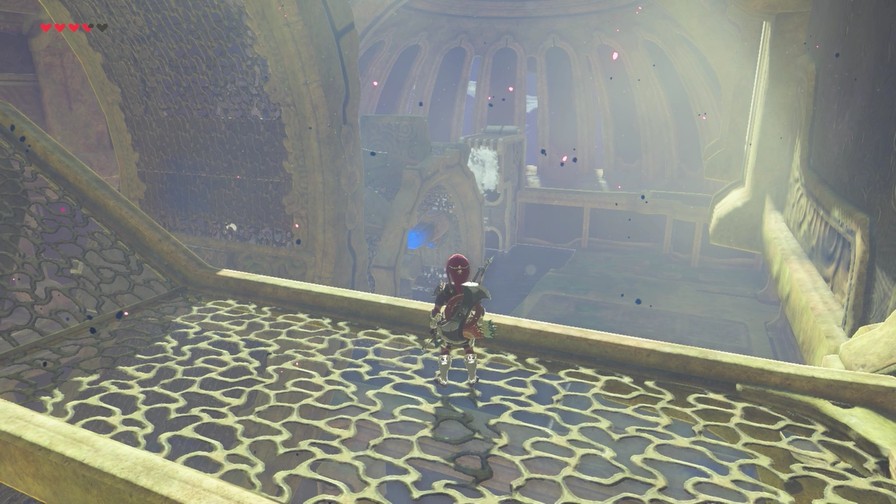
There’s no terminals up here.
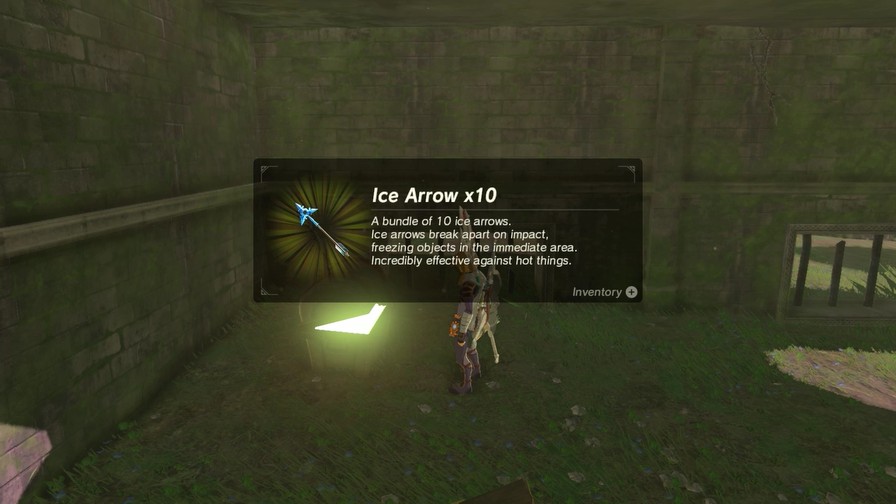
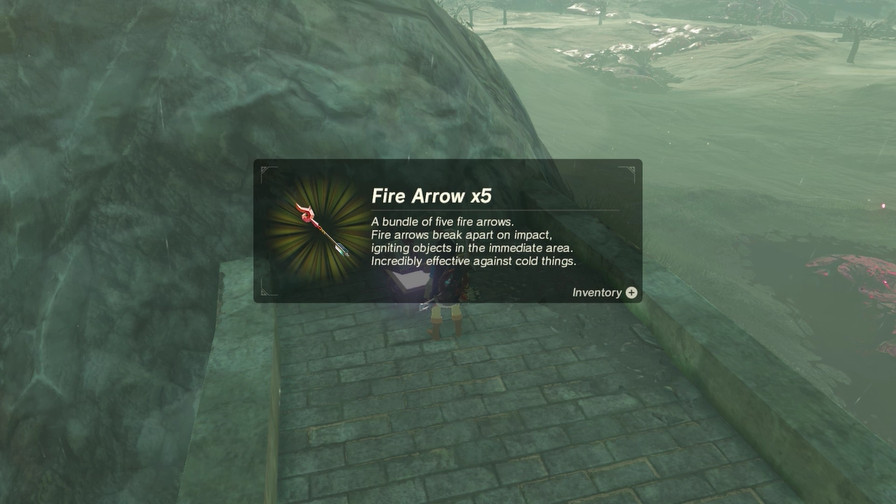
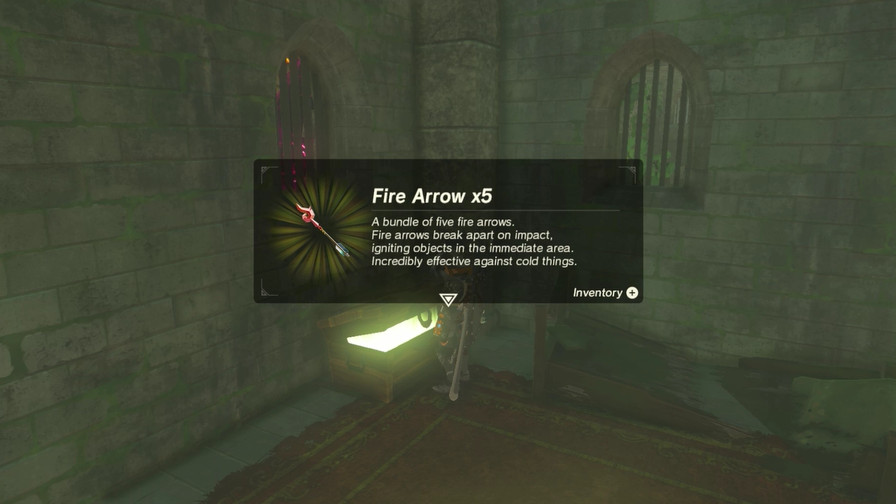
There is a chest of a nice ten ice arrows guarded by malice, though.
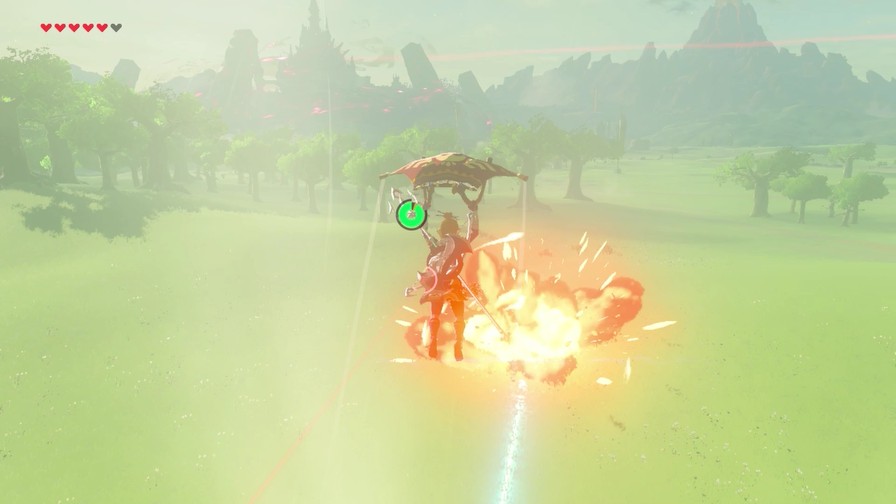
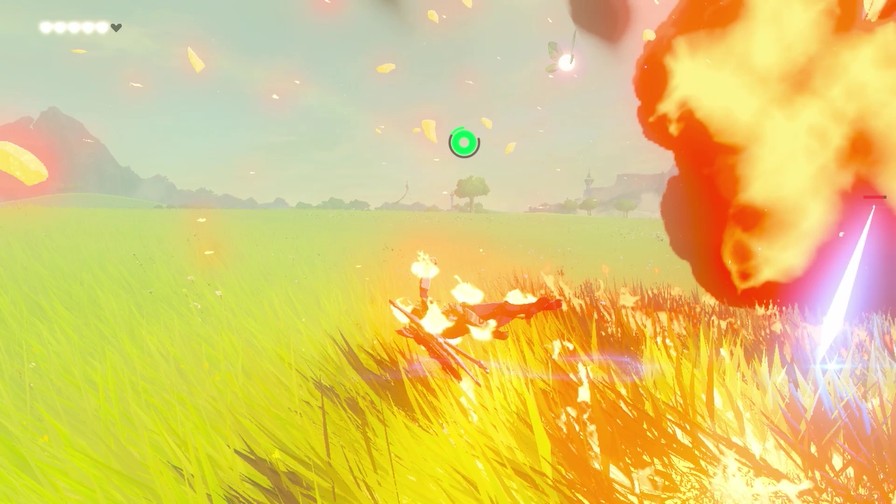
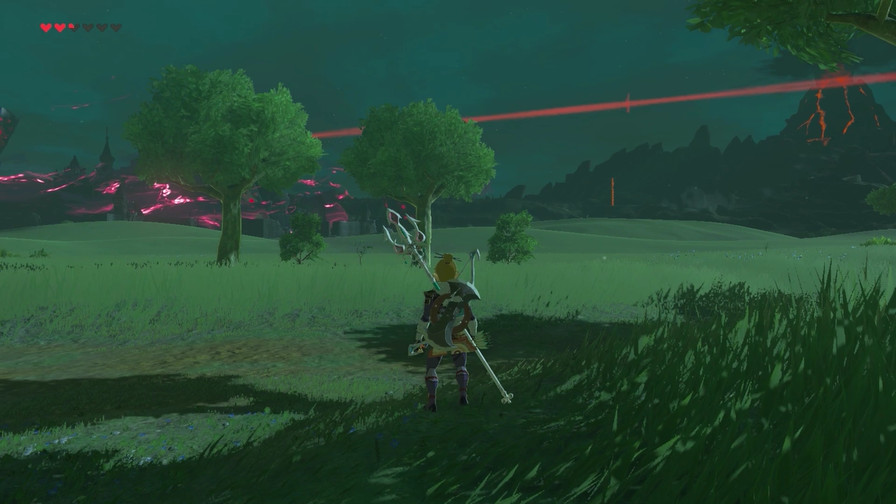
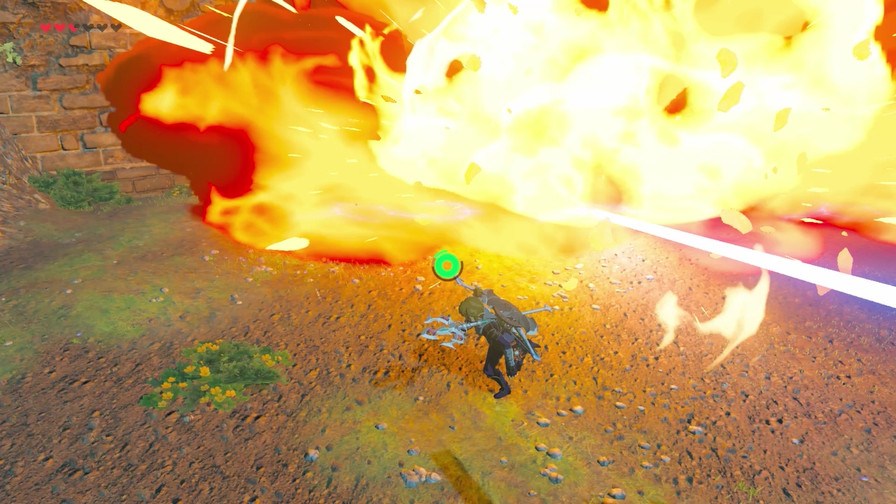
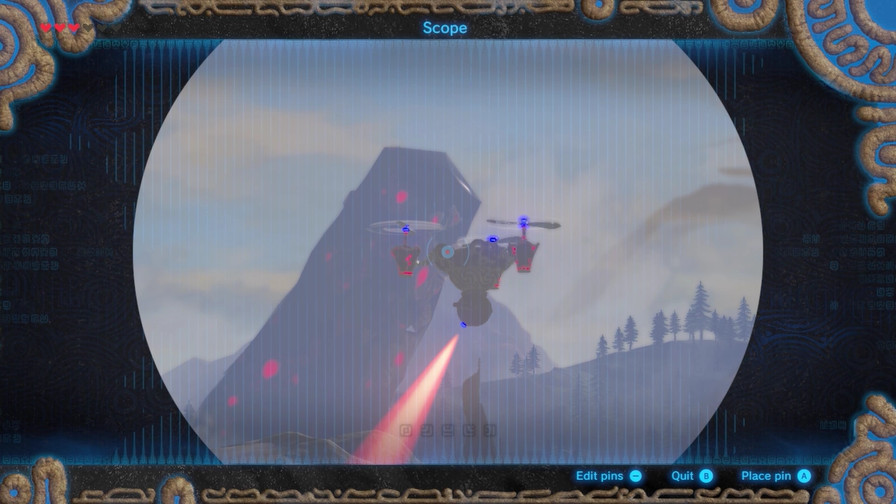
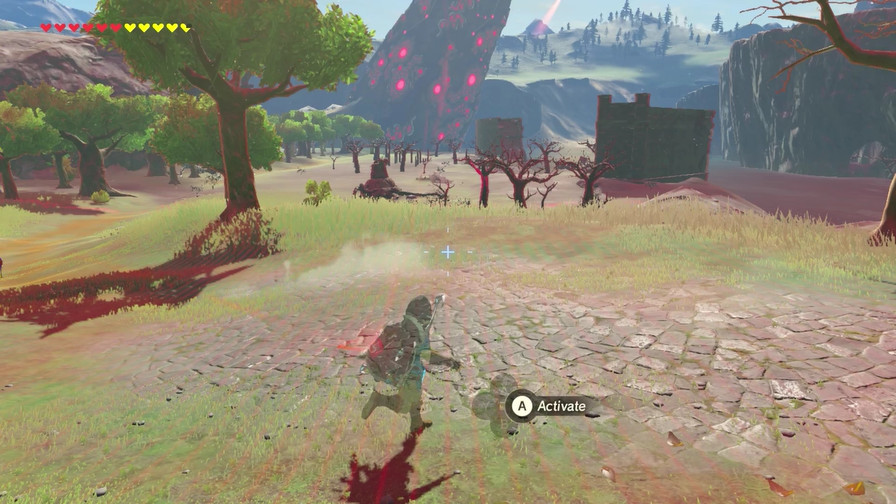
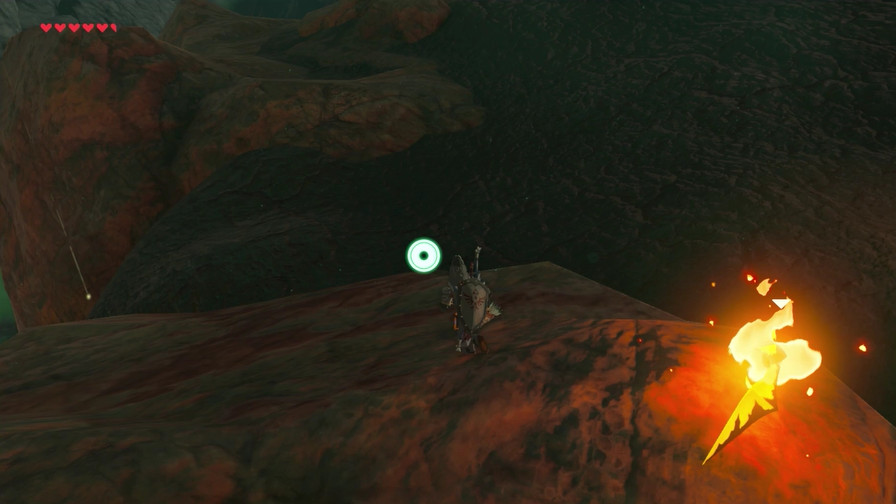
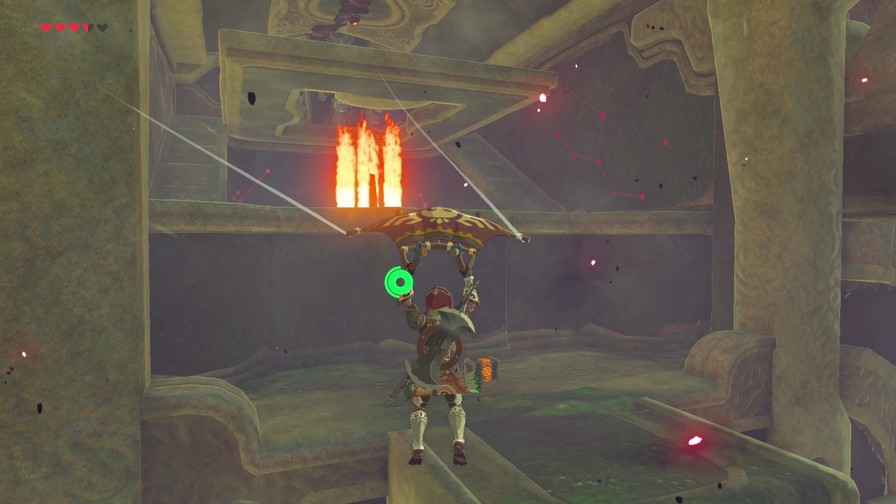
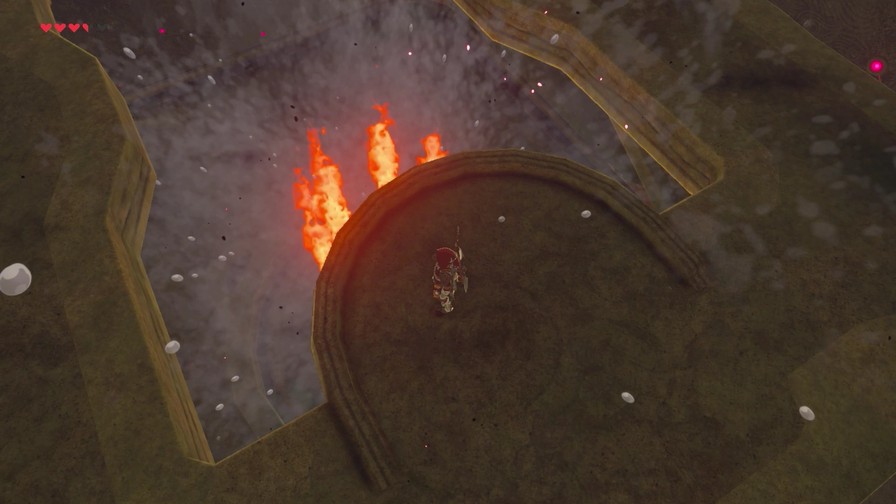
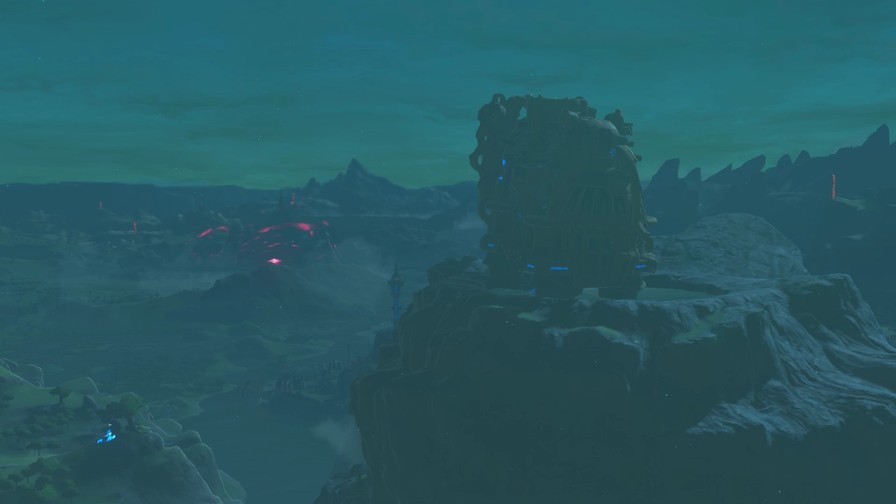
From here, we can glide to the high section of Ruta’s head, above where the Halberd was. You may have seen some fire shooting up in an earlier screenshot.
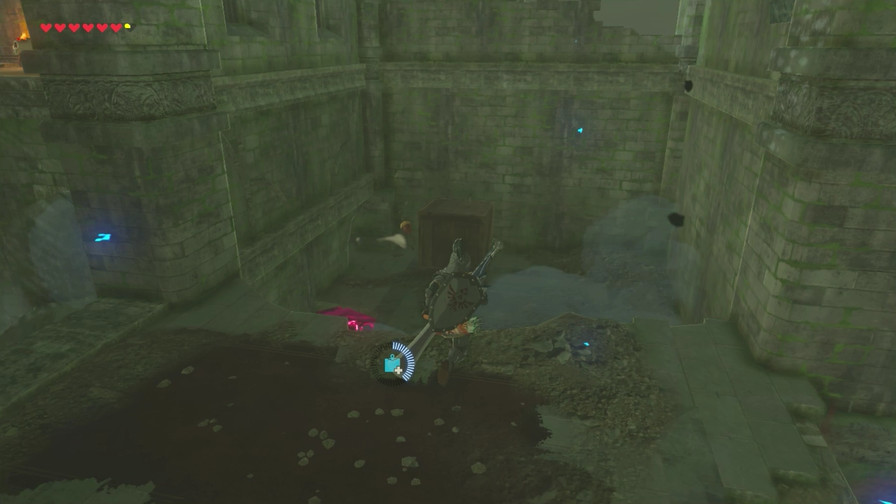
Another source of spawning skulls.
Easily dispatched.
Another lever like for the first terminal, but this one instead opens a hatch in the ceiling. Right above where the fire is burning.
Yep!
(Audio)
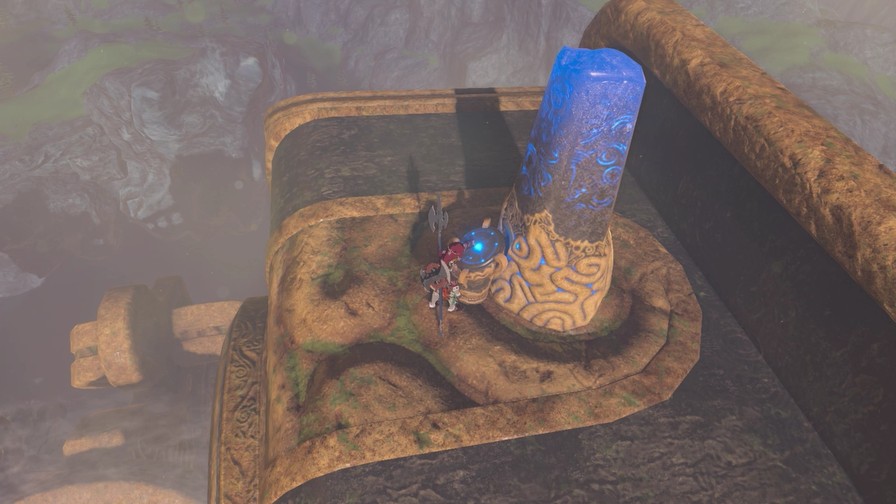
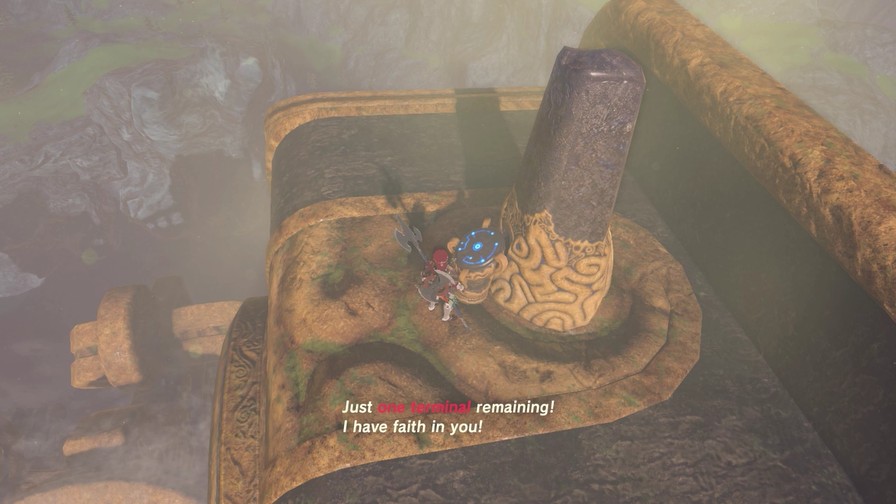
There should be a new glowing mark on your map. Head there! Be careful not to let your guard down.
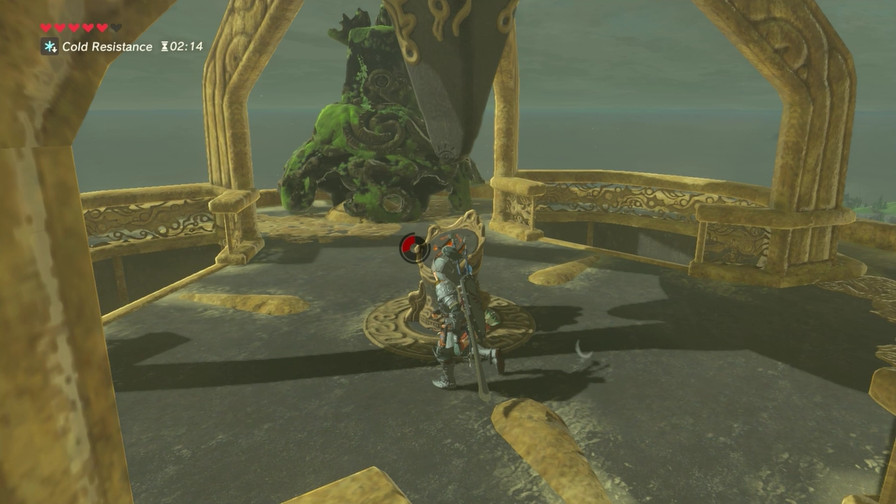
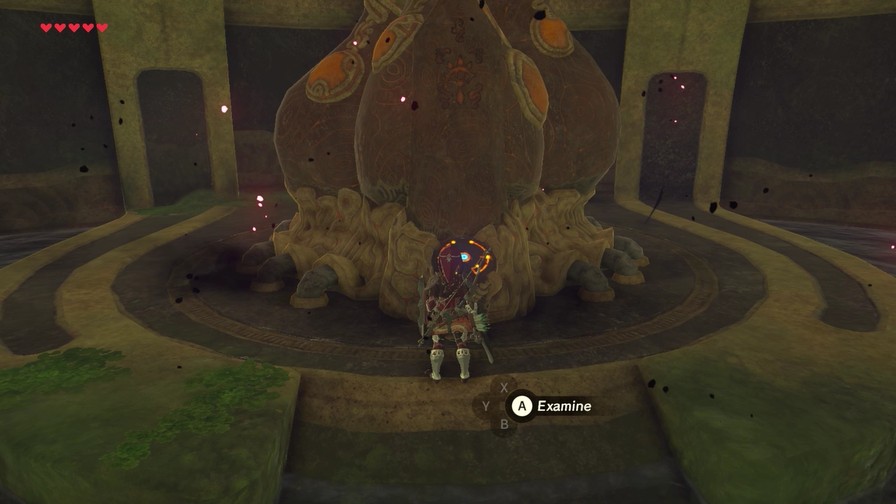
That’s all the terminals! Nothing left but treasures and the control center.


Back on the other side is this chest.
I probably skipped a couple more chests, primarily on the gear spokes, but eh.

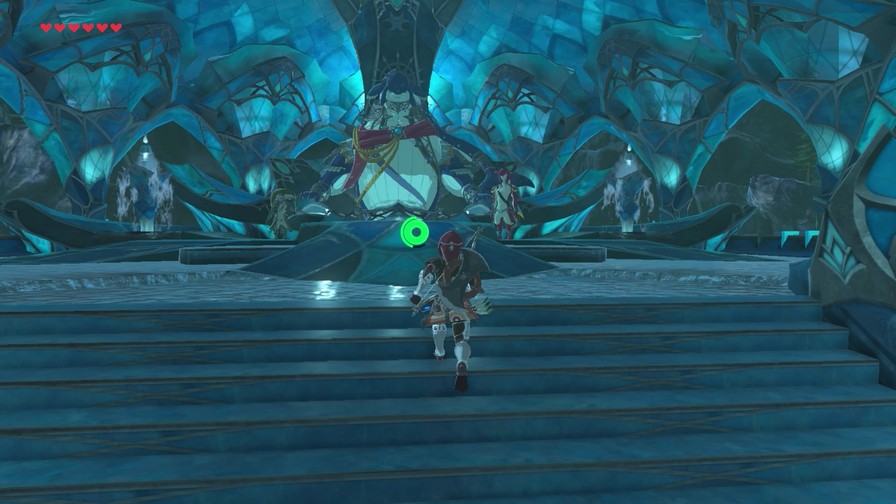
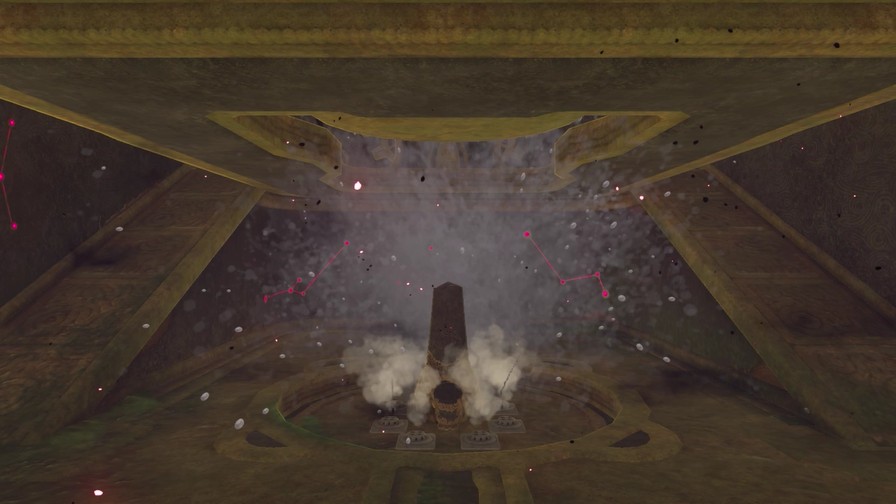
There’s also a convenient hole with which to leap to where we can end this thing.
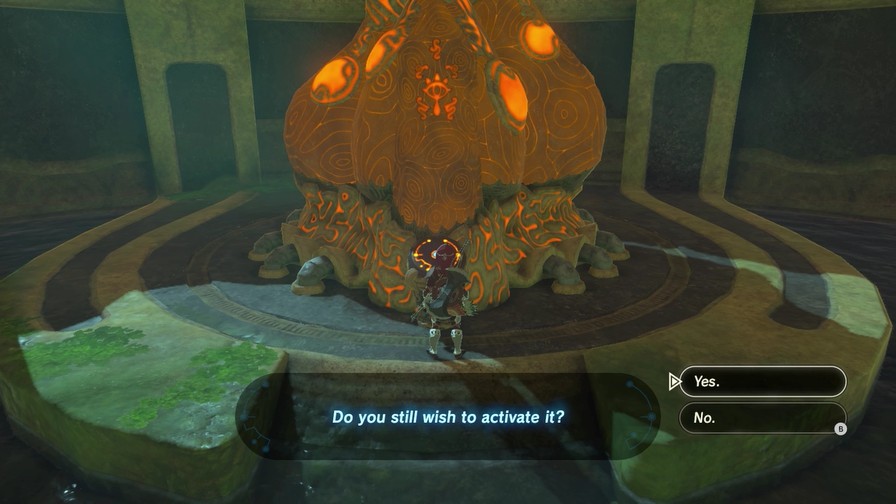
But of course… Things won’t be that easy.
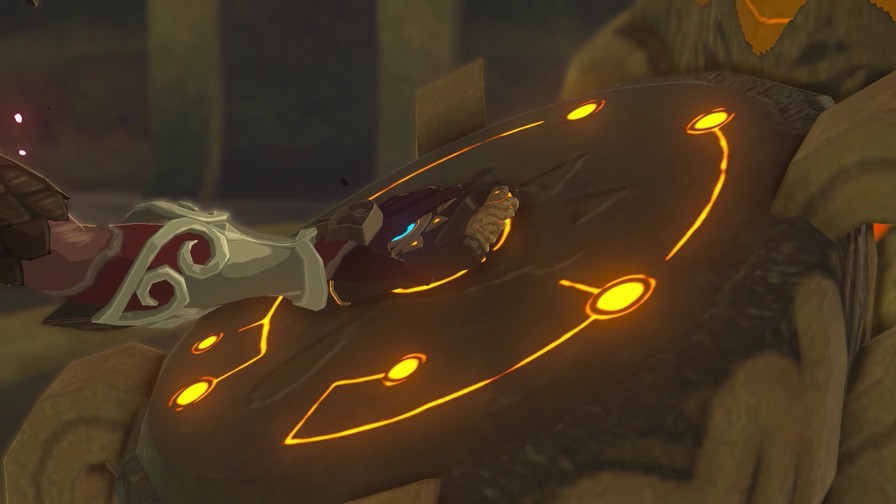
After all, remember that Ganon corrupted and took over these things. His presence still exists within them, so guess what we’re going to do.
So…
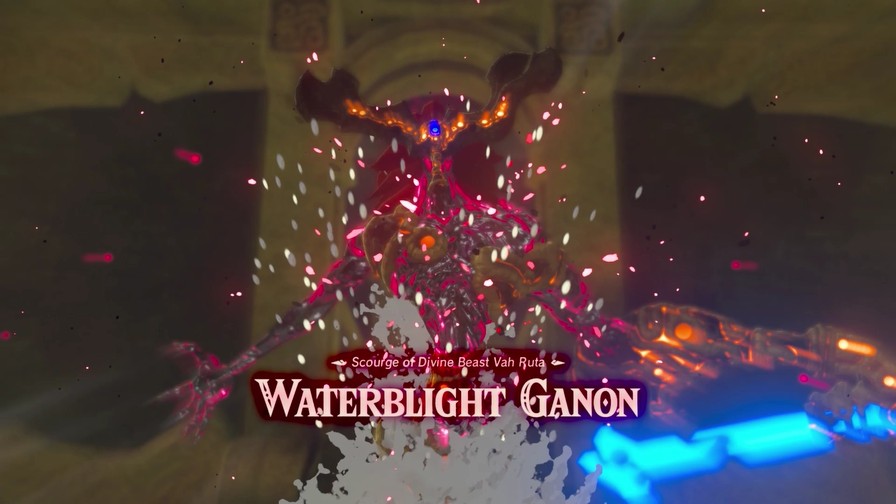
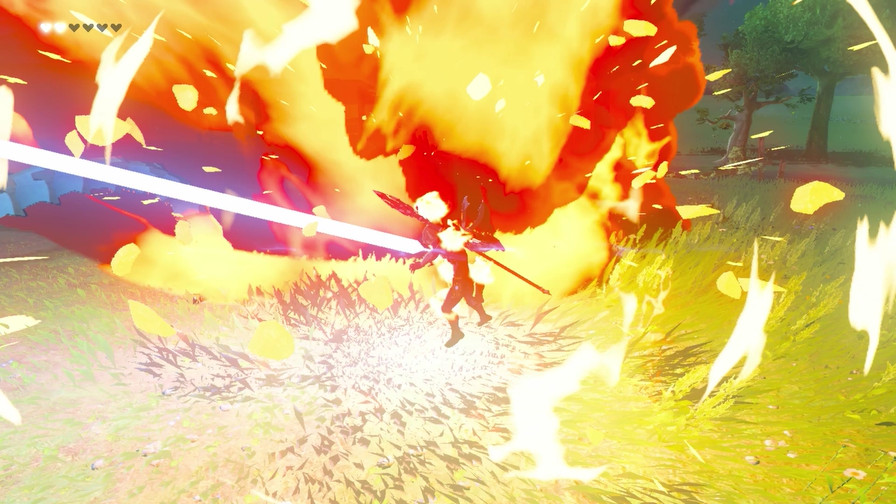
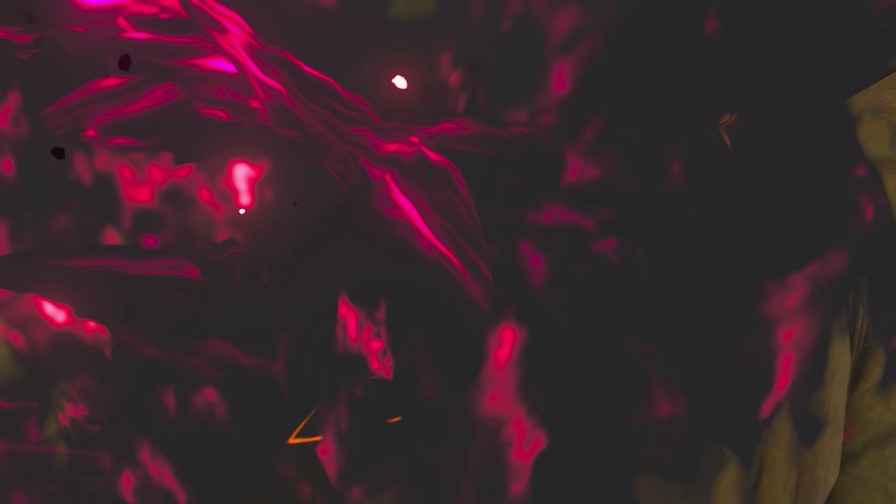
Music: Waterblight Ganon Appears
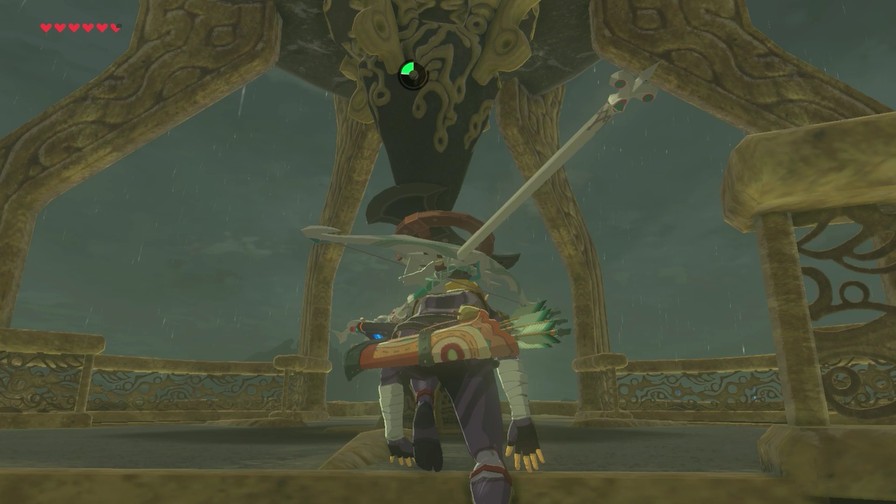
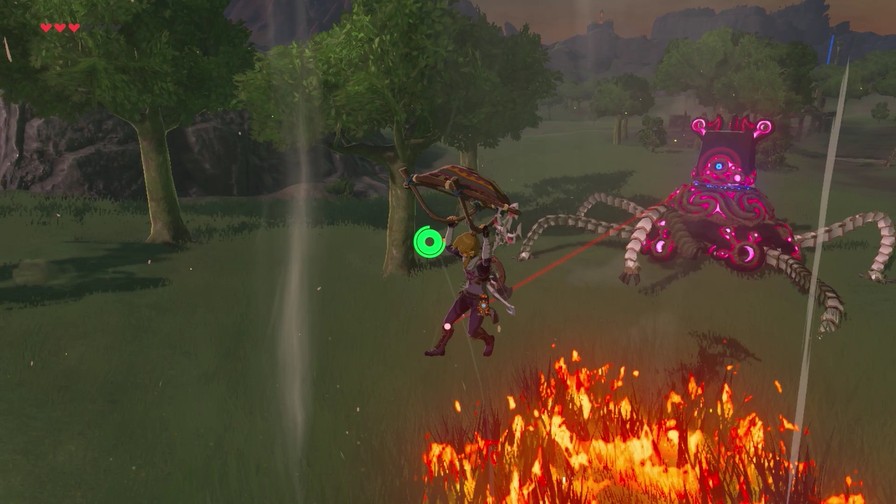
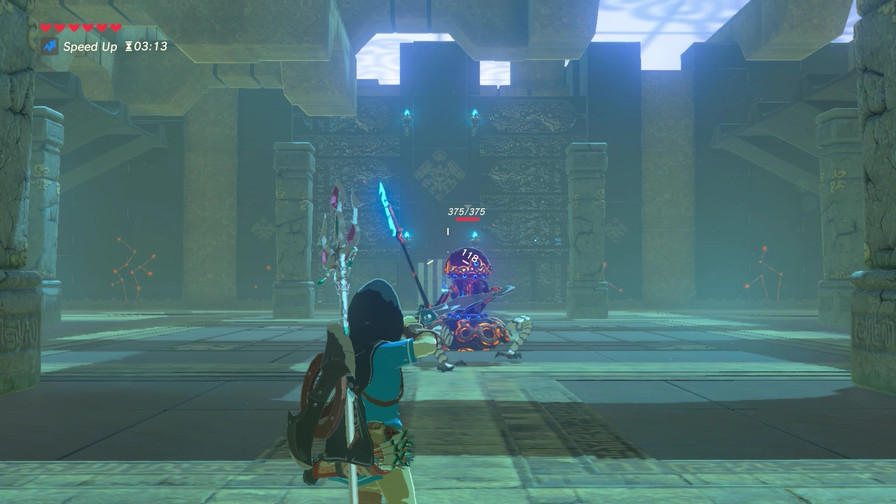
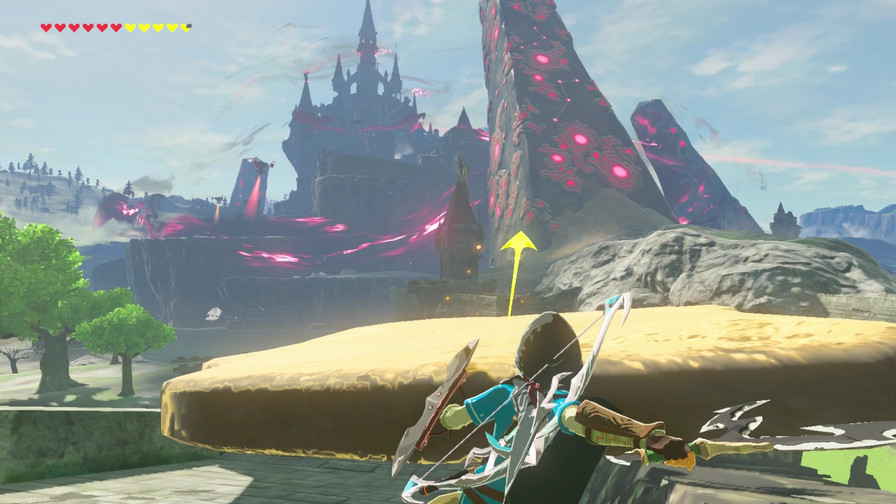
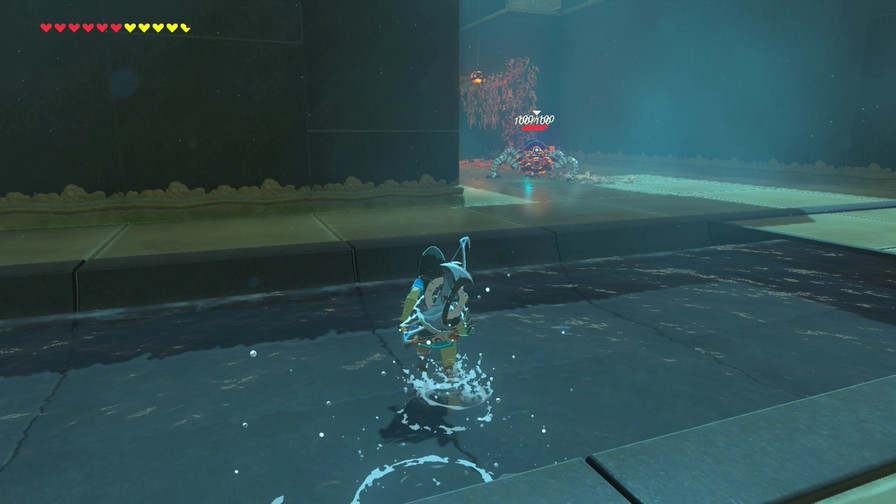
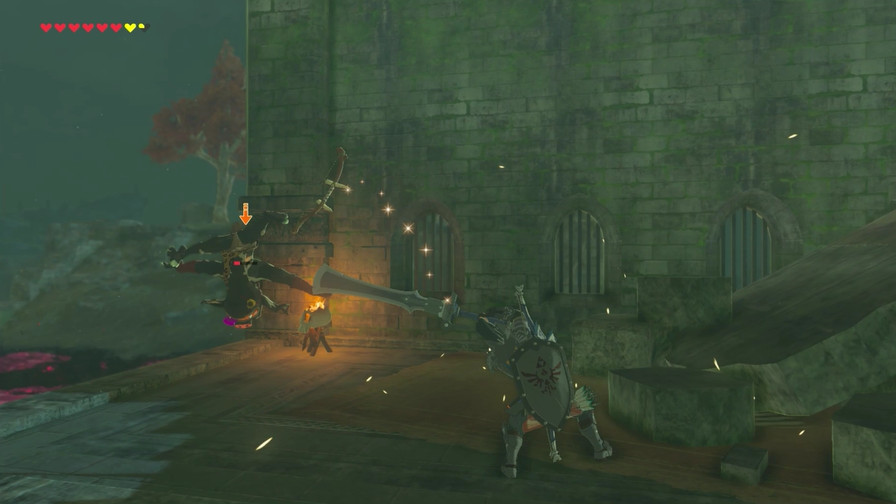
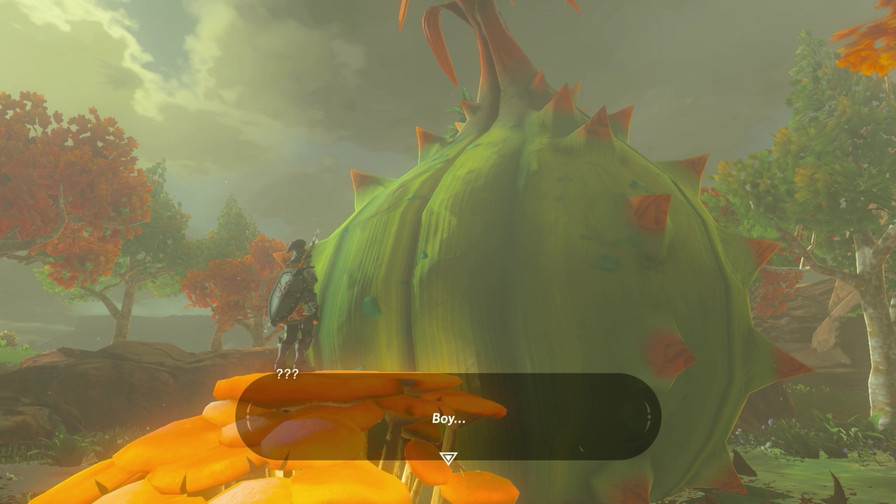
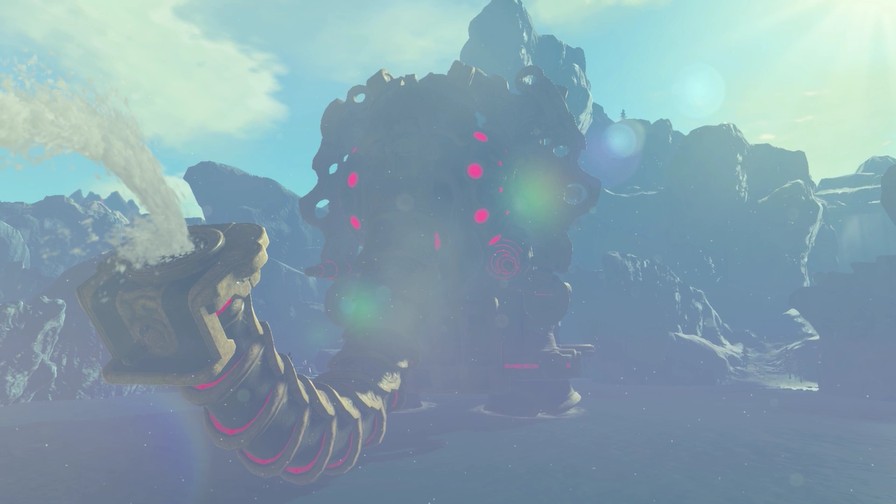
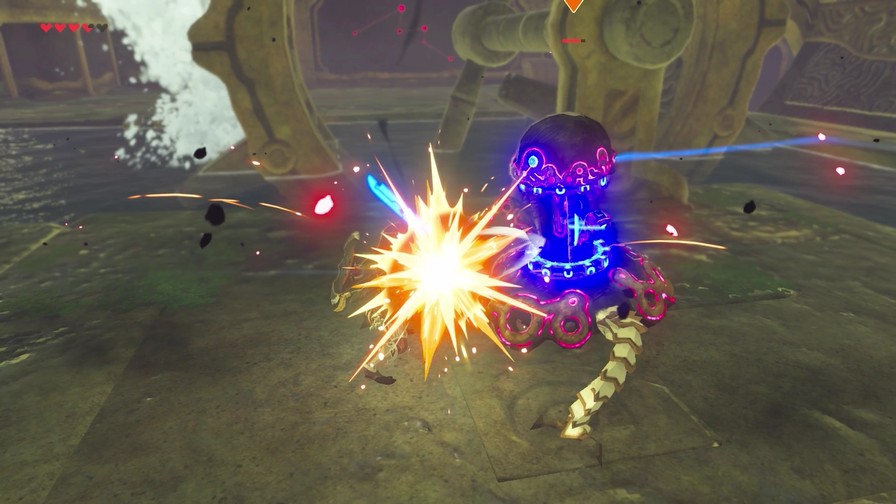
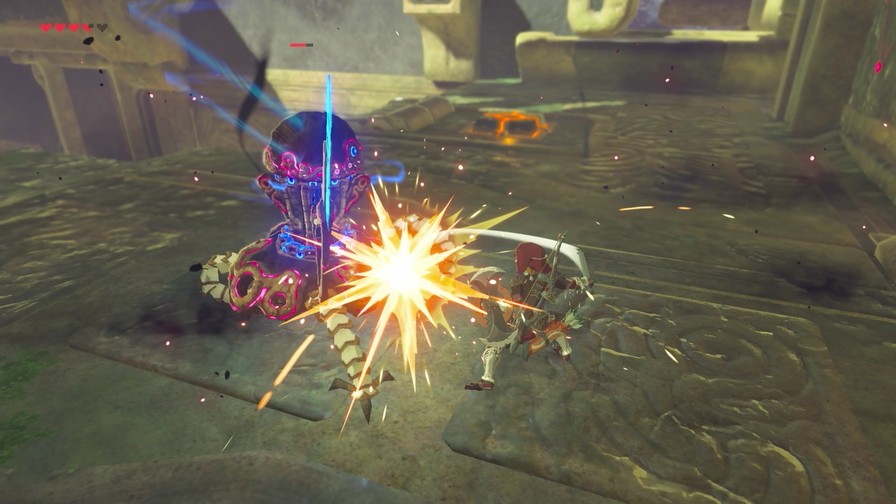
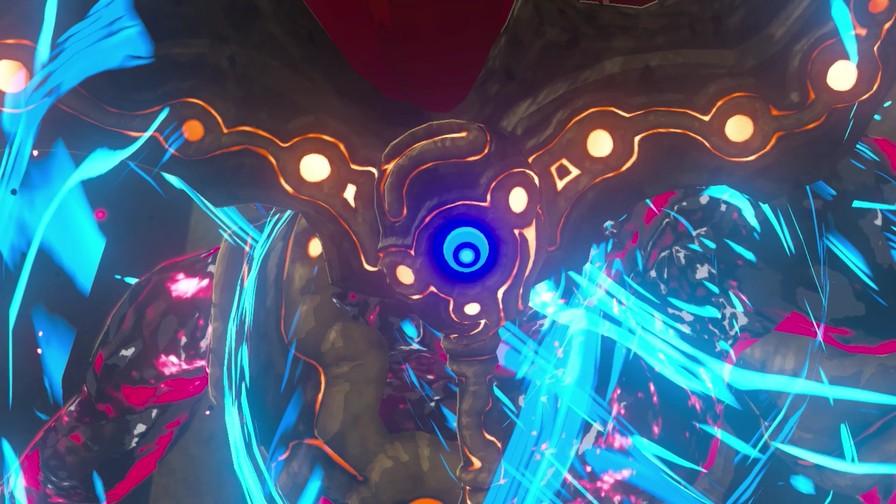
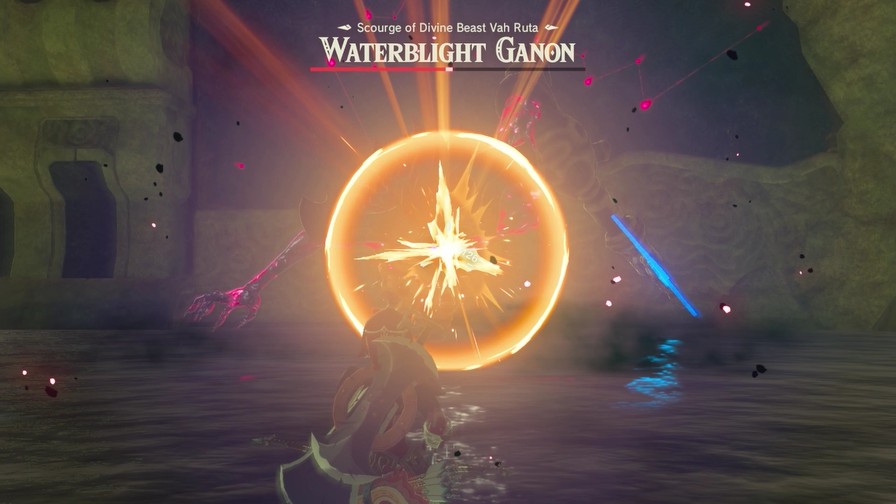
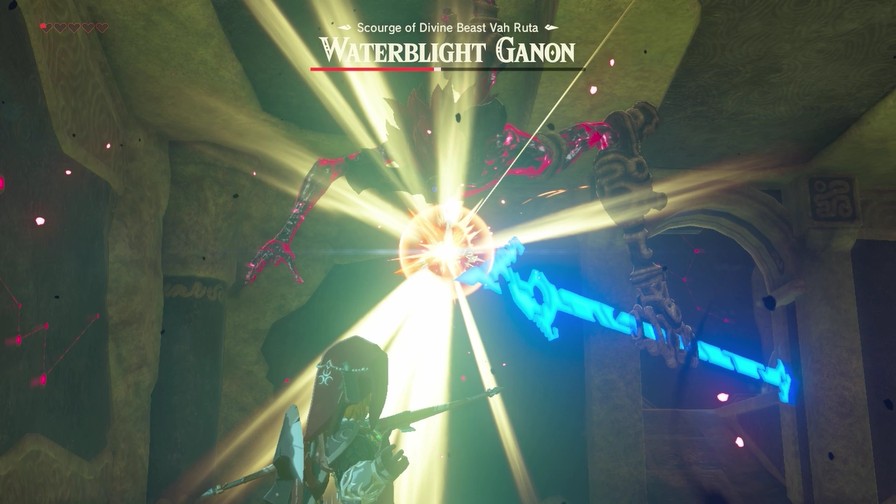
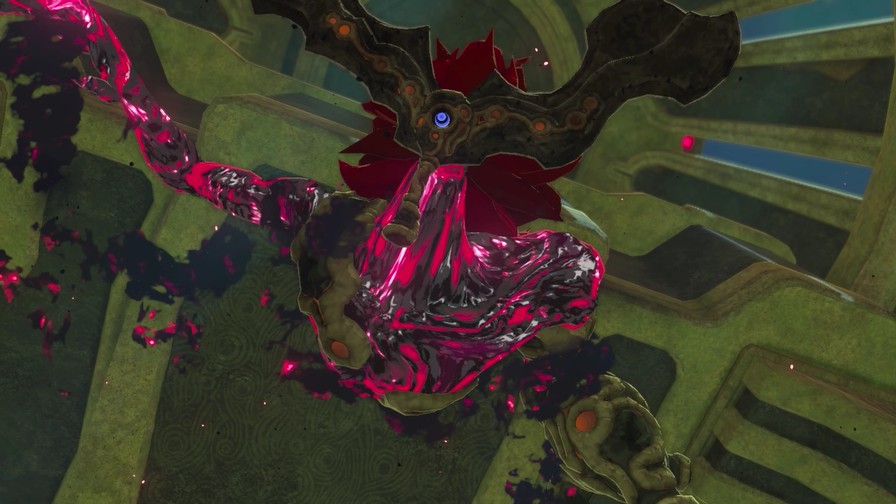
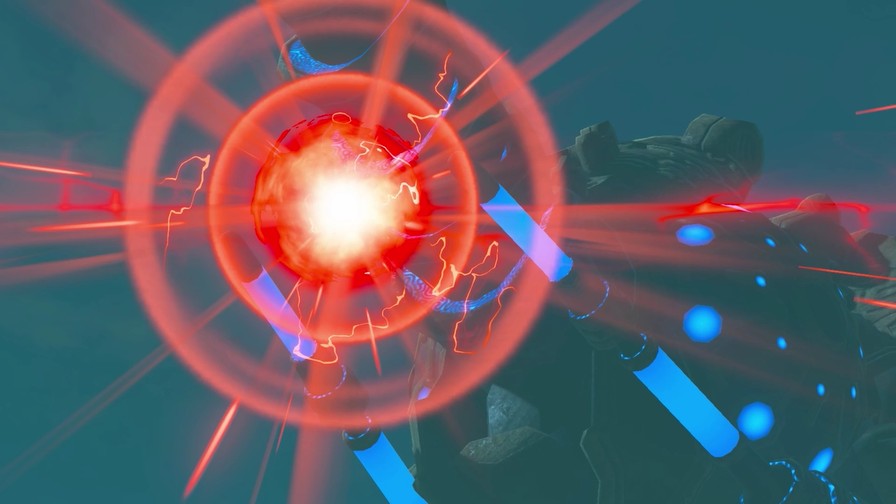
Meet Waterblight Ganon.
That…thing is one of Ganon’s creations.
And thus begins our first actual boss fight.
Music: Waterblight Ganon (Phase 1)
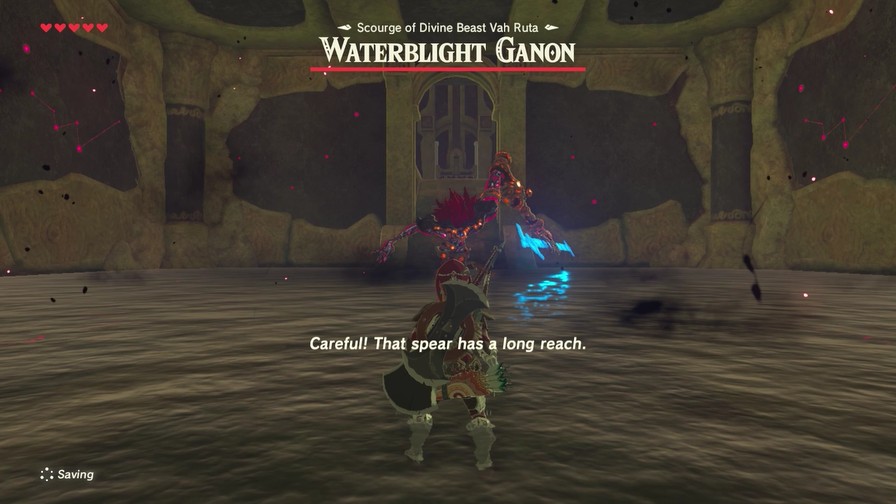
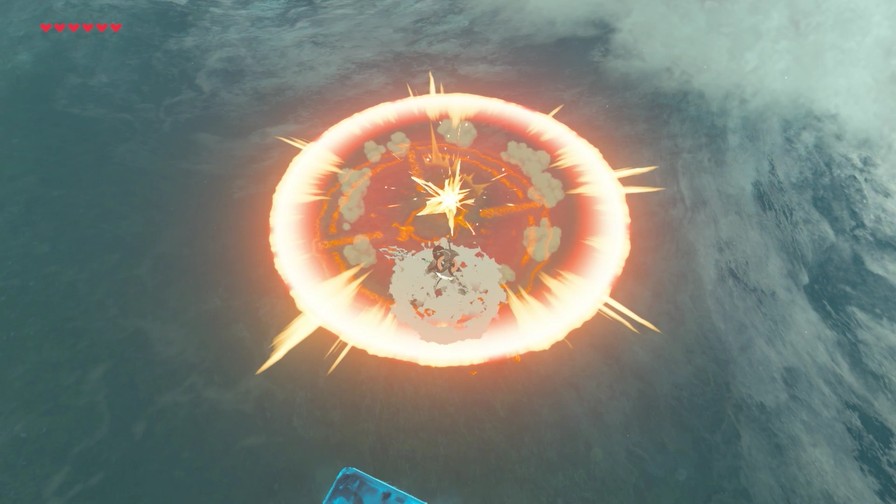
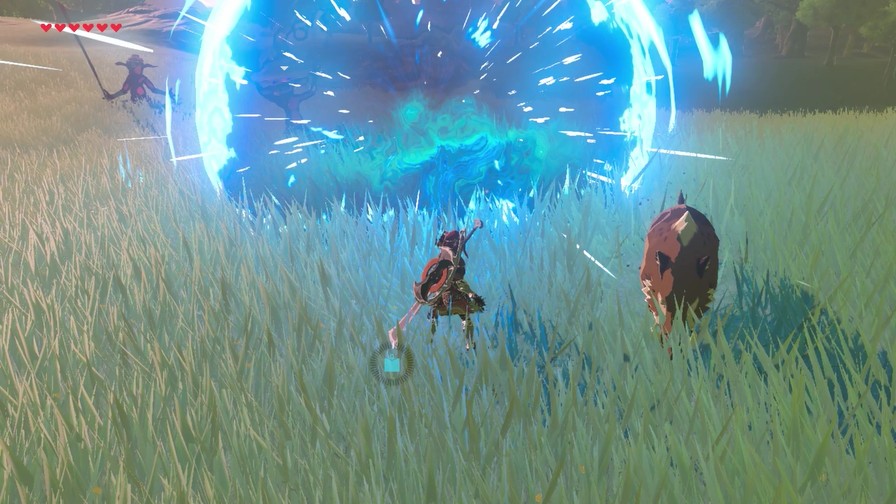
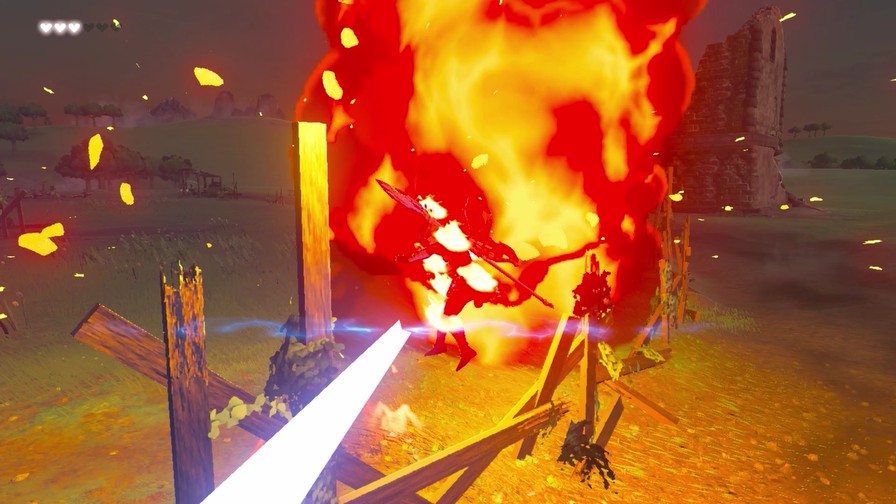
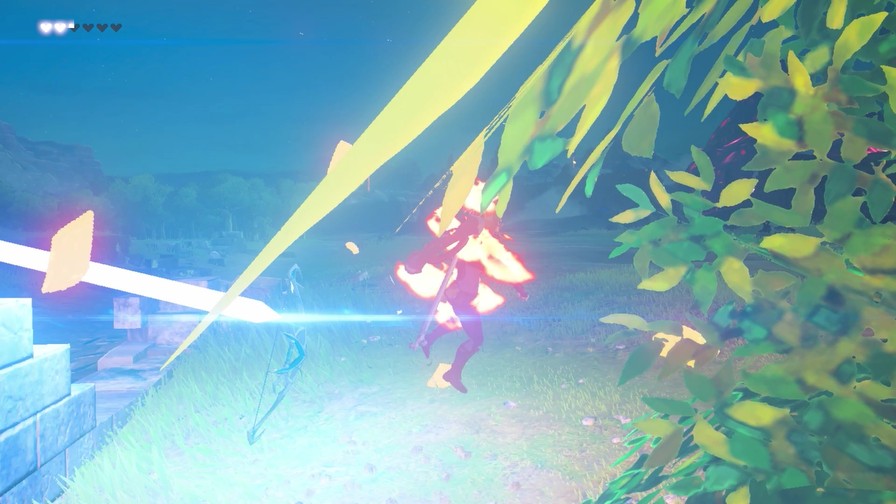
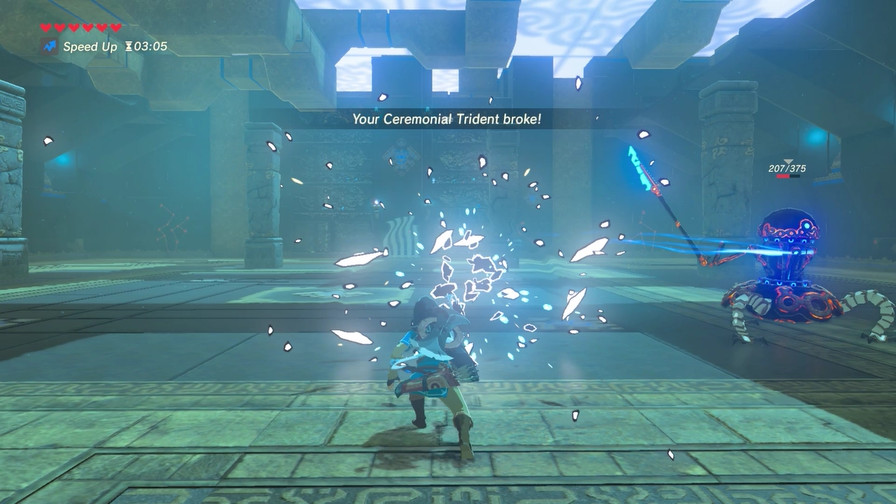
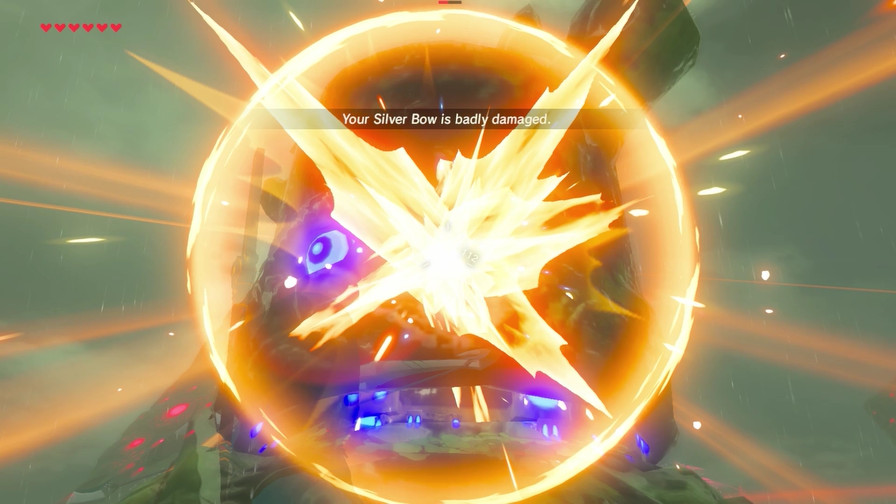
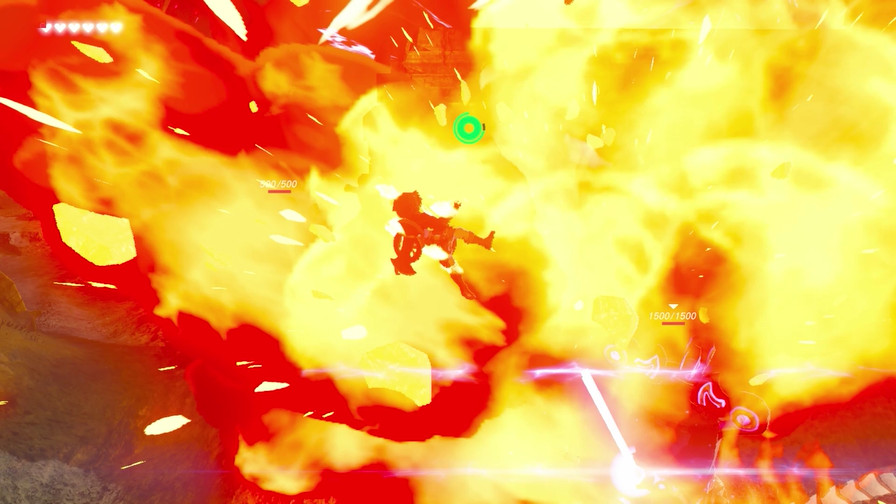
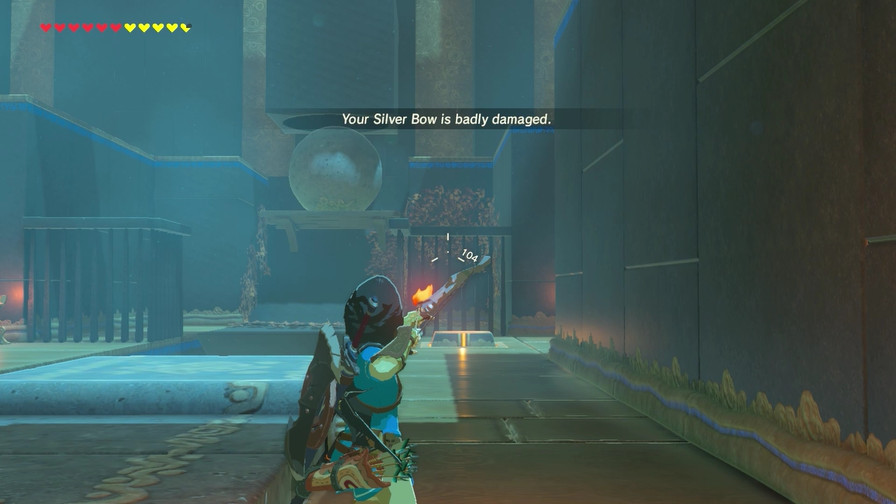
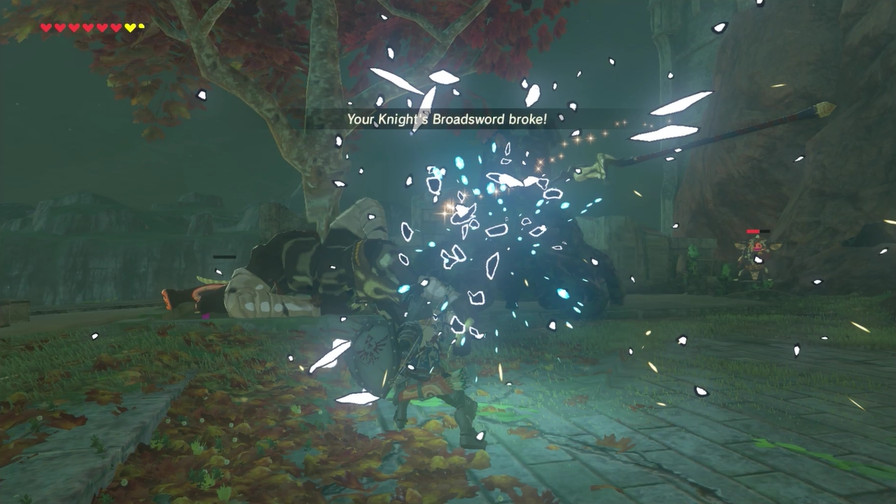
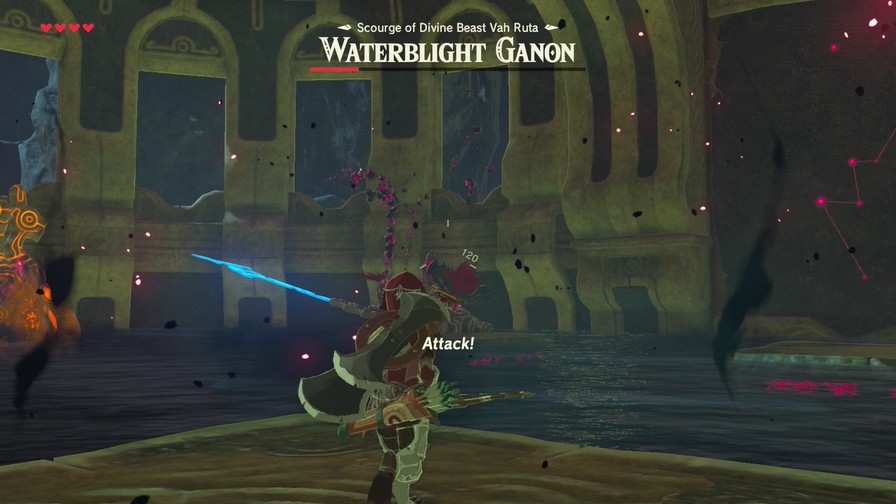
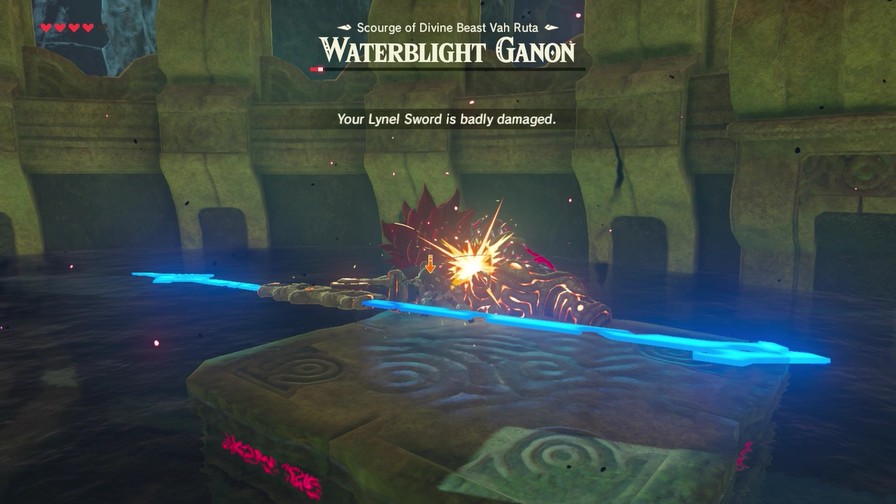
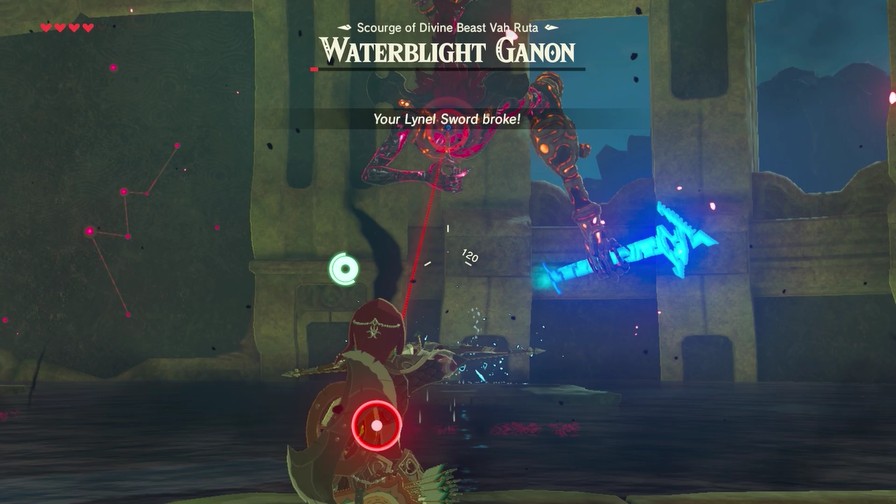
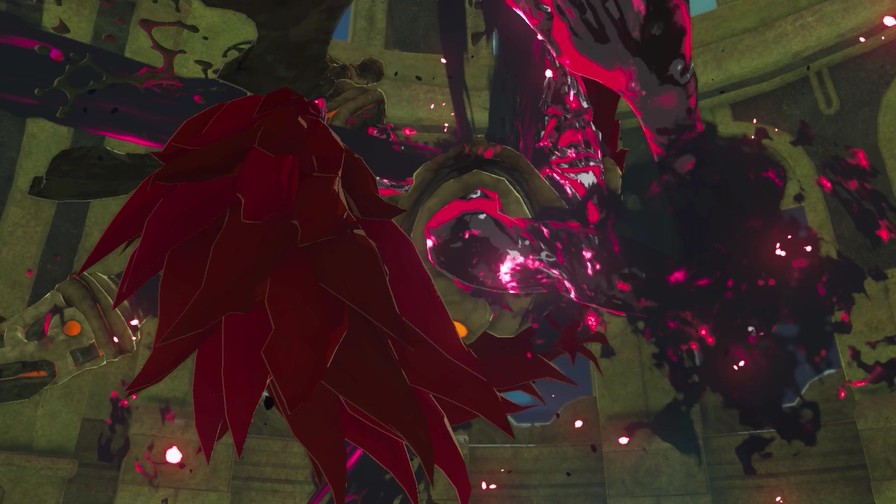
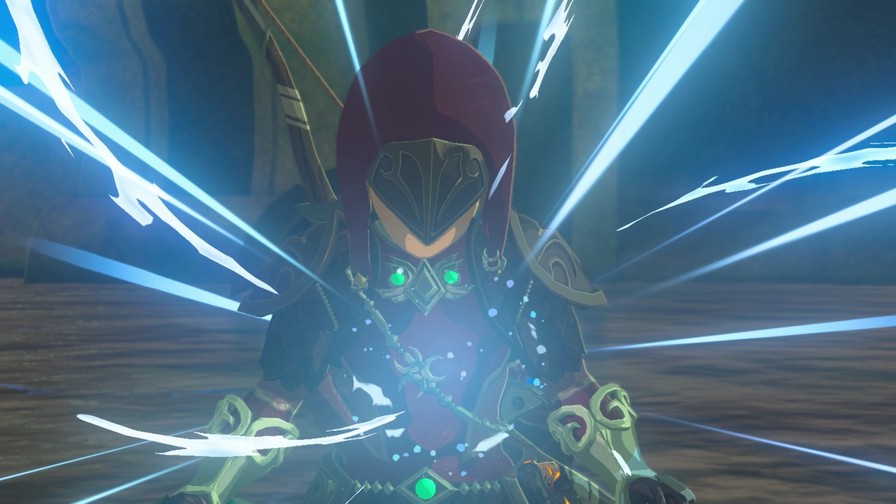
Waterblight Ganon’s signature weapon is his massive spear. He has no problem throwing it at you, swinging it in a wide arc like a sword, or even slamming it into the ground to make shockwaves.
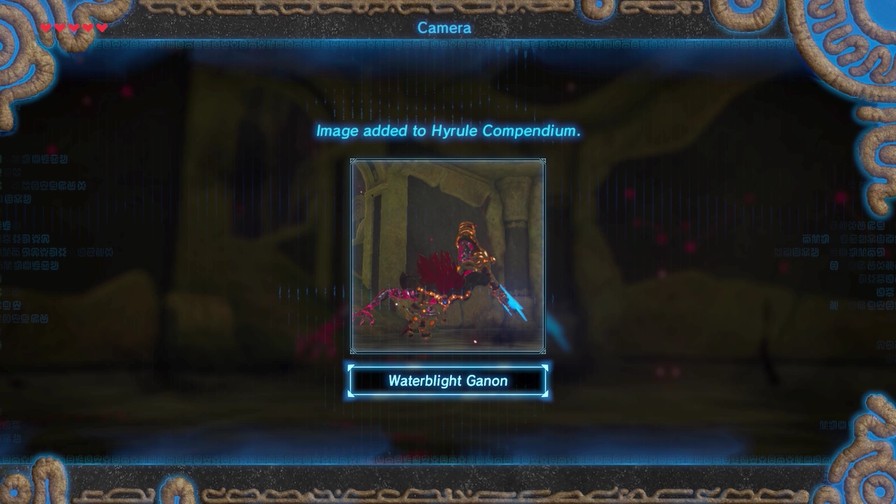
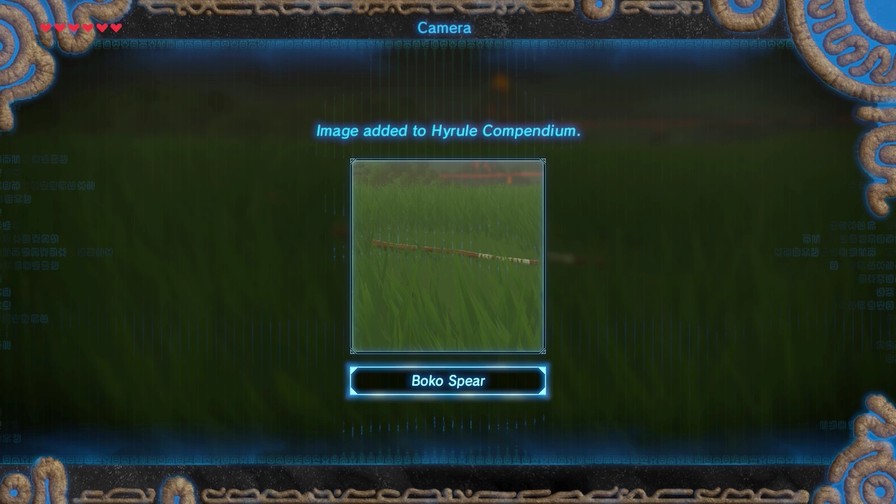
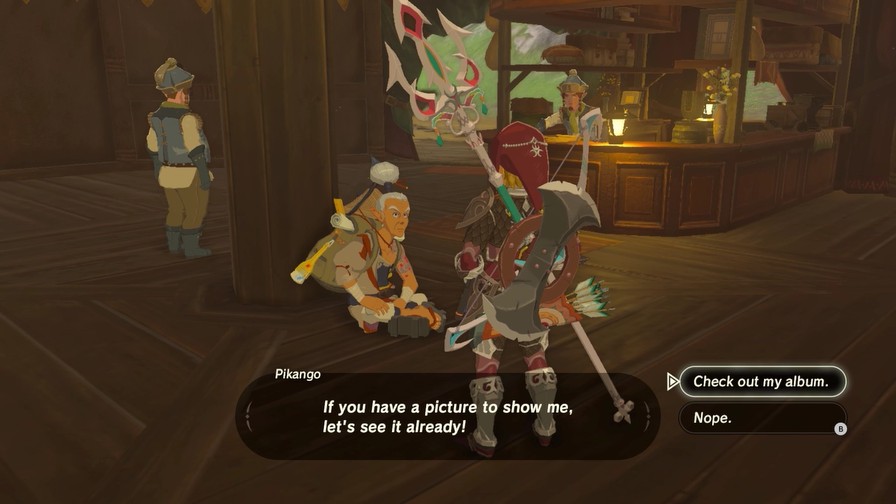
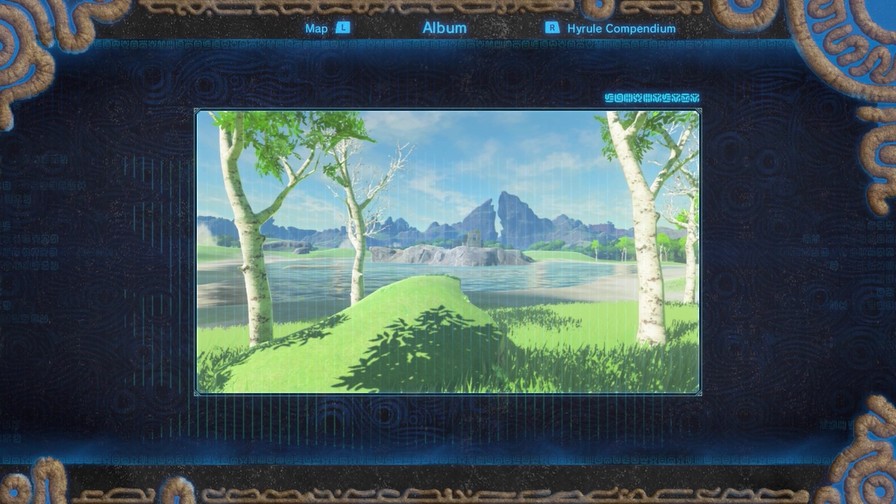
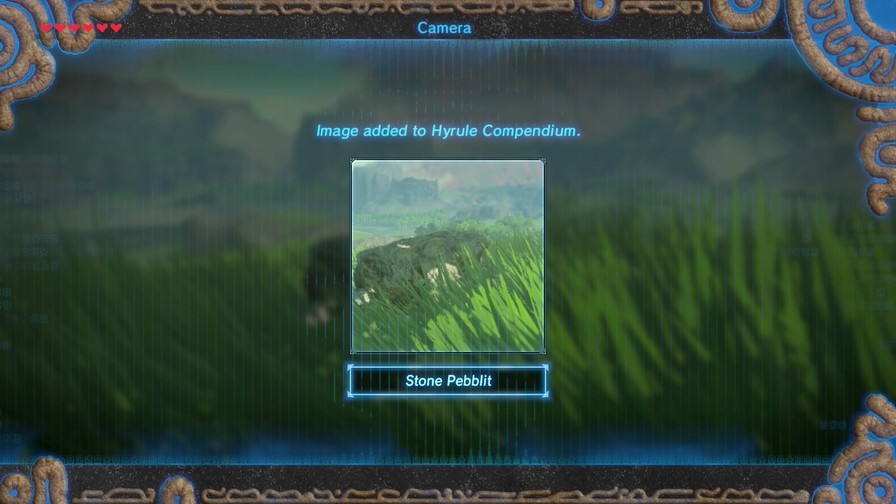
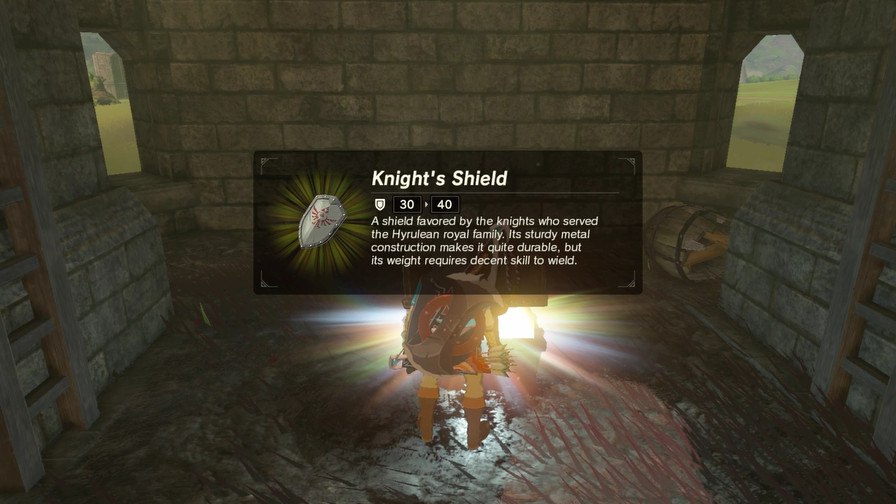
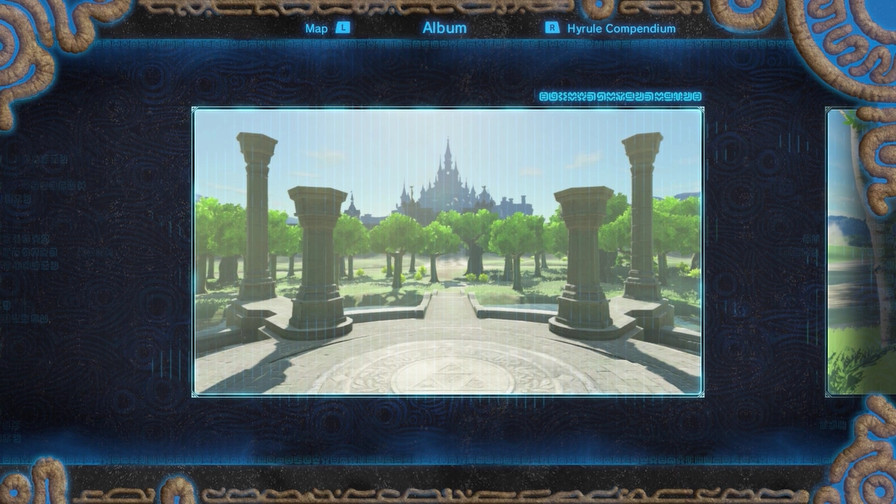
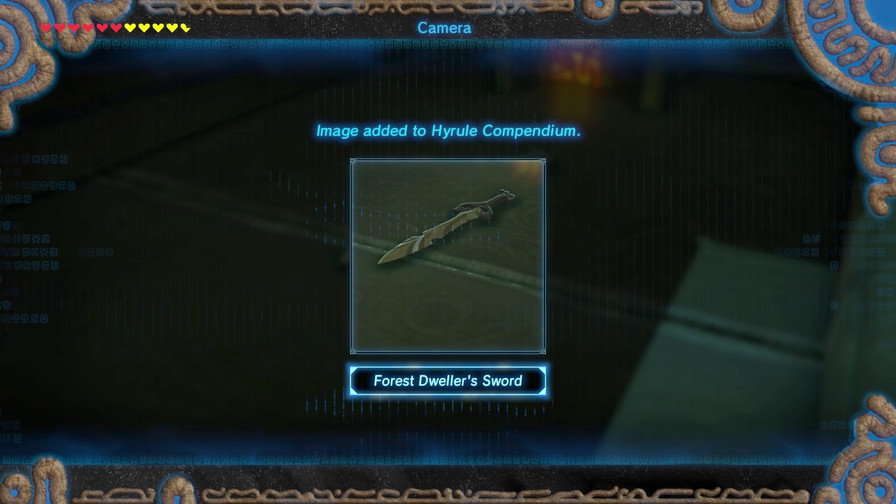
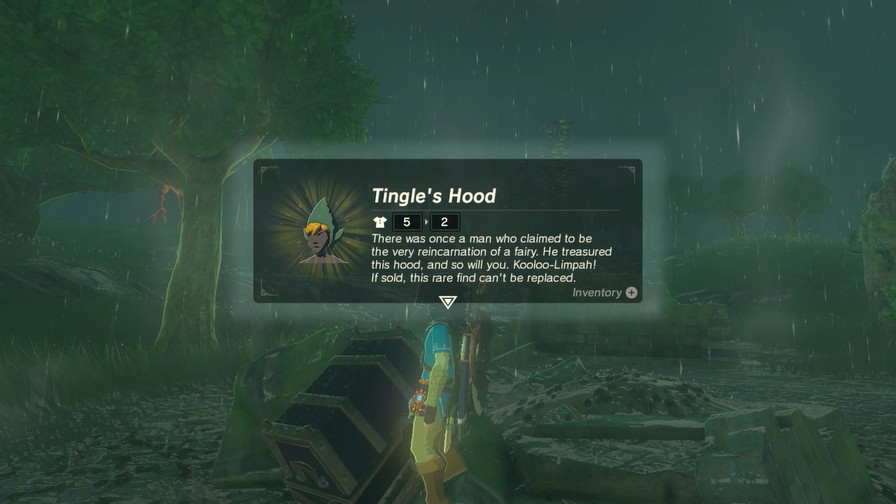
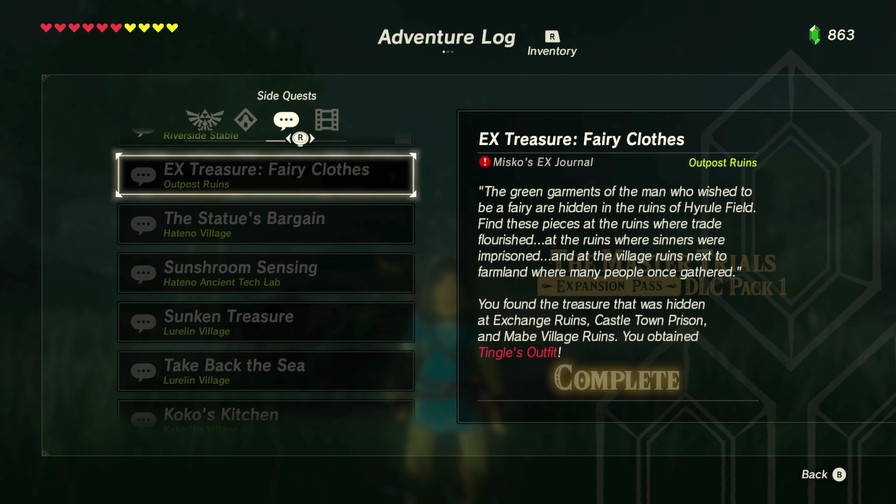
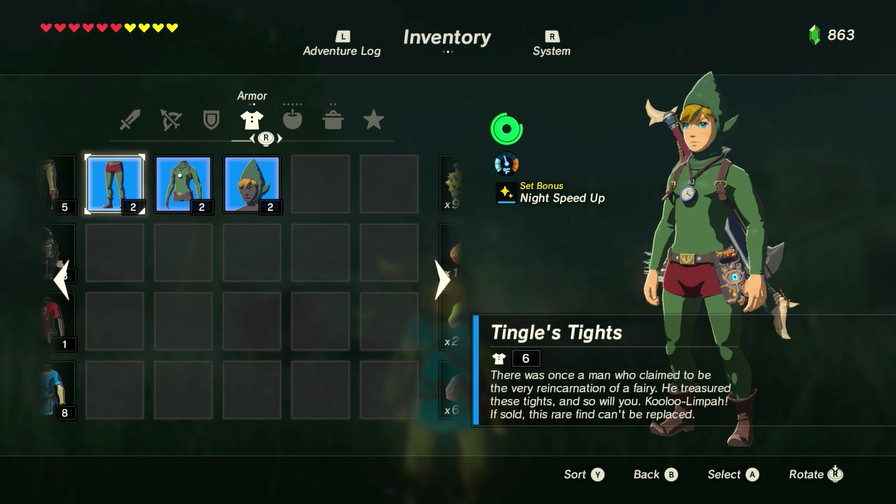
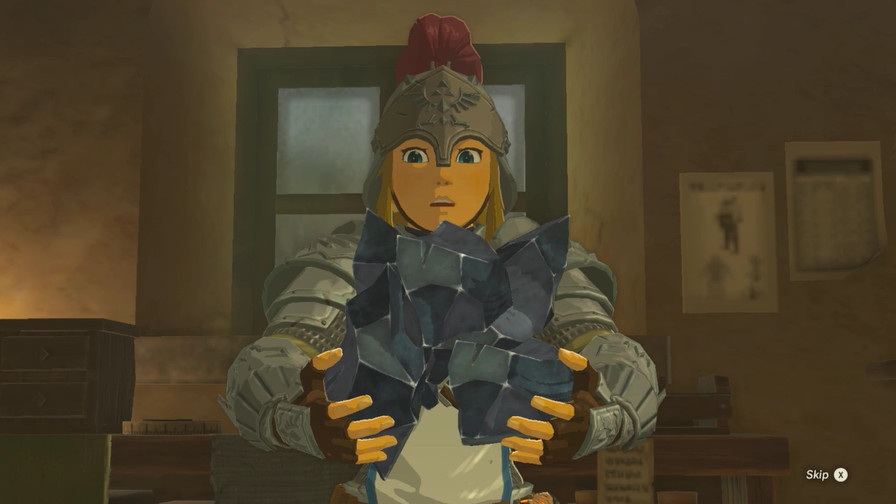
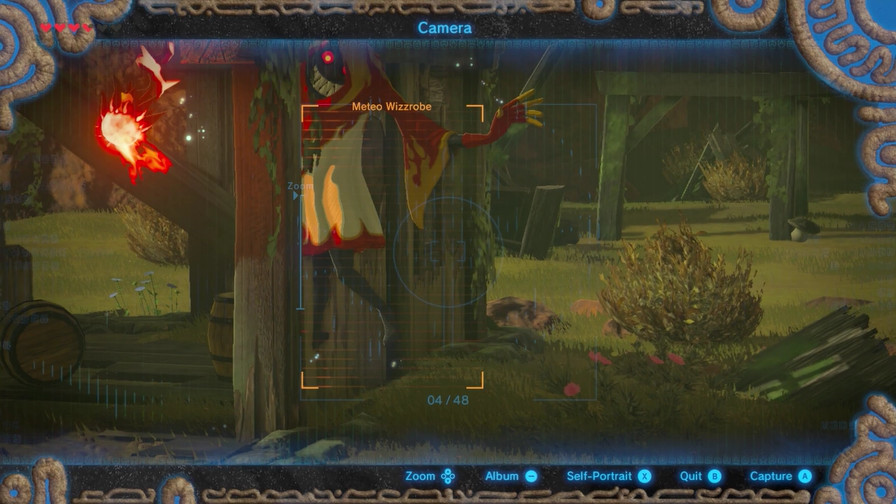
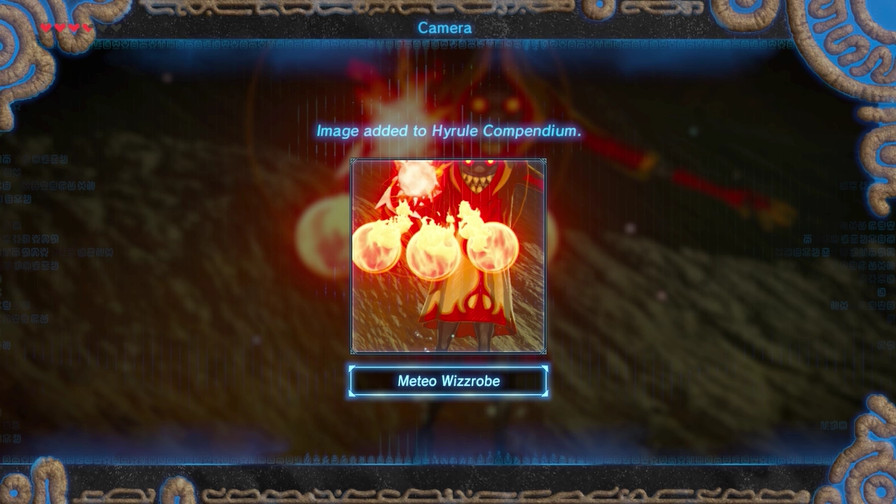
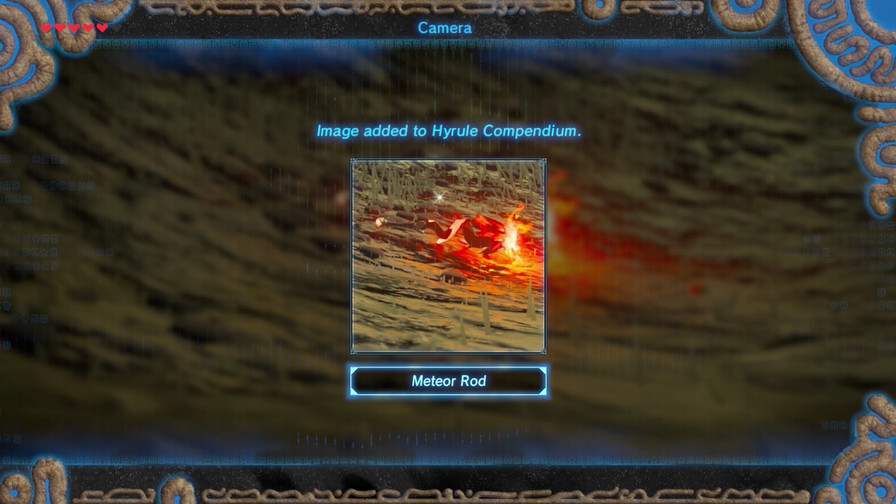
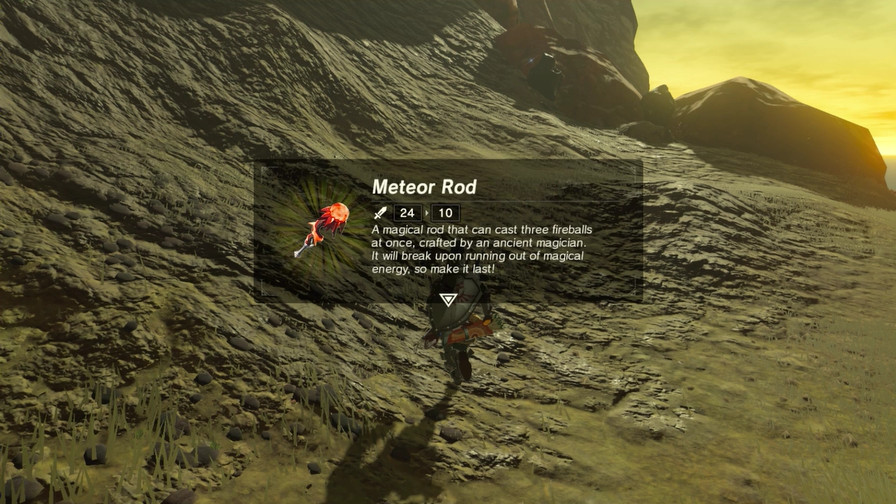
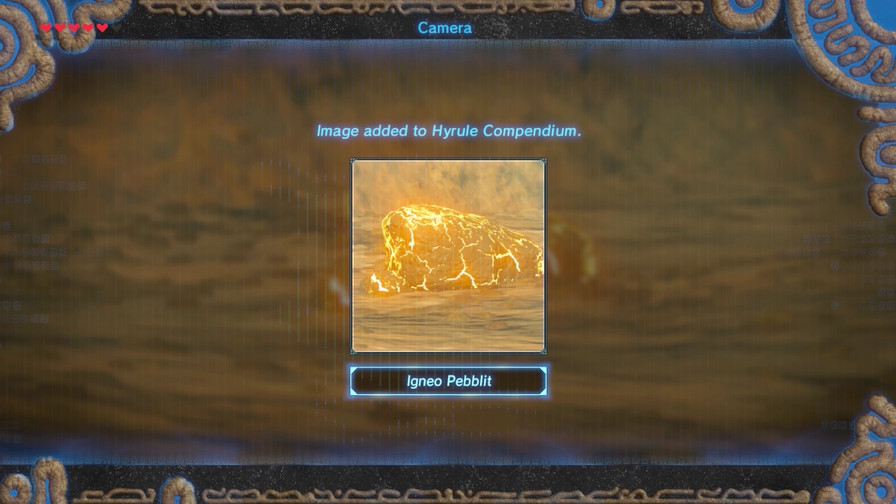
This is your only chance to take this picture! Otherwise I don’t think you can buy this until you beat the game.
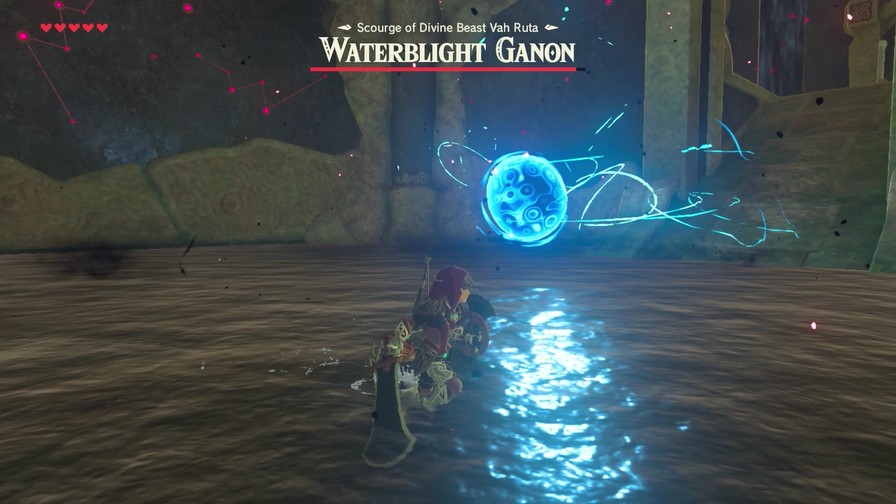
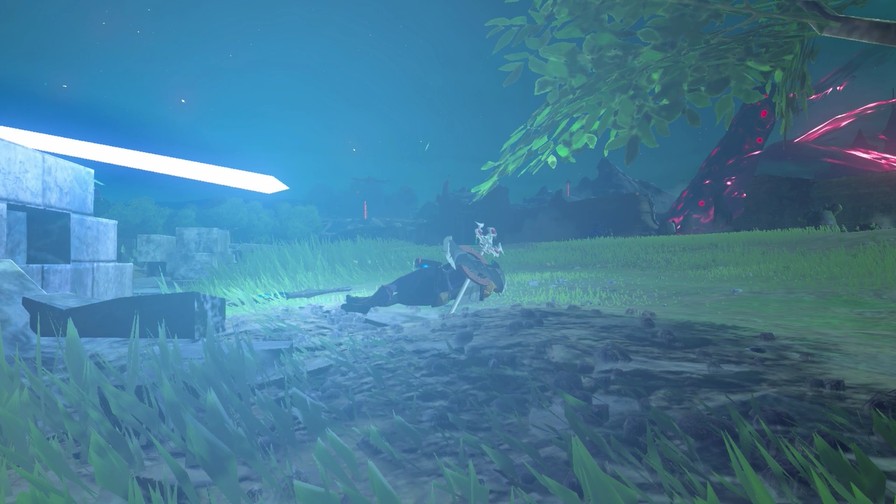
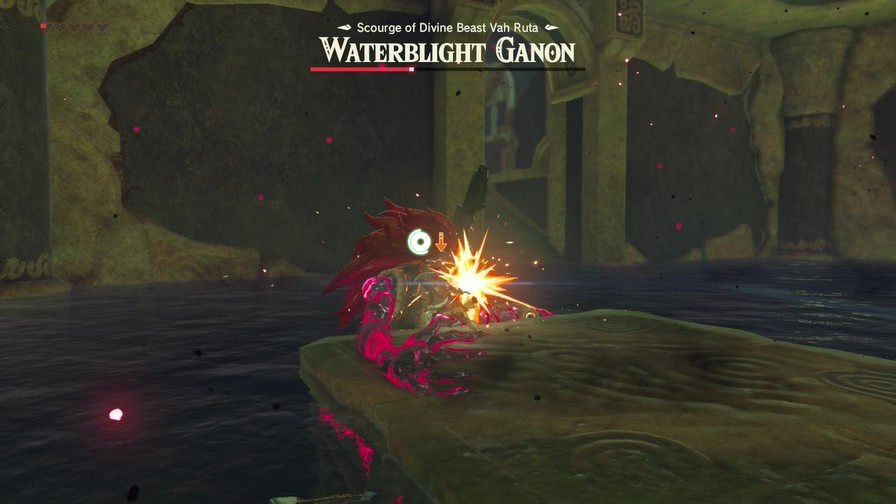
Waterblight’s tricky due to how often he teleports around the arena. It’s not hard to keep track of him, but it keeps you from having many opportunities to wail on him.
His attacks can also hurt, so you may want to buff a bit before you tackle him and make sure you have plenty of healing.
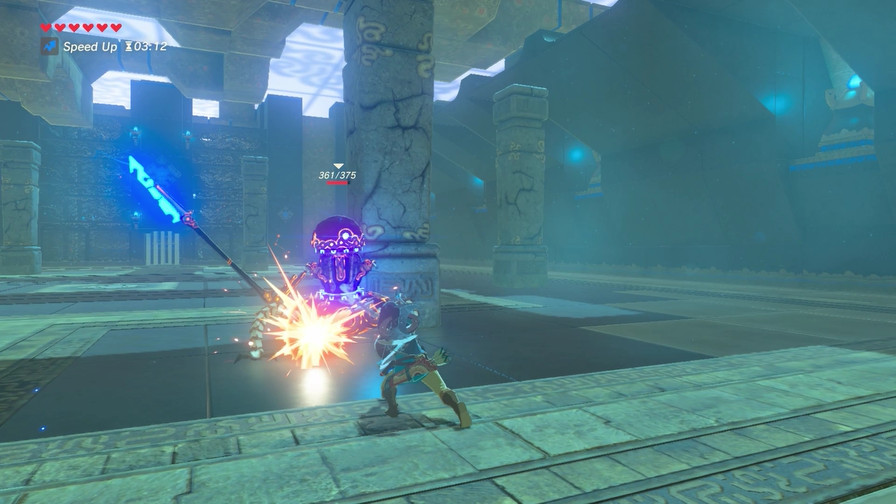
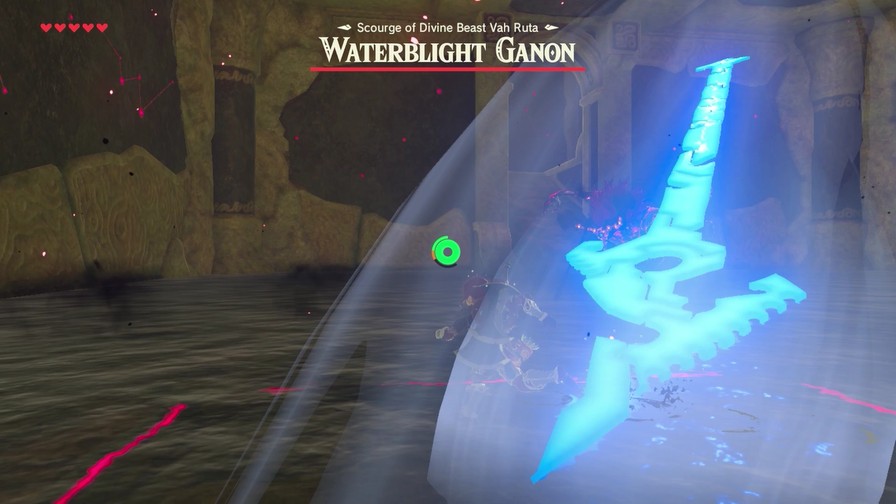
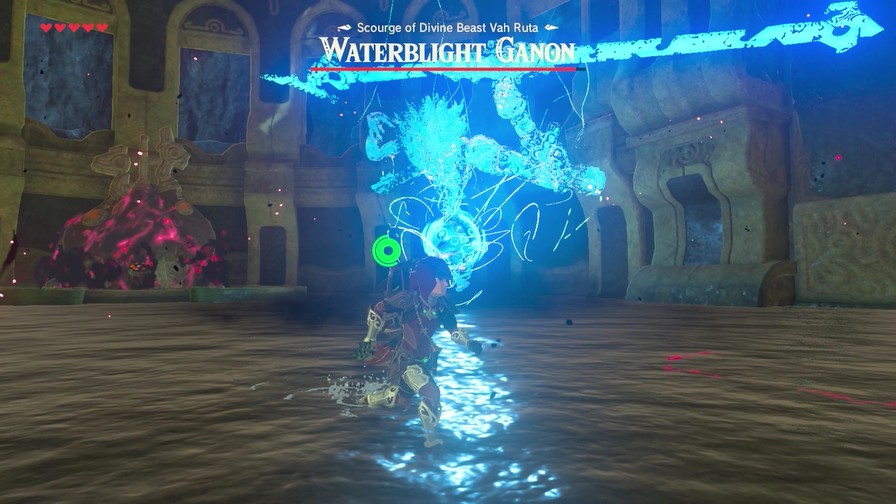
His wide swing is easy to trigger a counter attack on. The timing was goofy enough that I managed to start it before the blade even reached me.
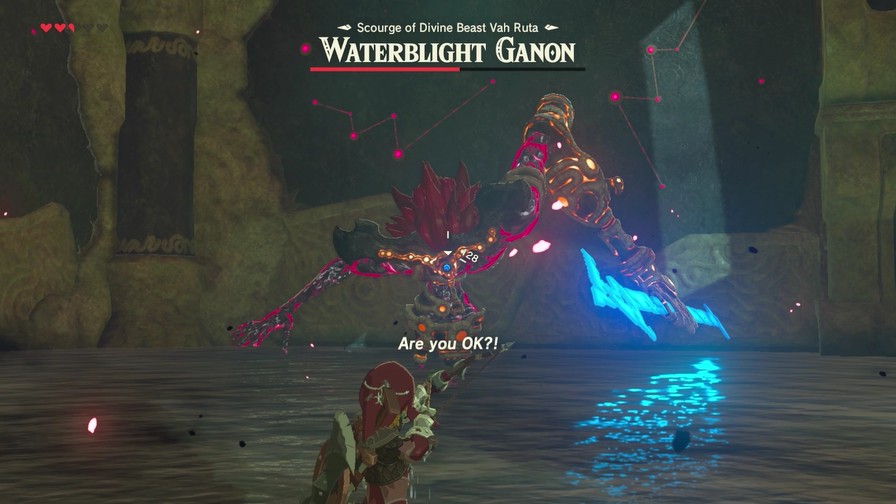
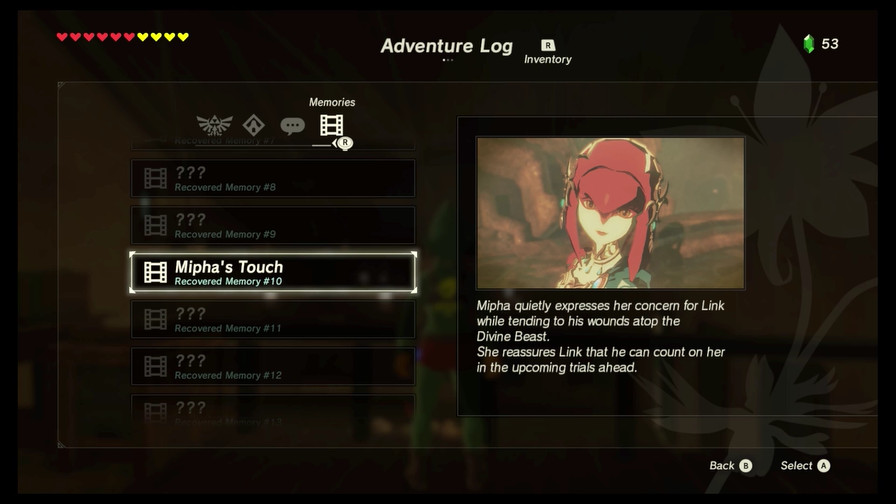
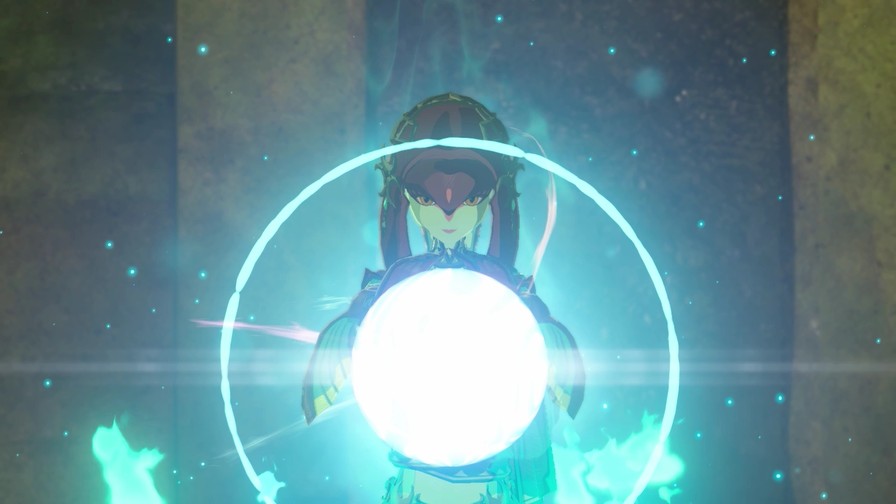
Mipha encourages you and gives advice during the battle, in case you’re struggling for whatever reason.
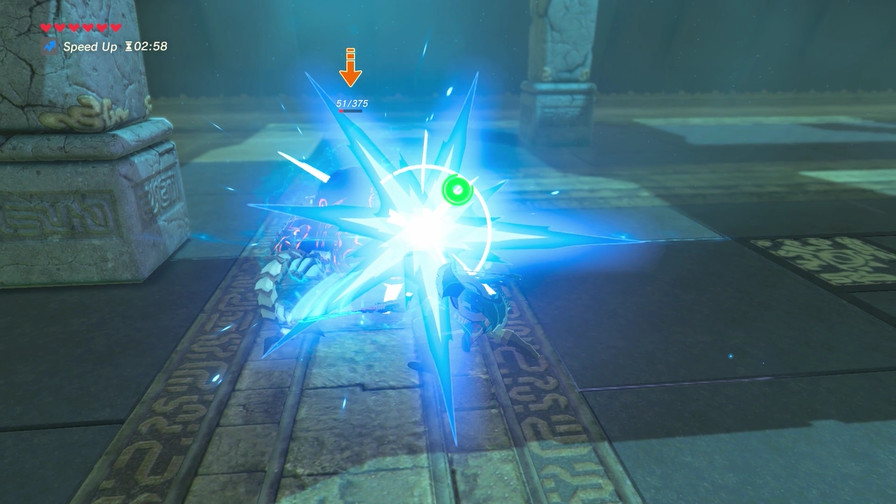
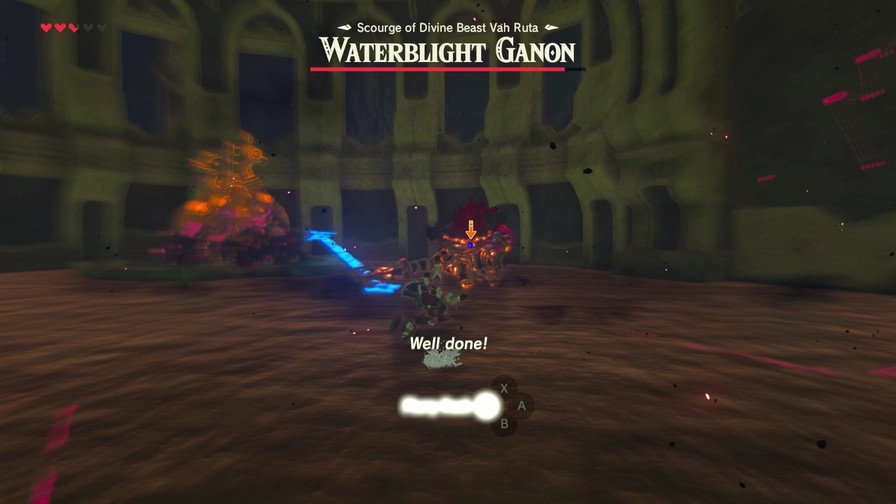
The trick is to nail him in the eye with an arrow, stunning him and allowing you to wail with your melee weapon until he teleports. It’s a simple fight overall, at least until he reaches half health.
I mean, the music title literally has “Phase 1”, so…
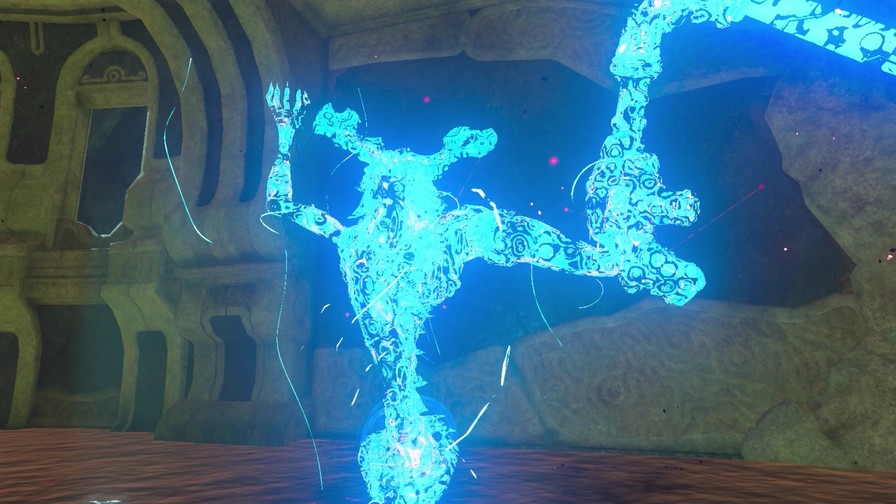
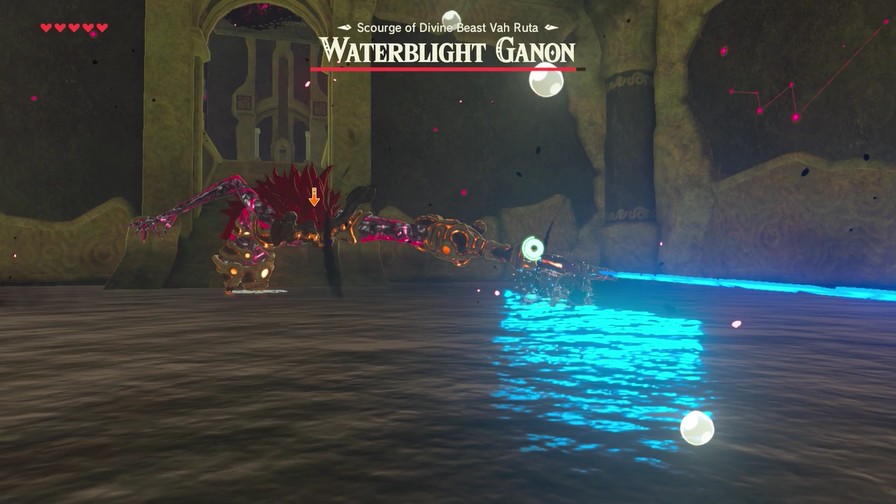
Music: Waterblight Ganon (Phase 2)
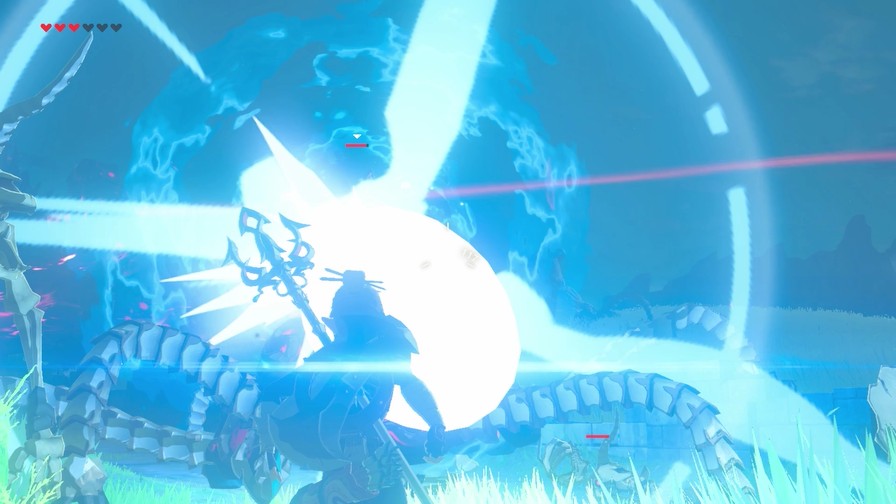
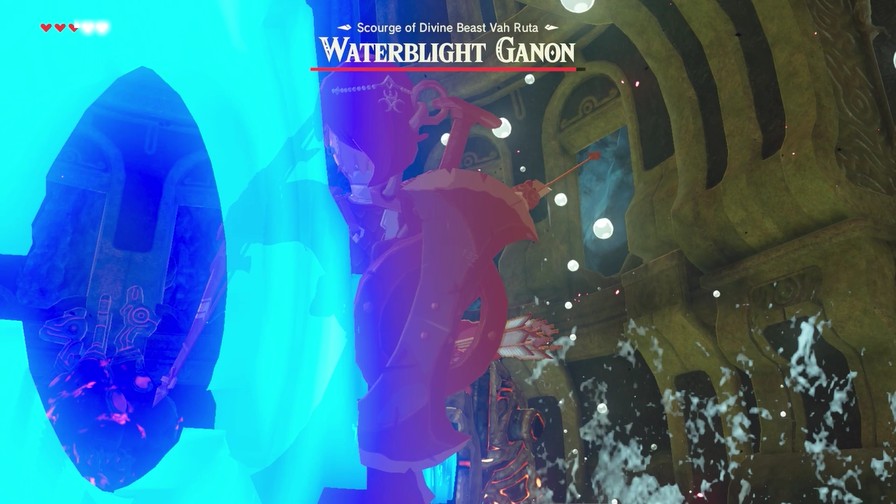
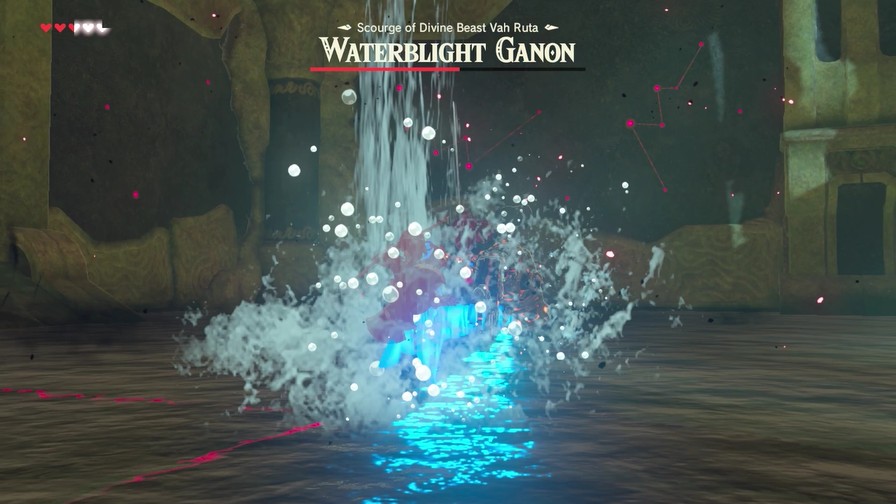
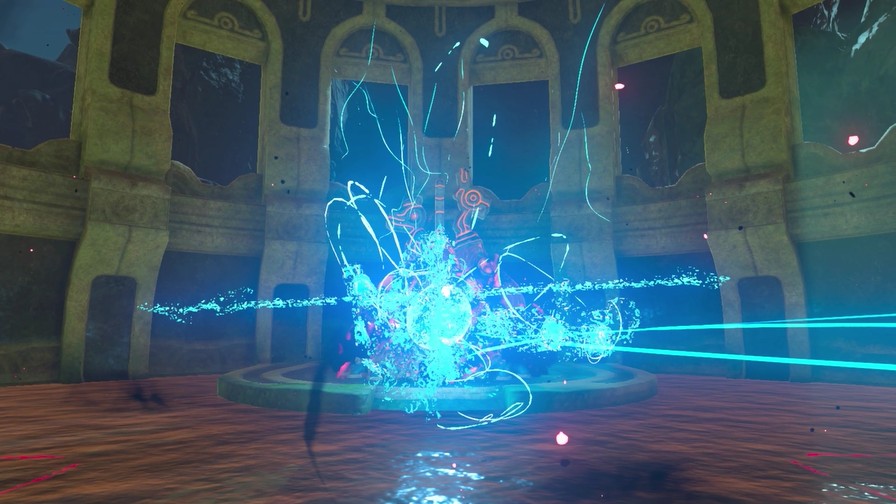
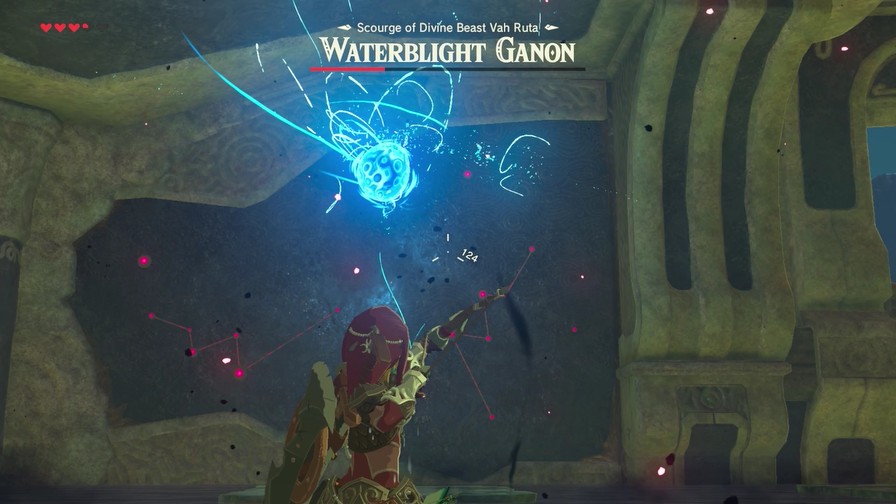
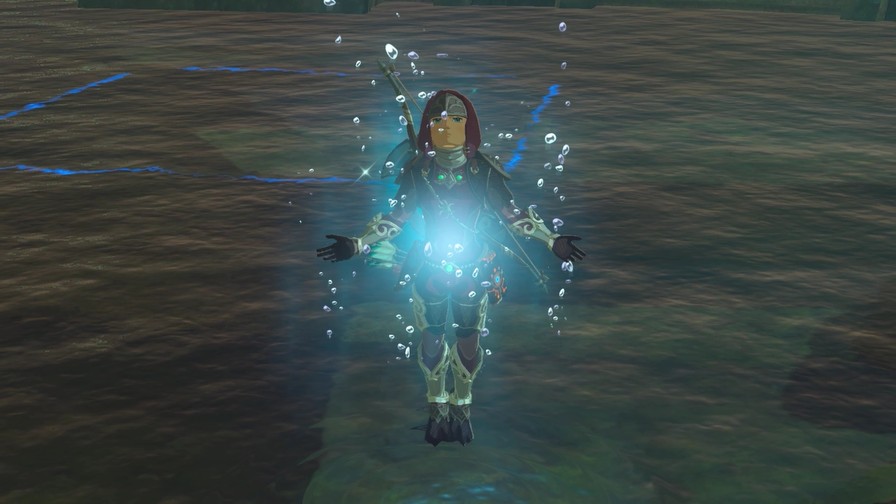
At this point, Waterblight raises the water level, giving you four platforms to move around.
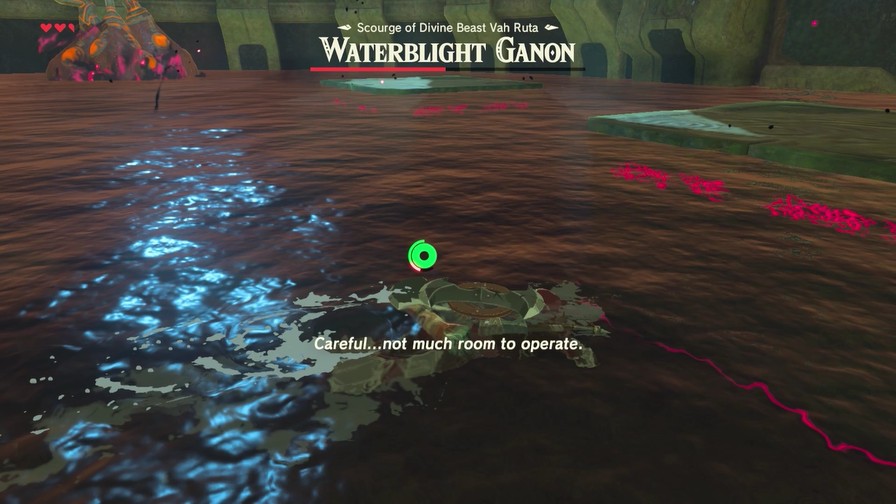
With your mobility significantly reduced, this fight just got trickier. Still not difficult, but considering how slowly Link moves around in water, you’ll want to be a bit more deliberate in how you move. Cryonis can help, of course.
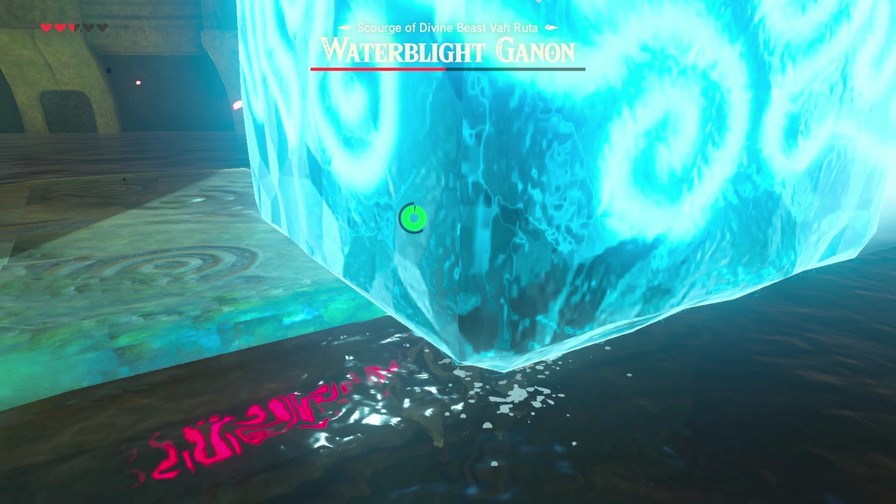
This time, Waterblight has no issue throwing ice blocks at you as an attack.
You can counter them in all the same ways you could during the attack on Vah Ruta.
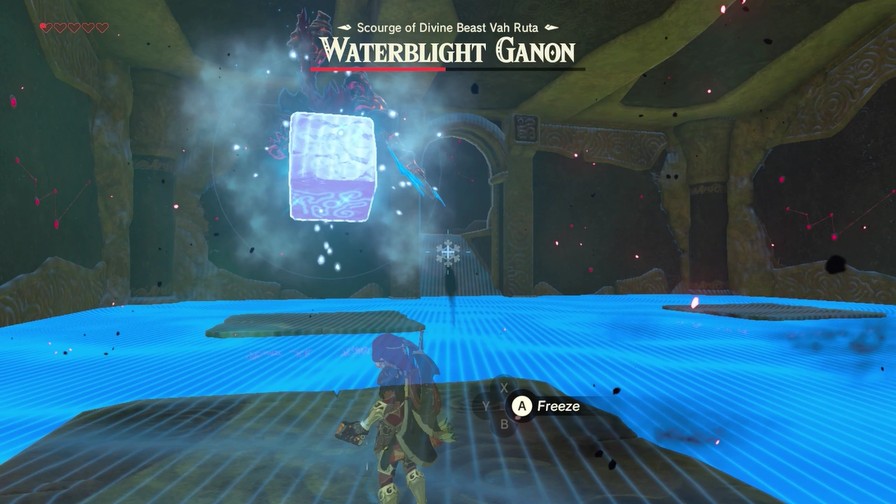
Otherwise, arrows are vital to your offense in this phase since you won’t have the luxury to chase him easily. A couple arrows to the eye will leave him vulnerable to melee attacks.
Waterblight will teleport between one of the four platforms. It’s a good idea not to stay on the one he’s over.
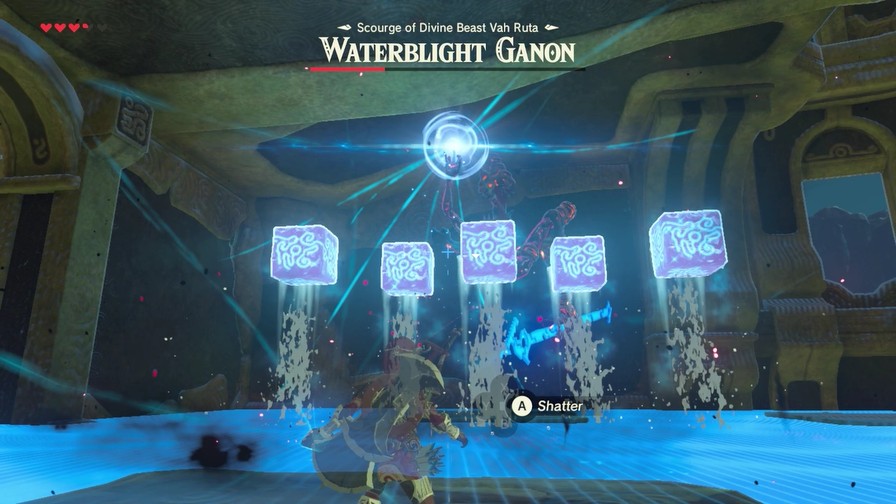
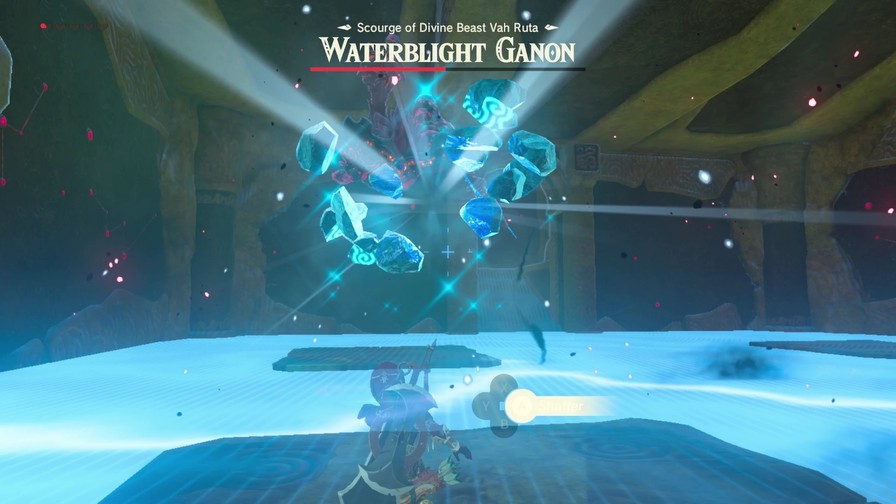
As you deplete his health, more and more ice blocks appear.

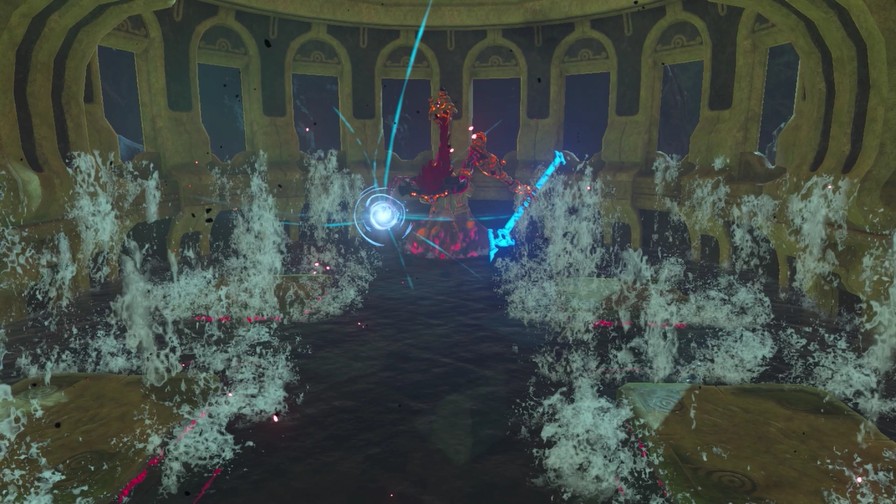
He still uses many of the same moves from Phase 1. The lance swipe certainly looks fancier here.
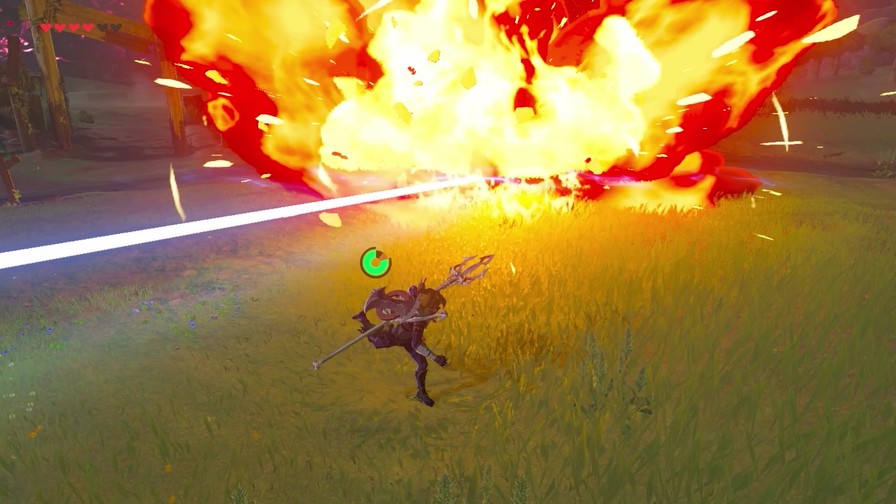
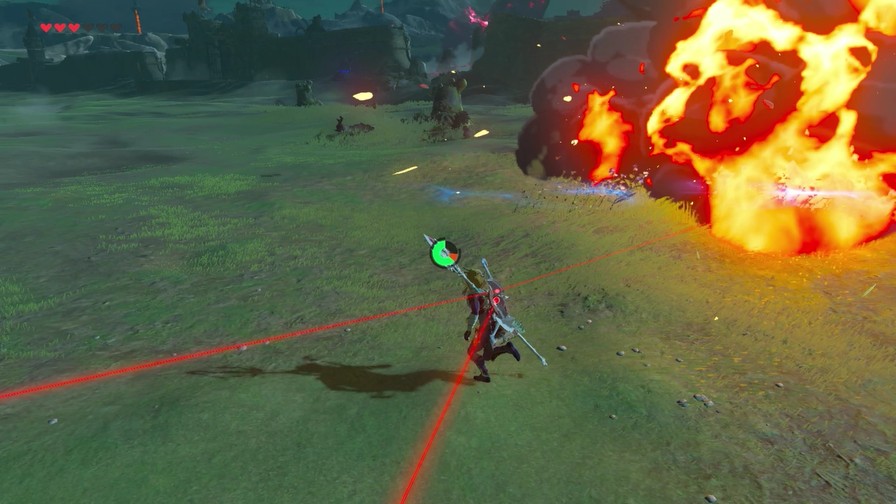
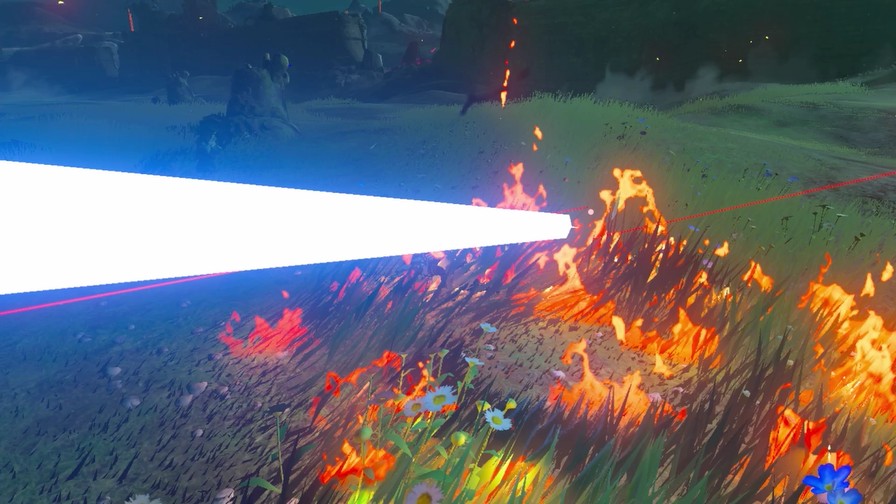
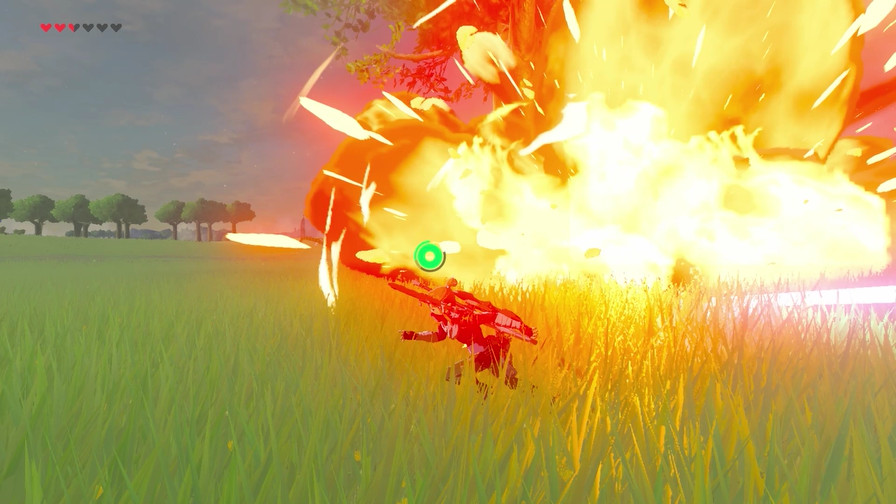
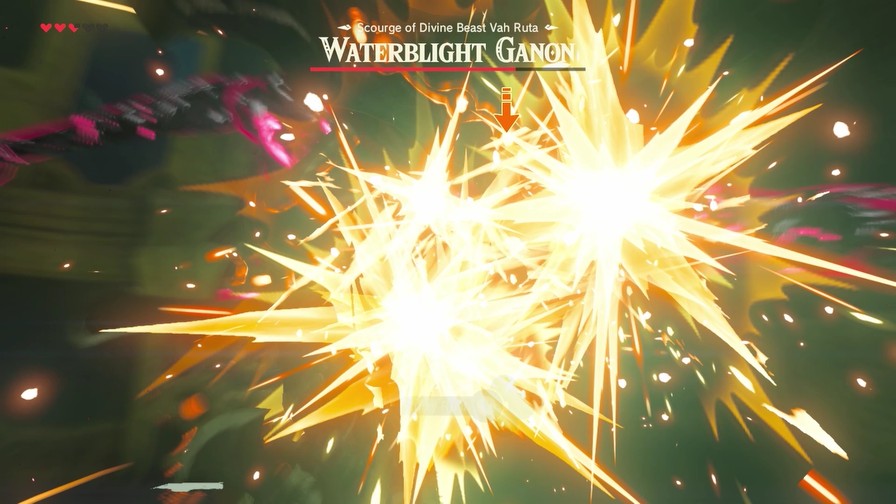
Near death, he’ll start firing a Guardian-style laser at your face.
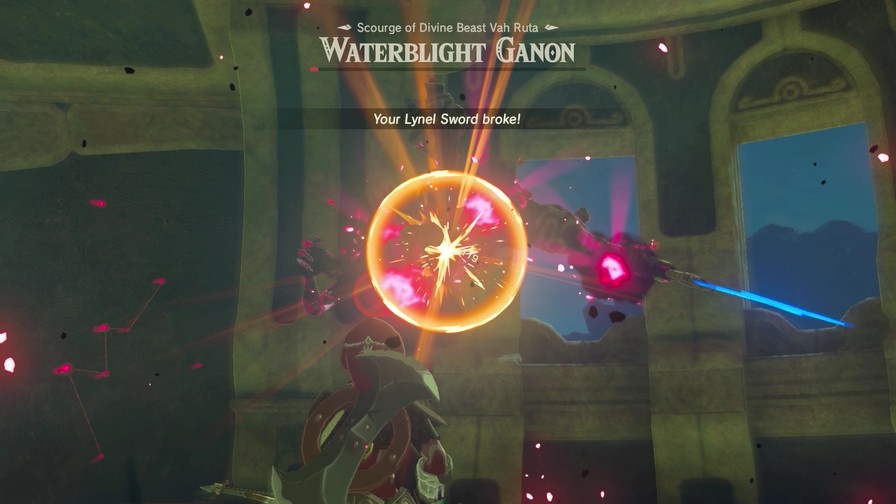
Of course, I’m not about to let that happen. One more arrow is all it takes.
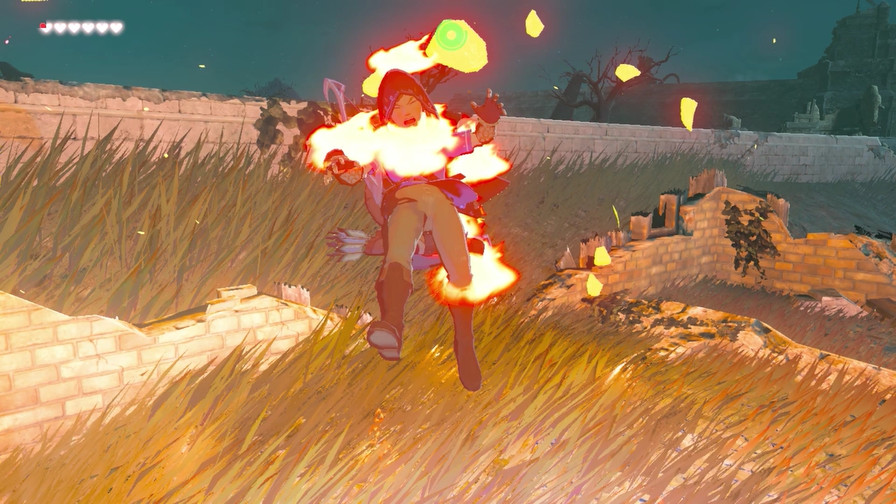
If you like gory boss deaths, then boy, do I have the boss death for you!

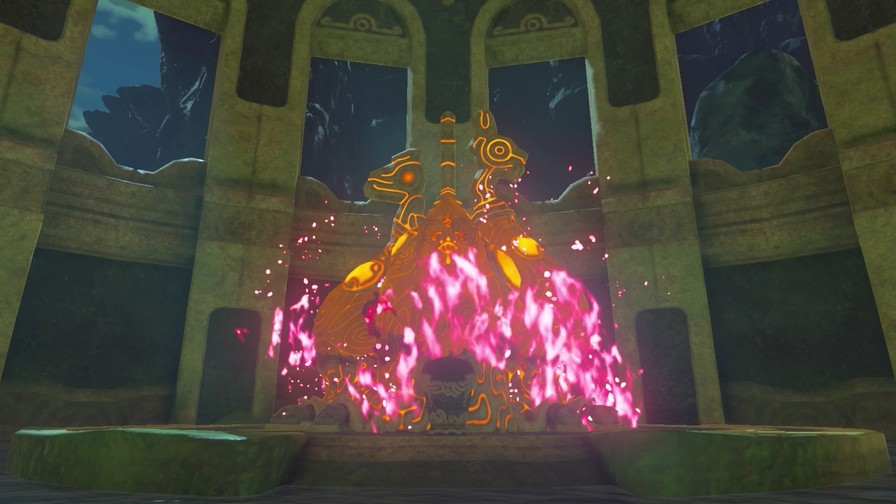
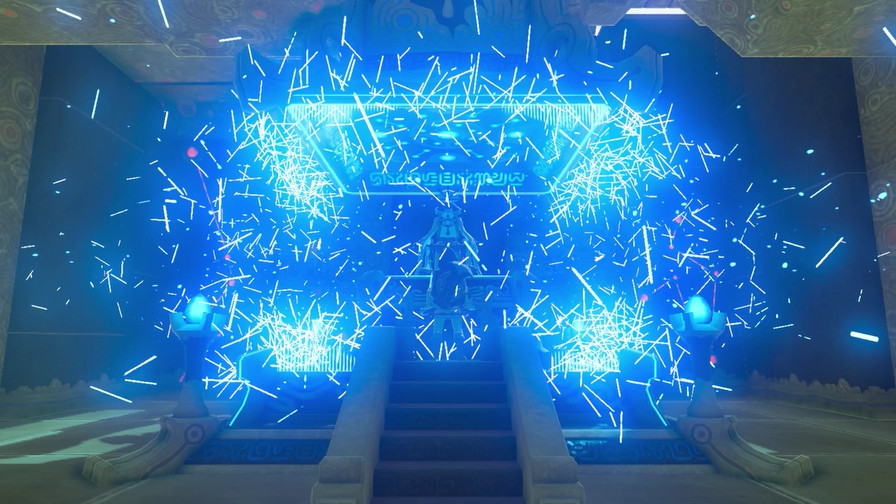
And so Waterblight Ganon has been defeated.
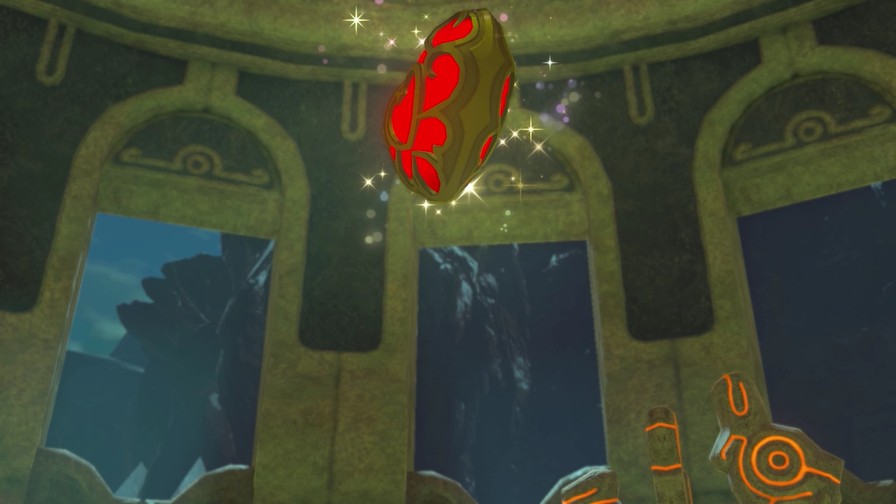
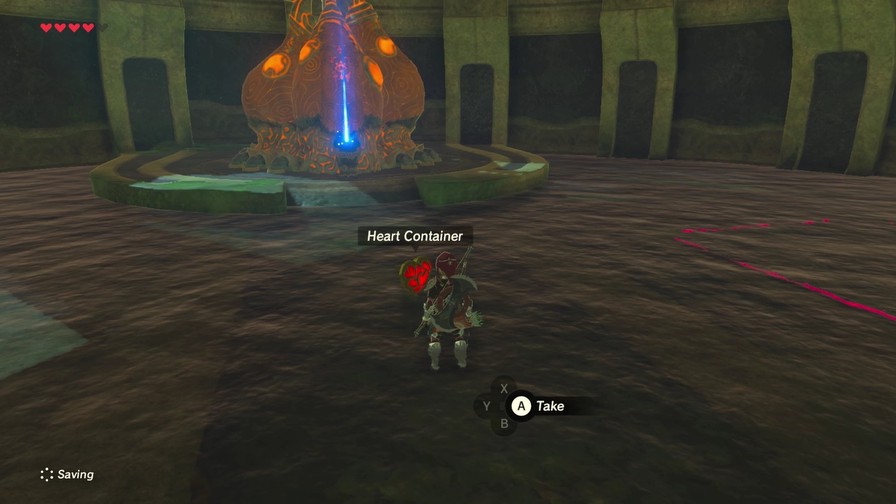
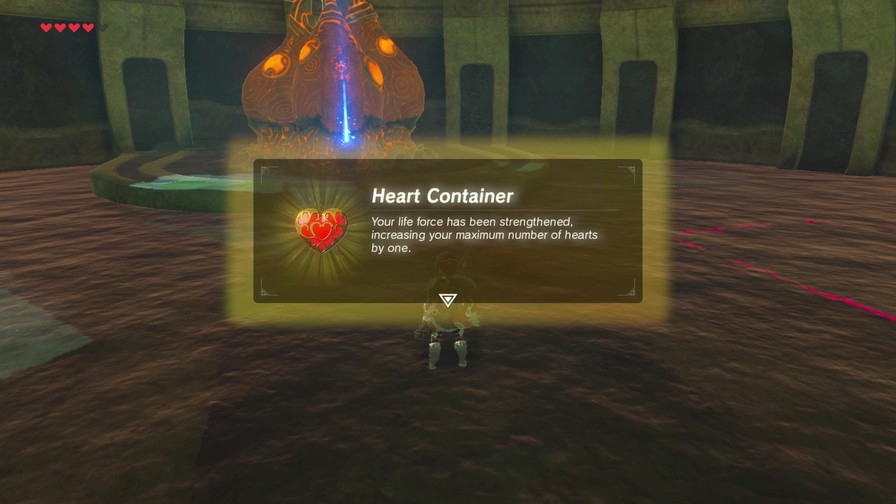
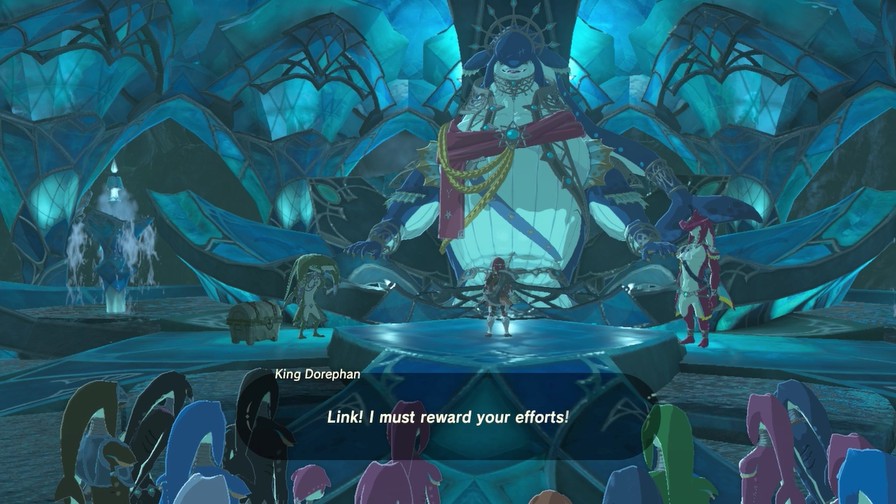
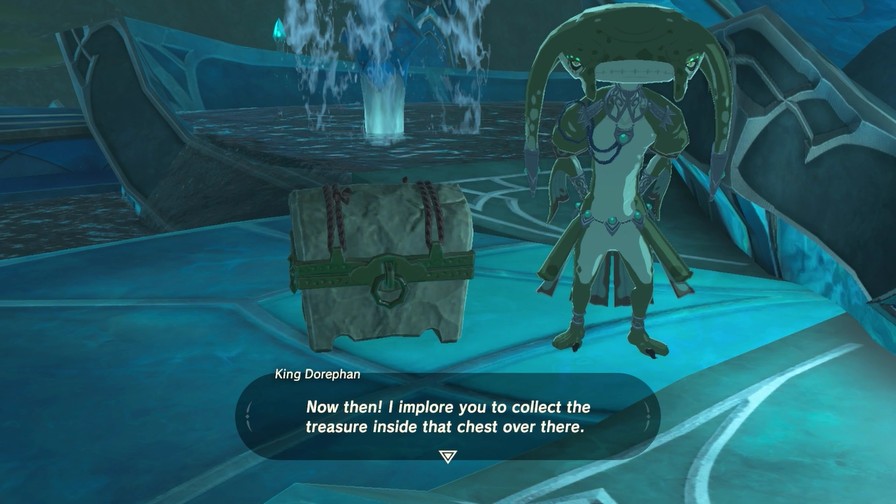
Each Divine Beast you defeat gives you a free Heart Container. A nice little bonus.
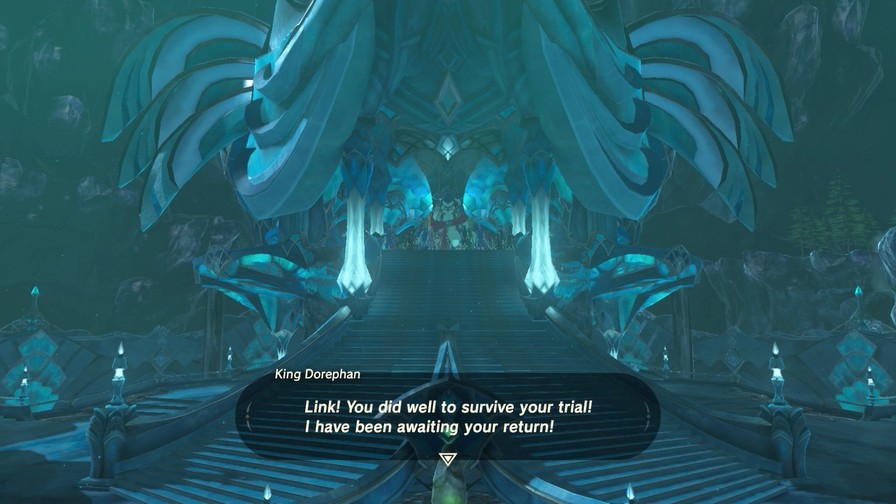
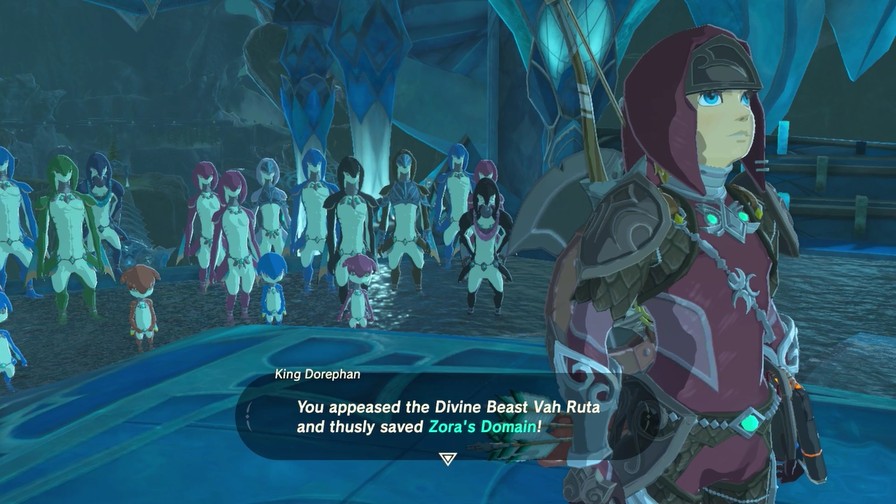
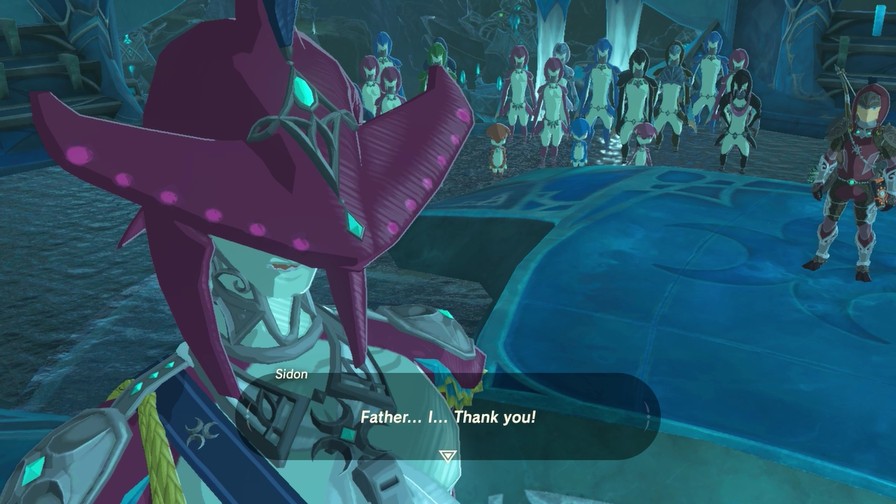
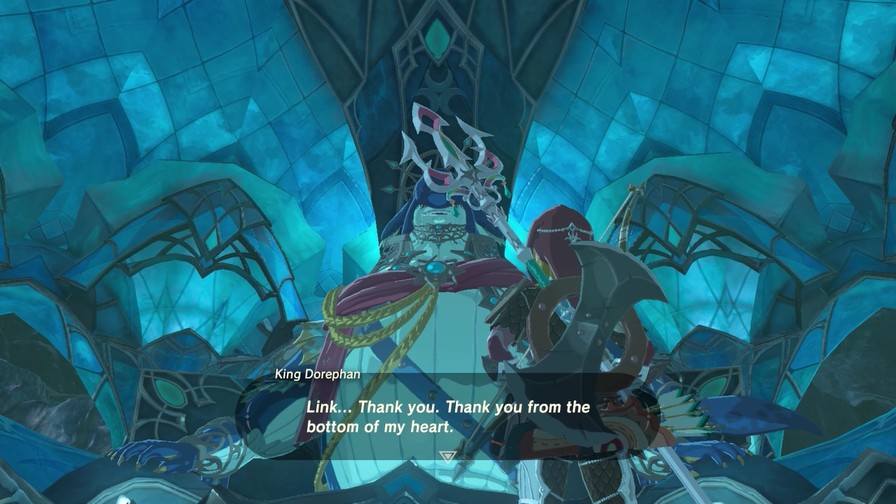
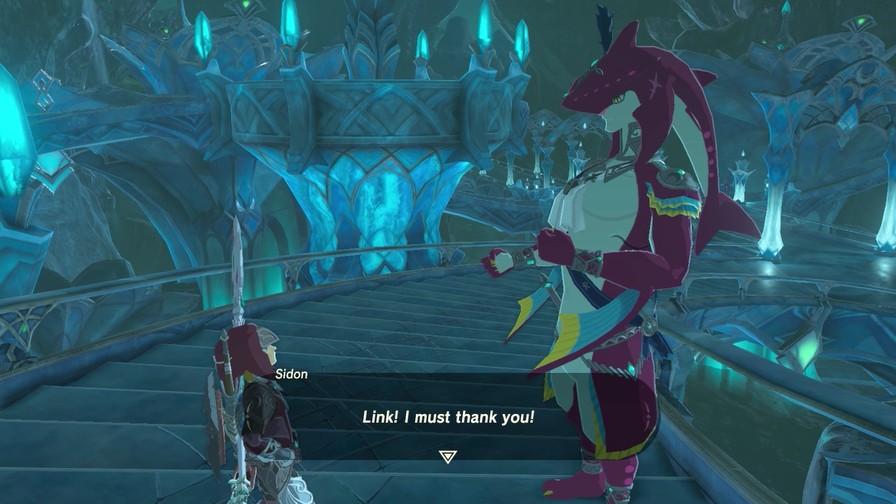
We’re done here. Let’s finish this up.
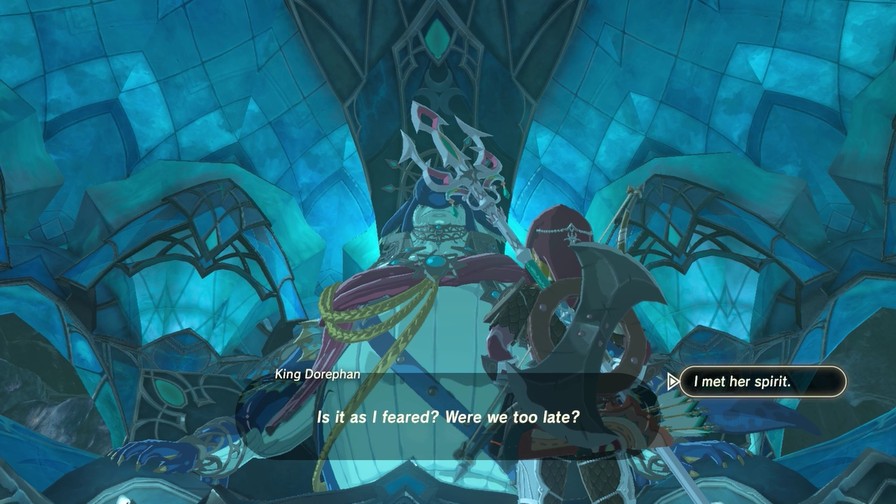
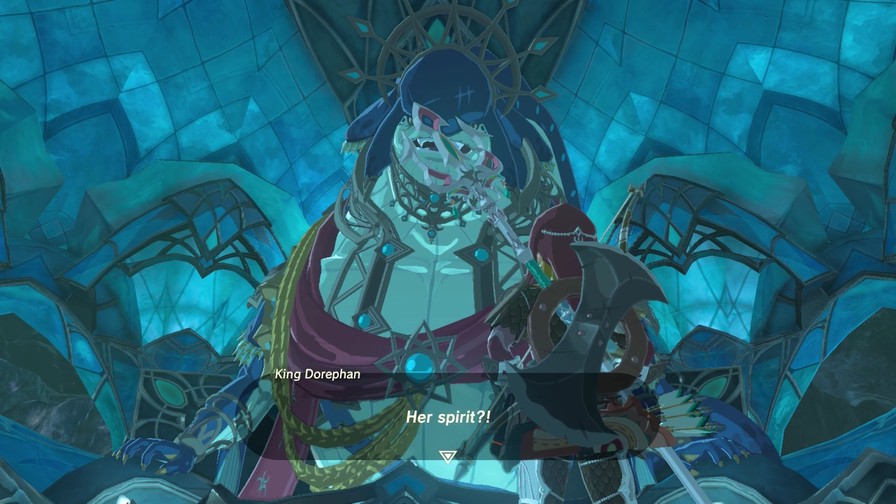
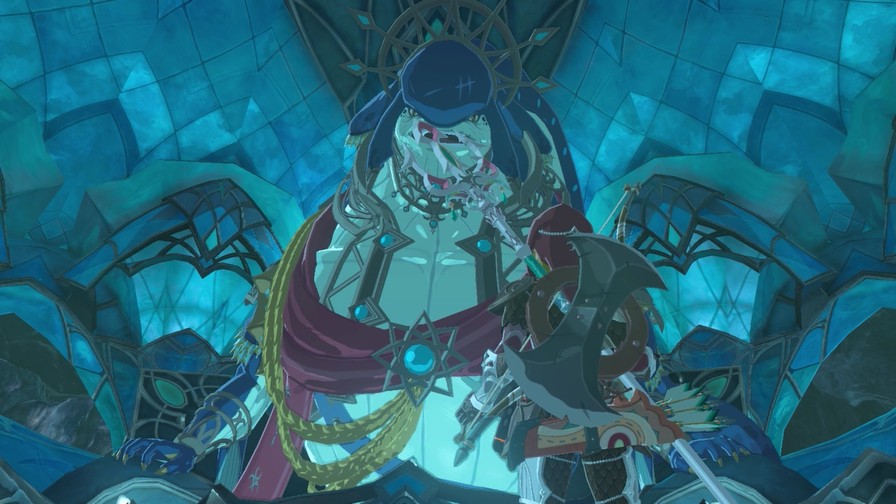
And Ruta, as well.
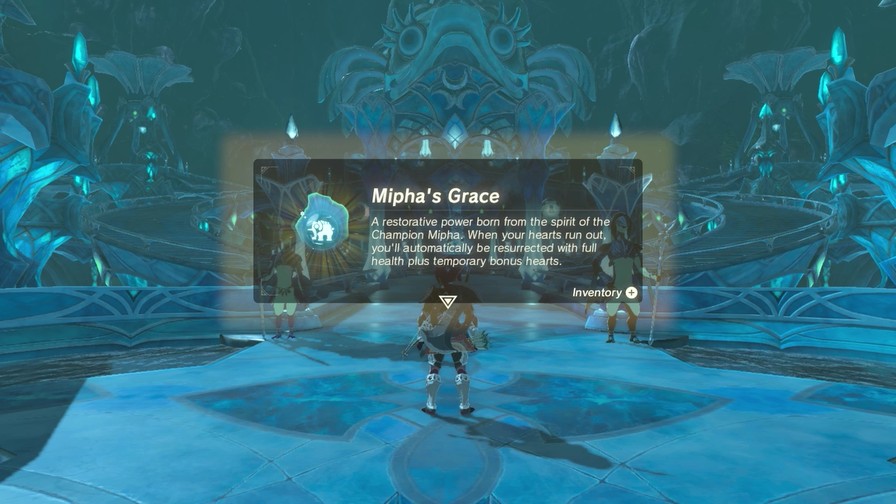
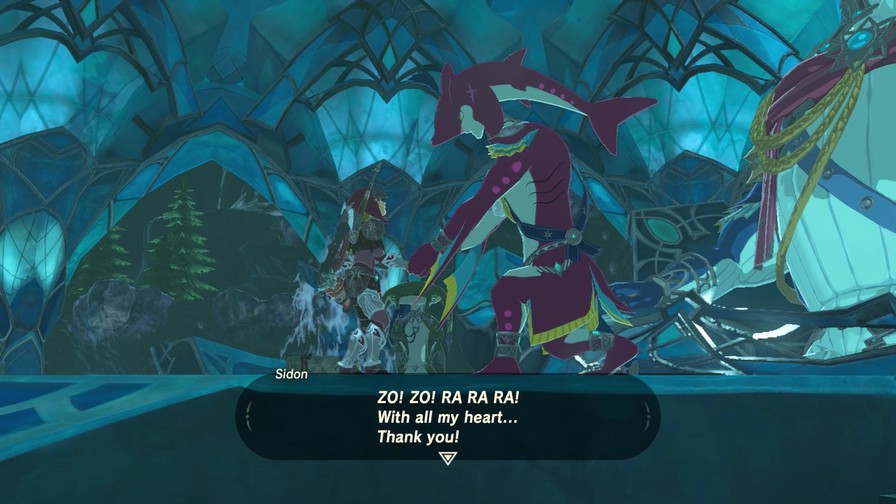
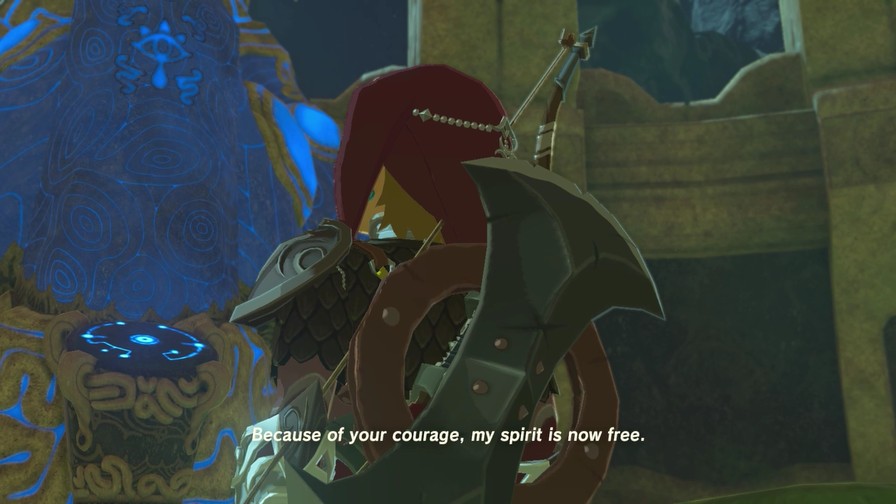
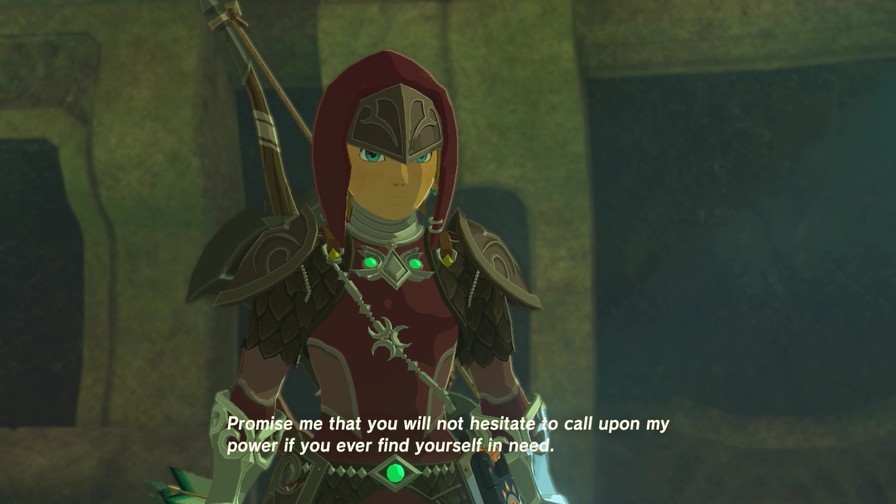
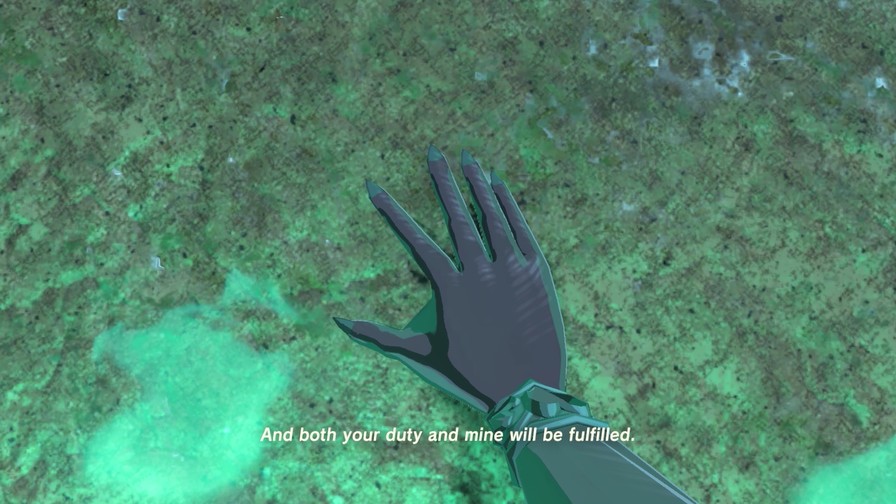
For I am now allowed by this freedom…

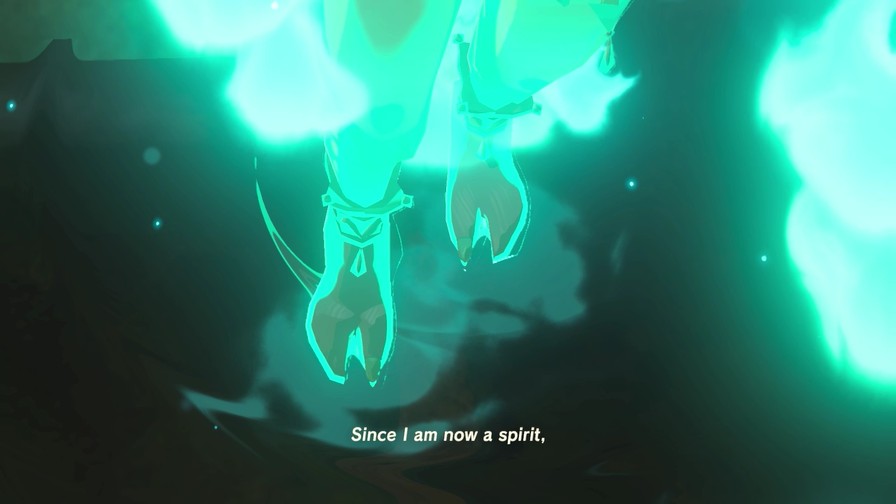
…my healing power would be wasted on me. I have no need of it.
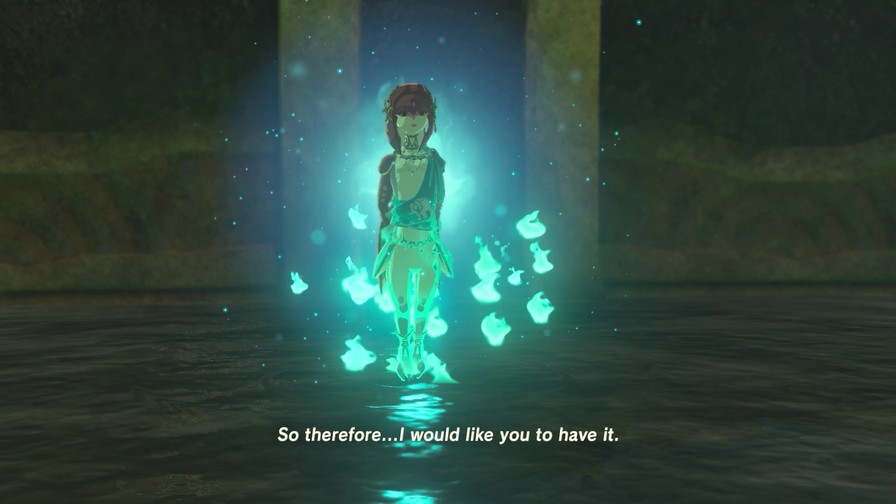
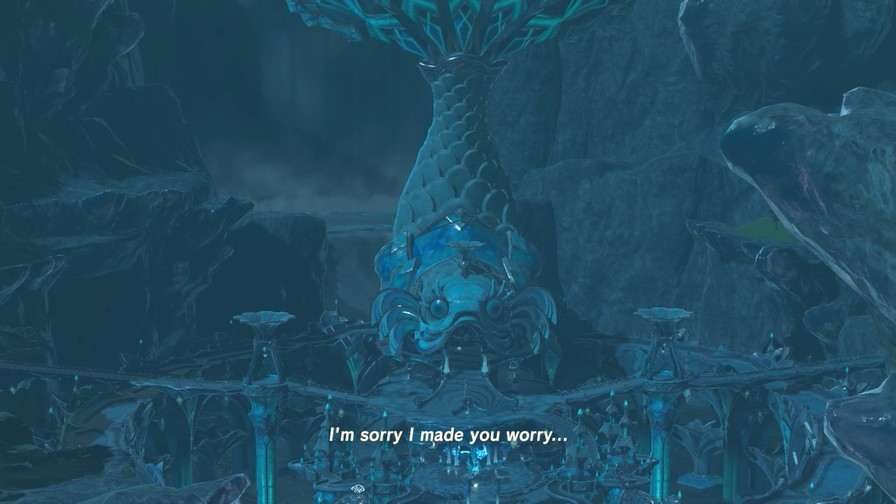
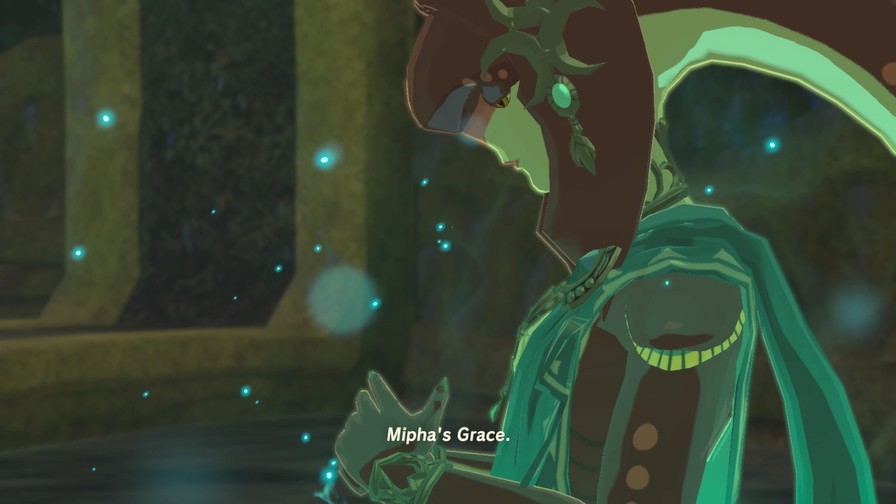
Please accept…
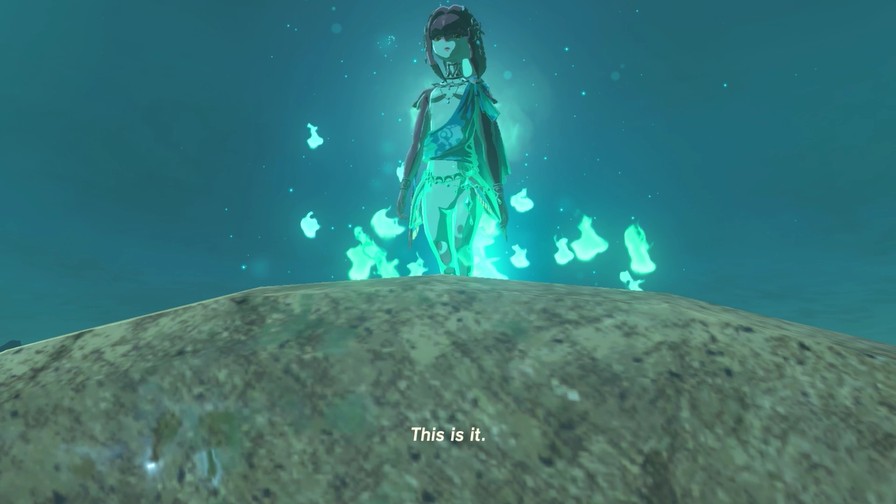
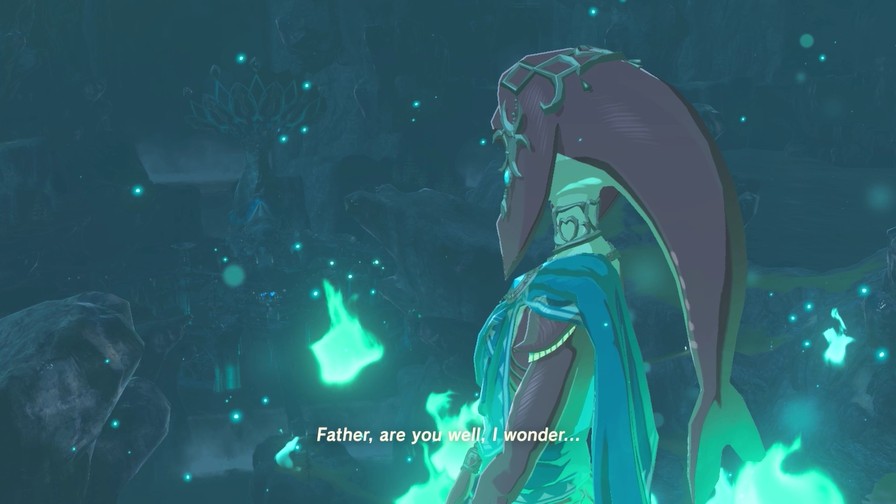
Yesterday, I was awash in a pool of tears. I had nearly given up hope and resigned myself to being trapped here, as a spirit, for the rest of eternity.
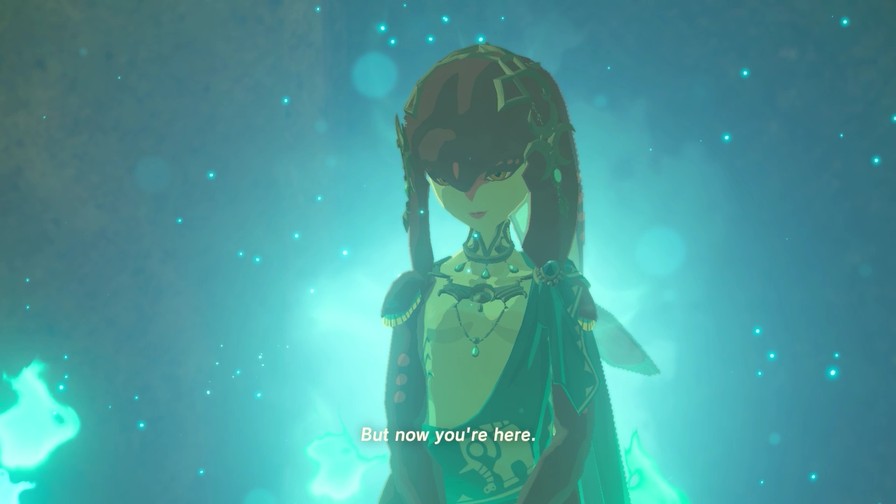
All this time, my hope…was to see you once more.
Knowing that…will let my spirit rest in peace.
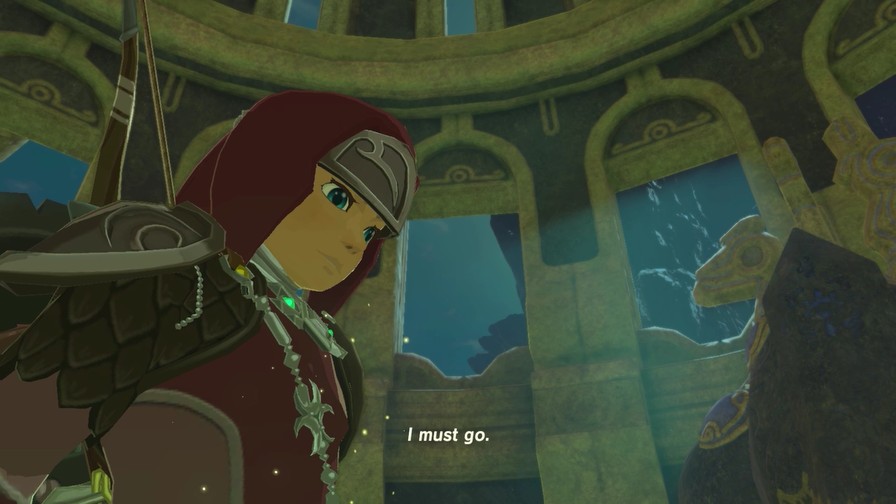
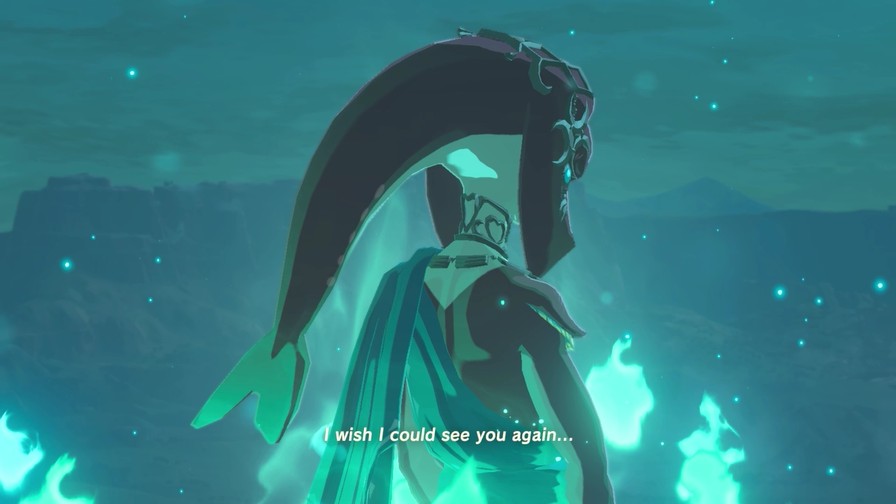
Ruta and I have our roles to fulfill. We are both honored to be able to play the role of support.
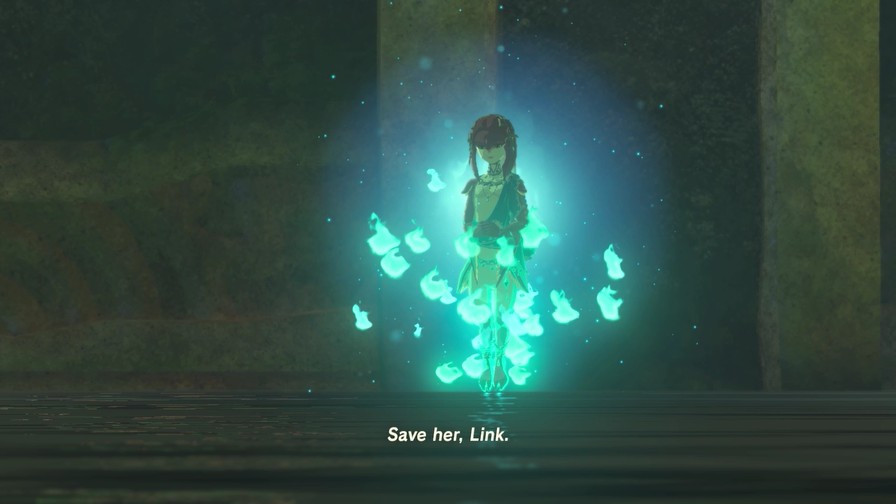
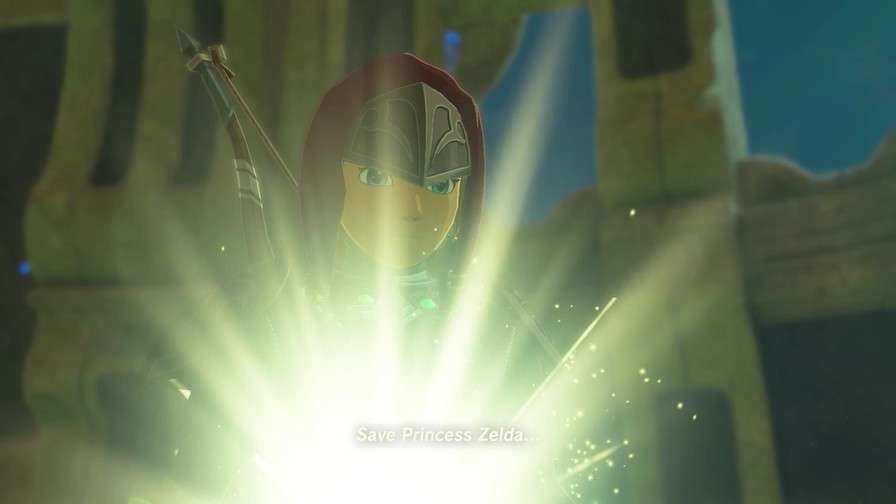
Save the princess…
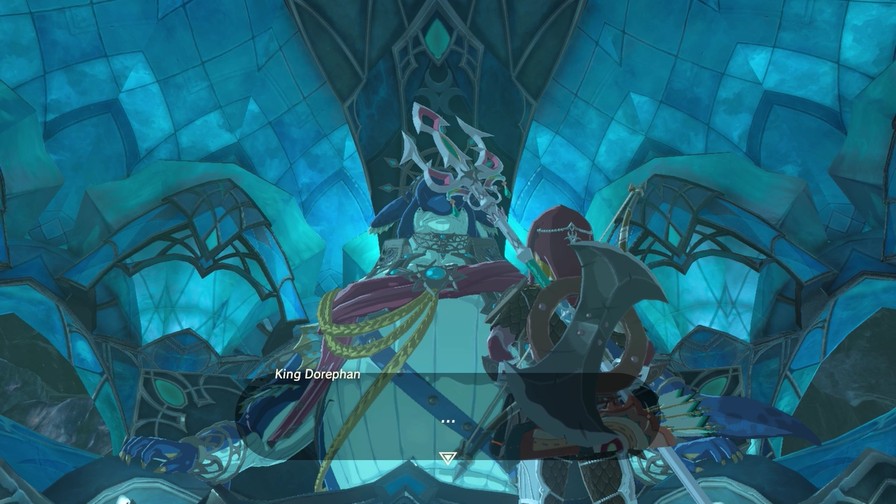
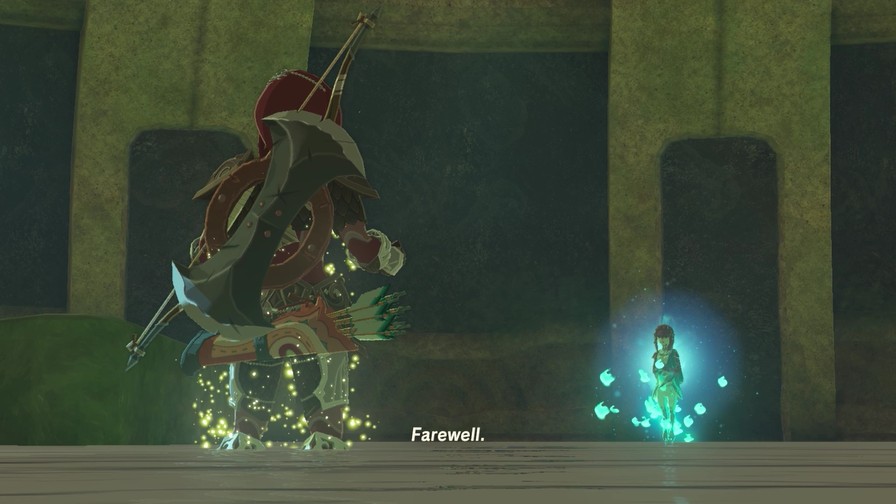
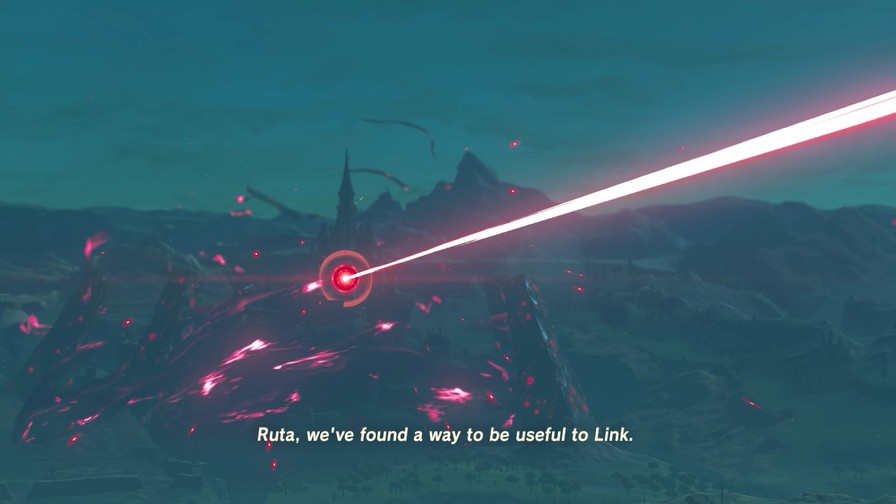
Music: Mipha & Ruta Prepare to Strike

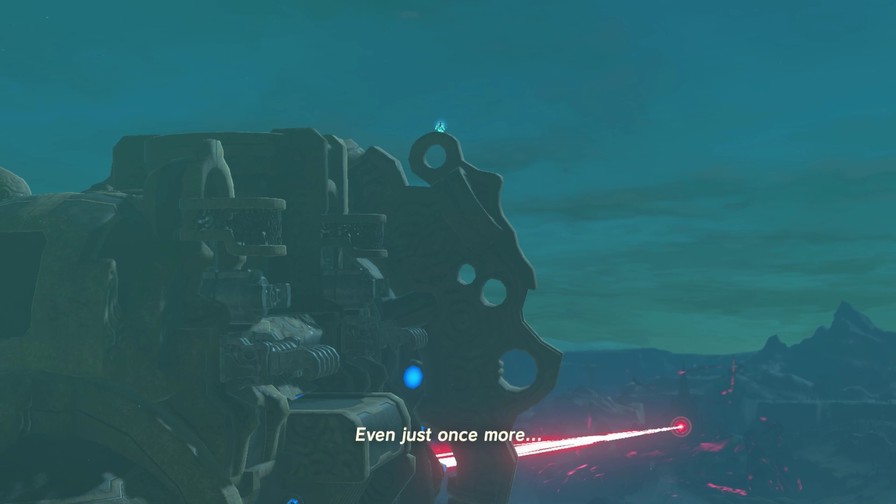
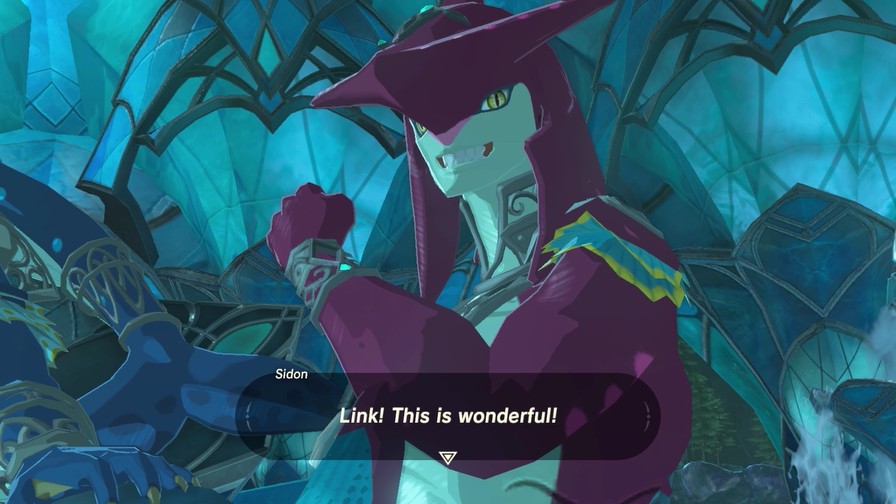
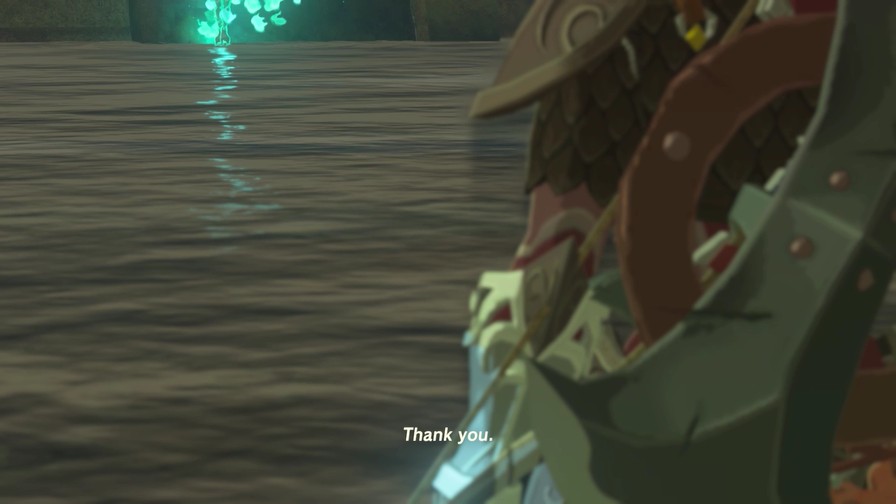
Vah Ruta has returned to the control of Mipha.
So now is the time to take position.
…Probably didn’t expect that, did you?
Nor that.
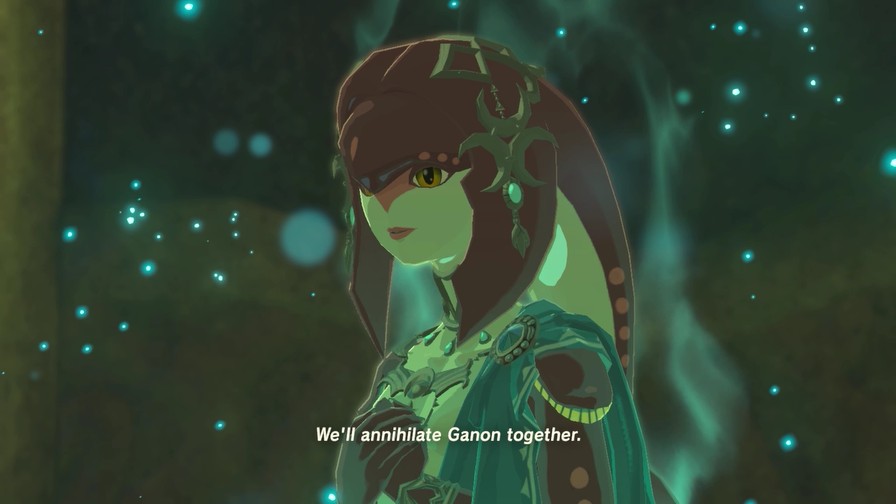
And…the other Champions, of course.

Using your ability to drain Ganon of his power is key to our success.
This will be our last chance…and everyone’s last hope. If we seal him away, then we can restore peace to Hyrule.
I want you to know…