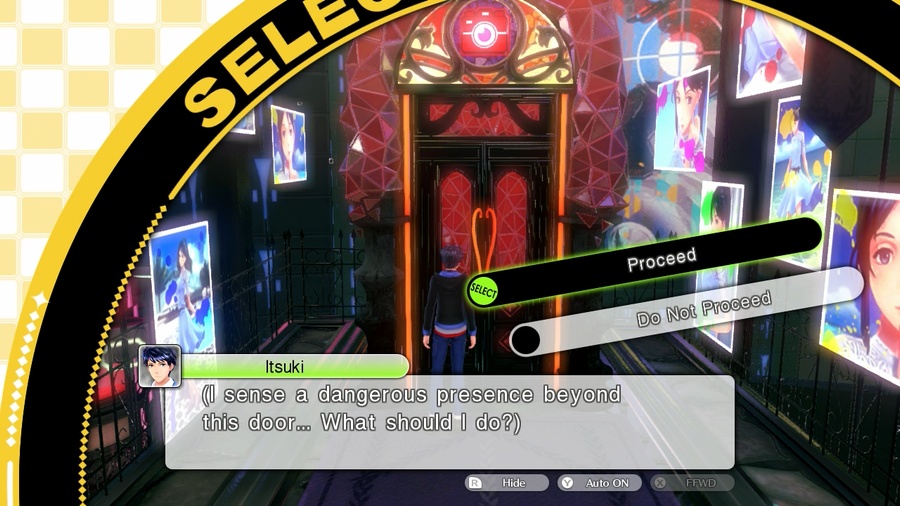
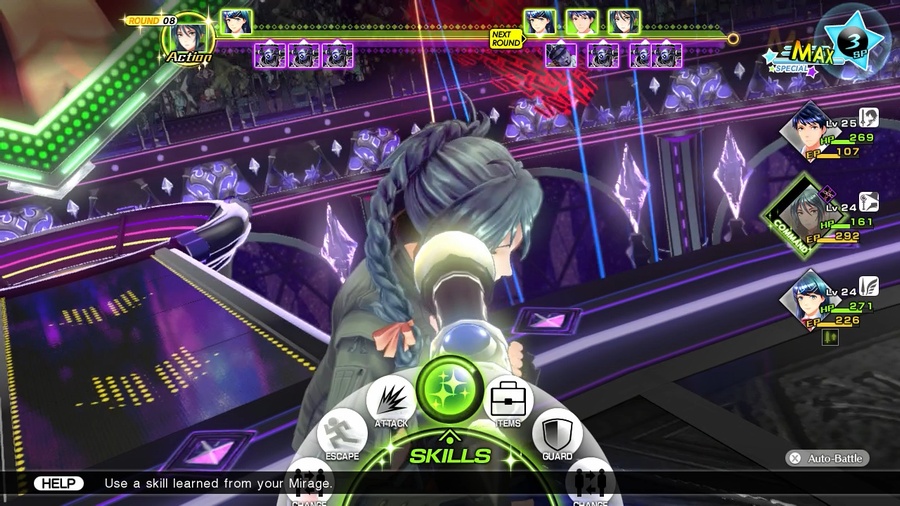
The Man With The Demon Camera, take two.
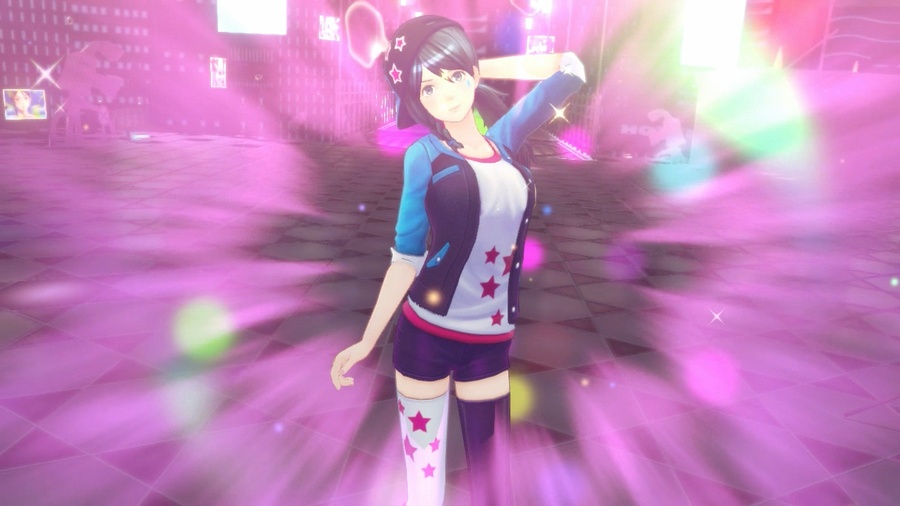
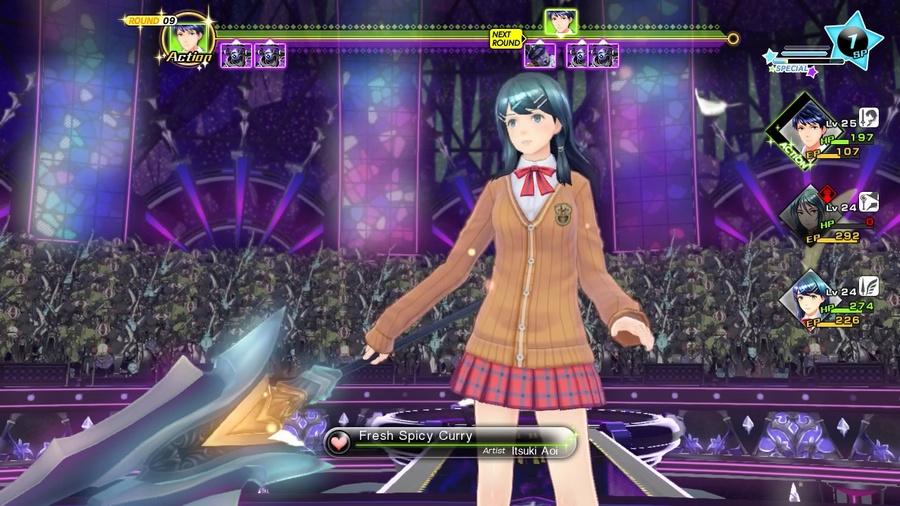
 Yes…I understand! Tsubasa Oribe’s taking the stage!
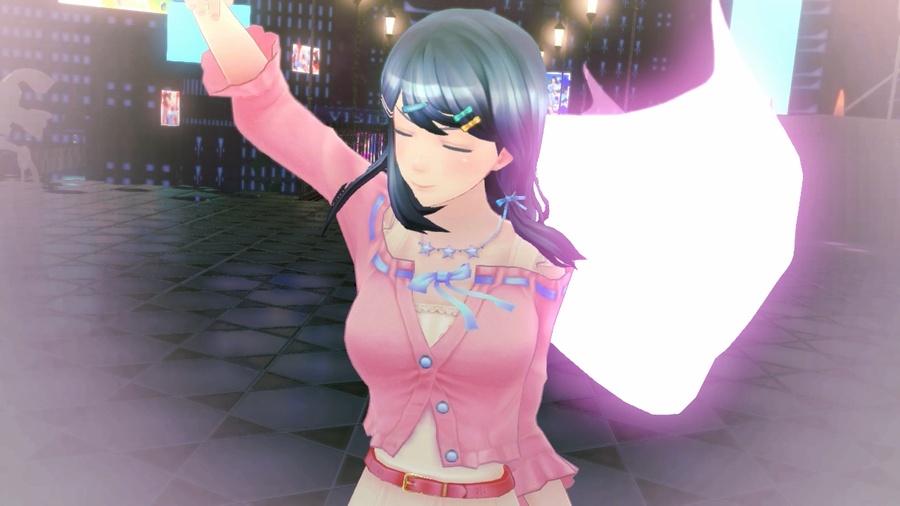
Well. That uh, certainly is an outfit.
Of course, this scene means it’s time to dive back into the world of localization and “censorship”. In the JP version, this gig was for gravure modelling, complete with a far more provocative outfit. Whether the change was warranted or not is not the point (insert your own “puritan westerners” argument here), but it’s something to bear in mind about what this scene was “supposed” to be.
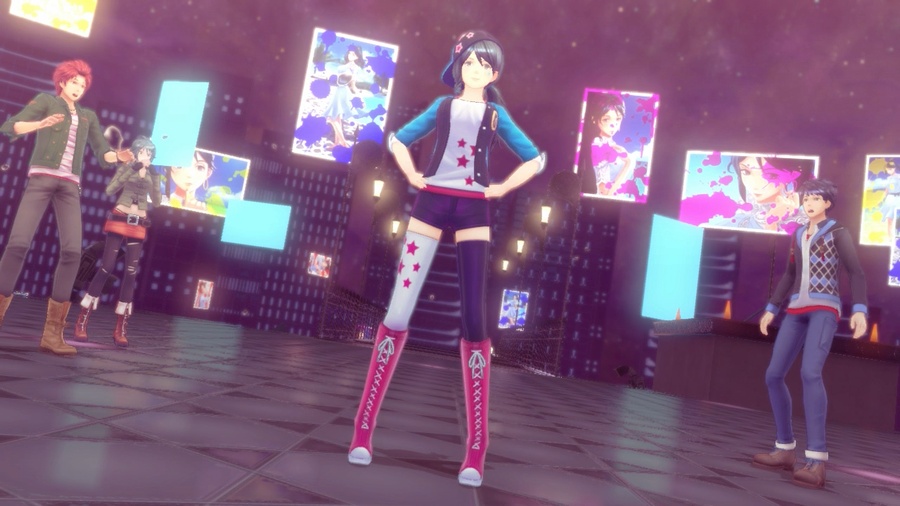
Both Itsuki and I worked to come up with this pose… It’s going to work! This…is the best performance I can give!
 I can see it… She’s going on a first date with the boy of her dreams, and she wants to go all out for him…
Street chic, full of energy and joy… And her smile, with that hint of bashfulness! It’s the perfect harmony!
Seductive, without being direct or explicit! That perfect balance, that genuine feel of teen romance! This is…Tsubasa Oribe!
That’s right!
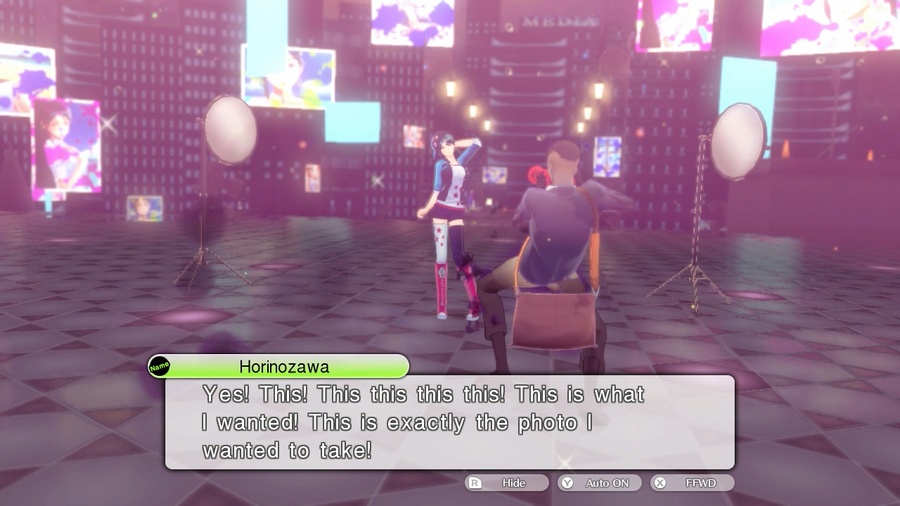
Yes! Yes! These are the greatest shots EVERRR!
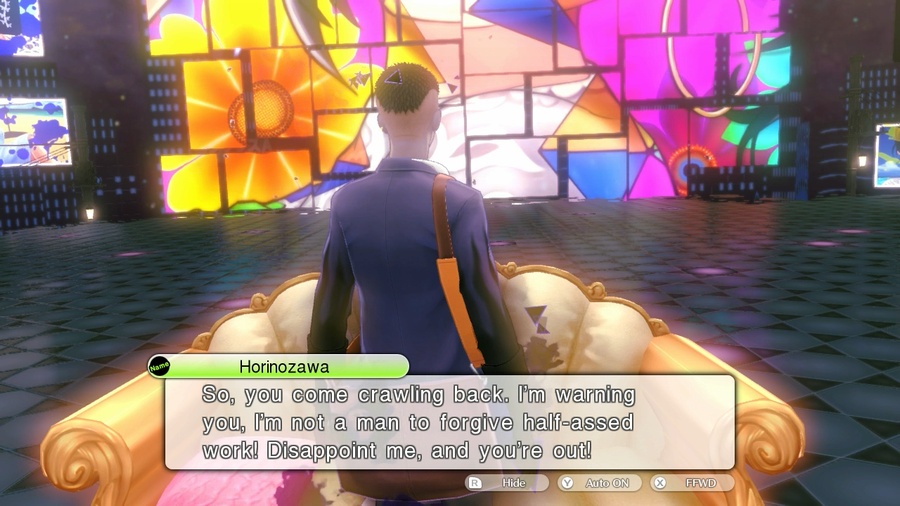
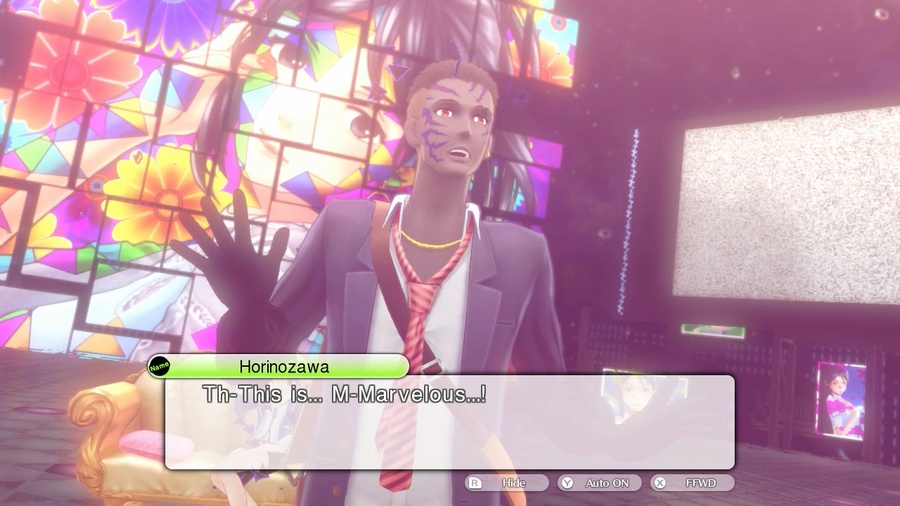
![]() Well, someone did an awful quick 180. I mean, he’s still possessed by a demon of some sort, but it certainly seems like we got through to the real Horinozawa.
Well, someone did an awful quick 180. I mean, he’s still possessed by a demon of some sort, but it certainly seems like we got through to the real Horinozawa.
I can’t believe TMS is going to use its best mirage design in Chapter 2. It’s all downhill from here, folks. ![]()
[quote]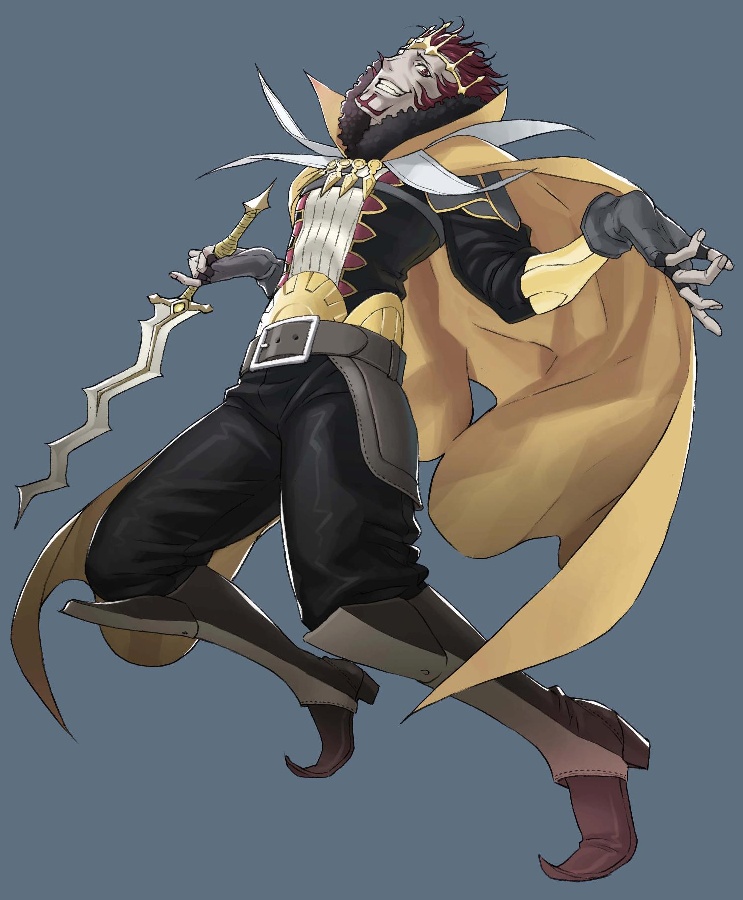
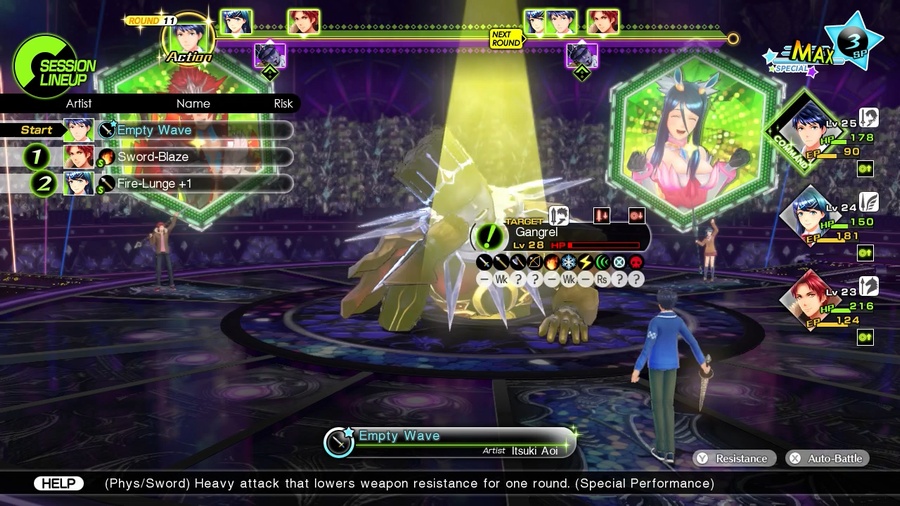
Gangrel is the primary antagonist of the first act of Awakening. He’s known as the “Mad King of Plegia”, and harbors a special hatred of Ylisse because of the war started by Chrom’s father. He responds in kind by starting one of his own, and the climax of the first act comes when he kills Chrom’s sister, Emmeryn. He can be recruited toward the end of the game, and while he doesn’t have a whole lot to say, most of his characterization is along of the lines of “Wow, I was a little too into the whole tyrant thing, huh?”[/quote]
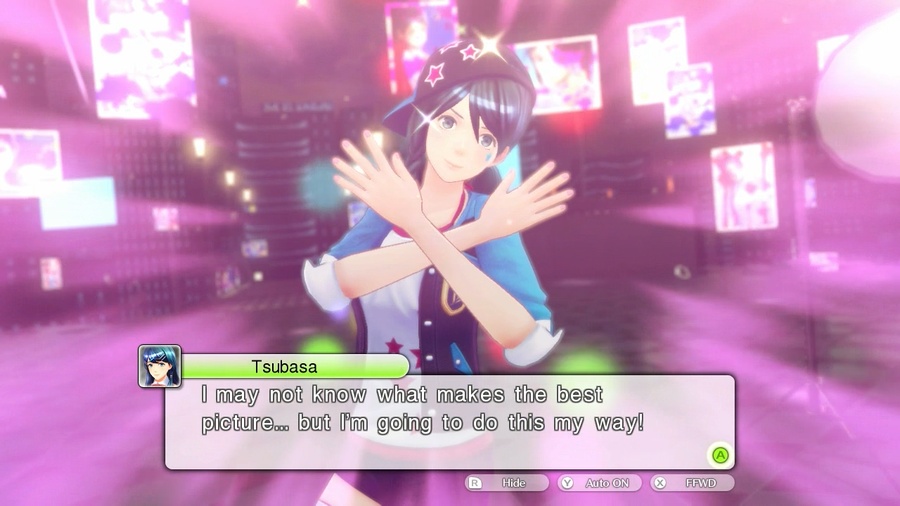
No! I’m not embarrassed! Because…I want to show everyone the best me I possibly can!
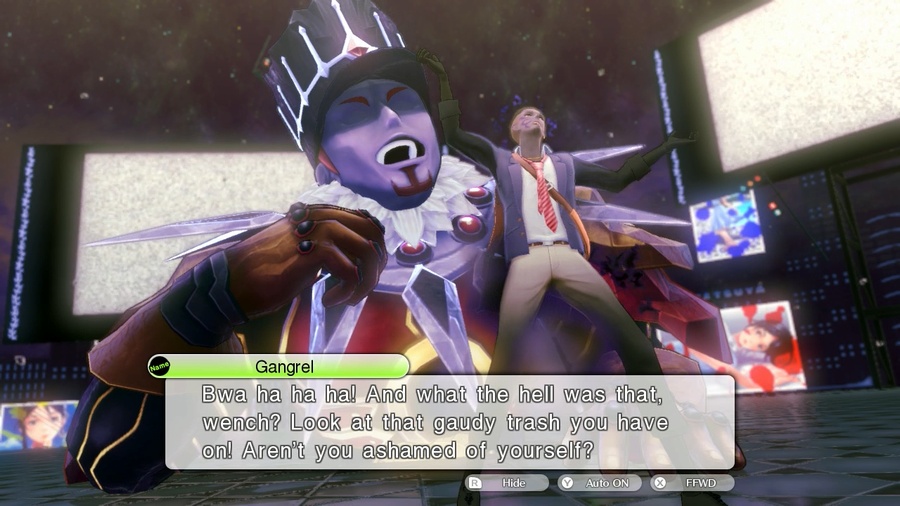
She’s right… And you don’t have a single ounce of artistic taste in you. So be quiet!
 Pardon me while I vomit! Is that all it takes to win you over, Horinozawa? Some vapid, doe-eyed strumpet? Is that all you wanted!?
Hm… True, her technique is still lacking… But her poses have heart! She has spirit! And that’s all that matters in the beginning!
Well, I’m heartbroken. Truly. Is that all you’re good for? You’re a pathetic excuse for a man!
And YOU are a philistine! You have no appreciation for the art of photography! I won’t let an artless creature like you hide inside me anymore! Get the hell out of me!
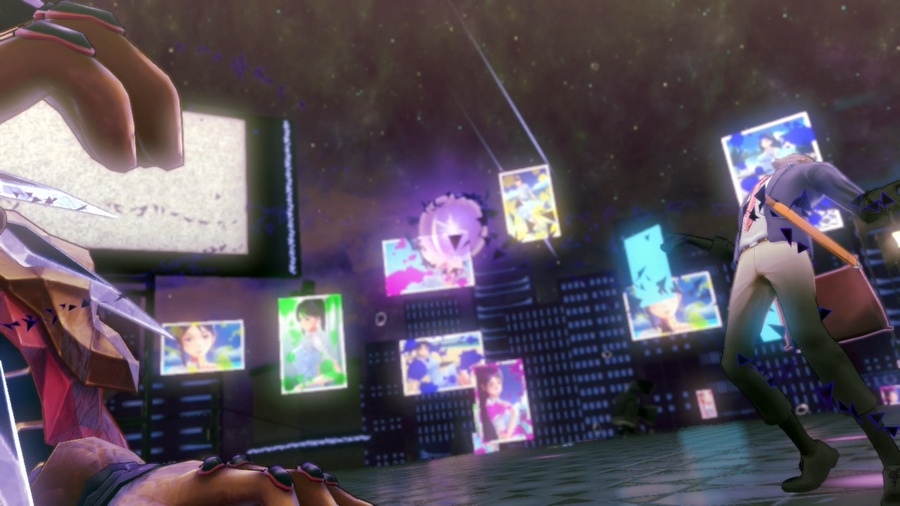
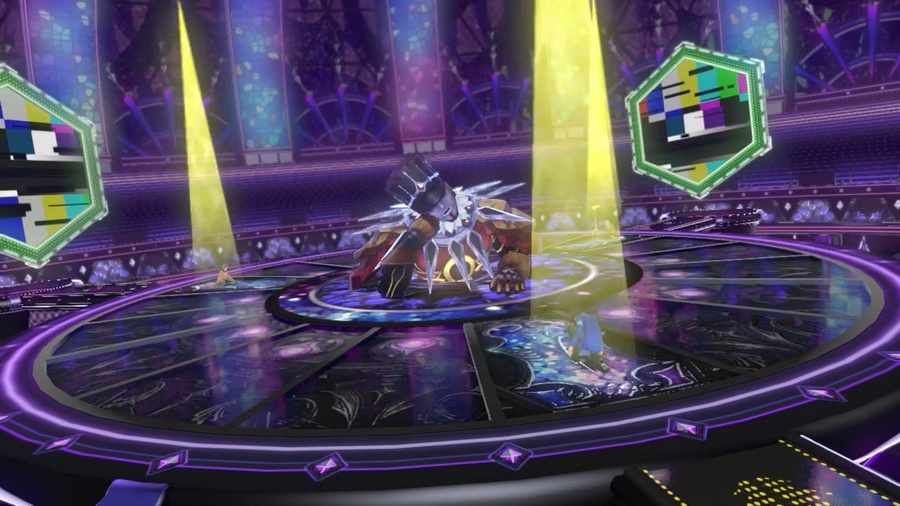
Horinozawa rejecting Gangrel causes their bond to weaken and reveal the orb that binds them. The fact that that’s even a thing that can happen raises several more questions, but they can wait until after we murder this magnificent, JoJo’s-ass demon.
 Itsuki! This might be our chance! I think we can separate that Mirage from the photographer!
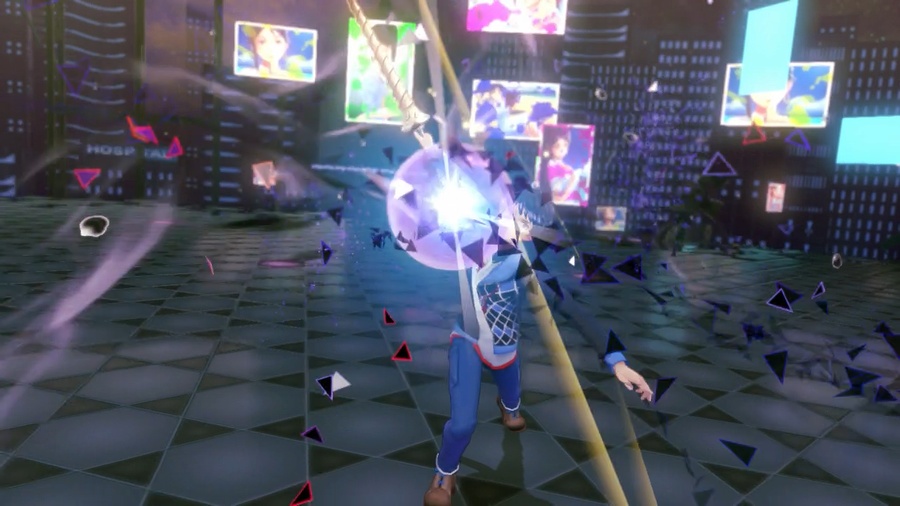
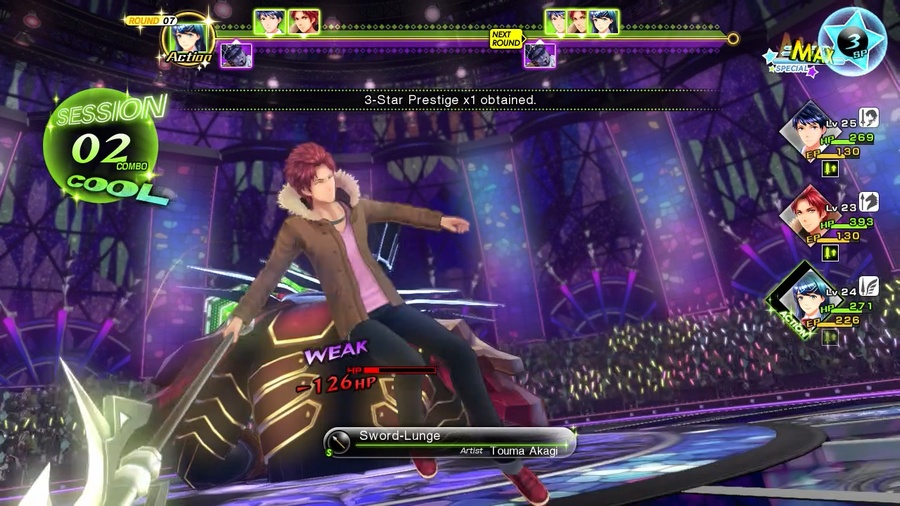
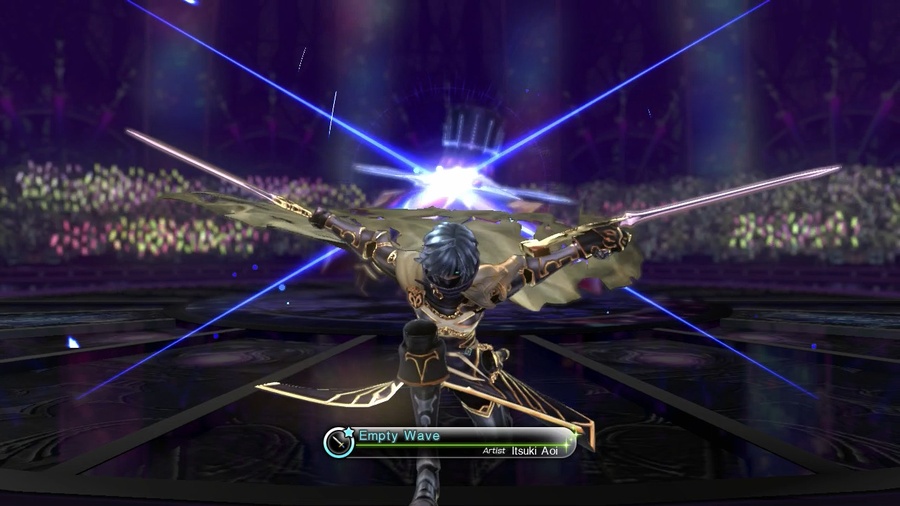
Way ahead of you, Chrom. Let’s rock and roll!
You… MAGGOTS! Get out of my way…you TRASH!
Gangrel isn’t significantly harder than Aversa, but he’s the first real-deal boss that gets multiple attacks per turn, and he does significantly more damage than she did. If Goujin is the tutorial and Aversa is the “You understand sessions” check, Gangrel is the “This is still an SMT game” boss.
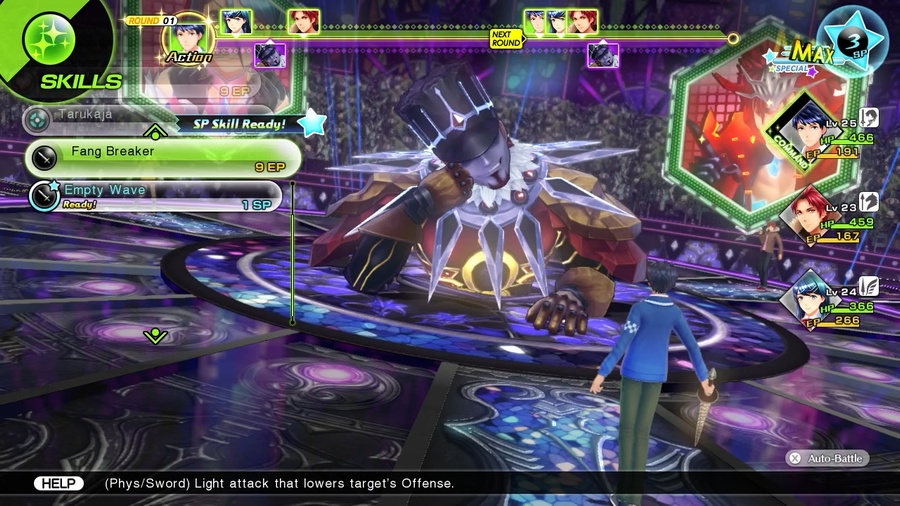
Our first order of business is to buff up, since his first turn isn’t spent on direct attacks. Itsuki will be making liberal use of Fang Breaker throughout the fight, but he does have Tarukaja available as necessary, and Tsubasa has a Sukukaja ready to go at any time.
Ugh… Pathetic! All of you!
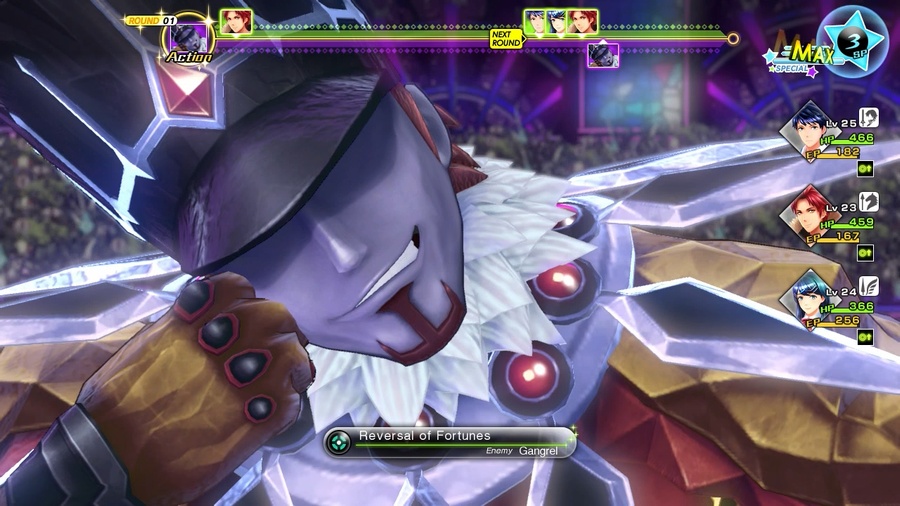
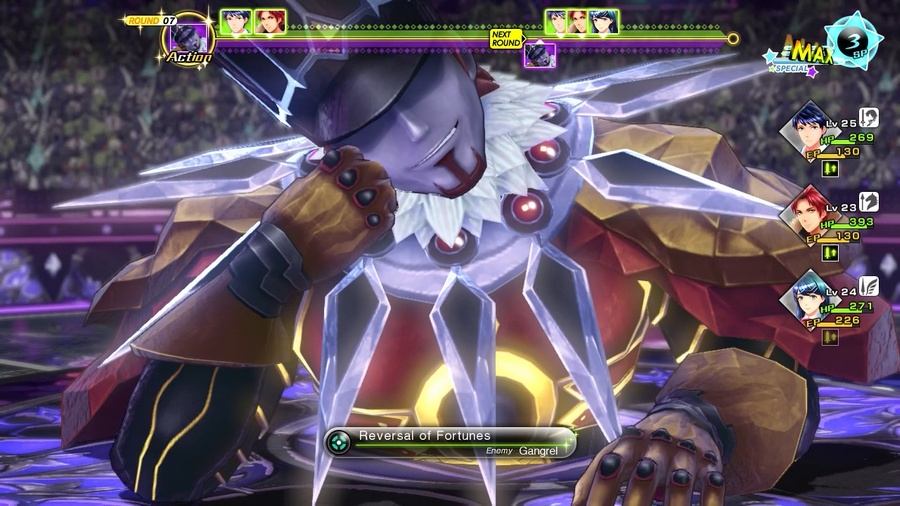
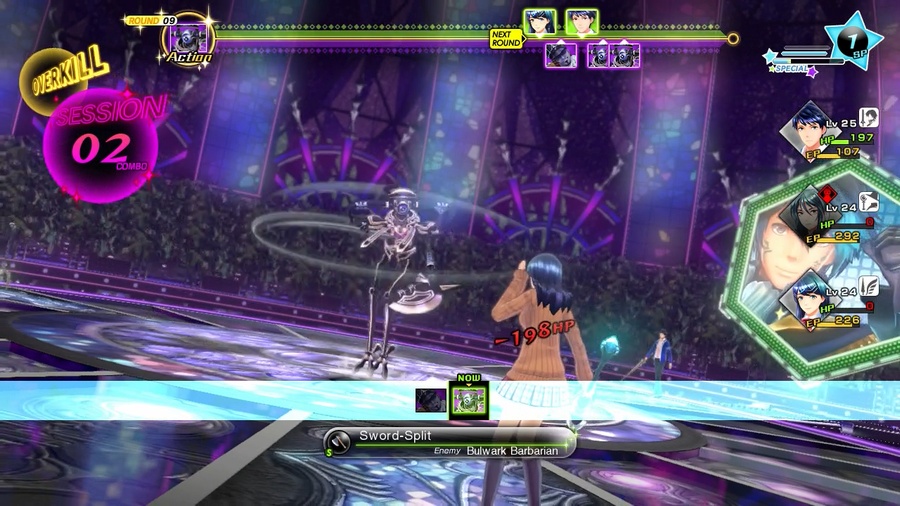
His first trick is Reversal of Fortunes, which summons three barbarians and a myrmidon to the field. This is immediately followed up by…
Hurry it up! If you can’t take a hit, you’re WORTHLESS!
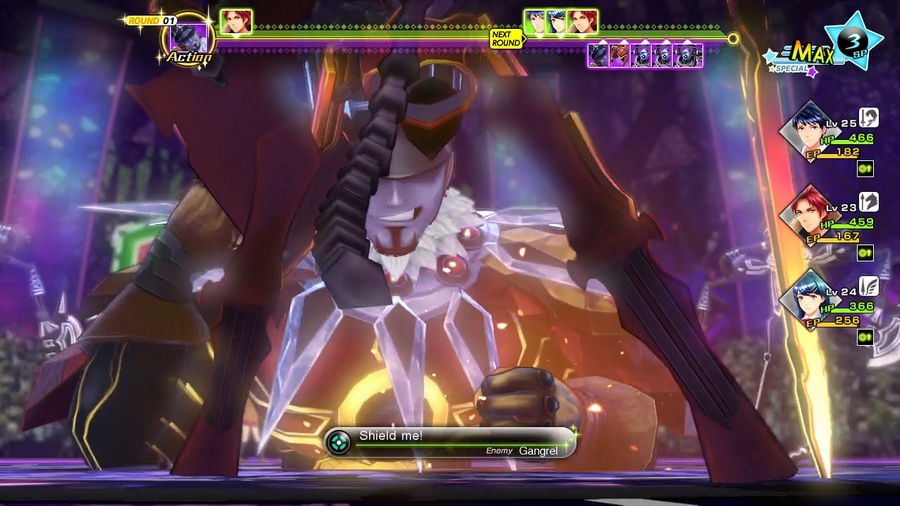
…Shield me!, which is exactly what it sounds like. Anything specifically targeted at Gangrel (including attacks in the middle of a session) will be transferred to one of his minions instead.
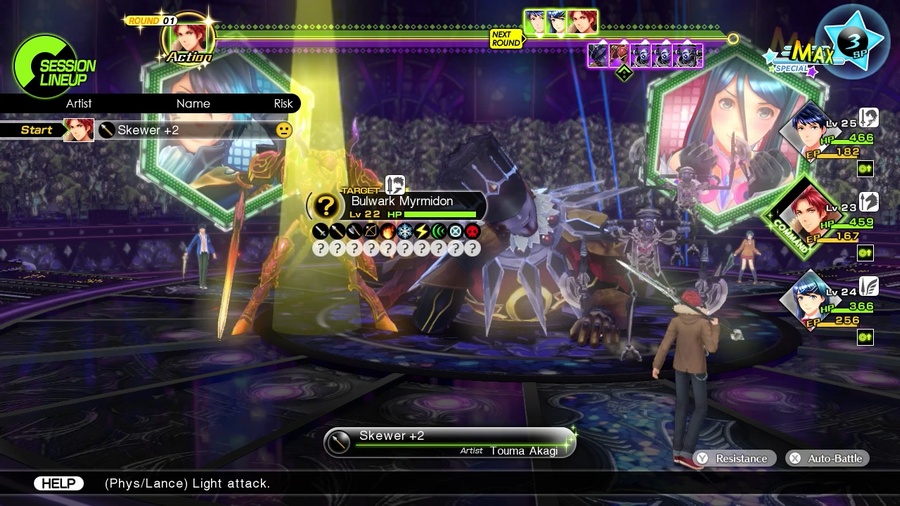
So, herein lies the main problem with the Gangrel fight. You’ve got three goons who are going to tear up Touma and Tsubasa, with another one (and the boss!) who are going to ruin Kiria’s day. Unlike Aversa, who was very explicit about who she was going to fuck up, you are always carrying a liability in this fight, and enemy sessions are as real of a threat as ever.
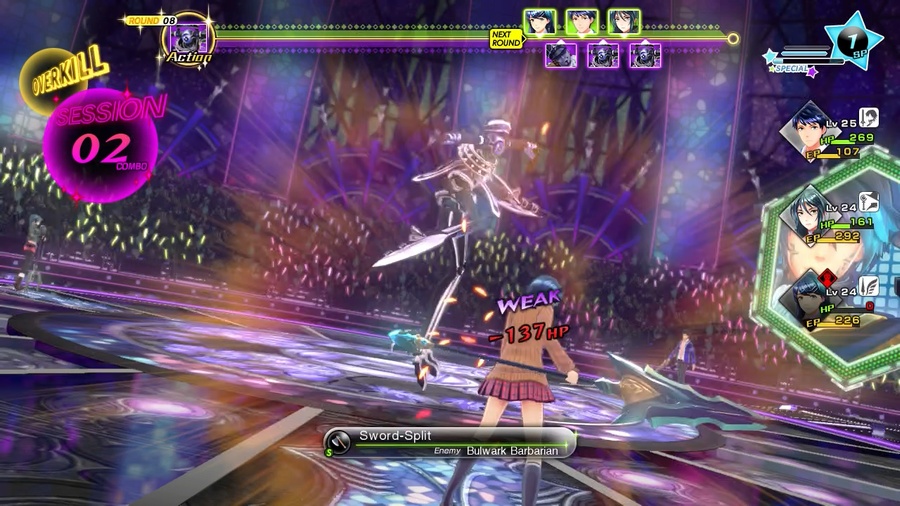
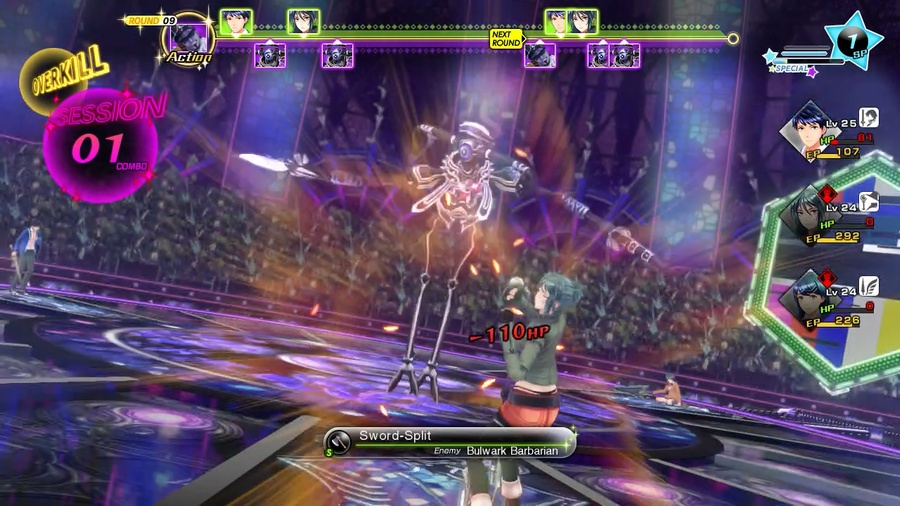
And these are not fodder enemies. The barbarians aren’t quite as hardy, but a full session’s worth of attacks didn’t even drop the myrmidon to half health.
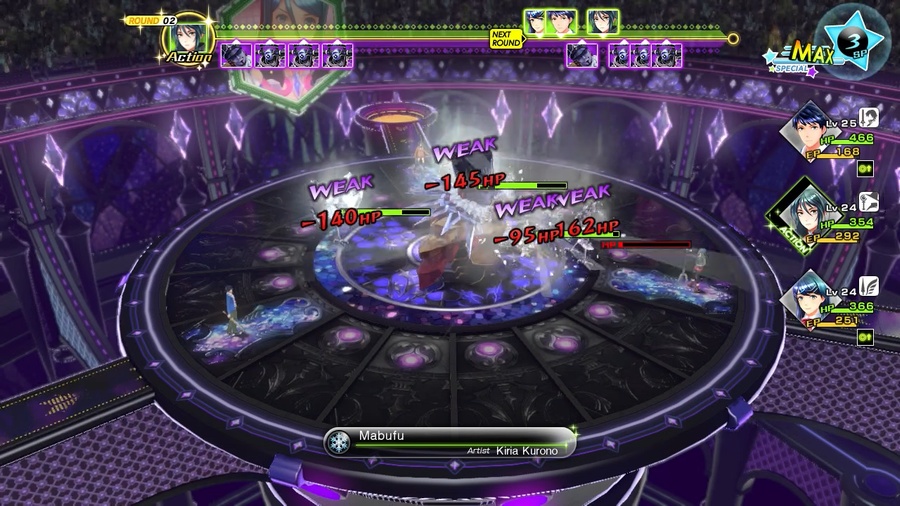
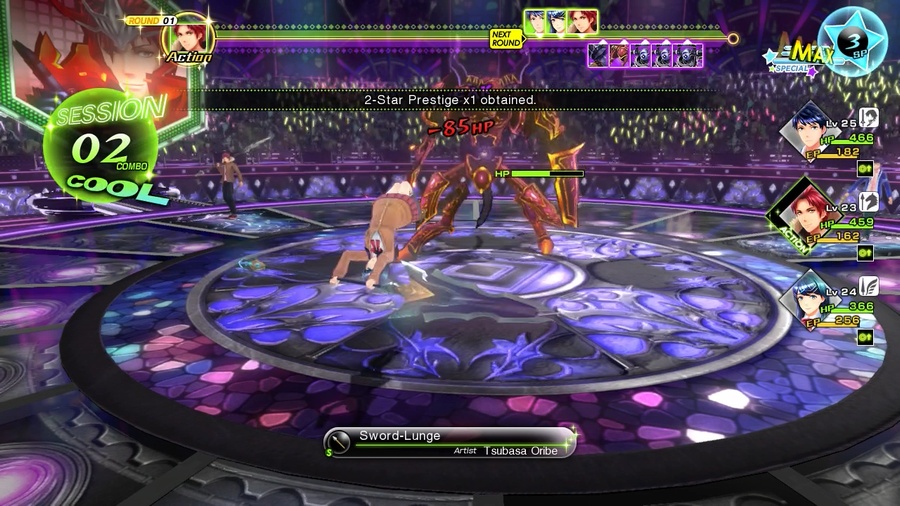
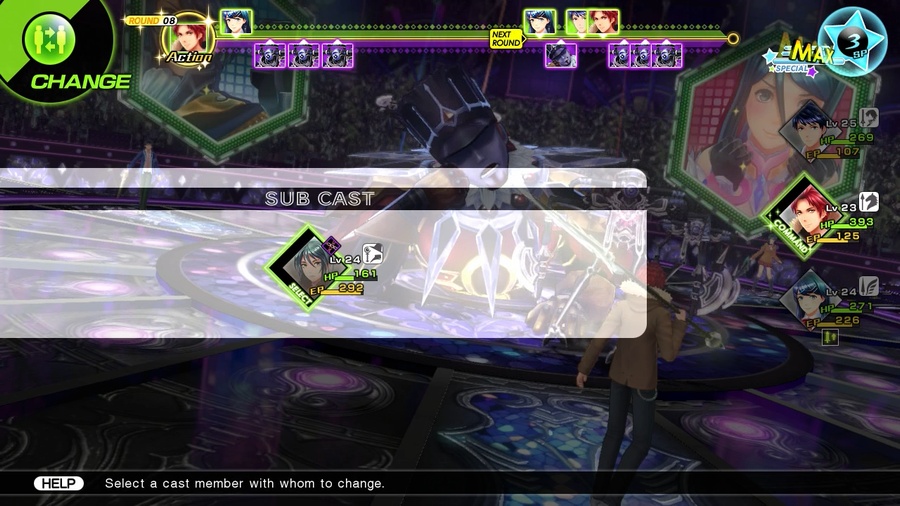
Once you mop up the myrmidon, Kiria needs to come out ASAP. Not only are the barbarians weak to ice, Mabufu gets past Protect Me! to hit Gangrel as well.
Gangrel has two offensive patterns as long as his lackeys are still alive. The first and more likely one involves him detaching his head and swiping at you for moderate sword damage, which is still a lot of damage! With Tarunda active and hitting Tsubasa (who resists swords), he still did almost 100 damage a pop. If he decides to focus on Kiria (or maybe even Itsuki, depending on condition), you can absolutely lose them in a single turn.
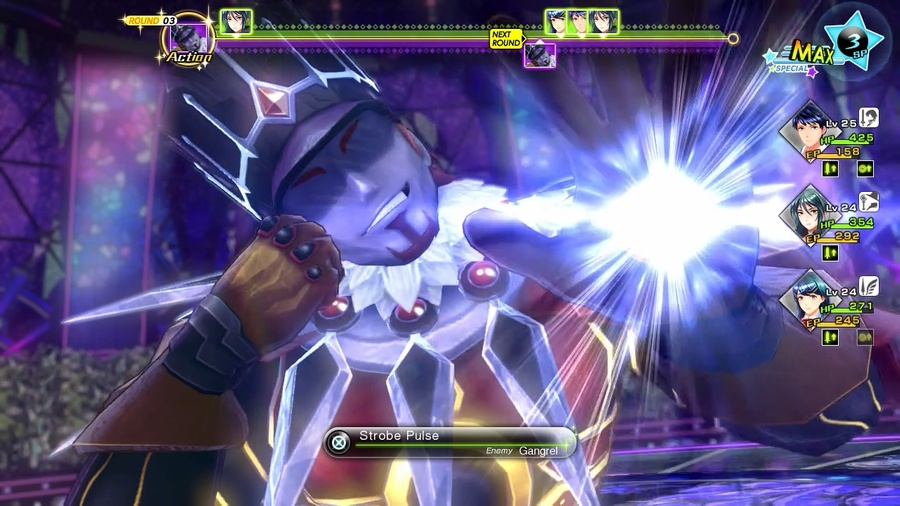
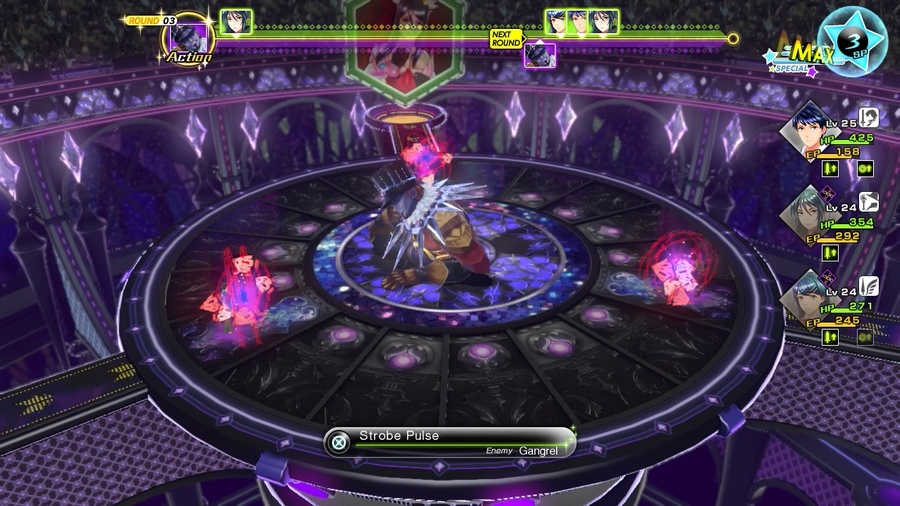
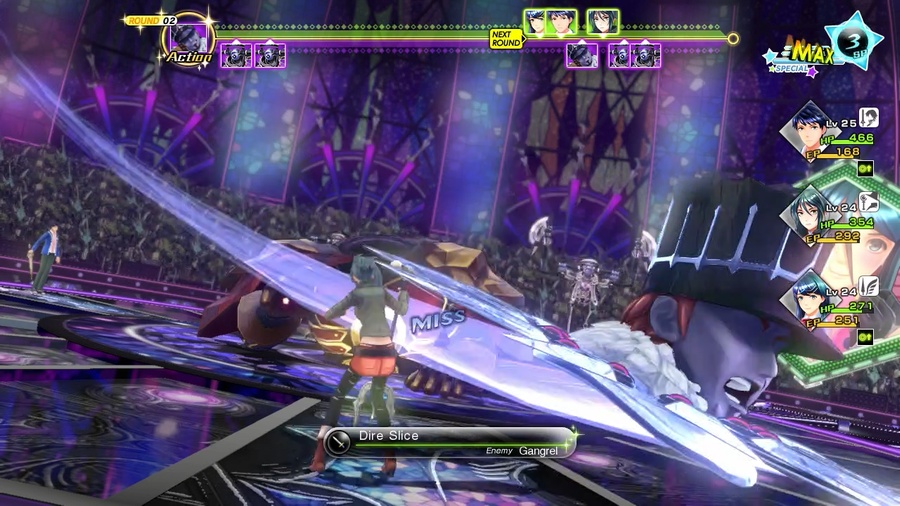
His second pattern starts with Strobe Pulse, which has a chance of inflicting silence seal on the entire party. As you might expect, this prevents you from using any skills with the affected party member, as well as blocks them from participating in sessions. This will be followed up by one of his physical attacks, usually Dire Slice unless he’s really low on health.
Now that we’ve cleaned house, the question of party composition becomes a lot more interesting. As previously mentioned, Gangrel is weak to Ice, and Kiria can pump out way more damage than Tsubasa, even before you consider that she’s hitting weaknesses with every single session. However, she’s weak to swords and is completely crippled by getting hit with Strobe Pulse. Personally, I consider that too much liability for a marginal damage increase, but if you’re feeling lucky, you can easily shave a turn or two off the fight by being aggressive and just shoving her full of Revival Beads as necessary.
That said, I have him down in the red before the first set of reinforcements appear. Itsuki/Tsubasa/Touma might be the “safe” and slower party, but it is by no means less capable of fucking him up.
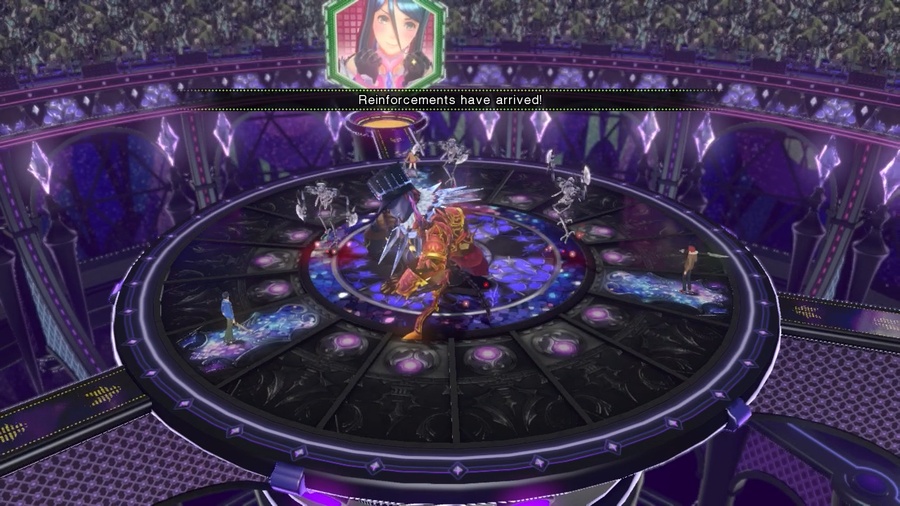
After a couple turns of beating up on him, he’ll call in more reinforcements and reactivate Protect Me! If Kiria dodged Strobe Pulse (or has since been cured), you’re golden! Repeat steps 1-3 and Gangrel will be done in no time.
…Oh.
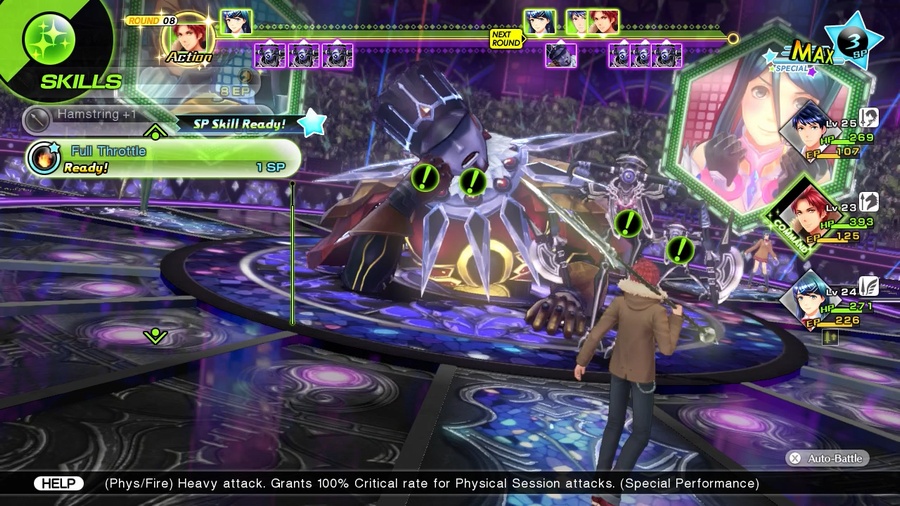
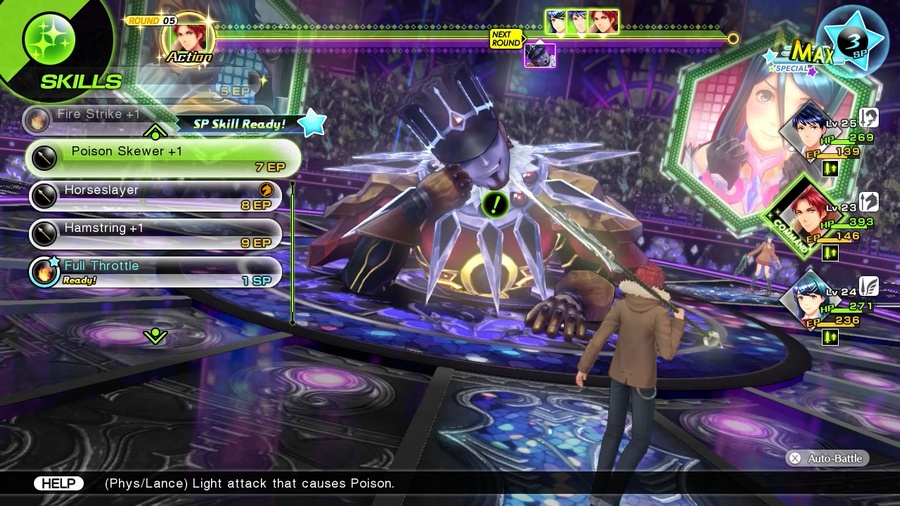
Now, a smarter man than I would look at this situation and say “Yeah, Full Throttle is perfect here.” Sure, it would only kill one of the barbarians, but it’s way better than pulling out a defenseless caster immediately before three barbarians in a row get turns.
Unfortunately, that man was not the one holding the controller.
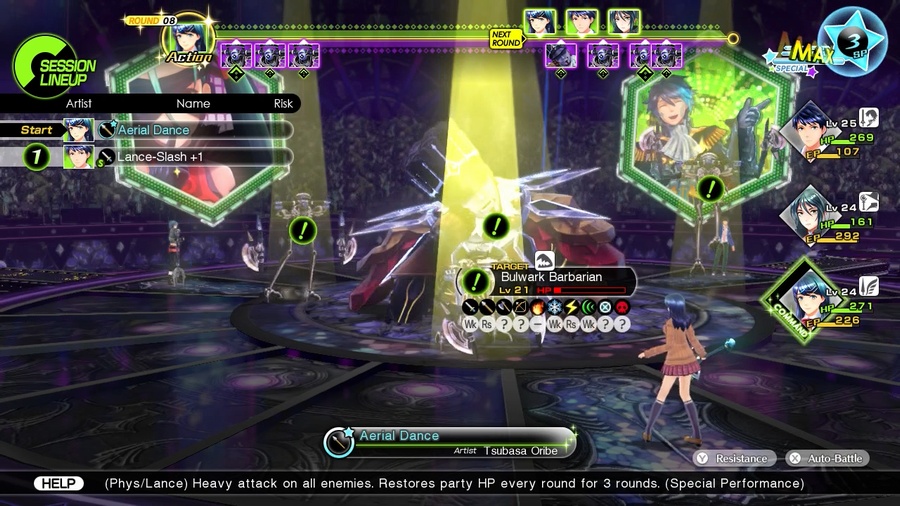
To past-me’s credit, I did use Aerial Dance to try and mitigate the damage. In addition to heavy lance damage to all enemies, that gives the entire party regen for three turns afterwards. See if you can spot the problem with this strategy.
No, go on, I insist.
Can’t heal when you’re already dead!
“That’s what all our Spicy Curries and Revival Beads are for!” I hear you saying.
Unfortunately, the damage is done. There’s too many barbarians up to safely revive Kiria or Tsubasa, and Itsuki can’t take all three hits on his own.

But hey, maybe you get lucky and Itsuki somehow pulls through. You’re finally at a safe point to start picking people up and put an end to this fight. You’ve still got this, right?
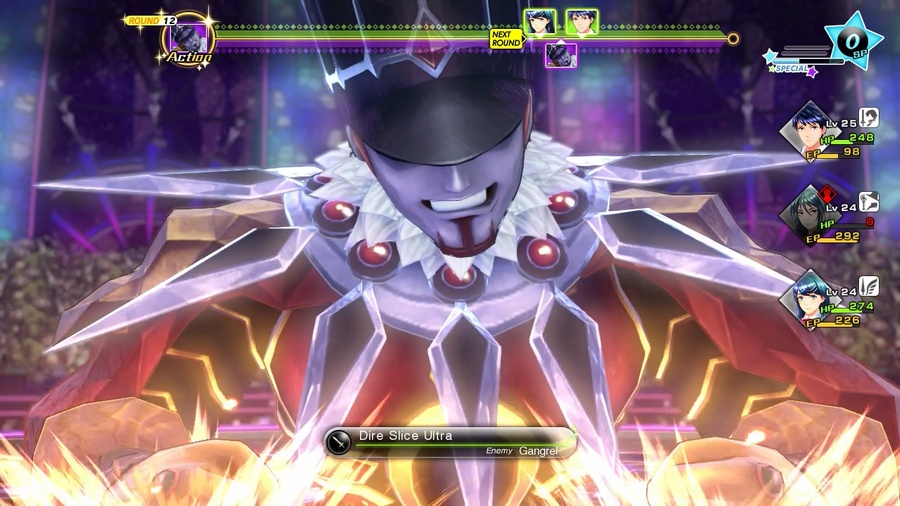
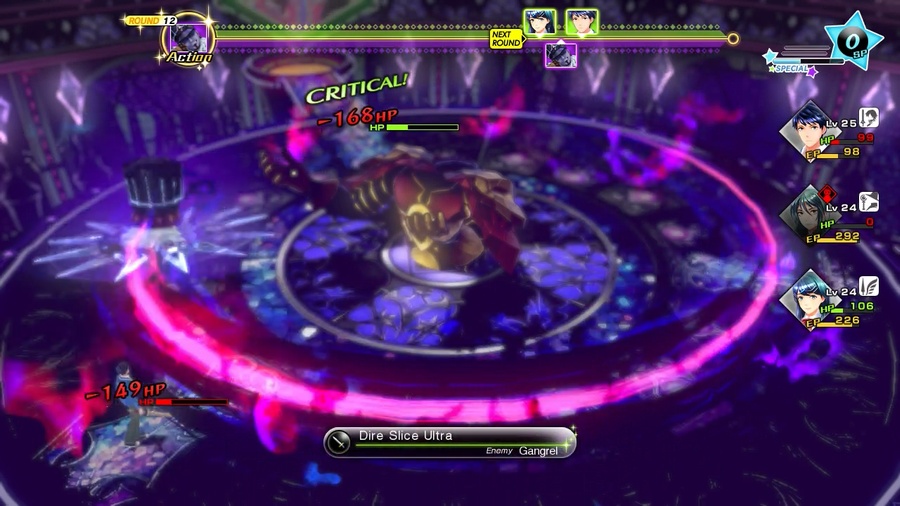
Well, my friend, say hello to Dire Slice Ultra. This is “Dire Slice, but to everyone” and it will absolutely fuck you up if you aren’t ready for it. It’s not that the damage is particularly high - rather, it’s that he hits everyone and will continue to use it once a turn until you kill him or wipe. It is very, very easy to get caught in a loop of someone dying, getting revived, and then getting killed again before they actually get a turn to act.
Incidentally, there is no game over screen in this game. In the event of a TPK, the game just fades to black and boots you back to the title screen where you can load a save file.
This time, there will be no such mistakes.
Good night, sweet prince.
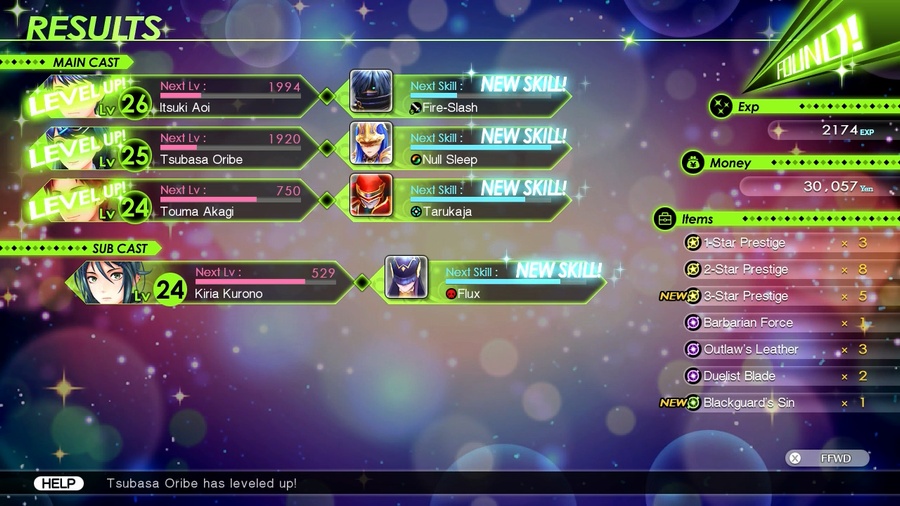
A healthy round of experience for everyone, and a handful of new skills for the crew.
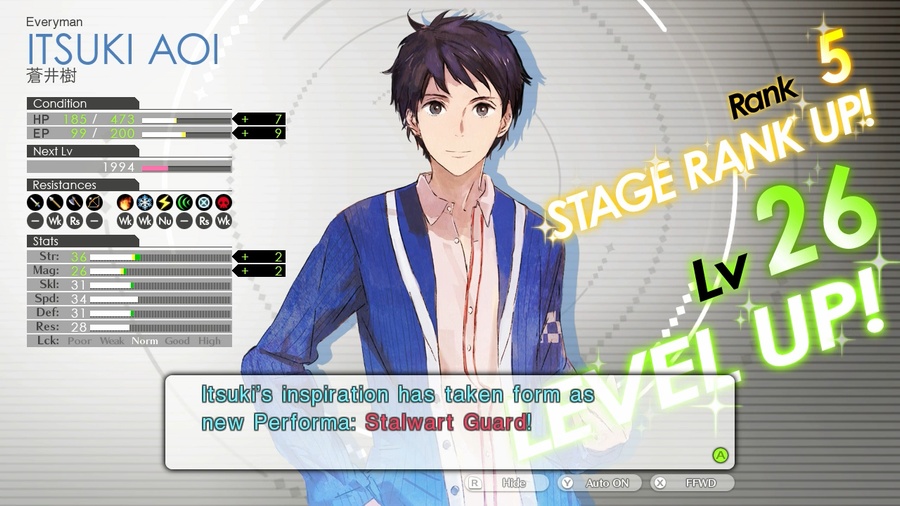
Itsuki picks up Safety Leader, which makes enemies less likely to get an ambush on us, as well as learning Res Boost and upgrading Fire-Slash.
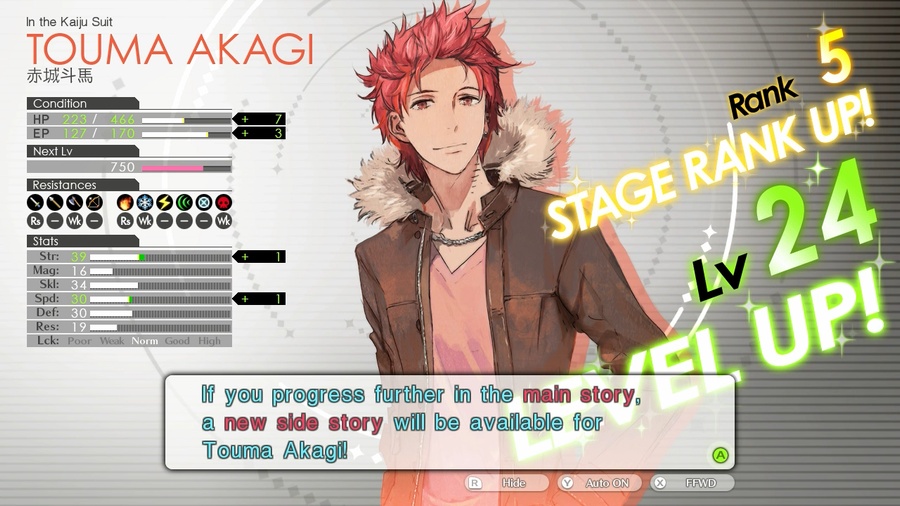
Touma unlocks his second sidequest, along with Tarukaja.
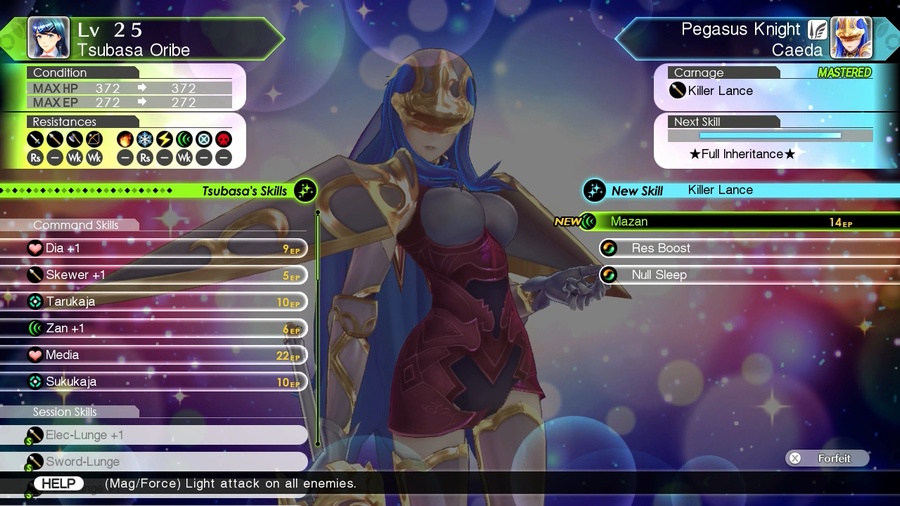
Tsubasa collects a full set of new skills, with Mazan and Null Sleep being the standouts.
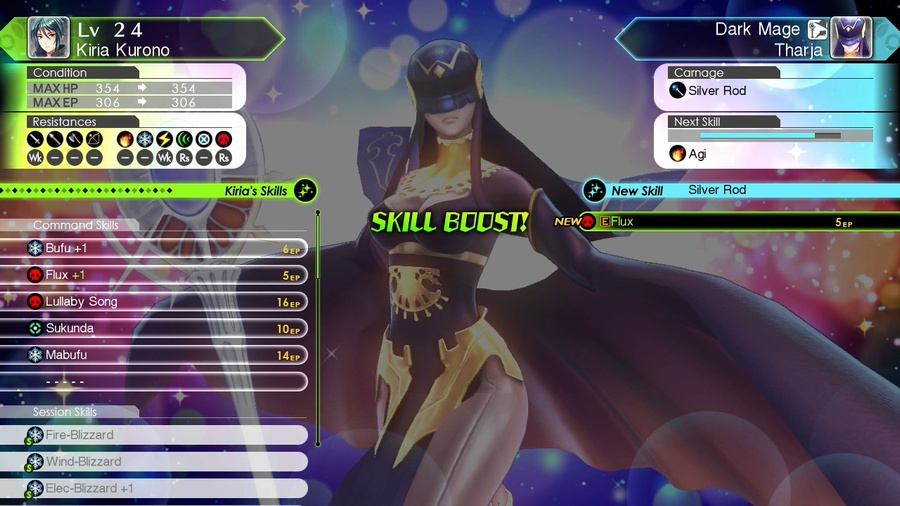
And poor Kiria just gets Flux +1. At least she’s most of the way to picking up Agi?
Next time, it’s the end of Chapter 2 and the promised photo shoot!