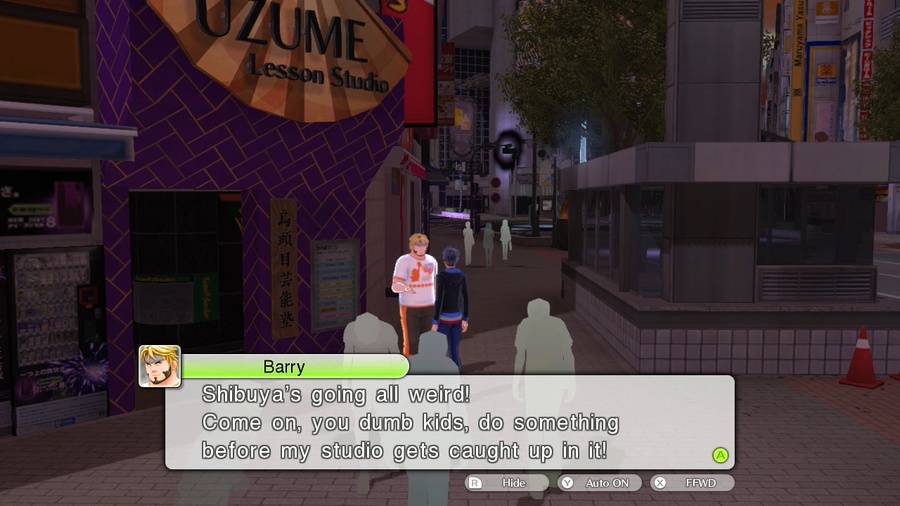
 What!? Maiko was kidnapped!? Well, she’s your president, ain’t she!? You gotta go rescue her!
You do so have a way with words, Barry. ![]()
Well, you heard the man, Itsuki. Let’s get a move on.
Music: Illusory Shibuya

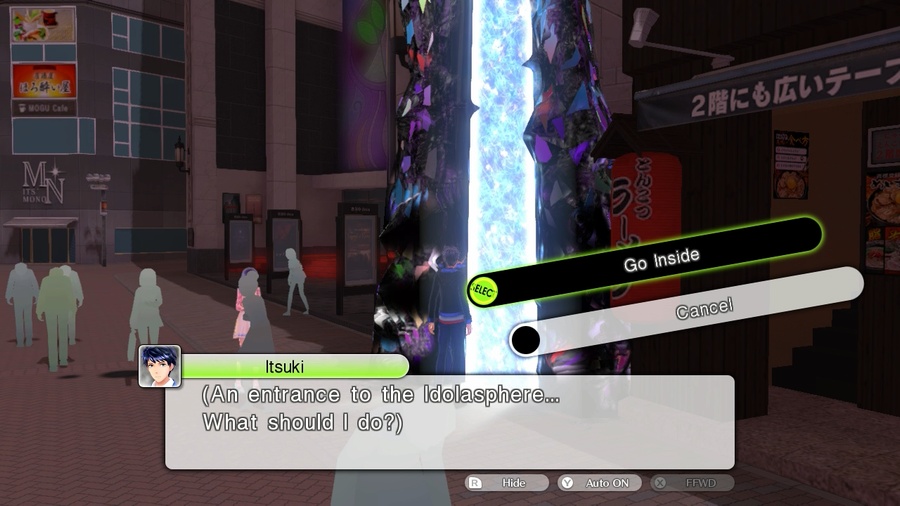
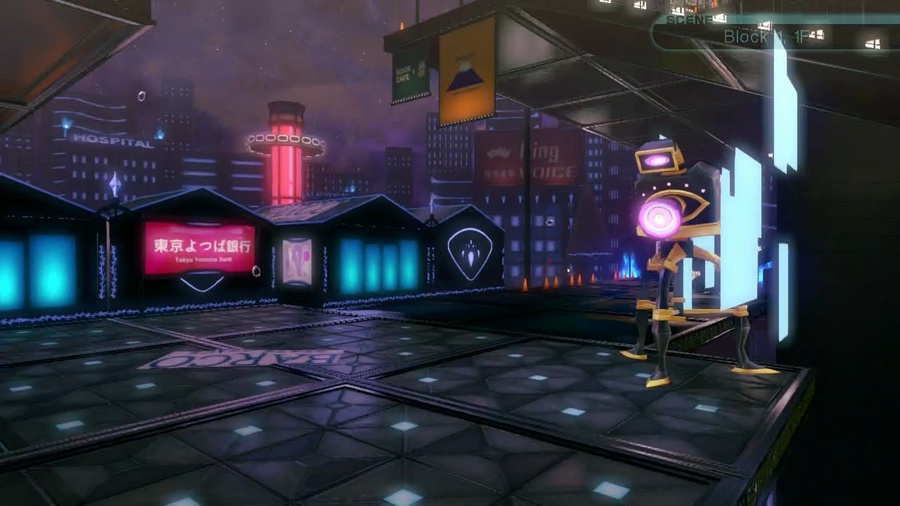
Illusory Shibuya is a little different from the other idolaspheres since it’s not really “attached” to a building or anything. Instead, the gimmick is more closely tied to Horinozawa himself. It’s kind of weird because outside of the final dungeon, I think it’s the only one in the game to do this.

 Heh heh… Heh heh heh… I could get used to this kind of Idolasphere.
 Save the jokes. We need to find Maiko.
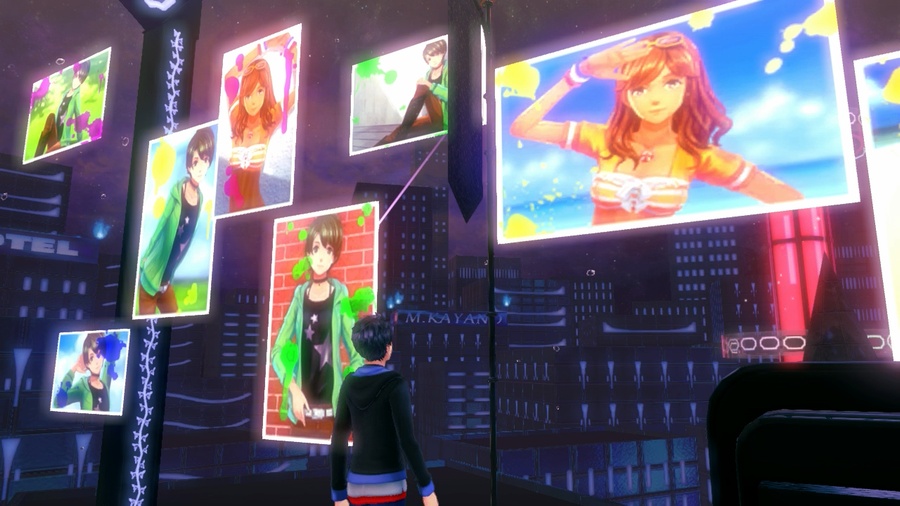
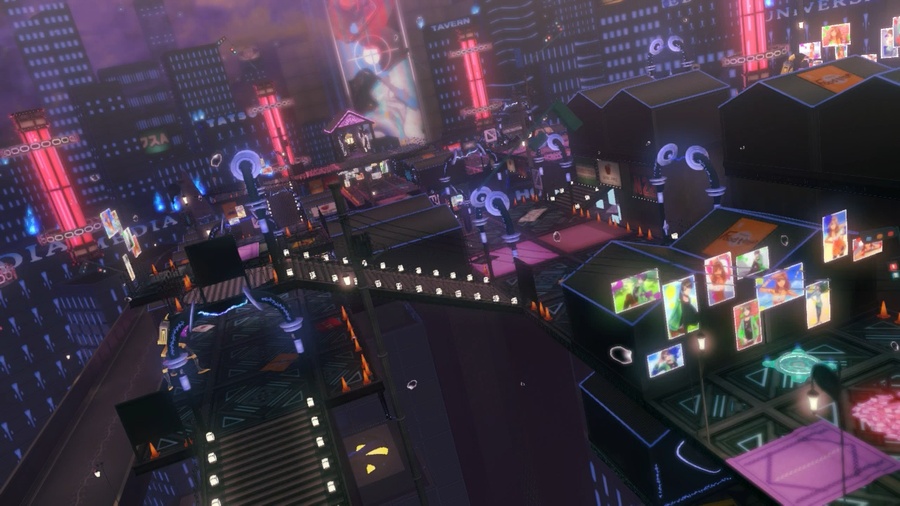
 These photos… Are these the models that have gone missing? So they were taken by the photographer, just like Ms. Maiko was earlier…
I’m worried about these people, too. We have to find them, and quickly.

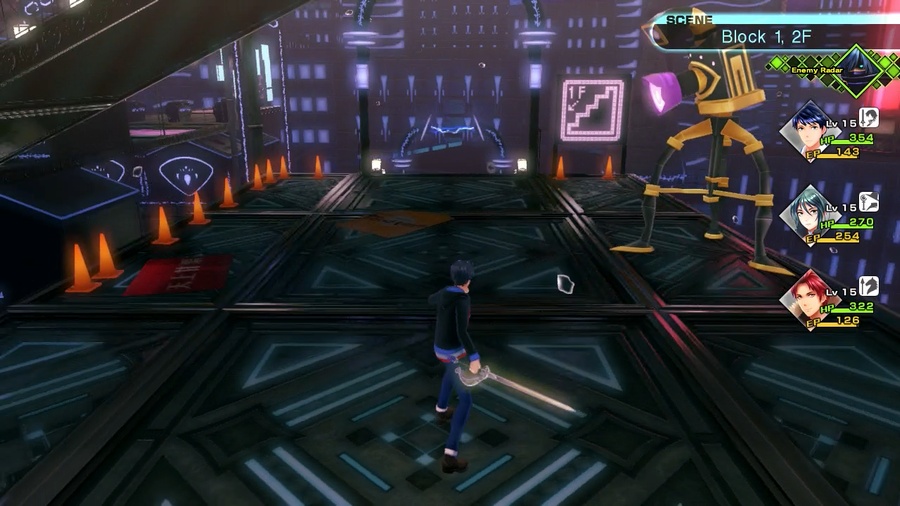
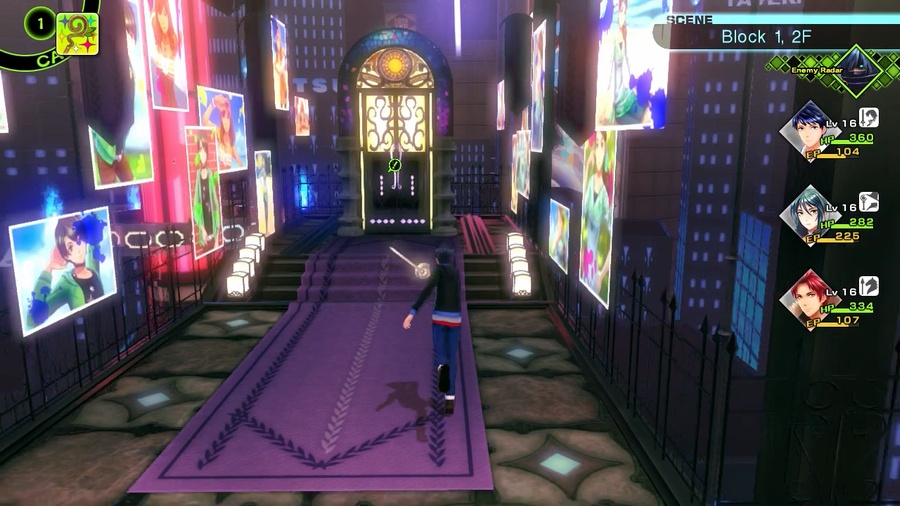
Anyway, I really hope you like those photos because they’re the main decor for the dungeon. Right away we’ve got the entrance teleporter and a split path, the latter being half of the dungeon’s gimmick. Each of the three rooms spans three floors, and the path criss-crosses its way up and down, back and forth as you work your way forward. Backtracking for items is thankfully pretty easy, but it does get irritating to have to remember the specific path to get back to where you were.

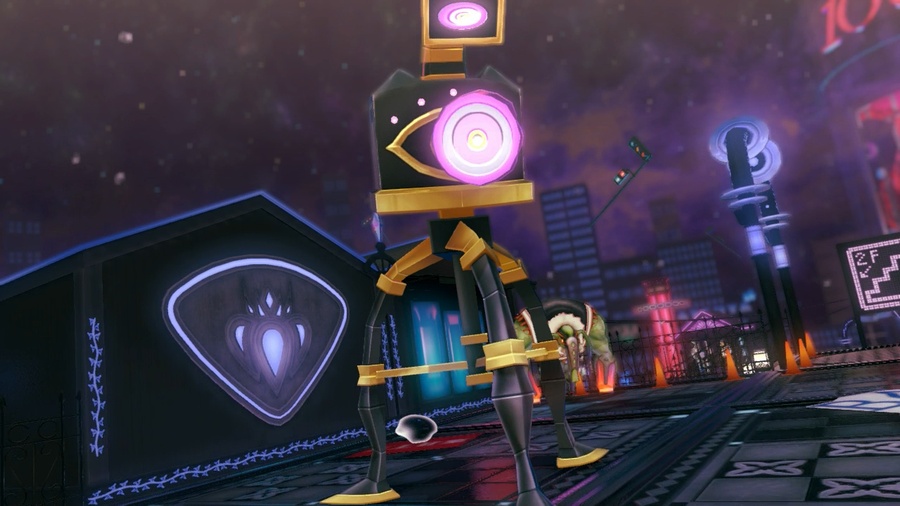
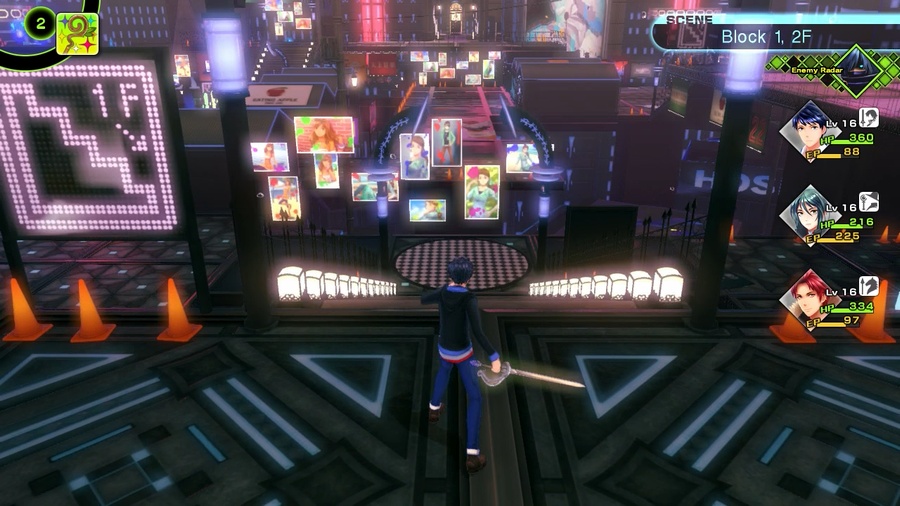
If we head up the stairs, we see the other half of the gimmick. Scattered throughout the room are these giant cameras, and stepping in front of one will send you back to that pile of red photos right in front of the teleporter. So it’s not just a maze, it’s a teleporter maze!
Now, to be fair, most of them are avoidable as long as you’re paying attention. There’s a couple of them placed in really dickish locations, but they’re mostly used to block off item rooms or make sure you’re not totally asleep at the wheel (see the one pictured above, which just requires you to hug the left wall). You could probably also use Lightoma to show the trap tiles, but to be honest, I’ve never tried.
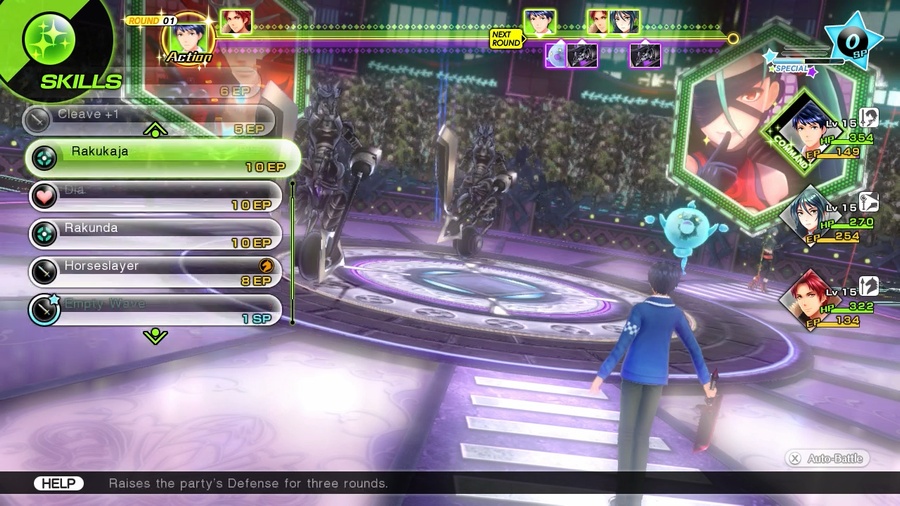
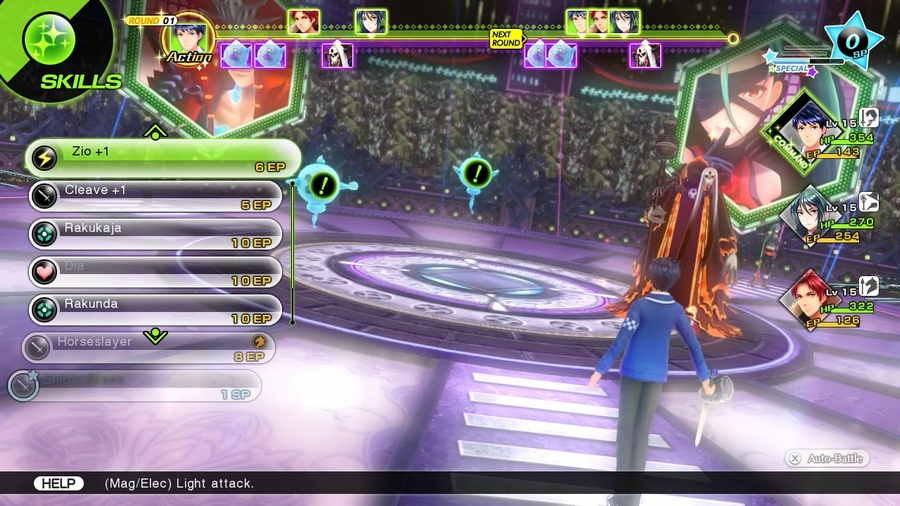
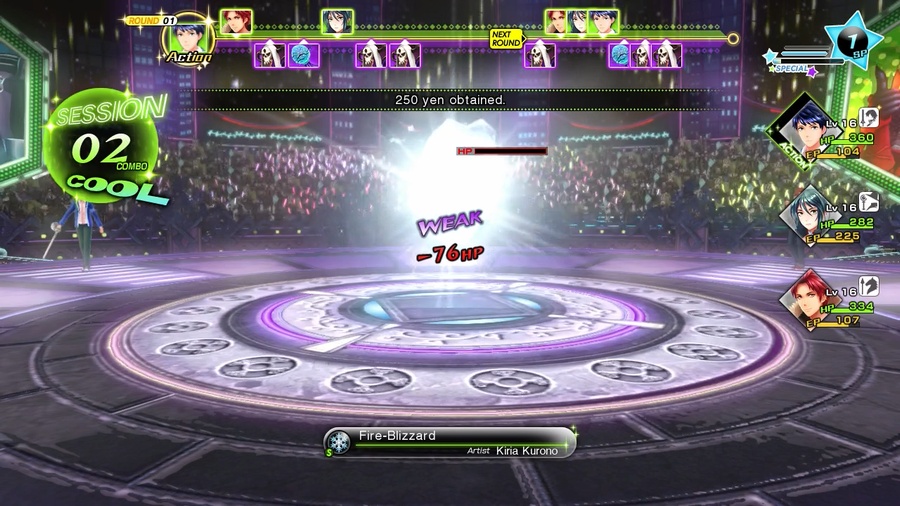
New dungeon, new enemies! The blue fellow on the right is an Apparition, the first of many palette swaps to come. They melt to pretty much any magical attack, but they’re specifically weak to Fire, Wind, Light, and Dark and resist everything else except Bows.

Also just showing off Horseslayer. Note that they’re neutral to lances, but are taking the hit like it’s a weakness.
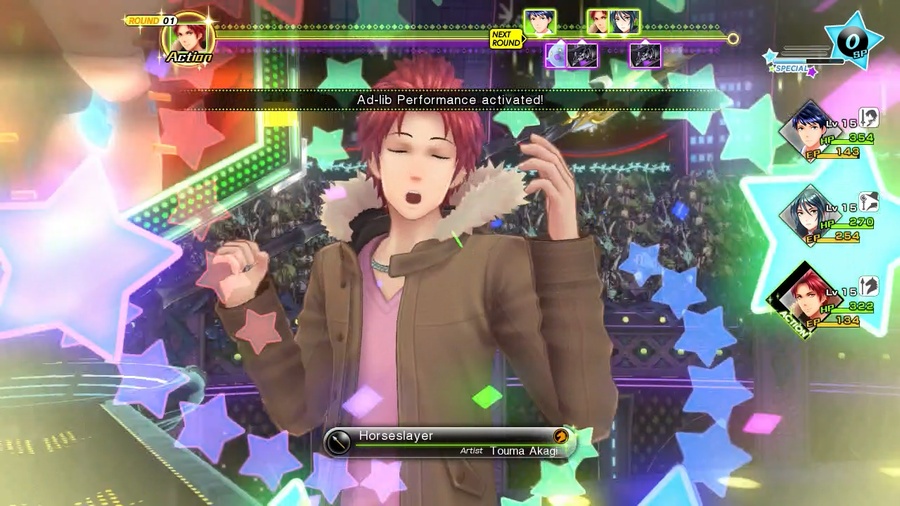
This is a new mechanic that I’m just gonna let speak for itself.

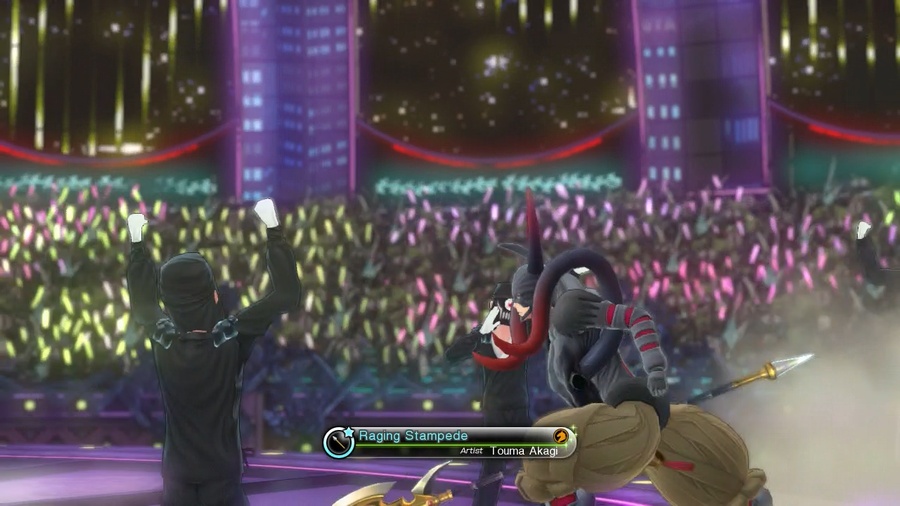
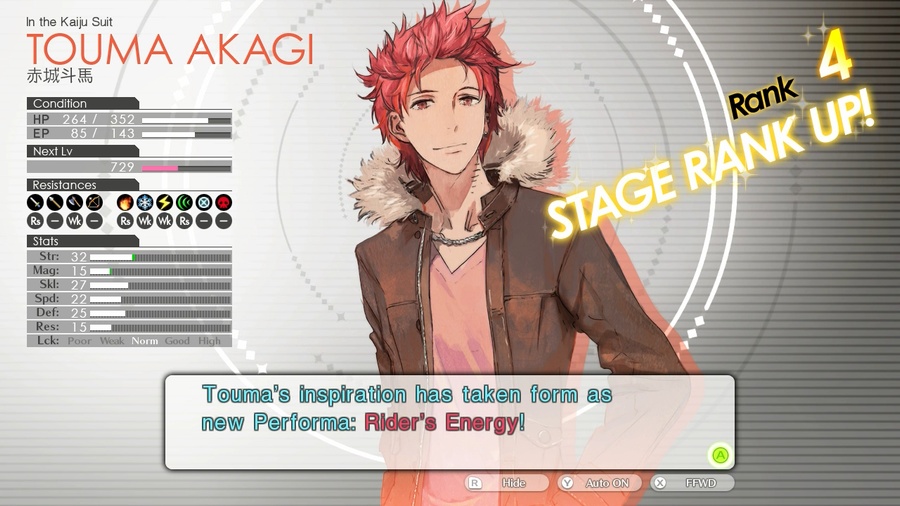
Oh, Touma. ![]()
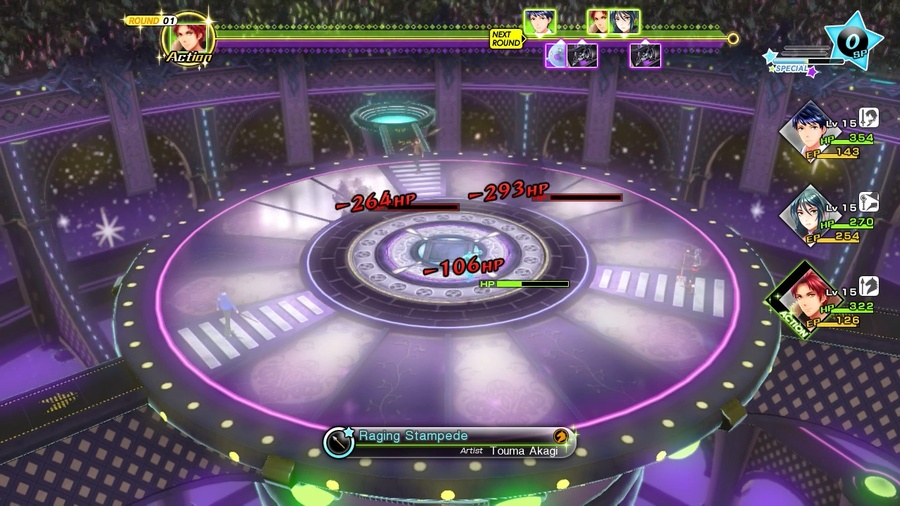
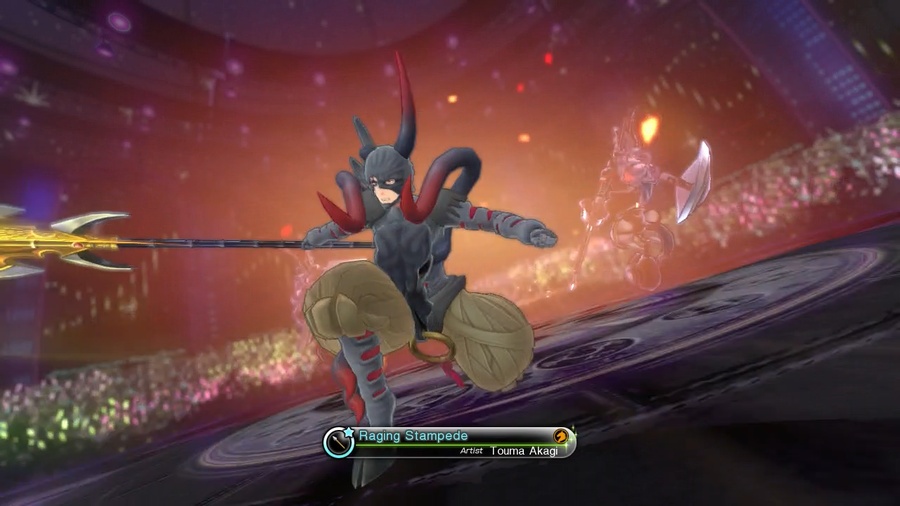
So yeah, Ad Lib attacks are the main reward you get from sidequests. Each one is “typed” to a specific kind of attack, and whenever you use an attack that matches it, there’s a small chance of getting the ad lib performance instead. Ad lib attacks inherit whatever the base effect of the skill was (assuming it has one), slap a modest power boost and status effect on it, hit every enemy, ignore nulls/drains, and always trigger sessions.
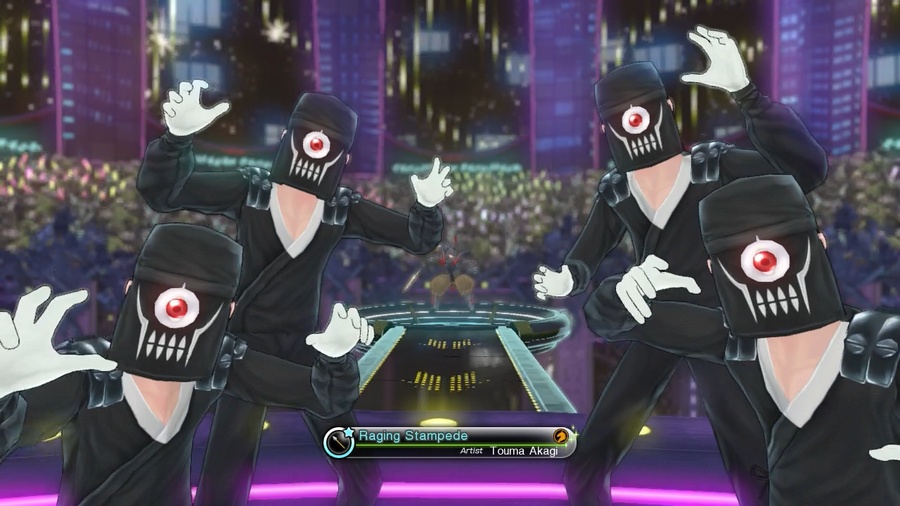
If that sounds hilariously broken, well, it is! The main reason they’re so ridiculous is because you have to be using specific attacks to cause them, and even if you’re using the right skill, they’re still fairly uncommon. Like, I don’t think Raging Stampede triggers again in this entire dungeon, even though Touma sees fairly regular use.
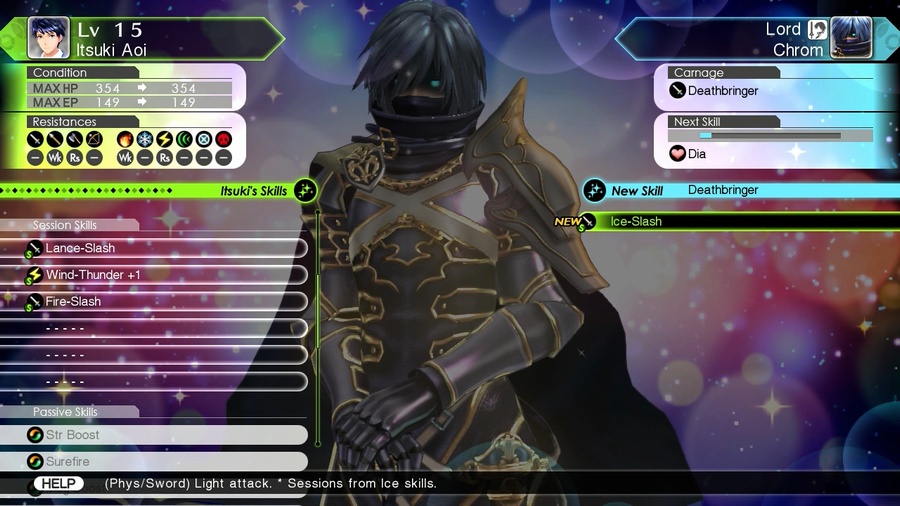
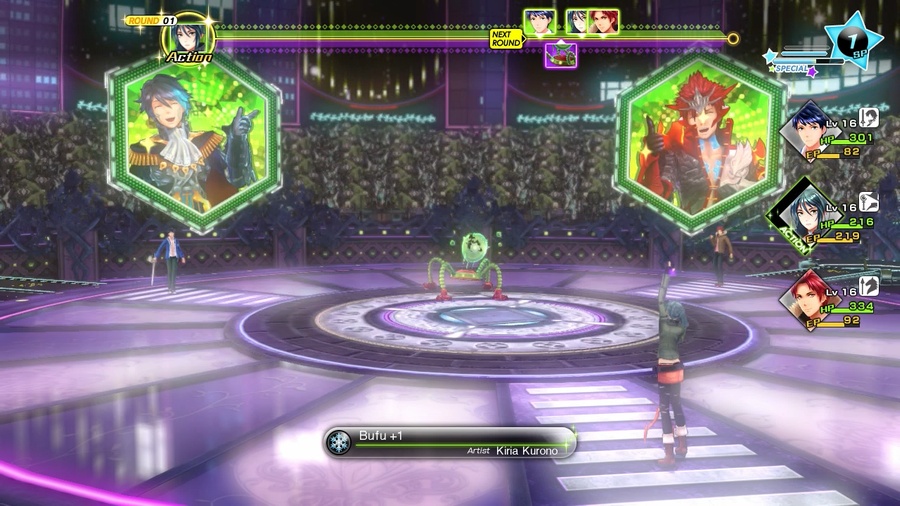
We’re not done with the Rapier yet, but Itsuki took a brief detour into the Deathbringer to grab Ice-Slash. Normally I like to finish one weapon before moving on to the next, but this is literally the only skill the party has to combo off of Kiria.
This is really the main use of the cameras. If we had jumped off that ledge at the start of the dungeon, we would have gotten an item but been blocked off here. Expect to see that a lot - routes that look like progress or shortcuts, but get blocked off by a camera right before they join up with the correct path.
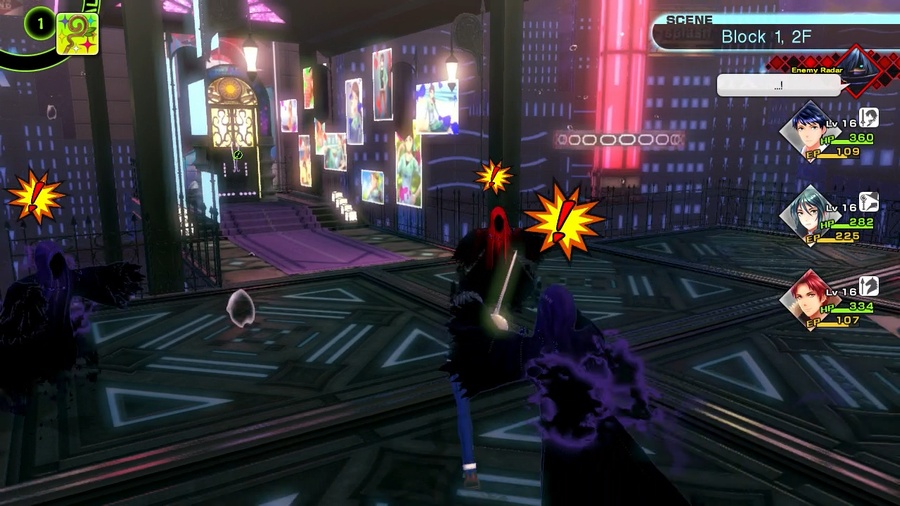
On the right, we have the Dark Shaman. These guys are the first enemies to start throwing ma- spells at us, specifically Maragi and Mabufu. That said, they’re not that strong (Itsuki is weak to fire and only took like, 90 damage from a Maragi) and they have a ton of easily exploitable weaknesses including Ice and Swords.

The Savage version, on the other hand, is a lot scarier. We’re not sticking around to find out how much this one would fuck us up.

Worms are annoying because they have a good set of resistances, hit fairly hard, and inflict poison. Taking a 130 damage hit on the chin, and then immediately eating another ~100 when your turn comes around is pretty rough, and they actually managed to drop Itsuki the first time I ran into one.
Smash Hit increases the rate at which the SP Gauge goes up if a session has at least 2 links. It’s handy, but decidedly a filler skill.
Oh for fuck’s sake-

So let’s do something a little cheeky. We’ve got two weaknesses lined up in this session, and Touma goes next to bail us out in case things go horribly wrong. Nothing ventured, nothing gained, right?
We managed to take out a quarter of a savage encounter without things going horrifically wrong! ![]() See ya later, shitlords.
See ya later, shitlords.
The door marks the end of the first section. The miniboss is after part 2, and the boss after part 3, so we’re maybe a quarter of the way done. The next teleporter is immediately on the other side, so we’ll grab that then go back and scour for items in the first bit.
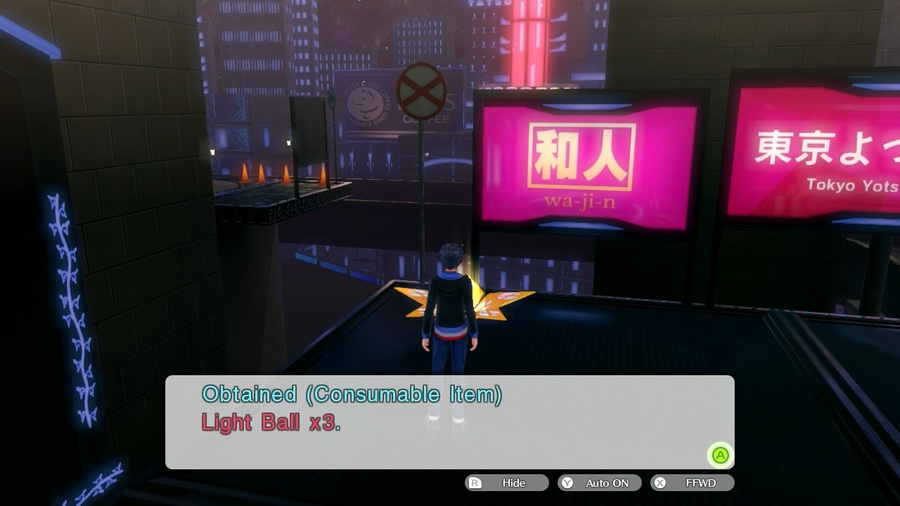
Immediately to the left of the entrance, we can jump down to grab these. I think they’re just an item version of Kiria’s Lightoma, but I legitimately have no idea what they do.
Past the first camera, we can find this staircase if we hang a right instead of a left.

Fuck 'em up, Itsuki! We’ve got goodies to grab.
Haha nooooooope. Surprise, motherfucker, gonna have to find another way down here.
The final new enemy for now is the Bacillus, a pretty substantial upgrade over the Slimes from Illusory Daitama. They’re fairly beefy on physical attacks and resist Lightning and Lances, which makes most of our session options mediocre at best. However, they’re weak to Ice, Wind, Light, and Dark, so magic tears them up pretty well.
Offensively, they don’t do much damage, but they can and will throw out Poison Breath and Marin Karin. Like pretty much every SMT game ever, Charm is far and away the worst status ailment in the game, and TMS throws one more reason on the pile by making it so that you can’t participate in sessions while charmed, and that includes your passive abilities! If Itsuki is charmed, that means you can’t change targets after killing an enemy!

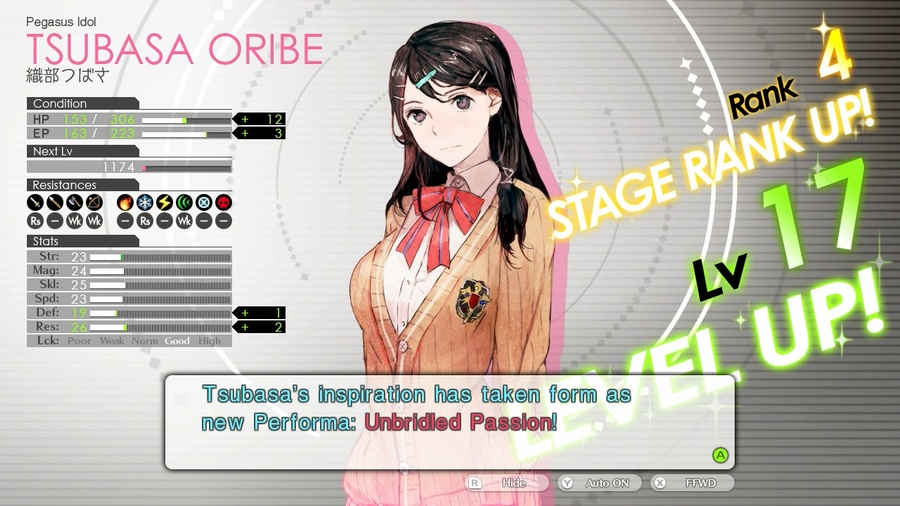
If we’re being honest, this is what I was really hanging around for. The items are nice, but now that we’ve unlocked Kiria’s first sidequest, we can sub Tsubasa back in and get her caught up.
And since we’re here, we might as well grab a two-fer. This is just HP Fitness, so nothing too special.
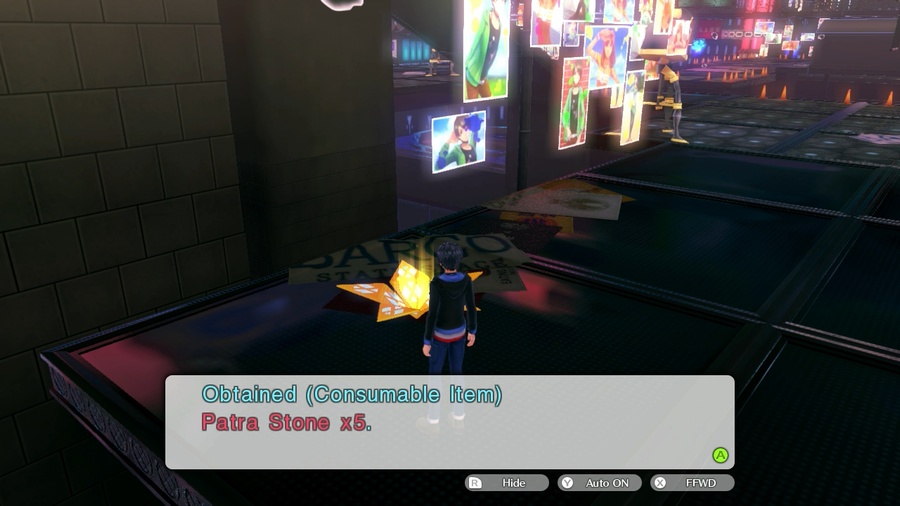

Anyway, there’s an extremely hard to see staircase hiding in the far-left corner of this room that leads down to our wayward item box, as well as a few Patra stones.
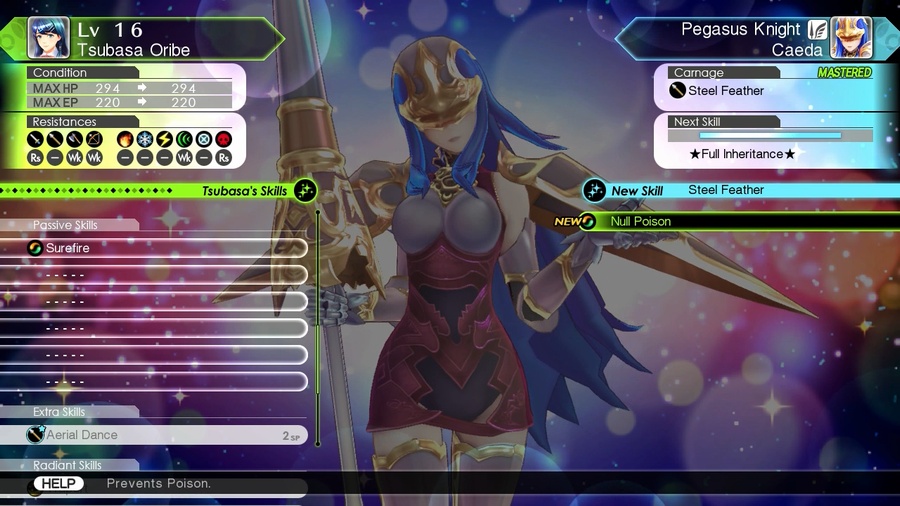
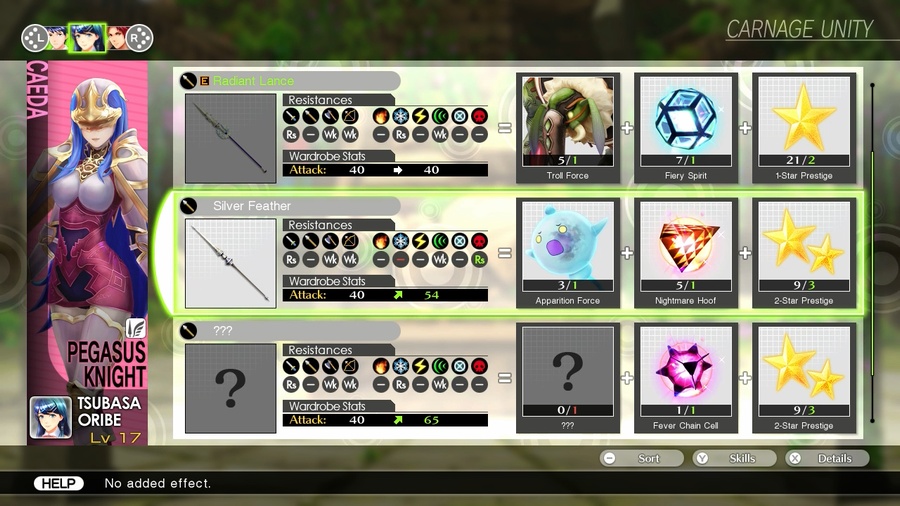
A neat touch is that sometimes weapons with unique qualities will pass them on as their final skill. The Steel Feather made Tsubasa immune to poison, and now that she’s maxed it out, she gets the Null Poison skill. ![]()
And that’s another one for Tsubasa. This one is-

You wouldn’t think First on the Scene is such a big deal, all it does is make her act sooner in the turn queue. But alas, we’re going to need to find another Performa before we can unlock this one.
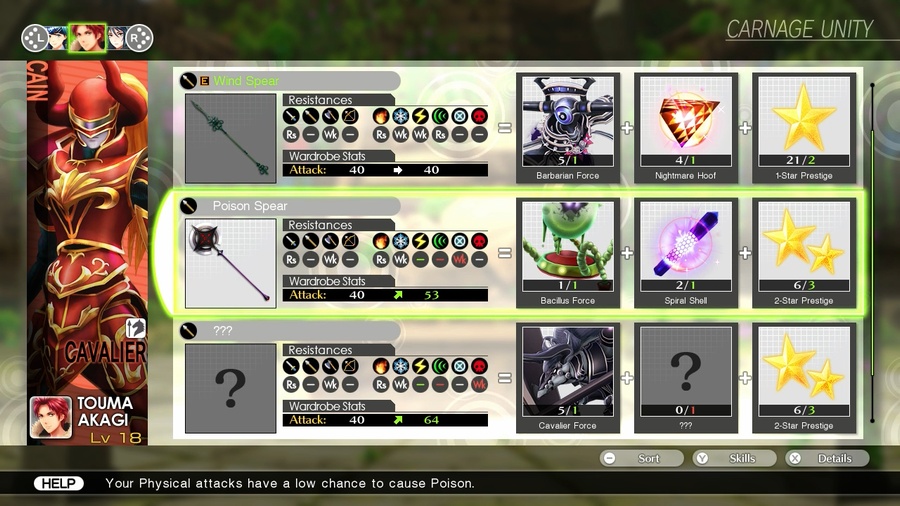
Last thing for today, a few new toys for Touma and Tsubasa. The Poison Spear is exactly what it sounds like, and adds a small chance of inflicting poison to basically everything Touma does. It’s quite handy, assuming it actually lands on anything.
Next time, we’re going to take a break from the dungeon to see what Kiria’s up to. See you then!