Onward to the second half of the dungeon!

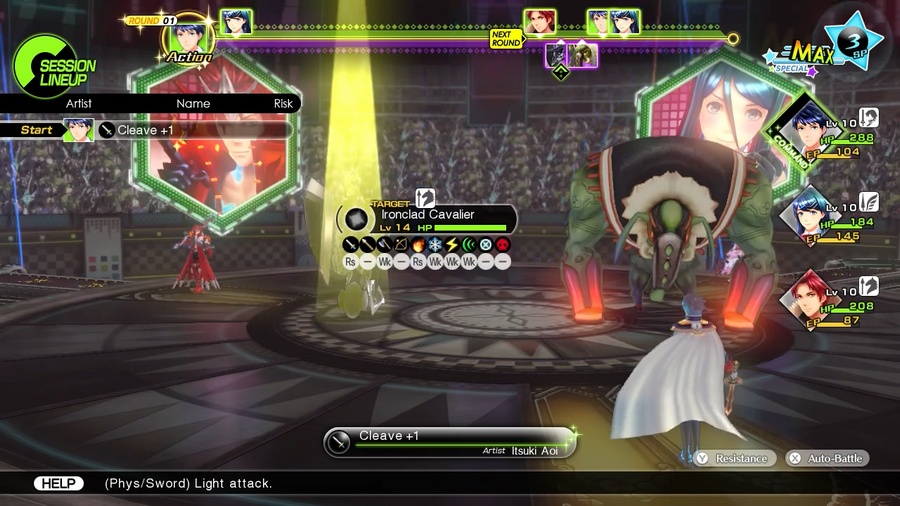
First up, we have the cavalier enemies. They’re sturdy, but they’re weak to basically everything (axes, wind, ice, and thunder) so they’re not very difficult to deal with. That said, the Man o’ War is already a recurring common enemy and they still have all their combo-related skills, so they’ll usually be our first priority.
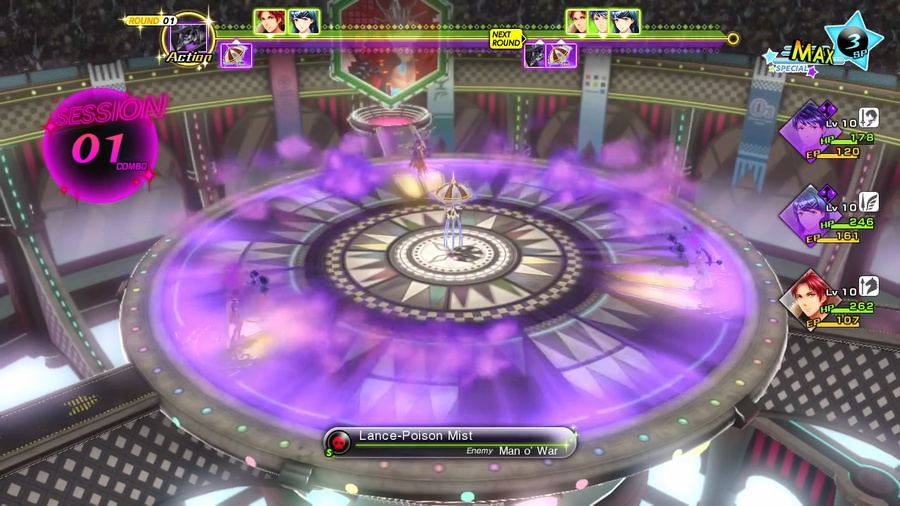
Oh, I’m sorry, did I forget to mention that they can poison your entire party if the cavalier hits a weakness? Yeah, they can do that, no big deal.

Get a Freebie is exactly what it sounds like - there’s a chance that using an item means it won’t get used up.
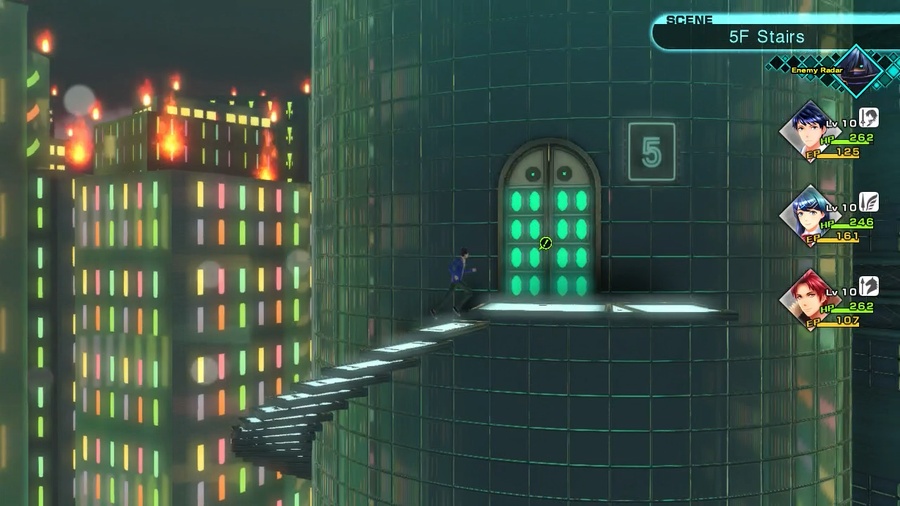
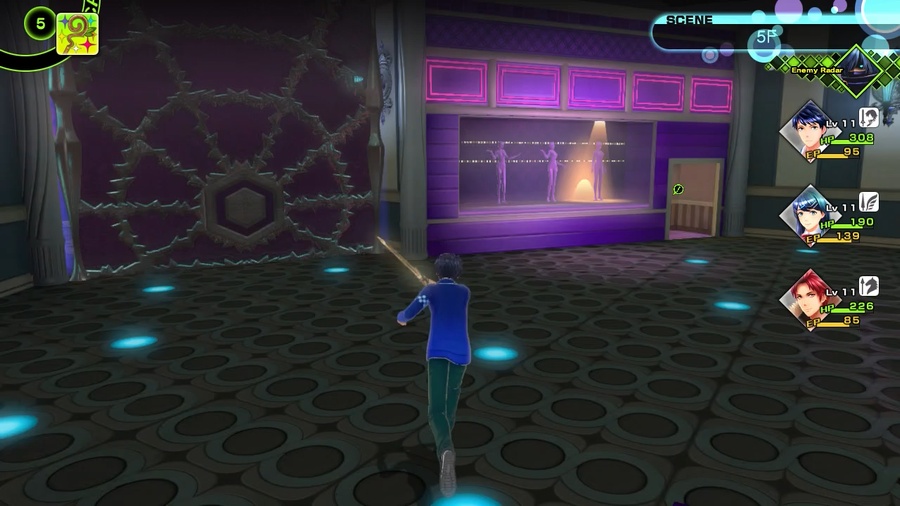
Anyway, Floors 5-7F are more less identical to the lower floors, just with slightly more complex layouts. You have to fiddle with the dress positions a bit more, and there’s a bit more back and forth between the two dresses, but the fundamentals are the same.
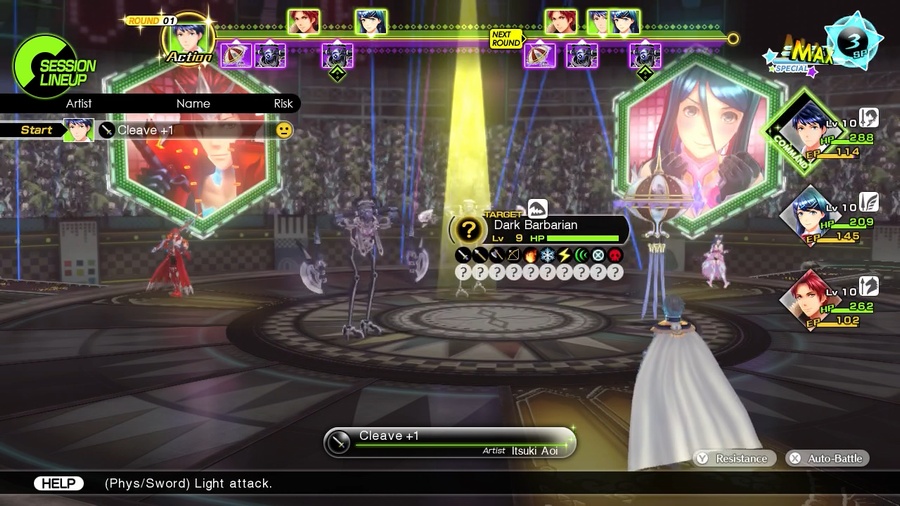
We also have these little fuckers. Barbarians are extremely weak and fold to pretty much anything, but they hit with axe damage and we’re running 2 lance users. They also have a couple -Split skills, including Axe-Split and Sword-Split, and they’ll be mixed in with a lot of different enemy groups.
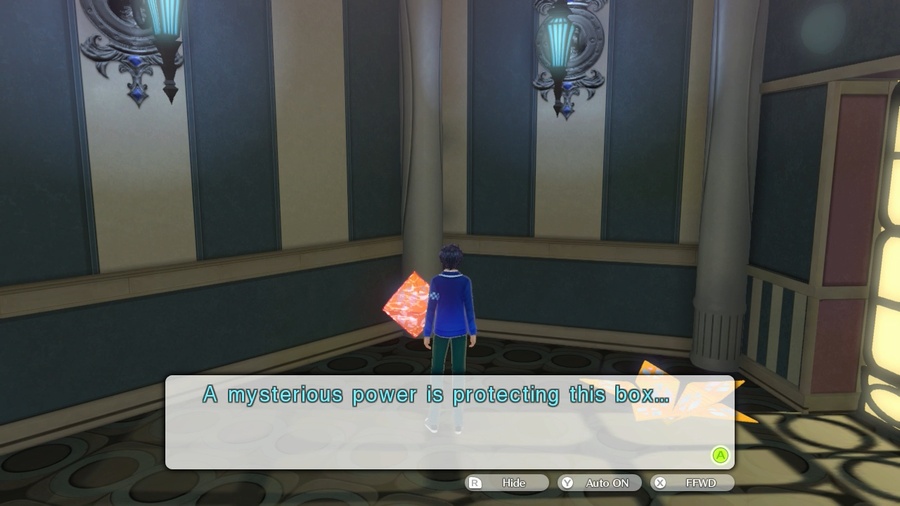
Before we go through the dress, we can hang a right and find our first locked chest. I’m sure I was just missing something incredibly obvious, but I found that there are way less keys than locked boxes on my first playthrough. I guess we’ll see!
This one, incidentally, has a Bracelet of Eternity. It gives marginally better defense than a Power/Magic Bangle and reduces your Strength and Magic by 2 in exchange for 30 EP. By the time that stat tradeoff is worth it, we’ll have far better accessories available, so it’s going straight in the vendor trash pile.
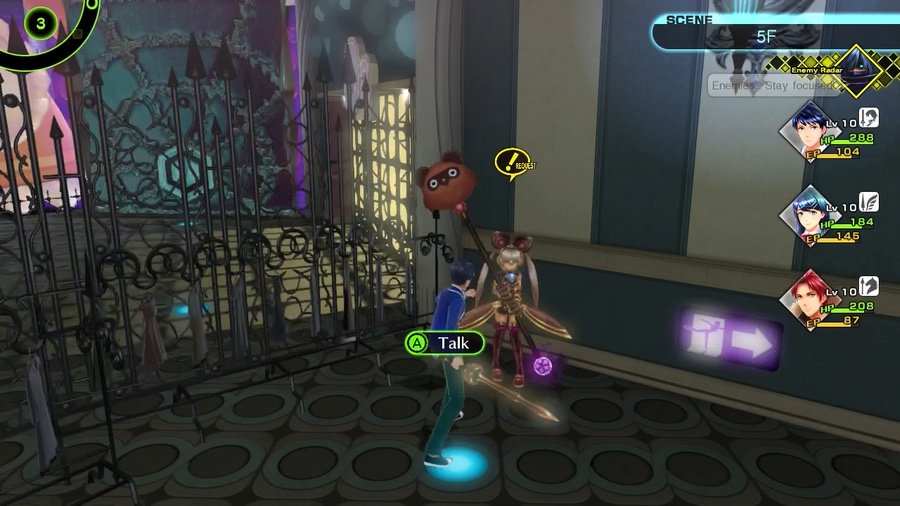
We also have a quest!
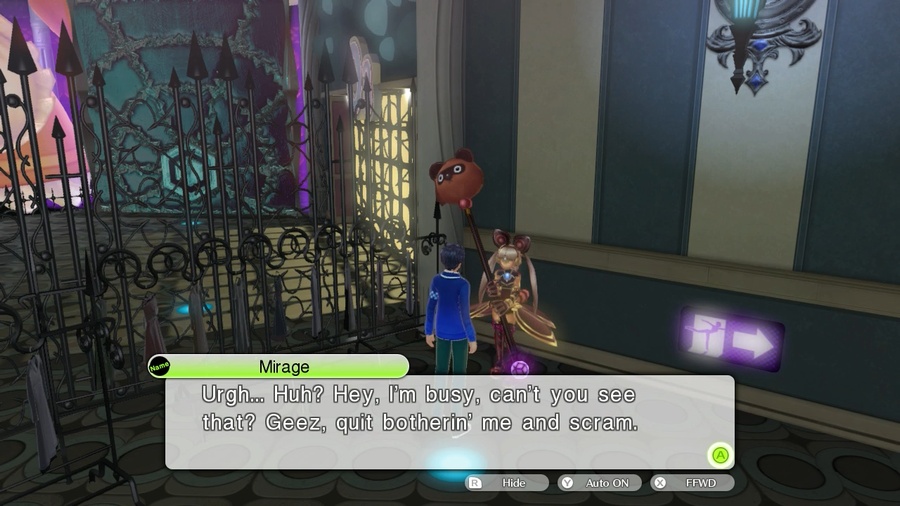
 What is it about my Performa? Is it THAT amazing? I’ve been attractin’ nothing but losers, it seems…
She blows us off, but if we talk to her again we’ll get the actual quest.
…And here’s another one! groan Kid, you’re gettin’ on my nerves, could ya just do me a favor and buzz off?
Oh! Wait! I just thought of something! Yep, I think I’ll let you live… And in return, I want you to go and “take care of” some pesky losers! Those nitwits think they can just come up and start talking to me…? Ha! The nerve!
Right, I need you to track down that noisy Myrmidon and his friend, the hairy, snout-nosed Cavalier. Oh! And I forget his name, but the last one in the trio is the worst. The worst! Get that shrimpy, potty-mouthed guy! Now, as proof… I’d like you to bring back their Force. Sound good? Now off you go!
This is a pretty straightforward quest: go kill the dudes, get their drop, come back. Hell, we already have the myrmidon and barbarian forces, we just need to go hunt down a cavalier.
And we find one immediately on the other side of the dress. Well, it was nice knowing you, champ.
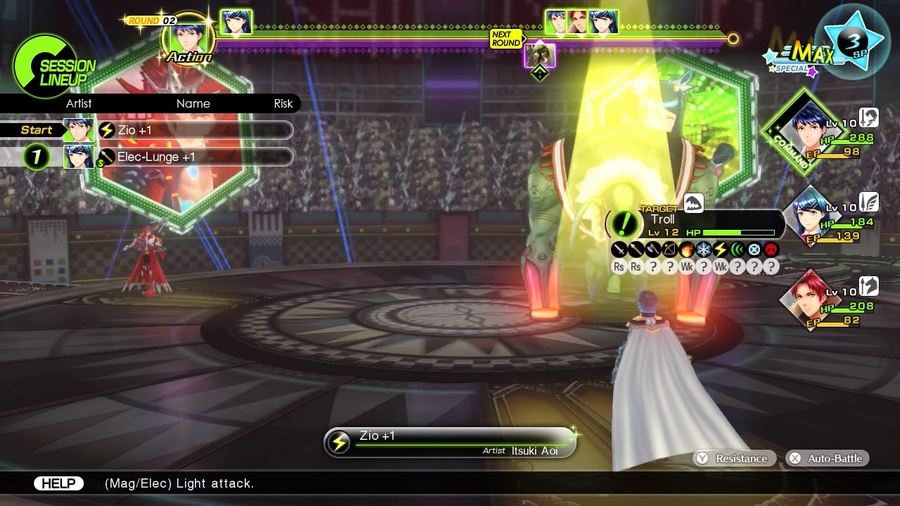
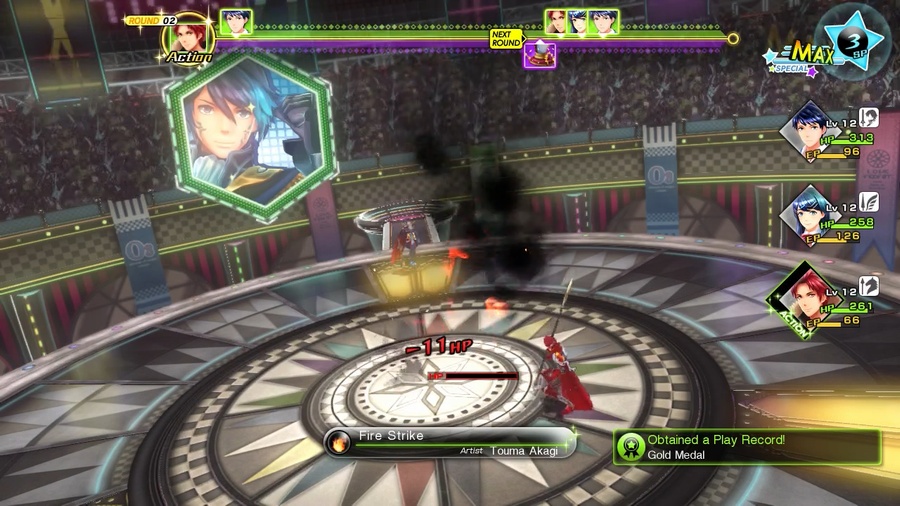
The troll is a little more obnoxious. He’s very resistant to physical damage of all stripes, but is weak to every element. Itsuki and Tsubasa can tear him up, but Touma is pretty useless because even his fire attack is physical. That said, all he does is spam a basic physical attack that isn’t even very accurate, so it’s really just that he’s kind of annoying to kill.
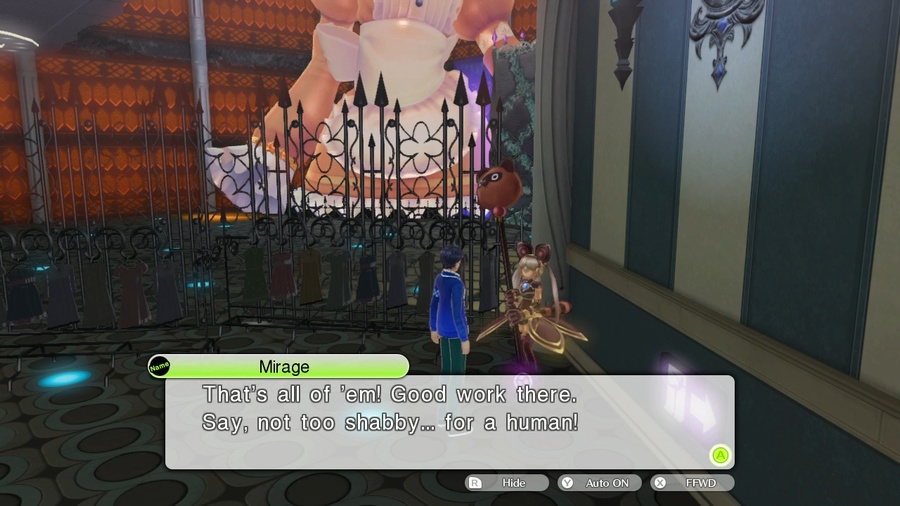
I guess that about does it for this place, don’t ya think? I’m outta here!
Obtained Treasure Key!
:confuoot:
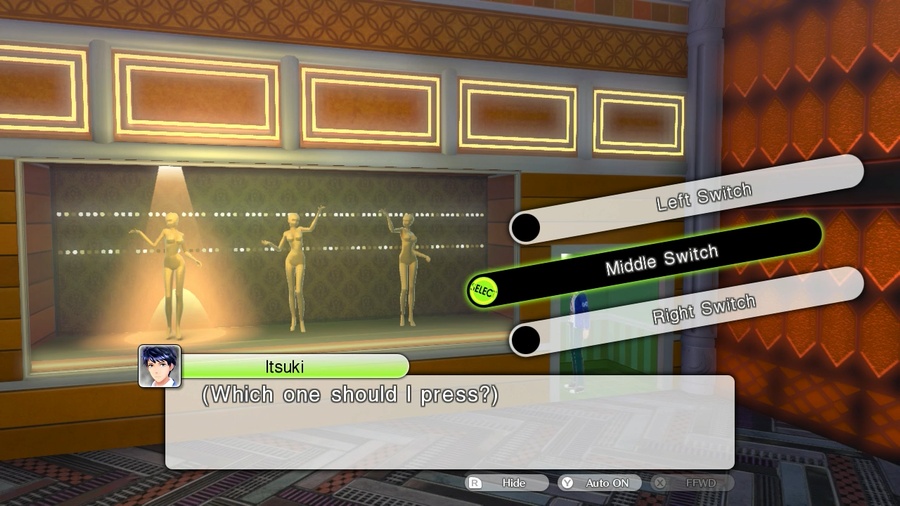
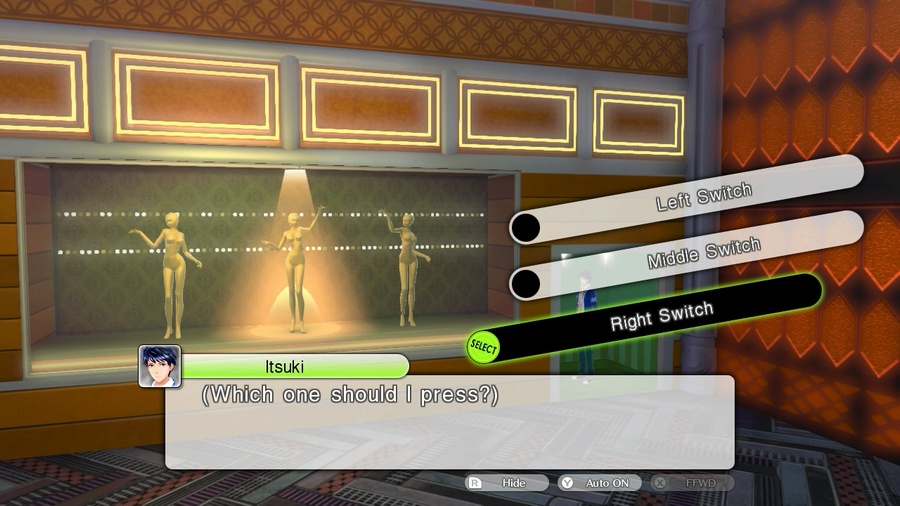
The left side of the dress is blocked off by a one-way gate, so our only option is to use the purple controls.
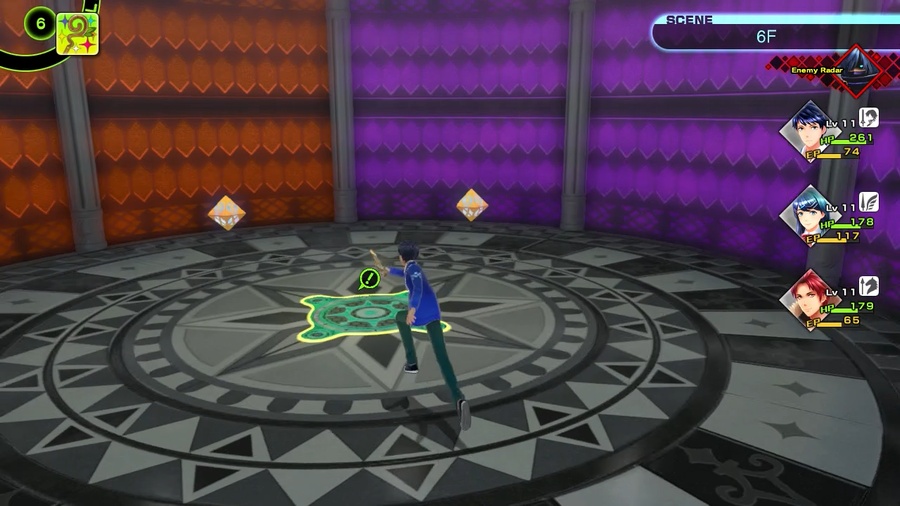
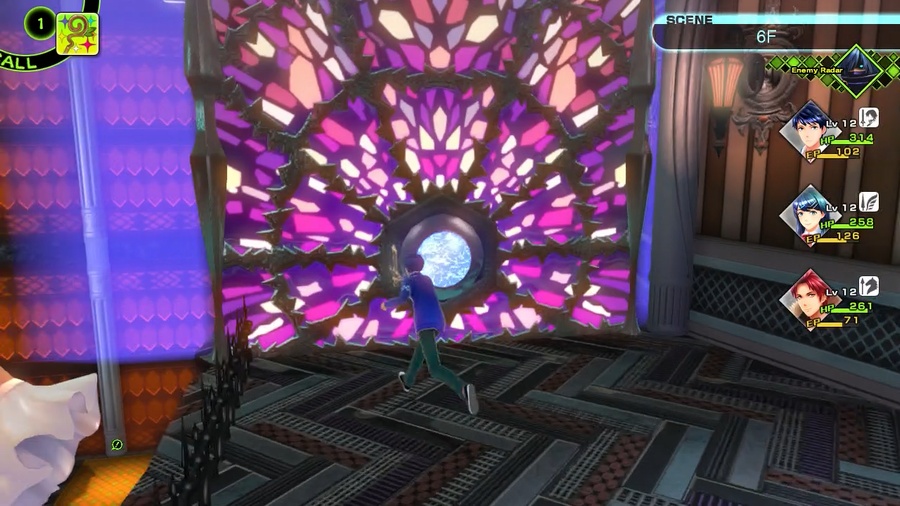
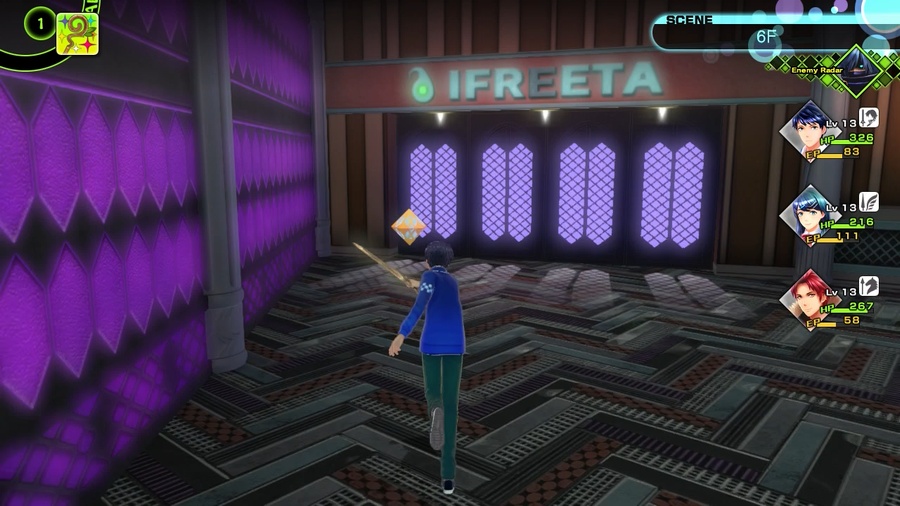
Next stop, 6F.
On our way over to the orange dress, we have the next checkpoint, a pair of first aid kits, and a revival bead. I’m not sure I understand why this particular checkpoint is here since it’s so close to the start of the area (and there’ll be another one at the end for the boss), but you do you game!
That said, no reason to look a gift horse in the mouth, and since Touma finally has some new weapons available, let’s put it to use. Back to the Bloom Garden!
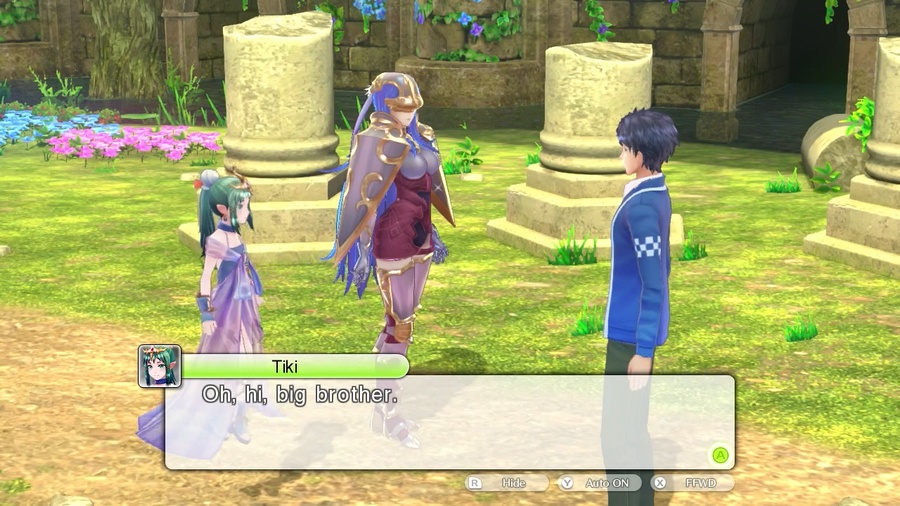
 Hello, Itsuki.
 Hey. What were you two talking about?
 I was asking Caeda if she’s getting along okay with Tsubasa. How are you and Chrom getting along?
We get along fine.
 True. There’s really nothing to complain about.
Good. I’m really glad to hear you’re all friends.
Thanks for being concerned for us, Tiki.
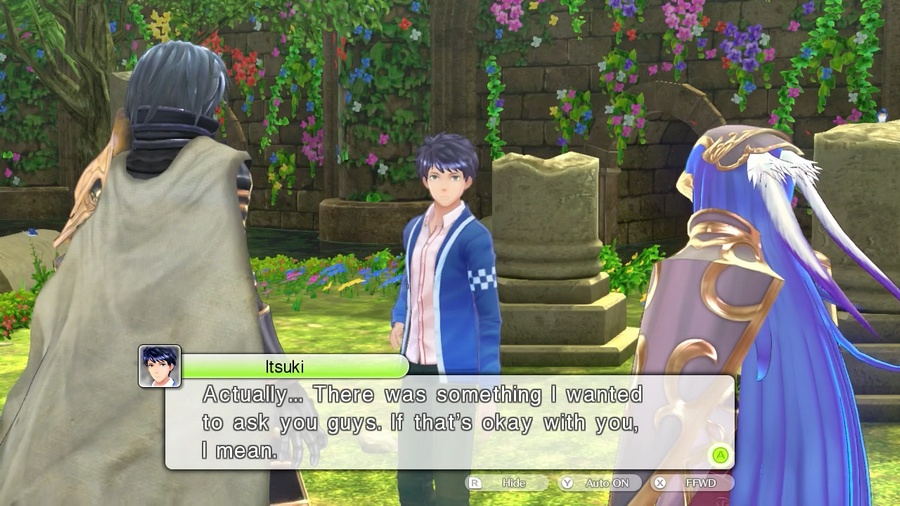
What is it?
How does this world look to you?
In our eyes, huh… I suppose when it comes to the literal sense, it’s not different than yours.
We actually experience this world through our masters’ senses.
Our senses?
Yes, and everything I’ve seen and heard of this world through you intrigues me quite a lot. This singing and dancing you and the others are so involved in… All this “performing arts” business… It’s strangely fascinating.
Yes, I agree. When Tsubasa sings with so much joy, I feel like it even reaches my heart.
I see. Well, it makes me feel a little better to hear you two so optimistic about the situation.
Thank you for your concern. You don’t have to worry though - there is at least one thing we can do to reclaim our memories.
These incidents caused by mirages… If we can solve the mysteries behind them, it could lead us to some clue about who we are. So we’ll keep lending you our strength.
Thanks, you two.
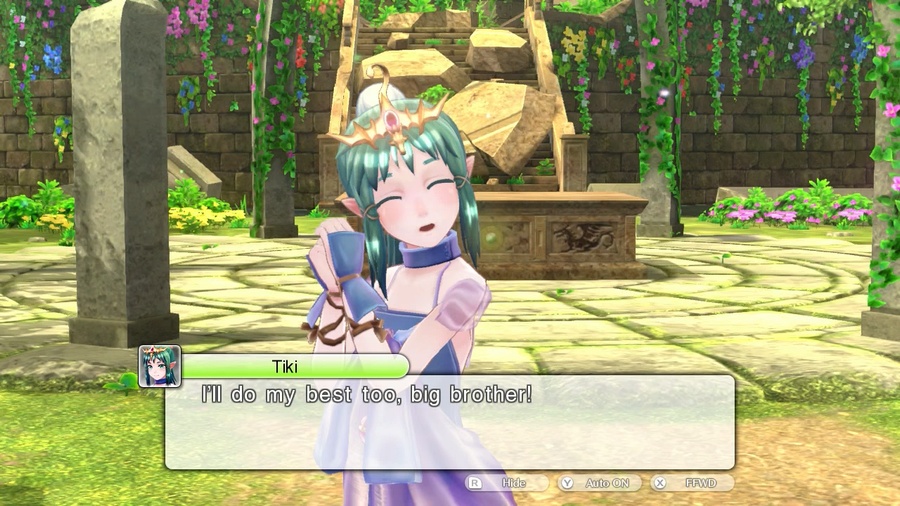
I’ll be counting on you too, Tiki!
Really, I just wanted an excuse to have Tiki on screen. She’s the best. :buddy:
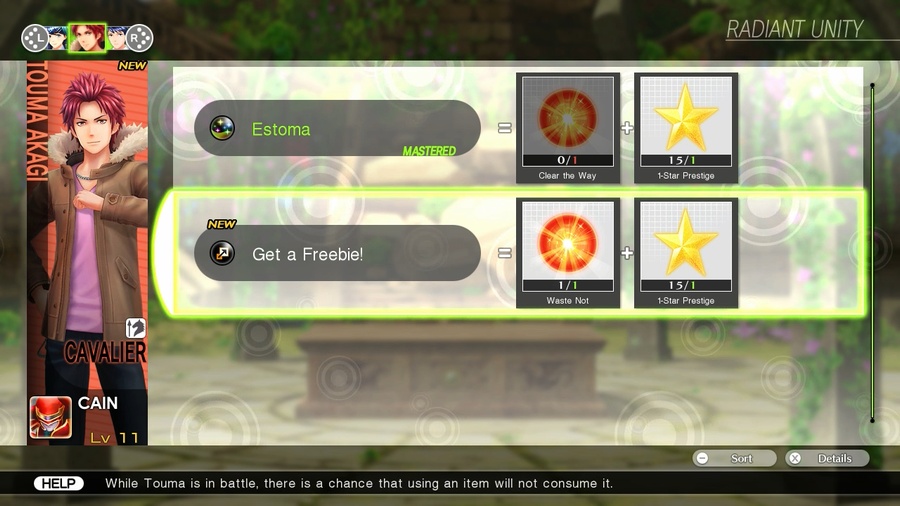
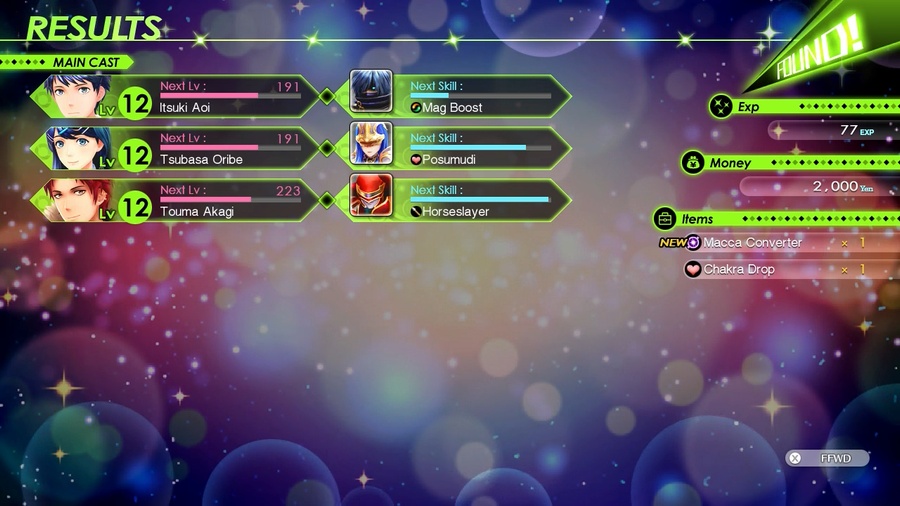
Anyway, for as short of a dungeon dive as that was, we have a ton of new stuff to grab. First we’re gonna grab Touma’s radiant skill - it’s cheap and while I don’t know the exact chance of saving an item, it happens often enough that it’s worth getting ASAP.
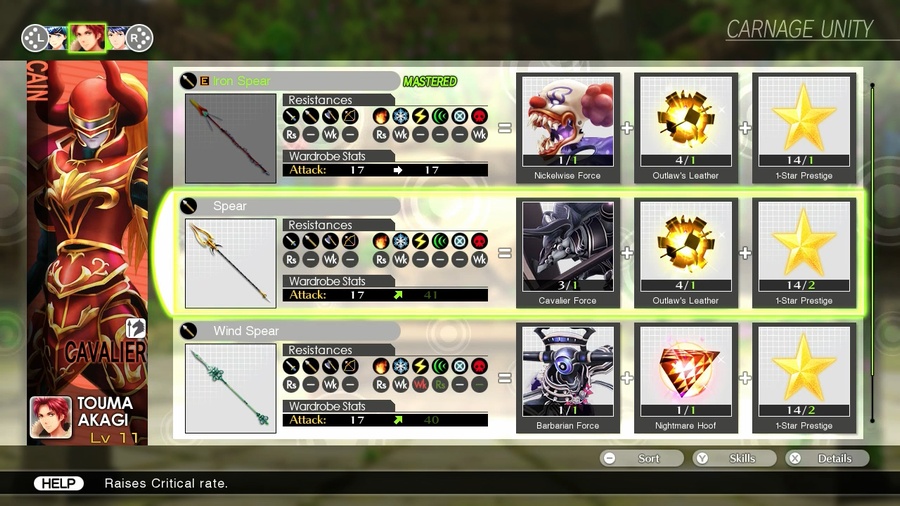
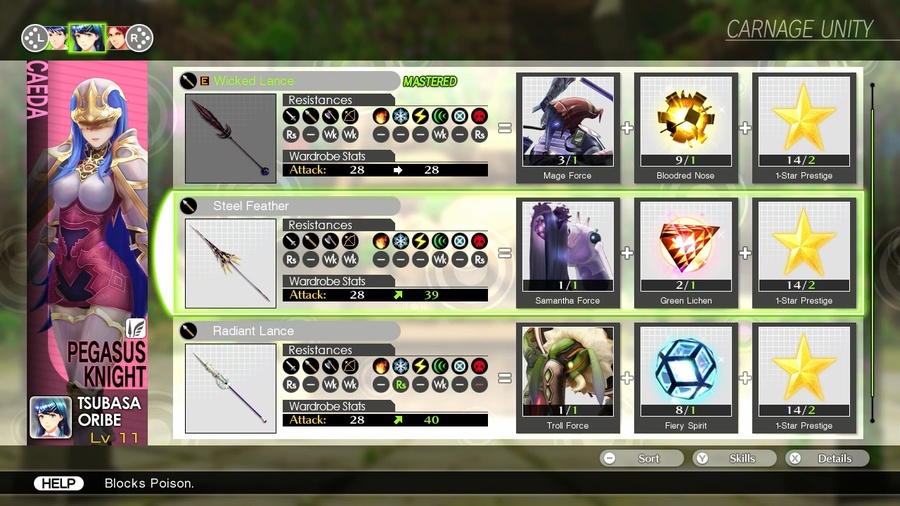
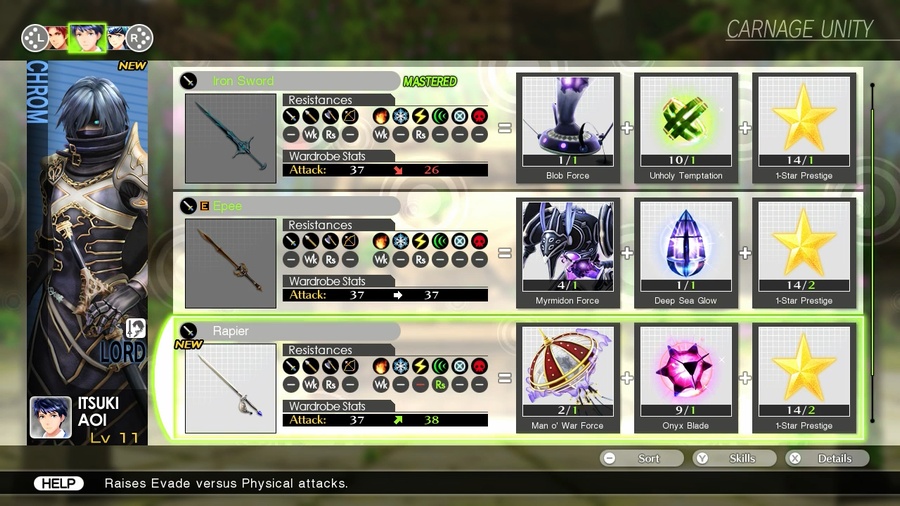
We also have multiple new weapons for everyone. The Rapier and Steel Feather are the real standouts, making Itsuki more likely to dodge physical attacks and Tsubasa immune to poison, respectively. Also, note that some of these are starting to swap around a few of our resistances - the Rapier will switch Itsuki to resist Wind instead of Thunder.
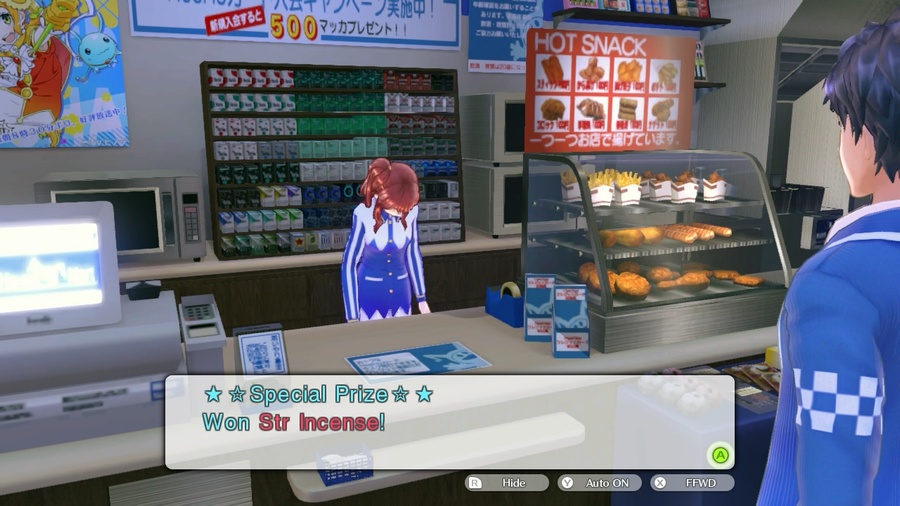
And while we’re stocking up on some other goodies, I win the grand prize in the melmark drawing. ![]() This one goes to Itsuki, and I toss the Speed Incense we got earlier to Tsubasa.
This one goes to Itsuki, and I toss the Speed Incense we got earlier to Tsubasa.
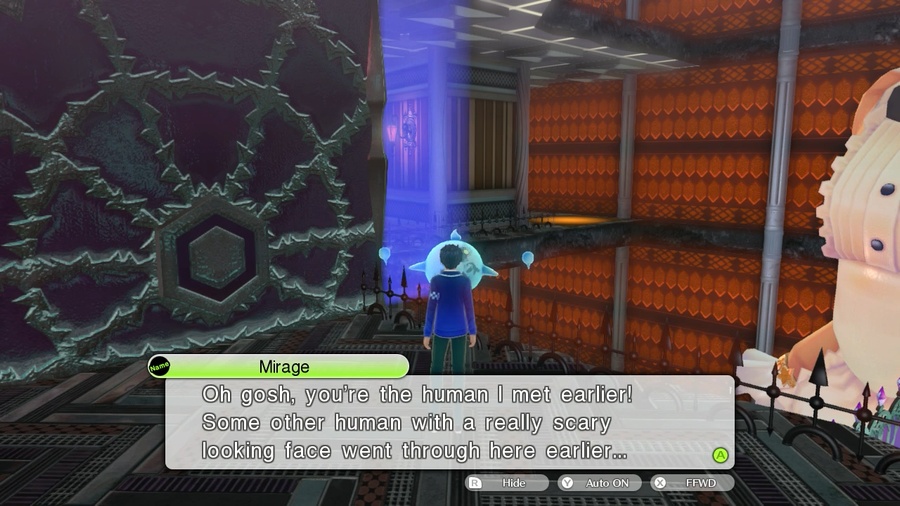
Back in the dungeon, this demon helpfully informs us that Aya did come this way. That would be a thing, wouldn’t it? Just leave and it turns out that Aya’s been hanging out on the first floor this whole time, watching us climb this whole thing like idiots.

We’ll take the orange dress back down to 5F, only to be met with another barrier. If we hang a right though, we’ll find the backside of that first barrier, plus the controls for the orange dress.
Now, things get a little trickier. First thing we need to do is open up 5F completely, so we’ll start by flipping to the left switch.
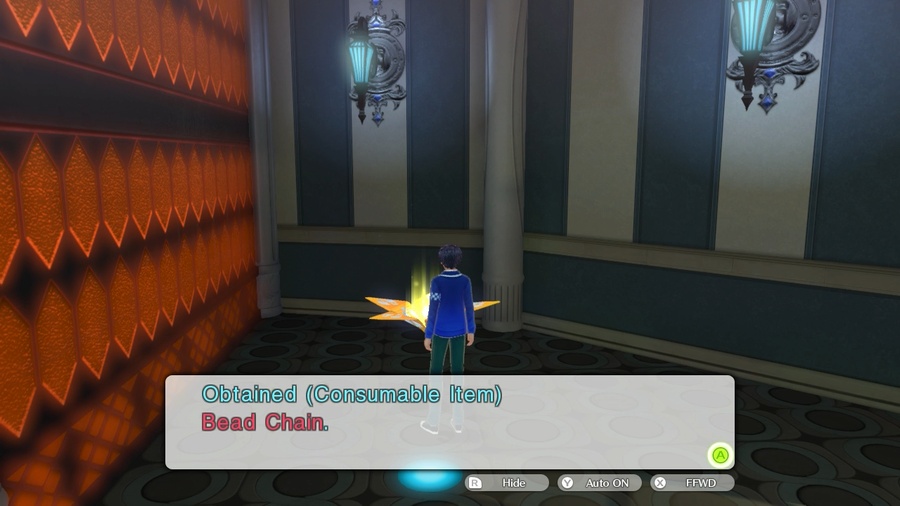
That gives us access to a Bead Chain(!!) and let us break the other barrier, so now we can reach both hands of both dresses on 5F.
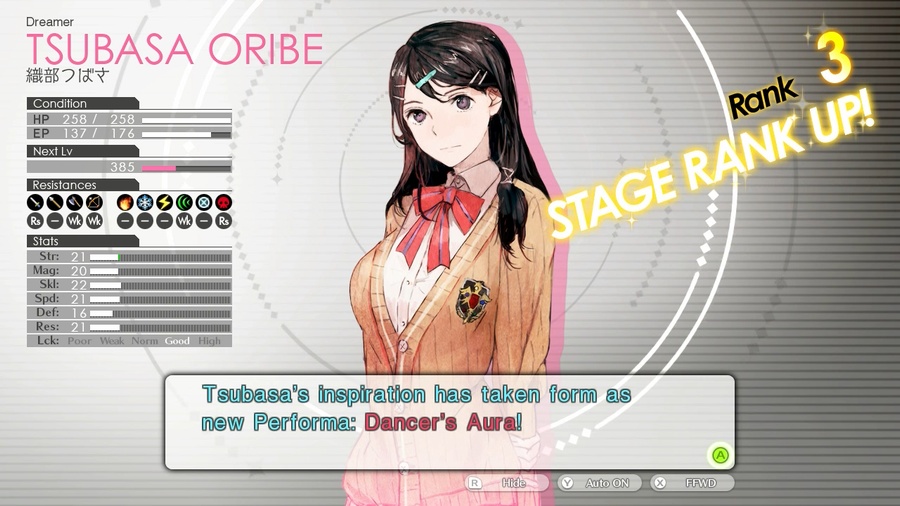
Tsubasa also picks up her Rank 3 skill. EP Fitness is exactly the same as HP Fitness, but for our mana instead.
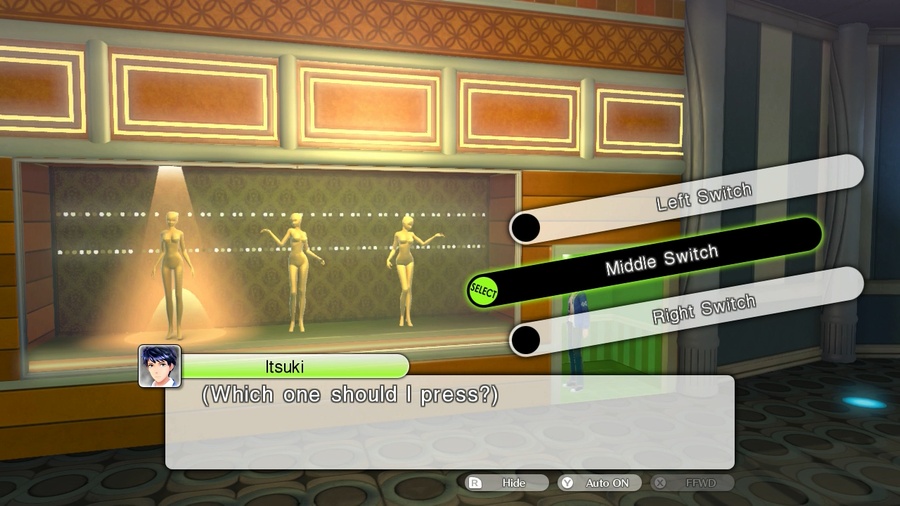
Next, we’re going to flip orange to the middle.
That lets us break a wall on 6F near where the demon saw Aya.
It also gives us access to another set of orange switches. The right one will take us to our final destination, but we’re going to pick the middle one to grab some goodies first.
Unfortunately, there’s nothing up here but another light wall. However, we got quite lucky and a very special enemy spawned.
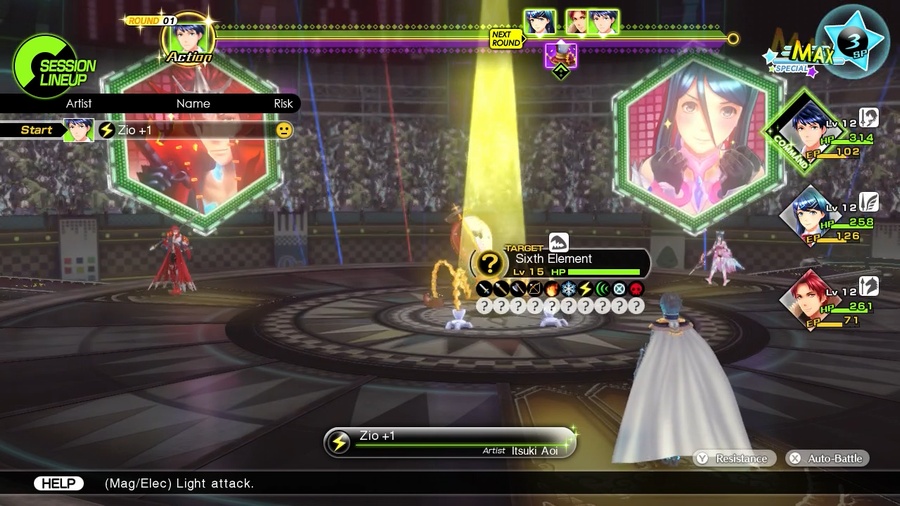
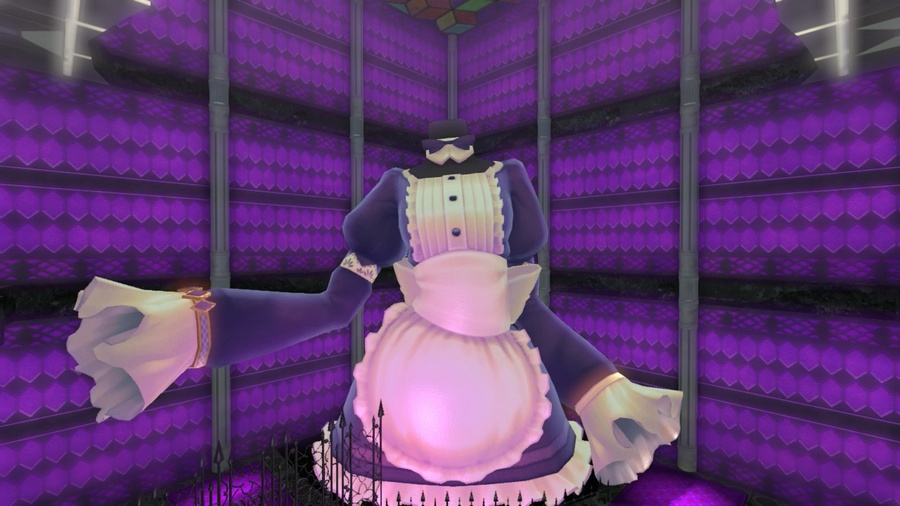
The Sixth Element is the first of the “rare enemies”, a set of gimmick enemies who drop a ton of cash and rare materials if you can actually manage to kill them. For starters, their gimmick almost always involves being immune to the vast majority of your damage sources - this one can only be hurt by elemental skills and spells.

They’re also slippery motherfuckers. Both Itsuki and Tsubasa have Surefire (which increases your chance of hitting an enemy), and neither of them can land a hit.
Fortunately, if you do manage to hit them, it usually only takes one good hit to get the job done. This will change later, and it makes them a royal pain in the ass in the later dungeons.
For actually managing to kill one, we get two grand in cold hard cash and a rare force for weapon creation. We’ll talk more about them once we can actually make one, but generally speaking these things are used to make…weird weapons, for lack of a better term. The kind of weapons that do things like teach Tsubasa fire spells instead of wind.
Anyway, with our business on 7F done for now, we’ll flip this over to the right and make our way to the end of the dungeon.
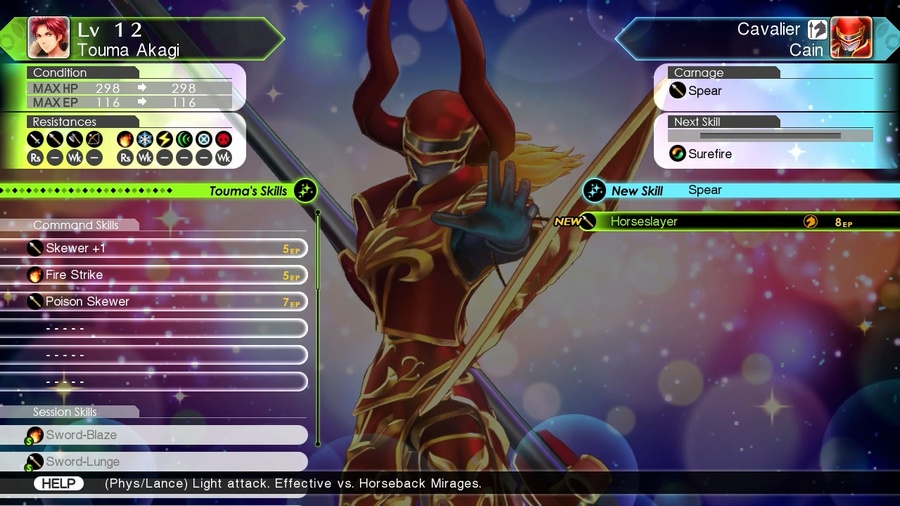
Along the way, we pick up our first slayer skill. Horseslayer is a standard lance attack, but it will trigger a weakness if you use it on…well, horses. Specifically, cavaliers and their ilk only - you’d think pegasi would count as a horse, but that’s a holdover from Fire Emblem itself.
To get to this little alcove, you need the purple dress to have both hands on 6F, and we get 4500 yen and 10x Detritus for our trouble. Curiously, the latter is a key item, but hell if we have any idea what it’ll be used for right now.
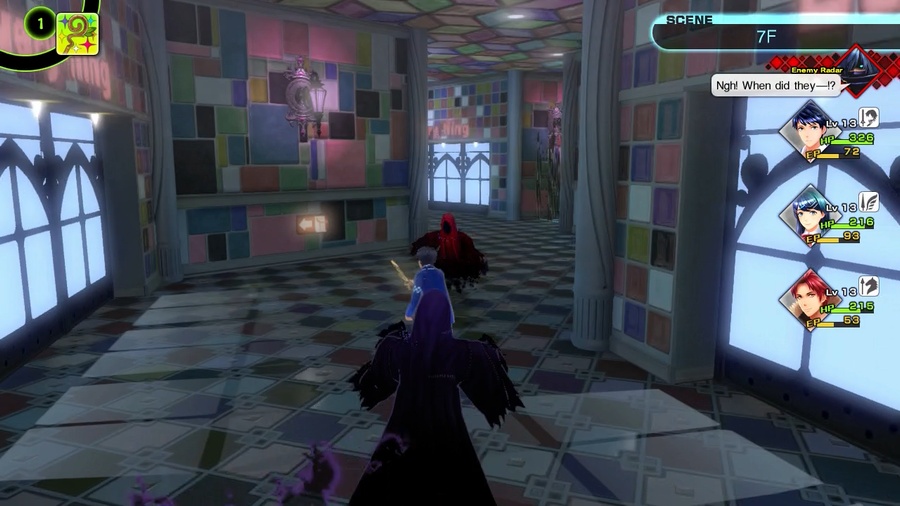
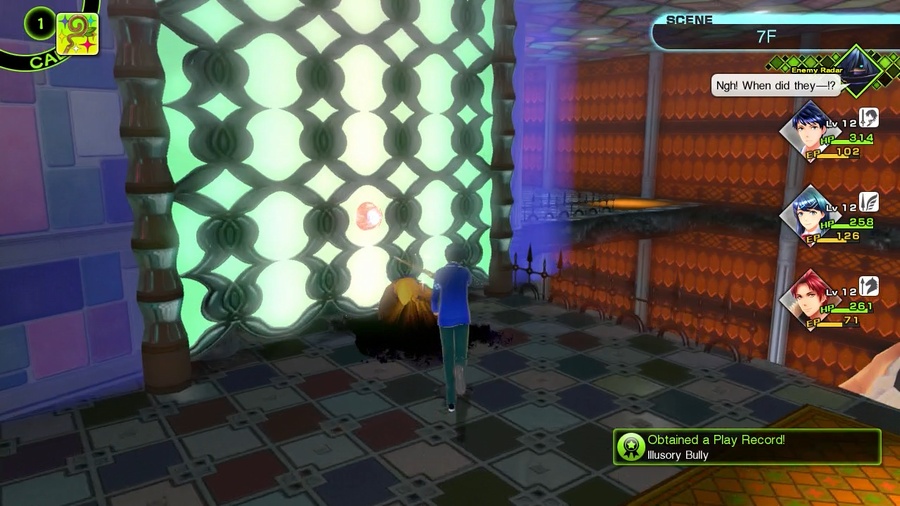
Up on 7F, we run into this lovely situation. When this happens, you want to run right into that red enemy - stopping to whack him and get a preemptive strike just means that you’ll get hit by the savage enemy during the animation.
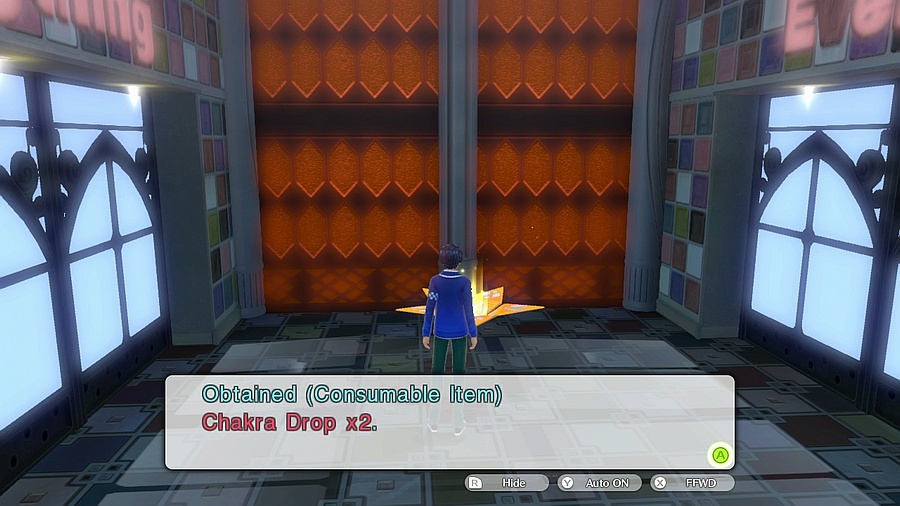
At the end of the hallway, we get a few more Chakra Drops for our efforts. I guess it was worth it?
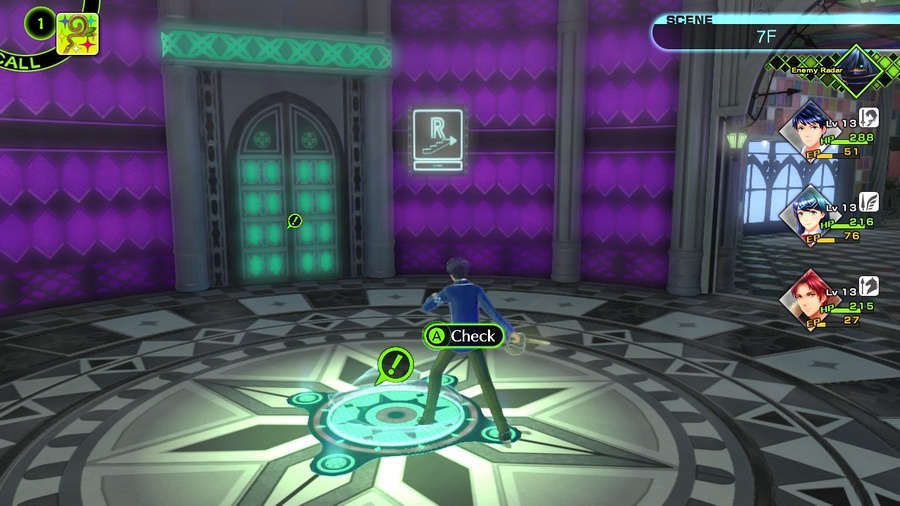
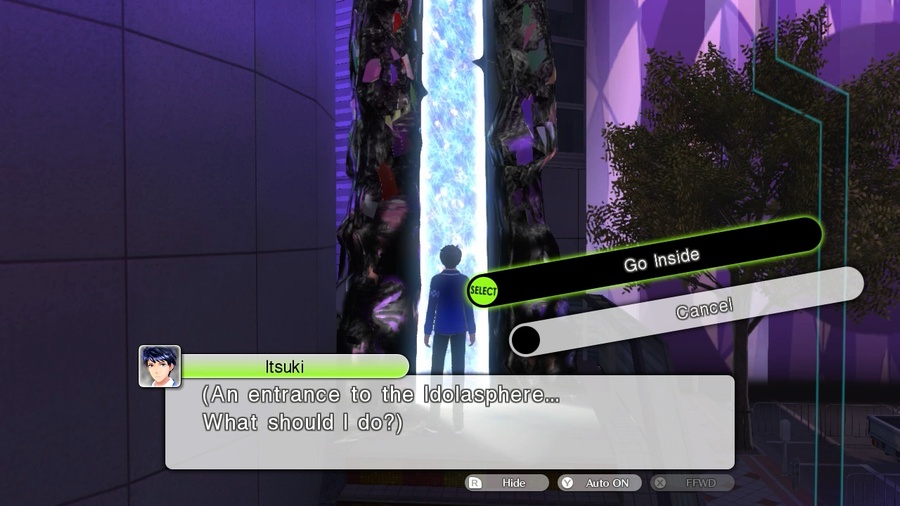
And at the end of a much longer hallway, we find our final teleporter. We’re in pretty reasonable shape right now, but there’s no reason to go into a boss fight at less than full strength, so let’s go cash in our last couple goodies and top off before we fight Aya for real.
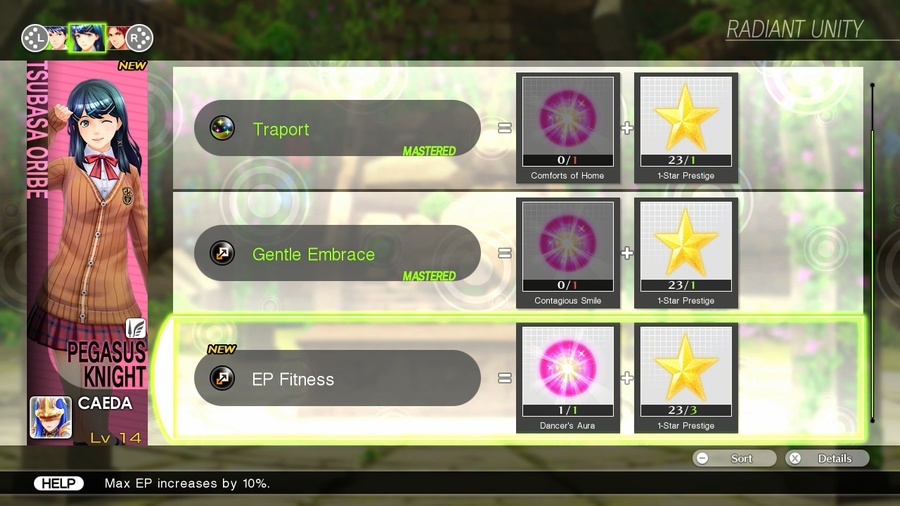
Tsubasa gets an extra 10% EP, as if it wasn’t obvious enough that her future lies in casting instead of stabbing.
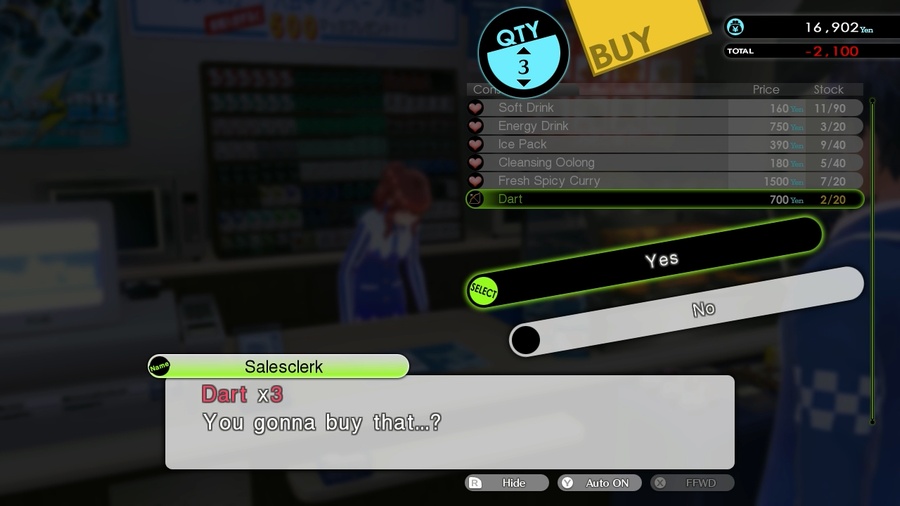
We’re also going to grab a couple Darts before heading in. This is our only way of inflicting bow damage right now, and while we don’t have any combo skills for bows yet (because the game doesn’t expect you to be using it, for obvious reasons), it’s still better than nothing for someone like Itsuki, who will be comparatively neutered against the boss.
That’s gonna do it for now though. Next time, we’re headed to the roof!