Lets get most of the battle system stuff out of the way in this update.
Part 3.1: School Is For Learning
Very first thing we’re going to do here, is go into the Medawatch and look at a stat breakdown for Metabee’s parts. We’re going to start swapping them out this update but lets break them down right now. First up is going to be Head, Left Arm, and Right Arm as they all have the same stat system behind them:

Starting at the left side of the screen, the first blue box below the Medapart’s picture describes the type of action take, Shoot or Aim Shot in this case. The second blue box describes the Medal capability. There’s categories such as Shoot, Strike, Anti-Air, Heal, etc etc, basically broader buckets that each action type can fall into. Medals will always synergies well with one particular category (occasionally with a particular action type instead), and will always force the Medabot to target a specific category/action type if it exists on the enemy team. I’ll go into that in more detail when covering Medals later on.
Something worth noting is that the difference between Shoot and Aim Shot isn’t just for show. Certain actions have bonuses or penalties tied to them. In Aim Shot’s case, it has a bonus to its chance of a critical hit (couldn’t find information on exactly how large the bonus is). However when returning from an attack the Medabot is unable to evade any incoming attacks.
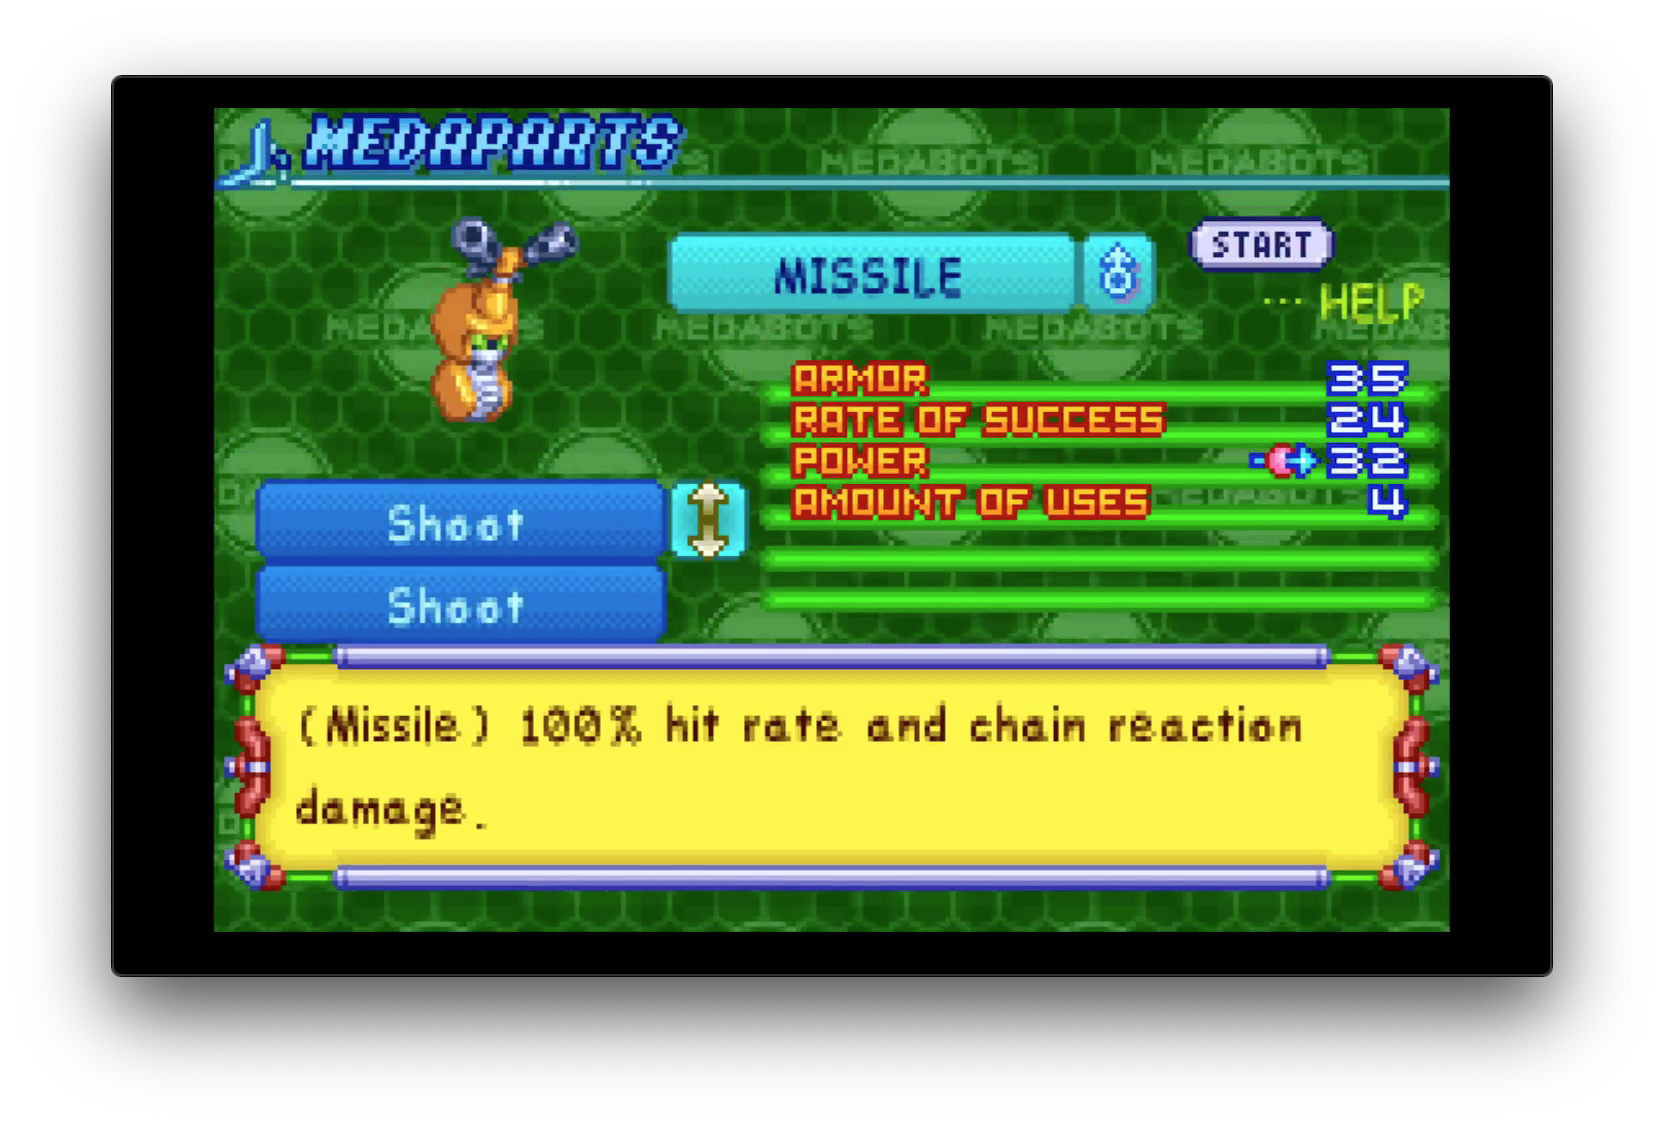
Its also worth noting that the Missile head part is extremely rare in how it operates. Normally the second blue box would classify it as being compatible with Missile Medal interactions. Outside of Medabee’s and Rokusho’s head parts, the game follows a very strict “your Medal compatibility will be exactly what the part itself does”. I cannot think of any other exceptions outside of their line of Medaparts off of the top of my head.
In between the two blue boxes and the green list is a small square with a symbol that designates if its a “Remoteness Medapart” or “Proximity Medapart”. Basically with guns you can aim at targets, with melee weapons you just strike at the closest target with no choice of aim.
Going down the green list:
- Armor is how much HP a particular part has. When it reaches 0 the part is destroyed. If the Head is destroyed the Medabot shuts down
- Rate of Success is… not as straight forwards as it looks. Its what the Medapart itself adds to the RoS, on top of bonuses from Medals and other factors. To be more specific (all formulas are credited to gsk6390 on GameFAQs because that is all I could find): TotalROS = TotalCompatibilityBonus + MedalSkill(which skill obviously depends on type of action) + ROS + (Proximity or Remoteness). Basic thing to keep in mind, you want the RoS number to be high, and you want to be using parts your Medal is compatible with, or at least has a good skill rating in. You’ll see the skill rating bit in the Medal breakdown later this update.
- Power is… also something added to a formula, this time for damage. Damage = TotalROS/4 + Power + (Berserk only, Propulsion/2) - EnemyDefense/(2 or 4) - EnemyTotalCompatibilityBonus/4 - EnemyLevel/(2 or 4). Its worth noting that a Critical Hit ignores defence entirely, and that the minimum damage a part can do is equal to the Power of that part (plus half of your Propulsion for Berserk parts). So if say, Metabee scores a critical hit with his Missile Part (which has that little icon in the Power row to indicate it deals Chain Damage), you can absolutely tear Medabots to pieces. Its also why its worth using Aim Shot attacks a lot even though you can’t evade afterwards: a critical hit has a very good chance of outright destroying a Medapart.
- Charge and Radiation affect a Medabot’s speed: Charge specifically going to the middle of the field and Radiation leaving the middle of the field. Don’t have a fancy formula for this one, just know you want those two numbers to be as low as possible. Noticeably the head part doesn’t have these two numbers: they always go as fast as the Medabot’s little legs can take them in exchange for having a limited number of uses. Missile has 4 shots.
Now onto the Legs part and its different chart:
The two blue boxes share a similar story to before: first one tells you the type of movement used by the part (as does the small box beside it, that’s the box that will show up in Robattles so you can know what type of movement your opponent is using), second one is for Medal compatibilities. The green list is a bit different though:
- Armor is still the same
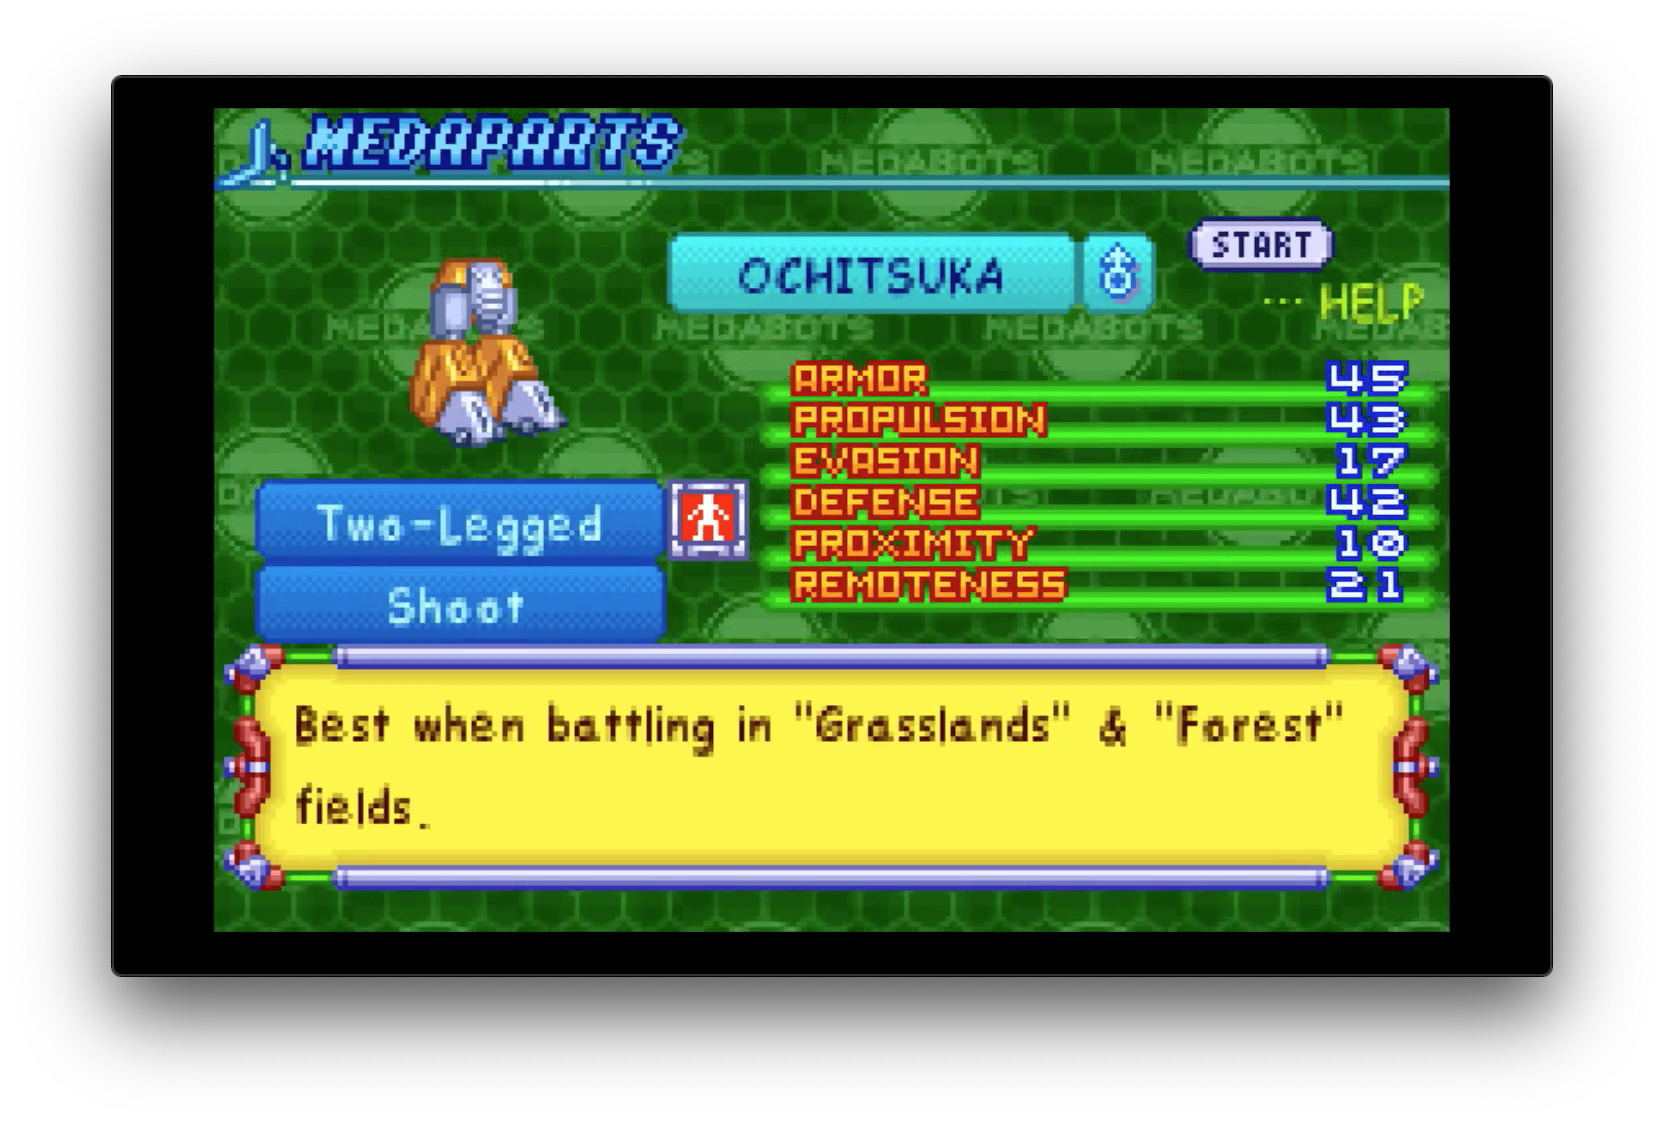
- Propulsion plays a large role in how fast your Medabot can move. Same with the movement type and Robattle fields. Everywhere we’ve fought so far have been Grasslands, and the inside of the school has Forest, so Two-Legged is king. However if you were to take a Two-Legged Medabot and put them on Beach fields it will be heavily bogged down. I’ll go over the field types as they come up, though generally you only know what type of legs work best there with everything after that being a bit of a guessing game as to how much of a penalty to Propulsion is being taken. As for the Propulsion number itself, higher is good. If I had to take a very rough guess to the overall movement formula it would be Speed = (Propulsion*FieldMultiplier - ChargeorRadiation)/StatusEffect. Yes there are statuses that either increase or decrease a Medabot’s speed.
- Evasion is more or less what you expect. Again, don’t know the formula on how it interacts with opponent’s RoS numbers. Generally speaking you shouldn’t expect any leg part that isn’t Sea or Air type to dodge a lot as everything else has meh to horrible Evasion. And then there are all of the parts that don’t let you evade while on Radiation phase. Its just not something to reply on.
- Defense you saw pop up in the Damage formula. Here is where its calculated for the entire Medabot.
- Proximity and Remoteness give bonuses to their respective attack types, as also seen in the RoS formula.
Also worth noting, when a Leg part is destroyed, the 5 stats that it provides (Propulsion, Evasion, Defense, Proximity, Remoteness) each get halved, so along with the Medabot receiving more damage, having less evasion, less speed etc, the minimum damage for a Berserk part will also fall.
All in all, Metabee’s starting parts are as I said earlier, decent. But we already have what I consider to be an upgrade:
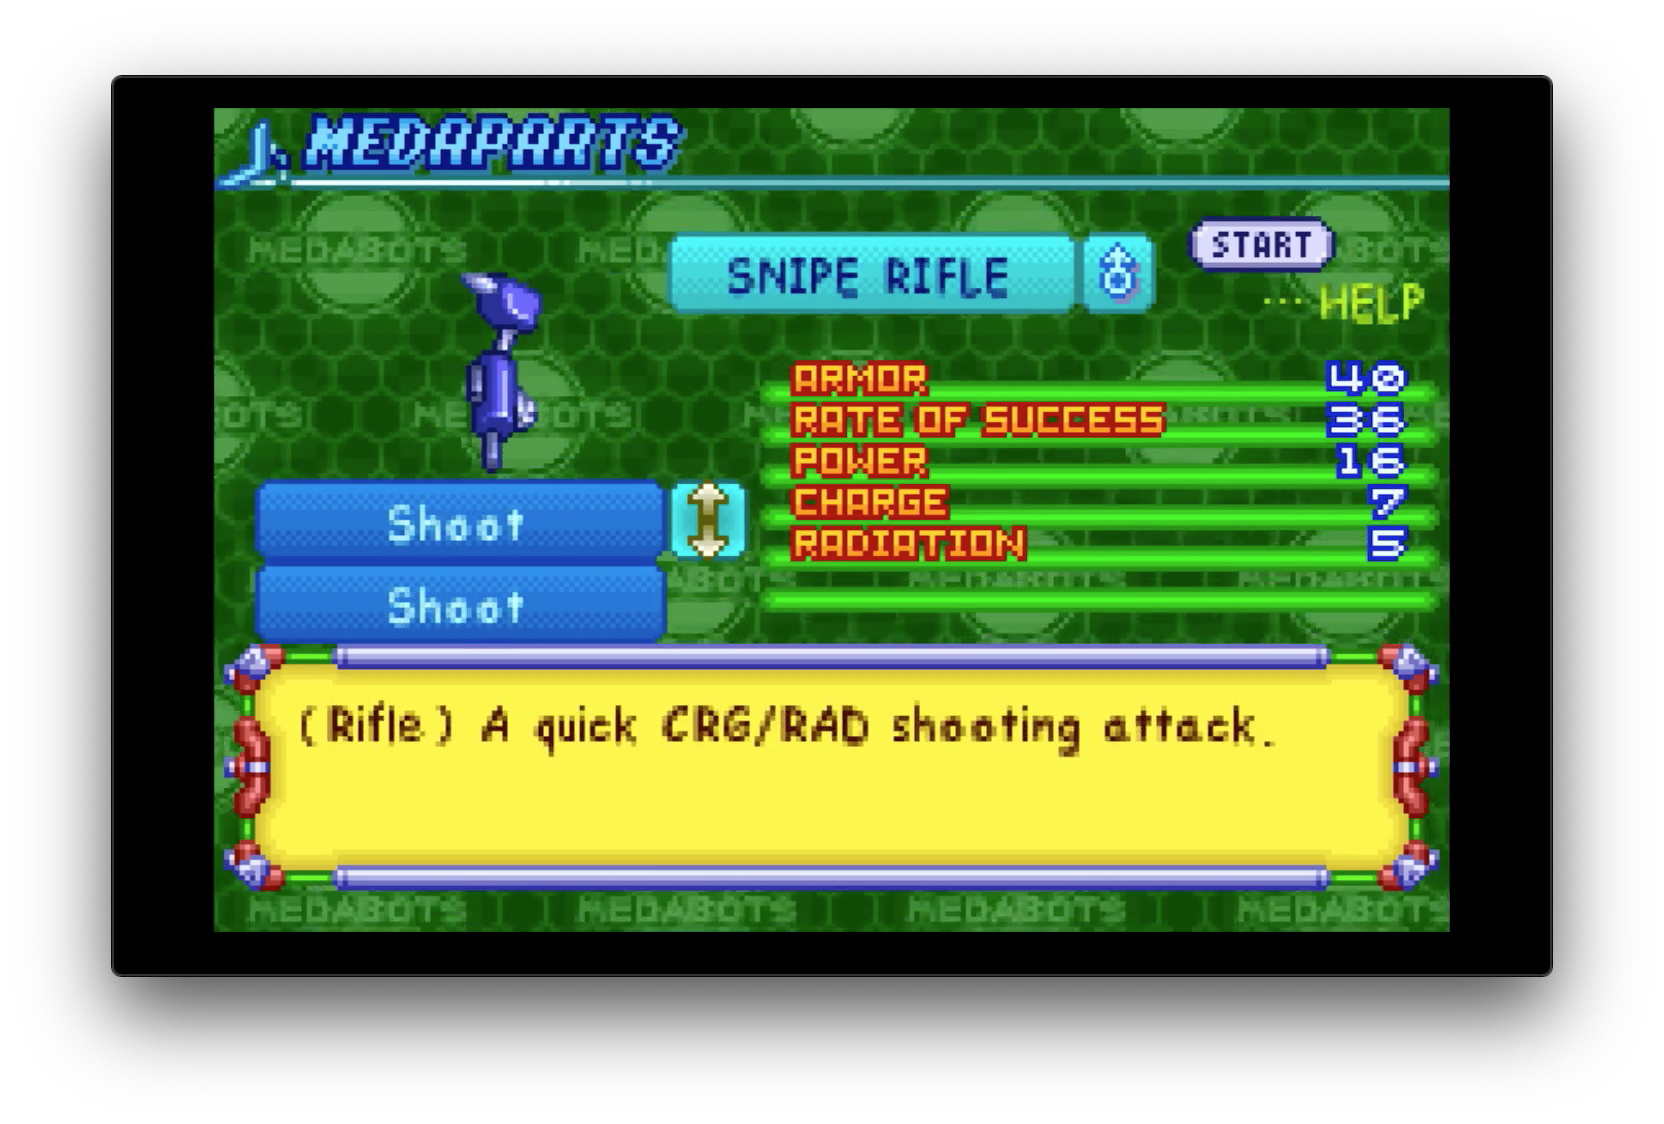
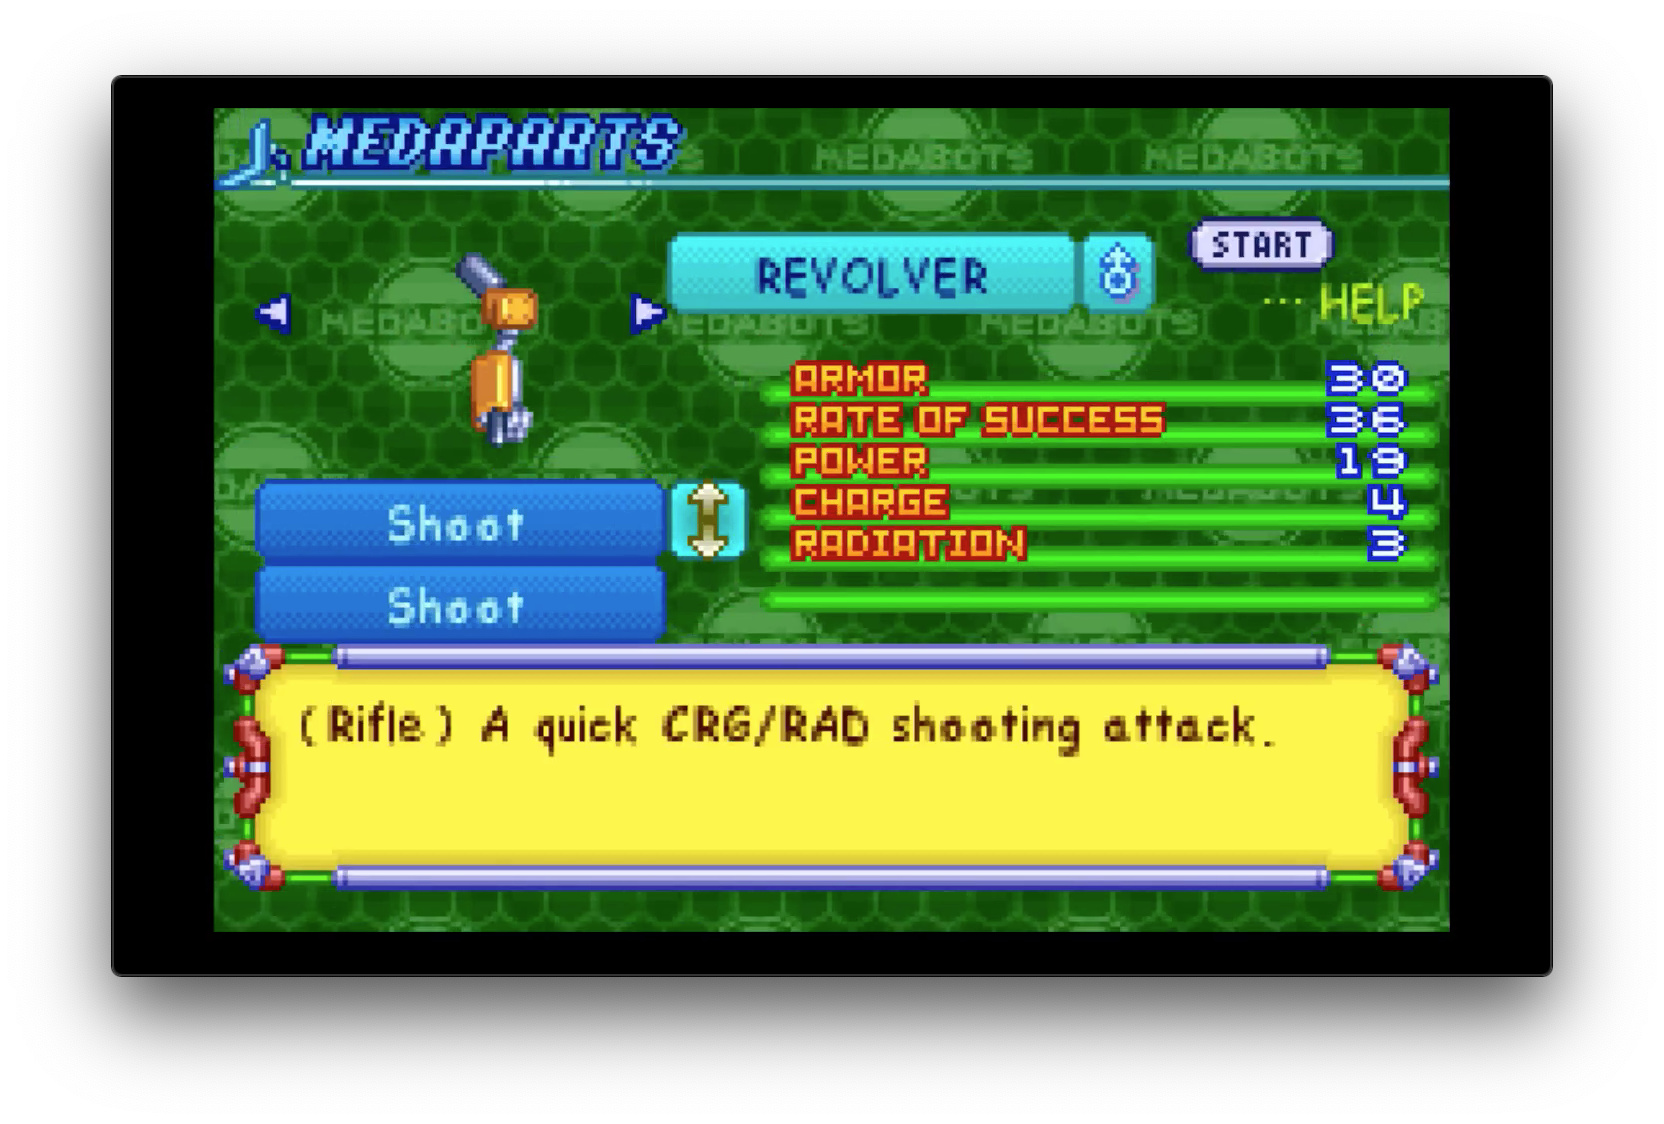
For more Armor and the same RoS you get very minor Power/Charge/Radiation penalties. You won’t notice the speed difference, and the Shoot attack on my build it always a “if I must” option so I don’t care about that small of a penalty to damage. More importantly, the extra armour on the Right Arm compared to Left Arm means that instead of the damage on Metabee going Legs > Left Arm > Right Arm, its going to go Legs > Right Arm > Left Arm. Left Arm has the Aim Shot, its more important. Thus, its an upgrade to use Snipe Rifle over Revolver, but only in a minor way.
You may be thinking that I should be using Totalizer’s head part since its stronger than Metabee’s Missile in terms of armor and damage in exchange for less shots and a lower chance to hit. However, the Medal compatibility doesn’t match: its for Laser and not Shoot. Its not something I’ll strictly follow, but Missile is such a good part that its a good enough reason not to swap out the head part.
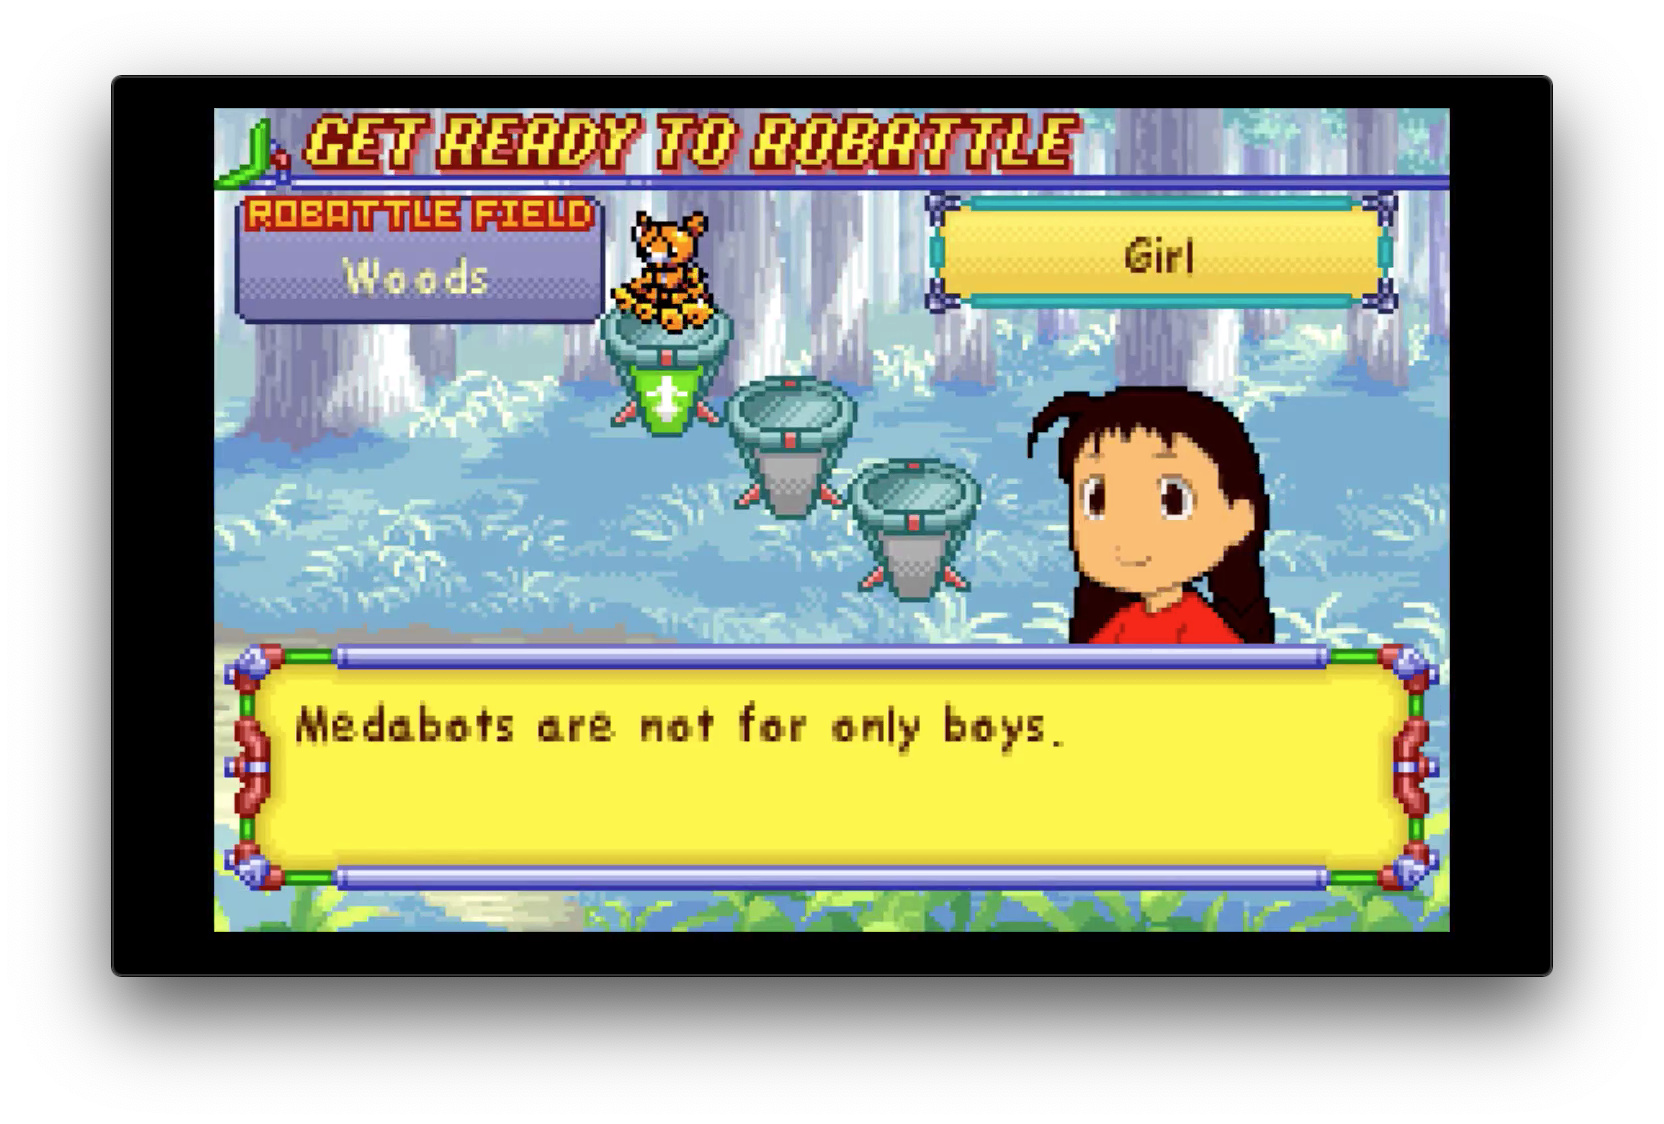
Churleybear uses Float for their Leg Part type. Don’t use Float. Its equally bad in all field types due to them never having high Propulsion. The most you can say is that they tend to have higher armor and defence but its not nearly enough. No good parts to really use among either of these two but you’ll end up collecting a full set anyways. At least keep Kintaro’s legs for when you’re building a second Medabot: you’ll be doing that sooner than you may think!
Anyway, lets see who the random encounters are for the school:
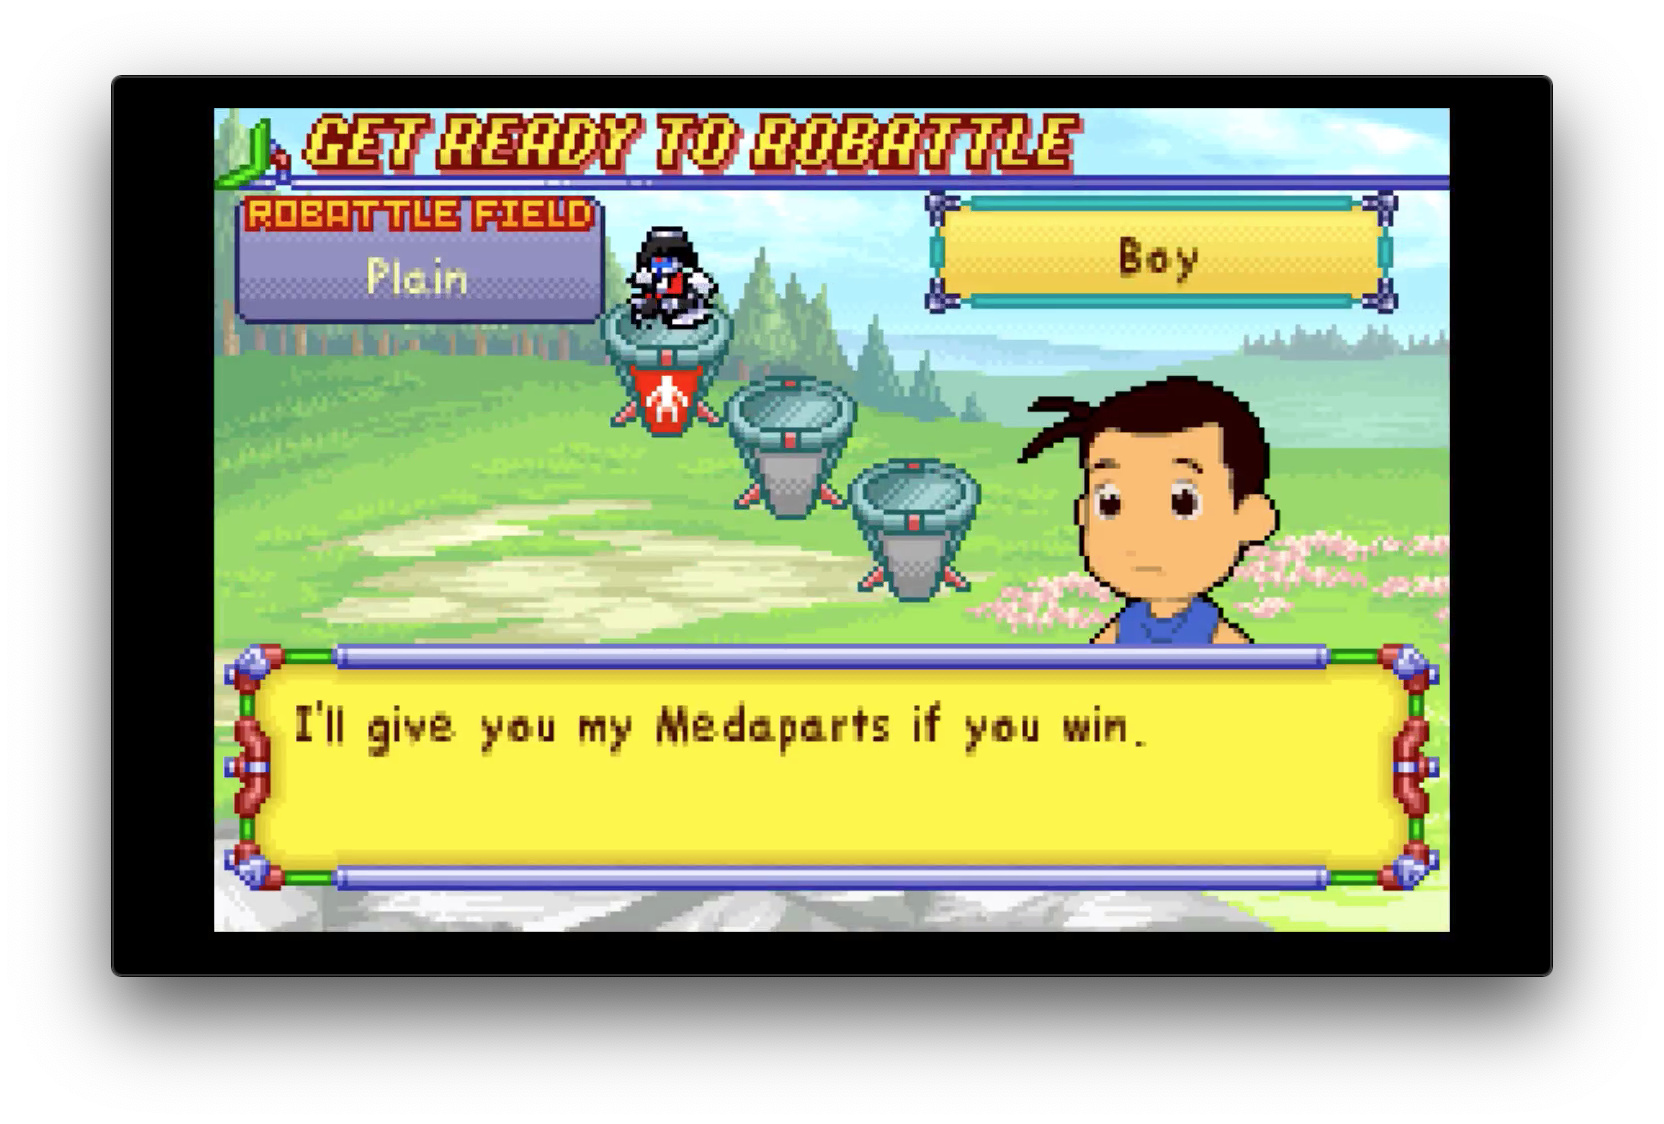


Neither of these two are threats, no strategies needed. They are punching bags for you to try out your new Medaparts on and to continue to get a hang for how the battle system works. Kintaro as expected has two Proximity attacks, however his head’s attack (along with all of Churlybear’s attack’s) are Gravity types. Kintaro’s is Press type, Churlybear’s is Break type, I’m not aware of any major differences between the two outside of flavour. How Gravity attacks work is that they throw an orb up into the air that comes down and hits your Medabot with… gravity itself. Somehow. As an attack type gravity attacks tend to have lower damage, but they have a special attribute.
If you look back at the picture for Metabee’s Missile attack, you’d see the yellow box explaining that as a Missile type attack (not to be mistaken for being the Missile named Medapart…) it has 100% hit rate and Chain Damage. Gravity type attacks have the RoS value of the part itself doubled in all formulas. For the record, Laser type attacks have the Power number doubled for damage formulas. That would be why most Laser attacks have massive Charge and Radiation numbers, along with quite low RoS. Also why I said to grab Totalizer’s Head Part: as a head it avoids the Charge and Radiation penalties.
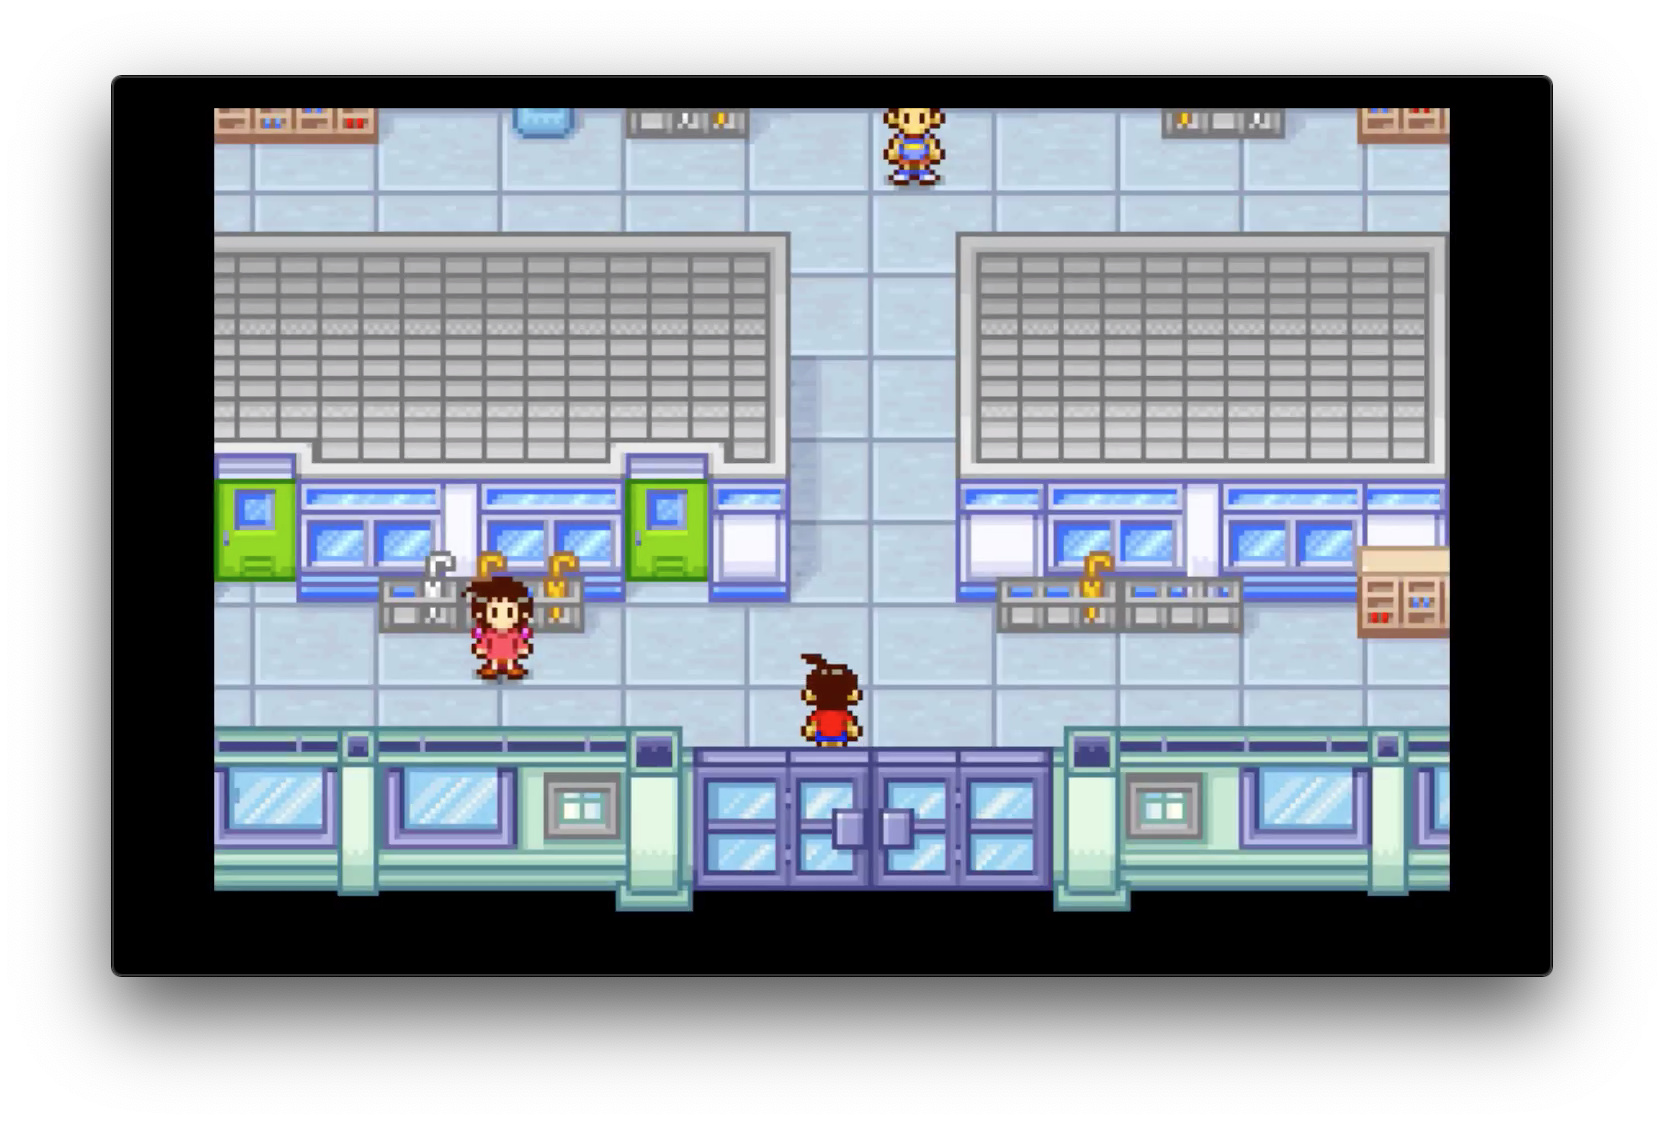
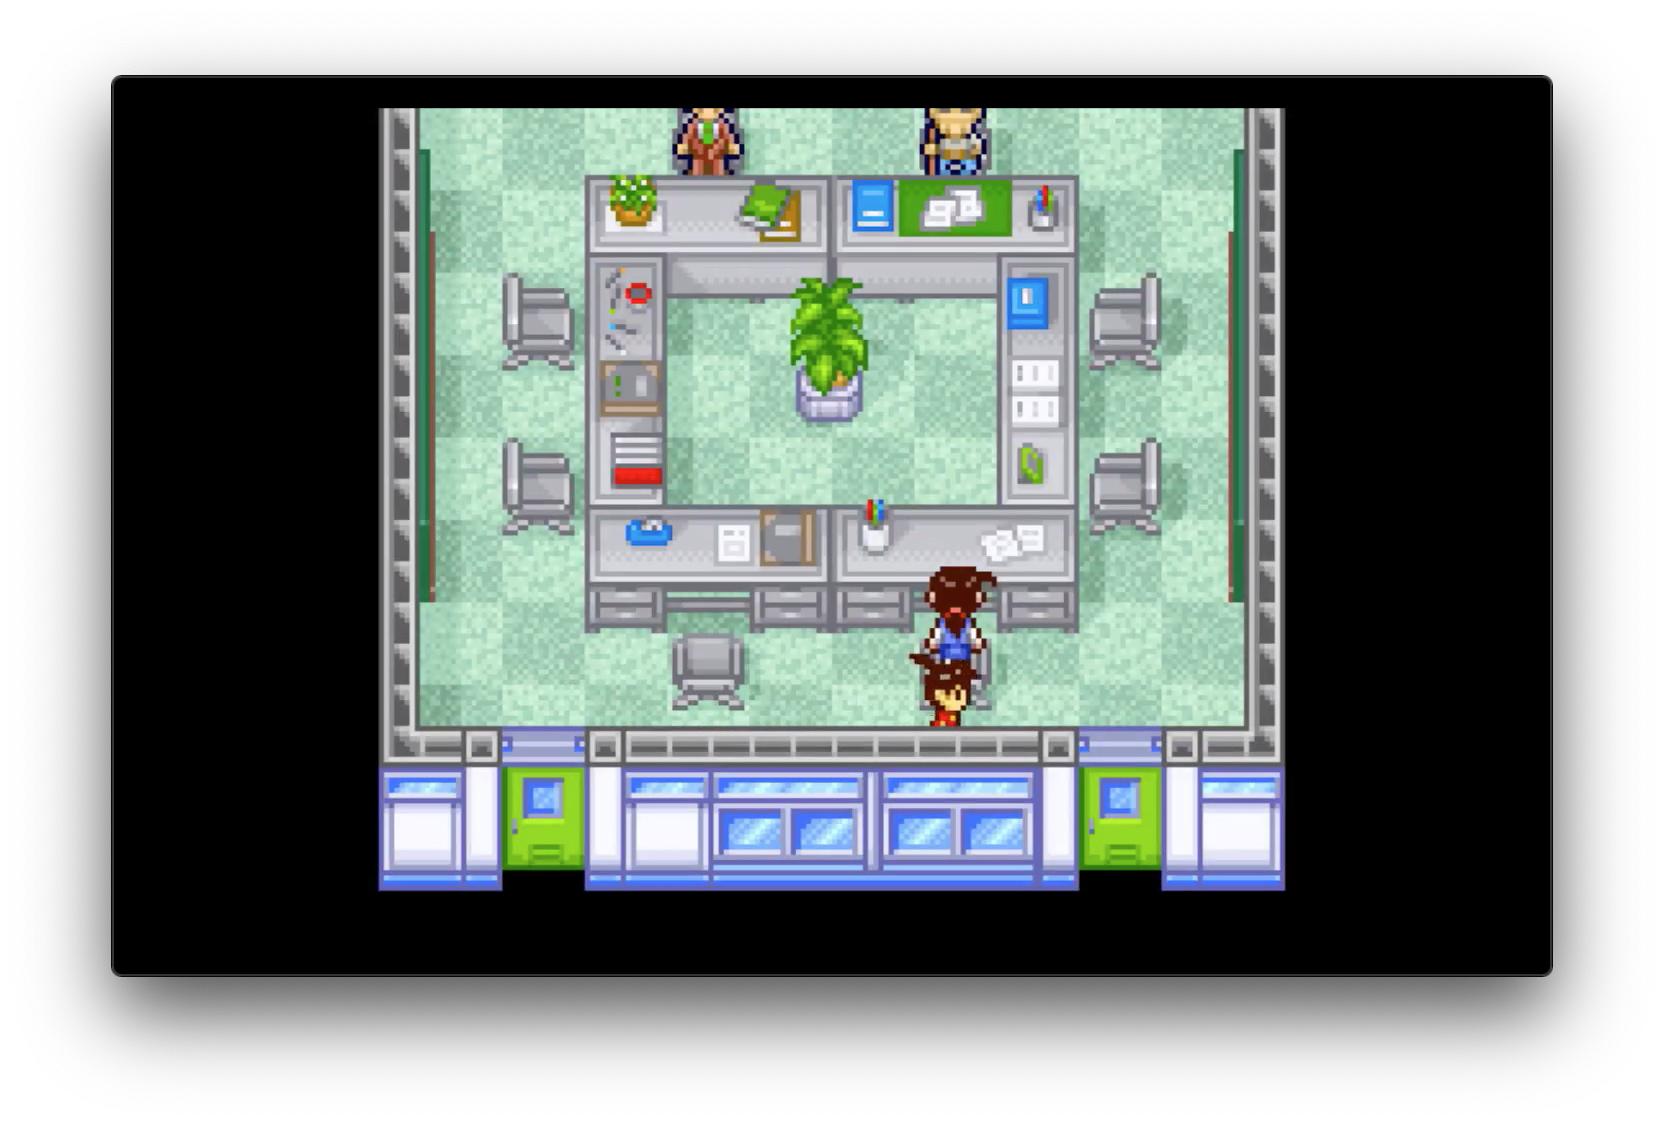
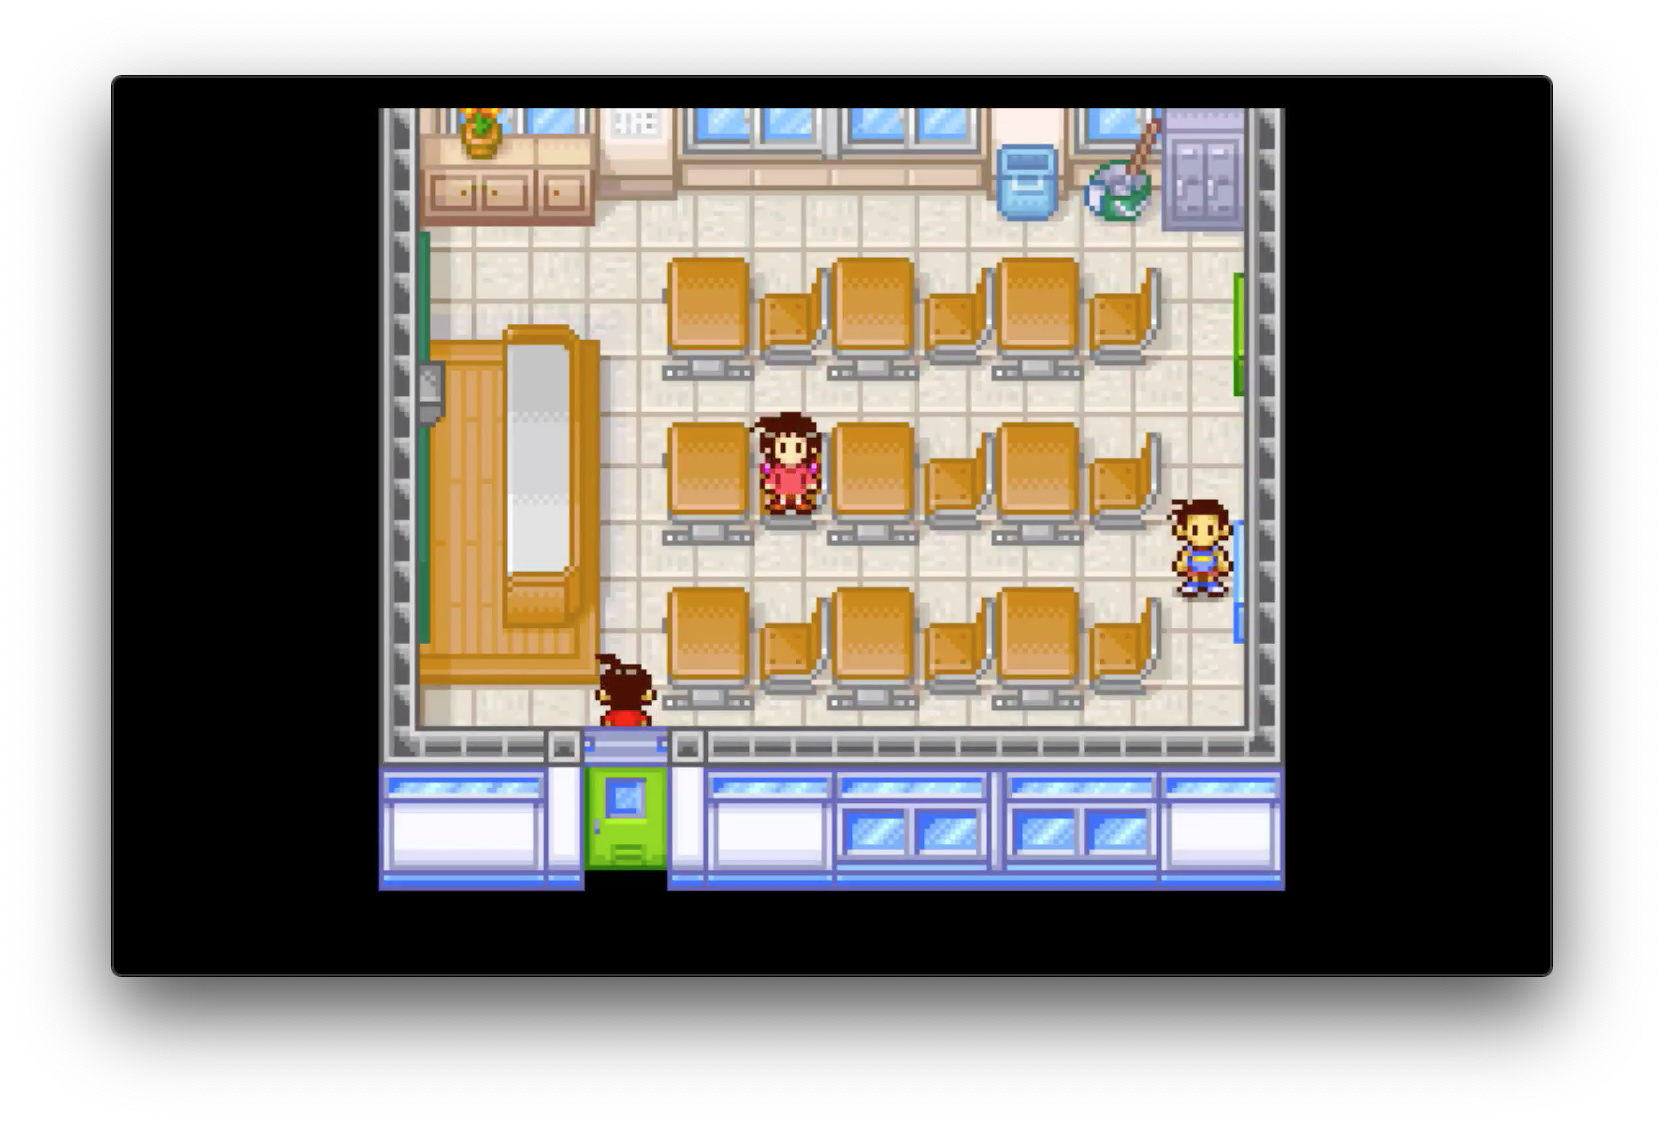
Into the school itself. Two rows of classrooms and then an upper floor with the same layout. I’ll start with the bottom left and work my way across, showing off anything worthwhile.
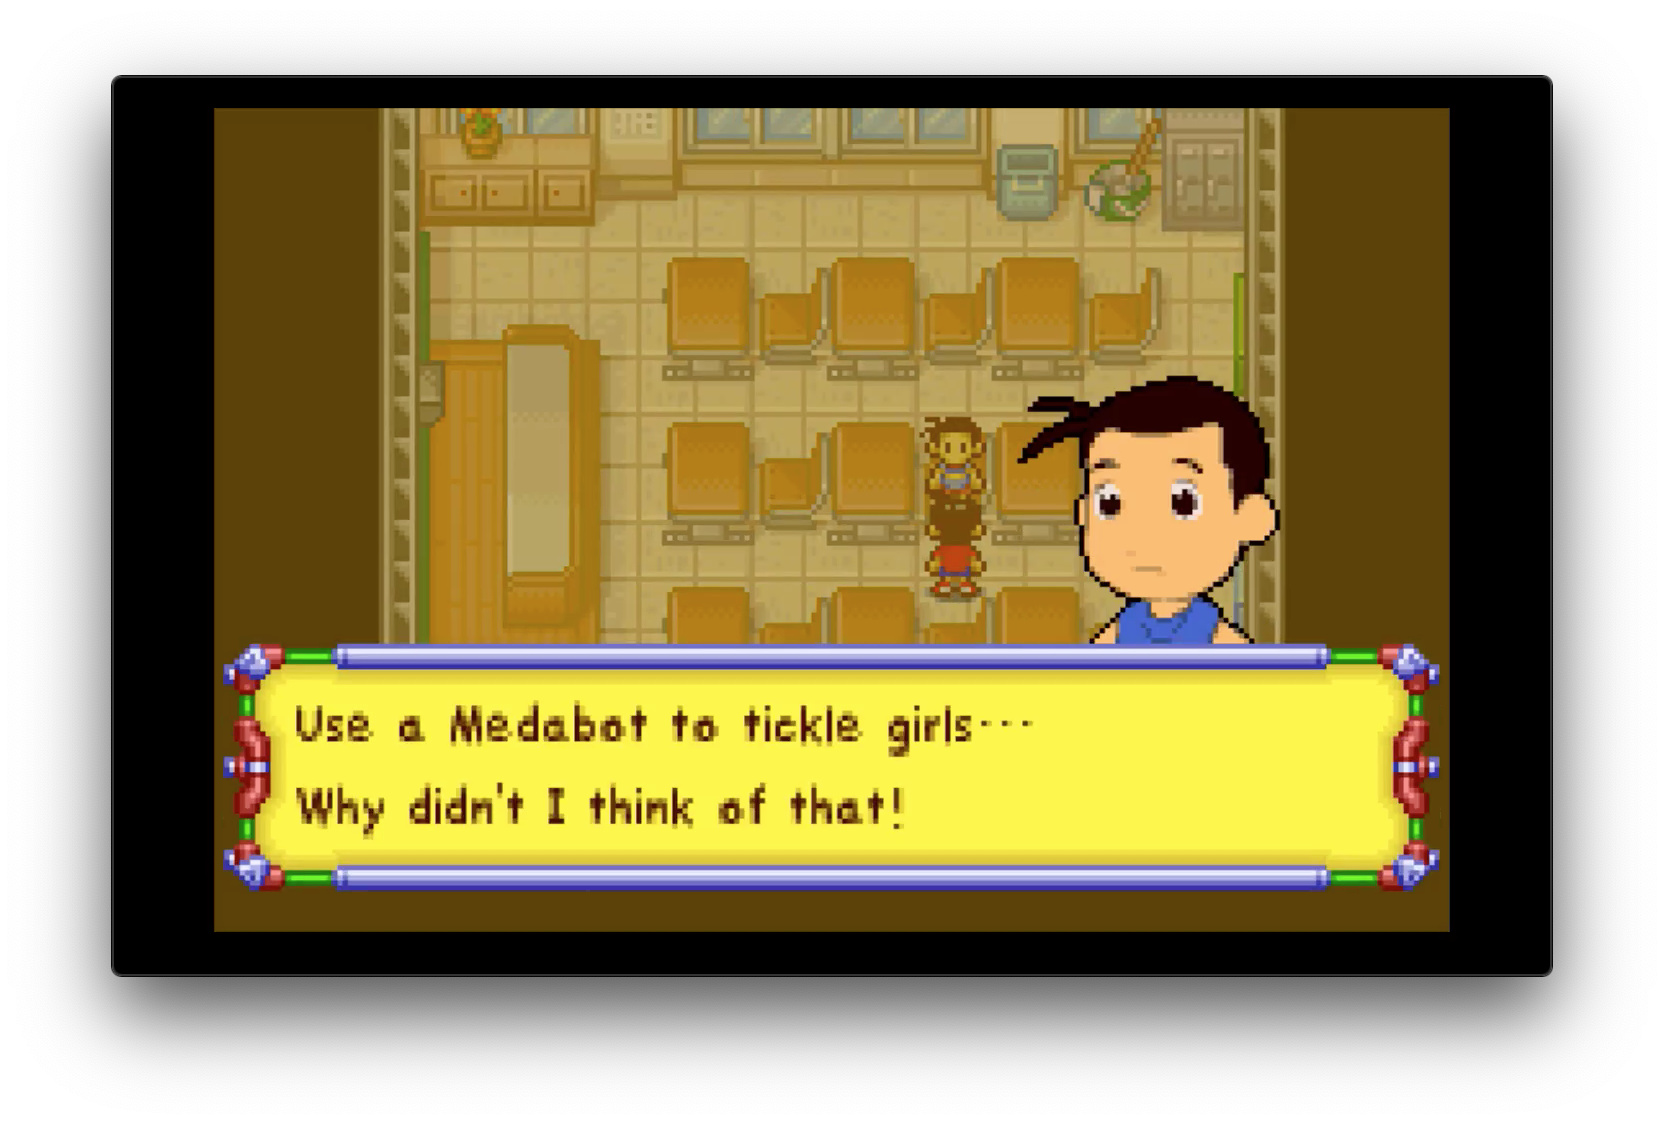
Lets talk to this first NPC girl here

-blinks-
What?
Alrighty, I uh, think we found our next miniature story arc. A… Medabot that tickles school girls. Wow. Okay. Moving on. Far left is actually the boy’s bathroom.
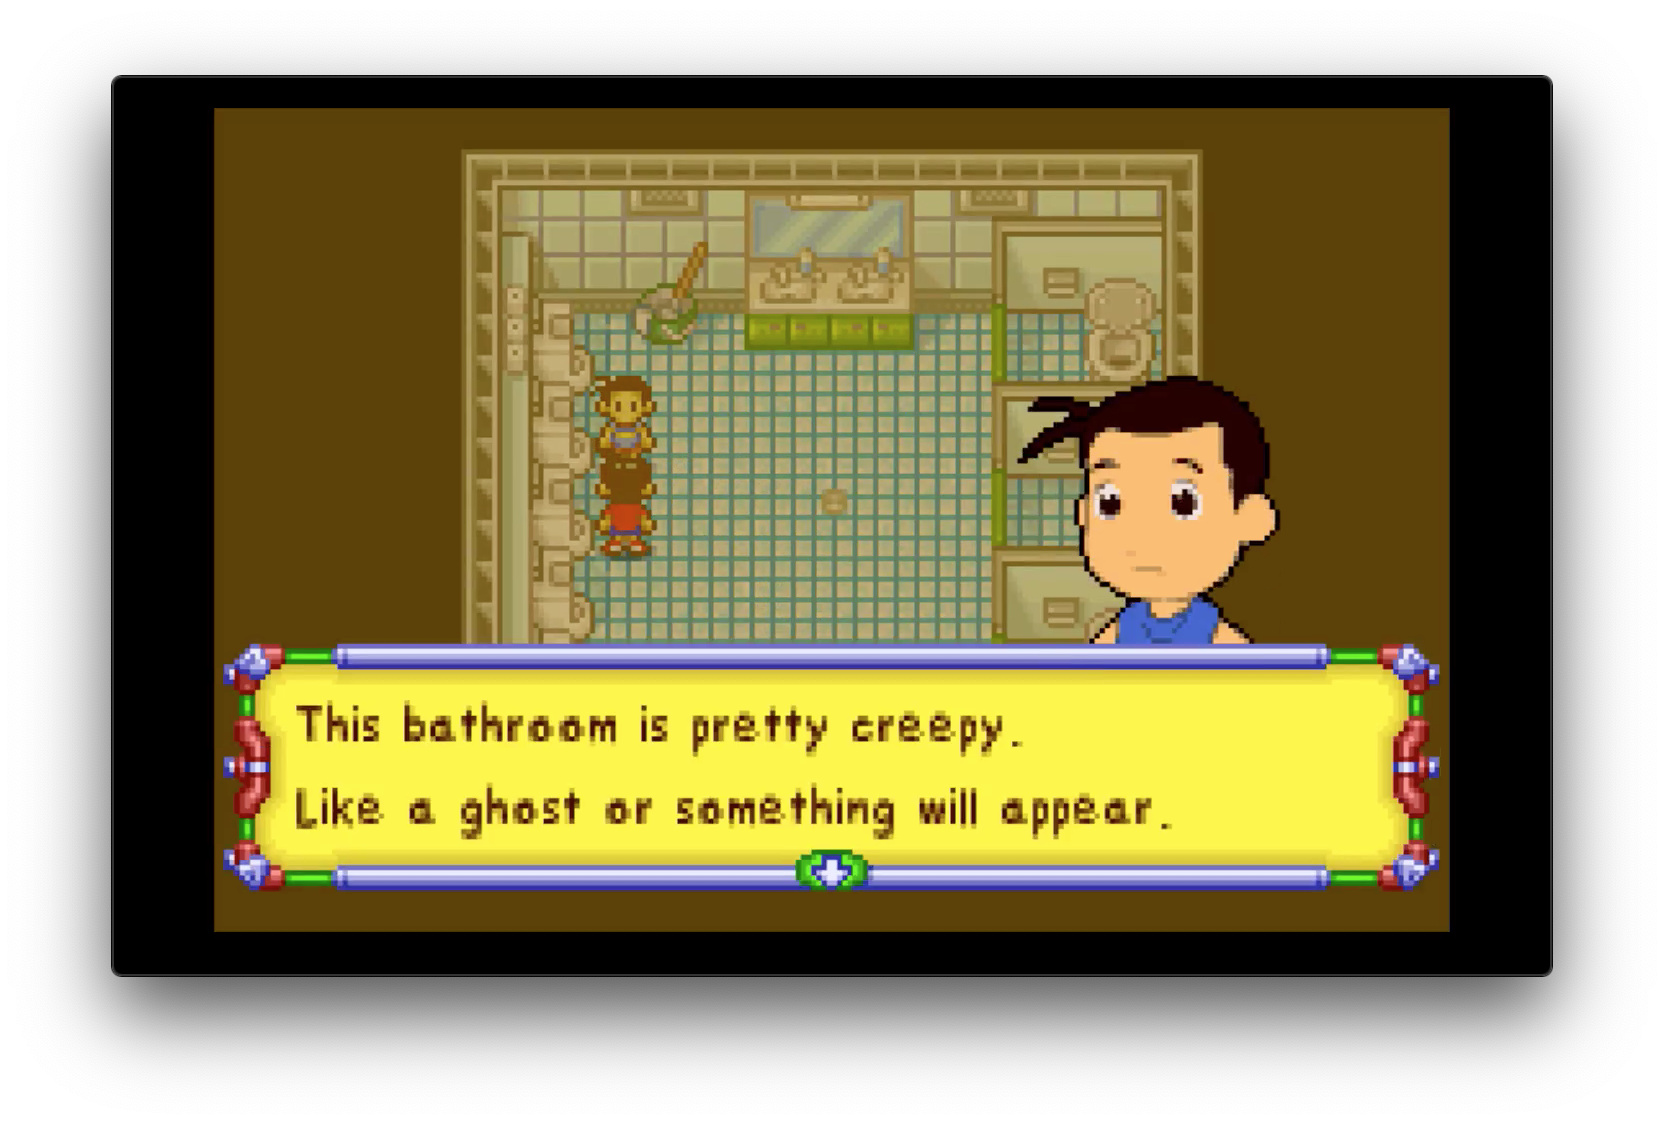
I don’t know, seems pretty normal to me. Bunch of urinals too close for comfort, not enough stalls for peak time, not enough sinks, etc etc.
Next up is the teacher’s lounge. Nothing much of note until you work your way up to the top left professor.
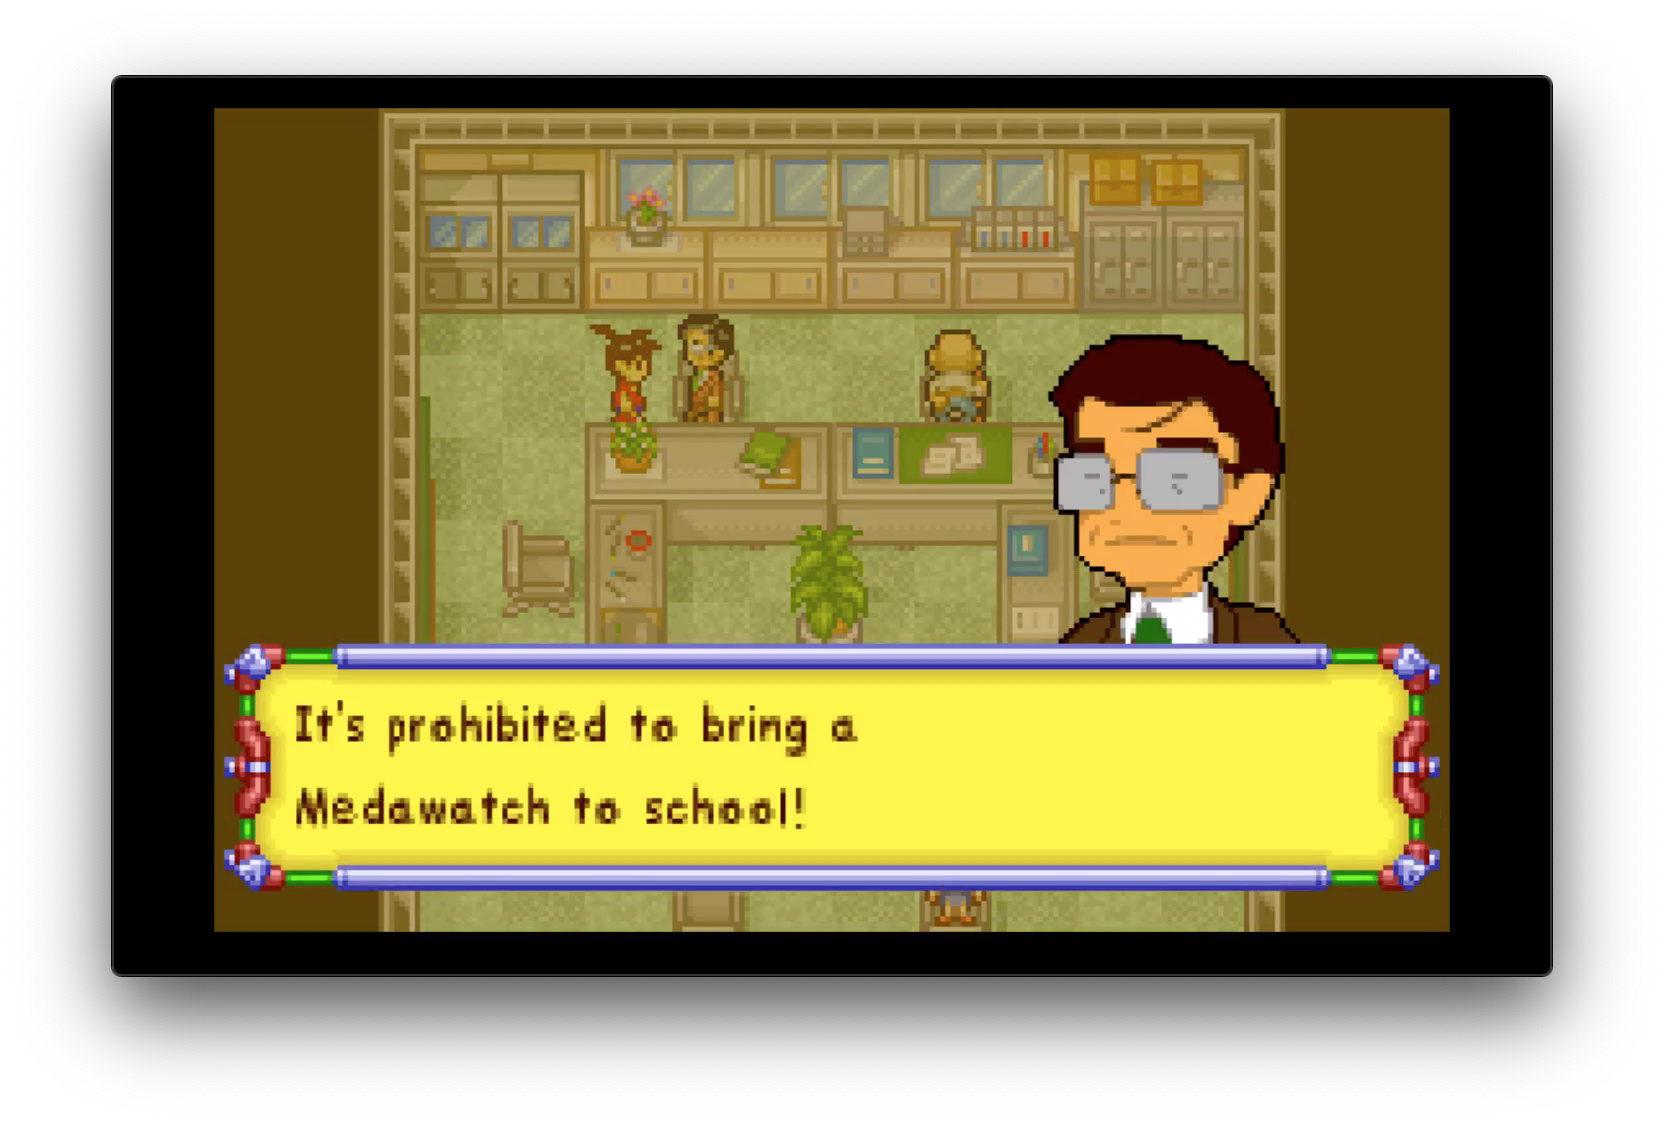
Whoops? What you gonna do about it?
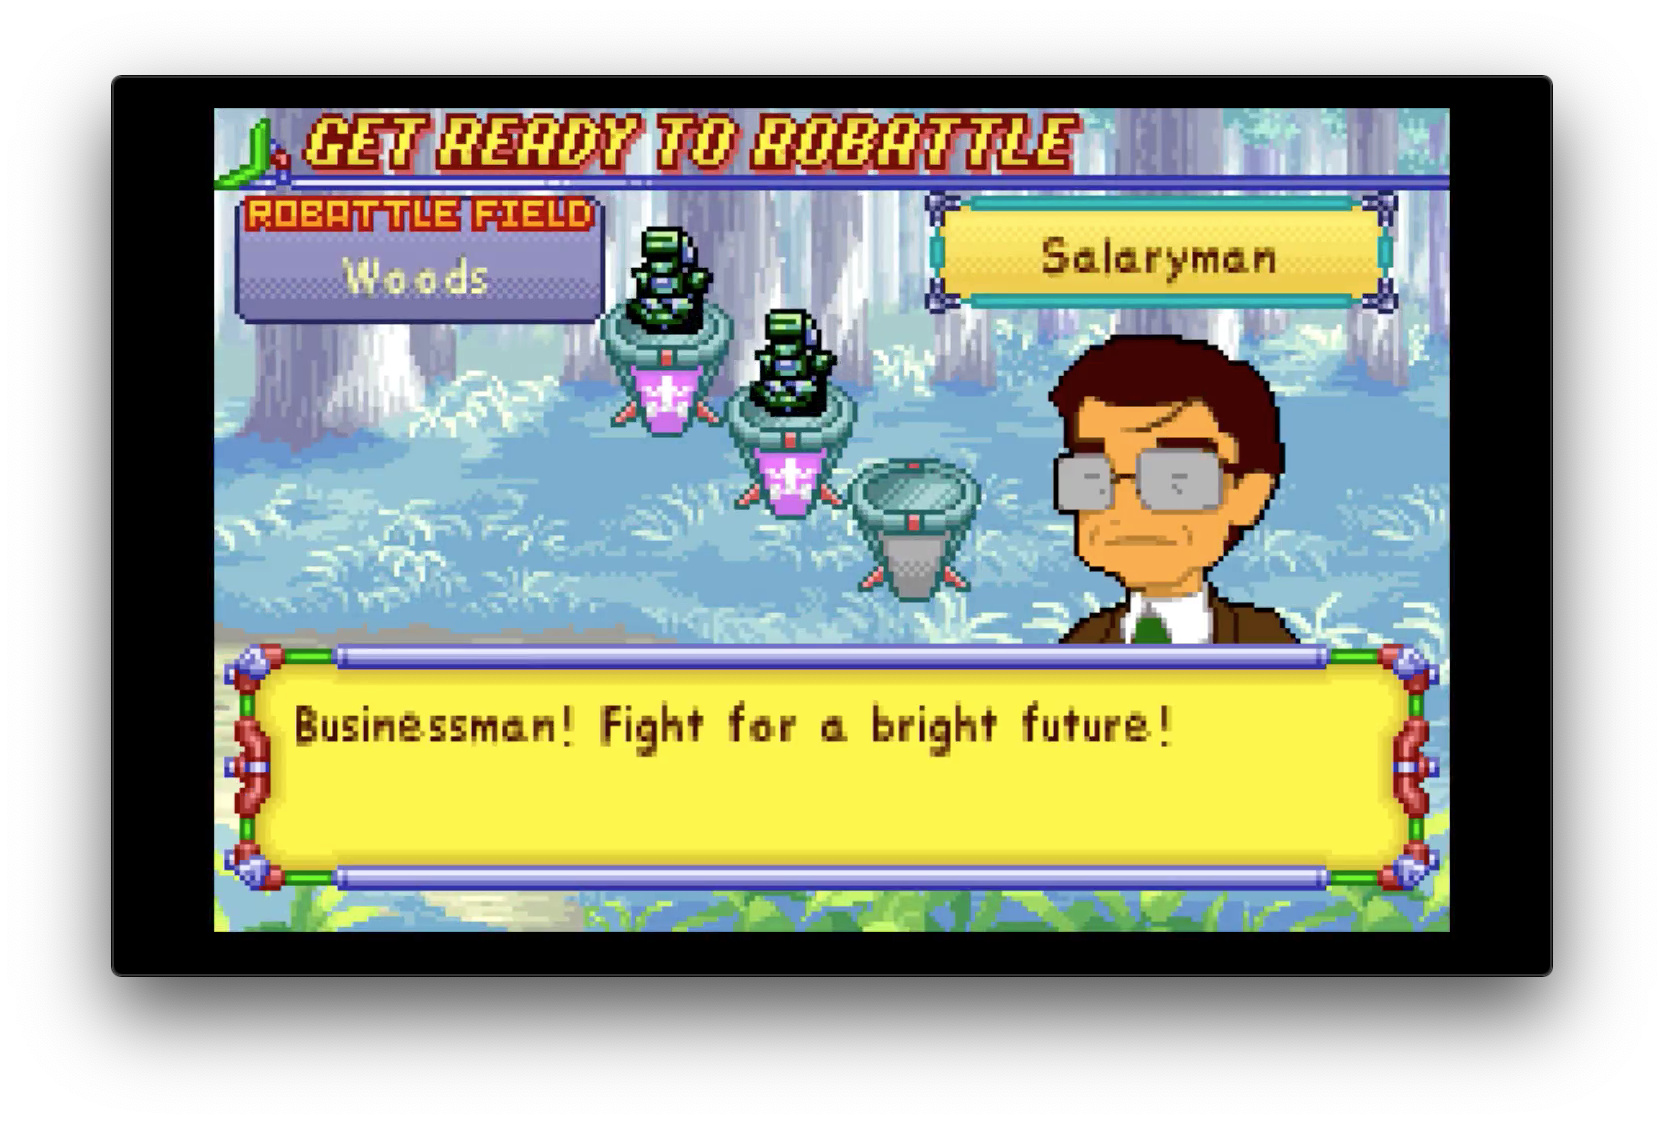
Oh. You’re going to be our tutorial into “hey each side can have more than one Medabot on the field at a time”. This guy makes for an interesting fight believe it or not: he will be a generic fight later on but in an environment his Tankars are much better suited for.
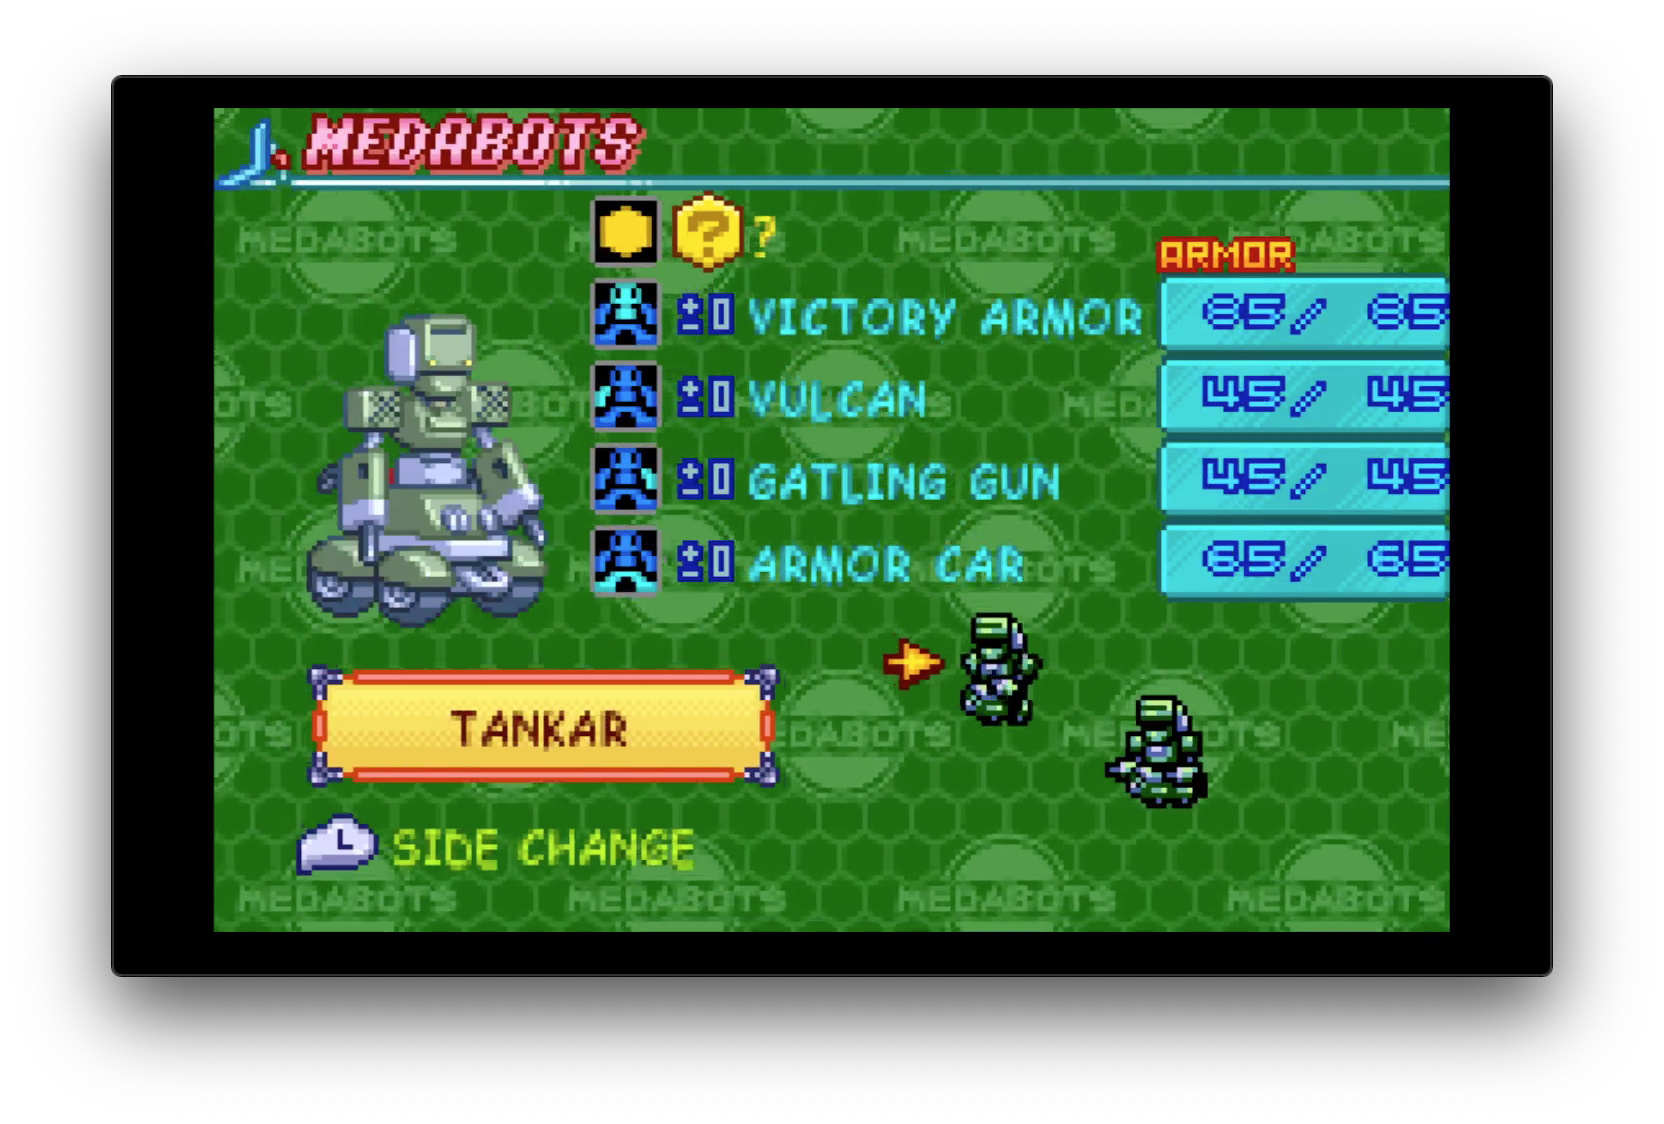
You see, they are using wheels and not two legs. They are fighting in the Forest field. They are heavily slowed down. Metabee can get off around 4-6 attacks before the first Tankar can attack you, which is with his weaker Vulcan attack. Gatling Gun is significantly stronger but a bit slower, which translates into much slower when fighting in the Forest. Victory Armor nullifies or cures status effects, nothing we have to worry about here.
Its a slog fight for you at this point, because its a 2v1. Not because you have to destroy two Medabots, you only ever have to destroy the Medabot at the top of the screen to win. But because Metabee is using only shooting attacks, his attack options are whatever the three parts are willing to aim at for that turn. Its entirely possibly to have all three parts decide they want to aim at the bottom Tankar, making it basically wasted attack. They also have high defence as most wheel based legs have, so you’ll have to weaken their legs and both arms before you can start destroying parts outside of a lucky Critical Hit.
There’s a few strategies you can deploy. One is to only use Submachine Gun on the upper Tankar whenever possible until its weakened, then spam Missile. Another option is to work on destroy both Tankar’s arms. With all four guns out of the way, you’ve won. Be aware that Gatling Gun deals 44 damage: it will destroy a part when it lands because Vulcan will fire off one before unless you somehow managed to destroy it on the first Tankar, meaning that the legs will already be damaged and Gatling Gun will hit an arm.
Finally, you could swap Metabee’s arms for Kintaro’s arms and go ham with melee attacks. This early in the game using suboptimal parts for a Metabot isn’t a big worry, and because the first Tankar will be moving faster (and thus be closer to the middle) all of the attacks will hit it.
I’d highly recommend saving, and then replaying this fight until you get Gatling Gun. Vulcan is acceptable if you didn’t get the left arm from Cyandog but lets look at the stats:
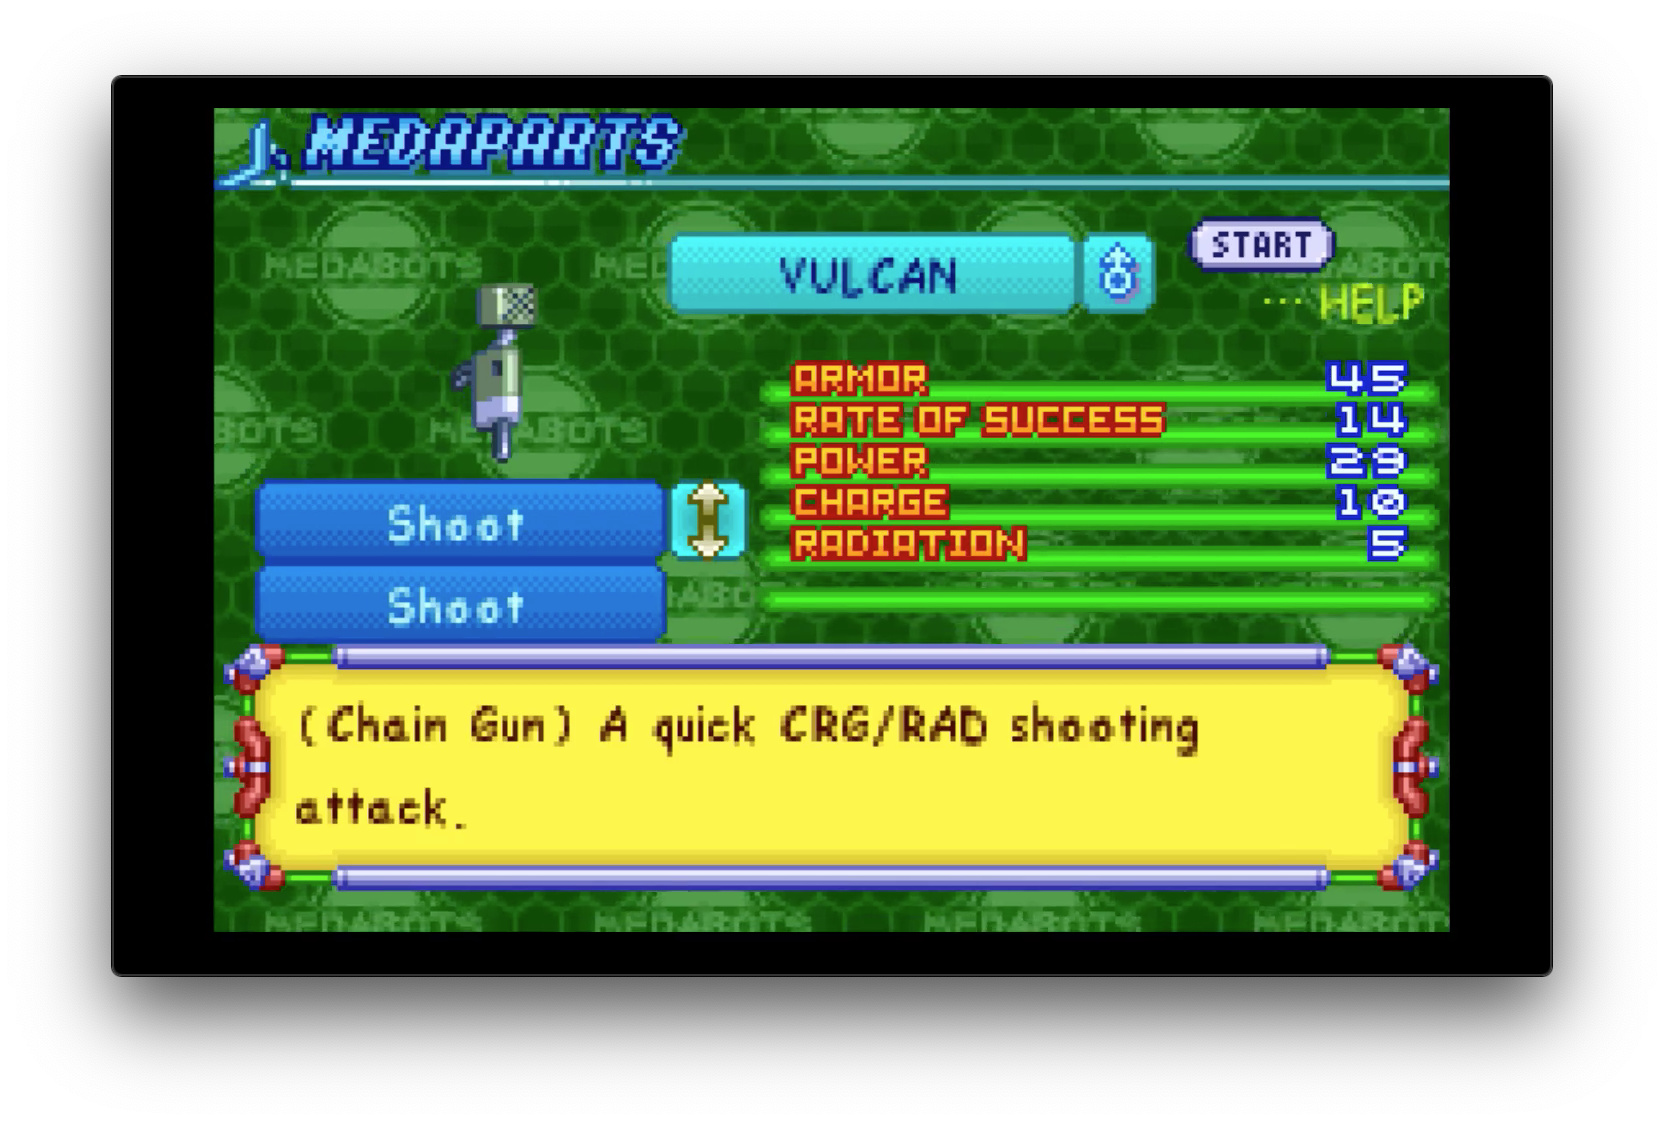
Certainly an upgrade over any left arm Metabee currently has, but not by a huge margin. On the other hand you could have this:
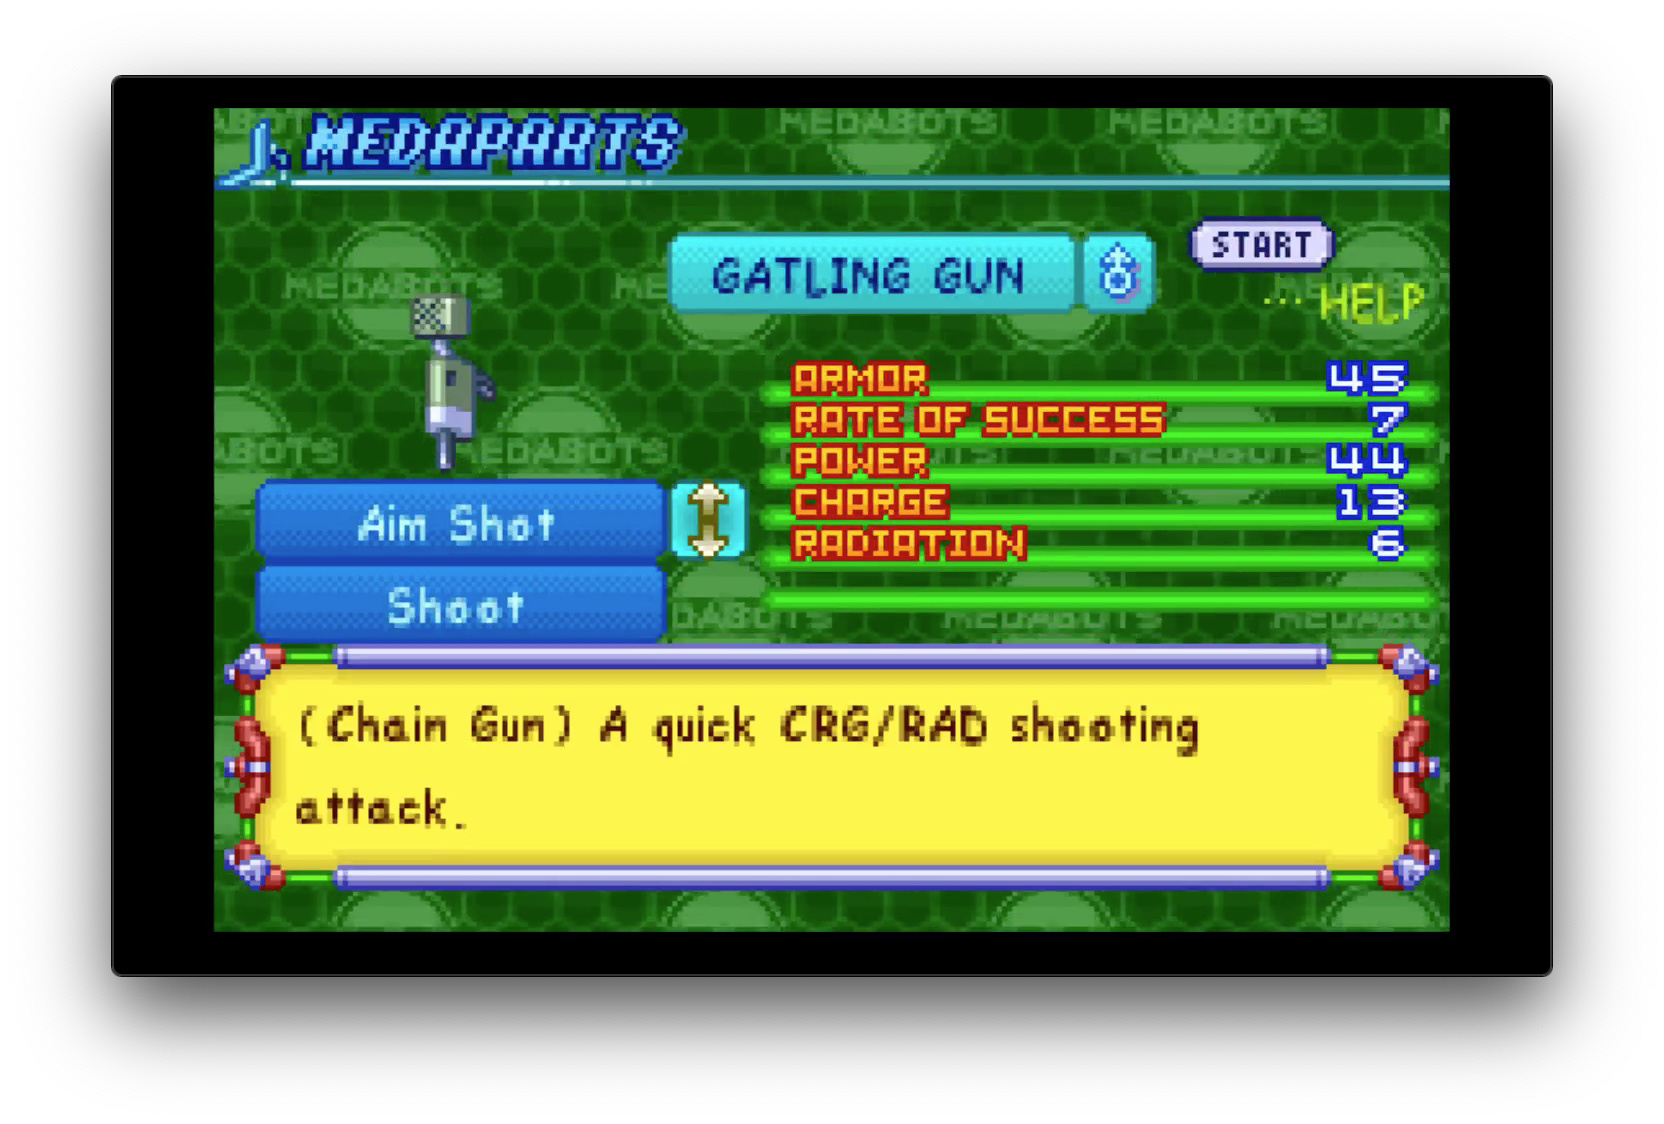
Huge upgrade! Very minor hit to RoS, Charge hit is noticeable but not game breaking with the right leg parts. And that boost in Power is fantastic. Gatling Gun is an arm you can use long into midgame, even edging into endgame. Its only real downside is that its Armor is high enough to make it targeted over any Left Arm that Metabee could equip right now. But right now that frankly won’t be an issue: just make sure any legs you equip have 45 armor or more.

Let’s look in here.
Finally, an actual classroom. The boy mentions that the Select Corps and Rubberrobo Gang are fighting each other as usual. What are those, some sort of school gangs? I thought the Screws were the top dogs around here until we game in.
Something the game never tells you but you really want to do during your first time playing: check the very top left of each classroom, like so:
“Leg Medaparts with high propulsion can avoid Traps easily!”
Yep, gameplay mechanics hidden on the wall with no visual indicator to make you click on them! Each classroom has one of these.
Lets see what the top left classroom one says:
“After a Strike attack, you cannot defend”.
Translation: after some types of melee attacks, any attacks that hit you during your Radiation phase will automatically be a Critical Hit.
That’s pretty bad! Though you can still dodge if you’re lucky enough, and most melee attacks have very fast Radiation phases so with the right legs you’ll almost never be caught. But if you are its going to hurt.

The boy in the same classroom has the balls to challenge Ikki with a Kintaro. Apparently he hasn’t heard about what happened to the Screws yet.
I’m getting to that, I’m getting to that. Sheesh even the NPCs are on my back about covering all of the game mechanics. Lets see what the other one has to say:
Boy NPC: Long, long ago… The Heroes of Justice, the Select Corps and the Servants of Evil, the Rubberrobo Gang were the same. That’s the rumor I heard, but I wonder if its really true?
Interesting. Still no clue what either one is. Next classroom!
Kid, you don’t wanna head down that road. Get your head out of there while you still have it.
“After an Aimed Shot, you cannot evade.”
Same thing I covered earlier. Last classroom on the bottom floor!

That’s one way to look at it. I suppose.
“After a Berserk attack, you cannot evade or defend.”
Berserk is the other type of melee attack besides Strike, has the Chain Damage attribute that Missiles have. One serious downside though; you ain’t evading until you get new orders and you’re taking Critical Hits all day everyday. And Berserk attacks tend to have a little bit more Radiation than Strike attacks do. They’re the biggest gambles in the game, usually pay off but they can absolutely cost you.

Second Floor now. Afraid I’m in a bit of a time crunch, the rest will go up tomorrow or the day afterwards.
Next time on Lets Play Medabots RPG Metabee Version: More Robattle information! More stat pages! More weirdness!