Might as well go in the order it’s presented.
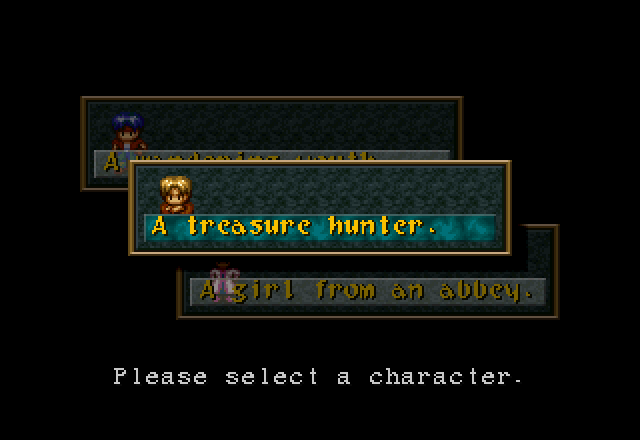
1. Wandering Youth.
2. Treasure Hunter.
3. Girl from Abbey.
No name suggestions, but looking forward to seeing this unfold.
Might as well go in the order it’s presented.
1. Wandering Youth.
2. Treasure Hunter.
3. Girl from Abbey.
No name suggestions, but looking forward to seeing this unfold.
You’re no match for my stand,『Painless Death』!
Man, you weren’t kidding with the『Japanese Quotation』abuse, were you?
I’m looking forward to seeing more of this game!
With less than 20 hours left in the voting process, here’s how the votes stand:
Route Choice:
Wandering Youth: 49
Treasure Hunter: 55
Girl From Abbey: 48
Currently, it looks like we’ll be doing the Treasure Hunter first, followed by the Wandering Youth, then finally the Girl From the Abbey, though it’s still anyone’s race! It’ll be interesting to see how this one turns out.
Names:
Wandering Youth:
Rudy     - IIIIIIIIIIIIIII
Dude     - I
Nero     - IIIII
Godot    - I
Max      - I
THE GOOD - I
Goku     - I
Ryu      - II
Wander   - I

Treasure Hunter:
Jack        - IIIIIIIIIIIIIII
Dante       - IIIIII
Gil         - I
Dash Rendar - I
THE BAD     - I
Dongs       - I
Locke       - I
Hunter      - I
Ghost       - I

Girl From Abbey:
Cecilia  - IIIIIIIIIIIIIII
Lady     - IIIIII
Gale     - I
Abbey    - III
THE UGLY - I
Steve    - I
Mirror   - I
Whereas, despite a strong showing by Devil May Cry fans, the default names have a commanding lead, and barring a last-minute landslide, it looks like that’s what we’ll be going with.
And voting is closed!
Wandering Youth: 55
Treasure Hunter: 64
Girl From Abbey: 57
Route voting was always fairly close; Treasure Hunter always had a slight but noticeable lead, but Wandering Youth and Girl From the Abbey were neck-and-neck right to the very end!
Names:
Wandering Youth:
Rudy     - IIIIIIIIIIIIIIII
Dude     - I
Nero     - IIIIII
Godot    - I
Max      - I
THE GOOD - I
Goku     - I
Ryu      - II
Wander   - I
Angel    - II

Treasure Hunter:
Jack        - IIIIIIIIIIIIIIII
Dante       - IIIIIII
Gil         - I
Dash Rendar - I
THE BAD     - I
Dongs       - I
Locke       - I
Hunter      - I
Ghost       - I
Blondie     - II

Girl From Abbey:
Cecilia  - IIIIIIIIIIIIIIII
Lady     - IIIIIII
Gale     - I
Abbey    - III
THE UGLY - I
Steve    - I
Mirror   - I
Tuco     - II
Whereas the default names won the name vote by a landslide, so that’s what we’re going with.
I’ll start recording Jack the Treasure Hunter’s route later today, and the update will be up by Friday at the absolute latest. Cecilia the Girl From the Abbey will come next week, followed by Rudy the Wandering Youth.
Part 1 - Jack the Treasure Hunter
Previously, we watched the intro cinematic and the prologue cutscene. Then we had a choice of three characters to begin play as. Voting on what order to play the three routes in ended with the Treasure Hunter winning first place, followed by the Girl From the Abbey, and then finally the Wandering Youth. So today, we’ll be going through the Treasure Hunter’s route.

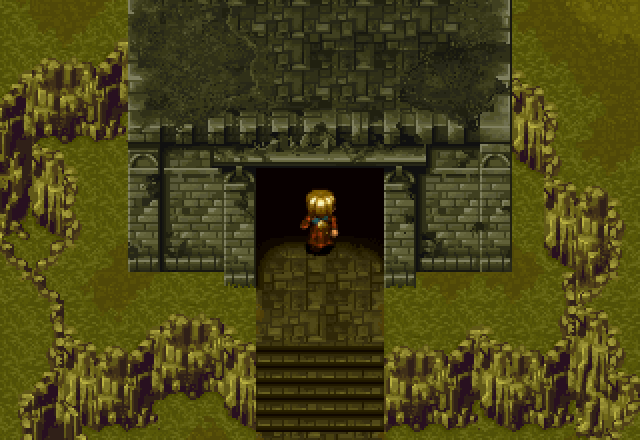
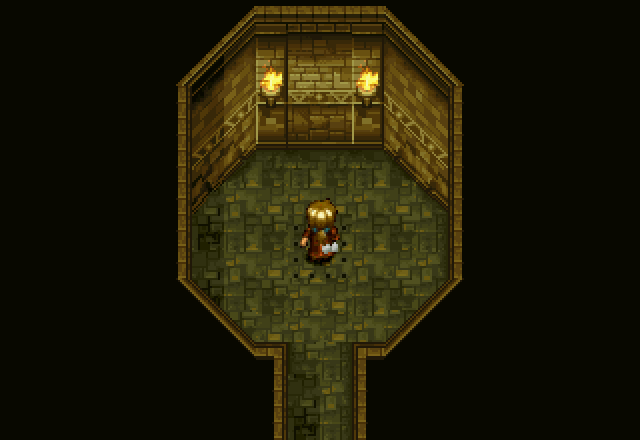
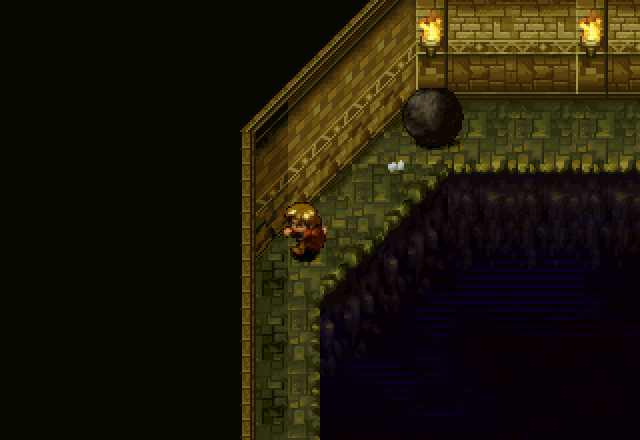
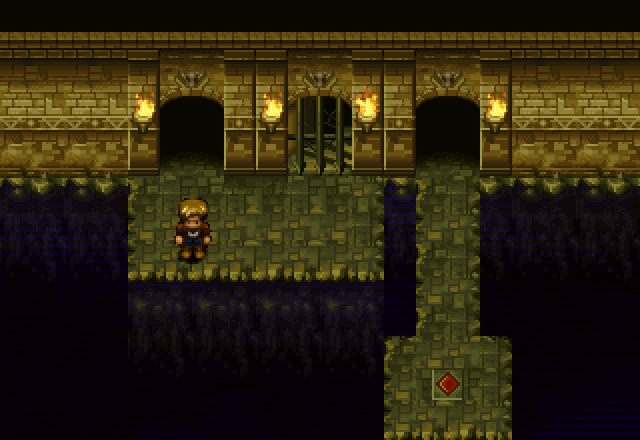
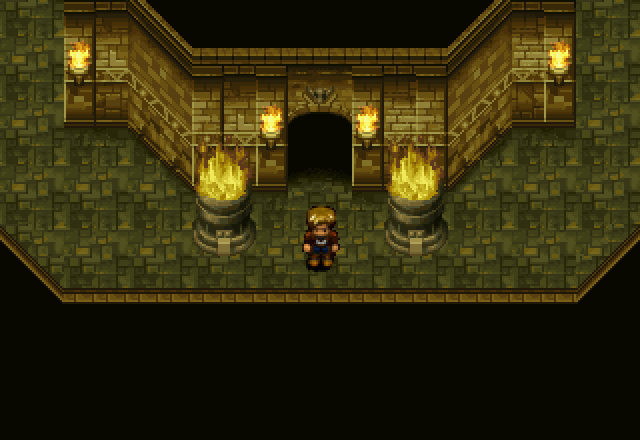
The game fades in on the Treasure Hunter walking up to an old ruin.
Whereupon an odd mouse jumps out of his pocket and begins to converse. Sorry, Dragon Quest VIII fans, he doesn’t breathe fire. Also, I’ve switched to double-size character portraits because this guy’s sprite is so small. I’ll be updating the prologue with the new portraits after I finish with this.
![]() I hope you didn’t pay much for this information.
I hope you didn’t pay much for this information.
![]() Hey… So you know about this place?!
Hey… So you know about this place?!
![]() You wasted your money. There’s nothing left here of any value.
You wasted your money. There’s nothing left here of any value.
![]() Shhh! Quiet! My instincts tell me this is it!
Shhh! Quiet! My instincts tell me this is it!
![]() I can’t believe there would be anything left here. This is not the first time treasure hunters have come through here. We’ll find nothing but junk.
I can’t believe there would be anything left here. This is not the first time treasure hunters have come through here. We’ll find nothing but junk.
![]() Maybe we’ll find clues for obtaining the [Power].
Maybe we’ll find clues for obtaining the [Power].
![]() Let’s go then…
Let’s go then…
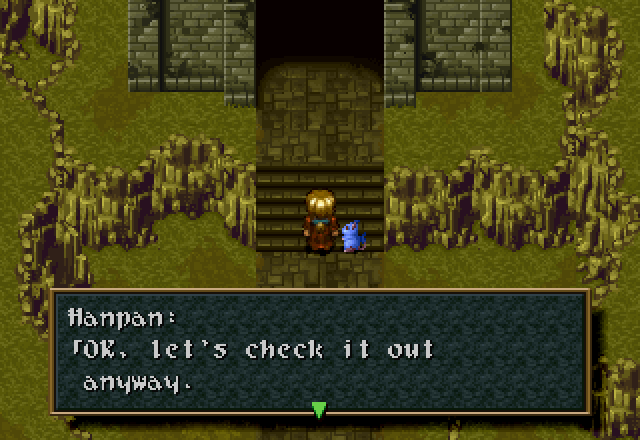
Hanpan hops back in the Treasure Hunter’s pocket and they head into the ruin.
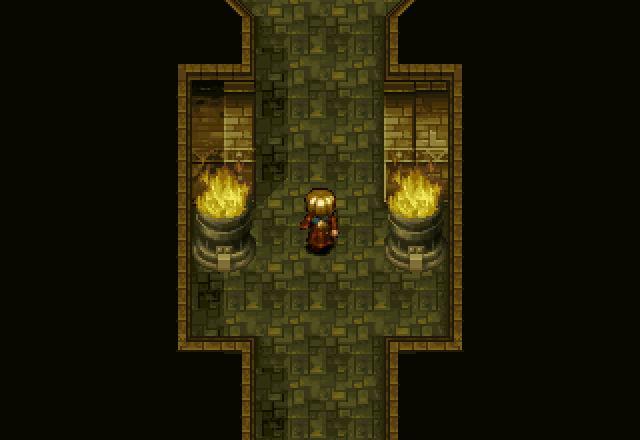
Inside is a short corridor, which leads to a room with a mysterious machine in it.
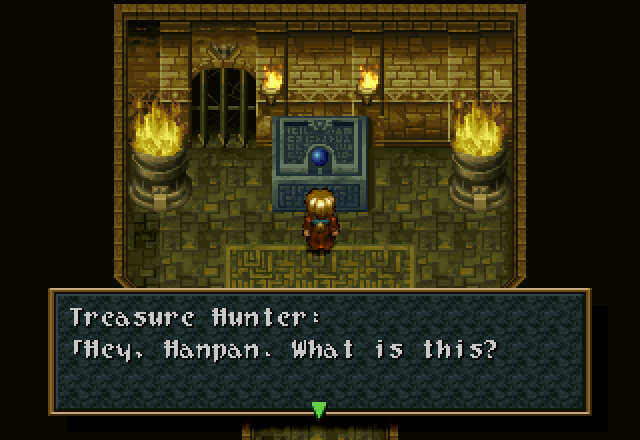
![]() Hey! No! Don’t touch that! Let me do it. Let’s see… here…
Hey! No! Don’t touch that! Let me do it. Let’s see… here…
I think that’s supposed to be the machine activating and startling him, but the animation that plays is the same one as when you dash into a wall. This gives me the mental image of him just bashing his face into the console. Either way, he leaps back a good ten feet or so in shock.

This is the machine speaking.
![]() You’re the brain. Do you have any ideas?
You’re the brain. Do you have any ideas?
![]() I have no idea!
I have no idea!
![]() Just as a test, I’ll put in my name.
Just as a test, I’ll put in my name.
This Treasure Hunter sounds like the kind of guy who would keep his passwords on sticky notes on his computer monitor. And they’d be his birthday.

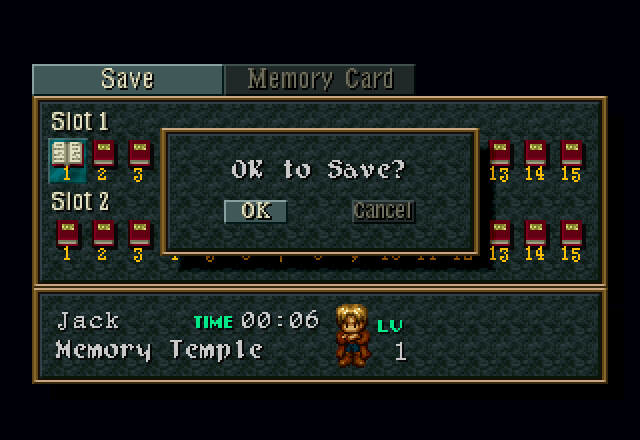
At this point, we get a naming screen. Thread vote decided on using the Treasure Hunter’s default name of Jack, so that’s what we’re going with here.

I protect the [Memory]. Intruder! I cast you to the bottom of the abyss!

The floor opens up beneath Jack, and he falls through.
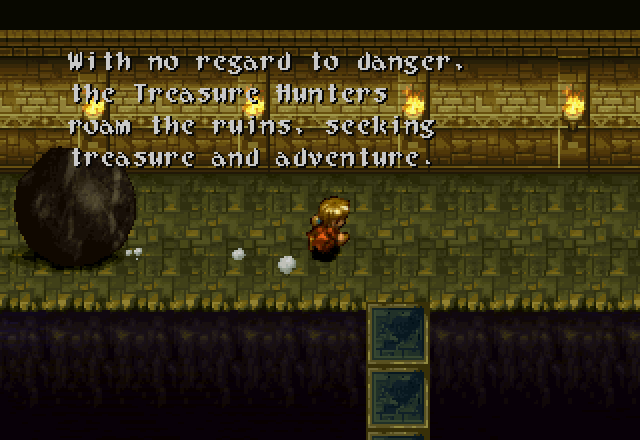
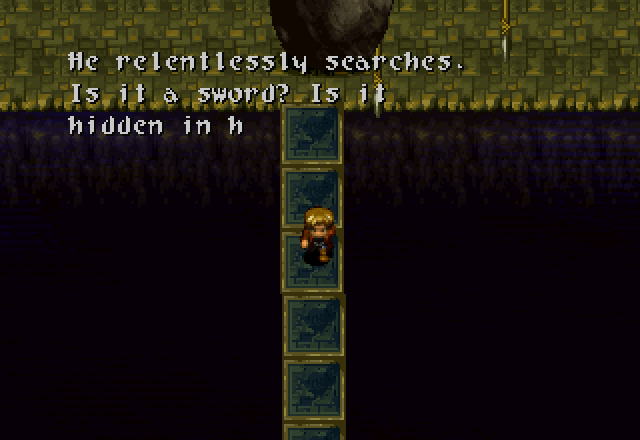
 Jack’s Intro Cutscene
At this point, we get treated to a text scrawl and a cutscene. This was really difficult to transcribe, and I’m not super happy with the result, so I made a video of it. I suggest watching the video if possible (it’s less than a minute long), but it is transcribed below for those who can’t/don’t want to. Ctrl + F for [VIDEO ENDS] to skip to the end of the cutscene.
Music - Getting Rich Quick (Jack’s Theme)
Jack lands on his feet on the floor below.
Which turns out to be a spike trap.
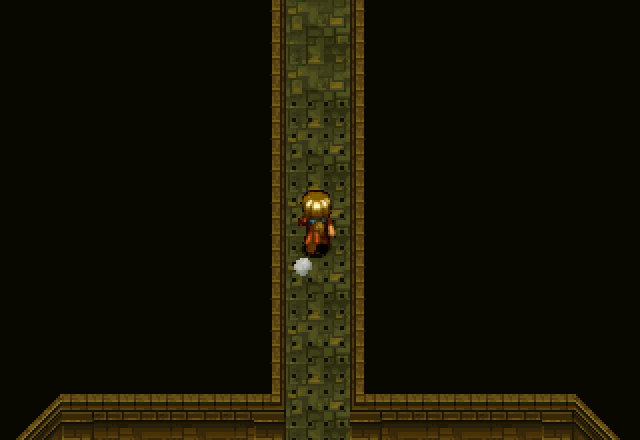
Jack runs down the corridor and comes to a ledge over a pit.
He starts right, but a boulder trap chases him left…
…Around this corner, which turns out to be a U-turn…
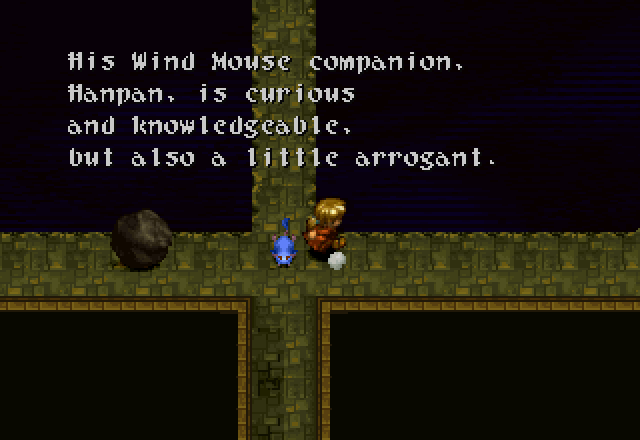
…Past this intersection, where Hanpan for some reason decides to hop out of Jack’s pocket…
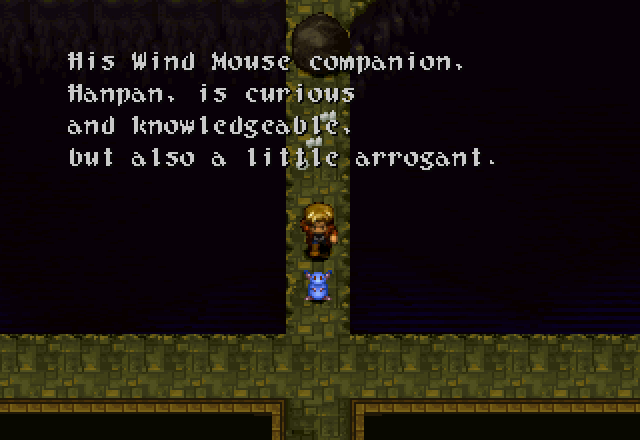
…Around a loop and back to the intersection. Also, up until now, the boulder has been either traveling straight or following walls, but I’m pretty sure at this point it just straight-up cheats and turns to follow him. Most of the loop is walled, but the final stretch where it comes back to the intersection is over open pit, and it still changes direction.
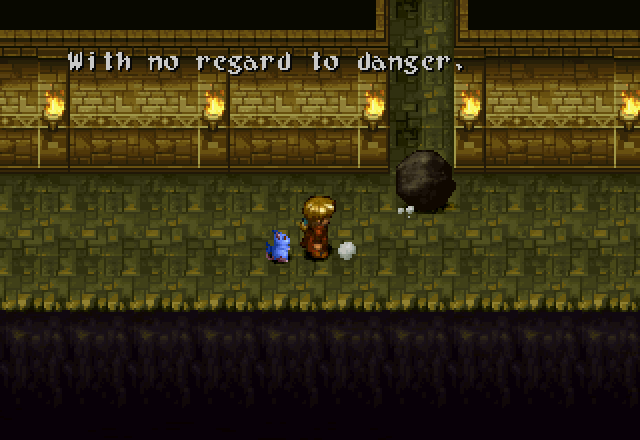
Jack and Hanpan flee down the south corridor, and dodge to the left, allowing the boulder to roll past them and off the edge of the pit. Odd that the boulder doesn’t home now…

Jack strikes a victory pose, but we’ve only just begun.
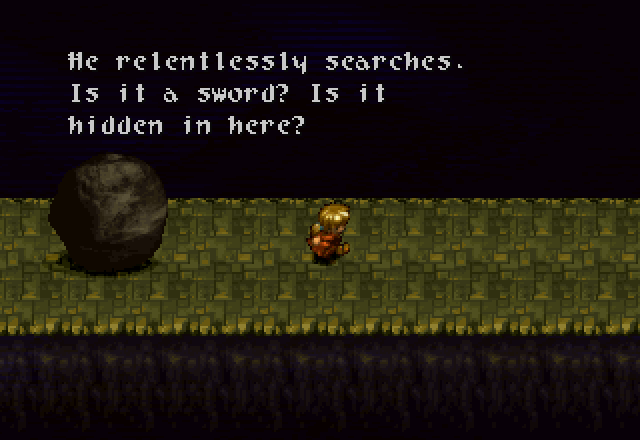
Because there’s always a bigger boulder. Always. Jack flees down the bridge, which collapses behind him…
…And is met on the other side by another boulder (or possibly the same one).
Jack flees up a second bridge, which also collapses behind him, and crashes into a wall.
He starts left, but gets caught by a spear trap.
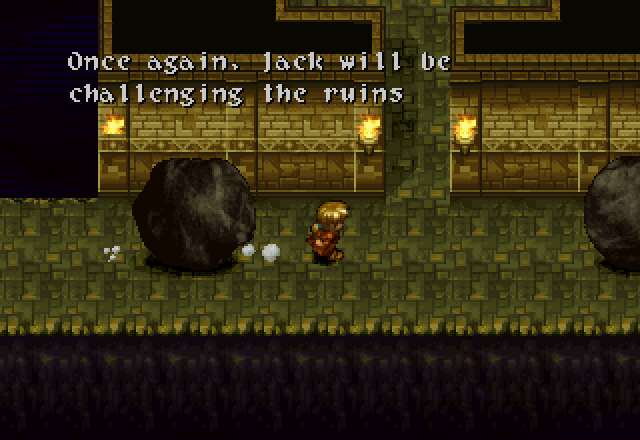
Dashing past the spears, he encounters another boulder, and another collapsing bridge. This is starting to become old hat at this point.
Of course, he is met on the other side of the bridge by yet another boulder. These people seem to have had an endless supply of these things.
In a new twist on an old trick, these two boulders play chicken, while Jack dodges north into the corridor. They phase through each other when they collide in a phenomenon commonly referred to as “lazy animation”.
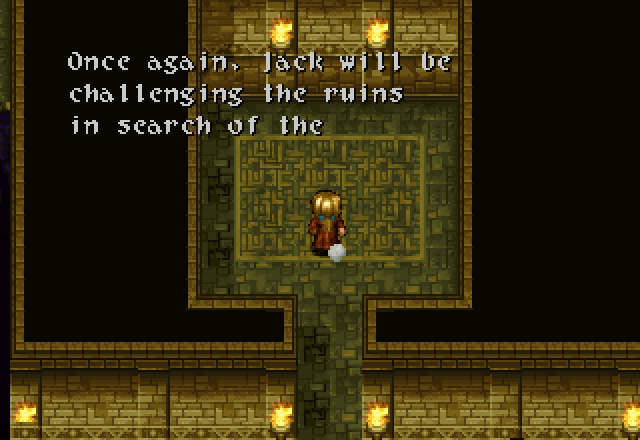
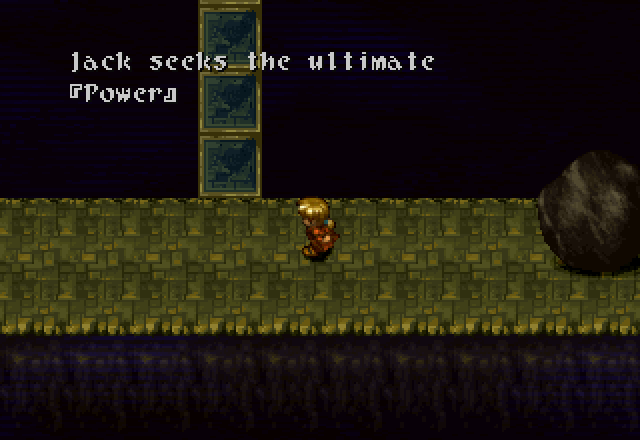
[Power].
Jack hits the wall and rebounds onto the floor tile just as it opens beneath him, dumping him down yet another fall.
[VIDEO ENDS]
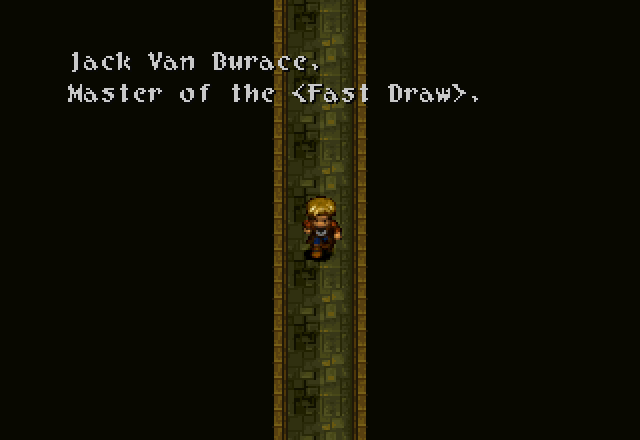
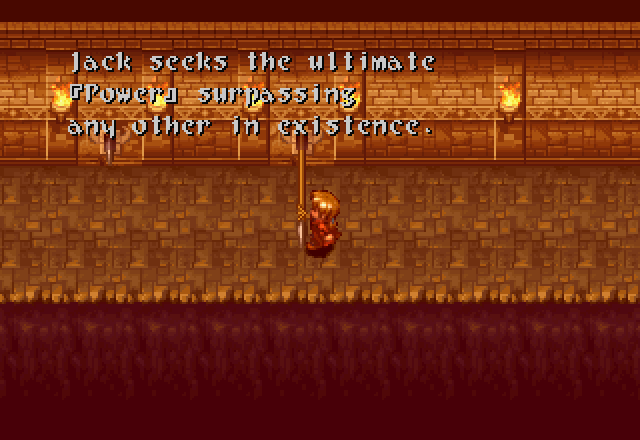
At this point, I’d like to draw everyone’s attention to the screenshot here, where Jack’s full name is revealed to the player. This is the game’s second localization snafu, and it’s a bit of a doozy. Van Burace here is supposed to be Vambrace, as in an armored arm guard typically worn with a full suit of plate armor. I think what happened is that “vambrace” was spelled in katakana, and they just transliterated it. Then some editor comes along and says “Vanbureisu? That doesn’t sound like a name. Let’s go with Van Burace.” This isn’t super important now, but just keep it in mind for later.

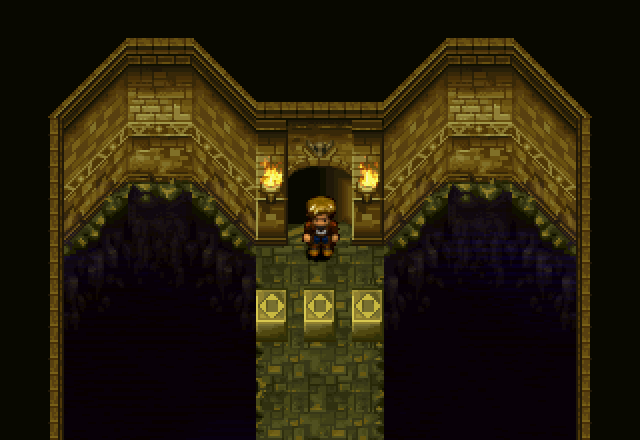
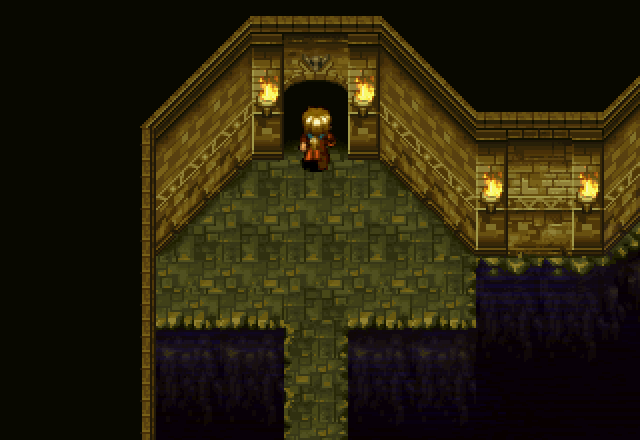
Jack lands in the middle of a room on a lower floor - thankfully, there’s no spike trap here.
![]() Damn! That was cool!
Damn! That was cool!
I don’t know whether Jack is an adrenaline junkie or just praising himself for his admittedly impressive trap-dodging back on the previous floor. There’s a good chance it’s both, though.
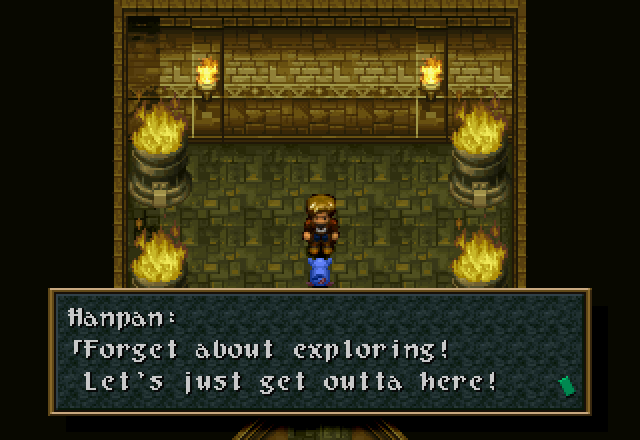
Hanpan, however, seems to be suddenly in favor of beating a hasty retreat. We are given back control of Jack at this point.
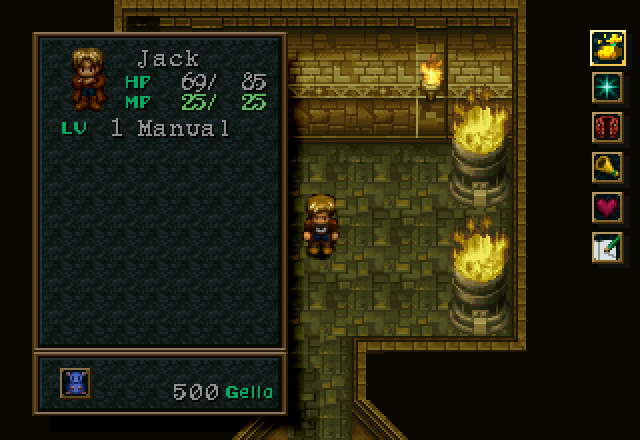
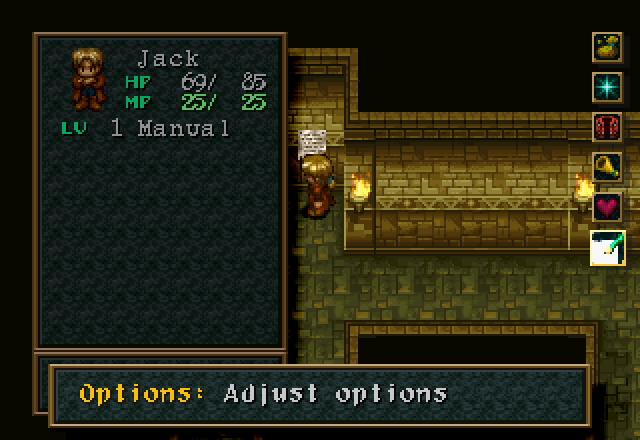
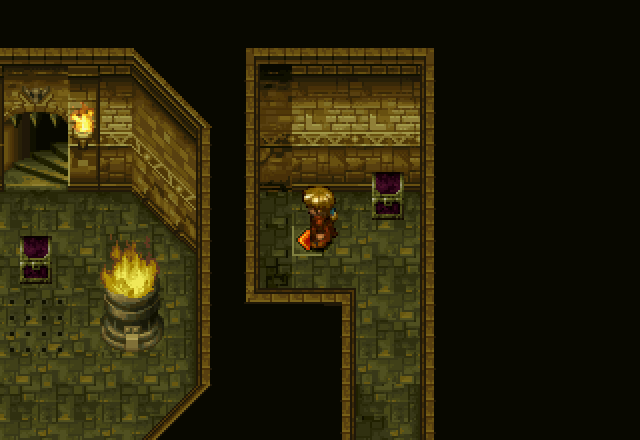
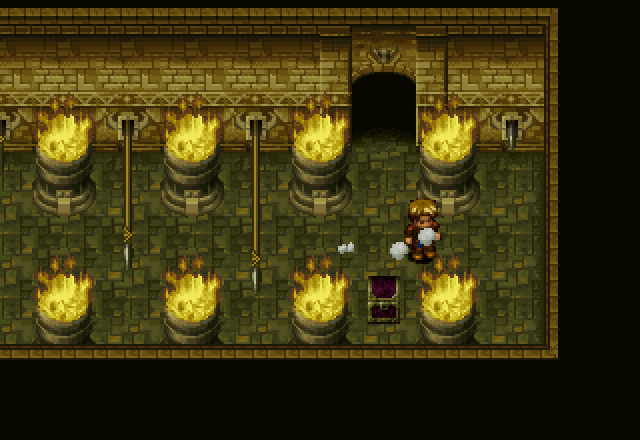
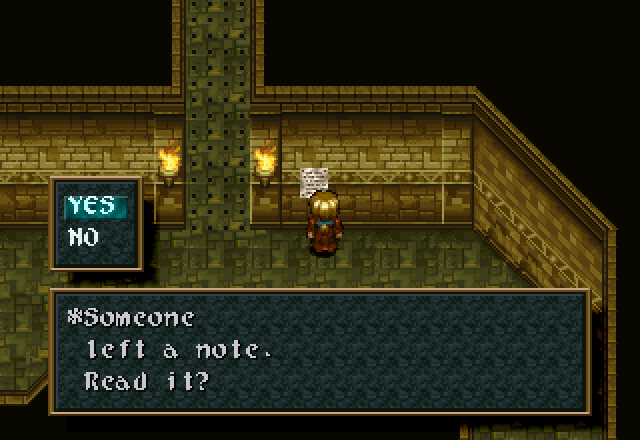
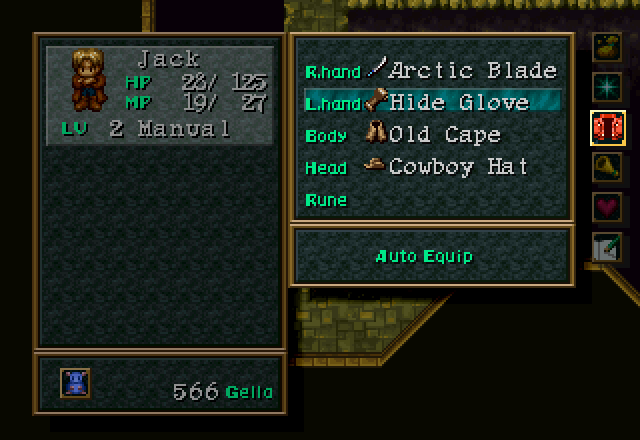
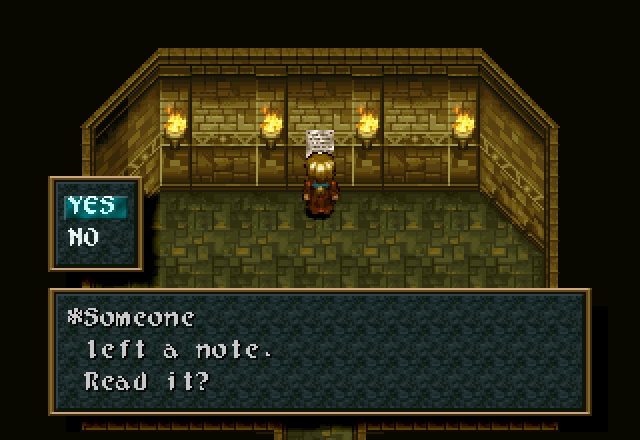
A shot of the menu screen, showing that Jack actually lost HP from the spike and spear traps he got hit by in the cutscene. Proceeding south leads us to a two-way intersection and a treasure chest with a note next to it.
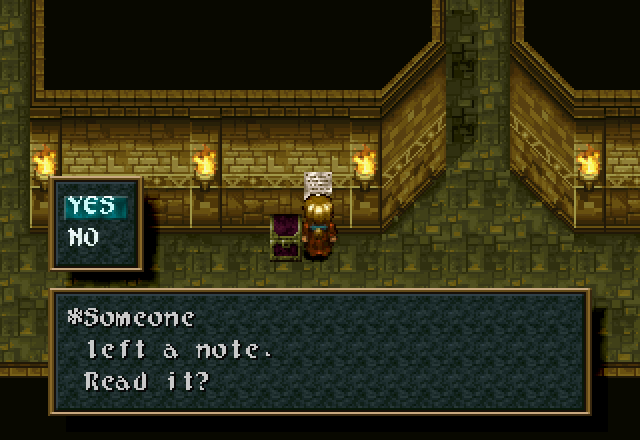
Ha ha ha… I’ve taken everything of value.
Apparently, previous Treasure Hunters not only stole plundered everything, they left mocking messages for anyone who came after. Despite the note, the chest contains a Heal Berry, the game’s basic restorative. It heals 200 HP, which is well over twice Jack’s max HP at this point. He won’t have more than 200 HP before we leave the dungeon, either  . Jack’s inventory is currently empty other than that single Heal Berry.
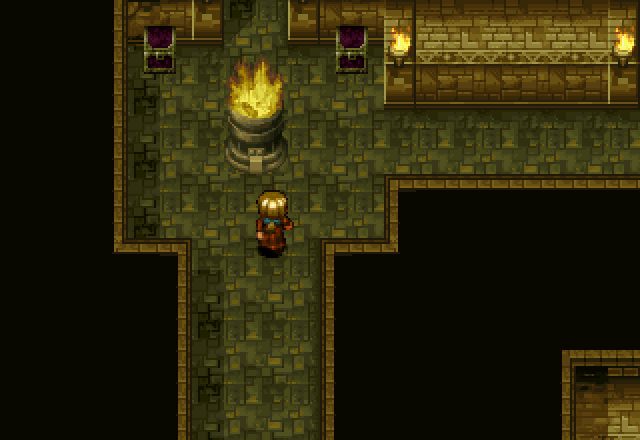
Up the left path, we find this room. Both treasure chests are, in fact, empty. Seems like this might have been a better place to leave the note?

No way! How the heck am I supposed to get that treasure?
![]() I can help you get to those hard to reach places. Aim and push the Tools button. If it’s not too heavy, I’ll fly over and pick it up. I am a Wind Mouse, after all. Speed and wit are my forte!
I can help you get to those hard to reach places. Aim and push the Tools button. If it’s not too heavy, I’ll fly over and pick it up. I am a Wind Mouse, after all. Speed and wit are my forte!
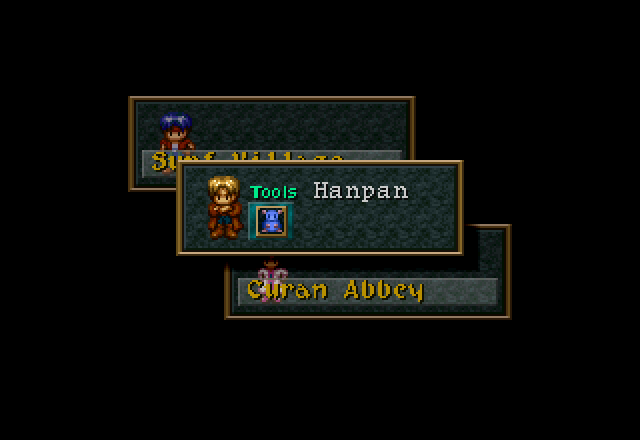
This seems like a good time to explain Tools. Each character has a total of four field abilities, called Tools. They’re selectable by pressing Select anywhere besides battle, but aren’t useable on the world map. The character whose Tool is currently selected is the one whose sprite appears on the field. The Tools button is Square by default. Jack starts with his first Tool, which is Hanpan.
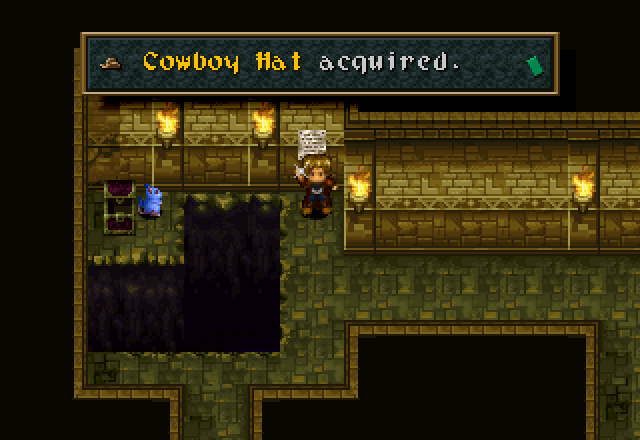
True to his word, Hanpan can cross gaps and open chests. In this game, he flies in a straight line from the way Jack’s facing, but in Alter Code: F, he’s ground-bound and had to jump gaps (which meant he couldn’t cross larger gaps) but is controllable. And yes, we did just get a cowboy hat for Jack. I told you this game had Western themes.
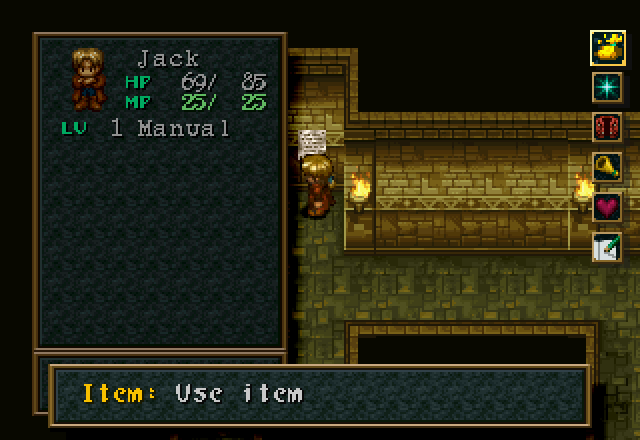
As I equip the cowboy hat, I might as well explain the menu. The top option, as you can see in the screenshot, is Item, and allows you to use or rearrange your inventory.
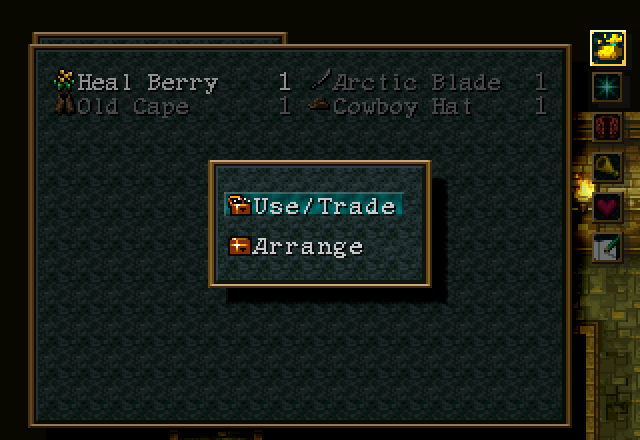
This is the inventory screen. That menu in front actually comes up when you press the Cancel button (Circle by default). The Use/Trade option just brings you back to the normal inventory screen, while Arrange automatically organizes your inventory. Press Cancel again to exit the Item menu. Jack’s starting equipment is currently in the inventory because I wanted to see if they had any interesting info text (they don’t).
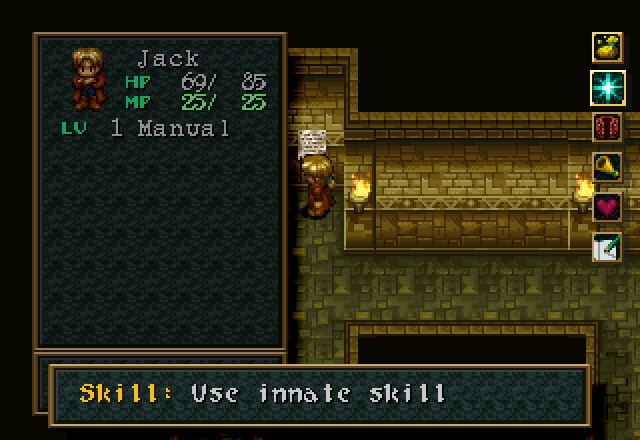
Next comes Skill, which allows you to see what special abilities a character has, and to use any that can be used outside of combat, such as healing spells.
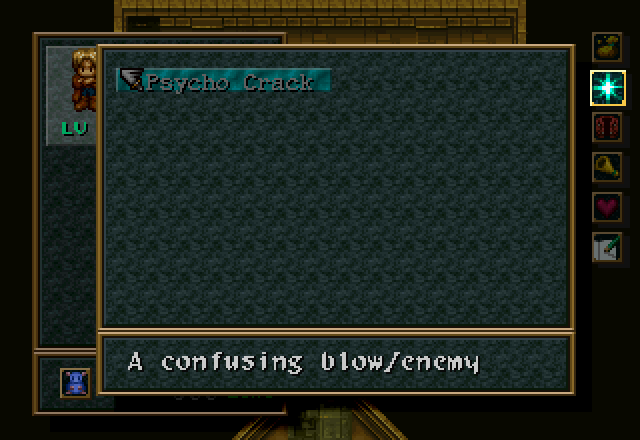
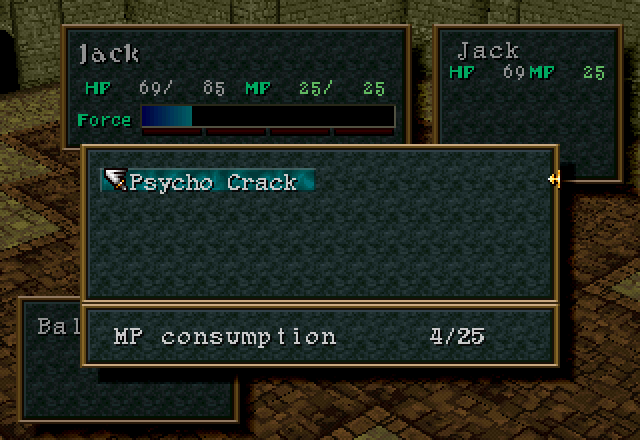
As you can see, Jack comes with one skill, which is the [Fast Draw] mentioned in his intro cutscene. Psycho Crusher Crack deals a bit more damage than a regular attack, and has an insignificant chance to Confuse enemies. Fast Draw techniques cost MP to use, but their cost can be reduced, to a minimum of 1 MP. I’ll go over that when it becomes relevant.
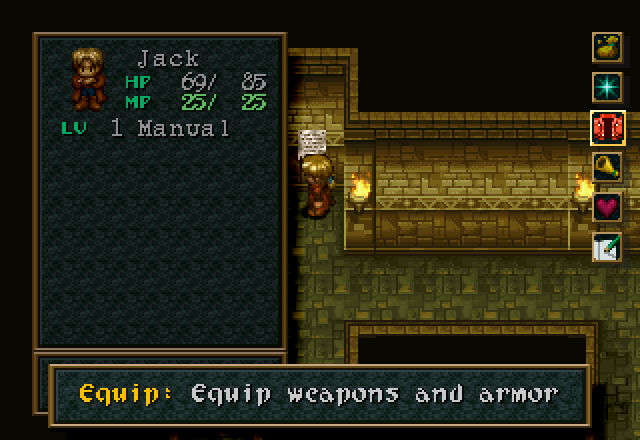
Next is the Equip menu, which should be pretty self-evident. Characters in Wild Arms have five equipment slots: Right Hand (the character’s weapon; yes, Ned Flanders, everyone in this game is a righty), Left Hand (Shields and accessories), Body (Armor), Head (Hats and helms), and Rune (a special equipment slot we’ll go over in Cecilia’s story).
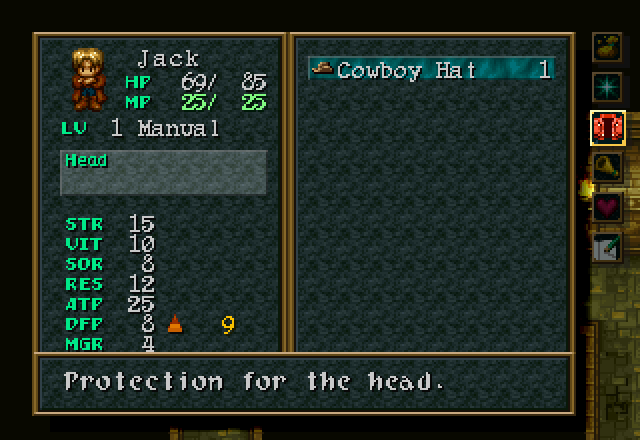
Our new cowboy hat, being a hat, obviously goes on the head.
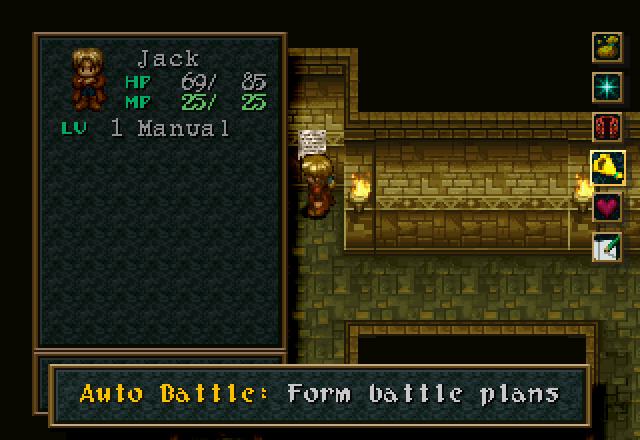
Next up is Auto Battle. This game has a few limited AI settings which will allow the characters to fight on their own. I wouldn’t rely on them, but if you’re backtracking I guess they could speed up random encounters, or it could be an interesting idea for a challenge run of the game to always use the AI settings. I do that all the time in Dragon Quest games.

Status obviously brings up a screen showing the character’s stats and current equipment.

Now seems like a good time to explain what the stats do.
STR is your base attack power without your equipped weapon, while ATP is the final number.
VIT and DFP are the same thing for physical defense.
SOR affects magic attack damage and the MGR stat (50% of SOR goes to MGR), which is the character’s magic defense. Jack doesn’t get much out of SOR, because most of his Fast Draw techniques are actually based off his ATP, applying multipliers to his base ATP stat to determine damage.
RES (Response, not Resistance) is basically speed, and it determines when a character will act in combat, and also influences pre-emptive attacks (player first turn). PRY is the character’s evasion rate, and is 10% of the character’s RES at base - left-hand gear will frequently raise PRY as well.
Finally, Luck affects the rate at which you get preemptive strikes (player first turn) and ambushes (enemy first turn) in combat, as well as affecting critical hit rate, retreat success chance, and a few other things we’ll go into when they’re relevant. It can fluctuate, changing one step in either direction whenever you sleep at an inn, IIRC.
As you can see, Jack’s highest stats are in STR and RES. He’s fast and he hits hard. A bit of a glass cannon, perhaps, but his high RES means he’ll dodge more attacks, too.
Options allows you to change various game settings. I’ll go over each of the settings you can change in another part; this one’s already getting pretty long, and we still have quite a bit to go.

Leaving the room by the corridor to the right, we get our first random encounter, with a pair of Balloons. Balloons are about as threatening as their names imply, and are good punching bags for level 1 characters.
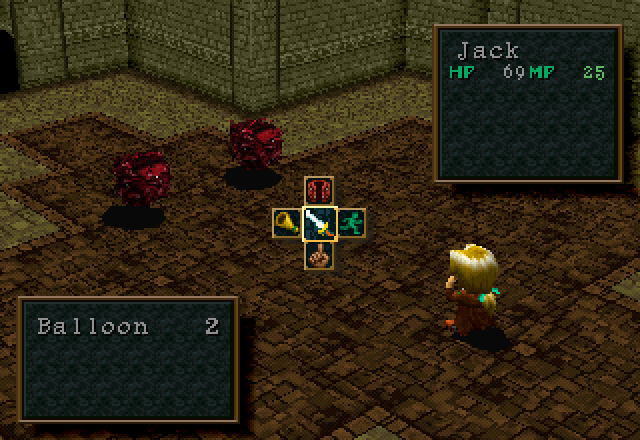
Between the Tools system and the battle menus, the designers of Wild Arms seem to have taken a few cues from the Lufia games. The battle menus are in a plus shape, and holding a direction on the D-Pad allows us to select the different options. This first screen has the options Fight, Equip, Auto Battle, Run, and Formation.
Equip and Auto Battle work the same as they do in the menu screen. Yes, you can change equipment mid-battle. The function of Run should be obvious to anyone who’s played a JRPG before. Formation we’ll go into once we have more than one character.
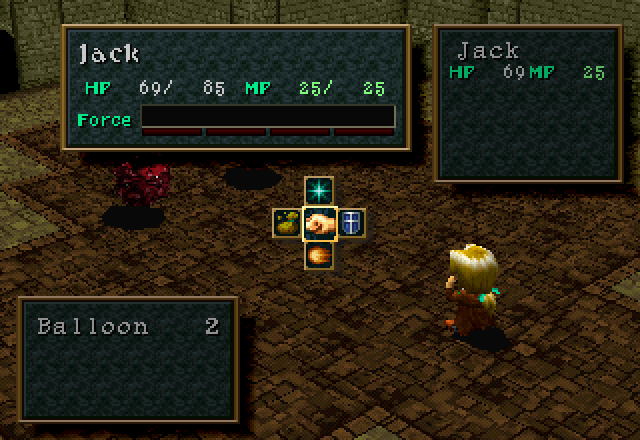
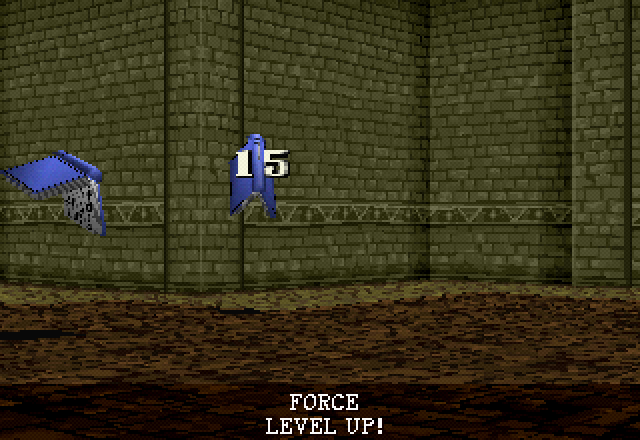
This is Jack’s combat menu, which is accessed by selecting Fight. The commands are Attack (the fist), Skill (the star; same as the menu screen), Item (the bag), Defend (the shield), and Force. Most of the options are pretty self-explanatory, so I’ll explain the Wild Arms series’ unique mechanic, Force.
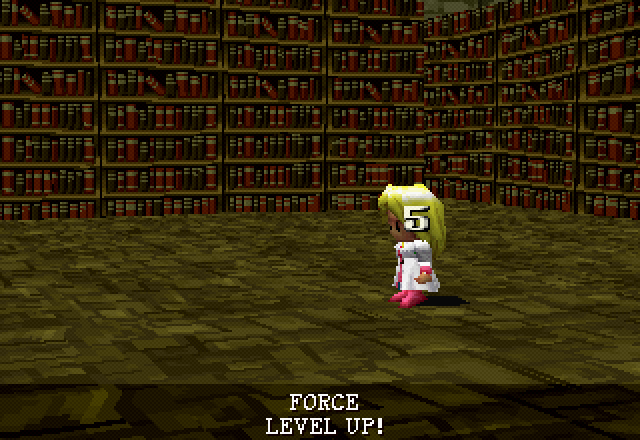
Force goes from 0 to 100, and increases whenever the character attacks or takes damage. At 25, 50, 75, and 100 points, a character gains a “Force Level Up”. This increases their attack and defense power by 10% each. At 100, you also get CONDITION GREEN, which cures all status ailments. Each character starts with one Force skill, and can gain up to four throughout the game. The first Force skill costs 25, the second 50, and so on. At the end of battle, Force resets to zero in this game. From Wild Arms 2 on, Force resets to the character’s level instead. In Alter Code: F, each character has only one Force skill (which costs 25 FP), but it’s powered up.
But since we don’t have any Force due to just starting a battle, I just select Attack.
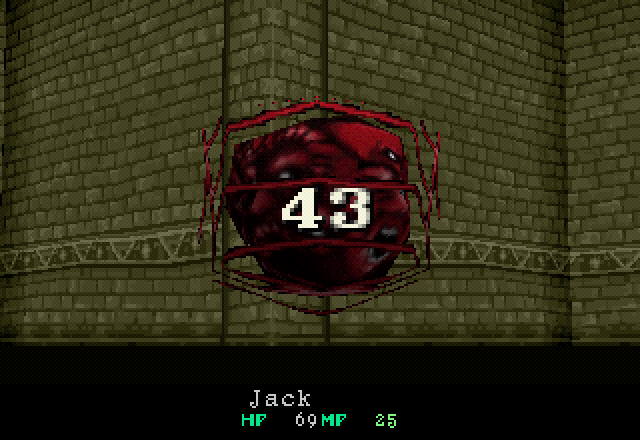
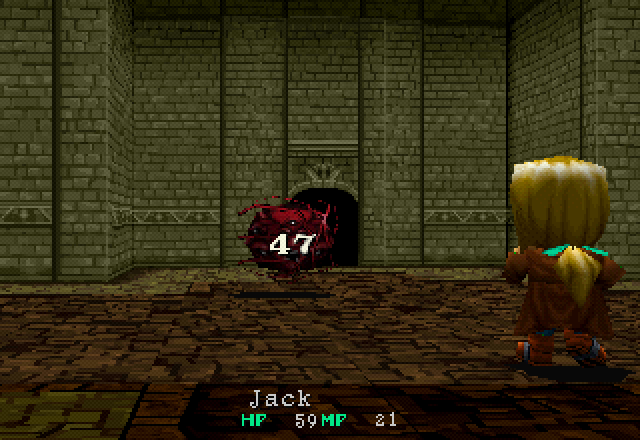
Jack’s basic attack is plenty enough to one-shot these guys, even at Level 1. They only have 35 HP, after all. In fact, Jack will one-shot anything in this dungeon with his basic attack. I’m not kidding.
Despite that, I was going to try to show off Psycho Crack on that second guy, but…
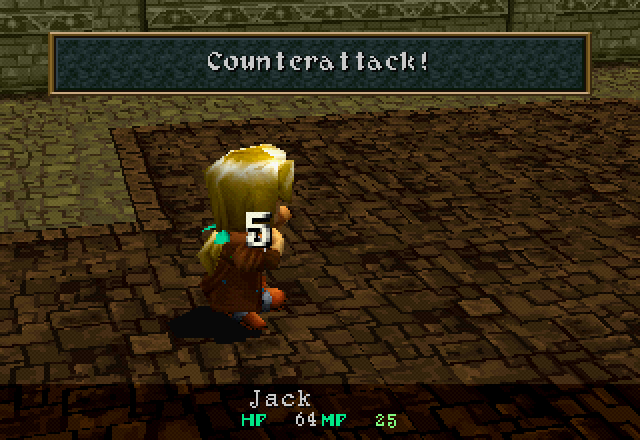
Jack counterattacks and kills it. I think counterattack chance is based off the Luck stat, but it could also be based off PRY; there isn’t a whole lot of info out there - the best source I found was the game’s manual. See that damage number, by the way? Yeah, Balloons aren’t even remotely a threat.
Now that that’s over with, we continue down the corridor and come to an intersection. The corridor to the west leads back to the room with the empty chest, and the northwest is the way we came from.
North leads to the stairwell up, but it’s blocked. If you look, you can just barely see the button to raise the portcullis off to the right. The chest is empty; you can open chests from any direction in this game, so the spike trap is irrelevant.
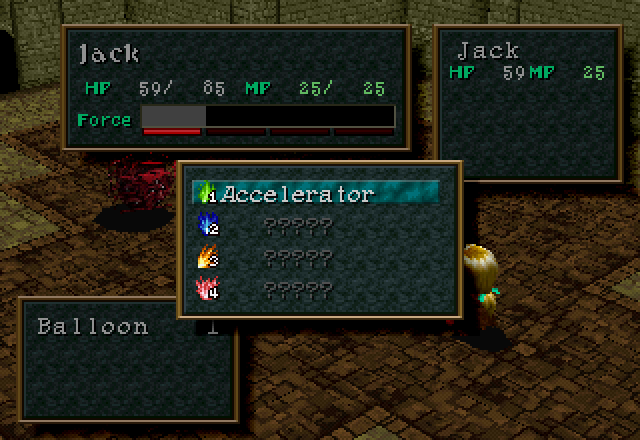
Heading back downto go east, I get another random encounter with two Balloons. After killing one of them, I get a Force Level Up, which allows me to kill two birds with one stone and show off both Jack’s Force skill, Accelerator, and Psycho Crack.
Jack’s first Force skill is Accelerator. Accelerator guarantees that Jack will go first, no matter what. It’s honestly kind of meh, because Jack is already the fastest character; once he has a few levels under his belt, he’ll be going first most of the time anyways. It’s most useful as a panic button, and makes Jack a decent healer when necessary. But honestly, Jack benefits more from the attack and defense increases from Force rather than using Accelerator most of the time, in my opinion.
Here’s Psycho Crack in action. Psycho Crack, from what I was able to find out, applies a 125% multiplier to Jack’s ATP when used. It has a chance of inflicting Confusion, but I’ve seen that happen maybe twice. Don’t rely on it.
But for some weird reason, it doesn’t seem to do much more damage than Jack’s basic attack to this Balloon; certainly not +25%. Maybe he just rolled really low? It’s not like it matters, though.
Continuing on to the right, we come across another intersection, this one containing a pit. If you fall down the pit, you get warped to the place you entered the area (for us, it’s the small room Jack landed in), but you don’t take any damage or anything. It’s annoying, but no threat. This is where we’d end up if we’d taken the right fork back at the beginning.
Going north, we find the button to raise the portcullis over the stairway. The chest is empty.
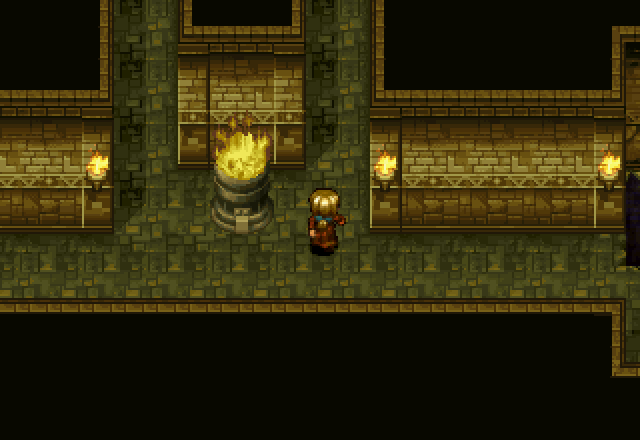
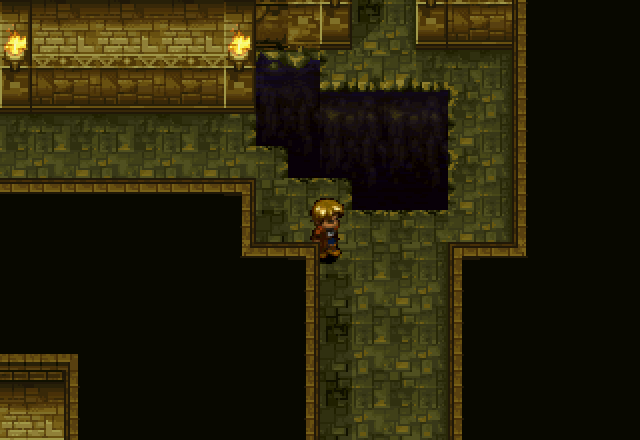
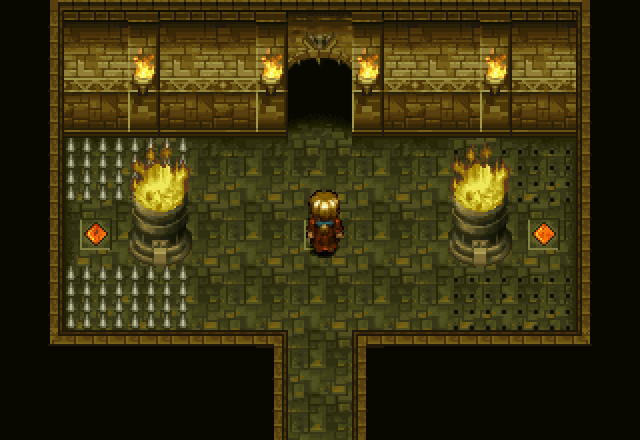
Proceeding to the next floor, we find ourselves on a relatively narrow walkway over a pit with three blocks arranged to impede progress. You can push some objects by grinding your face into them, so we move the center block out of the way and proceed.
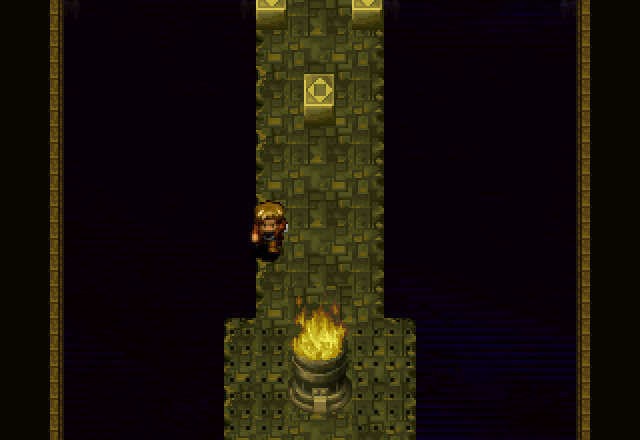
The torch here blocks the middle of the walkway, and there are spike traps on both sides. You can use the dash (Cross by default; I like to change it to Circle so it coexists with Cancel instead of Confirm) like I am in the screenshot, but the spikes take so long to pop that as long as you don’t stop on them, you’re fine. Really, they’re not going to hurt you unless you’re not paying attention. The dash works like the Pegasus Boots from A Link to the Past; you can only move straight in one direction while dashing, but you can cancel it by letting go of the button. Hitting something causes you to recoil, so be careful.
We dash down past a couple more setups like in the previous image before hitting the bottom of the room, where we find a chest surrounded by spike traps. Just to be safe, I use Hanpan to grab the Heal Berry in the chest from out of range of the spikes. Hanpan doesn’t trigger traps and is unharmed by any already triggered; he flies over the spikes like they’re not even there.
Going through the left door, we find a locked staircase, but this time we can clearly see the button to open it.
While circling around to hit the button, we get into another random encounter. Ooh, a new enemy!
Oh. I kill the Balloon and move on. Hit button, back to staircase.
Upstairs, we find ourselves in the middle of a wide hallway full of spear traps. Left goes to another locked stairwell, so let’s head right first.
Fortunately, the intro cutscene already taught us how to avoid spear traps. Dashing past them leads to a door and a chest with a Heal Berry in it.
Through the door we find a room shaped like a mirrored “S”…
With the button to open the stairwell at the top. Push the center block into the pit…
…And send Hanpan across; he can hit buttons and flip switches, as well as grabbing items.
Pictured: Unlike the spike traps, spear traps will get you if you’re not dashing.
Back on the other side of the big hallway, we find the stairwell up and a chest containing another Heal Berry.
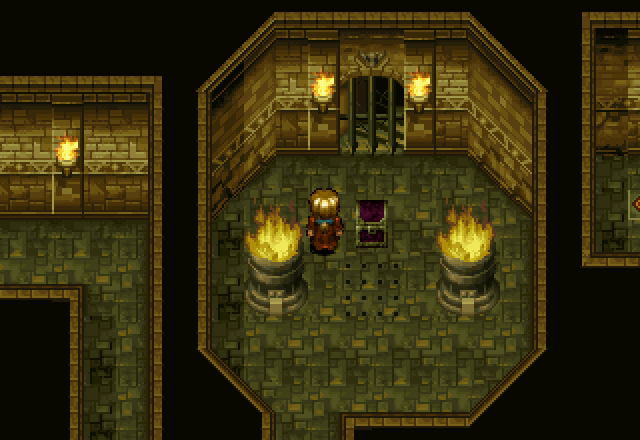
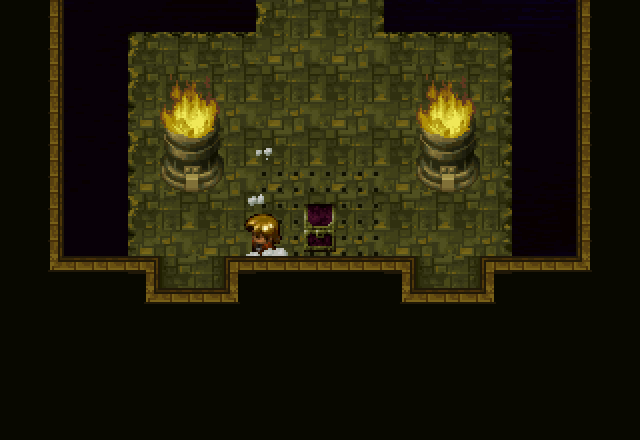
Upstairs is a small room with a magic circle that acts as a save point.
I save while I’m here.
Through the door at the bottom, we find a room with another fork. It doesn’t matter which way you pick; the room is a big circle with the save point room in the center, there are no treasures, and the way out is up top. We head left, because Reasons.
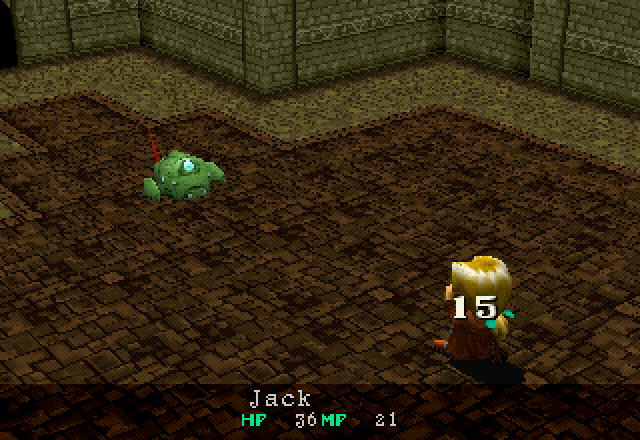
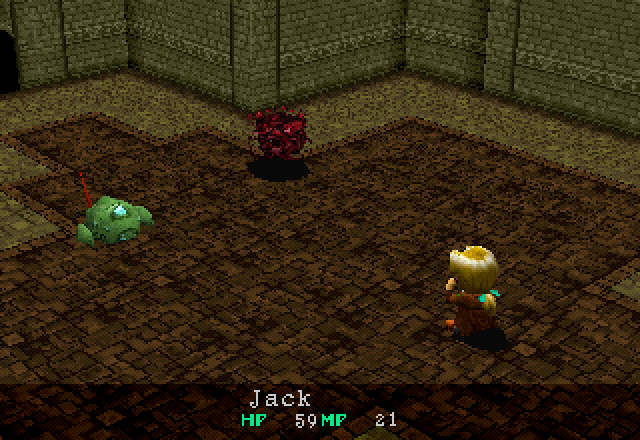
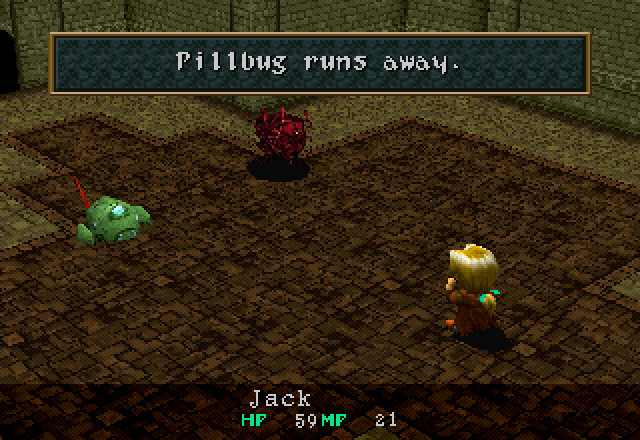
We get into a fight with a lone Pillbug. As you can see, they hit significantly harder than Balloons, when they feel up to it; Jack’s even defending there. You can also encounter Pillbugs on the first floor, but they seem to show up more often here.
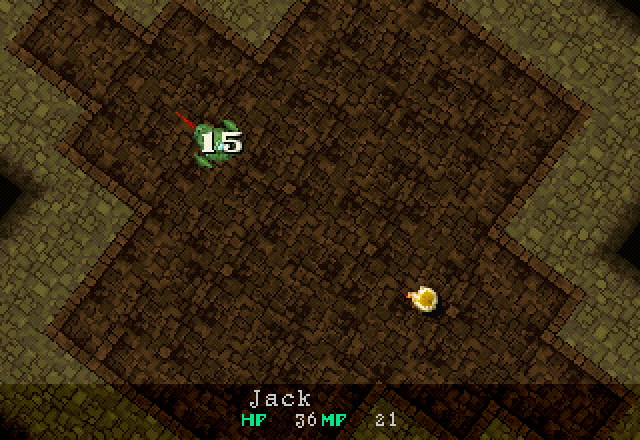
They have much better defense than Balloons, too. It doesn’t matter, though, because that 15 damage is their max HP exactly, so this bug goes down.
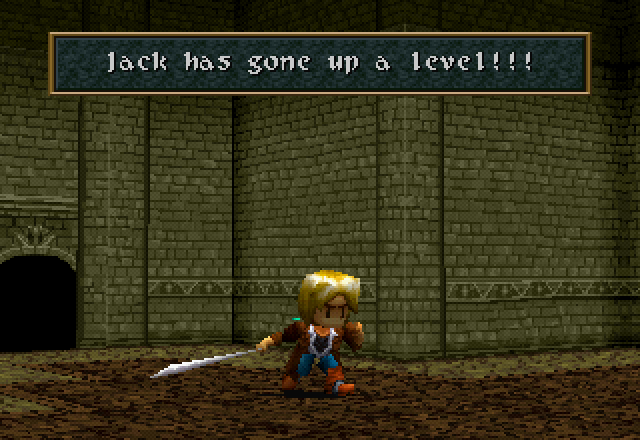
And Jack gains a level from it.
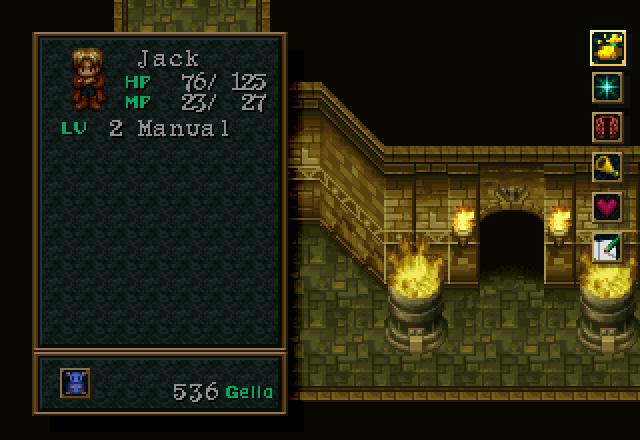
Shot of the menu screen; Jack gained 40 HP with this level-up. I’ll post a status screen at the end of the update.
Ouch! What are these spikes doing here?!
I dunno, but they’re still not a threat.
They don’t even bother me while I stroll around activating the buttons to open the next doorway (not a staircase this time! Maybe we’re near the top?).
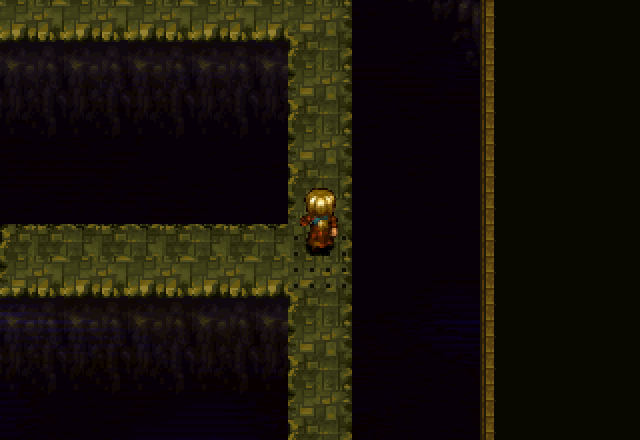
The next floor is a narrow causeway with spike traps at every intersection. Left from this intersection is a dead end, and then you have to wait for the trap to reset to go back. That’s right; spike traps at their worst are no more dangerous than traffic lights.
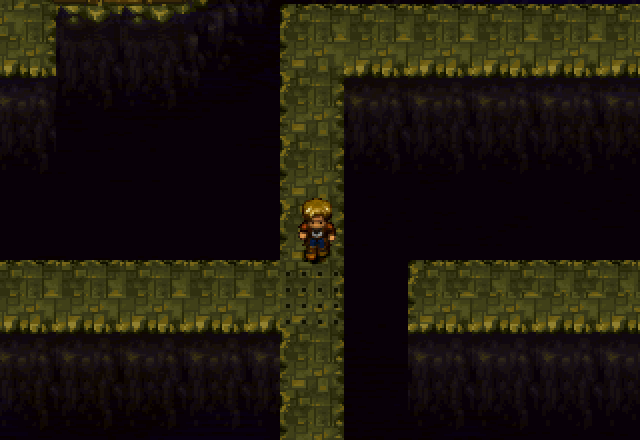
Down is a dead end here; we go left.
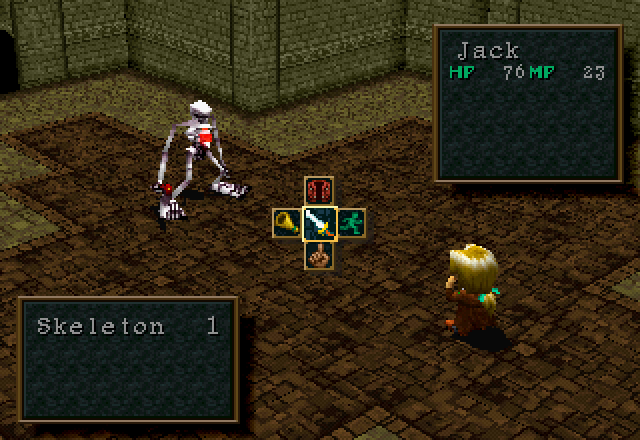
To this random encounter, with a new enemy - the Skeleton. Creative naming, Sony.
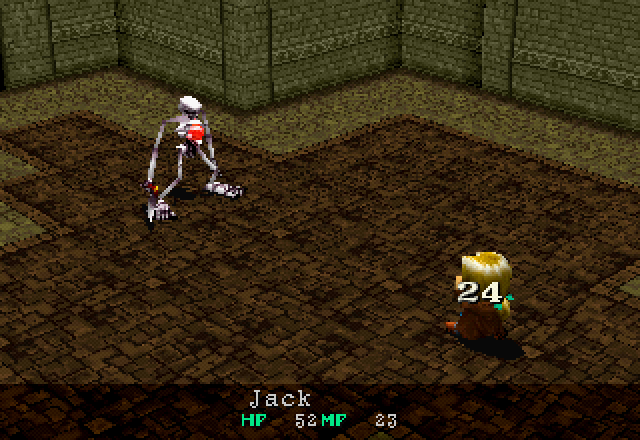
They’re the hardest-hitting enemies here; again, that’s against Jack while he’s defending. They can also use an attack called Brutal Hit that does even more damage, but it wouldn’t do it and I was getting kinda low on HP so I decided to stop acting like a punching bag.
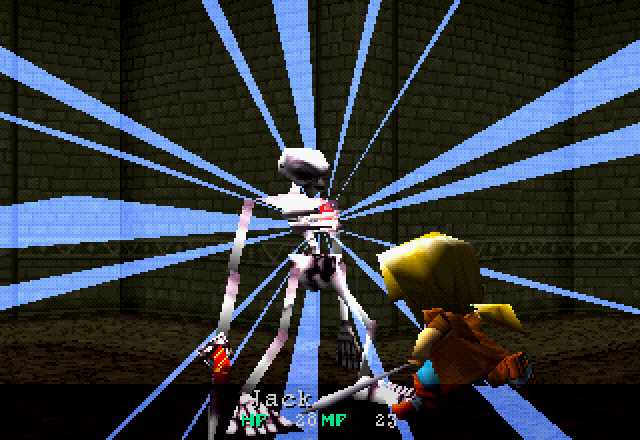
As his reward for being the only even vaguely threatening enemy in this dungeon, I Accelerator/Psycho Crack him to death. Still unnecessary, but at least it does more damage than a basic attack against it - IIRC, Skeletons take damage in the mid-high 20s from his basic attack, and this one took 42 from Psycho Crack.

Past him, we find a chest with this in it. The other chest had a Heal Berry.
The Hide Glove is a Left-Hand item that increases DFP and PRY. Jack will dodge one out of every 20 or so attacks, now! Yeah, PRY doesn’t really come online until the mid/late-game, and by then you’re usually doing different things with your Left Hand slot.
We head up and through the door.
How in the world do you operate these switches? I don’t get it!
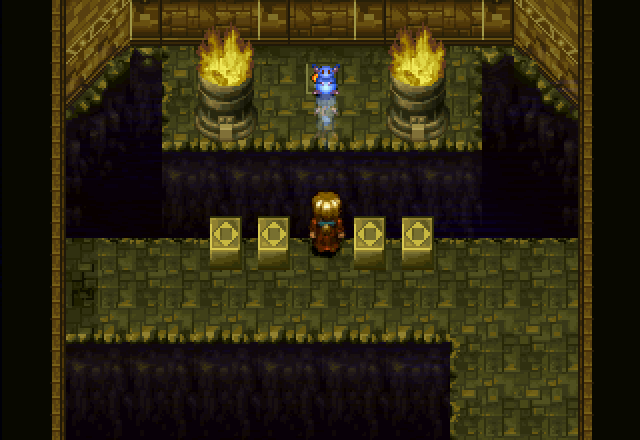
Through the next door is a room with two blue switches on opposite ends and a note in the center.
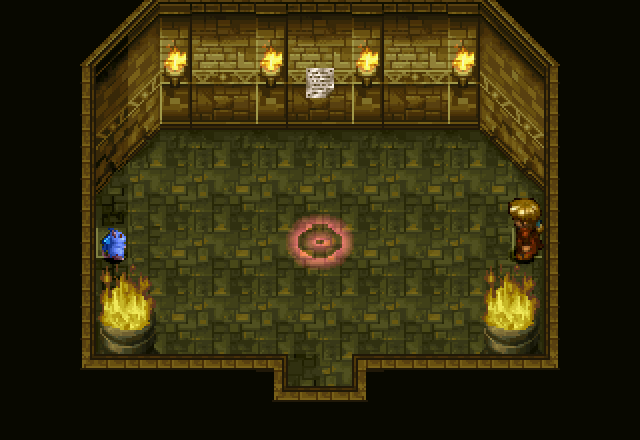
The answer: have a little blue mouse who can trigger switches at range.
Or the POWER OF FRIENDSHIP, I guess. But I know which one I prefer.
The red waves are a teleporter that takes us to the final room of the dungeon.
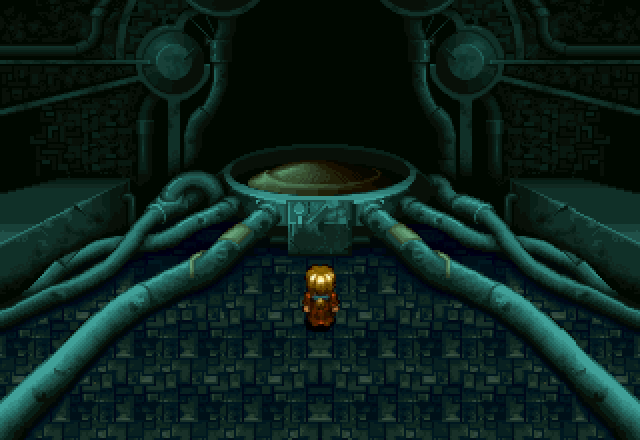
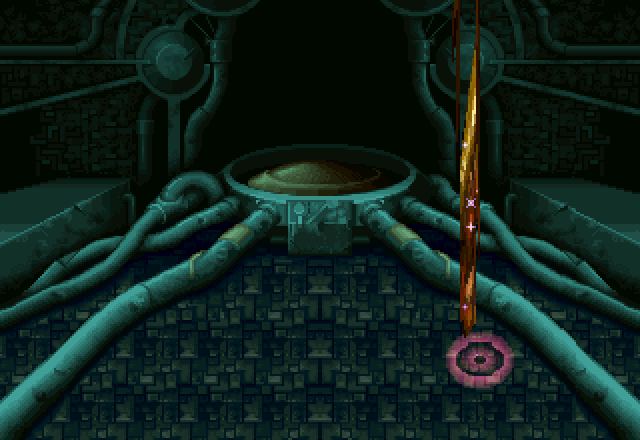
We end up in a room with some weird machinery all over the place. Jack walks over to the machine as Hanpan pops out of his pocket.
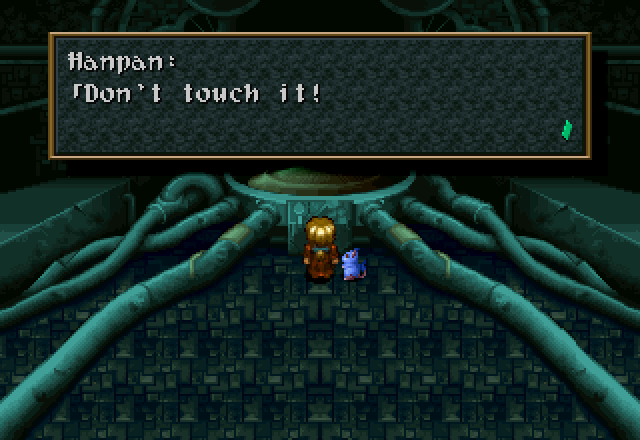
Jack touches it. He’s not good at taking directions. At this point, the music goes silent, replaced by a mechanical hum.

The machine begins to glow, and a globe forms above the pad in the center. A figure appears within the globe.
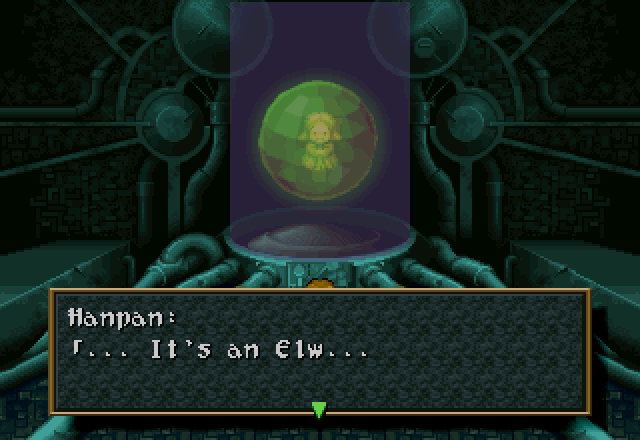
![]() I’ve never seen anything like this before…
I’ve never seen anything like this before…
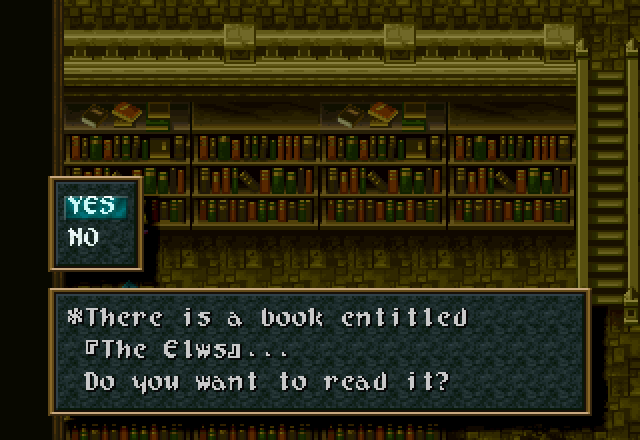
![]() What… What’s an Elw?
What… What’s an Elw?
![]() Long ago… an alien race lived here, an advanced race who used technology laced with magic. These are the remnants of a race whose lives were in sync with the laws of nature.
Long ago… an alien race lived here, an advanced race who used technology laced with magic. These are the remnants of a race whose lives were in sync with the laws of nature.
That’s right, this western fantasy JRPG just took a hard right turn into sci-fi. The Elw are kind of like elves and Chozo rolled into one package. Also, it’s hard to tell on the sprite, especially with the effects around it, but they have brown furry dog/bunny ears.
![]() So is this an Elw?
So is this an Elw?
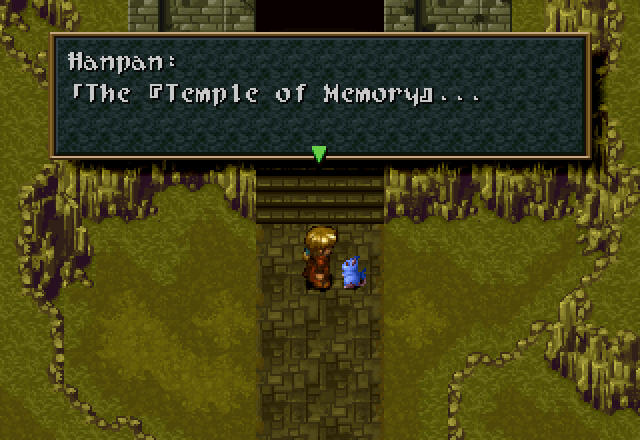
![]() No, this is a holographic image. This machine must be a data storage device of the Elw! Information is left here to be retrieved later! This certainly is a [Temple of Memory].
No, this is a holographic image. This machine must be a data storage device of the Elw! Information is left here to be retrieved later! This certainly is a [Temple of Memory].
![]() Wait a minute… The Elw is speaking directly into my mind!
Wait a minute… The Elw is speaking directly into my mind!
![]() Wow! With your thick skull?! This certainly is advanced technology!
Wow! With your thick skull?! This certainly is advanced technology!
Hanpan and Jack might work together, but they also casually banter and bicker.

![]() Lolithia’s icy breath can only destroy…
Lolithia’s icy breath can only destroy…
![]() Seek not Lolithia in her tomb. The Elw have departed. Seek not Lolithia, for she is bound in the [Land of Light]…
Seek not Lolithia in her tomb. The Elw have departed. Seek not Lolithia, for she is bound in the [Land of Light]…
![]() She is the Death Wind. The heartbeat of annihilation, an absolute destructive power…
She is the Death Wind. The heartbeat of annihilation, an absolute destructive power…
![]() I can’t believe it… The absolute [Power]… Hey Hanpan, you heard him! Where is this [Land of Light]?
I can’t believe it… The absolute [Power]… Hey Hanpan, you heard him! Where is this [Land of Light]?
![]() Hmm… I’m not certain, but… In an ancient tongue, Adlehyde means [Light]. Perhaps it’s related… Do you want to go there? It’s not that far from here.
Hmm… I’m not certain, but… In an ancient tongue, Adlehyde means [Light]. Perhaps it’s related… Do you want to go there? It’s not that far from here.
![]() … OK.
… OK.
![]() Adlehyde is a kingdom located to the southeast of here.
Adlehyde is a kingdom located to the southeast of here.
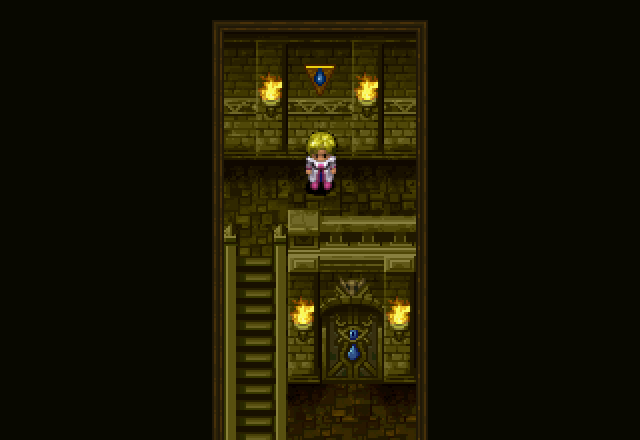
We regain control here. Another red teleporter appears.
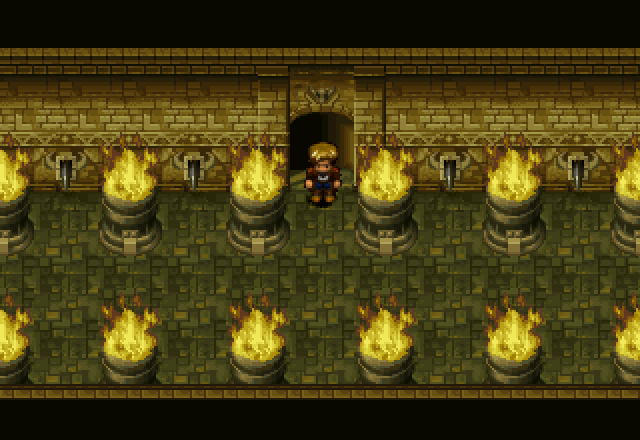
It takes us back out to the first room of the dungeon.
As we leave the Temple of Memory, we get a bit more narration.
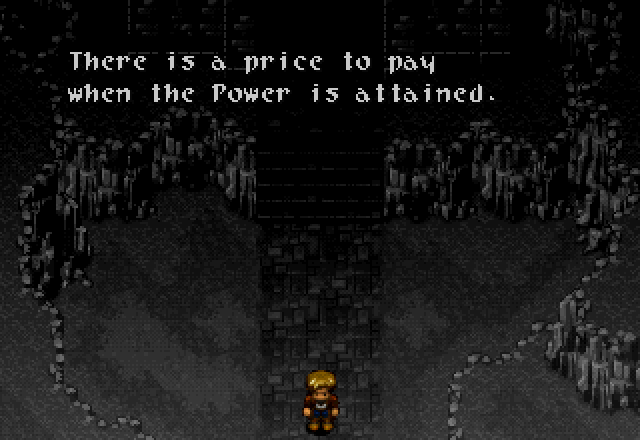
Free thyself from the past.
But what awaits in the future?
Does man seek strength because he believes that the Power will light the darkened path to the future?
He has no idea that the Power he seeks is also binding his soul.
Heavy stuff.
And with that, Jack’s journey is done for now. Join me next time, as I take on Cecilia’s route.
Before we go, though, let’s take a look a Jack’s current stats:
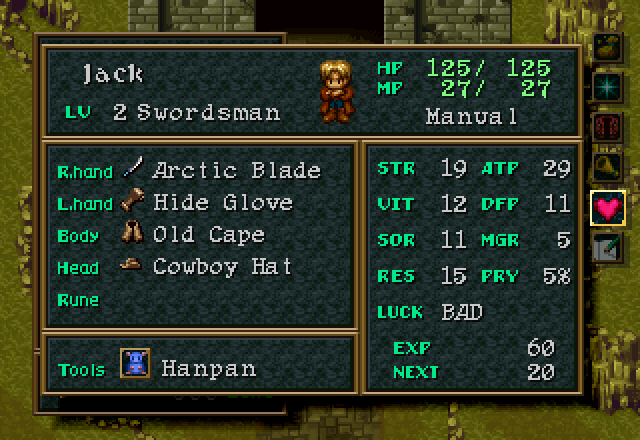
As expected, his STR and RES have increased the most; his VIT barely went up, though. He did get a decent gain in SOR, though, but again, it’s not super useful to him.
I appreciate that their variation on the standard boulder trap is to just introduce a ludicrous number of boulders.
“Sir, intruders appear to be slipping by our ingeniously designed boulder traps.”
“Well, what are you standing around for, fool! We need MORE BOULDERS!”
I forgot how incredibly stilted this game’s localization was. Wow!
It’s a product of its time. Remember, this game came out roughly half a year before Final Fantasy VII, which also had an incredibly rough localization; a lot of early PSX games seemed not to get that second pass from the editor or something.
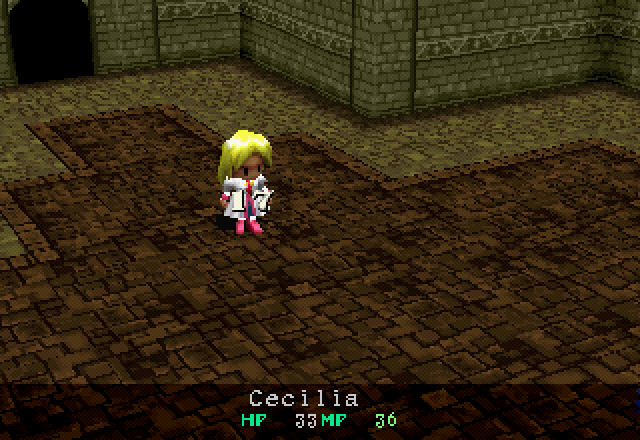
Part 2 - Cecilia the Girl From The Abbey
Last time, we watched a thief treasure hunter plunder loot explore some ancient ruins in search of Absolute Power. He was told not to look for it in the Land of Light, so off he went. Today…
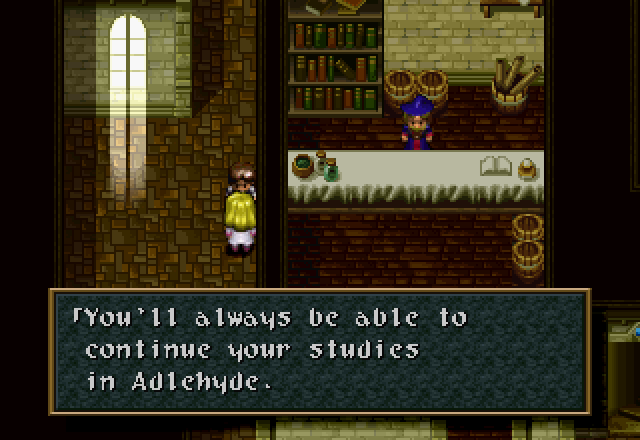
…we join a girl studying at a convent. The abbey has a lot of NPCs to talk to and books to read, so I’ll be doing a separate bonus update for that; otherwise this update would run way too long.

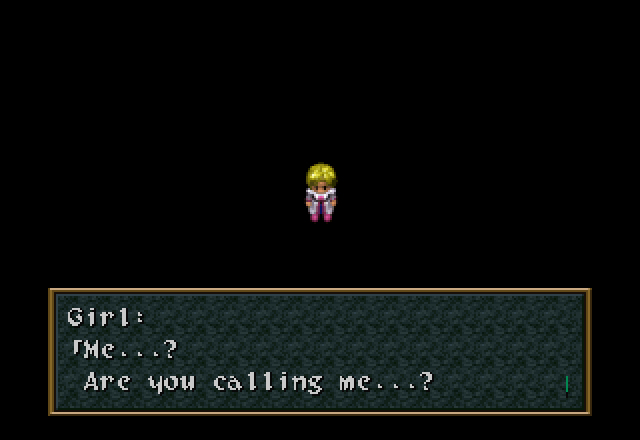
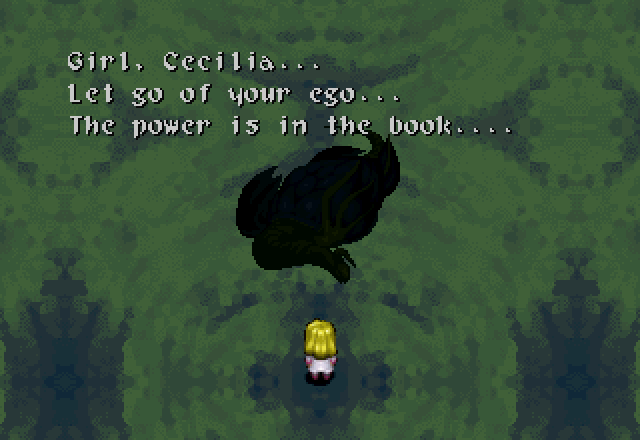
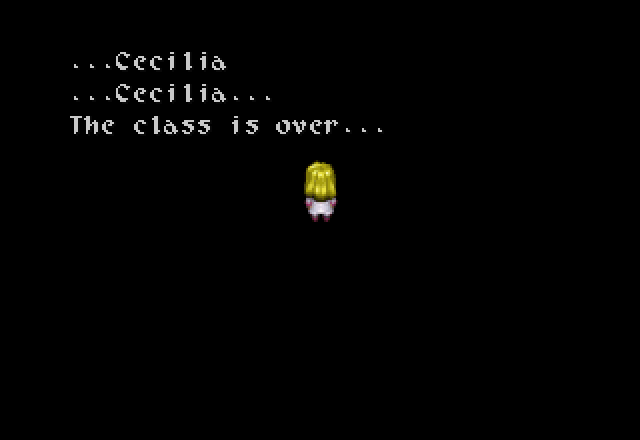
We open on a black void and some unknown voice calling to this girl.
![]() It’s dark in here. I can’t see…
It’s dark in here. I can’t see…
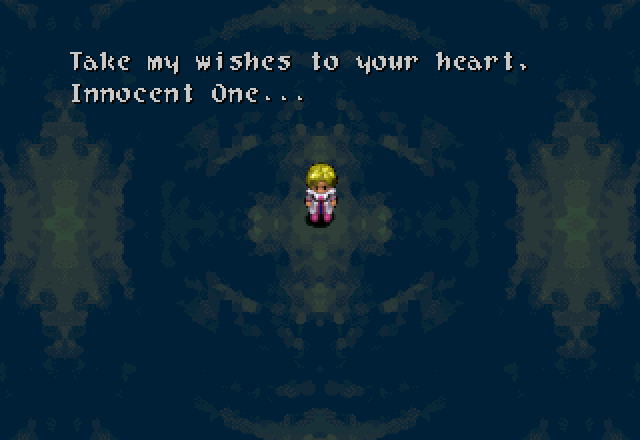
The background brightens and cycles through colors as the conversation progresses. I didn’t know New Age Retro Hippies were telepathic, though. Must be only when they’re Mushroomized.
 Tell me your name… We will again be bound by the ancient contract.
Forgive the spoiler portrait there; we’ll see this guy show up in a minute.
Who are you? I’m not the one you want!
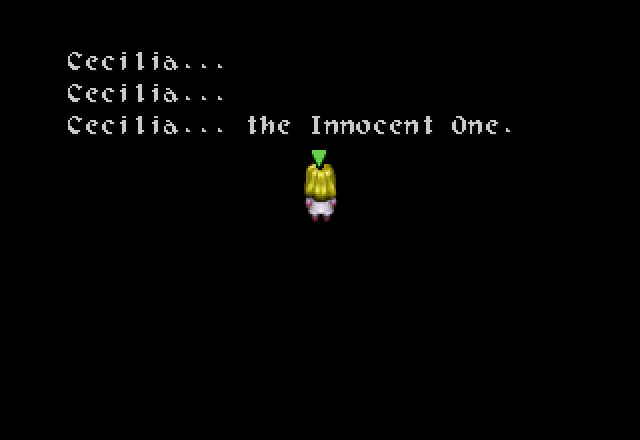
Hurry… Tell me your name. Once again, the world is being engulfed by darkness. Tell me your name.
![]() … …My name is…
… …My name is…
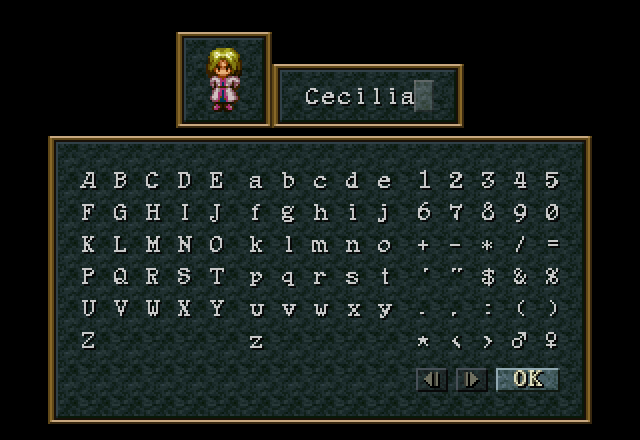
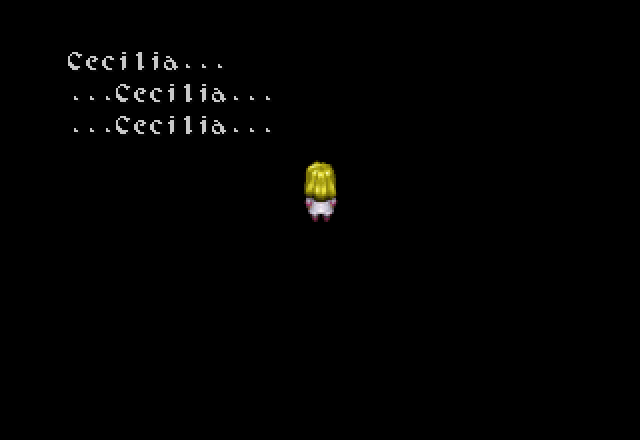
Again, thread voted on default names, so our heroine here is Cecilia. Don’t worry if you voted for one of the other choices; I have plans for at least some of the other names voted on. A shadowy form appears, and says…
The shadowy form disappears, taking the background and music with it.
![]() … Who are you…?
… Who are you…?
Plot Twist: It was all a dream. That’s it, update over, you can all go home.
…Not buying it, huh?
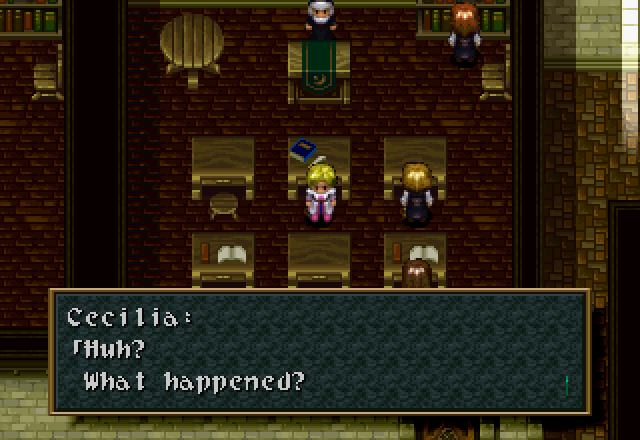
![]() Aren’t you turning 17 today? You need to work on not being so spaced out.
Aren’t you turning 17 today? You need to work on not being so spaced out.
![]() Aren’t you supposed to go back to Adlehyde when you turn 17? I worry about the future if our princess has mental problems.
Aren’t you supposed to go back to Adlehyde when you turn 17? I worry about the future if our princess has mental problems.
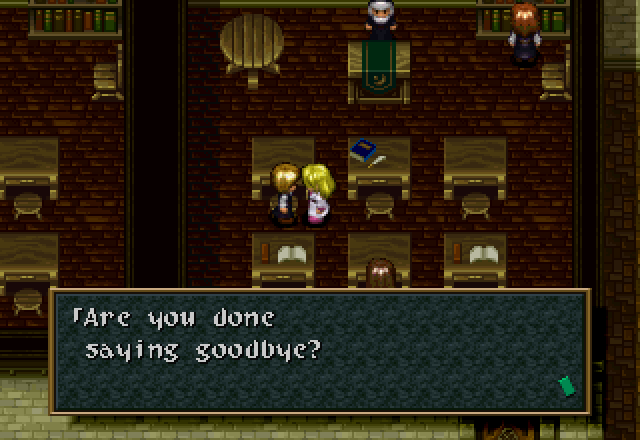
Cecilia turns away from her classmates.
![]() Gee… You guys are being really nice to me today.
Gee… You guys are being really nice to me today.
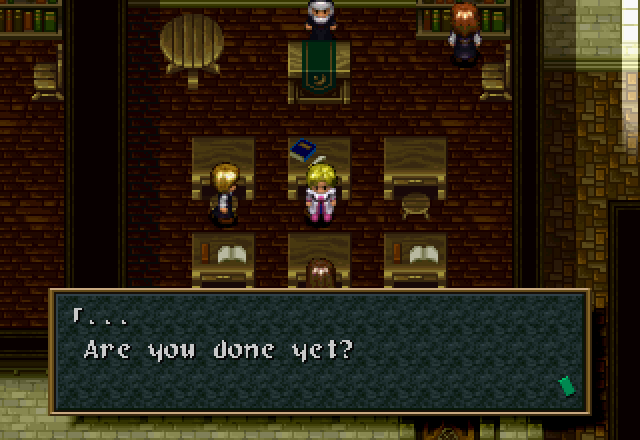
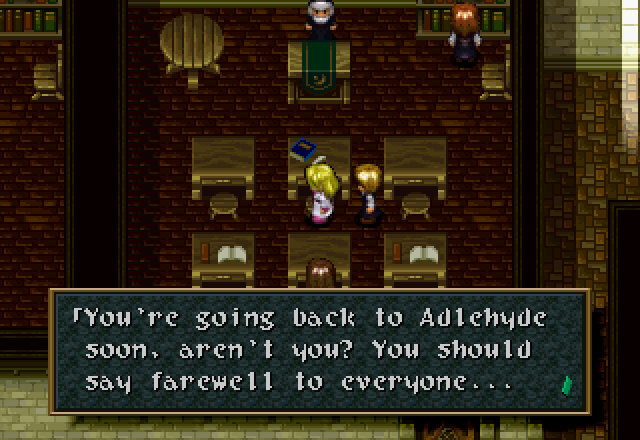
![]() You’re going back to Adlehyde soon, aren’t you? You should say farewell to everyone…
You’re going back to Adlehyde soon, aren’t you? You should say farewell to everyone…
![]() Yeah, I need to do that…
Yeah, I need to do that…
Her blonde friend walks around to the desk on the other side of Cecilia.
Chill out, girl. It literally hasn’t even been five seconds since you suggested it. I checked the frame data.
![]() Stop procrastinating. Get going!
Stop procrastinating. Get going!
![]() Everyone will appreciate your visit.
Everyone will appreciate your visit.
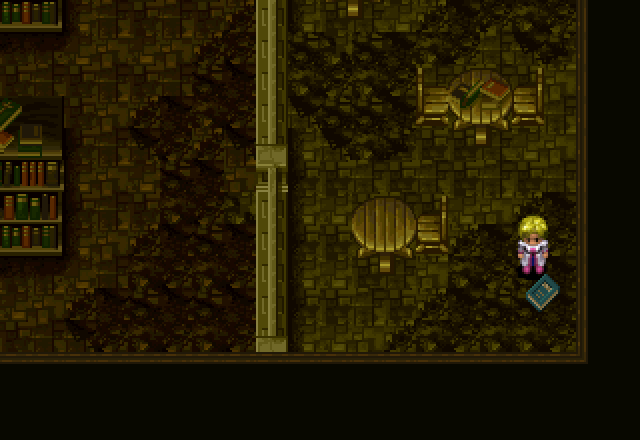
Now it’s time to leave the classroom. Going right, around the door to the courtyard, Cecilia finds the library.
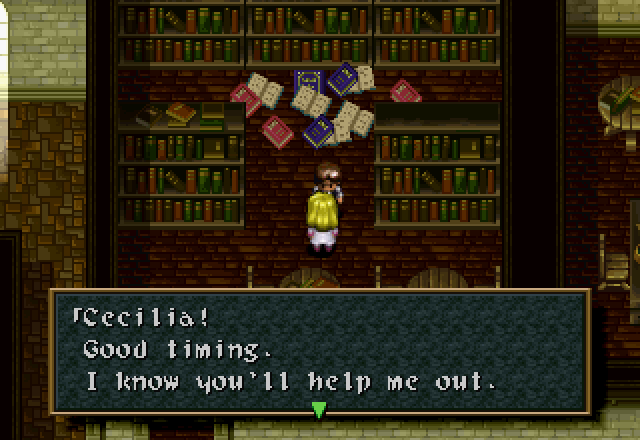
The game script I’m using calls this girl a “librarian”, but she uses the same sprite as other students.
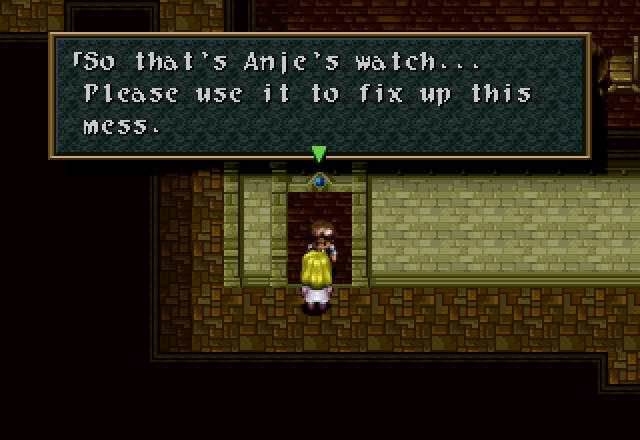
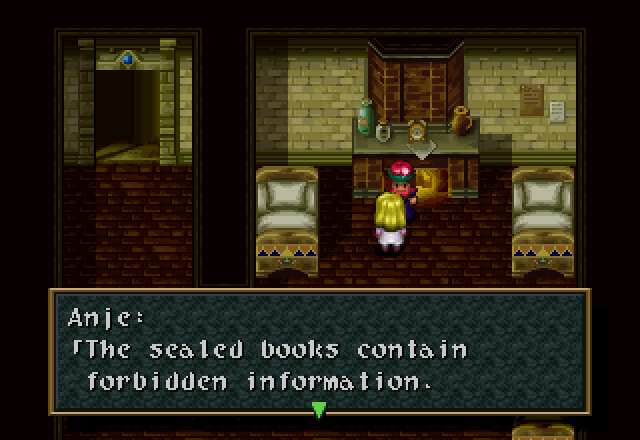
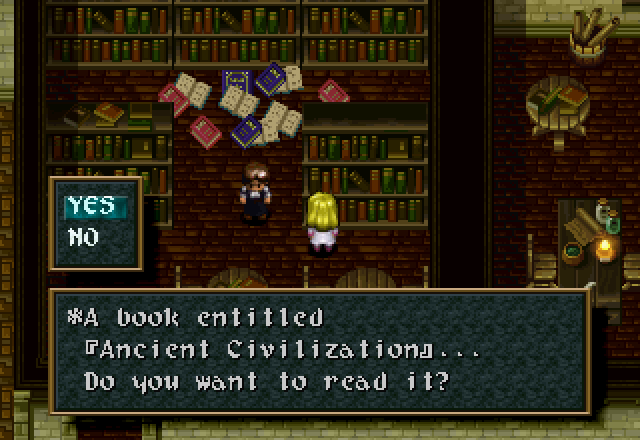
![]() I was sorting the books, but I ended up making a mess. I’m terrible at this. Anje, the magician, has a magic [Pocket Watch]. Please, Cecilia. Get the watch from Anje and help me clean the library! The watch will reverse time and put all the books back on the shelves.
I was sorting the books, but I ended up making a mess. I’m terrible at this. Anje, the magician, has a magic [Pocket Watch]. Please, Cecilia. Get the watch from Anje and help me clean the library! The watch will reverse time and put all the books back on the shelves.
We’ll get to that in a minute. But first, in the next classroom over…
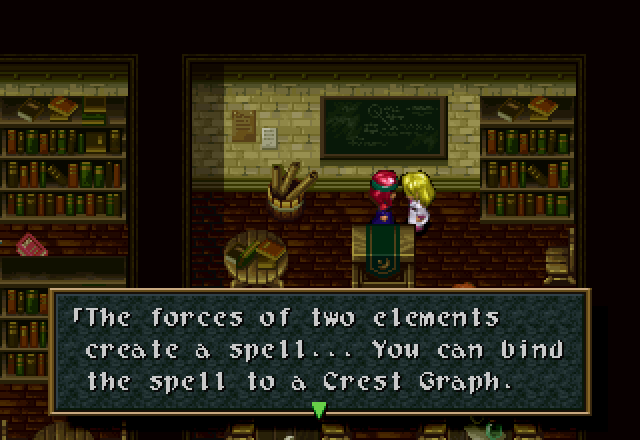
![]() Here… take my Crest Graph. This is my gift to you. Use this at the Magic Guild to create your own spells using what you’ve learned.
Here… take my Crest Graph. This is my gift to you. Use this at the Magic Guild to create your own spells using what you’ve learned.
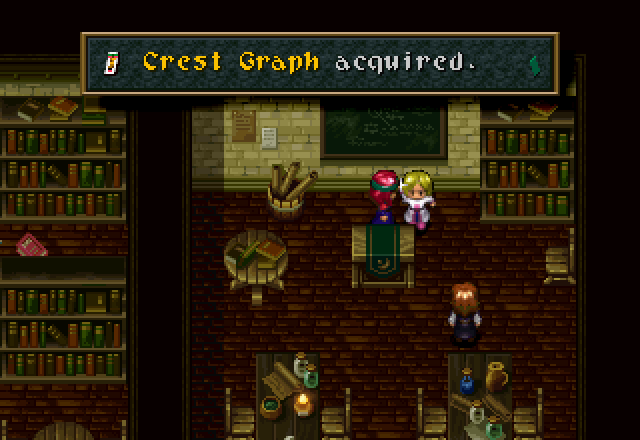
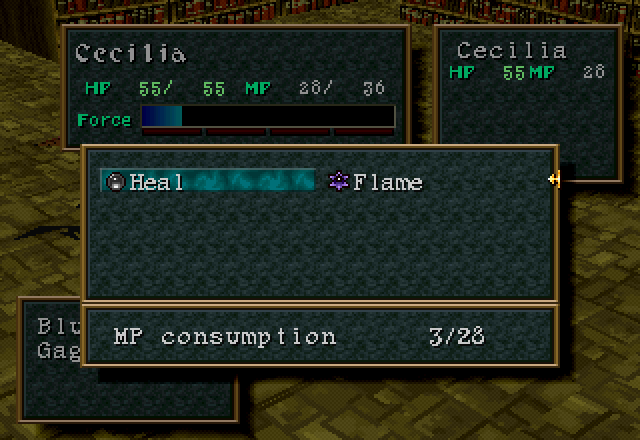
Crest Graphs are very useful. As Tutorial Lady just said, you use them to have Cecilia learn spells; she doesn’t learn any naturally by leveling up. Speaking of which, Cecilia starts with two spells learned:
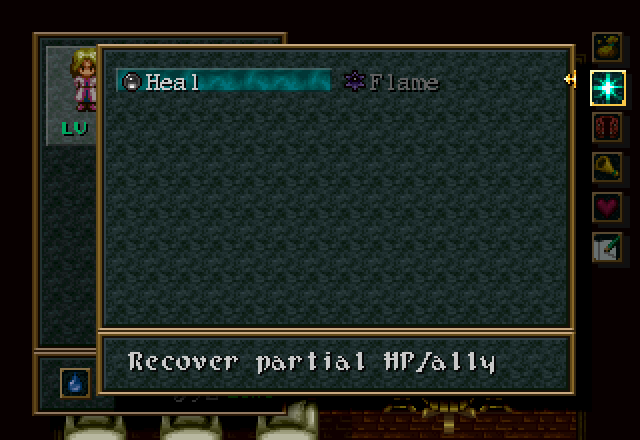
Heal and Flame, which is a basic single-target attack spell. This game does have magic elements, so the fact that it is a fire spell does matter.
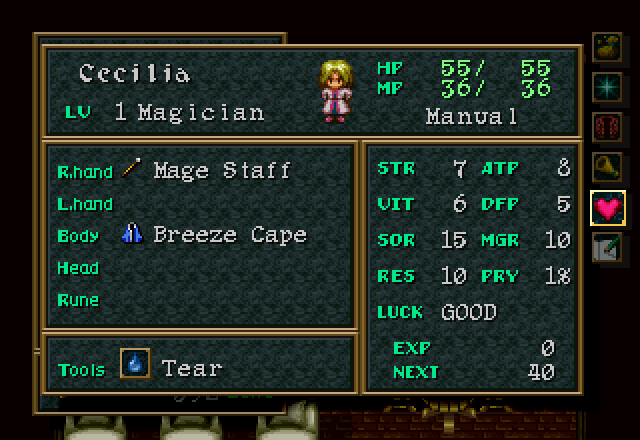
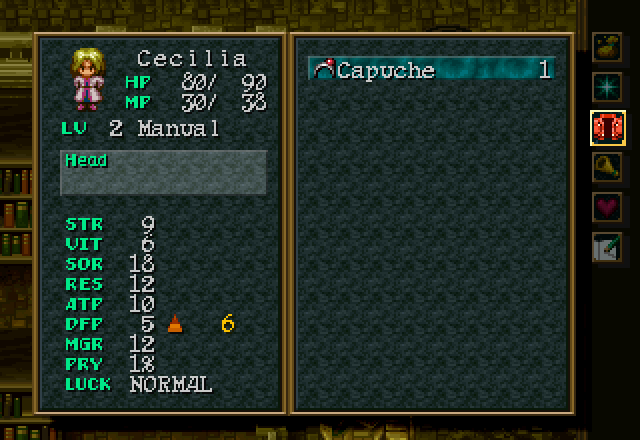
And here’s a shot of her base stats. As should be plainly obvious, Cecilia is a mage. She’ll be the party healer, and she’s responsible for most of the buffs and debuffs the party has access to, as well as all of the out-of-combat utility. There are a few good attack spells, but she won’t be doing that much, honestly.
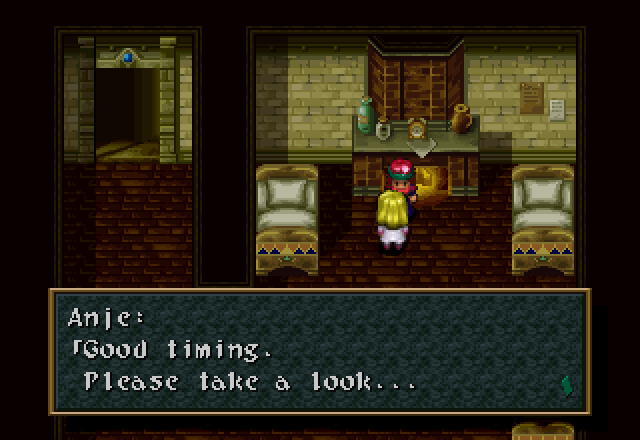
Upstairs, we find Anje. Prepare for text wall.
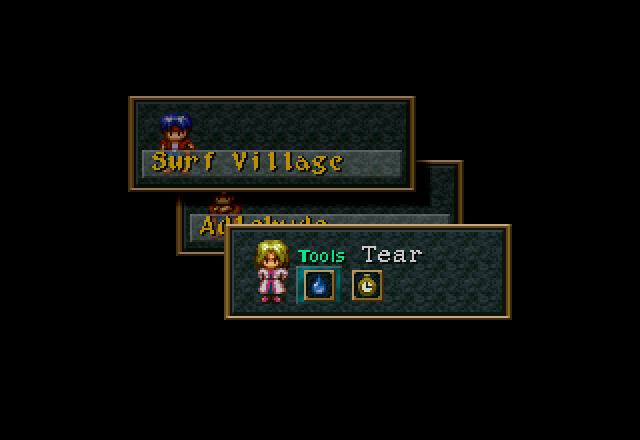
![]() This is the [Guardian Stone]. It responds to the power of the Guardians. According to my studies, the [Tear Drop]has some connection to them. Push the Tools button near the desk and use the [Tear Drop]. The [Guardian Stone] should respond. If you do this for me, I shall give you my [Pocket Watch].
This is the [Guardian Stone]. It responds to the power of the Guardians. According to my studies, the [Tear Drop]has some connection to them. Push the Tools button near the desk and use the [Tear Drop]. The [Guardian Stone] should respond. If you do this for me, I shall give you my [Pocket Watch].
Well, isn’t that convenient. I head over to the table and use the Tear Drop (Cecilia’s starting Tool).
The stone glows orange for a second.
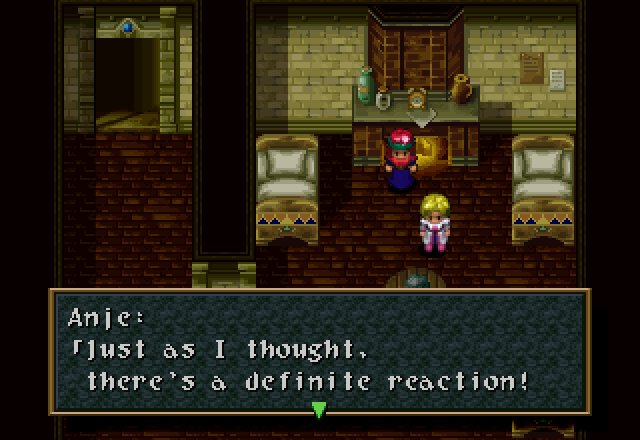
![]() Your [Tear Drop] crystal and the Guardians are linked in some way. The [Tear Drop] is the secret treasure of the Adlehyde family. That’s why the stone glowed. This will help so much in furthering my research. You can have my [Pocket Watch]. It’s very useful.
Your [Tear Drop] crystal and the Guardians are linked in some way. The [Tear Drop] is the secret treasure of the Adlehyde family. That’s why the stone glowed. This will help so much in furthering my research. You can have my [Pocket Watch]. It’s very useful.
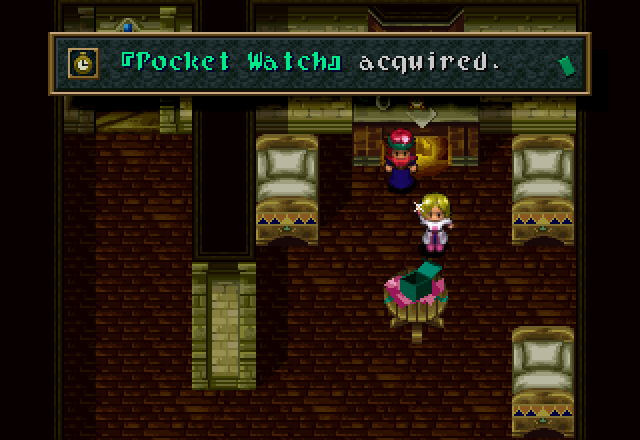
That’s right, we get Cecilia’s second tool before her first battle. Her scenario is the only one that does this. Alter Code F turns the Tear Drop into a key item, rather than a tool. And then instead of giving you the Pocket Watch, gives you the Tinder Staff, which is a freakin’ flamethrower. But you can only use it to light torches.
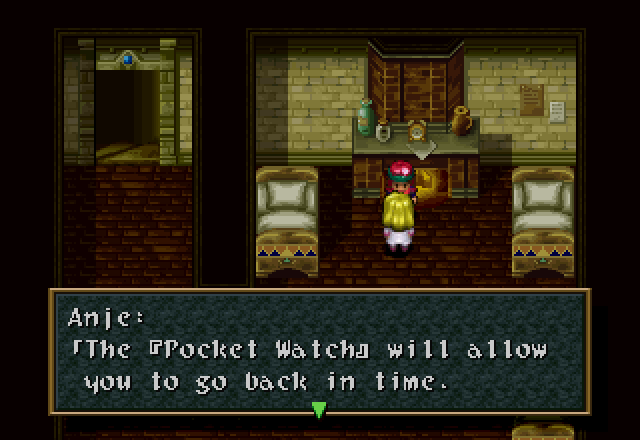
![]() By using the [Pocket Watch], you can go back in time. You can reconstruct broken boxes and reset objects that are stuck in place. It may not always be effective, but its magic is worth repeating.
By using the [Pocket Watch], you can go back in time. You can reconstruct broken boxes and reset objects that are stuck in place. It may not always be effective, but its magic is worth repeating.
Phew. Now that that’s done with, I head back up to the library.
To find the girl I talked to previously waiting at the door. Well, let’s get this done.
![]() I’ll go over to Sister Mary and make some excuses. I’ll be right back. Cecilia, I’m counting on you, OK?
I’ll go over to Sister Mary and make some excuses. I’ll be right back. Cecilia, I’m counting on you, OK?
Why are you going to go make excuses? We’re rewinding time! It will literally be as if this never happened!

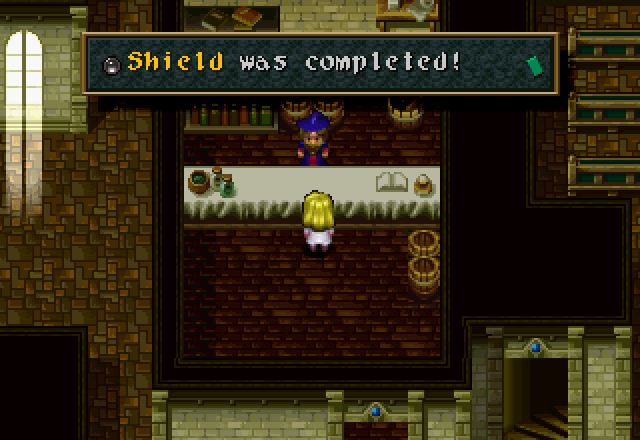
Cecilia uses the Pocket Watch…
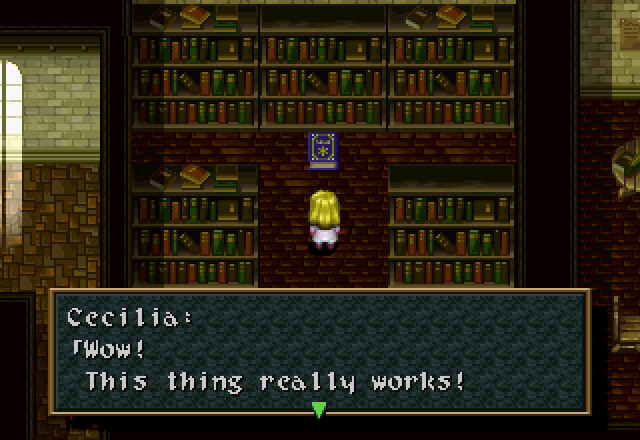
And all but one of the books disappear.
![]() Huh? There’s one book still left on the floor.
Huh? There’s one book still left on the floor.
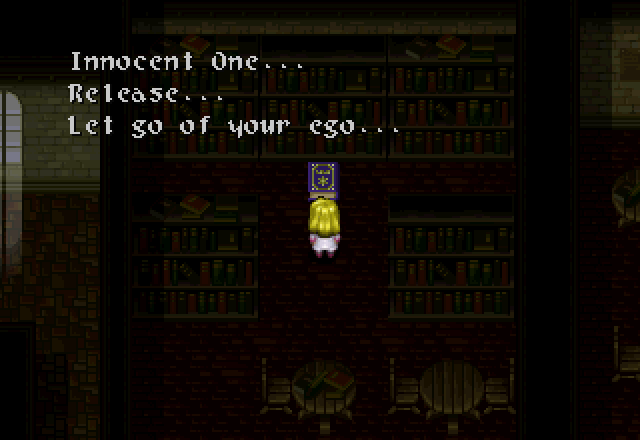
I am… trapped within the… [Sealed Library]…
The book disappears.
![]() A book spoke to me. The same voice as in the dream. What is the [Sealed Library]? I wonder if it’s located somewhere in the abbey?
A book spoke to me. The same voice as in the dream. What is the [Sealed Library]? I wonder if it’s located somewhere in the abbey?
Let’s go see if Sister Mary knows anything.
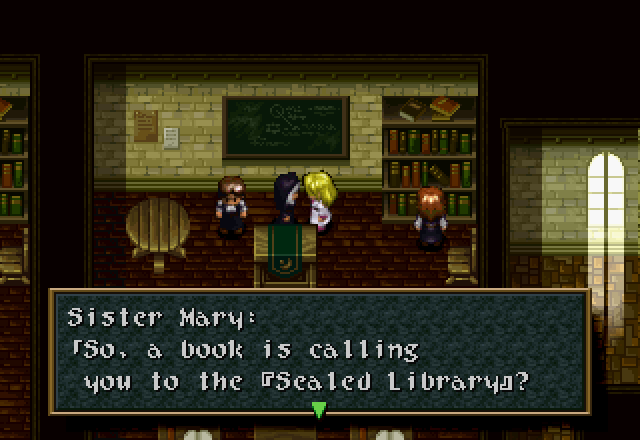
![]() Yes, it’s not a dream. A shadow spoke to me and asked me to release him from the book. Sister Mary… I thought you might know…
Yes, it’s not a dream. A shadow spoke to me and asked me to release him from the book. Sister Mary… I thought you might know…
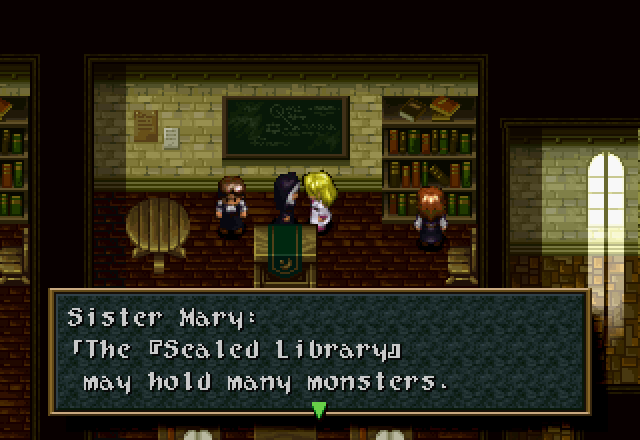
![]() A book which speaks. And a large shadow? A library in which many forbidden secrets are stored does exist. Where the [Sealed Library] is… That I cannot tell you. You were summoned by the Guardians to search for the [Sealed Library]. If you are the chosen one, you must do this on your own. The [Sealed Library] may hold many monsters. Please be careful. May the Guardians be with you.
A book which speaks. And a large shadow? A library in which many forbidden secrets are stored does exist. Where the [Sealed Library] is… That I cannot tell you. You were summoned by the Guardians to search for the [Sealed Library]. If you are the chosen one, you must do this on your own. The [Sealed Library] may hold many monsters. Please be careful. May the Guardians be with you.
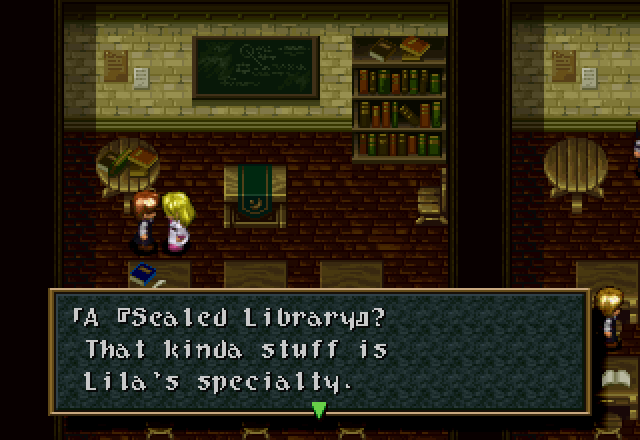
Now that we’re done with that spiel, let’s go talk to the blonde girl who was talking to Cecilia at the start. I was going to save this for the side update, but…
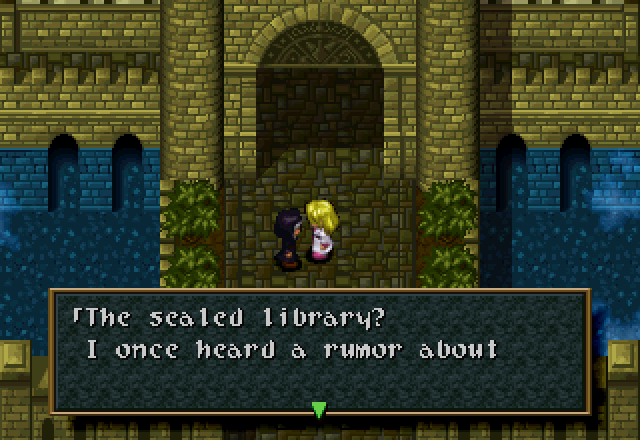
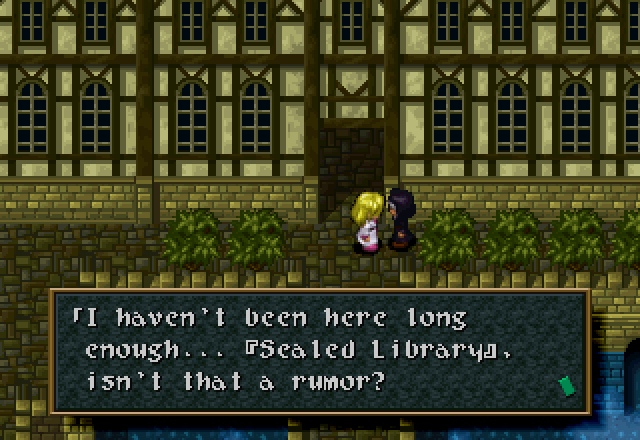
![]() Did you finish your rounds already? The [Sealed Library]? I’ve heard of it. I don’t know if it really exists. Ask Sister Mary or one of the older instructors. Sister Mary, the head chef, and Lila the motormouth might know of the [Sealed Library].
Did you finish your rounds already? The [Sealed Library]? I’ve heard of it. I don’t know if it really exists. Ask Sister Mary or one of the older instructors. Sister Mary, the head chef, and Lila the motormouth might know of the [Sealed Library].
…along with the girl in the next room…
![]() Why don’t you ask her?
Why don’t you ask her?
…she constitutes a Simon’s Quest-style trap. Their statements are misleading; only Sister Mary of the three is required, only the head chef has anything remotely useful to say, and even that is said better by someone else. Lila is completely useless.
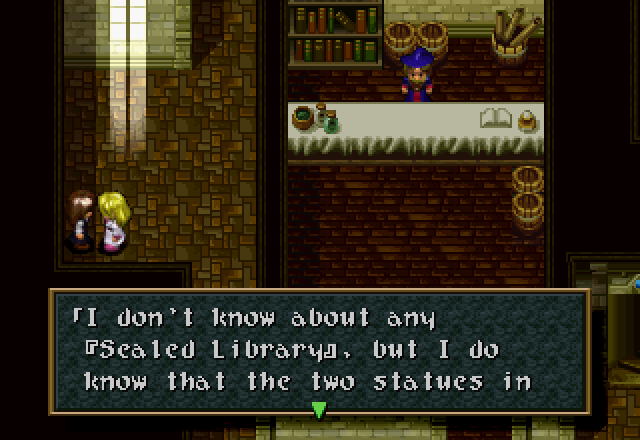
![]() the courtyard have secret switches. I want to push them so baaaad!!!
the courtyard have secret switches. I want to push them so baaaad!!!
This girl over by the Magic Guild is actually the one with the useful information - and the plot flag. These switches don’t exist before you talk to her.
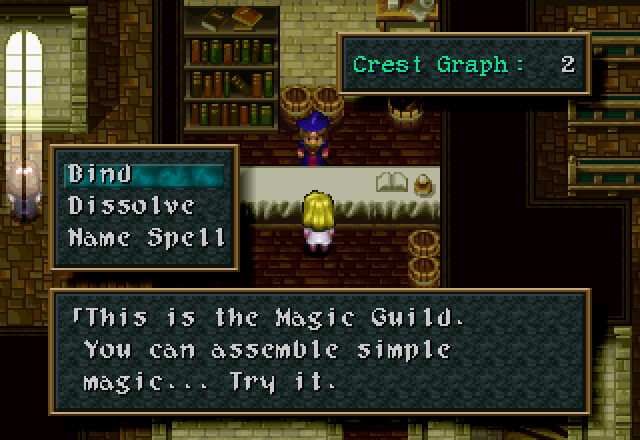
Speaking of the Magic Guild, let’s go make a spell while we’re over here. (Ignore the extra Crest Graph; I got that while recording extra material for a bonus update and won’t be using it.) The three options should be pretty self-explanatory; Bind creates a spell (which consumes one Crest Graph), Dissolve cannibalizes a spell to reclaim the Crest Graph, and Rename Spell allows you to change a spell’s name. No, I’m not holding a name vote every time I make a spell; since the thread voted for default character names, the default spell names will do as well.
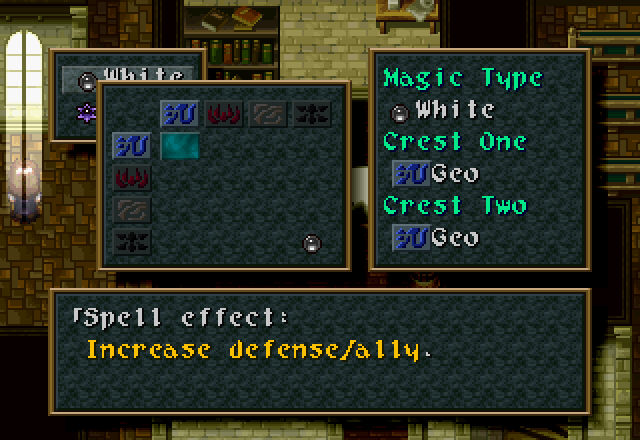
This is what the spell creation menu looks like. Spells are divided into White and Black magic (in true Final Fantasy style) in this game (but none of the others aside from Alter Code F, to my knowledge - Wild Arms 2 does away with the White/Black dichotomy if memory serves, and I think from Wild Arms 3 on the series does away with Crest Magic entirely in favor of alternative magic systems, although most of my experience with the series is 1, 2, and ACF so I’m not certain). The spell I’m making now is conveniently at the default position of the cursor.
And with that done, I’m ready to head to the dungeon.
![]() showing the [Light] to two mages at once.
showing the [Light] to two mages at once.
…After I talk to this nun by the entrance to the abbey for another useful hint. These two NPCs are the only ones with anything useful to say about the Sealed Library.
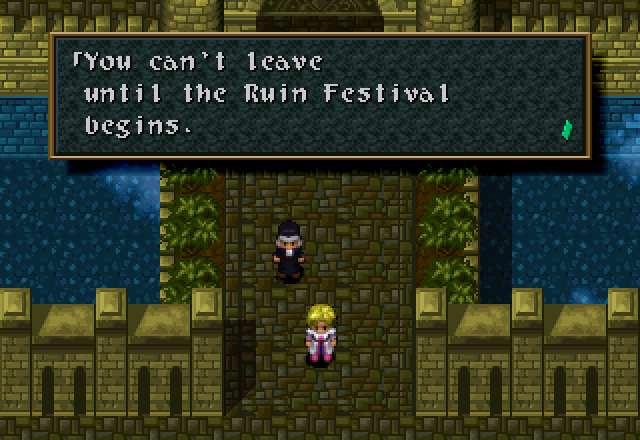
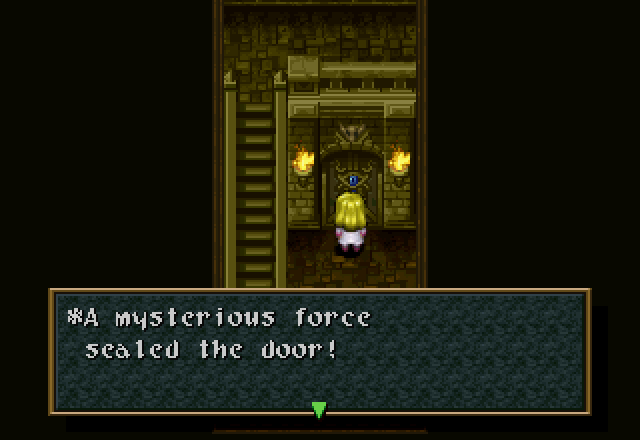
This is what happens when you try to leave the abbey before the end of Cecilia’s scenario, by the way. Like Jack, she’s locked in until she’s done.
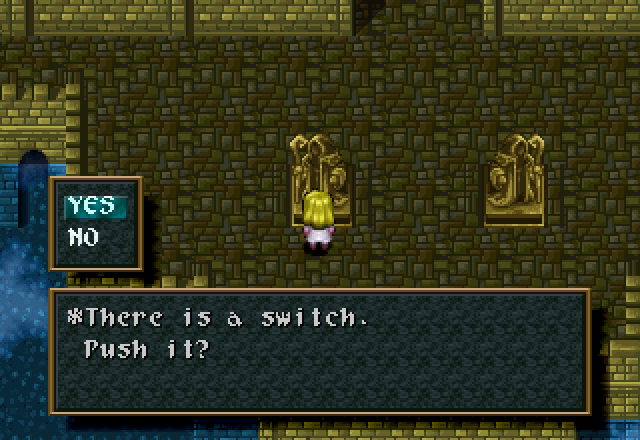
Out in the courtyard, I flip the switches on the two statues…
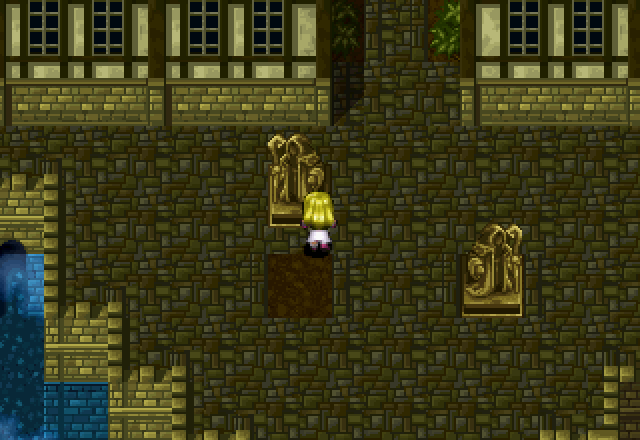
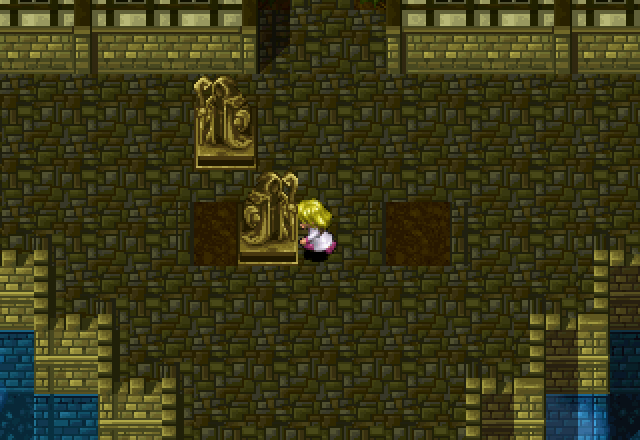
…Push them around to swap their positions…
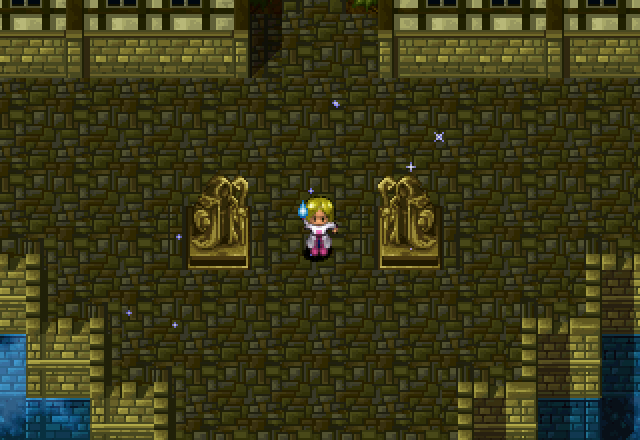
And then use the Tear Drop in between the two.
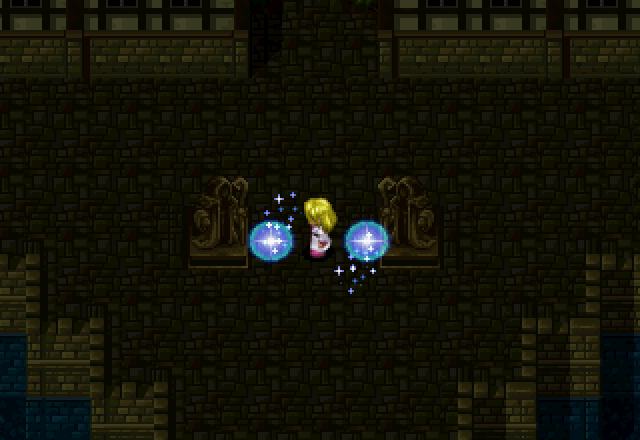
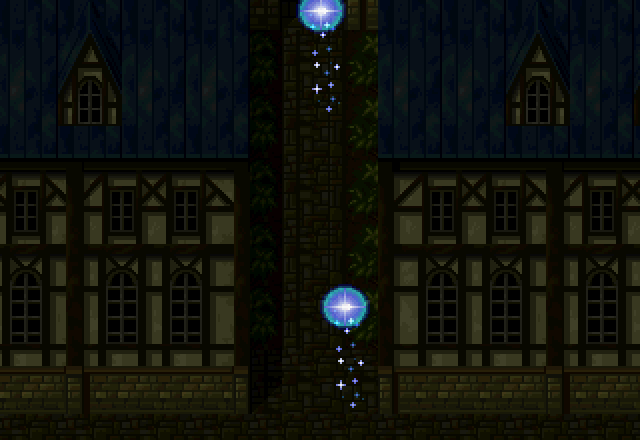
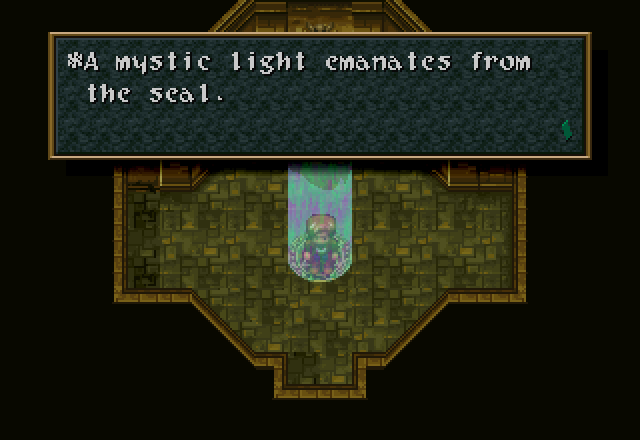
Two balls of light appear, swirl around Cecilia, and then fly off into the abbey. Entering the abbey…
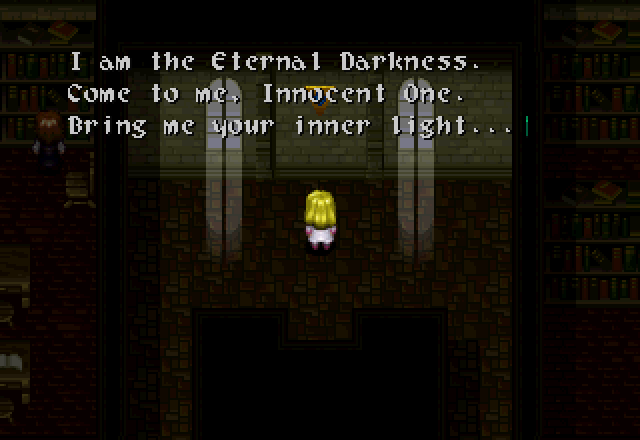
Causes a teardrop to appear on the wall and this to happen.  Suddenly I don’t feel so good about this, guys…
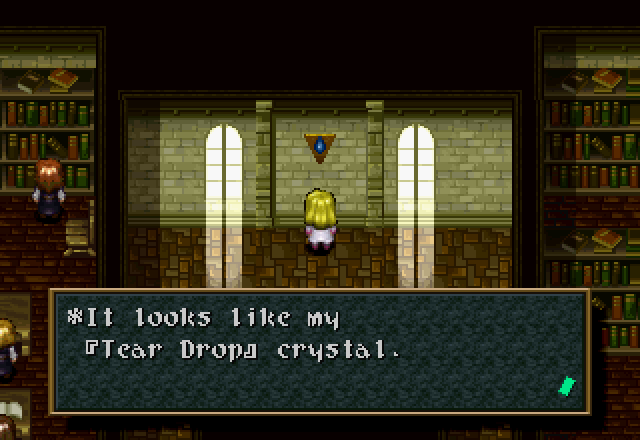
Examining the crystal gives us this. Using the Tear Drop in front of the crystal…

…Teleports Cecilia away.
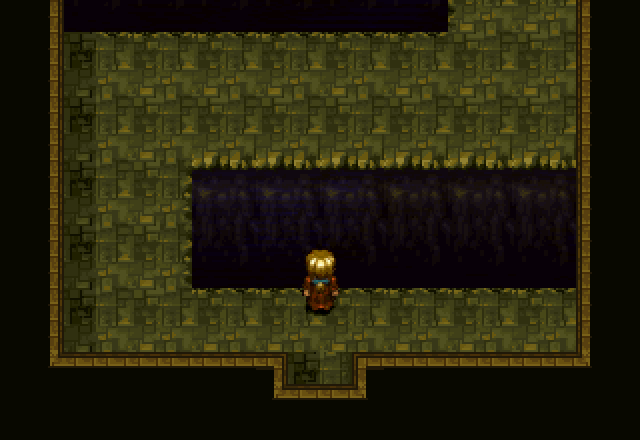
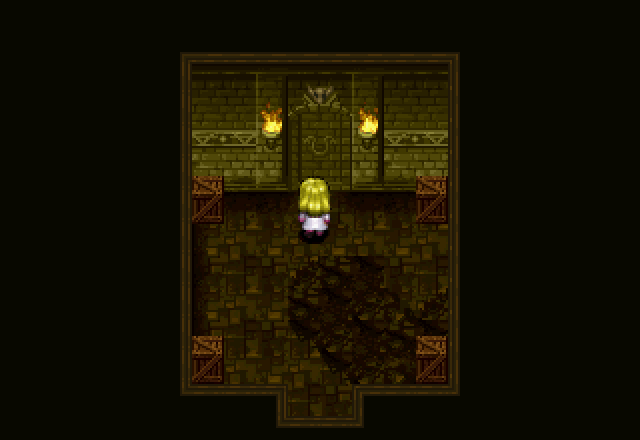
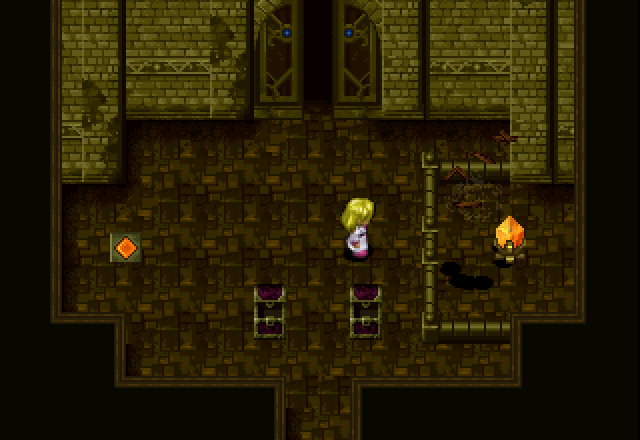
We arrive in this room, with only one way to go.
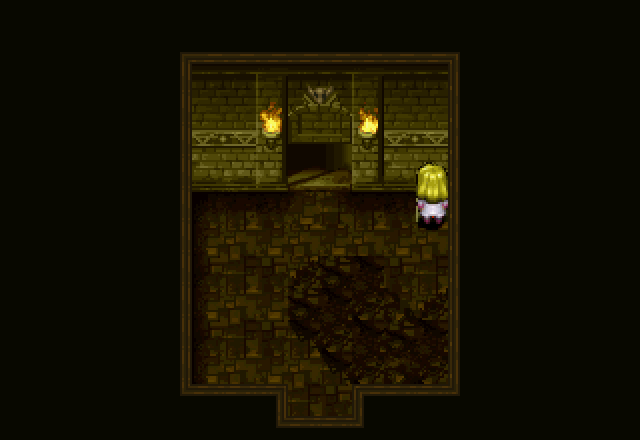
Well, only one thing to do then. Using the Tear Drop opens the door and allows progress.
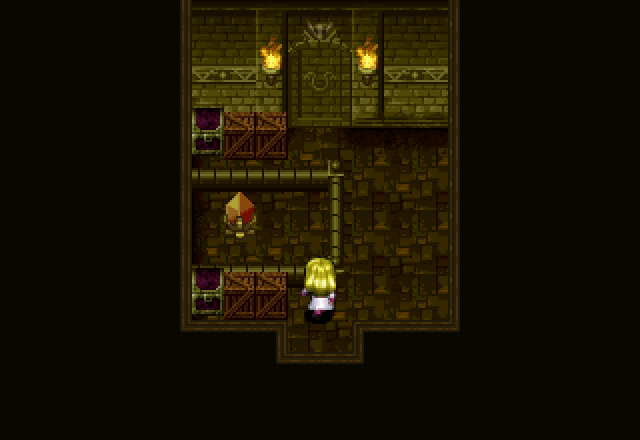
Proceeding on, we enter this room, with a locked door with no crystal and boxes in each corner.
Lifting and throwing the boxes reveals a switch in the top-right corner of the room that opens the door.

Proceeding downwards, we find this room, which… doesn’t really seem to have a purpose. It’s completely empty and doesn’t even have a door for us to unlock.
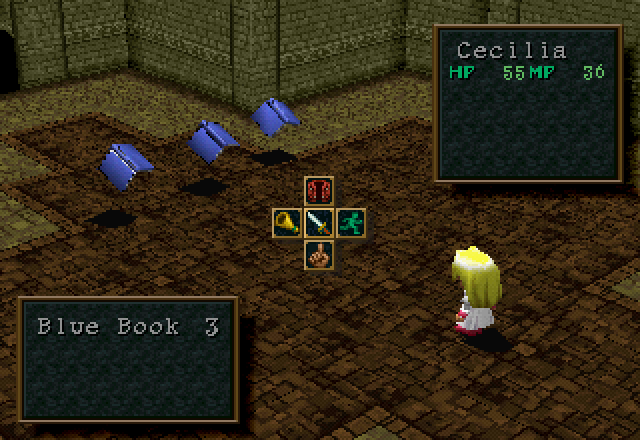
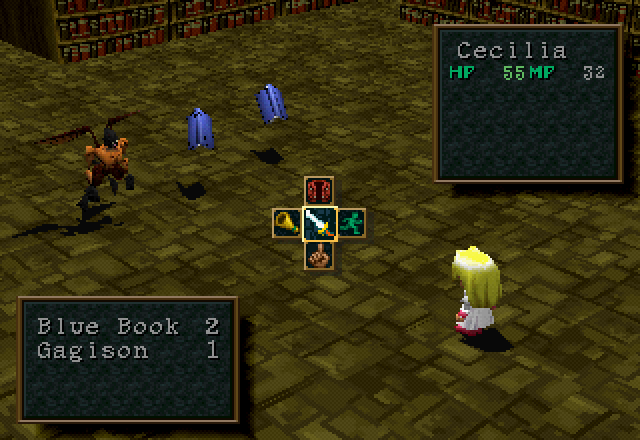
We do get our first random encounter of the dungeon here, though!
Blue Books aren’t super dangerous; their gimmick is kind of interesting, though; they use actual Crest Magic spells that Cecilia can learn! And if memory serves, they even use the same names for their spells as Cecilia; here they’re using the defaults because I haven’t made these spells yet, but if you change the names of your spells, every spellcasting enemy in the game will use those names.
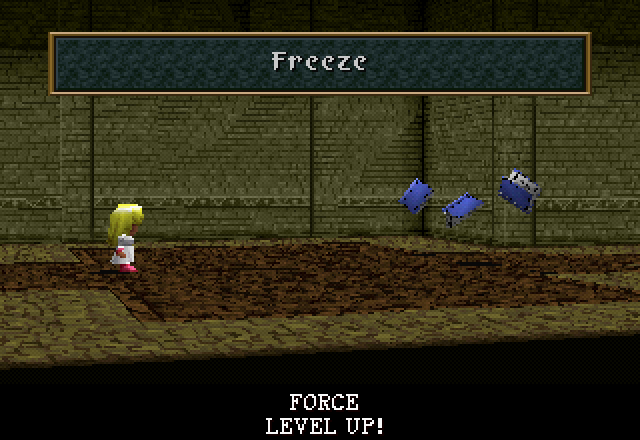
They can use Freeze, the basic single-target ice (duh) spell. This can be dangerous if you’re not paying attention to her health, but nobody’s foolish enough to make that rookie mistake. It’s me, I’m the rookie 

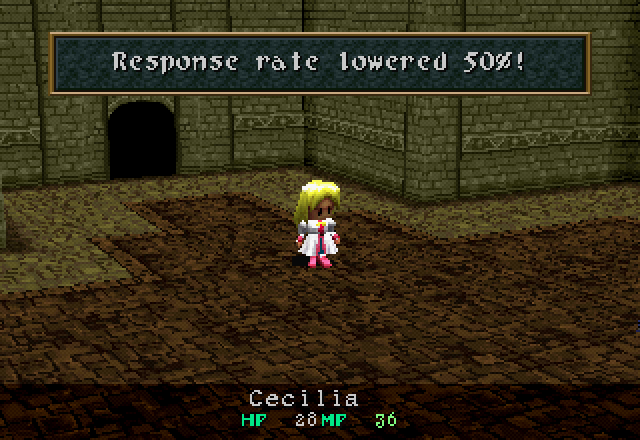
They also have Slow Down, which reduces the target’s RES by half. Useless on Cecilia; she’s slower than everything in this dungeon anyways.
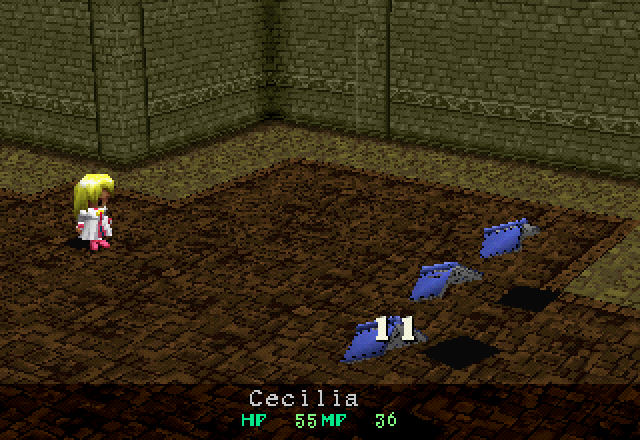
They have 13 HP, which just barely prevents a Level 1 Cecilia from one-shotting them with a basic attack, and 60 MP (almost twice Cecilia’s!), which means they’re dead long before they run out.
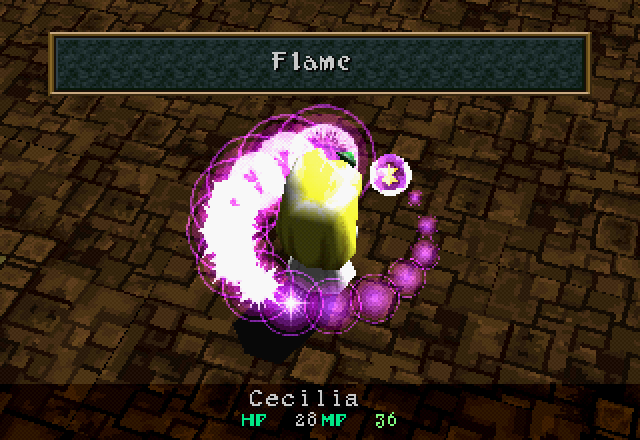
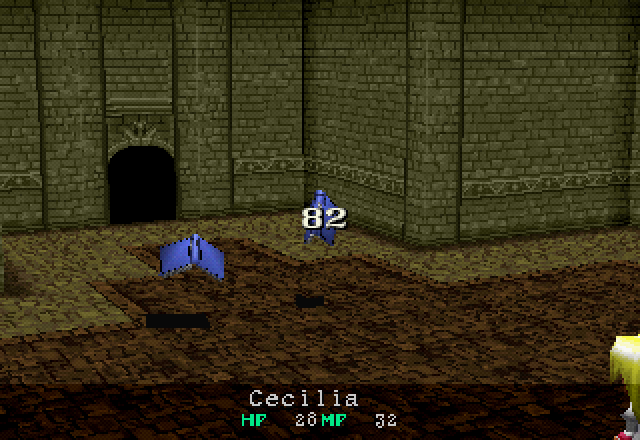
They also have a weakness to fire, although Flame would have been overkill even without it. Cecilia Flames them and moves on. No gifs of the spells this time; I’ll try to show off all of Cecilia’s spells in various boss fight videos.
Through the door at the bottom of the stairs, we find another small puzzle room with boxes, treasure chests, and a Zelda-esque crystal switch. Throwing a box into the switch opens the door. The treasure chests contain a Medicine (a cure for the Disease status effect, which we’ll see in a bit) and a Magic Carrot (restores 50 MP).

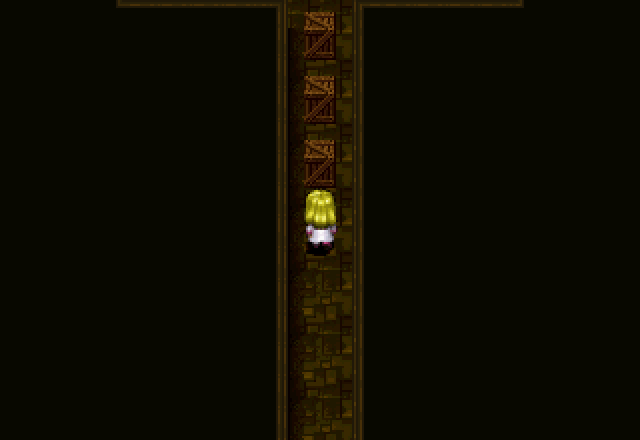
Proceeding through the door brings us to another suspiciously-empty room. I’m guessing these are here because they designed the puzzle rooms to all be entered from the bottom, requiring some way to “flip” the player as they descended.
Through there, we find a long corridor filled with boxes. You must smash these to proceed; there’s no way around them. Hold on to the last one, though.
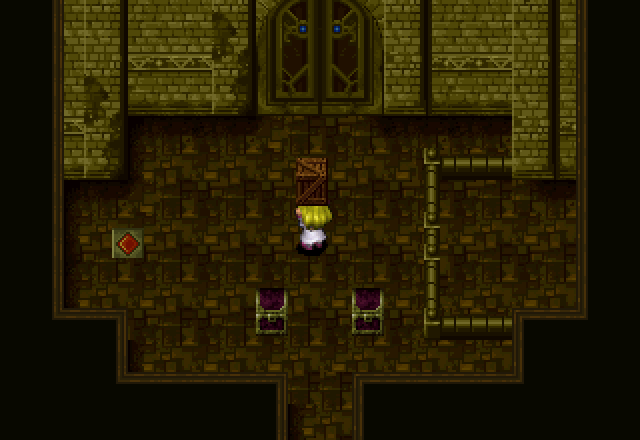
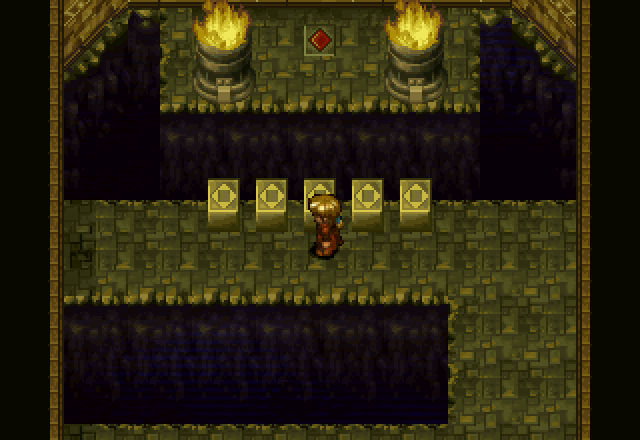
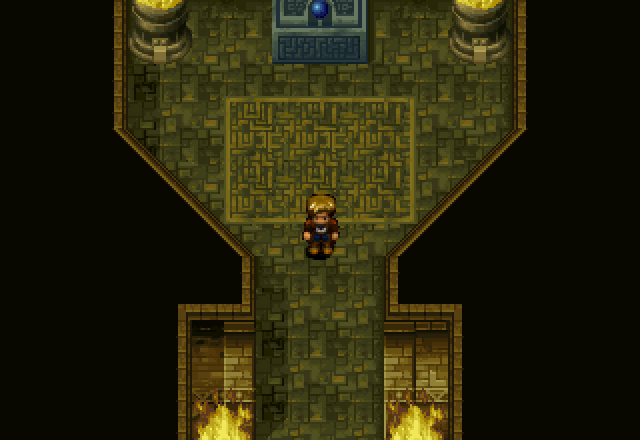
The corridor opens into a room with more treasure and a switch on the floor. The door is locked, as usual.
Stepping on the switch creates a crystal switch, and you then throw the box you definitely saved and didn’t smash in order to get the treasure chests (which are two Heal Berries, by the way) at it in order to open the door.
The key is the [Flame]. Open the door and light the path.
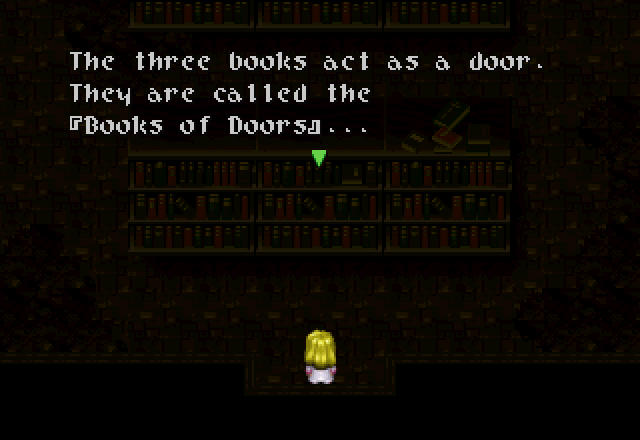
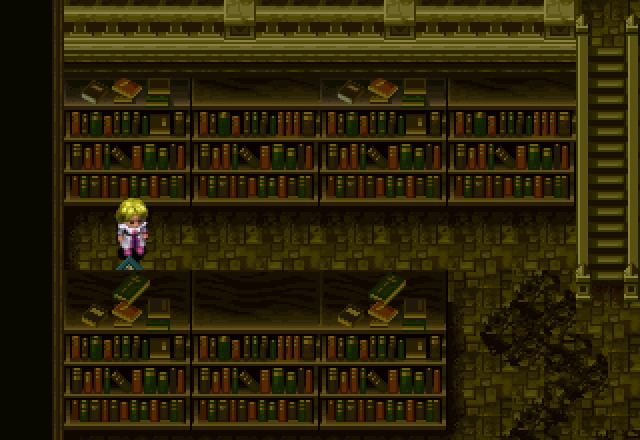
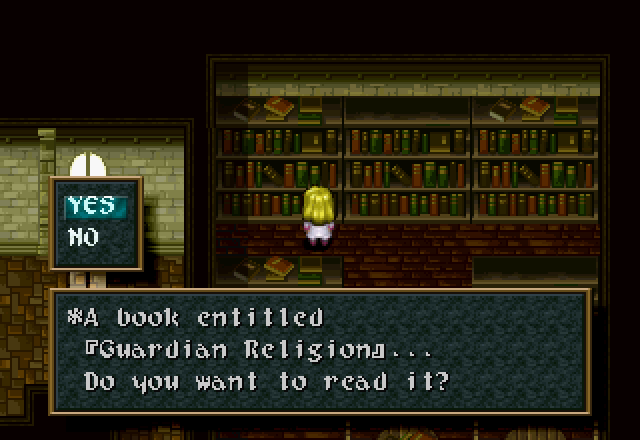
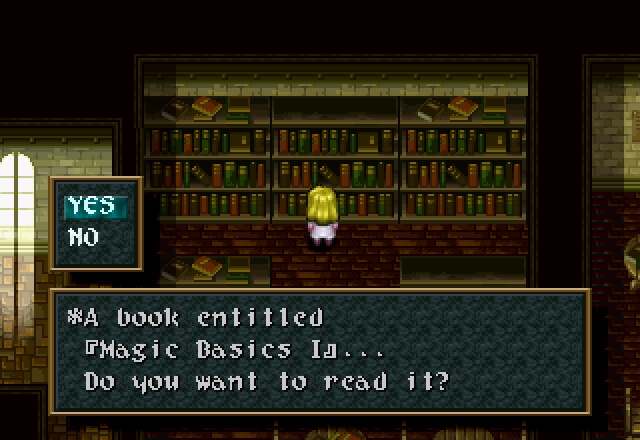
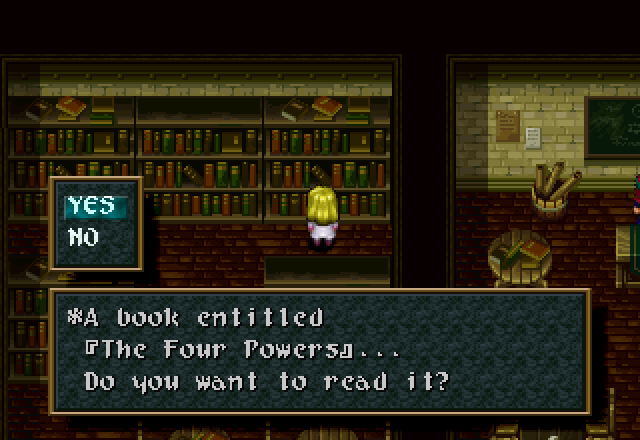
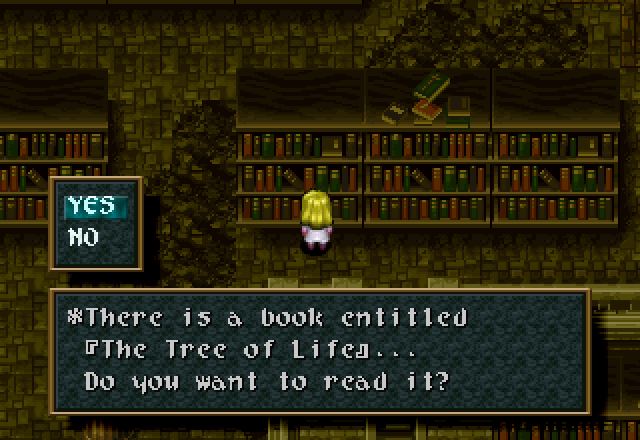
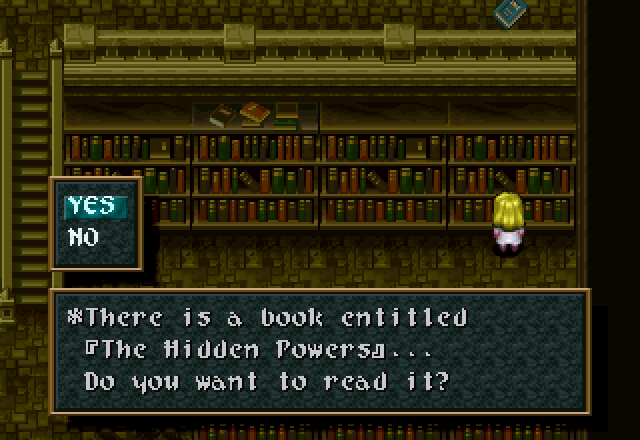
Through the door is the actual library portion of the Sealed Library, and the penultimate room. All of the bookshelves have text, which will be supplied in the next update. The message here is a hint to the puzzle of the room.

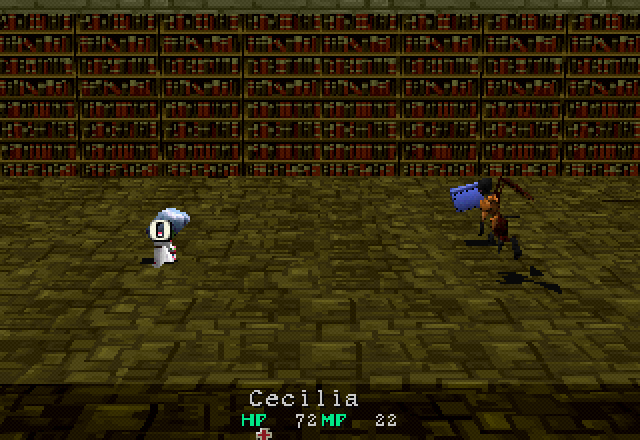
The Gagison is the second and final generic enemy we’ll meet in the Sealed Library. All in all, they’re less dangerous than the Blue Books. They have 20 HP and a weakness to fire. They don’t cast Crest Magic, so they have no MP.
Their basic attack is just as pathetic as the Blue Book’s.
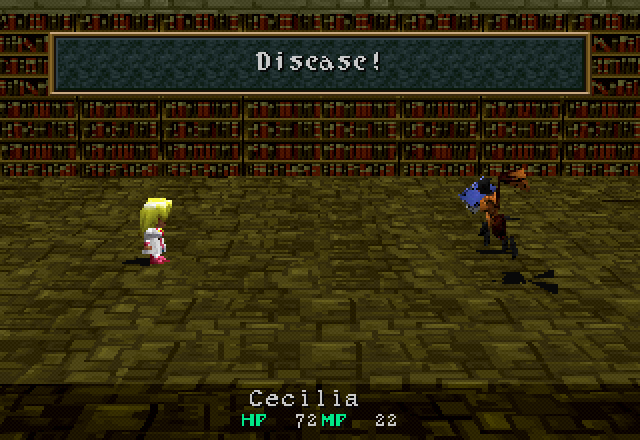
And their other attack is Disease, which predictably inflicts the Disease status effect. Disease prevents the healing of HP, whether through items or spells, until cured. If you get hit with it, make sure you can survive a beating for at least two rounds, because using Medicine will take one, and Cecilia is still slower than the enemies.
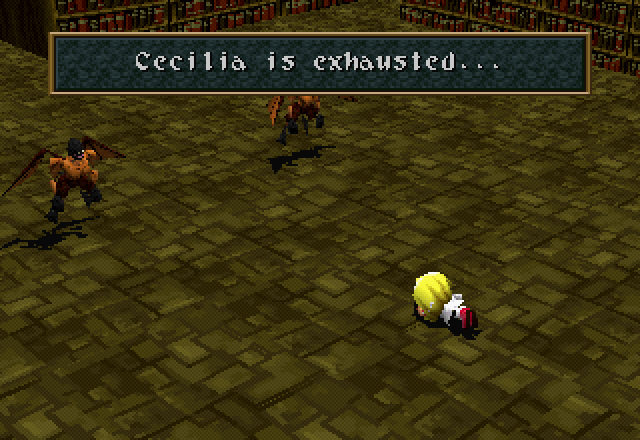
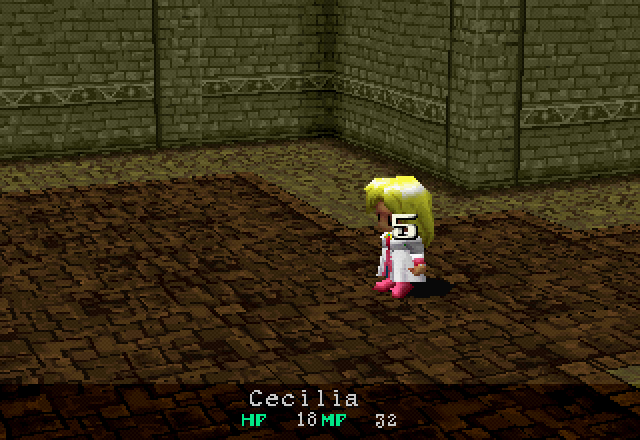
I forget to pay attention to Cecilia’s HP, and pay the price. Cecilia’s route is definitely the most difficult of the three; she’s slow, weak, and fragile without expending MP to buff, which makes her the most vulnerable. If she was faster, more robust, or stronger, it would decrease the challenge here significantly. I still wouldn’t call it particularly difficult, but it’s more on the level of “you can actually die here if you get careless” whereas on the other two routes you pretty much have to be trying in order to lose.
Getting into more fights on my way back.
Ten points if you can guess what seeing this screen made me realize I forgot to do on my way back. I have to go back to the abbey to get it. Hey, I never claimed to be good at the game. Cecilia gains a level while I backtrack like a moron.
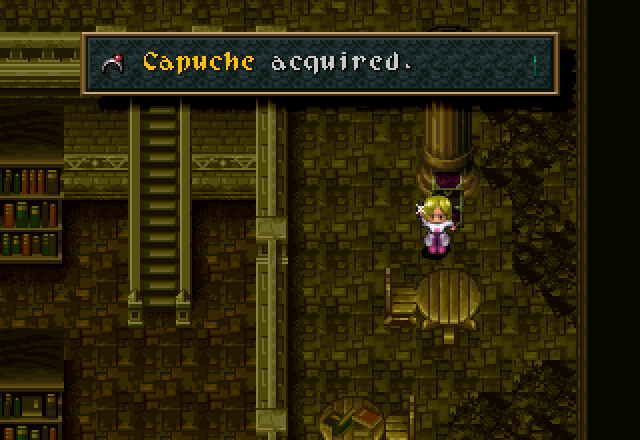
Back in the Sealed Library, I find this in a treasure chest on the right side of the library room while exploring. Balancing it on the left side is another Magic Carrot.
Statistically, it’s the same as Jack’s Cowboy Hat, but each character has their own unique equipment sets, aside from left-hand items and runes. Don’t worry, we’ll get to runes later.
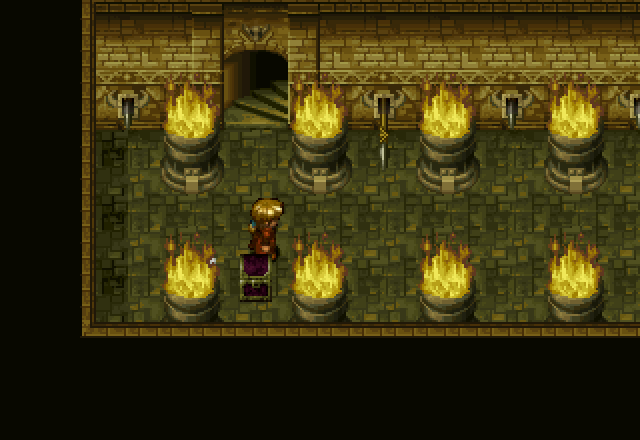
Past the Capuche is this, the first of the three [Books of Doors].
The second one is behind this bookcase on the left side of the room.

And here’s the third, way up in the top-right corner of the room.
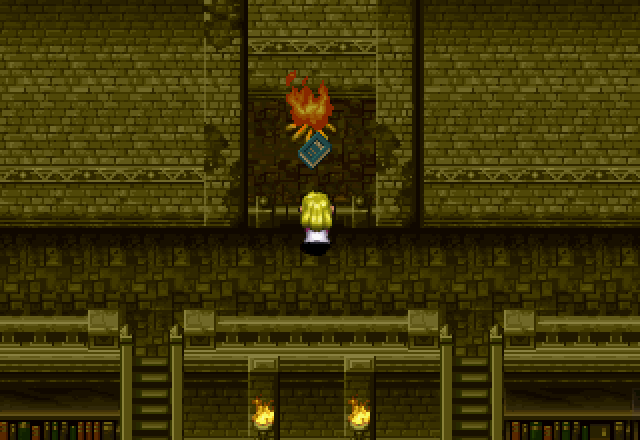
Once you throw all three of the books into the torch/bonfire up on top of the room, a doorway appears in the wall directly below. It’s a blank wall until then. Hmm… book enemies with a weakness to fire… a puzzle about throwing books onto a bonfire… Nah, must be just a coincidence. At about this point, Cecilia runs out of MP, and I head back to the abbey to rest.
On the way back, I discover that a Level 2 Cecilia can in fact one-shot the Blue Books with her basic attack. I’d have saved a lot of MP if I’d known that earlier. 
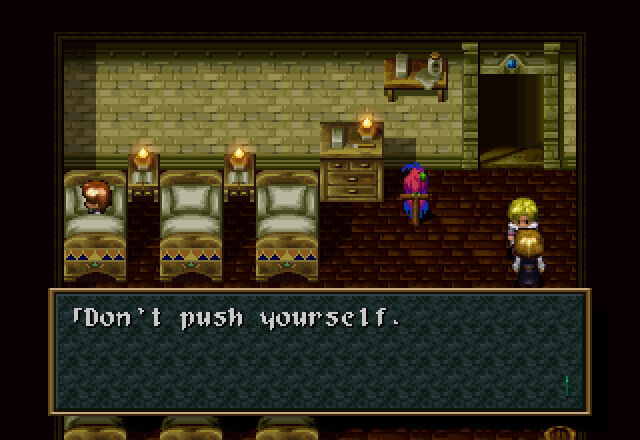
This girl in the dormitories on the second floor serves as a free inn. The parrot next to the bed is a Memory Bird; basically a save point that also lets you change characters.
On the way back, Cecilia levels up to Level 3.

Going down the stairs in the library room leads to this… study, I guess. The bookshelves hold more fodder for the bonus update; the real prize is on the desk down bottom.

The book on the desk opens, which releases this guy.
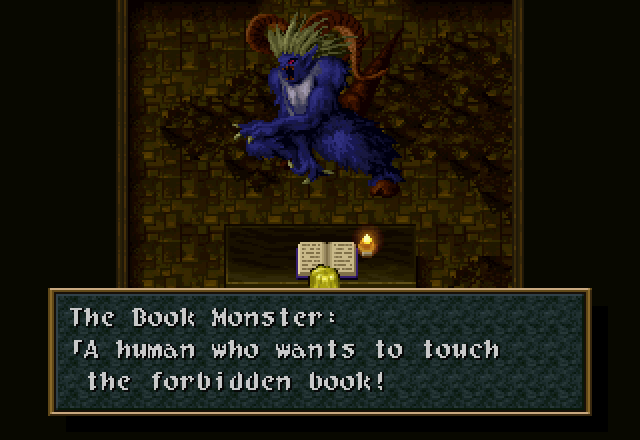
 I shall grant your wish and make you a part of my story!
![]() You’re not the shadow that calls me, are you?
You’re not the shadow that calls me, are you?
At this point, combat begins.
Music - Battle ~ Mid Boss No gifs this time; just watch the video.

Become my flesh and blood inside the forbidden book!
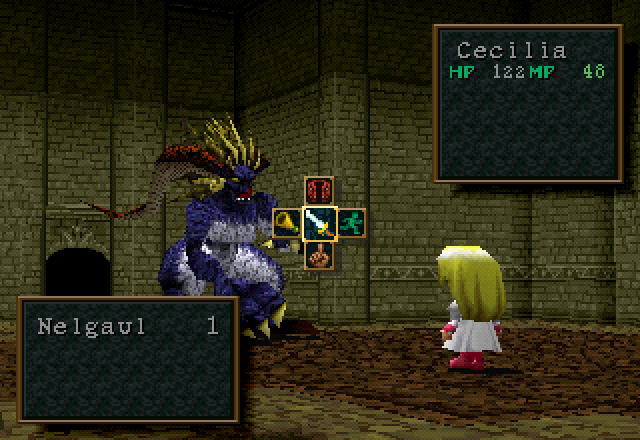
Another localization goof; “Nelgaul” is a badly mangled transliteration of “Nergal”, a Babylonian god of war and pestilence, who also served to govern one of the sun’s cycles. Babylonians believed that his marriage to Ereshkigal, the goddess of the underworld, and subsequent requirement to spend six months of the year in the underworld is what causes the seasons. We’ll be seeing more of Babylon in this game, and the localization will treat that about as well as it did this.
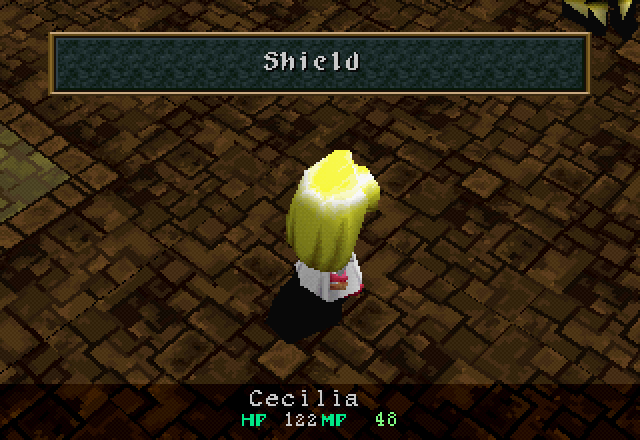

Nelgaul is a total jobber; he’s slower than Cecilia, so he’s even less threatening than a Blue Book. Nevertheless, we want to completely neuter him, so we start this fight by casting Shield three times.
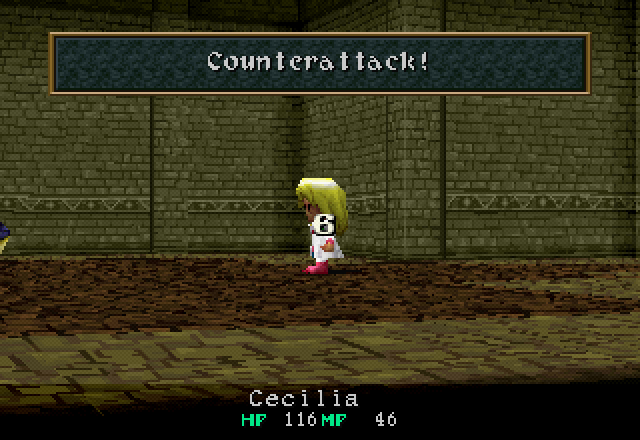
His damage output isn’t particularly threatening in the first place, although this is after one Shield spell has gone off.
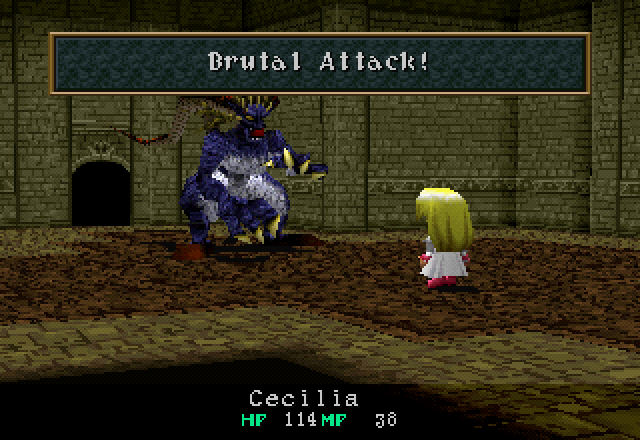
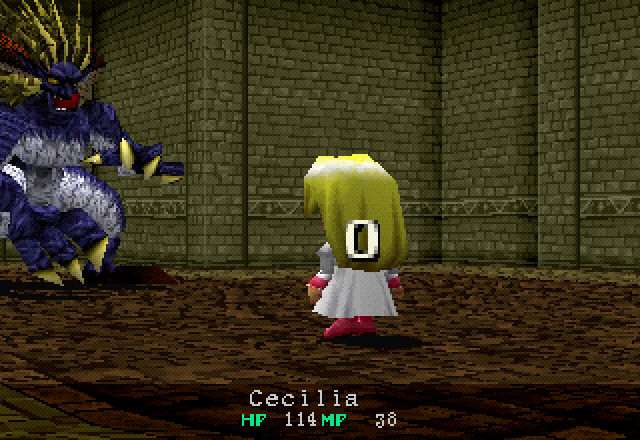
By the time we’ve gotten off all three Shields, even his Brutal Attack can’t scratch us.

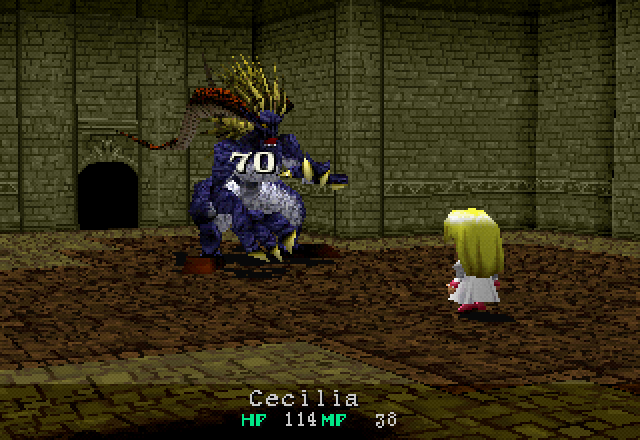
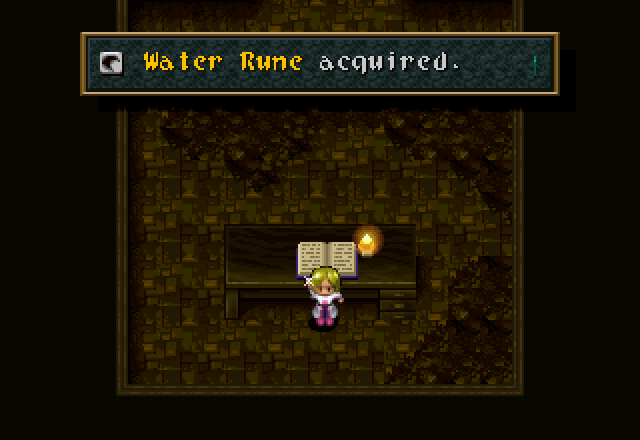
Now, we could just beat him to death with a mage staff at this point, but I don’t want to waste the time figured I should show off Cecilia’s spells, so three shots of Flame kills him. Unlike every other enemy in this dungeon, and despite being a book monster (he’s even called “Book Monster” in the dialogue boxes) he’s not weak to fire, though. Cecilia levels up to 4 after finishing Nelgaul off.
After winning the battle, this dragon turtle pops out of the book as well. Must be a Monster Manual.
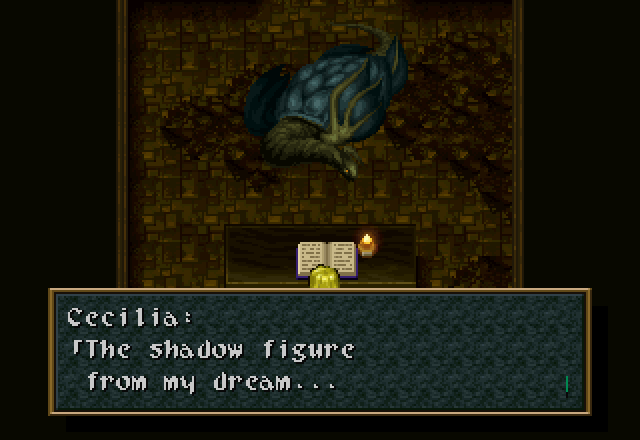
 I am Stoldark, the Guardian of the water. For ages, the demon Nelgaul has locked me in this terrible book. I have waited a long time for the Innocent One who would receive the Guardian Spirit.
![]() The Innocent One? Me?
The Innocent One? Me?
The world is at the turning point of darkness again. Innocent One… can you hear the anger of the land and the wind? The screams of the sea and the sky?
![]() …
…
Wear me as your armor, Innocent One. I shall protect you in your fight for life. The battle for Filgaia begins again. Everything begins with [Lolithia].
![]() [Lolithia]… What does that mean?
[Lolithia]… What does that mean?
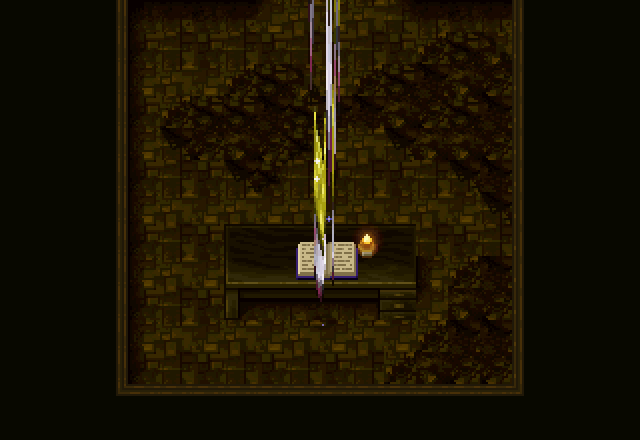
And then Cecilia gets teleported out of the Sealed Library.
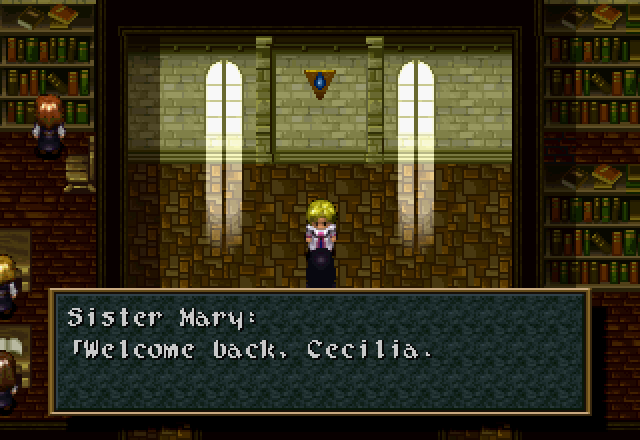
And ends up face-to-face with Sister Mary, who seemed to be expecting her.
![]() Now you realize the responsibilities of the women in the Adlehyde family. The female descendants of the Adlehyde family share their thoughts with the Guardians. They must carry the burden of their destiny with them for the rest of their lives. No one can understand the pain and pressure which you must endure. But, they can help you cope with it and make your life easier. Cecilia, there are those who can relate to
Now you realize the responsibilities of the women in the Adlehyde family. The female descendants of the Adlehyde family share their thoughts with the Guardians. They must carry the burden of their destiny with them for the rest of their lives. No one can understand the pain and pressure which you must endure. But, they can help you cope with it and make your life easier. Cecilia, there are those who can relate to
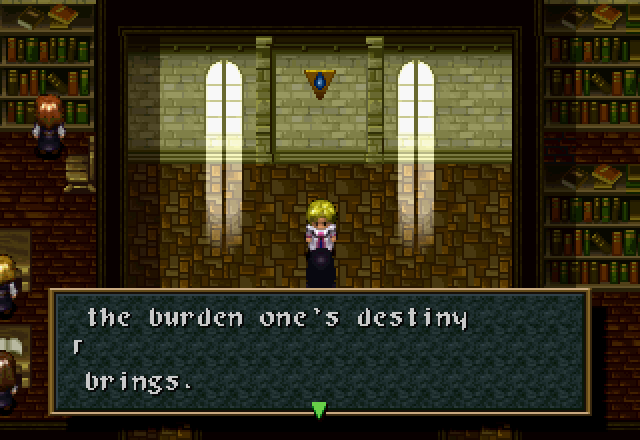
Oof, that text spacing.
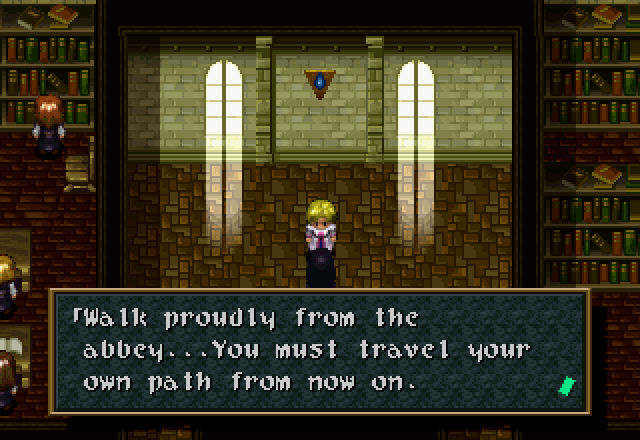
![]() Walk proudly from the abbey. You must travel your own path from now on. Go! You are the Innocent One, the Guardians have chosen!
Walk proudly from the abbey. You must travel your own path from now on. Go! You are the Innocent One, the Guardians have chosen!

Before we go, though, Cecilia equips that rune she just got. For now, it’s just a stat booster, though that extra SOR (and the attendant MGR) will come in handy. Each rune boosts different stat(s).
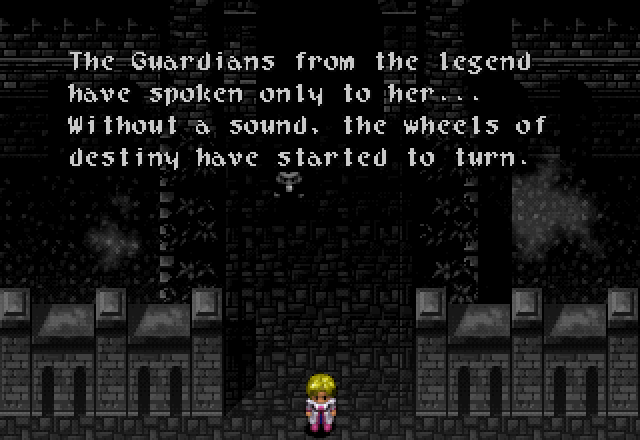
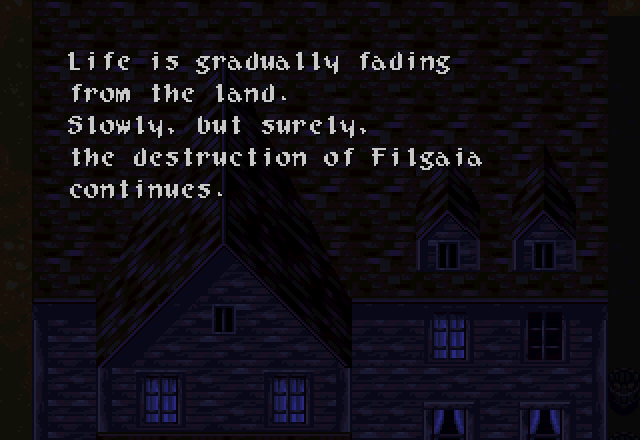
The path she followed in the past was guided by her surroundings. She knew someday she would have to pave her own path to the future.
The Innocent One, whom the Guardians speak of… It may be too heavy of a burden to be the sorceress of the ultimate power at such a young age.
As Cecilia leaves the abbey for home, we get this parting message. Hey, if she’s got the ultimate power, maybe Jack’s looking for her!
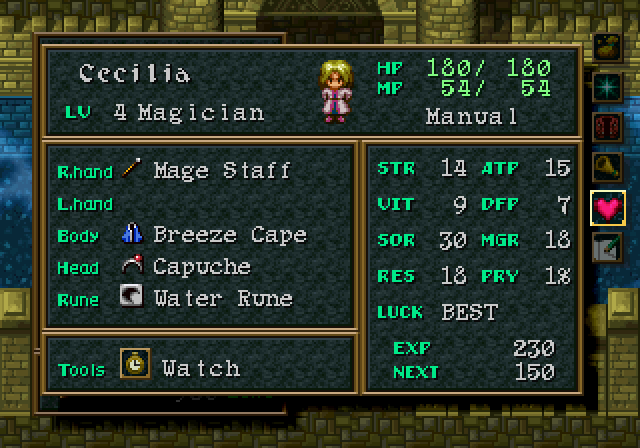
And we leave with this last glance at Cecilia’s stats. Her dungeon was a lot longer and tougher than Jack’s, even with NPC chatter and book-reading cut out, and it shows in her level.
And that’s it for Cecilia, at least for this week! Next time we take a look at the NPCs and books in the abbey.
Bonus Part 1 - Curan Abbey NPCs 1
Previously, we watched a Catholic schoolgirl burn books and beat up monsters. This time: talking to people. And books; can’t forget the books.
Our first trip around the abbey starts immediately after the initial cutscene concludes and we gain control of Cecilia for the first time. Starting with Cecilia’s blonde friend…
Her brunette friend below has this to say:
![]() They are waiting!
They are waiting!
Riveting. And Sister Mary, her teacher:
![]() Cecilia, you’re almost ready to leave the abbey. Your life from here on is going to be a journey. You must be cautious.
Cecilia, you’re almost ready to leave the abbey. Your life from here on is going to be a journey. You must be cautious.
Hmmm. Seems she might have an inkling of what’s in store for the Princess. As for the girl over by the bookcase:
![]() The [Tear Drop] crystal is very beautiful. It is supposed to have special powers hidden inside.
The [Tear Drop] crystal is very beautiful. It is supposed to have special powers hidden inside.
Standard-issue Magical Princess Plot MacGuffin, really. Let’s head to the classroom to the left; there’s only one student in there.

There’s also a bookcase here, but I’ll cover all the books in the abbey later on in the update, all at once. Let’s focus on the people for now.
Over on the right side of the back wing of the abbey is the library, and talking to the girl in there sets you off looking for the Pocket Watch to use time magic to put books back on shelves. Which honestly sounds 100% accurate to how far out of their way teenagers in real life will go to avoid any real work. But next to the library is another classroom.
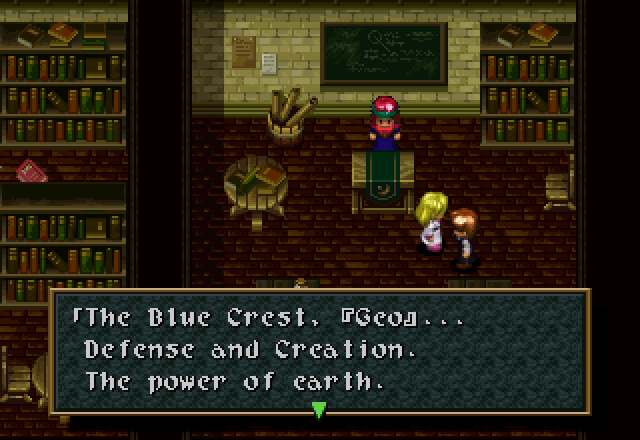
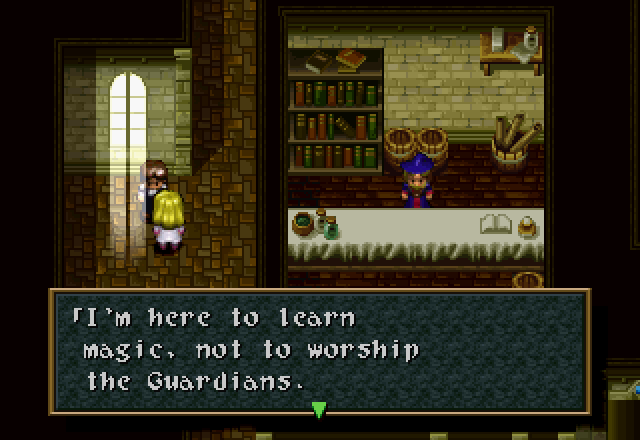
![]() The Red Crest, [Fray]… Attack and Destruction. The power of Fire. The White Crest, [Wing]… Change and Prosperity. The power of Wind. The Black Crest, [Muse]… Adjustment and Growth. The power of Water. Aaarggh… Don’t talk to me! I’ve got to memorize this stuff!
The Red Crest, [Fray]… Attack and Destruction. The power of Fire. The White Crest, [Wing]… Change and Prosperity. The power of Wind. The Black Crest, [Muse]… Adjustment and Growth. The power of Water. Aaarggh… Don’t talk to me! I’ve got to memorize this stuff!
She talks about the four Crests used to create spells. The teacher gives what would ordinarily be your first spare Crest Graph, and is covered in the main update. Talking to her again gives this:
![]() It is difficult to use magic correctly. But, if you keep it up, you will someday succeed. You were my best student.
It is difficult to use magic correctly. But, if you keep it up, you will someday succeed. You were my best student.
Her dialogue does not change until the end of the update, so it’ll be a while before we see her again. Moving down to the right side of the courtyard:
And moving on, we get to the first of the folks in the front wing of the abbey.
![]() He must know a lot about the abbey.
He must know a lot about the abbey.
The kitchen is right below her, so let’s go see about that.
But first I decide to see if the waitress/assistant has any different dialogue depending upon where you speak to her. Verdict: She does not.
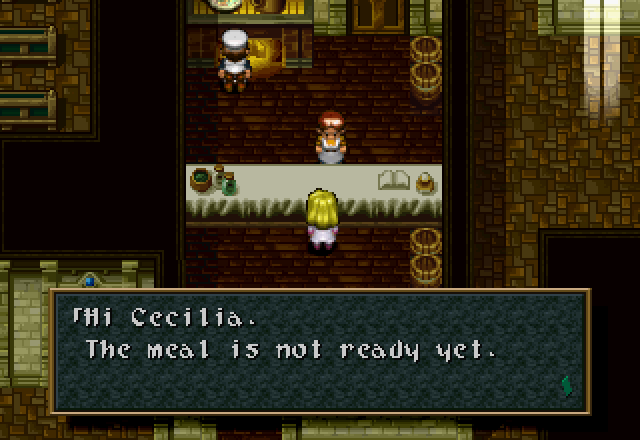
![]() You… It’s not dinner time yet!
You… It’s not dinner time yet!
The stairs next to the kitchen lead up to Anje, who gives the Pocket Watch in exchange for a little help with her experiment. But if you talk to her before the girl in the library:
![]() It can also correct small flaws in magic spells.
It can also correct small flaws in magic spells.
She still upsells the Watch, but won’t give it to us. Back downstairs, we have the entranceway and the nun who gives us the hint about “showing the Light to two mages at once” after we find out about the Sealed Library.
![]() You are not allowed to leave without permission.
You are not allowed to leave without permission.
Hey, they can’t all be gems. Back inside, we head up the other stairway to the dormitories.
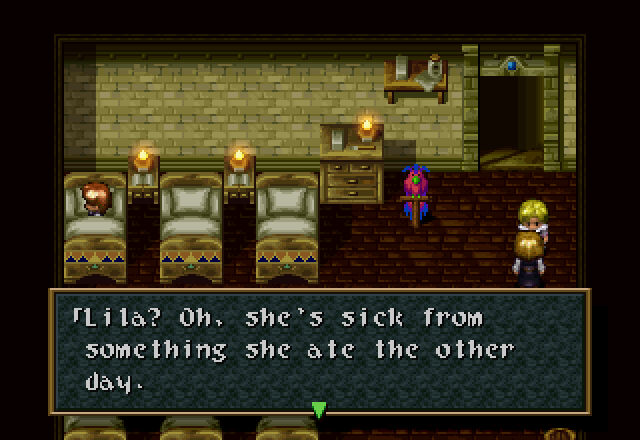
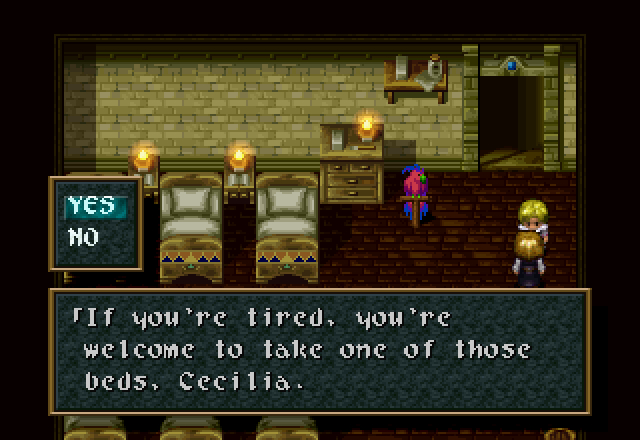
This is the girl who acts as an inn. She asks her “If you’re tired, you’re welcome to take one of the beds” question after this. Let’s go talk to Lila.
![]() Cecilia… You eat so much! You have gotten to be known as the [Glutton Woman]. The great mage of… Ouch!
Cecilia… You eat so much! You have gotten to be known as the [Glutton Woman]. The great mage of… Ouch!
Fat jokes and slapstick. Truly the pinnacle of comedic writing. It seems Cecilia has somewhat of a reputation around the abbey, though. A bit of a Lina Inverse situation. The next NPC is downstairs, next to the Magic Guild. To jog your memory, she’s the girl who tells us about the switches on the statues in the courtyard.
![]() Aren’t you?
Aren’t you?
Then up to the other side of the courtyard…

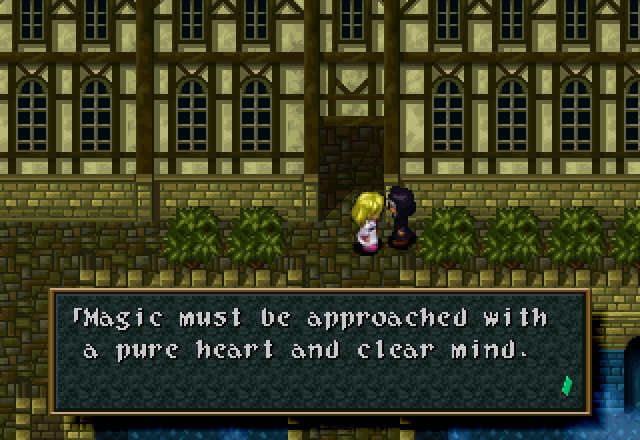
A slight hint for later. Hidden just offscreen to the north is a nun, who has this to say to Cecilia:
![]() You’ve studied hard. You are a full magician.
You’ve studied hard. You are a full magician.
A translation using “magician” instead of one of the numerous other English words for the concept of someone who can use magic bugs me a bit, probably because I picture a stage magician instead of a spellslinger when I hear the word. I think even a literal translation of mahou-tsukai (assuming that’s what the Japanese script uses) as “magic-user” would be better in most cases. But the game uses “sorceress” or “shaman” to refer to Cecilia more often than it does “magician”, so even for a nitpick like that it’s not a big deal.
At this point, we’ve completed our first circuit of the abbey grounds. The first set of dialogue changes is triggered by getting the Pocket Watch, cleaning up the library, and finding out about the Sealed Library.
![]() Please be careful. May the Guardians be with you…
Please be careful. May the Guardians be with you…
Talking to Sister Mary a second time gets you this. Talking to the librarian nets this:
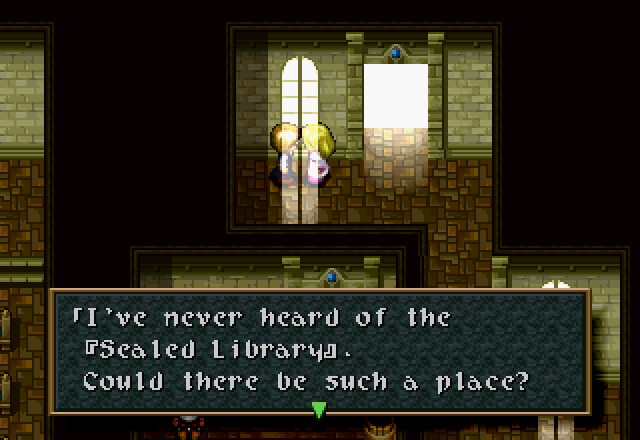
![]() This is just a rumor… A [Light] is supposed to be the key to opening the door. A warm, powerful [Light]. I don’t know what the Light is.
This is just a rumor… A [Light] is supposed to be the key to opening the door. A warm, powerful [Light]. I don’t know what the Light is.
And the girl over by the bookcase has this to say.
![]() Usually [Sealed] books are hidden somewhere hard to find.
Usually [Sealed] books are hidden somewhere hard to find.
Possibly the most useless and inane statement in this update. The two other girls in the room, and the girl in the next classroom, all tell you to talk to Sister Mary, Lila, and Jacques the chef for more information about the Sealed Library. We’ve already heard what Sister Mary has to say on the subject, and we’ll see in a bit how useful the other two are. But I didn’t show off Cecilia’s brunette friend’s new dialogue in the main update, so let’s take a look at that.
![]() That took long enough. Where were you? Did you get to see everyone? [Sealed Library]… That rumor has been floating around forever. It’s supposed to be in the abbey and full of forbidden texts. Those books are scary… If you want to know more, you should ask Sister Mary or one of the older teachers.
That took long enough. Where were you? Did you get to see everyone? [Sealed Library]… That rumor has been floating around forever. It’s supposed to be in the abbey and full of forbidden texts. Those books are scary… If you want to know more, you should ask Sister Mary or one of the older teachers.
Talking to her again after opening the Sealed Library nets this:
![]() The abbey is very old. There are many strange rumors and tales about it. I wouldn’t be surprised if there is a book like the one you talked about.
The abbey is very old. There are many strange rumors and tales about it. I wouldn’t be surprised if there is a book like the one you talked about.
As far as I know, she’s the only character with updated dialogue after you unlock the Sealed Library. It could also be that she randomly just has two lines that she says after you clean the library; I didn’t talk to her a “second” time until after I had already been in the Sealed Library.
The classroom to the right of the library keeps the exact same dialogue. Studying girl is too busy for us, and the teacher forgot to sprinkle some sage advice into her “Magic is hard, but you’re a protagonist so you’ll do fine” speech. The next NPC with updated dialogue is the nun in the courtyard just below.
And back inside, to the kitchen.
![]() I hear that this abbey was built on an ancient ruin.
I hear that this abbey was built on an ancient ruin.
So, to the person who asked how you get permission to build the secret hidden library into your abbey, the answer is apparently “build the abbey on top of the secret hidden library”. As for the folks inside the kitchen…
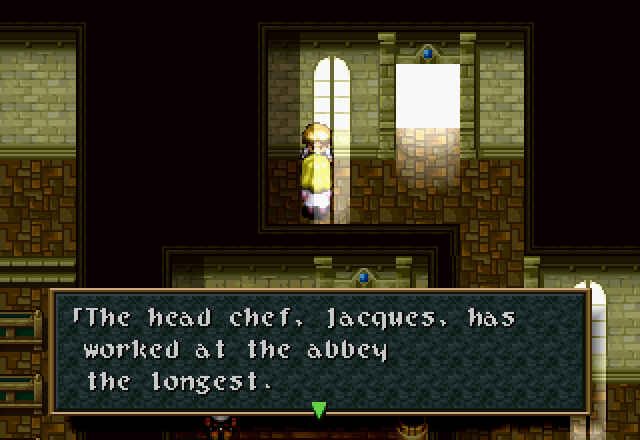
![]() Chef Jacques, in the back, knows a lot about this place. He’s been here a long time.
Chef Jacques, in the back, knows a lot about this place. He’s been here a long time.
![]() [Sealed Library]… I’ve heard of it before. Something about the showing of a light being the key…
[Sealed Library]… I’ve heard of it before. Something about the showing of a light being the key…
As we can see, Jacques does have a somewhat useful hint, but the nun outside the abbey basically says the same thing, but gets a bit more specific, which makes her more useful. Now we head up to Anje.
![]() If there is a [Sealed Library], it must contain the forbidden texts.
If there is a [Sealed Library], it must contain the forbidden texts.
We already know what the nun outside says, so upstairs to the dorms we go. Inn Girl’s new dialogue is short and sweet.
So on we go to Lila, the final person we are directed by the game to go talk to for information about the Sealed Library.
![]() I’m not the only one who knows this… The [Sealed Library] is a popular rumor around here. Something acts as a key to open the door or something.
I’m not the only one who knows this… The [Sealed Library] is a popular rumor around here. Something acts as a key to open the door or something.
Thanks, Lila. You sure did manage to say a whole lot of nothing, there.
The second and final set of dialogue changes happens for the victory lap around the abbey after defeating Nelgaul and freeing Stoldark. Let’s start back in Cecilia’s old classroom, with her friends.
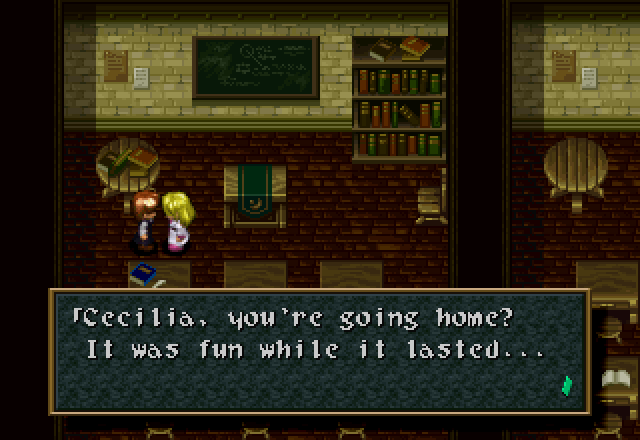
![]() I’ve known you all my life, Cecilia. When it comes to studying and eating, I have no chance against your hunger for knowledge and hamburgers.
I’ve known you all my life, Cecilia. When it comes to studying and eating, I have no chance against your hunger for knowledge and hamburgers.
![]() Come by anytime. We’ll always be friends, even if you do become a princess.
Come by anytime. We’ll always be friends, even if you do become a princess.
Uh, I’m pretty sure she’s already a princess. It’s not a job you can apply for. And now let’s see what that girl up by the bookcase has to say.
![]() Please be careful with your eating problem. Then again, when has eating ever been a problem for you?
Please be careful with your eating problem. Then again, when has eating ever been a problem for you?
I imagine that as a dumb 13-year-old, I probably found this kind of stuff funny, but now it’s just kind of sad. Let’s hope the girl in the next-door classroom has something less disappointing to say.
This seems more like a proper send-off, rather than the parting shots her “friends” in her own class were taking. Over in the library:
![]() Do your best, my Princess, and I’ll do mine.
Do your best, my Princess, and I’ll do mine.
Hopefully, that involves not screwing up the library so badly you need time-travelling magic to fix it. In the next-door classroom:
![]() I’m going to start a school of magic for everyone to attend… I wonder what kind of princess you’ll become.
I’m going to start a school of magic for everyone to attend… I wonder what kind of princess you’ll become.
Studying Girl has big dreams. I have no idea how she plans to teach magic (or found Hogwarts) when she’s having trouble memorizing the four most basic aspects of it, though.
![]() Magic is a difficult skill to master, but practice makes perfect. You will do well. You’re the best student in Curan Abbey.
Magic is a difficult skill to master, but practice makes perfect. You will do well. You’re the best student in Curan Abbey.
The teacher basically restates her original dialogue. But suddenly Cecilia’s gone from being her best student to being the best in the whole damn school, apparently. They should have had her prepare a speech.
![]() Don’t forget the care in your heart.
Don’t forget the care in your heart.
Outside, this nun lectures Cecilia on the Power of Love and Friendship or something. Back over to the kitchen…
![]() So, you’re going home… Well, don’t forget anything.
So, you’re going home… Well, don’t forget anything.
![]() Don’t cry just because you’re going to miss my burgers.
Don’t cry just because you’re going to miss my burgers.
![]() Everyone leaves after graduation. Just thinking about it makes me sad.
Everyone leaves after graduation. Just thinking about it makes me sad.
Alright, upstairs to talk to Anje.
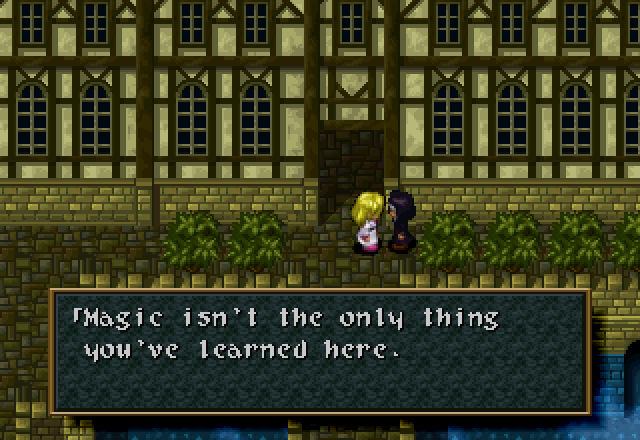
![]() So, you’re going back to Adlehyde. Just remember that magic isn’t the only thing you’ve learned.
So, you’re going back to Adlehyde. Just remember that magic isn’t the only thing you’ve learned.
We’ll skip the nun at the entrance for now; it makes more sense to get her just as we leave. So next up is the dorms again.
![]() The Ruin Festival in Adlehyde must have a lot of news to report on. I want to go so bad!
The Ruin Festival in Adlehyde must have a lot of news to report on. I want to go so bad!
Lila is just called a “gossip” in this version of the game, but in Alter Code F, she actually runs a newspaper or something. Here we get a hint that she might have done the same in the Japanese script for this version as well.
![]() The capital city has so much culture…
The capital city has so much culture…
I wish we could take you with us, Girl by the Magic Guild. You are the Most Useful Schoolgirl and deserve a reward. Sadly, the abbey has some pretty draconian exit rules, and even day trips simply aren’t allowed.
![]() Has the Ruin Festival started yet?
Has the Ruin Festival started yet?
![]() The world outside is tough. Don’t give up.
The world outside is tough. Don’t give up.
The final farewells of the folks in the courtyard. Finally we have the nun at the entrance, just before we leave.

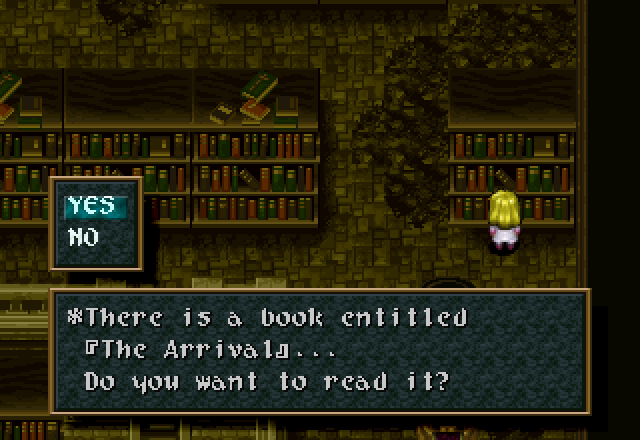
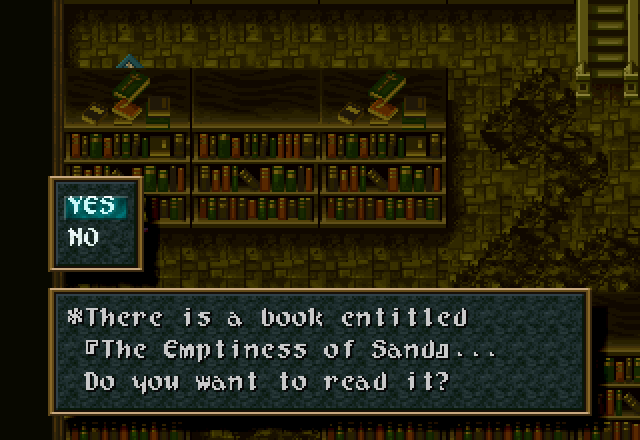
And now for the books! Obviously, the books don’t ever have anything new to say, so one go 'round will suffice here. However, the fact that both the abbey proper and the Sealed Library have plenty of bookcases means that there’s still plenty of text to go.

No one has been able to stop the degeneration of Filgaia.

About 1,000 years ago, a race of Metal Demons tore through Filgaia. The Guardians, the Elws, and the Humans won the war at a considerable cost. After the Guardians lost their strength, the land could not maintain its life force… The weak faded away… The Elw disappeared, never to be seen again.
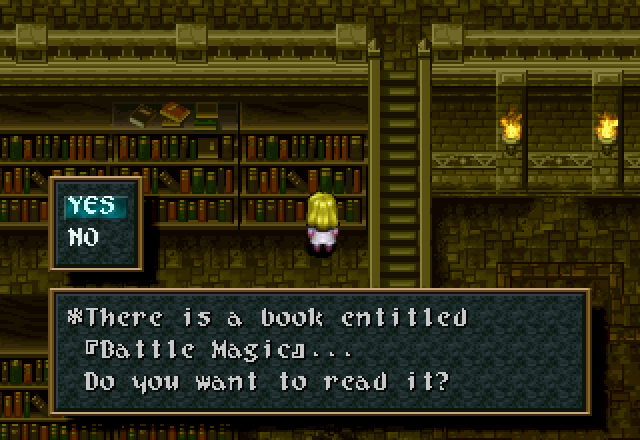
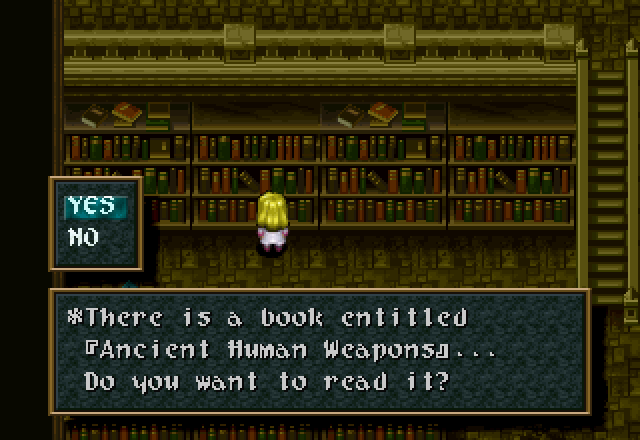
There are advanced machines found all over Filgaia. Many of them are weapons. Scientists refer to them as [ARMs].
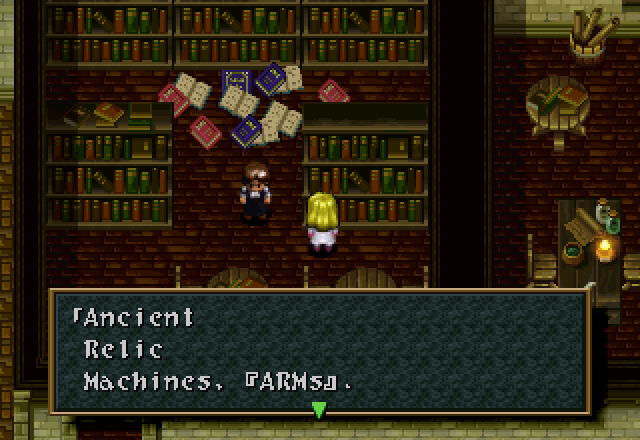
ARMs and relics of ancient battles have been excavated from the same layer of soil.
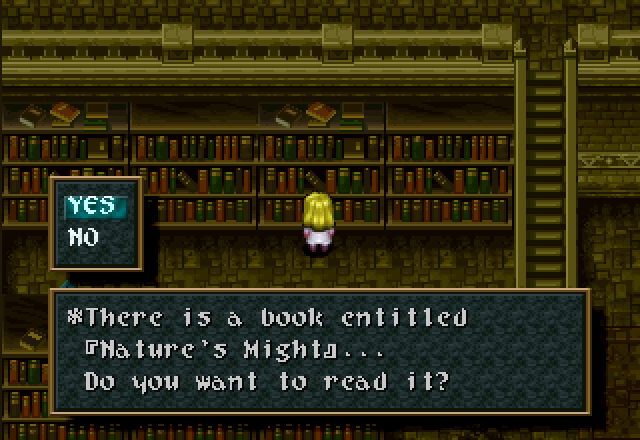
They are the protectors of Filgaia. As faint as they are, the Guardians are living among us on this desolate world. All things come from the Guardians’ power.
Do not fear failure. You can always dissolve a spell.
The Earth Dragon, Gurdijeff. The Fire Bird, Moa Gault. The Wind Tiger, Fengalon. The Water Turtle, Stoldark. The four elemental Guardians.
Probably a good time to talk about these guys, right? They’re all based on the Si Xiang, four constellations important in Chinese mythology. Each one represents a direction and a season, with the Azure Dragon (Qinglong) representing the east and spring, the Vermillion Bird (Zhu Que) representing the south and summer, the White Tiger (Bai Hu) representing west and autumn, and the Black Turtle (Xuanwu) representing the north and winter. Alter Code F localizes three of their names differently, as Grudiev, Moor Gault, and Schturdark, respectively. Fengalon, the White Tiger, gets to keep his name.
Anyways, that’s all the books in the abbey. Now on to the Sealed Library. Let’s start with the actual library room.
Knowledge can be a guide or an obstacle depending on how you handle it.
Knowledge has true power when it is needed. Sometimes, though, it is more important to act on intuition.
Too much knowledge can blind the viewer. There is never a moment when this should be forgotten.
Together, the Humans and the Elws were finally able to defeat the Demon Queen. The Queen’s heart was forever sealed into three separate Guardian statues.
The life of Filgaia has been sustained by linking the weakened Guardians together, through a pipeline called the Rayline. This was a last ditch effort of the weakened Guardians to support Filgaia to this day.
And this is where we get the thread title from. I’ll be honest; I’d forgotten about this book and thought that the payoff for that would take quite a while longer to get to. Also, apparently it’s one word, not two. Whoops.  Anyways, “Rayline” is supposed to be “ley line”, as in the belief that certain land formations hold spiritual or magical significance. The actual term was coined in 1921 by Alfred Watkins, and then popularized in 1969 by John Michell. Alter Code F fixes this goof… for the most part.
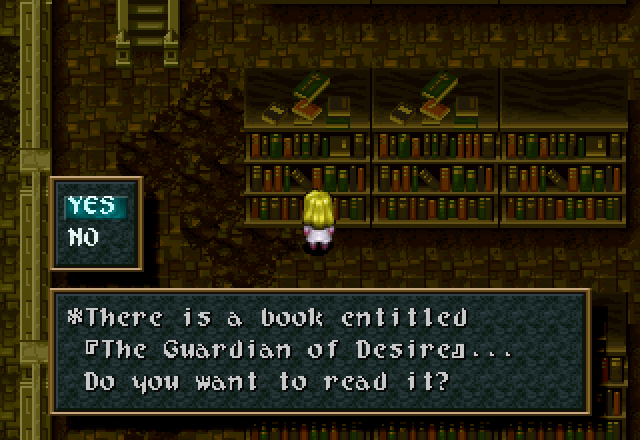
Guardians, Elws and Humans fought to protect Filgaia. Of the Guardians, the Guardian of [Desire] sided with the demons. The shadow of a black wolf, disappeared with the Demon Race.
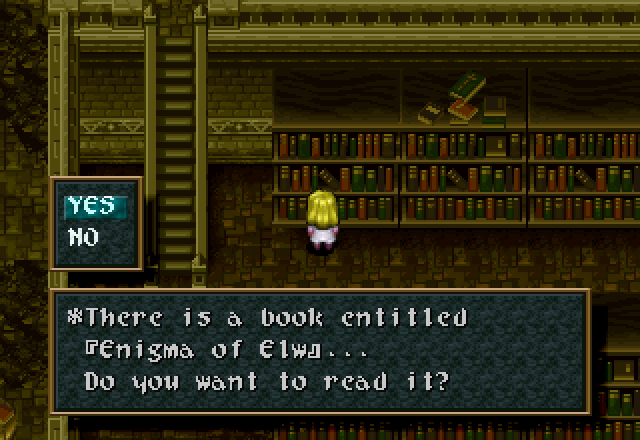
The enigmatic Elw race… Much of the Elw magic was truly astonishing. The specialized in magic related to biology. One of their technologies converted life force to energy for transport to other locations.
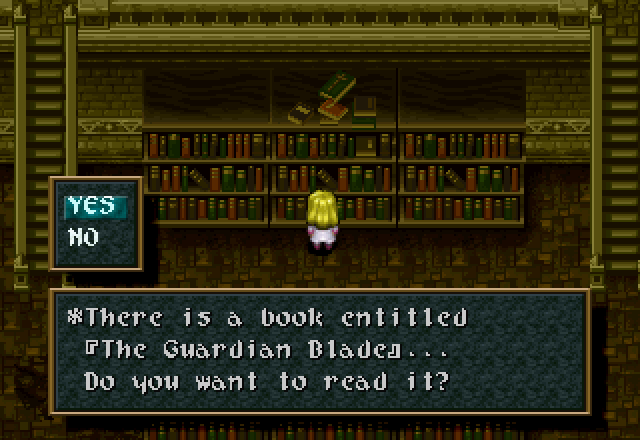
At the bloodiest point in the war, one Elw forged a sword of ultimate power. This sword had the ability to channel the Guardians’ power through its blade. There is no record of the sword being used in battle, but it was about that time that the demons withdrew from the war. There is no doubt that the Guardian Blade was a major factor in the war.
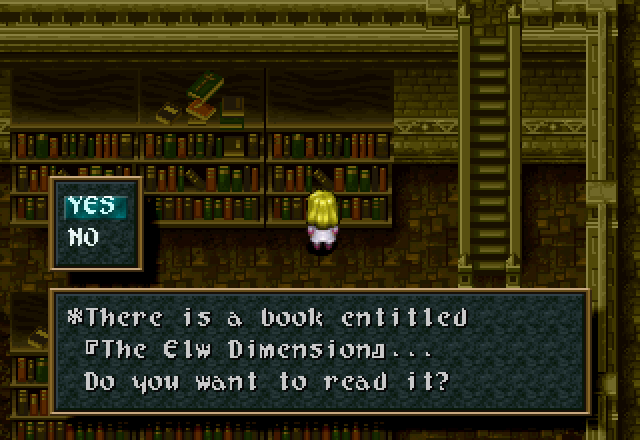
Soon after the war with the Demon Race, the Elws disappeared from Filgaia. They used what powers they had remaining and moved an island still teeming with life to another dimension. Their destination is known as the Elw dimension.

Is it because humans do not have wings that they constantly strive to reach the heavens? With science seemingly limitless, some people reached for the heavens from a massive tower dedicated to magic.

There once was a Guardian who chased the tail of a falling star. He came crashing down to Filgaia with the falling star. The Guardian of the [Star Light], [Ligudobleit]. Does he still sleep next to the fallen star somewhere in Filgaia?
The Guardian referred to here is called Rigdobrite in Alter Code F. Considering his theme seems to be stars and light, I’d say Agetec managed to un-fuck this one. Good job, guys!
After the great war, a huge magical machine was built to restore the land from the devastation. The machine was named [Yggdrasil], after the tree in the legends. The demons discovered the machine and stole the reviving mechanisms. Rather than use the mechanism to give birth to new land, the demons’ leader [Mother] used it to give birth to more demons.
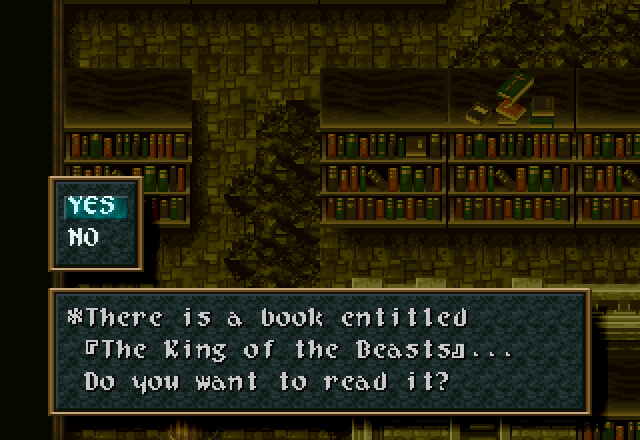
Since the war with the demons 1000 years ago, many monsters have been born all over Filgaia. [Rago Ragla], the [King of the Beasts] sleeps somewhere in Filgaia.

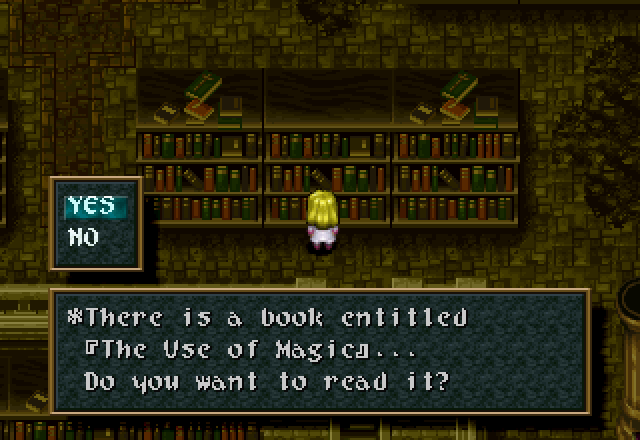
The basis for the elemental crest magic is the binding of two elements together to generate magic. There are 32 secret elemental spells kept by the Magic Guild that are more powerful than the normal spells available.
It is normally impossible to cast two spells at once. The Great Mage Dhee devised a method to cast two spells simultaneously.
After many failures, the Magic Guild was able to organize the crest combination into 32 secret spells. Some continued the research to take the magic even further…
The Thousand Poem Legend prophesied the coming of Angol Moa. The demigod, Angol Moa will arrive at a promised time to destroy and recreate all. He is known as the ultimate existence.
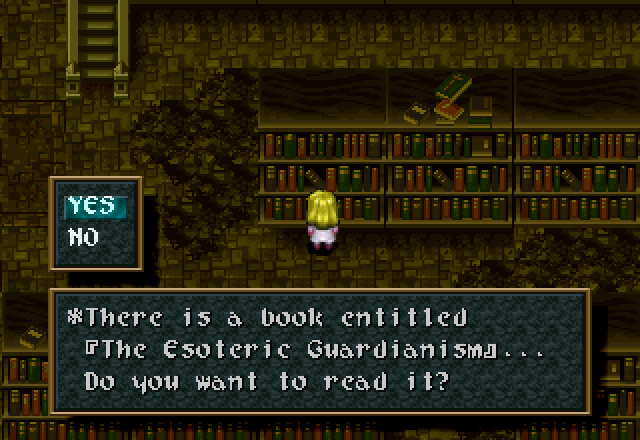
There exists a secret sect of Guardianist who worship the power of the Guardians. These extremists believe in a complete return to nature, as opposed to the harmonized coexistence with nature taught by Curan Abbey. They left the safety of the common world to develop and instill their beliefs discreetly.
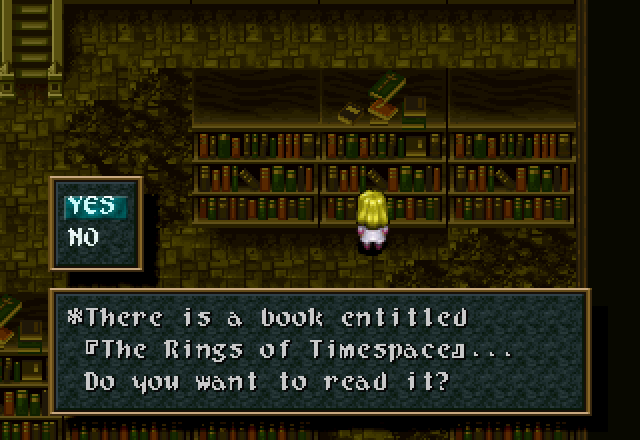
The Rings of Timespace contain a power that no human should ever possess. The Rings of Timespace are a seal that holds down the boundaries of time and space. The Ring consists of two alignment circles. Once circle designates Northwest, Southwest, Southeast and Northeast. The other circle designates West, South, East and North.

During the age of creation, one woman had received a secret book from a heavenly messenger. The book contained information about the creation of the universe. It is said that it contains theories on alchemy and the ways of the heavens.

The cold hard bodies of the demons are made of metal. Their metal bodies, however, have most of the same traits of a biological entity. The ancient Mages of the art of Alchemy studied captive demons to learn from their technology. That is how we came to create the golems.
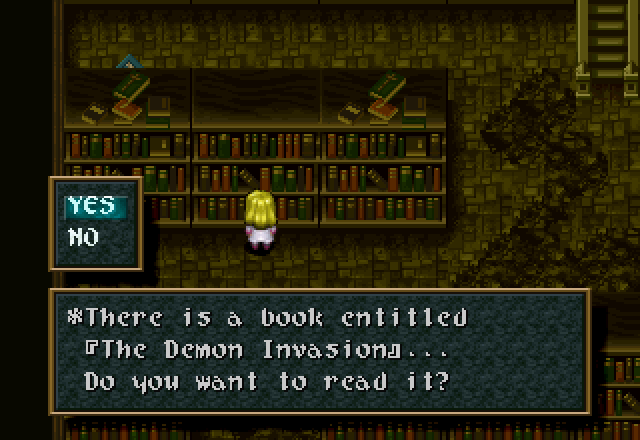
The Demon Race has technology that allows them to travel across time and space. They have also developed a device that utilizes this technology to instantly transport troops to a faraway location. The demons’ attacks seemed to use this strategy…
The dead area called the [Sand River], was caused by the battle against the Demon Race a thousand years ago. The massive destructive powers drained the life from the entire area.
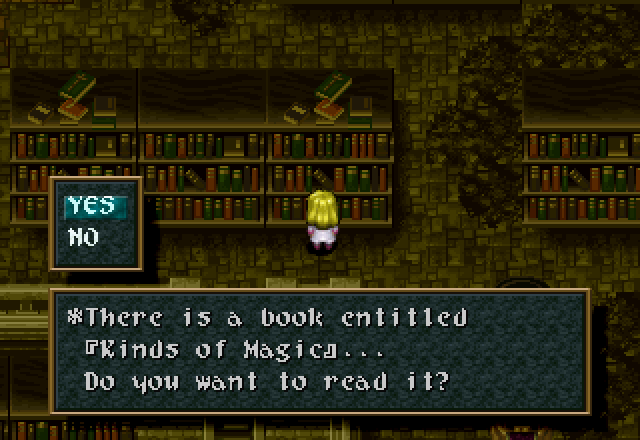
Use the different elements to enhance your power against the opponent’s elements. Using fire against ice monsters, for example, will increase the effectiveness of your attack.
Welcome to JRPGs 101, here is your textbook.
The Guardians sometimes use their power for earthquakes and lightning. But it is all part of the energy we need to sustain life on Filgaia.
The eight golems were built by humans a thousand years ago to fight off the invasion of the Demon Race. All but one still remains deep inside the ruins… A real study of these artifacts can only be done when all eight of the golems are excavated.
In the realm of the Elws, the powers of nature are used as magic… They live on the path of eternity. They have long, hairy ears but their silhouettes are human. No one knows the reason why they left or where they have gone…
But we just read the book that said they made their own dimension and fucked off to there! We know exactly where they went, we just can’t get there!
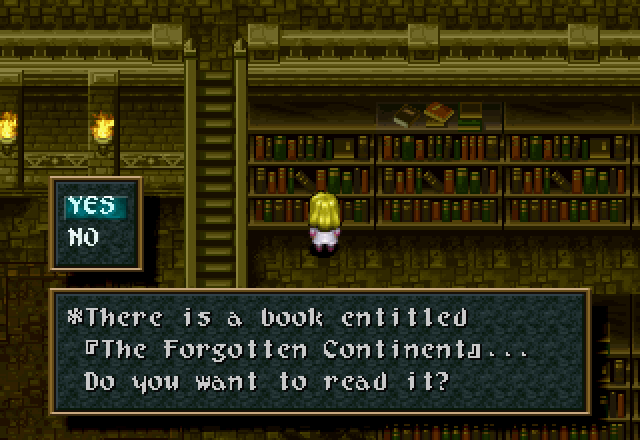
The [Ring of Grace] has forgotten this land… Our continent will eventually end in warm desolation.
In the ancient days, Guardians represented basic human nature. There were three Guardians who were in charge of higher energies beyond the four basic energies. These three Guardians were in charge of those who lived their lives according to their energies. These were: The [Courage] Guardian, who had the power of growth beyond oneself. The [Love] Guardian, who had the power to protect what is precious. And the [Hope] Guardian, who had the power to believe in the future. In the old days, these three energies existed in everyone’s hearts. Now, people have forgotten the meaning of these energies.
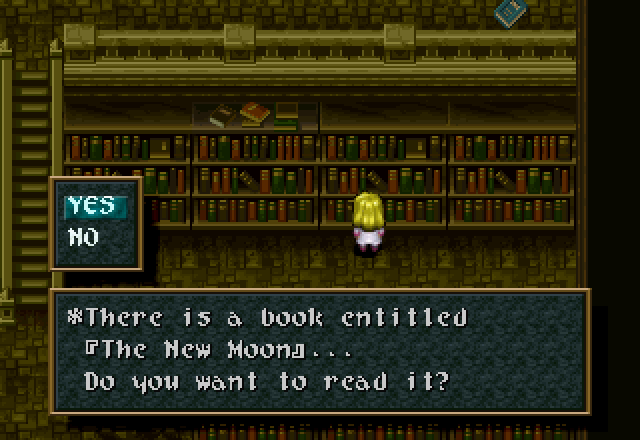
The other moon that floats above the night sky, shines its dull light down on the surface of Filgaia. Some say it’s the Castle of the demons and is made of magic silver… We have no way of knowing now…
Each unassuming tool has a mystic power within it. This power can be brought out of the tools depending on the psychic abilities of the user.
This describes Cecilia’s Level 1 Force ability, Mystic, which I didn’t demonstrate in the main update because it’s mostly pointless when she’s solo. Don’t worry; I’ll show it off eventually. Note that it’s referring to items, not Tools.
Down in the room where we found Nelgaul and Stoldark, there are two last bookshelves. The first one…
A magic seal prevents it from opening!
We’ll be getting back to that one later.
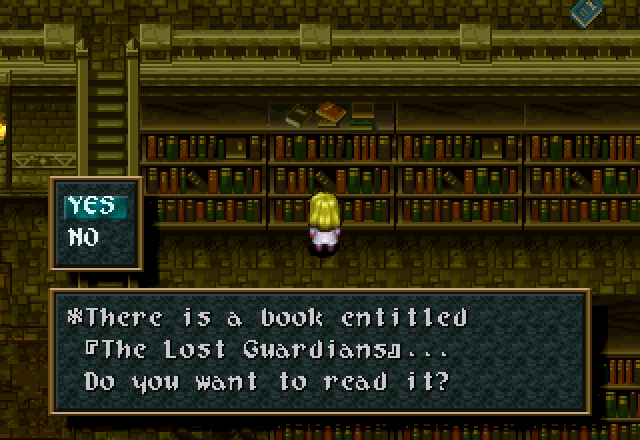
No one really knows who the Guardians are… The only place one can see them is in the legends.
And that’s it for the books, and for this update! Next time, we actually meet the gunslinger in this Western fantasy.
Part 3 - Rudy the Wandering Youth
Previously, we spent half an hour talking to poeple and reading books. Today, we get to the final character route, and finally meet our gunslinger.
We open with narration and a gradual pan across a pastoral village.
A devastated environment filled with ferocious monsters plague the people of Filgaia who desperately try to cling to their land.
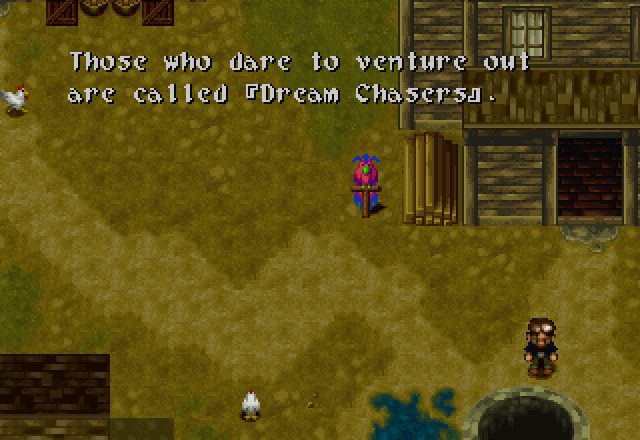
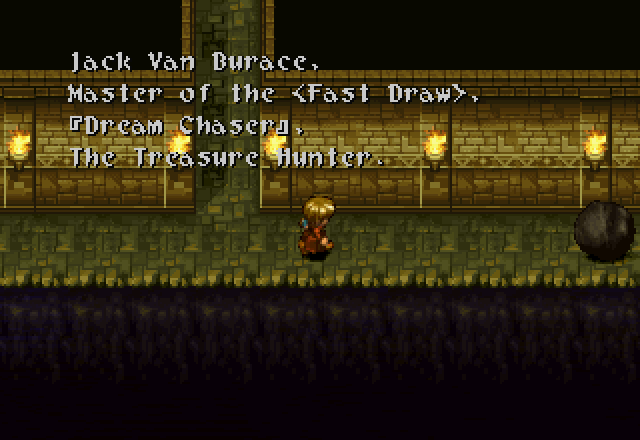
“Dream Chaser” here was localized as “Wanderer” in Alter Code F, and “Drifter” in 3, 4, and 5, IIRC. Drifter certainly fits the Western aesthetic the game is going for, but I feel Dream Chaser is pretty cool too.

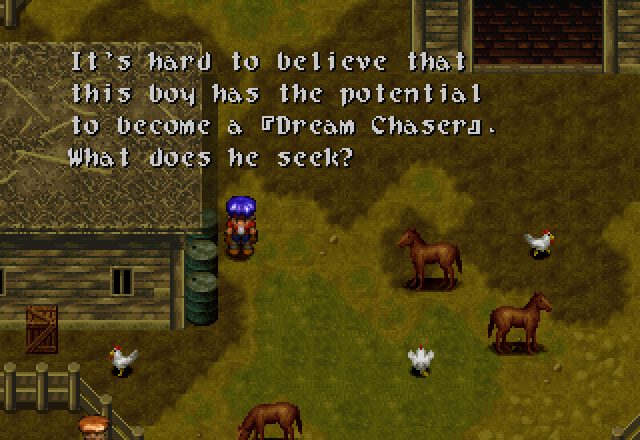
This seems a bit odd to me, because there’s a bunch of dialogue in the village that states that Surf is definitely not Rudy’s hometown, and suggests he just got here fairly recently. If so, isn’t he already a Dream Chaser?
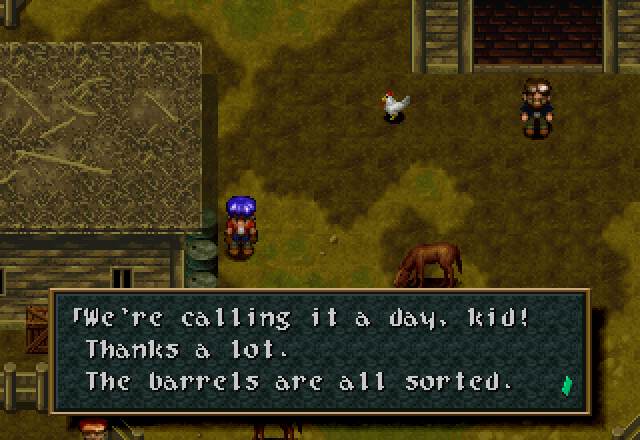
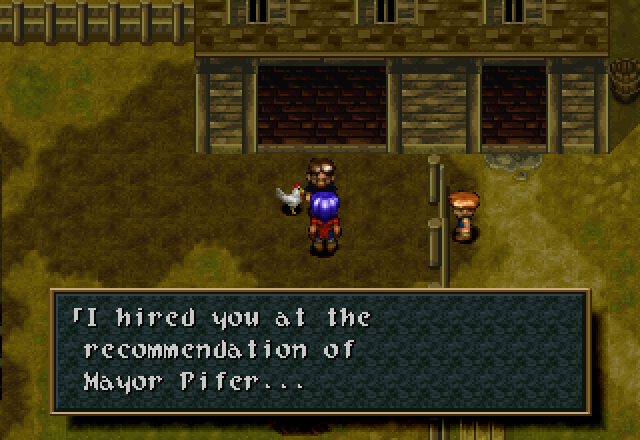
![]() You turned out to be OK. By the way, what’s your name?
You turned out to be OK. By the way, what’s your name?
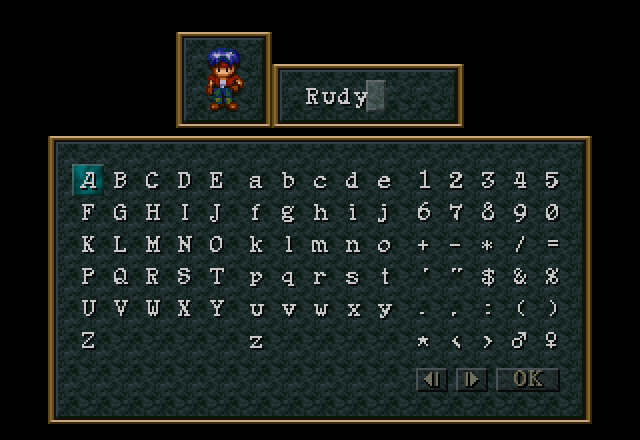
![]() Rudy, you’re stronger than you look. The horses seem happy. Here’s today’s pay.
Rudy, you’re stronger than you look. The horses seem happy. Here’s today’s pay.

![]() Sorry kid, this is all the village can afford. You should see if the mayor has any more work for you. Thanks again! See ya.
Sorry kid, this is all the village can afford. You should see if the mayor has any more work for you. Thanks again! See ya.
At this point, we gain control. Let’s take a look at our new character, shall we?
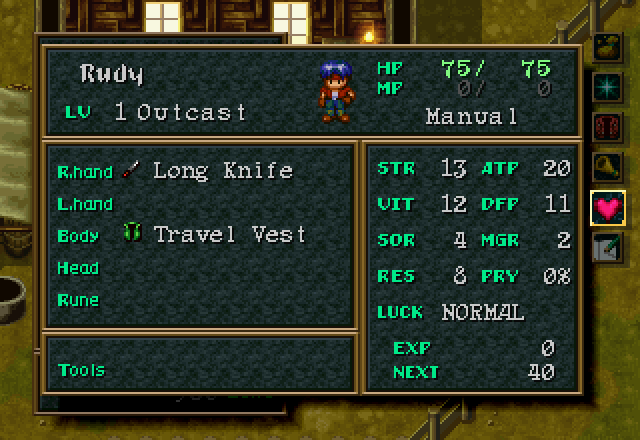
Rudy has the highest VIT (and thus Defense). His HP and attack are middle of the road; slightly less than Jack’s. His SOR, MGR and RES are abysmal; he folds like paper from magic attacks and will pretty much always be going last, barring stat-boosting items/equipment.
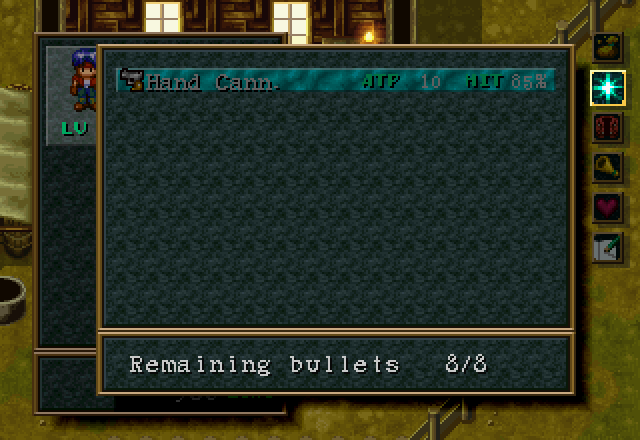
His only special ability right now is Hand Cannon, which does exactly what you think it does. Rudy is unique in that his special abilities (the ARMs mentioned in one of the books last update) run off of bullets, not MP. I’ll go into what that means when we pick up another ARM for him.
We’ll go see the mayor… eventually. But first thing we do is talk to this guy again.
![]() By the way, Rudy. Can you help out with the horses?
By the way, Rudy. Can you help out with the horses?
Wandering around the stables, there are some horses and chickens. The horses just make a neighing sound effect when interacted with, and I’m pretty sure they don’t even move. But just like Legend of Zelda, you can pick up and throw the chickens.
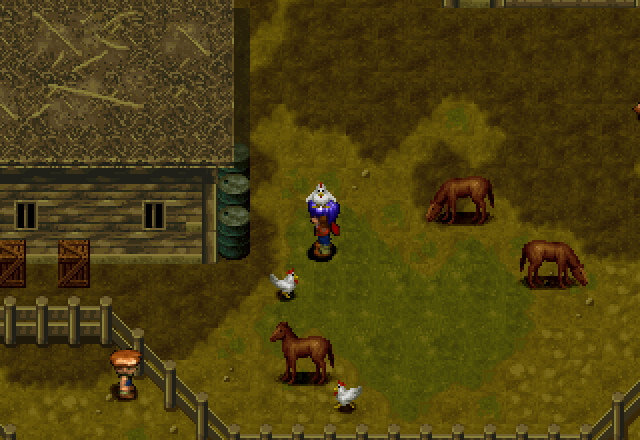
Around the back of the… barn (or whatever that is), there are some crates.
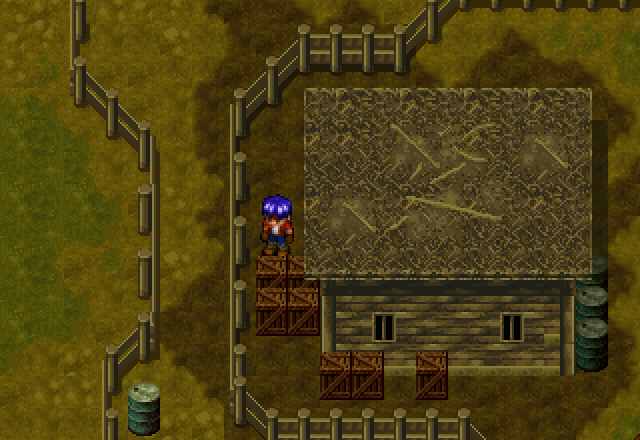
Smashing them gives us a Heal Berry, and…
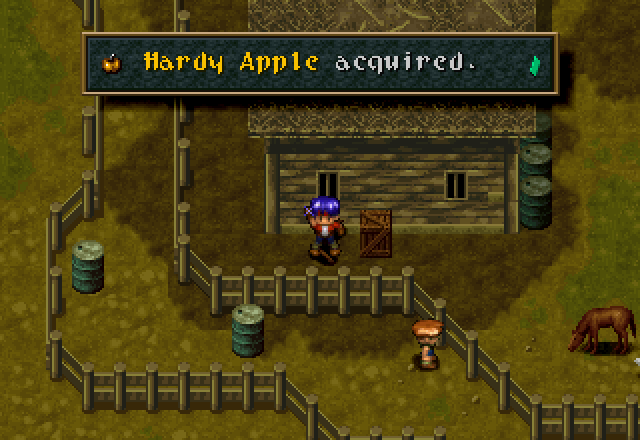
Our first stat-booster. Hardy Apples increase VIT by 1. I’ll probably hold a vote on who gets what after we’ve got a few more under our belts.
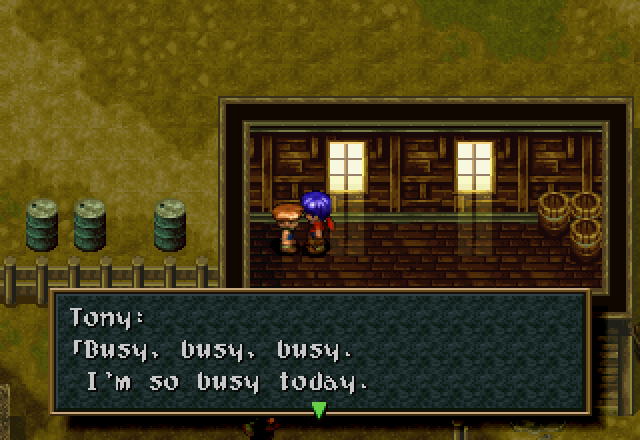
Up in the actual stable building, we find this boy, named Tony.
![]() Do you want to know why?
Do you want to know why?
![]() Yes.
Yes.
![]() Ha ha ha. I can’t tell you! Maybe when I get back.
Ha ha ha. I can’t tell you! Maybe when I get back.
![]() No.
No.
![]() No?.. Hmm… You didn’t find out, did you?
No?.. Hmm… You didn’t find out, did you?
Well, this child is clearly planning something wholesome and won’t be causing any trouble in the near future.
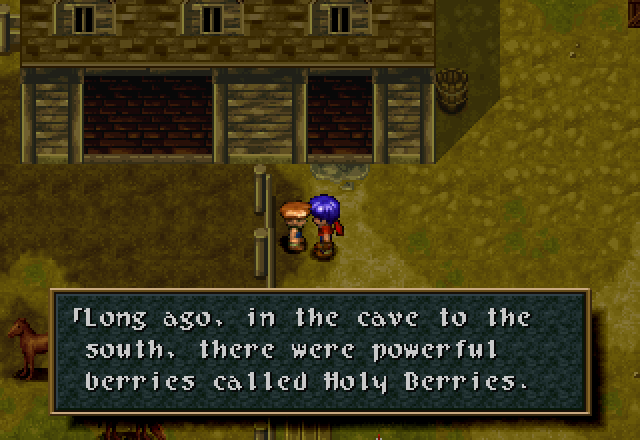
On the other side of the stables’ fence is this child, who is surprisingly well-versed in the local history.
![]() But the last seed was used to kill a monster, so there are no more. You wanna hear more?
But the last seed was used to kill a monster, so there are no more. You wanna hear more?
![]() Yes.
Yes.
![]() Long ago, a monster prevented the villagers from collecting berries from the cave. The villagers hired many bounty hunters. But the monster kept coming back to life over and over again.As everyone began to give up, one of the bounty hunters had a brilliant idea. His idea was to plant a Holy Berry seed inside the monster while it was regenerating. The Holy Berry sprouted and sealed the monster with its magic. Nobody believes the story anymore. It’s considered a fairy tale.
Long ago, a monster prevented the villagers from collecting berries from the cave. The villagers hired many bounty hunters. But the monster kept coming back to life over and over again.As everyone began to give up, one of the bounty hunters had a brilliant idea. His idea was to plant a Holy Berry seed inside the monster while it was regenerating. The Holy Berry sprouted and sealed the monster with its magic. Nobody believes the story anymore. It’s considered a fairy tale.
![]() No.
No.
![]() I don’t blame you. No one believes in the story anymore.
I don’t blame you. No one believes in the story anymore.
Over by the village well is this man.
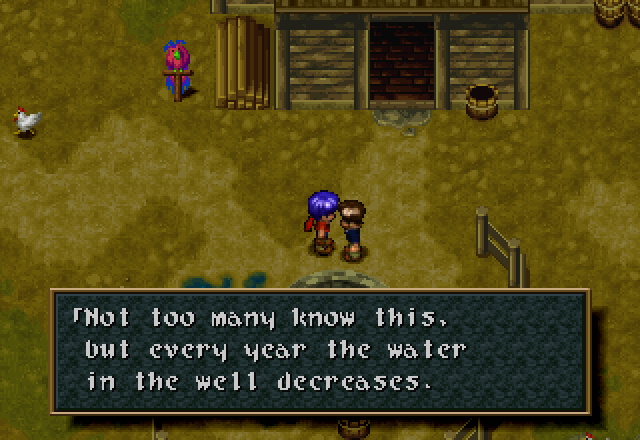
![]() I hear the world is coming to an end. It must be an OMEN!
I hear the world is coming to an end. It must be an OMEN!
Crazy doomsday cultists always spring up this time of year.
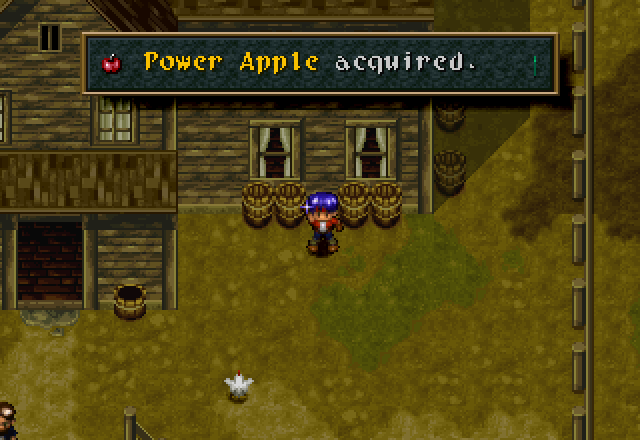
In a crate next to this house (actually the Mayor’s house; we’ll see the inside… eventually) we find the STR-boosting apple.
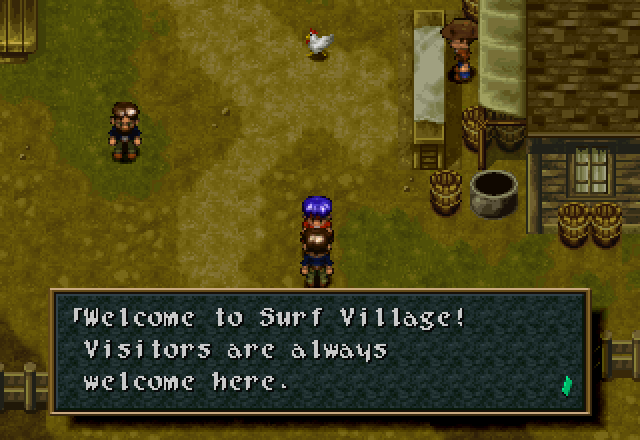
This guy over near the entrance seems to be the village greeter. They always seem to have one, despite the population of the average JRPG town being smaller than the staff of your local Walmart.
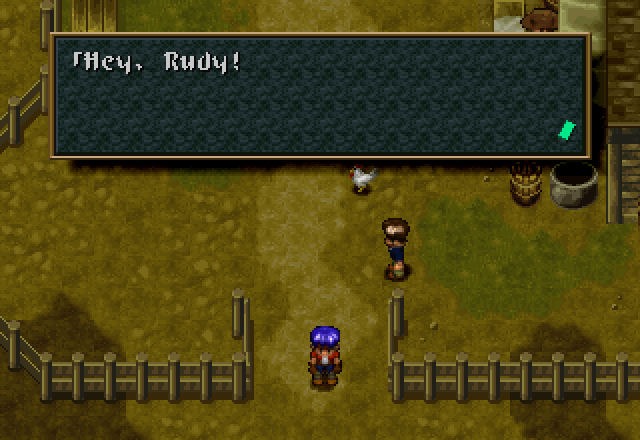

We’re not allowed to leave the village until we talk to the mayor.
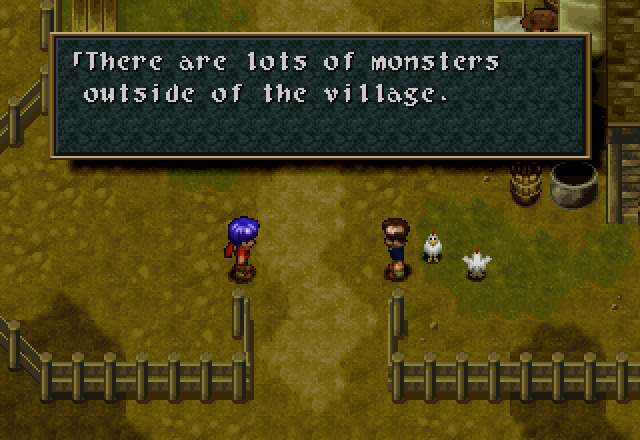
![]() You’re okay, but we’re trying to keep this kid named Tony from going outside. He’s a pain in the…
You’re okay, but we’re trying to keep this kid named Tony from going outside. He’s a pain in the…
And the greeter has something to say to us, as well, if we try to leave the village right now.
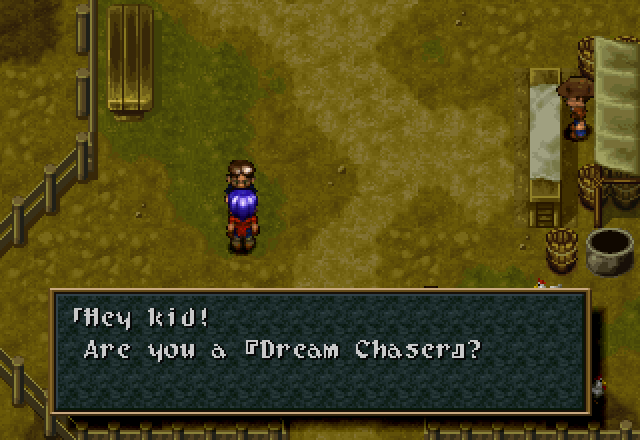
![]() Man, if I wasn’t married I would love to live a life filled with adventure.
Man, if I wasn’t married I would love to live a life filled with adventure.
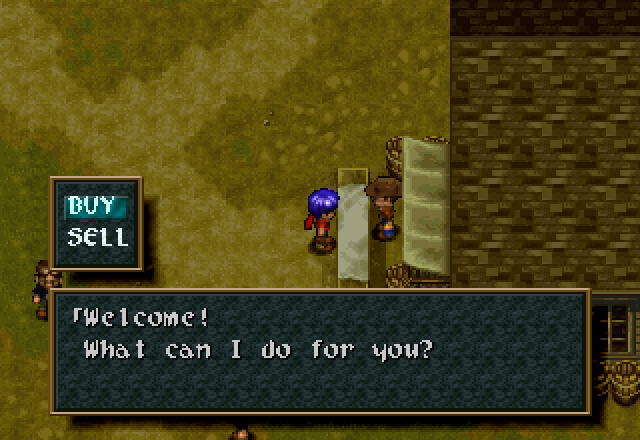
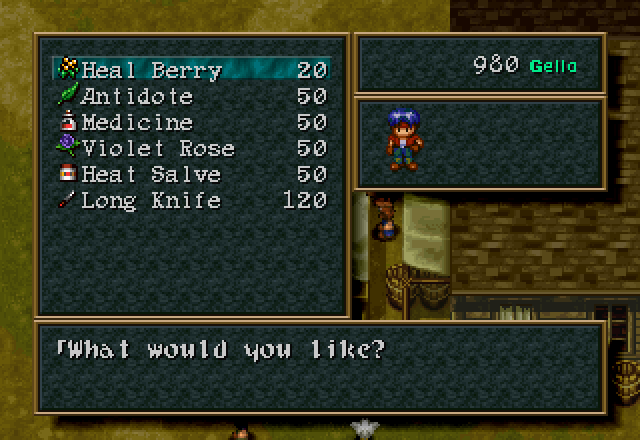
This guy is the village store. He doesn’t sell anything particularly useful; that Long Knife there is the weapon Rudy currently has equipped. Gella is the currency of Filgaia.
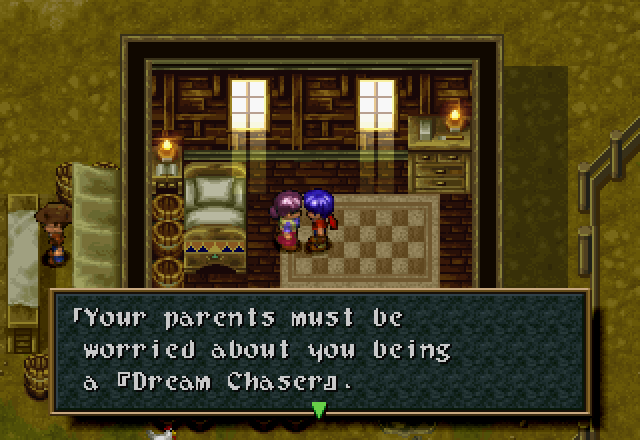
![]() Oh?! You don’t… I’m sorry to hear that. Pardon me.
Oh?! You don’t… I’m sorry to hear that. Pardon me.
Inside the house is this woman, who serves to confirm that Rudy is indeed a Certified JRPG Protagonist, dead parents and all. Next is the house next door to the mayor’s (See? I’m on my way!), which houses Tony’s family.
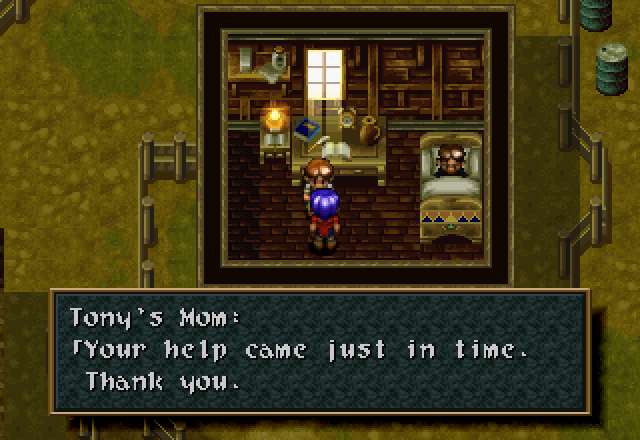
![]() With my husband’s injury, we couldn’t take care of the horses ourselves. Where is Tony? He’s probably causing trouble somewhere.
With my husband’s injury, we couldn’t take care of the horses ourselves. Where is Tony? He’s probably causing trouble somewhere.
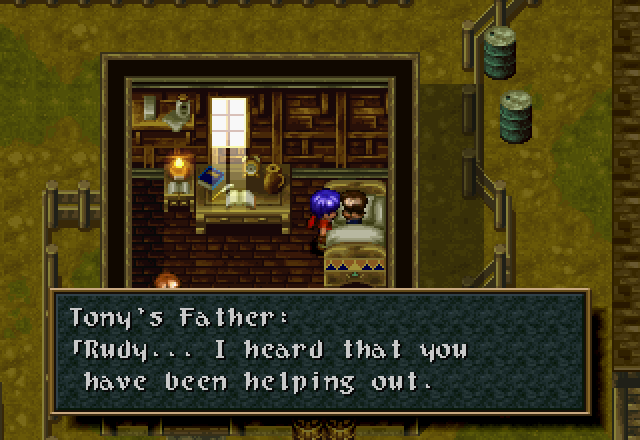
![]() We could use a hand around here, with me sick in bed… Thank you! If there were still Holy Berries in the Berry Cave, I wouldn’t be here. My son and I were talking about this earlier.
We could use a hand around here, with me sick in bed… Thank you! If there were still Holy Berries in the Berry Cave, I wouldn’t be here. My son and I were talking about this earlier.
Tony is the boy who’s definitely not plotting anything over in the stables. We get a hint here of what his plan is.
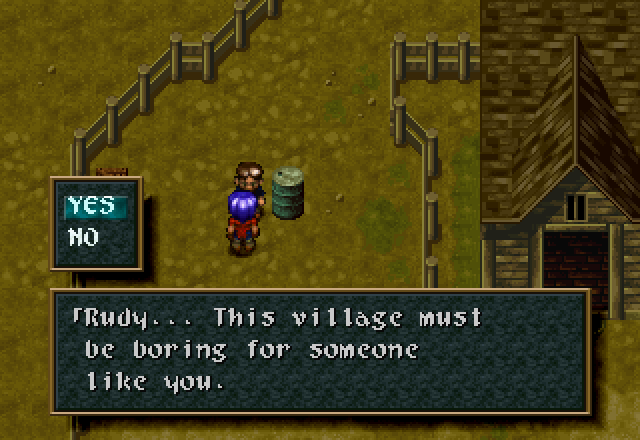
![]() Yes.
Yes.
![]() Ha ha ha. Rudy, you’re merciless. This village used to be lively back when there was still some berry trade here.
Ha ha ha. Rudy, you’re merciless. This village used to be lively back when there was still some berry trade here.
![]() No.
No.
![]() Ha ha ha. You don’t have to be nice. I’m bored too. To the south, there is a city holding a festival. I want to go.
Ha ha ha. You don’t have to be nice. I’m bored too. To the south, there is a city holding a festival. I want to go.
Past the empty house on the other side of Tony’s is this man, who’s bored in his hometown but won’t let you say you are as well. I feel that canonically, Rudy would probably say he didn’t find it boring, and would actually mean it; he may be a silent protagonist, but he does get some characterization, as we’ll see later. Though, haven’t we heard somebody else mention a festival recently?
In the crates nearby (covered by the Yes/No prompt in the screenshot), we find another Heal Berry.

![]() Stories of her battles with monsters are famous. She’s probably very beautiful.
Stories of her battles with monsters are famous. She’s probably very beautiful.
To the south of the stables is this boy, who clues us in on the local gossip, while admirably demonstrating kid logic. “She beats up monsters. I bet she’s gorgeous.” Next stop, the mayor’s house, finally.
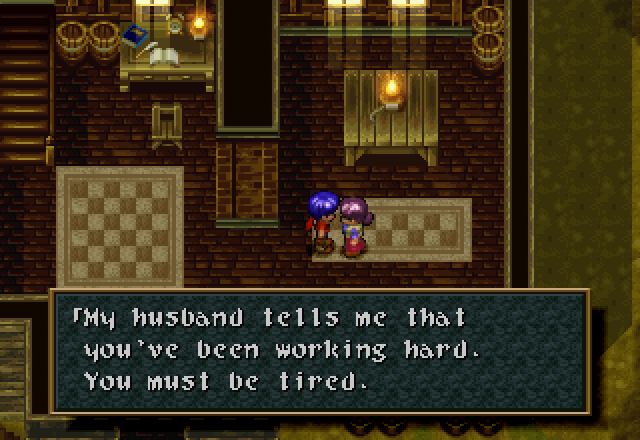
The mayor’s wife serves as an inn. Her husband is upstairs.

![]() Thanks to you, the stables are in great shape! Take these as a token of my appreciation. Long ago, I found these Bombs while exploring ancient ruins. You may find them handy.
Thanks to you, the stables are in great shape! Take these as a token of my appreciation. Long ago, I found these Bombs while exploring ancient ruins. You may find them handy.
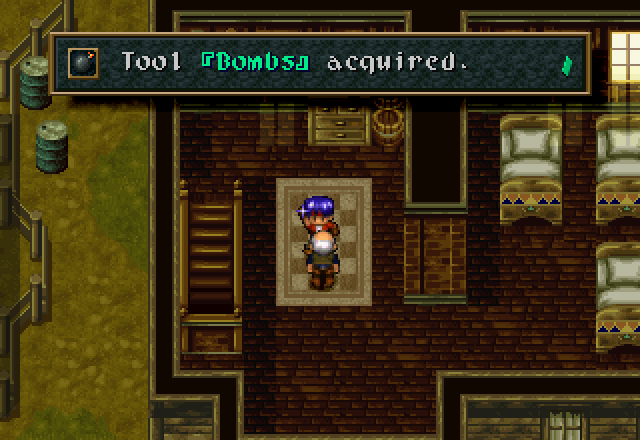
This is much better pay than a single Heal Berry! The Bombs are Rudy’s first tool. Unlike Jack or Cecilia, he doesn’t start with one.
![]() These bombs will destroy most small objects. Walk next to the object you want to blow up and push the Tools button. It will go off in a bit. These magical bombs will never run out. In the good old days, magic berries could be found in the cave to the south. We would use the bombs to clear debris from the cave. Now that all of the berries are gone, we no longer need them. The world is fading and our village is starting to feel the impact.
These bombs will destroy most small objects. Walk next to the object you want to blow up and push the Tools button. It will go off in a bit. These magical bombs will never run out. In the good old days, magic berries could be found in the cave to the south. We would use the bombs to clear debris from the cave. Now that all of the berries are gone, we no longer need them. The world is fading and our village is starting to feel the impact.
Uh, the kid outside said that the story of the monster in the Berry Cave was so old nobody believes it anymore. And yet here you say that these bombs, that you found, were used in that very cave. How old are you, Mayor Pifer? 
As the mayor said, the Bombs will destroy crates, loose rocks, etc. Place them with the Tools button (default Square) and then wait for them to go off. They can’t be moved once placed, but also don’t hurt you when they explode, so they’re safe to use in cramped confines.
As we go to leave, this man literally runs into Rudy.
![]() Excuse me! I must talk to the mayor immediately.
Excuse me! I must talk to the mayor immediately.
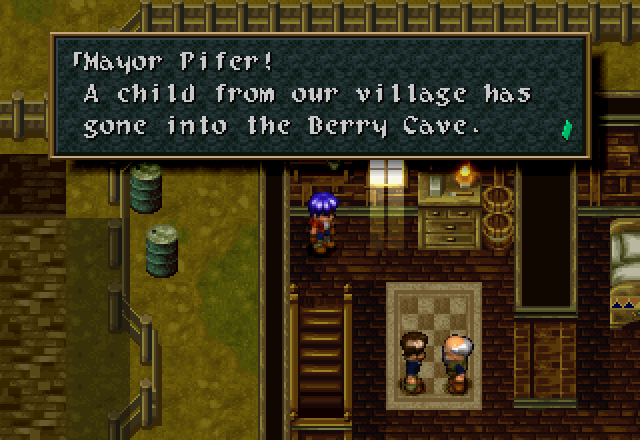
![]() What?!
What?!
![]() What do we do?
What do we do?
The mayor paces around his rug for a bit.
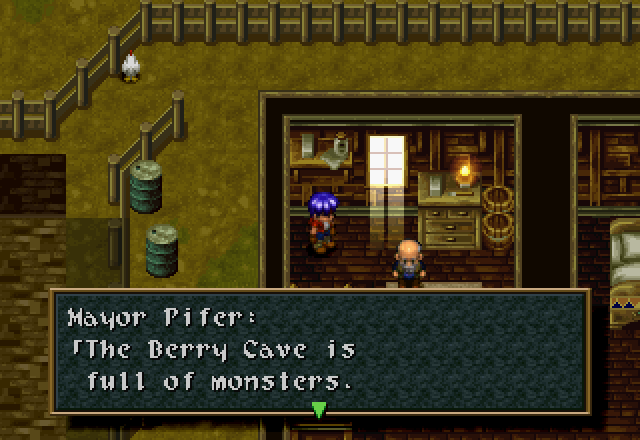
![]() The Berry Cave is full of monsters. There is not much we can do. I must talk to the townsfolk about this situation. Please keep this quiet. We can’t have people panicking.
The Berry Cave is full of monsters. There is not much we can do. I must talk to the townsfolk about this situation. Please keep this quiet. We can’t have people panicking.
We regain control now. Speaking to the mayor nets us this:
![]() The cave to the south is full of monsters. Dear, oh dear…
The cave to the south is full of monsters. Dear, oh dear…
And the man who came to inform the mayor has this to say:
![]() I don’t have time for this. That troublesome kid!!!
I don’t have time for this. That troublesome kid!!!
Note that this guy is probably the one standing by the entrance who told us that he’d love to live a life filled with adventure. What does he even do?
Since the Mayor is keeping Tony’s departure quiet, most of the townsfolk have the same dialogue. Only Tony’s parents have updated, aside from what we’ve already seen.
![]() Tony! Tony! Where could he be? I hope he’s not causing trouble in the village…
Tony! Tony! Where could he be? I hope he’s not causing trouble in the village…
![]() My son Tony… He may seem wild, but he’s really a good kid. His smiling face has helped me through my illness.
My son Tony… He may seem wild, but he’s really a good kid. His smiling face has helped me through my illness.
They don’t know he’s left town yet, but they do seem to sense something’s amiss.
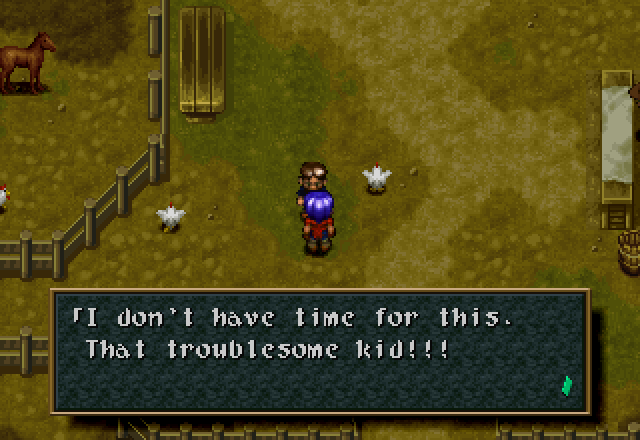
And the “adventure” guy is back at his post, doing… whatever it is he does. Must be essential work.
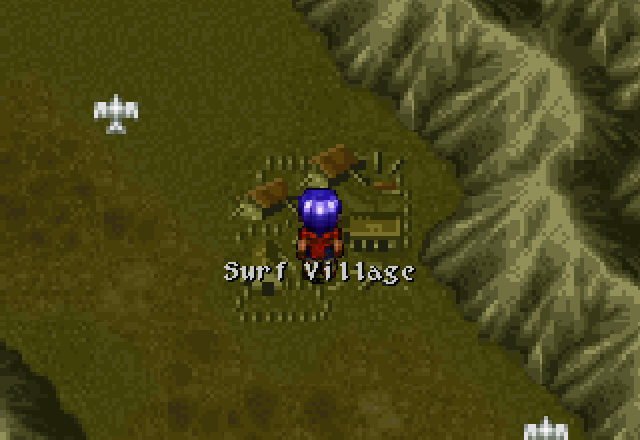
And now we get to leave the town of Surf. Rudy is the only character who gets to leave his starting area before his scenario is over. We could go exploring, and even reach the others’ areas as well as the next town; but we’ll save that for a bonus update. Out on the overworld, the random encounters include Balloons, Pillbugs, and an enemy we’ll see later this update.
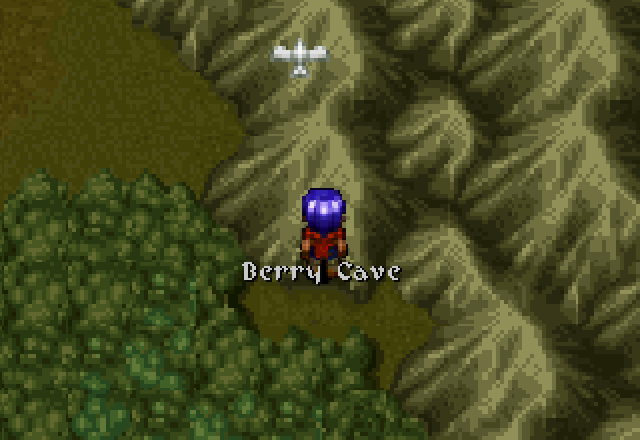
The Berry Cave is only a short walk from the village. Let’s see if we can find Tony; he can’t have gotten too far, right?
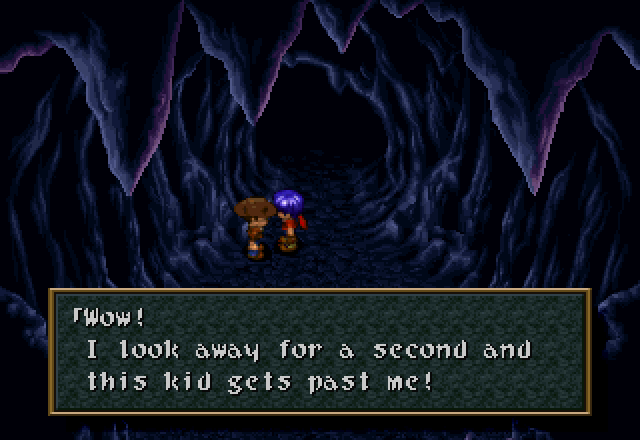
![]() No one from the village is allowed in here! What am I to do?
No one from the village is allowed in here! What am I to do?
At the entrance to the cave, we meet the cowboy assigned to guard it. If we came here as anyone else (or presumably somehow got Rudy out of town before seeing the mayor), he’d be blocking the entrance and tell us the cave was off-limits.
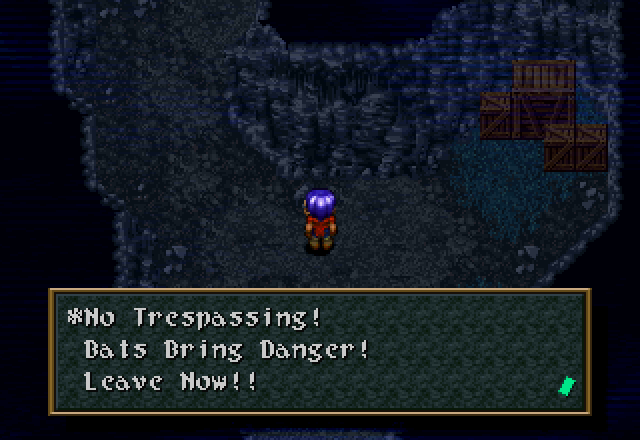
Past him, we find this sign. That second part, “Bats bring danger,” is part of a warning. Don’t worry, it’ll be elaborated on later.

Large crates cannot be lifted and thrown; they must be broken with bombs. Most have items in them; this one contains a Heal Berry. On our way to the next room, we get our first random encounter.
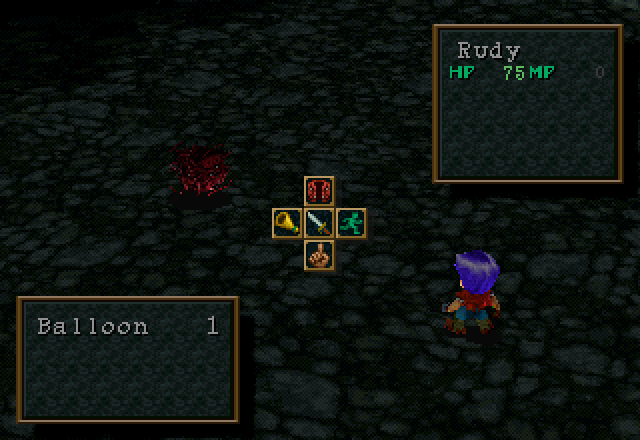
Balloons are still not a threat.
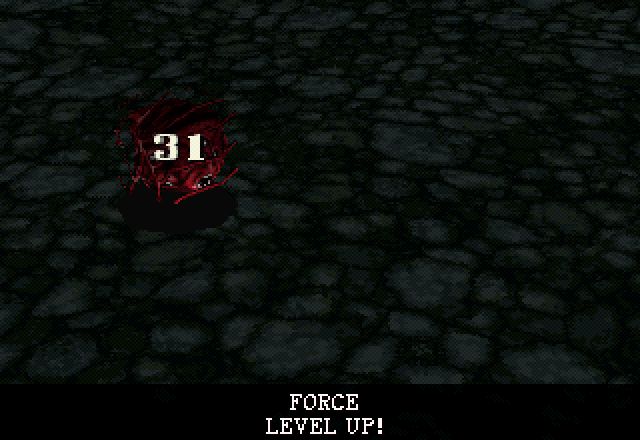
Even though Rudy’s slower than they are and doesn’t quite one-shot them unless he gets lucky on the damage roll. They have 35 HP, remember.
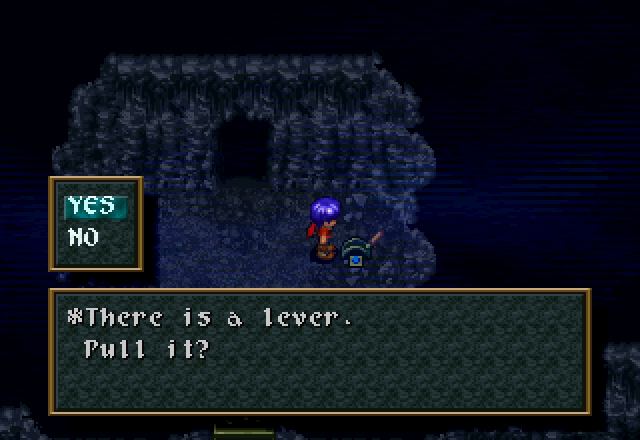
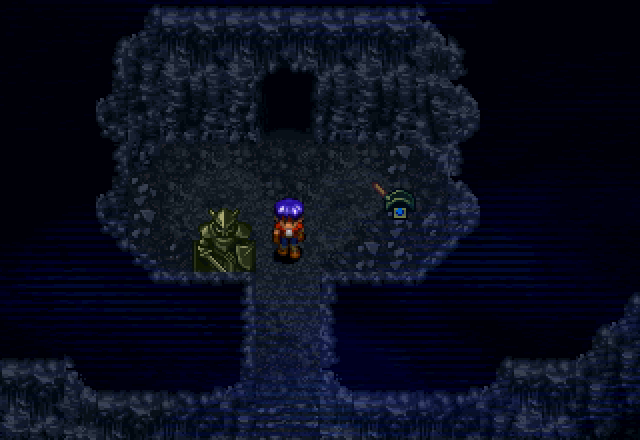
In the next room, this lever moves the statue out of the way, allowing progress.
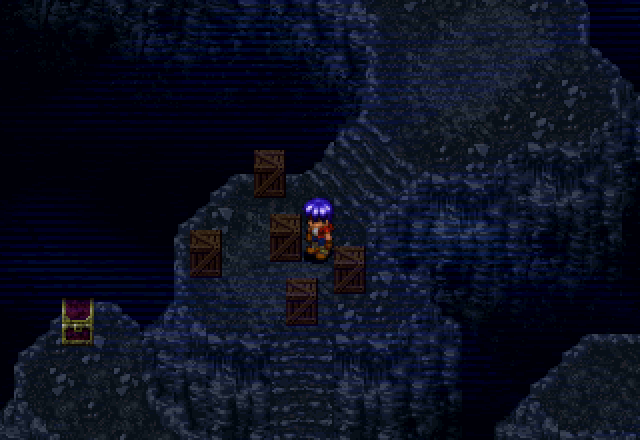
Proceeding south, we find these crates. None of them hold anything, although the chest has 50 Gella.

With another 50 in a chest just offscreen.

This sign is directly above the last chest. Sorry, but you’re blocking the way, so you gotta go.
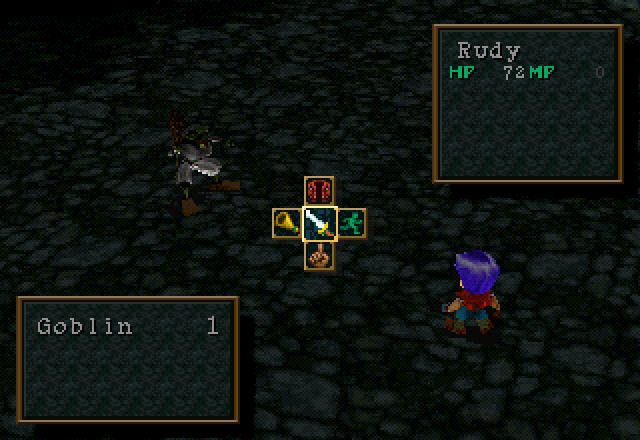
As we proceed, we encounter the second monster found in the Berry Cave.
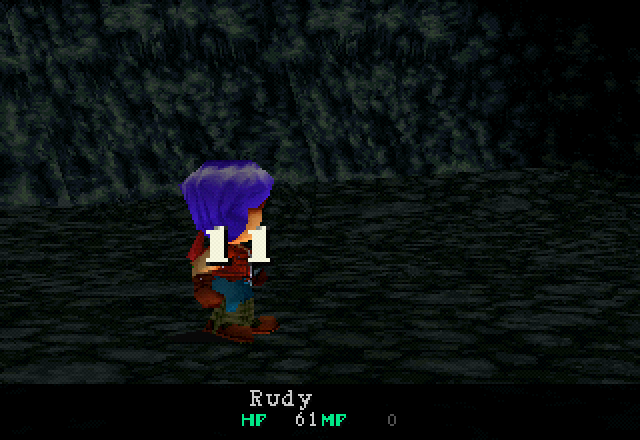
Goblins are the most dangerous enemies in the Berry Cave. They almost always beat a level 1 Rudy in initiative, have 40 HP and thus can’t be one-shot without a crit (or the Hand Cannon), hit decently hard, and frequently come in pairs. Make sure Rudy never dips below 20 HP, and if you encounter two of them, heal if Rudy’s below 40 HP.
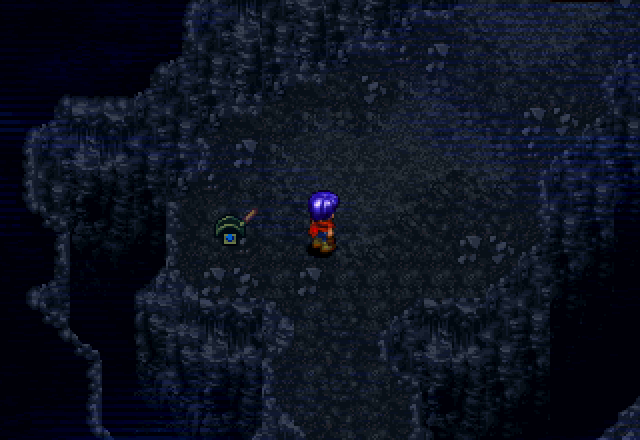
Continuing on, we find another switch, which means another statue is likely nearby. We don’t want to flip this one yet, though.

Because this one has a crate in front of it, preventing it from moving. Blowing up the crate (which is one of the rare large crates to contain nothing) allows us to flip the switch and move on.
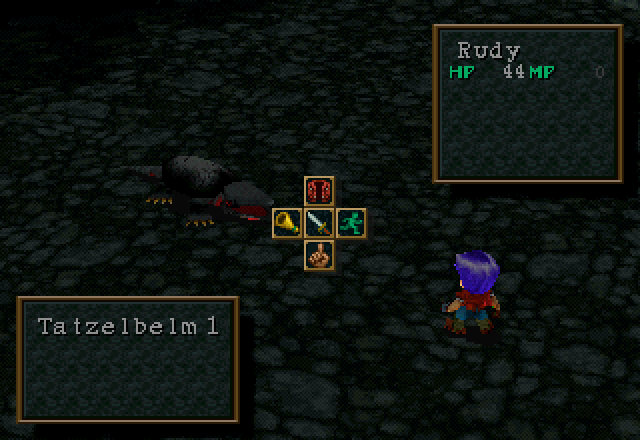
And we find the final enemy encounter in the Berry Cave. The Tatzelbelm, localized as Tatzelwurm in Alter Code F, looks like a lizard in this game, but was redesigned to be a land-dragon-thing in ACF. They can also appear on the world map.

They have 70 HP, so Rudy frequently takes three attacks to finish one. They also have a fire breath attack (called Flame Tongue in this version, and Baking Breath in ACF) that they almost never use. However, they’re weaker than the Goblins and the only monster in the dungeon consistently slower than Rudy, so they’re actually less threatening, even in rarely-encountered pairs. Most of the time, they show up alone or with a Balloon, which makes them even less of a threat.
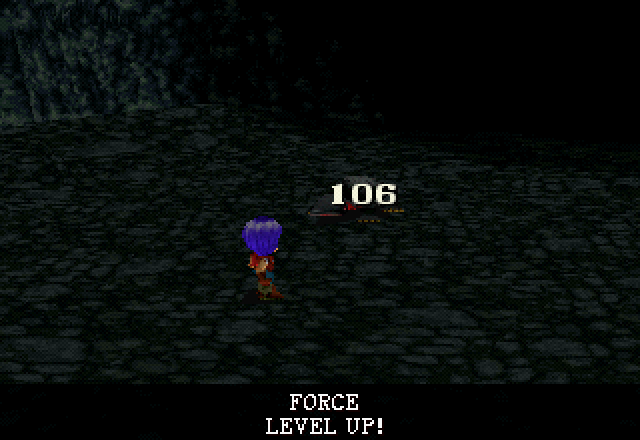
Even so, it’s still fun to let loose on one with the Hand Cannon.  Rudy’s still level one here, and dealing around 30 damage with a basic attack, keep in mind. The Hand Cannon is a pretty big boost to his attack power.
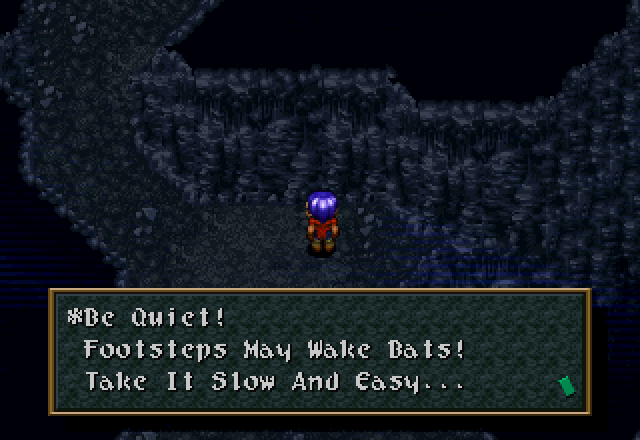
In the next room, we find this sign. “Slow and easy” just means “ease off the dash button you moron”; there’s no stealth mechanic in this section.
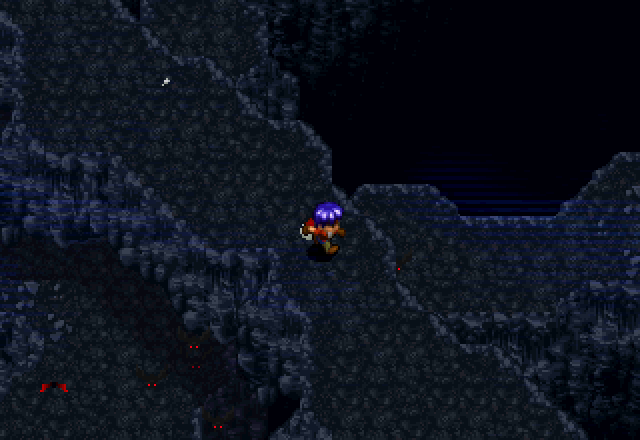
What happens if you run? Well, if you’re running when you hit this bridge here, some bats come out and afflict Rudy with the “Bad Omen” status condition. Bad Omen causes all enemy attacks to target the afflicted character, and outside of battle, it increases the random encounter rate. Since Rudy’s solo (and generally the guy you want attacks focusing on anyways) and more random encounters means more Exp, you could actually see this as a boon rather than a detriment.
There’s also these rocks at the end of the walkway to trip you up if you’re running when you hit them. Here, it’s more of an inconvenience than an actual danger (they don’t deal damage themselves). The treasure chest pictured contains a Holy Symbol, which cures the Bad Omen status you may or may not have gained on the way.
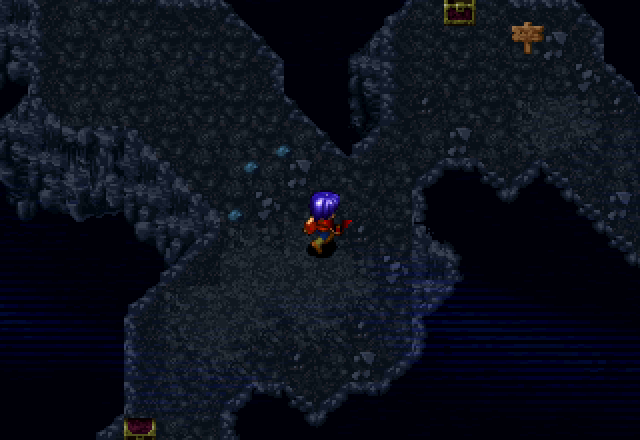
There’s also a treasure chest below containing a Heal Berry.
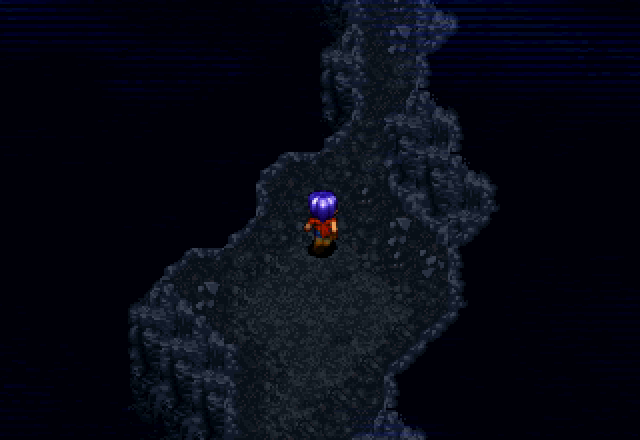
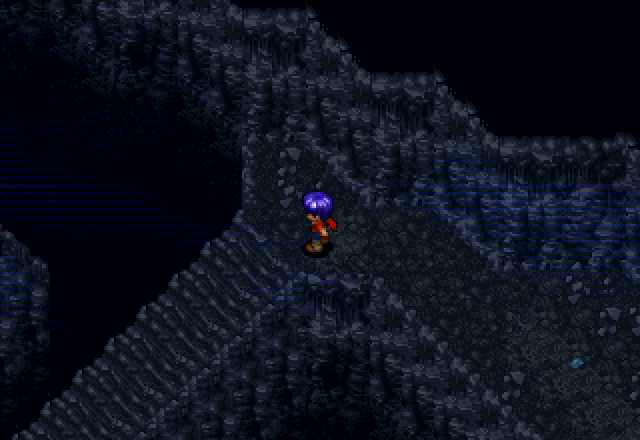
From there, we head north to this downward staircase.
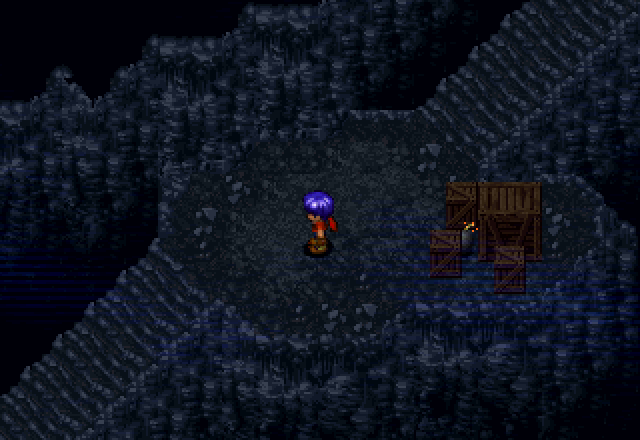
Which leads us to this cluster of crates. The large one reveals a Heal Berry when bombed.
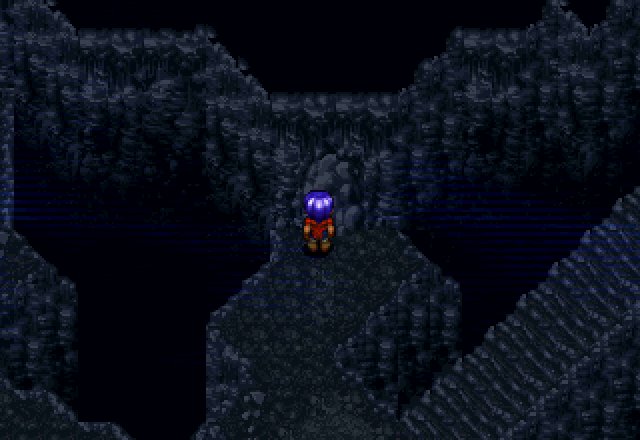
At the bottom, we find this curious-looking wall. Well, years of playing Zelda games have conditioned me to use high explosives when walls look unusual, especially deep underground. I should look for a job in the mining sector. 
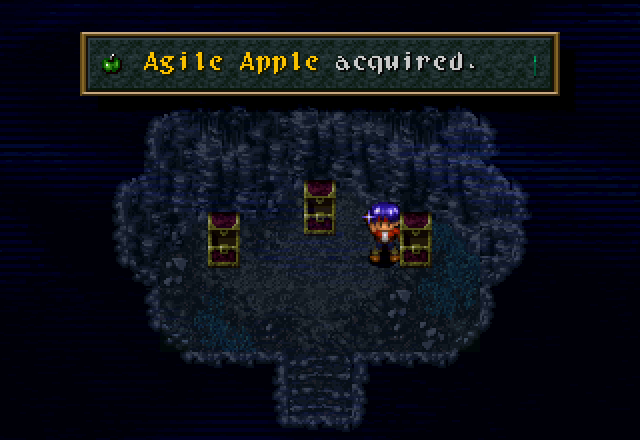
Inside, we find three treasure chests, containing a Power Apple, a Hardy Apple, and this, the RES-boosting apple.
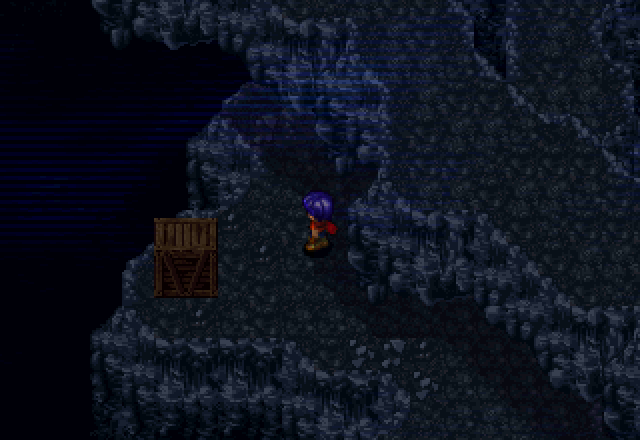
Back in the main room, we cross under the bridge we dashed over before and find this large crate, containing a Heal Berry.
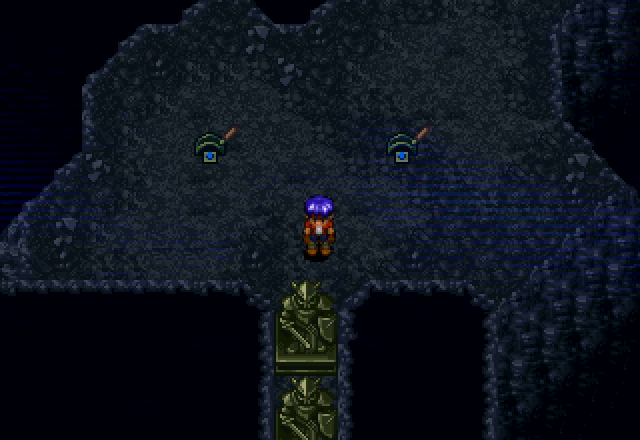
Further south, we find these switches, and two statues this time. Flipping the right switch moves the bottom statue, which gets caught on the top one if it’s there.
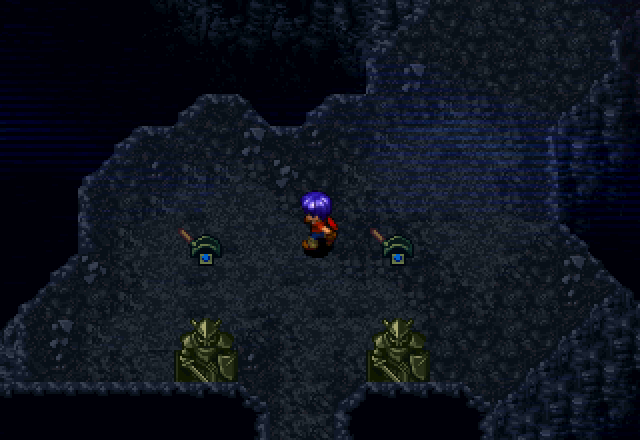
Therefore, the correct solution is to flip the left switch first.
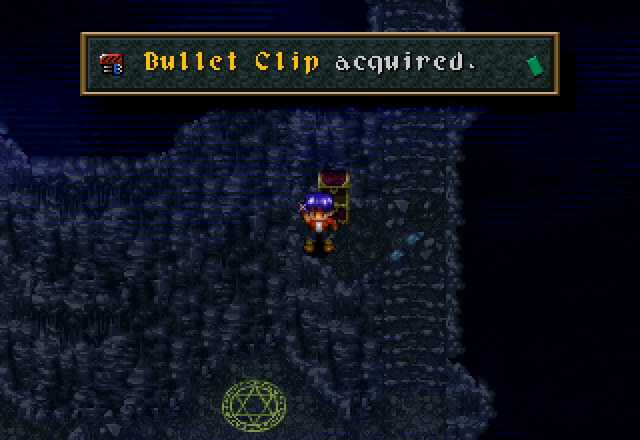
In the next room, we find this, which will refill the bullets in one of Rudy’s ARMs. I’ve used a whole one bullet, just to demonstrate the Hand Cannon’s power. I think the game expects me to use more of those in random encounters than I do at this point. Still, it’s nice to have, and I’ll almost certainly use it sooner or later.

Past the save point there, we finally find Tony. Let’s see what he has to say for himself.
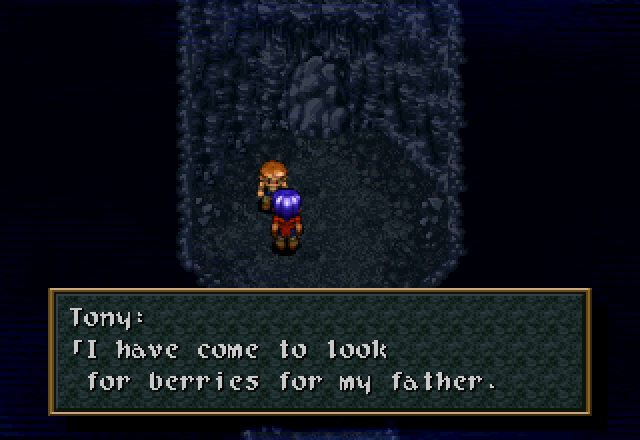
![]() The berries are on the other side of this blocked passage.
The berries are on the other side of this blocked passage.
He can actually be talked to twice more for more dialogue.
![]() I know it’s not safe here, but I have to get those berries for my wounded father!
I know it’s not safe here, but I have to get those berries for my wounded father!
And finally…
![]() Aren’t you a [Dream Chaser]? I’ve heard about you. Can you move those boulders? Please, I’ll be a good boy. I’ll do all my chores.
Aren’t you a [Dream Chaser]? I’ve heard about you. Can you move those boulders? Please, I’ll be a good boy. I’ll do all my chores.
See? Tony directly calls Rudy a Dream Chaser here. Then we blow up some rocks with a young child standing about ten feet from the bomb.
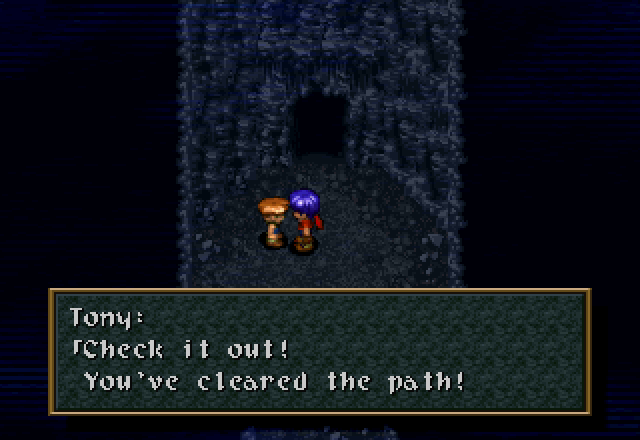
![]() I have to get back! My father is waiting for these berries back home.
I have to get back! My father is waiting for these berries back home.
But he seems fine.

The next room is a long, wet cavern. I’m not really sure what to call it; “lake” and “pond” don’t seem appropriate, since Rudy can wade through it, but “puddle” seems too small.
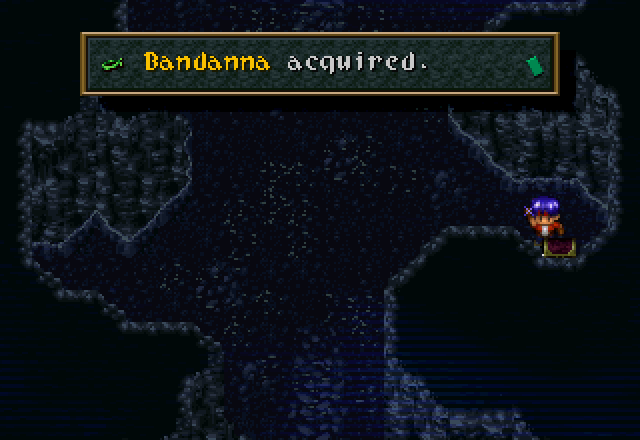
We pick up a bandanna for Rudy along the way.
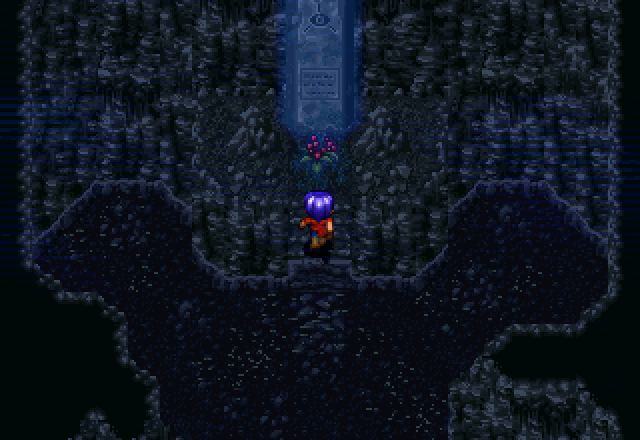
And it seems like these would be the Holy Berries. Dunno what that glowing monolith is, but I don’t think it’s important.
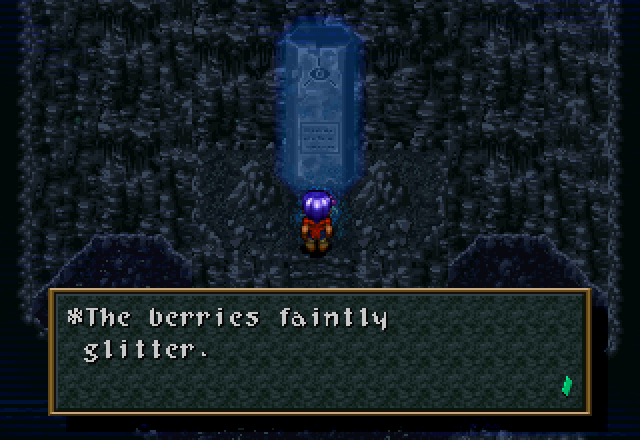
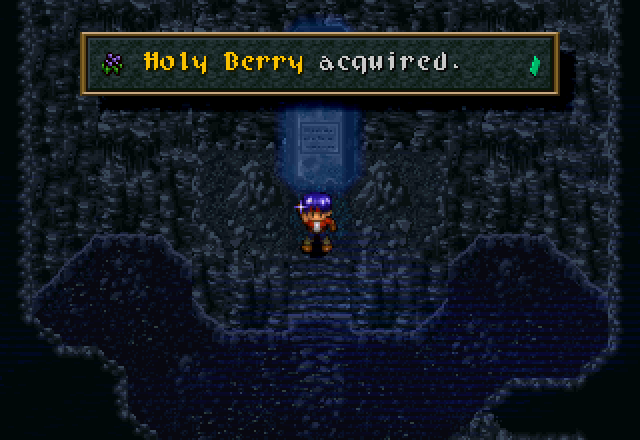
This is what we came here for (kinda), so let’s take 'em. Tony shows up at this point, having finally dredged up the courage to walk in.
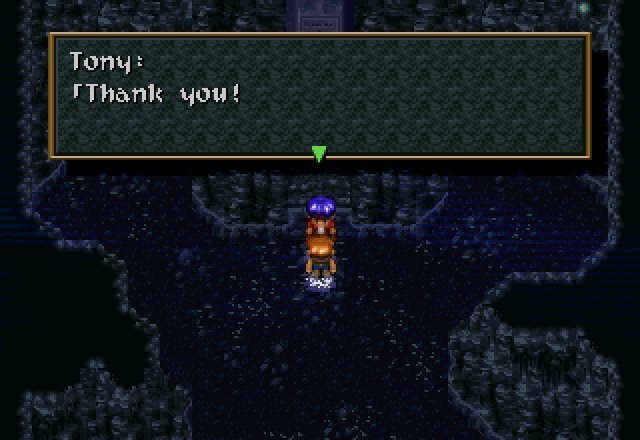
![]() With these berries, I can heal my father! Let’s hurry! I’ve got to get them to him right away!
With these berries, I can heal my father! Let’s hurry! I’ve got to get them to him right away!
And they leave.
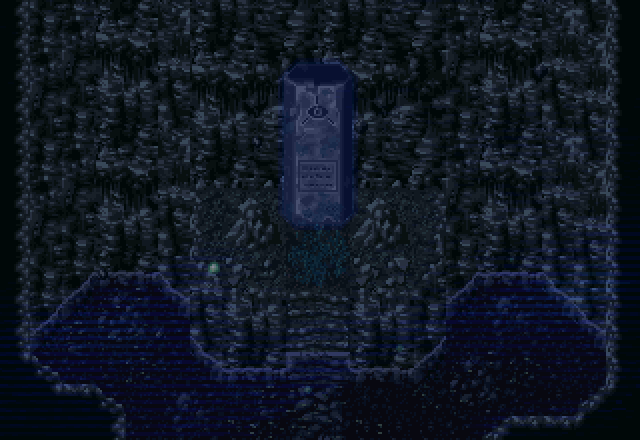
Then the room starts shaking.
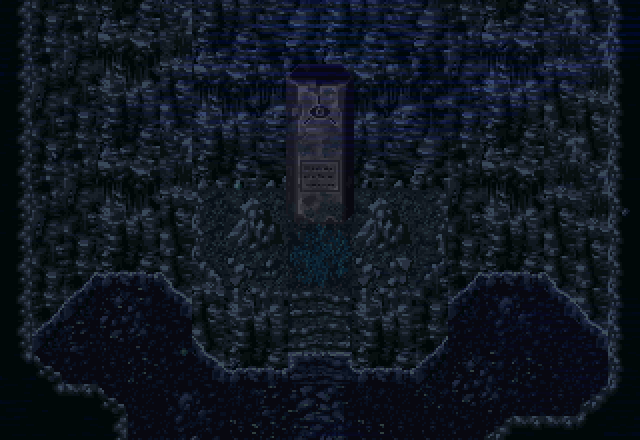
The monolith grows dark.
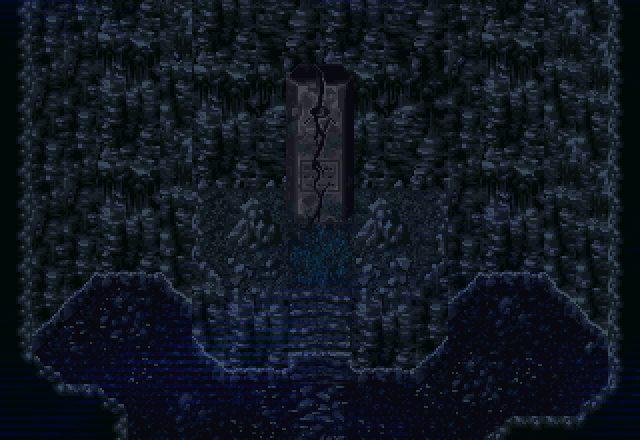
And then cracks in half.
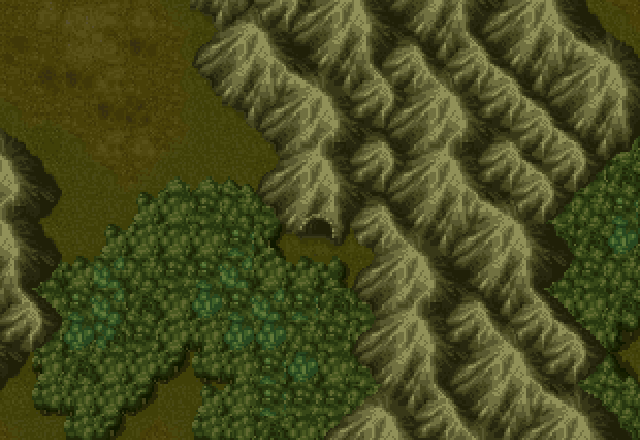
Looks like it’s not just the room shaking, it’s a full-blown earthquake.
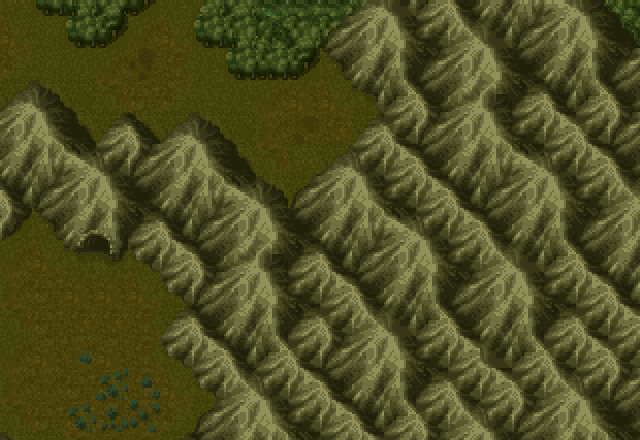
The camera pans down, past this other cave…
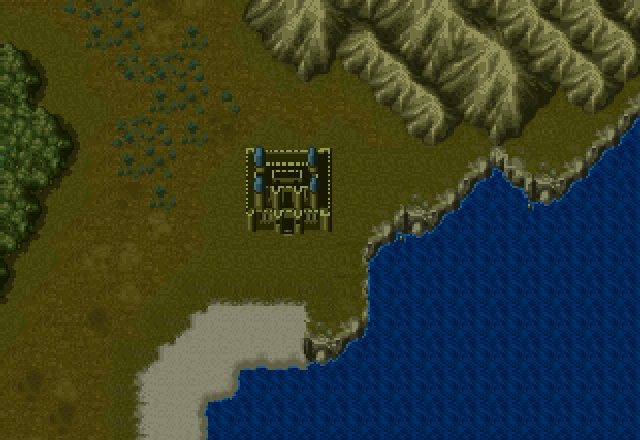
And this castle…
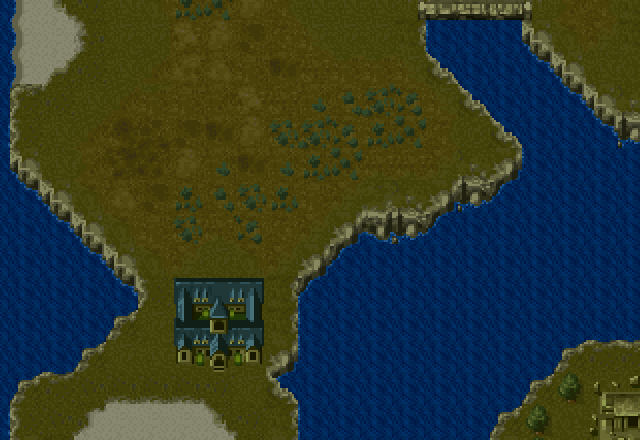
To end on this building. This is our first time seeing the outside, but this is the Curan Abbey, where Cecilia’s scenario takes place.
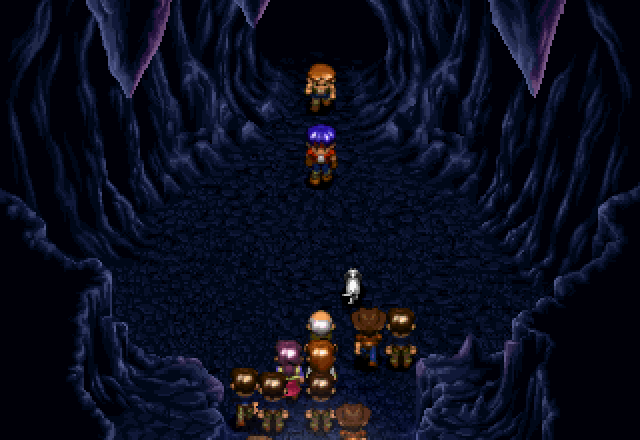
Back at the entrance to the Berry Cave, it looks like the entire village is here to greet us.
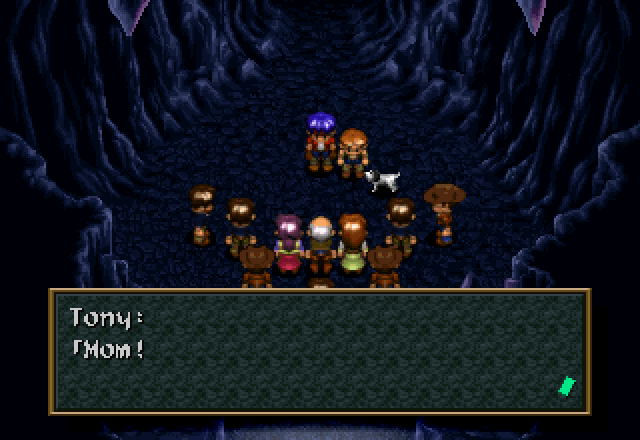
![]() Why do you always cause so much trouble?
Why do you always cause so much trouble?
![]() I came to get these berries to heal father’s wounds.
I came to get these berries to heal father’s wounds.
![]() Are you two OK?!
Are you two OK?!
![]() What was that earthquake all about?!
What was that earthquake all about?!
![]() I have always told you not to come here…
I have always told you not to come here…
![]() You’re safe, that’s all that matters. Let’s go home.
You’re safe, that’s all that matters. Let’s go home.
Music - What Crawls in the Dark

As everyone starts leaving, the dog notices something.
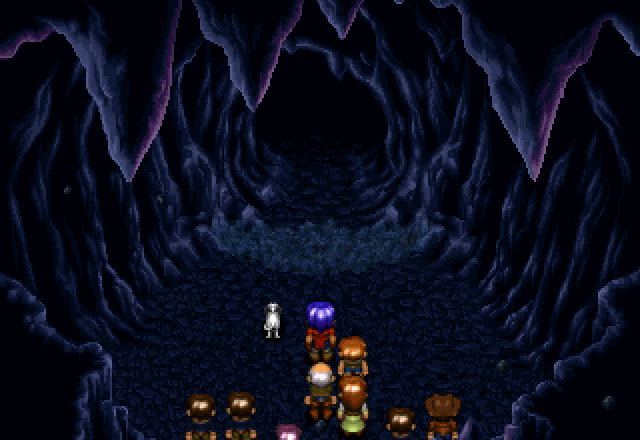
A blast of air ripples out of the entrance to the Berry Cave.

And red eyes can be seen in the darkness inside.
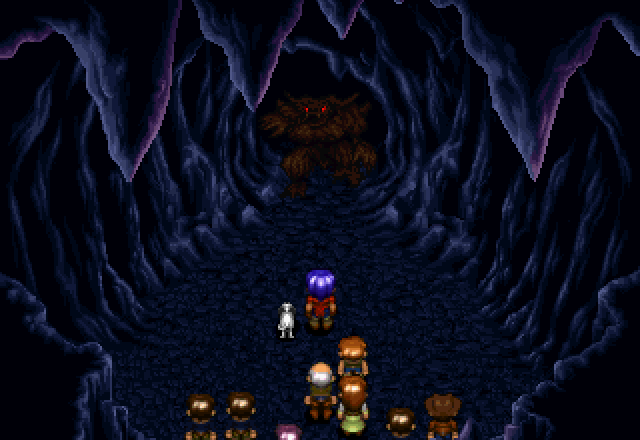
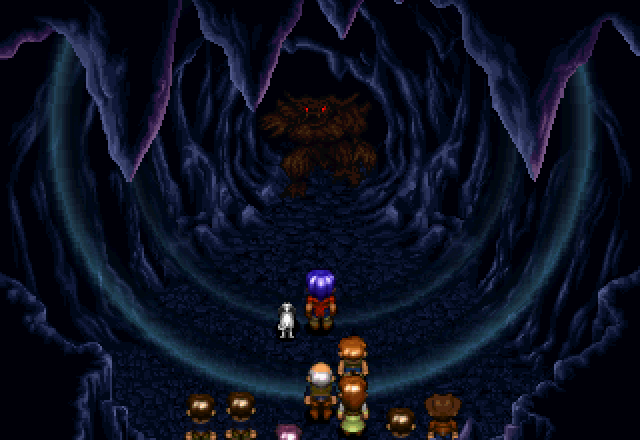
The monster emerges and lets out a mighty roar.
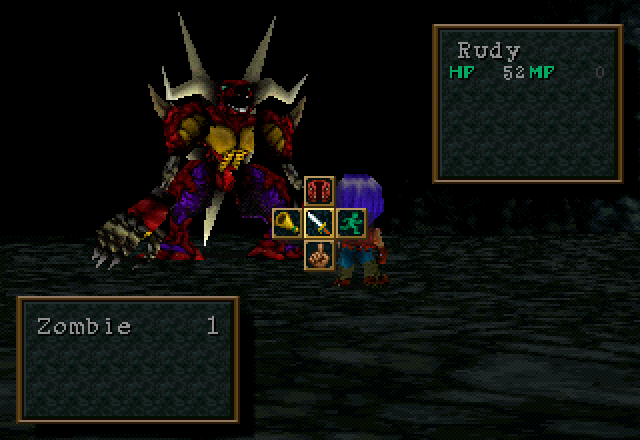
And then the fight is on.
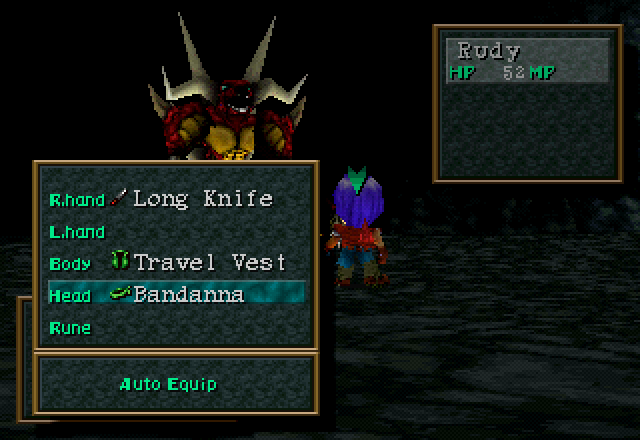
First, I equip the Bandanna I forgot about until the fight.
The first of the Zombie’s two forms of attack is just a basic physical strike. It doesn’t hit particularly hard; the Goblins were doing almost as much damage.

The second is Rotten Breath, which hits considerably harder. Despite what you might expect, it doesn’t inflict any status effects, though.

ARM Lock-On is Rudy’s level 1 Force ability. It guarantees the ARM you use with it will hit, no matter what. It’s an okay Force power, especially at the beginning of the game when Rudy’s ARM accuracy is at its worst. Still, Hand Cannon has an 89% accuracy even at base, so you can get by without using it.
Shown: the final hit on the Zombie, after gaining a few Force levels.
Zombie has 750 HP, so it doesn’t take too long plugging away at it with the Hand Cannon to bring it down. It took all my remaining bullets, and you’ll probably have to heal once or twice, though.
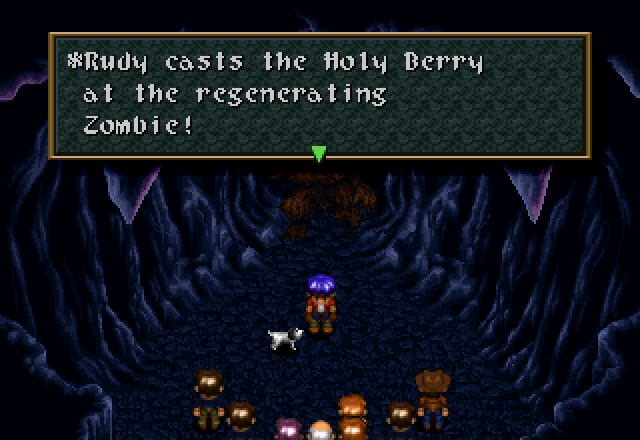
The healing light from the Holy Berry reduces the Zombie to sludge.
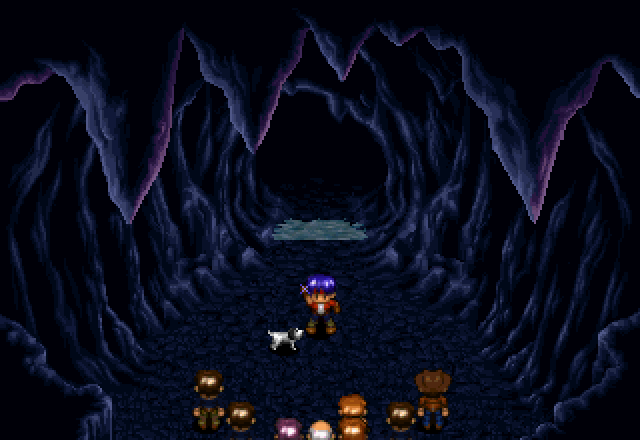
And it does.
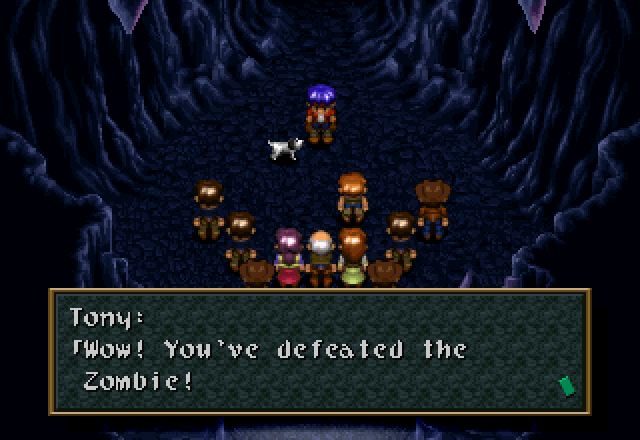
Tony’s Mom pulls Tony back away from Rudy.
![]() …?! What happened, Mom?
…?! What happened, Mom?
![]() You have brought tragedy to the entire Village of Surf.
You have brought tragedy to the entire Village of Surf.
![]() I know about you. You possess the [ARM]. The forbidden power! I know I shouldn’t have, but I looked through your stuff the other day. The [ARM] has brought doom upon us all!
I know about you. You possess the [ARM]. The forbidden power! I know I shouldn’t have, but I looked through your stuff the other day. The [ARM] has brought doom upon us all!
This line exists specifically because it’s entirely possible to beat the Zombie without ever actually using an ARM. It takes about three times as long, but it can be done, especially with the healing supplies I have from doing the other two routes first. This scene doesn’t change at all if you do, so there isn’t even really a point to doing so.
![]() The Dream Chaser, Rudy, has cursed us all…
The Dream Chaser, Rudy, has cursed us all…
![]() That earthquake was probably caused by Rudy!!!
That earthquake was probably caused by Rudy!!!
It’s hard to tell, because they use the same sprite, but this Generic Villager and the guy saying the line immediately previous are two different people, and both are different from the guy also using the same sprite who spoke before. I know, it’s confusing.
![]() Be quiet everyone!!! Rudy. Thanks for saving the boy. But you opened the forbidden path and put us all in danger. You also possess an [ARM]! You will be judged for this according to our village law. Do you agree, Rudy?
Be quiet everyone!!! Rudy. Thanks for saving the boy. But you opened the forbidden path and put us all in danger. You also possess an [ARM]! You will be judged for this according to our village law. Do you agree, Rudy?
![]() Yes.
Yes.
![]() We must get back to the village at once. Rudy will be judged there.
We must get back to the village at once. Rudy will be judged there.
![]() No.
No.
![]() I’m sorry, Rudy… Even though you’re a [Dream Chaser], you still have violated our law. We must judge you. You have no choice. Please come with us.
I’m sorry, Rudy… Even though you’re a [Dream Chaser], you still have violated our law. We must judge you. You have no choice. Please come with us.
But thou must! At this point, we get the Yes/No prompt again. Accepting takes us back to the Mayor’s house.
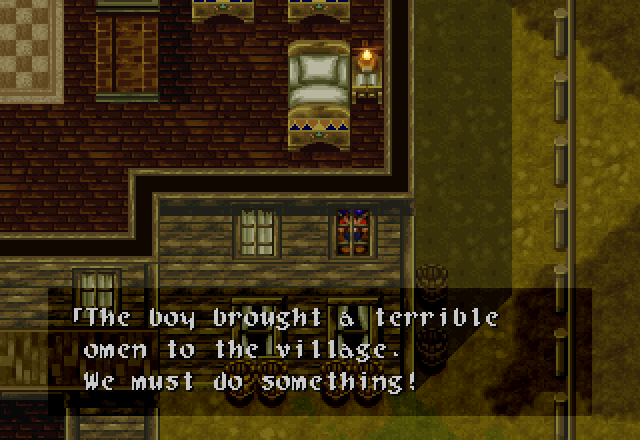
He’s just a [Dream Chaser]. It may be cruel, but he may bring harm upon us all.
Again, more people who refer to Rudy as a Dream Chaser. I’m beginning to suspect that the opening scrawl was a localization mistake or something.
When the seal was broken, it caused an earthquake that damaged the entire village.
I’m presenting these lines by text box because it’s impossible to know who’s speaking them. I tend to assume each text box is a different villager. Also, nothing in the village is actually damaged. Designing new tiles for damaged buildings is hard.
We regain control here, but only until we get downstairs.

![]() I took him in, so I’ll inform him of our decision.
I took him in, so I’ll inform him of our decision.
Mayor Pifer walks over to Rudy.
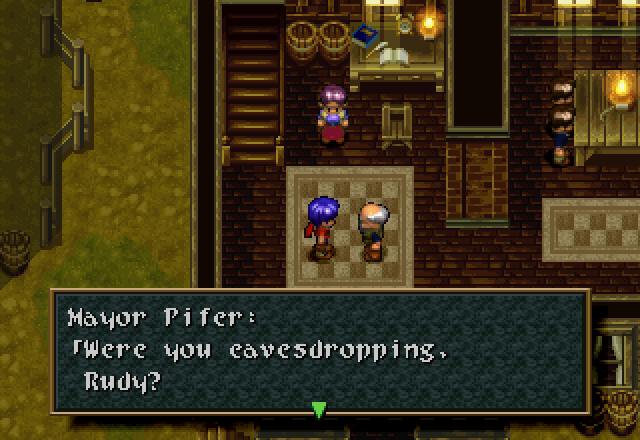
I mean, I feel like the first sign of a kangaroo court is if the accused isn’t even allowed to be present, let alone defend himself.
![]() Then you know what we’ve decided. I must ask you to pack your things and leave. And please, don’t come back.
Then you know what we’ve decided. I must ask you to pack your things and leave. And please, don’t come back.
Talking to Mayor Pifer after he passes sentence on Rudy gets us this:
![]() Your actions have brought chaos to this village. If you have any conscience at all, please leave.
Your actions have brought chaos to this village. If you have any conscience at all, please leave.
Well, he’s certainly not happy with Rudy. His wife has this to say:
![]() I heard from my husband that you committed a crime. Please don’t visit me.
I heard from my husband that you committed a crime. Please don’t visit me.
Let’s go talk to the folks around the table.
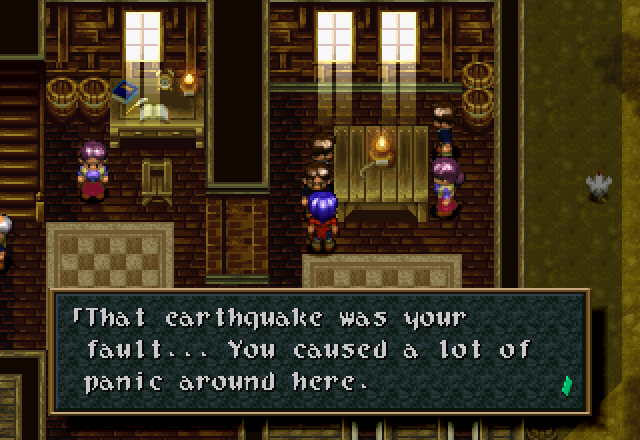
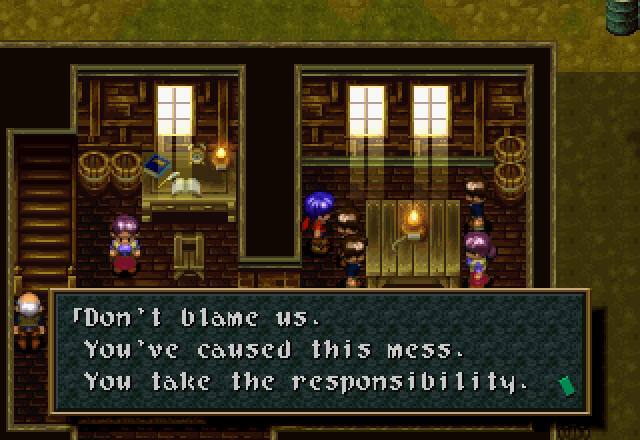
Two identical villager sprites sitting right next to each other. And there’s a third sitting directly across from them! It’s like somebody knew some goon would try to SSLP this game 20 years in the future and deliberately made it difficult! 
![]() I knew it. You can’t trust strangers.
I knew it. You can’t trust strangers.
![]() You’ve desecrated the way of life we hold so dear.
You’ve desecrated the way of life we hold so dear.
I think you guys might be overreacting a bit to Rudy’s heinous crime of “shot a zombie with a gun to save the life of a young child”. I’m all for gun control, but I feel exceptions can be made, and this might be a good time for one.
Also, it’s time for another round of NPC Chat, because everyone’s dialogue has updated. Most of it is about how much they hate Rudy for being a lawbreaking scumbag now. It won’t take that long, though, because a bunch of the villagers are in the Mayor’s house busily convicting our protagonist. Tony’s house is next door, so let’s start there.
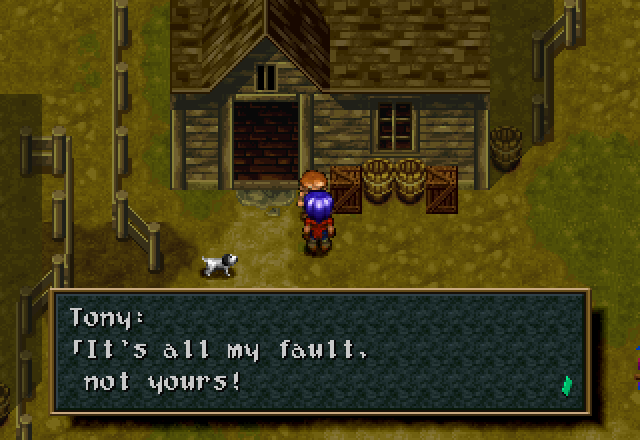
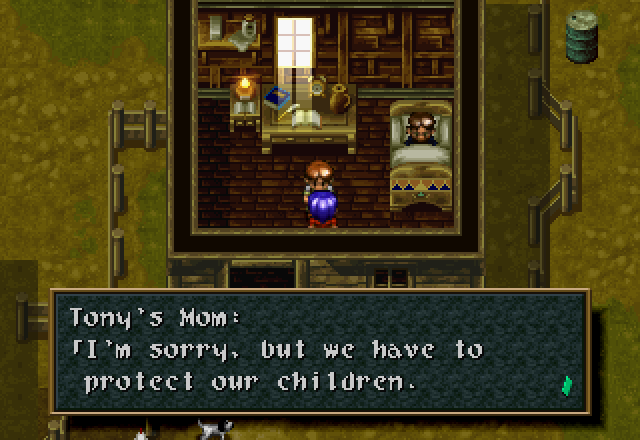
Tony’s Mom now hates us forever. His father, however, seems a bit more reasonable.
![]() It was all my fault. Please forgive me. If I didn’t get injured, none of this would have happened to either you or my son. I beg your forgiveness.
It was all my fault. Please forgive me. If I didn’t get injured, none of this would have happened to either you or my son. I beg your forgiveness.
He’s also beating himself up over this. I don’t think you chose to get hurt, Tony’s Father. Unless you did something Darwin Award stupid to get that injury, I don’t think this can be pinned on you.
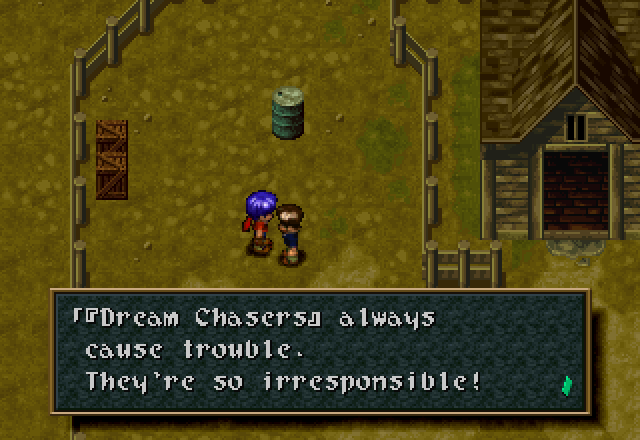
This guy is the one who asked us if we thought the town was boring earlier.
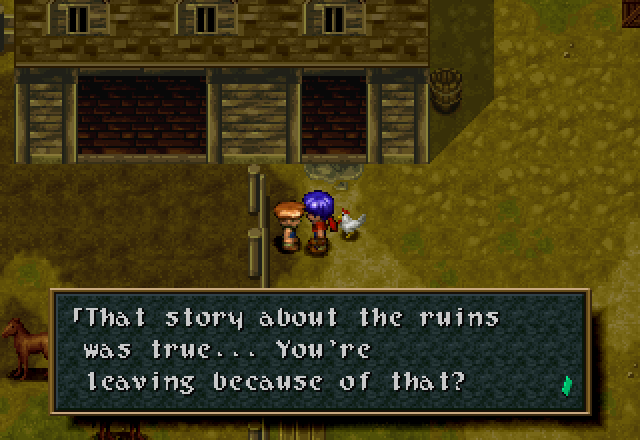
This is what the kid who told us the story about the Berry Cave has to say.
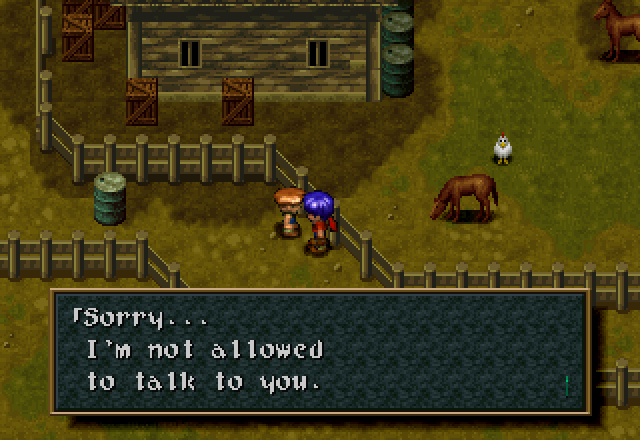
And this is the kid who was gaga over Calamity Jane earlier.
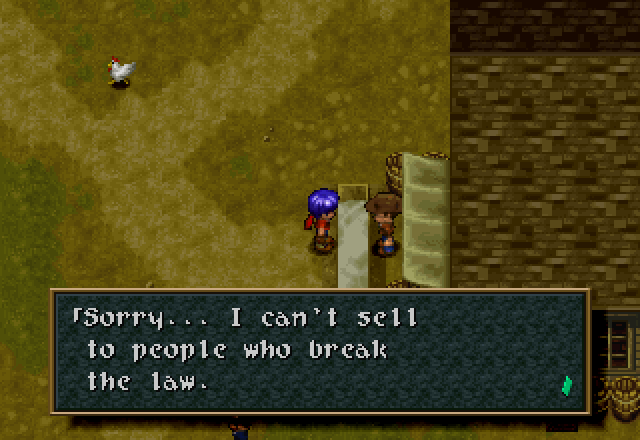
Shopkeeper Cowboy won’t sell to us any more. Which is fine, because I never bought anything from him anyways.
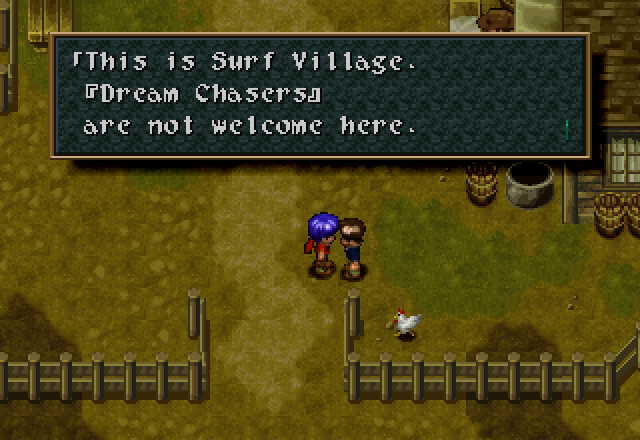
The Official Town Greeter now hates all Dream Chasers because of Rudy. And with everyone else in the Mayor’s house, it’s time to leave.
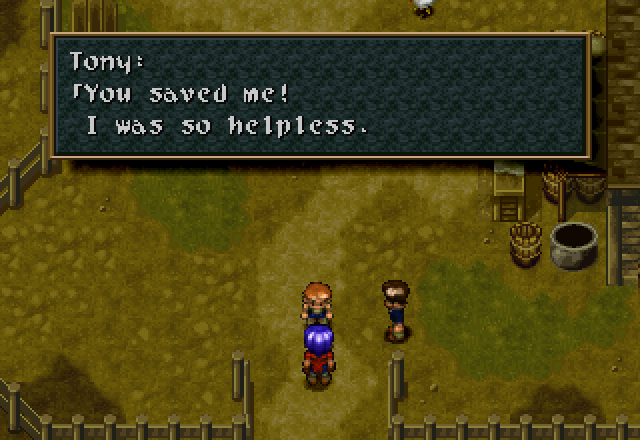
Well, right after we hear what Tony has to say.
![]() I know that you did the right thing and that they are wrong. I just want to say, thank you. I’ve gotta get back. Thanks again!
I know that you did the right thing and that they are wrong. I just want to say, thank you. I’ve gotta get back. Thanks again!
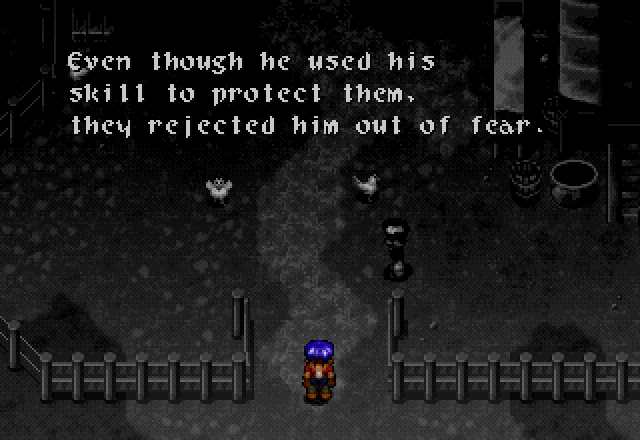
This is the final time we’ll be seeing this in this LP.
Within him is a power he never asked for… the skill to use the forbidden ARMs. He still wanders the world in search of his soul, unaware of his inborn power…
Now, I forgot to check Rudy’s stats before I recorded the next update. I did, however, go through his prologue twice more, and his stats ended up the same both times, so I’m relatively certain that this screenshot is accurate aside from Exp totals and possibly Luck, although both playthroughs had Rudy’s Luck as BAD at the end, so the game might set it to that?
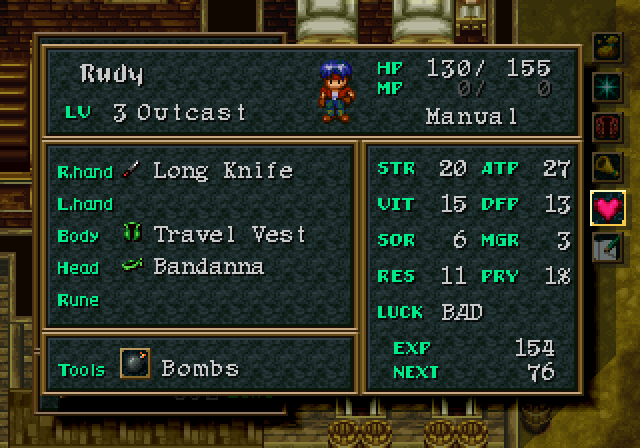
That’s it for this time. Join me next time for another bonus update; this time it’ll be what-ifs, alternate dialogues, and even a glitch or two!
No update this week due to sickness. I have a bunch of free time next week, so I’ll see if I can get two updates up before next Friday.
Bonus 2 - What If?
Previously, we watched a kid get run out of town for accidentally causing and then stopping the zombie apocalypse. It was a busy day.
Today, we’re going to look into an alternate universe. One where our protagonists are not named Rudy, Jack, and Cecilia. No, these intrepid adventurers are named…
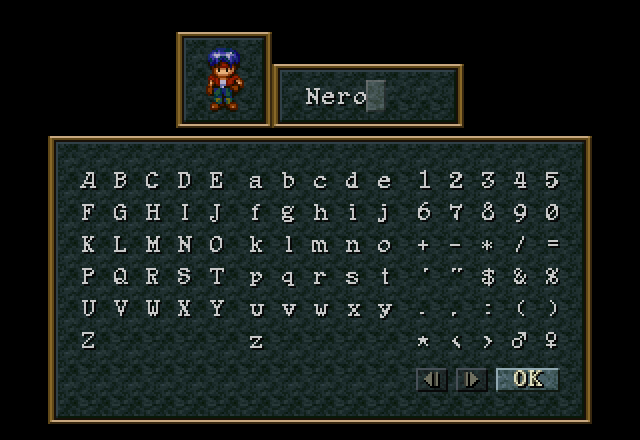
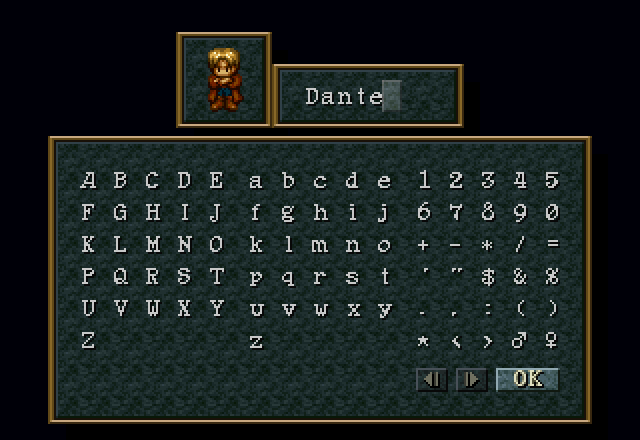
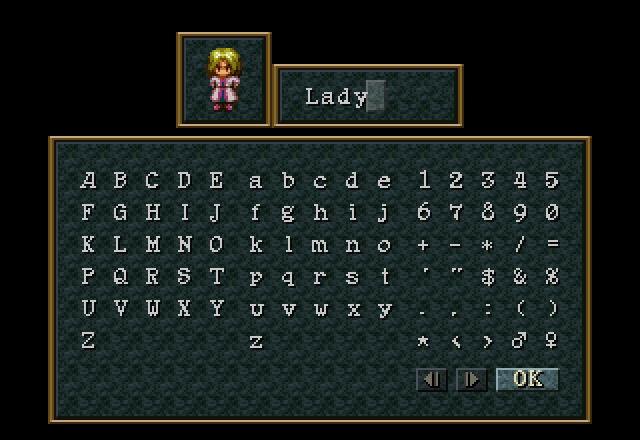
…Wait, really? Who names their kid Lady? Sounds like a name you’d use for a dog.
This update is going to cover all of the supplemental dialogue during the three scenarios that can be reached by walking one protagonist over to the others’ areas and chatting with all the NPCs there. Now, as mentioned previously, only Rudy Nero is actually capable of leaving his starting area before his scenario is over, so this is going to take a bit of routing. We’ll start with Jack Dante, as we did previously. Why? As mentioned before, he can’t leave his dungeon until it’s over.
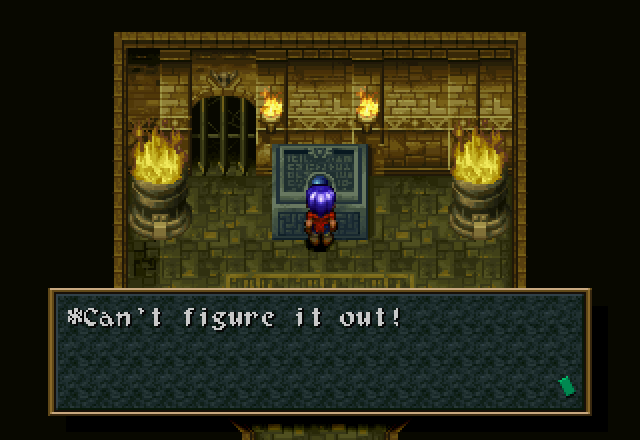

Additionally, nobody else can get in (which means I don’t have to record two more movies of people running from boulder traps). Coupled with the fact that there ironically is no Memory Bird in the Temple of Memory to change characters, this means Dante’s scenario is completely locked down. His dungeon goes much the same as Jack’s, although due to lucky enemy encounters, he ends up a level ahead of Jack upon leaving.
Dante heads over to Surf first, because it’s closer to the Temple of Memory than the Curan Abbey.
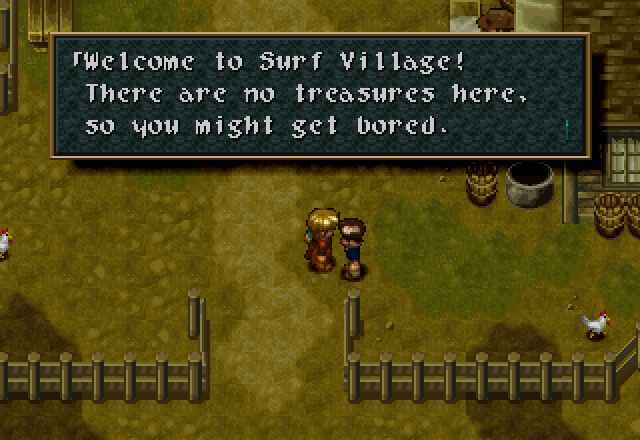
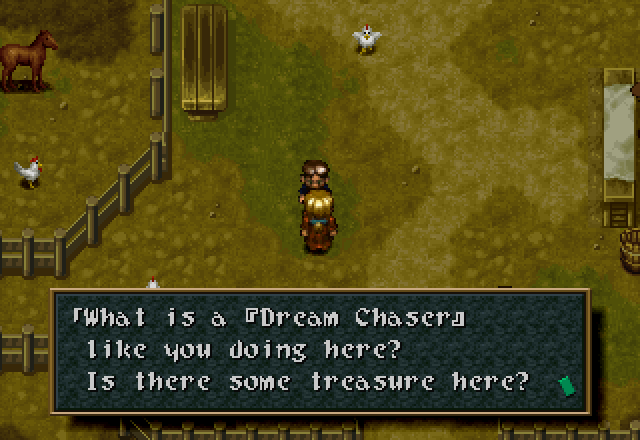
The Obligatory Village Greeter and his buddy warn that Dante might find the village boring. Based upon the roughly one hour I’ve played of Devil May Cry a decade ago, I feel like this is probably correct. The item shop next to him will happily sell to Dante, but doesn’t have any different dialogue or inventory, so we’re skipping him.

The doomsday cultist by the well continues to pester everyone about the end of the world. Also, I technically cheated and started Nero’s and Lady’s scenarios before completing Dante’s; you can see Nero in this shot. He wouldn’t exist if I hadn’t.
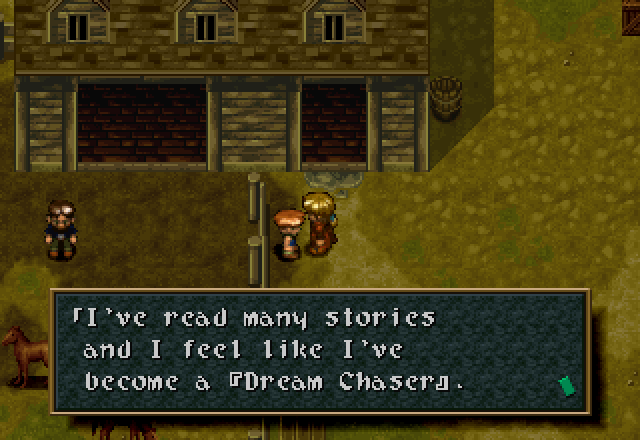
I don’t think that’s how it works, kid. If reading books made you an adventurer, I’d be Indiana Jones by now.
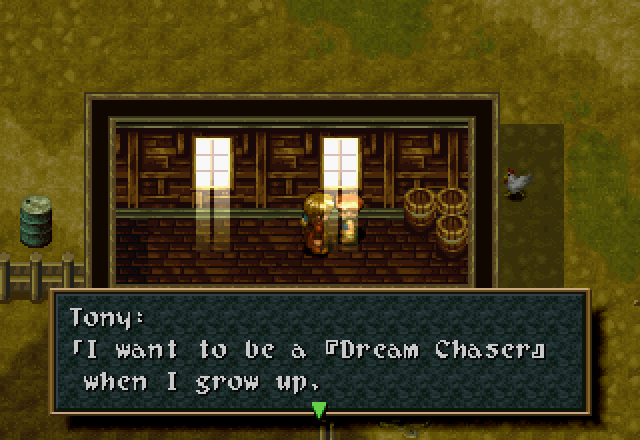
![]() but most of all I want to be like my father and help the needy.
but most of all I want to be like my father and help the needy.
Tony’s got his head on straight. He could stand to look a bit more before he leaps, but he’s a good kid.
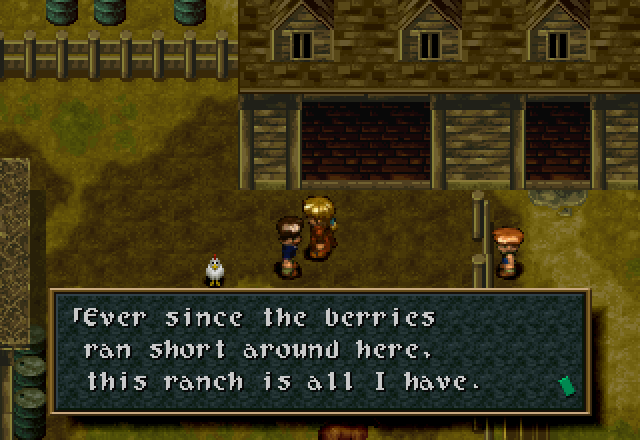

This is what I don’t get about Surf. The kid who tells you the story about the Zombie acts like it was forever ago, and even directly states that people have largely forgotten it by now. But these guys and the Mayor all imply that they were alive back when the cave was still producing berries, so it can’t have been that long. Which is it, game?
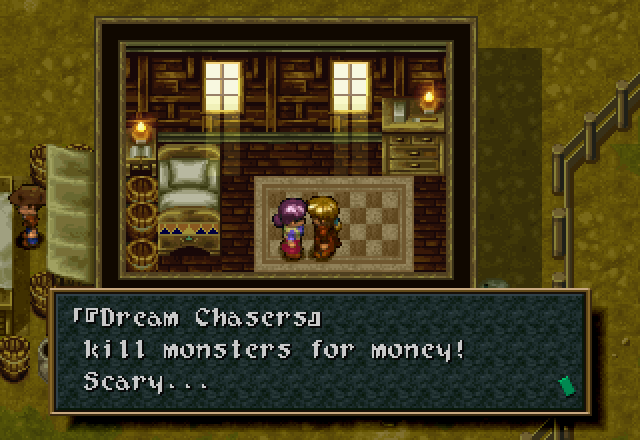
We can see that this woman isn’t particularly fond of Dream Chasers to begin with. Note that this is before the Zombie; and indeed before Tony’s even left town.

The Mayor’s wife still acts as a free inn.
![]() [Dream Chaser], welcome to Surf Village. You must be tired. Our village may be modest, but this is a good place to rest.
[Dream Chaser], welcome to Surf Village. You must be tired. Our village may be modest, but this is a good place to rest.
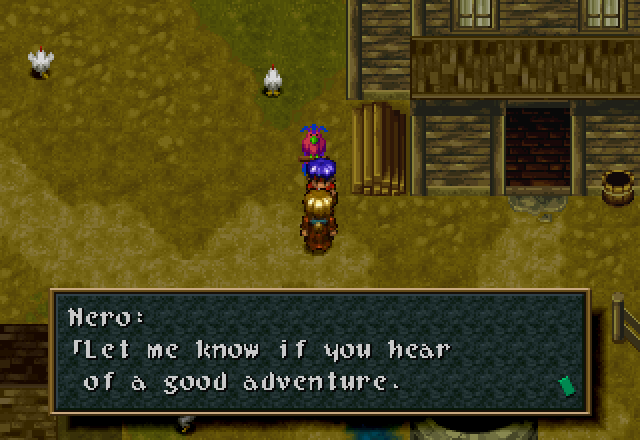
Proof that Nero isn’t a silent protagonist.

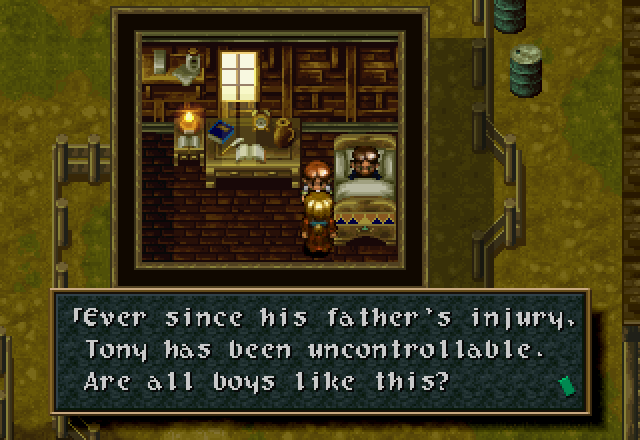
Let me just state that Tony’s Mom is absolutely infuriating to deal with when you’re trying to get screenshots for an LP. 90% of the time after you talk to her, she will walk directly over to her husband’s bedside and completely block access to him for roughly 10-20 seconds. She’s done it literally every single time I’ve talked to her in this LP, including the times coming up. It’s like, “Yes, I know you want to get over here. What of it?” 
![]() You know the [Fast Draw]! That’s a northern sword technique, isn’t it?
You know the [Fast Draw]! That’s a northern sword technique, isn’t it?
I think your wife is trying to isolate you, man. I’m not sure why.
We’re done in Surf for now. Next, let’s head over to the Abbey to chat up all the schoolgirls. That sounds like something Dante would do.
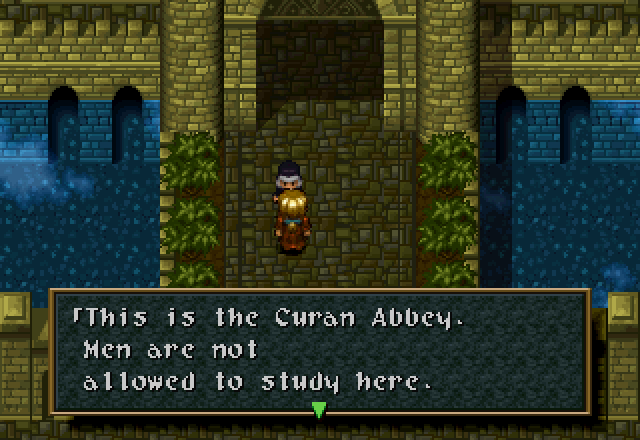
![]() You can, however, pray to the Guardians at the altar.
You can, however, pray to the Guardians at the altar.
I realize I forgot to show off the altar during Cecilia’s update, but I show it off in this one. Proceeding upstairs to Anje, who still has her Pocket Watch at this time:
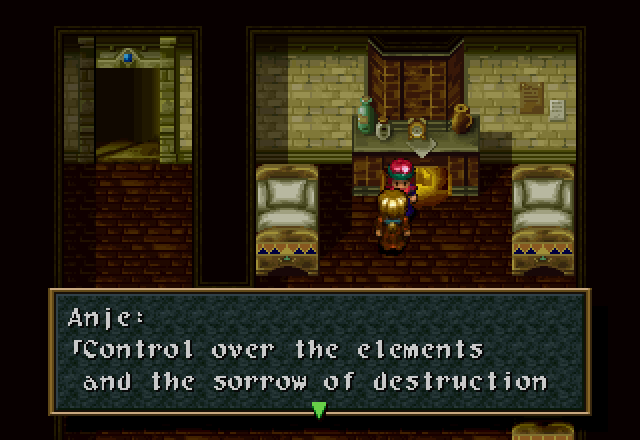
![]() are the core of our beliefs.
are the core of our beliefs.
Next stop is the kitchen.
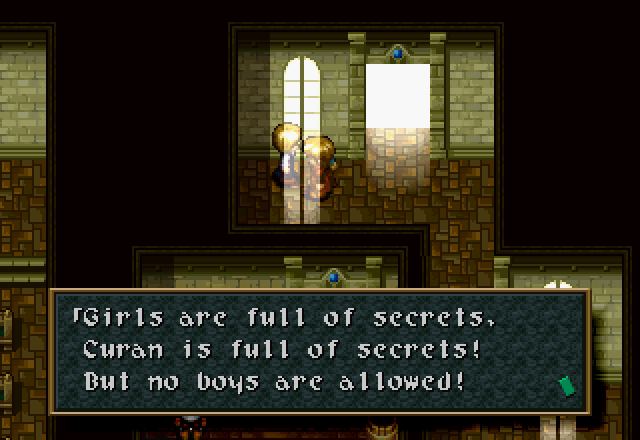
Technically, she’s in back of the kitchen, but I need to pass her to talk to Chef Jacques, anyways.
![]() I was once a famous cook, but Jacques can cook circles around me.
I was once a famous cook, but Jacques can cook circles around me.
![]() Everyone here has a large appetite. It must take a lot of energy to use magic. They never get fat.
Everyone here has a large appetite. It must take a lot of energy to use magic. They never get fat.
Onwards, to the classrooms!
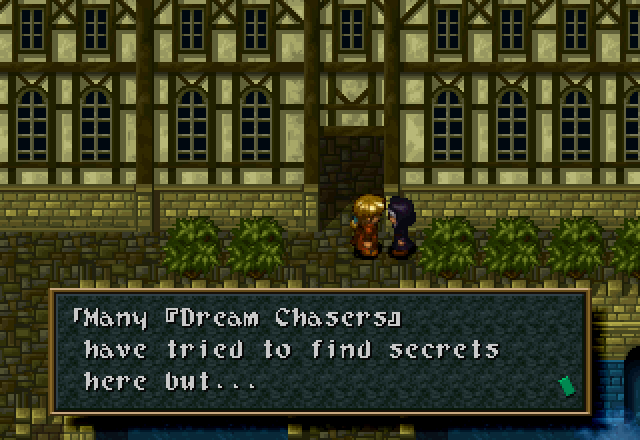
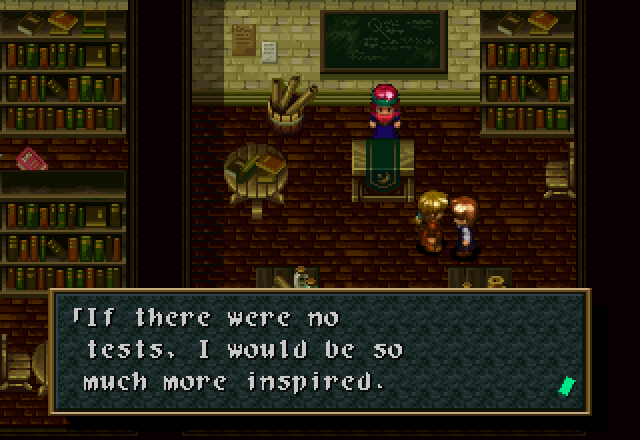
As we’ll see when Nero gets here, this girl has a bit of a narrative going on; she’s probably the most interesting of the incidental NPCs.
![]() You need determination and patience if you want to learn magic.
You need determination and patience if you want to learn magic.
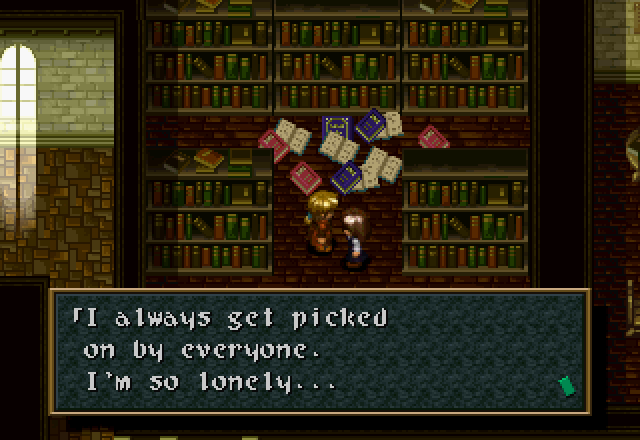
Librarian girl is still a sad sack.
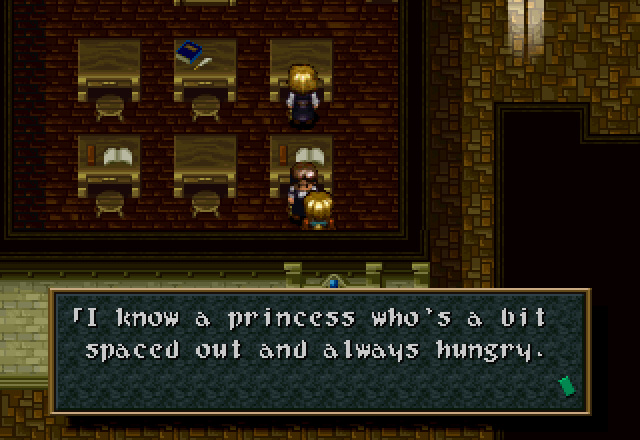
![]() The [Glutton Woman]. The new legend of Curan Abbey.
The [Glutton Woman]. The new legend of Curan Abbey.
Over in Cecilia’s Lady’s classroom, her “friends” are still trash-talking her.
![]() Hey, I was told all this studying doesn’t help much out in the real world.
Hey, I was told all this studying doesn’t help much out in the real world.
Ah, the eternal student’s lament. Seems a bit out of place, though, when you’re in the Catholic school version of Hogwarts. The result of her studying is a tangible increase in personal power. I know I’d have been a much better student if my classes had been learning how to throw fire from my fingertips.
![]() Deep inside your heart there is a dark place. I think you should examine its role in how you live your life.
Deep inside your heart there is a dark place. I think you should examine its role in how you live your life.
Sister Mary continues to dispense cryptic foreshadowing like a vending machine.
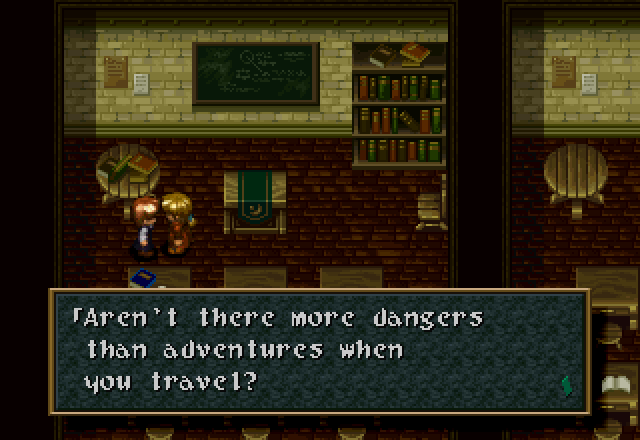
Dante one-shots everything on the overworld at this point (yes, even the 70 HP Tatzelbelms) and goes first 90% of the time. No, there really isn’t much danger.
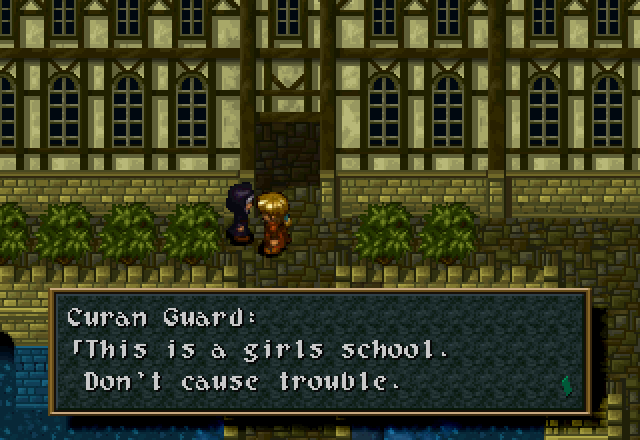
I never noticed her title was “Curan Guard” before.
![]() The abbey is full of mysteries. It’s older than some ruins.
The abbey is full of mysteries. It’s older than some ruins.
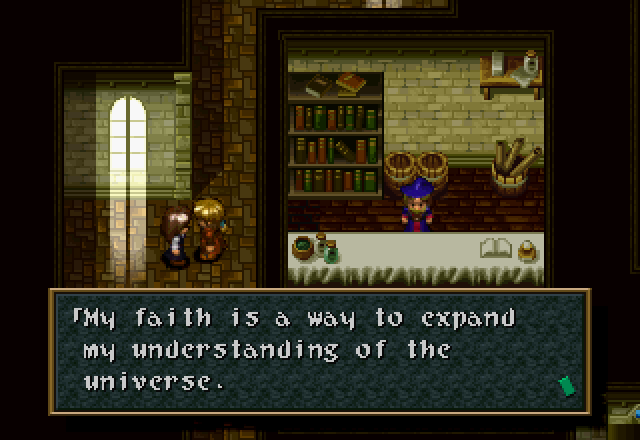
Note that this is the girl who says she came to the Abbey to learn mgic, not worship in Cecilia’s scenario. Suddenly she’s done a complete 180 on the whole religion thing.
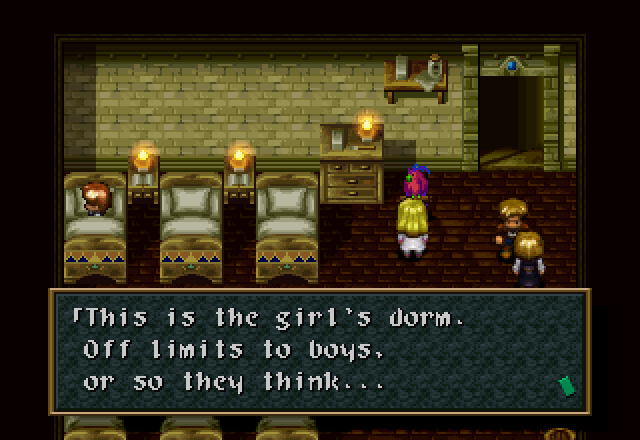
Upstairs in the dorm, I think this girl has been sneaking boyfriends into the Abbey dorms.
![]() Hi Mr. [Treasure Hunter]. Find anything interesting?
Hi Mr. [Treasure Hunter]. Find anything interesting?
![]() You must see a lot of things as you travel.
You must see a lot of things as you travel.
Lady and Lila here are actually Dante’s final stops for this round of the Abbey. He’ll be back later, once Lady takes down Nelgaul. Now let’s check on Nero.
Nero can’t leave Surf before getting the Bombs from the Mayor, so that’s what we do.
After that, it’s time to mosey on over to Curan Abbey.
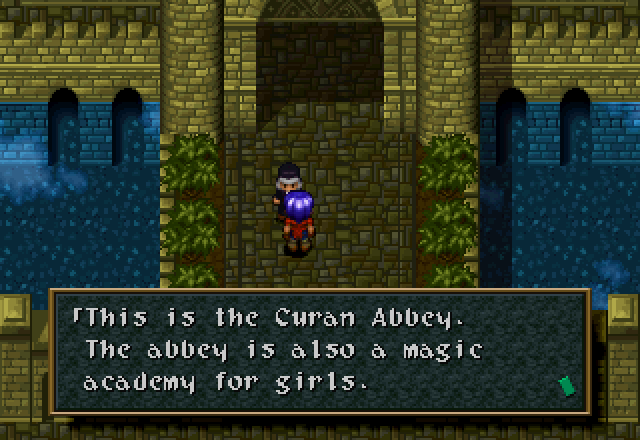
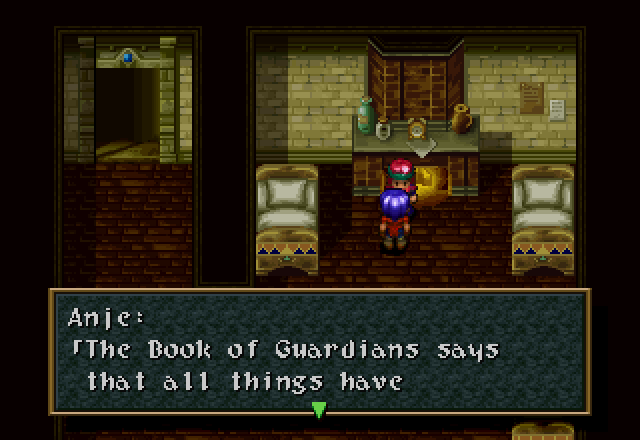
![]() consciousness.
consciousness.
Guardianism seems to be kind of animistic as a religion, which makes sense given what we know about the Guardians so far.
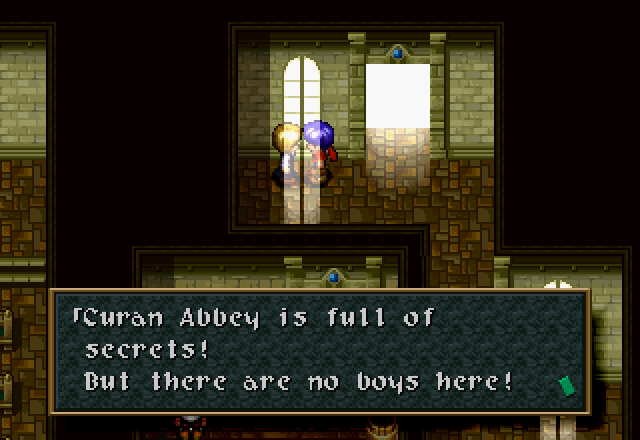
Down by the kitchen…
![]() If you want to eat here, you must join the abbey. But you’re a boy… …You can’t join.
If you want to eat here, you must join the abbey. But you’re a boy… …You can’t join.
![]() Everyone here has a large appetite. Especially this one little girl… She can eat enough for the whole class.
Everyone here has a large appetite. Especially this one little girl… She can eat enough for the whole class.
More ribbing on Lady’s appetite. Lady’s almost 17; I don’t think “little girl” is the correct term to use here.

Through the courtyard, up into the classroms.

This is the girl who was determinedly studying during Cecilia’s scenario, and decried testing when Dante came through the abbey. Now we know why.
![]() You must practice every day if you want to become a magician.
You must practice every day if you want to become a magician.
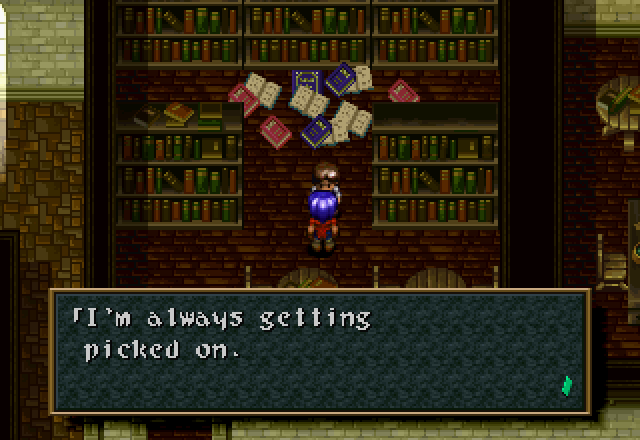
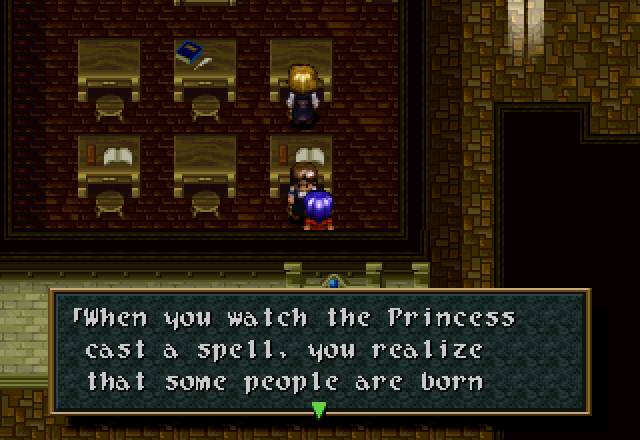
![]() with a gift.
with a gift.
Over in Lady’s classroom, her friends finally seem to have some nice things to say about her…
![]() We’re not all smart just because we’re students of magic. The Princess is a good magician, but she’s spaced out most of the time.
We’re not all smart just because we’re students of magic. The Princess is a good magician, but she’s spaced out most of the time.
…Oh.
![]() If there is a place that has more books than Curan, I would like to see it.
If there is a place that has more books than Curan, I would like to see it.
According to the text file I have with all the book transcriptions in it, Curan Abbey (and in particular the Sealed Library) has fully half the books in the game, at least. So no, you won’t see any place with more books than Curan Abbey.
![]() Sorry… You’re not a magician, but I can feel the presence of great powers within you.
Sorry… You’re not a magician, but I can feel the presence of great powers within you.
I’m not certain whether Sister Mary is saying Nero has no magical ability at all and can never learn magic period, or simply that he has no talent for magic. I’m pretty sure she’s not telling him what he already knows. His grand total of 0 MP might be a clue as to what she means, though.
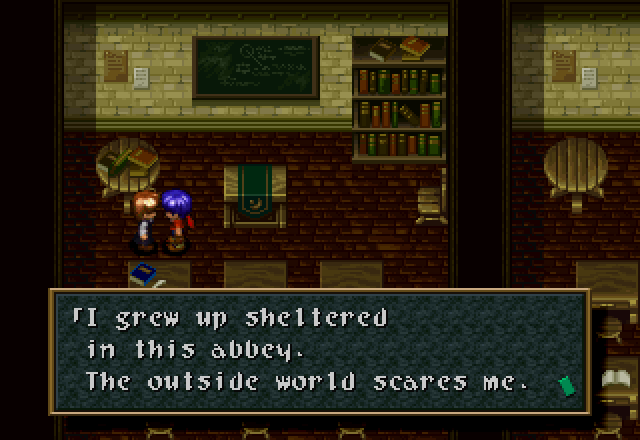
The girl in the next room seems eager to reveal her personal insecurities to a boy she just met.
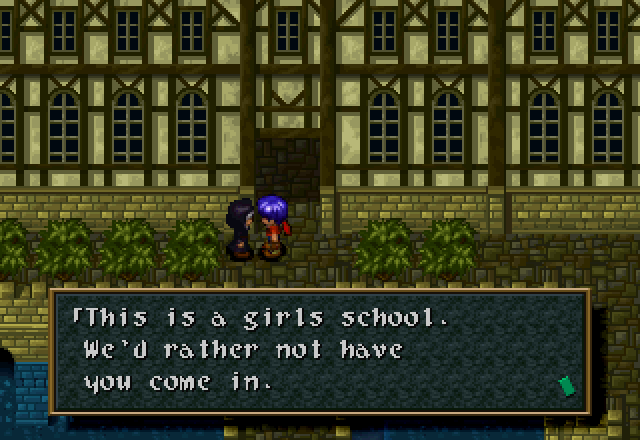
The Curan Guard just seems to want us gone, though. “Shoo, boy! Shoo!”
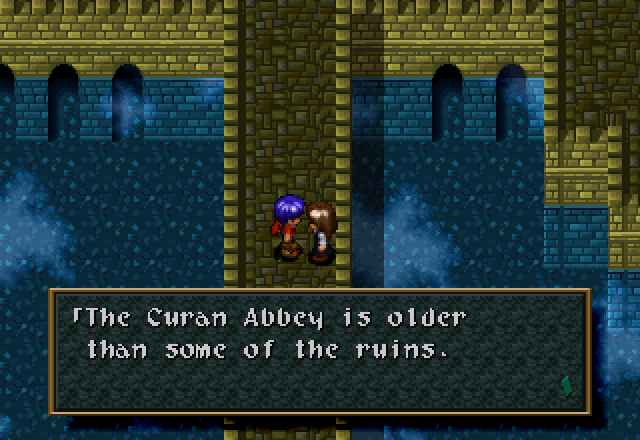
And this girl is basically repeating what she says to Dante.
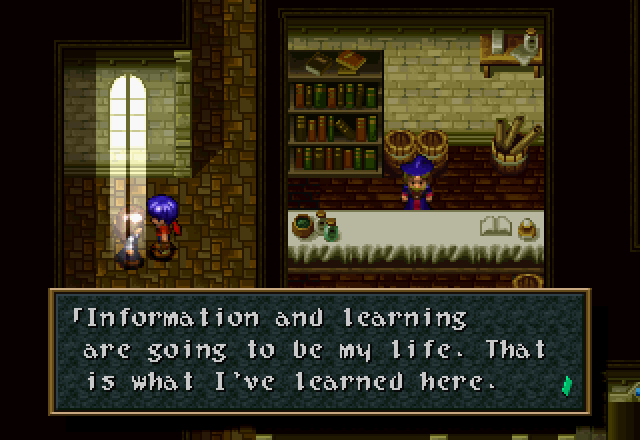
This seems to be a bit more in line with what we know about this girl’s character.
![]() You must know the basics of magic before you create a spell.
You must know the basics of magic before you create a spell.
This is what the Magic Guild shopkeeper says if you talk to him as Nero or Dante. This dialogue only happens during these scenarios, to my knowledge; once the party’s together, it doesn’t matter whose sprite is showing when you talk to him.
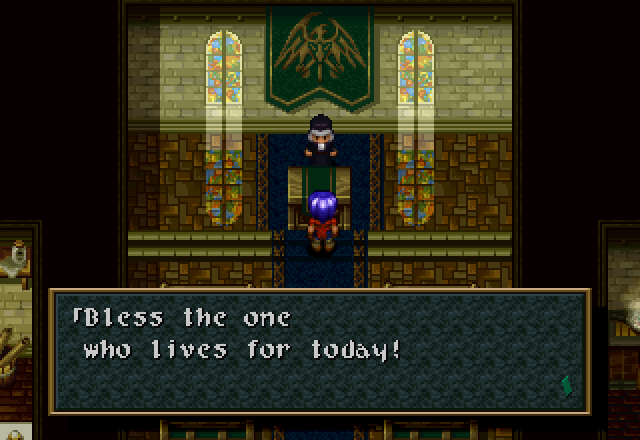
Here’s the Guardian altar in action. The screen flashes white for a second, and then…
![]() The light will purify you. Please stop by here anytime.
The light will purify you. Please stop by here anytime.
The altar will remove any status effects on the party. It’s free, so there’s no reason not to use it when necessary. There’s one in most towns, not just the Curan Abbey.
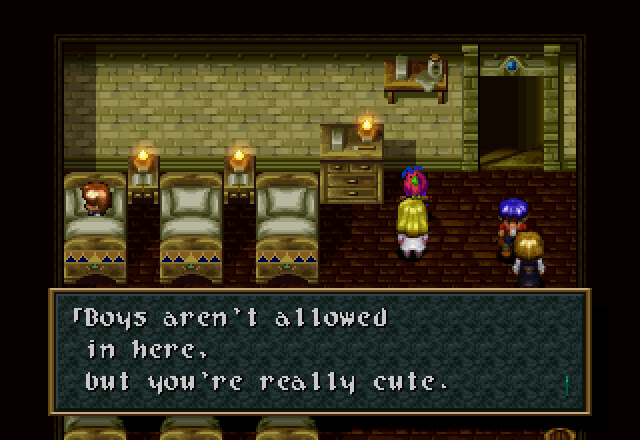
Upstairs in the dorms, we find Nero’s love interest for this game; Curan Abbey Dorm Girl.
![]() Hello Mr. [Dream Chaser]. How are you?
Hello Mr. [Dream Chaser]. How are you?
Lady can tell the difference between a Dream Chaser and a Treasure Hunter on sight. That’s pretty impressive for a 17-year-old who’s spent most of her life in an abbey.
![]() Wow… There’s a boy in our room.
Wow… There’s a boy in our room.
And that’s the end of Nero’s first trip around Curan Abbey. We’ll be back, but first let’s swap over to Lady.
She only has one place to go, so let’s get her over to Surf Village.
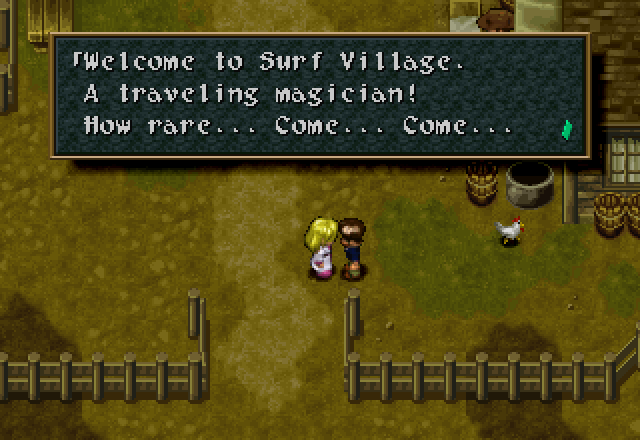
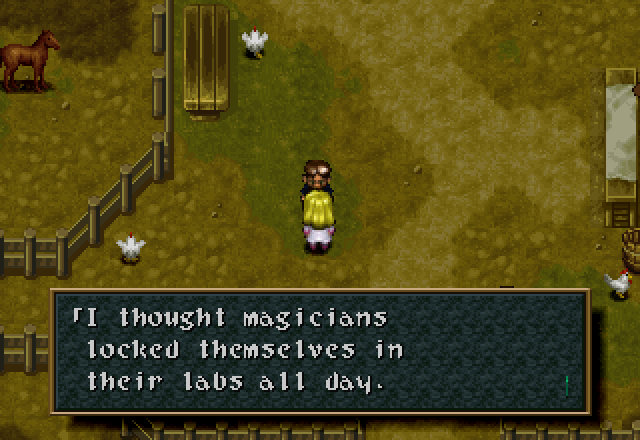
These two guys stand very close together, so I’d be tempted to cut a screenshot by transcribing one’s text, but they both use the same sprite, so I’d spend as much effort explaining it as adding the shot.
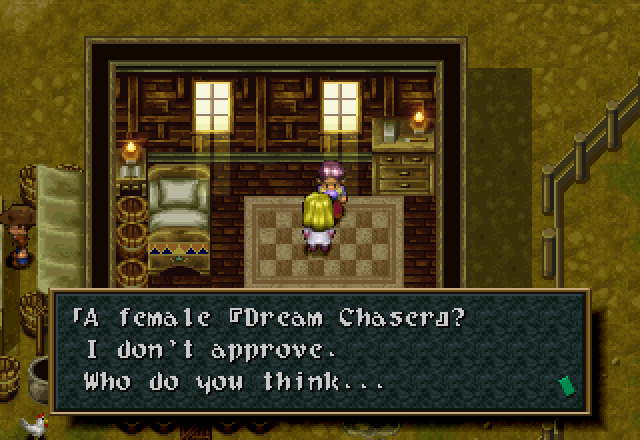
This woman definitely has some issues with Dream Chasers.
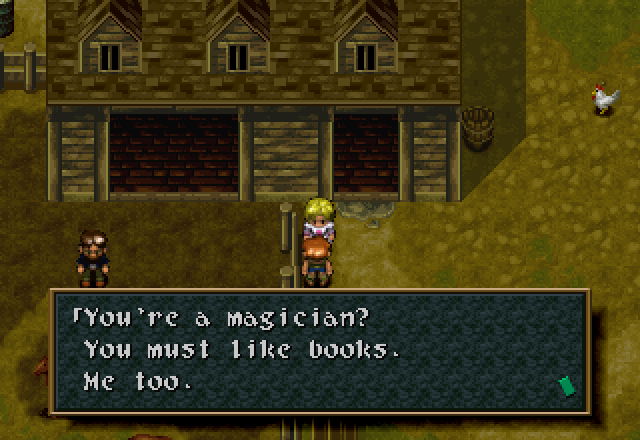
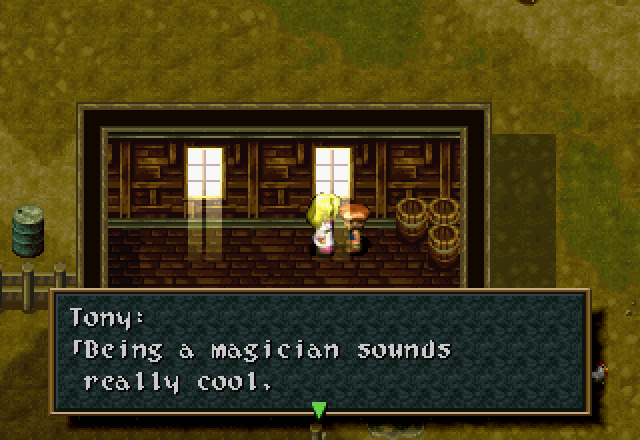
![]() but I want to be like my father and help the needy.
but I want to be like my father and help the needy.
Those things are not mutually exclusive, Tony.
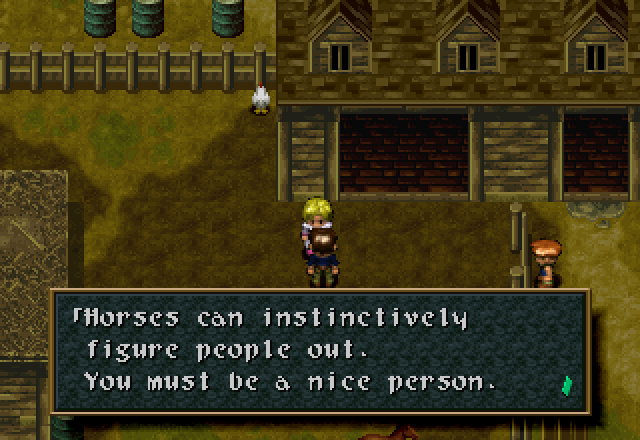
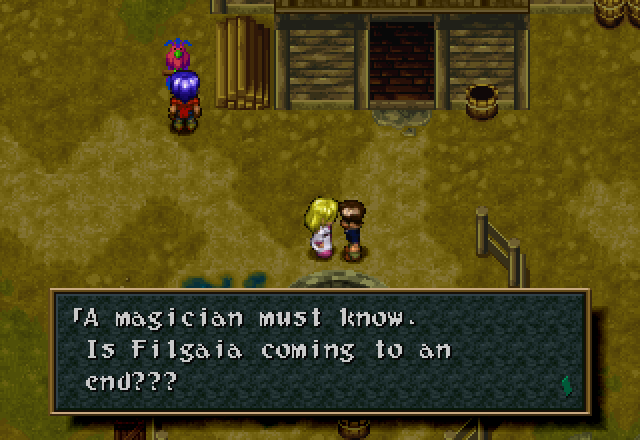
Doomsday Cultist will be Doomsday Cultist, I suppose.
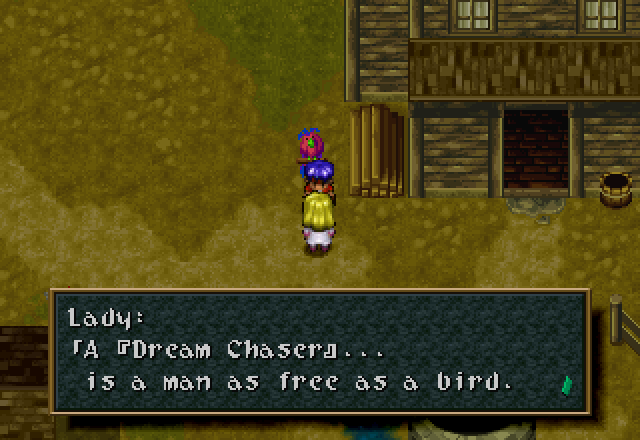
Even the playable characters have different dialogue depending upon whom the player is controlling at the time.
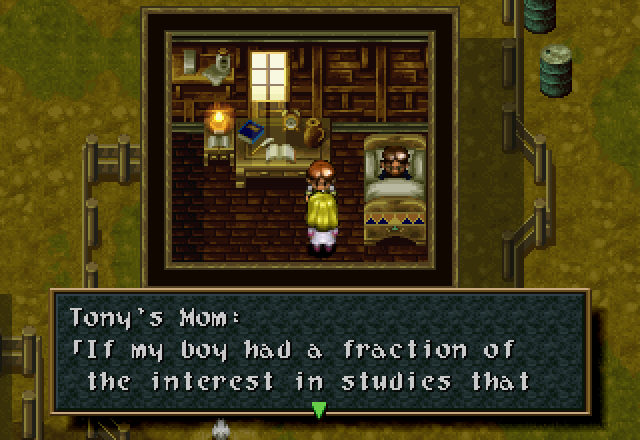
![]() you do…
you do…
![]() You know magic? Are you from the Curan Abbey?
You know magic? Are you from the Curan Abbey?
Tony’s Father continues to comment on the party’s abilities.

More about the Ruin Festival. I sure hope it lives up to all the hype.
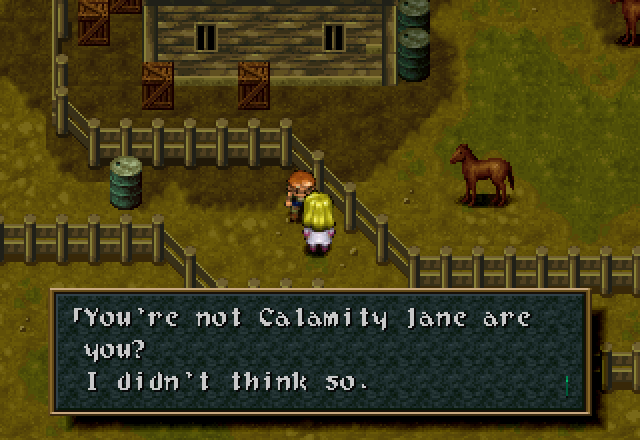
No, Lady is not secretly Calamity Jane. She has enough mildly derogatory nicknames as it is.
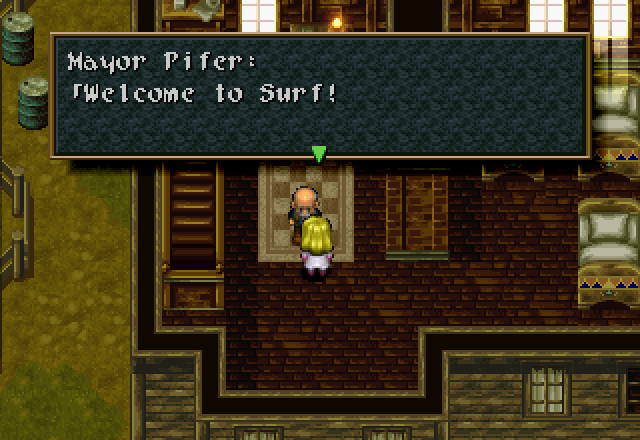
![]() Please relax in our humble village. Our village used to be known for its berry trade, but it’s still a good place to rest.
Please relax in our humble village. Our village used to be known for its berry trade, but it’s still a good place to rest.
The Mayor’s wife says the exact same thing when offering inn services as she does to Dante, but the Mayor has a whole spiel prepared for Lady. And that’s it for Lady’s first trip around Surf. Let’s fast-forward to after Lady’s punched out Nelgaul (she ends up a level lower than Cecilia because I play like I know what I’m doing this time), and skip back over to Dante.
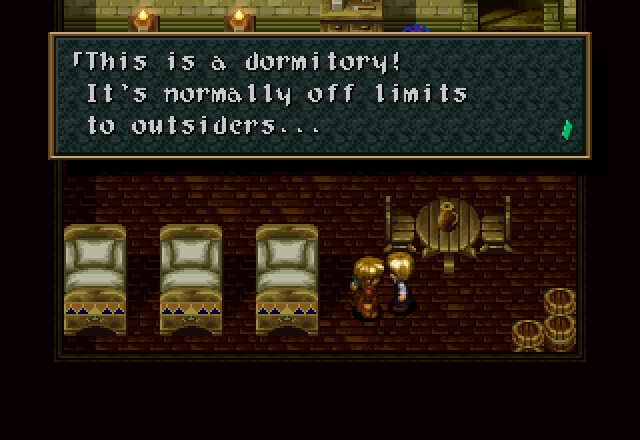
Most of Dante’s post-Sealed Library dialogue in Curan Abbey is just the NPCs re-stating what they said previously in slightly different words, as you can see from Dorm Girl here. I’ll only cover people with genuinely new dialogue.
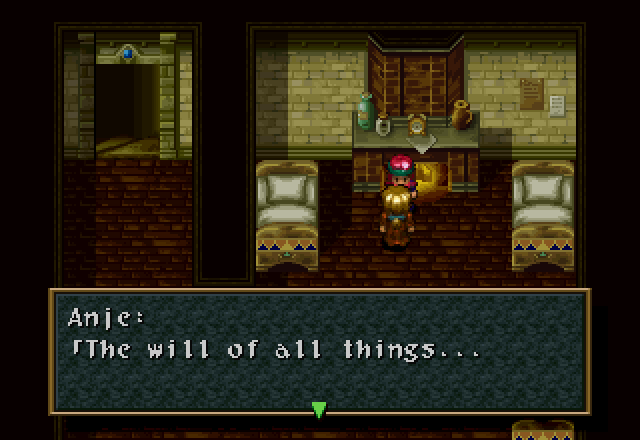
![]() Guardianism is the worship of nature.
Guardianism is the worship of nature.
Which for Dante is basically just Anje here. That was easy! Now over to Nero.
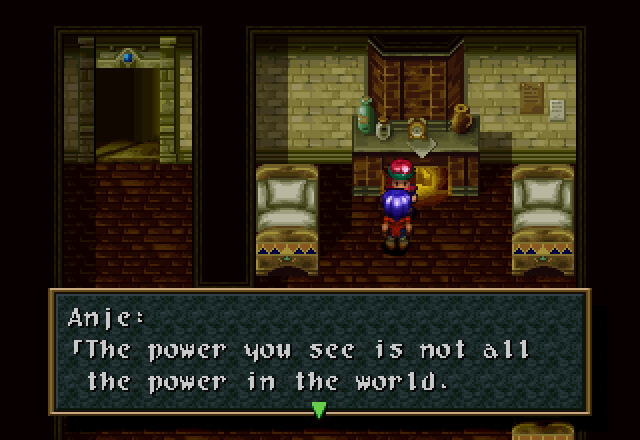
![]() The powers of the Guardians, to whom the planet owes its life, cannot be seen by us…
The powers of the Guardians, to whom the planet owes its life, cannot be seen by us…
Nero, on the other hand, has a lot of new dialogue in Curan Abbey.

Like this girl over by the kitchens acknowledging the appearance of the Sealed Library. Of course, neither Nero nor Dante have the Teardrop, so they can’t get into the dungeon itself; not that it matters.
![]() Out! We’re trying to prepare dinner.
Out! We’re trying to prepare dinner.
![]() It makes me happy to watch someone with such an appetite.
It makes me happy to watch someone with such an appetite.
I can understand that; it feels good to know your work is being appreciated, especially when it’s something as transient as food.

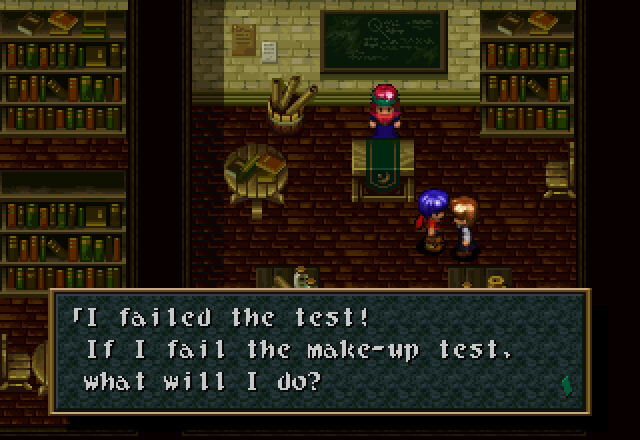
The continuing saga of the Studying Girl. We’ve actually already seen the conclusion of this over in Cecilia’s scenario, where she resolves to build another, co-ed magic school.
![]() The power of magic is not absolute. The most powerful force in the world is contained in people’s hearts.
The power of magic is not absolute. The most powerful force in the world is contained in people’s hearts.
Her teacher waxes philosophical for a moment. Nero seems to have that effect on people.
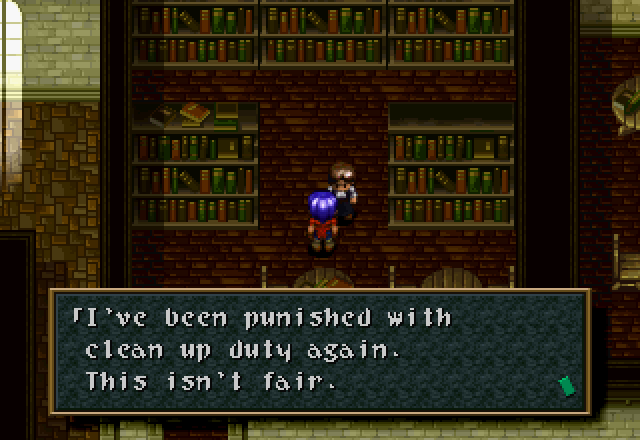
Librarian Girl has managed to get herself more work. I’m not sure what she’s being punished for; maybe making such a goddamn mess that they had to reverse time to clean it up…
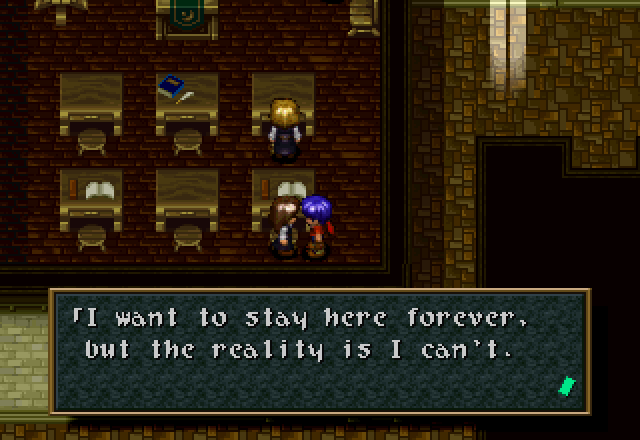
![]() I’m going to open a small shop in some small town after I graduate.
I’m going to open a small shop in some small town after I graduate.
Lady’s friends seem close to graduation as well. I mean, how many people really seriously consider life after school before their senior year of high school?
![]() Imagine a world without books… How boring…
Imagine a world without books… How boring…
This was the girl having a bit of a crisis over whether her studies actually mattered in the real world with Dante. I’m beginning to think Dante’s dialogue is all non-canon, what with all the character-breaking.
![]() The hope each person holds in their heart may be small, but when combined, it can help you.
The hope each person holds in their heart may be small, but when combined, it can help you.
More cryptic wisdom from Sister Mary, but at least it’s different cryptic wisdom each time (except Dante’s second time through).
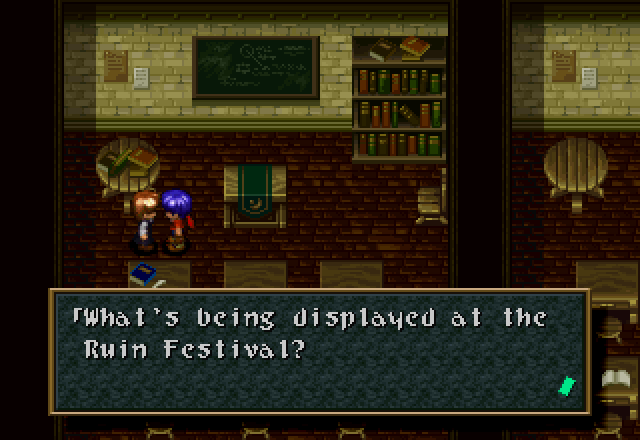
Everybody’s excited for the Ruin Festival. Are you excited? I know I am!
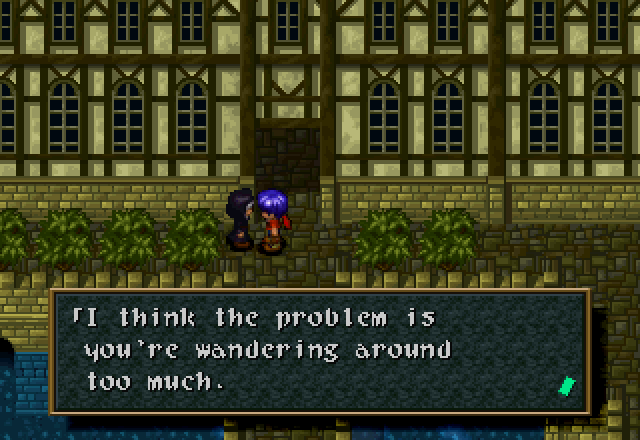
Not like Nero has much of a choice, apparently, Curan Guard.
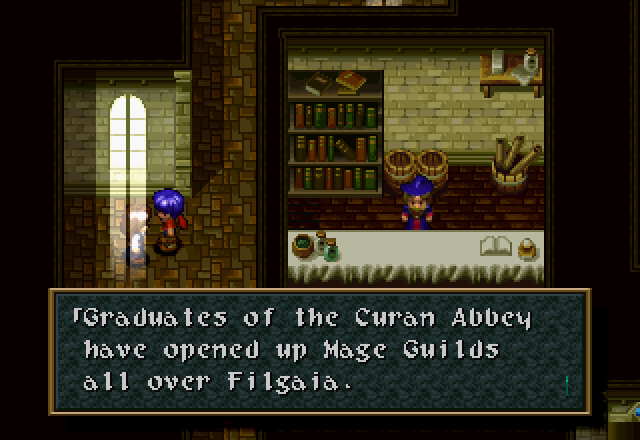
This is probably what Lady’s friend meant when she said “a small shop”. Funny, though, that the sprite for the Mage Guild shopkeepers is male; it even has a beard!
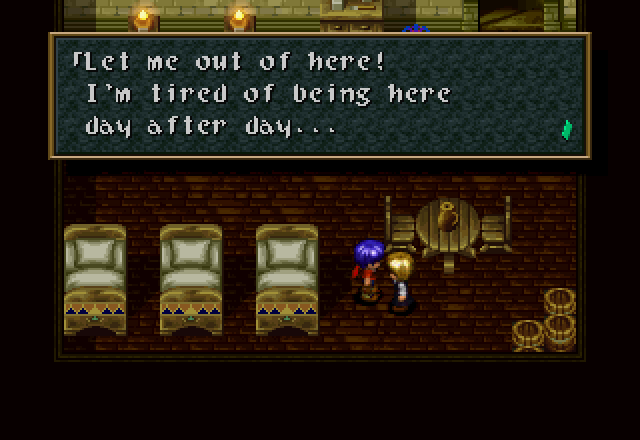
In contrast to the girl who wants to stay at the abbey forever, Dorm Girl seems to feel a bit stifled here.
![]() I’m going to be a reporter. I’ll be a reporter on magicians and become famous throughout Filgaia.
I’m going to be a reporter. I’ll be a reporter on magicians and become famous throughout Filgaia.
And we finish up with confirmation that Lila indeed wants to be a reporter.
Next up is Surf post-Zombie, but I wanted to show off a bit of the dungeon, because it’s the one that’s the most different from Rudy’s.
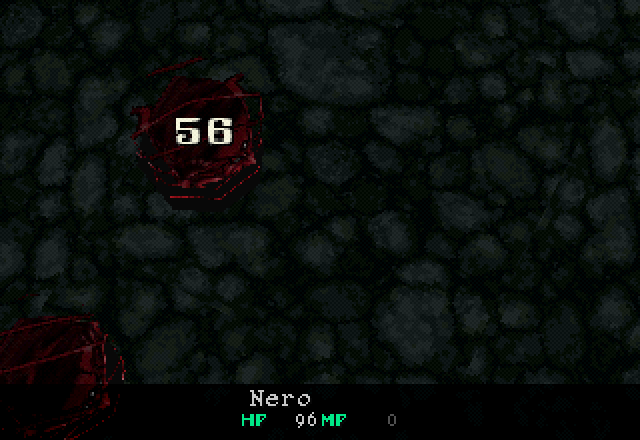
Mostly because I bought Nero upgraded equipment from the next town before going in. :unsmigghh: Now he one-shots everything except Tatzelbelms (which he two-shots) without using the Hand Cannon.
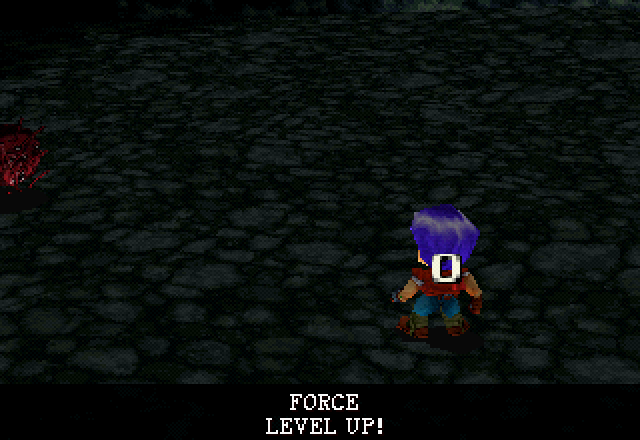
He can face-tank a lot better now, too.
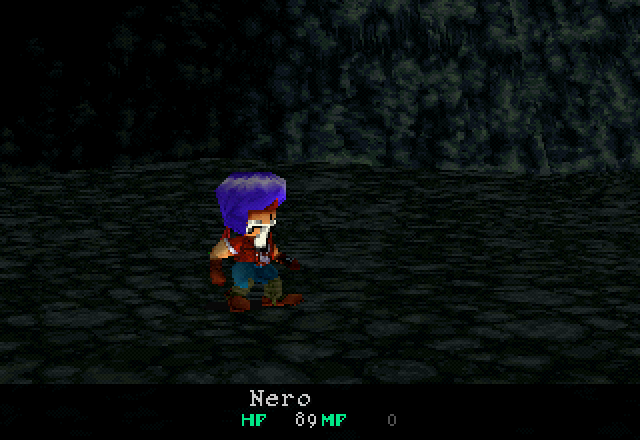
Even Goblins aren’t much of a threat now. Nero’s still slow as shit, but it doesn’t matter anymore. The Zombie, however, is largely unchanged. The Hand Cannon still outdamages his basic attack by quite a bit (but only by a bit more than 3x rather than almost 6x), and armor doesn’t seem to affect Rotten Breath’s damage.
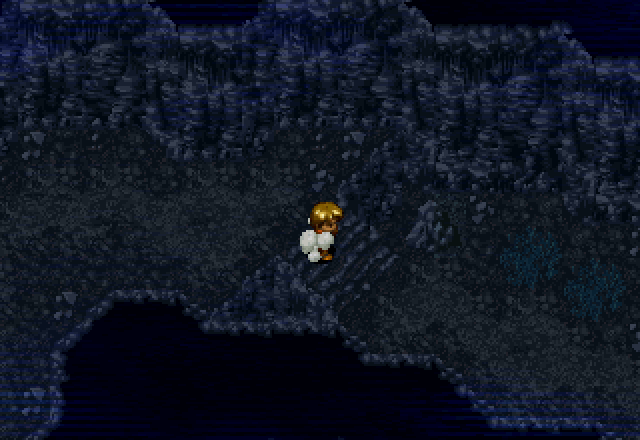
The Berry Cave is the one character-specidfic dungeon that other characters can enter, as shown by Dante here. Before Tony leaves the village, nobody can get in (the cowboy in front blocks the entrance), but afterwards he’s moved aside and anyone can get in. Dante one-shots everything in the dungeon with his high Strength and upgraded weaponry.
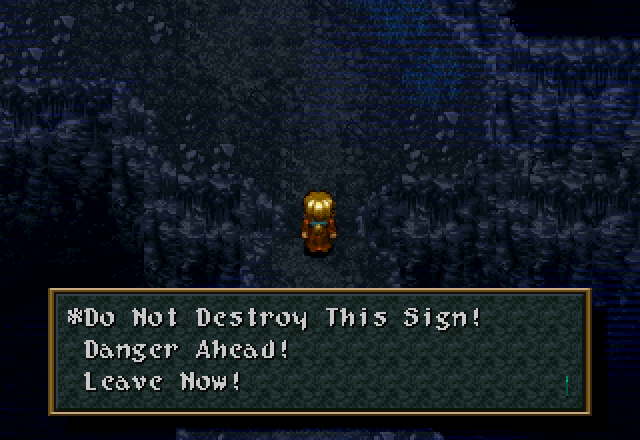
Unfortunately, nobody but Nero can finish the dungeon due to the need to bomb the “Do not destroy” sign. It respawns if you leave the Berry Cave to switch characters.
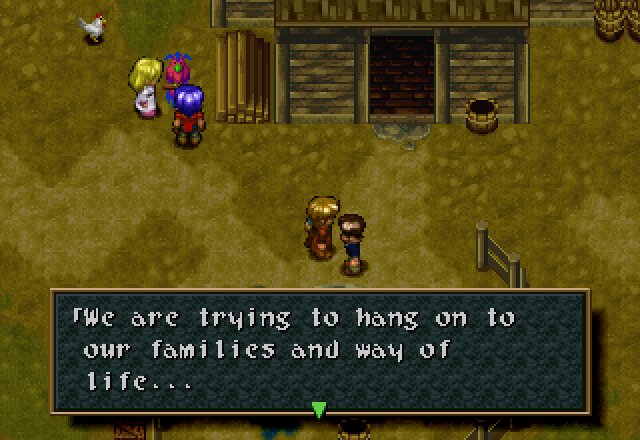
![]() He had no right to desecrate that.
He had no right to desecrate that.
Back in Surf, everybody has the same dialogue for both Dante and Lady, so we only need to go through once. Most people, like Doomsday Cultist here, are taking potshots at Nero or Dream Chasers in general.
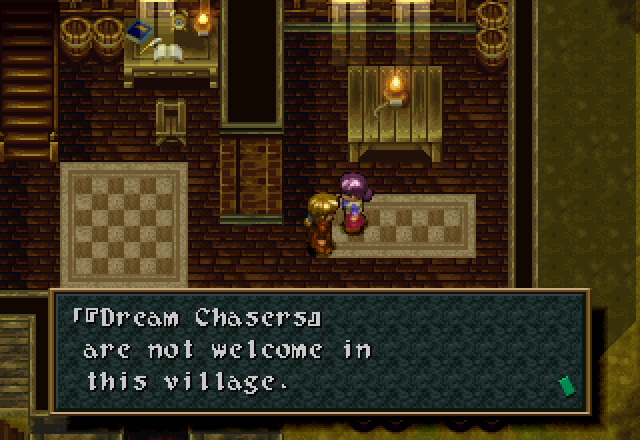
The Mayor’s wife no longer serves as an inn, for anyone. It goes to show how much the attitude of Surf has changed.
![]() Recently, a [Dream Chaser] caused problems for us.
Recently, a [Dream Chaser] caused problems for us.
“So now we hate all Dream Chasers.”
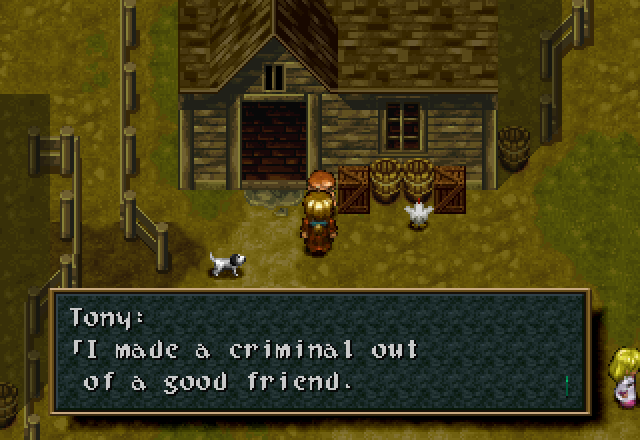
![]() I have done a terrible thing to the man who saved my child.
I have done a terrible thing to the man who saved my child.
At least not everyone is completely without remorse. Tony’s Mom still refuses to allow me to speak to her husband, though.
![]() I couldn’t even save my own son.
I couldn’t even save my own son.
And Tony’s Father is still beating himself up over his injury/illness (the game is somewhat confusing about which it actually is).
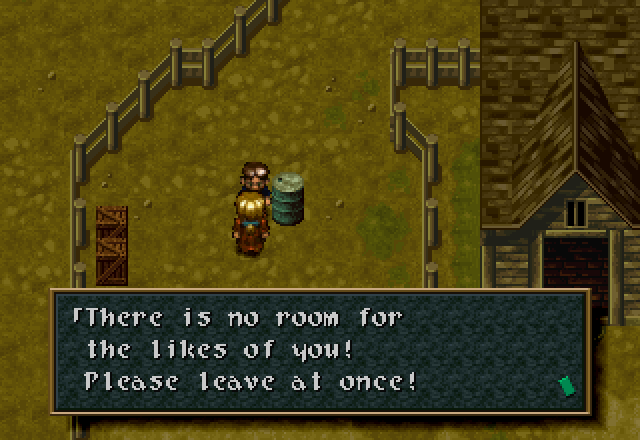
More bashing on Dream Chasers.
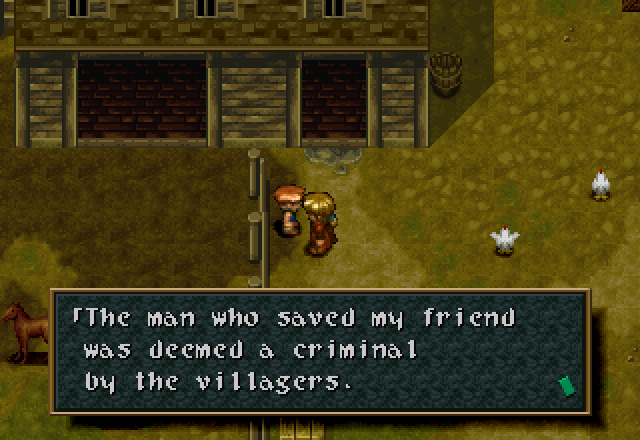
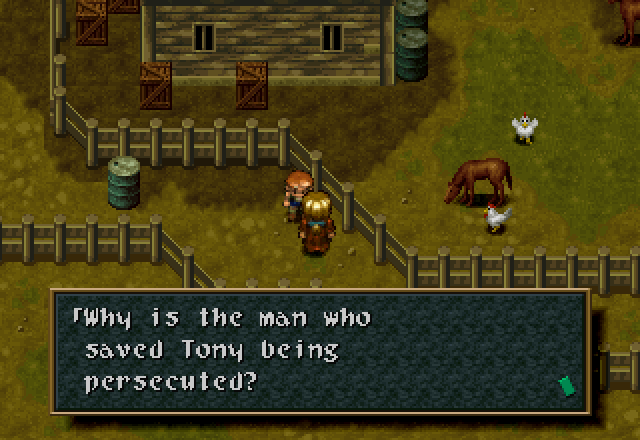
The kids don’t seem to get why, though.
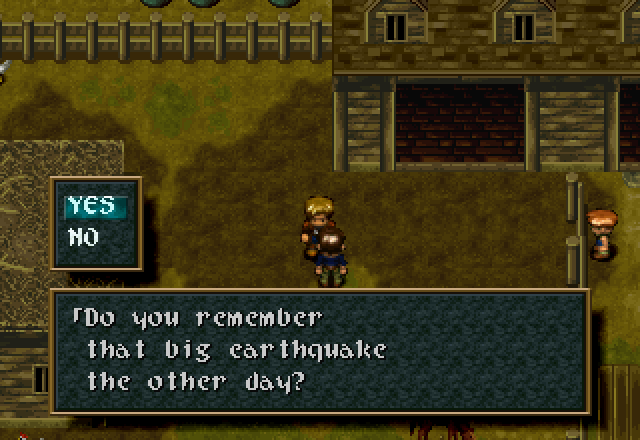
![]() Yes.
Yes.
![]() It was caused when a [Dream Chaser] broke the magic seal in the Berry Cave.
It was caused when a [Dream Chaser] broke the magic seal in the Berry Cave.
![]() No.
No.
![]() The quake destroyed a lot of structures in this area.
The quake destroyed a lot of structures in this area.
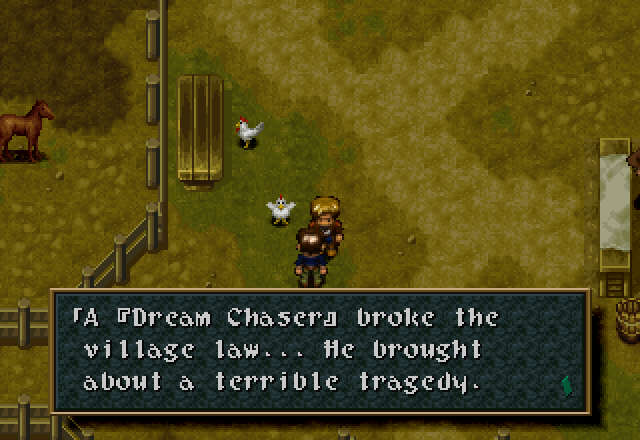
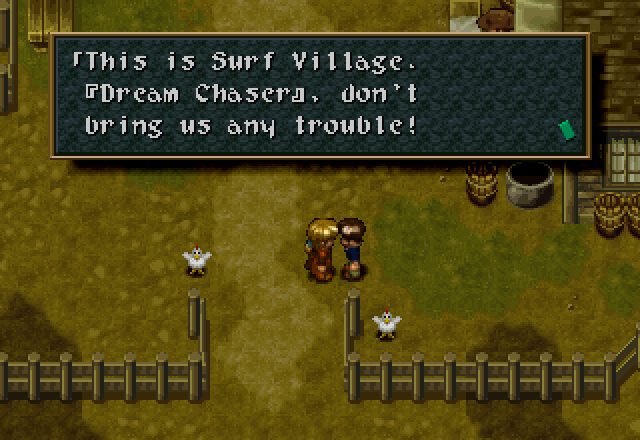
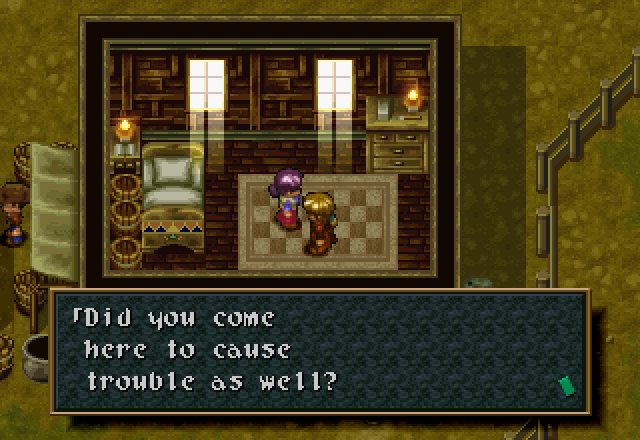
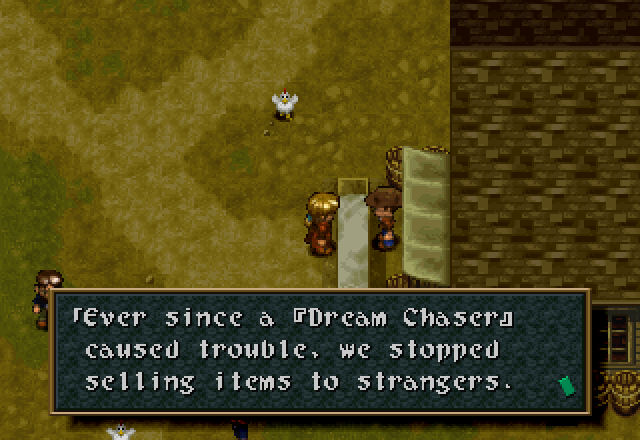
They won’t even accept our money anymore (not that I ever bought anything from this guy in the first place ).
That’s it for dialogue, but we’re not quite done yet. There’s a bit of an Easter egg best shown off in Surf. Remember Cuccos from Legend of Zelda, and how they’d swarm you if you attacked them enough? Well, you can’t actually attack the chickens in Wild Arms.
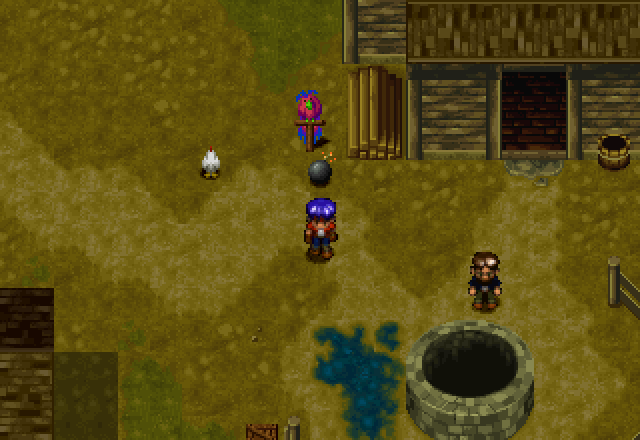
However, they’re pretty protective of the Memory Bird. Bomb it and all the chickens in the area will swarm on you. The Memory Bird is unharmed, though.
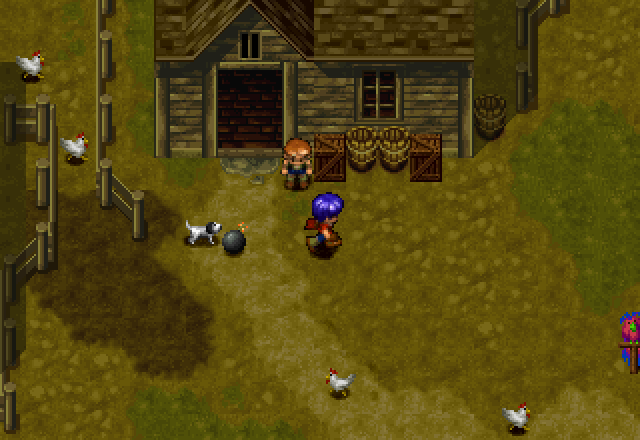
You can also bomb Tony’s dog, which will also follow you around.
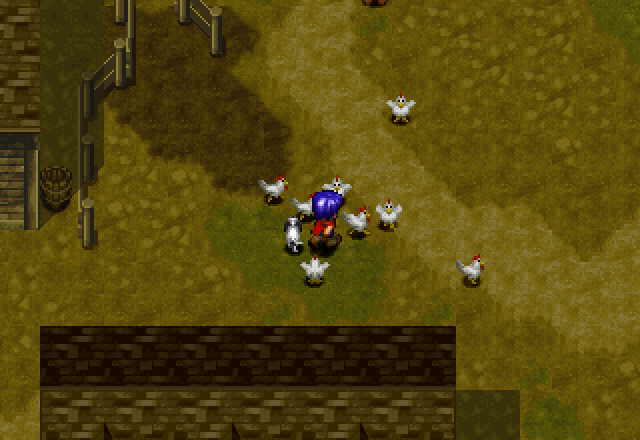
They don’t deal any damage, but if you stop moving for a second, they’ll pile up around you and… make moving mildly inconvenient? Nero moves faster than they do, so it’s not difficult to play keep-away.
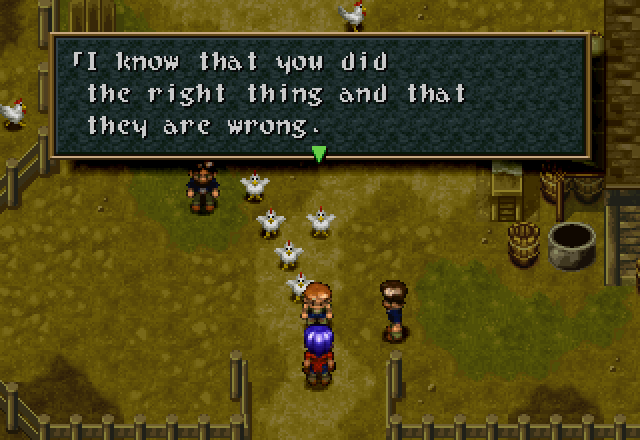
They’ll also photobomb cutscenes. None of these guys were on screen when Nero tried to leave the village, but they swarmed over during the cutscene.
Just one more thing before we’re done. I promised last time to show a glitch or two, so we’ll skip ahead of the main LP a bit to where the party’s all together.
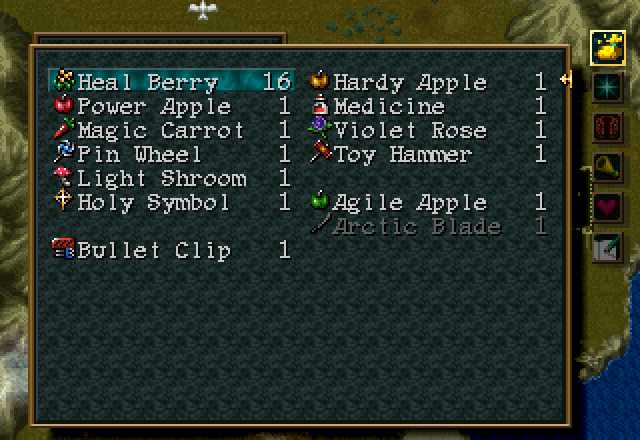
This is an item duplication glitch, and I bet anyone who’s played through this game probably knows what I’m about to do.
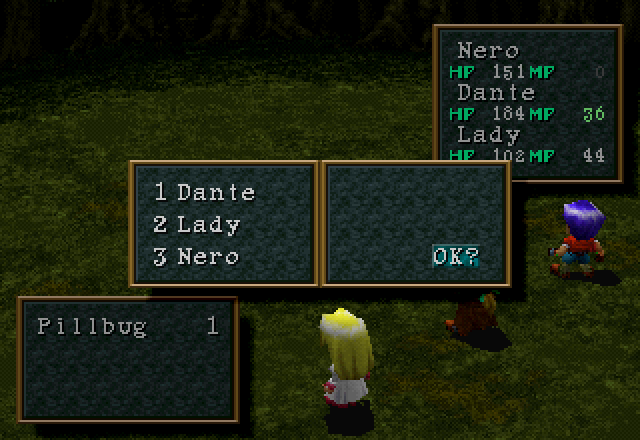
First, arrange your party in order of descending Agility. Dante first, Nero last in the party order. This isn’t essential, IIRC, but it makes the trick a lot easier.
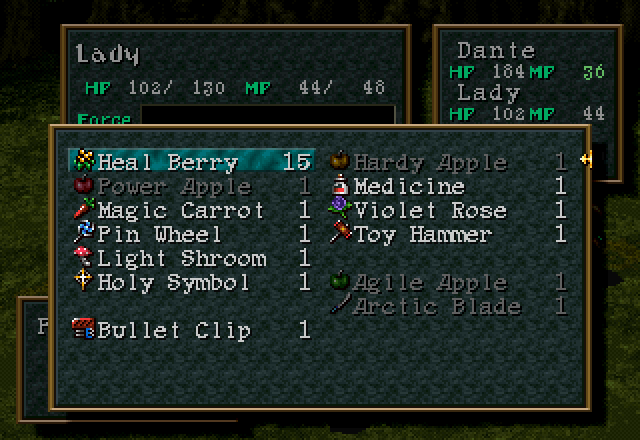
Then, have the first two characters use Heal Berries (or any other item you have a lot of; the game throws Heal Berries at you, so I usually use them).
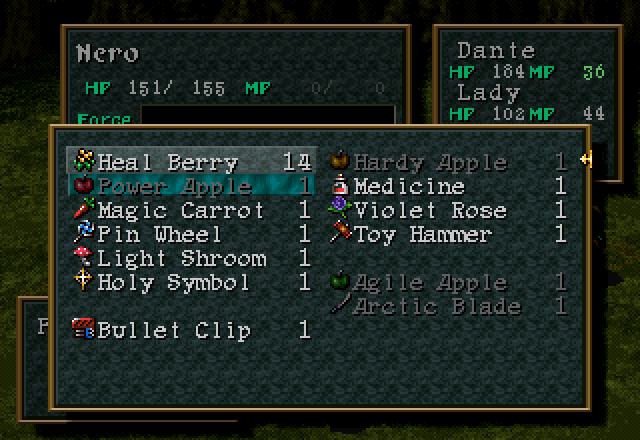
The last character then swaps the position of the Heal Berries with another item (in this case, stat-boosting Power Apples). This will be the item that gets duplicated; make sure you only have one of that item. Afterwards, he can do whatever he wants.
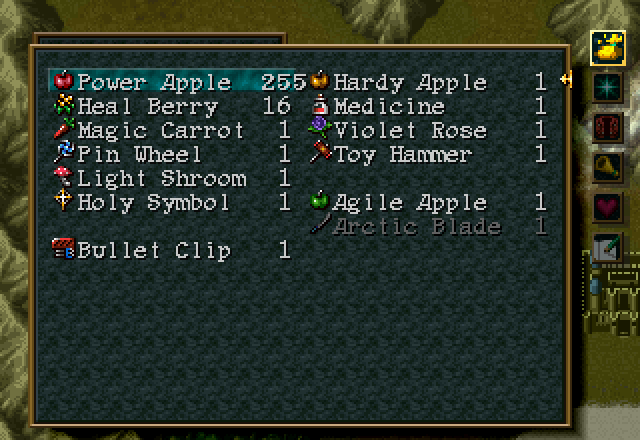
If done correctly, you should now have 255 of the item you swapped with the Heal Berries. Note that the quantity of my Heal Berries has not decreased at all, despite having used two of them.
How does this work? Well, it’s a bit of shoddy menu programming, most likely. When you assign a character to use an item, the game says, “Oh, Dante’s using a Heal Berry. Heal Berries are the item in slot #1 of your inventory, so I’ll just decrease the stack of the item in slot #1.” Then you pull a shell game on the game by changing what item is in slot #1, so it decrements that one instead of the Heal Berries. But you still have Heal Berries, so the game allows you to continue using them even when the quantity of the item it thinks is the Heal Berries is 0, and will happily decrement the stack of 0 Power Apples as if they were Heal Berries. But the game isn’t programmed to handle item quantities below 0, so the quantity actually rolls around to the maximum possible for the variable assigned to hold it, which in this case is 255. This is called a stack underflow in programming lingo.
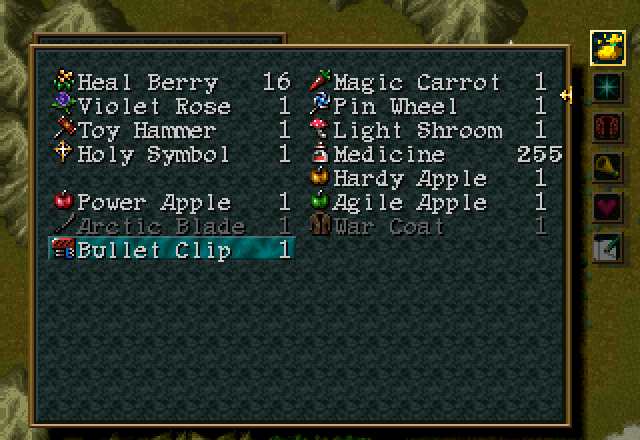
There’s actually another way to perform this glitch, as I found out while preparing for this update. First, swap an item to an empty slot.

Then use “Arrange” to auto-sort your items. Get into battle, and have the first character use a Heal Berry. Then, with the second character, swap the Heal Berries with the empty inventory slot the item used to be in.

This will turn the empty slot into a stack of 255 of the item you wanted to duplicate. Note that the stack of 1 Bullet Clip is still in my inventory. The game doesn’t handle you having multiple item stacks very well.
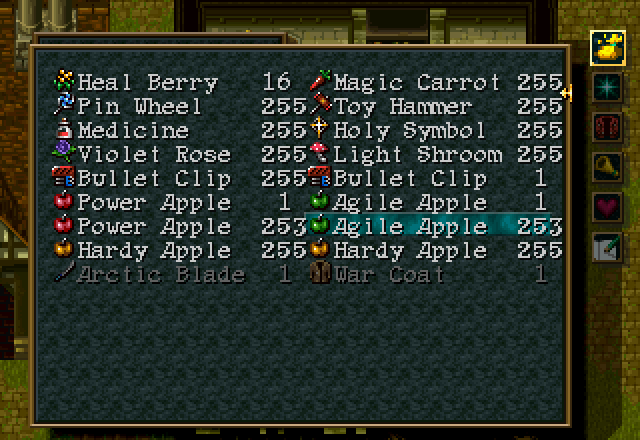
If you make sure that your inventory is arranged so that the smaller stacks are on top…
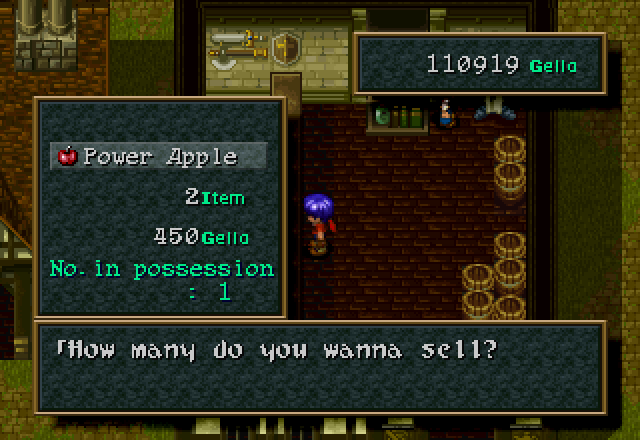
You can sell one more of the item than is in the top stack in order to underflow that stack to 255 as well.
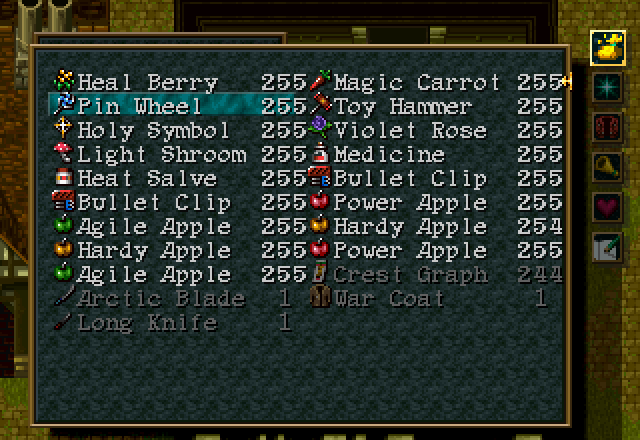
Lady became a Muscle Wizard!

Well, that’s it for this time. Join me next time as we finally get the band together and take our first gig.
Part 4 - Lolithia’s Tomb
Previously, we peeked into an alternate universe and watched a girl stuff apples down her throat until she could punch harder. This time we’re going to figure out what all this “Lolithia” nonsense is all about.
Music - Migrant Bird of the Wilderness
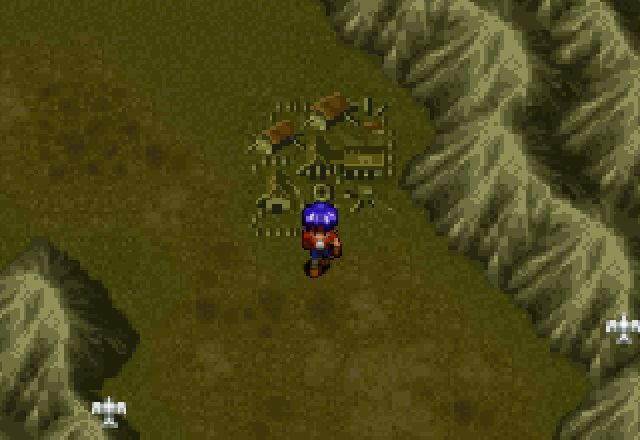
We start with Rudy right outside Surf Village. He’s been kicked out, so there’s really only one place to go right now. You know, aside from the all-girls magic school. Besides, we should probably go see what that Ruin Festival is about sooner or later.
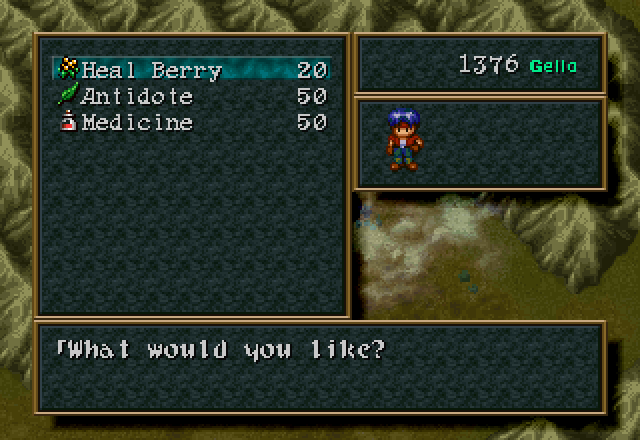
There’s a cart along the way. The things it sells are mostly useless.
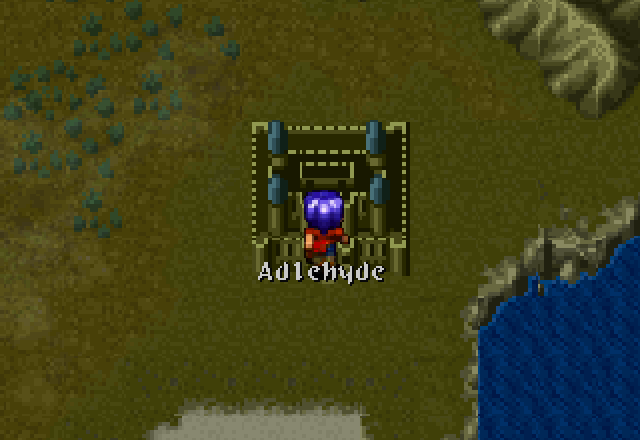
Finally we arrive at this city, called Adlehyde. The name seems somewhat familiar…
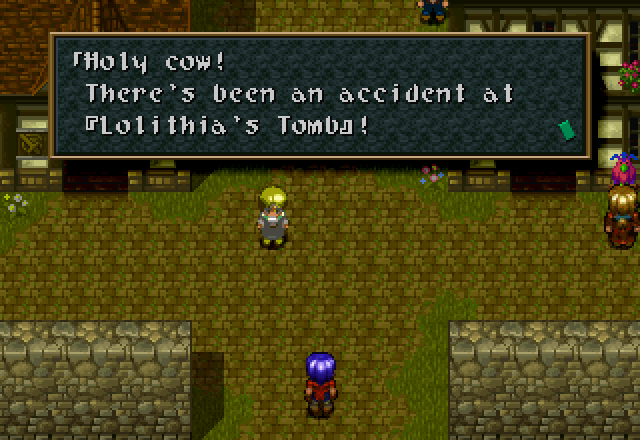
Just as Rudy arrives in Adlehyde, this happens. This is scripted to happen the first time any character enters Adlehyde after Rudy’s scenario has been completed, if memory serves.
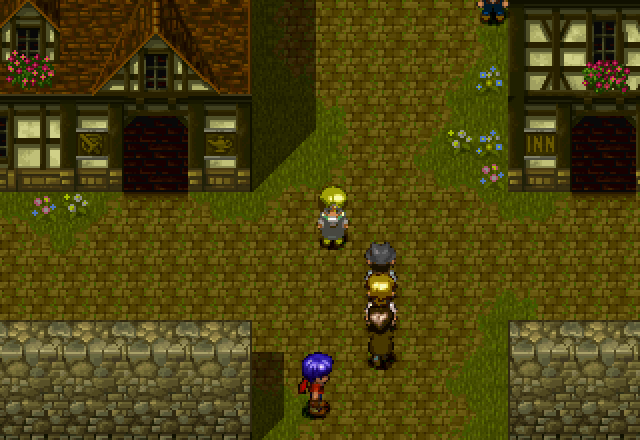
Some guys rush into town. Alter Code: F makes it a lot more clear, but the blonde guy in the middle is injured and being carried by the other two.
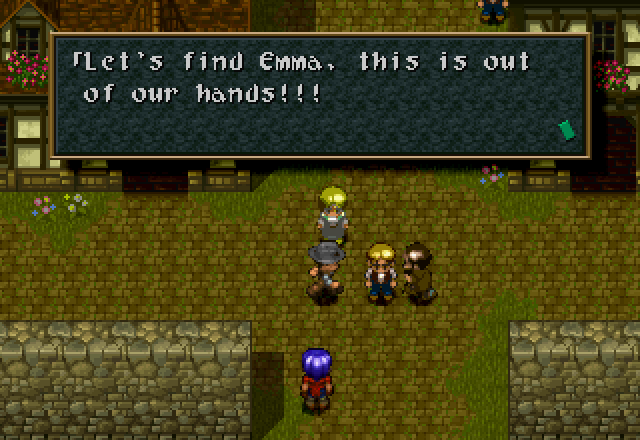
The two on the sides are clearly panicking, and spend a second or two here running back and forth.
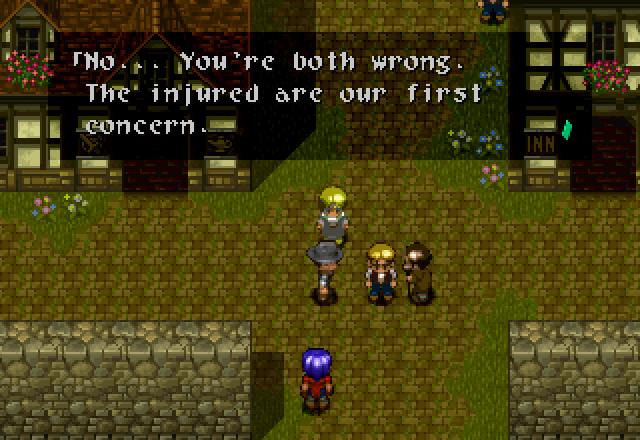
He’s got a point.

Then they take off.
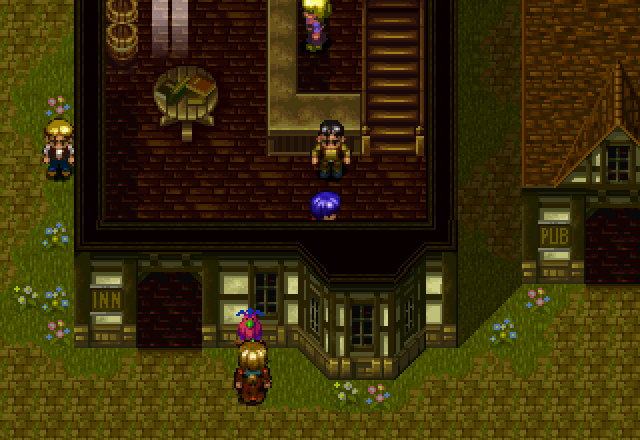
The building on the right is the inn (right next to the only entrance to town seems like a pretty good location). The blonde innkeeper is useless to us right now, because like the other two Rudy got a full heal after finishing his scenario. More interesting is the other guy standing below the counter.
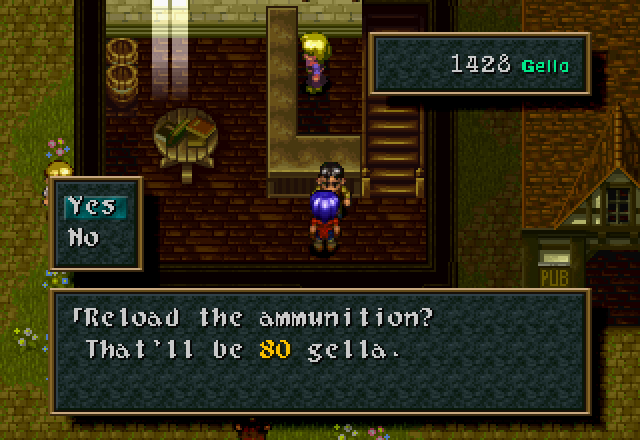
Because he’s the town’s ARM reloader, and will refill the bullets in Rudy’s ARM, for a nominal fee of 10 Gella per bullet. 80 Gella is nothing, and it never gets too expensive. All in all, a very useful service, especially since the only other way to reload bullets is the rare Bullet Clip you find in dungeons. Even plot-mandated full heals generally don’t touch your bullets.
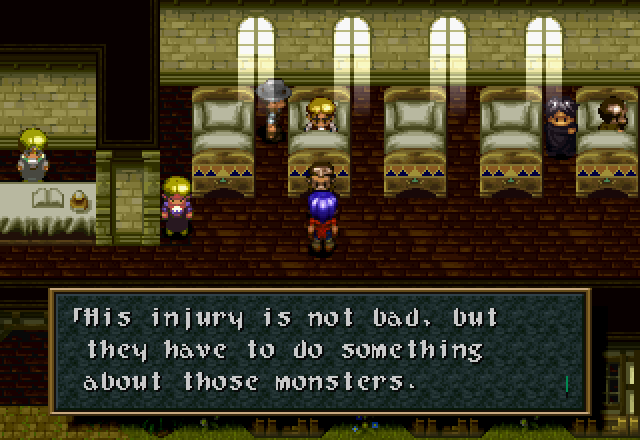
It looks like they did end up taking the injured guy to the hospital first. I’ll cover the rest of the NPC chatter in a bonus update; this should be the last time I need to do this for a while, because it’ll be the last time I need to comb through a town for dialogue changes three times.
![]() What a whimp! He shouldn’t cry about a monster bite.
What a whimp! He shouldn’t cry about a monster bite.
![]() My injury was minimal. I didn’t need to be hospitalized.
My injury was minimal. I didn’t need to be hospitalized.
But it seems they all agree he doesn’t really need to be there.
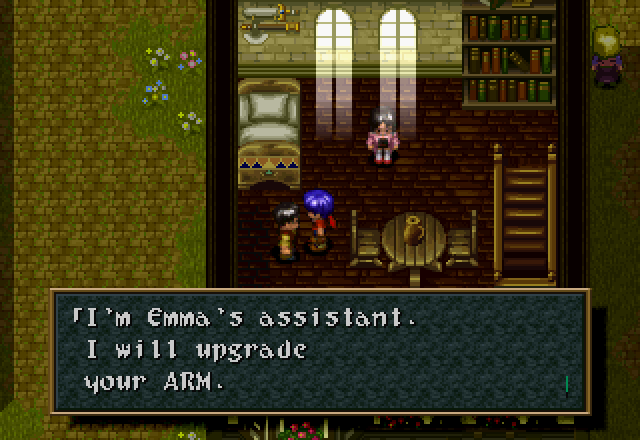
Let’s pop over to Emma’s lab now. This guy is the ARM Meister, and he’ll upgrade Rudy’s ARMs. This is important, because they aren’t affected by Rudy’s Strength stat and if they scale in damage with level, it’s fairly slowly. Once again, I don’t have hard numbers because they apparently don’t exist. I don’t buy any upgrades yet, though.

![]() How exciting! Listen to that commotion. I wonder what’s happening.
How exciting! Listen to that commotion. I wonder what’s happening.
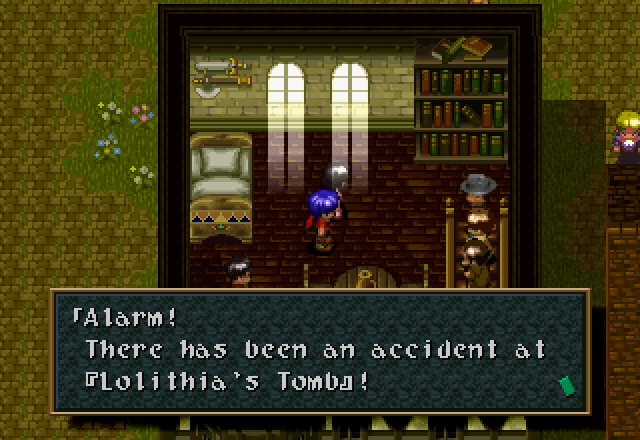
The two from the hospital show up. They apparently picked up a different third guy en route to Emma’s lab, though.
![]() Oh no! Tell me what’s going on.
Oh no! Tell me what’s going on.
![]() We broke through a wall damaged by the earthquake and unleashed monsters. Some of the workers were injured by one of the monsters.
We broke through a wall damaged by the earthquake and unleashed monsters. Some of the workers were injured by one of the monsters.
This scene is unusually not helpful about distinguishing which nameless NPC is speaking. Usually they do something right before they talk, like taking a step or spinning in place. Hell, Emma spins when she talks here. In the interests of not having to make as many portraits, I’m going to assume it’s all the same guy speaking.
![]() Gather anyone with military experience!
Gather anyone with military experience!
![]() No way!! No one here has ever fought monsters before. There are so many of them. You couldn’t pay us enough to go in there.
No way!! No one here has ever fought monsters before. There are so many of them. You couldn’t pay us enough to go in there.
![]() All right then! Get to work on the repairs. You hear?! I’ll do something about the monsters.
All right then! Get to work on the repairs. You hear?! I’ll do something about the monsters.
![]() OK!
OK!
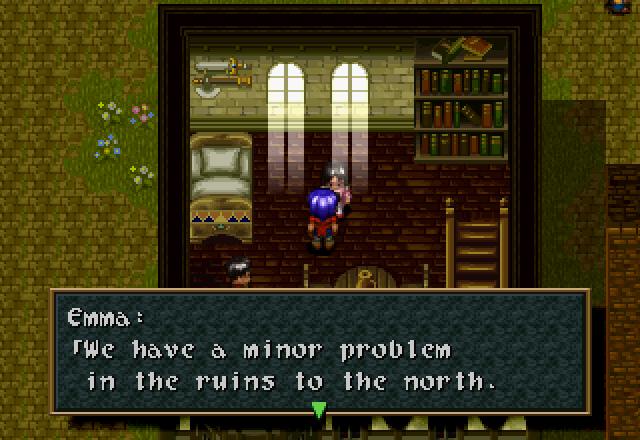
They leave, and Emma turns to the Dream Chaser who’s conveniently been listening to the entire conversation right next to her.
![]() You can fight, can’t you? I need to have some monsters slain. I’ll pay 500 gella. You can take any treasure from the tomb. Will you do it?
You can fight, can’t you? I need to have some monsters slain. I’ll pay 500 gella. You can take any treasure from the tomb. Will you do it?
Since this question is basically “do you want to progress the plot?”, let’s get “No” out of the way first.
![]() No.
No.
![]() What am I to do? I’ll never be ready.
What am I to do? I’ll never be ready.
![]() Yes.
Yes.
![]() Glad to hear that. I’ll pay you after the excavation. Trust me! I’ll be waiting for you. You must get prepared. Don’t underestimate [Lolithia’s Tomb]. Bring friends.
Glad to hear that. I’ll pay you after the excavation. Trust me! I’ll be waiting for you. You must get prepared. Don’t underestimate [Lolithia’s Tomb]. Bring friends.
Just like the event at the entrance, you can trigger this and accept Emma’s job with any of the trio. The only requirement is that Rudy’s scenario is completed. As implied by “Bring friends,” she won’t actually let you into the ruins until the whole party’s together, though.
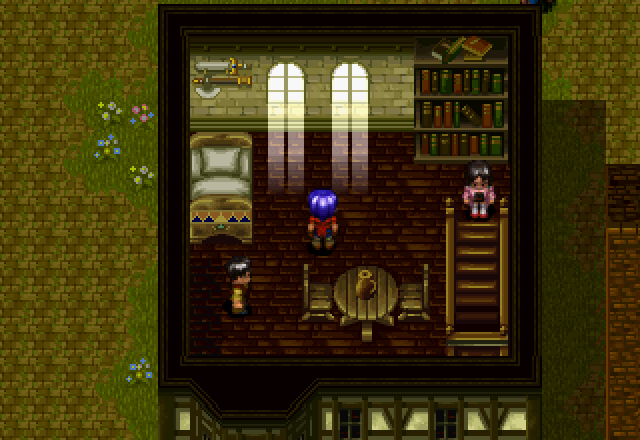
Then she’s off too. Let’s take a second to talk about Emma. She’s actually one of the few characters to undergo a radical character design change in Alter Code: F. All of our heroes look the same, and while a few NPCs look a bit different from their sprites, she’s one of the most notable. I couldn’t find any concept art of her for this version, but the sprite is enough for this purpose. What does she look like in Alter Code: F?
This. She got significantly more anime in ACF.
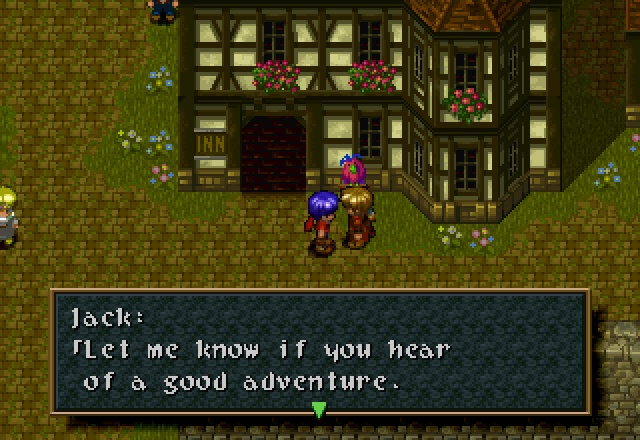
Out in front of the inn, we find Jack already waiting because I already went through town with him to gather dialogue his scenario was first.
![]() What? You caused the earthquake?! What do you know…? So you’re looking for help taking care of this problem. Hmmm… Hey, perhaps I can help you out. I can be useful.
What? You caused the earthquake?! What do you know…? So you’re looking for help taking care of this problem. Hmmm… Hey, perhaps I can help you out. I can be useful.
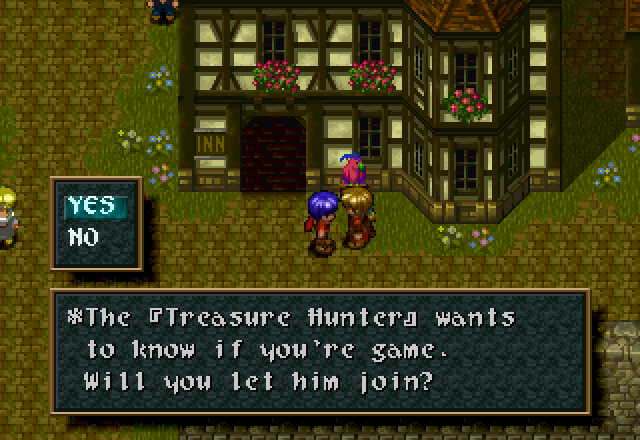
Again, this is basically “Do you want to advance the plot?”, since we can’t enter the ruins until we have a full party.
![]() Yes.
Yes.
![]() All right! That settles it! I could use the company. My name is Jack. This is Hanpan. Don’t worry, he won’t bite. What’s your name? Rudy, huh… Nice to meet you, Rudy.
All right! That settles it! I could use the company. My name is Jack. This is Hanpan. Don’t worry, he won’t bite. What’s your name? Rudy, huh… Nice to meet you, Rudy.

And with that, Jack is officially in the party, as signified by his Tools showing up alongside Rudy’s in the menu, instead of just his location.
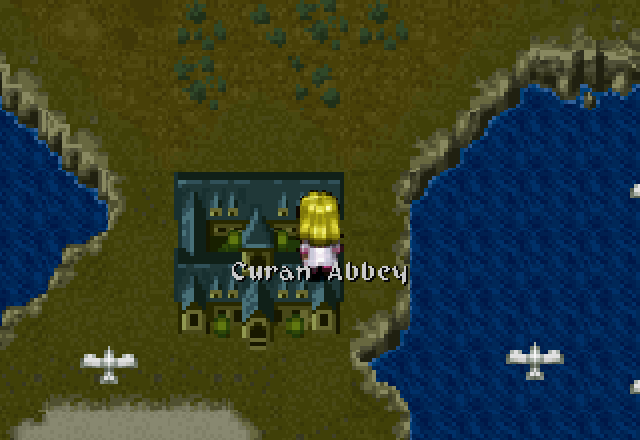
Let’s grab Cecilia and bring her up to Adlehyde now.
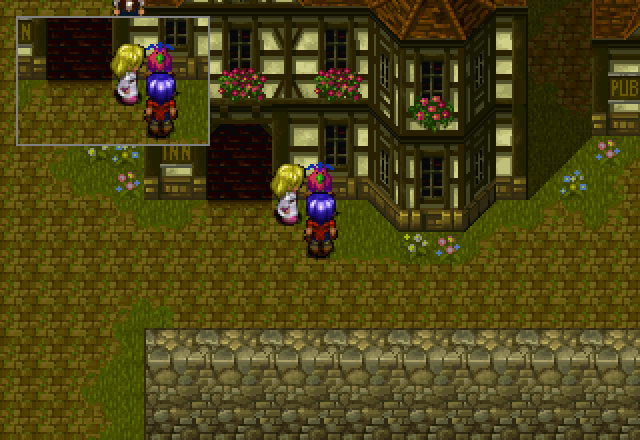
Whenever one of the playable characters is at the same location as another PC not currently in the party, standing still for a second pops up a picture-in-picture window showing the PC’s location.
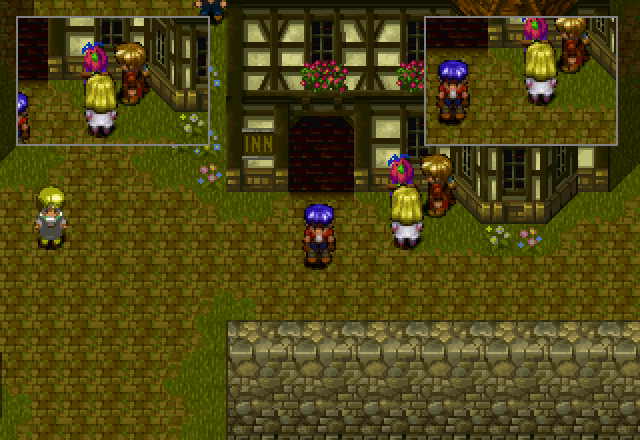
And if two of the other PCs are in the same location? You get two inset windows. Which is humorous when everybody is visible in them, like the shot above.
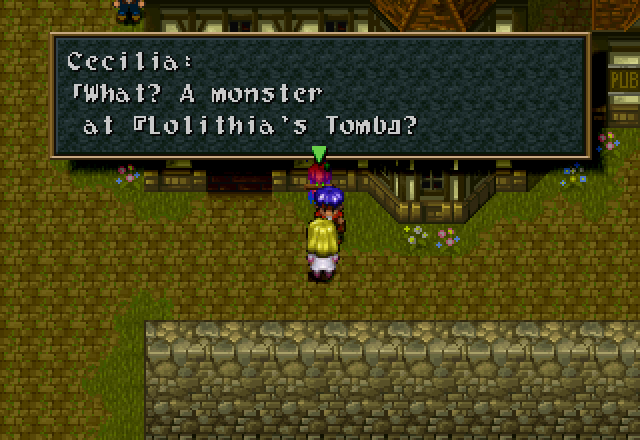
![]() Lolithia… intriguing name… Why?.. Ohh, I don’t know why exactly. I do know I have to go there. The desire fills my heart. The power that holds the world together told me. It said that all things start with [Lolithia].
Lolithia… intriguing name… Why?.. Ohh, I don’t know why exactly. I do know I have to go there. The desire fills my heart. The power that holds the world together told me. It said that all things start with [Lolithia].
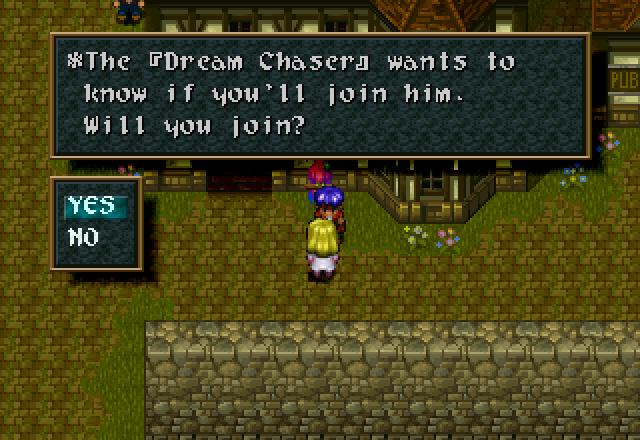
![]() Yes.
Yes.
![]() I am Cecilia. Don’t worry, I can hold my own with magic. It may not seem like it, but I don’t think our goals are so different.
I am Cecilia. Don’t worry, I can hold my own with magic. It may not seem like it, but I don’t think our goals are so different.
Why, yes, this bit does have alternate dialogue depending on which character accepts Emma’s job and which character the player is controlling at the time. The alternates will be covered in the next update, but they’re largely the same. Also, say hello to the party for the rest of the game. There will be a few more occasions where we split up, but there are no more playable characters in this version of the game.
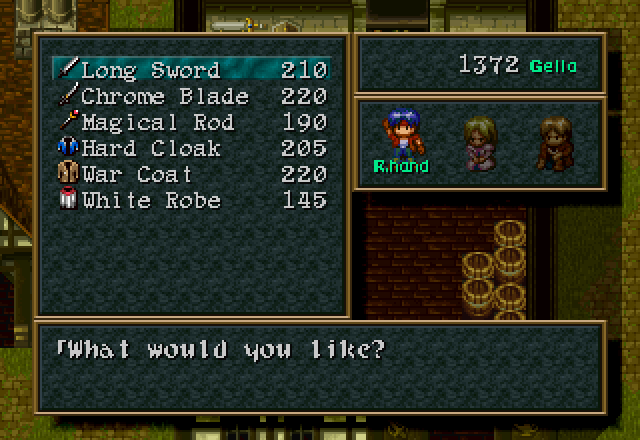

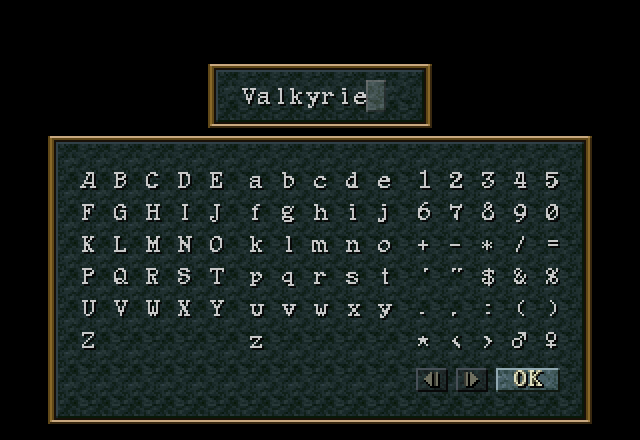
Some shots of pre-dungeon preparation, including the contents of the equipment shop (straight upgrades all around) and a new spell for Cecilia. Valkyrie is one of her strongest early-game attack options, and will be her workhorse in boss fights for quite a while.
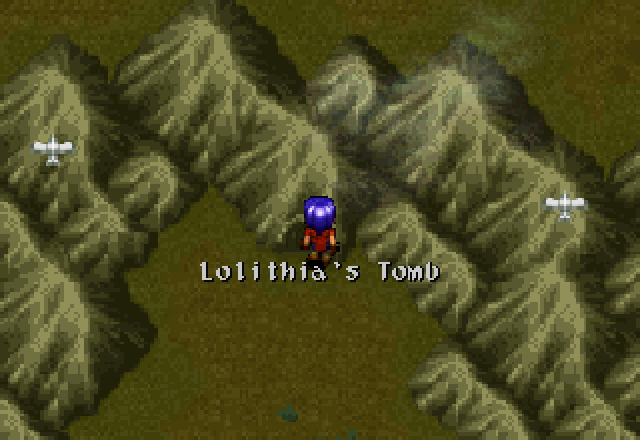
And now let’s get to it! Lolithia’s Tomb is pretty much due north of Adlehyde, and pretty darn close to boot. One wonders why it hadn’t been plundered excavated before now.
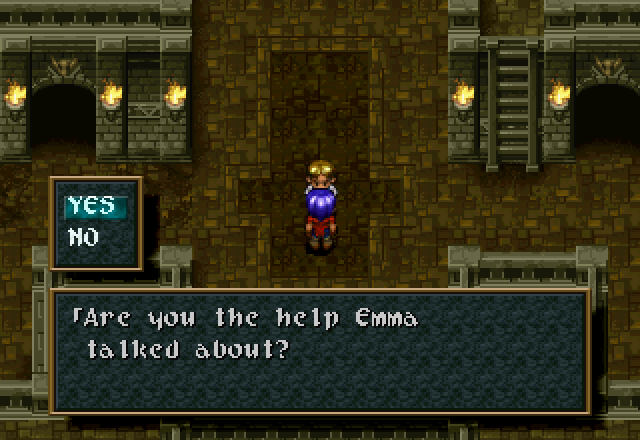
![]() Yes.
Yes.
![]() So, you’re the one. Emma is waiting for you.
So, you’re the one. Emma is waiting for you.
Inside, we find this guy. No, it’s fine, don’t tell us where Emma actually is. We’ll find her on our own.
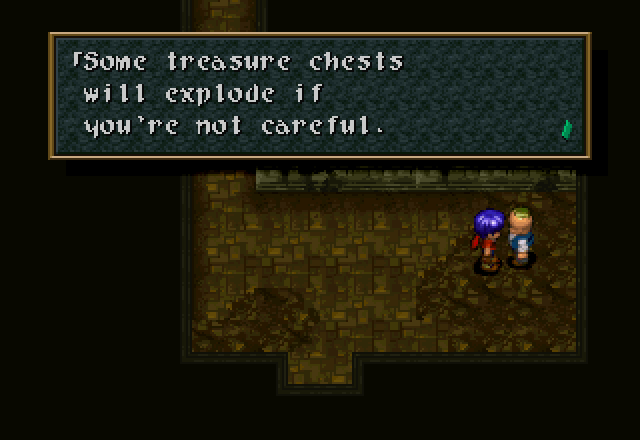
Through the door on the right, we find another worker with a helpful tip. Some treasure chests do indeed explode when opened. The “if you’re not careful” part is BS, though. While there’s no way to disarm the chests, you can open them without them exploding on you.
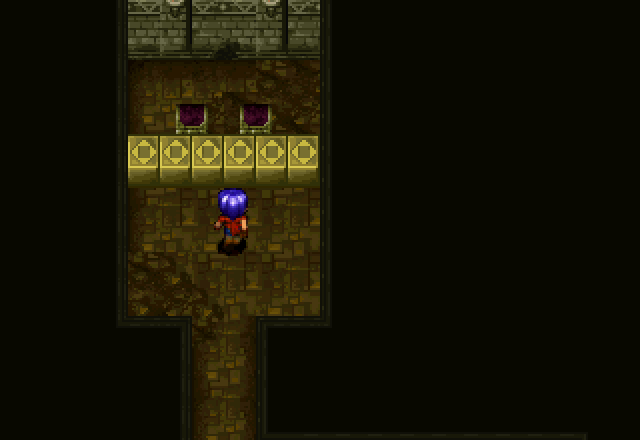
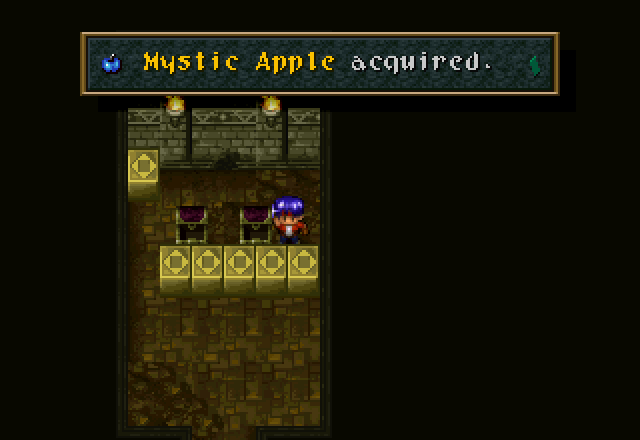
These chests just to the north of him do not explode, however. Actual explosive chests are pretty clearly marked. Mystic Apples are the last flavor of stat-boosting apples, and appropriately boost SOR. The other chest contained a Power Apple.
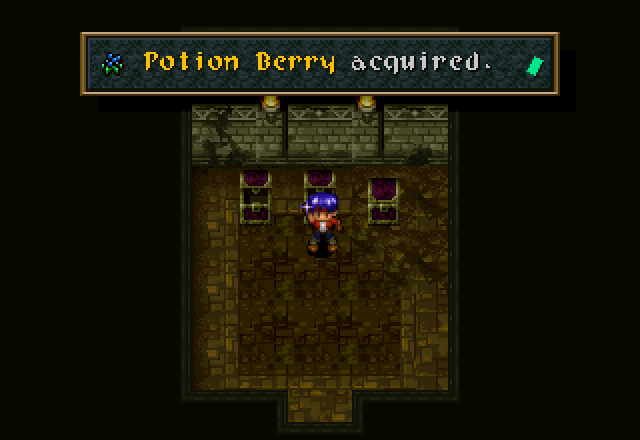
Back in the entrance, we head through the left door, which simply contains three treasure chests. Potion Berries are the next step up in HP restoratives, and heal 1,000 HP a pop. Considering basic Heal Berries still heal more than the party’s max HP, this is quite overkill and will be for a while. Still nice to have, though. The other two chests contain basic Heal Berries.
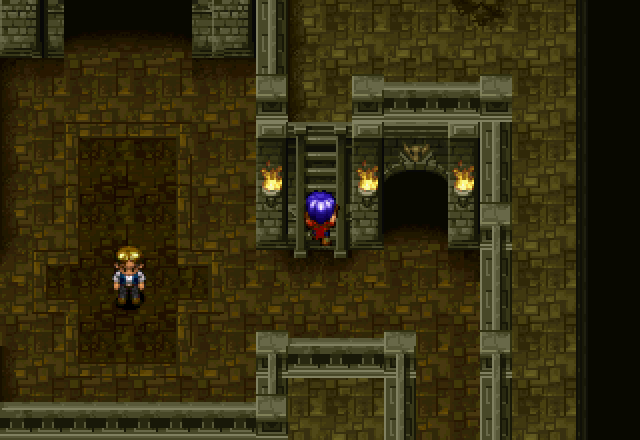
Heading up the ladder on the right, we see a third door had been just offscreen when we talked to the blonde guy. That is the way to the Tomb proper, but we can’t get in there until we talk to Emma.
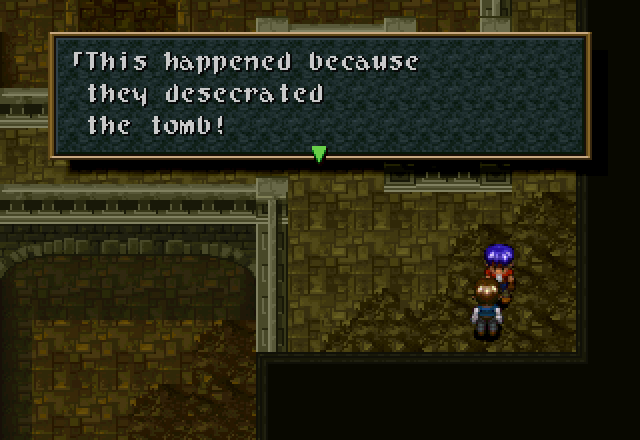
![]() Only a fool would dare to uncover [Lolithia’s Tomb]. There are some things we humans weren’t meant to touch!
Only a fool would dare to uncover [Lolithia’s Tomb]. There are some things we humans weren’t meant to touch!
If you’re opposed to the excavation, why are you working for Emma, who is excavating the tomb? 
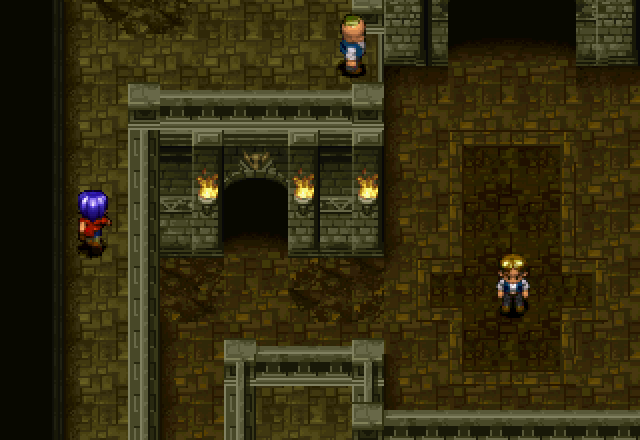
Continuing along the one-way path we’re on, we find this guy. Let’s go see what he has to say…
…Oh. Let’s go see if he’s okay.
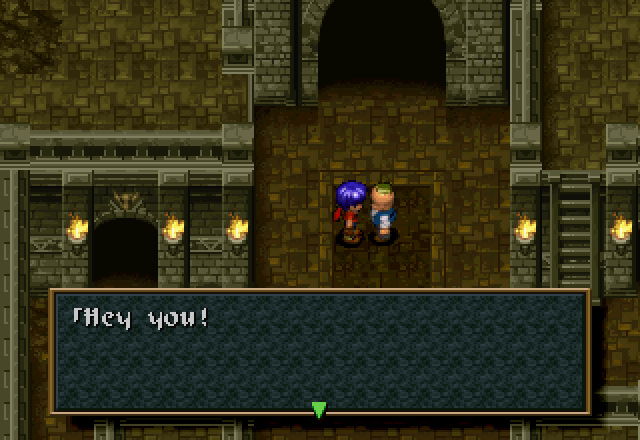
![]() That was dangerous pushing me off like that! Watch out next time. I could have been hurt in the fall!
That was dangerous pushing me off like that! Watch out next time. I could have been hurt in the fall!
I don’t think any of our party members would just push someone off a ledge. I figure they walked up behind him and talked to him, maybe tapped him on the shoulder to get his attention, and when he got startled he fell off.
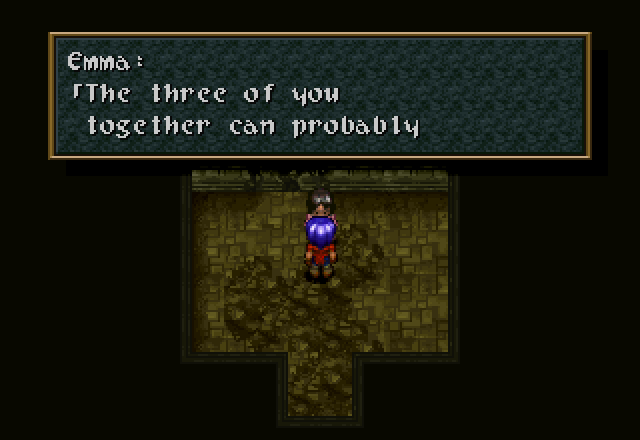
![]() break the seal. Past the room with the spooky demon statue lies a… If the three of you work together, you should be okay. You’ll be fine! With confidence, one can even learn to fly.
break the seal. Past the room with the spooky demon statue lies a… If the three of you work together, you should be okay. You’ll be fine! With confidence, one can even learn to fly.
Though that door past where he was standing on the ledge is Emma. Talking to her here is necessary to proceed further into the ruins. In Alter Code: F, she asks if you’re ready to take on the ruins (which look a lot more technological than in this game). Refusing her three or so times allows you the option to have her join the party for the dungeon, but cuts your reward for the dungeon in half, if memory serves. She’s a blue mage, with the ability to learn normally enemy-only skills. She can also get you into a few locked rooms in the dungeon, one of which contains an equal sum to what she docks you for joining, meaning taking her along is pure benefit.
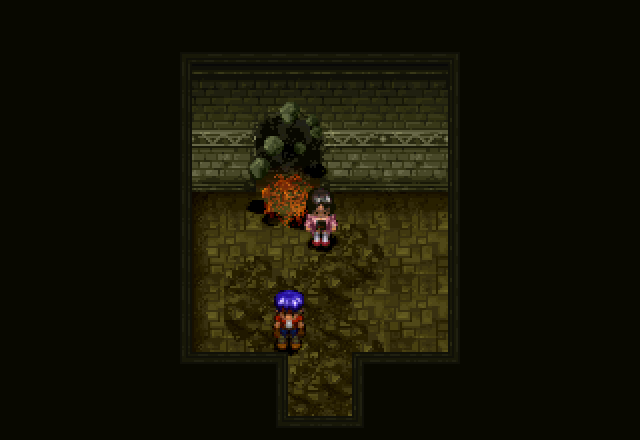
Like Tony, Emma is also immune to bombs.
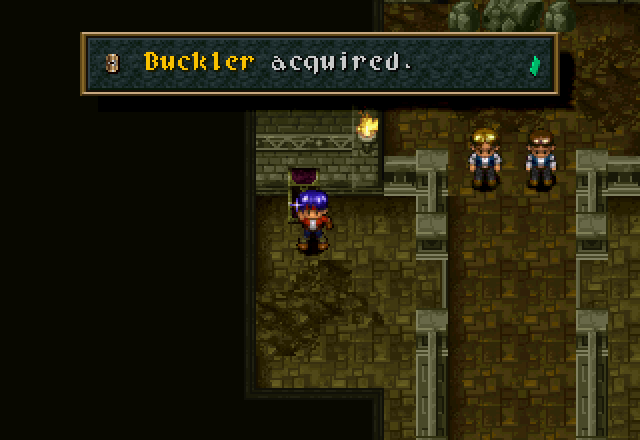
Through the hole we just made is a chest containing this Buckler.
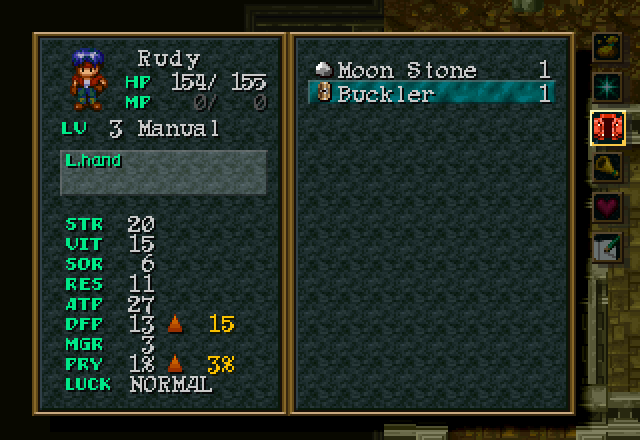
The Buckler is left-hand equipment for Rudy; it has one more DFP than Jack’s glove, but less PRY. Cecilia doesn’t have a left-hand item yet, though she’s the only one with a Rune (because the Water Rune raises SOR, which is mostly useless on the other two).
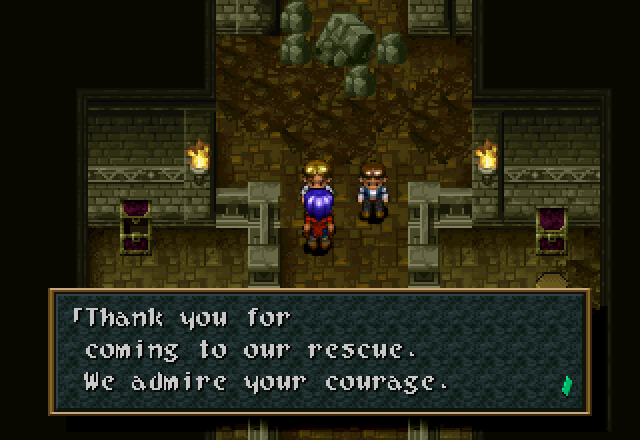
Through the north door in the entrance are these two guys. After saying his piece, they move out of our way, allowing access to the rest of the ruins.
![]() So you’re here to slay the monsters, eh? Good luck!
So you’re here to slay the monsters, eh? Good luck!
I mean, this game doesn’t have any way for us to deplete the random encounters, so we’re probably just going to find the biggest one and beat that one up. But, yeah, sure! If we came to this room before talking to Emma, these two would have had different things to say:
[quote]![]() I’m sorry. We can’t let you through. Monsters are loose inside.
I’m sorry. We can’t let you through. Monsters are loose inside.
![]() Earthquakes and monsters! We’re really busy. Go home.[/quote]
Earthquakes and monsters! We’re really busy. Go home.[/quote]
Also, that chest on the other ledge is currently inaccessible. No, we don’t get the Tool necessary to get it in this dungeon.
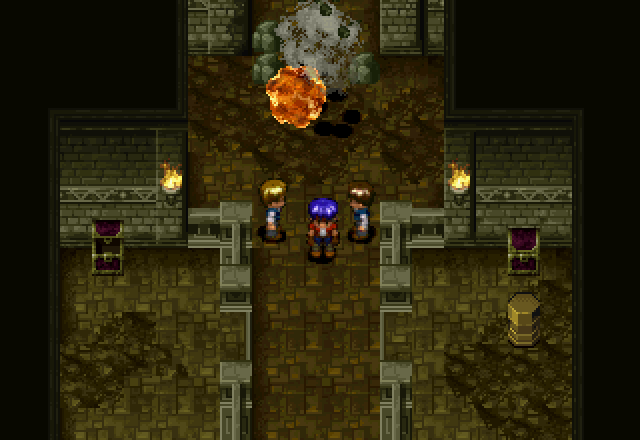
Past those two, the doorway is blocked off by rocks that we need to bomb.
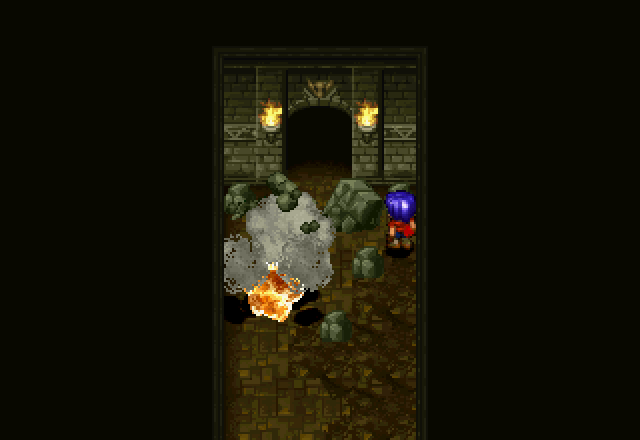
And the corridor in the next room is also blocked off by bombable rocks. The developers really didn’t want you to get through here before you were supposed to. Also, this is the first room with random encounters, although we don’t find one quite yet, but let’s take a look at what we can find in this dungeon.
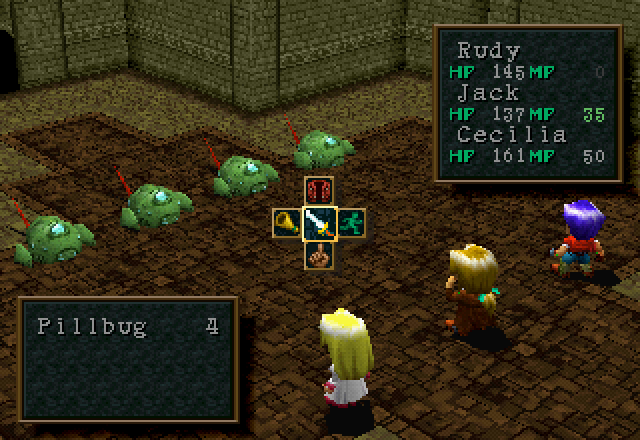
These guys are some familiar faces.
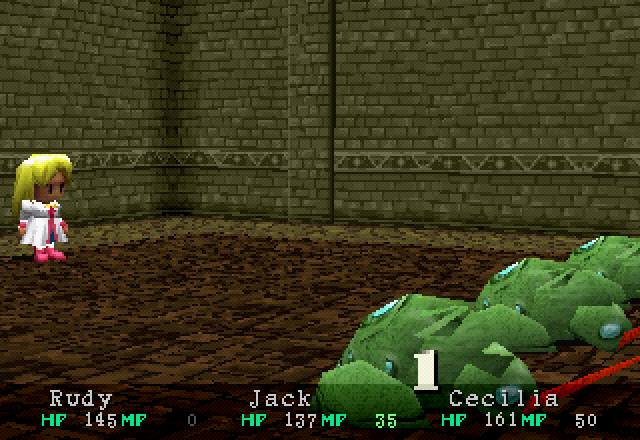
Even at level 4 and with an upgraded weapon, Cecilia still can’t effectively damage Pill Bugs. Jack could one-shot them at level 1 with his base weapon.

Unless she gets a crit, of course. I suspect that crits in this game flat-out ignore the target’s DFP, because they’re far more effective on hard targets than on soft ones. Balloons, for example, take very little additional damage from crits.
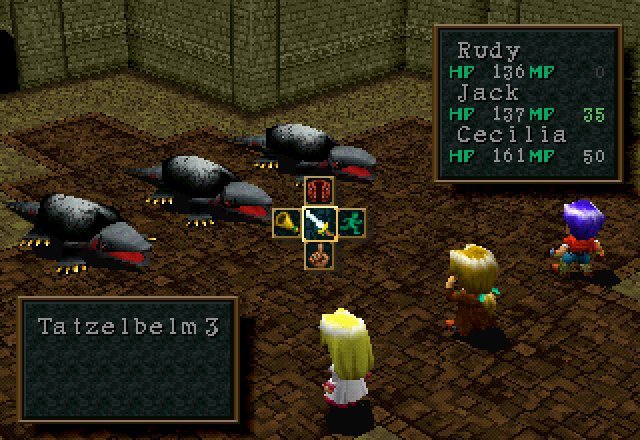
Tatzelbelms are nothing new, either.
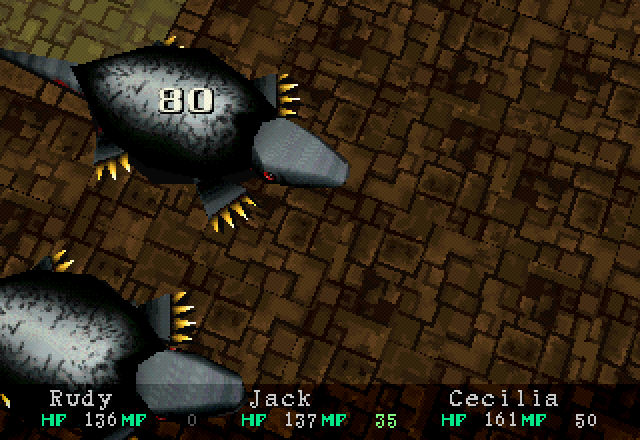
Although Jack’s ability to one-shot them certainly is. These guys have 70 HP, remember.
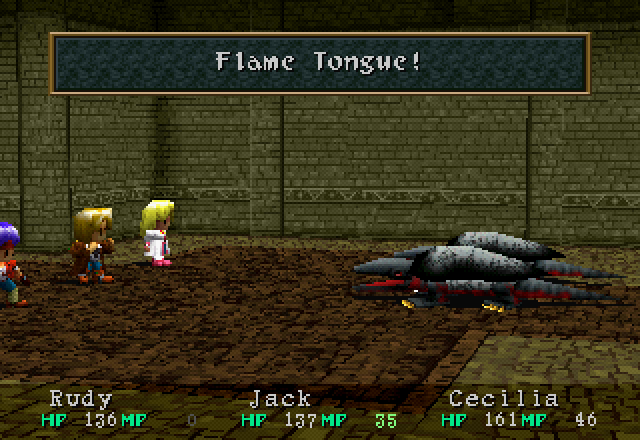
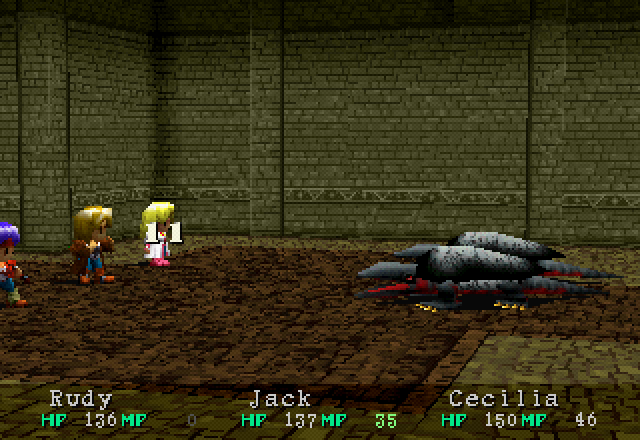
Also, one of them finally uses their Flame Tongue attack. This probably would have been more impressive back in the Berry Cave (especially since Rudy has the lowest MGR, while Cecilia has the highest).
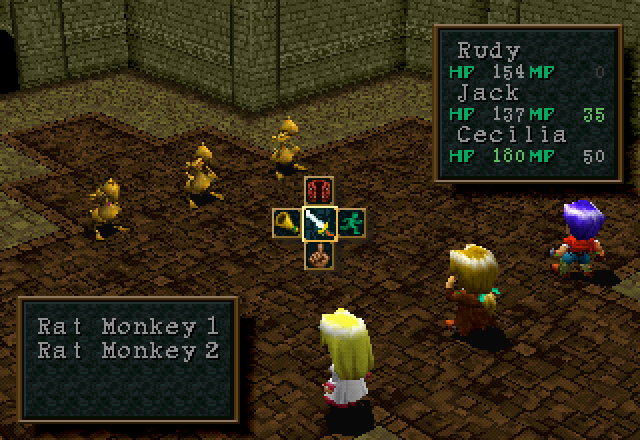
Veterans of the series will recognize these guys; they show up in almost every single Wild Arms game.
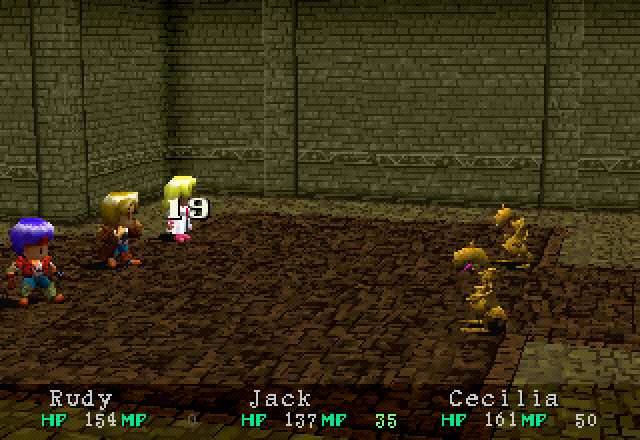
Rat Monkeys aren’t particularly lethal at this point, especially with three characters to spread the damage around, but they hit decently hard. Note that this is Cecilia, though, whose DFP at level 4 is right around where Rudy’s was at level 1.
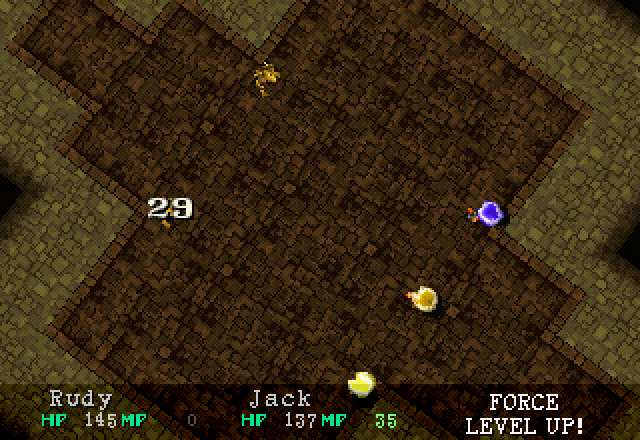
They fold in one attack, even from Cecilia, though, so they’re about as threatening as a sheet of paper.
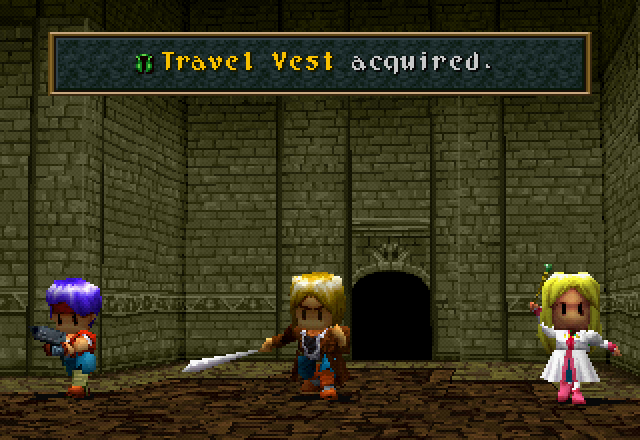
They can drop Travel Vests, which are Rudy’s starting armor and thus only vendor trash.
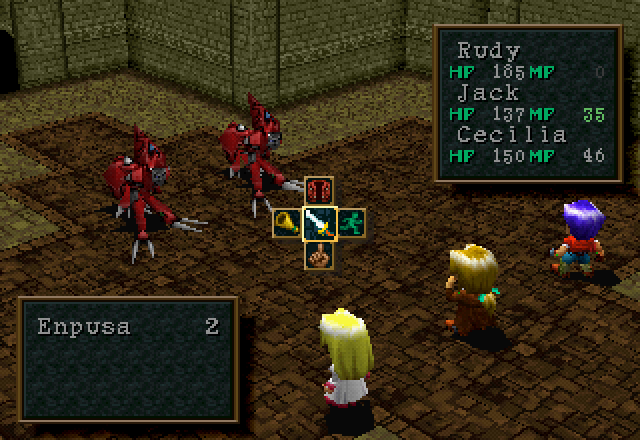
Enpusas are new, though.
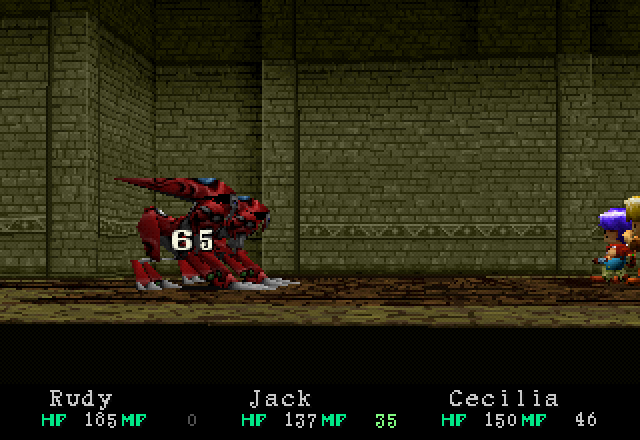
Jack one-shots them, no surprise here. They have 56 HP, which puts them just out of range of Rudy’s basic attack, but he and Cecilia working together can take one down. They’re weak to Thunder, which I guess is important if you want Cecilia to take one on by herself.
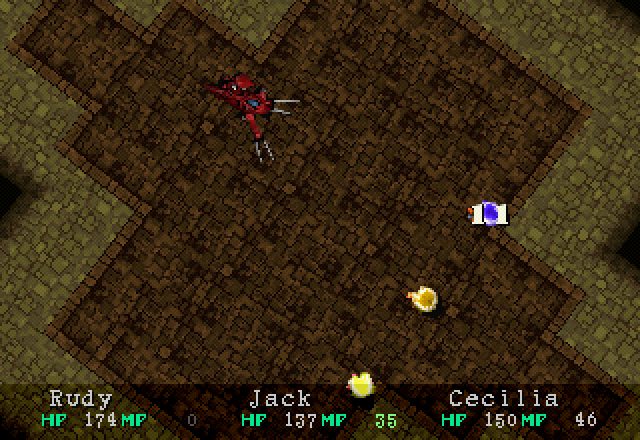
Their basic attack isn’t anything to write home about; they hit about as hard as the Rat Monkeys.


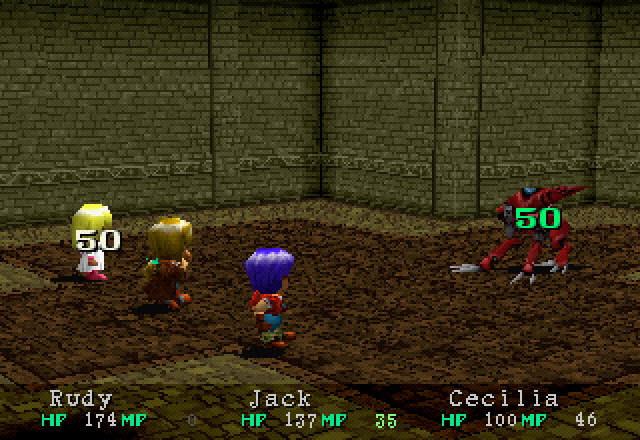
Their Body Power Steal attack hits a bit harder, though. Additionally, it’s a drain attack, so it heals them. If they get one off, it’ll usually mean another round spent killing them.

The Aipeloss are the one enemy in this dungeon that Jack can’t one-shot with a basic attack.

Their 85 HP and decent DFP put them a little out of his range.
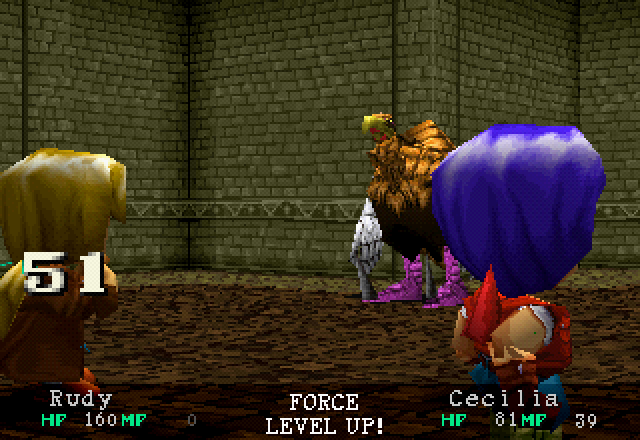
Yes, that’s their basic attack. The Aipeloss deal damage way out of proportion with anything else in the dungeon.
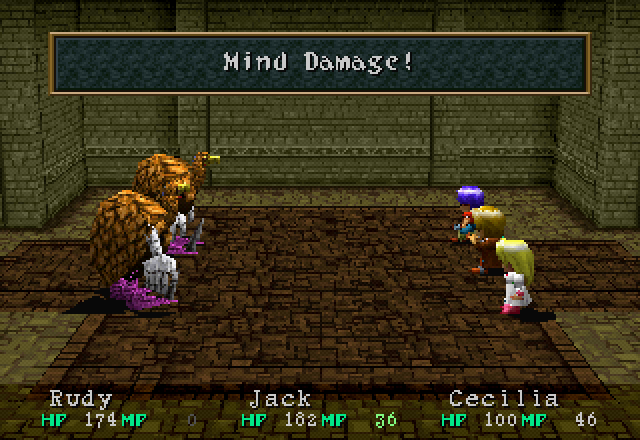
They’re also assholes who will damage your MP. This time, they mostly went after Rudy, who has no MP and thus is functionally immune.
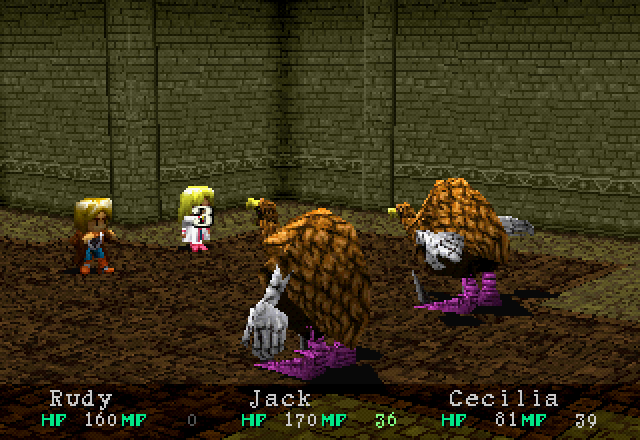
Although this is what happens when they target Cecilia or Jack. It may not look like much, but that’s exactly the cost of one Heal spell. You could say that it’s at least twice the damage of their base attack by that calculation.
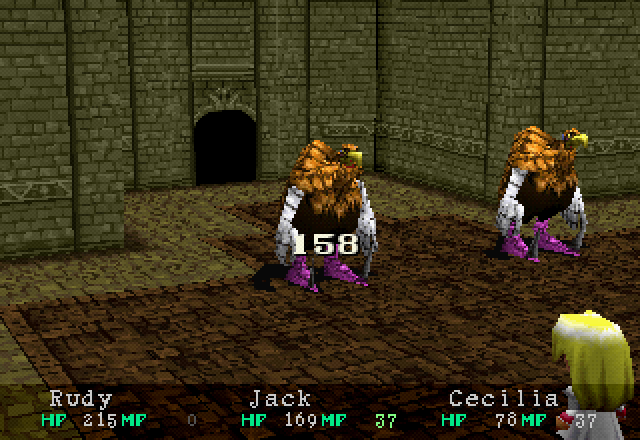
They’re weak to Fire, though, so Cecilia’s Flame spell messes them up something fierce. :getin:
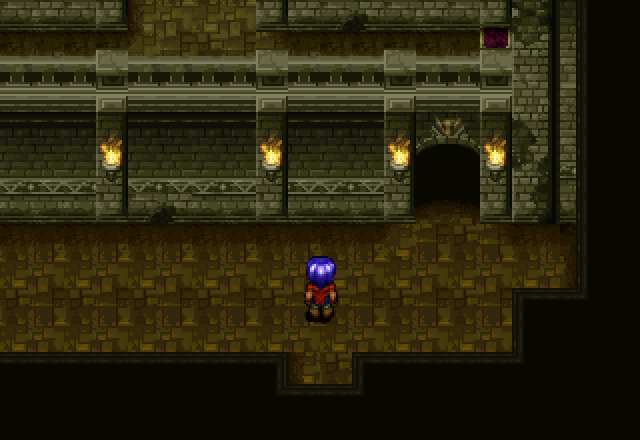
Through that door is a larger room.
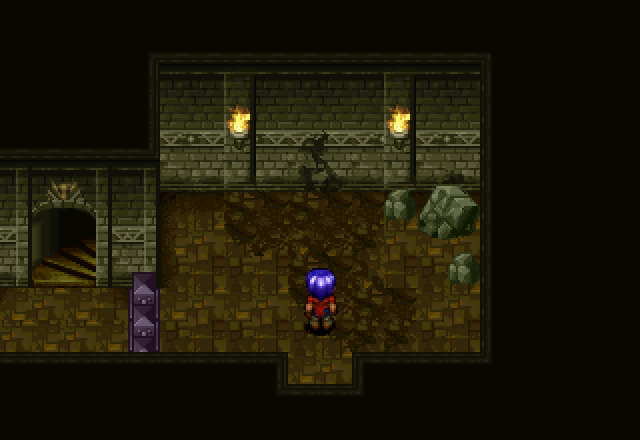
The door on the right leads us to an impassable fence and a bunch of rocks by the wall.
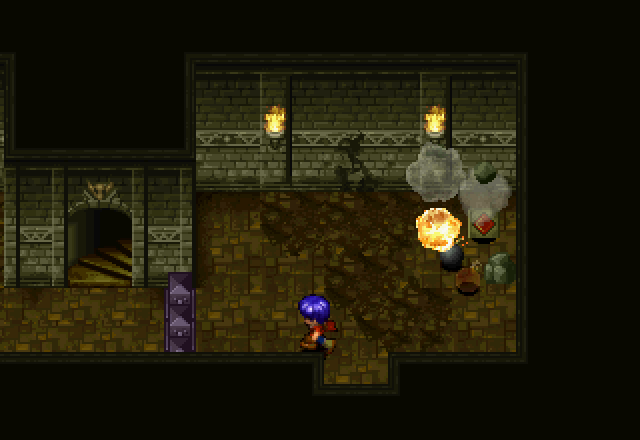
The answer, as always, is explosives. There’s a button under the large rock that retracts the fence.

Past that fence is our first exploding chest. Note the yellow-green coloration; this is common of all exploding chests.
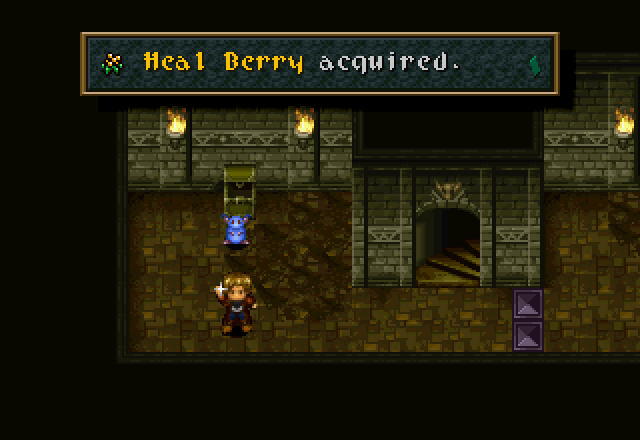
If you guessed that the correct way to open them was to use Hanpan, give yourself a pat on the back. I’ll give him this; the little guy is fearless.

Next, we head up the stairs to the right of the exploding chest. The treasure chest to the right contains 50 Gella.

Head left, bomb a rock, see the roadblock that would have stopped us if we had gone left from the entrance to the larger room. The button directly behind the fence lowers it, and no, Hanpan can’t slip through it. There is a ledge above the doorway there that we can jump down to get back there, however.
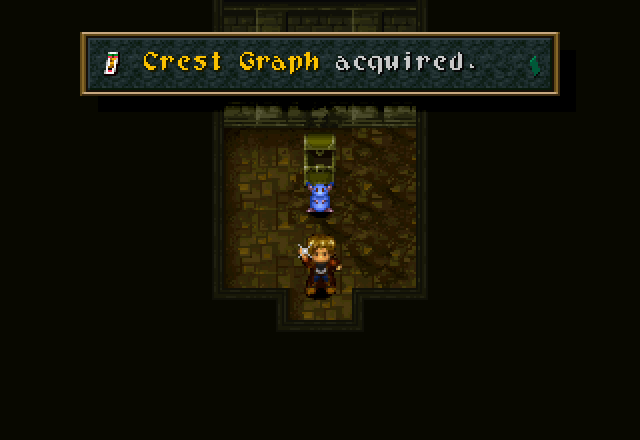
Through that doorway is a chest containing this Crest Graph.
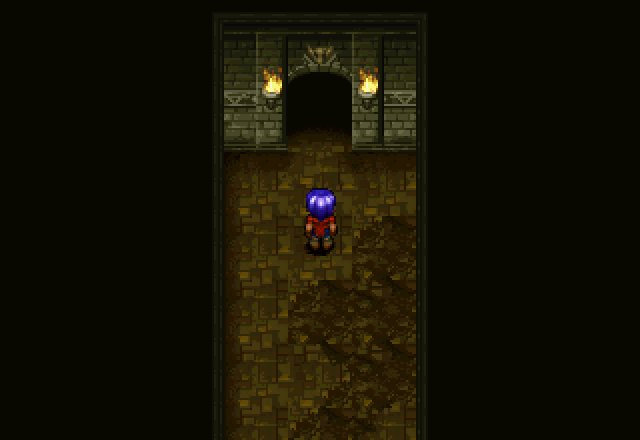
Just north of that doorway, we find another doorway on the upper level leading to this corridor.
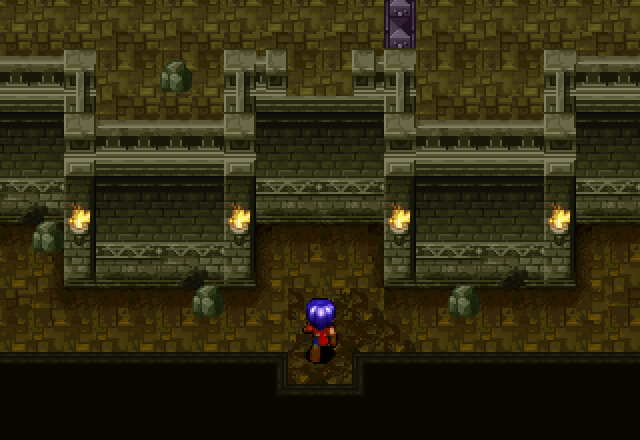
Which opens into this multi-tiered room with lots of ladders, rocks, and fences.
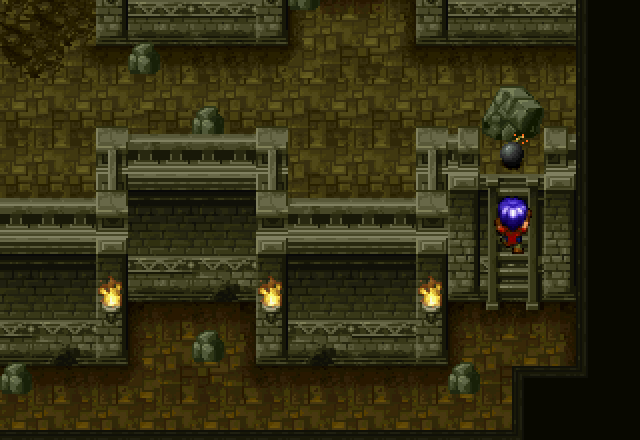
Head right, climb ladders, bomb rocks.

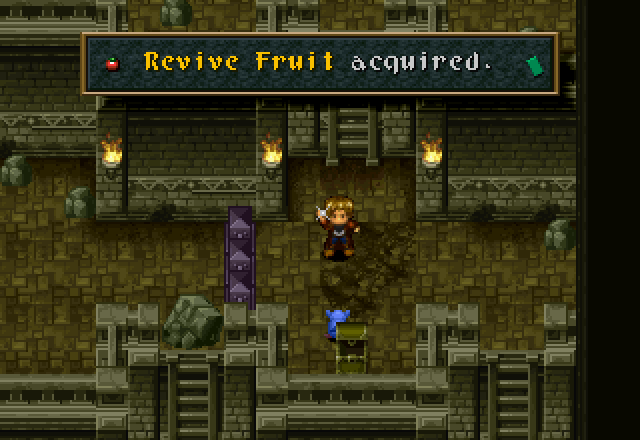
Continuing up, we find this. Revive Fruits do exactly what you think they do; revive someone whose HP hits 0. The manual calls that “Unable to Fight”, but since that’s a mouthful, I’m just gonna use “dead”.
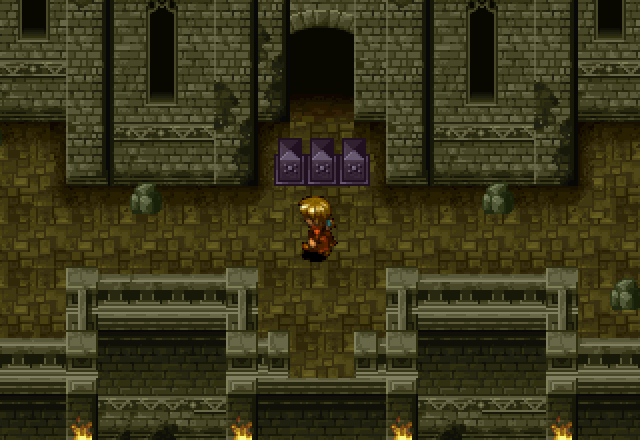
After going up one more level, we hit the top, and the only way to go is left. We find a door to the next area, but there’s a fence blocking it.
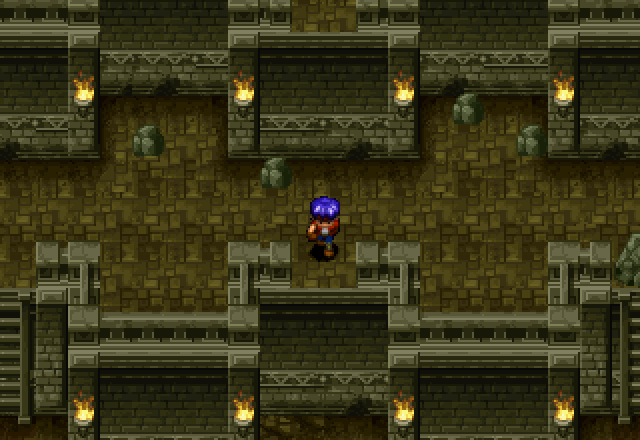
So we jump off that ledge in the middle, down to the third tier.
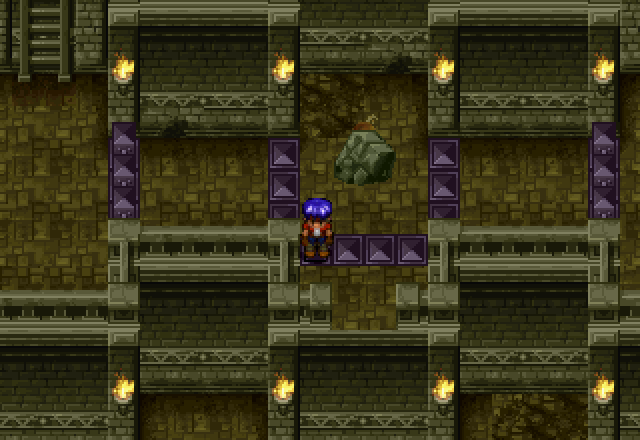
And down once more, to this rock with fences suspiciously positioned around it.

Bombing the rock reveals a button, which we activate using Hanpan, who can go through fences, but only to get back to Jack. This reverses the positions of all the fences in the room.

This allows us access to this chest over on the far left of the second tier.

And also to the door.
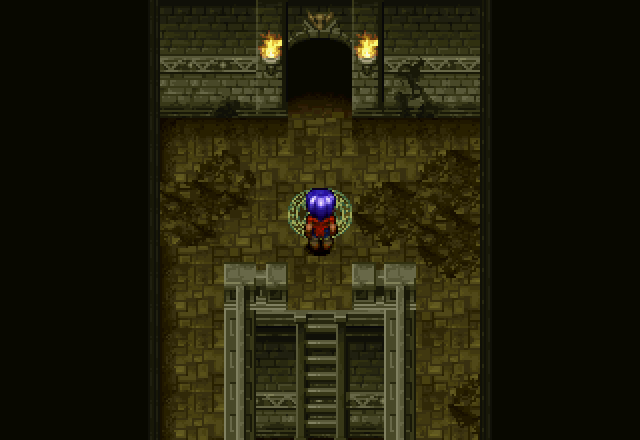
Proceeding on, we find a small room containing only a save point.
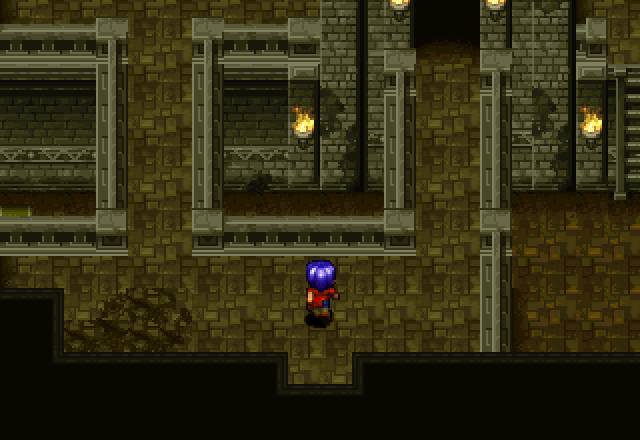
The next room opens up again, with two paths.

The left path leads up to this treasure chest, which I completely forget about, even after pushing the button to let the fences down. Whoops. 
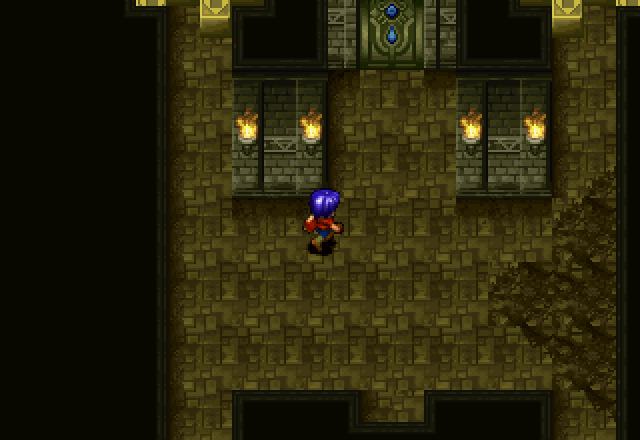
So we go through the right door instead.
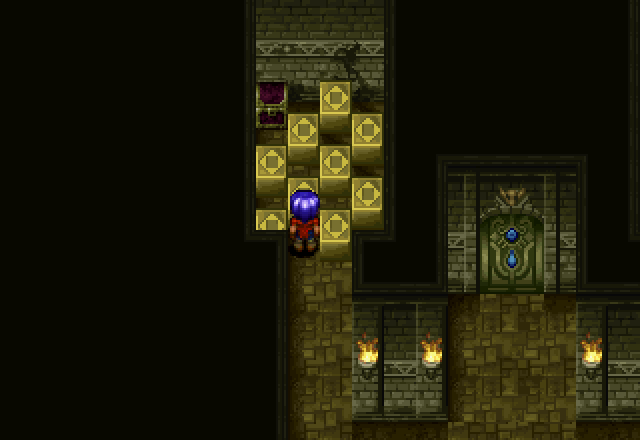
On either side of the Teardrop door are treasure chests blocked off (pun intended) by what can loosely be termed a “puzzle”.

Not that it’s difficult to figure out.

And here’s what was on the other side, because I know you guys were burning to know.
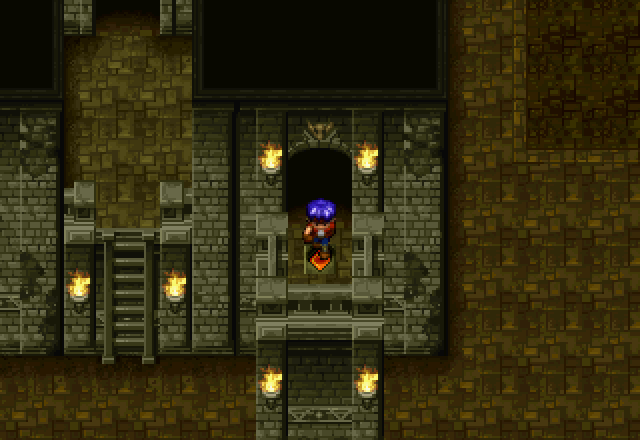
Out on the balcony in the front is a button, which is what lowers the fences around that treasure chest.
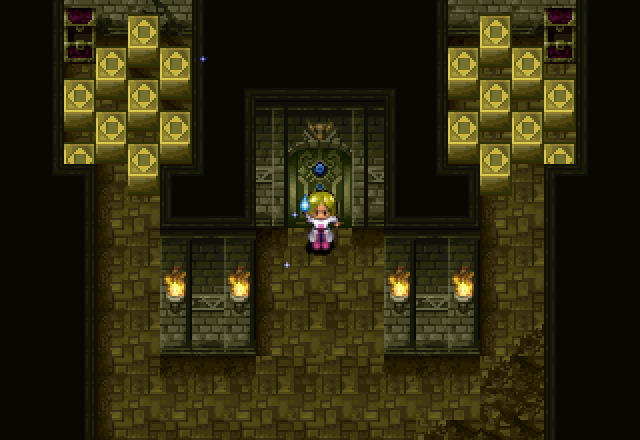
On the other side of the door sleeps a great power. The Tomb of Perpetual Sleep.
Through the Teardrop door, which is identical to the ones in the Sealed Library, we find a plaque and a message. Doesn’t mean a whole lot now, but we’ll keep it in mind.
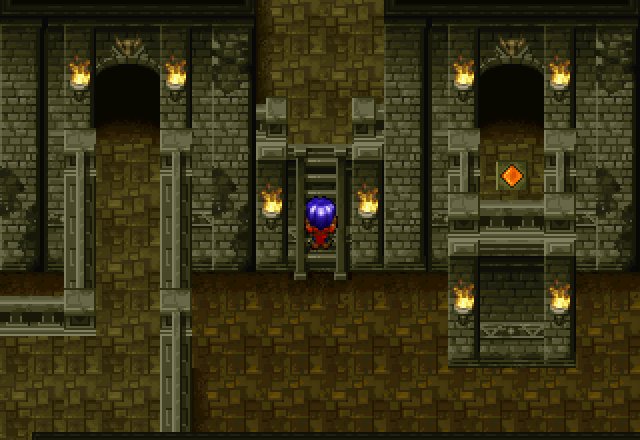
Back out through the Teardrop door and into the main room, we climb down to floor level.
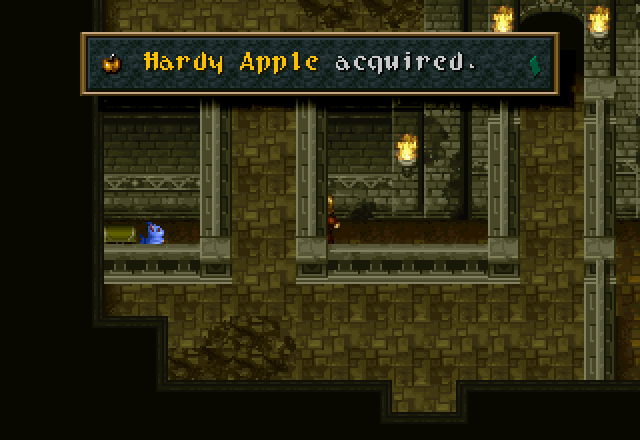
Hanpan opens another explosive chest for us.
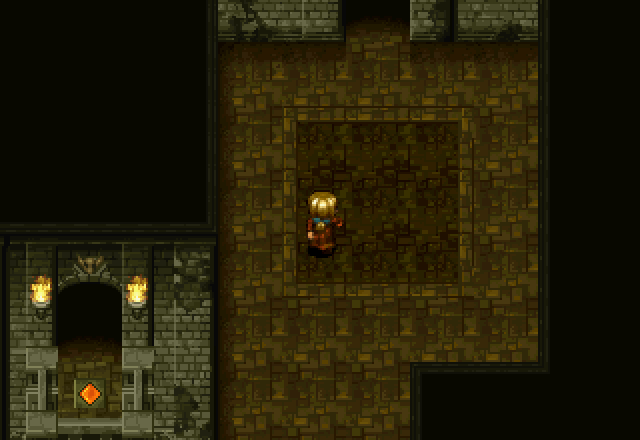
Over on the right side of the room is this door,

Which leads down this corridor,

And into this room with a devil statue. Just offscreen is an inaccessible platform with a door on it.

And on its back, a secret. As with the statues in Curan Abbey, you cannot find this switch before reading the plaque.
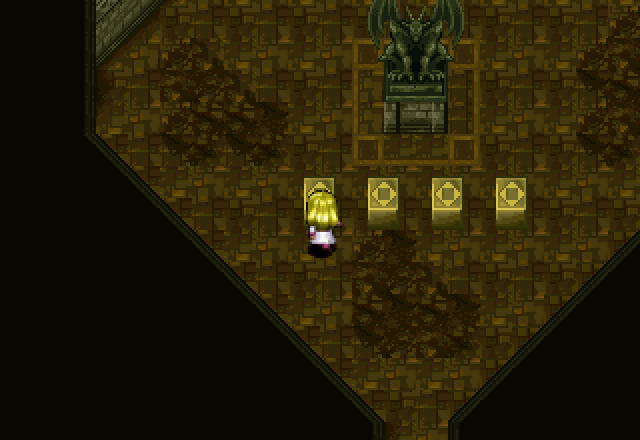
Pushing the button causes blocks to appear.
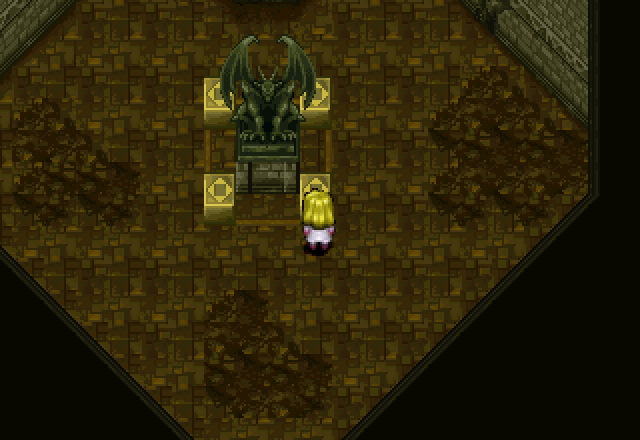
Pushing those blocks onto the boxes at the corners of the pattern at the statue’s feet…

…Causes the whole thing to disappear and a new platform to rise up out of the ground.
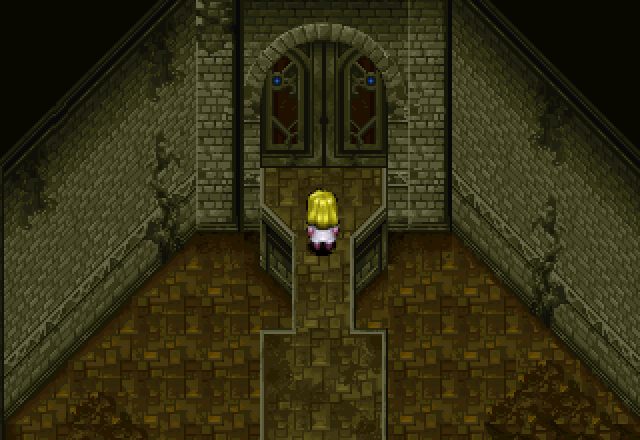
The door, which is now completely accessible, is magically locked and requires the Teardrop to open.
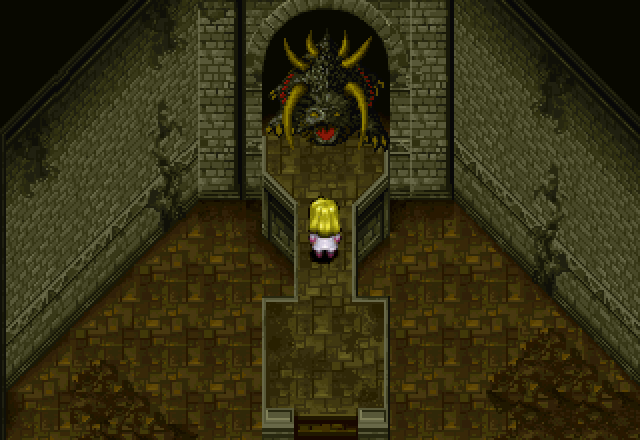
And when we do, out pops a monster!
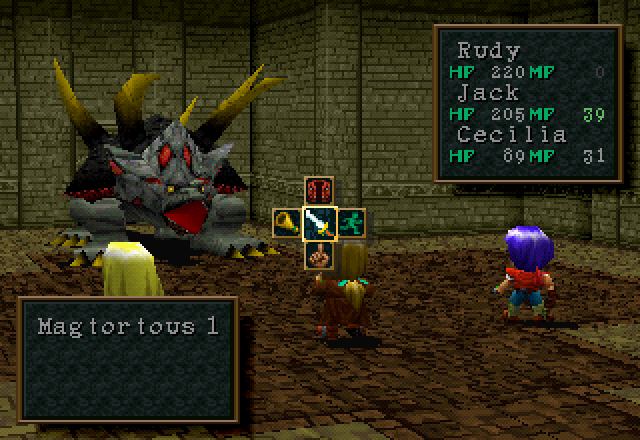
The Magtortous is the boss of Lolithia’s Tomb. It has 2,000 HP and two attacks.
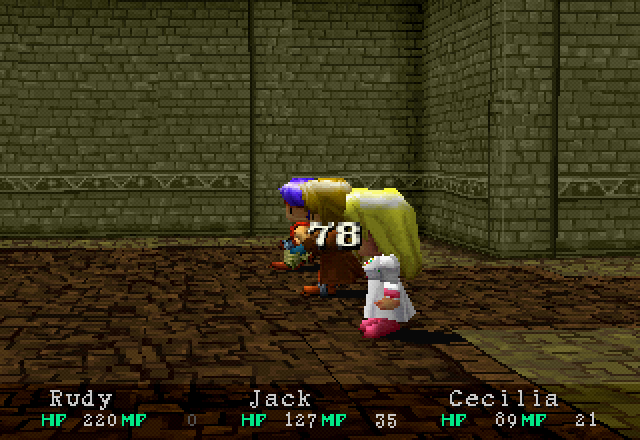
Its basic attack hits pretty damn hard.
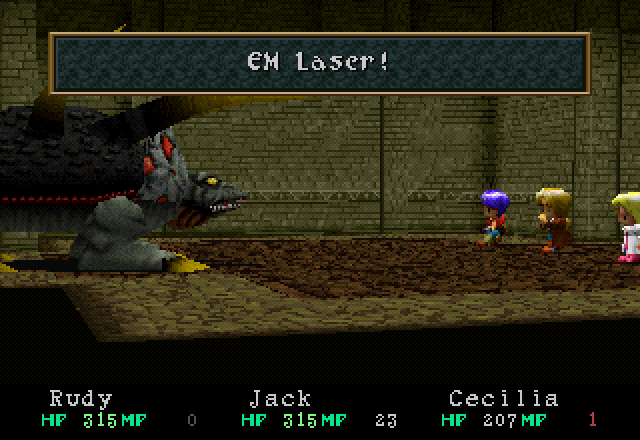

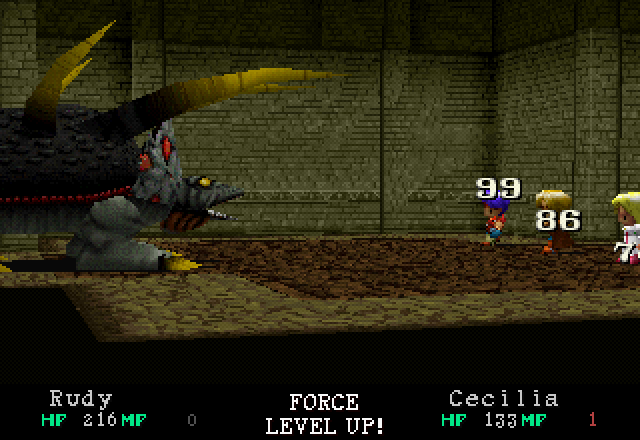
And it has EM Laser, which hits the entire party for roughly the same amount of damage. Rudy takes noticeably more due to his piss-poor MGR, while Cecilia actually takes very slightly less damage. It rarely uses EM Laser for about the first half of the fight, then switches to it almost exclusively in the second half.
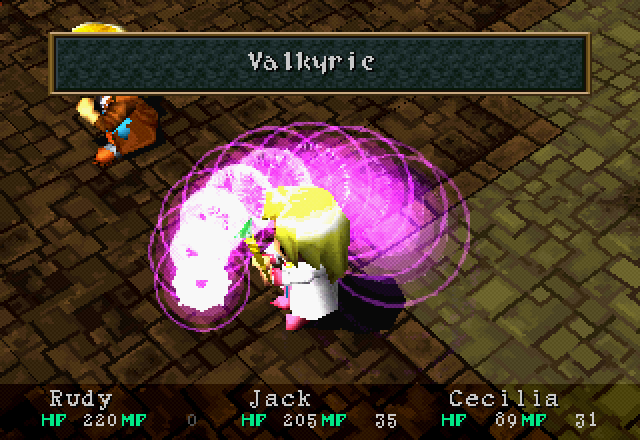
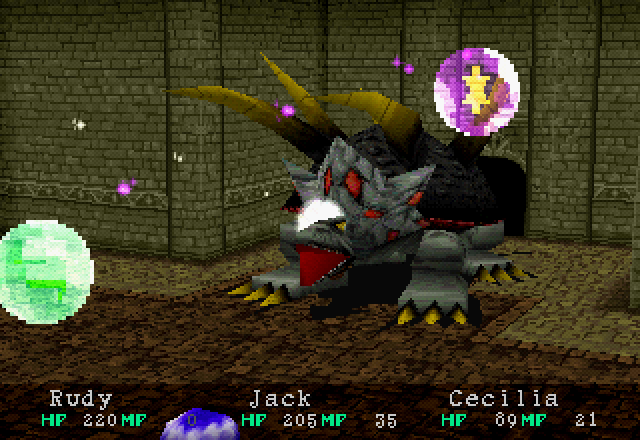
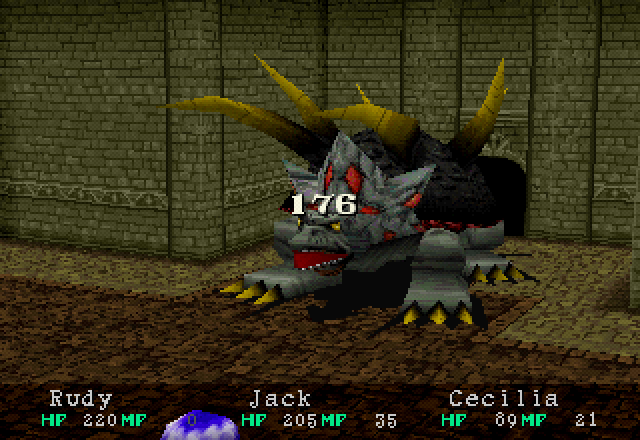
This is why I picked up Valkyrie. :unsmigghh: Technically it does a bunch attacks against random targets, but when there’s only one boss monster, they all target the one guy, and deal lump sum damage.

It deals about the same damage as Rudy’s ARM. Granted, I haven’t purchased any upgrades for it yet, but Valkyrie also scales with Cecilia’s SOR. It won’t be getting outpaced for a while yet.
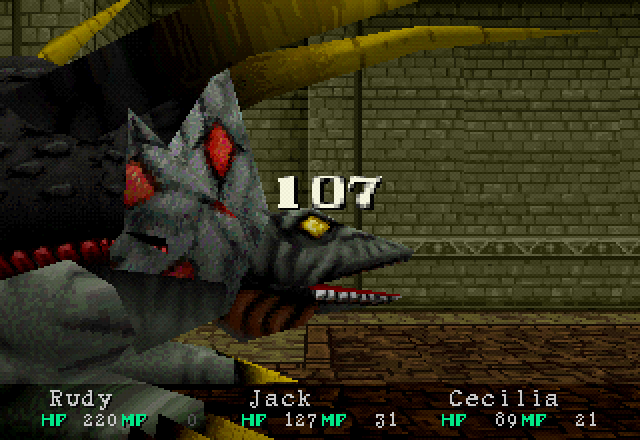
Surprisingly, and somewhat ironically given his high STR, Jack is the weak link in this fight. This is his damage from Psycho Crack. He gets relegated to healing duty mostly, due to always beating Magtortous’s initiative. He still gets in his fair share of damage, due to Heal Berries’ relative healing power.
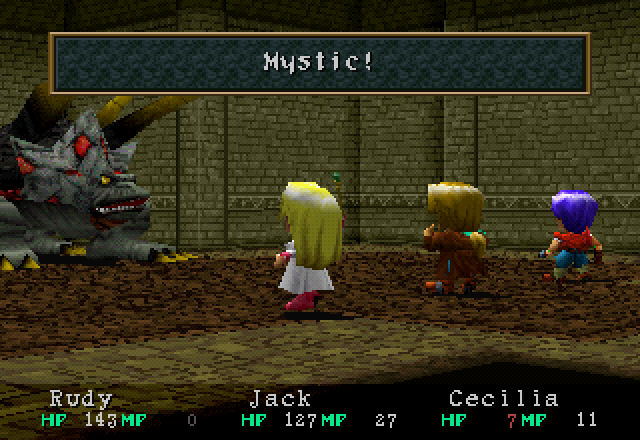
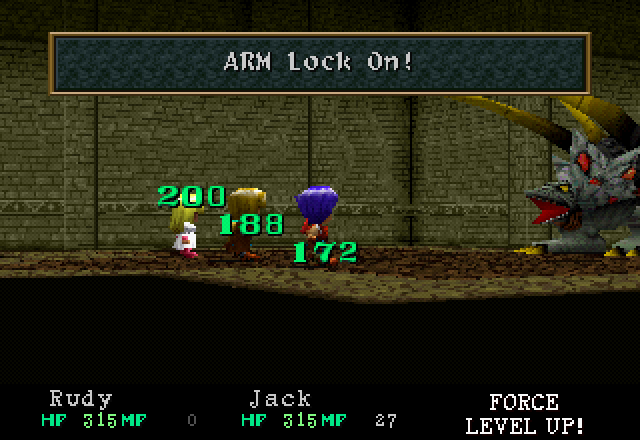
I do demonstrate Mystic using a Heal Berry towards the start of the fight, however, because I hadn’t done so thus far.

At one point in the fight, I try to have Jack use a Magic Carrot on Cecilia to see if the game would allow me to select the spell if healing was on its way, but it doesn’t work. I don’t know if I was thinking of another Wild Arms game or a game in another series entirely.
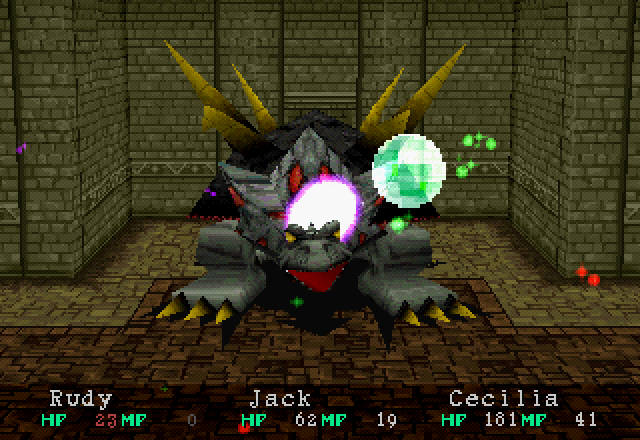
Cecilia lands the final blow with Valkyrie just as Rudy ends up at critical HP from EM Laser spam.
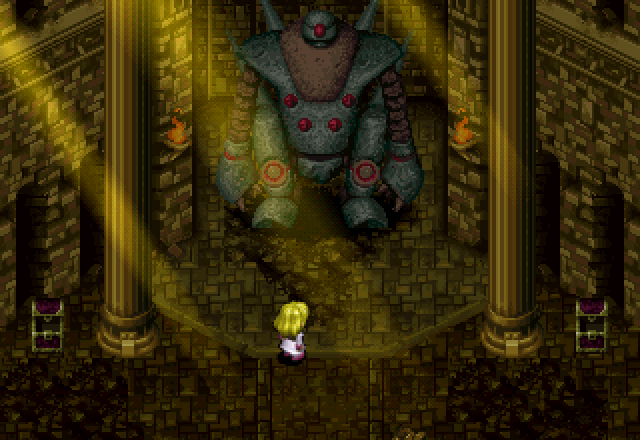
In the next room is this, which would seem to be our final objective. The treasure chests contained a Heal Berry and a Magic Carrot to replenish supplies used against the Magtortous.
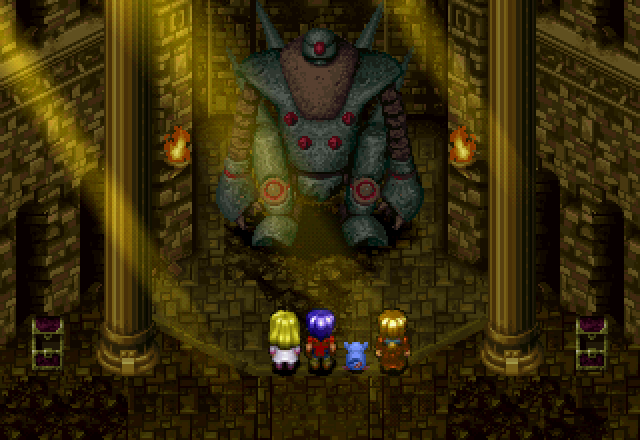
Everybody lines up to admire it.
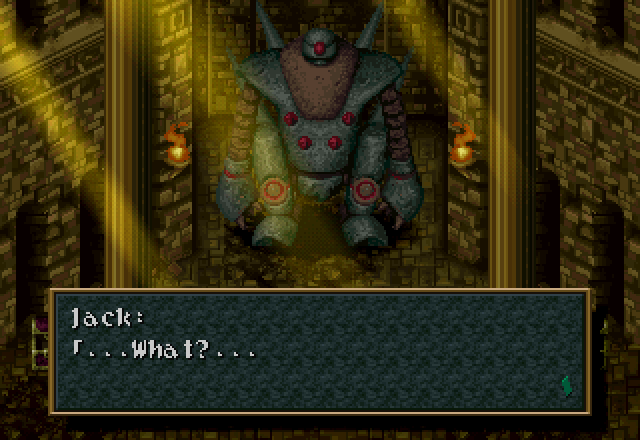
![]() … That’s the golem…
… That’s the golem…
![]() The same golem written about in the legend?!
The same golem written about in the legend?!
![]() Probably… In the ancient days, when Filgaia was surrounded by forests, it was said that there were eight weapons of the ancient giants. They were sealed away in some secret place after they nearly destroyed the world. Some of these weapons were found in ruins in this area. I had no idea that a golem was hidden near Adlehyde.
Probably… In the ancient days, when Filgaia was surrounded by forests, it was said that there were eight weapons of the ancient giants. They were sealed away in some secret place after they nearly destroyed the world. Some of these weapons were found in ruins in this area. I had no idea that a golem was hidden near Adlehyde.
![]() I wonder if the power in this tomb is different from the [Power] that I have been seeking all this time?
I wonder if the power in this tomb is different from the [Power] that I have been seeking all this time?
![]() The power we felt here was probably the golem.
The power we felt here was probably the golem.
![]() Geez! How am I supposed to use this? It’s huge! I can barely lift it!
Geez! How am I supposed to use this? It’s huge! I can barely lift it!
![]() He’s mad!
He’s mad!
 Jack, despite your STR being the best in the party, I’m pretty sure “barely” is a gross overstatement.
![]() Let’s get this over with. There’s nothing here for me!
Let’s get this over with. There’s nothing here for me!
Your level literally doubled in this dungeon, Jack.
![]() We must notify the professor about the golem.
We must notify the professor about the golem.
So we run back to the entrance to the ruins. It’s not that bad, actually; it’s pretty much a straight run.

![]() Then I was right in picking this site. I’m a genius! Oh… you guys are great, too! We can’t just sit around here. We must excavate it now! Take some of my crew with you to the site where you found the golem! I’m counting on you!
Then I was right in picking this site. I’m a genius! Oh… you guys are great, too! We can’t just sit around here. We must excavate it now! Take some of my crew with you to the site where you found the golem! I’m counting on you!
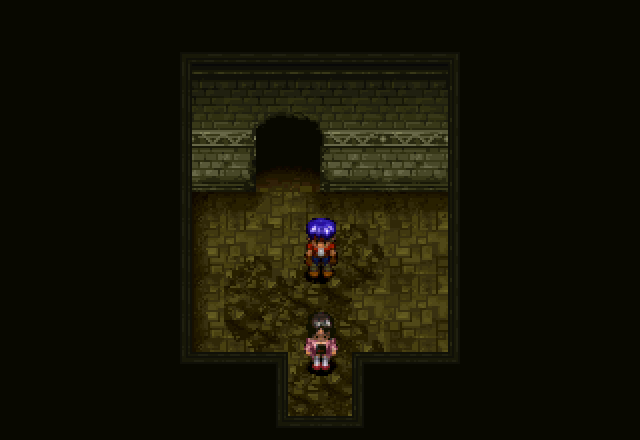
Then Emma leaves.
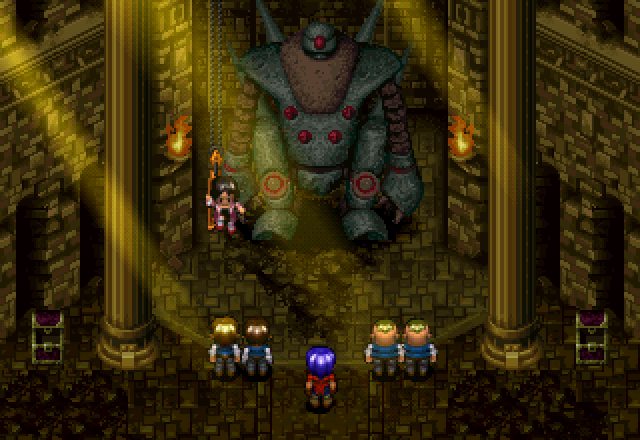
Back in the golem room, Rudy and a bunch of the crew watch as Emma lowers herself via crane into the ruins.
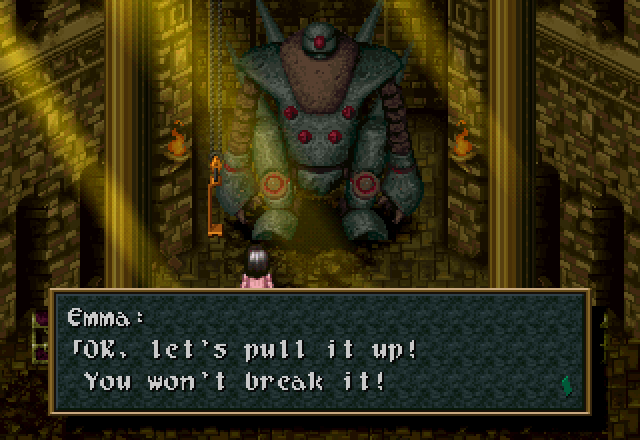
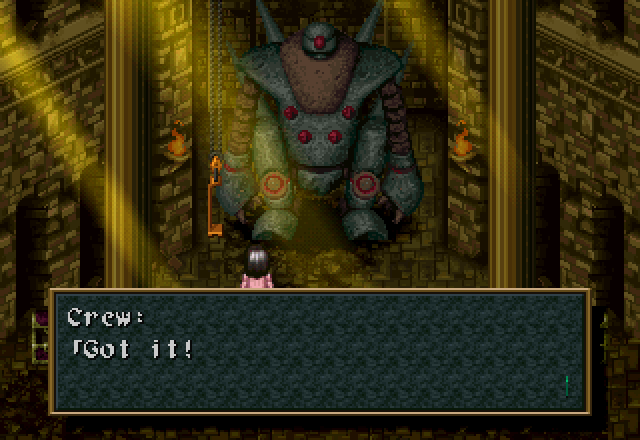
She hops off to give directions.
The crew gets to work,
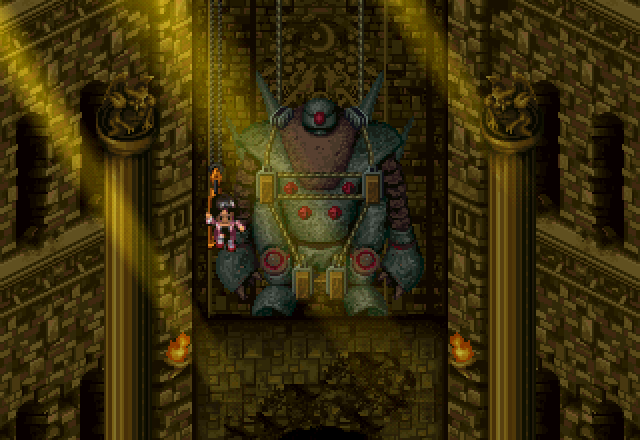
And then Emma and Lolithia are lifted up through the roof by crane.
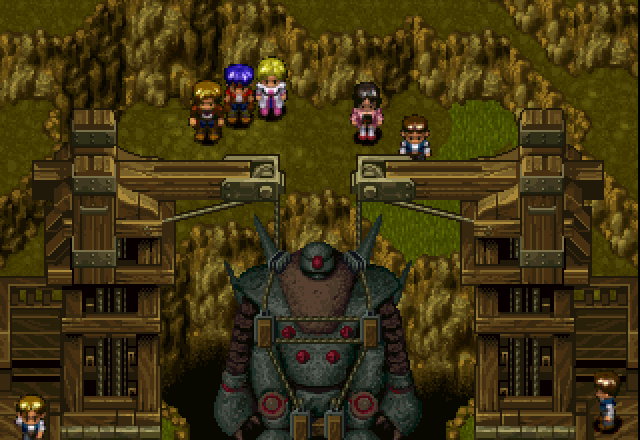
And then suddenly everyone’s outside. We get a nice unique map for this, even; it’s only ever used here, to my knowledge.
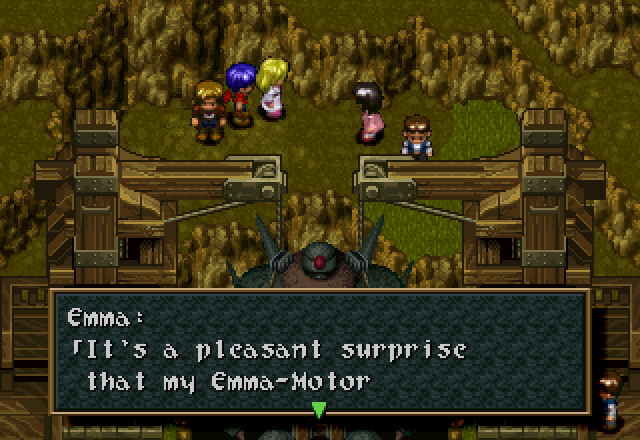
![]() was effective here. Thanks to you and my Emma-Motor, we were able to pull her out. Yes, this is [Lolithia]. One of the eight golems. Isn’t it cute? This thing is unbreakable. It’s still in mint condition and completely dormant. The reward of 500 Gella will be ready for you, but you have to come by tomorrow. I’ll be too busy preparing for the festival today.
was effective here. Thanks to you and my Emma-Motor, we were able to pull her out. Yes, this is [Lolithia]. One of the eight golems. Isn’t it cute? This thing is unbreakable. It’s still in mint condition and completely dormant. The reward of 500 Gella will be ready for you, but you have to come by tomorrow. I’ll be too busy preparing for the festival today.
I wonder if Jack helped pull it up? I mean, since he can “barely” lift Lolithia, we shouldn’t even need the Emma-Motor. Just, I dunno, use a couple of pulleys and fulcrums or something.
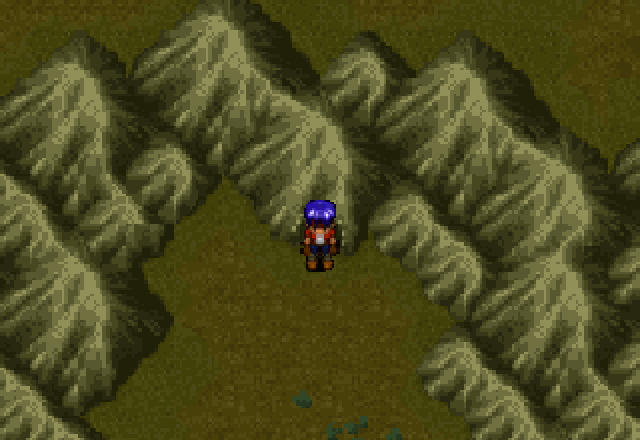
After the cutscene, we get plopped down right outside Lolithia’s Tomb. A short walk back to Adlehyde later…

![]() next ruin with Hanpan.
next ruin with Hanpan.
![]() We’re parting so soon?
We’re parting so soon?
![]() It’s the life of a [Dream Chaser] you know. Let’s get back to the inn, the festival starts tomorrow.
It’s the life of a [Dream Chaser] you know. Let’s get back to the inn, the festival starts tomorrow.
And that’s it for today. Next time, I go through Adlehyde for NPC dialogue… four times.
Part 5 - The Ruin Festival
Previously, we helped an engineer-archaeologist find a giant robot to be put on display at the Filgaia World’s Fair. Today, let’s actually go see the fair.
First, though, the higlights of the town NPC dialogue:
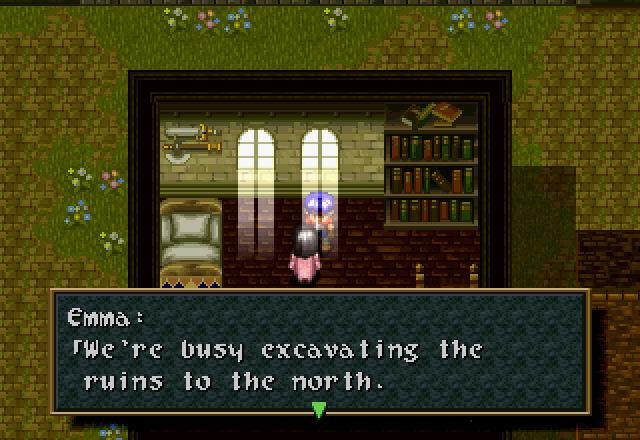
![]() The ground is so brittle we don’t know what will happen in the end.
The ground is so brittle we don’t know what will happen in the end.
Emma has different dialogue for each party member if they talk to her before the end of Rudy’s scenario. Remember, Rudy is the only one who gets access to the world map during his scenario.

![]() The place is full of traps. It took my workers many hours and we’ve achieved so little.
The place is full of traps. It took my workers many hours and we’ve achieved so little.
Lolithia’s Tomb had more rocks and switches than traps. Now the Temple of Memory, that had traps.
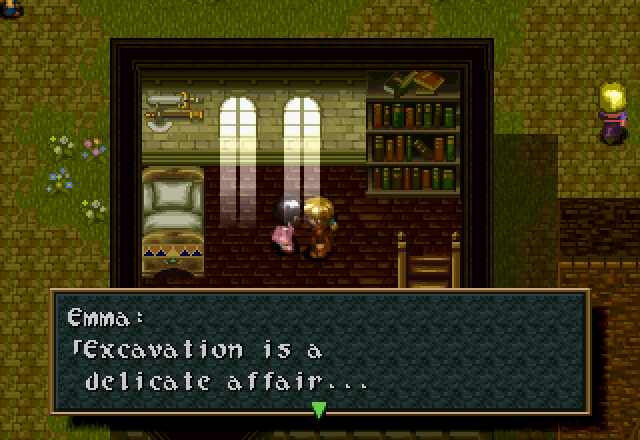
![]() Especially when a site is on soft ground, like the site we’re working at now.
Especially when a site is on soft ground, like the site we’re working at now.
And this book on her bookshelf, telling us a bit about ARMs:

To operate an ARM, the user must synchronize with the machine completely. That is why the military models are fussy about who they synchronize with.
So it’s not just about pulling the trigger; ARMs are at least semi-sentient and need to work with you, and weapons especially tend to be choosy about who gets to use them. Either that or it’s the book having to explain the concept of fingerprint locks to a society of technophobes who are just re-discovering the diesel engine.
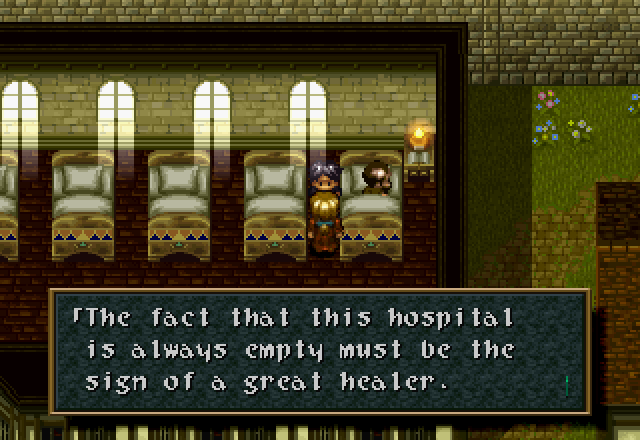
There was a side story in Alter Code: F about how terrible of a doctor this guy is; that old man in bed next to him is sick or injured for the entire game due to his incompetence. The hospital was instead empty because everyone was afraid to put themselves under his care. Having played that, I now see this line in a different light, although I’m pretty sure that’s not the intended interpretation in this game.
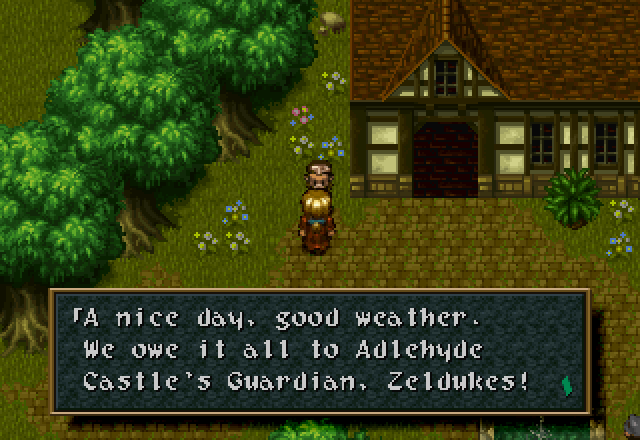
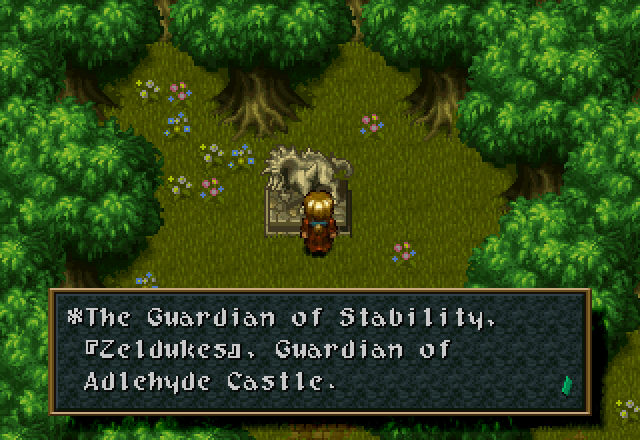
We find out about a new Guardian from this man, and can see a statue dedicated to it in the northwest corner of the city. Even if you go examine it with Cecilia, though, no Guardian will speak to her. Maybe this one’s dead?
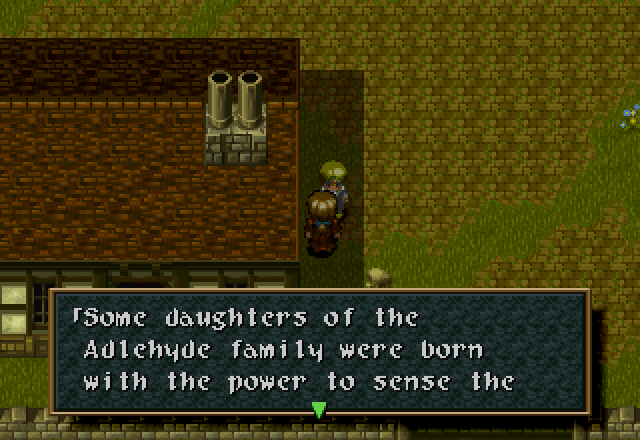
![]() will of the Guardians. Is the power of the Guardians fading away?
will of the Guardians. Is the power of the Guardians fading away?
And there’s this woman, who knows a bit about the royal family. I’m not sure if she’s saying “But since the Princess hasn’t been able to do that yet, I think we might be in trouble” or if she’s just questioning the Guardians’ strength in general.
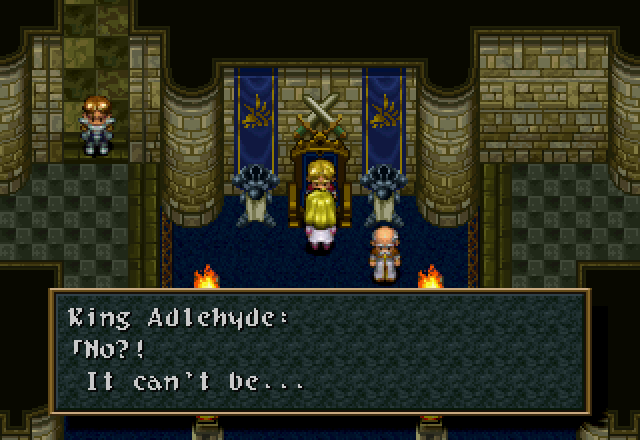
![]() Sssshhh! I’m back father… No one recognizes me. It’s fun to be anonymous. You don’t mind, do you?
Sssshhh! I’m back father… No one recognizes me. It’s fun to be anonymous. You don’t mind, do you?
![]() Why are you back so early? The festival isn’t open yet.
Why are you back so early? The festival isn’t open yet.
![]() I have my reasons… And I don’t particularly want everyone making a big deal.
I have my reasons… And I don’t particularly want everyone making a big deal.
![]() You’ve never liked crowds. I remember that. It’s been 10 years… Look how you’ve grown! You look just like your mother.
You’ve never liked crowds. I remember that. It’s been 10 years… Look how you’ve grown! You look just like your mother.
![]() Let me remain anonymous until the start of the festival.
Let me remain anonymous until the start of the festival.
And if Cecilia talks to the King before Lolithia’s Tomb, they also have special dialogue.

![]() He has a sense of humor, but you must never forget to show proper respect.
He has a sense of humor, but you must never forget to show proper respect.
Whereas Minister Johann apparently doesn’t recognize the princess after her ten-year absence, because this is the same dialogue he has for everyone else.
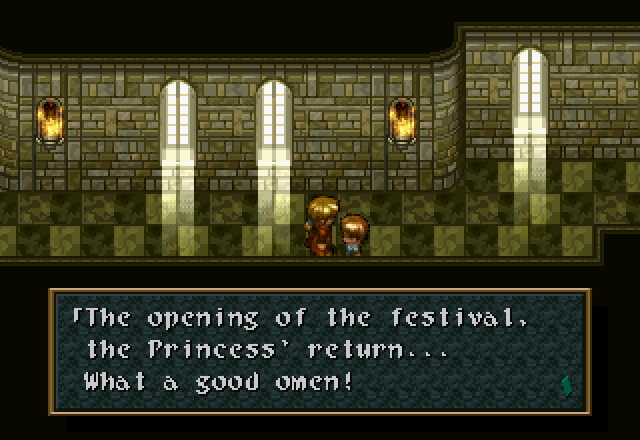
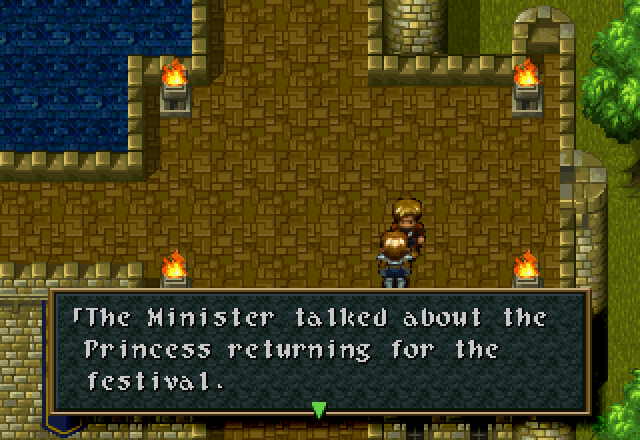
![]() I wonder what she’s like. I’m new here, so I don’t know much about her.
I wonder what she’s like. I’m new here, so I don’t know much about her.
A few of the guards will remark that “the princess is coming back for the festival” and will say that to Cecilia’s face, as well.
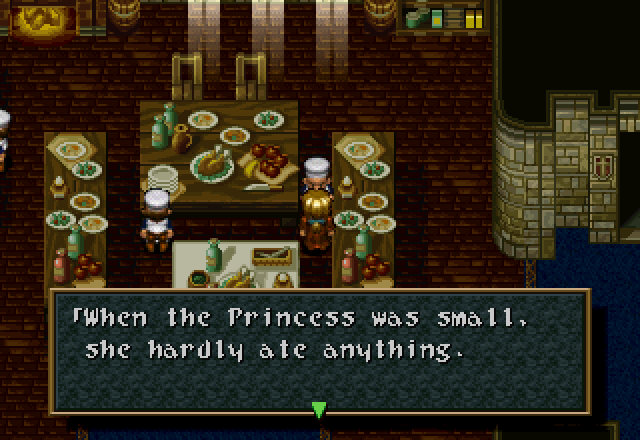
![]() We had to bend over backwards just to feed her.
We had to bend over backwards just to feed her.
As well as these castle chefs. Maybe you’re just not as good as the guy over in the Abbey, ever think of that?
![]() A few years back, the Kingdom of Arctica was destroyed overnight.
A few years back, the Kingdom of Arctica was destroyed overnight.
Things seem to be getting worse in Filgaia. I wonder what could destroy an entire kingdom so quickly, though?
We have another Calamity Jane fanboy, this one among the castle guards.
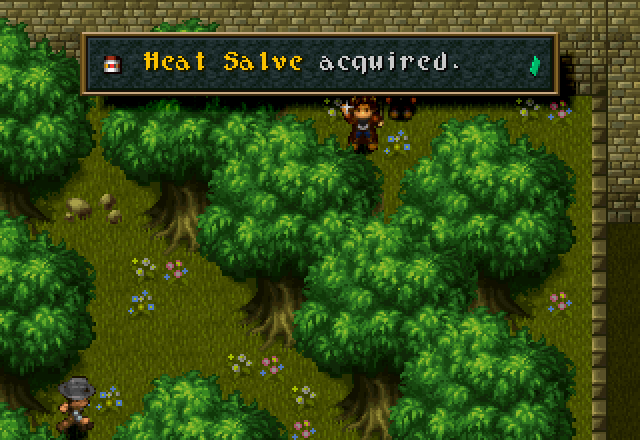
As for items in the town, this is in the northeast corner of town.
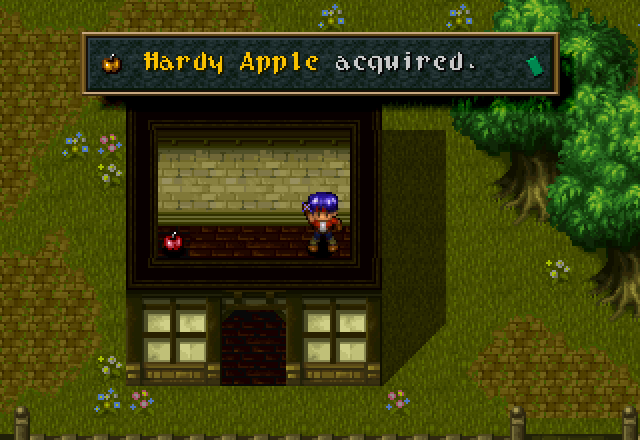
A couple of stat-boosters (Power and Hardy Apples) in crates in a random building (warehouse?).
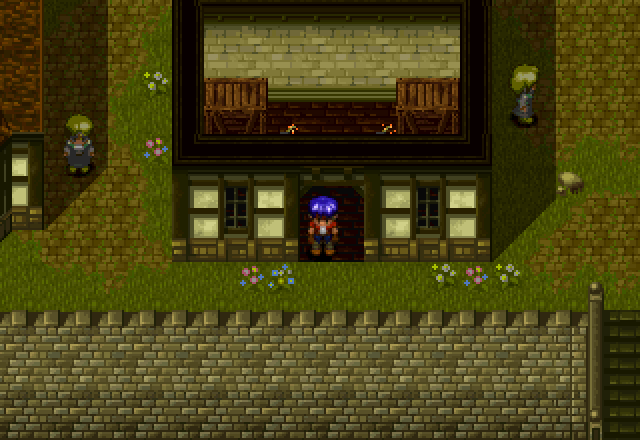
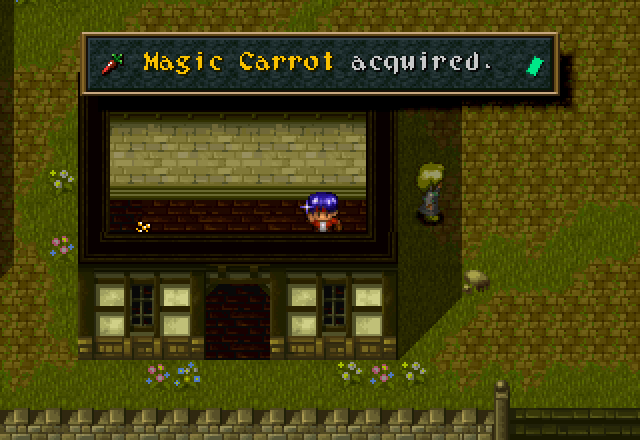
And a Magic Carrot and a Heal Berry in these crates.

If anyone was wondering why I had a spare Crest Graph back in Cecilia’s scenario, I got it here, just outside Adlehyde Castle.
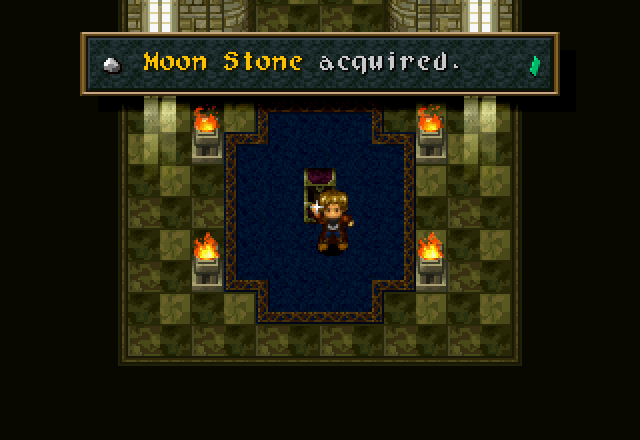
I also pick up this near the kitchens. The Moon Stone is a left-hand item that anyone can equip, and it will make that character immune to the Poison status effect. We haven’t seen anything that can actually inflict Poison, so I haven’t used it.
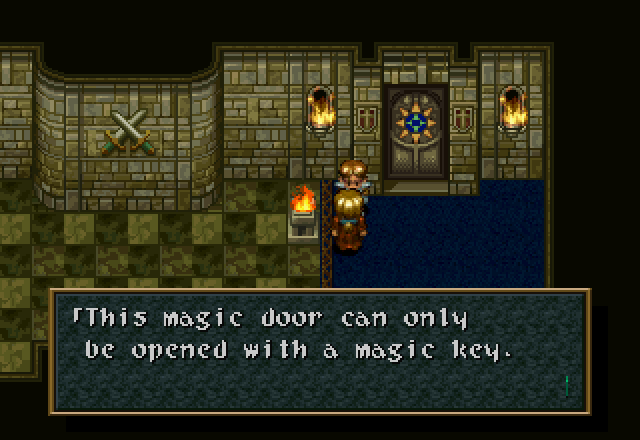
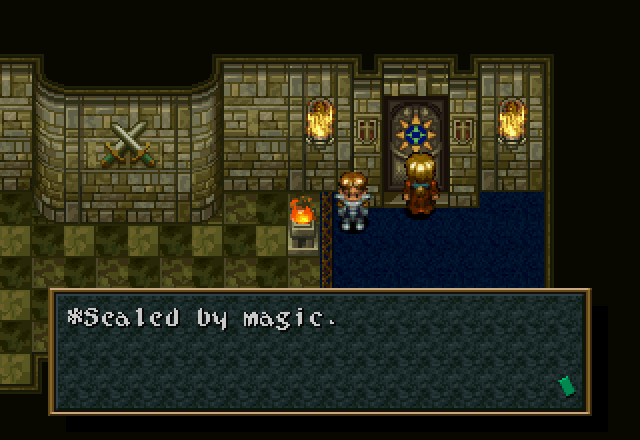
While this door in the castle is locked. The Tear Drop doesn’t work, so we can’t get this door open right now.
And that’s it for the particularly interesting stuff.
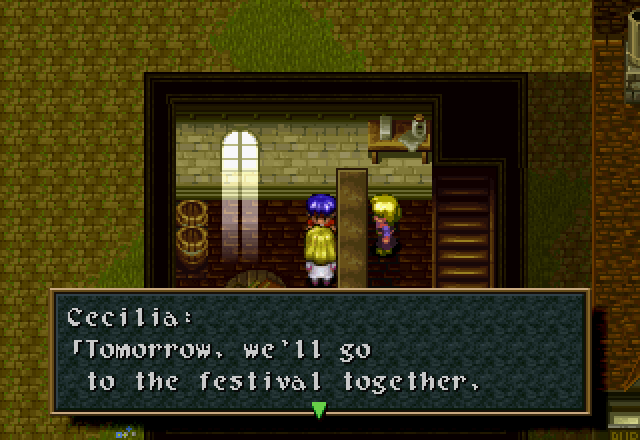
![]() but I have to get going now… I have no idea why I was summoned to the north ruin. But, I’m glad to know I was of some help. After I go, I might not be able to travel with you… But I will never forget our adventure. I hope you guys will treat me the same way I’ve treated you.
but I have to get going now… I have no idea why I was summoned to the north ruin. But, I’m glad to know I was of some help. After I go, I might not be able to travel with you… But I will never forget our adventure. I hope you guys will treat me the same way I’ve treated you.
We actually do need to stay at the inn in order to progress, and unlike many other games, there’s nobody to cover the cost. But when you do, Cecilia says this, and then departs.
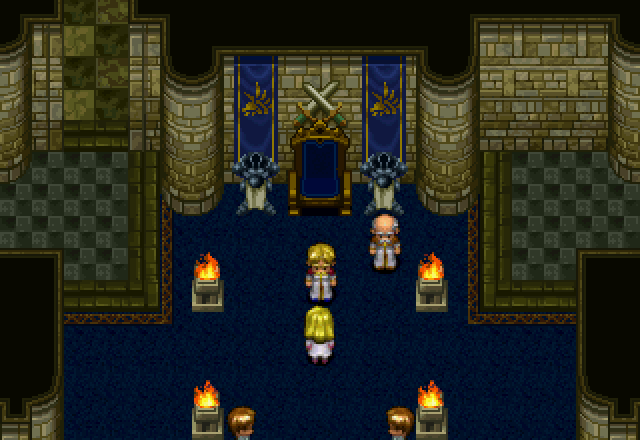
She heads off to the castle, where she “officially” meets her father. There’s no dialogue in this scene.

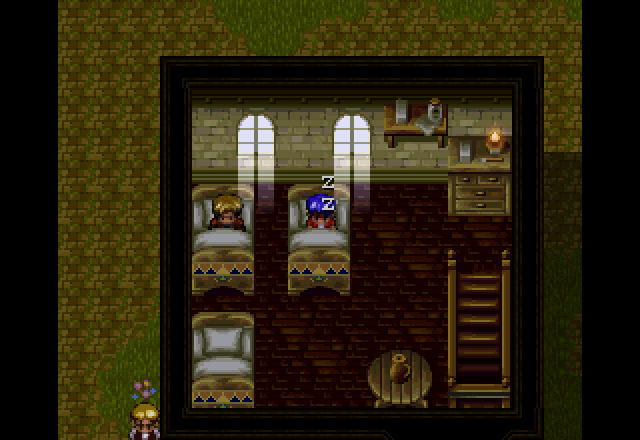
And, the next morning…
Music - Ancient Civilization Exhibition
I first make the rounds before heading off to the fair. The highlights:
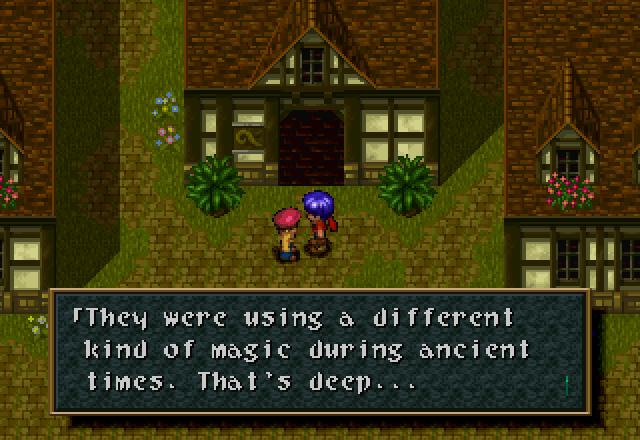
I’m not sure if he’s referring to actual magic, or just sufficiently advanced technology, because I’m pretty sure they had both 1,000 years ago. The devs certainly went whole-hog on the “lost civilization” trope in this game.
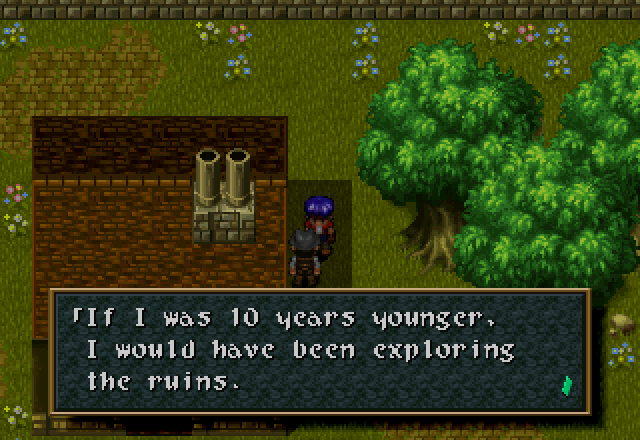
Sure you would, man.
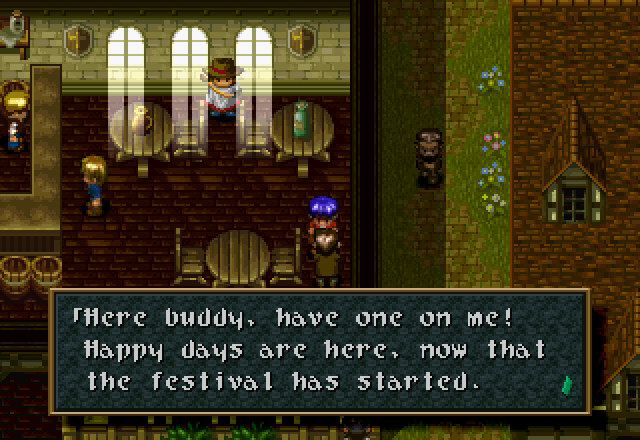
I’m pretty sure Rudy’s underage. Jack’s probably okay, though.

I know that pain, man. Unless I specifically put in for vacation, I will end up working almost every holiday each year.
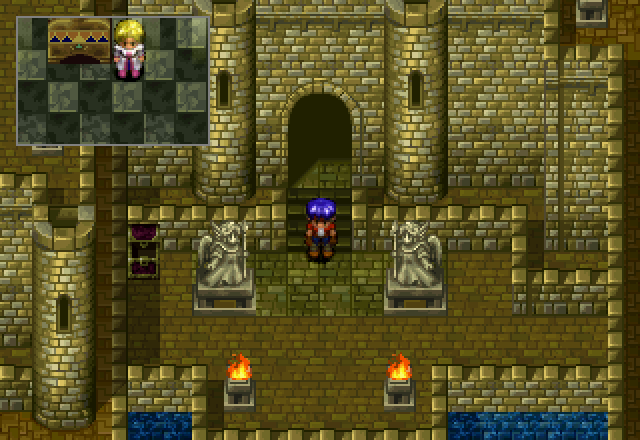
If we go into the castle, we can see that Cecilia’s in there, but she’s not in any part of the castle we can reach (yet).
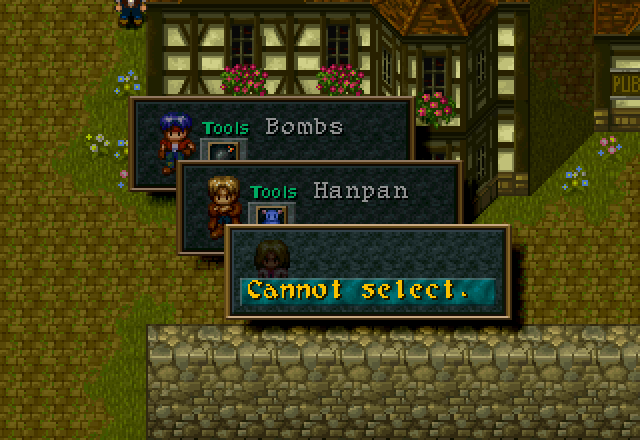
And she’s also not selectable at the Memory Bird.
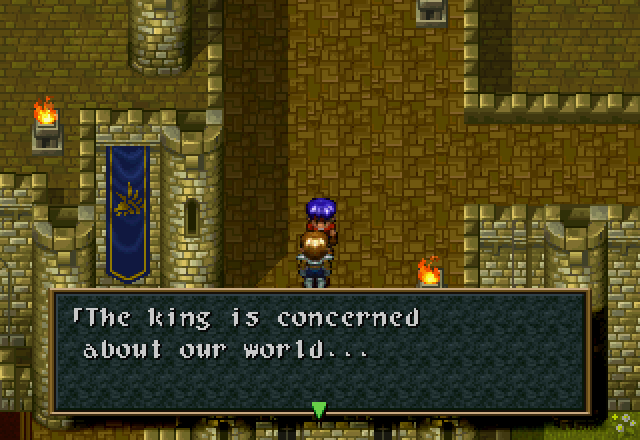
![]() His quest for the ancient knowledge is based on his belief that it will help in stopping the deterioration.
His quest for the ancient knowledge is based on his belief that it will help in stopping the deterioration.
The game is not shy about letting you know that Filgaia is a planet on the decline. I suppose you could consider Wild Arms post-apocalyptic as well as a Western, which makes it one of the only examples of that former genre that I have experienced.
I also stopped to upgrade Rudy’s Hand Cannon a bit with some of the money from Lolithia’s Tomb. I forgot to grab a screenshot of the end result, but I upgraded ATP once (5 points), Accuracy three times (2 points each, for a total of 6 points), and bullets twice (for 2 extra bullets). Final stats: ATP 15, Accuracy 91%, and 10 Bullets.
Over to the festival…
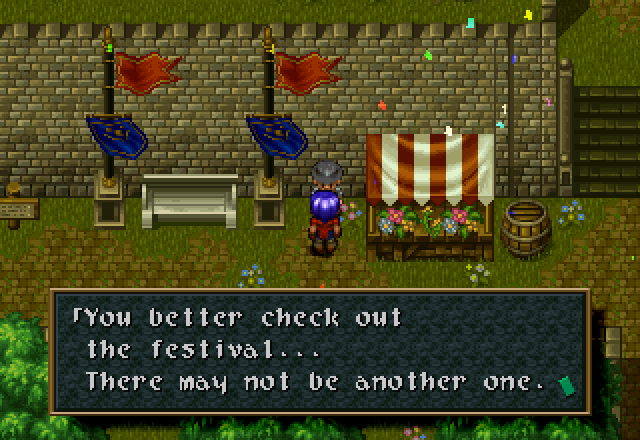
You’re acting like this is a once-in-a-lifetime event. Like some sort of millennial fair or something. But we’ve done a job, and should go get our pay.
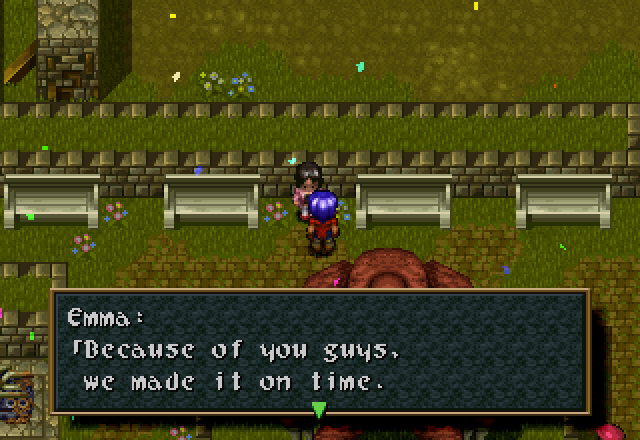
![]() Here is the payment.
Here is the payment.
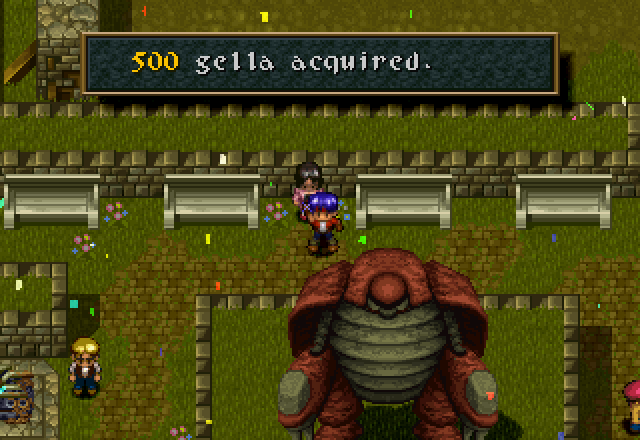
![]() There’s a lot to see here… I’m sure you’ll see something that interests you.
There’s a lot to see here… I’m sure you’ll see something that interests you.
500 Gella is a bit of a rip-off, but since we also got plenty of money off the actual monsters, I guess it’s fine. IIRC, even after taking her as a party member and the attendant pay dock in Alter Code: F, she still pays something like twice what she does in this version. Now that we have some pocket change jingling around, let’s check out the fair. Starting with the exhibits first:
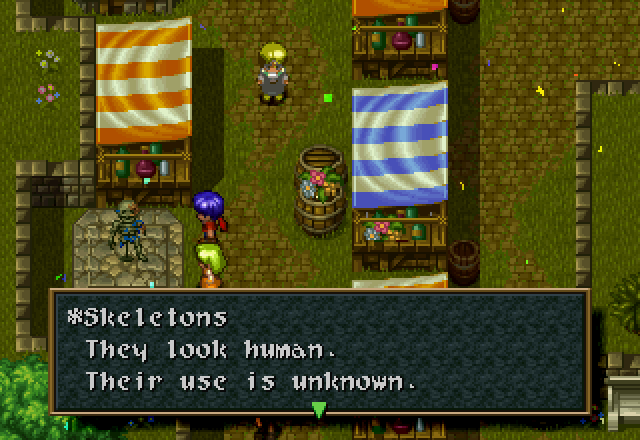
I’m guessing that the implication here is supposed to be that these are not ordinary human skeletons, and that they’re made of some non-standard material, like metal. Because I’m pretty sure they know what the normal kind are for.
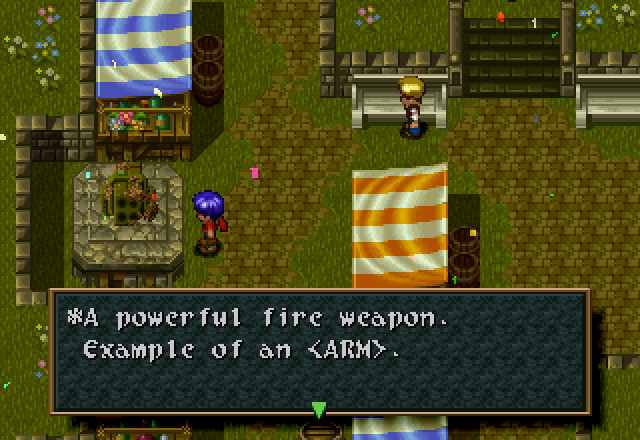
Pseudo-sentient it is then. Don’t expect me to be transcribing dialogue for Rudy’s Hand Cannon, though.
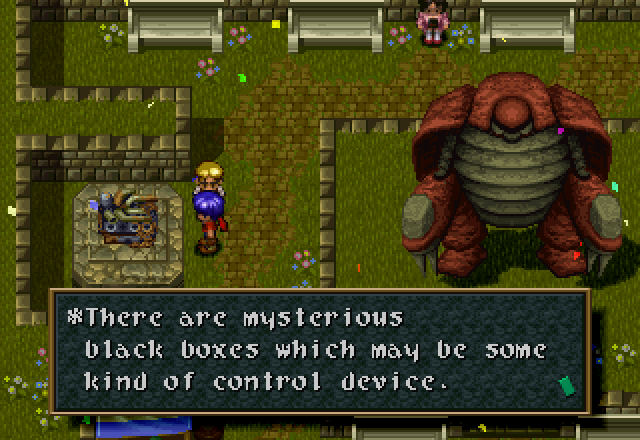
“Black box” is a term for a data recorder, not a control mechanism, though?
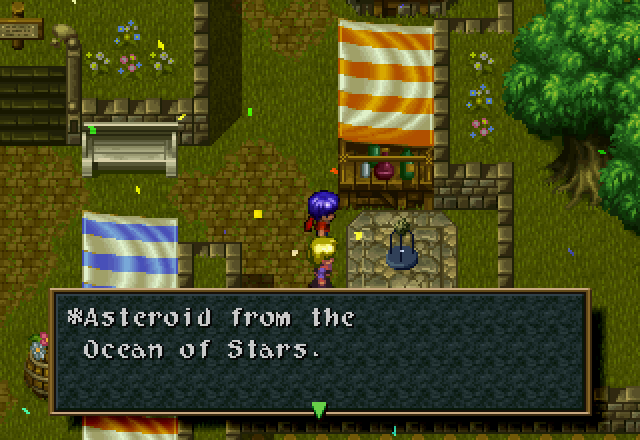
I suppose an asteroid crashing into Filgaia would provide plenty of raw material for building shit. Those things are huge. Epoch-ending big.
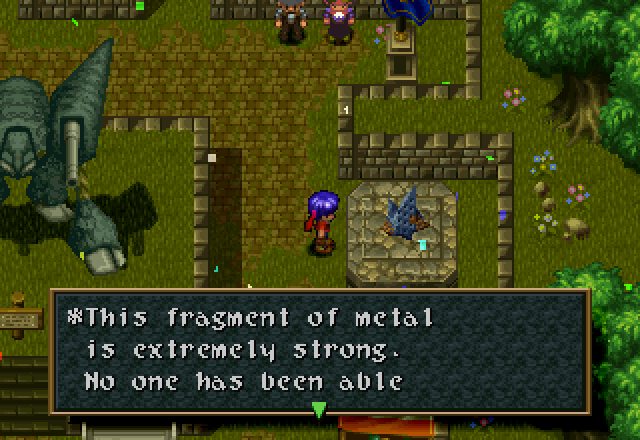
to duplicate it.
And now for the main attraction: the three Golems.
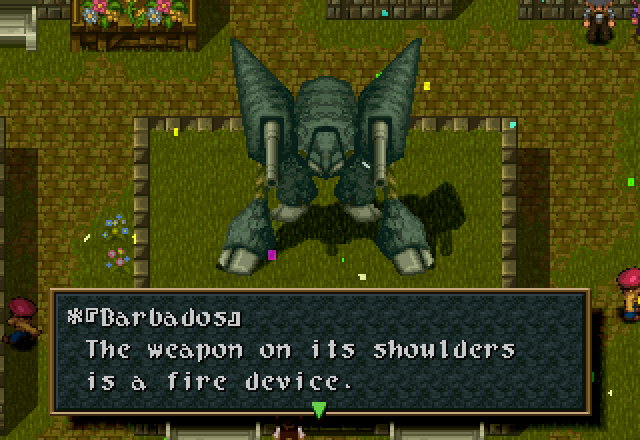
Hard armor reminds one of some indestructible fortress.
Excavation: Ocean of Sand
Height: 62 feet (w/o weapon)
Weight: 210 tons
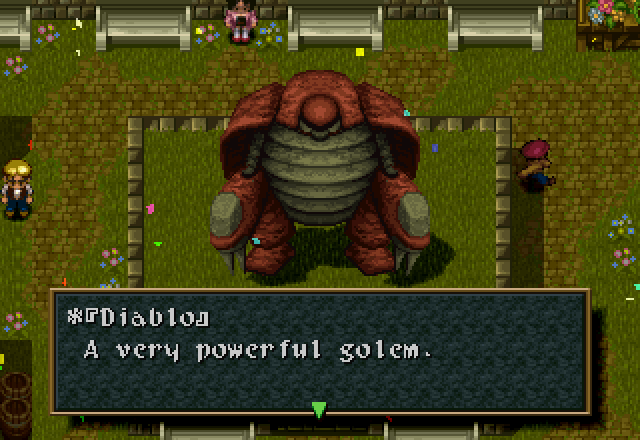
A flame thrower for close combat.
Tough, but agile armor. Good hand to hand abilities. Nicknamed the [Crimson Wind].
Excavation: Arctica
Height: 53 feet
Weight: 160 tons
If Diablo here was excavated in Arctica, it was presumably before the kingdom was wiped off the map one day. Also, if you ask me, Diablo looks more like the fortress and Barbados looks more agile, but you do you Wild Arms.
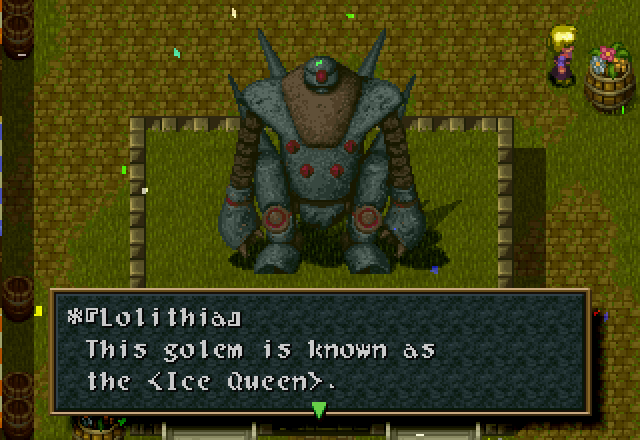
In ancient legends, it froze the enemy demons to death.
Excavation: Near Adlehyde
Height: 53 feet
Weight: 120 tons
Interesting how Lolithia uses different than Diablo for her nickname. I wonder if it means anything, or if it’s just a localization gaffe.

![]() Some people fear these artifacts as much as they fear the demons.
Some people fear these artifacts as much as they fear the demons.
Yeah, and there were people from Surf who wanted to come to this festival. They’d have been shitting themselves with fear and rage. It would be like fundamentalist Christians getting in line at a Satanist convention.
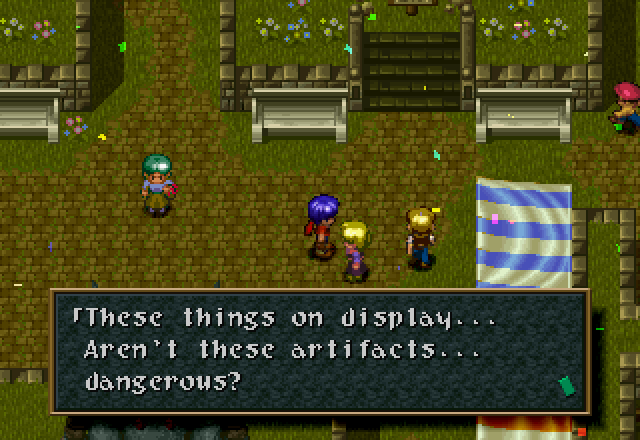
Like this woman, although she seems more “mildly concerned” than “afraid”.

![]() Now, they’re broken.
Now, they’re broken.
Although this kid apparently isn’t one of them.
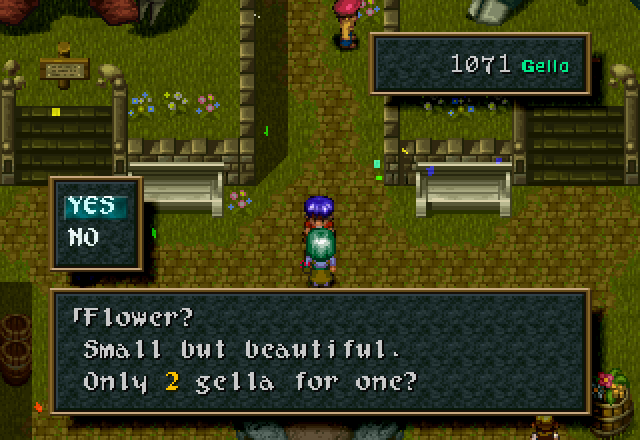
This flower girl sells her wares for 2 Gella. That’s chump change; we could buy 250 of them with our “pay” from Emma alone, and as far as I could tell, she doesn’t have a limit.
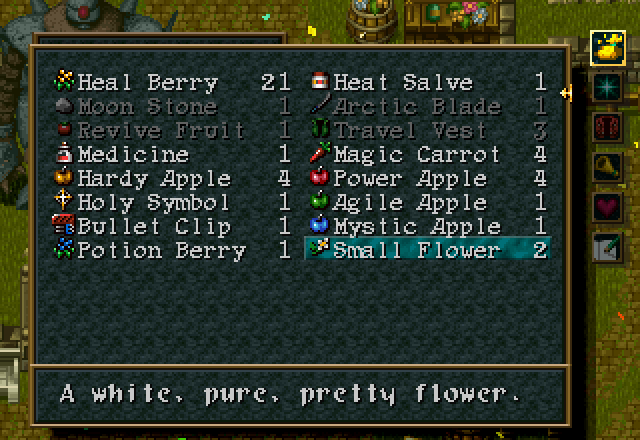
Unlike a certain other flower girl, though, the flowers she sells are actually useable items. What do they do?
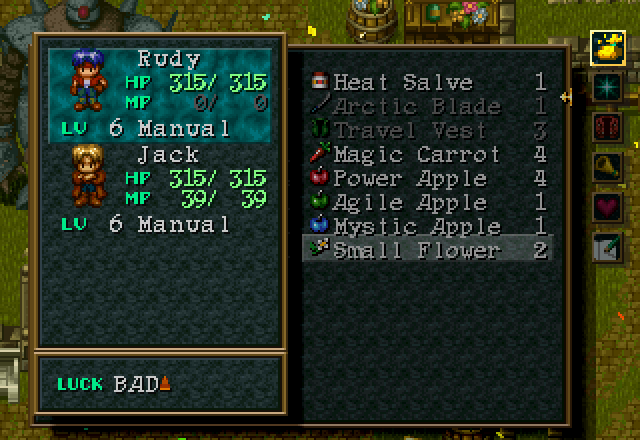
They increase your Luck stat. Rudy’s still laboring under his terrible luck, so he could probably use one, but since Luck is prone to randomly fluctuating and doesn’t really have that significant of an effect on combat I don’t bother.
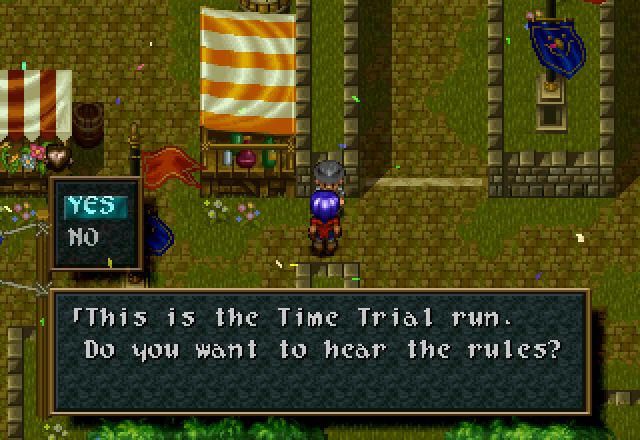
Now let’s play some of the games! This is basically just a footrace; the goal is to go around the track as fast as possible, and then your time is compared against arbitrary developer-set benchmarks other competitors who exist in the narrative!
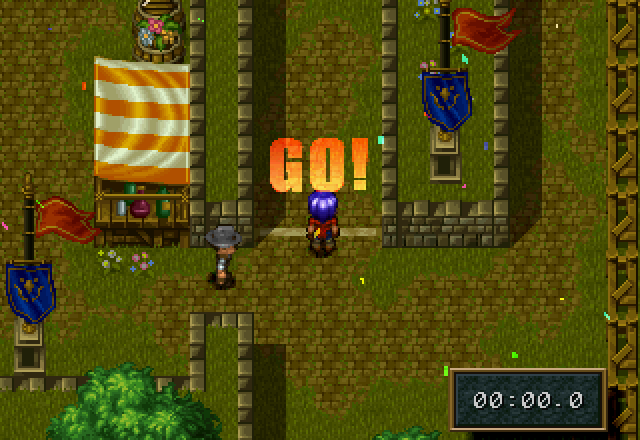
From the start, head up,
Then left,
Then follow the track as it loops downward,
Then back up again,
Then back around to the starting line. On my first try, I did not do very well. This is true for most of the games, honestly.
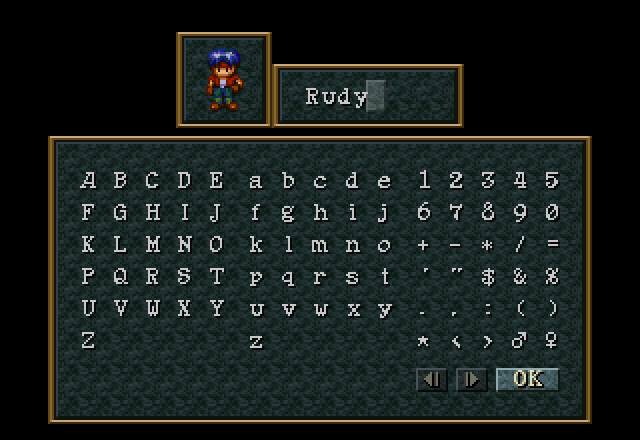

But after a couple more tries, I manage to get second place. It’s interesting that the game pulls up a naming screen here; I assume it doesn’t overwrite the character’s name, but I suppose if you wanted to have your high score(s) be named ASS and/or DONGS you could do so. This game is free and there are no prizes, so I don’t bother to try any harder than that. But do take note of the name in the number 1 spot there.
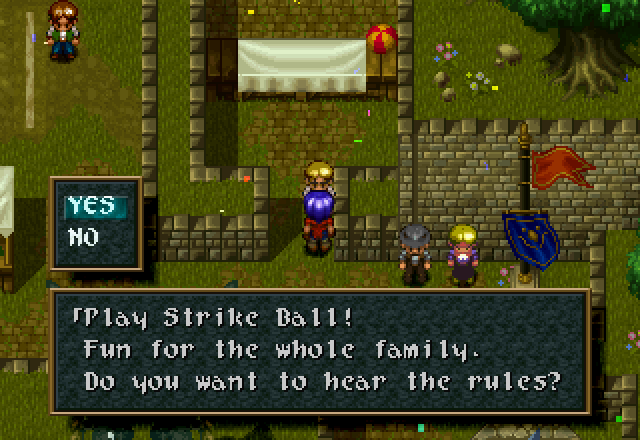
This game is entirely random. You pick up and throw a ball, and then the game decides where it lands on the target and what prize you get. Your positioning is irrelevant, and you have no way to influence what way the ball goes once it’s thrown or how far it goes. It’s honestly the worst kind of minigame, in my opinion; a game of chance disguised as a game of skill. It costs 30 Gella to play.
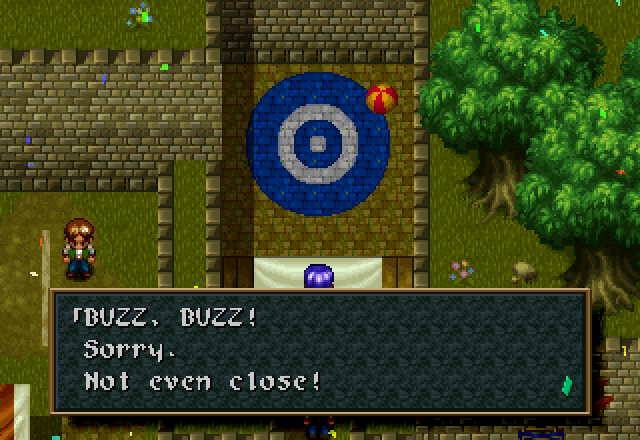
I try a few times and never get anywhere near the center. The second and fourth shots may look like failures from the dialogue, but I won a Heal Berry both times; not worth the 30 Gella fee. The third time I won a Revive Fruit, which was at least a profit (and something I don’t have a bunch of already). There’s a really good item you can win off this game if you get the ball dead center, but since I seem to need a Small Flower or two myself, I figured I’d probably run out of money (or hard drive space for the recording) before then.
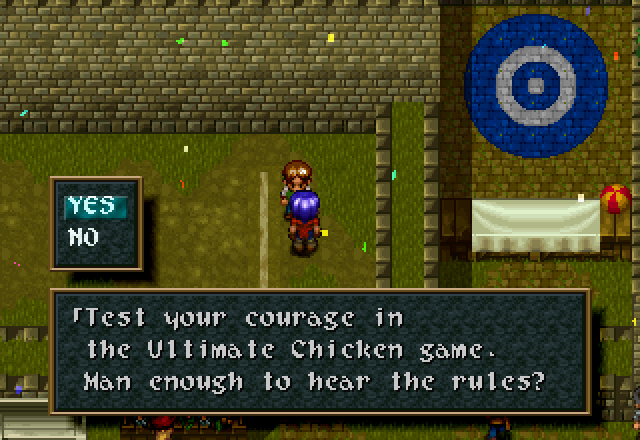
Ultimate Chicken is pretty easy once you get the hang of it. You start running automatically, and you need to press and hold the Dash button to stop before you hit the wall at the end of the course. The quality of your prize depends upon how close to the wall you manage to stop. It costs 100 Gella to play.
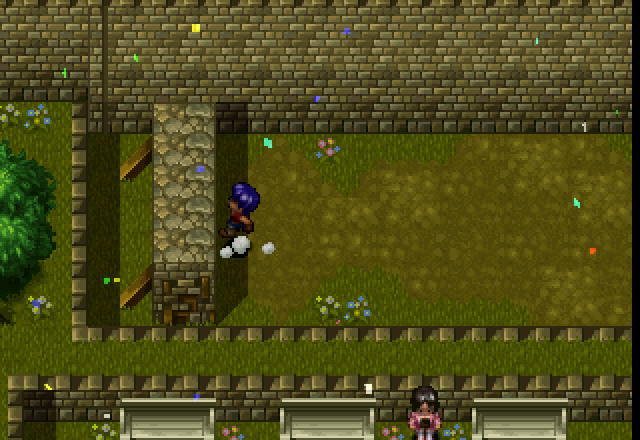
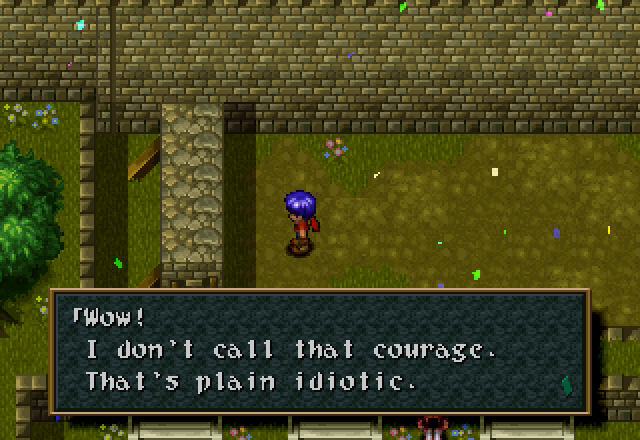
The guy trash-talks you if you lose.
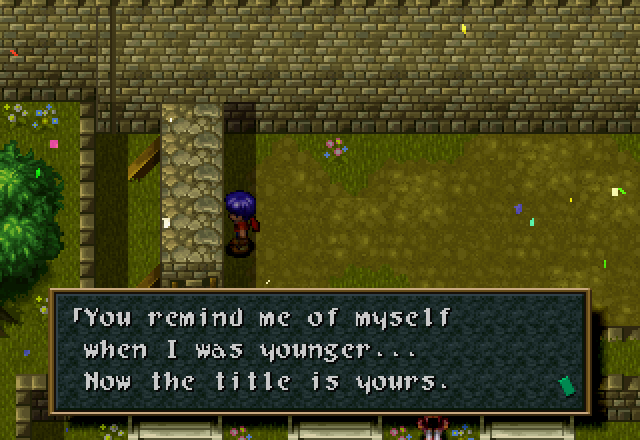
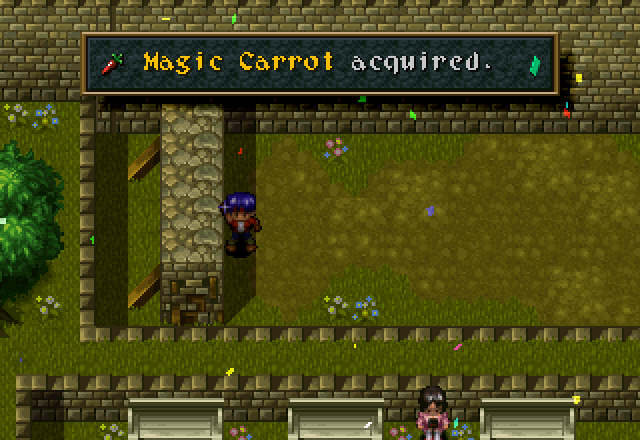
But after a few tries, I manage to stop Rudy a hair’s width from the wall, and get the best prize possible for this game. Not bad, but still not worth 100 Gella. It’s actually impossible to make a profit off of this game.
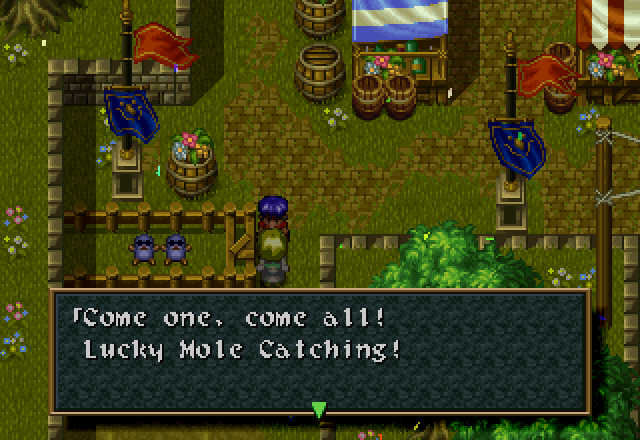
In Lucky Mole Catching you run around and pick up moles as they pop out of the ground. The objective is to catch as many as you can in 30 seconds. It’s sort of like Whack-A-Mole, but the moles can pop up anywhere in the fenced-in area below the hawker. I’m not very good at this game, although it’s technically better than the Strike Ball game. It costs 100 Gella to play.
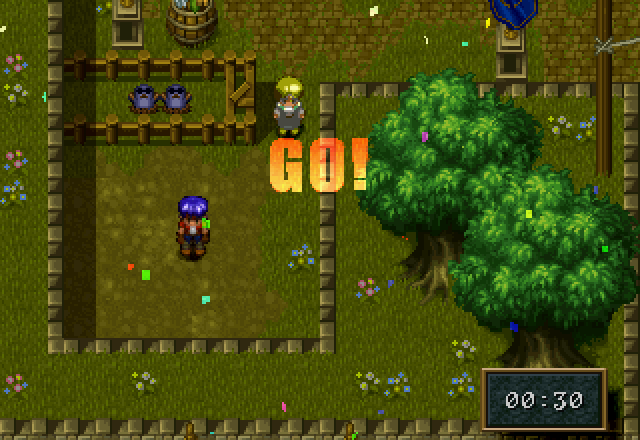
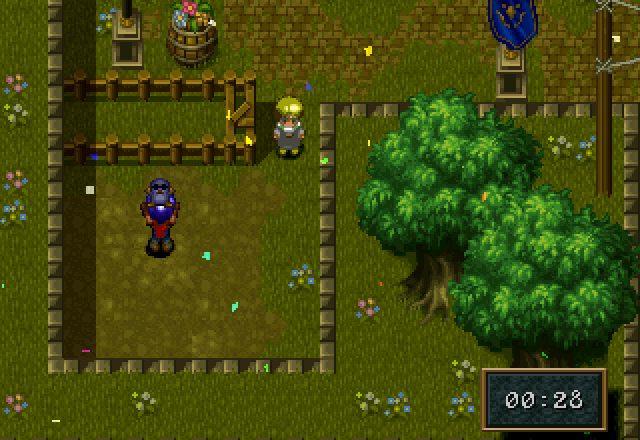
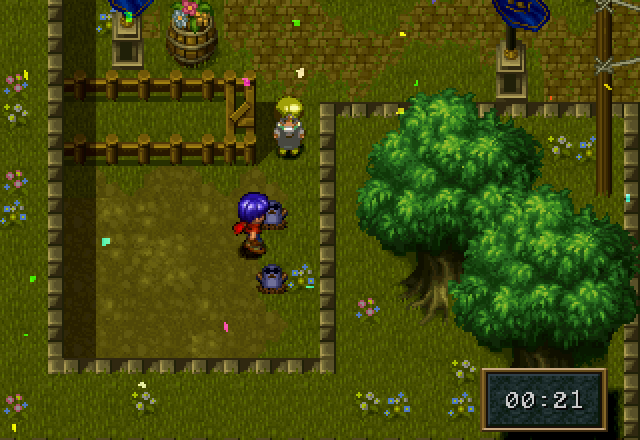
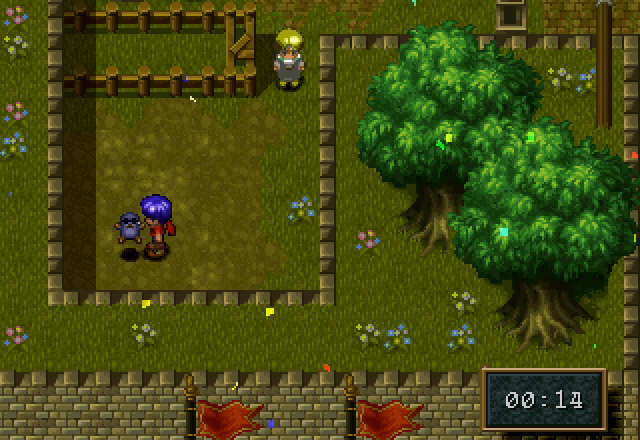
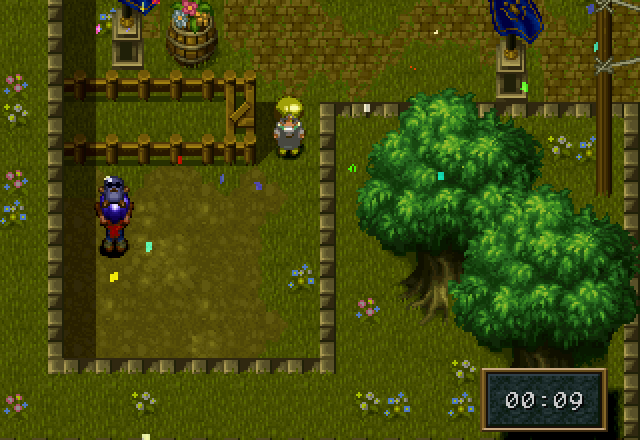
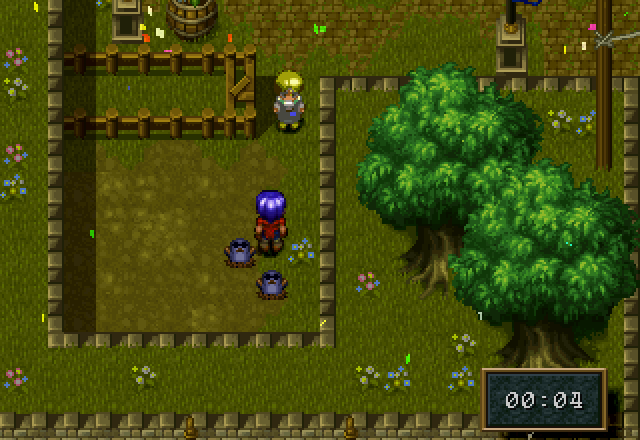

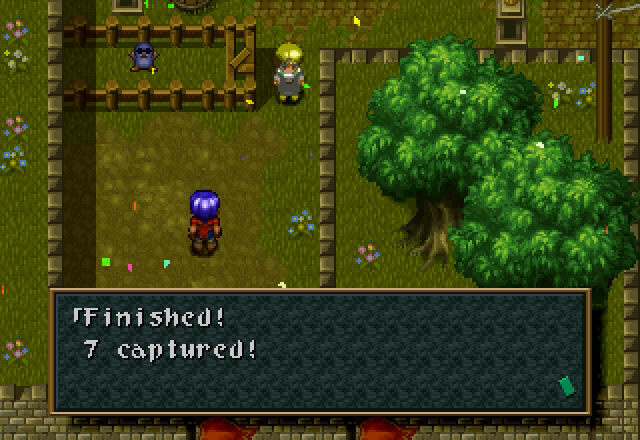
I spend most of the latter half of the game floundering around not catching moles, and only manage 7. I win an Antidote, which isn’t even close to the price of admission. The good prizes start at 12+ moles, and include Revive Fruits and stat boosters. At this point I decide to look up the prizes, see that the only item we haven’t seen yet is a prize in Strike Ball, and then decide that’s enough.
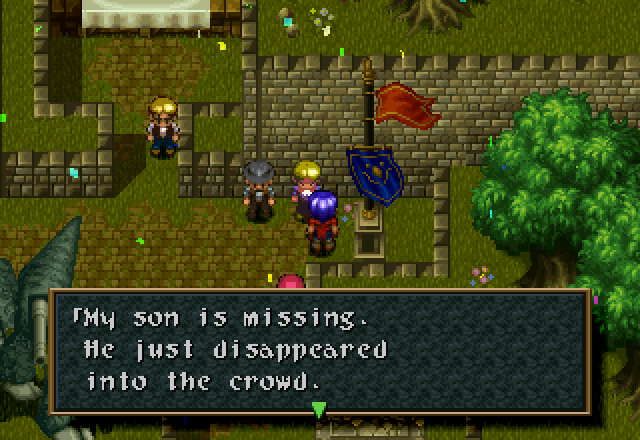
![]() Please… Can you help look for him? He may be in trouble. I’m going to stay here so I don’t miss him on this road… If you see him, please bring him back to me. He has a red balloon. Please!
Please… Can you help look for him? He may be in trouble. I’m going to stay here so I don’t miss him on this road… If you see him, please bring him back to me. He has a red balloon. Please!
We need to talk to this woman to progress the plot. Let’s go find her lost son.
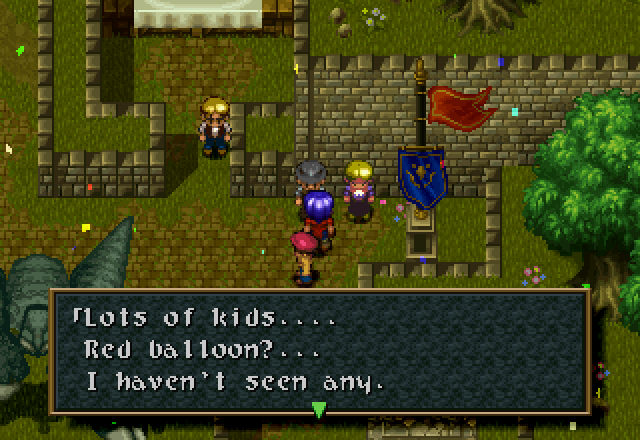
![]() He should be easy to spot. But where? That’s the question.
He should be easy to spot. But where? That’s the question.
This man right next to her weighs in on the issue if you speak to him.

Whereas this fellow over by Lolithia has this to say even before you talk to her.
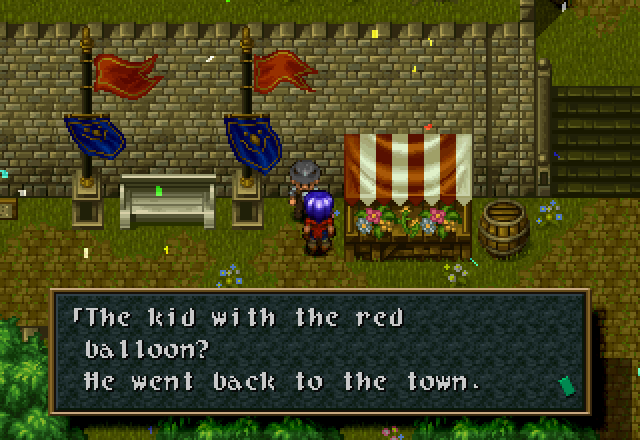
This guy over by the entrance to the Ruin Festival grounds tells us where to find the lost child, though. Which we’ll do next time! No fights this update, so no change in stats.
Part 6 - Ruined Festival
Last time, we attended the town fair, played some games, and learned a bit about history. This time, we find a lost boy.
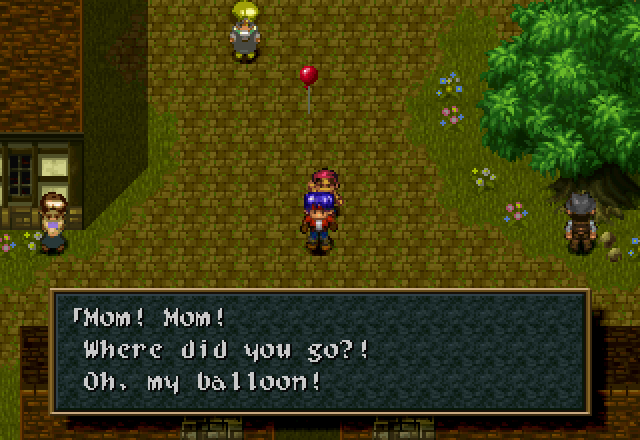
Well, that was pretty easy. The kid is hanging out in the middle of town. When we find him, he lets go of his balloon.
Music - The Sky Is Being Torn Apart
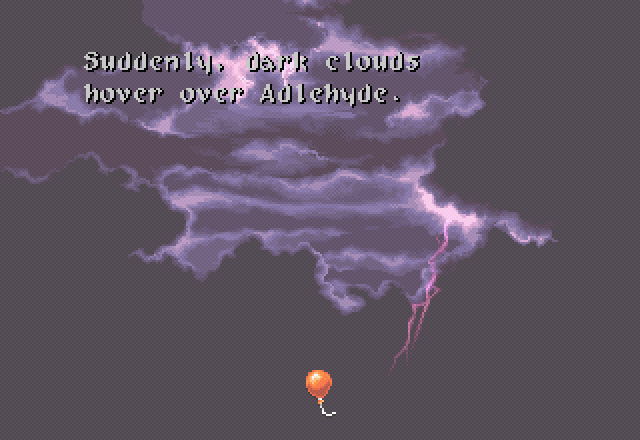
Just as the sky starts to turn nasty.
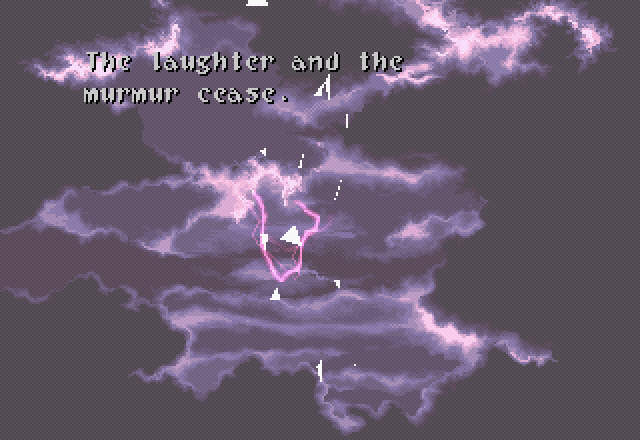

As the unsuspecting people look up to the skies, they watch the silent nightmare spread over their heads.
Uh, I don’t think that’s supposed to be happening.

Some sort of laser beam shoots downward from the sky.
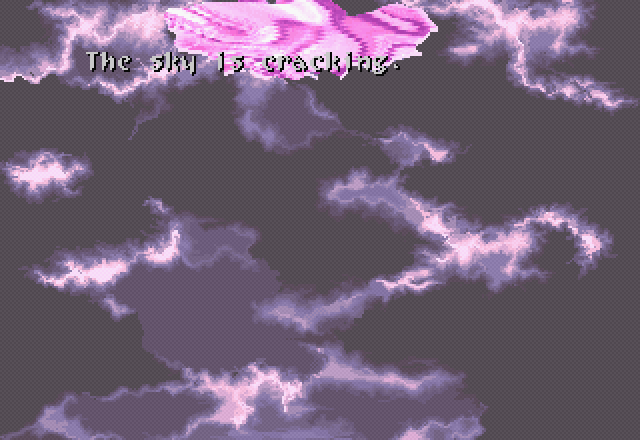
The [Beginning of the End] is here… A sword of light strikes the land and a wall of fire rushes across the horizon.


More lasers, and those pieces falling down from the crack widen it.
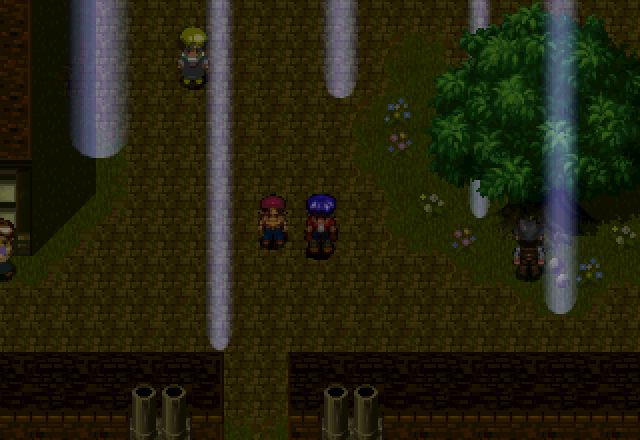

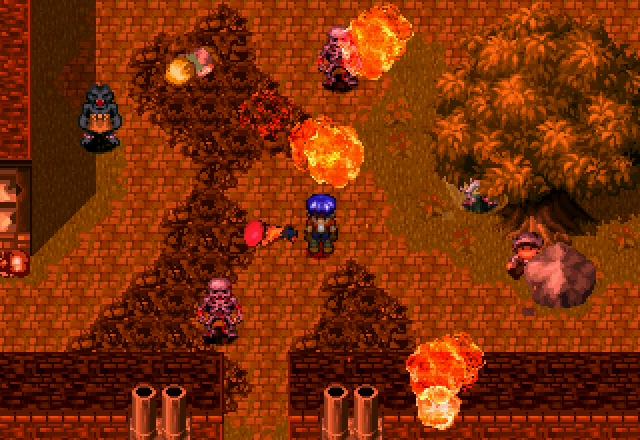
“Rocks fall, everyone dies. Take 20d6 damage and roll up new characters… What do you mean, ‘I have enough HP to survive it’?!”
Music - World of Loudening Screams
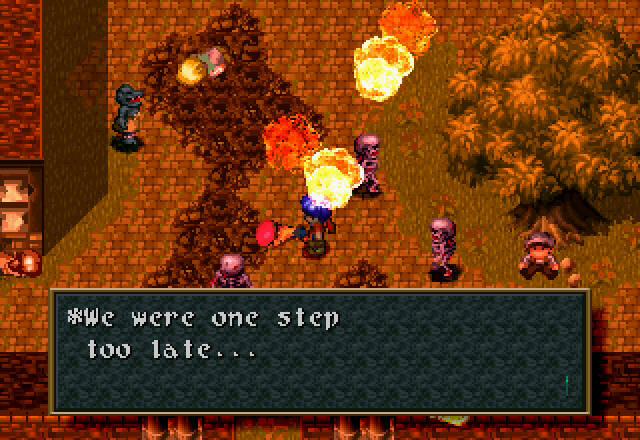
Yeah, everyone around us is dead.
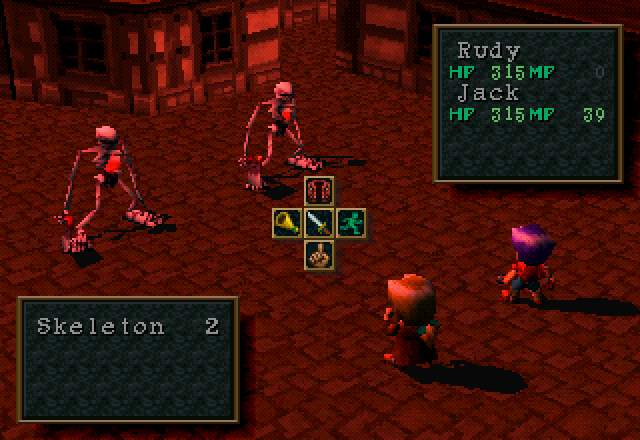
And the monsters on the map are actual encounters. We’ve already encountered Skeletons back in the Temple of Memory.
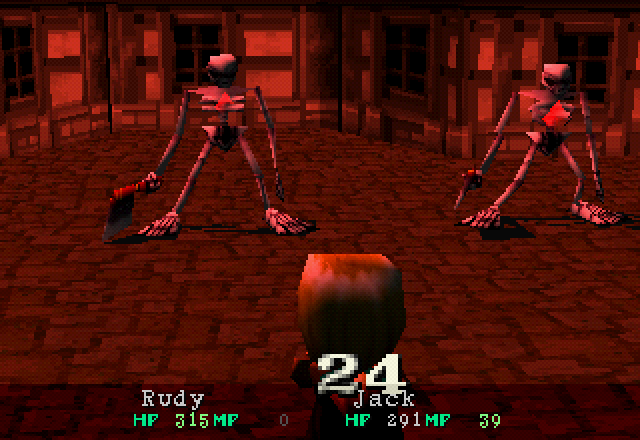
They were glass cannons back then, but they’re absolutely no threat now. These guys might be buffed a bit; I don’t think the Skeletons from back then would still be dealing this much damage to Jack, considering his level has tripled since then and I’ve upgraded his equipment. They haven’t even close to kept up, if so; both Jack and Rudy one-shot them, and damage in the mid-20s is laughable now.
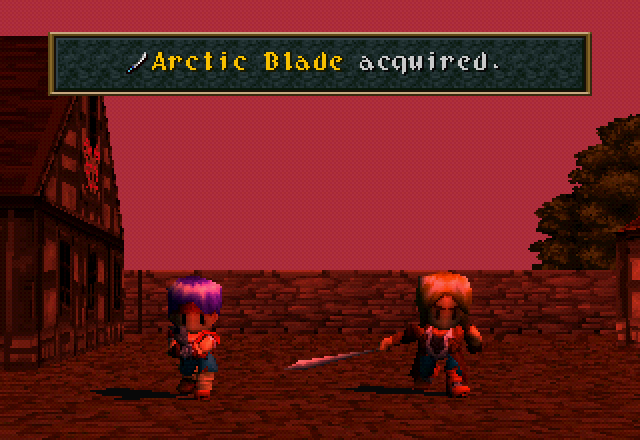
They drop Jack’s starting sword, though.
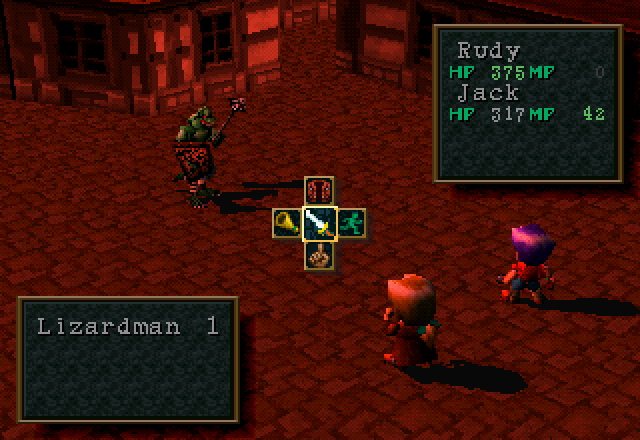
Lizardmen are new, and at least a bit more dangerous.
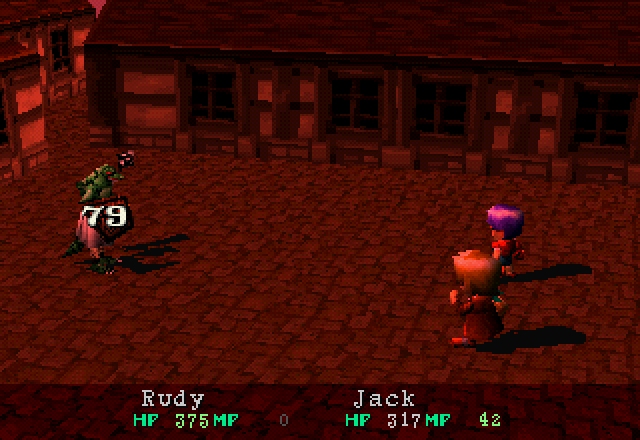
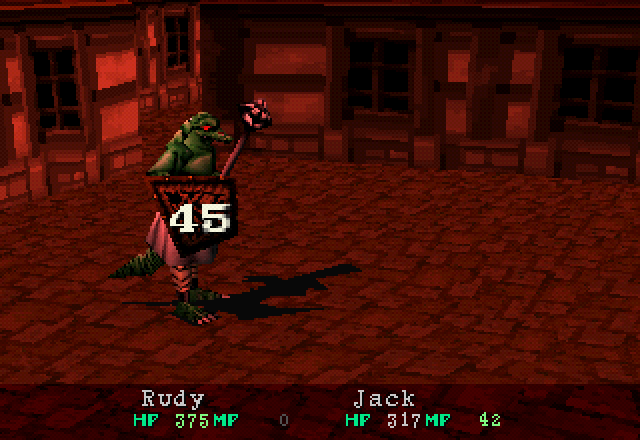
For once, Jack can’t just one-shot them; he needs Rudy’s help to chew through their 120 HP. And no, Psycho Crack doesn’t deal enough damage to one-shot them, either. Rudy’s Hand Cannon could chew through them, even before the upgrades I pumped into it earlier, but I don’t want to waste the bullets.
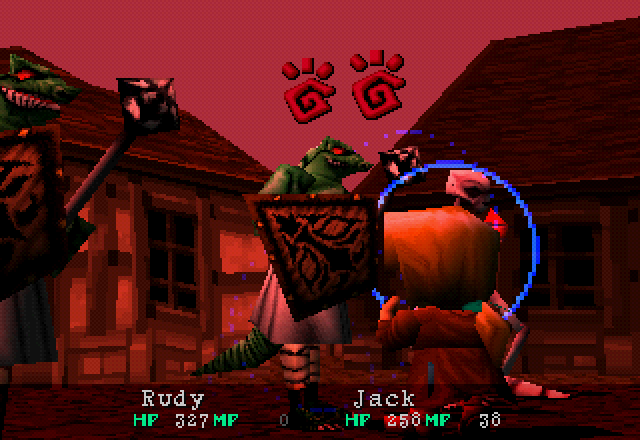
I did get the Confusion effect to proc off it, though.
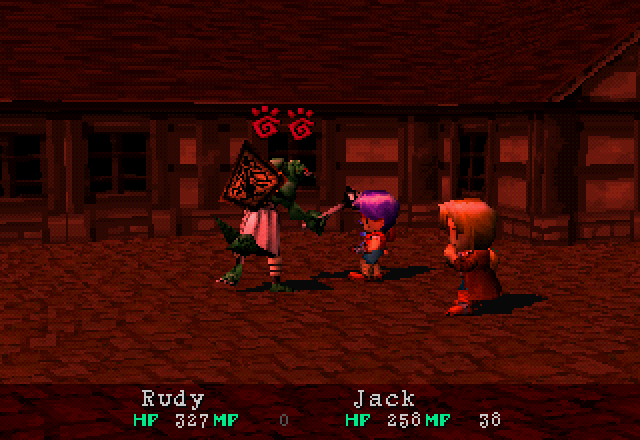
It didn’t help.
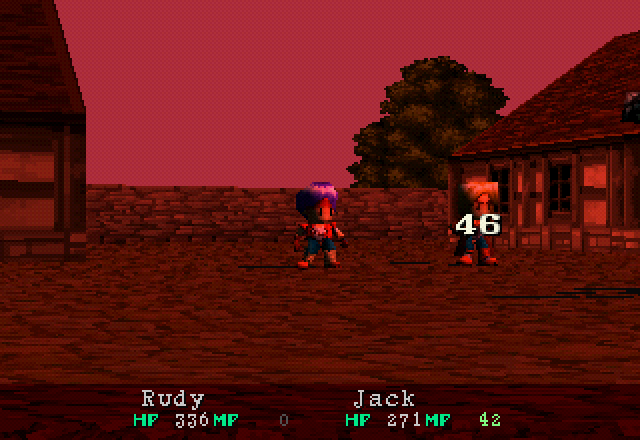
They deal just about twice the damage of Skeletons on their basic attack. Still not very concerning, especially since they’re around Rudy’s speed. They don’t have any special attacks, either. They can drop Heal Berries, so even their item drop is boring.
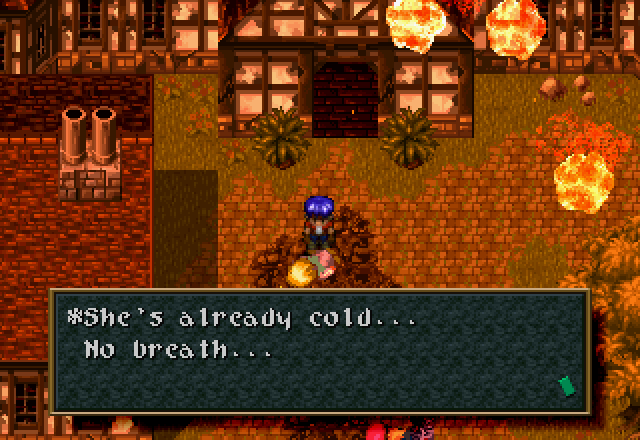
There are a bunch of corpses around. Considering the entire town is aflame, I doubt she would have had much opportunity to cool.
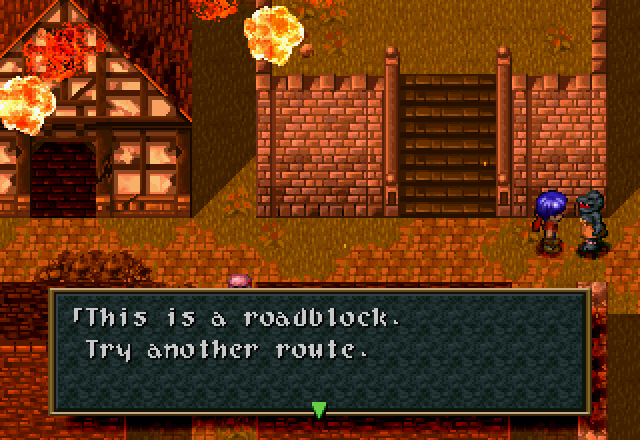
![]() Although, there is no other way out of town.
Although, there is no other way out of town.
This guy prevents us from entering the fairgrounds.
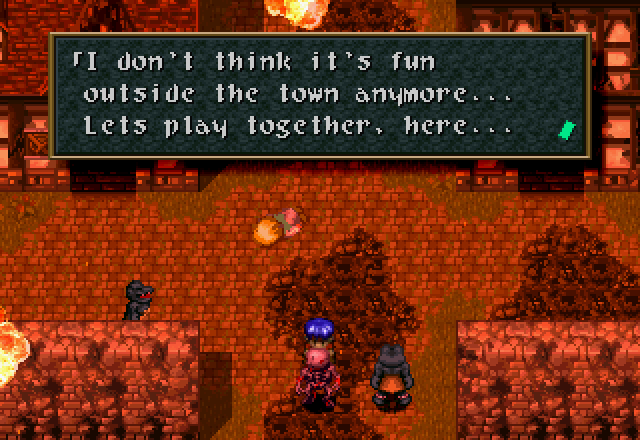
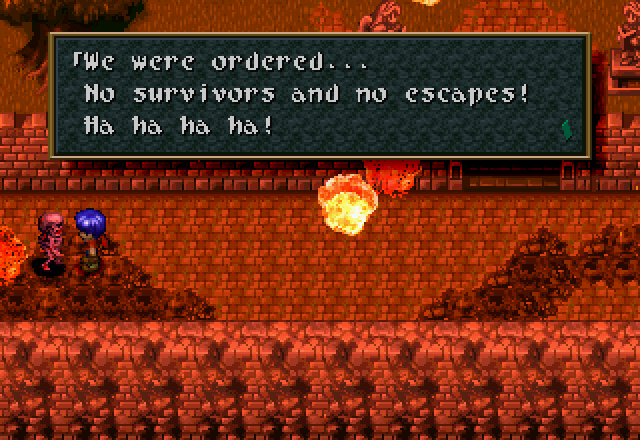
And the two exits to the world map are also guarded.
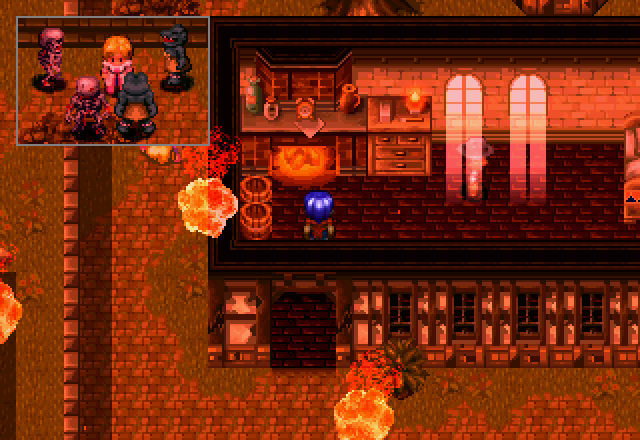
We can see Cecilia, and she’s surrounded. We’d better go and take care of that!
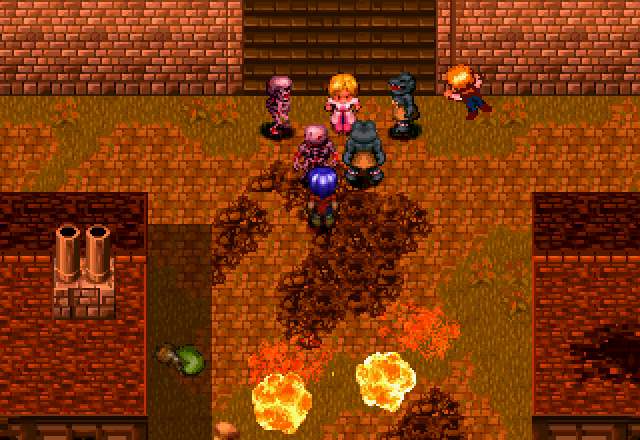
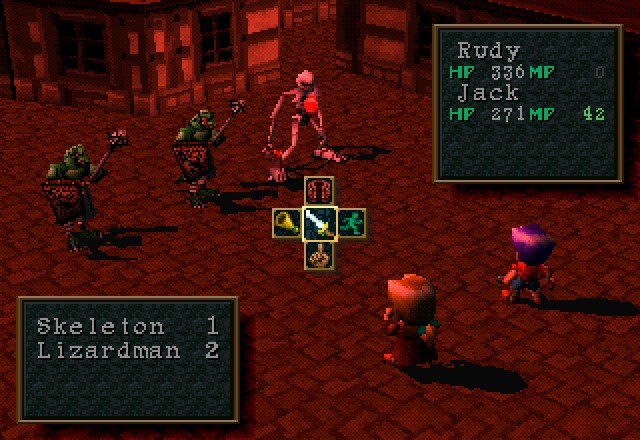
We go and rescue Cecilia from a bunch of monsters she almost definitely could have beaten solo. Might as well save her MP, though.
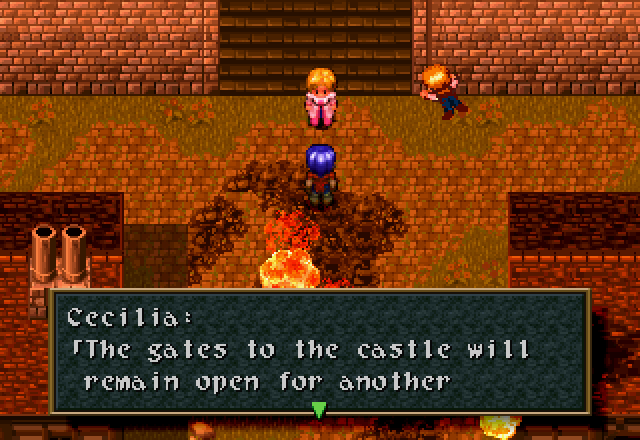
![]() 5 minutes! We must get everyone into the castle at once!
5 minutes! We must get everyone into the castle at once!
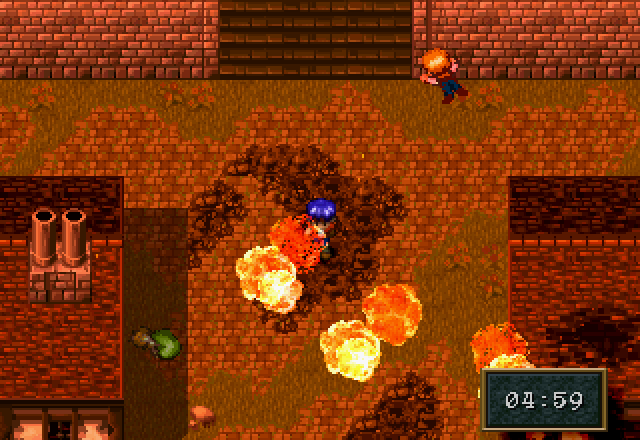
After “rescuing” Cecilia, we get charged with rescuing townspeople, and set a hard five-minute time limit on doing so. The time limit is technically rather generous, assuming you know where all of the people are. She also rejoins the party at this point.
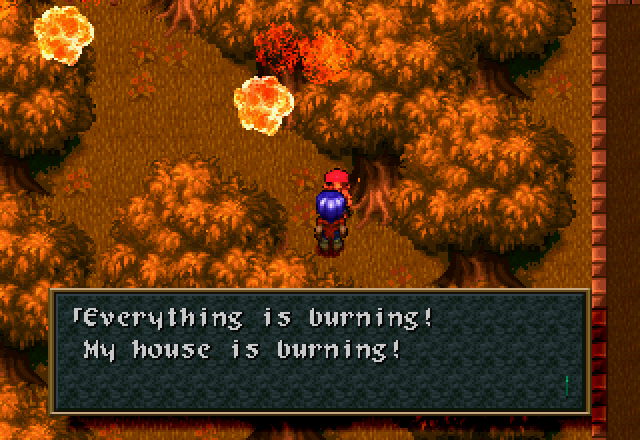
This kid is just to the right of where we found Cecilia.
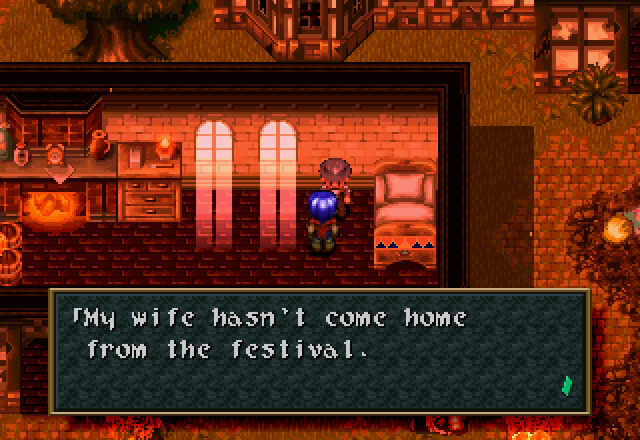
There’s a guy here, in the building we started out next to.
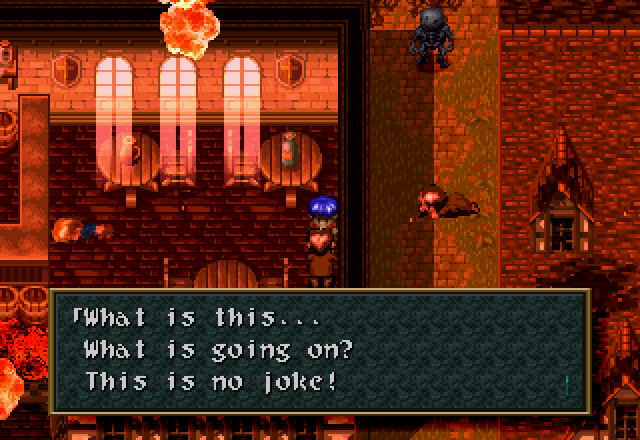
This guy, in the tavern, gets rescued next.
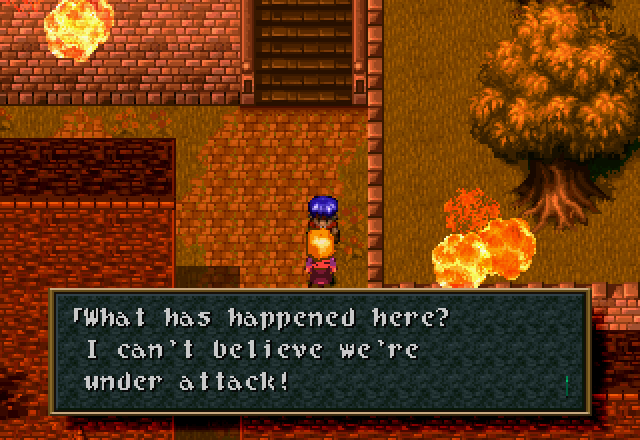
This woman is just out behind Emma’s lab.
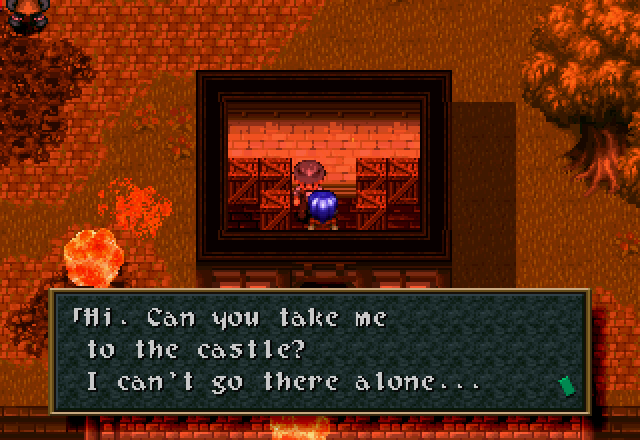
This man is in one of the warehouses.
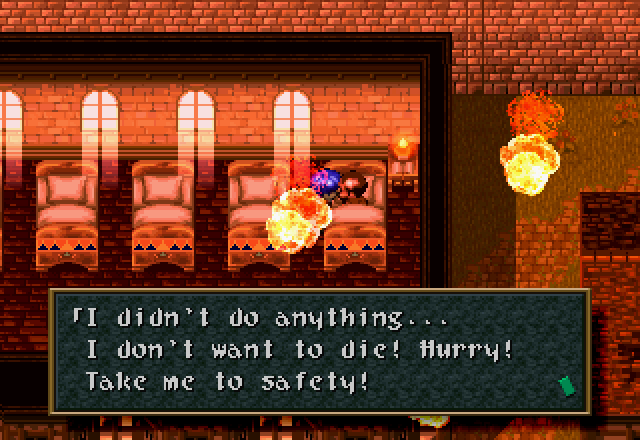
There’s also the sick/injured man in the hospital.
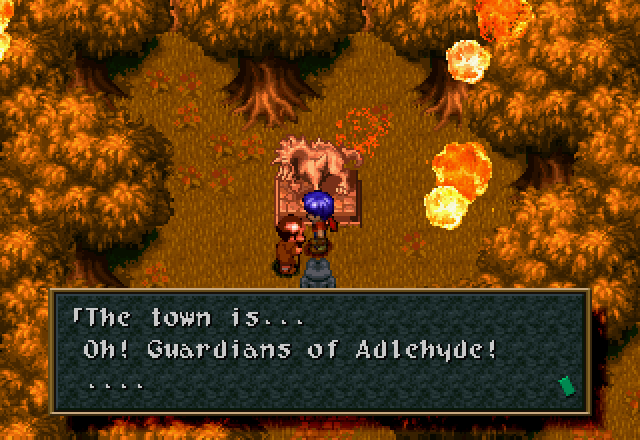
This man is over by the statue of Zeldukes.
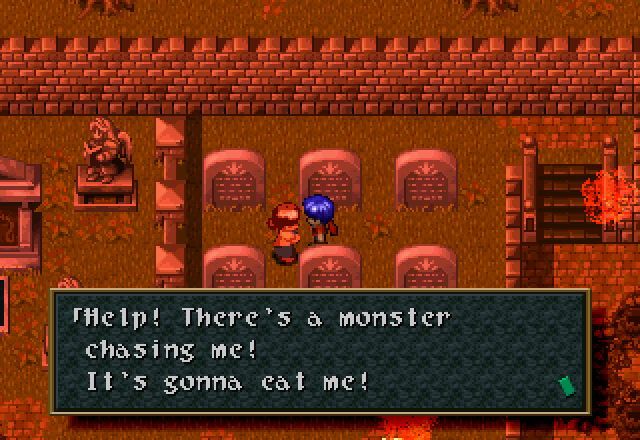
This woman is in the graveyard behind the church.
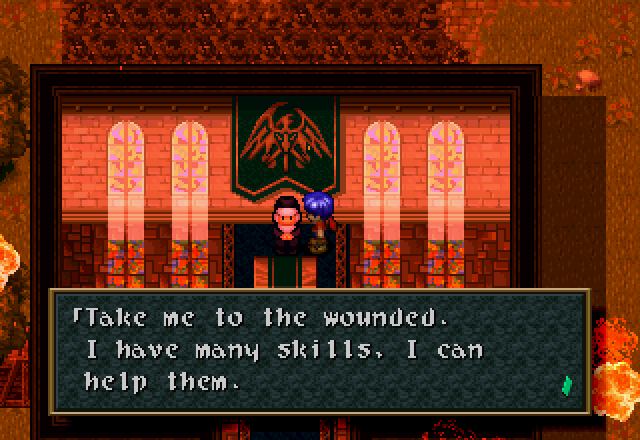
Speaking of the church, we should pick up the nun as well. She’s pretty badass - no “oh no my church is burning down around me” from her; instead its “I can heal, take me to the wounded”.
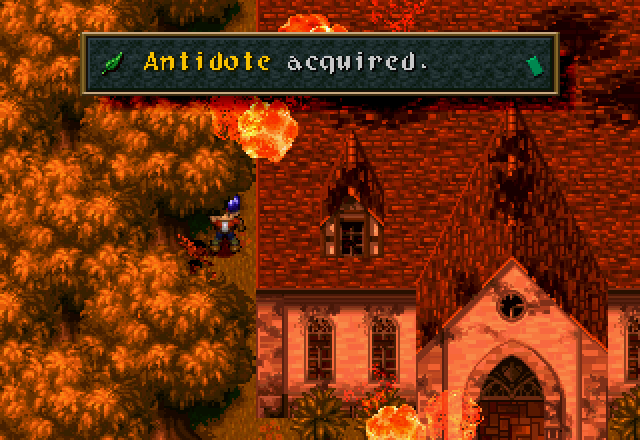
While I’m there, I blow up a large crate outside that I had previously missed and pick this up.
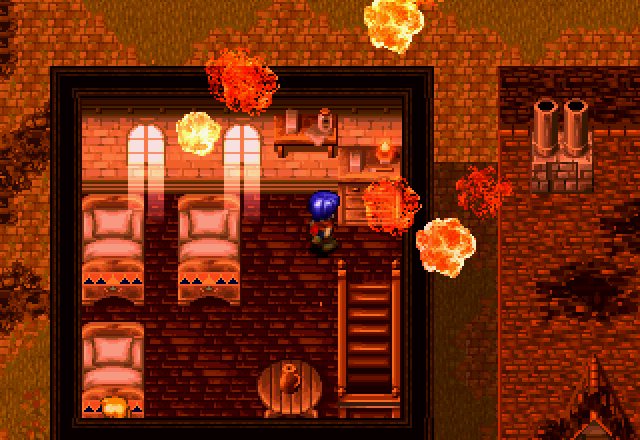
Can you see the NPC I missed in this screenshot? It took me quite a while to find her.
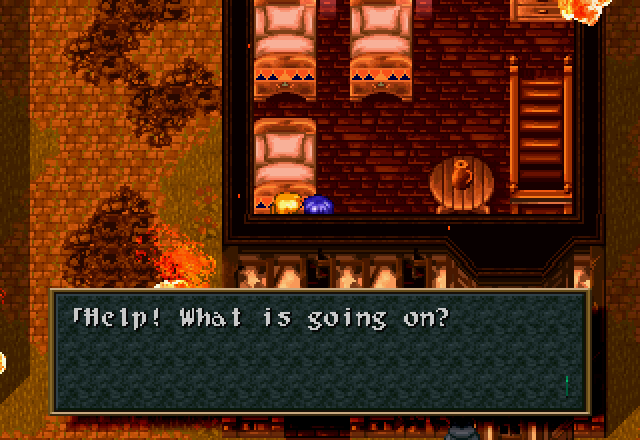
If you guessed “she’s down at the bottom left, hiding behind a bed you blind idiot”, then give yourself a pat on the back. And with the innkeeper rescued, that’s everyone. There’s no fanfare or dialogue when you head back into the castle, not even to let you know if you missed anyone or to give you a choice to look for more people.
Music - Against the Backdrop of World Destruction
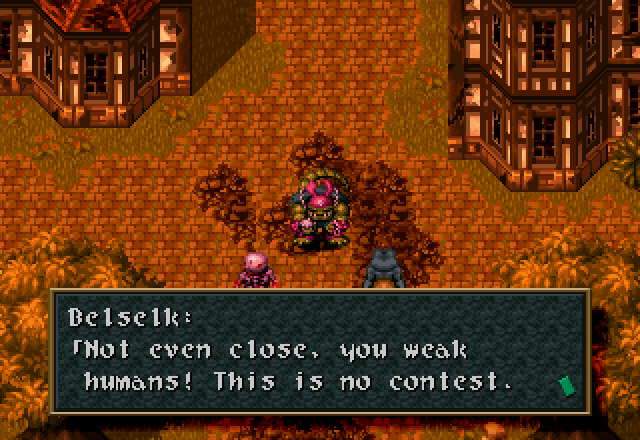
 There is nothing for me to do here… Well, I guess my superior power is too good to use on humans. Give this message to one of the humans running into the castle. If they don’t give up the [Tear Drop], we will tear the castle to pieces.
We do get a cutscene, though. “Belselk” here is obviously supposed to be “Berserk” or possibly “Berserker”, and he appears to be the leader of the monsters. A Lizardman runs in from the direction of the fairgrounds.
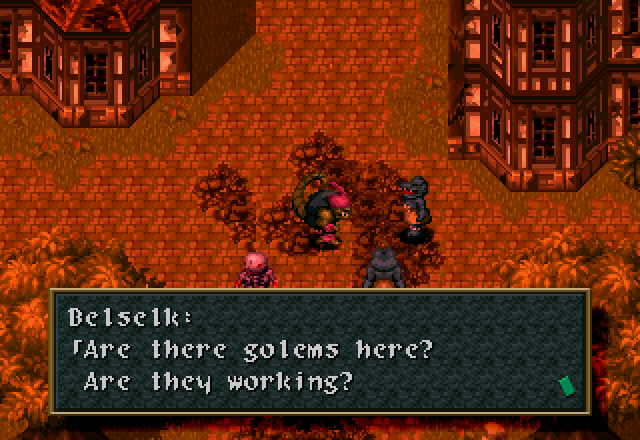
All junk? Good! We don’t want to fight those things… We have the golems now. This is a very interesting situation…
So the monsters attacking the town are after the golems and the Tear Drop. That can’t be good. Let’s back up for a second, though. You can “cheat” this section. Notice how there weren’t any timers visible on any of the screenshots of me saving the townsfolk? Yeah, you can do that before you even go “rescue” Cecilia.
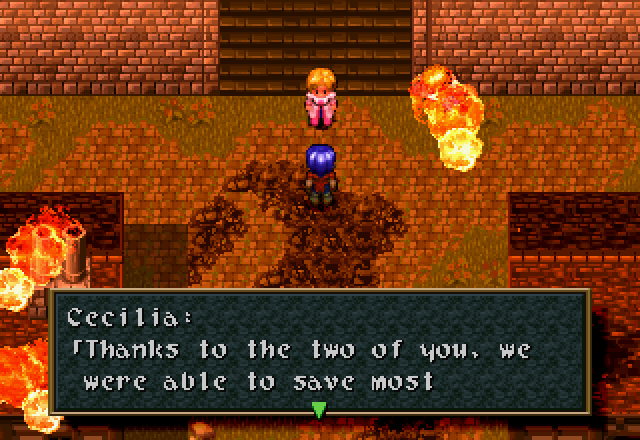
![]() of the townspeople. We must go, now.
of the townspeople. We must go, now.
This is what Cecilia says if you have rescued all of the living townsfolk before you go rescue her. You’re still given five minutes to get inside the castle walls, but at that point, the only thing left to do is to walk around town and clean up any monsters you left behind.
Music - From Anxiety to Impatience
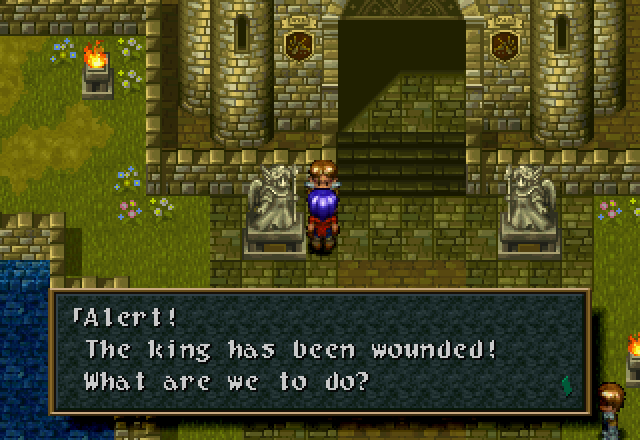
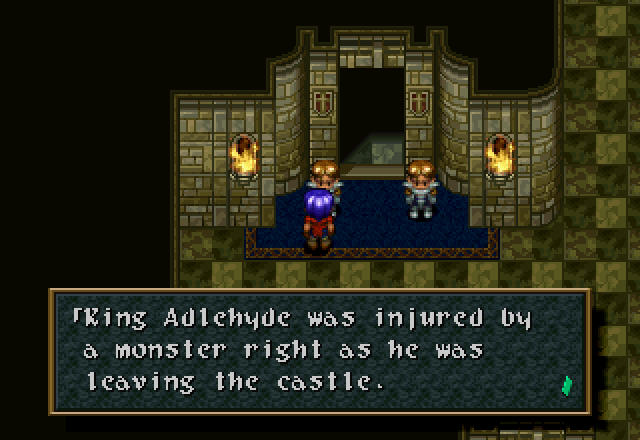
Inside the castle, we discover that the King has been injured. Most of the NPC chatter is some combination of that, “OMG Monsters!”, or “I dunno how long we can hold out”.
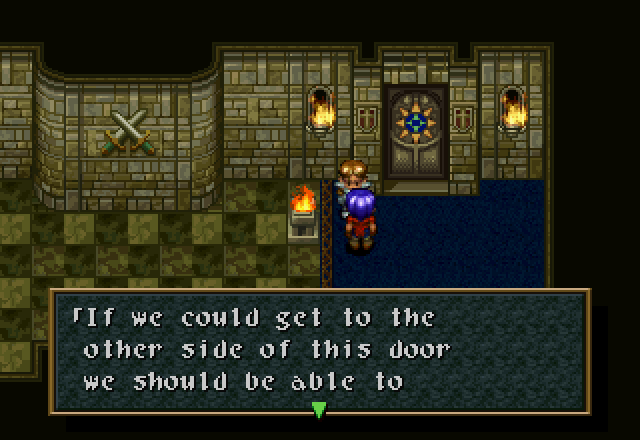
![]() keep the monsters away.
keep the monsters away.
Of note are this guard, who is… probably correct, although food would be a concern.
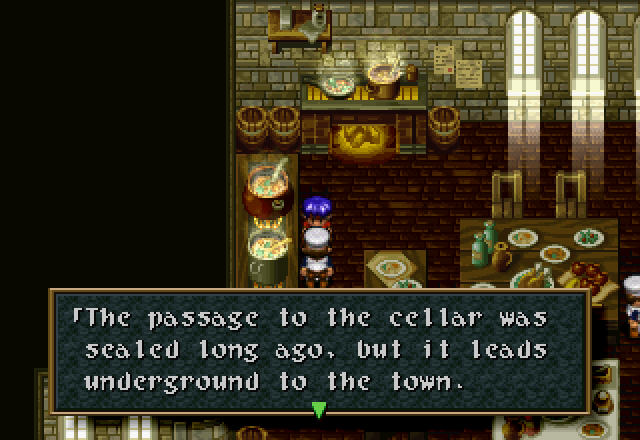
![]() If the monsters find this passage, it will be dangerous.
If the monsters find this passage, it will be dangerous.
This chef, who tells us about a secret passage which cannot possibly be relevant, especially not in this very update.
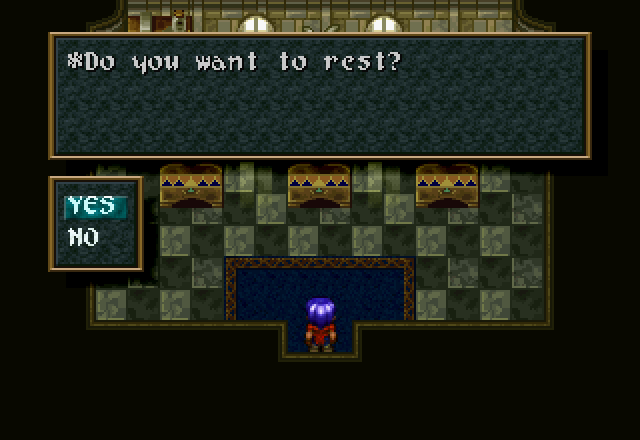
This room, which serves as a free inn for now.
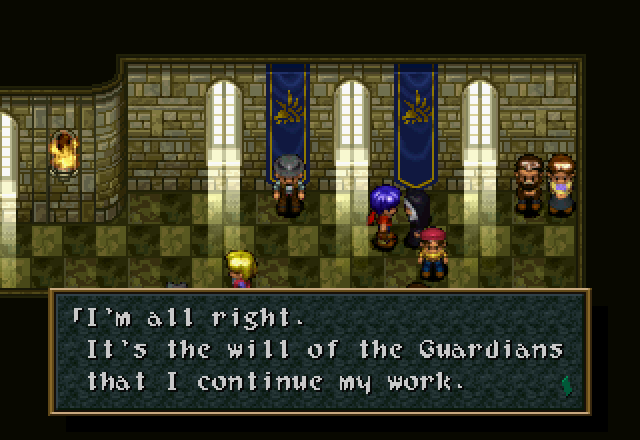
The nun, in a room with most of the rest of the refugees, who continues to be badass.
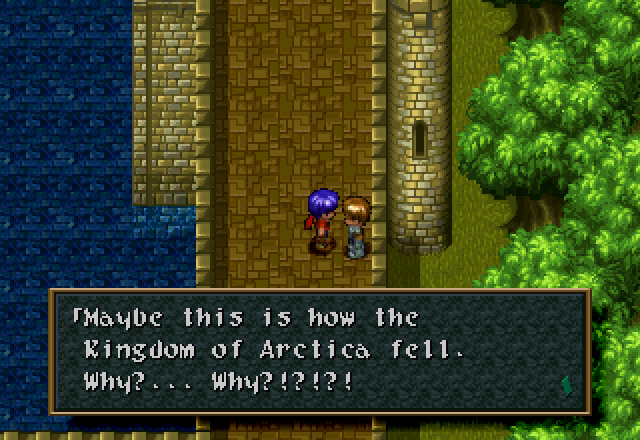
And this guard, who posits that this might be how Arctica was destroyed.
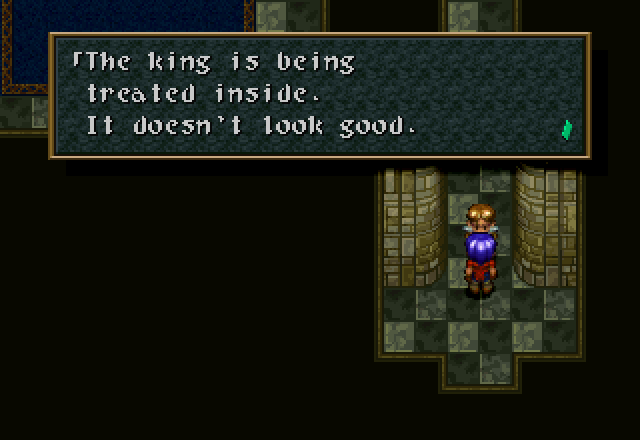
Let’s let Cecilia go see her father, though. I’m sure she’s worried.
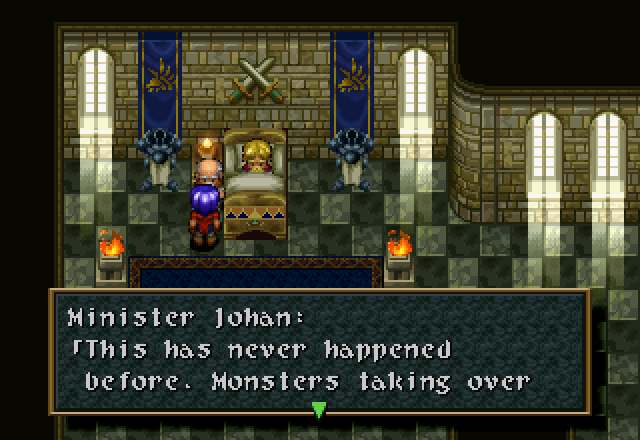
![]() an entire town. What do they want?
an entire town. What do they want?
![]() I’ve been wounded badly. I was careless… I hope my men got away in time. Urrrrrgh! Let me speak to Cecilia. I need to tell her something before I…
I’ve been wounded badly. I was careless… I hope my men got away in time. Urrrrrgh! Let me speak to Cecilia. I need to tell her something before I…
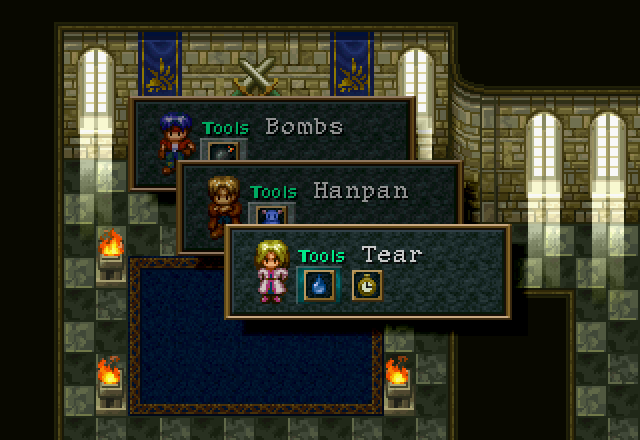
Right, an important part of “letting Cecilia go see her father” is… letting Cecilia go see her father.
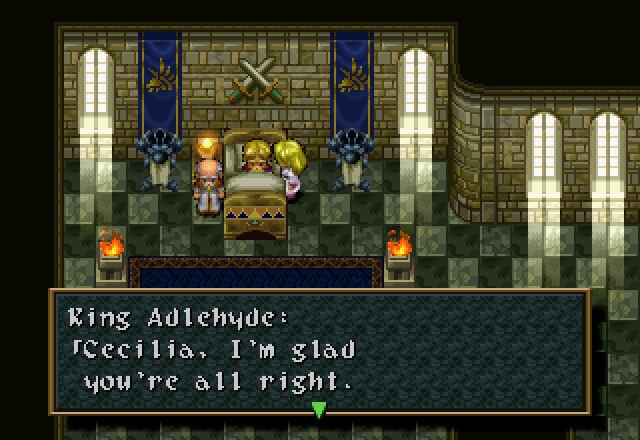
![]() Listen, Cecilia! The monsters are after you. You must defeat them!
Listen, Cecilia! The monsters are after you. You must defeat them!
A guard walks up to the foot of the King’s bed.
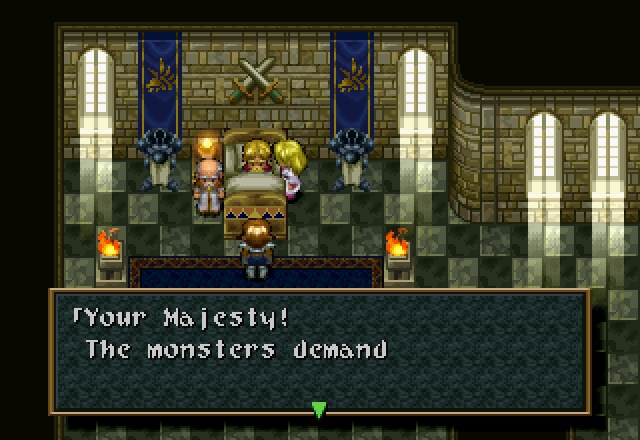
![]() that you surrender the [Tear Drop] or they will storm the castle.
that you surrender the [Tear Drop] or they will storm the castle.
![]() The [Tear Drop] belonged to my mother. It’s very dear to me, but I’ll give it up for the sake of my kingdom. The monsters can have my [Tear Drop]…
The [Tear Drop] belonged to my mother. It’s very dear to me, but I’ll give it up for the sake of my kingdom. The monsters can have my [Tear Drop]…
![]() I won’t permit it! No… You won’t do it! Cecilia, the [Tear Drop] is not just an heirloom. It holds the key to unleashing the power of the ancients. Only a princess of the Adlehyde family may possess it. One who hears the will of the Guardians can use the [Tear Drop] to change the world.
I won’t permit it! No… You won’t do it! Cecilia, the [Tear Drop] is not just an heirloom. It holds the key to unleashing the power of the ancients. Only a princess of the Adlehyde family may possess it. One who hears the will of the Guardians can use the [Tear Drop] to change the world.
![]() But if I do nothing, many will die because of me.
But if I do nothing, many will die because of me.
![]() Please understand, Cecilia. Life can be cruel sometimes. Cecilia, stay in your room, no matter what happens.
Please understand, Cecilia. Life can be cruel sometimes. Cecilia, stay in your room, no matter what happens.
And just like that, the scene ends, and Cecilia is sent to her room like a misbehaving toddler. Not that the King is necessarily wrong, per se. It’s a pretty thorny issue, and “right” is one of those things that will be determined afterwards by historians oh who am I kidding, we’re going to fix it now.
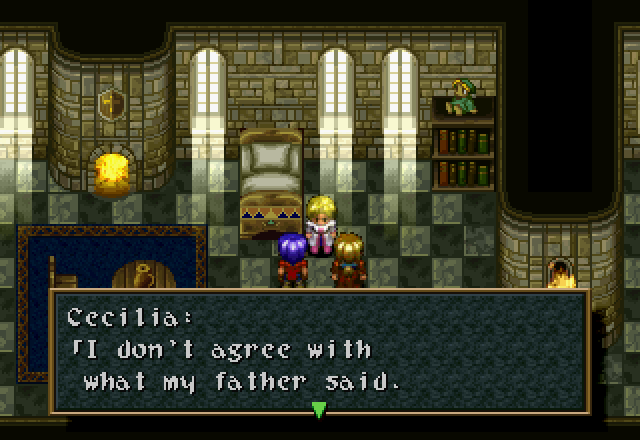
![]() Innocent people should not suffer. In the dungeon, there is a secret passage. It should still be there. When I was a little girl, I remember trying to get into the town from there. We can sneak out from there and give the demons the [Tear Drop].
Innocent people should not suffer. In the dungeon, there is a secret passage. It should still be there. When I was a little girl, I remember trying to get into the town from there. We can sneak out from there and give the demons the [Tear Drop].
The game is not very consistent with its terminology. Are they monsters or demons? Anyways, there are a few bookshelves in Cecilia’s room with tidbits of knowledge seemingly relevant to our situation.
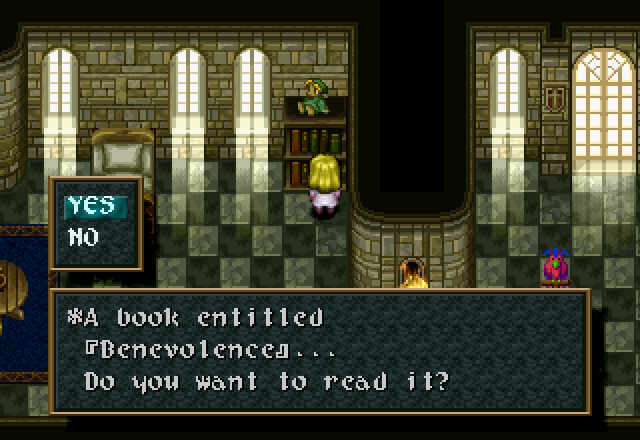
One… know thy subjects.
Two… Always lead by example.
Truth will always prevail.
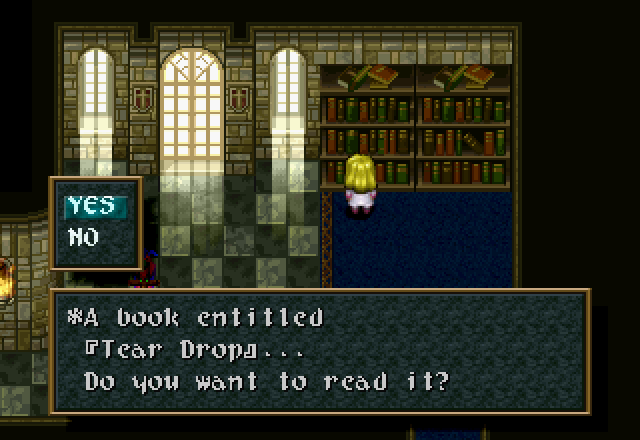
Small crystal sphere that fits in the palm of a child’s hand. Invaluable. Radiates a subtle heartbeat of pure magical light.

Adlehyde is the [Light]. Arctica is the [Ice]. Both are from the ancient blood of benevolence… Adlehyde looked for the warmth in the heart. Arctica looked for the answers from the past to sing the songs of man across Filgaia. Both kingdoms pledged to world peace.
Now, who’s up for a stealth section? That’s right, we have to sneak out of Adlehyde Castle! If your answer was “Fuck no, not me”, rest assured that this isn’t so bad. Most of Adlehyde’s guards are apparently so blind that you literally need to tap them on the shoulder for them to notice you. The few that actually do have sensory capability though are pretty on-point and will zero in on you with laser focus. Our objective is to get to the kitchens, which are down a floor and on the left-hand side of the castle.
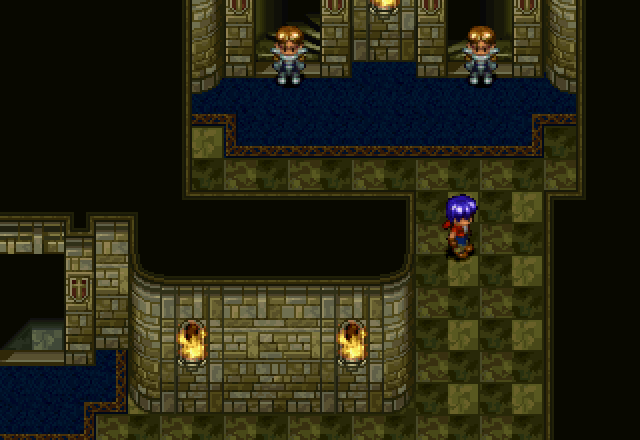
There are now guards stationed at some doors, seemingly arbitrarily determined to force Cecilia to take a circuitous route. I actually liked this section in Alter Code: F better, because it made you do stuff like use Hanpan to distract guards rather than just “there’s a guard at this door but not that one, so you have to take the long way”.
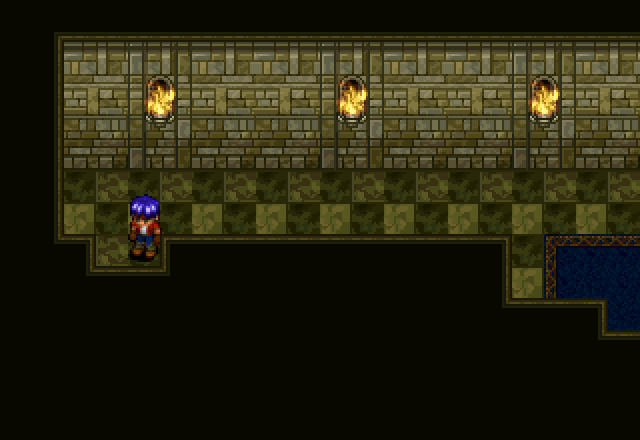
So the correct way, and the only way we’re allowed to go at this point, is to take this door out to the castle walls.
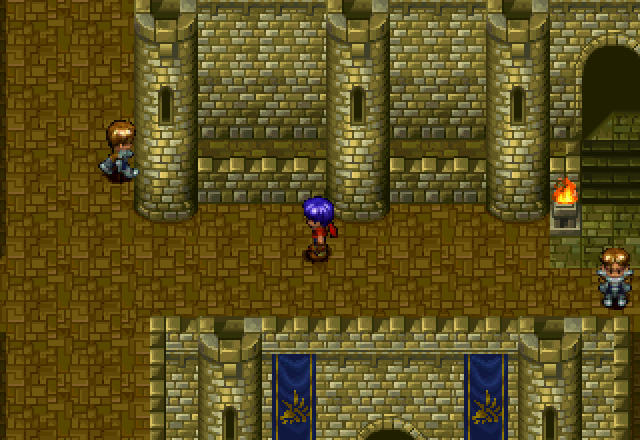
Where the door guard is standing about ten feet from the door, not directly blocking it, for some reason. Note that this guy was, in fact, blocking this door before the King got injured. That guard on the left is one of the ones who always knows where you are and runs directly towards you at all times. This is actually the most difficult part of this entire section by far; you need to run, not walk, out the door, not touch the door guard, run directly for the corner there, and then turn south and run that way, all before the “homing” guard catches you.
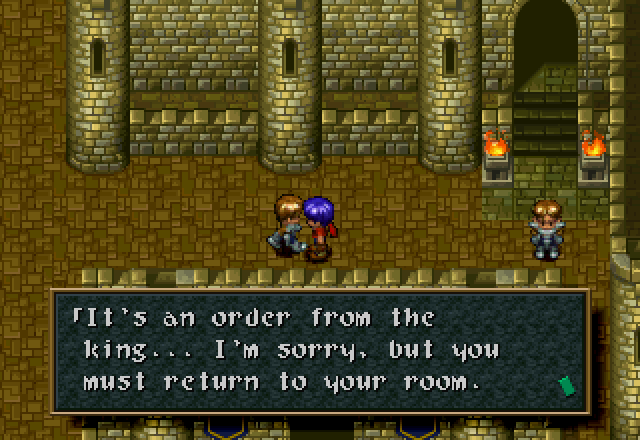
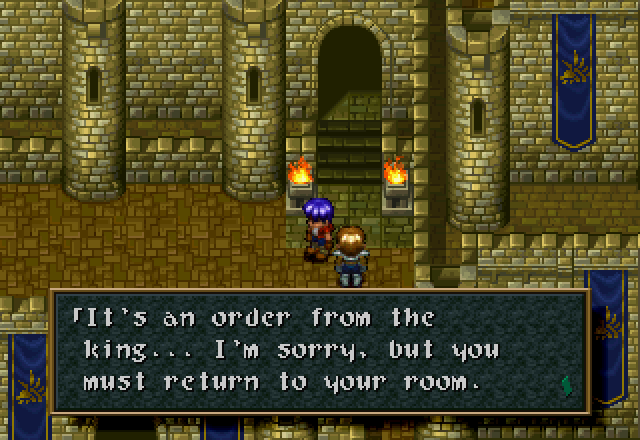
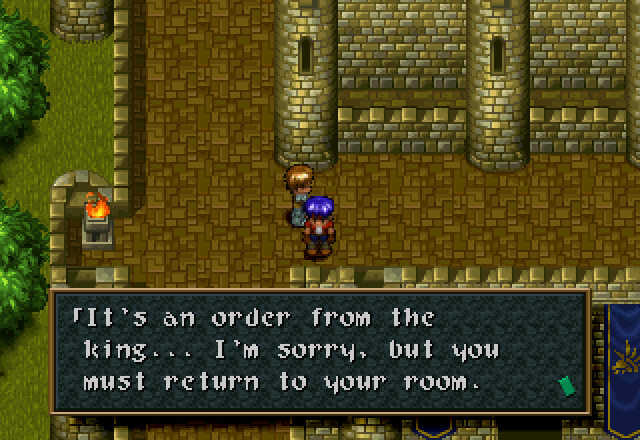
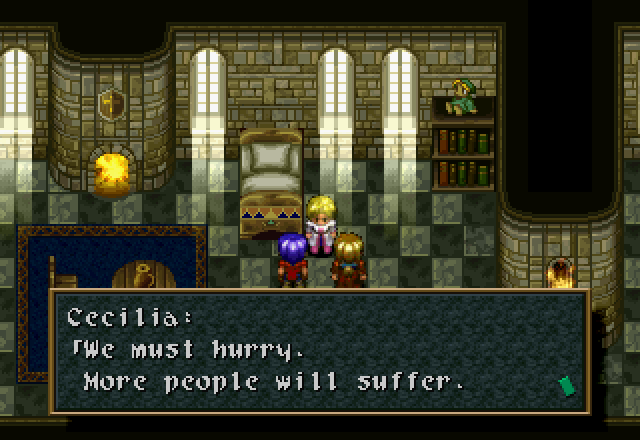
I get caught at least four times here. This is the only place I actually get caught in this entire section.
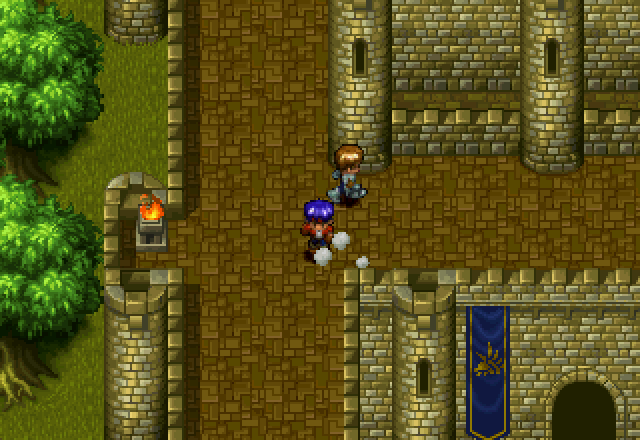
And even when I do finally make it, it’s by the skin of my teeth. I’m not convinced that it’s possible to do otherwise.
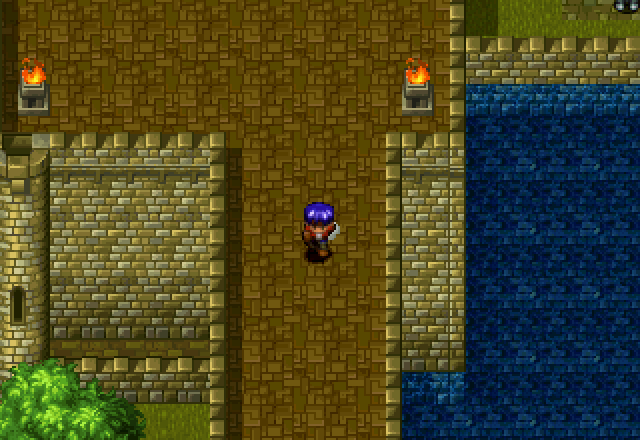
We head south…
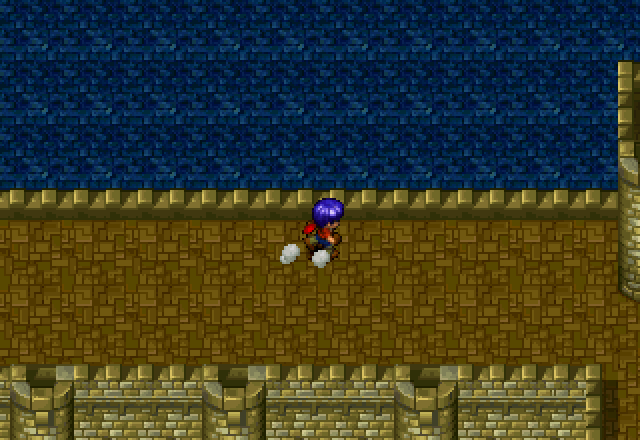
…East…
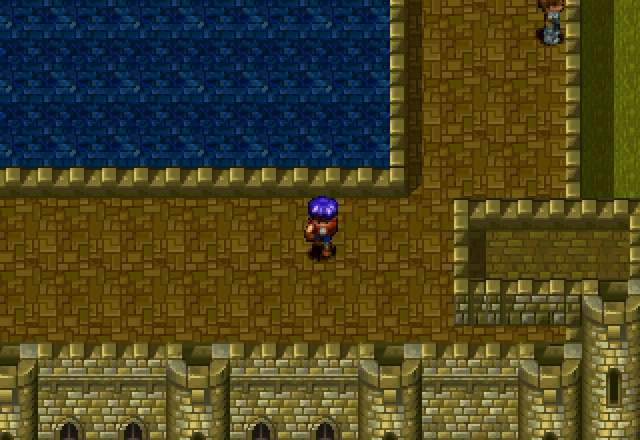
…North…
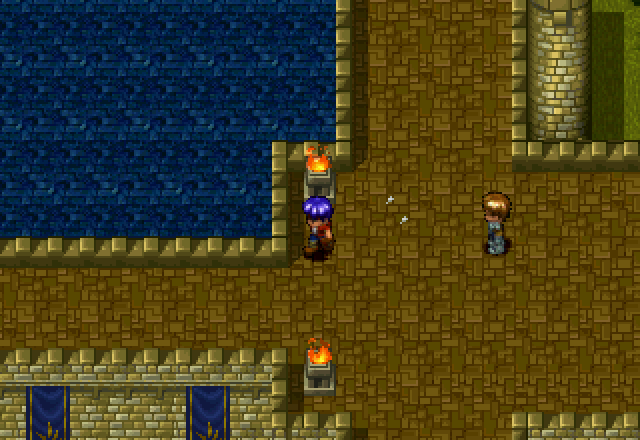
…Back west a little…
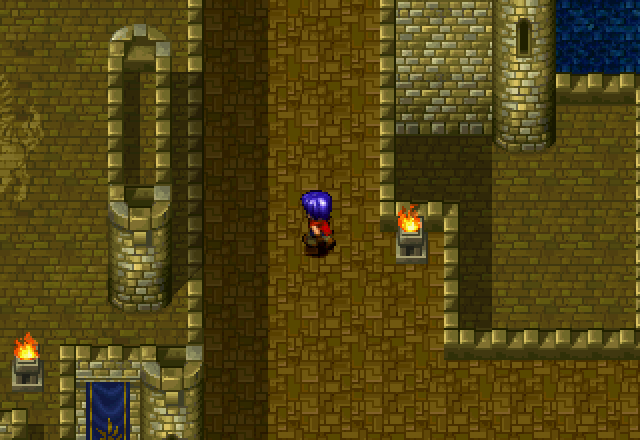
…And finally north to the door back into the castle.

From there, it’s downstairs to the ground floor.
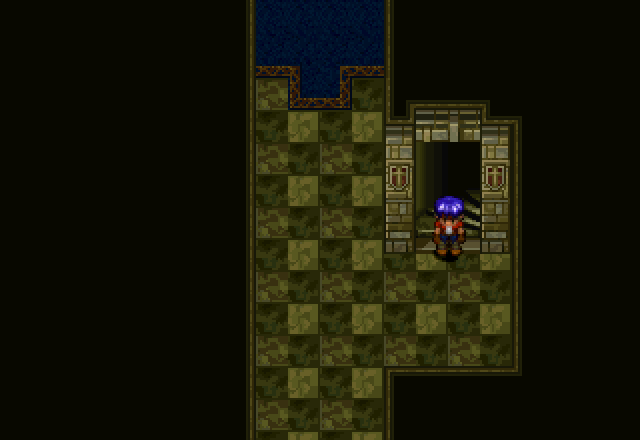
Then north; south is the well-guarded throne room.
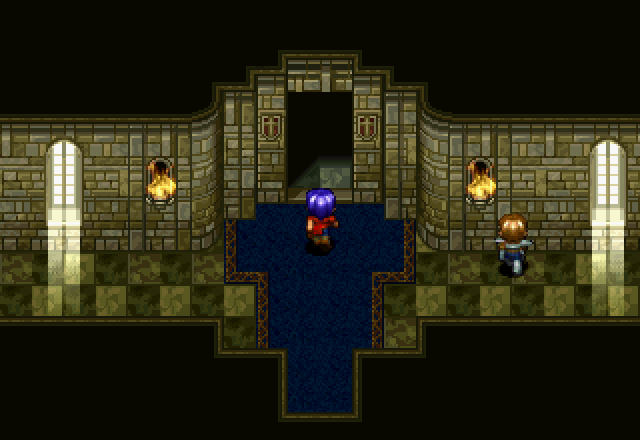
Almost there. This guard is one of the “homing” types, but ducking in the inn room seems to reset his position (despite going back inside not resetting the guard above :shrug:), so he’s actually pretty easy to throw.
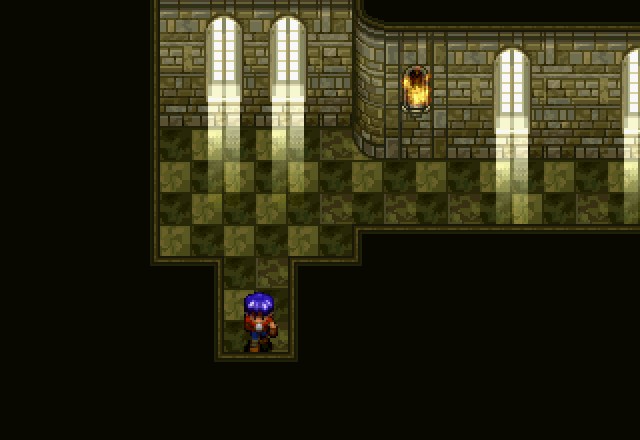
At the end of the west corridor is the door to the kitchen.
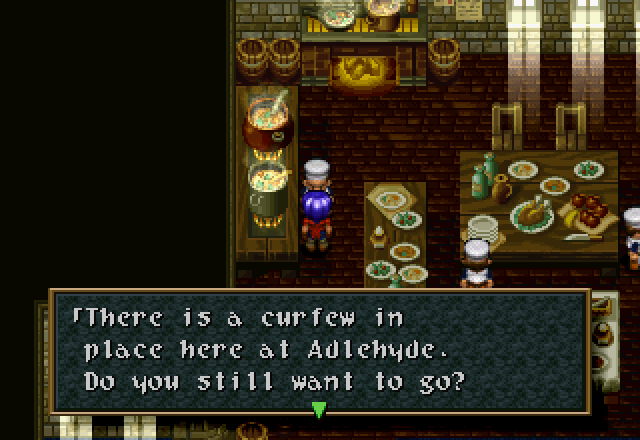
![]() …I understand. I’ll open the door to the cellar… Please follow me.
…I understand. I’ll open the door to the cellar… Please follow me.
Once inside, we find the chef who was talking about the secret door earlier and talk to him. No, I didn’t skip a dialogue option there.
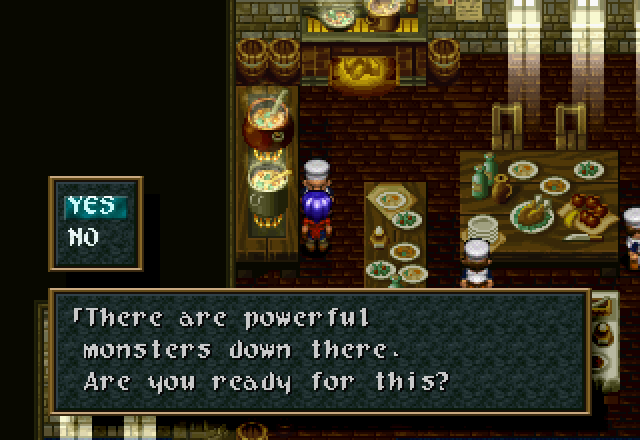
…Because it’s here, instead.
![]() Yes.
Yes.
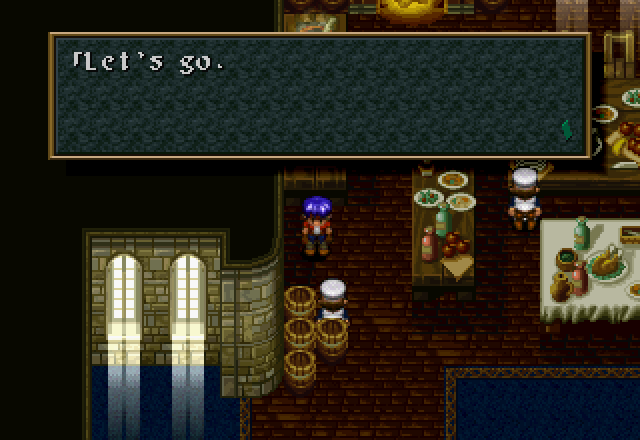
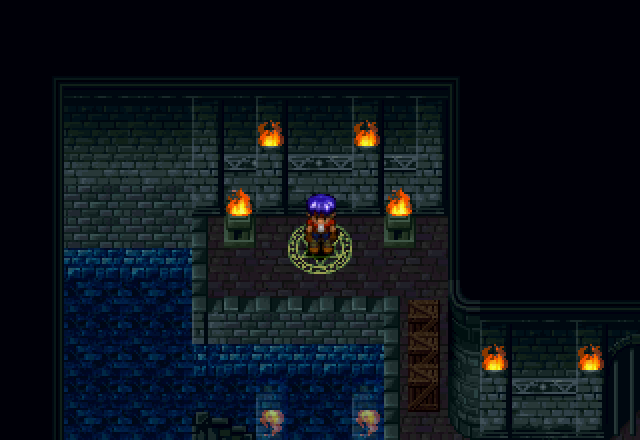
Welcome to the Obligatory Sewer Level.
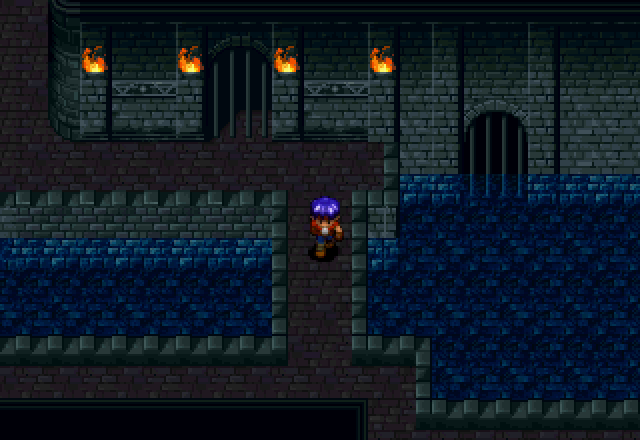
We’ve had minigames, a stealth section, and a sewer level in close proximity.
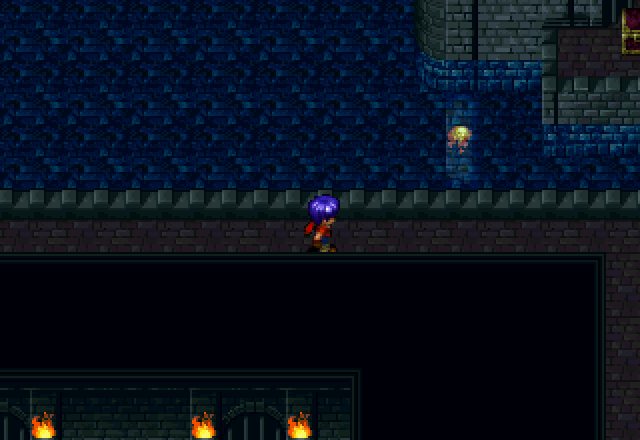
I appreciate the game’s attempt to get the crap out of the way up front, but I can’t help but feel like they could have been spaced out a bit better. I’m joking; the sewer level’s just fine. Note the chest in the upper-right corner.
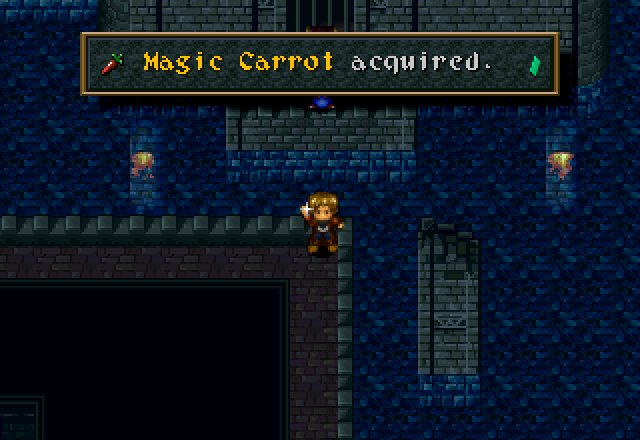
You need Hanpan to get it.
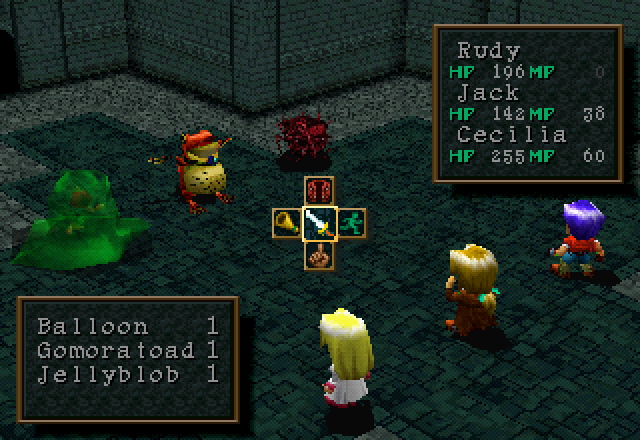
Conveniently, I get all of the enemies in this dungeon in one encounter. Balloons are old friends by this point, but the Jellyblobs and Gomoratoads are new.
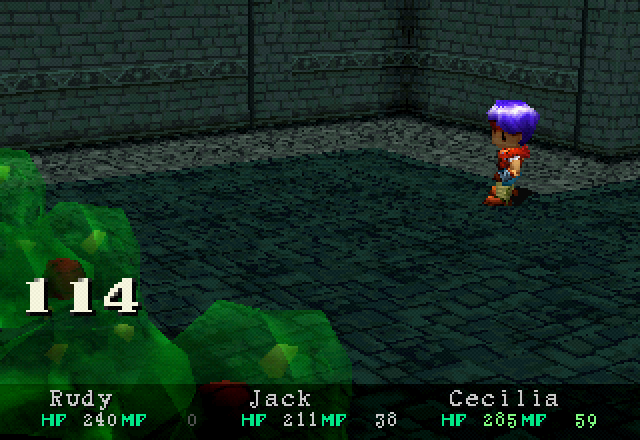
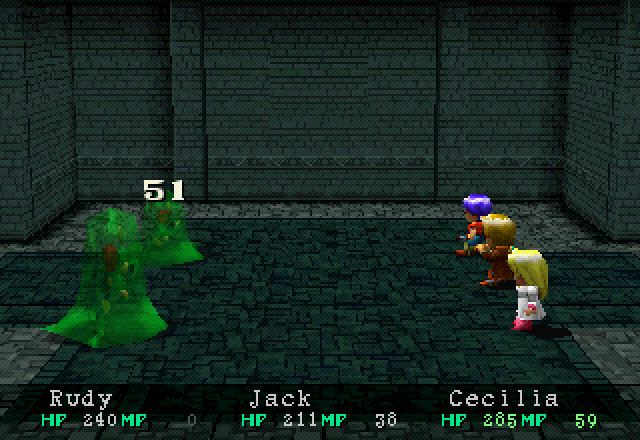
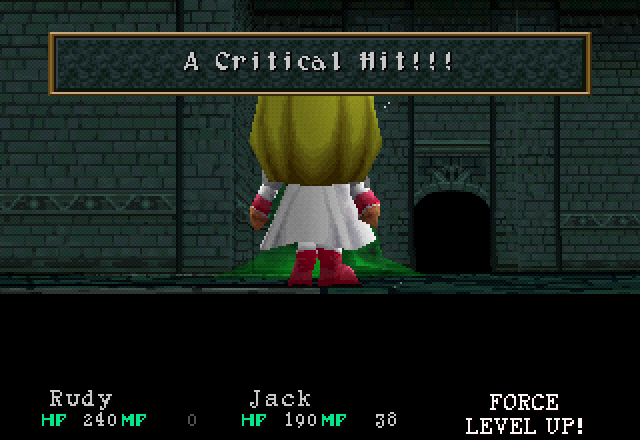
Jellyblobs have 60 HP, so the only character unable to one-shot them with a basic attack is Cecilia.

Although not for lack of trying. They don’t seem to have much defense, so crits deal very little additional damage.
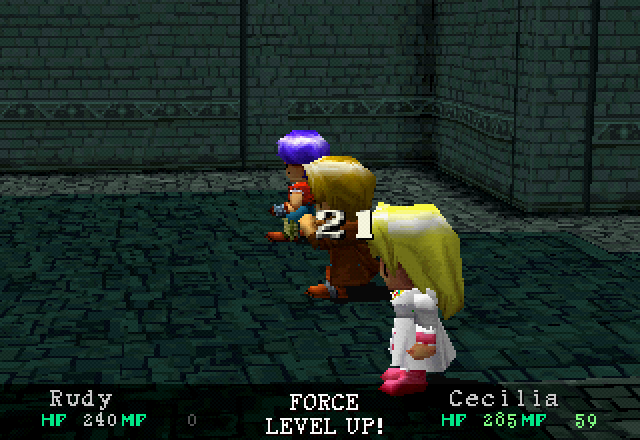
They’re not very threatening. They’re weak to Fire, so Cecilia could one-shot them with Flame if I cared enough to waste the MP.
Gomoratoads, on the other hand, have 120 HP, enough to withstand a crit from even Jack. Their weakness to Fire makes him the only character completely incapable of one-shotting them at this point.

They deal a little more damage than the Jellyblobs, but not that much.
They also have a Water Gun attack that deals respectable damage, but they don’t use it much.
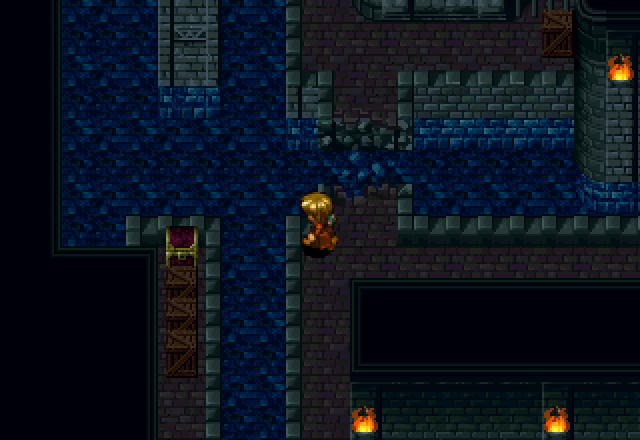
Now, we could walk all the way around to that treasure chest, break all the boxes, and open it ourselves…
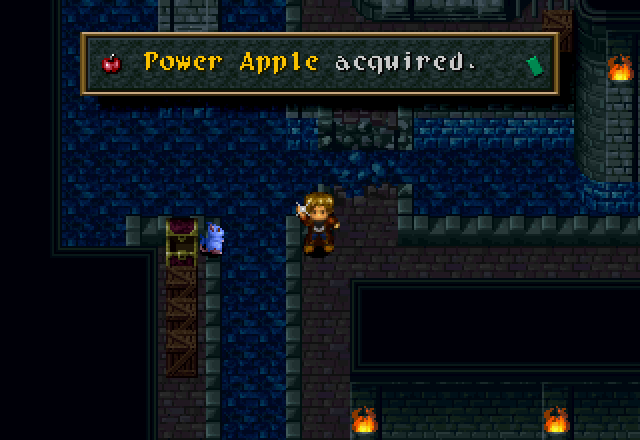
But I’m too lazy. Hanpan, go!
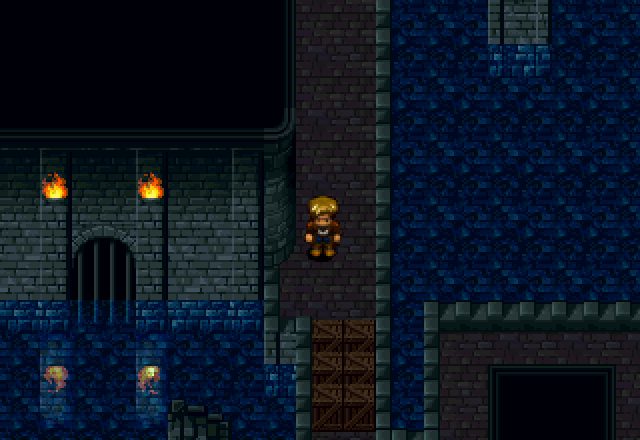
We do need to toss these boxes out of the way to progress, though.
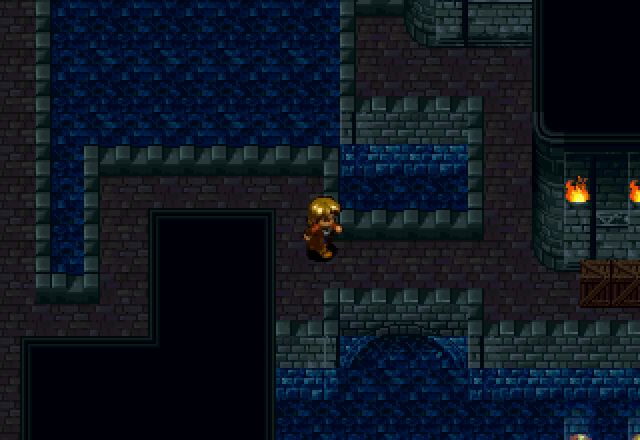
More boxes, more smashing.
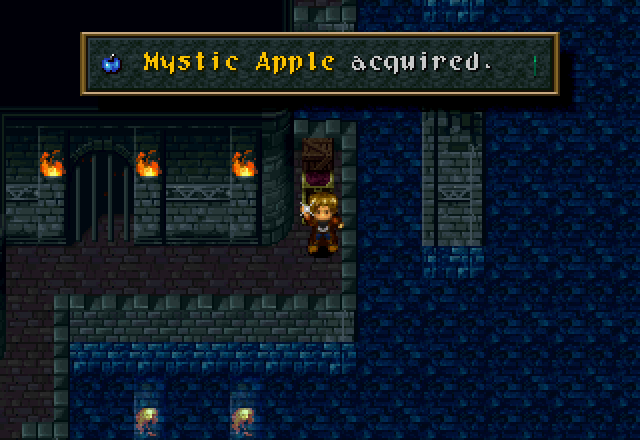
Absolutely smashing. This chest is boxed in from the back to prevent Hanpan shenanigans; there is a ledge to the north that you could use to get close enough if the box wasn’t in the way.
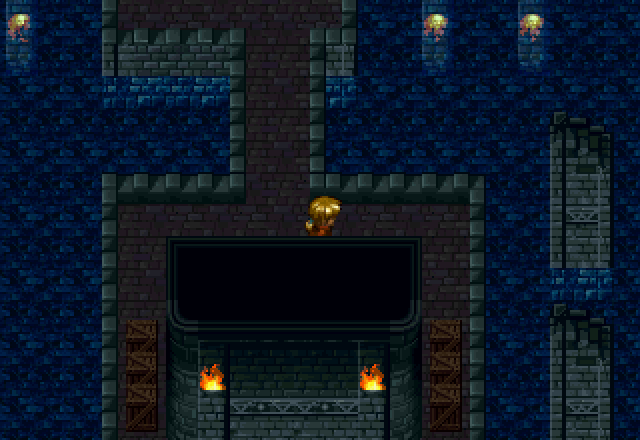
Heading south from the chest, we find this. I wonder what’s hidden here?
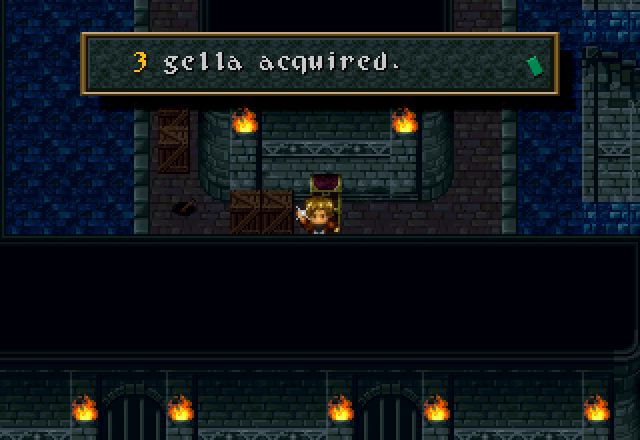
…Oh. That wasn’t even worth the time I spent getting here.
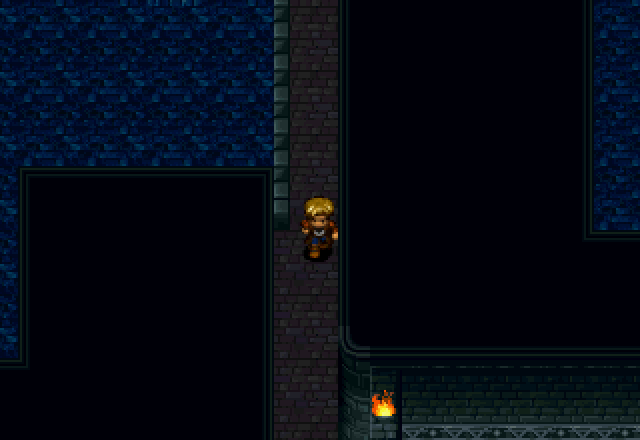
After backtracking a bit, we find progress.
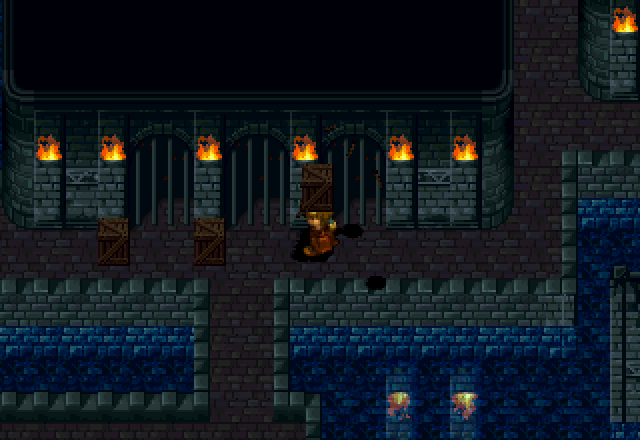
More crates. Who’s leaving all these wooden crates in a sewer?
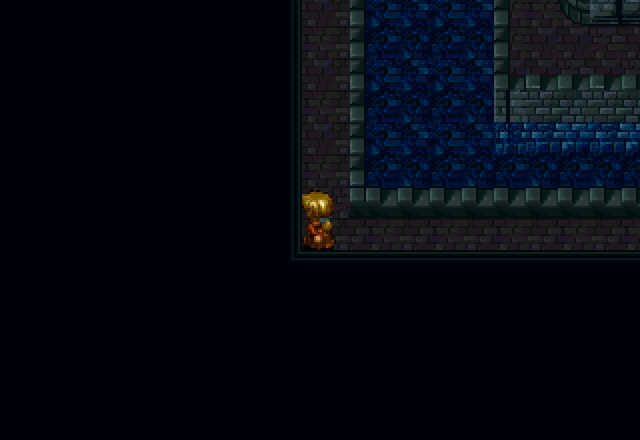
Off in a nice secluded corner…
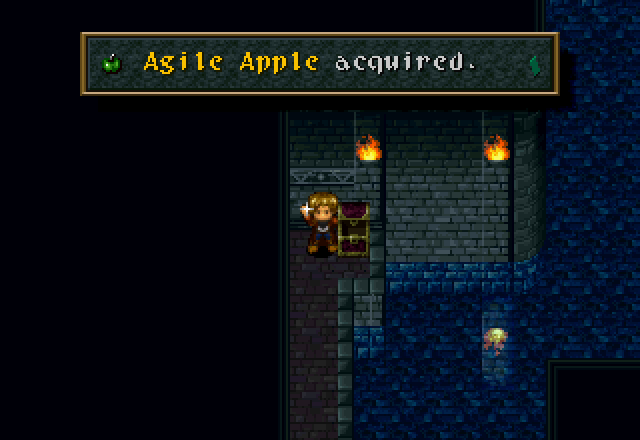
…We find another chest. At least this one was worth it.
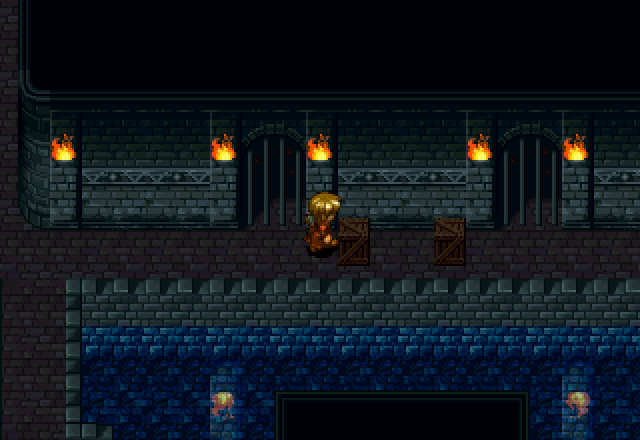
More progress, more empty crates.
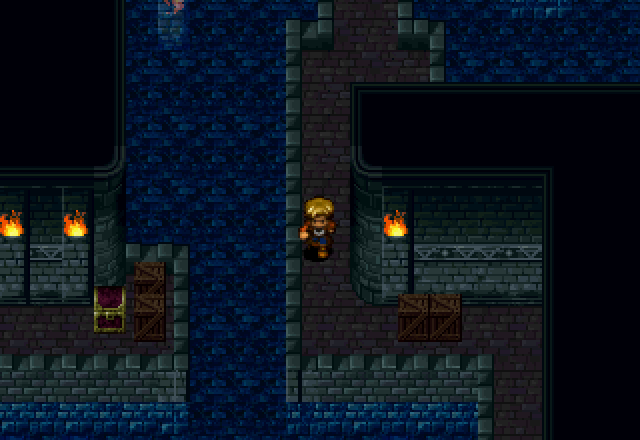
Another blocked-off chest, this one containing 120 Gella.
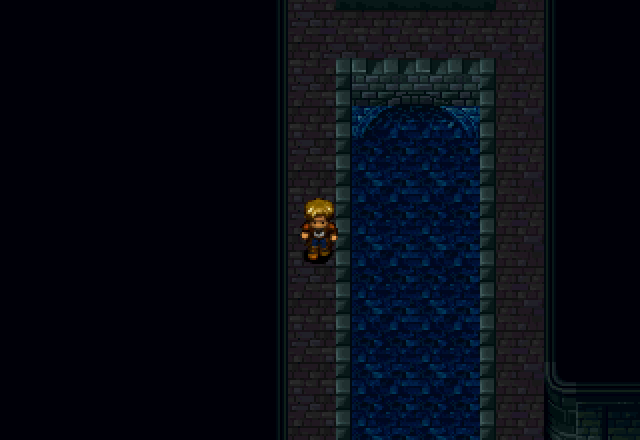
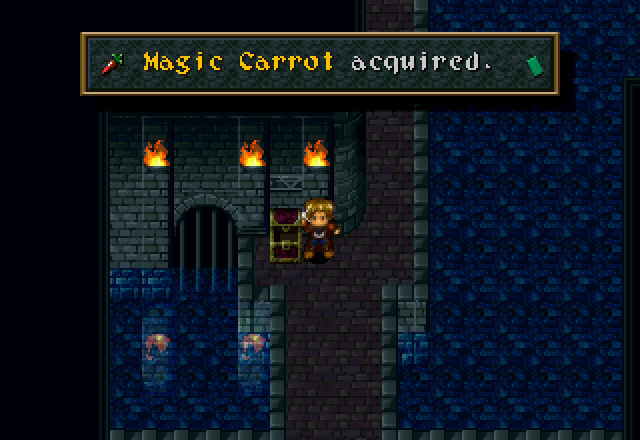
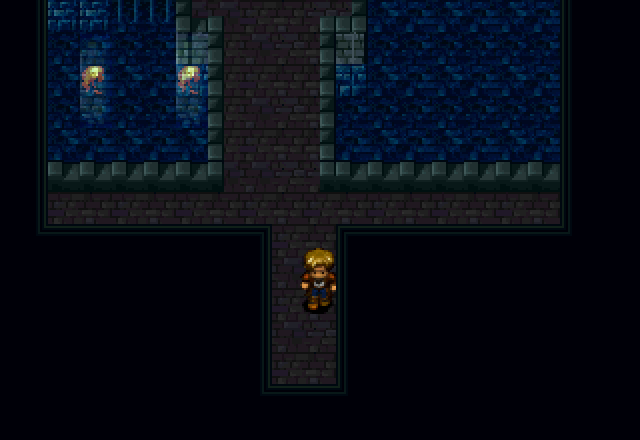
More progress and treasure. Not really that much to say about this dungeon, unfortunately.
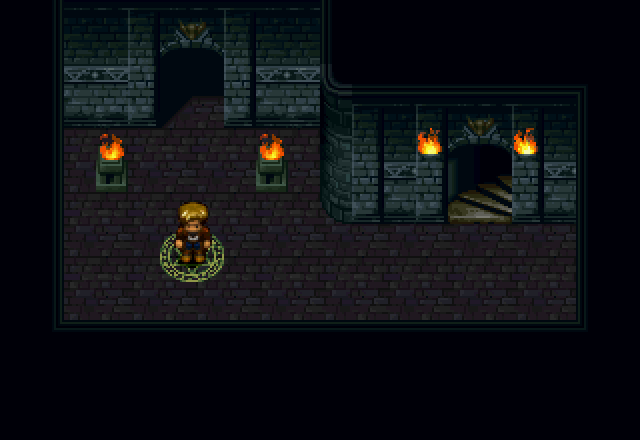
A save point; we must be near the end.
Music - After the Chaos and Destruction
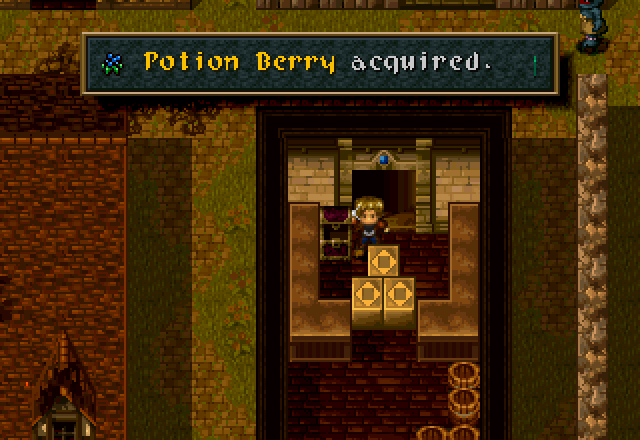
And that was the final room; we’re in town now. This building was always accessible, but those blocks can’t be pushed from the other side to allow access to the sewers.
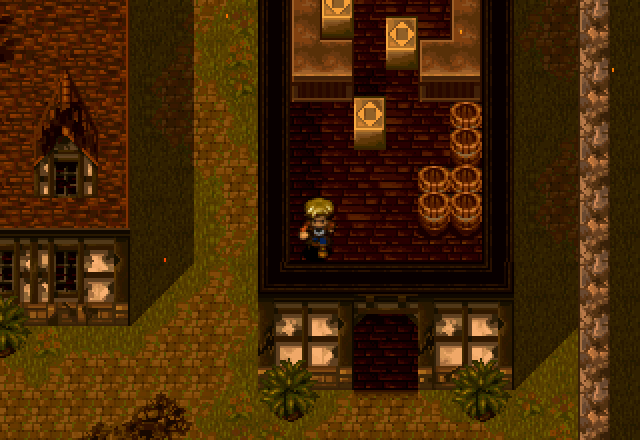
But we can move them now, and doing so allows access to the town proper.
Music - The Sharp Edge of an Assault
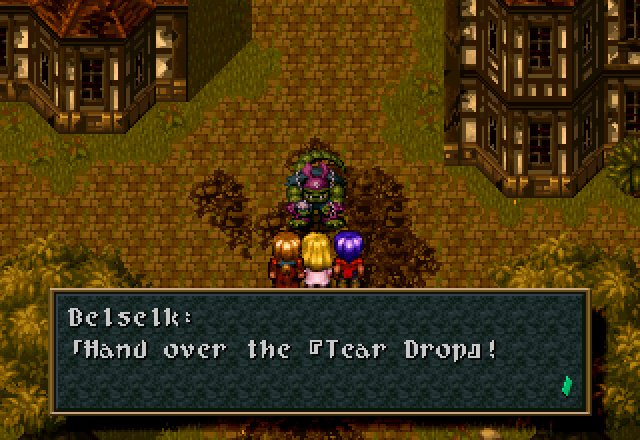
In the center of town stands Belselk Berserker.
![]() Are you guaranteeing the lives of the people?
Are you guaranteeing the lives of the people?
Don’t worry, I’m a busy guy. Just give me the [Tear Drop] and you won’t see me again.
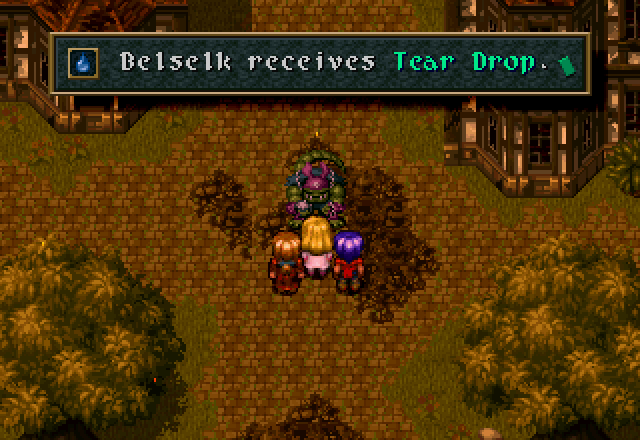
Grab the prize and go through the gate as soon as it opens.
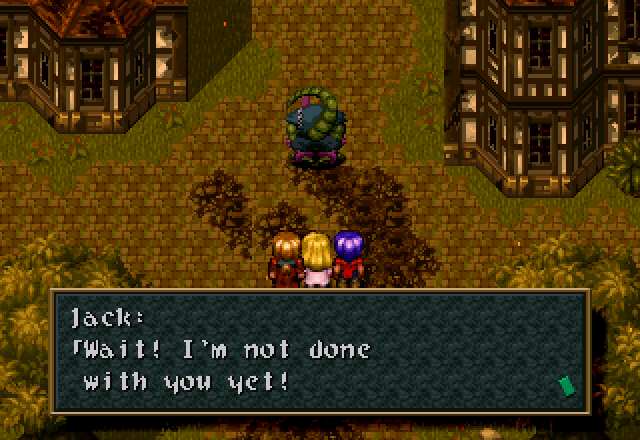
![]() You demon… I don’t know how you got here, but…
You demon… I don’t know how you got here, but…
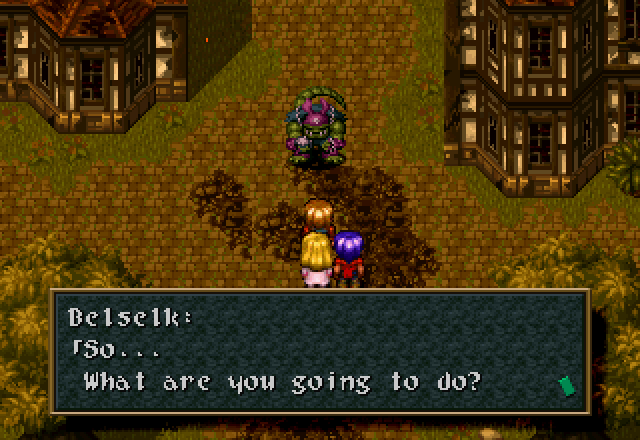
![]() Revenge! This is what I live for!
Revenge! This is what I live for!
Like I said, I’m a busy guy. Let’s make it quick, shall we?
![]() No, you can’t do that! You’re crazy to go after him by yourself.
No, you can’t do that! You’re crazy to go after him by yourself.
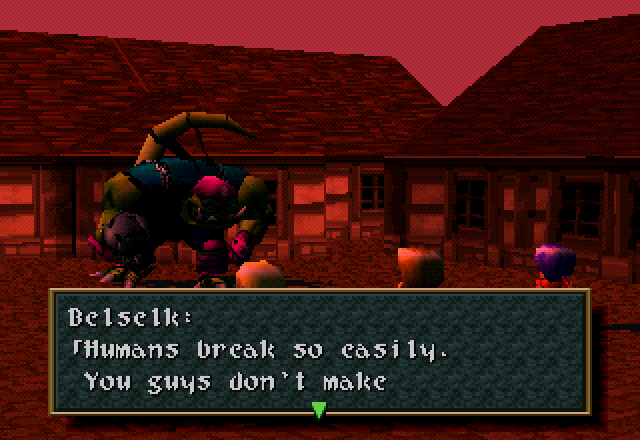
very good toys. We have to be so delicate with you humans. Here, how about a little dance?
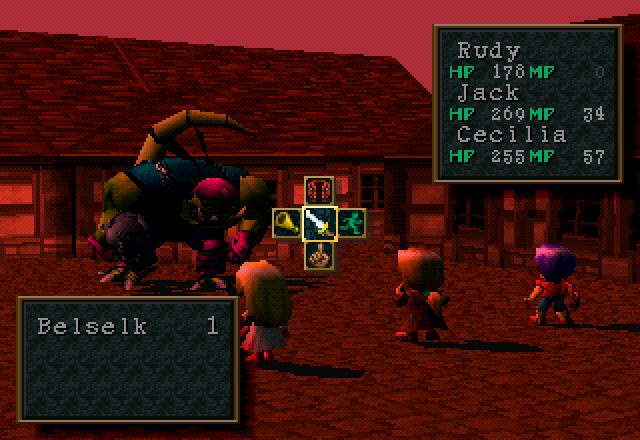
Belselk here is our second actually intelligent boss, and the first since Nelgaul back in the Sealed Library. He has 2,000 HP and no notable weaknesses or resistances.
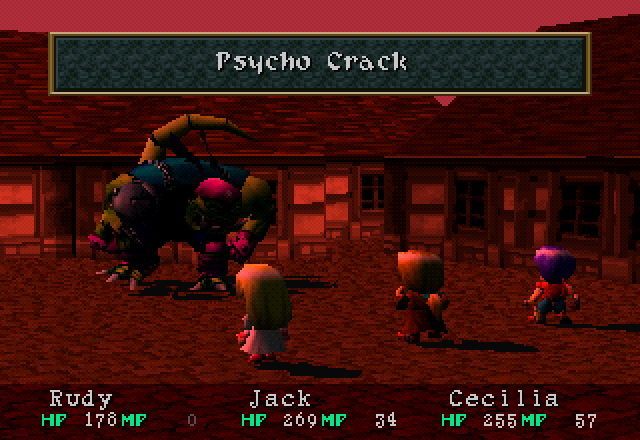
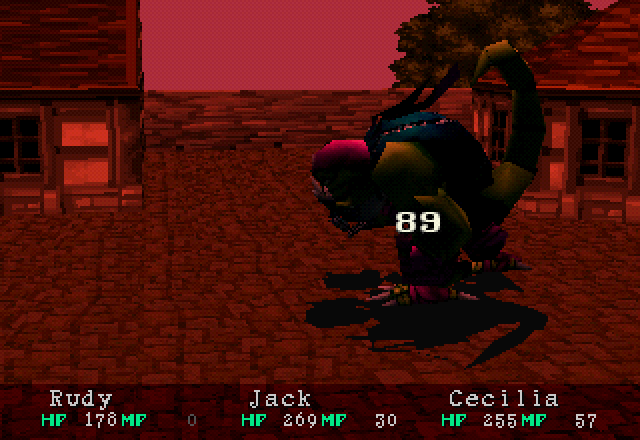
His DFP seems about on par with the Magtortous, as well.
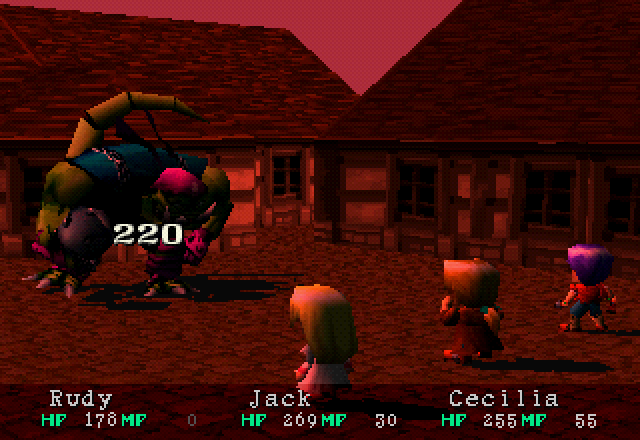
Rudy is going to be doing the lion’s share of the damage this fight; that 5 ATP from that Hand Cannon upgrade has been good to him. I’m also beginning to suspect that Hand Cannon doesn’t give a shit about DFP.
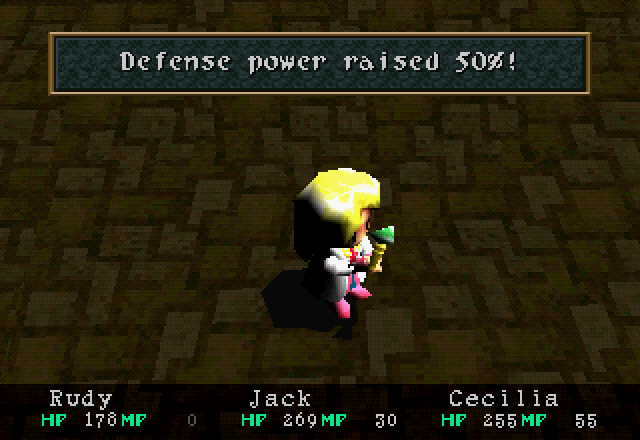
Cecilia is going to spend most of this fight on support duty, spamming Shield.
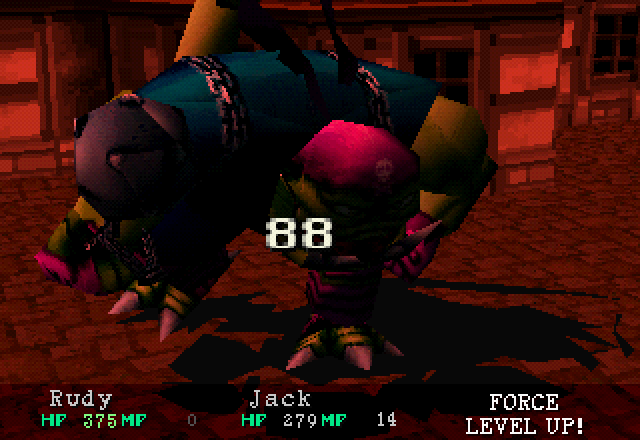
Mostly because even Valkyrie is insufficient to cut through Belselk’s surprising MGR.
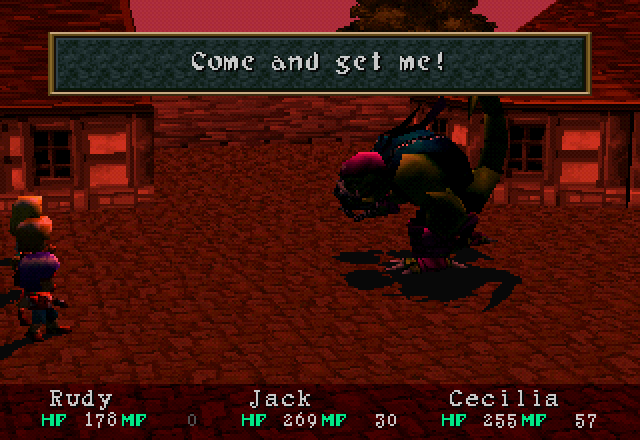
Belselk himself has three possible actions; this one is “do nothing”.
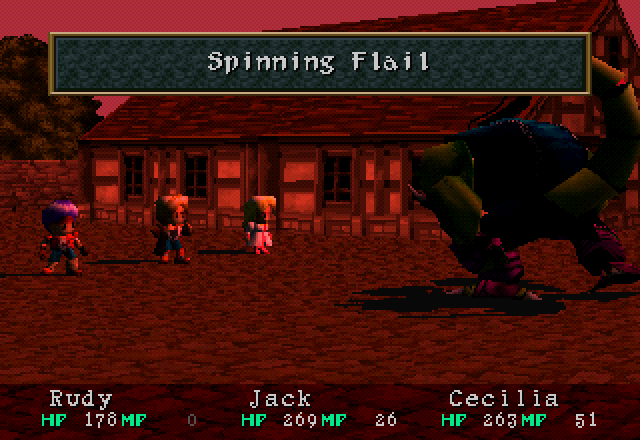
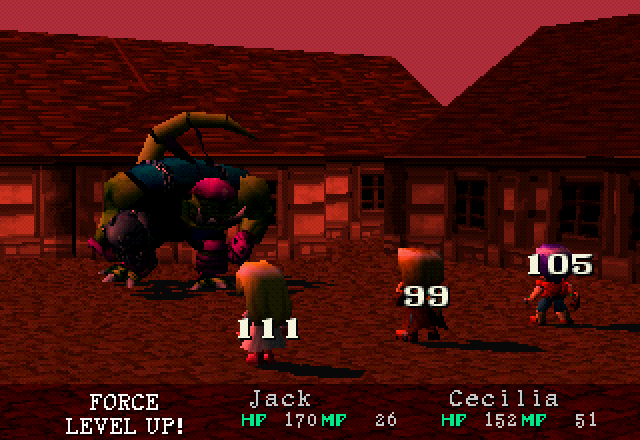
He also has “hit everyone like a truck”,
And “hit one person like a god-damned train”.
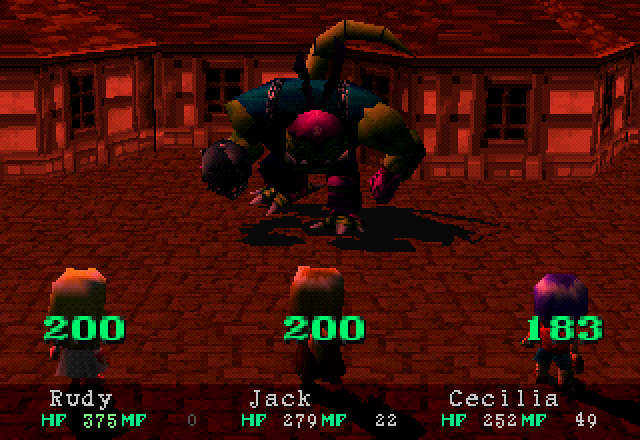
Both Cecilia and Jack spend a bunch of time in this battle healing, even after Cecilia’s buffed hers and Jack’s Defense twice and Rudy’s once.
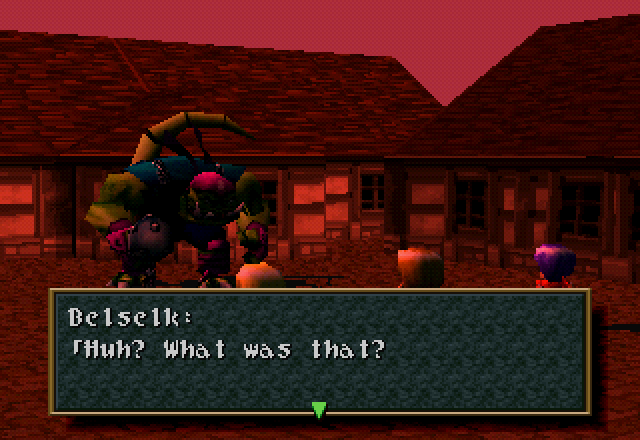
I feel like I’m being assaulted by a gnat. I’m running out of patience!
It’s no surprise when Rudy lands the final blow, but it looks like this guy isn’t going to let us kill him. In Alter Code: F, Belselk has 999,999 HP, and the fight is “survive for five rounds until he gets bored”. I don’t think you can win even on New Game Plus. You do gain bonus EXP based upon how much damage you inflict in that version, though, so go ham on him.
Music - The Sharp Edge of an Assault
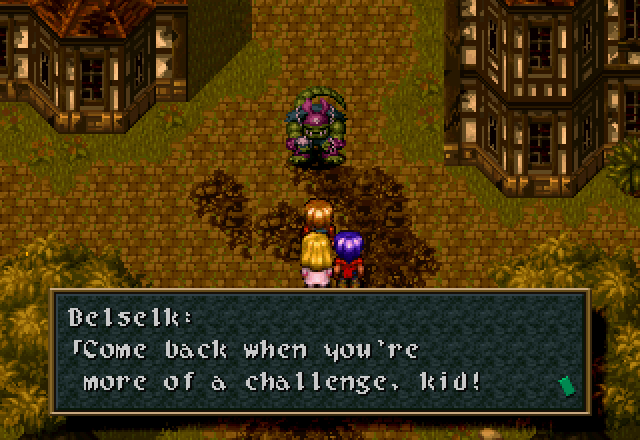

After one final taunt, Belselk fucks off.
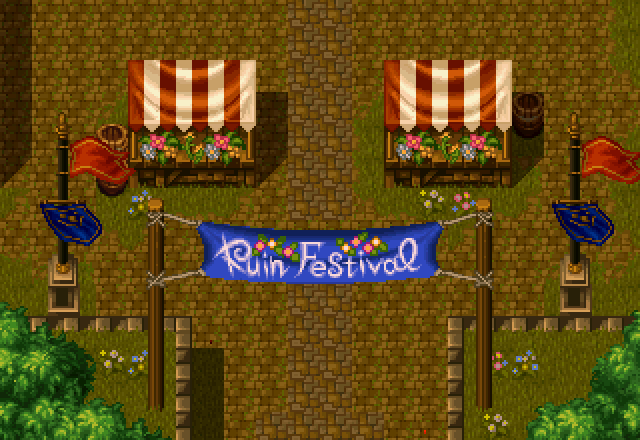
Meanwhile, over in the fairgrounds…
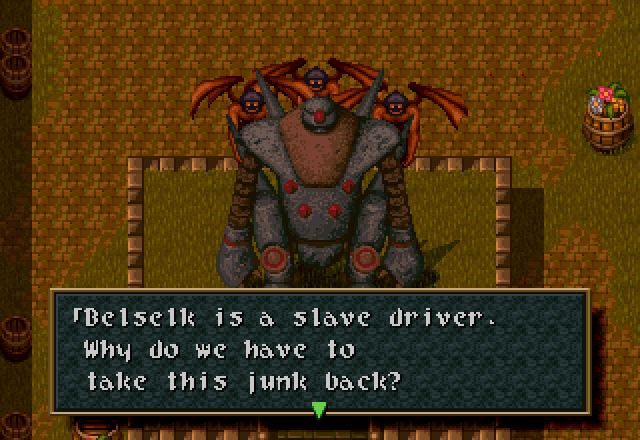
 We’ve got to do what we’re told… We’ve got to get this done.
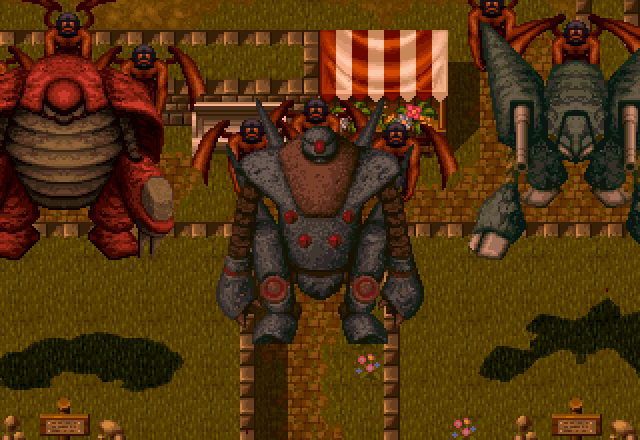
Belselk’s minions are finally getting around to making off with the Golems. The Tear Drop and three weapons of mass destruction… what could the monsters be planning with these things?
Music - A Sorrowful Separation
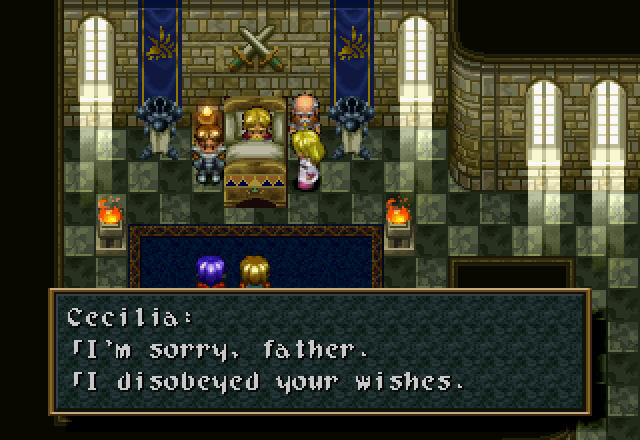
Back in the King’s chambers, Cecilia finishes up the “beg forgiveness” part of her clever plan.
![]() …It’s done. But the [Tear Drop] must not be used for evil.
…It’s done. But the [Tear Drop] must not be used for evil.
I’ve recently learned that there’s a fairly common Japanese phrase that translates roughly to “It can’t be helped” and I wonder if that’s what “…It’s done” was in the original Japanese. While I’ll give them props for doing something different, it seems to me like “What’s done is done” would have sounded more natural. Although I guess we already have proof that there wasn’t much editing done to this game’s English script.
![]() Please don’t talk, father. Save your strength. It’s my responsibility to reclaim the [Tear Drop].
Please don’t talk, father. Save your strength. It’s my responsibility to reclaim the [Tear Drop].
![]() Princess!
Princess!
![]() I have made my decision. Our resources must be conserved for the reconstruction of Adlehyde! I have trusty friends. With their help, I will reclaim the [Tear Drop].
I have made my decision. Our resources must be conserved for the reconstruction of Adlehyde! I have trusty friends. With their help, I will reclaim the [Tear Drop].
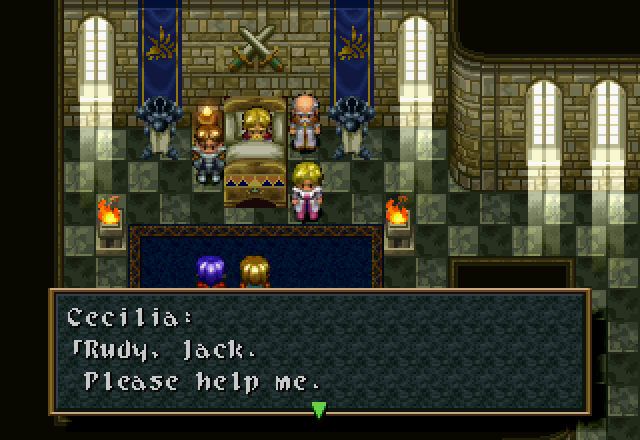
![]() I need to reclaim the [Tear Drop] for the future of Filgaia.
I need to reclaim the [Tear Drop] for the future of Filgaia.
![]() I understand. I’m sure Rudy is with me as well. We were going to volunteer anyway, but you shouldn’t come. You’ll just slow us down.
I understand. I’m sure Rudy is with me as well. We were going to volunteer anyway, but you shouldn’t come. You’ll just slow us down.
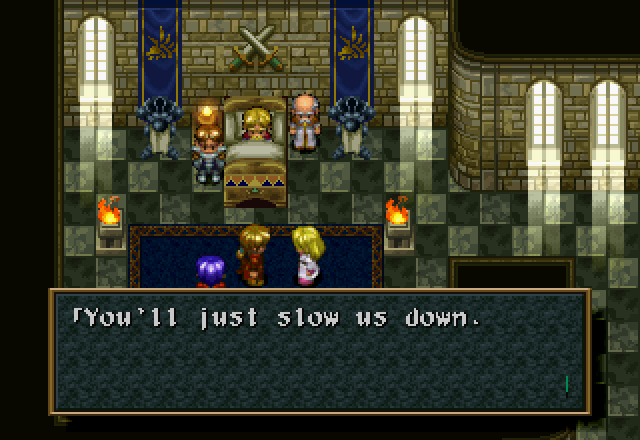
![]() about working with you. I don’t trust royalty. I never have and I never will. I kind of had an idea, but you still haven’t told us from your own mouth. Hide your identity and roam the land…eh? How romantic… You can count me out.
about working with you. I don’t trust royalty. I never have and I never will. I kind of had an idea, but you still haven’t told us from your own mouth. Hide your identity and roam the land…eh? How romantic… You can count me out.
![]() That’s enough, [Dream Chaser]!
That’s enough, [Dream Chaser]!
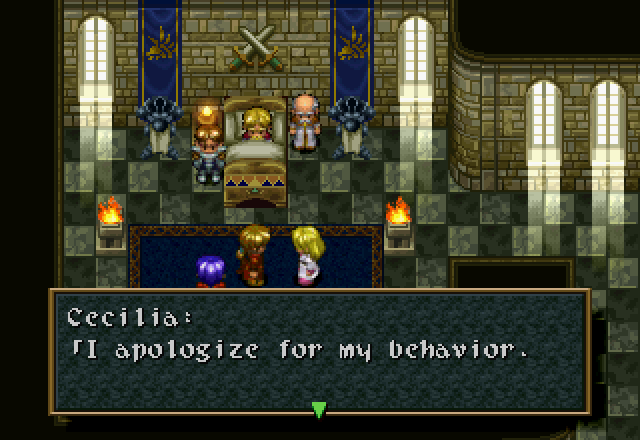
![]() If people find out who I am, they become distant. I was lonely… But my passion to save Filgaia is no lie. How can I convince you?
If people find out who I am, they become distant. I was lonely… But my passion to save Filgaia is no lie. How can I convince you?
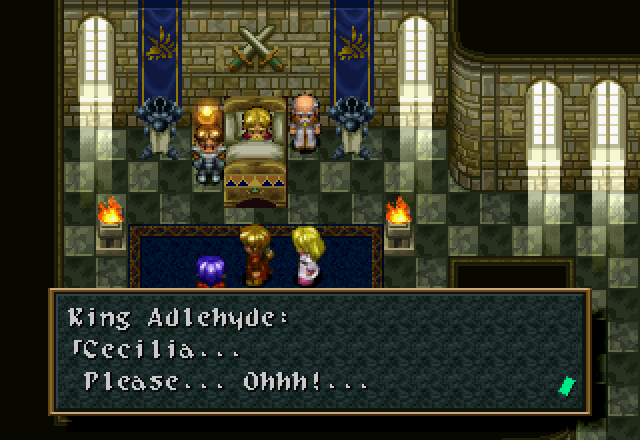
![]() Your sword… May I please use your sword?
Your sword… May I please use your sword?
![]() What do you want with it? It’s far too heavy for you.
What do you want with it? It’s far too heavy for you.
![]() Please… the sword!!!
Please… the sword!!!
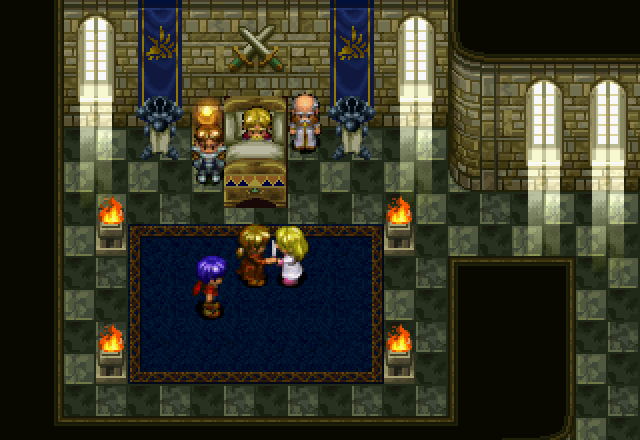
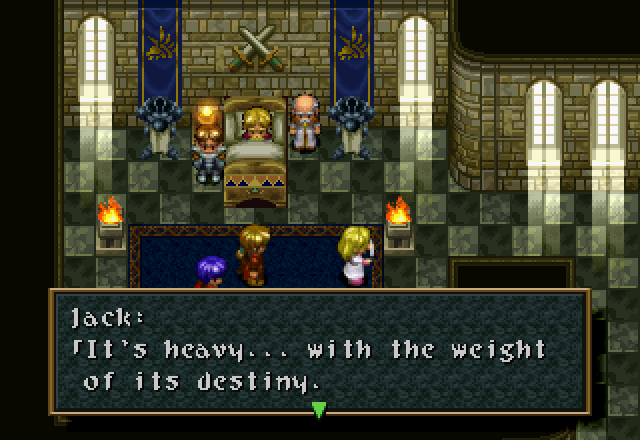
![]() It’s not for you! Give it back! Princess, you can’t support it on your own.
It’s not for you! Give it back! Princess, you can’t support it on your own.
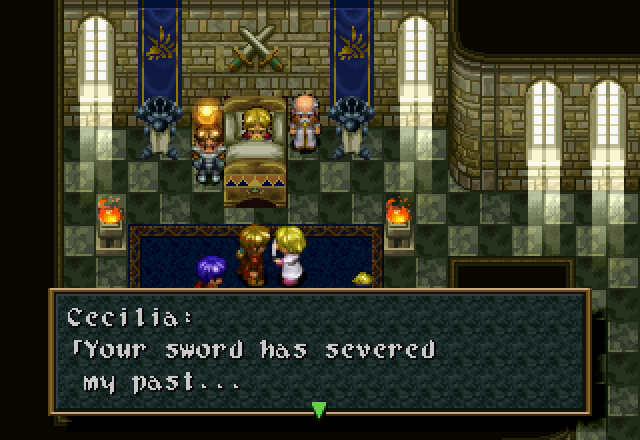
![]() I plead again, please join me in reclaiming peace.
I plead again, please join me in reclaiming peace.
![]() Be strong, Cecilia. Protect what is yours.
Be strong, Cecilia. Protect what is yours.

And with that, the King of Adlehyde passes away.
![]() …We can’t just sit around feeling sad. We must honor the dead… Our beloved king, and the men who fought so bravely.
…We can’t just sit around feeling sad. We must honor the dead… Our beloved king, and the men who fought so bravely.
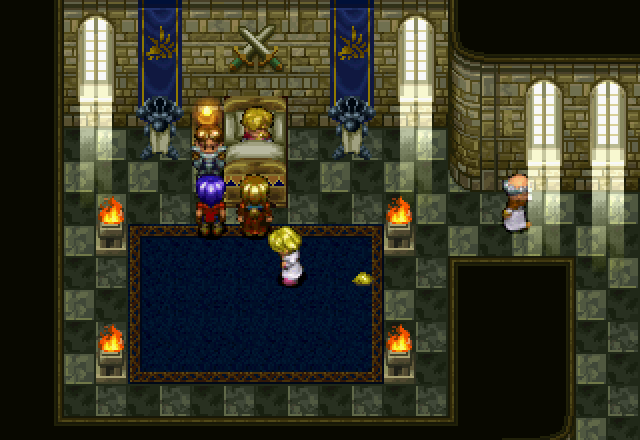
Johann leaves, presumably to begin planning funerals. Not exactly the most enviable job.
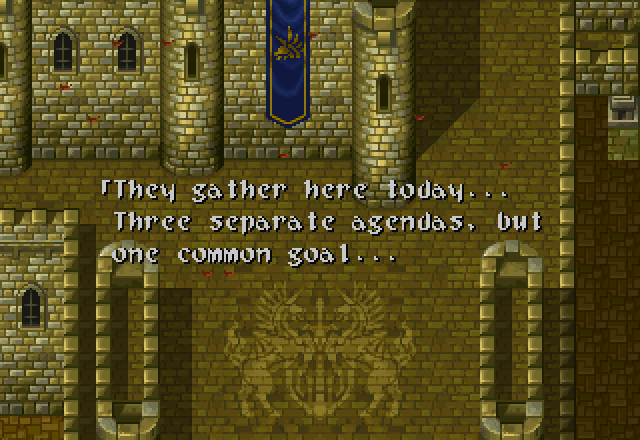
The stage is set for the fall of [Filgaia]… The story starts here.
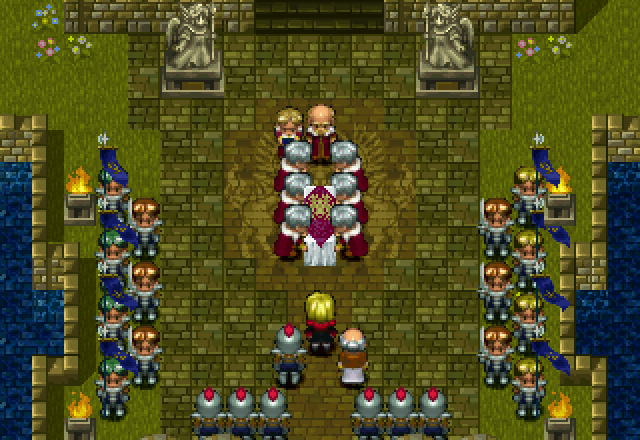
Minister Johann and the pallbearers carrying what is presumably the King’s coffin exit the keep and walk over to Cecilia, dressed in funerary black.
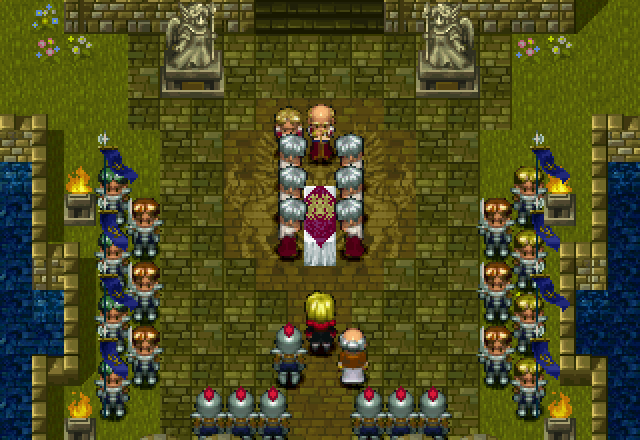
The pallbearers place the coffin on the ground…
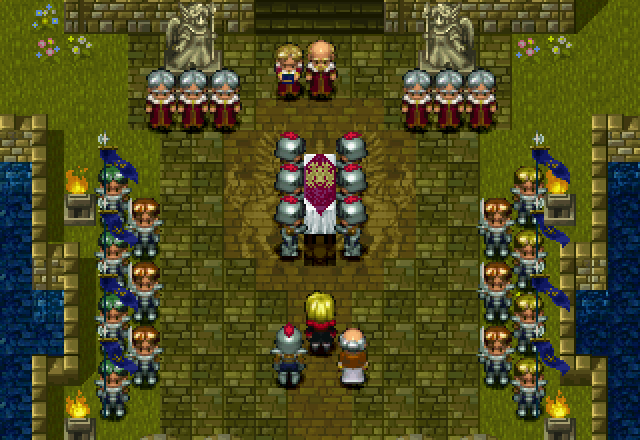
…And some soldiers, possibly the King’s honor guard, pick it up.
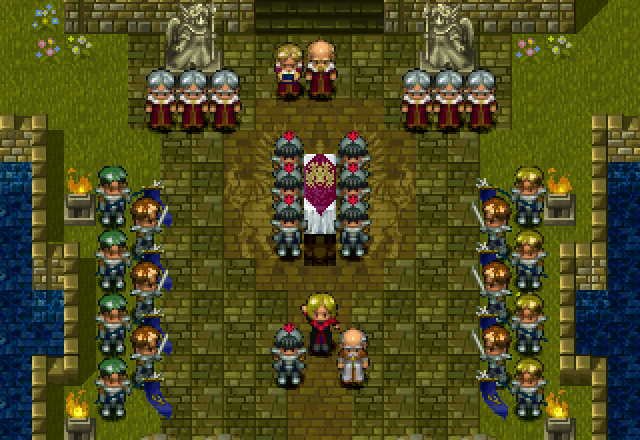
Cecilia gives the signal for the procession to start.
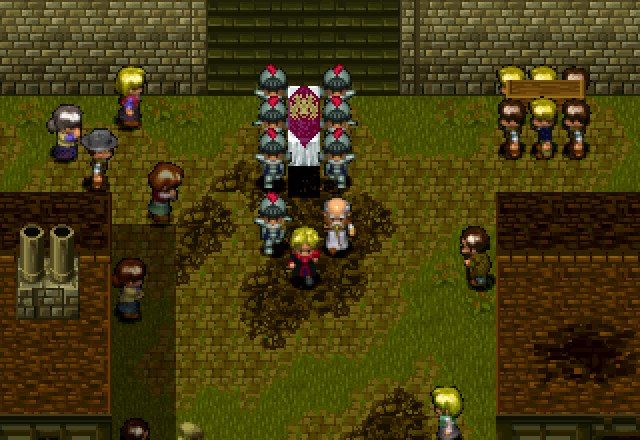
Outside the castle gates, the King’s procession is joined by the other casualties from the monsters’ attack.
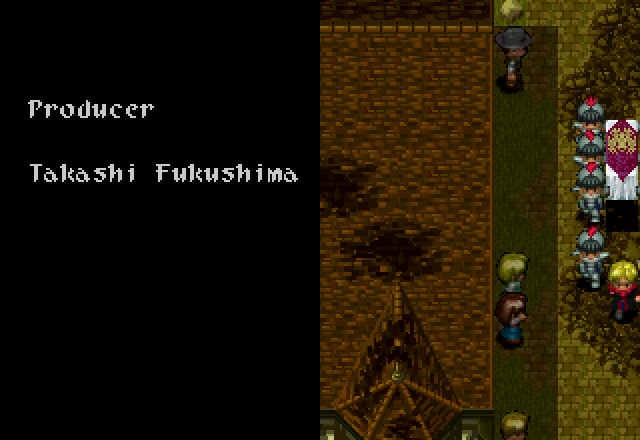
As the procession continues through the town, the credits roll.
The procession passes by Rudy and Jack, taking shade together under a tree near the center of town.
As the procession turns the corner near the city gates, some children run by.
The children also pass by our intrepid Dream Chasers, and the girl drops her ball.
And, apparently, all of the colors as well.
They pause to watch the procession for a second as Rudy hands the girl her ball. How many of these children lost parents? Such are the ravages of war.
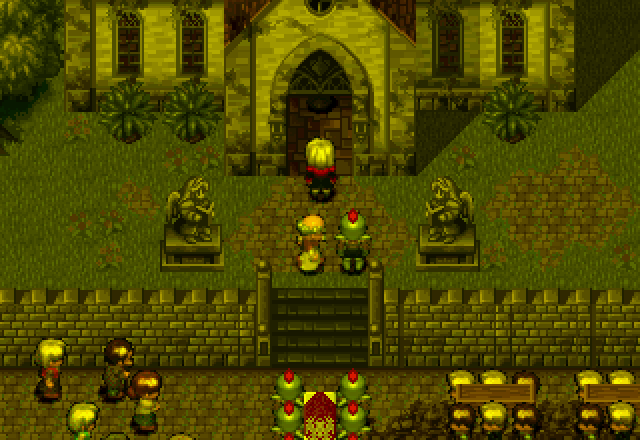
As the King’s pallbearers arrive at the church, we get a fade to black.
And the game’s title screen. This has gotten kind of long, so I think we’ll pick up here next time! We’ll take a look at the party’s stats next time, because the screenshots I have right now contain spoilers. Whoops!
I think I’m going to have to call this here. My sleep situation isn’t getting any better, and with work gearing due to summer, I just don’t have the time or the willpower to write updates right now. I really hate having to do this, because I really was enjoying doing the LP, but between working more hours and sleeping so erratically, I just can’t focus enough to sit down and belt out an update.
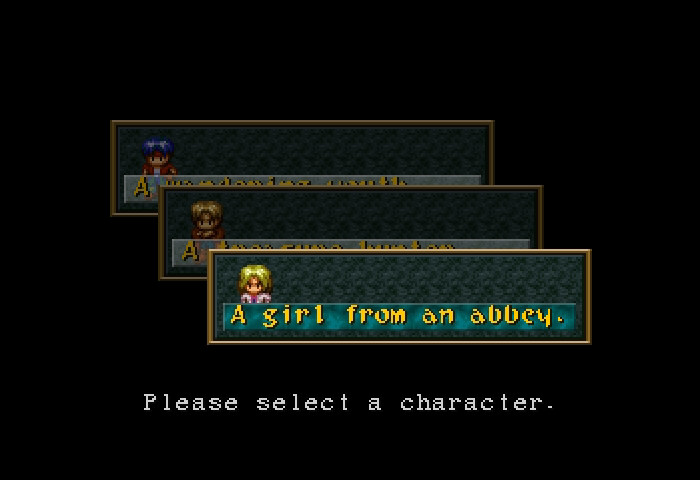


