Part 4 - Lolithia’s Tomb
Previously, we peeked into an alternate universe and watched a girl stuff apples down her throat until she could punch harder. This time we’re going to figure out what all this “Lolithia” nonsense is all about.
Music - Migrant Bird of the Wilderness
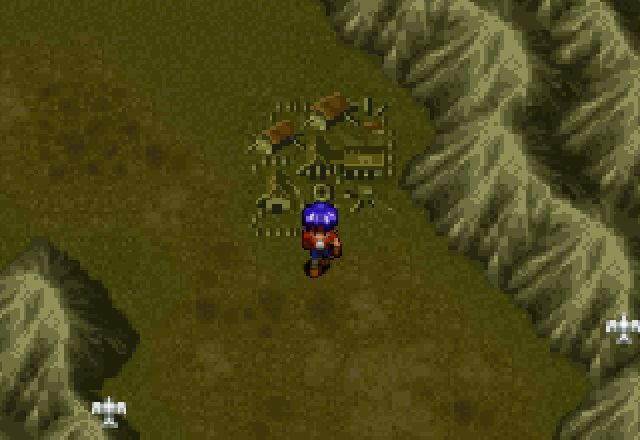
We start with Rudy right outside Surf Village. He’s been kicked out, so there’s really only one place to go right now. You know, aside from the all-girls magic school. Besides, we should probably go see what that Ruin Festival is about sooner or later.
There’s a cart along the way. The things it sells are mostly useless.
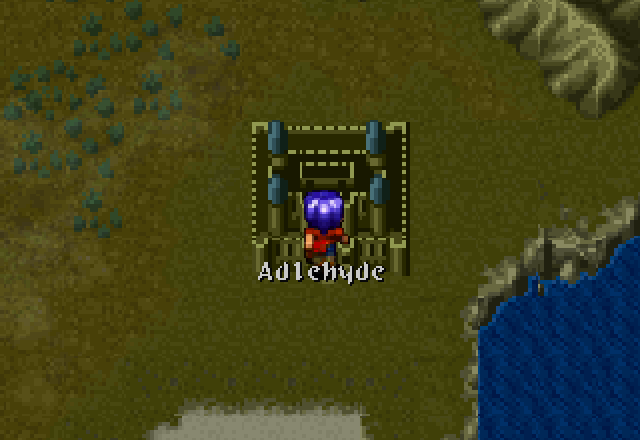
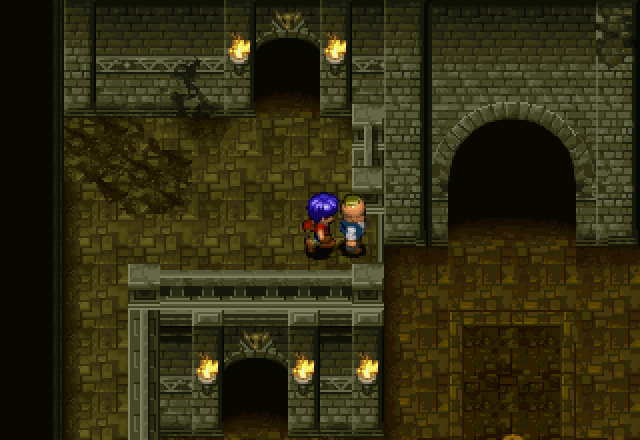
Finally we arrive at this city, called Adlehyde. The name seems somewhat familiar…
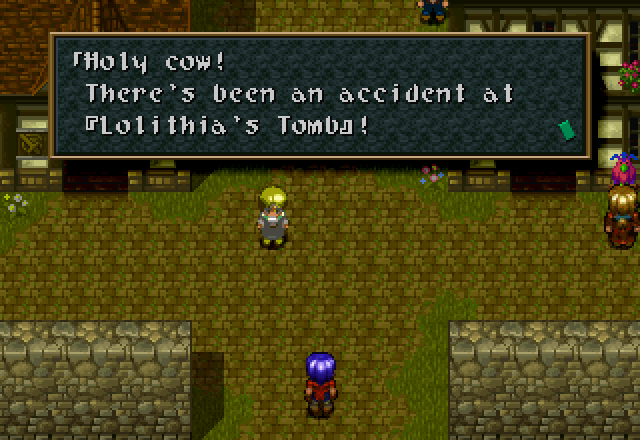
Just as Rudy arrives in Adlehyde, this happens. This is scripted to happen the first time any character enters Adlehyde after Rudy’s scenario has been completed, if memory serves.
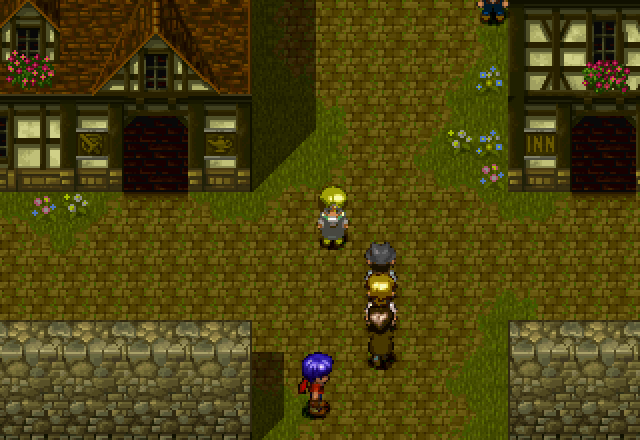
Some guys rush into town. Alter Code: F makes it a lot more clear, but the blonde guy in the middle is injured and being carried by the other two.
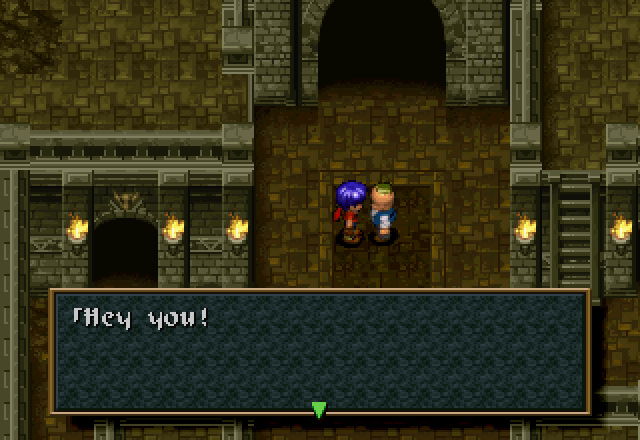
The two on the sides are clearly panicking, and spend a second or two here running back and forth.
He’s got a point.

Then they take off.
The building on the right is the inn (right next to the only entrance to town seems like a pretty good location). The blonde innkeeper is useless to us right now, because like the other two Rudy got a full heal after finishing his scenario. More interesting is the other guy standing below the counter.
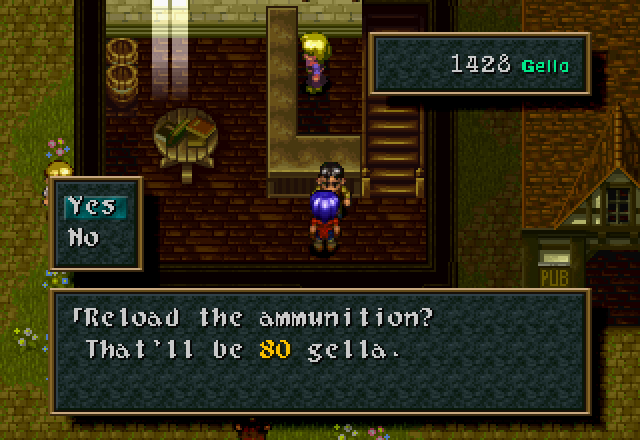
Because he’s the town’s ARM reloader, and will refill the bullets in Rudy’s ARM, for a nominal fee of 10 Gella per bullet. 80 Gella is nothing, and it never gets too expensive. All in all, a very useful service, especially since the only other way to reload bullets is the rare Bullet Clip you find in dungeons. Even plot-mandated full heals generally don’t touch your bullets.
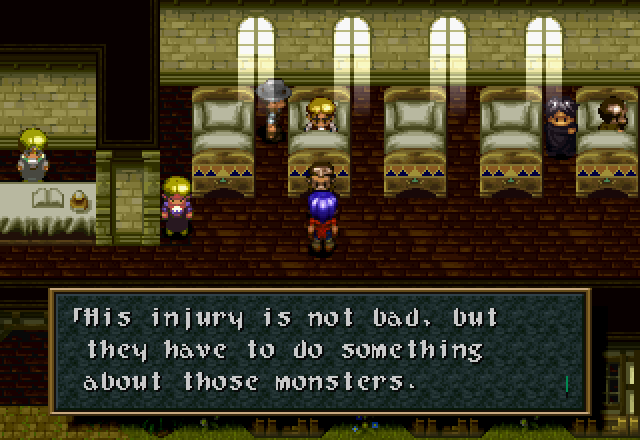
It looks like they did end up taking the injured guy to the hospital first. I’ll cover the rest of the NPC chatter in a bonus update; this should be the last time I need to do this for a while, because it’ll be the last time I need to comb through a town for dialogue changes three times.
![]() What a whimp! He shouldn’t cry about a monster bite.
What a whimp! He shouldn’t cry about a monster bite.
![]() My injury was minimal. I didn’t need to be hospitalized.
My injury was minimal. I didn’t need to be hospitalized.
But it seems they all agree he doesn’t really need to be there.
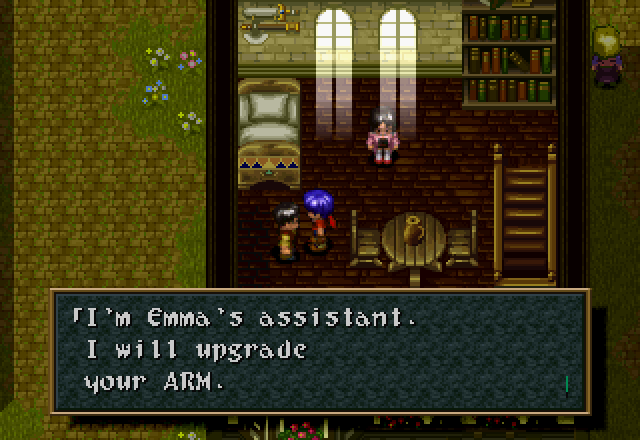
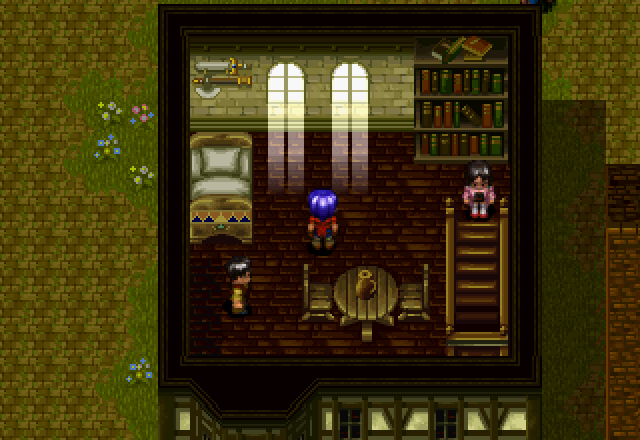
Let’s pop over to Emma’s lab now. This guy is the ARM Meister, and he’ll upgrade Rudy’s ARMs. This is important, because they aren’t affected by Rudy’s Strength stat and if they scale in damage with level, it’s fairly slowly. Once again, I don’t have hard numbers because they apparently don’t exist. I don’t buy any upgrades yet, though.

![]() How exciting! Listen to that commotion. I wonder what’s happening.
How exciting! Listen to that commotion. I wonder what’s happening.
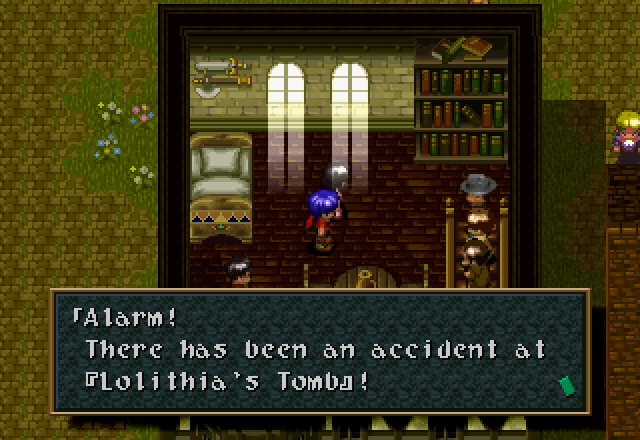
The two from the hospital show up. They apparently picked up a different third guy en route to Emma’s lab, though.
![]() Oh no! Tell me what’s going on.
Oh no! Tell me what’s going on.
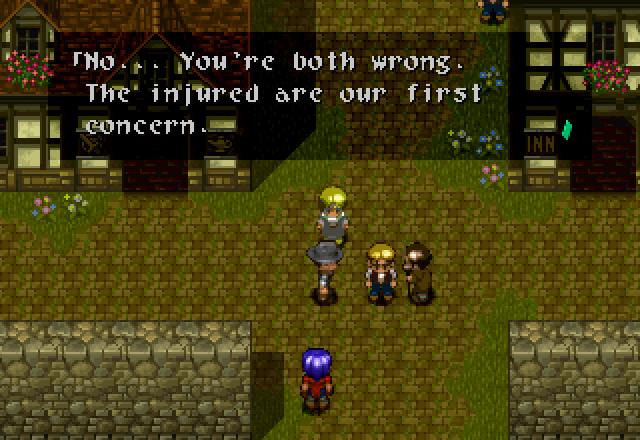
![]() We broke through a wall damaged by the earthquake and unleashed monsters. Some of the workers were injured by one of the monsters.
We broke through a wall damaged by the earthquake and unleashed monsters. Some of the workers were injured by one of the monsters.
This scene is unusually not helpful about distinguishing which nameless NPC is speaking. Usually they do something right before they talk, like taking a step or spinning in place. Hell, Emma spins when she talks here. In the interests of not having to make as many portraits, I’m going to assume it’s all the same guy speaking.
![]() Gather anyone with military experience!
Gather anyone with military experience!
![]() No way!! No one here has ever fought monsters before. There are so many of them. You couldn’t pay us enough to go in there.
No way!! No one here has ever fought monsters before. There are so many of them. You couldn’t pay us enough to go in there.
![]() All right then! Get to work on the repairs. You hear?! I’ll do something about the monsters.
All right then! Get to work on the repairs. You hear?! I’ll do something about the monsters.
![]() OK!
OK!
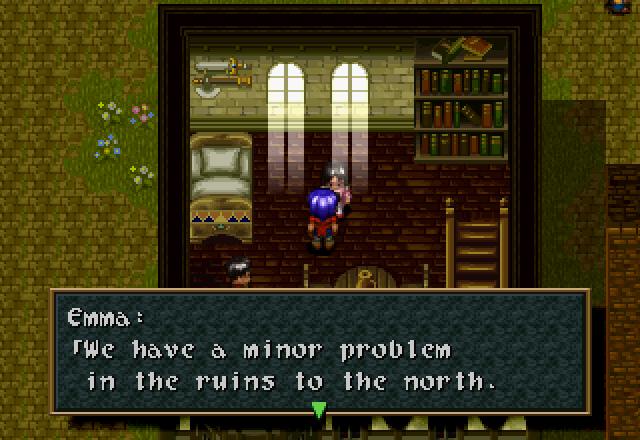
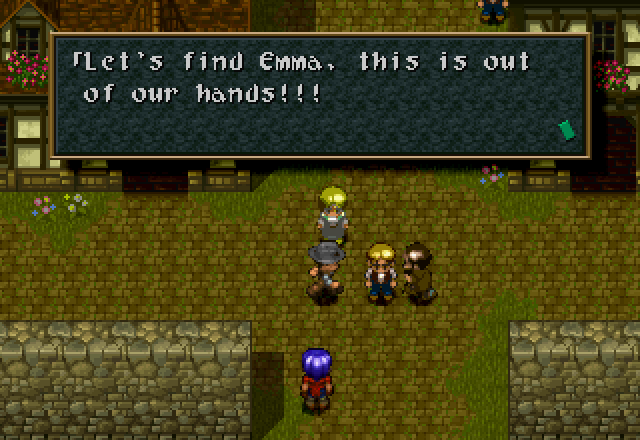
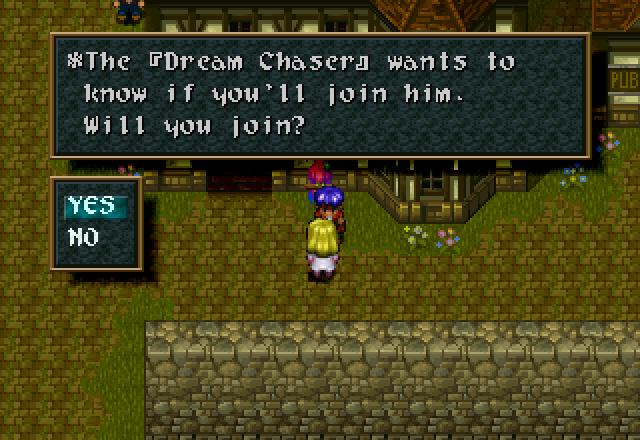
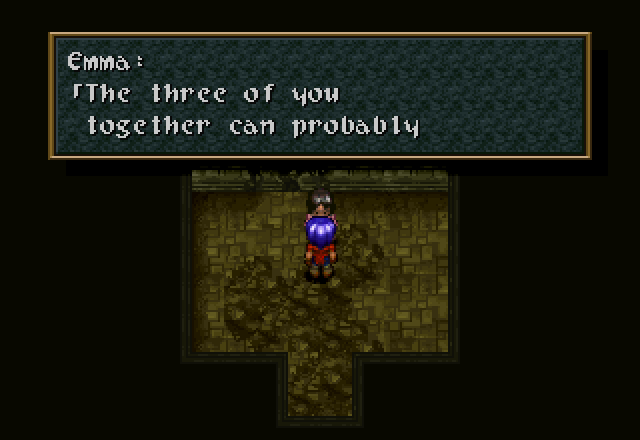
They leave, and Emma turns to the Dream Chaser who’s conveniently been listening to the entire conversation right next to her.
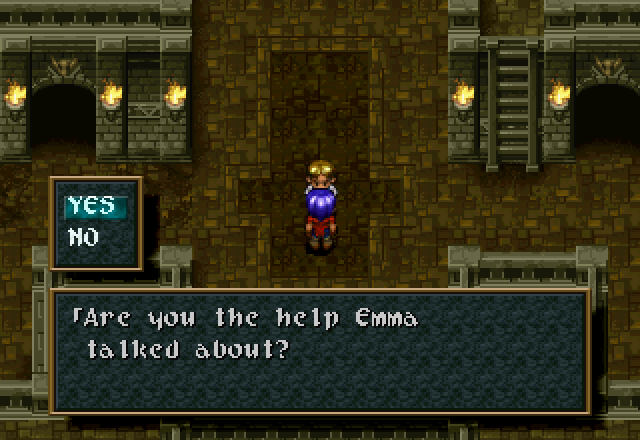
![]() You can fight, can’t you? I need to have some monsters slain. I’ll pay 500 gella. You can take any treasure from the tomb. Will you do it?
You can fight, can’t you? I need to have some monsters slain. I’ll pay 500 gella. You can take any treasure from the tomb. Will you do it?
Since this question is basically “do you want to progress the plot?”, let’s get “No” out of the way first.
![]() No.
No.
![]() What am I to do? I’ll never be ready.
What am I to do? I’ll never be ready.
![]() Yes.
Yes.
![]() Glad to hear that. I’ll pay you after the excavation. Trust me! I’ll be waiting for you. You must get prepared. Don’t underestimate [Lolithia’s Tomb]. Bring friends.
Glad to hear that. I’ll pay you after the excavation. Trust me! I’ll be waiting for you. You must get prepared. Don’t underestimate [Lolithia’s Tomb]. Bring friends.
Just like the event at the entrance, you can trigger this and accept Emma’s job with any of the trio. The only requirement is that Rudy’s scenario is completed. As implied by “Bring friends,” she won’t actually let you into the ruins until the whole party’s together, though.
Then she’s off too. Let’s take a second to talk about Emma. She’s actually one of the few characters to undergo a radical character design change in Alter Code: F. All of our heroes look the same, and while a few NPCs look a bit different from their sprites, she’s one of the most notable. I couldn’t find any concept art of her for this version, but the sprite is enough for this purpose. What does she look like in Alter Code: F?

This. She got significantly more anime in ACF.
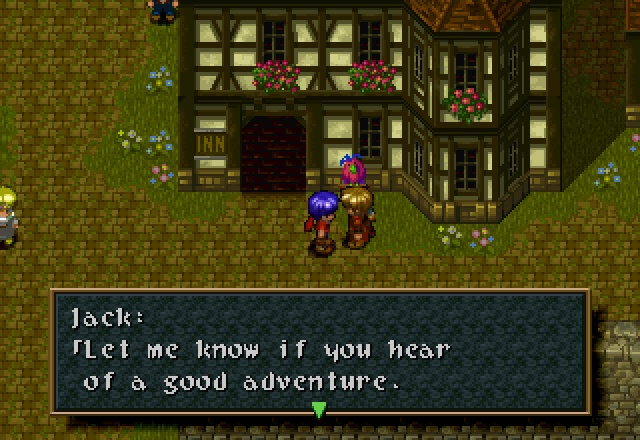
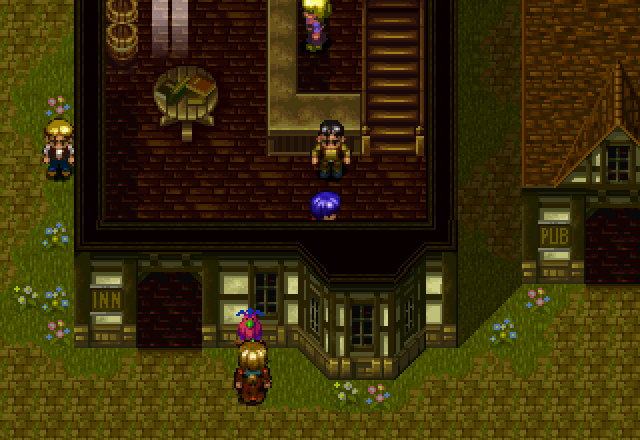
Out in front of the inn, we find Jack already waiting because I already went through town with him to gather dialogue his scenario was first.
![]() What? You caused the earthquake?! What do you know…? So you’re looking for help taking care of this problem. Hmmm… Hey, perhaps I can help you out. I can be useful.
What? You caused the earthquake?! What do you know…? So you’re looking for help taking care of this problem. Hmmm… Hey, perhaps I can help you out. I can be useful.
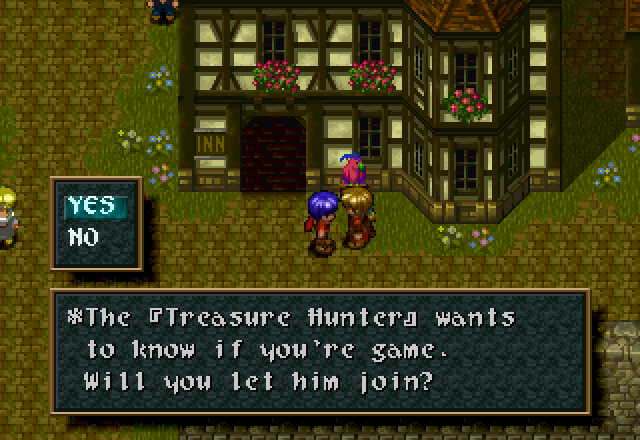
Again, this is basically “Do you want to advance the plot?”, since we can’t enter the ruins until we have a full party.
![]() Yes.
Yes.
![]() All right! That settles it! I could use the company. My name is Jack. This is Hanpan. Don’t worry, he won’t bite. What’s your name? Rudy, huh… Nice to meet you, Rudy.
All right! That settles it! I could use the company. My name is Jack. This is Hanpan. Don’t worry, he won’t bite. What’s your name? Rudy, huh… Nice to meet you, Rudy.

And with that, Jack is officially in the party, as signified by his Tools showing up alongside Rudy’s in the menu, instead of just his location.
Let’s grab Cecilia and bring her up to Adlehyde now.
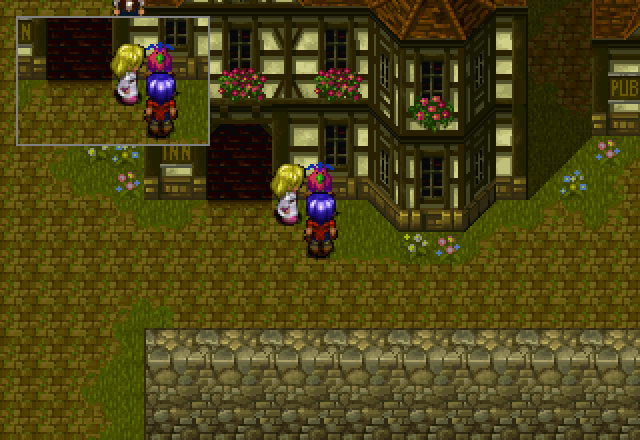
Whenever one of the playable characters is at the same location as another PC not currently in the party, standing still for a second pops up a picture-in-picture window showing the PC’s location.
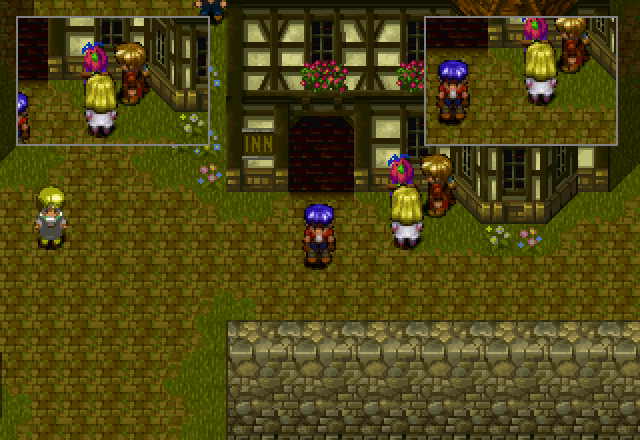
And if two of the other PCs are in the same location? You get two inset windows. Which is humorous when everybody is visible in them, like the shot above.
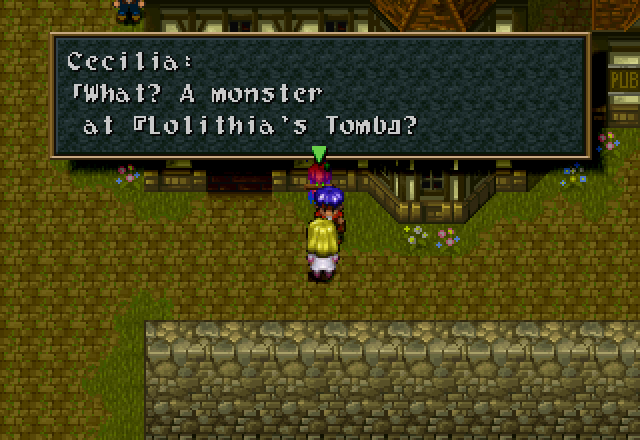
![]() Lolithia… intriguing name… Why?.. Ohh, I don’t know why exactly. I do know I have to go there. The desire fills my heart. The power that holds the world together told me. It said that all things start with [Lolithia].
Lolithia… intriguing name… Why?.. Ohh, I don’t know why exactly. I do know I have to go there. The desire fills my heart. The power that holds the world together told me. It said that all things start with [Lolithia].
![]() Yes.
Yes.
![]() I am Cecilia. Don’t worry, I can hold my own with magic. It may not seem like it, but I don’t think our goals are so different.
I am Cecilia. Don’t worry, I can hold my own with magic. It may not seem like it, but I don’t think our goals are so different.
Why, yes, this bit does have alternate dialogue depending on which character accepts Emma’s job and which character the player is controlling at the time. The alternates will be covered in the next update, but they’re largely the same. Also, say hello to the party for the rest of the game. There will be a few more occasions where we split up, but there are no more playable characters in this version of the game.
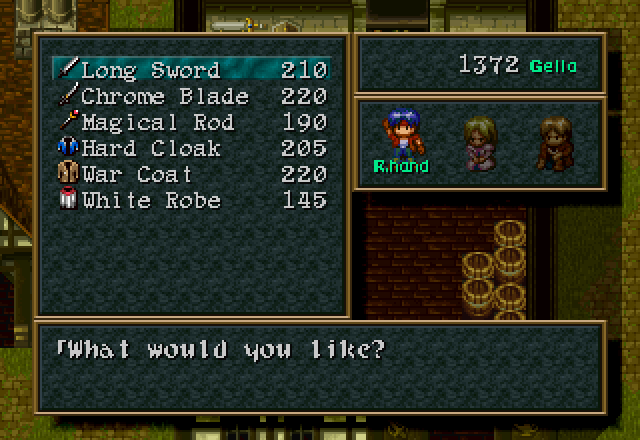

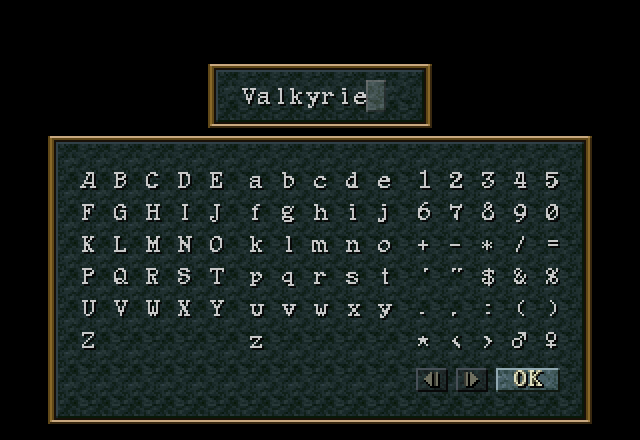
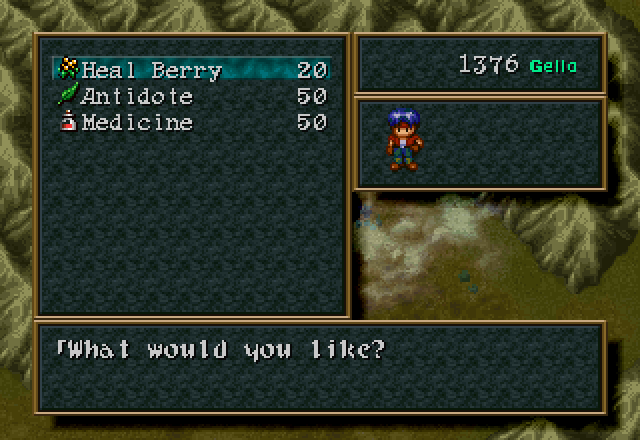
Some shots of pre-dungeon preparation, including the contents of the equipment shop (straight upgrades all around) and a new spell for Cecilia. Valkyrie is one of her strongest early-game attack options, and will be her workhorse in boss fights for quite a while.
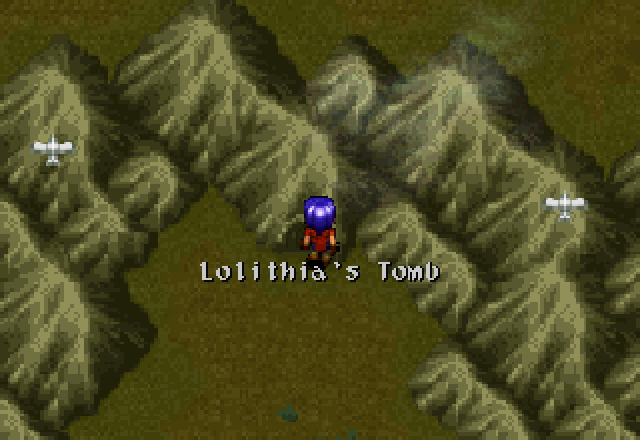
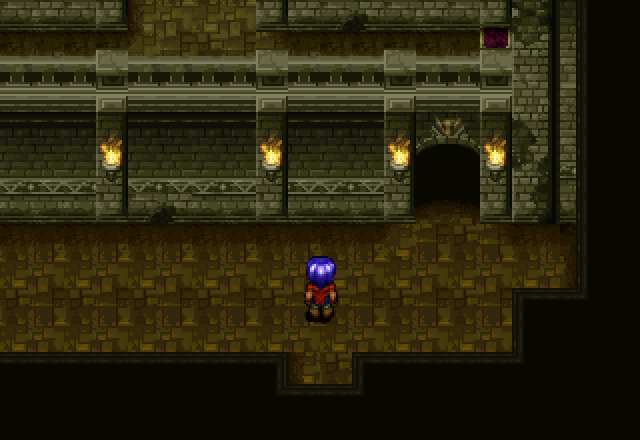
And now let’s get to it! Lolithia’s Tomb is pretty much due north of Adlehyde, and pretty darn close to boot. One wonders why it hadn’t been plundered excavated before now.
![]() Yes.
Yes.
![]() So, you’re the one. Emma is waiting for you.
So, you’re the one. Emma is waiting for you.
Inside, we find this guy. No, it’s fine, don’t tell us where Emma actually is. We’ll find her on our own.
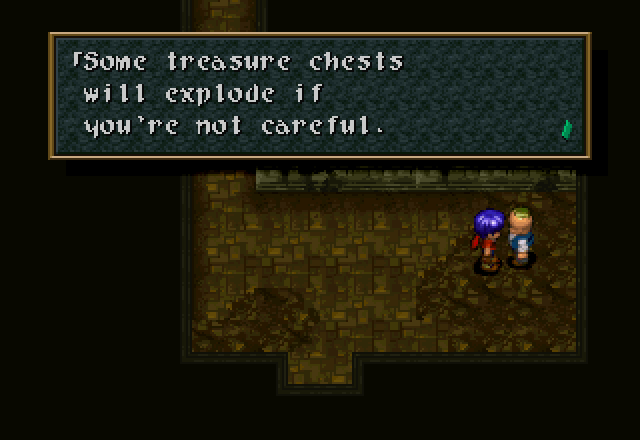
Through the door on the right, we find another worker with a helpful tip. Some treasure chests do indeed explode when opened. The “if you’re not careful” part is BS, though. While there’s no way to disarm the chests, you can open them without them exploding on you.
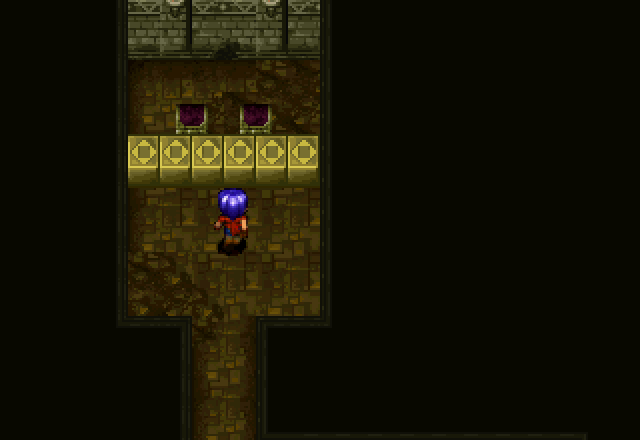
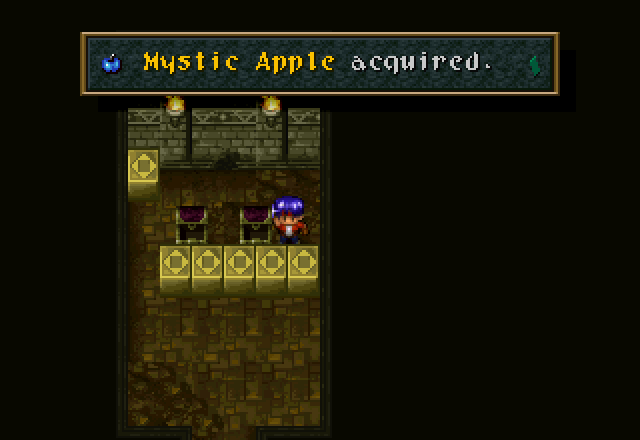
These chests just to the north of him do not explode, however. Actual explosive chests are pretty clearly marked. Mystic Apples are the last flavor of stat-boosting apples, and appropriately boost SOR. The other chest contained a Power Apple.
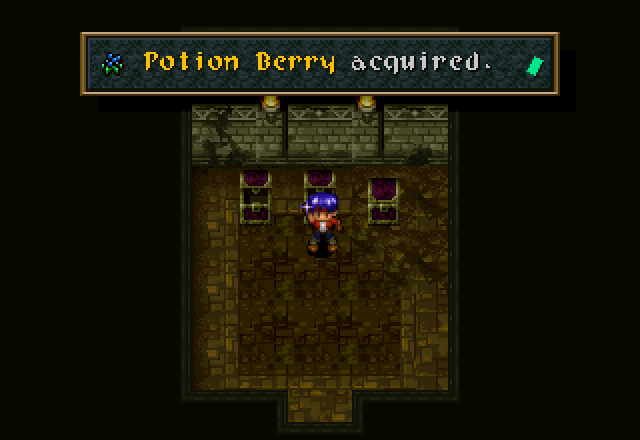
Back in the entrance, we head through the left door, which simply contains three treasure chests. Potion Berries are the next step up in HP restoratives, and heal 1,000 HP a pop. Considering basic Heal Berries still heal more than the party’s max HP, this is quite overkill and will be for a while. Still nice to have, though. The other two chests contain basic Heal Berries.
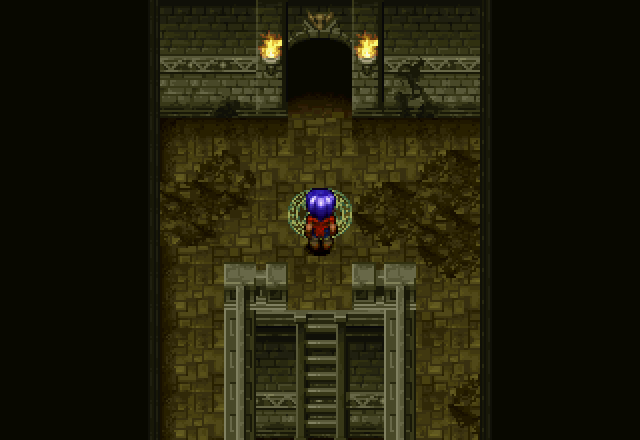
Heading up the ladder on the right, we see a third door had been just offscreen when we talked to the blonde guy. That is the way to the Tomb proper, but we can’t get in there until we talk to Emma.
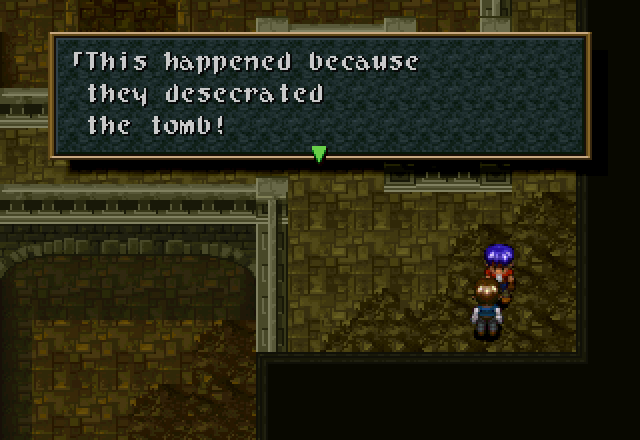
![]() Only a fool would dare to uncover [Lolithia’s Tomb]. There are some things we humans weren’t meant to touch!
Only a fool would dare to uncover [Lolithia’s Tomb]. There are some things we humans weren’t meant to touch!
If you’re opposed to the excavation, why are you working for Emma, who is excavating the tomb? ![]()
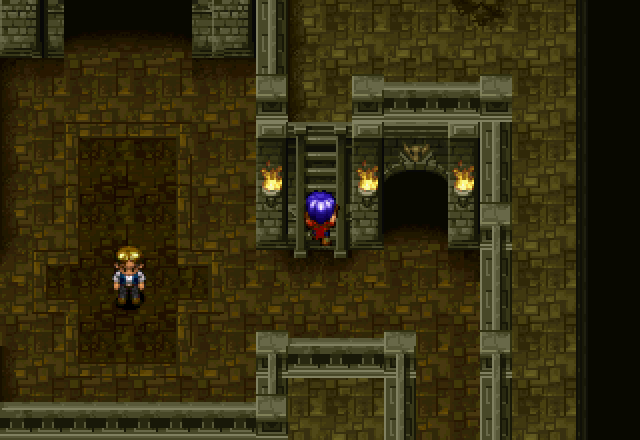
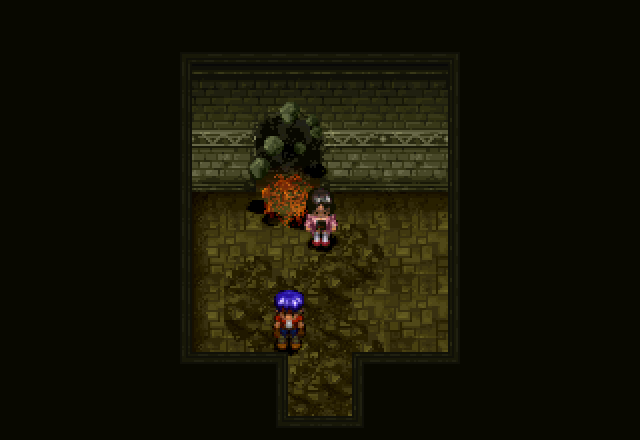
Continuing along the one-way path we’re on, we find this guy. Let’s go see what he has to say…
…Oh. Let’s go see if he’s okay.
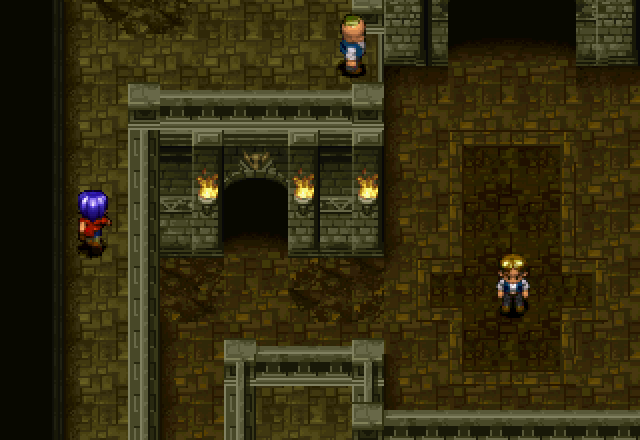
![]() That was dangerous pushing me off like that! Watch out next time. I could have been hurt in the fall!
That was dangerous pushing me off like that! Watch out next time. I could have been hurt in the fall!
I don’t think any of our party members would just push someone off a ledge. I figure they walked up behind him and talked to him, maybe tapped him on the shoulder to get his attention, and when he got startled he fell off.
![]() break the seal. Past the room with the spooky demon statue lies a… If the three of you work together, you should be okay. You’ll be fine! With confidence, one can even learn to fly.
break the seal. Past the room with the spooky demon statue lies a… If the three of you work together, you should be okay. You’ll be fine! With confidence, one can even learn to fly.
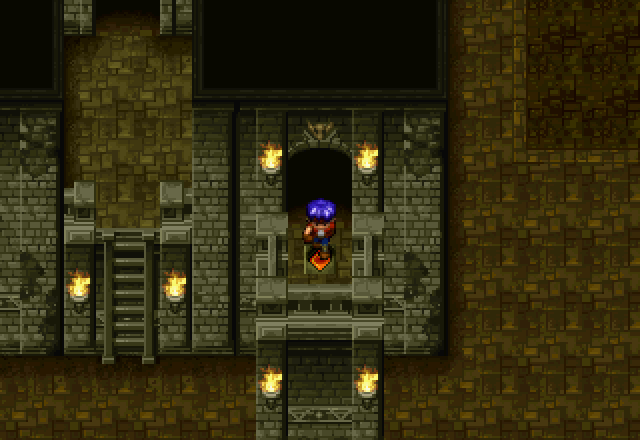
Though that door past where he was standing on the ledge is Emma. Talking to her here is necessary to proceed further into the ruins. In Alter Code: F, she asks if you’re ready to take on the ruins (which look a lot more technological than in this game). Refusing her three or so times allows you the option to have her join the party for the dungeon, but cuts your reward for the dungeon in half, if memory serves. She’s a blue mage, with the ability to learn normally enemy-only skills. She can also get you into a few locked rooms in the dungeon, one of which contains an equal sum to what she docks you for joining, meaning taking her along is pure benefit.
Like Tony, Emma is also immune to bombs.
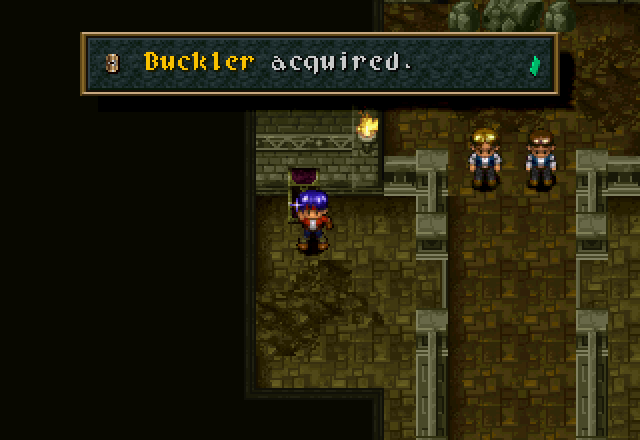
Through the hole we just made is a chest containing this Buckler.
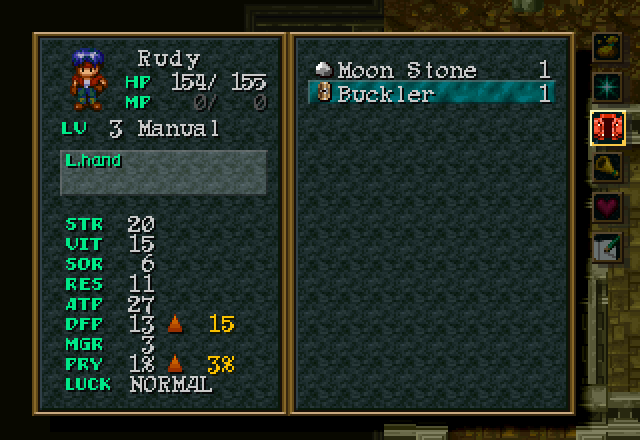
The Buckler is left-hand equipment for Rudy; it has one more DFP than Jack’s glove, but less PRY. Cecilia doesn’t have a left-hand item yet, though she’s the only one with a Rune (because the Water Rune raises SOR, which is mostly useless on the other two).
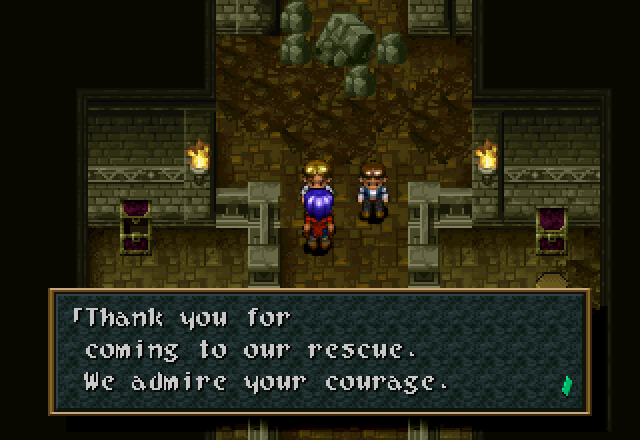
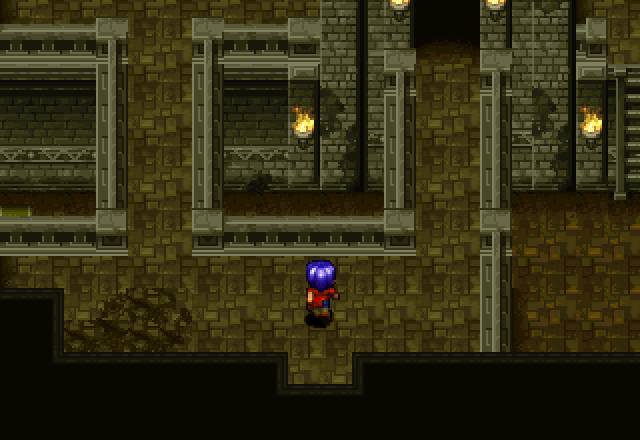
Through the north door in the entrance are these two guys. After saying his piece, they move out of our way, allowing access to the rest of the ruins.
![]() So you’re here to slay the monsters, eh? Good luck!
So you’re here to slay the monsters, eh? Good luck!
I mean, this game doesn’t have any way for us to deplete the random encounters, so we’re probably just going to find the biggest one and beat that one up. But, yeah, sure! If we came to this room before talking to Emma, these two would have had different things to say:
[quote]![]() I’m sorry. We can’t let you through. Monsters are loose inside.
I’m sorry. We can’t let you through. Monsters are loose inside.
![]() Earthquakes and monsters! We’re really busy. Go home.[/quote]
Earthquakes and monsters! We’re really busy. Go home.[/quote]
Also, that chest on the other ledge is currently inaccessible. No, we don’t get the Tool necessary to get it in this dungeon.
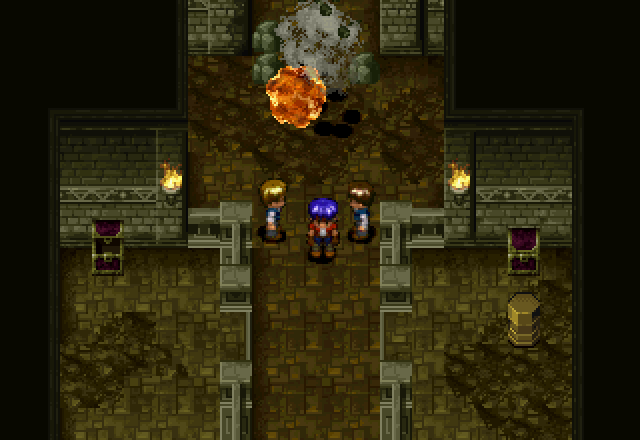
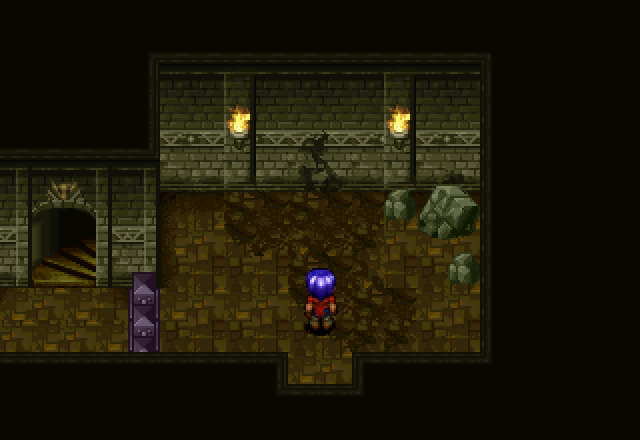
Past those two, the doorway is blocked off by rocks that we need to bomb.
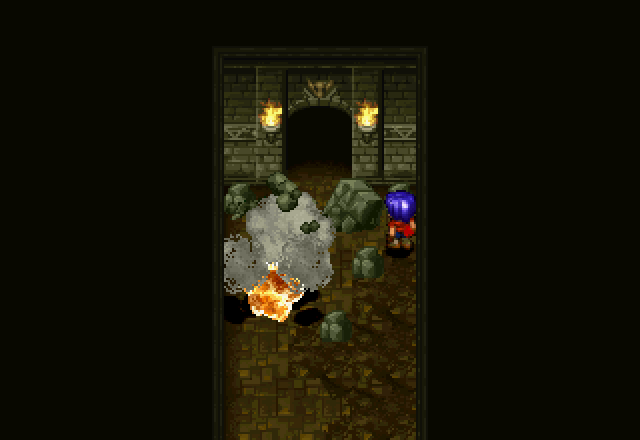
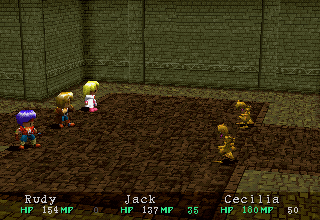
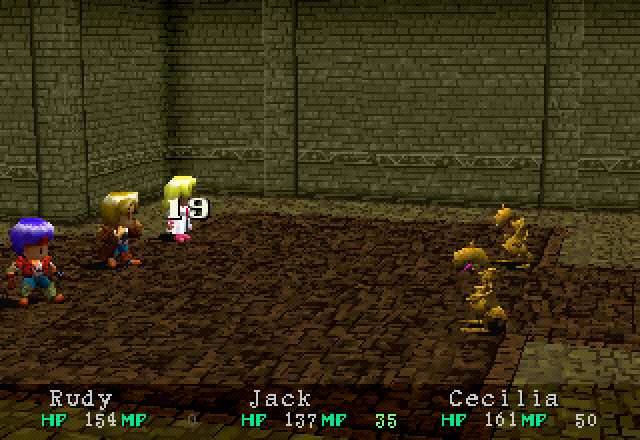
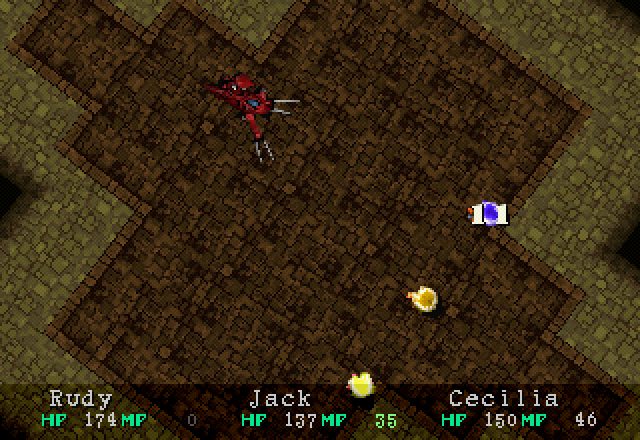
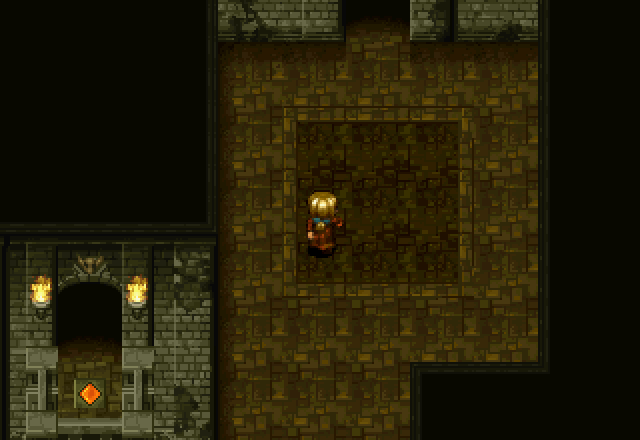
And the corridor in the next room is also blocked off by bombable rocks. The developers really didn’t want you to get through here before you were supposed to. Also, this is the first room with random encounters, although we don’t find one quite yet, but let’s take a look at what we can find in this dungeon.
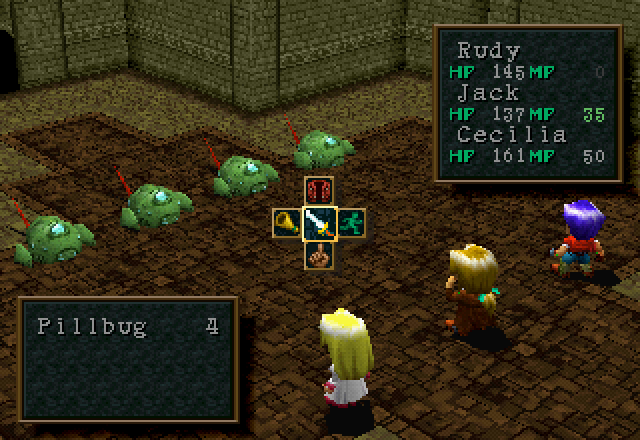
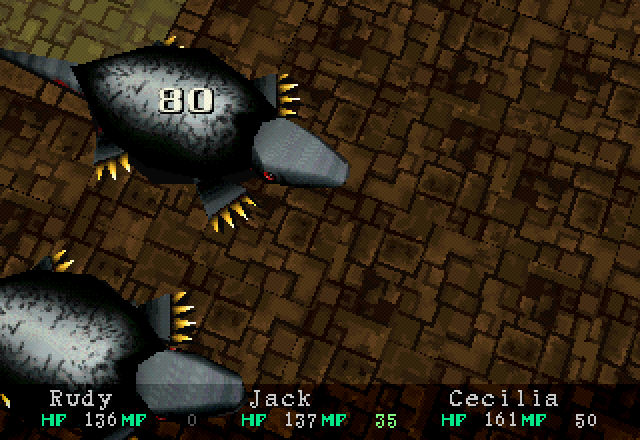
These guys are some familiar faces.
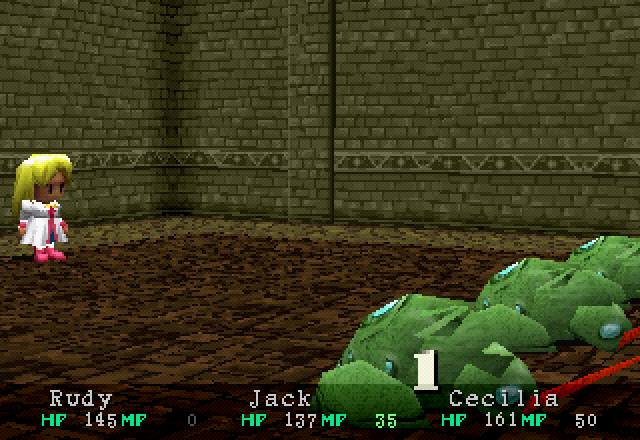
Even at level 4 and with an upgraded weapon, Cecilia still can’t effectively damage Pill Bugs. Jack could one-shot them at level 1 with his base weapon.

Unless she gets a crit, of course. I suspect that crits in this game flat-out ignore the target’s DFP, because they’re far more effective on hard targets than on soft ones. Balloons, for example, take very little additional damage from crits.
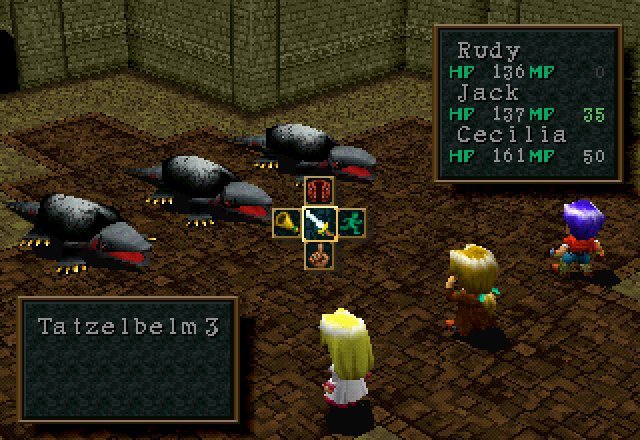
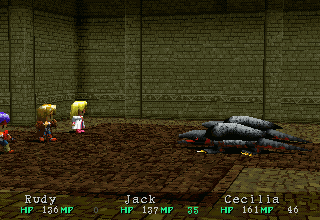
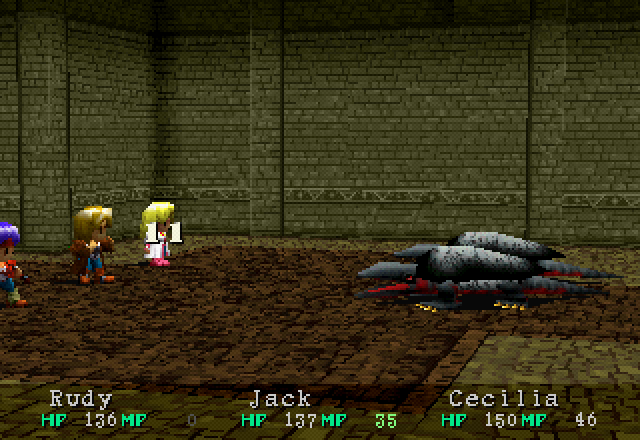
Tatzelbelms are nothing new, either.
Although Jack’s ability to one-shot them certainly is. These guys have 70 HP, remember.
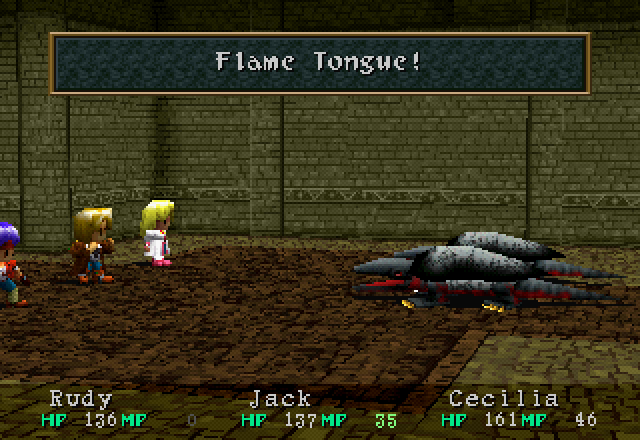
Also, one of them finally uses their Flame Tongue attack. This probably would have been more impressive back in the Berry Cave (especially since Rudy has the lowest MGR, while Cecilia has the highest).
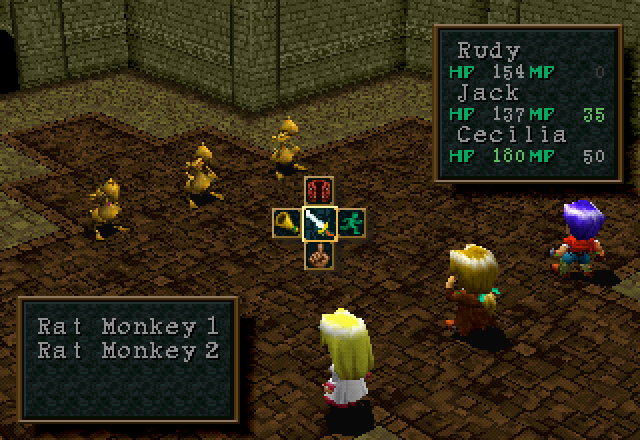
Veterans of the series will recognize these guys; they show up in almost every single Wild Arms game.
Rat Monkeys aren’t particularly lethal at this point, especially with three characters to spread the damage around, but they hit decently hard. Note that this is Cecilia, though, whose DFP at level 4 is right around where Rudy’s was at level 1.
They fold in one attack, even from Cecilia, though, so they’re about as threatening as a sheet of paper.
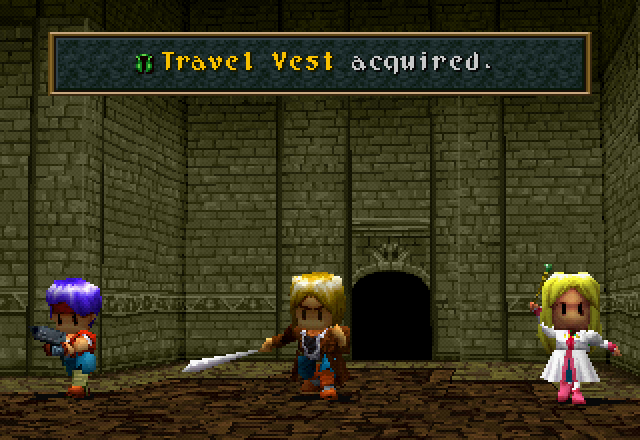
They can drop Travel Vests, which are Rudy’s starting armor and thus only vendor trash.
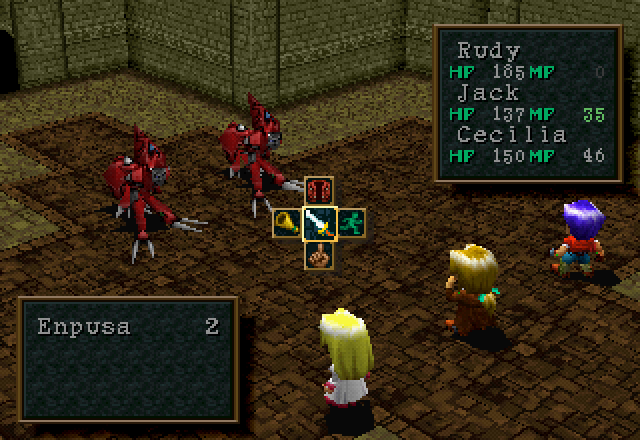
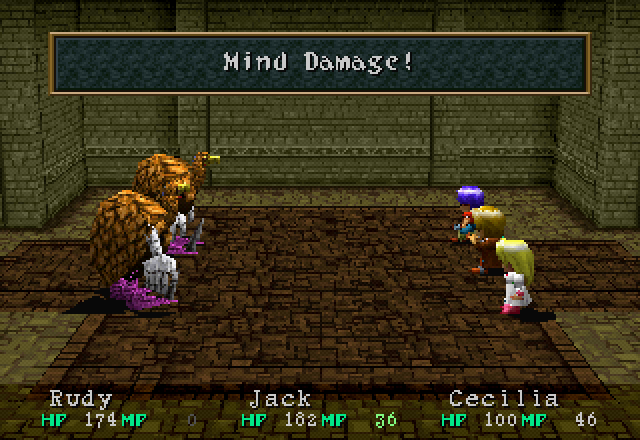
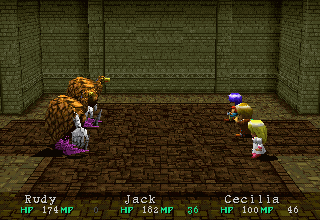
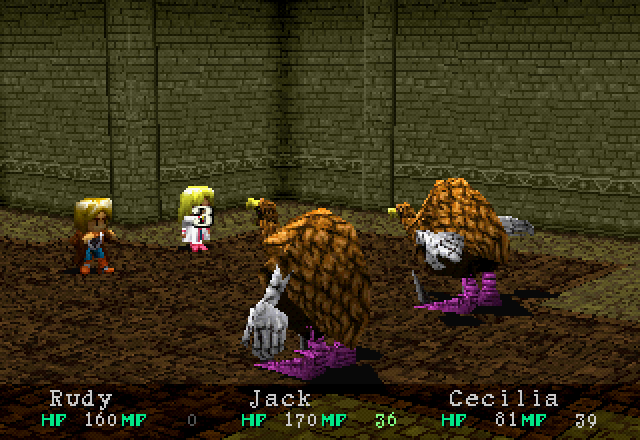
Enpusas are new, though.
Jack one-shots them, no surprise here. They have 56 HP, which puts them just out of range of Rudy’s basic attack, but he and Cecilia working together can take one down. They’re weak to Thunder, which I guess is important if you want Cecilia to take one on by herself.
Their basic attack isn’t anything to write home about; they hit about as hard as the Rat Monkeys.


Their Body Power Steal attack hits a bit harder, though. Additionally, it’s a drain attack, so it heals them. If they get one off, it’ll usually mean another round spent killing them.

The Aipeloss are the one enemy in this dungeon that Jack can’t one-shot with a basic attack.

Their 85 HP and decent DFP put them a little out of his range.
Yes, that’s their basic attack. The Aipeloss deal damage way out of proportion with anything else in the dungeon.
They’re also assholes who will damage your MP. This time, they mostly went after Rudy, who has no MP and thus is functionally immune.
Although this is what happens when they target Cecilia or Jack. It may not look like much, but that’s exactly the cost of one Heal spell. You could say that it’s at least twice the damage of their base attack by that calculation.
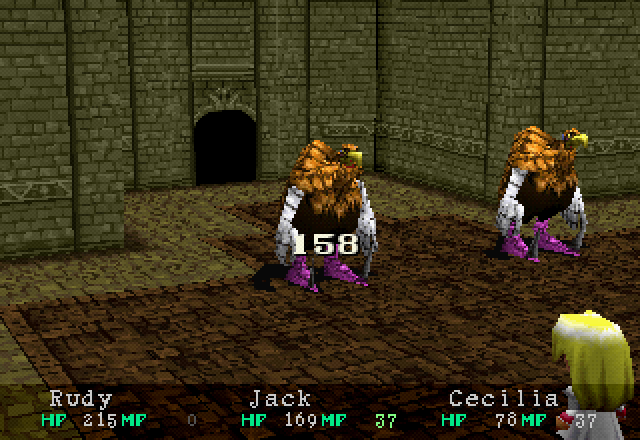
They’re weak to Fire, though, so Cecilia’s Flame spell messes them up something fierce. :getin:
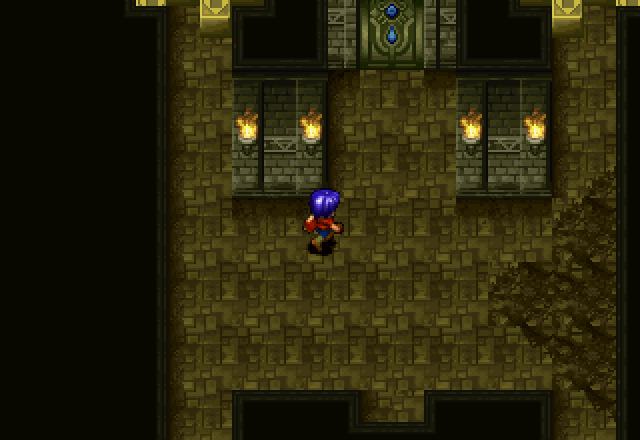
Through that door is a larger room.
The door on the right leads us to an impassable fence and a bunch of rocks by the wall.
The answer, as always, is explosives. There’s a button under the large rock that retracts the fence.

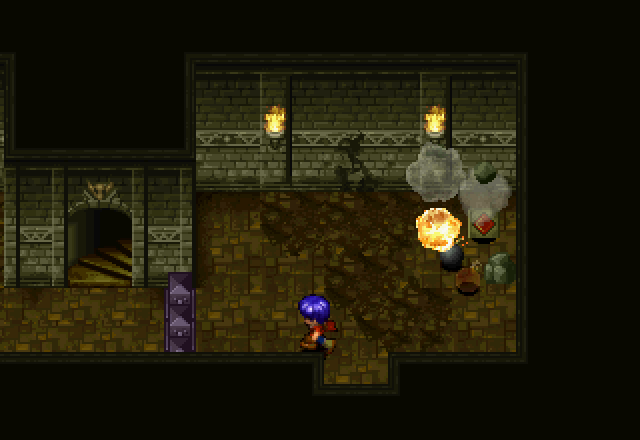
Past that fence is our first exploding chest. Note the yellow-green coloration; this is common of all exploding chests.
If you guessed that the correct way to open them was to use Hanpan, give yourself a pat on the back. I’ll give him this; the little guy is fearless.

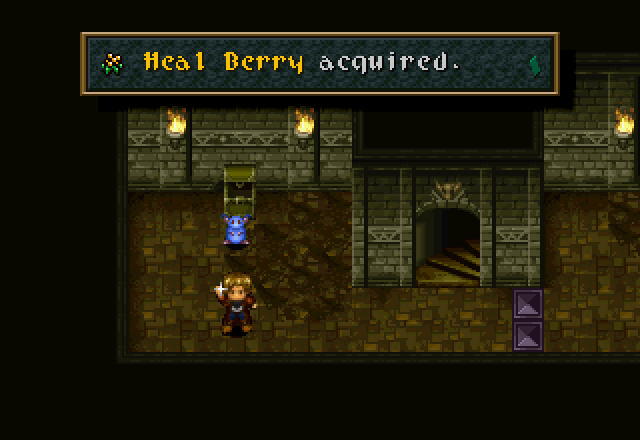
Next, we head up the stairs to the right of the exploding chest. The treasure chest to the right contains 50 Gella.

Head left, bomb a rock, see the roadblock that would have stopped us if we had gone left from the entrance to the larger room. The button directly behind the fence lowers it, and no, Hanpan can’t slip through it. There is a ledge above the doorway there that we can jump down to get back there, however.
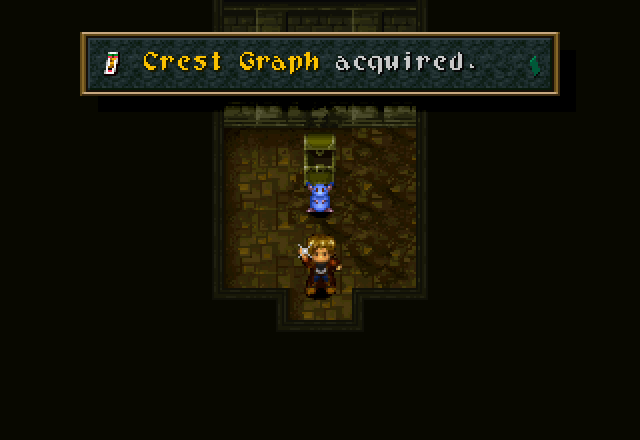
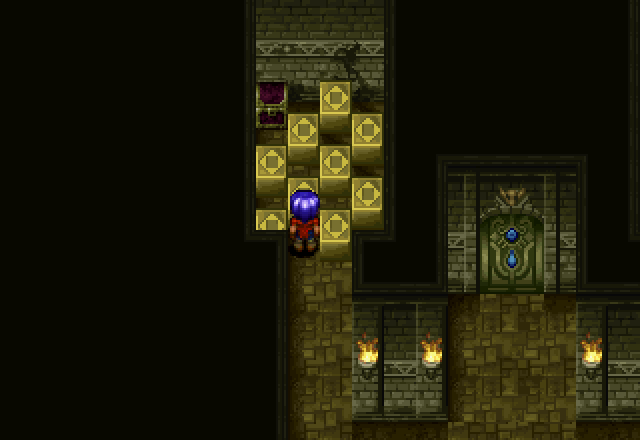
Through that doorway is a chest containing this Crest Graph.
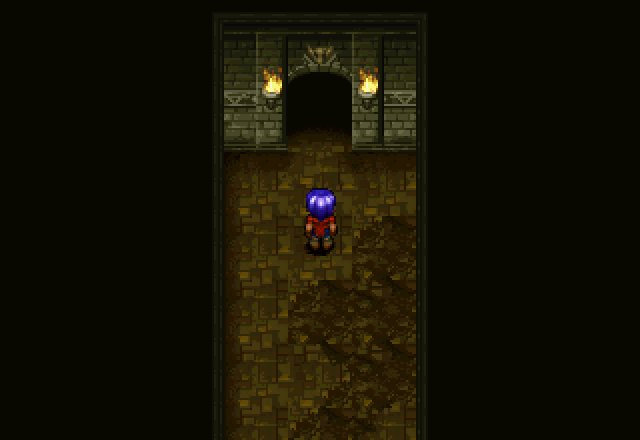
Just north of that doorway, we find another doorway on the upper level leading to this corridor.
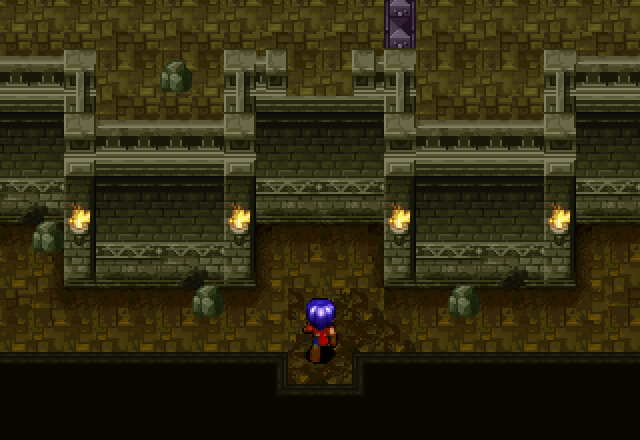
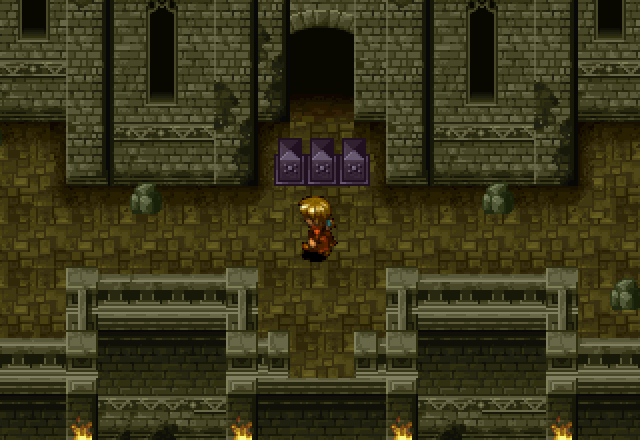
Which opens into this multi-tiered room with lots of ladders, rocks, and fences.
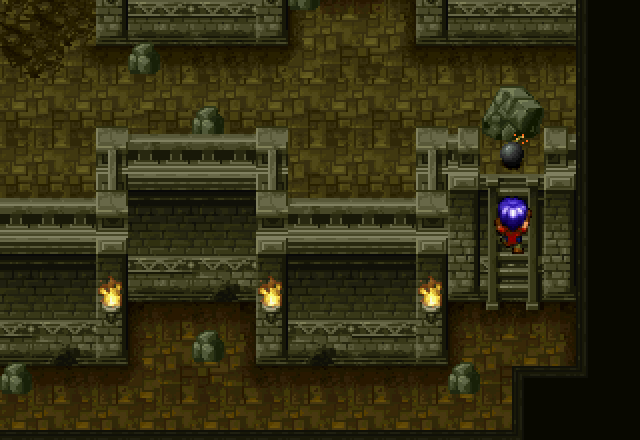
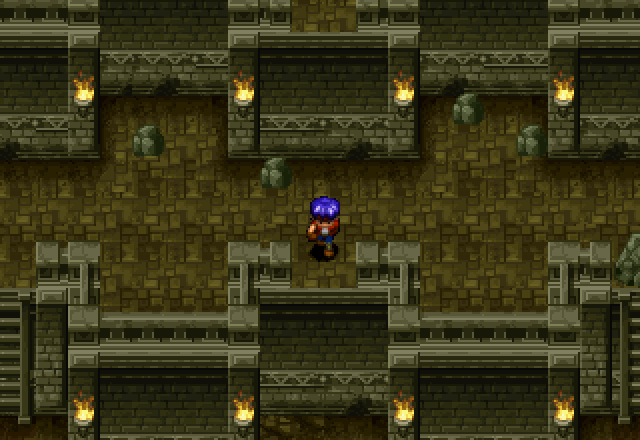
Head right, climb ladders, bomb rocks.

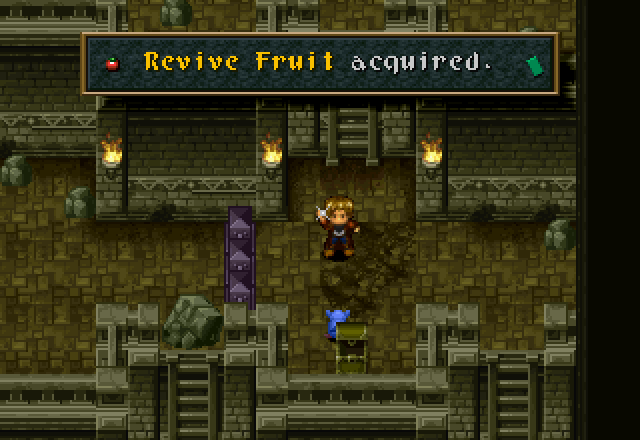
Continuing up, we find this. Revive Fruits do exactly what you think they do; revive someone whose HP hits 0. The manual calls that “Unable to Fight”, but since that’s a mouthful, I’m just gonna use “dead”.
After going up one more level, we hit the top, and the only way to go is left. We find a door to the next area, but there’s a fence blocking it.
So we jump off that ledge in the middle, down to the third tier.
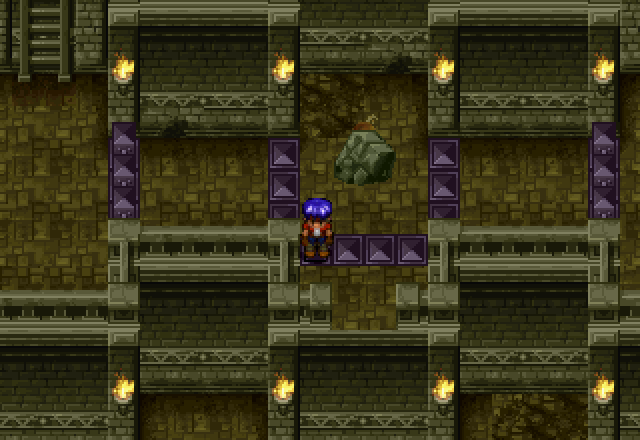
And down once more, to this rock with fences suspiciously positioned around it.

Bombing the rock reveals a button, which we activate using Hanpan, who can go through fences, but only to get back to Jack. This reverses the positions of all the fences in the room.

This allows us access to this chest over on the far left of the second tier.

And also to the door.
Proceeding on, we find a small room containing only a save point.
The next room opens up again, with two paths.

The left path leads up to this treasure chest, which I completely forget about, even after pushing the button to let the fences down. Whoops. ![]()
So we go through the right door instead.
On either side of the Teardrop door are treasure chests blocked off (pun intended) by what can loosely be termed a “puzzle”.

Not that it’s difficult to figure out.

And here’s what was on the other side, because I know you guys were burning to know.
Out on the balcony in the front is a button, which is what lowers the fences around that treasure chest.
On the other side of the door sleeps a great power. The Tomb of Perpetual Sleep.
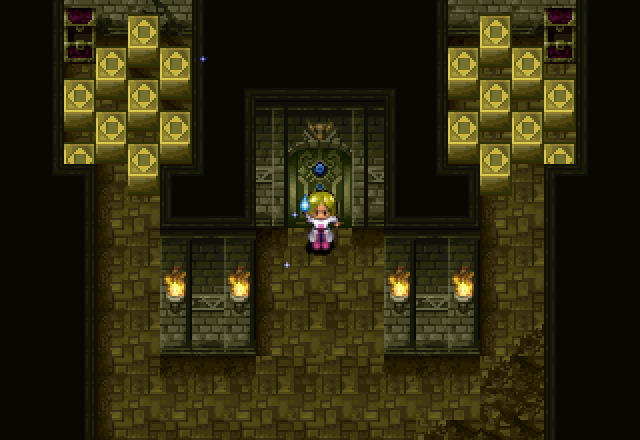
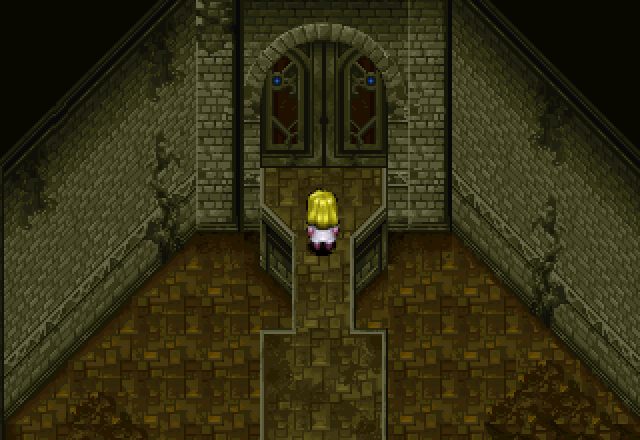
Through the Teardrop door, which is identical to the ones in the Sealed Library, we find a plaque and a message. Doesn’t mean a whole lot now, but we’ll keep it in mind.
Back out through the Teardrop door and into the main room, we climb down to floor level.
Hanpan opens another explosive chest for us.
Over on the right side of the room is this door,

Which leads down this corridor,

And into this room with a devil statue. Just offscreen is an inaccessible platform with a door on it.

And on its back, a secret. As with the statues in Curan Abbey, you cannot find this switch before reading the plaque.
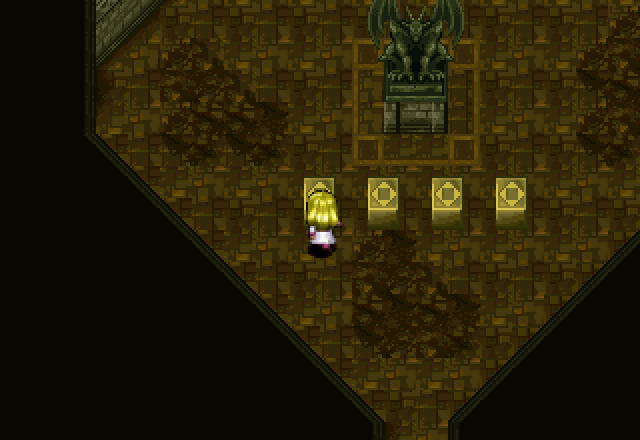
Pushing the button causes blocks to appear.
Pushing those blocks onto the boxes at the corners of the pattern at the statue’s feet…

…Causes the whole thing to disappear and a new platform to rise up out of the ground.
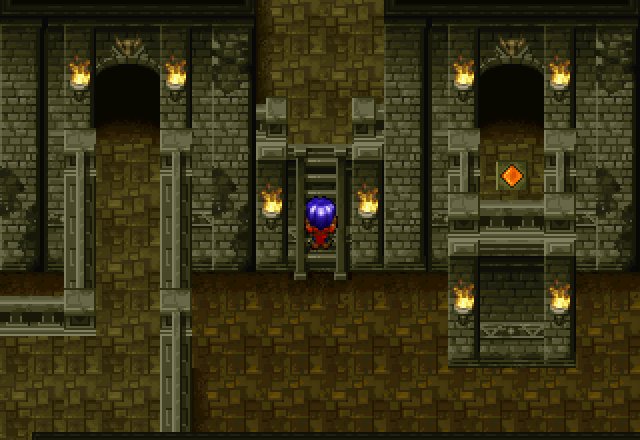
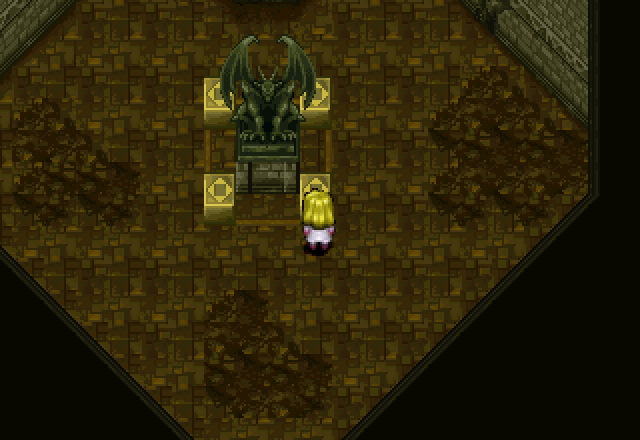
The door, which is now completely accessible, is magically locked and requires the Teardrop to open.
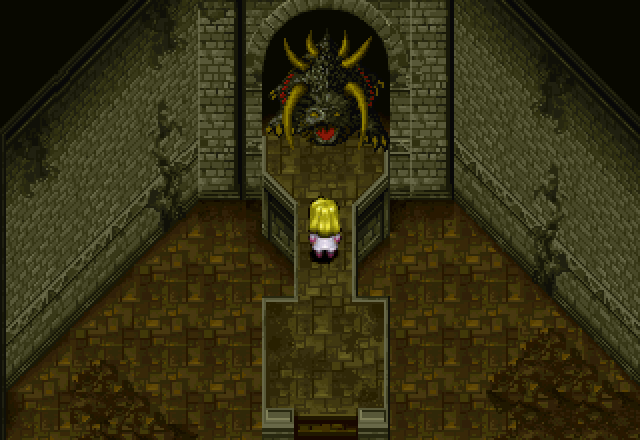
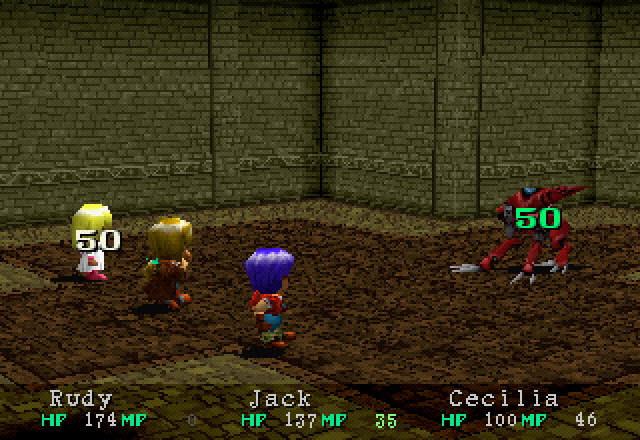
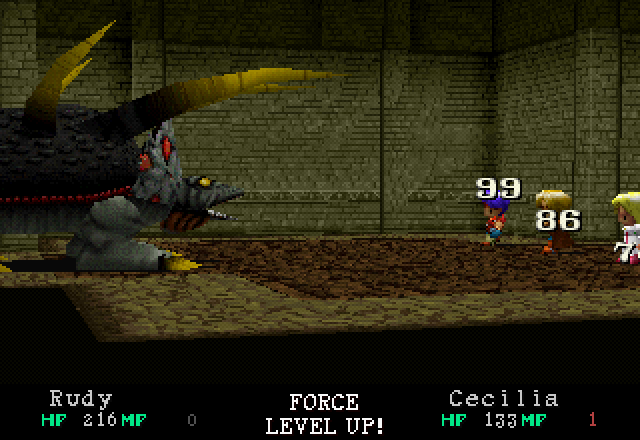
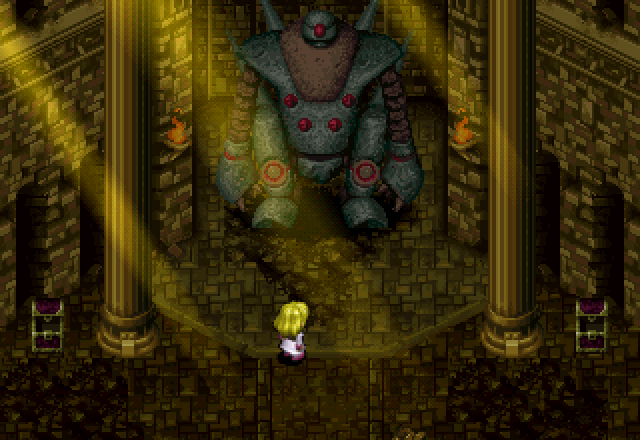
And when we do, out pops a monster!
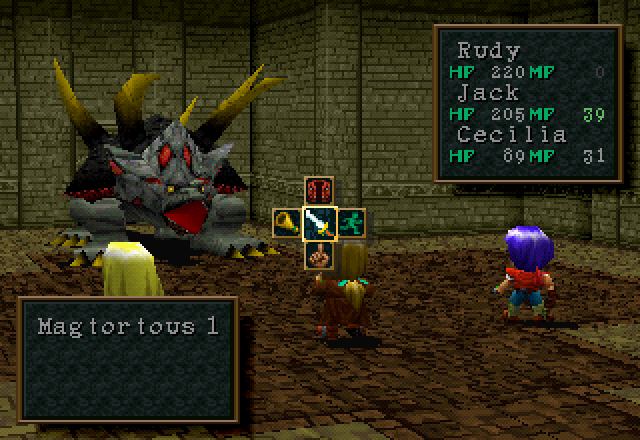
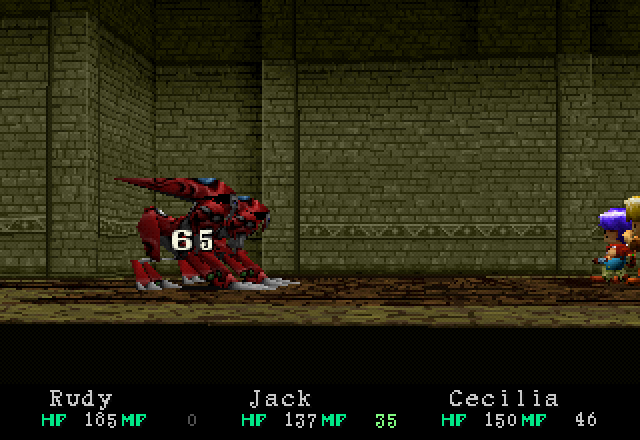
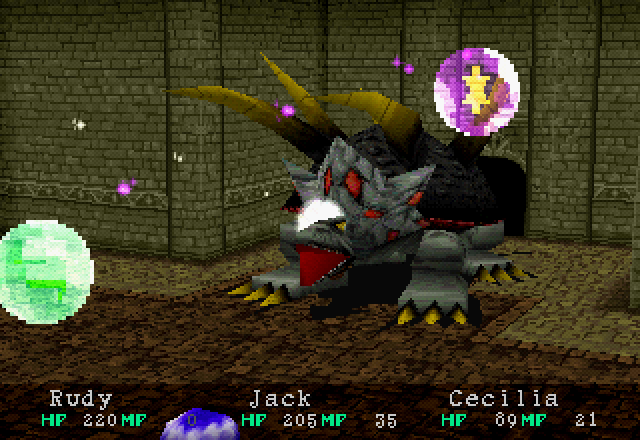
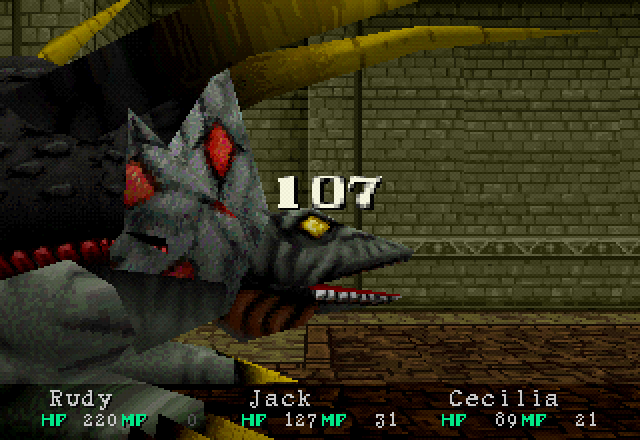
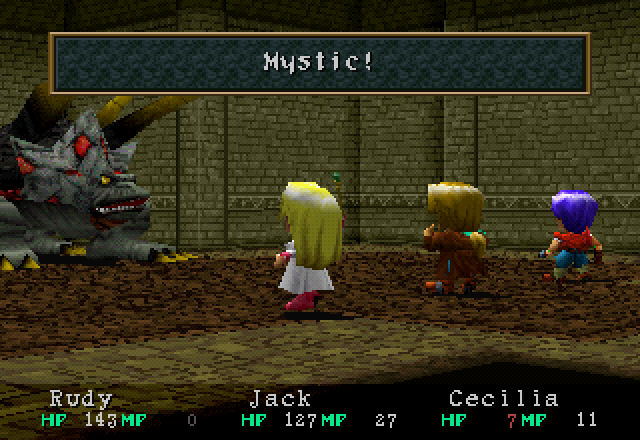
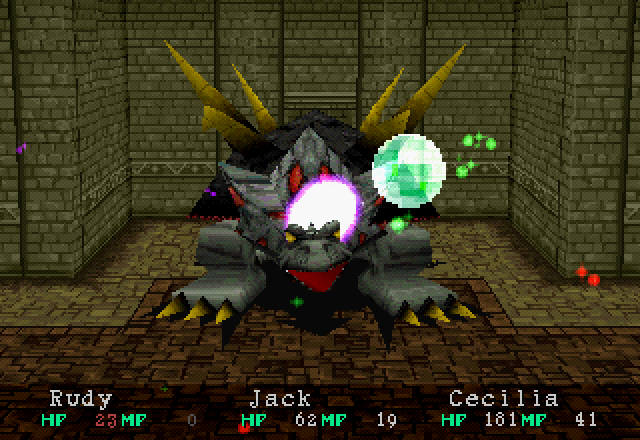
The Magtortous is the boss of Lolithia’s Tomb. It has 2,000 HP and two attacks.
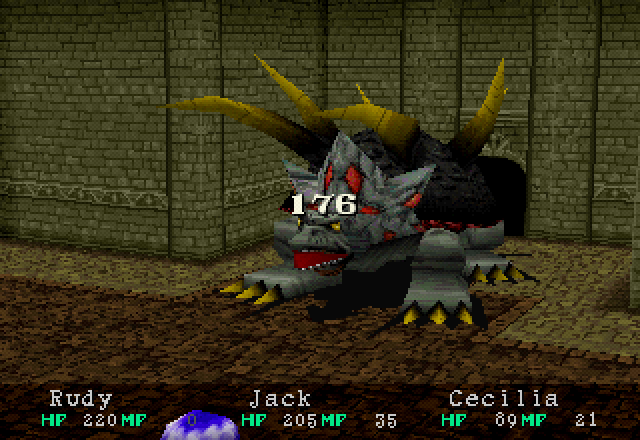
Its basic attack hits pretty damn hard.
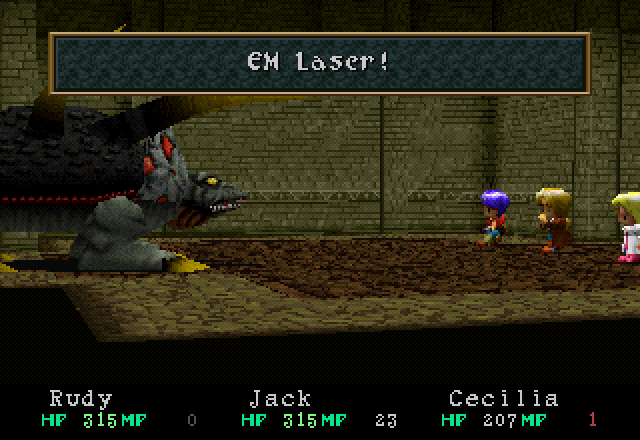

And it has EM Laser, which hits the entire party for roughly the same amount of damage. Rudy takes noticeably more due to his piss-poor MGR, while Cecilia actually takes very slightly less damage. It rarely uses EM Laser for about the first half of the fight, then switches to it almost exclusively in the second half.
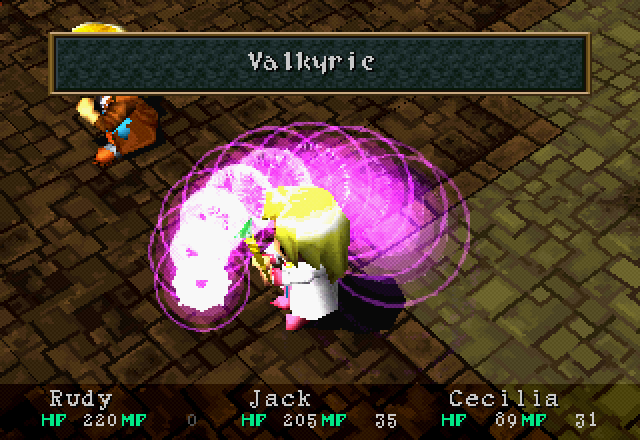
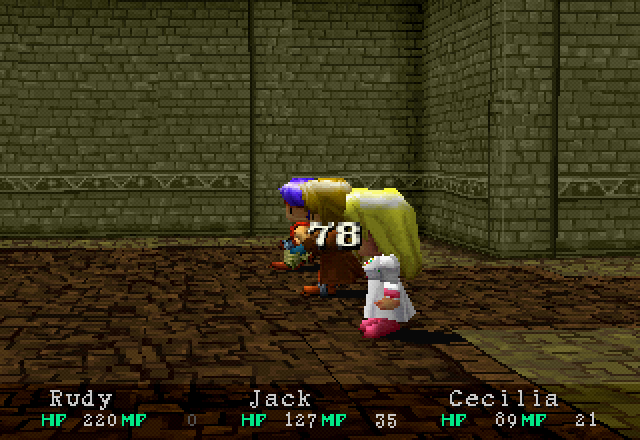
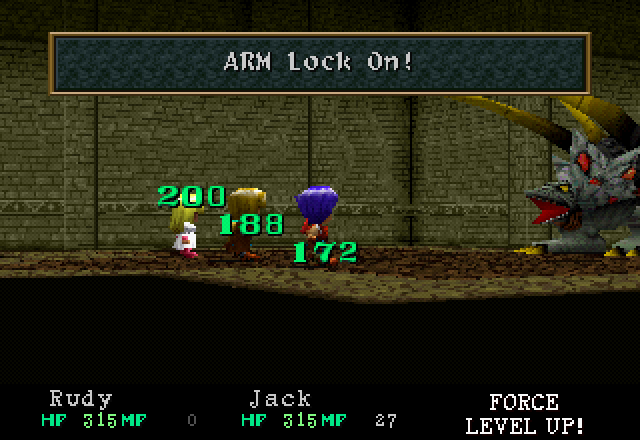
This is why I picked up Valkyrie. :unsmigghh: Technically it does a bunch attacks against random targets, but when there’s only one boss monster, they all target the one guy, and deal lump sum damage.

It deals about the same damage as Rudy’s ARM. Granted, I haven’t purchased any upgrades for it yet, but Valkyrie also scales with Cecilia’s SOR. It won’t be getting outpaced for a while yet.
Surprisingly, and somewhat ironically given his high STR, Jack is the weak link in this fight. This is his damage from Psycho Crack. He gets relegated to healing duty mostly, due to always beating Magtortous’s initiative. He still gets in his fair share of damage, due to Heal Berries’ relative healing power.
I do demonstrate Mystic using a Heal Berry towards the start of the fight, however, because I hadn’t done so thus far.

At one point in the fight, I try to have Jack use a Magic Carrot on Cecilia to see if the game would allow me to select the spell if healing was on its way, but it doesn’t work. I don’t know if I was thinking of another Wild Arms game or a game in another series entirely.
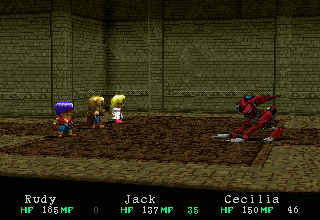
Cecilia lands the final blow with Valkyrie just as Rudy ends up at critical HP from EM Laser spam.
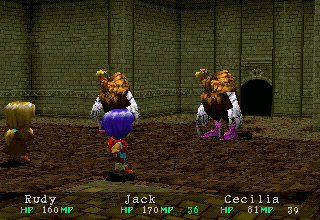
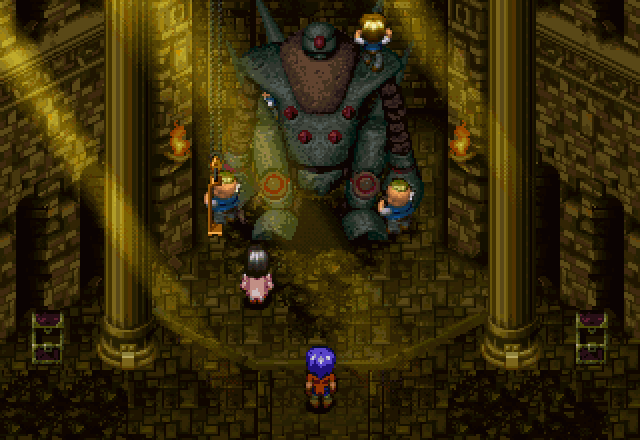
In the next room is this, which would seem to be our final objective. The treasure chests contained a Heal Berry and a Magic Carrot to replenish supplies used against the Magtortous.
Everybody lines up to admire it.
![]() … That’s the golem…
… That’s the golem…
![]() The same golem written about in the legend?!
The same golem written about in the legend?!
![]() Probably… In the ancient days, when Filgaia was surrounded by forests, it was said that there were eight weapons of the ancient giants. They were sealed away in some secret place after they nearly destroyed the world. Some of these weapons were found in ruins in this area. I had no idea that a golem was hidden near Adlehyde.
Probably… In the ancient days, when Filgaia was surrounded by forests, it was said that there were eight weapons of the ancient giants. They were sealed away in some secret place after they nearly destroyed the world. Some of these weapons were found in ruins in this area. I had no idea that a golem was hidden near Adlehyde.
![]() I wonder if the power in this tomb is different from the [Power] that I have been seeking all this time?
I wonder if the power in this tomb is different from the [Power] that I have been seeking all this time?
![]() The power we felt here was probably the golem.
The power we felt here was probably the golem.
![]() Geez! How am I supposed to use this? It’s huge! I can barely lift it!
Geez! How am I supposed to use this? It’s huge! I can barely lift it!
![]() He’s mad!
He’s mad!
![]() Jack, despite your STR being the best in the party, I’m pretty sure “barely” is a gross overstatement.
Jack, despite your STR being the best in the party, I’m pretty sure “barely” is a gross overstatement.
![]() Let’s get this over with. There’s nothing here for me!
Let’s get this over with. There’s nothing here for me!
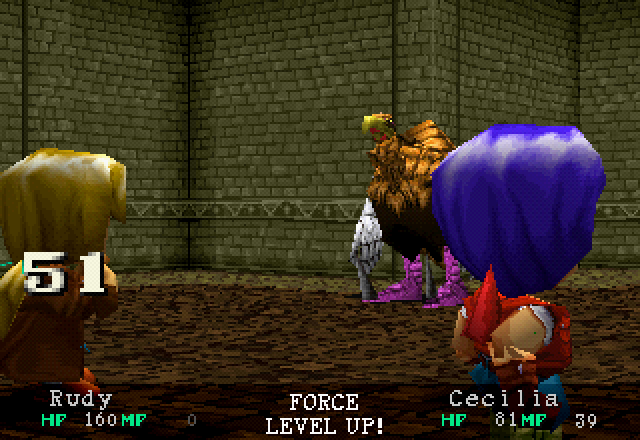
Your level literally doubled in this dungeon, Jack.
![]() We must notify the professor about the golem.
We must notify the professor about the golem.
So we run back to the entrance to the ruins. It’s not that bad, actually; it’s pretty much a straight run.

![]() Then I was right in picking this site. I’m a genius! Oh… you guys are great, too! We can’t just sit around here. We must excavate it now! Take some of my crew with you to the site where you found the golem! I’m counting on you!
Then I was right in picking this site. I’m a genius! Oh… you guys are great, too! We can’t just sit around here. We must excavate it now! Take some of my crew with you to the site where you found the golem! I’m counting on you!
Then Emma leaves.
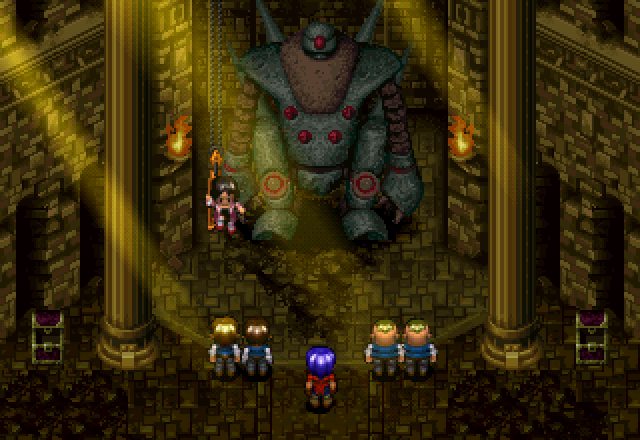
Back in the golem room, Rudy and a bunch of the crew watch as Emma lowers herself via crane into the ruins.
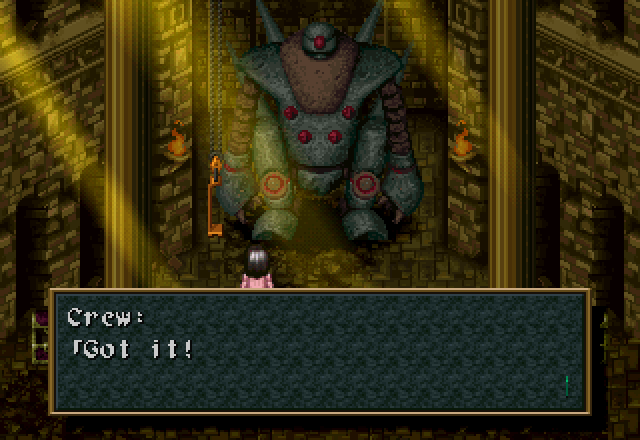
She hops off to give directions.
The crew gets to work,
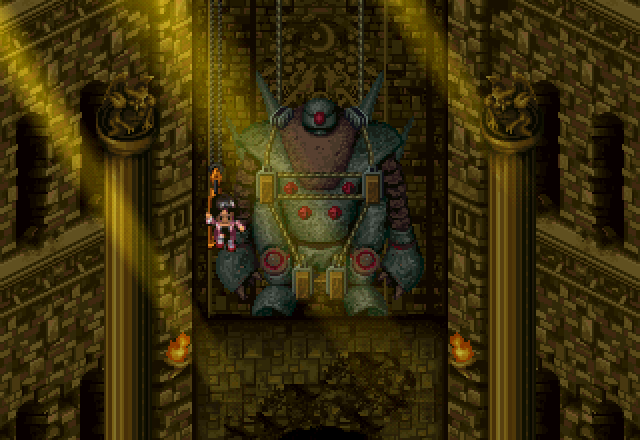
And then Emma and Lolithia are lifted up through the roof by crane.
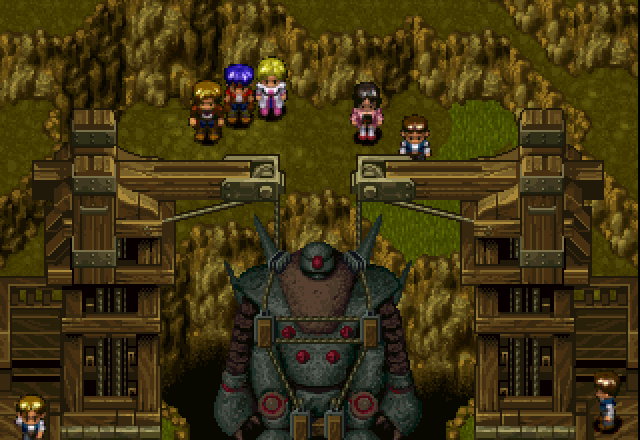
And then suddenly everyone’s outside. We get a nice unique map for this, even; it’s only ever used here, to my knowledge.
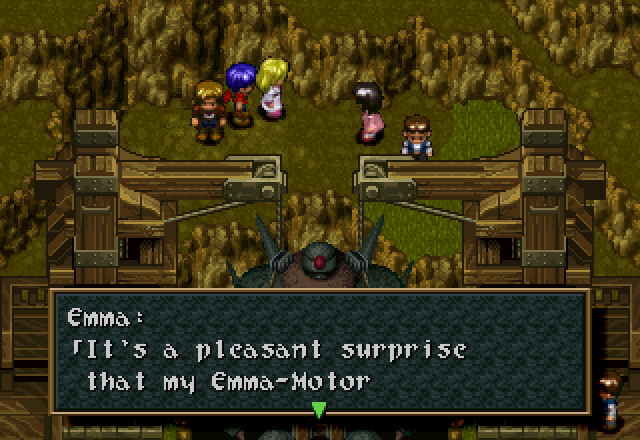
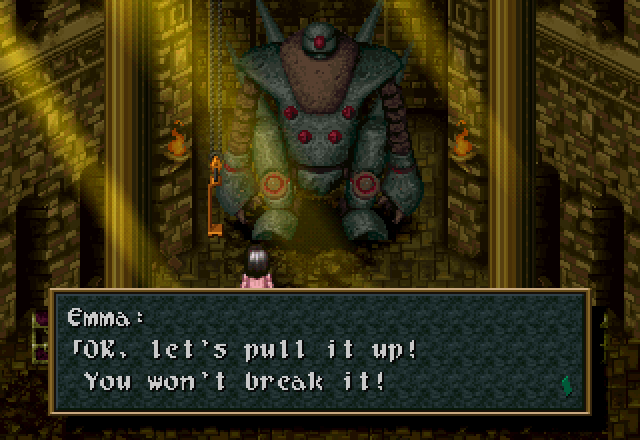
![]() was effective here. Thanks to you and my Emma-Motor, we were able to pull her out. Yes, this is [Lolithia]. One of the eight golems. Isn’t it cute? This thing is unbreakable. It’s still in mint condition and completely dormant. The reward of 500 Gella will be ready for you, but you have to come by tomorrow. I’ll be too busy preparing for the festival today.
was effective here. Thanks to you and my Emma-Motor, we were able to pull her out. Yes, this is [Lolithia]. One of the eight golems. Isn’t it cute? This thing is unbreakable. It’s still in mint condition and completely dormant. The reward of 500 Gella will be ready for you, but you have to come by tomorrow. I’ll be too busy preparing for the festival today.
I wonder if Jack helped pull it up? I mean, since he can “barely” lift Lolithia, we shouldn’t even need the Emma-Motor. Just, I dunno, use a couple of pulleys and fulcrums or something.
After the cutscene, we get plopped down right outside Lolithia’s Tomb. A short walk back to Adlehyde later…

![]() next ruin with Hanpan.
next ruin with Hanpan.
![]() We’re parting so soon?
We’re parting so soon?
![]() It’s the life of a [Dream Chaser] you know. Let’s get back to the inn, the festival starts tomorrow.
It’s the life of a [Dream Chaser] you know. Let’s get back to the inn, the festival starts tomorrow.
And that’s it for today. Next time, I go through Adlehyde for NPC dialogue… four times.