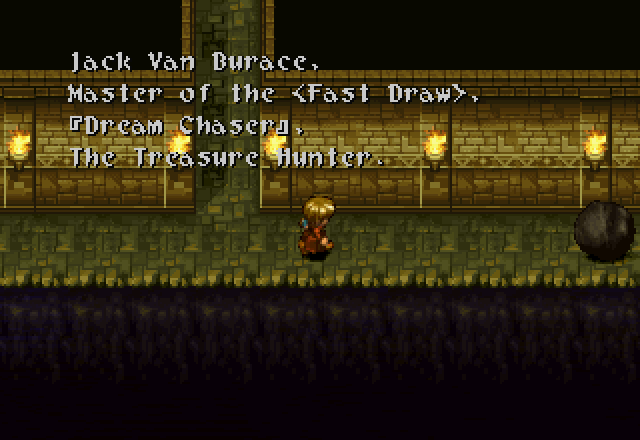
Part 1 - Jack the Treasure Hunter
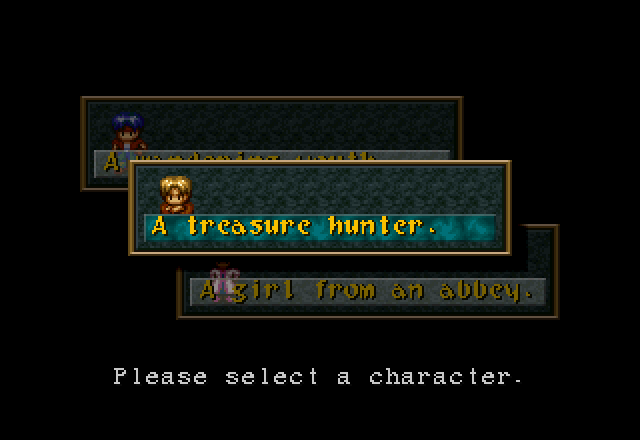
Previously, we watched the intro cinematic and the prologue cutscene. Then we had a choice of three characters to begin play as. Voting on what order to play the three routes in ended with the Treasure Hunter winning first place, followed by the Girl From the Abbey, and then finally the Wandering Youth. So today, we’ll be going through the Treasure Hunter’s route.

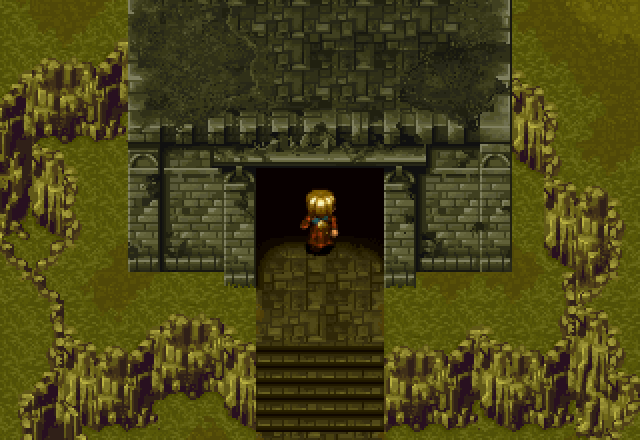
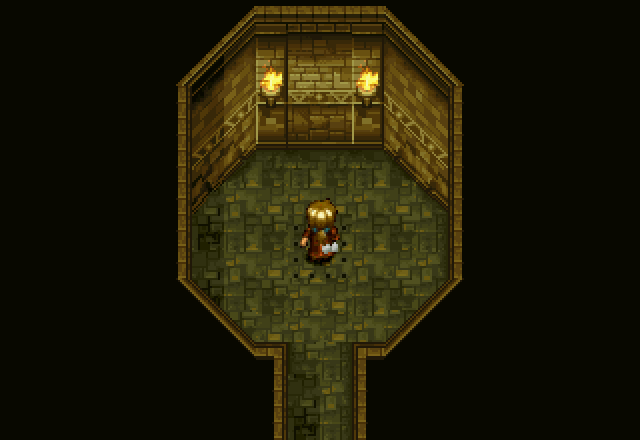
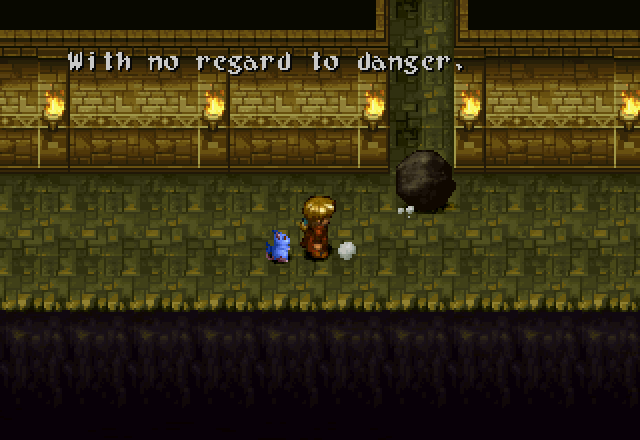
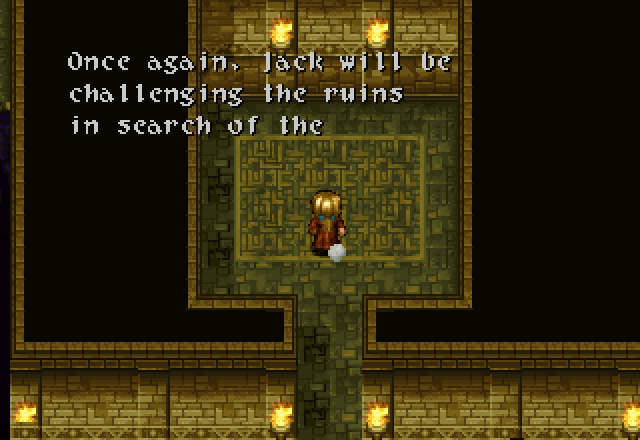
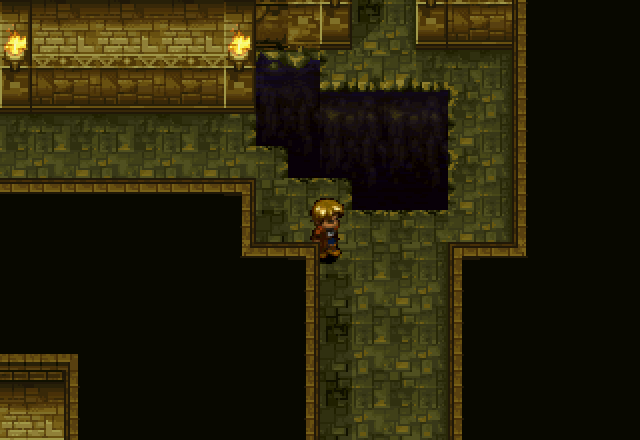
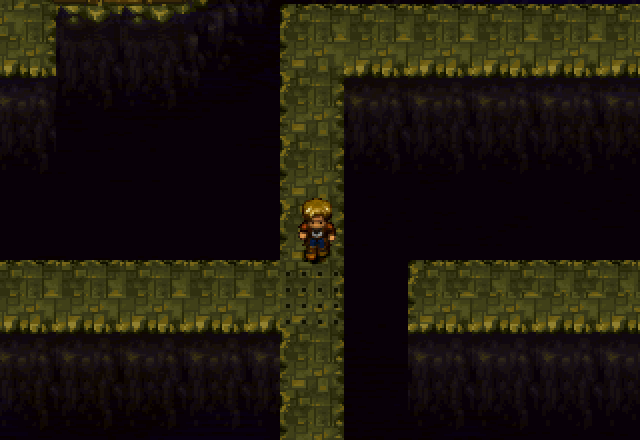
The game fades in on the Treasure Hunter walking up to an old ruin.
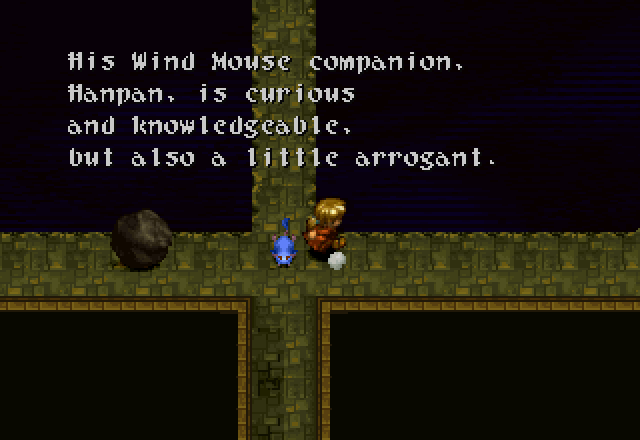
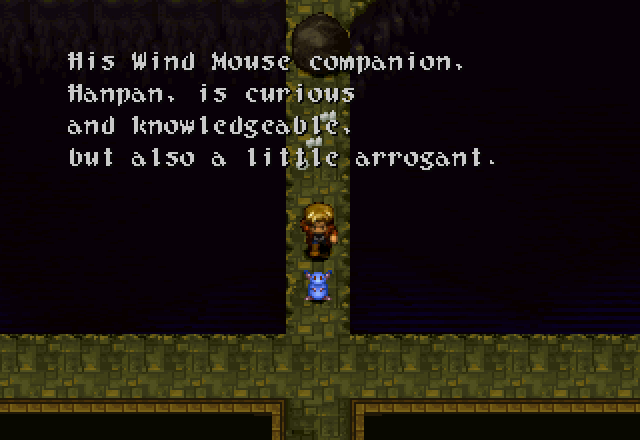
Whereupon an odd mouse jumps out of his pocket and begins to converse. Sorry, Dragon Quest VIII fans, he doesn’t breathe fire. Also, I’ve switched to double-size character portraits because this guy’s sprite is so small. I’ll be updating the prologue with the new portraits after I finish with this.
![]() I hope you didn’t pay much for this information.
I hope you didn’t pay much for this information.
![]() Hey… So you know about this place?!
Hey… So you know about this place?!
![]() You wasted your money. There’s nothing left here of any value.
You wasted your money. There’s nothing left here of any value.
![]() Shhh! Quiet! My instincts tell me this is it!
Shhh! Quiet! My instincts tell me this is it!
![]() I can’t believe there would be anything left here. This is not the first time treasure hunters have come through here. We’ll find nothing but junk.
I can’t believe there would be anything left here. This is not the first time treasure hunters have come through here. We’ll find nothing but junk.
![]() Maybe we’ll find clues for obtaining the [Power].
Maybe we’ll find clues for obtaining the [Power].
![]() Let’s go then…
Let’s go then…
Hanpan hops back in the Treasure Hunter’s pocket and they head into the ruin.
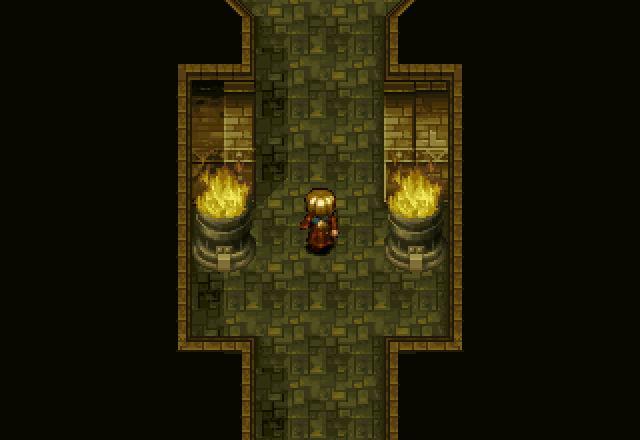
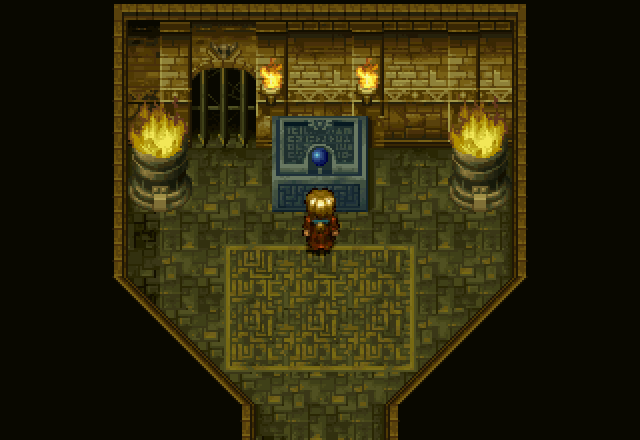
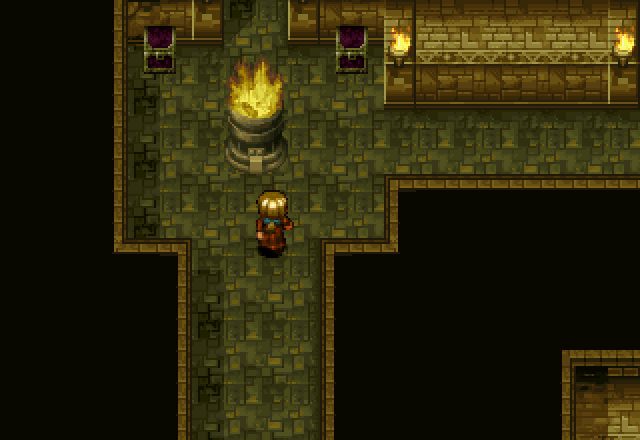
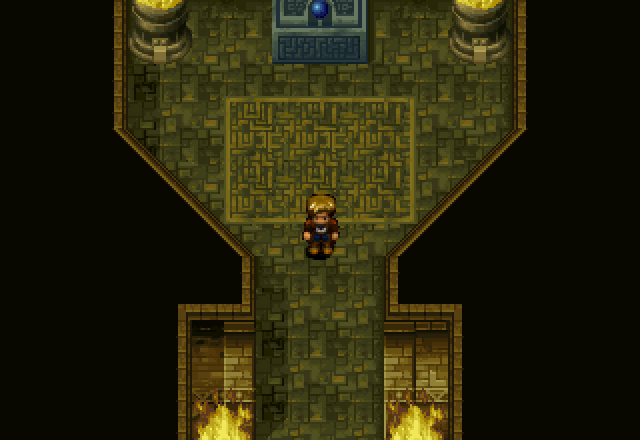
Inside is a short corridor, which leads to a room with a mysterious machine in it.
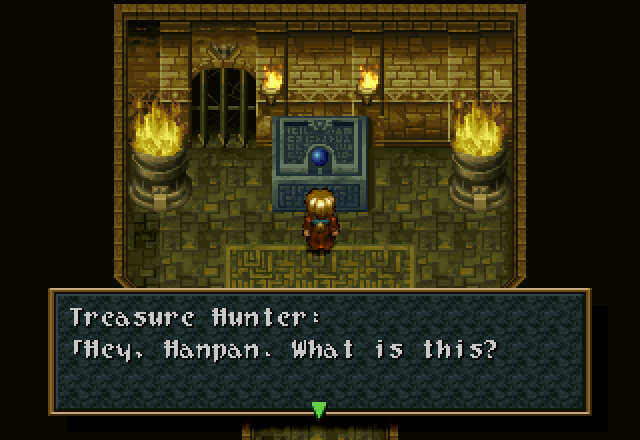
![]() Hey! No! Don’t touch that! Let me do it. Let’s see… here…
Hey! No! Don’t touch that! Let me do it. Let’s see… here…
I think that’s supposed to be the machine activating and startling him, but the animation that plays is the same one as when you dash into a wall. This gives me the mental image of him just bashing his face into the console. Either way, he leaps back a good ten feet or so in shock.

This is the machine speaking.
![]() You’re the brain. Do you have any ideas?
You’re the brain. Do you have any ideas?
![]() I have no idea!
I have no idea!
![]() Just as a test, I’ll put in my name.
Just as a test, I’ll put in my name.
This Treasure Hunter sounds like the kind of guy who would keep his passwords on sticky notes on his computer monitor. And they’d be his birthday.
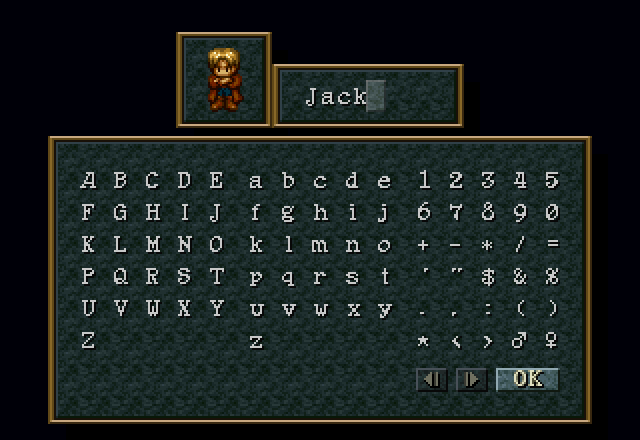
At this point, we get a naming screen. Thread vote decided on using the Treasure Hunter’s default name of Jack, so that’s what we’re going with here.

I protect the [Memory]. Intruder! I cast you to the bottom of the abyss!

The floor opens up beneath Jack, and he falls through.
![]()
![]() Jack’s Intro Cutscene
Jack’s Intro Cutscene ![]()
![]()
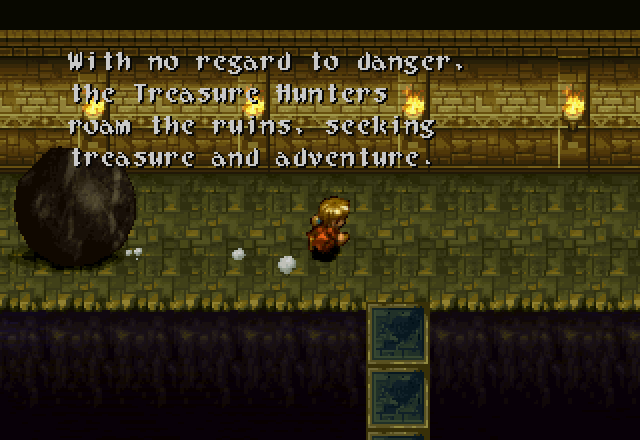
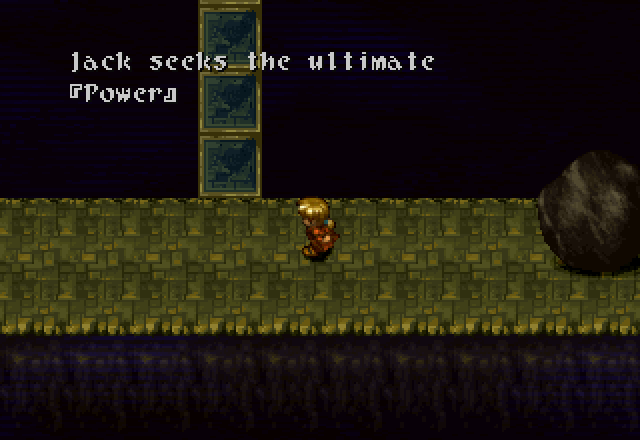
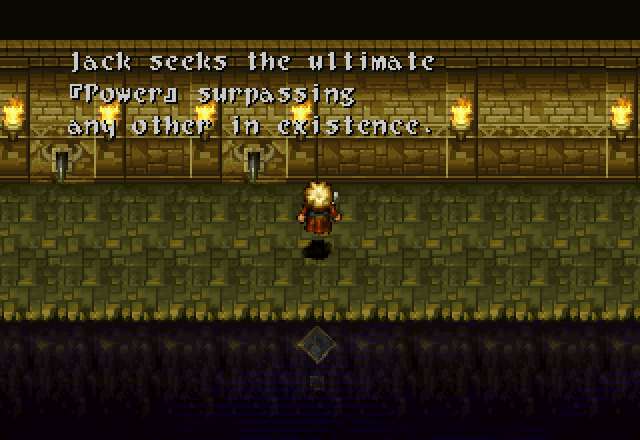
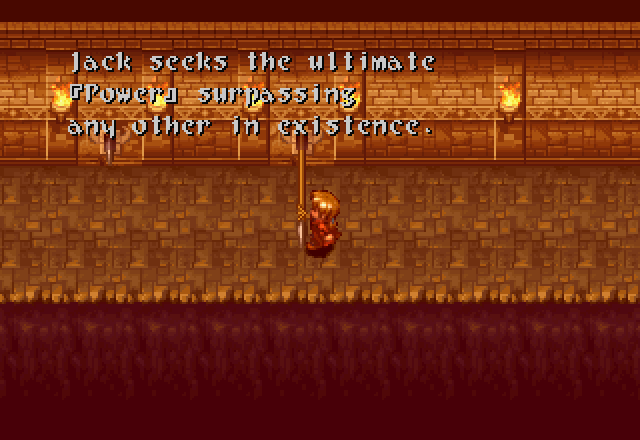
At this point, we get treated to a text scrawl and a cutscene. This was really difficult to transcribe, and I’m not super happy with the result, so I made a video of it. I suggest watching the video if possible (it’s less than a minute long), but it is transcribed below for those who can’t/don’t want to. Ctrl + F for [VIDEO ENDS] to skip to the end of the cutscene.
Music - Getting Rich Quick (Jack’s Theme)
Jack lands on his feet on the floor below.
Which turns out to be a spike trap.
Jack runs down the corridor and comes to a ledge over a pit.
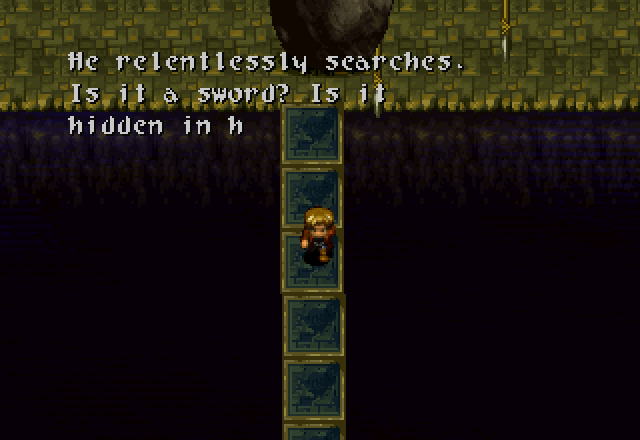
He starts right, but a boulder trap chases him left…
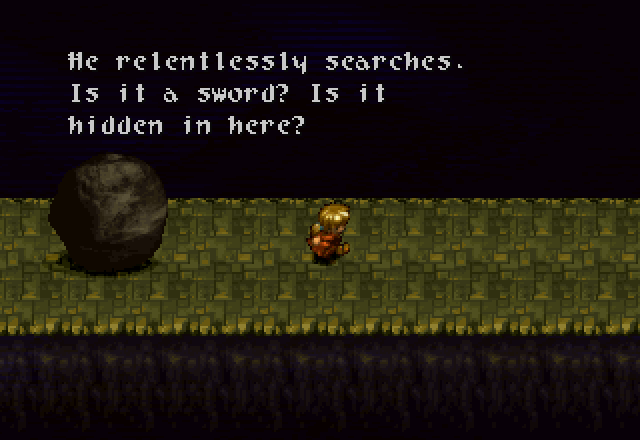
…Around this corner, which turns out to be a U-turn…
…Past this intersection, where Hanpan for some reason decides to hop out of Jack’s pocket…
…Around a loop and back to the intersection. Also, up until now, the boulder has been either traveling straight or following walls, but I’m pretty sure at this point it just straight-up cheats and turns to follow him. Most of the loop is walled, but the final stretch where it comes back to the intersection is over open pit, and it still changes direction.
Jack and Hanpan flee down the south corridor, and dodge to the left, allowing the boulder to roll past them and off the edge of the pit. Odd that the boulder doesn’t home now…

Jack strikes a victory pose, but we’ve only just begun.
Because there’s always a bigger boulder. Always. Jack flees down the bridge, which collapses behind him…
…And is met on the other side by another boulder (or possibly the same one).
Jack flees up a second bridge, which also collapses behind him, and crashes into a wall.
He starts left, but gets caught by a spear trap.
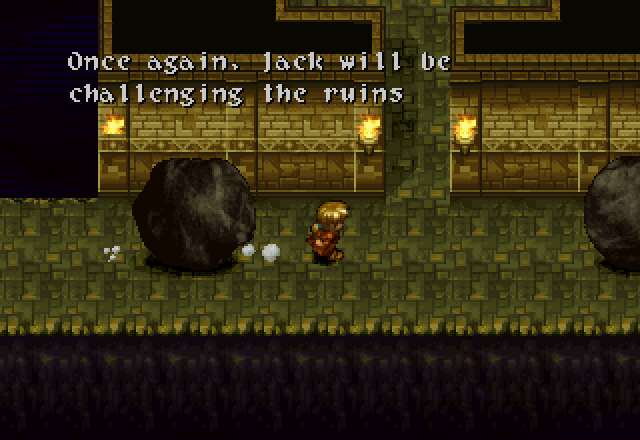
Dashing past the spears, he encounters another boulder, and another collapsing bridge. This is starting to become old hat at this point.
Of course, he is met on the other side of the bridge by yet another boulder. These people seem to have had an endless supply of these things.
In a new twist on an old trick, these two boulders play chicken, while Jack dodges north into the corridor. They phase through each other when they collide in a phenomenon commonly referred to as “lazy animation”.
[Power].
Jack hits the wall and rebounds onto the floor tile just as it opens beneath him, dumping him down yet another fall.
[VIDEO ENDS]
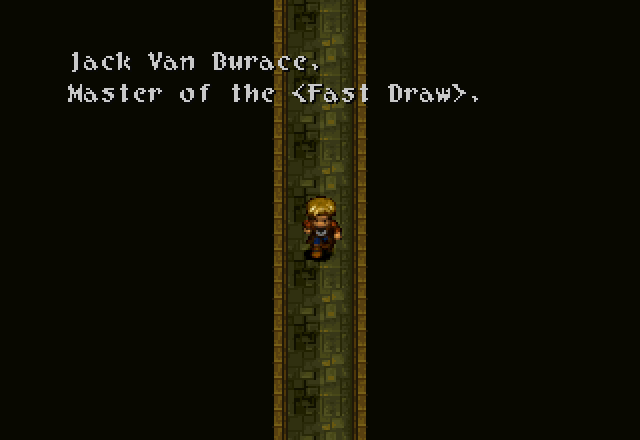
At this point, I’d like to draw everyone’s attention to the screenshot here, where Jack’s full name is revealed to the player. This is the game’s second localization snafu, and it’s a bit of a doozy. Van Burace here is supposed to be Vambrace, as in an armored arm guard typically worn with a full suit of plate armor. I think what happened is that “vambrace” was spelled in katakana, and they just transliterated it. Then some editor comes along and says “Vanbureisu? That doesn’t sound like a name. Let’s go with Van Burace.” This isn’t super important now, but just keep it in mind for later.

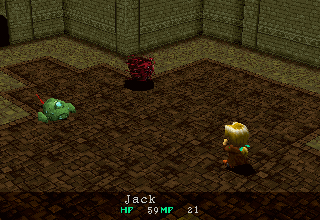
Jack lands in the middle of a room on a lower floor - thankfully, there’s no spike trap here.
![]() Damn! That was cool!
Damn! That was cool!
I don’t know whether Jack is an adrenaline junkie or just praising himself for his admittedly impressive trap-dodging back on the previous floor. There’s a good chance it’s both, though.
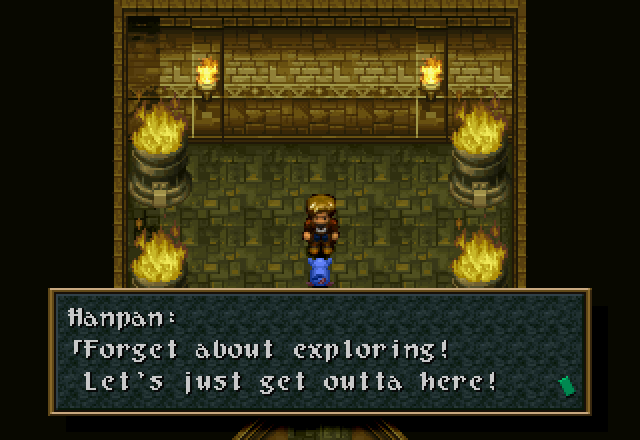
Hanpan, however, seems to be suddenly in favor of beating a hasty retreat. We are given back control of Jack at this point.
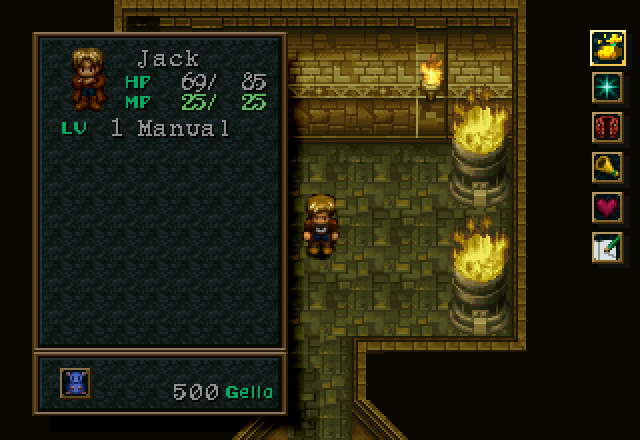
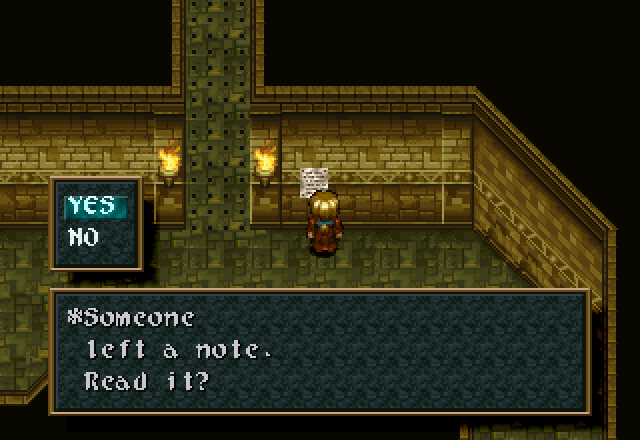
A shot of the menu screen, showing that Jack actually lost HP from the spike and spear traps he got hit by in the cutscene. Proceeding south leads us to a two-way intersection and a treasure chest with a note next to it.
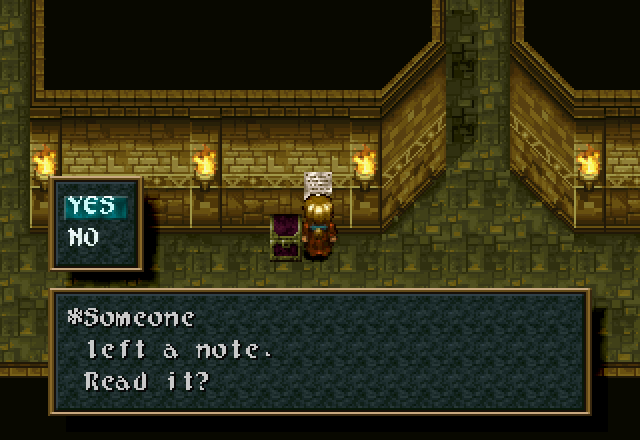
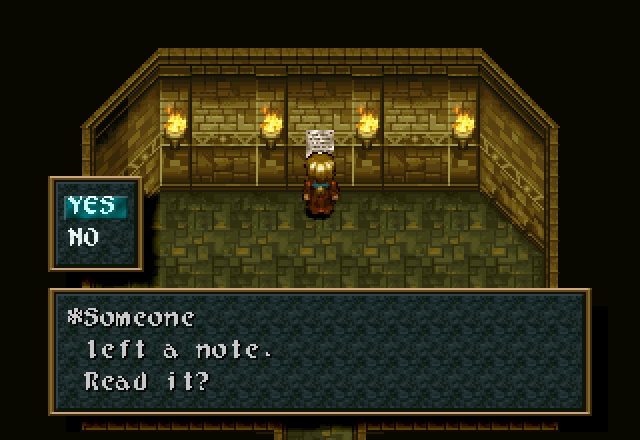
Ha ha ha… I’ve taken everything of value.
Apparently, previous Treasure Hunters not only stole plundered everything, they left mocking messages for anyone who came after. Despite the note, the chest contains a Heal Berry, the game’s basic restorative. It heals 200 HP, which is well over twice Jack’s max HP at this point. He won’t have more than 200 HP before we leave the dungeon, either ![]() . Jack’s inventory is currently empty other than that single Heal Berry.
. Jack’s inventory is currently empty other than that single Heal Berry.
Up the left path, we find this room. Both treasure chests are, in fact, empty. Seems like this might have been a better place to leave the note?

No way! How the heck am I supposed to get that treasure?
![]() I can help you get to those hard to reach places. Aim and push the Tools button. If it’s not too heavy, I’ll fly over and pick it up. I am a Wind Mouse, after all. Speed and wit are my forte!
I can help you get to those hard to reach places. Aim and push the Tools button. If it’s not too heavy, I’ll fly over and pick it up. I am a Wind Mouse, after all. Speed and wit are my forte!
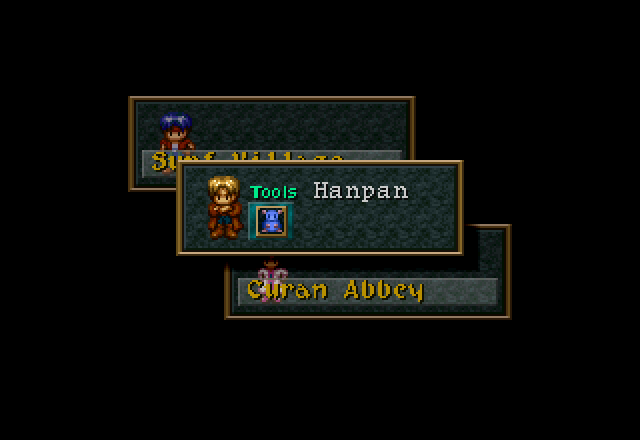
This seems like a good time to explain Tools. Each character has a total of four field abilities, called Tools. They’re selectable by pressing Select anywhere besides battle, but aren’t useable on the world map. The character whose Tool is currently selected is the one whose sprite appears on the field. The Tools button is Square by default. Jack starts with his first Tool, which is Hanpan.
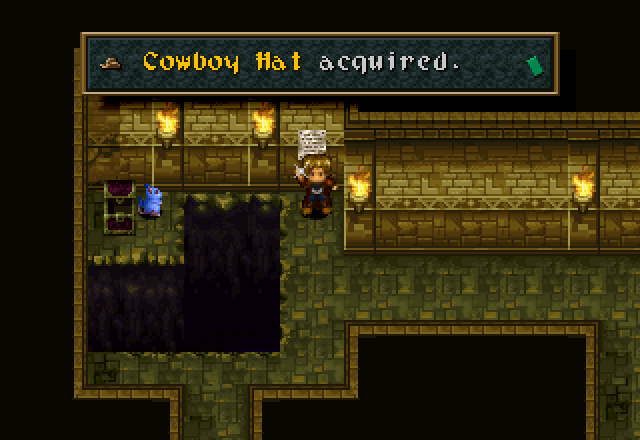
True to his word, Hanpan can cross gaps and open chests. In this game, he flies in a straight line from the way Jack’s facing, but in Alter Code: F, he’s ground-bound and had to jump gaps (which meant he couldn’t cross larger gaps) but is controllable. And yes, we did just get a cowboy hat for Jack. I told you this game had Western themes.
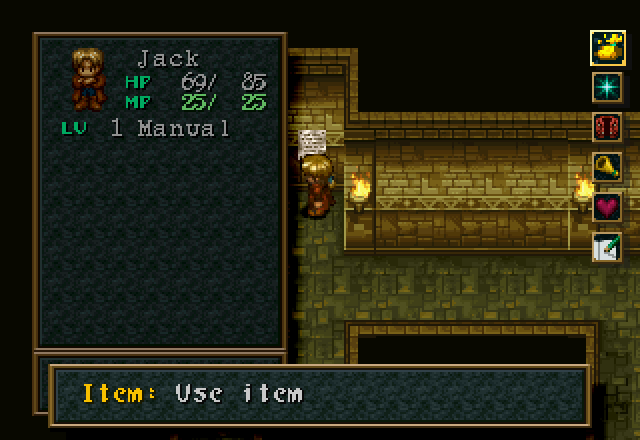
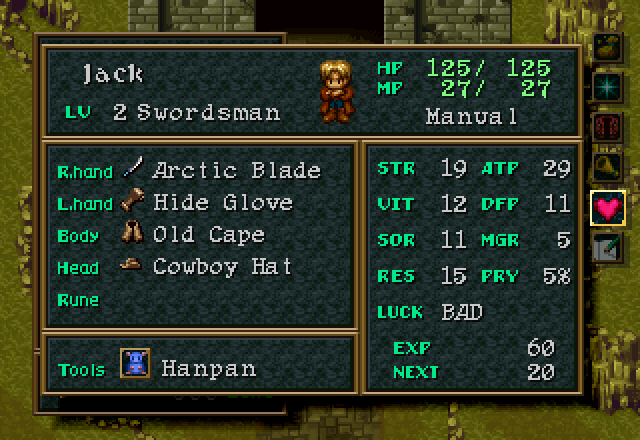
As I equip the cowboy hat, I might as well explain the menu. The top option, as you can see in the screenshot, is Item, and allows you to use or rearrange your inventory.
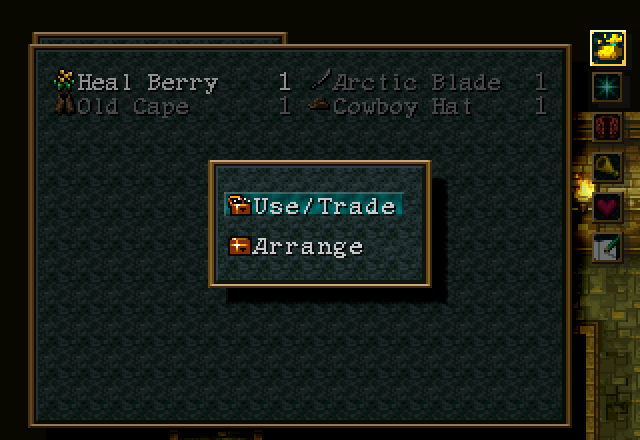
This is the inventory screen. That menu in front actually comes up when you press the Cancel button (Circle by default). The Use/Trade option just brings you back to the normal inventory screen, while Arrange automatically organizes your inventory. Press Cancel again to exit the Item menu. Jack’s starting equipment is currently in the inventory because I wanted to see if they had any interesting info text (they don’t).
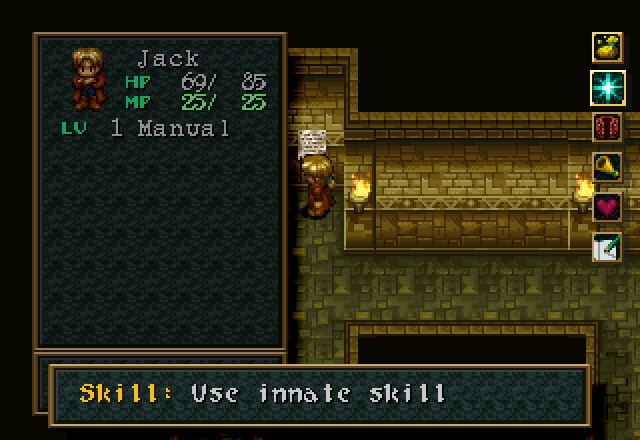
Next comes Skill, which allows you to see what special abilities a character has, and to use any that can be used outside of combat, such as healing spells.
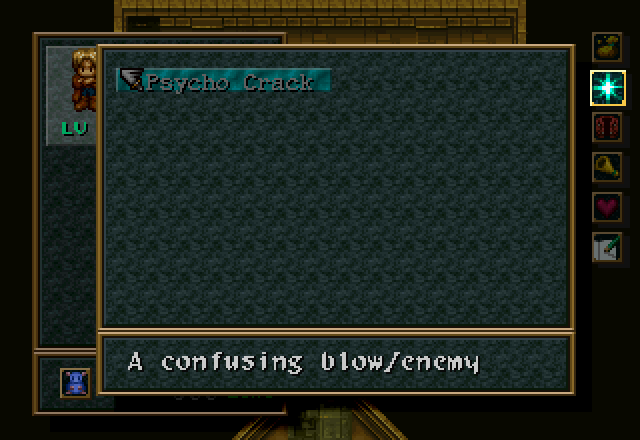
As you can see, Jack comes with one skill, which is the [Fast Draw] mentioned in his intro cutscene. Psycho Crusher Crack deals a bit more damage than a regular attack, and has an insignificant chance to Confuse enemies. Fast Draw techniques cost MP to use, but their cost can be reduced, to a minimum of 1 MP. I’ll go over that when it becomes relevant.
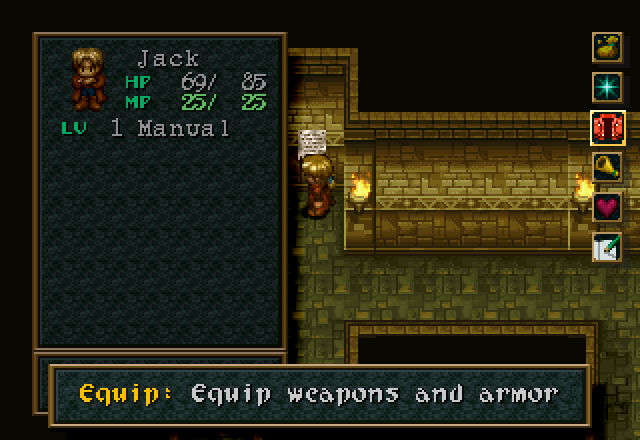
Next is the Equip menu, which should be pretty self-evident. Characters in Wild Arms have five equipment slots: Right Hand (the character’s weapon; yes, Ned Flanders, everyone in this game is a righty), Left Hand (Shields and accessories), Body (Armor), Head (Hats and helms), and Rune (a special equipment slot we’ll go over in Cecilia’s story).
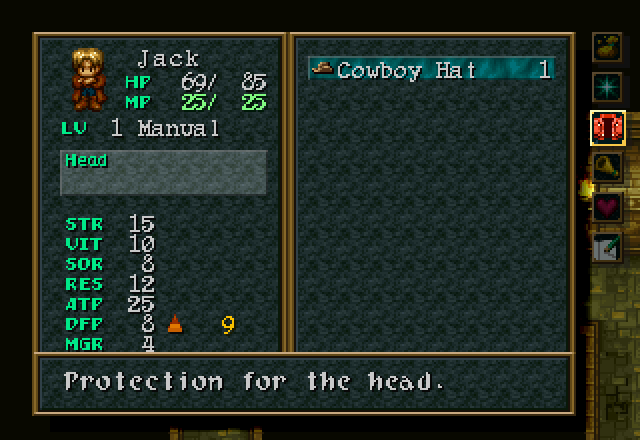
Our new cowboy hat, being a hat, obviously goes on the head.
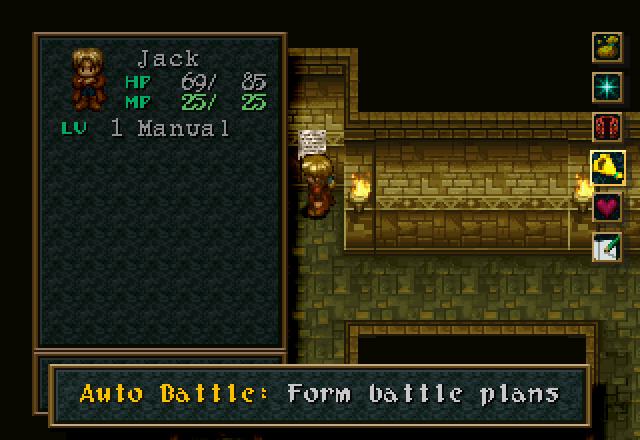
Next up is Auto Battle. This game has a few limited AI settings which will allow the characters to fight on their own. I wouldn’t rely on them, but if you’re backtracking I guess they could speed up random encounters, or it could be an interesting idea for a challenge run of the game to always use the AI settings. I do that all the time in Dragon Quest games.

Status obviously brings up a screen showing the character’s stats and current equipment.

Now seems like a good time to explain what the stats do.
STR is your base attack power without your equipped weapon, while ATP is the final number.
VIT and DFP are the same thing for physical defense.
SOR affects magic attack damage and the MGR stat (50% of SOR goes to MGR), which is the character’s magic defense. Jack doesn’t get much out of SOR, because most of his Fast Draw techniques are actually based off his ATP, applying multipliers to his base ATP stat to determine damage.
RES (Response, not Resistance) is basically speed, and it determines when a character will act in combat, and also influences pre-emptive attacks (player first turn). PRY is the character’s evasion rate, and is 10% of the character’s RES at base - left-hand gear will frequently raise PRY as well.
Finally, Luck affects the rate at which you get preemptive strikes (player first turn) and ambushes (enemy first turn) in combat, as well as affecting critical hit rate, retreat success chance, and a few other things we’ll go into when they’re relevant. It can fluctuate, changing one step in either direction whenever you sleep at an inn, IIRC.
As you can see, Jack’s highest stats are in STR and RES. He’s fast and he hits hard. A bit of a glass cannon, perhaps, but his high RES means he’ll dodge more attacks, too.
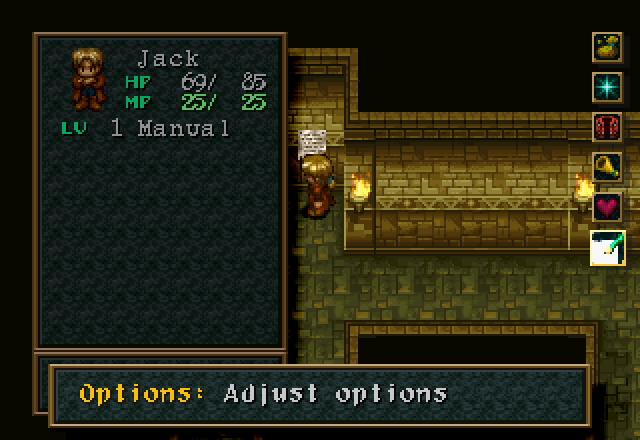
Options allows you to change various game settings. I’ll go over each of the settings you can change in another part; this one’s already getting pretty long, and we still have quite a bit to go.

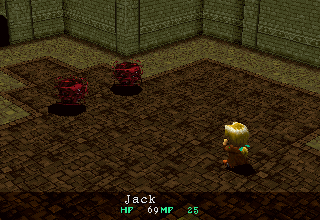
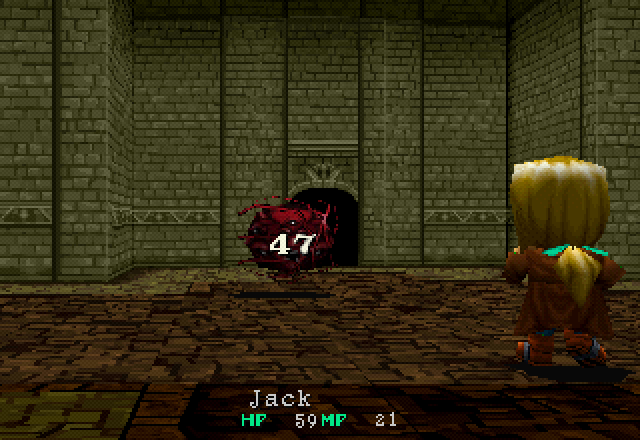
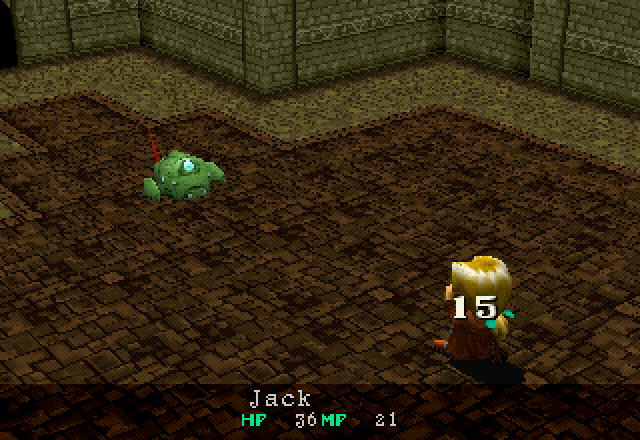
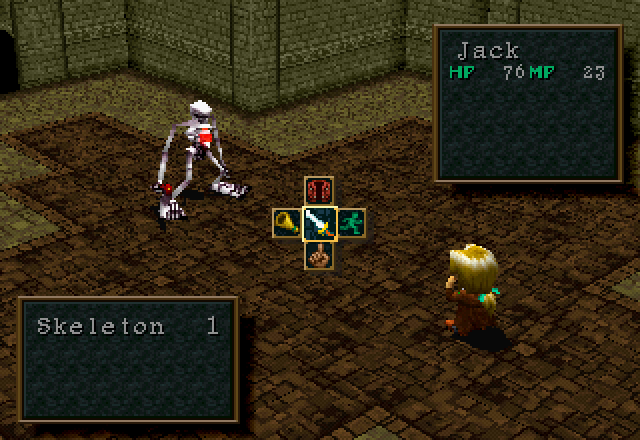
Leaving the room by the corridor to the right, we get our first random encounter, with a pair of Balloons. Balloons are about as threatening as their names imply, and are good punching bags for level 1 characters.
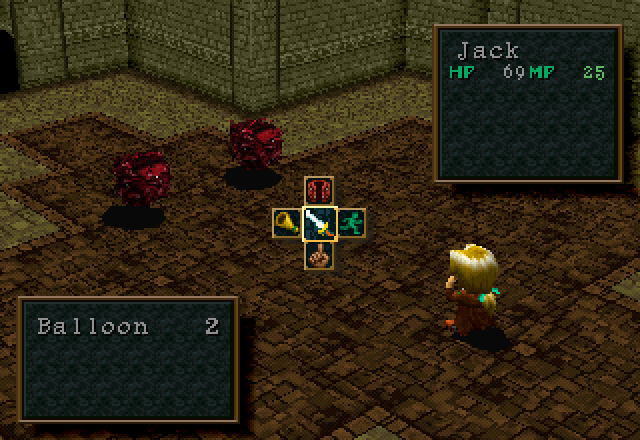
Between the Tools system and the battle menus, the designers of Wild Arms seem to have taken a few cues from the Lufia games. The battle menus are in a plus shape, and holding a direction on the D-Pad allows us to select the different options. This first screen has the options Fight, Equip, Auto Battle, Run, and Formation.
Equip and Auto Battle work the same as they do in the menu screen. Yes, you can change equipment mid-battle. The function of Run should be obvious to anyone who’s played a JRPG before. Formation we’ll go into once we have more than one character.
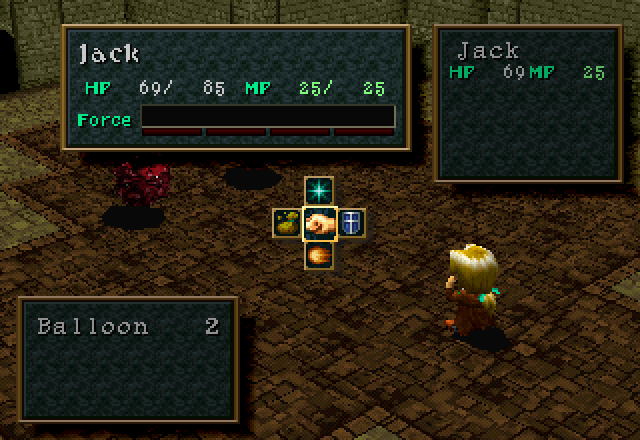
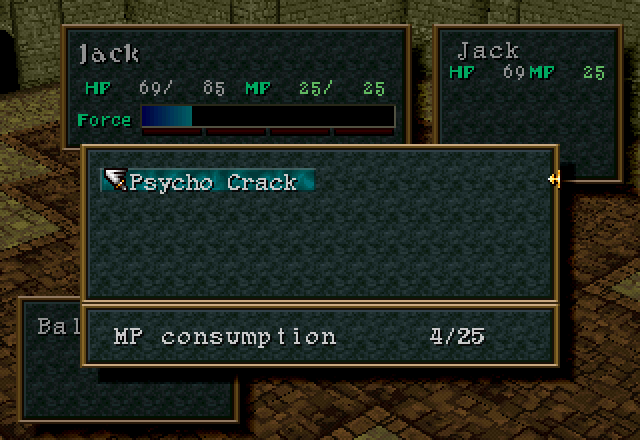
This is Jack’s combat menu, which is accessed by selecting Fight. The commands are Attack (the fist), Skill (the star; same as the menu screen), Item (the bag), Defend (the shield), and Force. Most of the options are pretty self-explanatory, so I’ll explain the Wild Arms series’ unique mechanic, Force.
Force goes from 0 to 100, and increases whenever the character attacks or takes damage. At 25, 50, 75, and 100 points, a character gains a “Force Level Up”. This increases their attack and defense power by 10% each. At 100, you also get CONDITION GREEN, which cures all status ailments. Each character starts with one Force skill, and can gain up to four throughout the game. The first Force skill costs 25, the second 50, and so on. At the end of battle, Force resets to zero in this game. From Wild Arms 2 on, Force resets to the character’s level instead. In Alter Code: F, each character has only one Force skill (which costs 25 FP), but it’s powered up.
But since we don’t have any Force due to just starting a battle, I just select Attack.
Jack’s basic attack is plenty enough to one-shot these guys, even at Level 1. They only have 35 HP, after all. In fact, Jack will one-shot anything in this dungeon with his basic attack. I’m not kidding.
Despite that, I was going to try to show off Psycho Crack on that second guy, but…
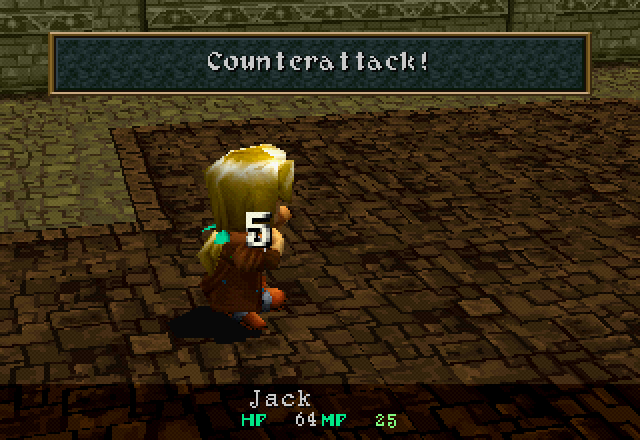
Jack counterattacks and kills it. I think counterattack chance is based off the Luck stat, but it could also be based off PRY; there isn’t a whole lot of info out there - the best source I found was the game’s manual. See that damage number, by the way? Yeah, Balloons aren’t even remotely a threat.
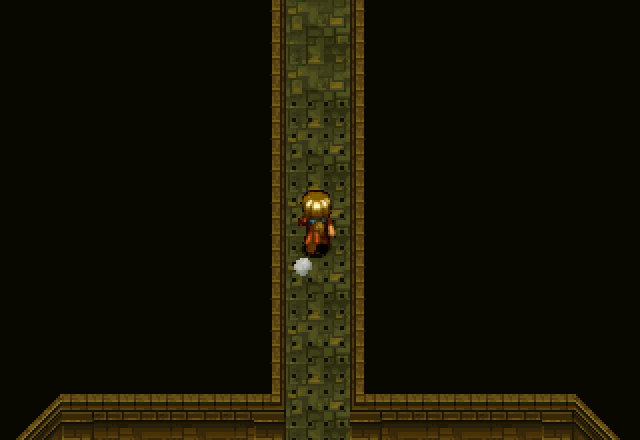
Now that that’s over with, we continue down the corridor and come to an intersection. The corridor to the west leads back to the room with the empty chest, and the northwest is the way we came from.
North leads to the stairwell up, but it’s blocked. If you look, you can just barely see the button to raise the portcullis off to the right. The chest is empty; you can open chests from any direction in this game, so the spike trap is irrelevant.
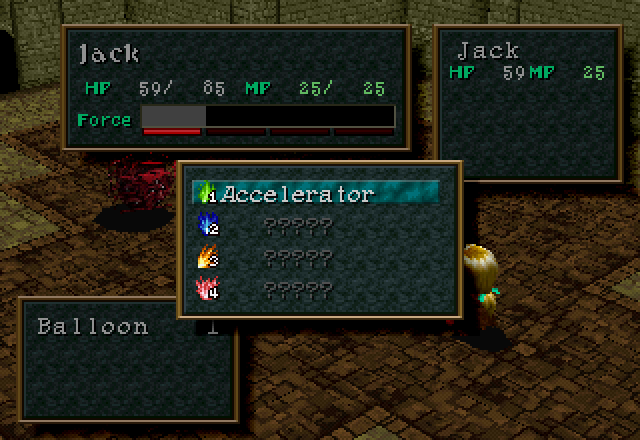
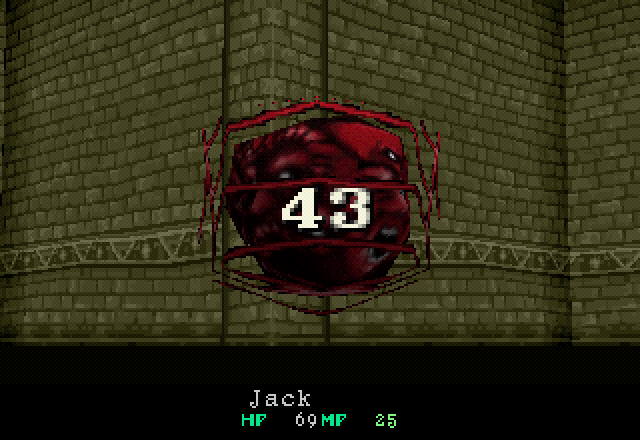
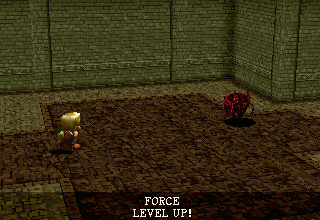
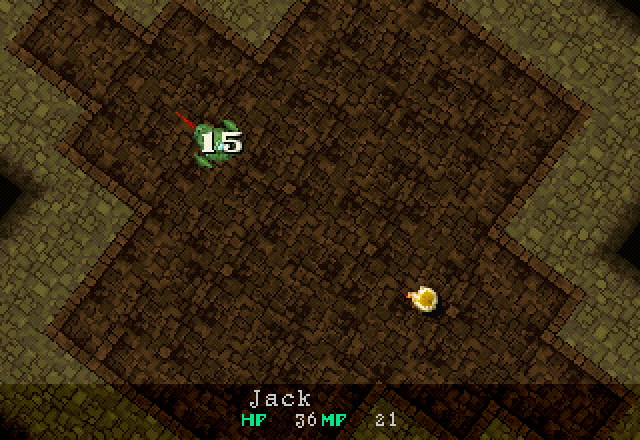
Heading back downto go east, I get another random encounter with two Balloons. After killing one of them, I get a Force Level Up, which allows me to kill two birds with one stone and show off both Jack’s Force skill, Accelerator, and Psycho Crack.
Jack’s first Force skill is Accelerator. Accelerator guarantees that Jack will go first, no matter what. It’s honestly kind of meh, because Jack is already the fastest character; once he has a few levels under his belt, he’ll be going first most of the time anyways. It’s most useful as a panic button, and makes Jack a decent healer when necessary. But honestly, Jack benefits more from the attack and defense increases from Force rather than using Accelerator most of the time, in my opinion.
Here’s Psycho Crack in action. Psycho Crack, from what I was able to find out, applies a 125% multiplier to Jack’s ATP when used. It has a chance of inflicting Confusion, but I’ve seen that happen maybe twice. Don’t rely on it.
But for some weird reason, it doesn’t seem to do much more damage than Jack’s basic attack to this Balloon; certainly not +25%. Maybe he just rolled really low? It’s not like it matters, though.
Continuing on to the right, we come across another intersection, this one containing a pit. If you fall down the pit, you get warped to the place you entered the area (for us, it’s the small room Jack landed in), but you don’t take any damage or anything. It’s annoying, but no threat. This is where we’d end up if we’d taken the right fork back at the beginning.
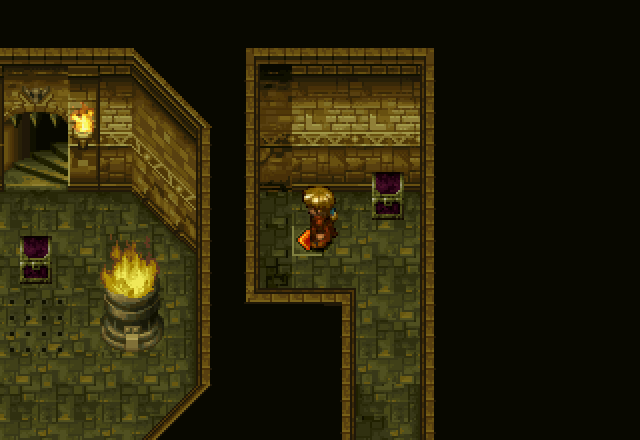
Going north, we find the button to raise the portcullis over the stairway. The chest is empty.
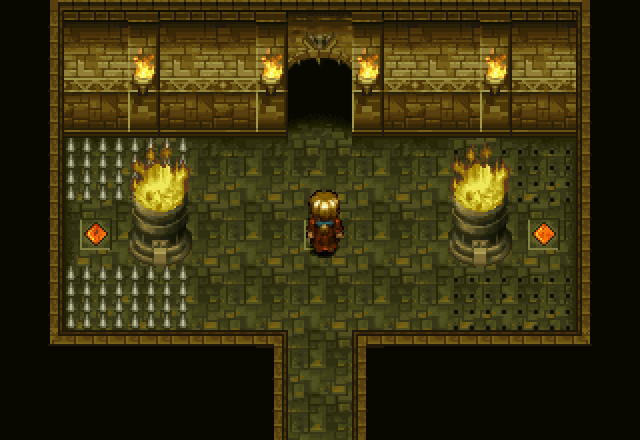
Proceeding to the next floor, we find ourselves on a relatively narrow walkway over a pit with three blocks arranged to impede progress. You can push some objects by grinding your face into them, so we move the center block out of the way and proceed.
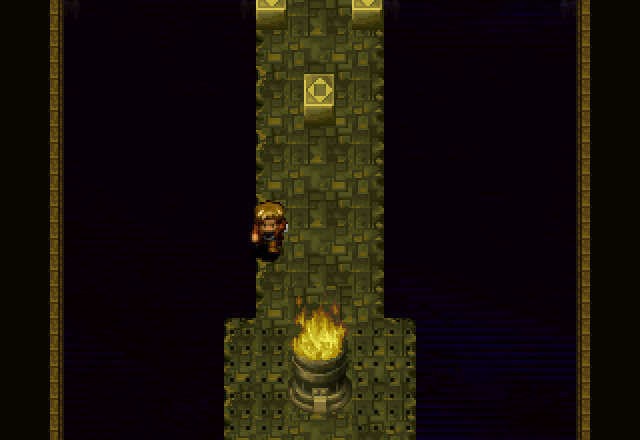
The torch here blocks the middle of the walkway, and there are spike traps on both sides. You can use the dash (Cross by default; I like to change it to Circle so it coexists with Cancel instead of Confirm) like I am in the screenshot, but the spikes take so long to pop that as long as you don’t stop on them, you’re fine. Really, they’re not going to hurt you unless you’re not paying attention. The dash works like the Pegasus Boots from A Link to the Past; you can only move straight in one direction while dashing, but you can cancel it by letting go of the button. Hitting something causes you to recoil, so be careful.
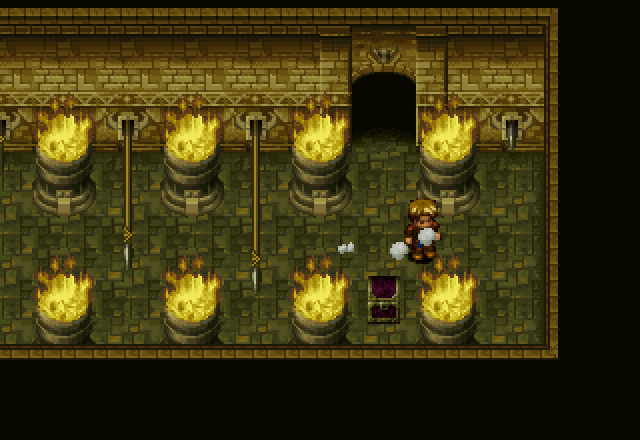
We dash down past a couple more setups like in the previous image before hitting the bottom of the room, where we find a chest surrounded by spike traps. Just to be safe, I use Hanpan to grab the Heal Berry in the chest from out of range of the spikes. Hanpan doesn’t trigger traps and is unharmed by any already triggered; he flies over the spikes like they’re not even there.
Going through the left door, we find a locked staircase, but this time we can clearly see the button to open it.
While circling around to hit the button, we get into another random encounter. Ooh, a new enemy!
Oh. I kill the Balloon and move on. Hit button, back to staircase.
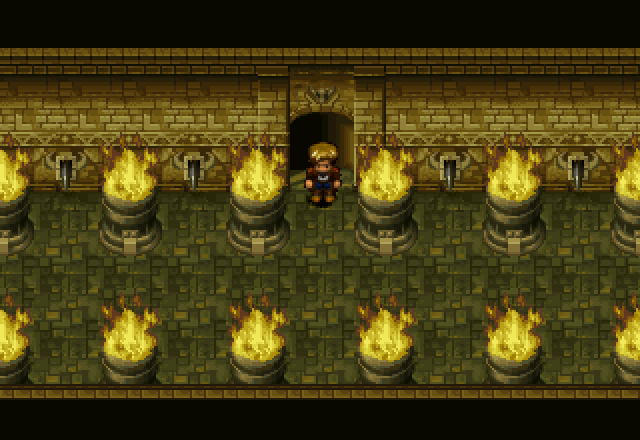
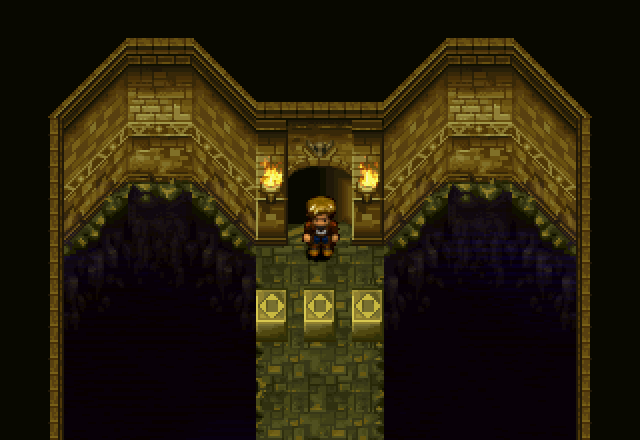
Upstairs, we find ourselves in the middle of a wide hallway full of spear traps. Left goes to another locked stairwell, so let’s head right first.
Fortunately, the intro cutscene already taught us how to avoid spear traps. Dashing past them leads to a door and a chest with a Heal Berry in it.
Through the door we find a room shaped like a mirrored “S”…
With the button to open the stairwell at the top. Push the center block into the pit…
…And send Hanpan across; he can hit buttons and flip switches, as well as grabbing items.
Pictured: Unlike the spike traps, spear traps will get you if you’re not dashing.
Back on the other side of the big hallway, we find the stairwell up and a chest containing another Heal Berry.
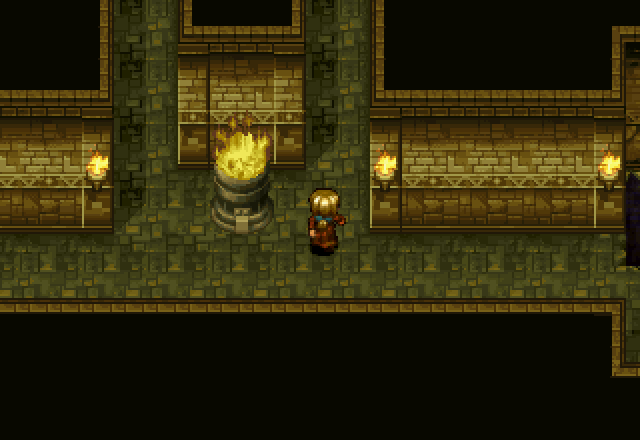
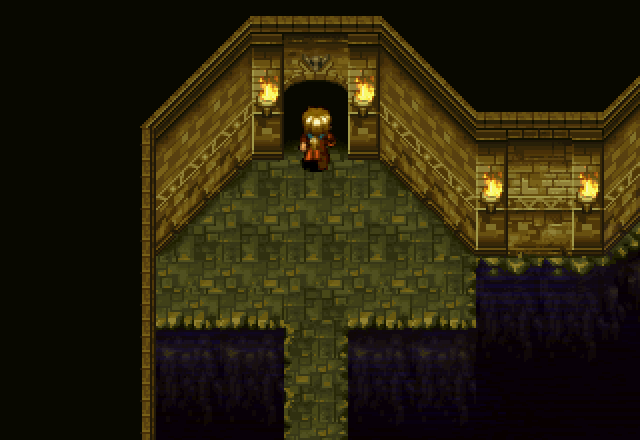
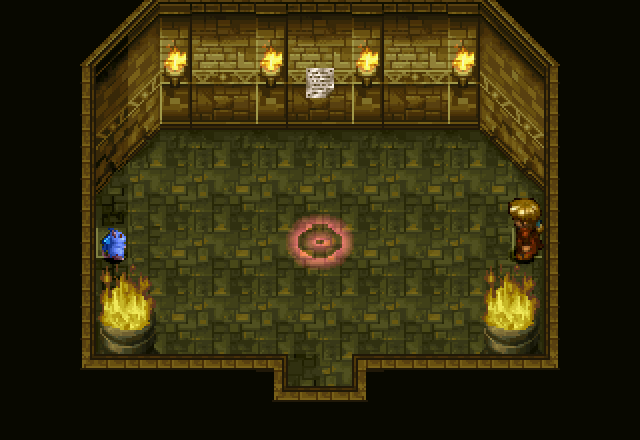
Upstairs is a small room with a magic circle that acts as a save point.
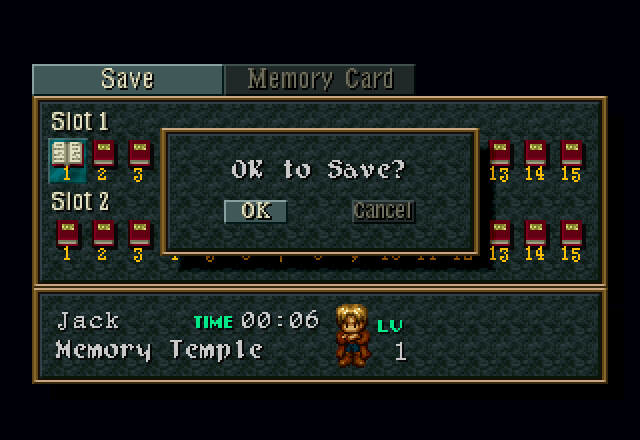
I save while I’m here.
Through the door at the bottom, we find a room with another fork. It doesn’t matter which way you pick; the room is a big circle with the save point room in the center, there are no treasures, and the way out is up top. We head left, because Reasons.
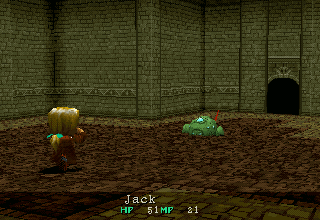
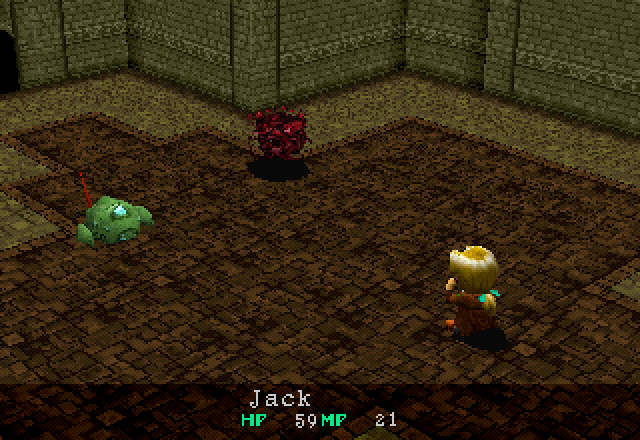
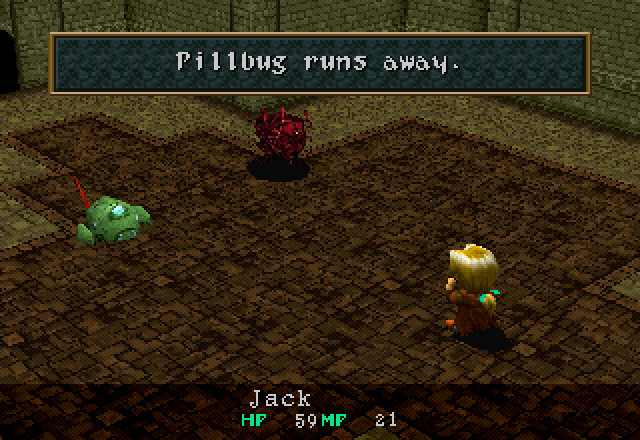
We get into a fight with a lone Pillbug. As you can see, they hit significantly harder than Balloons, when they feel up to it; Jack’s even defending there. You can also encounter Pillbugs on the first floor, but they seem to show up more often here.
They have much better defense than Balloons, too. It doesn’t matter, though, because that 15 damage is their max HP exactly, so this bug goes down.
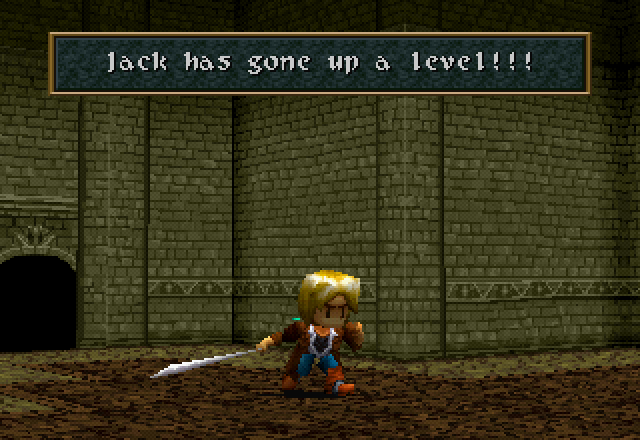
And Jack gains a level from it.
Shot of the menu screen; Jack gained 40 HP with this level-up. I’ll post a status screen at the end of the update.
Ouch! What are these spikes doing here?!
I dunno, but they’re still not a threat.
They don’t even bother me while I stroll around activating the buttons to open the next doorway (not a staircase this time! Maybe we’re near the top?).
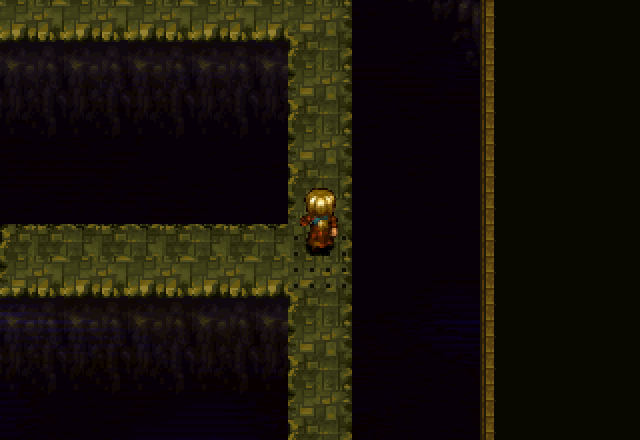
The next floor is a narrow causeway with spike traps at every intersection. Left from this intersection is a dead end, and then you have to wait for the trap to reset to go back. That’s right; spike traps at their worst are no more dangerous than traffic lights.
Down is a dead end here; we go left.
To this random encounter, with a new enemy - the Skeleton. Creative naming, Sony.
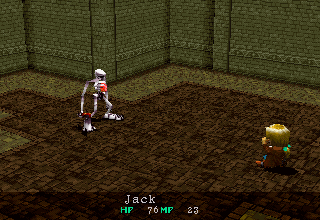
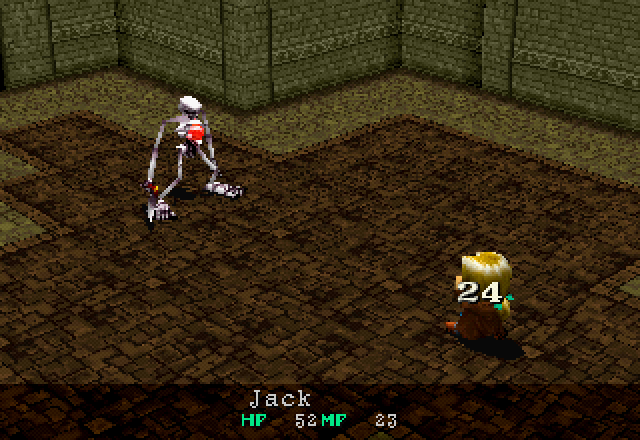
They’re the hardest-hitting enemies here; again, that’s against Jack while he’s defending. They can also use an attack called Brutal Hit that does even more damage, but it wouldn’t do it and I was getting kinda low on HP so I decided to stop acting like a punching bag.
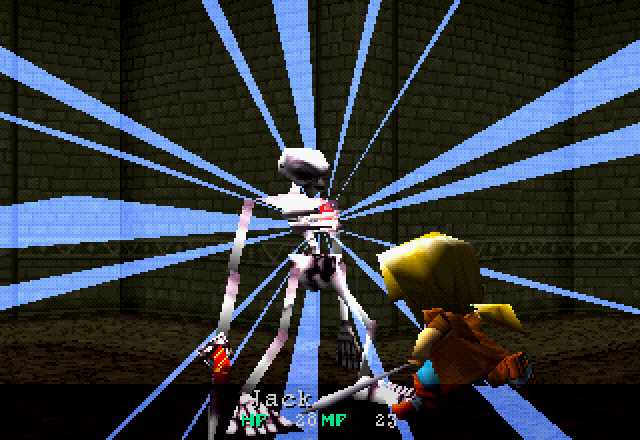
As his reward for being the only even vaguely threatening enemy in this dungeon, I Accelerator/Psycho Crack him to death. Still unnecessary, but at least it does more damage than a basic attack against it - IIRC, Skeletons take damage in the mid-high 20s from his basic attack, and this one took 42 from Psycho Crack.

Past him, we find a chest with this in it. The other chest had a Heal Berry.
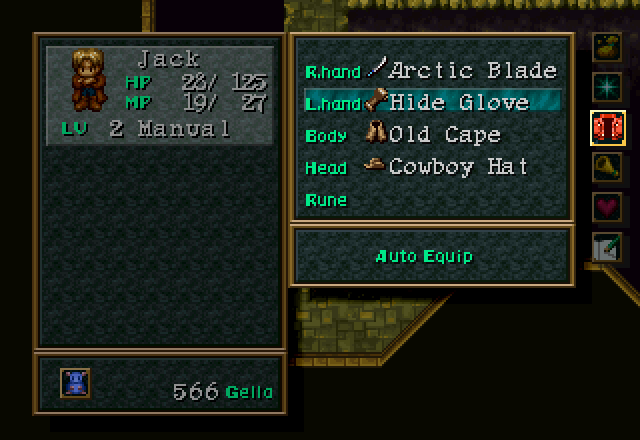
The Hide Glove is a Left-Hand item that increases DFP and PRY. Jack will dodge one out of every 20 or so attacks, now! Yeah, PRY doesn’t really come online until the mid/late-game, and by then you’re usually doing different things with your Left Hand slot.
We head up and through the door.
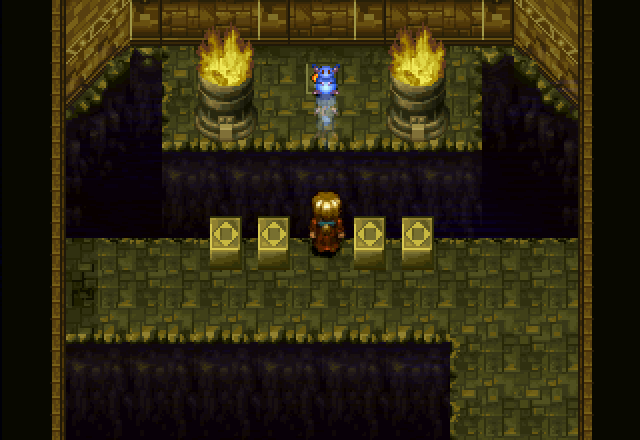
How in the world do you operate these switches? I don’t get it!
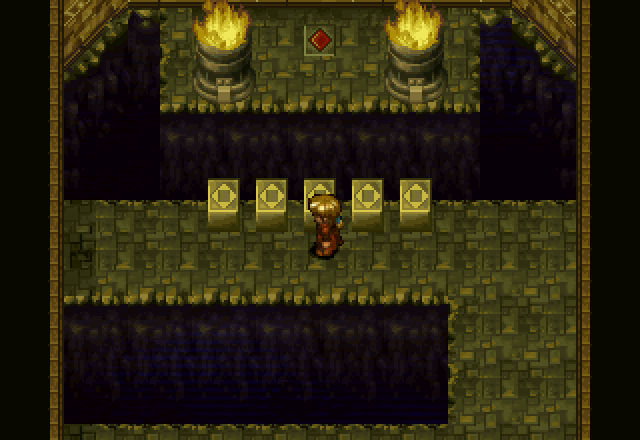
Through the next door is a room with two blue switches on opposite ends and a note in the center.
The answer: have a little blue mouse who can trigger switches at range.
Or the POWER OF FRIENDSHIP, I guess. But I know which one I prefer.
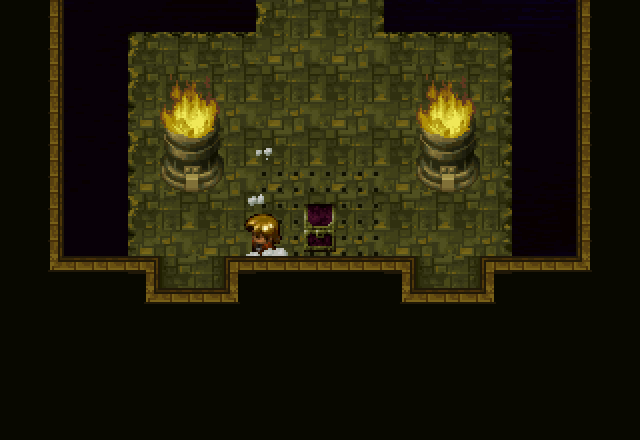
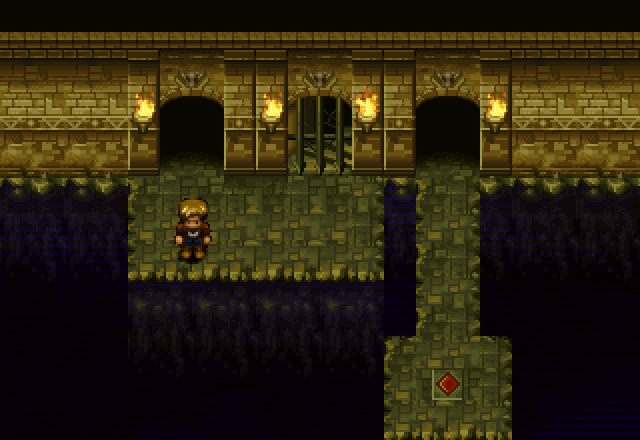
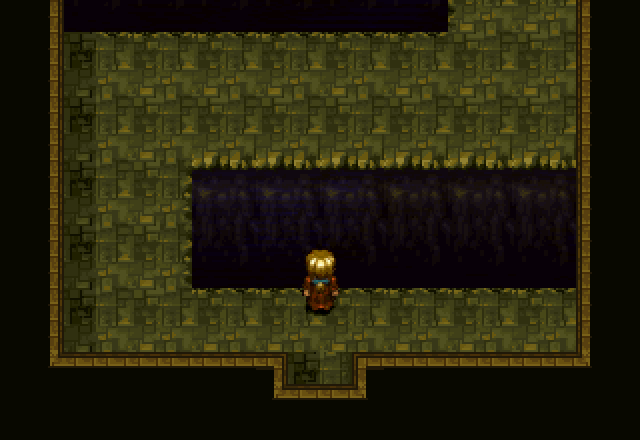
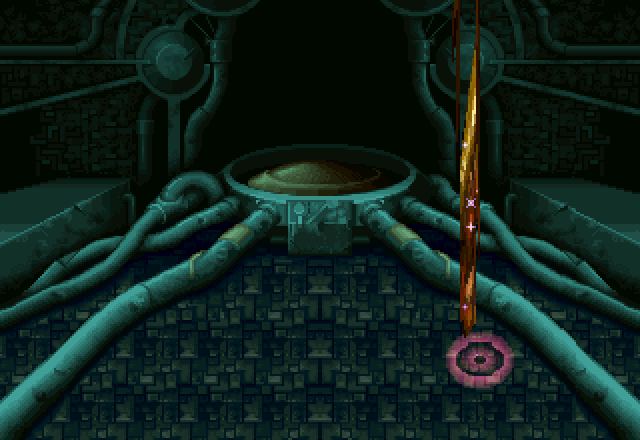
The red waves are a teleporter that takes us to the final room of the dungeon.
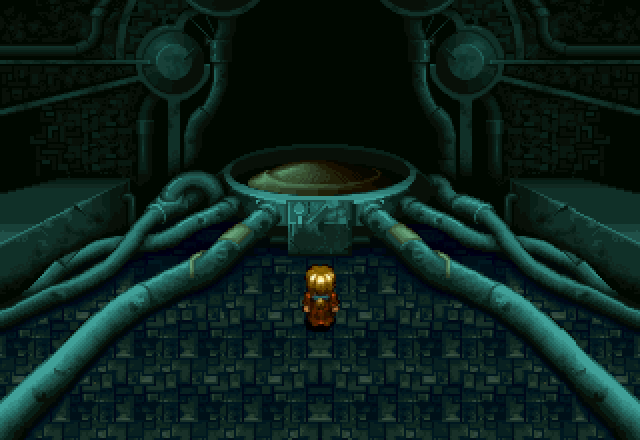
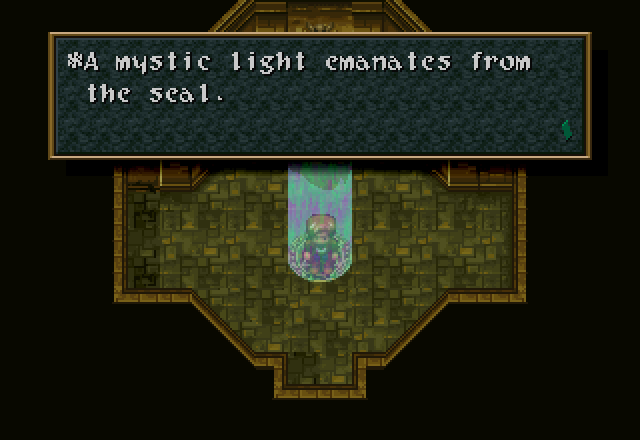
We end up in a room with some weird machinery all over the place. Jack walks over to the machine as Hanpan pops out of his pocket.
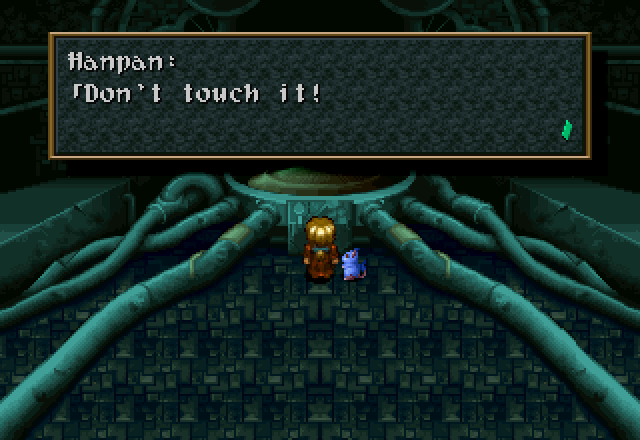
Jack touches it. He’s not good at taking directions. At this point, the music goes silent, replaced by a mechanical hum.

The machine begins to glow, and a globe forms above the pad in the center. A figure appears within the globe.
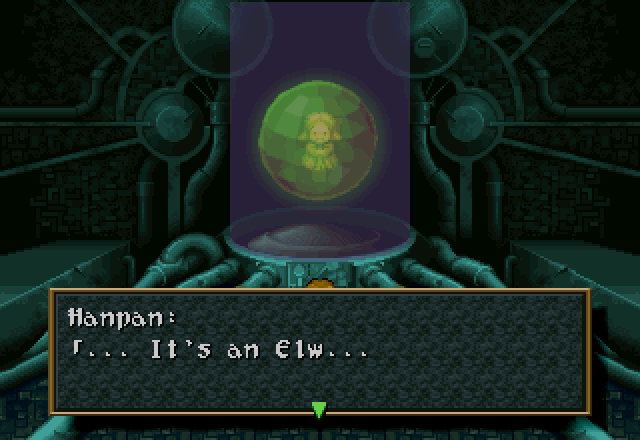
![]() I’ve never seen anything like this before…
I’ve never seen anything like this before…
![]() What… What’s an Elw?
What… What’s an Elw?
![]() Long ago… an alien race lived here, an advanced race who used technology laced with magic. These are the remnants of a race whose lives were in sync with the laws of nature.
Long ago… an alien race lived here, an advanced race who used technology laced with magic. These are the remnants of a race whose lives were in sync with the laws of nature.
That’s right, this western fantasy JRPG just took a hard right turn into sci-fi. The Elw are kind of like elves and Chozo rolled into one package. Also, it’s hard to tell on the sprite, especially with the effects around it, but they have brown furry dog/bunny ears.
![]() So is this an Elw?
So is this an Elw?
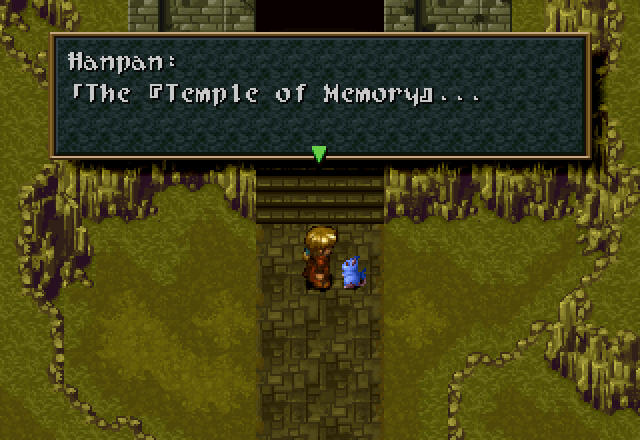
![]() No, this is a holographic image. This machine must be a data storage device of the Elw! Information is left here to be retrieved later! This certainly is a [Temple of Memory].
No, this is a holographic image. This machine must be a data storage device of the Elw! Information is left here to be retrieved later! This certainly is a [Temple of Memory].
![]() Wait a minute… The Elw is speaking directly into my mind!
Wait a minute… The Elw is speaking directly into my mind!
![]() Wow! With your thick skull?! This certainly is advanced technology!
Wow! With your thick skull?! This certainly is advanced technology!
Hanpan and Jack might work together, but they also casually banter and bicker.

![]() Lolithia’s icy breath can only destroy…
Lolithia’s icy breath can only destroy…
![]() Seek not Lolithia in her tomb. The Elw have departed. Seek not Lolithia, for she is bound in the [Land of Light]…
Seek not Lolithia in her tomb. The Elw have departed. Seek not Lolithia, for she is bound in the [Land of Light]…
![]() She is the Death Wind. The heartbeat of annihilation, an absolute destructive power…
She is the Death Wind. The heartbeat of annihilation, an absolute destructive power…
![]() I can’t believe it… The absolute [Power]… Hey Hanpan, you heard him! Where is this [Land of Light]?
I can’t believe it… The absolute [Power]… Hey Hanpan, you heard him! Where is this [Land of Light]?
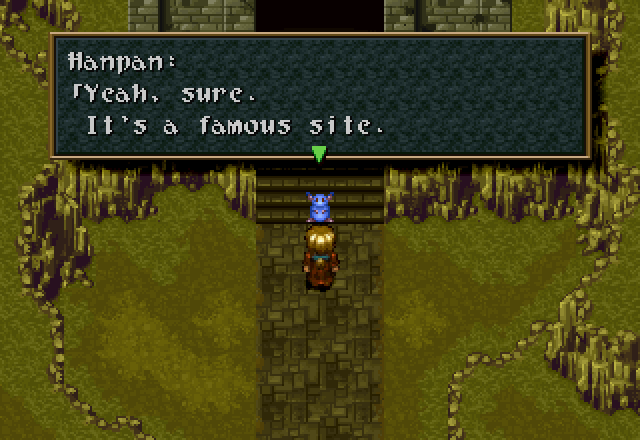
![]() Hmm… I’m not certain, but… In an ancient tongue, Adlehyde means [Light]. Perhaps it’s related… Do you want to go there? It’s not that far from here.
Hmm… I’m not certain, but… In an ancient tongue, Adlehyde means [Light]. Perhaps it’s related… Do you want to go there? It’s not that far from here.
![]() … OK.
… OK.
![]() Adlehyde is a kingdom located to the southeast of here.
Adlehyde is a kingdom located to the southeast of here.
We regain control here. Another red teleporter appears.
It takes us back out to the first room of the dungeon.
As we leave the Temple of Memory, we get a bit more narration.
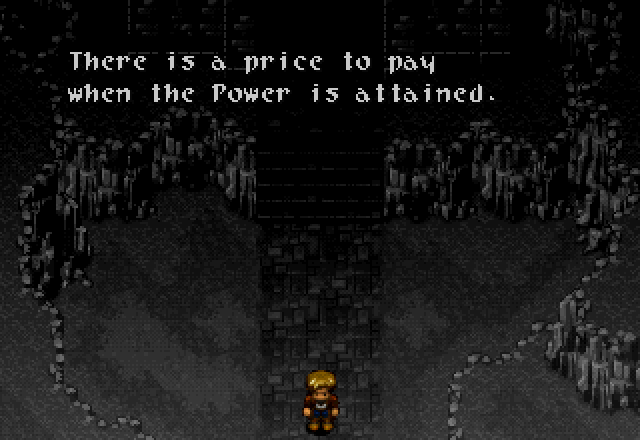
Free thyself from the past.
But what awaits in the future?
Does man seek strength because he believes that the Power will light the darkened path to the future?
He has no idea that the Power he seeks is also binding his soul.
Heavy stuff.
And with that, Jack’s journey is done for now. Join me next time, as I take on Cecilia’s route.
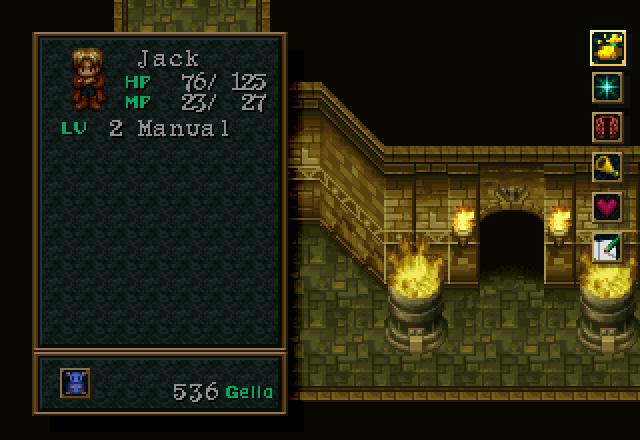
Before we go, though, let’s take a look a Jack’s current stats:
As expected, his STR and RES have increased the most; his VIT barely went up, though. He did get a decent gain in SOR, though, but again, it’s not super useful to him.