Update 9: Bad Game Design
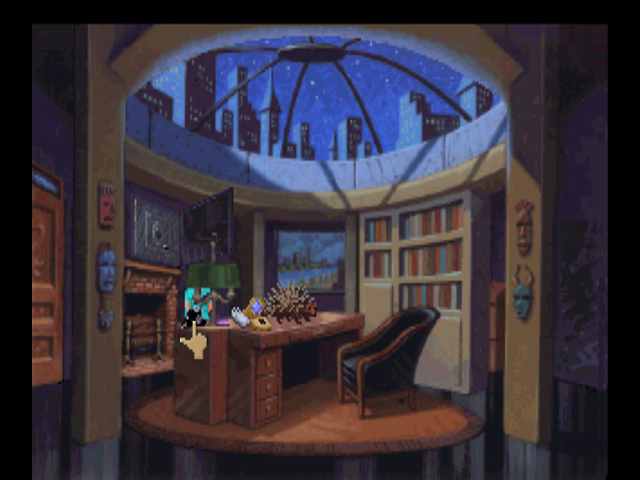
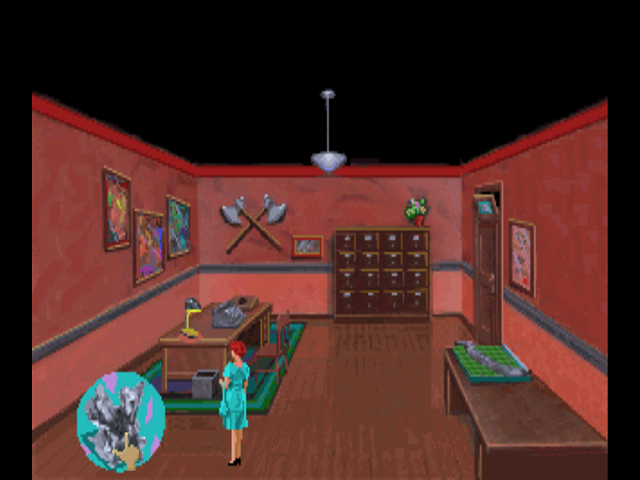
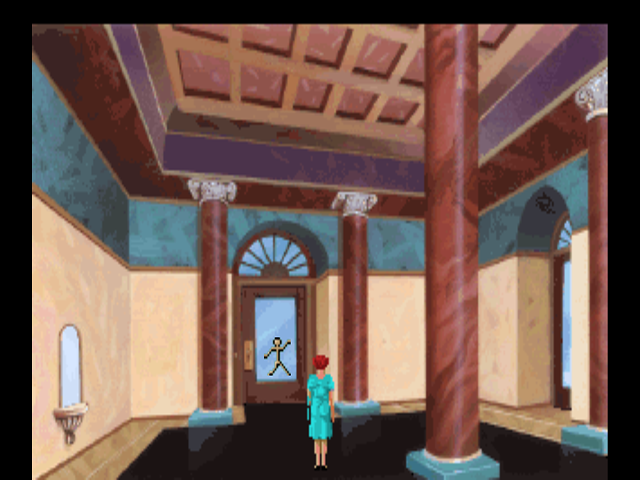
Once we’re done listening to Yvette, we’re free to explore Carrington’s office. Carrington’s office is an area I’m pretty sure none of the people who tested this game ever actually entered, because it is easily the worst-designed area in this game.
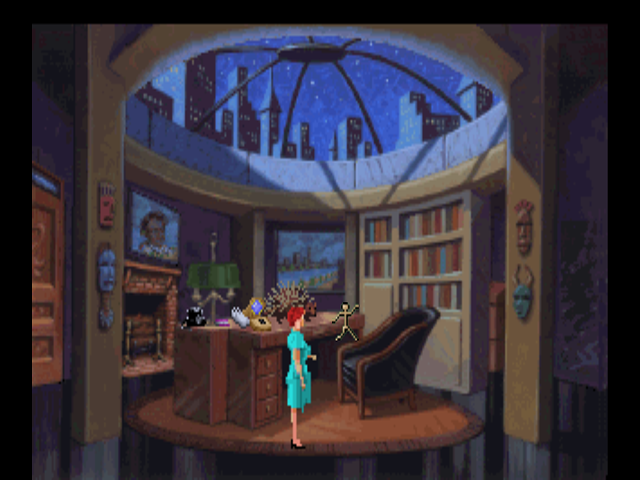
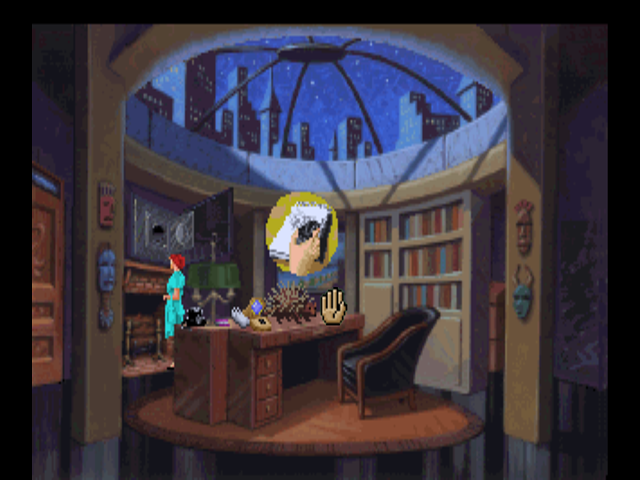
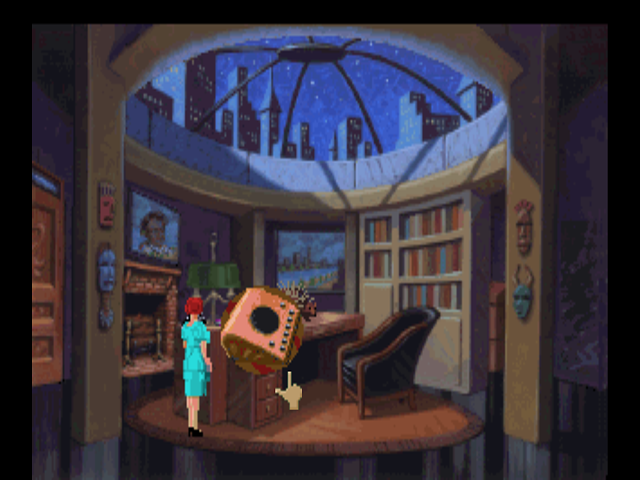
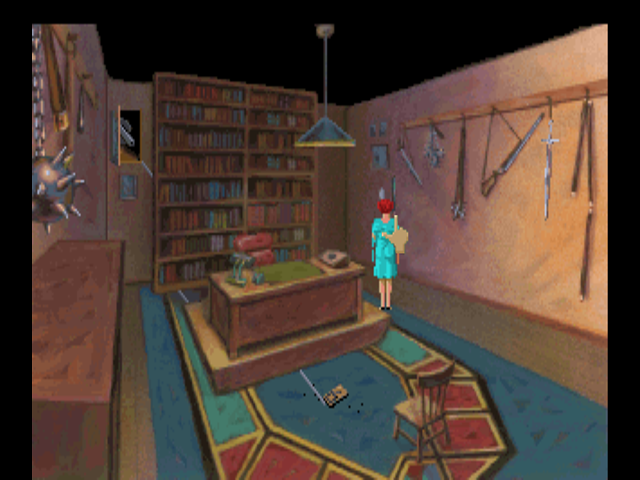
There are actually a bunch of things we need to examine in here, and one thing we need to take. Almost immediately, this room turns into a pixel hunt as we try to get to Carrington’s phone book. The phone book is the small mound of purple pixels underneath the lamp on Carrington’s desk - it’s a straight line from Laura’s head to it in the last image. Even if you know the phone book is there, clicking on it is actually pretty difficult. In fact, it might lead you to believe (if you haven’t played it before or are not using a guide) that there’s nothing in that spot, since touching anything around it will give you a generic “Don’t touch that!” message.
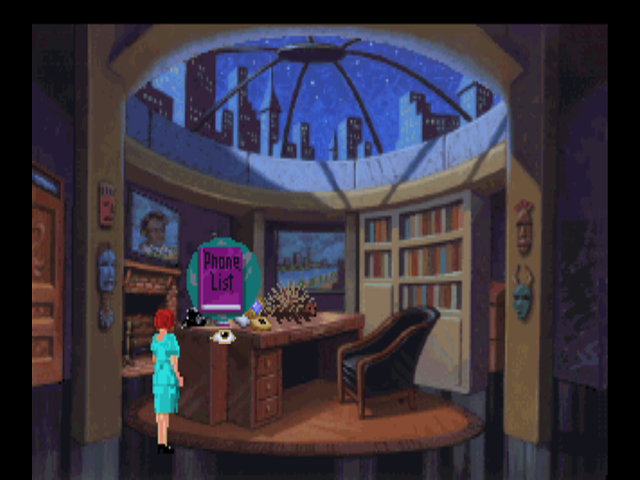
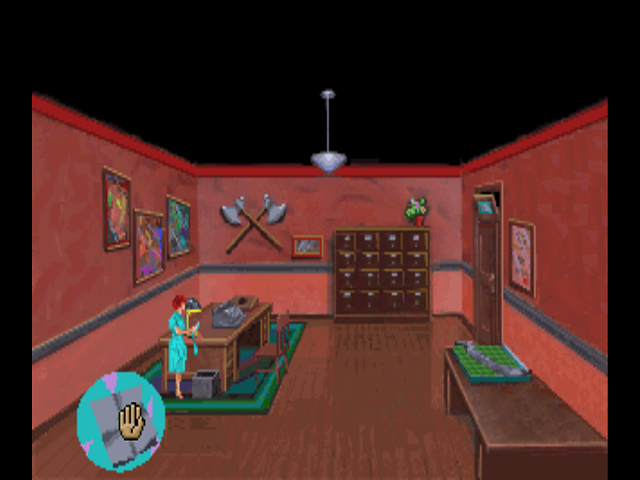
Once we find the magic hotspot (which is actually more or less where my cursor is and not, as you would expect, on top of the actual phone book), the game gives us a close-up of it. Of course, that’s not enough to actually see what’s IN the phone book, as we then have to use the hand icon to open it up. Again, there’s a whole world of bad game design in this room.
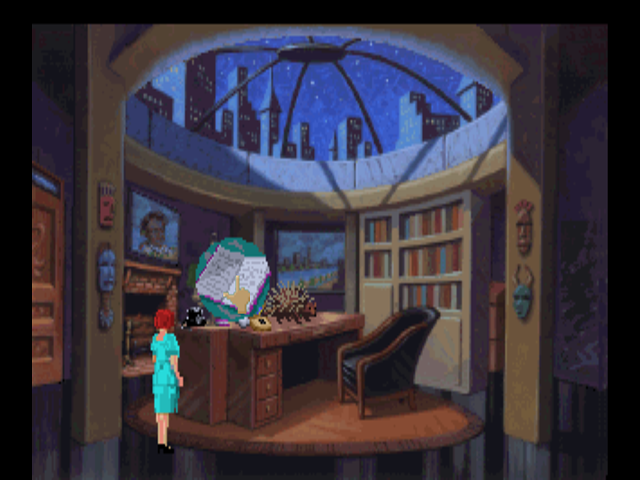
And as if that wasn’t enough, we then need to switch back to the look action to read the opened phone book. I don’t know why this couldn’t have been one action.
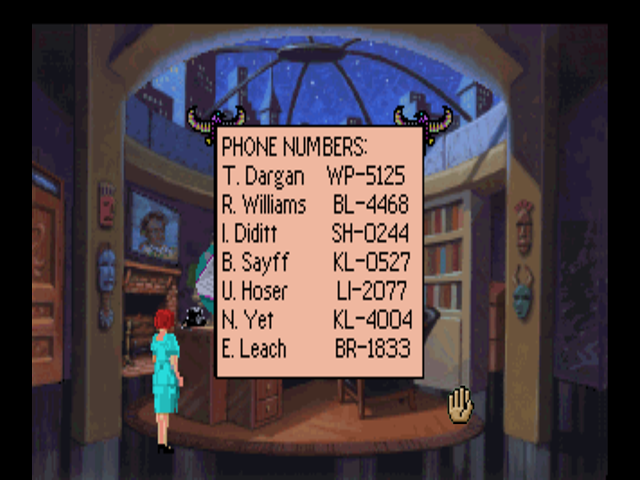
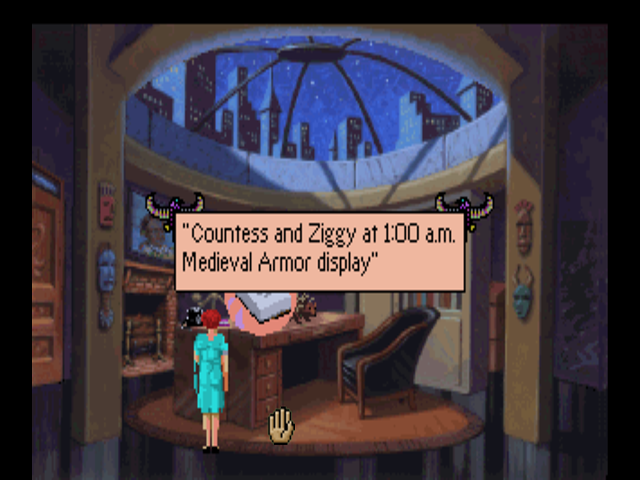
Most of these are just stupid puns - obviously, R. Wililams is a reference to Roberta Williams. Strangely, Ernie Leach’s number is in this book, but we never actually call it. The reason we did this in the first place is for the middle number, the one listed under B. Sayff.
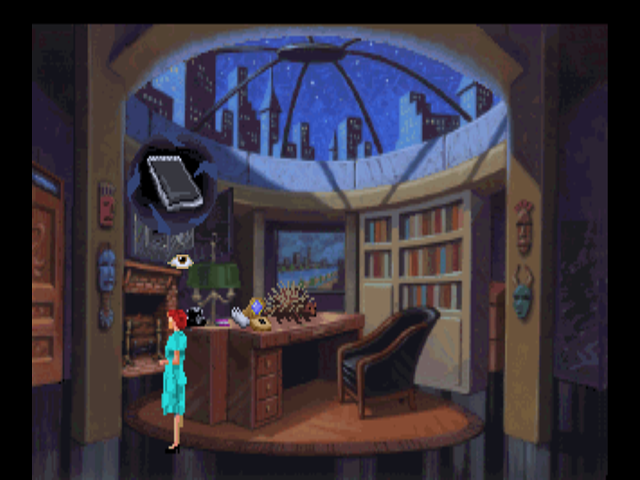
In yet another amazing feat of game design, we’re going to psychically intuit that there’s a safe in this room - under the painting, of course. Laura will just kind of open this without questioning how she knows that it’s there or why she did it in the first place, kind of like she did with the statue near the stairs.
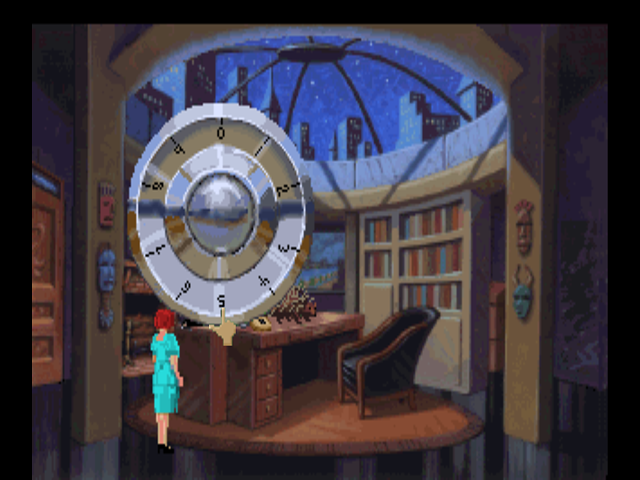
Clicking on the safe brings up the safe’s dial. If you haven’t guessed it already, we’re supposed to take the numbers next to the “B. Sayff” entry and interpret them as a safe combination. I don’t know what kind of safe has only single-digit numbers on it, but we can crack it pretty easily. The combination is 0-5-2-7.
With the safe open, we can look inside.. using the hand icon. I’m not entirely sure how this makes sense.
Strangely enough, with the notepad, we only need to use the look action on it once. No multiple actions to open and then read here.. for some reason.
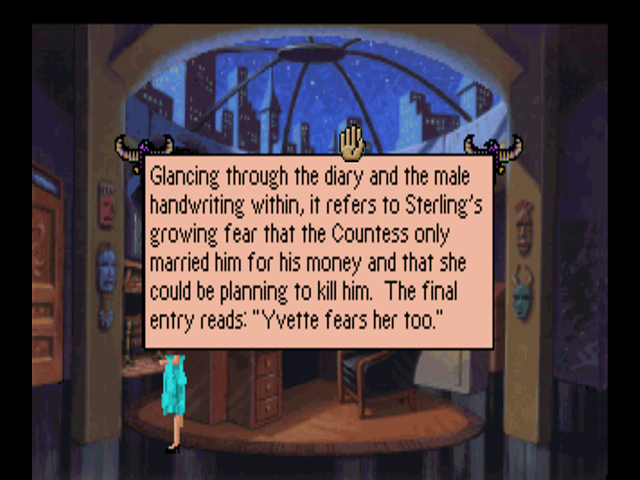
Oh look, an important clue. Actually, I’m going to spoil something here: this clue is not at all important. We never actually look into how Sterling died at any point in the game. In fact, Sterling as a sub-plot is never really touched upon other than that one conversation in Act 2 and this as far as I remember.
We can also look at the notepad on Carrington’s desk. While the notepad is easier to click than the phone book was, it’s still a bit of a challenge to get the click to register. So okay, you’d think we have everything, right? Except you’d be wrong because there’s an item we need in here which is ALSO not immediately obvious. The item is in the fireplace.. except we can’t just reach in there and take it even if we know it’s there. Trying to do so will get us a lovely tale from Laura’s childhood.
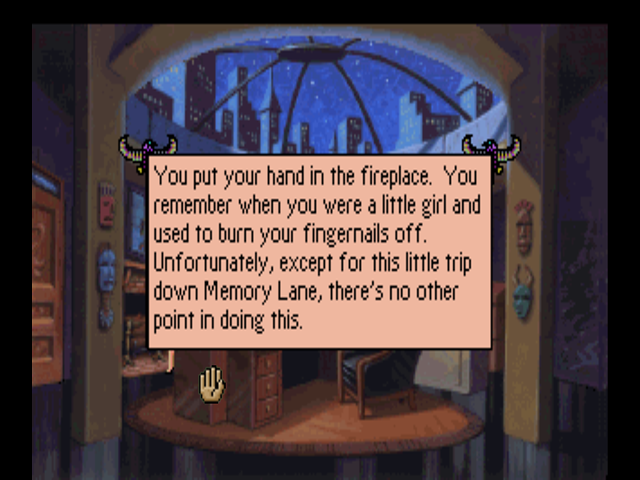
Instead, we need to look at the fireplace first to find out there’s a piece of charcoal at the bottom, which we can then take.
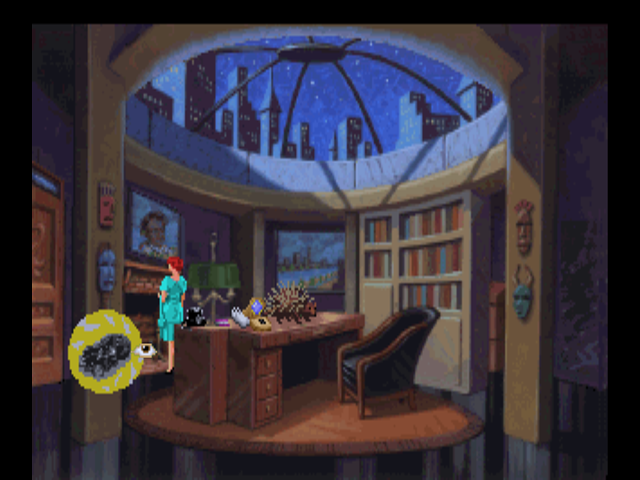
You might be asking yourself, “What the hell? Why are we taking a piece of charcoal from the fireplace?” Well, remember how we took that notebook off Dr. Carter’s body? The top page of the notebook is missing when we get to it, but there are indentations on the next page.
By rubbing the charcoal on it, we are able to read the imprints on the next page. They read:
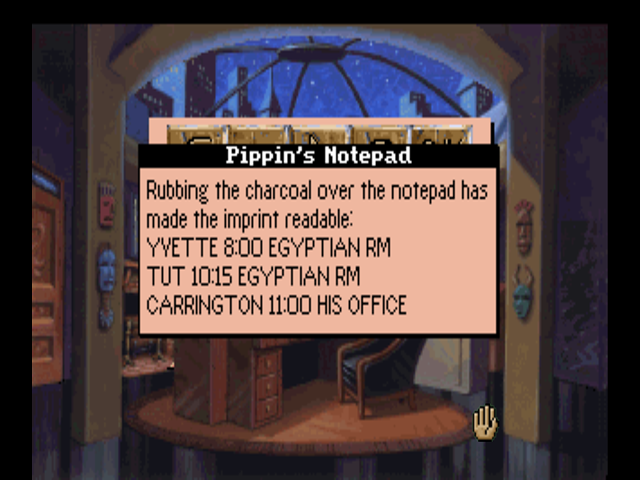
Interesting. We did find that footprint near Dr. Carter’s body.. did Yvette kill him? A random woman becoming unhinged and killing people is a thing Laura has seen before.
There is ONE other thing we can do in Carrington’s office, and that is use his intercom to listen in on conversations. The only problem is.. remember how I said that the phone book was really hard to click on? The intercom is like that times ten.
Notice how the cursor is several times the size of the buttons. I tried spamming clicks on this for a good few minutes and couldn’t get any of the buttons pressed consistently. Worse, every time you miss one of the buttons, the game gives you a message saying you missed the buttons. Game design!
The good news is, we’re done here and can go back into Yvette’s office to go steal her stuff.
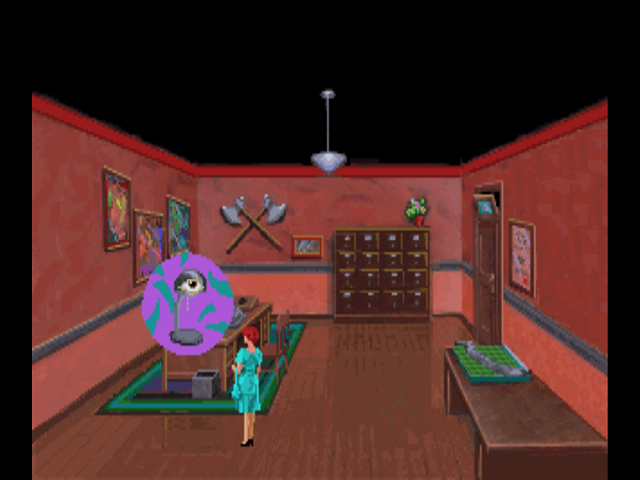
First is Yvette’s light bulb. Being in Carrington’s office for a few minutes gave the bulb enough time to cool so we can touch it. Of course, your first instinct playing this game would be to use the hand icon on the lamp. That actually turns it back on and will eventually cause it to heat up again (the developers were nice enough that if you realize your mistake and immediately turn it off, you don’t get penalized). Instead, we need to look at the lamp first.
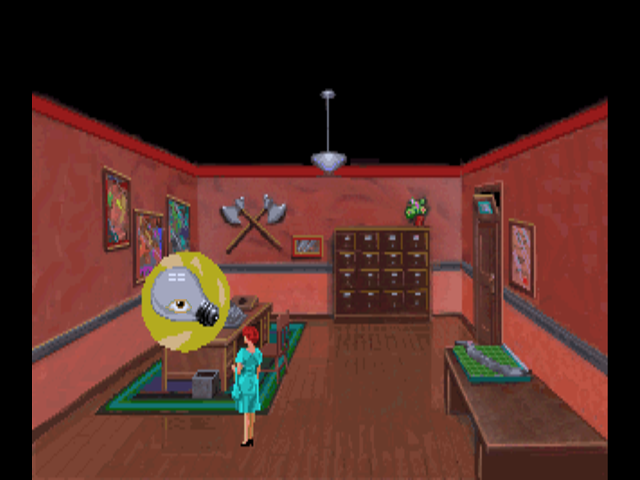
There you are! With this, we can fix the light going down the secret staircase and continue ever forward toward progress.. as soon as we root through Yvette’s trash.
Oh look, there’s a crumpled-up piece of paper in the trash - truly, a staple of the point-and-click adventure genre and something that totally had not been overused to the point of cliche long before Dagger of Amon Ra came out.
On closer inspection, the paper is actually carbon paper, and somehow transforms into a neatly-folded sheet when Laura looks at it sternly.
With that, Yvette’s office is done. If we had gotten the carbon paper on the way in, we could have read it on Yvette’s desk lamp.. but thankfully, there’s another, faster way to do the same thing.
Back at the stairs, we replace the light bulb. How anyone else got up and down those stairs (and people clearly did) with the bulb out without breaking their necks is a mystery. We can use this light to read the carbon paper as well, so let’s go ahead and do that.
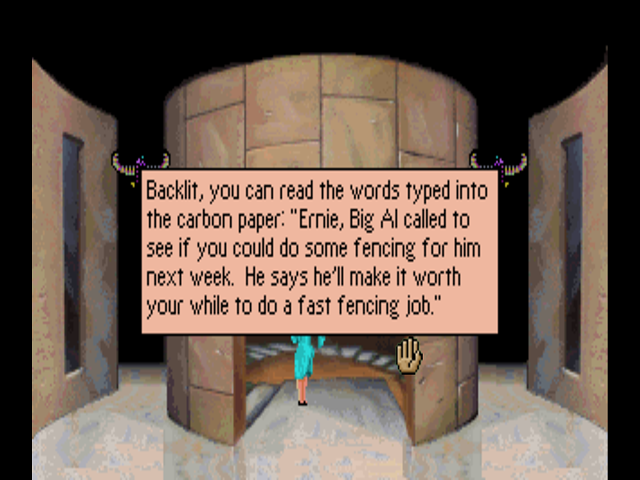
Very interesting. Ernie is apparently being used as a fence for what is probably the mafia. I wonder if those wet paintings in the art gallery are in any way connected to this? The real question is.. why was this in Yvette’s garbage can? And written on carbon paper? These mysteries will be answered.. never.
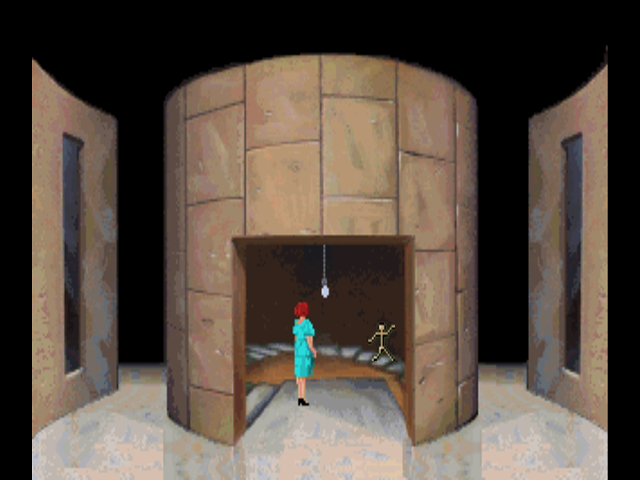
Welcome to the lower level of the Leyendecker Museum. We actually already know about the one secret down here - we learned it from Yvette in the previous update - so I’m just gonna go ahead and post the whole thing.
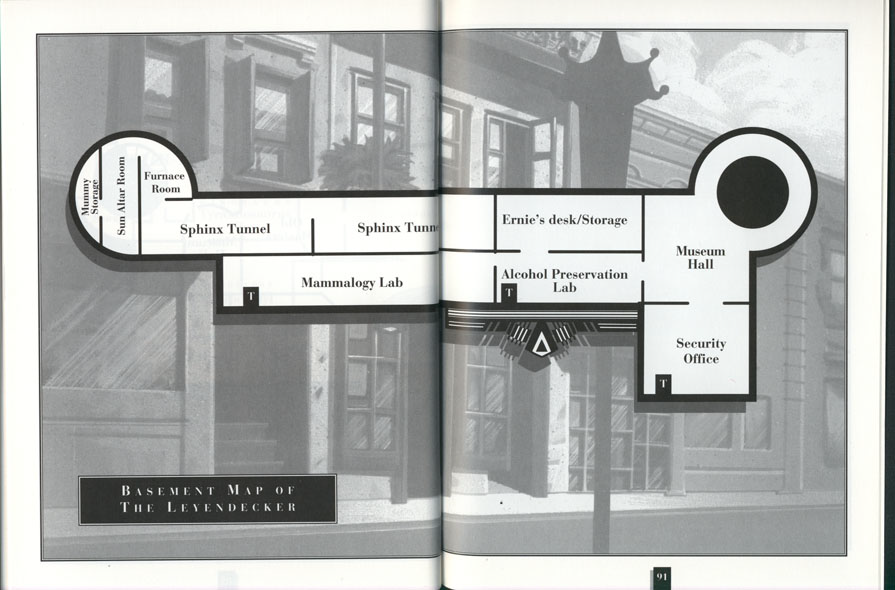
Straight ahead is Wolf’s office, and to the left is the Alcohol Lab. We’ll go into Wolf’s office first if only because it is probably the deadliest room in the game. On a side note, that mirror-looking thing to the left is actually an emergency case that contains a lantern - we could use the dinosaur bone to smash it, but that will attract Wolf who will throw us back upstairs.. and then use magic to fix the glass to a perfect, unbroken state when we go back down.
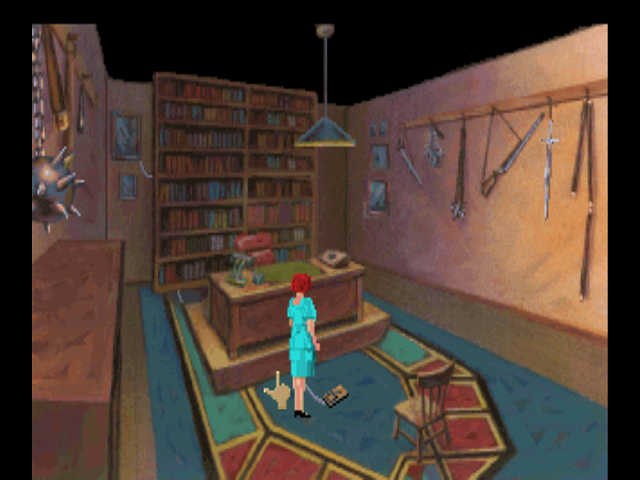
See that mousetrap in the middle of the floor? It contains one of the two items we came here to get.
What you might not notice is the wire leading up the bookcase to the painting in the top-left corner. This is one of three possible deaths in this room - touching the mousetrap causes a gun to pop out and shoot the area around the mousetrap.
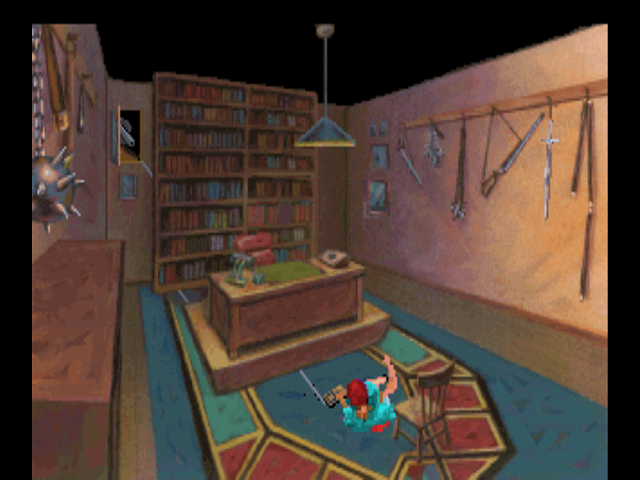
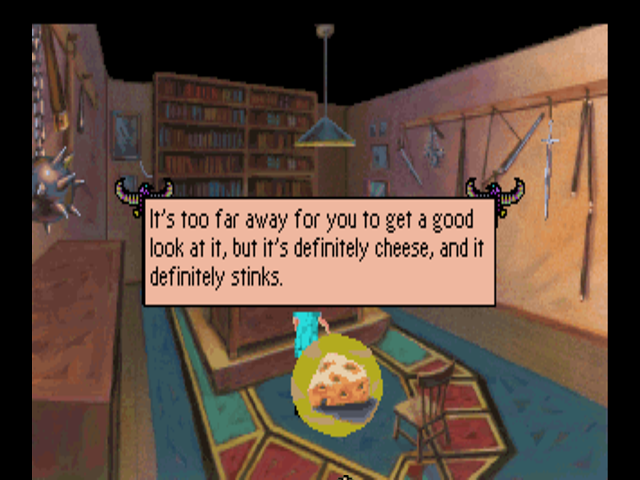
Also, all of the weapons are electrified somehow except the broadsword. The electricity won’t kill Laura, but the broadsword will fall on her and somehow impale her if she tries to interact with it. Instead of doing any of those things, we’ll do something that I guess makes sense if you know the gun is there and hit the mousetrap with the dinosaur bone. This causes the gun to go off but not hit Laura, and lets us pick up the cheese.

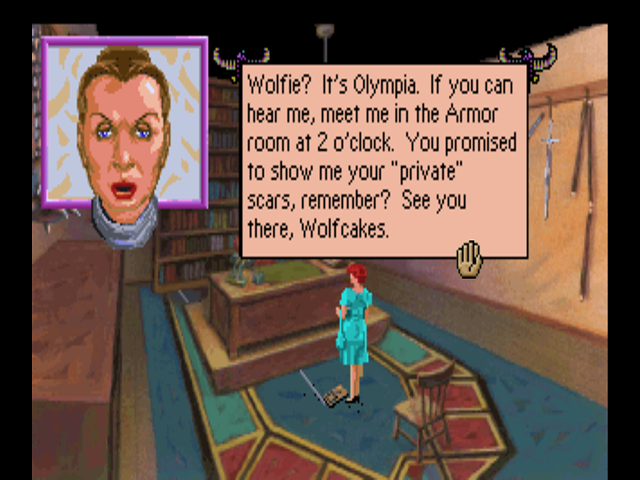
Shortly after we do this, the intercom in Wolf’s office goes off, alerting us to another possible meeting later this evening.
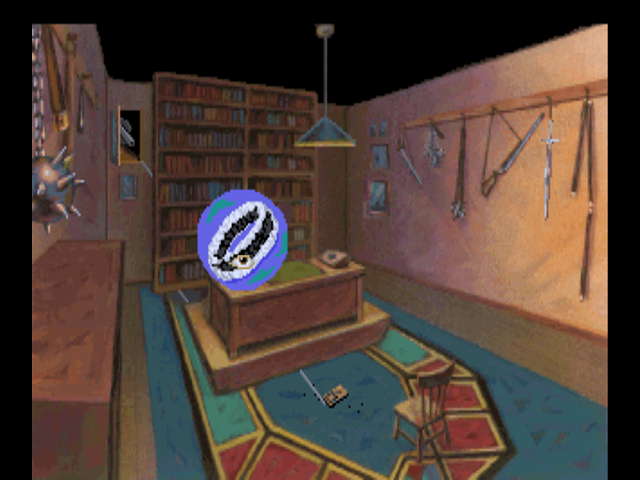
Once that’s over with, we can find the second item in this room. If we look around at Wolf’s bookcase, and keep spamming clicks because seriously there’s like six hotspots that cause a zoom-in and only one of them has the item in it, we eventually find a book of poetry.

Inside the book is a garter with Yvette’s name sewn into it. Seriously, who does that? The garter also has a note attached to it that we need the magnifying glass to read.
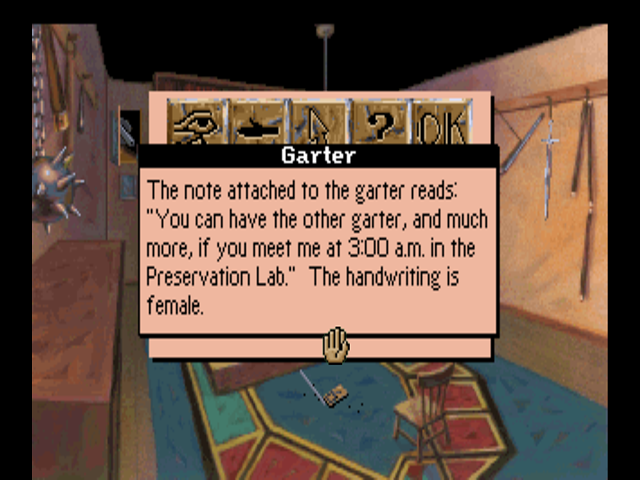
Seriously, what’s with these people and leaving random items with notes in them asking for meetings?
Anyway, that’s all there is to do in Wolf’s office. There is one more death here, which has no associated graphics (it’s literally a black screen) but I got footage of it anyway.
If you try touching the painting near the weapon rack, it reveals a button that opens up a door between the bookcases. Laura will automatically go in, and then die on a black screen.
Next update, we’ll go to the Alcohol Lab, find the Dagger of Amon Ra (again) and explore more of the Leyendecker’s basement.