Figure Drawing And You! :nsfw:

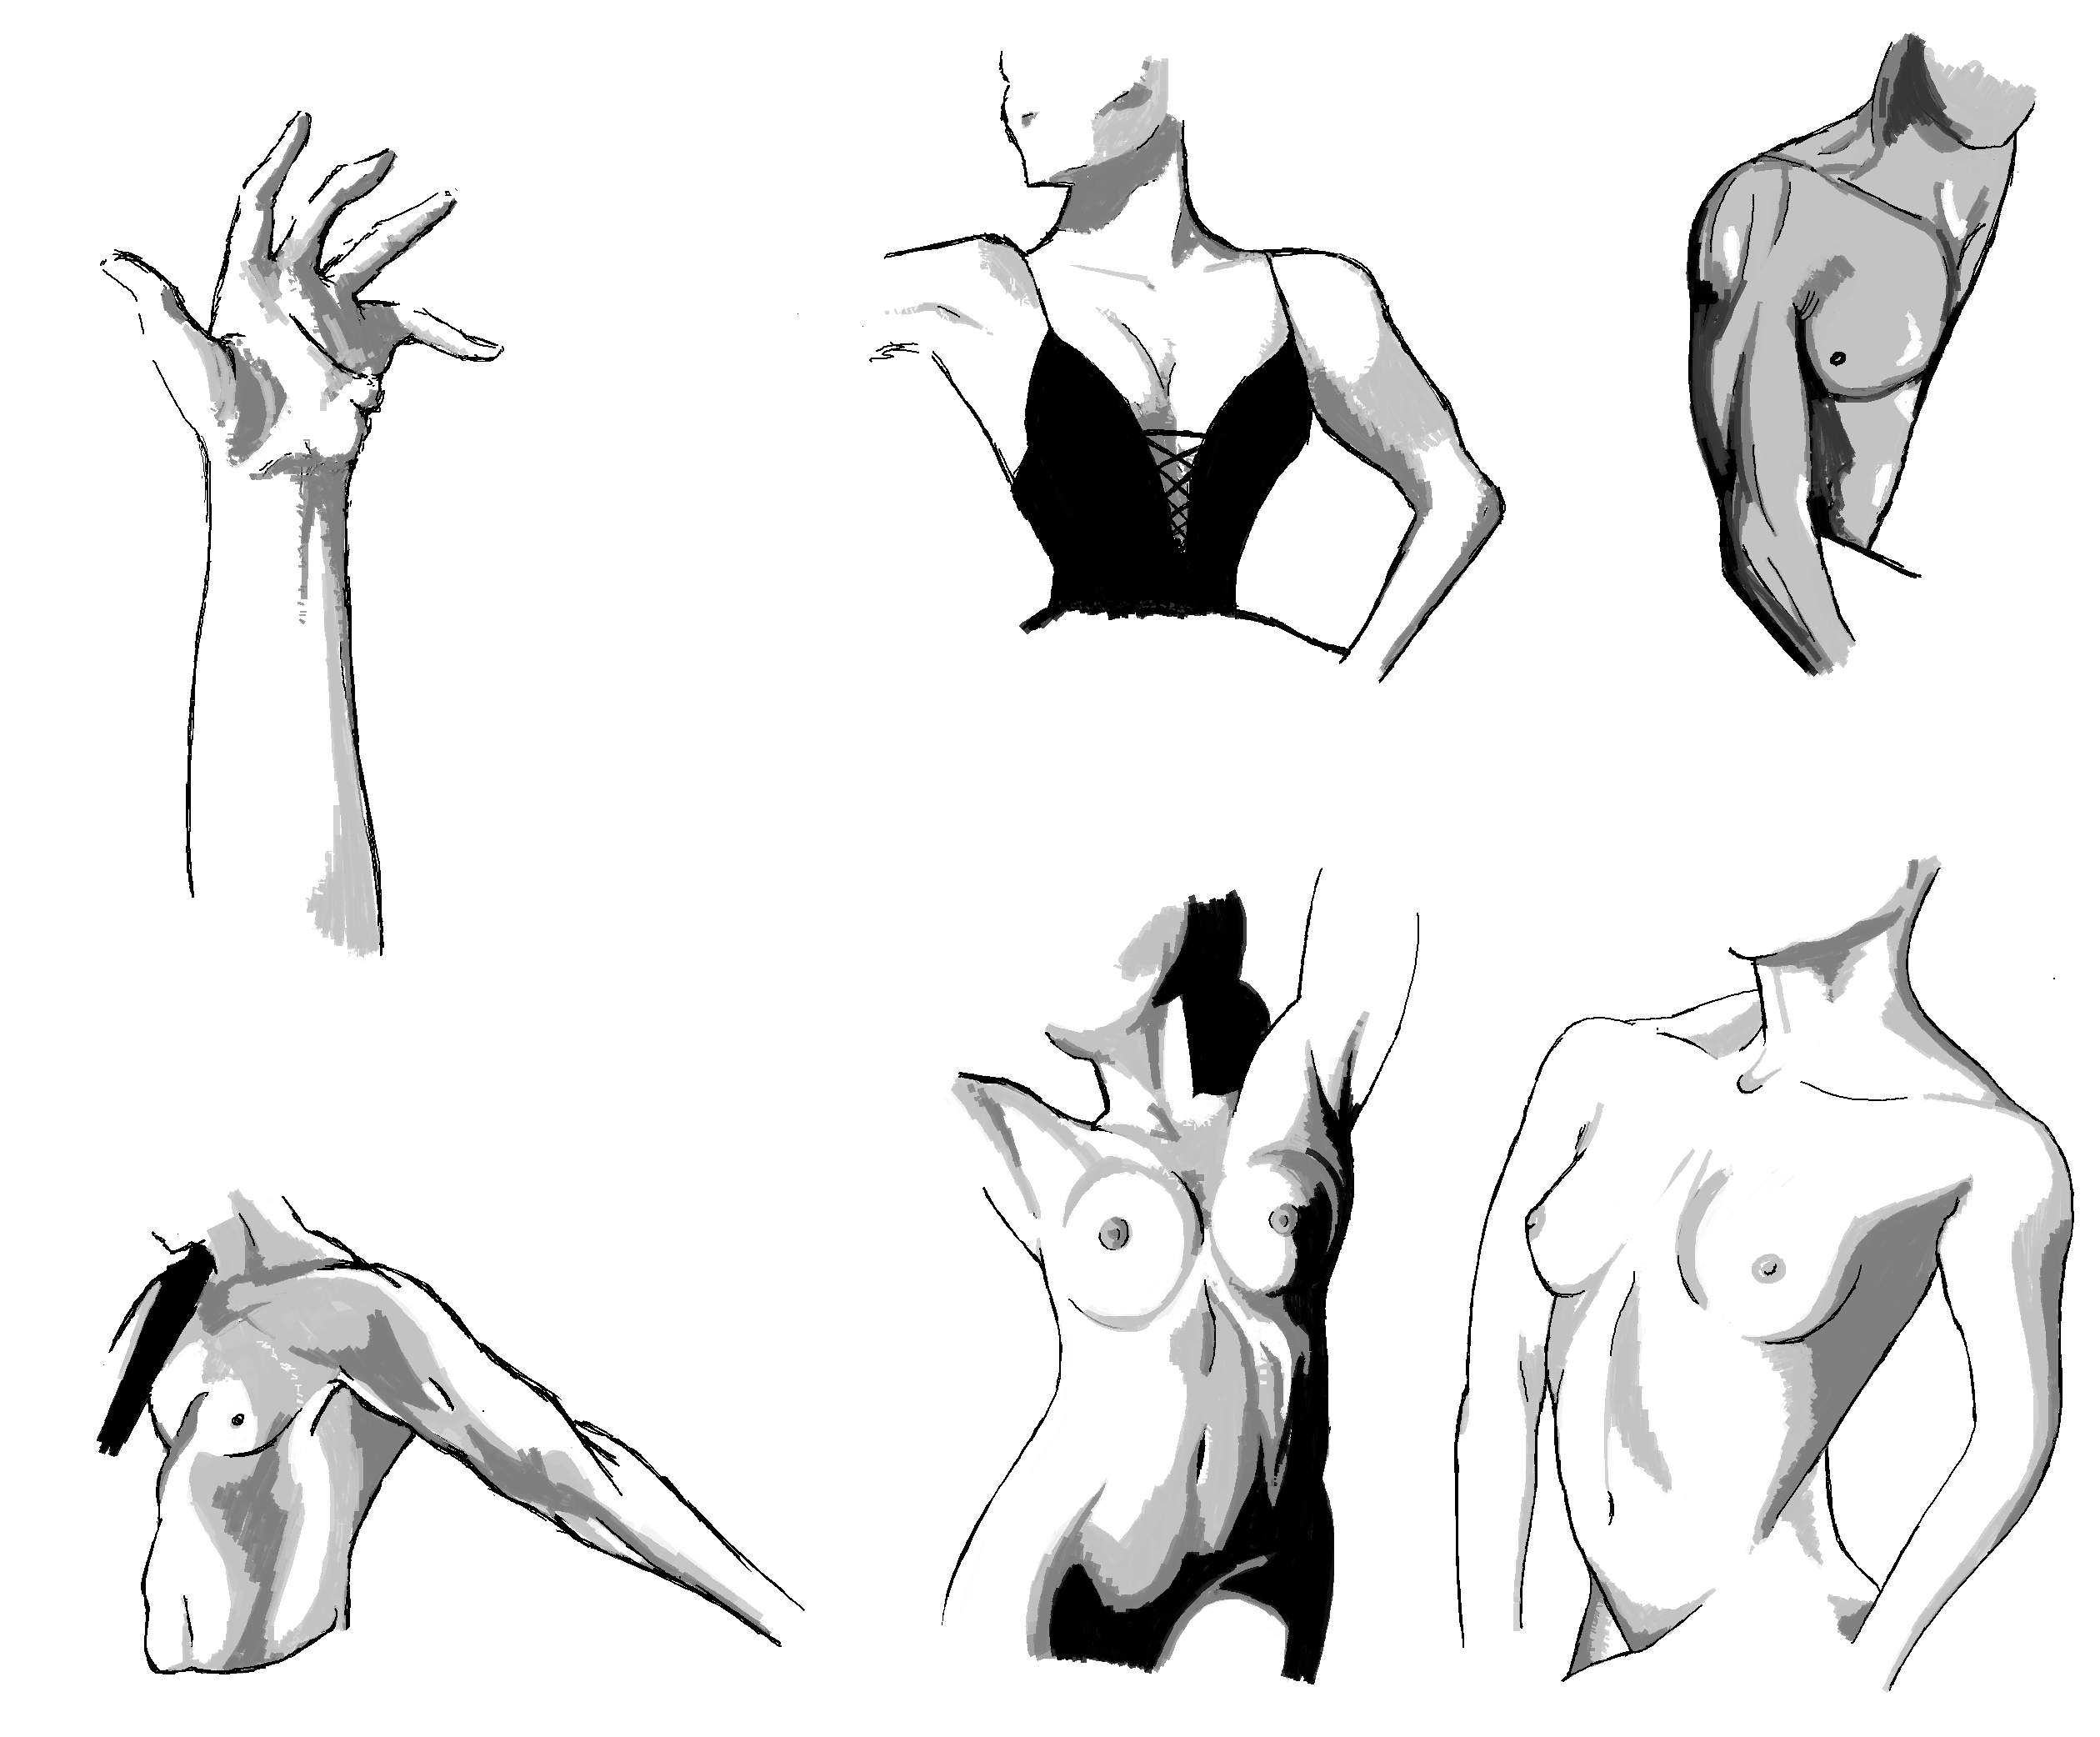
Hey there everybody! It’s time to talk about one of the most important studies in art. Figure drawing! Since figure drawing typically involves drawing the nude form, there’s a real big general NSFW tag for this topic, just in case. I have put images under dropdowns and spoilers though, should it be necessary.

DISCLAIMER: I am just as much a student as the next artist! All of this information is based on things I’ve learned in school and from other artists over the years. I’m not perfect by any means, and you might find that there’s some things you know that I don’t! There are a lot of different approaches to figure drawing. Also, sometimes I’m kind of bad at explaining things, but I’ll do my best.

FIGURE DRAWING AND YOU!

What is figure drawing? Why is it important? What tools can you use to study it? All these questions and more shall be answered within!

Starting off with a nice summary from Wikipedia:

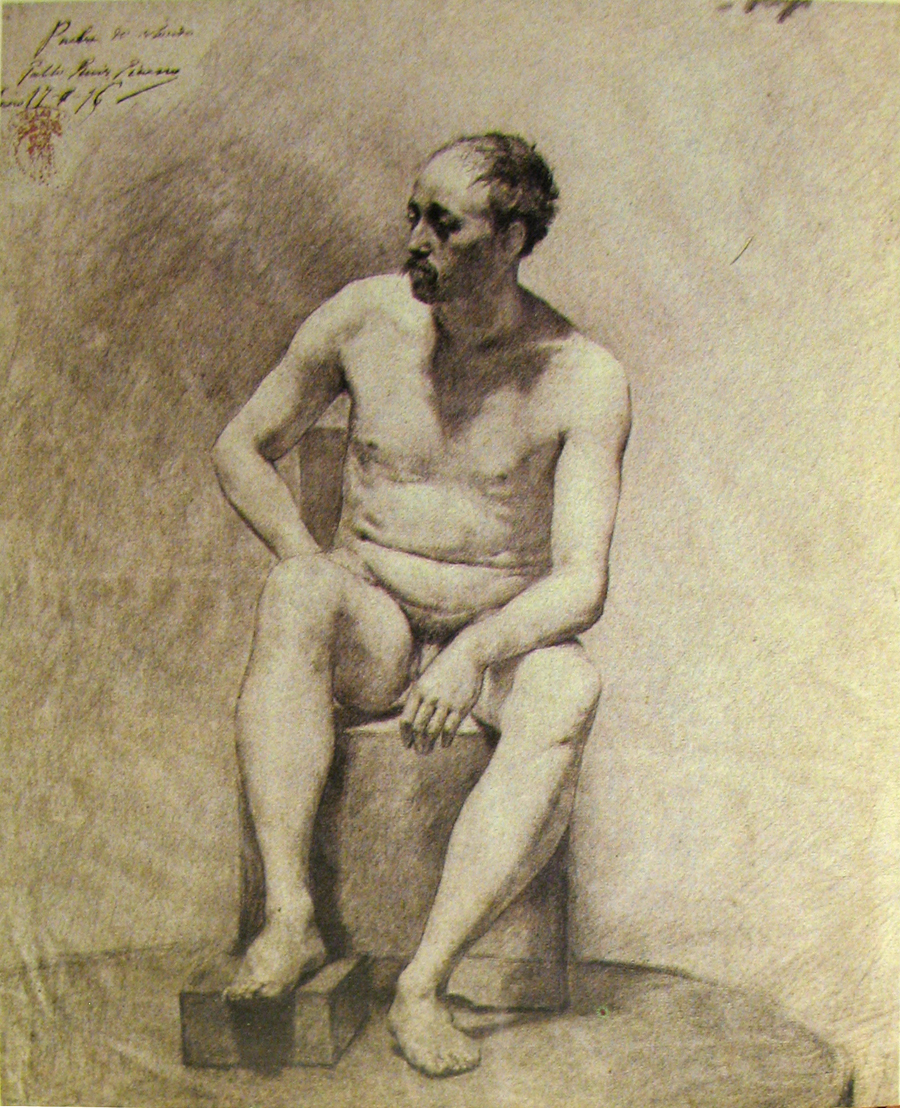
A figure drawing is a drawing of the human form in any of its various shapes and postures using any of the drawing media. The term can also refer to the act of producing such a drawing. The degree of representation may range from highly detailed, anatomically correct renderings to loose and expressive sketches. A “life drawing” is a drawing of the human figure from observation of a live model. A figure drawing may be a composed work of art or a figure study done in preparation for a more finished work such as a painting. Figure drawing is arguably the most difficult subject an artist commonly encounters, and entire courses are dedicated to the subject. The human figure is one of the most enduring themes in the visual arts, and the human figure can be the basis of portraiture, illustration, sculpture, medical illustration, and other fields.

Who does figure drawing? Well, all kinds of artists! From classical painters to animators, figure drawing is of great benefit to anyone who might have an interest in capturing the human form in their art. Even cartoonists! After all, cartoons are about exaggerating form, and the best way to learn how to do that is to start with understanding how the human form typically looks.

Some examples of famous artists' figure drawings

Pablo Picasso

Glen Keane

Some examples of my own figure drawing

2012

2014


2015

How to get started with figure drawing

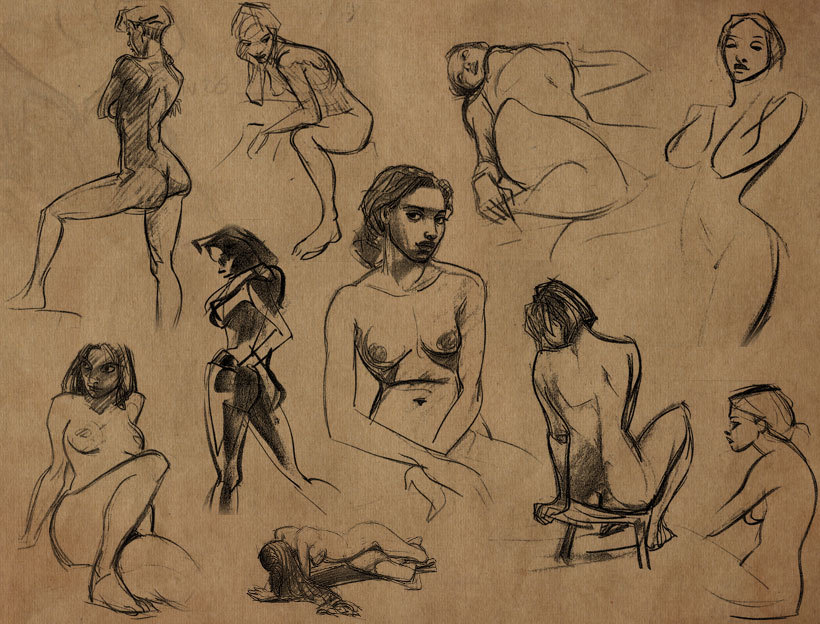
First things first, you’re going to need some figures to draw! Now, if you have access to a figure drawing class or sessions with a live model, that can be a huge help. But not everyone has that option. A number of generous artists out there have made their own online figure drawing assistance tools that I personally love to use! There’s a bunch of options out there but my personal favorites are from Line of Action (formerly Pixelovely) and Senshistock. Now, with each respective tool, make sure to read their terms of use for the reference material!

Starting figure drawing can be difficult. I first learned the technique in college after spending years as a teenager drawing without reference. But, I had a great instructor who helped me learn how to draw from life and break some of my stubborn habits.

The process

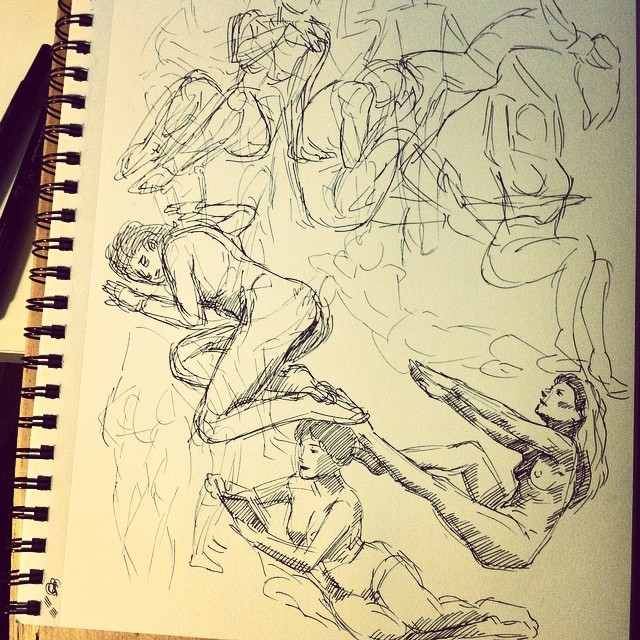
For me, the process generally involves just a few core steps, but a lot of thinking actively about what I’m trying to achieve with each step. For this demonstration, I will be using a reference from a photo by Marcus J. Ranum as provided by the Line Of Action figure drawing tool. I spent about 20 minutes on this sketch.
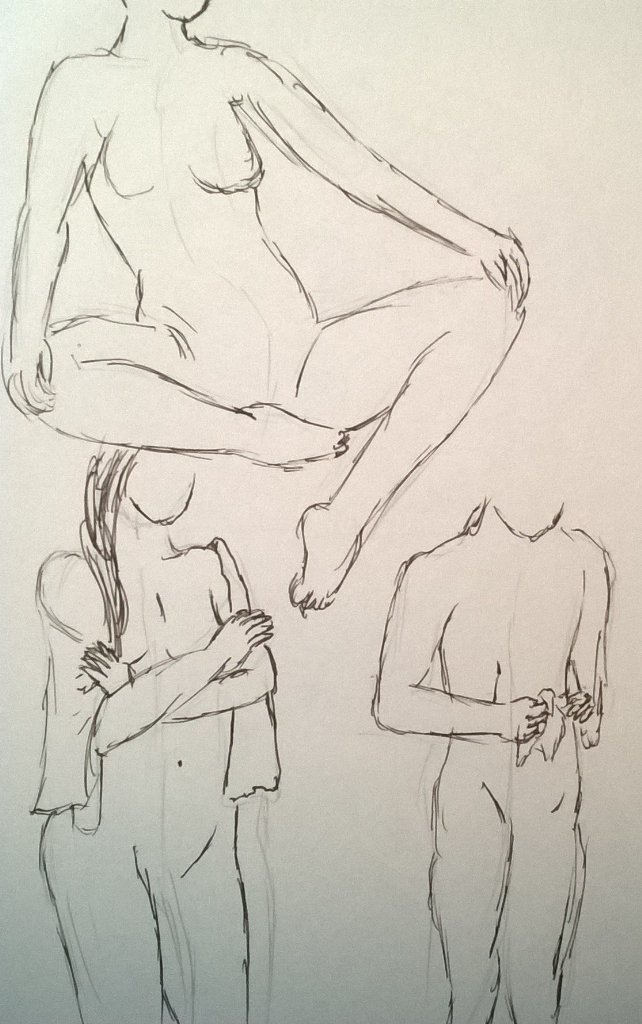
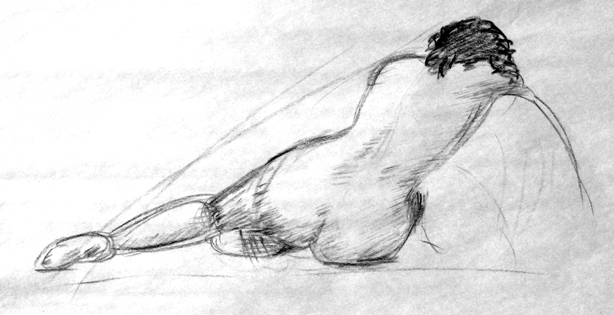
1. Gesture

The gestural line is a general sort of guideline for the flow of action or energy within a pose. It will typically follow the line of the spine and the legs. Depending on what kind of pose you’re working with, it’s also helpful to draw the line of the shoulders and hips.

TIPS FOR THIS STAGE:

  • Rapid-fire gestural drawing. Get fast. Get angry. Crank that time limit as low as it can go. Do poses in 30 seconds or less. It sounds hard, even impossible, but you can do it! Each time you try you’re getting closer to your goal.
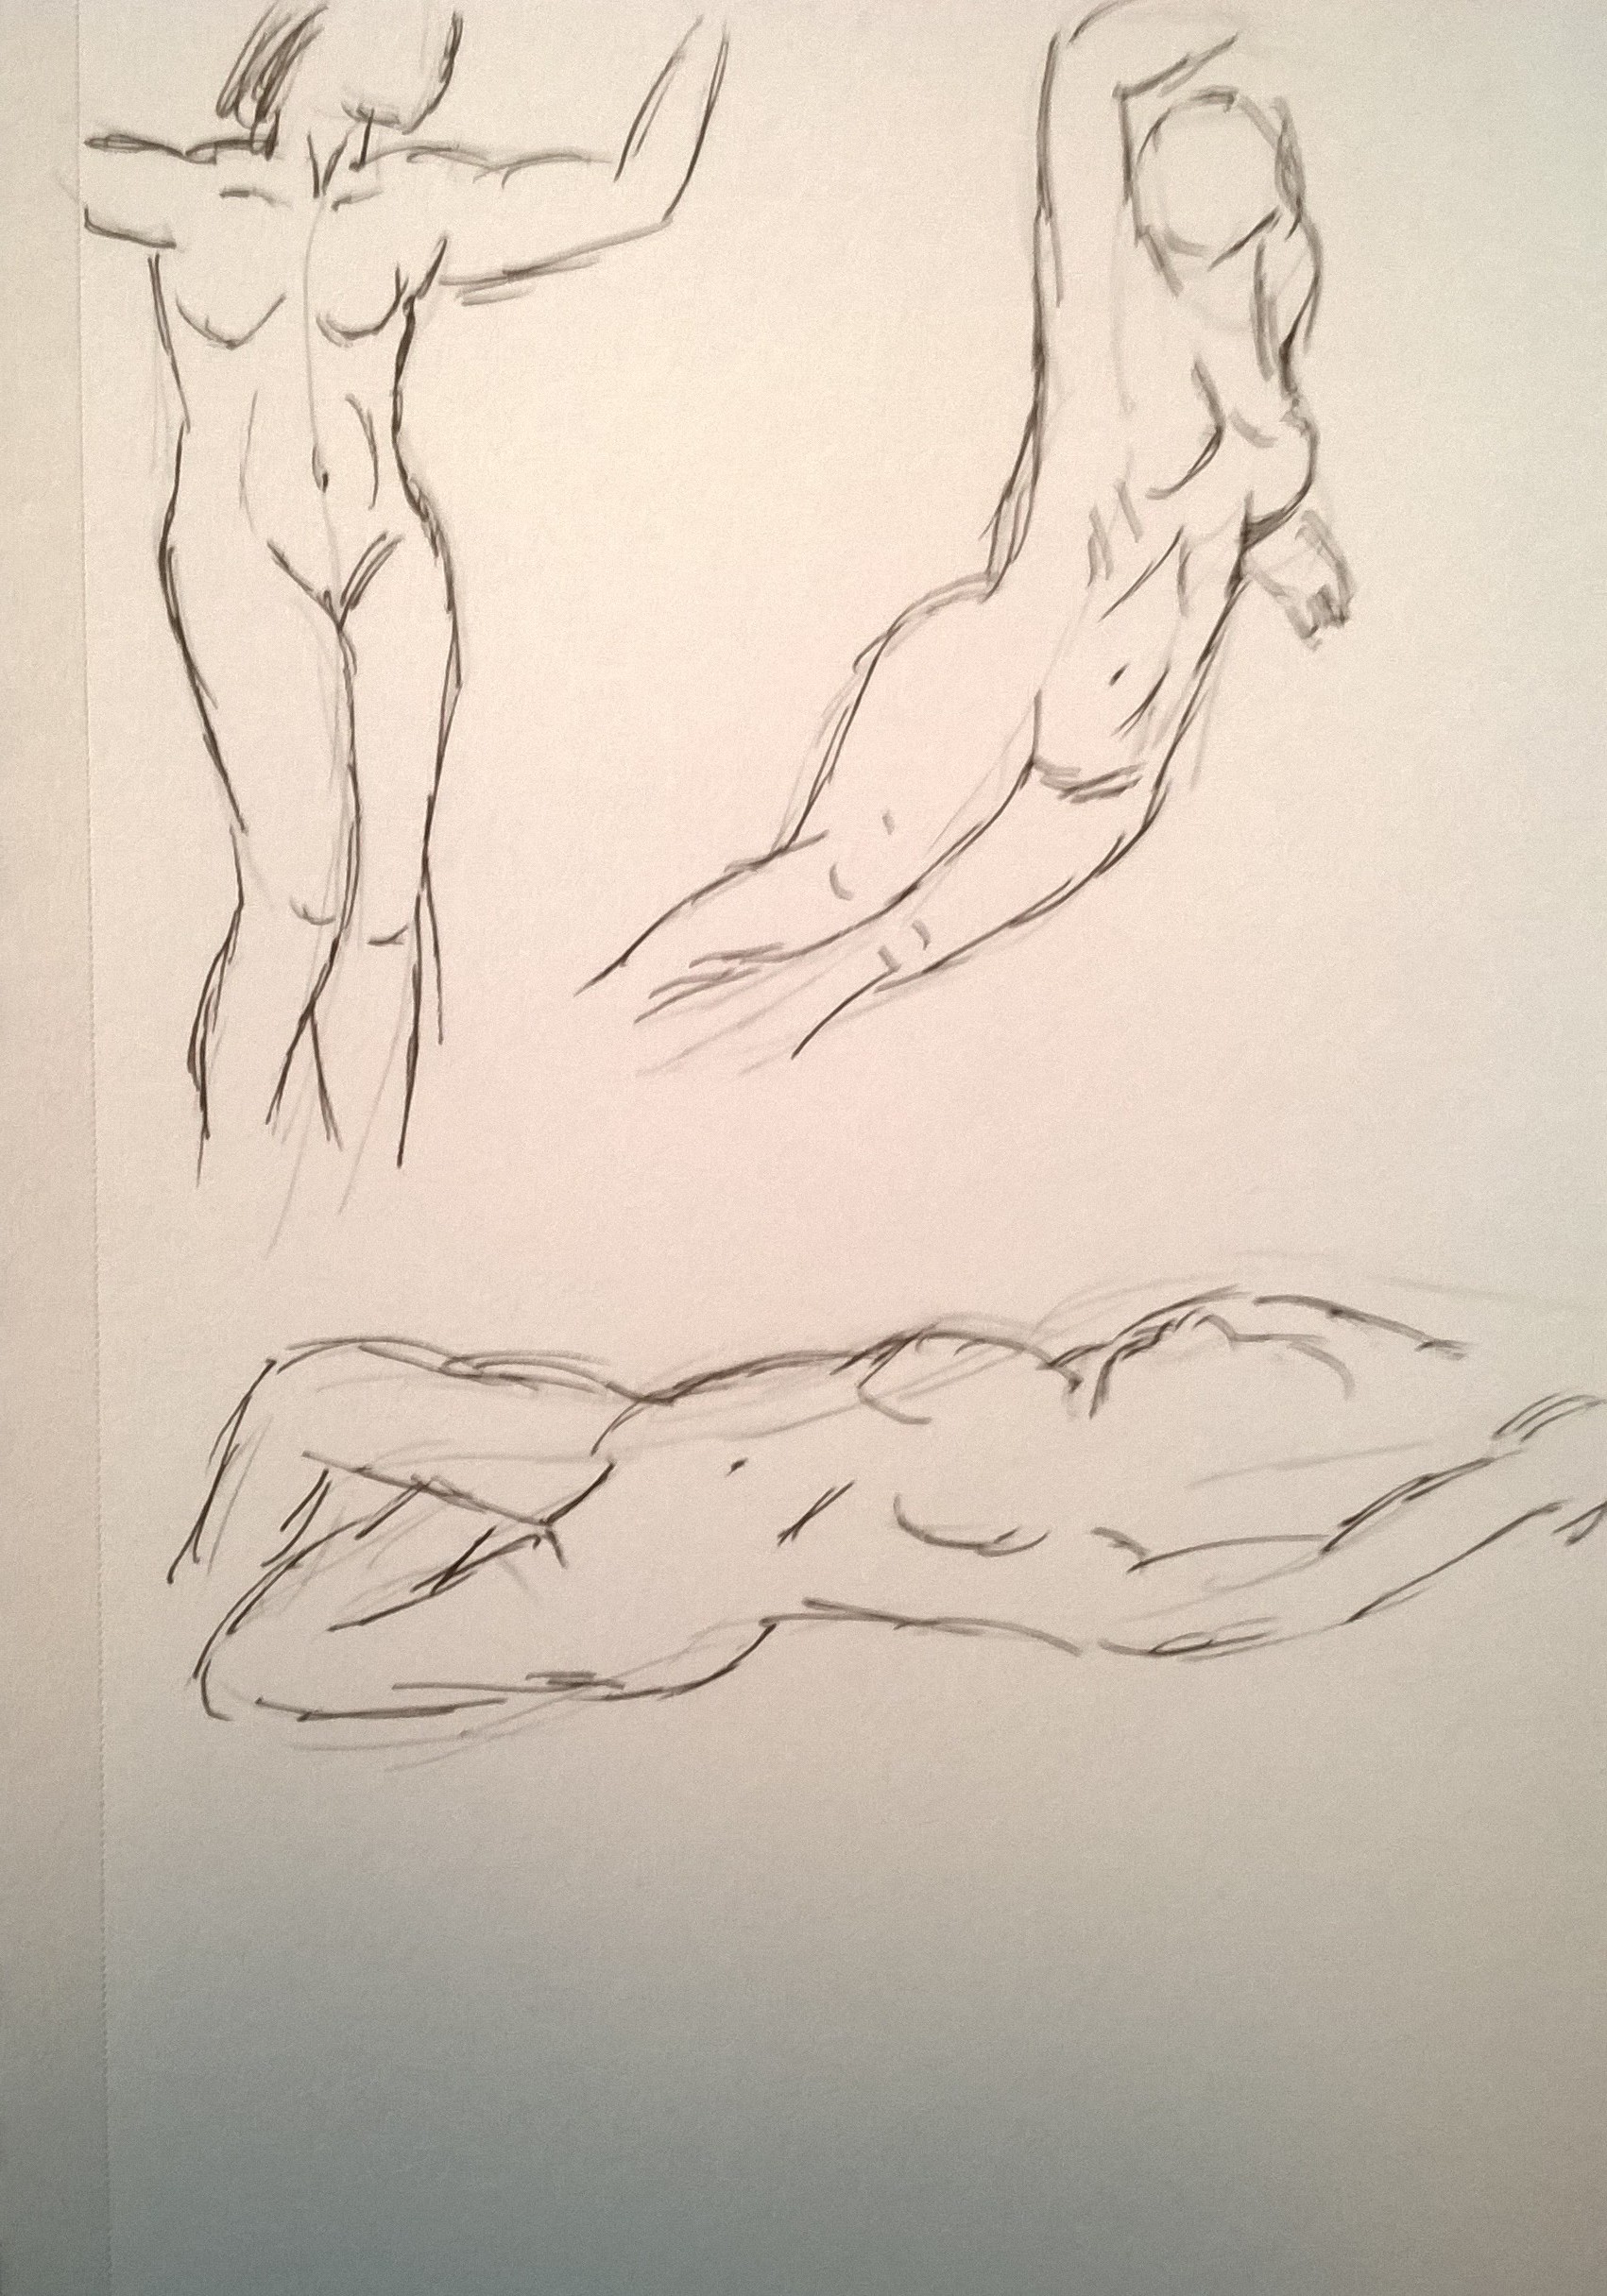
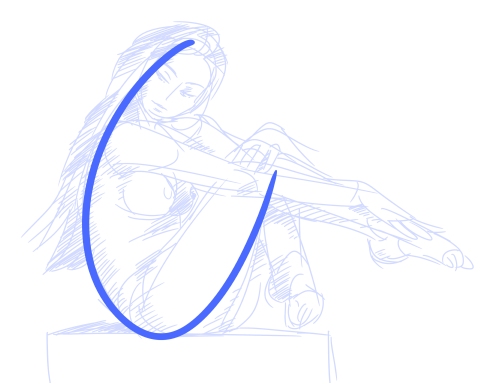
2. Finding the form

I always try to focus on placement the most at this stage. It may look awkward, and I may sometimes struggle with restarting over and over, but it’s a very important part of the process. The reason why you want to find your placement and general form in such a loose way is because you don’t want to start getting into details only to find that everything’s squashed or sliding off in some weird direction. Don’t be afraid to erase a line that isn’t right. There’s a well known phrase in writing: “kill your darlings.” Even when you love part of a drawing, if it’s holding you back, it’s gotta get the axe.

TIPS FOR THIS STAGE:

  • Use your pen/pencil as a guideline while you draw. Hold your pen or pencil at full arm’s length and measure the distances between parts of the body to make sure you’re drawing proportionally. Try holding it completely vertical or horizontal to see the two halves of your figure and compare the placement that way, too. Looking at the “negative space” (the space that isn’t taken up by your subject) can also help you measure.
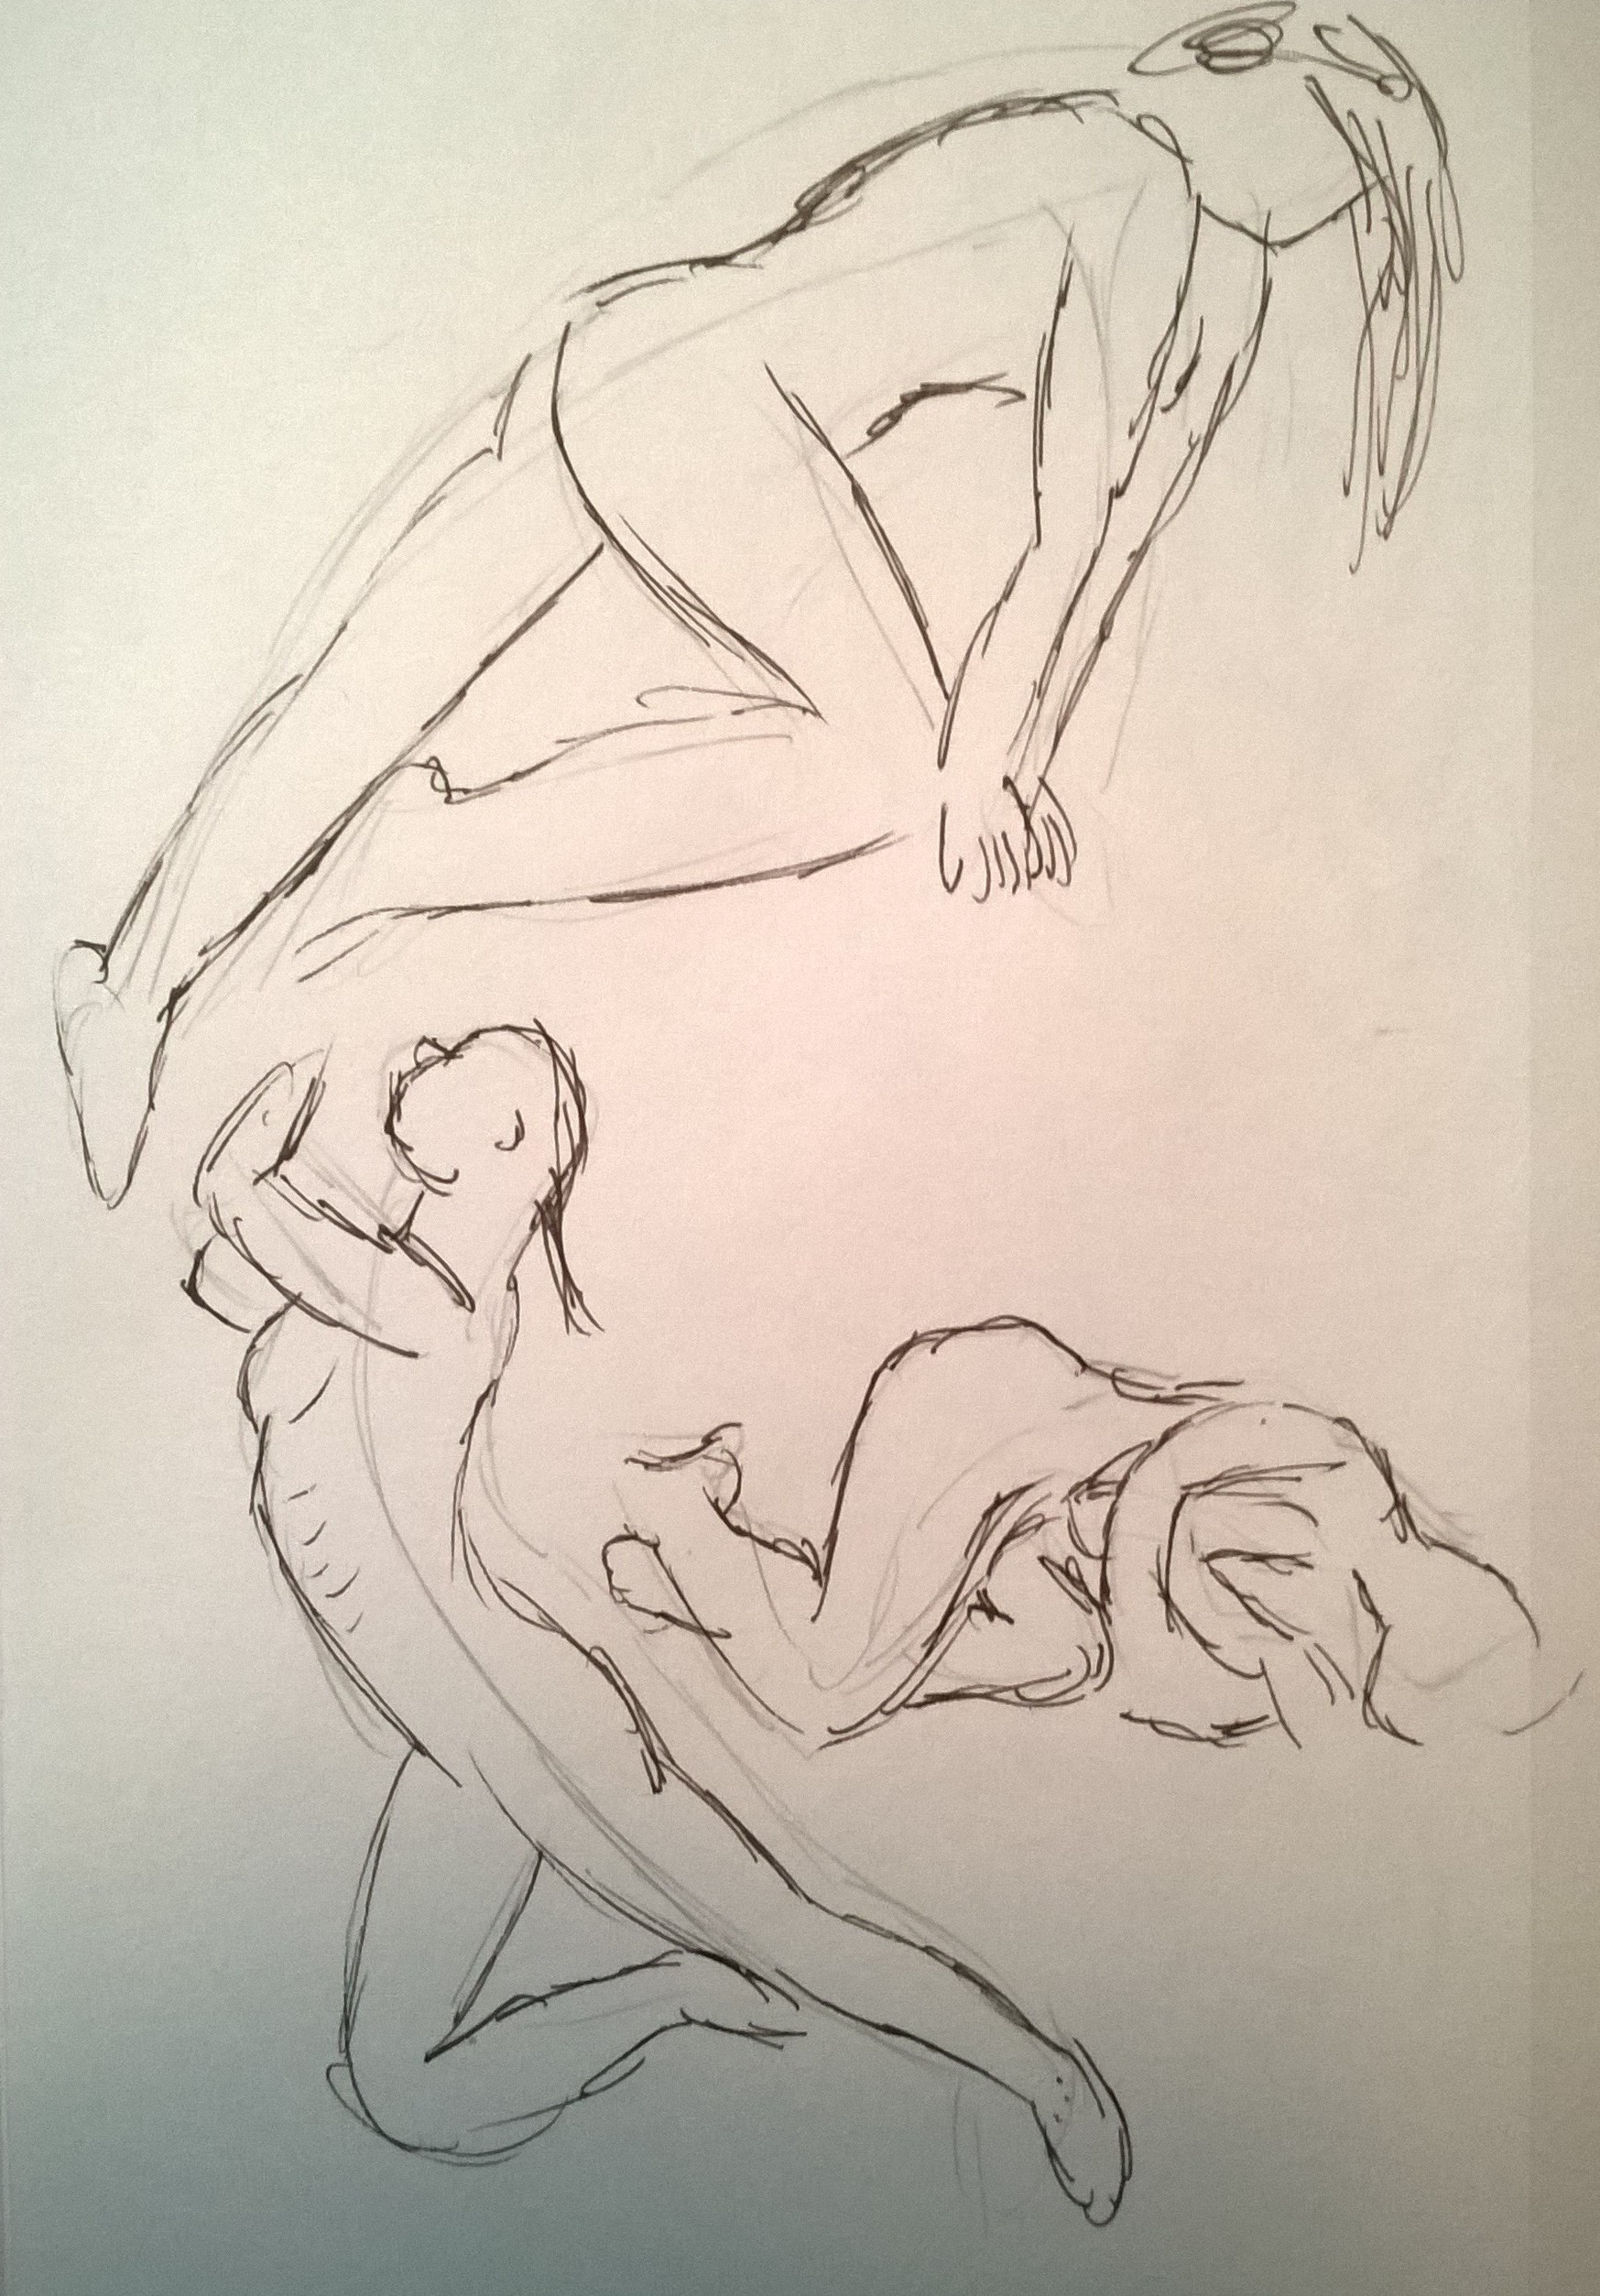
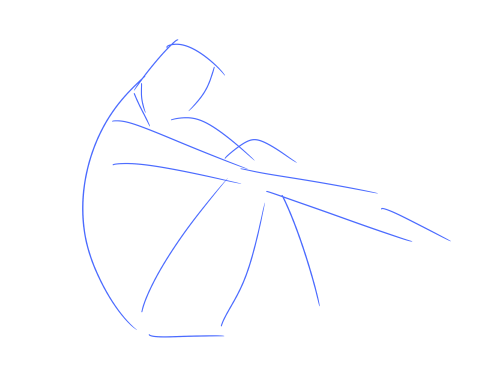
3. Refining shapes

Here, I begin to carve out the shapes further, getting just a bit more detailed. There are multiple ways to approach this–in this particular example, I used a lot of curved lines, but sometimes it can help if you use just straight lines. It may have a bit of a blocky shape, but it can help to highlight the variations in form. Try not to be afraid of hands, feet, and faces! They’re really important and while they may be challenging at first, you can only improve with the more you draw them.

TIPS FOR THIS STEP:

  • Don’t get too focused on one area. Carry your attention throughout the whole drawing and your work will be better for it!

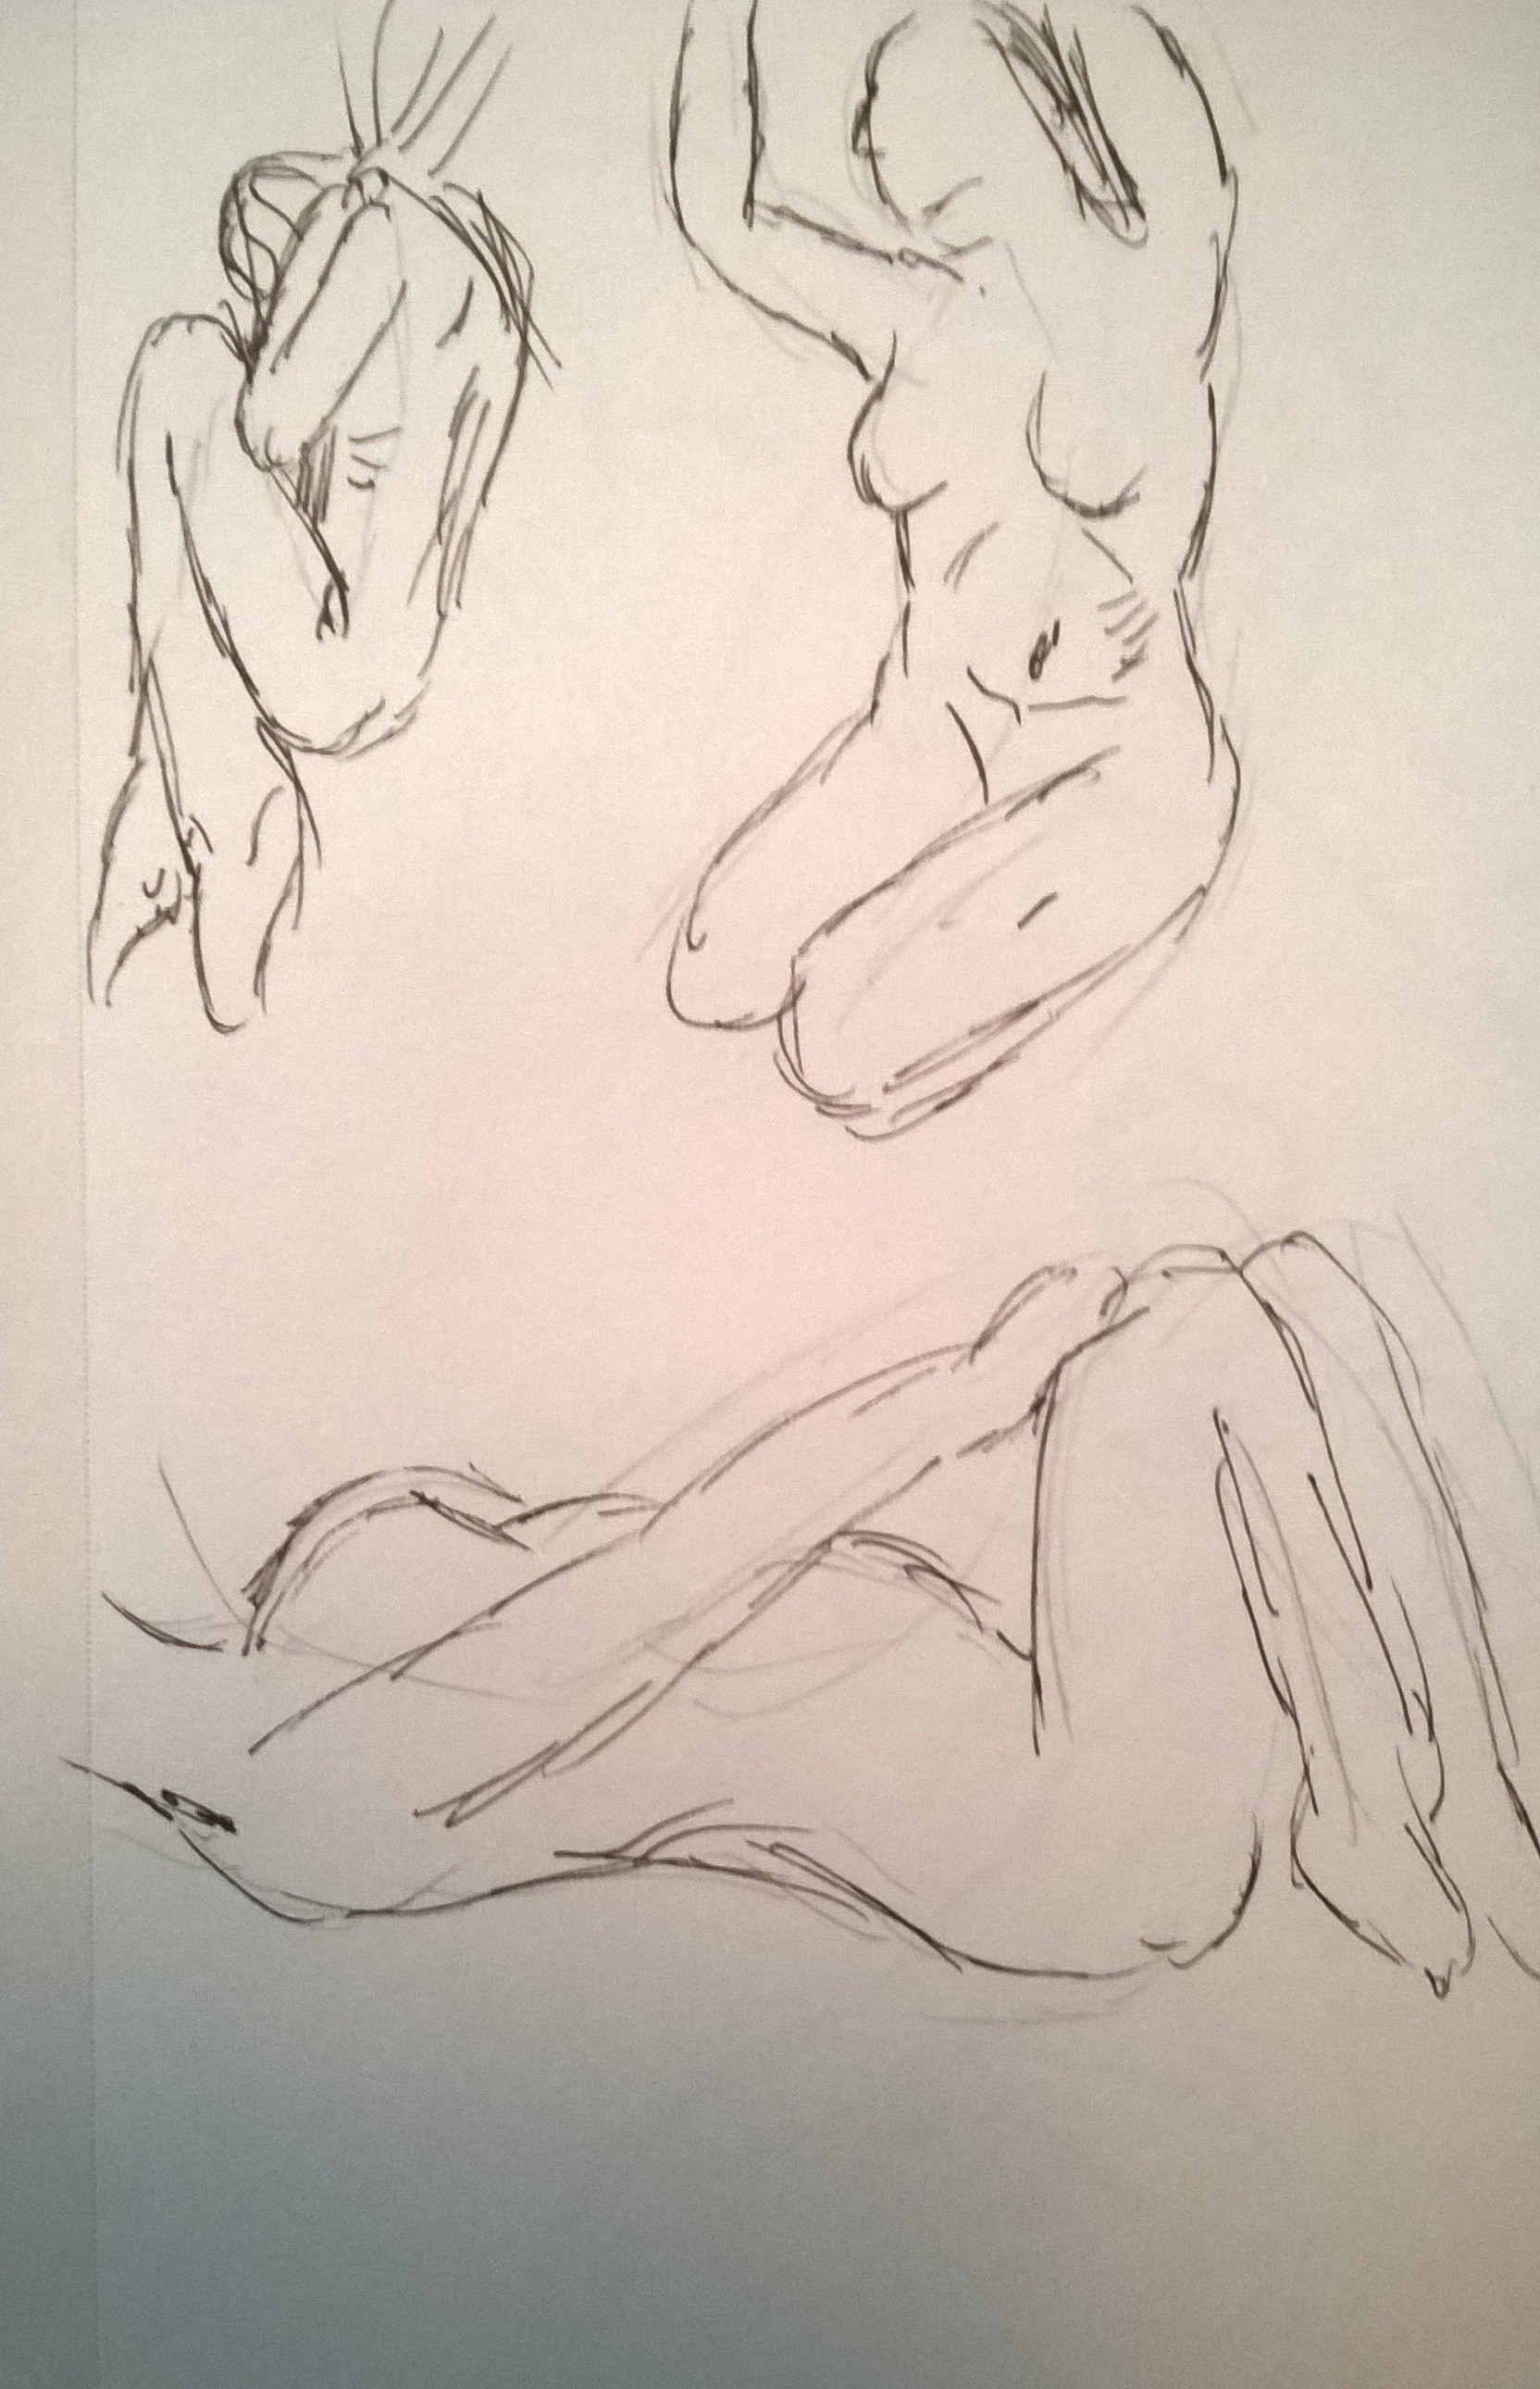
4. Finishing the figure

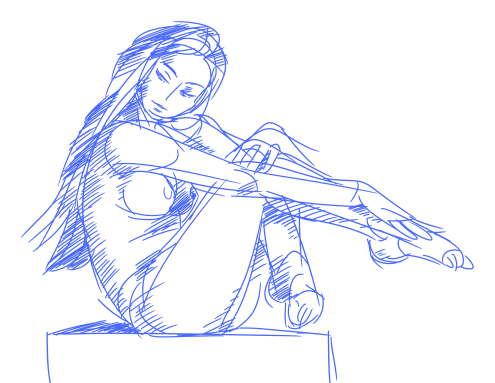
Finishing can go as far as you’d personally like it. For this example I just refined some shapes a little more and added basic shading with hatching. You can correct a lot of little mistakes and really get into the details now. Once you’re satisfied, take a look at the finished product and compare it with your reference. Try to think about the steps you took to your finished product and, should big mistakes be apparent, what you might do to avoid them in the future. After all, this is all about learning! Once you’ve gotten this far, congrats!! You’re one step closer to improvement.

FINAL TIPS:

  • You know all that stuff you just did? Do it faster! Faster and faster and faster! Do like a hundred of these bad boys! Just get wild! Tear through sketchbooks! All that drawing WILL help you grow.
  • Sometimes you might have off days. Don’t think of them as a reflection of your overall skill–think of them as a reflection of your growth. Every time you see your own mistakes, that means you just evolved the way you see. And seeing is half of the artistic process.

Questions?

Feel free to ask for more tips or clarification on anything that wasn’t clear to you!

Post any examples of your figure drawing here to share with others! Let us know if you want feedback! Together we can learn how to be our best.

Additional reading

The following materials are available for free online:

8 Likes

I was actually just posting about my desire to do more figure drawing/taking a figure drawing class! Definitely gonna pay attention to this!

I personally get a lot of reference photos from Art Models on Tumblr, which is an account owned by https://www.posespace.com/. You can buy individual poses and images on their site, but they post enough free samples that you don’t need to if you don’t wanna spend the money.

Also huh, I never knew about this gesture line stuff. That… actually makes a lot more sense than what I usually do.

1 Like

Been practicing my figure drawing using Line of Action and some references from that tumblr I linked, feel pretty comfortable with 2 minute sessions.


3 Likes

You did a lot of nice work here!

Can I give you a few tips?

Feel free! I started the art criticism/appraisal thread for that very purpose!

Hi! I went to art school and majored in studio arts, so I might be able to offer you some critique here :

Great work on finding that line of action! That’s an important step towards getting figures that feel lifelike, a lifeless pose can kill even an otherwise skilled figure drawing.

Judging from your lines it looks like you’re falling into a trap that a lotta budding artists do, which is being hyperfocused on individual lines and specific chunks of the figure at a time. It’s very easy to fall into this trap, as your first instinct is to keep hacking away at that one body party until it looks perfect, but from my own experience this almost always results in you stepping back and realizing “Oh, I draw that hand pretty well but it’s half the size it should be.”

Here are some tips I’ve learned and been taught over the years:

  • Draw with your arm, not the wrist! You’ll have more control over the line, and thus feel more confident making long strokes that don’t look scratchy, it’ll also help you not focus entirely on a small chunk of the drawing. It’ll also let you draw longer cause your wrist won’t get sore as much.

  • Keep your eyes on the full drawing! One of my worst habits while drawing is to lean as close as possible and focus all my attention on where the pencil is while going veeerrry slowly. This is how you end up with that issue I mentioned above where you spent 10 minutes being really focused on drawing one body part and then realize too late you made it way too big/small. Lean back, keep the whole figure in your view so you can tell much sooner if you go off course.

  • Don’t get too focused on minute details! You’re definitely doing a better job of this than I did when I first started life drawing, but it’s another trap you can easily fall into if you’re not careful. Focus on the figure and line of action, and don’t worry about the small details until you’ve got the full figure down. When you’ve only got 10 minutes to draw the figure there’s no point wasting a chunk of it drawing a detail torso with nothing attached to it.

  • Don’t stress too much about being perfect! Your aim is to capture the general pose, proportions, and motion of the model. It’s okay if your drawing isn’t a 100% perfect rendering of the model in front of you, this is a training exercise after all. As long as you’re learning and improving, it’s worth the effort.

Finally,

  • Don’t worry if you don’t think you’re improving enough. When you’re learning it’s very easy to look at what you’re doing right now and thinking you’ll never get past this point. Don’t worry about it. Try this: Take all the life drawings you’ve done at the start and put them away for a year or two, then take them out and compare them to what you’re doing now. You may be surprised to realize how far you’ve come!

That’s my advice for the moment! Please keep drawing and sharing your progress, and if you ever have any questions feel free to ask!

:toot:

4 Likes

These are also great tips for anyone who feels like they’re struggling with figure drawing! One thing I’ve always had trouble understanding is how exactly drawing with the arm vs the wrist works, though. Do you think you could offer a more detailed explanation on the kinds of movements/positions involved?
(thanks for your time, btw!)

1 Like

If you’re resting your hand on the paper, you can really only move your fingers and the upper part of your hand, because the weight you’ve put on it makes your wrist the axis of rotation. This is good for control and small details, but you can only make small-scale marks, and it’s not great for dealing with big-picture stuff like setting up the start of a drawing.

Remove your hand from the paper entirely. This will probably be easiest to do at first if you can set your work surface upright, since it removes the temptation, and, y’know, gravity. If you’re on a more horizontal surface and still want to rest your weight somewhere, keep it further up your arm: put your elbow on the table, or rest your forearm on the edge of the table right near the elbow. Now that the rotation comes from further up the arm, you’ll be able to make bigger, smoother marks much more easily.

It’s better to keep your arm up entirely if you can, but tiredness does happen. Try to limit how much weight you’re putting on your drawing arm, as this will allow it to move more easily. Leaning towards your off-hand can help.

Does this mean you can never draw from the wrist ever because it’s bad awful terrible? Nope! It means use the right tool for the job. You wouldn’t use a watercolor brush to paint a room, so why use small strokes to make something big and flowing? That said, repetitive stress injuries such as tendonitis and carpal tunnel syndrome are very, very common in artists, so please do learn this, as it will go a long way towards helping you avoid deveoping them.

3 Likes

I actually pretty much never draw with my tablet/sketchbook on a flat surface. I won’t have it fully upright, but I’m pretty tall/have long limbs, so it’s uncomfortable to lay my sketchbook down flat and lean over it. Will definitely try to use my arm more than my wrist tho!

Thanks for all the advice! Haven’t had much time to sketch in the last couple of days, but gonna see what I can get done tonight. Will definitely keep posting my progress!

I actually already kinda had that moment when I was a teenager, and it’s why I quit art for a few years. I’ve kinda been playing quick catch-up since late last year, and have really learned the value of using old art as a metric for improvement. For reference, partway through last year I could draw about this well:

I’ve uh… gotten a bit better since then. Just a bit.

Just an FYI but Artmodels/Posespace, the thing I use for a lot of anatomy/pose references, is selling returned copies of their books at a discounted price: http://artmodelsphoto.tumblr.com/post/157252238385/i-am-listing-the-defective-books-at-65-off-the

Probably gonna pick one or two up, as I just got paid and it would be nice to just have a handy collection of poses within reach. Figured someone else reading this thread might also be interested, so thought I’d post it here.

Ed: Ordered AM5 and AM6, will share in the thread what I think of them.

1 Like

Some figure drawing stuff I did back in college.

https://scontent.fphl2-1.fna.fbcdn.net/v/t1.0-9/227190_199849643393744_7358333_n.jpg?oh=8037a44e80b5927022dccabde275c64e&oe=593D6AAB


https://scontent.fphl2-1.fna.fbcdn.net/v/t1.0-9/197738_181847435193965_8062485_n.jpg?oh=0772b1427d7827a32b006512970d7e15&oe=59699D85

1 Like

Yeaaaahhhh!!! Figure drawing!!! Here’s a neat bone test we did at college, had to draw from memory an entire skeleton in front view, side view and back view in under 2 hours!

8 Likes

It’s been actual year since I sat down and did figures, but here are some sketches I’ve been working on throughout today (to get my mind off of my college midterms :gonk:)

(Content NSFW)

4 Likes