FILE 002 - TRAINING DUMMIES

Meet ShikiDigiDana, she’ll be our hero for the rest of the tutorial Files. She has superior taste in Digivice colors and she deserves a moment to shine.
[VIDEO] The intro again, but with DigiDana this time
Now, back to where we left off…
![]()
![]()
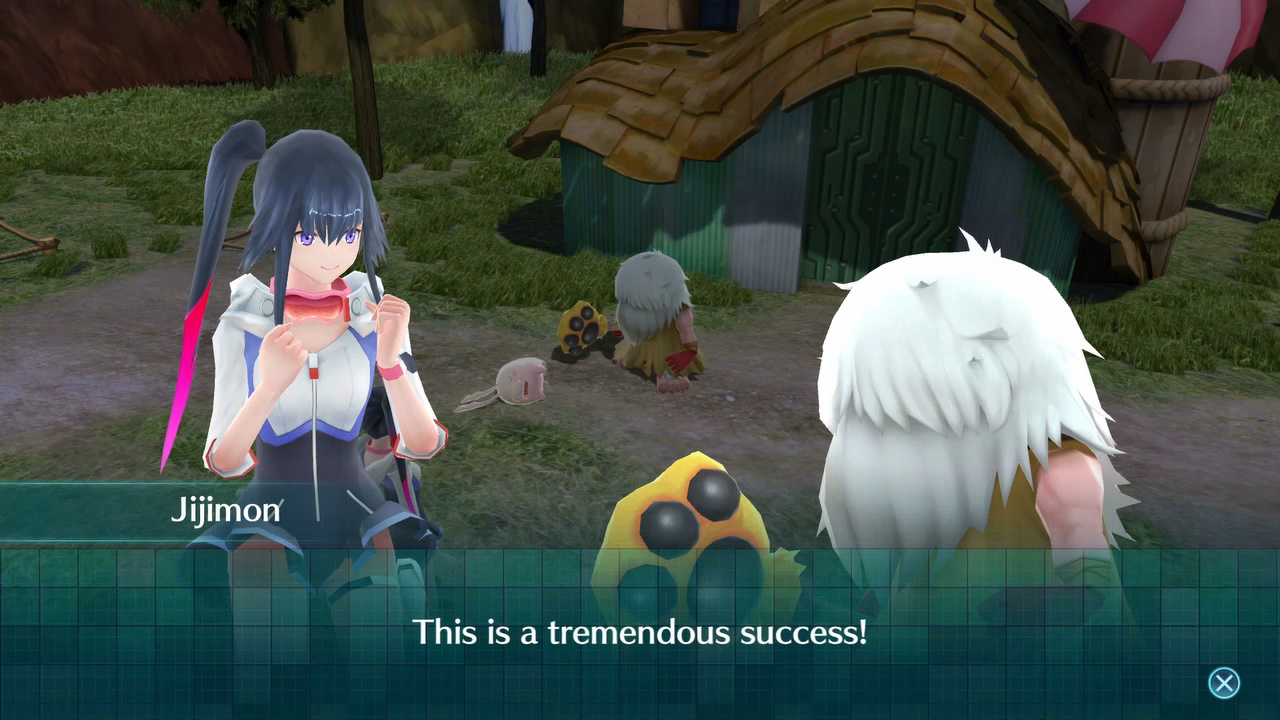
![]() “This is a tremendous success! Then their rebirths will be complete.”
“This is a tremendous success! Then their rebirths will be complete.”
![]() “Just remember: As their Tamer, you have a duty to care for them.”
“Just remember: As their Tamer, you have a duty to care for them.”
 “I still have no idea what’s going on.”
![]() “Hmm… You don’t seem to understand what’s what.
“Hmm… You don’t seem to understand what’s what.
![]() I am just as in the dark as you. I wonder what is going on…
I am just as in the dark as you. I wonder what is going on…
![]() Why don’t we go to my house, and you can tell me your story?
Why don’t we go to my house, and you can tell me your story?
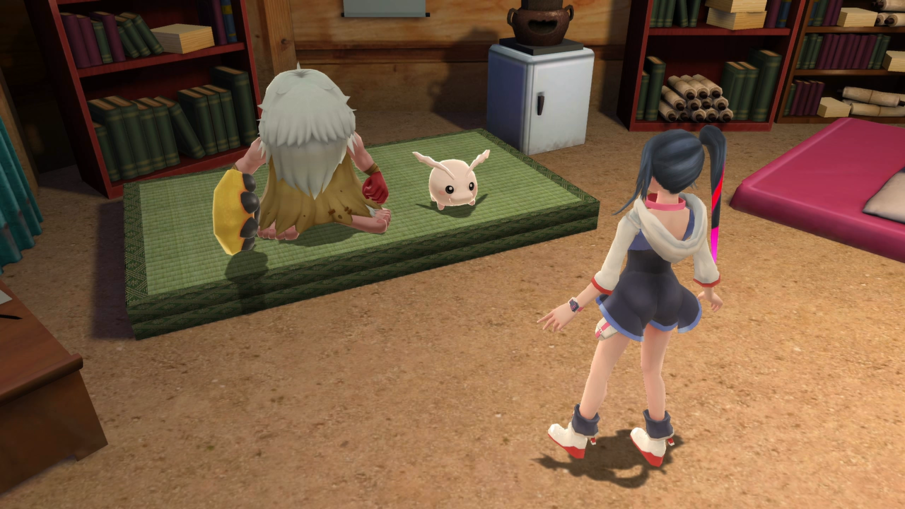
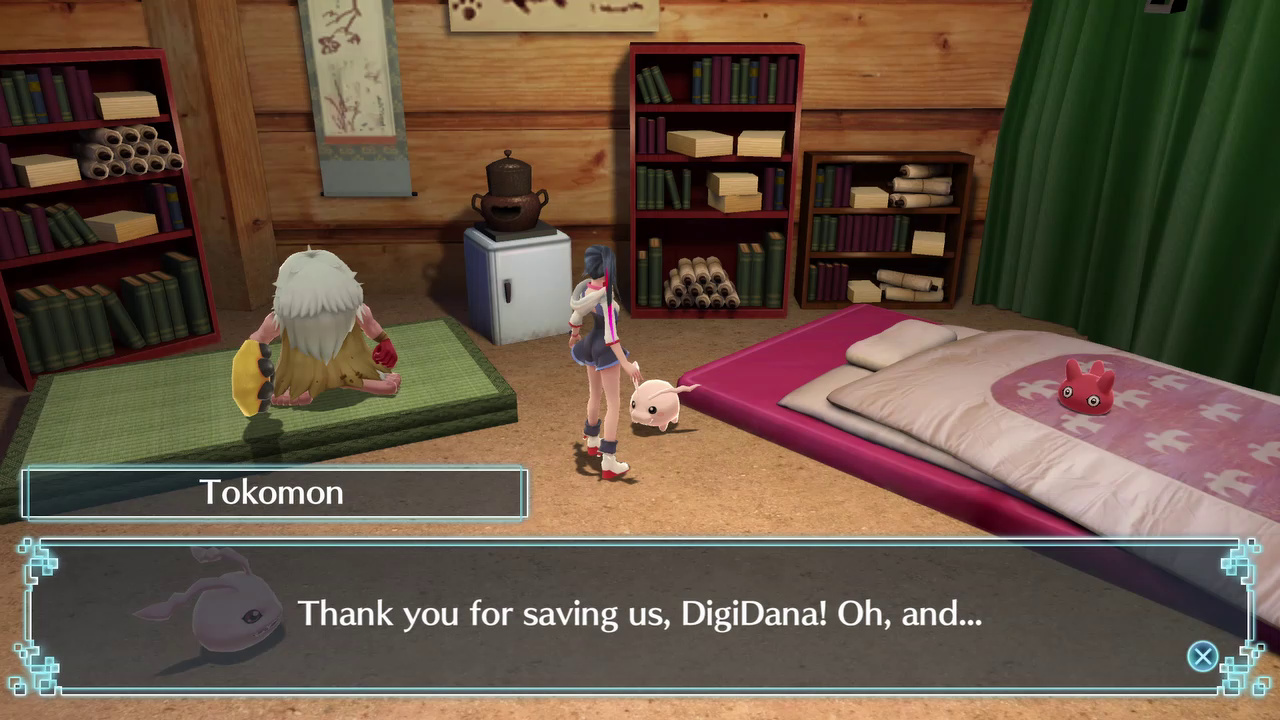
![]() Looks like Tokomon is still unconscious. We can treat him there.”
Looks like Tokomon is still unconscious. We can treat him there.”
We follow Jijimon into his little circuit hut.
[NEW MUSIC] When the Sun Revives and Ascends
![]() “So you were sucked in by the Digivice, and unluckily fell into the dimension I created…
“So you were sucked in by the Digivice, and unluckily fell into the dimension I created…
![]() and then your partners in the Digivice defeated Machinedramon for me. I see.
and then your partners in the Digivice defeated Machinedramon for me. I see.
![]() Coincidence has been our friend today. I owe you my thanks, DigiDana. Actually…
Coincidence has been our friend today. I owe you my thanks, DigiDana. Actually…
![]() This world is at a crisis point. As you can see, the city we are in, Floatia, is in disarray.”
This world is at a crisis point. As you can see, the city we are in, Floatia, is in disarray.”
![]() “It’s because of the Machinedramon…
“It’s because of the Machinedramon…
![]() It suddenly started attacking us for no reason, and did a lot of damage to the city.
It suddenly started attacking us for no reason, and did a lot of damage to the city.
![]() The power of a Mega is overwhelming… It appeared from nowhere,
The power of a Mega is overwhelming… It appeared from nowhere,
![]() caused massive damage, and then disappeared. We were at our wits’ end…
caused massive damage, and then disappeared. We were at our wits’ end…
![]() I mobilized my knowledge and technology to build a trap, in order to capture the
I mobilized my knowledge and technology to build a trap, in order to capture the
![]() Machinedramon. I thought that when it appeared, I could transport it to another
Machinedramon. I thought that when it appeared, I could transport it to another
![]() dimension and imprison it.The plan worked. In fact, the plan went even better
dimension and imprison it.The plan worked. In fact, the plan went even better
![]() than expected. Thanks to you, we were able to defeat that Machinedramon.
than expected. Thanks to you, we were able to defeat that Machinedramon.
![]() But that doesn’t mean the danger has entirely passed…”
But that doesn’t mean the danger has entirely passed…”
“So that Machinedramon destroyed most of Floatia…”
![]()
![]() “The phenomenon of a Machinedramon getting violent and then disappearing
“The phenomenon of a Machinedramon getting violent and then disappearing
![]() has occured several times, in many areas. It would be hard to believe that it is
has occured several times, in many areas. It would be hard to believe that it is
![]() just one lone Mega Digimon doing all this damage.”
just one lone Mega Digimon doing all this damage.”
“What?! You mean there are MORE of those things?”
![]() “We were able to survive this time because of your valiant efforts.
“We were able to survive this time because of your valiant efforts.
![]() Unfortunately, we don’t know from where and how the Machinedramon are appearing.
Unfortunately, we don’t know from where and how the Machinedramon are appearing.
![]() It seems hopeless, but if we just had a clue… Maybe we could do something…
It seems hopeless, but if we just had a clue… Maybe we could do something…
![]() If only we had a clue…”
If only we had a clue…”
Hey gang, I wonder if there’s a clue around here somewhere…
“Hmm…”
 “HRMM…”
 “HRMMM…”
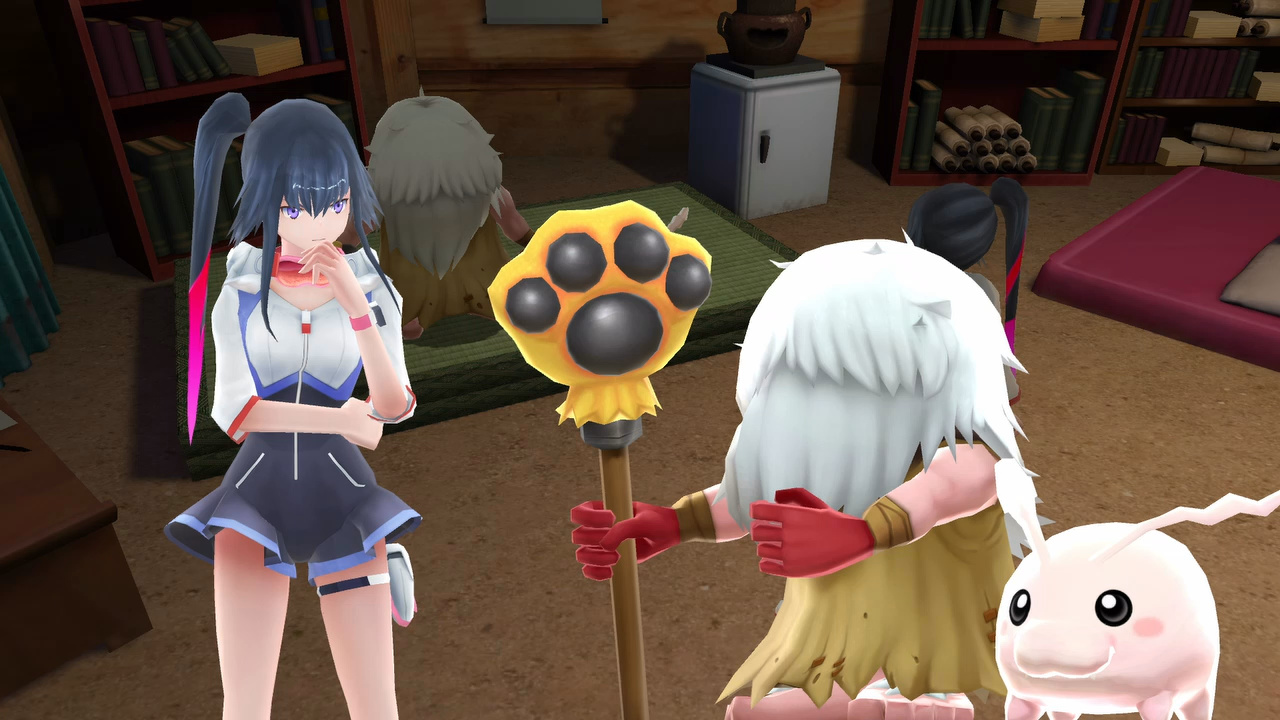
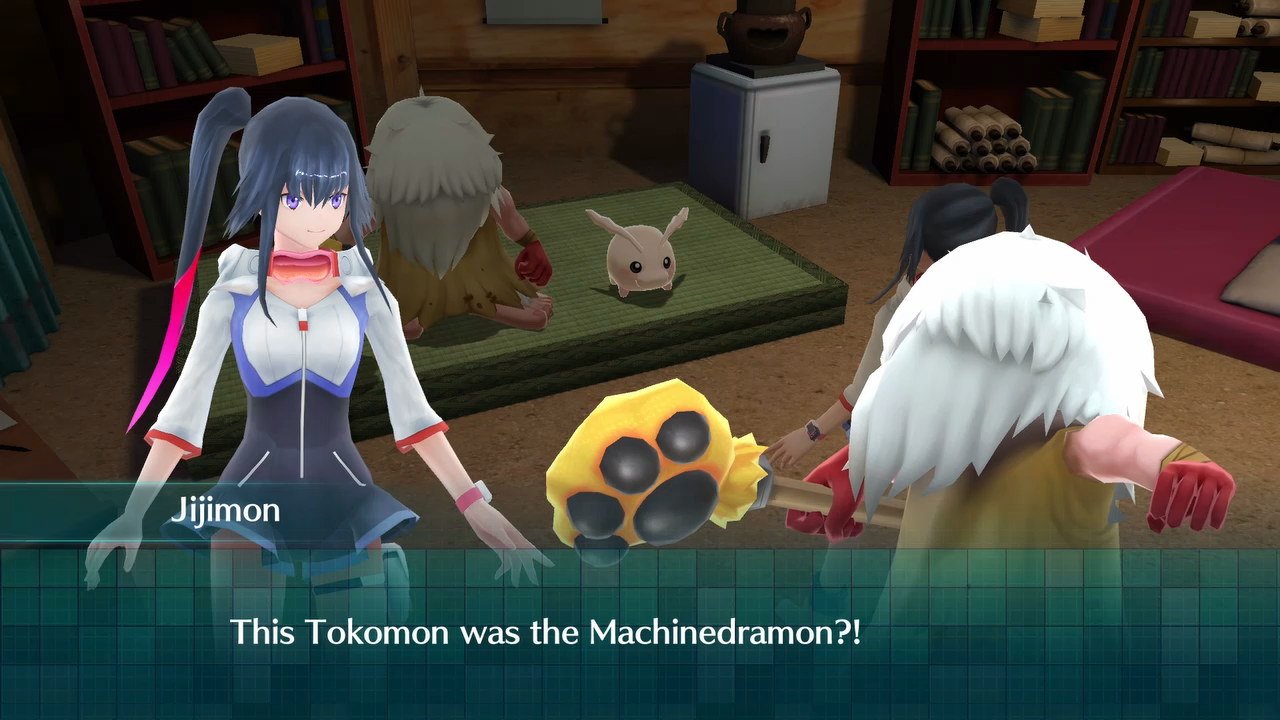
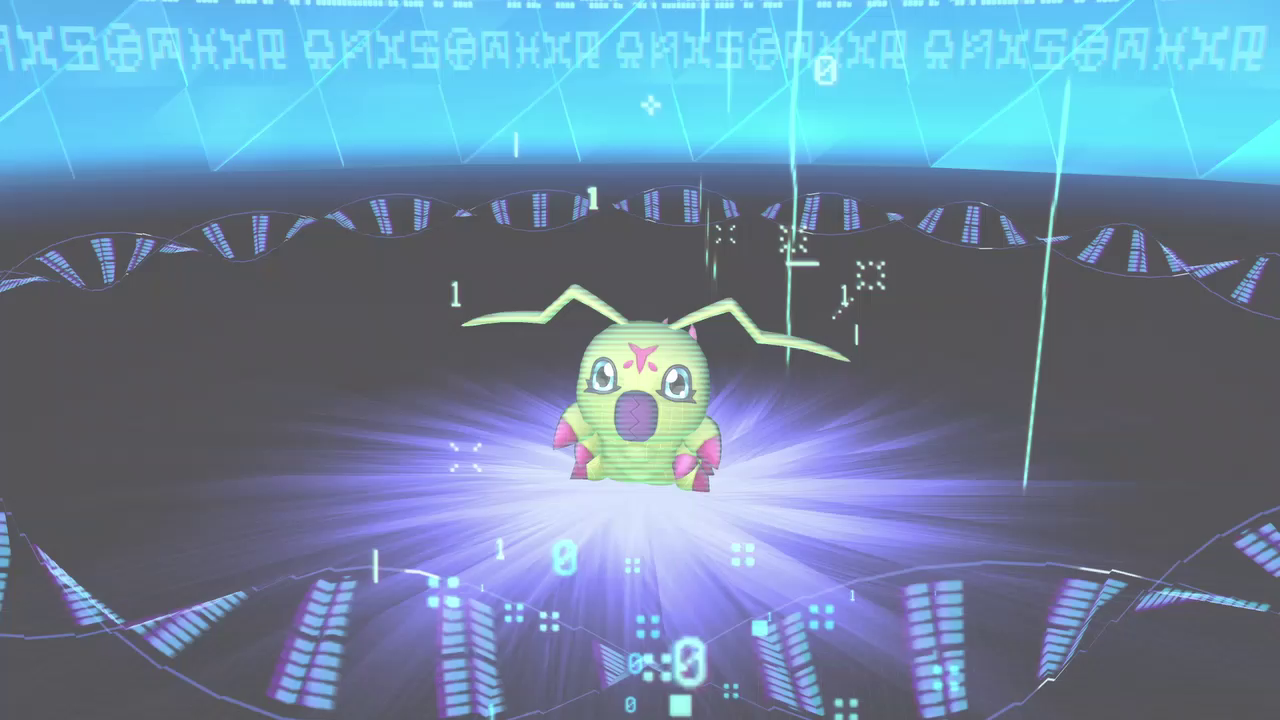
“Oh yeah, that Tokomon sitting next to you was the Machinedramon.”
“WHAT?!”
If Jijimon had a drink, it would be everywhere right now. Seriously, the screen shakes as he yells that.
![]() It can’t be… but I am sensing a strange data wave coming from this Tokomon,
It can’t be… but I am sensing a strange data wave coming from this Tokomon,
![]() albeit weakly… Hmm… What should we make of this? A Tokomon living in this city
albeit weakly… Hmm… What should we make of this? A Tokomon living in this city
![]() Digivolved into a Machinedramon? I’ve never heard of such a Digivolution…
Digivolved into a Machinedramon? I’ve never heard of such a Digivolution…
![]() Wait. There’s something here in the cloud memory…"
Wait. There’s something here in the cloud memory…"
![]() “But why did this Tokomon Digivolve into Machinedramon? Or at least an altered
“But why did this Tokomon Digivolve into Machinedramon? Or at least an altered
![]() form of Machinedramon? Hmmm… We won’t be able to figure it out with just
form of Machinedramon? Hmmm… We won’t be able to figure it out with just
![]() this small amount of information from this Tokomon. But it looks like we finally have
this small amount of information from this Tokomon. But it looks like we finally have
![]() a chance to actually do something about this threat. We need to act!”
a chance to actually do something about this threat. We need to act!”
![]() “I have something to ask of you. We want to return you back to the world you came
“I have something to ask of you. We want to return you back to the world you came
![]() from as soon as possible, but we can’t leave this city in the state it’s in.
from as soon as possible, but we can’t leave this city in the state it’s in.
![]() To get the city back to the way it was, will you help bring back the residents that
To get the city back to the way it was, will you help bring back the residents that
![]() fled from the Machinedramon attacks?”
fled from the Machinedramon attacks?”
“Okay, I’ll help!”
![]() “I’m glad you said that! Go out with your partners and look for the residents who fled
“I’m glad you said that! Go out with your partners and look for the residents who fled
![]() the city. I will look into this small amount of strange data we have collected from this
the city. I will look into this small amount of strange data we have collected from this
![]() Tokomon. Maybe I will be able to unravel the mystery of this altered form…
Tokomon. Maybe I will be able to unravel the mystery of this altered form…
![]() If we can detect abnormal information, we may be able to avoid further damage here.
If we can detect abnormal information, we may be able to avoid further damage here.
![]() That’s why I first intend to make a detection device. If I have any news,
That’s why I first intend to make a detection device. If I have any news,
![]() I will send you a DigiMail. So please check your Digivice.”
I will send you a DigiMail. So please check your Digivice.”
“Alright.”
“So then, DigiDana… I’m counting on you.”
Before we assume full control over our character, Koromon wants to talk to us.
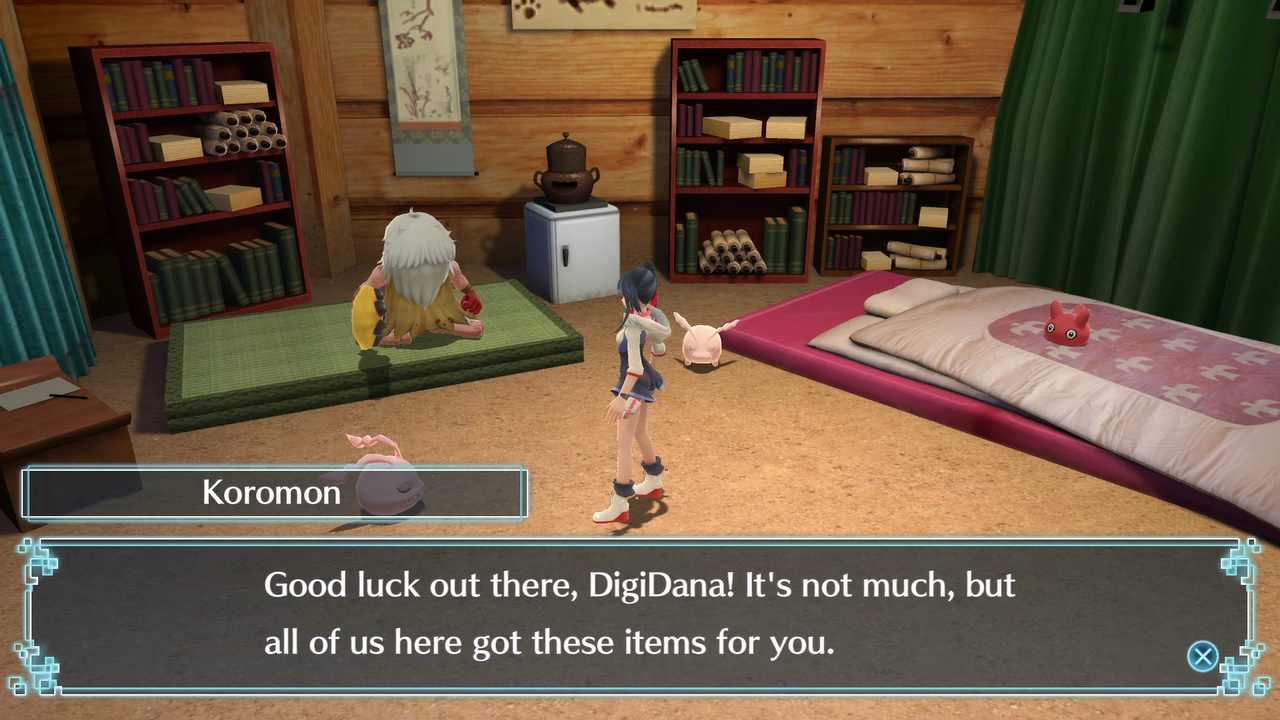
He proceeds to give us a bunch of items:


We get:
2 Portable Toilets, which let us use the bathroom anywhere. One unit will cover both Digimon.
3 Bandages, which let us help our Digimon if they get injured.
10 Digistalks, which are a basic food item.
5 Recovery Discs, the basic healing item.
5 MP Discs, the basic MP-restoring item.
3 Regen Discs, which let us revive a partner if they’re KO’d in battle.
 “You can use these items by opening Care Mode with the Square button.”
“Be sure to check item effect descriptions before using them!”
“We’ll gather more later, so come back tomorrow!”
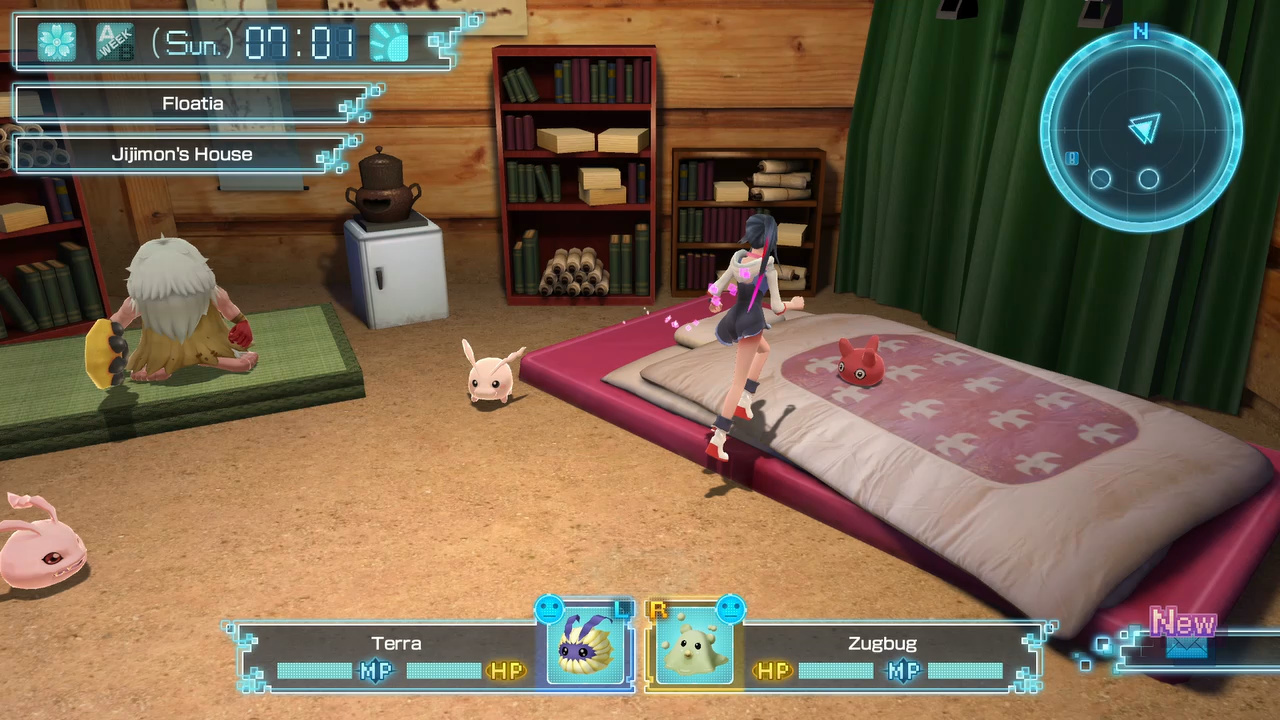
And now we get proper control of our character. Koromon is incredibly useful for most of the game, by the way. We’ll check in with him every day we can to stock up on supplies, it’ll save us a lot of BITs in the long run.
We’re also hit by a lot of UI immediately. The leftmost icons on the clock tell us the current week/season, both of which are mostly fluff that matter once or twice in the game, and the faces by our Digimon tell us their mood, everything else should be fairly obvious.

Here we can see the Prosperity rating, which will increase with every Digimon we bring back to Floatia, as well as our Bonds with our Digimon, and their Friendship with each other.
We may as well see what Jijimon wanted to tell us.
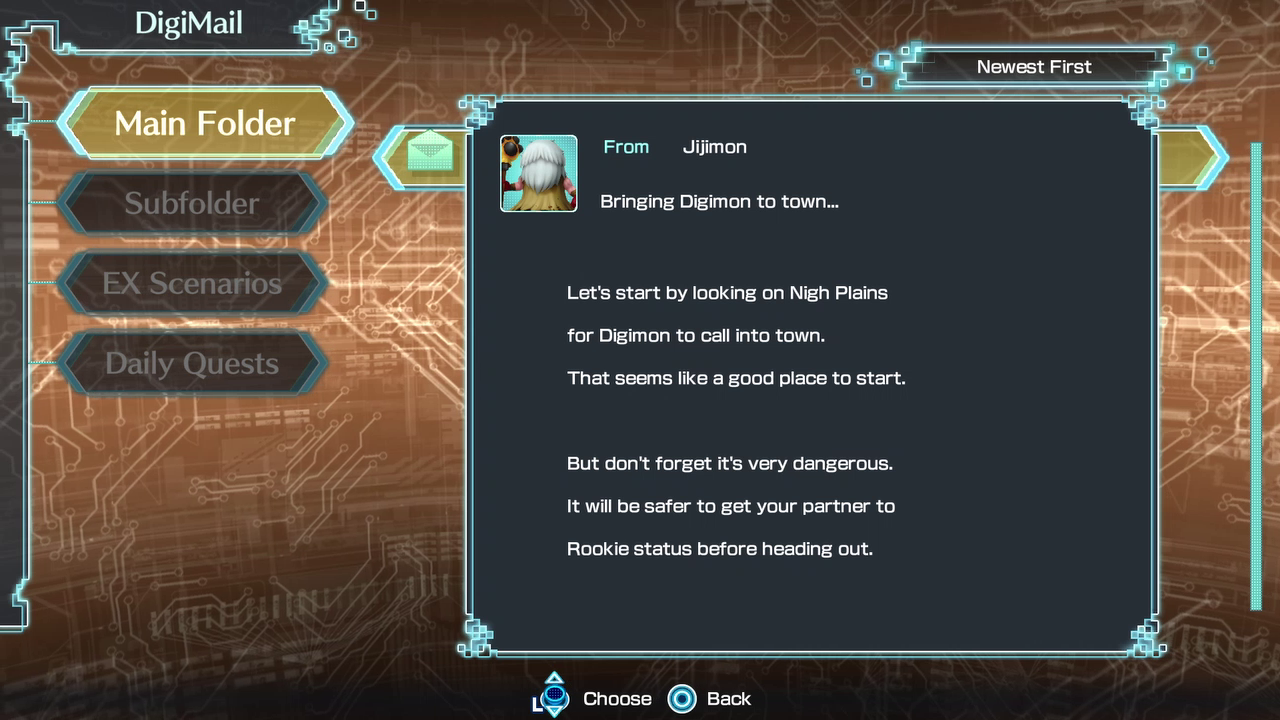
Good advice! If we left town as-is, we’d get destroyed almost immediately.
 “But enough of that… What did you want to talk about, puni?”
“I can tell you all you need to know about battles, puni!”
Most of the Digimon who currently reside in Floatia will teach us about various game mechanics. Some of it has already been explained, and some of it won’t be relevant for a while. I’ll spare everyone the wall of text and go over their tips as they become relevant.
Punimon also has the incredible power to make the game harder.
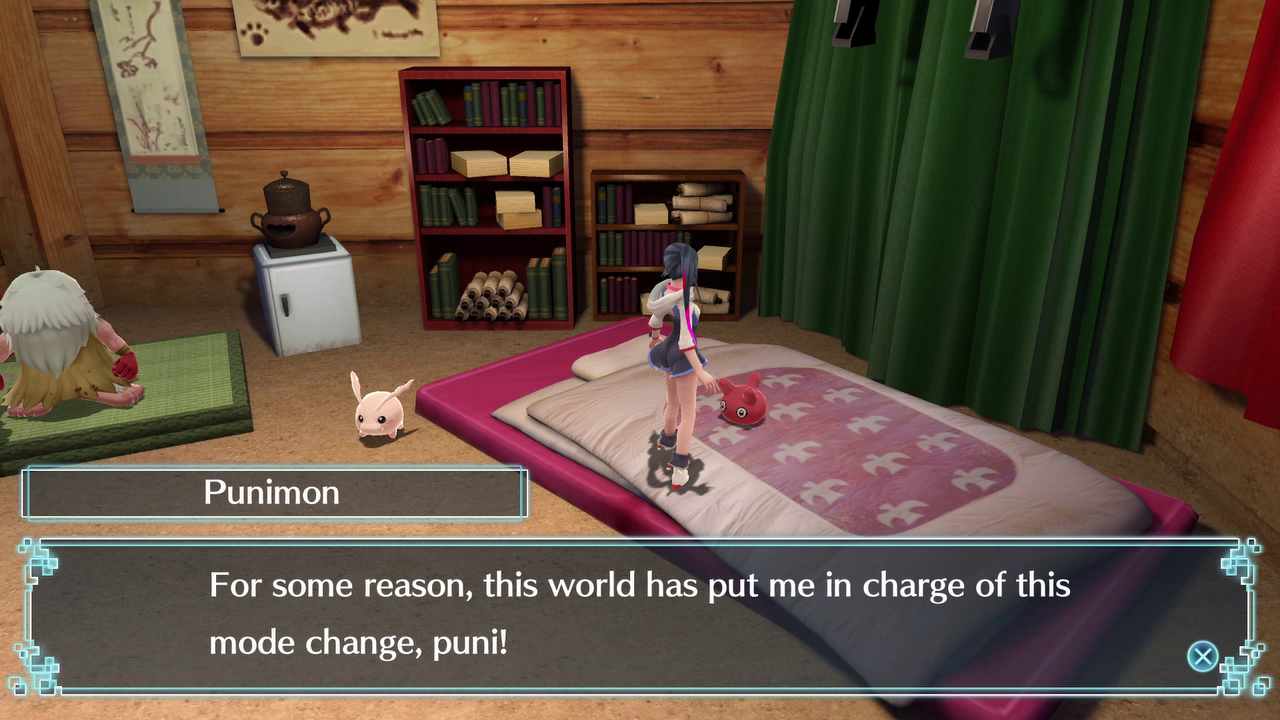
Let’s not.
“I’ll show you around Floatia and teach you all sorts of things! Interested?”
“Please do!”
"Eh heh heh, all right, I’ll show you around!
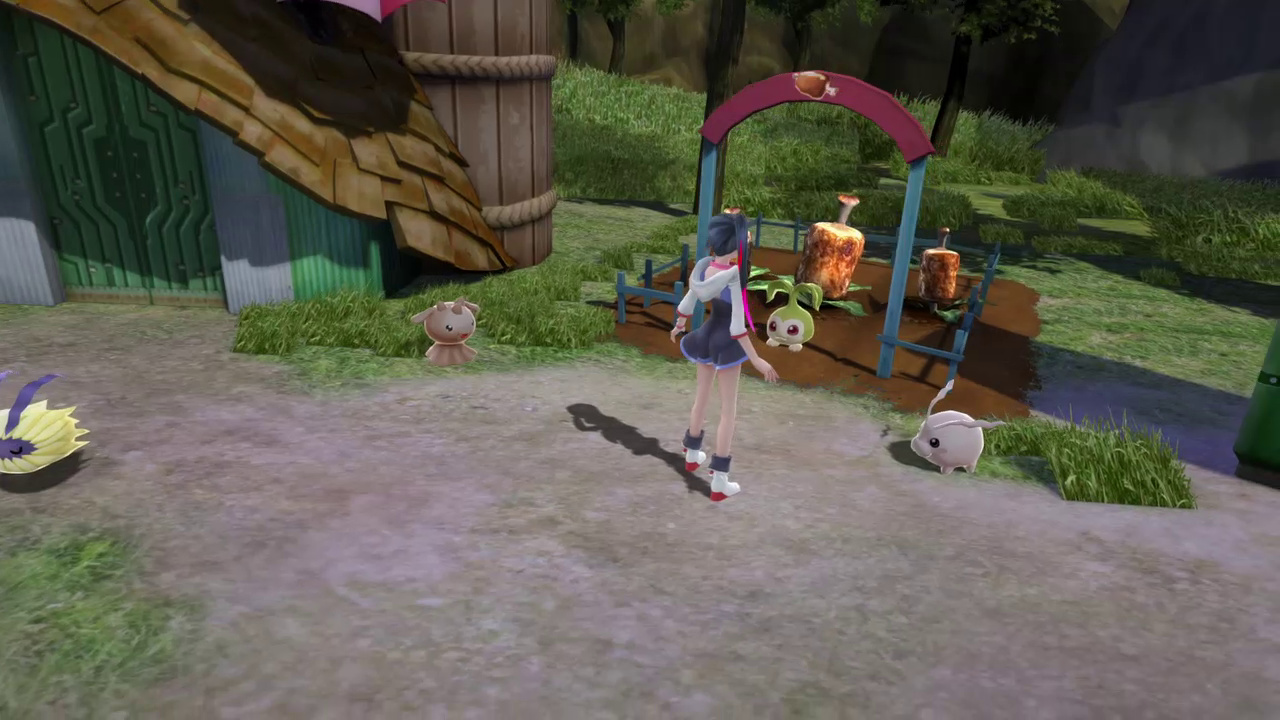
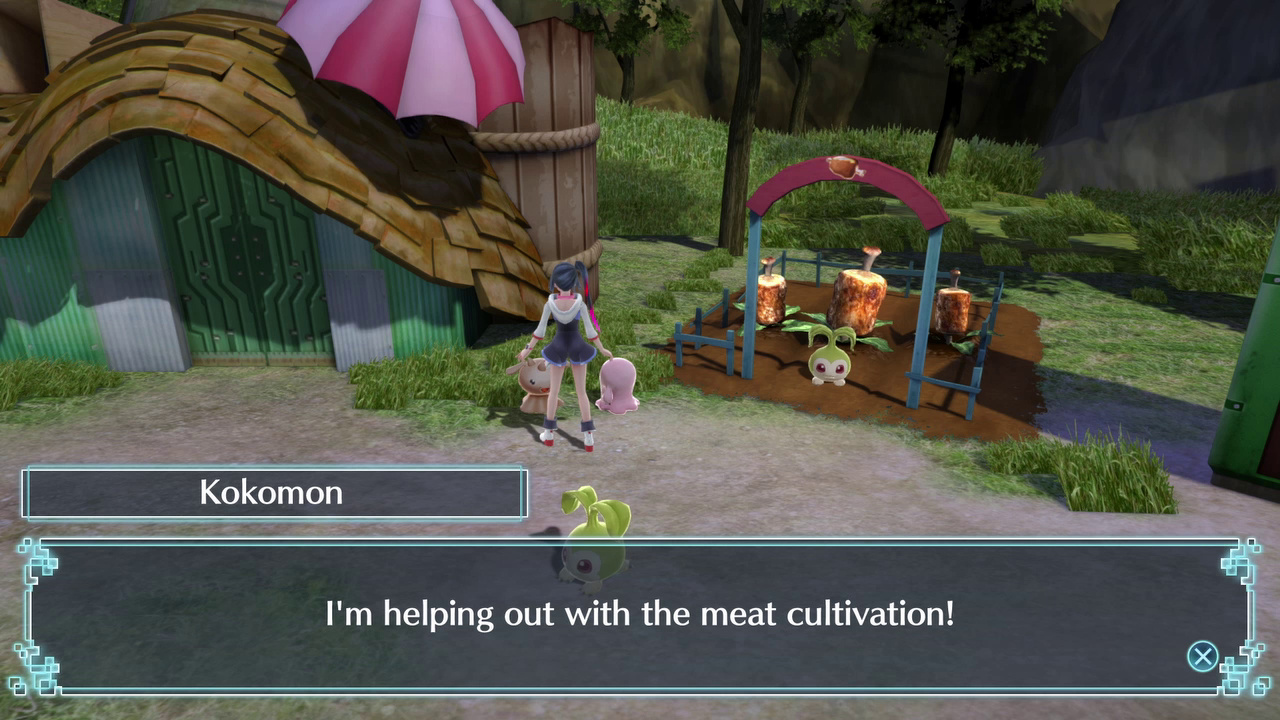
“The Meat Fields are next to Jijimon’s house here!”
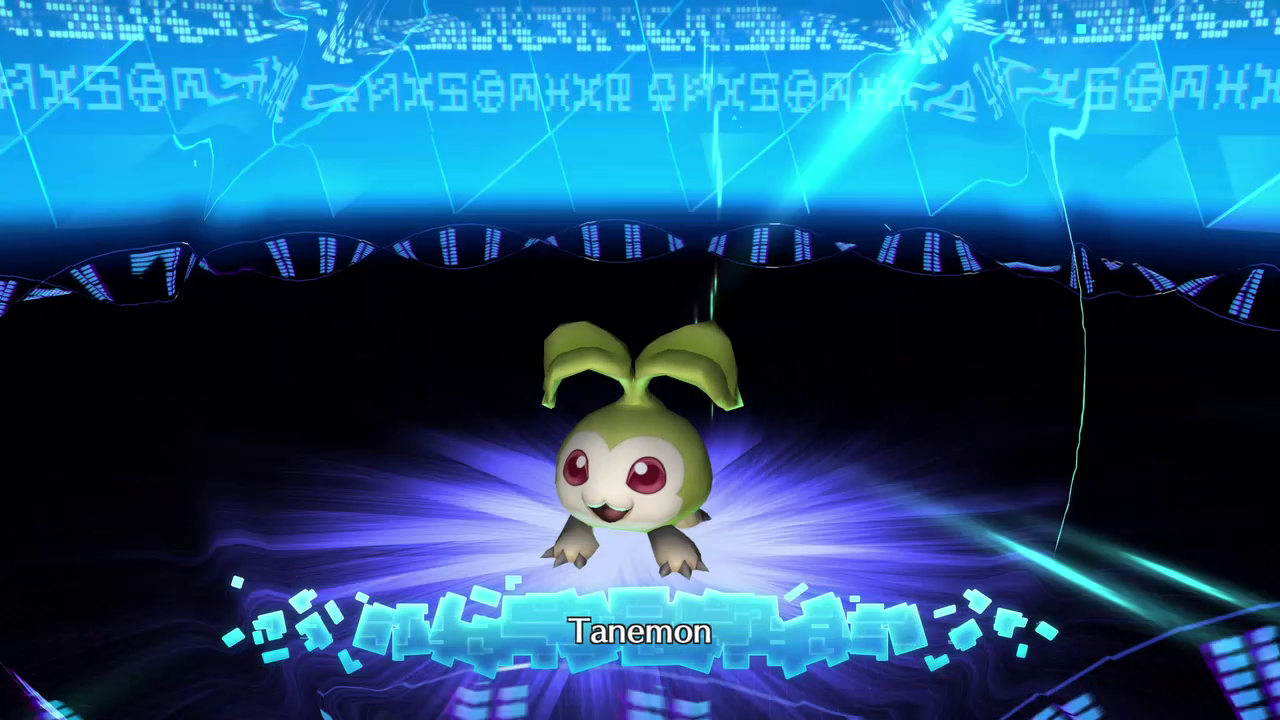
“Tanemon is in charge of the Meat Fields! I’ll let him tell you all about it!”
 “You’re that human Tamer, ain’tcha. Nice to meet ya, the name’s Tanemon!”
“From now on, I’ll give you tasty meat from this here field.”
“Huh? “How do you get meat from a field,” you ask? Why, what’s so weird about that?”
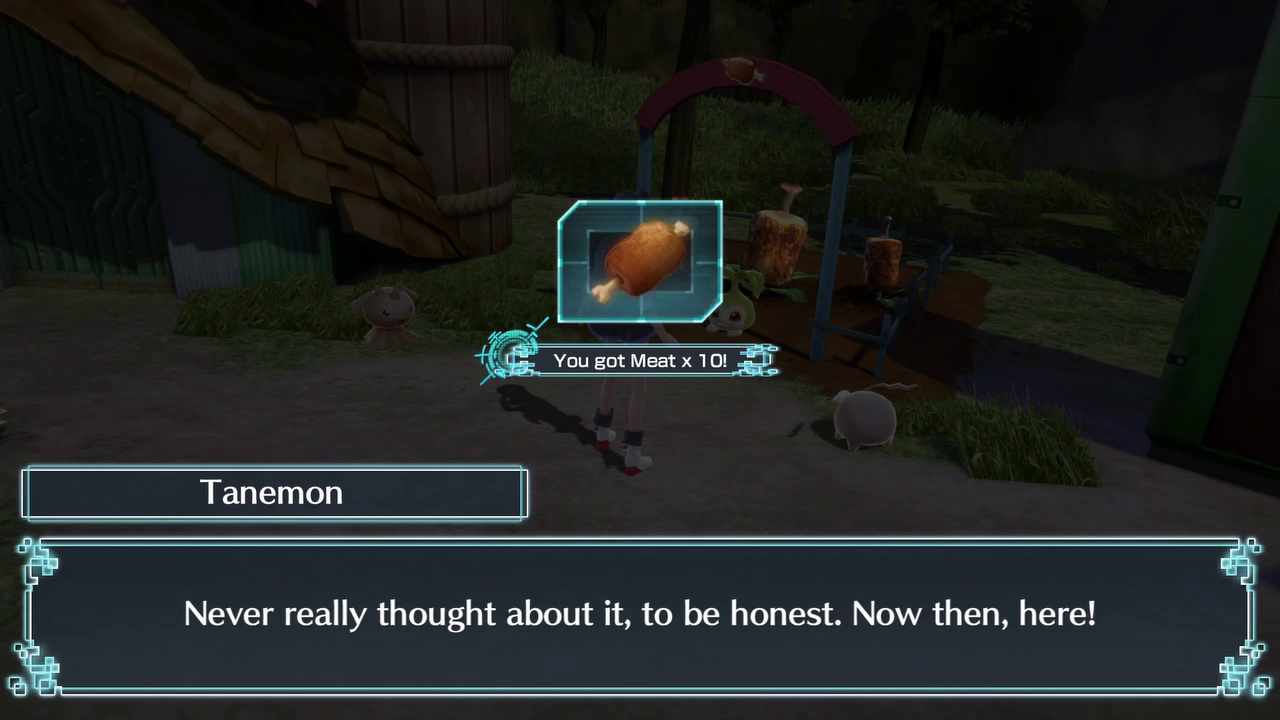
10 meat seems like a lot, especially if you played the original game.
Don’t forget that we have two mouths to feed.
“You’ll get your next share tomorrow.”
“If it’s not enough, go get some mushrooms or something outside.”
“When your partners are hungry, give them some meat you’ve picked up!”
“If they eat, well… you-know-what comes out! That’s why we have a bathroom here.”
“If your partner Digimon asks for a bathroom break, you’d better hurry on over here!”
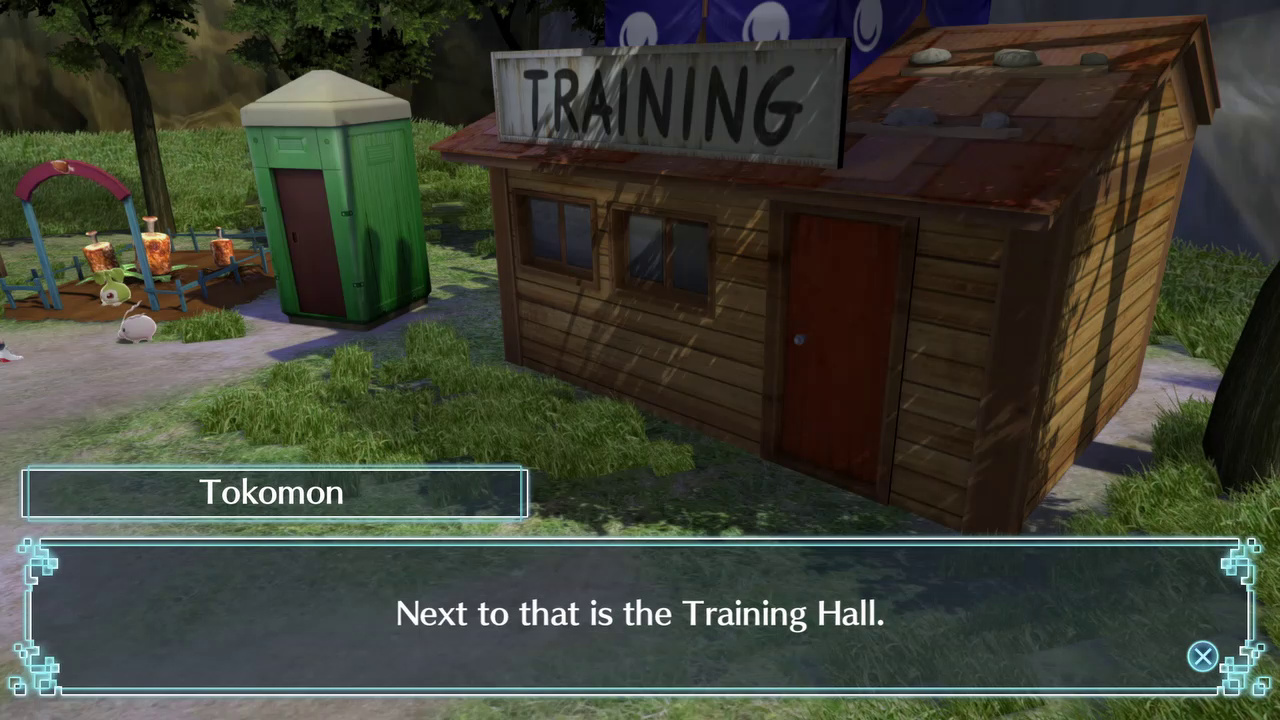
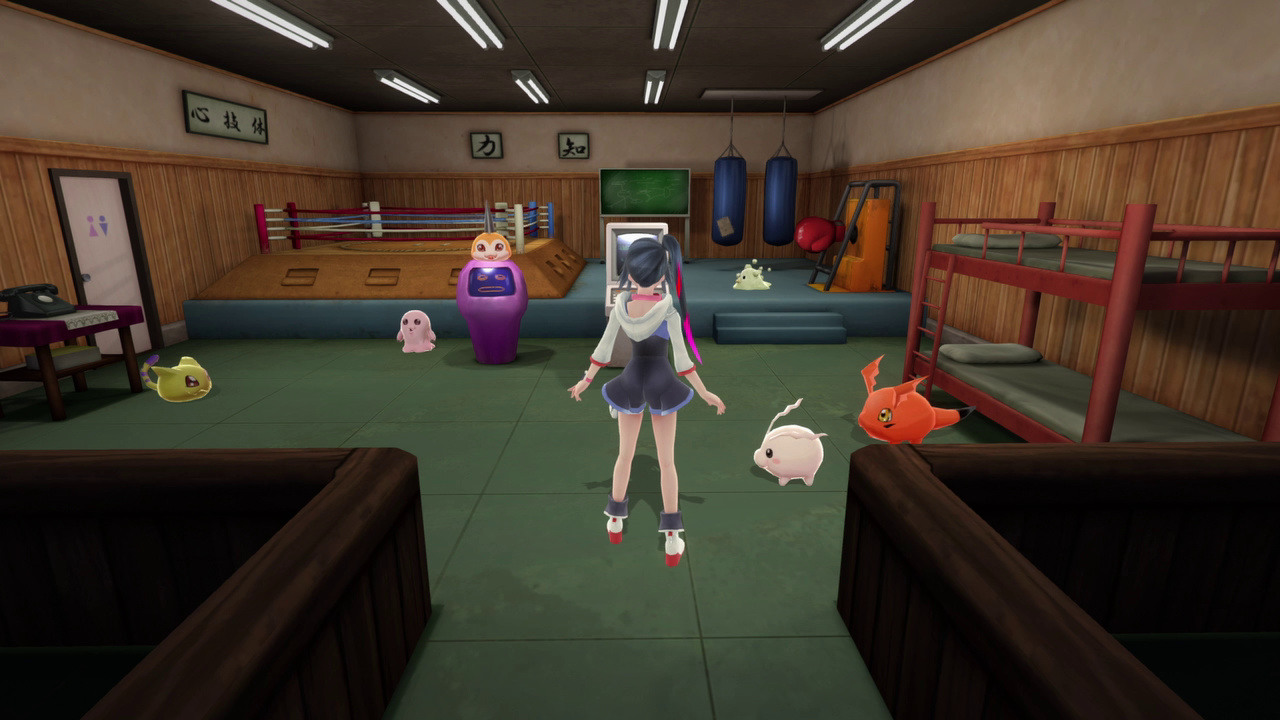
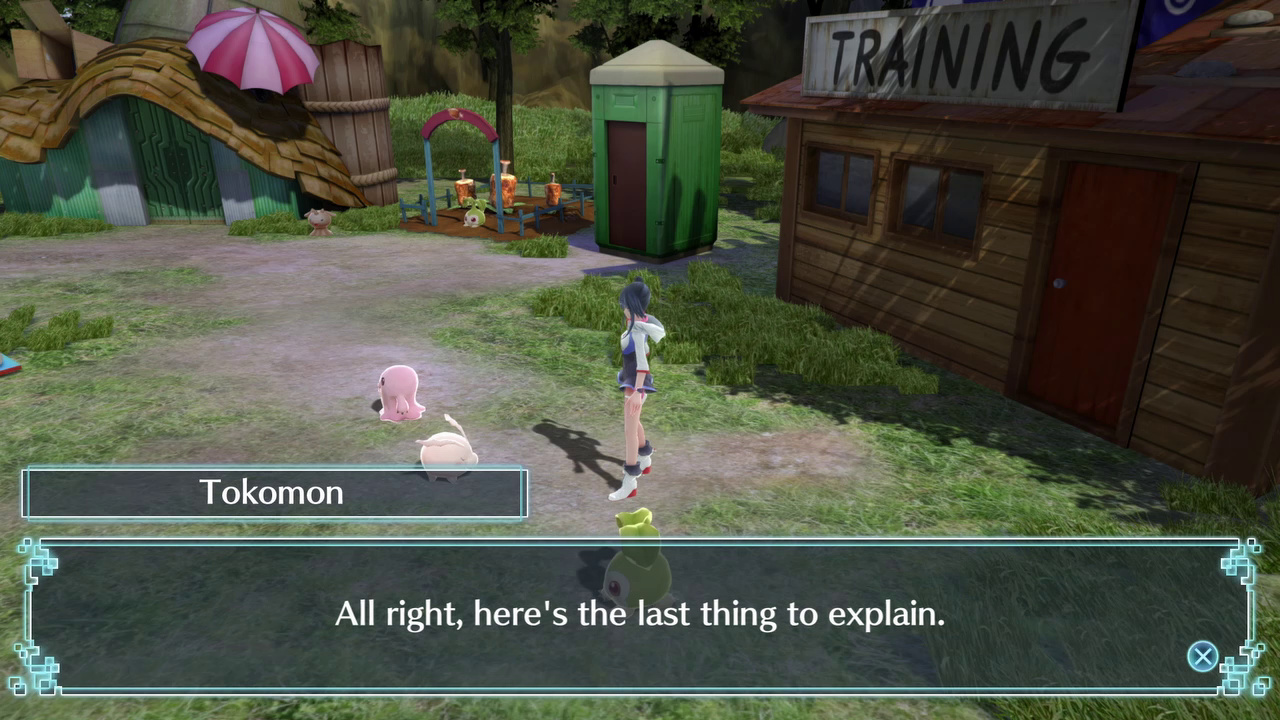
“This is the training hall. For now, I’ll give you a real rough run-down!”
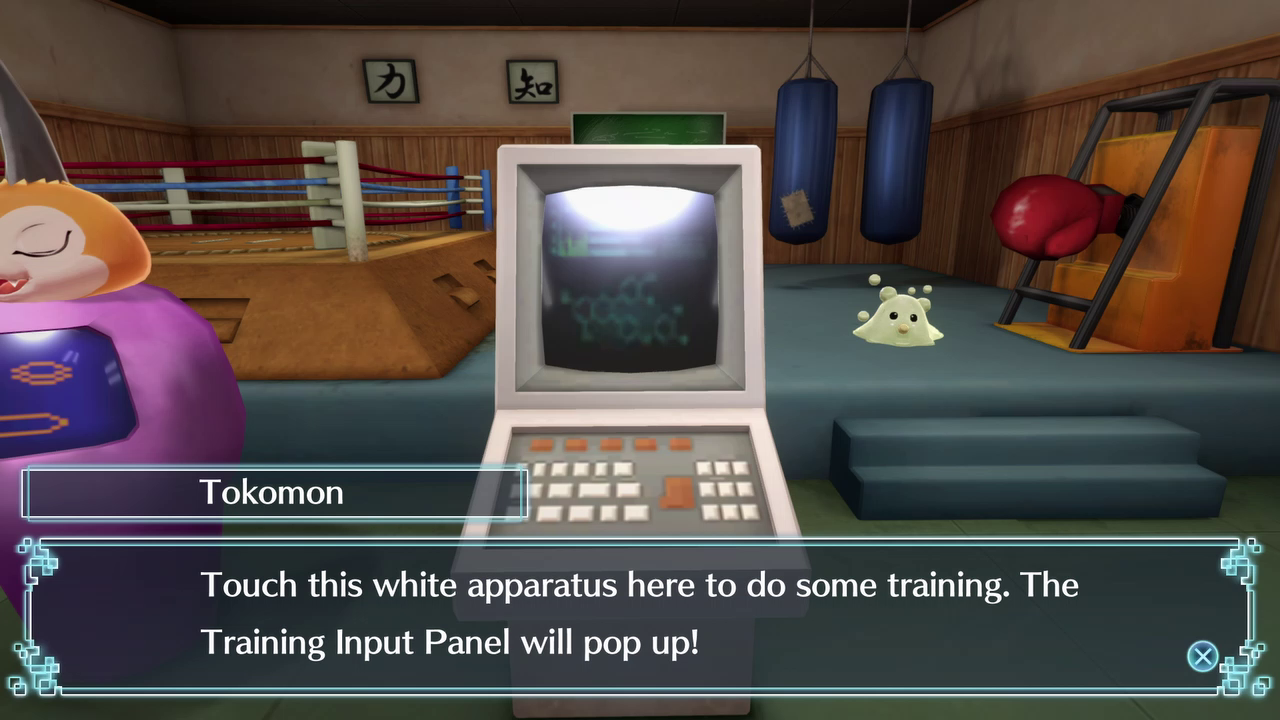
“You can set a piece of gear for each of your partner Digimon to train with.”
“Training takes one hour, and causes your Digimon to build up Fatigue.”
“If they get too fatigued, they could get sick and lower their Life span.”
“Go ahead and give it a shot!”
I have no idea what Tsunomon is sitting on, but it’s pretty fantastic.
 “Hey, you! I’m over here by the phone! Let me tell you about all about food.”
“Um, alright.”
Nyaromon proceeds to tell us about the (as she puts it) eight types of food:
Meat:
Increases Weight
Greatly improves Mood
Typically very filling
Fruit:
Lowers Fatigue
Greatly improves Mood
Vegetable:
Increases Training effectiveness
Increases Discipline
Almost never found in the wild, we’ll have ways of getting them as the game progresses
Mushroom:
Lowers Weight
Lowers Fatigue
Typically not filling
Nut:
Lowers Discipline
Typically not filling
Best used for cooking
For some reason, most of them have names that include the word “Fruit”
Drink:
Greatly improves Mood
Lowers Fatigue
Increases DigiFriend
Never found, purchased from vending machines
Fish:
Lowers Discipline
Increases Bond
A fishing rod is required to get these
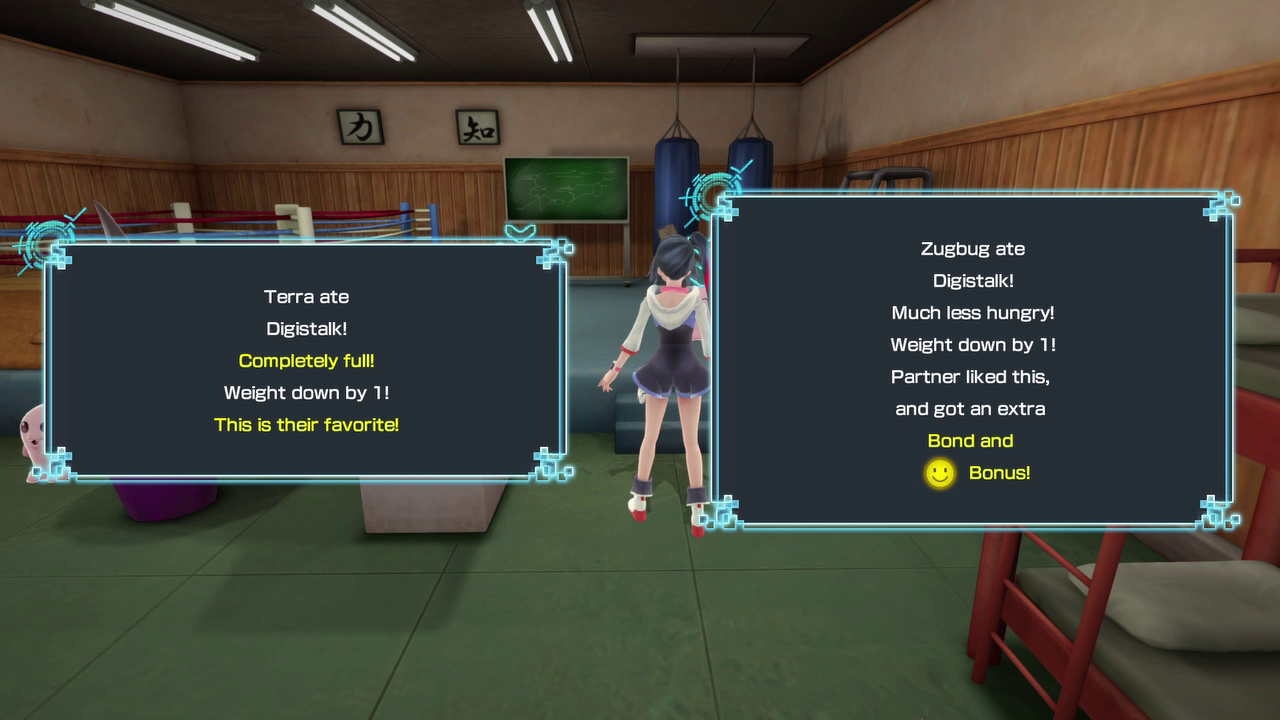
Yes, that was actually seven. Some foods can also give minor stat bonuses, and each Digimon will have favorite foods, which will give them additional bonuses to Bond and Mood.
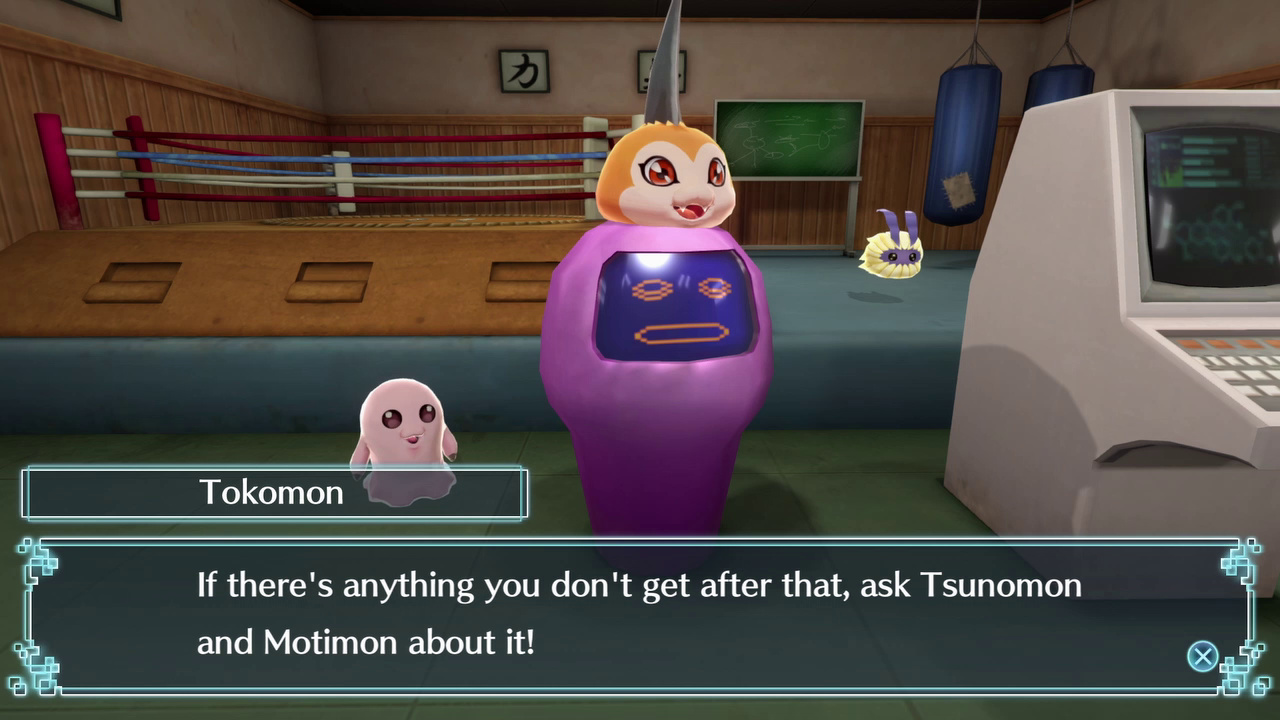
 “I’m Motimon, the master of training!”
 "And I’m Tsunomon, I don’t really do anything!"
“And we are going to PUMP-”
“Oh… my arms are too short to clap. Oh well.”
"I don’t even have arms!"
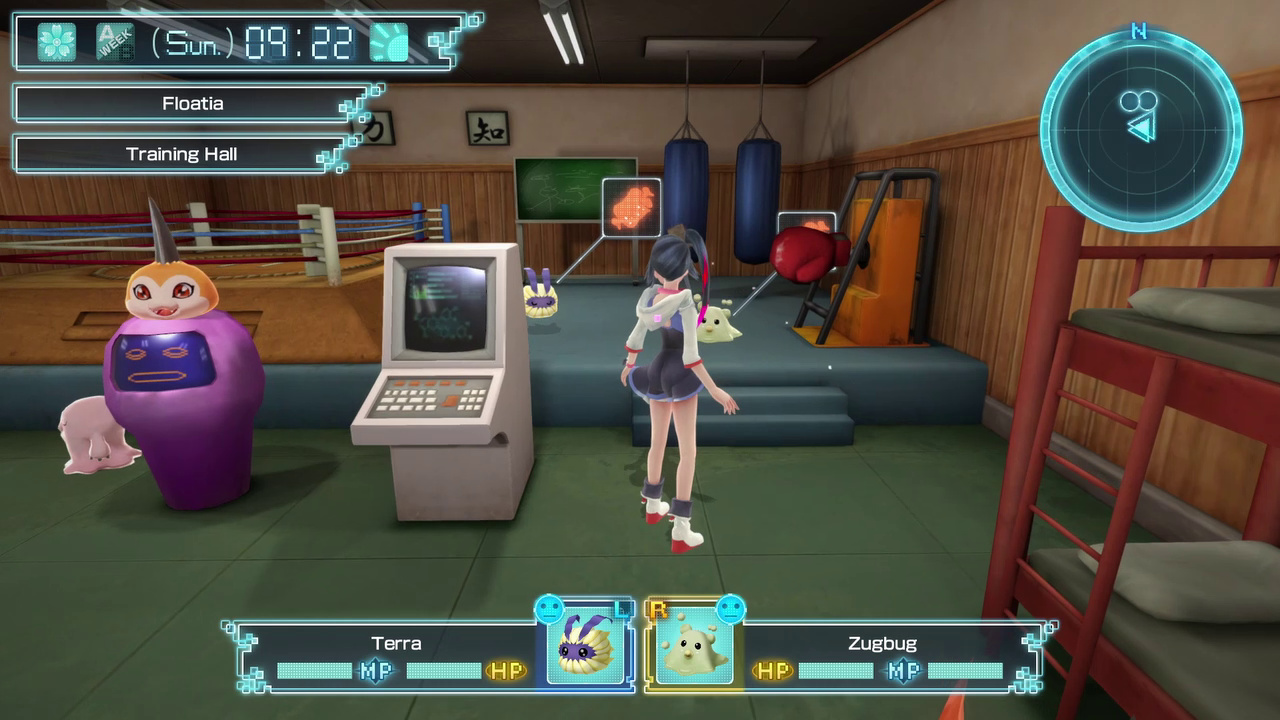
Dated references aside, let’s move on to the “Training” part of the Training Hall…
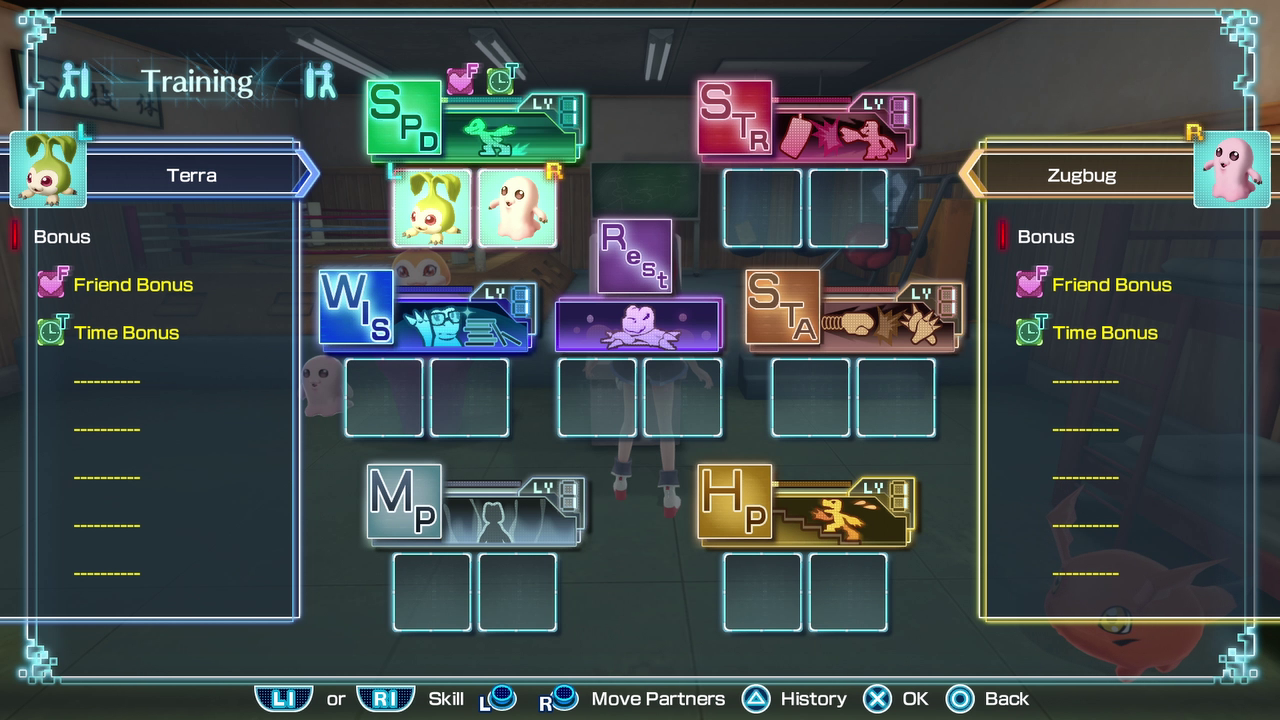
Training is incredibly important. We’ll be spending a fair deal of time here pumping stats into our partners, growing them from Digital Chumps to Digital Champs.
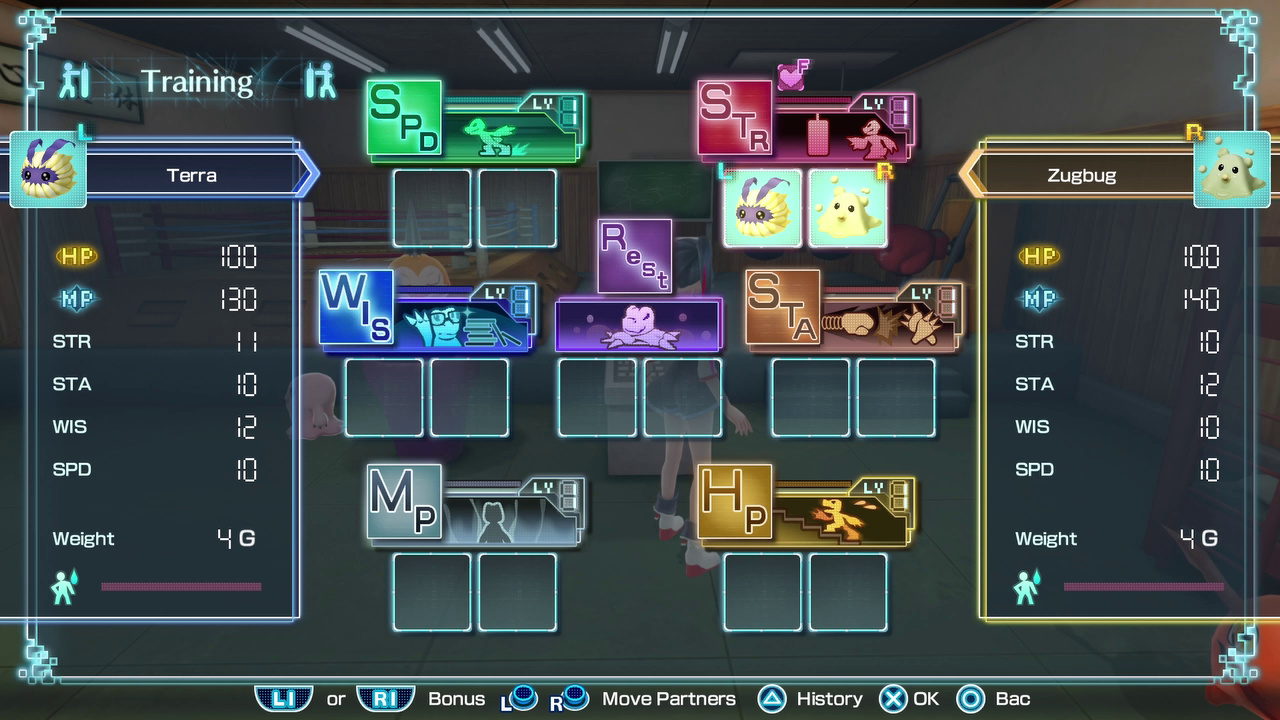
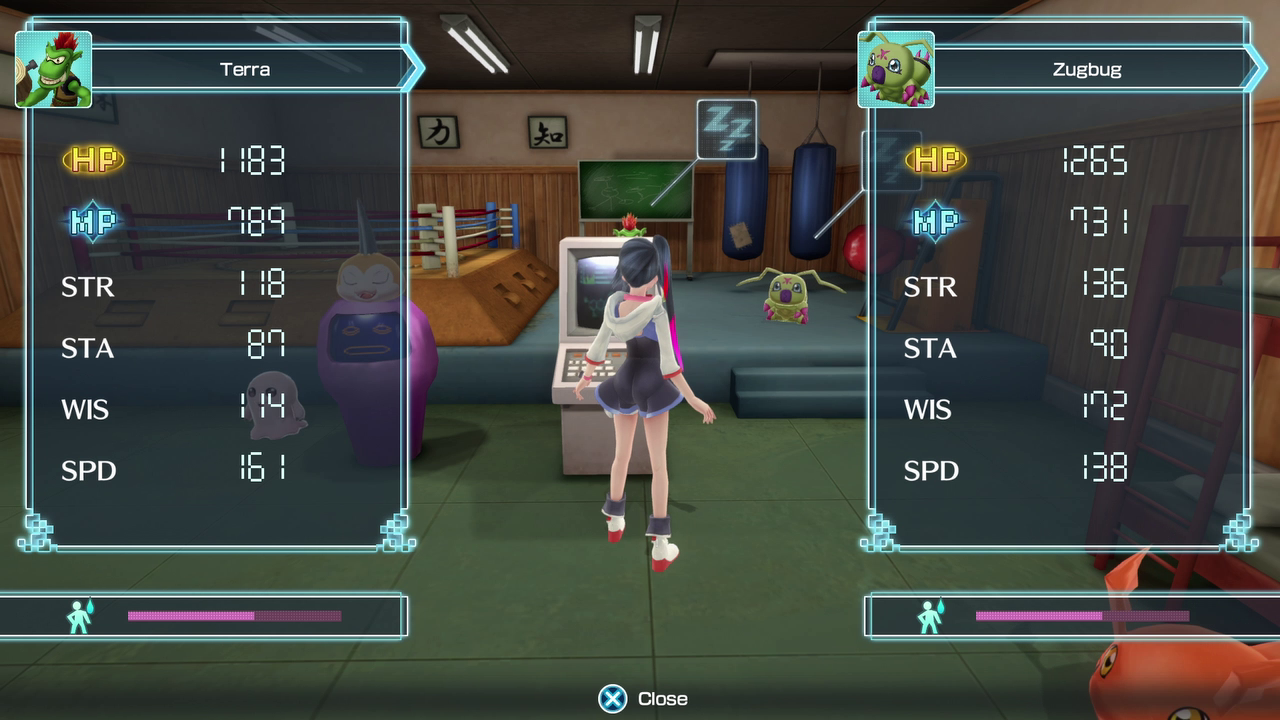
Finally, I can talk about stats. HP and MP are self-explanatory, but game doesn’t really explain what some of the others do.
STRENGTH: Pretty obvious; Strength factors into all of our Digimon’s damage. I know what Wisdom looks like, but there’s no “magic attack” stat in this game, so if we want a lightning bolt to hurt more, we want more Strength.
STAMINA: To put it bluntly, this is Defense. Having high Stamina means they’ll take less damage from attacks. It has a second benefit in that it’ll increase the number of Materials we can hold, up to a maximum of 200. We’ll be learning more about Materials later.
WISDOM: This stat actually serves three uses. Wisdom gradually increases their chance to block some of the damage they take, and it increases their chance of scoring critical strikes. It also reduces the MP cost of Skills, up to a maximum of 50%.
SPEED: Increases our Digimon’s movement speed in battles. This allows our partners to move out of the way of some attacks, and also lets them move into position for their own abilities much faster. I’m pretty sure this also slightly increases the rate that our Digimon will automatically, but I’ve never tested that idea out.
I’m not sure why Weight is listed on this screen, training has no effect on it. Like Tokomon said, training build Fatigue, we can relieve some by resting for an hour at Gigimon’s bed, using the Rest command at the console, or going to bed for the night.
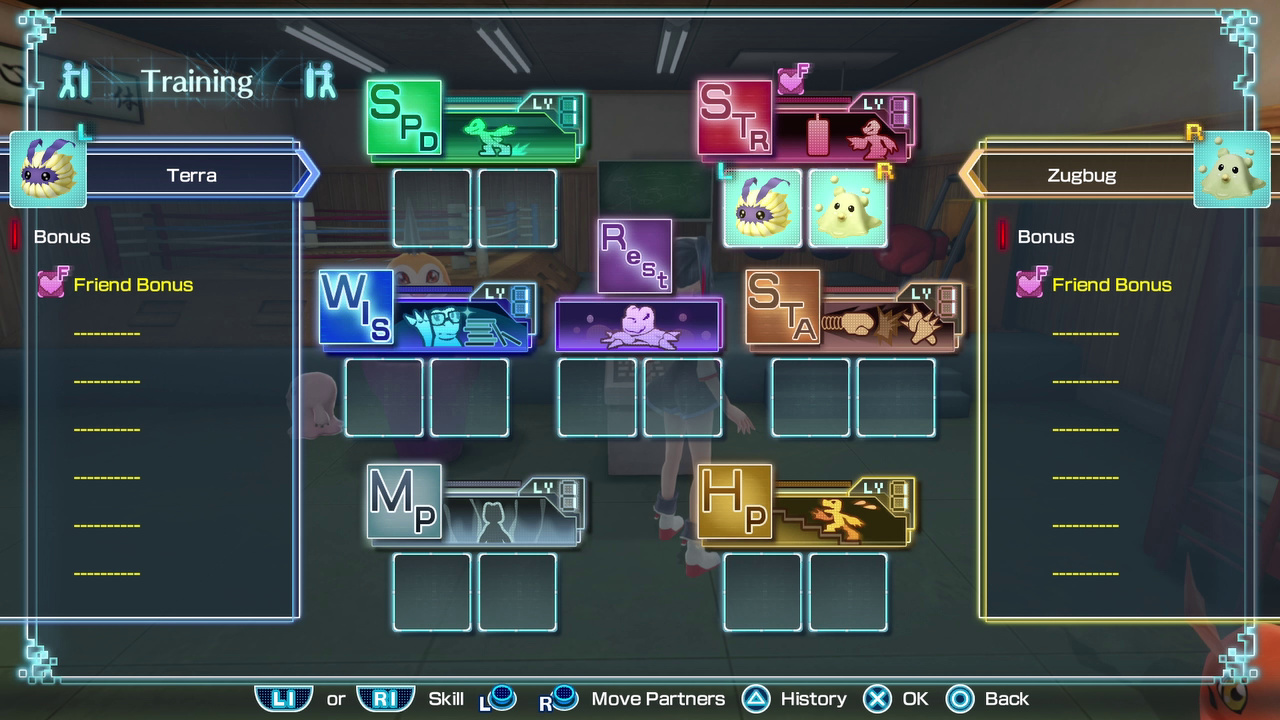
And here we see what bonuses we have. Bonuses are incredibly handy, the more we have, the higher our stat gains will be. Here’s a quick list of some of them:
BUDDY: Placing Digimon on the same tool, or on adjacent tools, will give this bonus.
RIVAL: Placing Digimon on tools across from eachother will give this bonus.
DAY BONUS: Depending on the day of the week, one tool will have this bonus. There is no bonus on Sundays.
TIME OF DAY: Each Digimon has a certain time of day that they prefer training at.
MOOD: At 80 Mood, this becomes active for the individual Digimon. This becomes stronger with 100 Mood.
GROWTH SPURT: If our Digimon are at different stages (ie, one Champion and one Ultimate), this bonus is granted to the smaller Digimon.
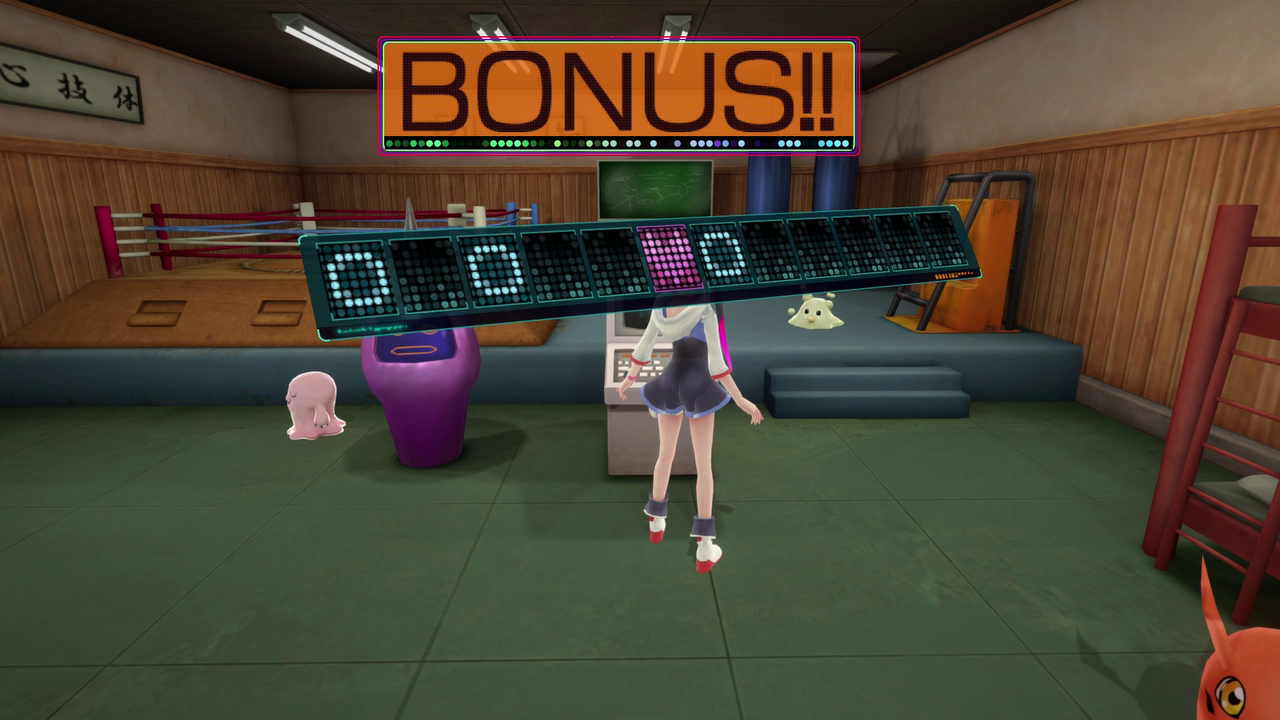
And here’s the Roulette bar. A light quickly flashes across the bar, and if we stop it on a space with any icon on it…
Our stat gain gets a 1.25x multiplier. It doesn’t matter which icon you hit, just as long as you don’t get an empty space.
Every bonus I listed above doesn’t just increase the raw stat gain, they also add an extra “win” icon to the roulette. Getting the multiplier also adds a “W” to the bar as another bonus space, making it easier to get multiple wins in a row.
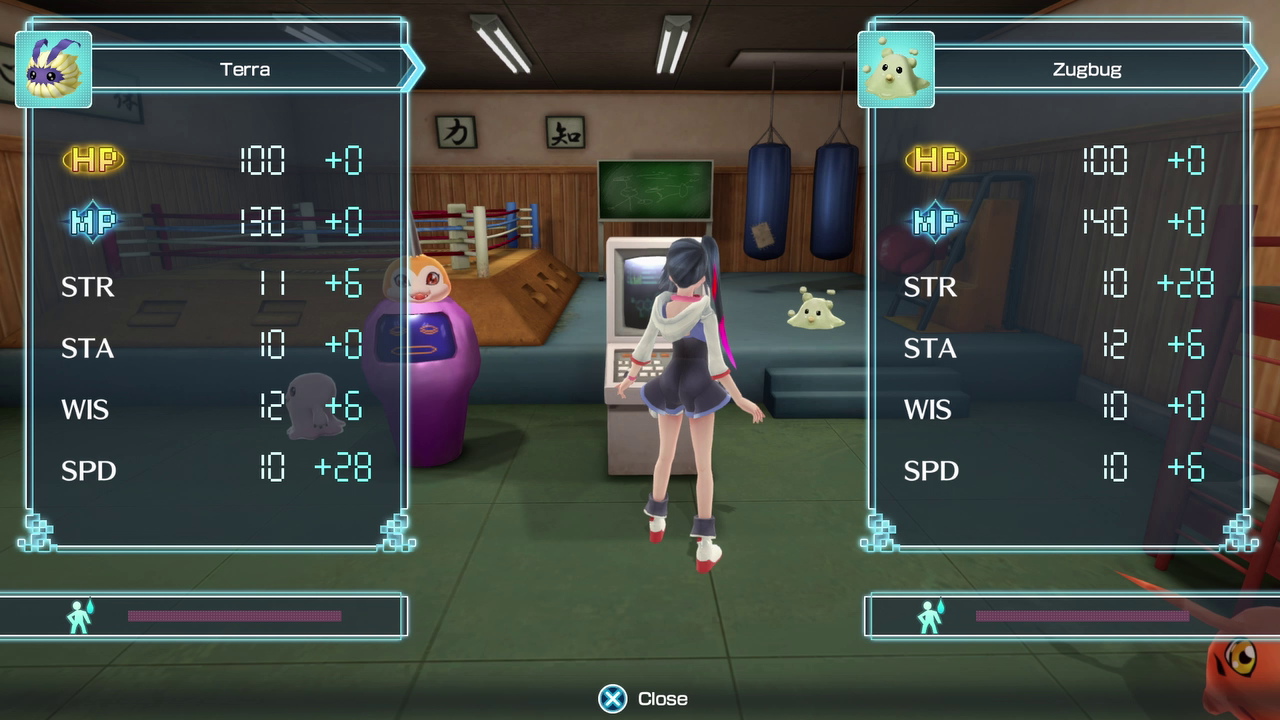
Delicious, delicious stats. Worth mentioning that our Digimon also get some stats from the equipment neighboring the one they used, so training Speed also gets us a little Strength and Wisdom.
Oh, you guys remember how I set the game to “Easy?” Difficulty in this game does not change anything about the Digimon we encounter in the world, it only cuts our stat gains. If I set the game to Normal, Terra would’ve gained 3 STR/3 WIS/14 SPD instead, and when they reincarnate, the stats they’re born with will also be lower. I don’t like it, since for me, it basically translates to “spend a couple more days at the gym getting ready, have less time to do stuff before your Digimon die.”
“Easy” in the PS4 version is also identical to “Normal” in the original Vita release, our Normal is their Hard.
Now they’re hungry. We can open the Care menu with Square.
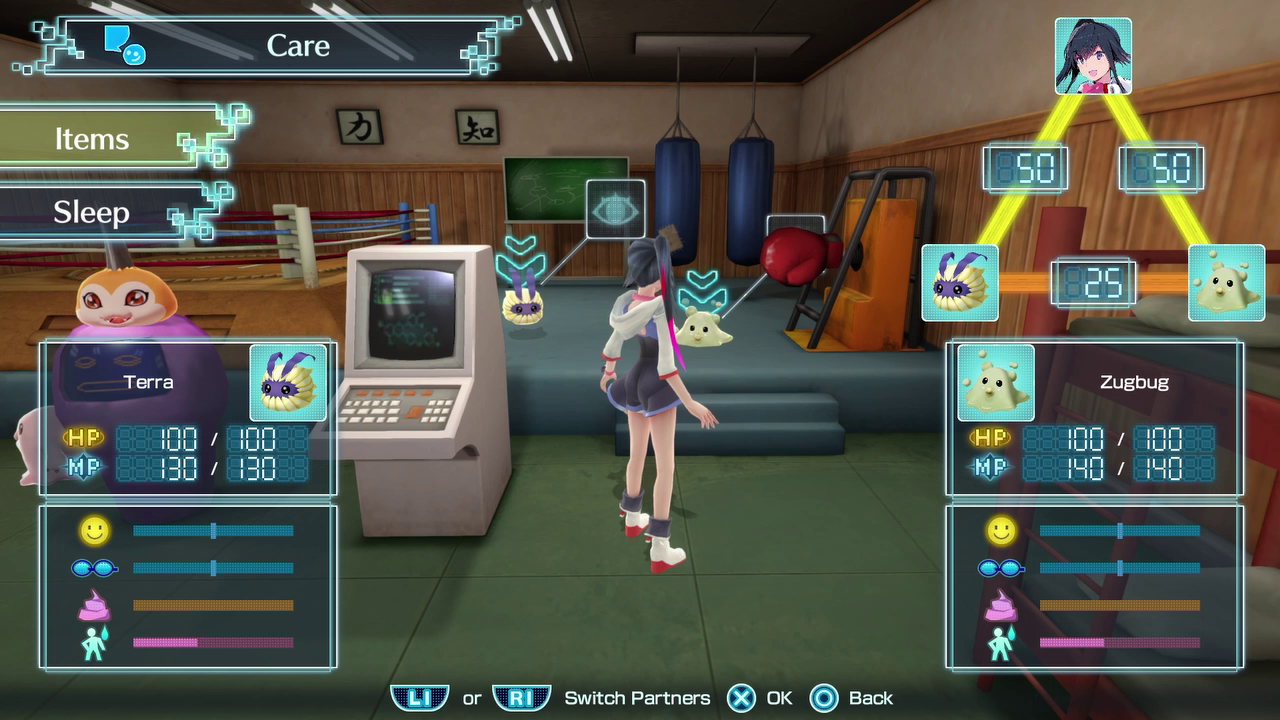
From here, we can give them items and let them sleep. With L1 and R1 we can choose to use items on our Digimon individually in case we want them to have different diets.
Let’s throw them some meat.
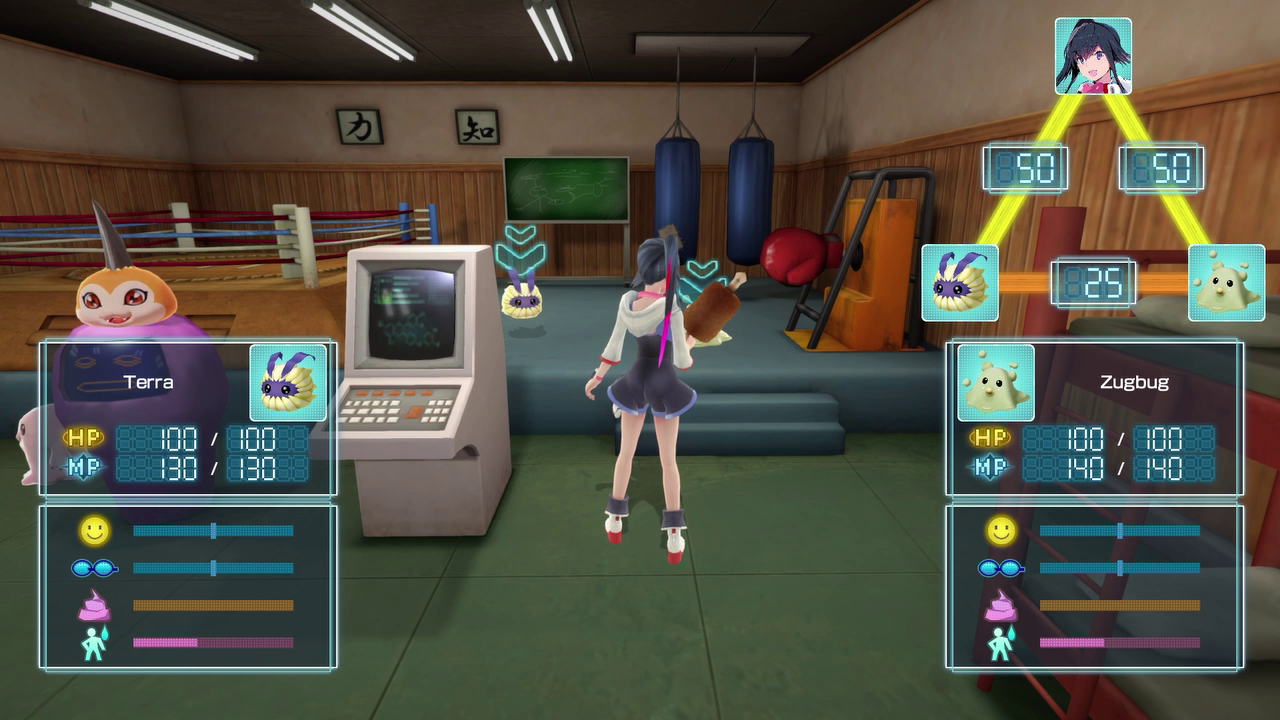
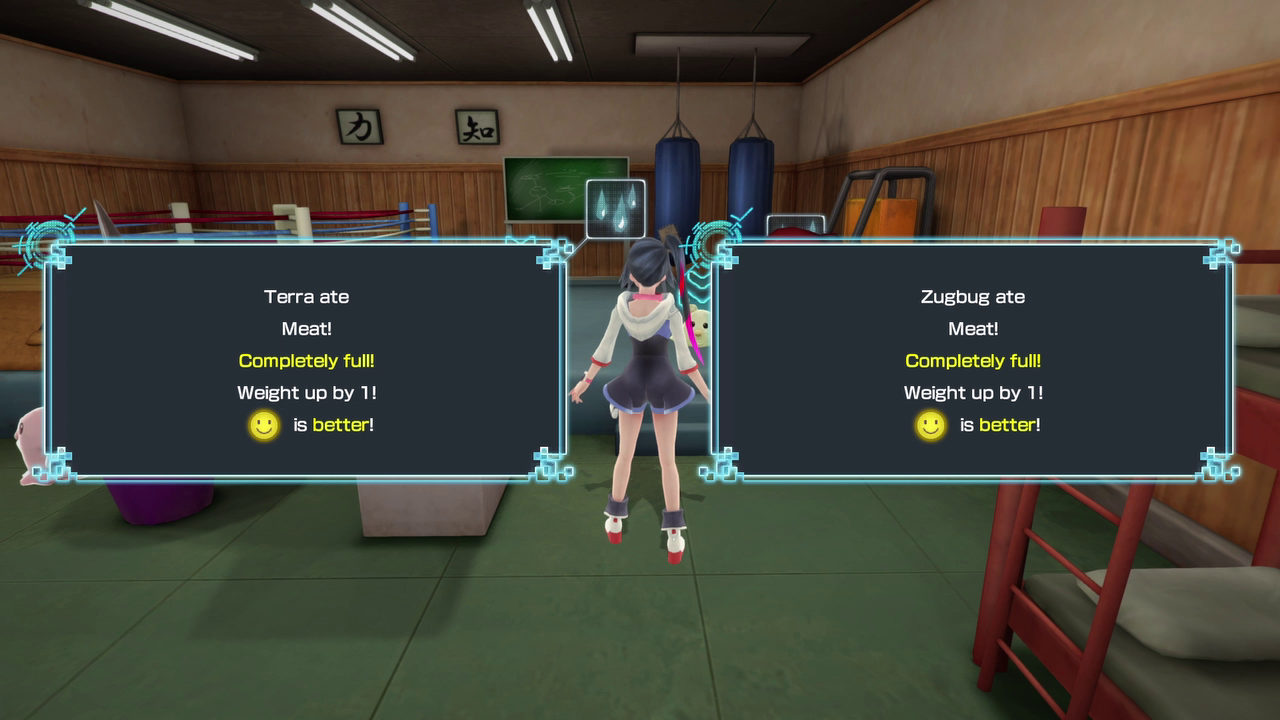
Well, that was simple, but now they’re saying they’re fatigued. Since we’re only training them, they’re not in any real danger yet, but we’ll want to let them rest a bit before we go out in the world. Exploring with high Fatigue makes it easier to get sick, after all!
We can typically get one more training session out of them, and we can usually push it to two sessions if we know they’re close to Digivolving or going to bed. Digivolving resets a few things, including hunger and fatigue.
On that note, we didn’t actually need to feed them, because after the next session…
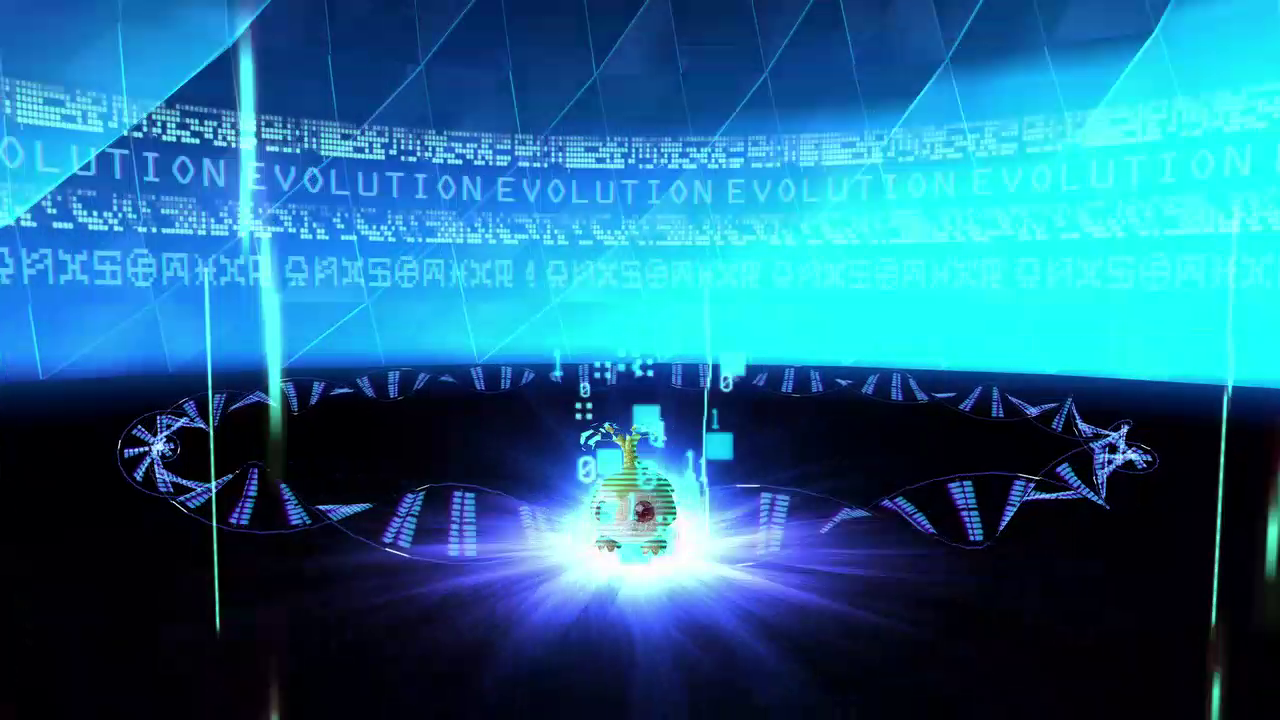
[VIDEO] Our partners Digivolve
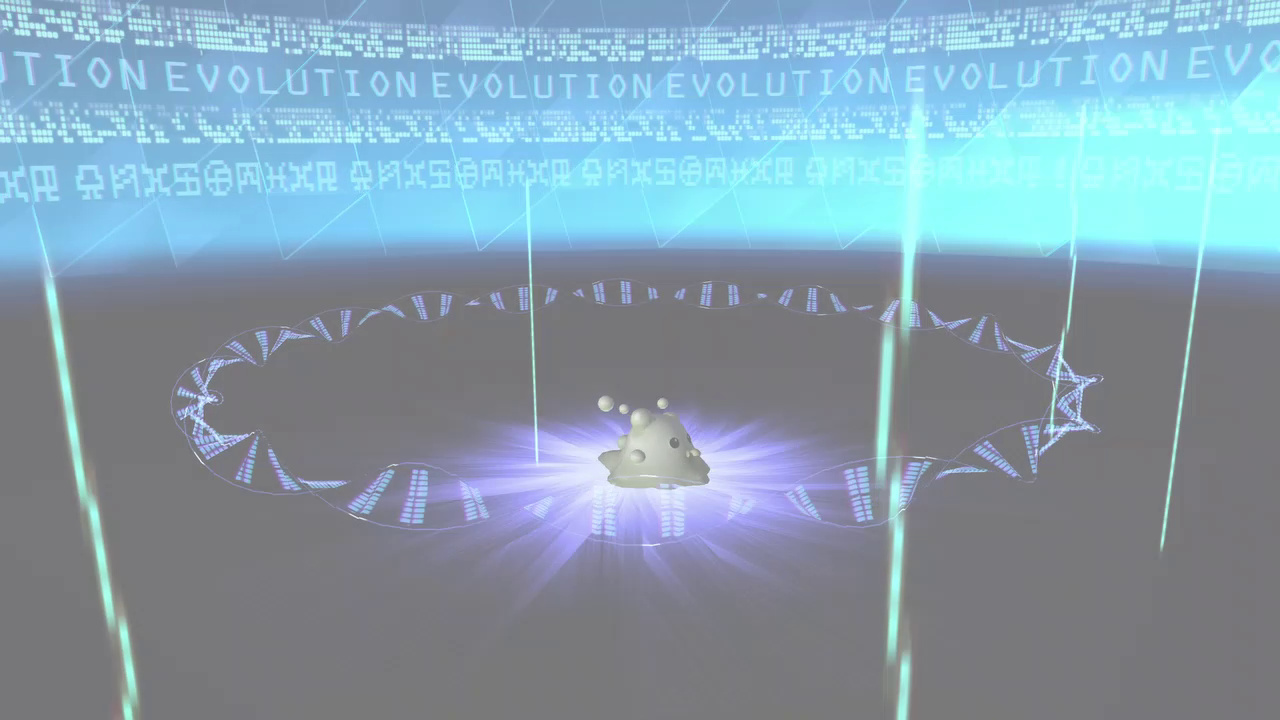


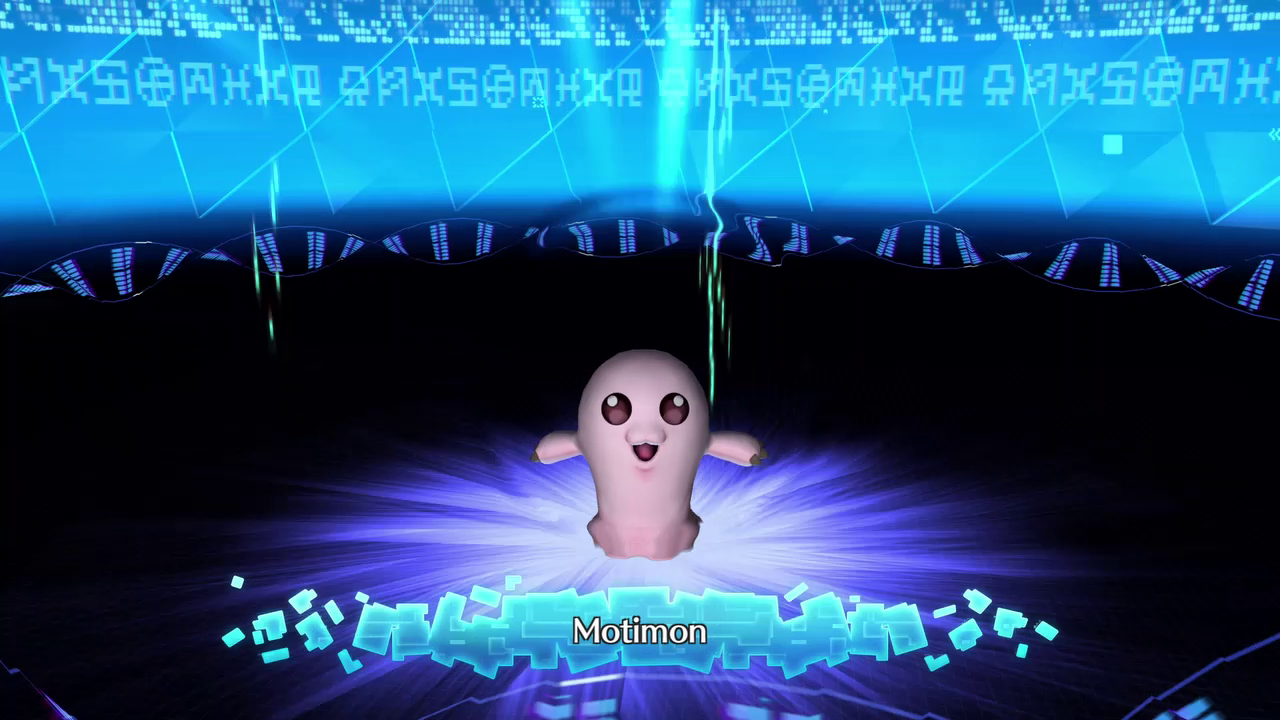
Well, no surprises there. The In-Training stages for each egg are set in stone, Rookie is
the first stage with any variation, and this is where the stats you train start to matter.
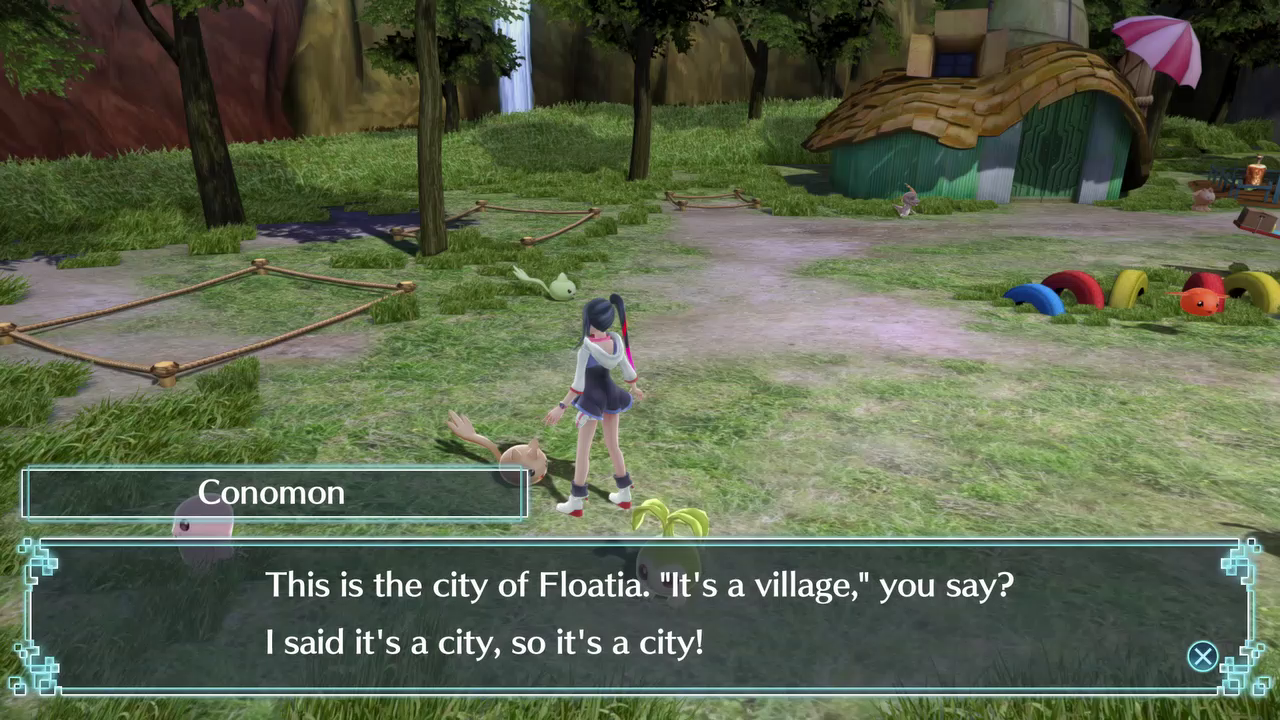
Let’s take a break from all this and look around Floatia.
“You’re going out? You should at least Digivolve to Rookie first…”
“You’re not my dad.”
We head outside…
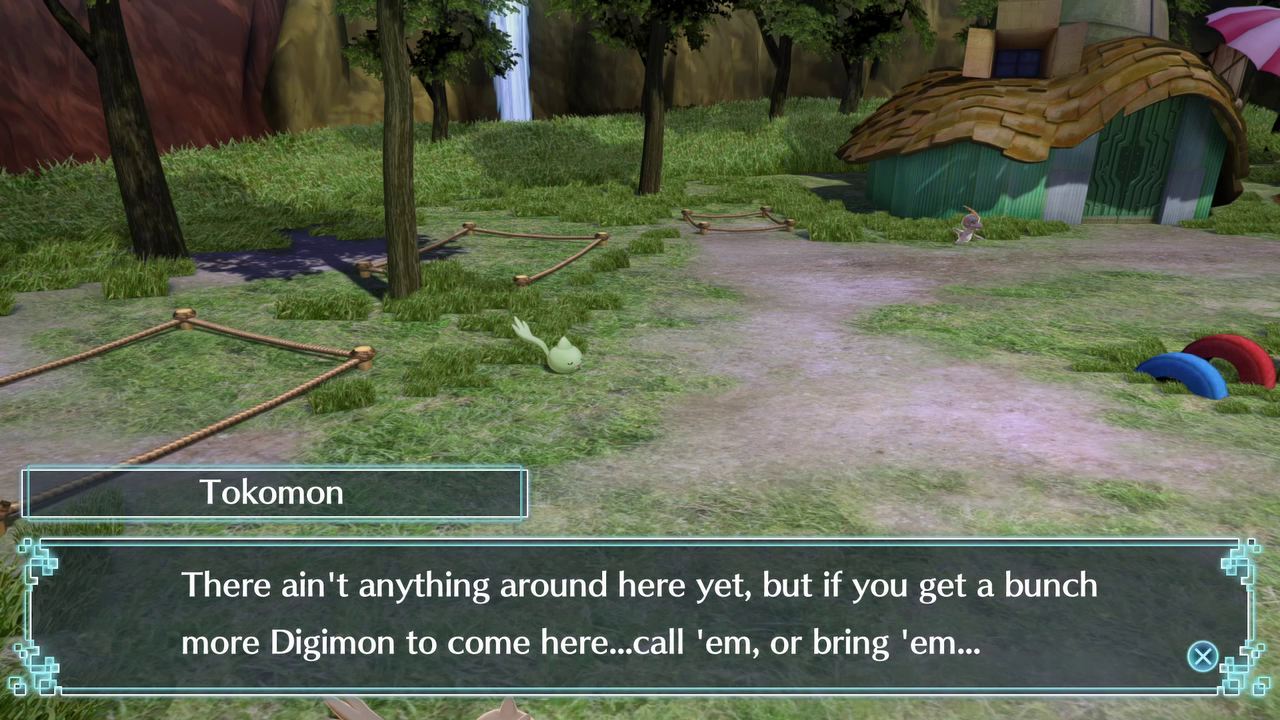
“New Digimon can build new facilities that provide new services!”
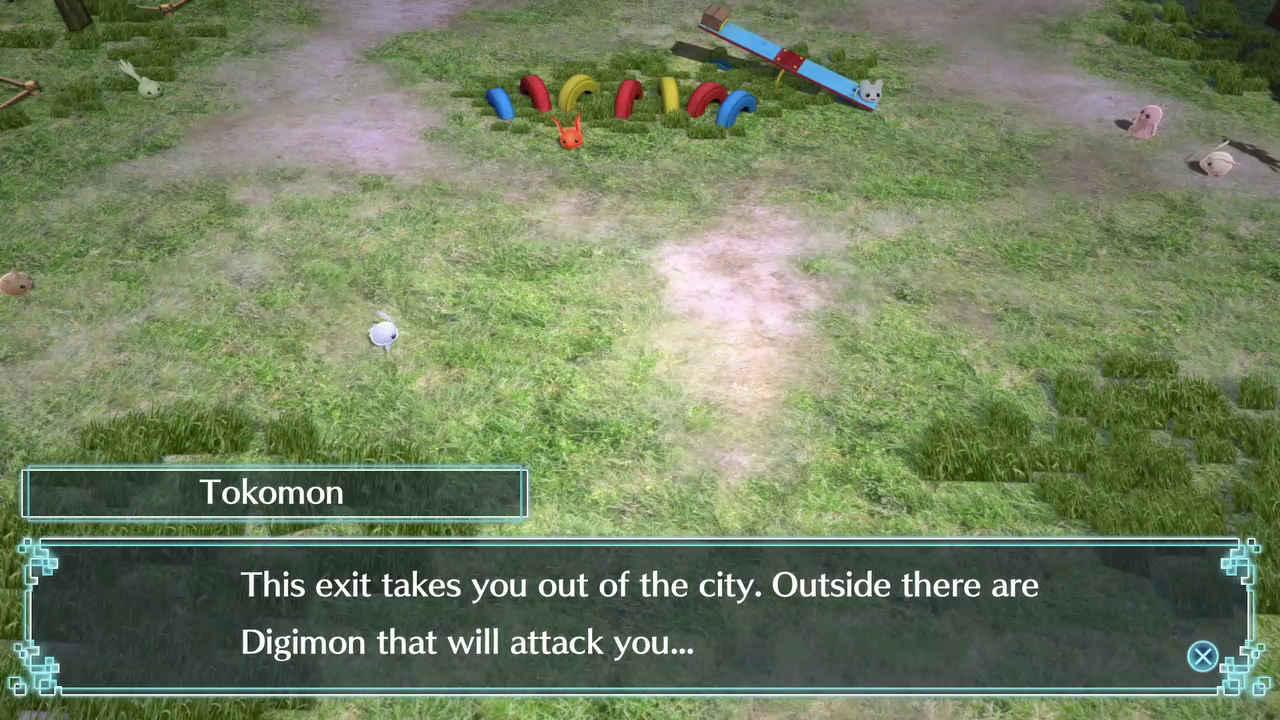
“If you’re careful, you can avoid battles. If you get in trouble, come back to Floatia!”
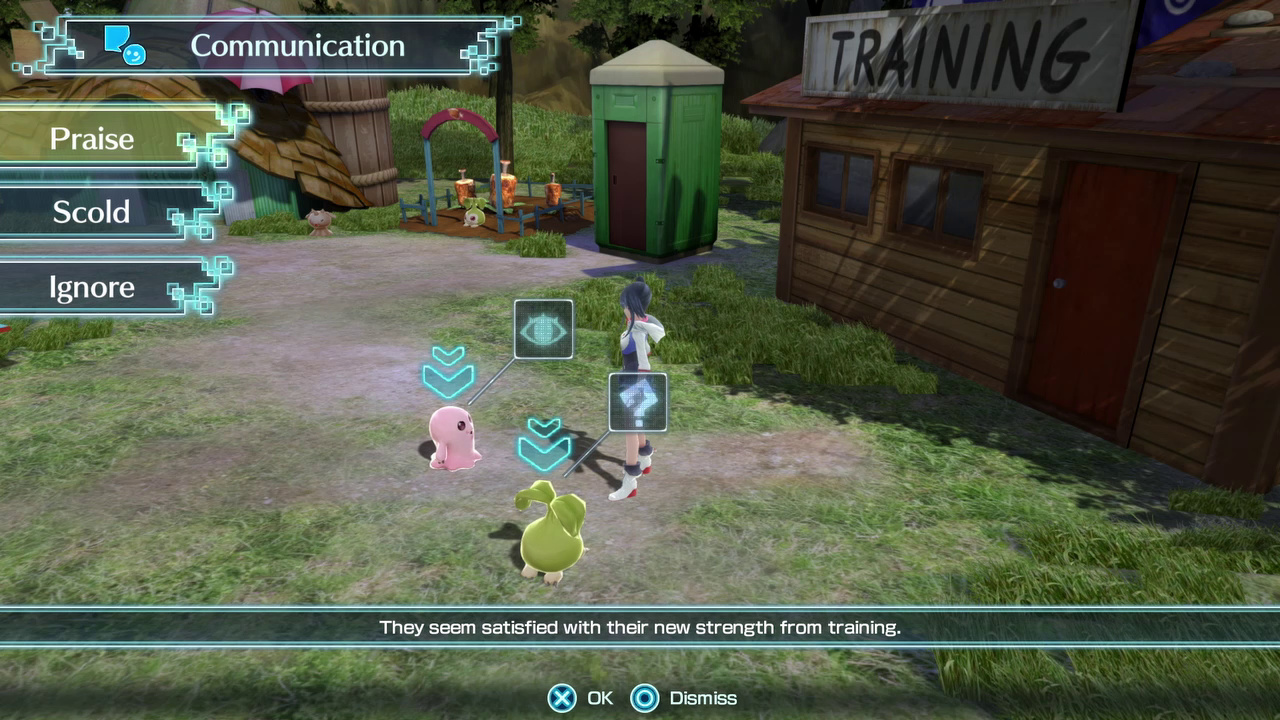
Tokomon finally buggers off, and our partners scamper over to us. Sometimes, we can choose to praise, scold, or ignore our partners after they do something.
Let’s go talk to some of the other locals.

 “You can find them when you pick up materials sometimes.”
“They serve little purpose besides earning some Digivolution items and a PSN Trophy.”
We’ll passively get them while gathering sometimes. There are 540 of them in all, and if we try real hard we can get about 9 or 10 of them in a day. I did this in my original playthrough because I had too much time to kill.
The YukimiBotamon and Bukamon offer us more tutorials. Like Punimon, I’ll wrap them into future updates as the information becomes relevant.

 “But then Machinedramon tore on through, and all the Digimon just scattered…”
“The Floatia you see now is the one Jijimon and the rest of us have worked to rebuild…”
Botamon serves a useful purpose. When we talk to him, he’ll hint at a few Digimon we can currently go recruit. If you play this and hit a wall, he’ll help you get back on the right track.
There’s a Poyomon here who will teach us about the online features, but we can’t really do anything with that right now.
Before we head back to the Training Hall, let’s take a look at Digivolution requirements.
This is the History page. This shows us the forms our partners have taken since being reborn, and the potential forms they can take when they Digivolve. We have to “learn” the requirements for most Digivolutions, but we start with all of the information we need for Rookies.
The layout is simple: in order to Digivolve further, we have to have our stats built in certain ways. When you meet a requirement, the box showing the stat will light up.
We know about most of these stats, but some of the bottom ones could use some clarification:
TF: Short for Training Failures. We get these by letting our partners poop on the floor, or by ignoring their need to eat and sleep until they cry or pass out. Believe it or not, some Digimon actually have a minimum requirement for this.
Victory: Possibly the most annoying stat. This is how many battles they’ve won. This stat resets with Digivolution, which means going for a particularly violent will usually ask you to grind 20 fights as Rookie, 30 as Champion, and then 40 as Ultimate. Yeesh. Some Digivolutions also prefer pacifists.
Key Digi: This is basically a freebie for a number of Digimon, provided we’re going down their standard Digivolution path. For example, MetalGreymon’s Key Digi is Greymon, so if we’re using a Greymon, we’ve already got a Key Point.
Key Points: The most important requirement. For each stat we have lit up, we have 1 Key Pt towards the Digivolution. In this case, Terra has 2 of 3 Key Points that will let it Digivolve into Aruraumon. Some Digivolutions require every Key Pt we can possibly get, others are more lenient, having 6+ potential Key Pts and requiring, say, 5 of them.
Unfortunately, we’re not guaranteed to become the Digimon we want when the time comes. If we meet the standards for more than one Digivolution, then we’re left hoping for the best. We’ll be able to do something about this later.
We also get Digivolutions like this. Yeah, probably not getting that with our first batch.
Now, let’s get some Rookies.
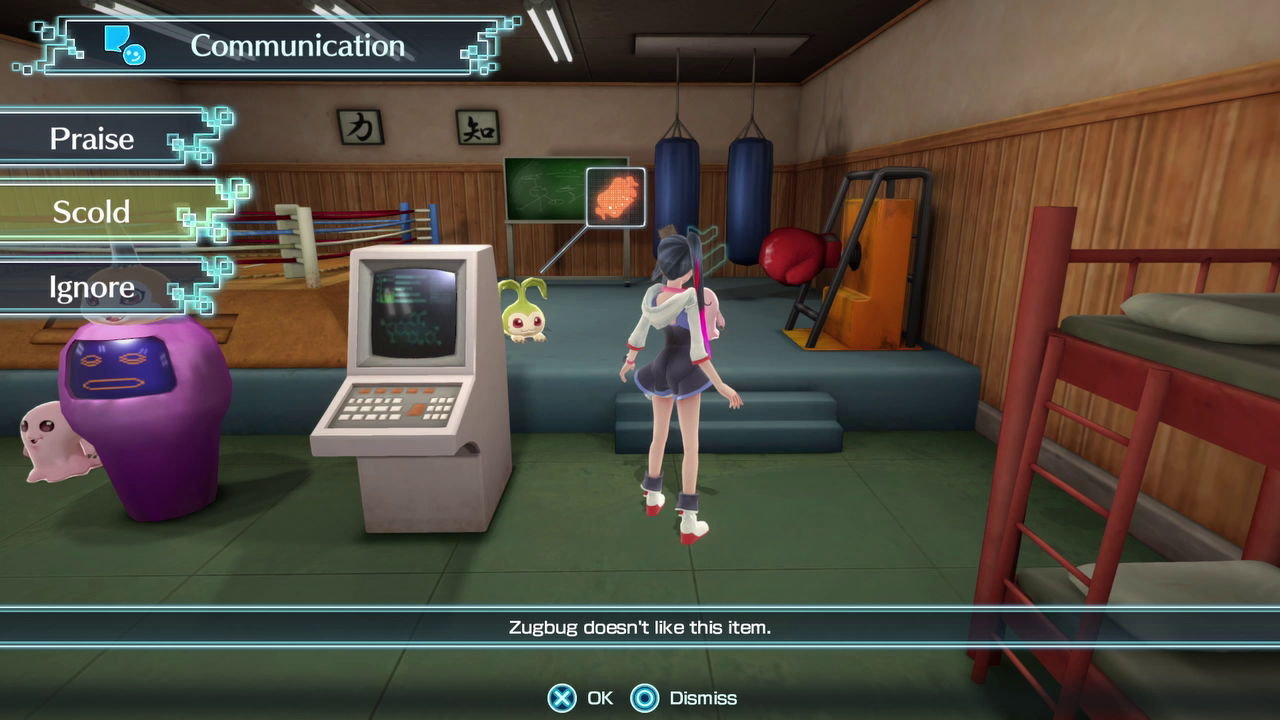
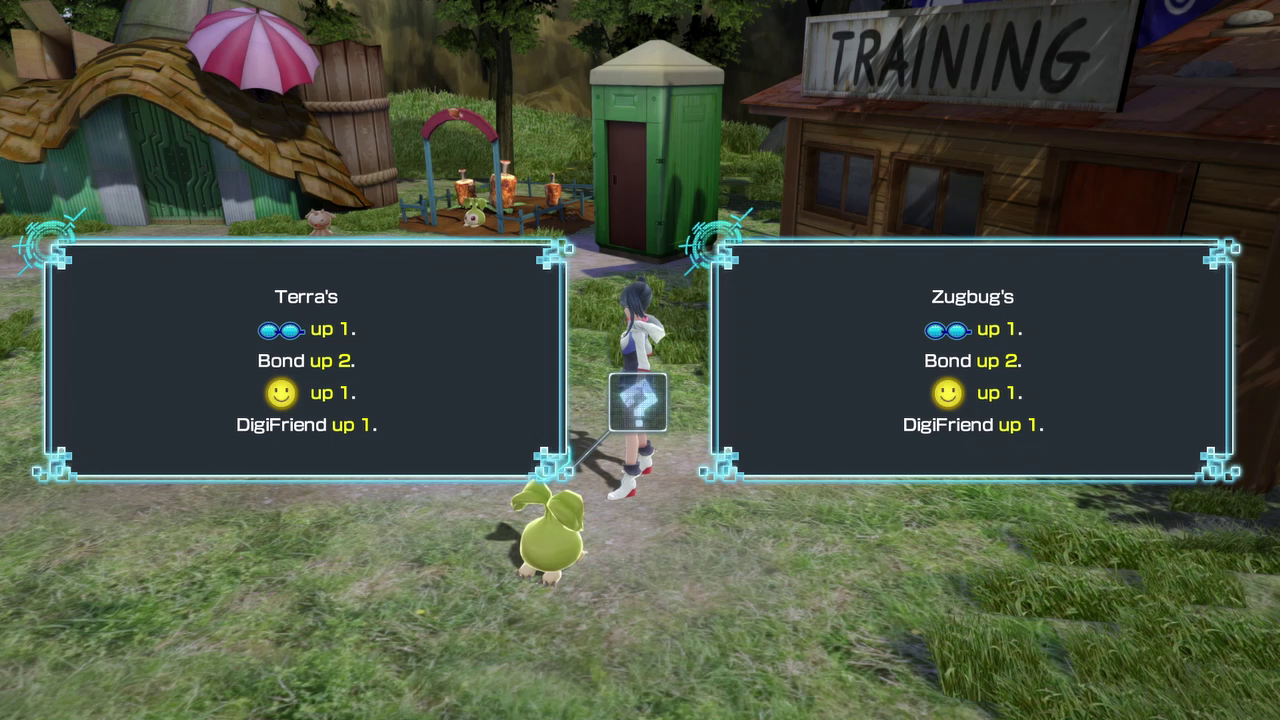
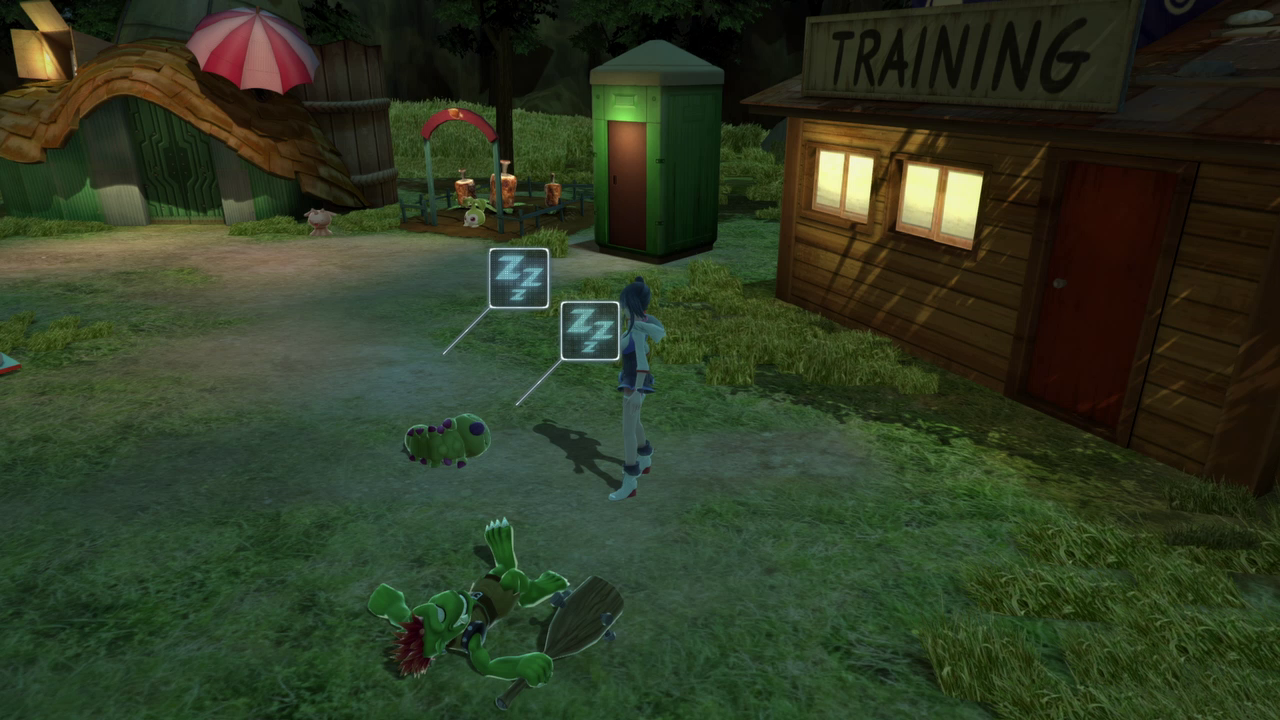
Zugbug refuses to eat, so we scold them and they respect us a little more for it. They also go from disliking mushrooms to loving mushrooms almost instantly.
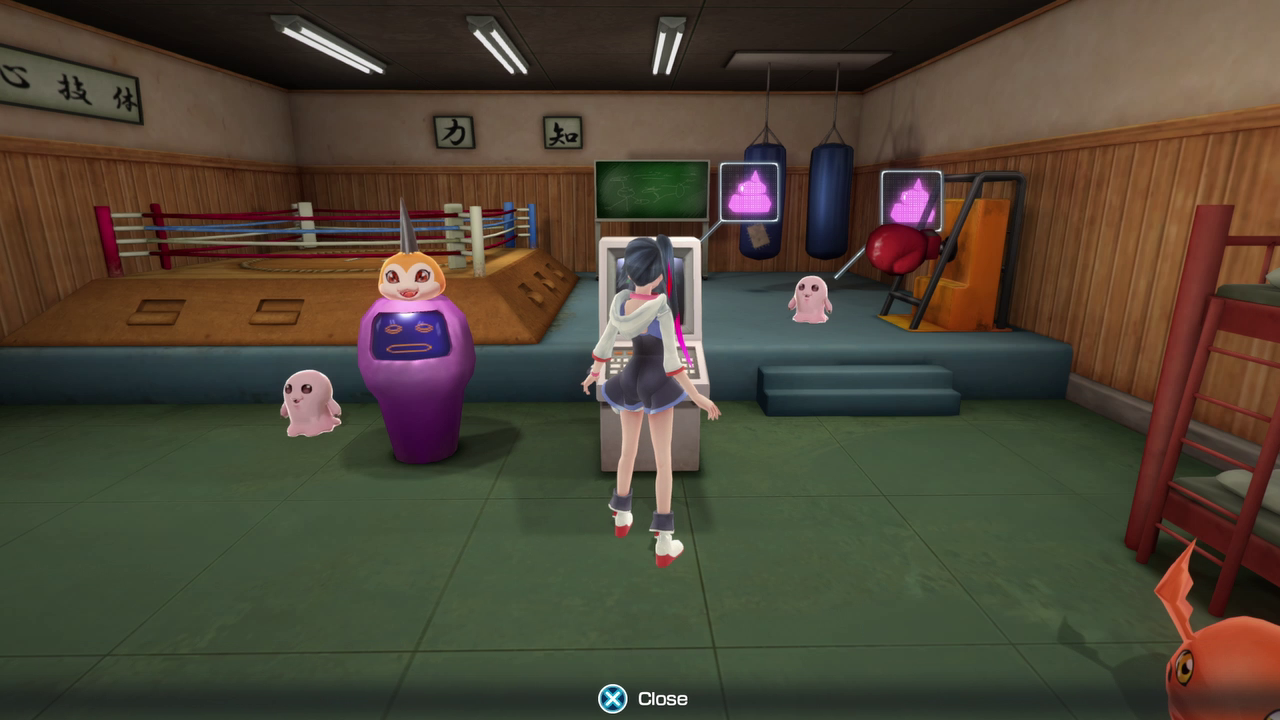
Thankfully, the Training Hall has a restroom, so this problem is resolved quickly.

Digimon like their privacy. We continue training for a few more hours, until…
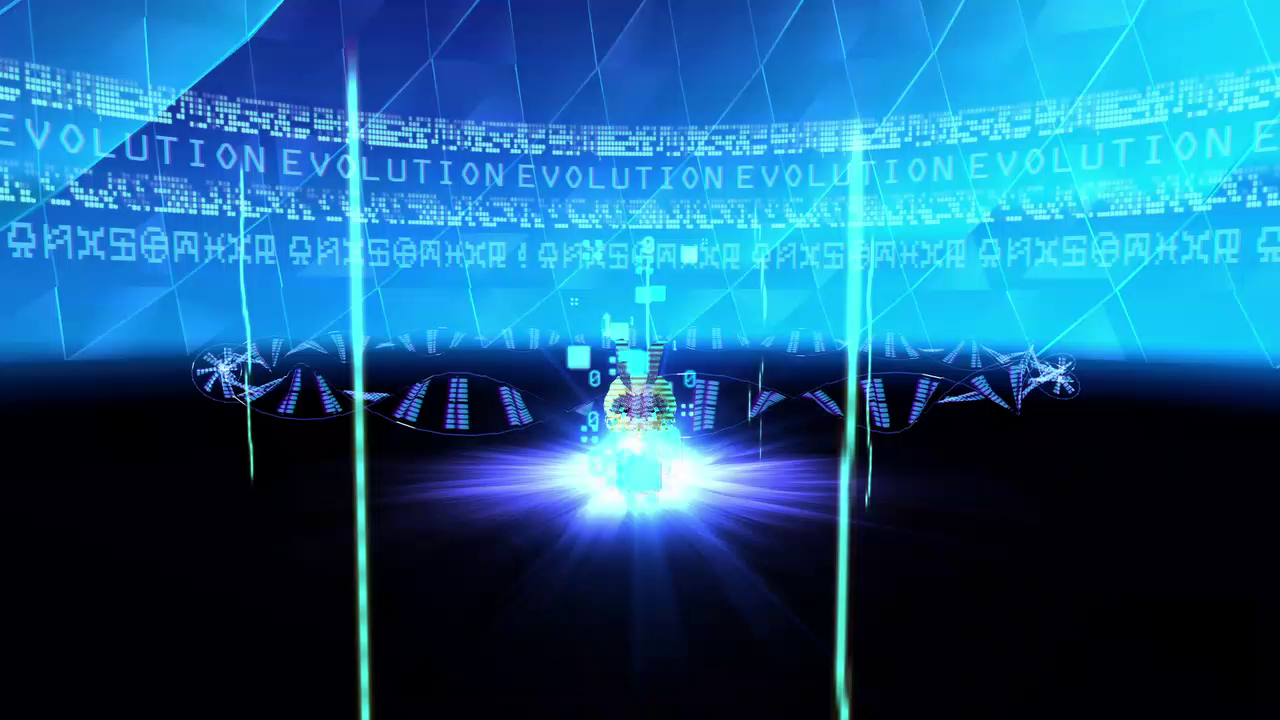
[VIDEO]…I make a Rookie mistake.

Zugbug Digivolves into a Wormmon. Terra, on the other hand, shows off the dangers of not paying attention. I overdid the Strength training, so Terra met the requirements for two Digimon.

I was aiming to keep Terra as a plant. Oh well. We train them until they decide they’re ready for sleep.
These are their final stats for the night. Before we let them sleep, let’s step outside for a bit…
“Good night, my darlings.”
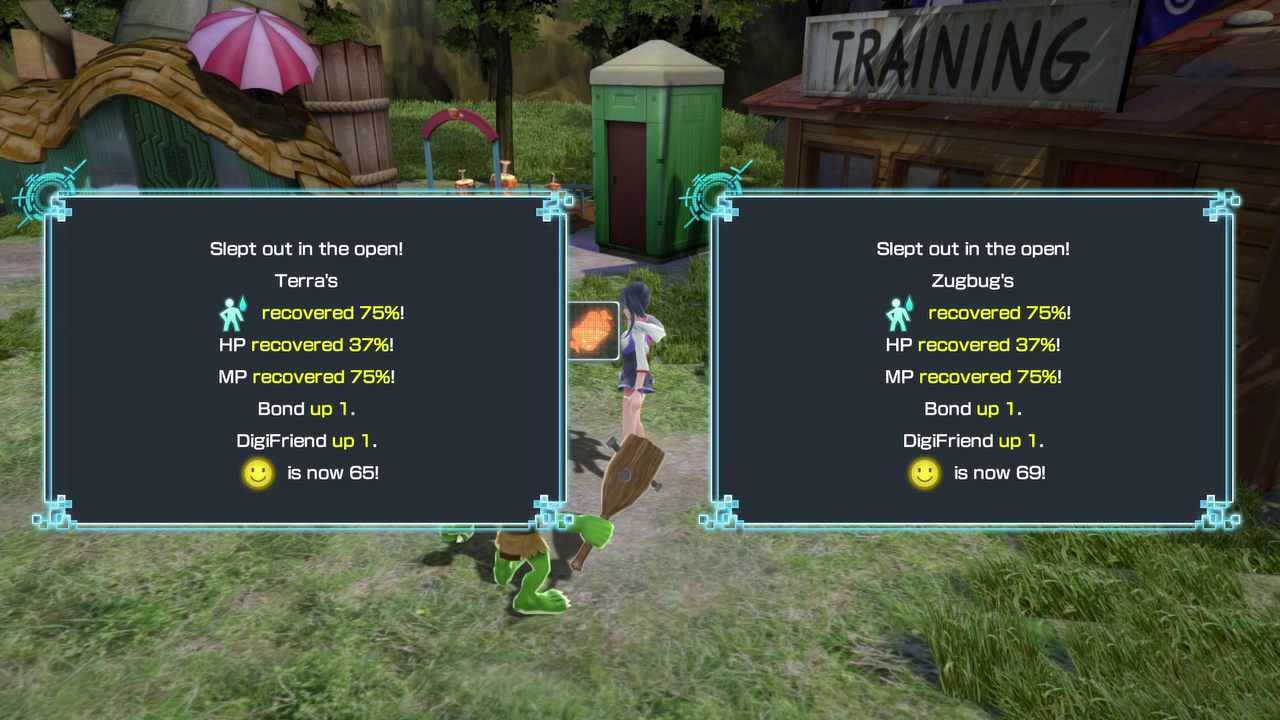
Oh yeah, sleeping outside or out in the open isn’t a great idea, as seen here. Our Digimon recovered less than they would have if they slept in the Training Hall or Jijimon’s house. In some environments, sleeping outdoors also runs the risk of making our Digimon sick. We’ll eventually get something that helps us with this.
"We’ll try not to do it too often-Terra no!"
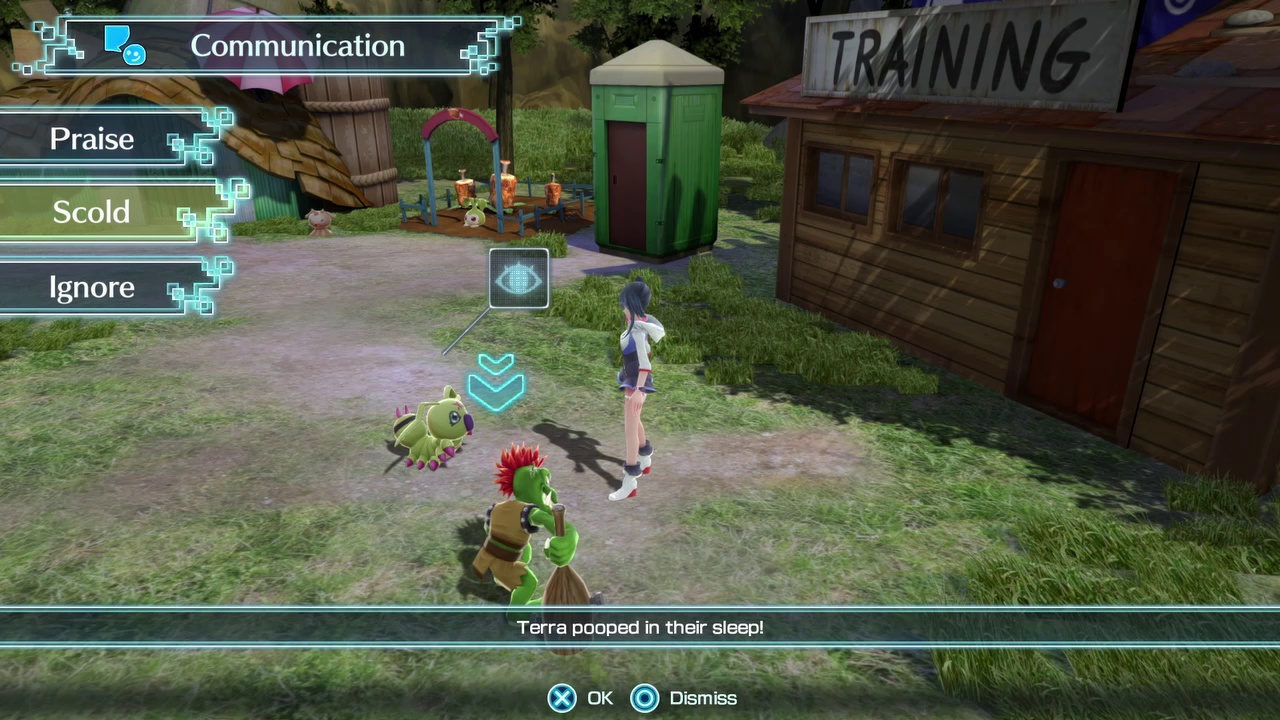
Ugh, on the plus side, sleep pooping doesn’t leave a stain on the world, and it doesn’t count as a Training Failure.
Well, let’s eat, and then we’ll hit up Tanemon for today’s rations.
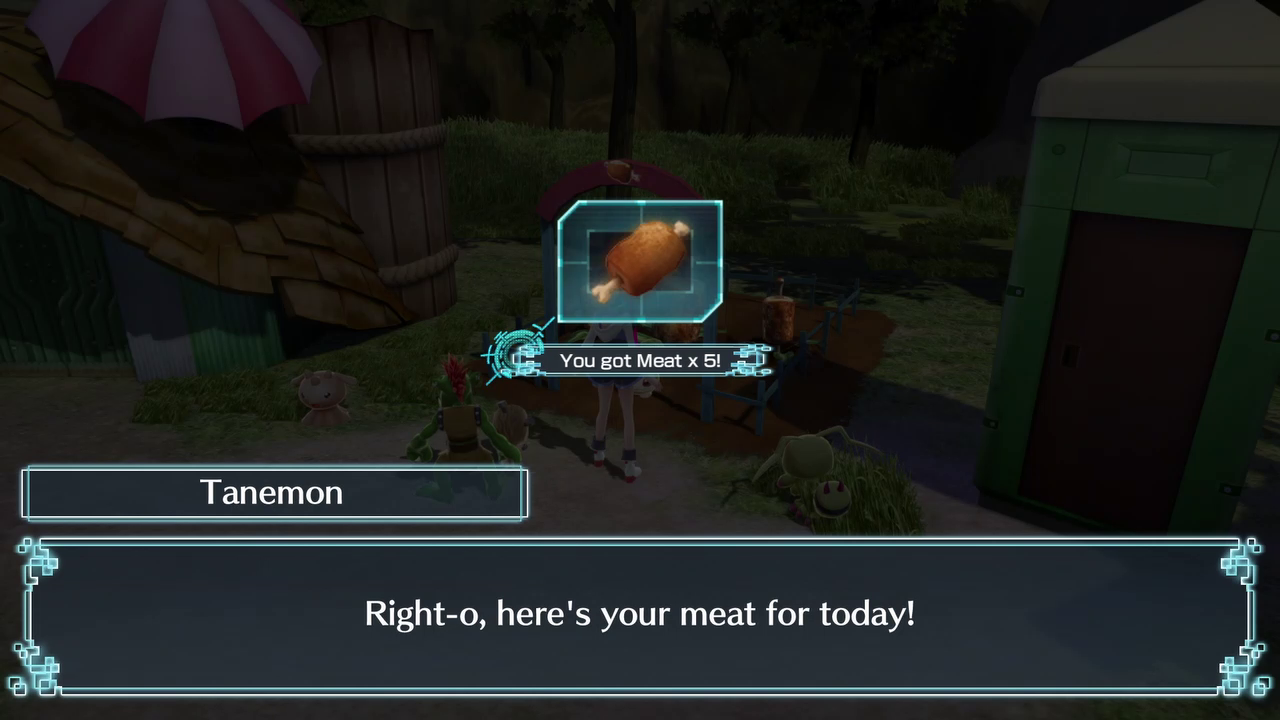
Oh no. For the record, we started with 10 DigiStalks and 10 Meat. We went though 4 DigiStalks and 6 Meat yesterday, and that’s not counting what I fed them for breakfast. If we don’t get out into the world today to get some food, we’re going to have problems…
But we’ll do that next time. See you then!
(To avoid having a mile-long wall of Jijimon, I tried a thing to condense his text. Hopefully it doesn’t look awful.)
(Also, don’t forget to submit names! Send them via PM if you’re worried about cluttering the thread. I’ll put up a poll for the player’s name at the end of the next part.)
Optional Dialogue Compilations for this File:
Jijimon talks about Machine-dray-mon for 7 minutes