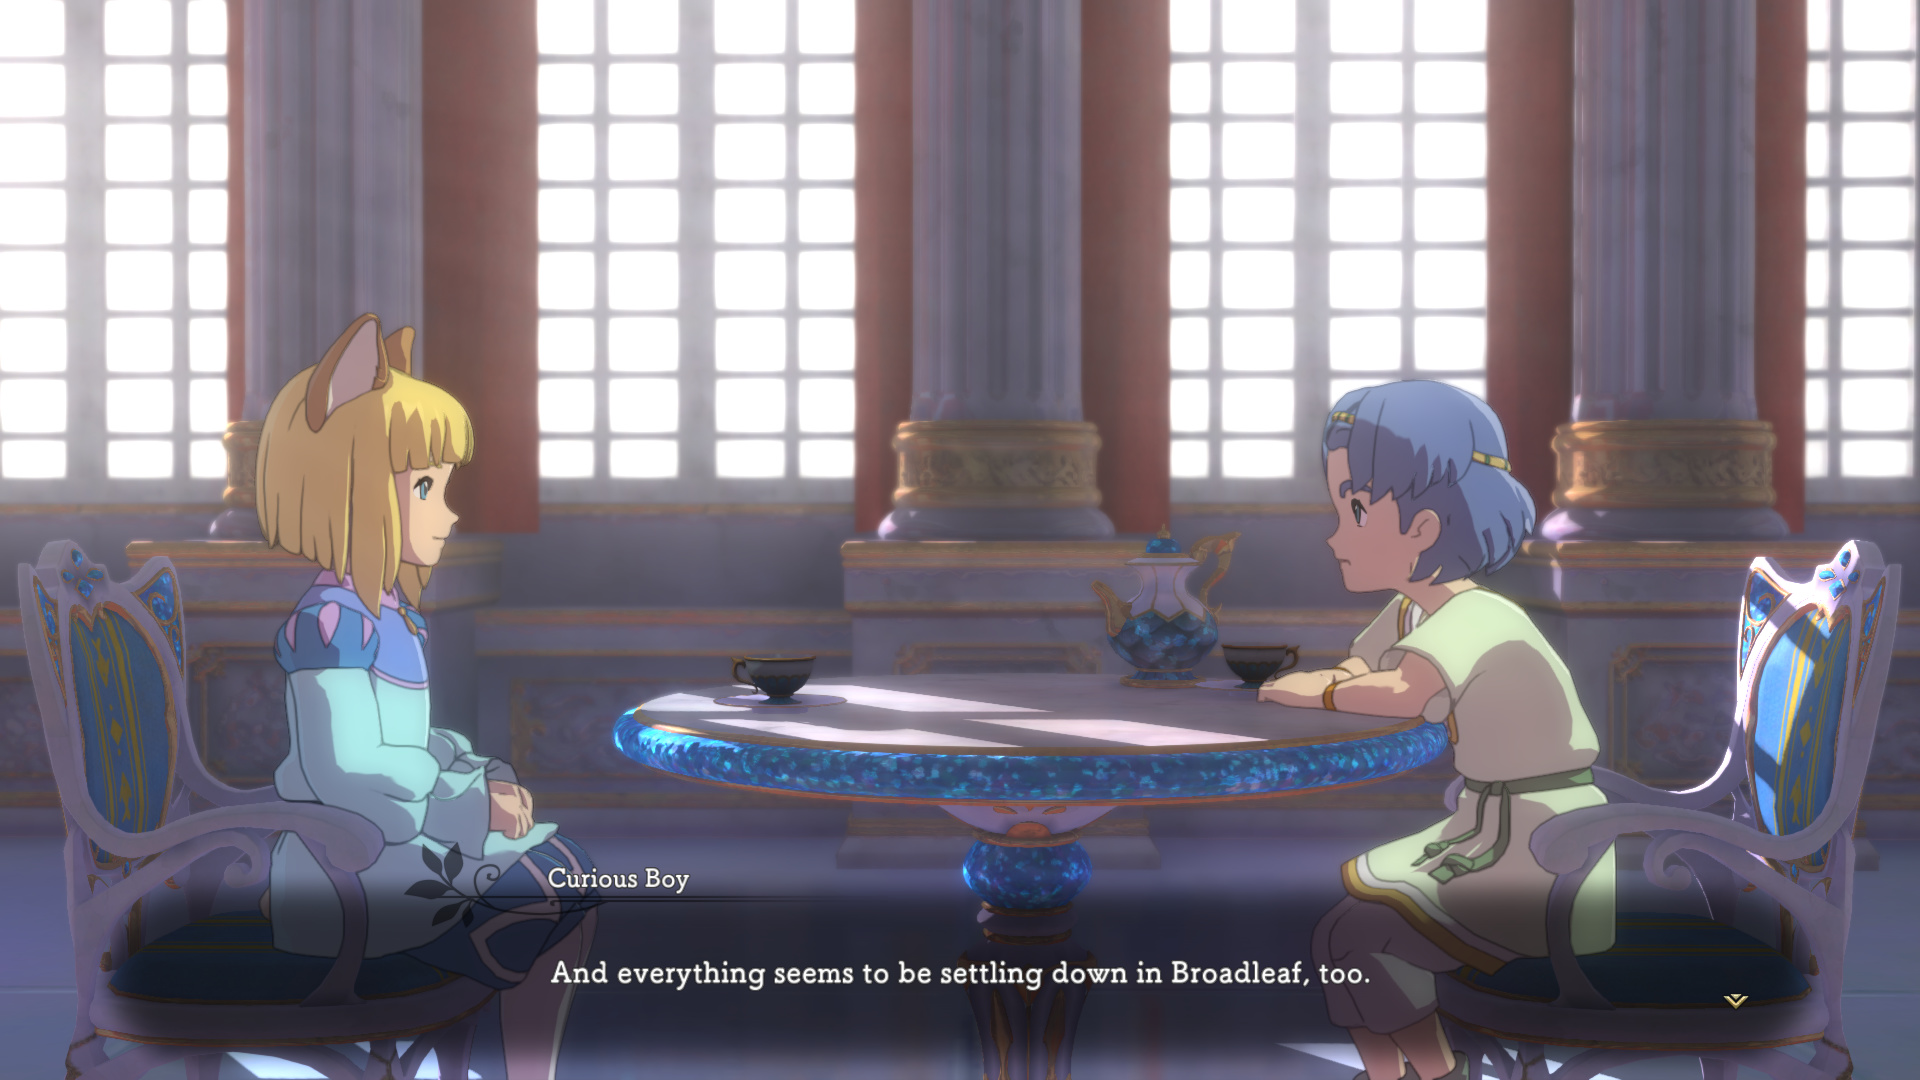
Update 37: Boy Sampson Becomes A Man

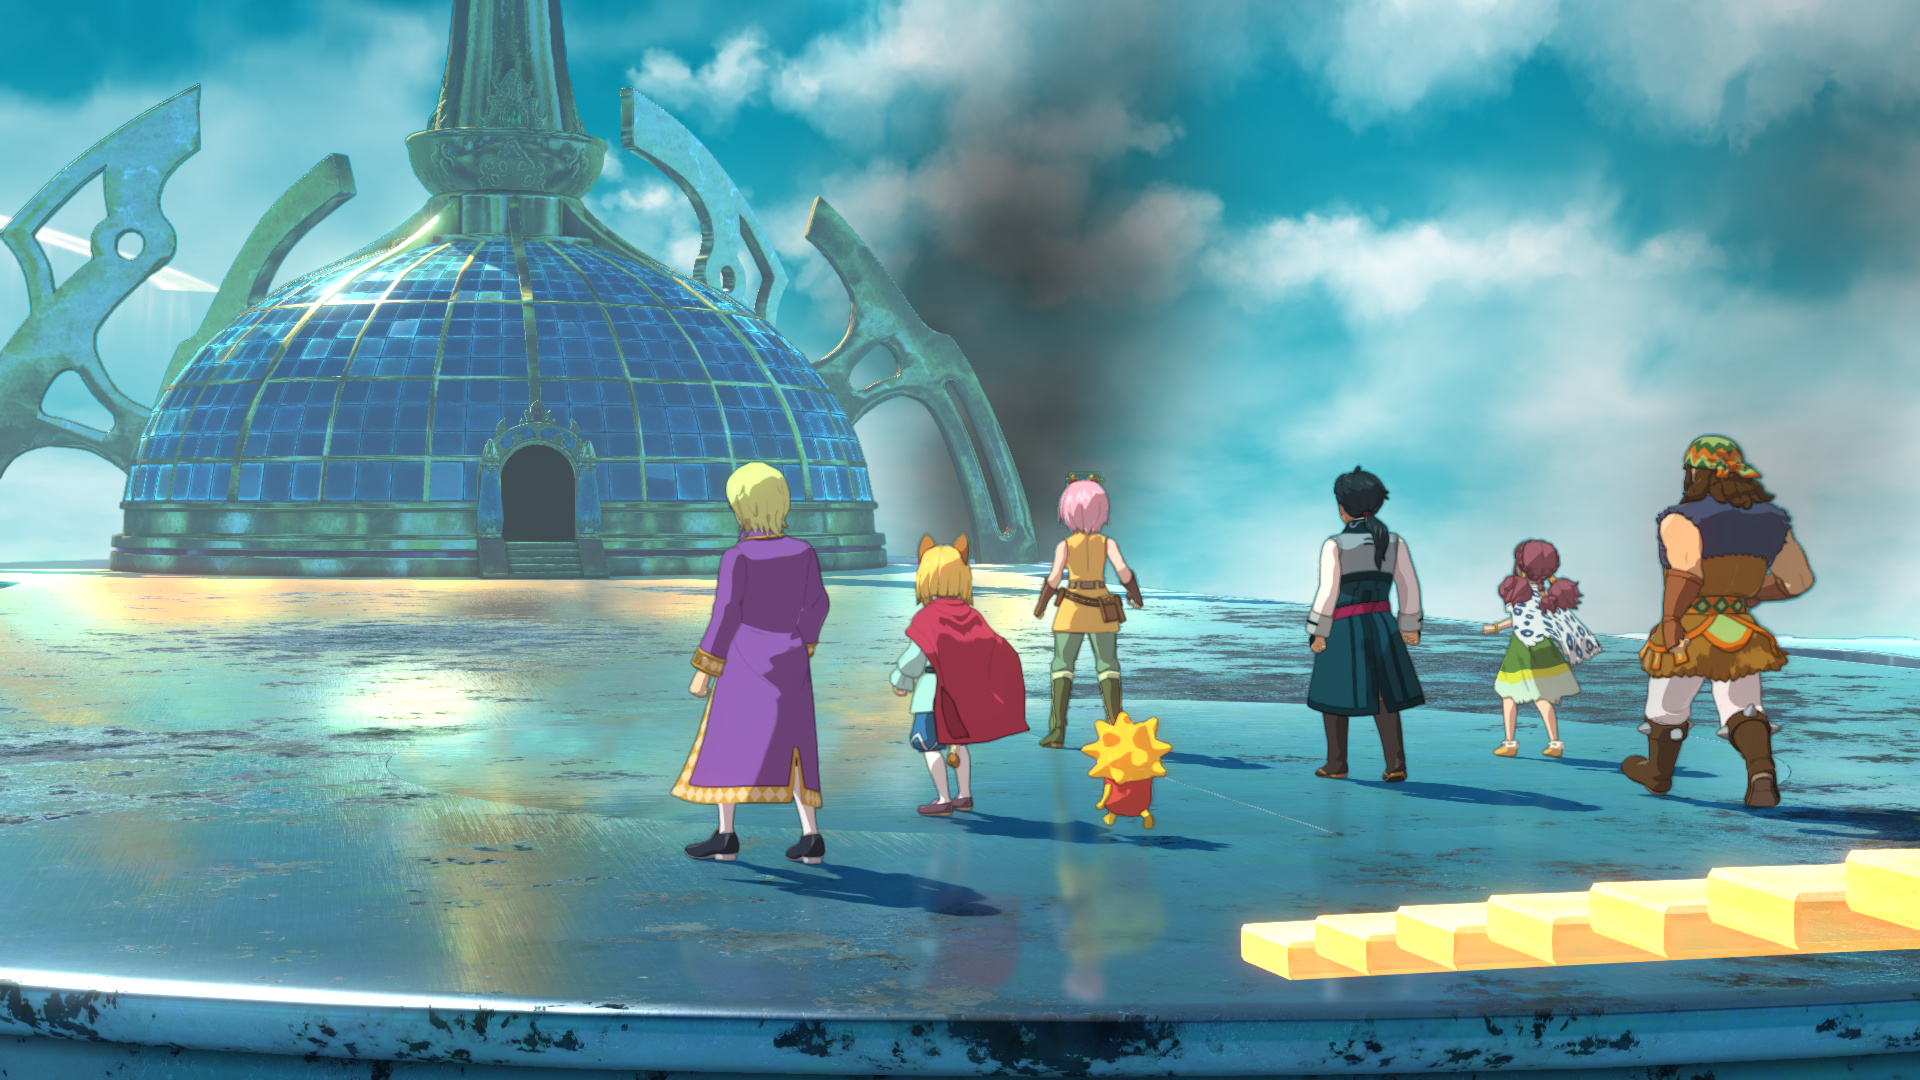
Now that we have a way to the roof, we can leave the elevator bot (who somehow survived this entire thing and is now useless because the only two floors he can take us to are destroyed) behind and head to our second bossfight.
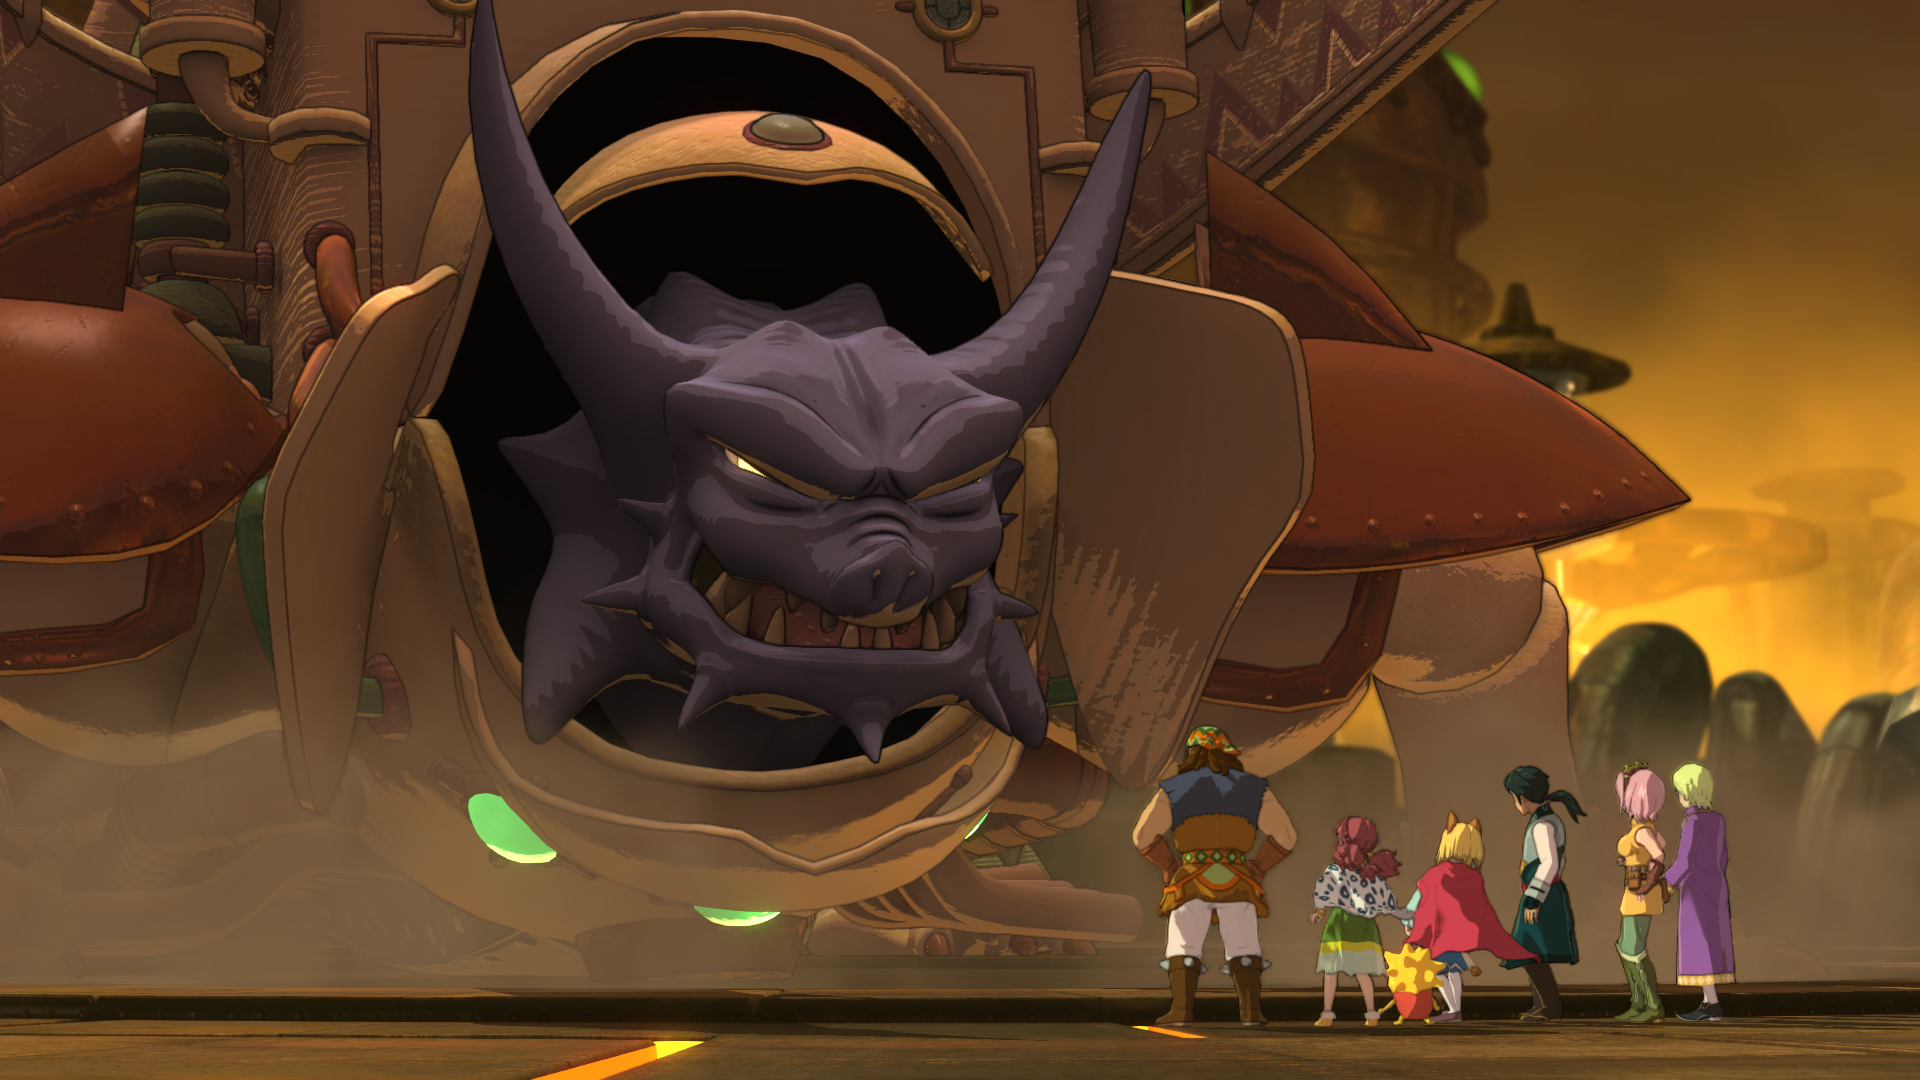
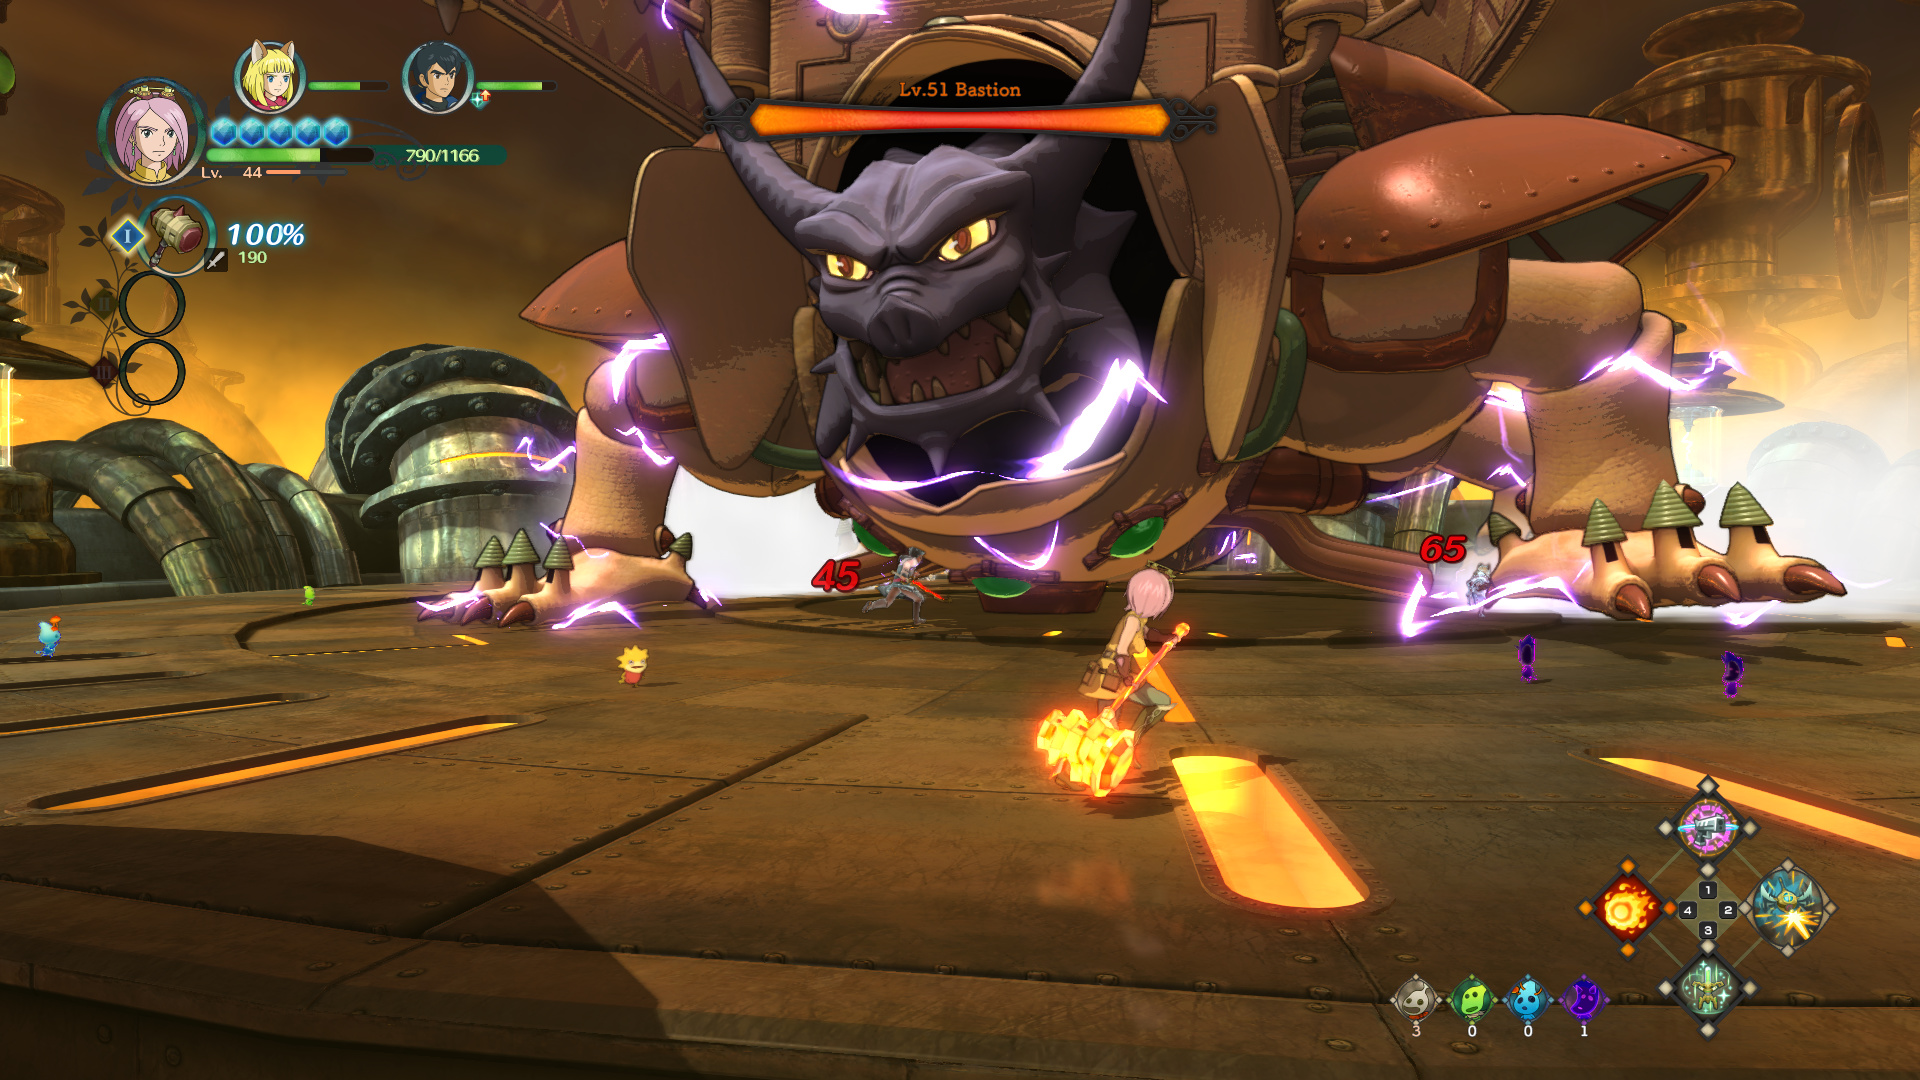
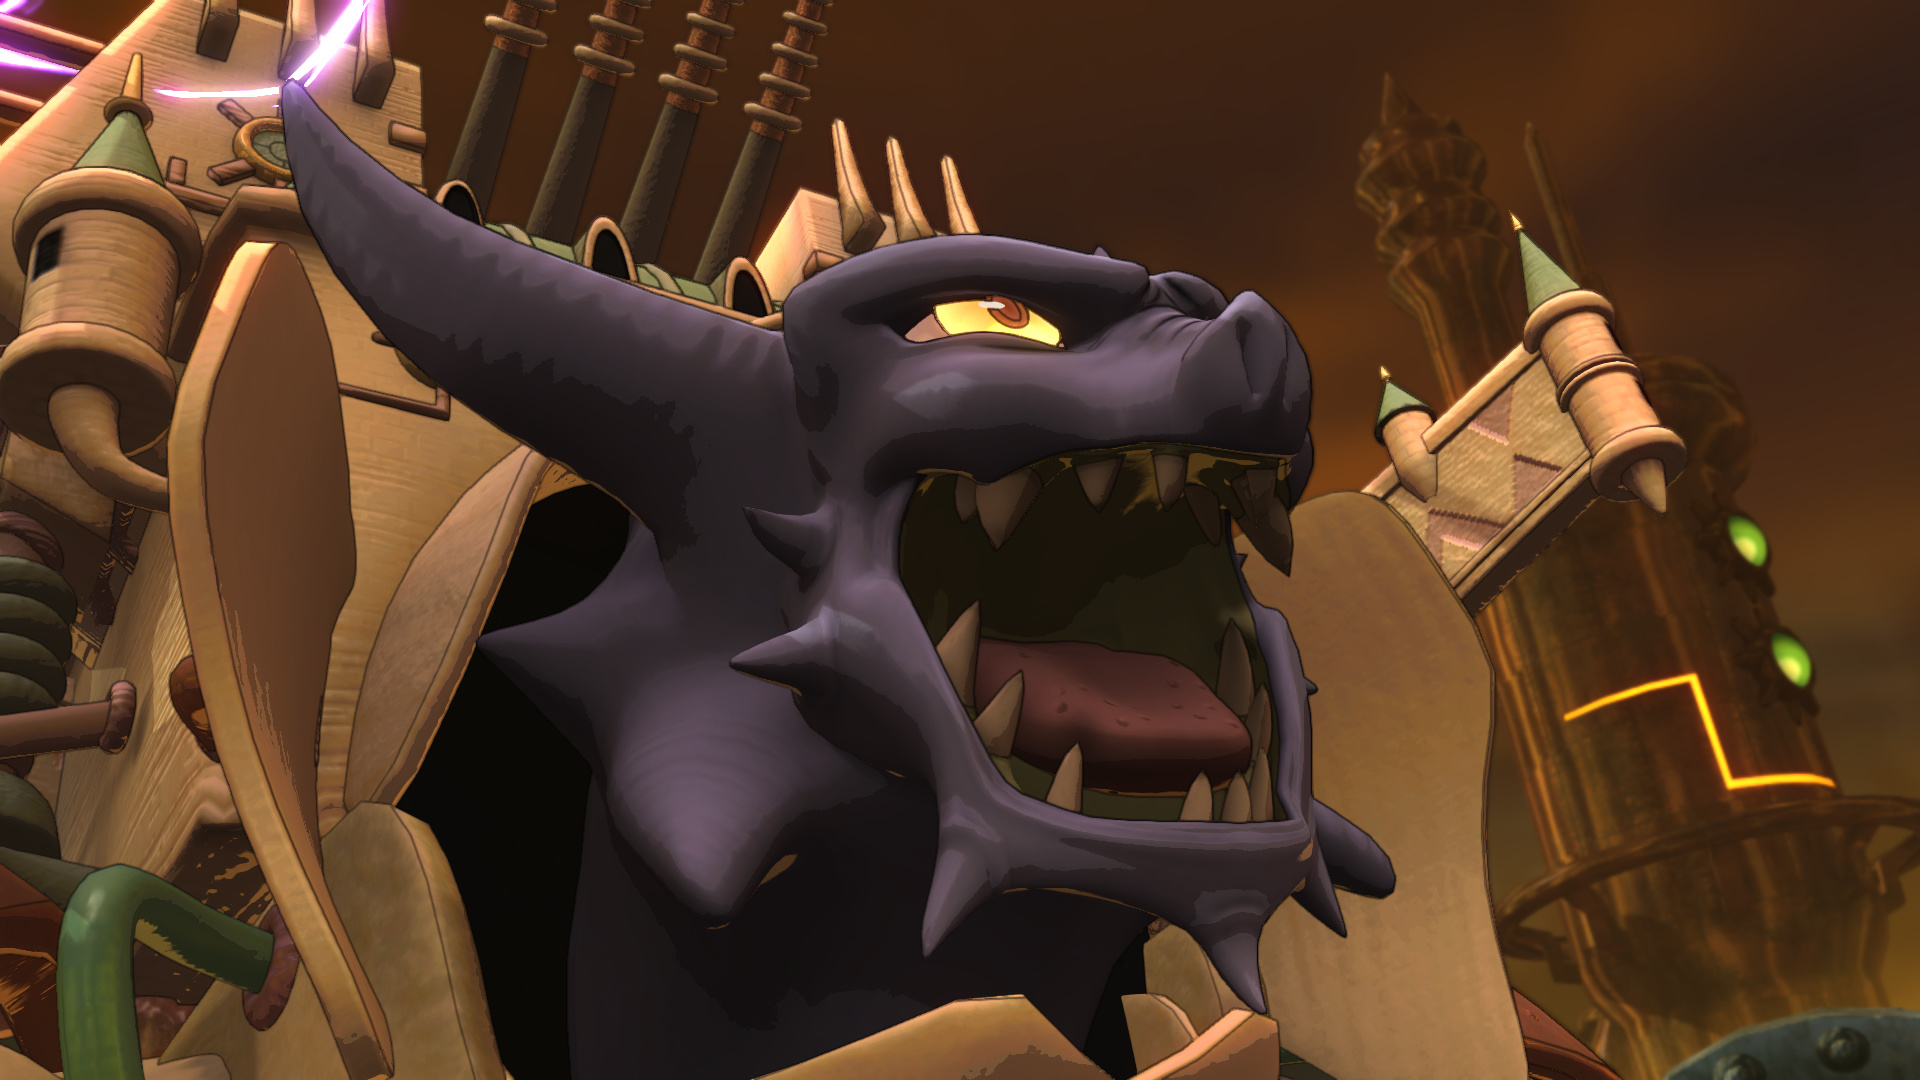
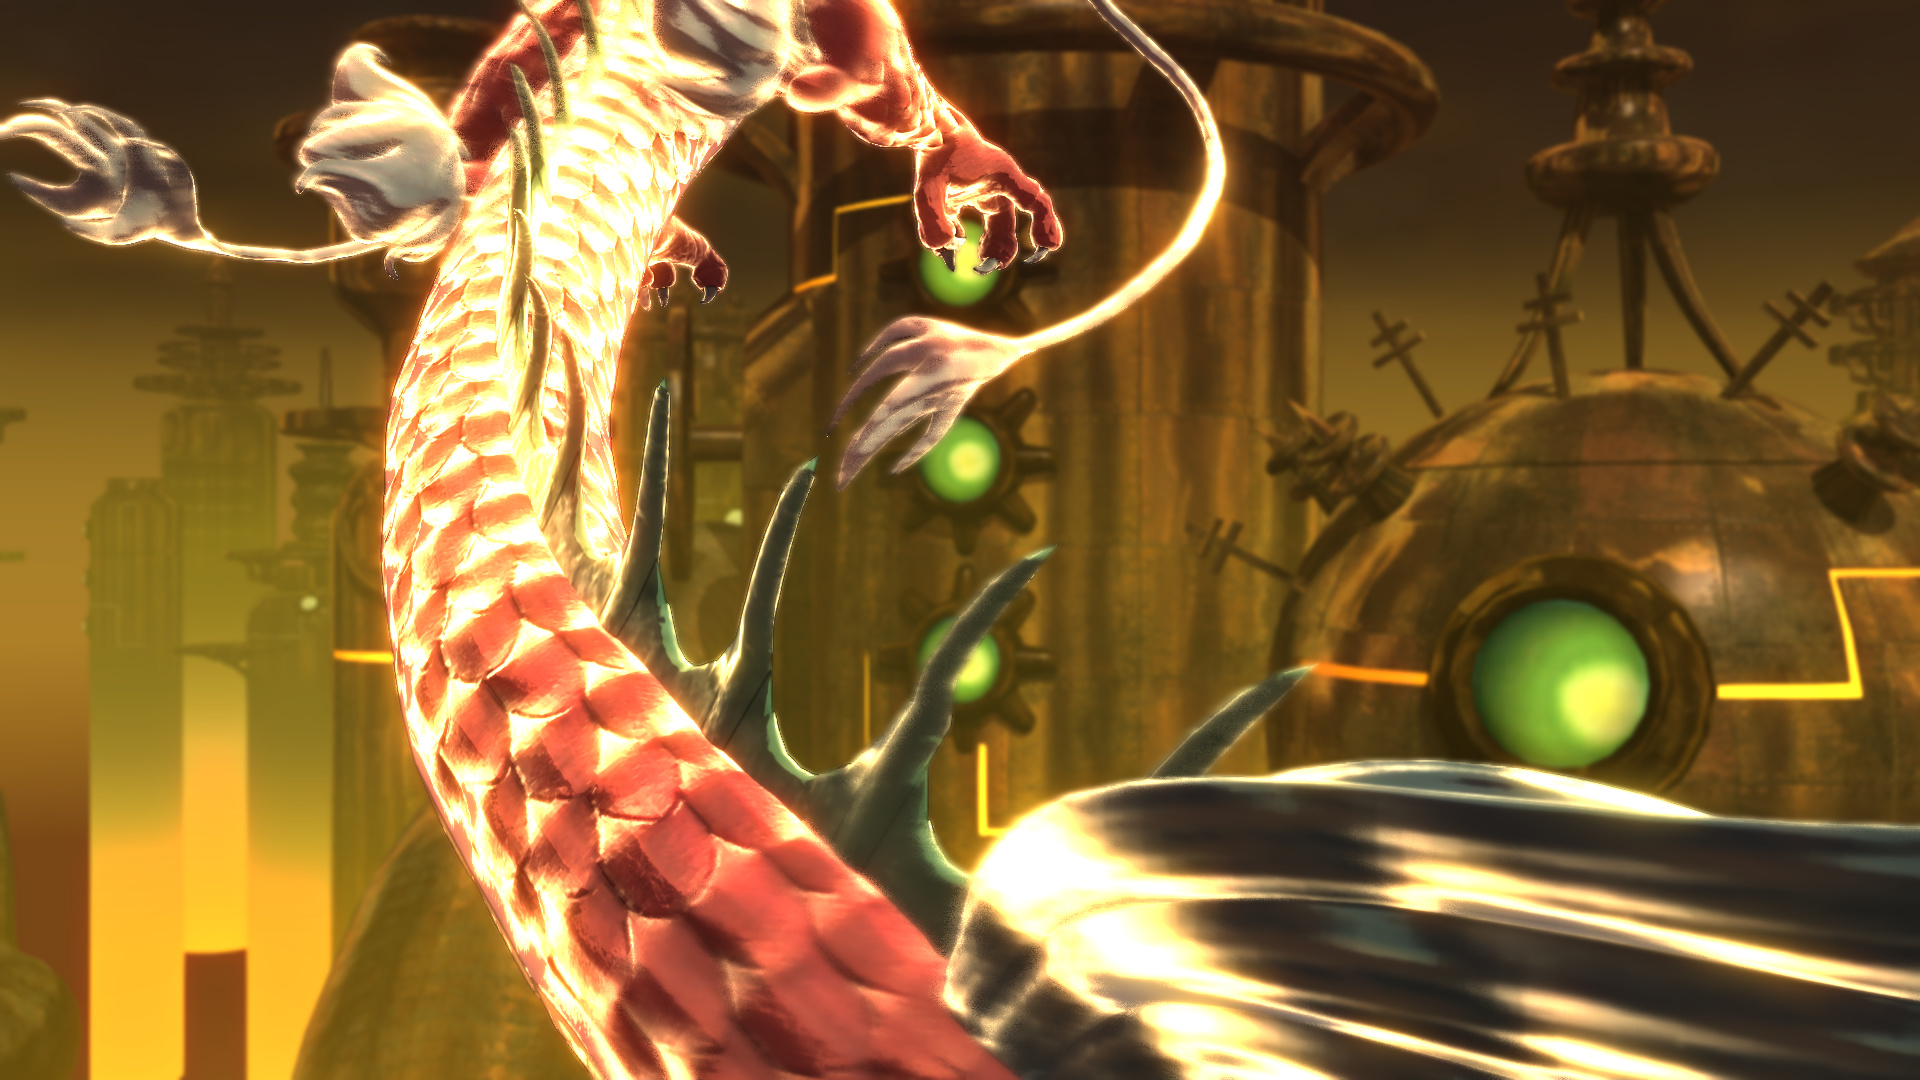
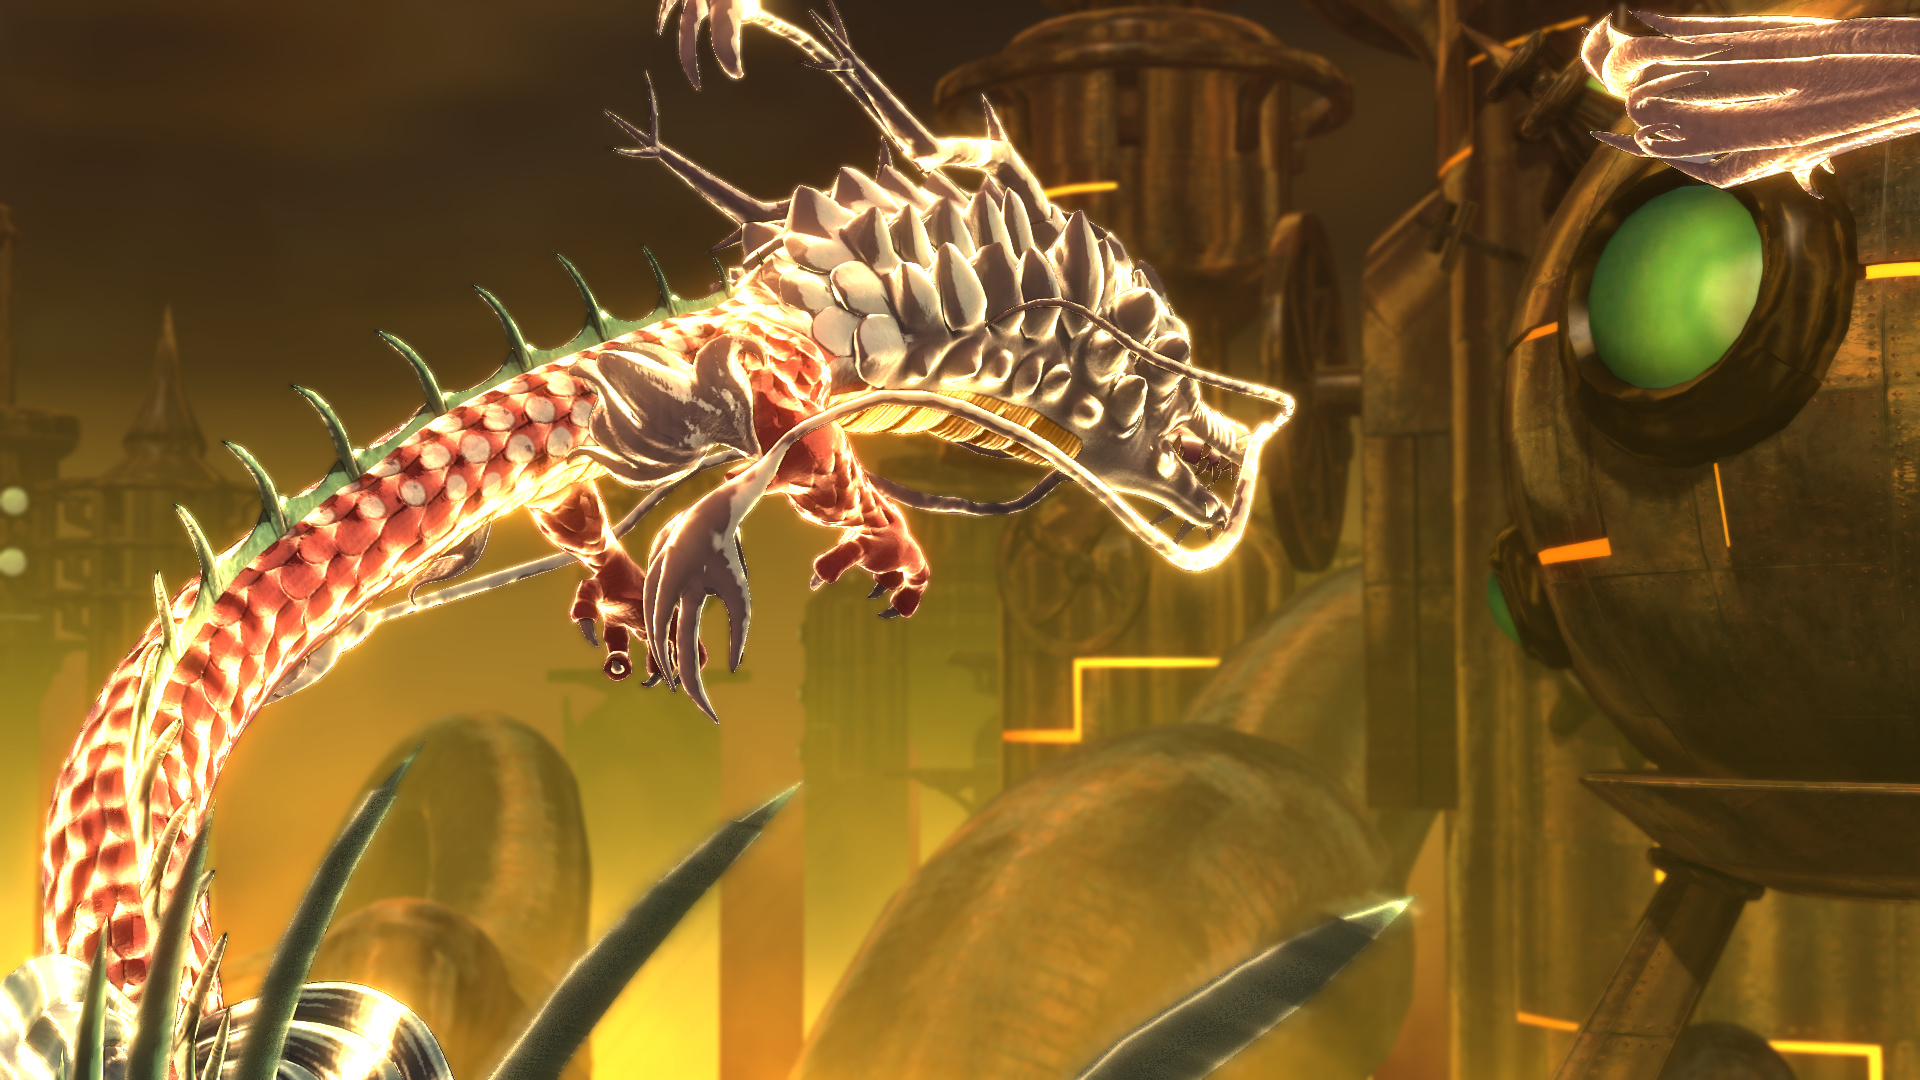
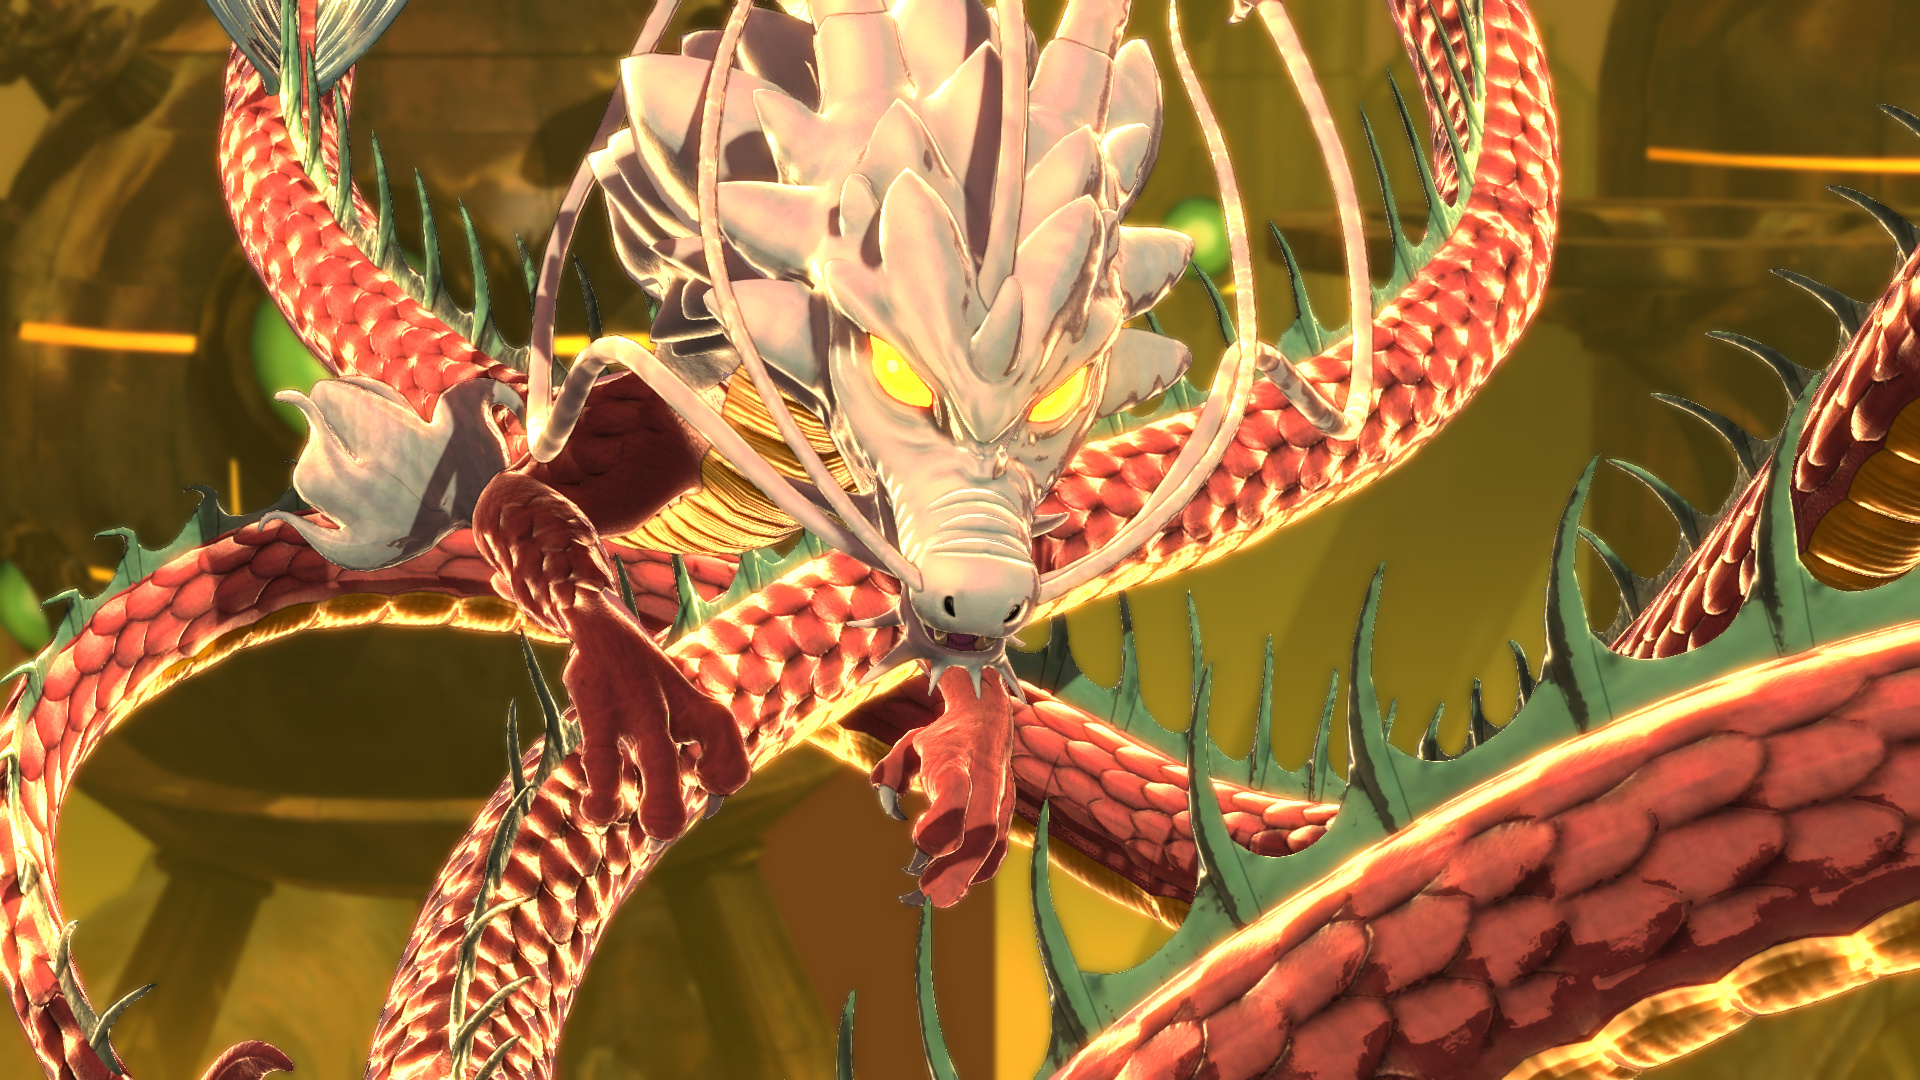
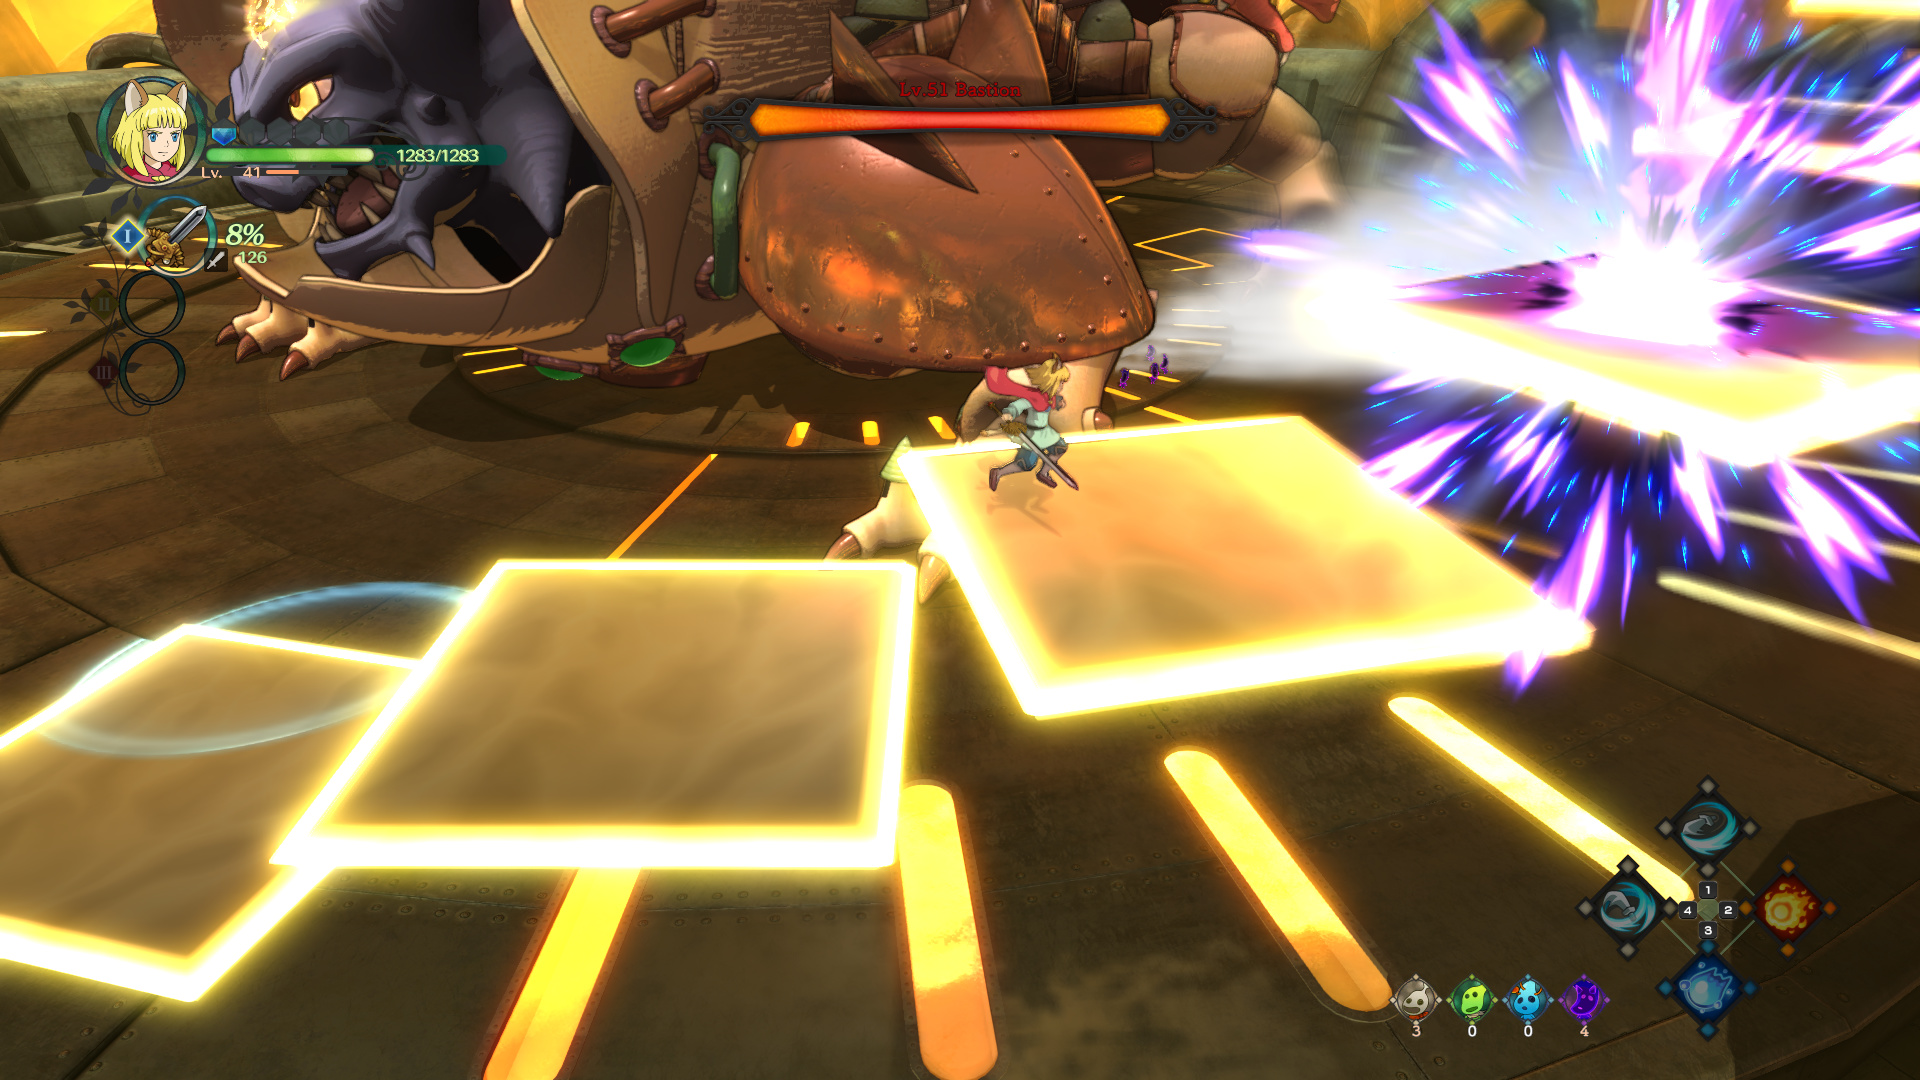
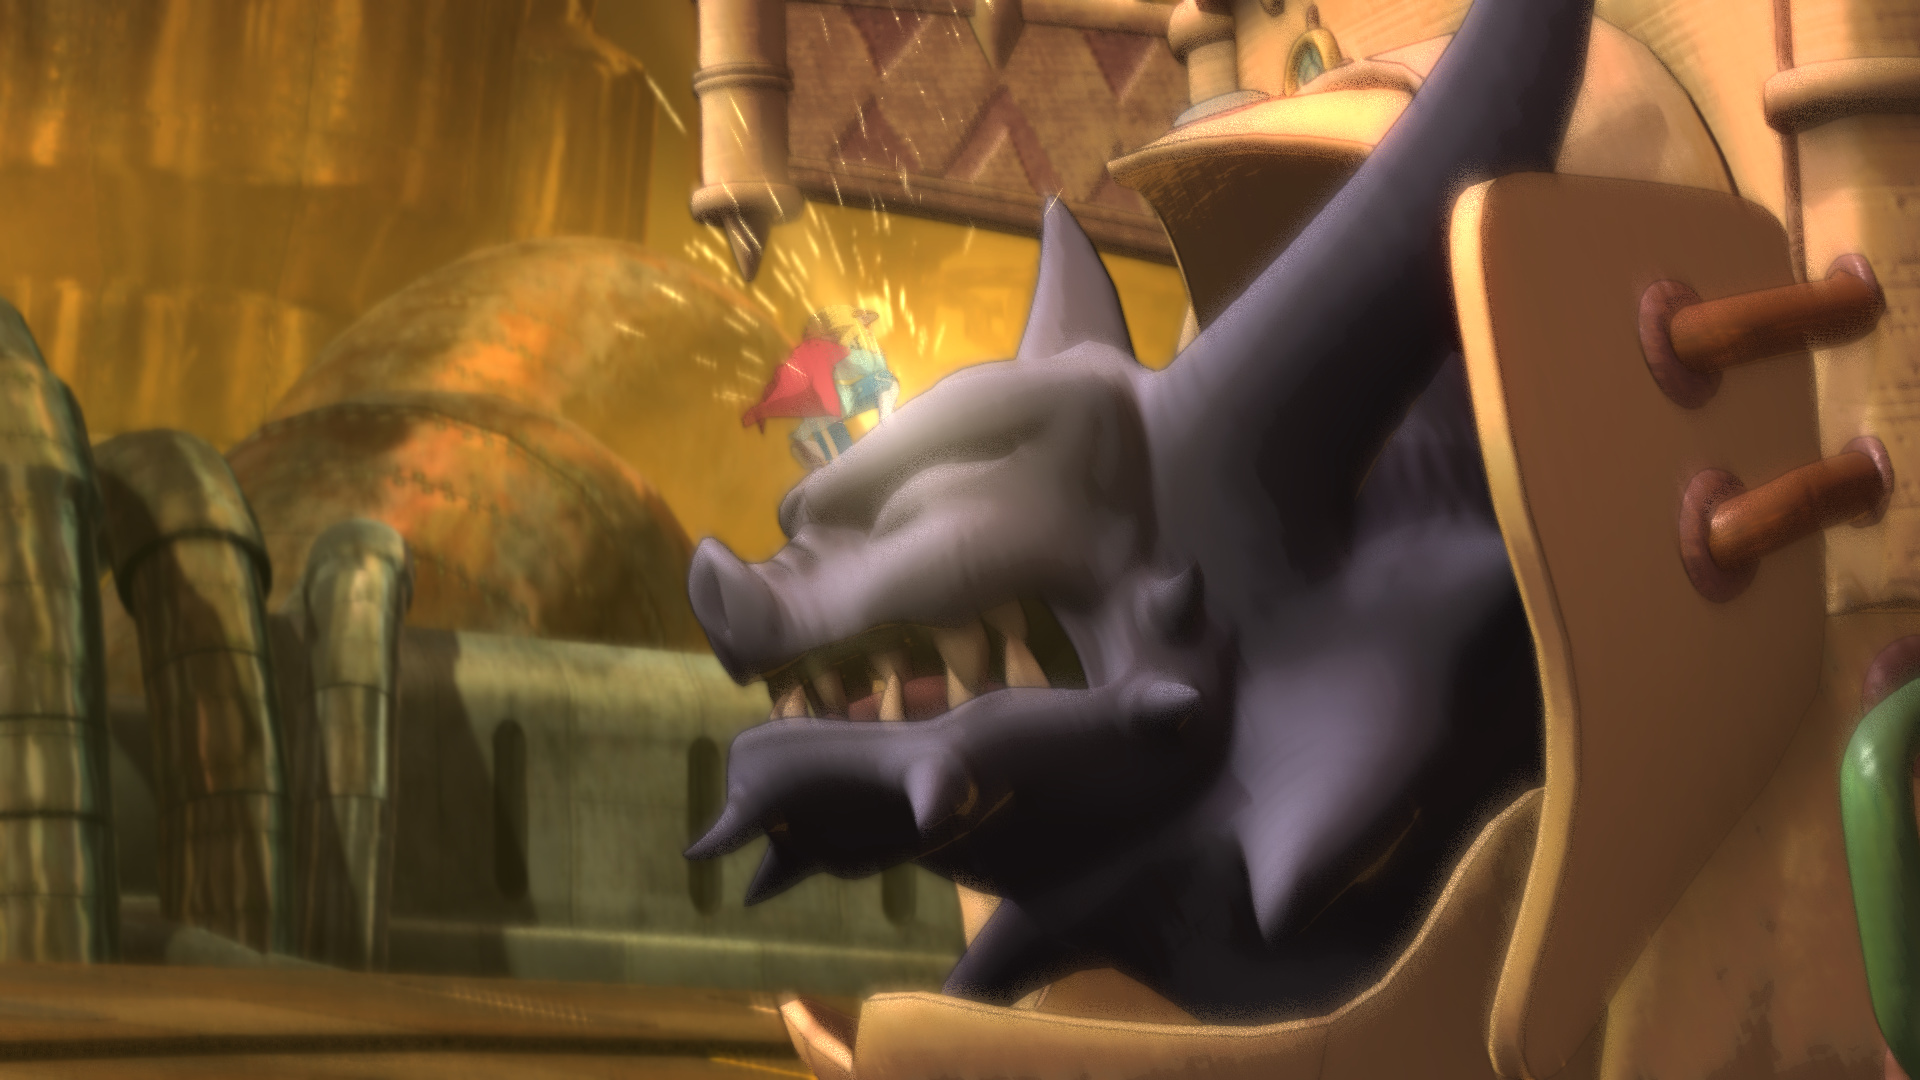
Somebody order up a stupid-looking boss?
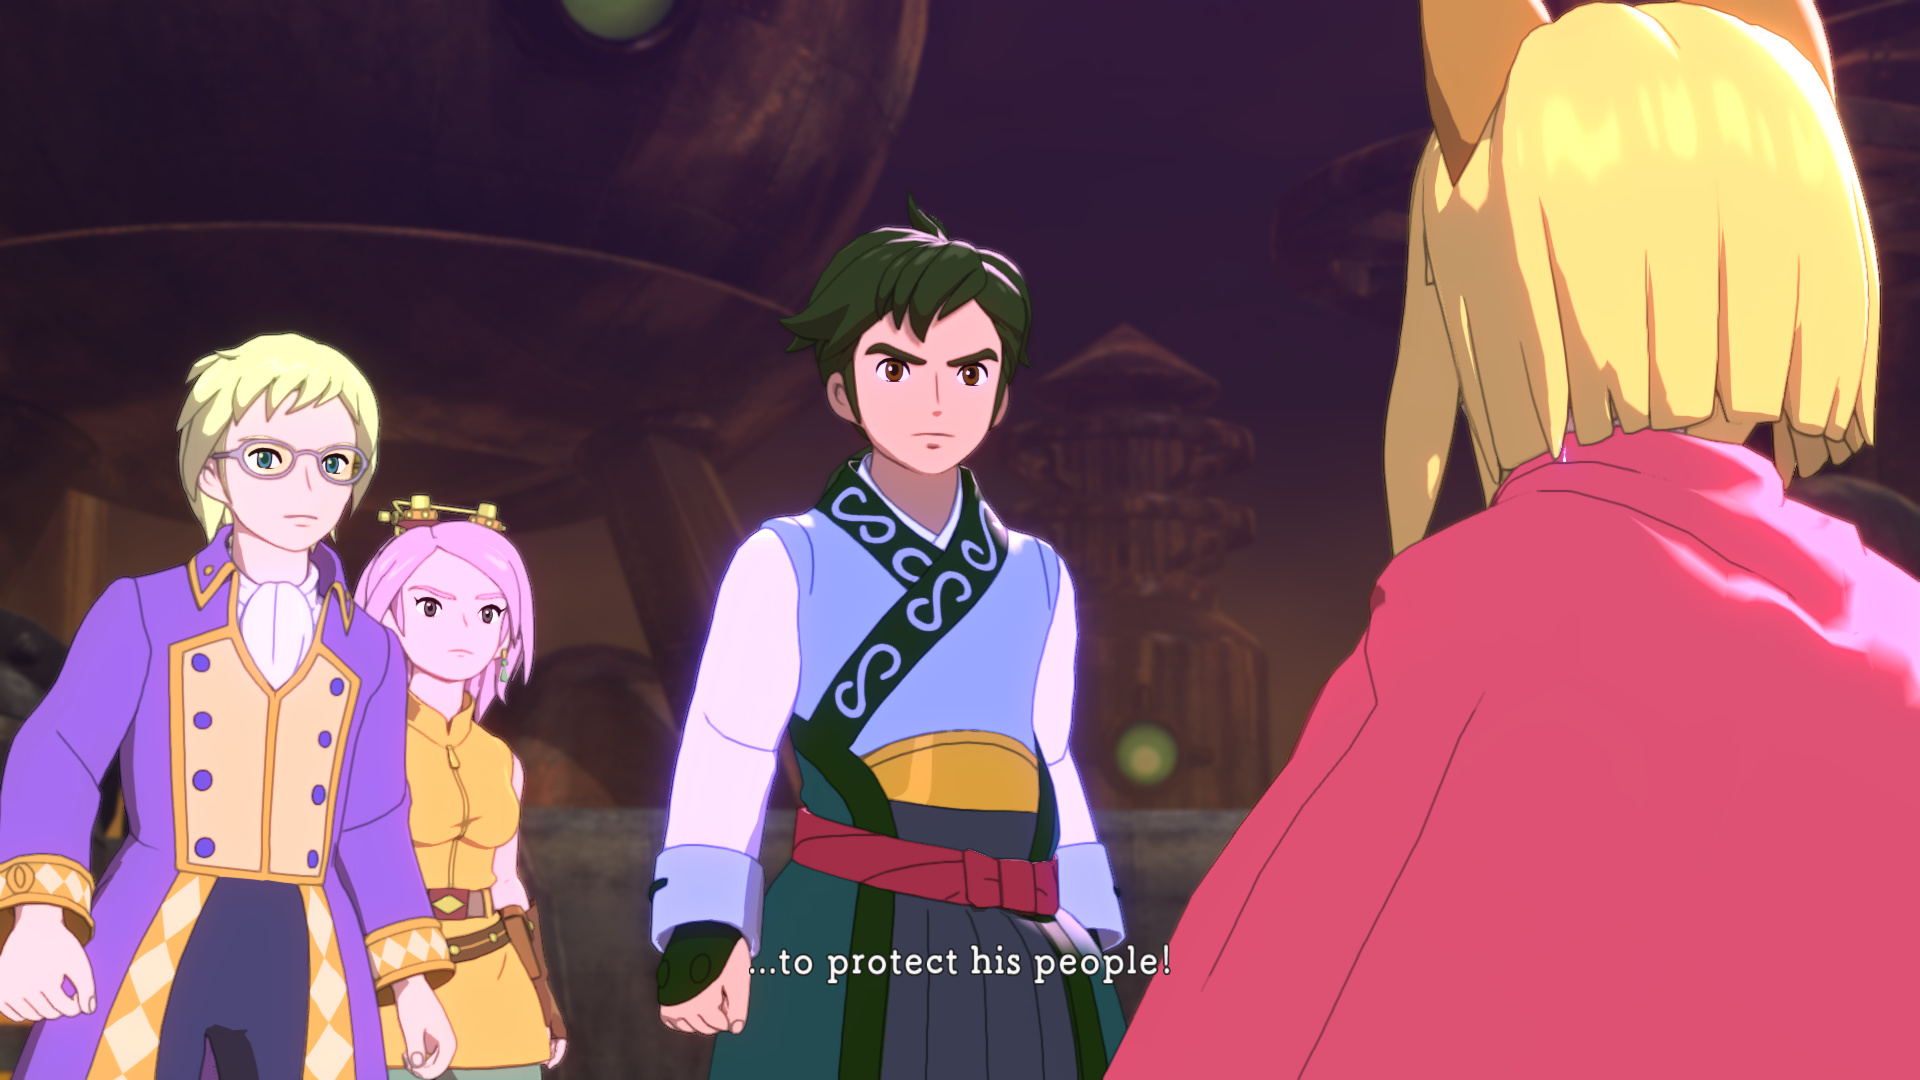
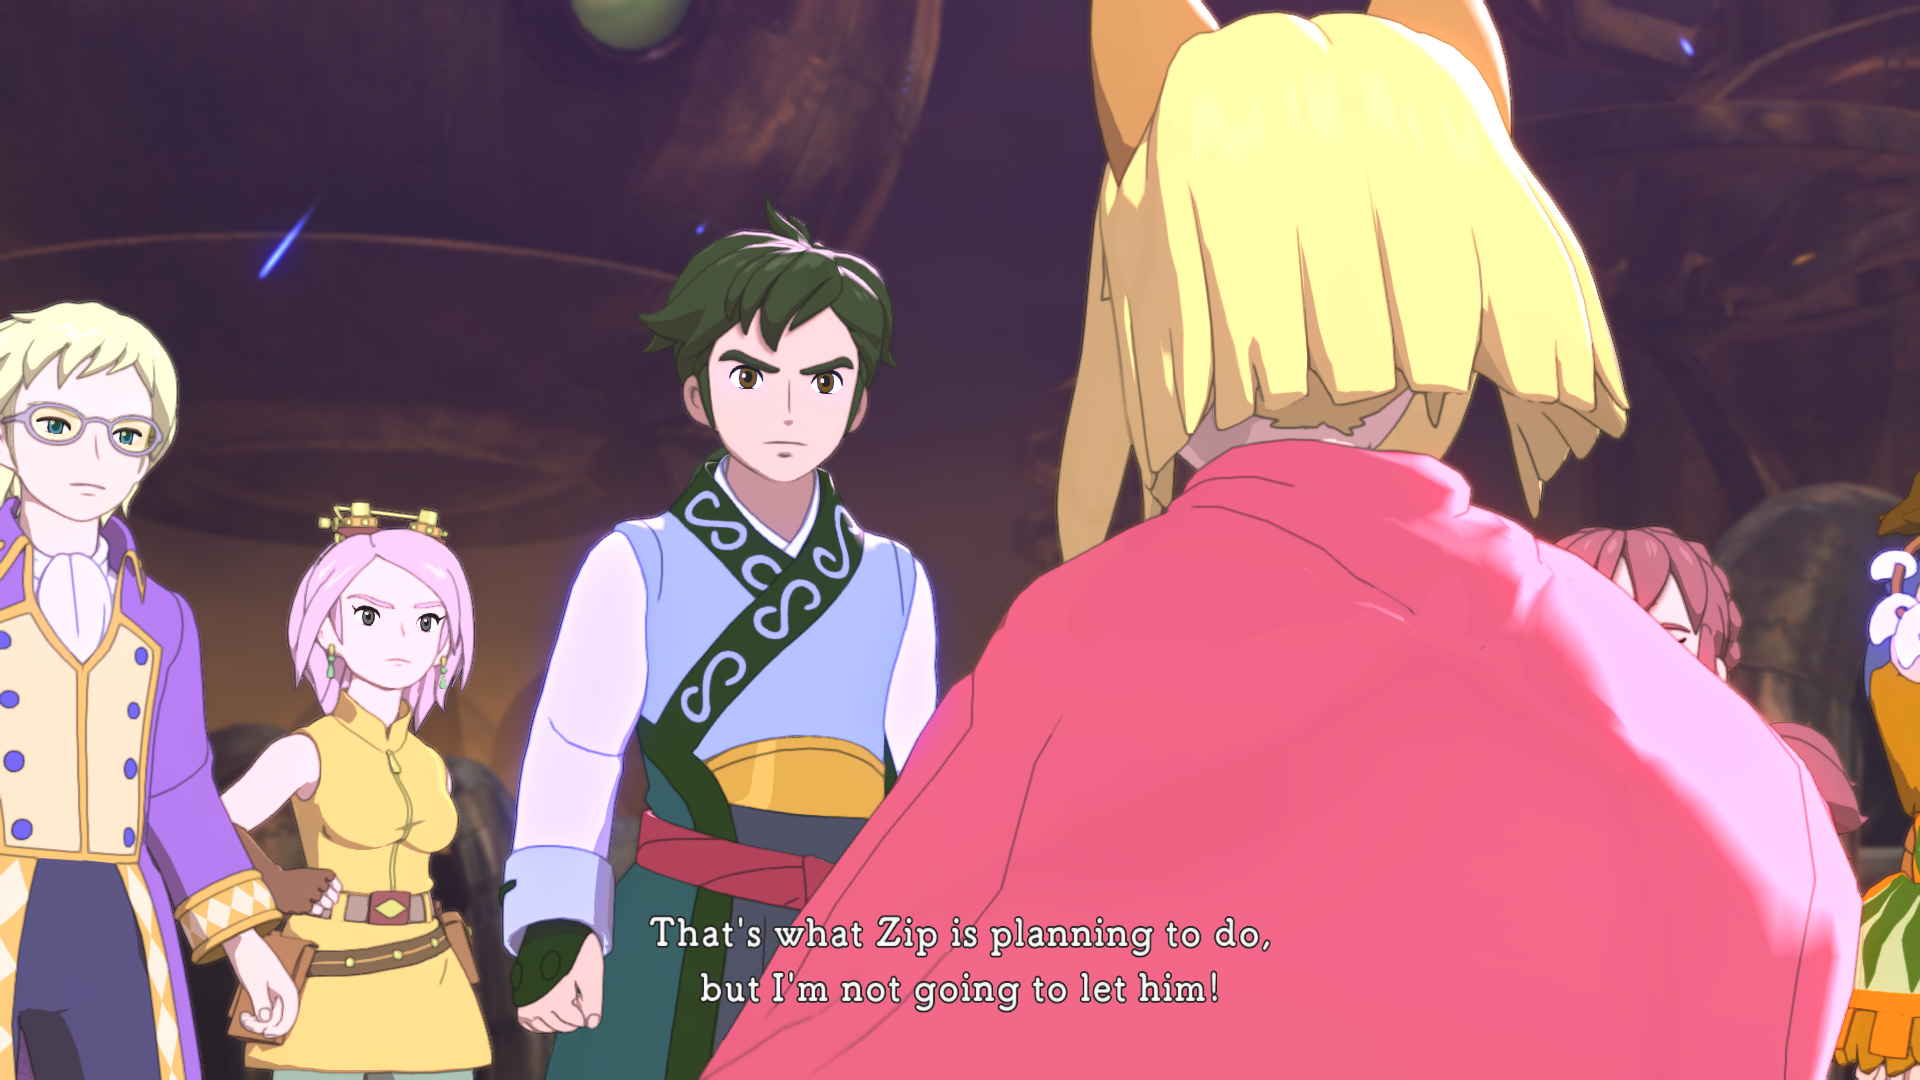
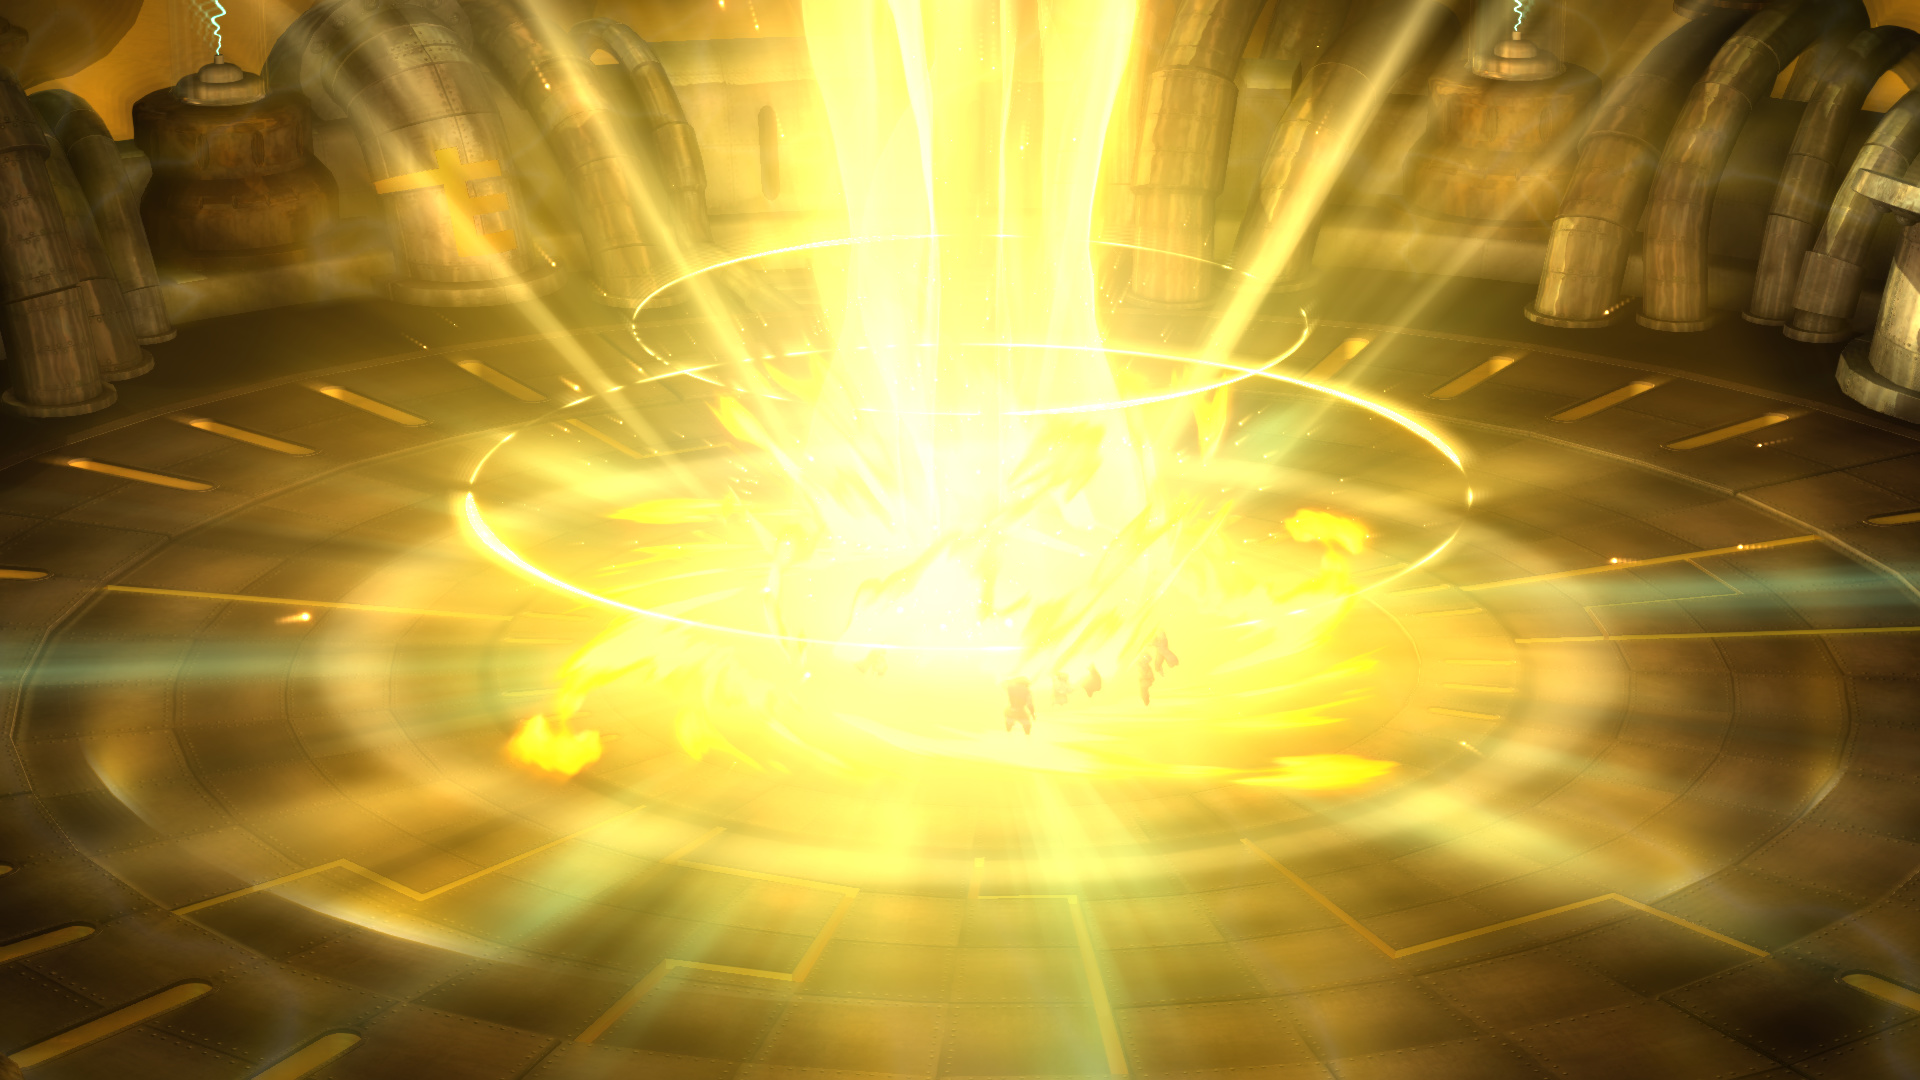
Naturally, Alejandro (shorthand for Bootleg Alexander) immediately sends us to his own private hellscape.
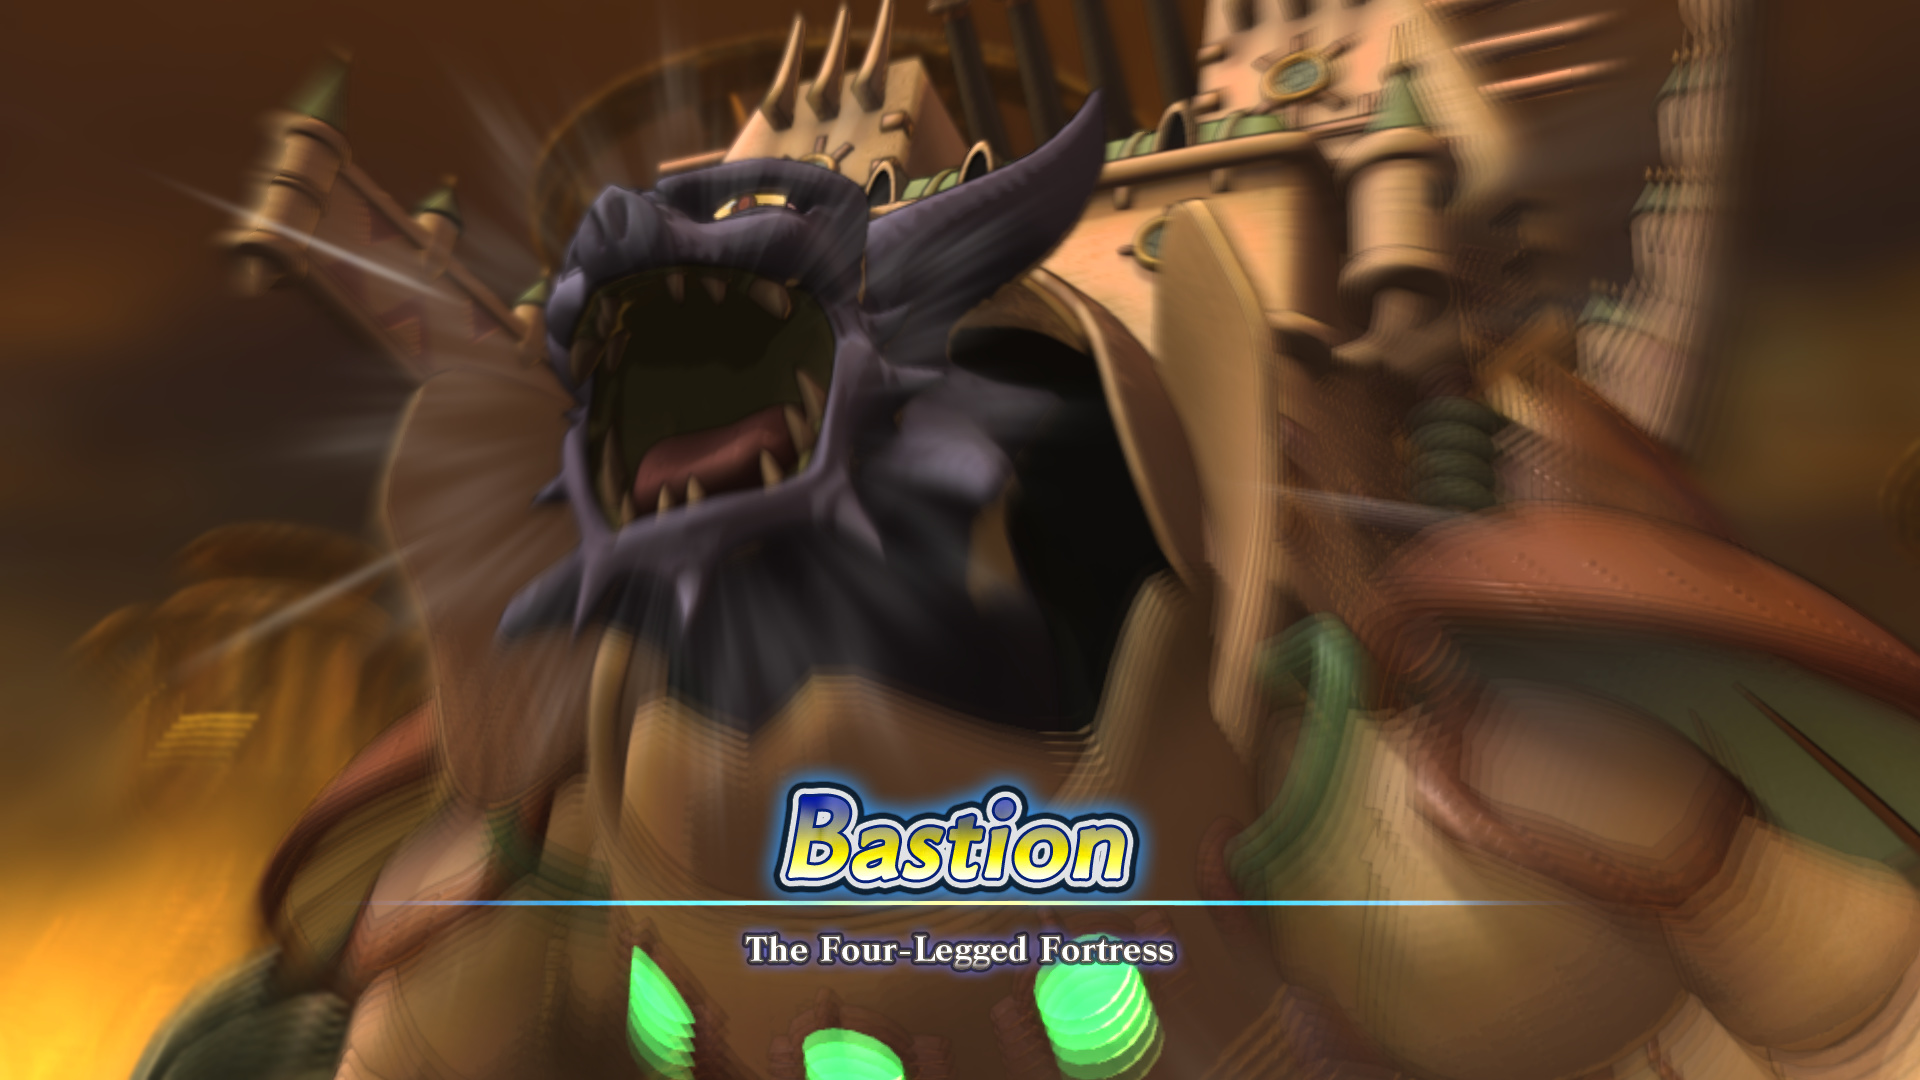
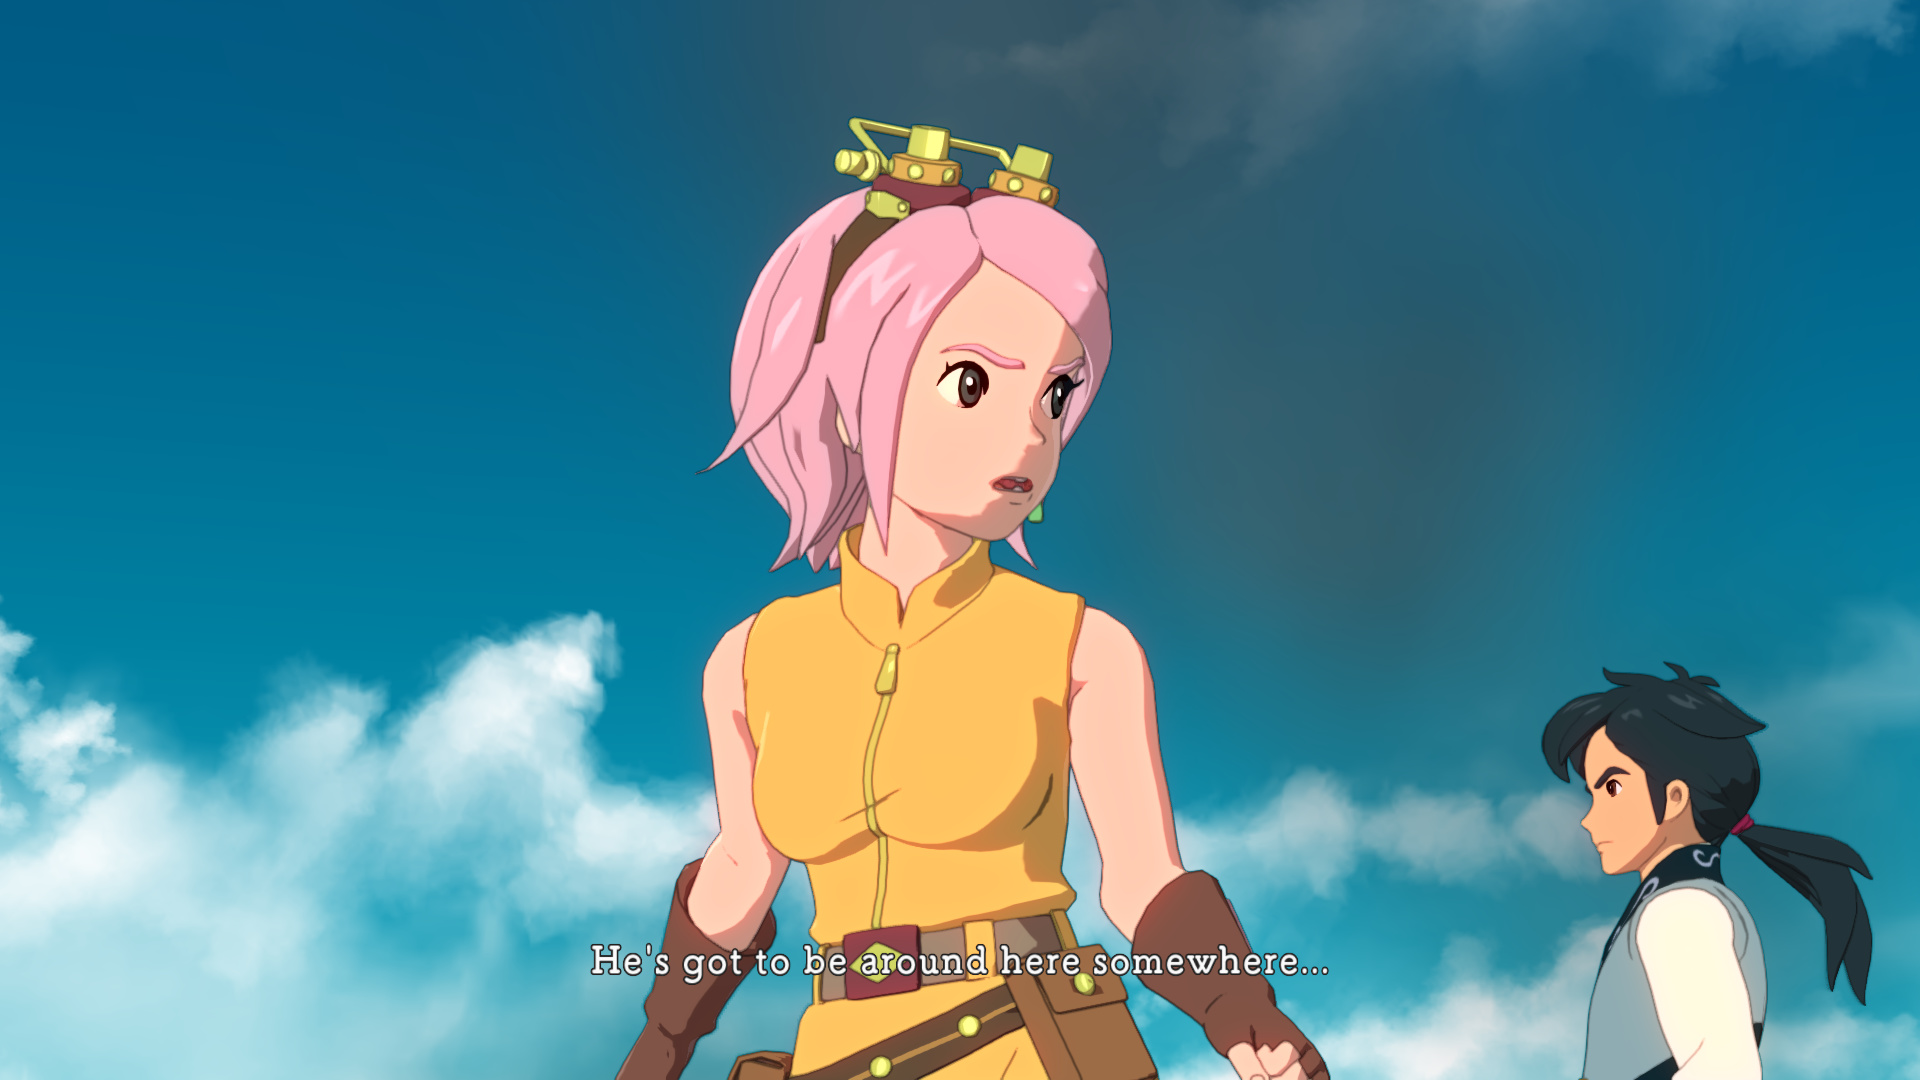
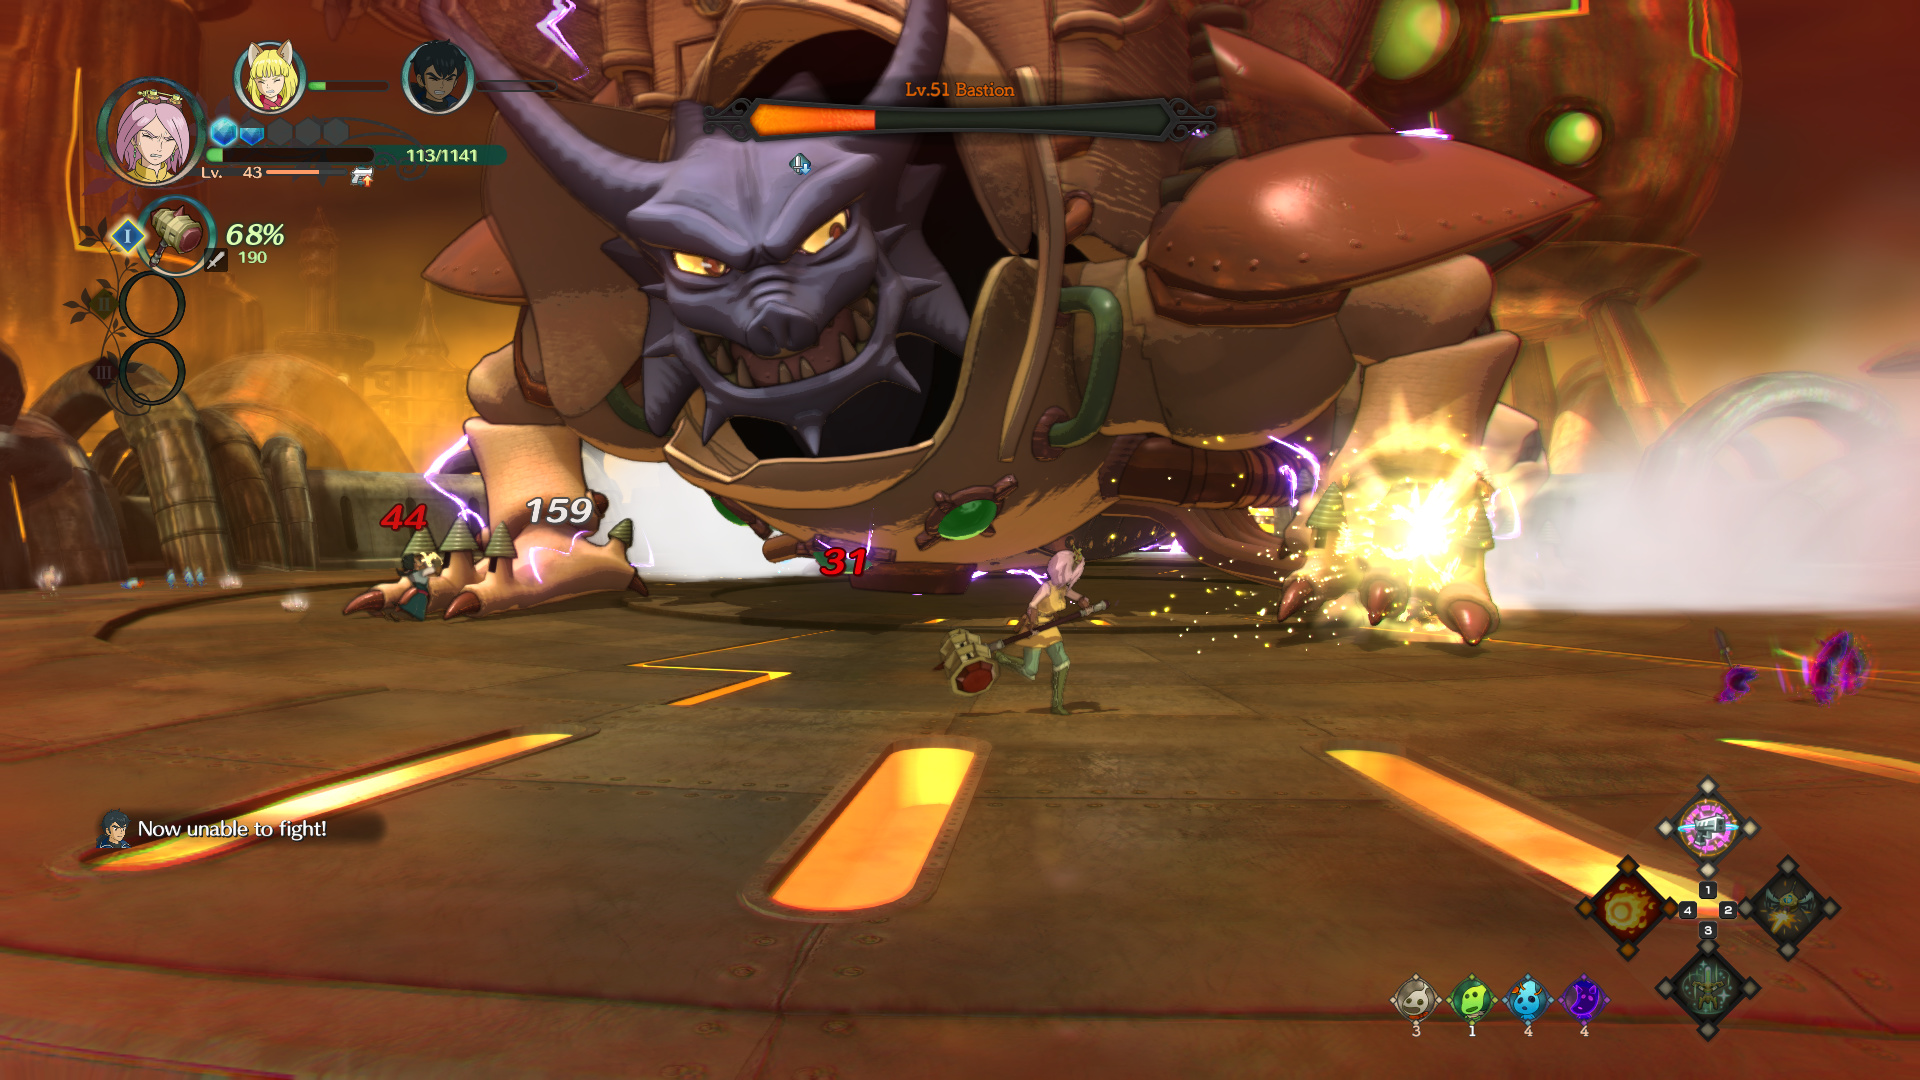
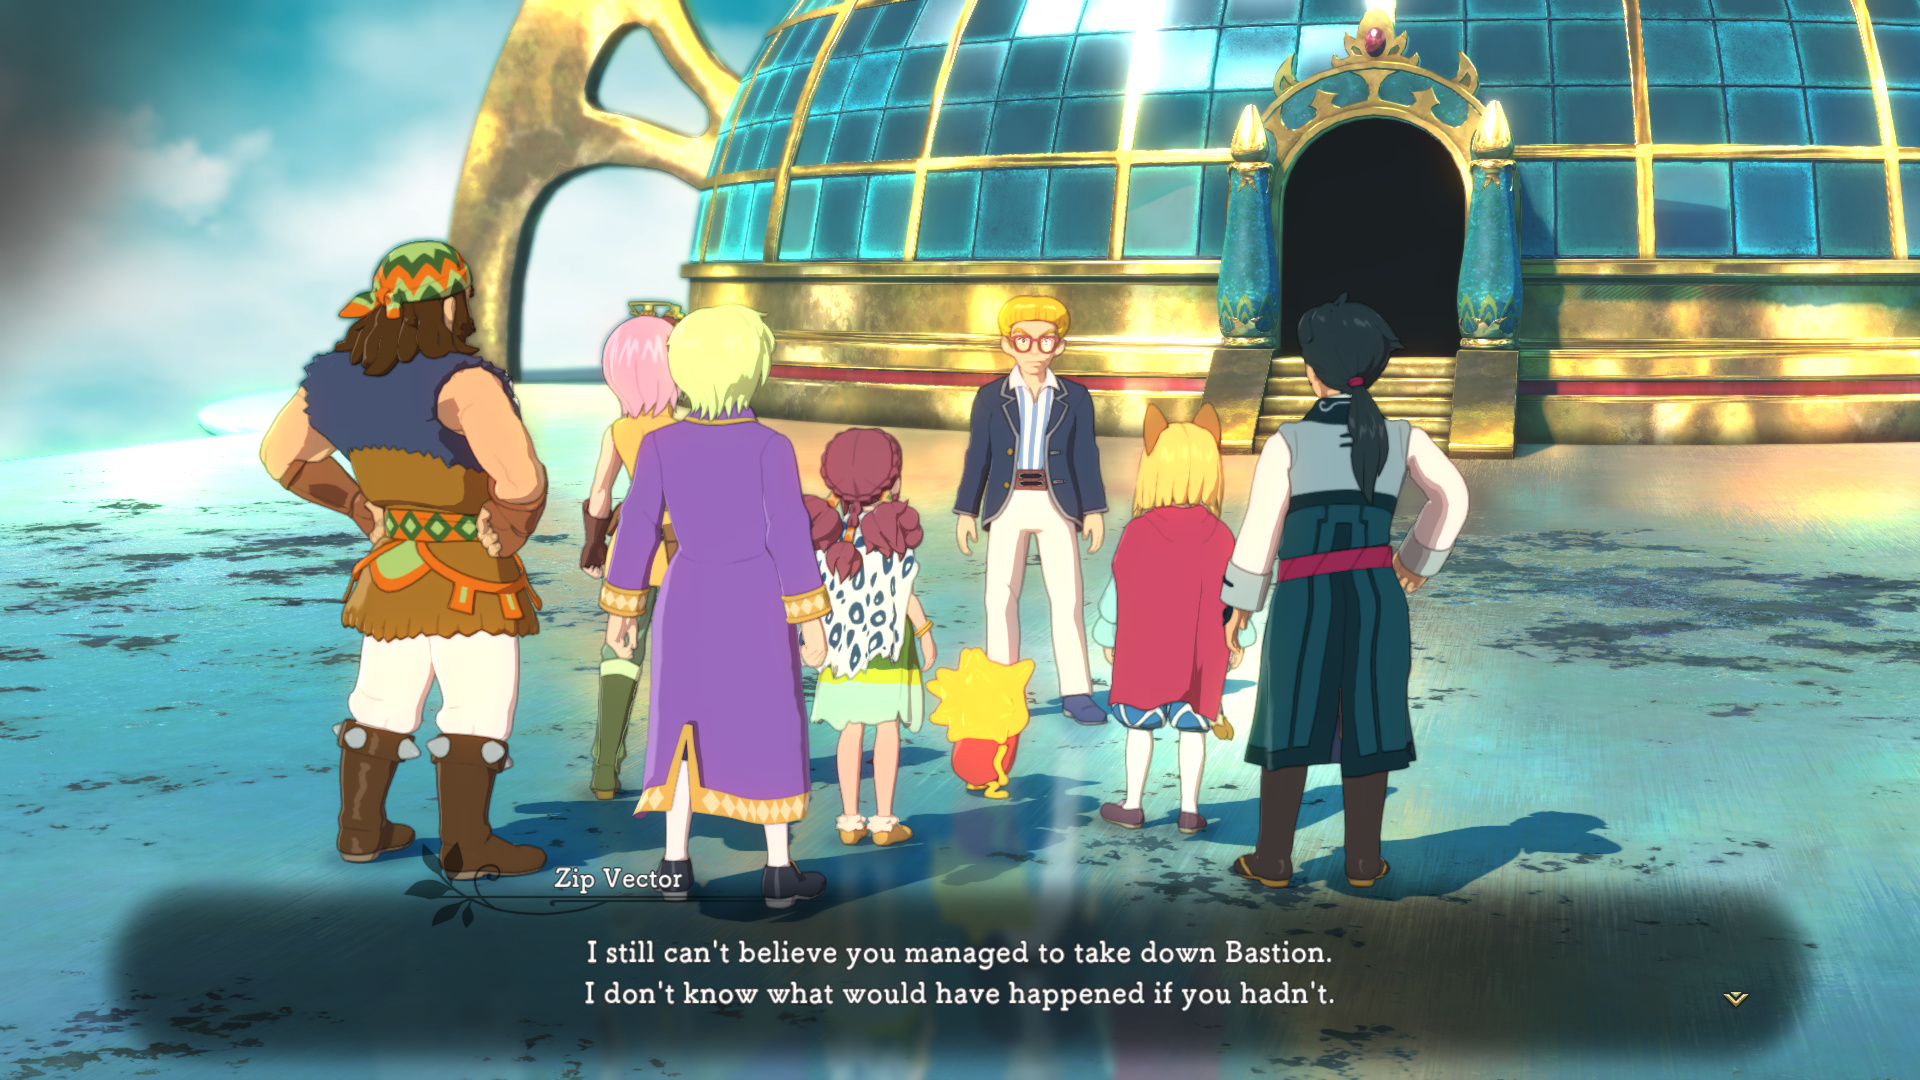
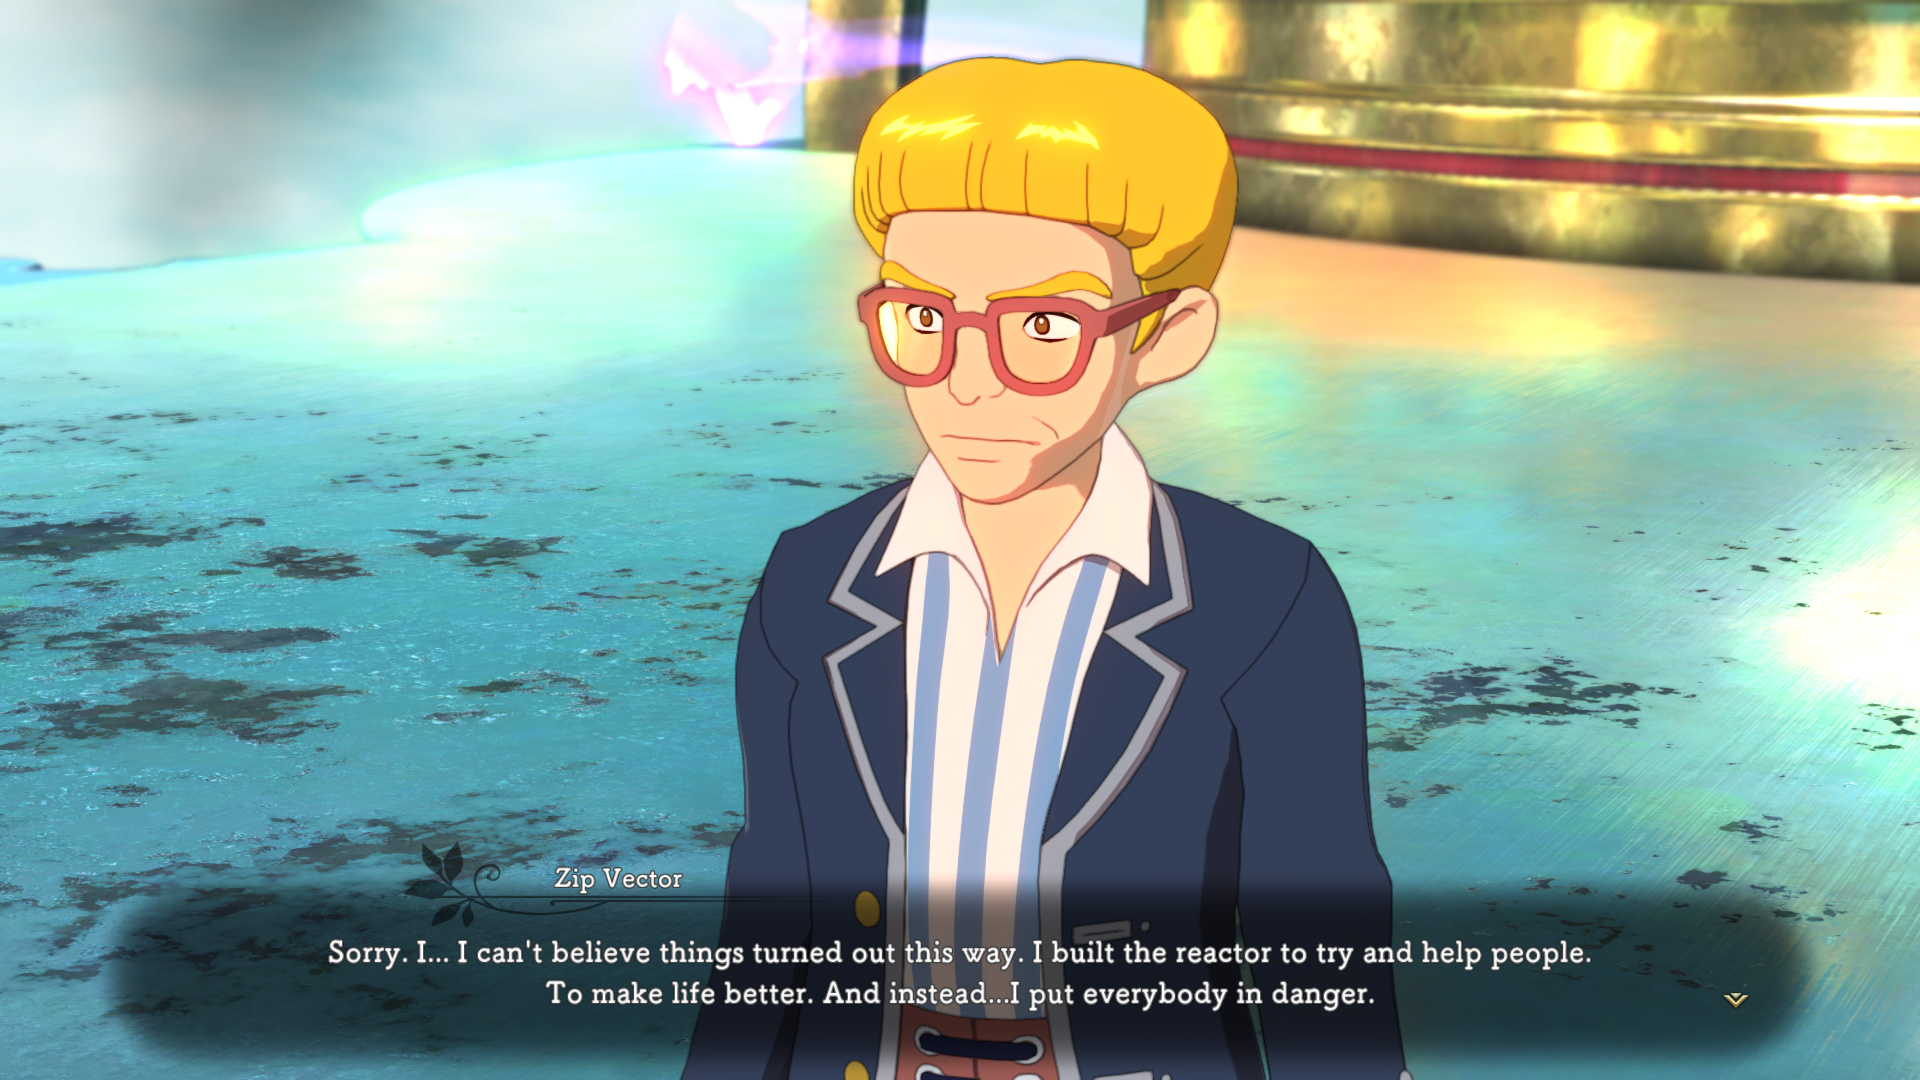
So, Alejandro. This boss is absolute hell for the AI - they simply can’t handle him. Really, there’s not much of a point to reviving anyone if they die, and I’ll show you why.
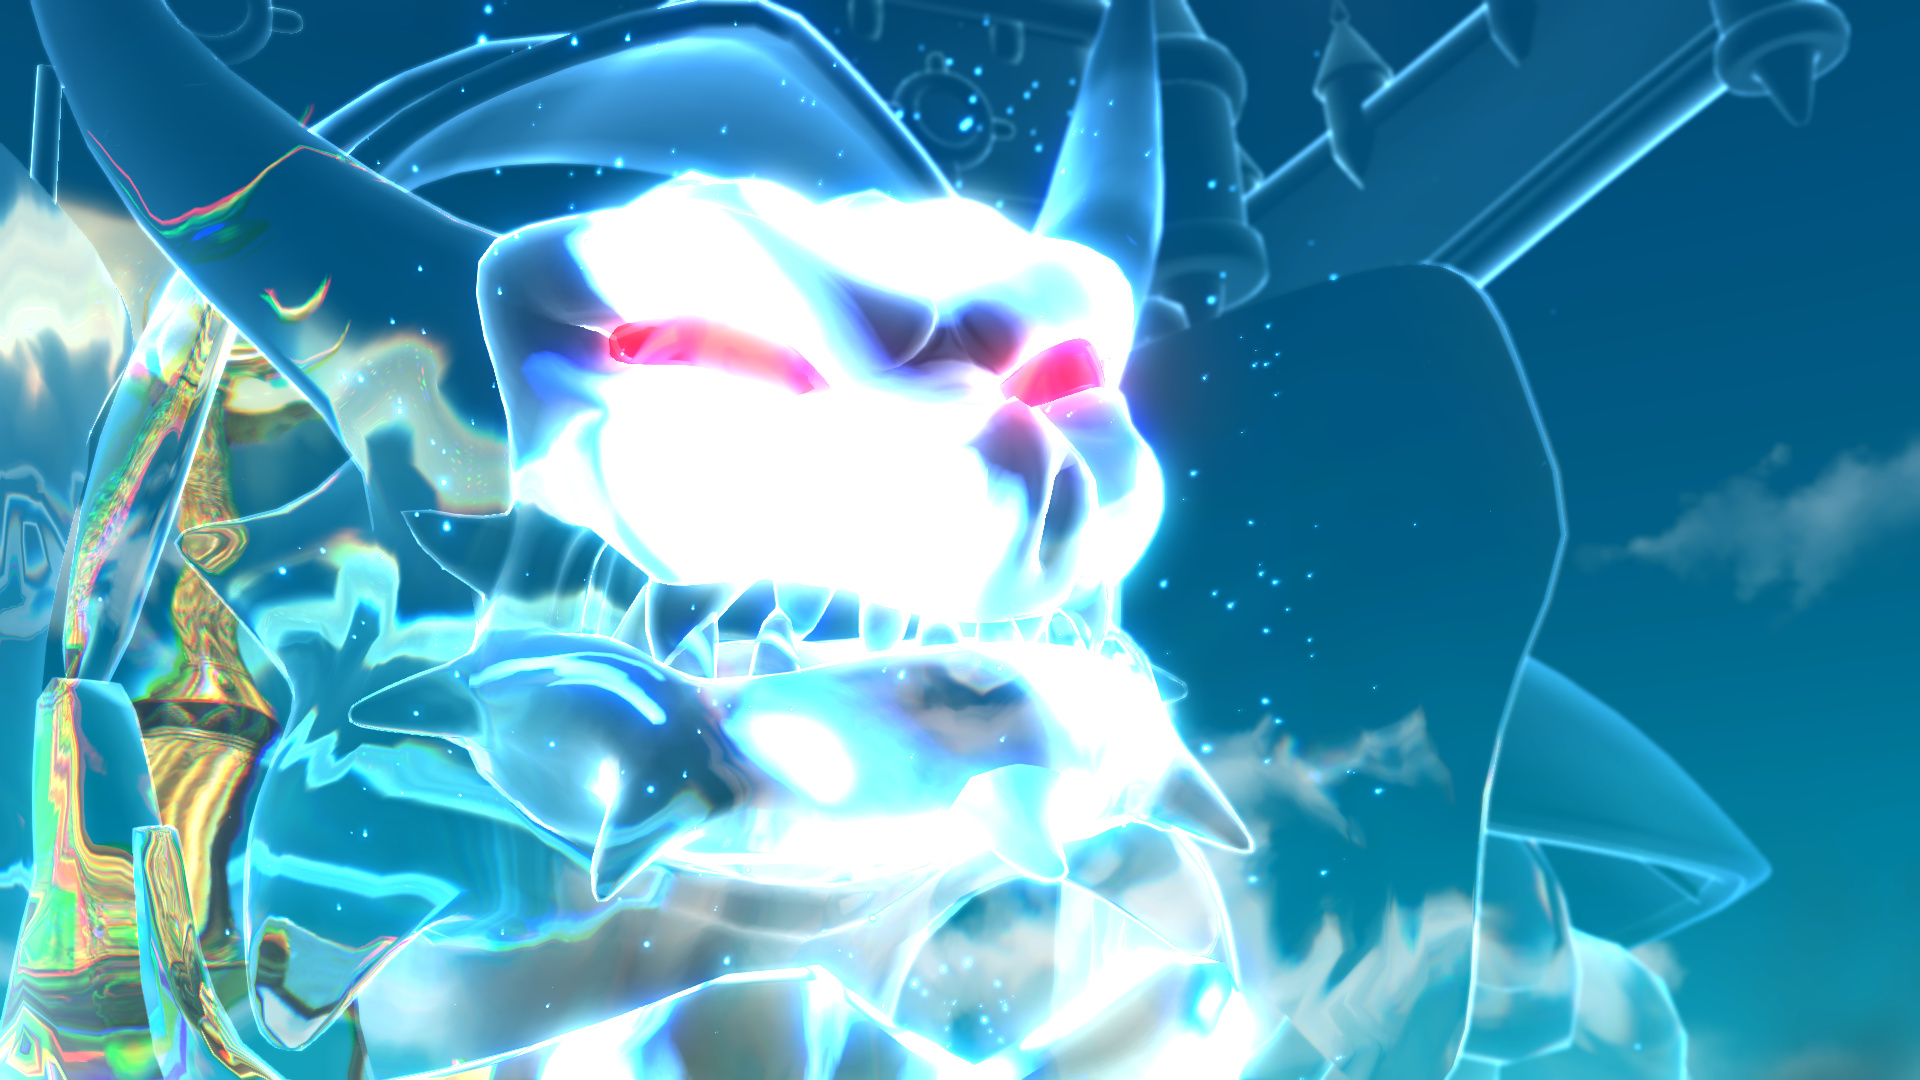
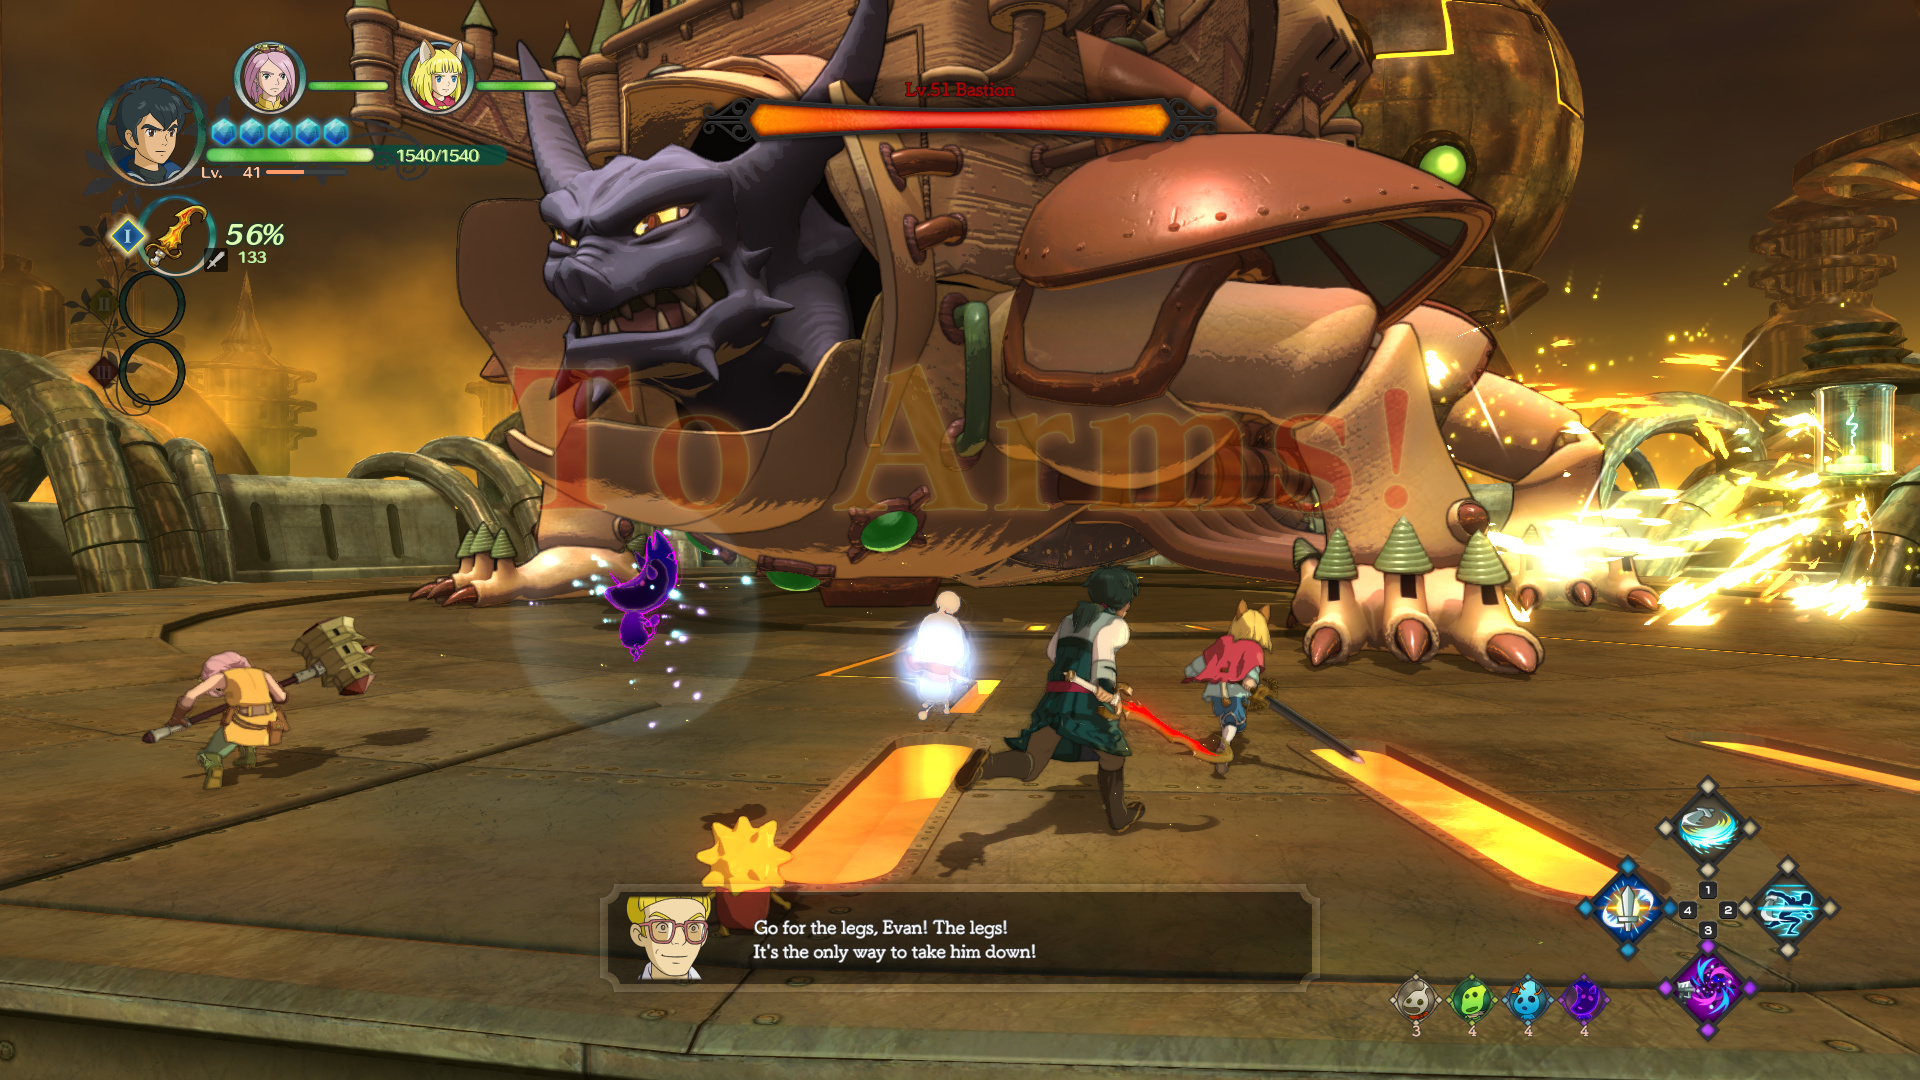
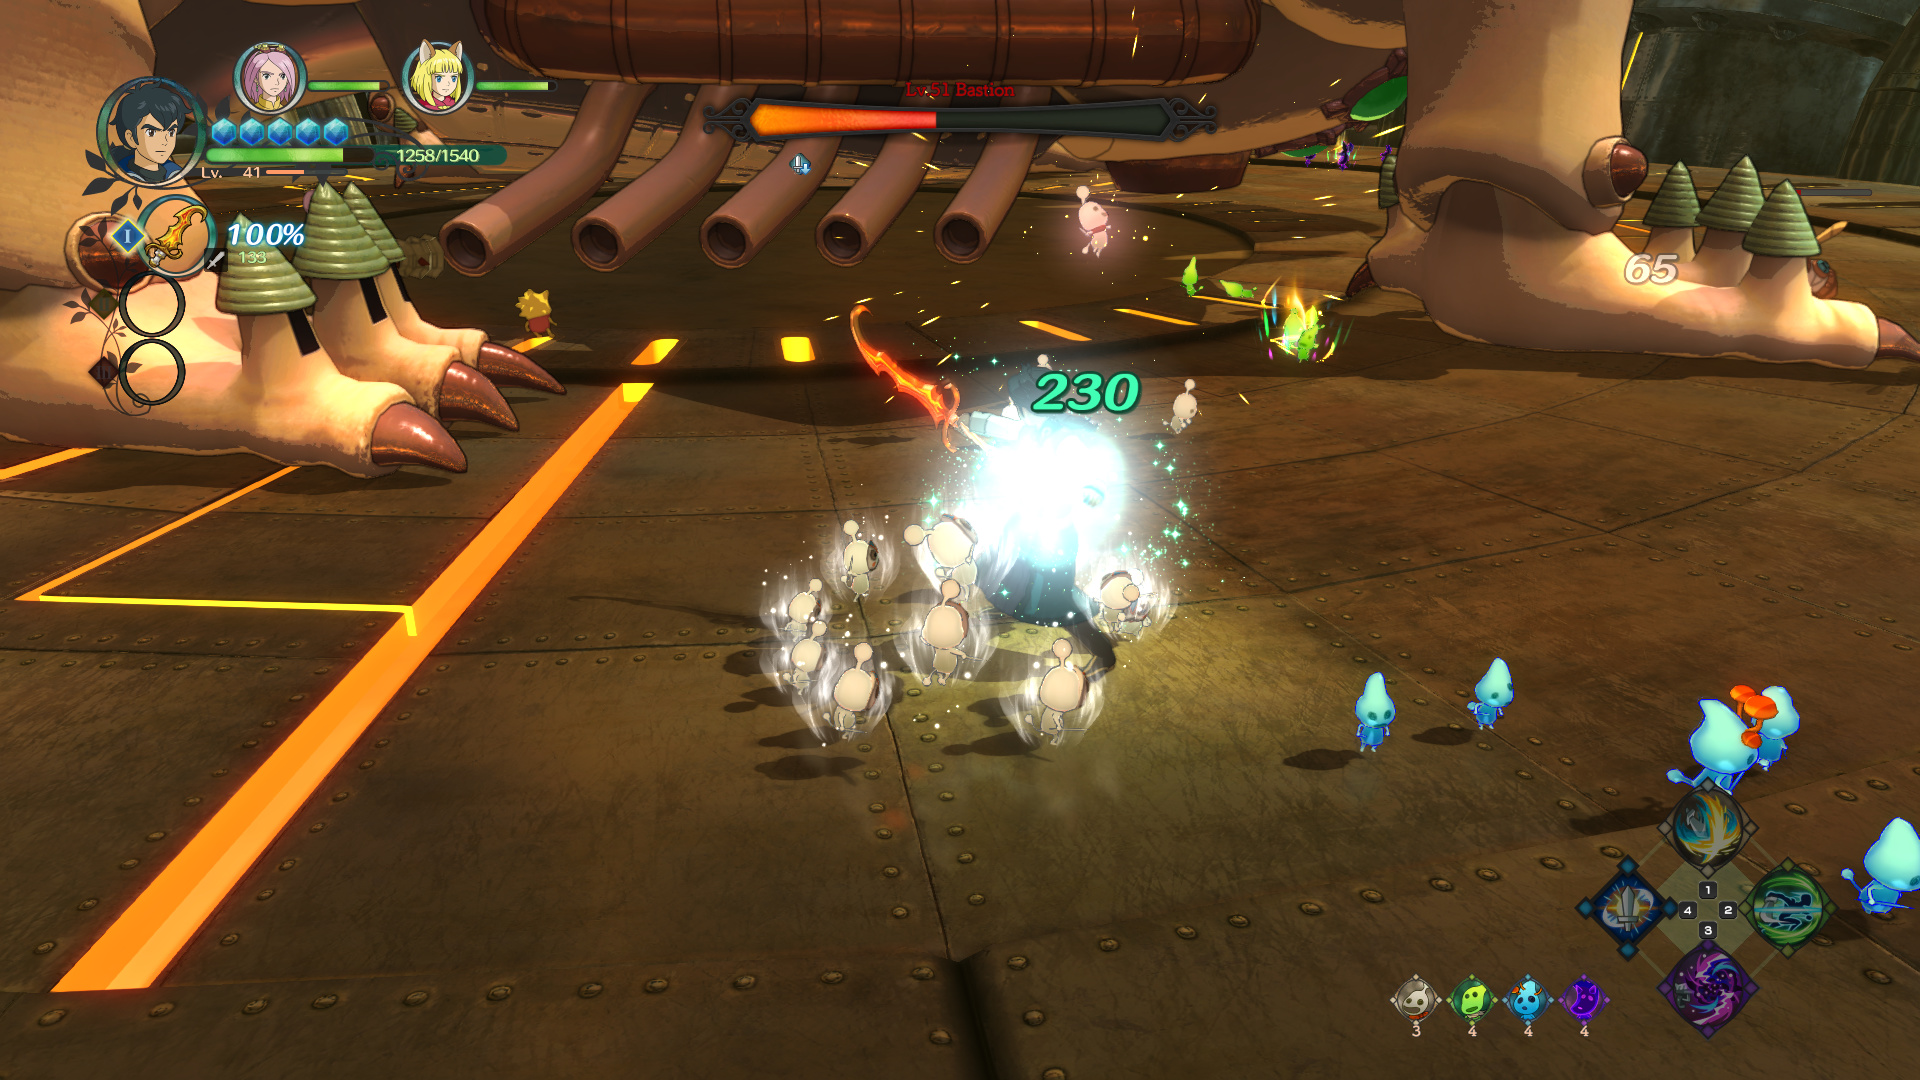
Right away, we can see the boss’s weak point. Simple, right?
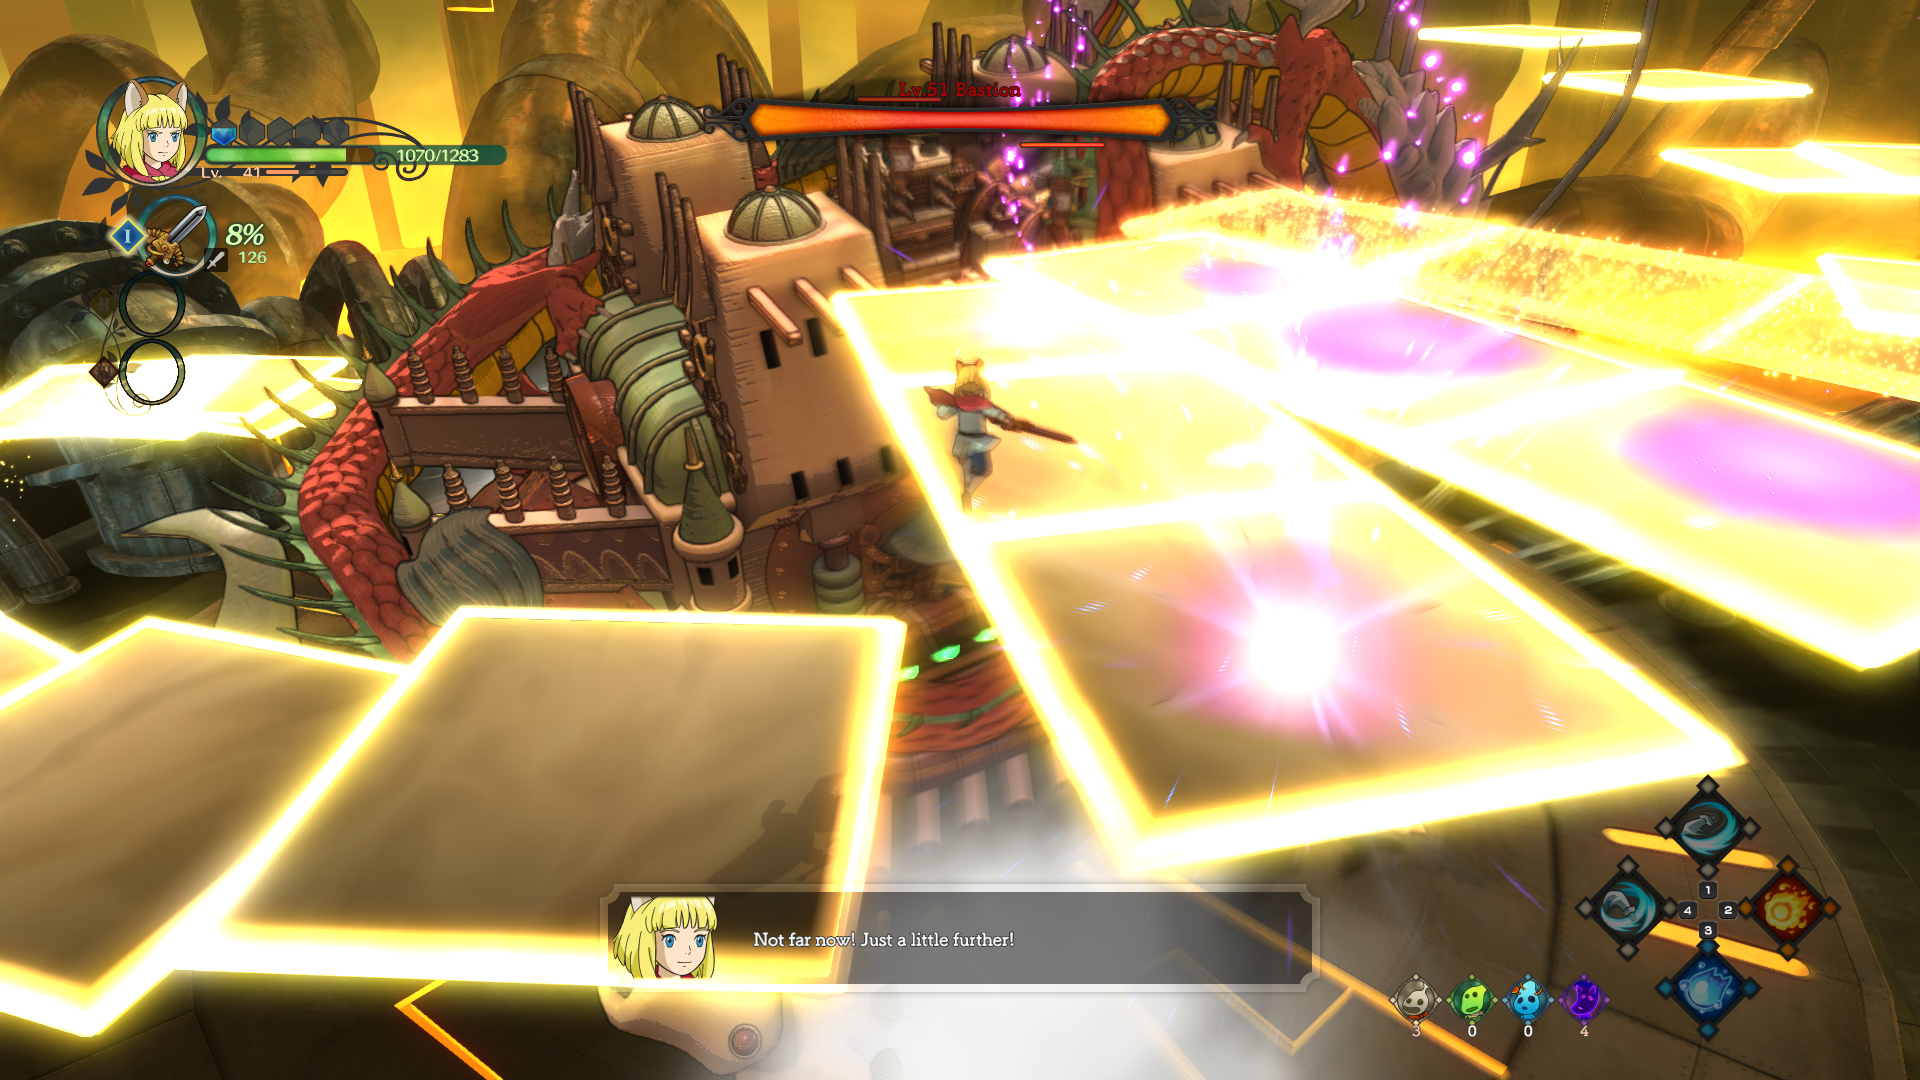
Not really. Alejandro has a ton of health, and it takes a good minute of hitting his weak point (throwing in the occasional circle cut from Roland) to break it. Now, intrepid viewers might notice that the exhaust pipes on his underside are charging an attack…
This is his first AOE attack. The AI is typically okay at avoiding this one, because the boss doesn’t move while using it. However, they tend to run underneath him to attack (ignoring the weak point altogether) and get caught in it as the fight goes on.
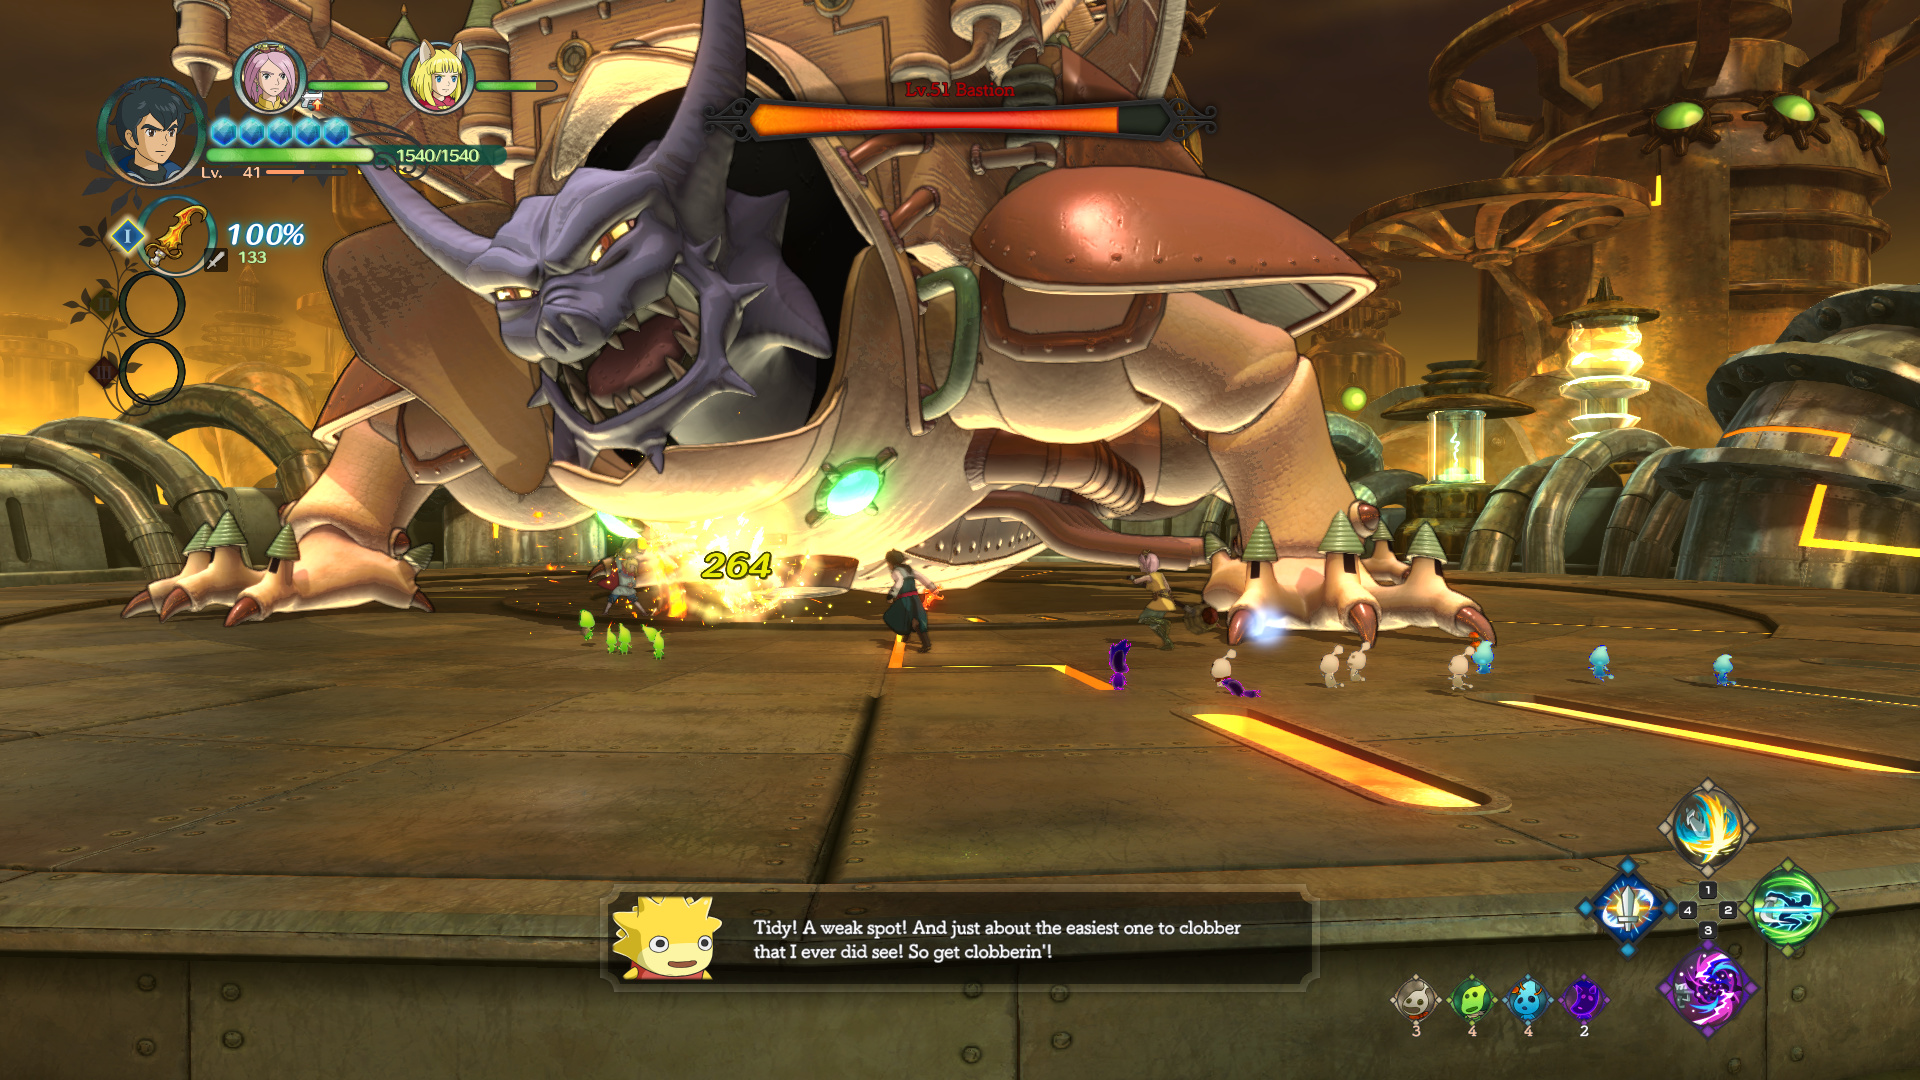
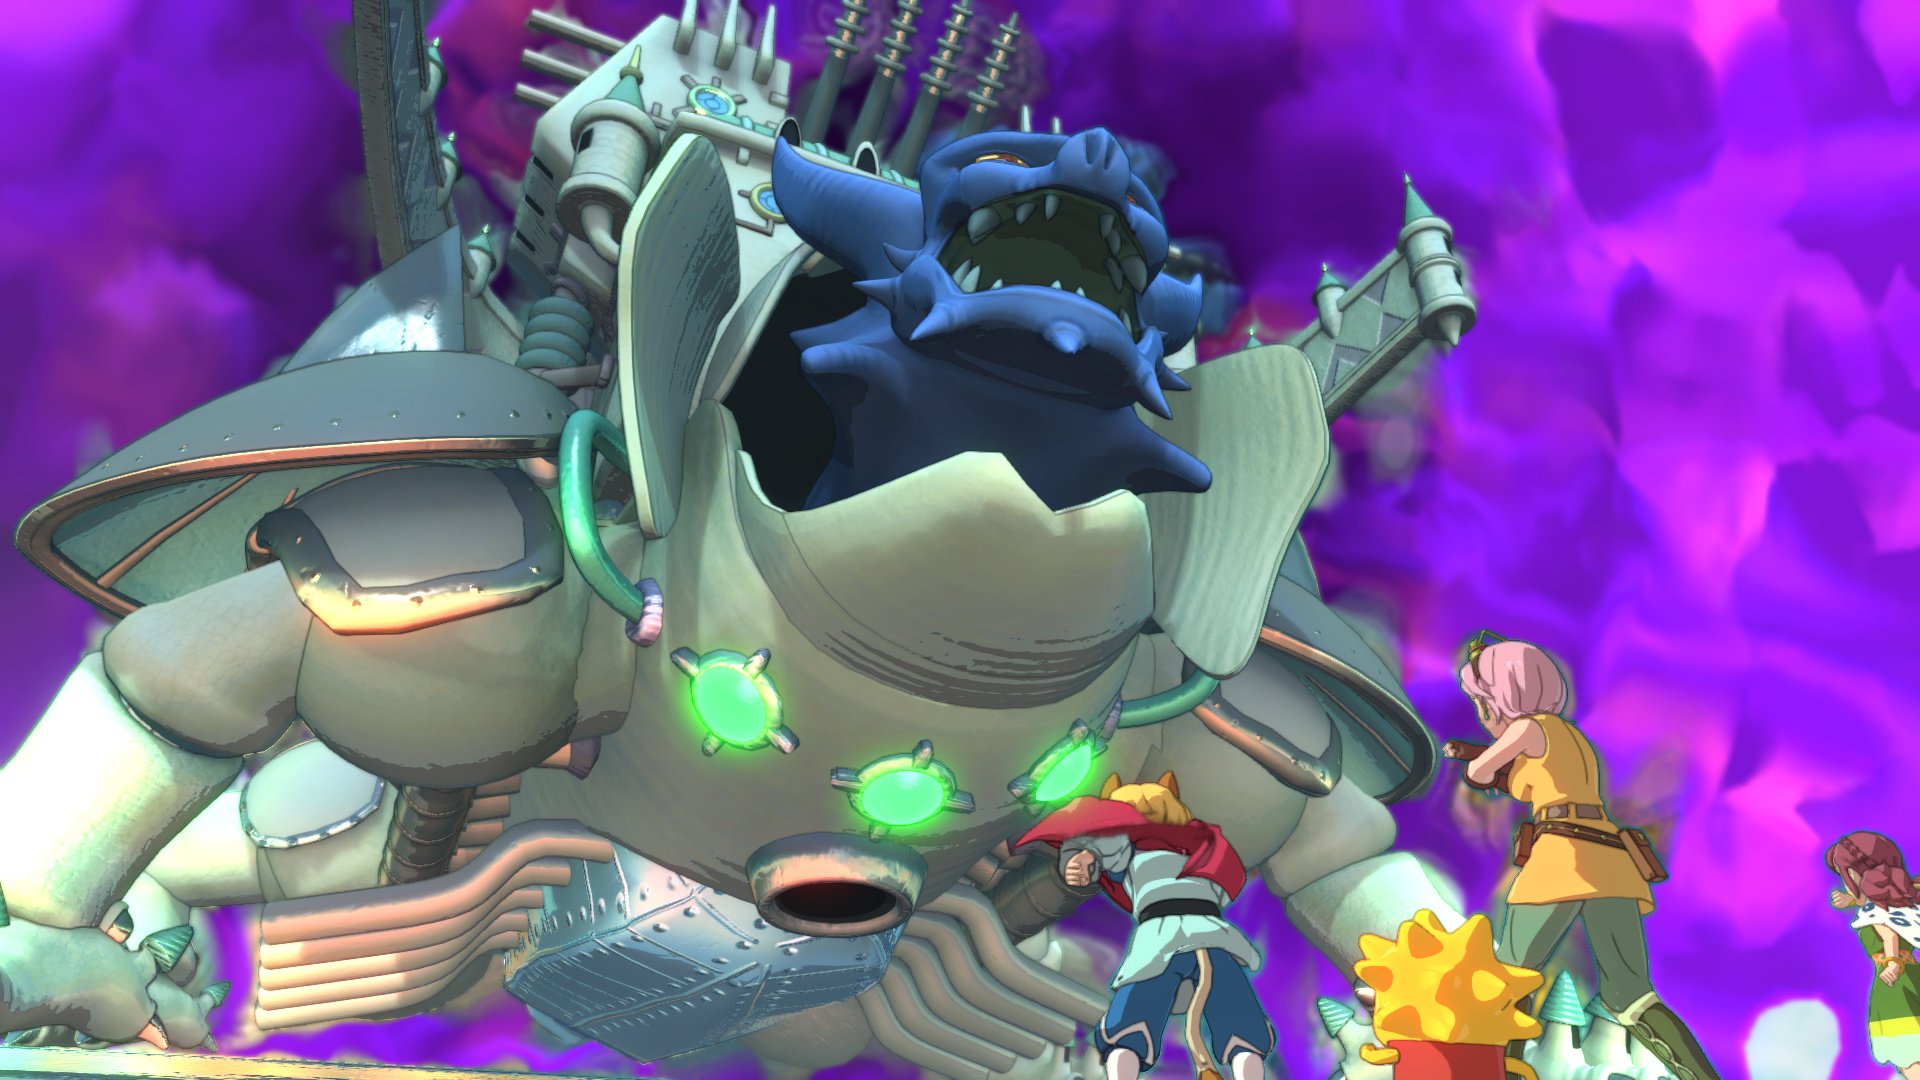
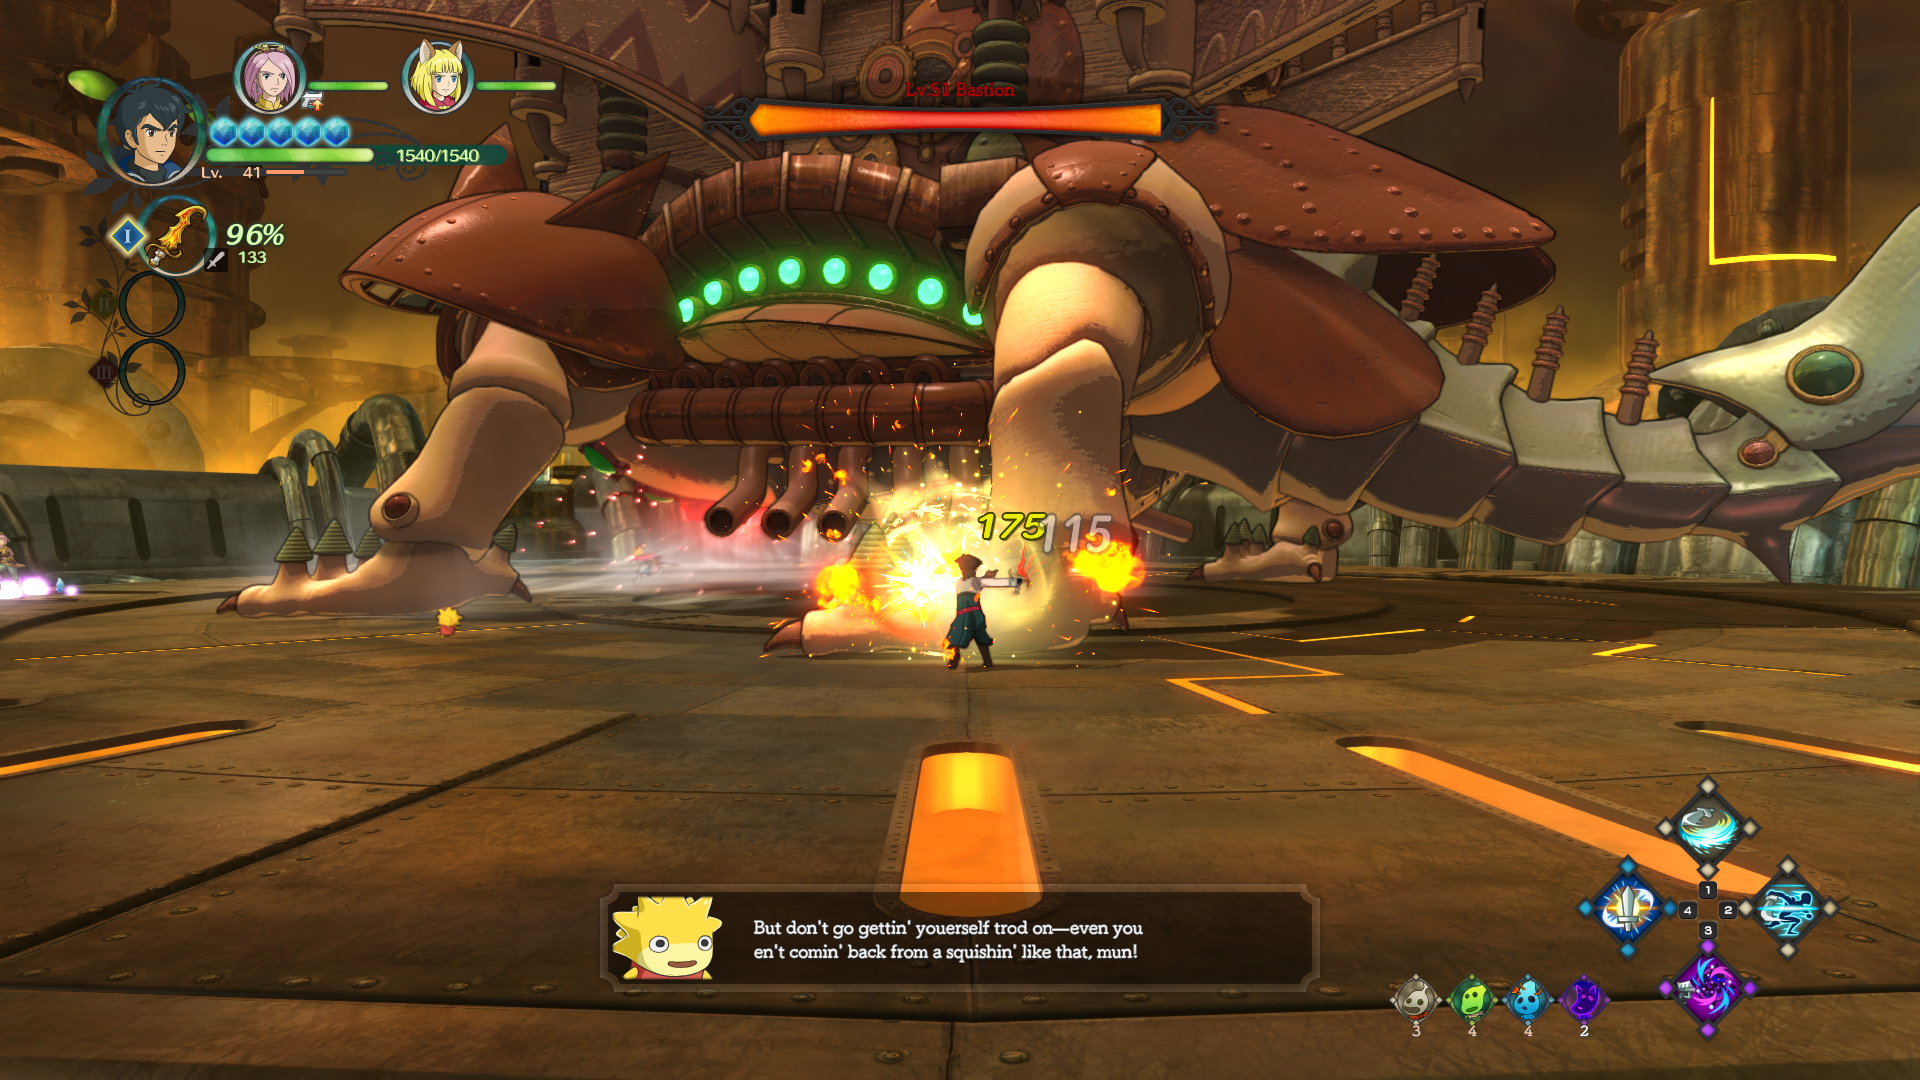
Eventually, a second weak spot opens up on Alejandro’s chest. This one has significantly less armor, thus we can actually hit it for a decent amount of damage. This is where the AI starts really getting screwed up.

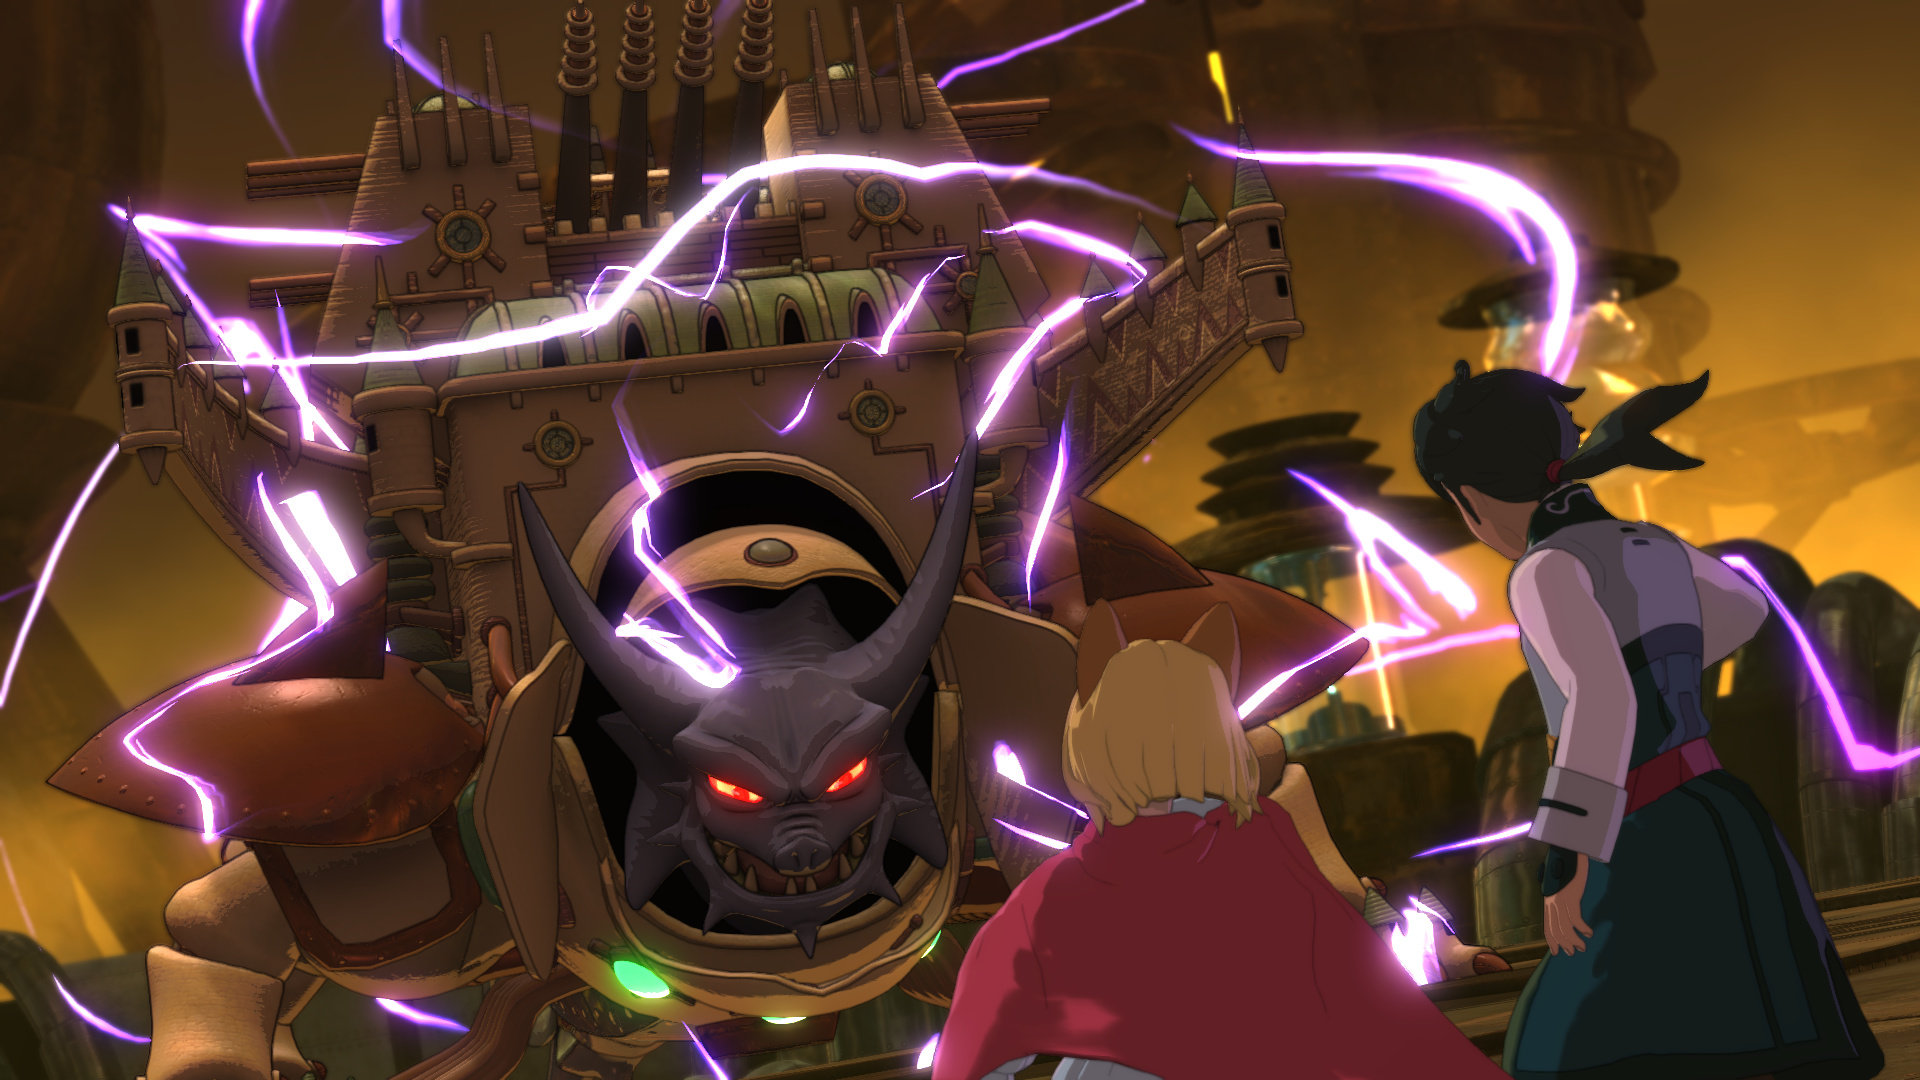
Once we take off about a quarter of his HP, the boss goes into rage mode.
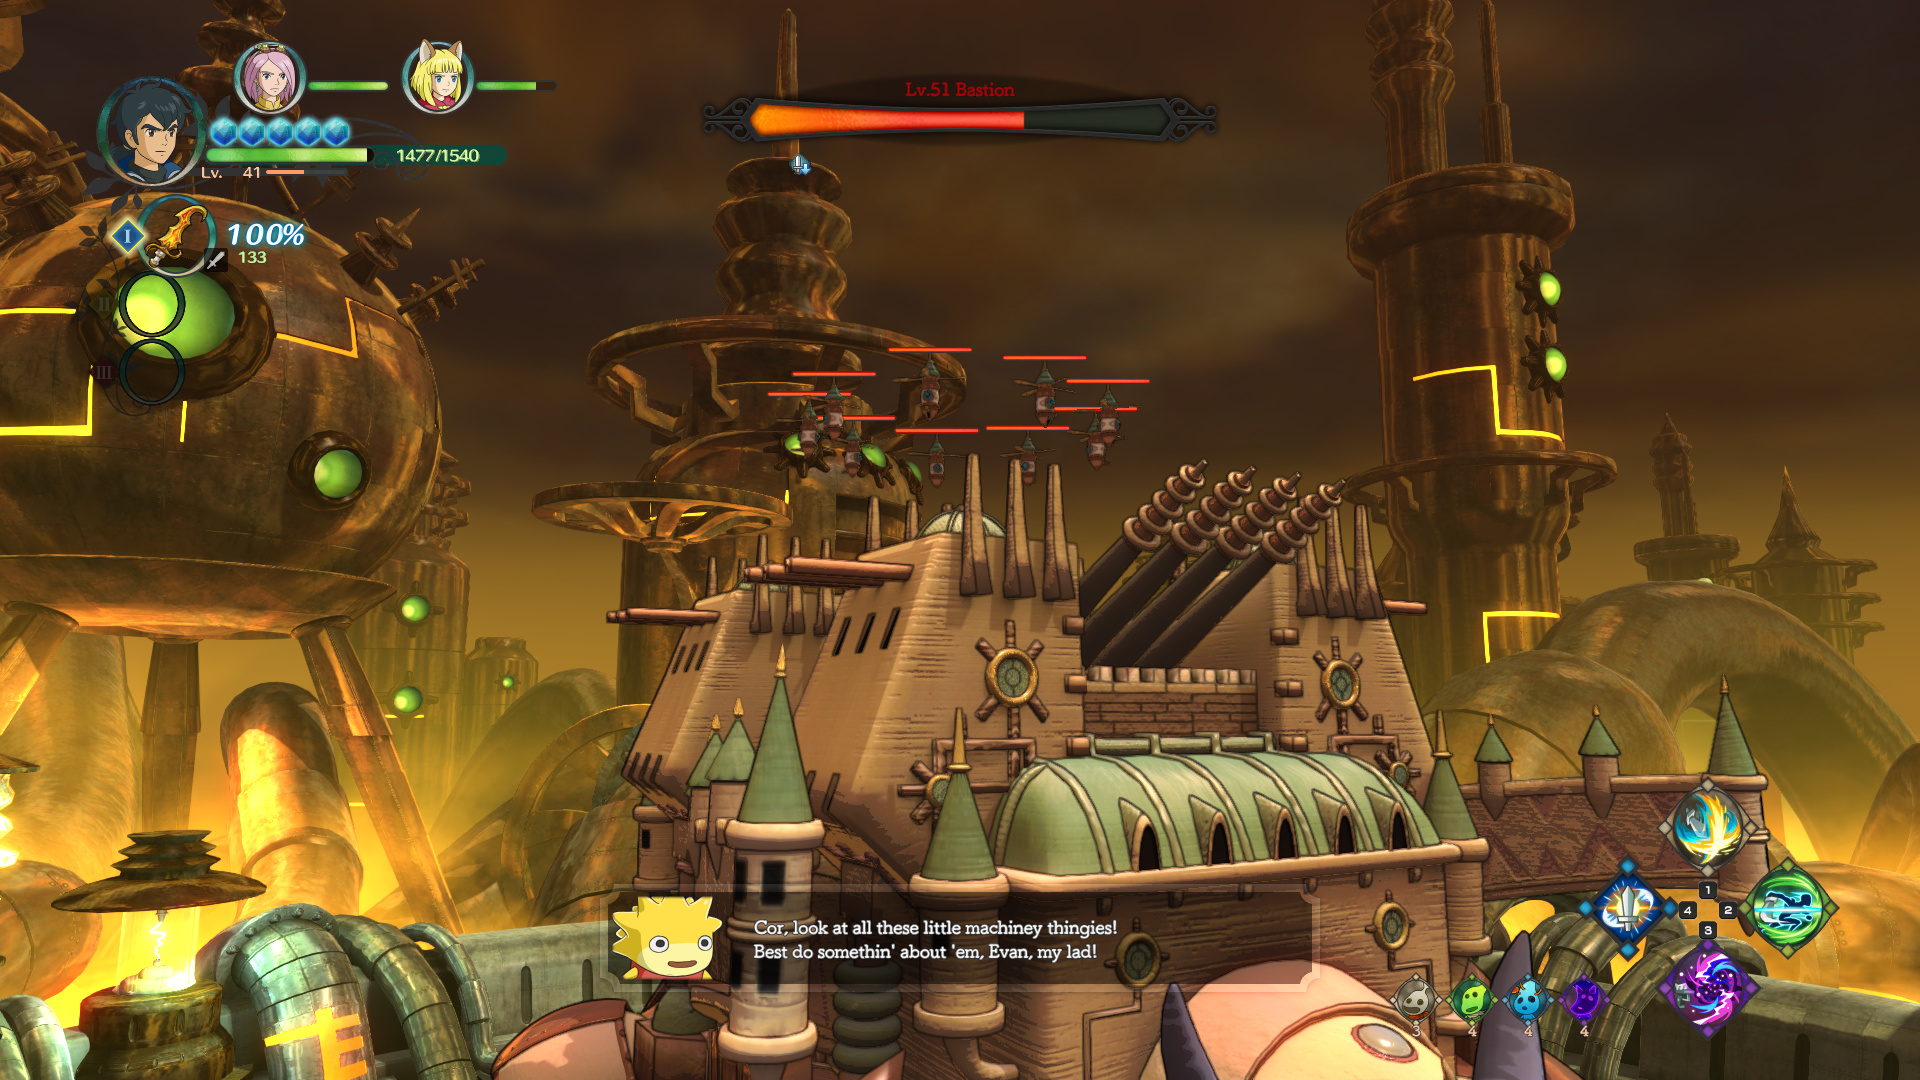
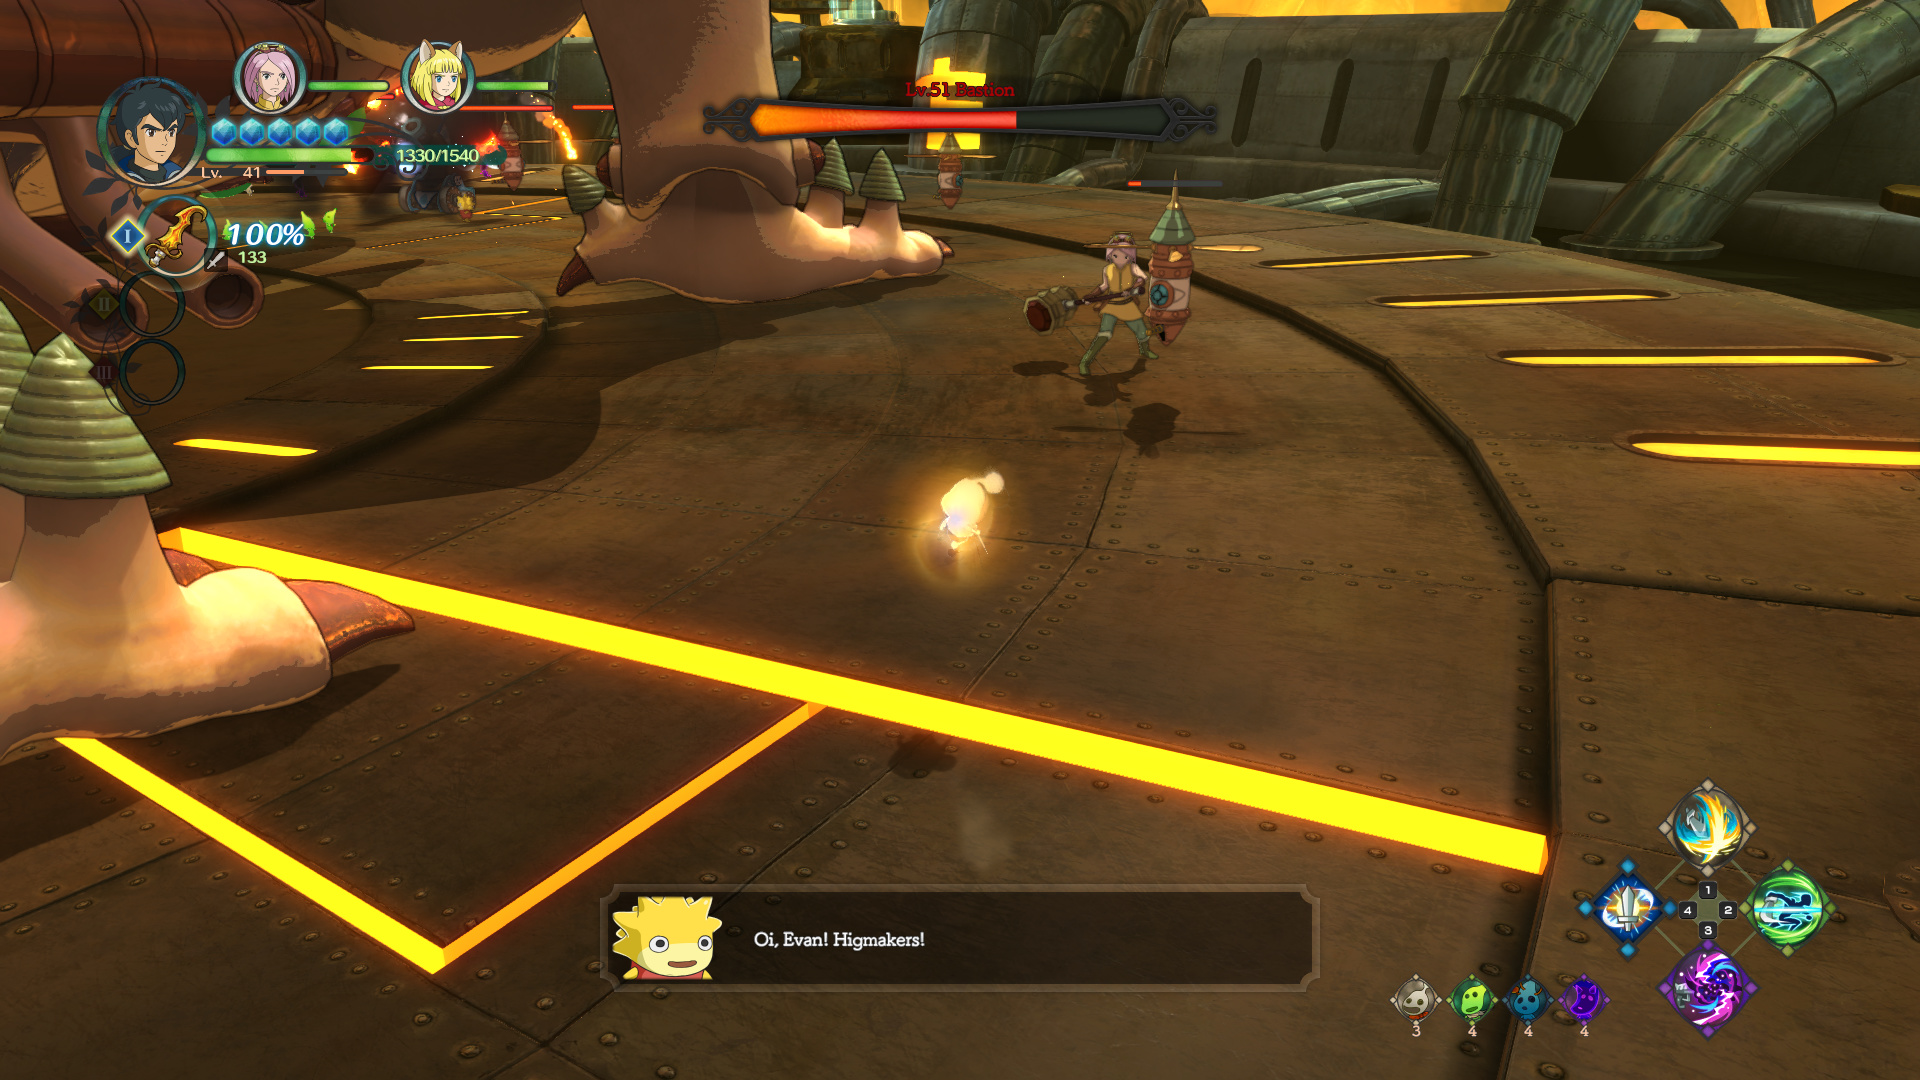
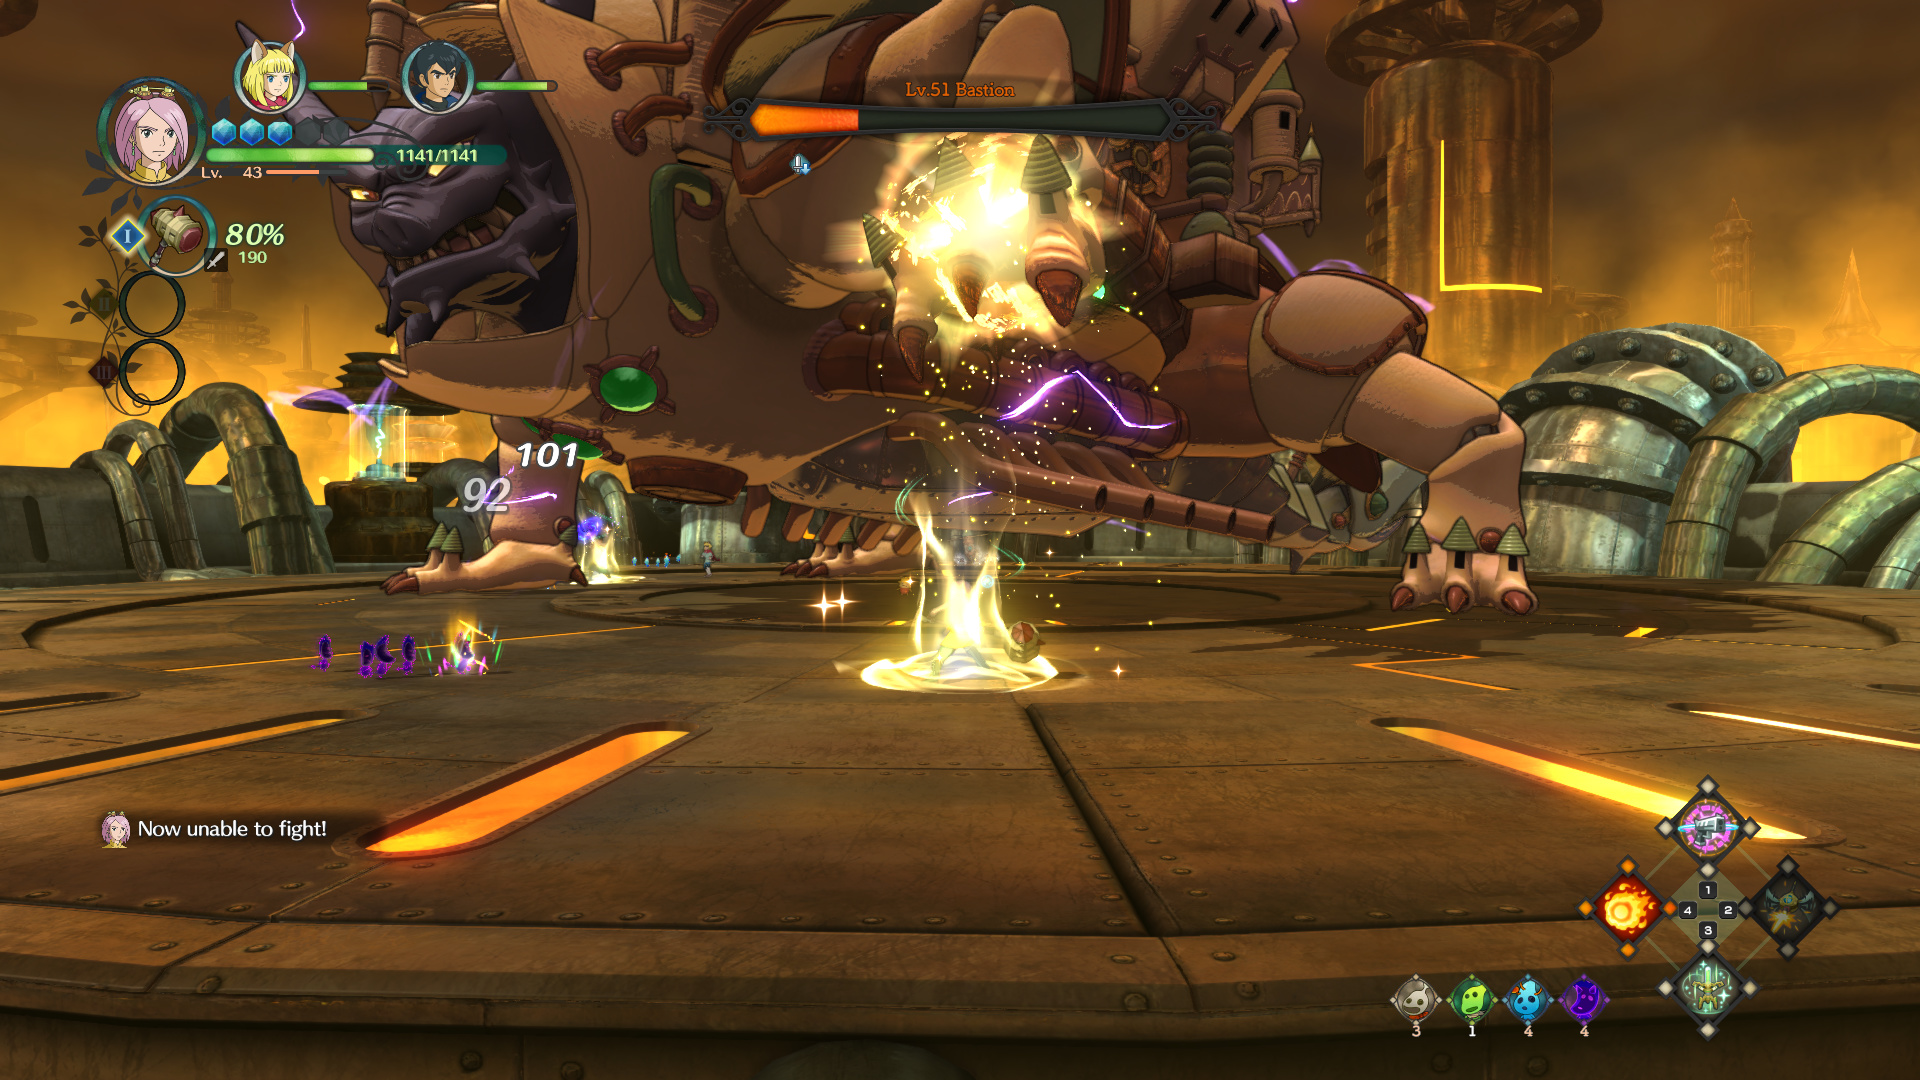
In case you’ve been wondering “Where are the higmakers?” the answer is here, inside these flying turret things. The turrets work more or less just like the ones we used to take down Discount Leviathan, only with a far slower rate of fire.
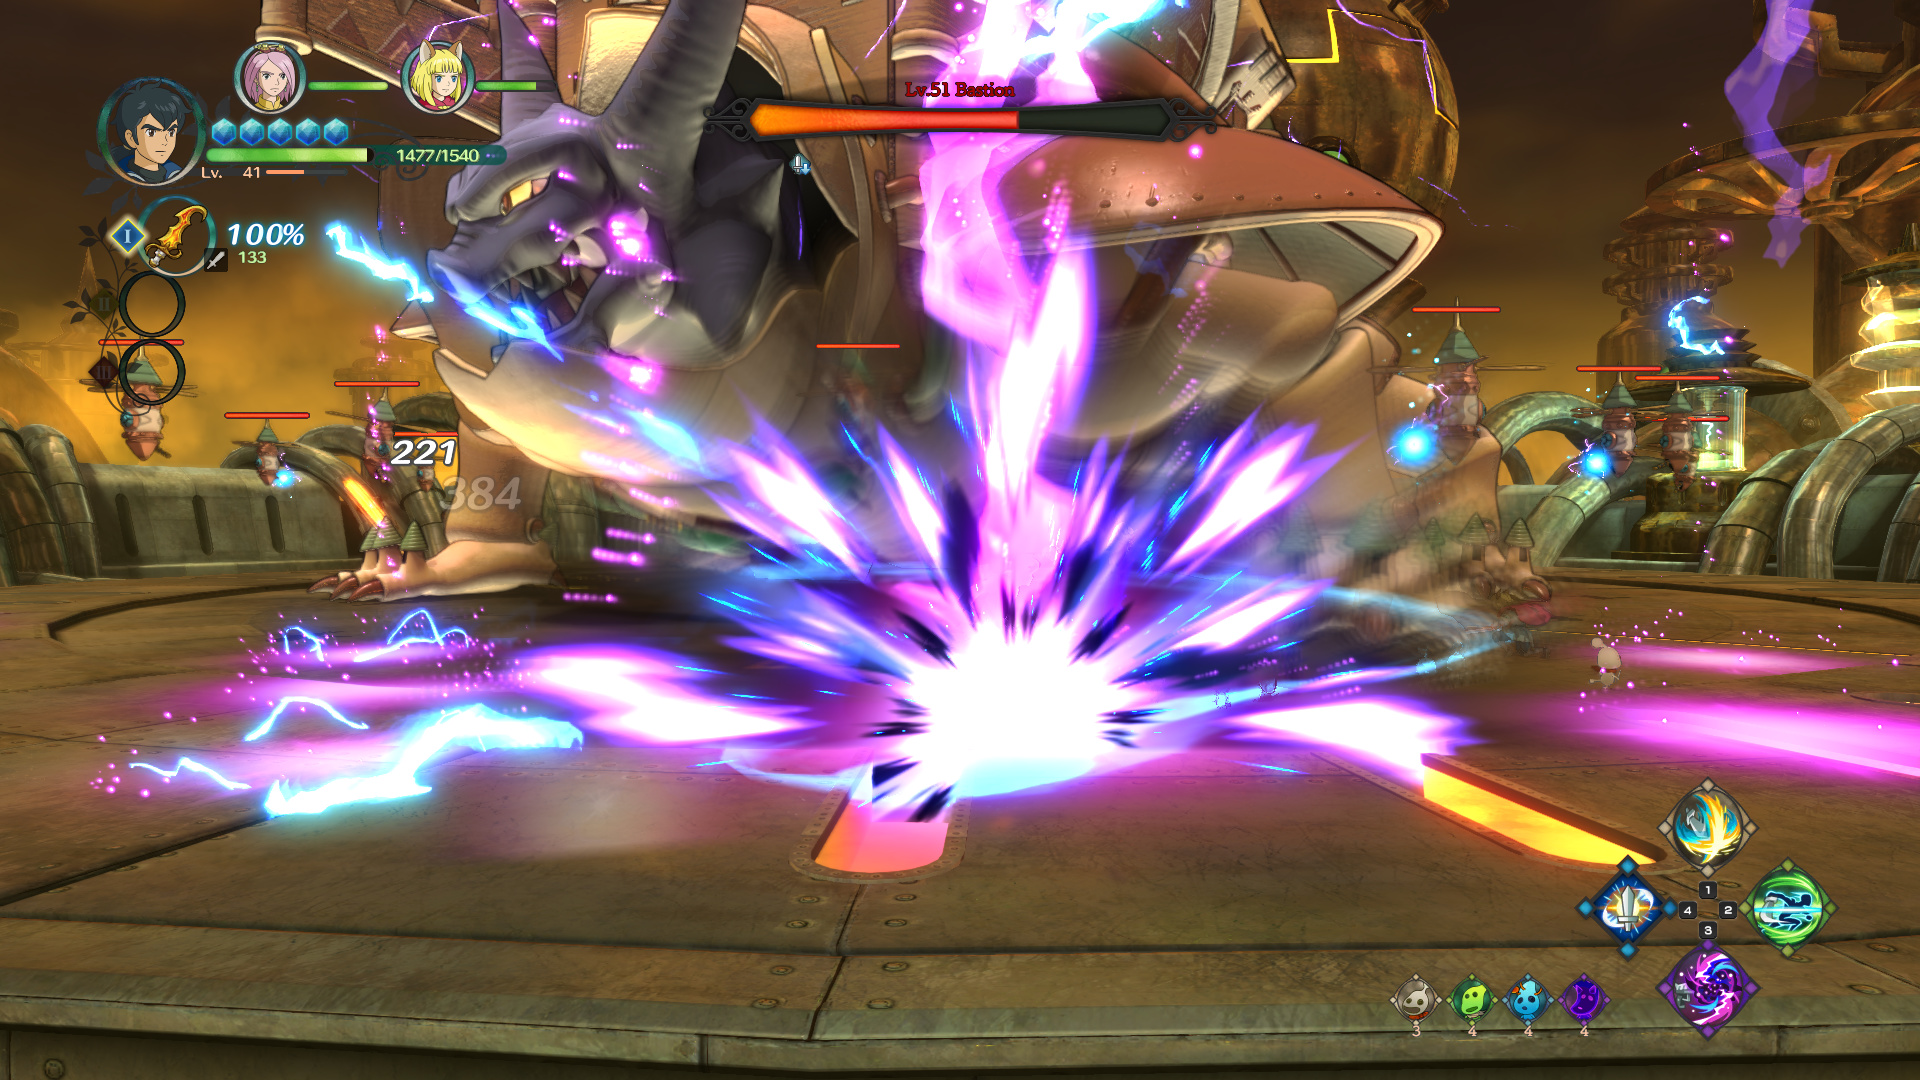
The turrets come down so we can hit them, and Alejandro immediately starts spamming lightning bolts everywhere. These aren’t particularly hard to dodge, but you’re probably going to run into a few of them trying to bring the turrets down.
While you CAN still attack Alejandro in this stage, he has a fuckload of HP and no weak point. The AI, of course, will focus solely on him and ignore the turrets.
The turrets will continuously spawn even once you have enough higmakers to perform their special attack, but unlike Discount Leviathan’s fight, there’s no point to having more than the minimum which is something like 12.
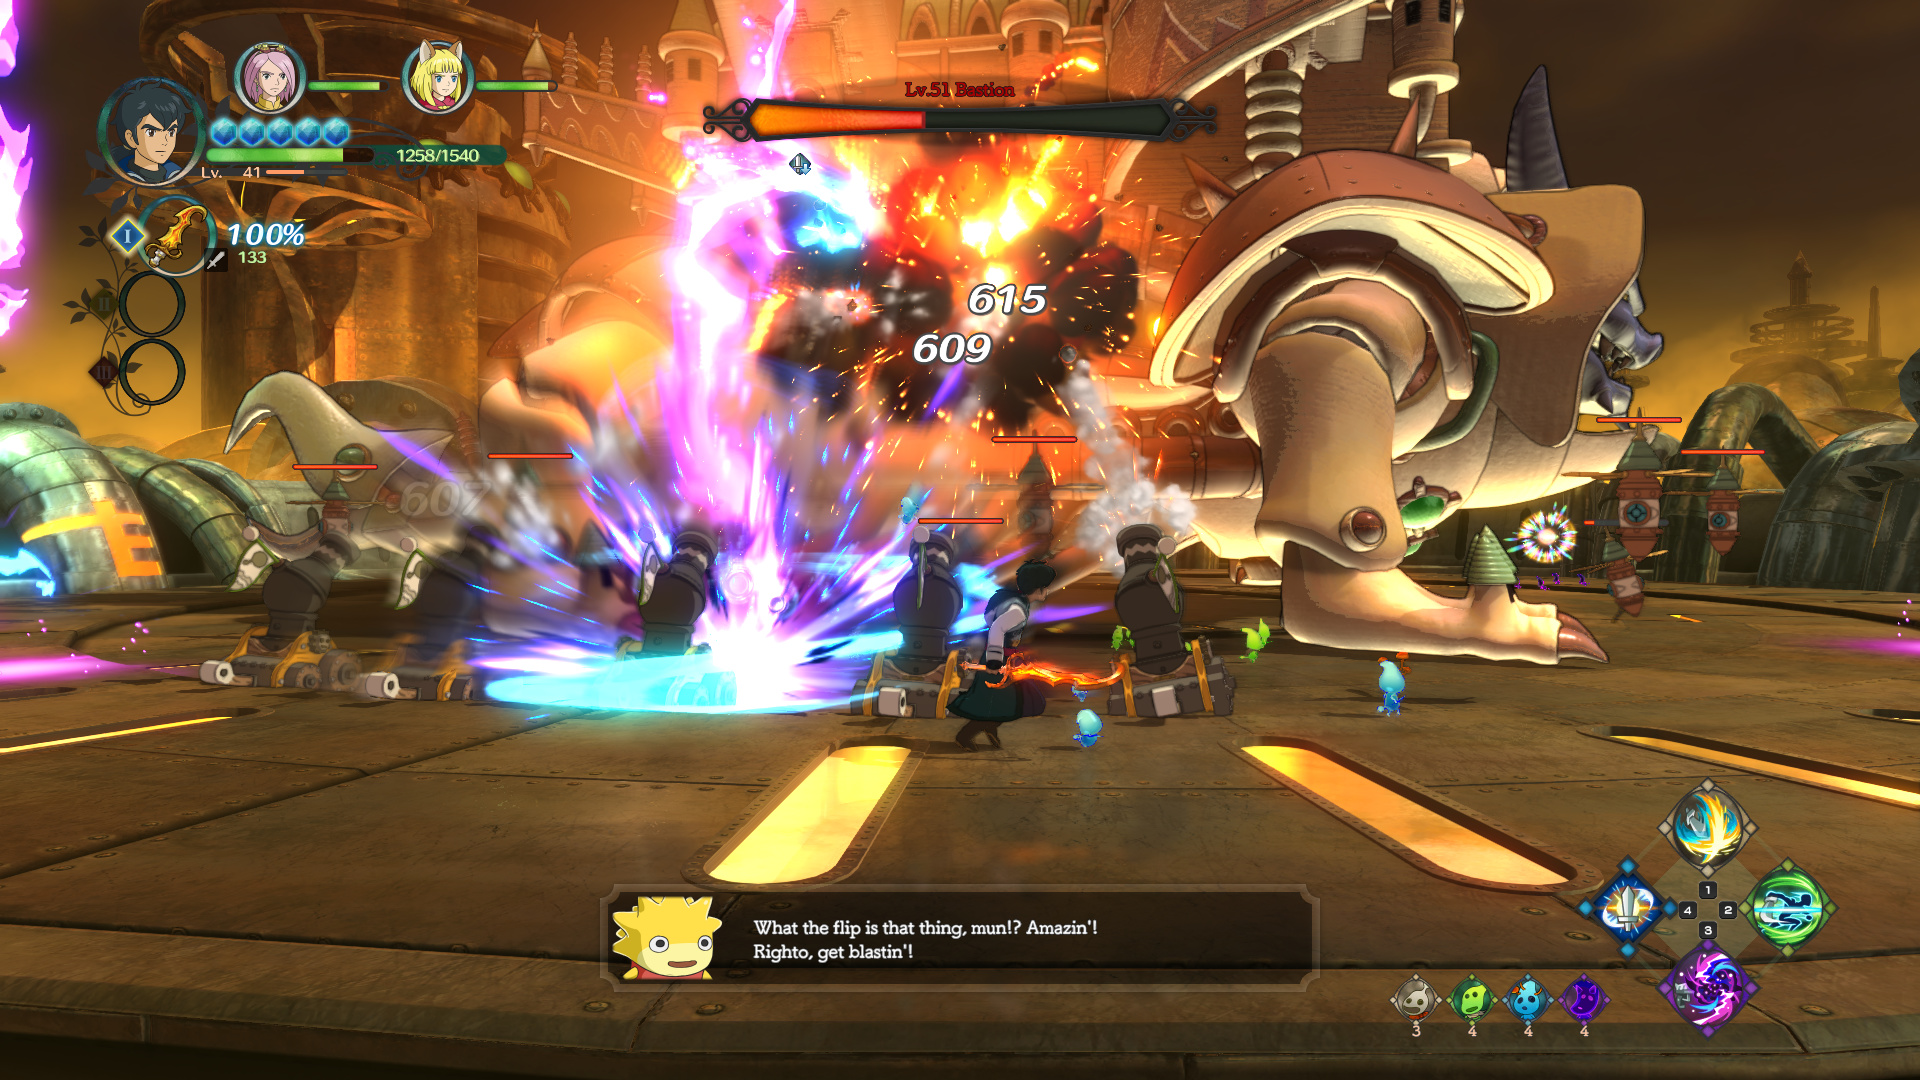
These higmakers.. do exactly what most of our existing ones do for a special and form cannons that hit for some 600 damage a shot.
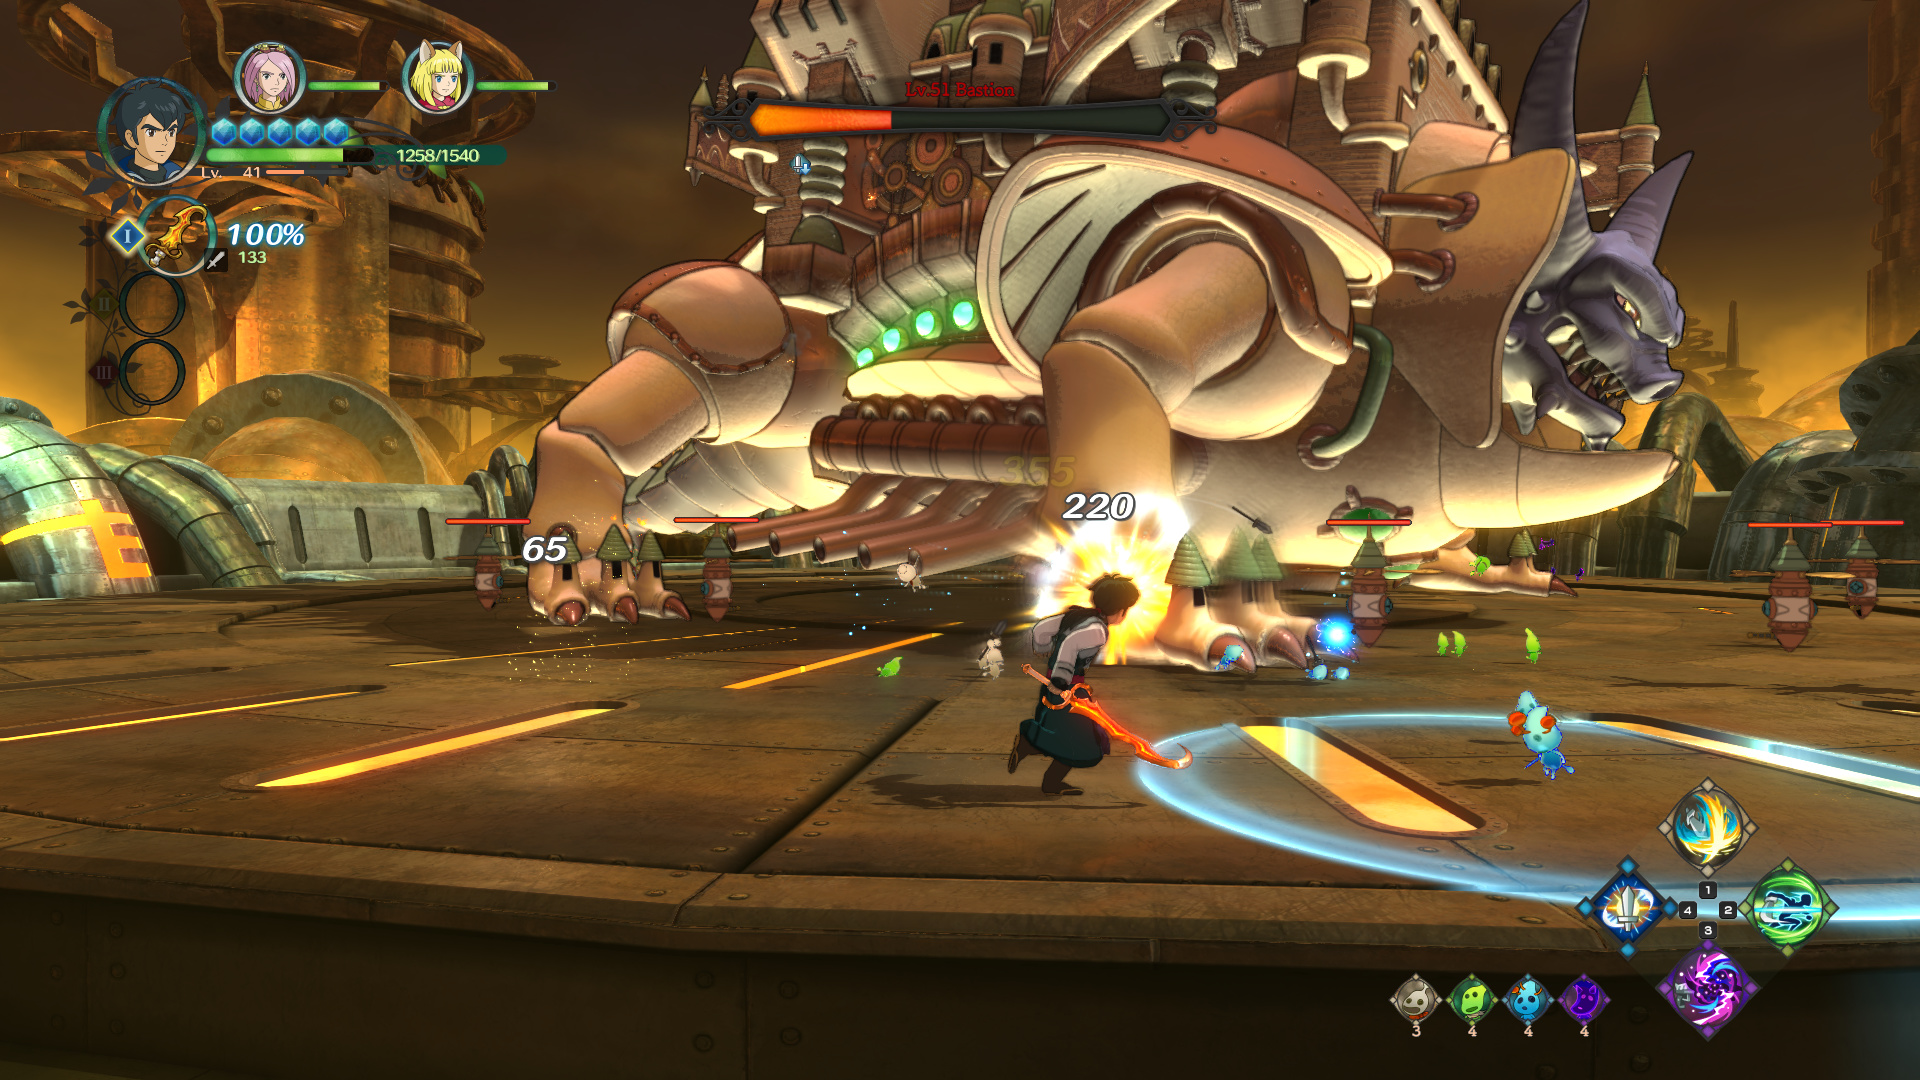
Using the higmakers opens a weak point on the boss’s other leg, only..
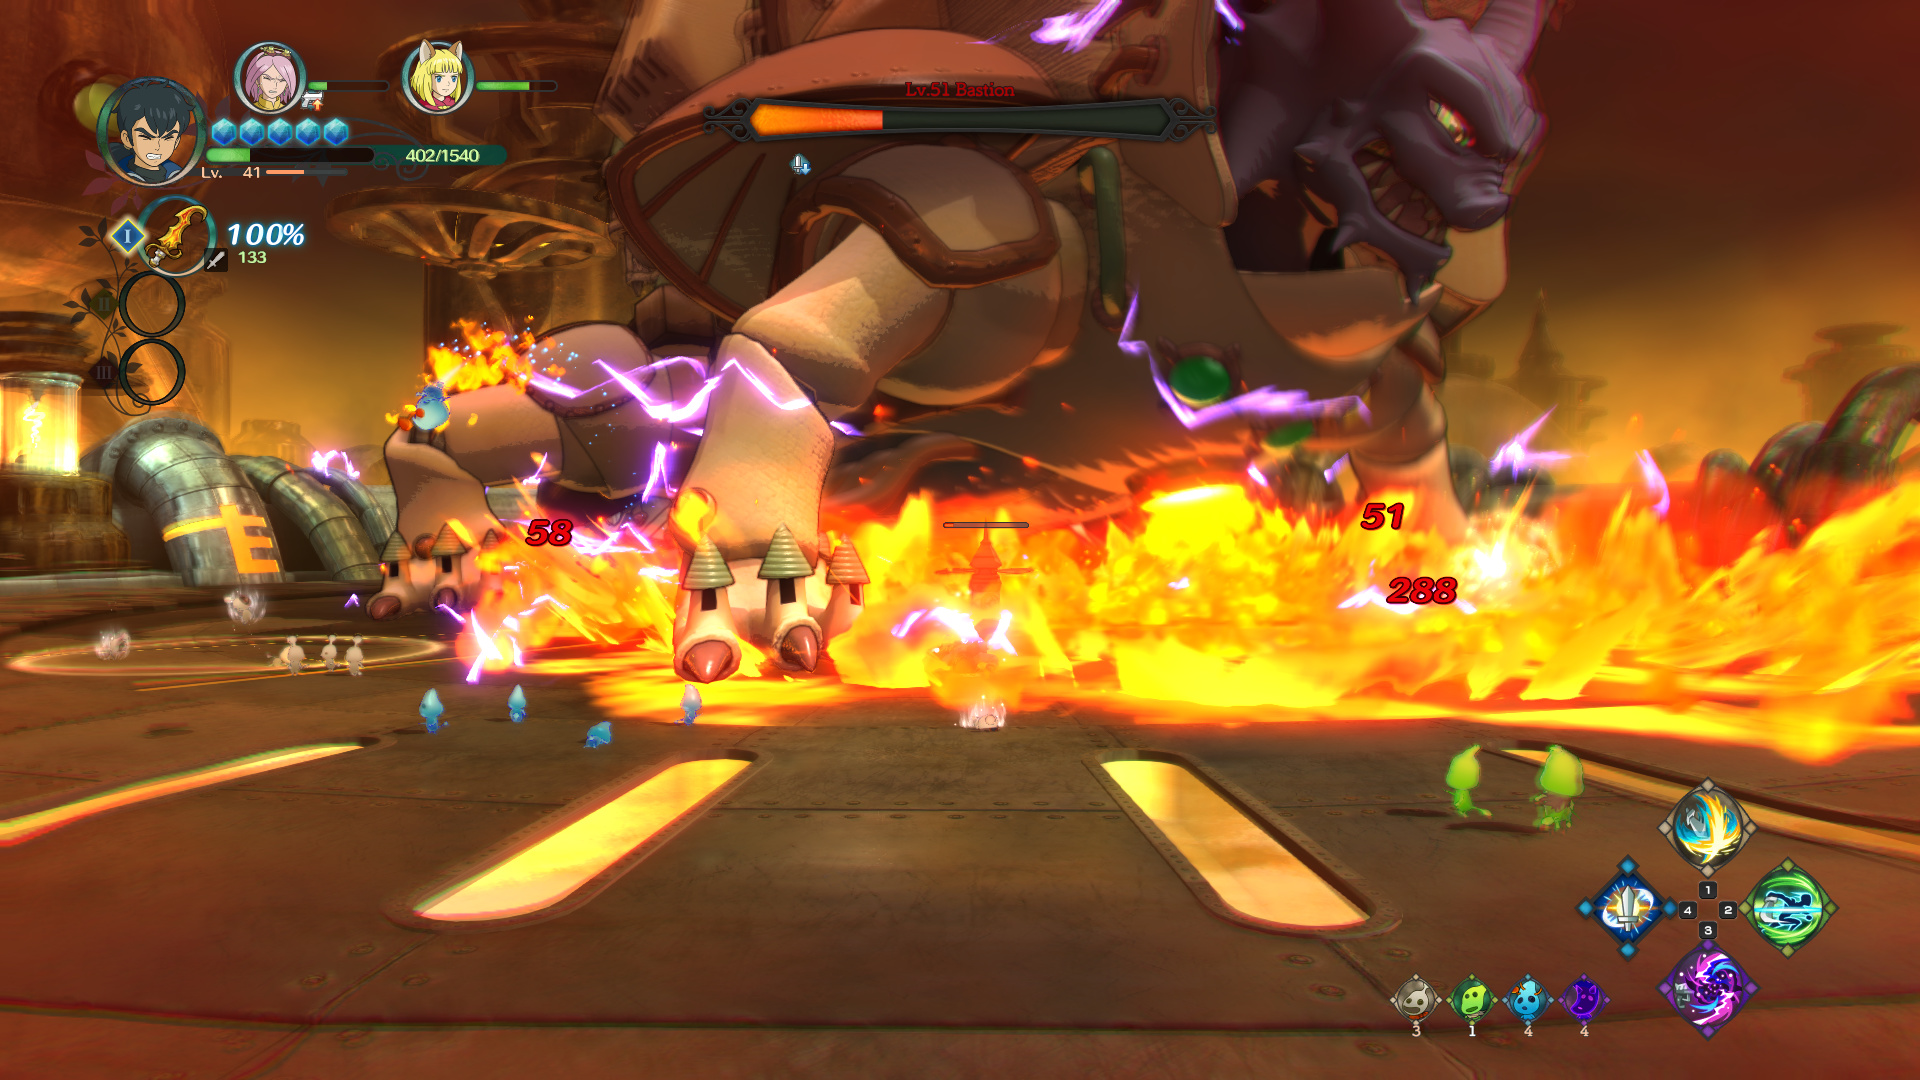
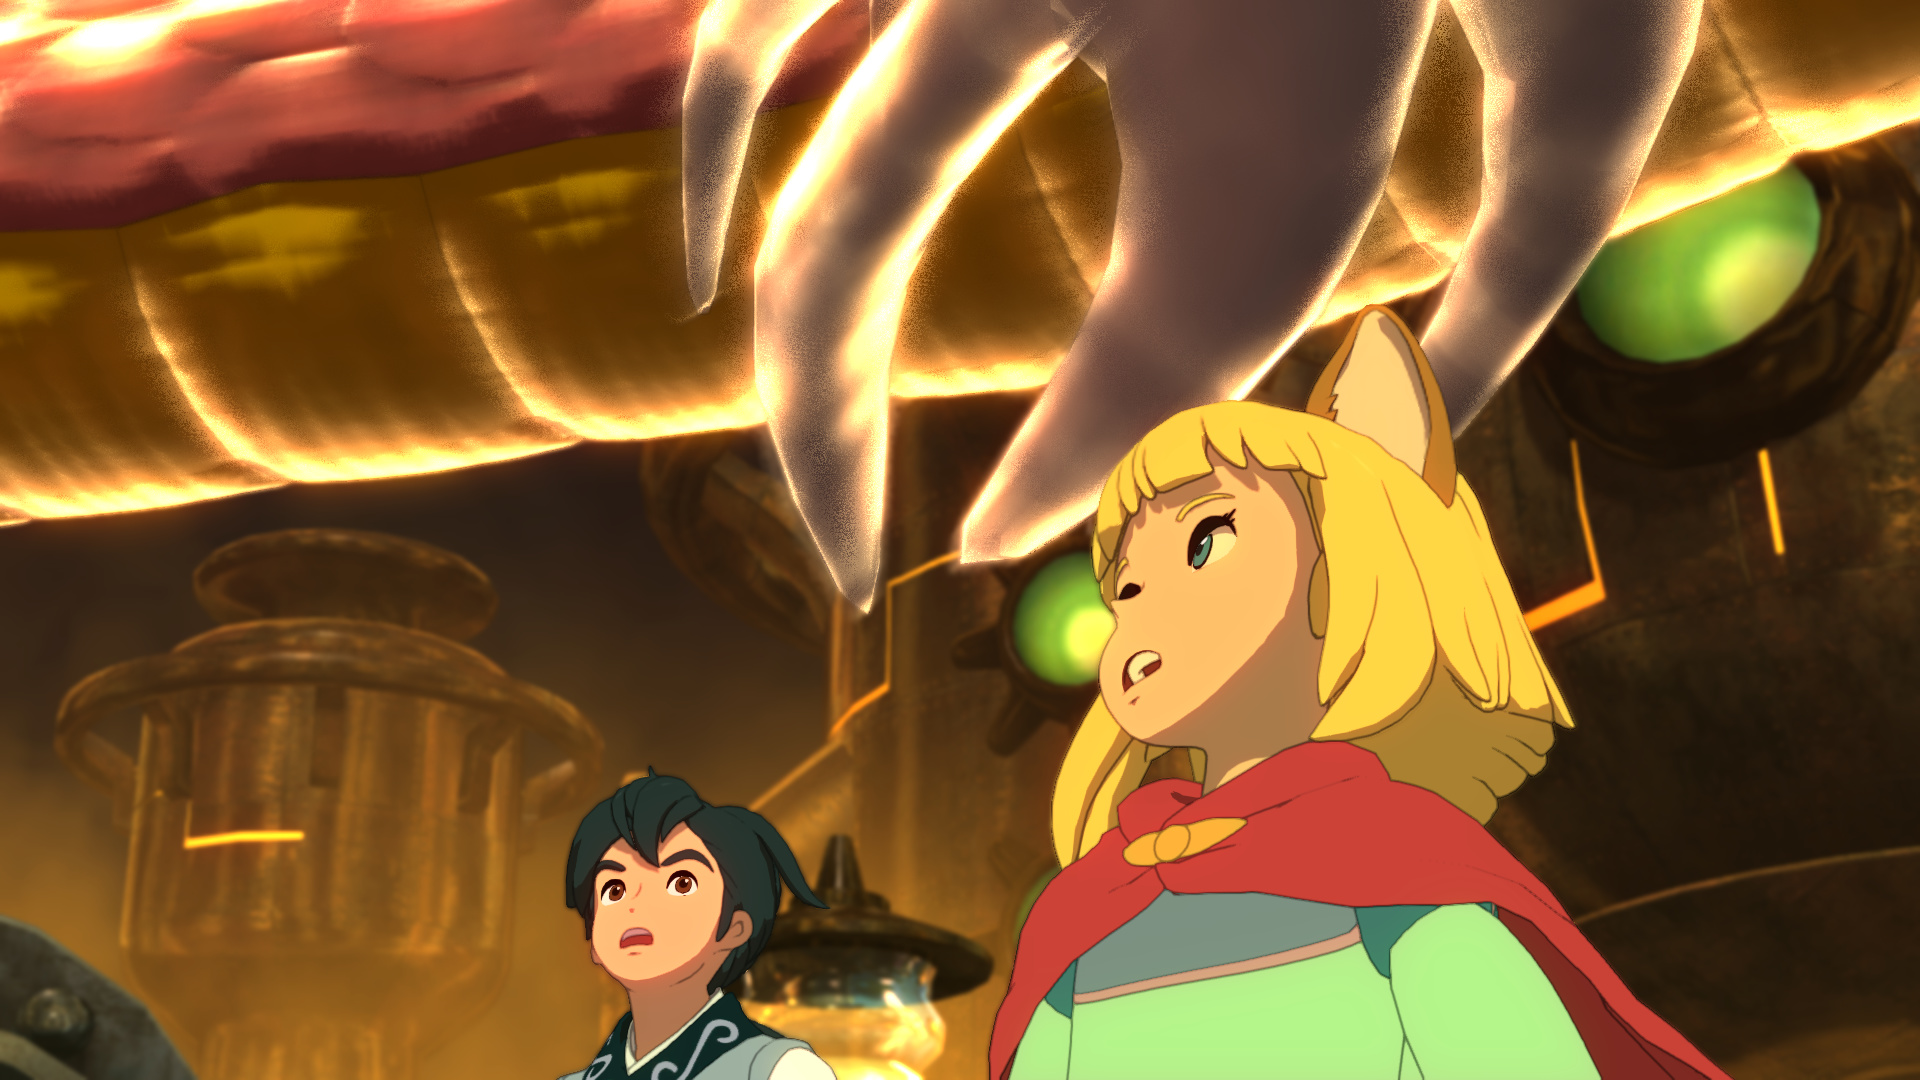
I missed a dodge and the fire AOE almost oneshotted Roland.
And then the boss decided to use his other AOE attack, where he spews steam and rapidly spins to hit you. I had switched to Bracken to put a healing field down, and Roland immediately ran into the steam and died.
Bracken died shortly afterward from the AOE, but I somehow managed to get a frame-perfect menu just as Bracken died and was able to revive everyone.
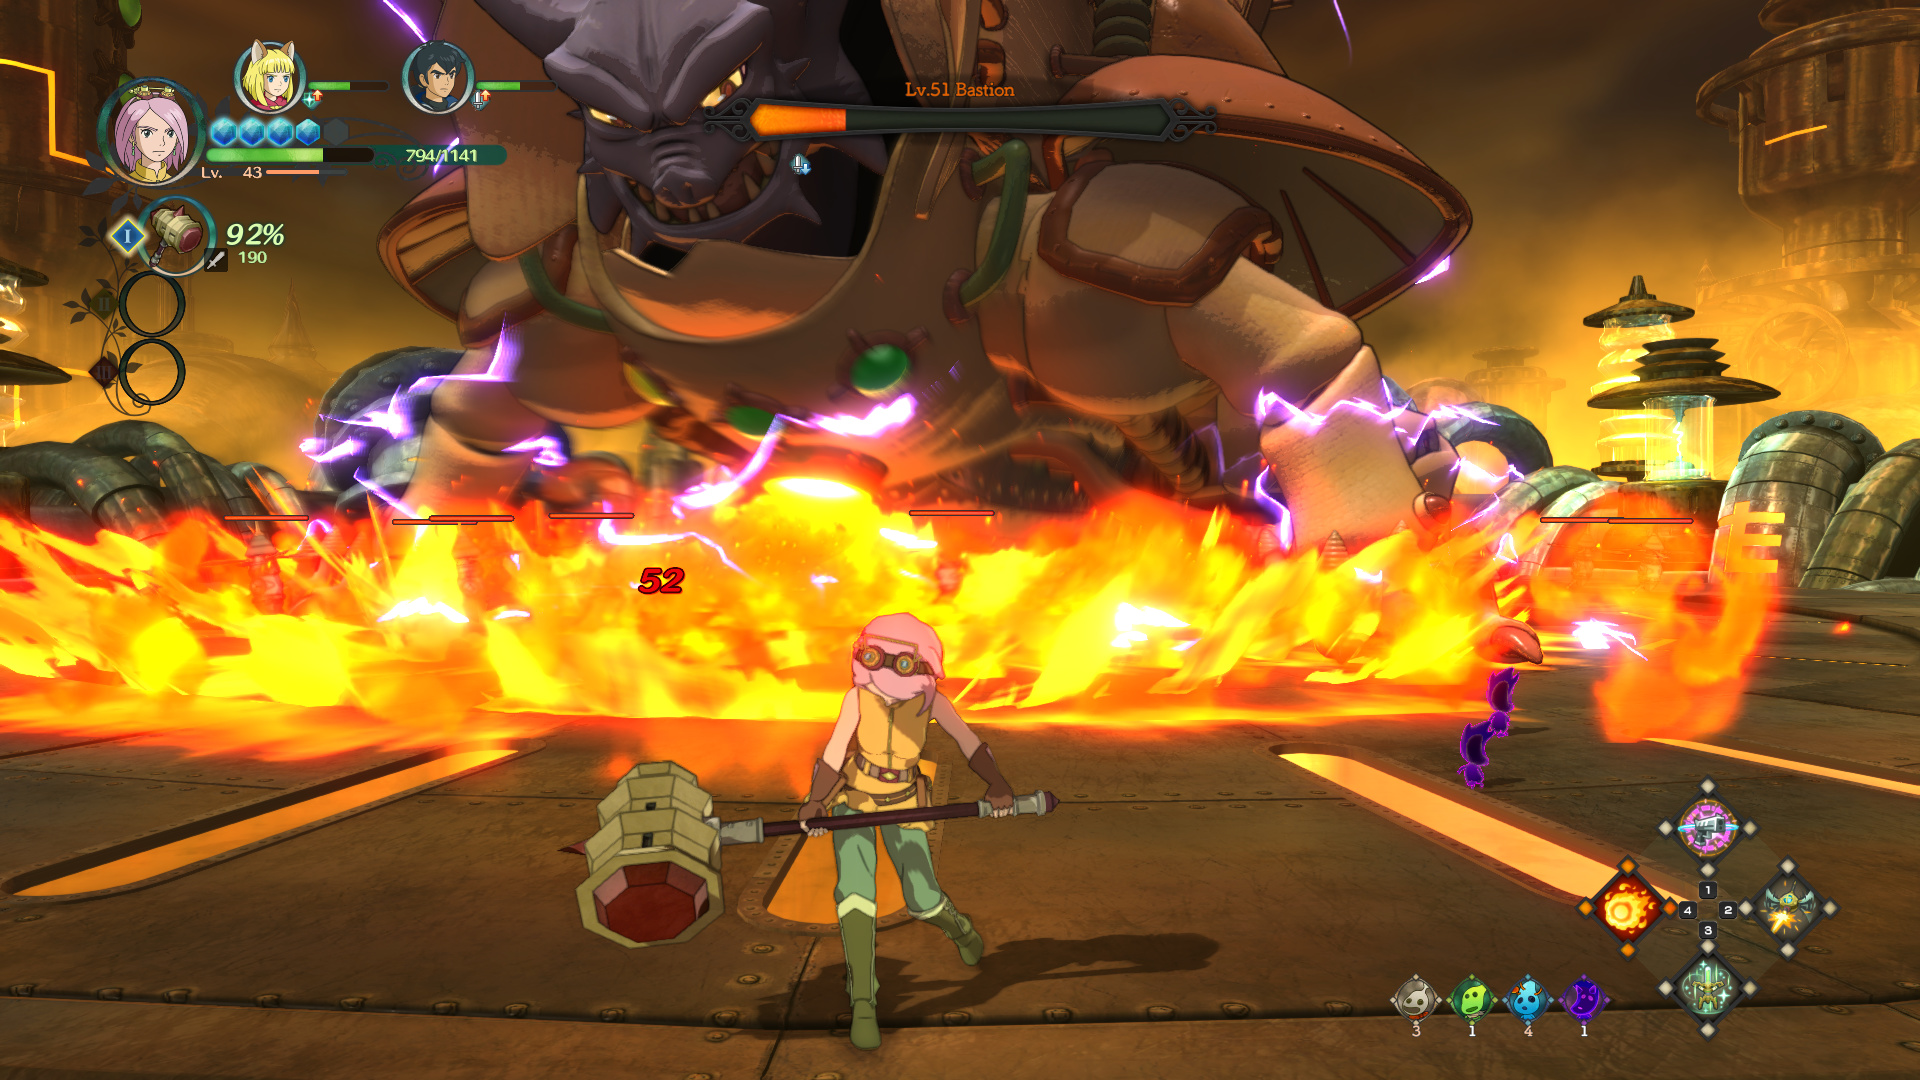
The AI then proceeded to run right into the fire and a subsequent steam attack that killed both Roland and Evan before I could switch back.
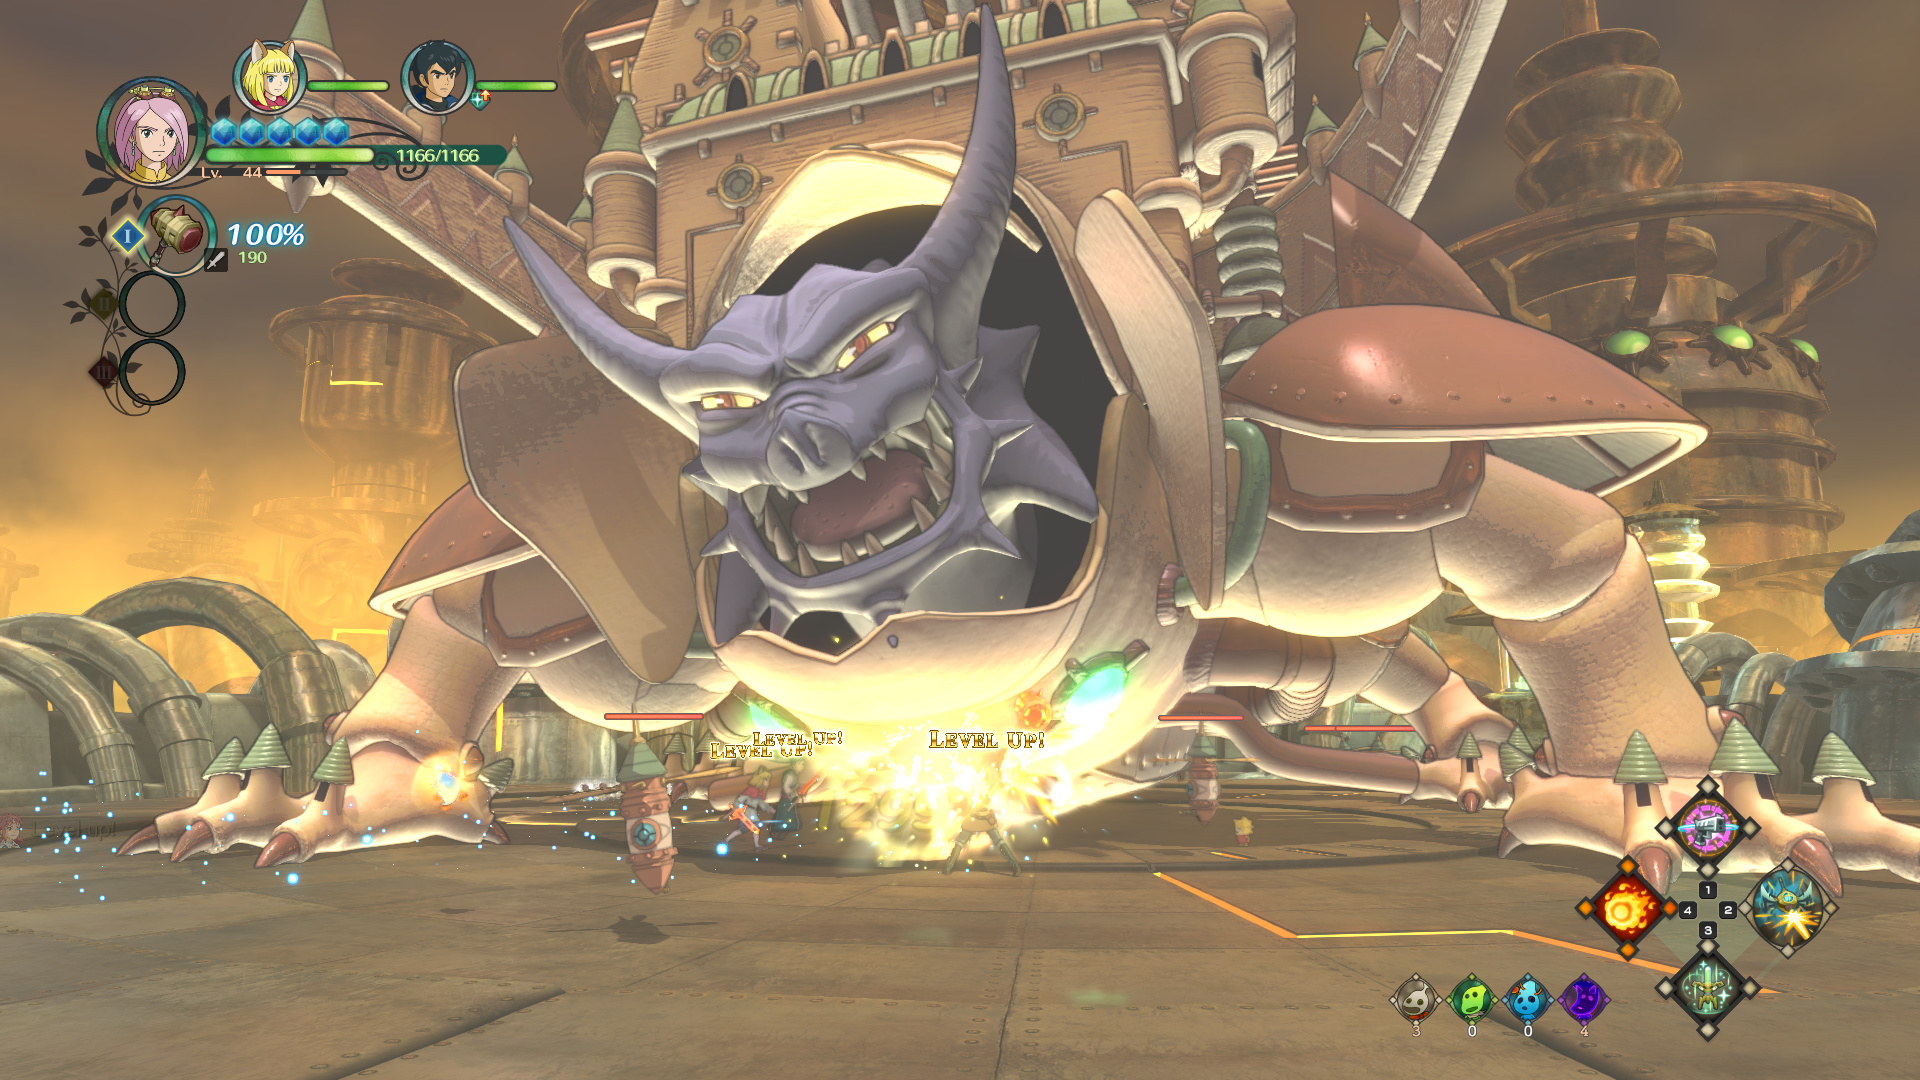
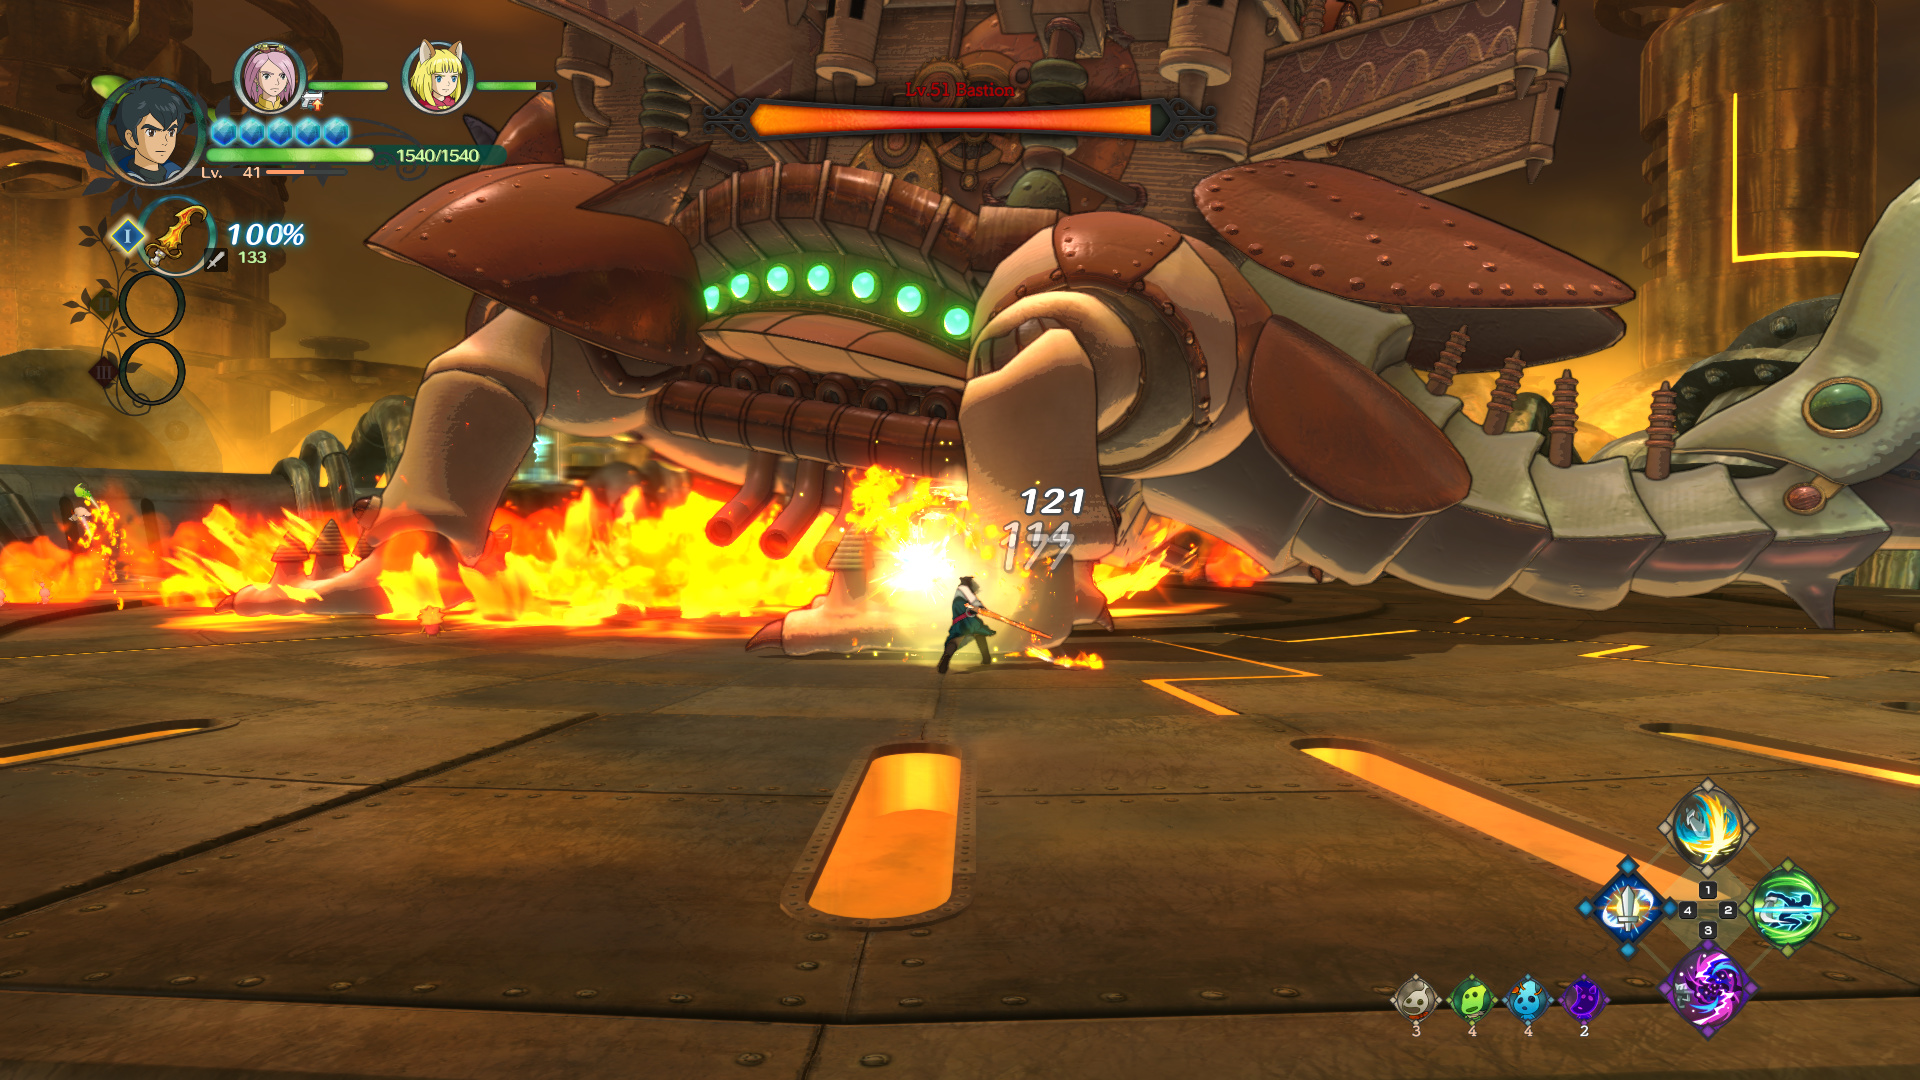
The rest of the fight is basically just chasing the weak points on the legs until you finally break one, then hitting his chest for the kill.
Oh god dammit. Don’t tell me this fucker has a second-
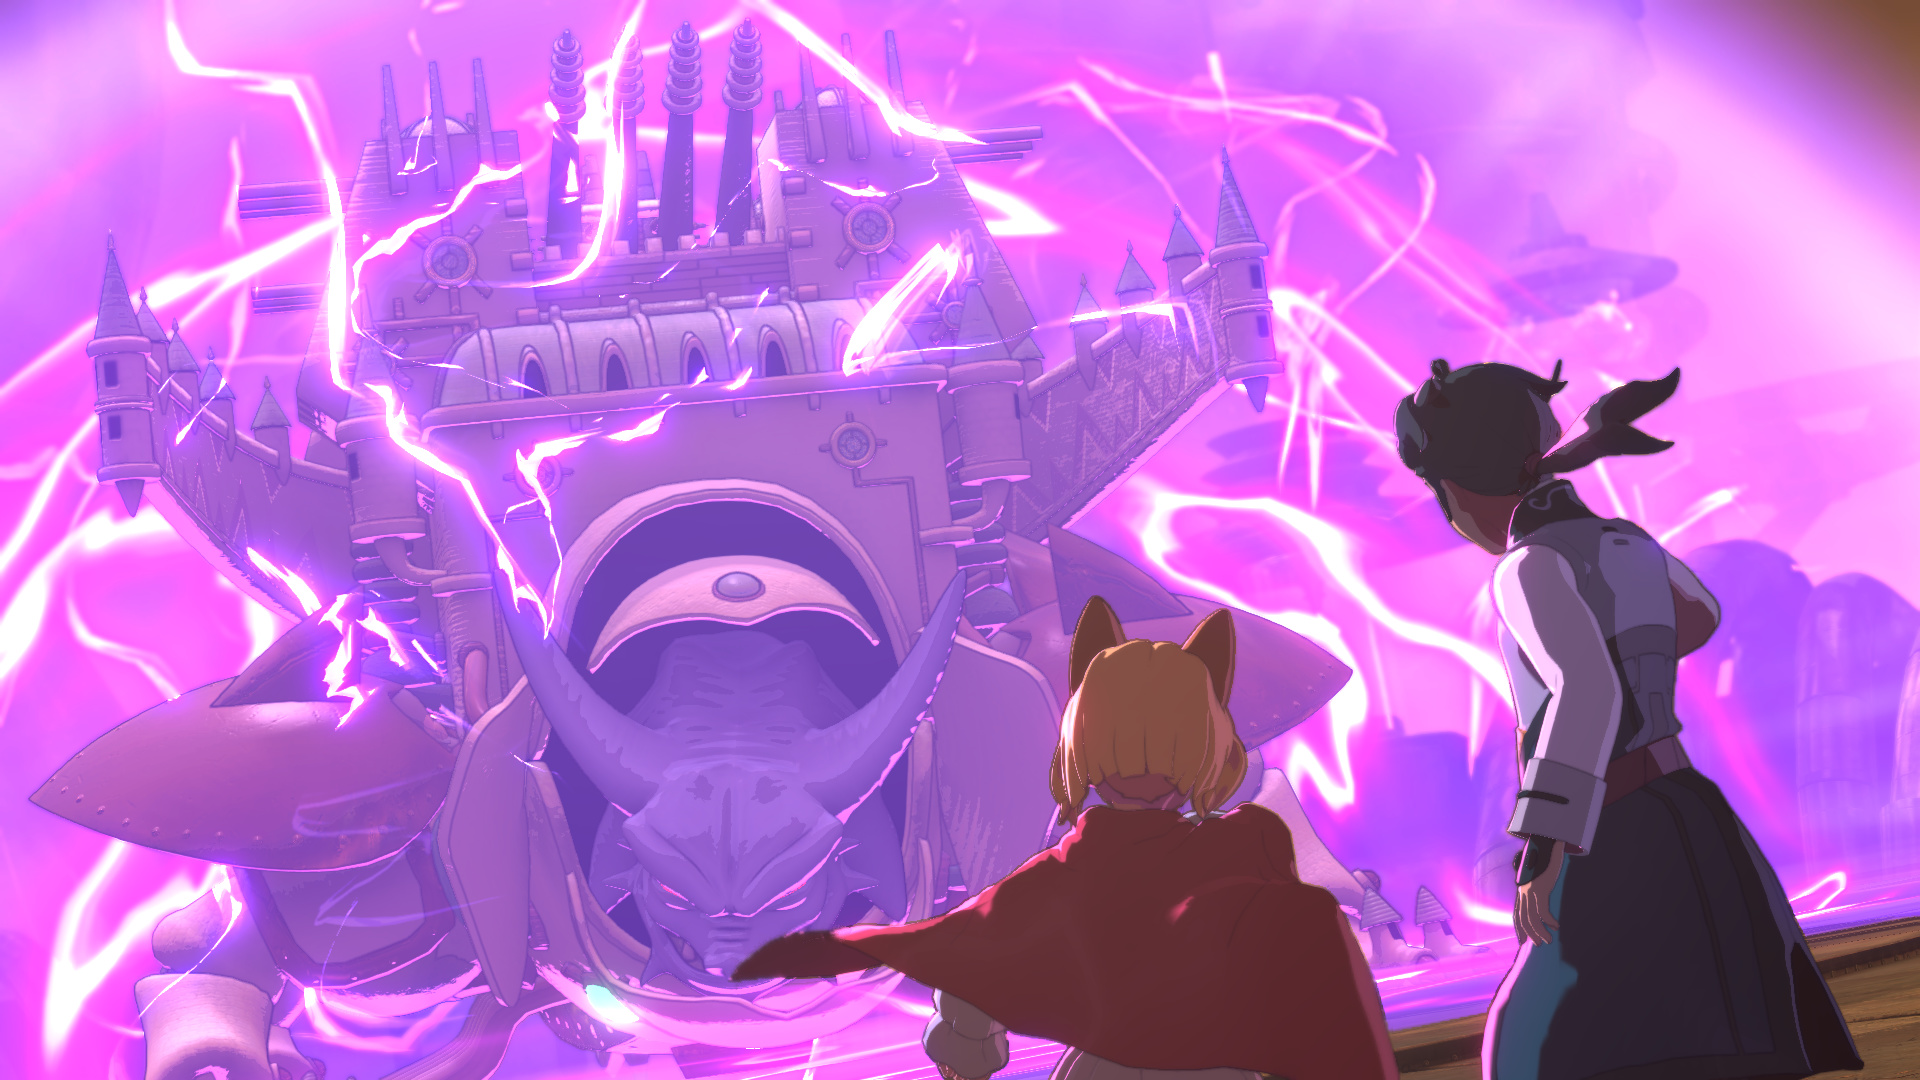
Yep, he’s got a second form. Thankfully, the second form is mercifully short.
Your only goal here is to survive until the cutscene: Alejandro will use both of his AOEs and his lightning attack from phase one simultaneously, and the AI will probably die within seconds. He’s also completely invincible. Evan and Roland were both dead in the.. twenty seconds or so it took for this to end?
Alejandro is lovin’ this shit.
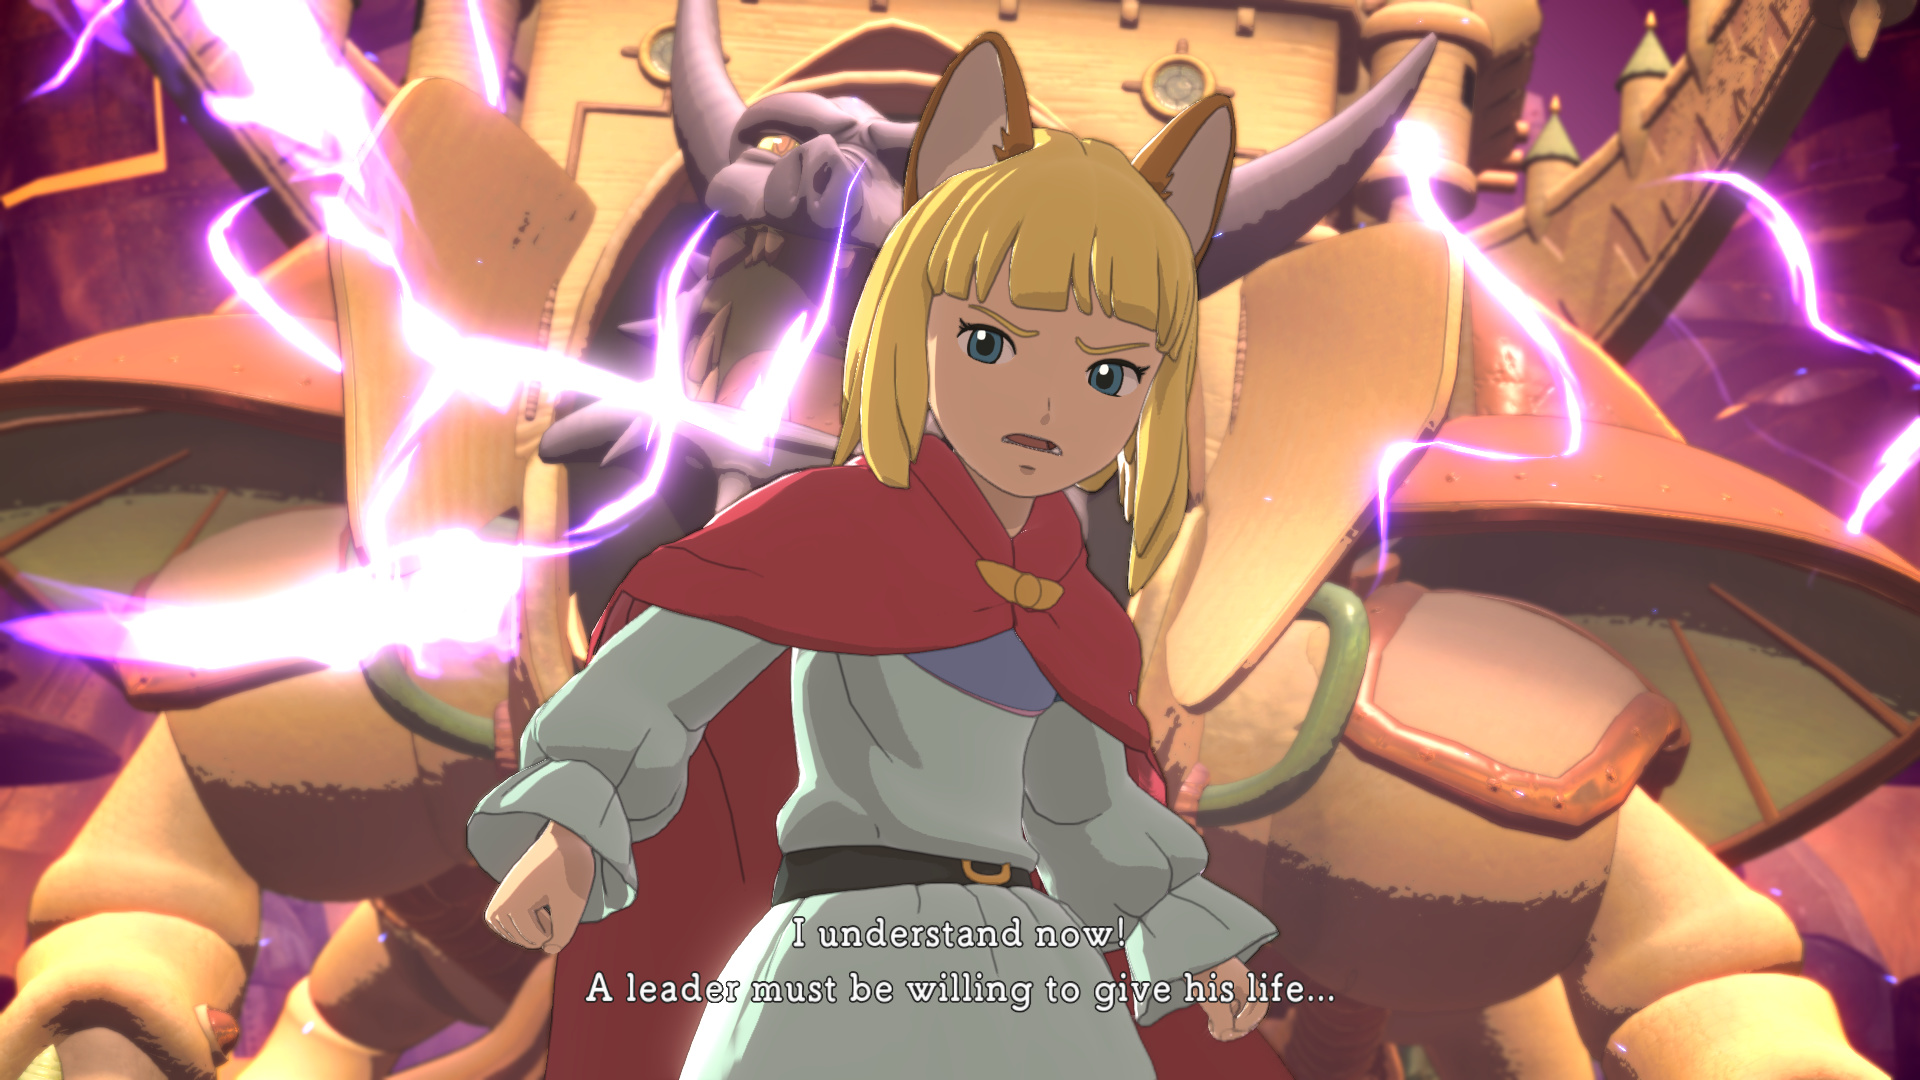
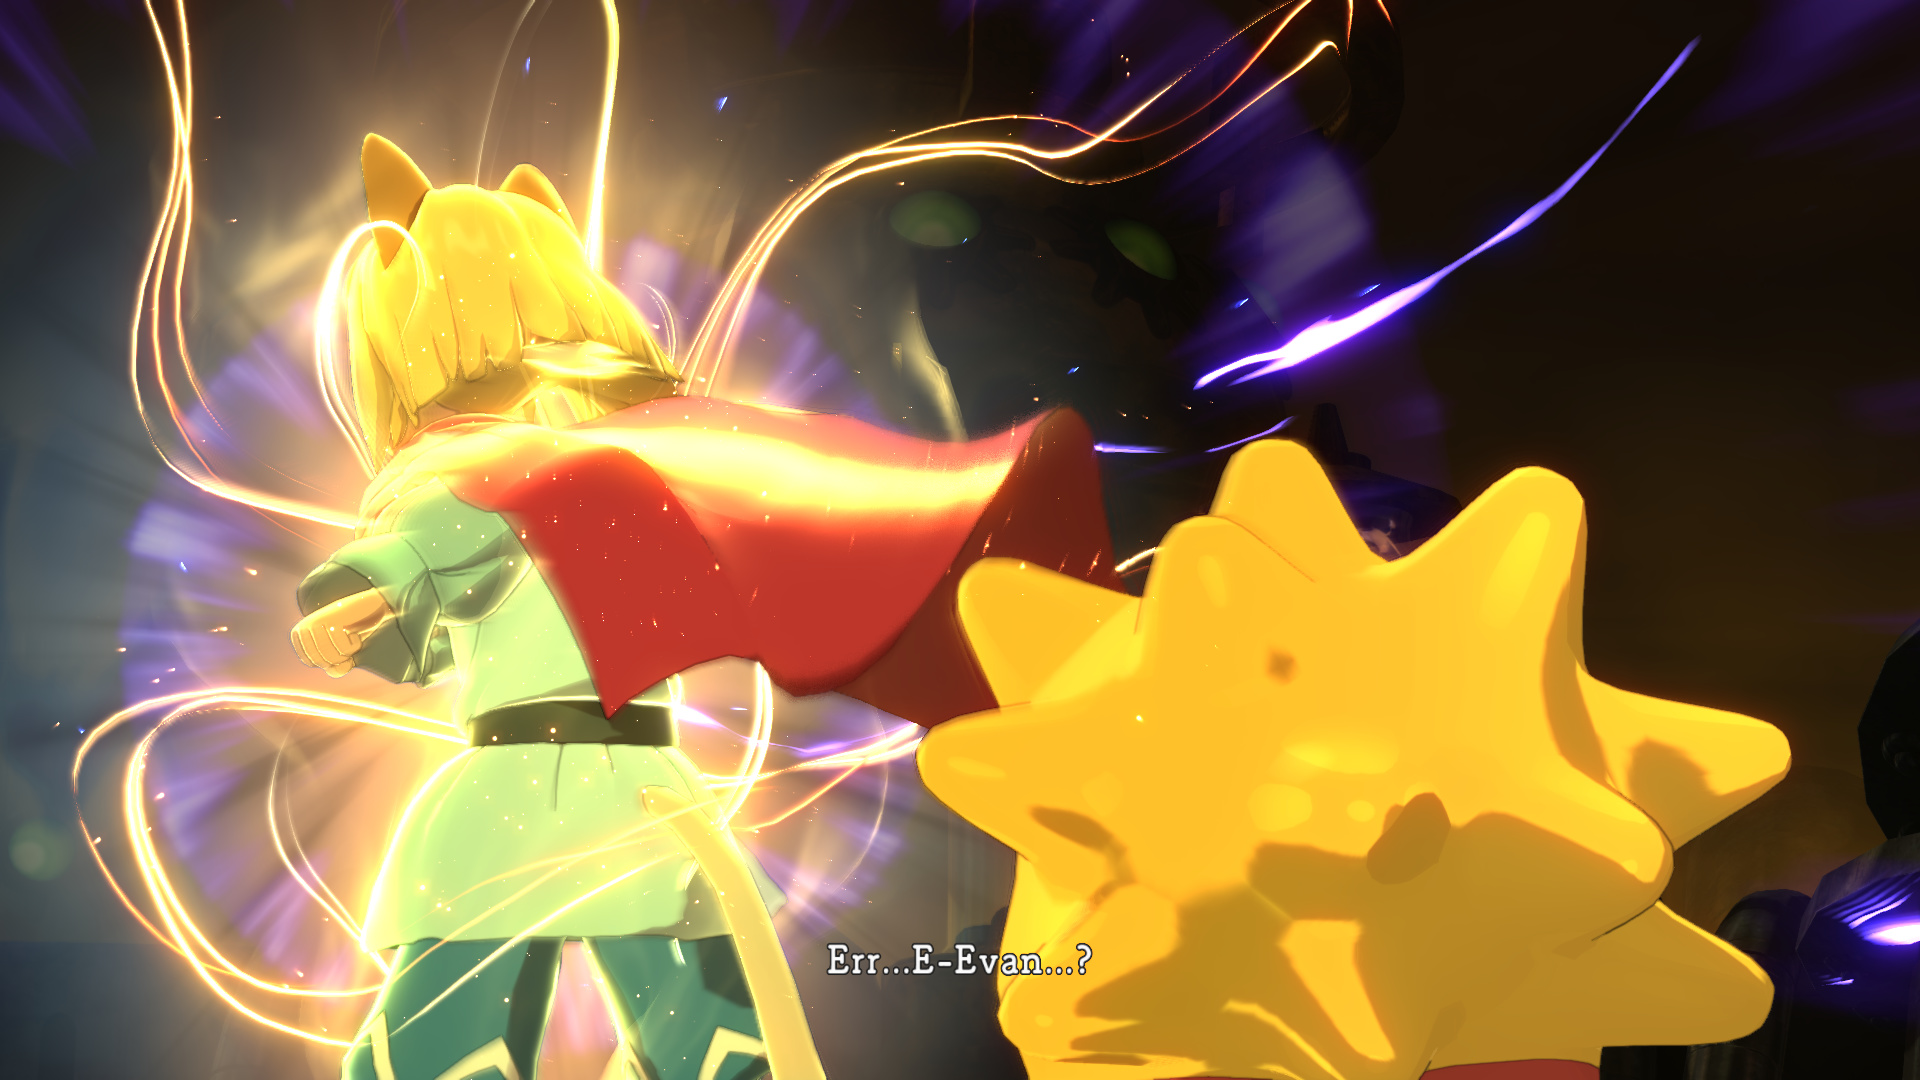
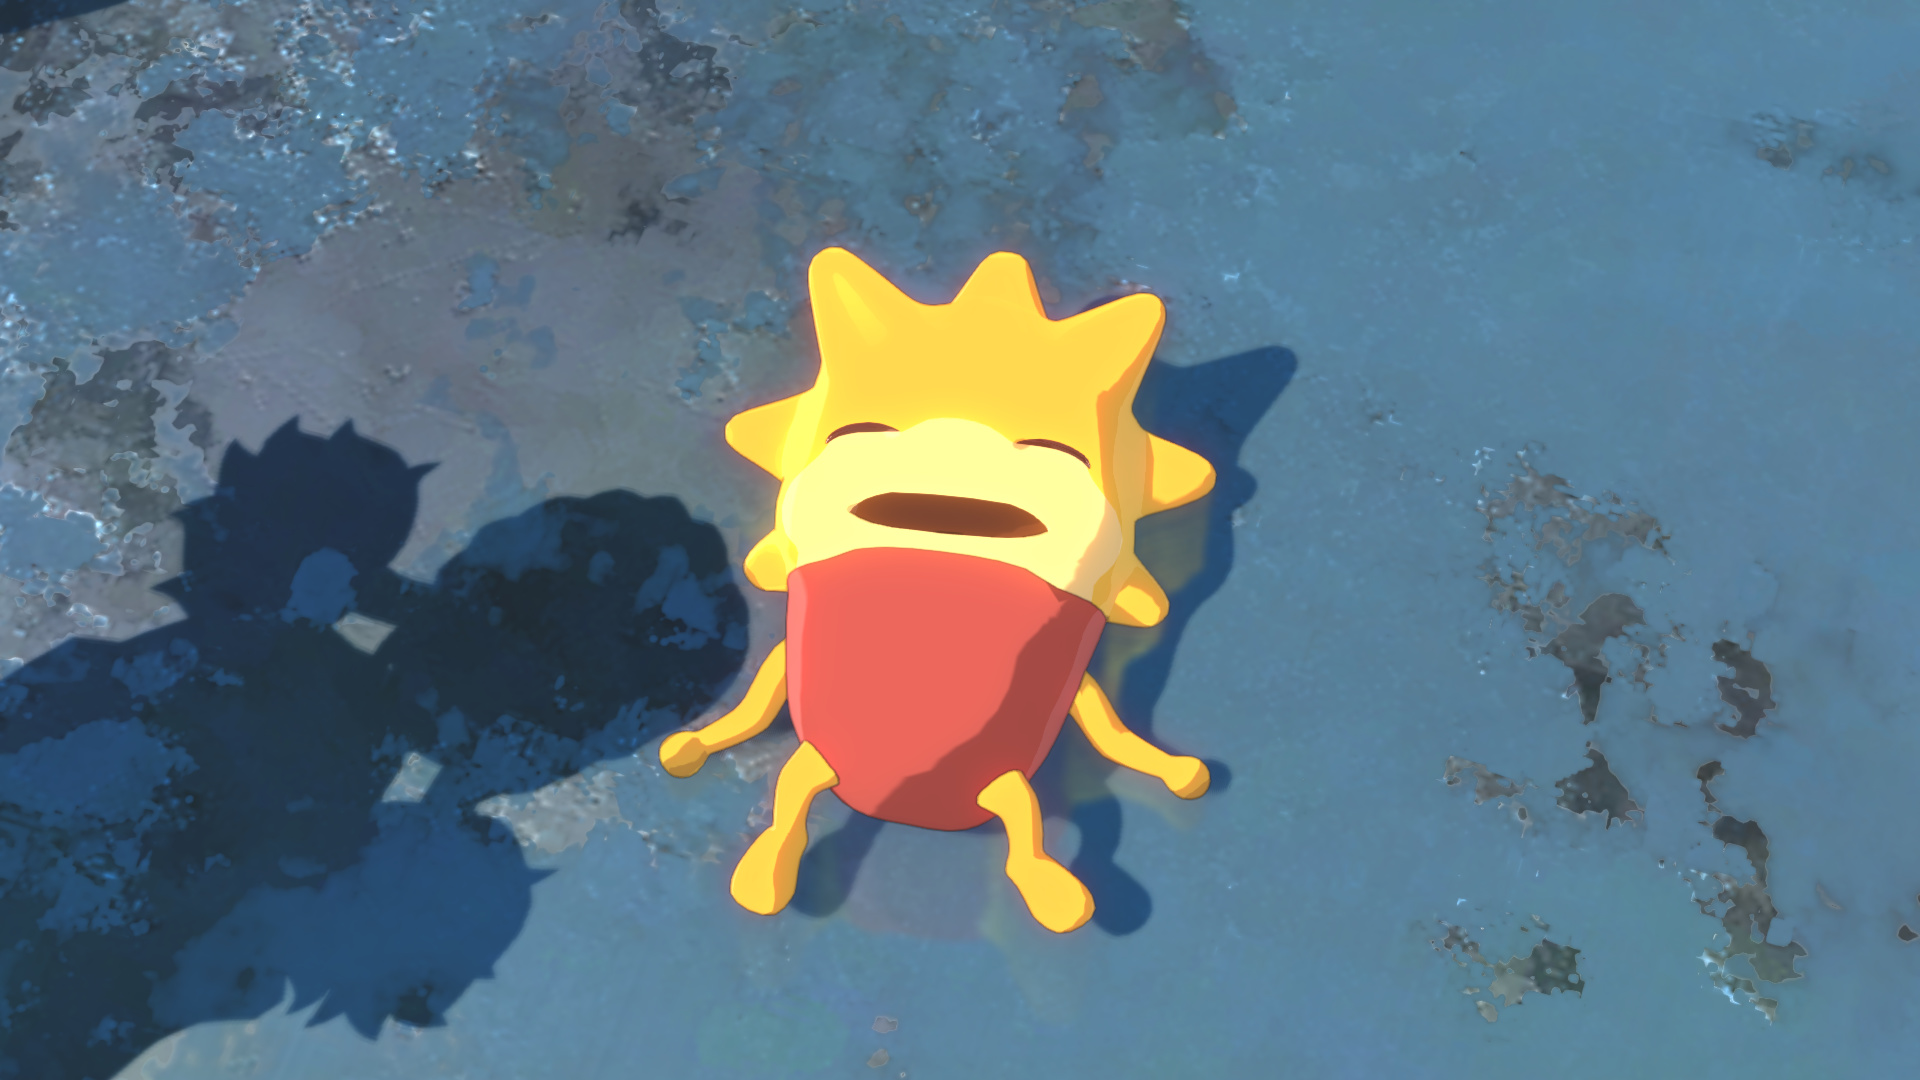
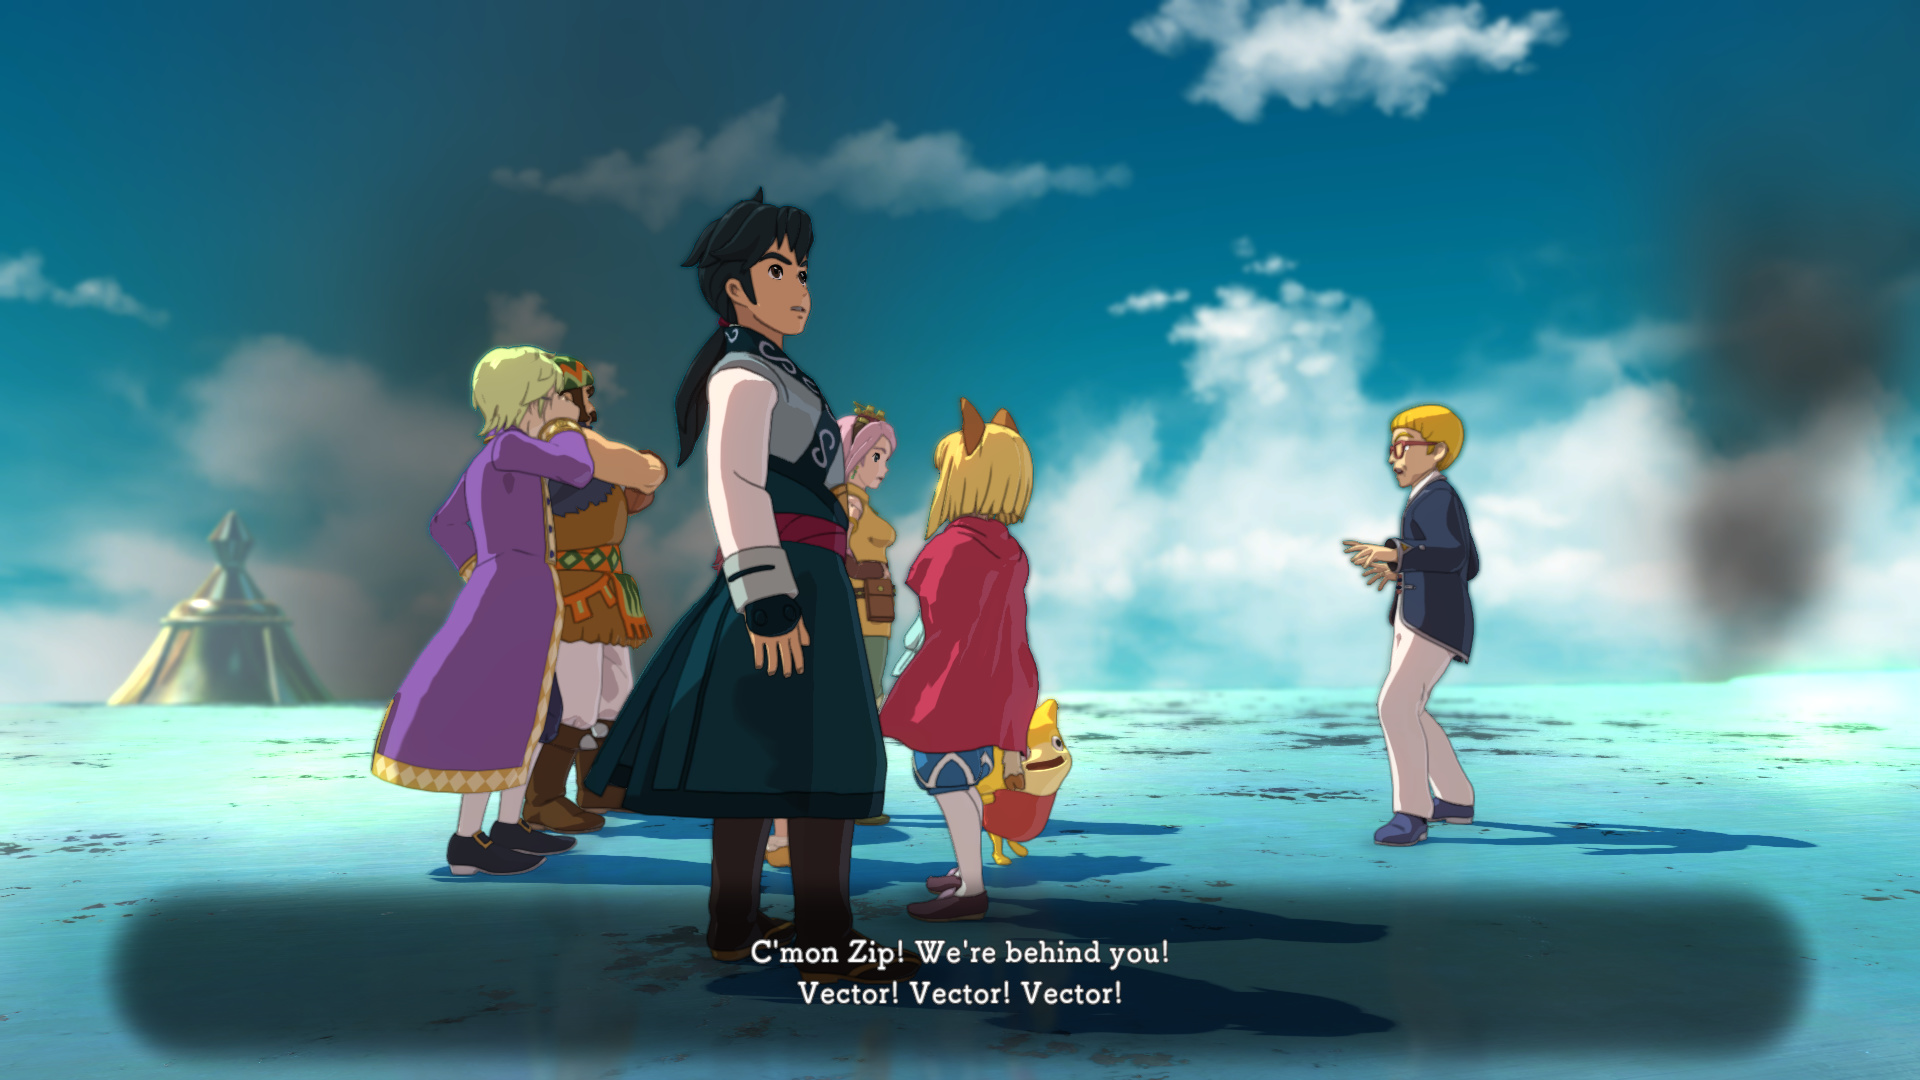
And now.. it’s time for Boy Sampson to become a man.
 : “I dunno, mun, but we’d better get out by yur! Sharpish!”
 : “No!”
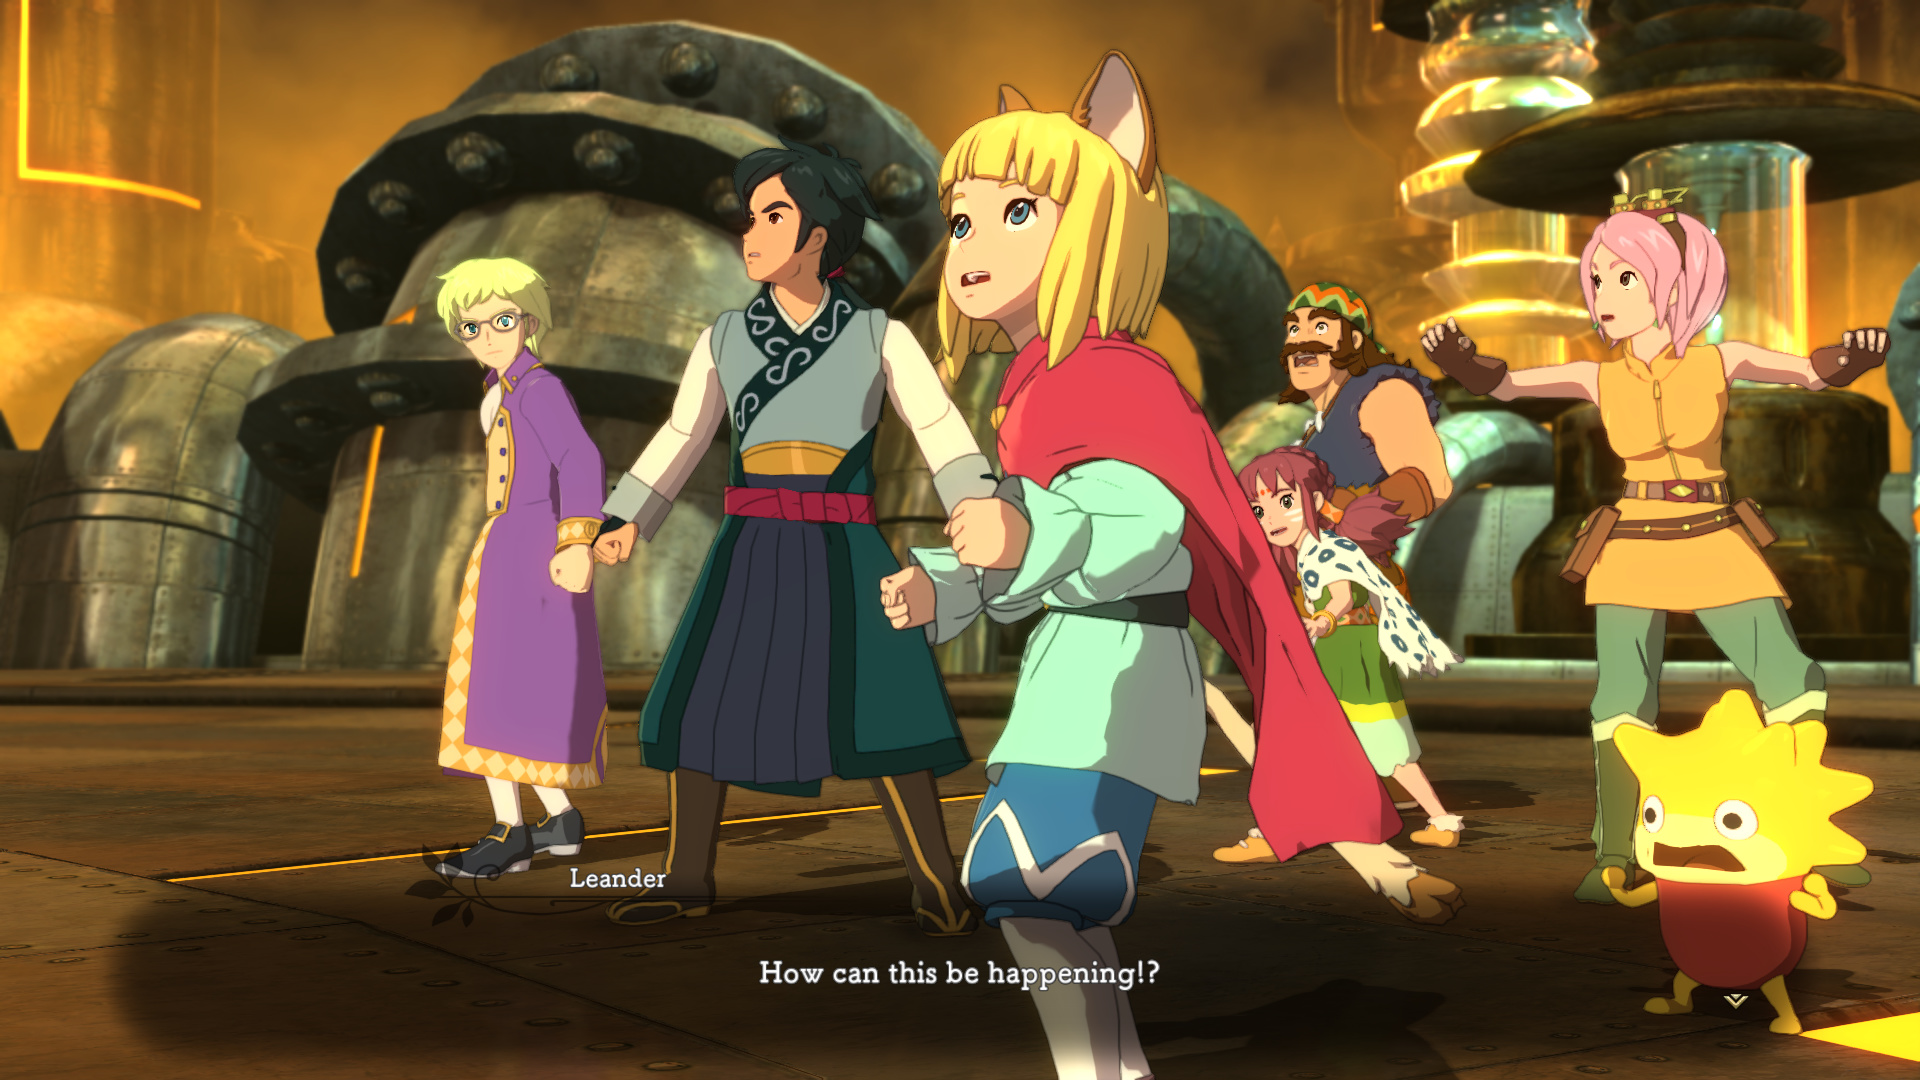
I’m going to stop here for a brief aside. Remember how I have that theory about the game’s plot being changed multiple times during development?
In this cutscene, Evan’s voiceactor is noticeably.. different. Normally, Evan’s voiceactor is a woman by the name of Claire Morgan - she had a bit part in Witcher 2 and oddly enough played Leo’s garbage son in A Way Out (shoutouts to Panzerskank and Kaubocks for their amazing LP of that game).
For this cutscene and the one immediately following it, Claire Morgan gets replaced with a different VA. It’s sort of hard to tell who it is, but in the next cutscene it becomes obvious that it’s the same VA who does the blue-haired plot ruiner in the between-chapter cutscenes. That VA is a man whose name I am not going to give you and that I ask you not to look up. The reason for this is that IMDB kind of gives away who the blue-haired boy is. This game is a shitpile, but I’m going to leave that particular revelation where it goes because it’s kind of what made me not finish the game the first time I played through it and a large part of why I decided to make this godforsaken LP in the first place.
The only explanation I can come up with for this that makes any sense is that the plot was changed after the developers had already gotten all of the art assets and voiceover work done, and for whatever reason Claire Morgan wasn’t available to record the new lines. My guess is that this had something to do with her being in A Way Out, which released the same week this game did. As far as I can tell, this kind of thing is highly unusual in game development, especially for a game with the budget Ni no Kuni 2 had behind it.
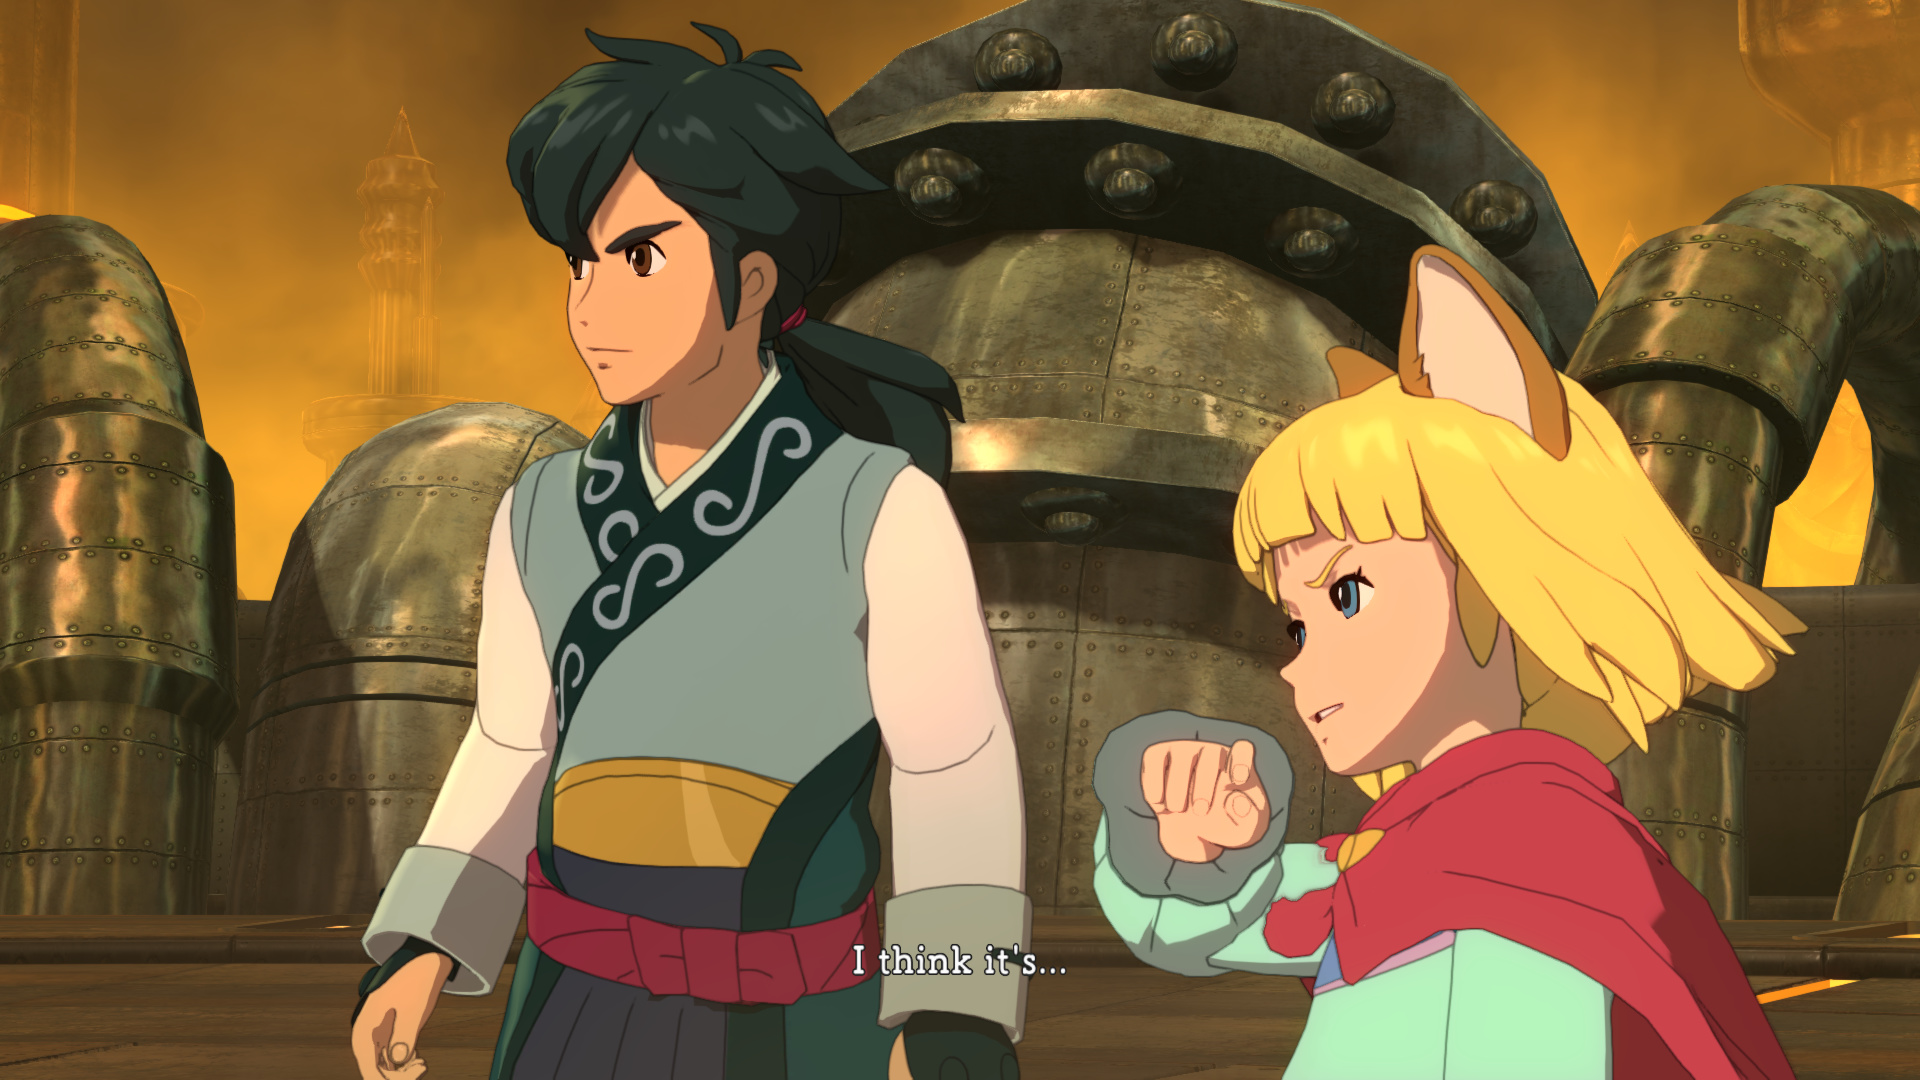
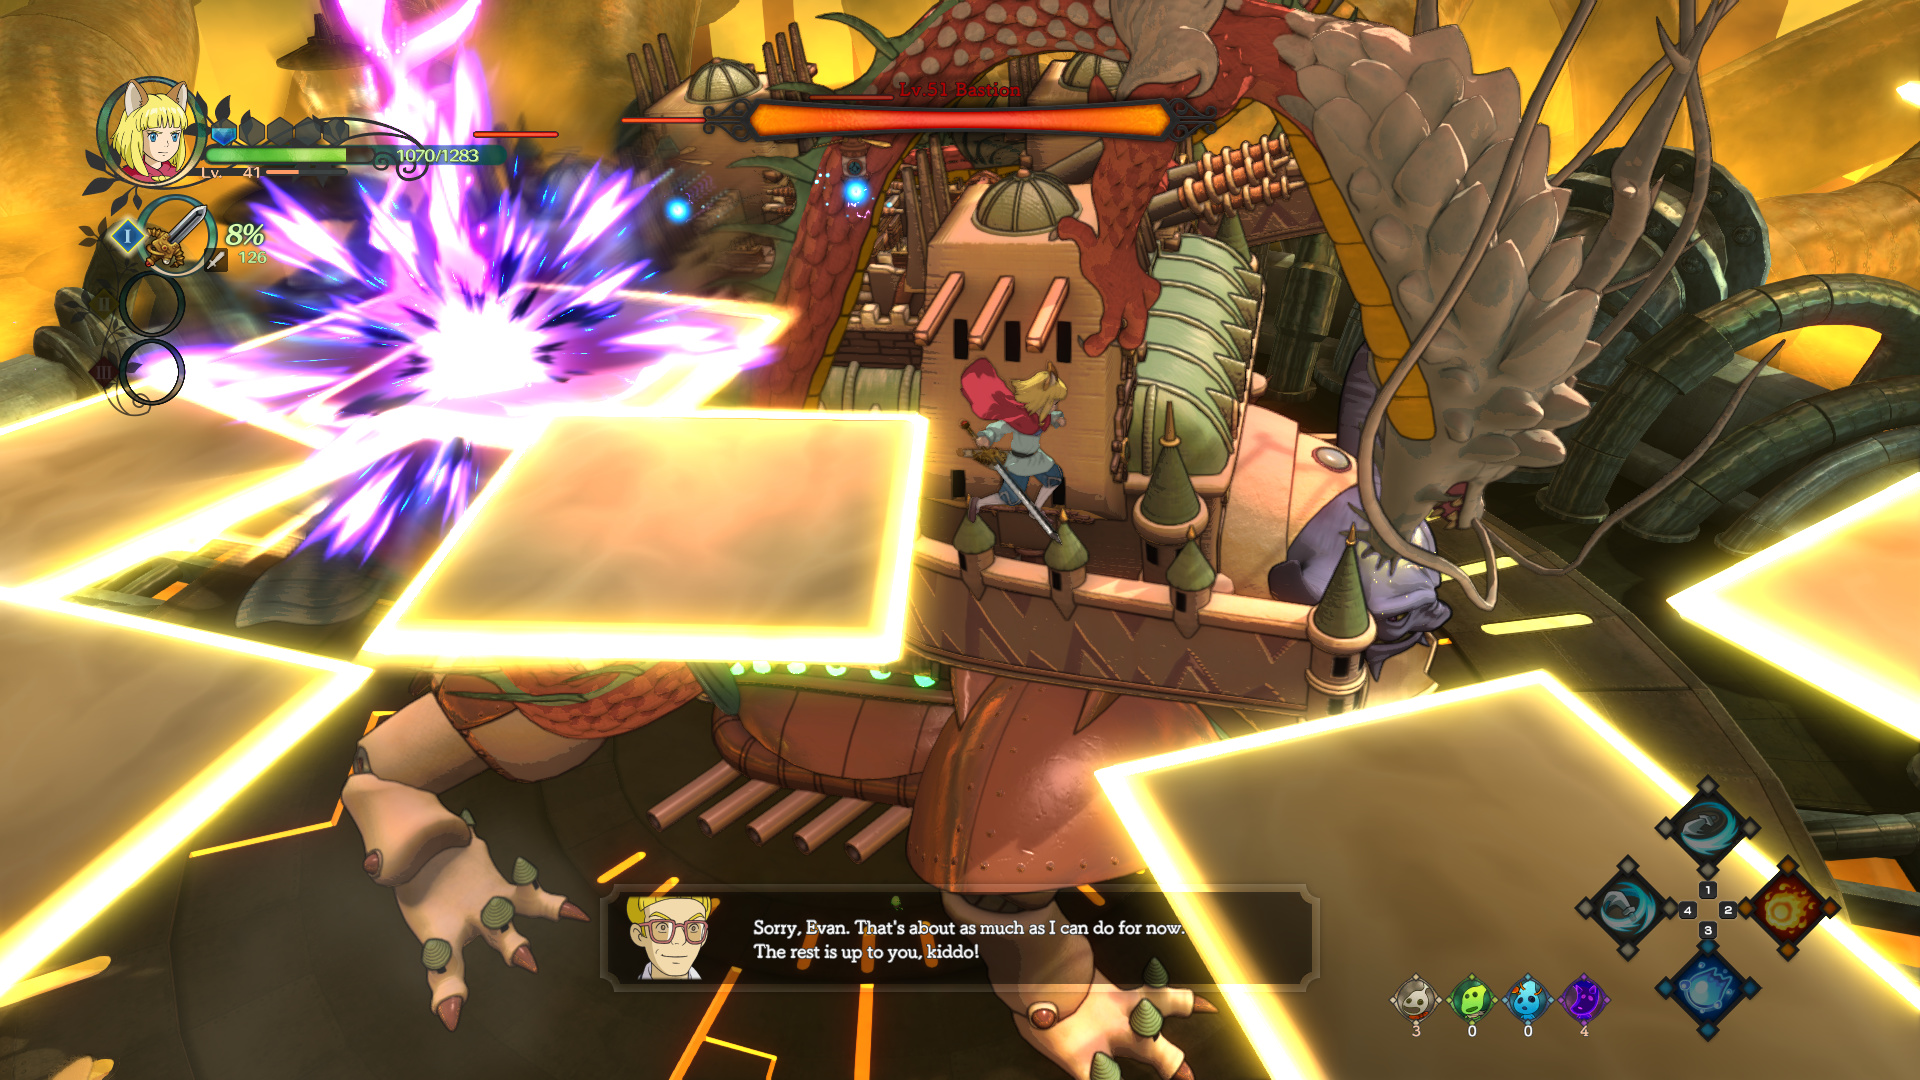
I’ll explain what I think was originally supposed to go here, but Evan (the catboy, not me) will explain that a bit in this cutscene.
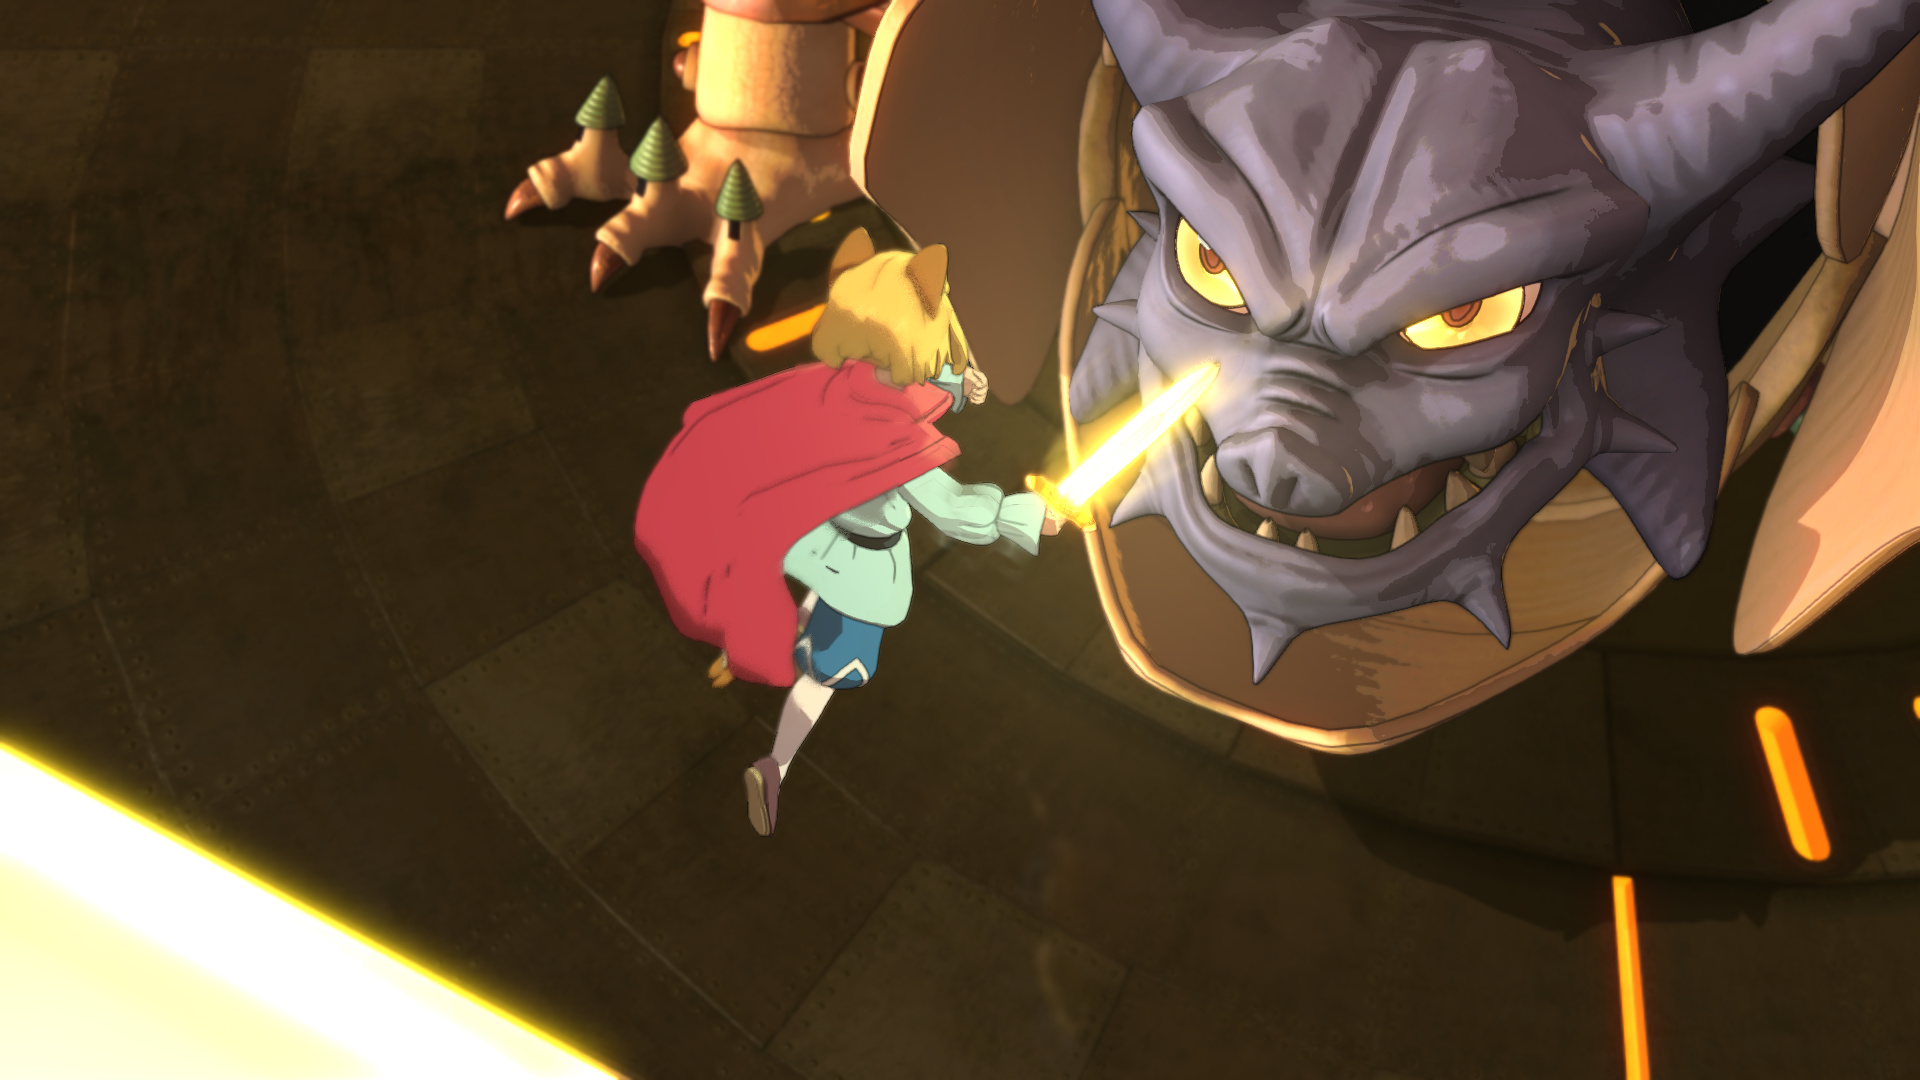
: “Not now! I won’t run away! Not again.. not ever!”
Behold! Deus ex plot bullshit!

Oh man, I can’t believe everyone died in a second nuclear explosion. This is pretty much the best way Ni no Kuni 2 could end and..
Boy Sampson just straight up became Shenron.
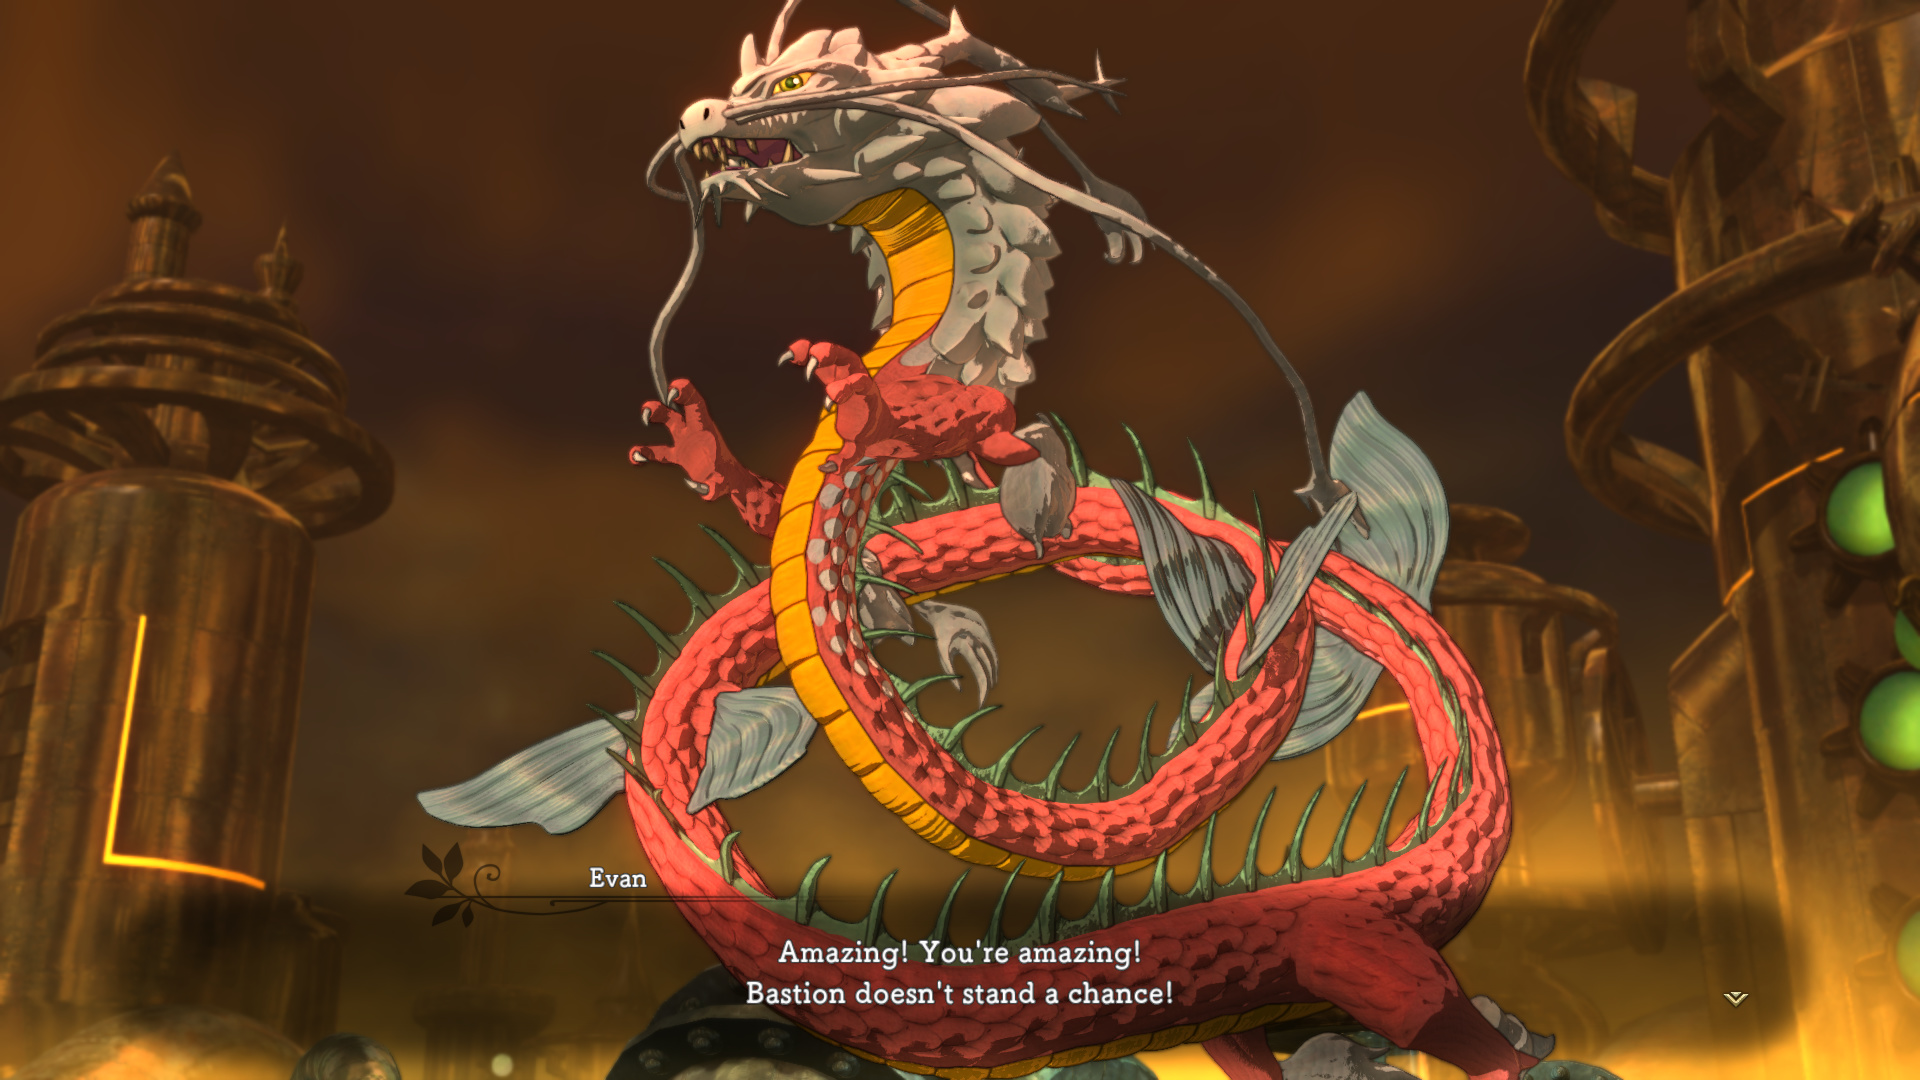
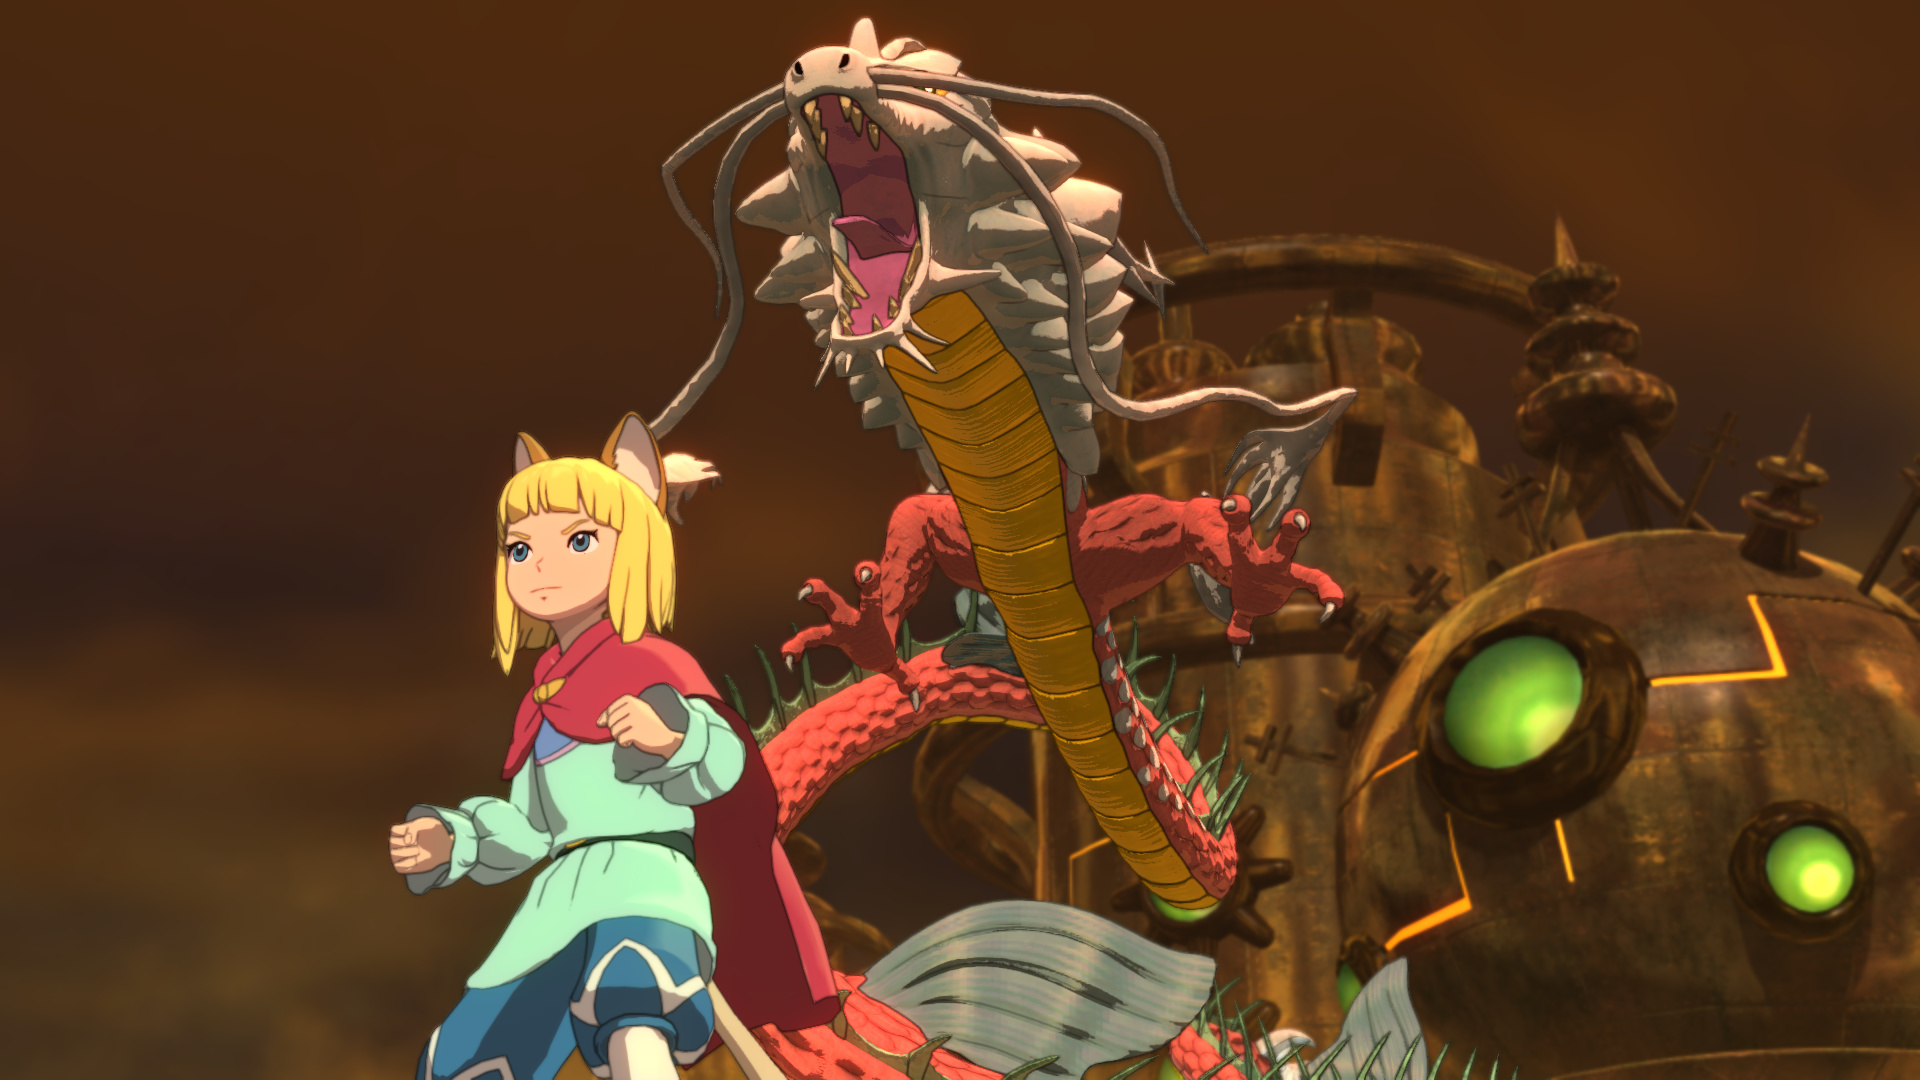
Unfortunately, we do not get to control Man Sampson.. actually, let’s call him Horner Sampson. Instead, Horner simply grapples the boss while we get to play Crash Bandicoot.
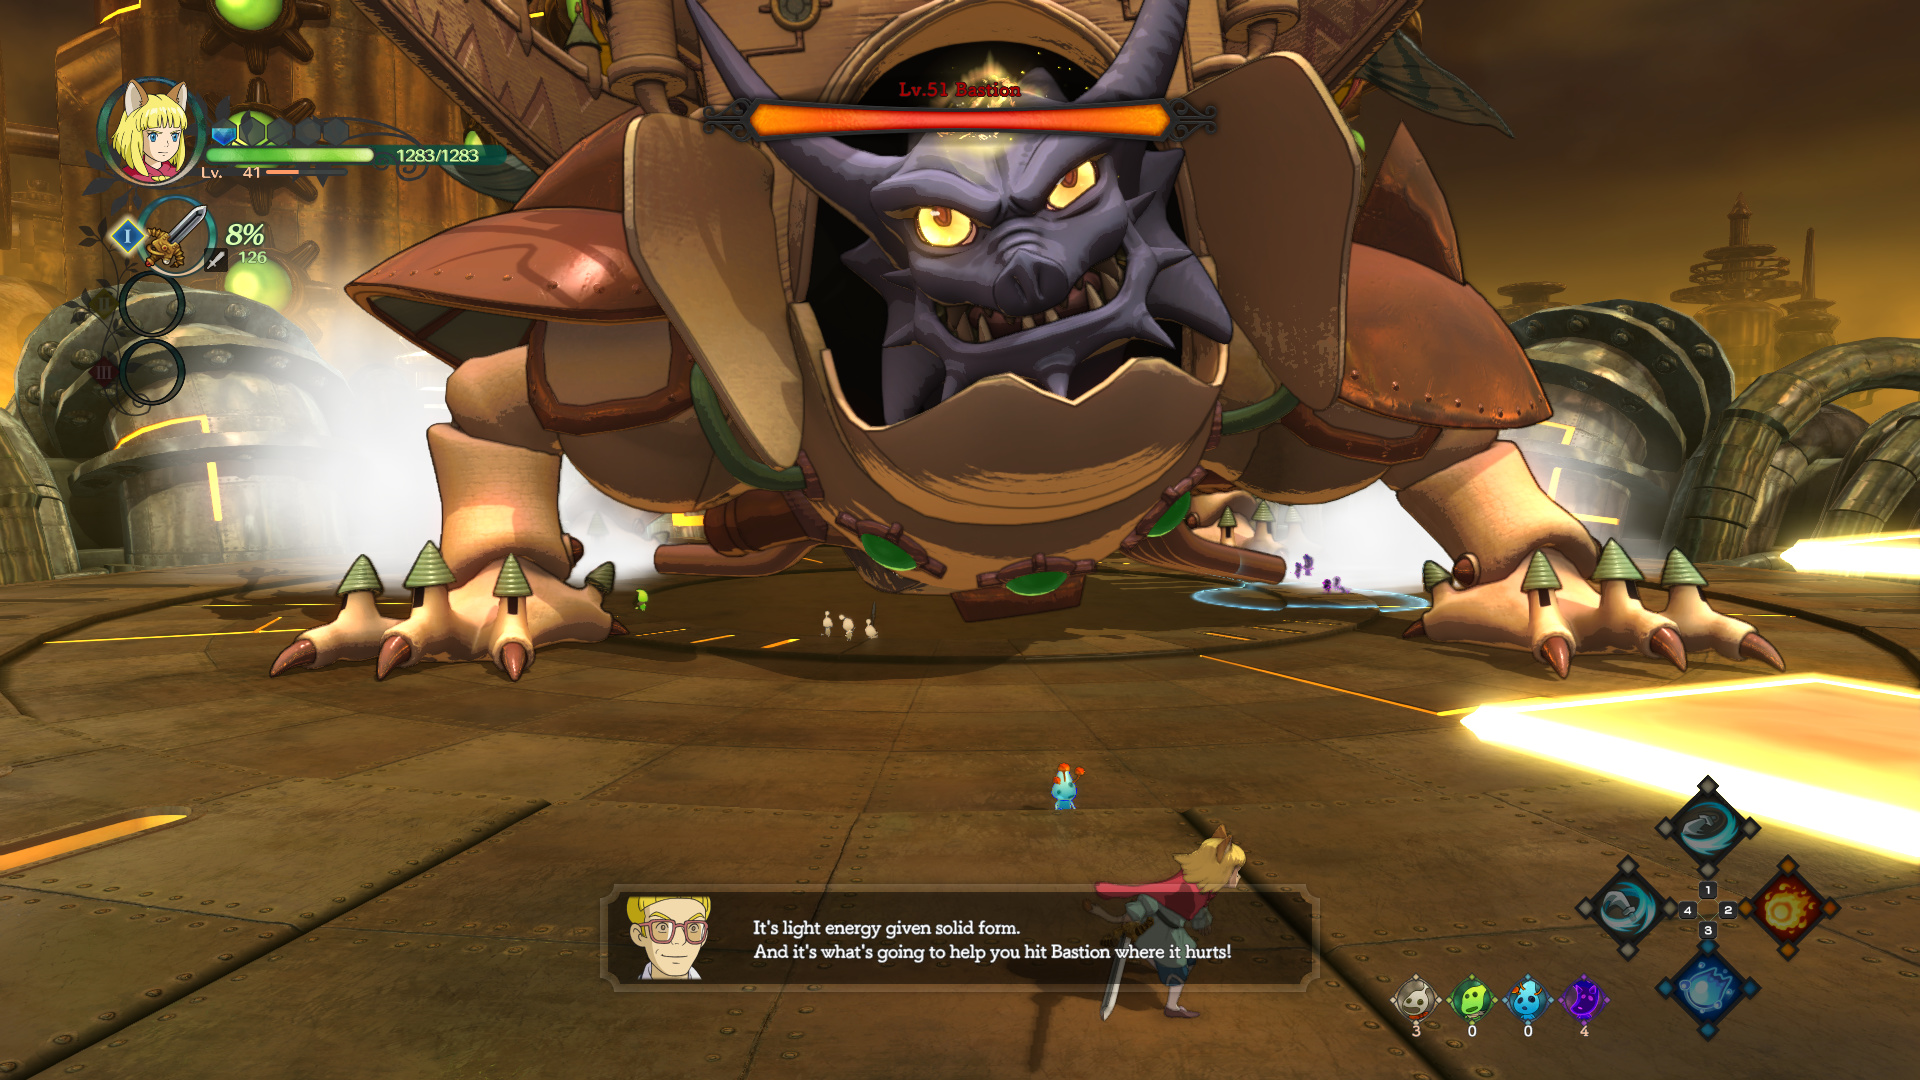
As you can see, Alejandro’s new weak point is on top of his head. If Dark Souls 3 taught us anything, it’s that giant, dragon-like enemies can be easily murdered by doing a plunging attack into their skull. Zark makes another light staircase.. only this one is made of those disappearing blocks from Megaman 2.
The first time up the staircase, Alejandro will try to hit you with lightning as you jump up. The lightning doesn’t hit the entire platform, so you can dodge it by being in one of the corners.

By the way, the camera angle is totally fixed and half the time you’re jumping at platforms you can’t see.
This is the part where this gimmick becomes shit. Half of these blocks randomly disappear with no clear logic as to which ones will do so. This means you’re probably going to fall down and have to climb all the way back up.
I fell off this thing a good three or four times trying to do this.. including on this attempt.

A few jumps past that, you hit the end of the platforms and have to dive down to hit Alejandro in the face.
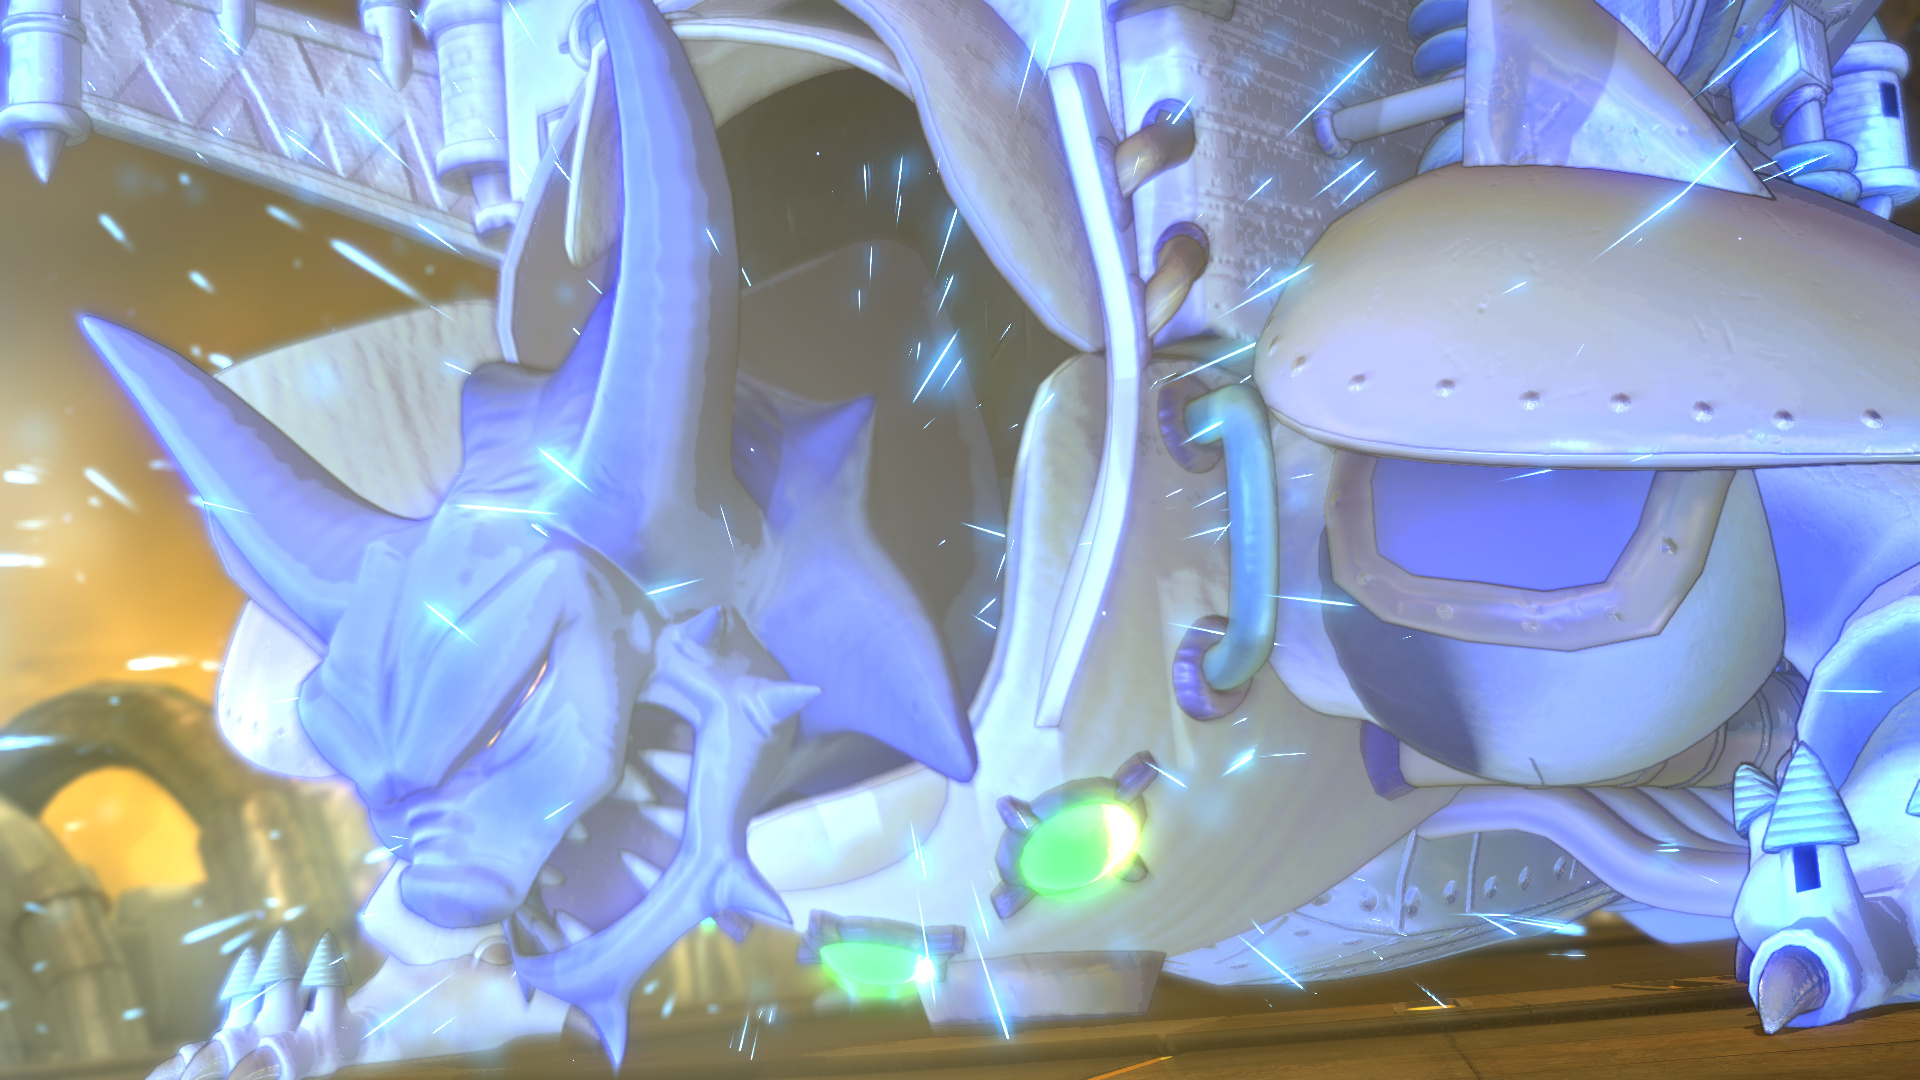
And with that, Alejandro is finally dead.
Oh, and Horner is back to being Boy Sampson again.
So, here’s where the plot was clearly changed. I’m pretty sure that Zark was originally supposed to die, and then at the last second someone at Level 5 decided to completely reverse that decision. It kind of makes no sense given that up to this point, he’s basically a stock Ghibli villain: he hates the environment (as evidenced by Broadleaf being in the middle of a polluted wasteland) and loves war (as evidenced by him owning a fucking gunship and a giant killer Final Fantasy ripoff) and in a Ghibli film that’s pretty much a recipe for death.. you know, given how literally every Ghibli movie has the whole pro-environment, anti-war messaging going on.
If I had to guess, the suits at Level 5 probably figured that killing Zark off would be too depressing for a Ghibli film (and I’ve seen quotes from Hayao Miyazaki that sort of insinuiate he hates depressing films) but at the same time there’s like thirty Miyazaki quotes about films having to have a message.
So I want to ask all of my readers: what do you think the message of this game even is? Because if there is one, I sure as hell have no idea what it is. Don’t make a bad game? Don’t hire the janitor who cleaned one of the buildings Studio Ghibli worked in and expect quality animation? Don’t be a complete fucking idiot who gets New York nuked?
Wait I know, it’s “Never do bossfights on Extreme.” That’s gotta be it.
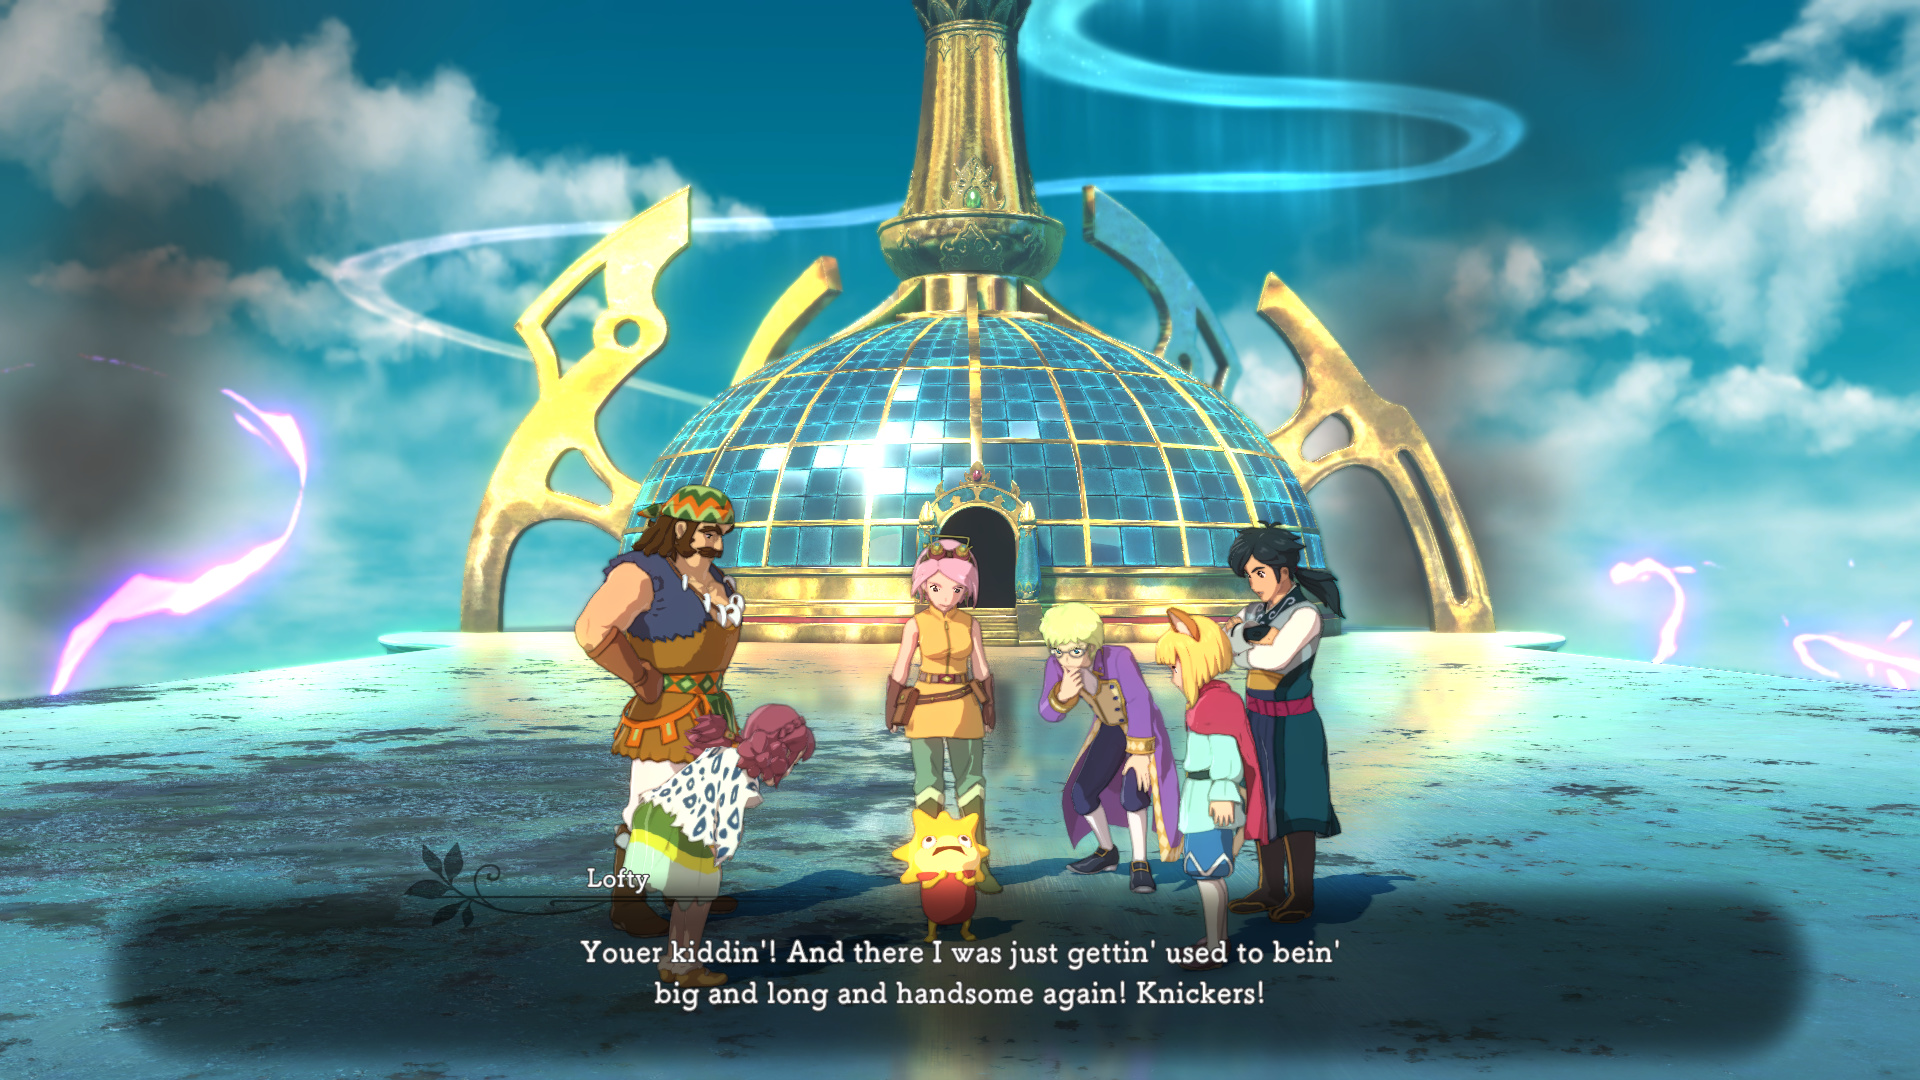
 : “So you were able to regain your original form, even if only for a short time.”
: “There’s no way I would have been able to stop the core from melting down, that’s for sure.”
![]() : “Well, all’s well that ends well. But if you didn’t scare me with that talk about the kingdom being wiped out..”
: “Well, all’s well that ends well. But if you didn’t scare me with that talk about the kingdom being wiped out..”
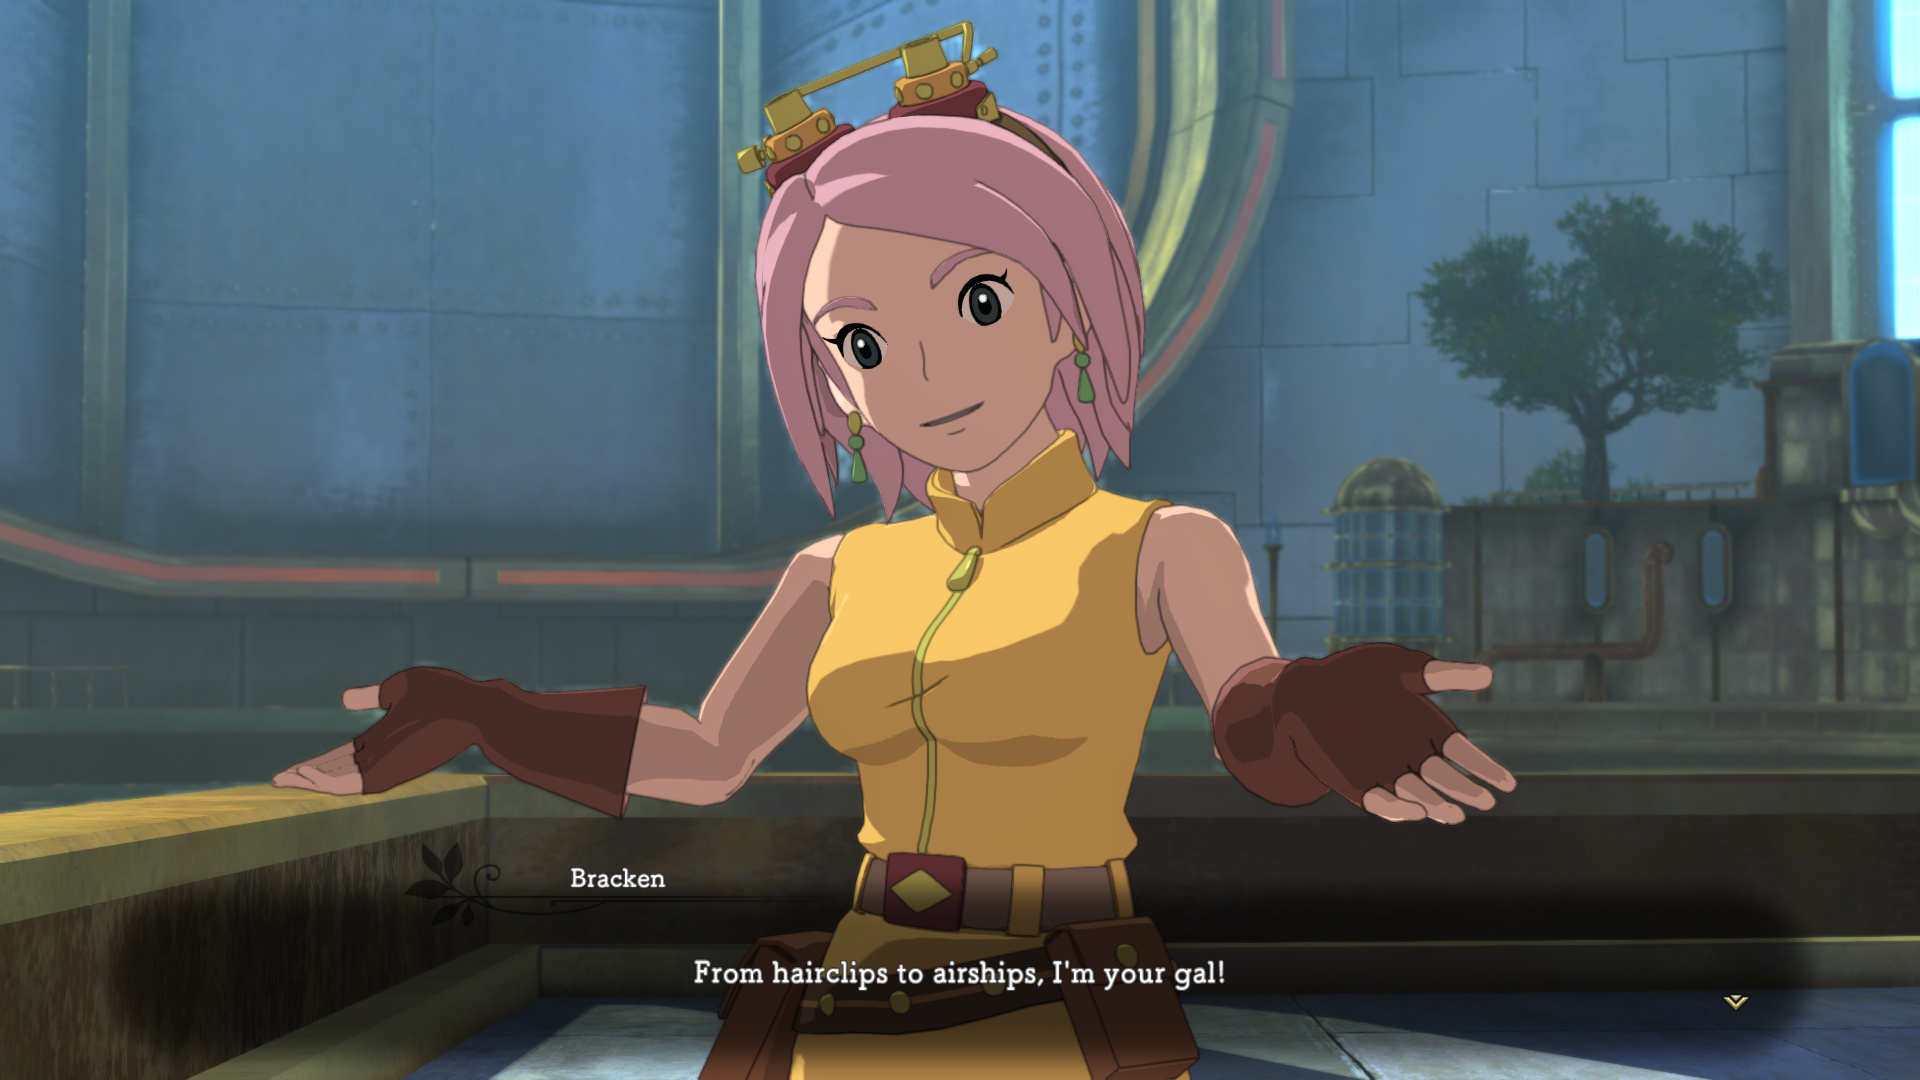
It’s really strange that this is Tani saying this and that Bracken has only one line in this entire cutscene. Bracken has already pretty much passed the point of being plot relevant.
: “I’m no president. I don’t deserve to run this country.”
At least he can admit it, unlike a certain other president in the room. Anyway, we’re about to run into a lot of shit we’ve already seen before, so I’ll make it brief.
: “What’s that? Listen, everybody!”
Zark gets off scot-free for probably working several dozen people to death.

Well, at least we know now why the dragon was on there.
This cutscene is where it becomes immediately obvious that they changed Evan’s voiceactor. I’m pretty sure that in the original scene, Bracken was probably supposed to take over after Zark dies.
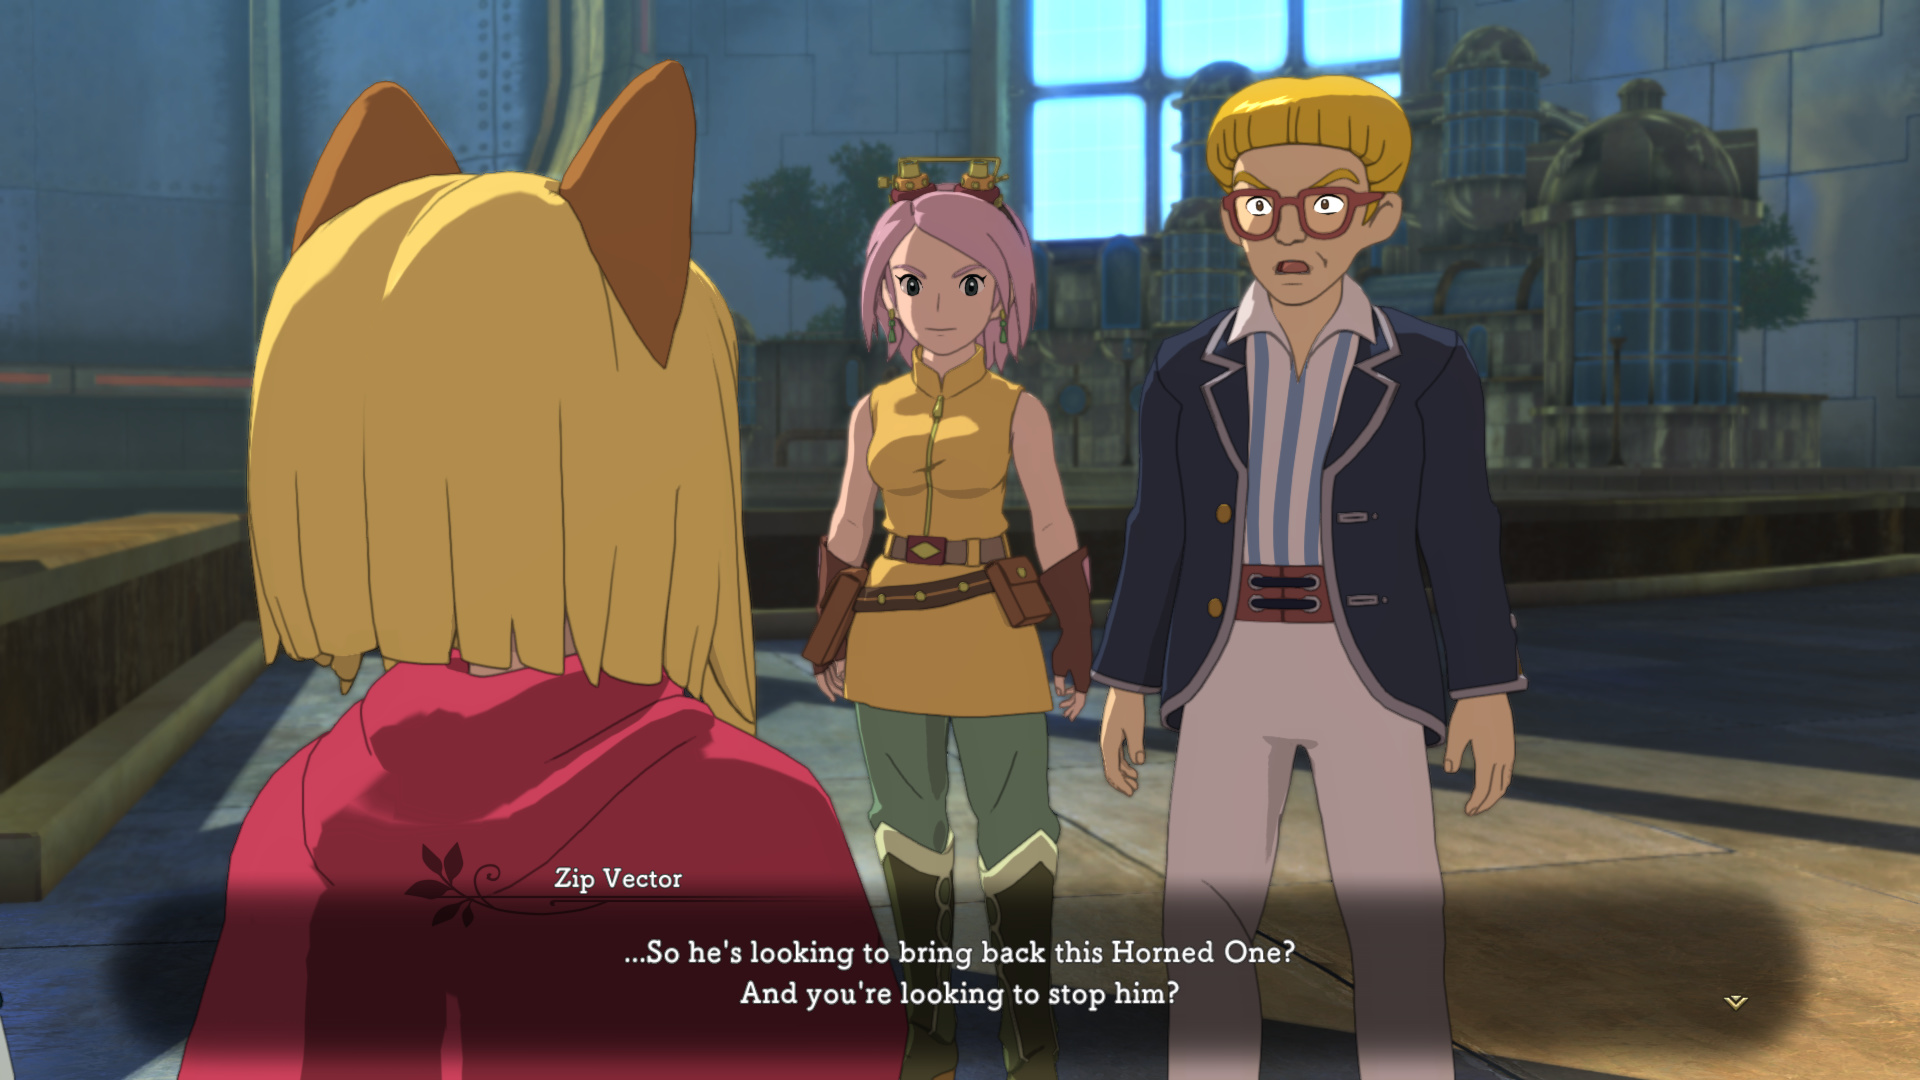
: “Yes, and if we join forces with the other kingdoms, we may just stand a chance.”
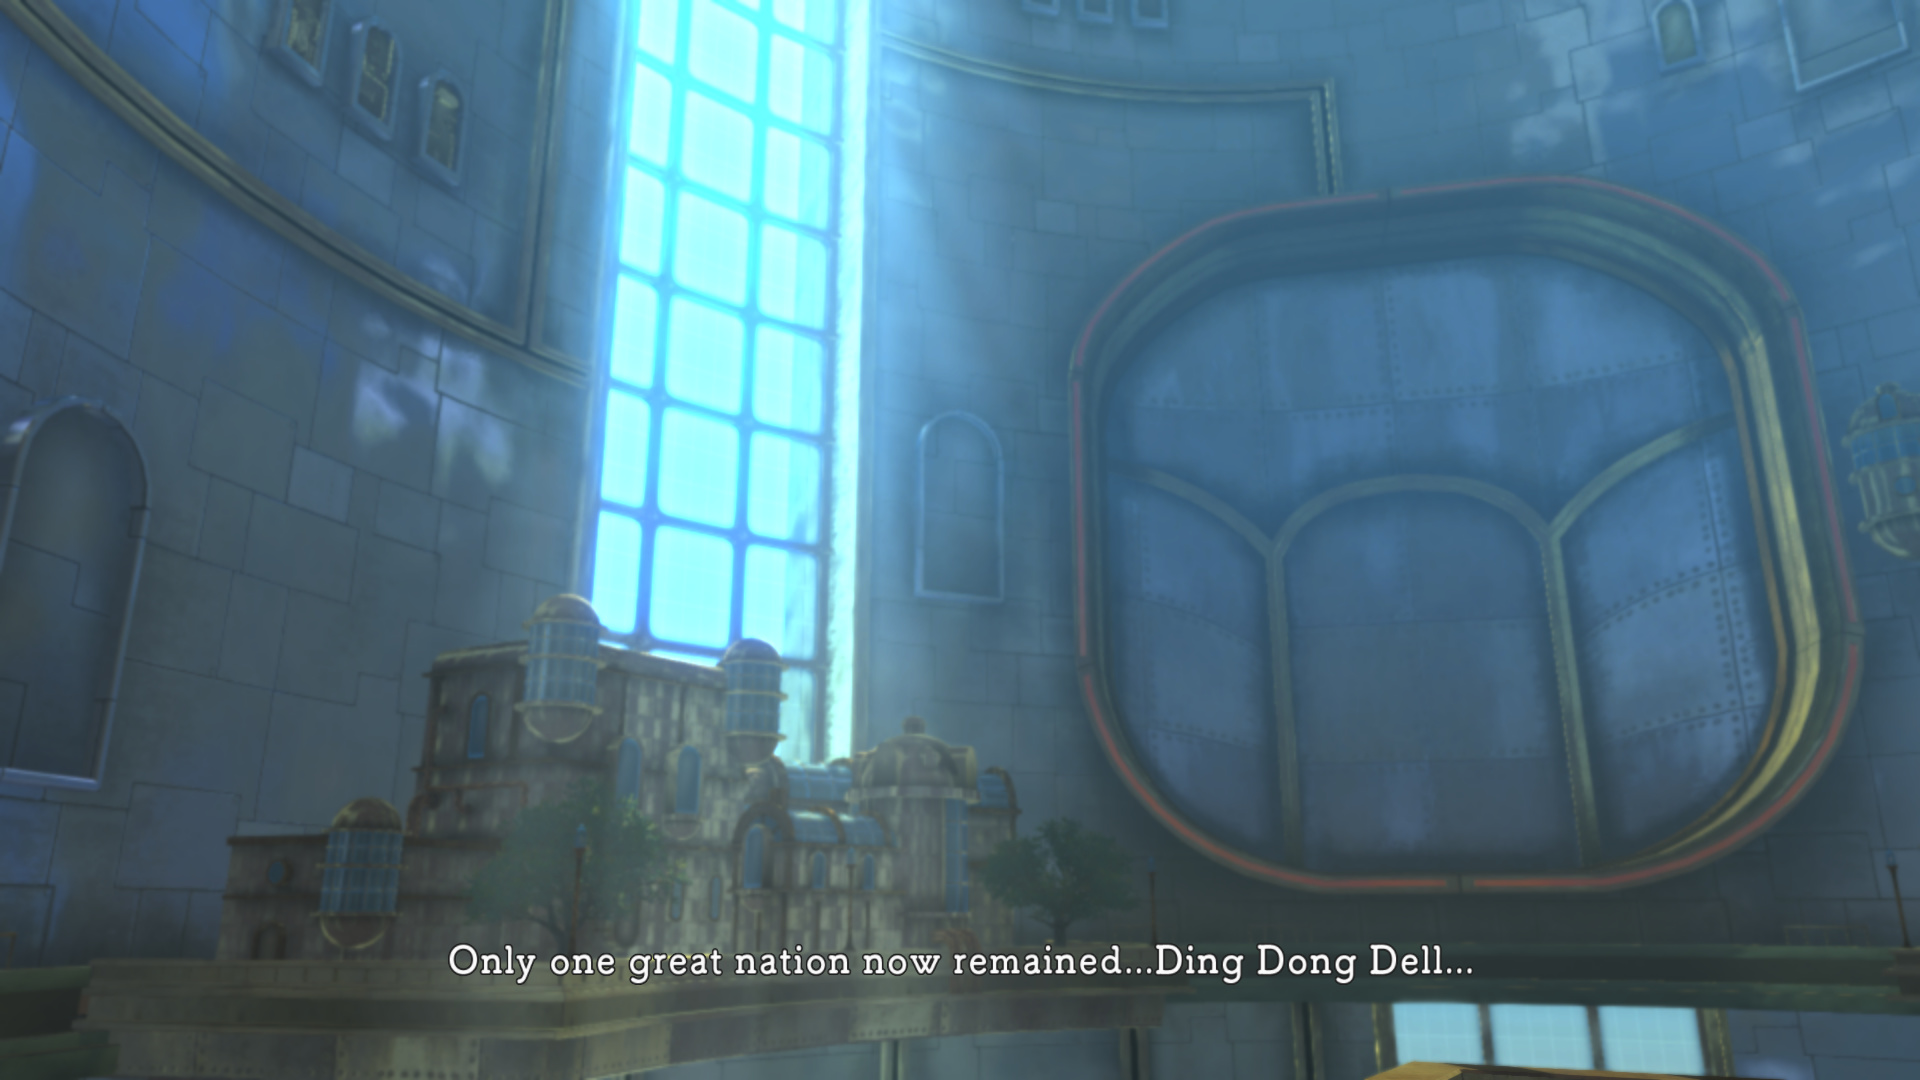
: “I see. And of the big players, there’s only Ding Dong Dell left now. That could be… difficult.”
: “But I can tell by your face that you’re not going to back down. Luckily, we’ll be right behind you. You have my word, as president of Broadleaf.”
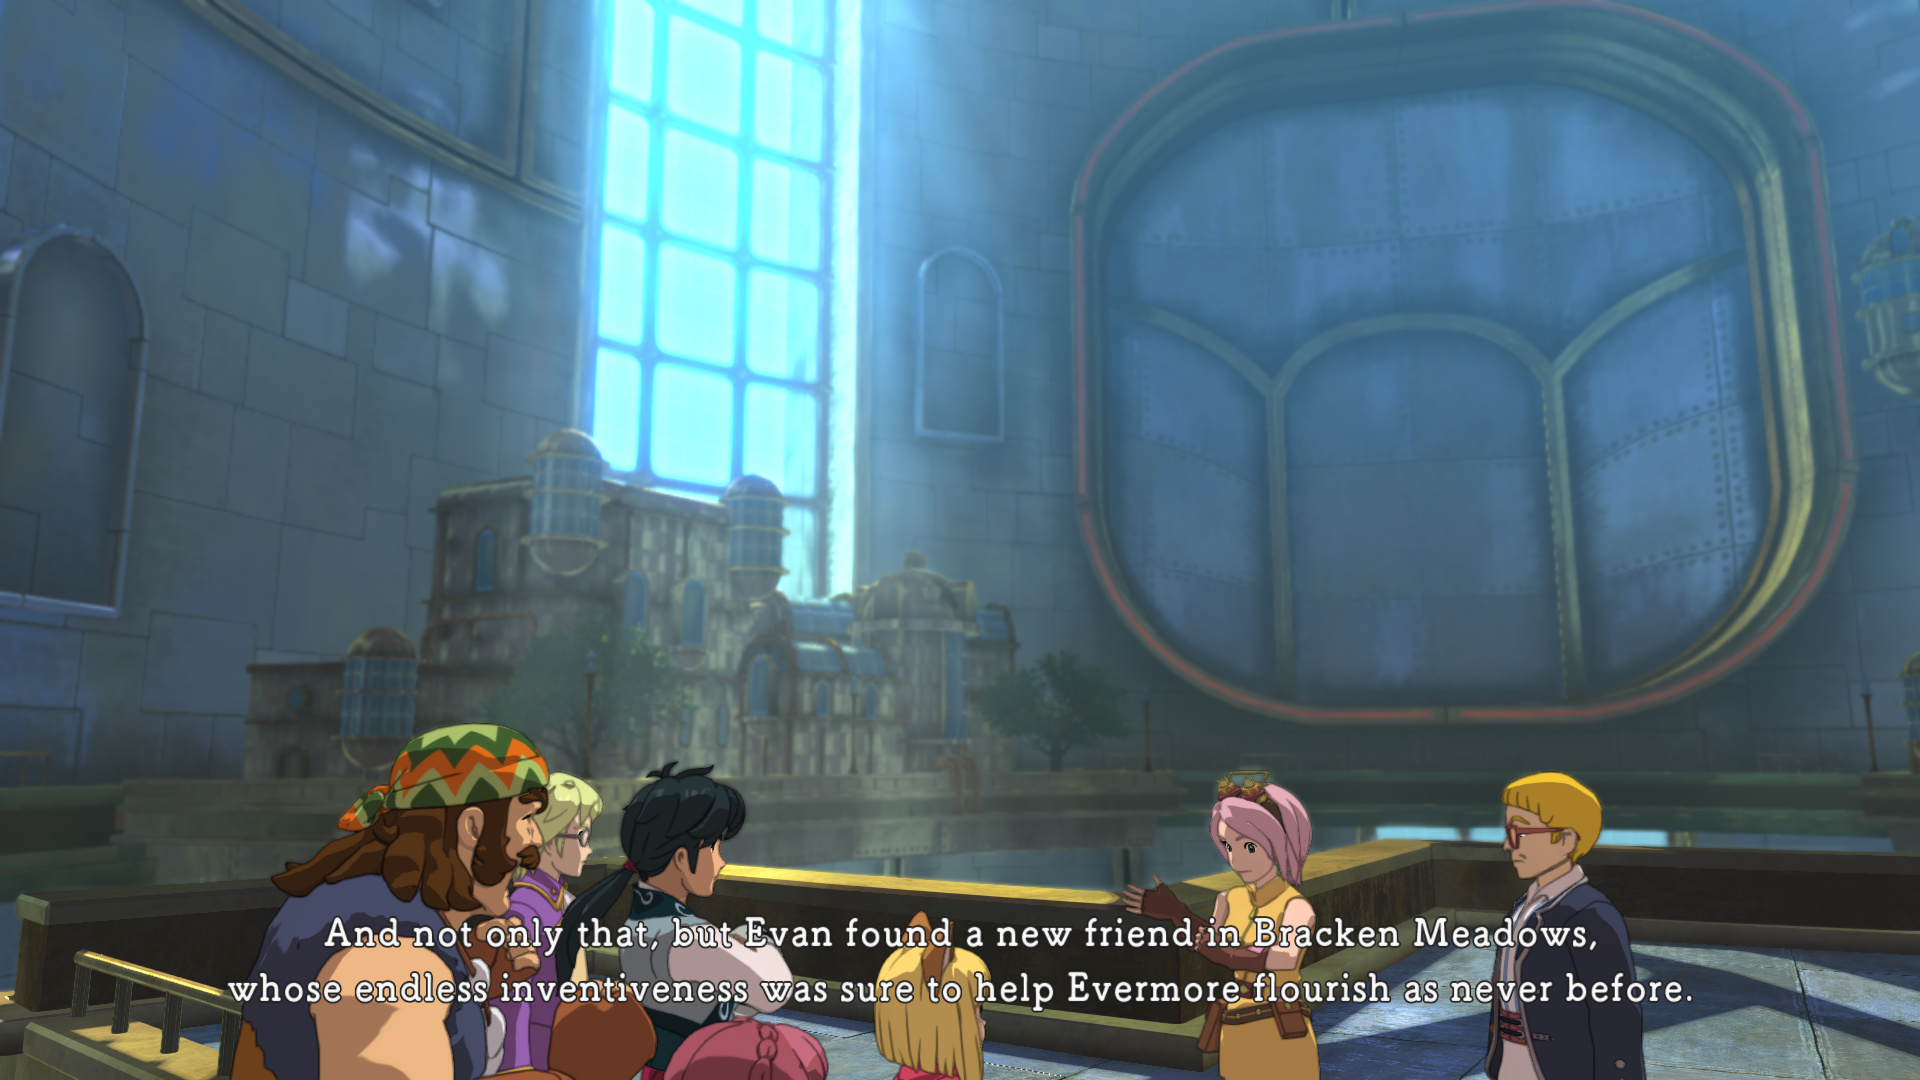
: “You’ll be going with our new friends, Bracken?”
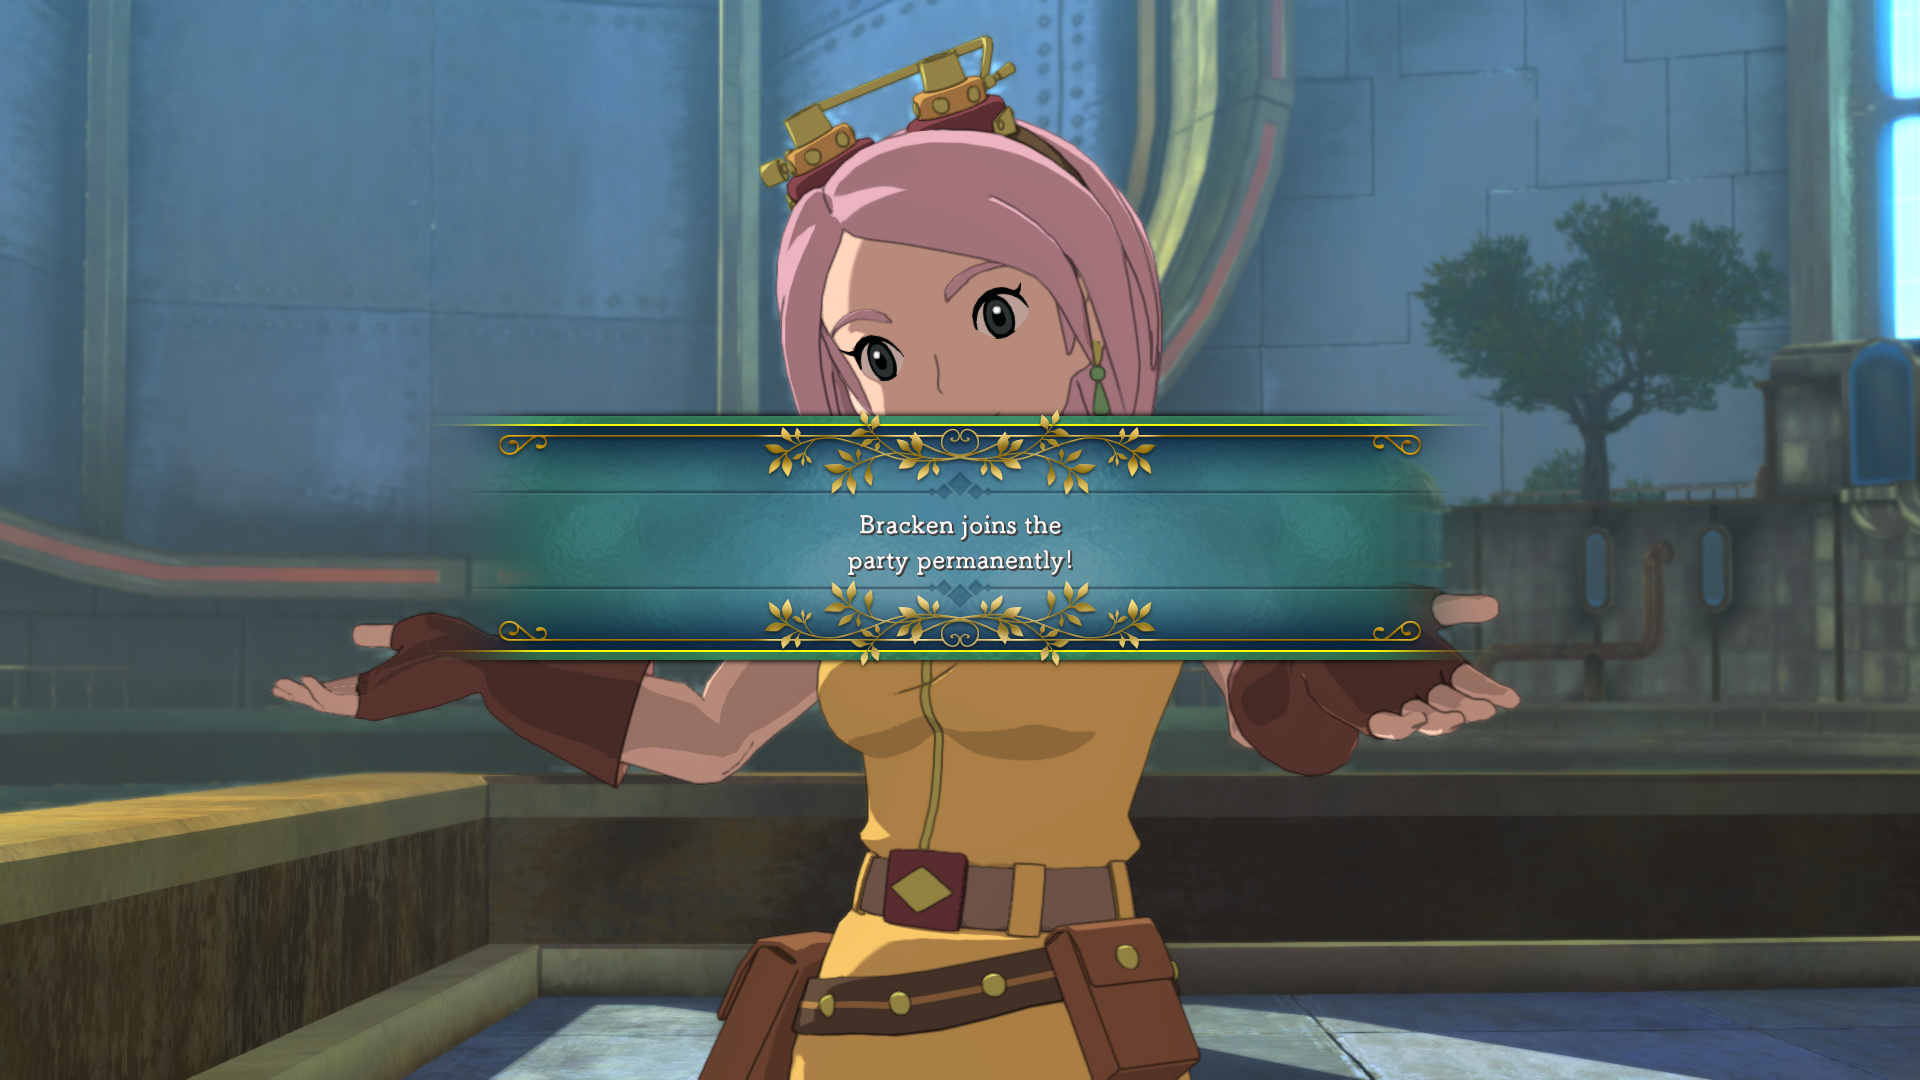
Hell yeah she will. It’s good too, because I think the plot void has already finished devouring Tani and is now dragging Leander into its gaping maw.
In this scene, Evan’s voiceactor is back to the usual one.
: “Yes! It was such a surprise! You would never have guessed from looking at him.”
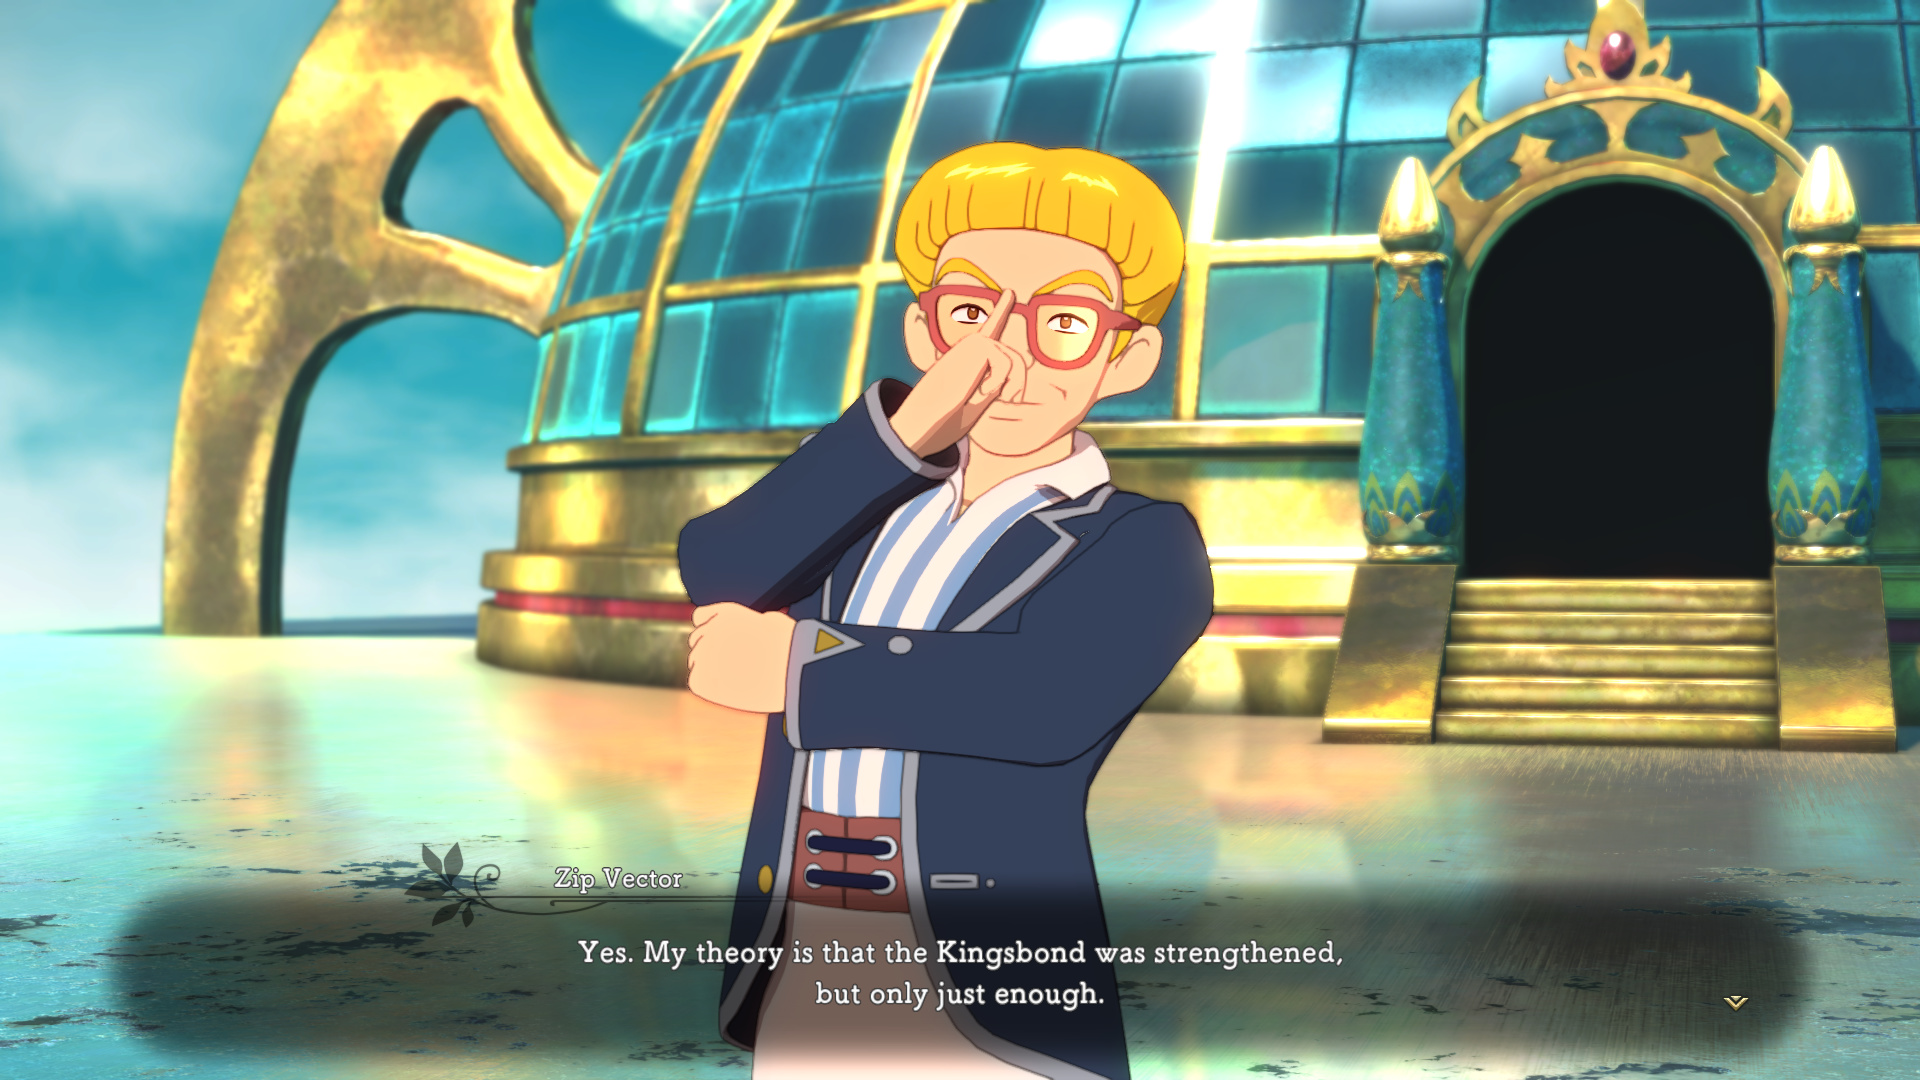
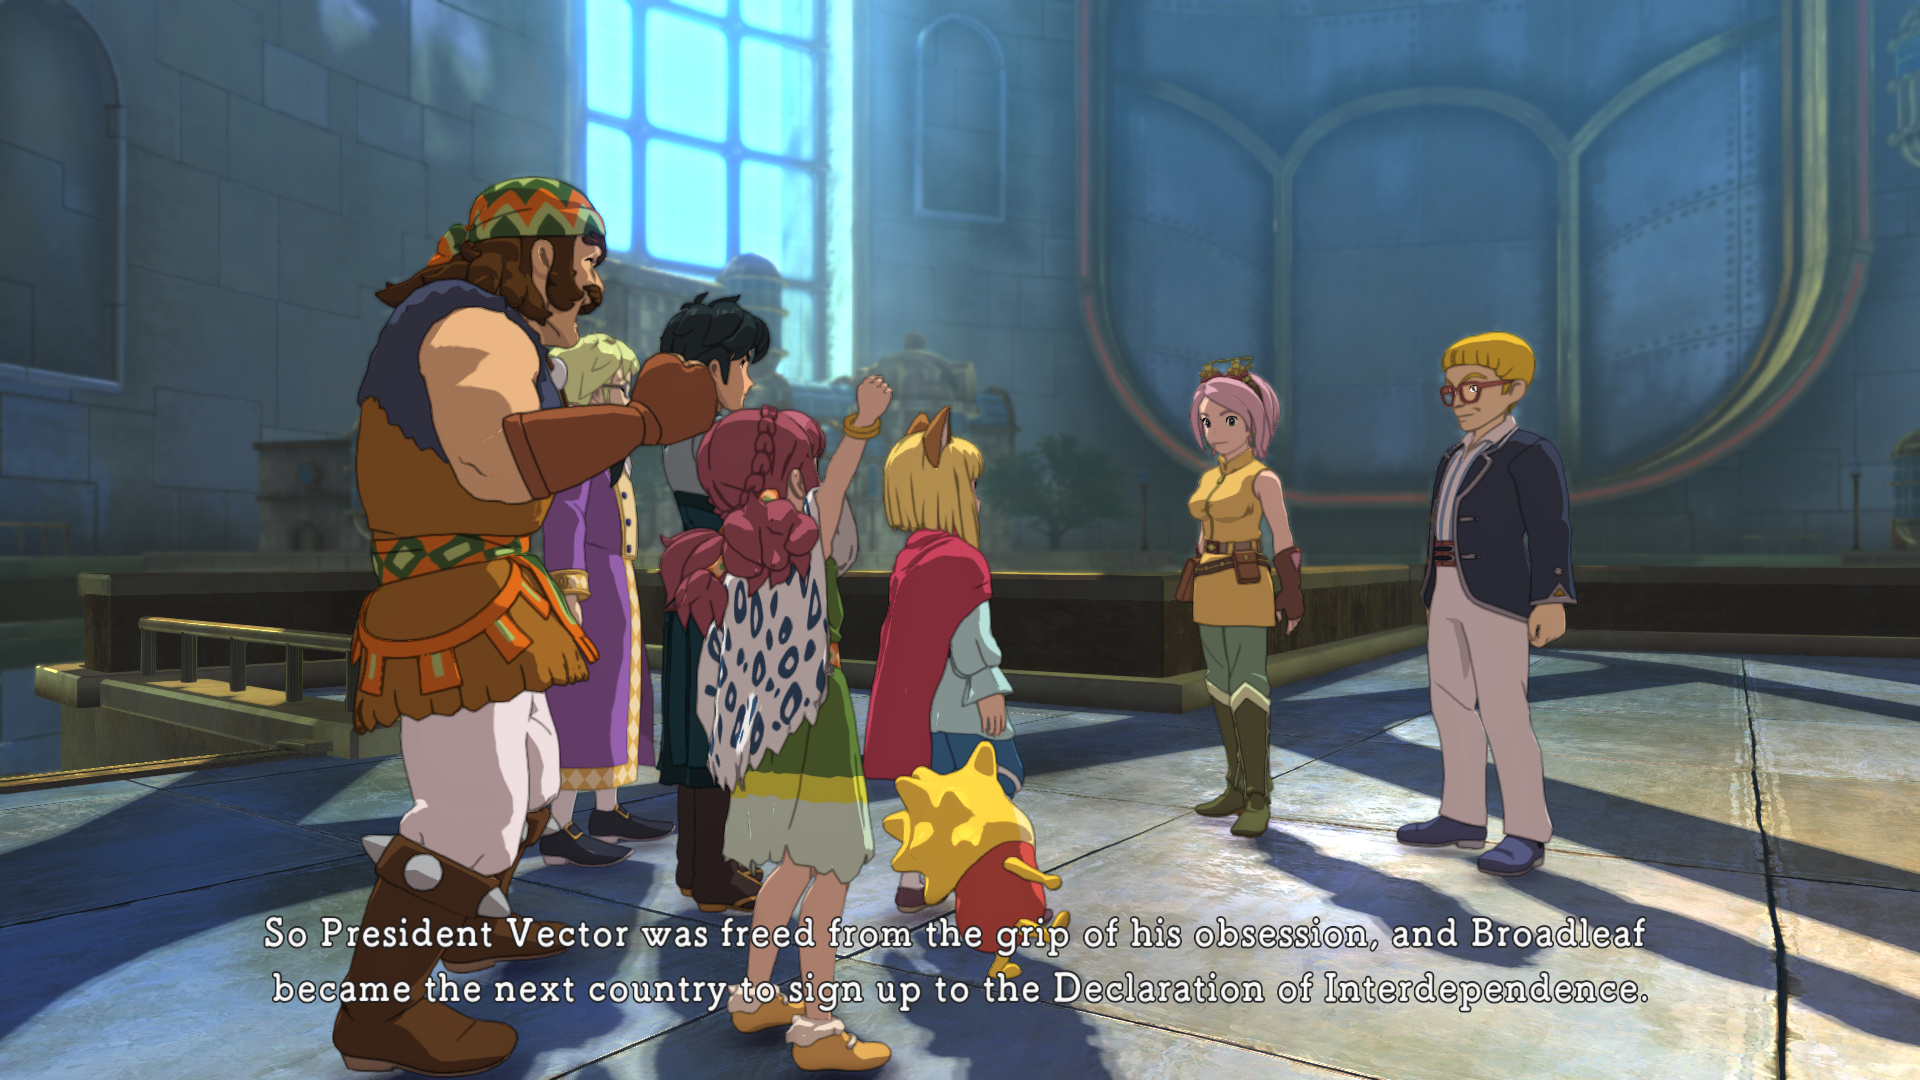
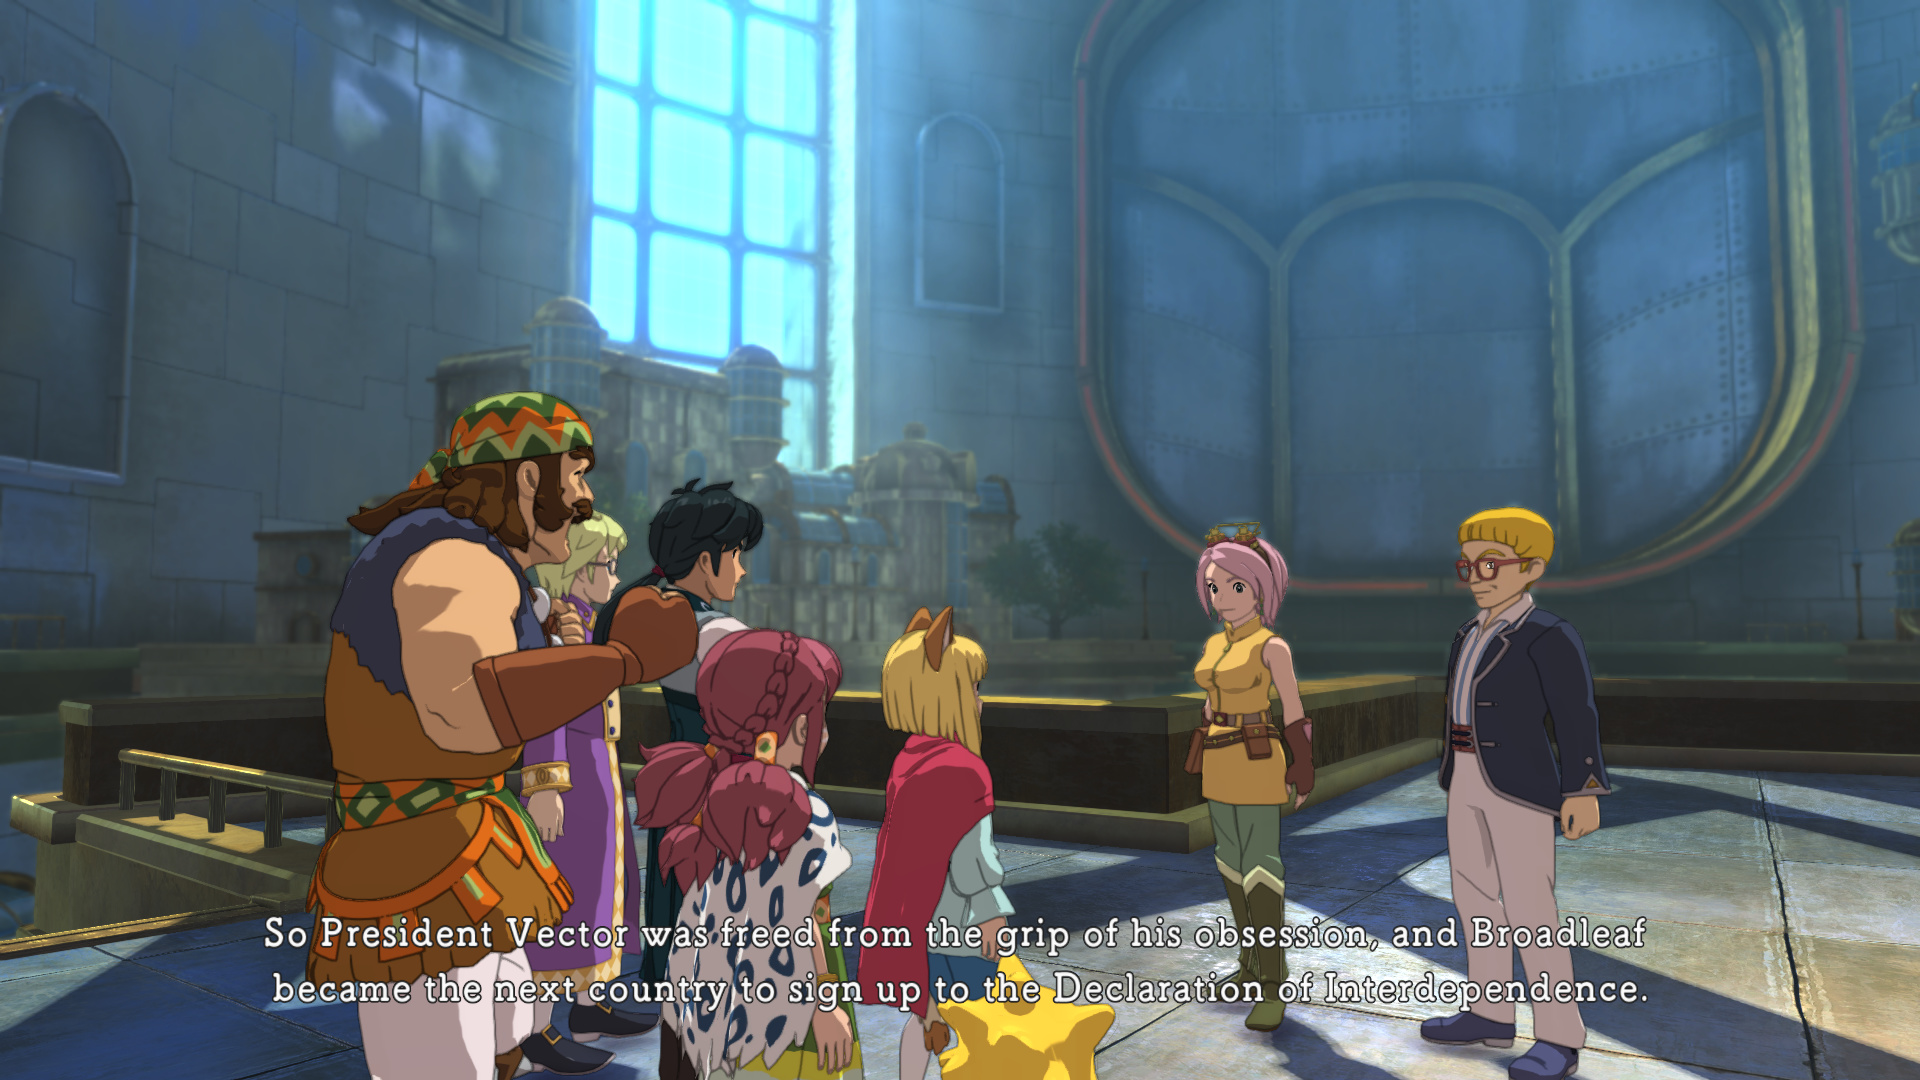
: “It does, yes. President Vector is back to his old self. I’m sure he’ll put his people first from now on.”
Now I’m sure you’re asking yourself, “Timrod, why are you doing this scene in its entirety? I thought you hated Bluehair McPlotruiner and wanted to get him off screen as quickly as possible.”
: “I only hope that I can forge such firm friendships. I’ve a long way to go before people look up to me like they do Zip though. I’m nothing like him..”
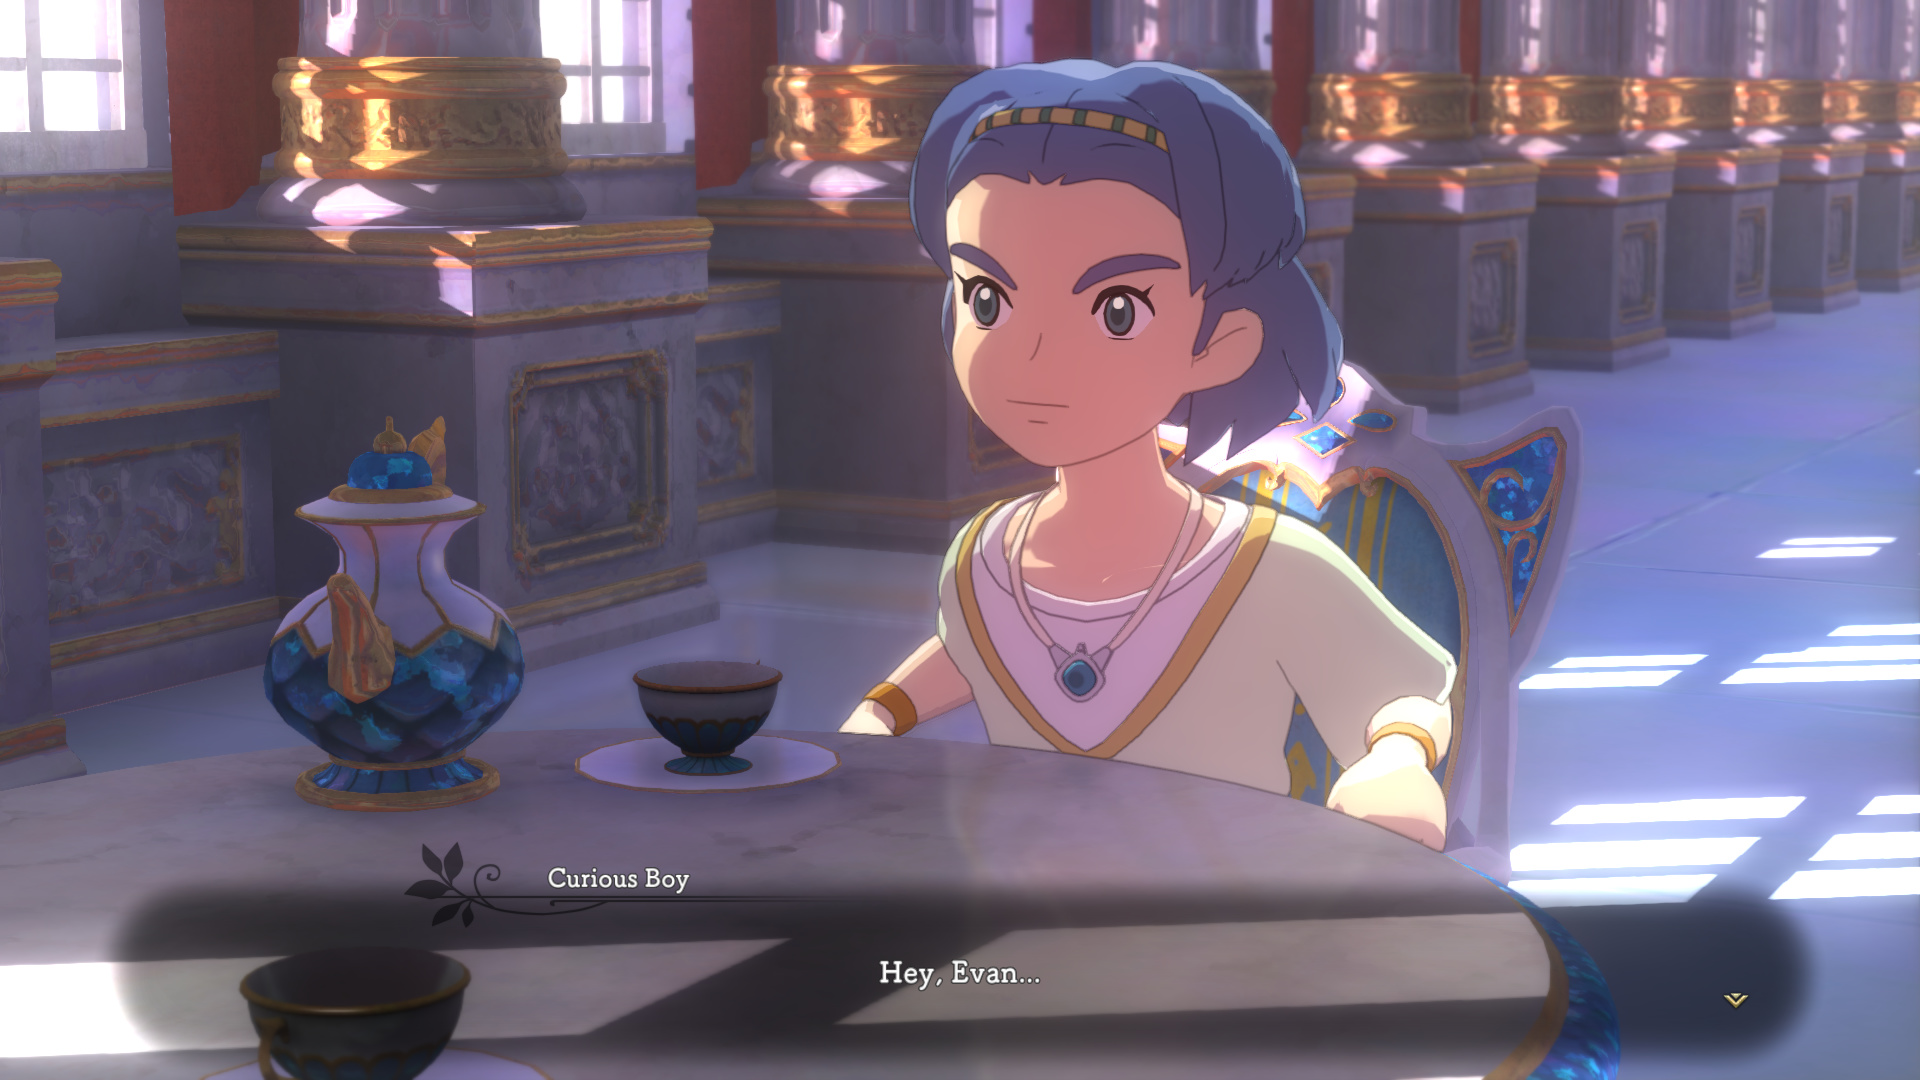
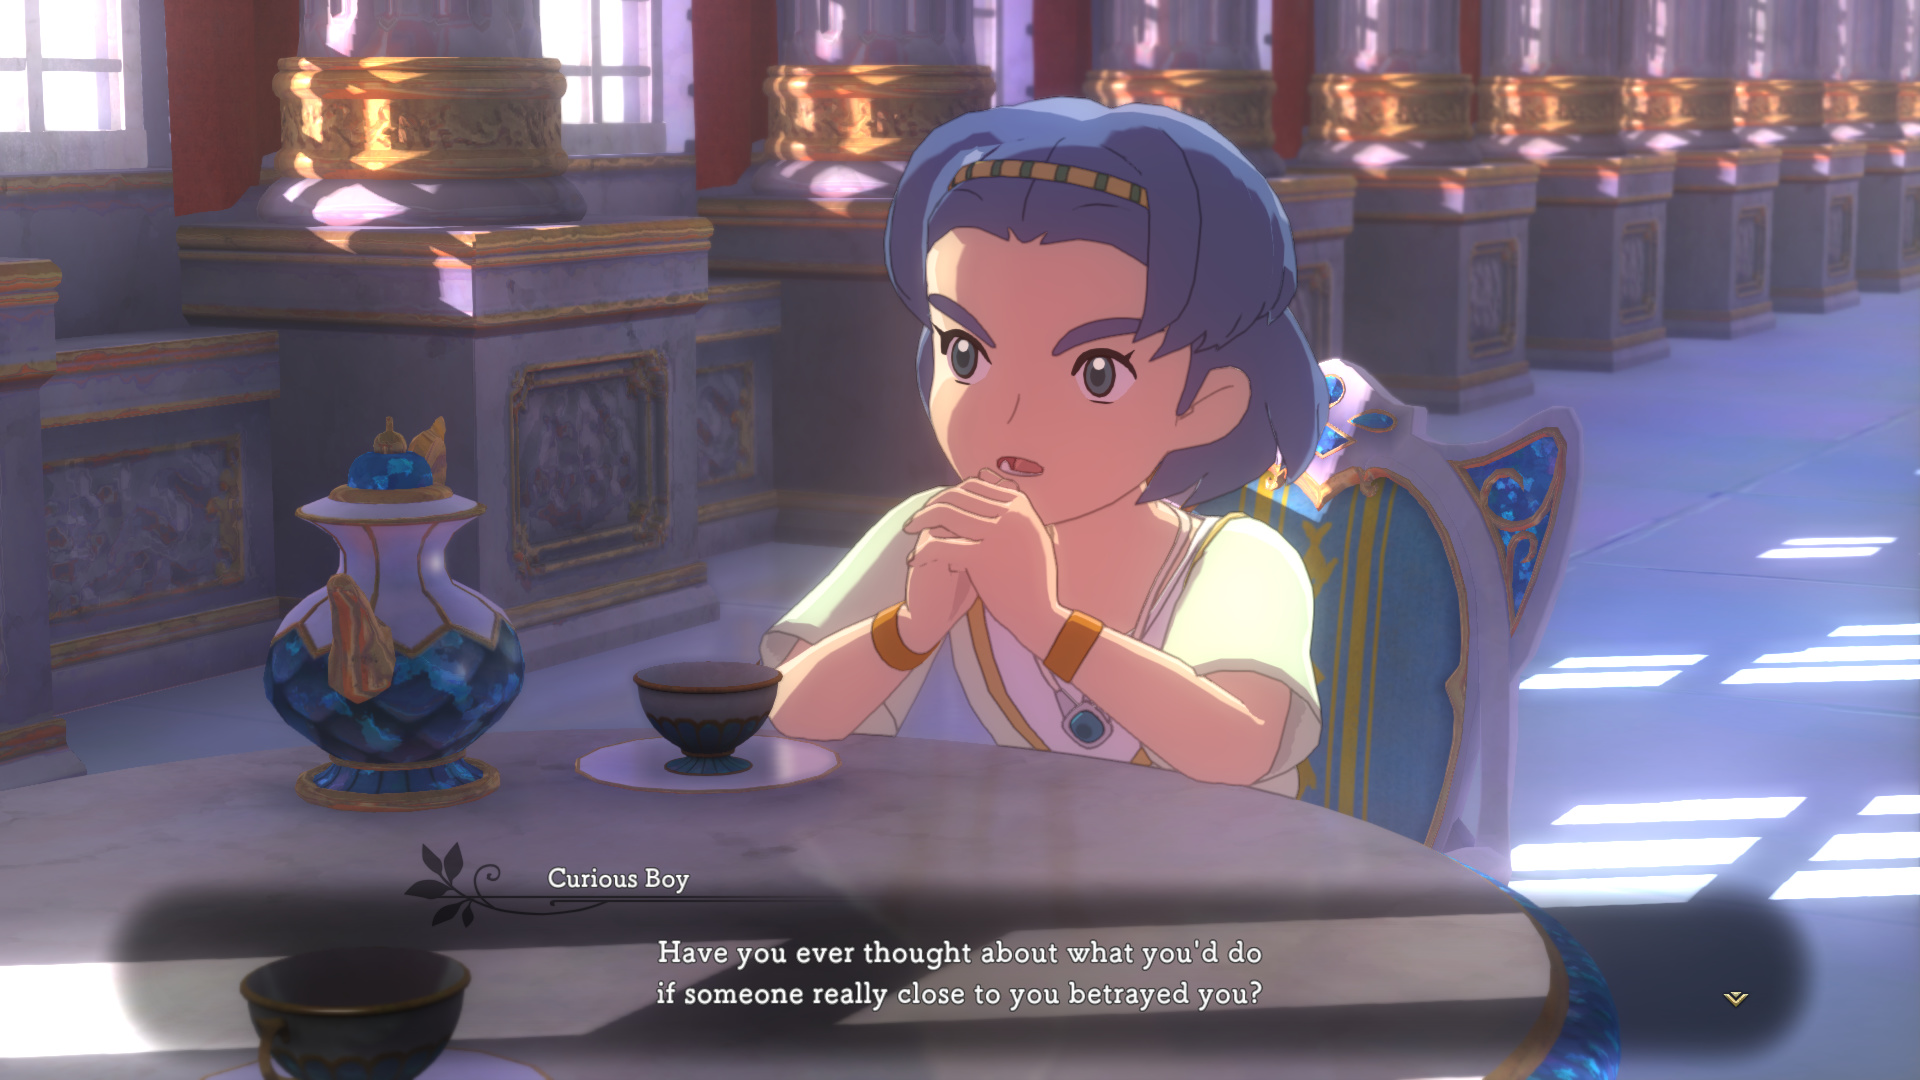
I saw this line when I first played through the game and I’m like “Holy shit. This game is going to do a complete 180 in the next chapter. It’s going to finally have a fucking plot.”
I mean, can you even imagine how good of a plot that would be? Everyone close to Evan technically has a reason for betraying him: Batu is a pirate who was ready to murder a child in cold blood and could easily be out to take Evermore for himself. Roland is an ex-president who got his own people nuked and is shown to have never given a single fuck about the people he got killed - he could easily go the route the humans took in Disgaea 1 and try to take over the isekai realm for himself. Bracken works for a guy who is clearly an evil bastard and could easily be a manchurian candidate.
Maybe if we keep believing, this game will finally grow a plot. We’ll find out.. at some point. We still have at least 10 sidequests to grind, after all.