
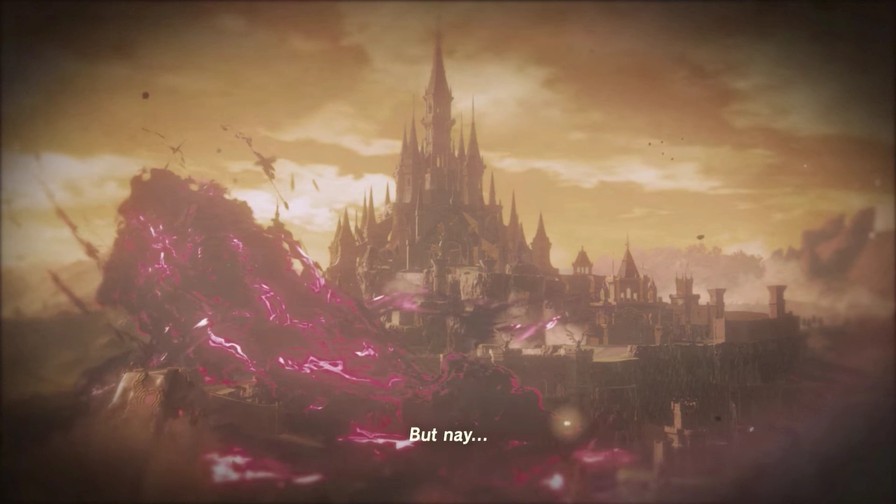
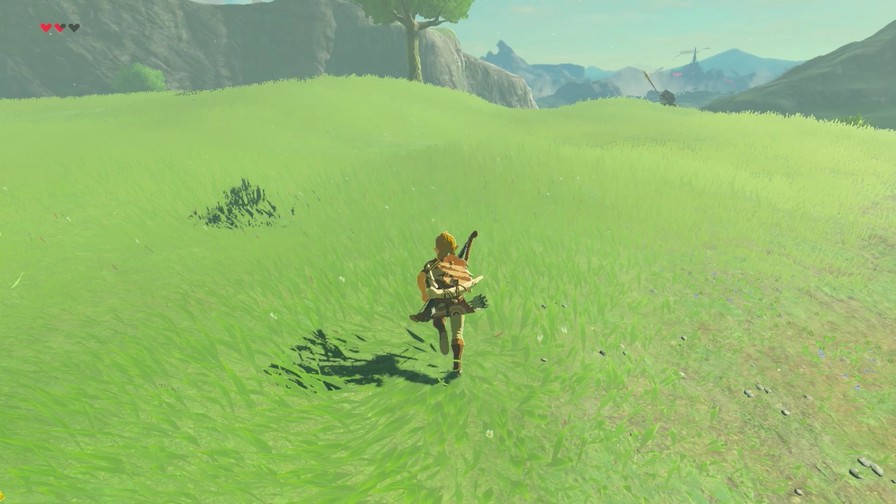
Gonna record gameplay now. Hoping another update tomorrow.

Click here to open the update!
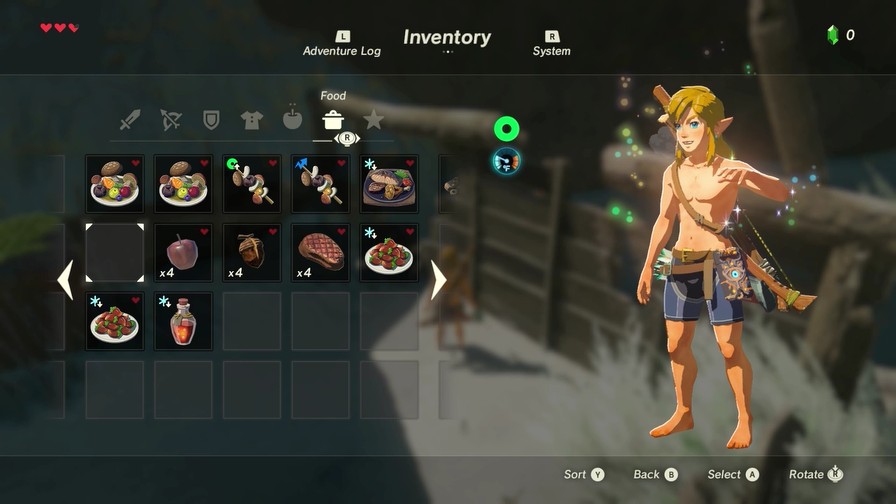
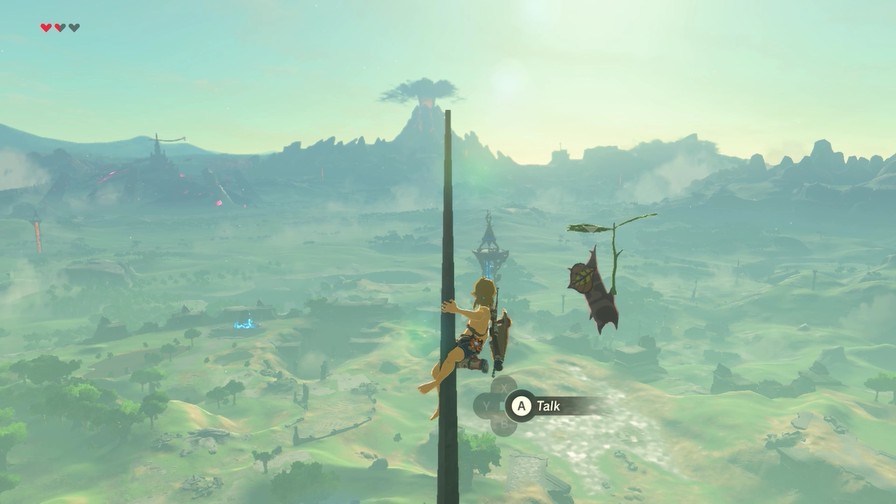
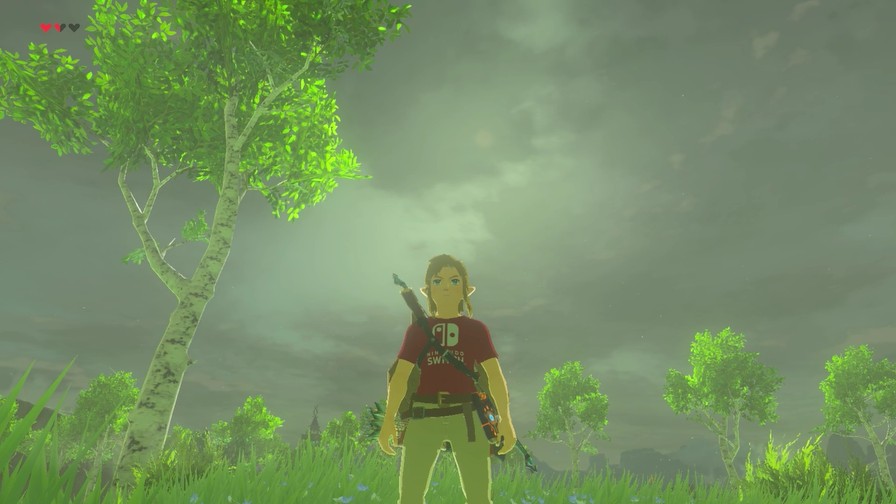
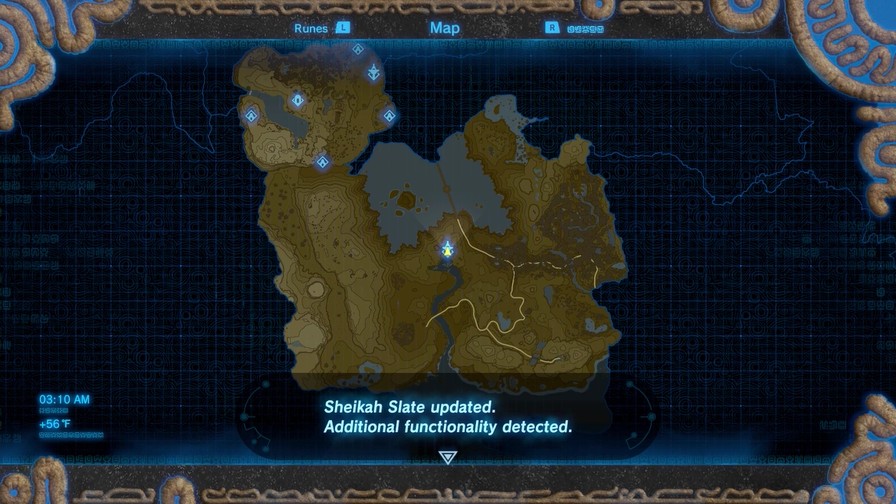
Oh hey, I already explained this last update and it pretty much explains itself here. Oh well!

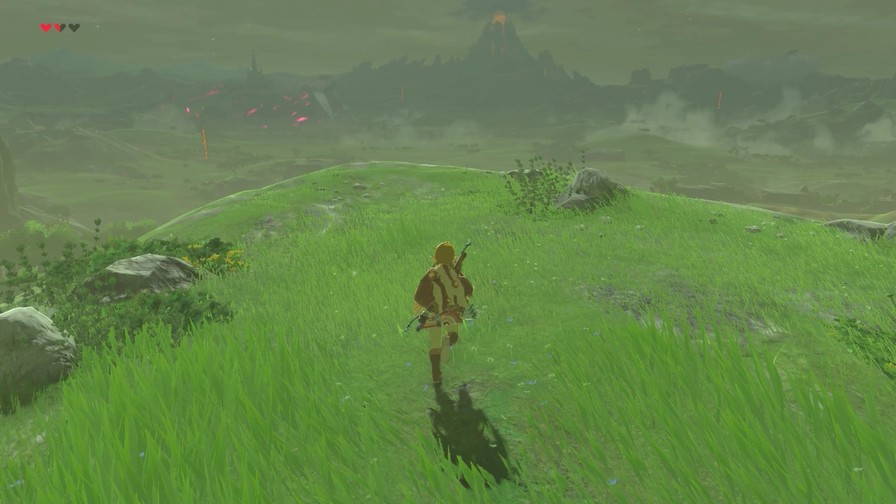
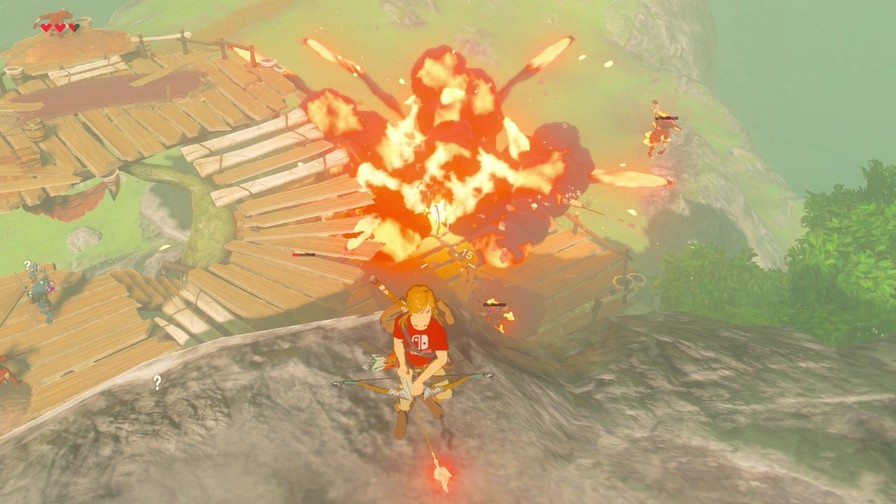
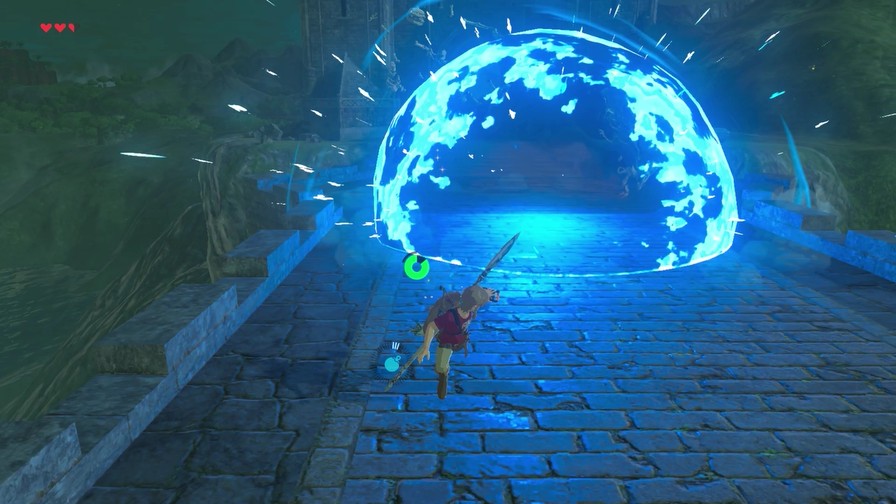
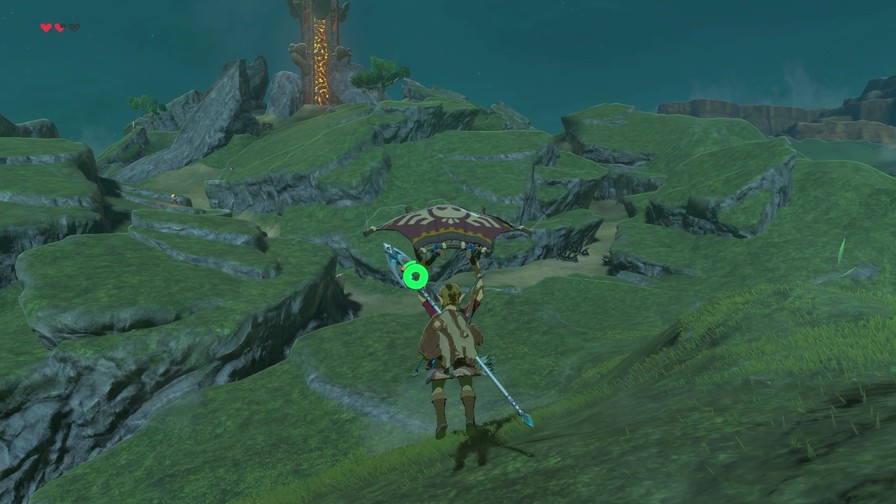
Results were a strong Red -> Blue -> Yellow, probably because that was the first option. It’s also the most roundabout way since Red and Yellow are much better to do together, but it does let me show off a lot more stuff so it’s cool.
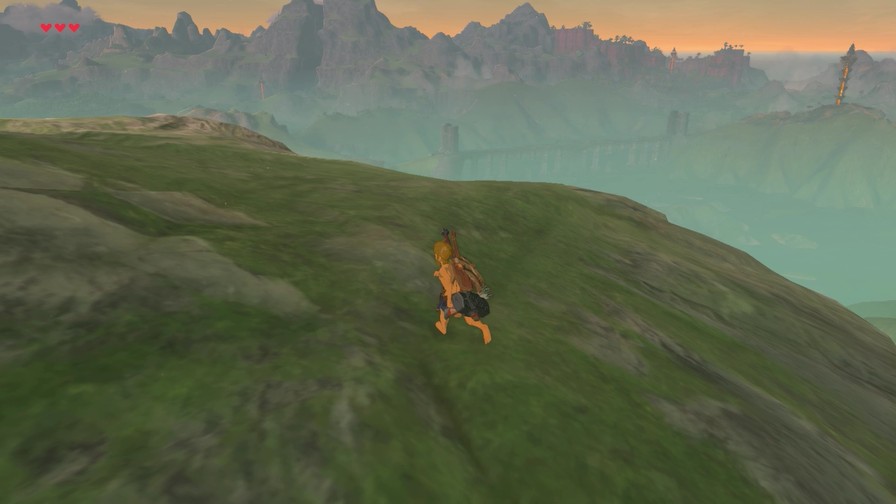
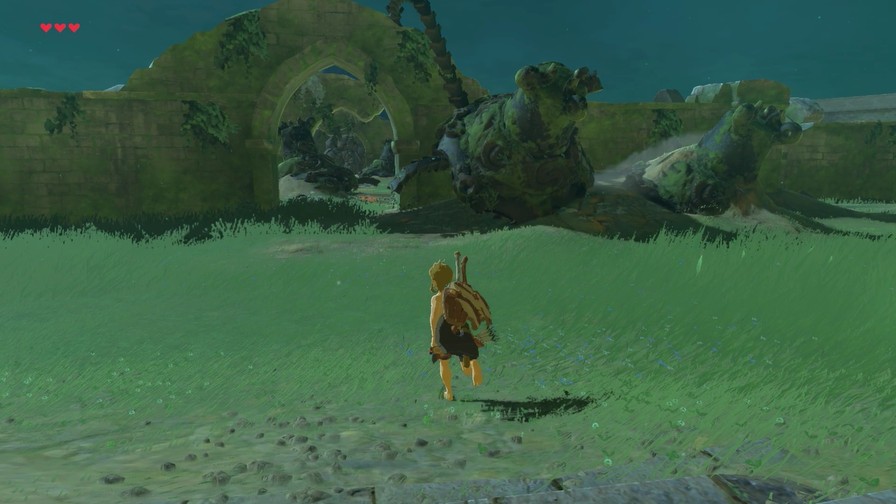
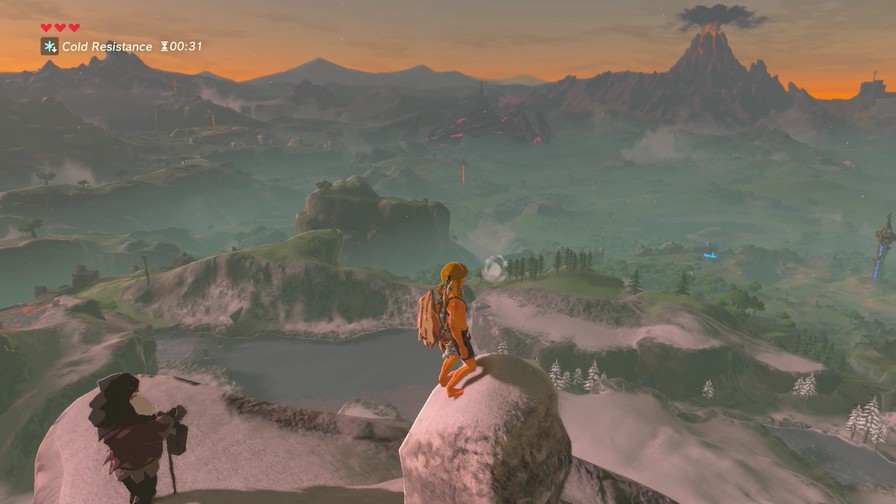
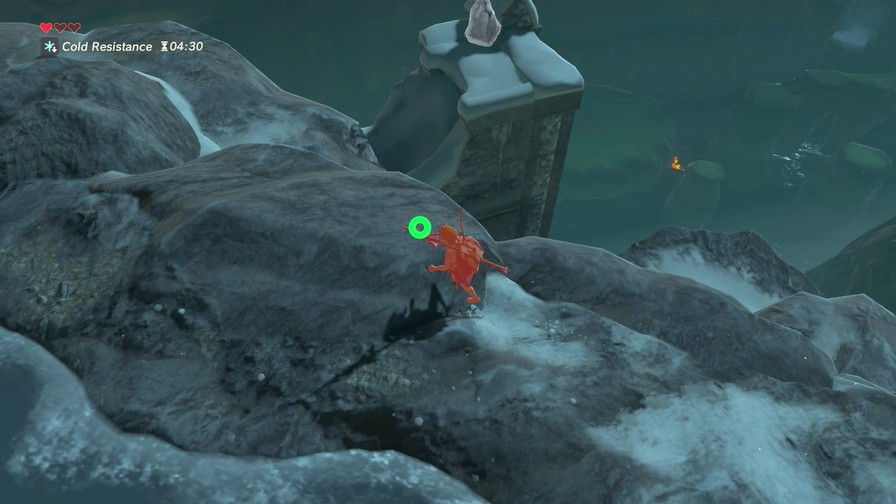
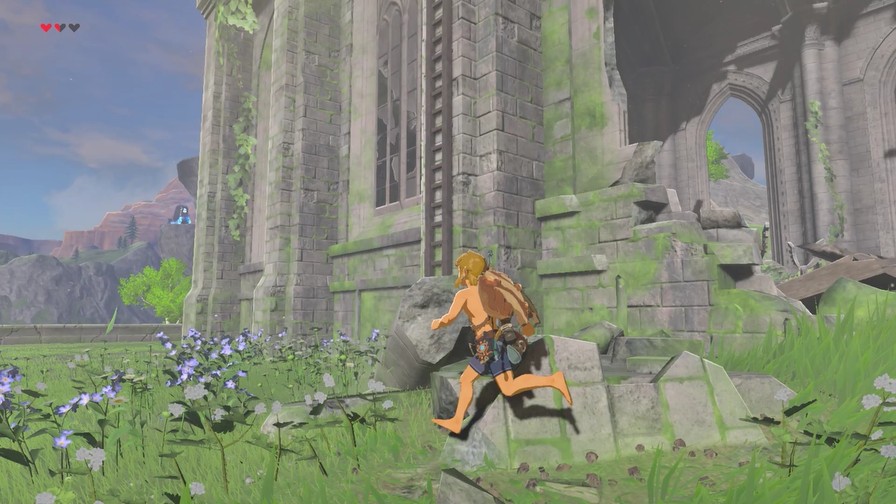
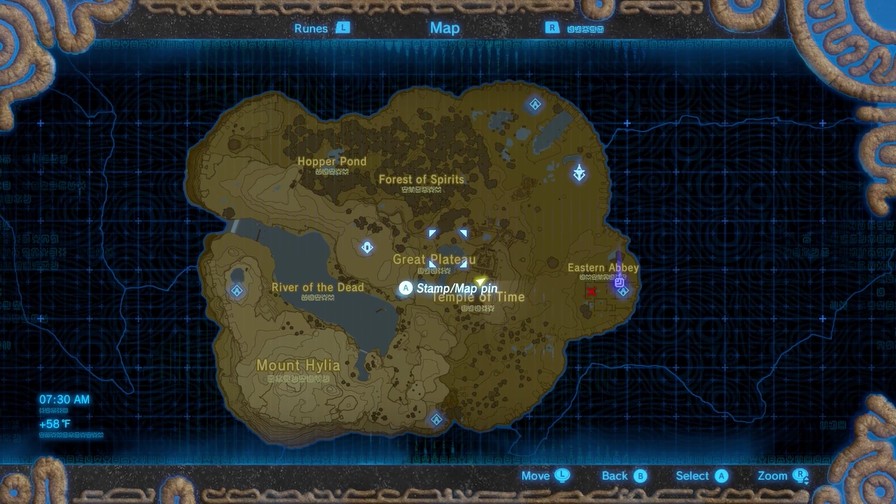
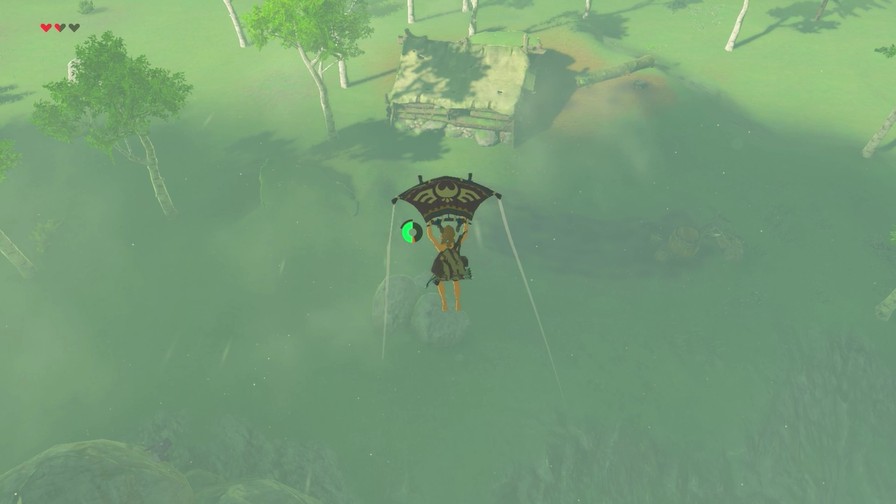
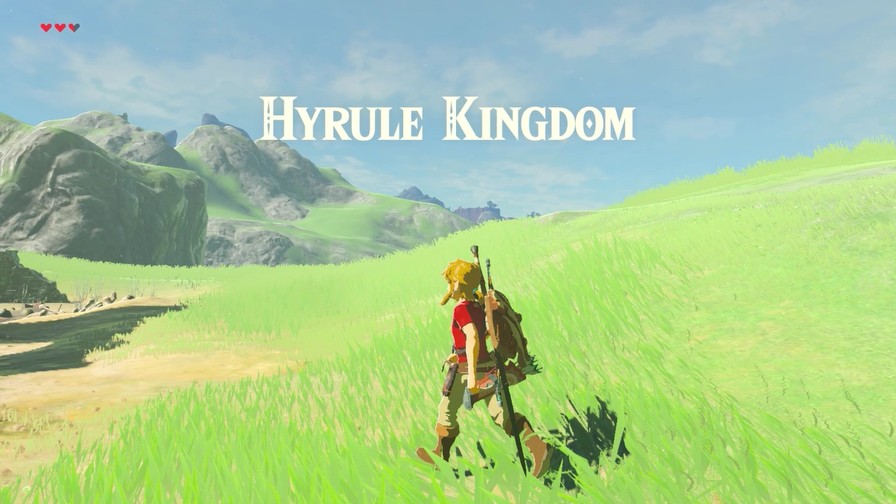
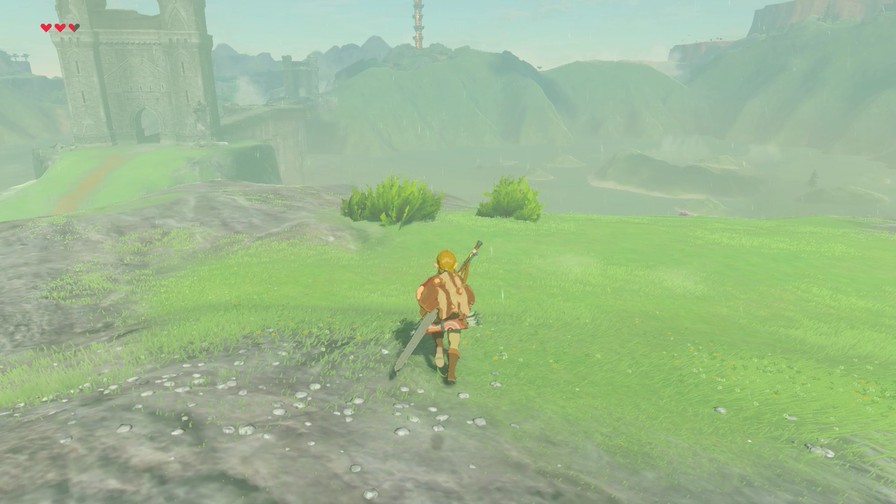
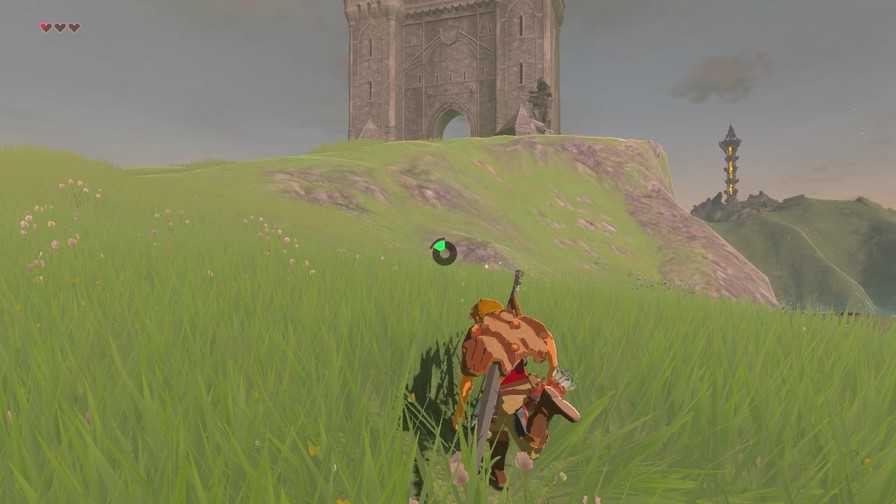
Normally, to get to the red-marked shrine, you’d have to climb towards the yellow-marked shrine and then travel southeast to reach the edge of the mountain range. However, there’s always another way…
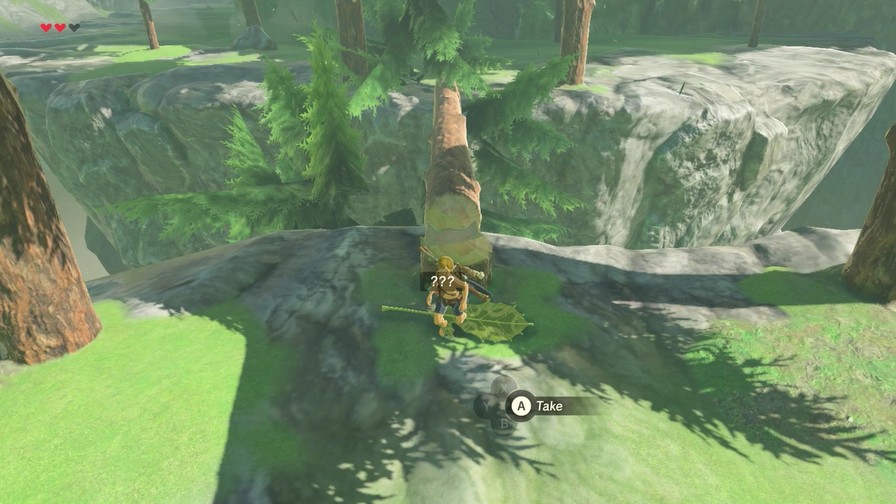
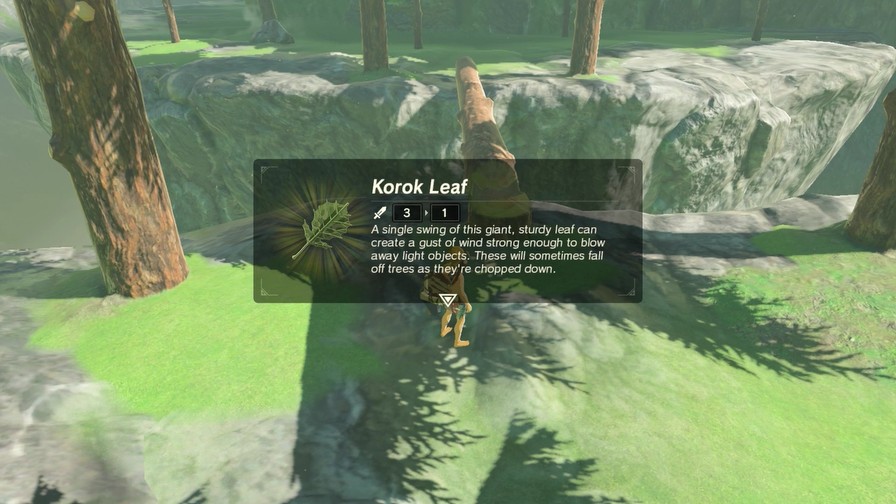
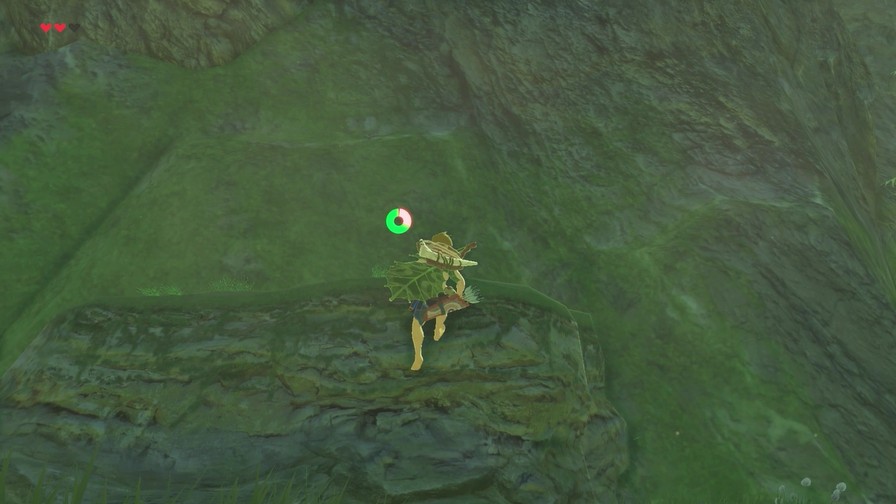
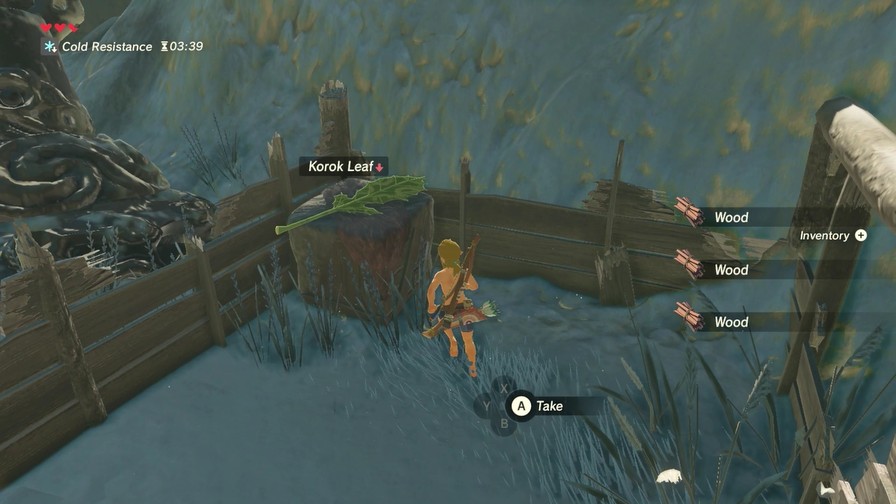
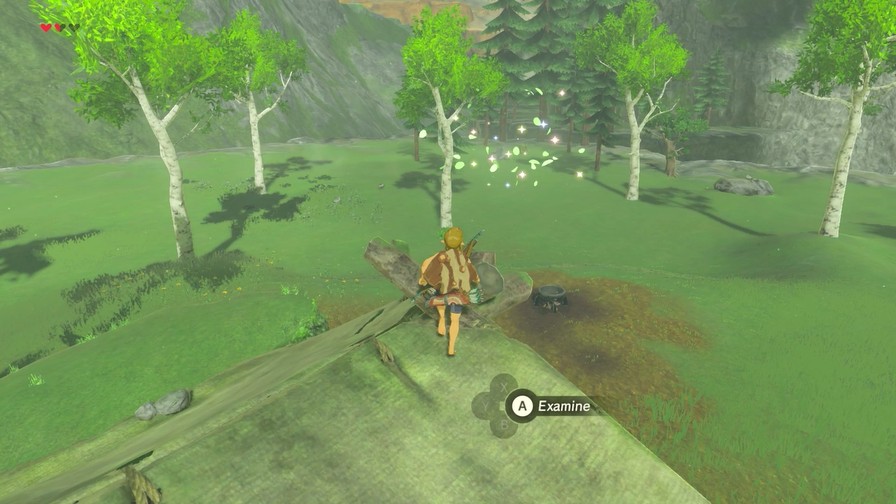
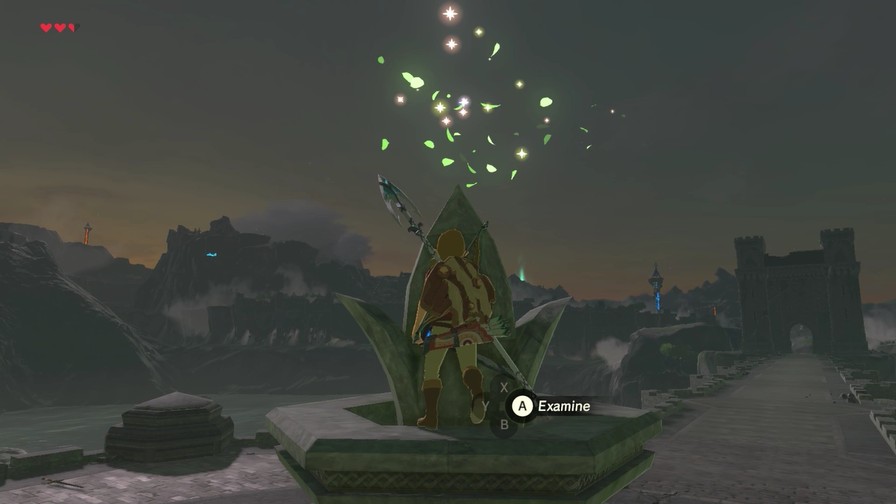
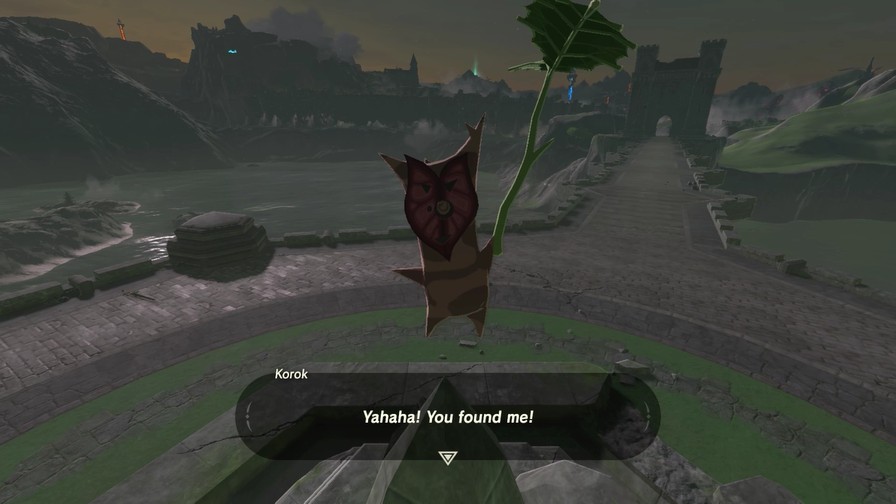
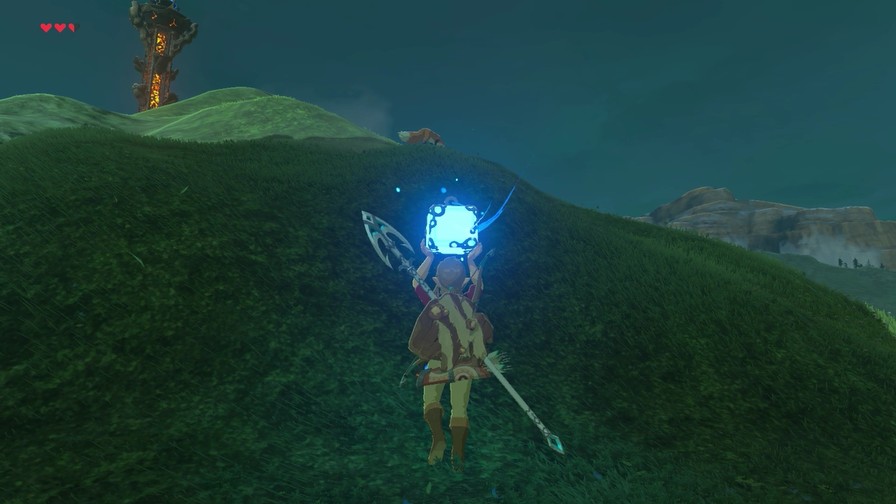
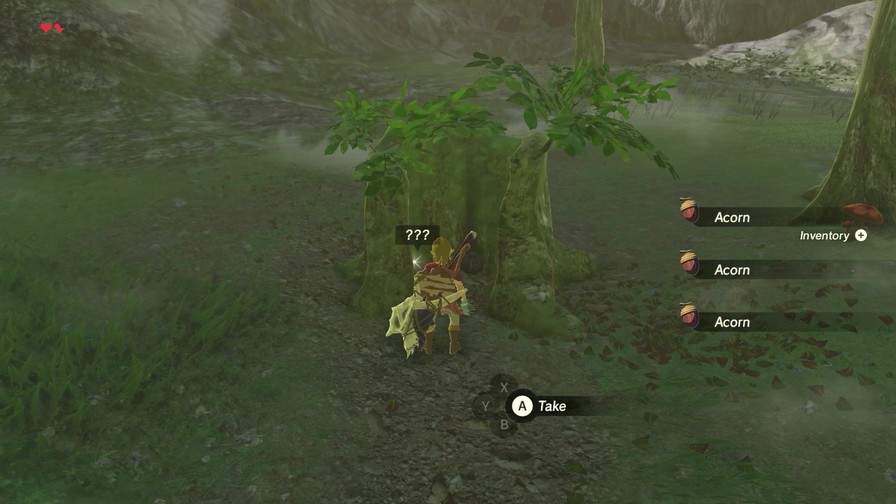
Several things can drop from trees when you cut them down. Korok Leaves are probably the most entertaining of the bunch.
https://mp4.mega64.net/botw/u05/005.mp4
Korok Leaves make for terrible weapons, but their gust effect can lead to a lot of fun interactions. And they have other uses as well, one of which we’ll see later this update…
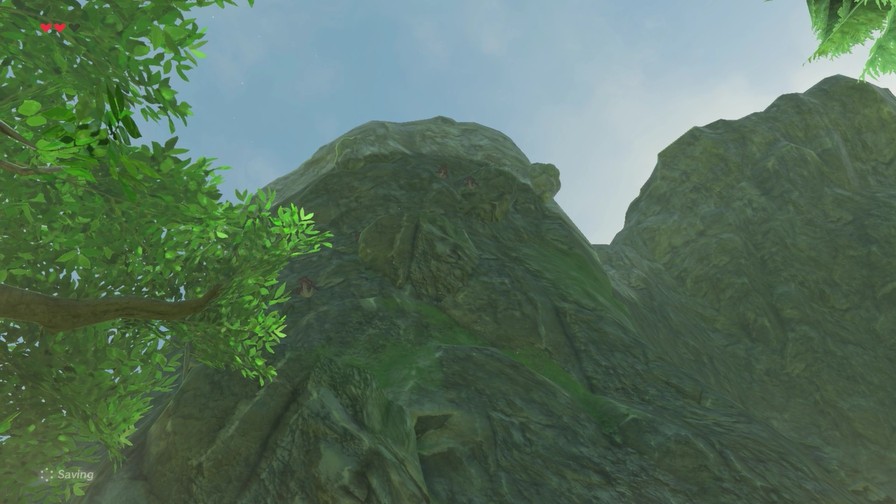
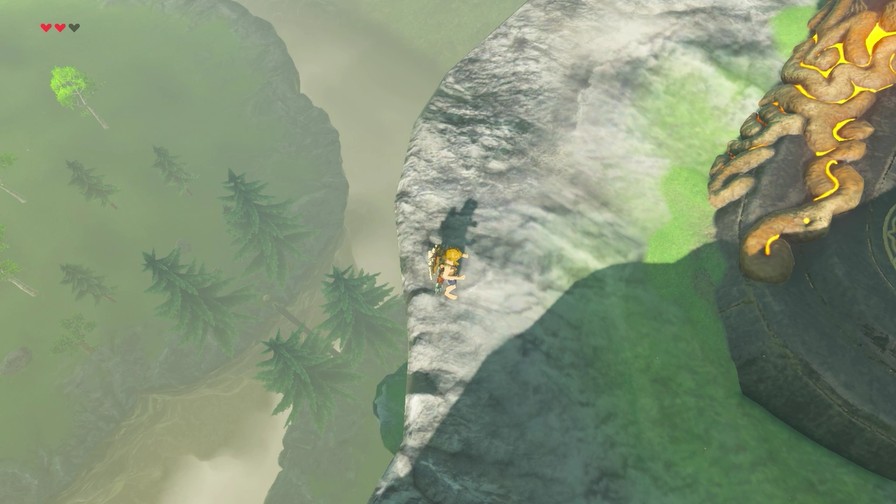
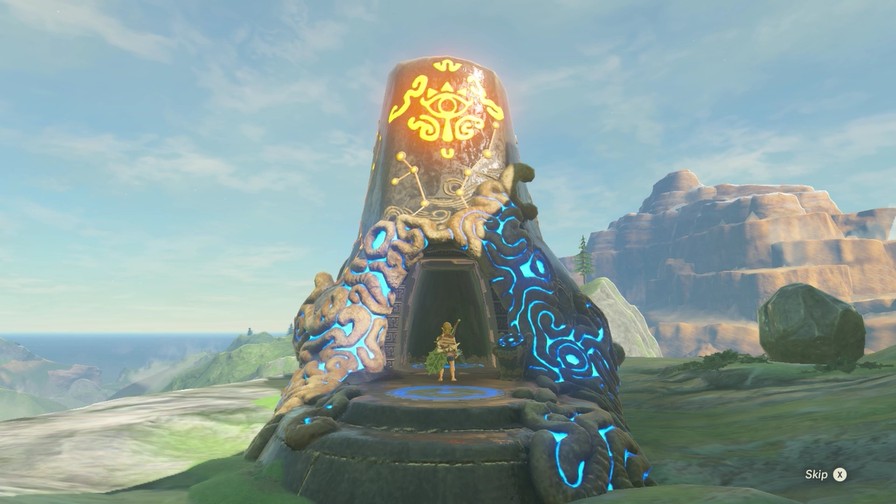
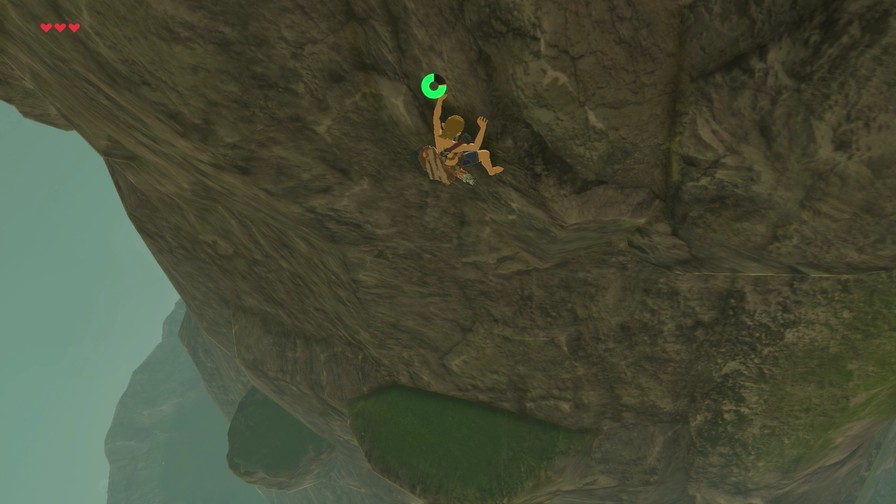
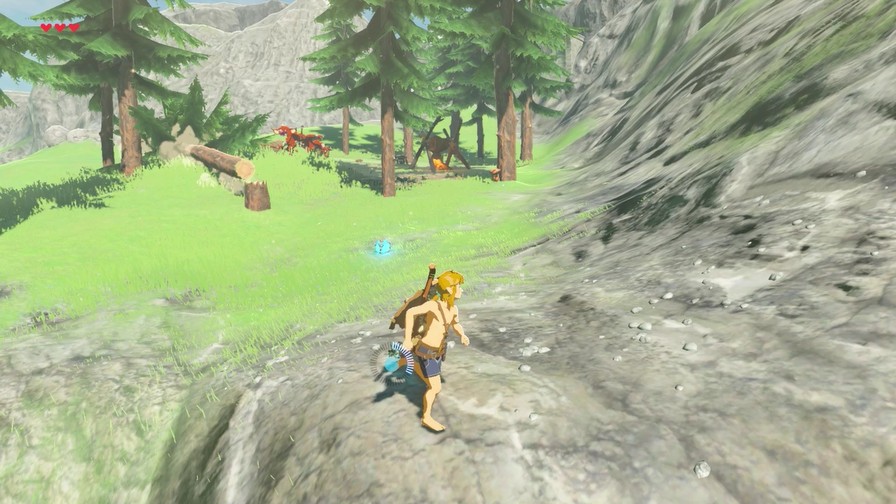
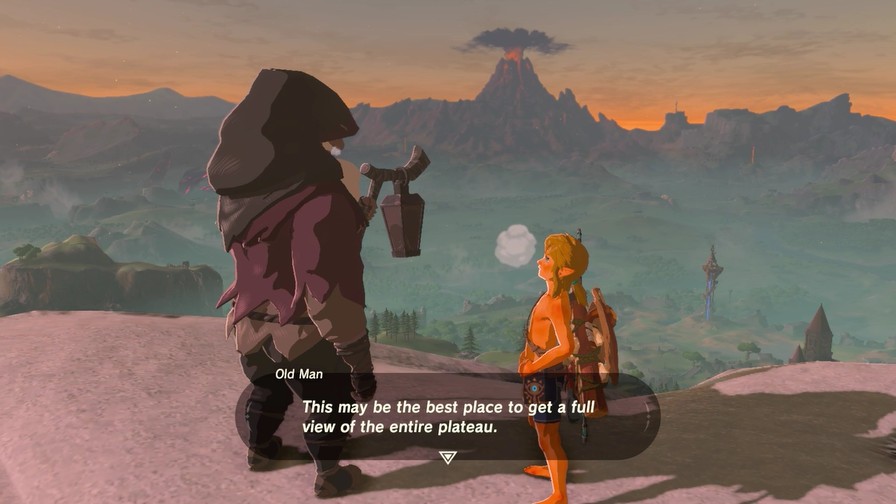
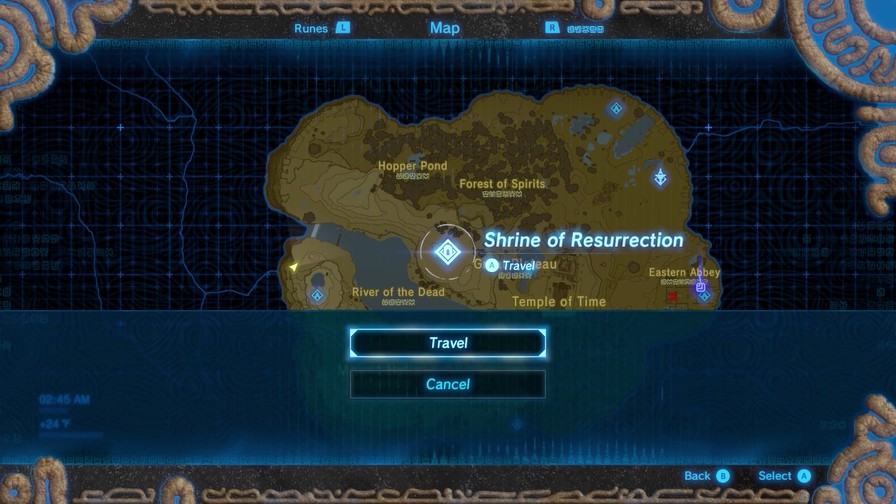
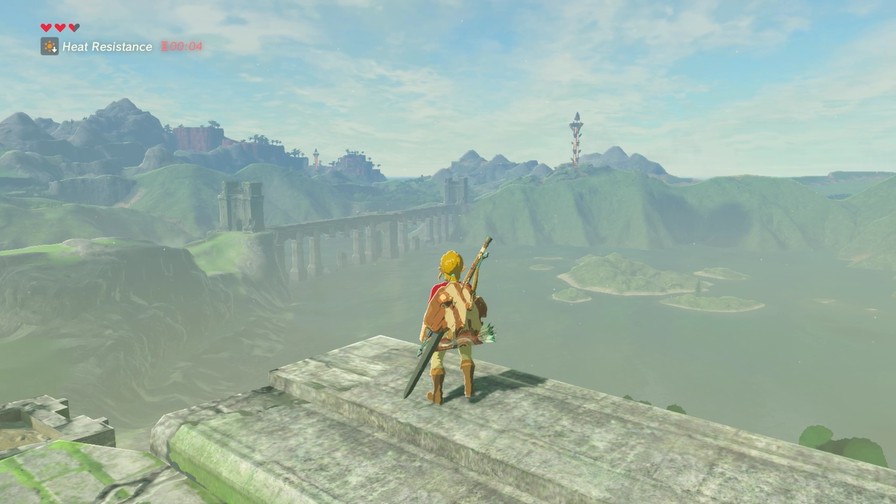
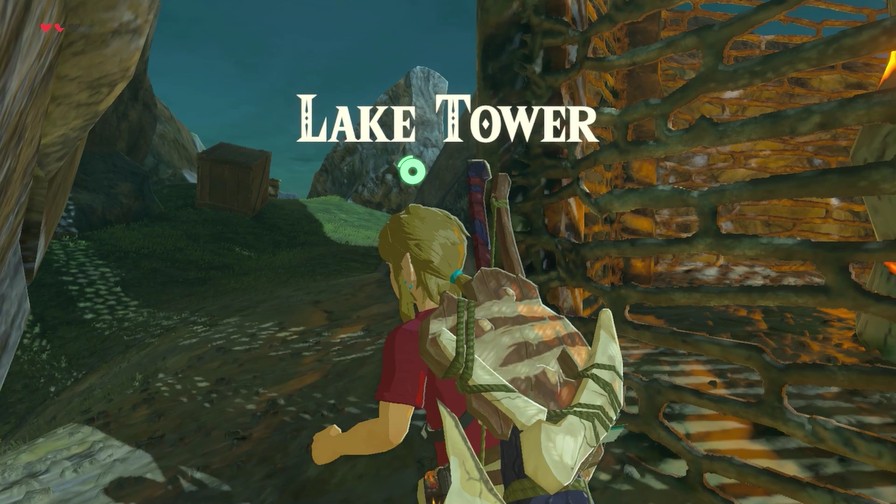
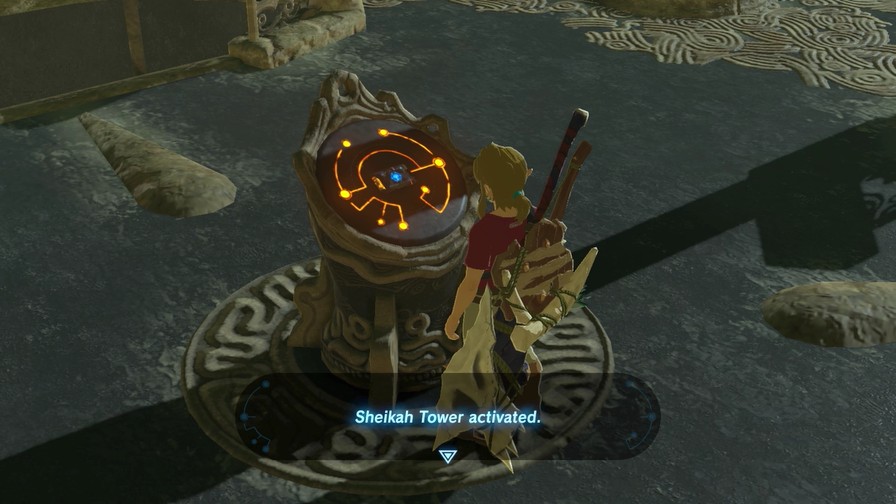
So, the shrine is up there.
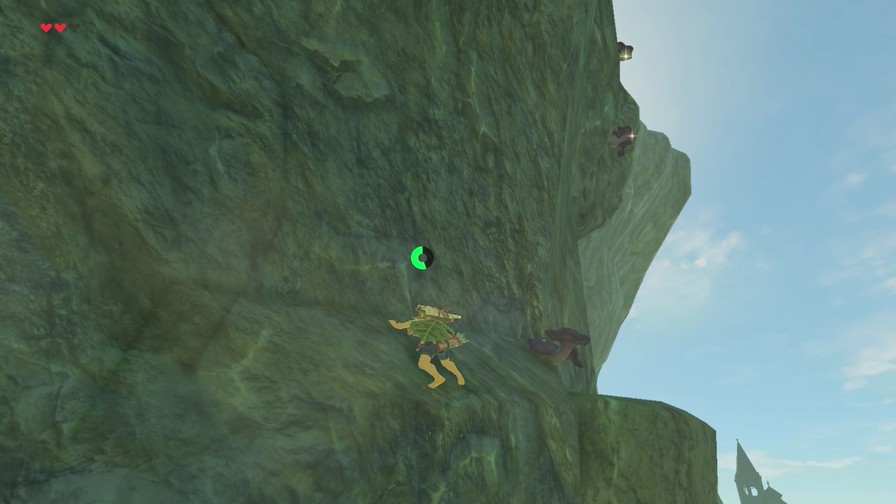
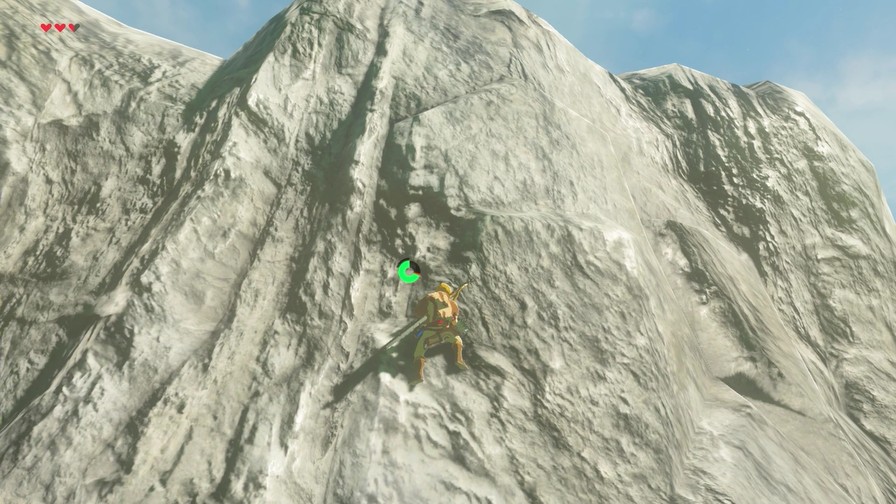
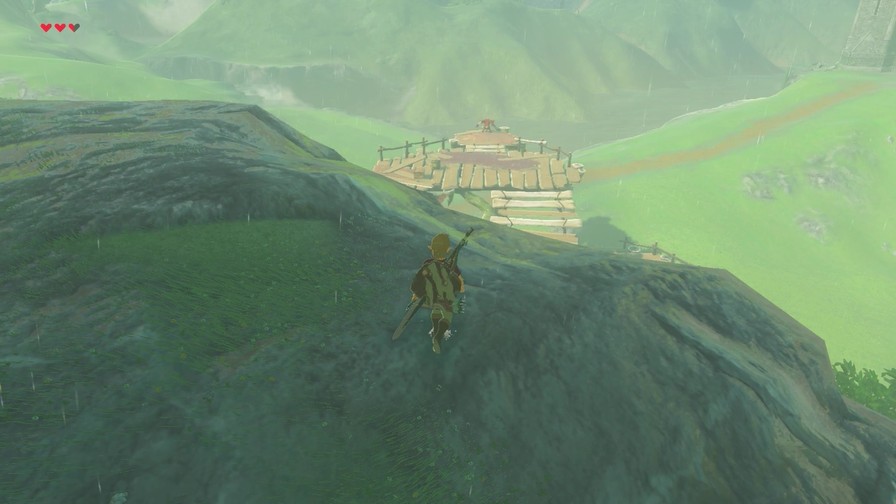
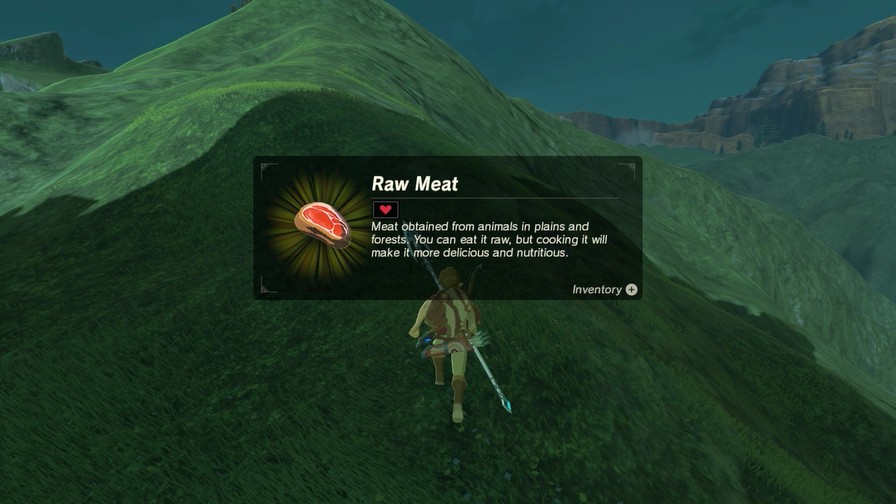
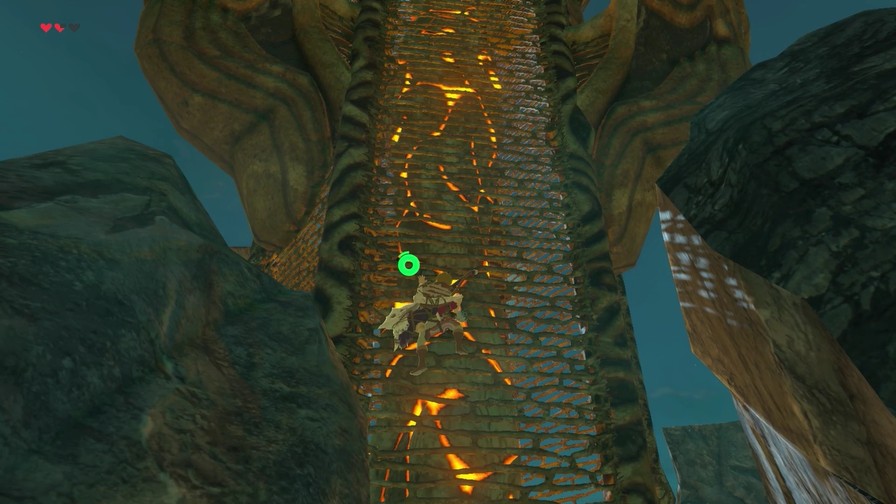
Normally, such a climb would be near-impossible for Link without a lot of stamina-recovering food. However, this way has a lot of helpful outcroppings where Link can stop and recover his stamina.
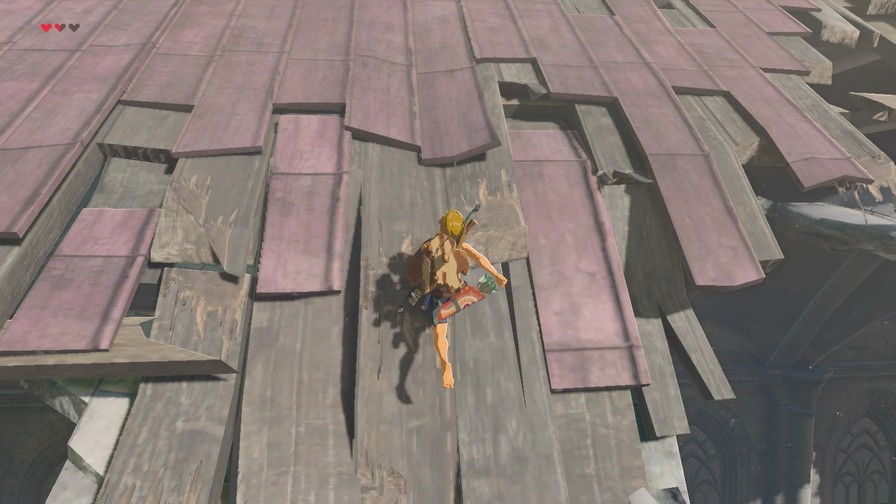
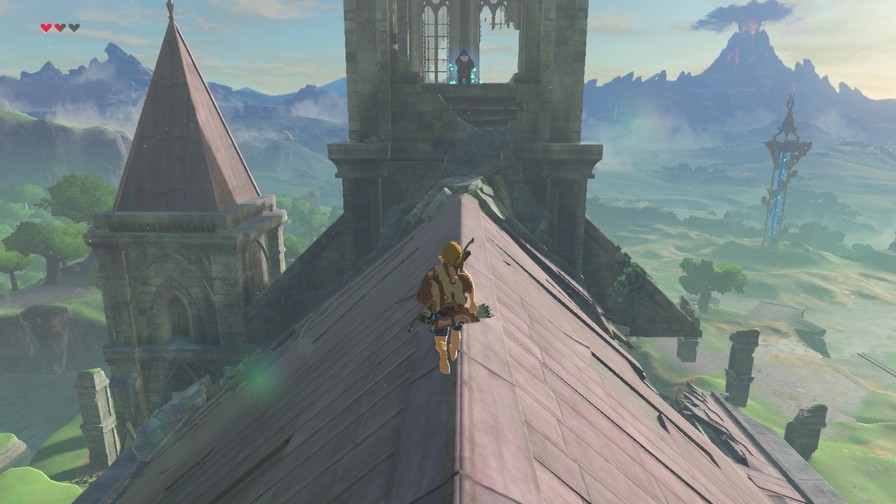
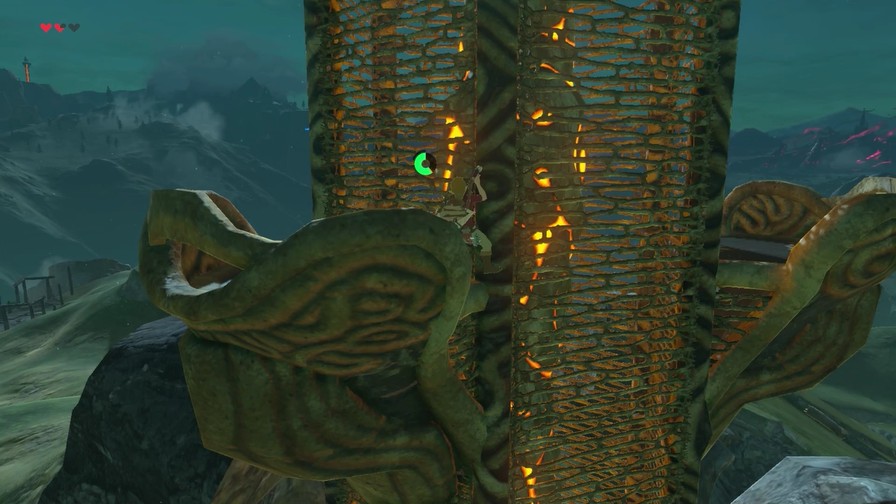
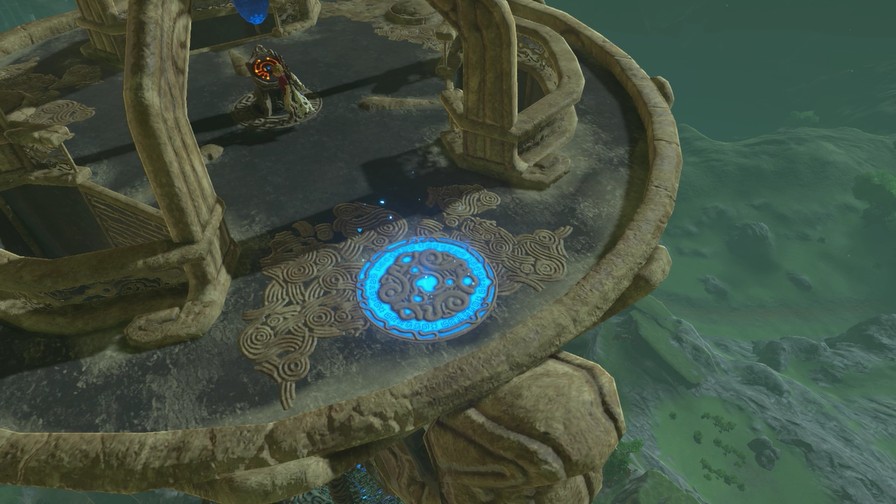
Eventually, Link makes it to the top. I really appreciate that there’s an alternate way up here besides traversing the snowy mountain range. It’s a shortcut that rewards exploration rather than discourage it, something I really wish more games would learn to do.
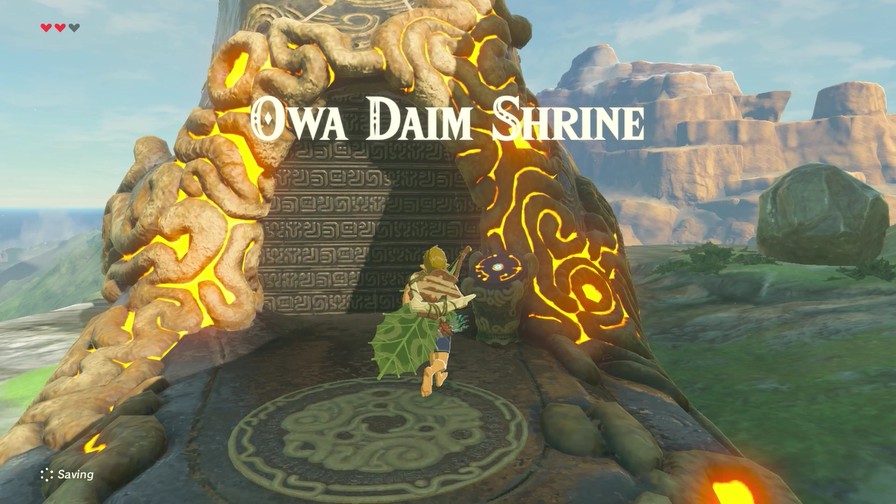
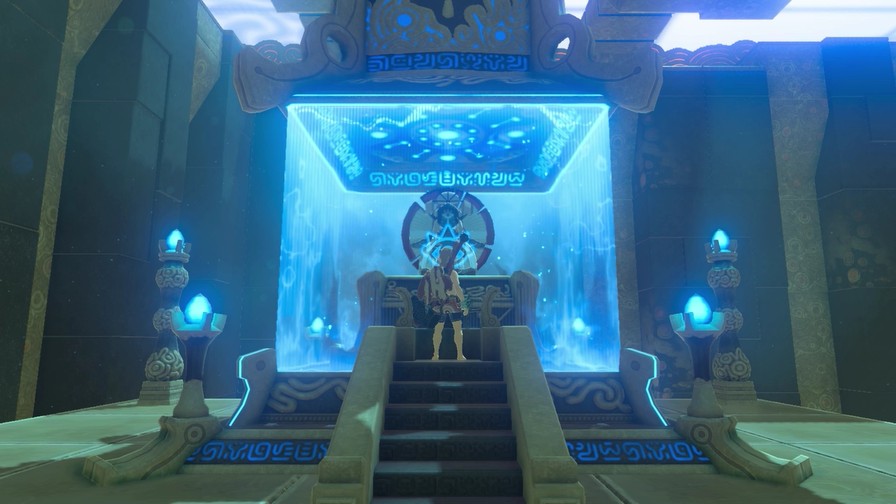
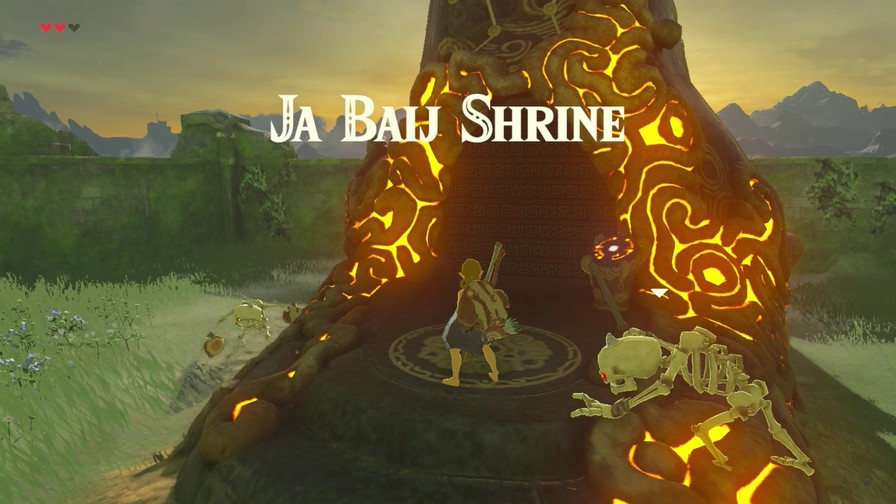
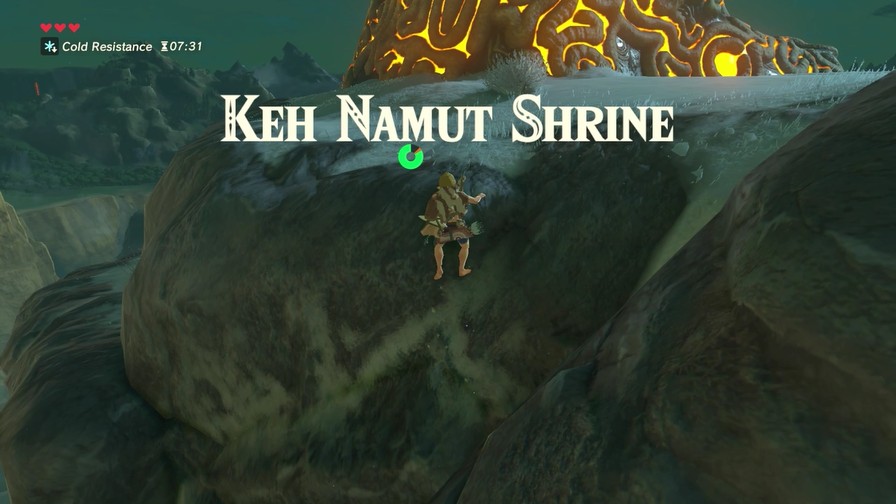
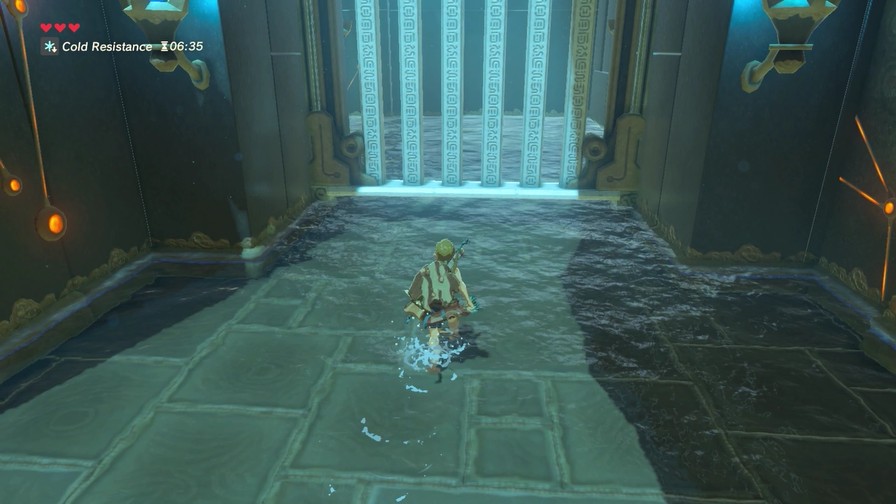
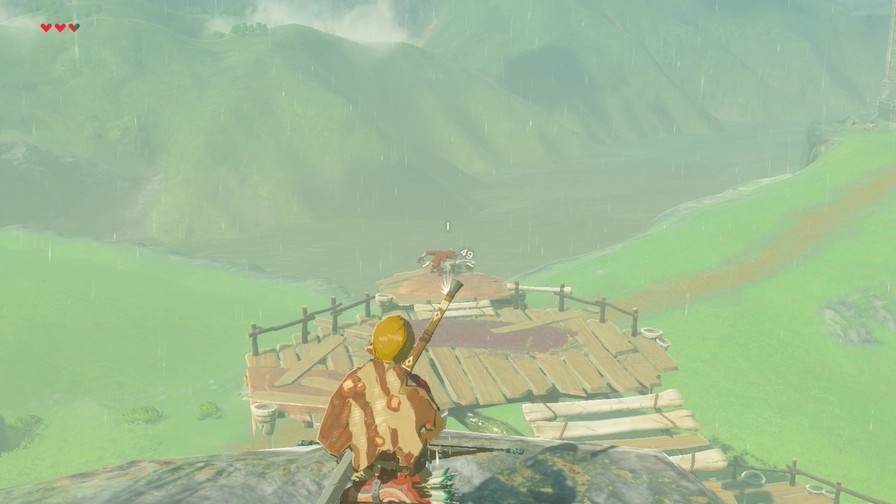
Anyway, we’re at our next shrine.
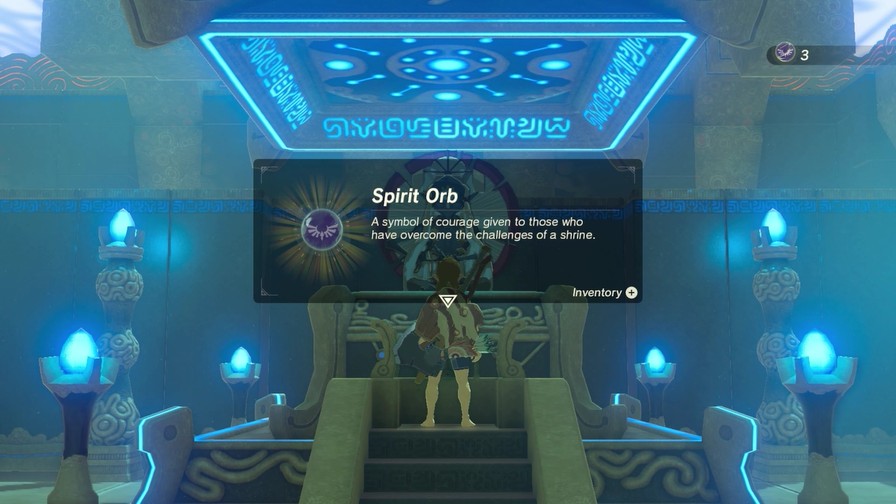
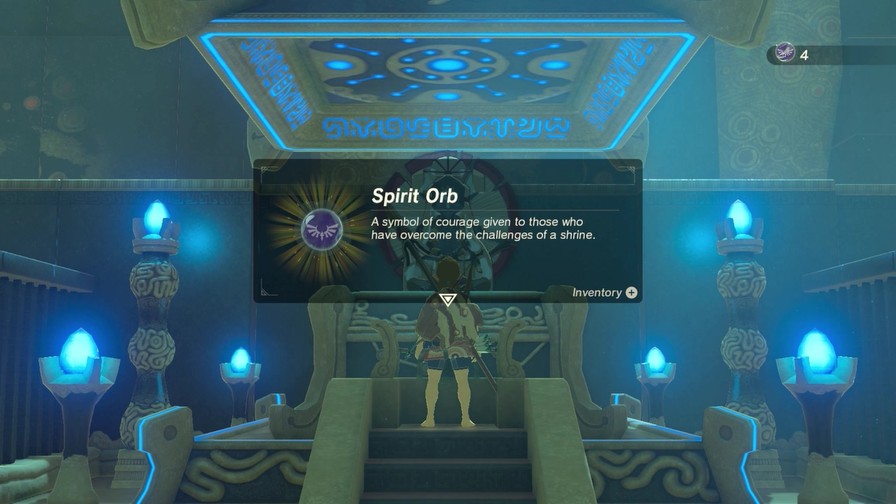
Shrines start off orange. When activated, the base turns blue and the top yellow, activating fast-travel to that shrine. When the shrine is completed, the entire shrine is blue. The map on the Sheikah Slate also distinguishes between unactivated, activated, and completed based on the color of the icon.
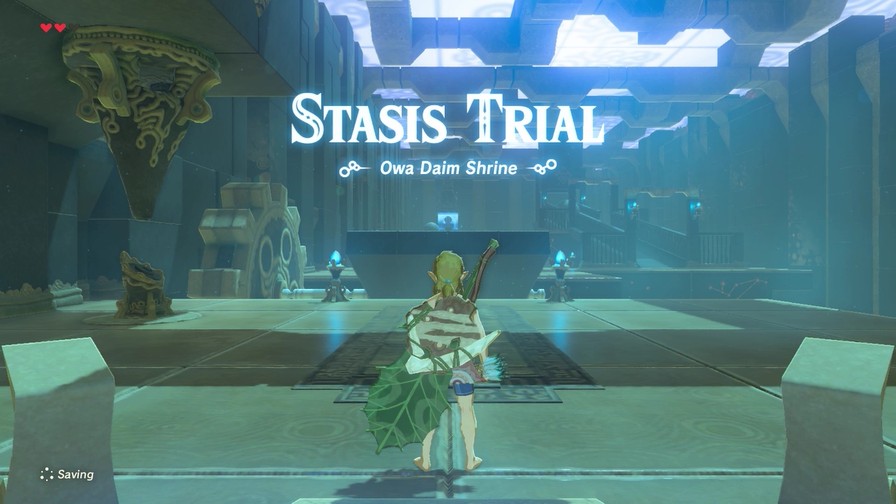
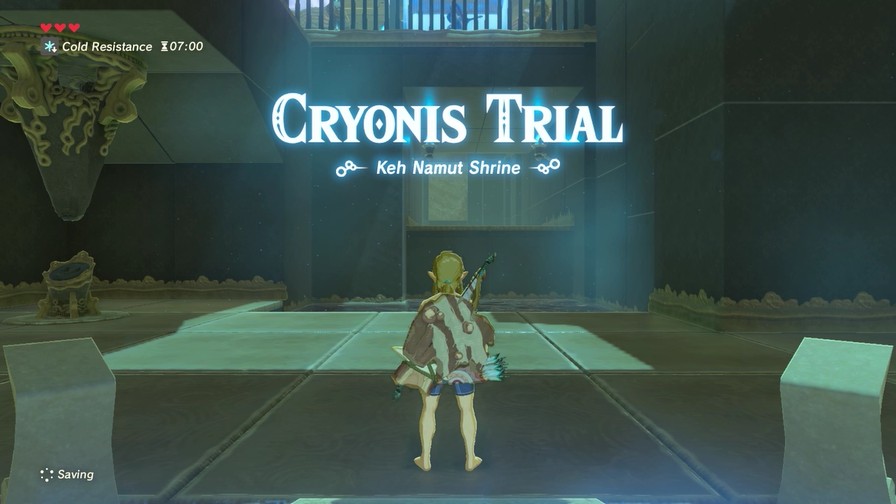
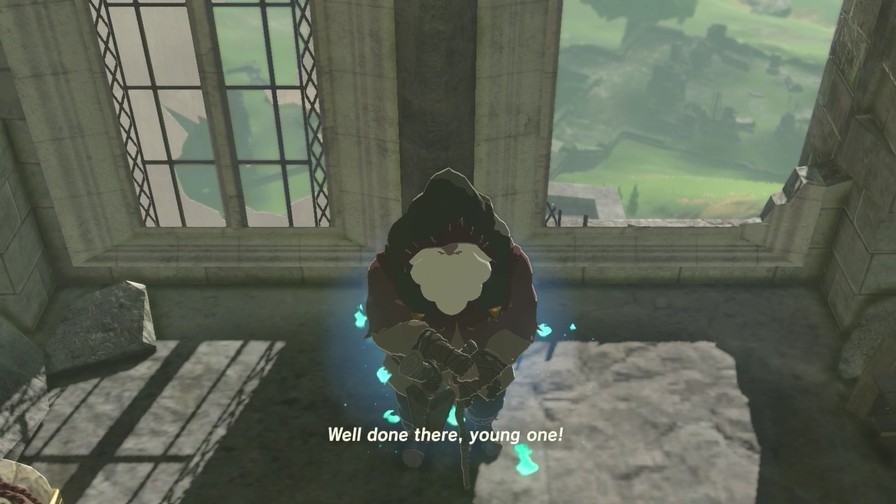
The four shrines on the Great Plateau give you your main abilities for the entire game and are tutorials on how to use them, though they certainly don’t teach you every trick for using them.
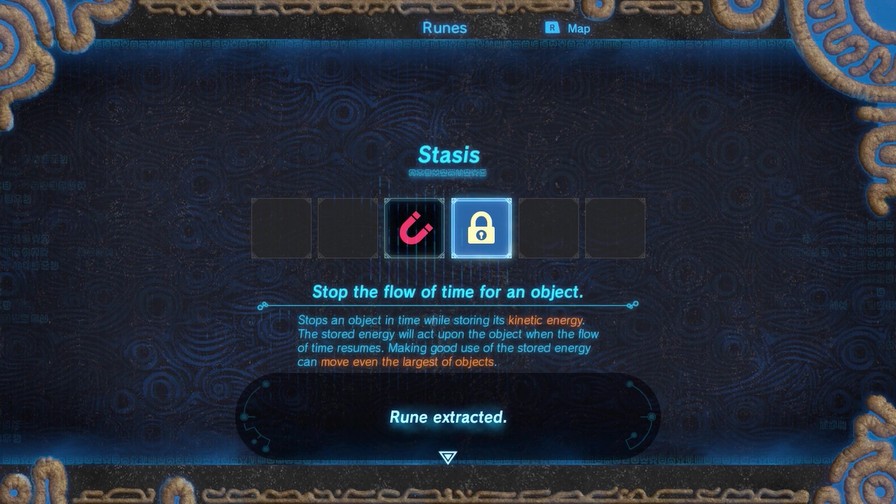
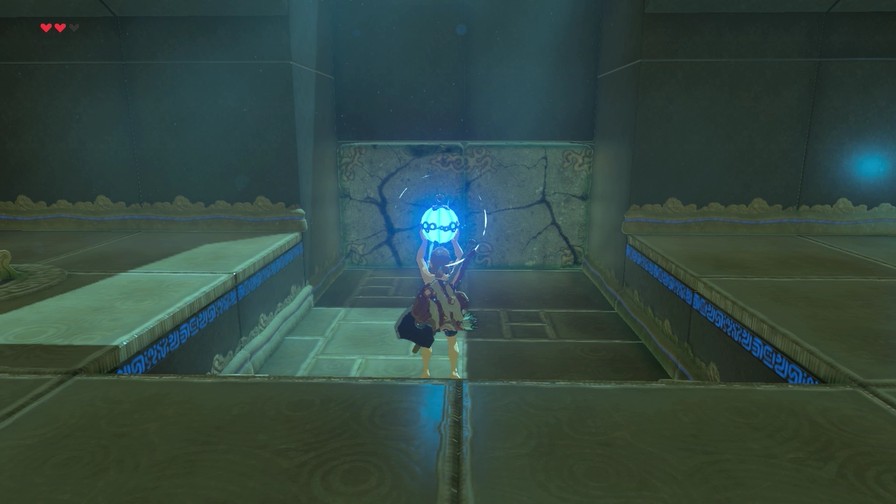
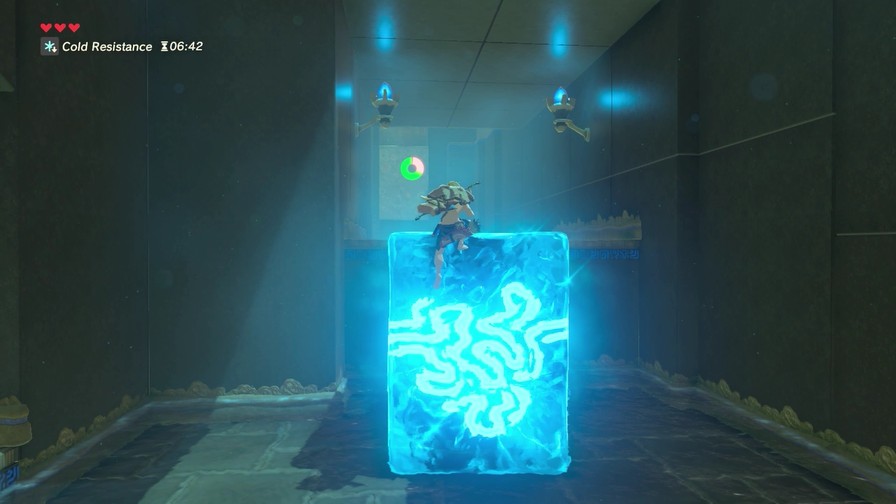
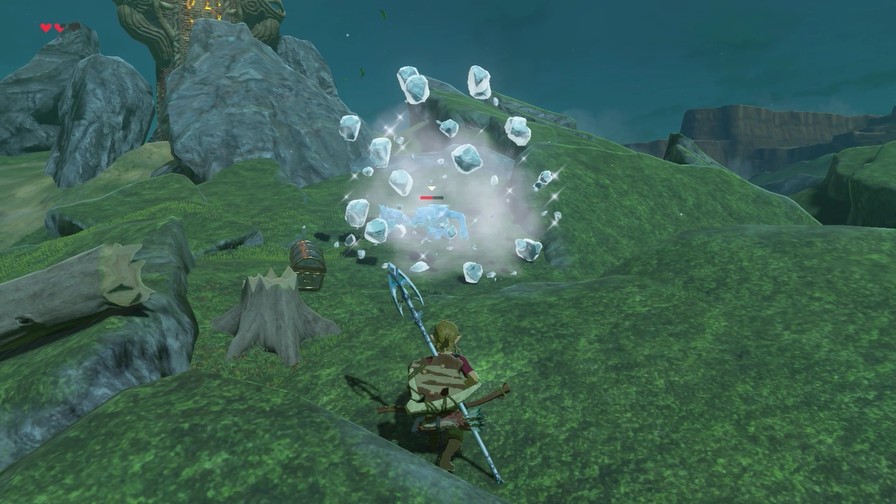
This shrine gives us Statis, one of the more fun ones to use.
https://mp4.mega64.net/botw/u05/016.mp4
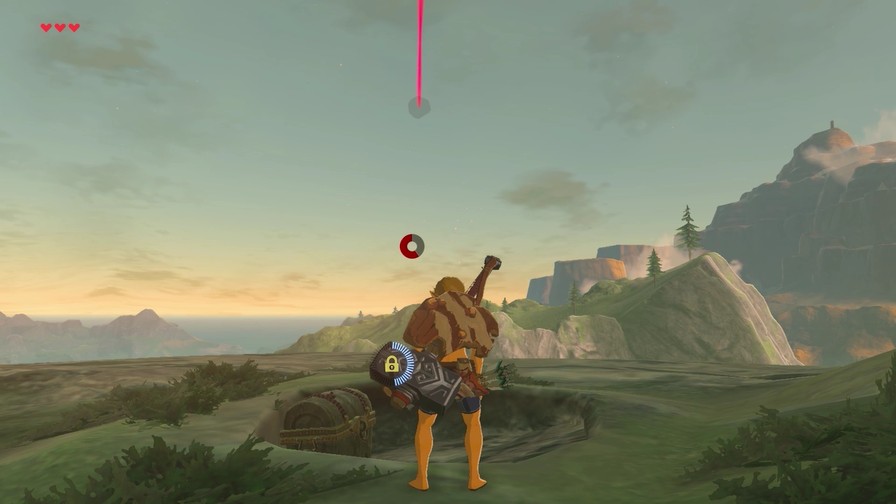
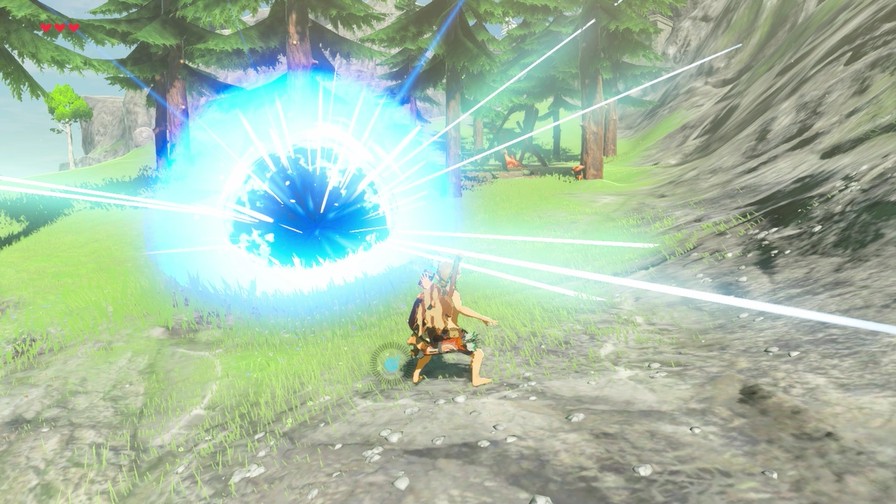
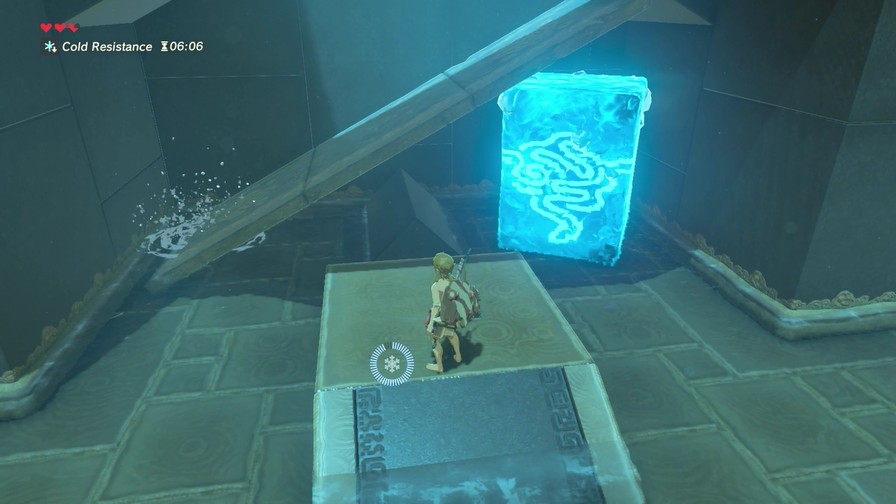
Statis stops time for the chosen object, though it wears off over…time. Obvious puzzle applications, but there’s a bit more to it…
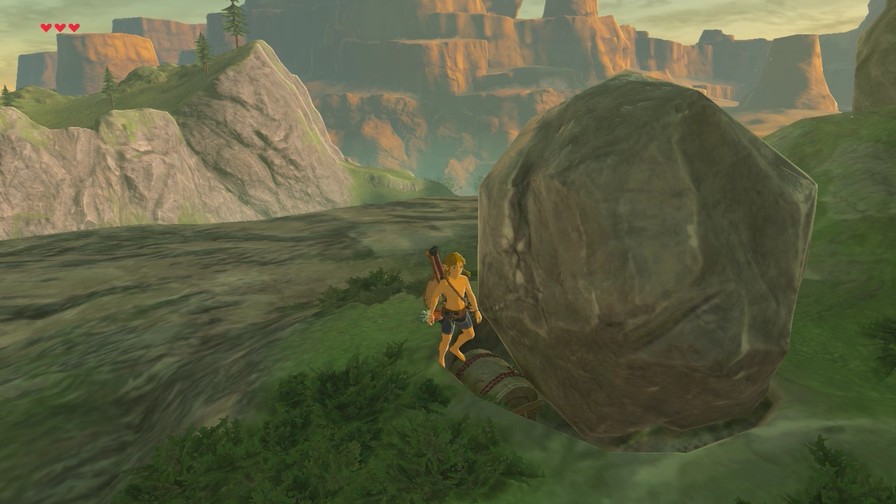
Next puzzle. This ball respawns when it rolls off the map.
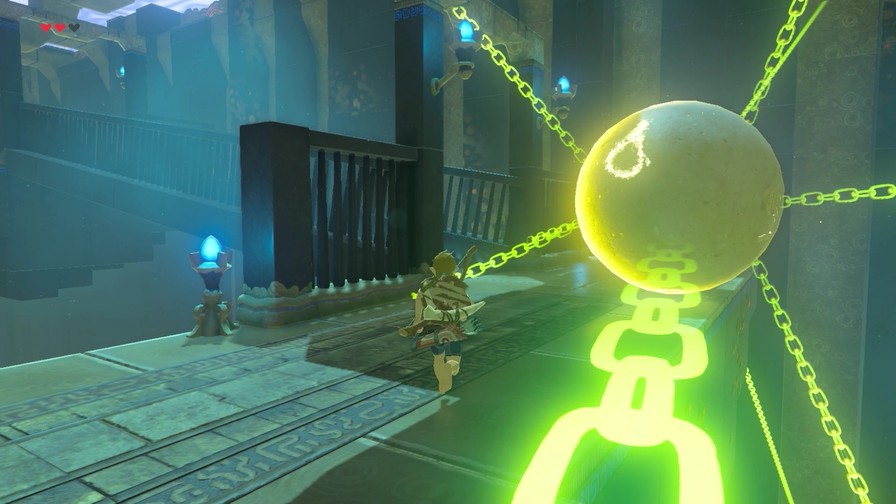
Statis, as you may expect, is the solution!
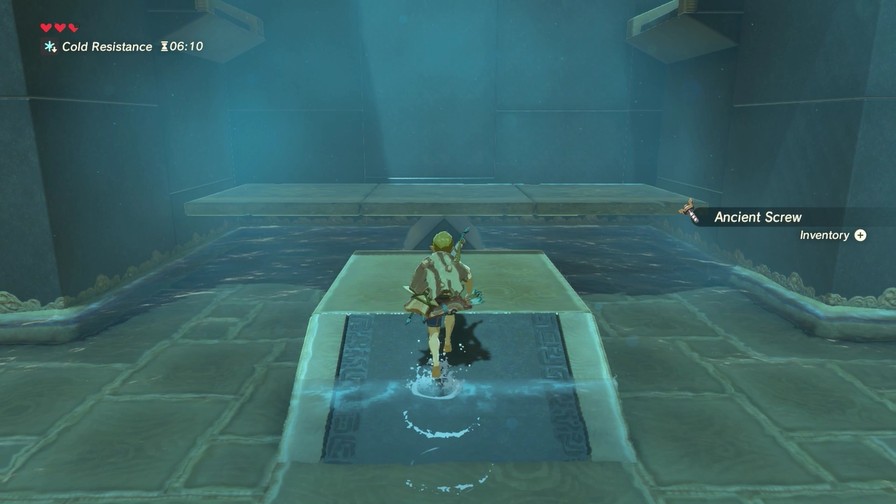
We don’t have to go all the way up here, but free treasure.
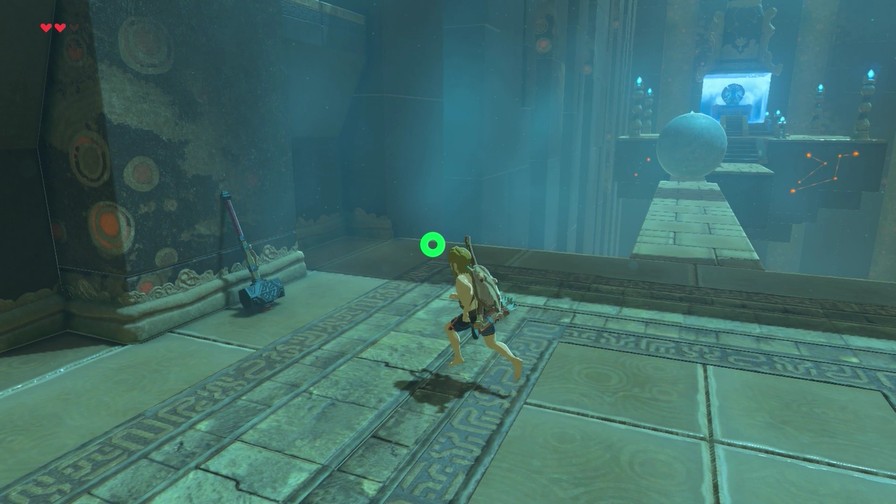
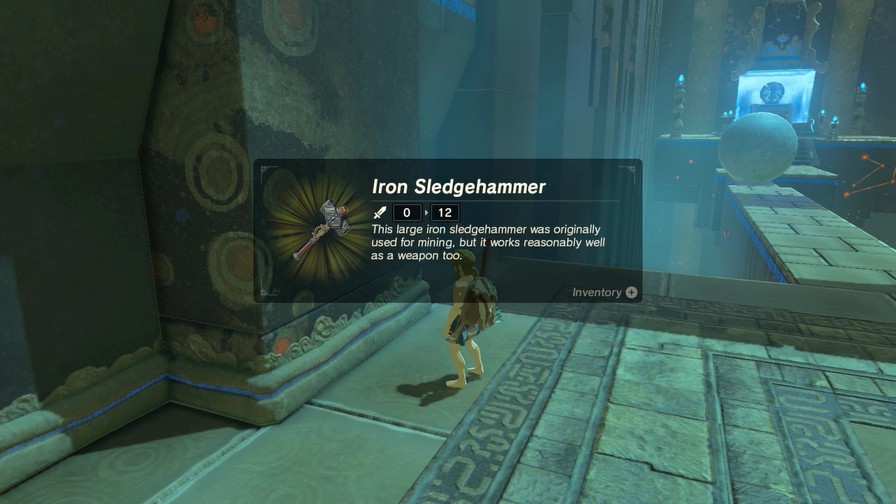
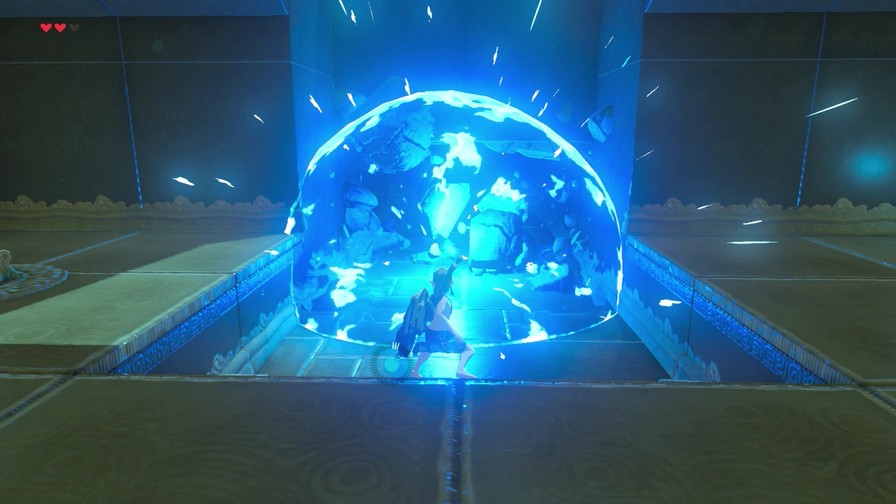
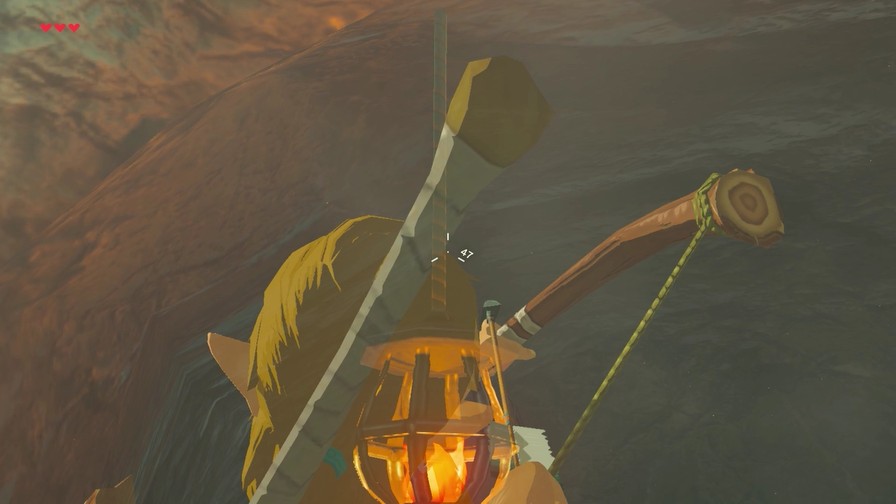
This sledgehammer should give you a clue as to how to handle the final puzzle.
https://mp4.mega64.net/botw/u05/022.mp4
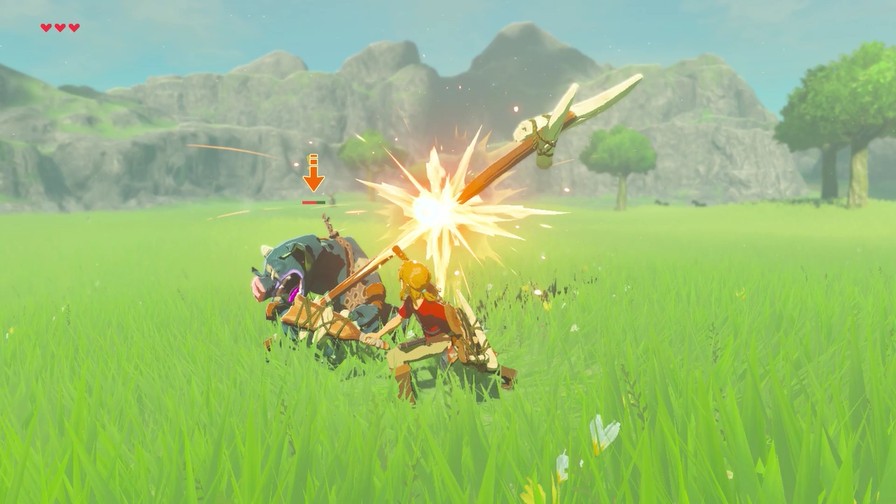
All those hits do nothing, obviously. Link’s pretty athletic, but he’s no powerhouse.
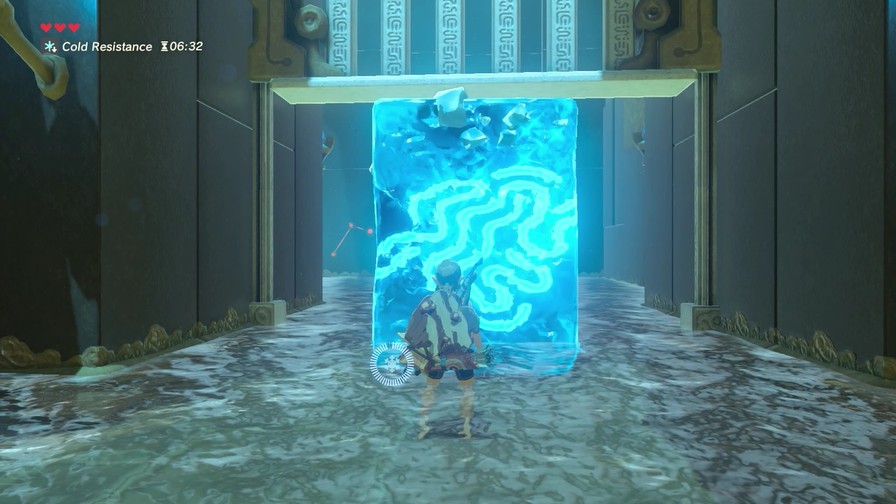
Obviously the answer lies with Statis, but how? Go back and reread the rune description, then if you still don’t know, watch and see.
https://mp4.mega64.net/botw/u05/023.mp4
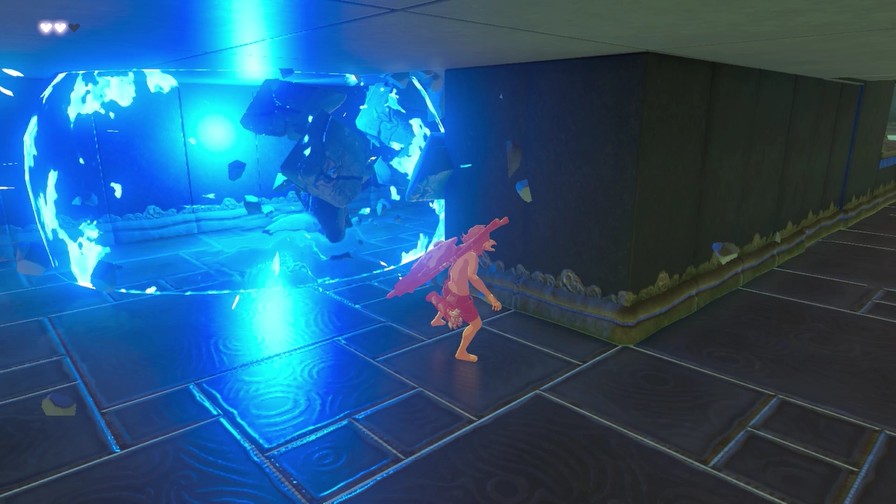
An object in stasis will store kinetic energy. That means hitting an object three times will apply all three hits at once as soon as it’s out of stasis. More hits makes the object fly further.
Also, you can charge your attack to do a special move at the cost of stamina. This attack depends on the weapon type. The two-handed whirling around is probably the most useful of the bunch.
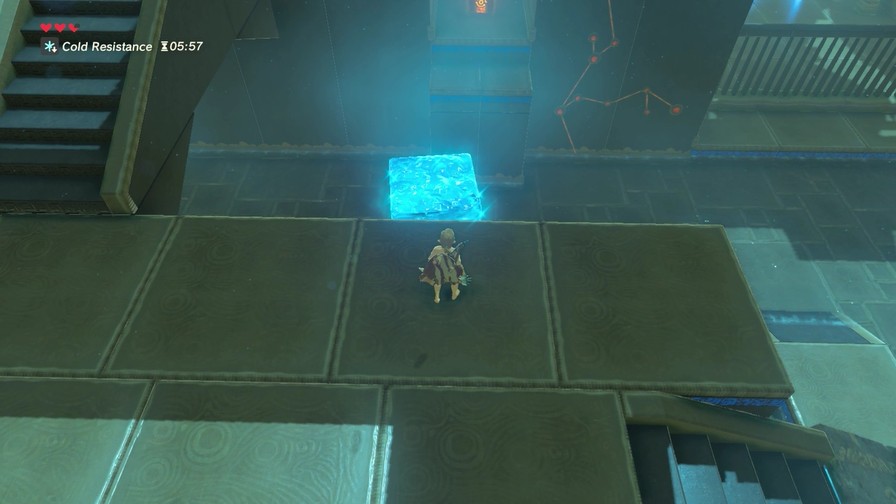
Anyway, that’s all there is to the Statis Trial.

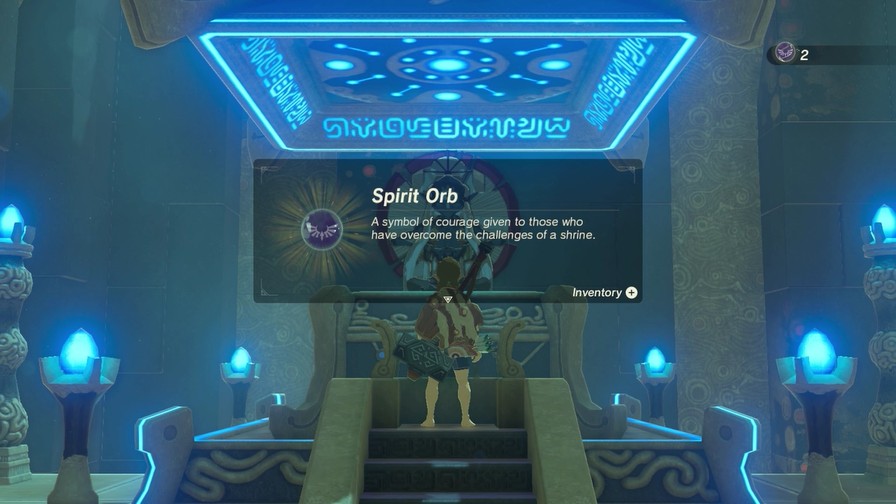
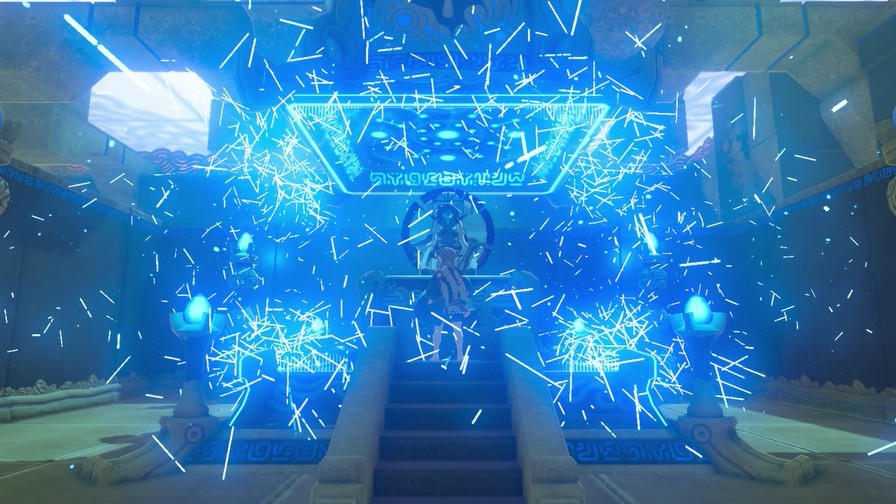
From now on, every shrine ends basically the same way. Dialogue only changes depending on whether the shrine is a trial, combat, or blessing (i.e. “You already did the puzzle to unlock the shrine, have a free Spirit Orb”).
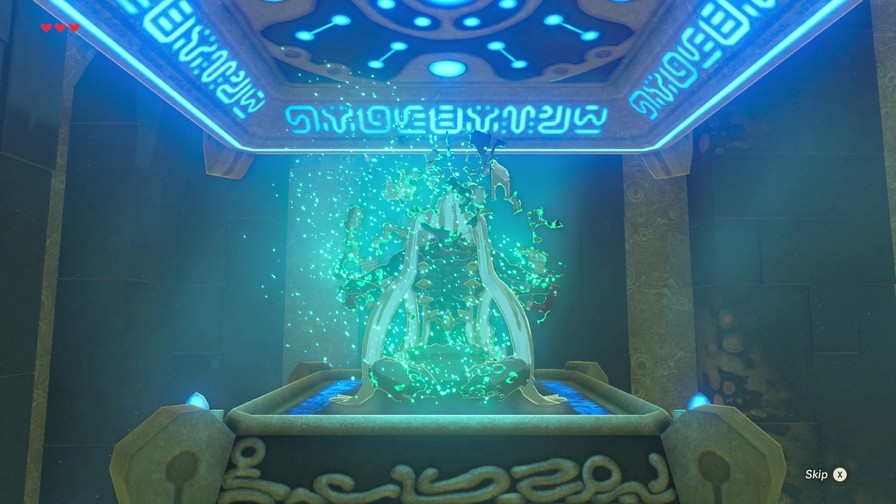
Then the monk dissolves and after a short loading screen you’re back at the overworld.
Each shrine also has a thing around it to test your new power out.
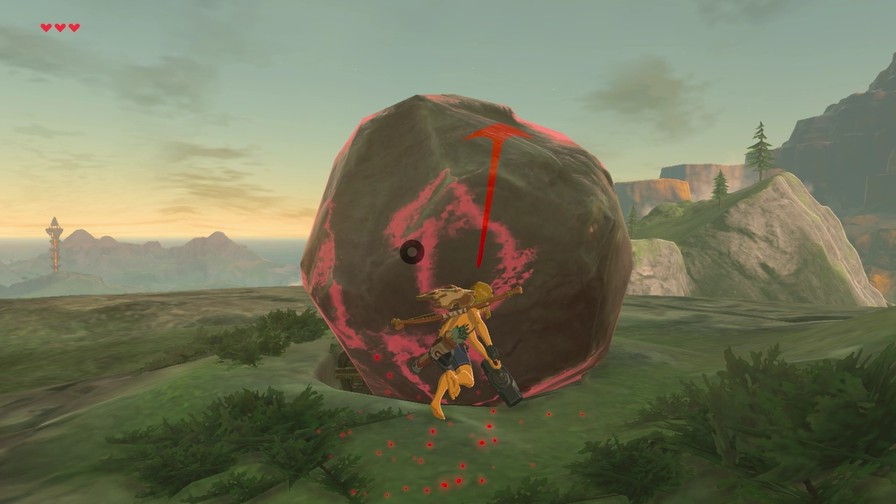
To go more into stasis, once you have a red arrow, the energy is maxed out and hits won’t make further impact. More importantly, the direction the object goes is based on the direction of the last hit. This is important for instances where direction matters.
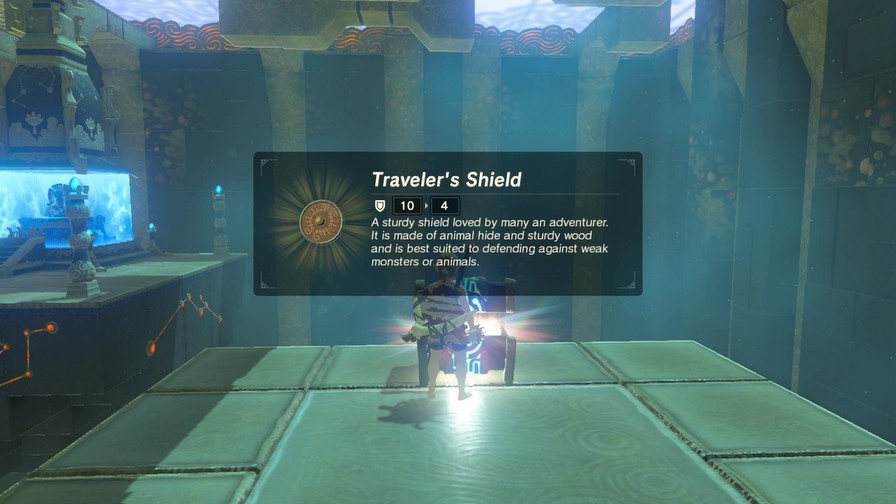
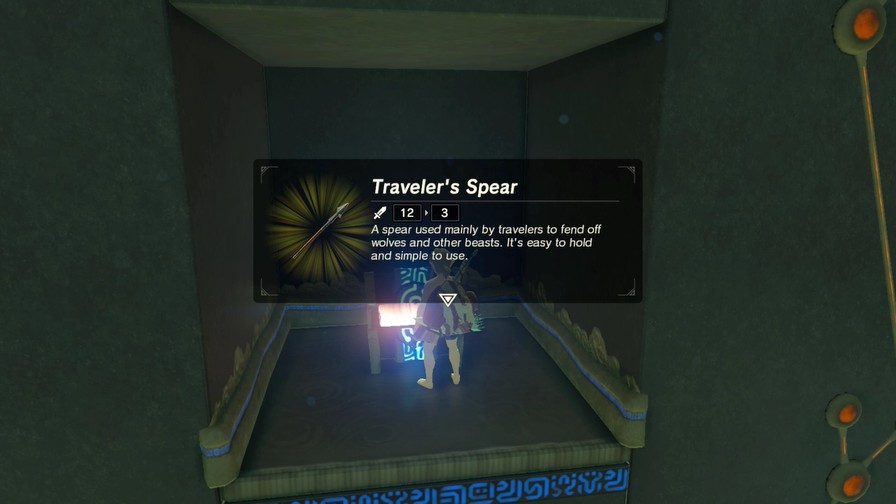
Sadly, the boulder fades out of view before we can see it hit outside land. At least the chest nets us another Traveler’s Bow.
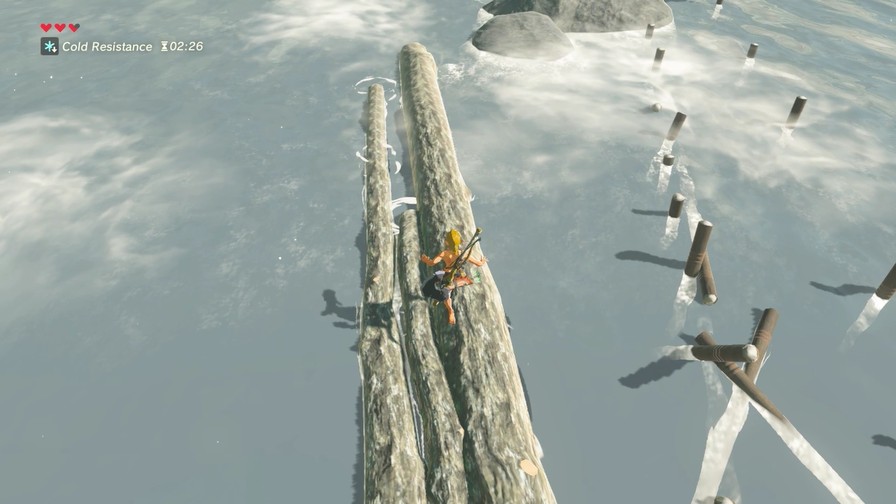
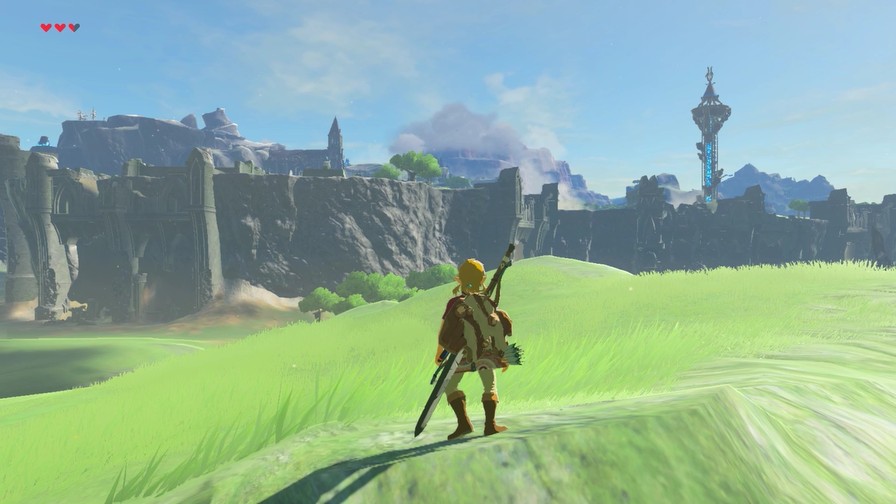
That’s a pretty big bridge.
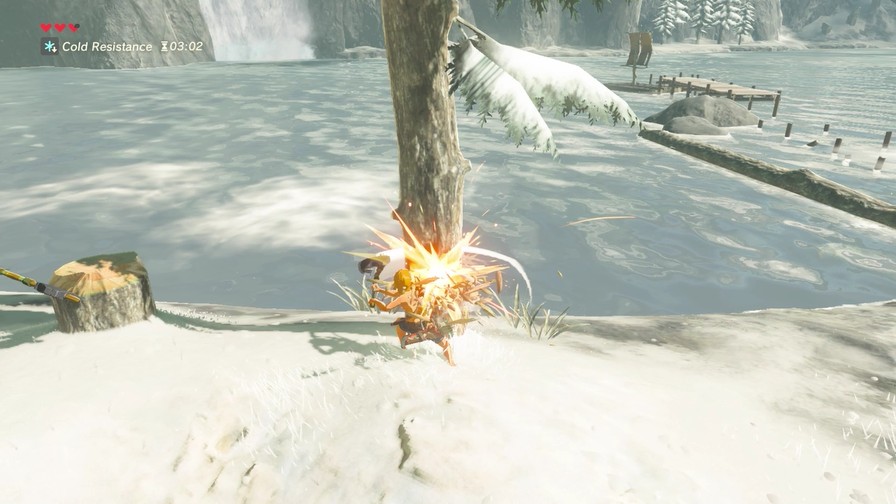
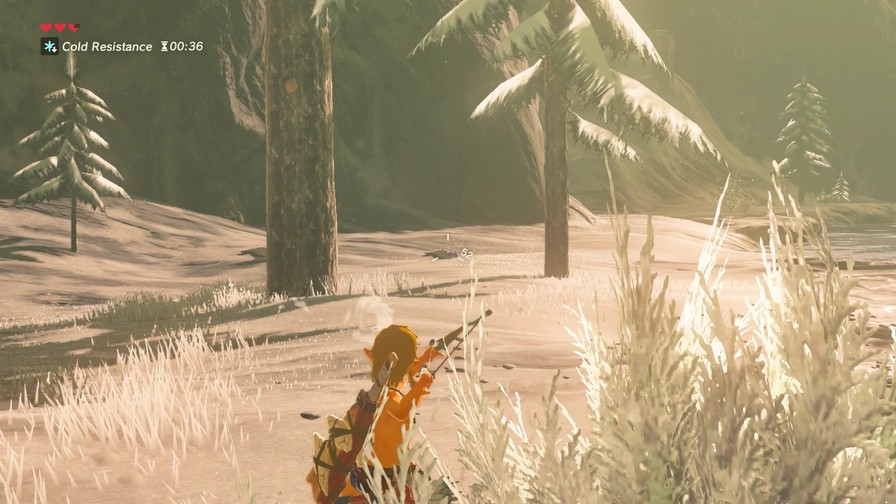
Further on is cold weather and the path to the yellow shrine. But first we’ve gotta go blue!
Sadly, we can’t just jump off quite yet, so we slowly descend.
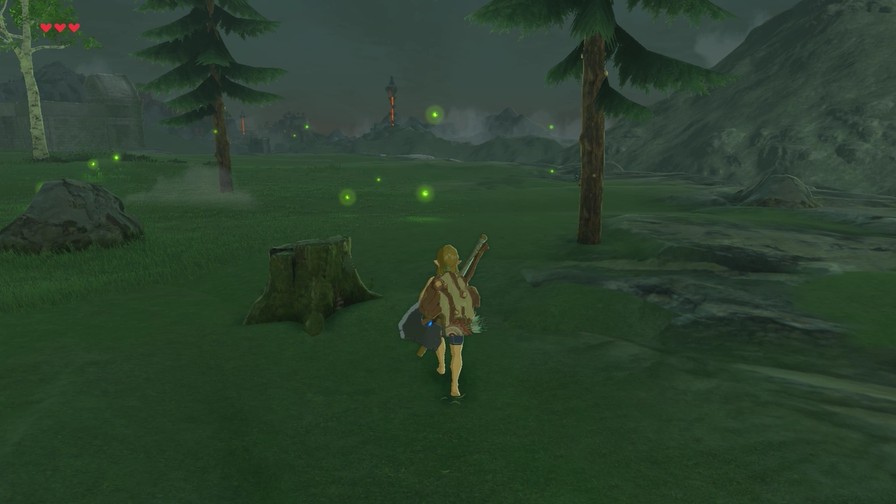
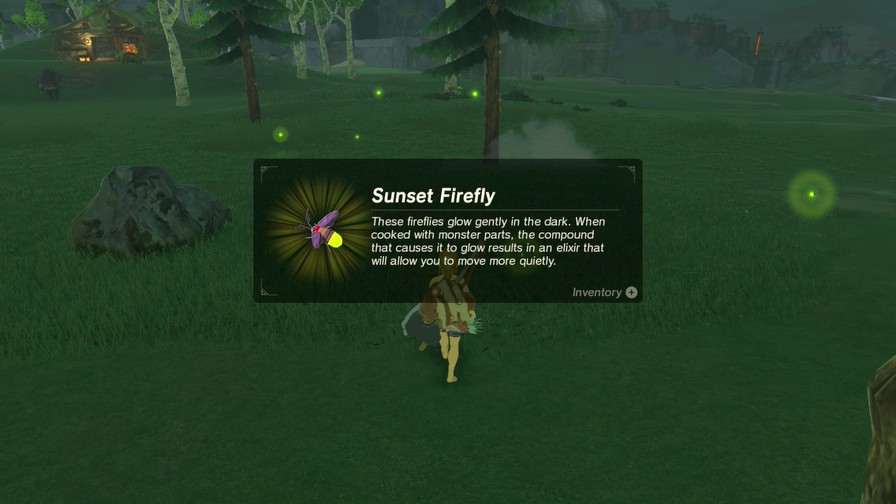
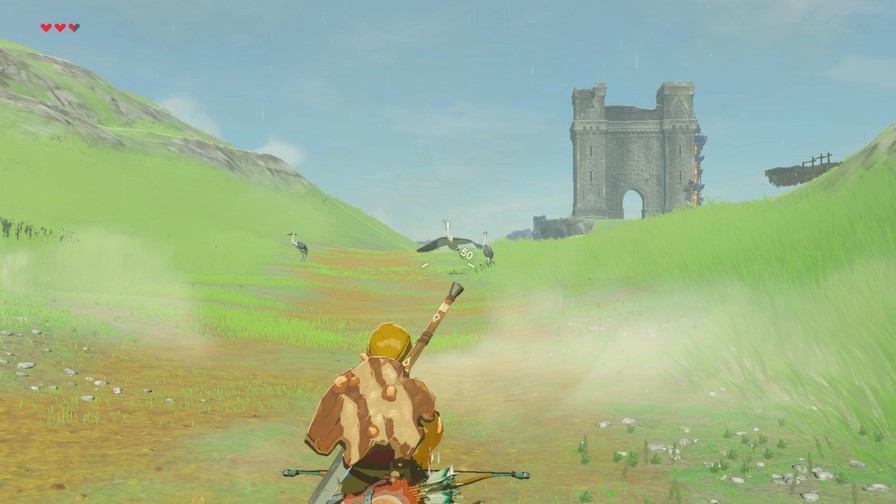
Night hits, and we see a new insect.
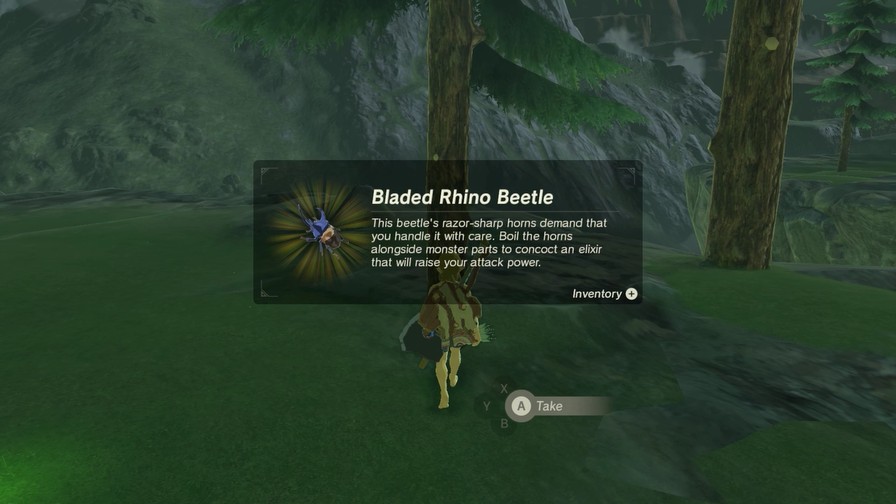
Not this one though, this guy was always available. I just managed to sneak up on it as I try to get…
…this guy. The beetle is better though because attack boost is one of the best buffs in the game, for obvious reasons.
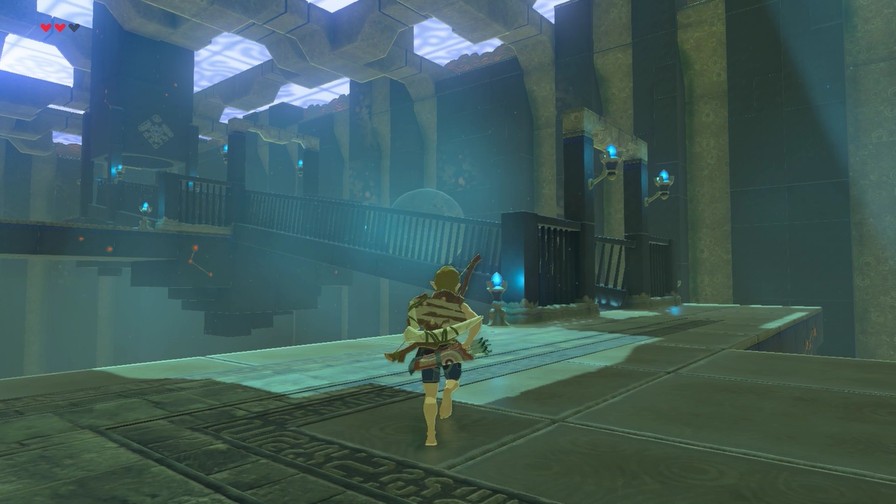
To the left side of the Temple of Time, you can descend to this area of ruined robots.
https://mp4.mega64.net/botw/u05/040.mp4
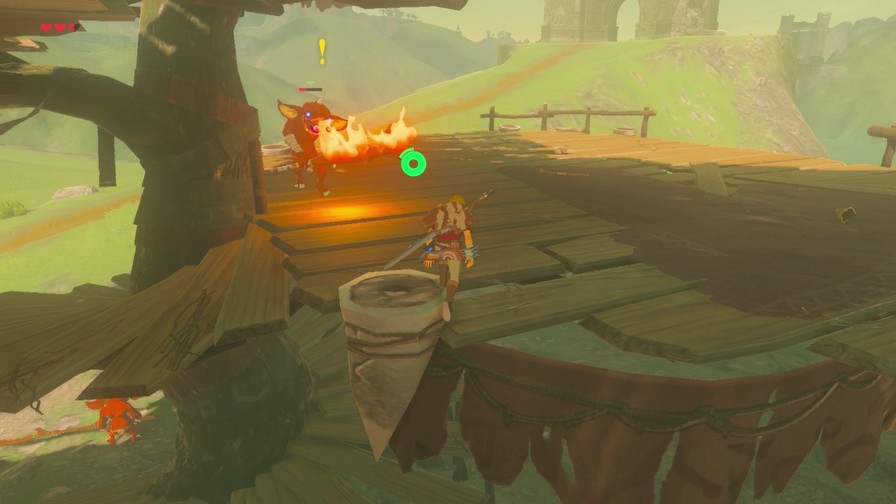
…and not-so-ruined robots. This guy is called a Decayed Guardian and basically acts as a souped-up Beamos. That laser freaking hurts, and right now our weaponry is way too weak to do much against it.
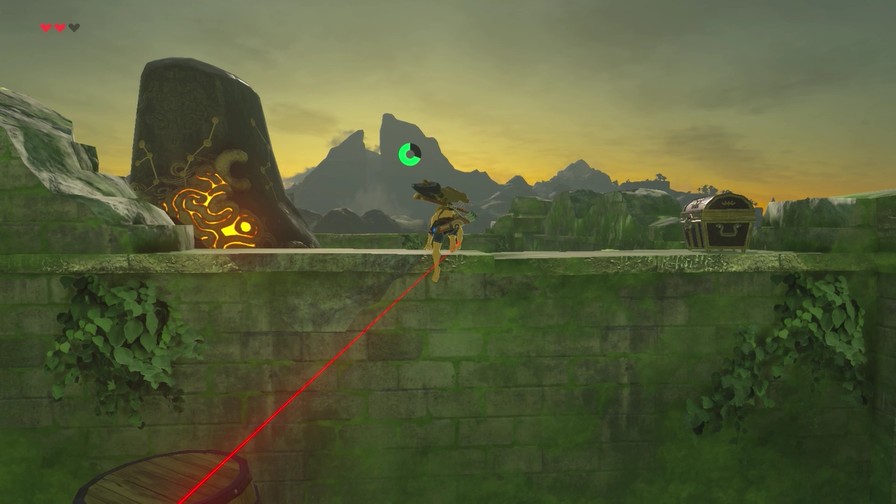
We could simply rush to the shrine or sneak around, but I’ve got a much more entertaining idea.
Behold!
https://mp4.mega64.net/botw/u05/042.mp4
Moving inside the barrel doesn’t quite work, but it does block line-of-sight from the guardian. Isn’t it wonderful when your weird plan works?
There’s a chest here, but no ordinary chest.
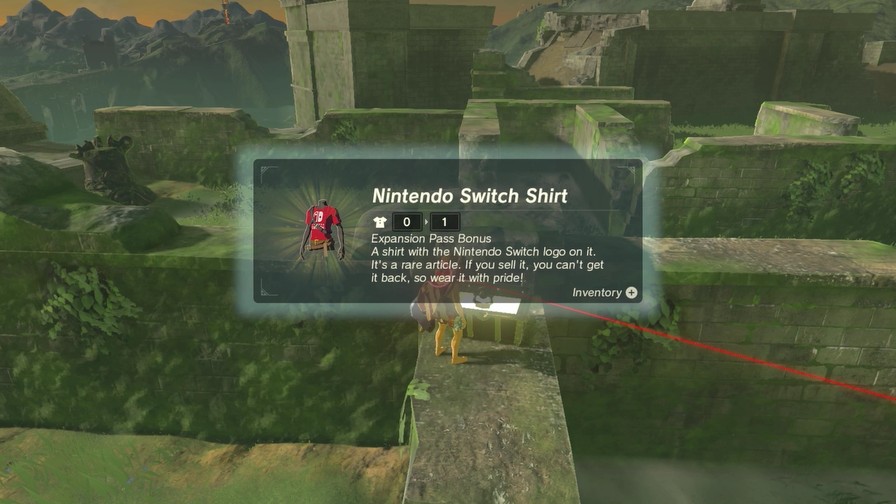
This is the Switch version of the game, and because I love the game so much I went ahead and purchased the expansion pass, which nets this baby as well as a couple other chests (a Ruby and some Bomb Arrows).
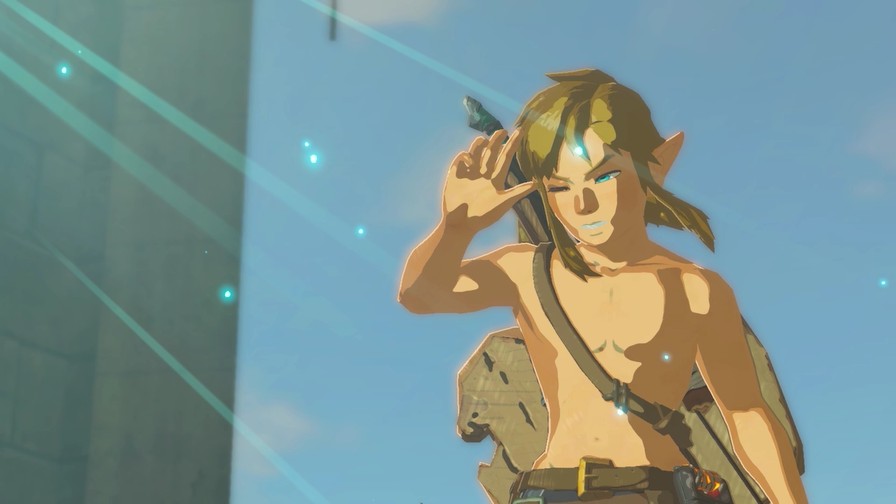
I’m not going to wear it right now because bare Link.
Also, our next shrine.
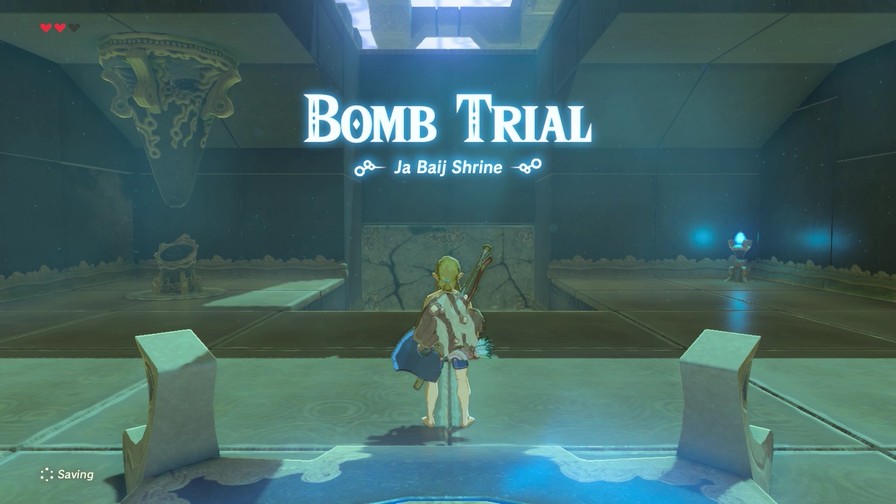
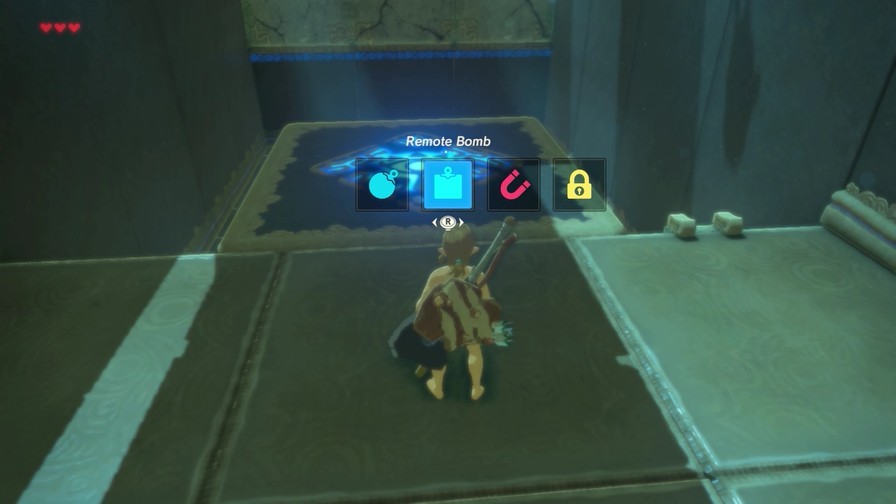
So, our next trial introduces a new spin on a classic Zelda item.
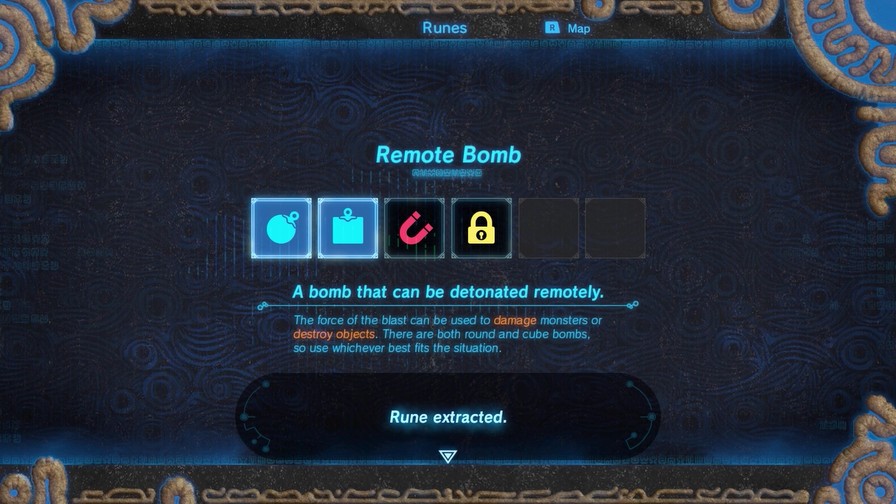
Bombs are a rune in this game. This means bombs are unlimited (though you have to wait on a recharge time between bombs).
There are a few differences between bombs in this game and bombs in other Zelda games.
First off, bombs here are detonated remotely rather than on a timer. This gives you plenty of time to choose when to detonate.
Like, say, when you’re away from the bomb.
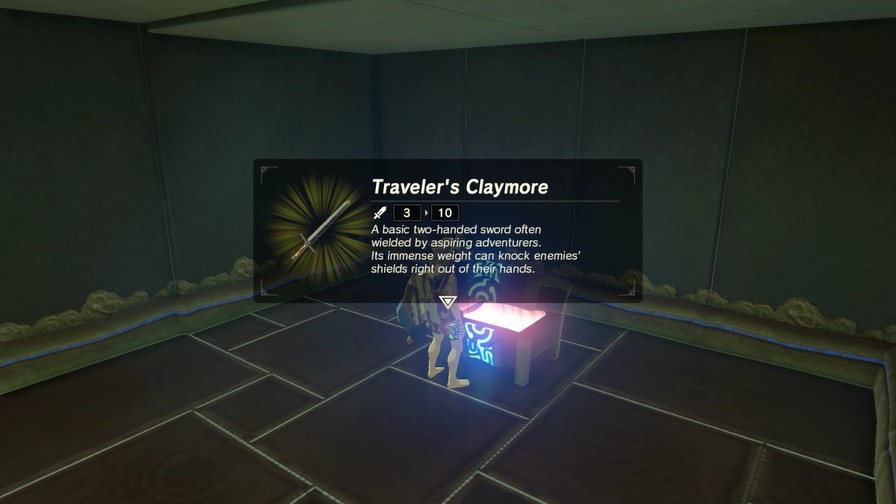
This chest does give us a nice two-handed weapon though.

We get two bomb types: Round and Square. Square bombs don’t roll as easily (though they’ll still roll on a steep incline) so are better for more precise moments, like this moving platform.
https://mp4.mega64.net/botw/u05/057.mp4
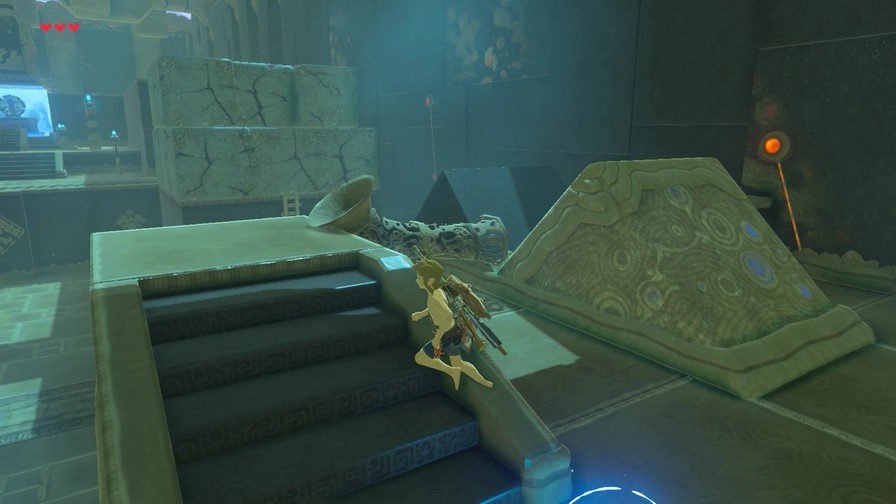
Round types are better when the rolling would be beneficial, or in contraptions like this that only take the round type.
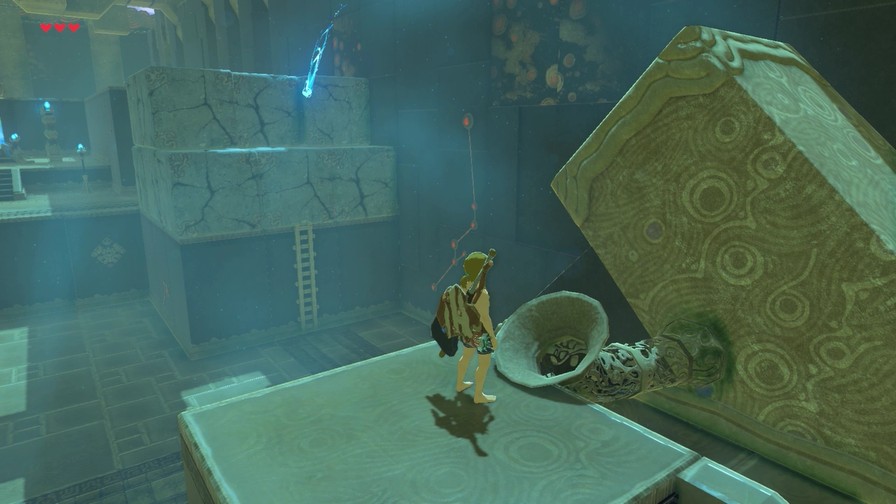
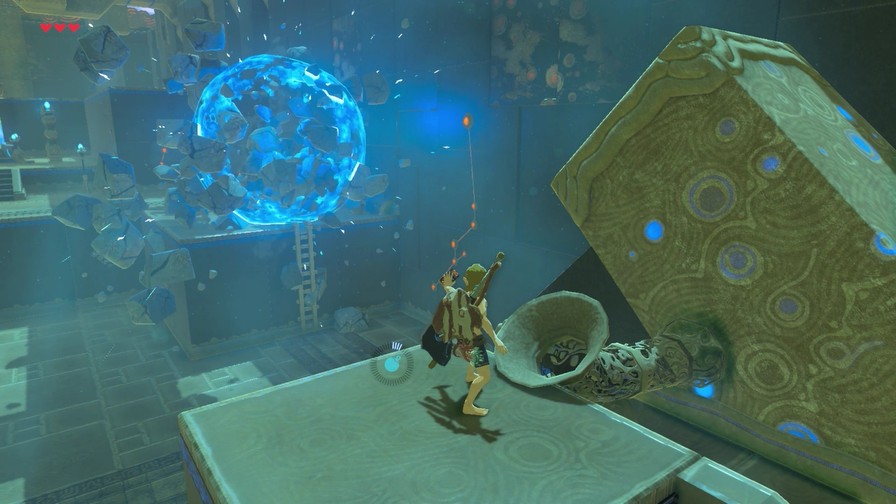
The puzzle here is obvious enough.
Of course we can get on one of these platforms as well and get propelled to a treasure chest.
And that’s bombs!
https://mp4.mega64.net/botw/u05/065.mp4
Traditionally, bombs in this series are a somewhat-viable method of attack. They’re decent early on, but their attack power does not scale and thus they’re pretty poor for damage later in the game. They still have their uses, though!
Hmmm.
Goes as expected.
A blue Bokoblin is left, but…
…arrows and bombs take it out quickly enough.
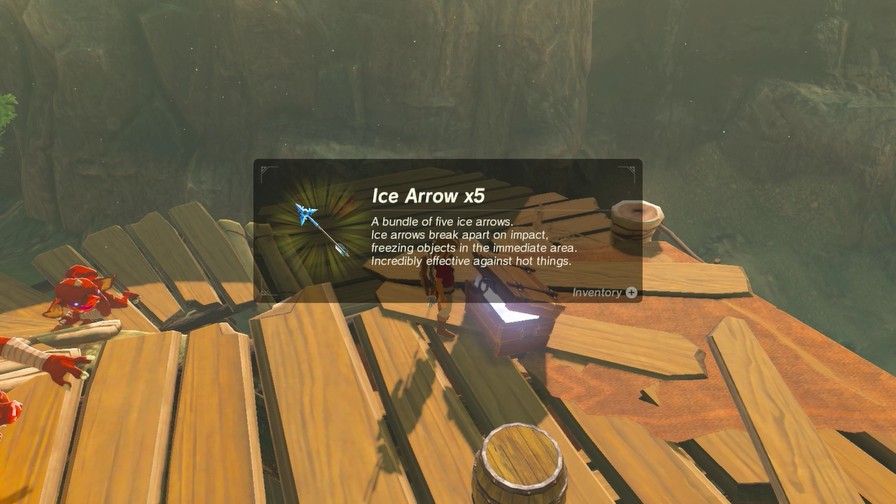
Also got its weapon (and more fire arrows from a chest).
Further up is this spot.
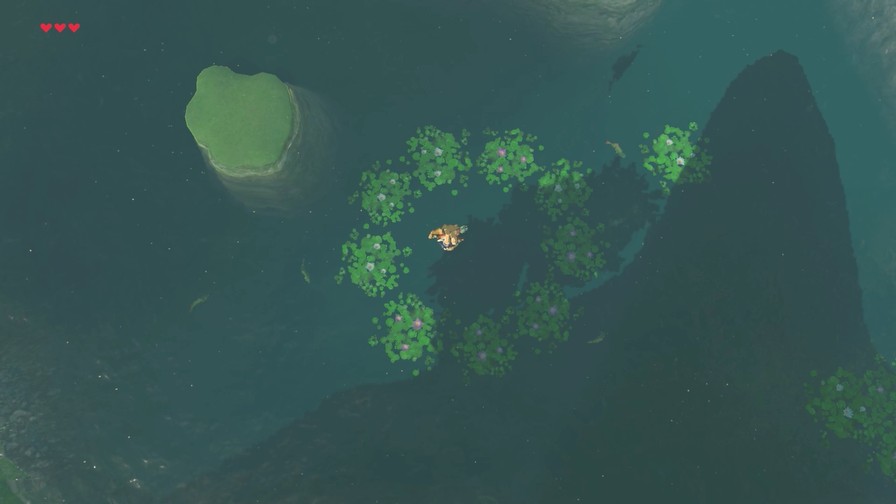
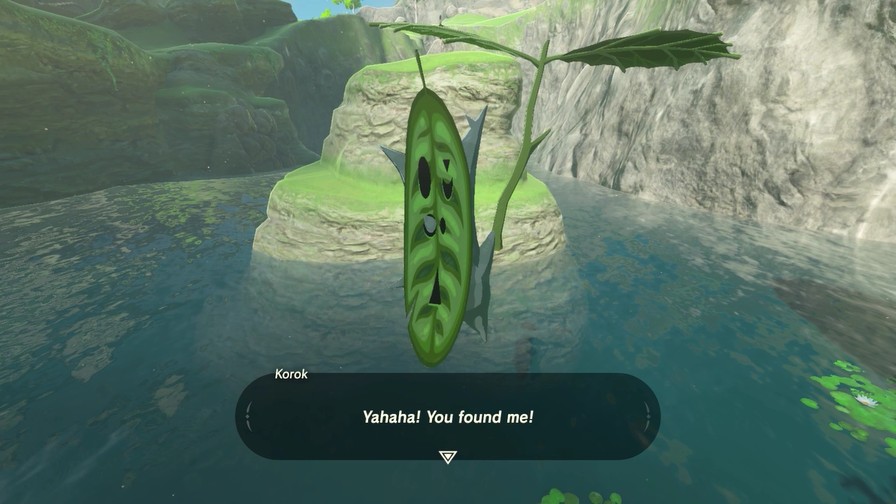
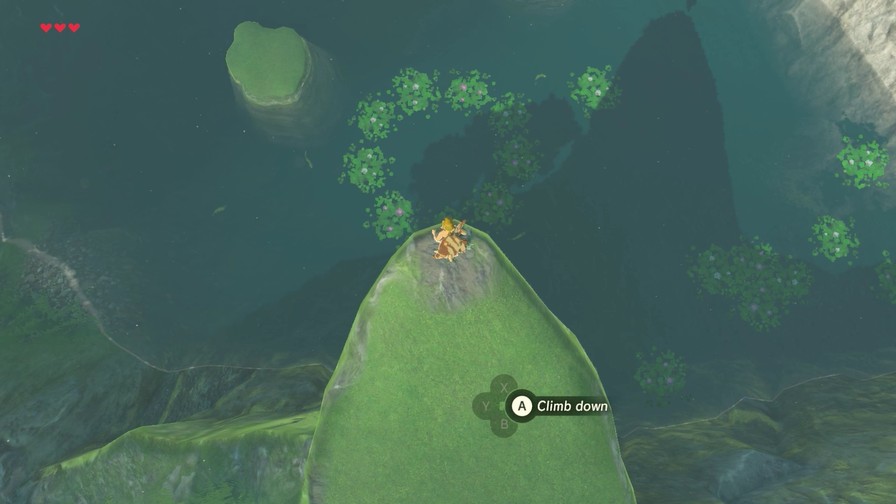
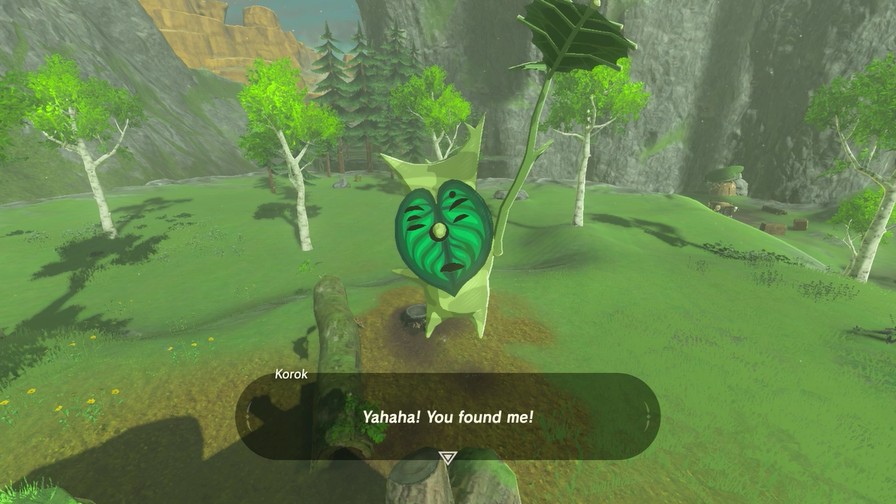
Diving in nets us another Korok Seed.

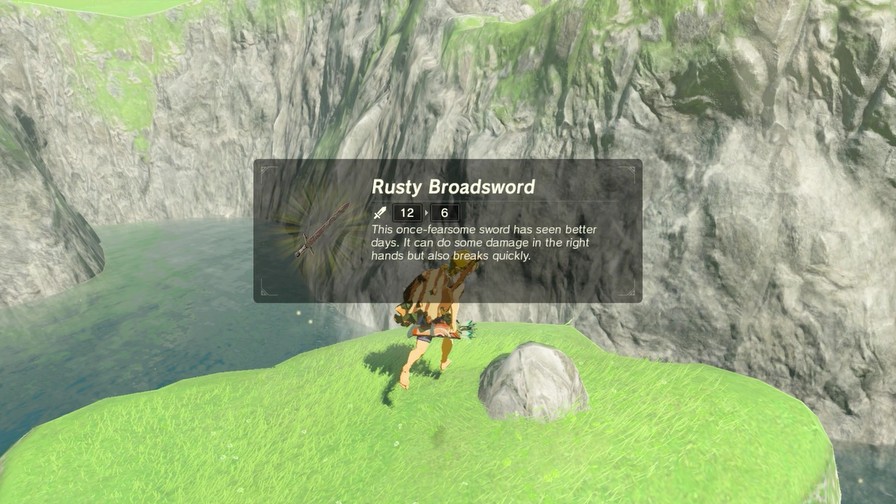
On top of this area is an embedded Rusty Broadsword. Better if we went here earlier, of course.
A few bombable walls around the area. This holds an Opal.
And, of course, bomb fishing. These bombs float on water, and since they’re from a magic rune, will still explode.
They also knock down trees!
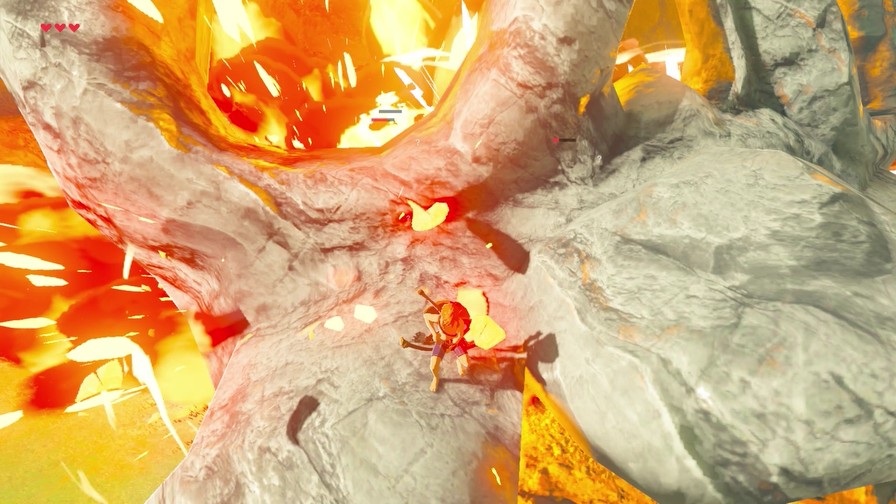
I pick up some fire to light the pot.
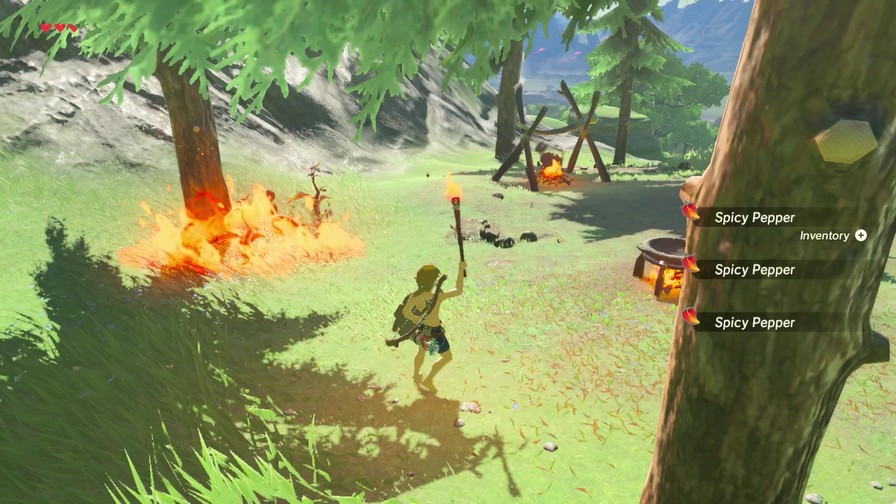
…and get a little carried away.
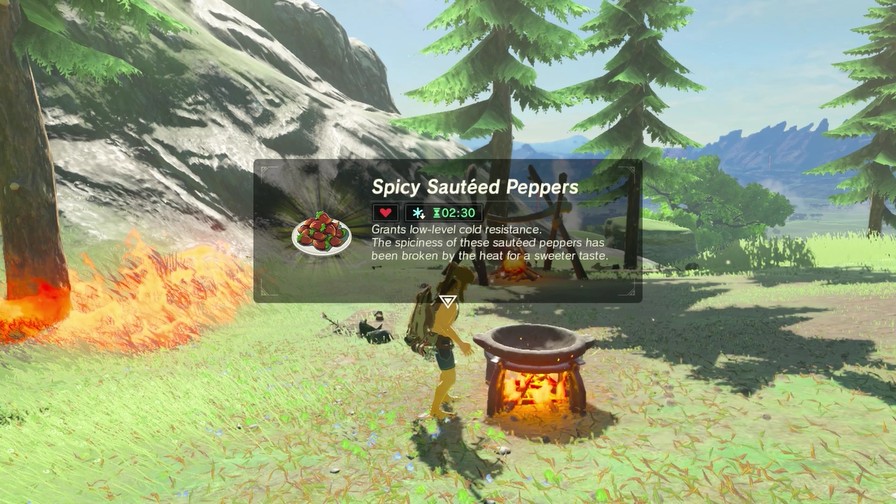
Cooking just a single chili pepper gives us a nice 150-second resistance to cold.
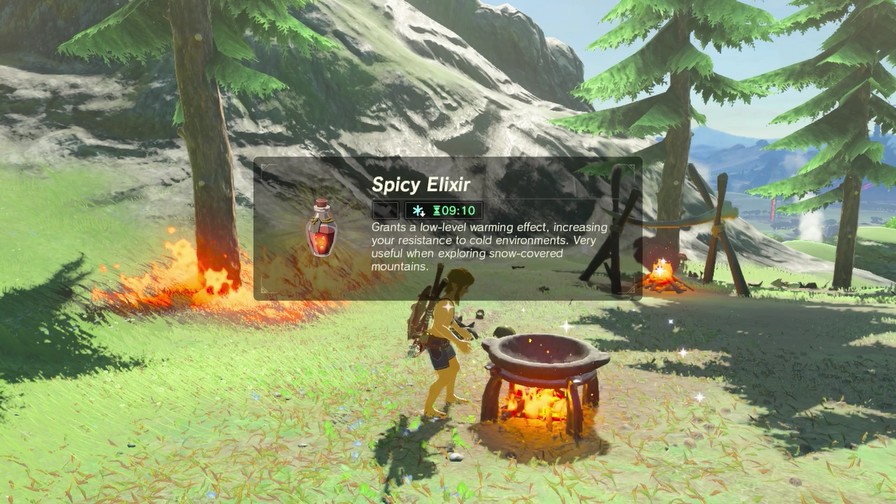
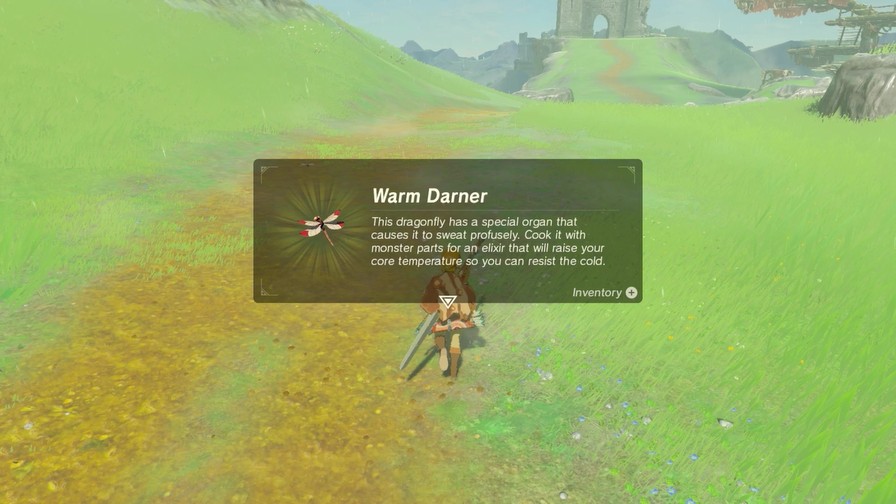
A Summerwing Butterfly, a horn, and three fangs nets me a rather-lengthy elixir. Should be more than enough to get me through the cold!
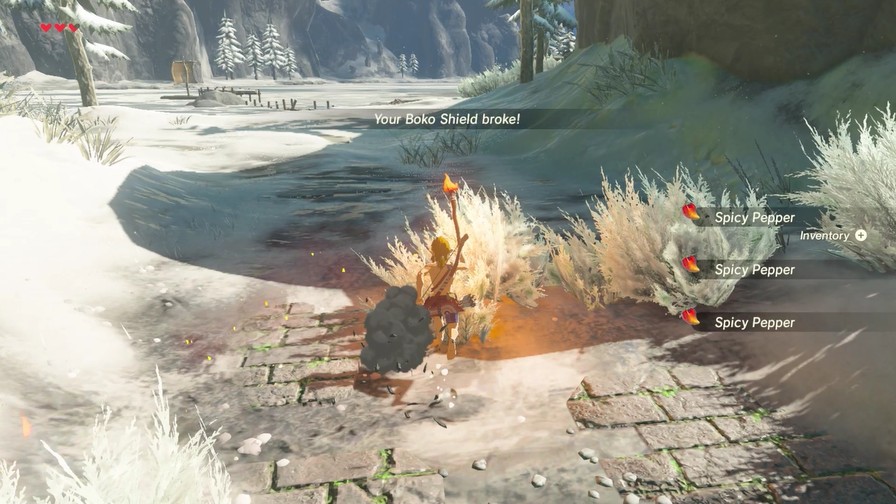
All that playing with fire burns away my shield. Wooden items can catch on fire and burn away, so be careful! Of course, wooden weapons on fire will do more damage.
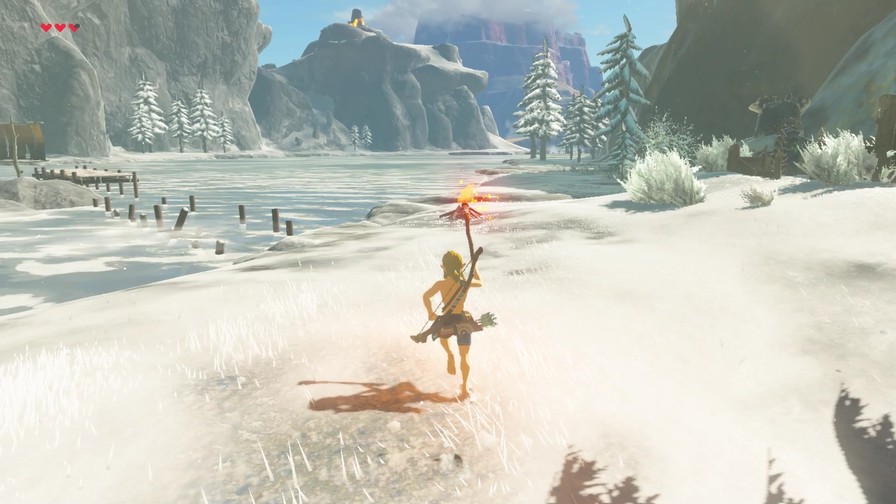
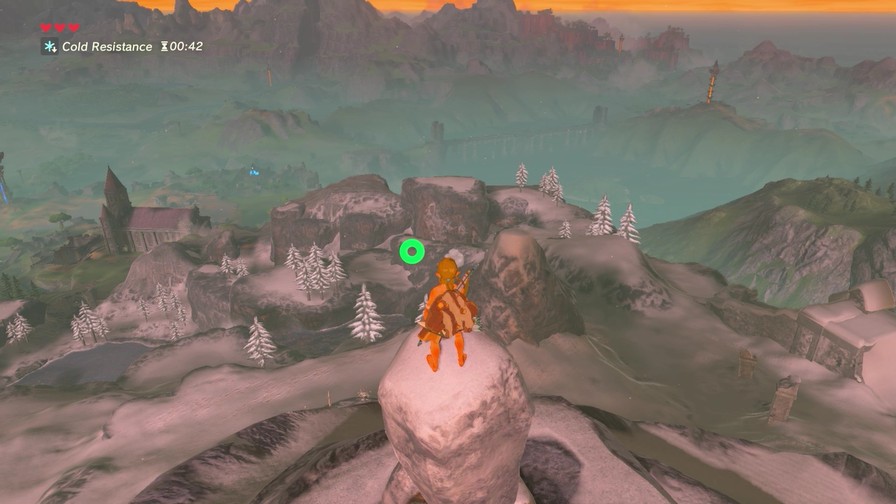
Anyway, we’re at the entrance of the cold mountain range.
There’s several ways across this lake. If we go further down, we’ll see the bridge we saw in the second update. Except we can now use Magnesis on a slab of metal to finish the bridge and cross that way.
Alternatively, we can climb the mountain range to the left and work our way up that way, near where the Statis Shrine is.
I’m not taking either of those ways, though.
First, I’m going to need to use something other than the torch, so time to feast!
There’s a handy Korok Leaf here.
We need to make a bridge, since if we get in the water we take damage very quickly.
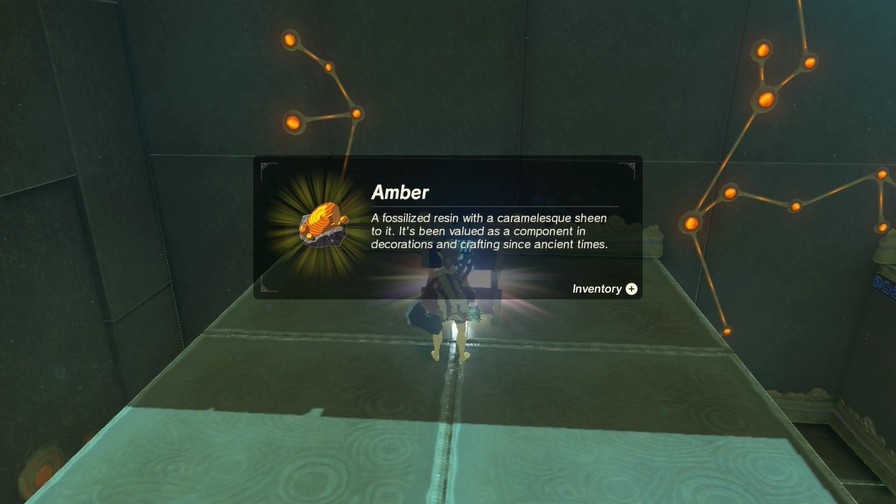
Meanwhile, Magnesis up a couple of chests with Amber inside.
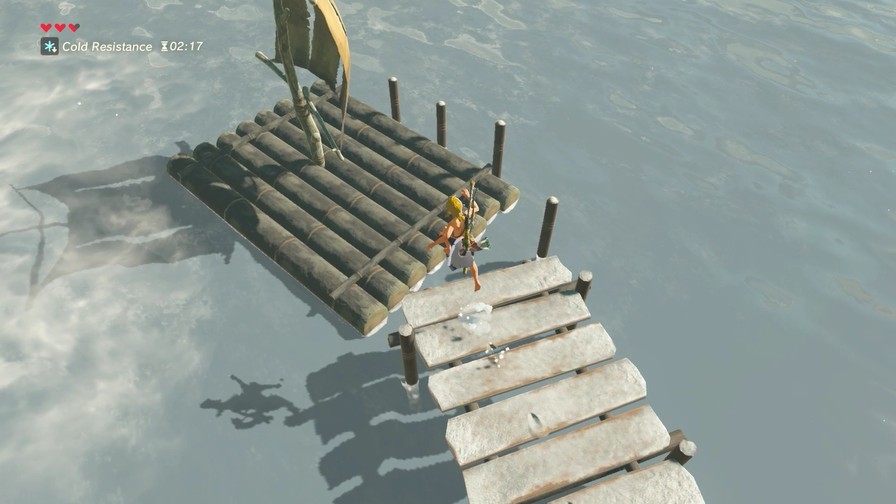
And then make it to this raft!
https://mp4.mega64.net/botw/u05/099.mp4
The raft is stuck on those poles, so it looks less graceful than it really is. But the wind effects of the Korok Leaf make for a great way to navigate a raft.
Sadly, using Magnesis to use a metal weapon or object to propel the raft forward like a motorboat got patched out.
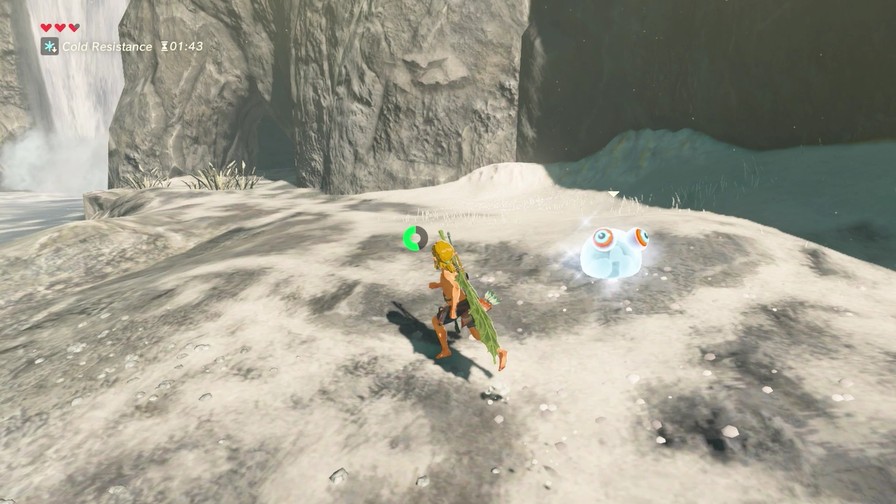
We meet our first Chuchu, an ice type no less.
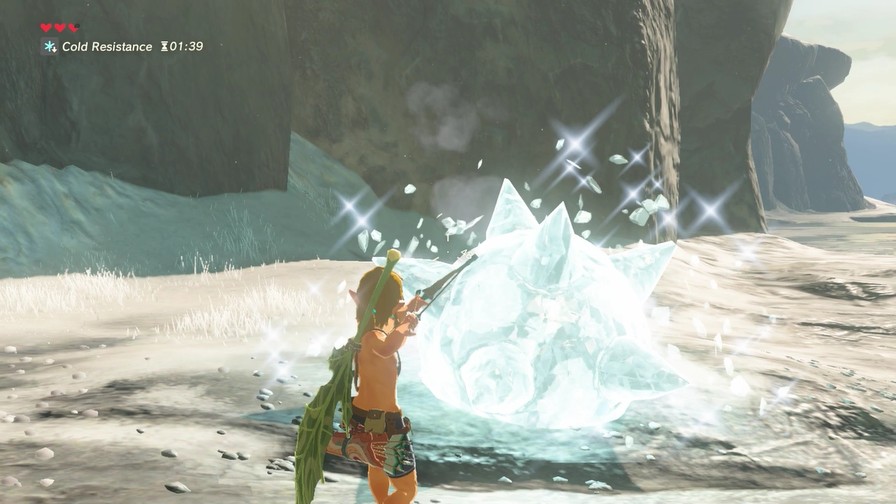
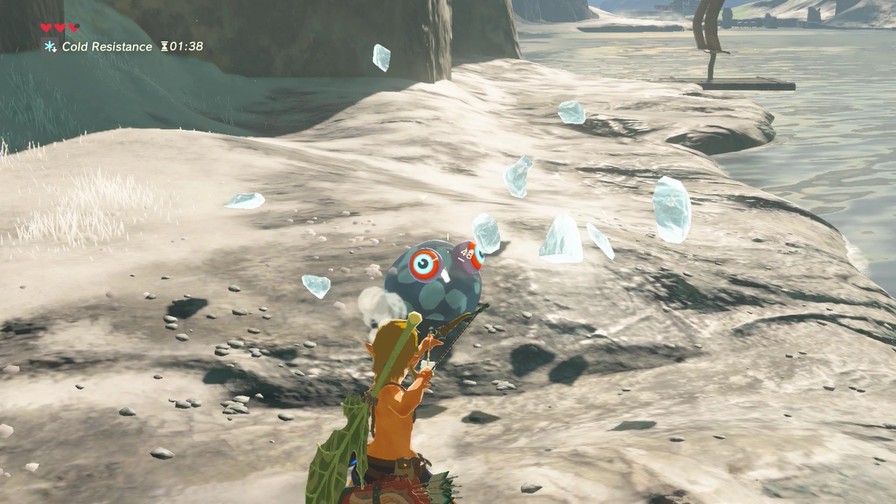
It’ll dive towards you and briefly become vulnerable to melee weapons. Trying to attack one while it’s icy will just freeze you instead.
The best part about Chuchus is they aren’t really that hostile. They’re just giant goofy creatures that want to give you a hug without realizing they’re hurting you.
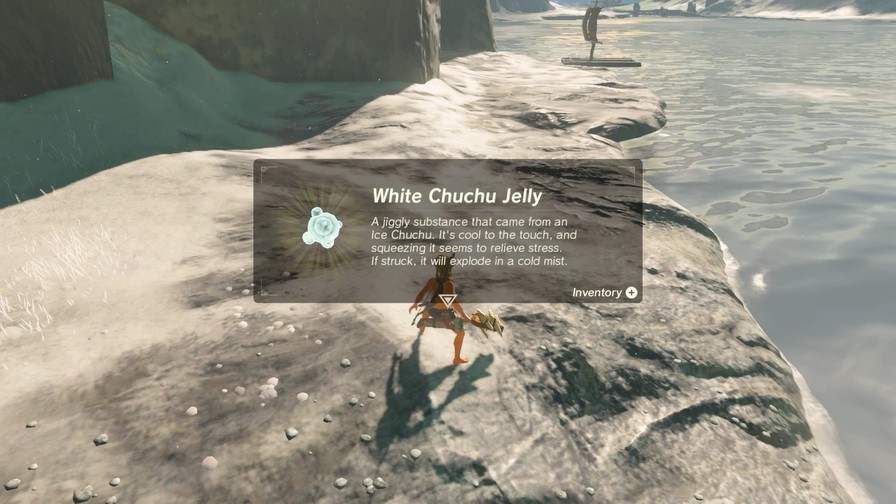
They also drop different types of jelly, depending on the element. This one will freeze nearby enemies if you hit it near them. Thus Chuchu jellies make for effective traps should you trigger them. Not really necessary, but who cares if it’s inventive and fun to utilize?
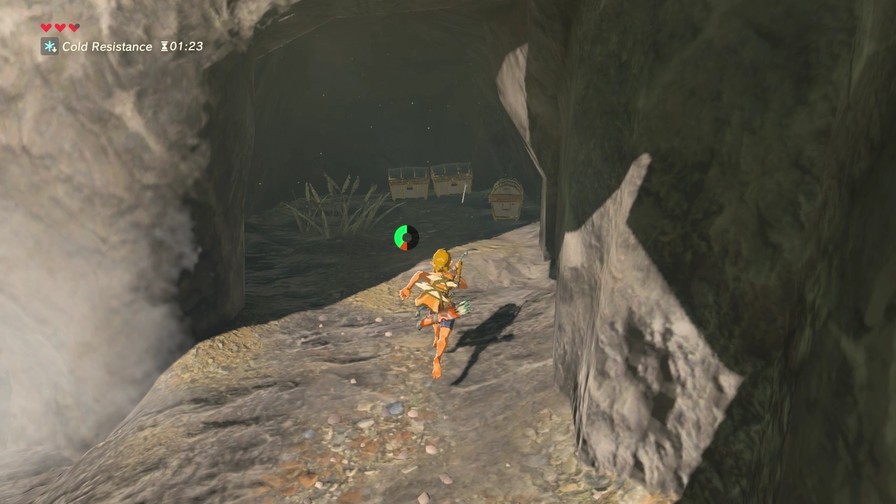
Behind the left waterfall is a treasure trove.
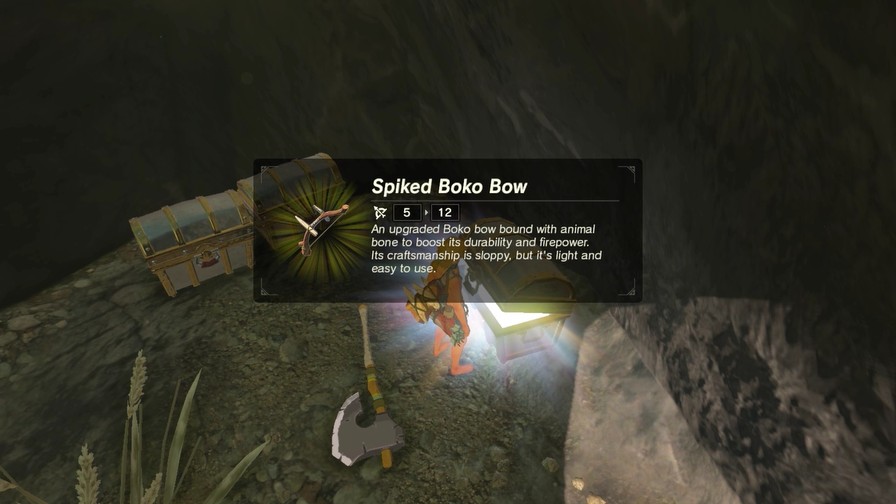
A Spiked Boko Bow, another Soldier’s Broadword, and some regular and Fire Arrows.
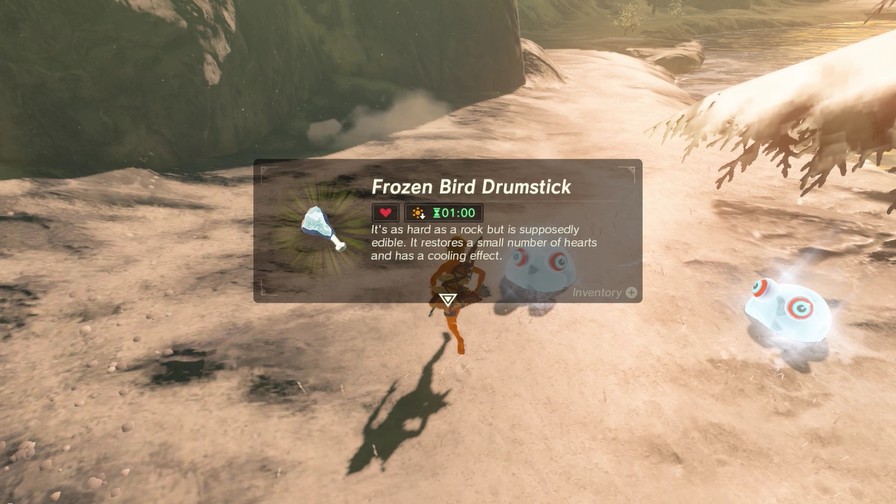
The elements will affect your drops as well. After killing a pigeon, one of the drumsticks froze, giving me this.
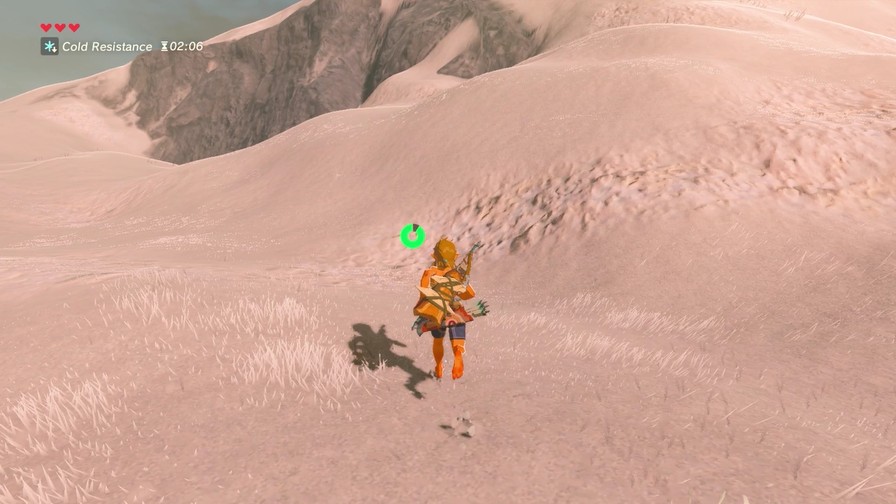
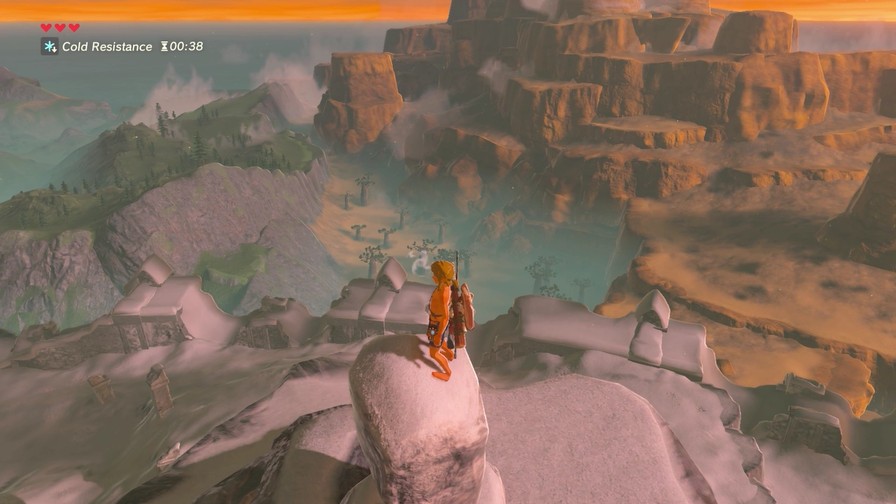
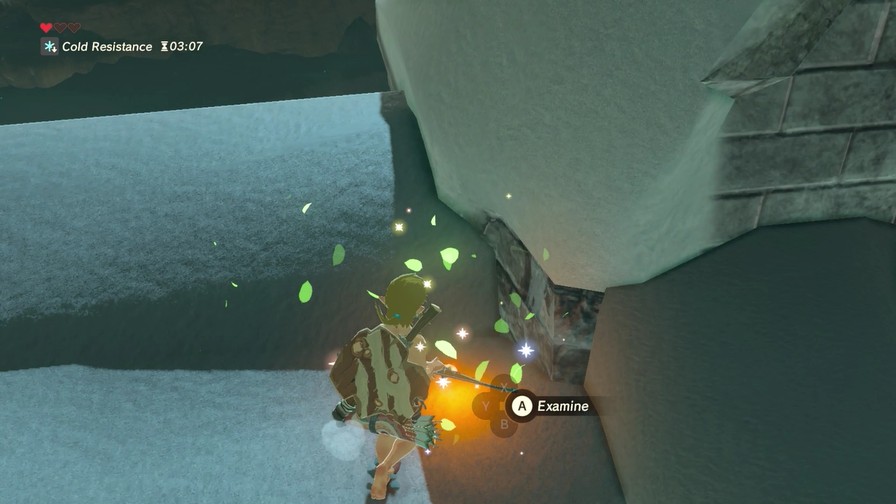
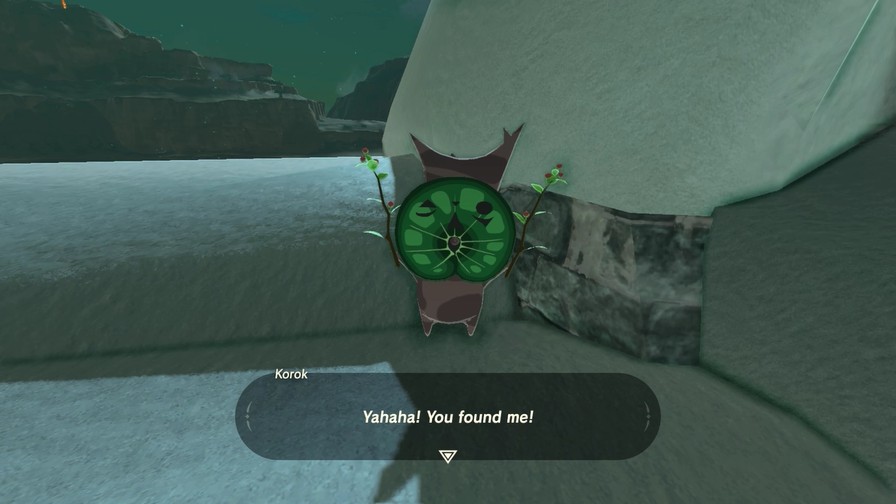
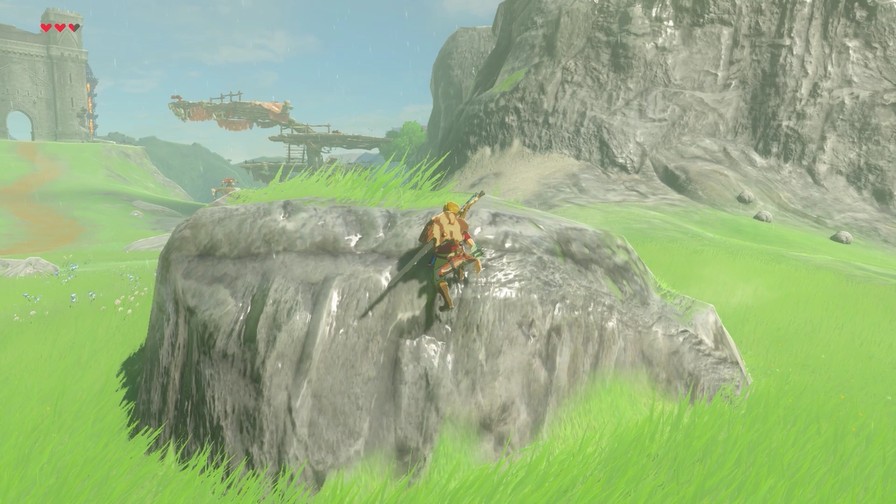
Eventually there’s a path that leads up, and going to the left of that path gets us to the base of this mountain peak.
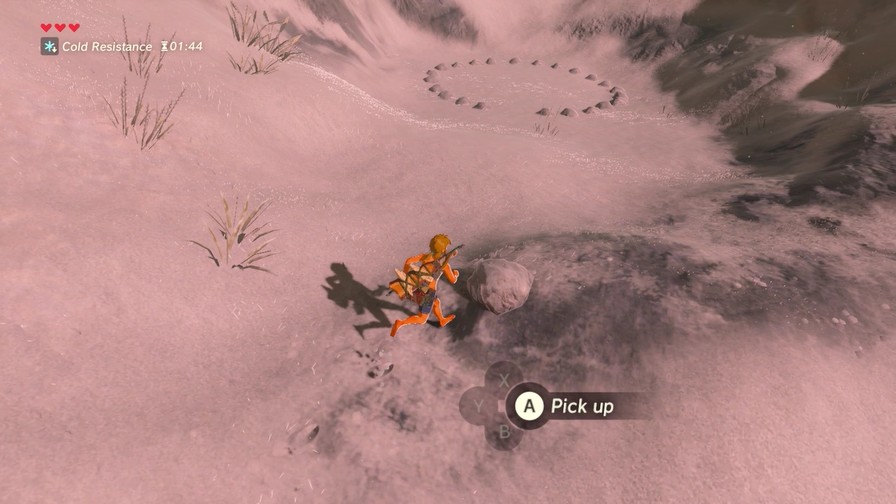
There’s a circle of rocks, with the missing one off to the side.
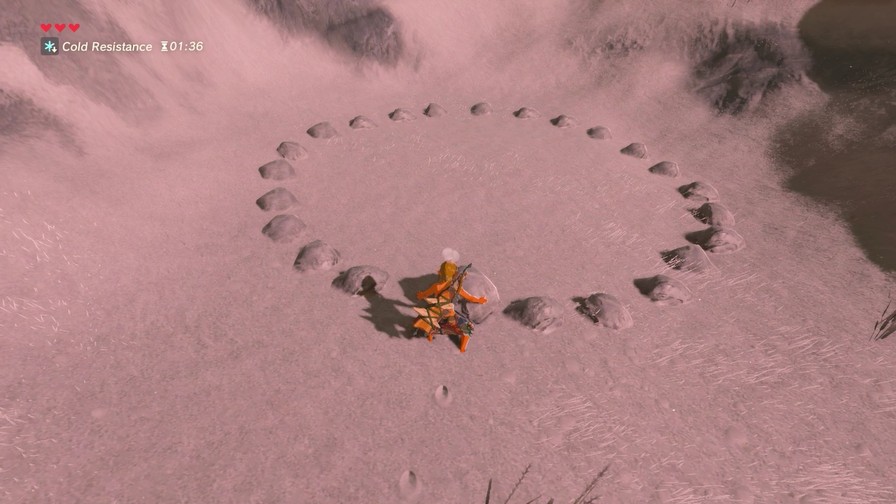
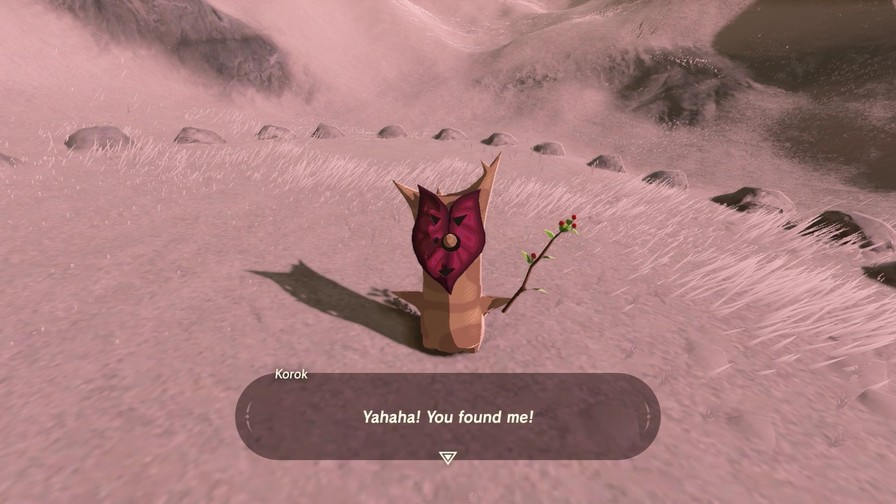
Another Korok puzzle.
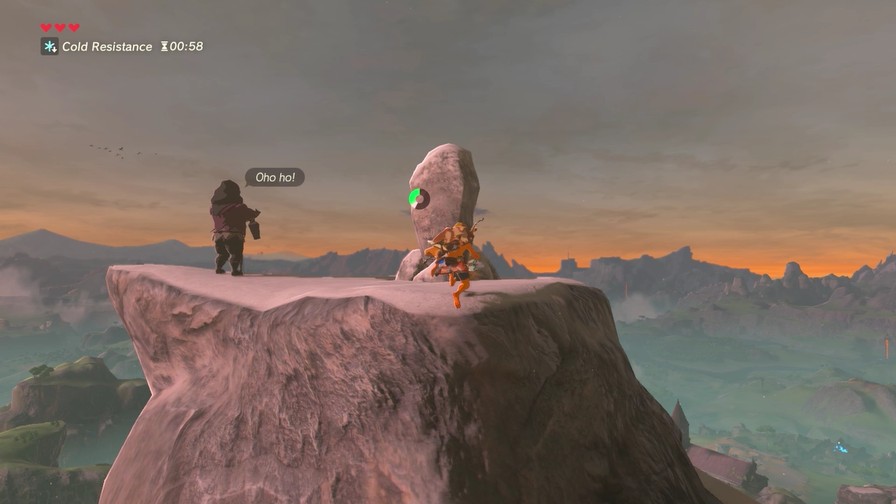
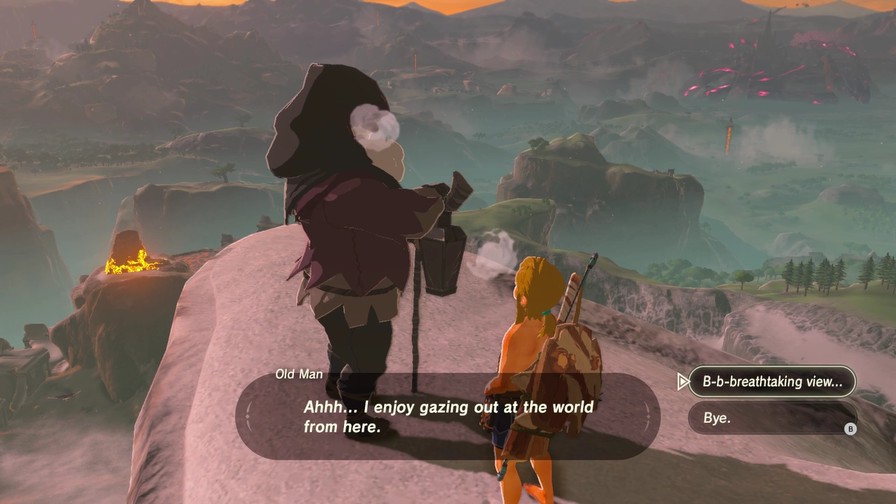
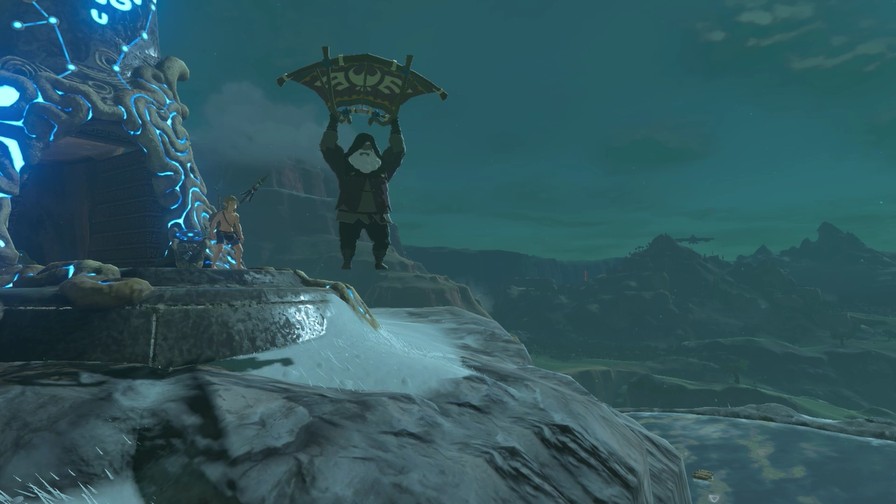
At the top is the Old Man.
Apparently he’ll give you the Warm Doublet here if you hadn’t gotten it yet. I have it but refuse to wear it. Anyway, let’s enjoy the view in the buff.
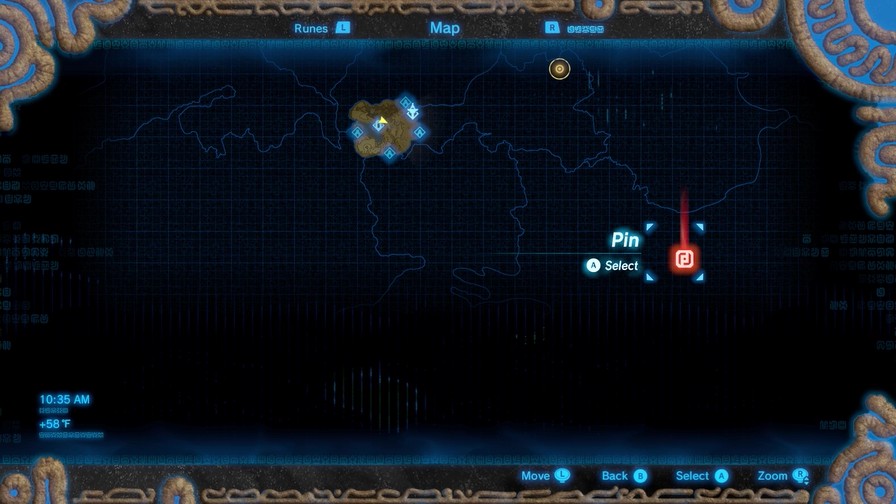
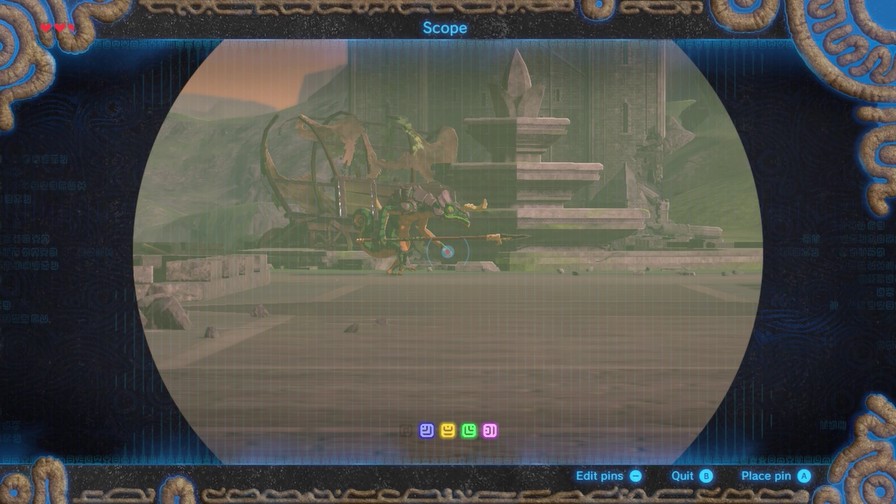
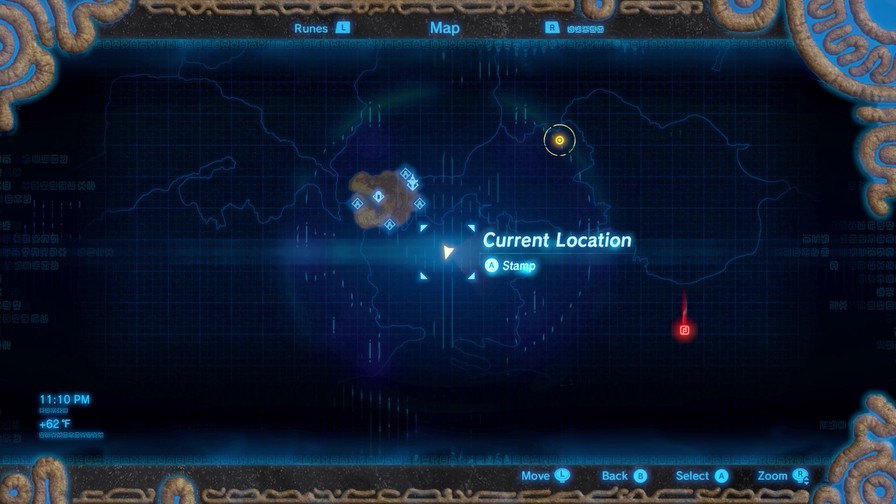
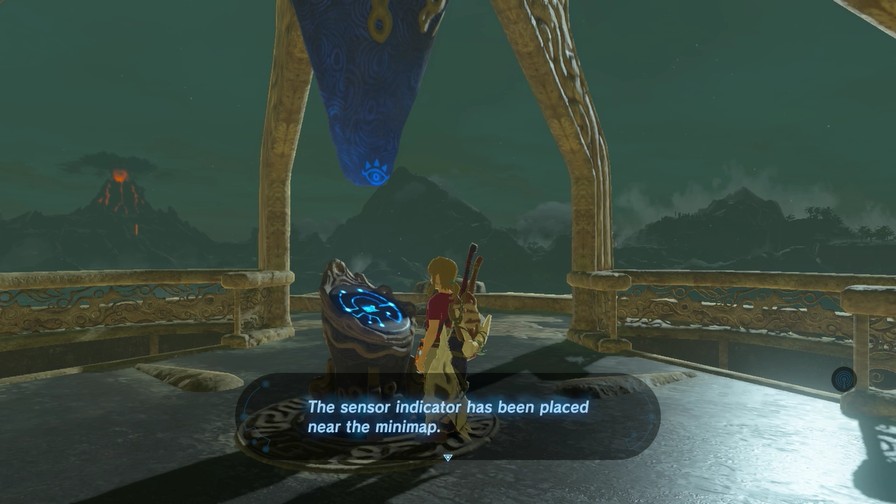
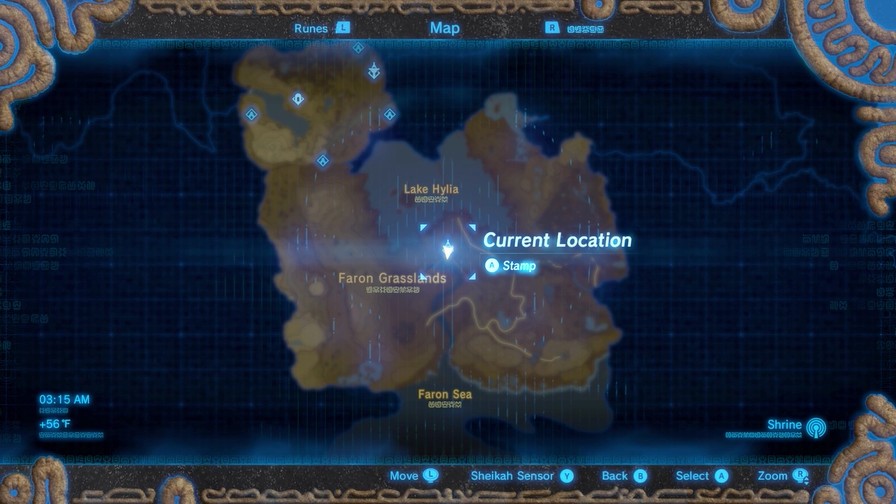
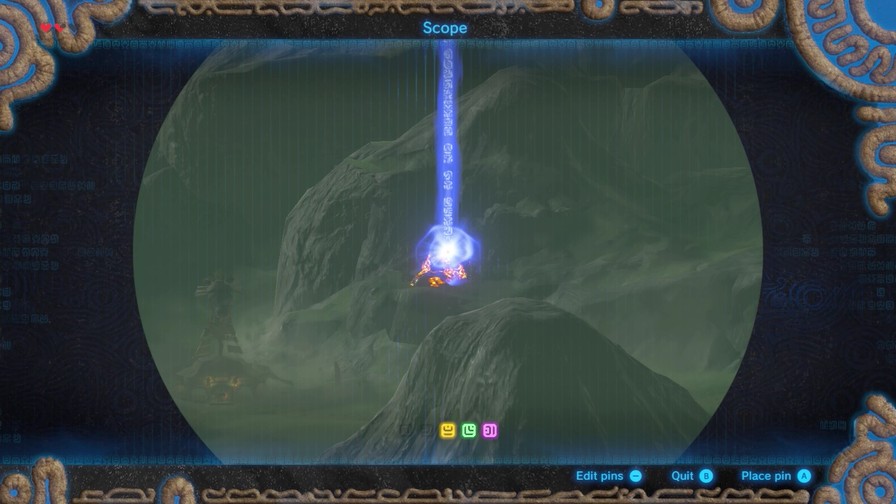
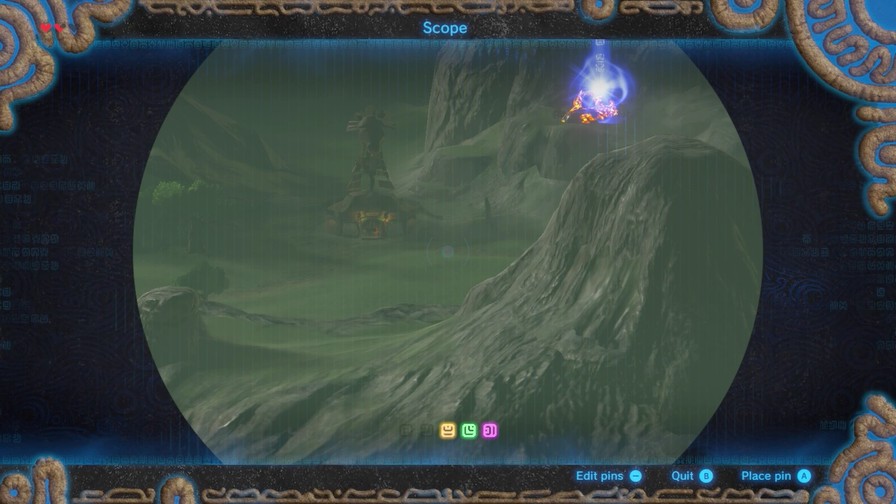
 Use your scope to look for shrines. When you locate one, place a pin on your map as a marker.
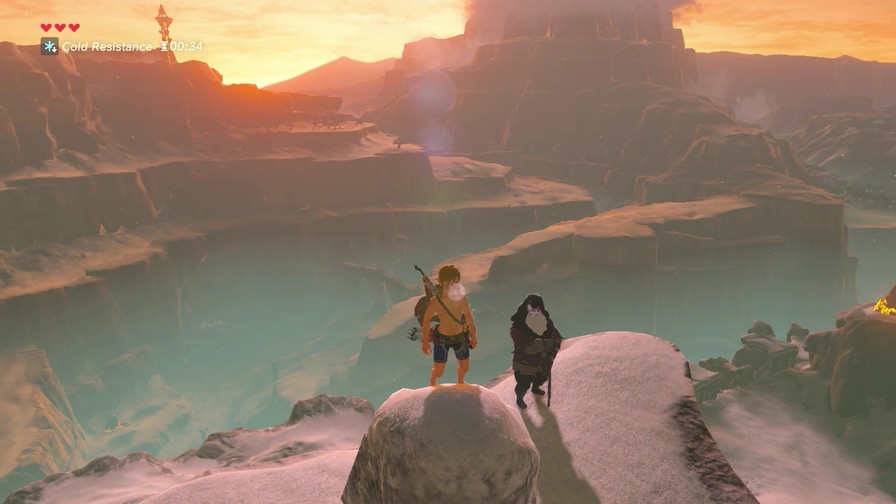
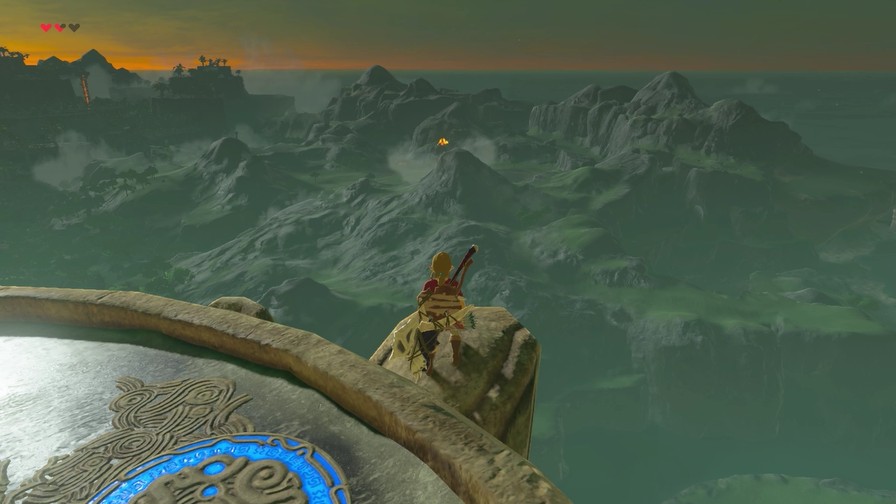
Quite the view, indeed.

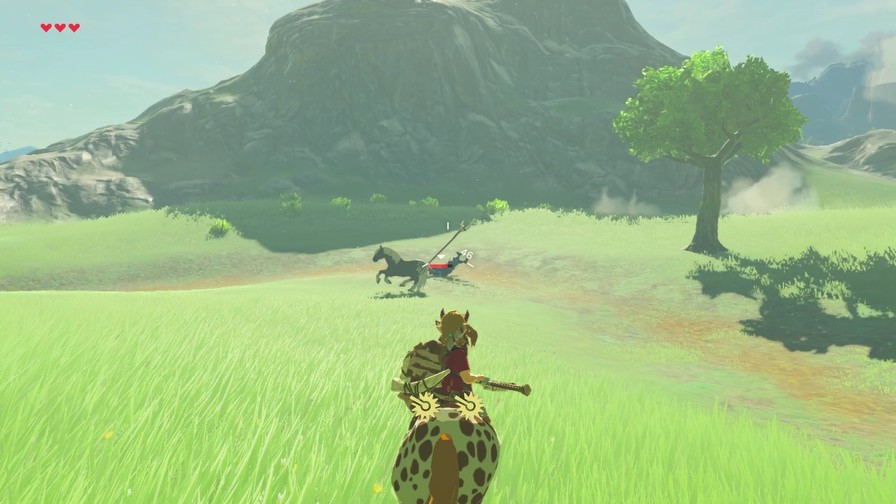
Now to the final shrine. On the path to it, yet another camp of Bokoblins. So how do I handle this group?

I ignore them and climb to the top. I’m kinda tired of dealing with these weaklings at this point.
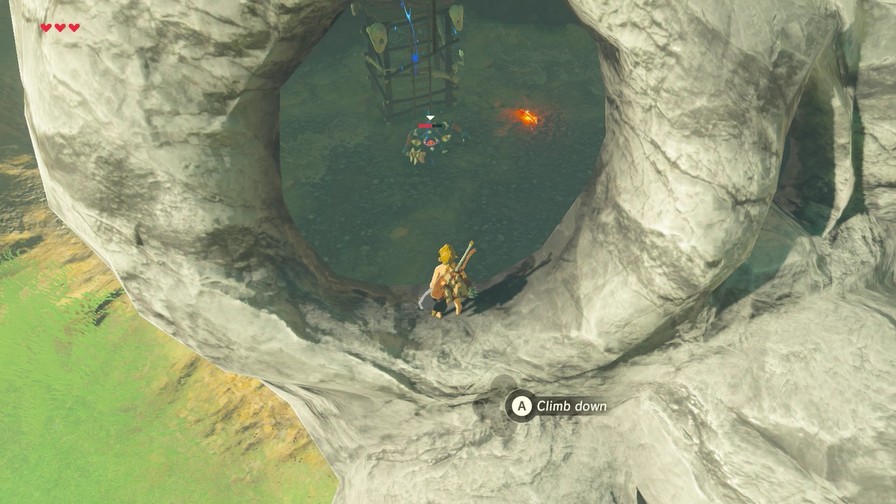
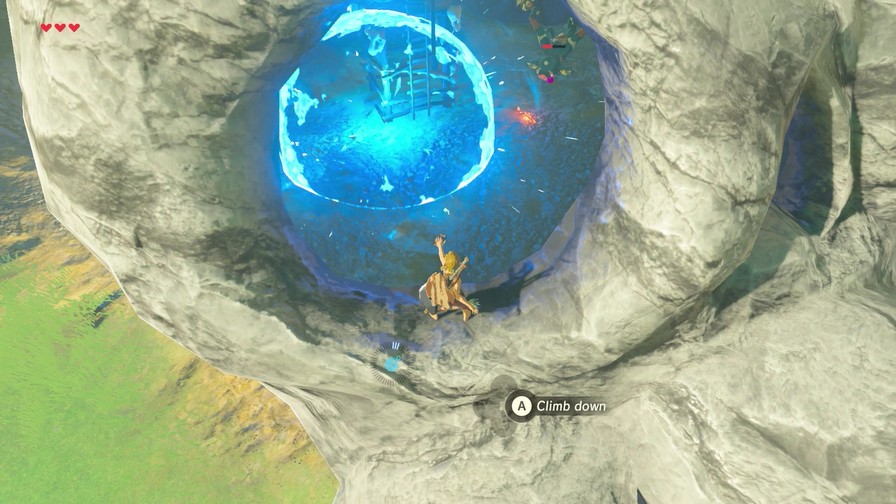
Eventually, I reach the final shrine of the Great Plateau.
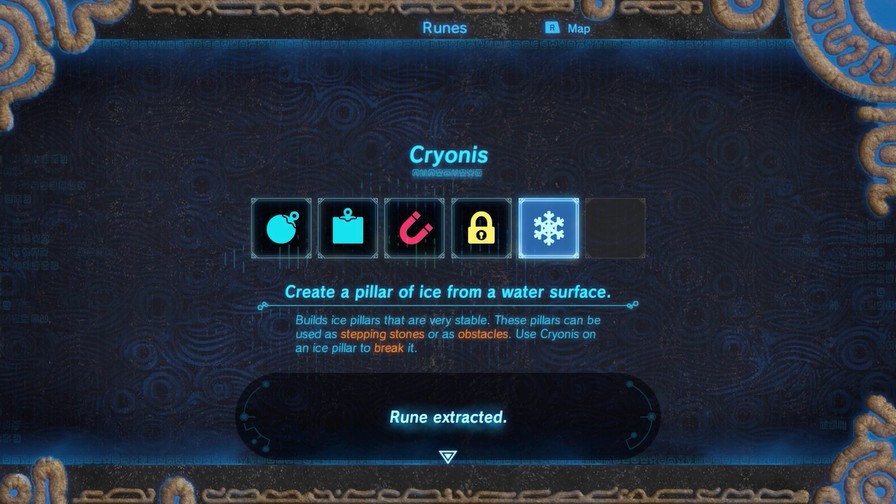
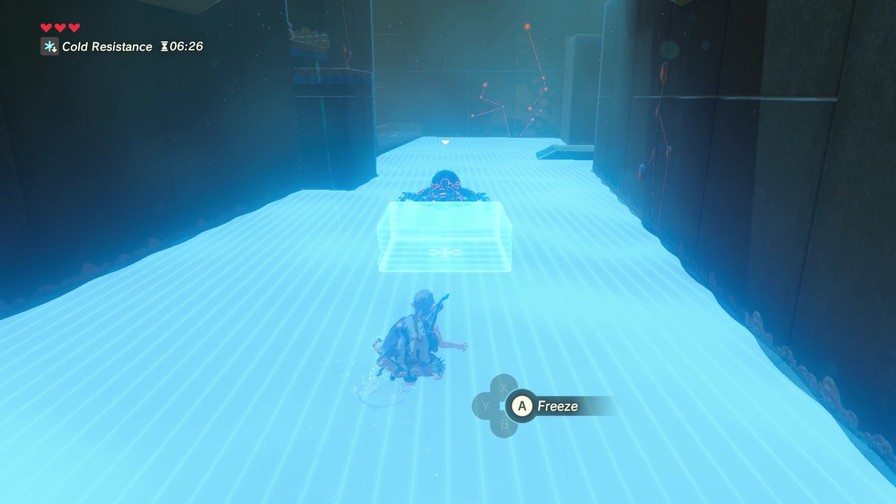
The final rune for now is Cryonis. It’s the most simple of the bunch.
https://mp4.mega64.net/botw/u05/131.mp4
Use it on water to make a pillar of ice. There you go.
It’s much more limited compared to the others, and its uses are much more obvious. But don’t get me wrong, it’s still very handy and can be used creatively. If nothing else, you can use it to cross great stretches of water without running out of stamina from swimming.
A gate blocks the path?
Cryonis! Note you can only have three pillars up at a time. Try to make a fourth, and the earliest-made pillar breaks. Of course, you can also use the power to break ice pillars you’ve already made.
There’s another guardian scout here. I guess the idea is use cyronis pillars to block its lasers.

It works better in theory than in practice though, so I just wallop it instead.
So what’s the solution to thi-
Oh you already know it’s freaking Cryonis.
Rule of Thumb: If water’s involved, it’s probably Cryonis.
And another spear for the chest here.
And that completes our fourth shrine! We’ve got all four shrines finished!
And look who decided to visit us!
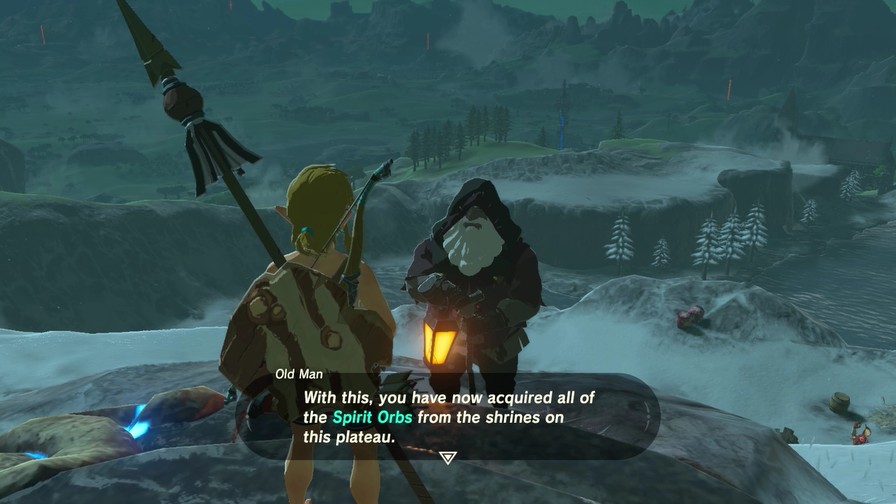
Oho ho! Extraordinary!
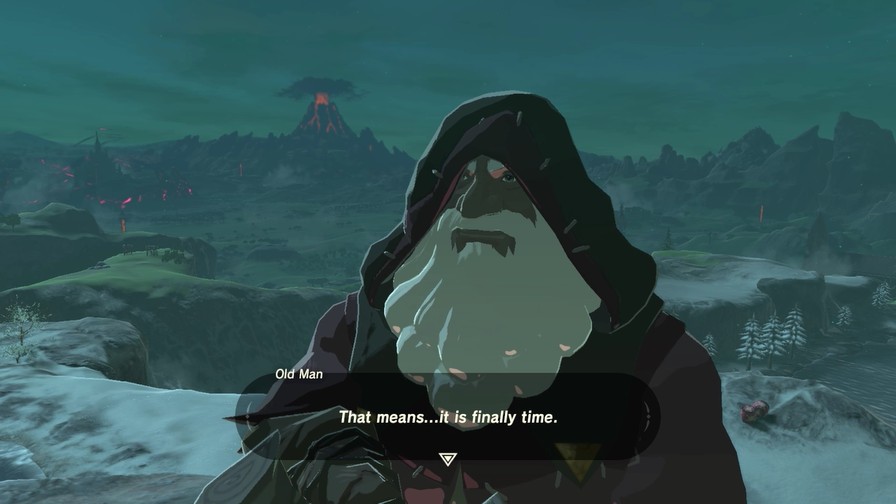
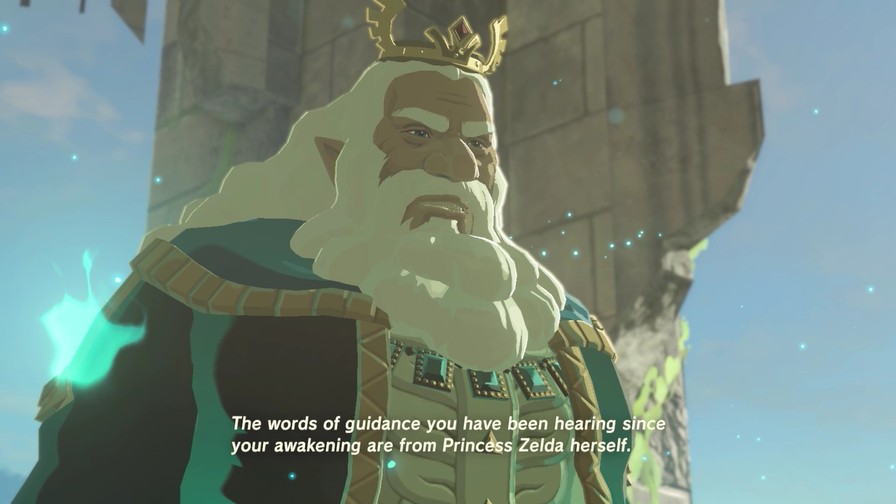
Link, it is finally time for me to tell you everything. But first…
I shall wait for you there.
https://mp4.mega64.net/botw/u05/152.mp4
Uh…huh…
Next time, we get our rewards, get a nice old plot dump, and finally finish up the tutorial!
Speaking of rewards, which Spirit Orb reward should we obtain, a Heart Container or Stamina Vessel?
1 Like
…how does he enjoy that spicy fish and meat when he’s dead!?
Anyway, my vote is for heart container.
I want Link to have enough stamina so that he can scale the tallest mountain in the game in one sitting. Then he can worry about health.

Stamina it is! Which is good because I already had recorded the next update taking the stamina upgrade.
Update either tonight or tomorrow.
Cryonis is the one rune that would have been wayyyyy more useful if I remembered I had it all over the place on the overworld.
1 Like

Click here to open the update!
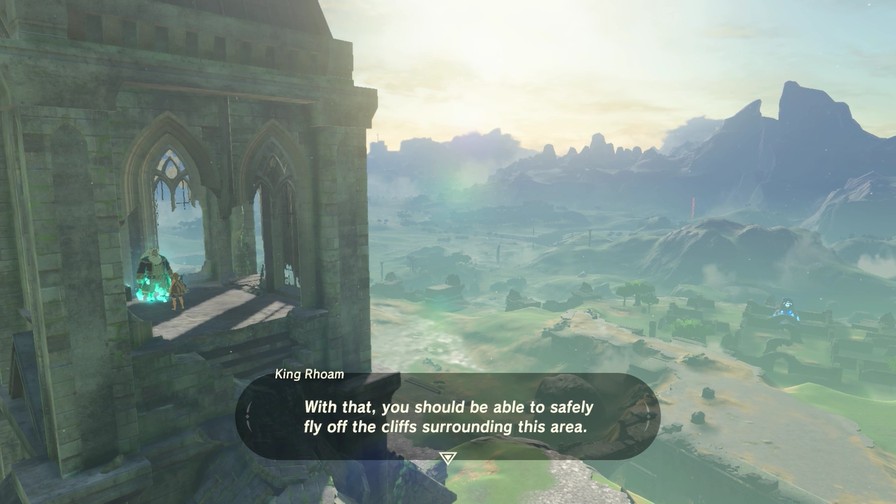
Note this is a poor idea early on since you can take fall damage in this game. It should become slightly better once we get the paraglider, though.
Speaking of which! We’ve done all four shrines, so we’re about done with the Great Plateau! But first, a couple of things.
This wood chest cannot be Magnesised, but we can take advantage of it floating!

It contains an Opal.
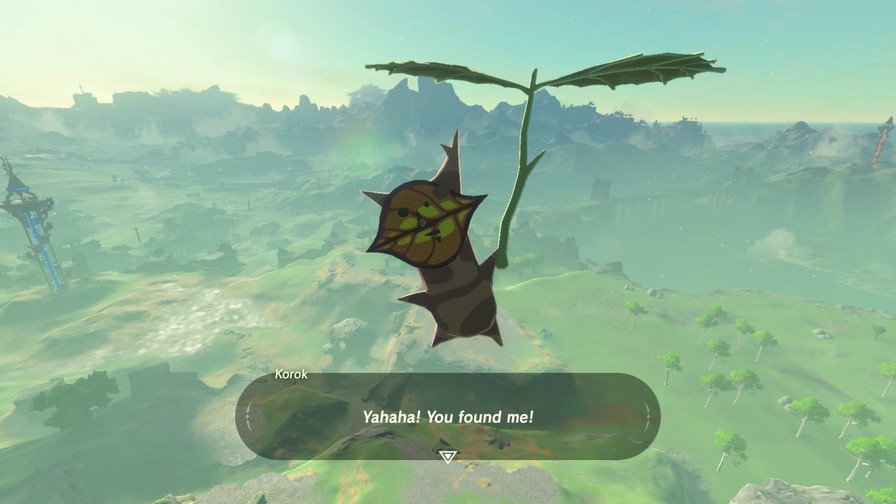
Up top is a frozen block of ice.
Fire of all varieties work, some better than others. Right now the only reliable fire method I have though are Fire Arrows, so four of these melt the ice…
…and net us a Korok!
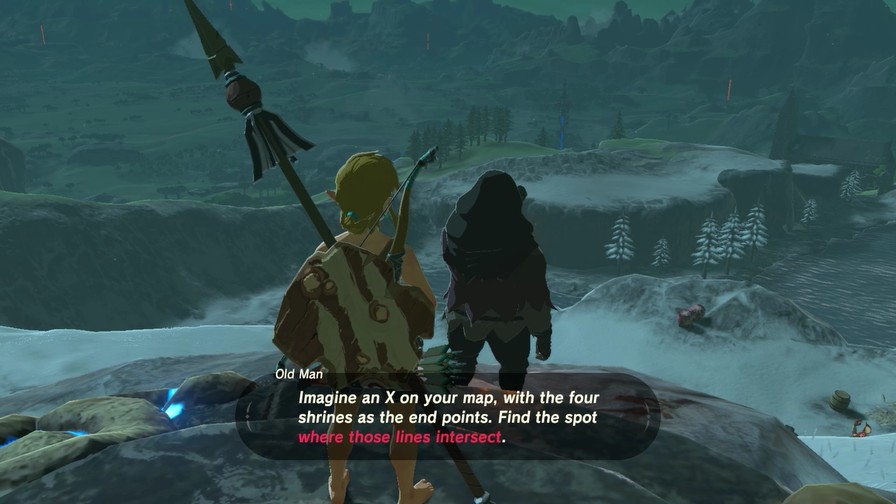
The Old Man said to go where the four shrines intersect. Hard to see from here, but that is describing the Temple of Time.
Now that we have four Spirit Orbs, the goddess statue is shining.
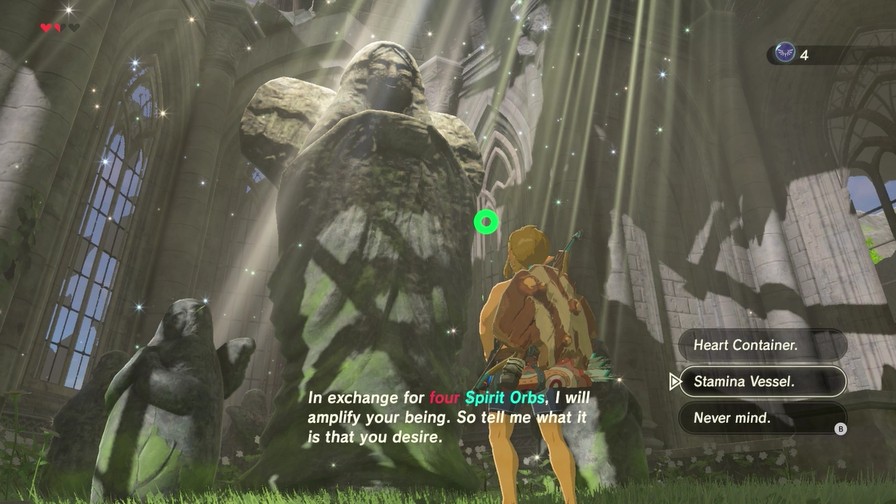
You guys ultimately voted for the Stamina Vessel. Which works for me because that’s what I picked before asking you guys and it means I don’t have to replay this section again.
https://mp4.mega64.net/botw/u06/016.mp4
We gain a fifth of a stamina wheel. We can have three circles max, so we can only get ten Stamina Vessels before we can no longer increase stamina (outside of foods that temporarily boost max stamina, of course). More stamina is always nice because it makes exploration easier, and exploration is always fun to do in this game.
https://mp4.mega64.net/botw/u06/017.mp4
Suddenly, someone shouts out to Link. Considering we’ve literally only met one other person on this plateau, it can only be…
Here I am… Get up here-quickly!
Fortunately, there’s a ladder to the roof right outside the temple.
I was not aware of this ladder the first time I played this game. Fortunately the front end is varied enough to make climbing it the old-fashioned way viable.
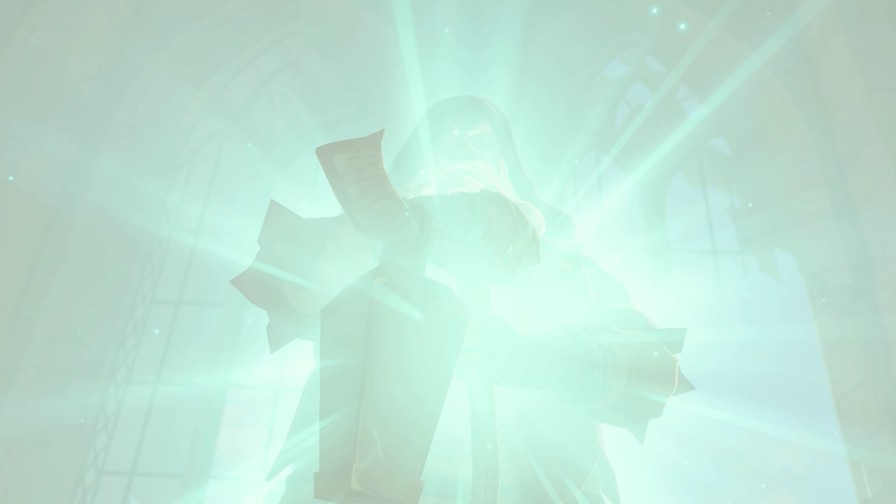
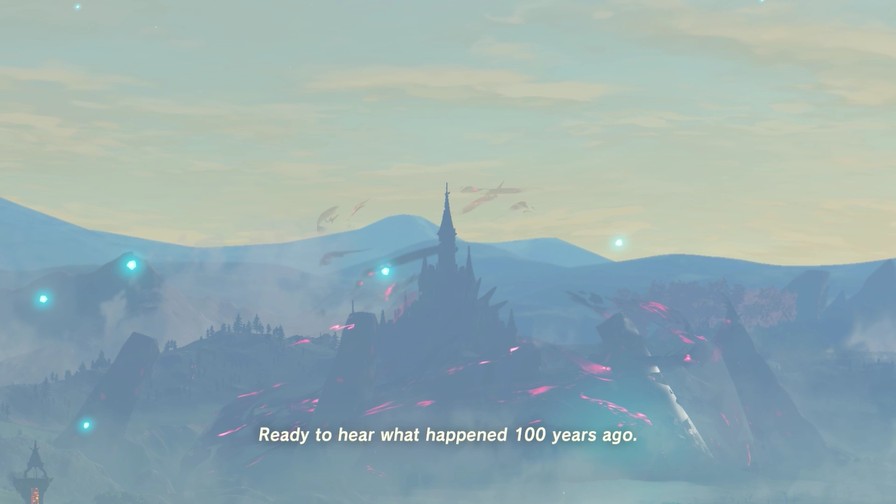
Once we reach the old man, we get a rather lengthy cutscene that serves as this game’s backstory. It’s got some voice acting and some nifty visuals, but I’ll also recap it here.
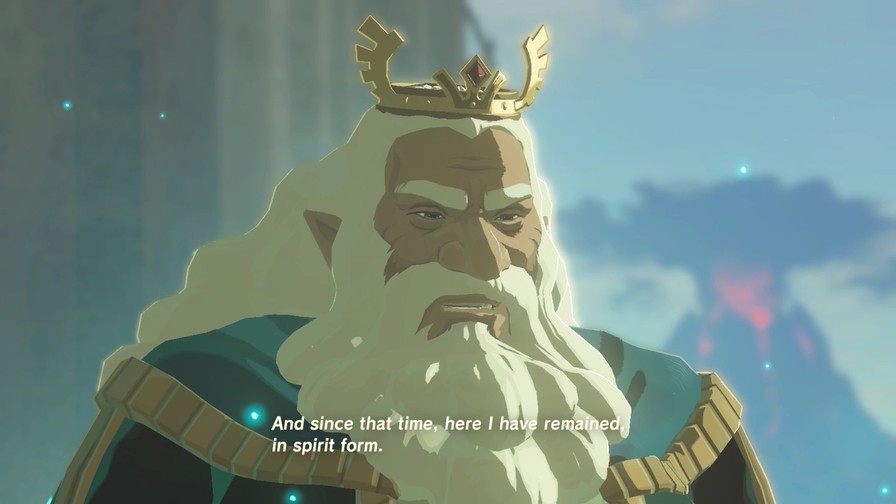
Now, then… The time has come to show you who I truly am.
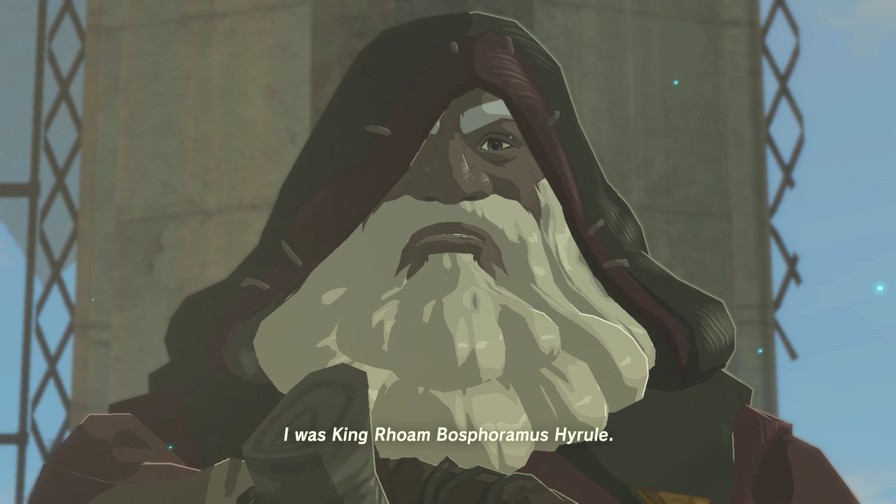
I was…the last leader of Hyrule. A kingdom which no longer exists.
Music: The Last King of Hyrule
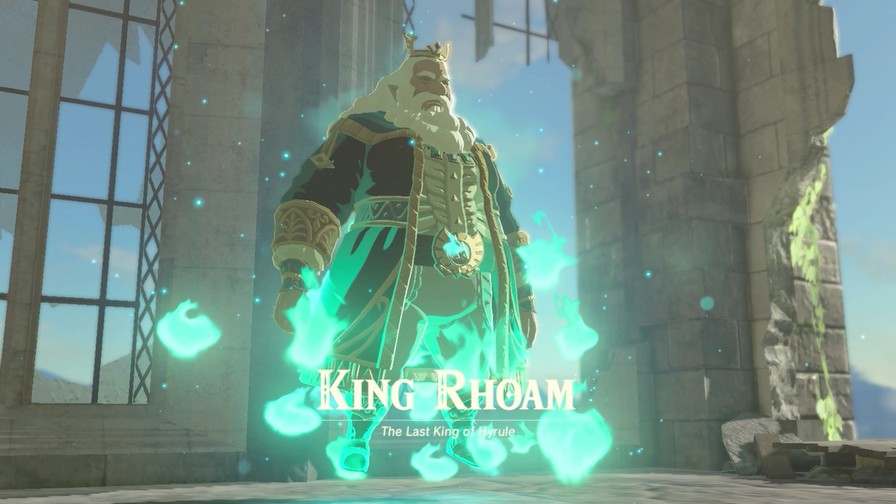
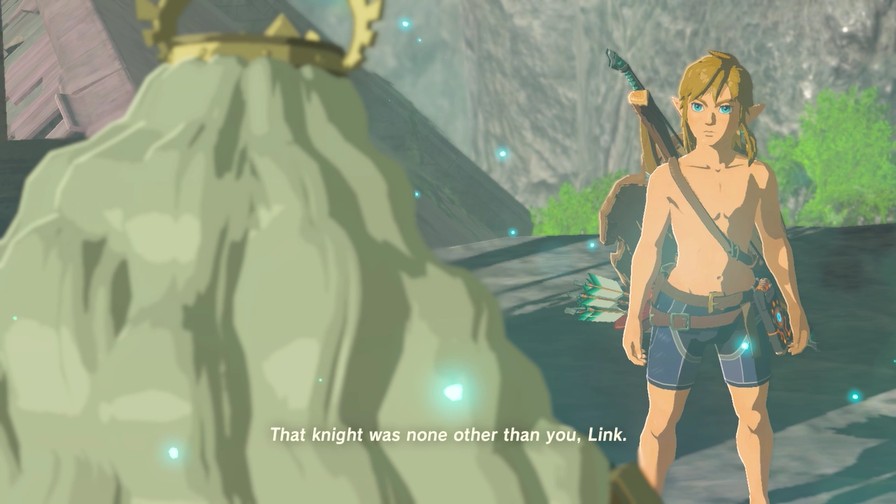
Yes, the old man watching over Link was no mere wanderer, but the spirit of the last king of Hyrule, one hundred years before Calamity Ganon struck.
The music here is a nice callback to the Hyrule Castle theme, first appearing in Link to the Past and then popping up here and there in other games since.
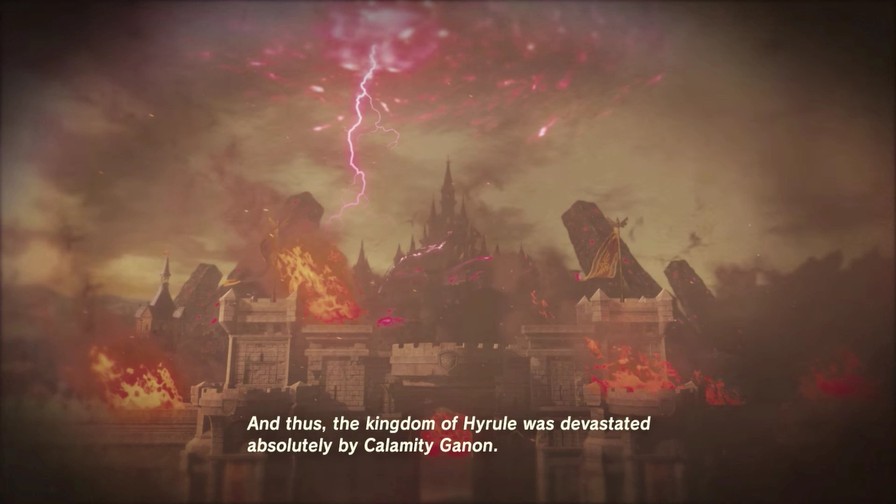
 The Great Calamity was merciless… It devastated everything in its path, lo, a century ago. It was then that my life was taken away from me.
I did not think it wise to overwhelm you while your memory was still fragile. So rather than that, I thought it best to assume a temporary form.
I think you are now ready.
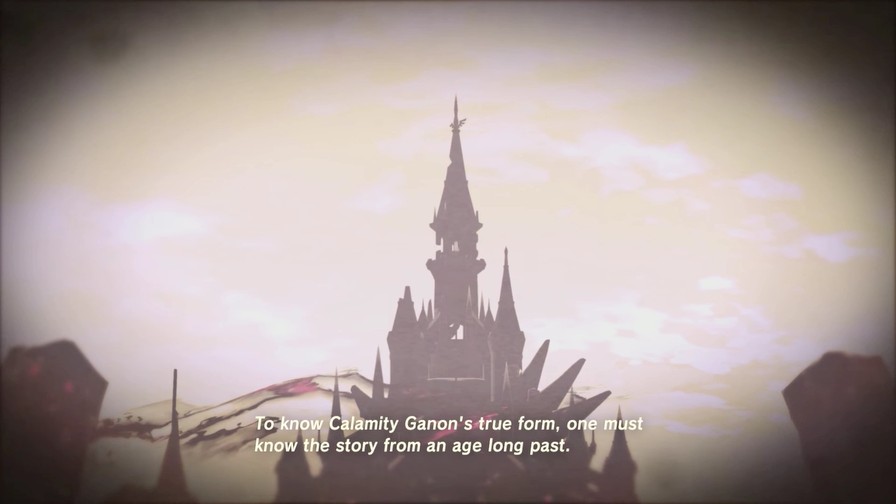
The demon king was born into this kingdom, but his transformation into Malice created the horror you see now.
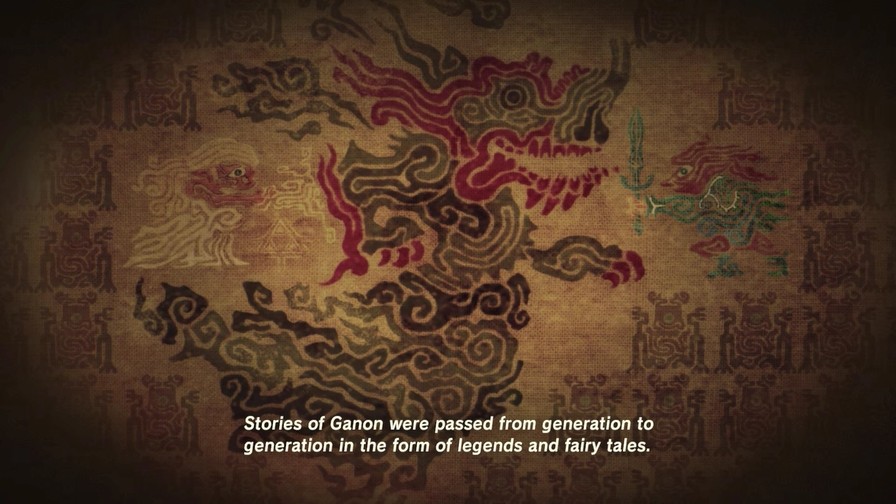
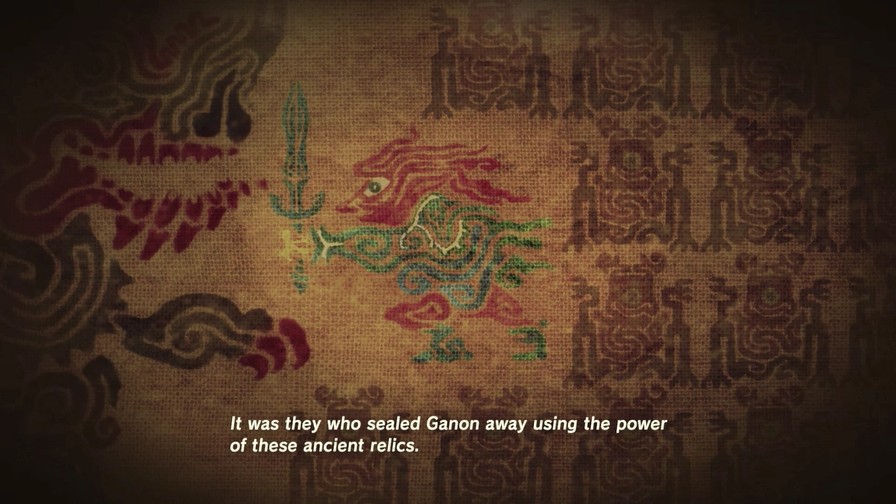
But there was also…a prophecy. “The signs of a resurrection of Calamity Ganon are clear. And the power to oppose it lies dormant beneath the ground.”

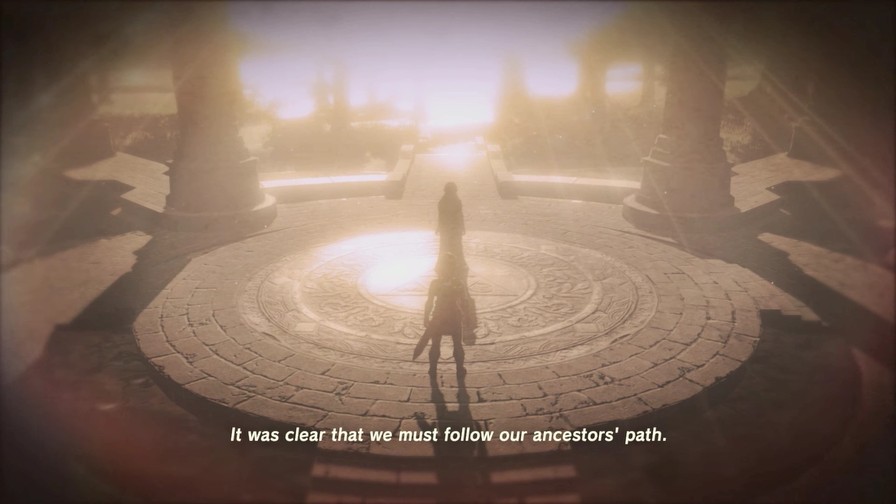
It wasn’t long before we discovered several ancient relics made by the hands of our distant ancestors.
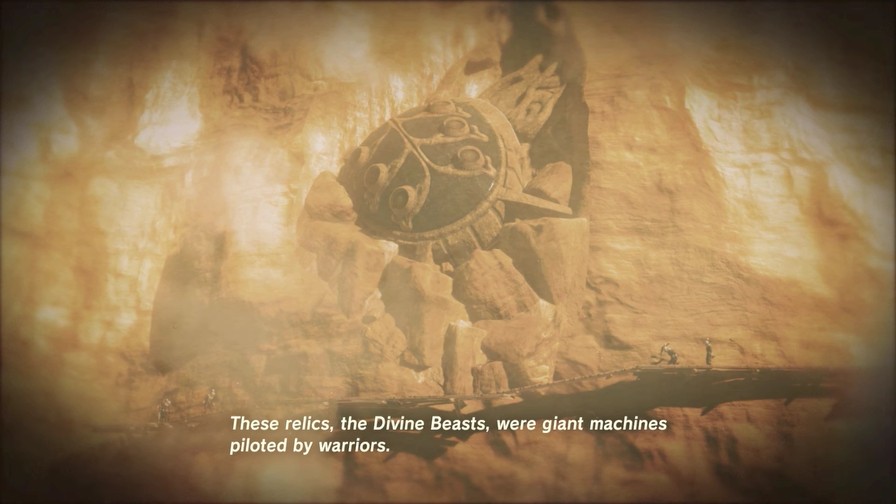
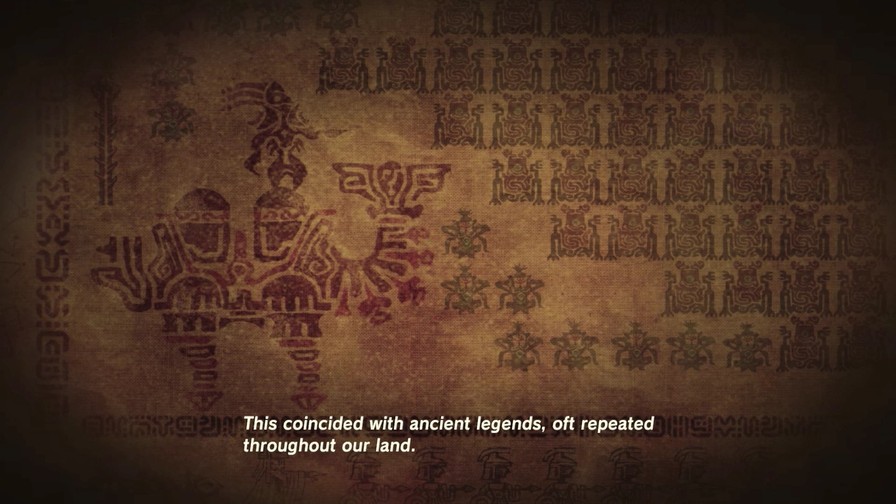
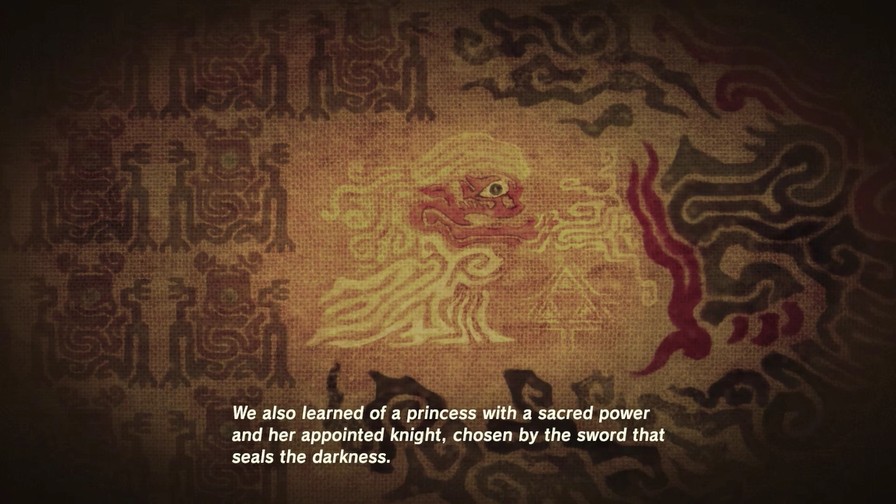
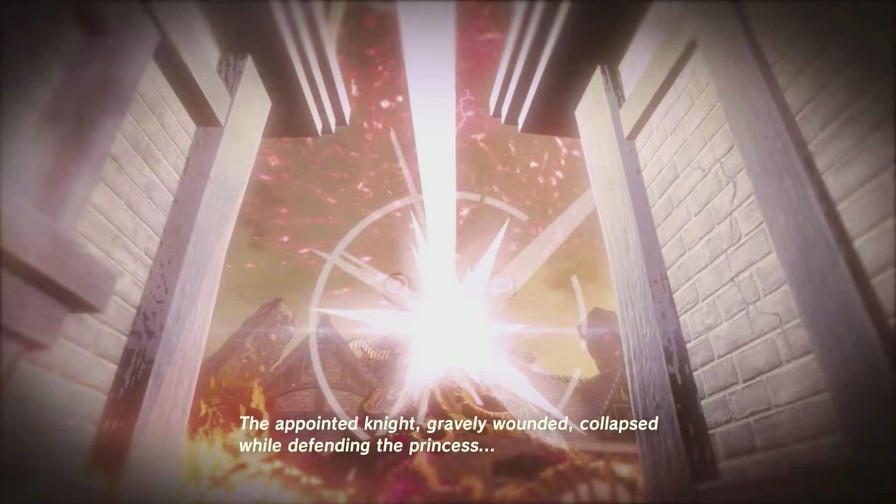
One hundred years ago, there was a princess set to inherit a sacred power and a skilled knight at her side.
We selected four skilled individuals from across Hyrule and tasked them with the duty of piloting the Divine Beasts.
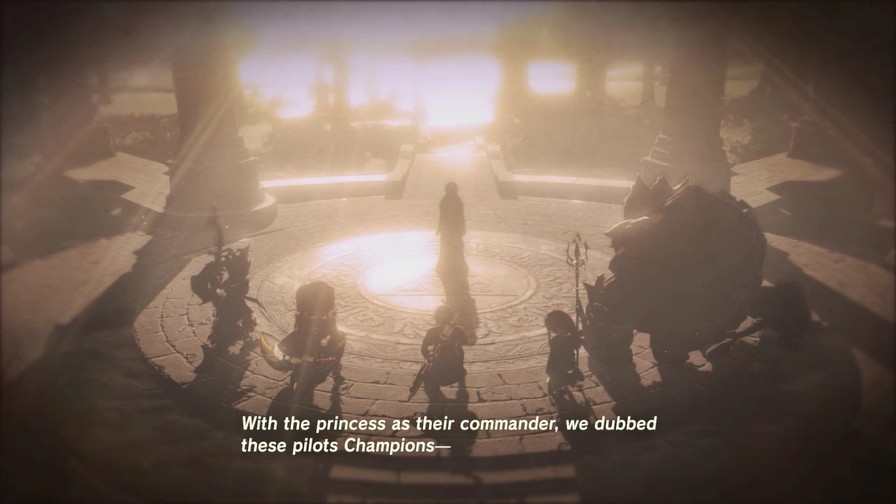
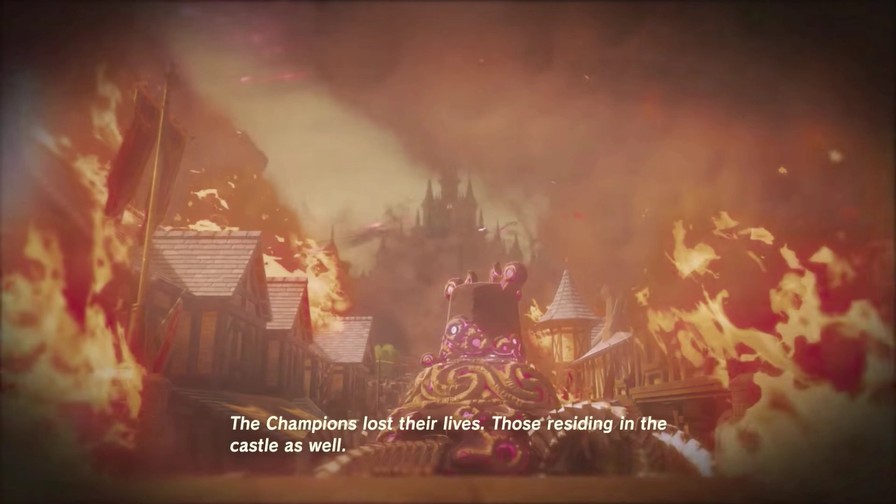
…a name that would solidify their unique bond. The princess, her appointed knight, and the rest of the Champions were on the brink of sealing away Ganon…
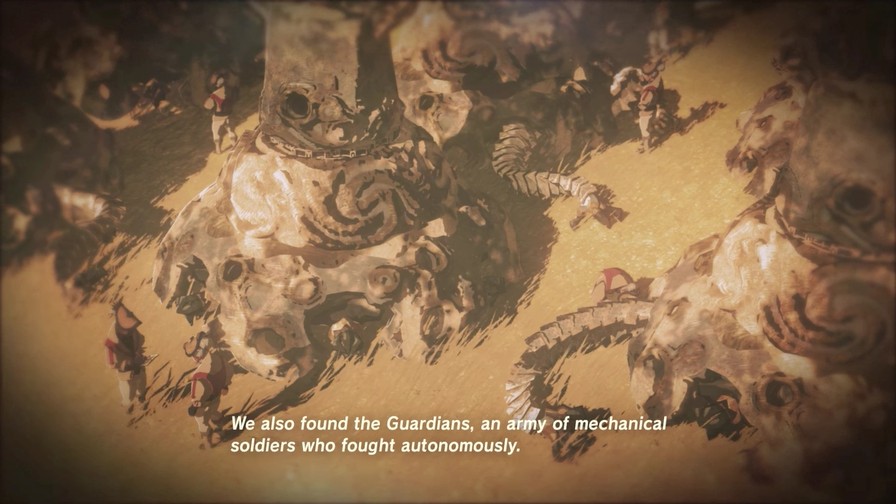
Ganon was cunning, and he responded with a plan beyond our imagining.
He appeared from deep below Hyrule Castle, seized control of the Guardians and the Divine Beasts, and turned them against us.
However…

 Link…
Link…
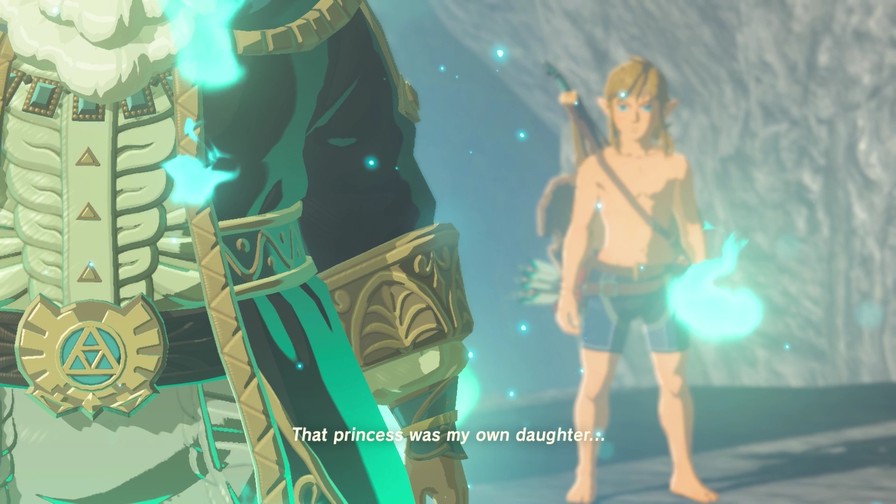
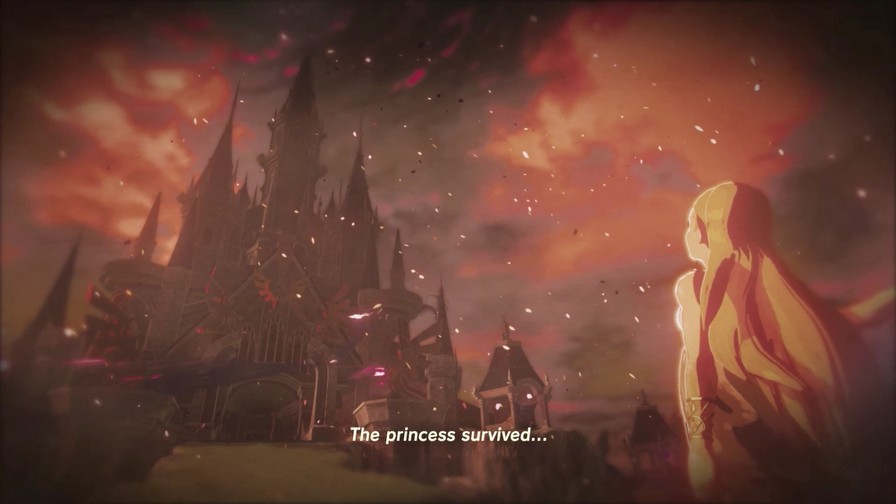
My dear Zelda.

You fought valiantly when your fate took an unfortunate turn. And then, you were taken to the Shrine of Resurrection. Here you now stand revitalized, 100 years later.
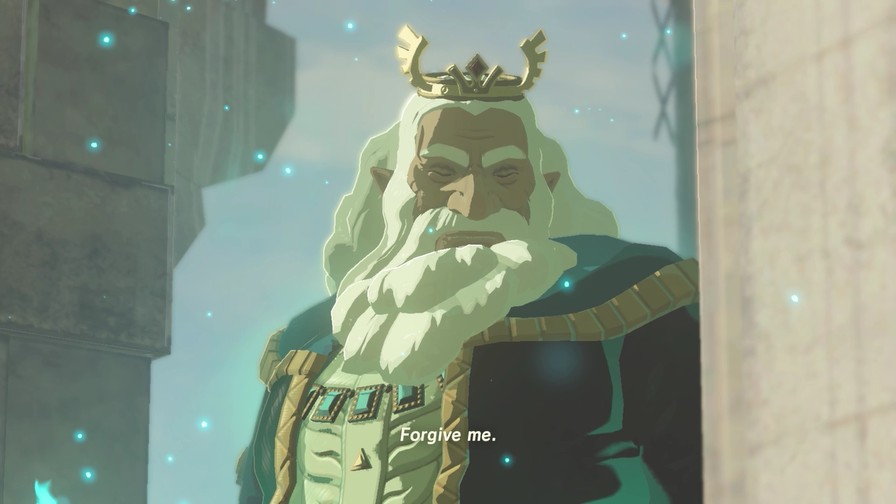
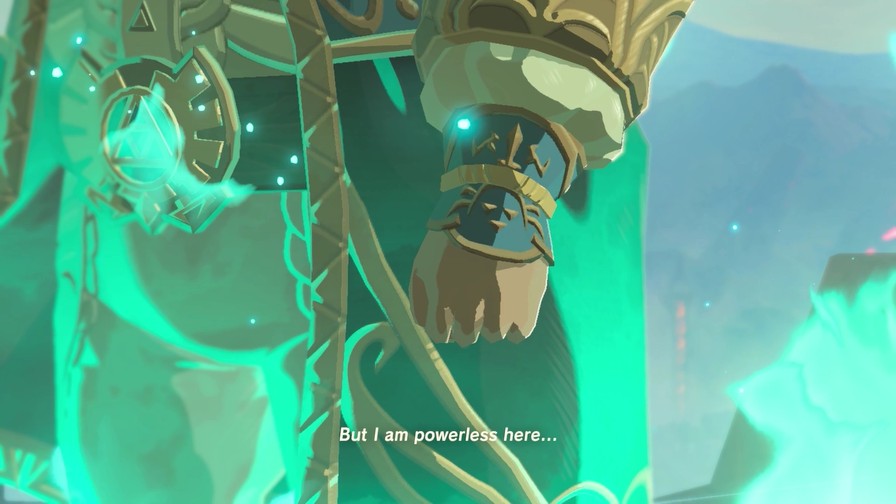
Even now, as she works to restrain Ganon from within Hyrule Castle, she calls out for your help. However, my daughter’s power will soon be exhausted. Once that happens, Ganon will freely regenerate himself and nothing will stop him from consuming our land. Considering that I could not save my own kingdom, I have no right to ask this of you, Link…
You must save her…my daughter.
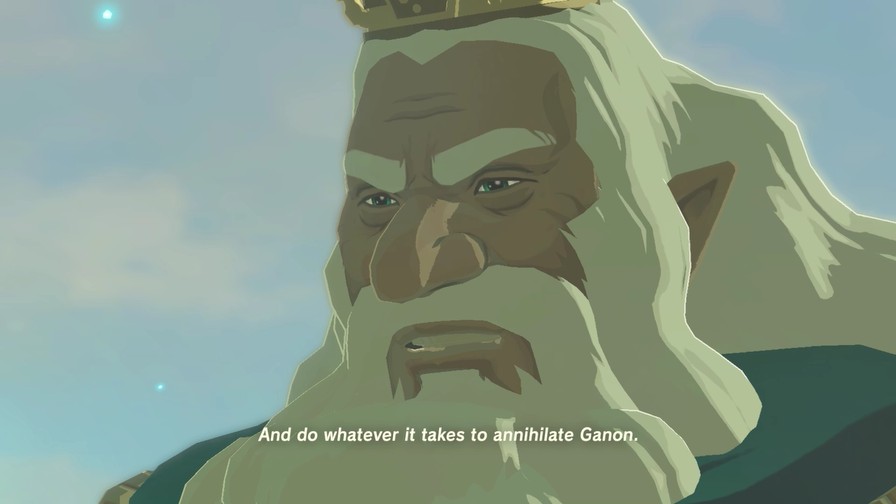
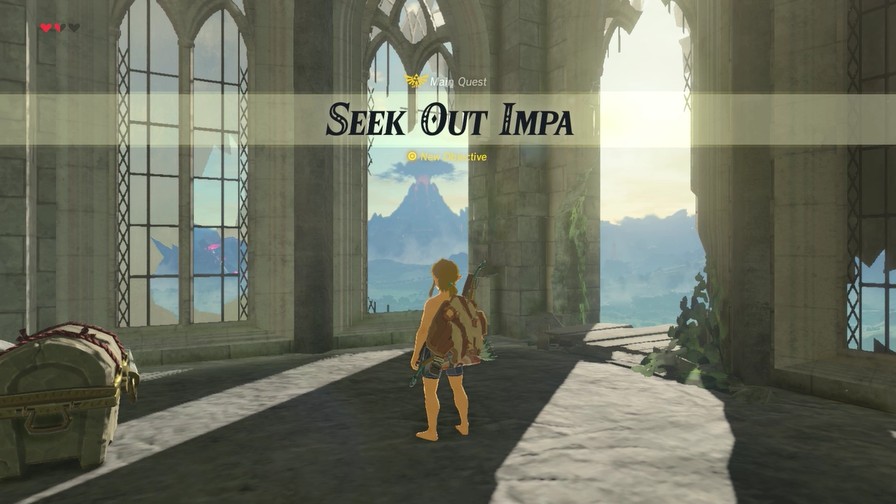
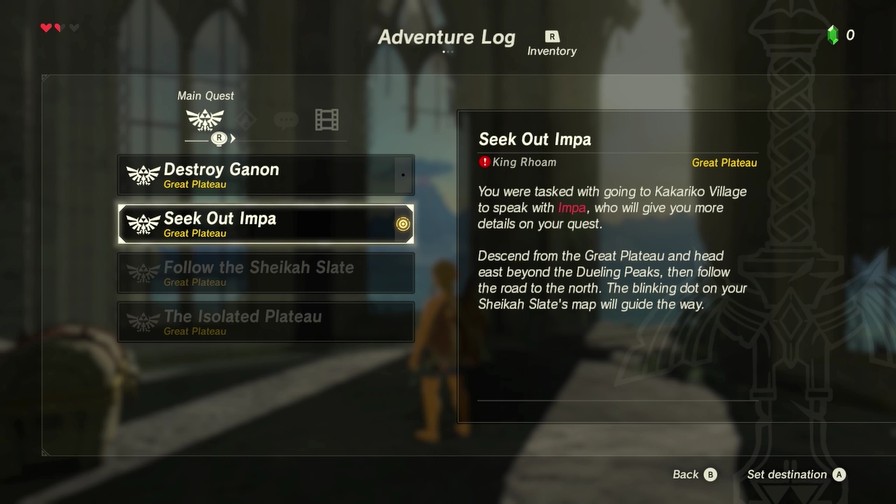
Somehow, Ganon has maintained control over all four Divine Beasts, as well as those Guardians swarming around Hyrule Castle. I believe it would be quite reckless for you to head directly to the castle at this point. I suggest…that you make your way east, out to one of the villages in the wilderness.
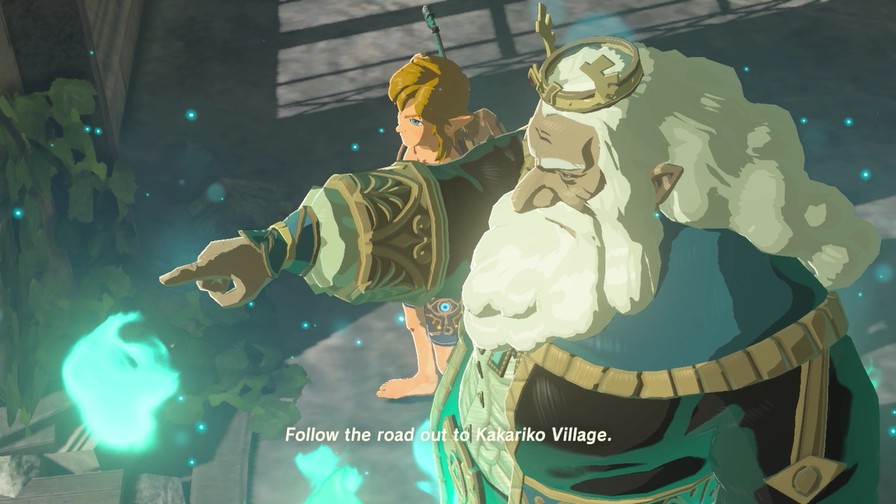
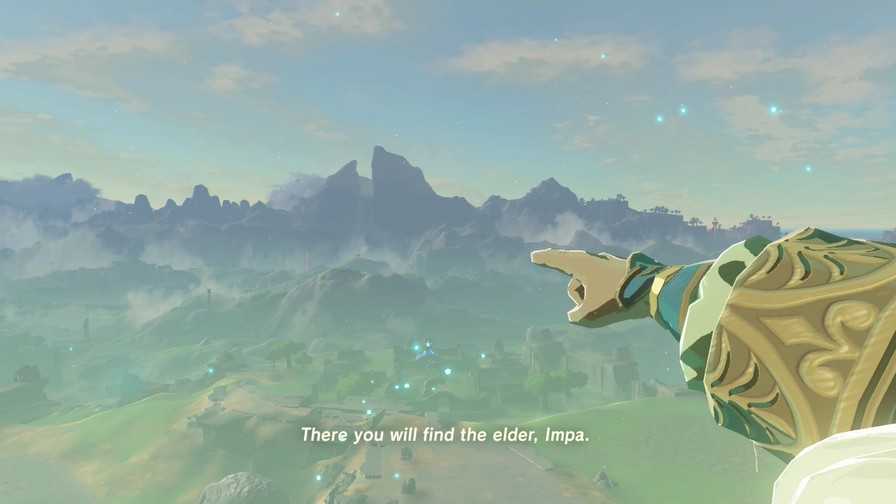
She will tell you more about the path that lies ahead.
Make your way past the twin summits of the Dueling Peaks.
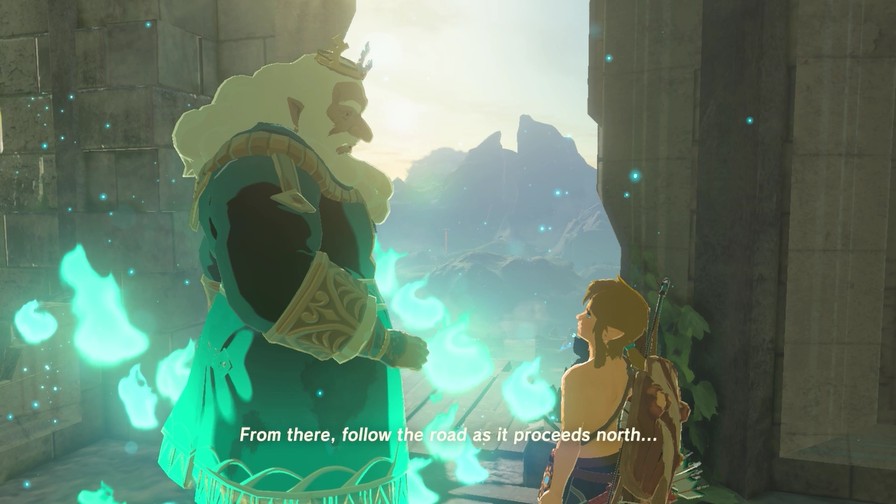
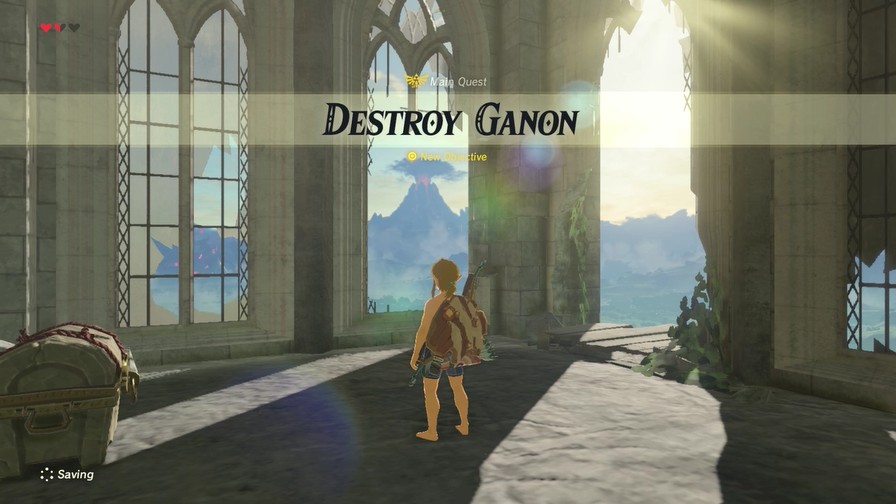
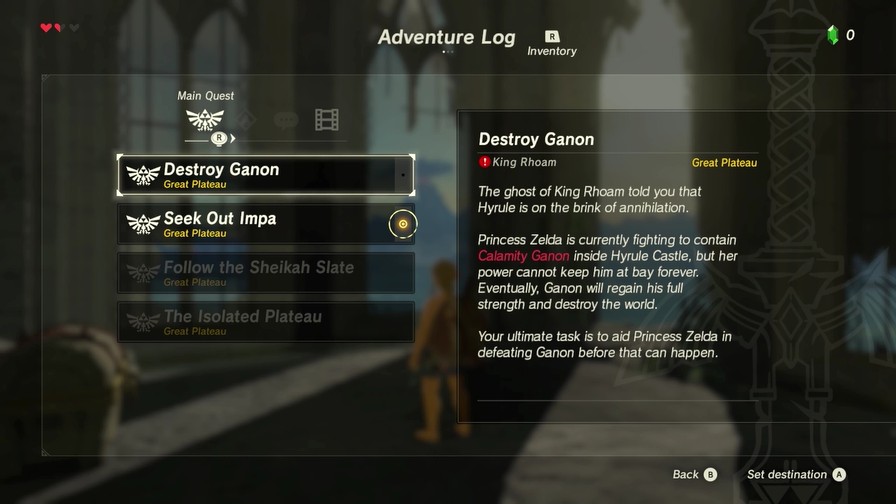
It’s a lengthy cutscene for sure, but it also sets up what exactly happened to Hyrule a hundred years ago as well as sets up both our overall goal (Destroy Ganon) and our immediate goal, should we choose to do it of course (visit Kakariko Village and consult with Impa). Of course, we’re still missing a lot of finer details, but those will get filled in over the course of the game.
At this point, the voiced cutscene ends and we’re back in-game, though with a bit more dialogue still…
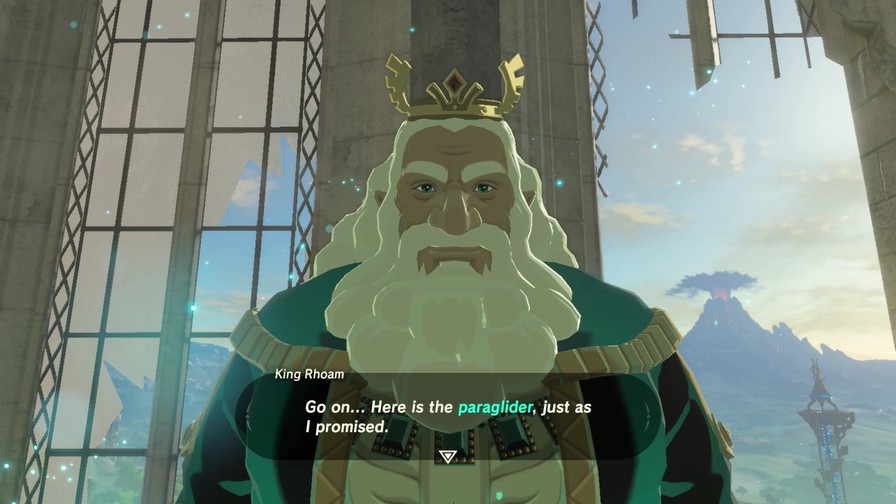
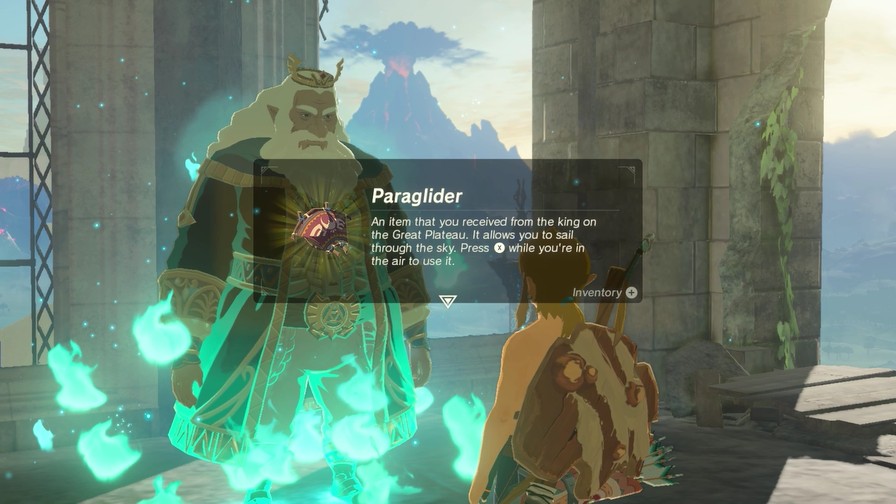
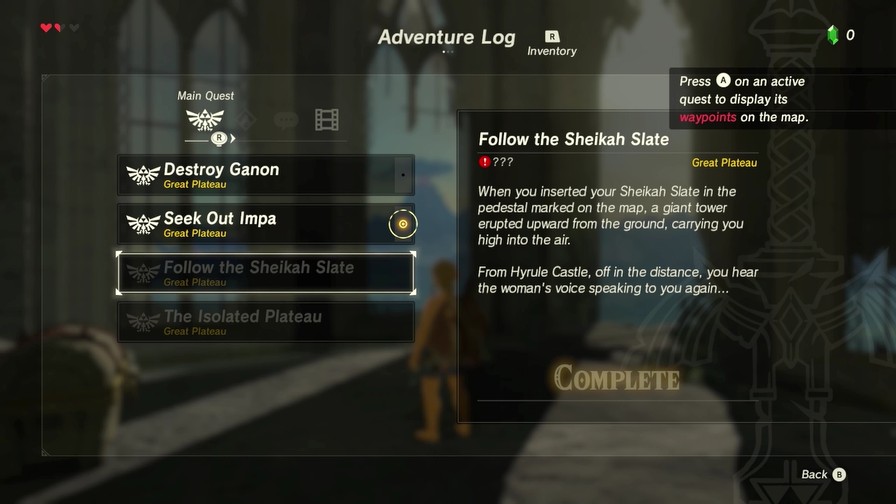
And we’ve finally got the Paraglider! This baby is essential in our travels, one of many reasons being we can’t leave the Great Plateau without it. Now we can travel through all of Hyrule!
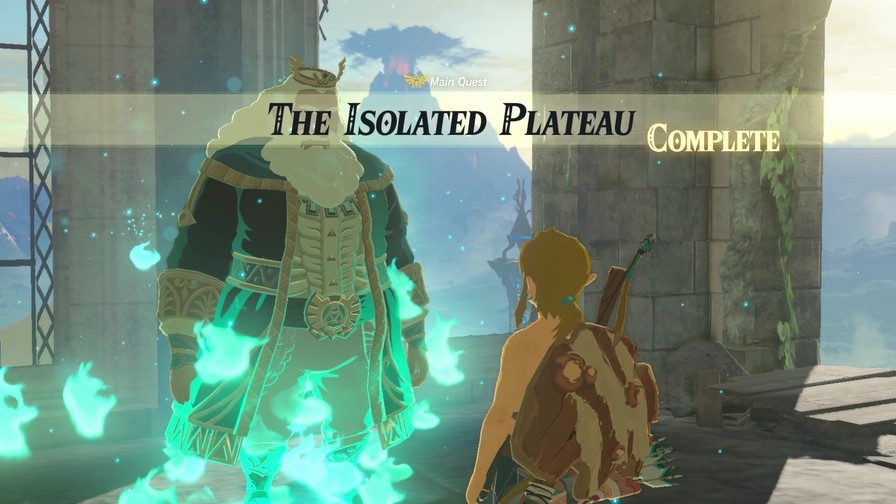
Which also means we’re finally done with the tutorial section of the game.
And…I think that’s it. I told you everything I can…
https://mp4.mega64.net/botw/u06/111.mp4
And there goes our only companion thus far.
We’ve got our two new quests.
And here are the results from the last quest for good measure.
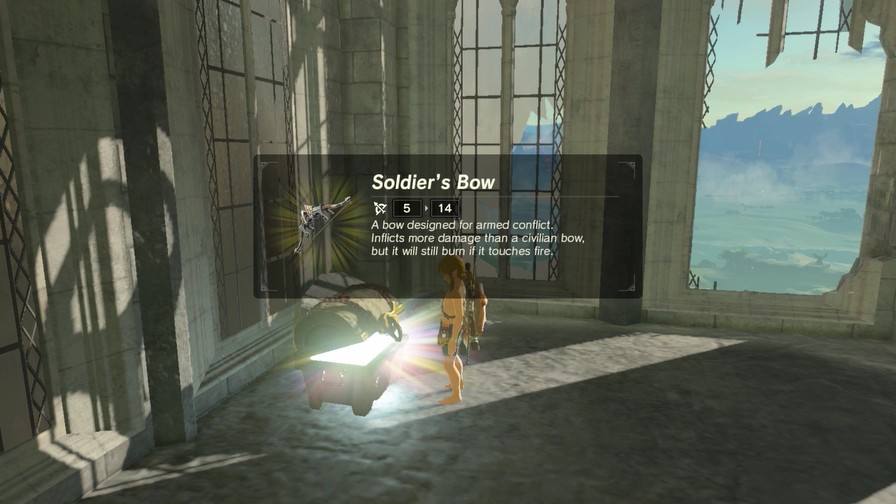
Also, an upgraded bow. Nice.
Before we finish things off here, let’s do a couple more things.
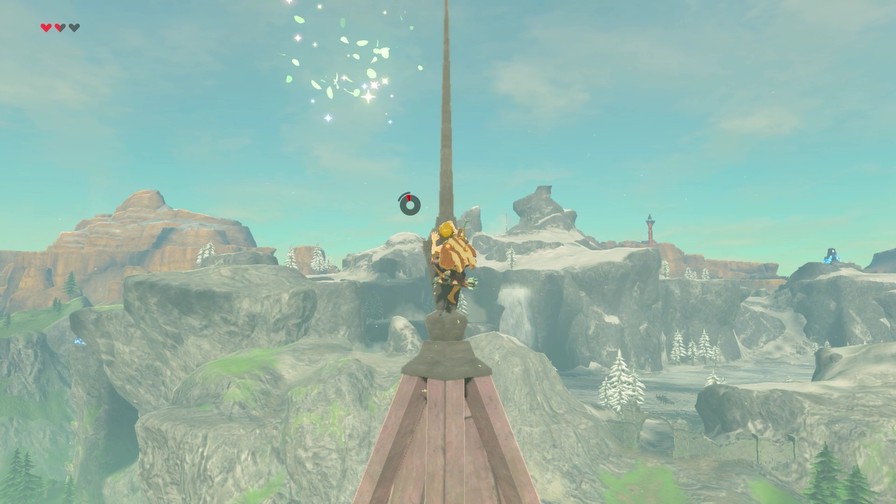
First, scaling the Temple of Time nets us another Korok.
We also get a nice bird’s-eye view of the surrounding area. We can explore all of it now.
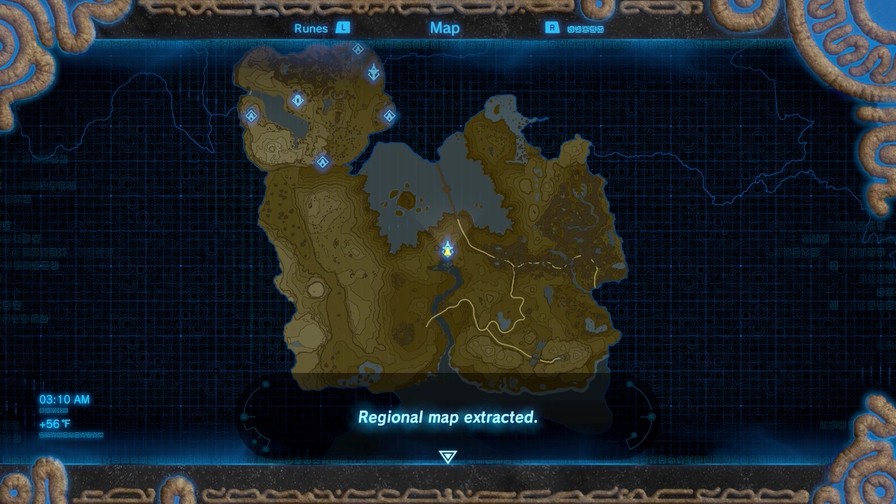
So, how big is Hyrule?
This is the Great Plateau…
…and this is the rest of Hyrule. The yellow dot is where Kakariko Village is.
So, uh, this might take awhile.
https://mp4.mega64.net/botw/u06/129.mp4
Paragliding is simple. Press X to open your paraglider in mid-air. This lets you cover large distances, which is very handy since the distances in Hyrule are…even greater than “large”. It does require stamina, though it doesn’t use too much unless you’re going really far.
To close things out, we’re going back to the cabin to check on one last thing.
Well, two.
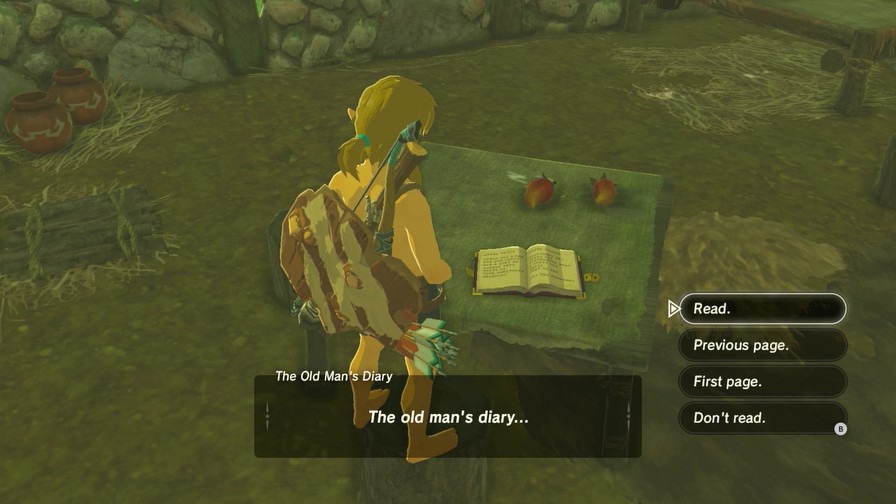
The diary’s been updated now that we’ve learned who the Old Man really is.
And with that…we’re ready to explore Hyrule!
We’ll do this in two phases. First phase, I’ll ask people for input on what we should do. After I have enough suggestions that are popular and/or I like, we’ll then do an overall vote and I’ll follow through on it to the best of my ability (meaning if everyone chooses “Go kill Ganon” I probably won’t be successful, plus it’d kinda make for a short and anticlimatic LP if I do).
I’m gonna aim for 6-10 suggestions, including the two the game has for us (listed below). After I have enough I like, I’ll throw up a vote for around a day or so.
Go to Hyrule Castle and (attempt to) kill Ganon.
Visit Kakariko Village.
Bold your suggestions. If you like someone else’s suggestion, please say so! And I’m always open for suggestions on other gameplay ideas, like what clothes (if any) to wear or any reasonable gameplay gimmicks. I’ll try to accommodate as much as I can, within reason of course.
Next time, the adventure truly begins! …Probably.
Hurray, the game finally opens up, literally. The rest of the map doesn’t load in until you have the Paraglider so even if you somehow found a way to get off the plateau without dying, you will just map out and die.
Being boxer-briefs link is cool but lets go find some sweet clothes somewhere.
Poll is up! It’s a checkbox poll so feel free to pick multiple choices if you wish. I’ll run it until around this time tomorrow.
And yes, I’m going to start wearing clothes.
Head south.
Also, get ye clothes?

Nice. I’ll probably travel in a relatively straight line to the edge of the map where it points, or at least as far as I possibly can. Of course I’ll make detours if necessary.

Click here to open the update!

Stealth in this game is pretty similar to how you’d think it would work in real life. Simply sneaking in front of an enemy won’t work. Likewise, making lots of noise will draw attention quickly. Cover helps, including tall grass. Darkness is also handy.
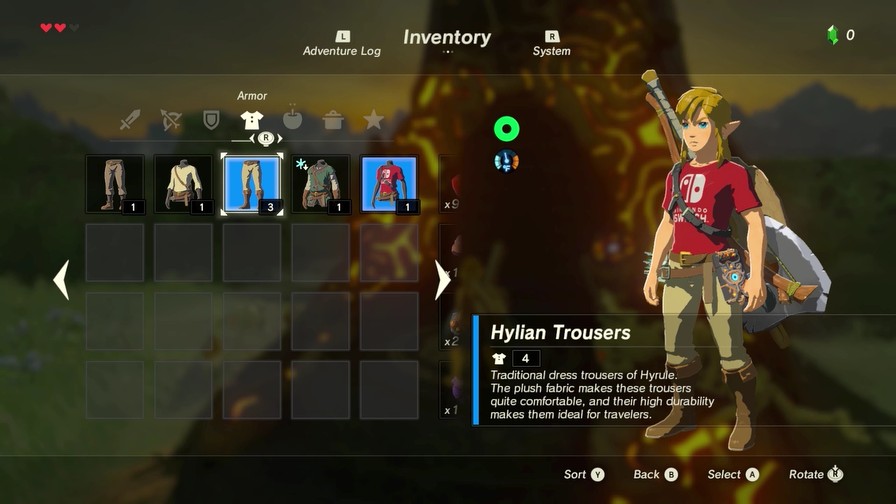
By popular demand, Link is now finally wearing clothes! The Switch T-Shirt (since all three shirts I own have the same defense) and the Hylian Trousers (since they give a hefty three defense). Link can actually take hits now!
So I held a vote on where to go now that we’ve got complete freedom. Our winner…
Must say I’m pretty fond of the suggestion myself.
Our weapon! And our destination is…
https://mp4.mega64.net/botw/u07/006.mp4
…here! The sword is pointing to the southeast, and honestly that’s probably one of the better directions we could go starting out.
Looking out that way is a large bridge, and beyond that a tower. We’ll certainly be making a detour to that tower!

And with that, the adventure truly begins!
We land next to a ruined building. Nothing else of note.

And here’s all the stuff we’re not going to visit anytime soon.
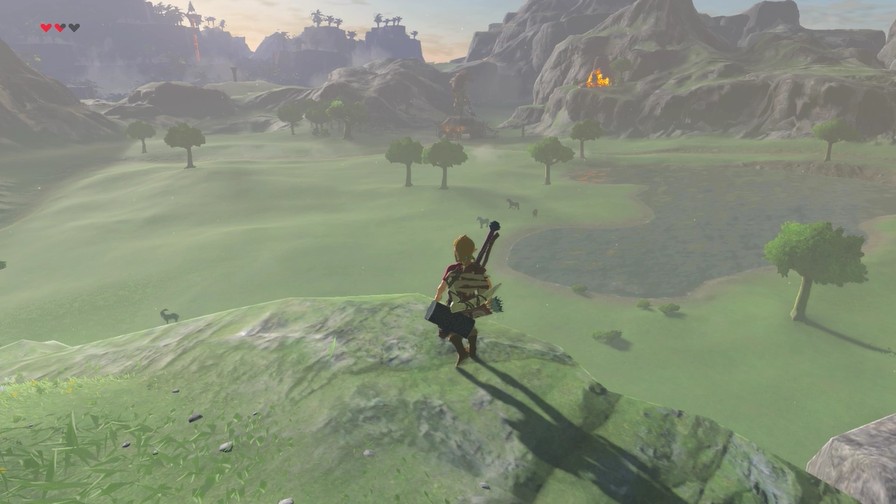
Meanwhile, here’s the Great Plateau from ground level. Certainly looks huge from here!
There’s much more diverse wildlife out here, all ready to be hunted.
Yet another bug that resists the cold.
It’s hard to tell from screenshots, but it’s raining right now. You can kinda tell from how slick the rock is.
Rain is the bane of every BotW player. It extinguishes fire, which is itself a nuisance, but more importantly it makes climbing more difficult, causing Link to slip after every few steps. There are some handy benefits to rain though, which I’m sure I’ll get into later once it becomes relevant.
Fortunately it’s not raining where this platform is, so I can climb up with relative ease.
Right of the bridge are some islands. I could get to them with extensive use of Crynosis, but they’re a bit too out of the way right now.
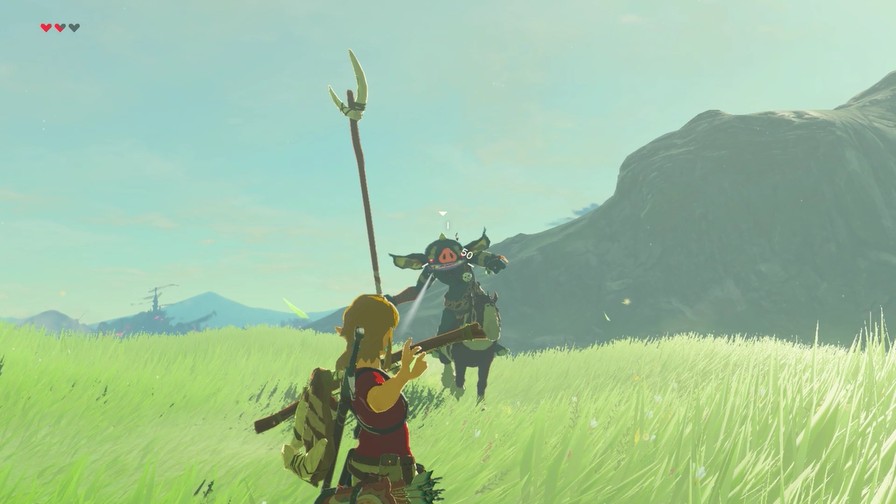
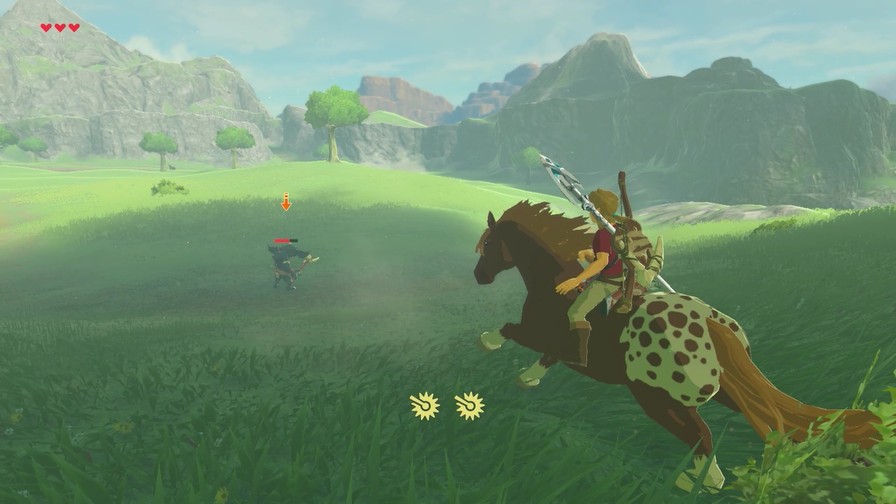
There’s also a Bokoblin camp overlooking the entrance to the bridge.
Unfortunately, my bows’ range are too short and I can’t hit this guy.
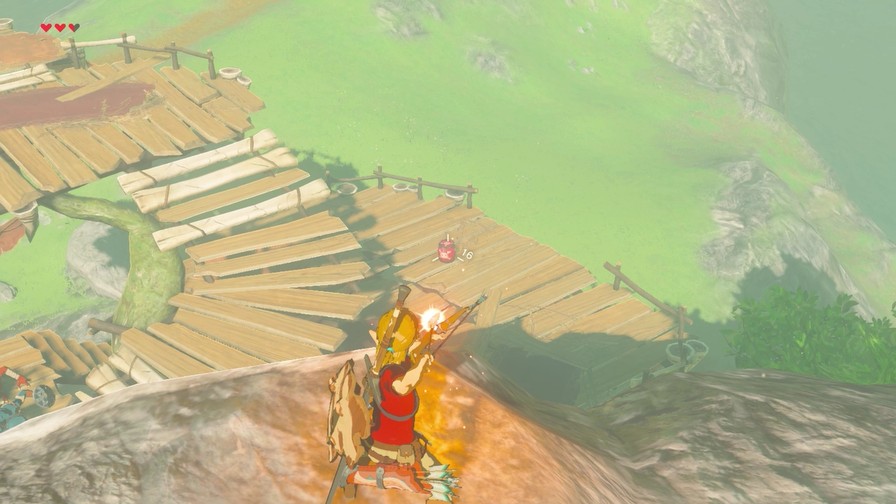
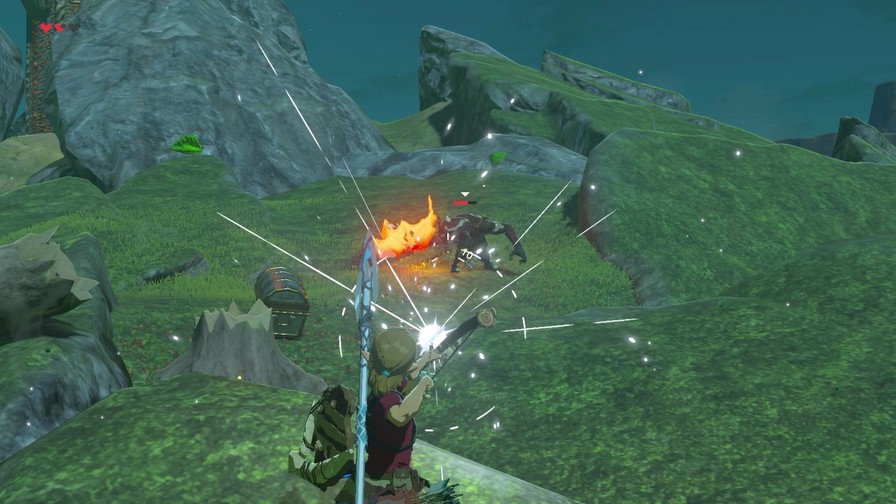
I do take out several of them thanks to a well-placed explosive barrel, though.
As for the rest…
https://mp4.mega64.net/botw/u07/024.mp4
If you try to shoot your bow in mid-air, time slows down to give you more time to shoot, albeit at the cost of stamina. Once you have more stamina and better bows, you can really do some damage.
One of the Bokoblins survived and has a present for me.
Not all these camps have chests that require defeating every enemy. I can just grab these Ice Arrows as is!
At this point, the regular Bokoblins are little threat. The blue one is still kinda risky.
https://mp4.mega64.net/botw/u07/028.mp4
But not as risky as my own stupidity! Lucky to survive that one.
Then I run away to lick my wounds. Technically I could just eat food mid-battle and whoop its ass, but I’m going to try to avoid food abuse during battle since it can quickly trivialize the game.

This is the Bridge of Hylia, the bridge that spans over Lake Hylia, another reoccurring area throughout the series. It’s fallen in disrepair over the past century, though.
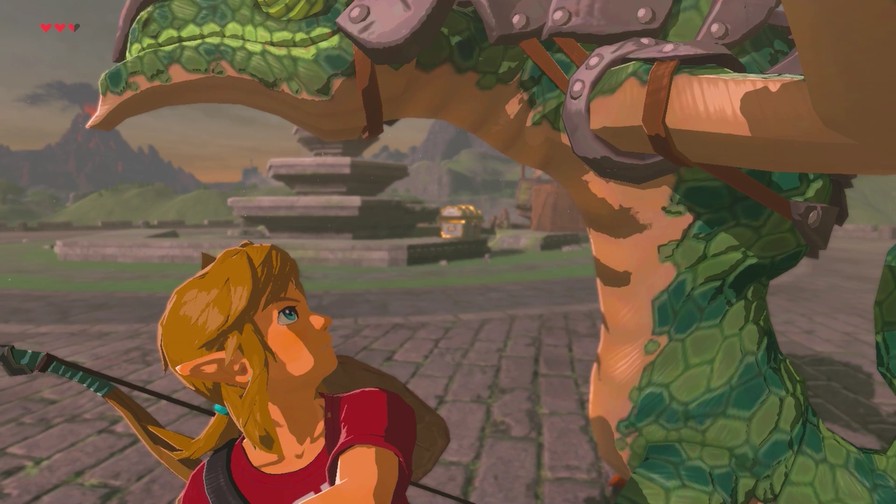
At the center are a new enemy, the Lizalfos. They first appear as a mini-boss in Ocarina of Time before becoming regular enemies in the latter 3D games. They’re trickier to fight since they jump around a lot and avoid close combat when possible. They prefer to attack from a distance with spears, bows, and boomerangs.
Yes, boomerangs.
One well-placed arrow knocks this guy off.

Sometimes things just work out for some spectacular up-close screenshots.
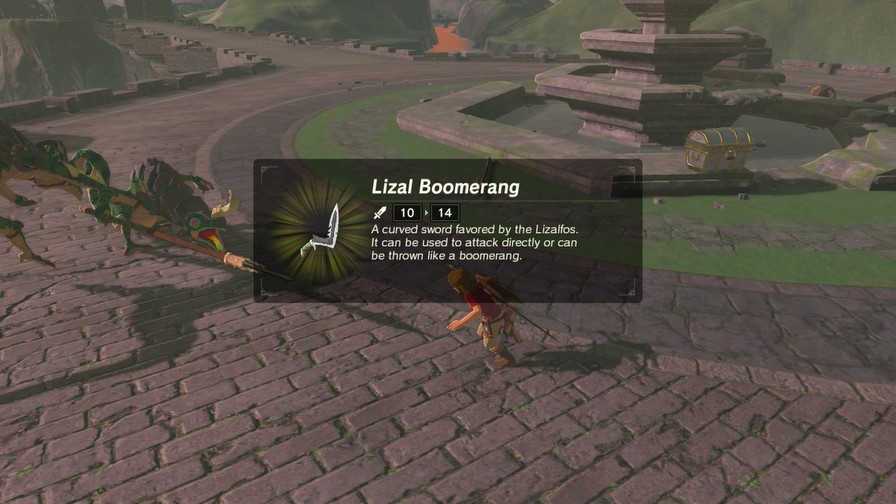
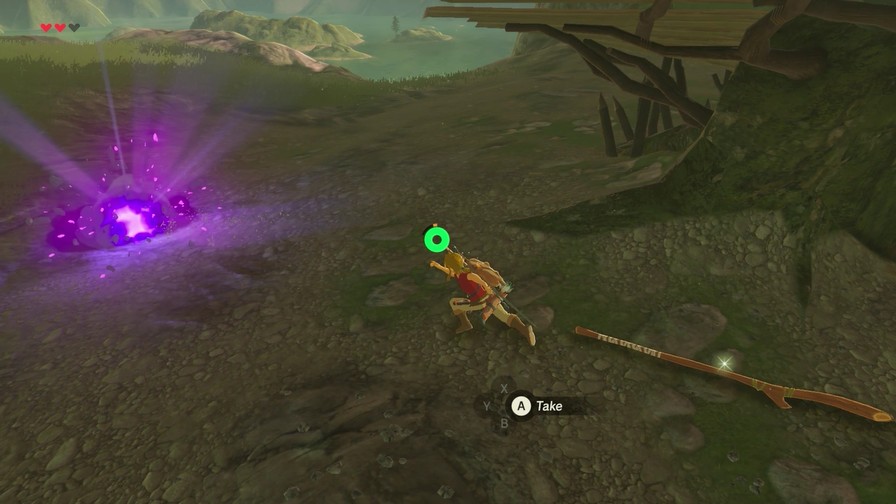
I knock the boomerang off one of them and take it for myself.
https://mp4.mega64.net/botw/u07/038.mp4
Boomerangs are simply another weapon type in this game. You can use it as a melee weapon if you want, but they really get fun once you throw them. The trick is you have to time pressing A to catch it when it comes back to you. Else you won’t catch it and will have to backtrack to grab it again. But once you master them, nothing beats walloping your foes from a distance.
And wallop I do! Lizalfos are annoying to fight close-quarters, so boomerangs and bows help a ton.
With that, we’ve got a ton of new items to look at. First…
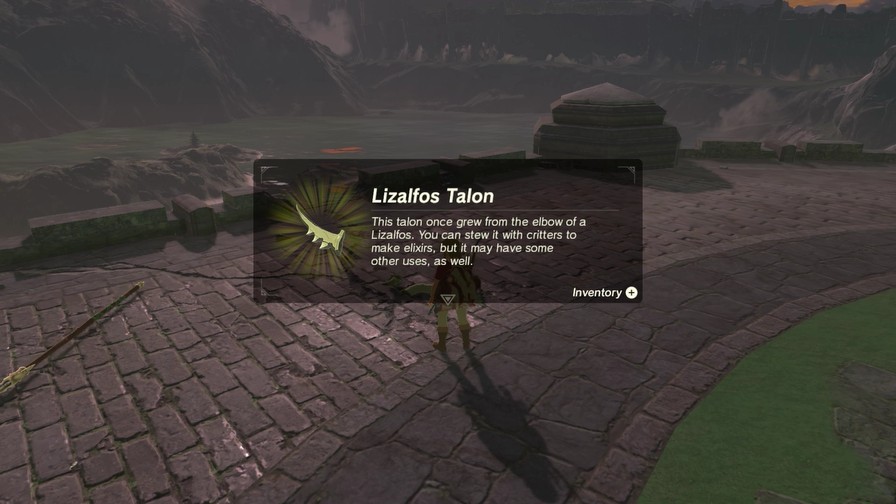

Horns and Talons. Their specialty drop are their tails, though the regular Lizalfos never drop them.

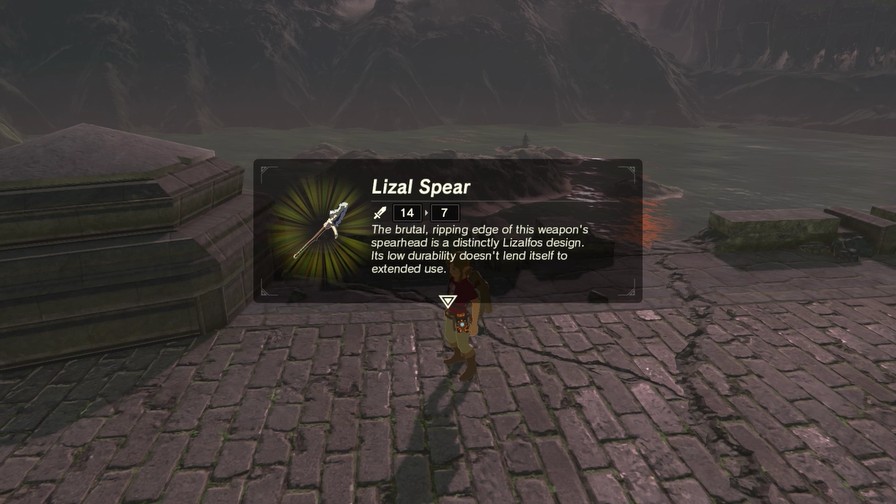
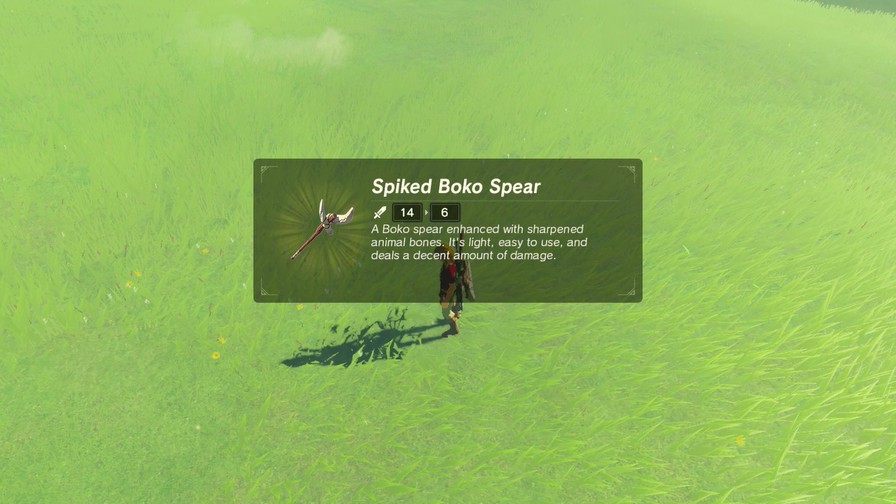
More spears. And speaking of spears…
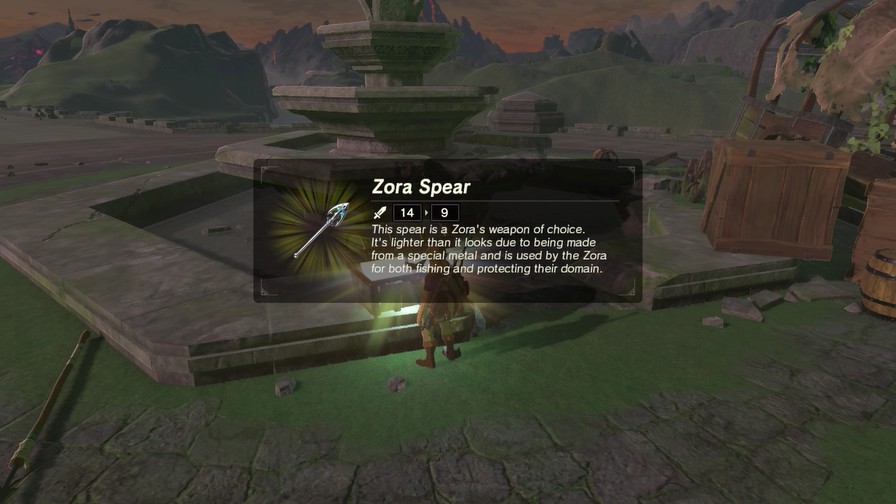
This chest has another spear, this one made by the Zora. Zora are one of the series staple races, fish-man hybrids that live in various water areas in Hyrule. I grab this one since it’s a solid strength for a spear.
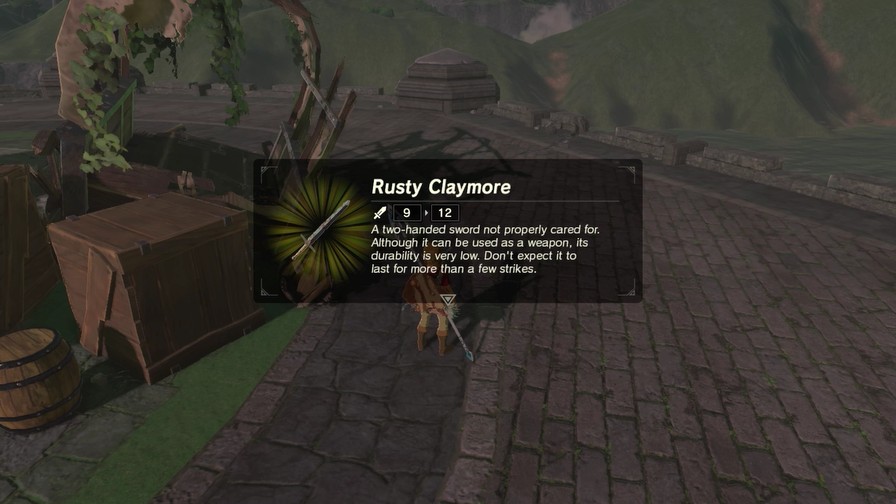
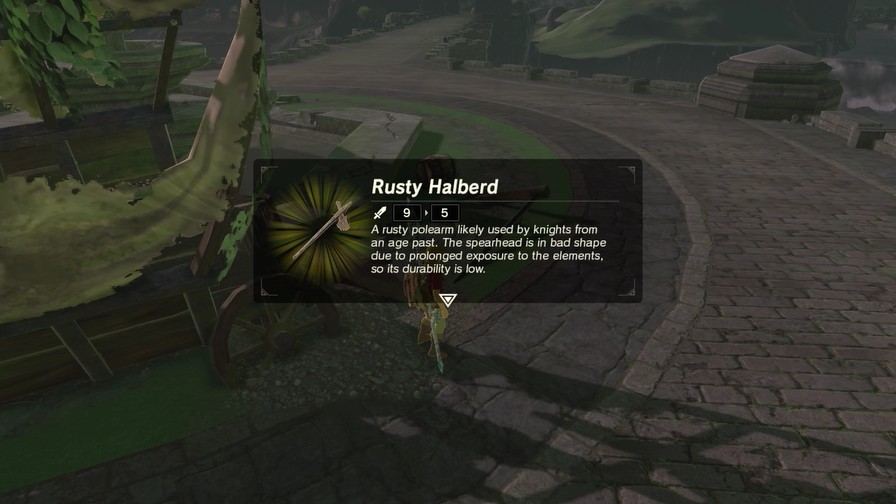
Finally, more rusty weapons. Nothing too exciting.
Oh, and another Korok, of course.
Eventually I reach the end of the bridge.
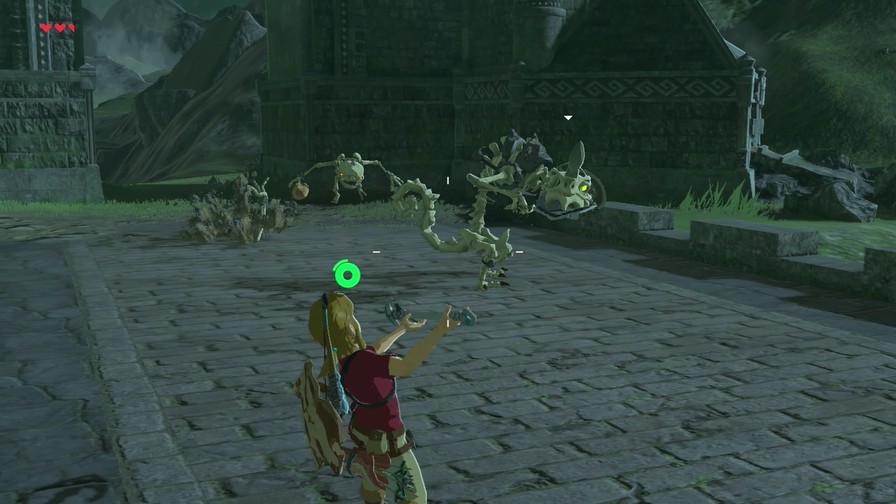
And come across a new enemy, the Stalizalfos. They’ve got the agility of regular Lizalfos but the miserable durability of the Stalkoblin.
Bombs make short work of these guys and save us some weapon durability.
https://mp4.mega64.net/botw/u07/052.mp4
Also I boot a couple skulls off the bridge before the Stalizalfos accidentally jumps off itself. Victory!

Then Keese appear, but one bomb will kill them quickly.
A fox! One bomb oughta be enough.

Oops.
Paid off, though!
This is how far we’ve traveled, by the way. Still got a bit of a walk to go.
Since this tower’s on the way, might as well climb it to scout the area!
Many of these towers have weird gimmicks that make it more difficult than simply scaling them. This one’s not too bad, it’s mainly that there are a lot of enemies surrounding it. Nothing Link can’t handle by running away.
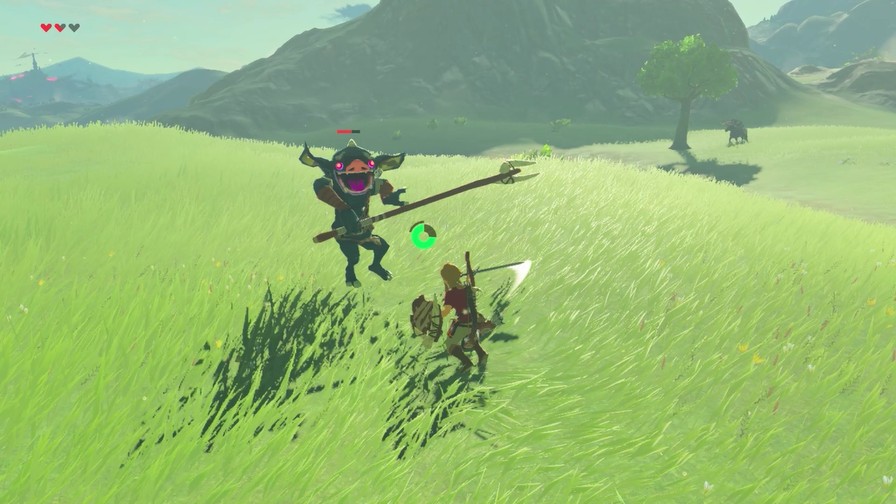
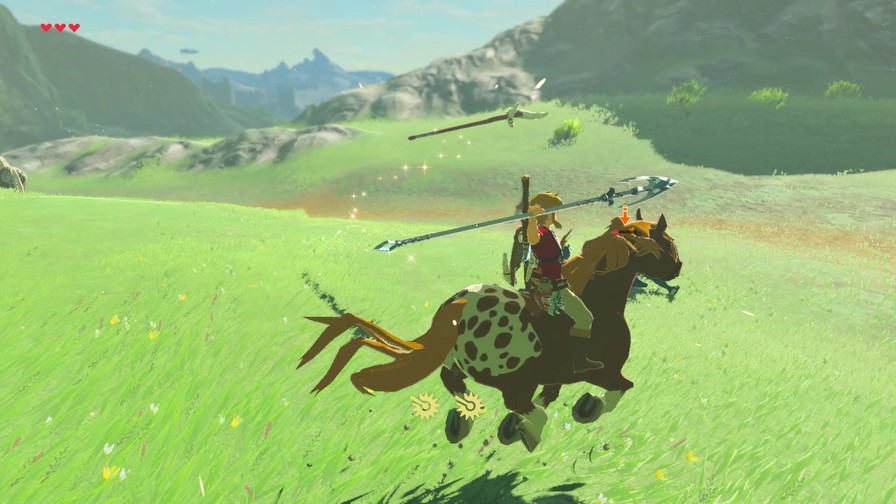
Uh-oh. This guy’s a Black Bokoblin, the next tier up from Blue. Definitely can’t take him lightly.
https://mp4.mega64.net/botw/u07/064.mp4
Time to use the big guns on this guy.
Then I freeze him, which lets my next attack deal more damage and gives me some breathing room.
https://mp4.mega64.net/botw/u07/067.mp4
The one-hand weapons simply do Link’s signature 360-spin attack. It’s effective enough here.
Somehow, I manage to kill this guy without getting clobbered.
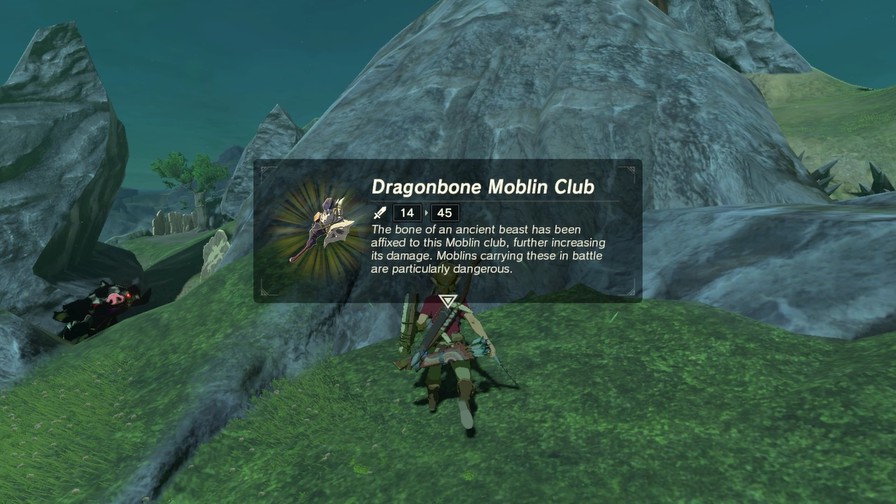
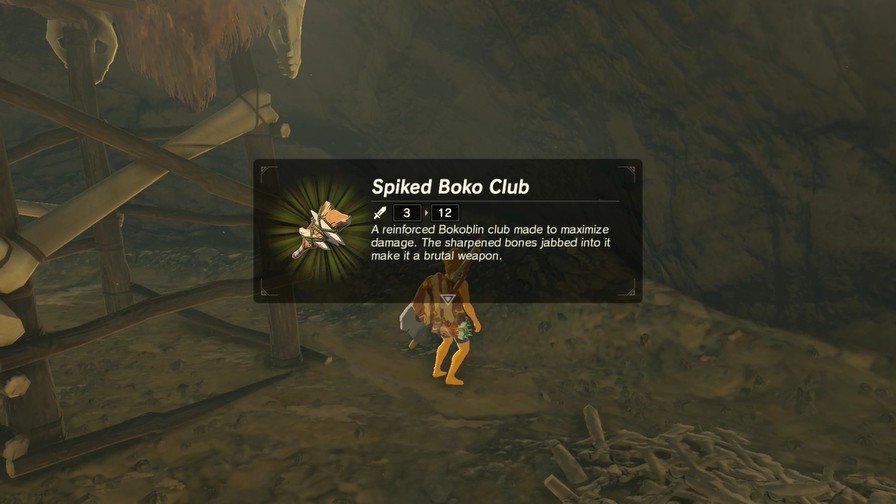
OH MY! Over triple the power of our next-strongest weapon. One hit from this would’ve killed us easily. With our current armor, it’d have killed us in one hit even if we had ten hearts (damage is a simple Weapon Damage - Armor, where 1 damage = Quarter Heart).

We also get a ton of apples from that tree, and ten more arrows from the chest.
The club was easily the prize for that fight though.
I go for the monster loot for more guts and encounter a Blue Lizalfos. They’re the next tier of Lizalfos, able to spit water as a projectile at Link.
I’ve had enough bloodshed for now though and book it to the tower.
Anyway, once you reach the tower proper it’s pretty simple.
Climb, rest at the platforms, then climb some more. You don’t have to do anything tricky here.
Eventually…

https://mp4.mega64.net/botw/u07/080.mp4
…we activate the tower. This does several things.
First, it activates fast travel to the tower. It’s always handy to be able to teleport to a high area!

It also unlocks the map for that area, letting us see landmarks like roads and whatnot.
And the first time we activate a tower outside the Great Plateau, we get another neat bonus.
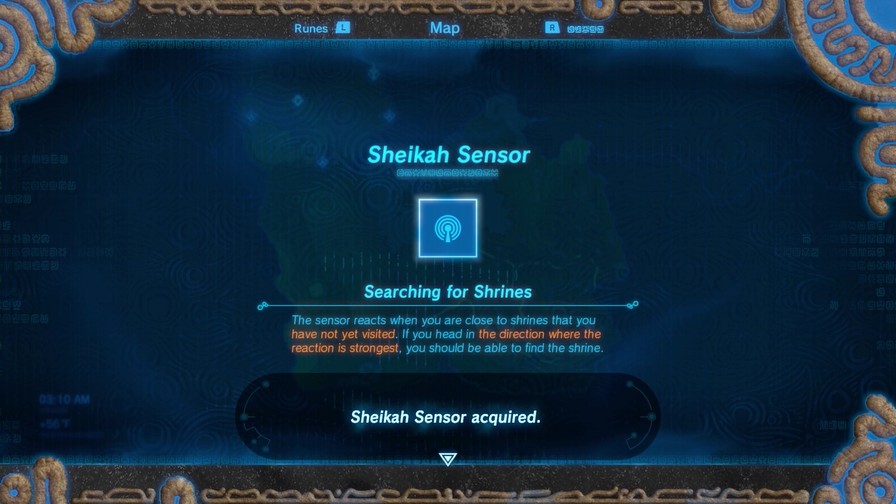
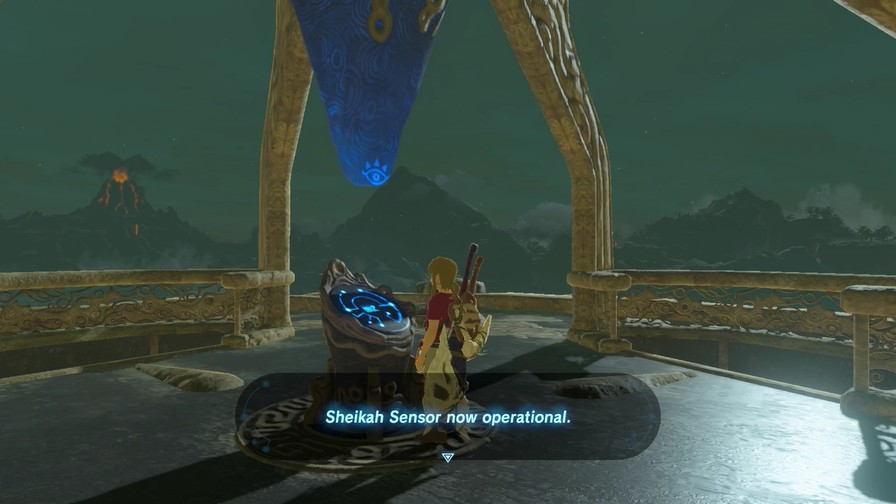
The Sheikah Sensor will alert us when we’re near shrines.
It gives off a noise when you’re walking in the direction of a shrine near you, and if you have the HUD on the icon will have one to three bars depending on how close you are.
It’s got some limitations. It handles differences of height poorly, and it might miss some shrines related to quests, but overall it’s handy during the game if you’re going to use it to find the game’s whopping 120 shrines. It’s not required to find them all to get the game’s best ending, though.
So this is how far we’ve traveled today. A good distance for sure, but we’ve barely scratched the surface of Hyrule’s secrets.
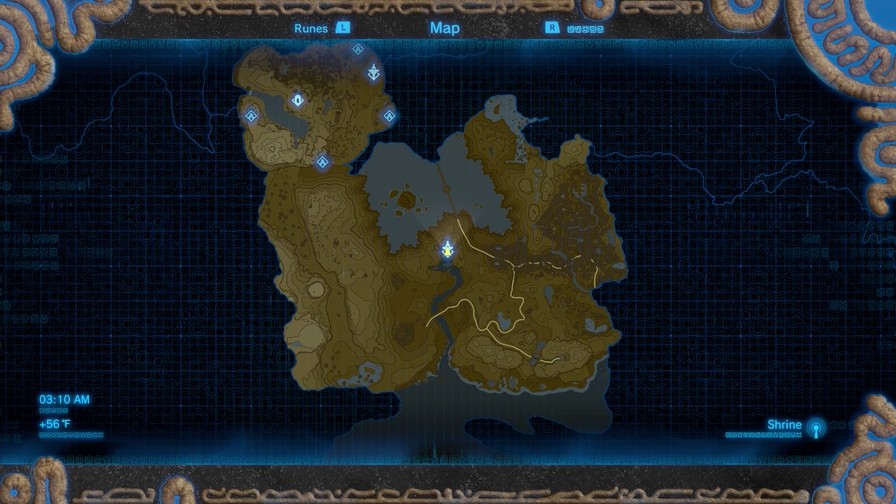
Off in the distance is a shrine, and in the direction we’re going to boot!
And next to it is a rather odd-looking structure. What’s over there?
We’ll find out next time!
1 Like
FYI, the videos in update 6 are broken.
The host broke for awhile. I had to use an alternate host for this last update.
Anyway, they’re back up now.

Click here to open the update!
You’ll get this a lot early on since it usually pops up right after you die.
Last time, we set out into Hyrule, crossed a large bridge, and climbed our second tower. Now we’re off to follow the path of a sword we threw in the air.

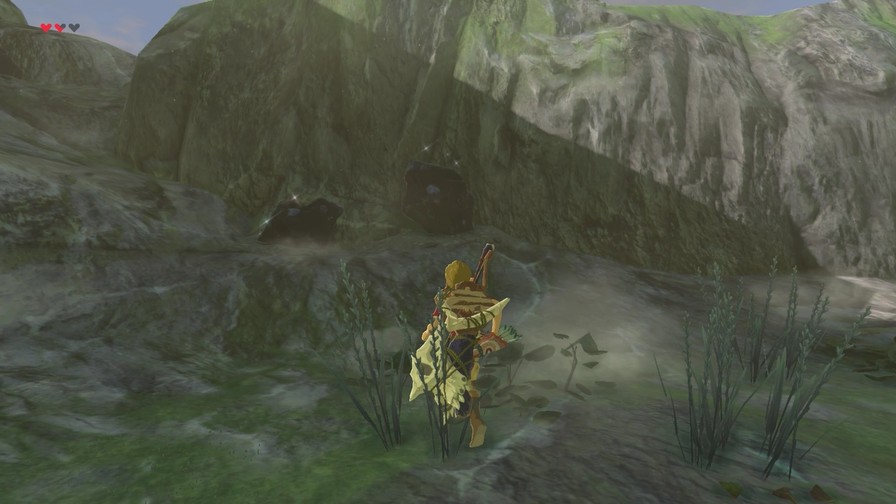
We end up near this small grove.
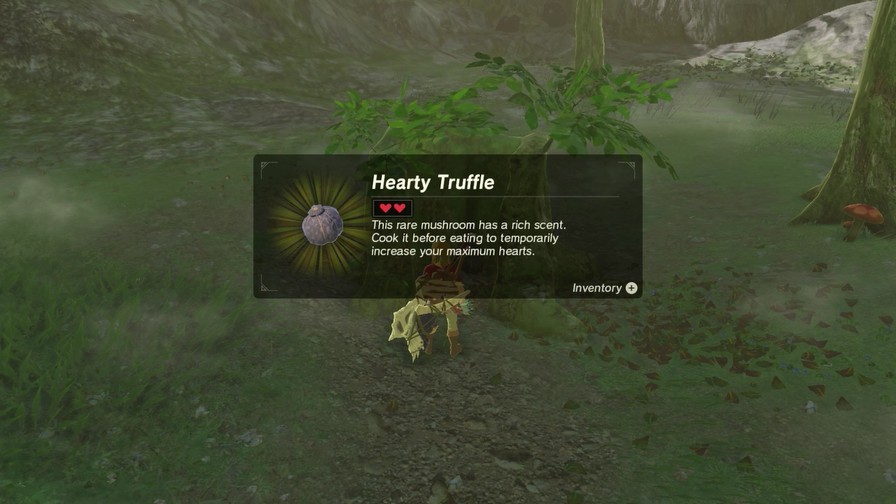
Hearty Truffles give extra temporary hearts when cooked and consumed. There’s a trick to all temp heart foods that make them incredibly broken, but more on that later.
We also see our first instance of ore.
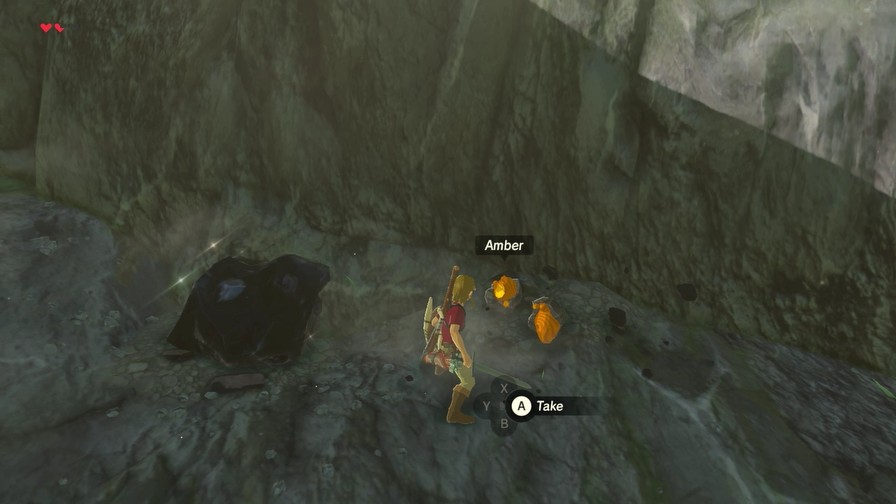
Smash the ore with a weapon (the Iron Sledgehammer being more effective than most weapons, though any high-damage weapon could break them in one hit) to get various gems and other items. These mostly give amber, though we can find ores with more valuable gems later.
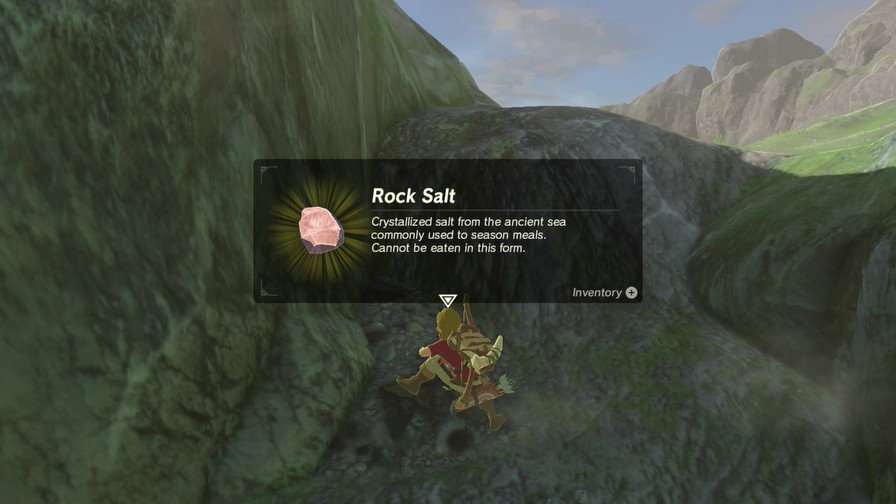
This one gives rock salt, an item primarily used for cooking. In general though, cooking-oriented items are not worth it except to make specific recipes, and usually you’ll only want those for quests.
Eventually we reach the massive clearing that houses the shrine and the mystery structure. A bit closer to us…
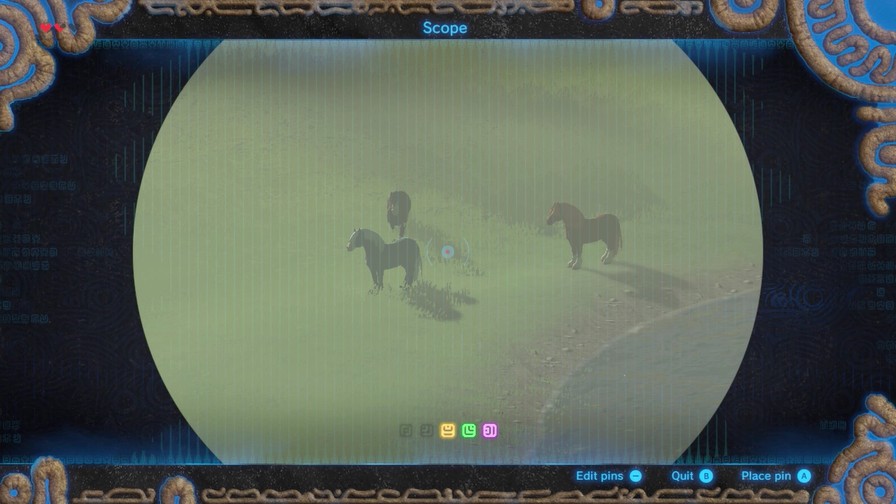
…horses! There’s no Epona in this game (unless you have a specific Amiibo, then scanning it will add her in). Instead, you’ll have to capture and soothe wild horses. You can have multiple horses, though, and you can name them, which I’ll certainly let you guys do!
https://mp4.mega64.net/botw/u08/012.mp4
Unfortunately, catching a horse is not that easy. That’ll have to wait, though, as Link is not the only being that can ride horses.
Bokoblin riders are common where wild horses roam, ready to attack with bows and melee weapons. One hit will knock them off and let you fight them as normal, though.
Anyway, for now, let’s make our way to the structure.
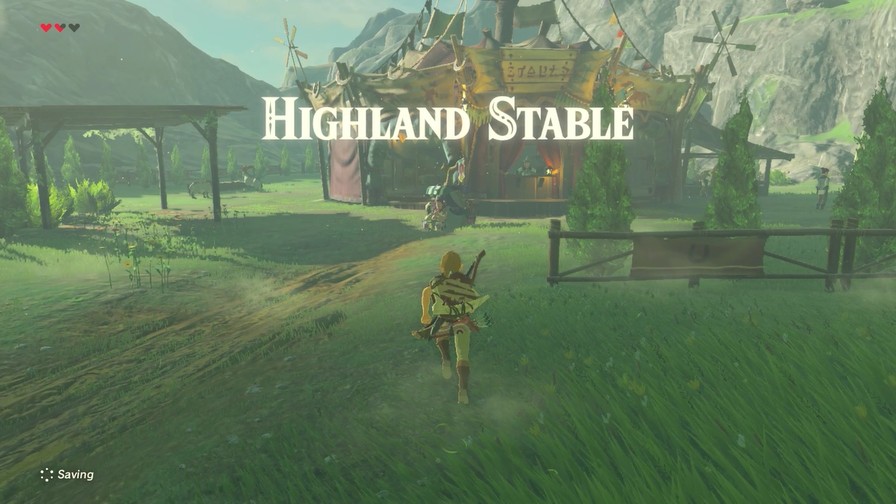
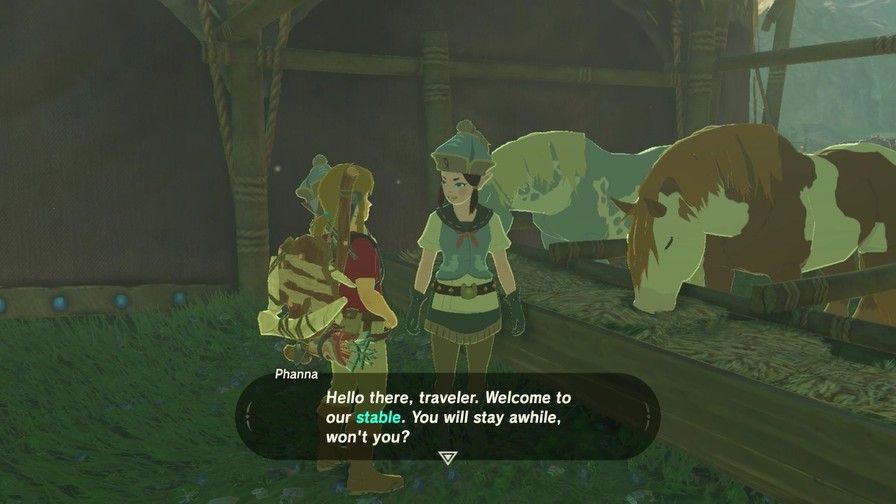
This is our first of many stables we’ll encounter in our travels. Stables are generally small outposts scattered throughout Hyrule where we can barter with travelling merchants, rest, and eventually deal with any horses we have. There’s also usually some quests involved as well.
The music itself is an arrangement of Epona’s Song, which first pops up in Ocarina of Time and shows up in a few other places.
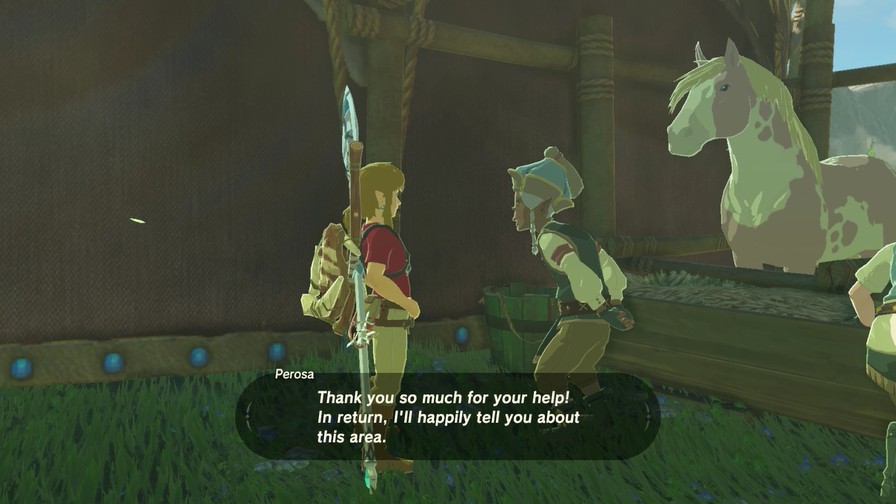
Anyway, we’ve found real live people for the first time in a hundred years. Time to get to chatting!
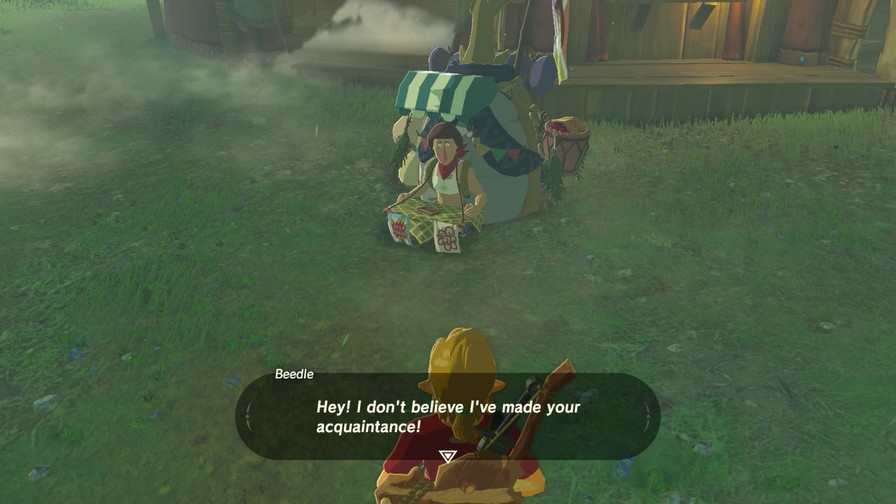
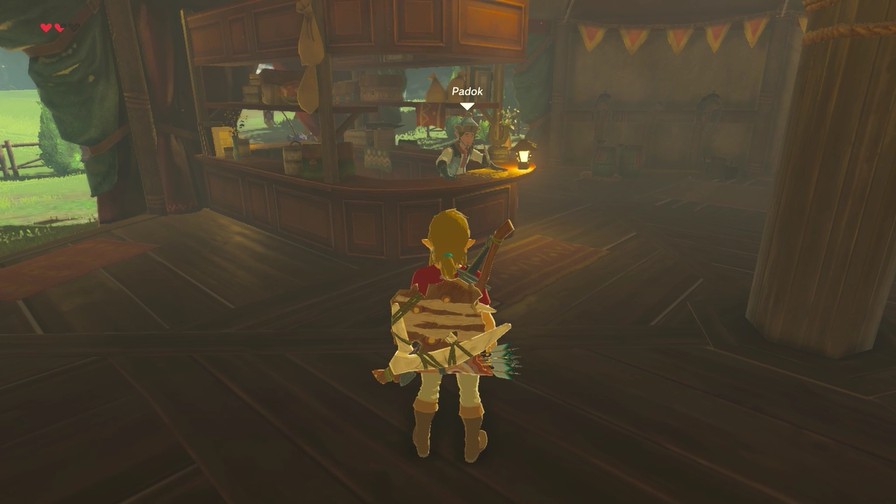
 The name’s Beedle, but you can call me- Actually, let’s just stick with Beedle. But even if you forget my face, you can remember me by my beetle-shaped backpack! Despite these dangerous times, you’ll find me traveling all over Hyrule to fulfill your shopping needs. I stock many special bugs and must-have items for travelers, and I always charge a fair price…or my name’s not Beedle! I also but all sorts of things, if you’re in need of rupees. Gemstones in particular fetch a high price!
Beedle first appears in Wind Waker and pops up throughout the series after, usually as a bug-loving merchant. He’s pretty much the same here, usually wandering between the various stables and offering things for sale.
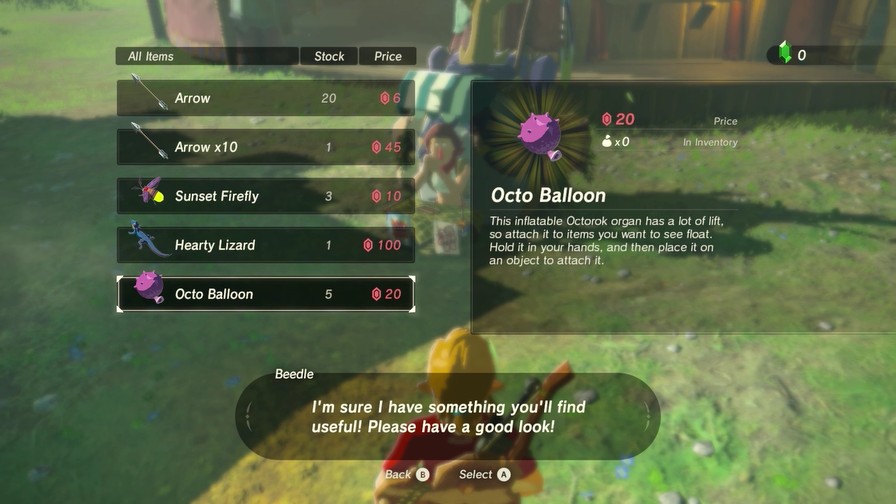
Always (or almost always), Beedle will sell arrows (both singles and a set of ten at a discounted price) and various bugs, though in this case he’s selling Octo Balloons as well. We’ll get plenty of those in our travels later, plus Link is kinda broke.
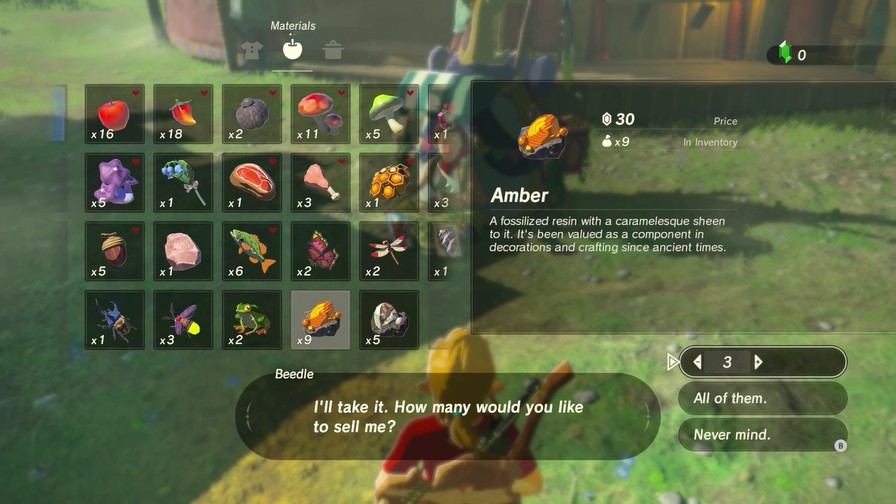
Of course, we can also sell stuff. Gemstones do have uses outside of selling them, but generally it’s easy enough to get them, especially stuff like Amber, that if you’re short on money it’s recommended to sell gems to reach what you need.
I’m going to need a bit of pocket change in the next update most likely, so I sell three of my amber.

Unlike previous LP’s I’ve done, I’m not going to go through the trouble of making portraits of every single NPC I meet in this game. Instead, I’ll be using a generic Sheikah symbol for the more generic NPCs like stable residents and random travellers.
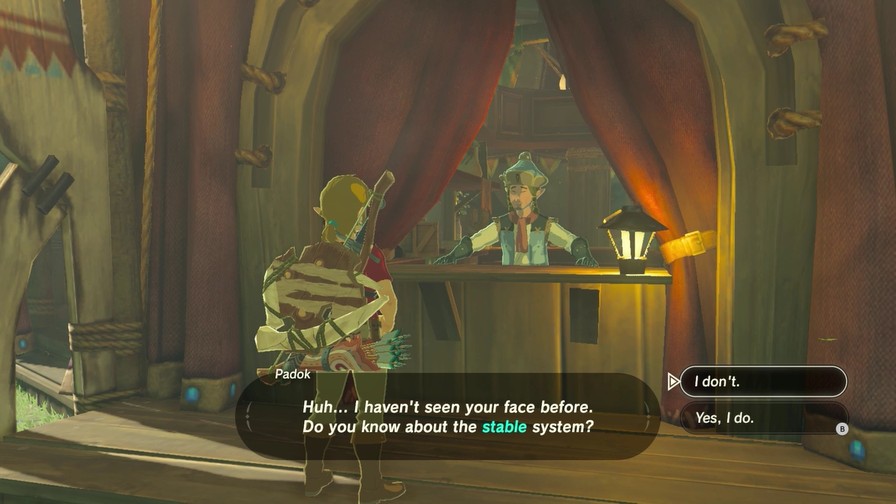
Anyway, this guy is going to do my job for me and explain how stables work.
 Then allow me to explain. You can board your horse companions with us and then summon them as you please from our network of stables. You may have come across wild horses during your travels… If you catch one and ride it here to register it, it will become your horse companion. One person can board up to five horses, and you’re able to swap horses in and out as you please.
It costs a small fee to register horses, but nothing significant. Big thing is you can store a horse at one stable and take it out at another, which is handy.
Horses can be kind of a pain if you’re the type to navigate by climbing mountains and paragliding everywhere, but if you prefer sticking to the roads horses are very handy since they’ll stick to paths automatically.
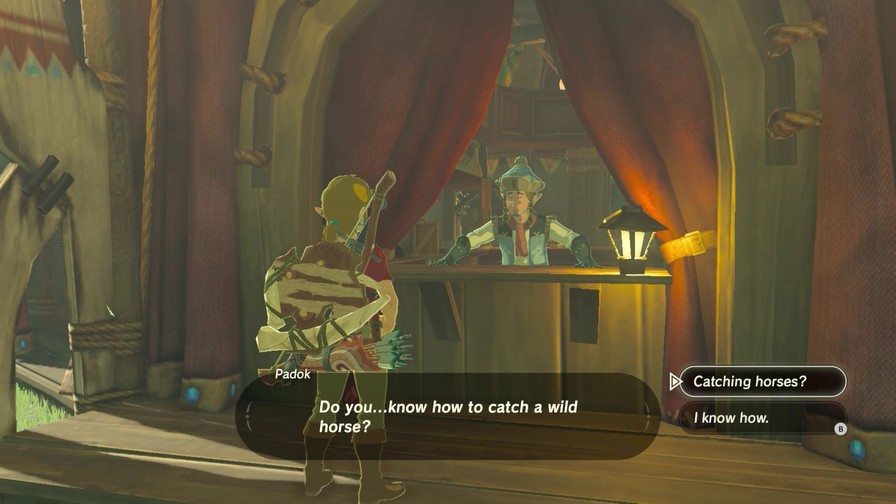
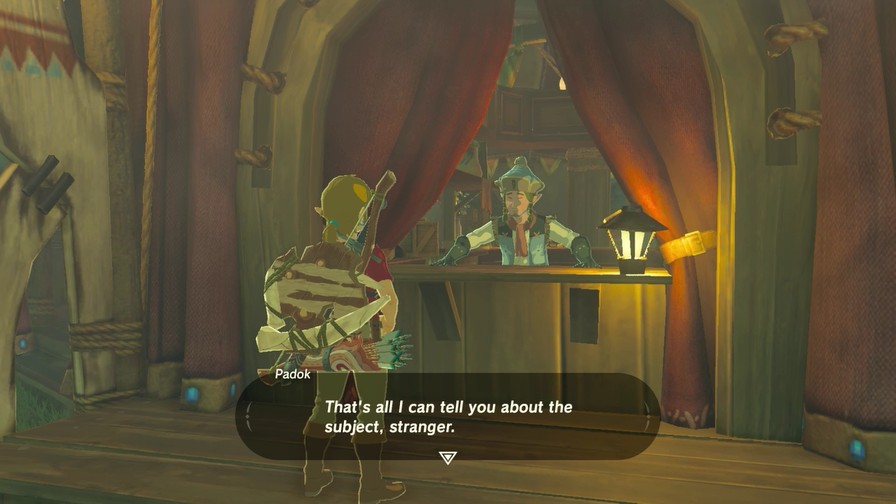
Next up, let’s learn how to catch a horse.
OK. To catch a wild horse, all you have to do is approach it from behind - slowly, so it doesn’t notice you - and then hop on. But these are wild animals we’re talking about, so if the horse you’re riding starts to act up, try soothing it. It will eventually settle down, and when that happens, bring it to me. It may take a while for wild horses to get used to being ridden. They may change directions or slow down on their own until you earn their trust and respect. If your horse disobeys your direction, you’ll want to gently redirect it and then calm it. And if you continue interacting that way, your horse will naturally begin to trust you and become more obedient.
That’s a lot, but the important thing is to sneak up on horses, then soothe them into letting you ride them. More wild horses will require you to have more stamina to hold on long enough to soothe them effectively. After that, it’ll take awhile for your horse to obey you, so simply soothe it when it starts doing its own thing. Horses with higher stats tend to be harder to soothe and win over.
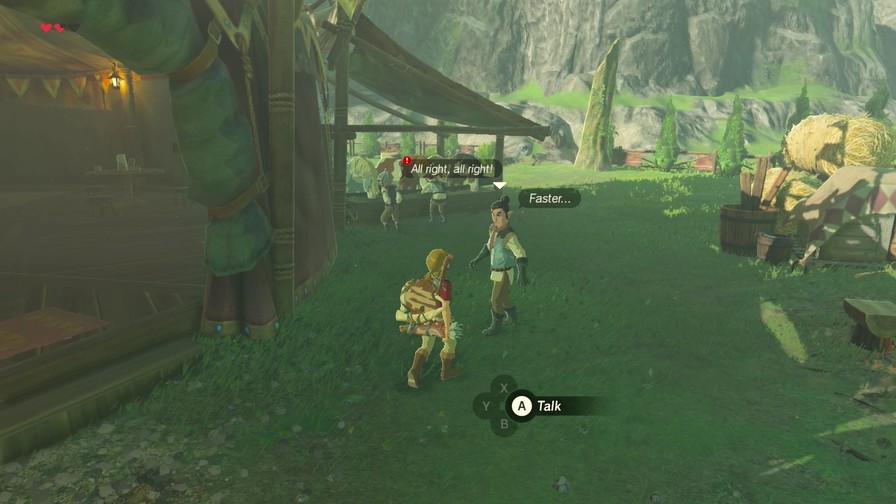
There’s a few more NPCs here. If you see someone talking with an exclamation point, that means they have a quest to offer.

I grew up taming horses 'round these parts. I’m confident there’s not a rider in Hyrule better’n me. And I got just the way to prove it - a li’l game to test which fella’s better in the saddle. One I almost never lose.
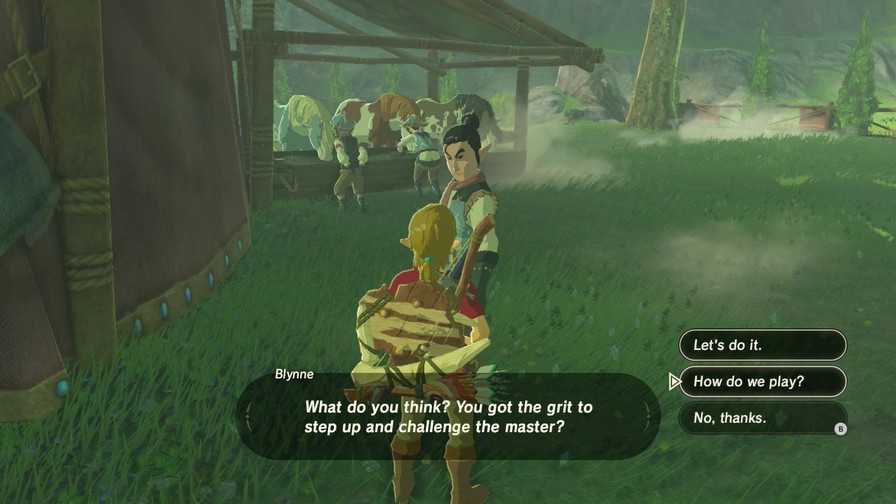
We can’t really do this right now since we don’t have a horse, but might as well find out how it works anyway.
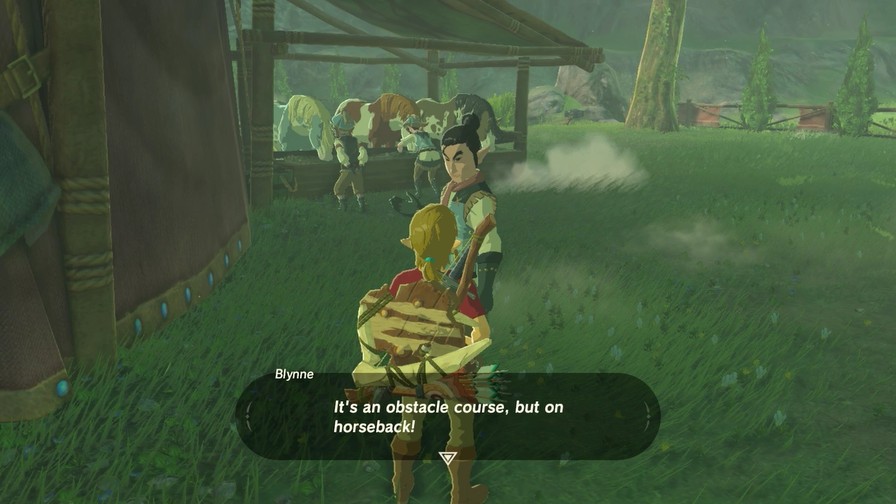
There are 10 obstacles to navigate. Best time wins. If you’re not an ace in the saddle when the game starts, I guarantee you’ll be one by the time it’s through! The difficult part about this is the fact that you can’t just try to recklessly ride as fast as you can. In order to clear the obstacles on the path, you have to be able to control your horse very well.
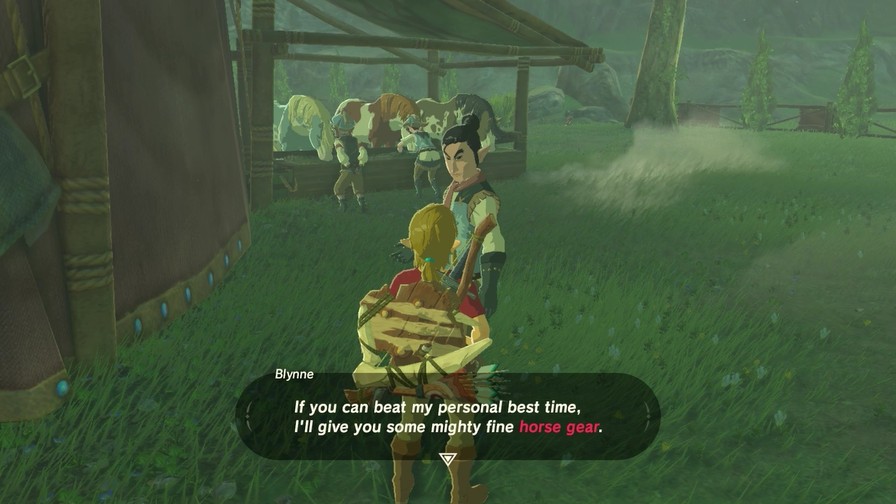
There’s various horse gear you can obtain to fancify your horses, and this is one way to get some. But, again, have to have a horse first to wait, so let’s put this on the backburner.
If you have a horse, we can help you change its gear or mane style. We’re always happy to meet new horses, so stop on by!
Not all stables will change your gear and mane.
It…probably is? Maybe we were here a hundred years ago. No way of knowing that now, though.
I see. These plains are home to many quality horses. In the past, nomadic tribes would gather here, but…

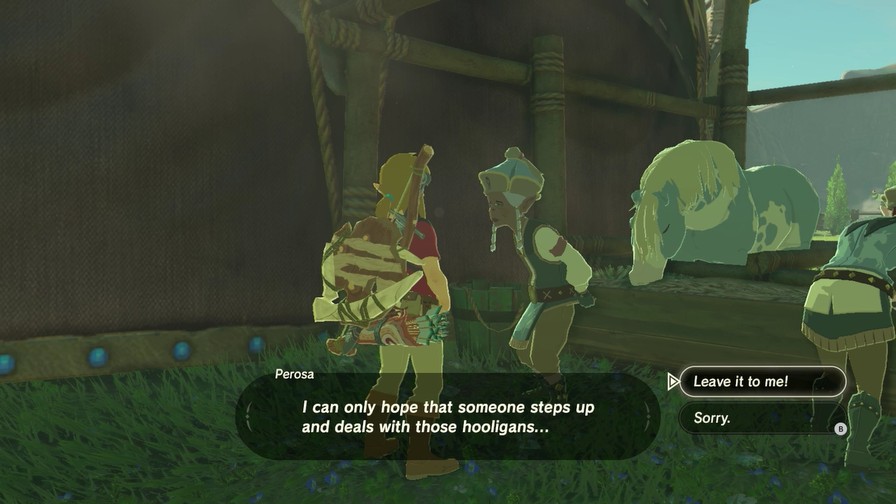
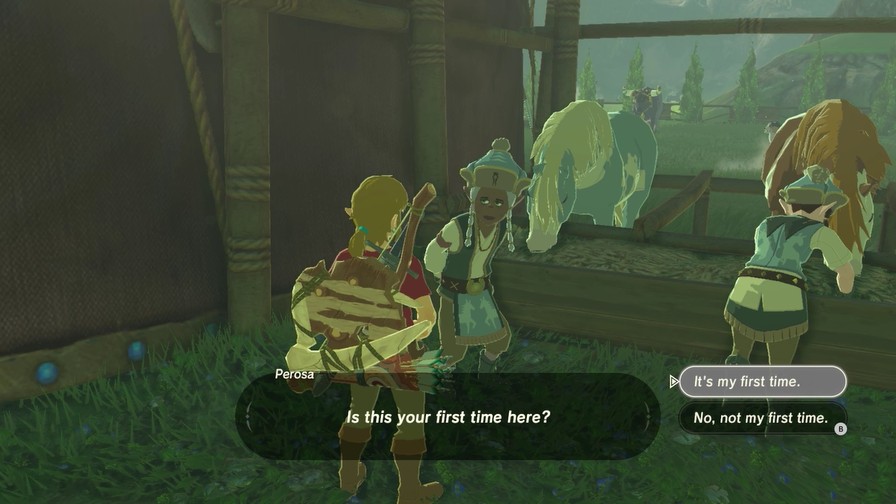
Dealing with hooligans? Sounds like a job for Link!
Oh, really? I’m so glad to hear that. I’m counting on you!


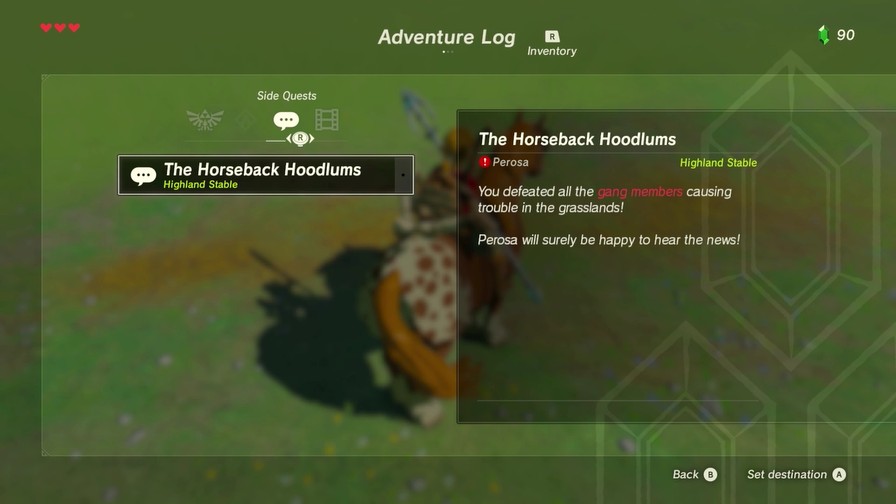
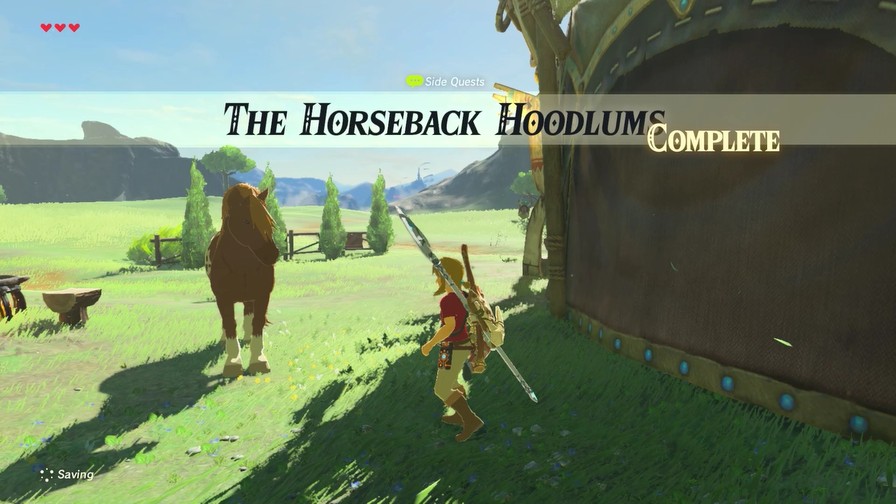
This is our first side quest. They generally lead to a variety of rewards, and of course some are more difficult and/or tedious than others. At least this one is rather simple, though.
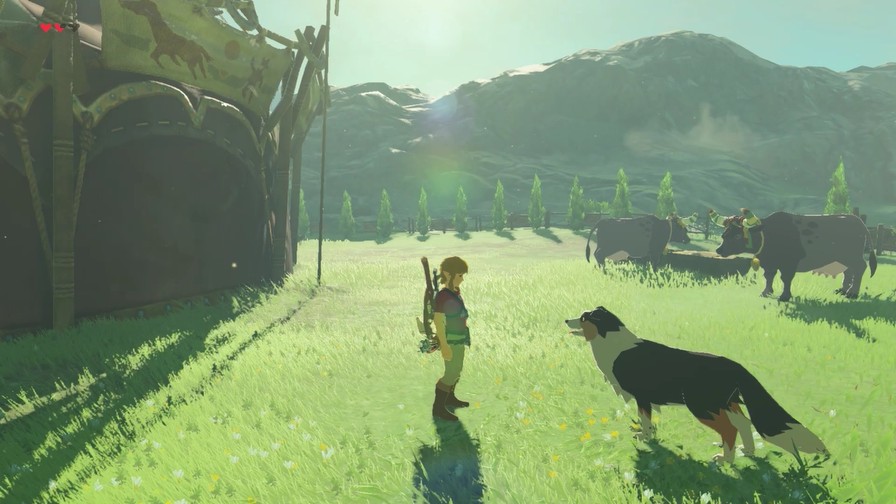
Otherwise, nothing else here besides a dog.
There’s usually people hanging out inside the stable, but this one is pretty barren. If we talk to the stablemaster on this side, he’ll let us rest at the inn to recover health. Generally not worth it since eating food’s cheaper and there’s usually a campfire nearby to pass time at.
Let’s go ahead and take care of these hooligans, shall we?
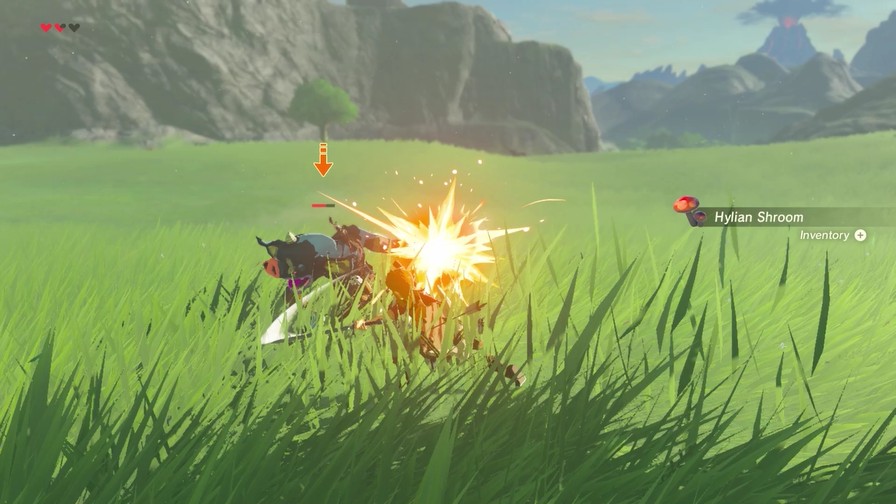
A well-placed bow shot knocks these guys to the ground pretty easily.
And from there, the usual.
We do find another new weapon, and just in time for my broadsword to break!
I really like how many of these screenshots work out. The art direction and the animations really make this game pop at times, especially in these giant grass fields.
After I knock two out, I spy some travelers making their way to the stable.
And it looks like there are a lot of monsters near the stable too. My only hope is to try and dash past them!
Hyrule is a dangerous place. Travelers will generally stay on the roads, and even still you’ll usually have to save a few being accosted by monsters.

Anyway, there’s two of these guys left.
https://mp4.mega64.net/botw/u08/081.mp4
And then I get blindsided and die. Welp!
Let’s try that again.
https://mp4.mega64.net/botw/u08/084.mp4
I knocked a Bokoblin off this guy, and apparently after that he stuck around. Rescueing captured horses make them a bit friendlier to Link than they’d be otherwise.
We can have full-fledged combat on horses. Of course, bows are a staple.

But melee weapons are also effective, especially stuff like spears that are better suited for horseback combat.
SPEAR MAGIC
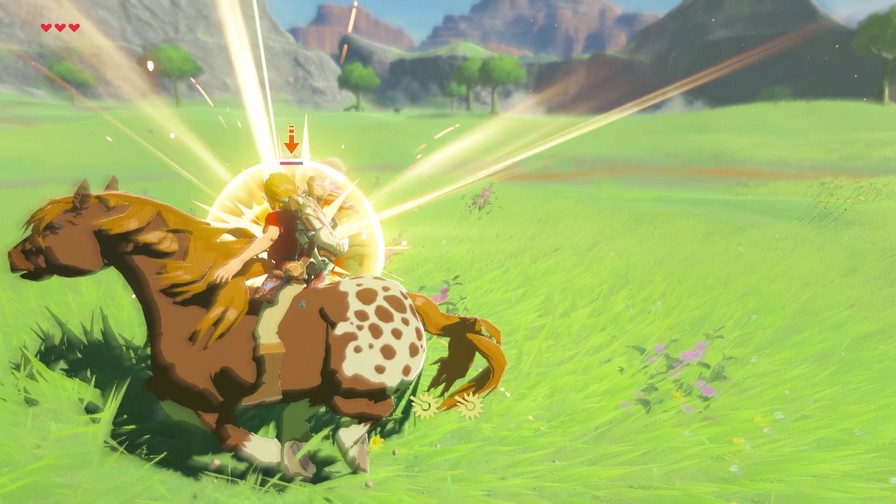
I didn’t die this time!

This is a small token of my thanks!
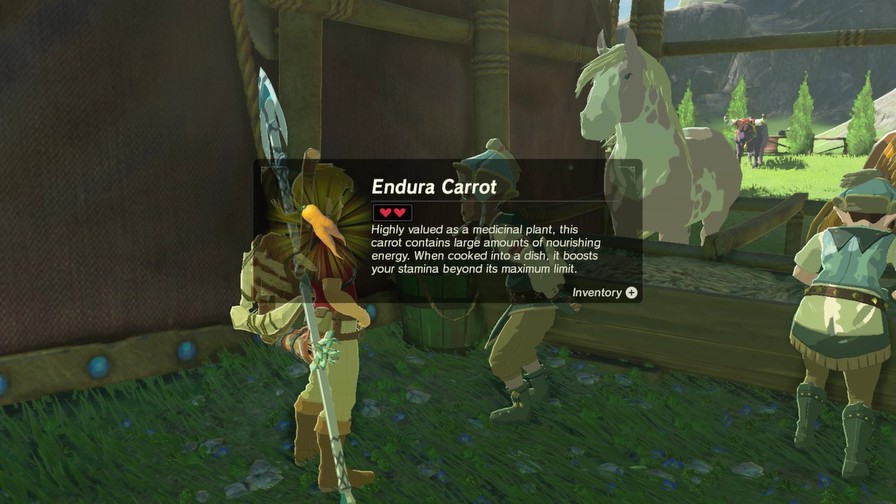
Horses really love it! Try sharing it with one, and you’ll see what I mean!
So the reward is a carrot, but it’s really more the tip we just got. We can feed that to our horse to give it a stamina boost. It’s also a way to make us think, hm, maybe we could feed other animals as well…?
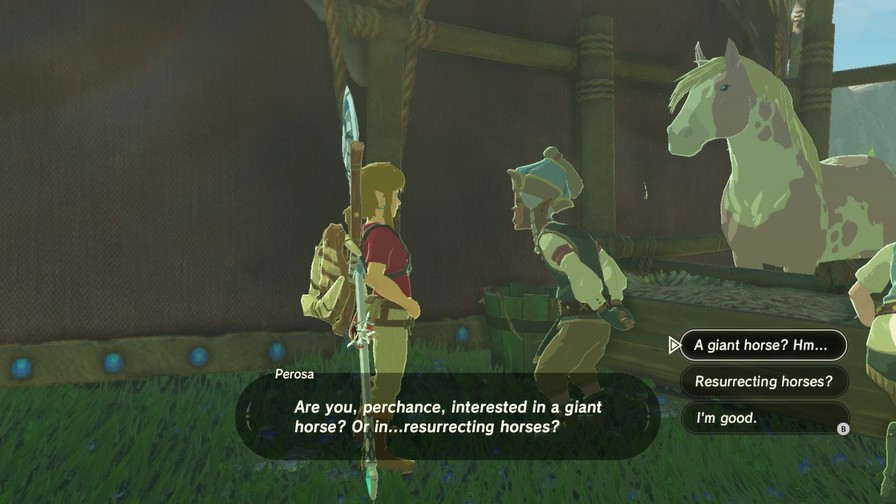
Let’s talk to her one last time to get some interesting clues about the area.
Giant Horse:
If you head west of here, you’ll reach a place called Taobab Grassland. A really big horse lives there. And by big…I mean REALLY big.
Horse Resurrection:
Not far from here lives the mysterious god of horses. If a horse dies, he can bring it back to life. Sounds crazy, right? But it’s true.
So now we’ve got some leads on things to do in the area. What do you guys think? At the very least I’m going to do the shrine next update, but if you’re interested in the obstacle course, giant horse, or horse god (or anything else) let me know. Otherwise I’ll continue traveling southeast.
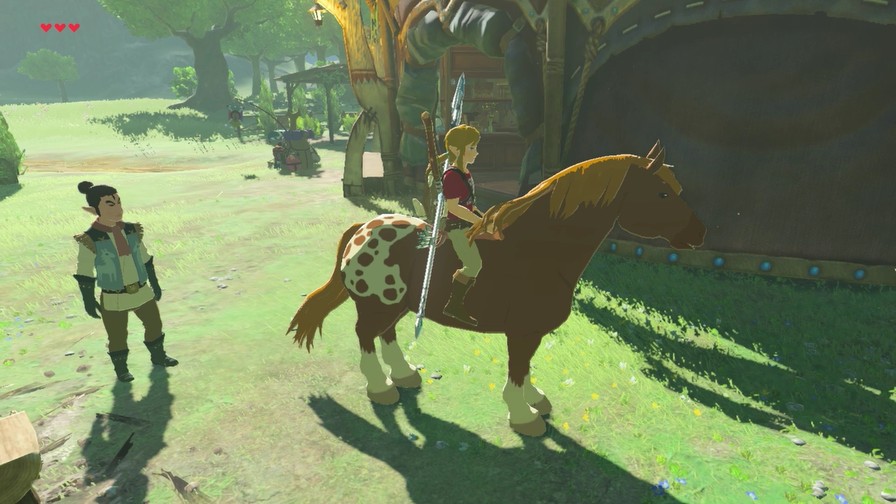
Oh and NAME OUR HORSE! Limit of nine characters. I won’t do a formal vote for this stuff, just mouth off your suggestions and what you like in the thread and I’ll pick one I like and/or that’s popular.
1 Like
I actually don’t know what horse god is, I think I missed it on my playthrough. Then again, I never used horses but I’m curious on what it is.
Horse God sounds like a good course of action!
Hmm. Those look like speckled shorts on that horse. Sorta.
Speckle for the horse name.
A ton of different names, none that really stood out to me in particular, so…
…I’m combining these into Spockle. It’s fine, it’s a starter horse with likely bad stats anyway so we probably won’t see much of it once we get more horses. Keep some names in the back of your head for later though, especially if I do find that supposed giant horse!
Next update probably won’t be until Friday, though if I’m lucky I might sneak one in earlier.
Giant Horse is the hardest boss in the game.
1 Like