
Summary
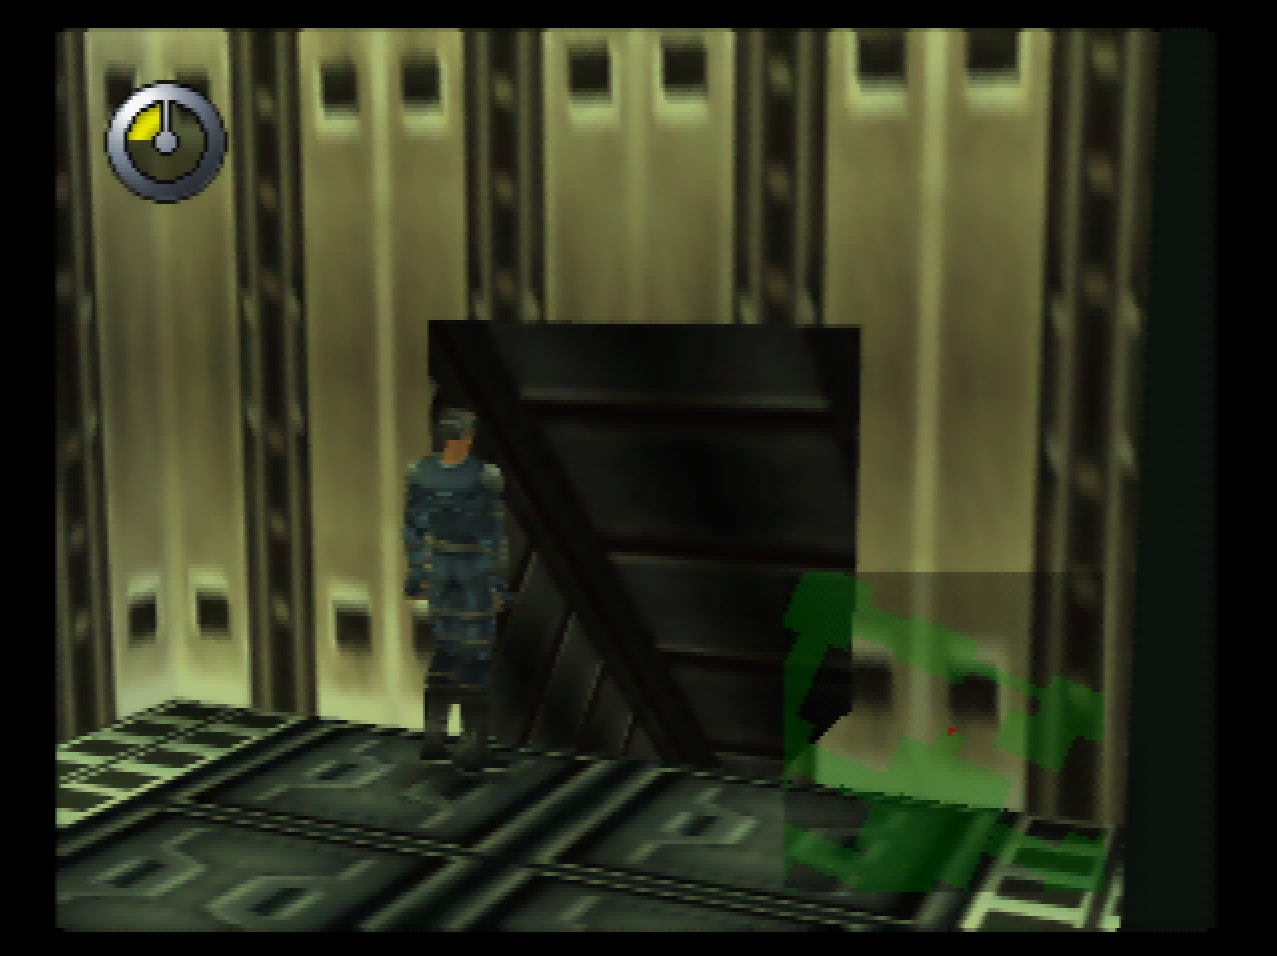
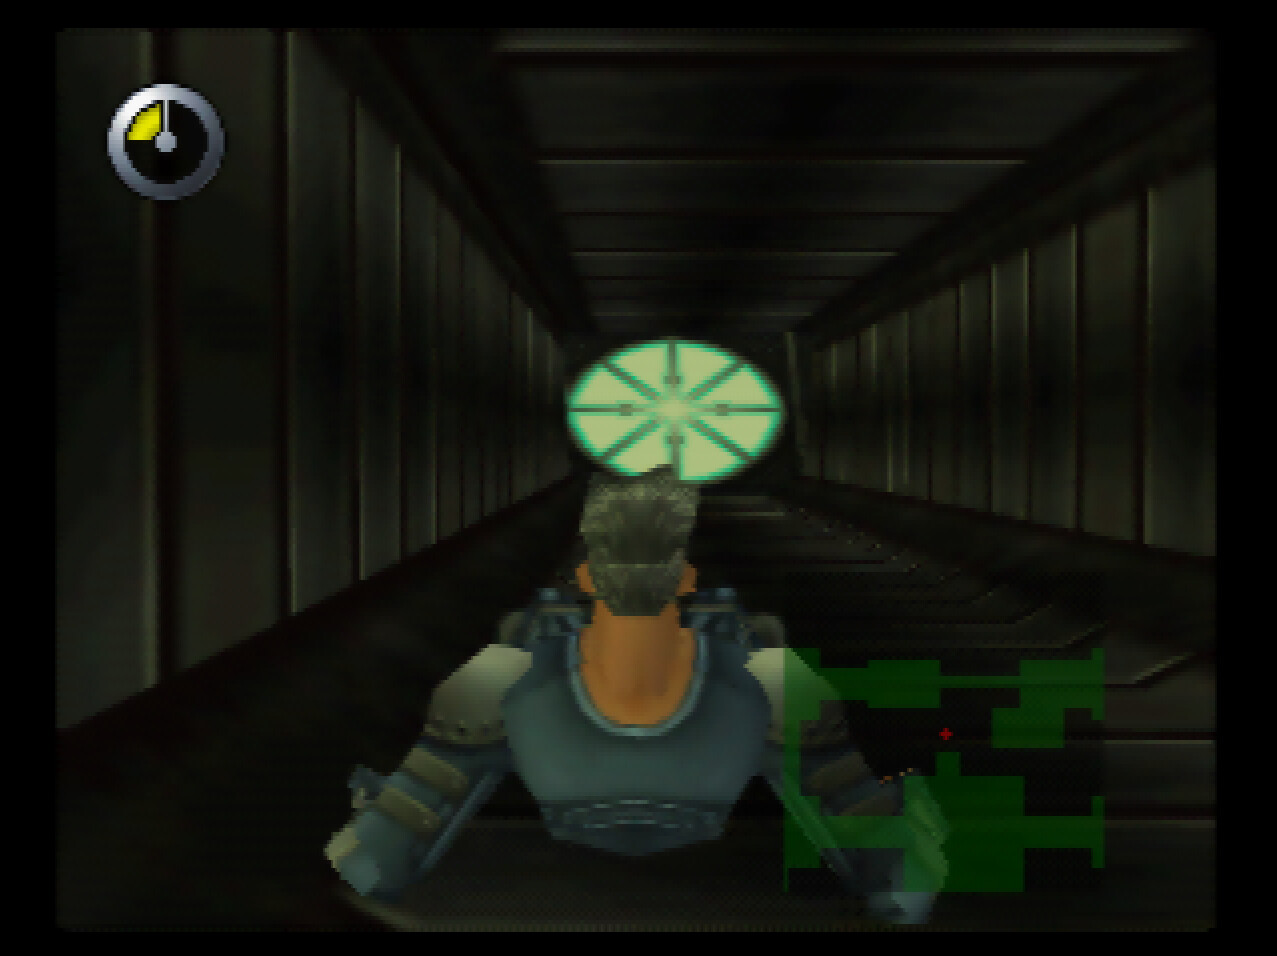
 : Let’s slide on down to World 5, which is the shortest one in the game. World 5 is titled “Underground Shelter Lowest Area”.
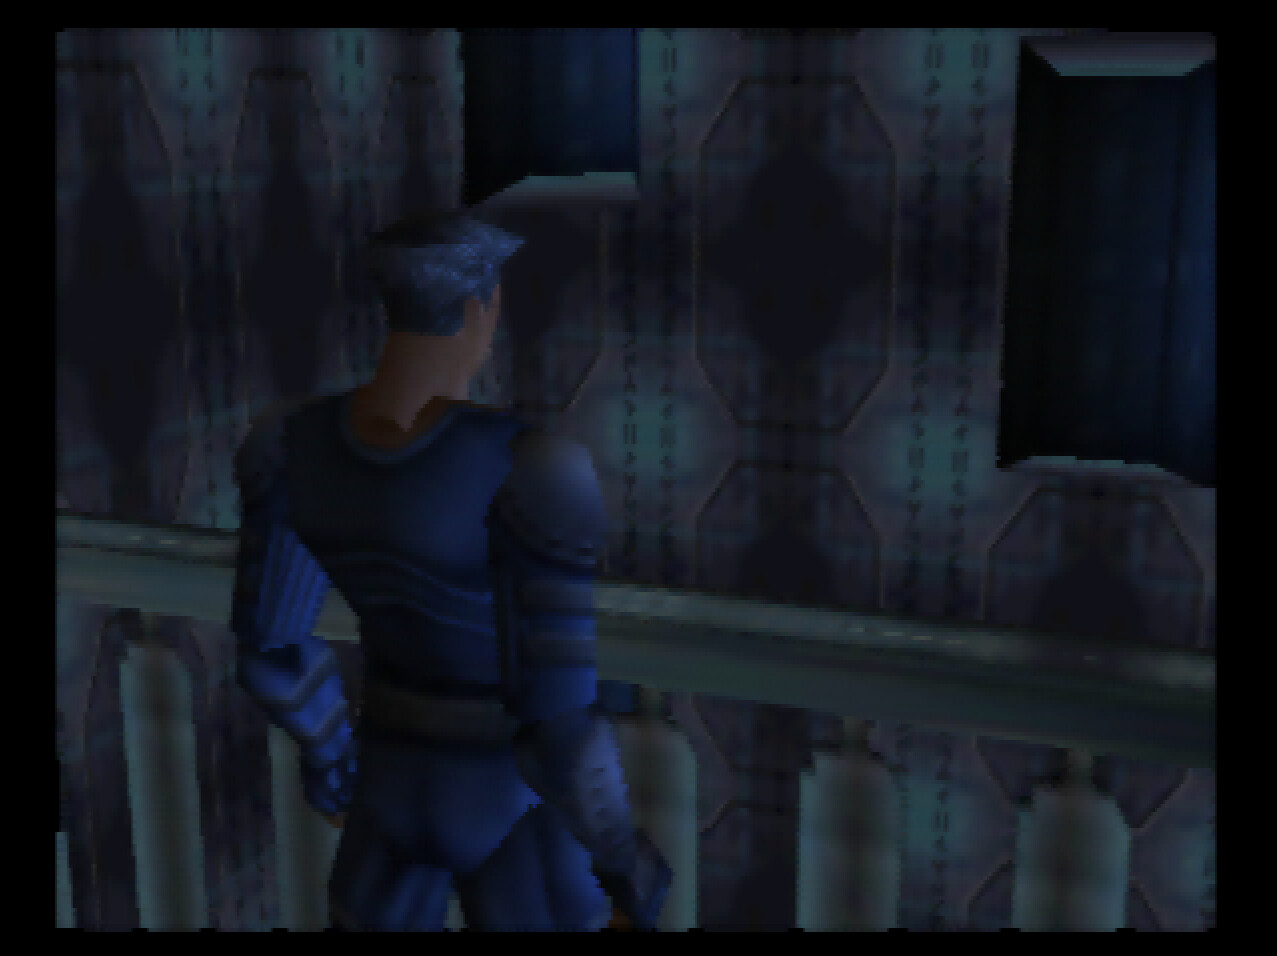
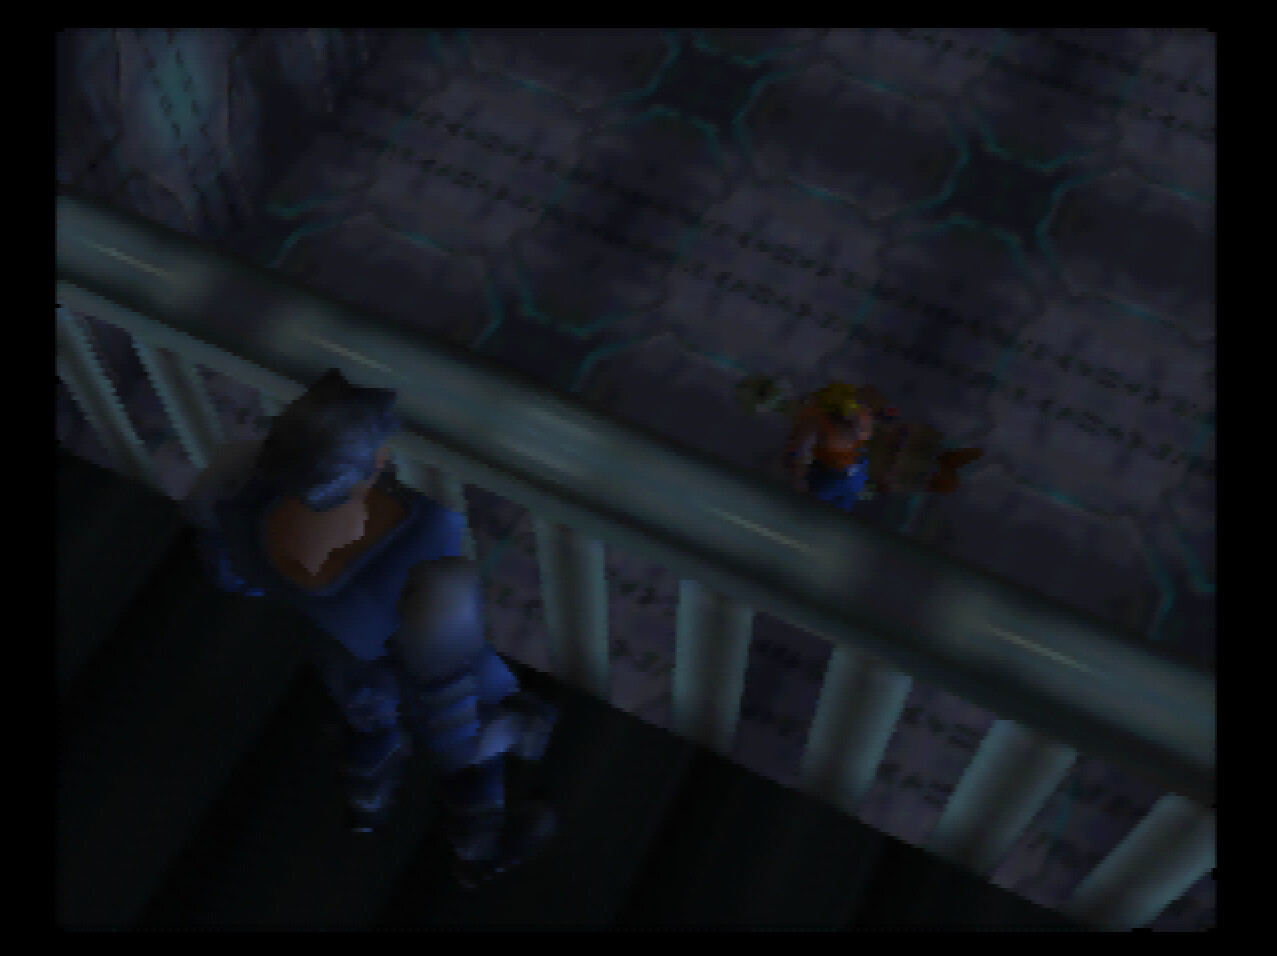
: The real Diaz is down there, standing on top of an apparently dead gargatuan.
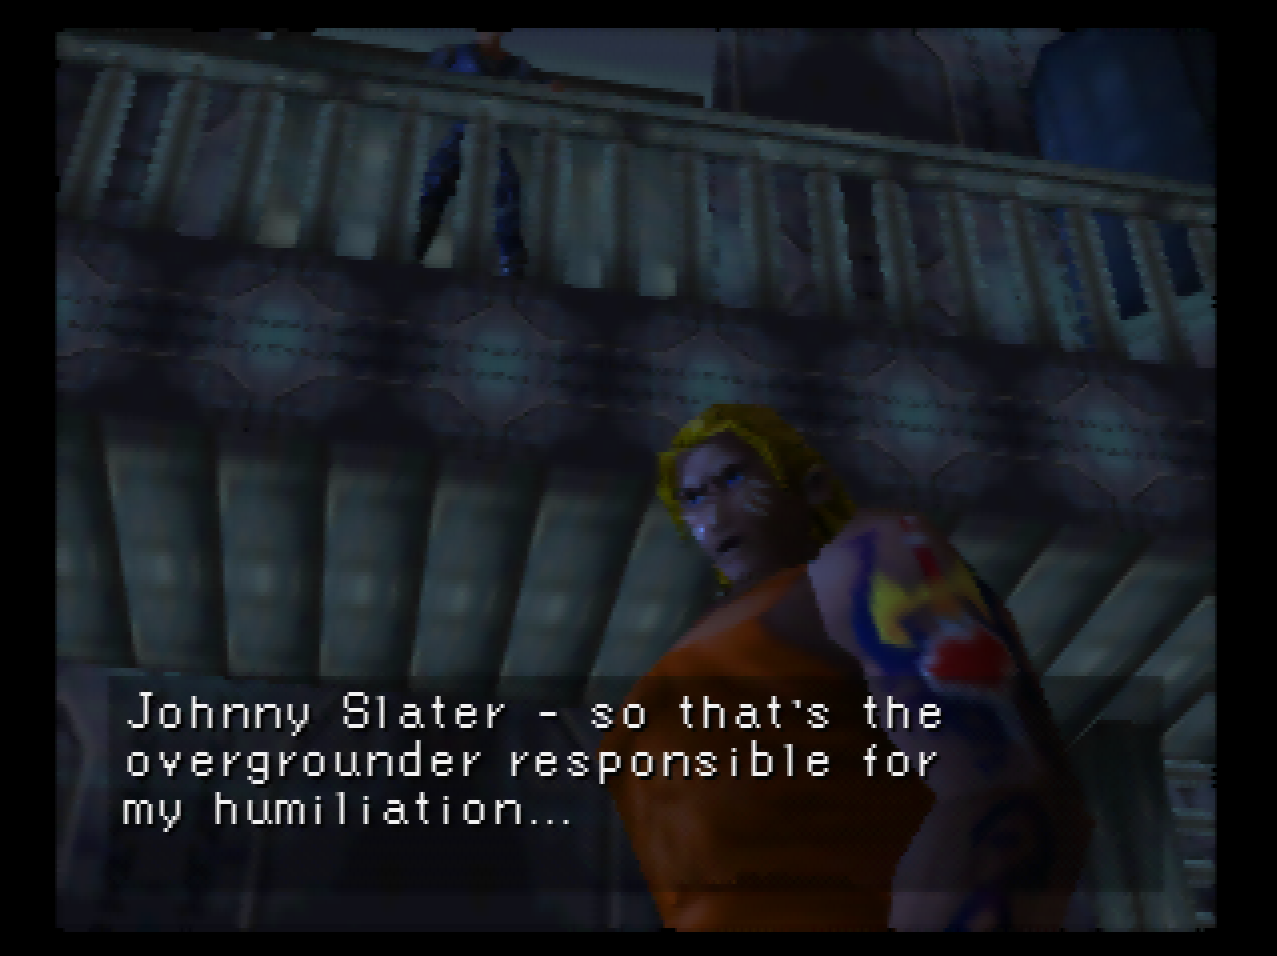
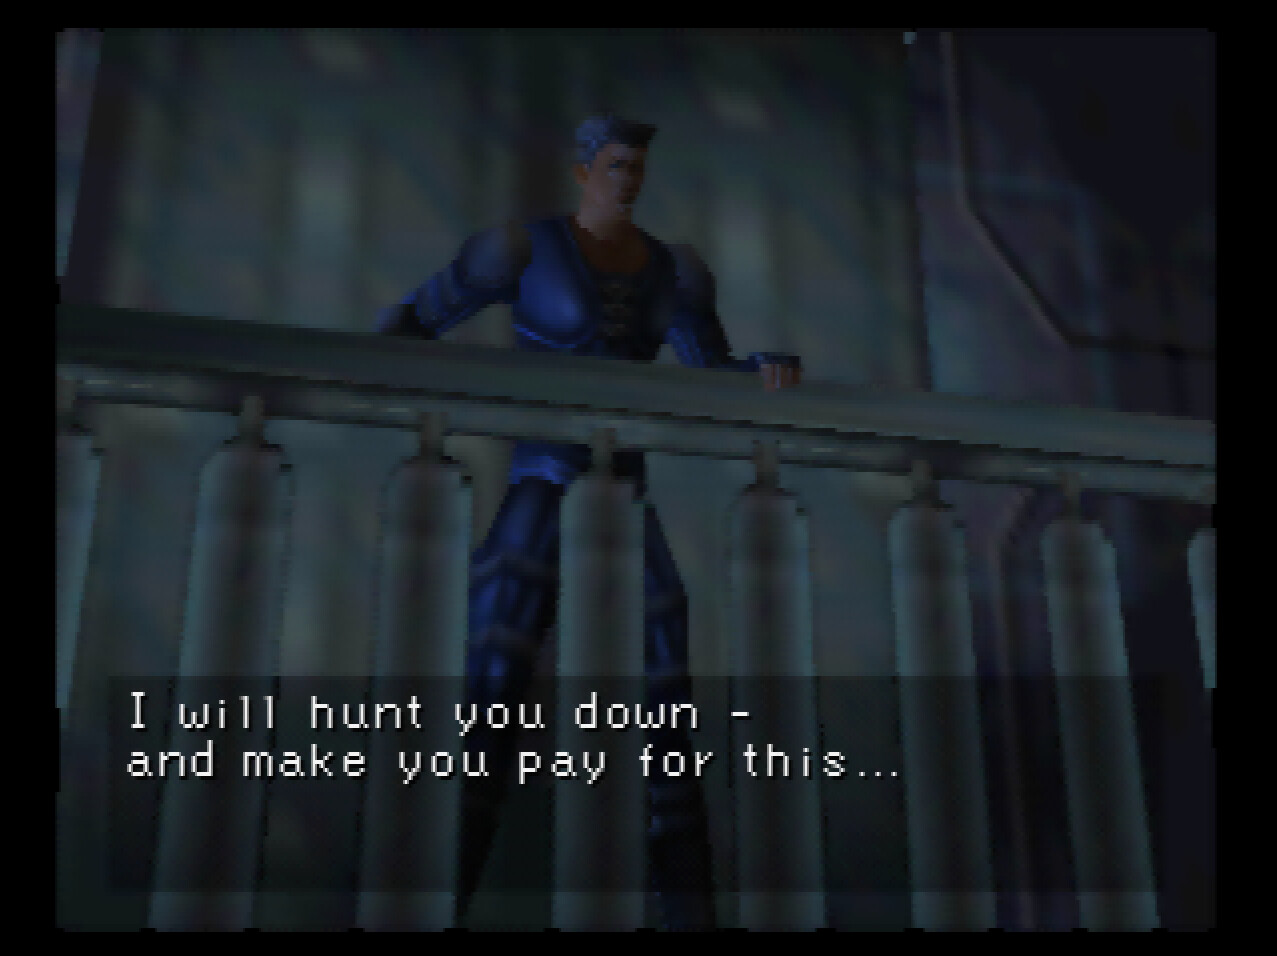
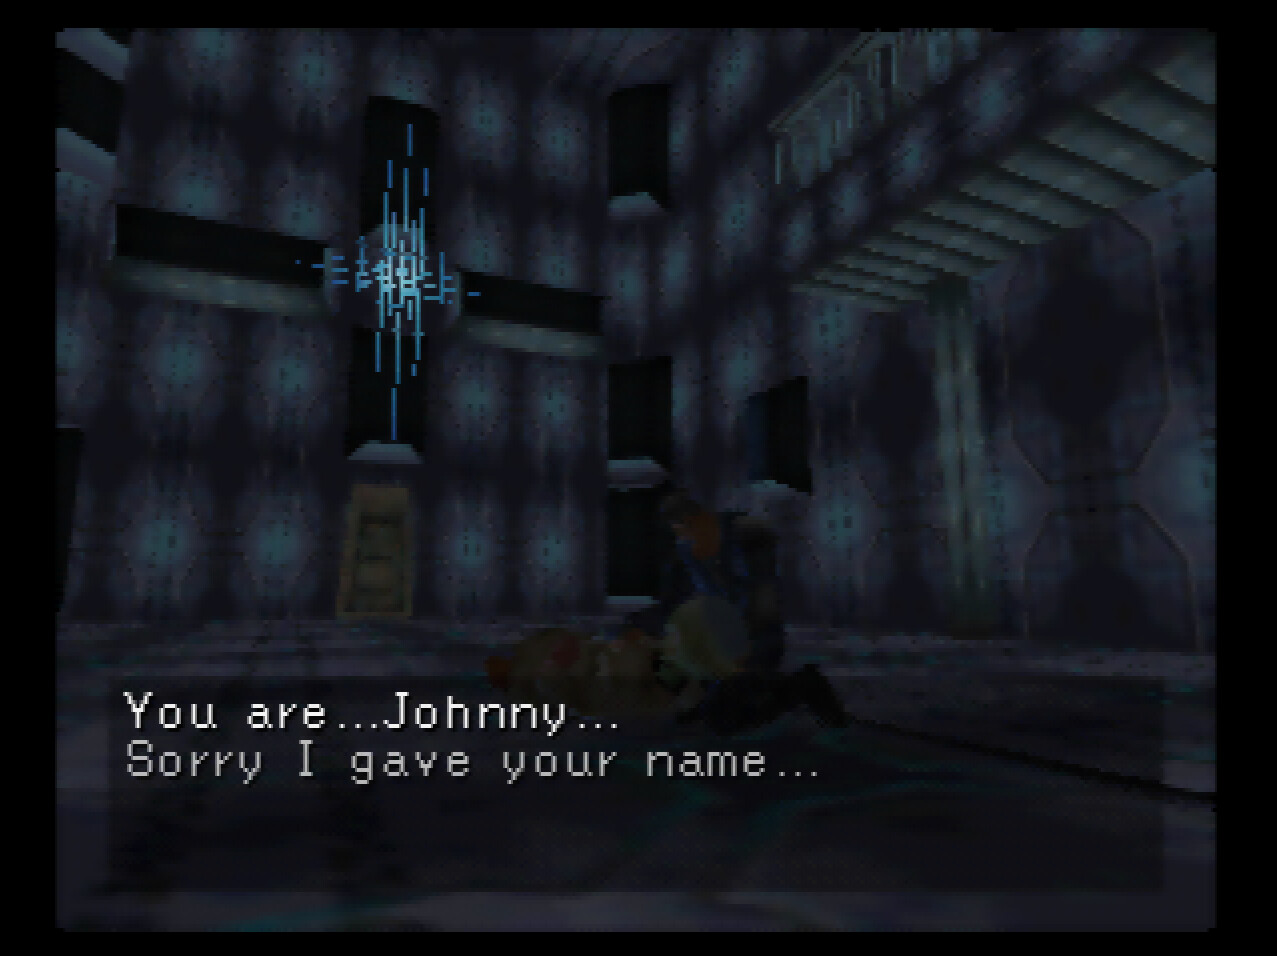
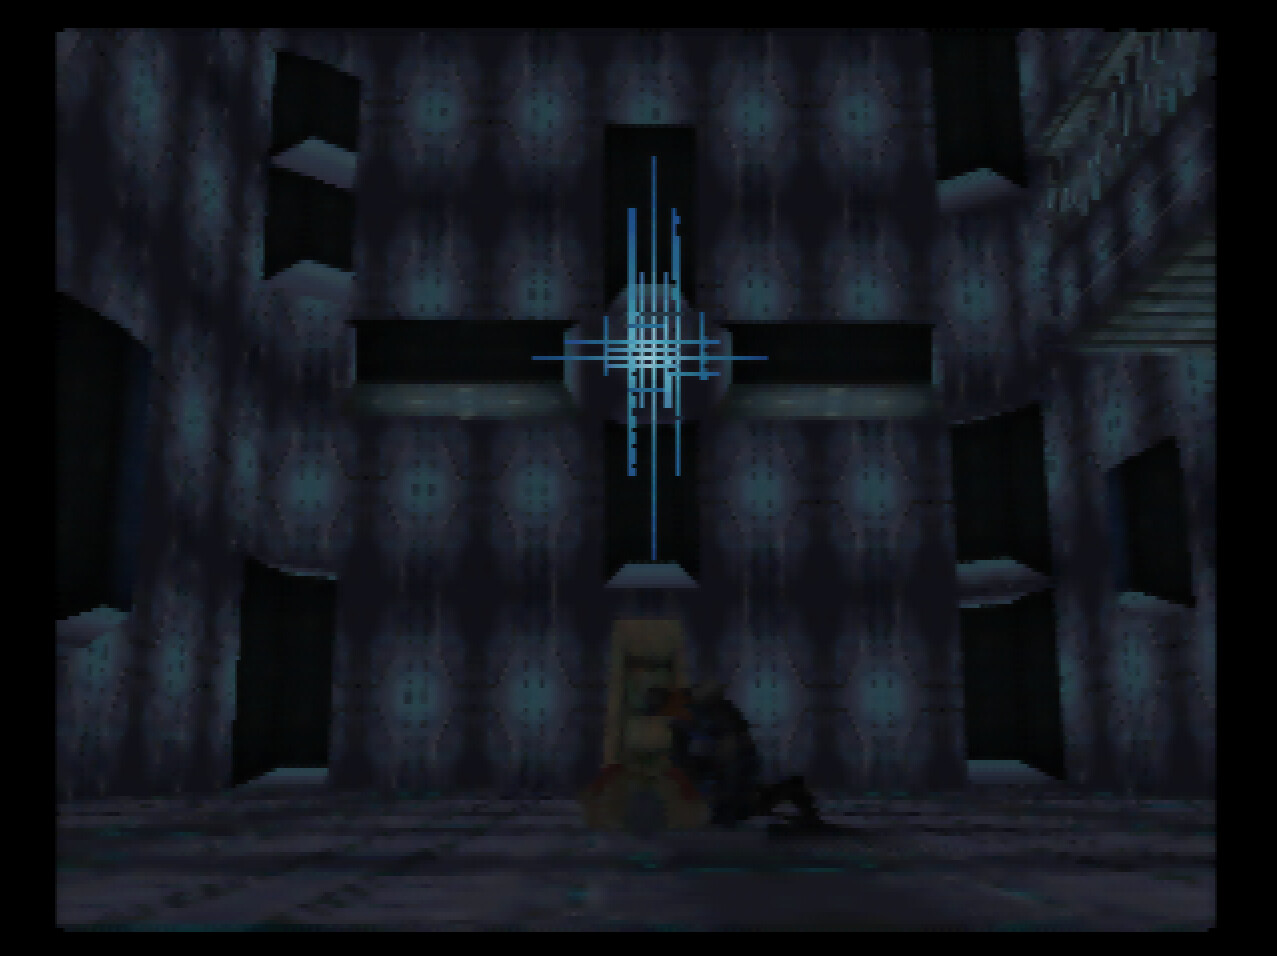

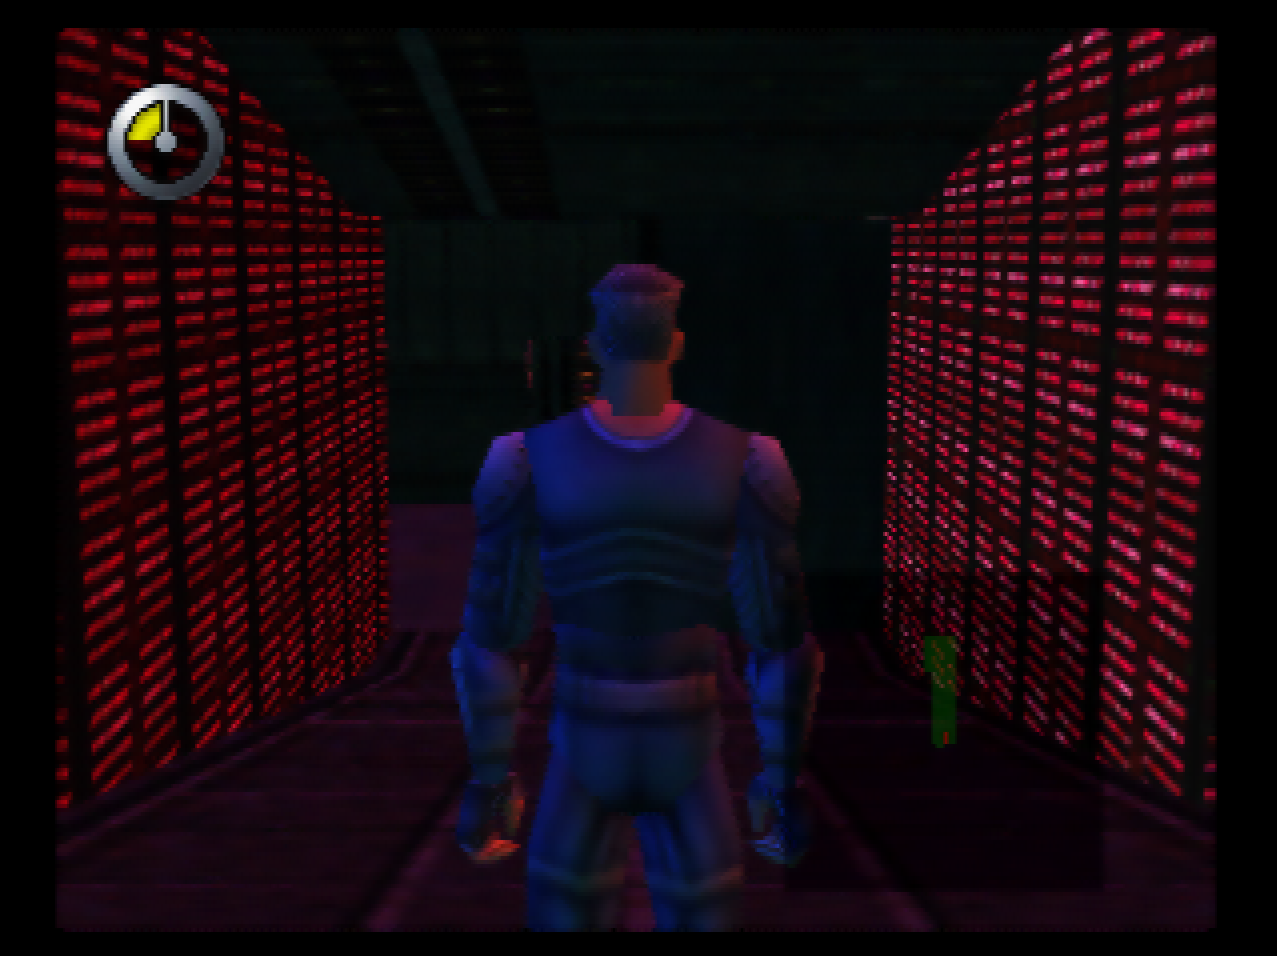
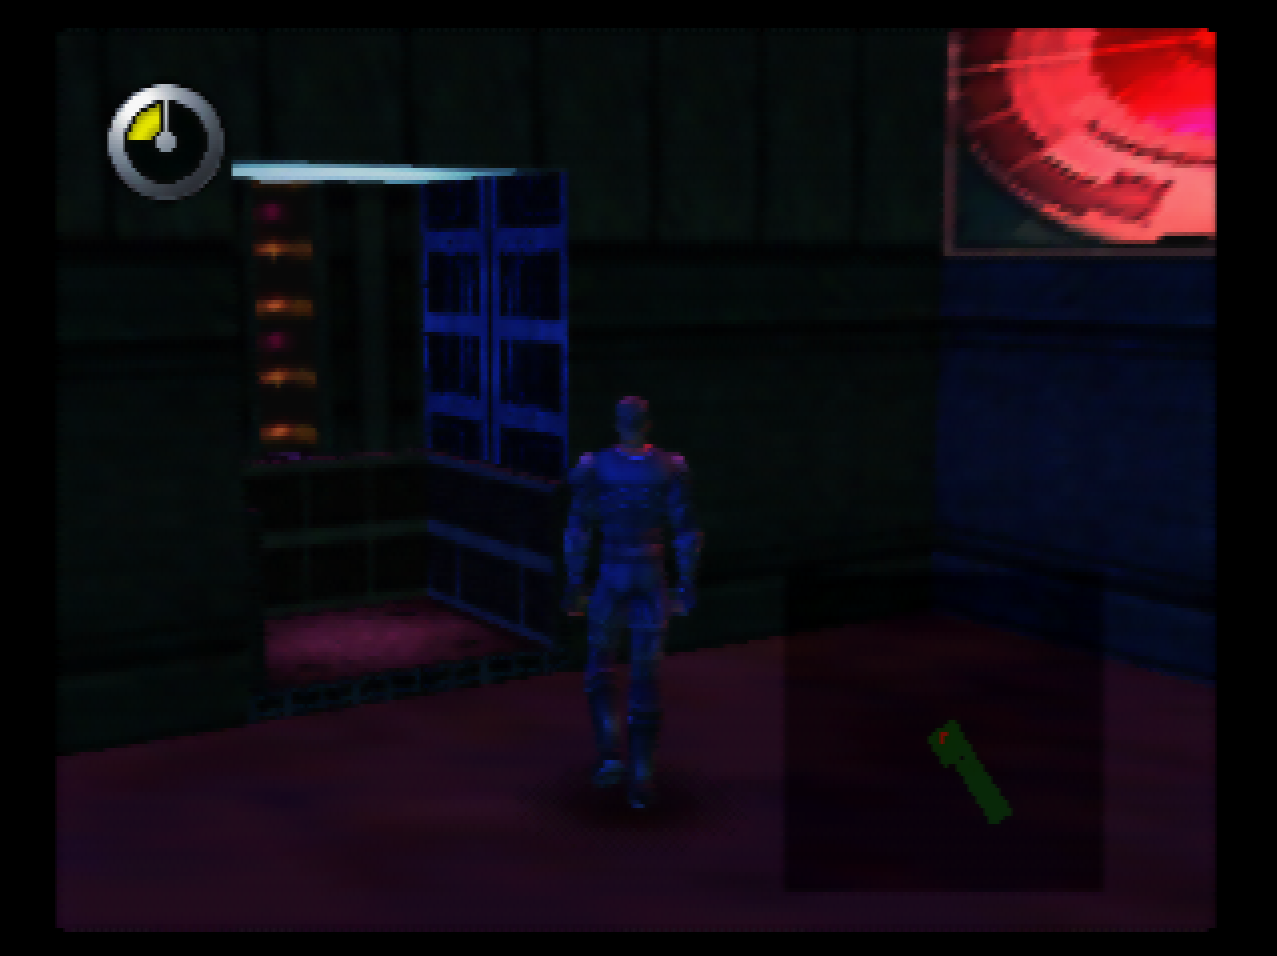
: After the cutscene, the game puts us in this room. You can’t see it from the default camera angle, but there’s a save point just off camera.
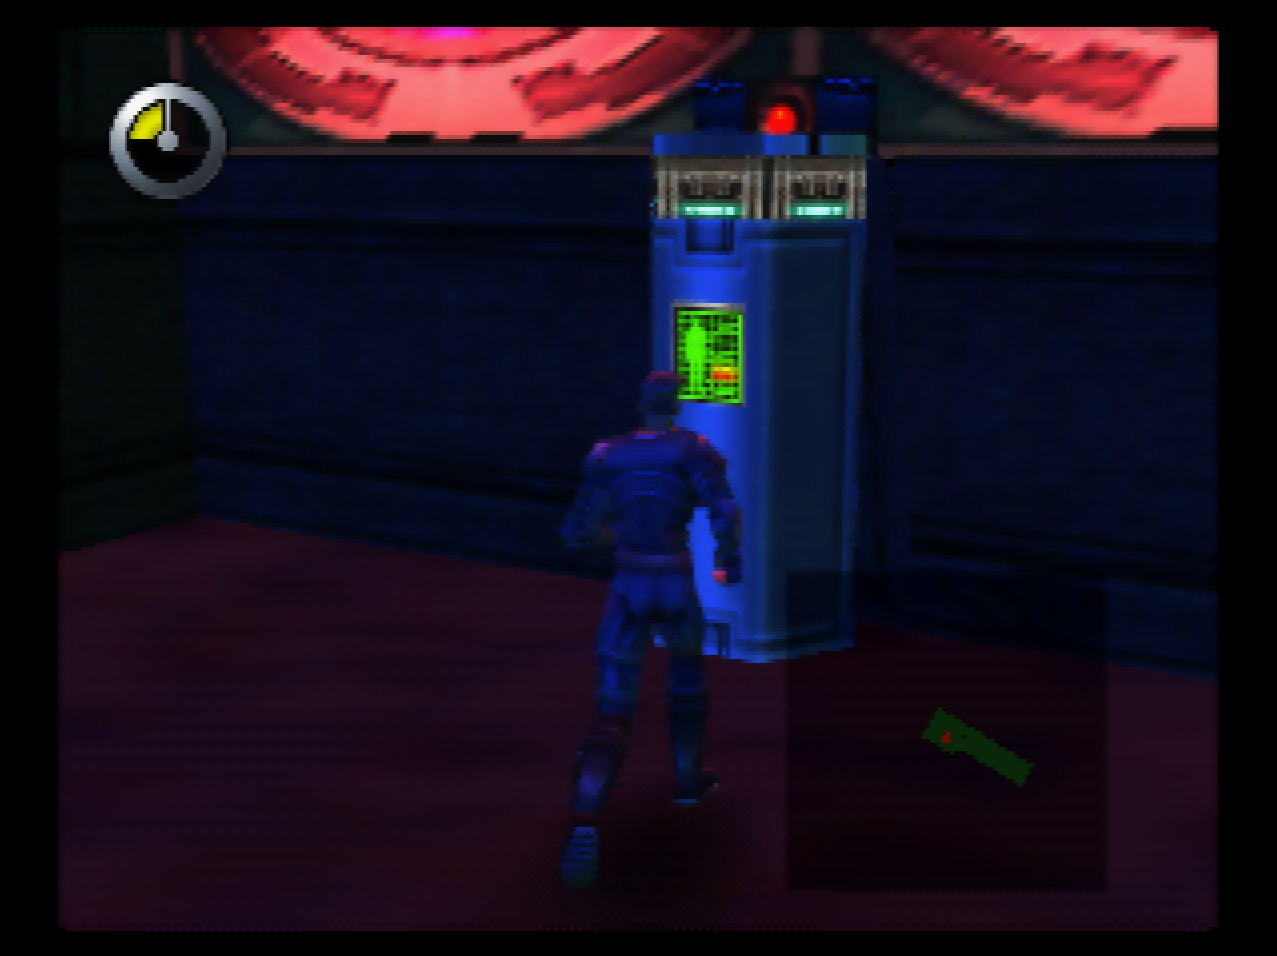
: There’s not much down here apart from some drones and chests to replace all those items we lost going through that godawful robot shithole.
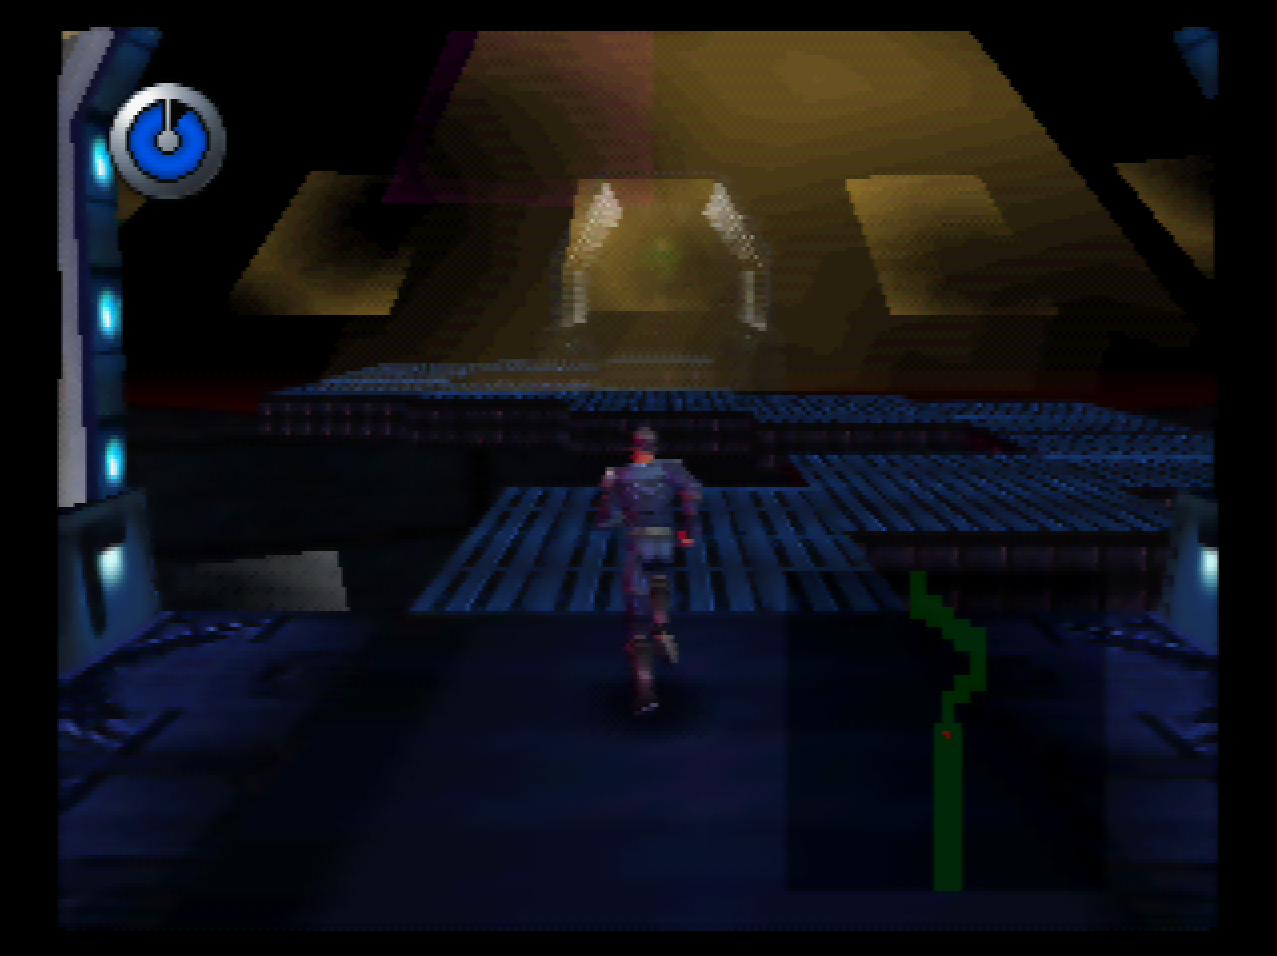
: Then there’s a wavy bridge over yet another death pit. This one’s at least fair because it’s pretty hard to fall into and you’re not locked into tank control mode.
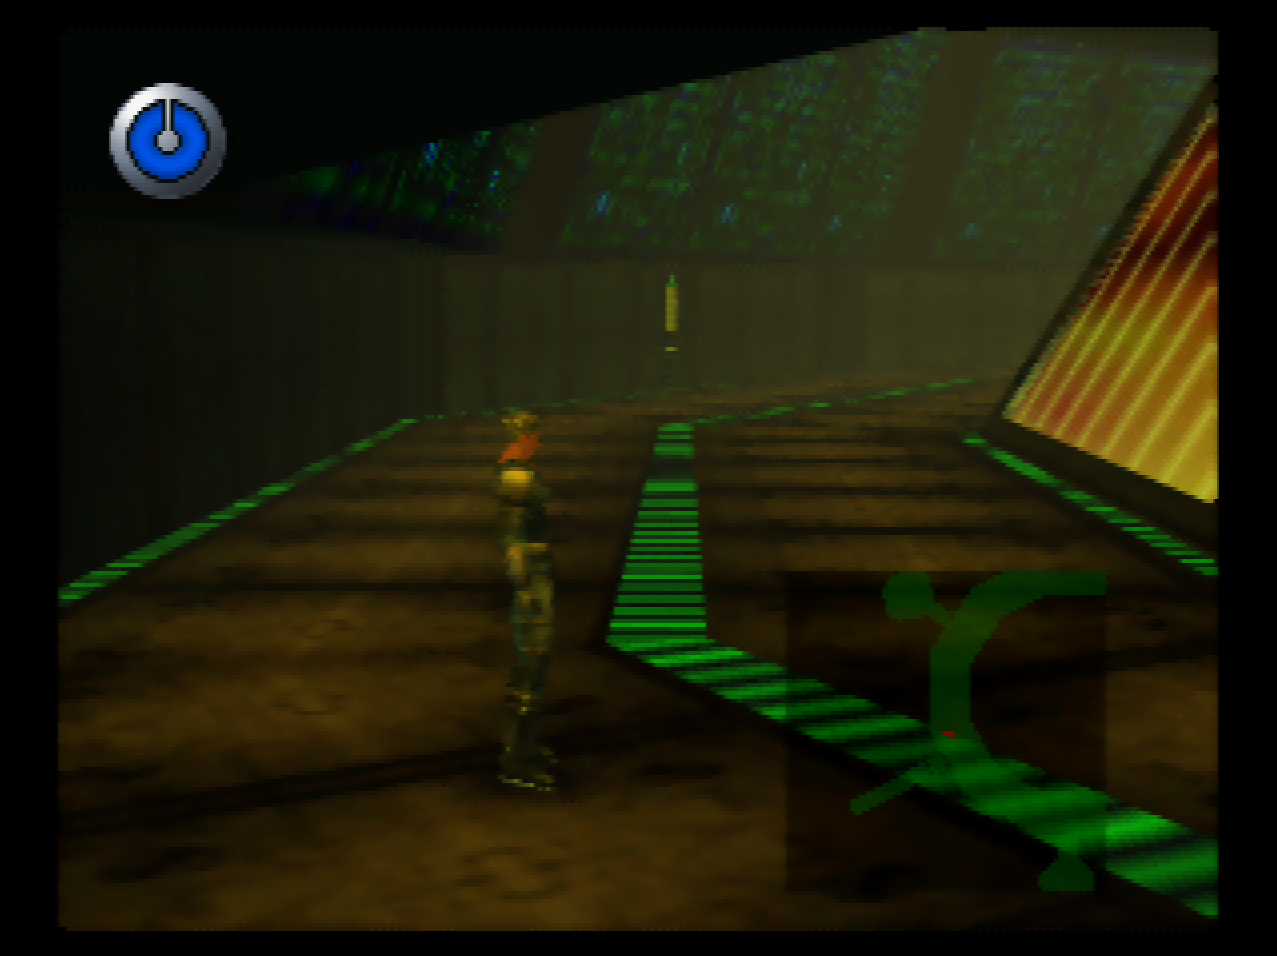
: We fall down a couple of small holes and wind up down here. This is a gauntlet of sorts - there are four rooms with enemies in them and we need to kill them all.
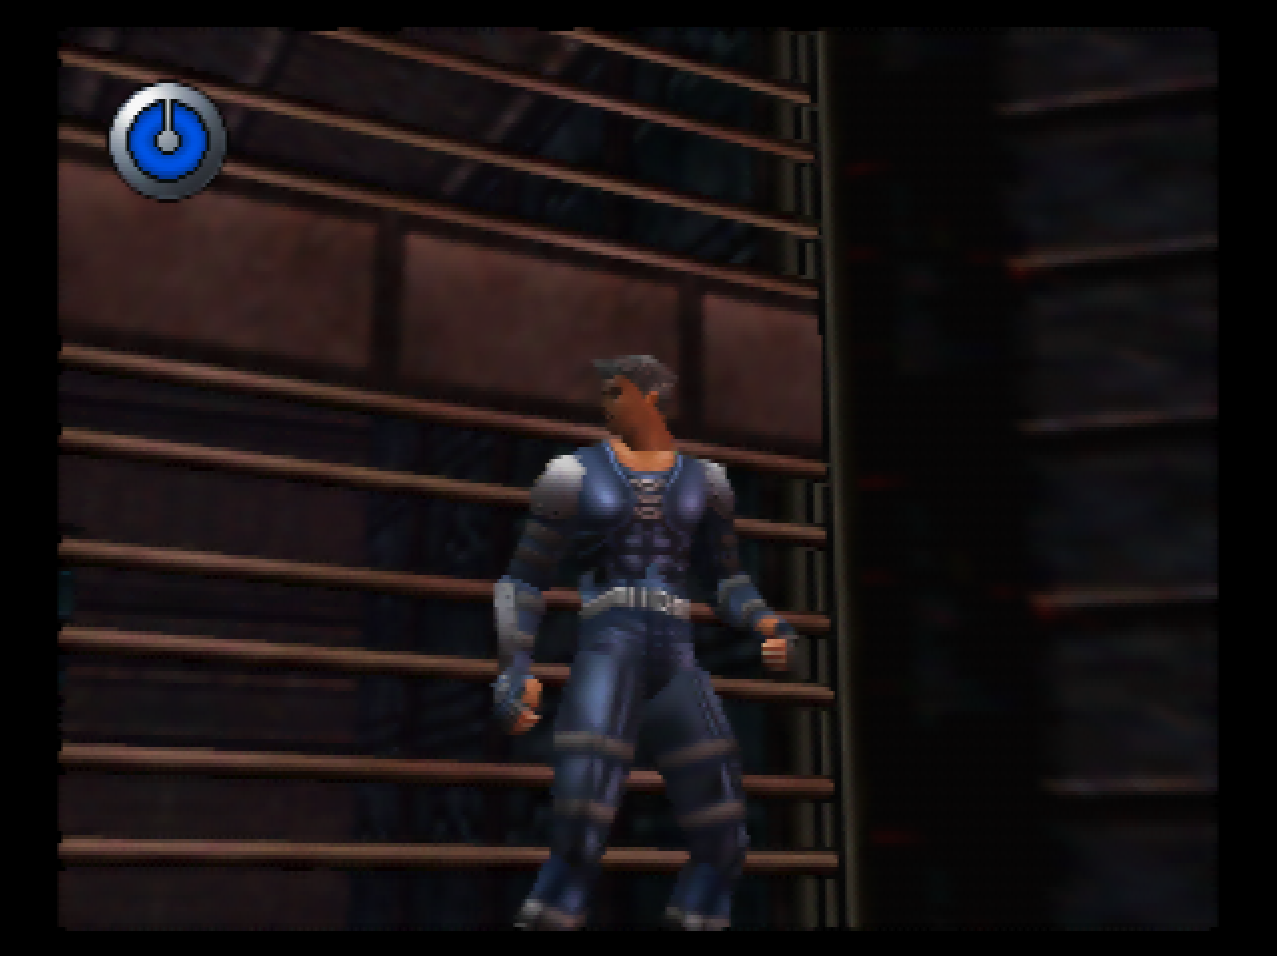
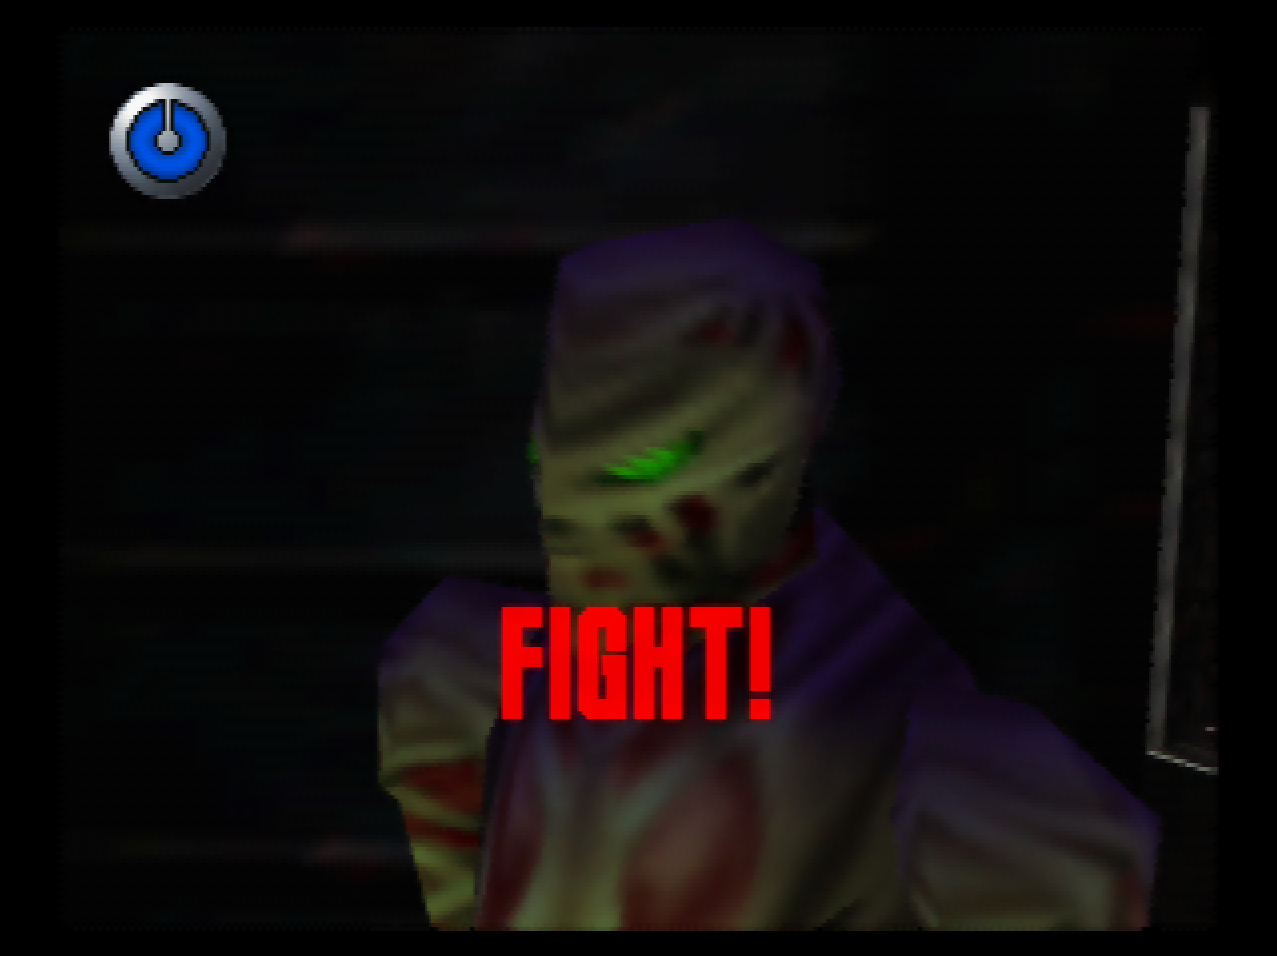
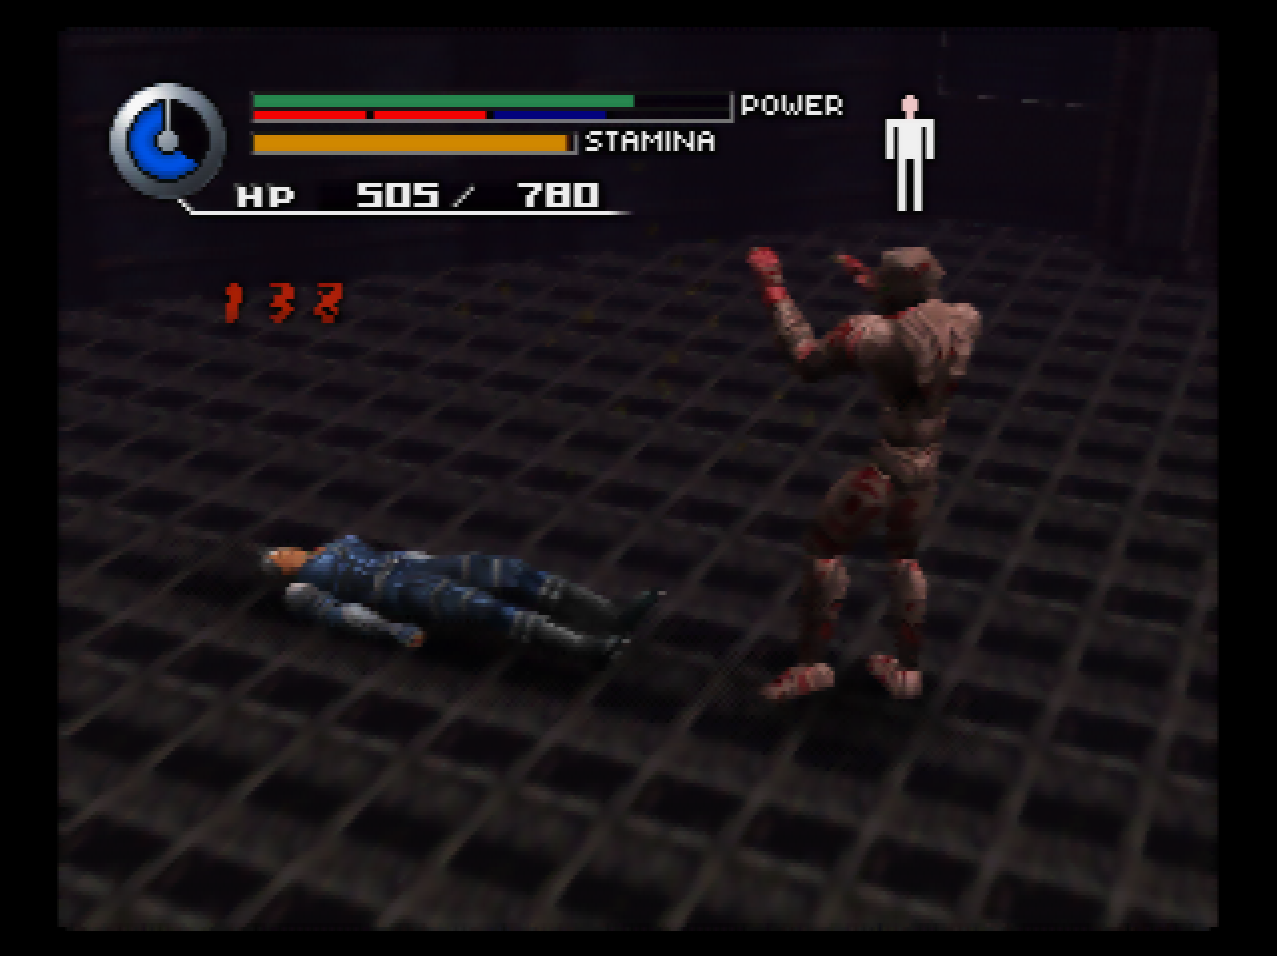
: The first fight in this ring is the most difficult. This is a stat-boosted Kitalpha with some additional wrestling moves who will almost constantly try to grapple you.
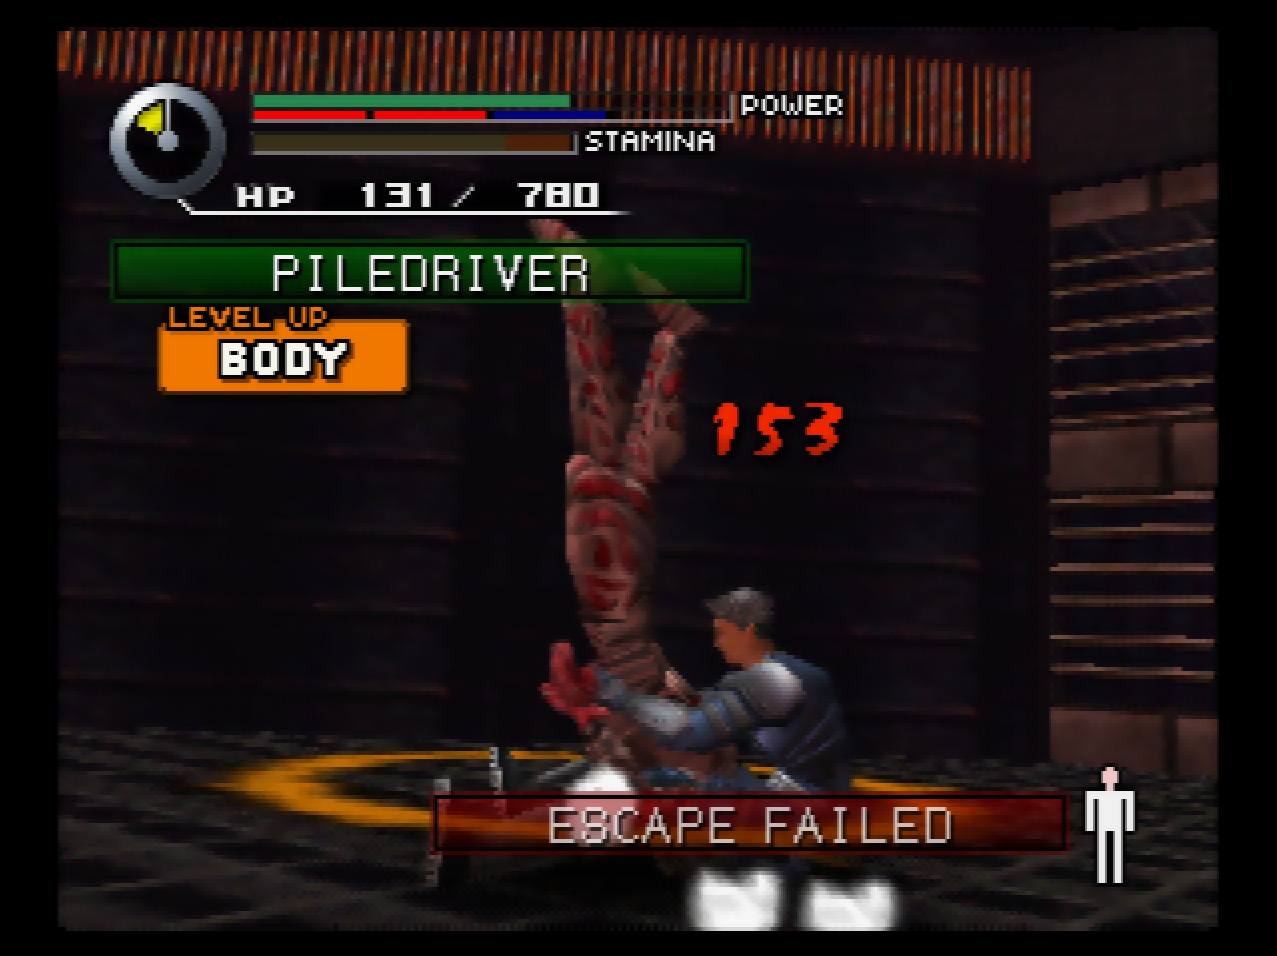
: I take quite a bit of damage but hit it with a piledriver a few times, which does it in pretty quickly.
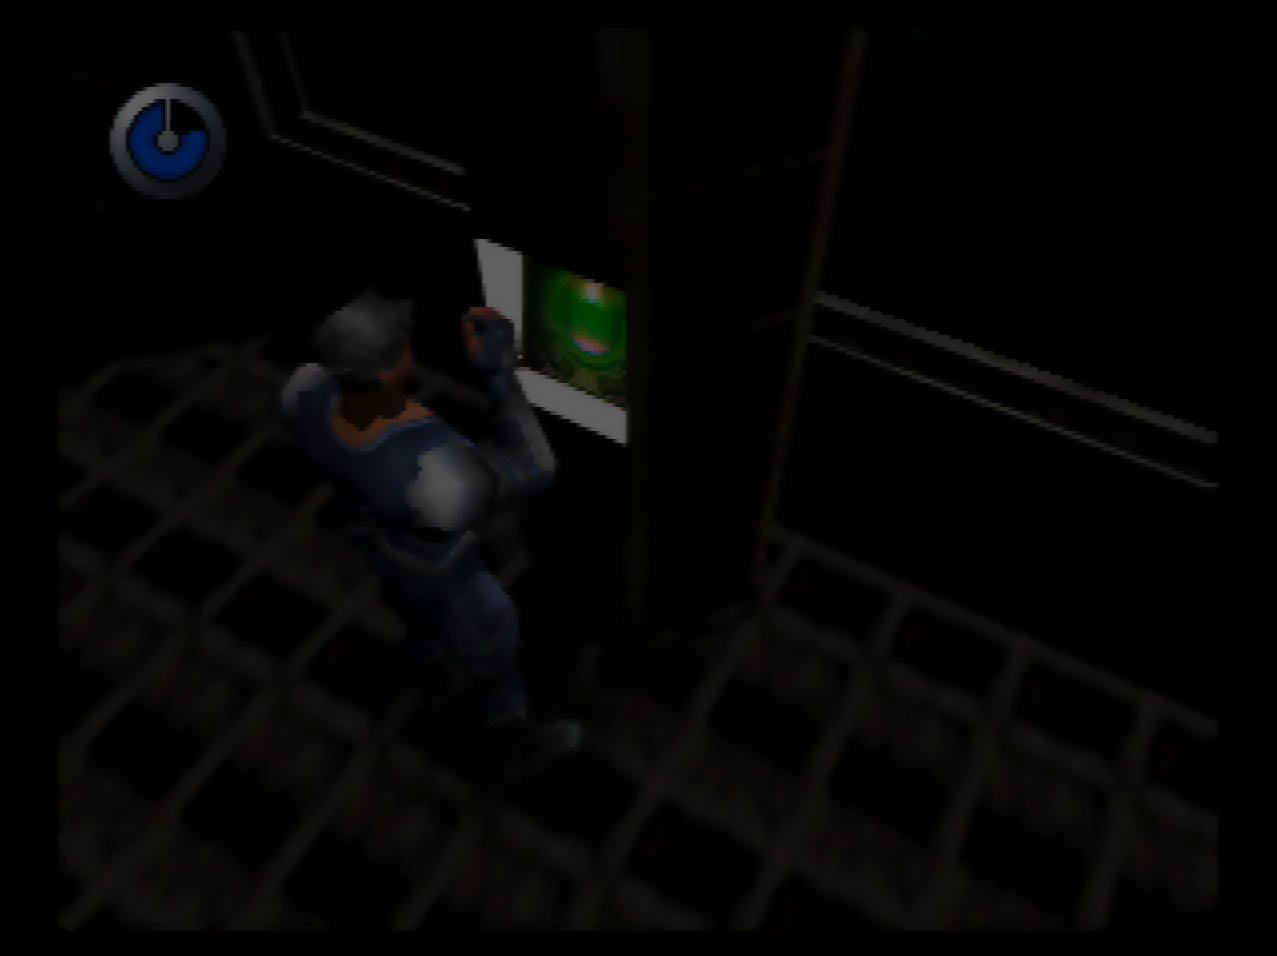
: Each one of these rooms has a button that opens only after the enemy dies. The button lowers one of the force fields over the exit.
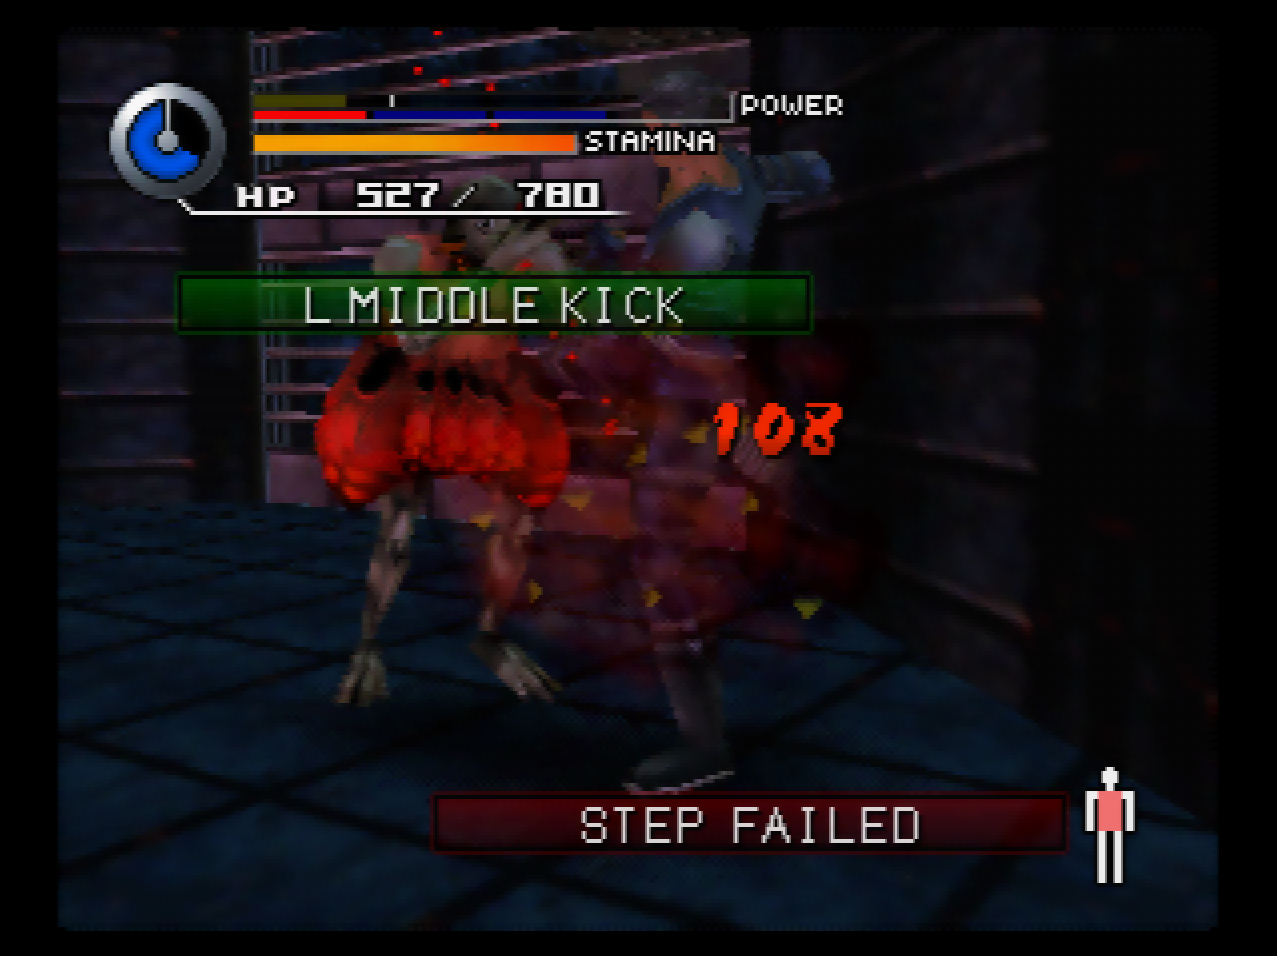
: The rest of the fights aren’t that interesting. They’re mostly against World 1 and 2 enemies who don’t pose much of a threat.
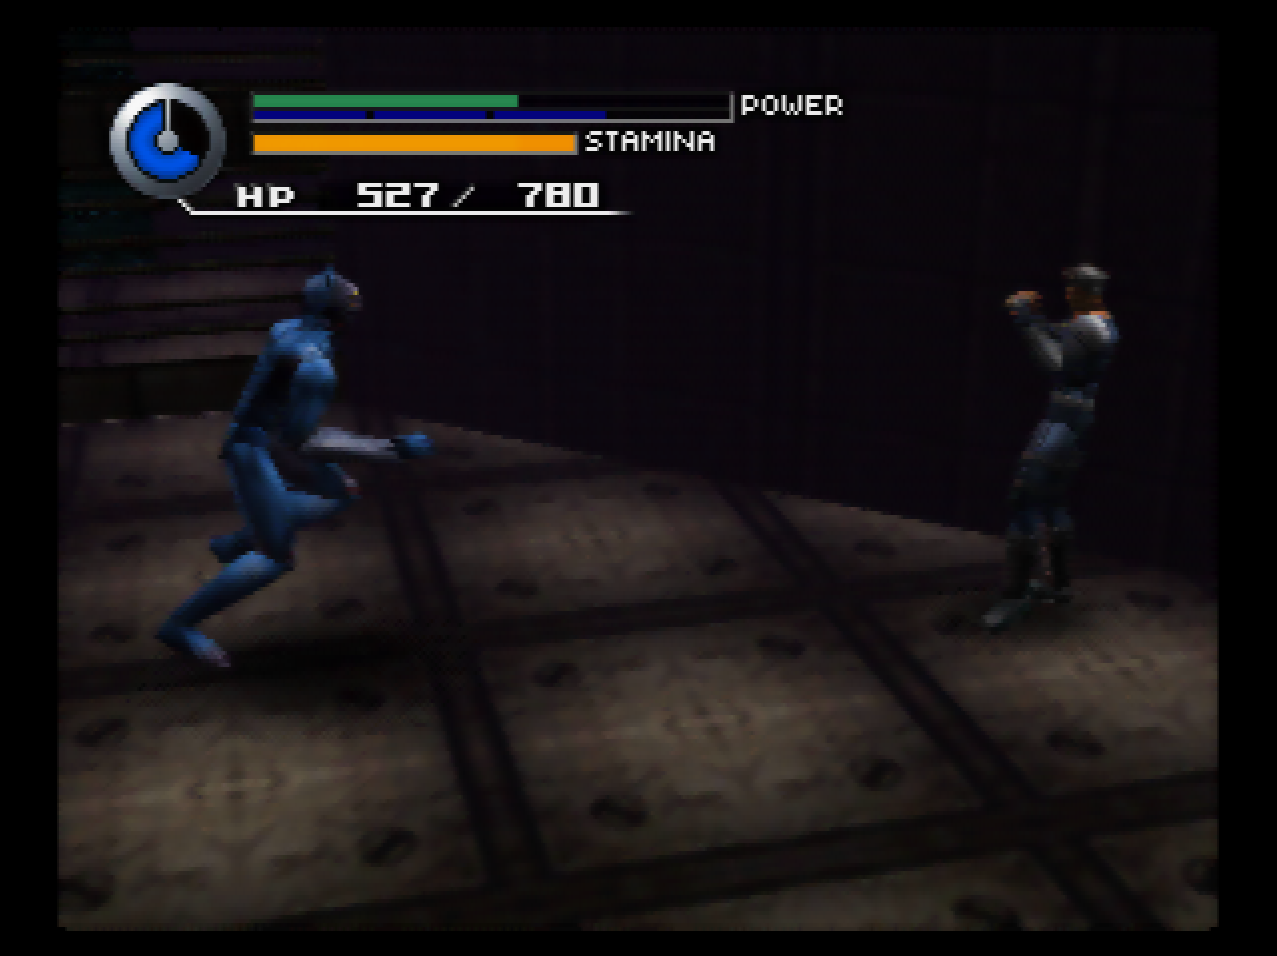
: That includes this new enemy, which is called a Cebalrai. Cebalrai moves very slowly and even though it has really long legs, it’s actually a boxer.
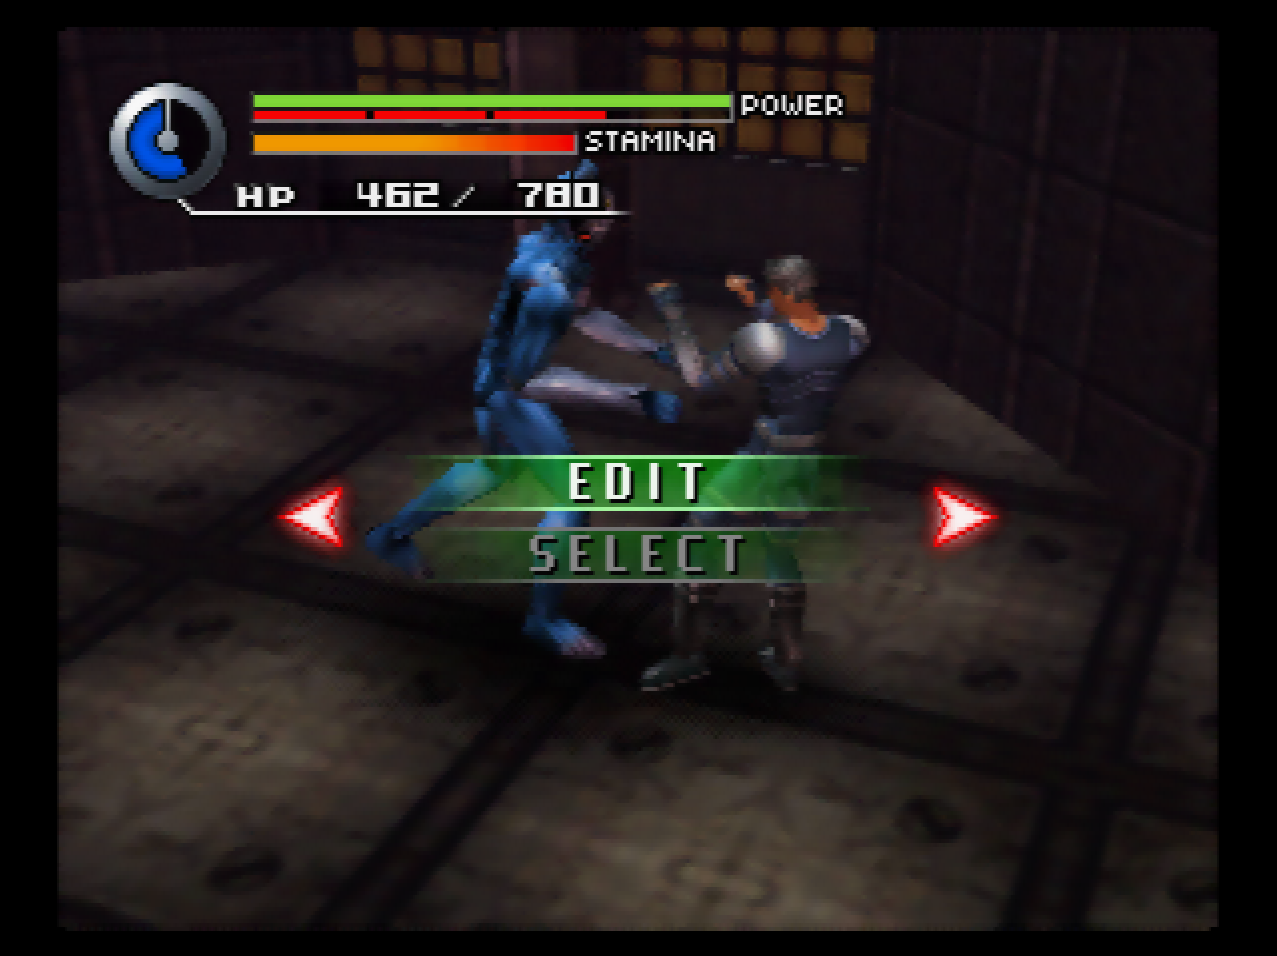
: You can just kinda shuffle away from it while your power charges, wait for it to catch up, and then unleash a combo on it.
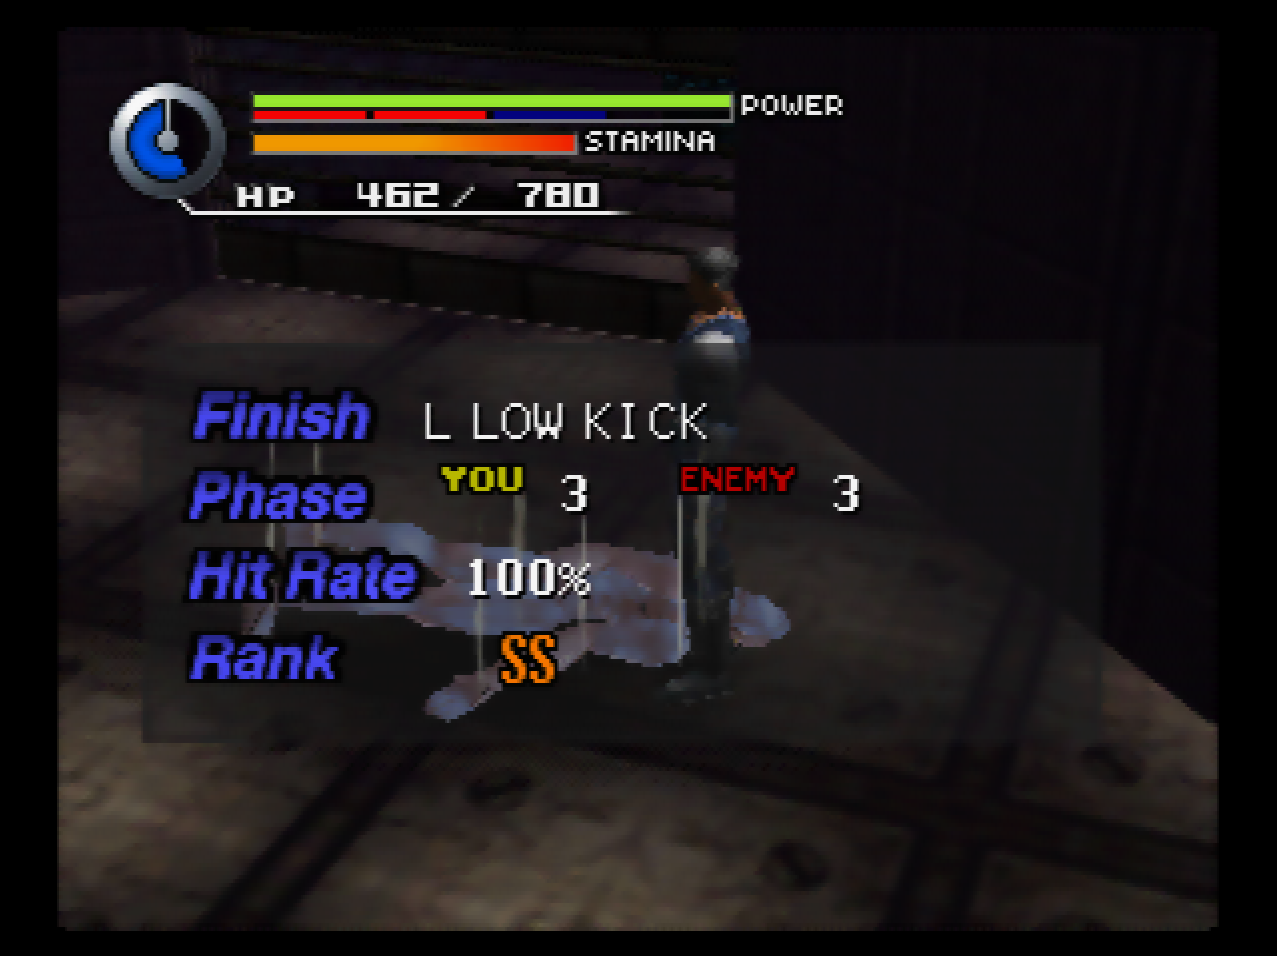
: It’s really nice having fights where the enemy doesn’t get 14 attacks to our one.
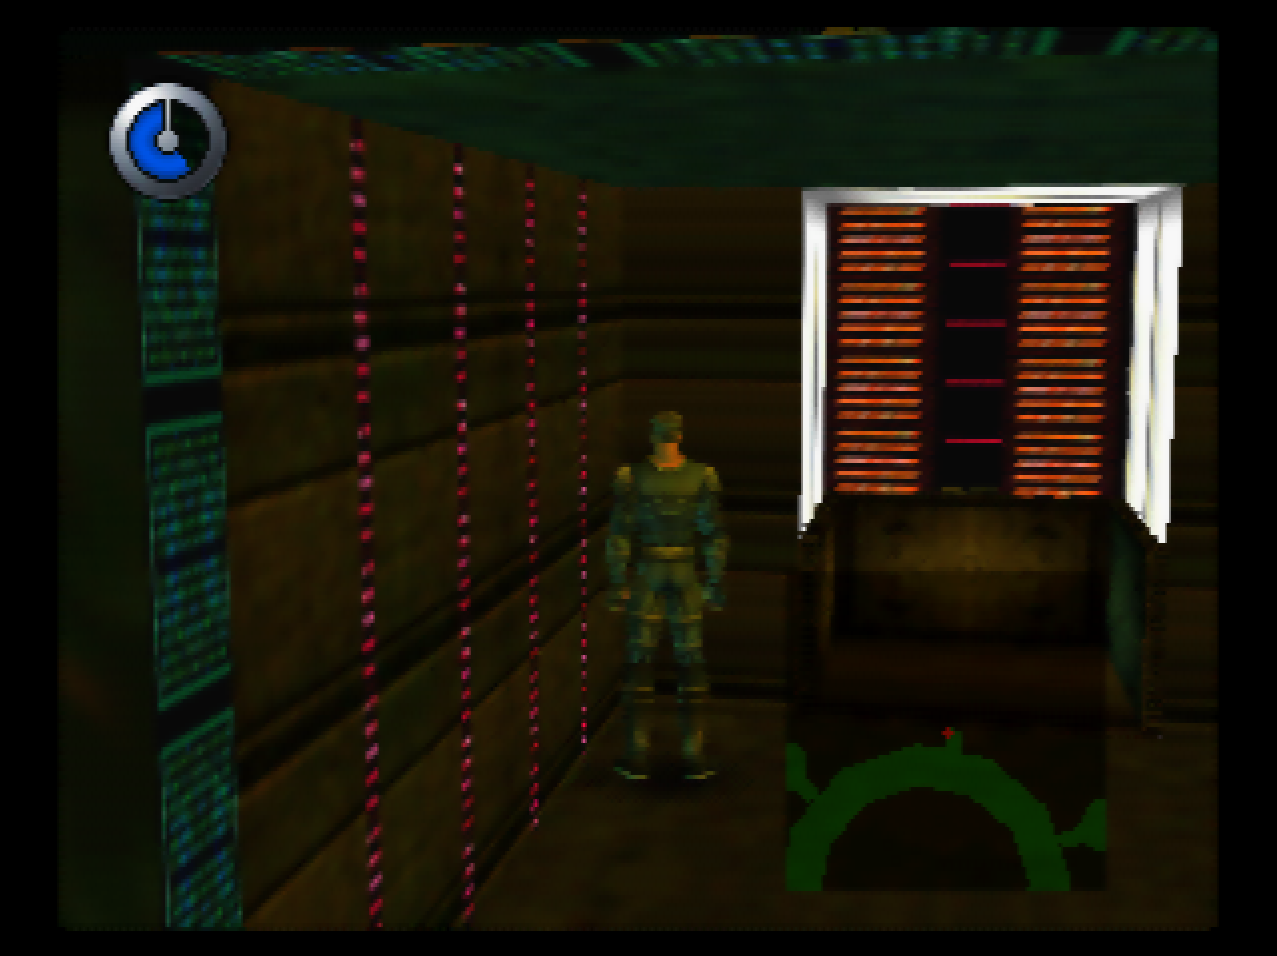
: We then get taken down to another nearly identical floor and get to do more fights.
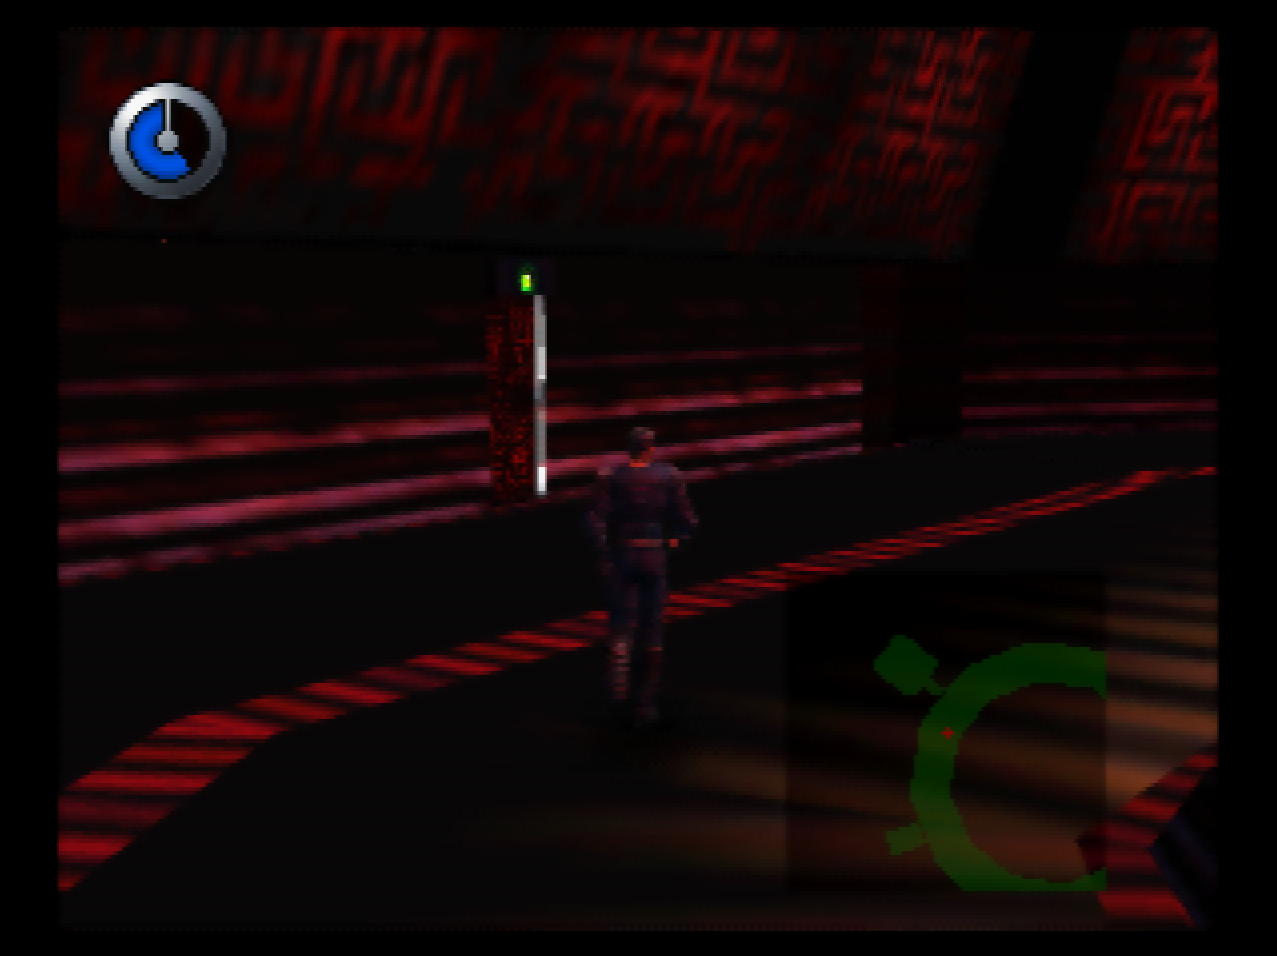
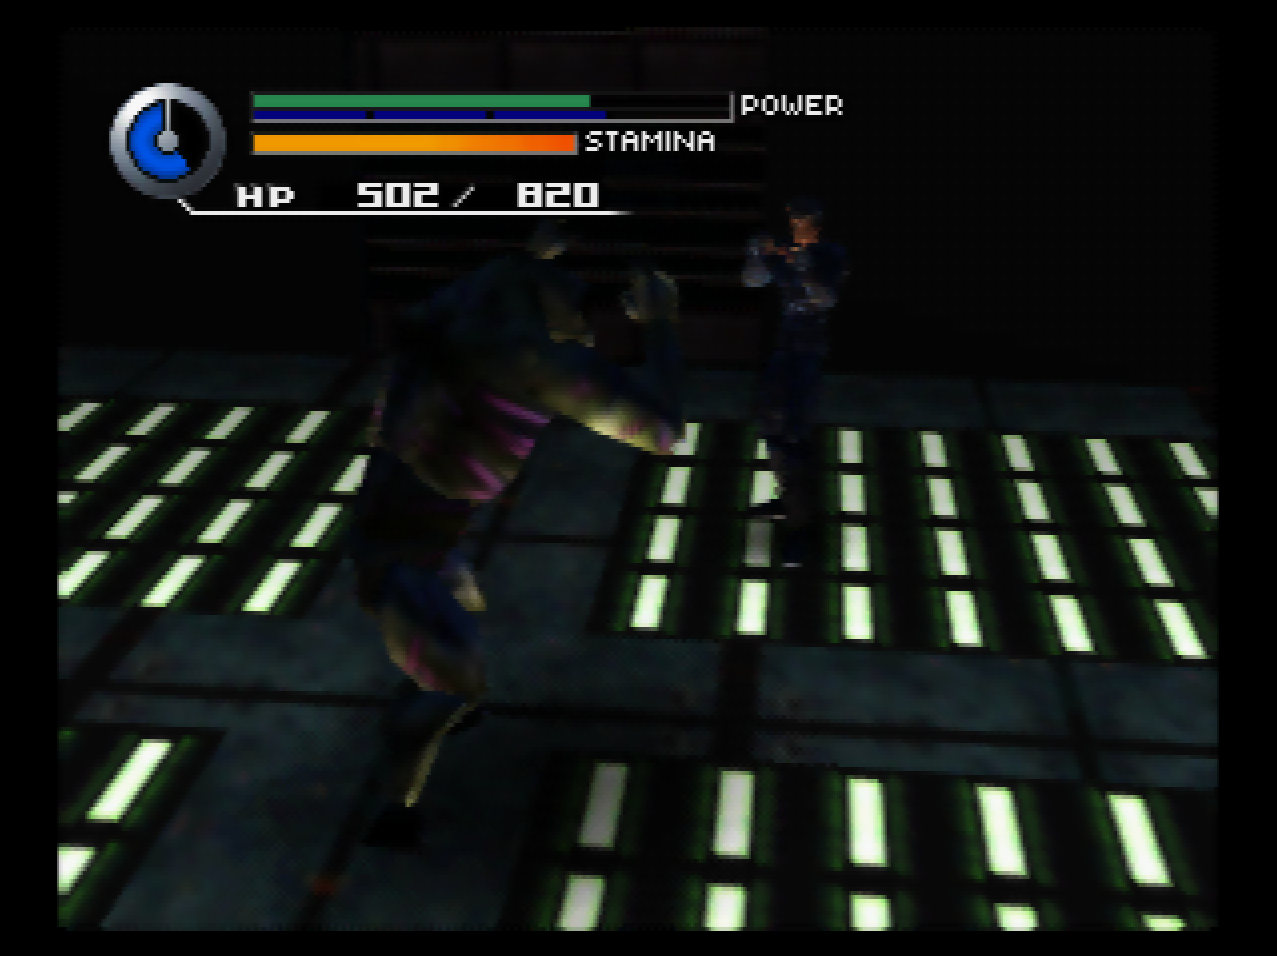
: This thing is called a Mebsuta, and it’s kind of hard to see because of the bad lighting.

: Like that one pig enemy, Mebsuta will also use an Offence Booster to raise its damage. Unlike the pig enemy, Mebsuta has Kevin’s ability to clear half the room after starting an attack.
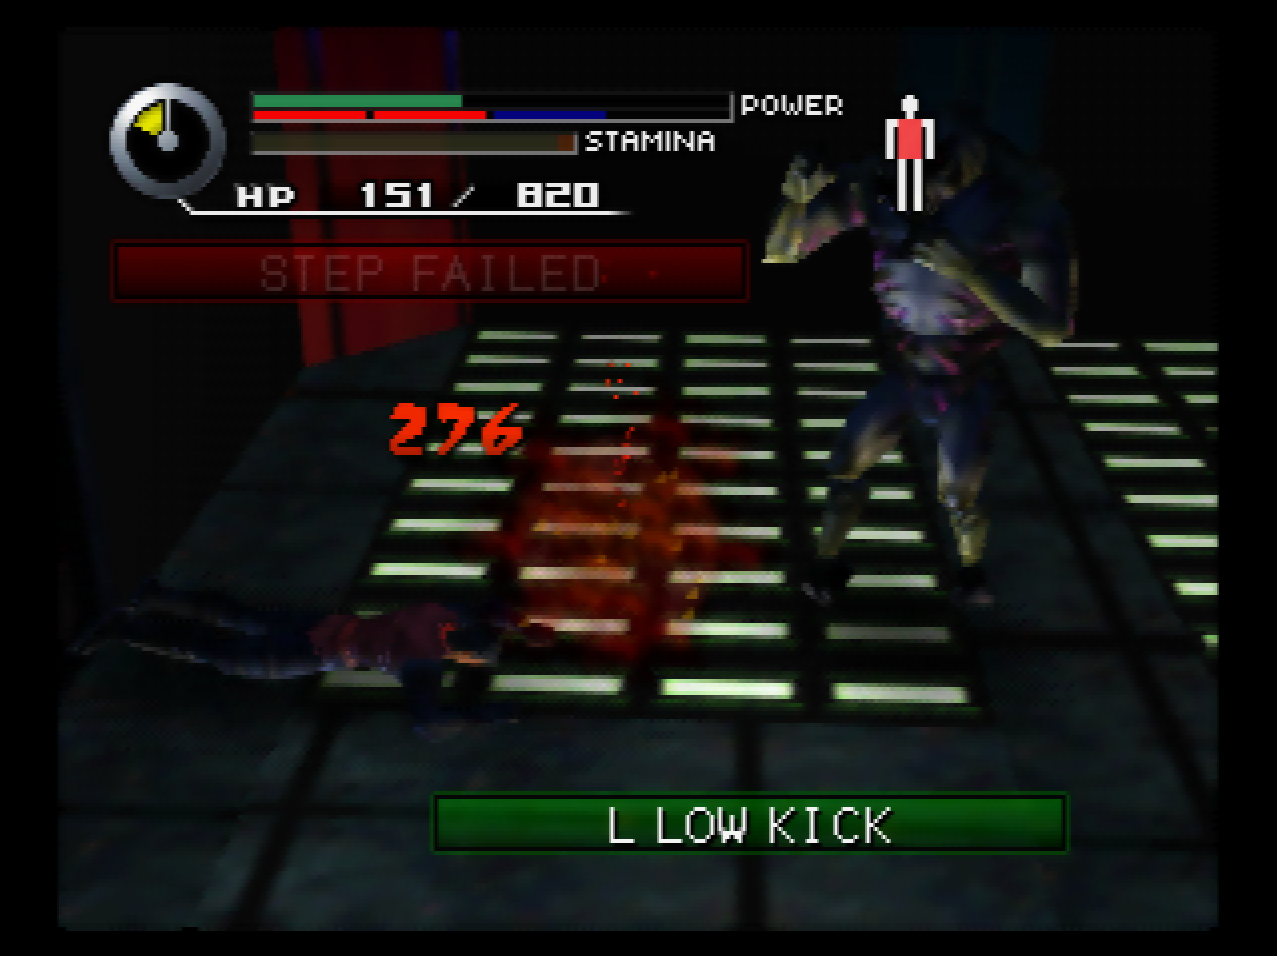
: Not only does getting hit by this thing suck, but it also has the robot “fuck you I dodge” thing where it’ll no-sell most kicks and punches.
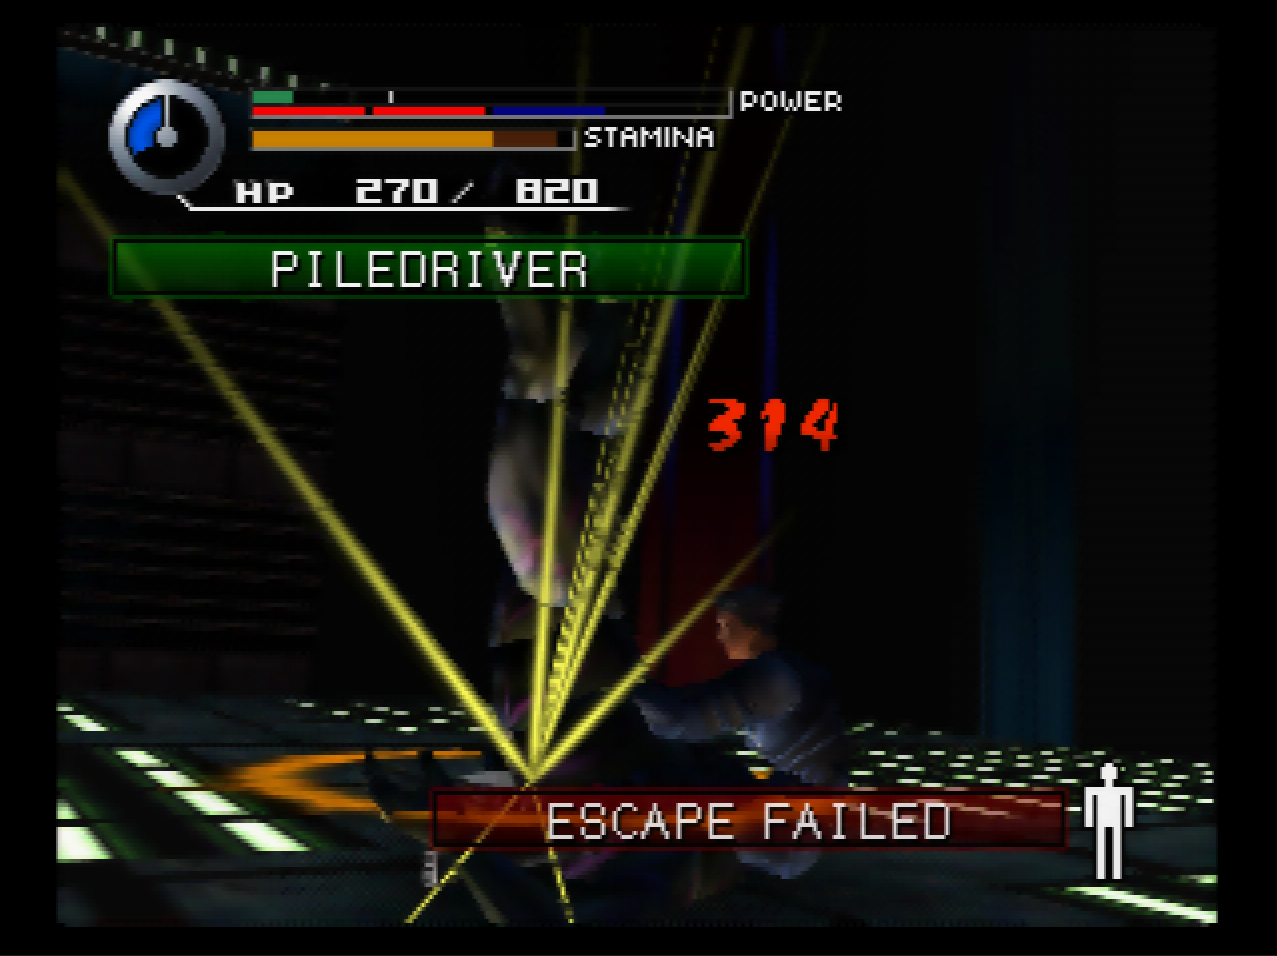
: This is where the Piledriver comes in handy. It can’t dodge that.
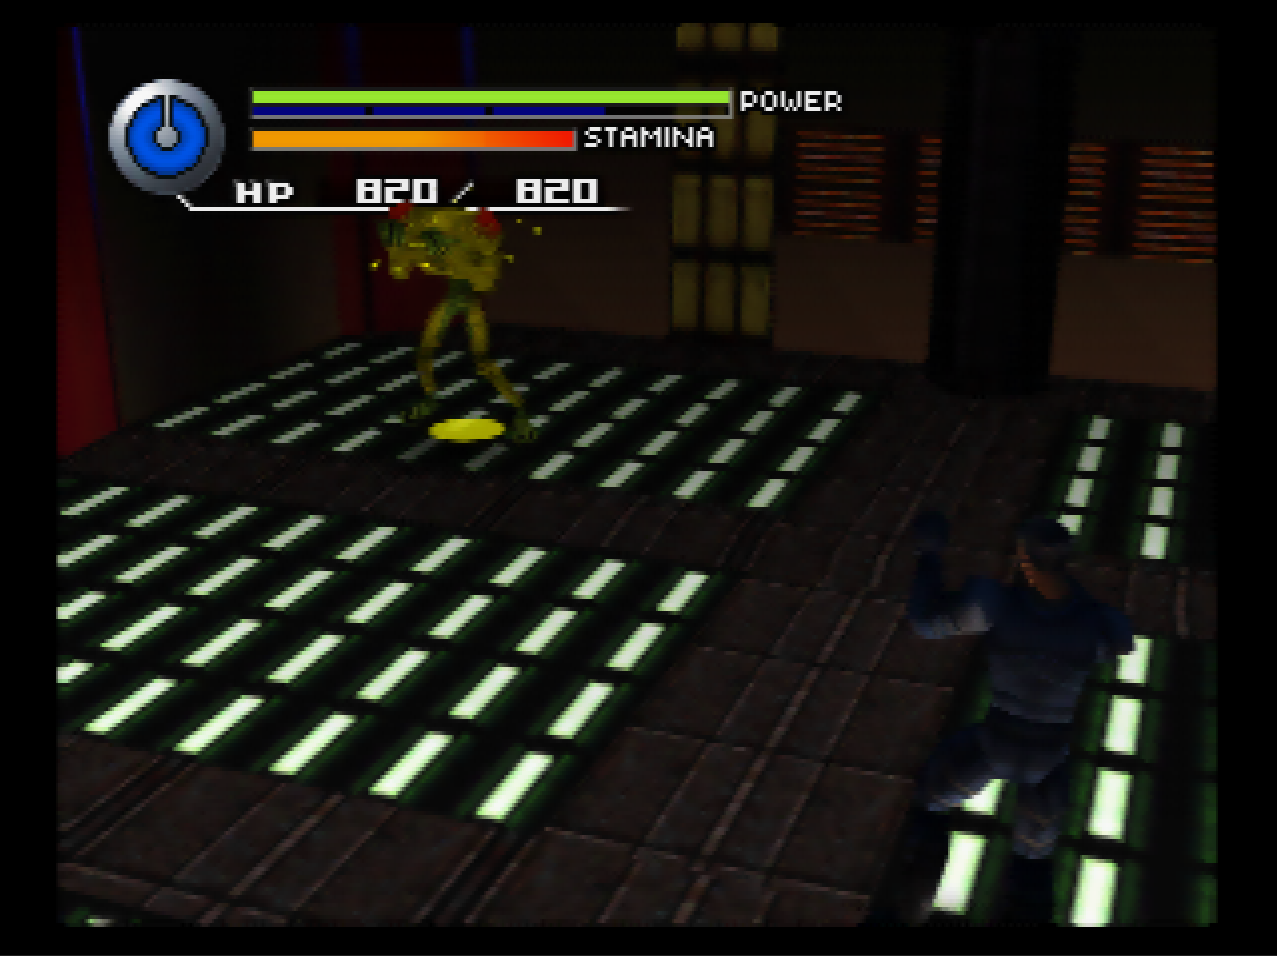
: The other fight on this floor is Sargas. Where Mebsuta uses an Offense Booster, Sargas uses a Speed Booster instead.
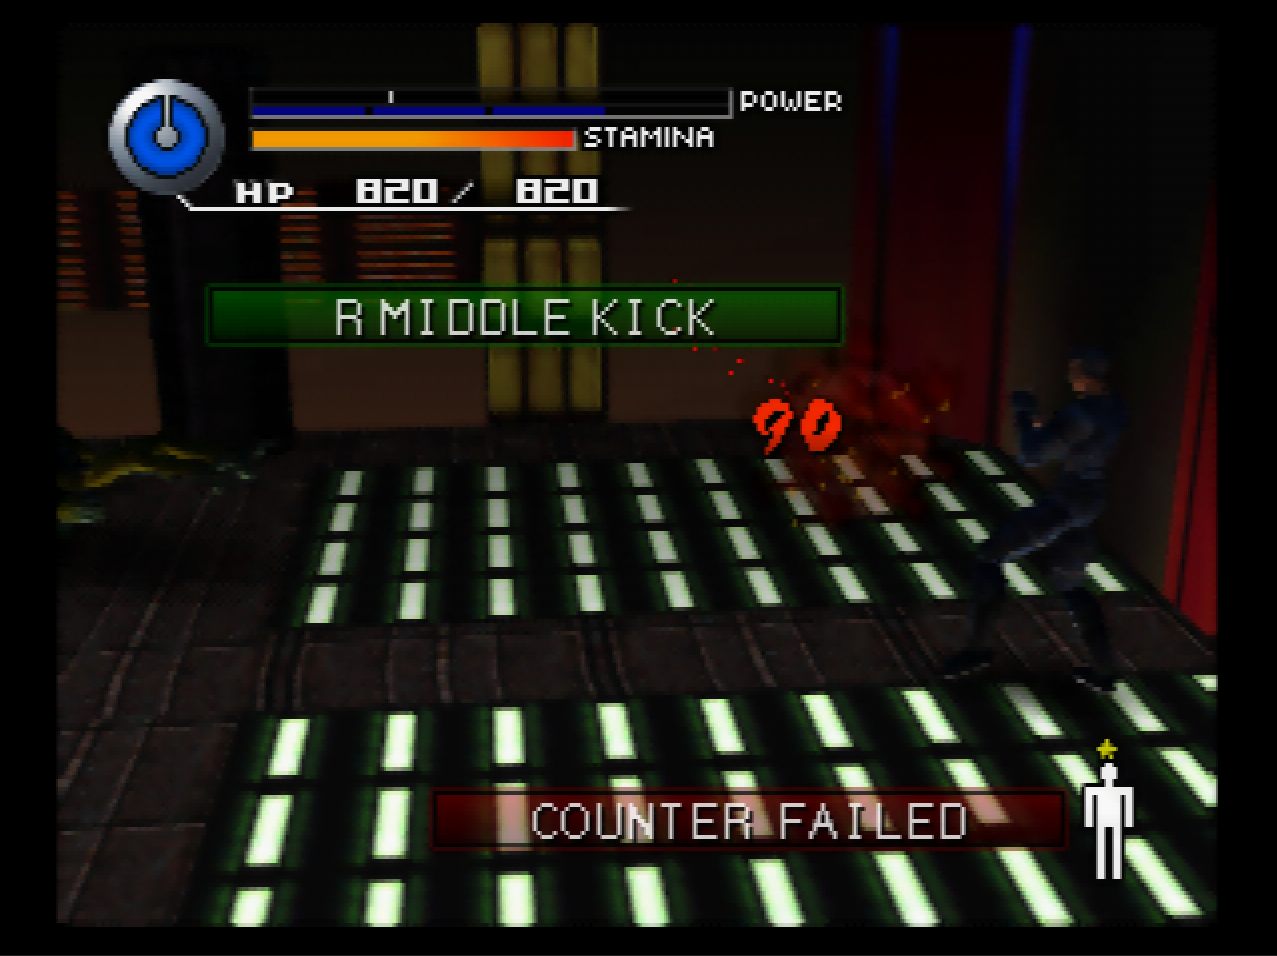
: Sargas’s AI is a lot like Cebalrai’s - it’s super slow and tends to go for grabs. All you have to do is get a combo ready and let it step right into you.
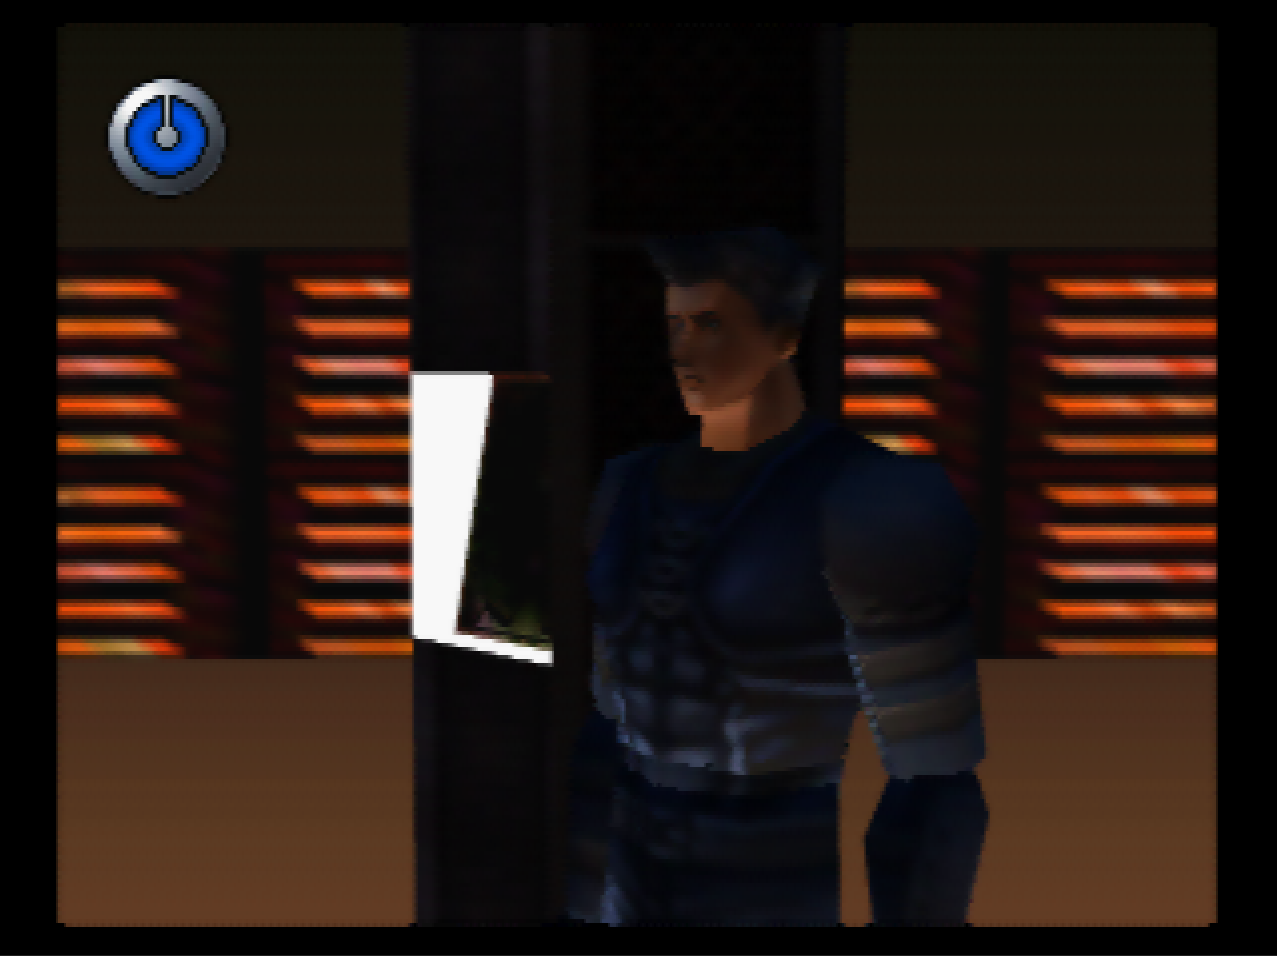
: I also discover a speedrun technique for this area - if Johnny is near the button when the fight ends, he’ll automatically interact with it once the cutscene is over.
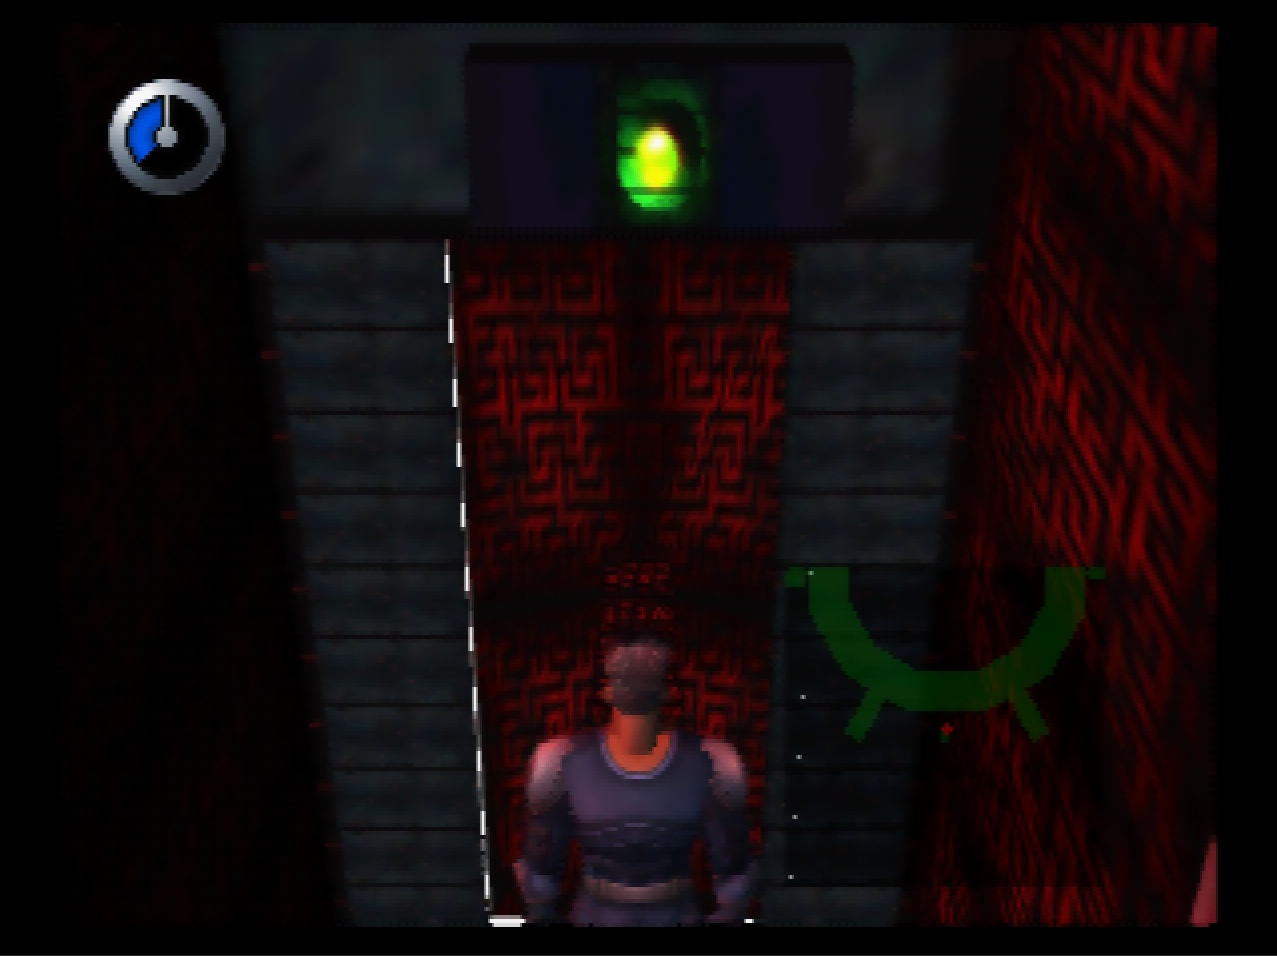
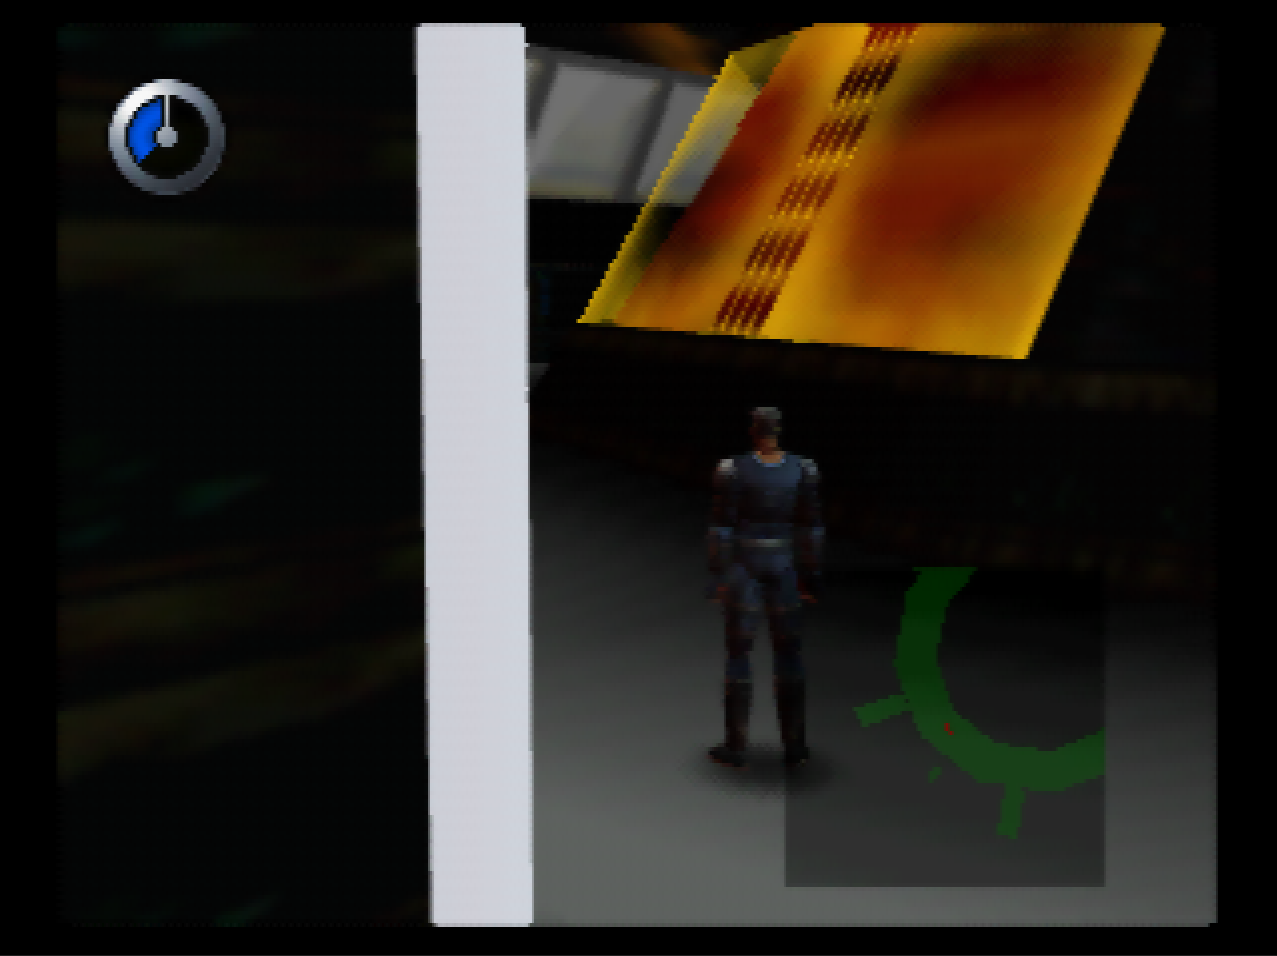
: And guess what, it’s another copy-pasted fight arena. This floor also only has two fights on it.
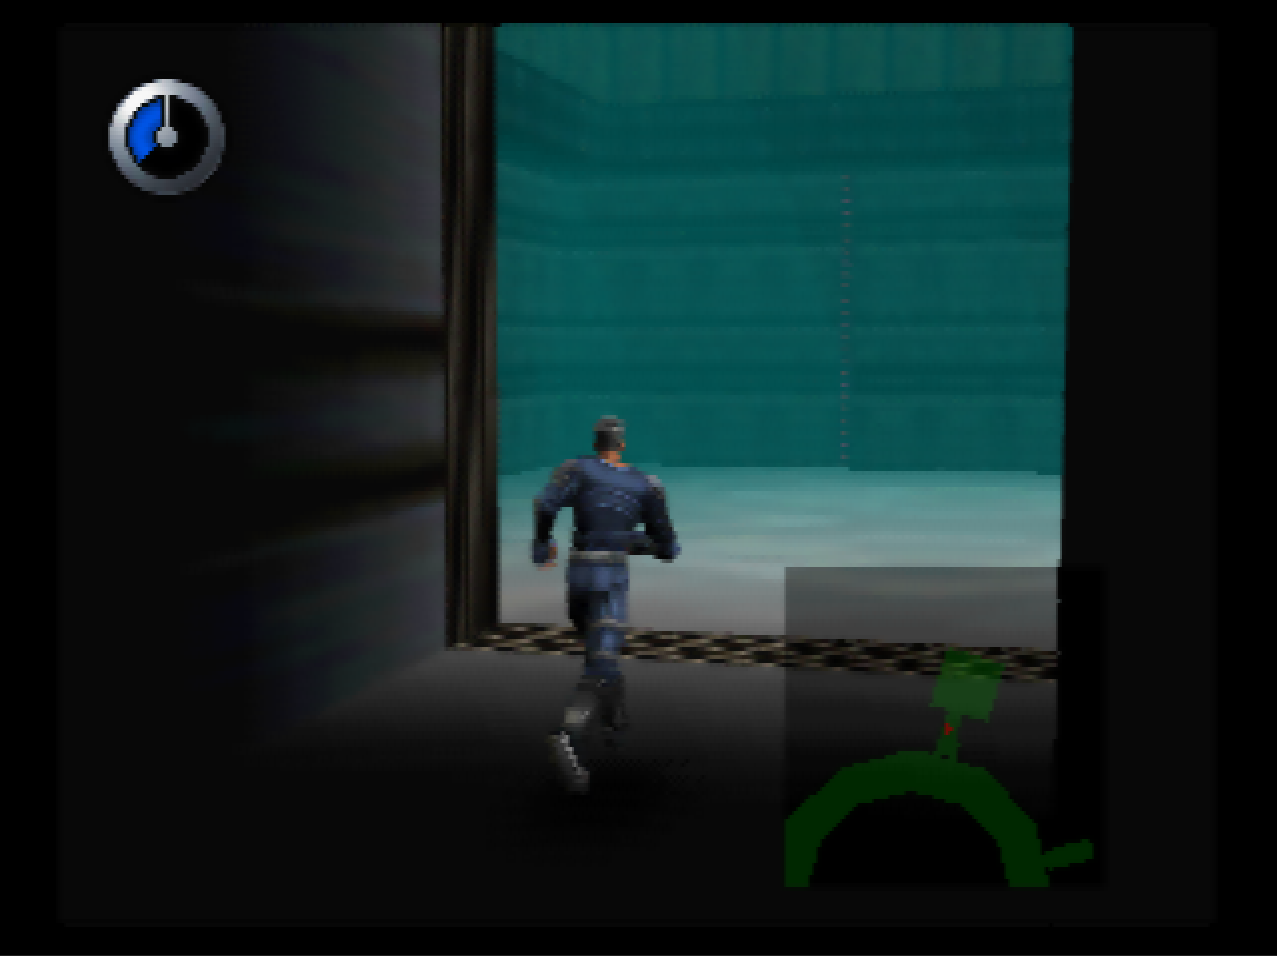
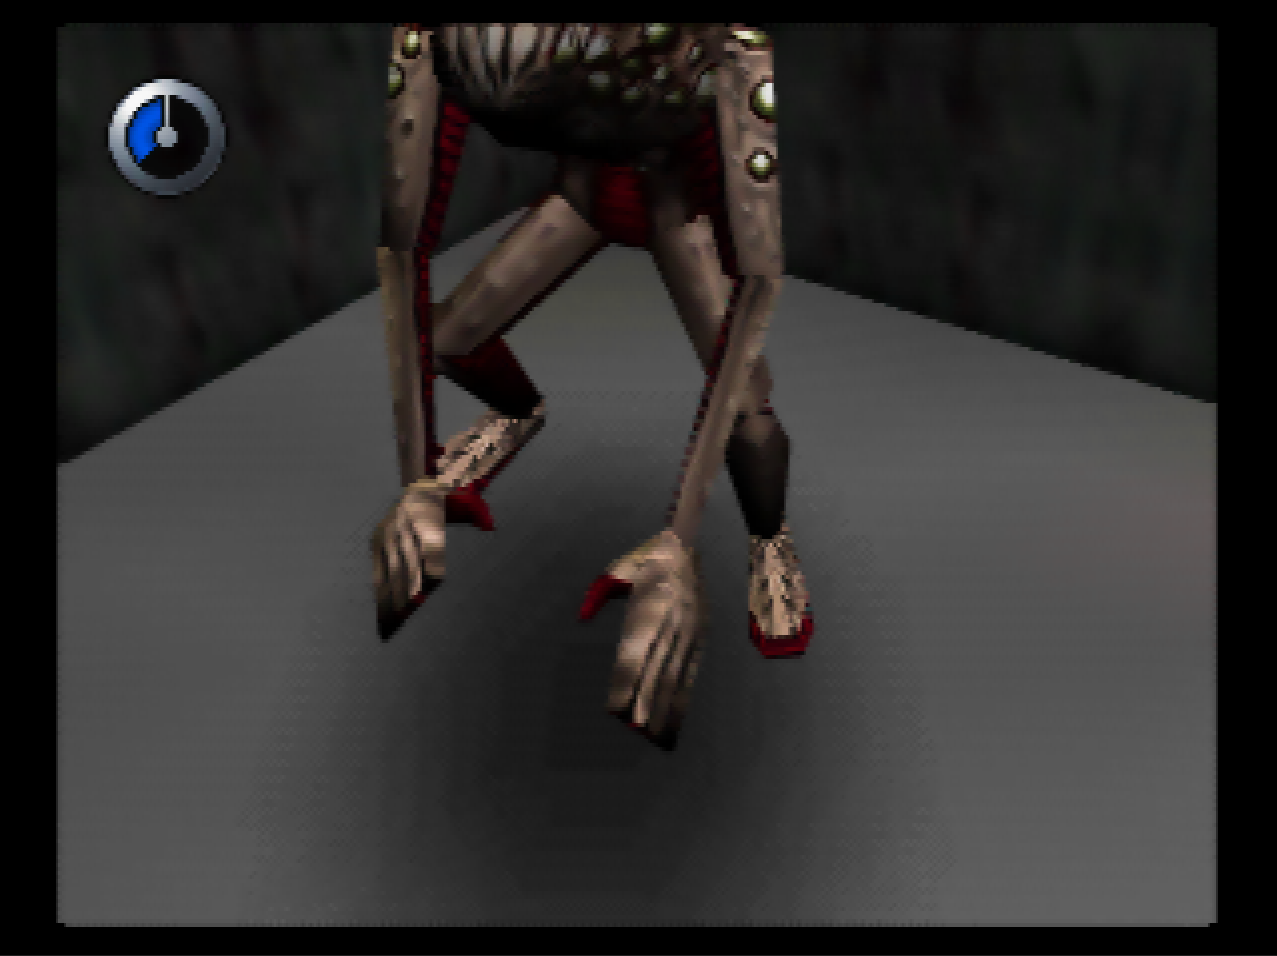
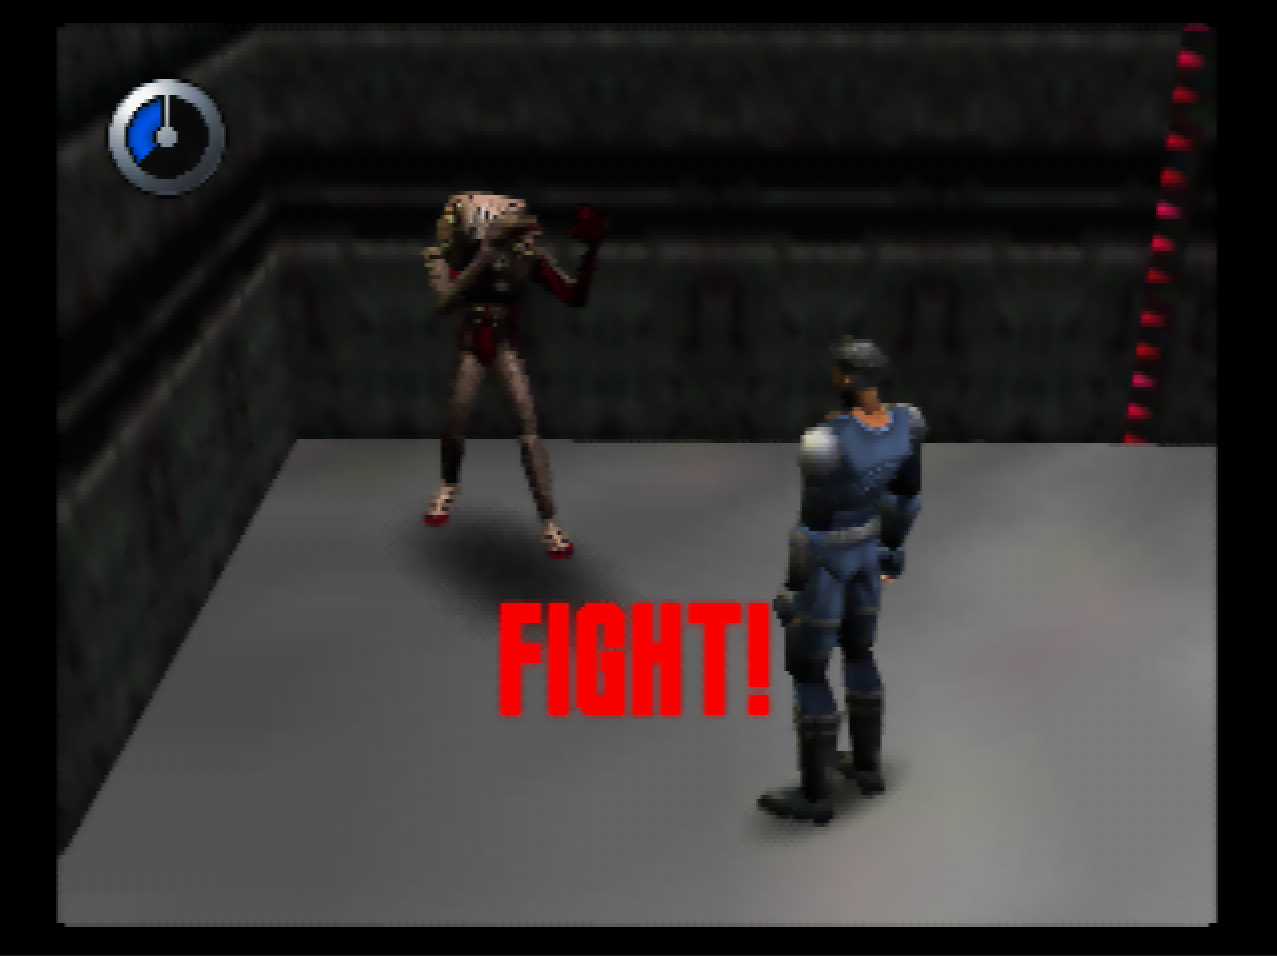
: This is Alkalurops, which is the third of the stat booster trifecta. It starts the fight by using a Defense Booster.
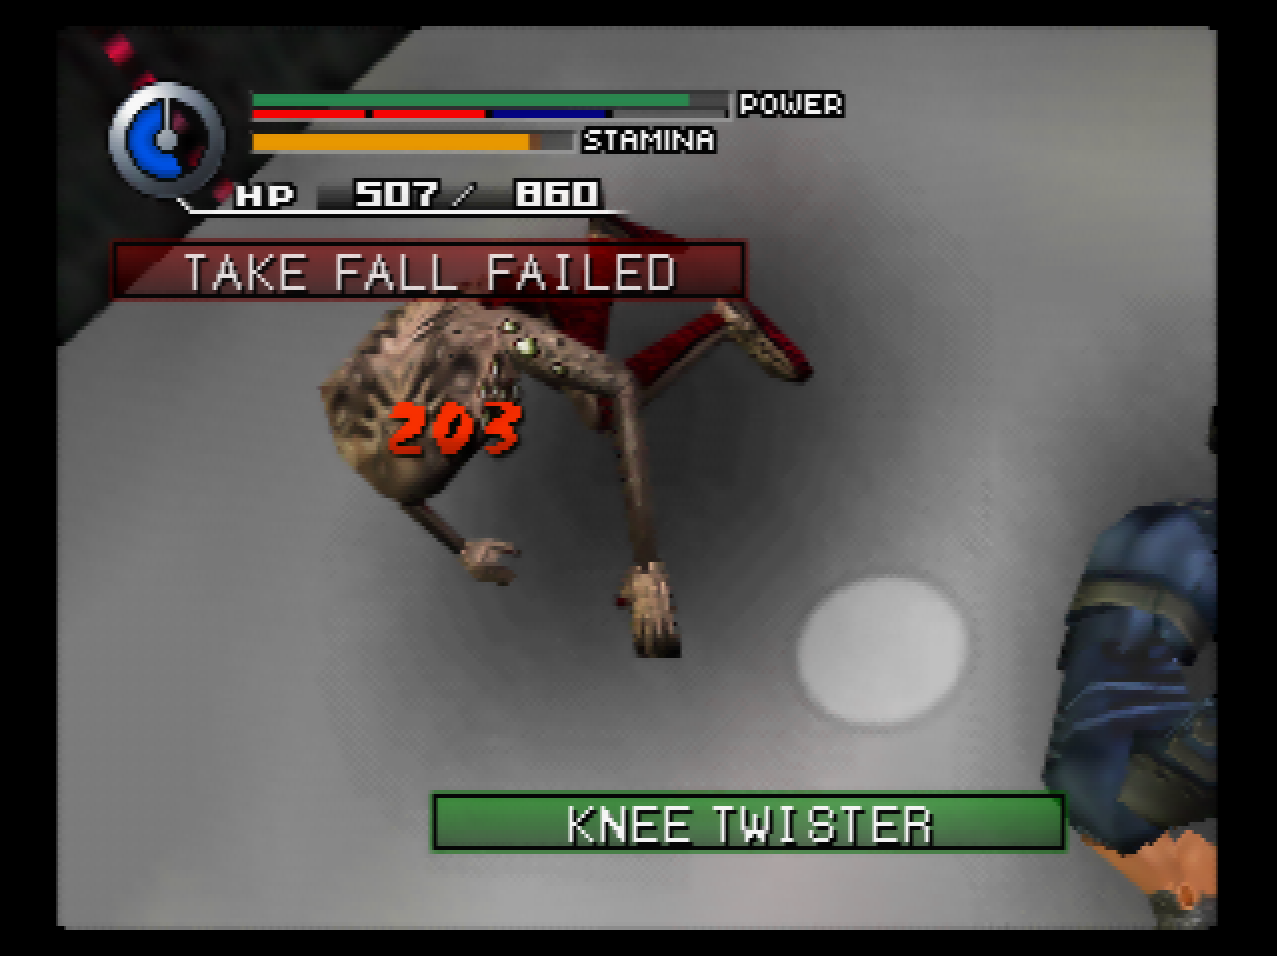
: Alkalurops knows a couple of moves I tried to learn but couldn’t - one of them is the Knee Twister, the other is a move called the Back Drop that only works if the opponent is on the ground.
: There’s a save point here, so I’ll just go ahead and use it.
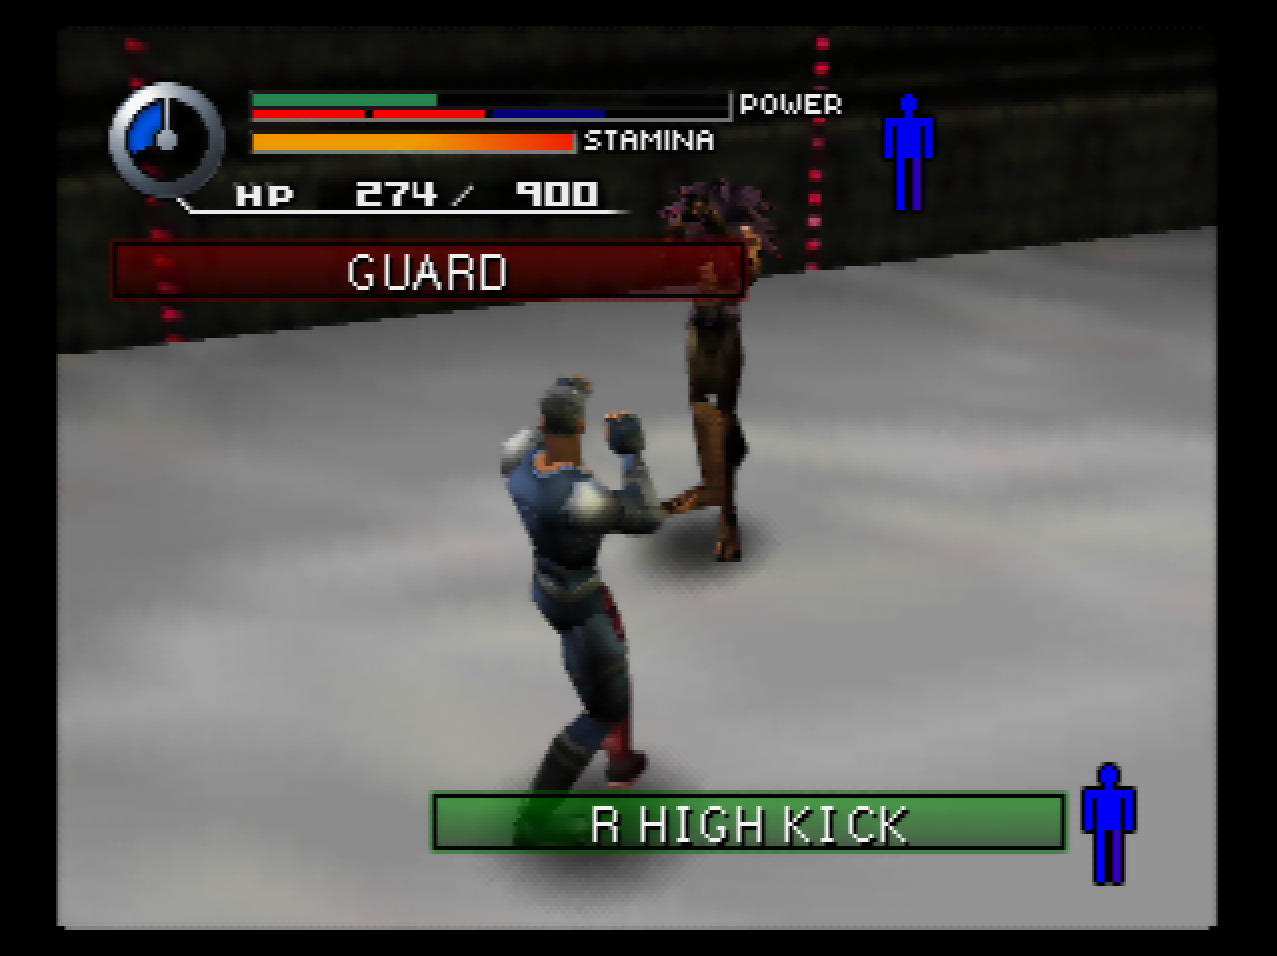
: The other room on this floor has a Dubhe in it that is of the type that won’t spam poison. I was trying to learn a couple of moves off it (namely the Back Spin Kick) but it refused to use them for some reason.
: Before we leave, there are some buttons next to the elevator. They’re in the previous area too, and I went back and got them from an earlier save.
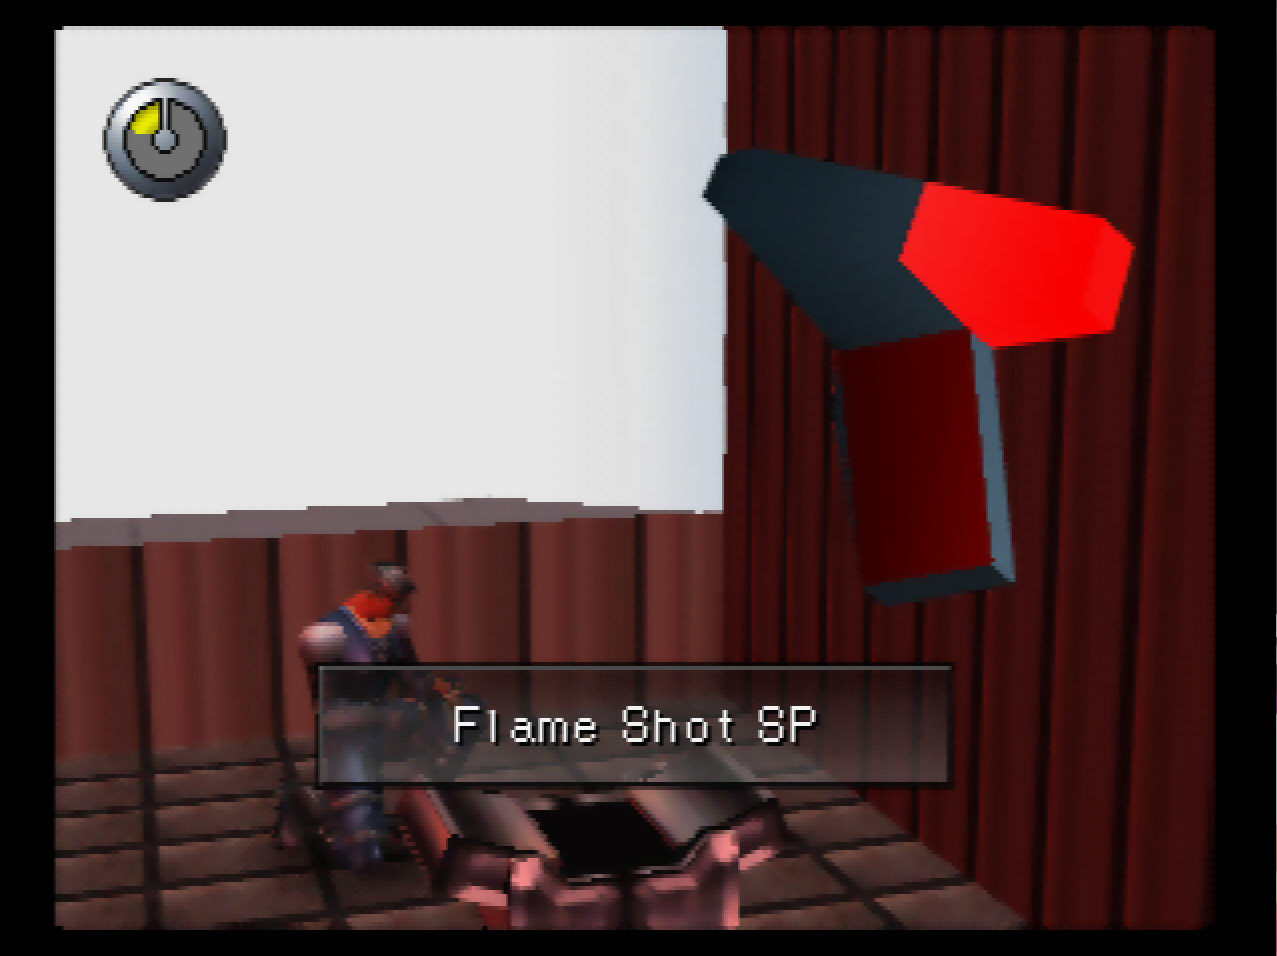
: This gets us some guns and life chargers, which we’ll need coming up.
: We slide down here, and now it’s time for a boss rush.
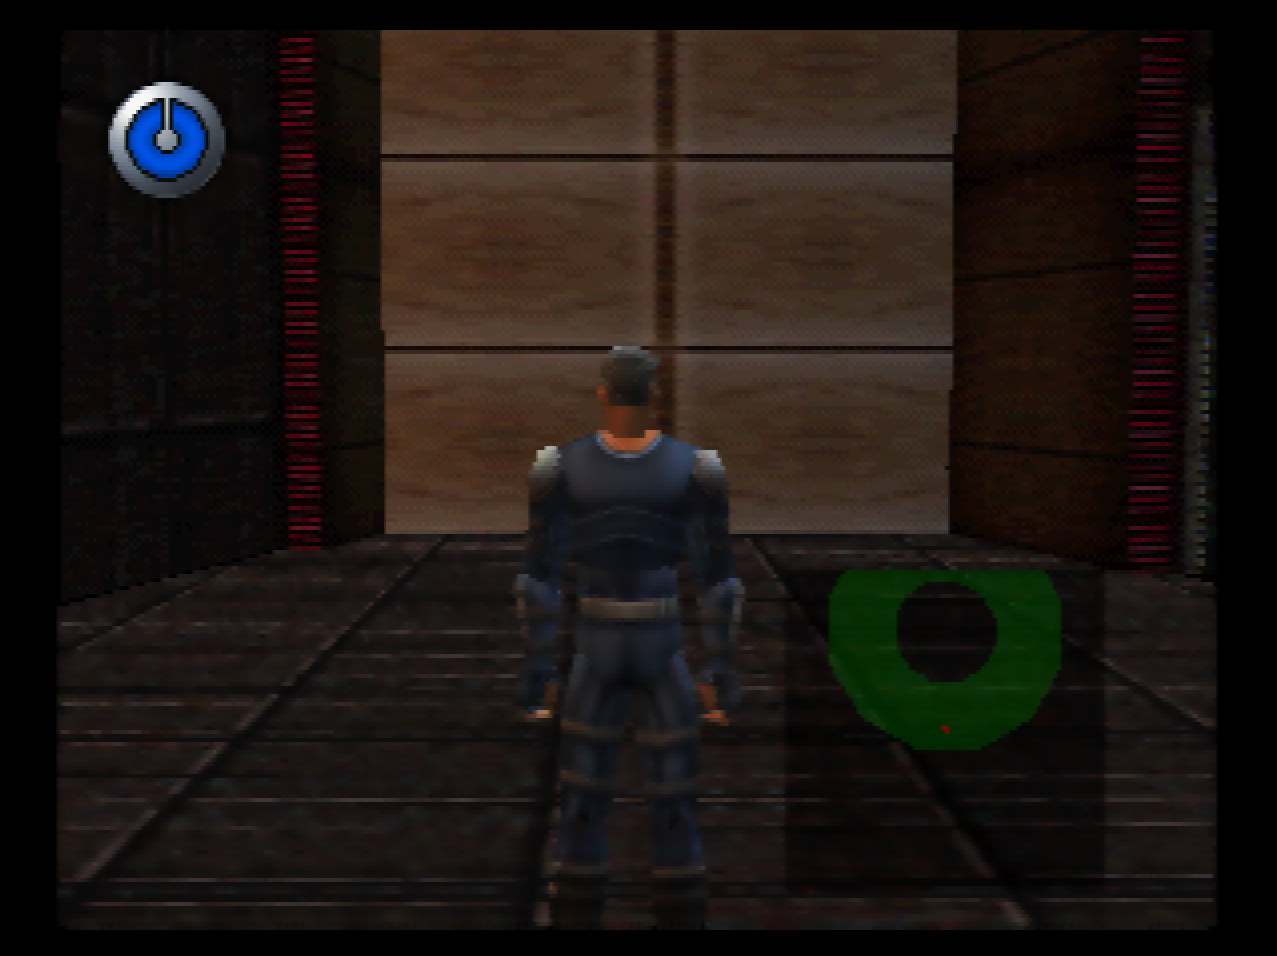
: There’s a door on the left and a door on the right. We’ll take the right first, because the boss on the left sucks and I want to have the five-hit combo before we fight it.
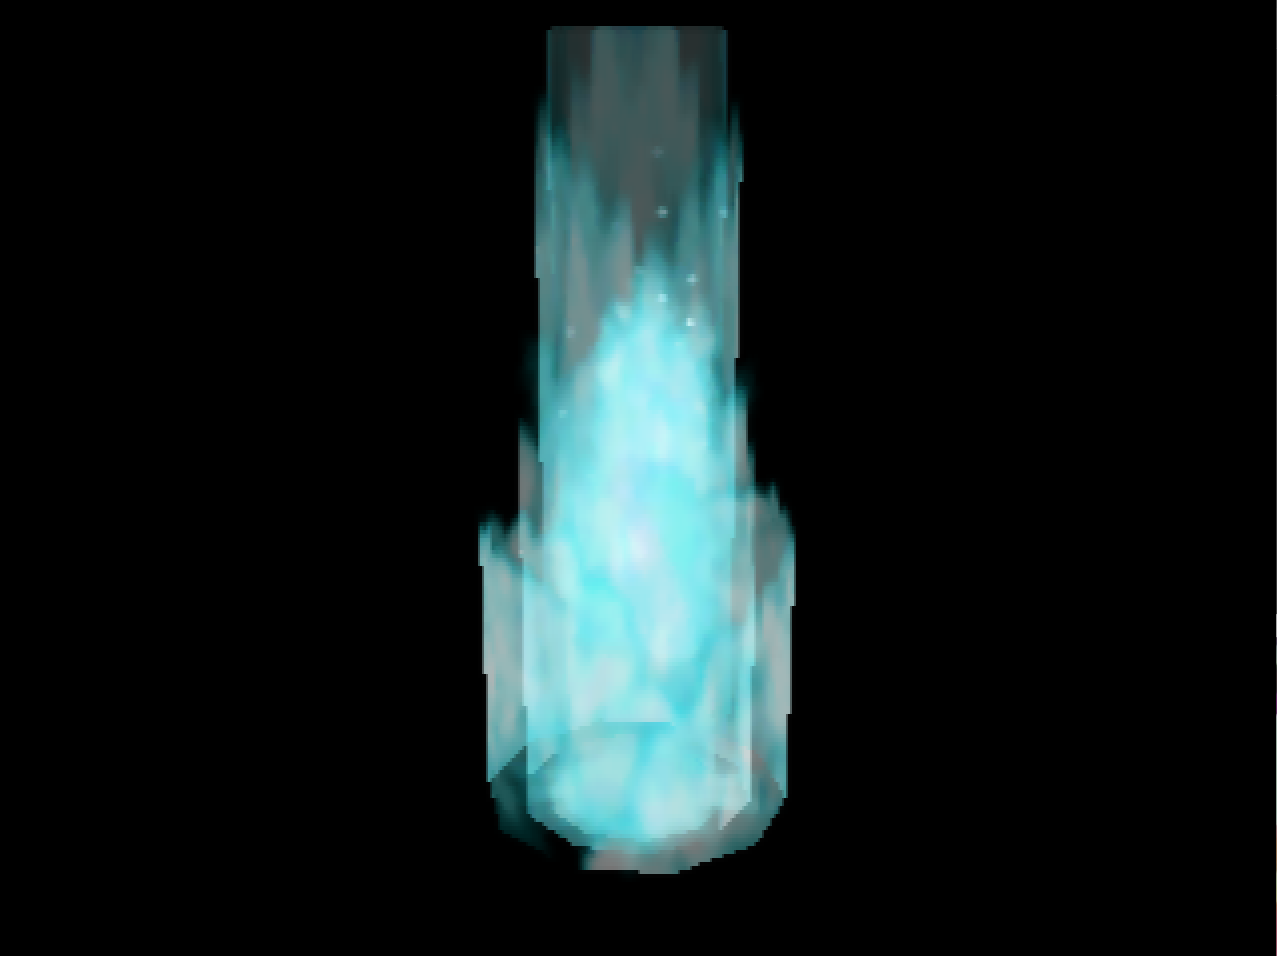
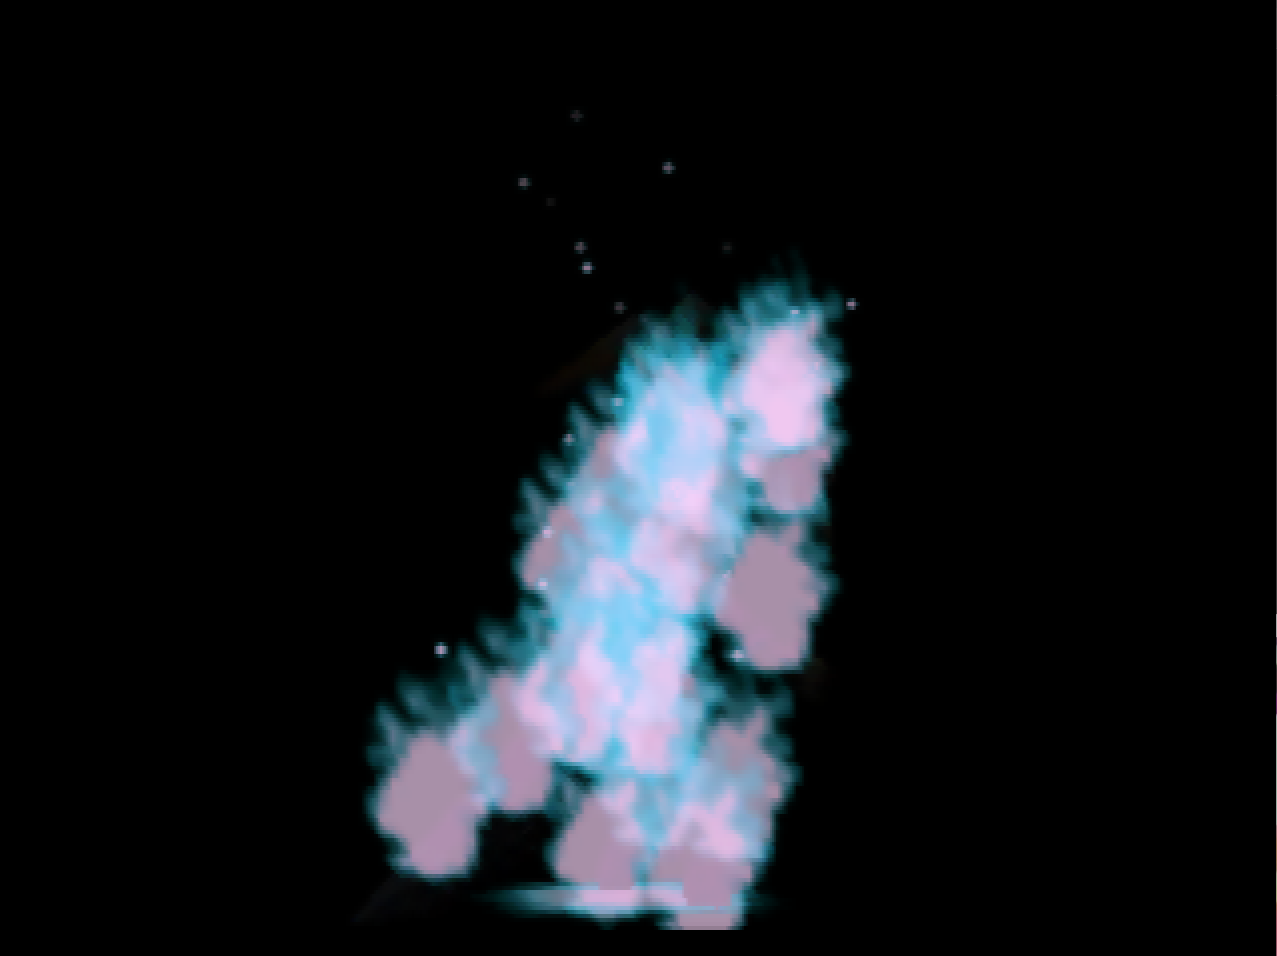

: This is Polaris. It’s one of four elemental-themed bosses in this last part of World 5.
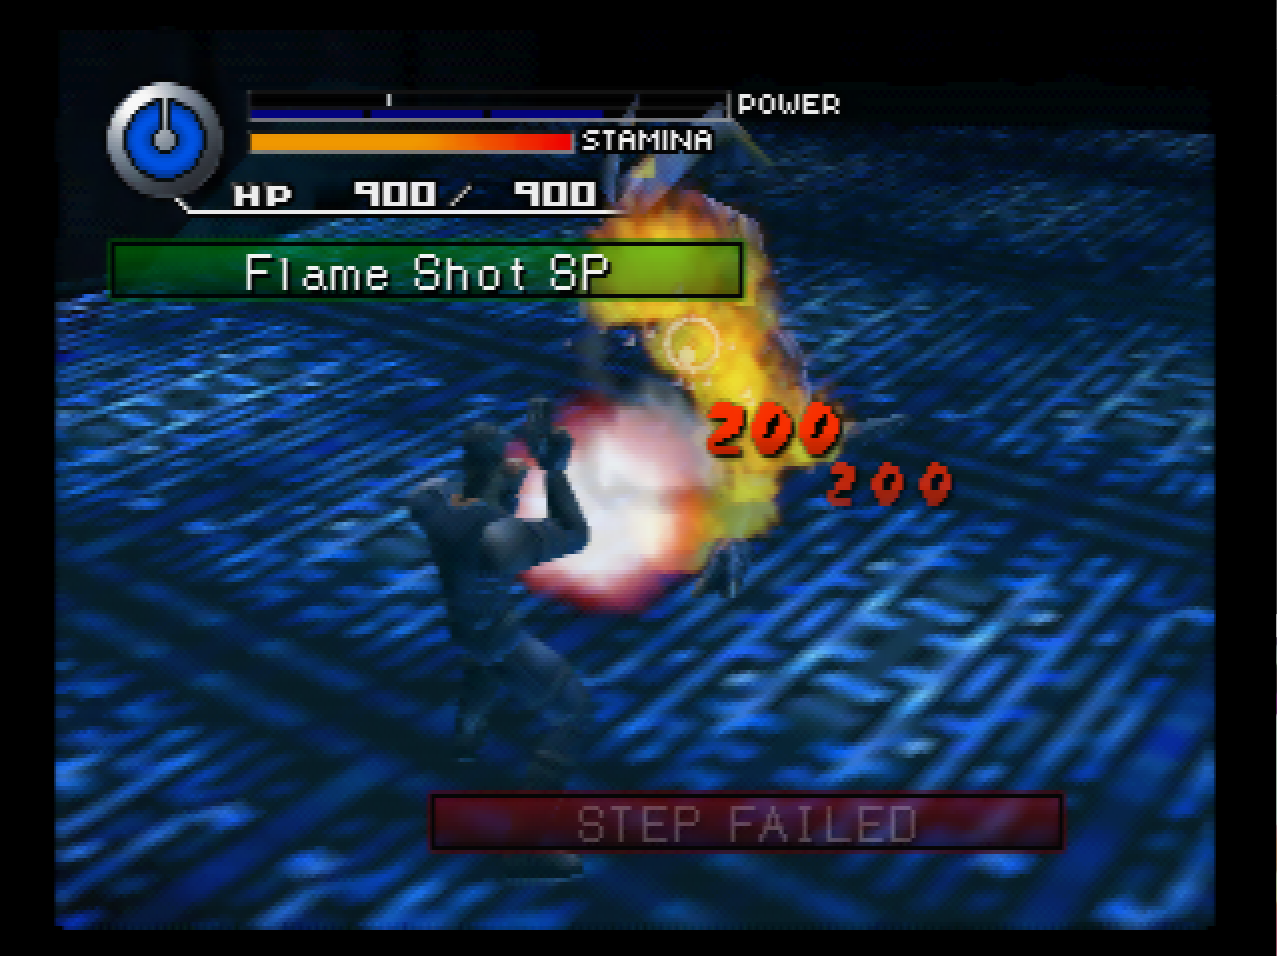
: We have a couple of Flame Shot SPs, so I use one and it does around 600 damage.
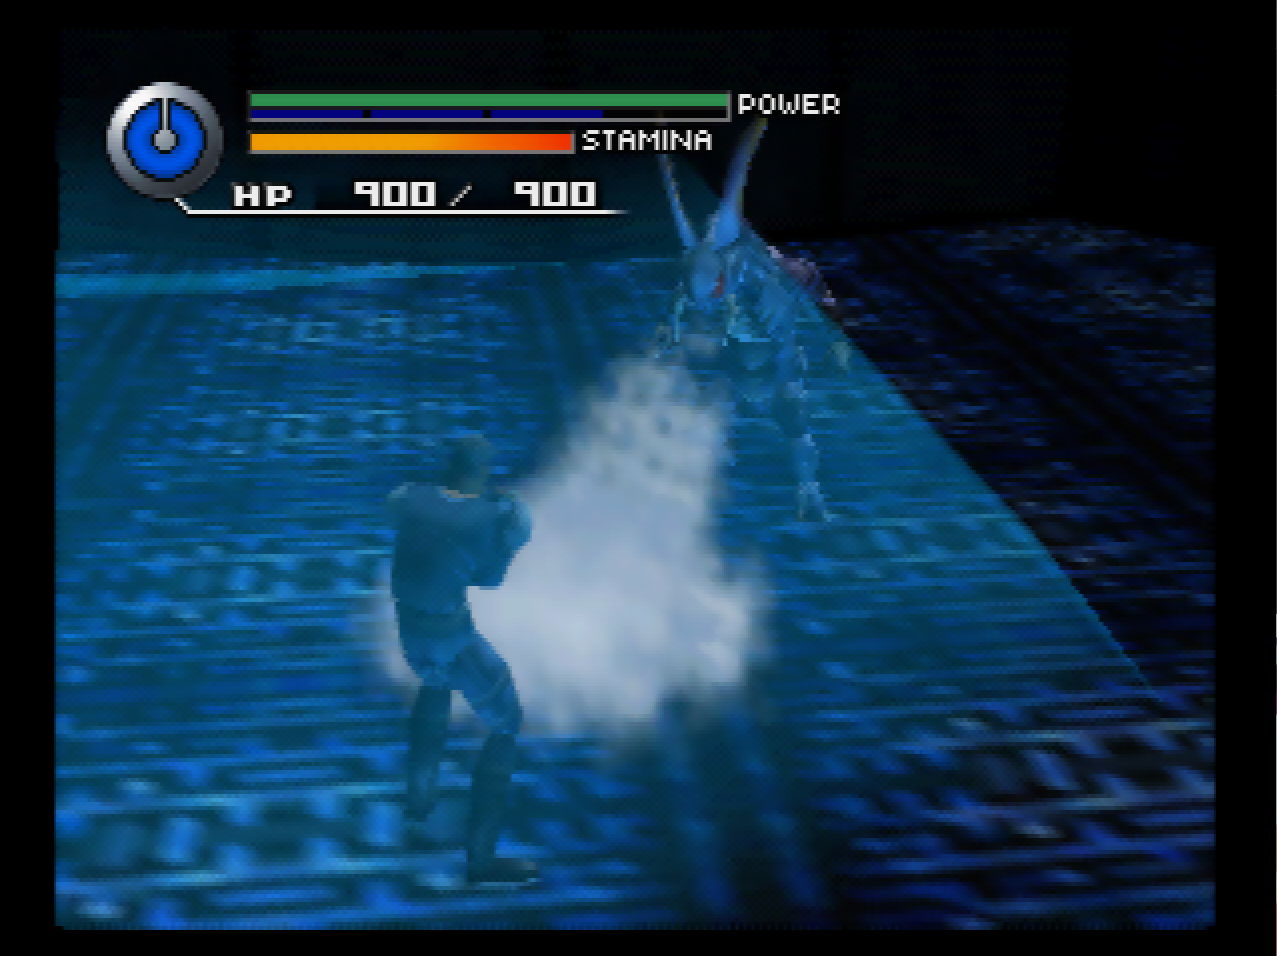
: Polaris’s main attack is a breath weapon that is surprisingly easy to dodge. Other than that, it has some basic punches and kicks and a tail sweep.

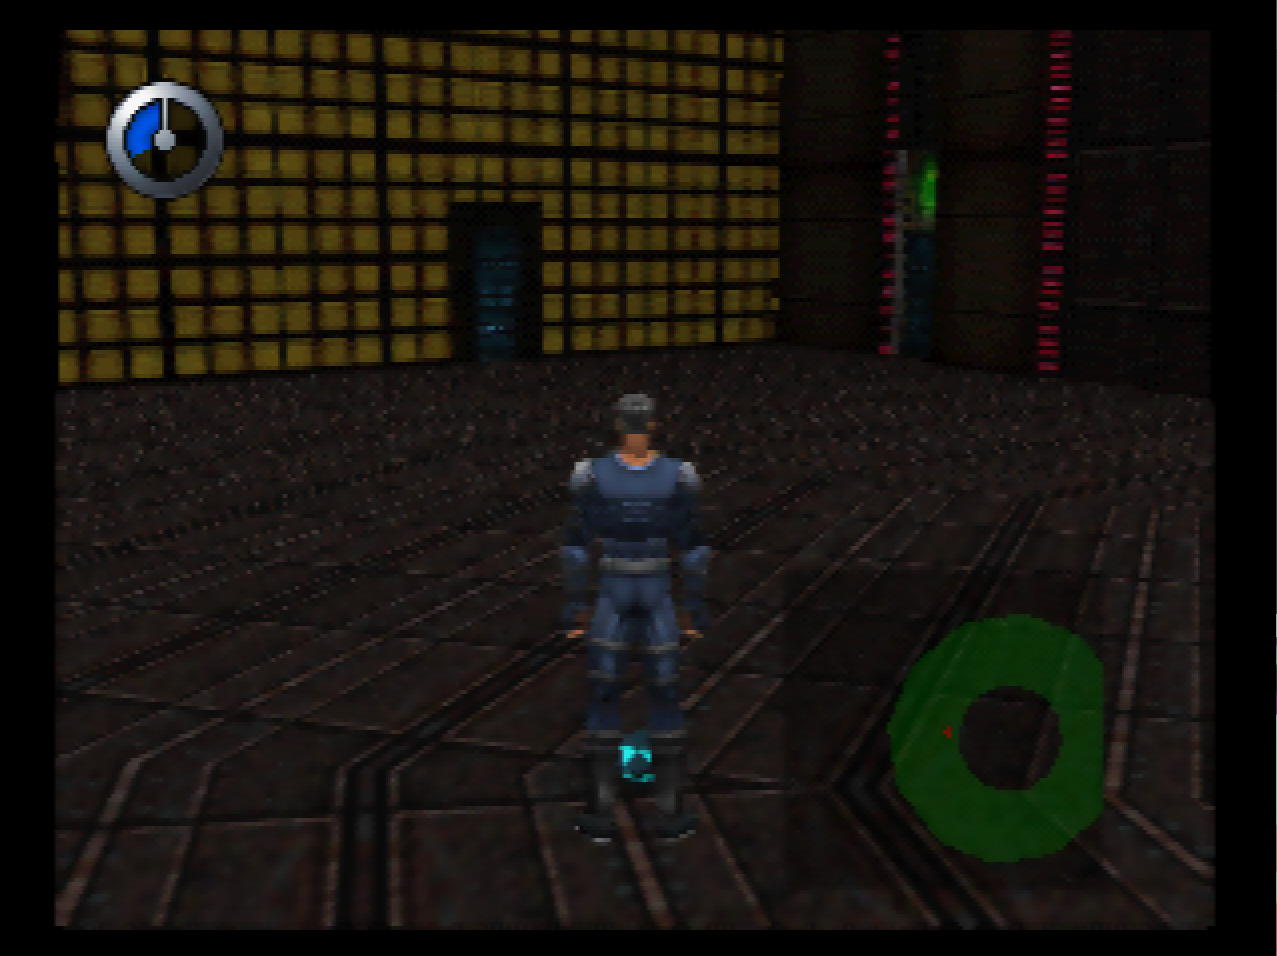
: This opens up another part of the big circle and lets us fight another boss. We’ll go to the right again.
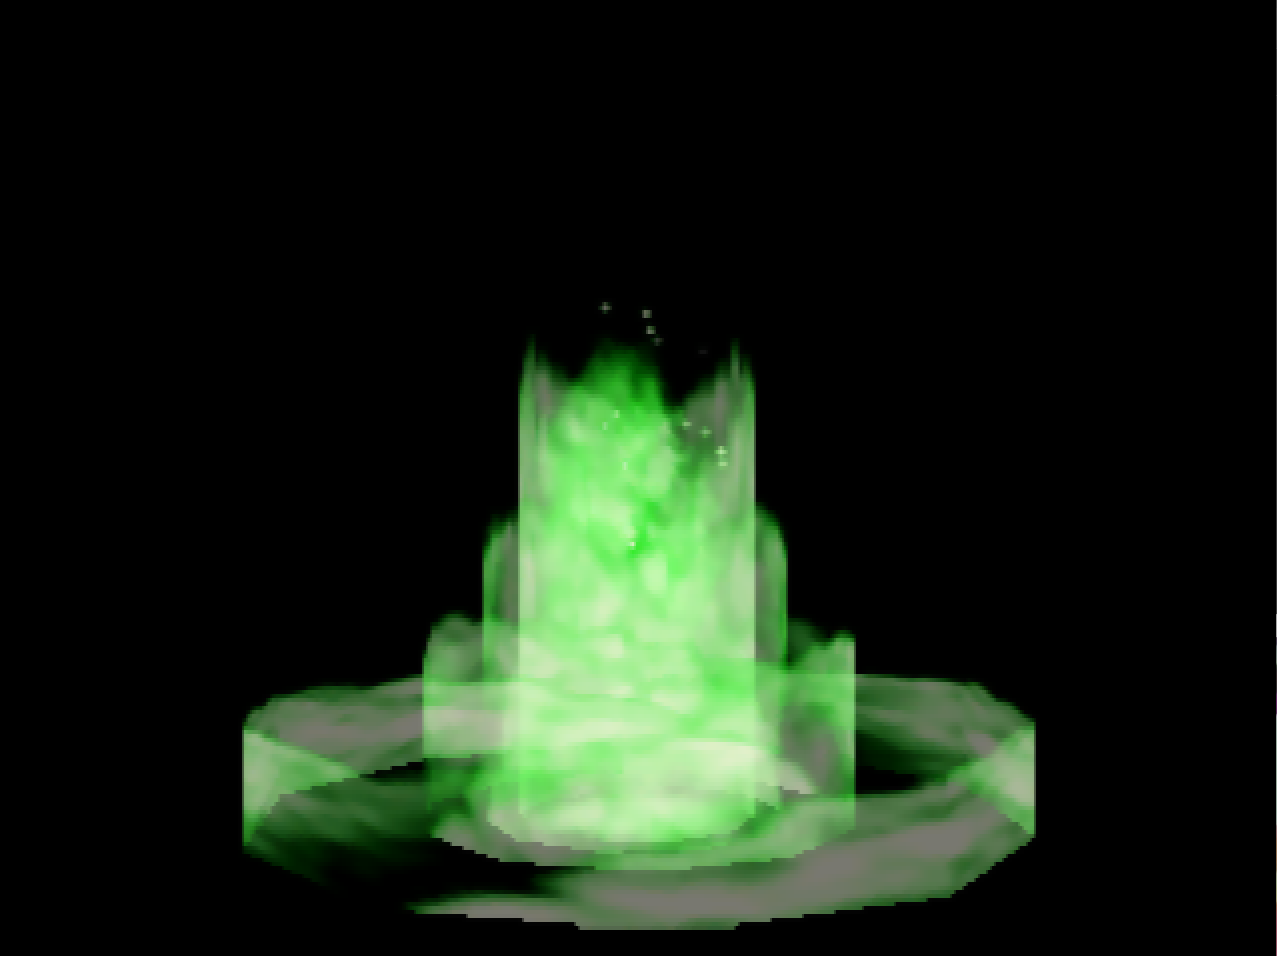
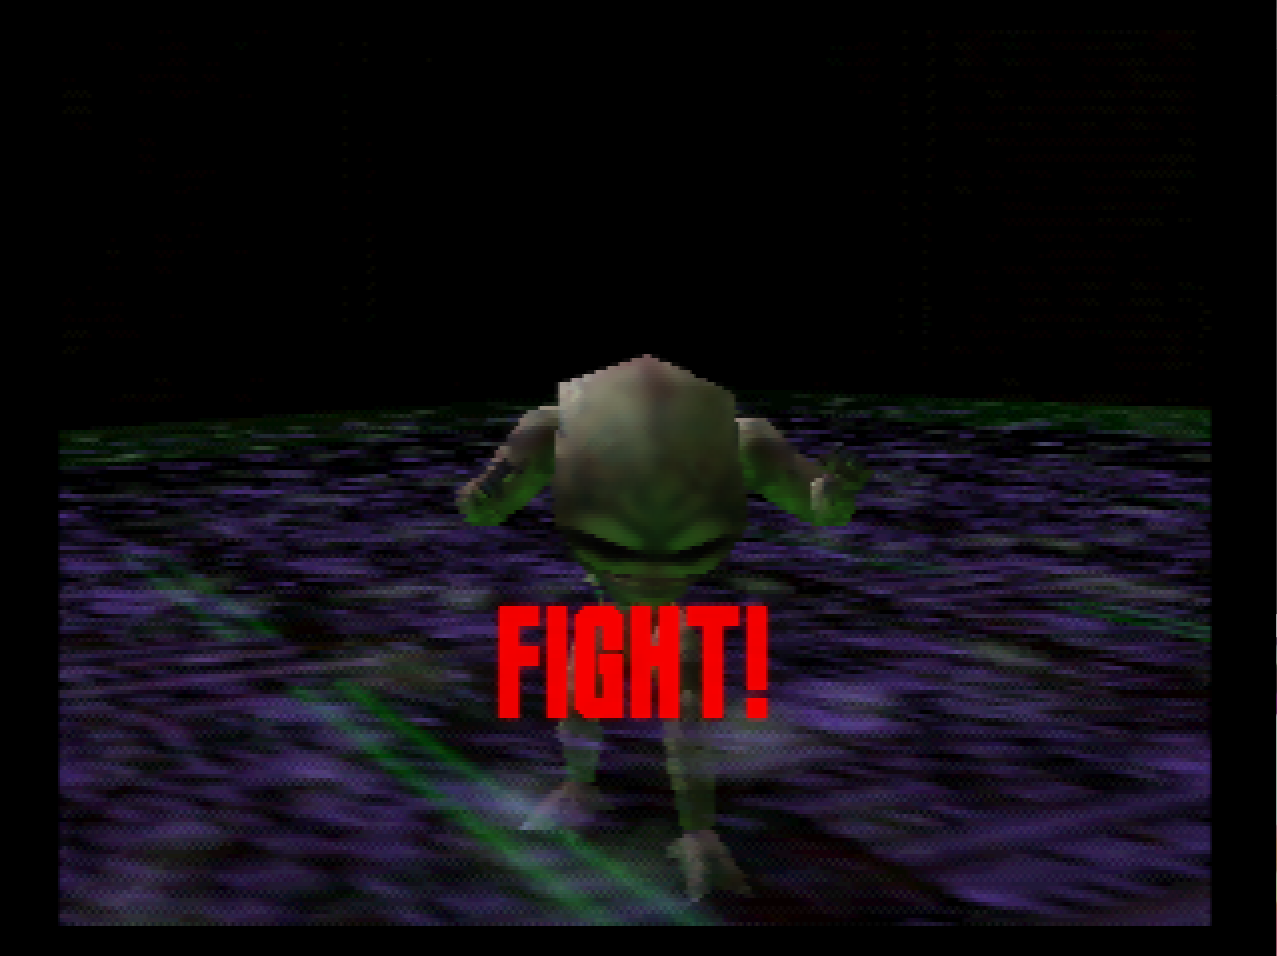
: This is Algol. Algol’s primary gimmick is that it’s invisible unless it’s attacking.
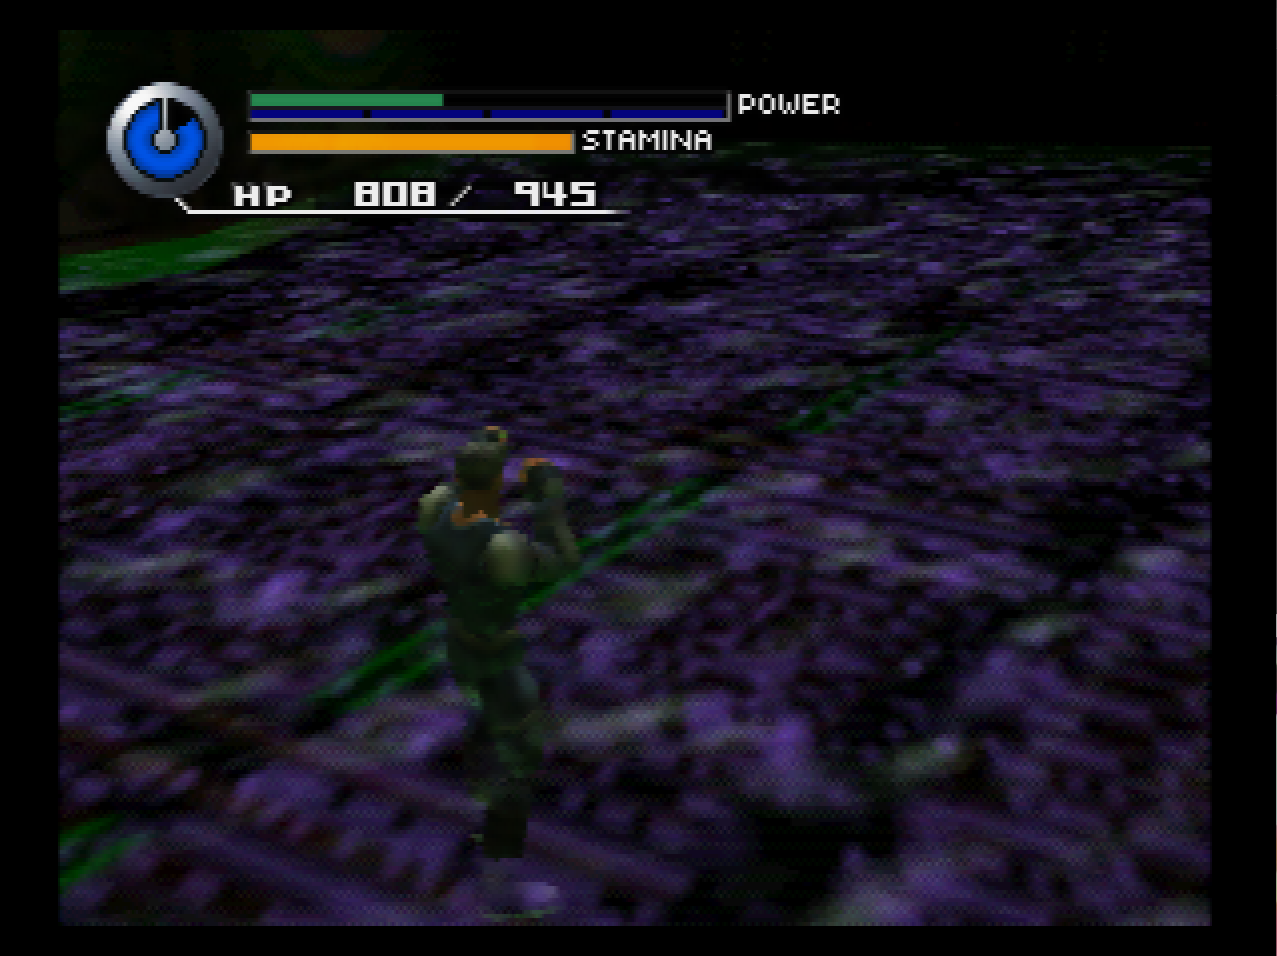
: We’ve finally got all five power bars, and now I can finally explain that mechanic I’ve been wanting to. This is the one that took until the game was datamined in 2021 to discover.


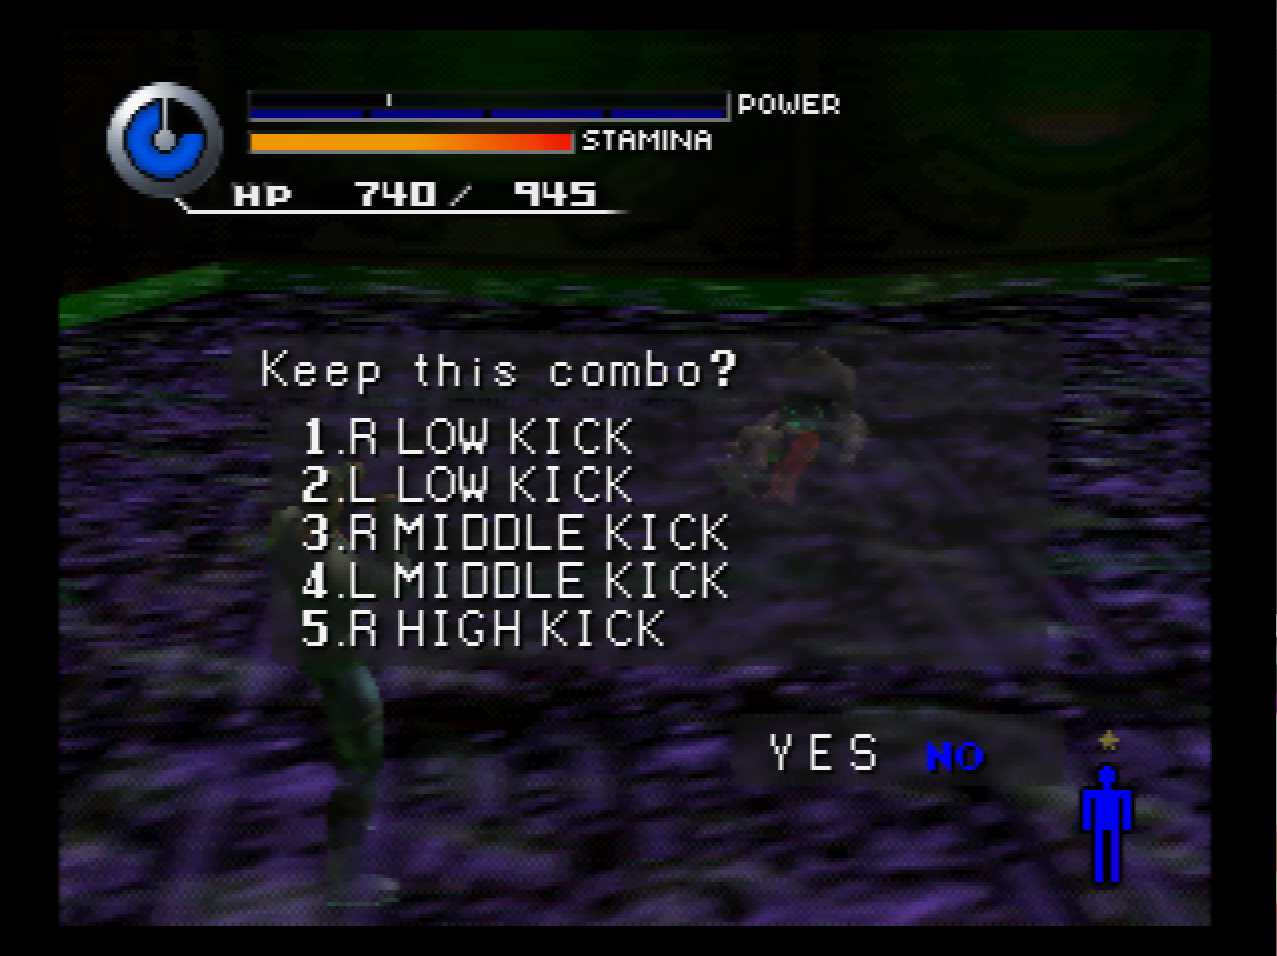
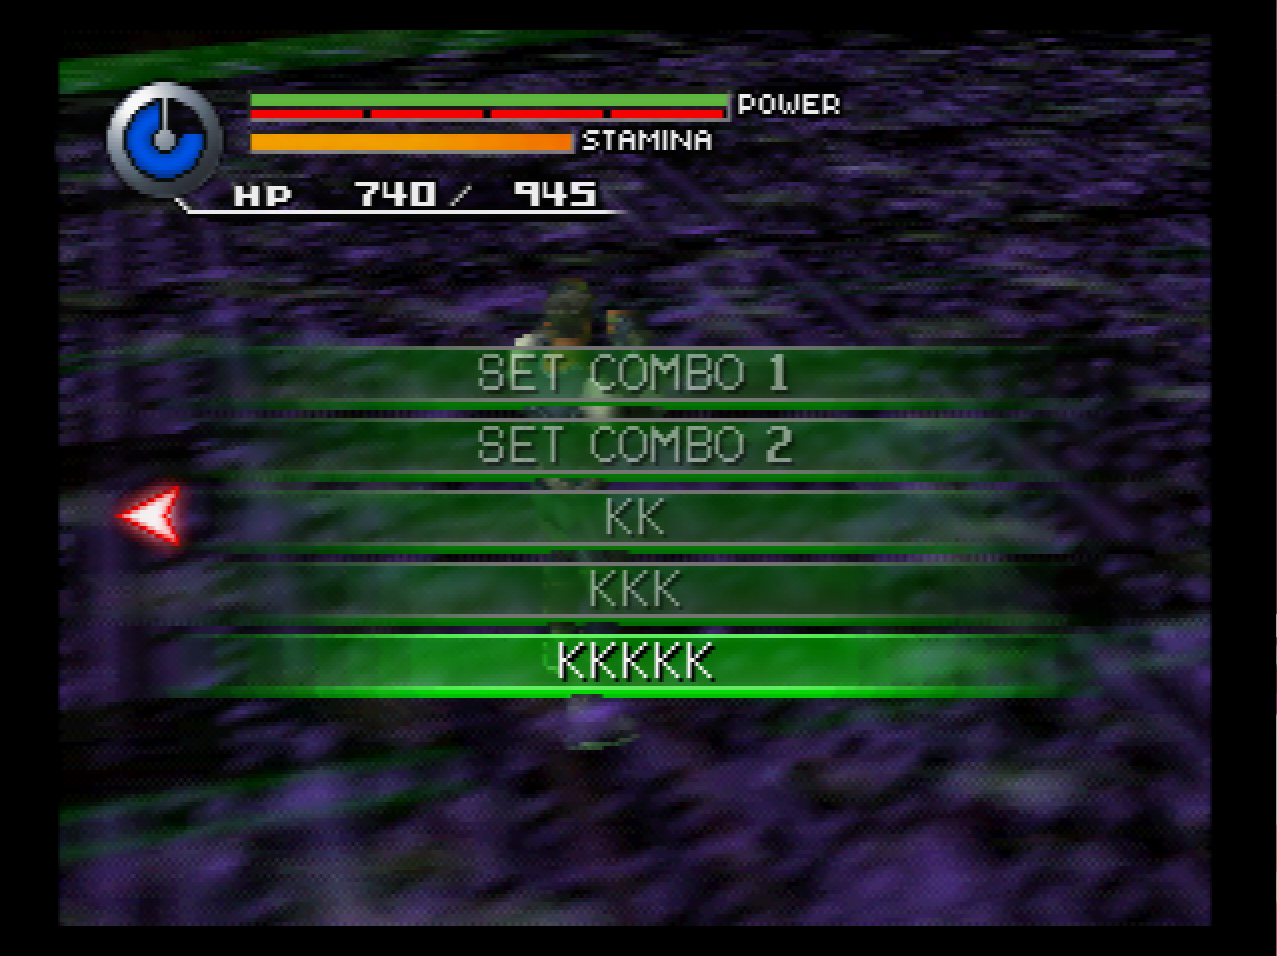
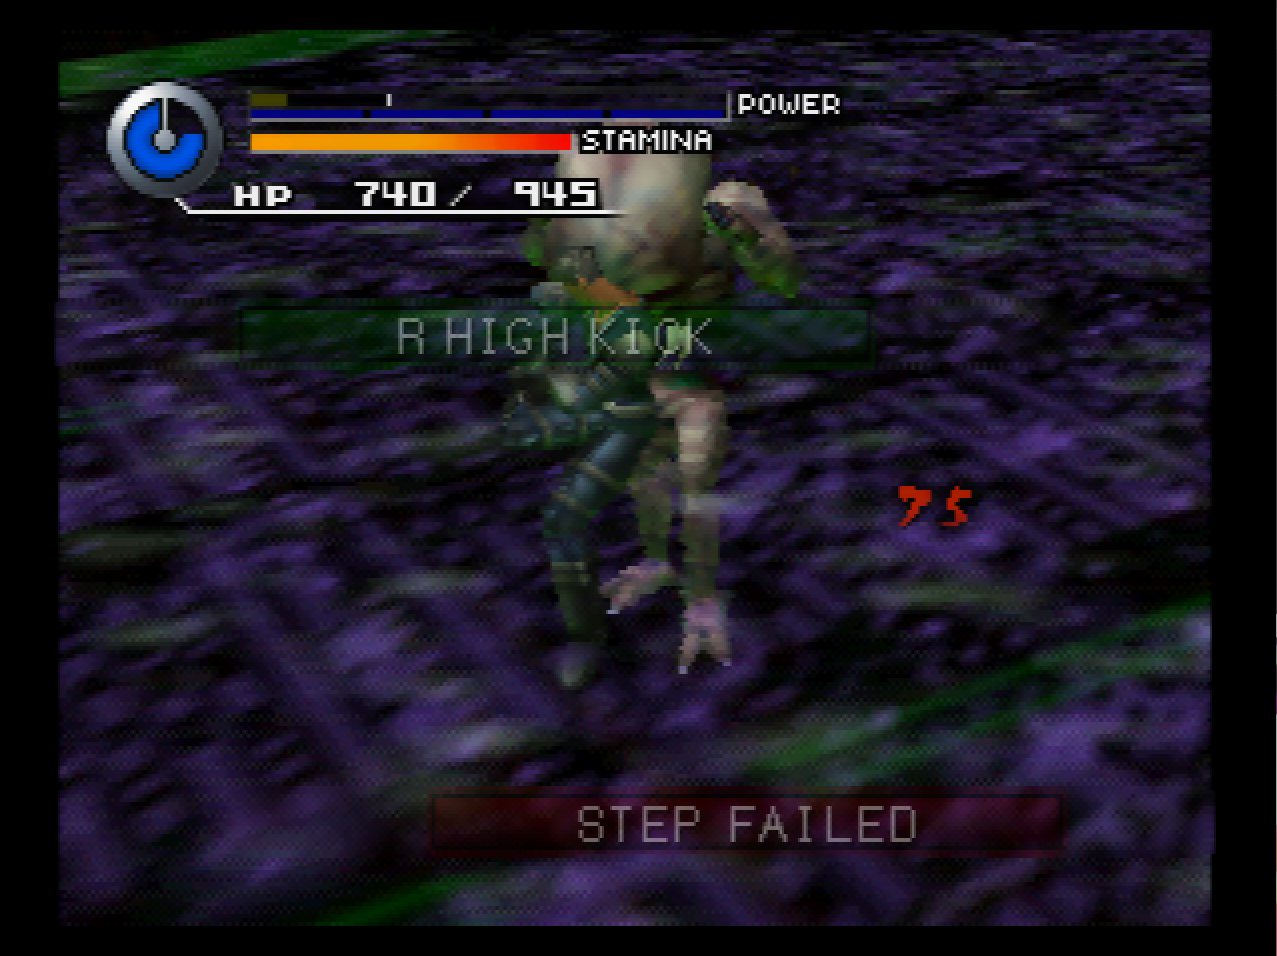
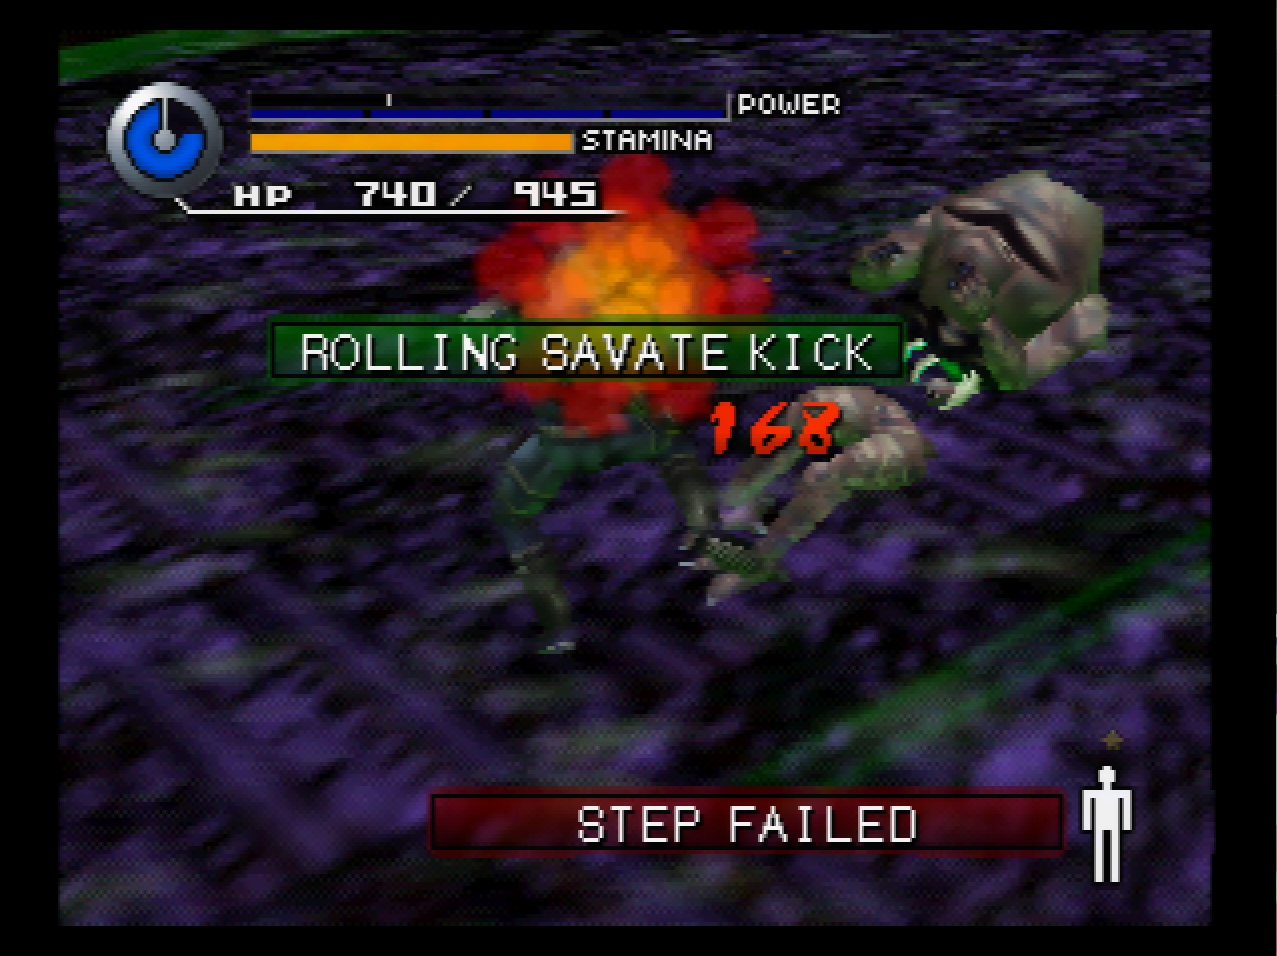
: There are four possible combo finishers: Rising Uppercut, Charged Punch, Jumping Axe Kick and Rolling Savate Kick. Each one is roughly the same in terms of power.
: On a side note, the Rolling Savate Kick is an actual wrestling move taken from a French martial art called Savate.
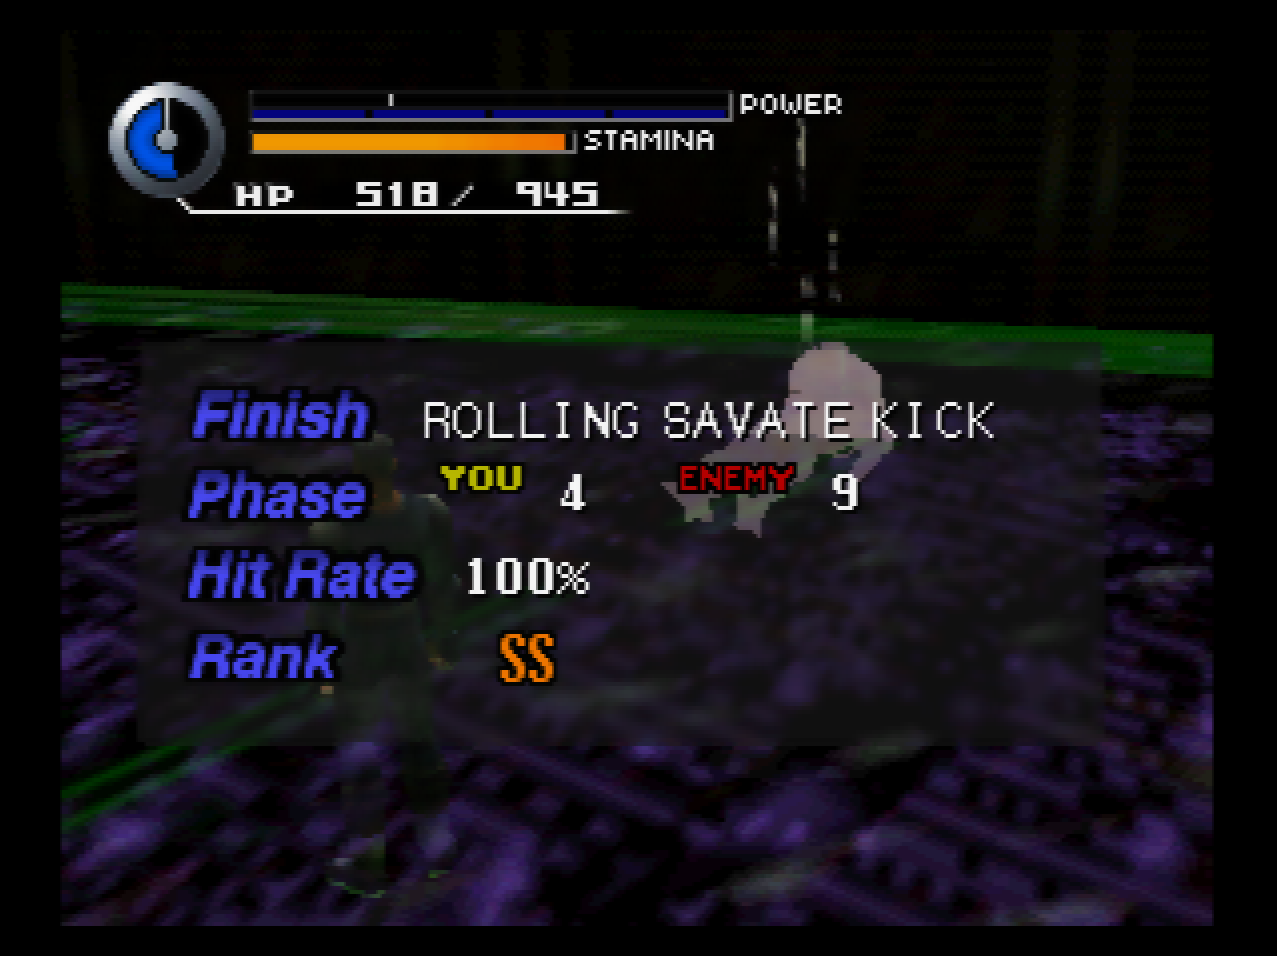
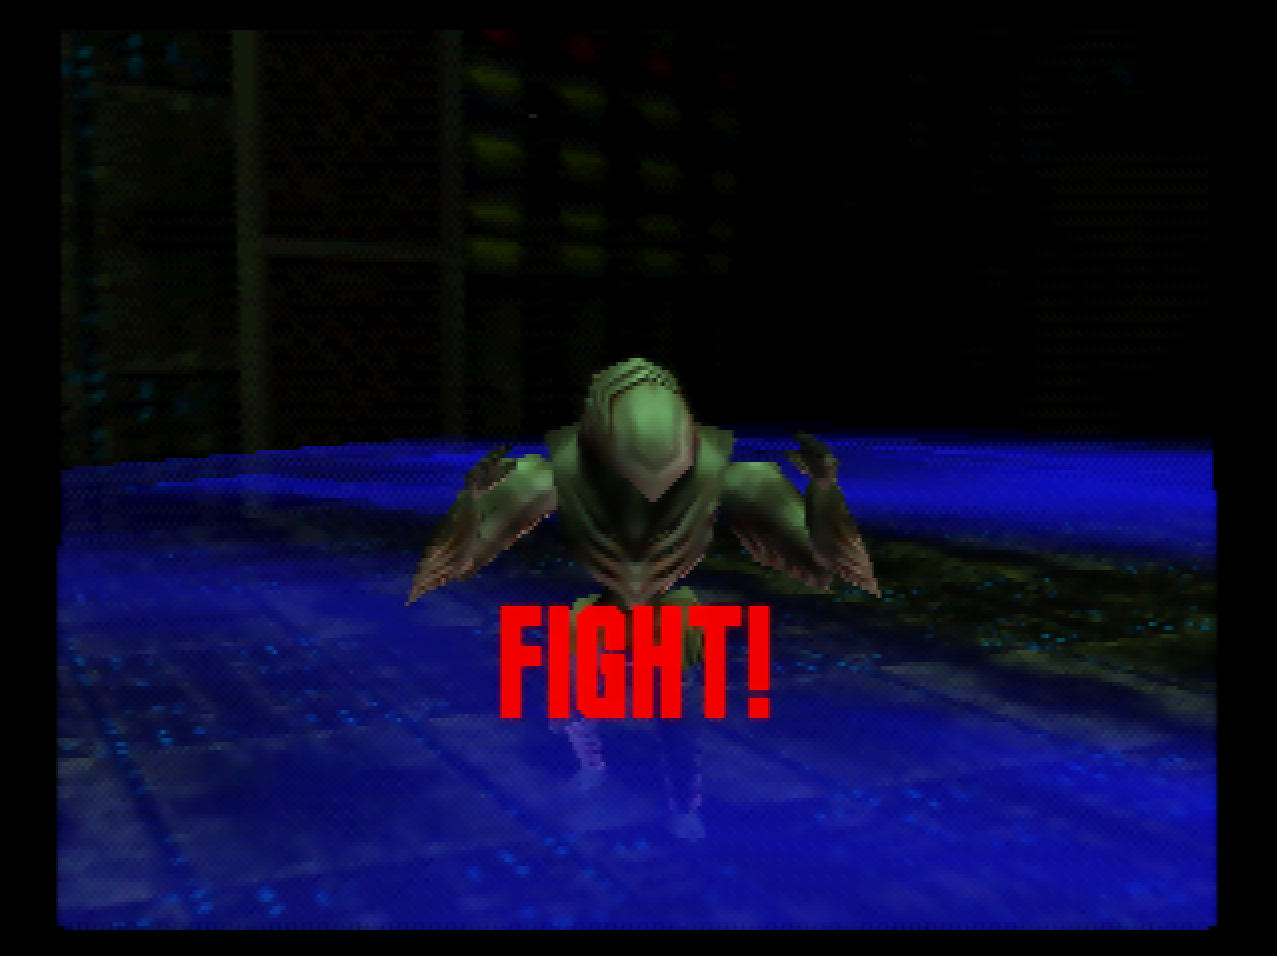
: This is Rigel. Rigel is the second most annoying of these bosses in that it has a projectile attack it will spam if you’re more than one step away.
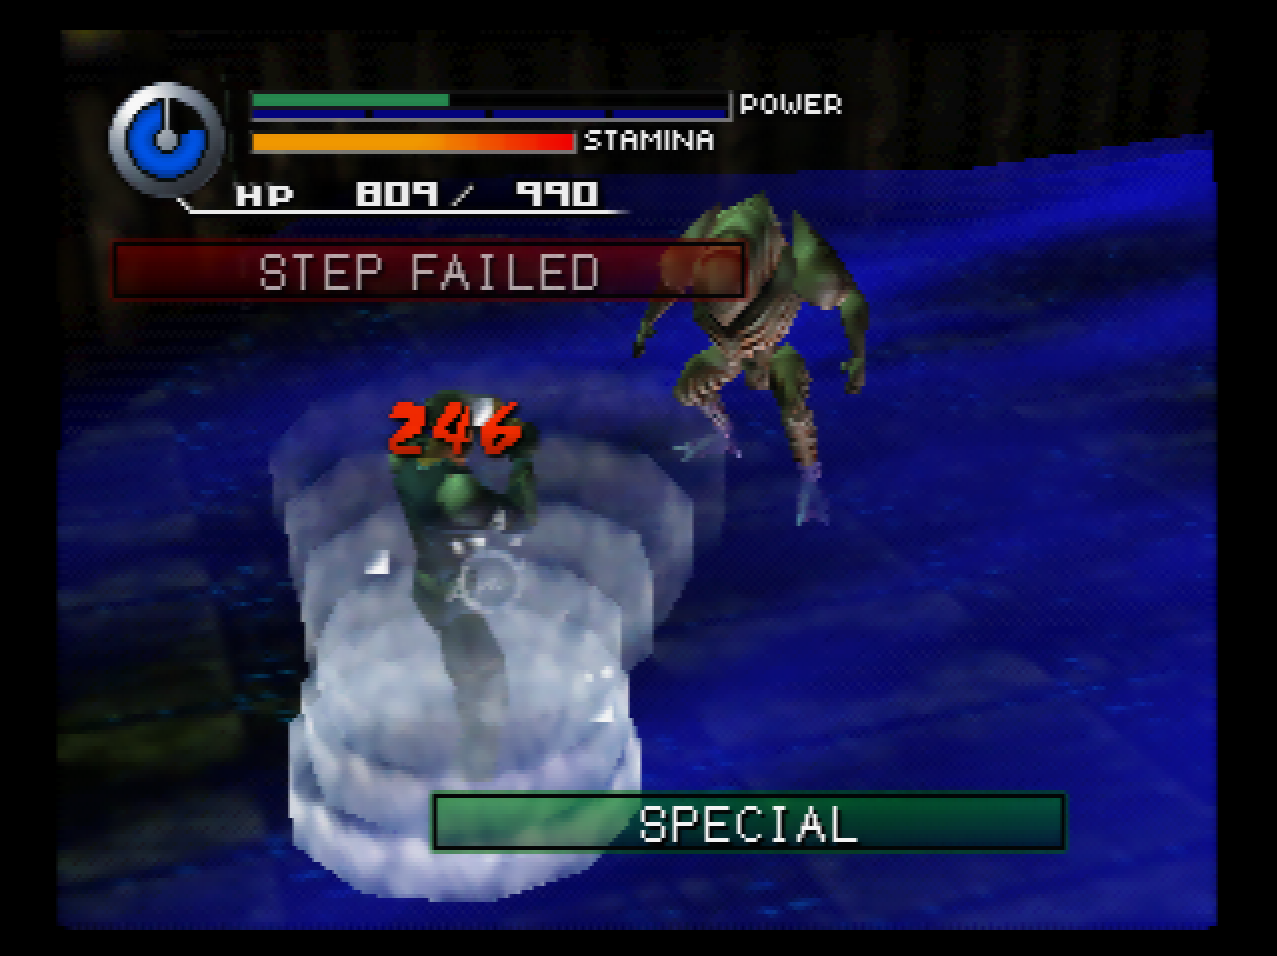
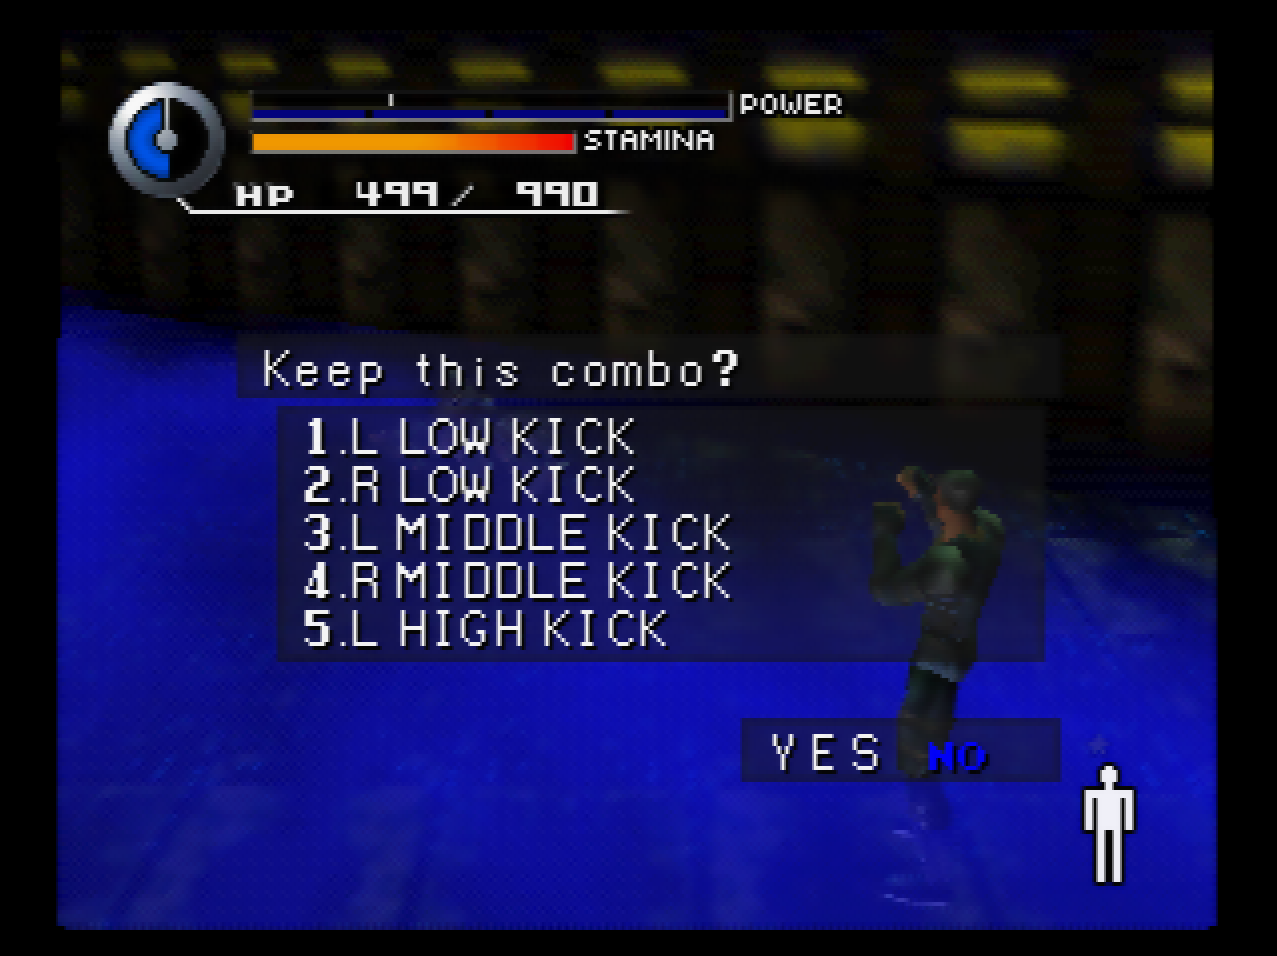
: This time, instead of going for the Rolling Savate Kick, I make up a new combo. The reason is that your kicks have individual levels that are capped until your other kicks level up, and all of our standard kicks except for the High Kicks are capped right now.
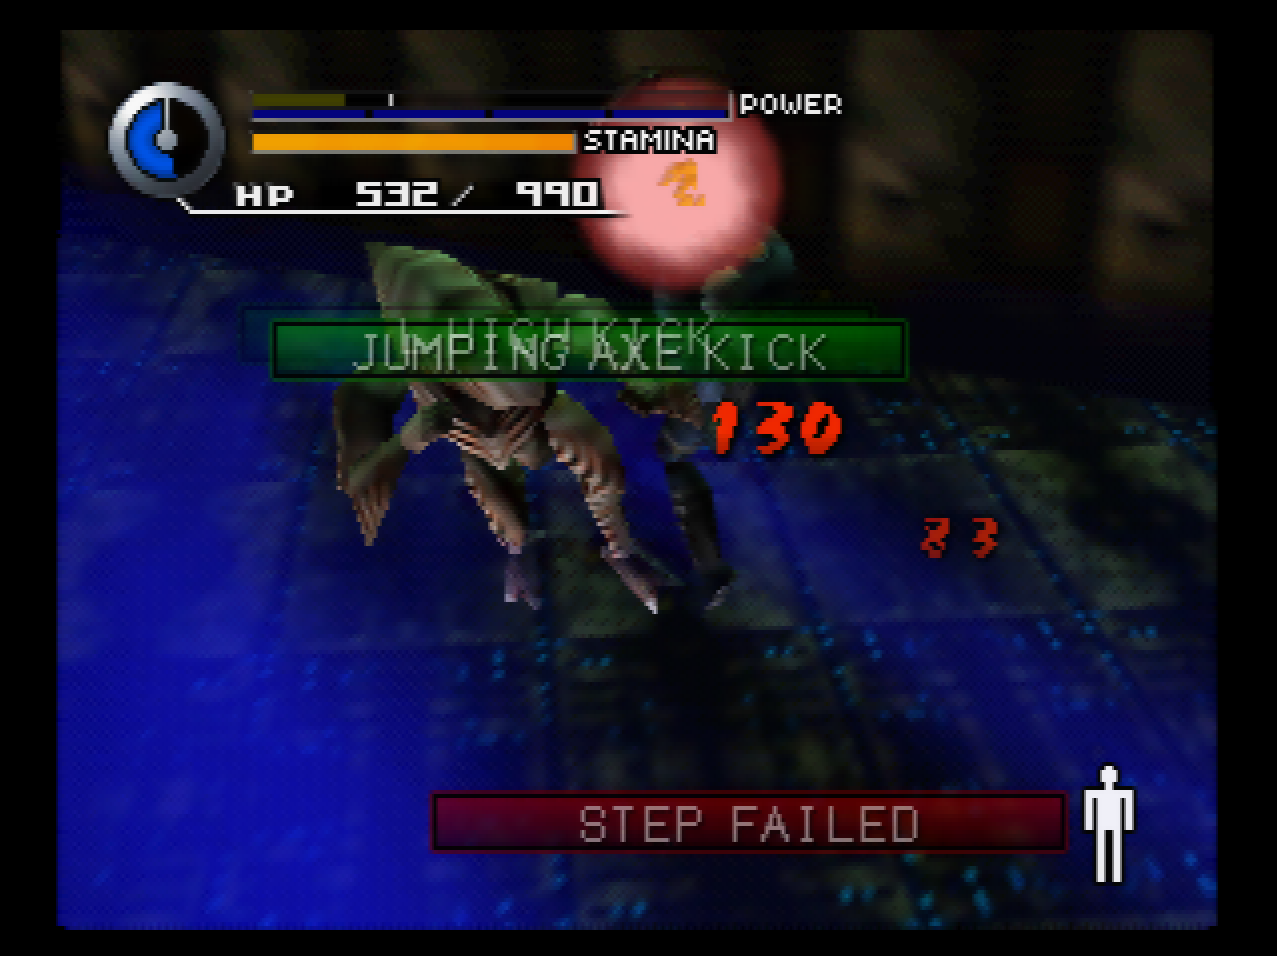
: This gets us the Jumping Axe Kick.
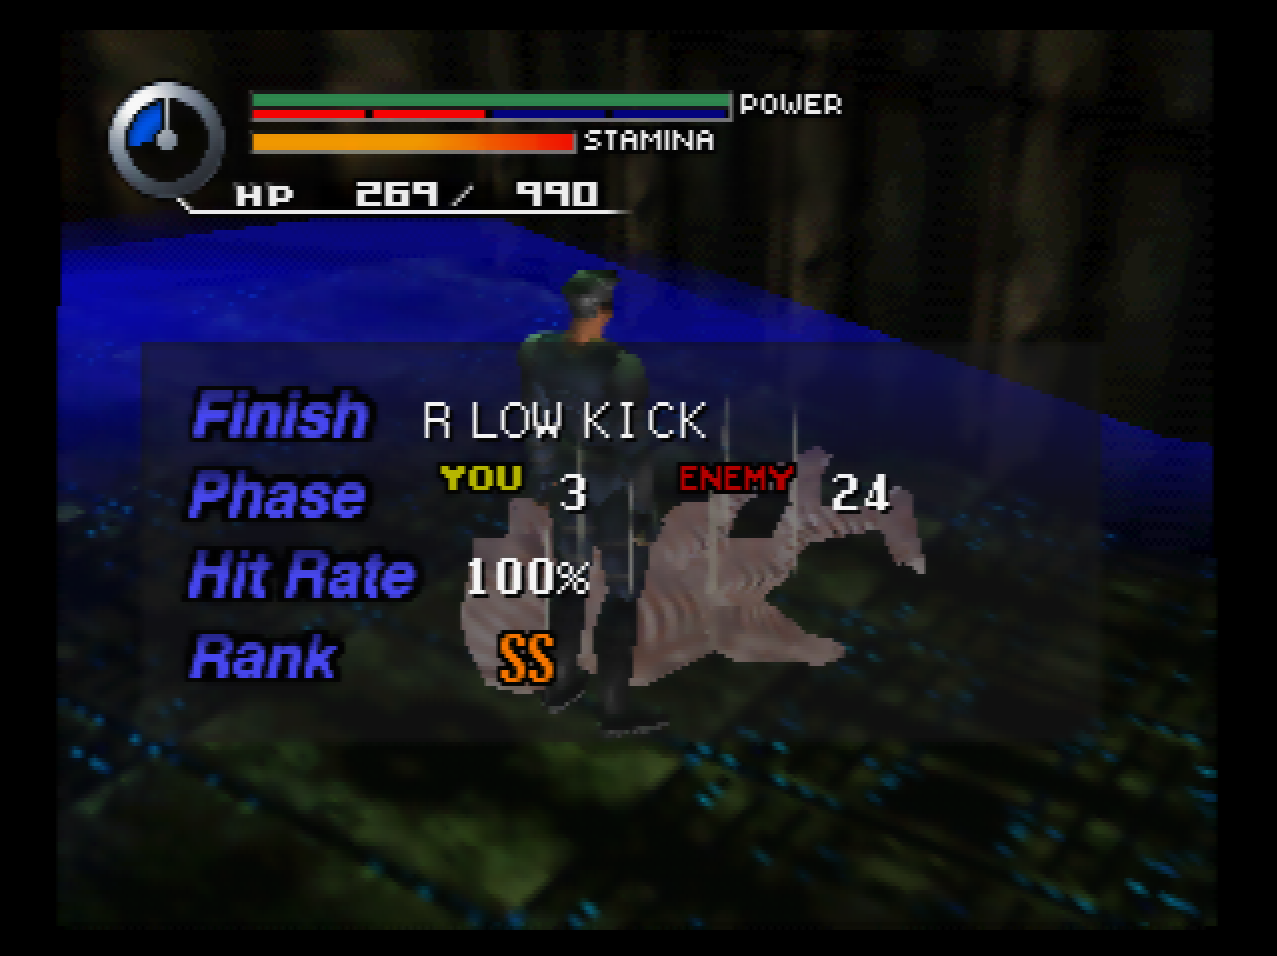
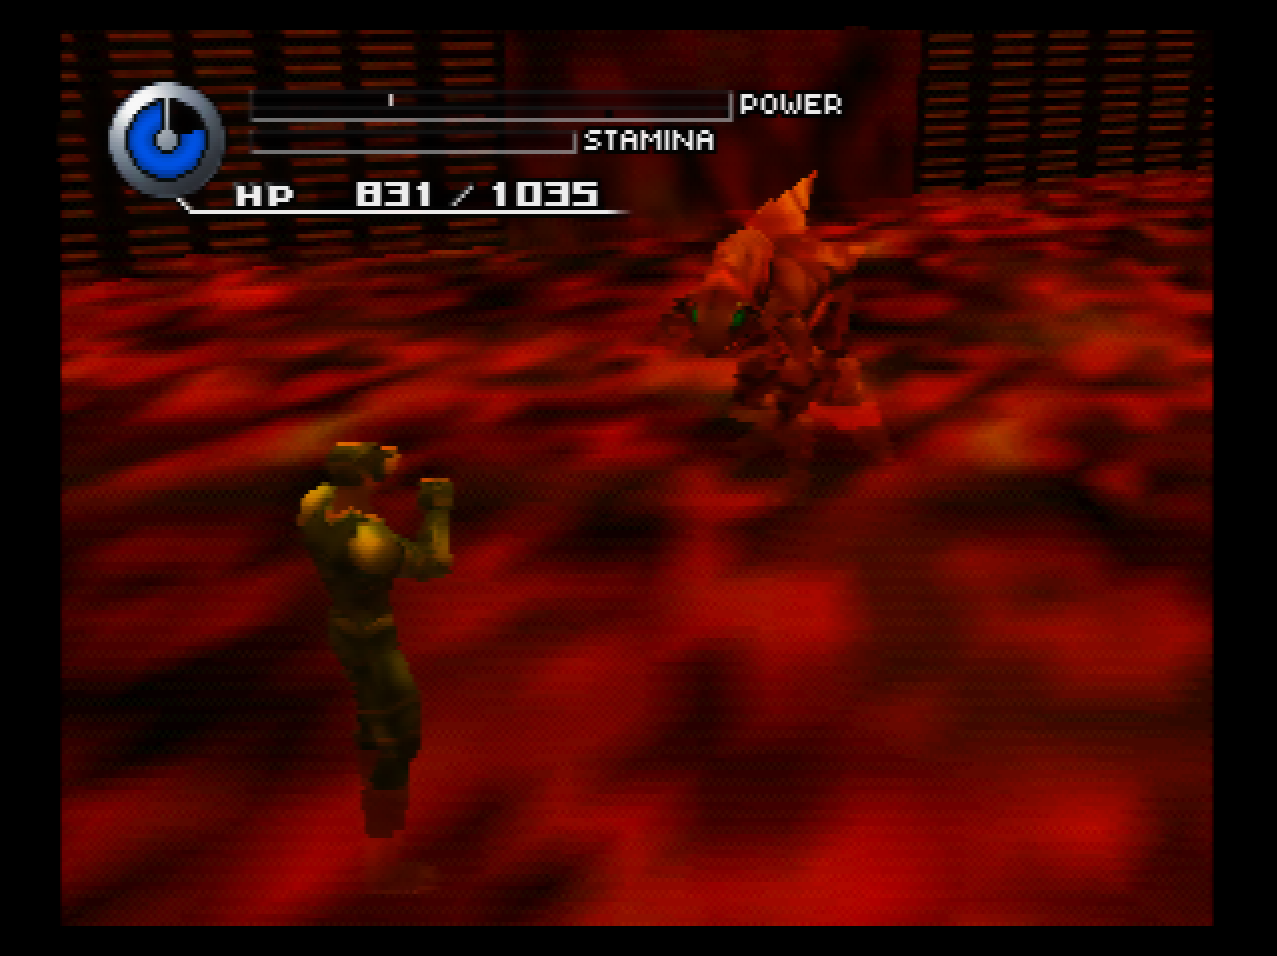
: And finally, we have this fucker. This is Antares, and it has a combination of all the other boss’s moves.
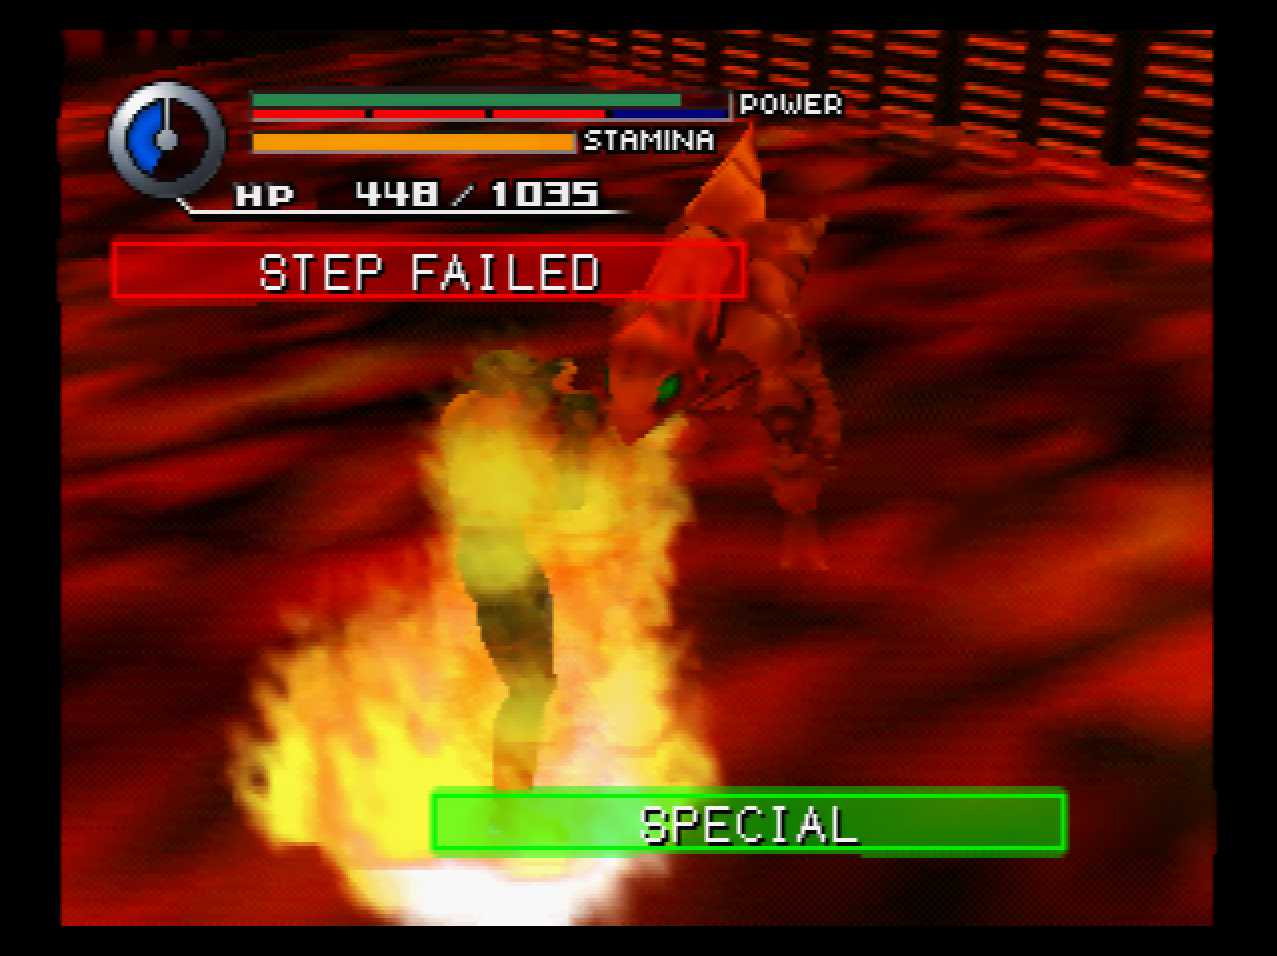
: The problem is that it’s hard to dodge the breath attack because it has a standard ranged shot that it will follow up with if the breath attack misses.
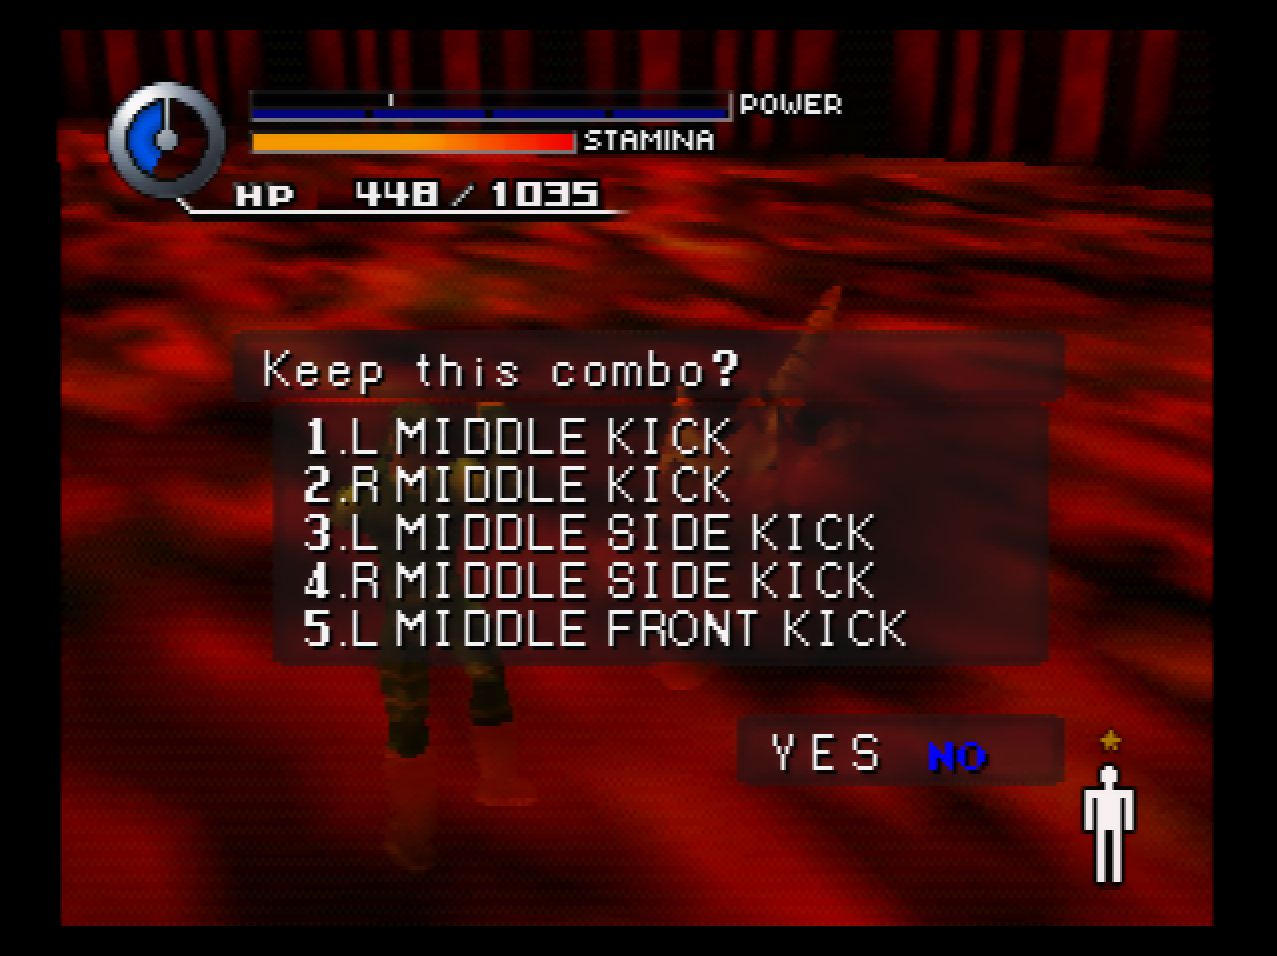
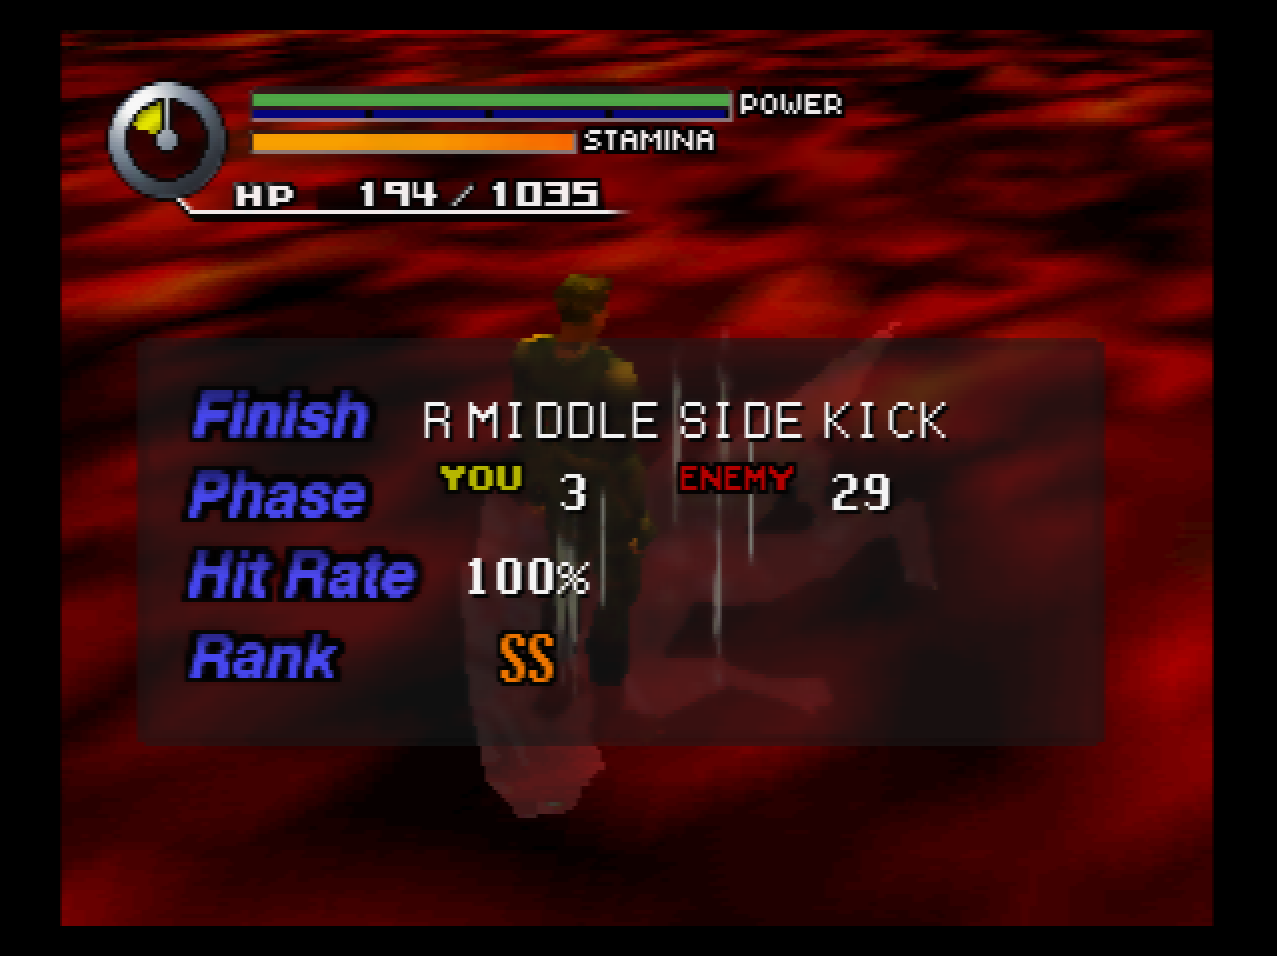
: I then build our third and final combo. This one uses the side kicks and front kick to help build levels for the middle kick.
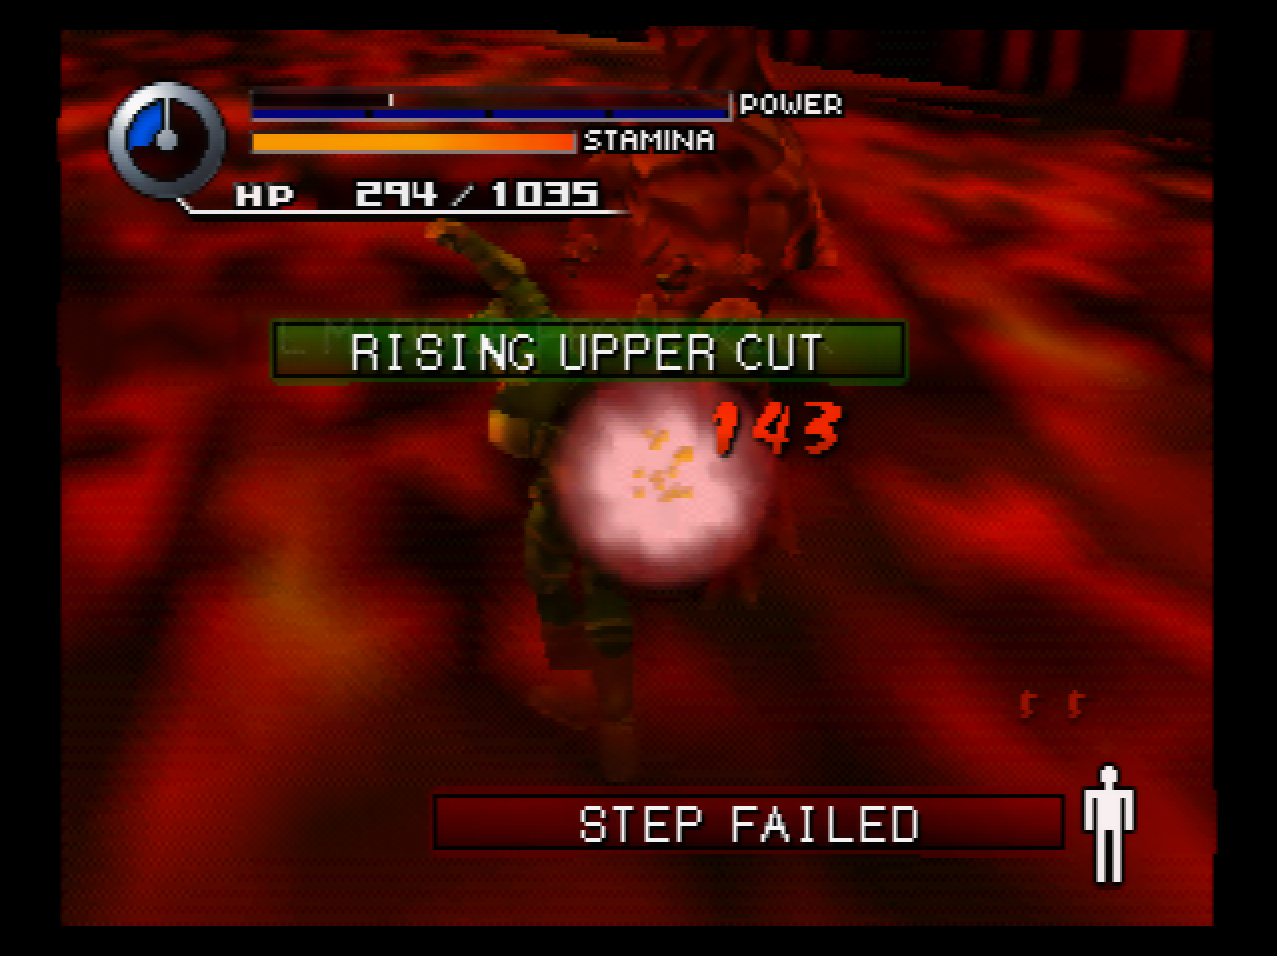
: And there’s the Rising Uppercut. Unfortunately, there’s no way to do the Charged Punch with just kicks.
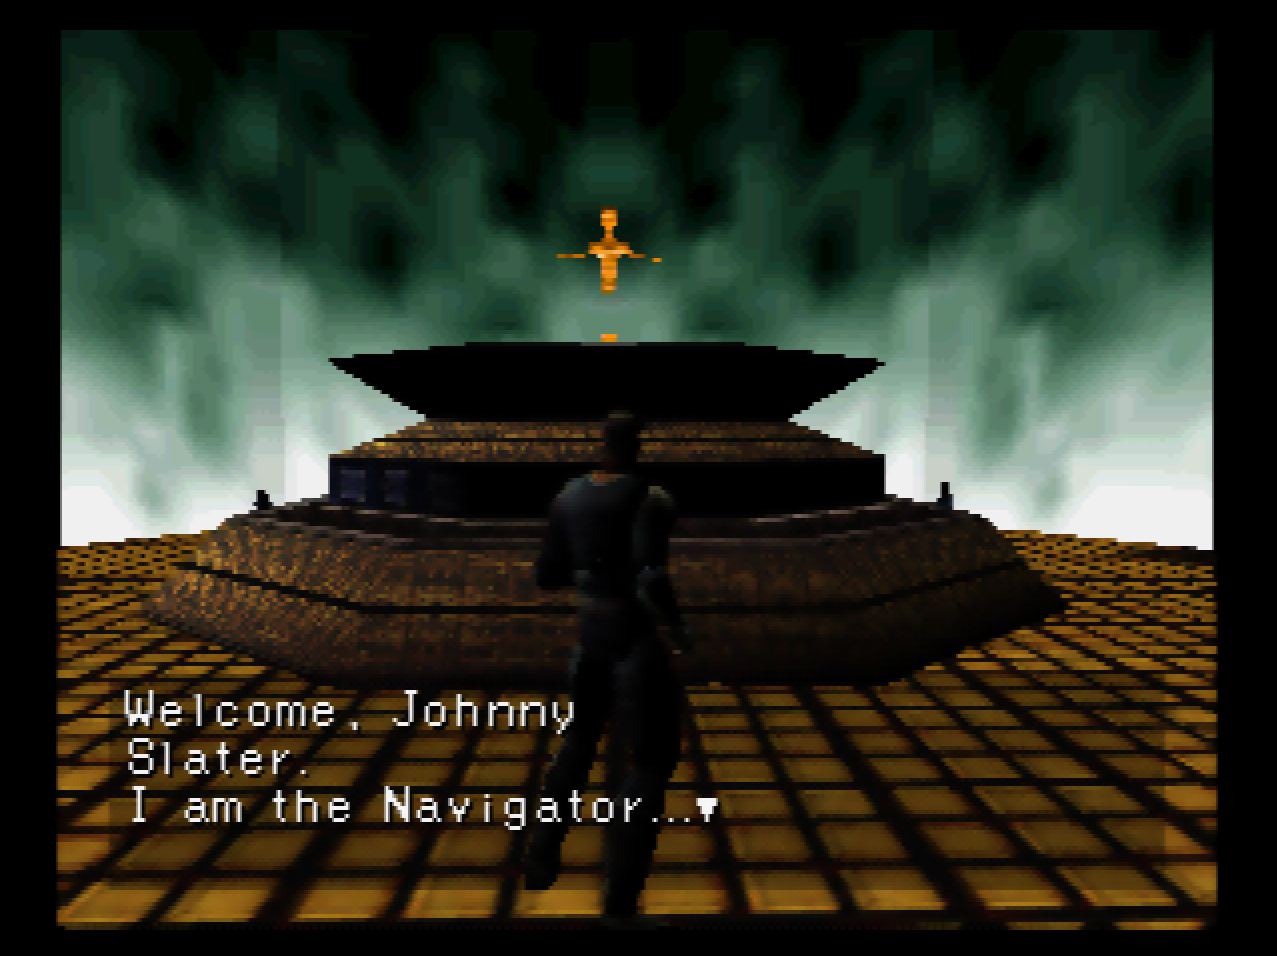
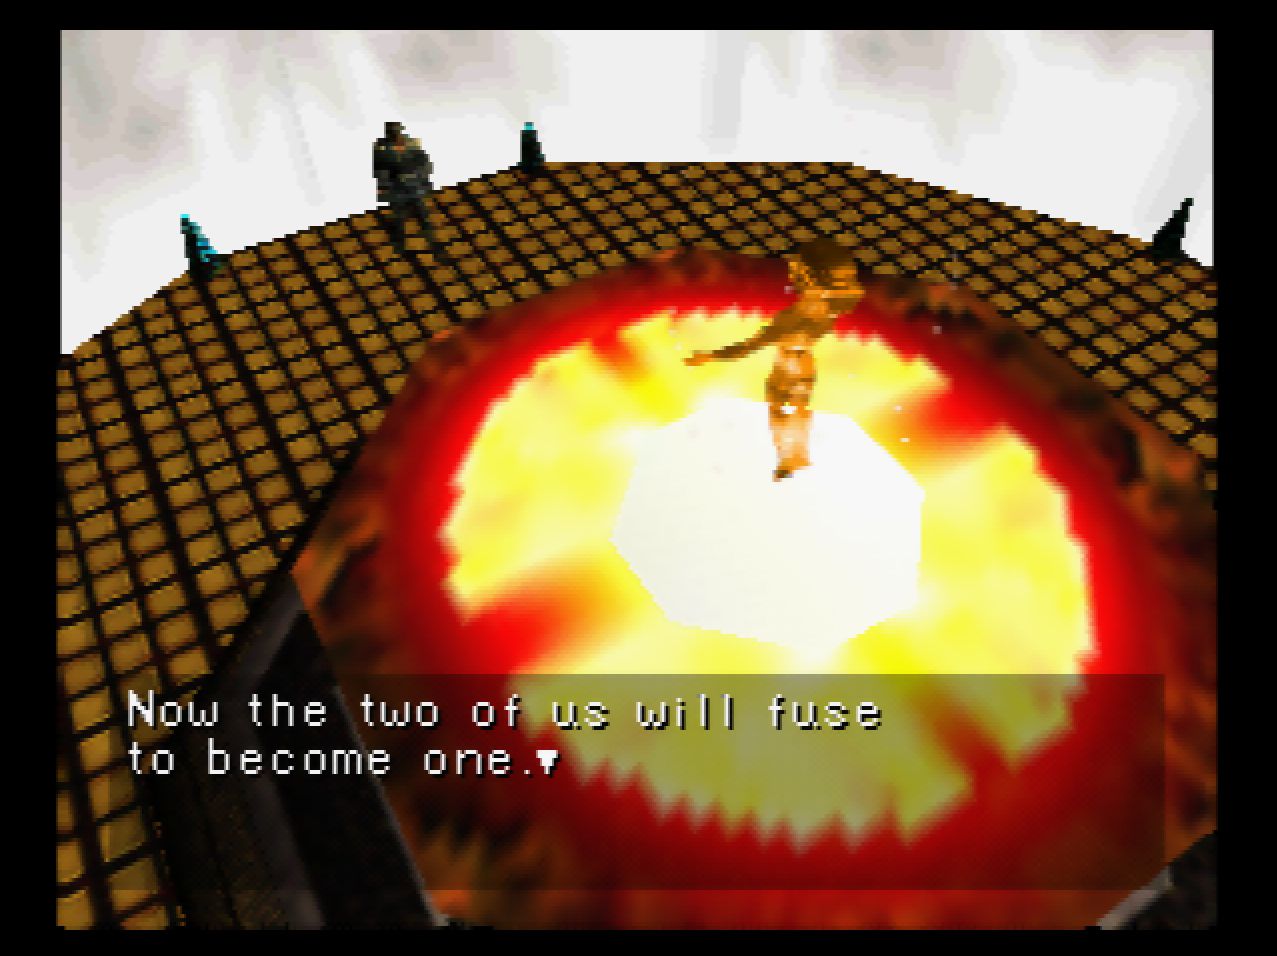
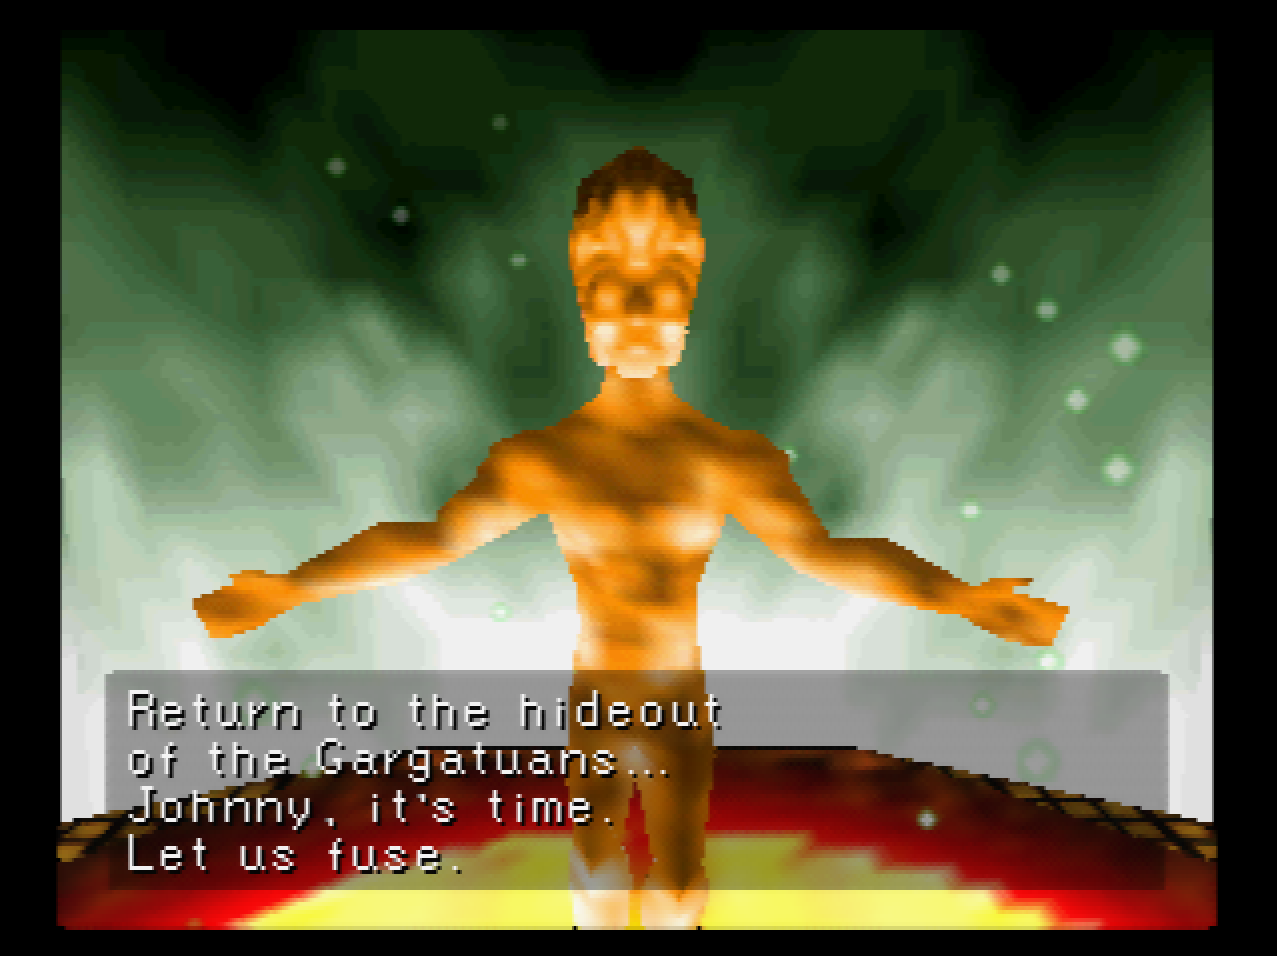
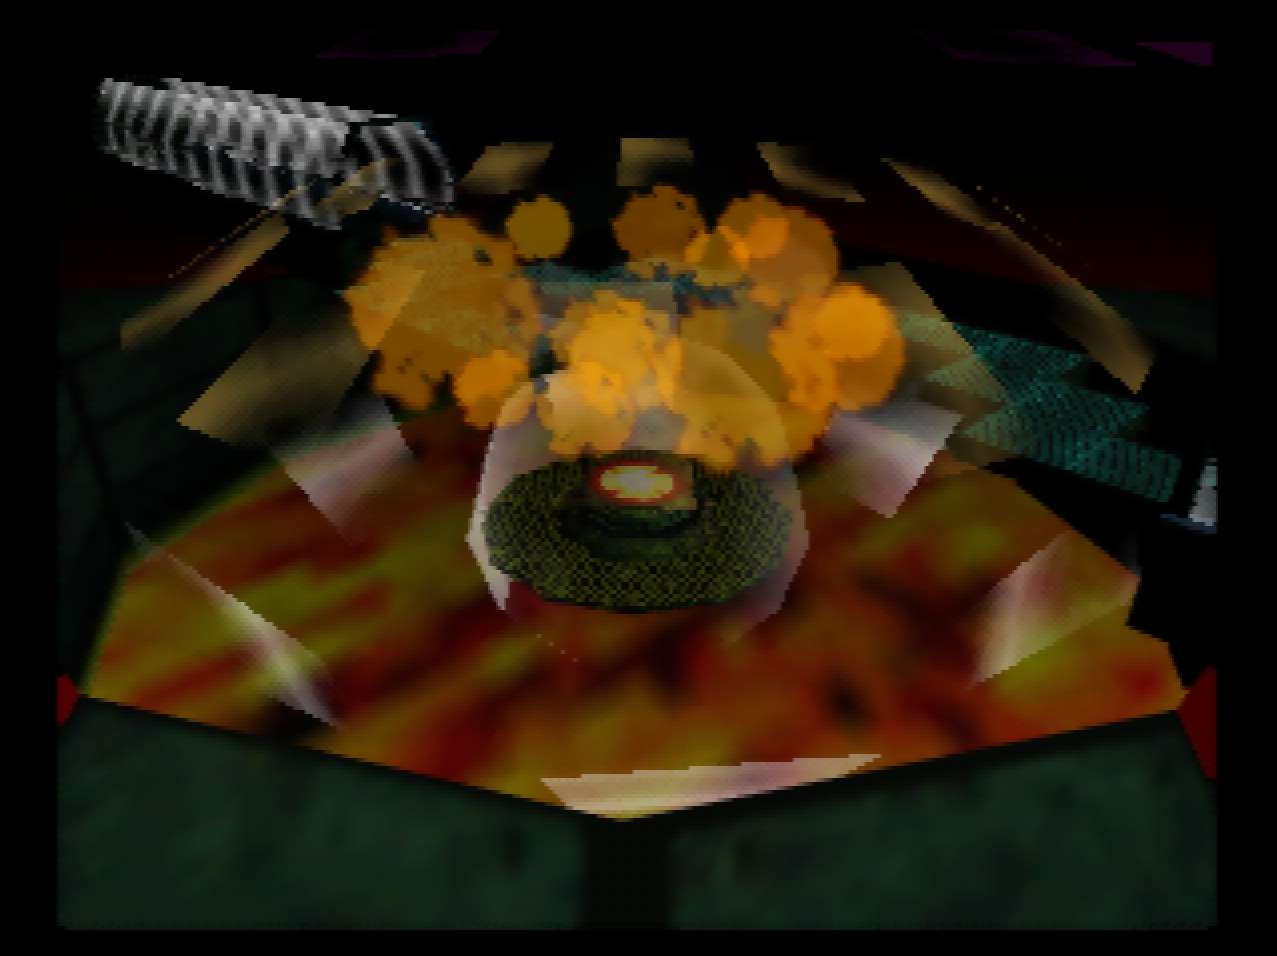
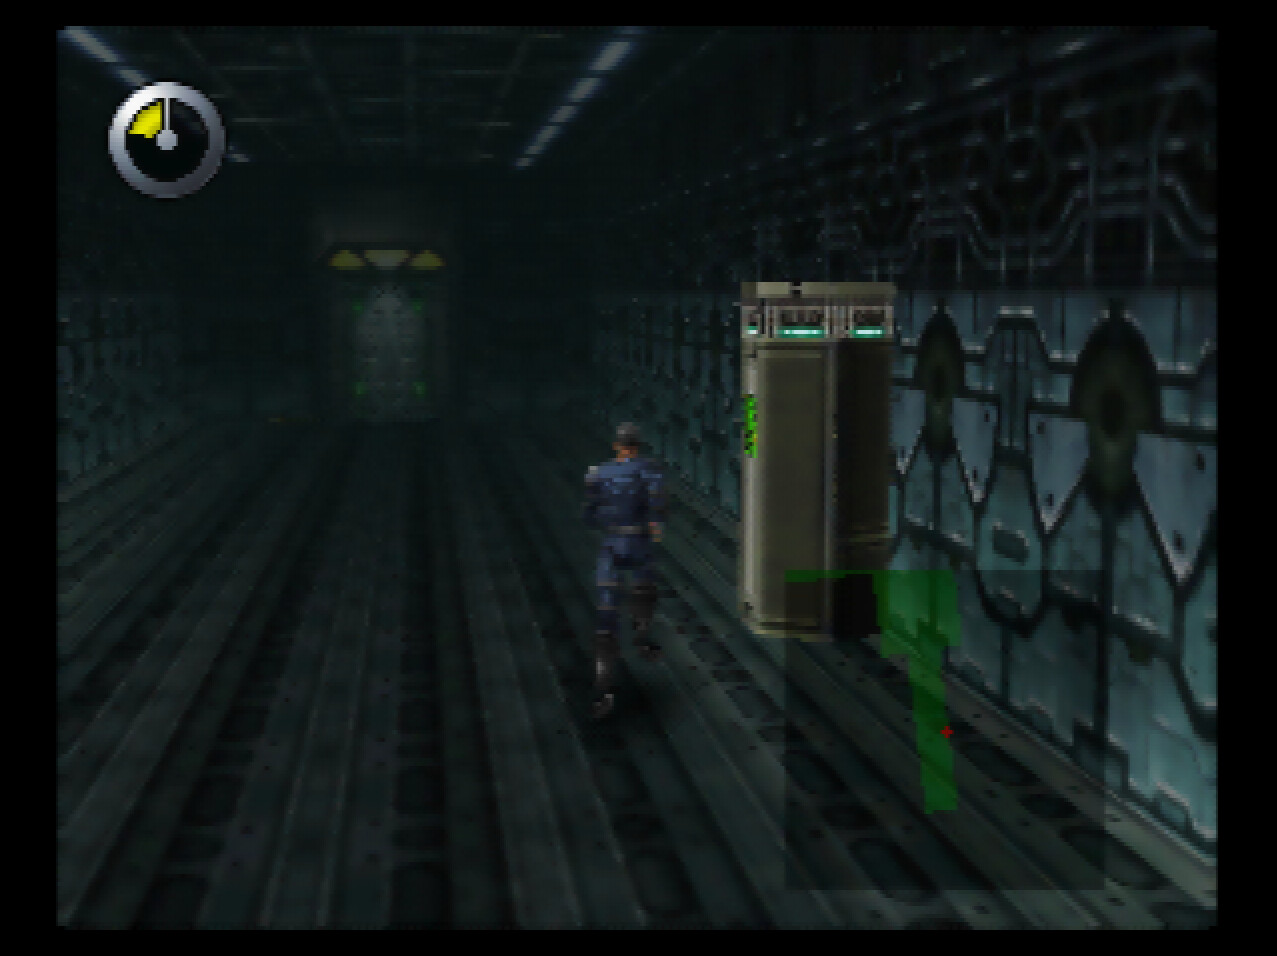
: And now we’re in World 6, the Bioweapon Factory.
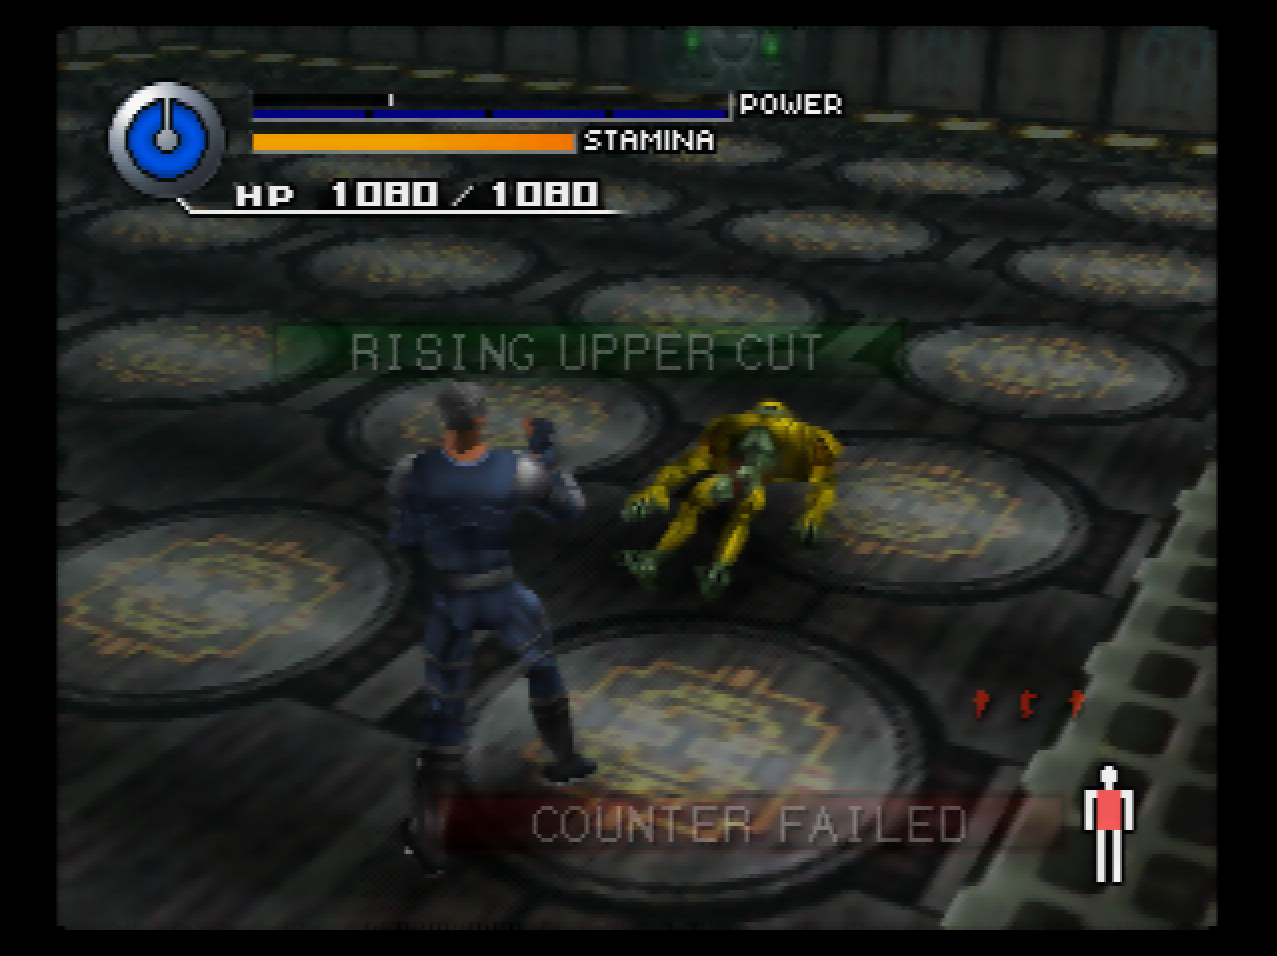
: The first room is a re-fight that we demolish now that I have access to combo finishers.
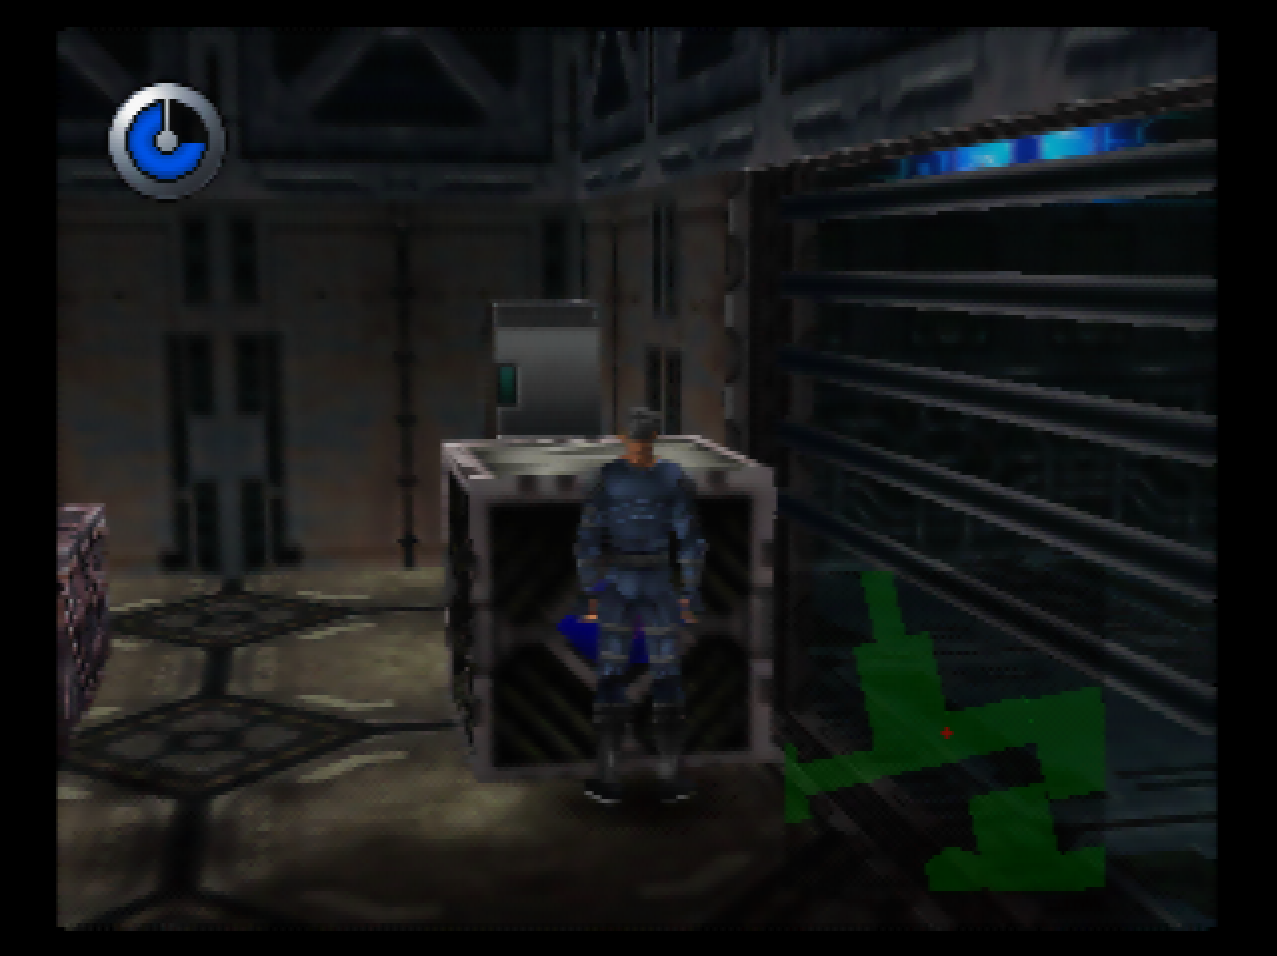
: The second room is full of flamethrowers, including one behind this destructible box. Just don’t destroy the box and you can crawl under the shutter without taking damage.
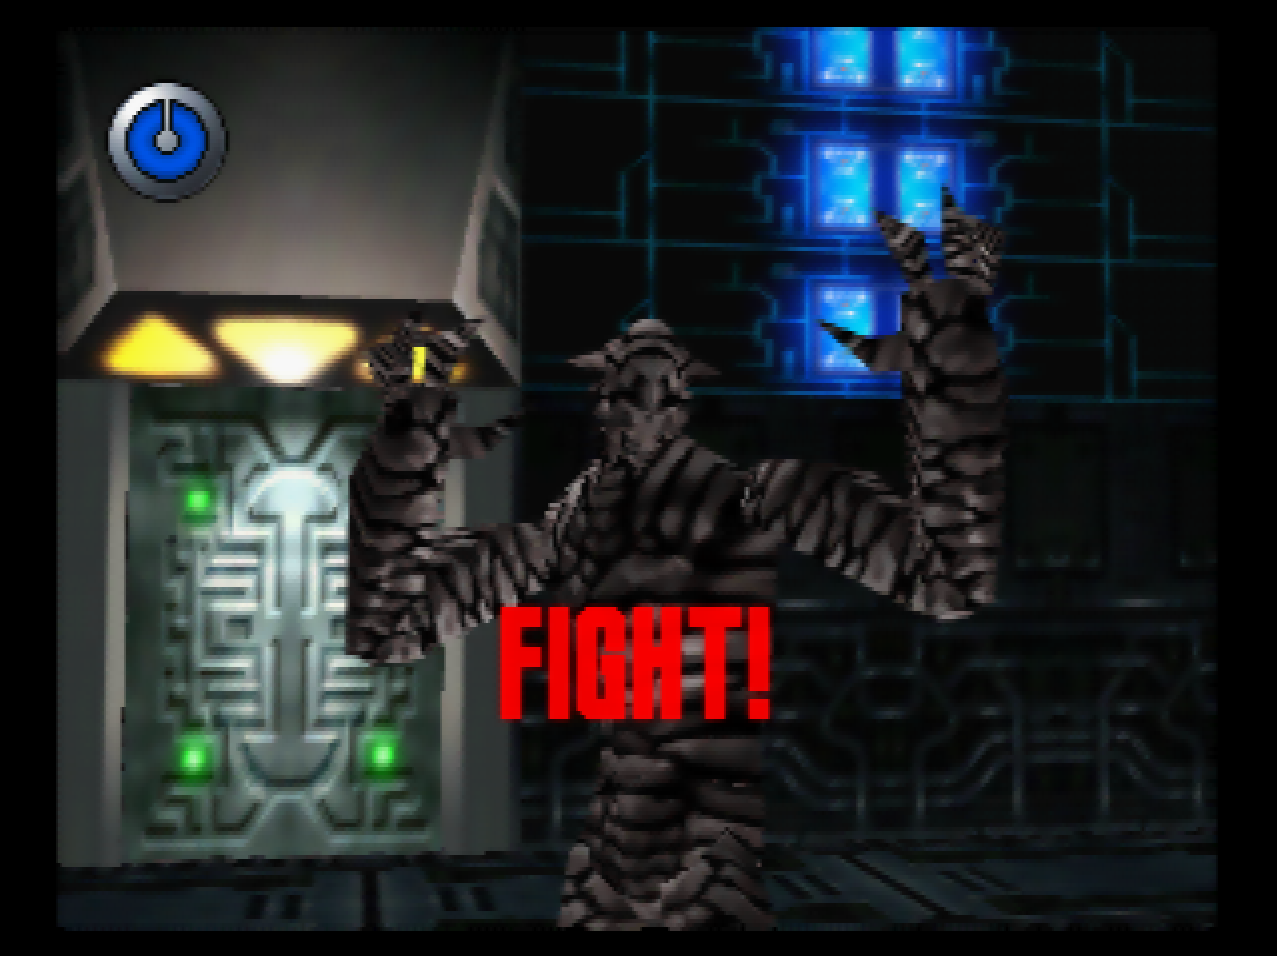
: Canopus is an absolute non-threat of an enemy. He’s one of those “very slow but slightly stronger than average” types.
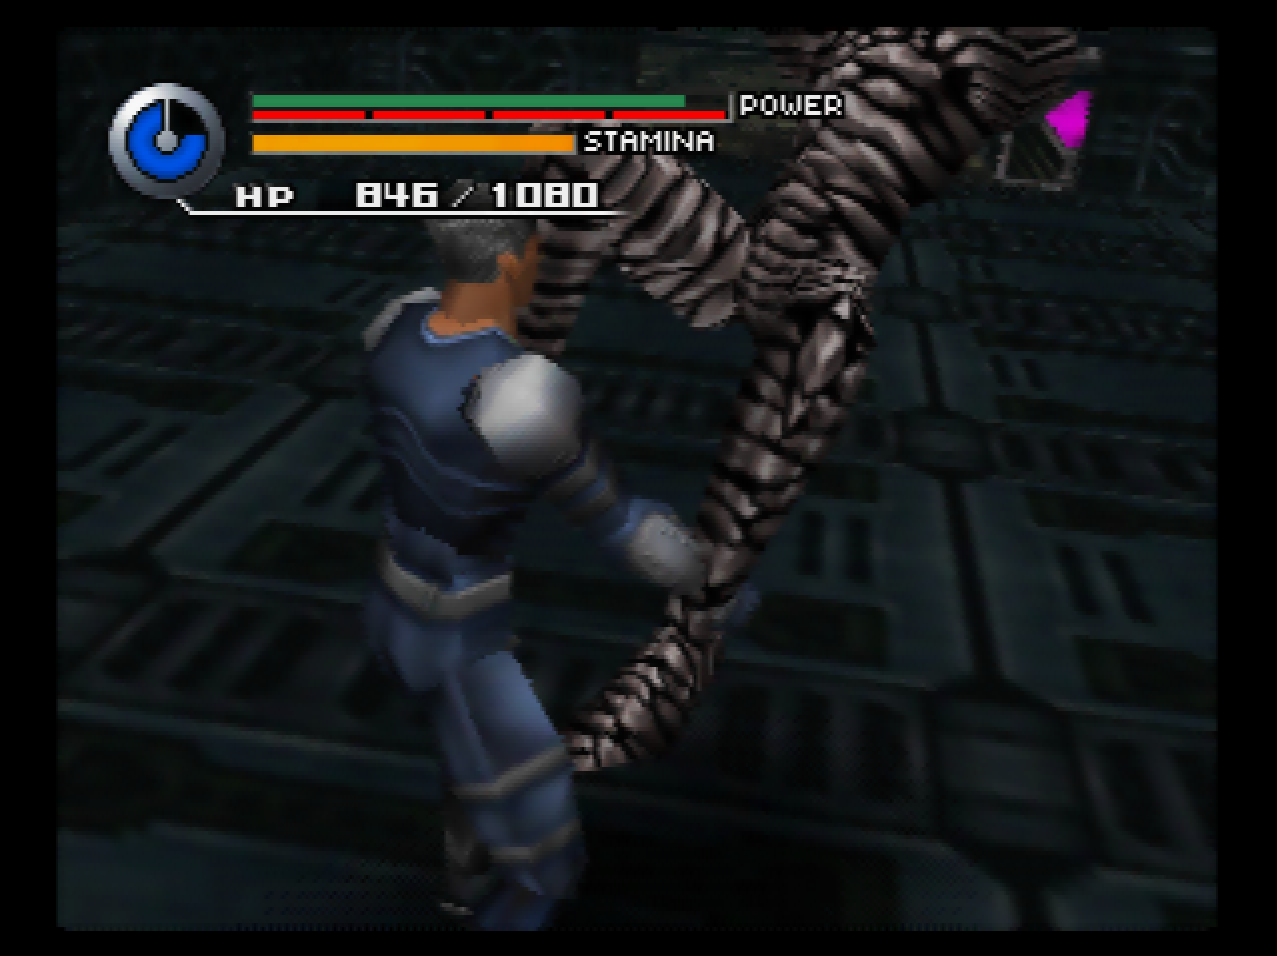
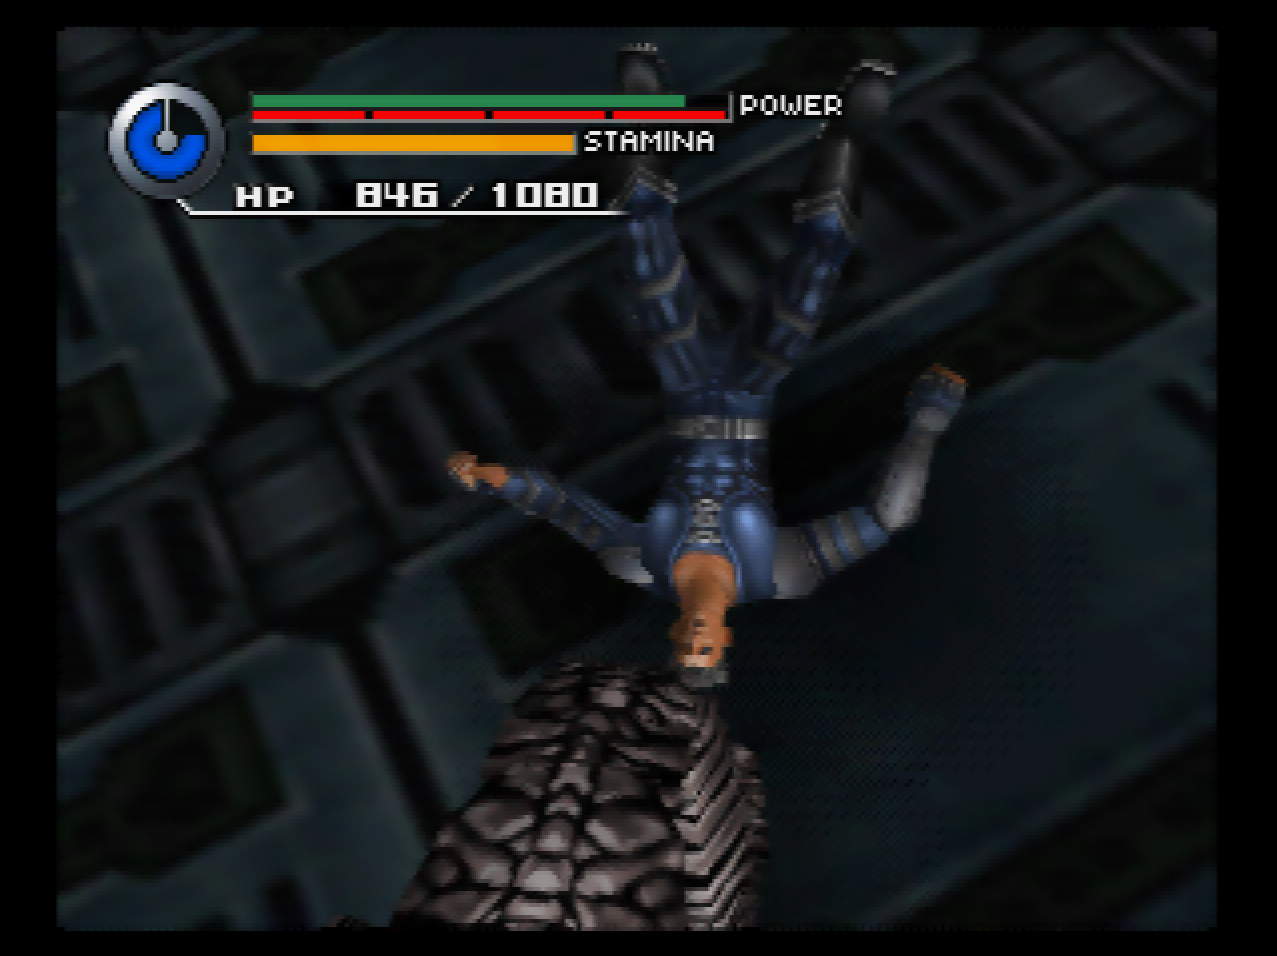
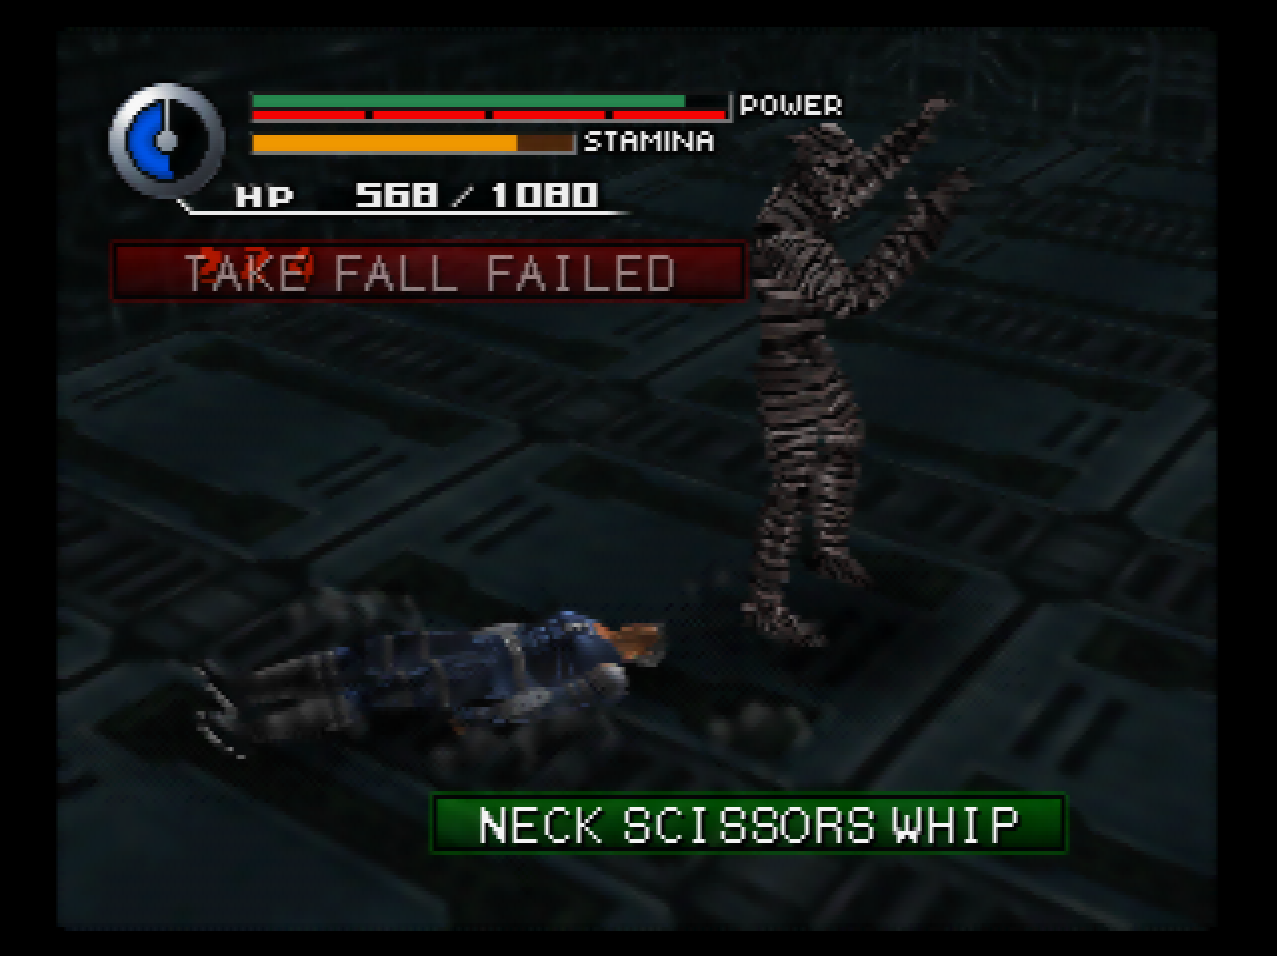
: It has a new technique that we don’t need. I only even bothered getting hit by it because we’re so close to a save point.
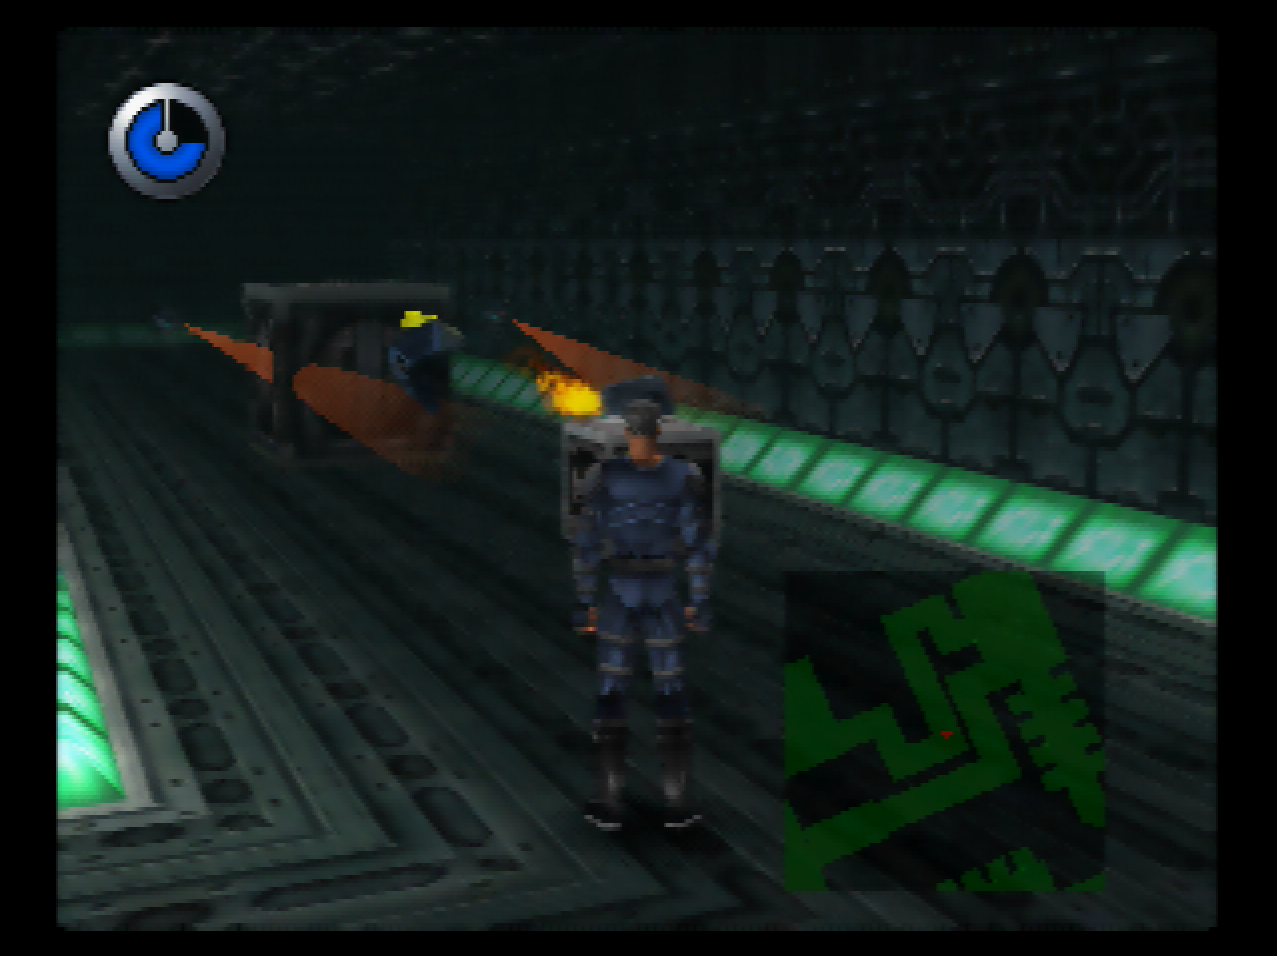
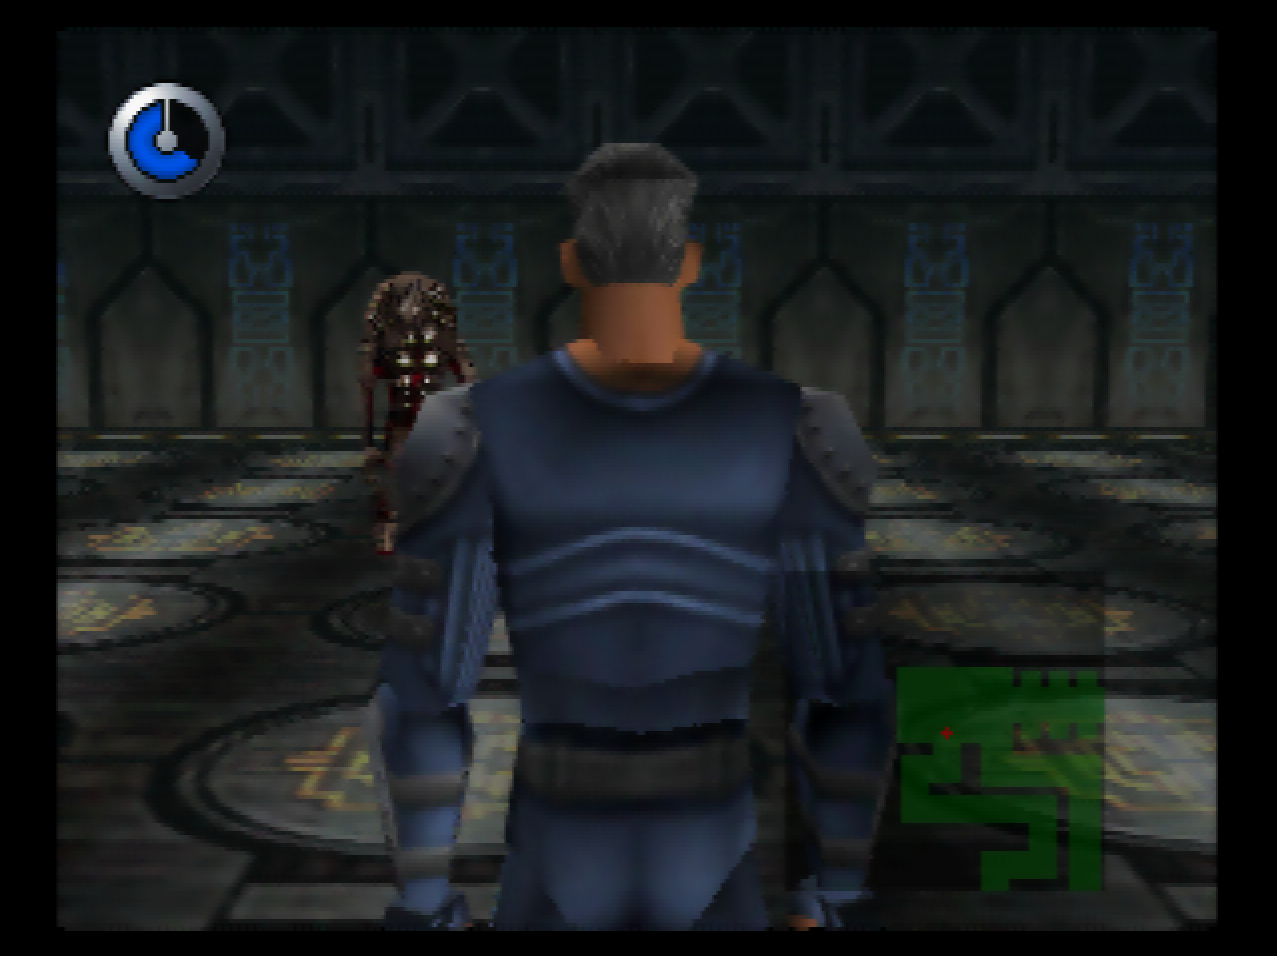
: We fight another one of these things, which dies after two Rolling Savate Kicks to the face.
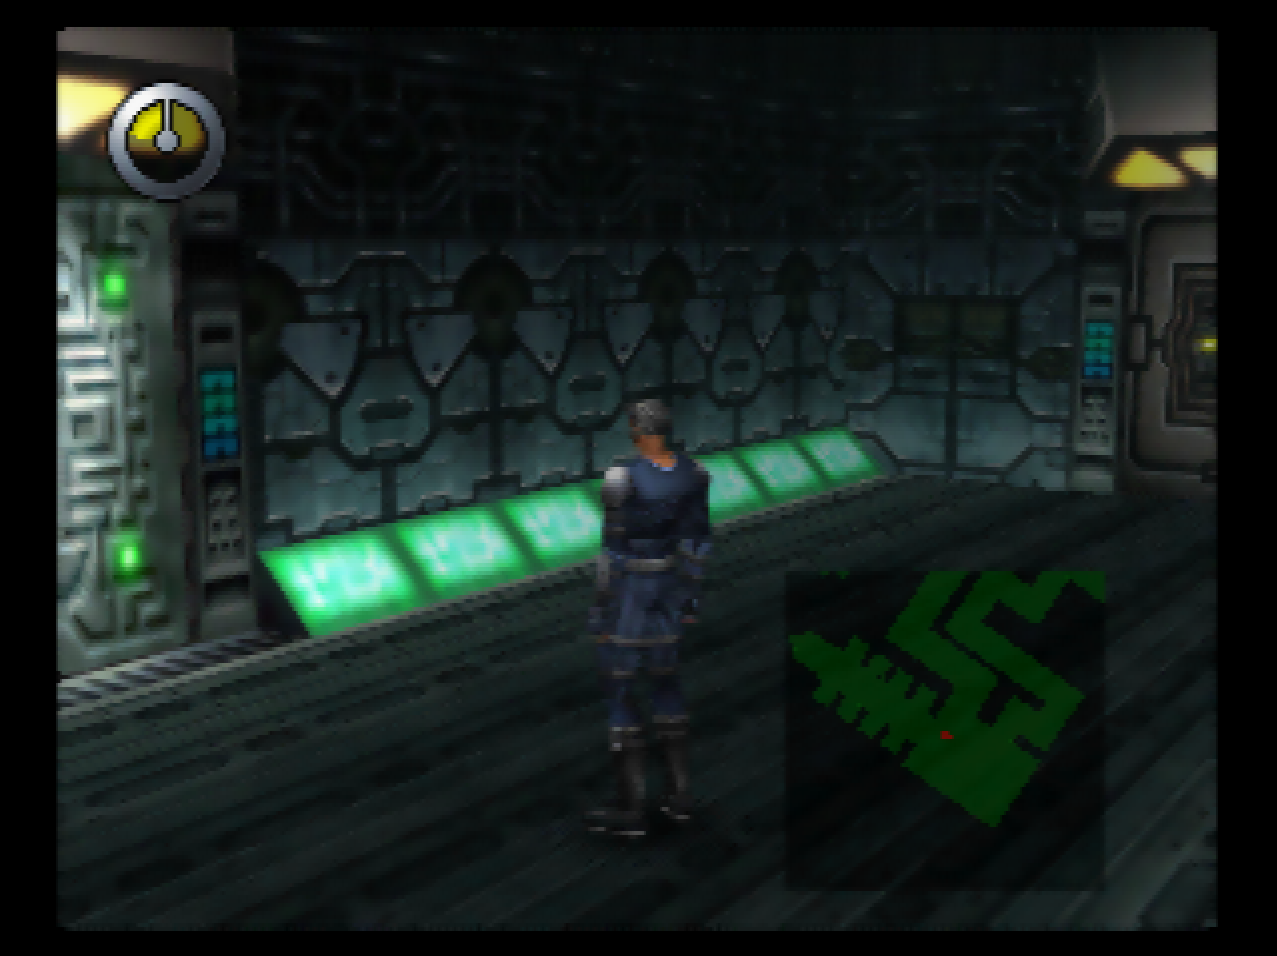
: This next room has a code door in it. You can guess what we’ve got to do.
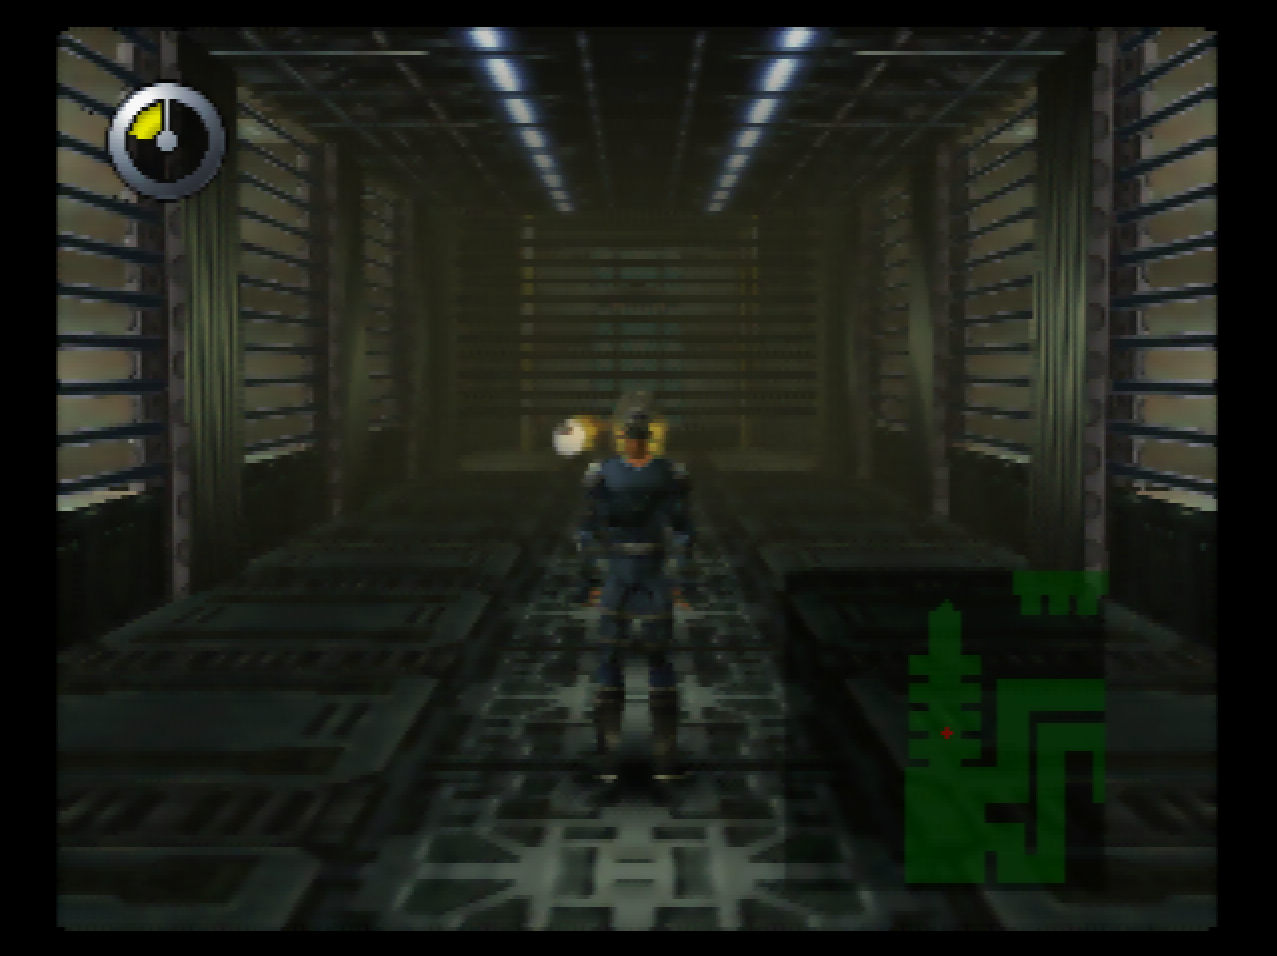
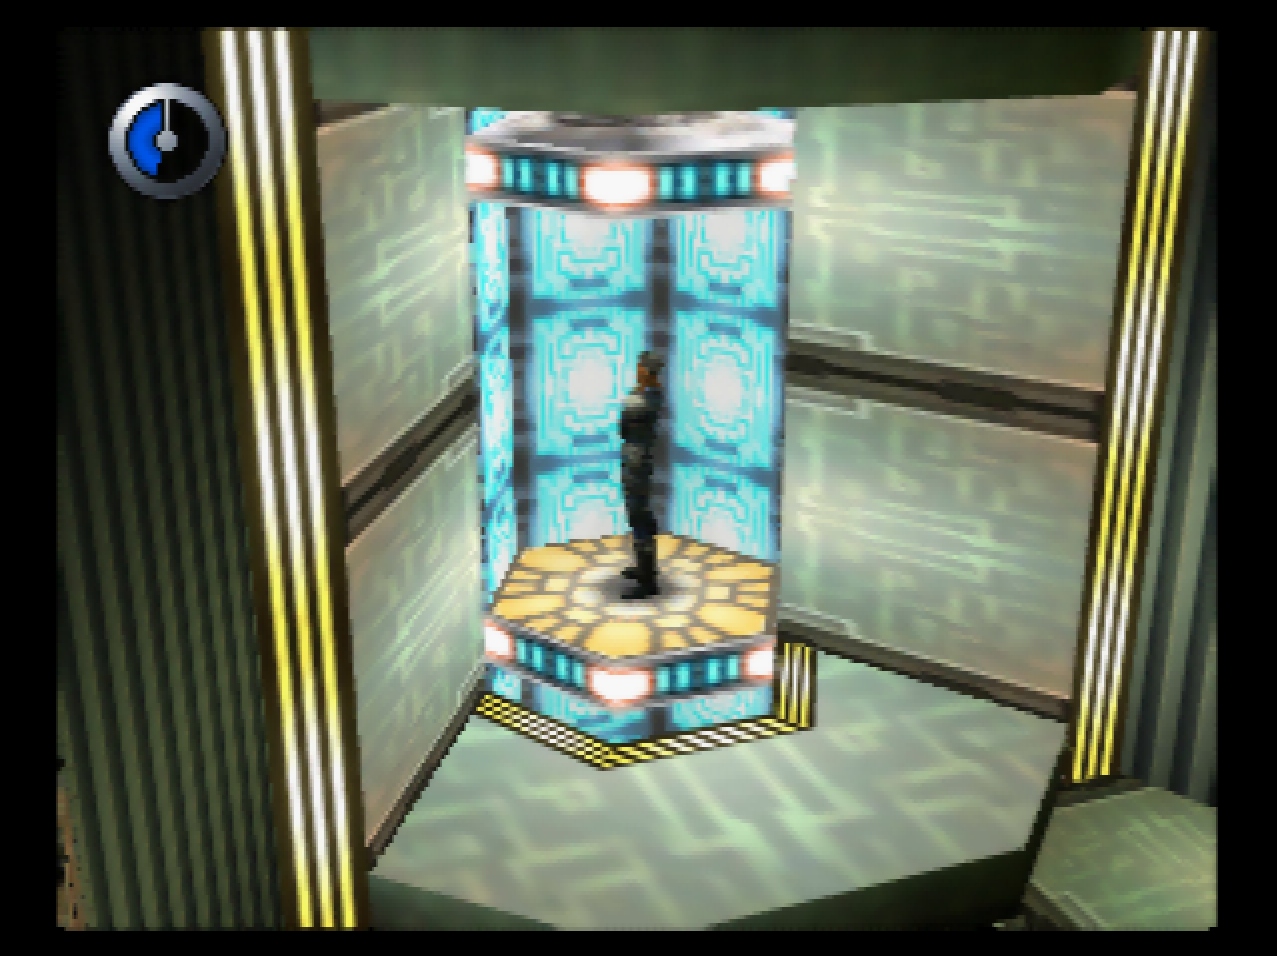
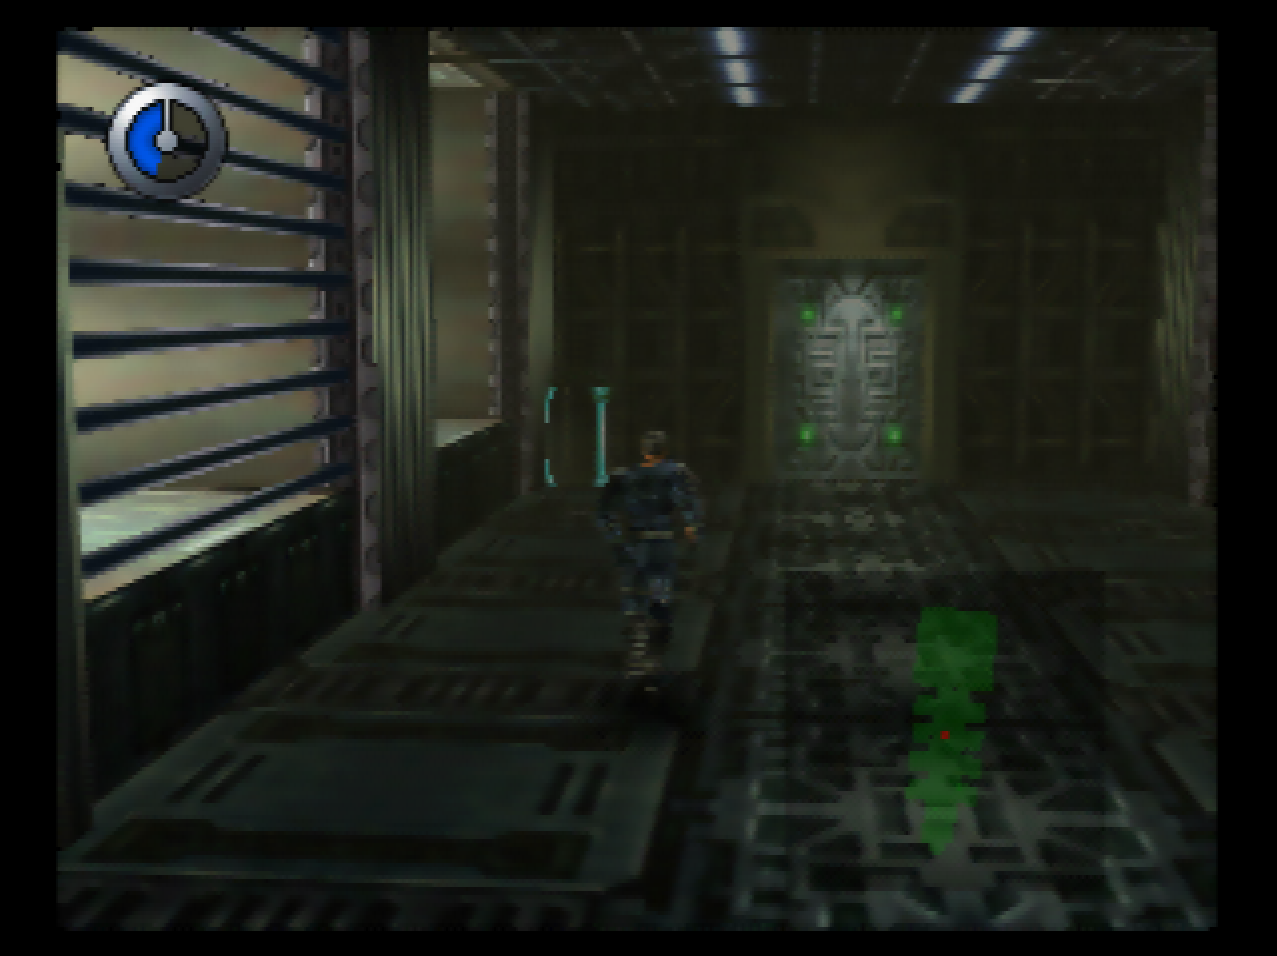
: This room has a flamethrower on the right side, so we can stick to the left and get the code machine and a couple of chests.
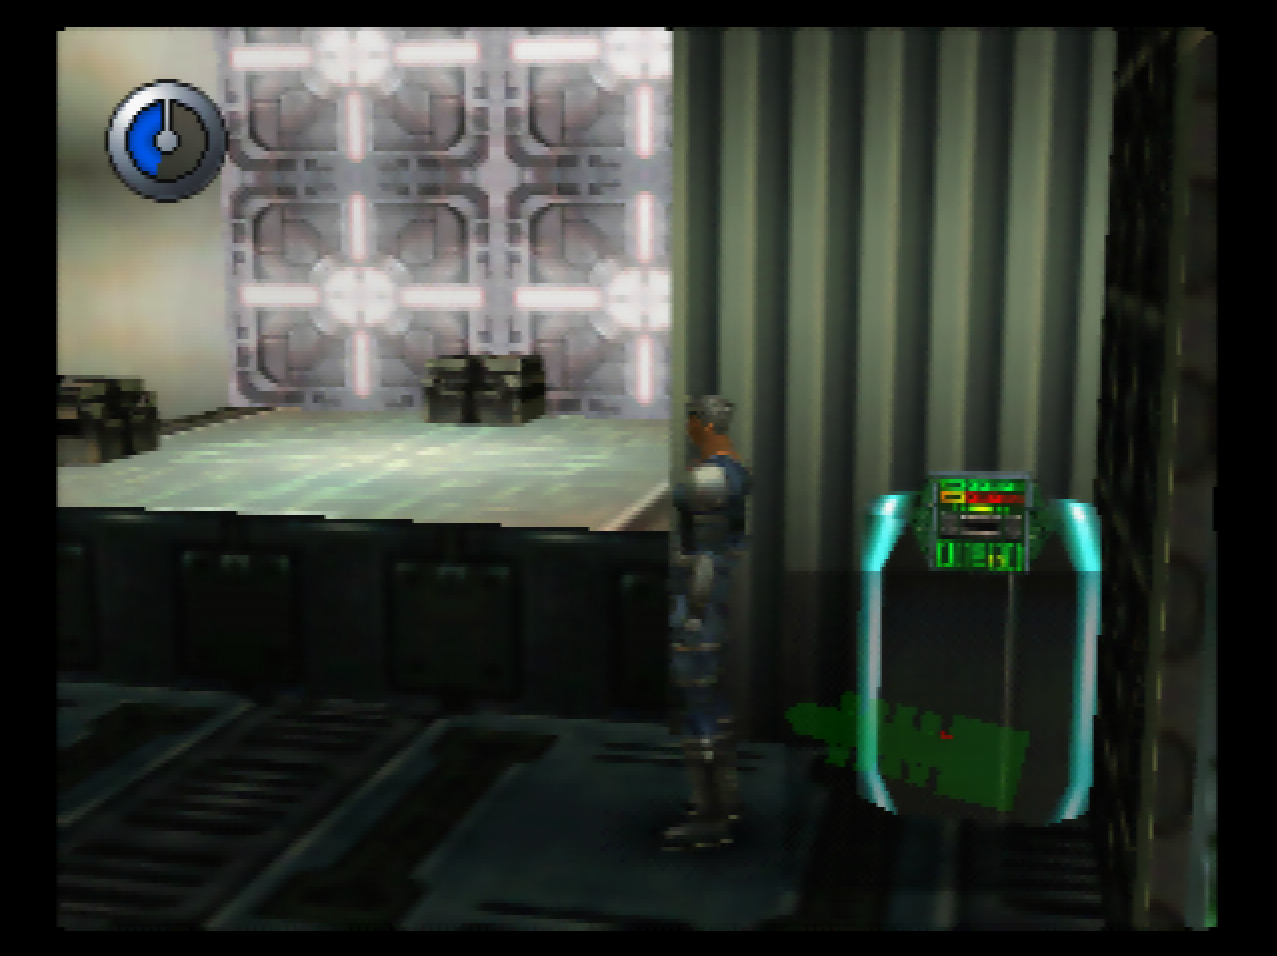
: The room on the end is a re-fight and I don’t care about those anymore because we’ve got access to combo finishers.

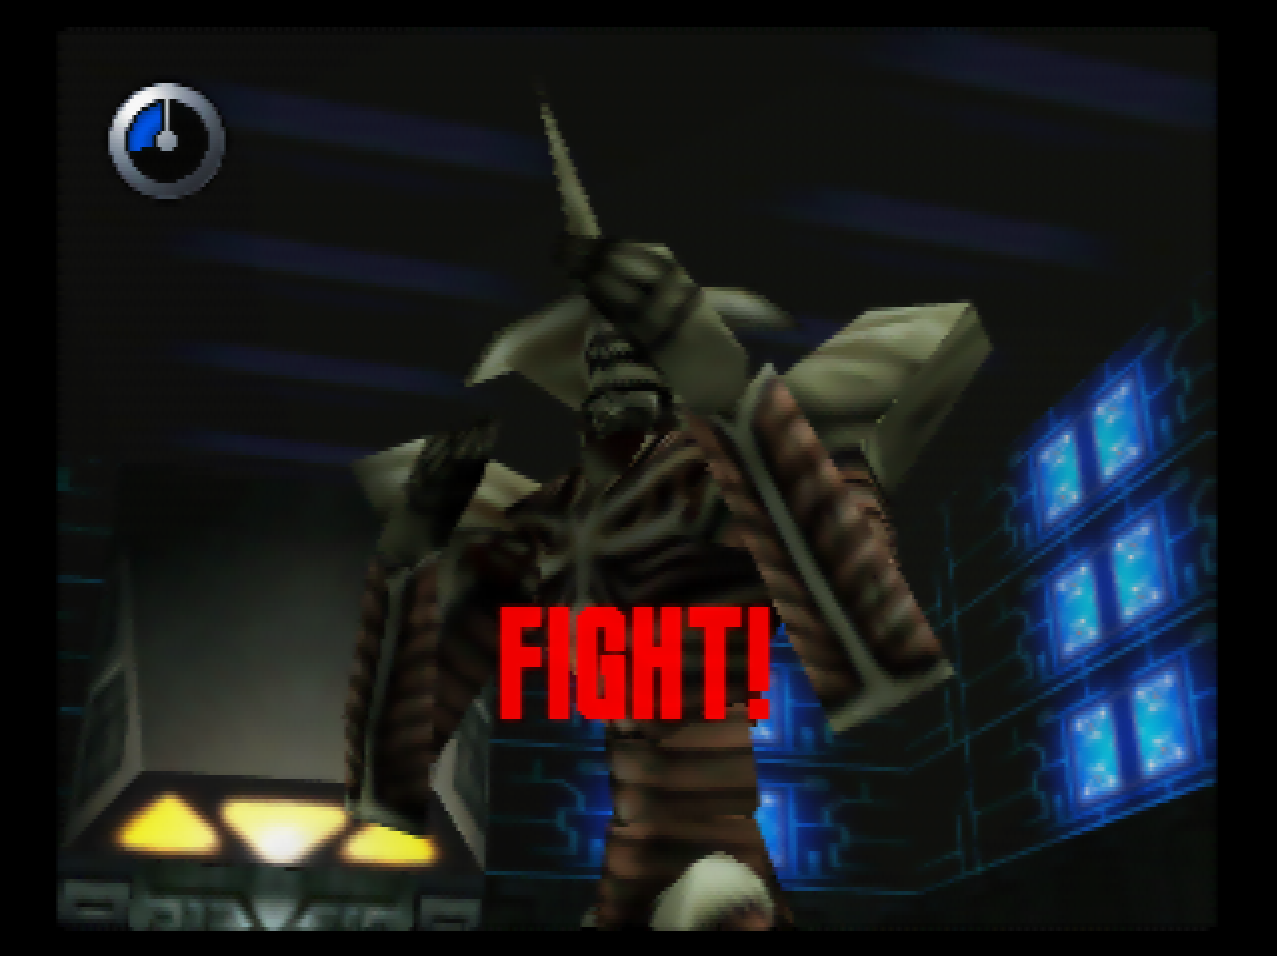
: This is Cor Caroli. Cor Caroli is another invisible enemy, but moves significantly faster and charges power significantly faster than Algol did.
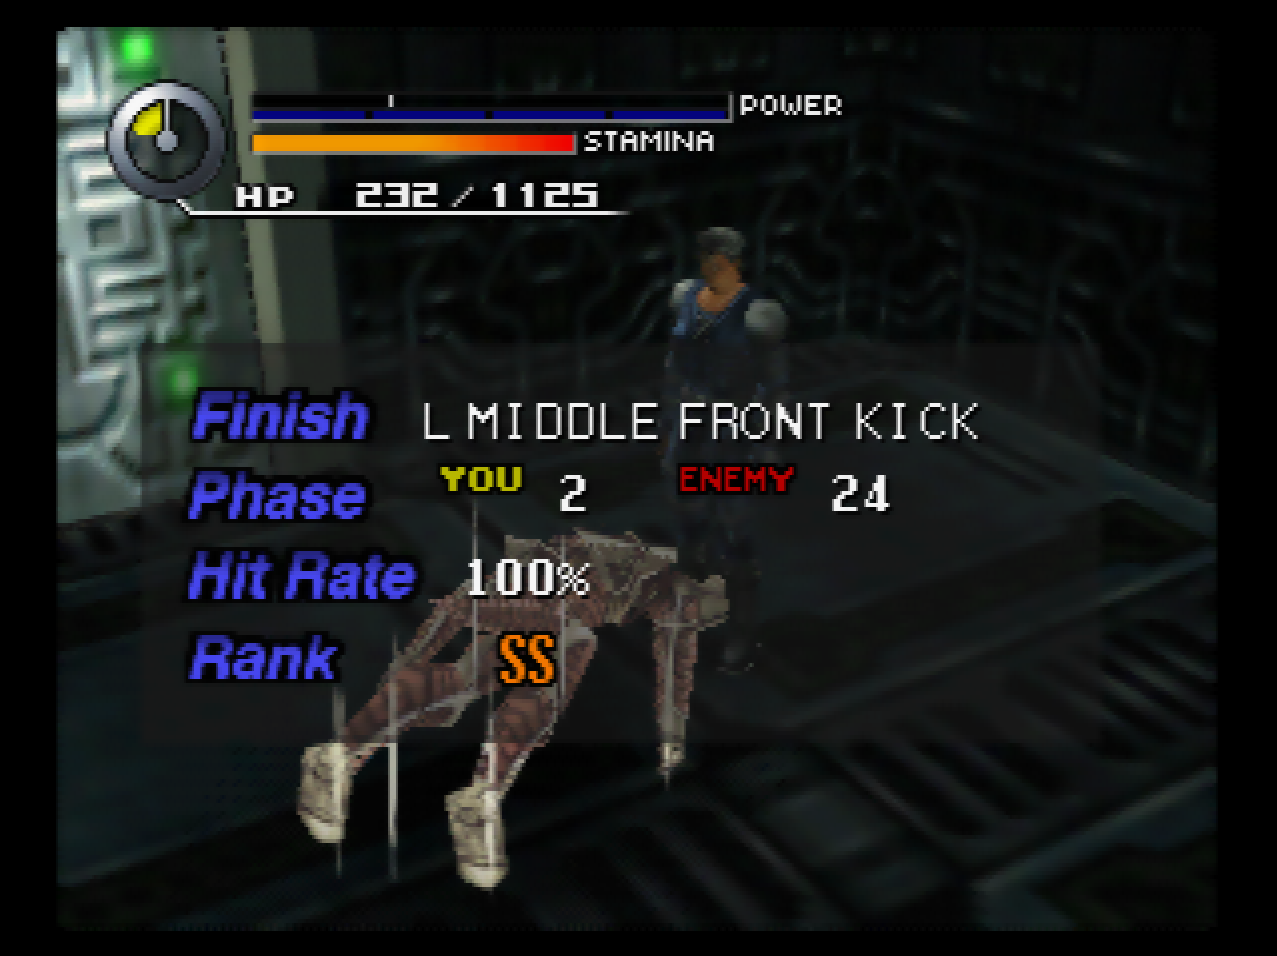
: The answer to everything is the Rolling Savate Kick.
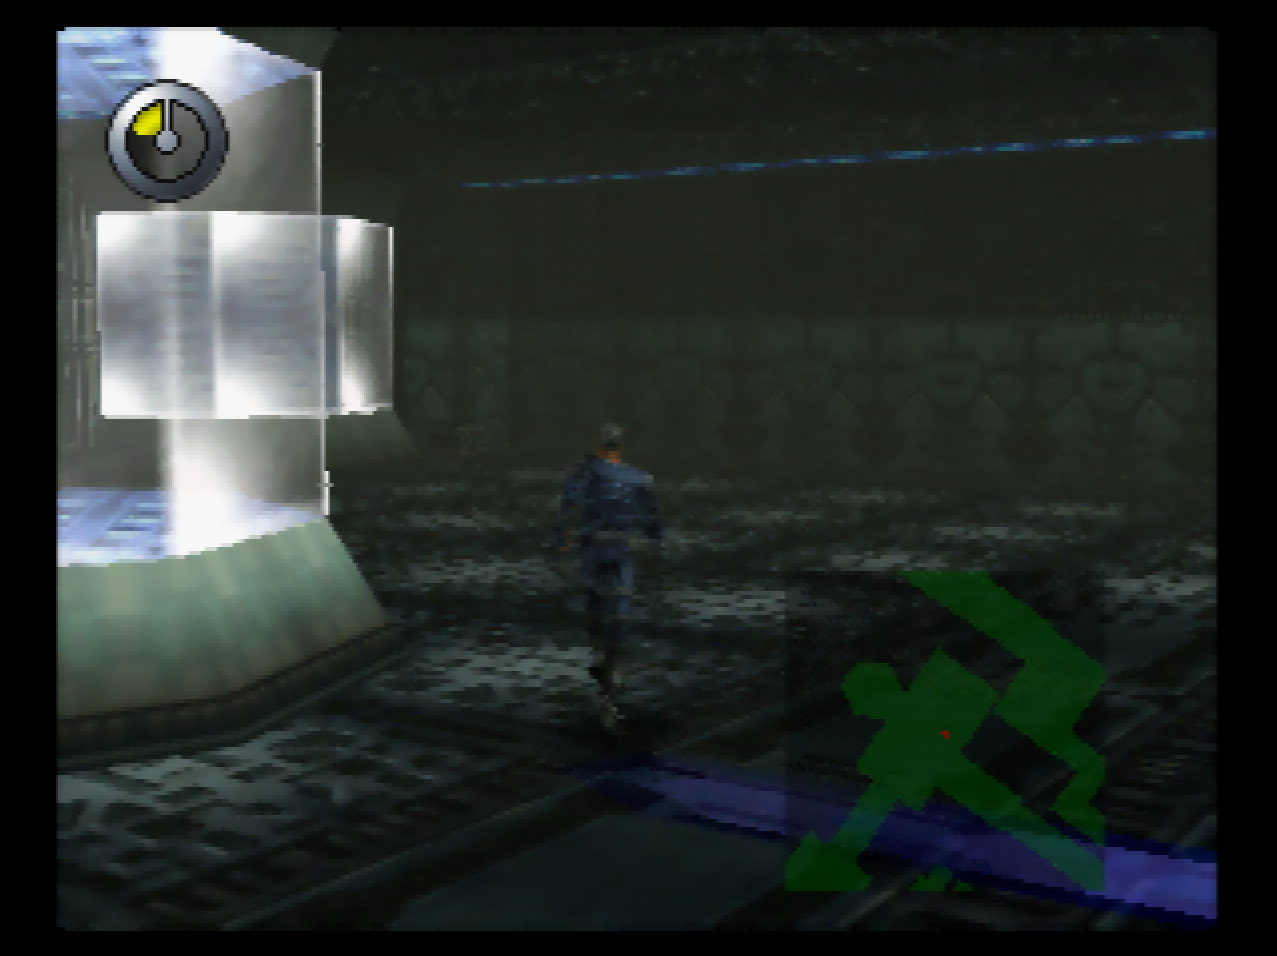
: We get another room full of drones. That little round room you can see is a save point.
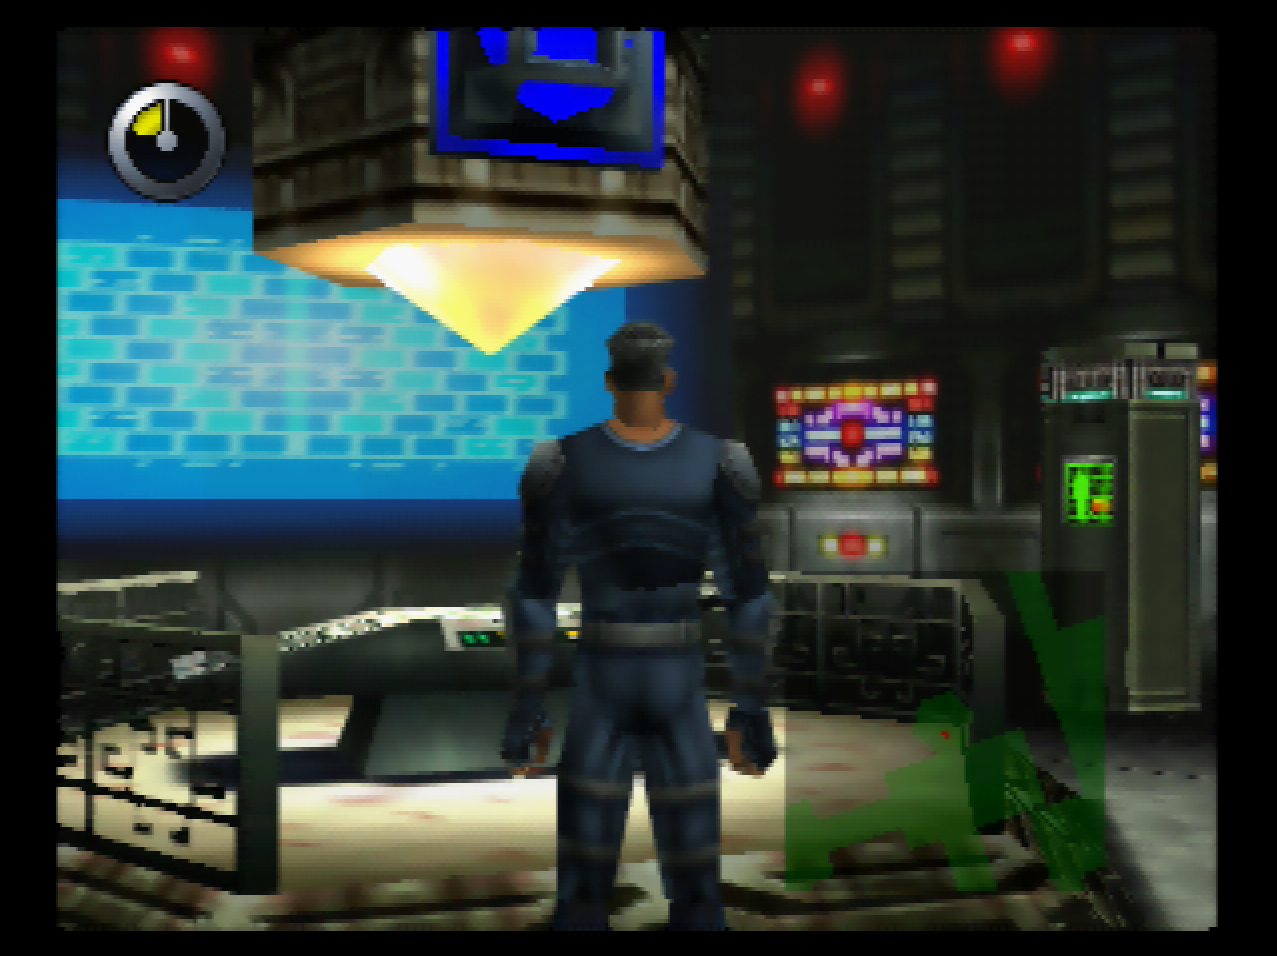
: There’s a blue switch playing Meccha Chameleon on us, so I shoot it.
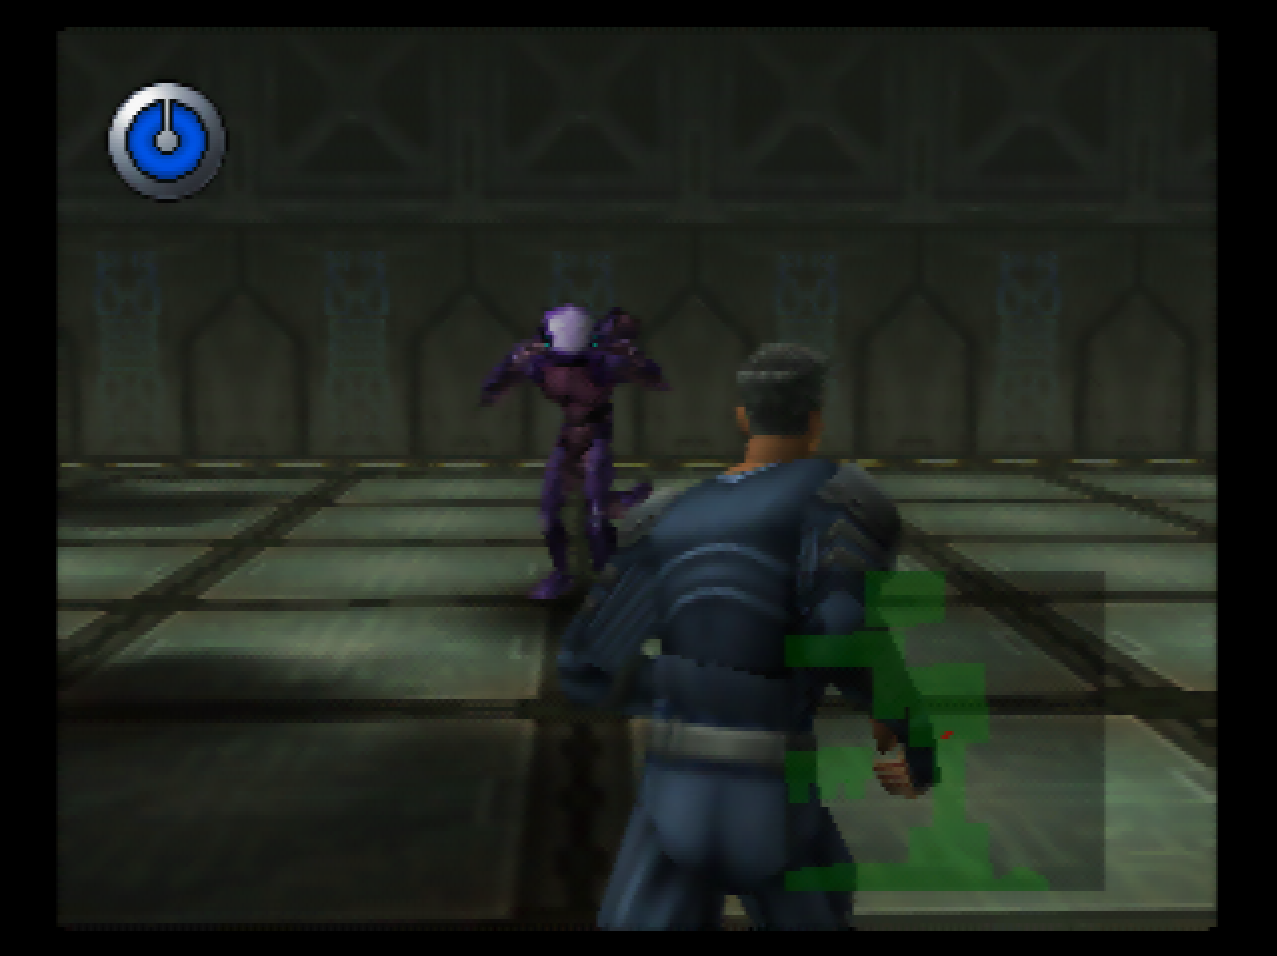
: The other route leads to this thing. It has a name, but I’m calling it a Barney and no one can stop me.

: Barney has ice breath, which will freeze Johnny on contact and let him get a second hit in for free.
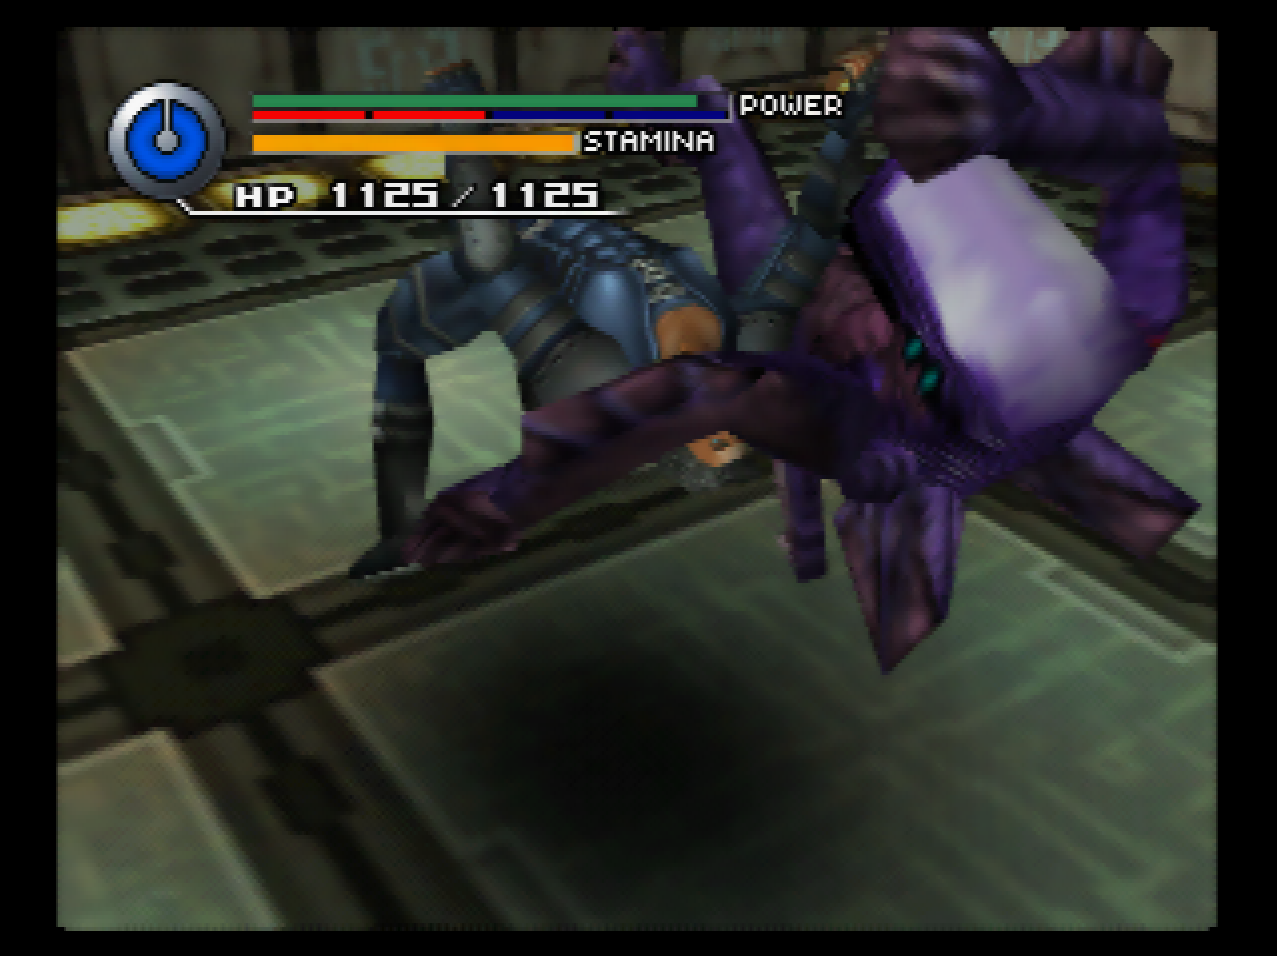
: Once it starts losing HP, it gets VERY grab-happy. Barney moves pretty fast and can potentially stunlock you to death.
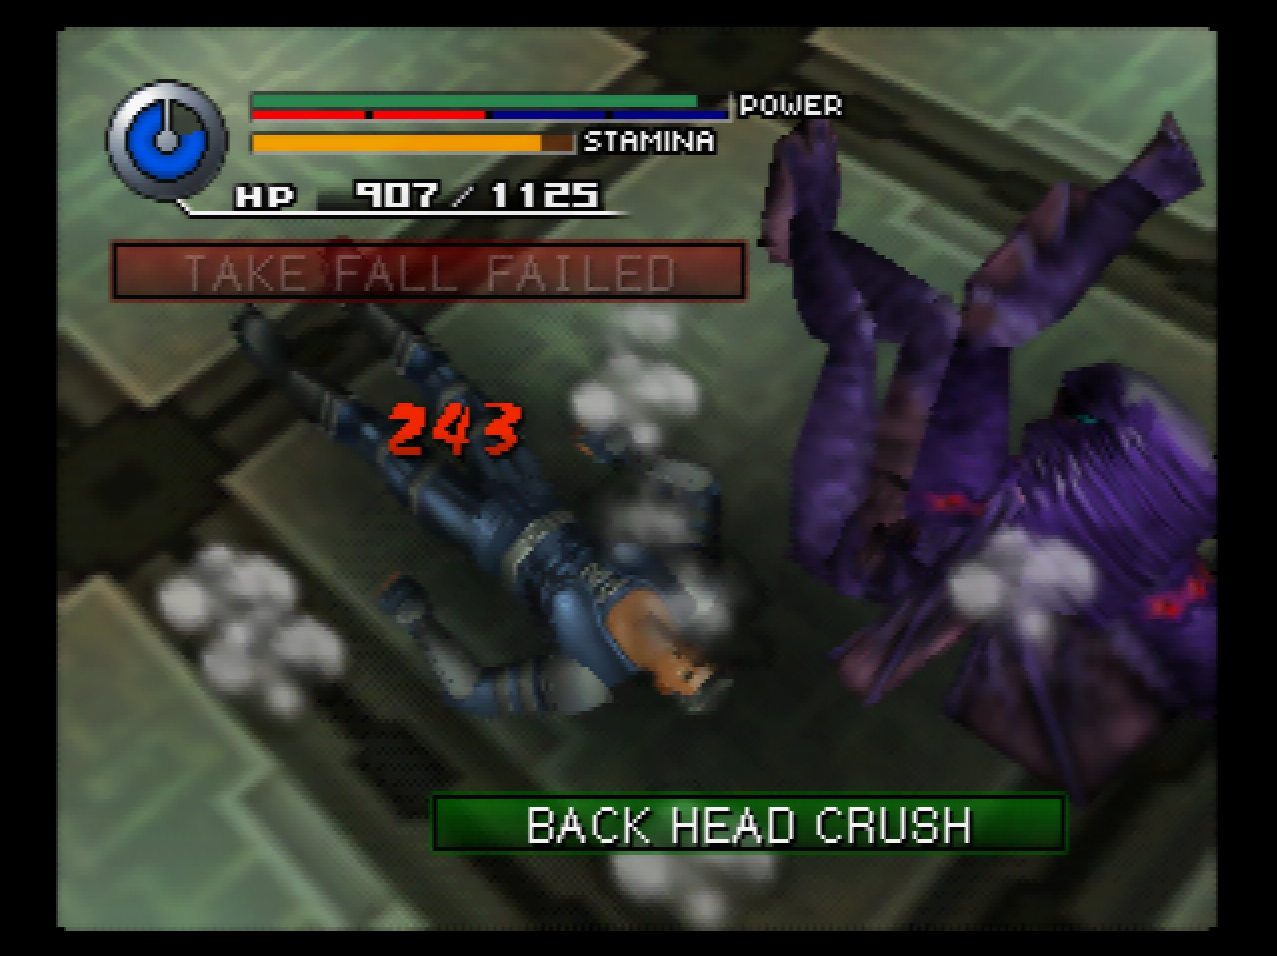
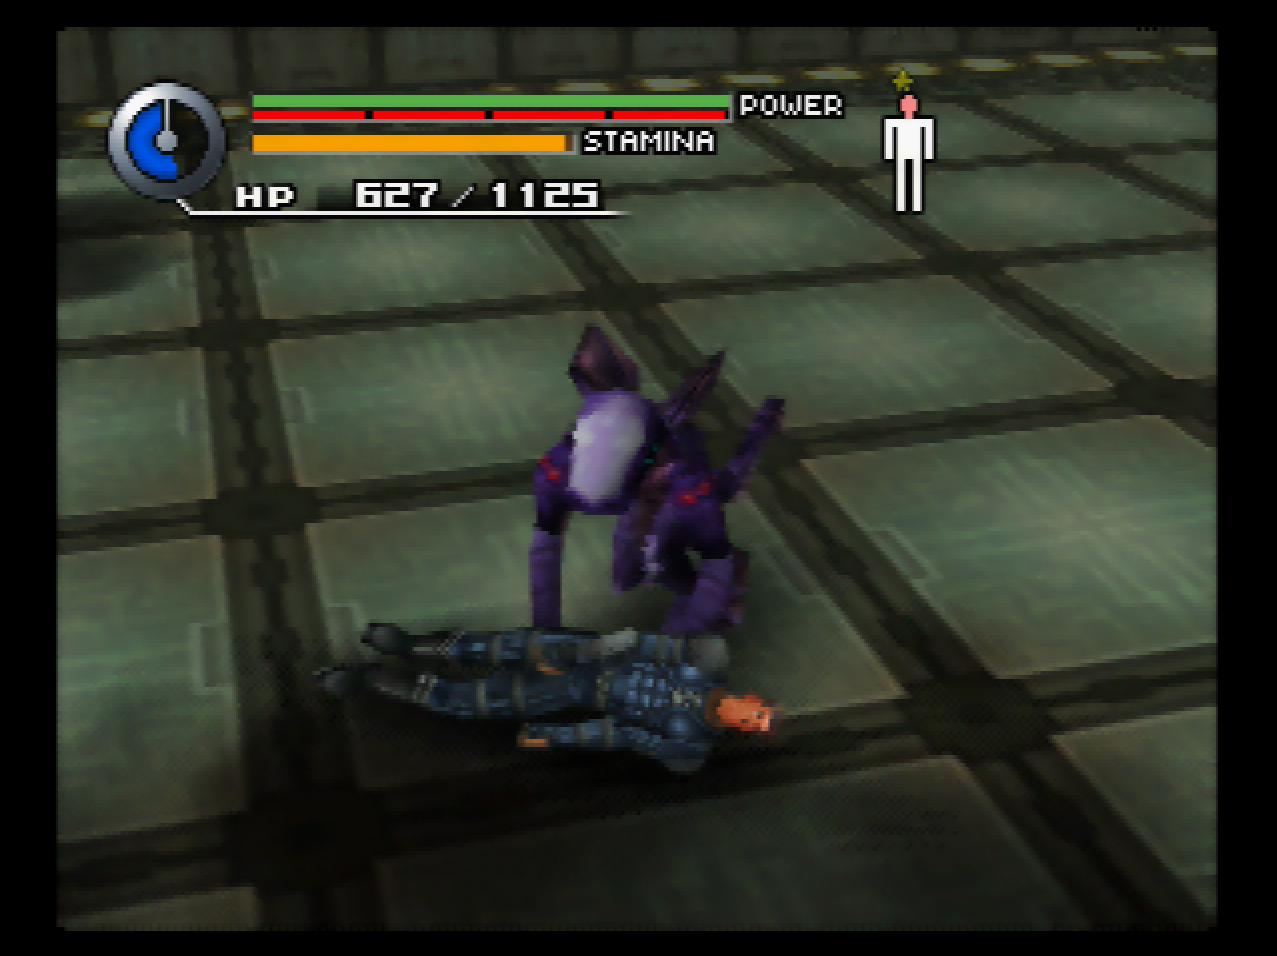
: It can roll Johnny over on the ground. I’m not sure why it does this or what purpose it serves.
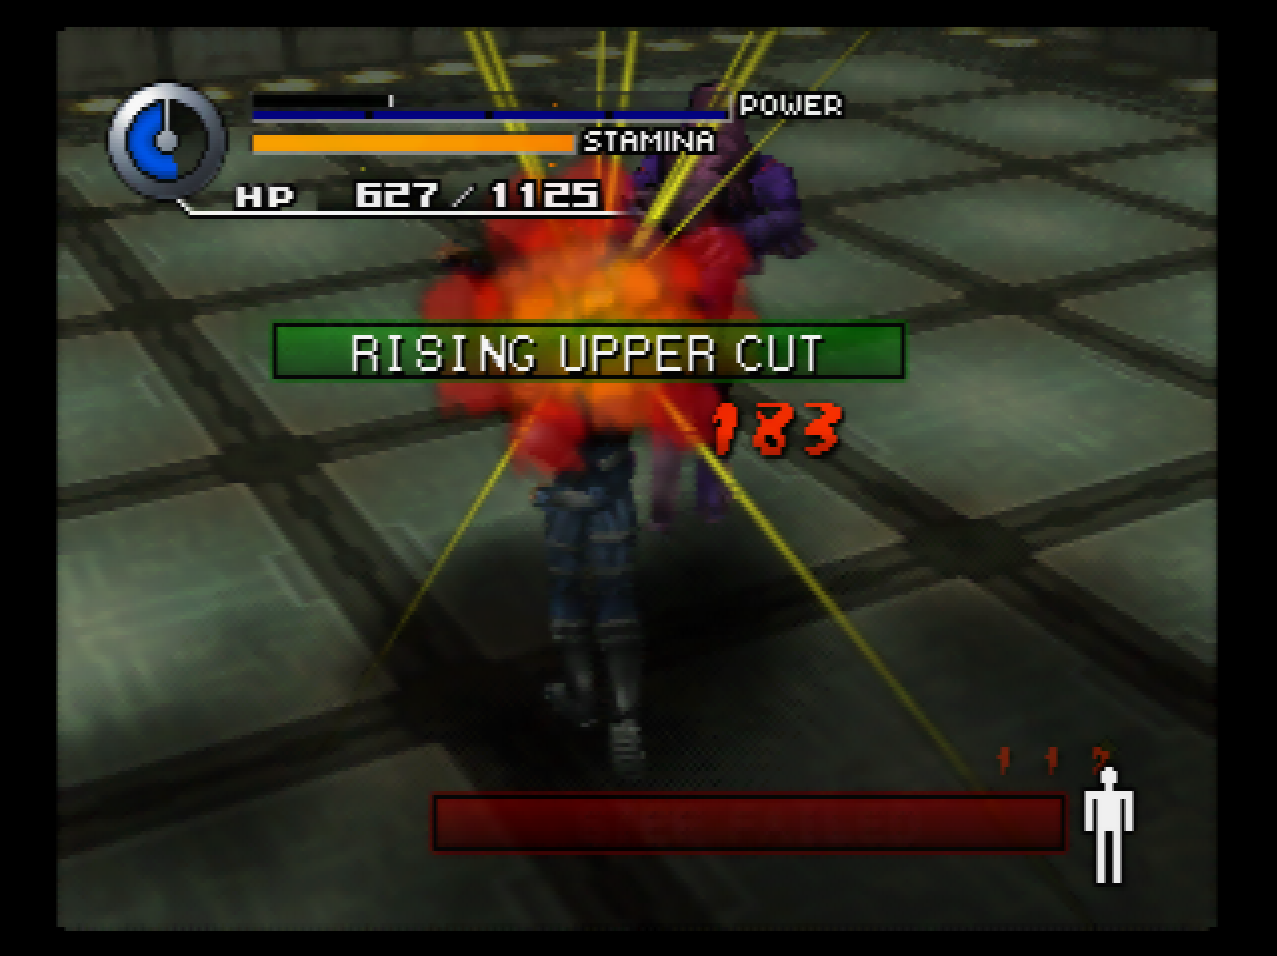
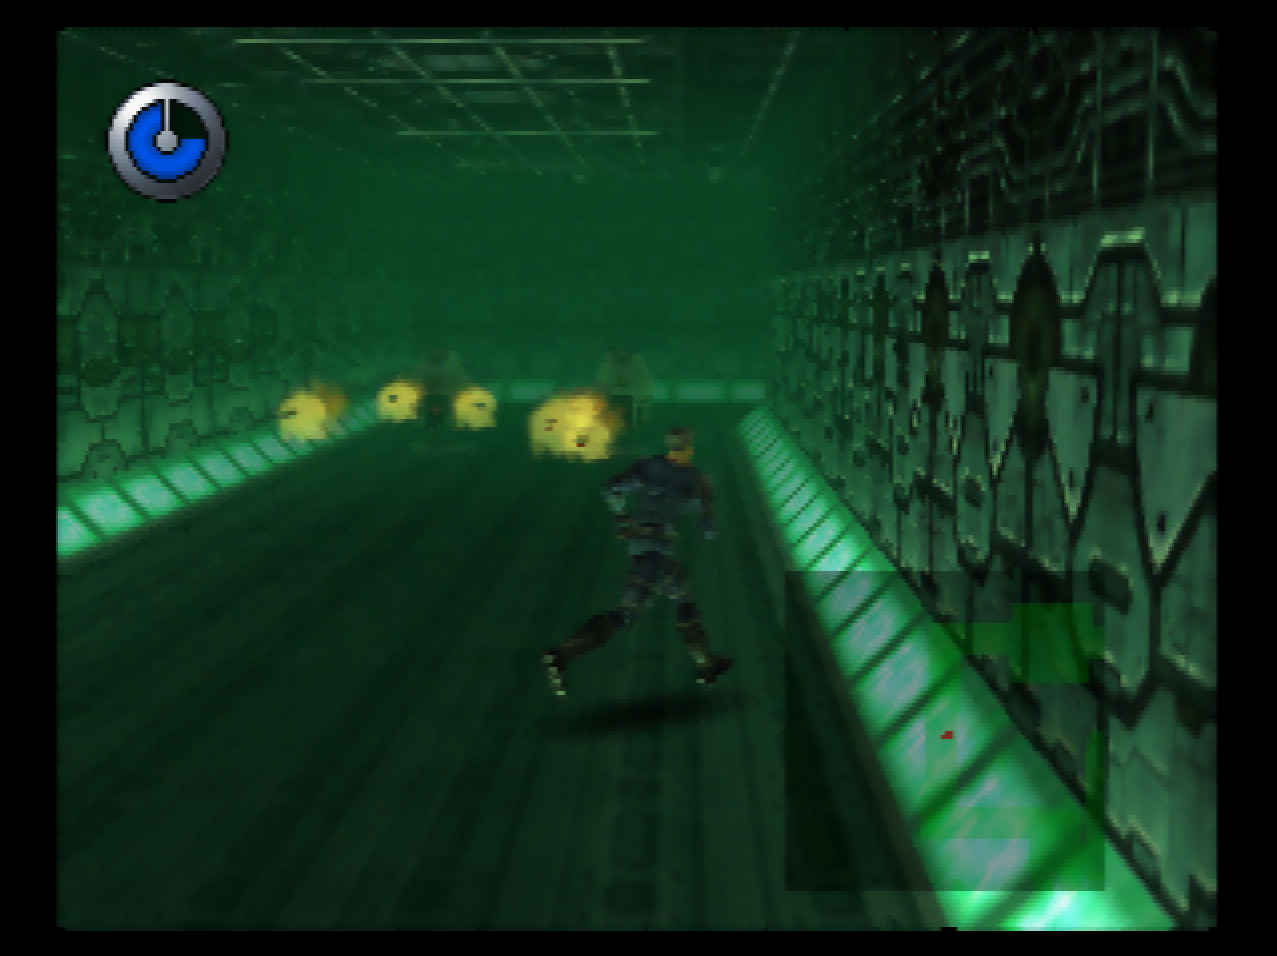
: We go through several uninteresting drone hallways, ending with this one where we have to dodge two missile pods.
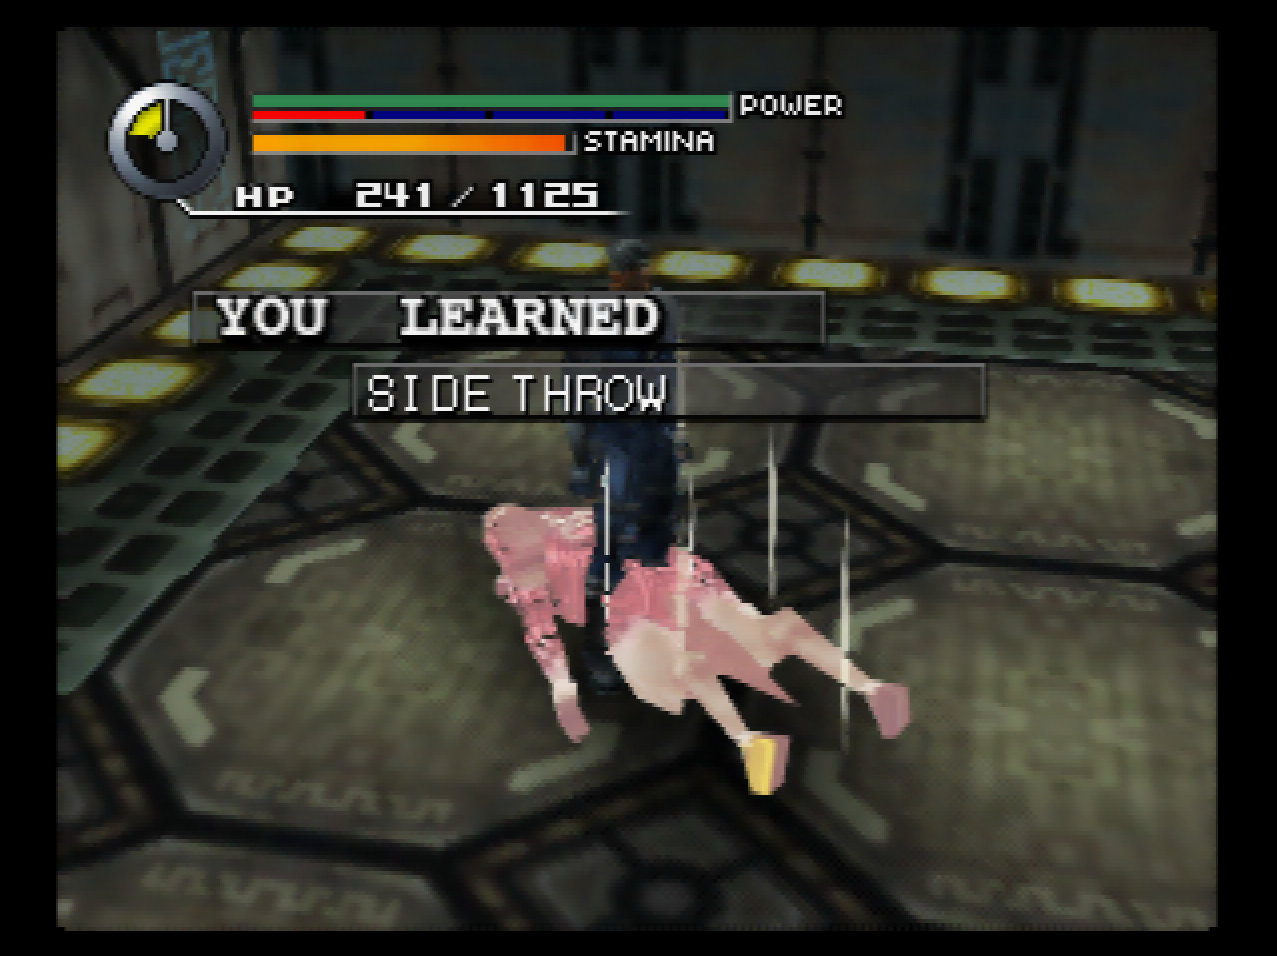
: There’s a mandatory re-fight with an up-statted Muphrid that manages to get a couple of grabs off.
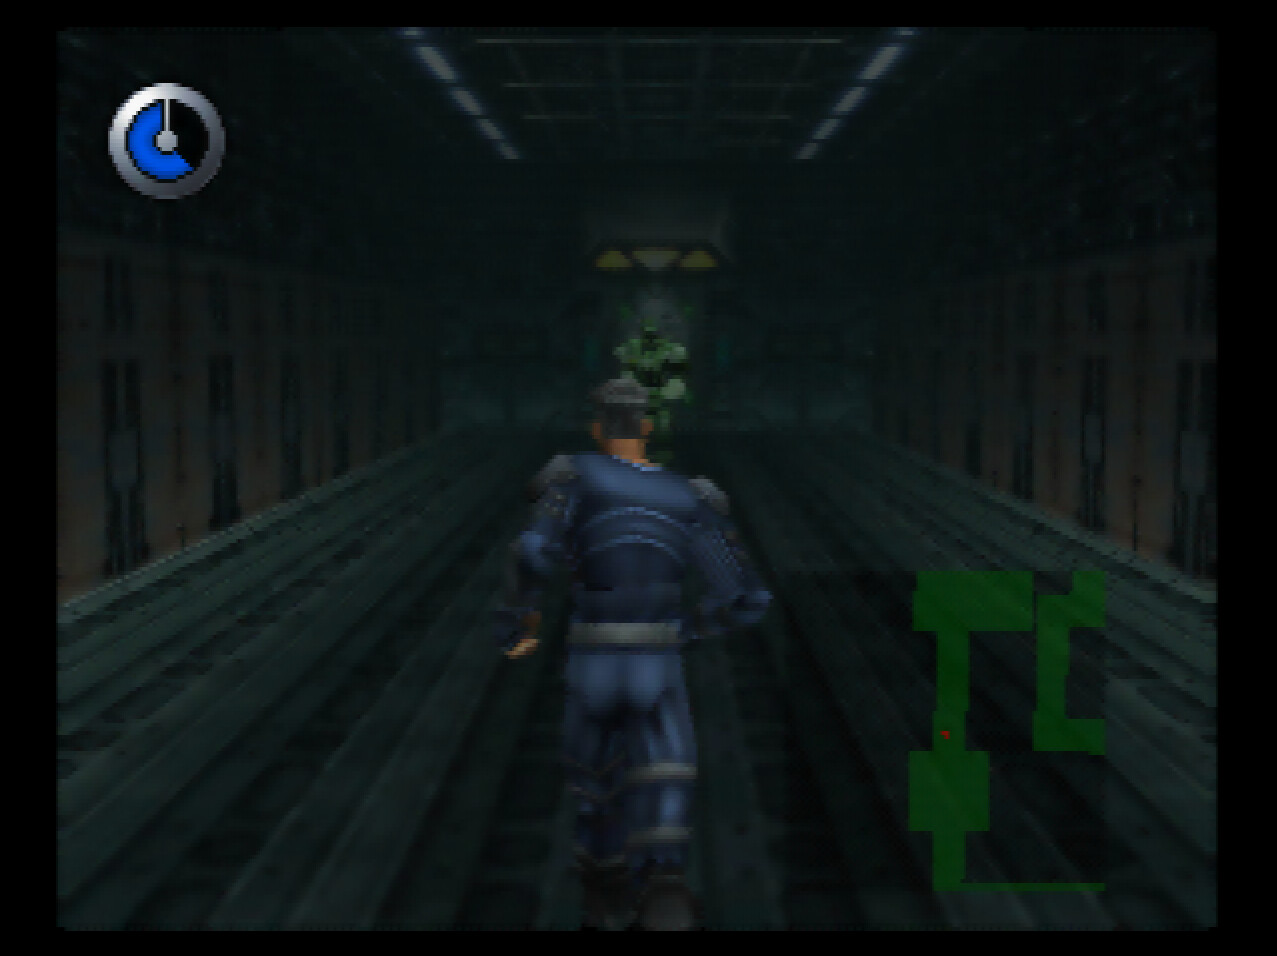
: And now we have this guy.
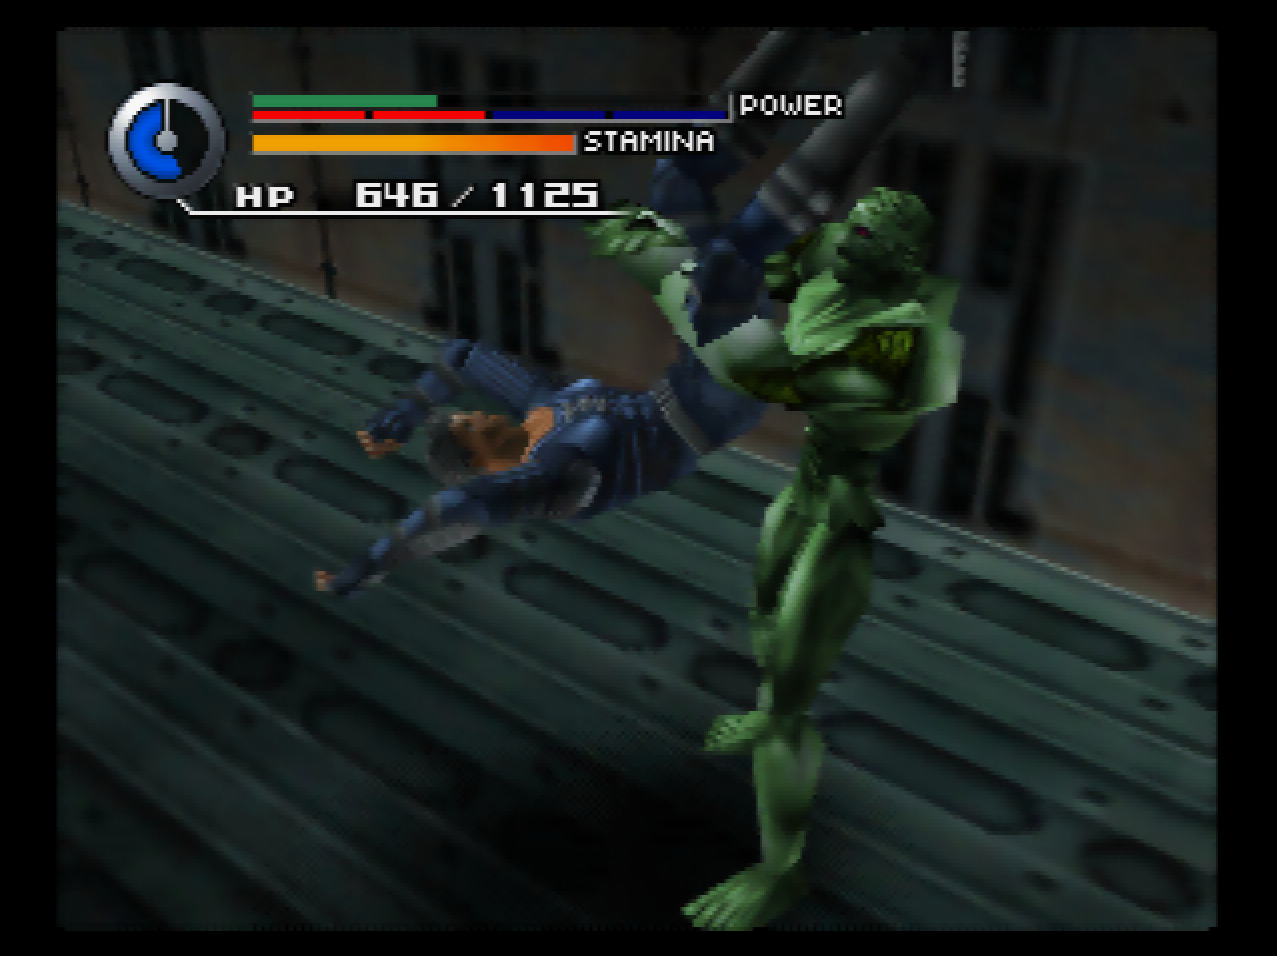
: This thing is a Beid, and is supposedly hidden somewhere in Area 2. I’ve never found it there.
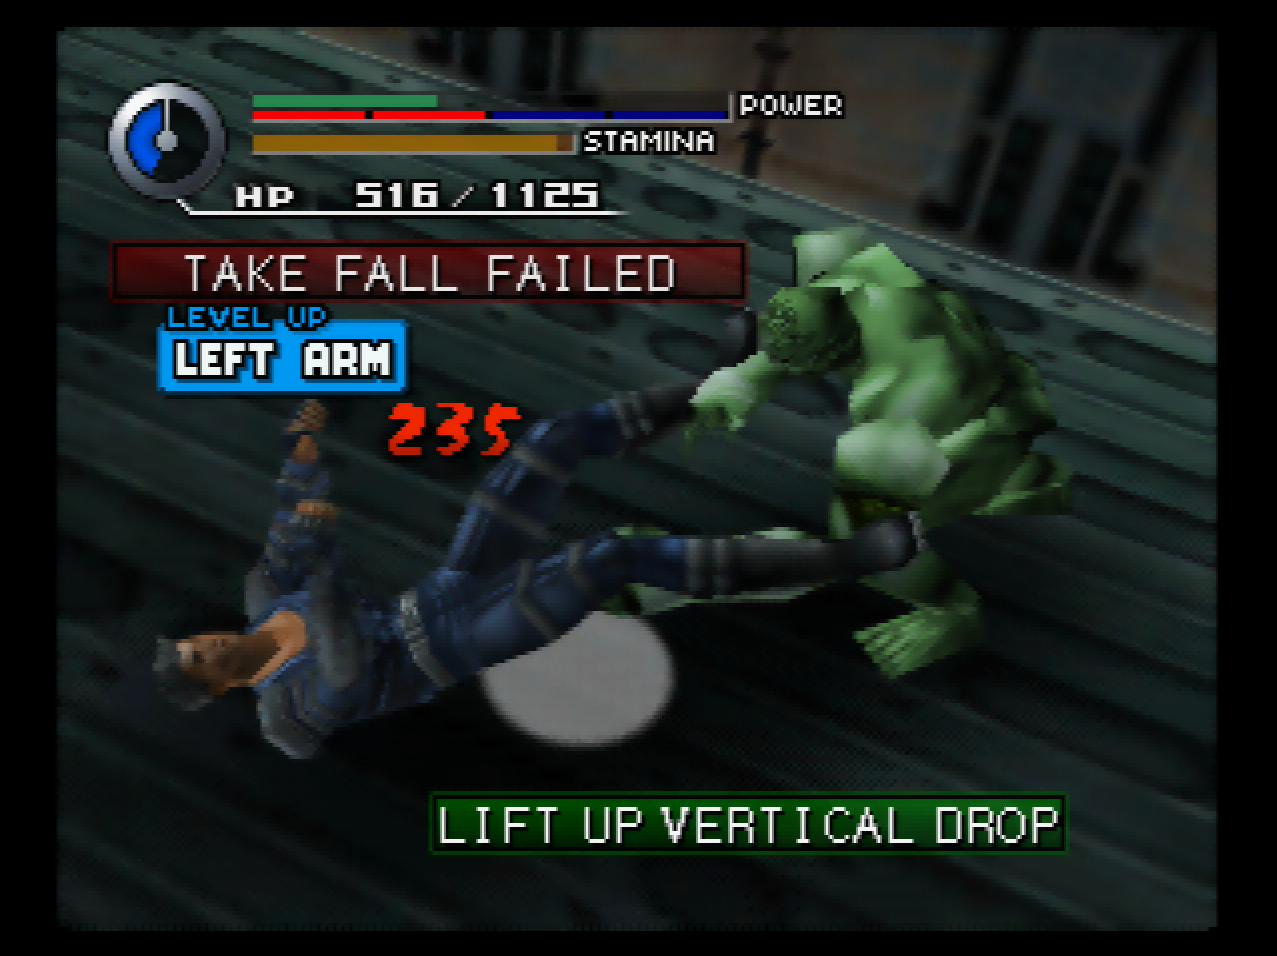
: Beid is a grappler who can easily stunlock you to death with wrestling moves.
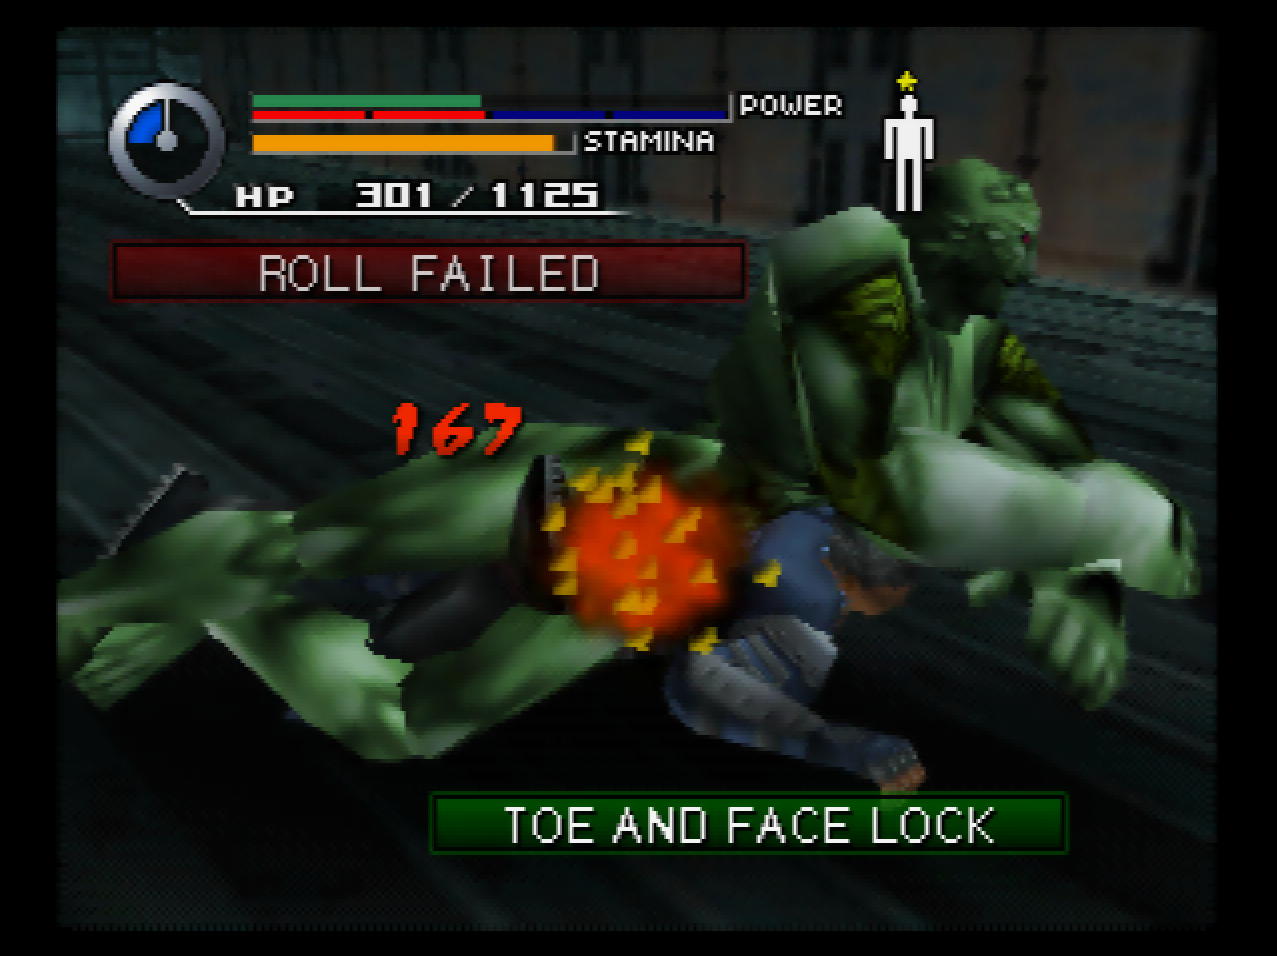
: “Toe and Face Lock” isn’t what this move is actually called - it’s called a Toehold Face Lock, and looks like this in motion. In reality, it wouldn’t do much because it’s specifically designed to look painful but is actually a cover so that the person on the ground can communicate without it being obvious to the audience.

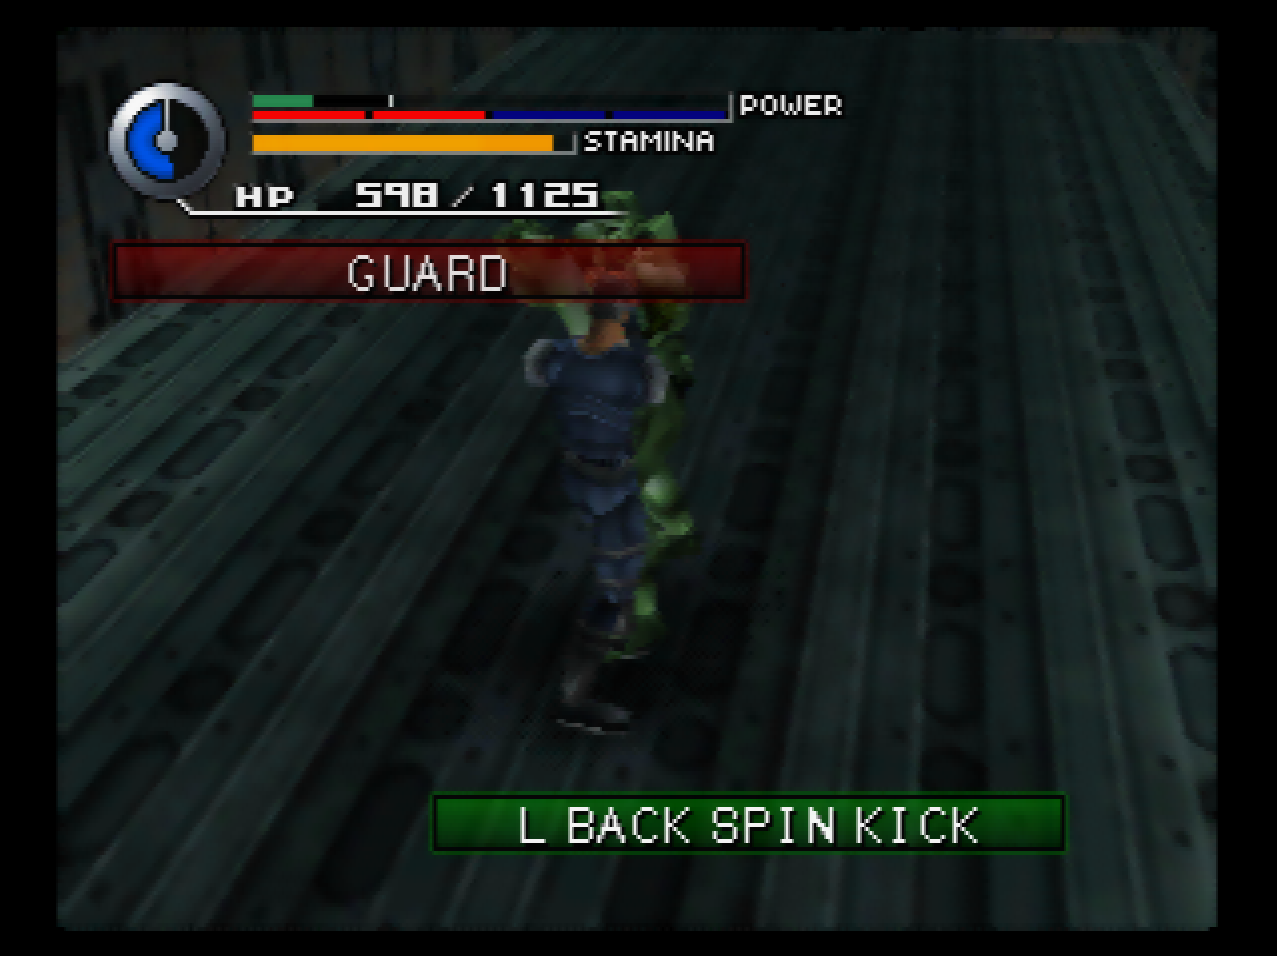
: Beid can also use the back spin kick, but trying to learn it here is risky because of the grabs.
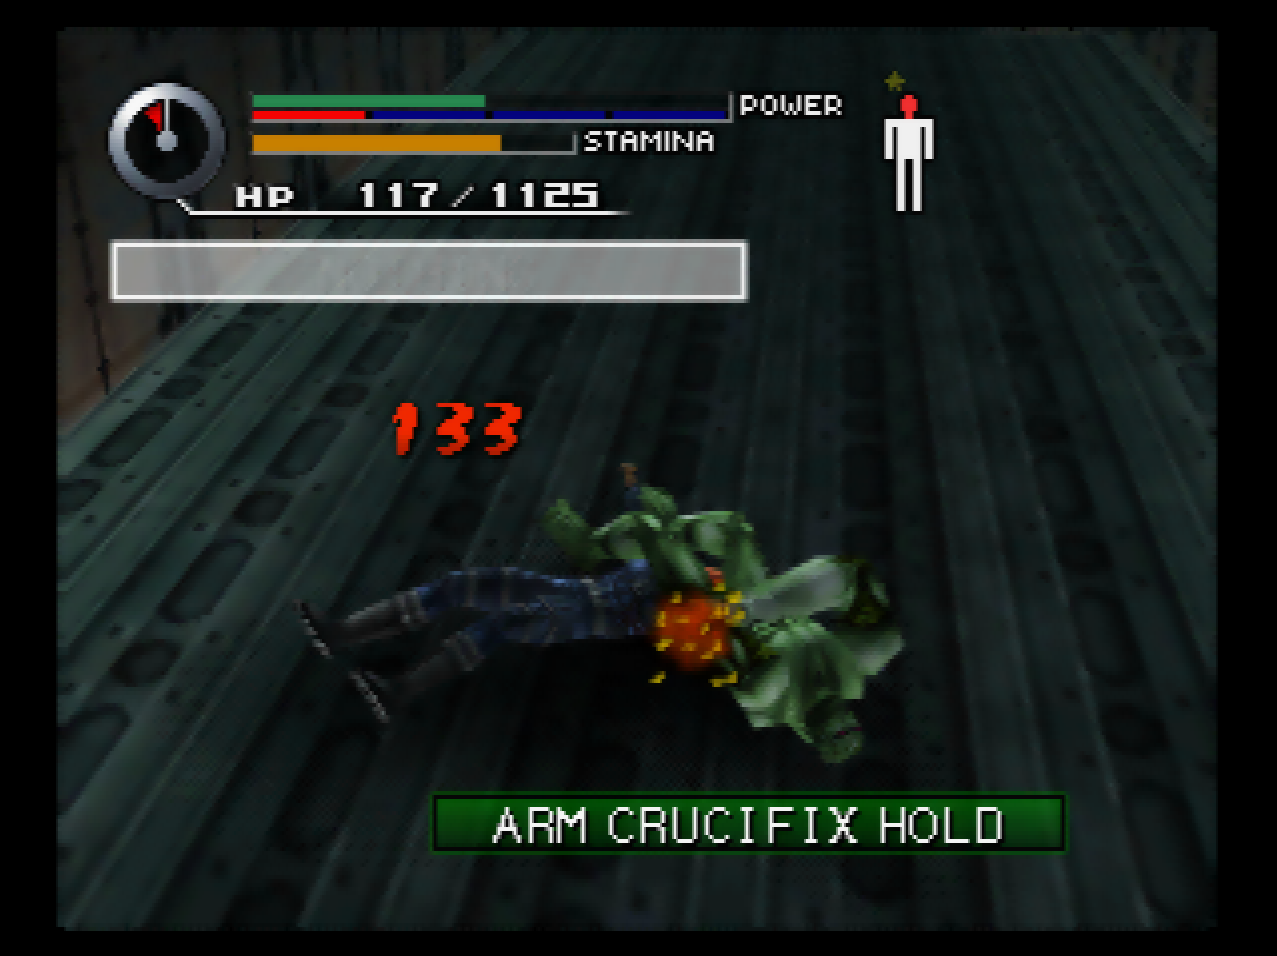
: This one fight took me like half an hour. Beid’s grab range is far longer than it should be, and if he gets a grab off there’s a pretty good chance you get stunlocked unless you survive multiple roll attempts.
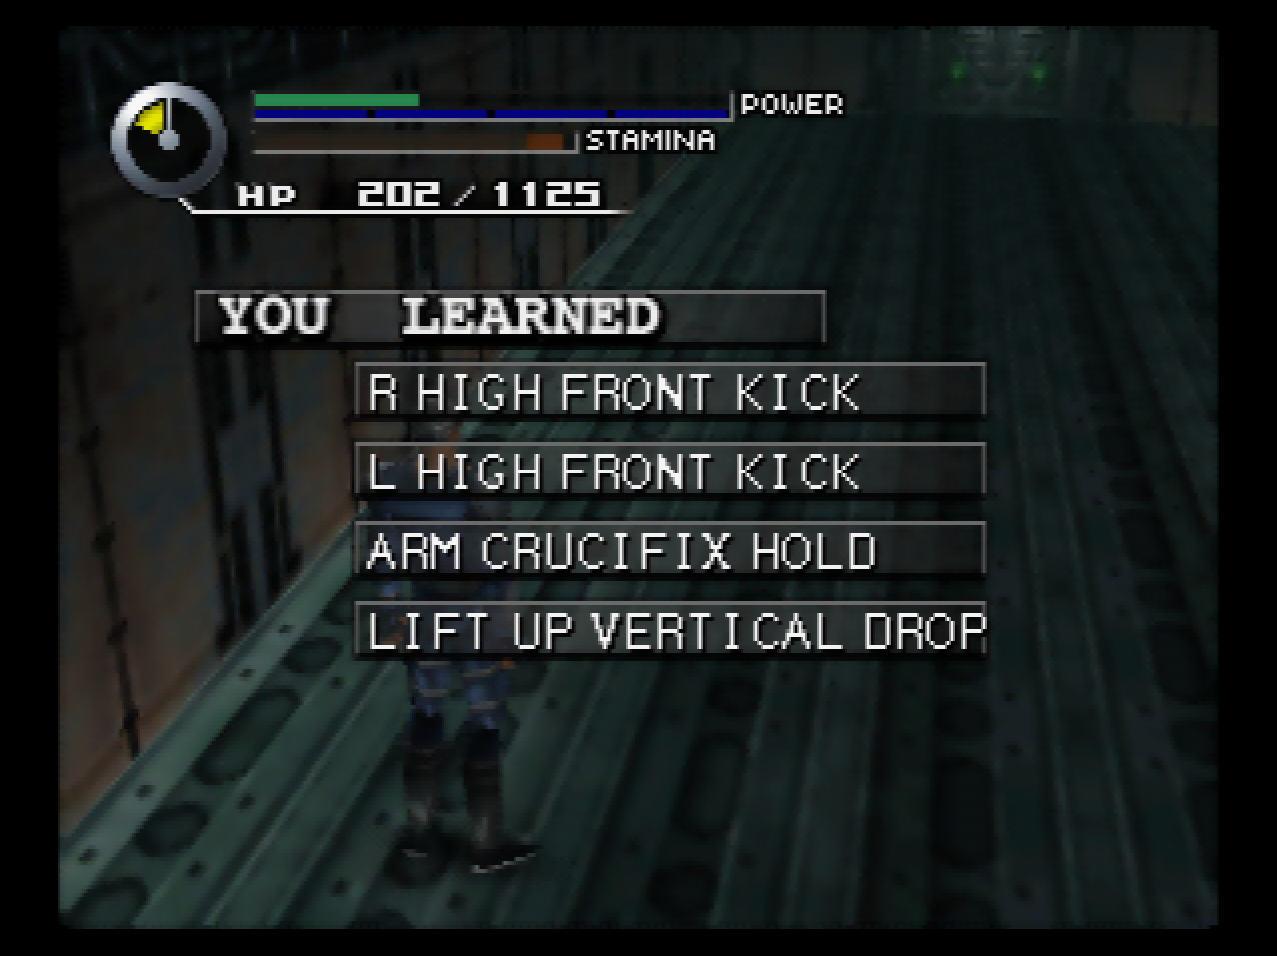
: We at least get the High Front Kick out of this, which is useful because it’s part of the only combos that can get the Rolling Savate Kick out with only one leg.
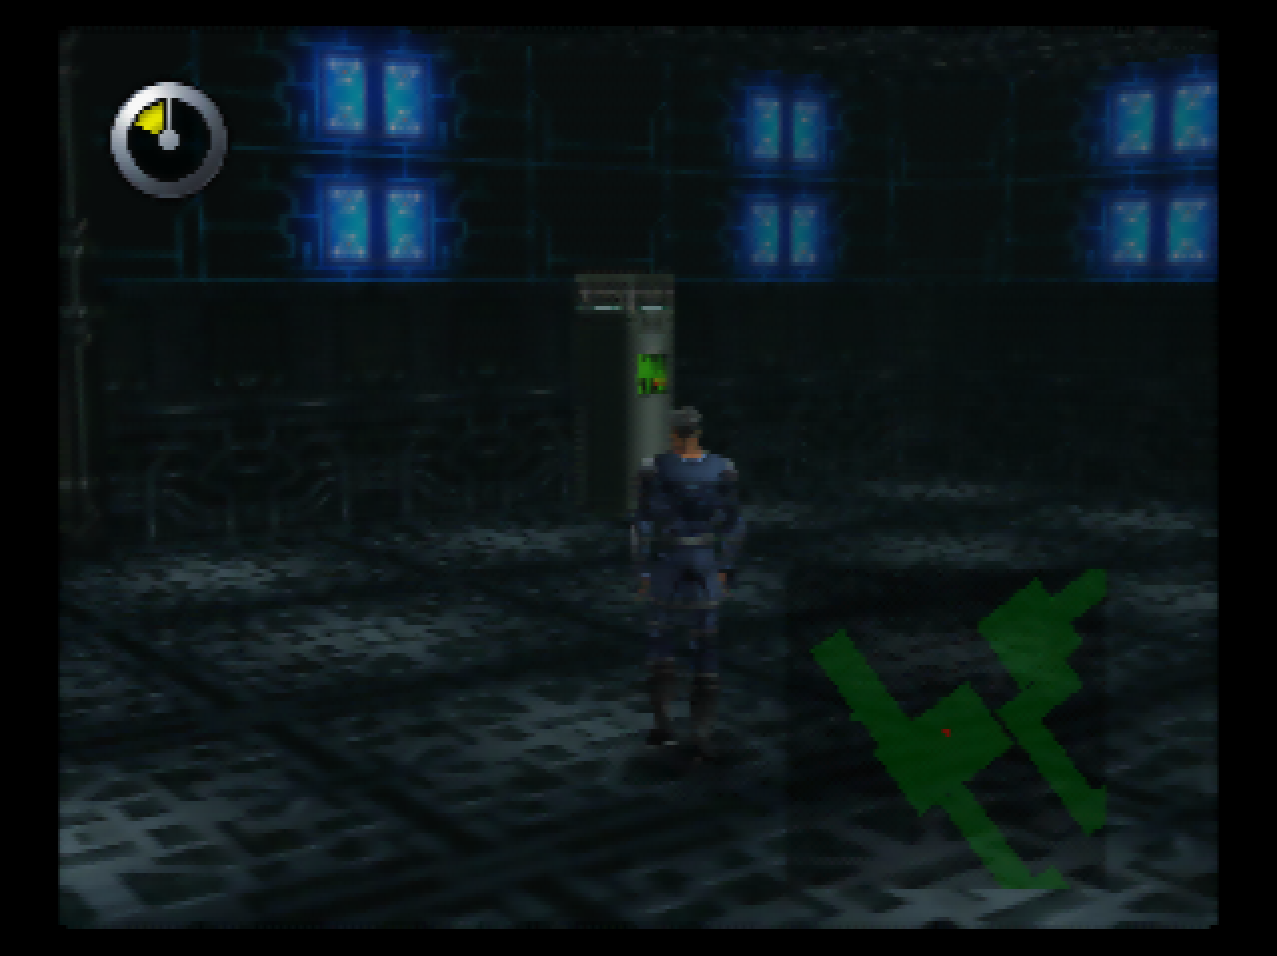
: The next room has a save point in it, and I’m going to stop here for now because we’re about halfway through World 6.