
Summary
 : I changed up the end of Day 5 a little. Instead of going for Lyle’s D&D set, we finish Wizard’s Hell.
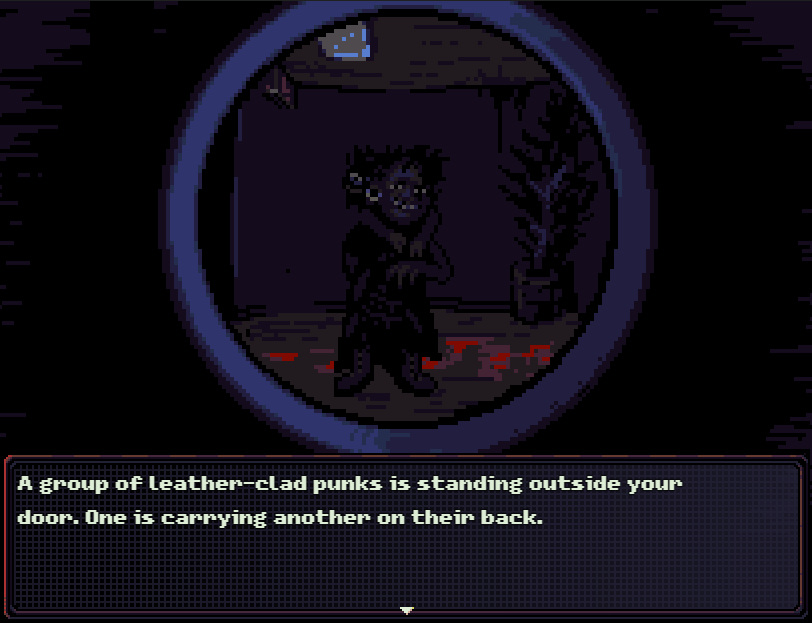
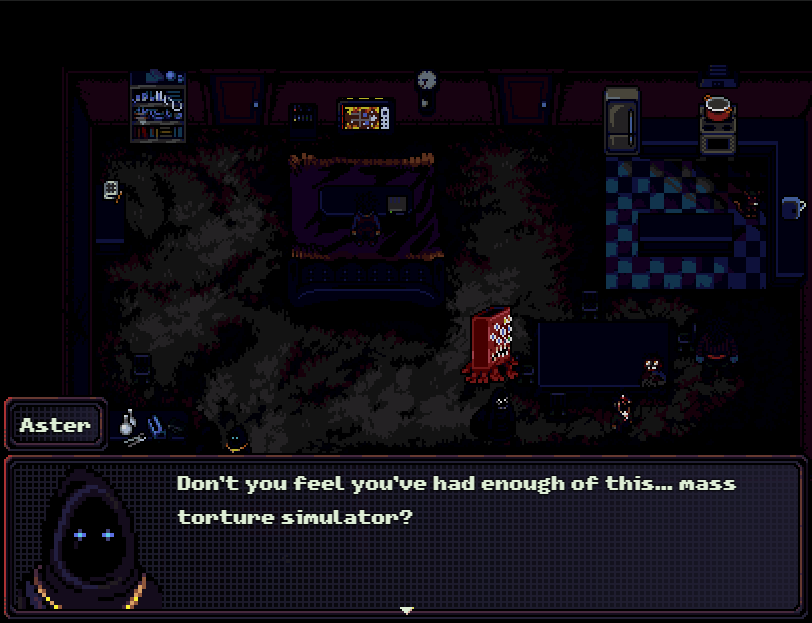
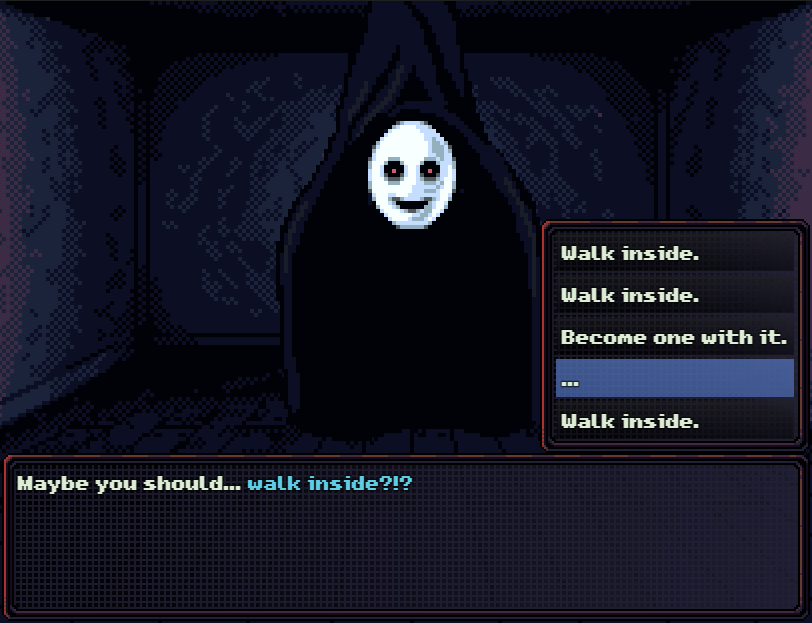
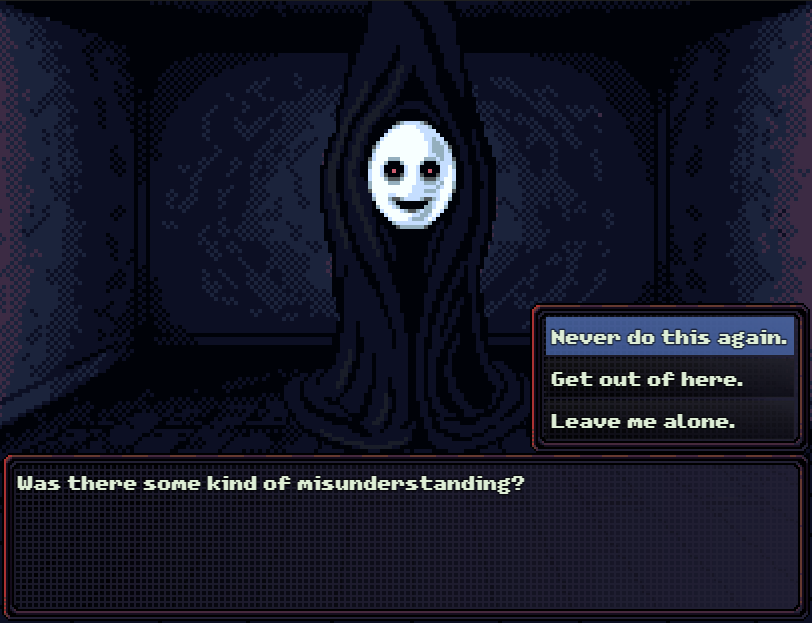
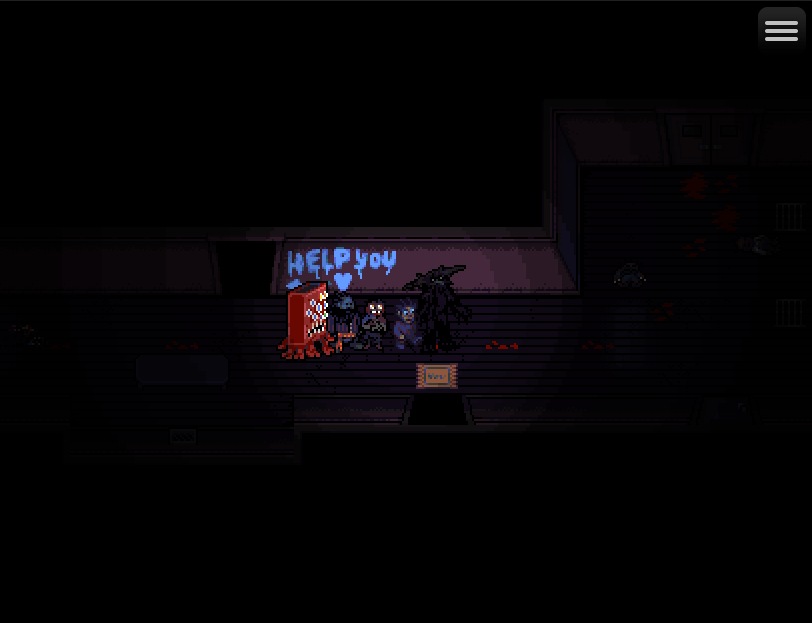
: And as it turns out, that was the correct thing to do, because it gets us a door encounter I didn’t see on my first playthrough.
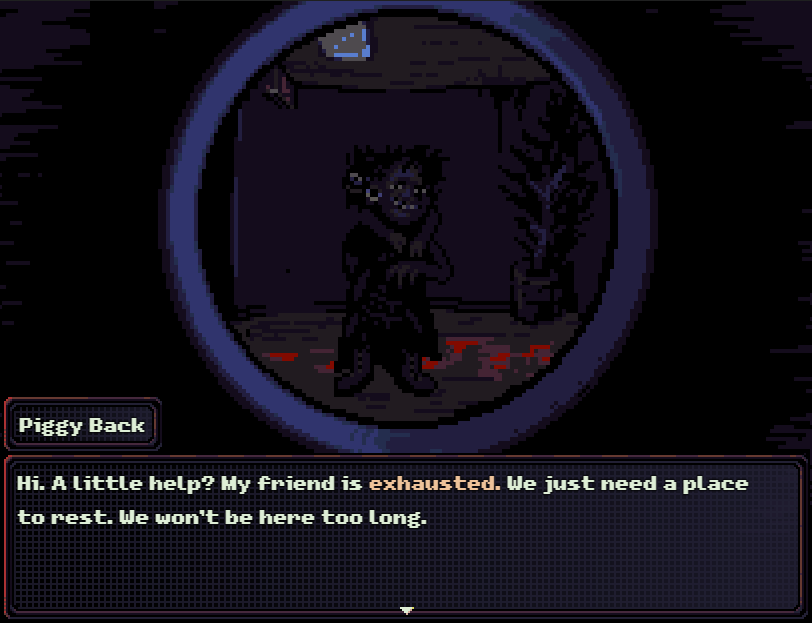
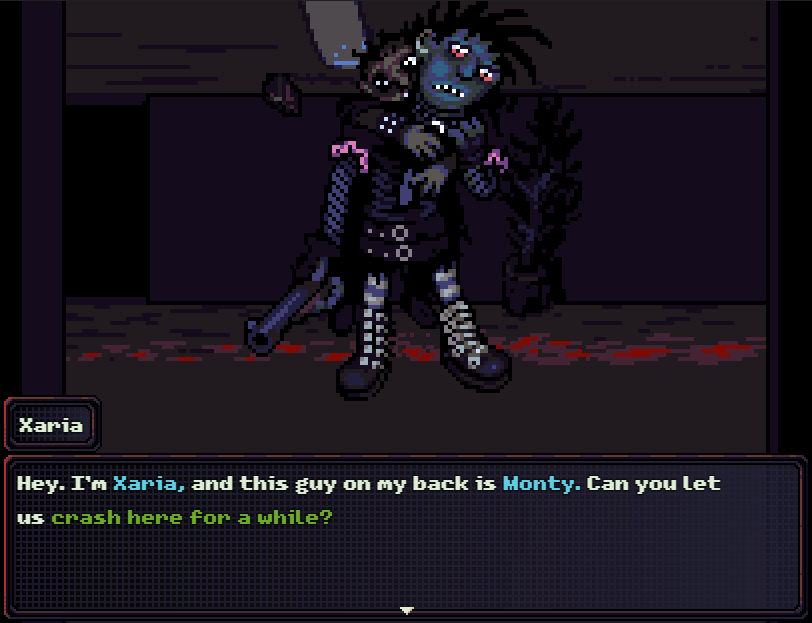
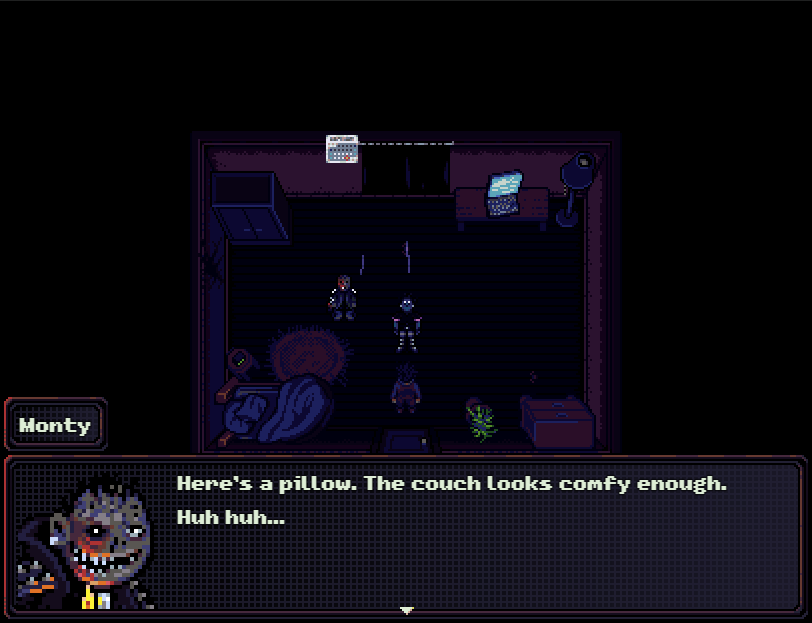
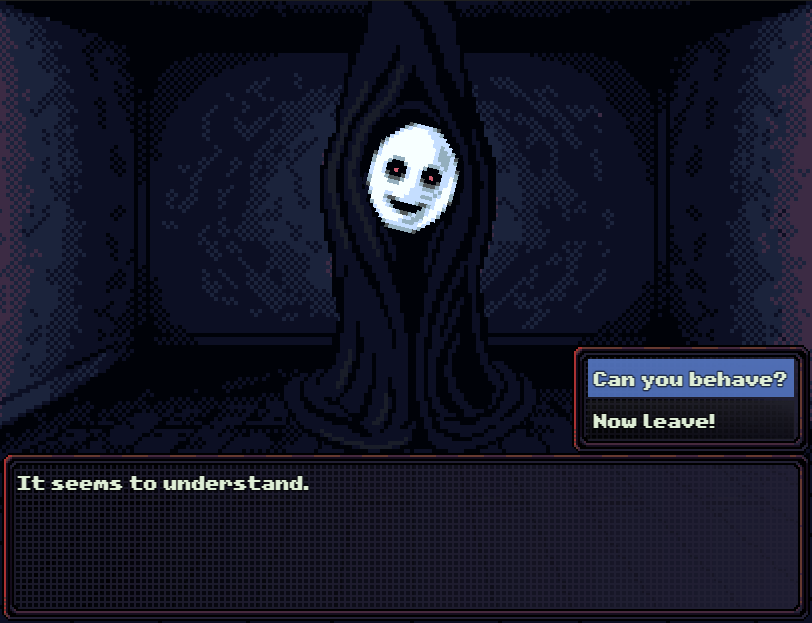
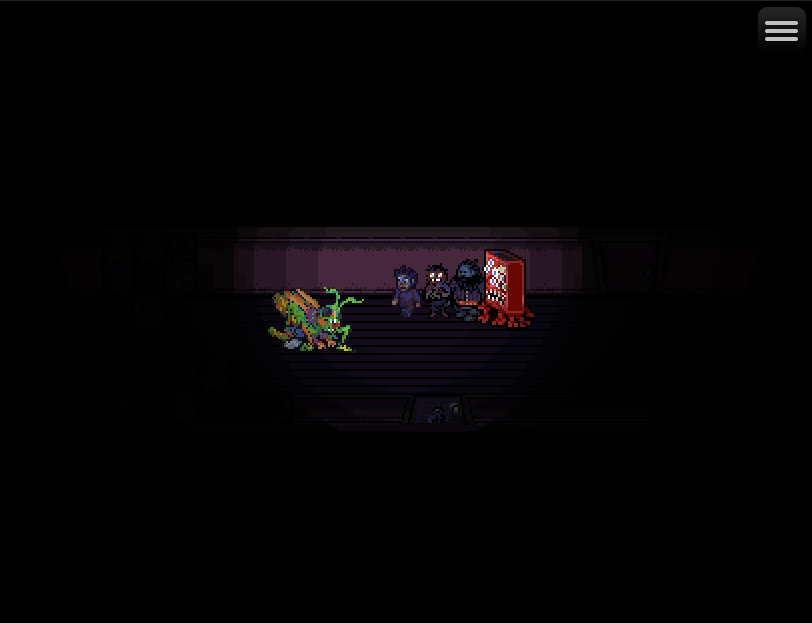
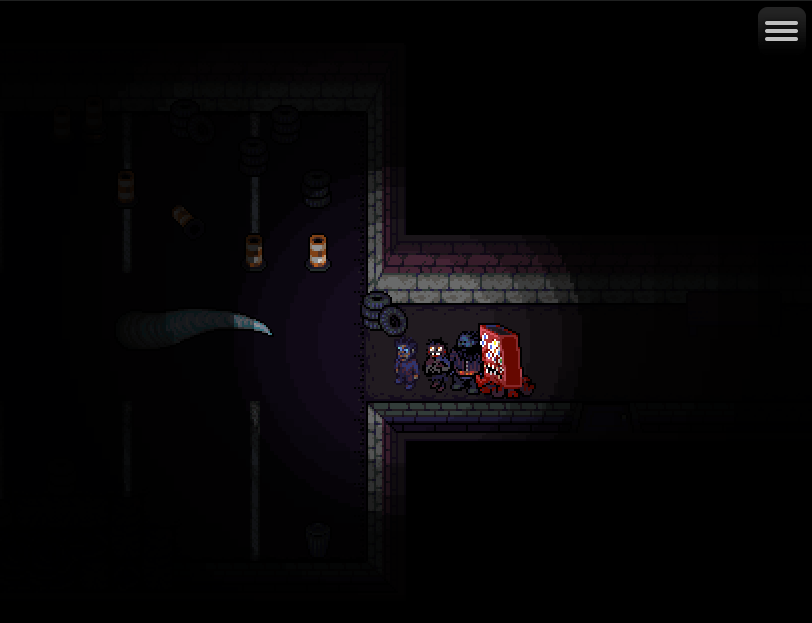
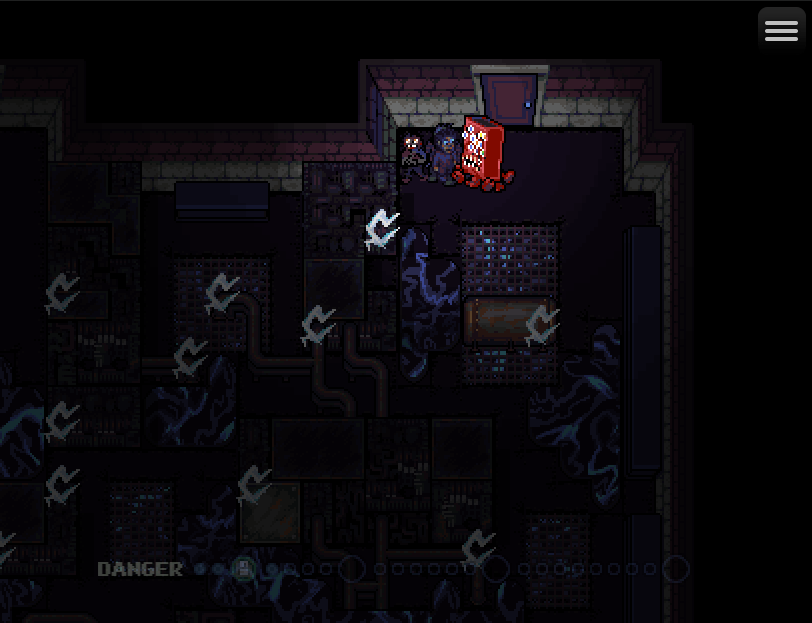
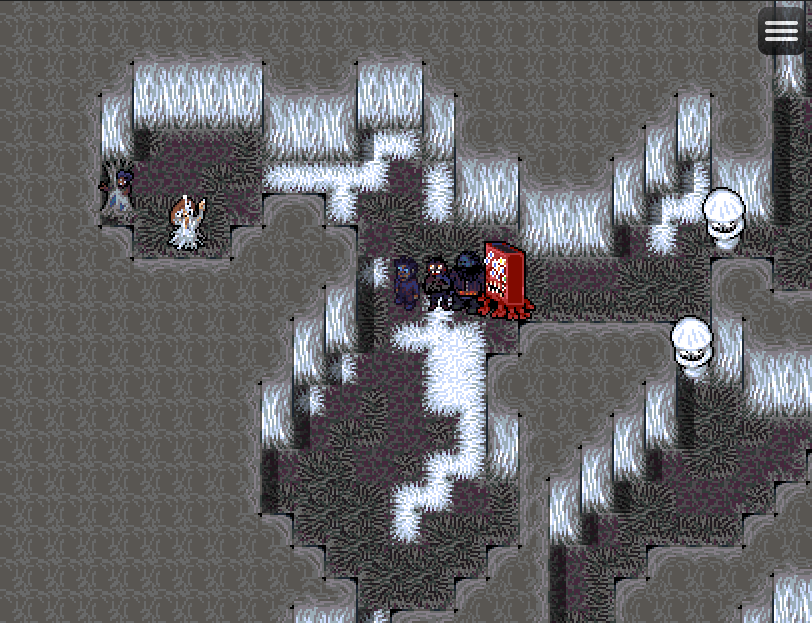
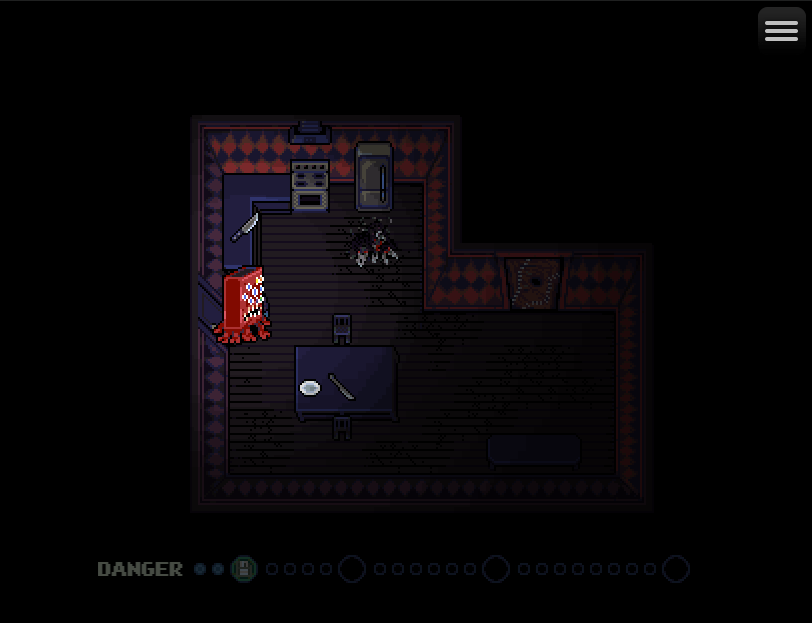
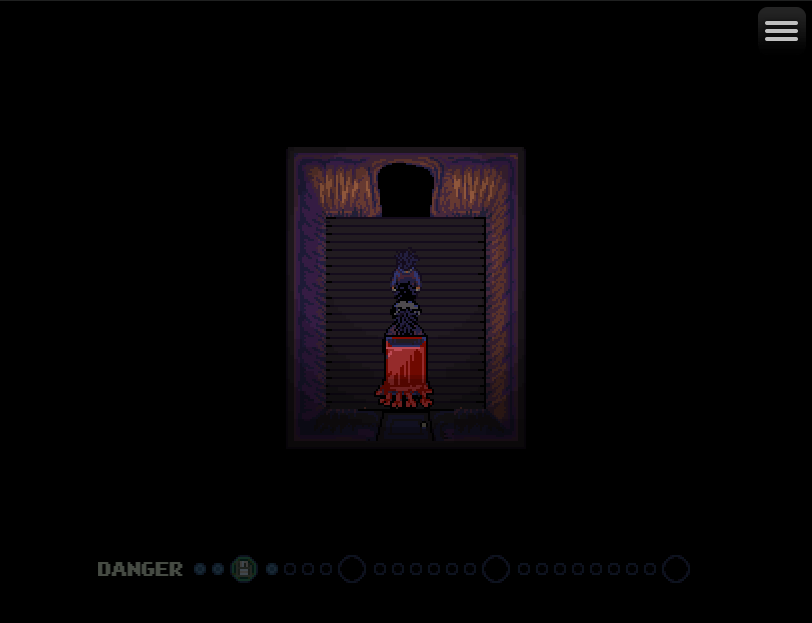
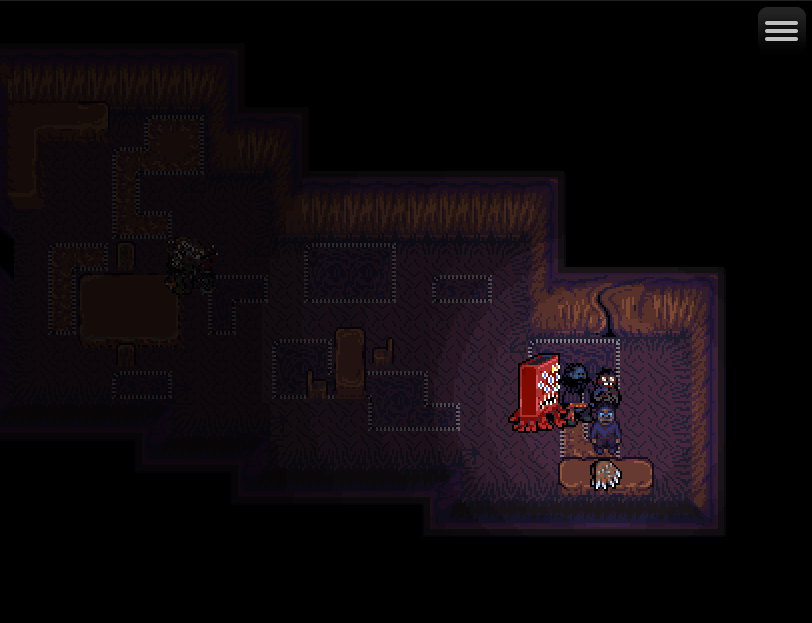
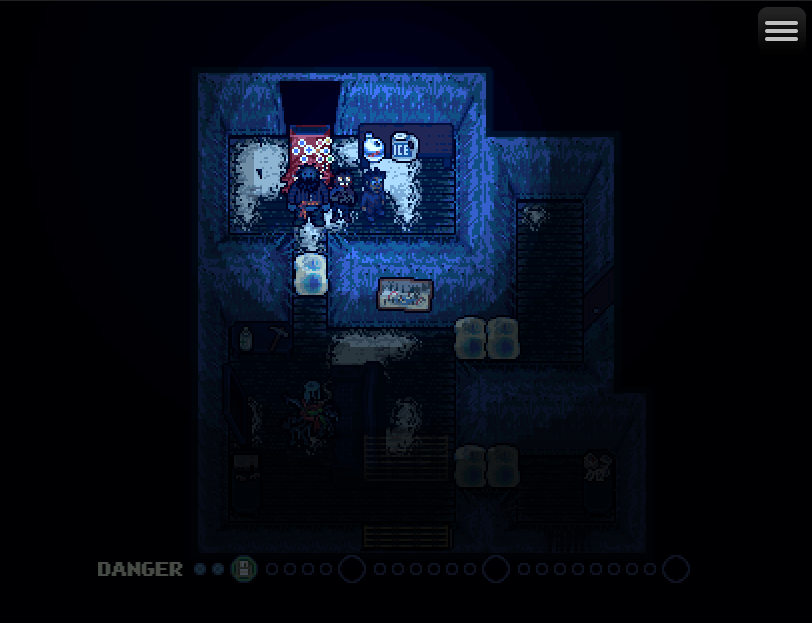
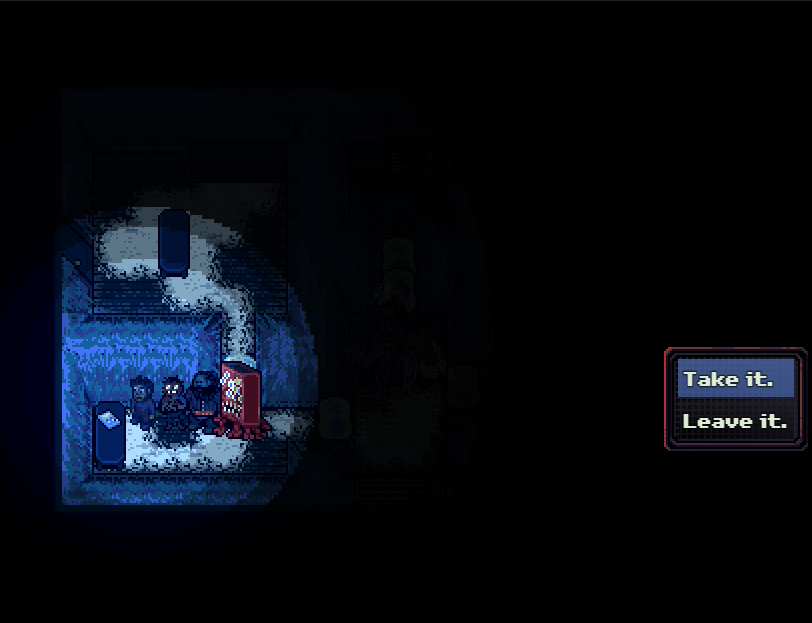
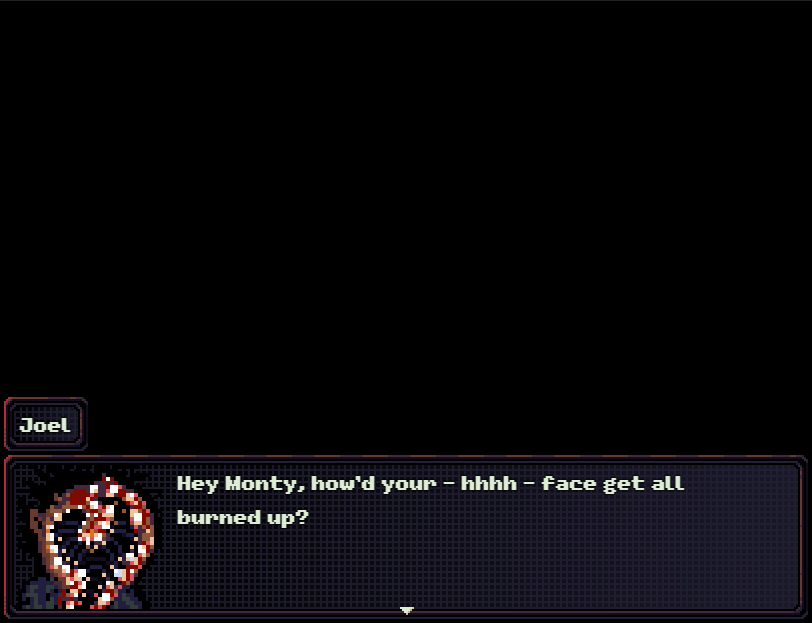
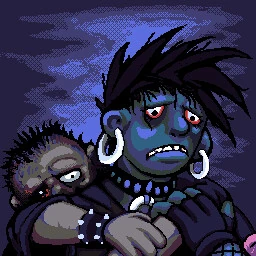
: Meet Xaria and Monty. They are a reference to Baldur’s Gate 1. In BG1, one of the first recruitable party members you could come across, even before Jaheira, are an evil wizard named Xzar and his halfling thief buddy Montaron.
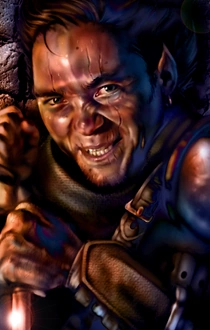
: Xzar and Montaron are both working for the Zhentarim and are chaotic and neutral evil, respectively. In BG1, you had to recruit them as a group - if you got rid of one, the other would leave.
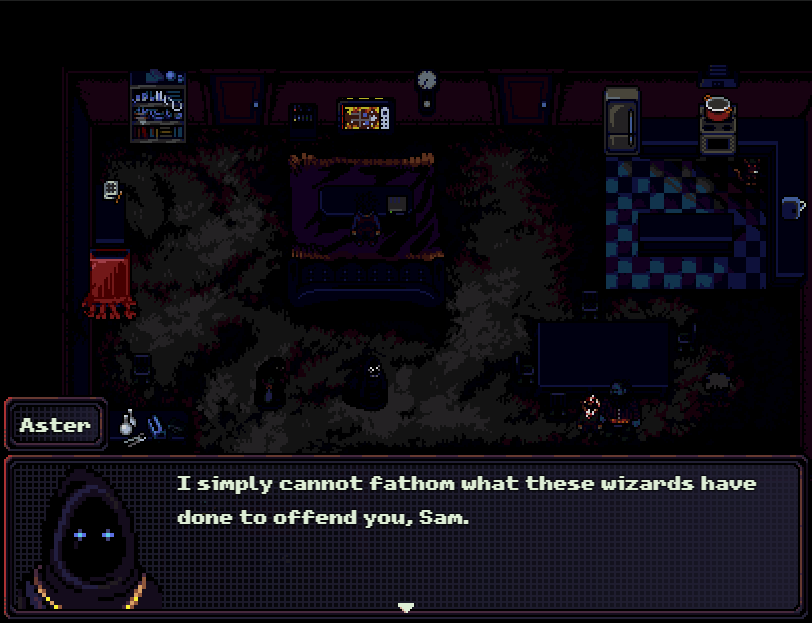
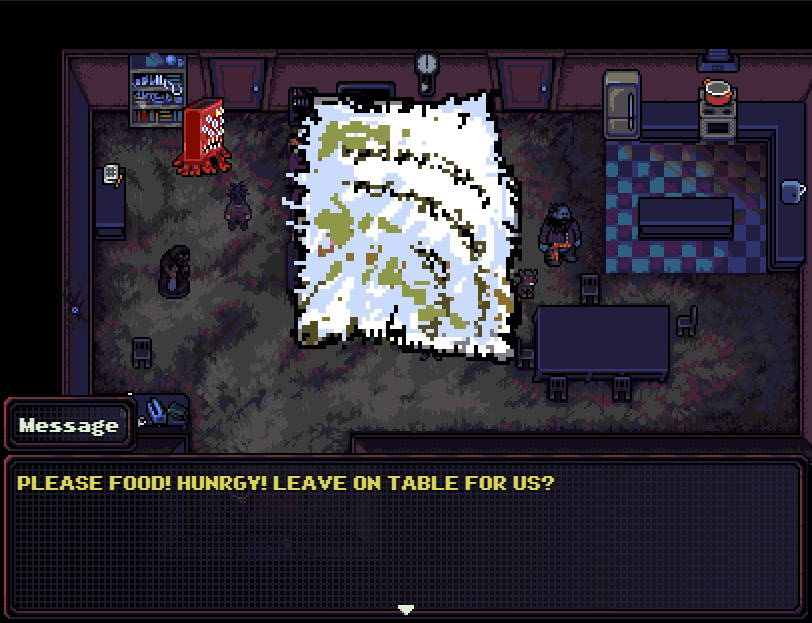
: As soon as you let them in, they take over Sam’s bedroom and start blasting music. I should mention that just like Xzar and Montaron, both of them have to be in your party to use either.
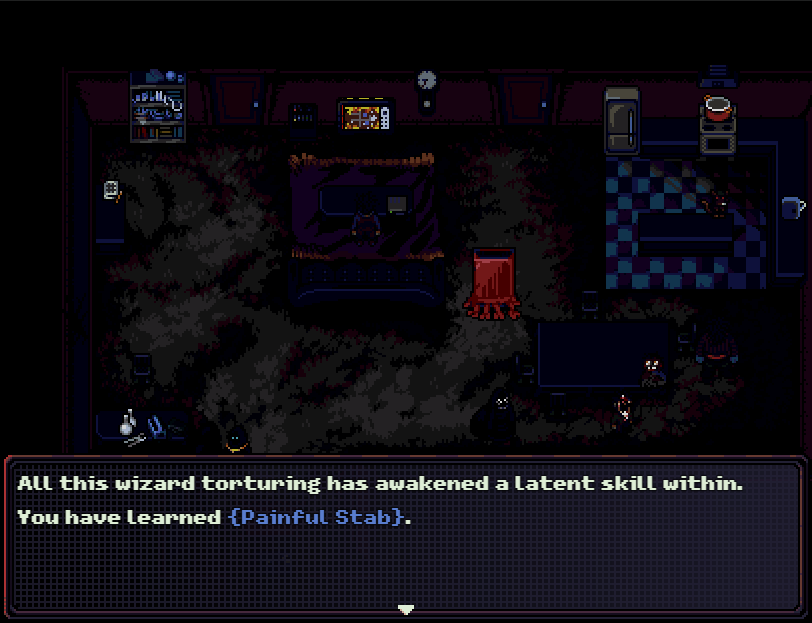
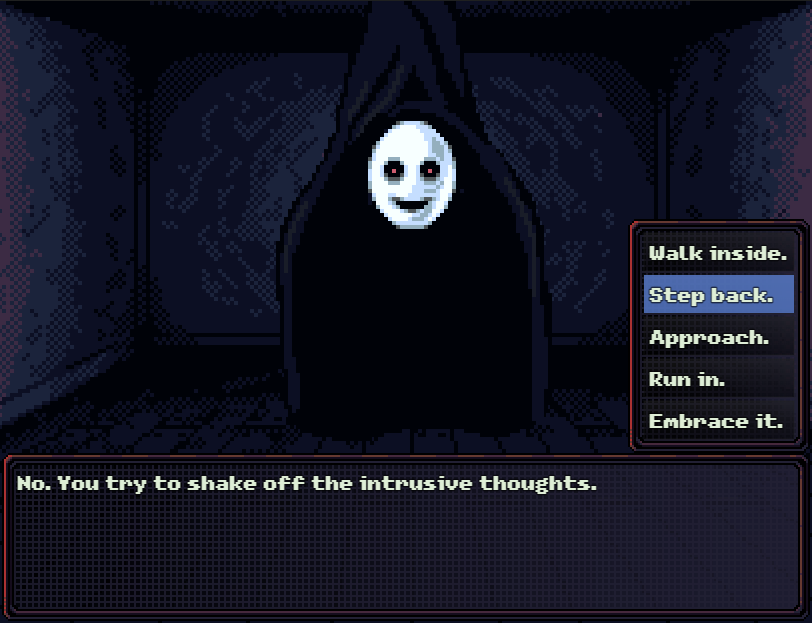
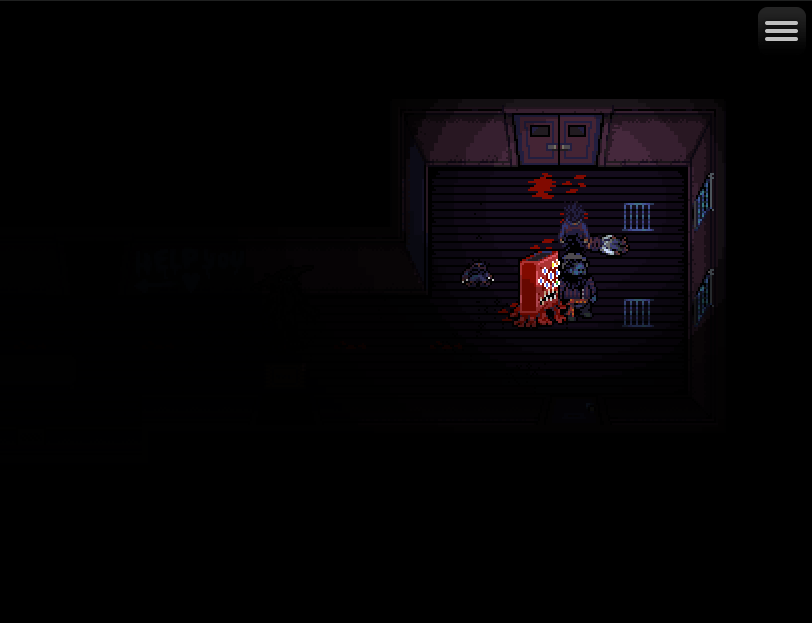
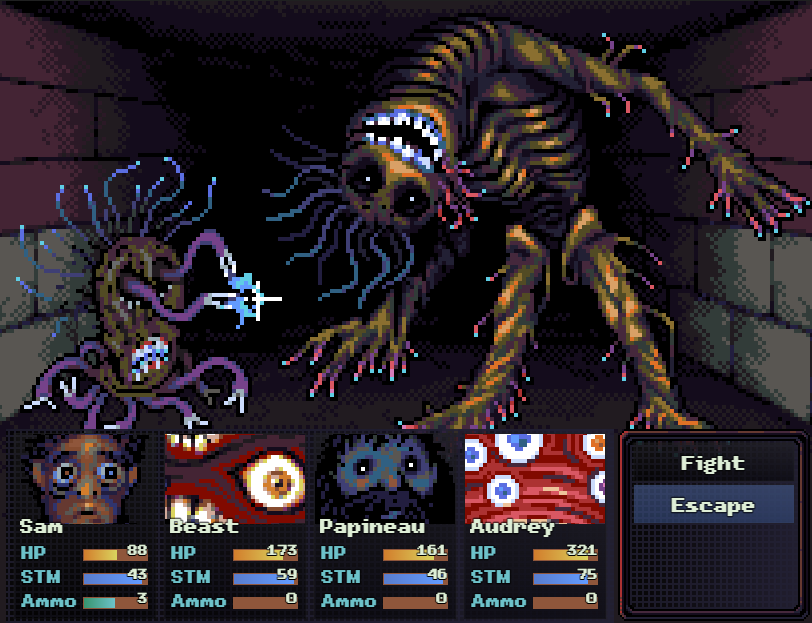
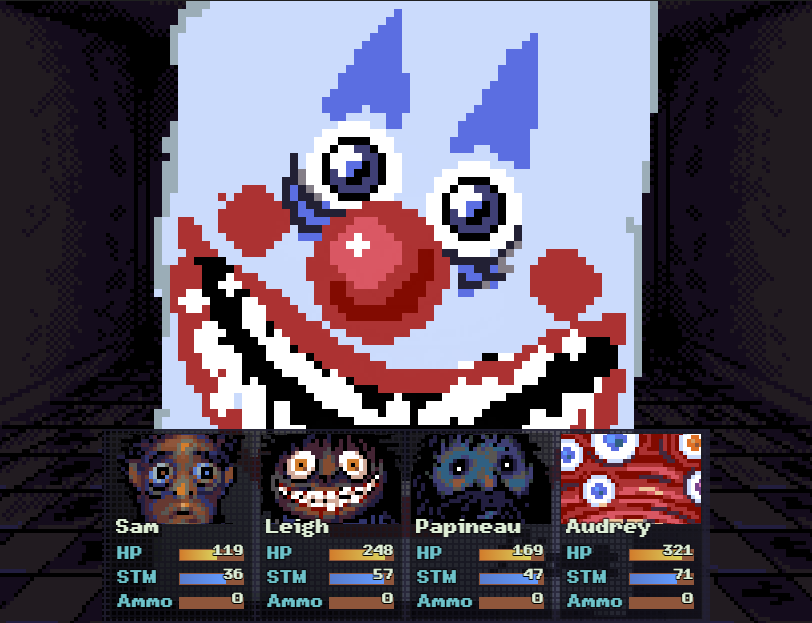
All this wizard torturing has awakened a latent skill within. You have learned Painful Stab. You wonder if you can take your Wizard Hell even further. There seems to be no end to the possibilities..
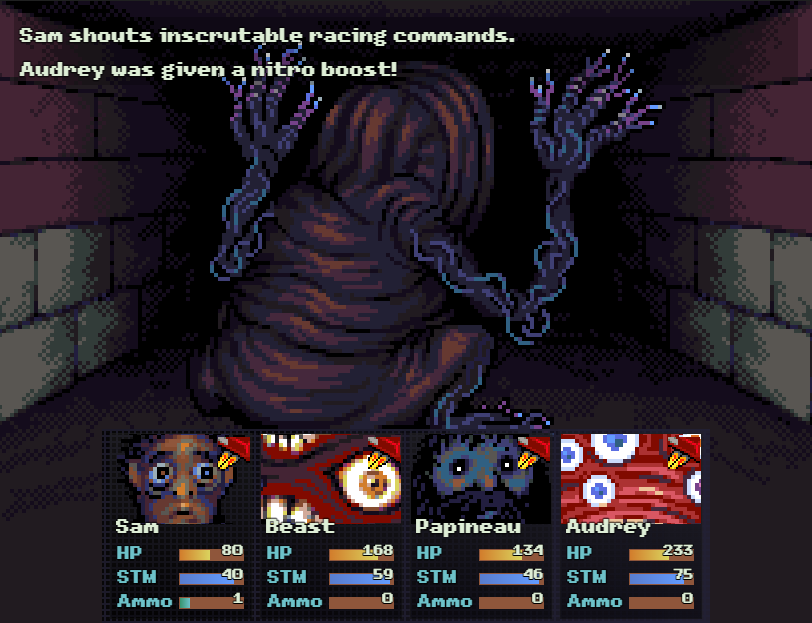
: Painful Stab works as a companion to Nitro Boost. It inflicts the Pain status, which is pretty rare. Pain reduces enemy hit chance by 20% and does 10% of their HP in damage at the end of each of their turns.
: Combined with Nitro Boost and the base 5% evade chance, this gives a total of 55% evasion. If you manage to blind the enemy, that goes up to something like 95%.
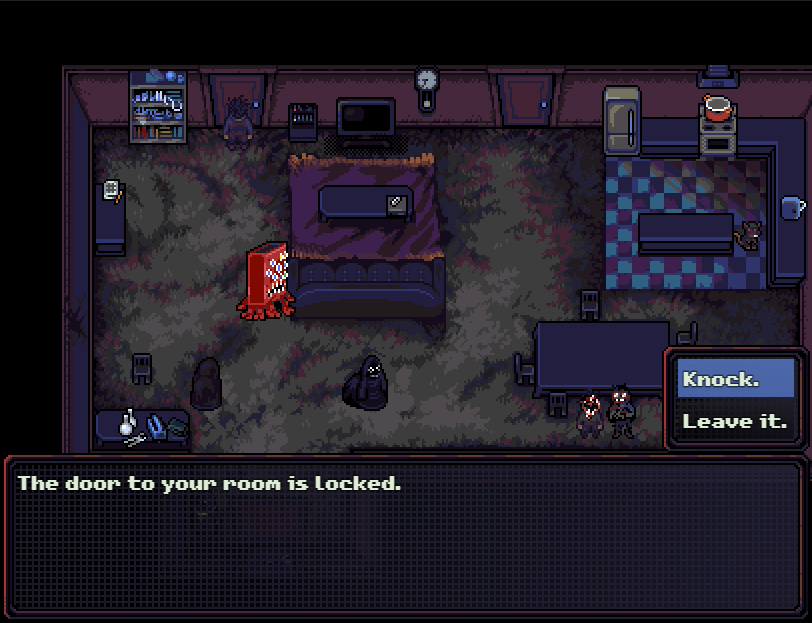
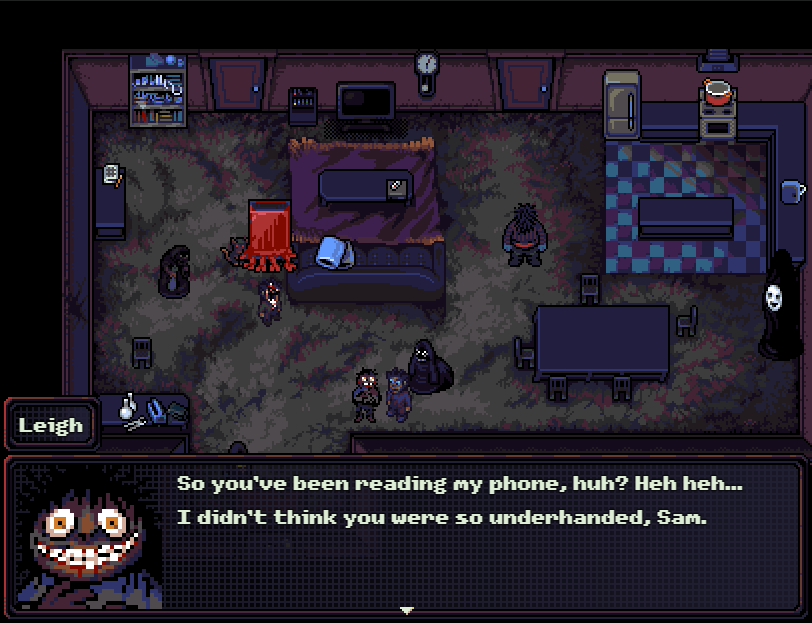
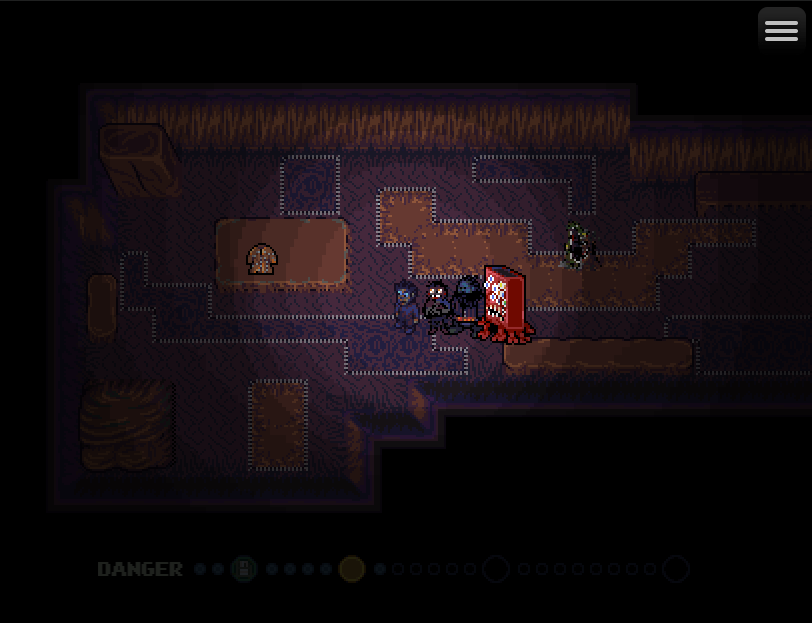
: It’s Day 6. We have the final message on Leigh’s phone today.
Nobody’s heard from you in days. Your family has no idea where you are or if you’re okay. You’re not picking up anyone’s calls. I’m coming to your apartment. I know I violated your trust and we haven’t spoken in a month, but I still care deeply. I’m sorry for what I did. If something happened to you, I need to know. I love you, Leigh.
: One thing I can’t easily capture is that once you kill the Elevator Thing, the power starts flickering, and it gets more frequent as time goes on.
: Oh, and there’s a knock at the door.


: This encounter is meant to happen on the same day you meet Pierre, but I think it got bumped because we killed the Elevator Thing.

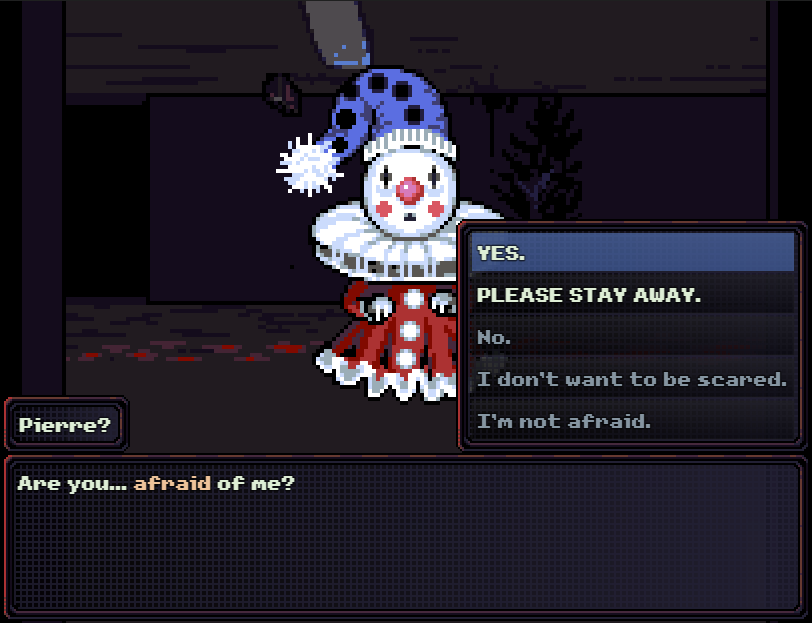
: The game won’t even let you pick the greyed-out options this time.

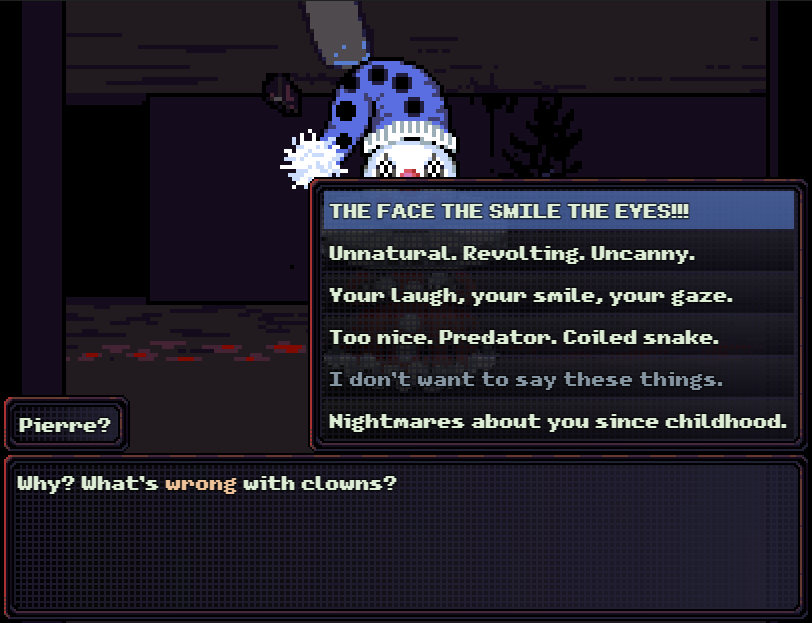
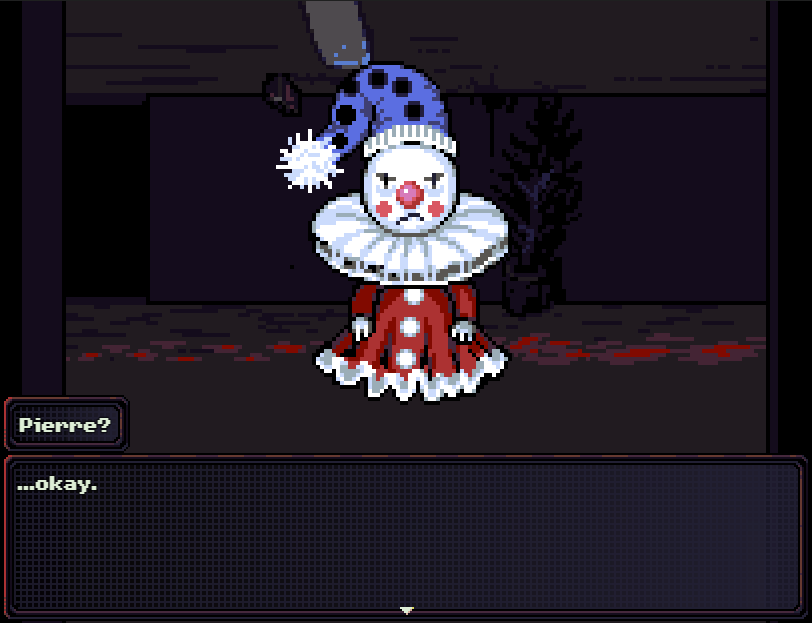
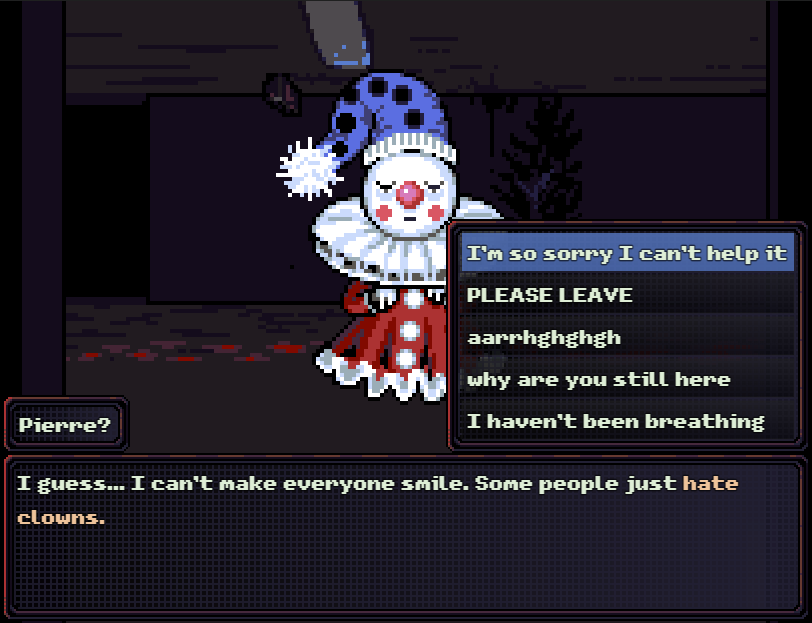
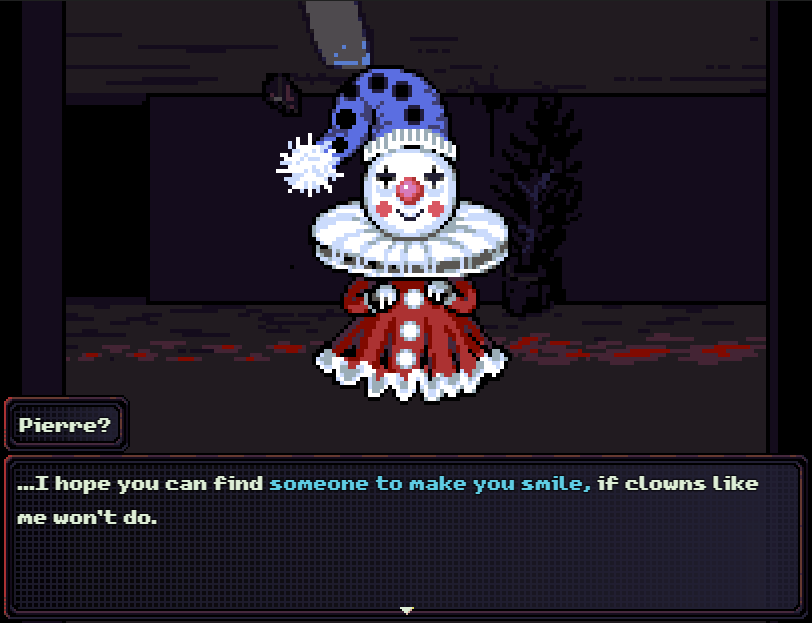
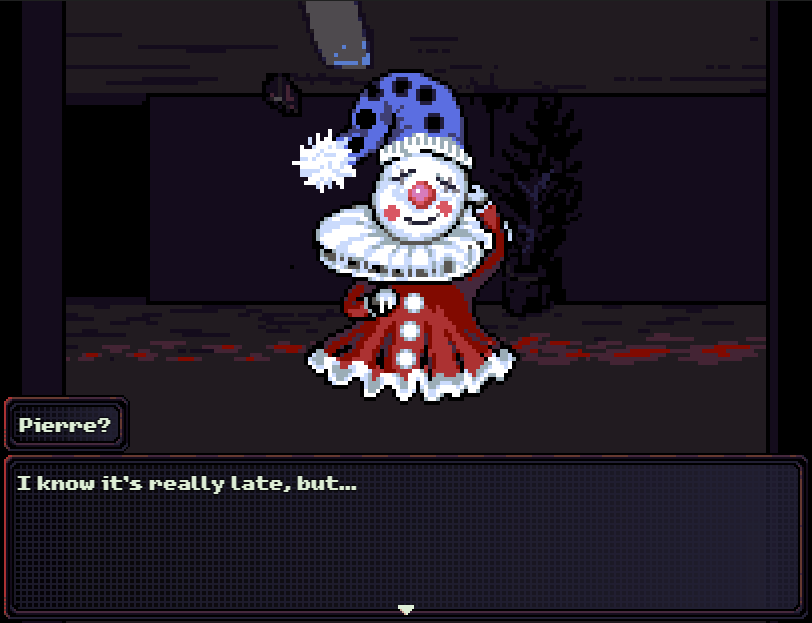
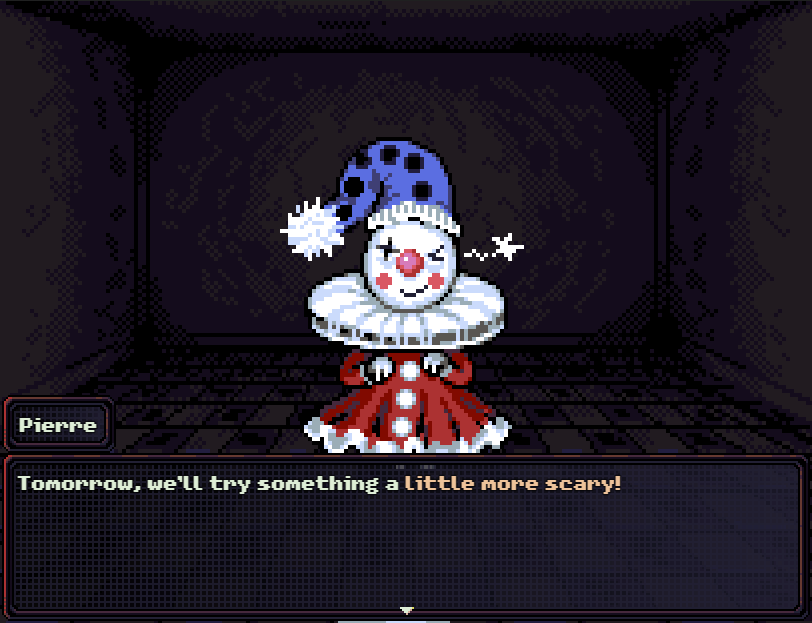
: Pierre really should’ve been a recruitable party member.
: The roaches give us a hint about how we’re meant to recruit them. What you have to do is cook food and not eat it, which causes them to multiply.
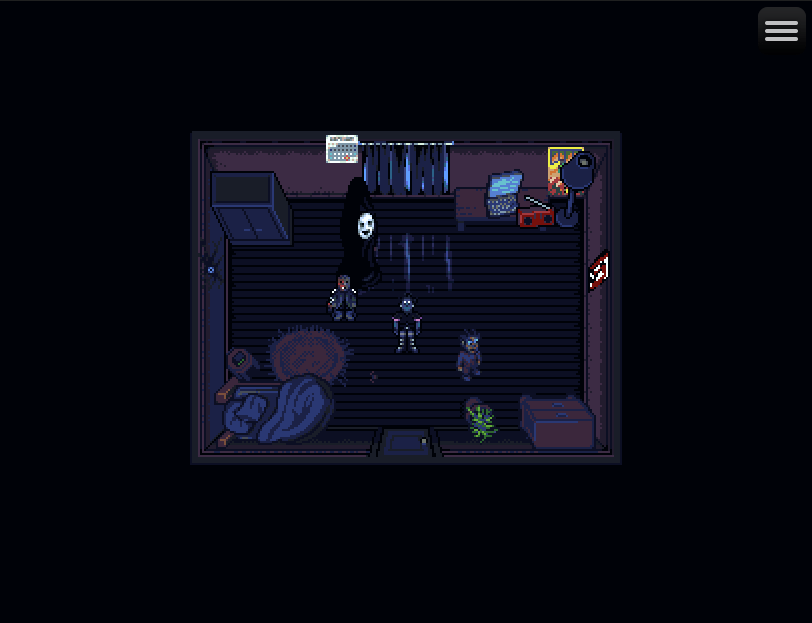
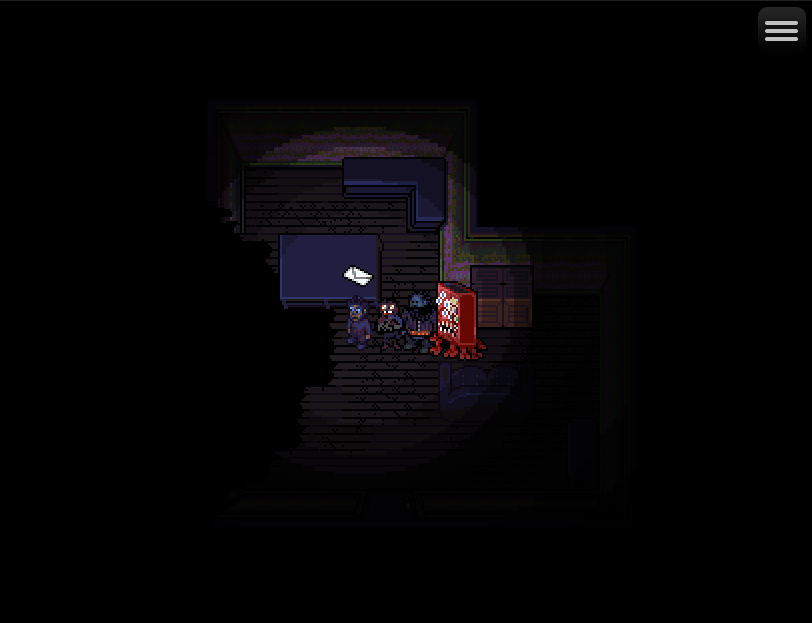
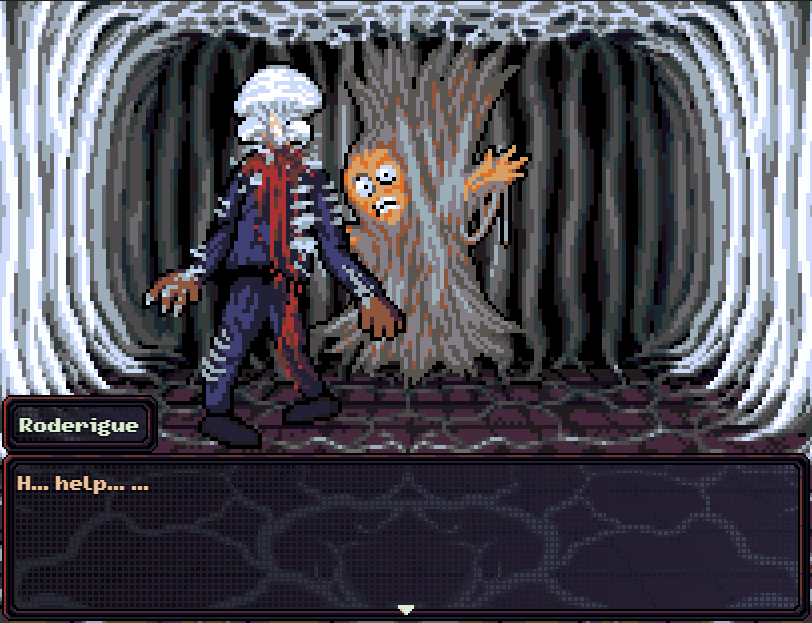
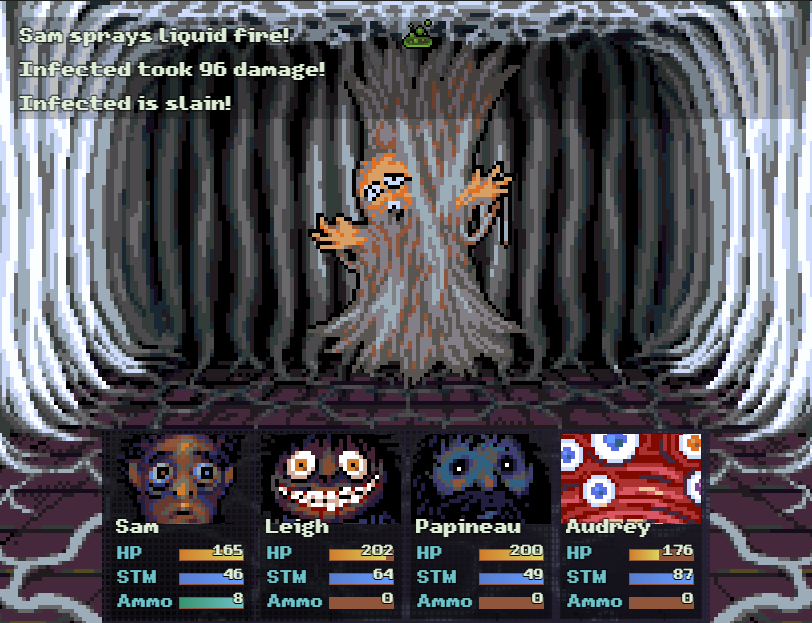
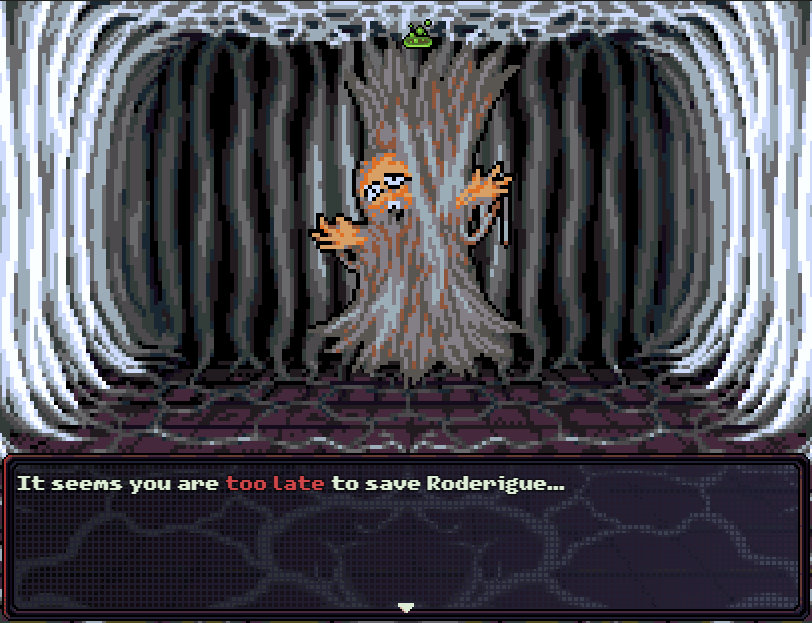
: In Sam’s bedroom, we find the Shadow. This is meant to happen immediately after Sam wakes up, but because Sam isn’t sleeping in here anymore, it doesn’t.

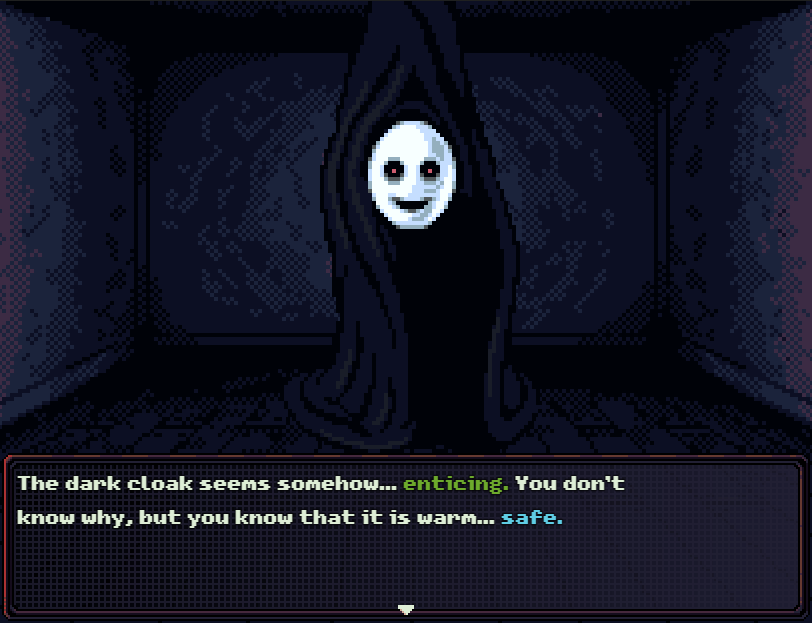
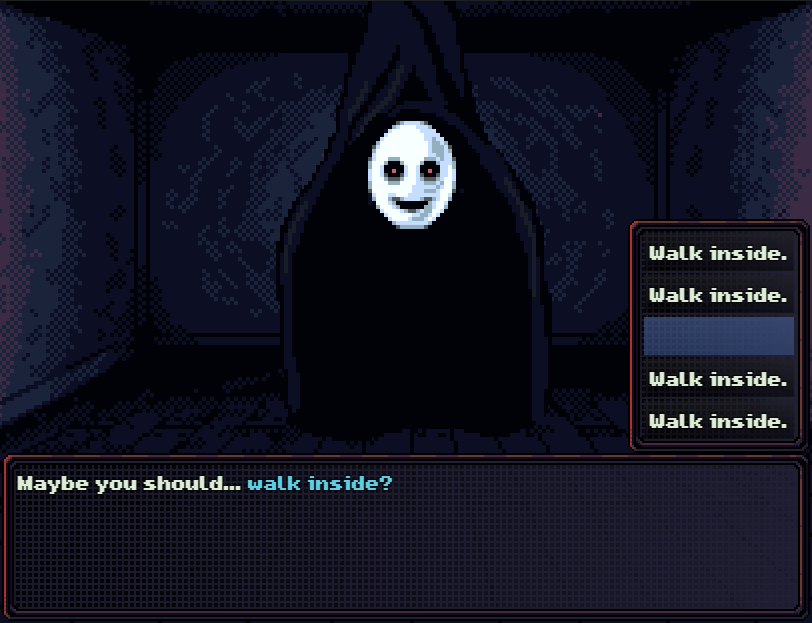
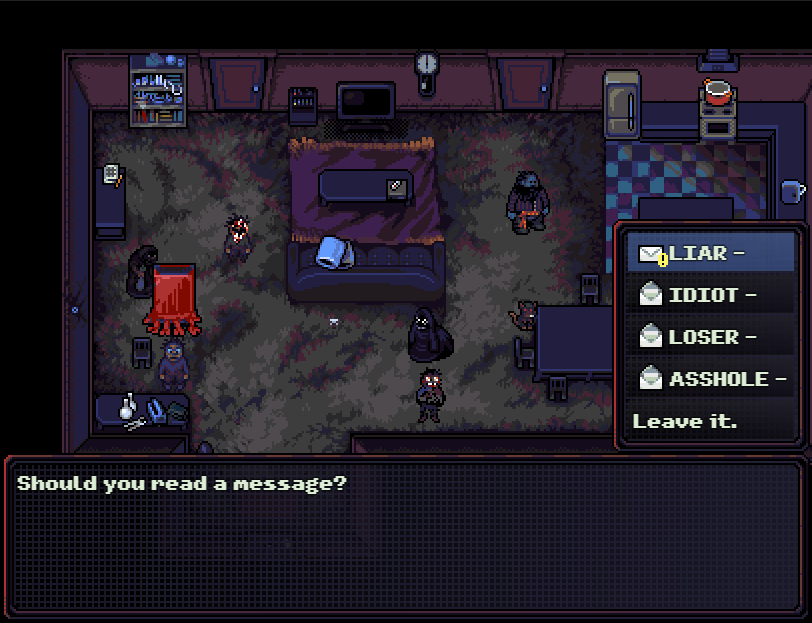
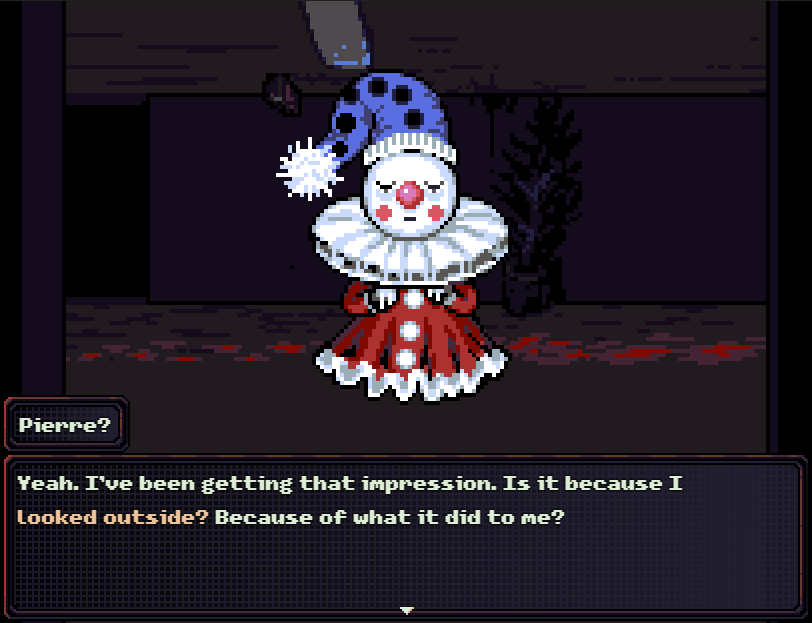
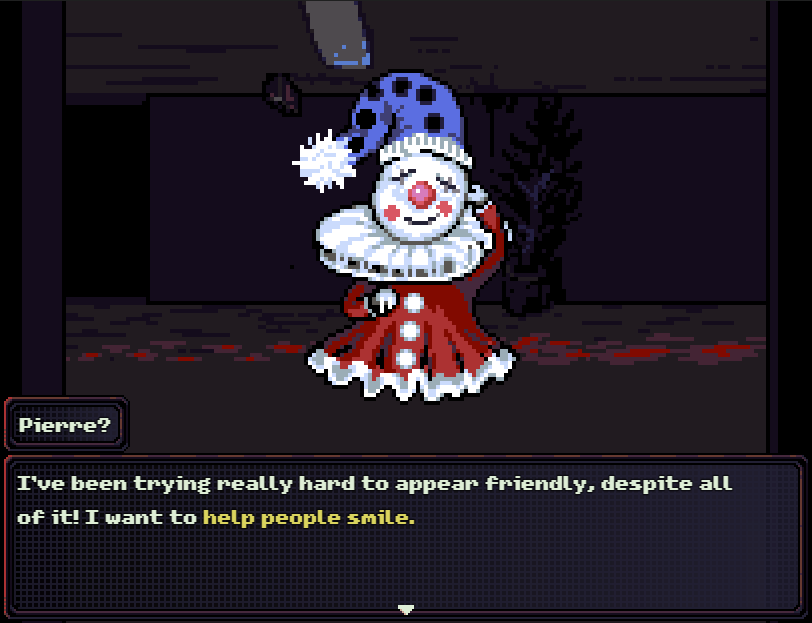
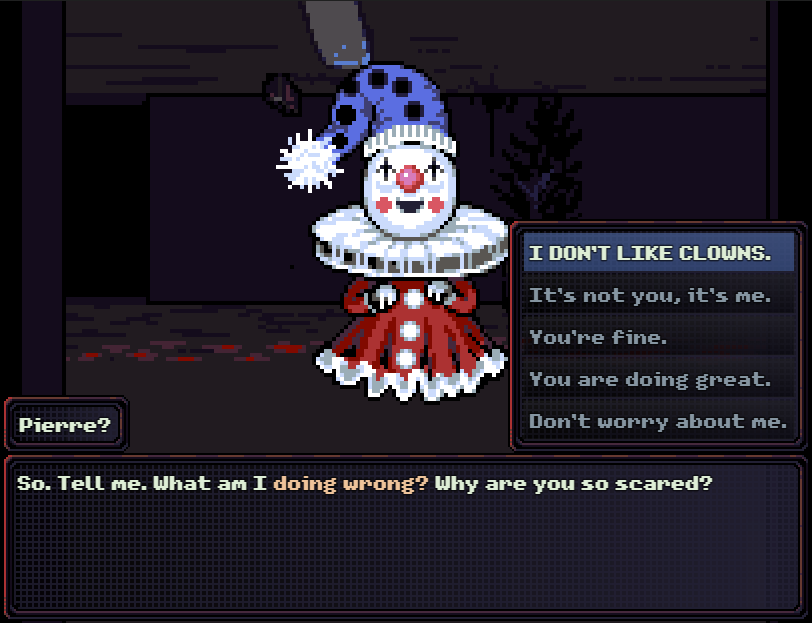
: We need to be careful with options here. Picking the wrong ones is a game over.
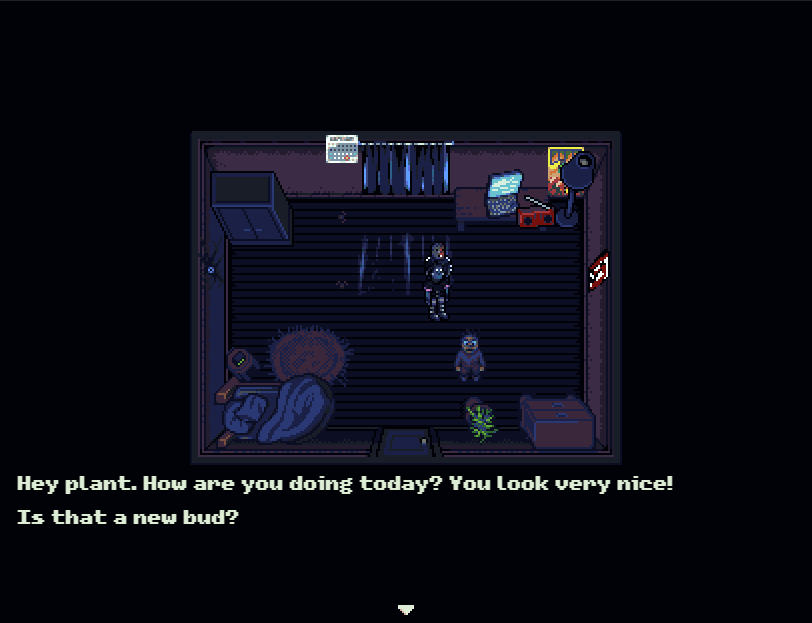
: Someone needs a girlfriend.Hey plant. How are you doing today? You look very nice! Is that a new bud? Yeah, I noticed! It’s growing well. Soooo uh, I wanted to tell you something.. uh.. no, never mind. It’s silly. Uh. Good day.."
: We’ve now recruited the Shadow, who does count for points as far as I know. He will give us a random item every morning.
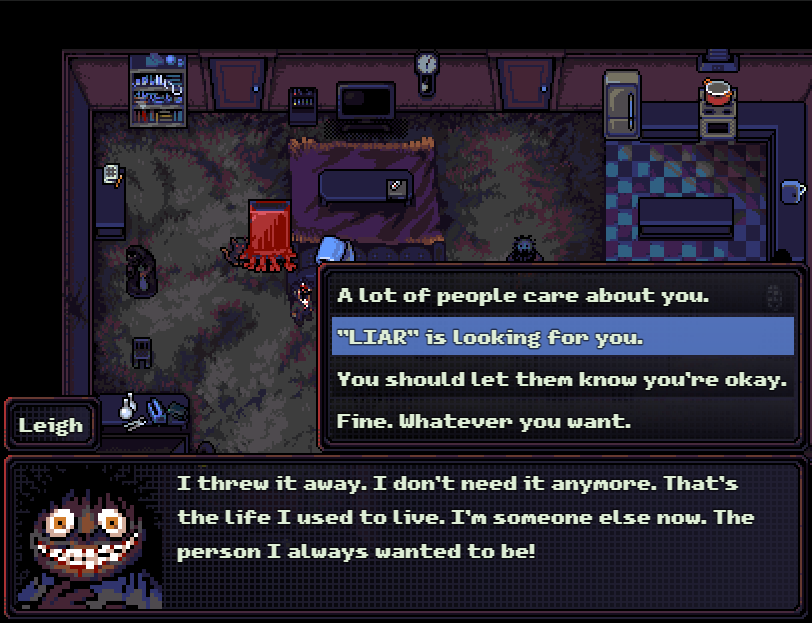
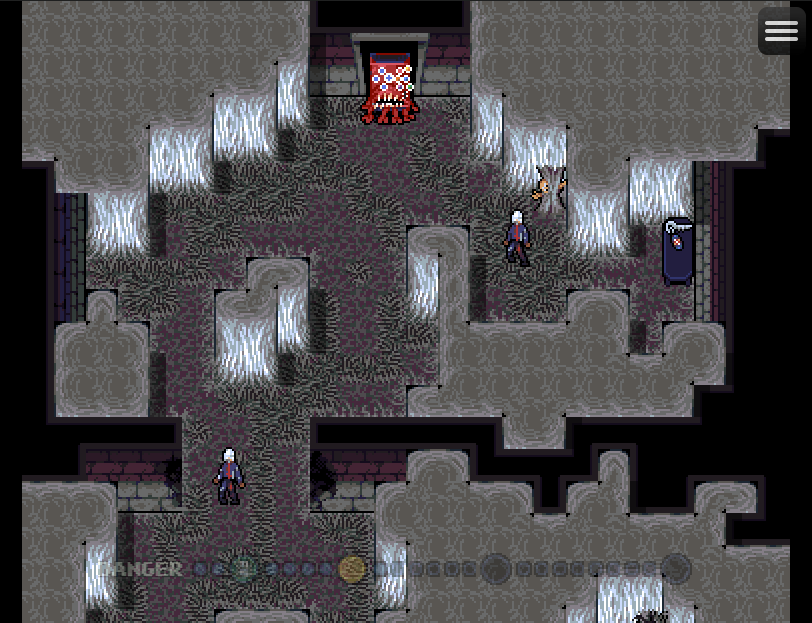
: As soon as we get a few steps from Sam’s apartment, the power cuts out. Remember that door I said would be important? We need to go there.
: If you don’t head there immediately, the food in Sam’s fridge starts going bad. I reload here because I forgot to talk to Leigh.

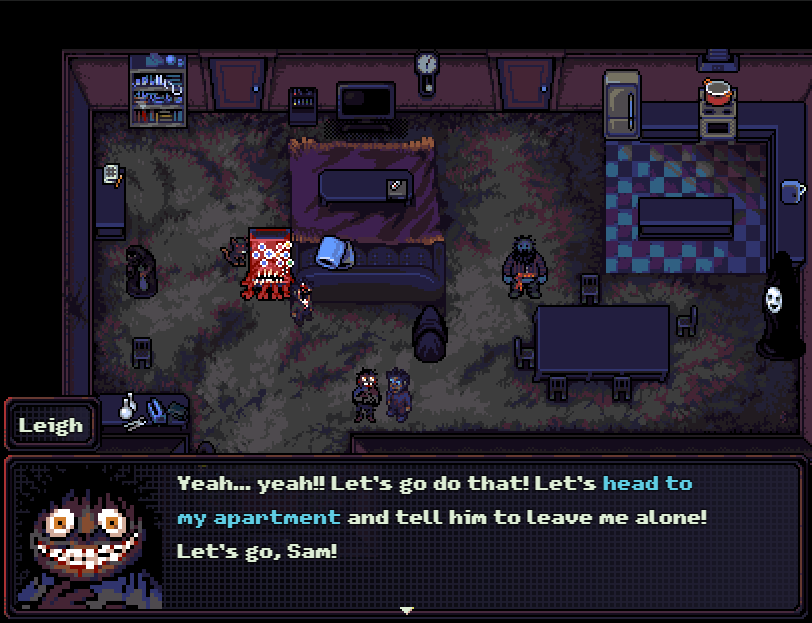
: If we head to Leigh’s apartment, which we have time to do, there’s a perfectly normal grasshopper outside. We’re not going to fight it.
: Leigh’s apartment is slightly less of a hole than it was.
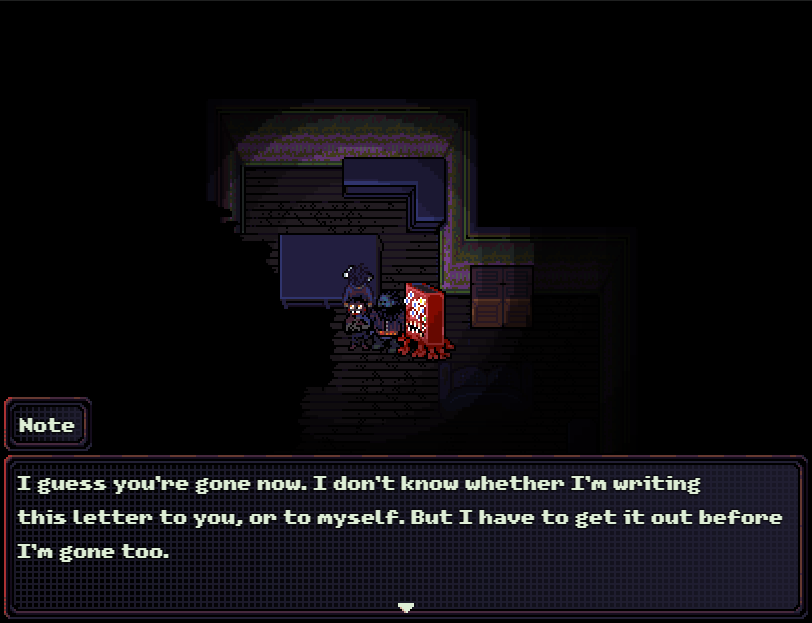
I guess you’re gone now. I don’t know whether I’m writing this letter to you, or to myself. But I have to get it out before I’m gone too. I was stupid. What I did to you was the worst mistake of my life. Worse than coming here. I’m sorry. I hurt you badly. And I deserved the silence. I just wish there was a way I could have made it up to you.
I bought this ring for you before I ruined everything. I wanted to give it to you, but I blew everything up. Even when I’m gone, I won’t forget you, Grasshopper.
: This is why we didn’t kill the grasshopper outside. It doesn’t change anything, but at least we didn’t kill her ex.
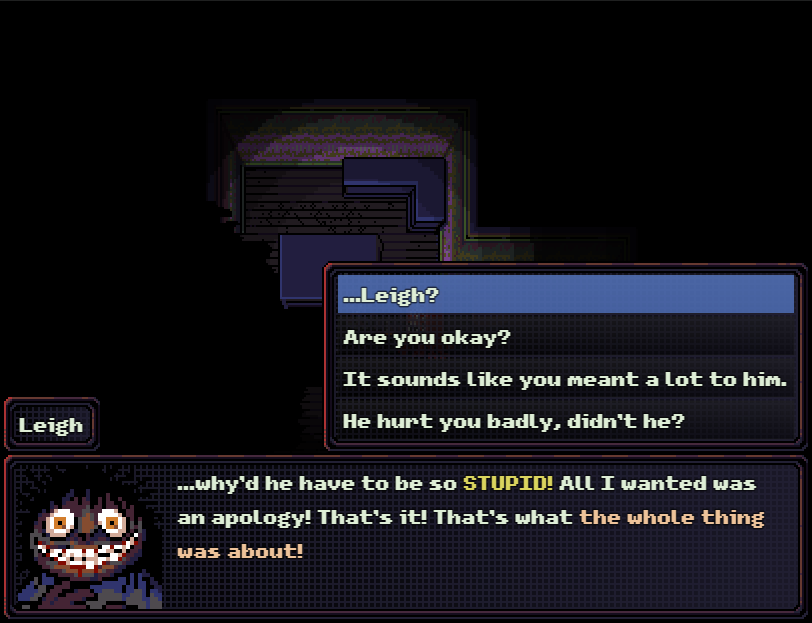
: This part is bugged. Option 2 was supposed to give you an alternate reward where Leigh becomes an even bigger Canadiens fan at the cost of being insane the whole time. If you do that, you get the insanity without the benefits.
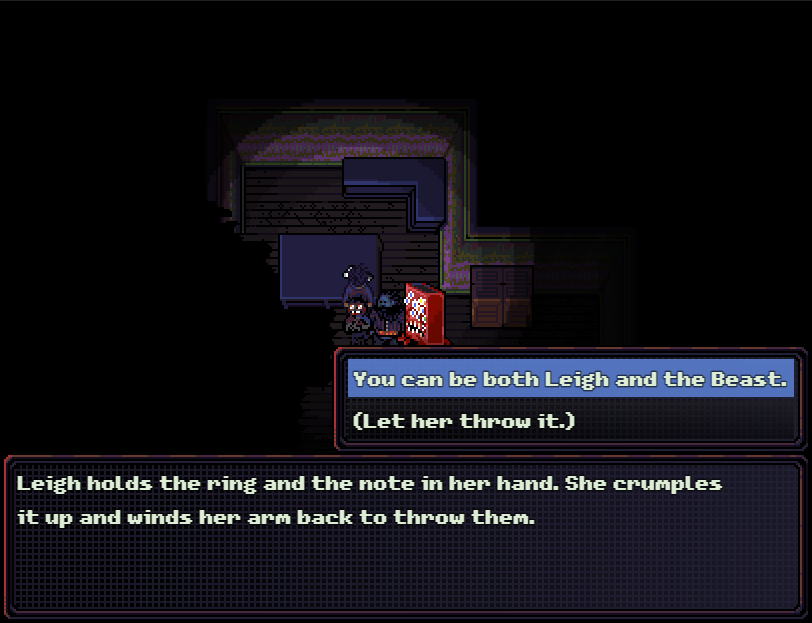
: “I’m going to call Mom. Tell her I’m the Beast now. That should stop her looking for me. Let’s get out of here, Sam.”Her arm gradually lowers and she takes a step forward. She’s quiet for a moment, playing with the ring in her palm.
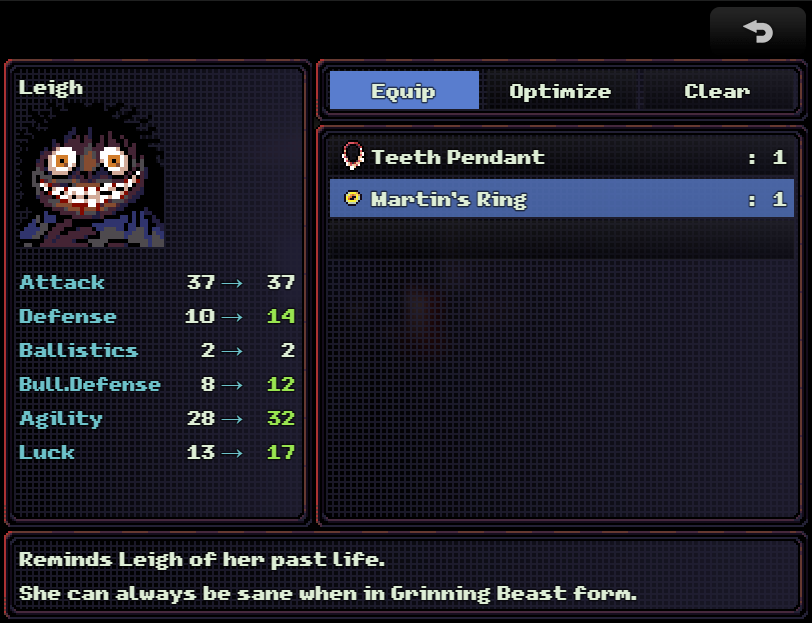
: Martin’s Ring is a Leigh-only accessory that boots all her stats and removes the insanity when she transforms. She is now the strongest party member in the game.
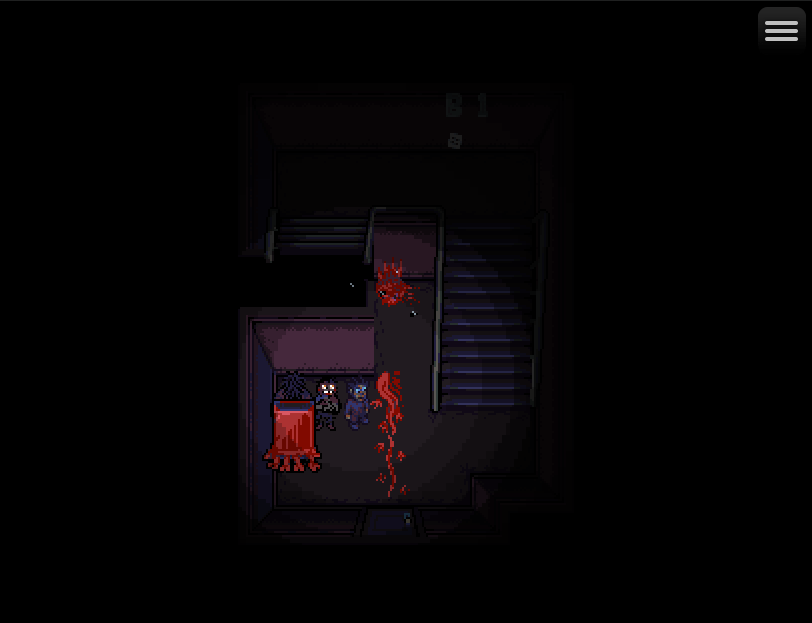

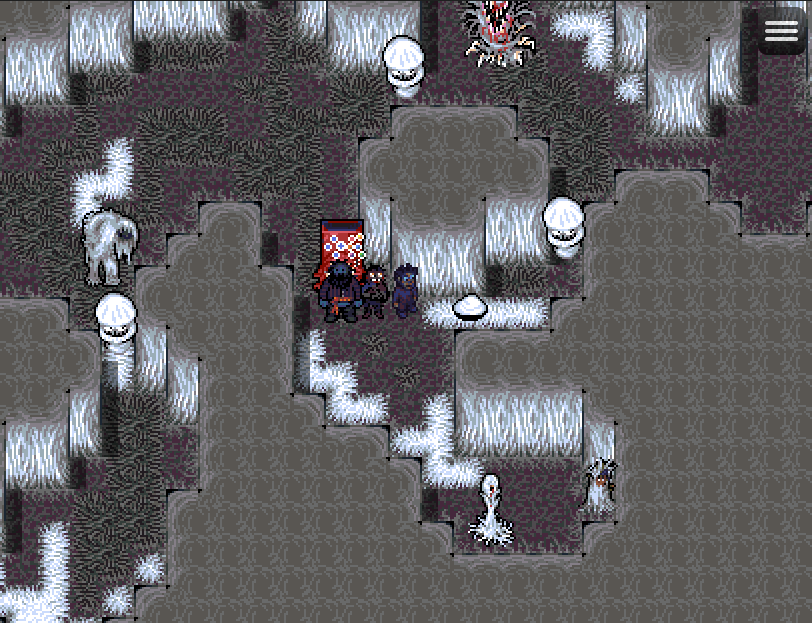
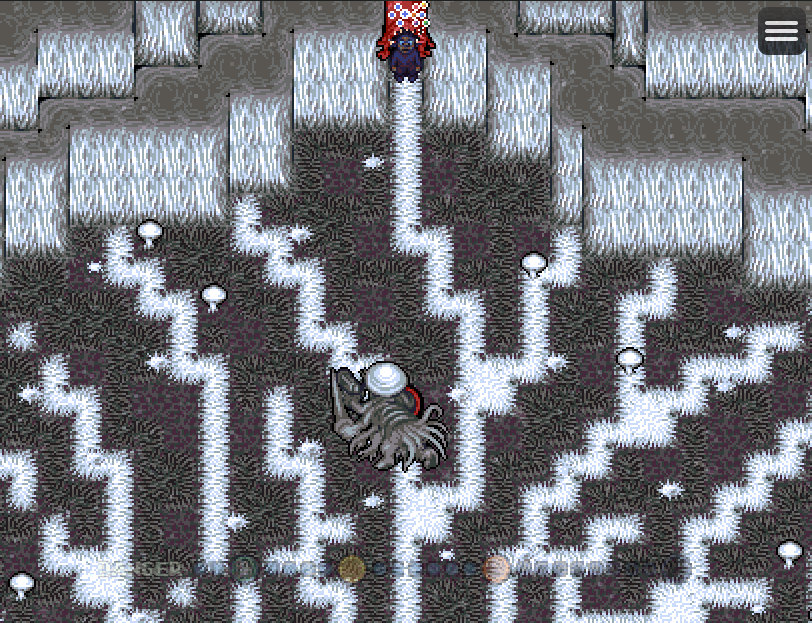
: We can see a white tail running through the basement.
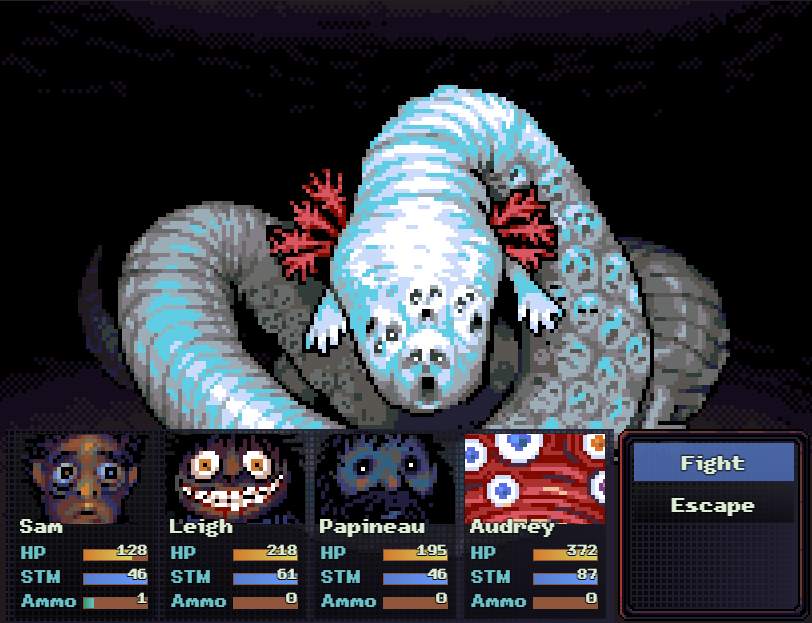
: This is the Olm. It is one of the two bosses we’re required to fight to get the power back on. It has 900 HP, and like the Elevator Thing and Garbage Worm has no weaknesses.
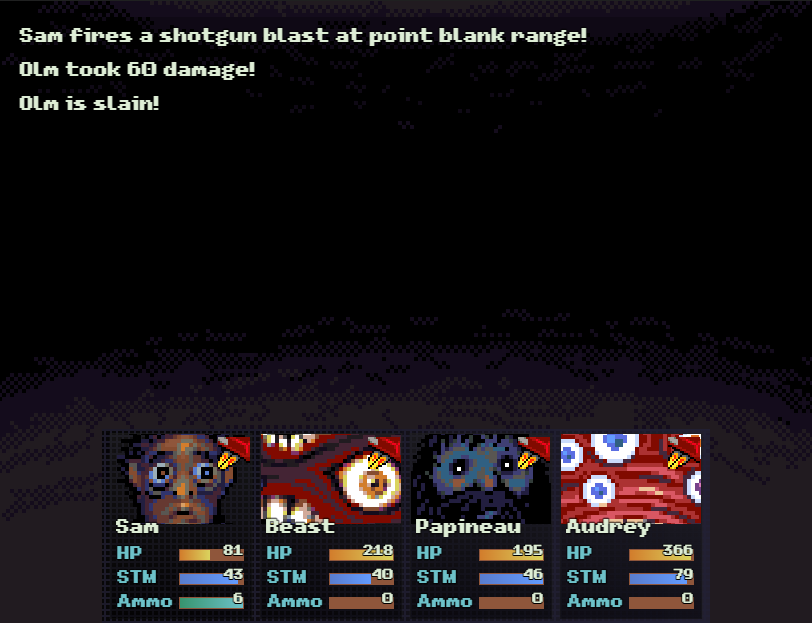
: It’s a very straightforward fight - it has no special attacks and goes down to a combination of bleed and acid burn.
: I should mention that I was wrong about something in the last update. The Elevator Thing doesn’t count as a boss for score purposes, and neither does the Olm.
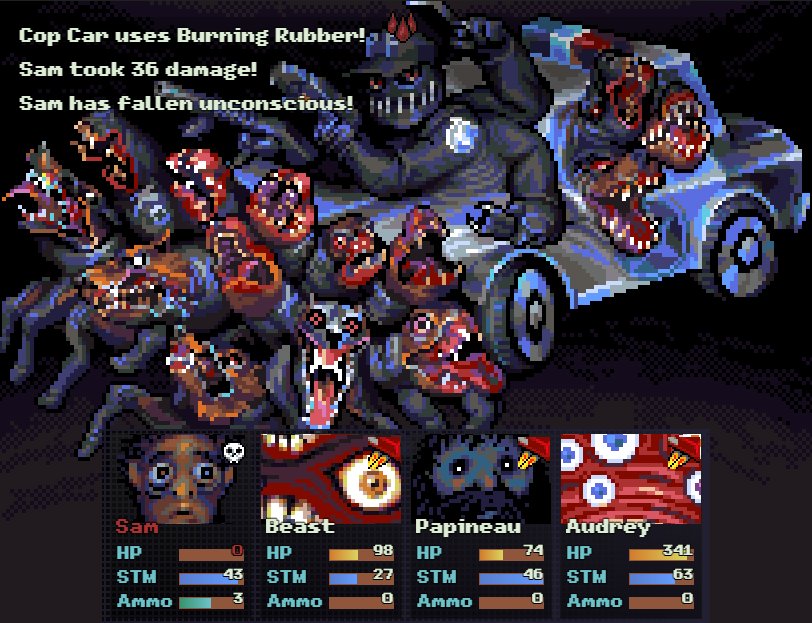
: I then accidentally run into the Cop Car trying to get to the shortcut we opened last update. It does not go well.

: While the Cop Car counts as a boss, the item we get from it is trash. The chrome plating makes enemies more likely to attack Audrey, but doesn’t give much in the way of stats.
: If we could combine it with the chobham armor, that would make it worth using.

: We also run into a Shrimp and a Wirehead, who aren’t much of a challenge.
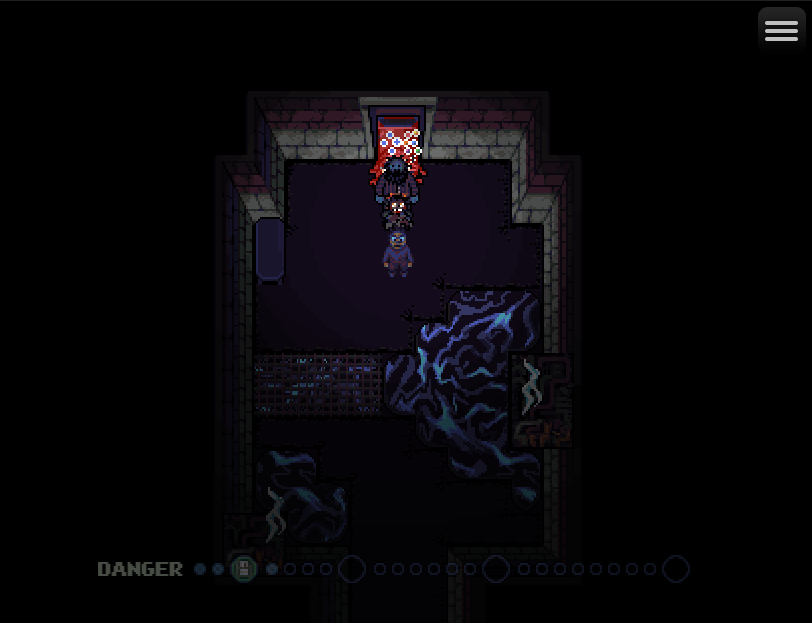
: The door I showed in the elevator room leads to the electrical room. At random intervals, the floor will electrify.
: The second room makes it difficult to evade enemies, so I run into the Husk and another wirehead. The Husk has a lot of HP and is presumably voiced by Keith David.

: The final room is very likely to trap you on that damage floor at least once.
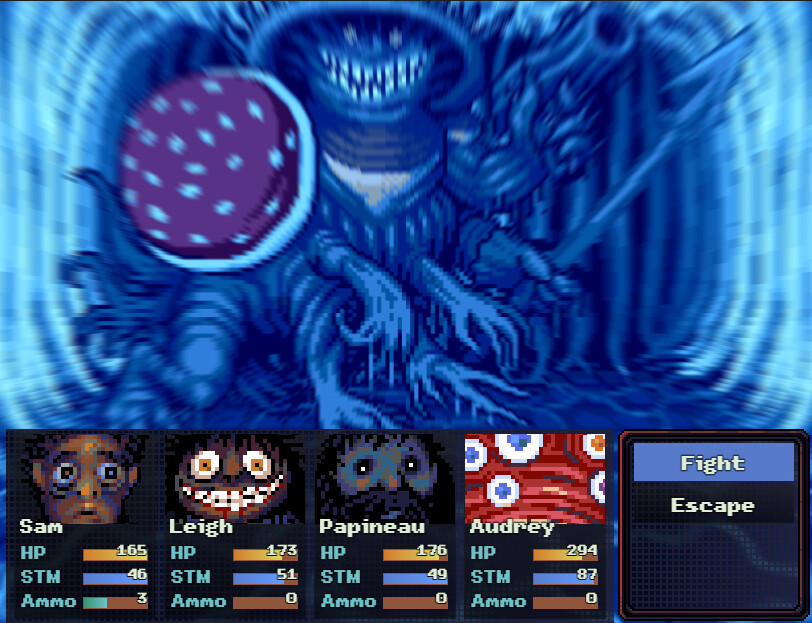
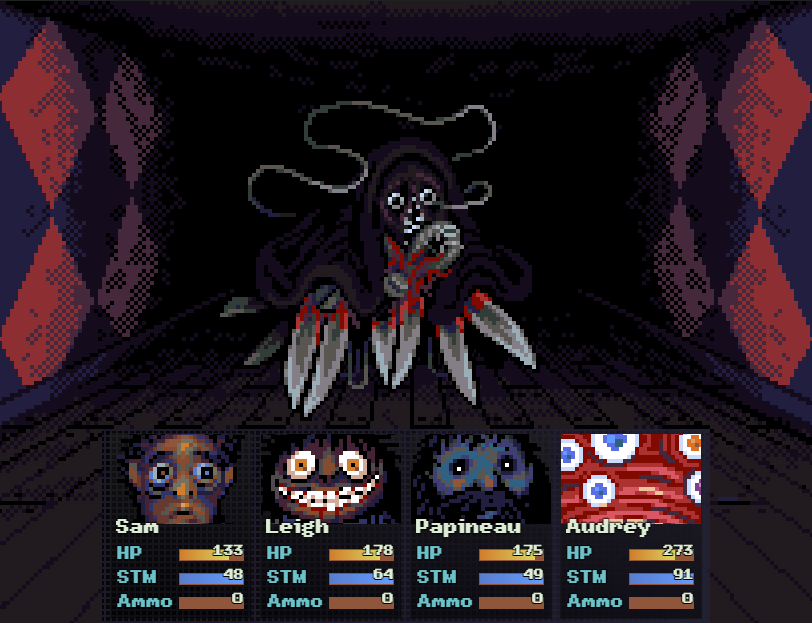
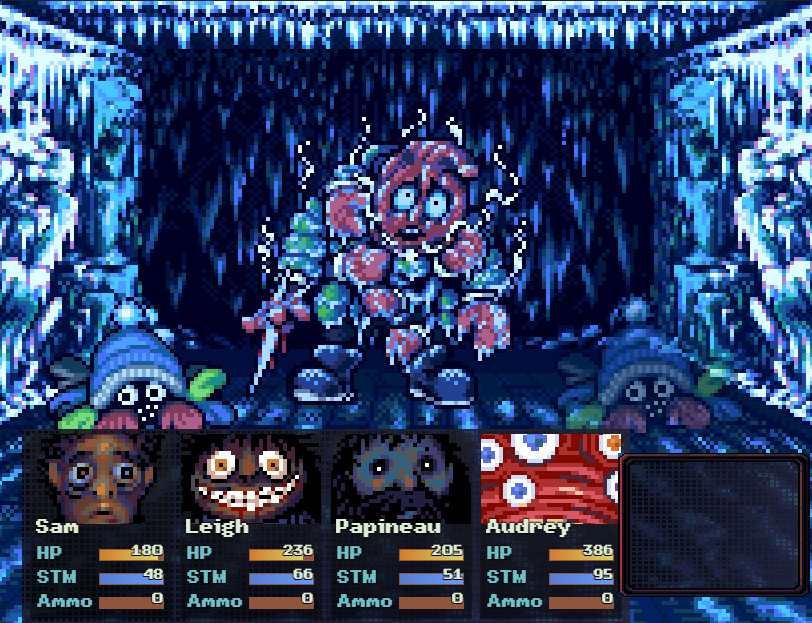
: This is the Electrophage. It counts as a boss. I ran into a bug here: if Leigh dies while she’s transformed, she gets put into a glitch state. Her portrait shows her as being transformed, but she isn’t.
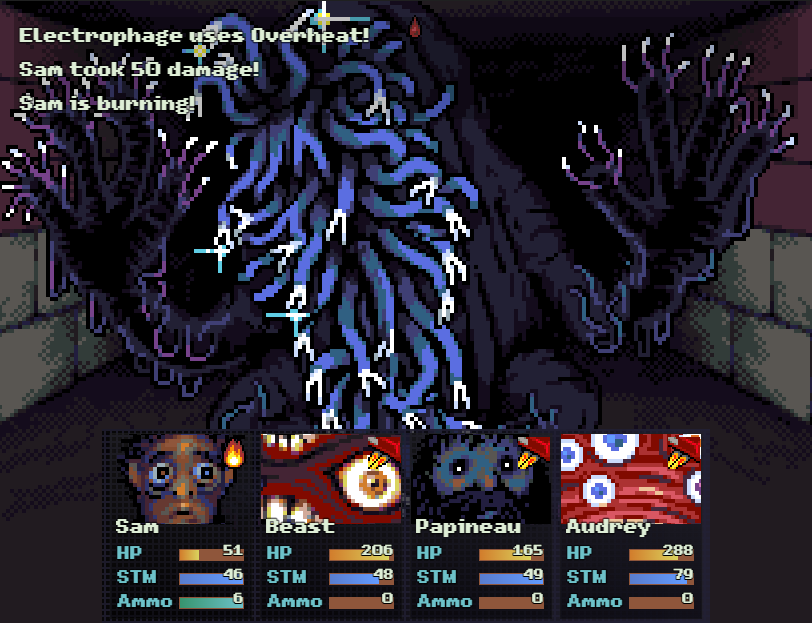
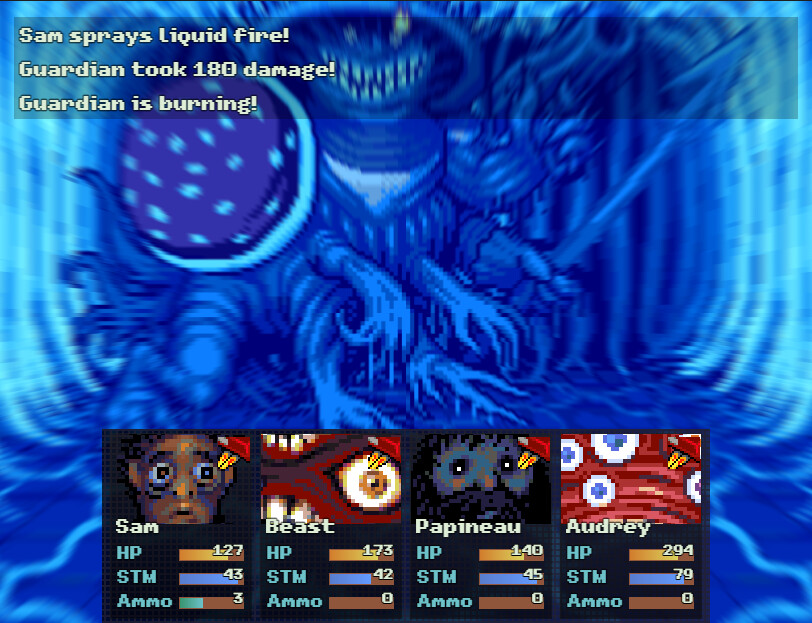
: It has full-party attacks that cause both burning and paralysis, along with 1500 HP. Fortunately, it’s weak to fire, acid, and slashing damage - all of which we have.
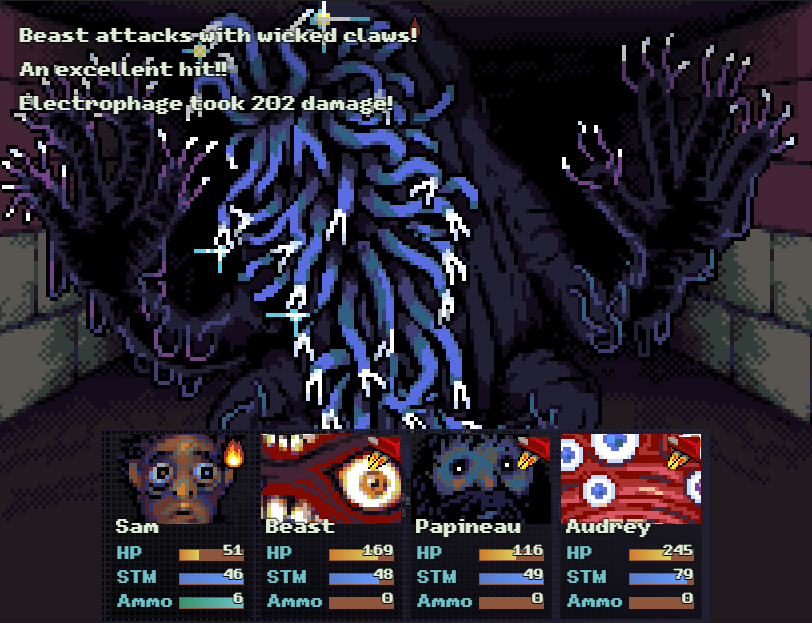
: Leigh gets a pair of crits for nearly 500 damage and kills it.
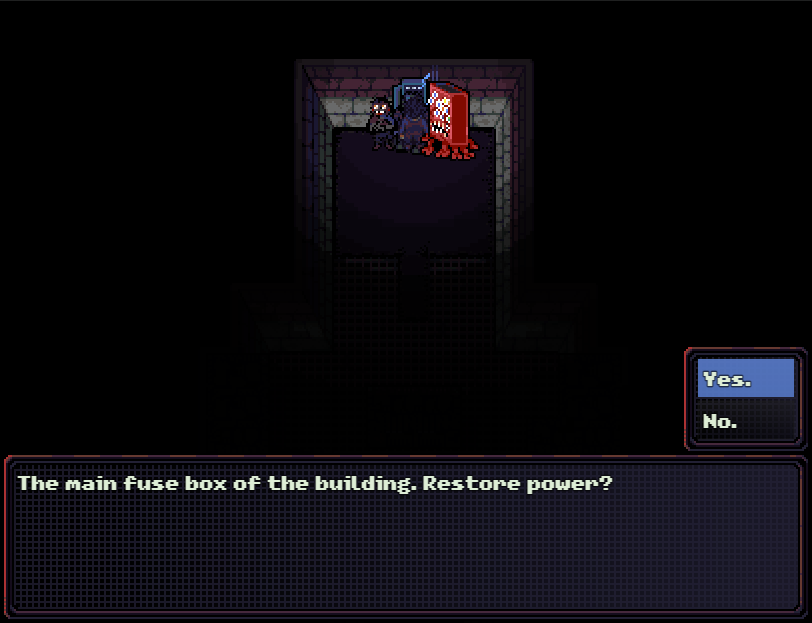
: And now we can restore the power. I’m reasonably certain we made it in time to stop the food from spoiling - you have four hours or so from the moment the power goes off.
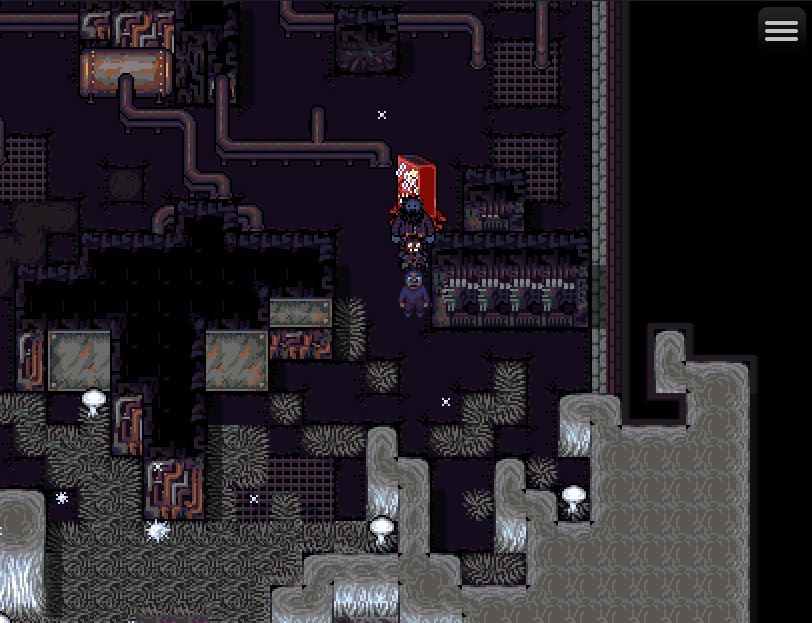
: After we have some soup, our next destination is down here. This area is pretty easy, and like Fred’s apartment we don’t actually need to kill the boss here.
: By the way, don’t touch those white sparkles. They make the screen go trippy, and if you get hit by too many, Sam gets taken over and involuntarily walks toward the area boss.
: We need that key on the table, but we don’t know why yet.

: The clicker dies in a single hit from the flamethrower, which makes this area a joke.

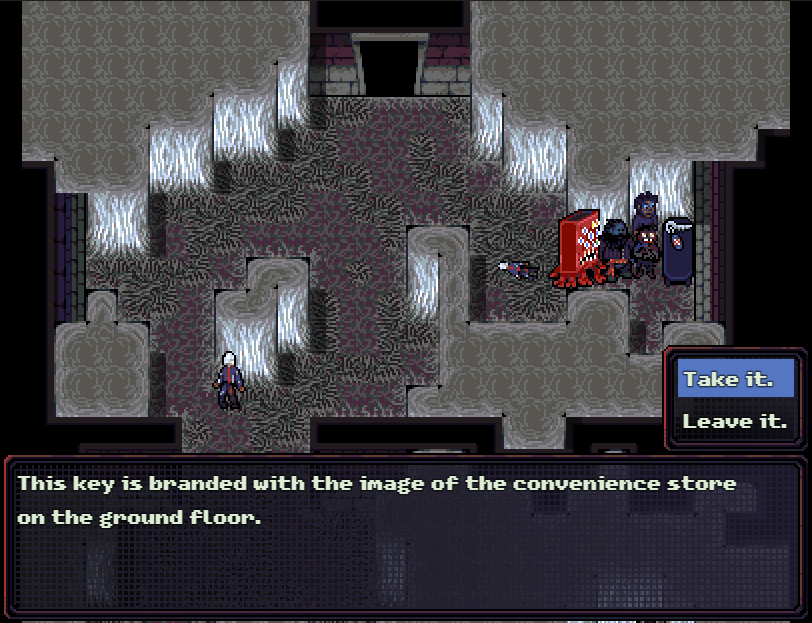
: The convenience store has an item we need to finish the game.
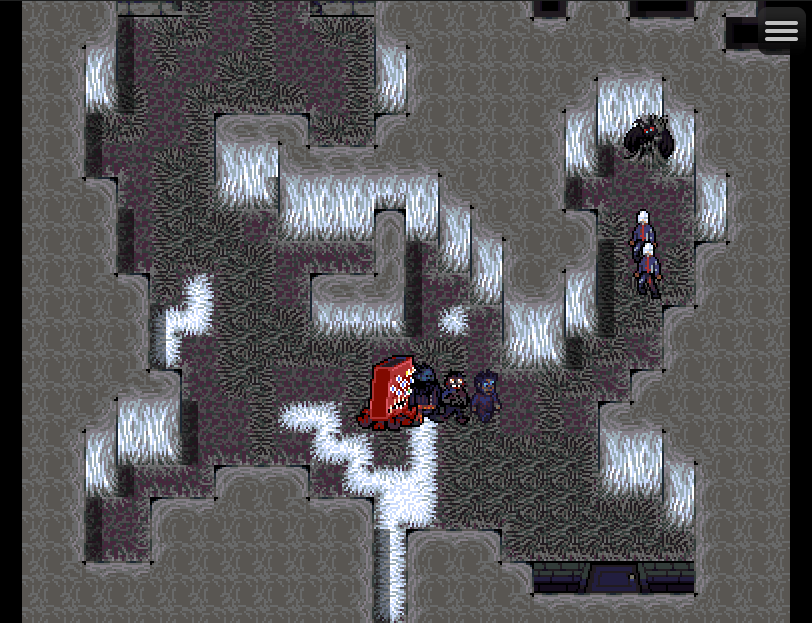
: We have two more clickers and a… moth?

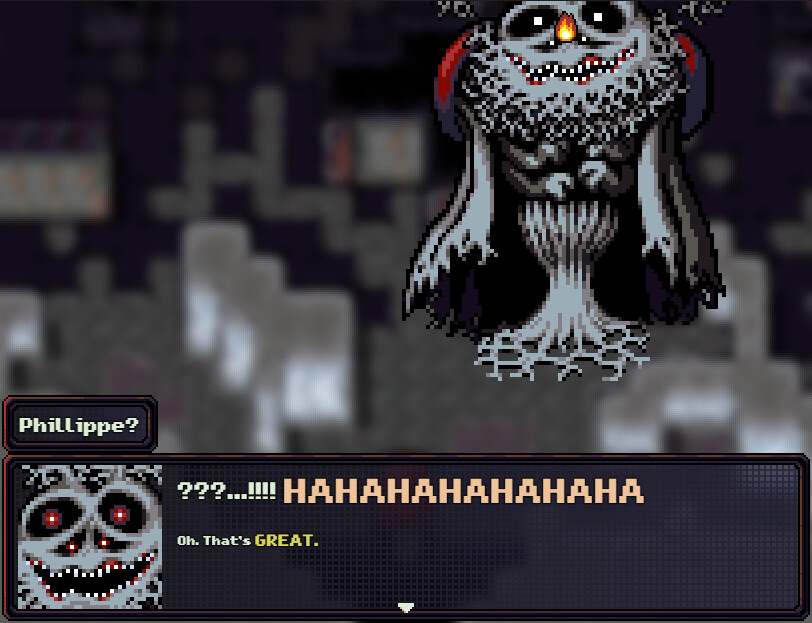
: Phillippe is this game’s Ralsei, and I have a feeling he exists primarily for the Deltarune theorycrafters who insisted that Ralsei was going to turn on the party and was secretly evil.
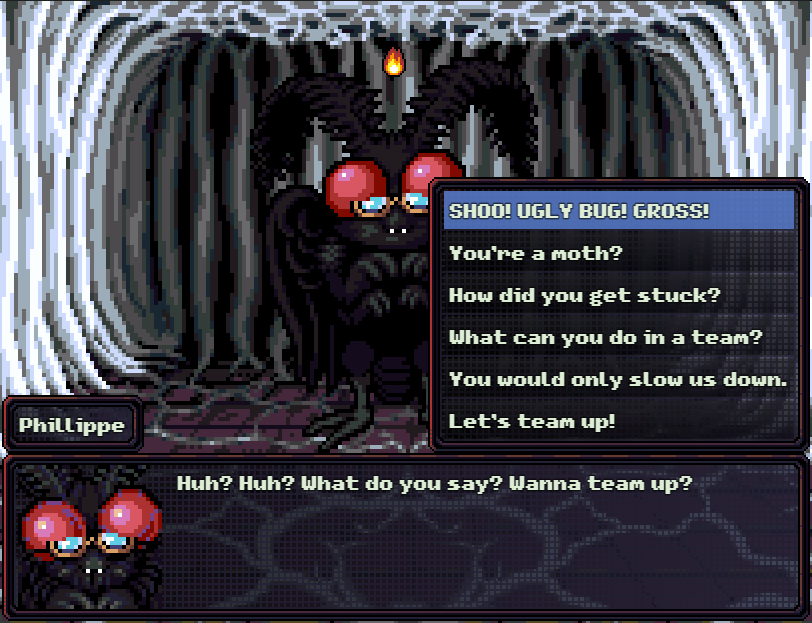
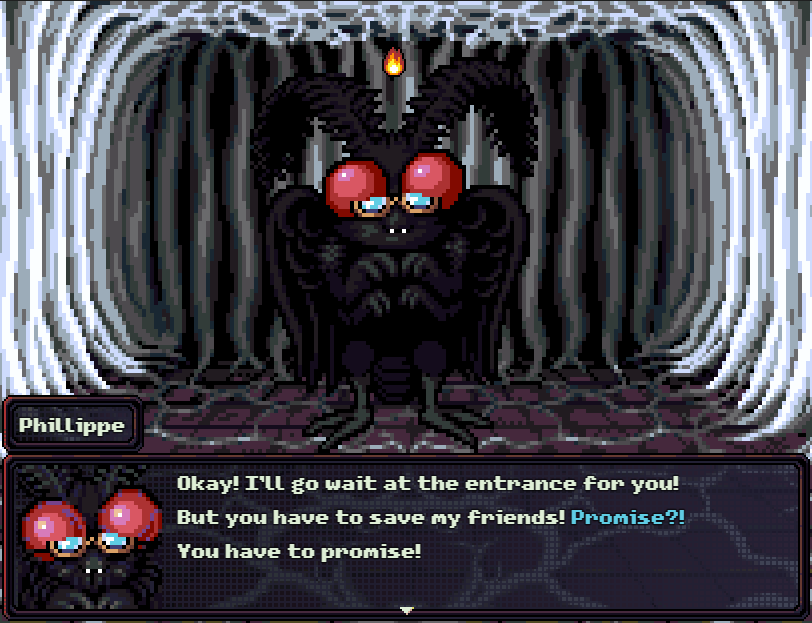
: Phil will ask to join the party. Don’t let him. He’ll then wait for you at the entrance but make you promise to save his friends.
: Let’s immediately exit this place.
: Phil will try to offer us healing. Don’t use those items.
: If we tell him we’re not going to save his family…

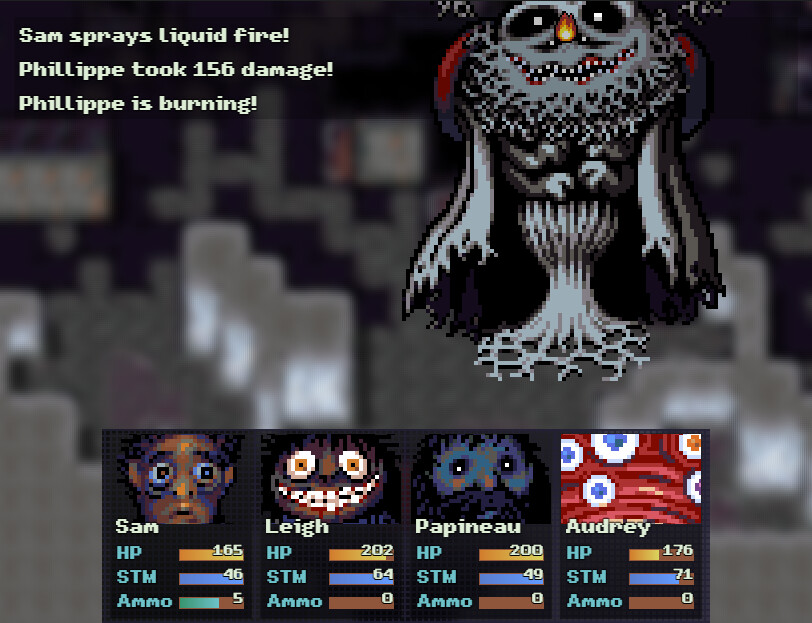
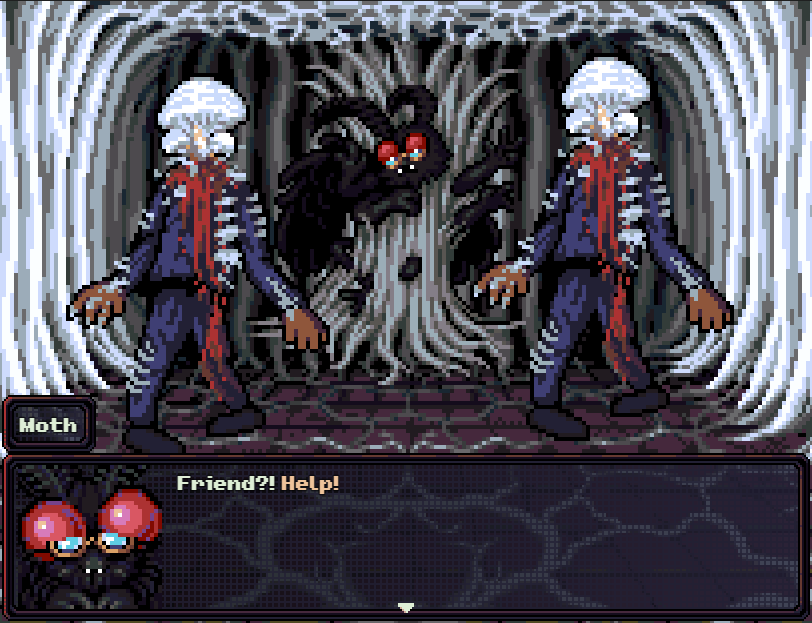
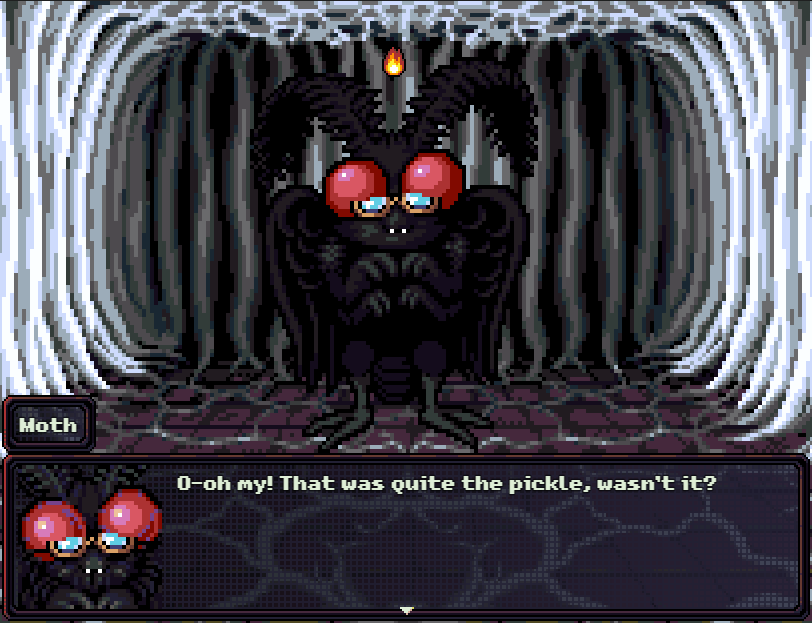
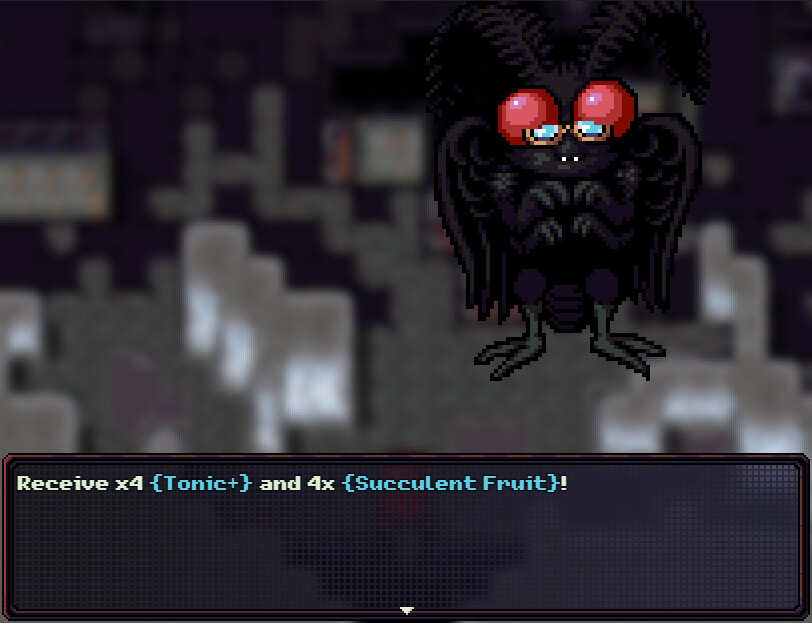
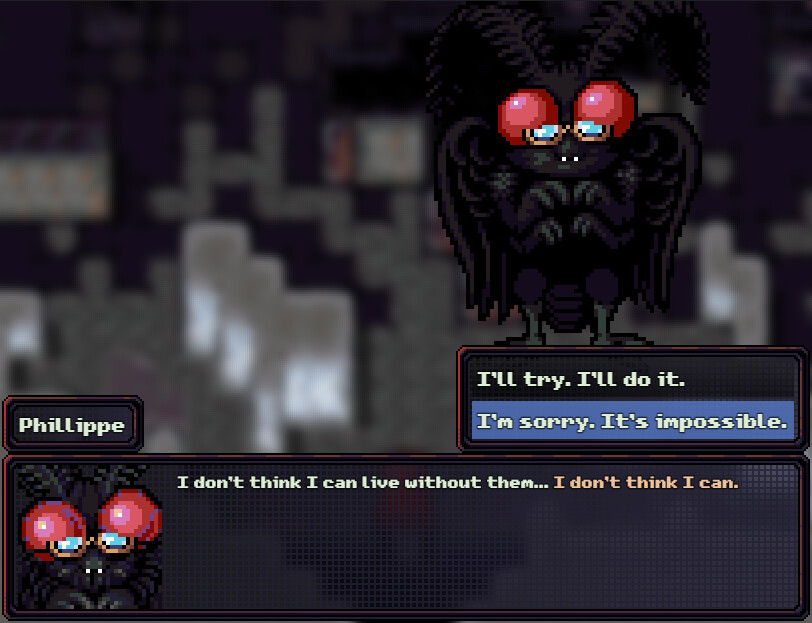
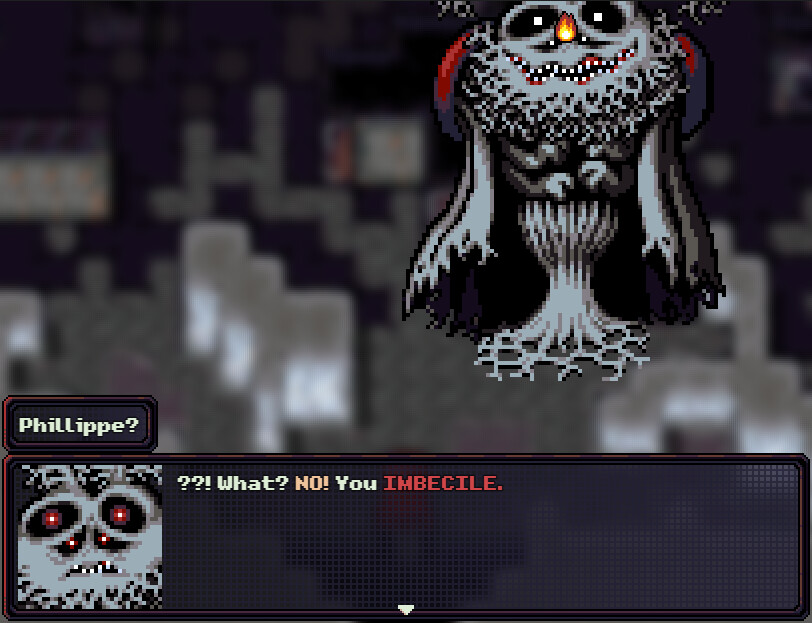
: We find that Phillippe is actually a fungus monstrosity. He’s very weak to fire.
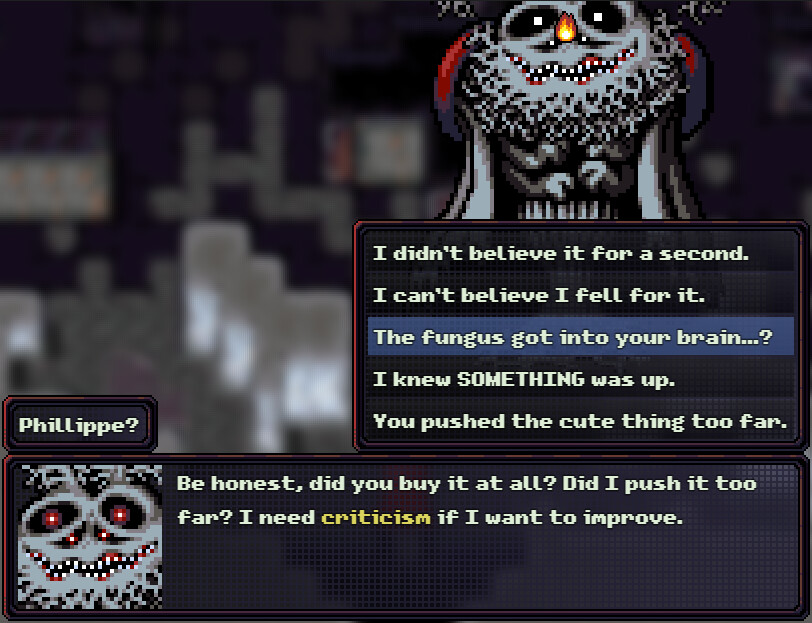
: This is the tricky part. You can actually recruit Phil, but you need to pick the right dialog options. Francis Columbe originally wanted a much darker route for this.
: Originally, the idea was that Sam had to inhale enough mushroom spores to get brain damage so Phillippe would appear as a moth again.
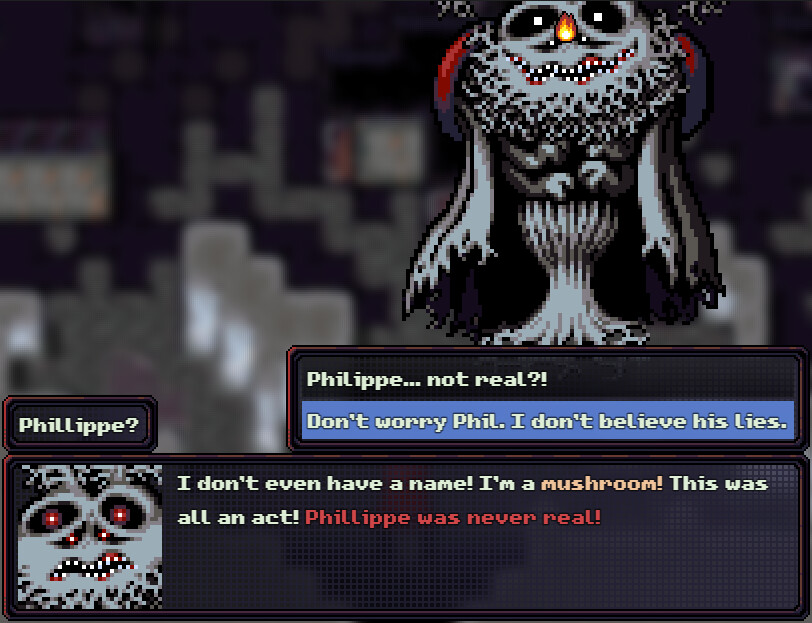
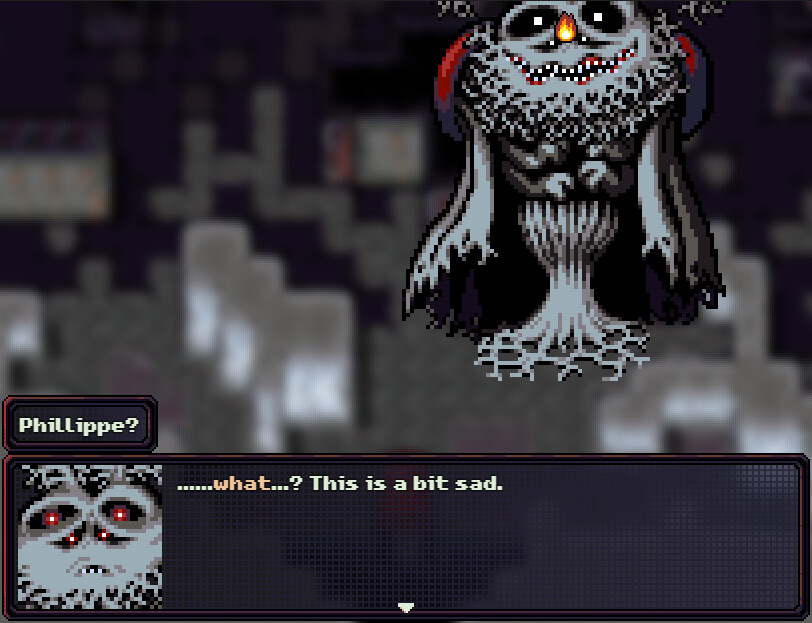
You’ll find a way. It’s so unfair.. you MUST bring him back.
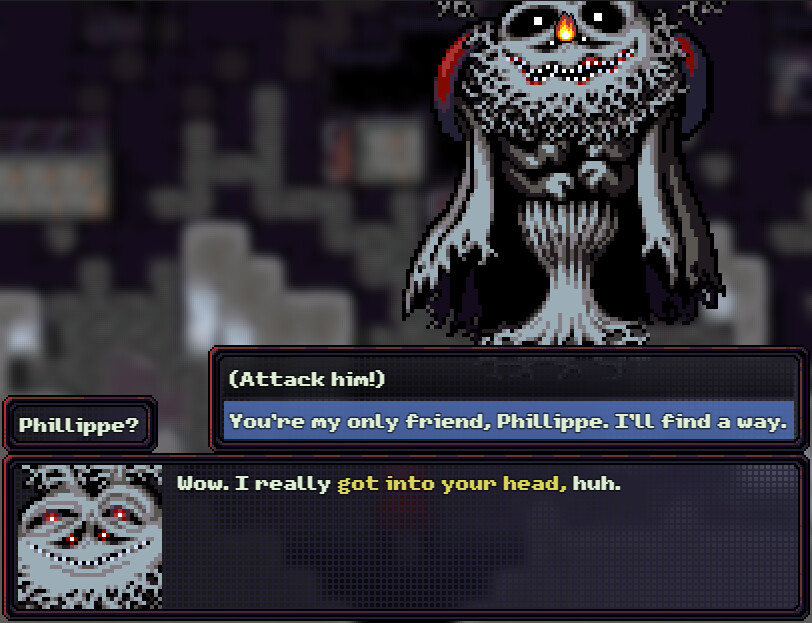
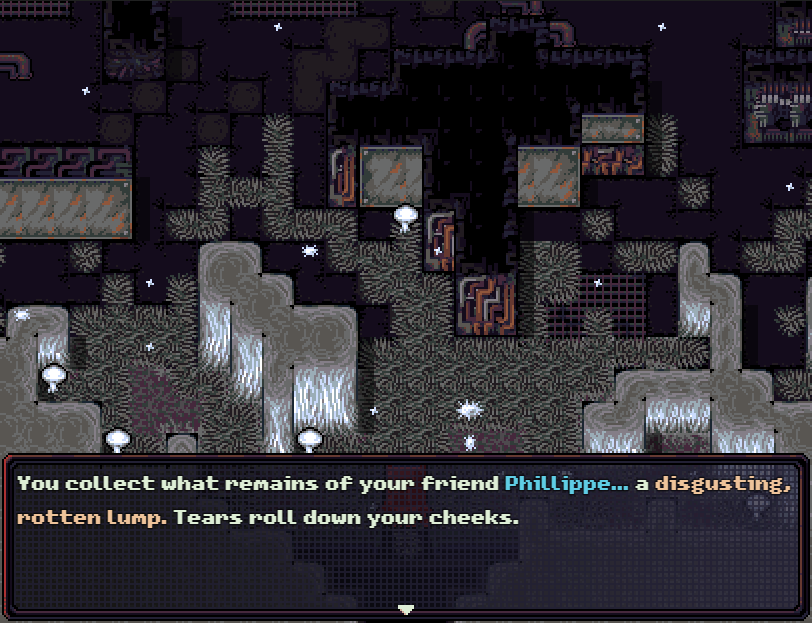
: And now we’re on the path to recruiting Phillippe. If you miss him, it’s no big deal - he’s the final person on the list of party members who don’t count for points.
: We’re unlikely to see him in action since he takes multiple days to regrow and we’ll have finished the game long before that.
: That’s a problem this game has - a lot of the party members you either get so late into the game that your party is already set in stone due to the level difference, or they’re random.
: Back in the Fungal Lair, the next room is a one-way door puzzle. Stepping on the lowered mushrooms toggles all the blocking mushrooms from being raised to lowered.
: I’m going to reload this because these encounters are pointless, but I want to show them off anyway.
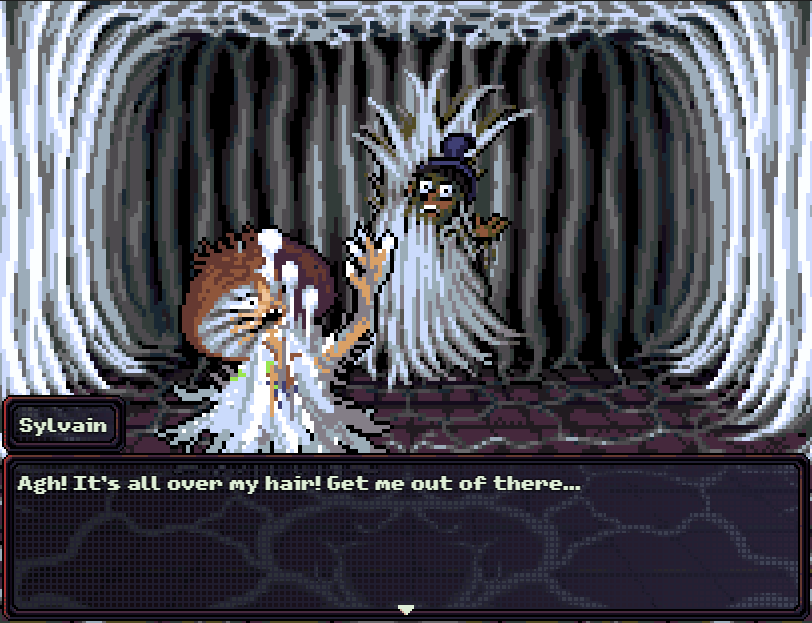
: Sylvain is guarded by the Spore Torso, which is a tougher Infected. I had some really bad RNG here and both the Azure Greatsword and Sewage Blade broke.
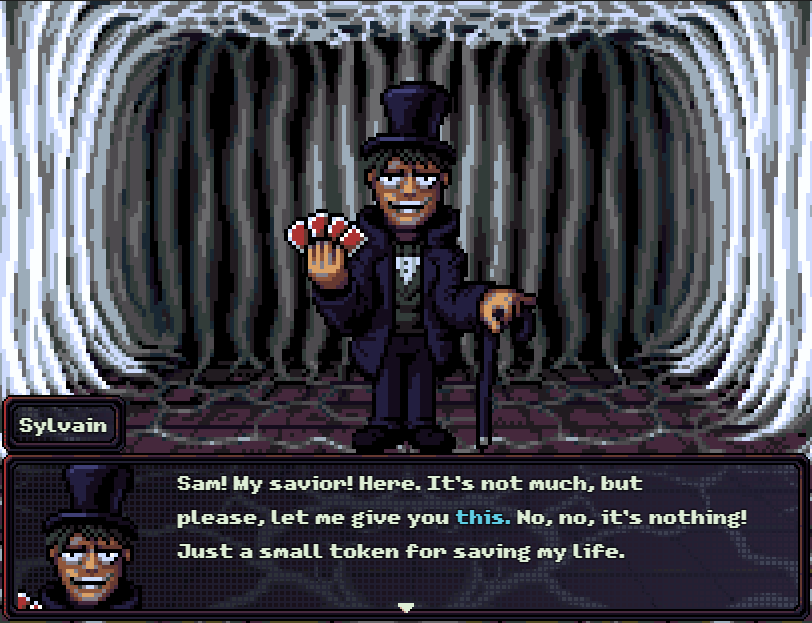
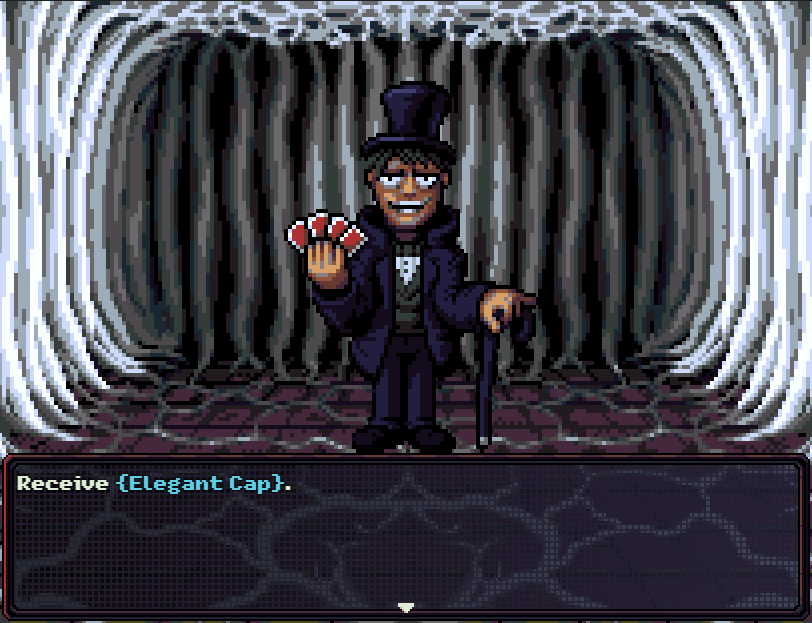
: Sylvain will give us a hat, which you shouldn’t equip.
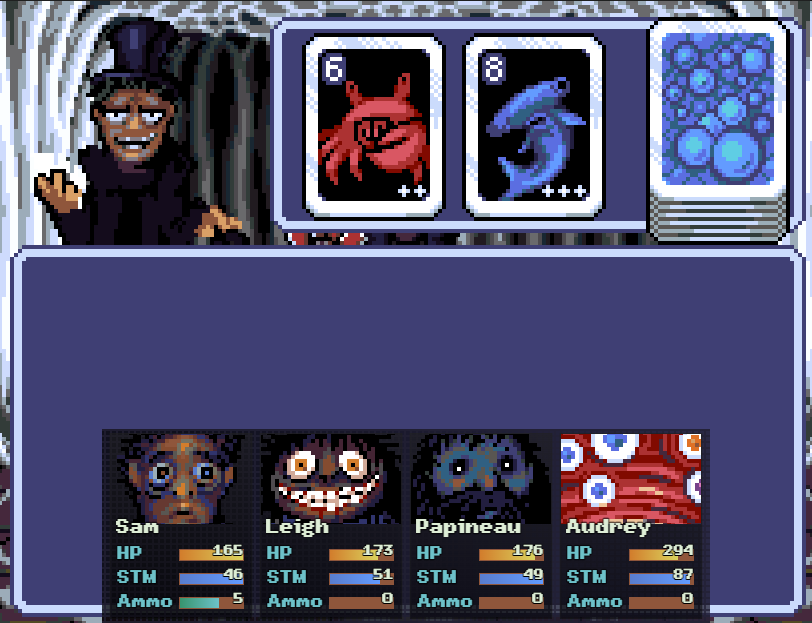
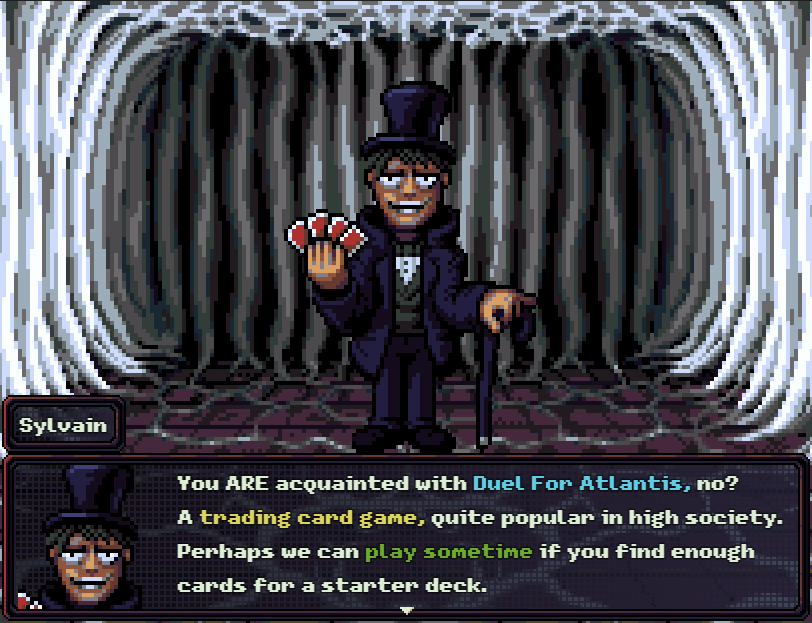
: He’ll also introduce us to a trading card game we can’t play because we don’t have a deck.
: I’m surprised the developer named this guy Sylvain without making him a reference to Sylvain in Fear & Hunger, who is effectively Slaanesh from Warhammer 40k.

: This is what he looks like if you leave the lair early. Any of the fake survivors will join Phillippe in combat.
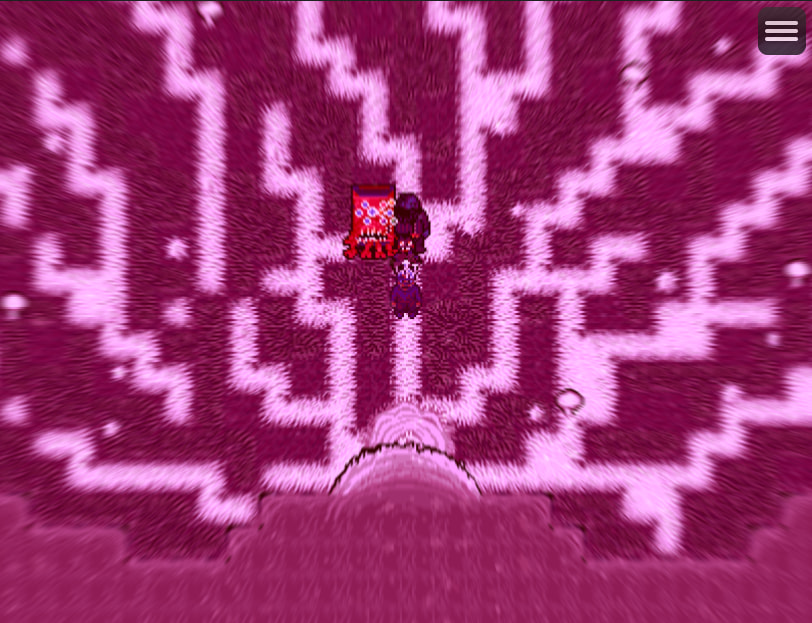
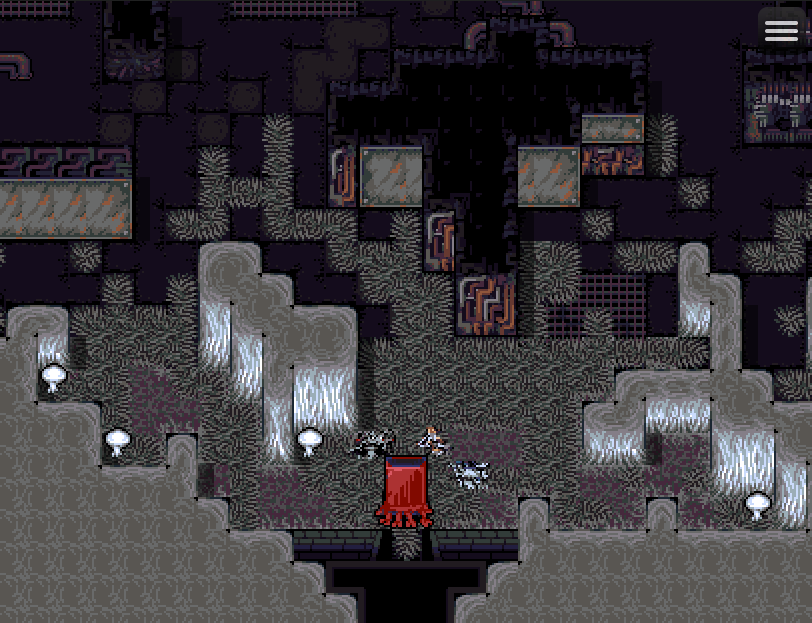
: We go through the maze, and on the right side is this dead end. This has one of my favorite encounters in the game in it.
: The game lets you wander around trapped for a bit until the mushroom wall turns into this.
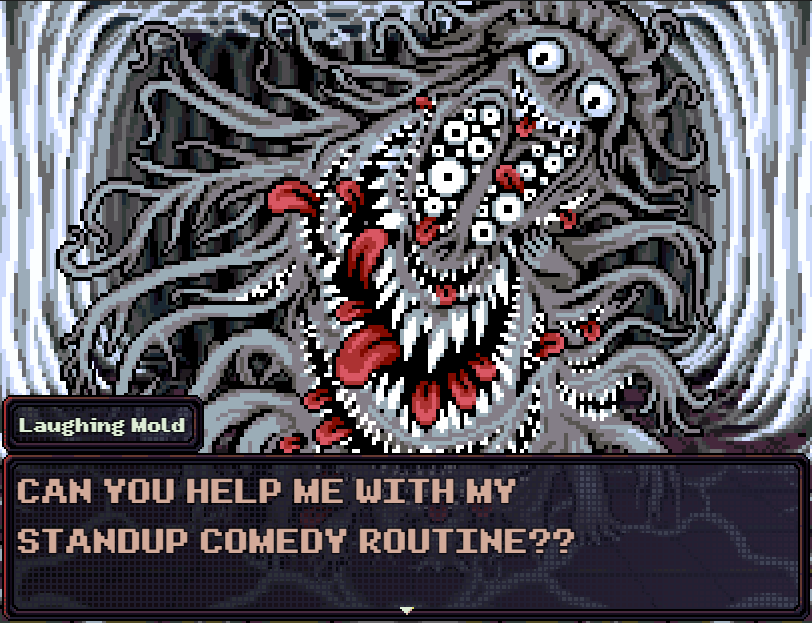
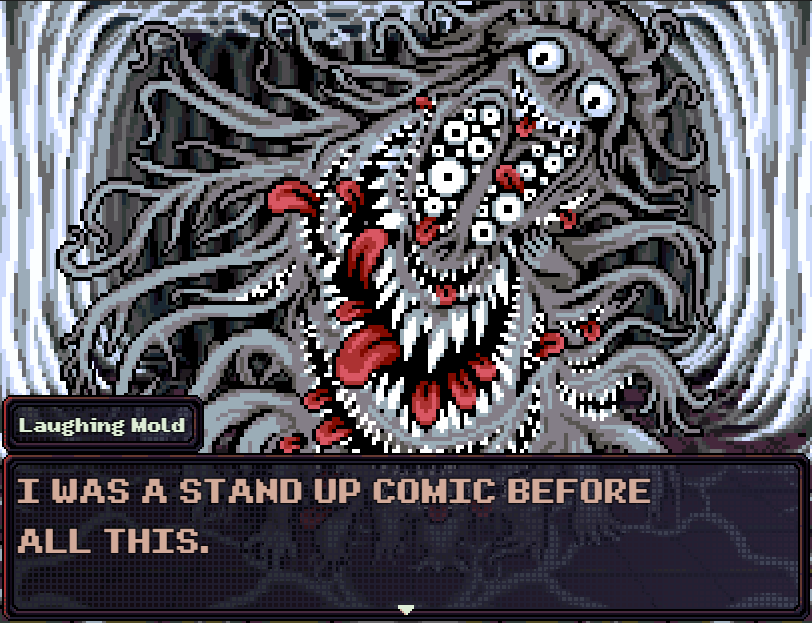
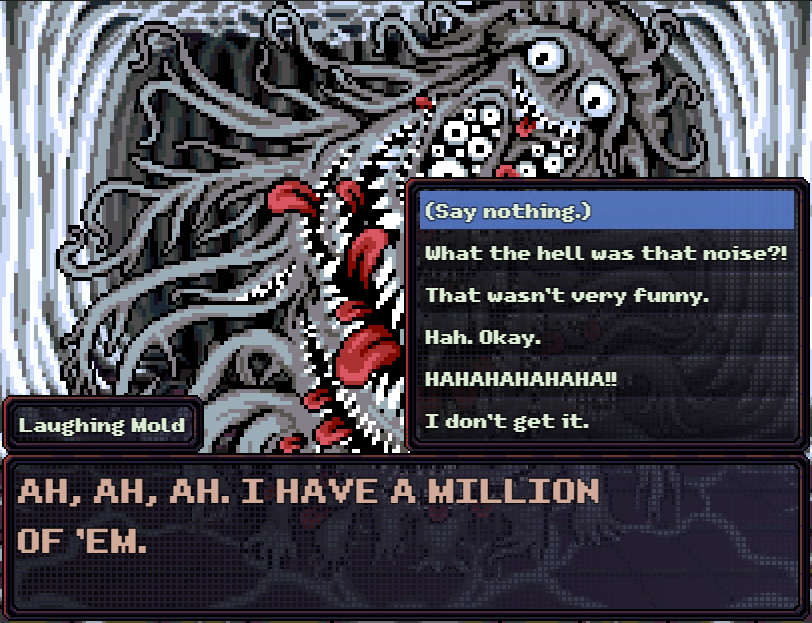
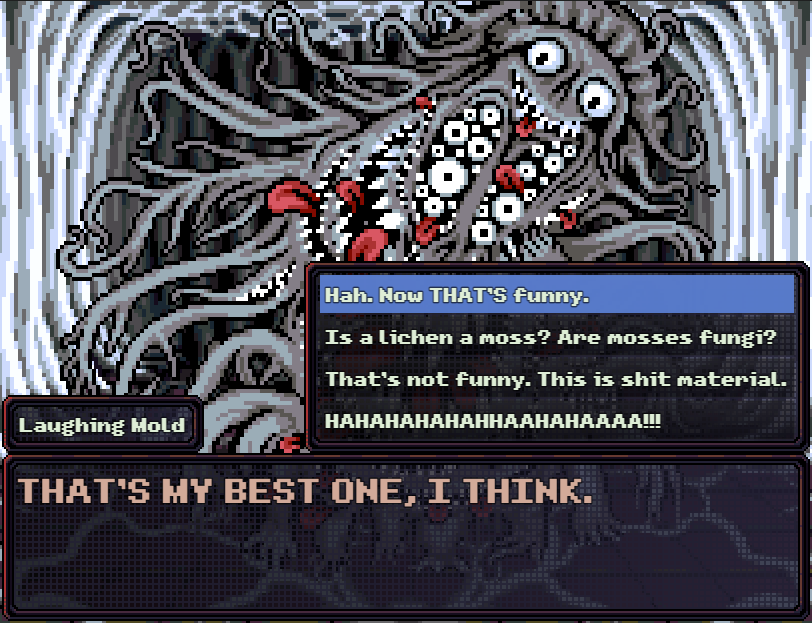
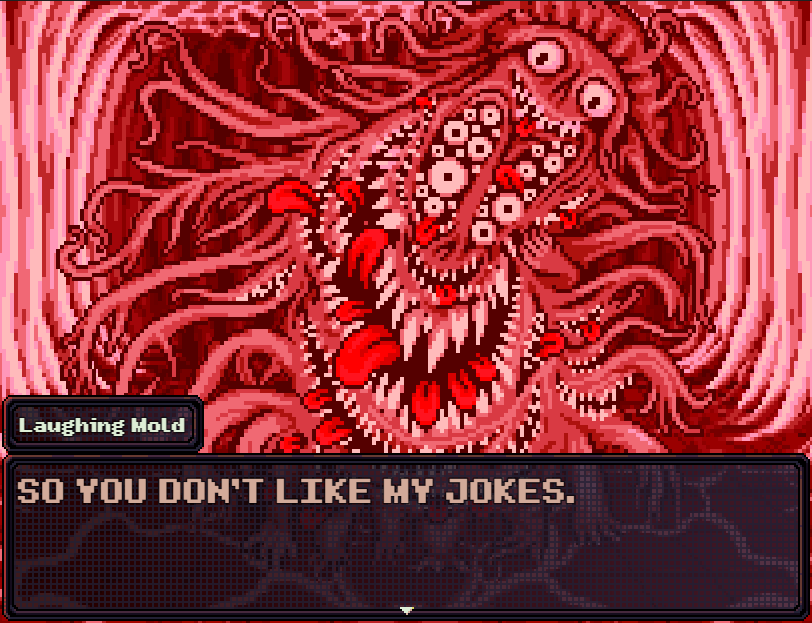
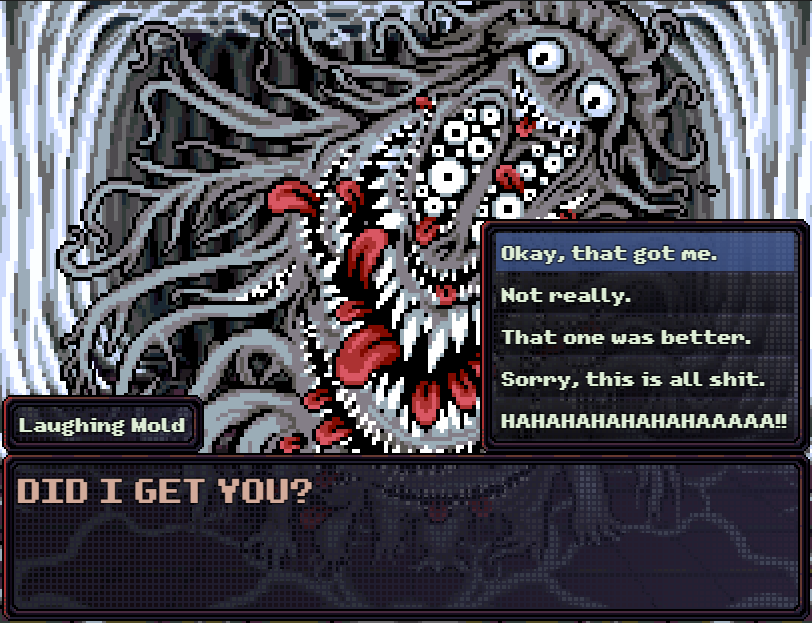
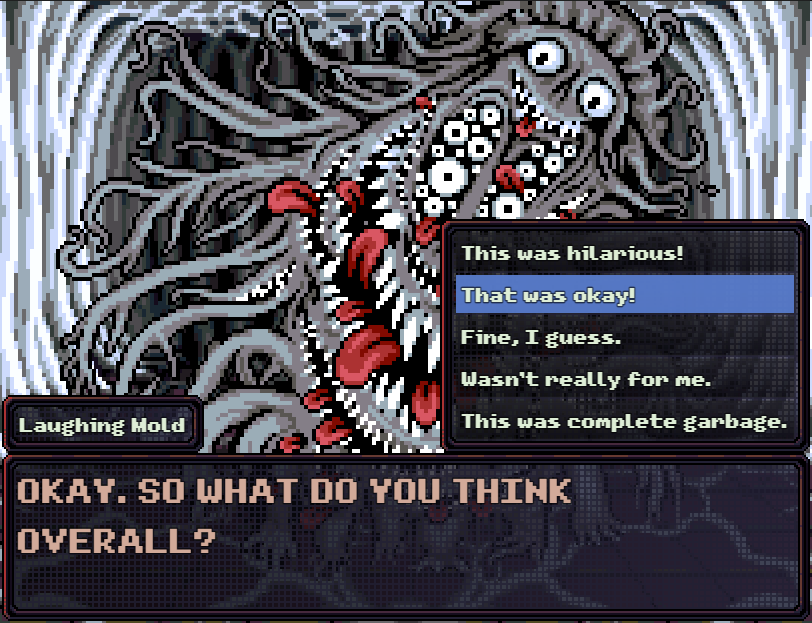
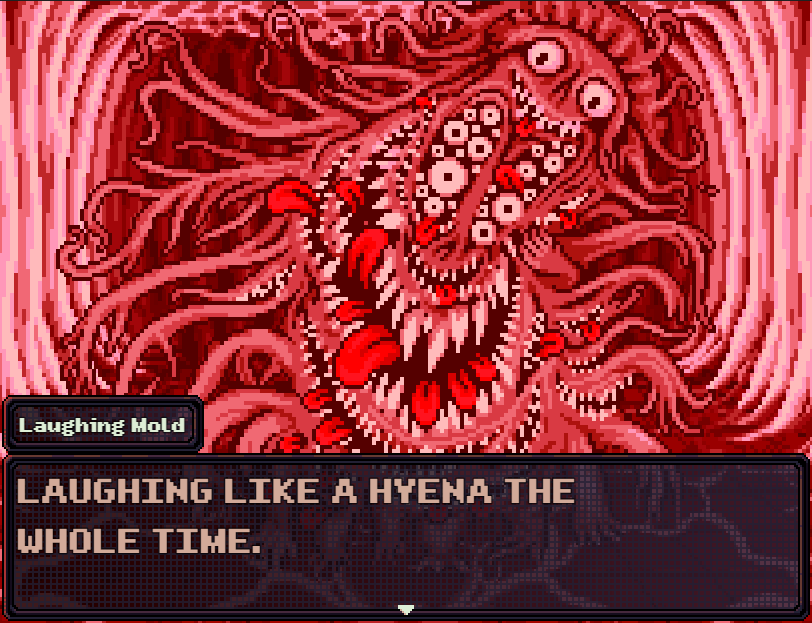
: The Laughing Mold counts as a boss for ranking points if you fight him. I’m not sure if you still get the points if you talk your way out of fighting him.

: The game pauses for a minute and a slowed-down laugh track plays. This happens every time the Laughing Mold tells a joke.

: We get a free Elixir from him, and once we beat the boss here he’ll move to the camp in the basement.
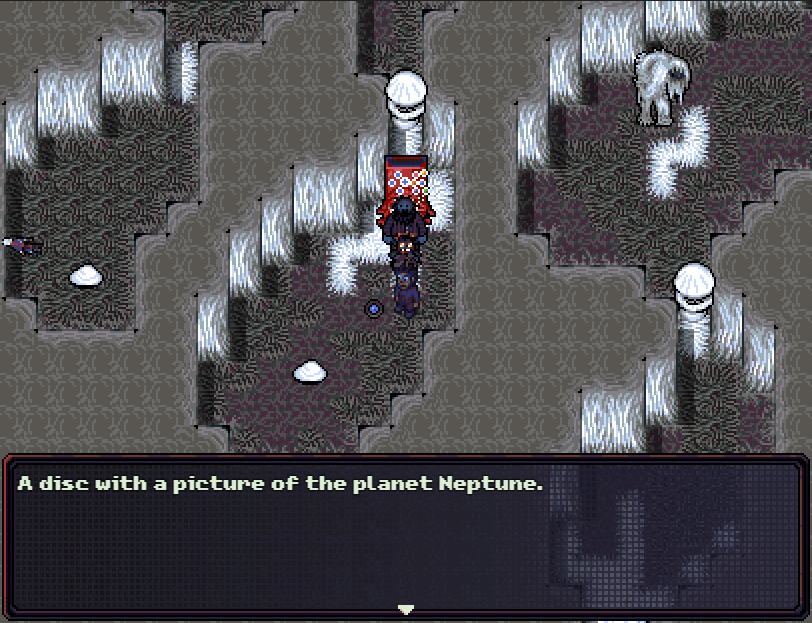
: Down here is the Neptune Disc. This and that key are all we really need from here - we could leave right now.
: Jean-Pierre is up by the door, and guarded by another enemy that doesn’t like being set on fire.

: He gives us a “Greatsword” which is actually made of fungus. If you use any of the items the mushroom people give you, you take stat penalties.
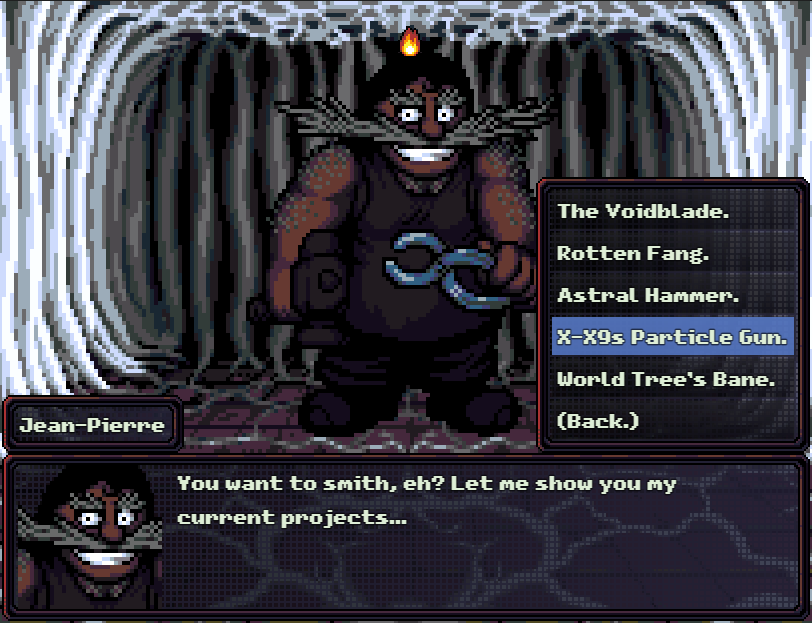
: Jean-Pierre tries to sell us on a weapon crafting system, but all of the items require something that doesn’t exist in the game.
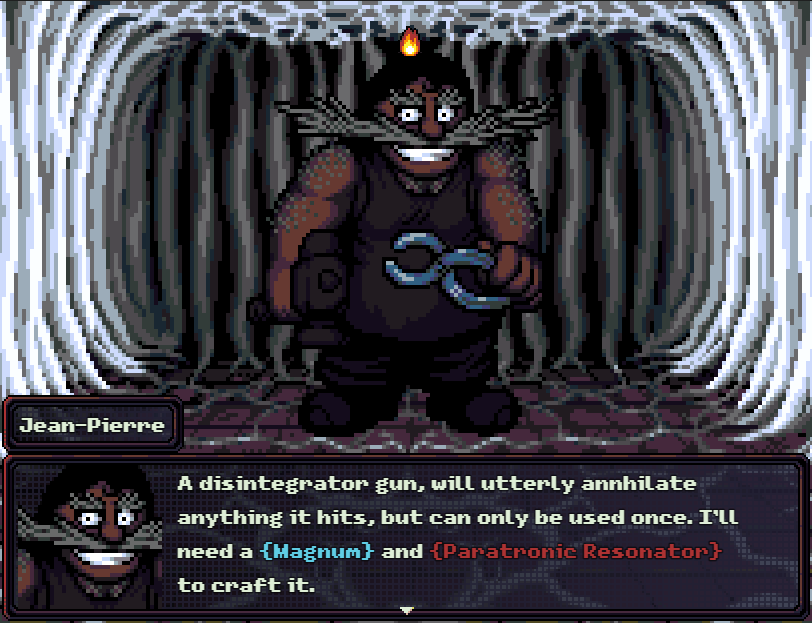
: The Magnum does exist, and we’ll get it before the end of the game. If we leave, this is what Jean-Pierre turns into.

: I forgot to get this last fake survivor, but she’s a carpenter who claims she can expand Sam’s apartment.

: If we continue down here, we have yet another boss gauntlet.
: This is the Guardian, which I believe is meant to be one of the SWAT guys from that van. It has 640 HP and has all the moves Sam has when equipped with a piercing weapon - including Impale, which has a 45% chance to instakill.

: Its main attack is firing its magnum off, which it does three times.
: It’s not much of a threat. On Cursed, it has two fungus zombies that show up with it and make the fight a bit more difficult.

: The Guardian also has a drop for Audrey. It’s kind of useless - if you want damage resistance, the chobham armor is a much better pick.
: At the very bottom is the area boss. This boss changes depending on whether Sam is spored or not - if you are, it’s better to try and wait it out.
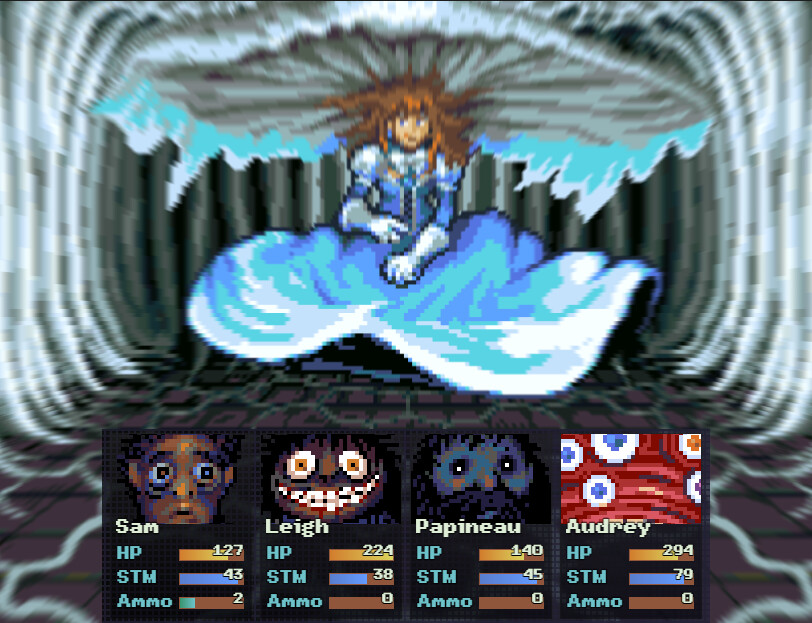
: This is the Spore Mother. If you’re spored, she looks like this.
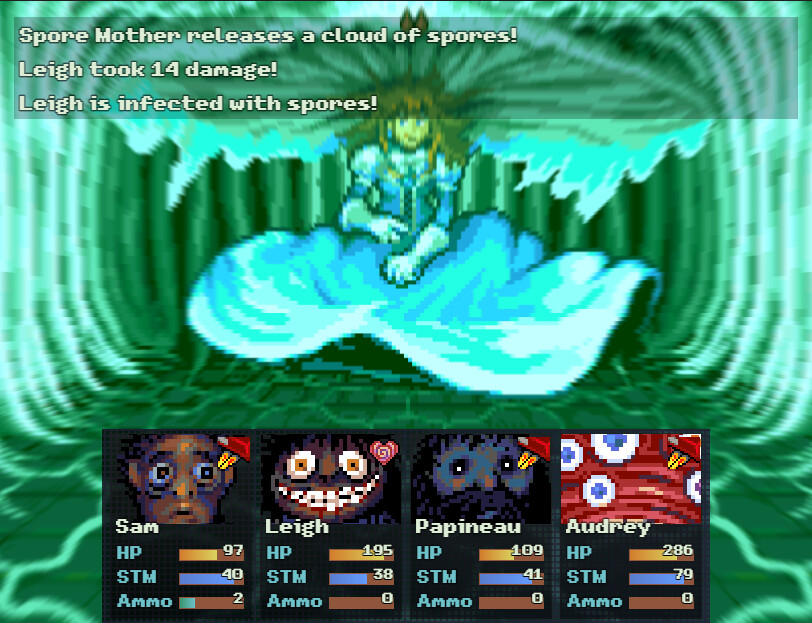
: There’s no point using Nitro Boost here, because none of her attacks can miss. Here, we get some phenomenally bad RNG.
: This attack hits the entire party and has a 50% chance to charm. She hits everyone and gets the charm off on the entire party.
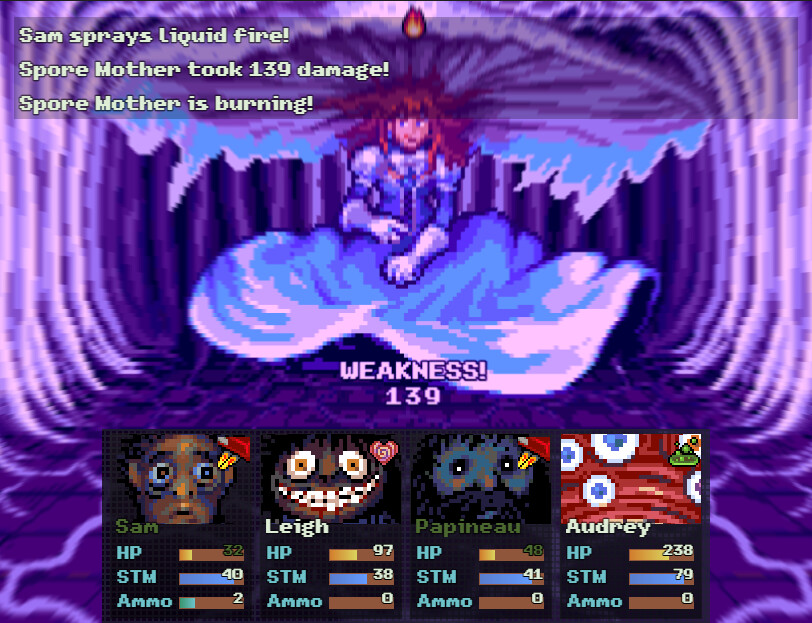
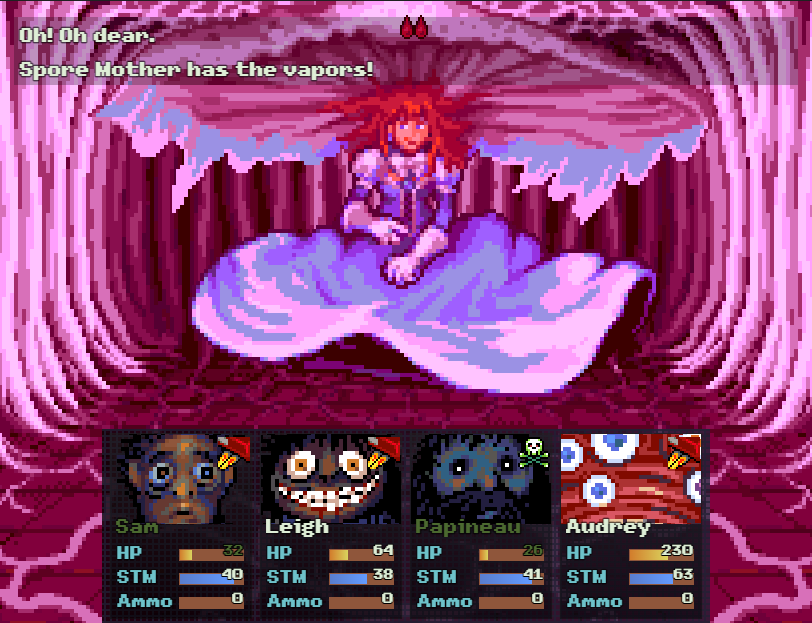
: The good news is that every turn past the first one, the Spore Mother has a chance to do nothing. Once we do enough damage..

: She reveals her true form.
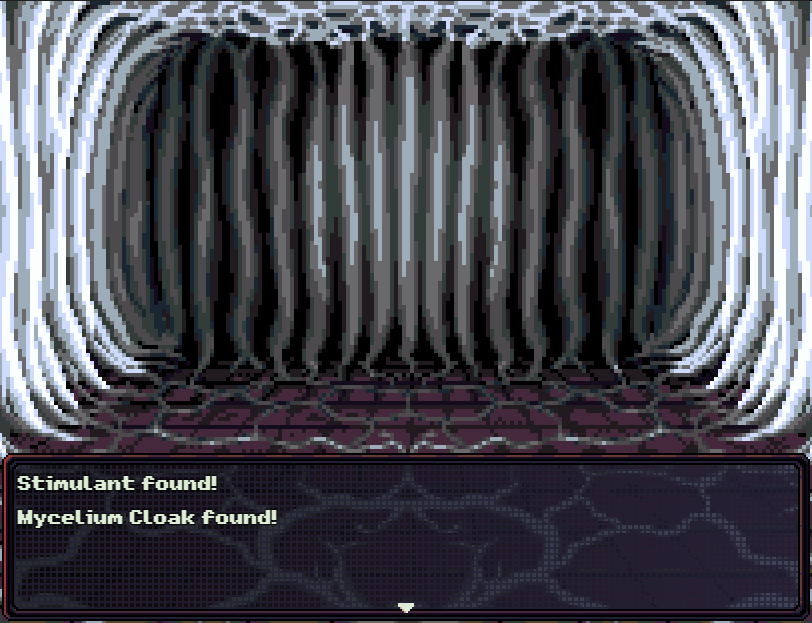
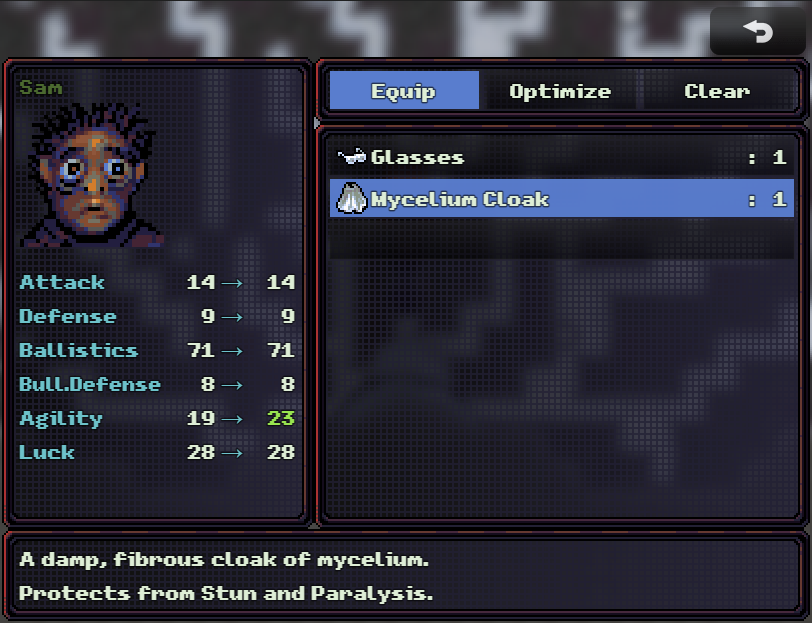
: When killed, she drops a Stimulant and a Mycelium Cloak.
: The cloak would’ve been useful against the Electrophage.
: If you haven’t fought Phillippe, he’ll be dead outside along with any of the other fake survivors. All the items they gave you will revert to useless fungus blobs.
: By the way, all those mushrooms can be picked up. They heal for 4 HP and 2 stamina but cause poison - you can prevent this using the Lapis Band.

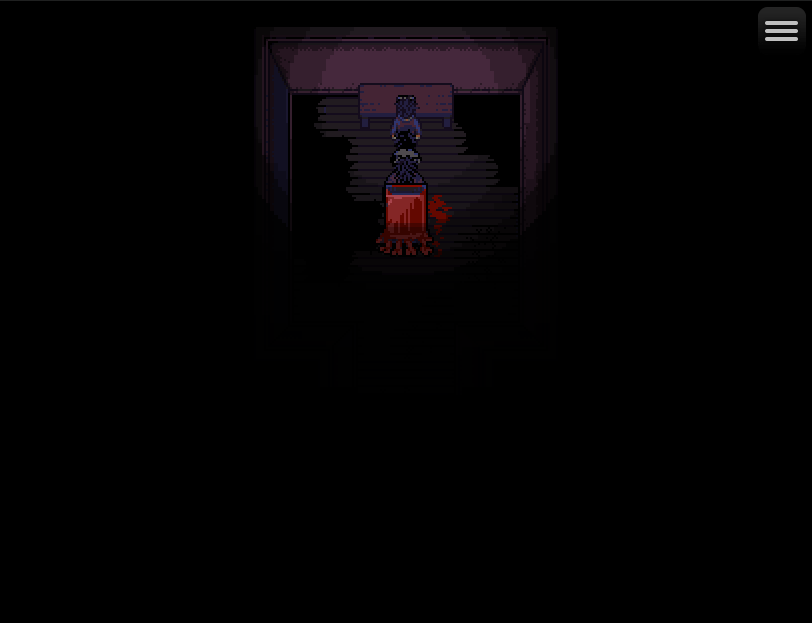
: Oh, right. In the last room, there’s a hidden passage in this wall that leads to a superboss. This is the boss you’re going to want to use the 8-Ball on.
: We’re not doing it today - I want to get Audrey’s best equipment first. Just remember that this is here.
: I save and heal, and now it’s time to handle this apartment. We’re still short on money to get to Henderson’s final form.
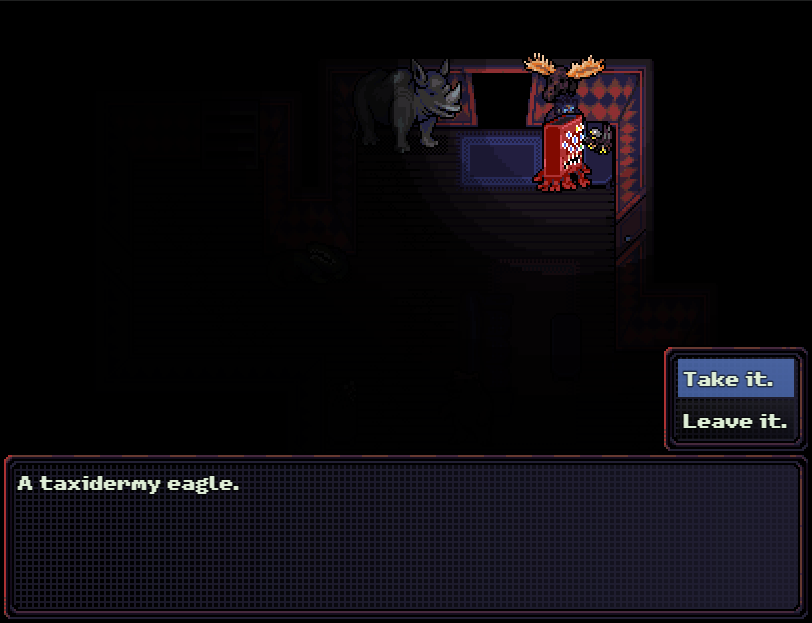
: The taxidermy apartment has a lot of stuff we can sell in it, like this eagle.
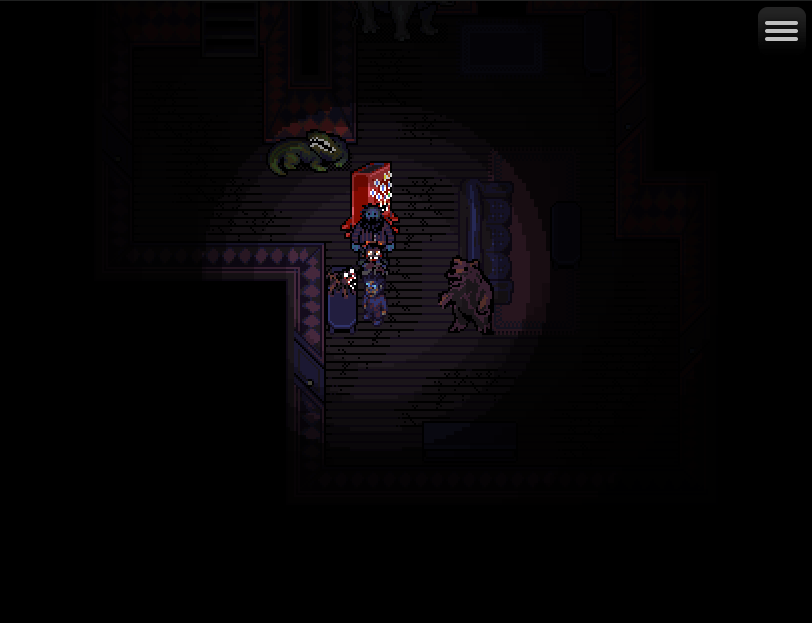
: Or this thing, which also sells for a bit.
: Just below the bear, there’s a door which leads to even more money - there’s an ouija board on the table we can sell, money on the other table, a granola bar, and..

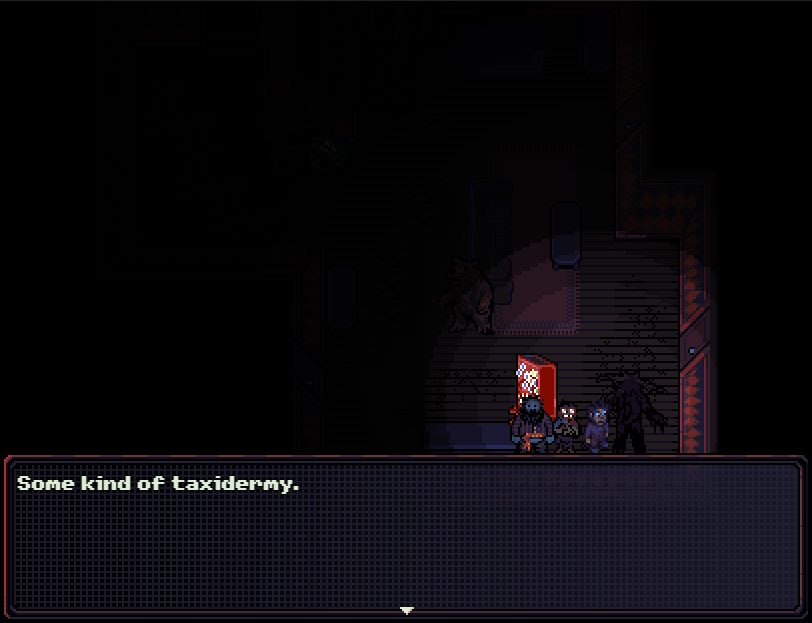
: Once we take the head, the taxidermy thing from outside will move here.
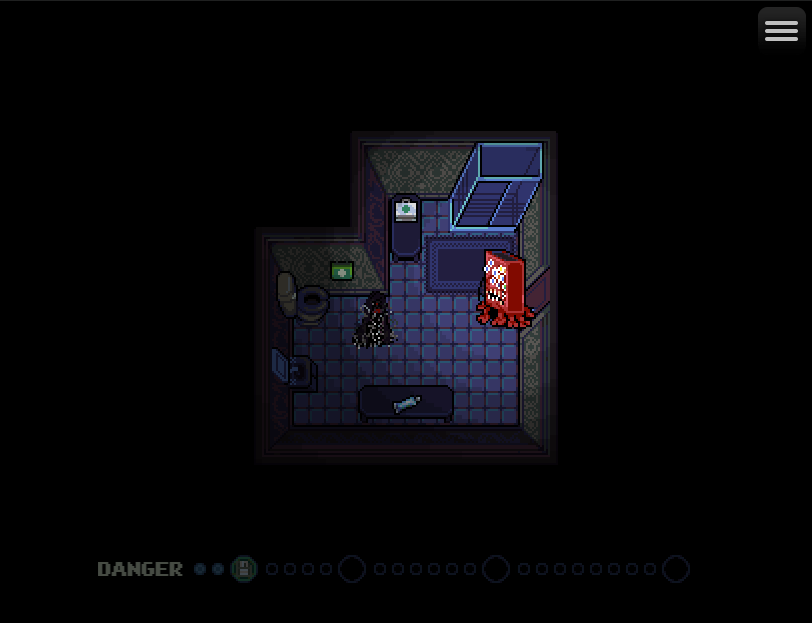
: We can raid the bathroom before that and take some healing items.
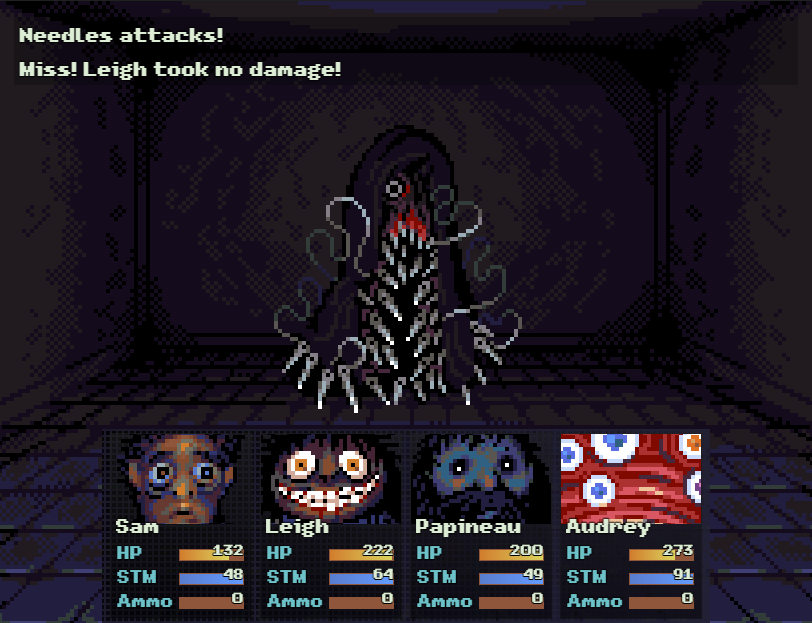
: The enemy in here is Needles, which is weak to slashing and has a 12-hit attack that deals somewhere around 10-12 damage per hit.
: On the right side, near where the weird taxidermy thing is, we find the kitchen.
: Normally I try to dodge the enemies in here, but this is Scissors. Like Needles, it’s weak to slashing.
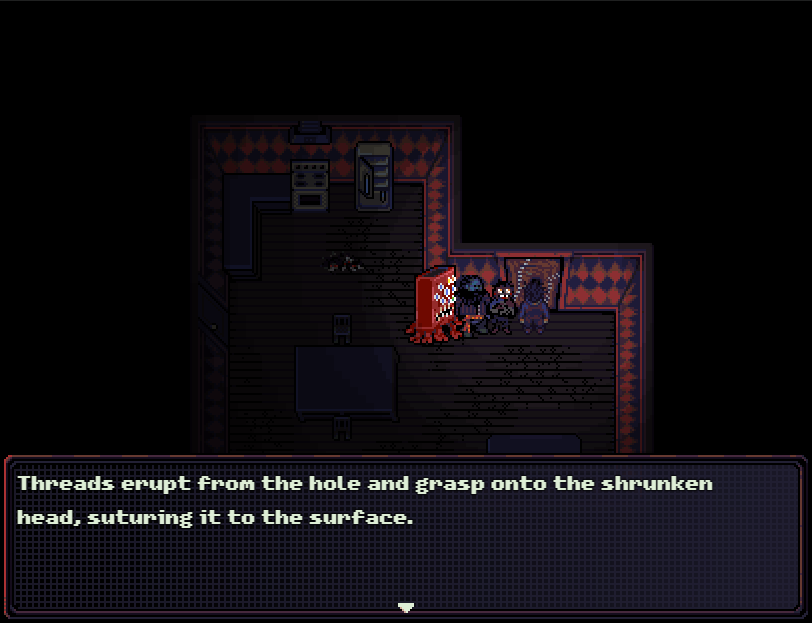
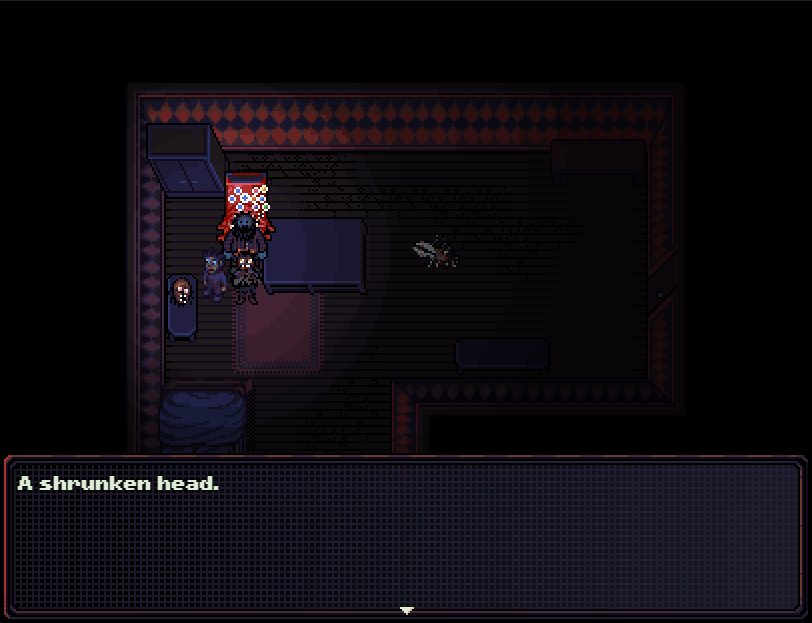
: The shrunken head is a key that fits in this door.
: The moment we step past this door, the taxidermy thing becomes hostile.
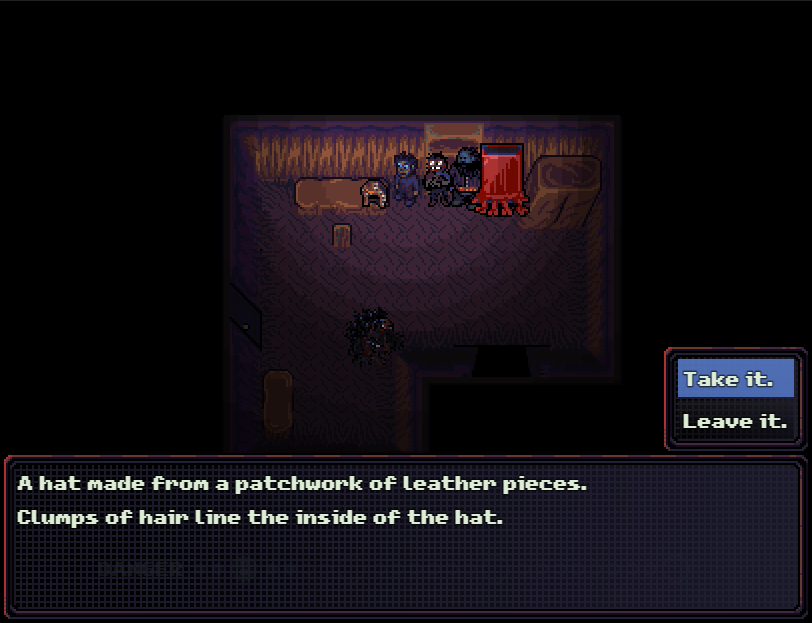
: The patchwork hat is actually pretty good - it gives a significant HP boost and resistance to bleeding.
: The next room has a bunch of fucked up taxidermy mutants we’re staying away from.


: There are a couple of rooms branching off to the left and right. This one is the lower door on the right, and has another enemy and the Needle Gloves.
: The Needle Gloves give a small chance (I believe it’s 12%) to apply bleed on a regular attack. I put them on Audrey.
: On the left is another room with a Patchwork Jacket. Like the hat, it boosts HP (by 50 to the hat’s 25) and provides 50% bleed resist.
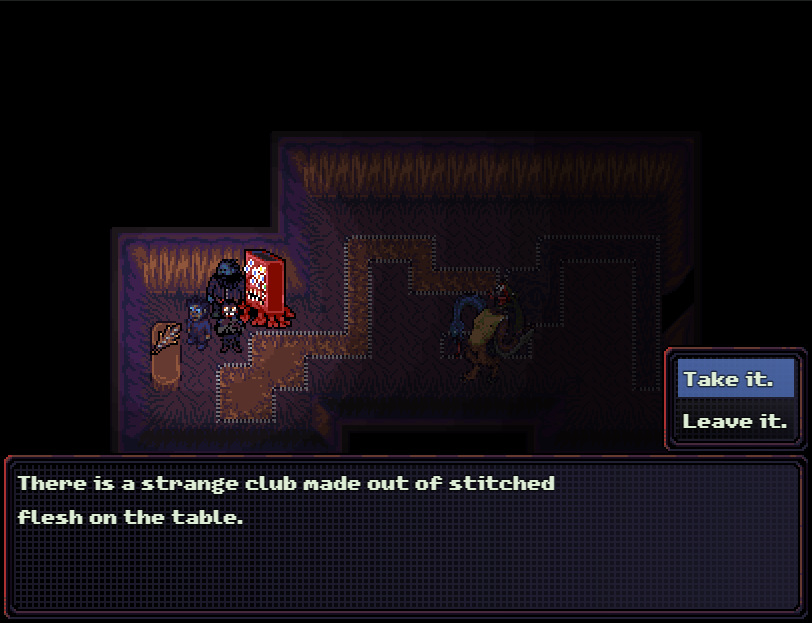
: Also on the left is the Patchwork Club, which is a decent pierce weapon. We’re about to get a much better one.
: And finally, there’s the Patchwork Boots. The idea is that you can take a character like Papineau who has a skill that does damage based on his HP and give him the Patchwork items to boost that.
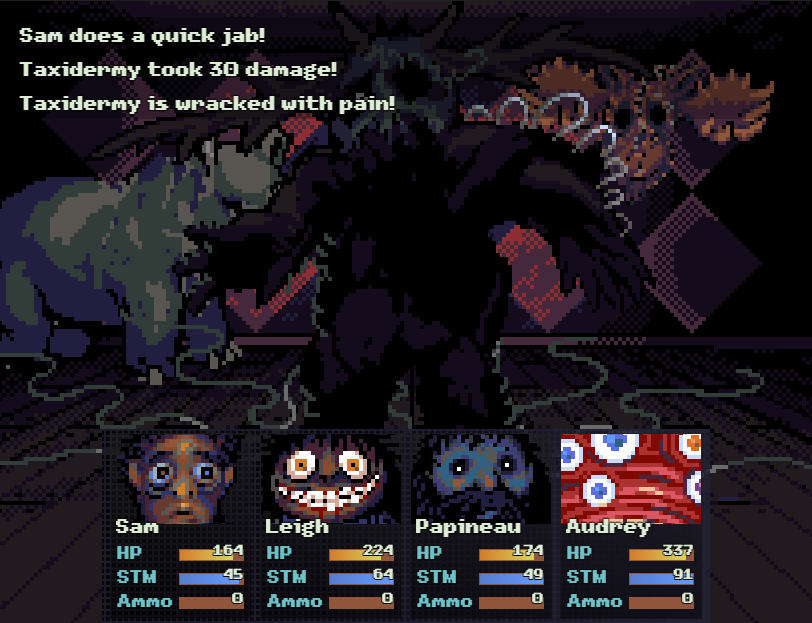
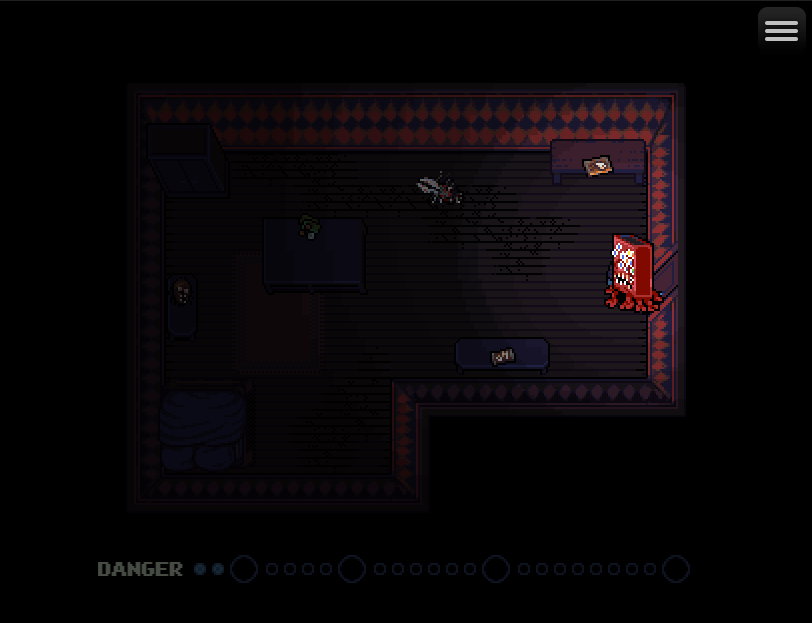
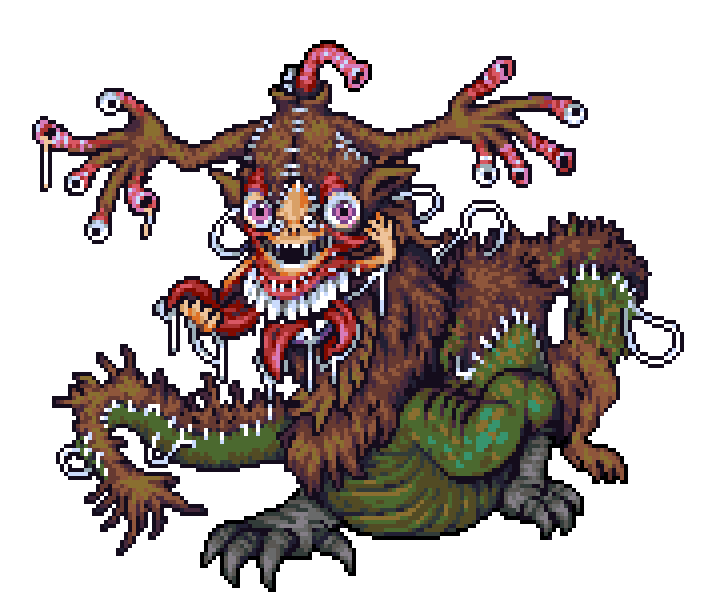
: On the way out, we run into Taxidermy. Taxidermy is a multi-stage boss fight and is MUCH harder on Cursed.
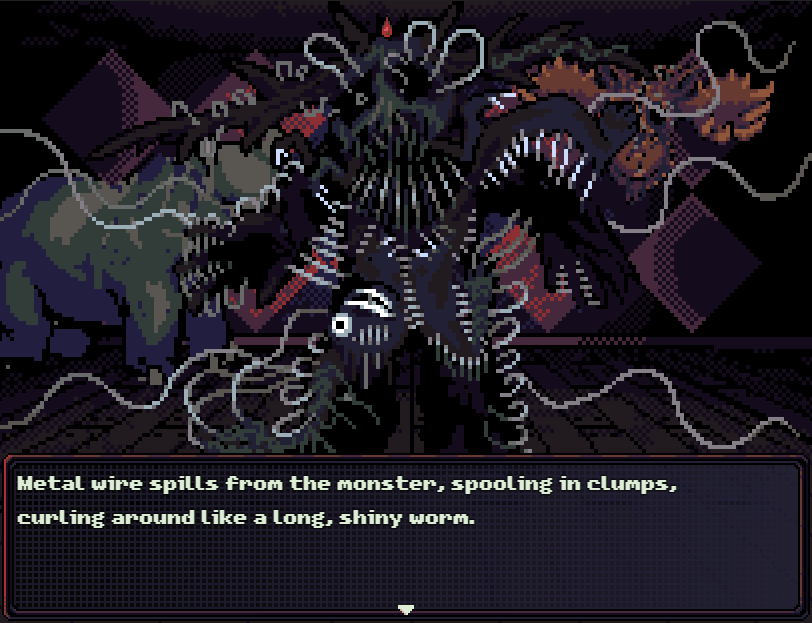
: Its initial form has 600 HP, and once it’s brought down around half it starts unraveling.
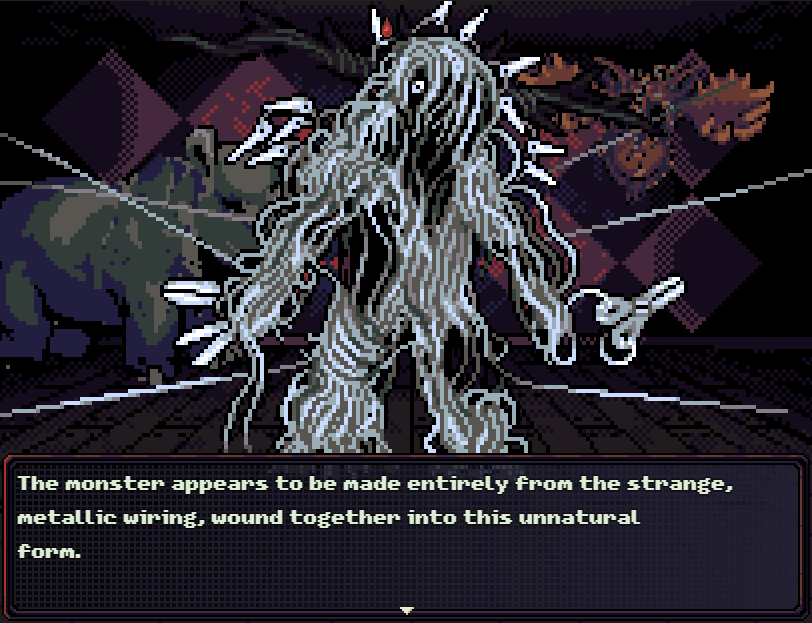
The wire is pulled taut. It seems to connect the monster to every other taxidermy sculpture in the room.
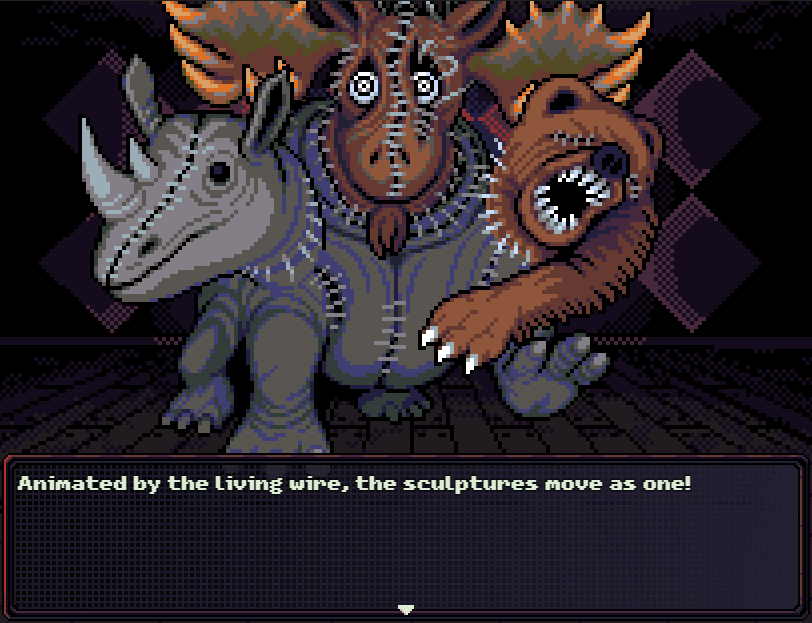
: The moose in the center has 500 HP, and the bear and rhino have 250. We want to kill the moose first.
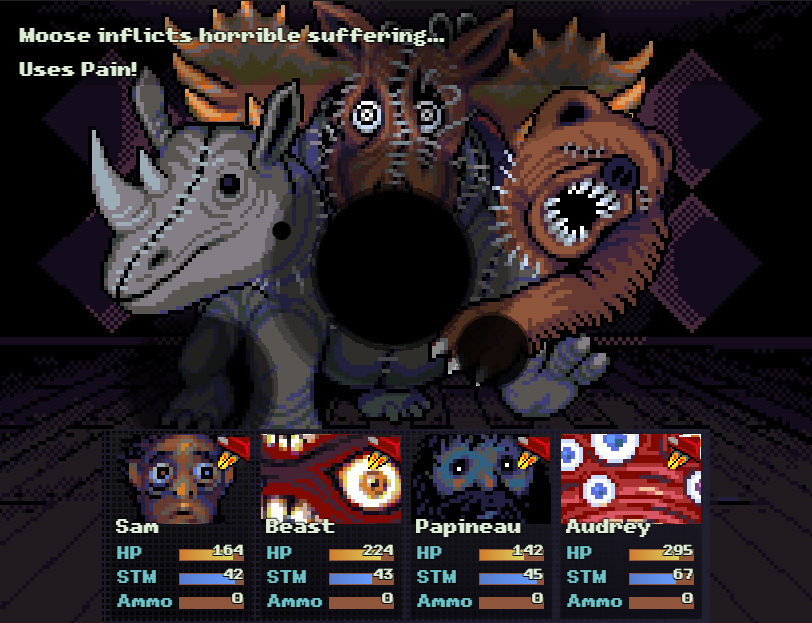
: The moose primarily does corruption damage - even though this attack is called Pain, it can’t actually inflict the Pain status.
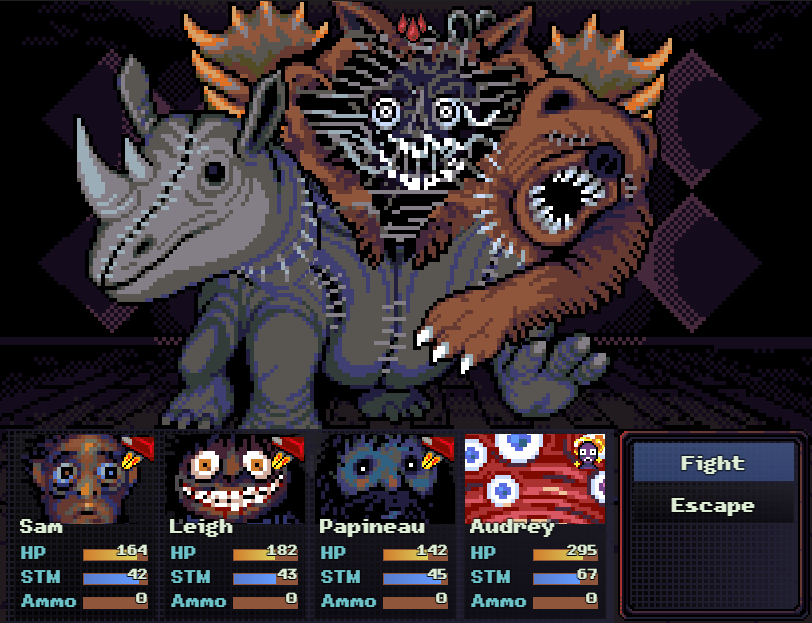
: This is the final stage. Once the moose head opens up, it starts using a full-party corruption damage attack that does a percentage of current HP.
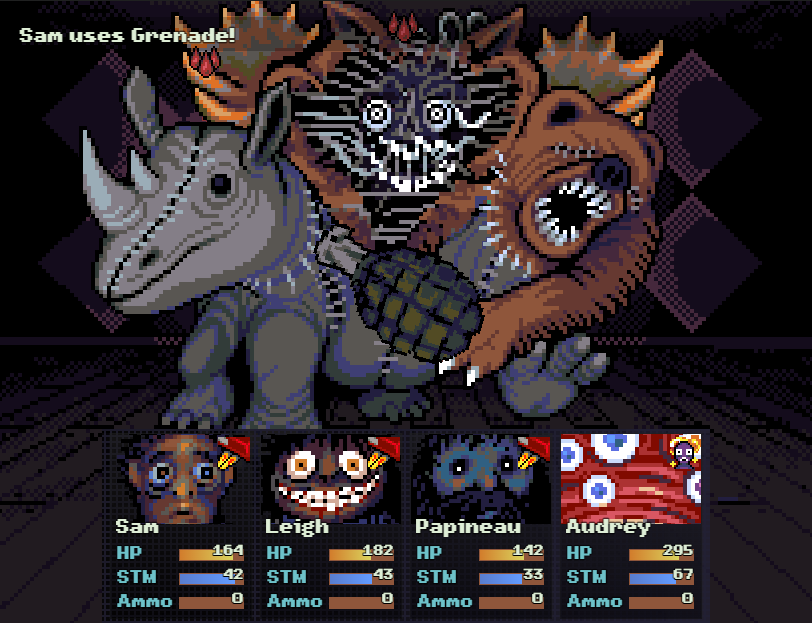
: A grenade, combined with Pain and the stage 3 bleed debuff is enough to kill the moose. The other heads don’t last much longer.

: On Cursed, Taxidermy has two extra heads in its final form and is much more likely to use an attack we haven’t seen. If it kills a party member, it can take control of them.
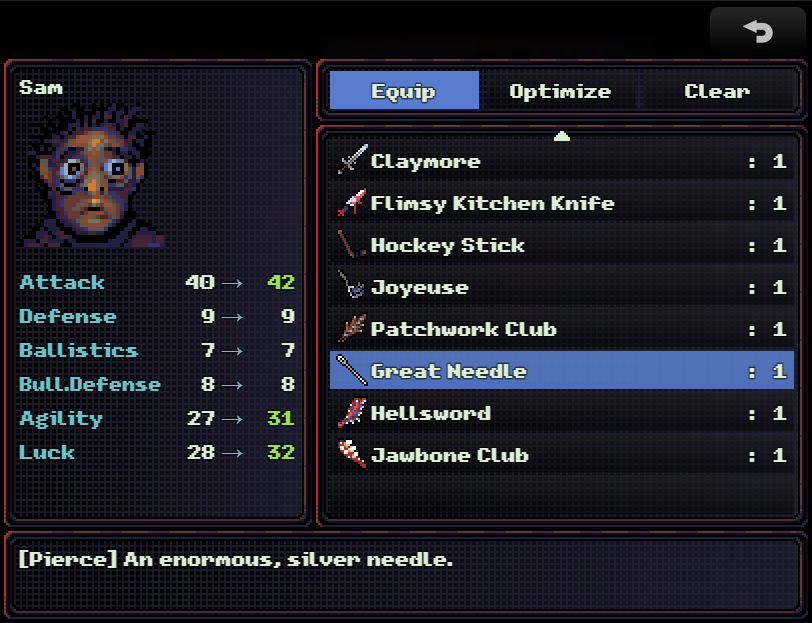
: It drops the Great Needle, which is a pretty good pierce weapon, as well as a Suturing Kit. The kit has 10 charges and works like a First Aid Kit, but only restores 20% HP instead of 50%.
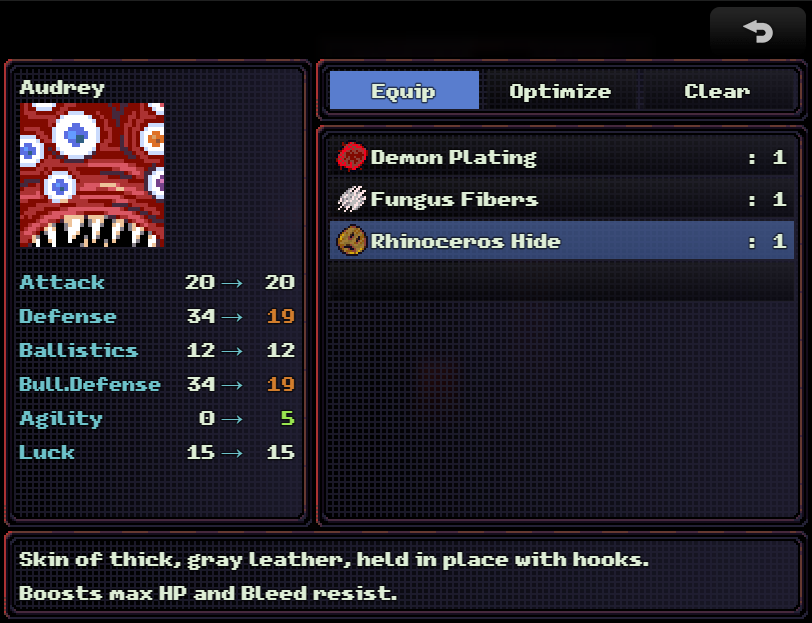
: Audrey gets a Rhinoceros Hide, which I’ve never used.
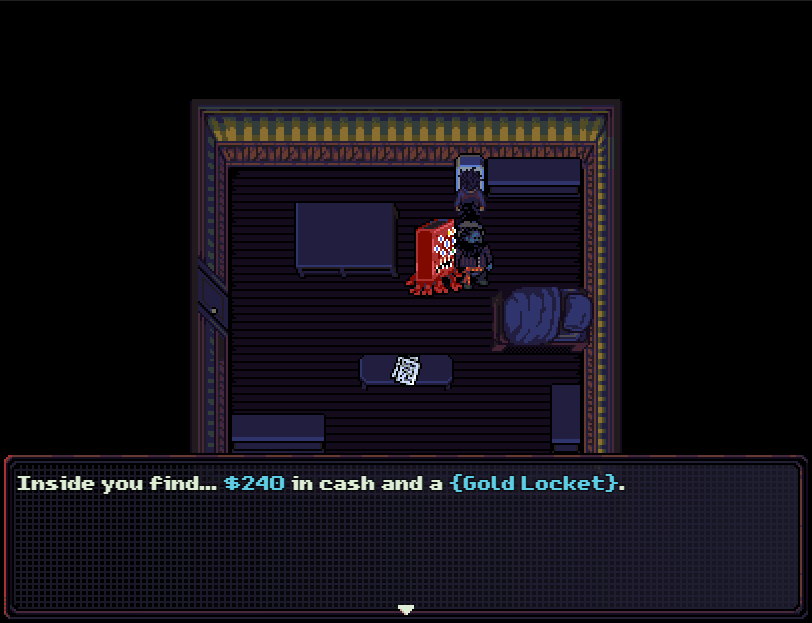
: On the way back, I open Edwin’s safe with our key. The gold locket is an accessory that reduces incoming crushing damage.
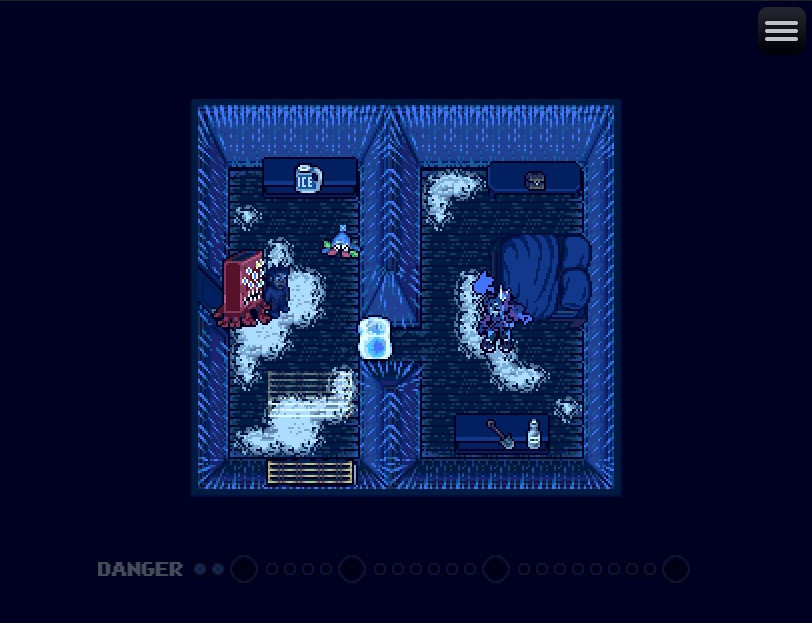
: Since we’re already up here, let’s do this apartment. If you have Xaria and Monty, Monty can get you in here for free.
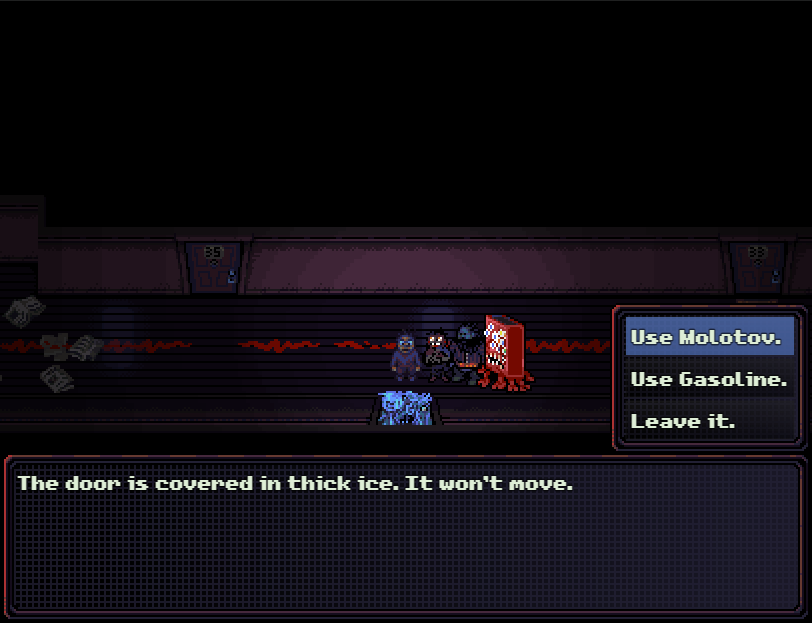
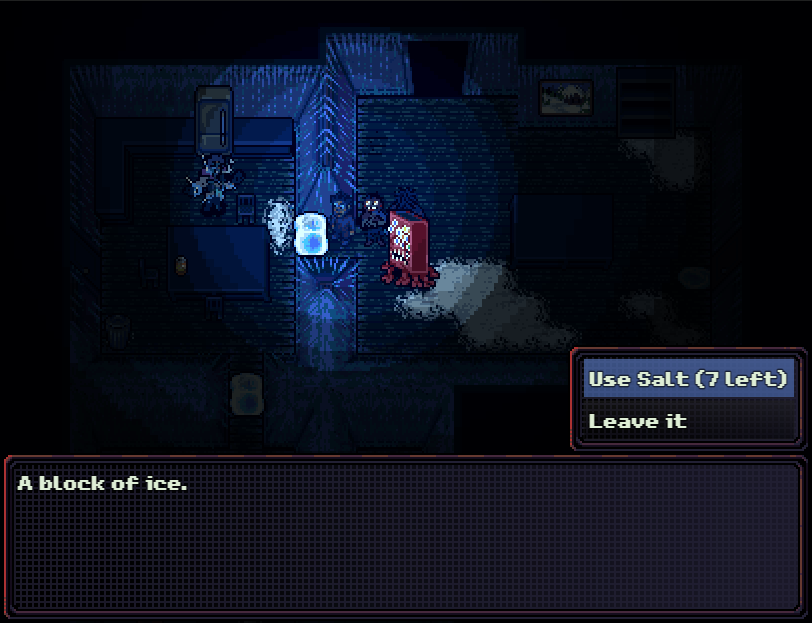
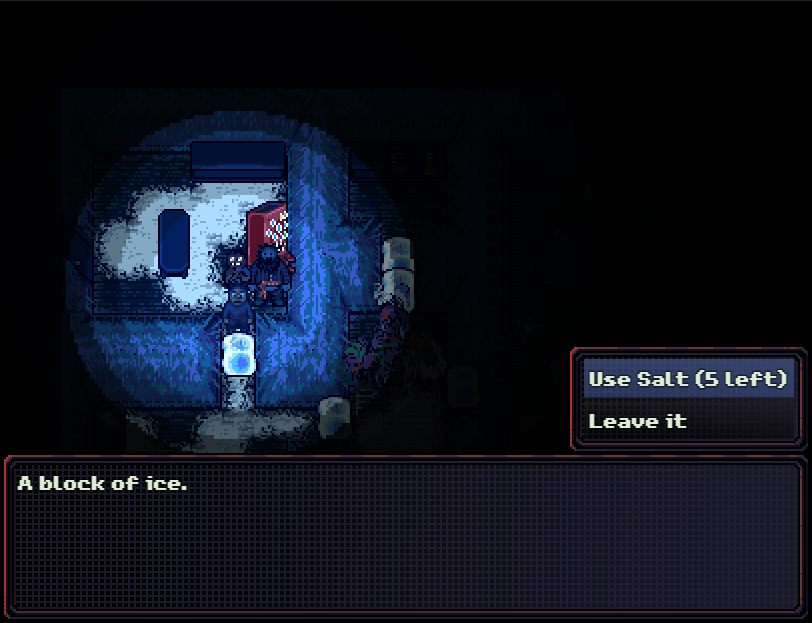
: This apartment has ice blocking off most of the rooms. The only way to melt it is with ice melt salt. Each jug can melt four blocks of ice.
: If you haven’t unlocked the janitor closets, there’s a specific route you need to take. One of the janitor closets on the ground floor has more salt in it.
: We start by going to the right, which uses one salt charge but gets us four more. The enemy on the ground there is something we’ll see later.
: Now we head to the left, and melt this ice block.
: The enemies are a Tuque and a Trapper Hat. These would be a threat if we came here on Day 1 or Day 2, but at this point they die before they can do anything.
: We go through the door and melt both of these ice blocks while dodging the enemy.
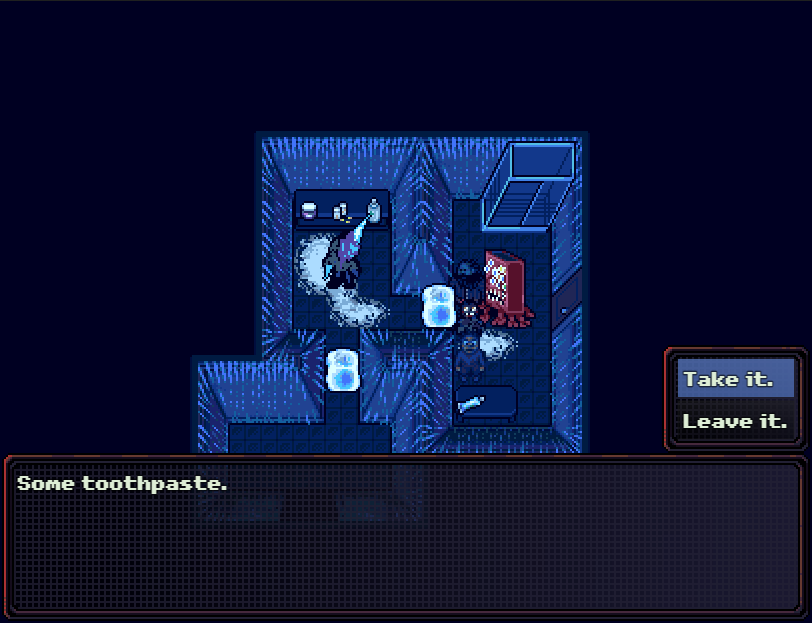
: This gets us some bleach and another four salt charges. We now have enough to get to the boss.

: Before I get this block melted, the enemy nearby attacks.
: The Balaclava isn’t any more of a threat than the Trapper Hat was.
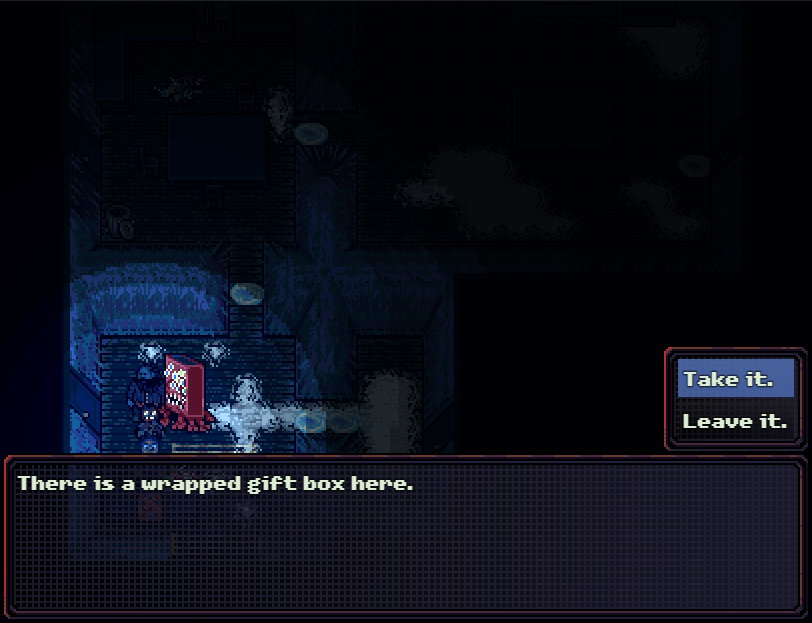
: Our third wrapped gift is in here, and it’s an explosive. I could have used that back when we were fighting the SWAT Truck, but we can put it to use in Henderson’s apartment.
: The next room is straightfoward - we can melt all the ice in here.
: More loot for selling. By the end of this update, we’ll have enough money to fight Henderson. I’ll do that next update, when we’ll also finish the game.
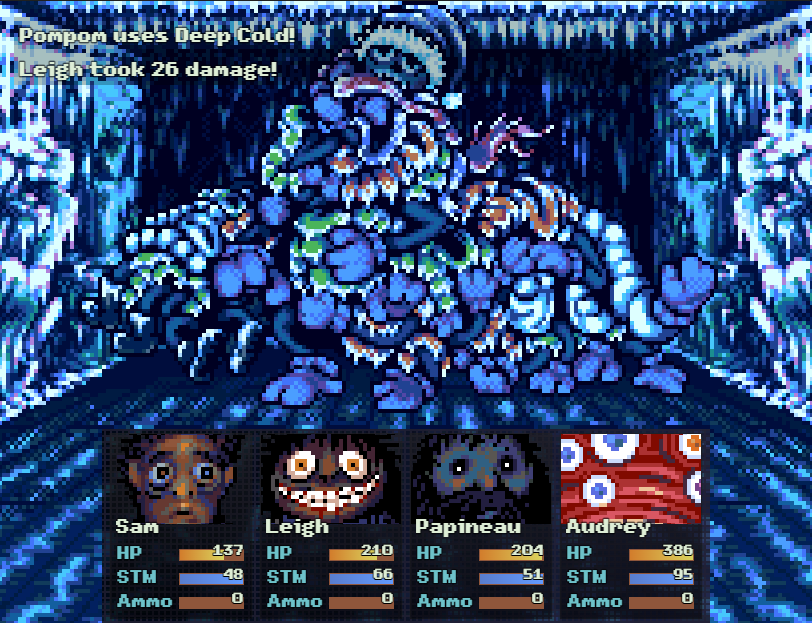
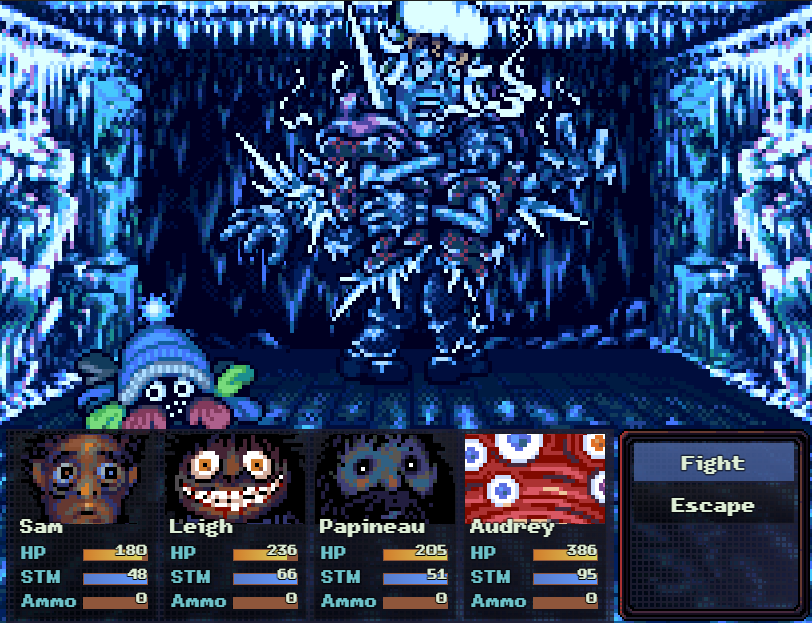
: In the middle is Pompom, who is a threat if you come here early. Pompom uses cold-based attacks that have a chance to freeze - freeze is effectively a stun.
: Certain armor pieces, like the jacket we found in the sewer, have cold resistance. Papineau’s jacket is one of those.
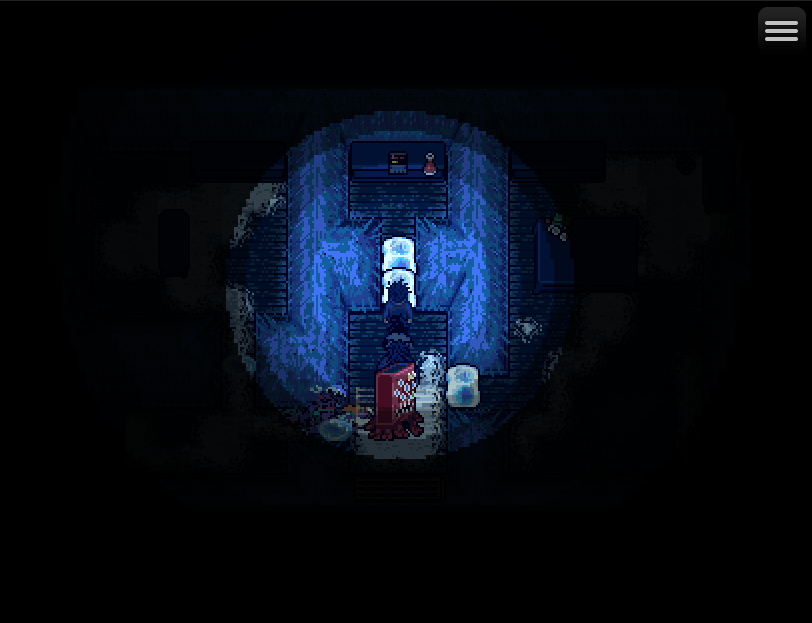
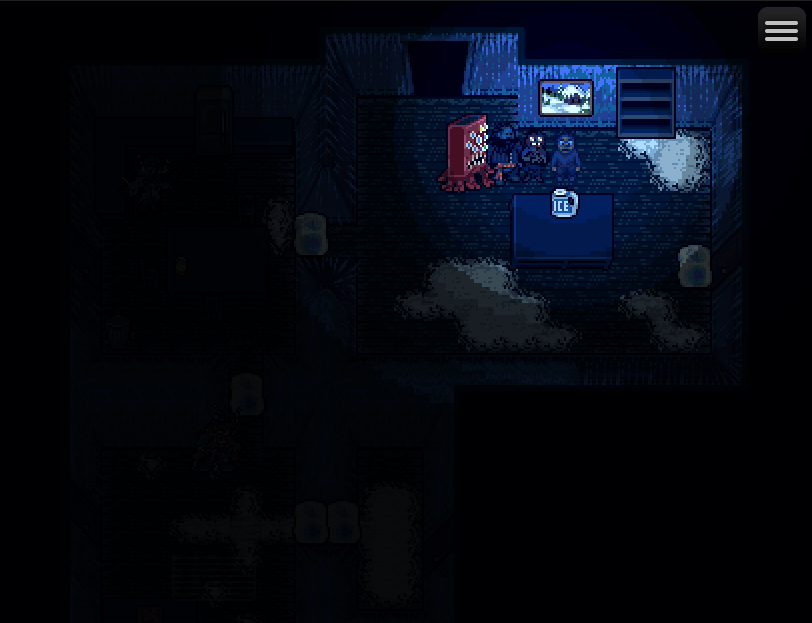
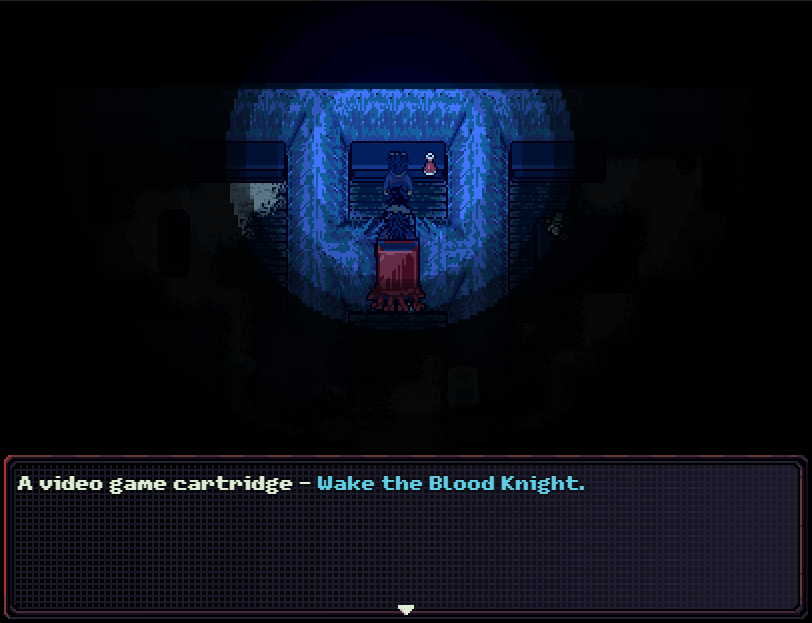
: Killing Pompom allows us to access a video game cartridge and another stimulant.
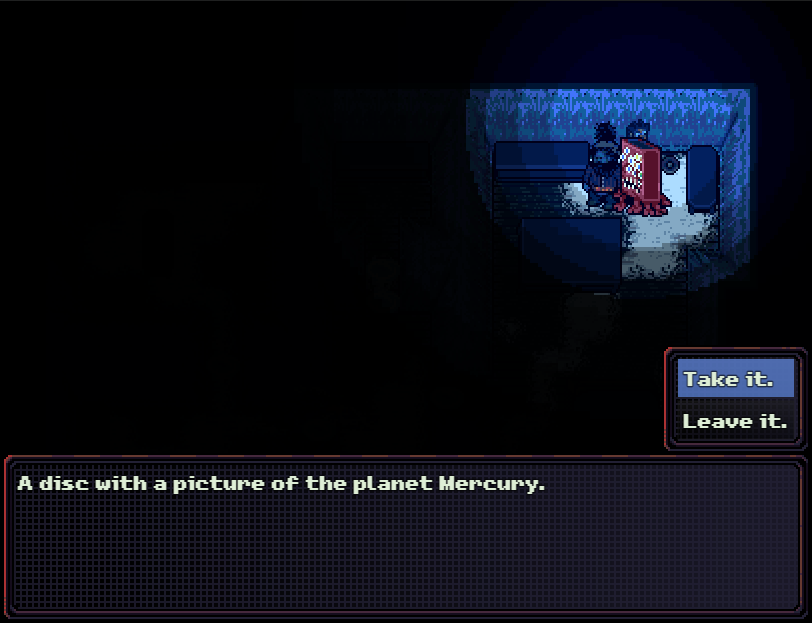
: And finally, we can get the Mercury Disc. With this, we have all the planet discs except Jupiter.
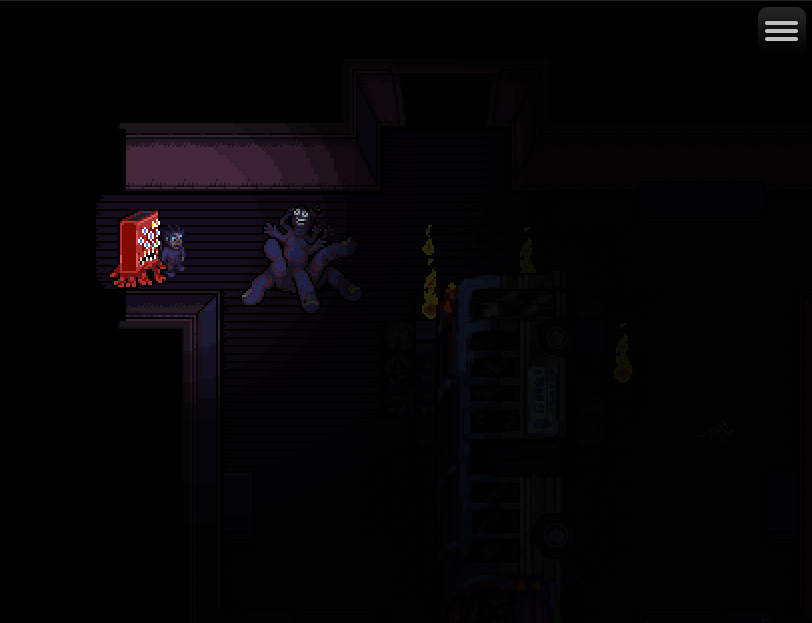
: Now that we’re loaded down with loot, it’s time to sell it. Let’s get rid of the Crawling Hand while we’re here.
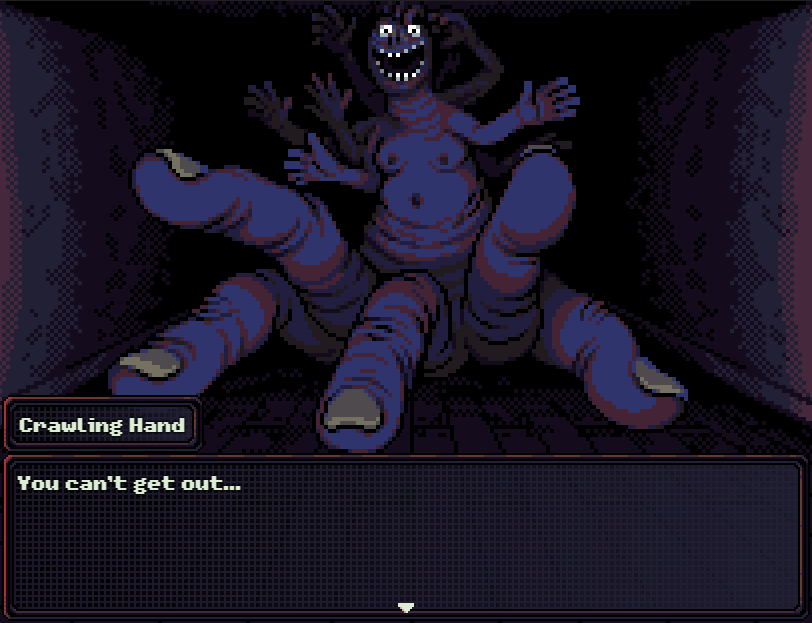
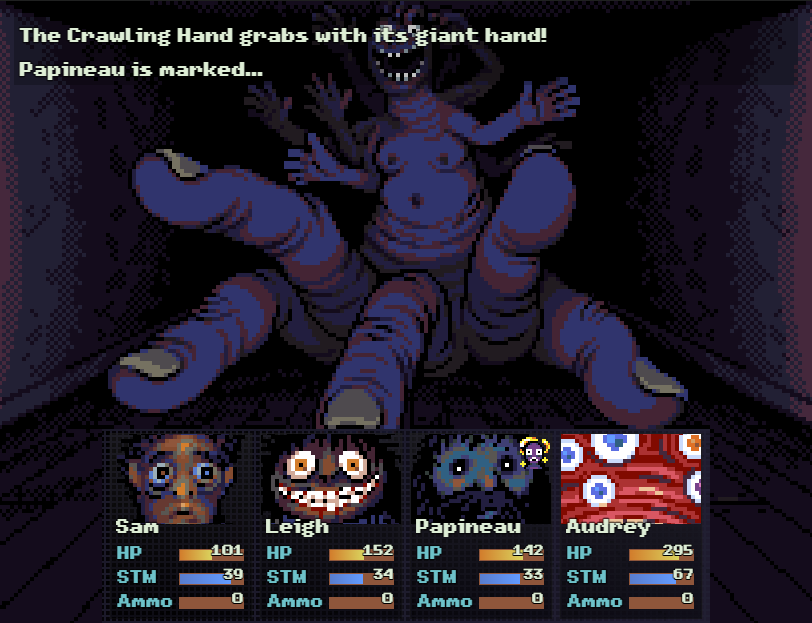
: The Crawling Hand has 420 HP and two attacks. The first is a four-hit attack that has a chance to stun. The second is a grab that drains a lot of HP if it hits.
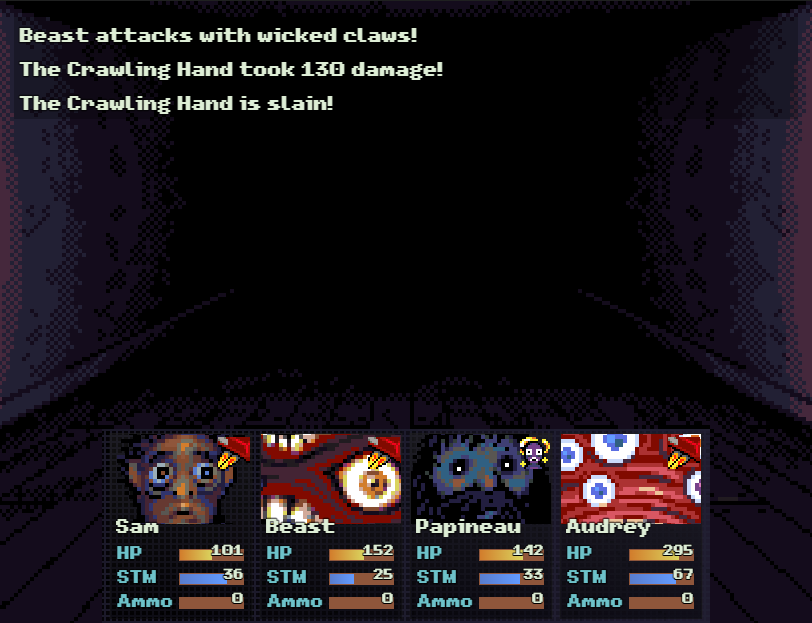
: We don’t even give it the chance.
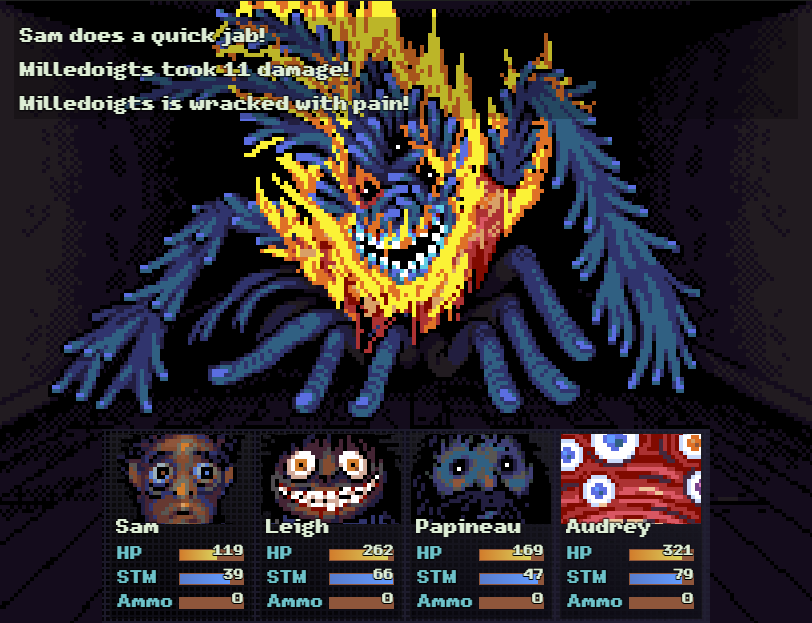
: I decide to take Milledoigts out as well. Milledoigts has the same four-hit stun attack that the Crawling Hand does, but doesn’t have the life drain. It has 480 HP.
: We still have time before Sam has to sleep, so let’s visit our friend Pierre.

: We have enough time to play one game, so let’s play Octocook. I should talk about that last cartridge as well.
: The unlabelled cartridge is in a room behind Jasper on the ground floor. To get in, you need to take the discs out of the ground floor lock and use the elevator.
: The outside lock needs the Earth and Uranus discs, while the second lock in this room requires the Sun and Mars discs.
: In the corner, there’s a machine that will tell you the value of any disc you put into it. This is what happens if you put in the Negative Disc, and how you’re meant to find out what the Negative Disc’s value is.
: In the back is the Unlabelled Cartridge, which takes you to Glitch World if you use it on the console in the Meat World version of Sam’s apartment.
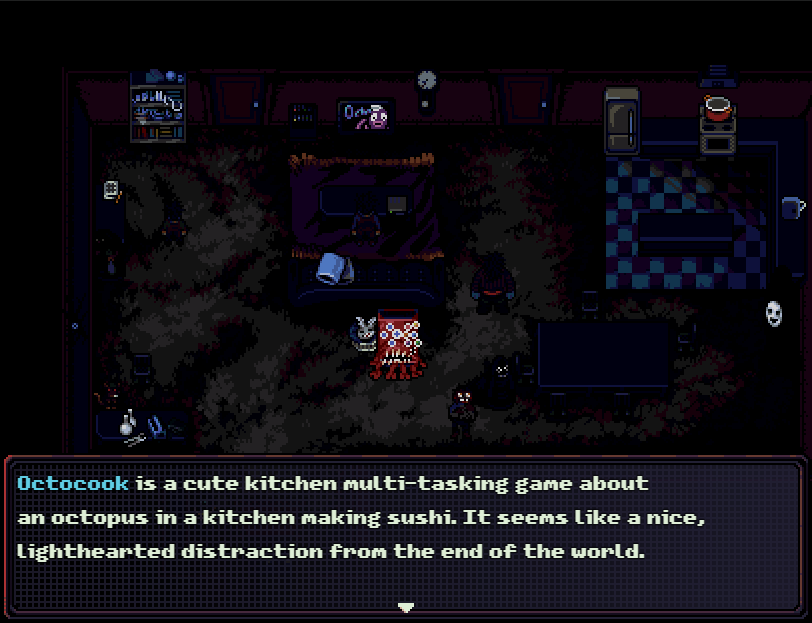
Octocook is a cute kitchen multi-tasking game about an octopus in a kitchen making sushi. It seems like a nice, lighthearted distraction from the end of the world. The game is fairly simple. The octopus manages orders in a kitchen. Each order corresponds to a button - you have to press the buttons in the right order or else you mess up the food and have to s tart again. It’s not too hard, but fun.
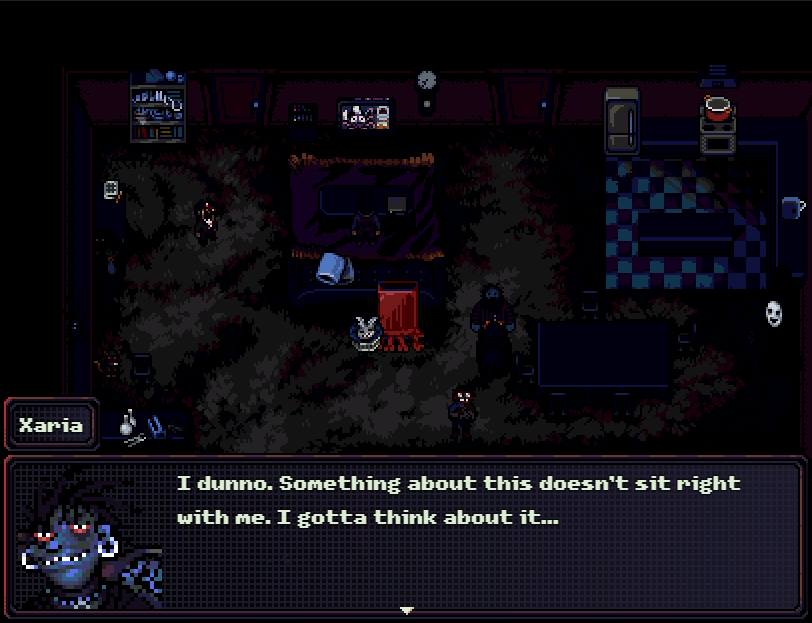
Xaria watches with her arms crossed, a sour expression on her face.
Bosses Defeated: (100 pts)
- Grinning Beast
- Stargazer
- Baby Teeth
- Rat King
- Rat Chimera
- Crawler
- Sewer Beast
- Enforcer
- SWAT Truck
- Hellride
- Garbage Worm
- Electrophage
- Guardian
- Spore Mother
- Taxidermy
- Pompom
- Crawling Hand
- Milledoigts
Total: 1800 points
Bosses Defeated: (Not Counted)
- Elevator Thing
- Olm
Party Members Recruited: (200 pts)
- Leigh
- Papineau
- Joel
- Audrey
- Xaria
- Monty
Total: 1200 points
Party Members Recruited: (Not Counted)
- Ernest
- Lyle
- Aster
- Phillippe
Total: 3000 points

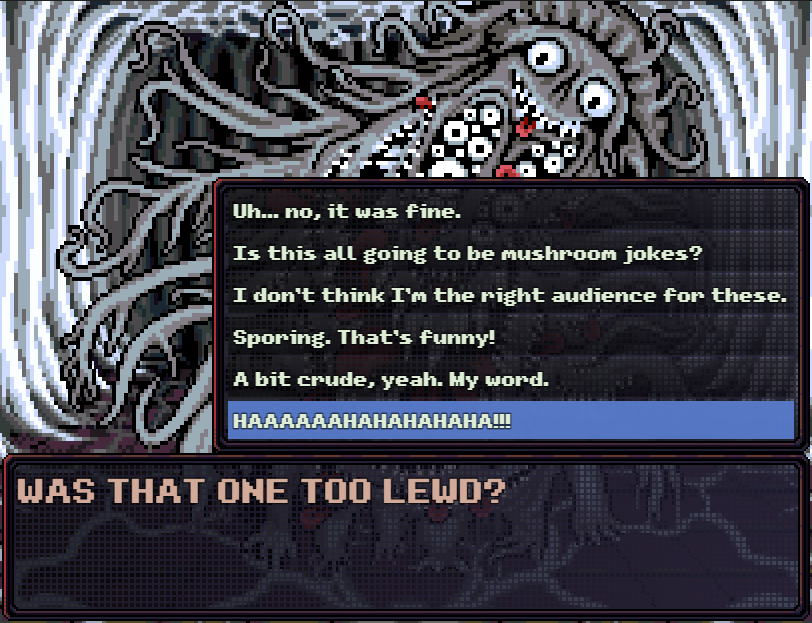
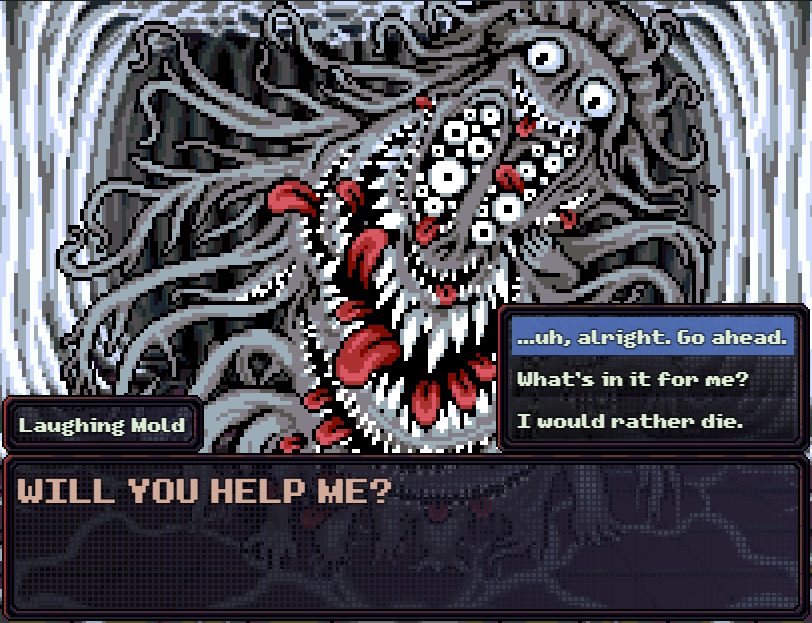
: The Laughing Mold has a bunch of extra dialog. Let’s say you answer this every time it asks you how its jokes are. When you get to the “truffle off this mortal coil” bit…

: If you answer that way every time, he gets suspicious.
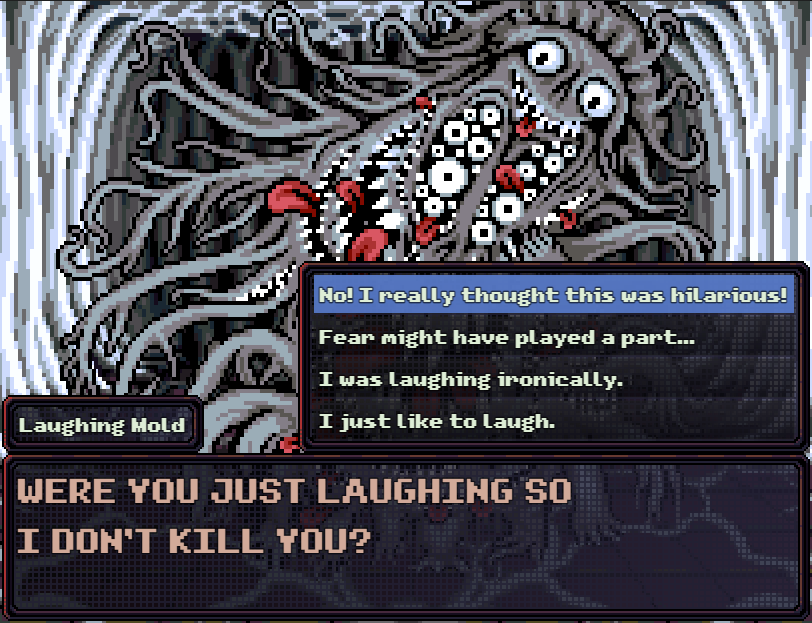
: Pause for the laugh track.
: This one actually did get me when I did it on my first playthrough.
: Sadly, this doesn’t lead to a Laughing Mold/Pierre scene. I almost feel like @-ing Francis Coloumbe on Bluesky and asking him to add that to the final patch.

: I did look up the game on AO3 and there are a number of fics but none of Pierre. They are almost exclusively Phillippe/Sam gay sex fics, which is kinda fucked up. You’ll understand when we see Phillippe’s dialog post-revival.
: There are a few Fred ones as well, including several where he literally fucks himself.
: I really like this scene though. The fact that the mold catches on if you’re being insincere feels like the kind of thing that should’ve been in BG3.
: If you go back to the camp in the basement, you can find the Laughing Mold there once the Spore Mother is dead.


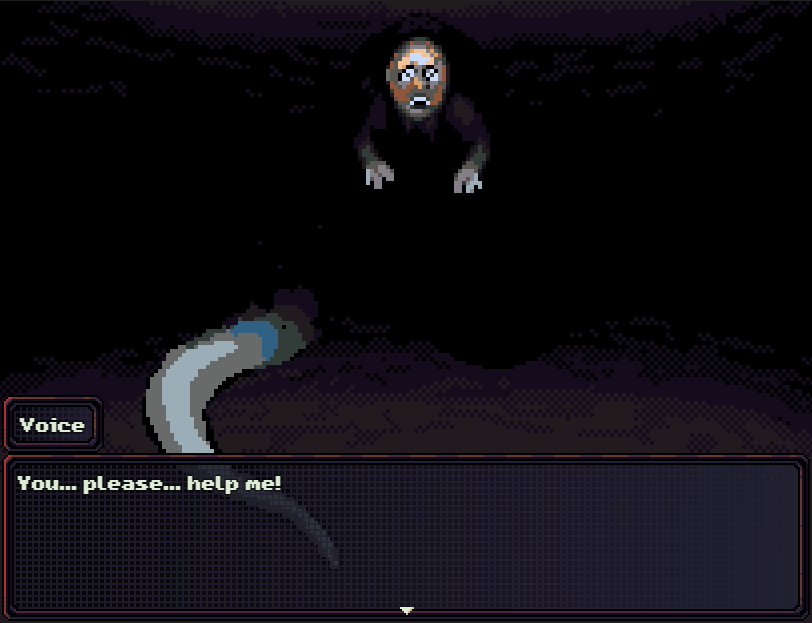
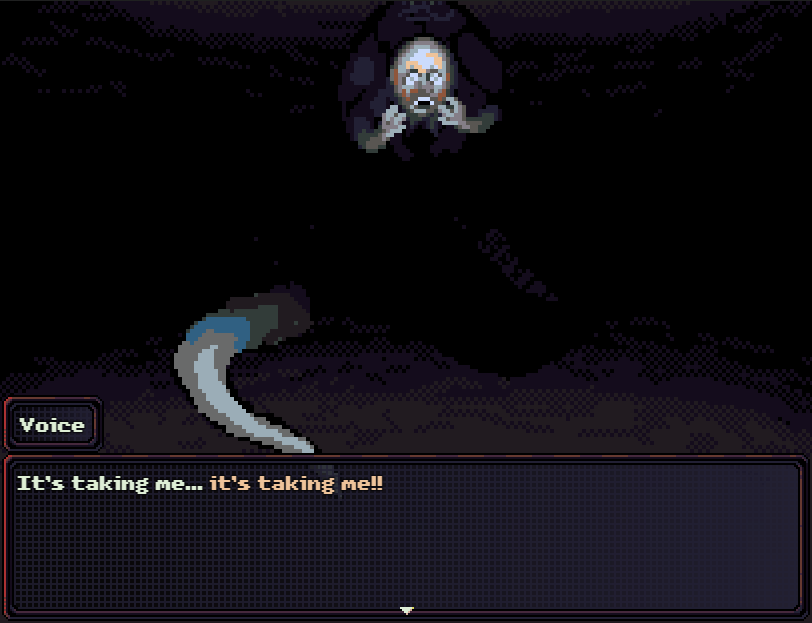
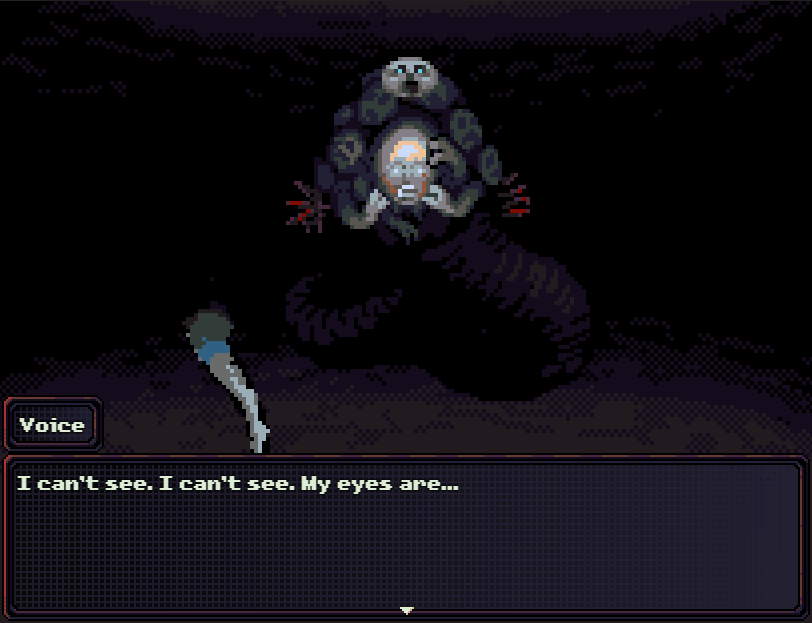
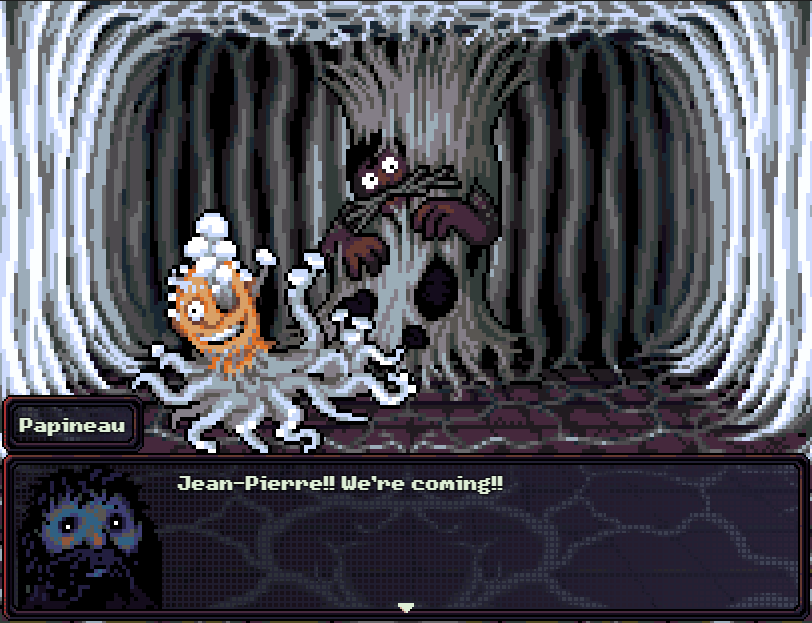
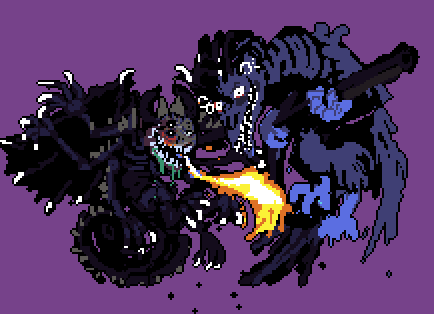
: There’s a chance that when Xaria and Monty show up, something else happens. The chance starts at 3% and increases with each passing day.
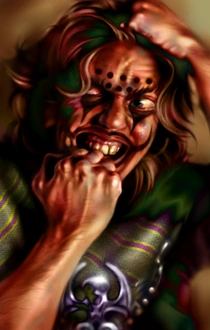
: This thing is called the Limb Thief, and has absorbed Xaria and Monty. You can only learn his real name if you play D&D with Monty in the group: his name is Guillaume.
: He can drain stamina and cause status effects, but only has 300 HP.
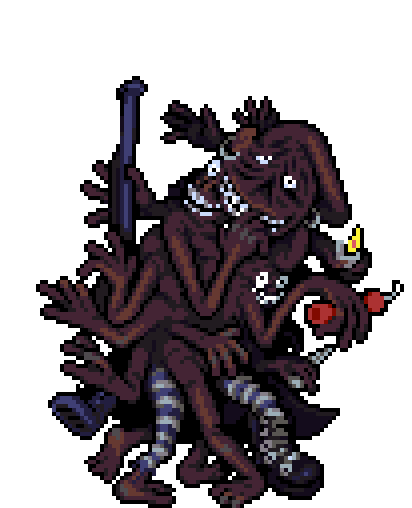
: Speaking of fucked up Xaria and Monty, at one point there was supposed to be a thing at the end of the game like LISA The Painful where you had to fight mutated versions of your party members.
: This is what Xaria and Monty would’ve looked like.
: Finally, some achievement pics. This one is for recruiting Phillippe - the achievement is called “He’s real, god damn it!”

: This one is for bringing Phillippe back once the Spore Mother is dead. It should give you a pretty good idea of how Phillippe feels about this.
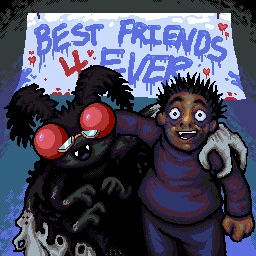
: This one is for recruiting Xaria and Monty. There’s a throwaway line from Phillippe later on (which I don’t know if we’ll see) that confirms that Papineau and Xaria are actually blue - that’s not the lighting.
: Next time, I’m going to do a side update to show what’s in the pit under where Charan was, as well as a side area we’d have no reason to visit on the best end route.