
Summary
 : I just spoke with Salty Vanilla this morning (he contacted me) and he’s making progress on that last picture for the BG3 LP. Let’s do Day 2.
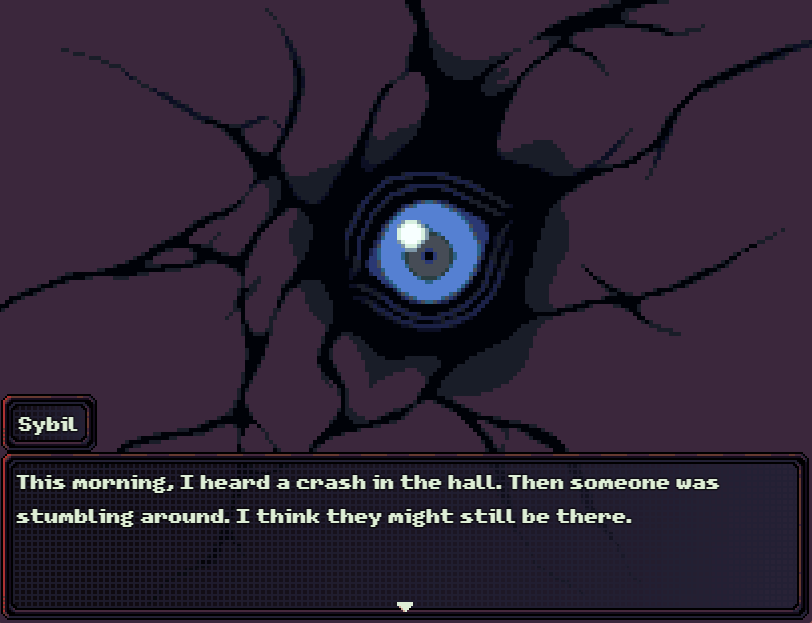

: Sybil will mention one important thing now that we’ve met Aurelius.
: Fred’s apartment is right down the hall from Aurelius, but we might as well get a full party before we go in.
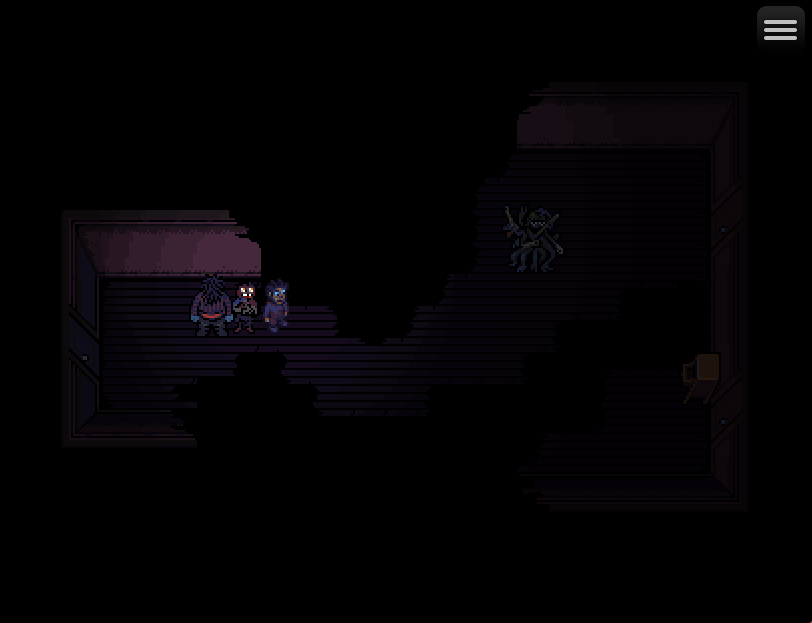
: The door across the hall has been kicked in and there’s some kind of zombie a perfectly normal Canadian dad standing in the hallway. We’ll deal with him later.
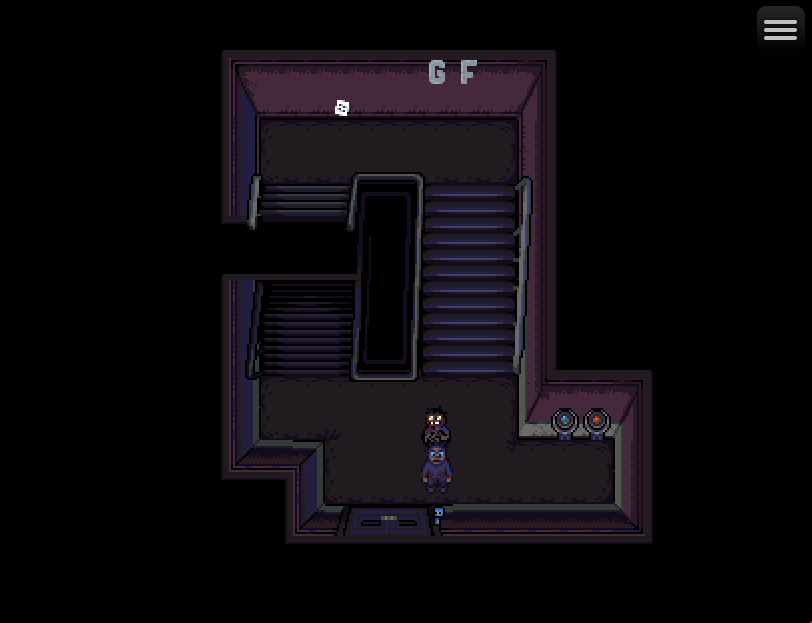
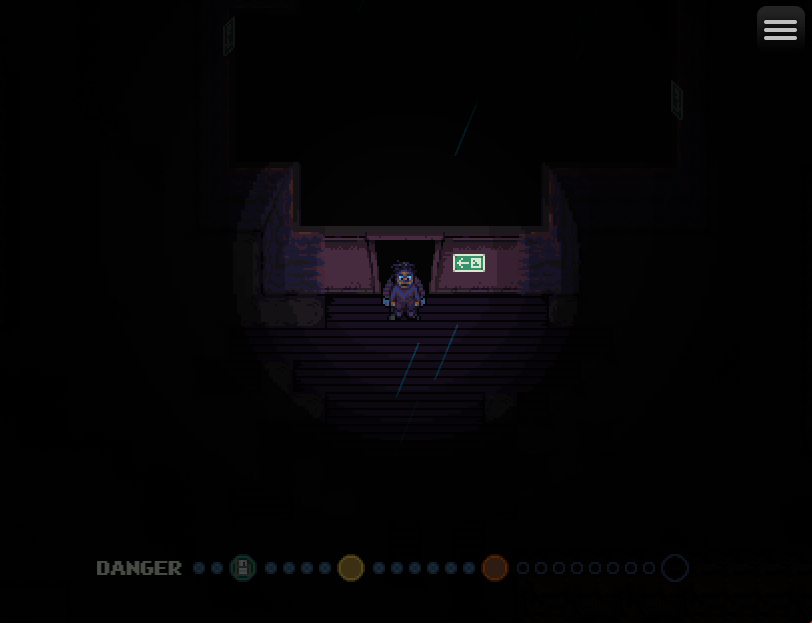
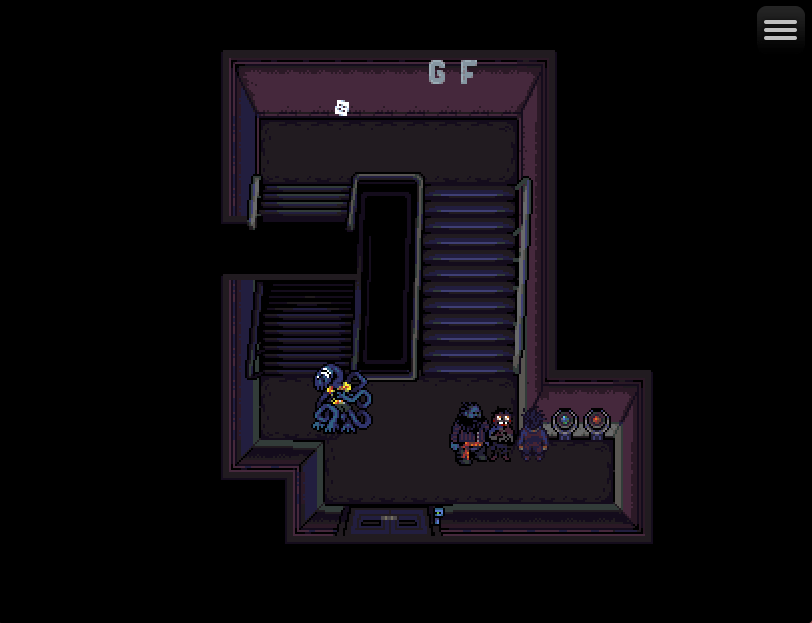
: We can now go to the ground floor using the Earth Disc and Mars Disc.
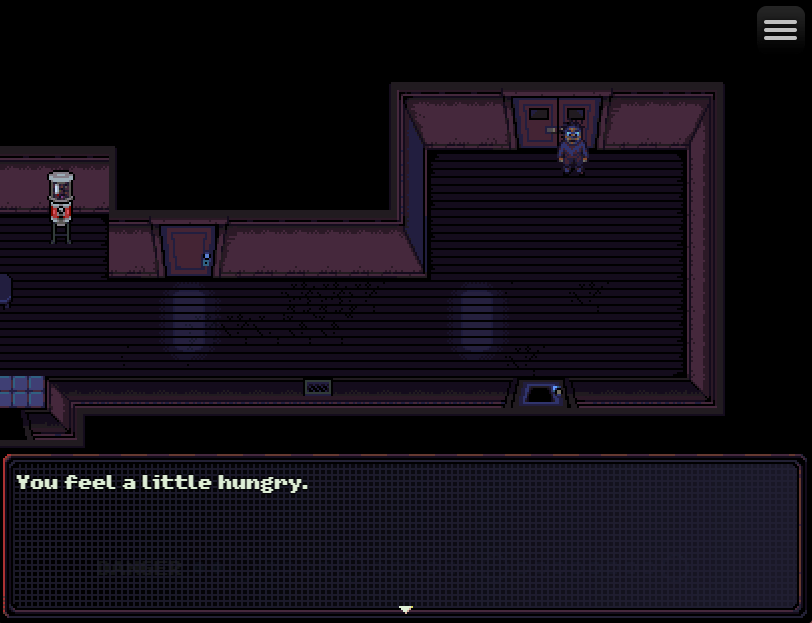
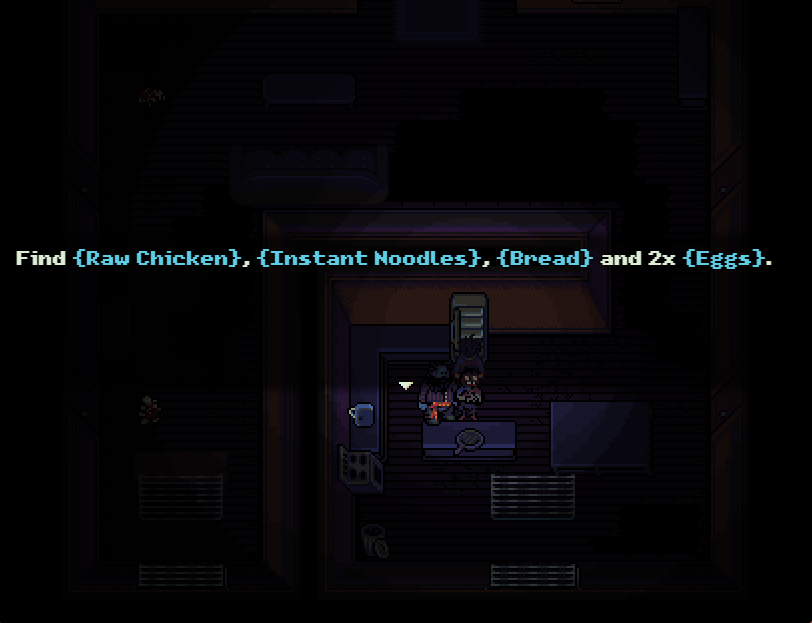
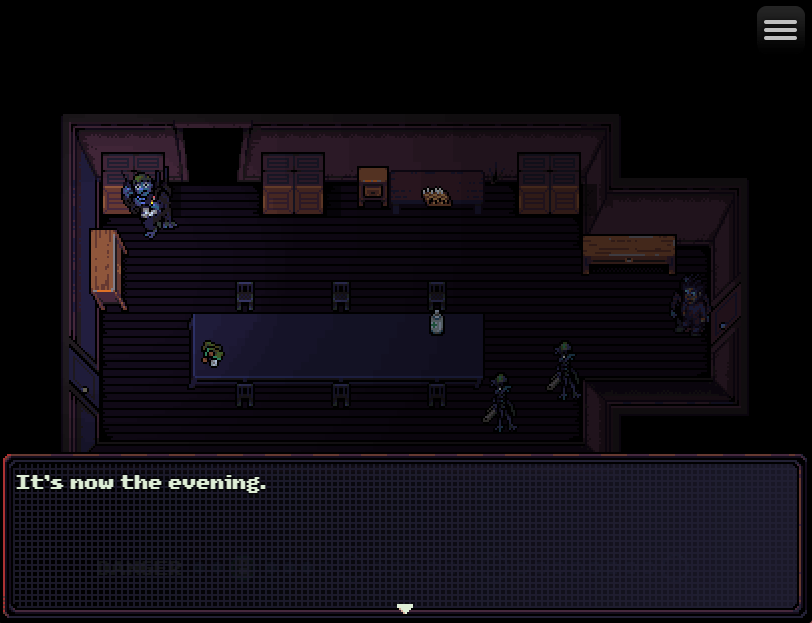
: Sam’s hunger meter is depleted, so I’ll need to go reload and feed him. Before I do that, let’s explore this area.

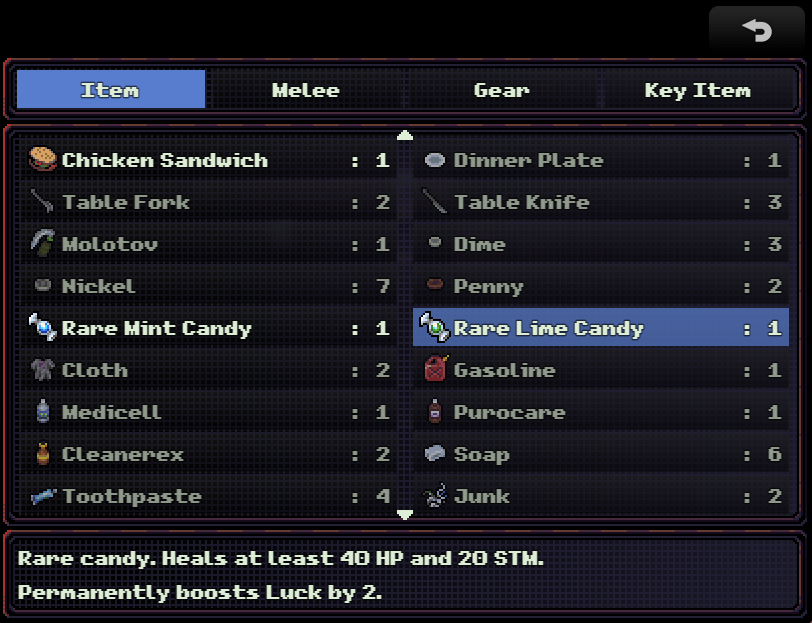
: Down here is a candy machine. This is what you want to spend all your quarters on. The candy machine has a chance of giving you permanent stat buffs.
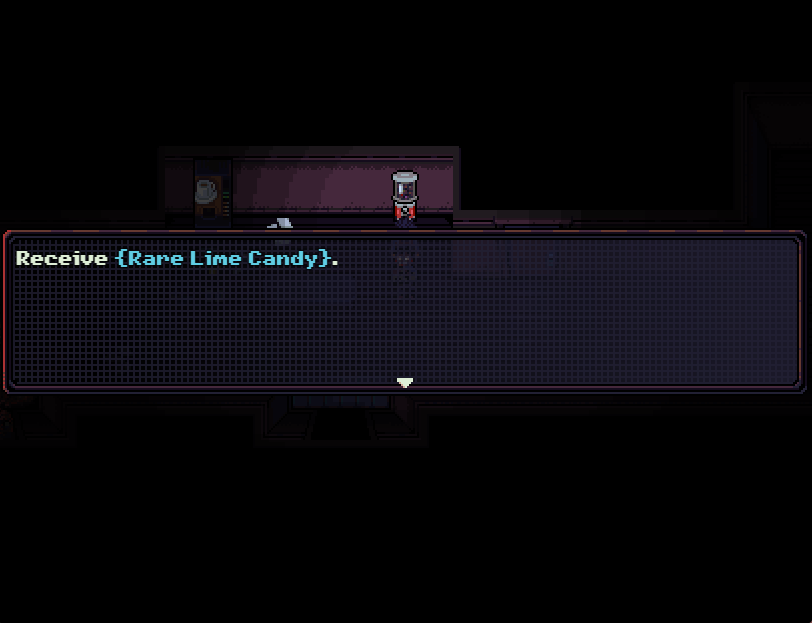
: These aren’t the ones we want, so it’s a good thing I’m reloading. Generally, you’re going to want to wait to give these to Audrey.
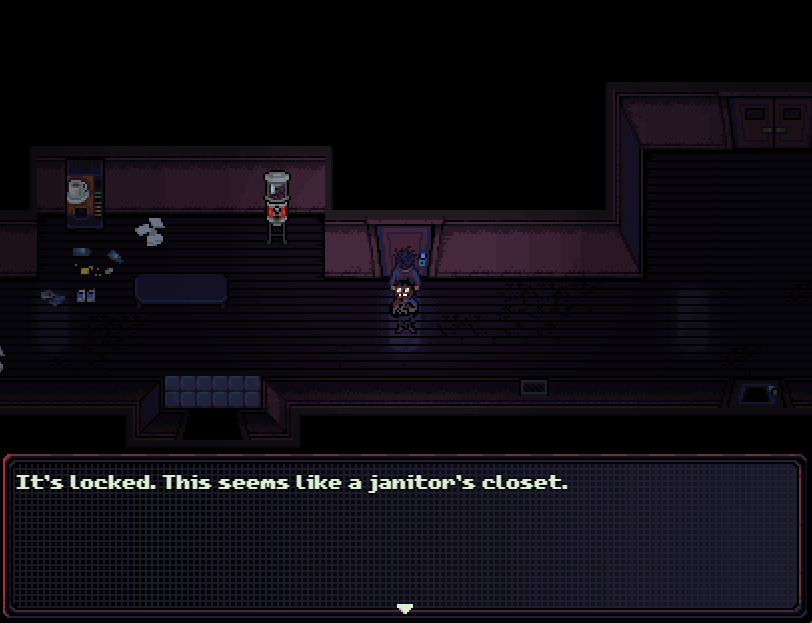
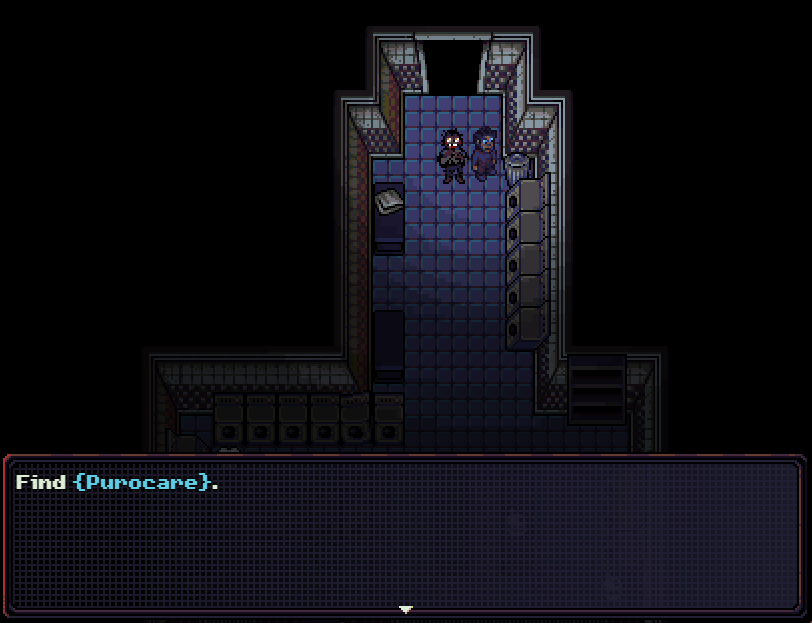
: This room is a janitor’s closet. There’s two closets on the ground floor, one on the second floor, and one on the third floor.
: This room is the laundromat. We might as well go in because it gets a bit harder to access later.
: One of the washing machines is moving ominously. If I remember right, Haunting Ground had a very similar jump scare.
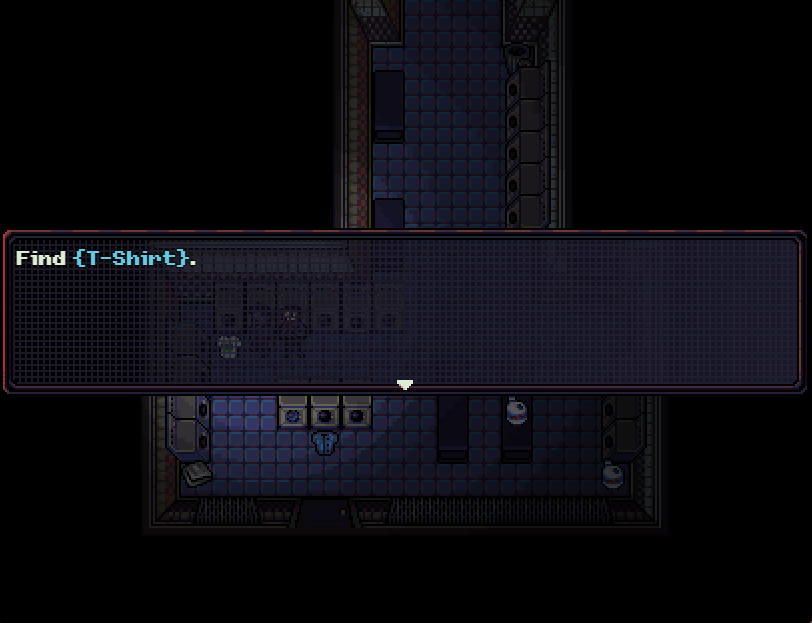
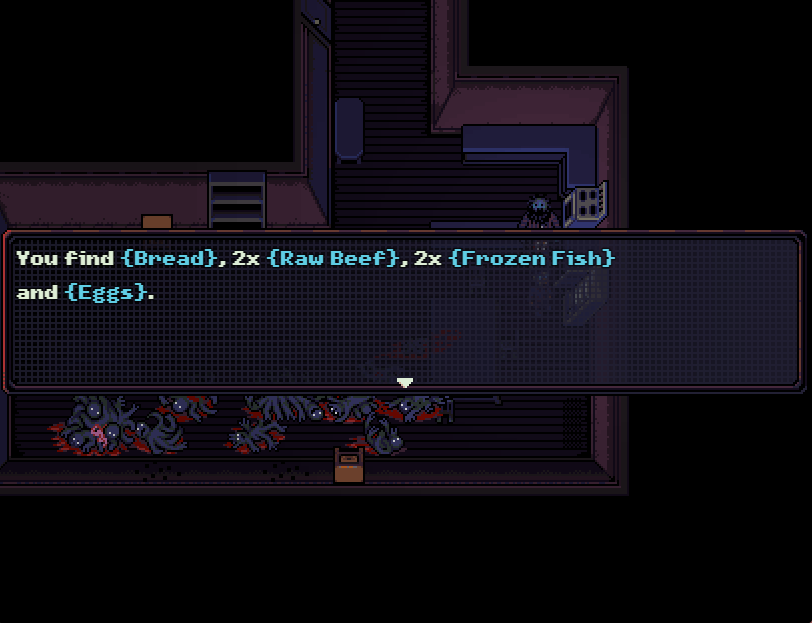
: We can take this t-shirt (which is useless) and another denim jacket, along with two jugs of bleach and some rags for making molotovs.
: Once we go past that row of three machines, some kind of Canadian cat jumps out of the washing machine. I assume this is what cats look like in Quebec.
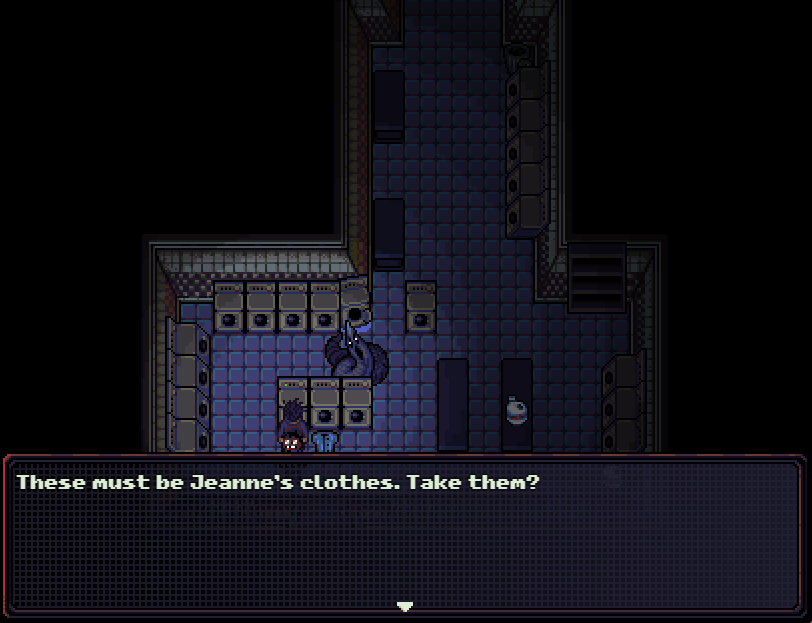
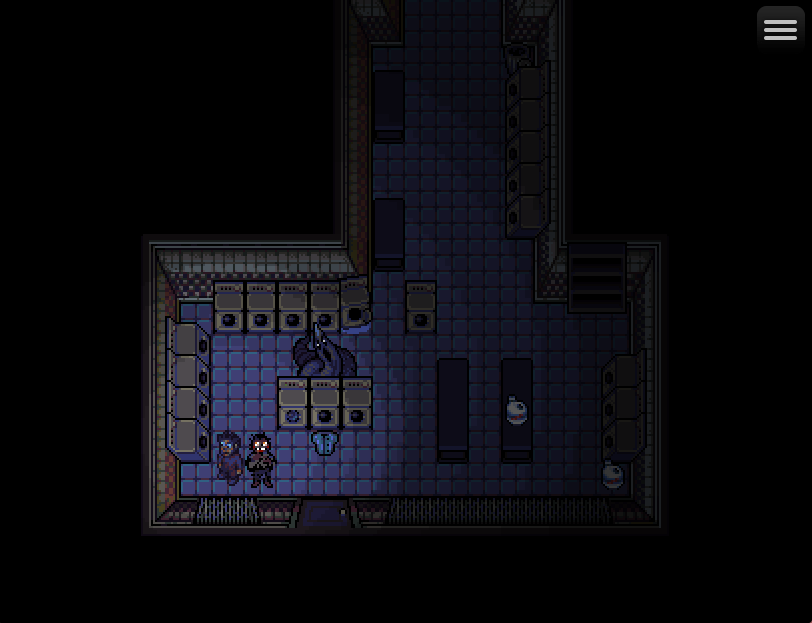
: The washing machine with the blinking light has Jeanne’s laundry in it. We’ll give this back to her at some point, preferably once everyone is high level and we have guns.
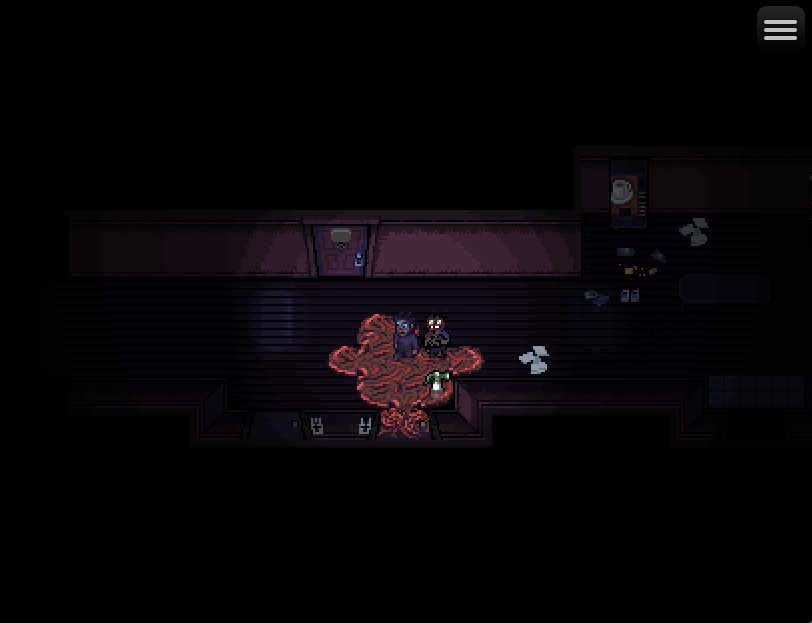
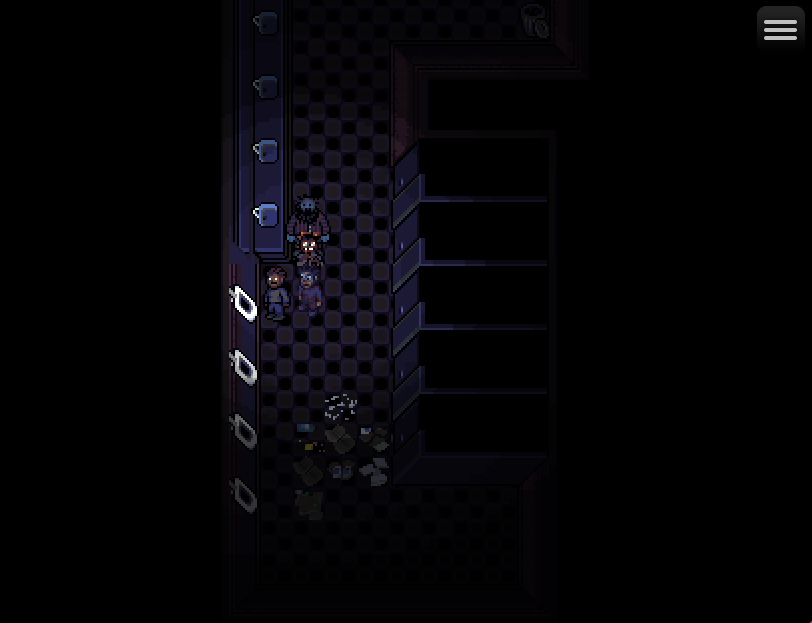
: Down the hall from there are two bathrooms and the landlord’s apartment, which is locked. That bottle next to the flesh door is important.
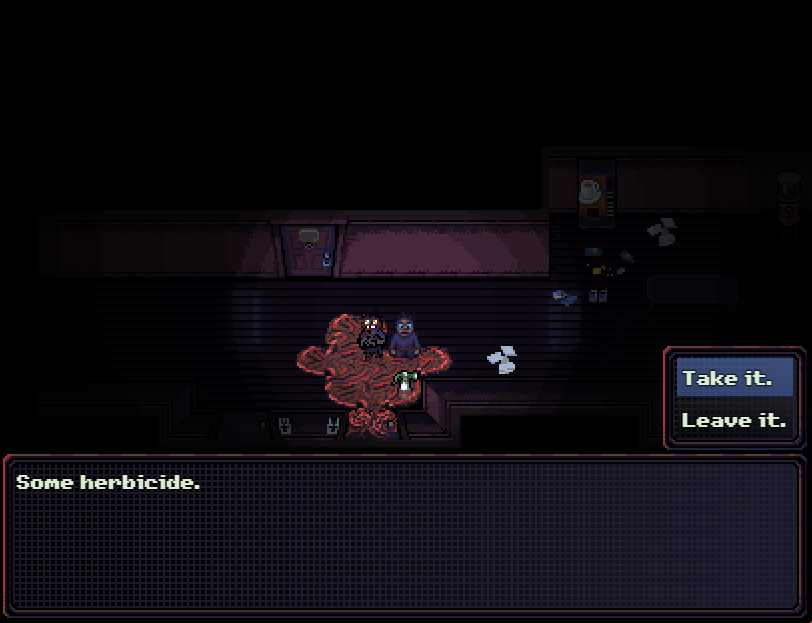
: This is your first bottle of herbicide. The apartment that just opened up on the third floor has vinegar in it, so we’ll use it on this door.
: The women’s restroom has a garbage can and a first aid box with bandages in it. We’ll leave the bandages for now.
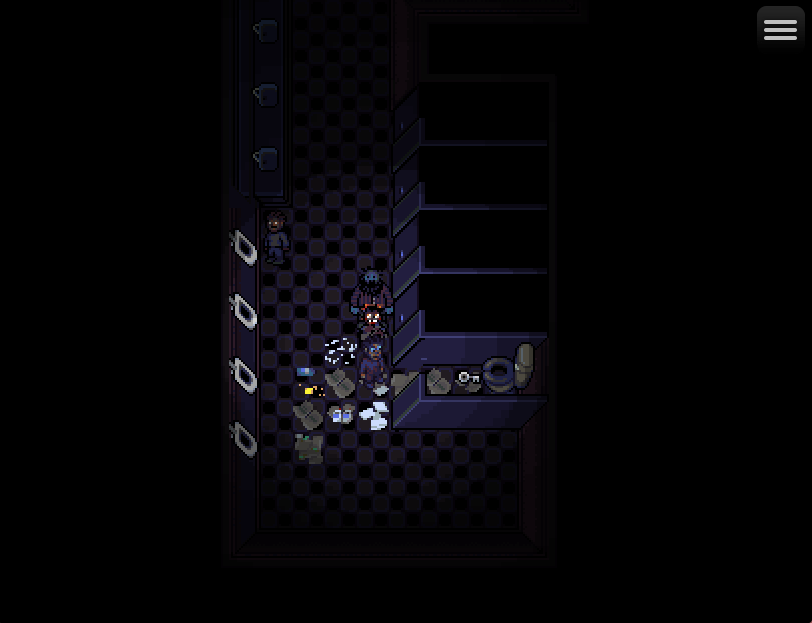
: Further down is a first aid kit. These are the only way to revive a KOed party member, and restore 50% HP. They can only be used outside of combat.
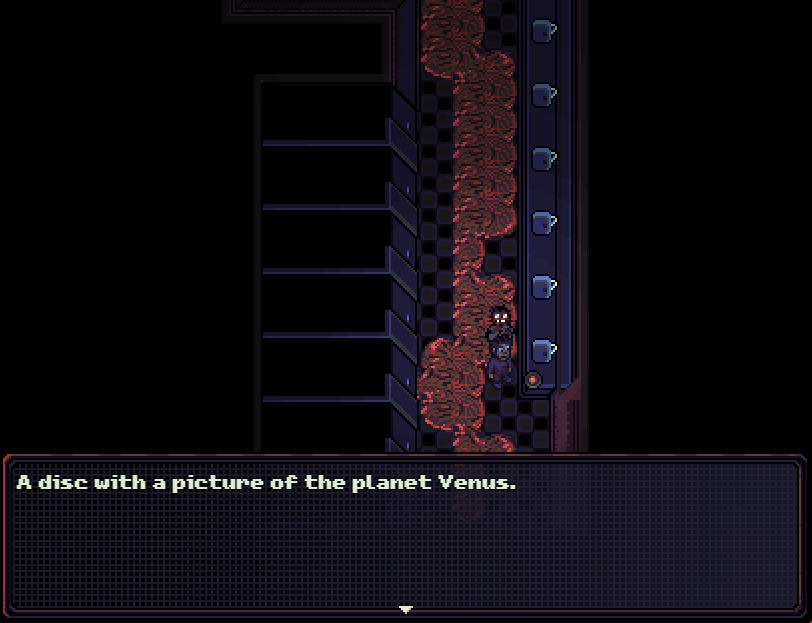
: And here’s the Venus Disc. We won’t need this for a while, but we might as well get it while we’re here.

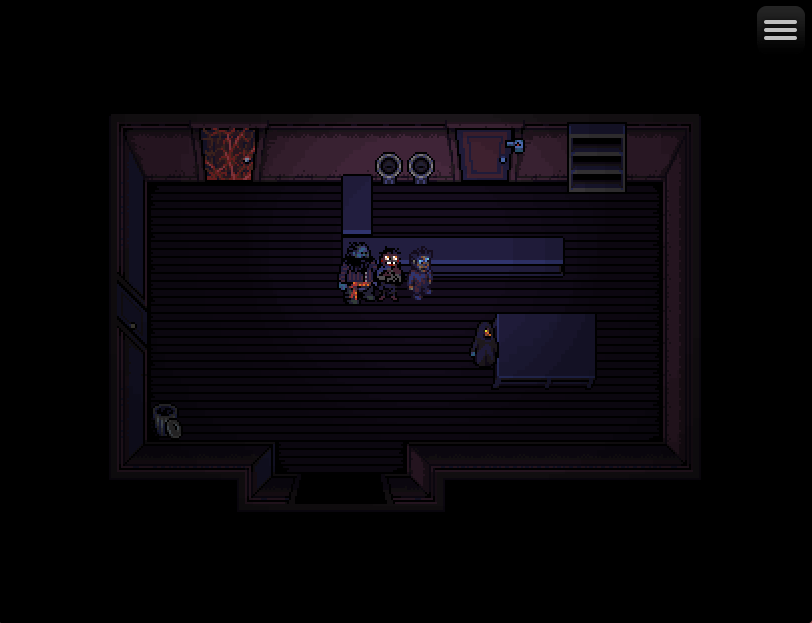
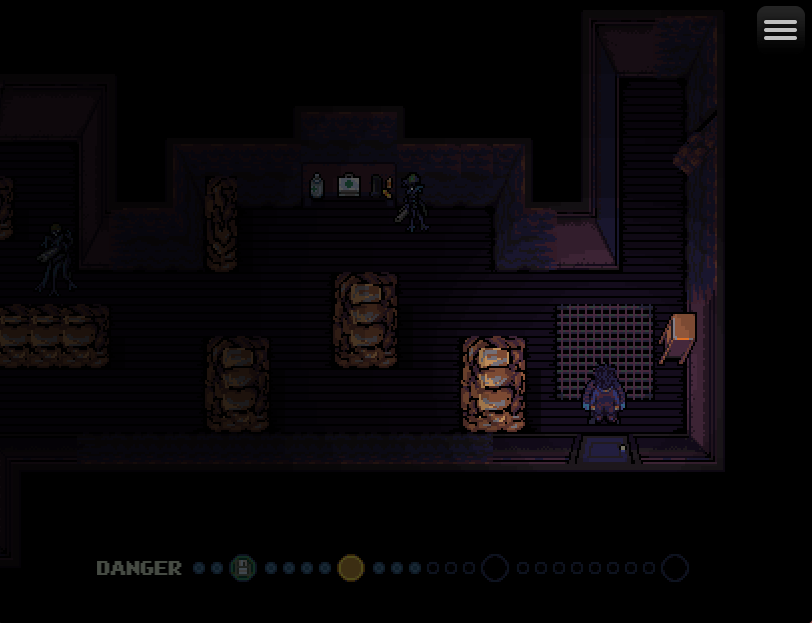
: The men’s restroom next door is very important to visit before we go any further. See that guy by the sinks? He’s a party member, and a VERY good one at that. I used him all the way to the end on my first run.
: The game checks how many permanent party members you have when you first open the ground floor. If you only have two (Sam and Leigh, for instance), this guy will be in the bathroom. Ernest and the Rat Baby do not count toward that limit, and I suspect that’s why they don’t count for party member points in the end-game ranking.
: If you have more than two, he’ll be in that locked janitor’s closet we passed by and won’t be accessible until you’ve cleared the basement.


: On Cursed, Papineau will want four bottles of Cleanerex before he’ll join you. You can find three of them on floor 3 and need to buy the fourth.
: This guy’s name is Nestor. He’s important to that sidequest I mentioned that comes from the bleeding pipe on Floor 1.
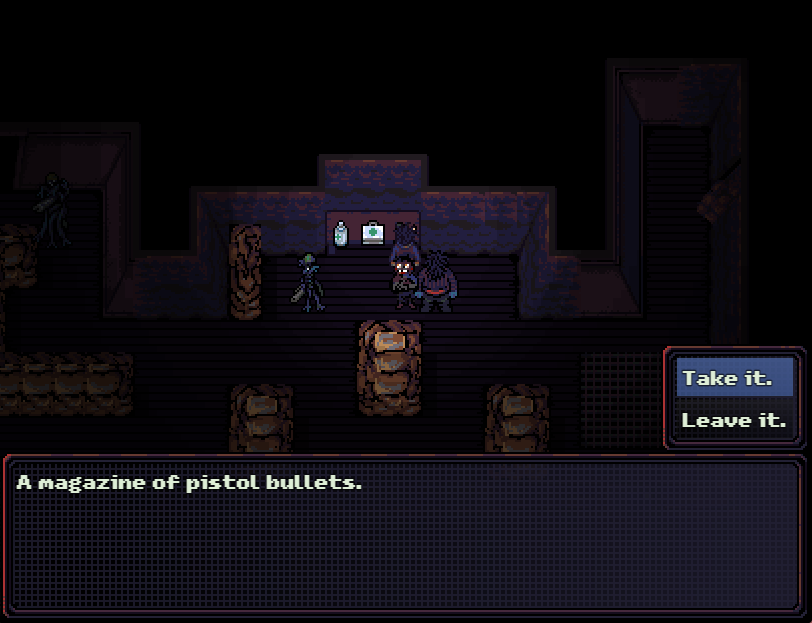
: There’s a free small key in this stall, so let’s grab that and move on.
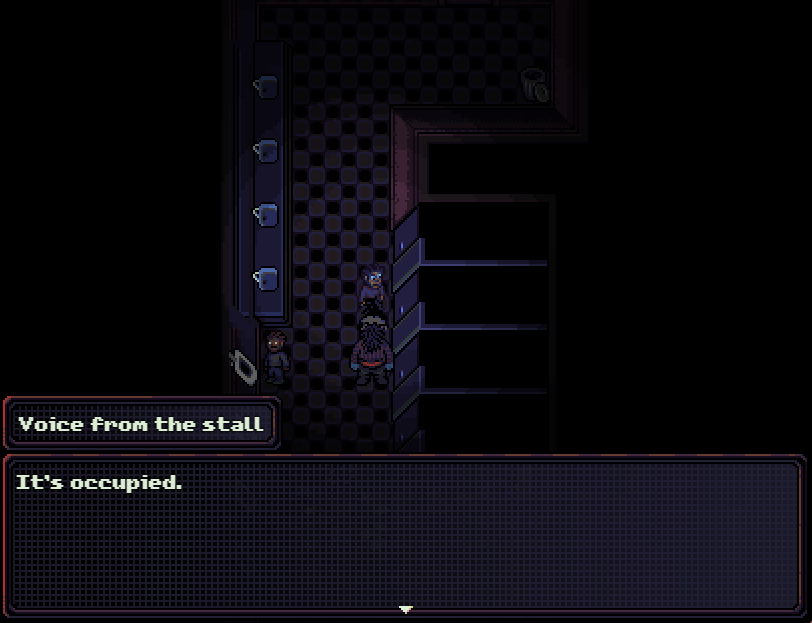
: By the way, there’s a person in this stall. He’s important to one of the esoteric bullshit endings and recruiting a party member.
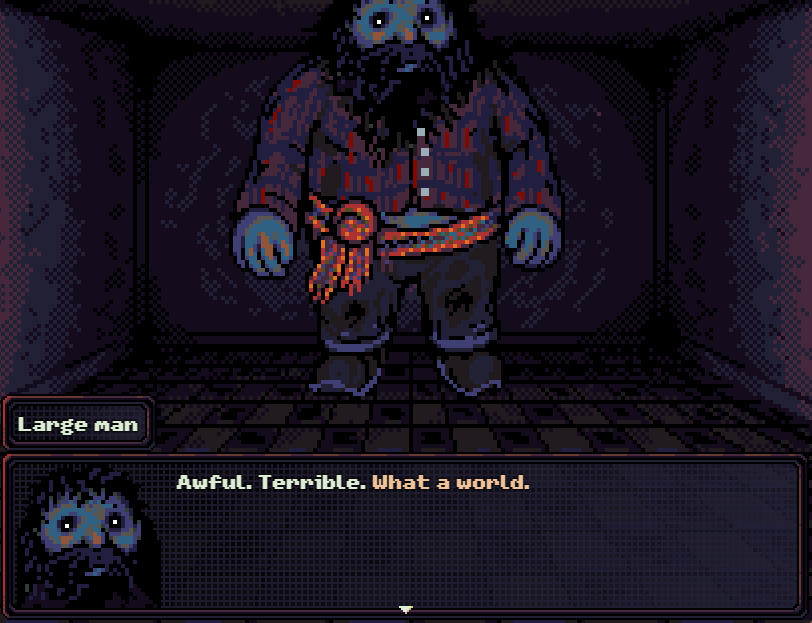
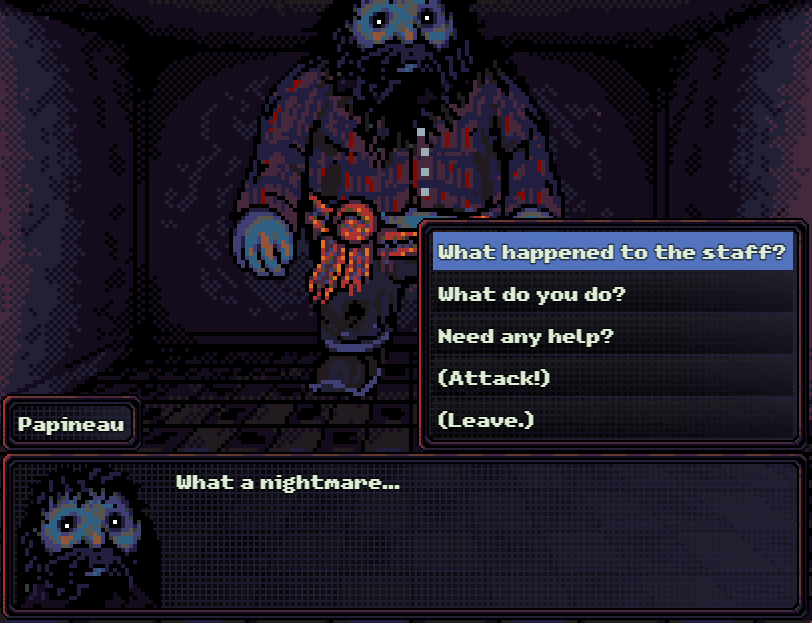
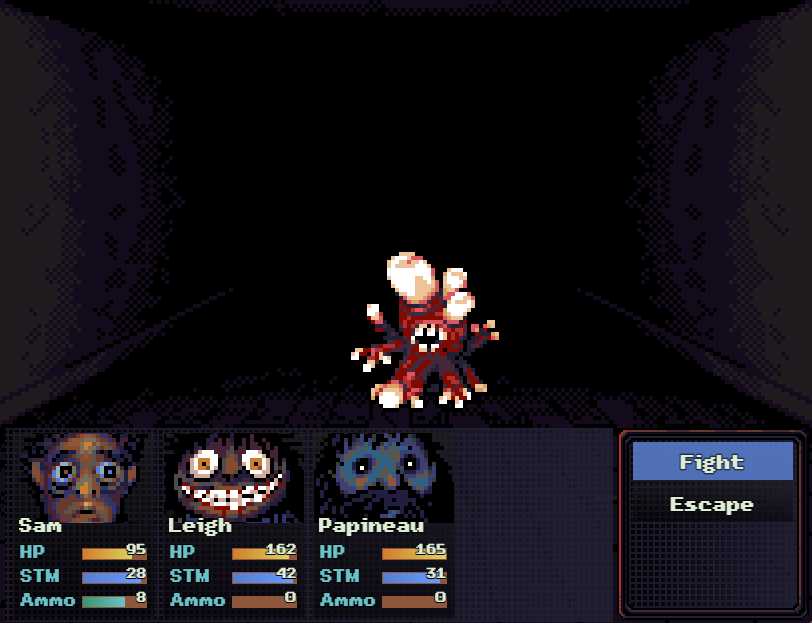
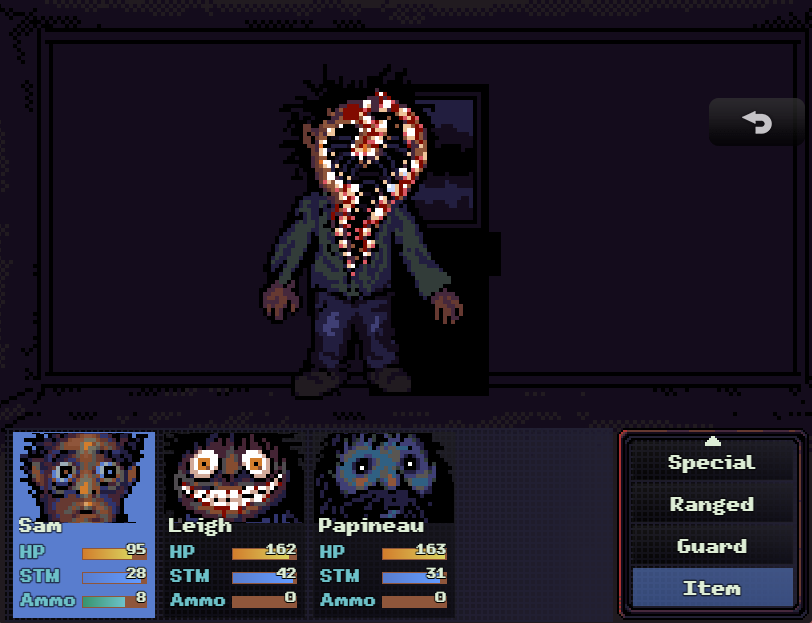
: We’ve got Papineau, so let’s look at what makes him so great before we move on to this next screen. By the way, this screen is a point of no return.
: If Papineau is in the bathroom, you haven’t recruited him, and you move on to the next screen, he dies. This only happens if he’s not in the janitor’s closet.
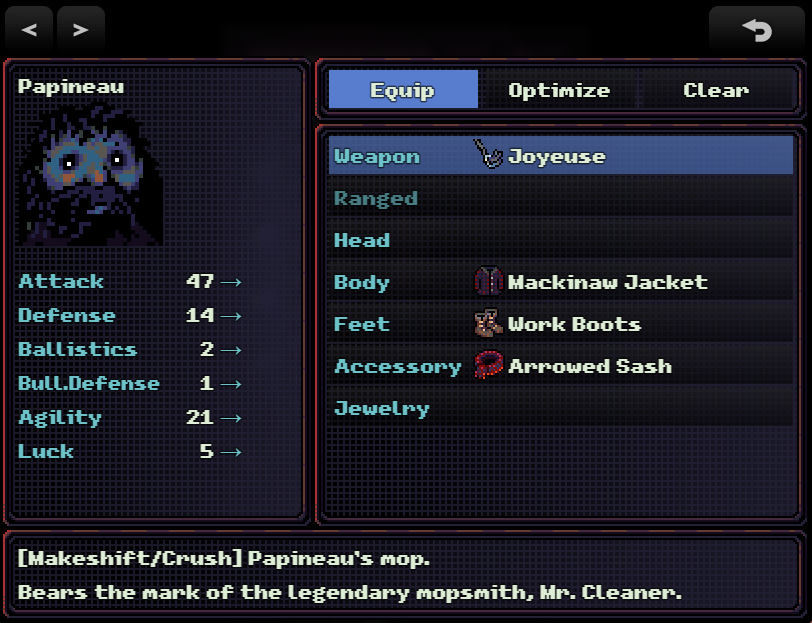
: On Survivor, Papineau comes with Joyeuse, a very powerful weapon that boosts attack and defense. Joyeuse is the first weapon we’ve encountered to have “safe hits”.

: Safe hits significantly reduce (but do not eliminate) the chance of a weapon breaking. Usually, only boss weapons have them.
: He also comes with a mackinaw jacket, which is a really good piece of armor, and an arrowed sash that boosts his physical attack by 30% at the cost of 20% HP and Stamina.


: On Cursed, Papineau doesn’t have the jacket or the sash and becomes less viable as a long-term prospect. He is very much a weapon character.
: One screen to the left is the reception desk.
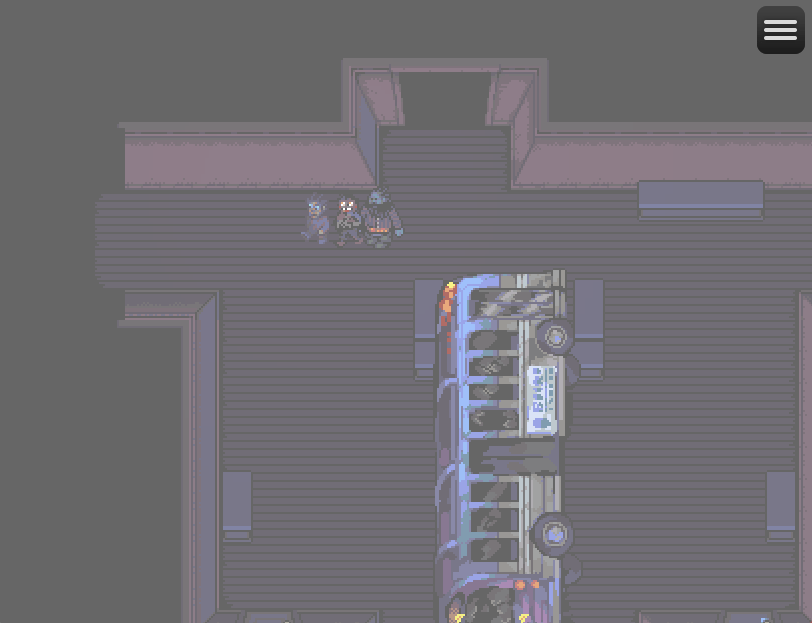
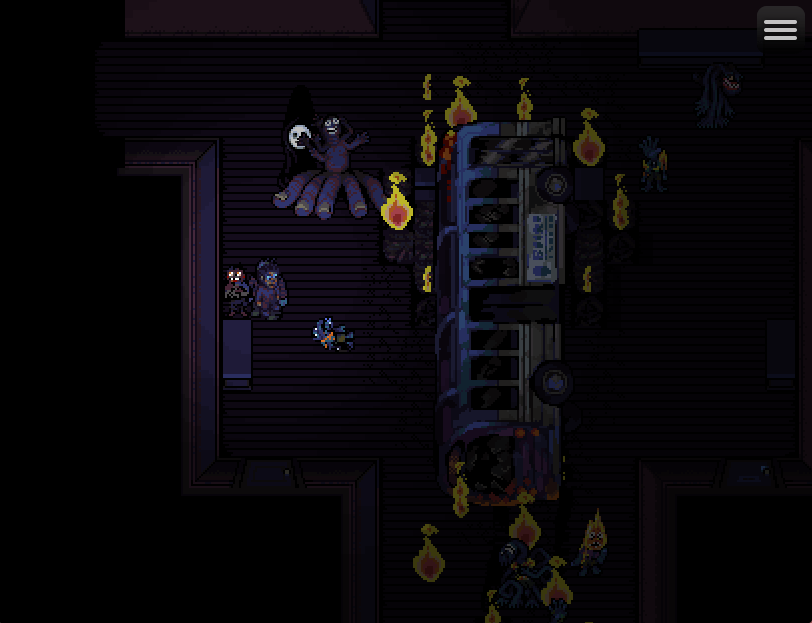
: And as soon as we reach it, a bus crashes through the front door. Thankfully, the front of the building collapses immediately so no one sees the Visitor.
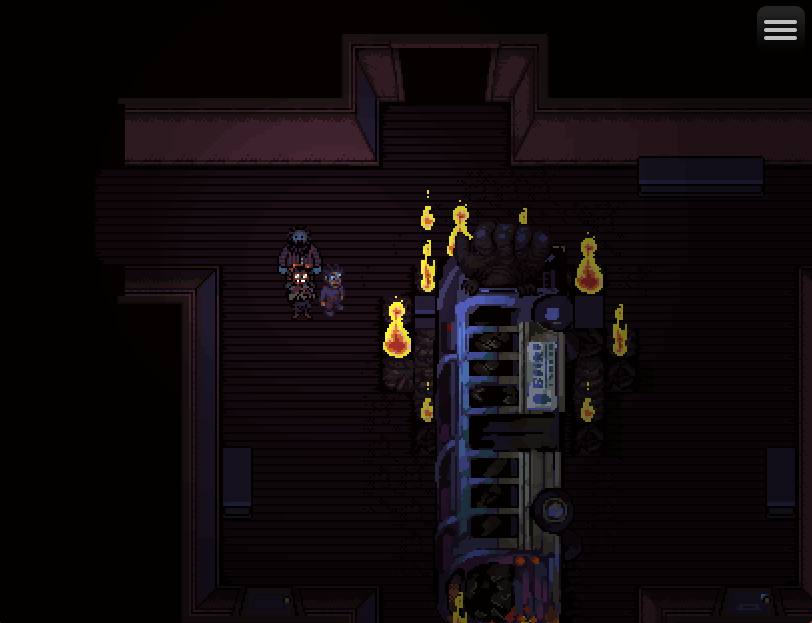
: If you wait around for a minute, a giant hand emerges from the front. This is a boss we don’t want to deal with yet.
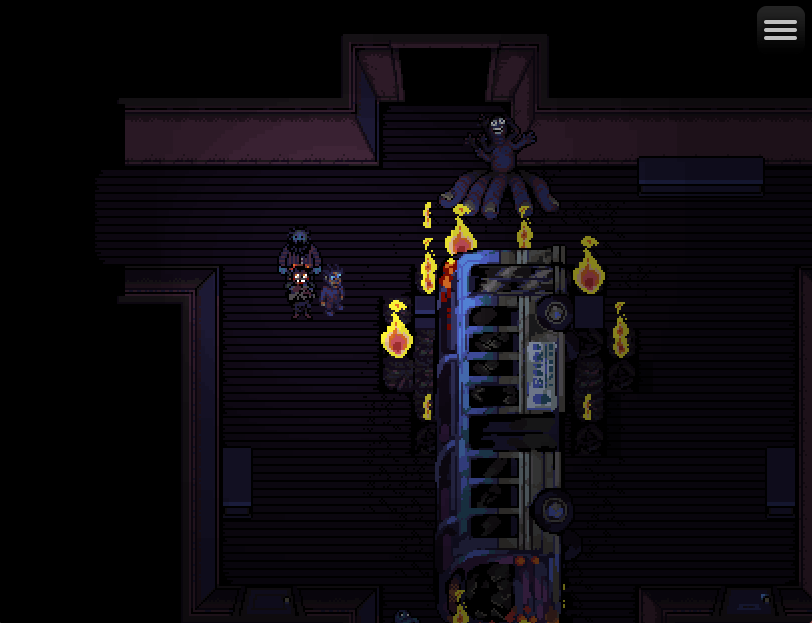
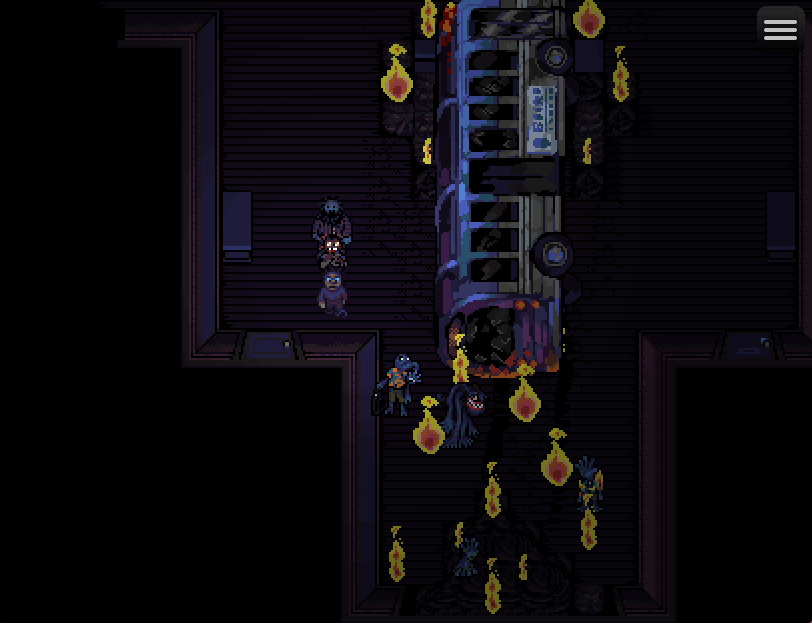
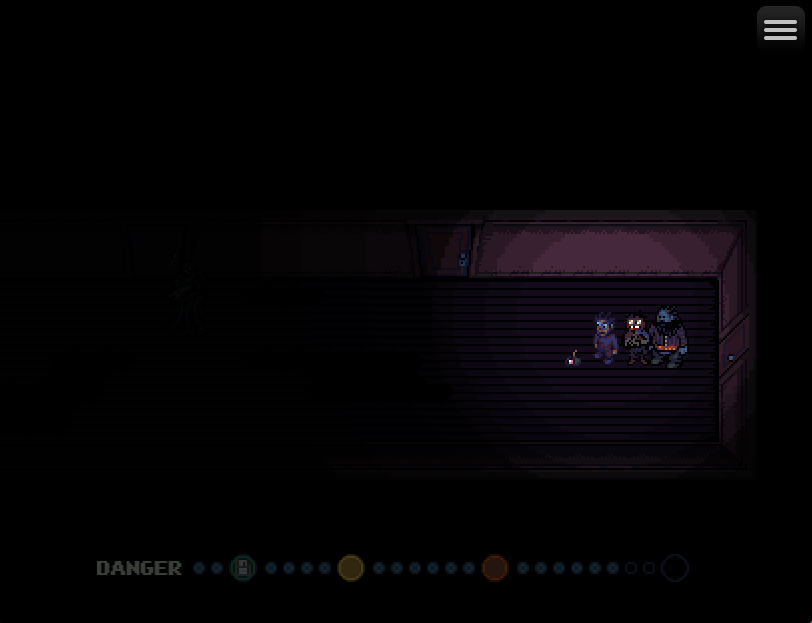
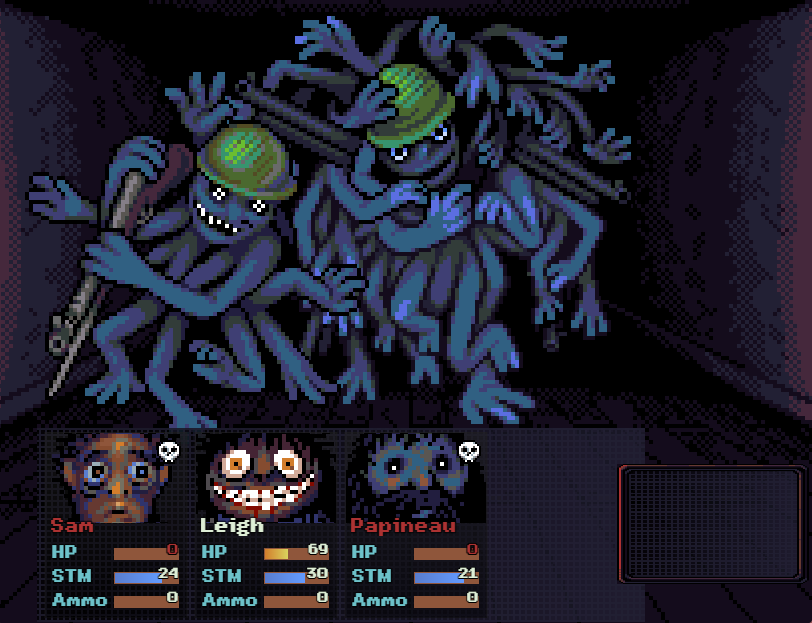
: Down here are four passengers. From the left, you have Feely, Armknot, Touchy, and then a smaller enemy down below.
: If we were to fight them, we’d have to fight all four at once. They’ll eventually disperse through the building, and Touchy will eventually reach the bathroom where Papineau was and kill him.
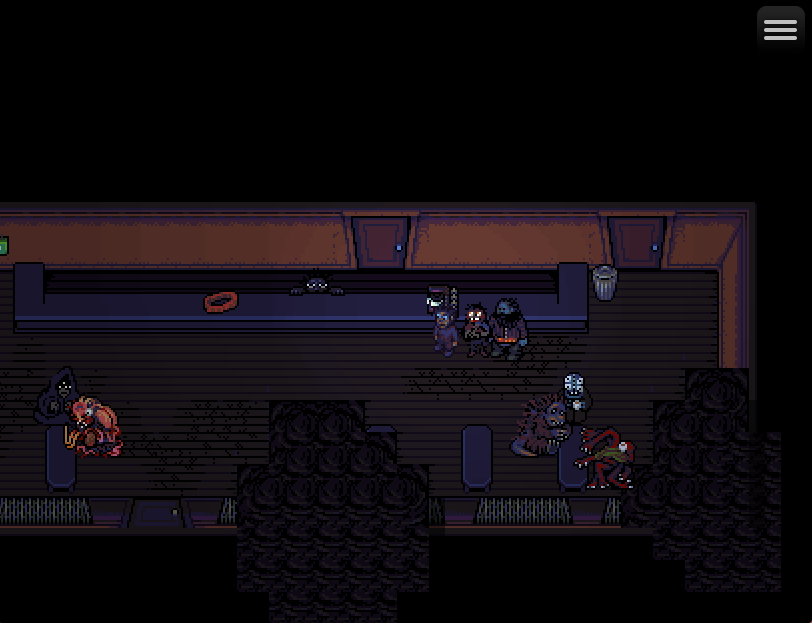
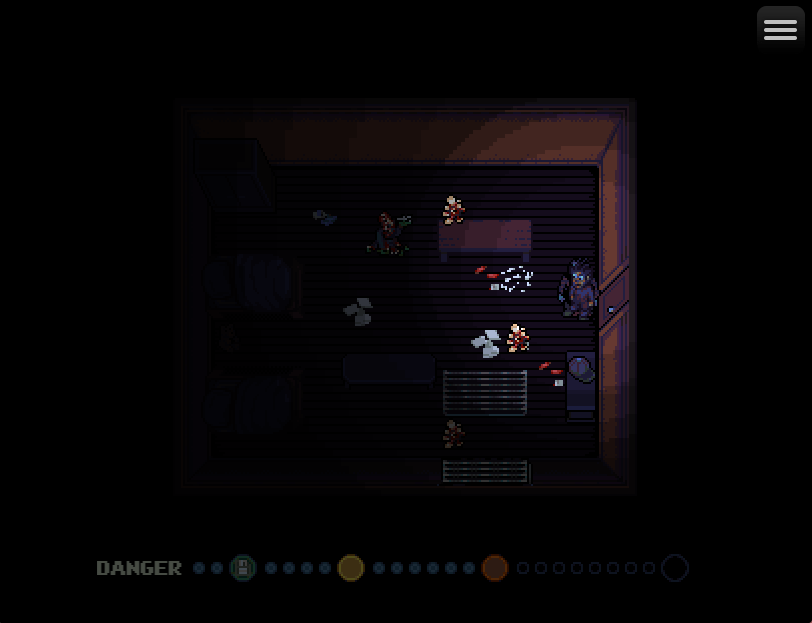
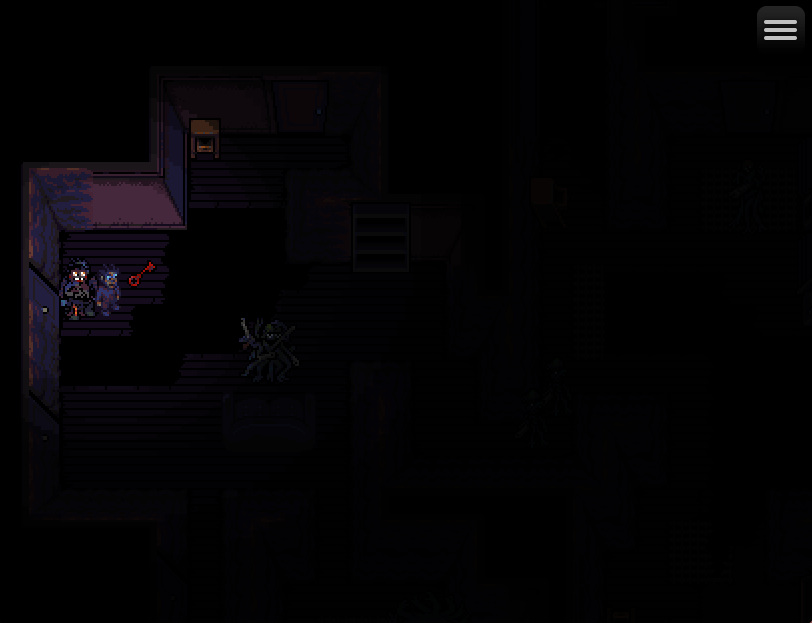
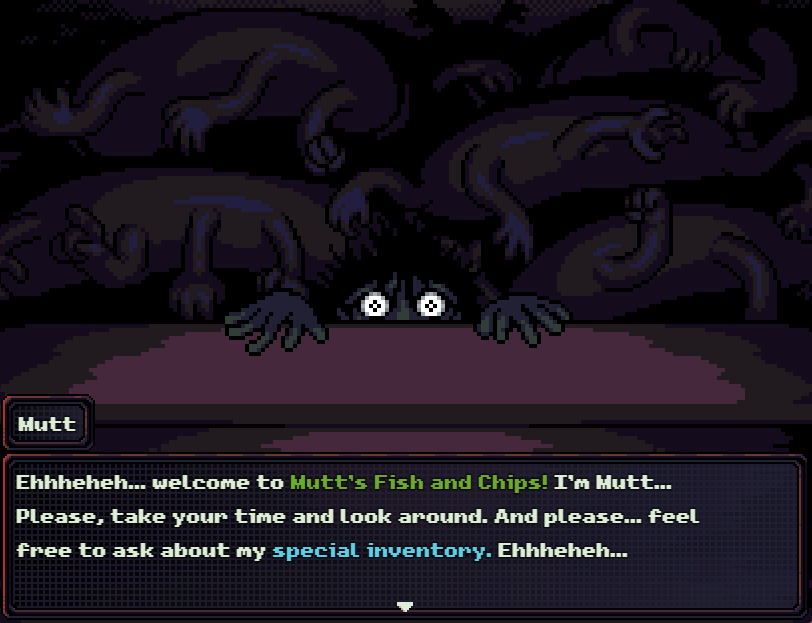
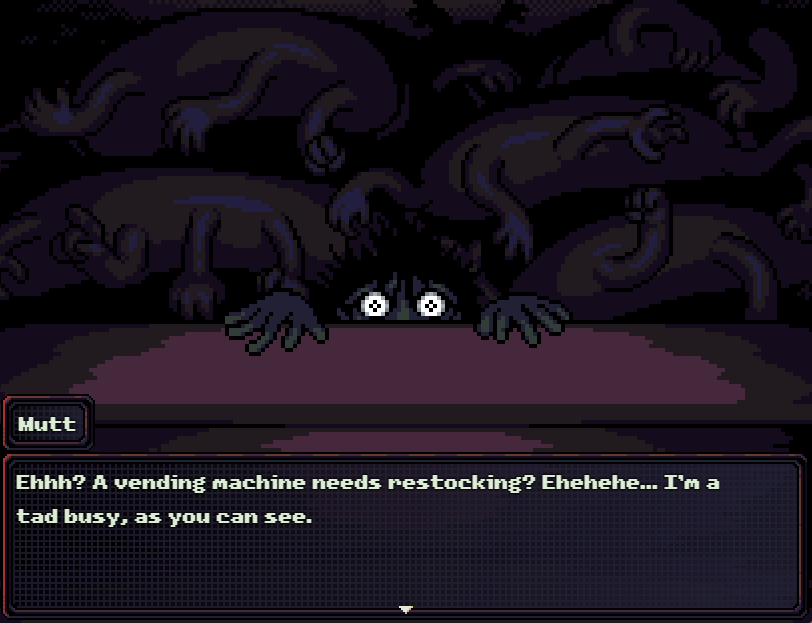
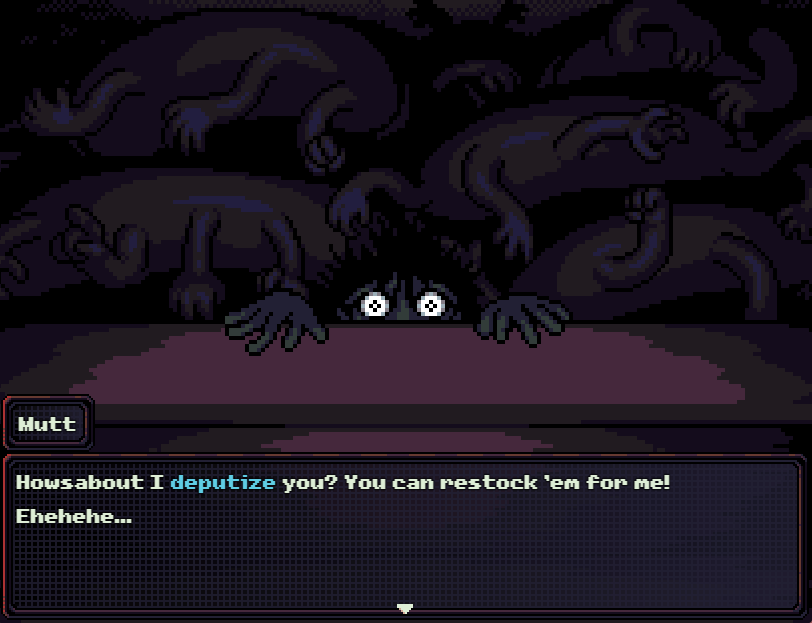
: Instead, we’ll take this door into Mutt’s. Mutt’s is, weirdly enough, a tutorial zone. There are friendly mutants citizens of Montreal here who will tell you about status effects.
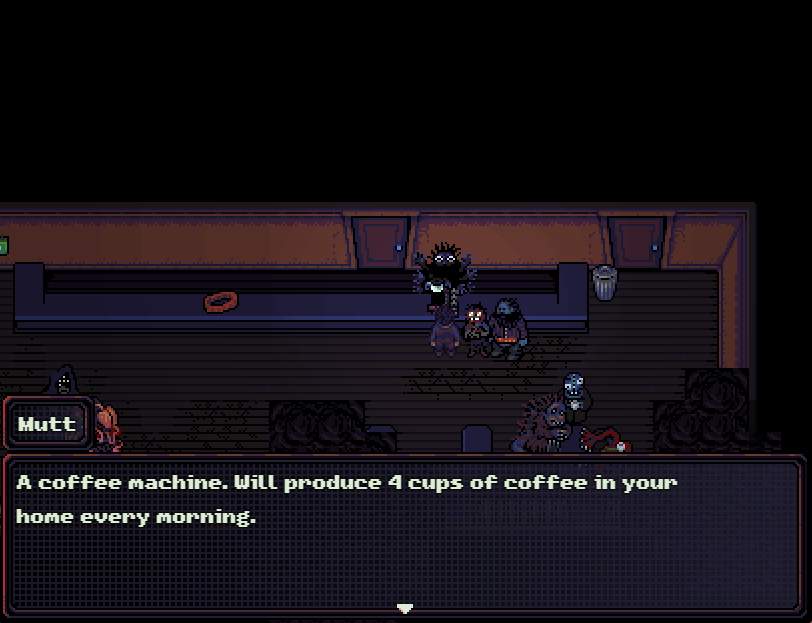
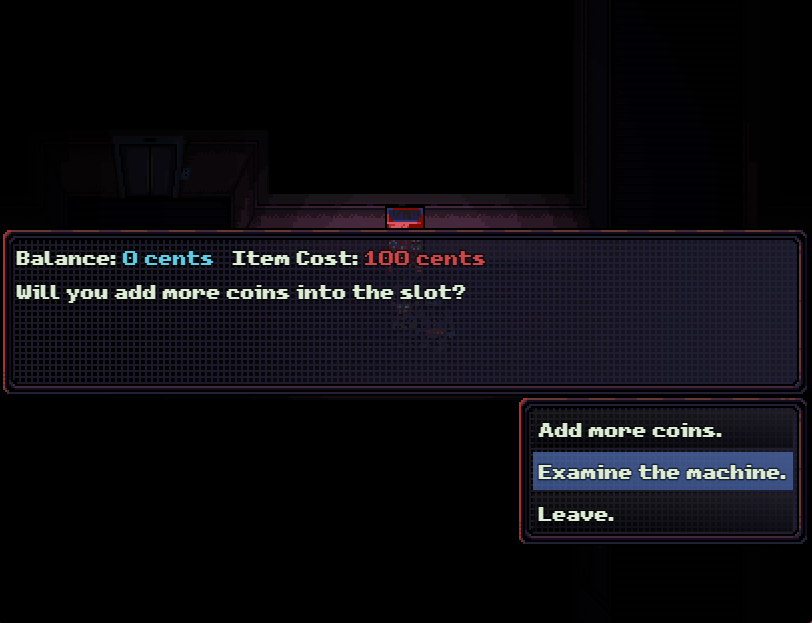
: Mutt has “special items” on the counter. These increase in price every time you buy one, and there’s only really one item we want - it isn’t here.
: The other item is a belt that DOUBLES max HP but halves max stamina. This can be useful for Papineau or for another party member we haven’t met yet - but will soon.
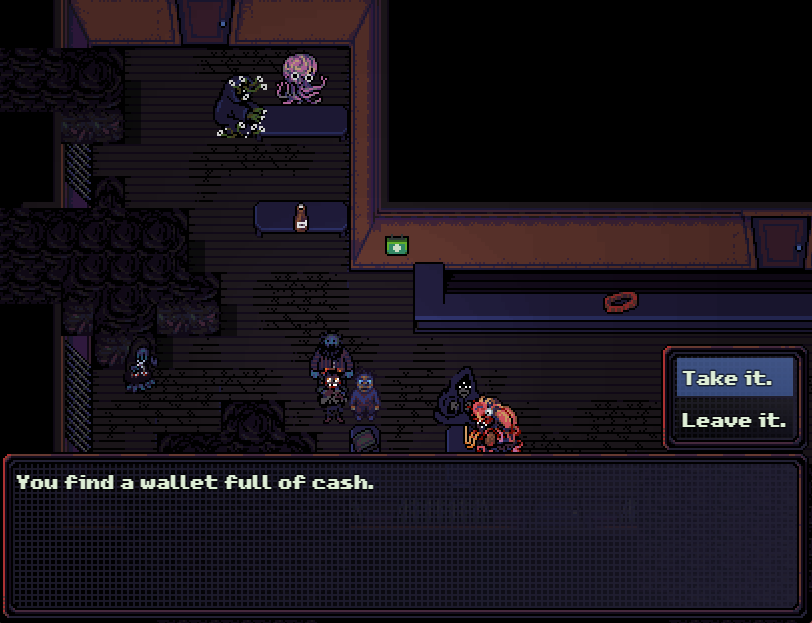
: There’s $100 in this wallet and a bottle of beer on the table above. More importantly, if we go into that door in the back..
: We find the bathroom.
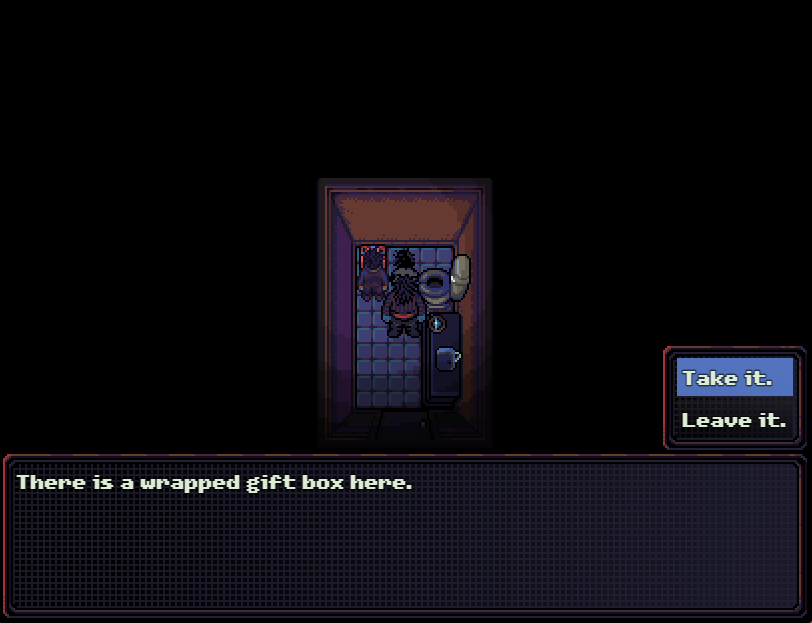
: Gift boxes have one of seven things in them. Once you open one, the others are guaranteed to have something different.
: This would be great if I didn’t need to reload again, because we’re about to run into some horrible RNG.
: The best thing in the gift boxes is an Explosive, which does 100 damage to all enemies.
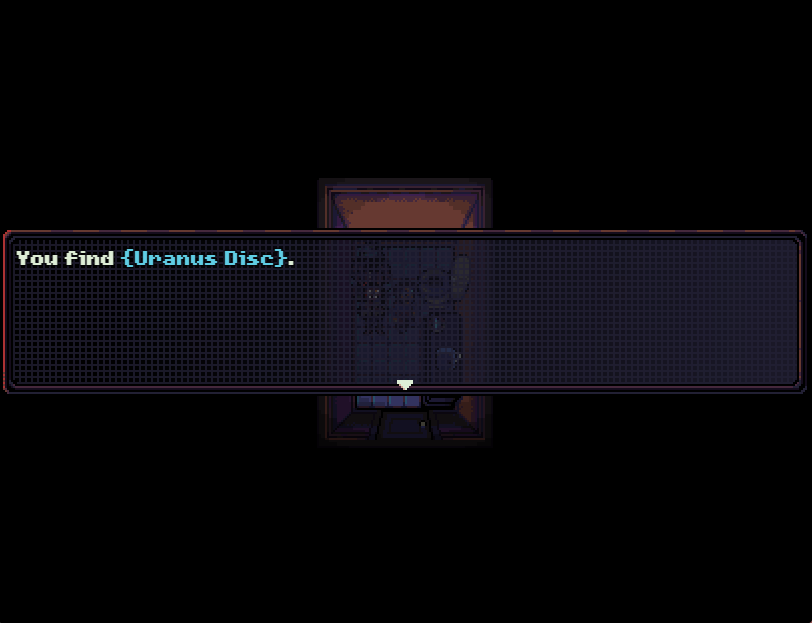
: The Uranus Disc is in a different place on Cursed - it’s in the basement and you have to kill some strong enemies to get it.

: Mutt doesn’t have much to say yet - we’ll need to talk to him once we get around to recruiting Audrey. He’ll buy items off you, which might come in handy later.

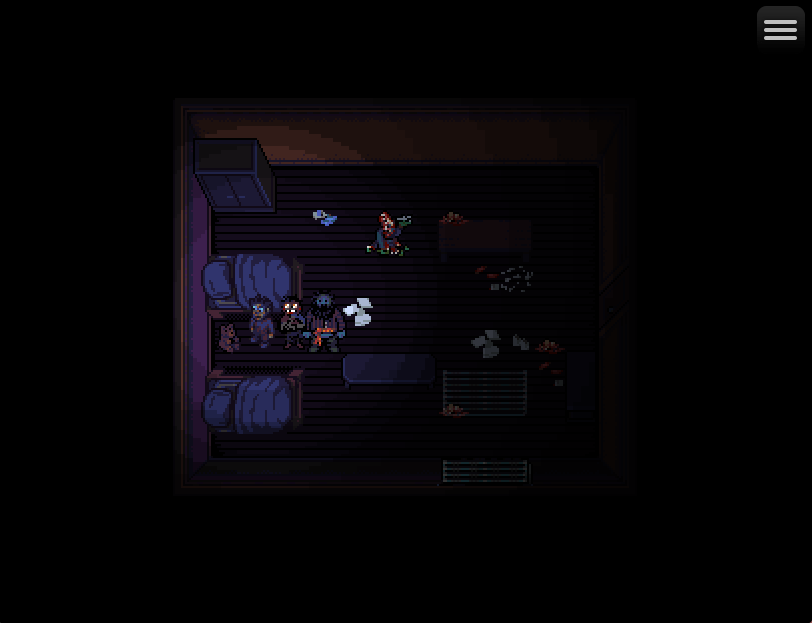
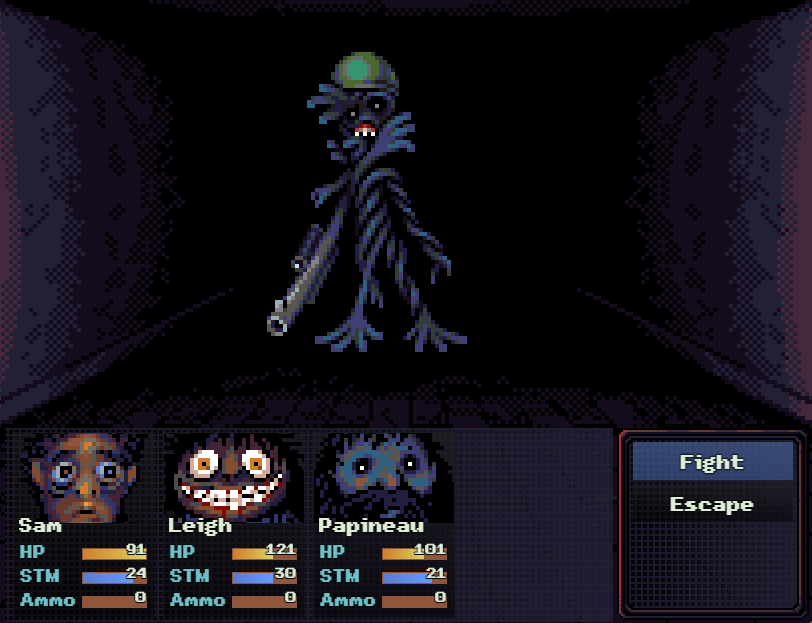
: Outside, we run into Feely blocking the door to Mutt’s. He’s not all that hard, and has a low chance to drop a decent armor.
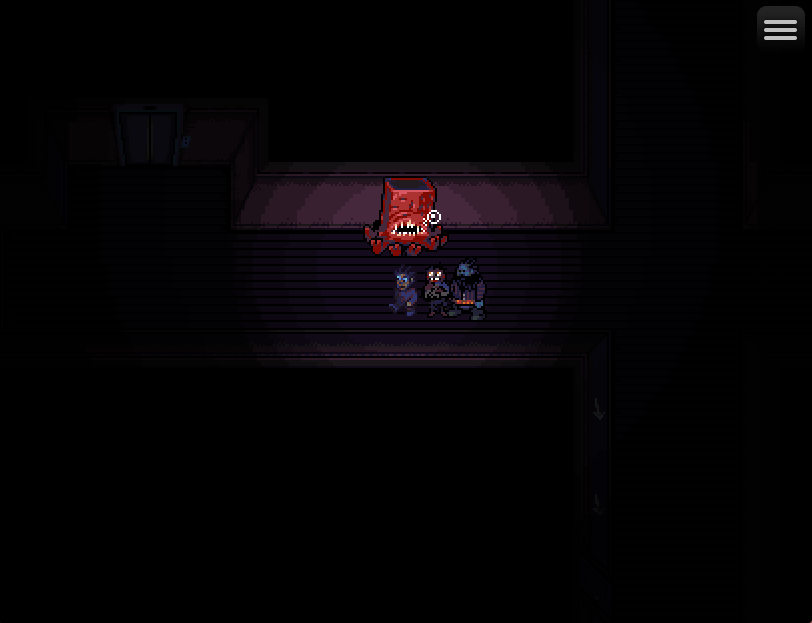
: This is where the bad RNG strikes. You see that thing behind the giant hand? We need to talk to it. It’s a special encounter that can only happen in rooms you’ve been to before.
: I believe the earliest it can show up is Day 2.
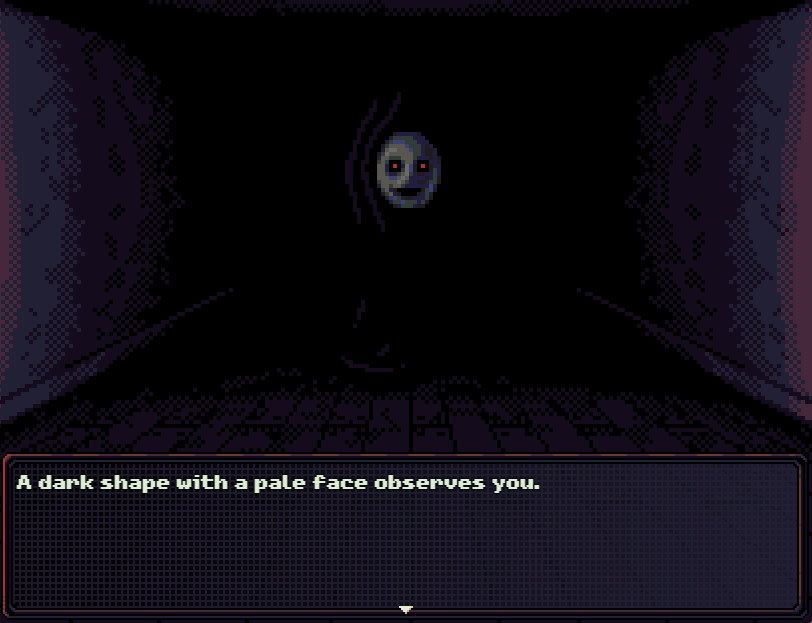
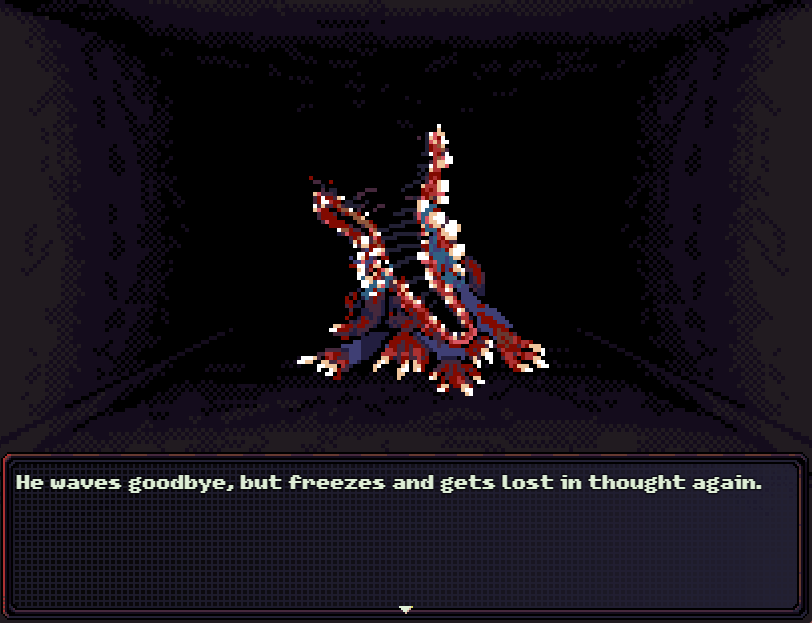
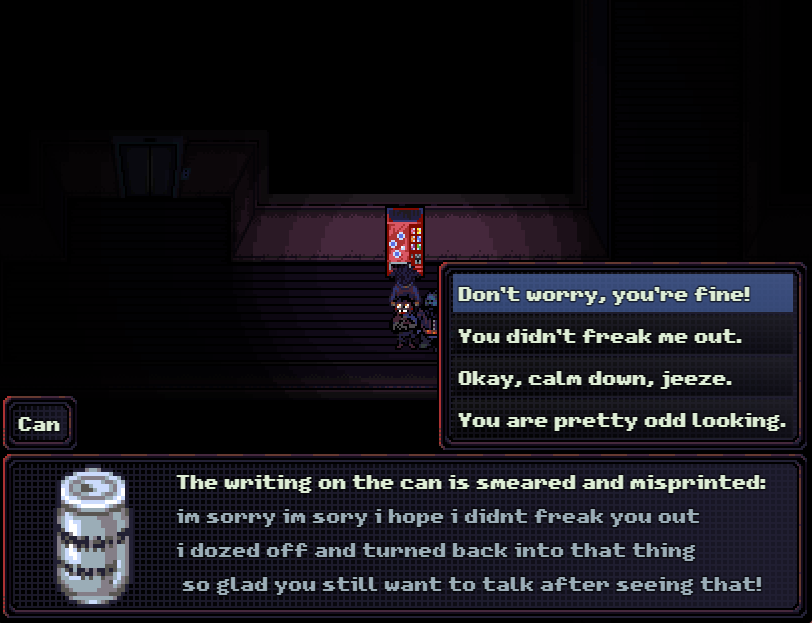
The pale face’s features do not move. It seems to be a mask.
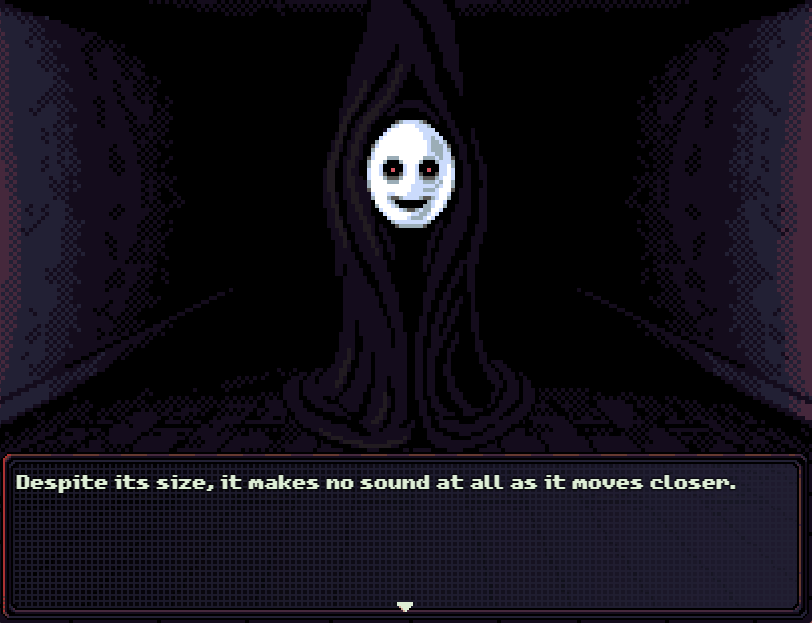
: Meet the Shadow. It is part of an esoteric bullshit ending known as the “Mask” ending. It’s also why we made the stop in Jeanne’s apartment yesterday.
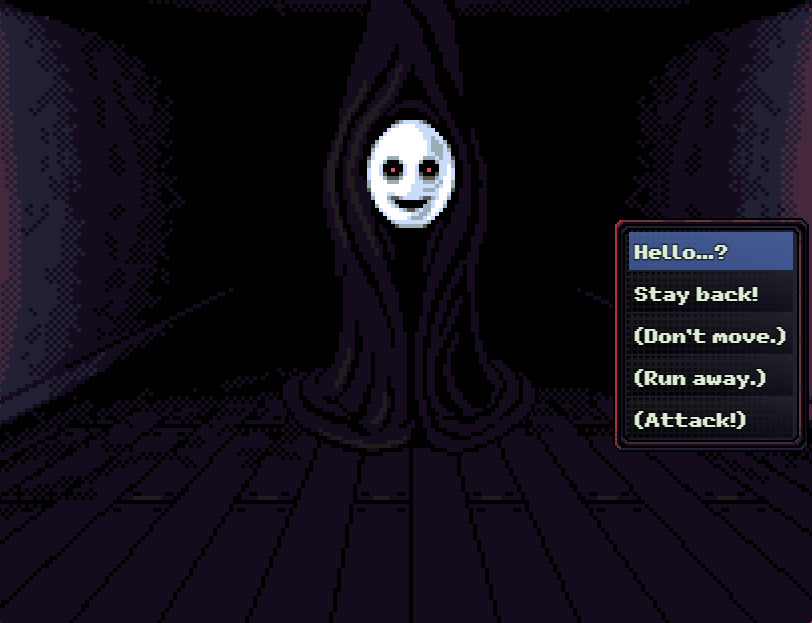
: Just like Audrey, the Shadow has a friendship mechanic and we need to pick the right answers to boost that.

: It doesn’t talk, all it does is move its mask.


: We can hand it any food item, but higher quality food boosts friendship more. The muffin is considered the highest quality.
: At this point, I decide I’m going to show off a few more things before I reload because there’s one other thing we’re not going to bother with.
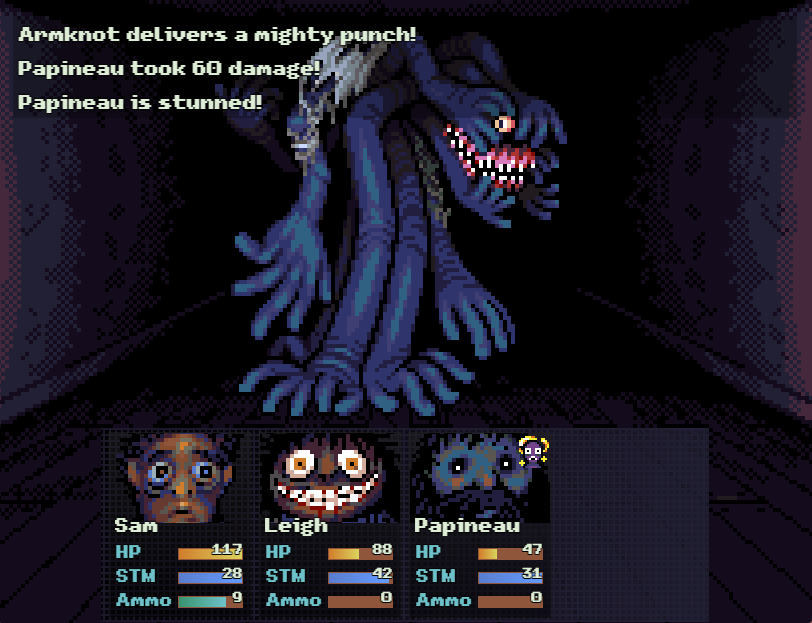
: Armknot is one of the other bus passengers. He eventually ends up in the laundromat. He does a shitload of damage and we really don’t want to fight him right now.
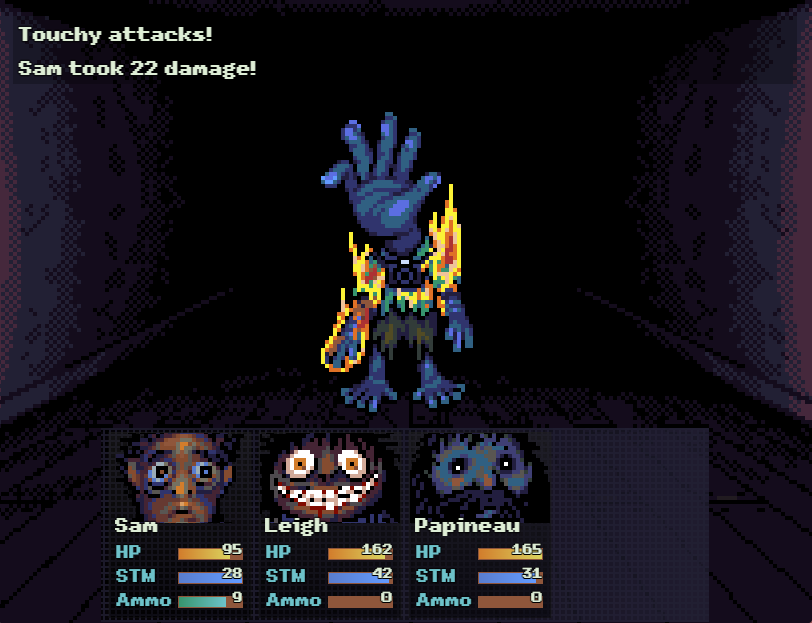
: Touchy is much easier to kill. As previously mentioned, he’ll eventually wind up in the men’s bathroom and kill Papineau if he’s still there.
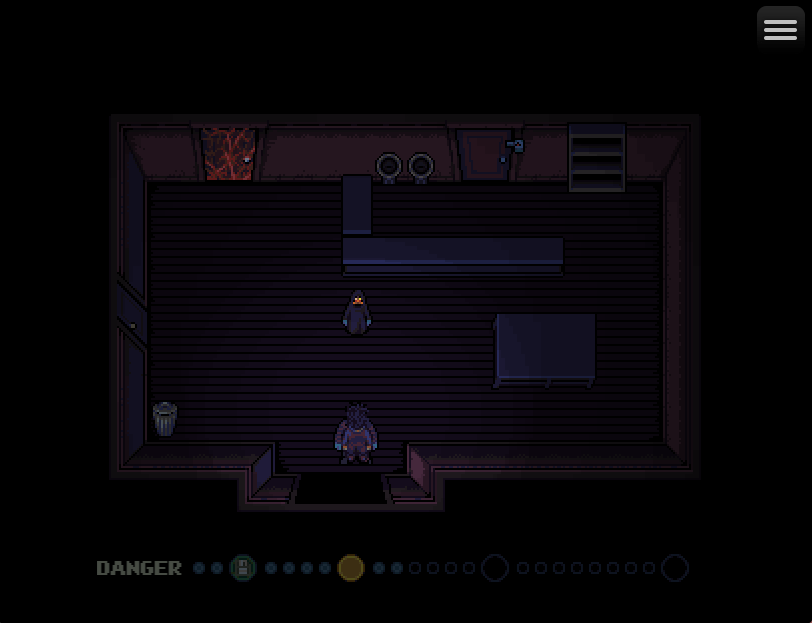
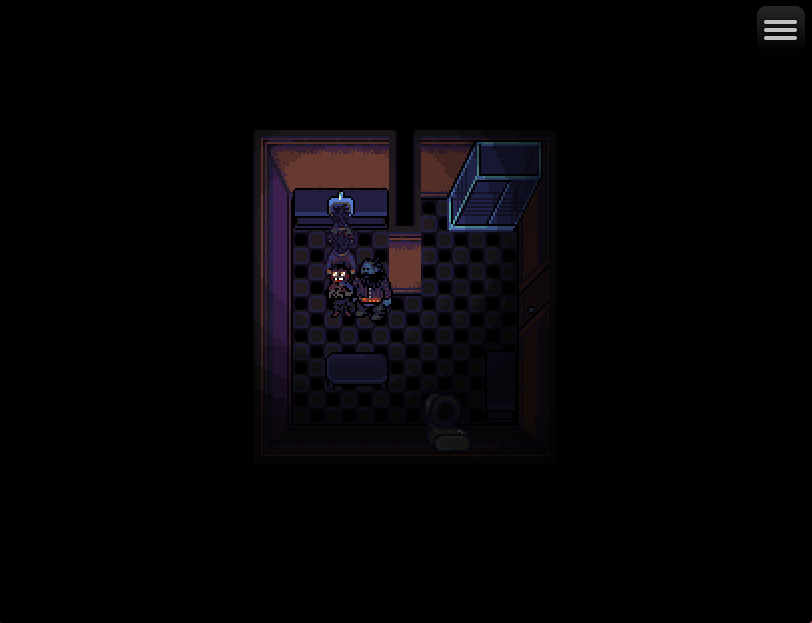
: If we head north, behind where the reception desk was, we encounter Jasper. We can’t do much else in here yet.
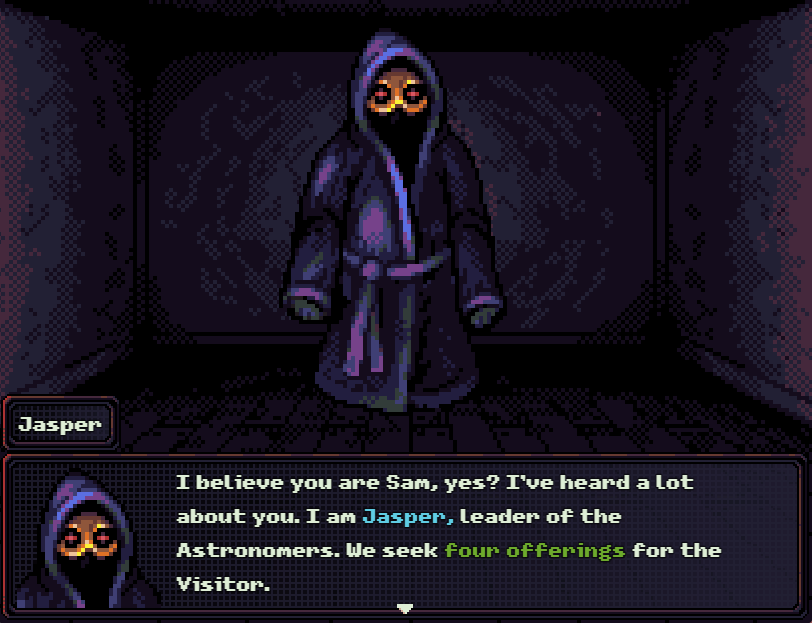
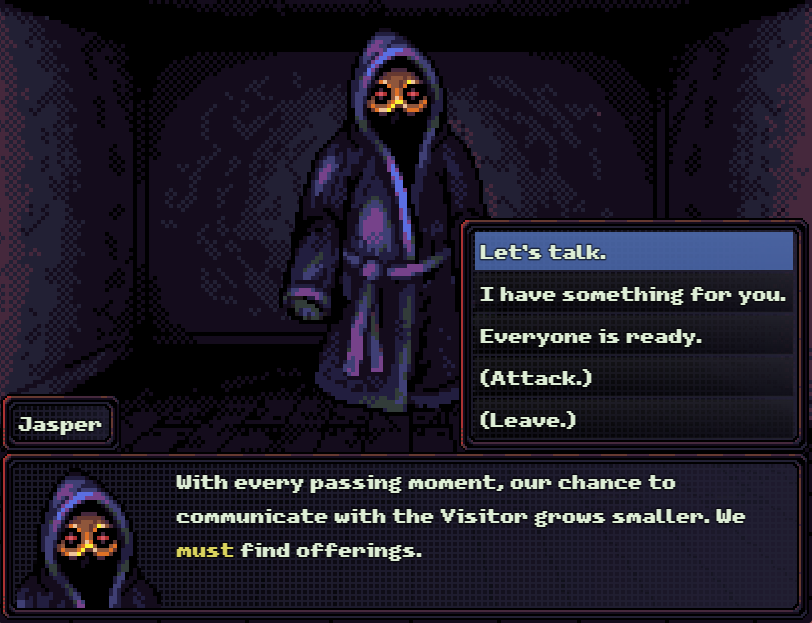
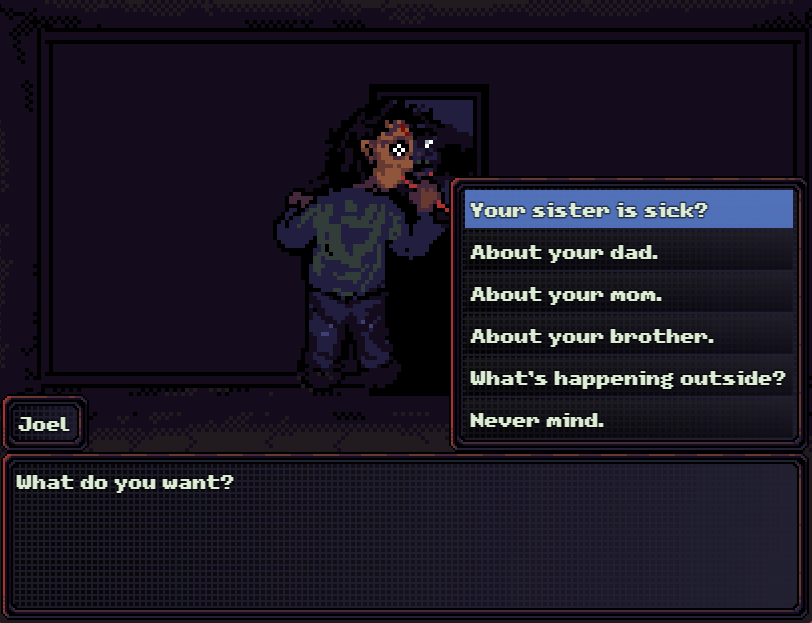
: Jasper won’t tell us what he wants, but we now know we need four offerings depicting the Visitor. Let’s go through his dialog options.


: There’s one more thing we need to talk to him about for the best ending, but we can’t do that until we’ve been to the basement.
: The door to the left has some vodka and another roach. From my understanding, you only need one roach for the roach sidequest.
: I forgot to screenshot it, but the planet lock behind Jasper has a 29 on it. We could open it with the Uranus disc and the Earth disc, but the Earth disc is currently in the lock keeping the ground floor open.
: To the left of the bus is the one room we need to visit.
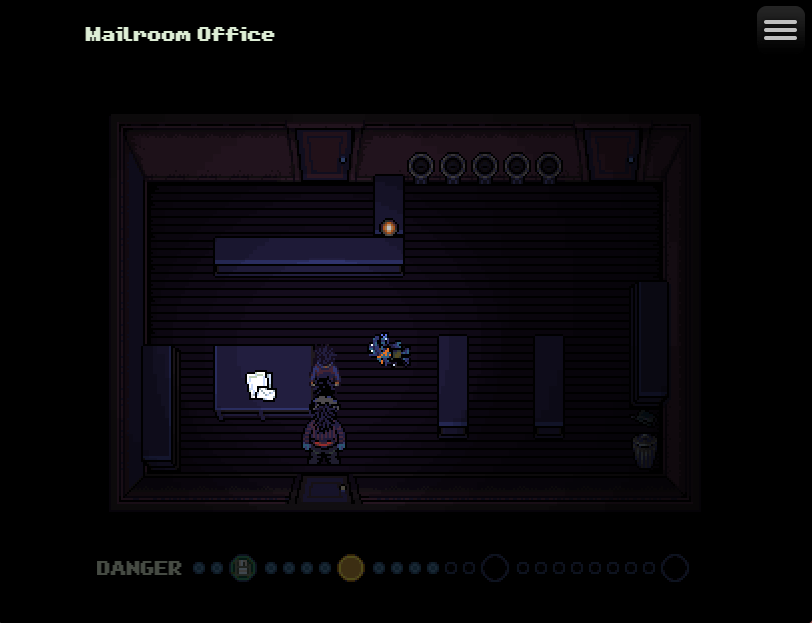
: This is the mailroom. Feely will end up here if he isn’t killed - if he is, his corpse will be teleported due to a bug.
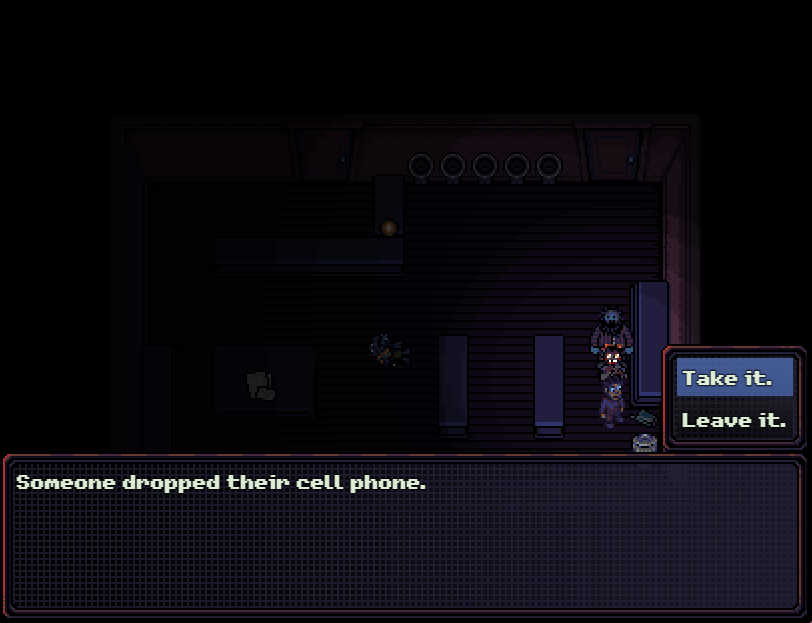
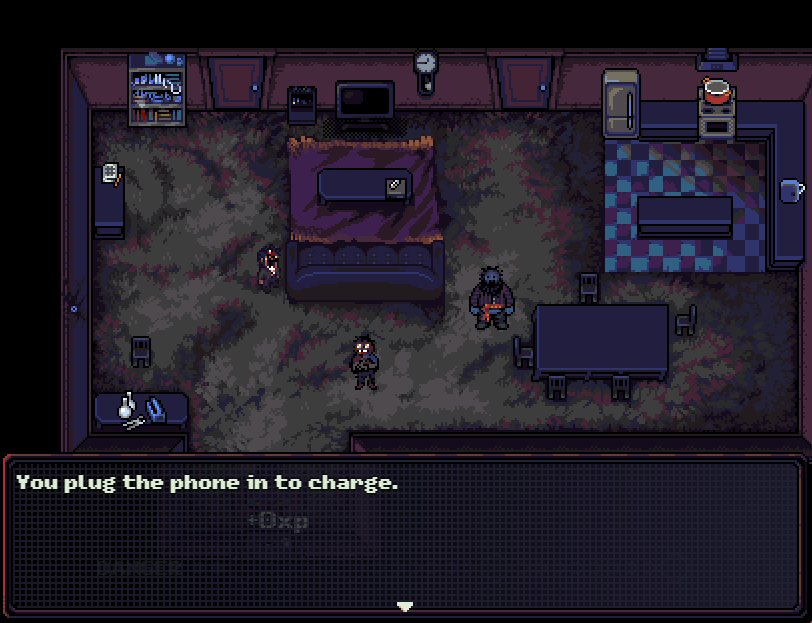
: This cell phone is the one reason we’d want to come here on Day 1. It is part of Leigh’s quest and takes four days to complete. The phone is out of power, so we’ll need to charge it.
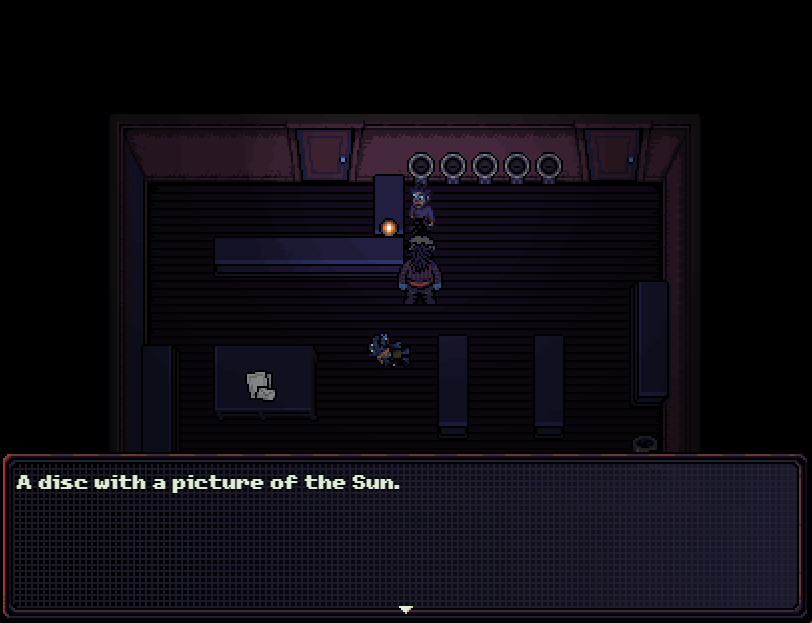
: Back here is the Sun disc. It’s kind of an anomaly. There are two places that will tell you how many moons a planet has if you insert the disc. One is in Vincent’s apartment.
: You would think that logically, the sun disc’s value should be zero because the sun has no moons orbiting it. But here’s the description: “The Sun. Orbiting it are 8 planets, and so far 5 dwarf planets have been found.” The sun disc’s value is actually 13.
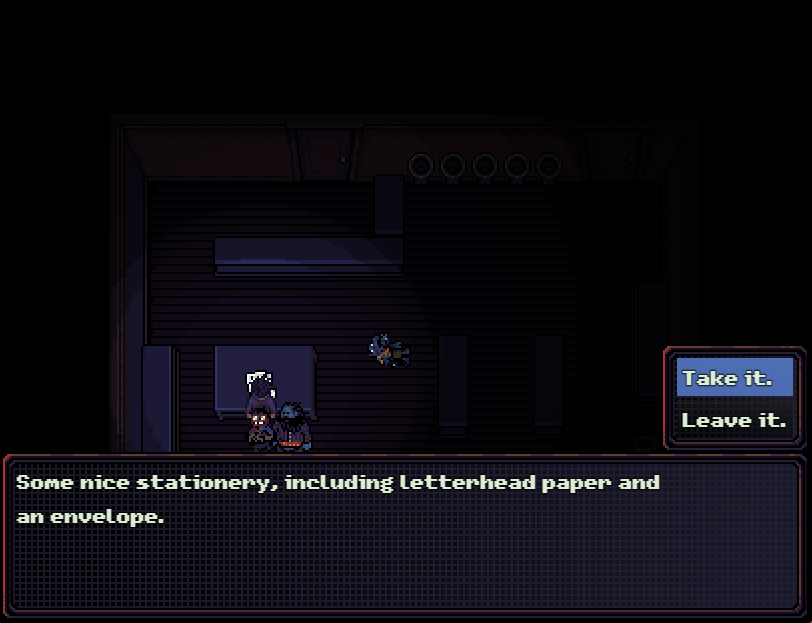
: This paper goes with the pen we found in the rat apartment. We’ll hand that to the pipe at some point.
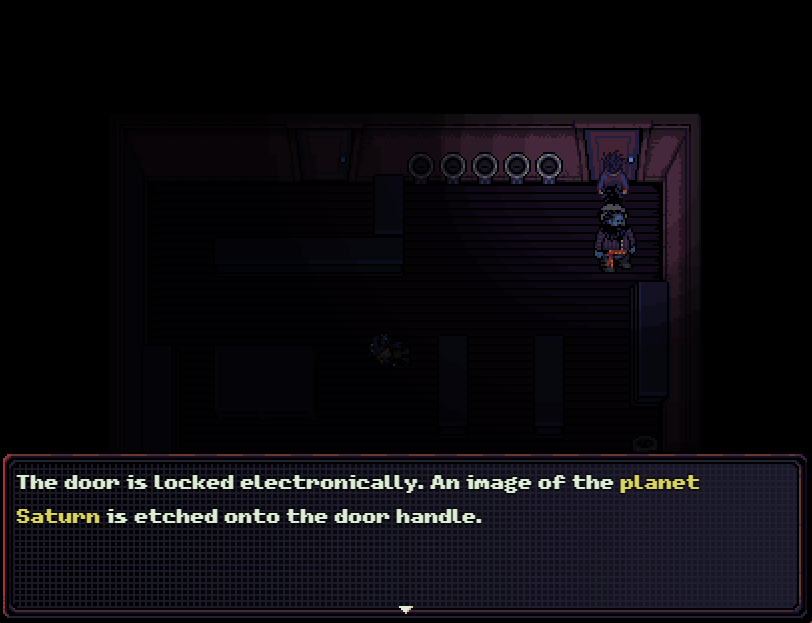
: The door in the back requires five discs to open, and has a picture of Saturn on it. How many moons does Saturn have again?
: This puzzle is kind of funny. Between 2019 and 2023, using a giant telescope in Hawaii known as the CHFT, a group of astronomers discovered 128 previously unknown moons in Saturn’s far orbit.
: Two weeks before the game released, the Minor Planet Center (which operates out of the Smithsonian) classified those moons to give Saturn its official total of 274. For purposes of this game, Saturn has 146 moons.
: We need to kill some time, so let’s go upstairs and go into that apartment.

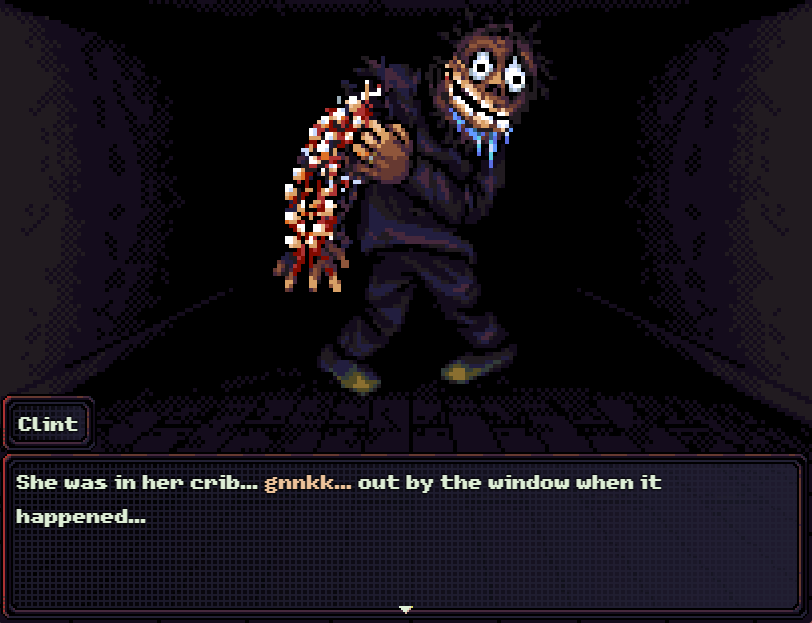
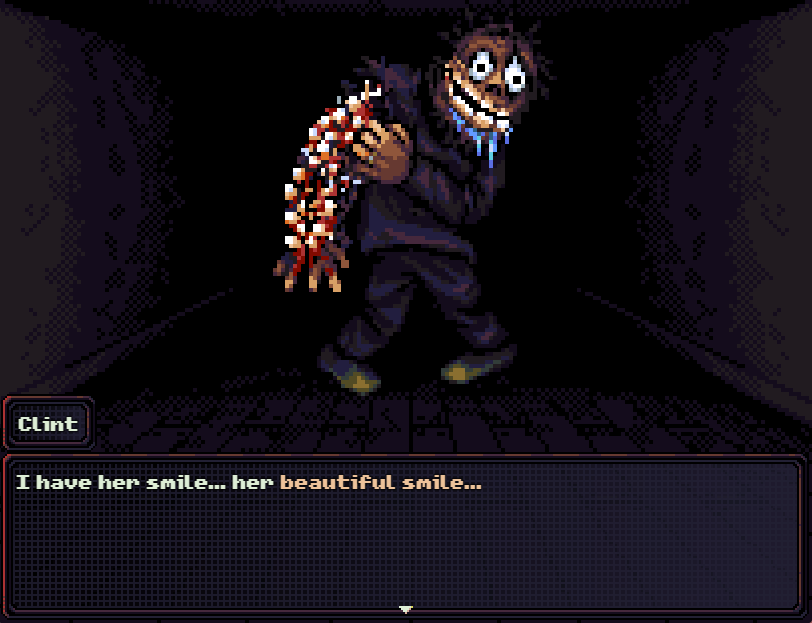
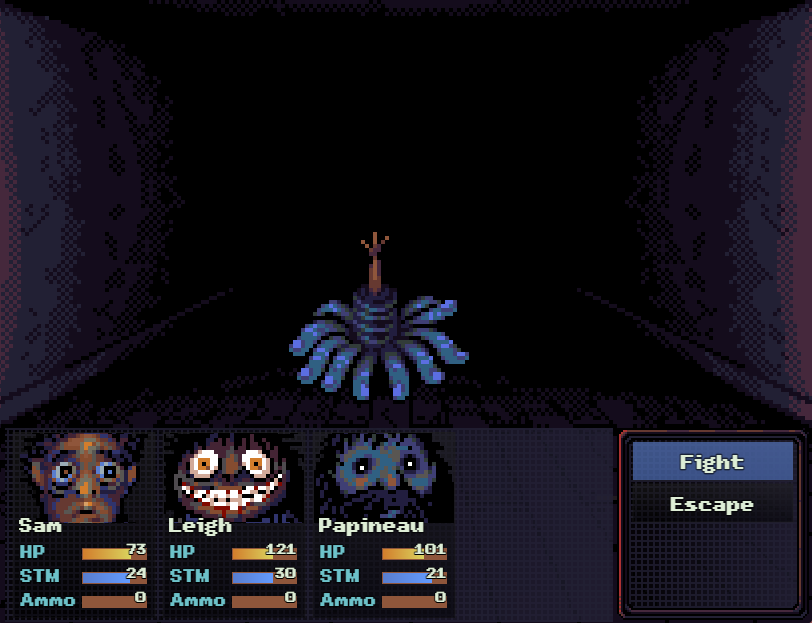
: Clint isn’t difficult to fight on Survivor. He has 60 HP, which is about three times what the stage 1 observers have, and a single weak physical attack.
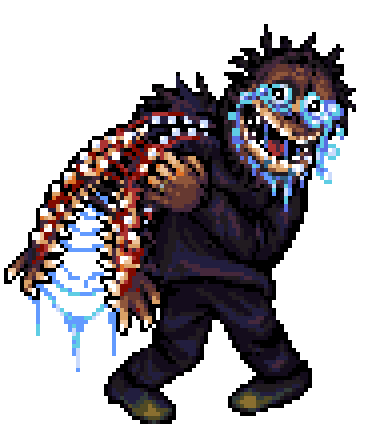
: On Cursed, his arm opens up after one turn, which increases his damage by a lot.
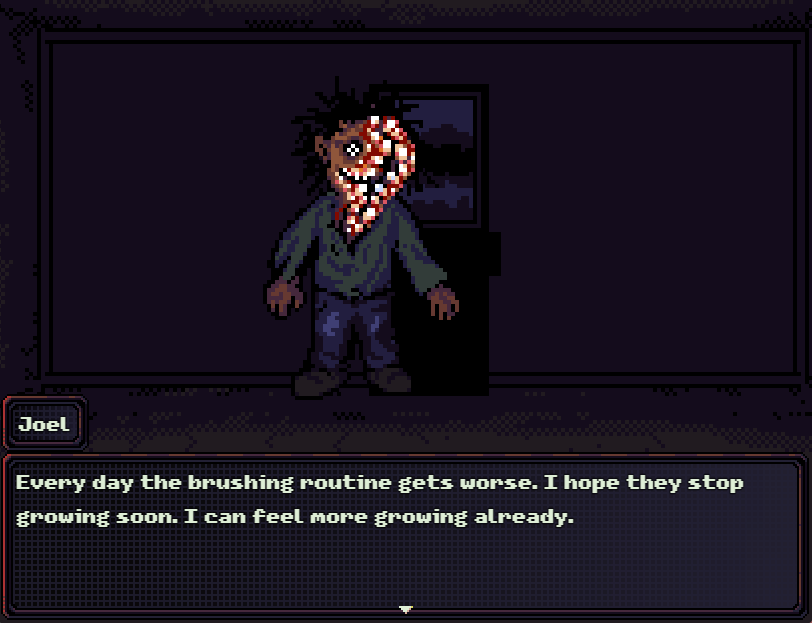
: This is the tooth apartment. There are little tooth monsters all over, which go down in one hit to pretty much anything.
: There are two doors on the left. We want to take the lower one first. On the table is a baseball cap, which boosts agility.
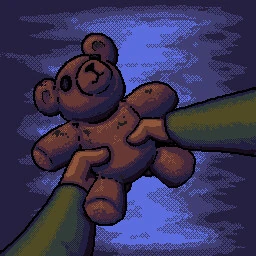
: What we need is this teddy bear. We can then leave the room.
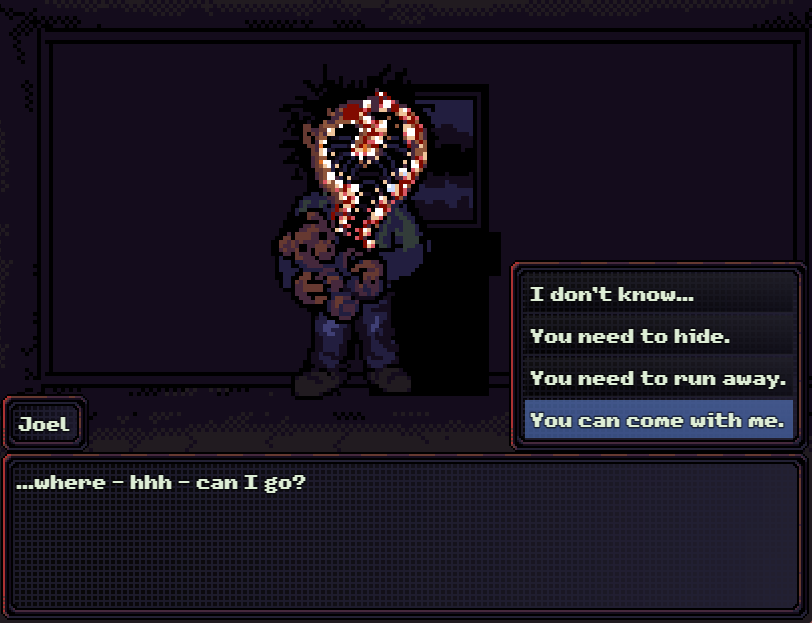
: The first door on the left is a bathroom, and has this perfectly normal Canadian child in it.
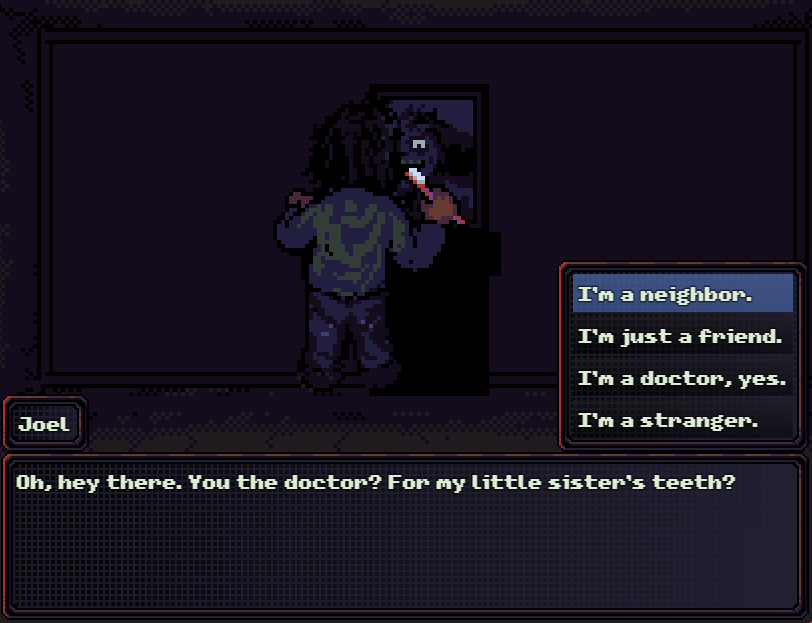
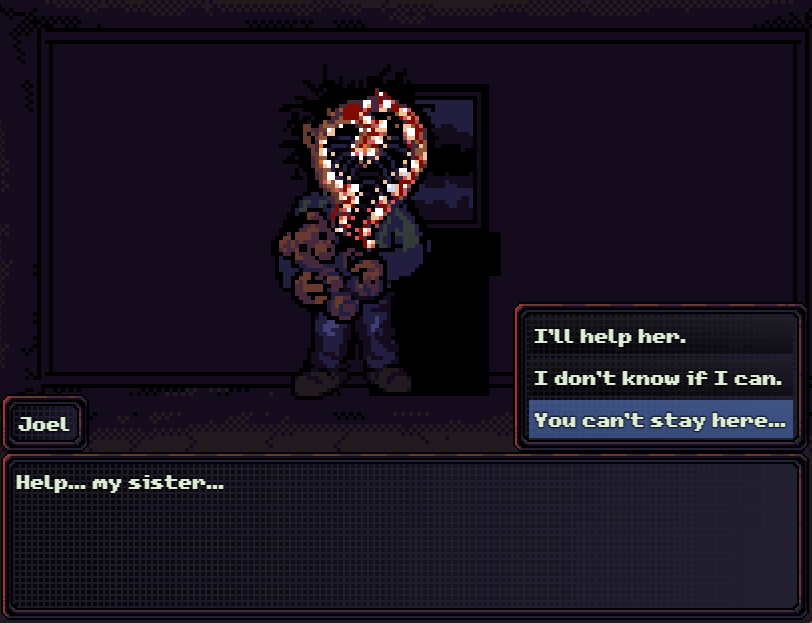
: This kid is a party member. If you want to recruit him, you need to pick the first option. Otherwise, you can kill him or fight him as a superboss near the end of the game.
: On Cursed, Joel needs six toothpaste to join you. There’s a shop that opens up on Day 2 we could use to get that.
: You can tell him his dad is “gone for good” or that he attacked you, but this will stop you from recruiting Joel.
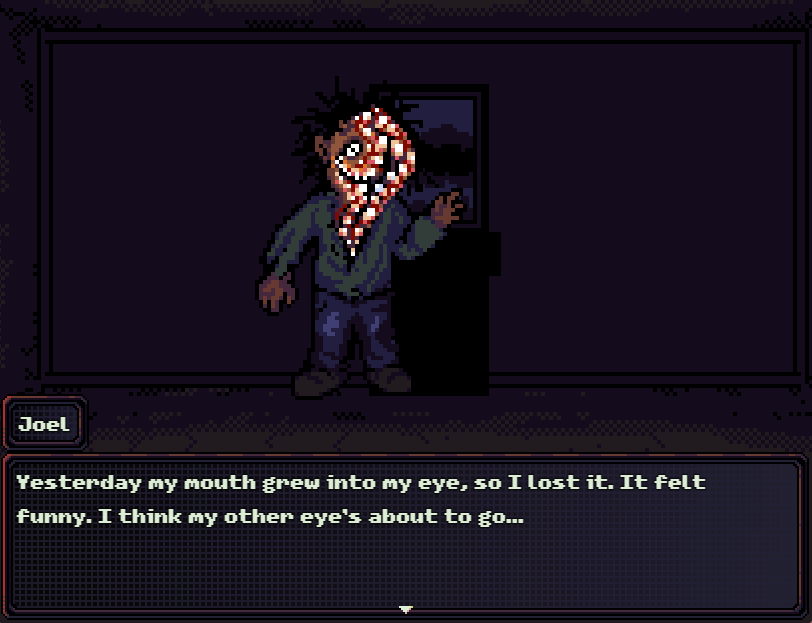
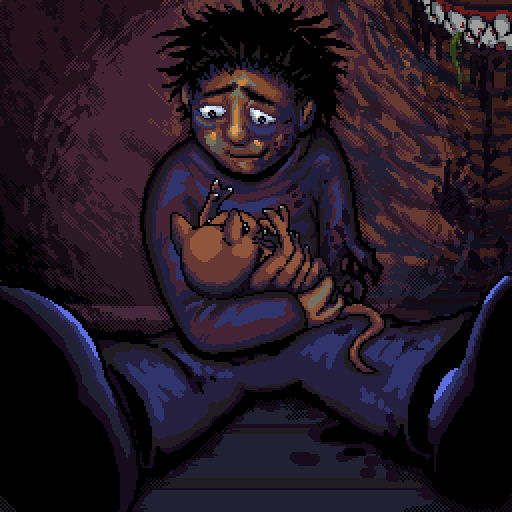
: The logical thing to do at this point would be to hug this poor, perfectly normal child. Really though, I would’ve shot him the second I knew he was infectious.
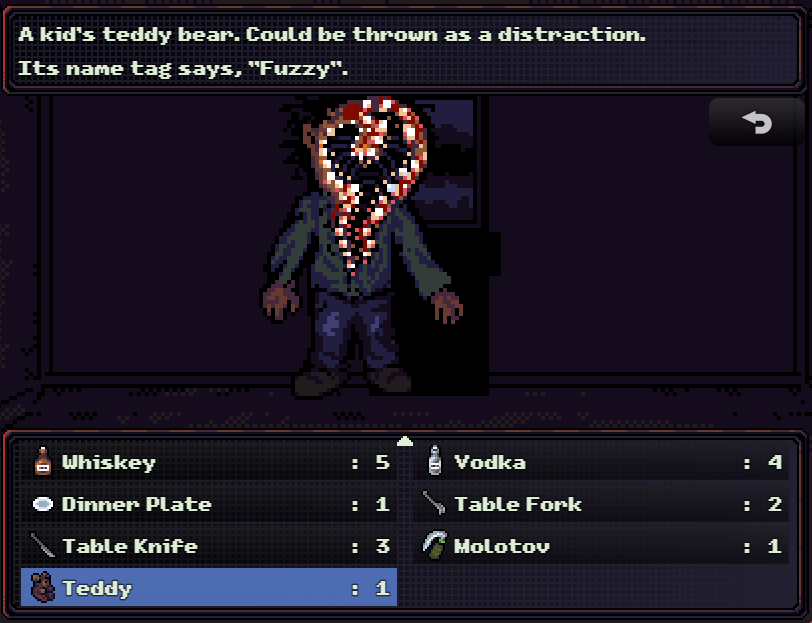
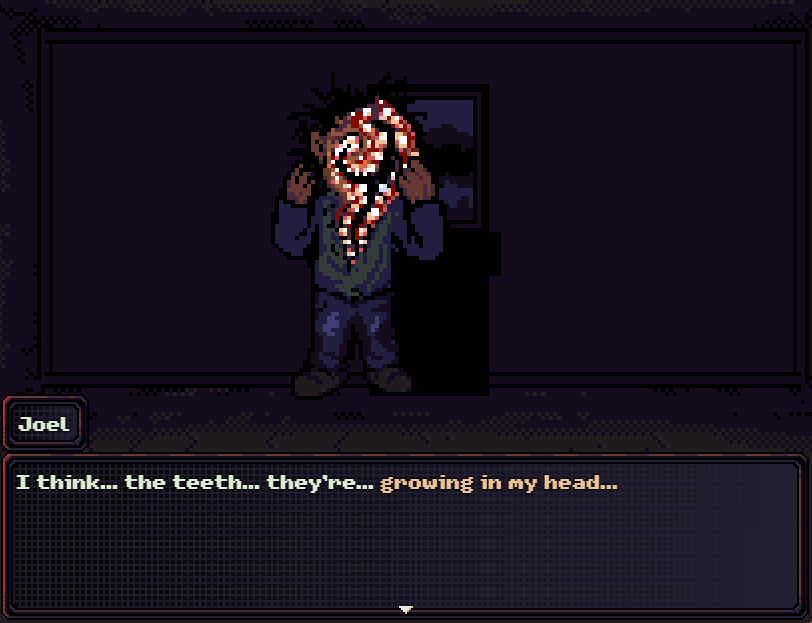
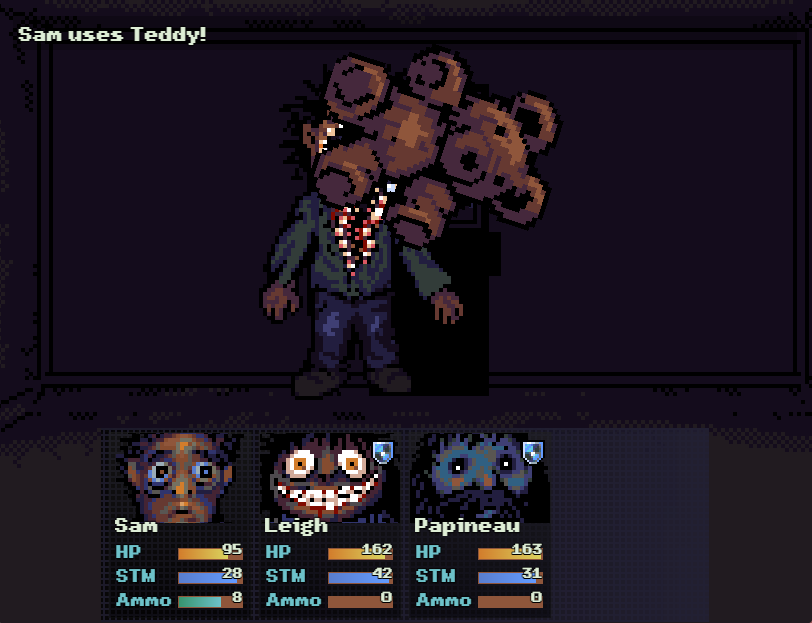
: The bear’s name tag says Fuzzy on it. If we use it..
: If you don’t have the bear, you can run from the fight to get it and come back.
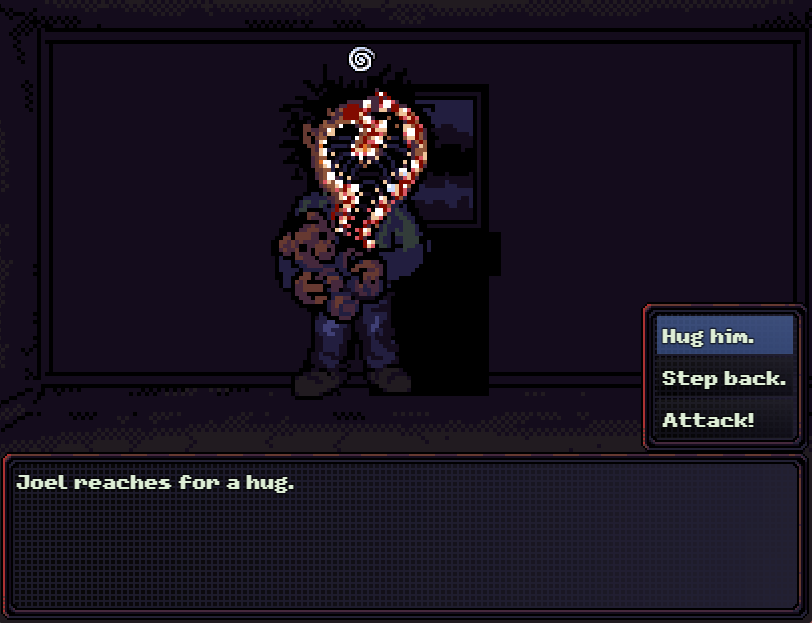
: We need to hug this child, which makes total sense. It’s not like he’s a highly infectious tooth zombie.
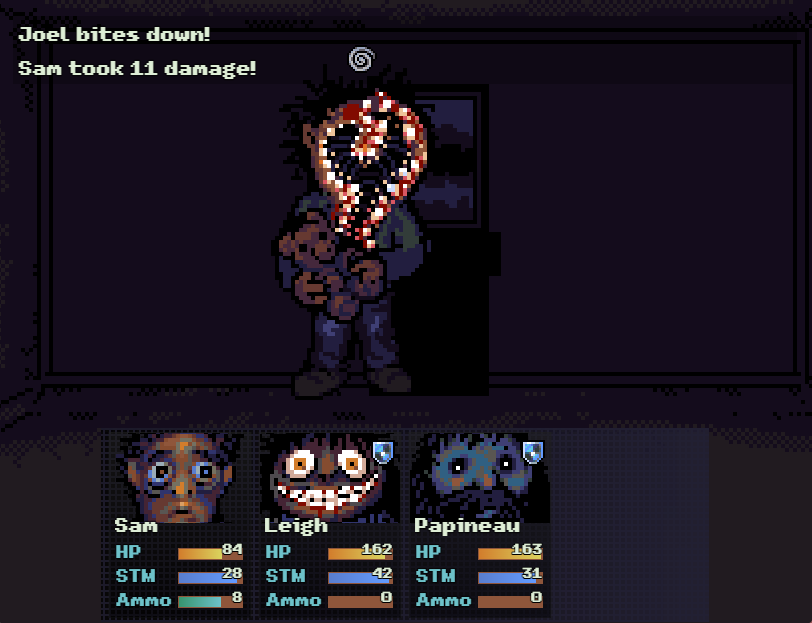
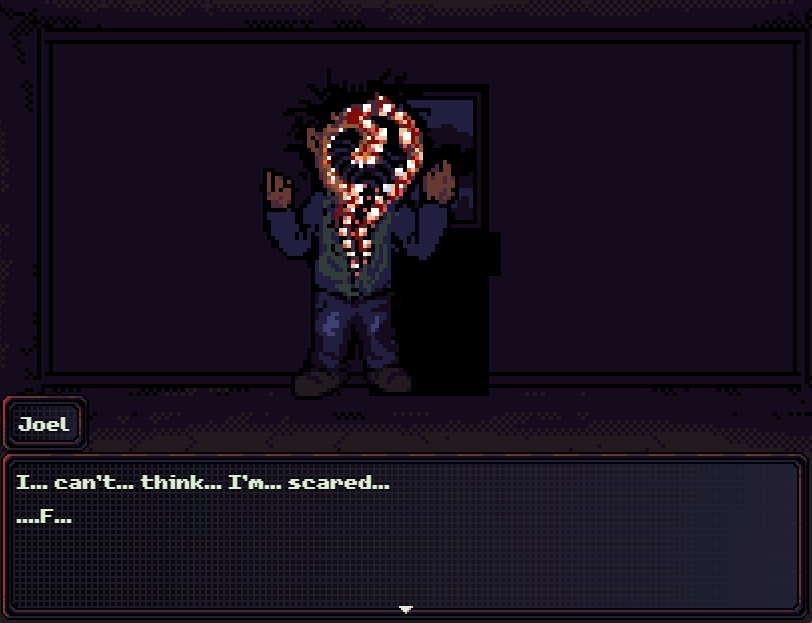
: If Sam is low enough on HP, Joel will kill and eat him. I’m not sure why it is that this doesn’t cause Sam to get infected.
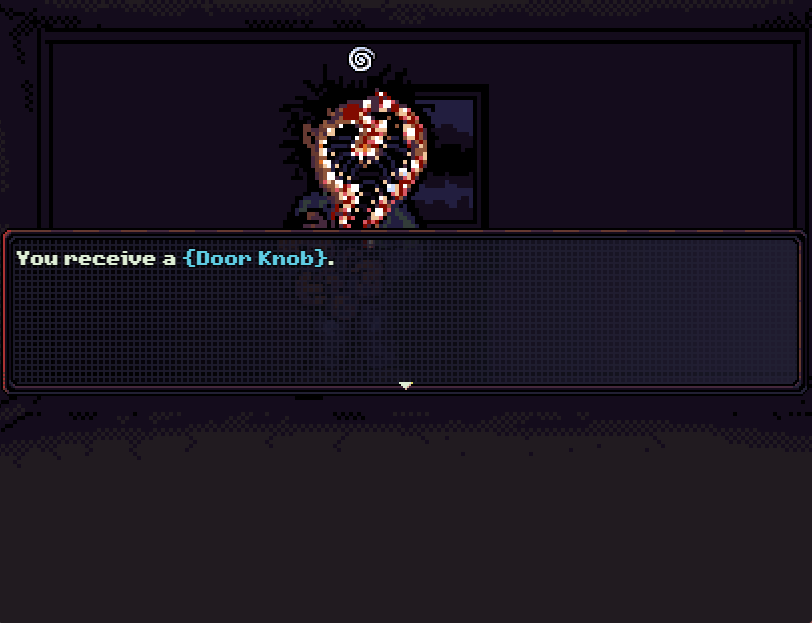
: He gives us the doorknob. We need to see his mother before we can recruit him.
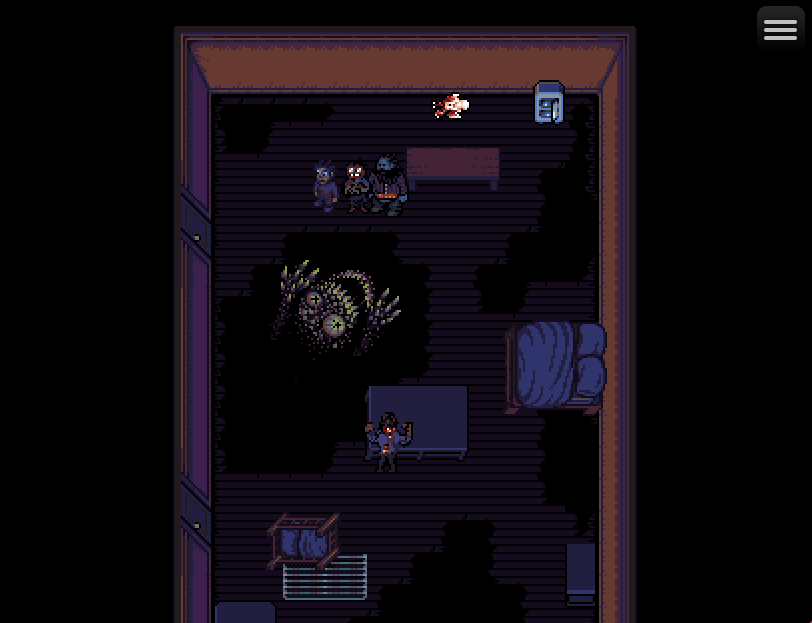
: If you look in the hole, you can see Joel’s sister.
: The parents’ bedroom has a safe in it, which is the only reason to come here.
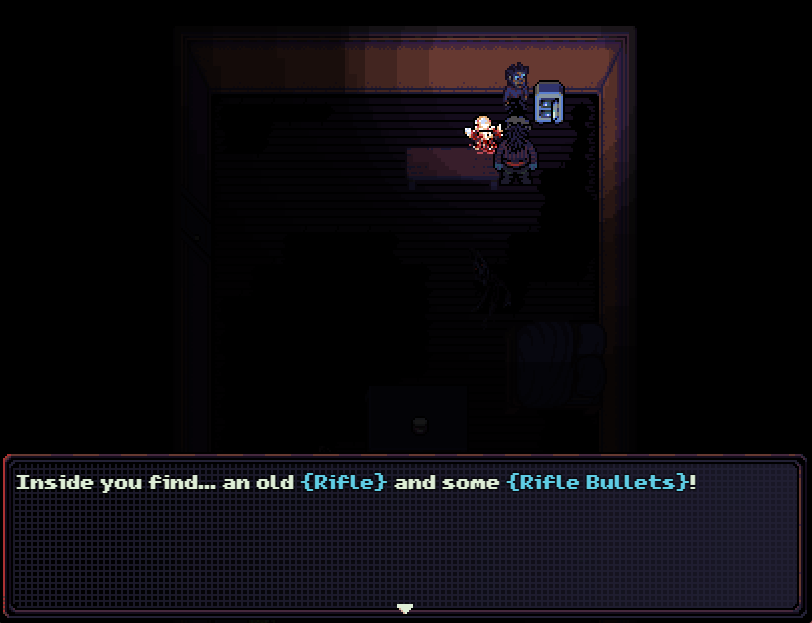
: This rifle is how we’re going to take down the Rat King. It’s our first two-handed firearm, which means Sam couldn’t equip it if we hadn’t fed the rat baby to the wall.
: Speaking of which, if you’re going to use Joel, the rat baby is the only way to upgrade his weapon.
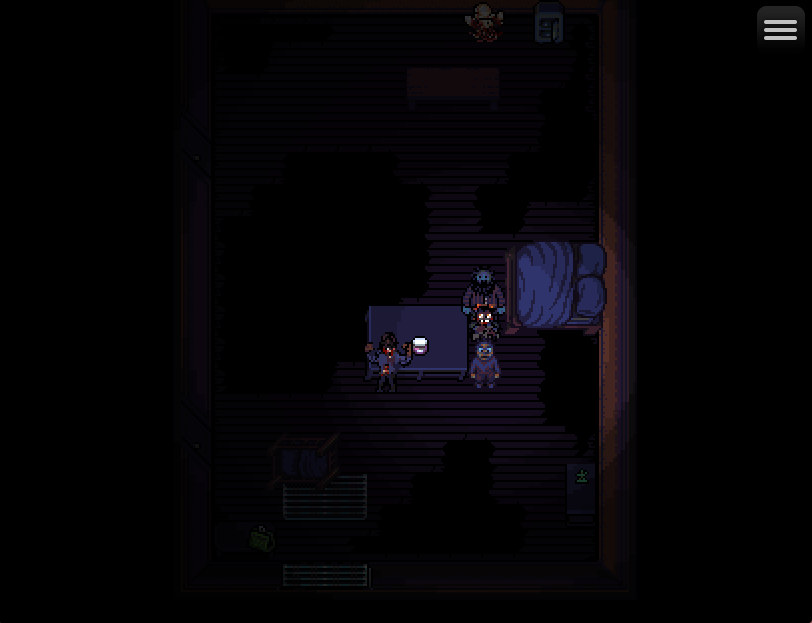
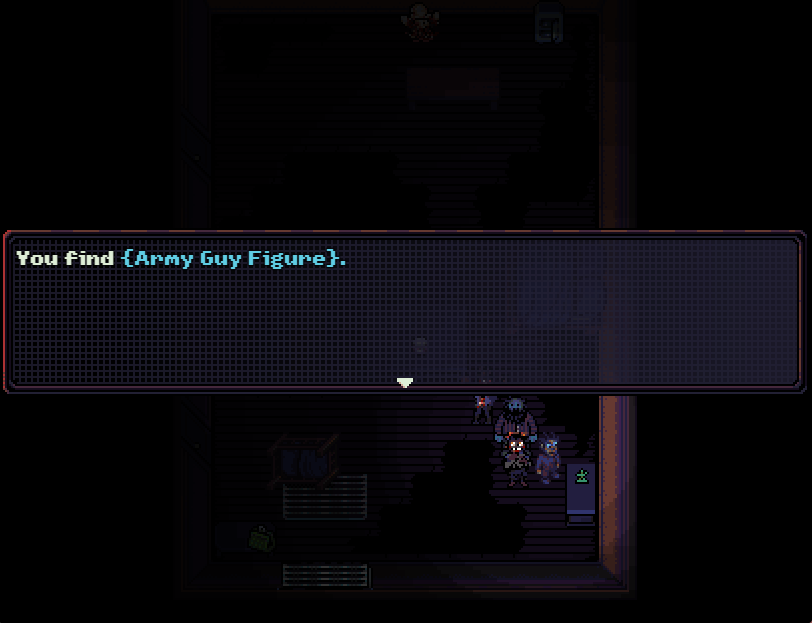
: There’s an army man toy down here. If you plan on doing the superbosses in here later or want all the video games, you’ll need this.
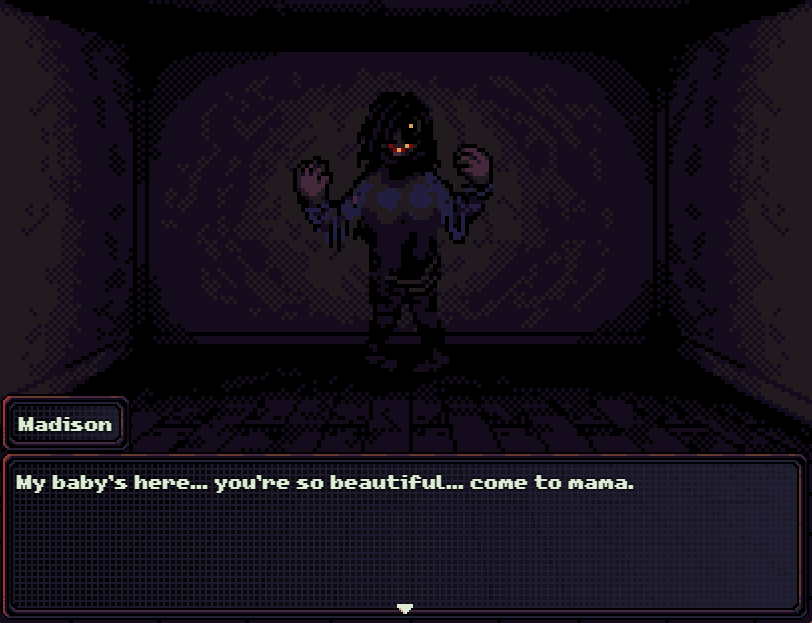
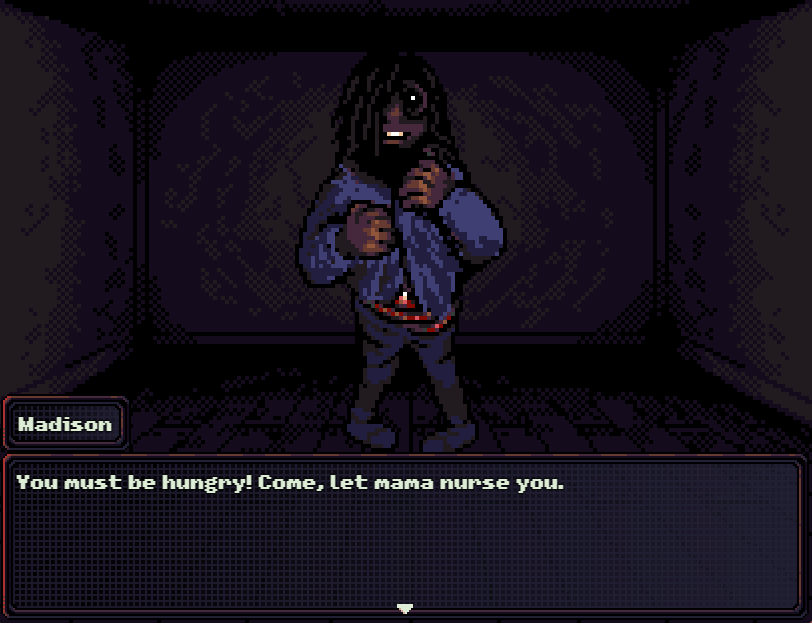
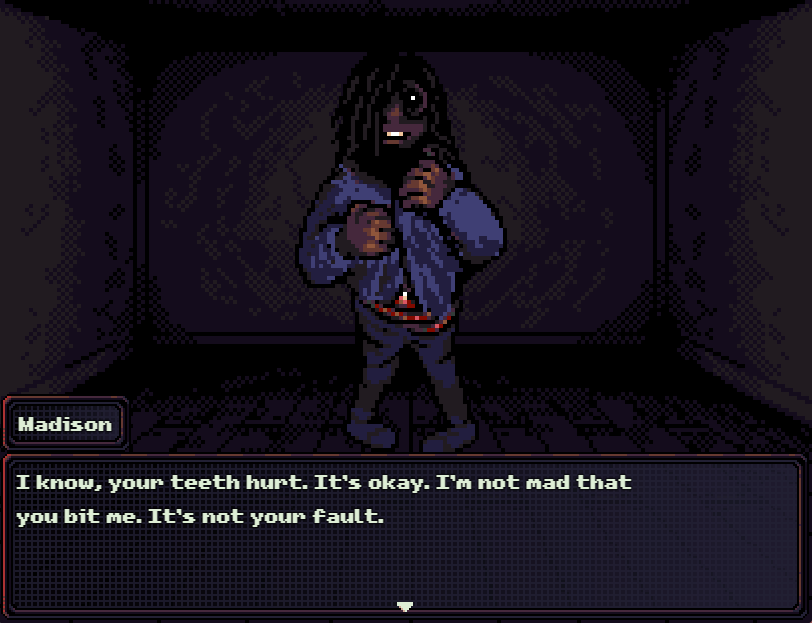
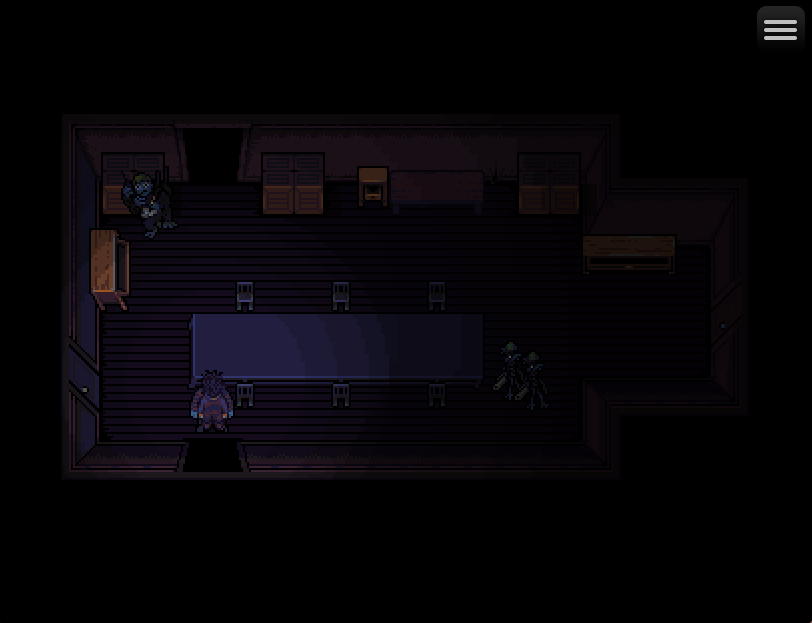
: I get bad RNG again and Madison boxes us in. She’s another superboss if you leave her alive.
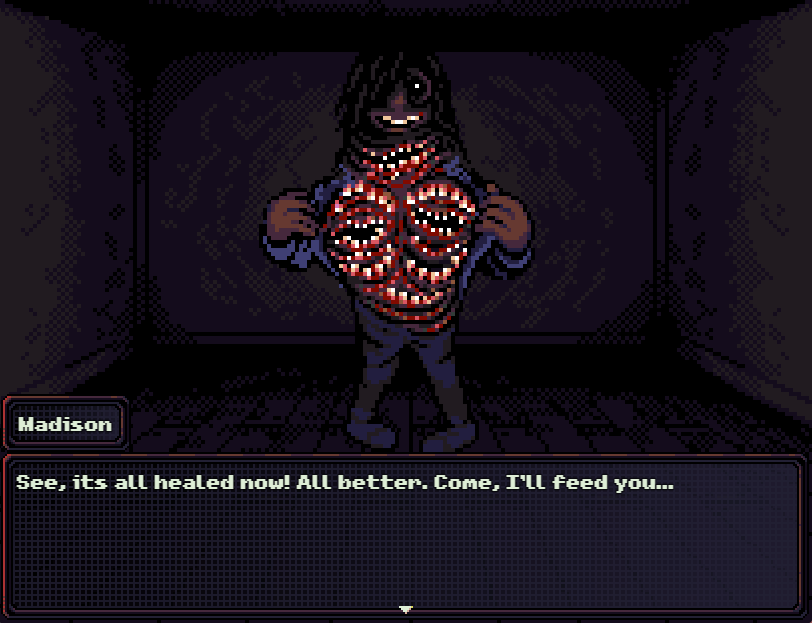

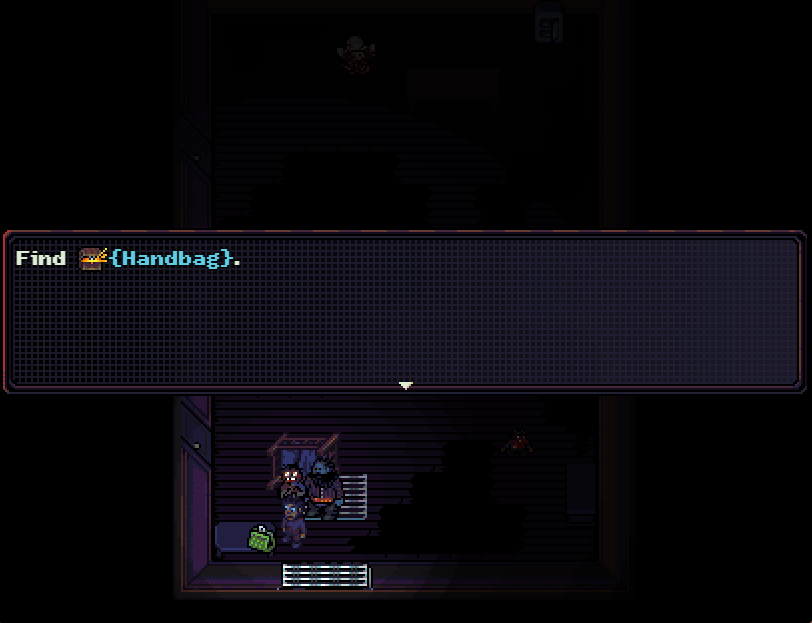
: We can steal Madison’s handbag and take that door into the kitchen.
: The kitchen has some food and a frying pan in it, as well as two bottles of vinegar. We can now make herbicide.
: Once you try to leave, you get attacked by Baby Teeth. This is fairly easy to avoid - you just go around the table.
: Baby Teeth does count as a boss fight for points. She’s strong against slashing damage (which means Leigh won’t work) and weak to piercing for some reason.
: If you managed to get through the Grinning Beast fight without breaking the pool cue, you can use the same strategy: Leigh and Papineau throw forks, Sam uses Impale.
: If the pool cue broke.. she’s not really worth fighting.
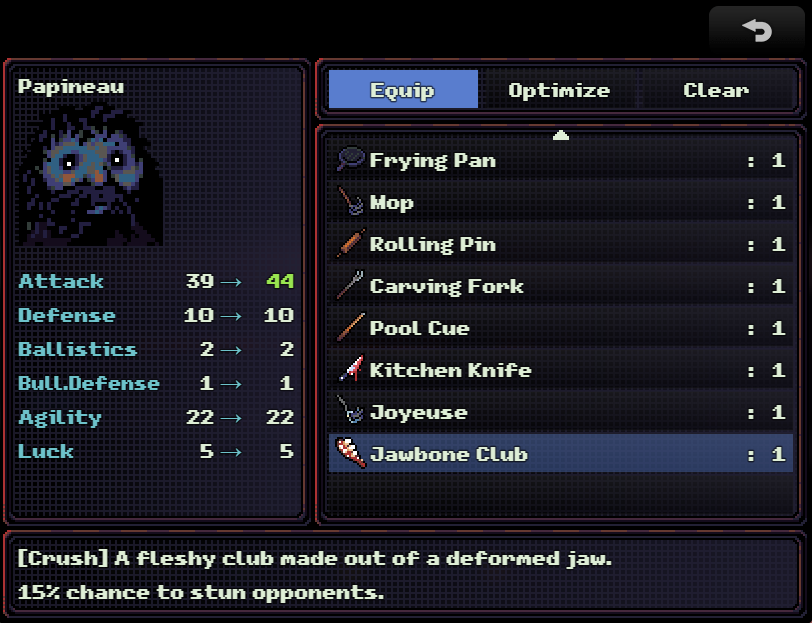
: Killing her gets you the jawbone club, which sucks.

: It’s two handed, has four safe hits.. but decreases accuracy by 10%. Most bosses are heavily stun resistant or outright immune.
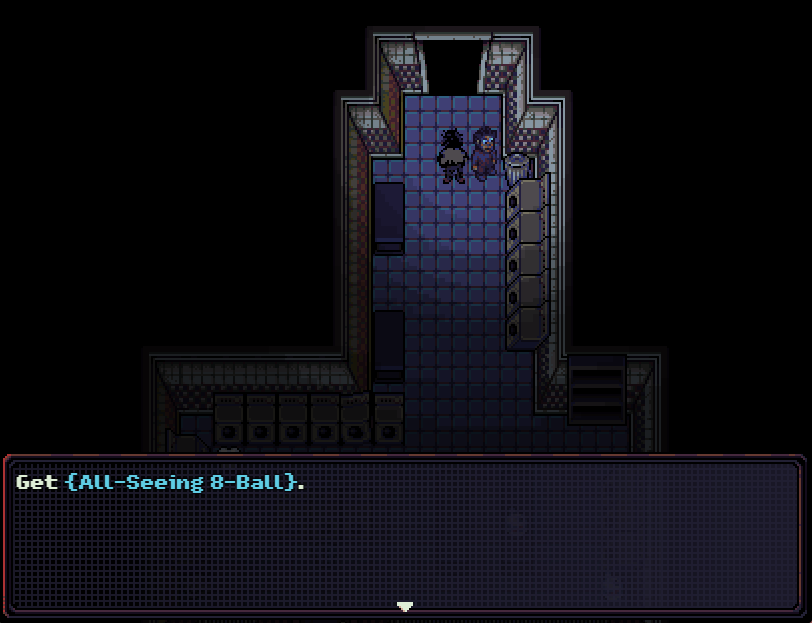
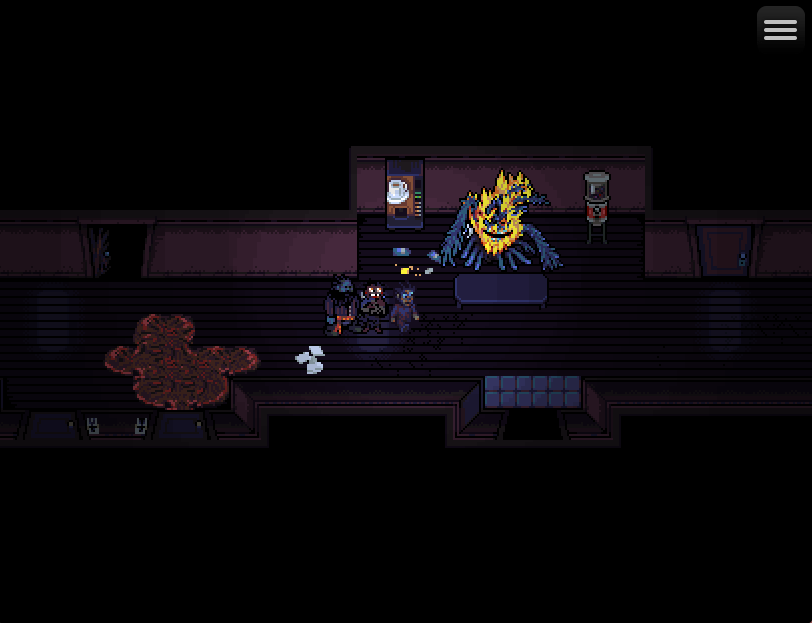
: On my reload attempt, a miracle happens. We get the All-Seeing 8 Ball from a trash can. This thing is one of the best items in the game. I’ll show what it does later.
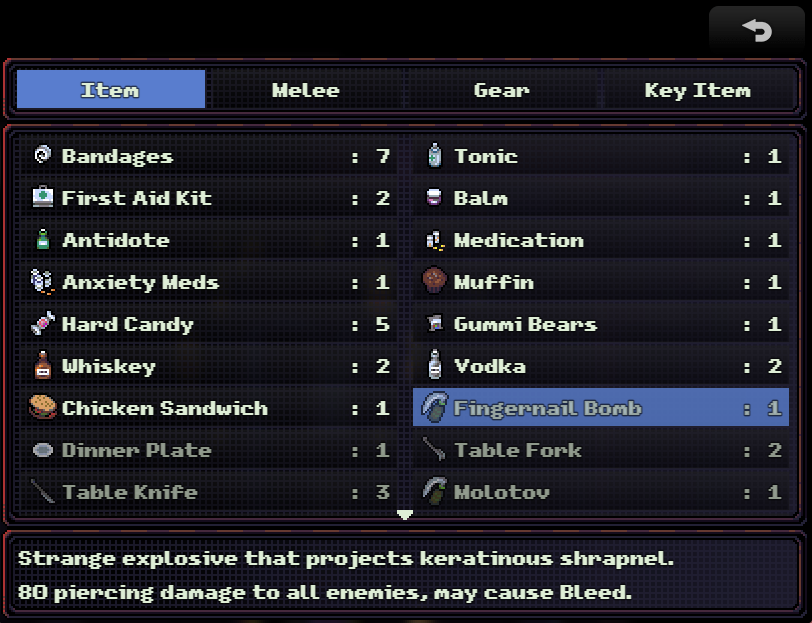
: Touchy then drops a fingernail bomb, which does 80 piercing damage and has a high chance to cause bleed. I’m saving this for next update.
: I probably should’ve saved before I came in here, because the Baby Teeth fight didn’t go so well - Sam missed both times with impale, all three forks missed, and I had two weapons permanently break.
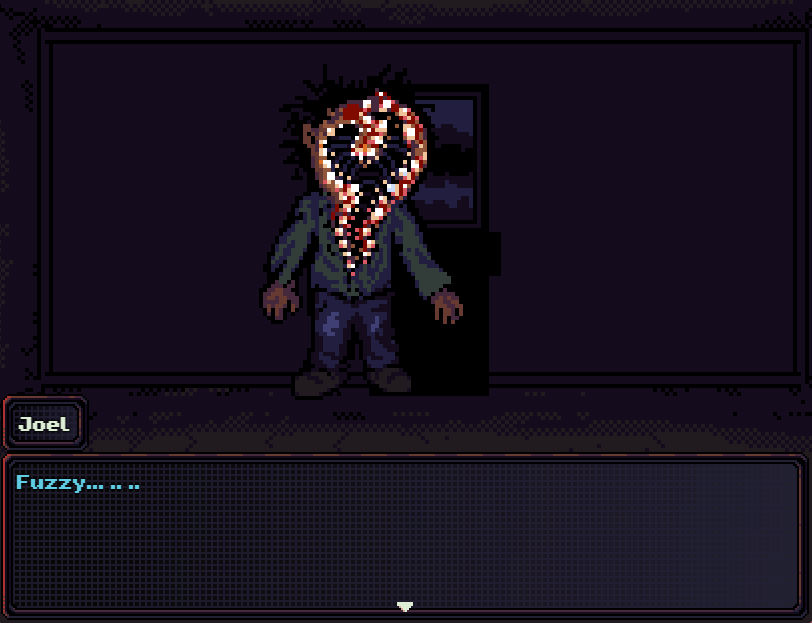
: We can tell Joel to come with us, at which point he’s recruited. I am never going to use him.

: Joel can’t equip weapons other than his bear. The only way to upgrade his gear requires the Rat Baby and another party member who is only obtainable as a door encounter.
: His gimmick is that he’s Quina from Final Fantasy 9. If he lands a killing blow with his weak physical attack, he eats the enemy and gains max HP. All of his skills cost HP to use.
: If you can plan around him, Joel is actually a really good party member. I’d rather have two-handed firearms, and Papineau can just as easily take his place.
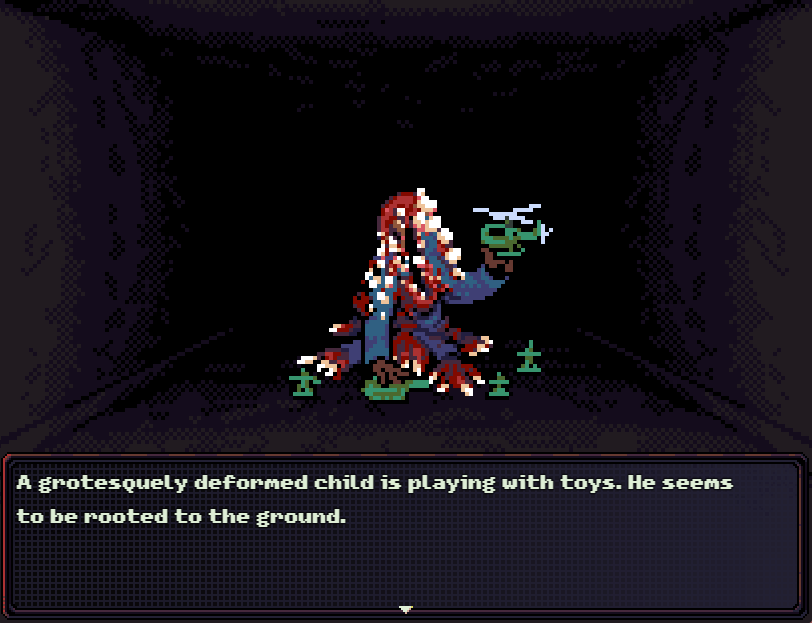
: If you have the army man, you can go back to the room where we got the bear and talk to Joel’s brother, Ben. Joel will help you with this if he’s in the party.
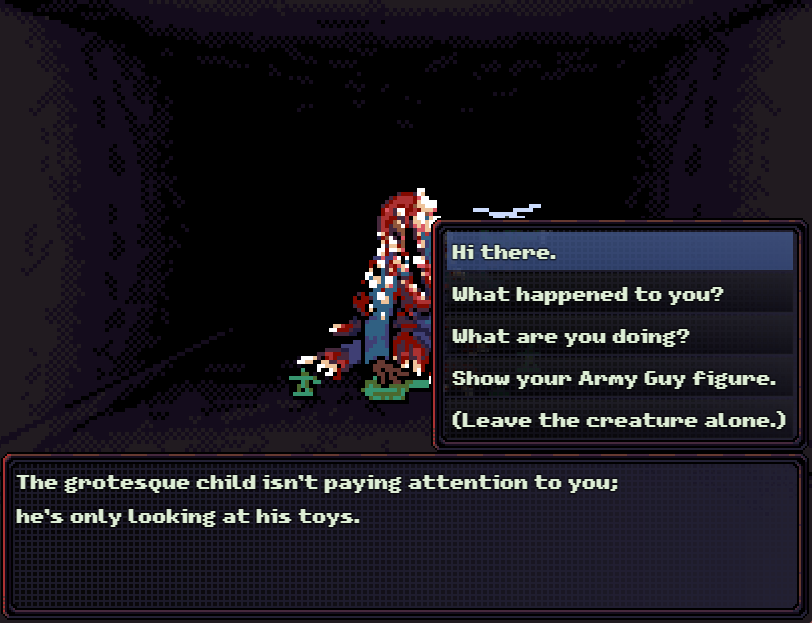
: I’m not going to show the whole thing, but if you sit with Ben and play with him, you get items based on how well you did.
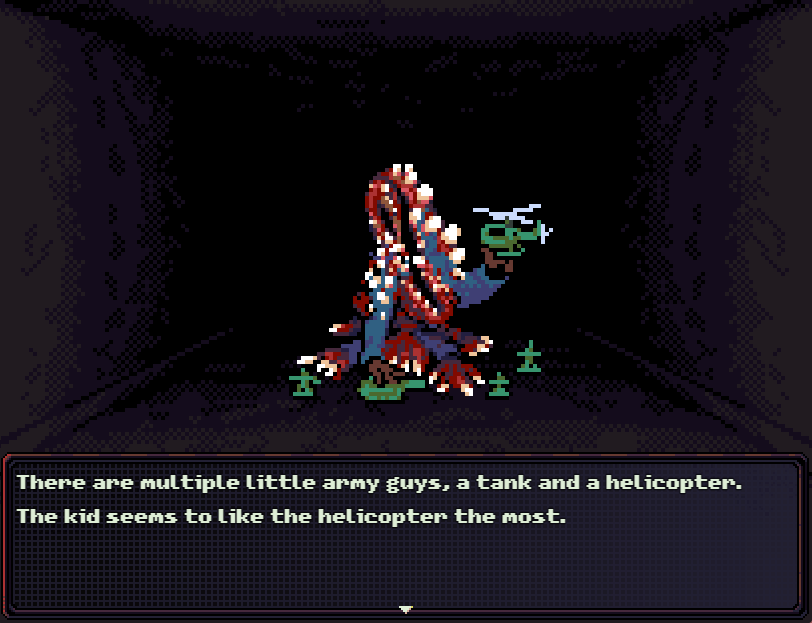
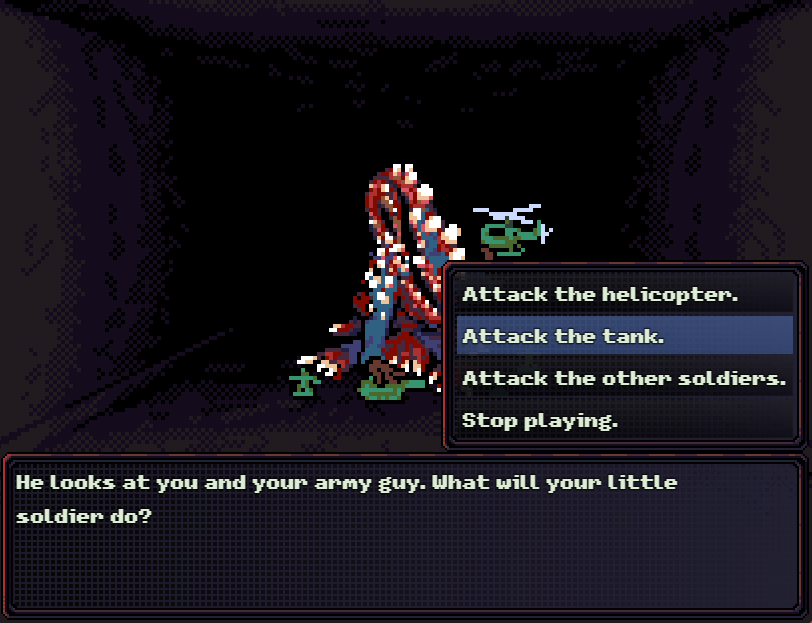
: The first option we want to pick is to attack the tank.
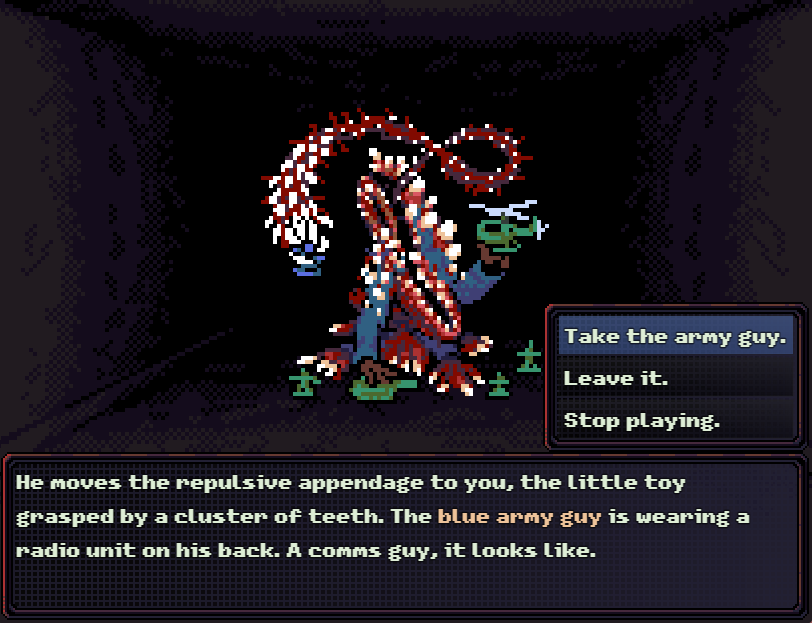

: He offers us a blue army man, who is the villain. Pick the third option.

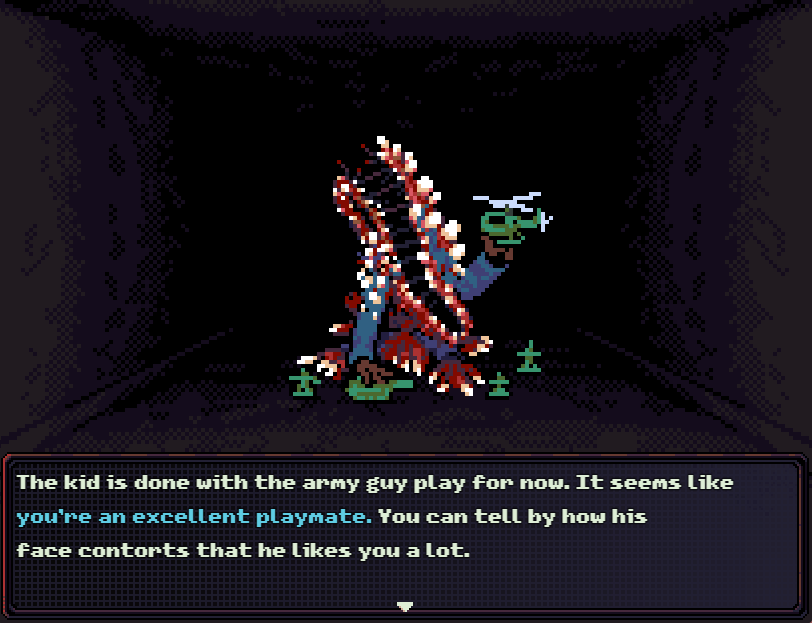
: His helicopter crashes, so we move the original green army guy in.
: I stop and save because the next area we’re going to is the second of this game’s mazes and is full of enemies I don’t want to fight.
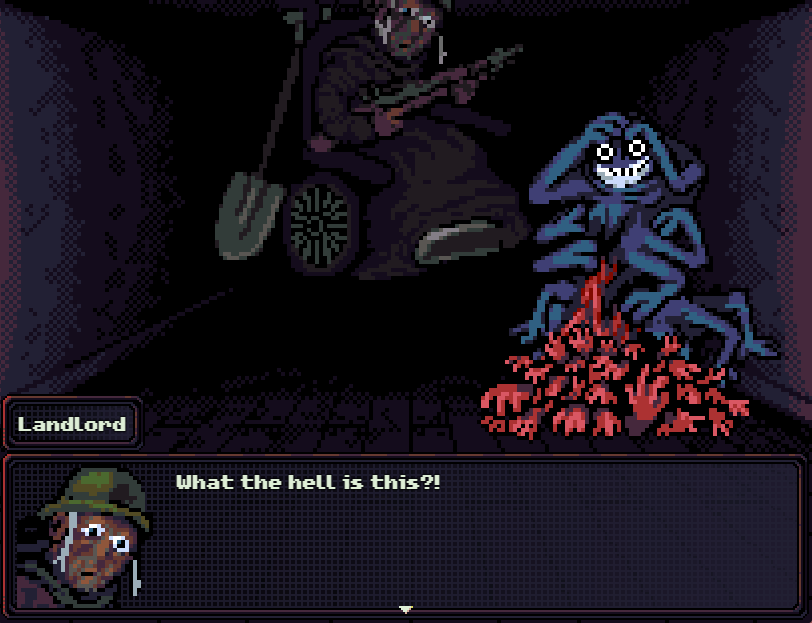
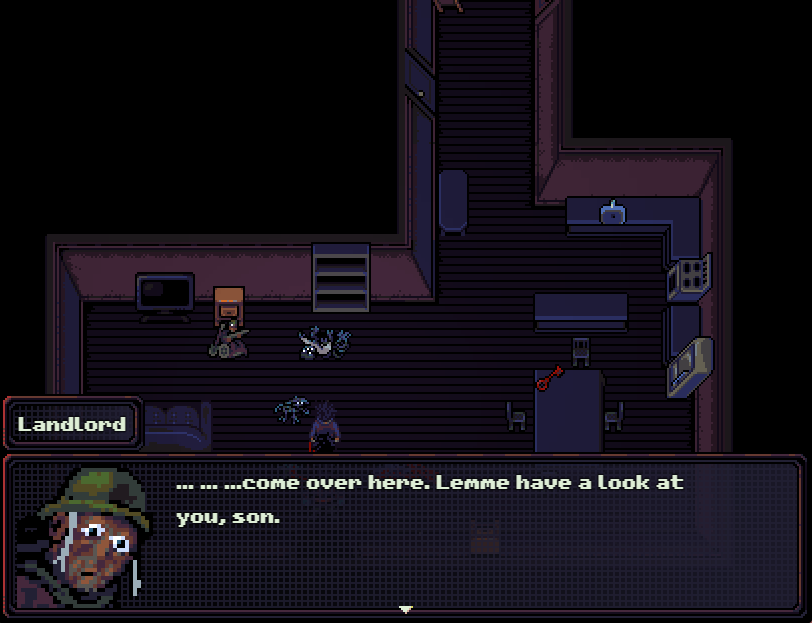
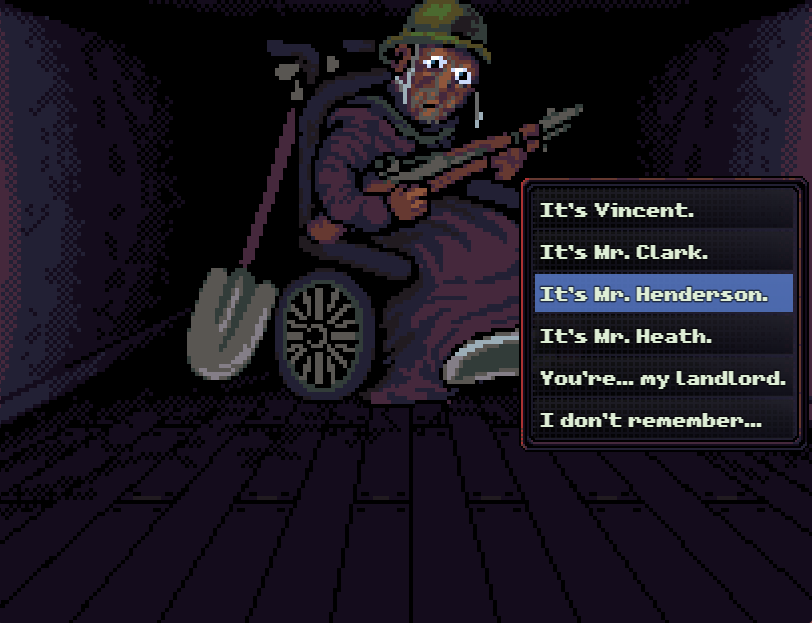
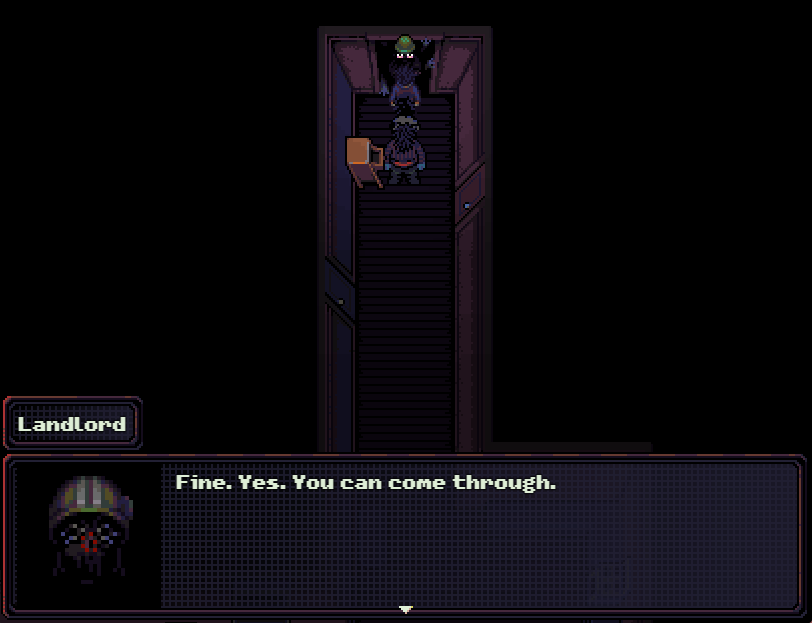
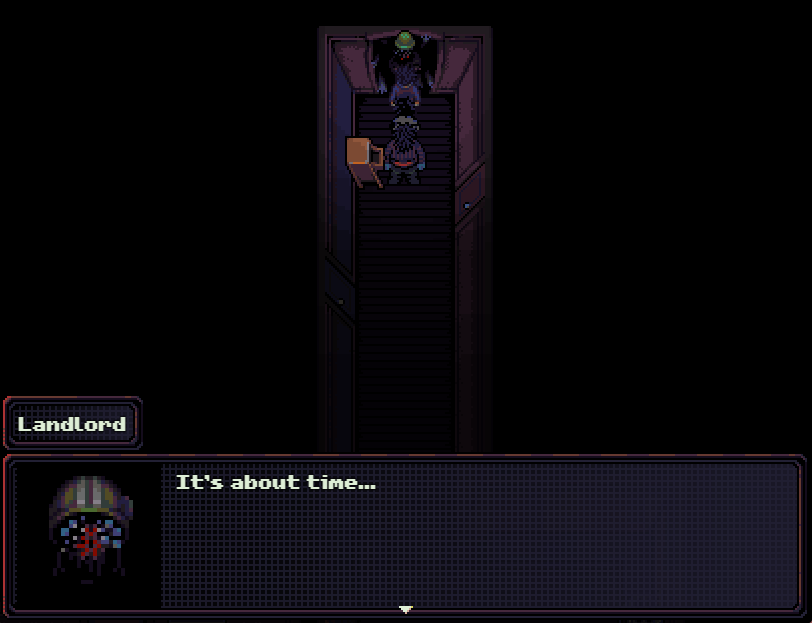
: Four and a half hours after the bus crashes, the landlord’s door is forced open and gunshots echo from within. On my first run, I didn’t go as far into here on Day 2 as I did.
: I’m probably going to reload again off-screen because it went.. poorly.
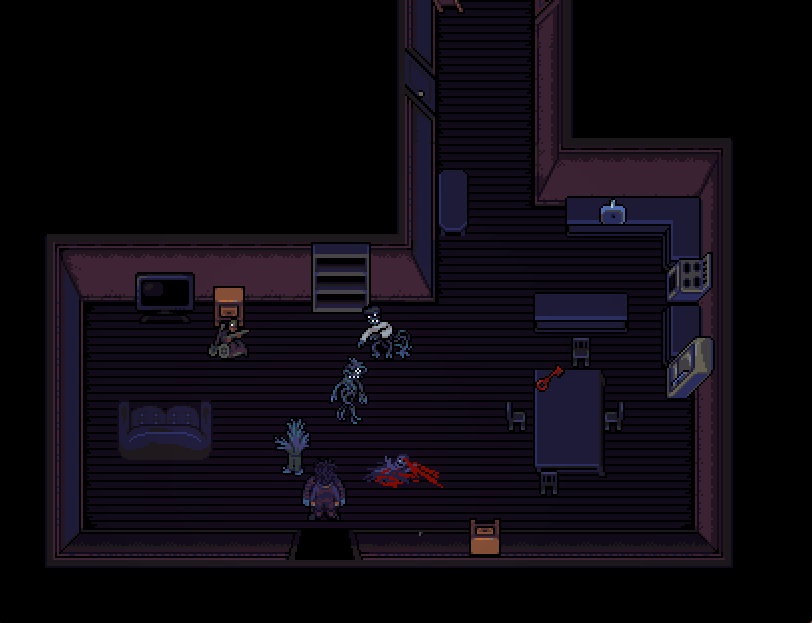
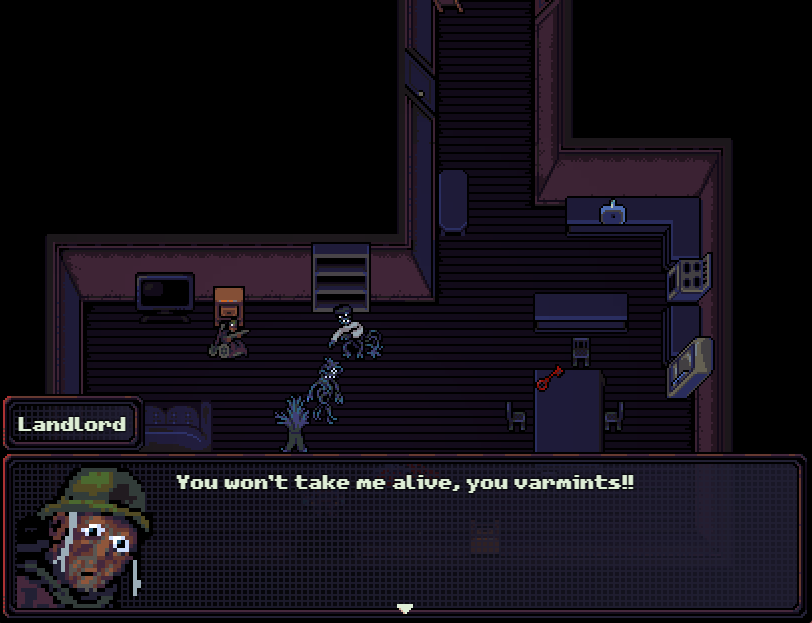
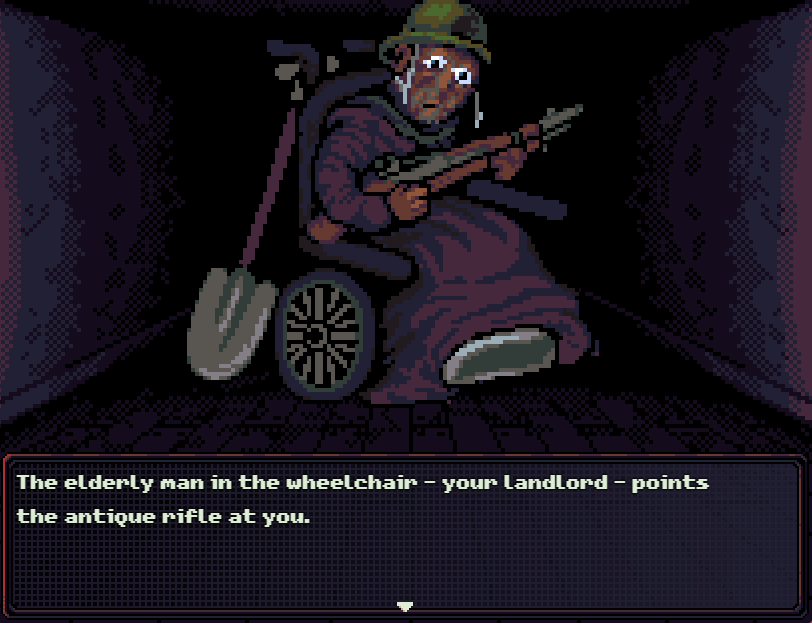
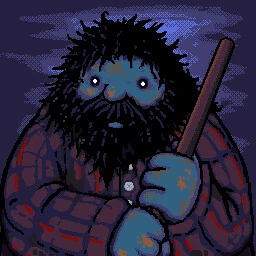
: The landlord is one of those things that doesn’t make a lot of sense.
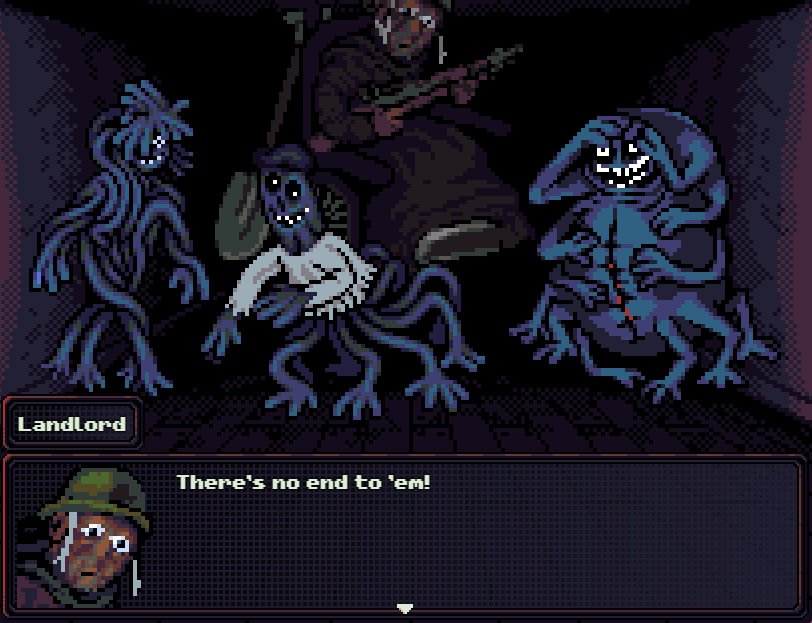
: This is another scripted fight.
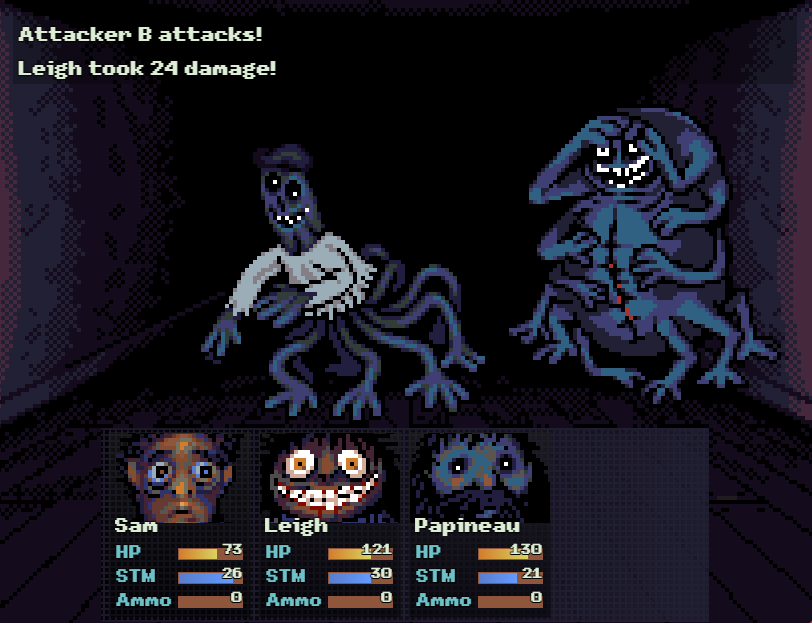
: The “Bloated Attacker” on the right works like Billy Birkin at the start of the game: it has infinite HP until a cutscene plays. We need to kill one of the other hand mutants average Canadian bus passengers.
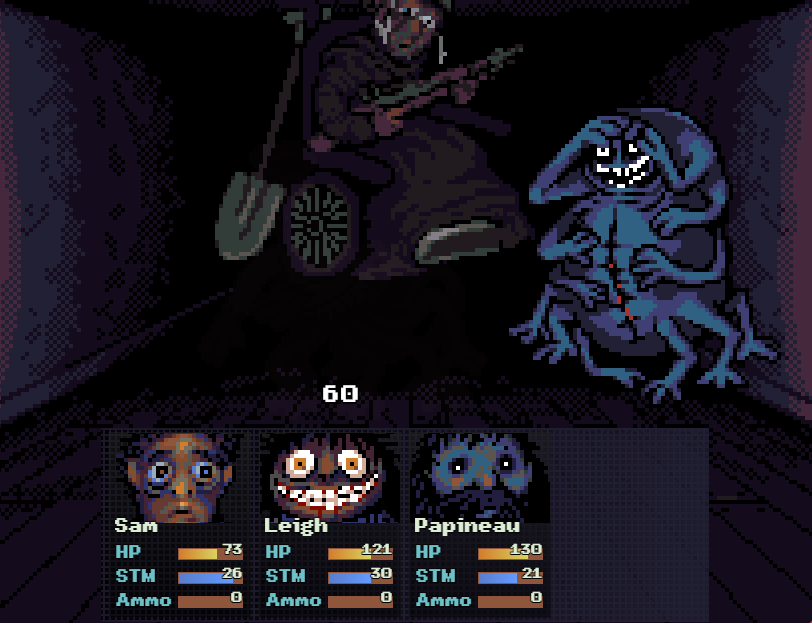
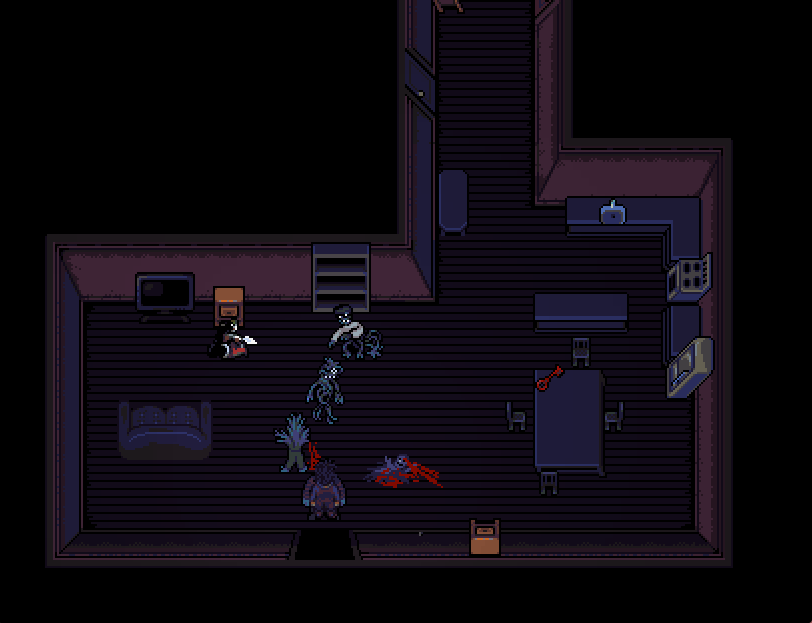
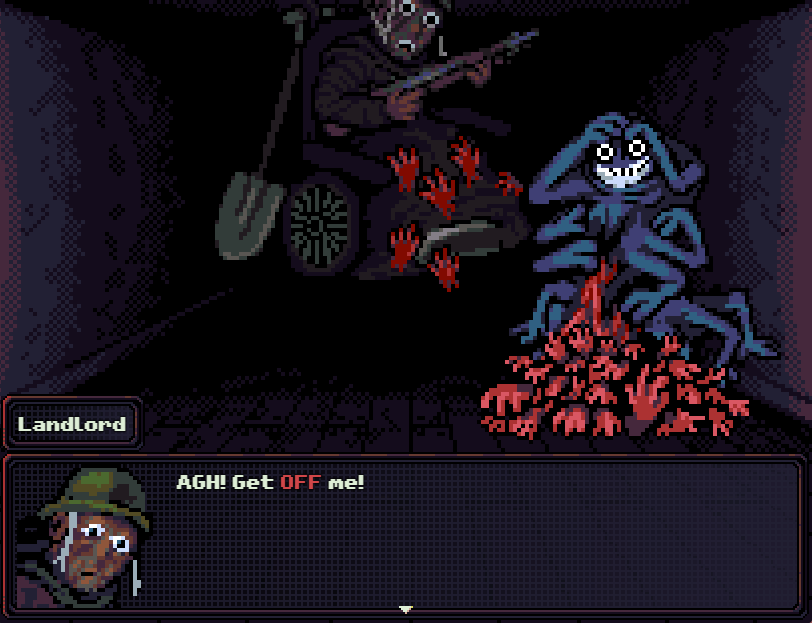
: The landlord then shoots the one we didn’t kill.
: He comes back and shoots the bloated attacker, which does exactly what you’d think it does.
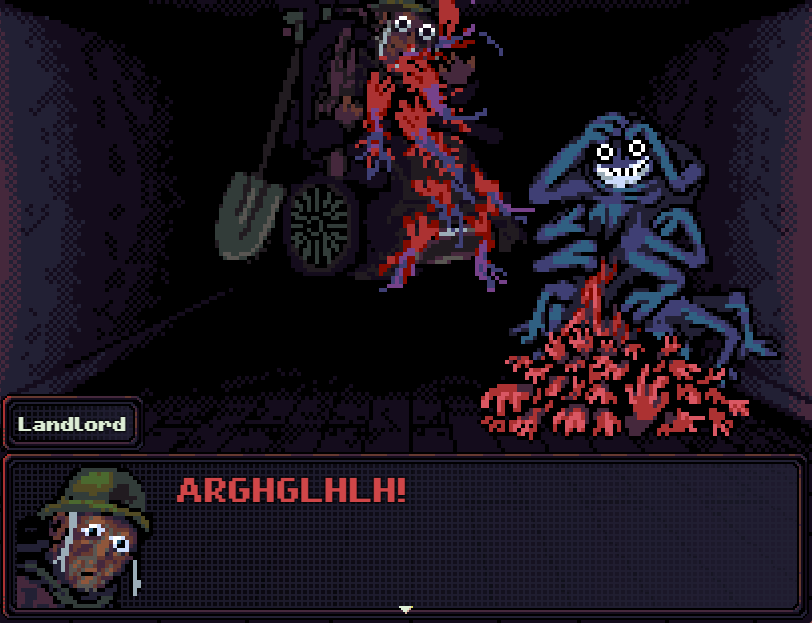
: And now we know why everyone on that bus is the way they are.

: The last enemy goes down one turn later.
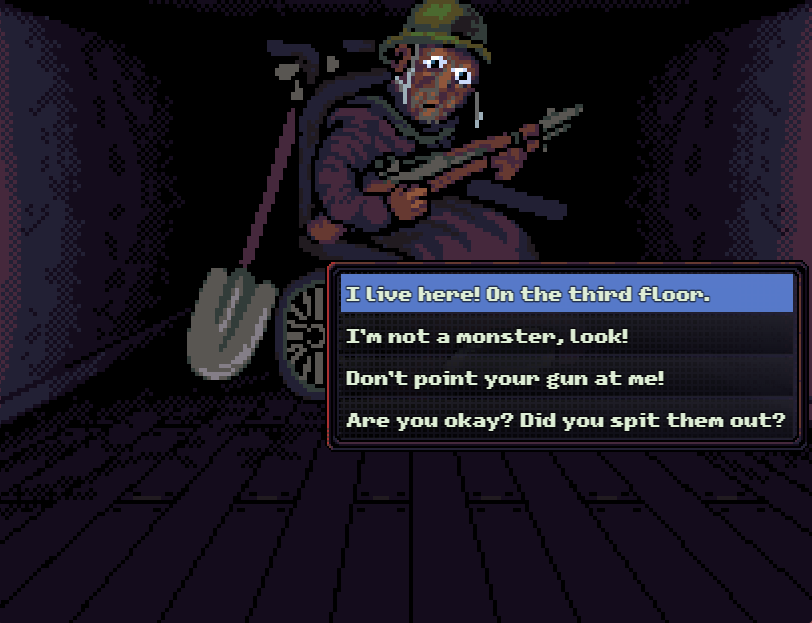
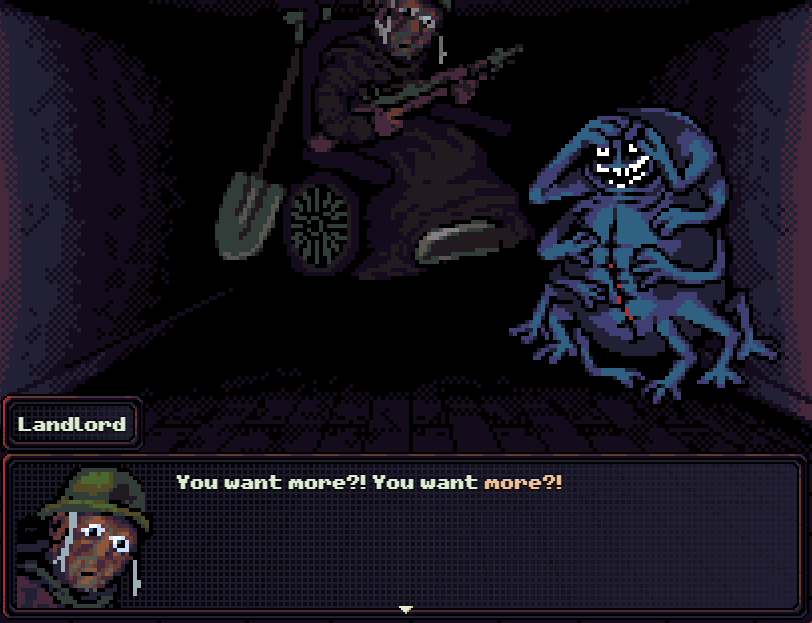
: If we answer anything but the first option, he shoots Sam.
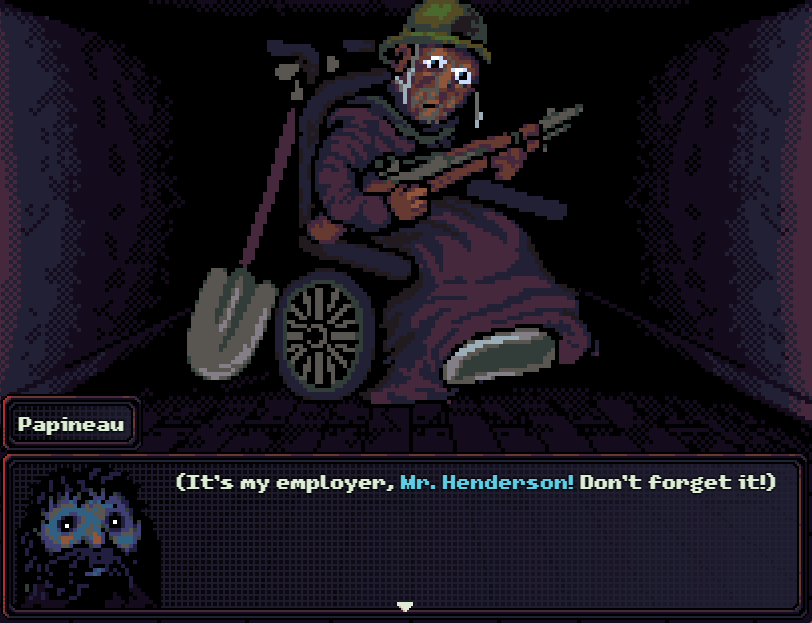
: If you have Papineau (or one other party member only found as a door encounter), he’ll remind you of the landlord’s name.
: Otherwise, there’s two ways you can learn it. The first is when you pick up the money in Sam’s apartment, and the second is the note on the body by where we got the pool cue.
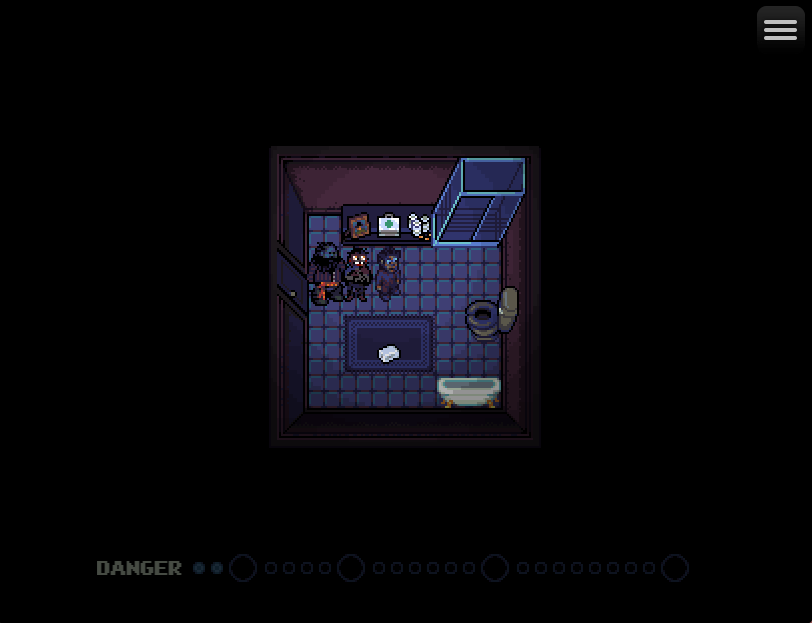
: The only thing we can do is go into his bathroom. Make sure to loot everything in here.
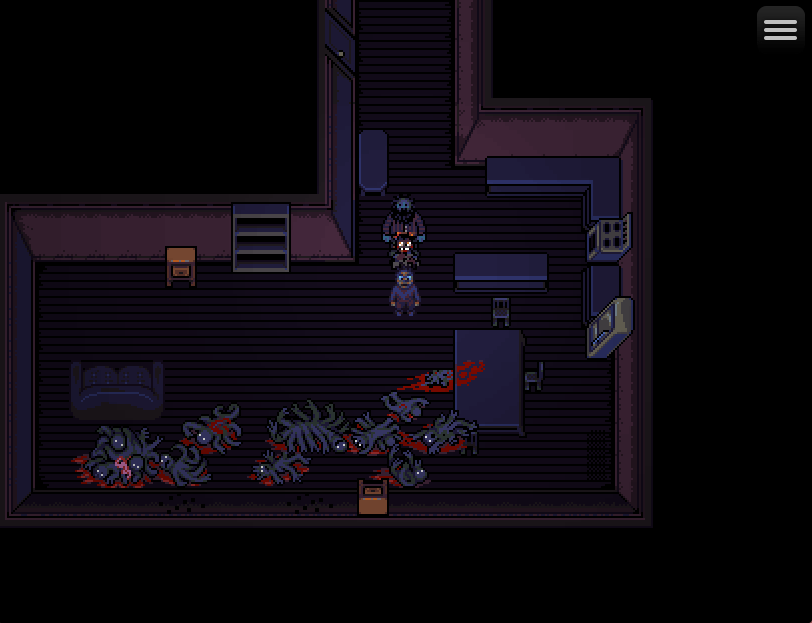
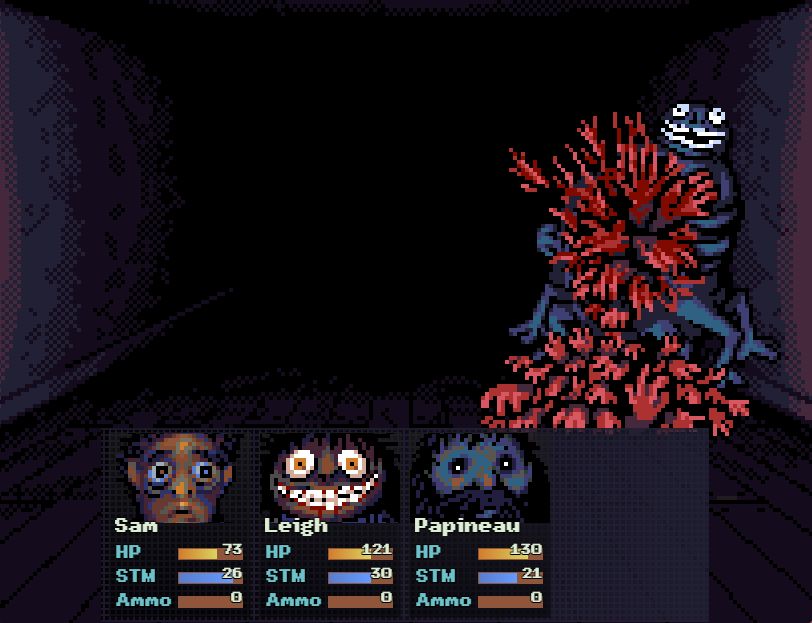
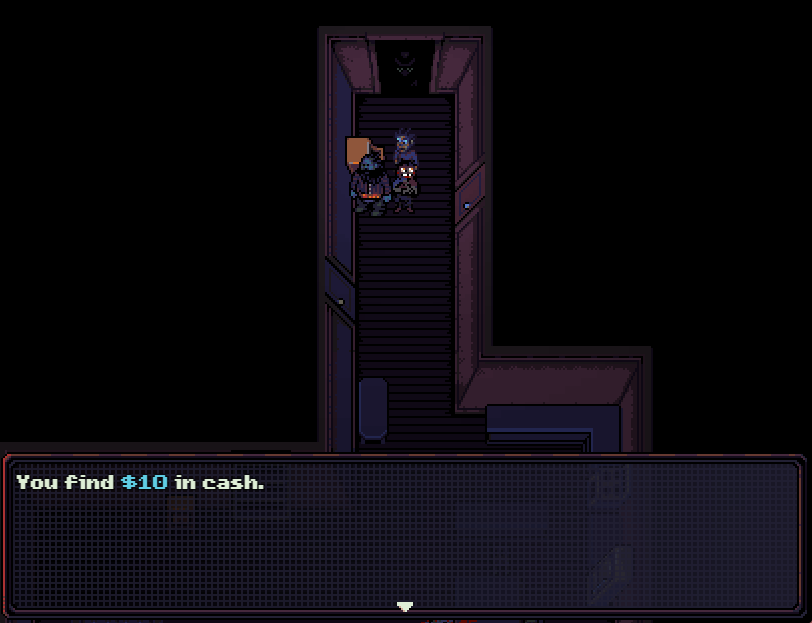
: When we come back, there are ten dead bus passengers and no exit door. The brown drawers have money in them, and we’ll need that to progress.
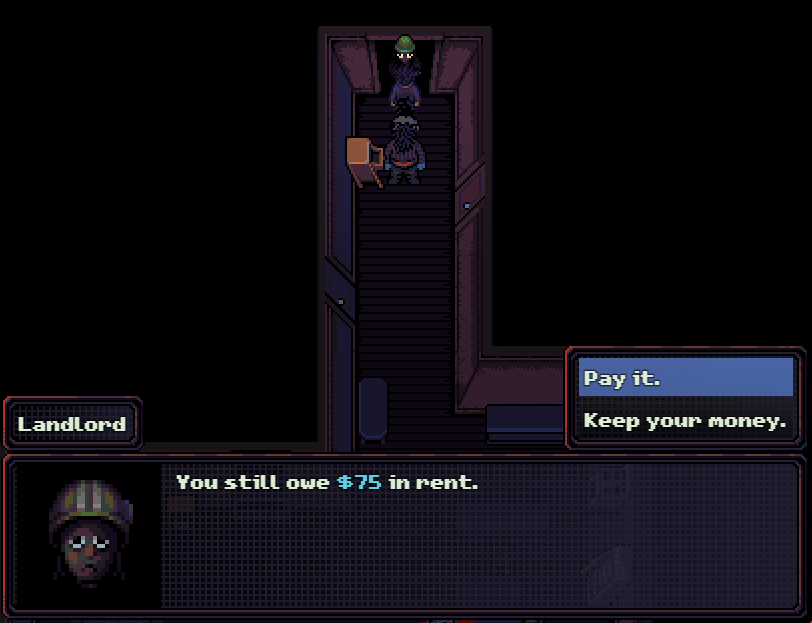
: You can see that the landlord is hiding in the back. The goal is to find the landlord, pay him some rent, and then the apartment mutates.
: Let’s take that door to the left. The one on the right is the bathroom.
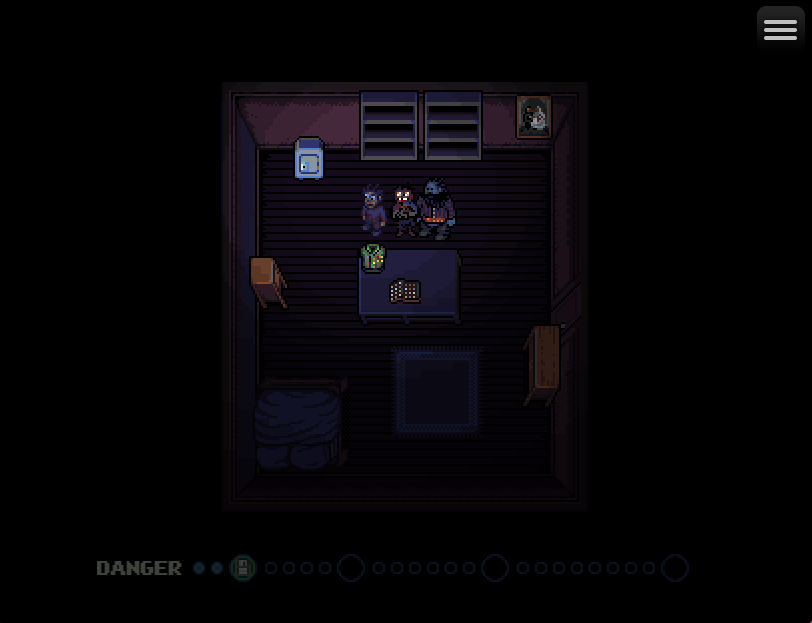
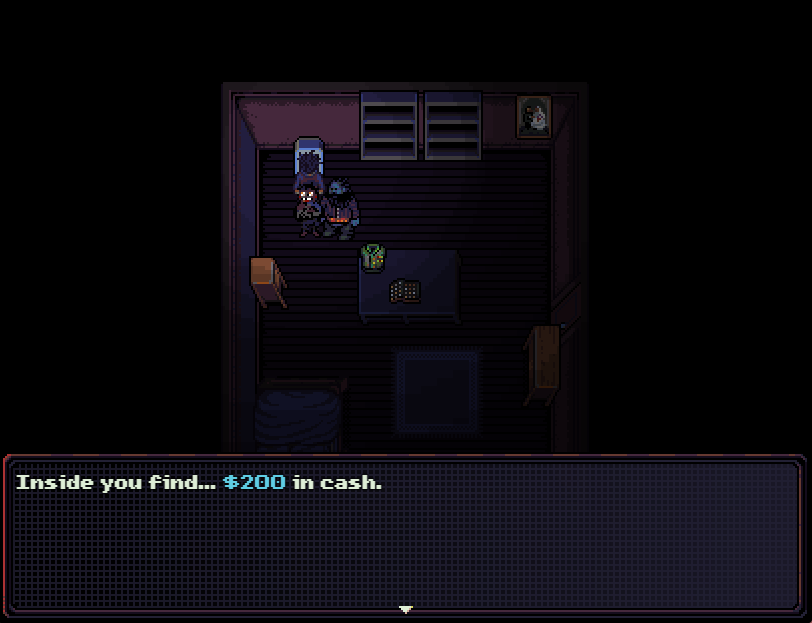
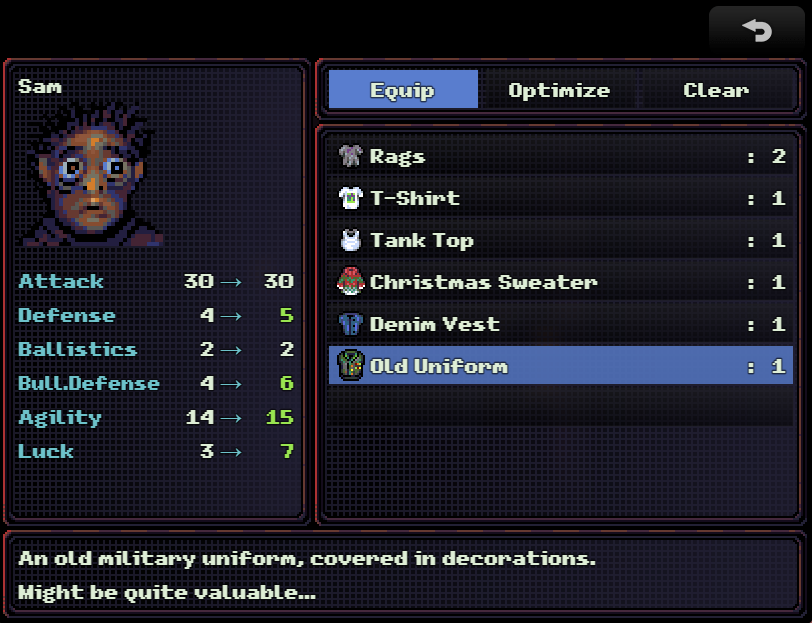
: Two cash drawers, an Old Uniform, a coin collection, and a safe. We want to open the safe now because it’s a pain to get to later.
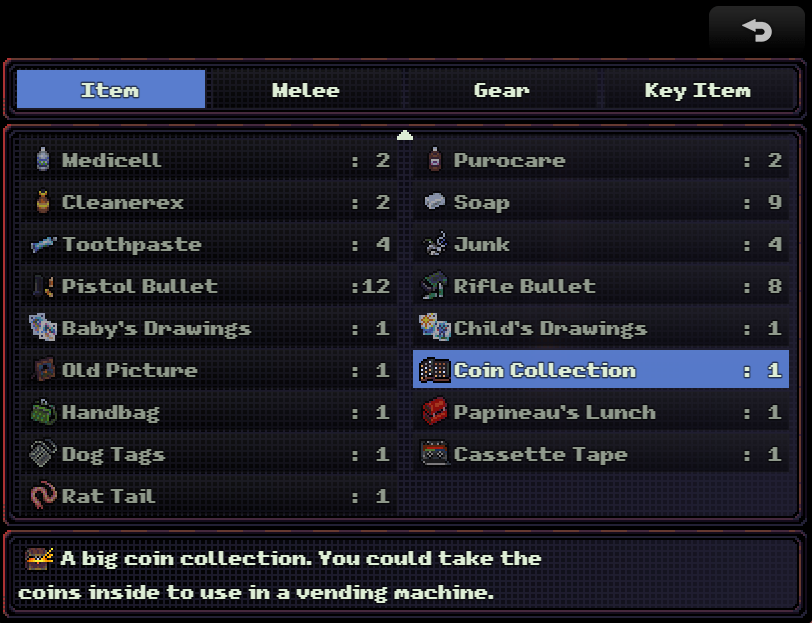
: The coin collection can be sold or broken open for money. We’re going to break it open on this run. The apartment has enough dollar coins to finish recruiting Audrey without breaking it, but I want to talk to her afterward.
: Loot the fridge and we’re good to go. The drawer on the south wall has nothing in it.
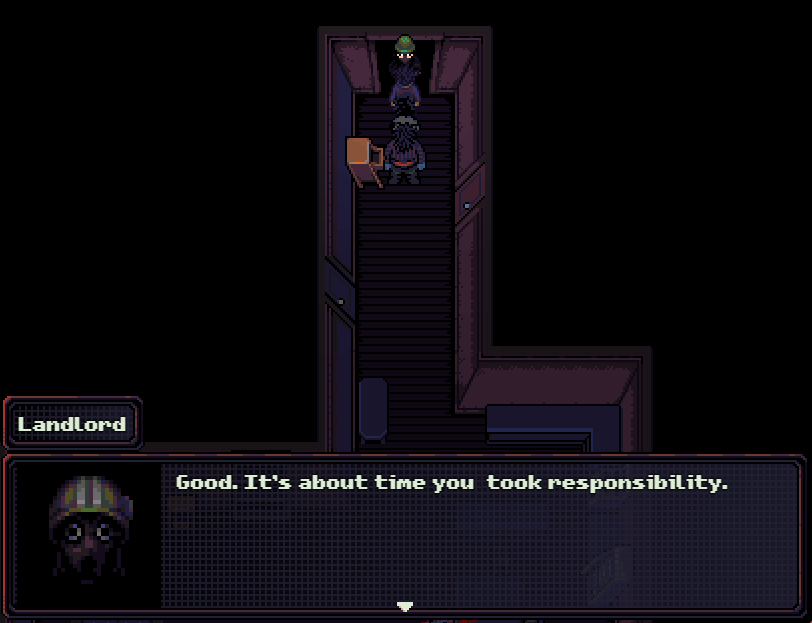
: Every time we pay the landlord, he mutates. I think this is how landlords normally are.
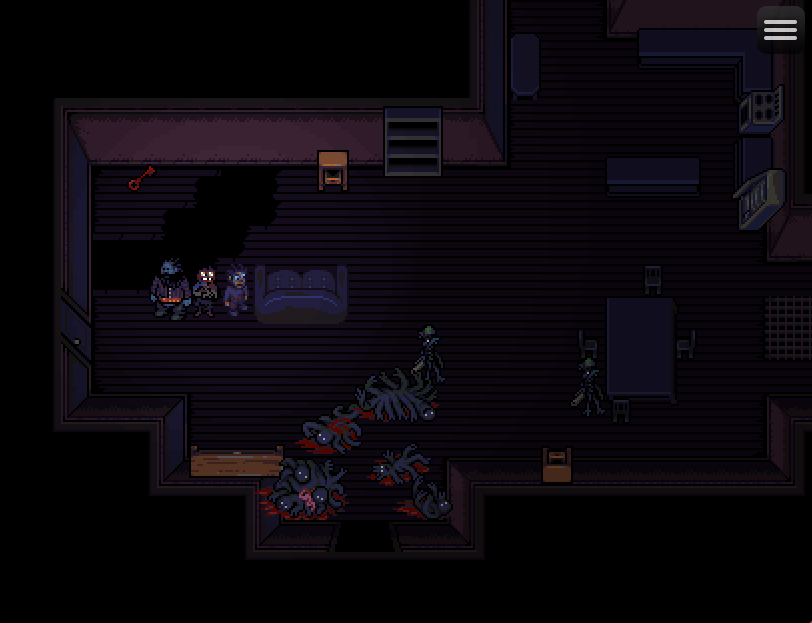
: This is the second stage of the apartment. There are now enemies inside. We can see the basement key, but can’t reach it.
: The door on the left now leads to this room, which has a tonic, some cash drawers, a chessboard we can sell, and some coins.
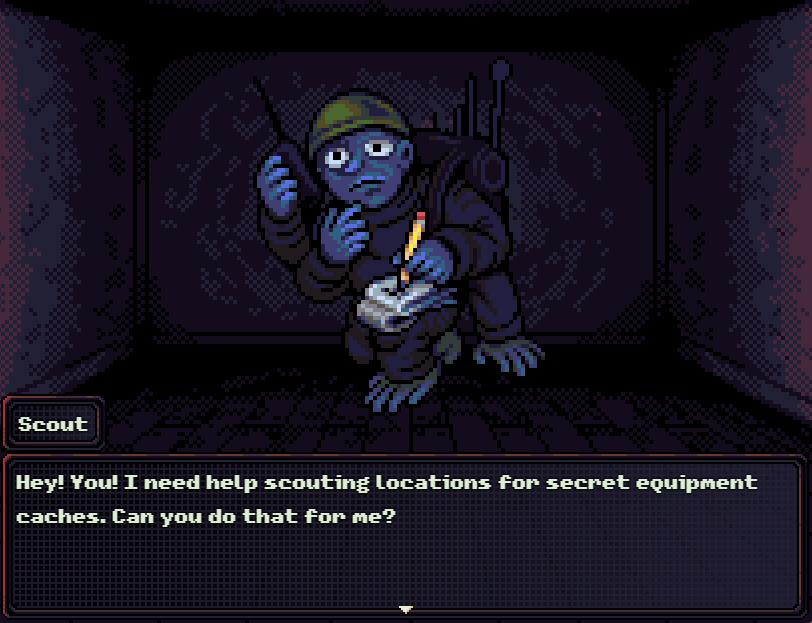
: Scout tells us about secret equipment caches. I only know of two, and I don’t think there are many more. He gives us a radio we can use to contact him for hints.
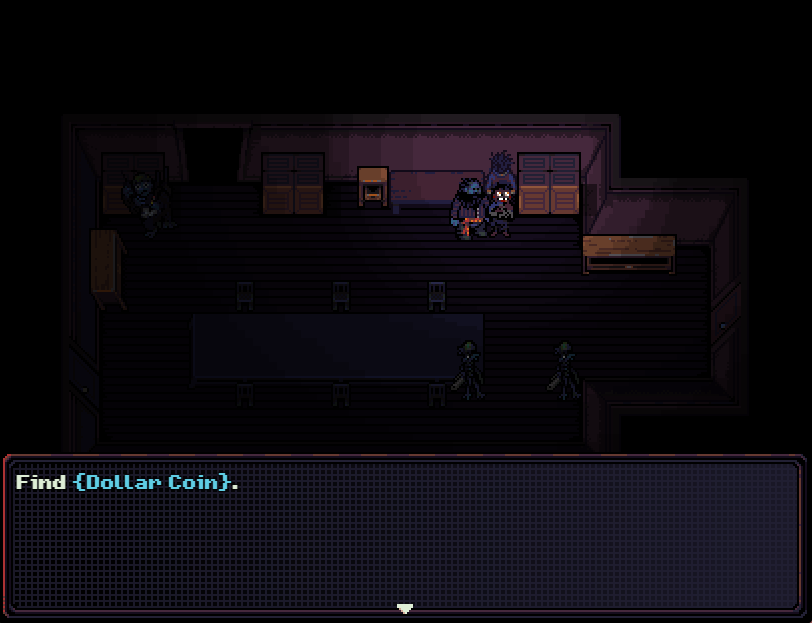
: There’s a dollar coin in this crack in the wall, which counts as a hidden cache.

: This room has a detonator (up top) which is important for a sidequest. We do not want to fight that enemy.
: That enemy is called a Heavy Armored. It’s the one on the right. They have a lot of HP and have a shotgun that hits the entire party. They can fire it twice in one turn.

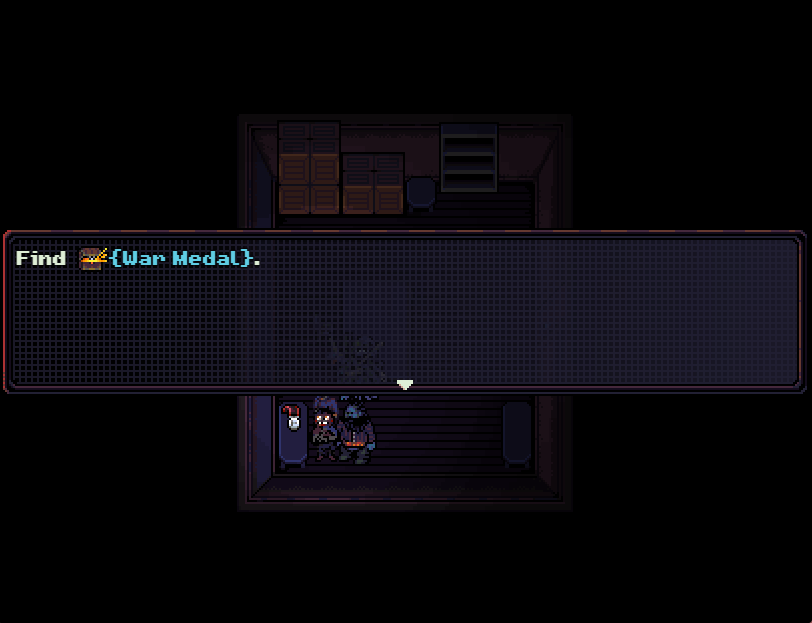
: We come dangerously close to getting attacked, but manage to grab the war medal before we do. It boosts Luck by 10 points and makes you immune to panic and fear.
: The second time, we need to pay $150.
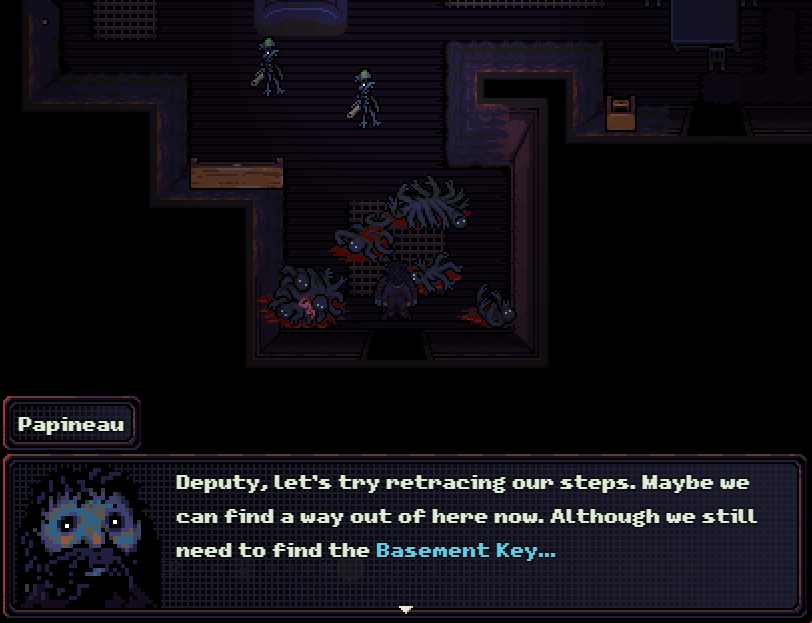
: Doing this unlocks the exit, which means we can go get Audrey… but we’re pretty close to the basement key.
: This room is new, and introduces us to another enemy we don’t want to fight. See that thing over on the left? That’s a Gatling.
: We take the items, and then get in a fight with the lone enemy nearby.
: This is a Soldier. They’re the weakest enemy in the war zone. Like most of the hand enemies, they’re weak to slashing.

: The grenades attack for pitiful damage but eventually explode.
: Going north from this room puts us in a maze.
: This is the trench area. It’s a big, open map that loops around. This is why I say the landlord makes no sense: he’s clearly supposed to be a reference to Vimy Ridge (a WWI battle) but all the WWI vets were long dead by 2025.
: There’s an APC roaming around. This thing is a boss, and should not be fought without Audrey.
: This room has more coins and some shotgun shells on the bottom, and vendor trash and a bat on the other side.
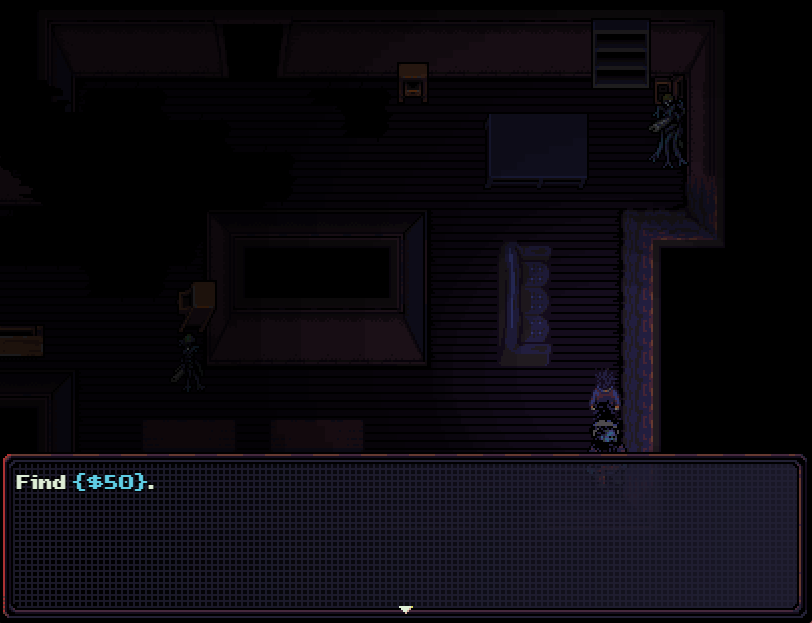
: It also has a crack in the floor that gives you $50. This is the other hidden cache.
: This time, the landlord wants $300. The safe thing to do would be to do this at the start of Day 4.
: That bottom door is new, and it’s the one we want to take.
: Some of these corridors are landmined. If you hit the confirm button fast enough, you can disarm them before they attack.
: There’s a reward if you manage to disarm 12 of them, but it’s not really worth getting,.
: We sneak past this Gatling, which is a bit annoying to get past.
: This puts us back here. We need to take the door on the right.
: This part is the most annoying. We have a Heavy Armored on a very thin platform with no easy way to reposition it.
: And that’s the basement key. There is one more stage to the landlord’s apartment which costs $600 to enter.
: On the way out, I get hit by the Heavy Armored, which comes with a Bayonet. Bayonets are Soldiers but limited to melee only.
: We leave with only Leigh alive. This thing is Milledoights, which counts as a boss. We’ll come back for it later.
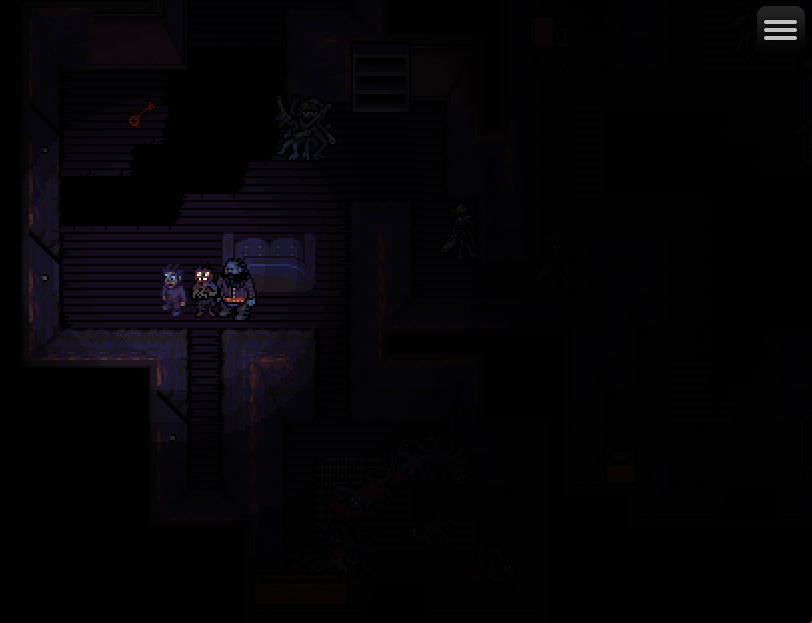
: Elbows is now occupying the staircase. He’ll eventually reach the third floor, and is annoying to dodge here.
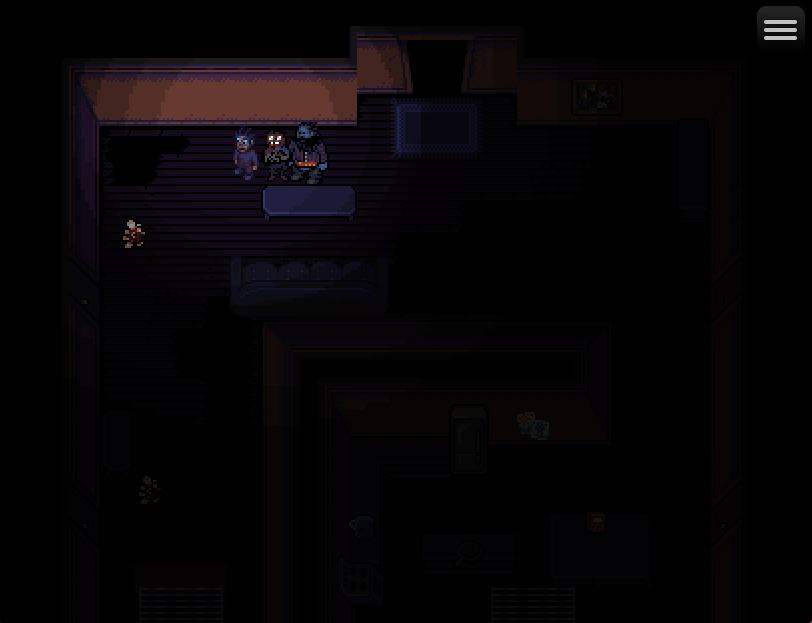
: If we go down to where Audrey is, she’s asleep.

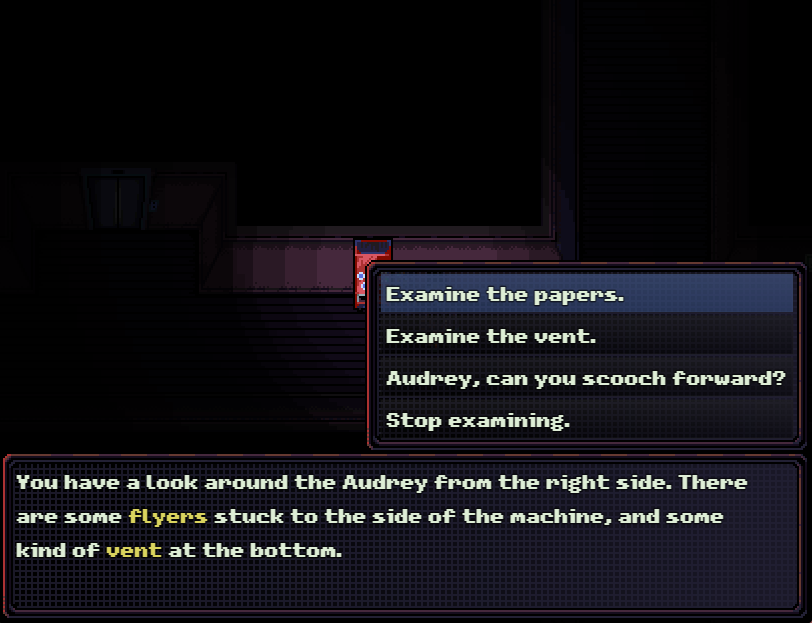
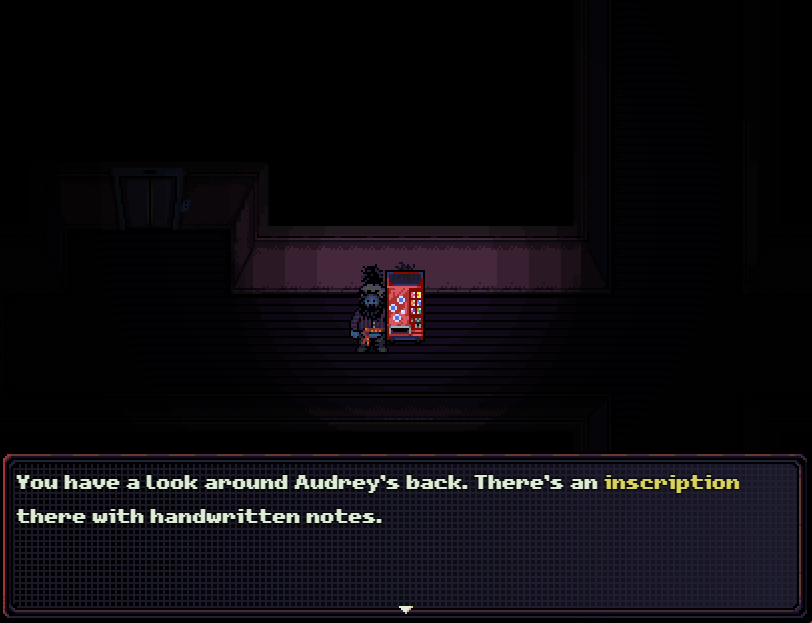
: We now have the option to examine Audrey. What we want to do is go to her left side and examine.
: Another trip back down the stairs (dodging Elbows) later…
: On Survivor, Mutt will give you Audrey’s key for free. On Cursed, he forces you to buy it for $150. It counts as a “special item” and will be more expensive if you bought anything else from him.
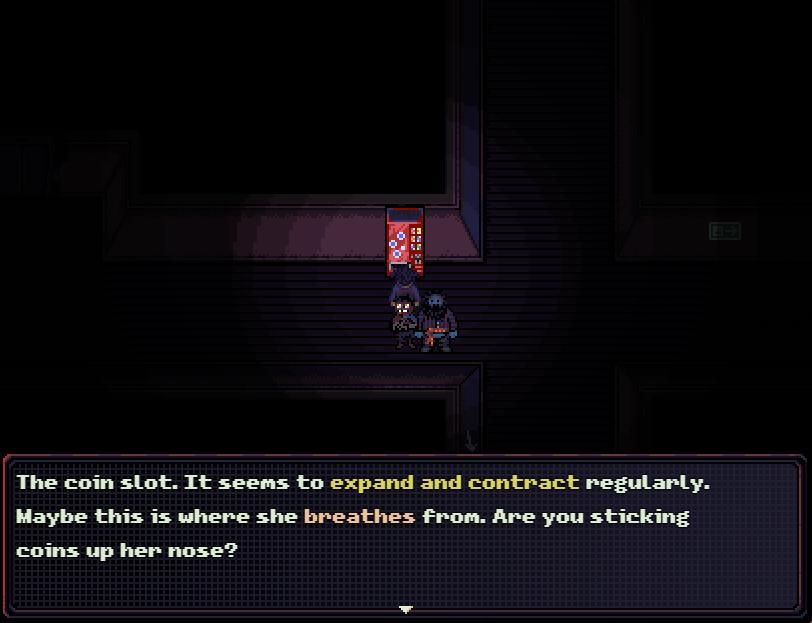
: If we look at Audrey’s coin slot, we can find..
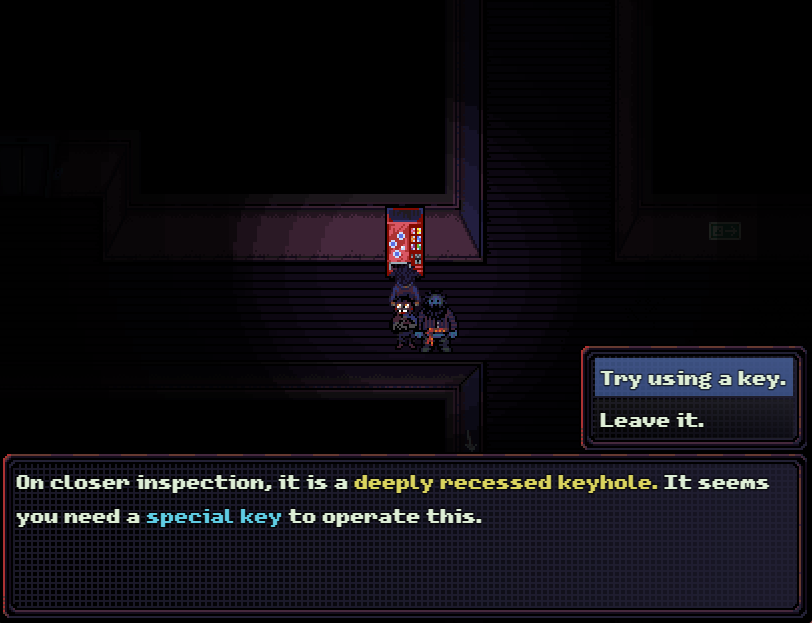
: The hole for the key. Use it, and Audrey will run off.
You unlock it. The vending machine’s door opens. Instead of machinery, the insides are filled with fleshy tubes and pulsating organs. Clusters of eyes open inside, visibly recoiling at the light. Long, worm-like protuberances squirm away. There are teeth everywhere. Tendrils extend from the depths of the machine and grasp at the door, slamming it shut.
: We duck into Ernest’s and buy another can.
: We get six energy drinks, which are one of the best stamina restoratives in the game.

: If we put another dollar coin in, we can now ask her to join us.
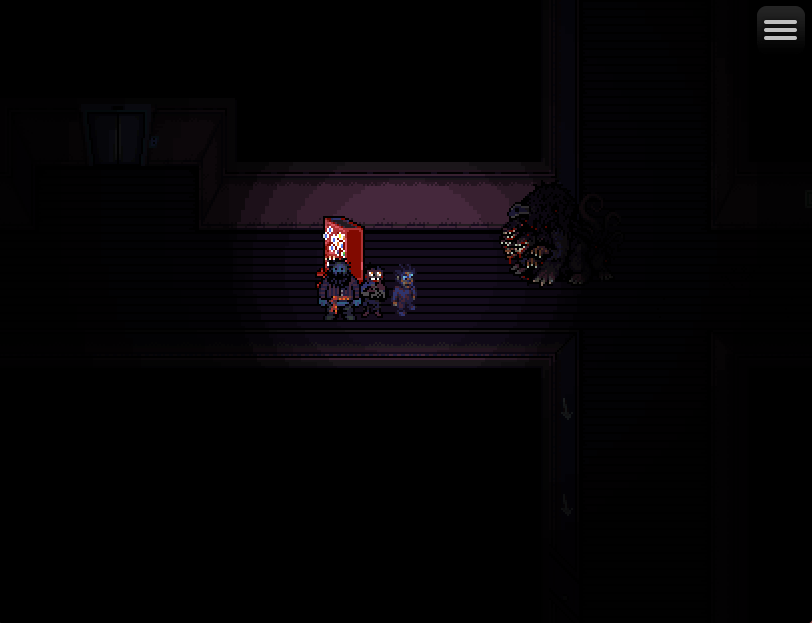
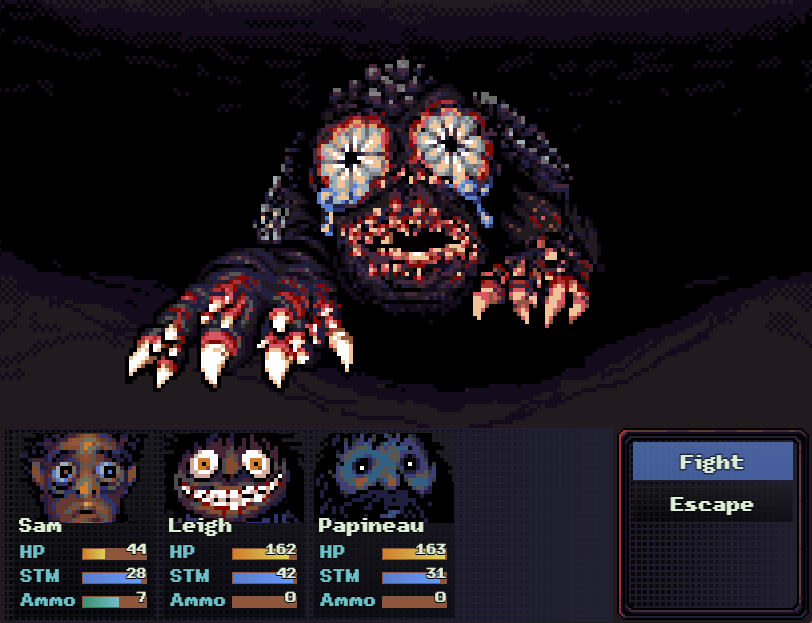
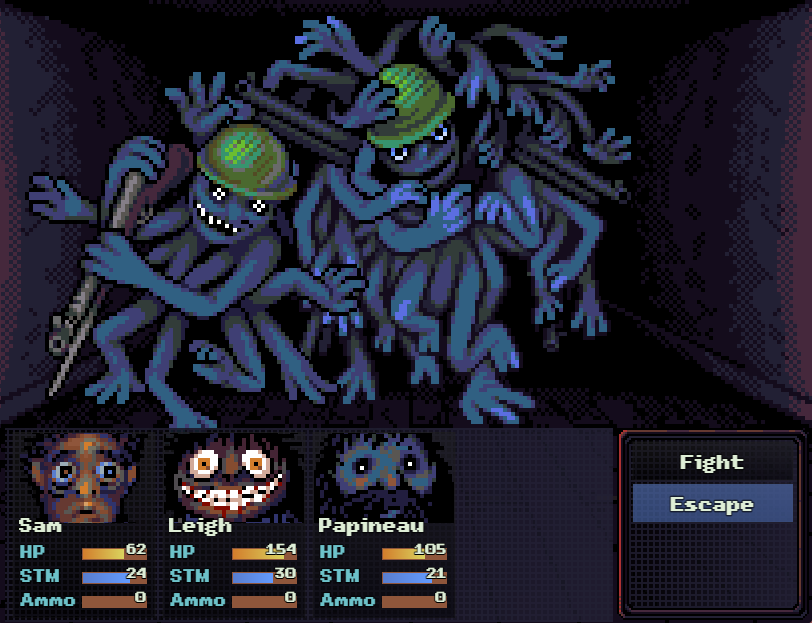
: Two seconds later, the Rat King shows up and the party barely escapes.
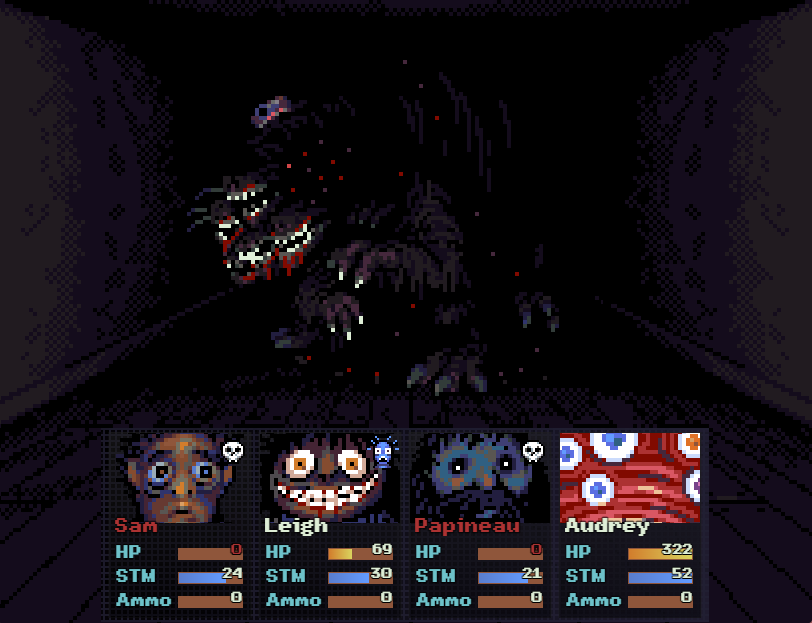
: Let me talk about Audrey for a bit. Audrey is a super tank. She has one of the highest HP values in the game, apart from a fully farmed Joel. The downside is she only gets half the benefit from healing items (including food from Sam’s oven).
: She also can’t equip anything apart from special equipment that drops from certain bosses, who will only drop them if she is in the party when they’re defeated.
: Audrey starts out incredibly weak, but by the end of the game she is potentially the strongest character. We’ll take on the APC, but not in the next update.
: Back in Sam’s apartment, we have just enough time to play one game of Madwheels before Sam needs to sleep.

: We can ask Audrey about herself, but each question costs $1. I’ll go through them all.
: Audrey also has one bit of dialog if you try to recruit her without enough friendship, and it’s kinda heartbreaking.
: If you get her REALLY early, she has dialog lines about the corpse in the basement stairwell, along with the picture from Henderson’s bathroom.
: Next time, we’ll recruit Ernest. We’ll also kill the Rat King, get our first offering, and recruit Lyle.

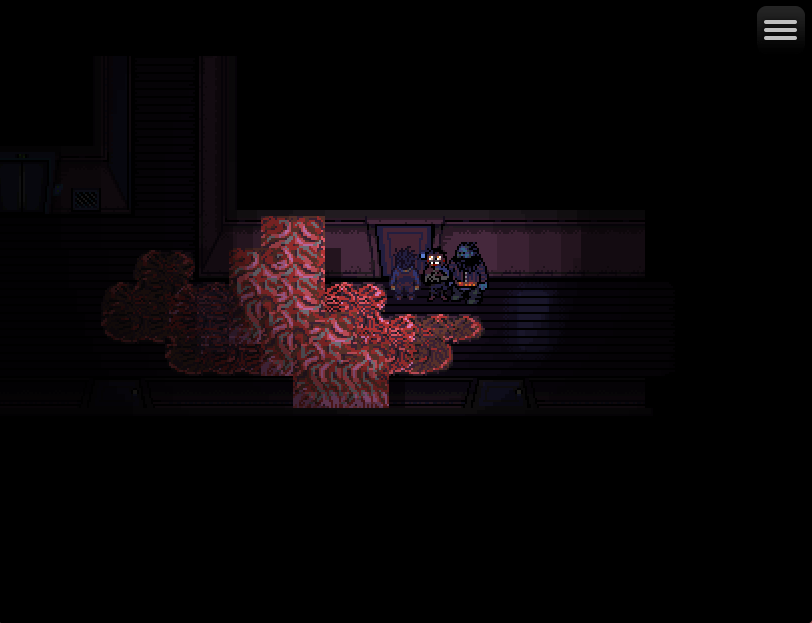
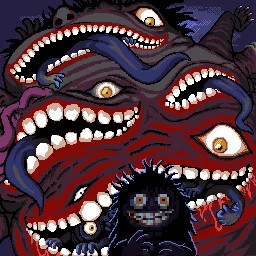
: Francis Coloumbe did bespoke pictures for some of the achievements, so let’s show some of those off.
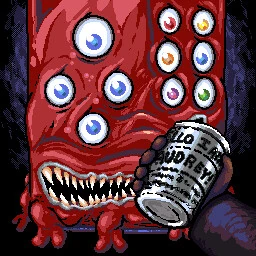
: This one’s for recruiting Audrey.
: This one’s for recruiting Papineau.
: This one is for recruiting Joel.
: This one is if you save the Rat Baby.
: And this one for Leigh.
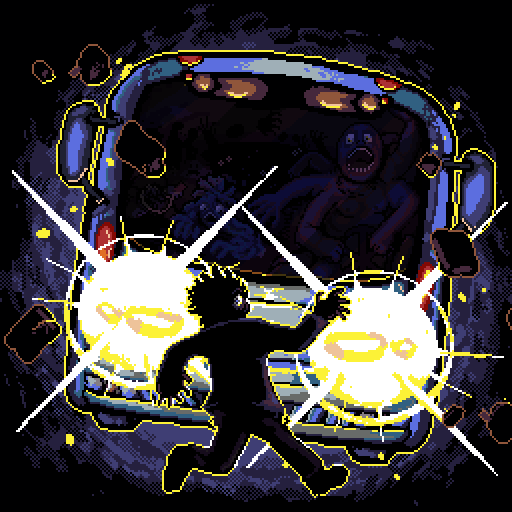
: This one is for getting run over by the bus, which happens if you stand in the wrong spot when it arrives.