
I released Episode B earlier, when I didn’t know how much damage was done to my project files after my old computer had died! This is the part where I would have released it properly! It covers the Undead Settlement in under 20 minutes, that is WITH some of the optional stuff.
Maiden Astraea and Garl Vinland
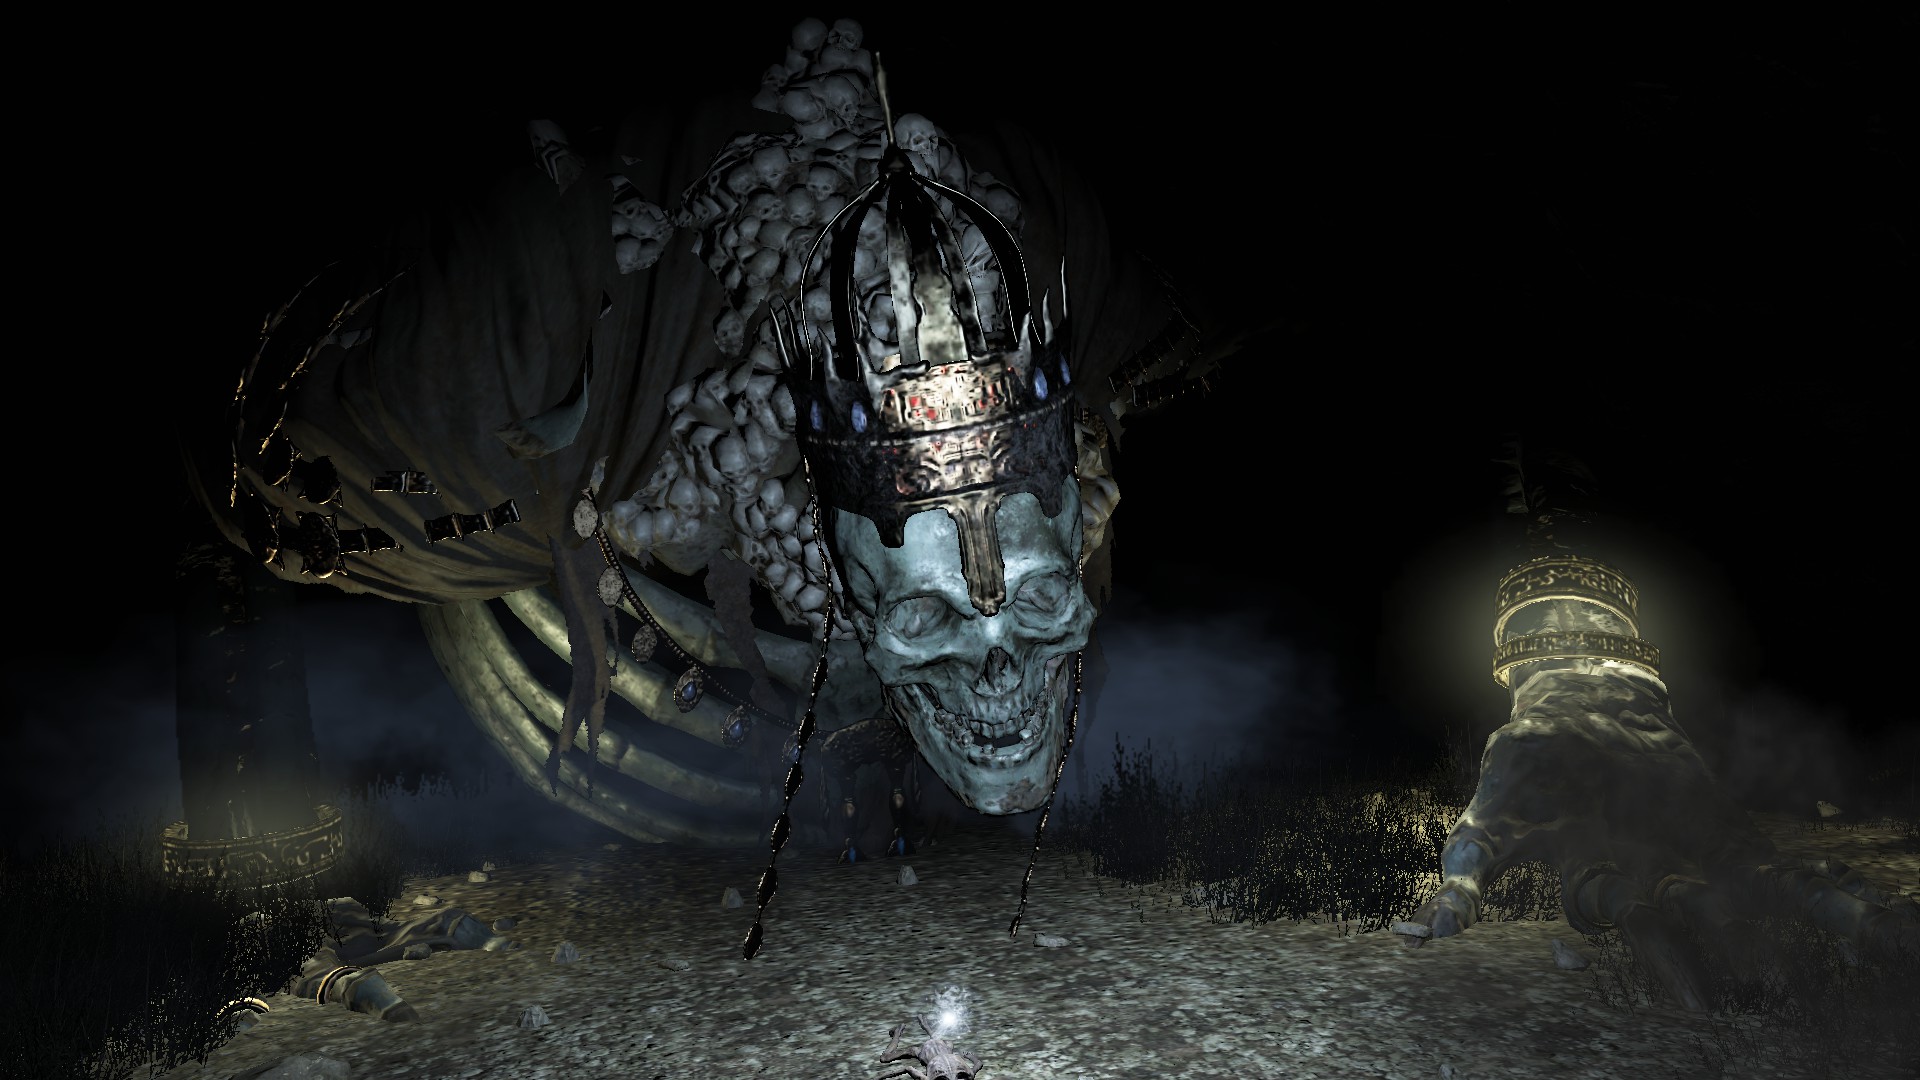
Demon’s Souls is probably the Souls game that the least people have played. It was the first, after all, and more of a sleeper hit with a cult following than the other Souls games which were critically acclaimed and very popular. So many probably don’t know about Astraea, though, there’s at least one reference to this boss fight in every Souls game after Demon’s Souls.
Astraea is found at the end of what’s probably the vilest area you’ve seen in any of the Souls games. Blighttown is sunshine and rainbows by comparison. You have to battle through a blood filled swamp with some devious enemy placement, near the end you find a shantytown, the sound of flies buzzing about fills your ears the entire time. There’s a strong sence of dread building due to the combination of audio and visuals, and you can’t help but wonder what’s ahead. Because your job is to kill the Archdemon who hides in here and take their Demon’s Soul. Naturally, you’re expecting the most horrible monstrosity as you enter Astraea’s Lair. The entire area and the following boss fights are one of my favorite sequences in games.
It’s best you see for yourself (Yeah, this is a video link, click it!)
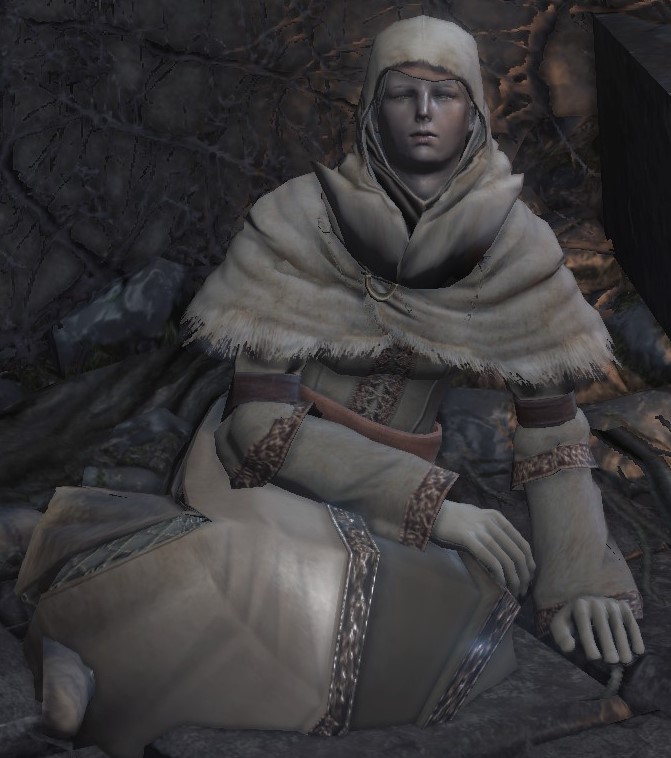
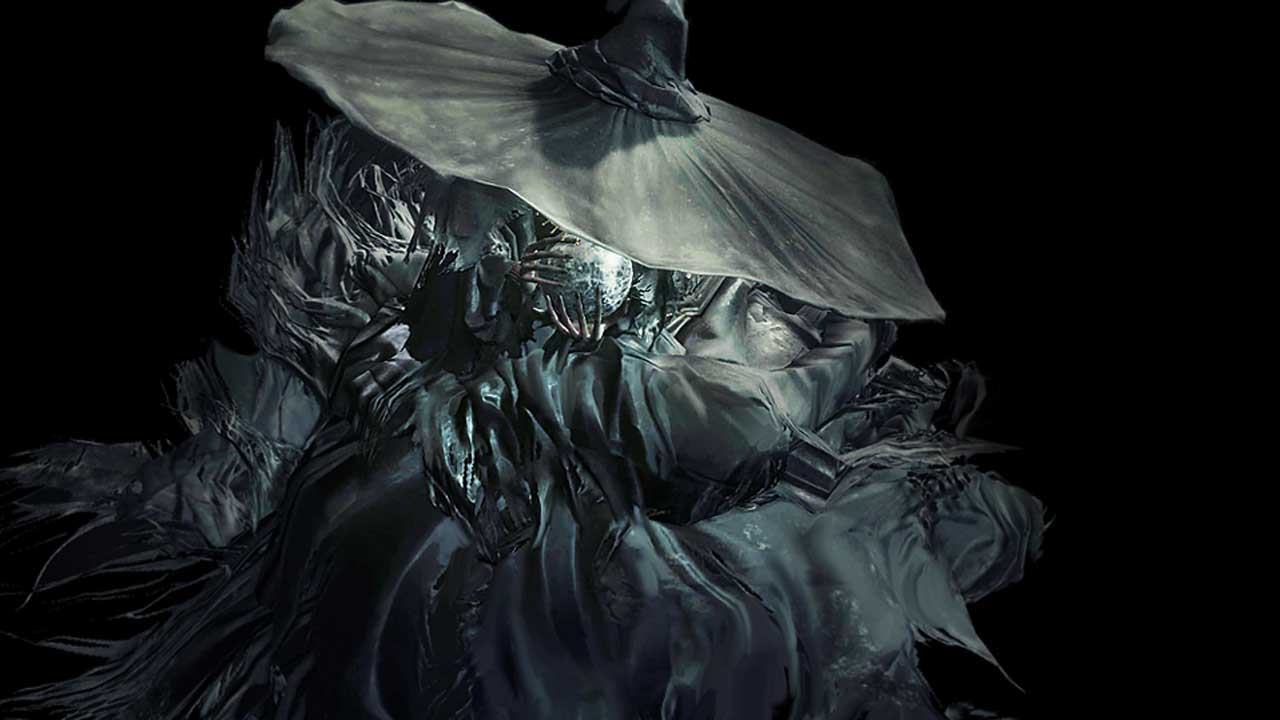
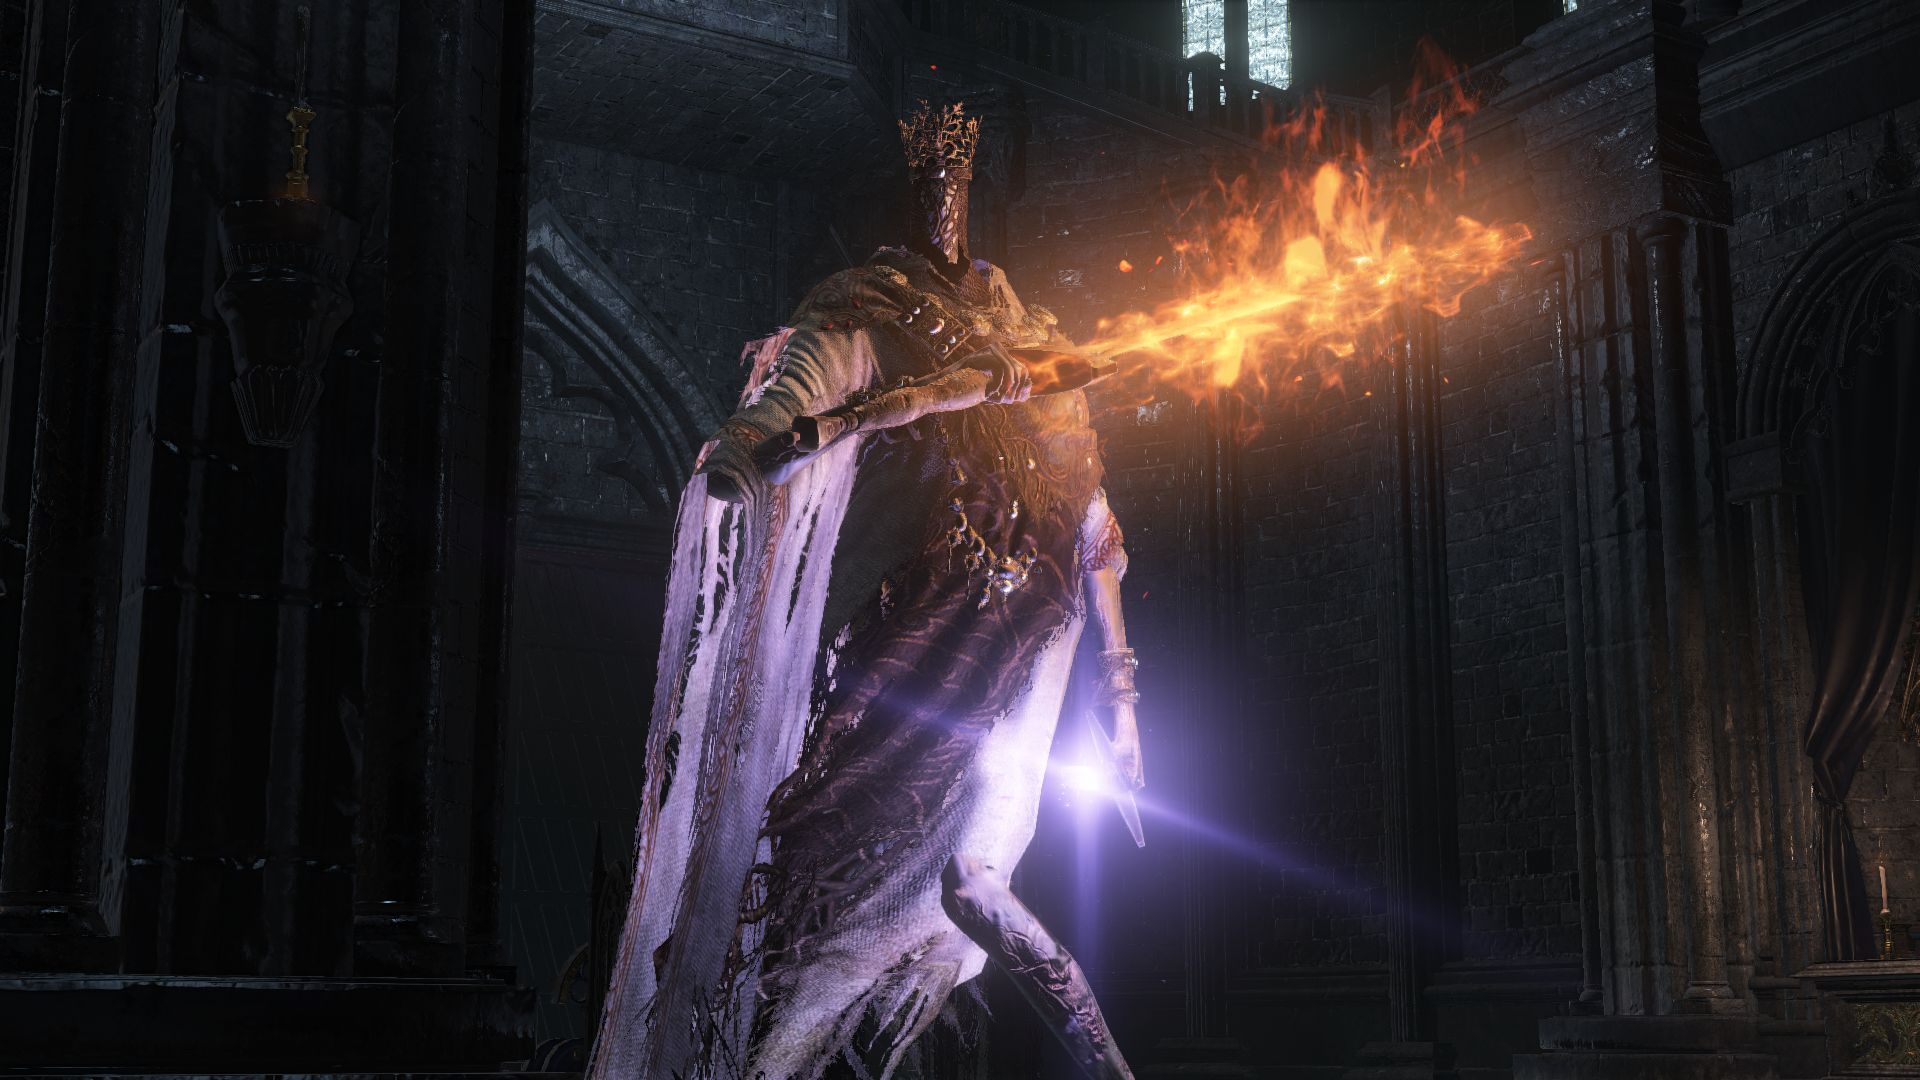
Maiden Astraea is worshiped as a christ-like figure in the middle of this swamp. She is a saint turned demon, a human who supposedly lost faith down in this dark place and embraced demonhood, but kept her appearance and her sanity. She used her powers as a demon to ease the suffering of those residing in the Valley of Defilement. There’s some old merchant lady who claims Astraea made things worse, but I’m not sure I believe her. Another NPC we can find the the Valley is Selena Vinland, Garl Vinland’s Sister, who came to find her brother and Astraea. Selena describes the place as “strangely pure” despite being filled with all manners of grossness.
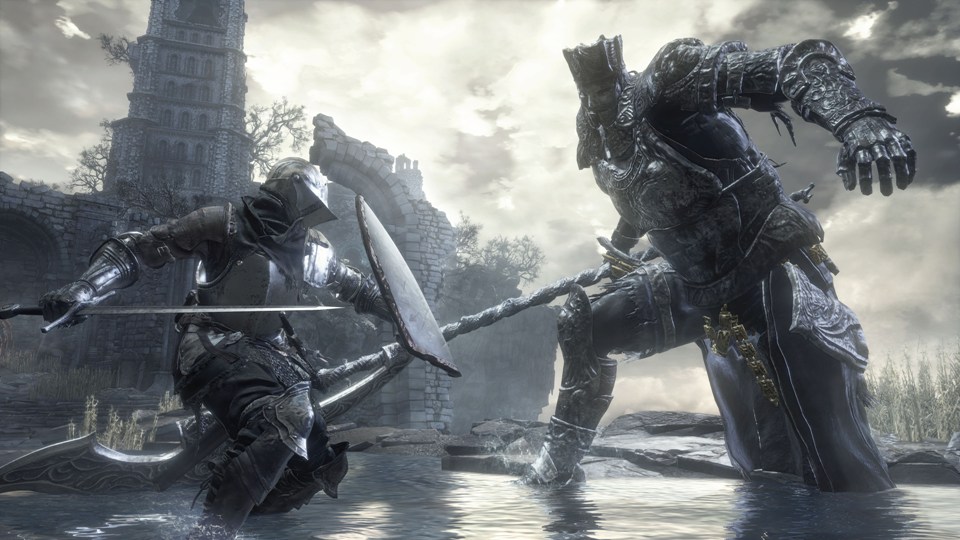
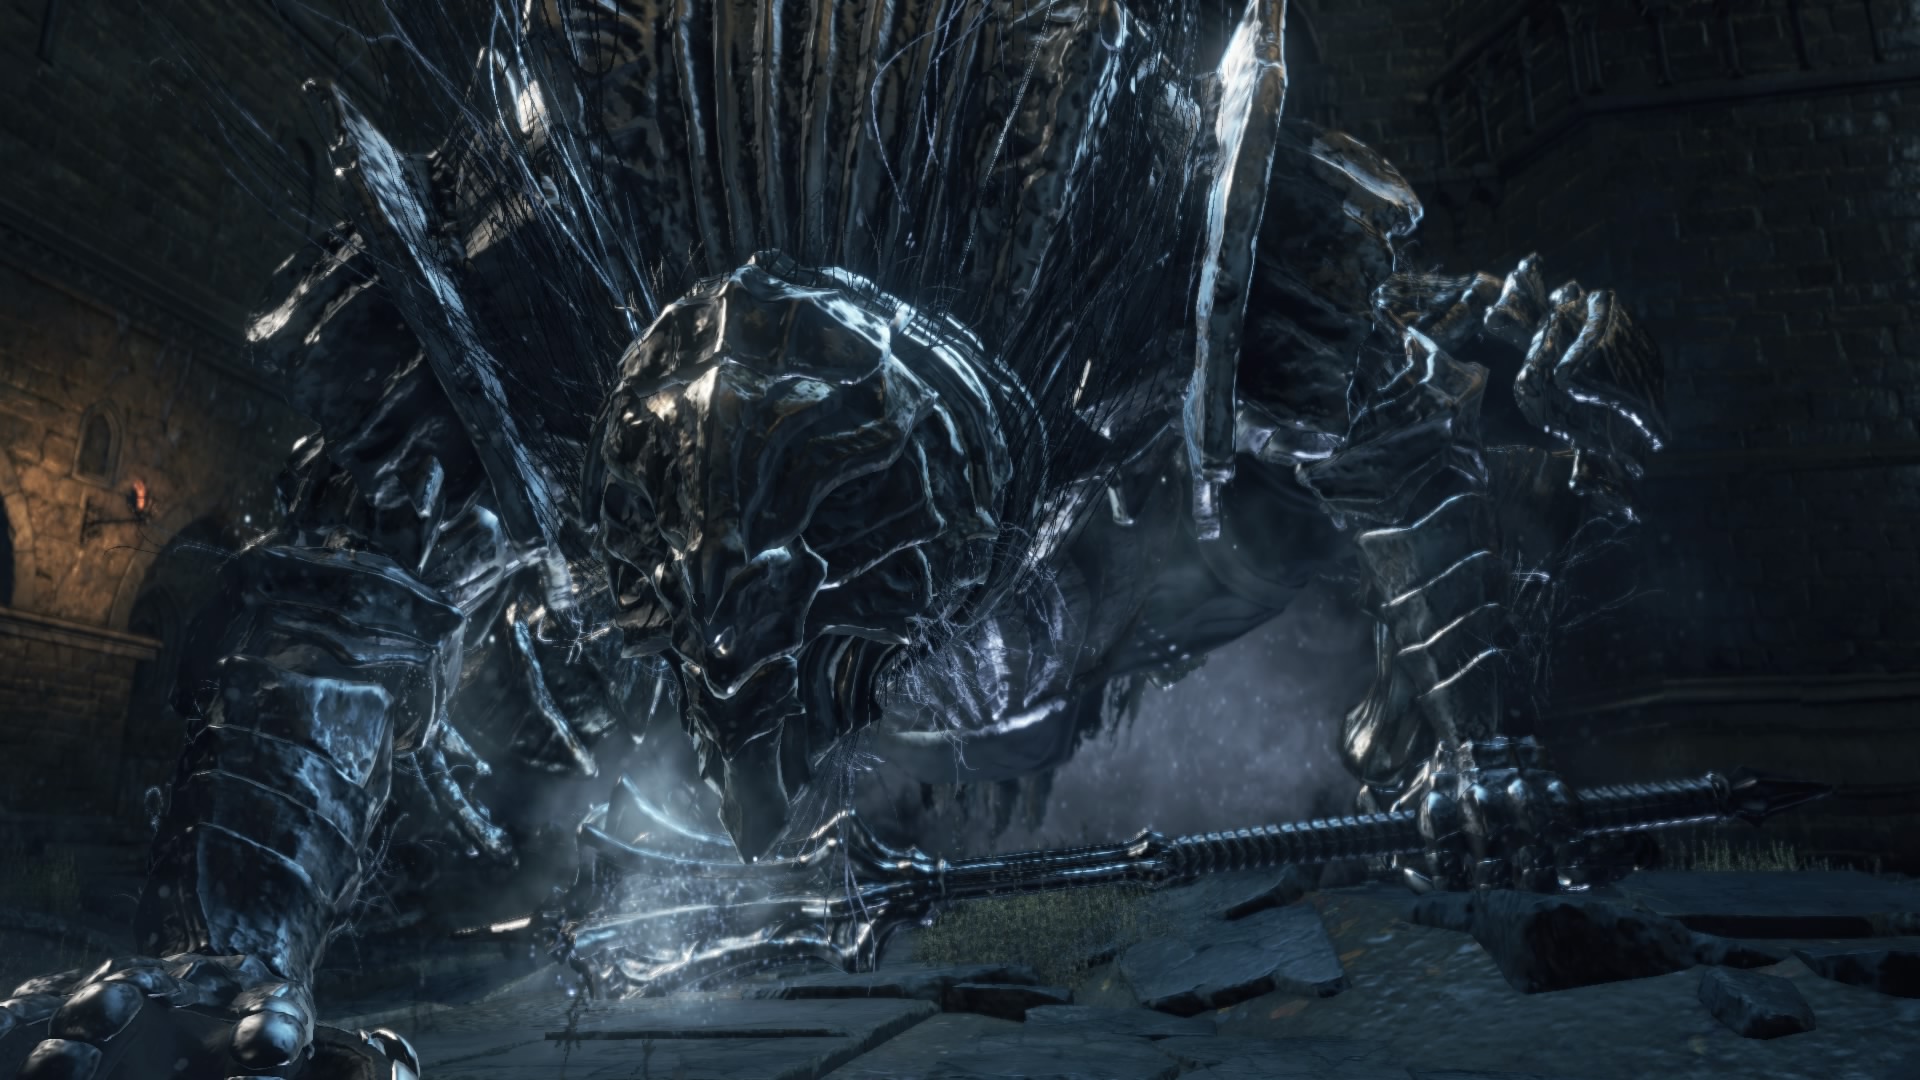
Garl Vinland is Maiden Astraea’s last surviving Knight, it’s made clear that neither Astraea nor Garl want to harm you. Entering the boss arena you are asked nicely to leave. Once you approach Garl you are again asked to turn back and leave them be. He will not even attack you unless you step very close to him, and he won’t properly aggro and pursue you until you take off a significant amount of his health. You can also attack Astraea from a range with a bow and she will desperately ask you to stop.
Once Garl is dead Astraea willingly hands over her Demon’s Soul by committing suicide, but not without disdain for you in her voice.
It’s one of those moments in games that just make you go “Am I really the good guy?”. It’s executed really well and comes almost completely unexpected. To the best of my knowledge you could just ignore the Valley of Defilement entirely, because to enter the last stretch of the game all you need to do is kill one of four Archdemons, Astraea being one of them. Though, on my playthroughs I always killed all the archdemons, so I don’t know if there’s something else that prevents you from going on at the end if you haven’t killed them all.
I mentioned earlier that Dark Souls I, II and III each referenced Astraea and Garl Vinland in some fashion, so let’s go over it real quick.

In Dark Souls I we had Rhea of Thorolund, who looked very similar to Astraea, and assumed a similar sitting pose when found at the bottom of the Tomb of the Giants. Meanwhile, Paladin Leeroy looked somewhat similar to Garl Vinland, particularly the fact that he wielded a huge mace. But those are only visual similarities, the characters don’t even have anything to do with each other, aside from showing up in the same location.
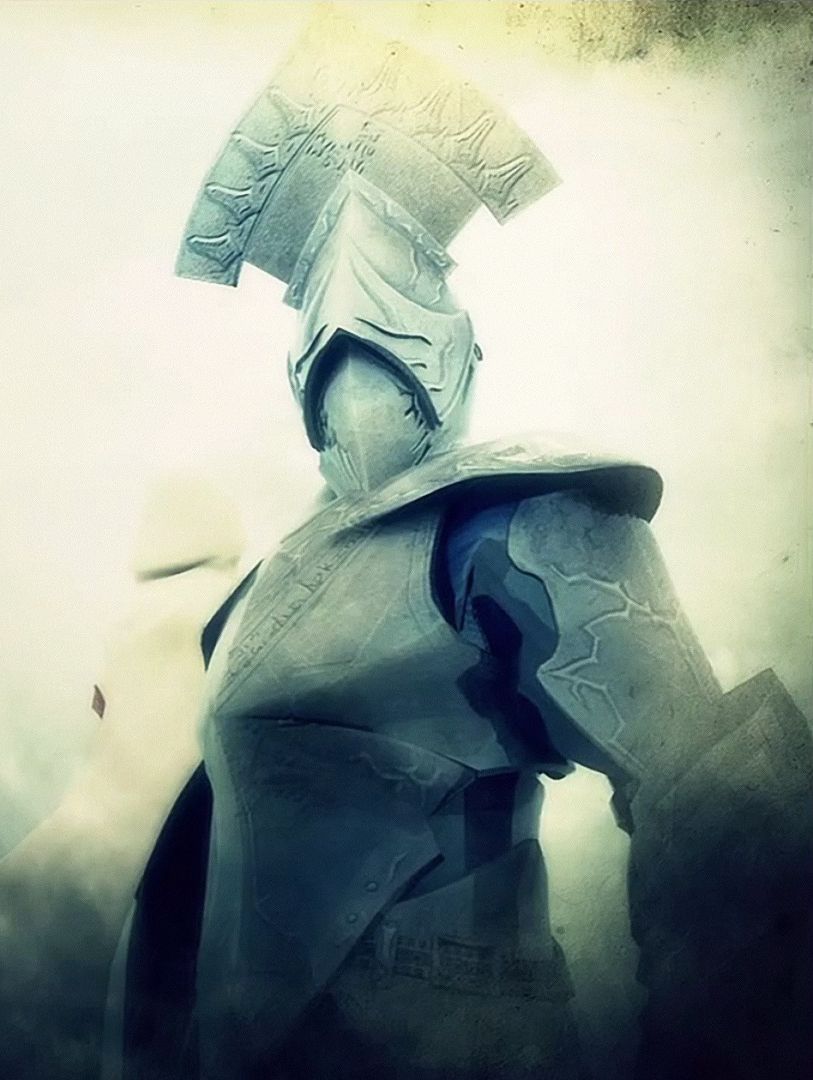
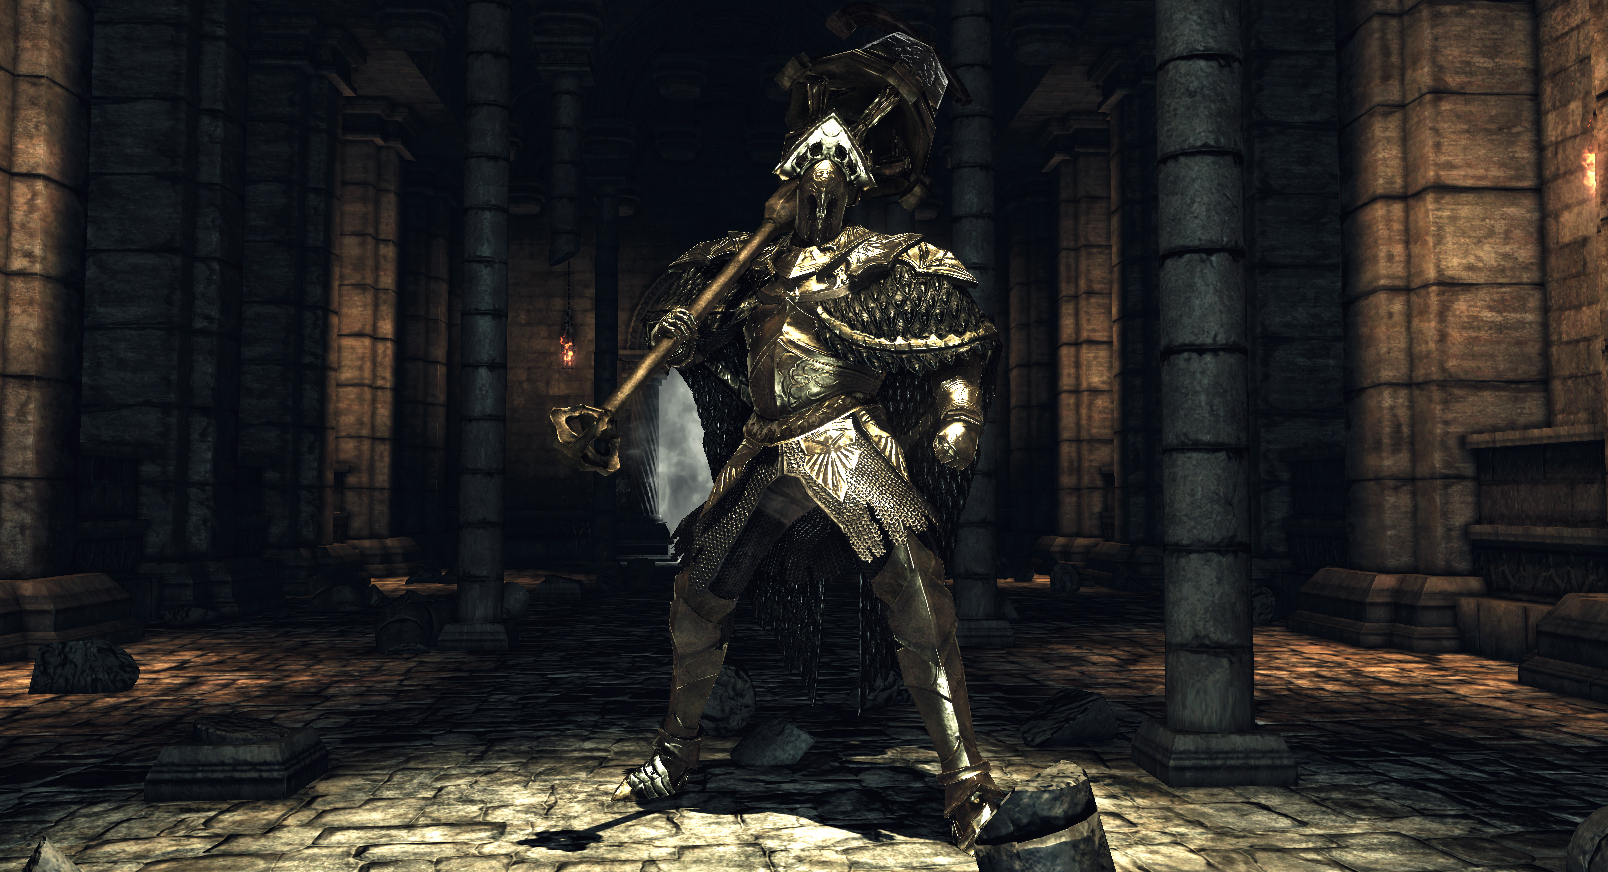
In Dark Souls II Velstadt, the Royal Aegis, looked a lot like Garl Vinland, though, he took more after Paladin Leeroy. Very similar helmet, huge-ass mace. There’s no Maiden Astraea Lookalike that I can think of off the top of my head, though.
Dark Souls III has Irina and Eygon While they fulfill different roles again, this time they are linked together and very much meant to remind us of Maiden Astraea and Garl Vinland, the two pieces to one of the most powerful moments in a Souls game. Their relationship to each other seems much different than Garl’s and Astraea’s. Eygon cares for Irina, but seems to have given up on her. He’s also in some way supposed to remind us of Lautrec from Dark Souls, being kind of a shady guy who may or may not do something you’ll regret not killing him for at some point.

The below list also contains items covered in the Curse-rotted Greatwood update, in fact, those will be first.
Transposing Kiln
An old transposing kiln from Courland, crafted with stitched crystal lizard hide
Give to Ludleth, Lord of Cinder to conduct soul transposition. This kiln can transpose twisted souls to craft special items with their concentrated essence.
Deemed forbidden by those unable to make proper use of it.
Soul of the Rotted Greatwood
Soul of the Curse-rotted Greatwood.
One of the twisted souls, steeped in strength.
Use to acquire many souls, or transpose to extract its true strength.
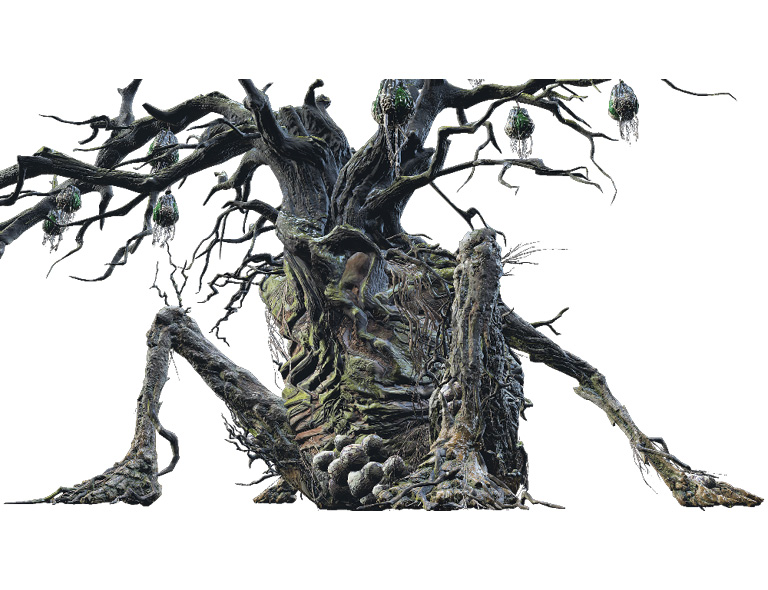
Ever since its establishment, all manner of curses have managed to seep into the Undead Settlement. The worst of them were sealed away inside a spirit tree, but eventually the curses took their toll.
Hollowslayer Geatsword
Dark Souls III:
Greatsword used for a lifetime by a masked knight. Harbors the fears that lurk within the mind of Hollows, and is particularly effective against them.
Bestowed to a proper Mirrah knight long ago. Two-hand to execute special sword techniques.
Skill: Stance - While in stance, use normal attack to break a foe’s guard from below, and strong attack to slash upwards with a forward lunge.
Dark Souls II (Mirrah Greatsword):
Greatsword issued to the proud knights of Mirrah’s official order. This one was wielded by Lucatiel.
This greatsword demands advanced skill in a rare and unique sword technique.
A tiny message is inscribed on the blade, a promise to someone special.
Note: That someone special in the Dark Souls II description supposedly is Alsatiel of Mirrah, Lucatiels Brother. Lucatiel was a Dark Souls II character whose arc revolved around the process of her going hollow and losing her identity ever so slowly as well as the angst that comes with losing ones mind while staying just sane enough for long enough to notice it. It ends with her demanding of the Player to remember her name. Alsatiel is an NPC invader who appears in the area that follows that event
Arstor’s Spear
One of the curses that festered within the belly of the Greatwood, and a terrible weapon favored by Earl Arstor the Impaler.
The spear is enwreathed in rotten, heavily poisonous meat. Defeating foes restores HP.
Skill: Shield Splitter - Take a large step forward and make a single focused thrust to puncture enemy shields and inflict damage.
Young White Branch
A young white branch.
Use to transform into something which blends into the surroundings.
Little Dusk’s first sorcerer’s staff eventually became a seedling, and then three white birch saplings. The young branch is said to still contain echos of little Dusk’s capriciousness.
Young White Branch (gift from the Giant)
Branch of a young white birch received from a giant, apparently as a token of friendship.
Become something that blends in to the surroundings. Consumed with use.
"Good friend, no hit.
Note: The Young White Branch is a different entry in your item list, though, it is also just called a young white branch. The description is different. It’s best not to use the one you get from the giant, because he will attack you again if you don’t have it in your inventory.
Siegbräu
Special brew of Siegward of Catarina. Perfect for travel in its jolly barrel mug.
Restores HP and temporarily boosts frost resistance.
Leave it to Siegward to discover a drink that even an Undead can enjoy. Perhaps his long years spent Undead have left him wanting to drain a cup or two and revel as if he were still among the living.
Undead Bone Shard
Dark Souls III:
Undead bones that yet burn.
Cast it into the shrine bonfire to boost the recovery provided by the Estus Flask.
The bonfire’s cinders are the bones of Undead, and a bone that still burns is a fresh cinder indeed. Before feeding upon death, one must first pray to it.
Dark Souls II: (Called Sublime Bone Dust, but has the same purpose)
Charred, ashen bones. Cast them into the Far Fire in Majula to increase the HP restored with each use of your flask.
They say these are the remains of a saint who cast himself into the bonfire. But we will never know for sure, for soot and ashes tell no story.
Irithyll Straight Sword]
Straight sword bestowed upon the Outrider Knights of the Boreal Valley. This weapon is enshrouded in frost, and causes frostbite.
Every Outrider Knight one day devolves into a beast, constantly hounded by Pontiff Sulyvahn’s black eyes.
Skill: Stance - While in stance, use normal attack to break a foe’s guard from below, and strong attack to slash upwards with a forward lunge.
Plank Shield
Makeshift shield cobbled together from wooden planks.
Provides minimal protection, and at the cost of moderate humiliation.
Skill: Shield Bash - Without lowering your guard, strike the enemy with the shield to knock them back or stagger them. Works while equipped in either hand.
Note: Not really important in any way, I just like the description
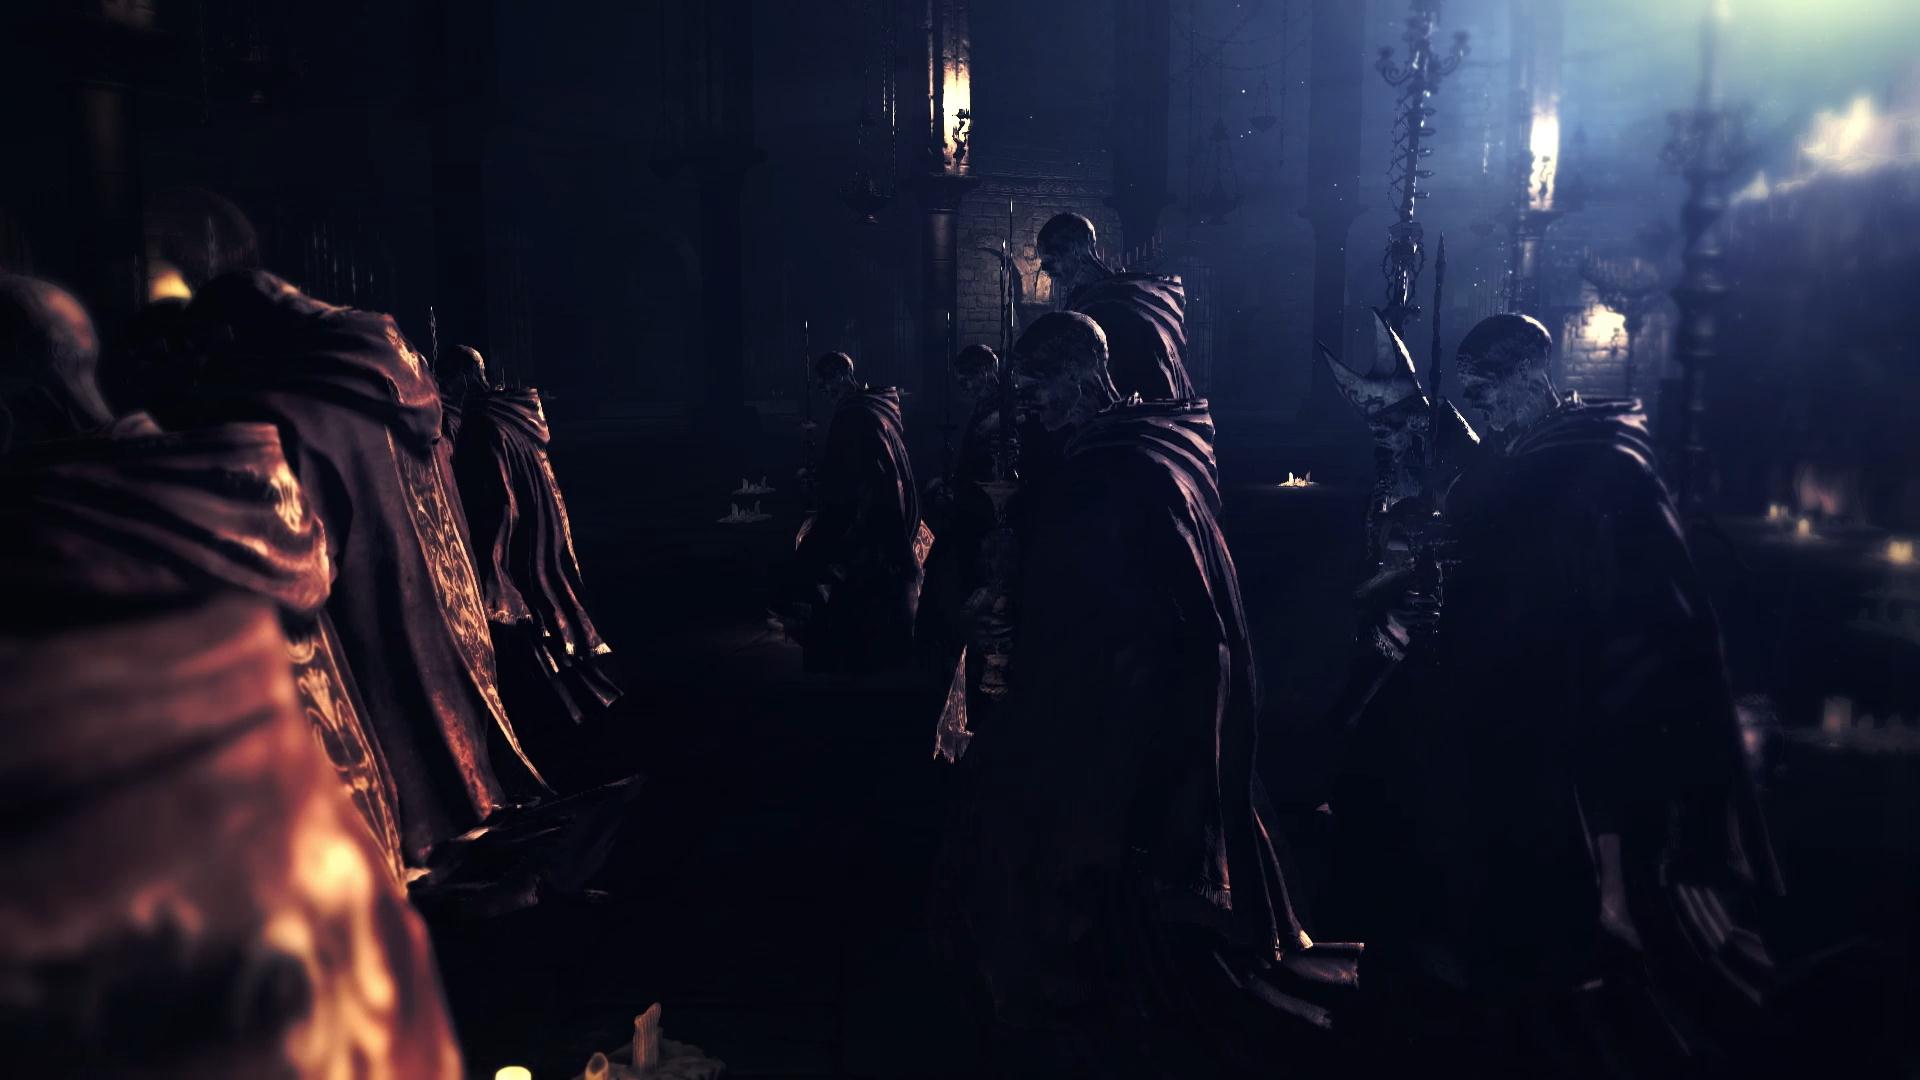
Spiked Mace
Choice weapon of the evangelists of the Cathedral of the Deep, mentors of the dwellers of the Undead Settlement. Its long, sharp spikes cause great pain and bleeding.
Skill: Spin Bash - Bash foes with a large spinning motion. and utilize momentum to transition into an overhanded strong attack smash.
Evangelist’s Robe Set
Robe of an evangelist sent from the cathedral.
These teachers, all women, came to enlighten inhabitants of the Undead Settlement and sent carriers on the path of sacrifice.
Pale Tongue
Proof of a red orb invader’s victory over a Host of Embers.
Claiming tongues as trophies was originally the practice of an infamous troupe of invaders, who offered them to their speechless goddess.
Vertebra Shackle
A special bone collected by members of the covenant of Mound-makers, discovered in the corpses of their victims.
Only one such bone is found in the vertebrae, and the Mound-makers believe it to be a shackle of the gods. In their minds, each victim is another connection, an addition to the family.
Red Eye Orb
Online play Item. Invade other worlds at will
Defeat the Host of Embers of the world you have invaded to gain the strength of fire.
The red eye orb is rooted in a tiny land swallowed by darkness long ago. Some choose to put the orb to other uses. To embark on this path, enter the service of Rosaria in the Cathedral of the Deep
Loretta’s Bone
Old, discolored human bone with several holes bored into it.
A woman’s corpse in the Undead Settlement was found clutching this bone. Her name was Loretta.
Mortician’s Ashes
Umbral ash of a resident of the Undead Settlement who made a living burying corpses.
With this, the shrine handmaid will prepare new items.
Note: Among other things the Shrine Handmaid will now sell the Grave Key, which allows you to enter the door in the sewers of the Settlement
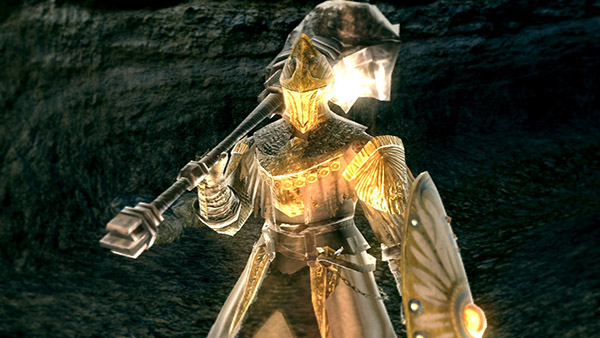
Hawk Ring
Dark Souls III:
Ring associated with Hawkeye Gough, one of the Four Knights of Gwyn, the First Lord.
Extends the range of arrows.
In his later years, the giant Gough was blinded, but this did not prevent him from striking down a calamitous dragon with his Greatbow.
Note: If you are a Monster and kill the Giant he will drop this ring
Dark Souls II:
A ring graced with the engraving of the hawk. Extends the range of arrows.
Blue eyed Durgo, the nomadic bowman, had many valiant victories in battle, half owing to the boon of this ring.
Dark Souls:
One of the special rings granted to the four knights of Gwyn, The Hawk Ring belongs to Hawkeye Gough, who led the Greatarchers.
Boosts bow range, so that arrows fly like they were shot by Gough’s great bow, which took down high-flying dragons.
Bloodbite Ring
Dark Souls III:
One of the bite rings native to Carim. Increases bleed resistance.
The crafting of these rings is forbidden, perhaps owing to a fear of malleable stone. Clerics, however, dabble freely in the art.
Dark Souls II:
One of several “bite” rings, known for their peculiar design. Increases bleeding resistance.
The similar, oddly disturbing design of these rings suggests a common source. Whoever the master craftsman was, he clearly knew his trade.
Dark Souls:
One of the infamous bite rings commissioned by Sir Arstor of Carim.
Despite the dreadful rumors surrounding its creation, this ring is an unmistakable asset, in its ability to help prevent bleeding.
Note: Just one of the items that mentions Arstor, whose spear we can make from the Soul of the Greatwood. Funnily, aside from the spear his name is only mentioned in the descriptions of the first Dark Souls
Way of Blue
Pale blue sheepskin parchment detailing the moon of an ancient accord. Equip to pledge oneself to the Way of Blue. Members of the Way of Blue are the beneficiaries of an ancient accord. When a dark spirit threatens them, a blue spirit will grant them assistance, and help root out the invader. Summoning takes place automatically while this is equipped."
Note: I forgot to include this after beating the High Wall, but you get it there, from Emma
Warrior of Sunlight
An ancient talisman depicting a holy symbol bestowed upon the Warriors of Sunlight. Equip to pledge oneself to the Warrior of Sunlight covenant.
Warriors of Sunlight are brilliantly beaming co-operators who place their golden signatures to help those in need, for it is their duty to deliver a great conquest to their summoner.
Mound Makers
A malformed vertebra found by the mad, with a queer symbol on its inside, proof of the shackles of the Gods. Equip to pledge oneself to the Mound-makers covenant.
The mound-makers wish only to add to their mounds, becoming mad spirits whether summoned as co-operators or invaders.
They are blithe to those around them, for in their minds, any kill might lead to another shackle.