Update 17: A Trash Mini-Boss
There’s a really brief shot of a dog-man passing them by as they enter. It’ll be in the mini-boss video at the end.
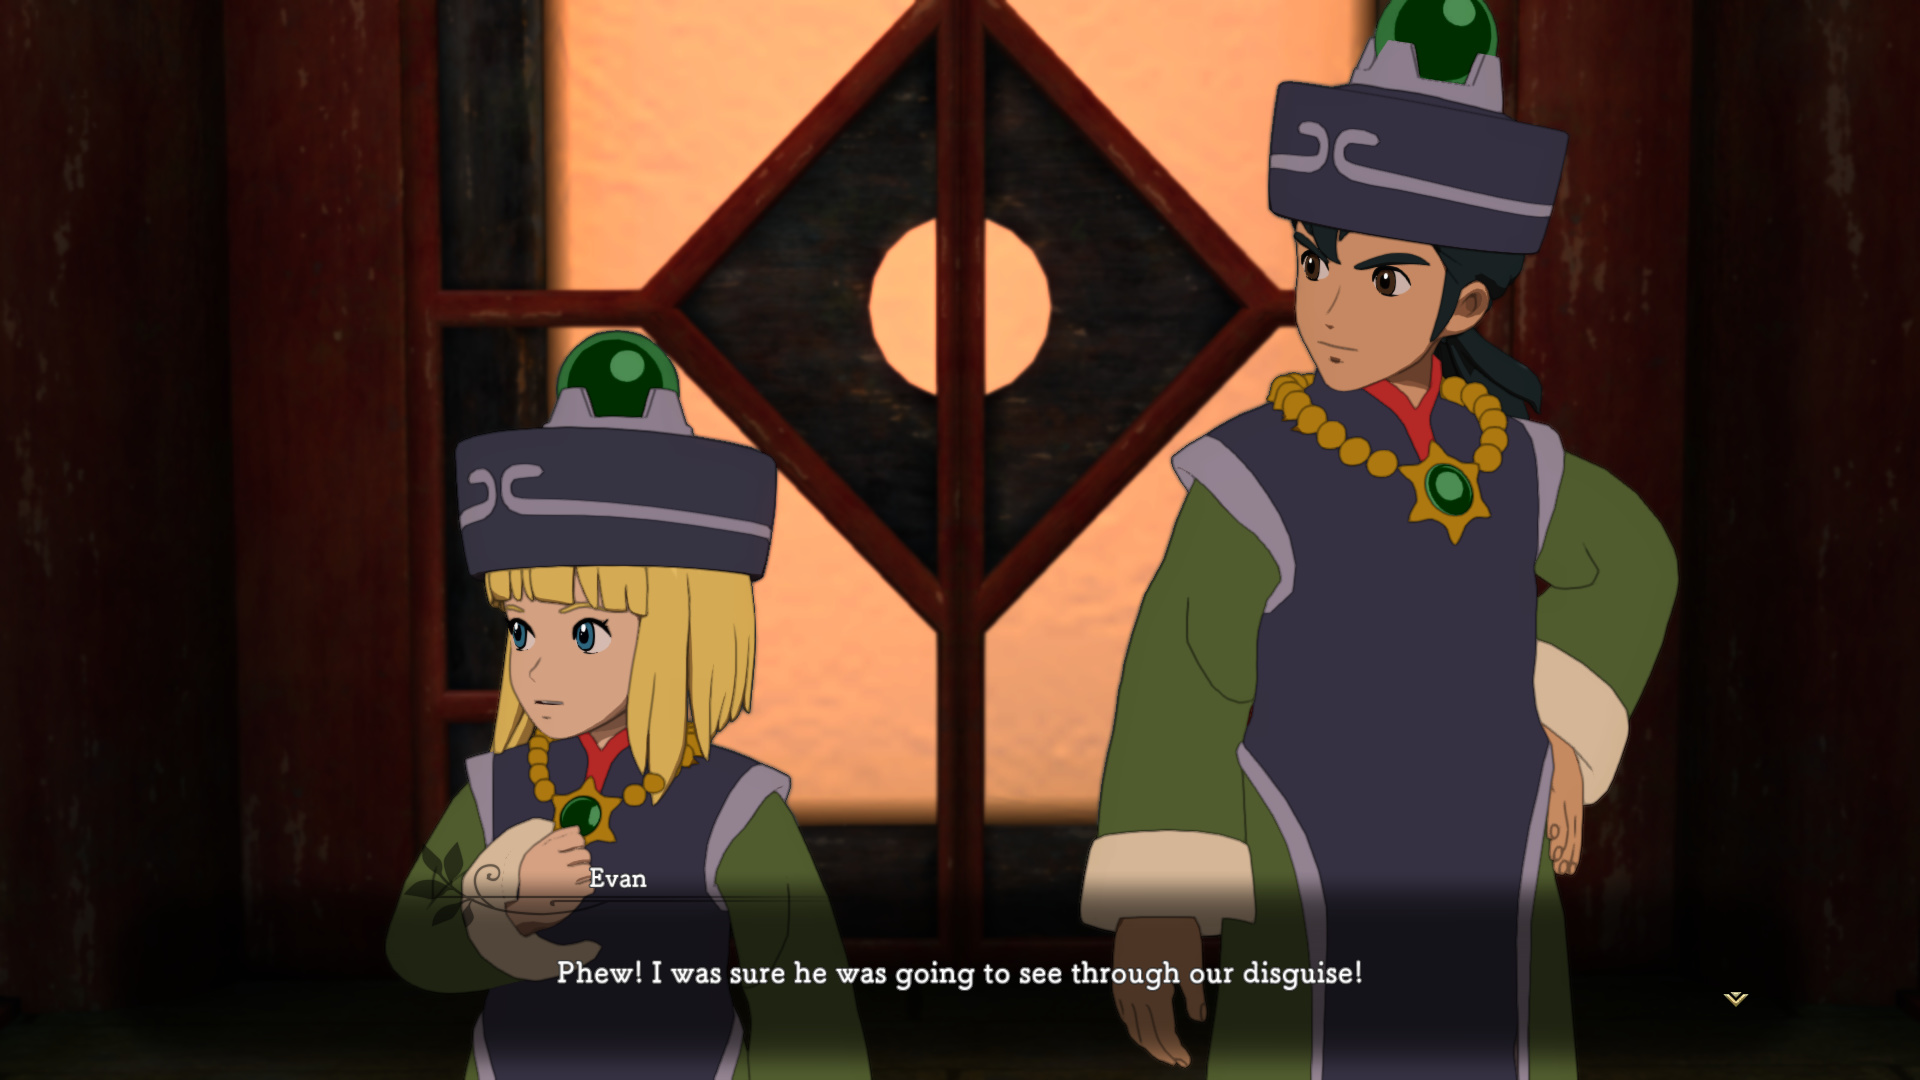
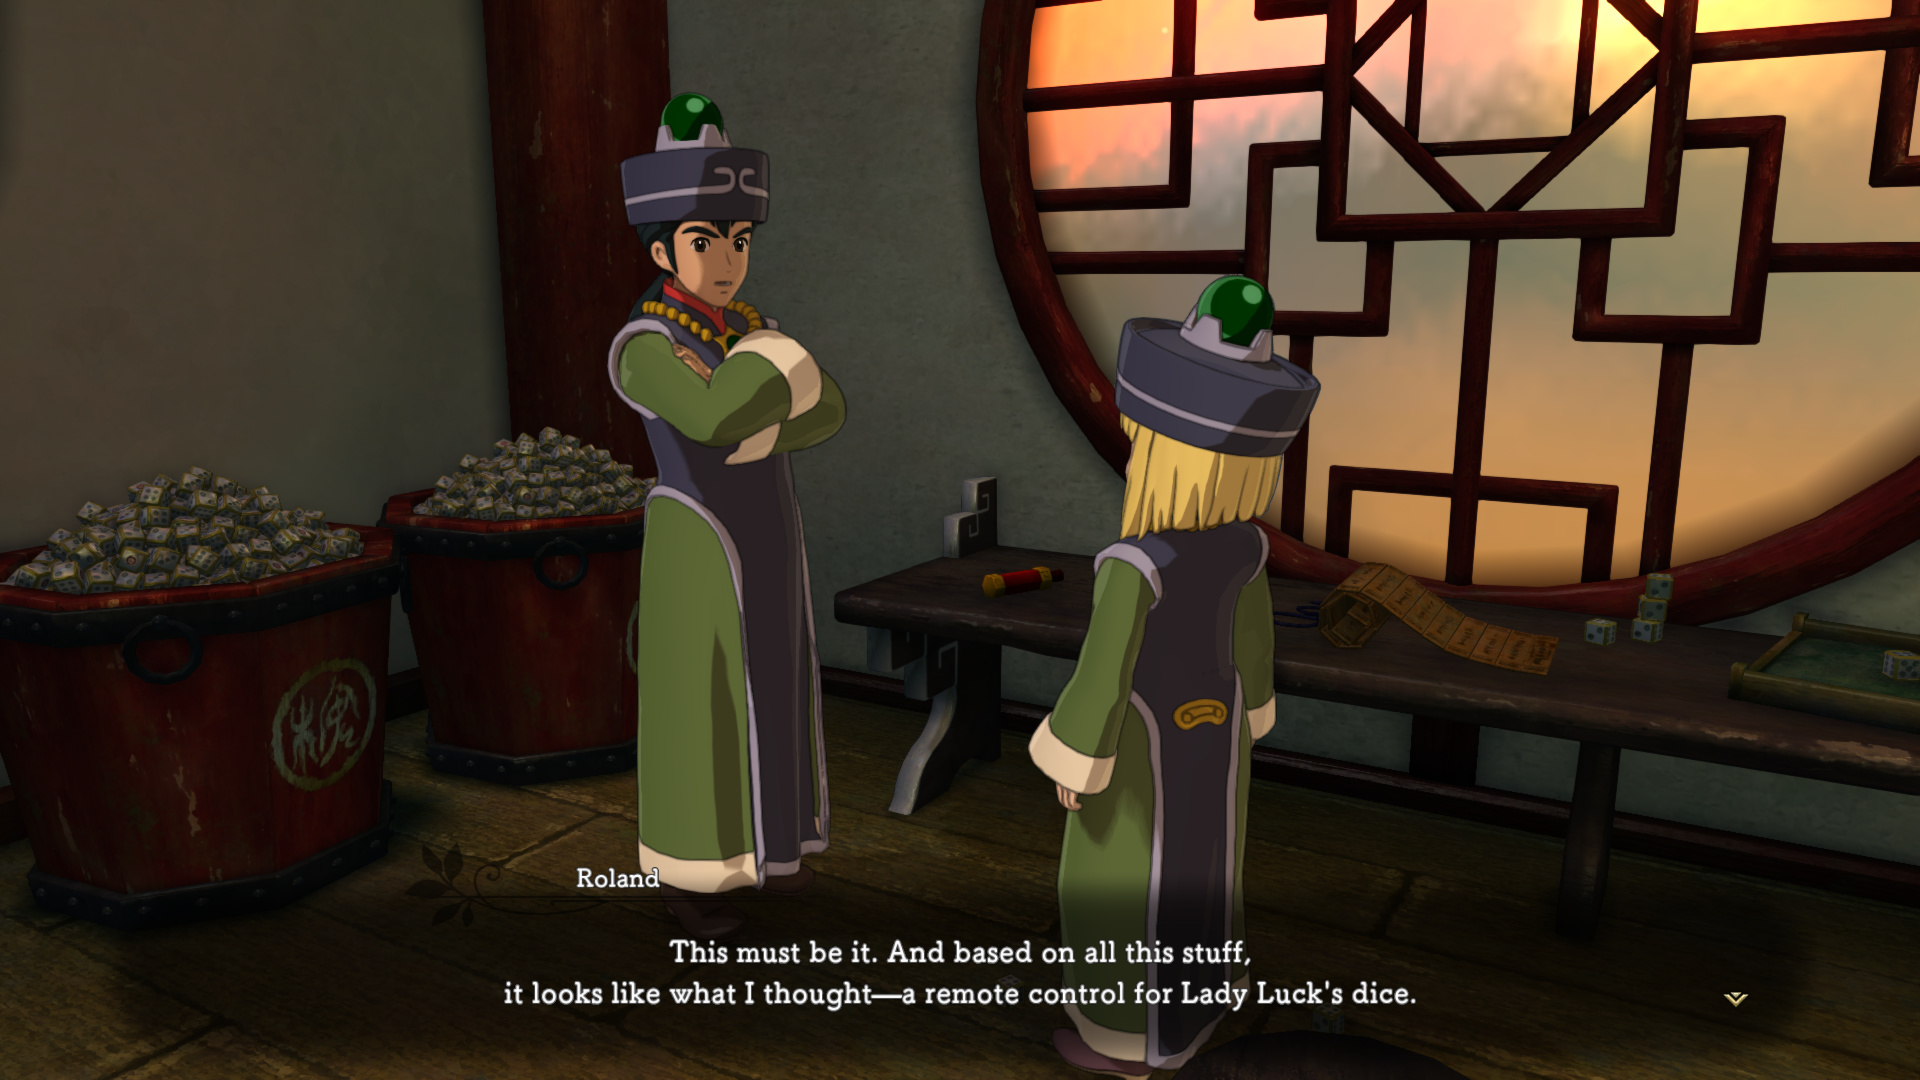
: “All right, we need at least two forms of proof. The first is some kind of evidence tying Pugnacius directly to the deception - some kind of documentary evidence would be ideal. The next is evidence of how they’re manipulating the dice. I’m guessing they’re not using magic.” : “Oh, there are ways. Where I’m from, we have a few different techniques for manipulating things from a distance. It wouldn’t surprise me if someone here developed something similar.”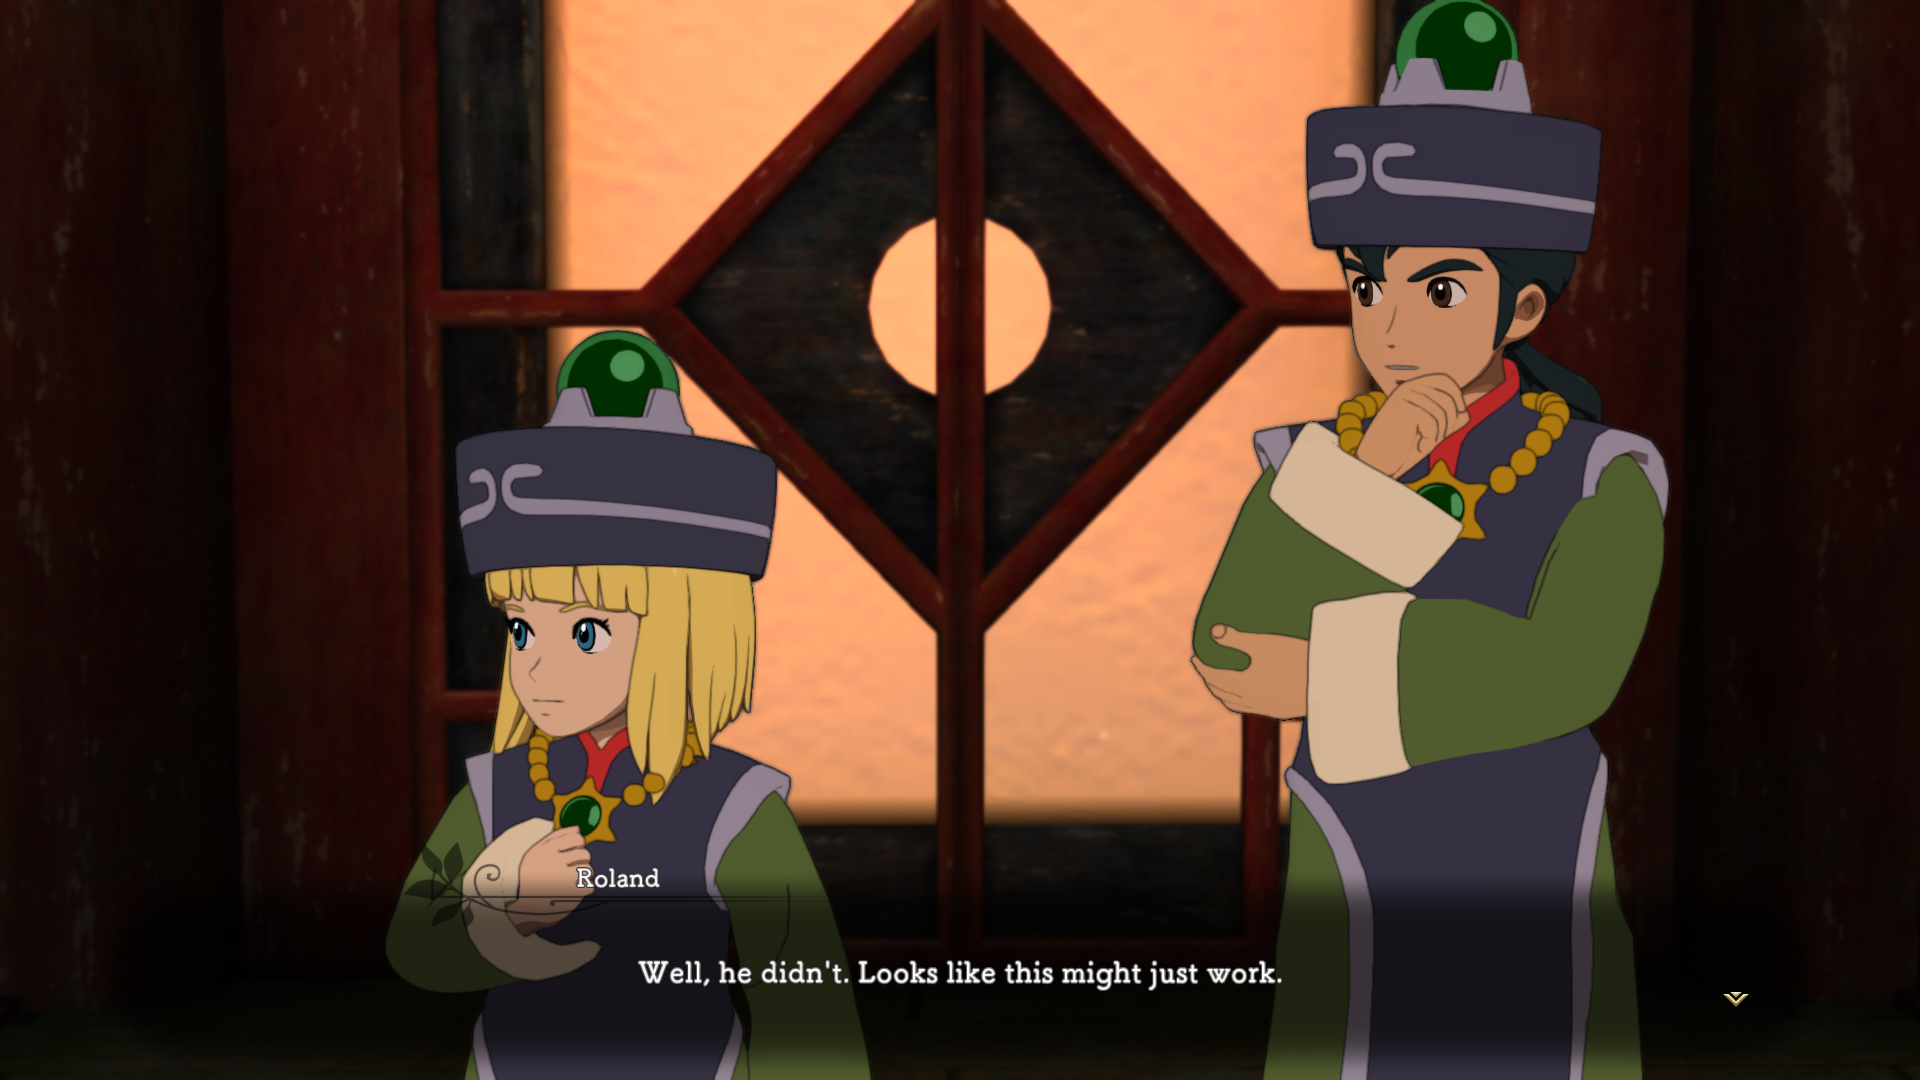

You can’t see it here since I forgot to screenshot it, but this building is shaped like a Y.
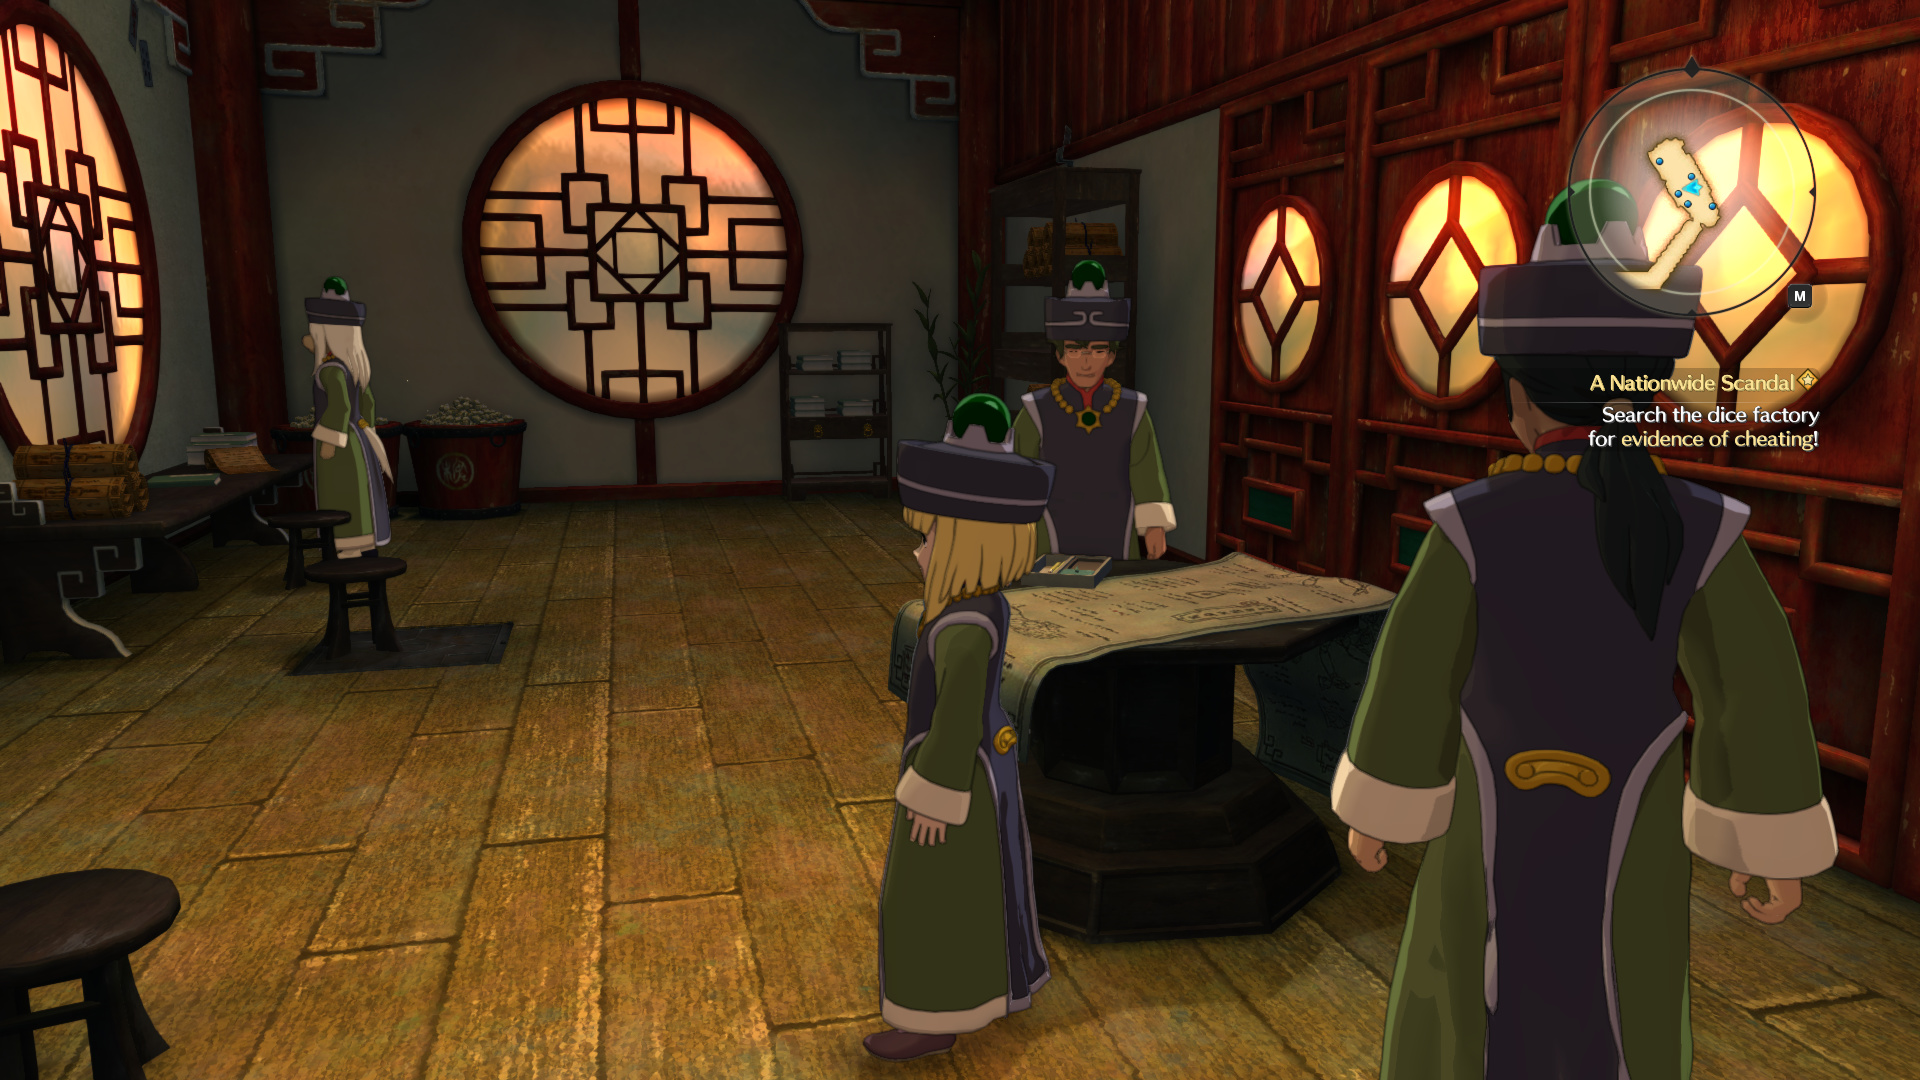
I think you’re meant to just examine everything the first time you play, but it’s kind of obvious where the stuff is when you think about it. Also, have a shot of the one token human who works here so this entire facade kind of makes sense I guess?
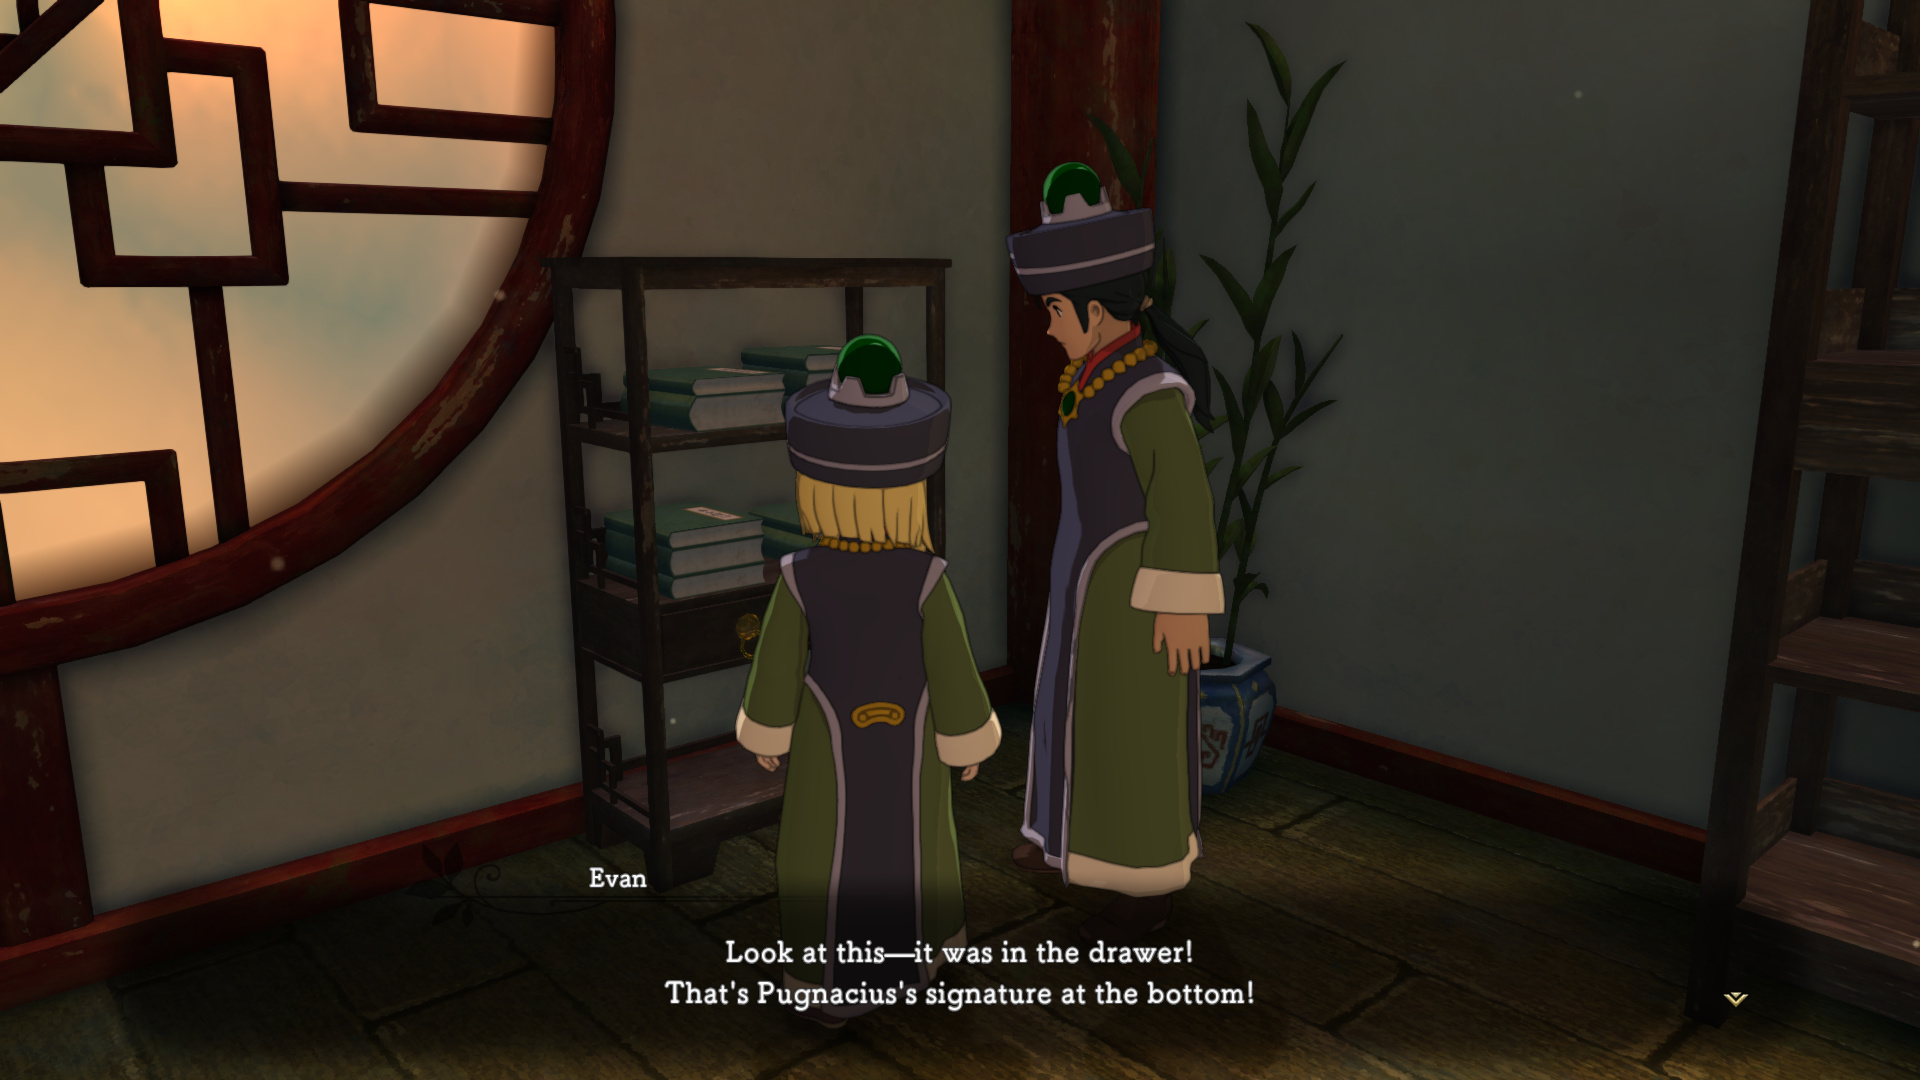
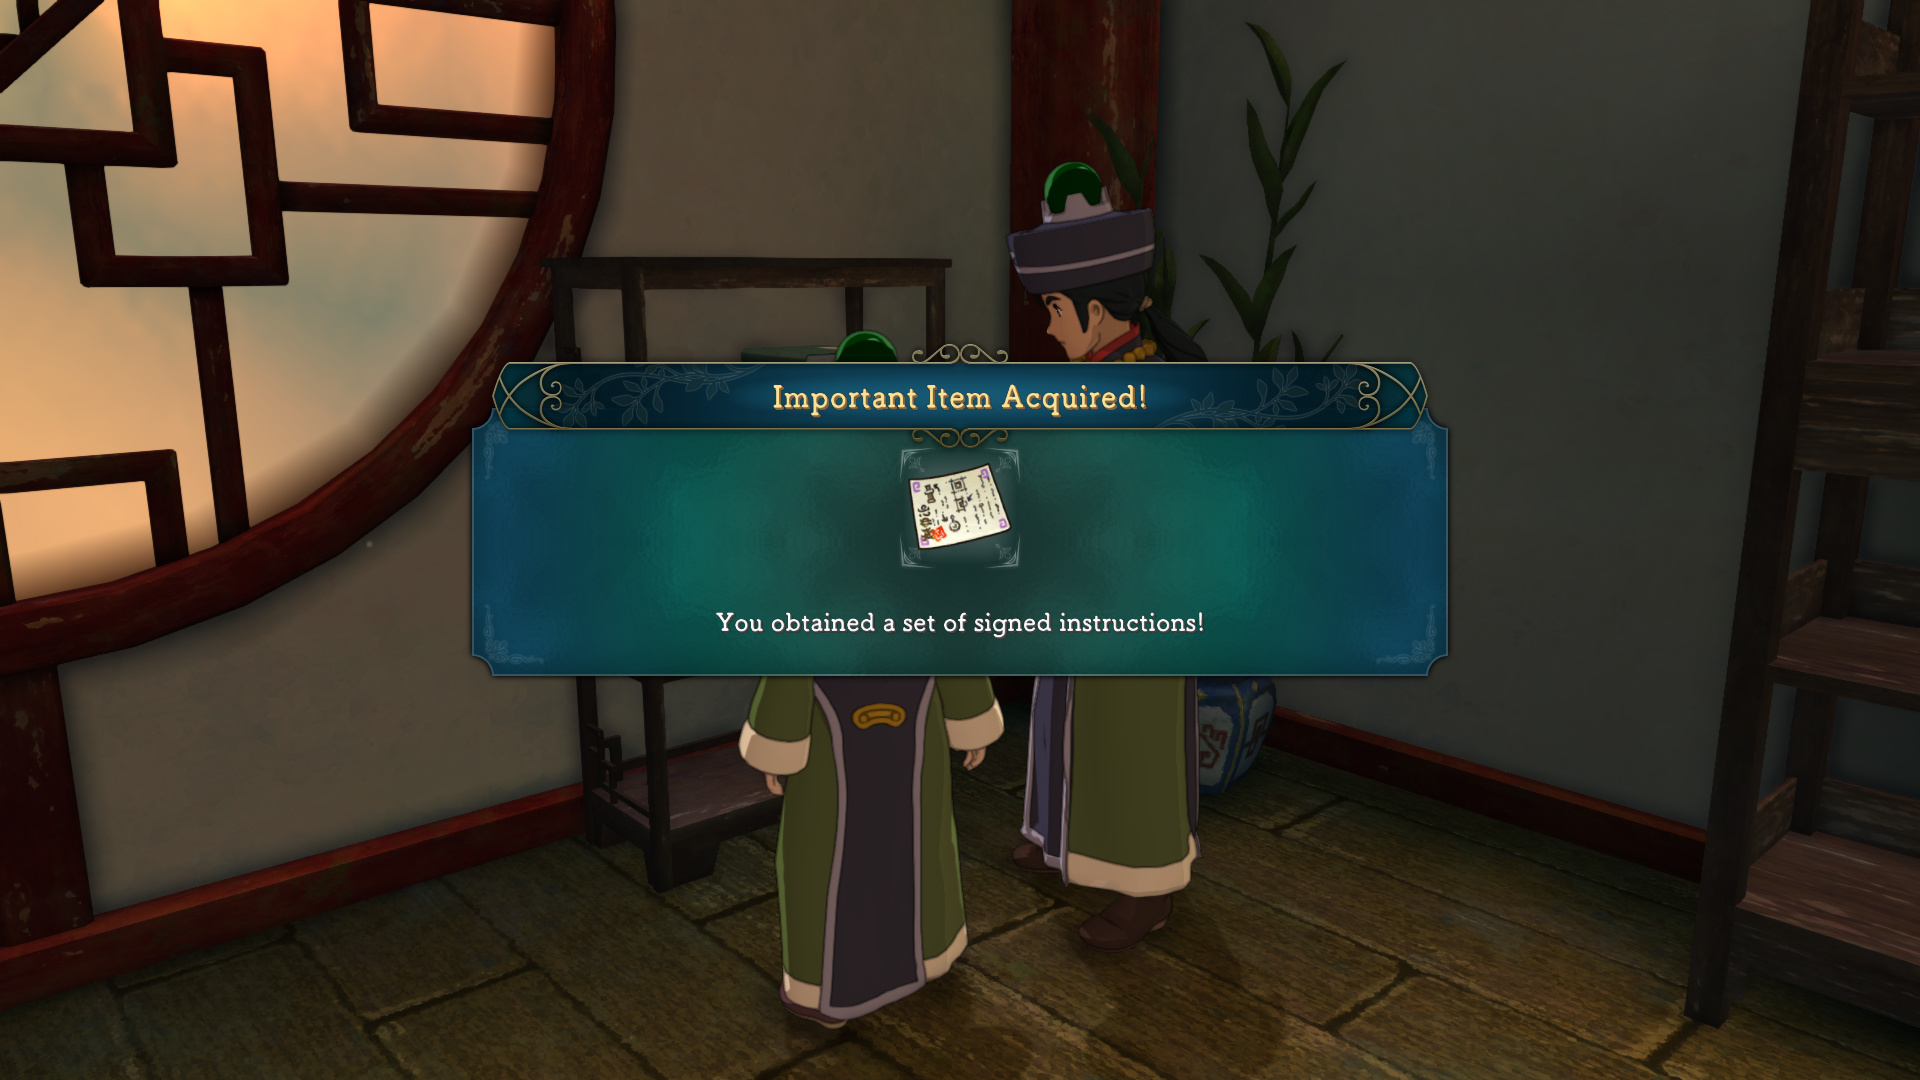
The first branch of the Y has a rack of meticulously kept ledgers along with a signed “I DID IT” letter.
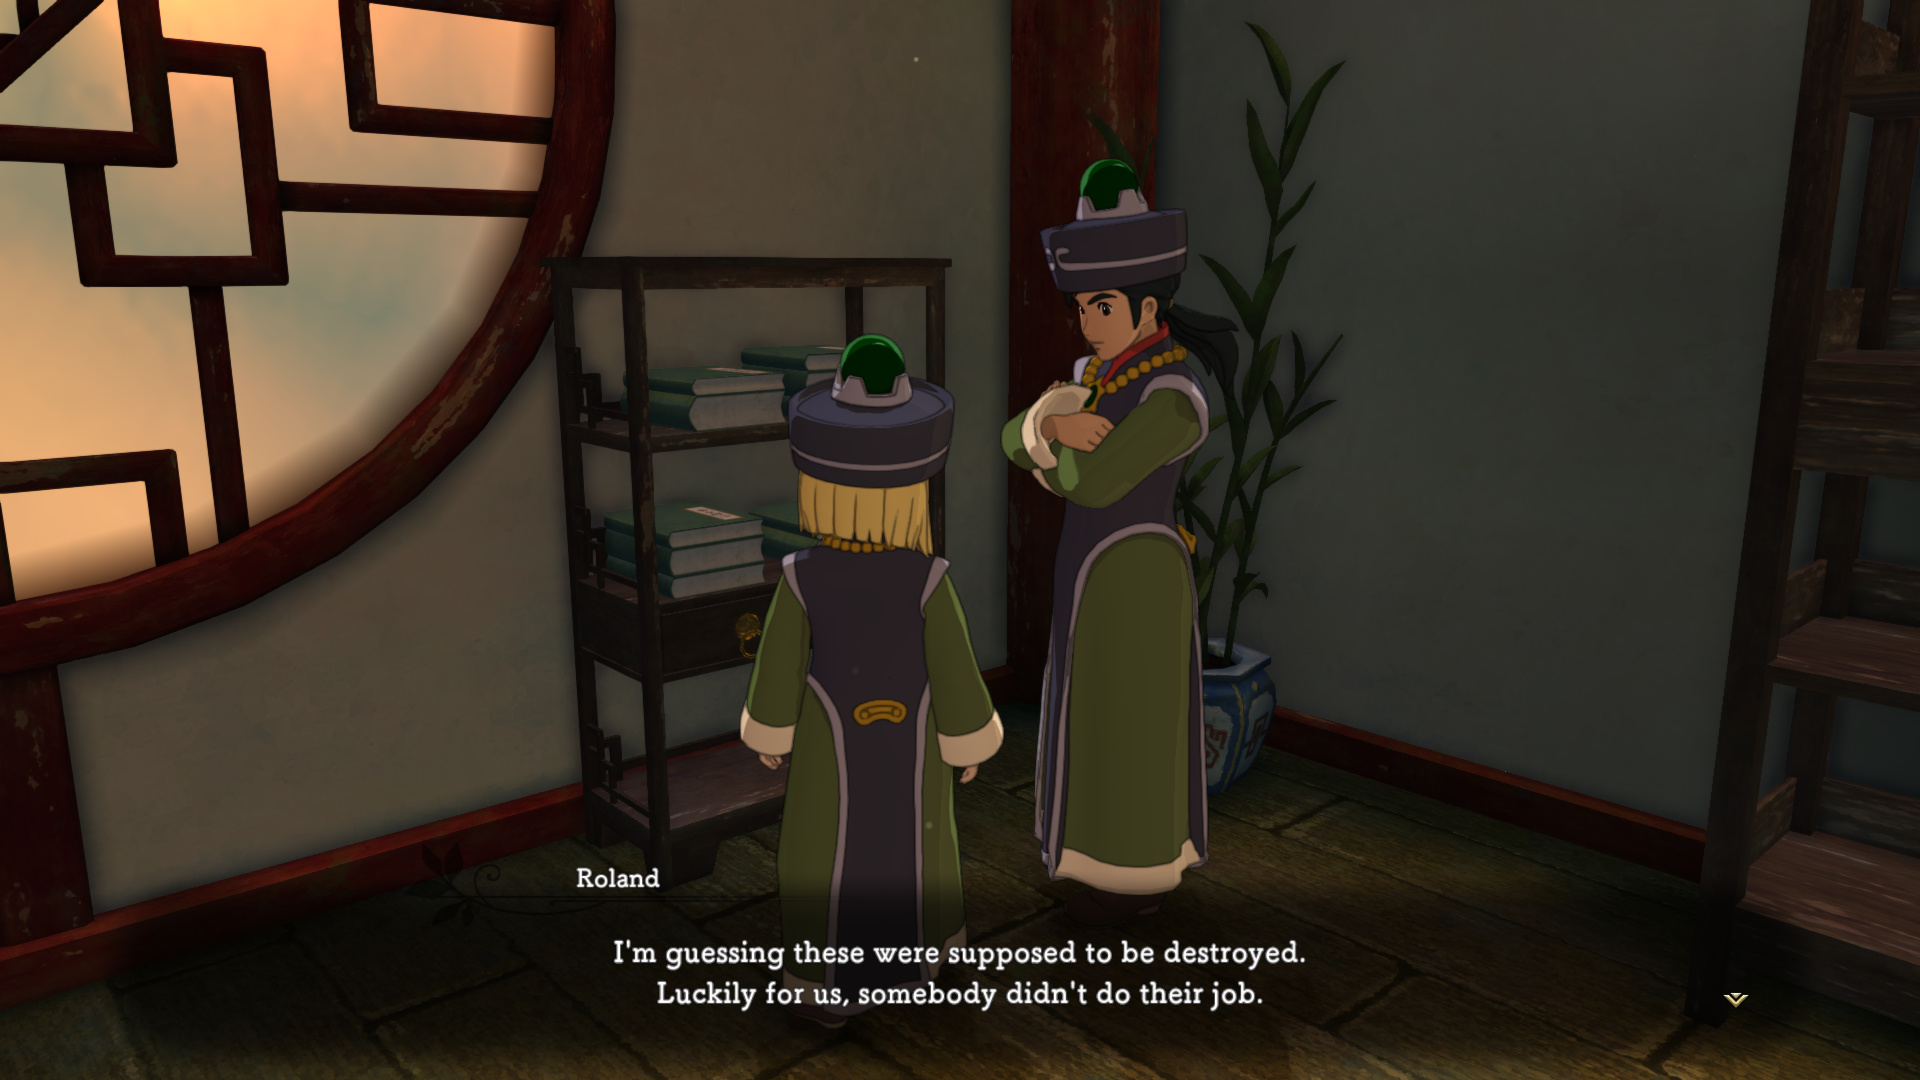
By “these”, Roland means the source code for this game, and by someone, he means “literally everyone at Level 5 except Fred.”
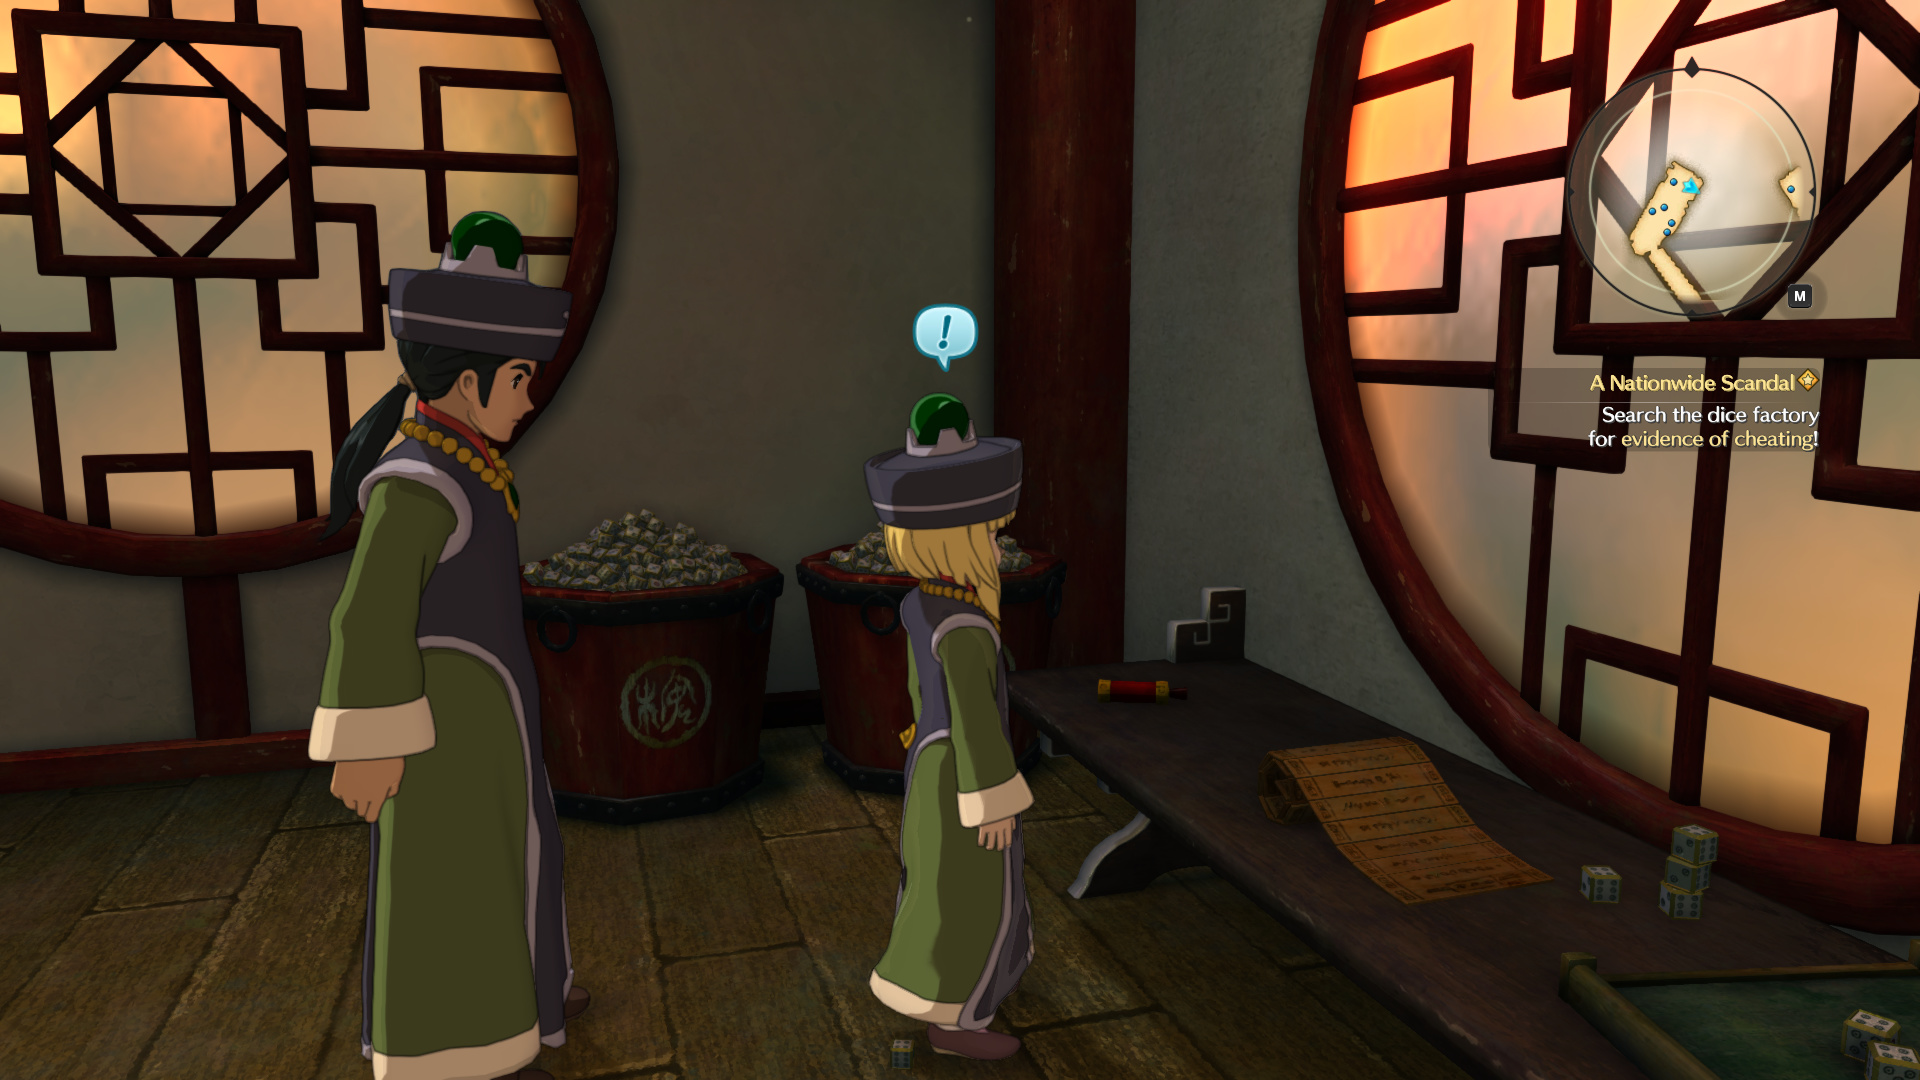
If you look at the minimap, you can see the other end of the Y where we found the letter. No points for creative level design here.
I feel like there’s a few different ways they could’ve done this part better - maybe had this area be a dungeon and scattered the items a bit better. But no, it’s just a Y. Let’s just leave this hole and go punch that stupid dog right in his-
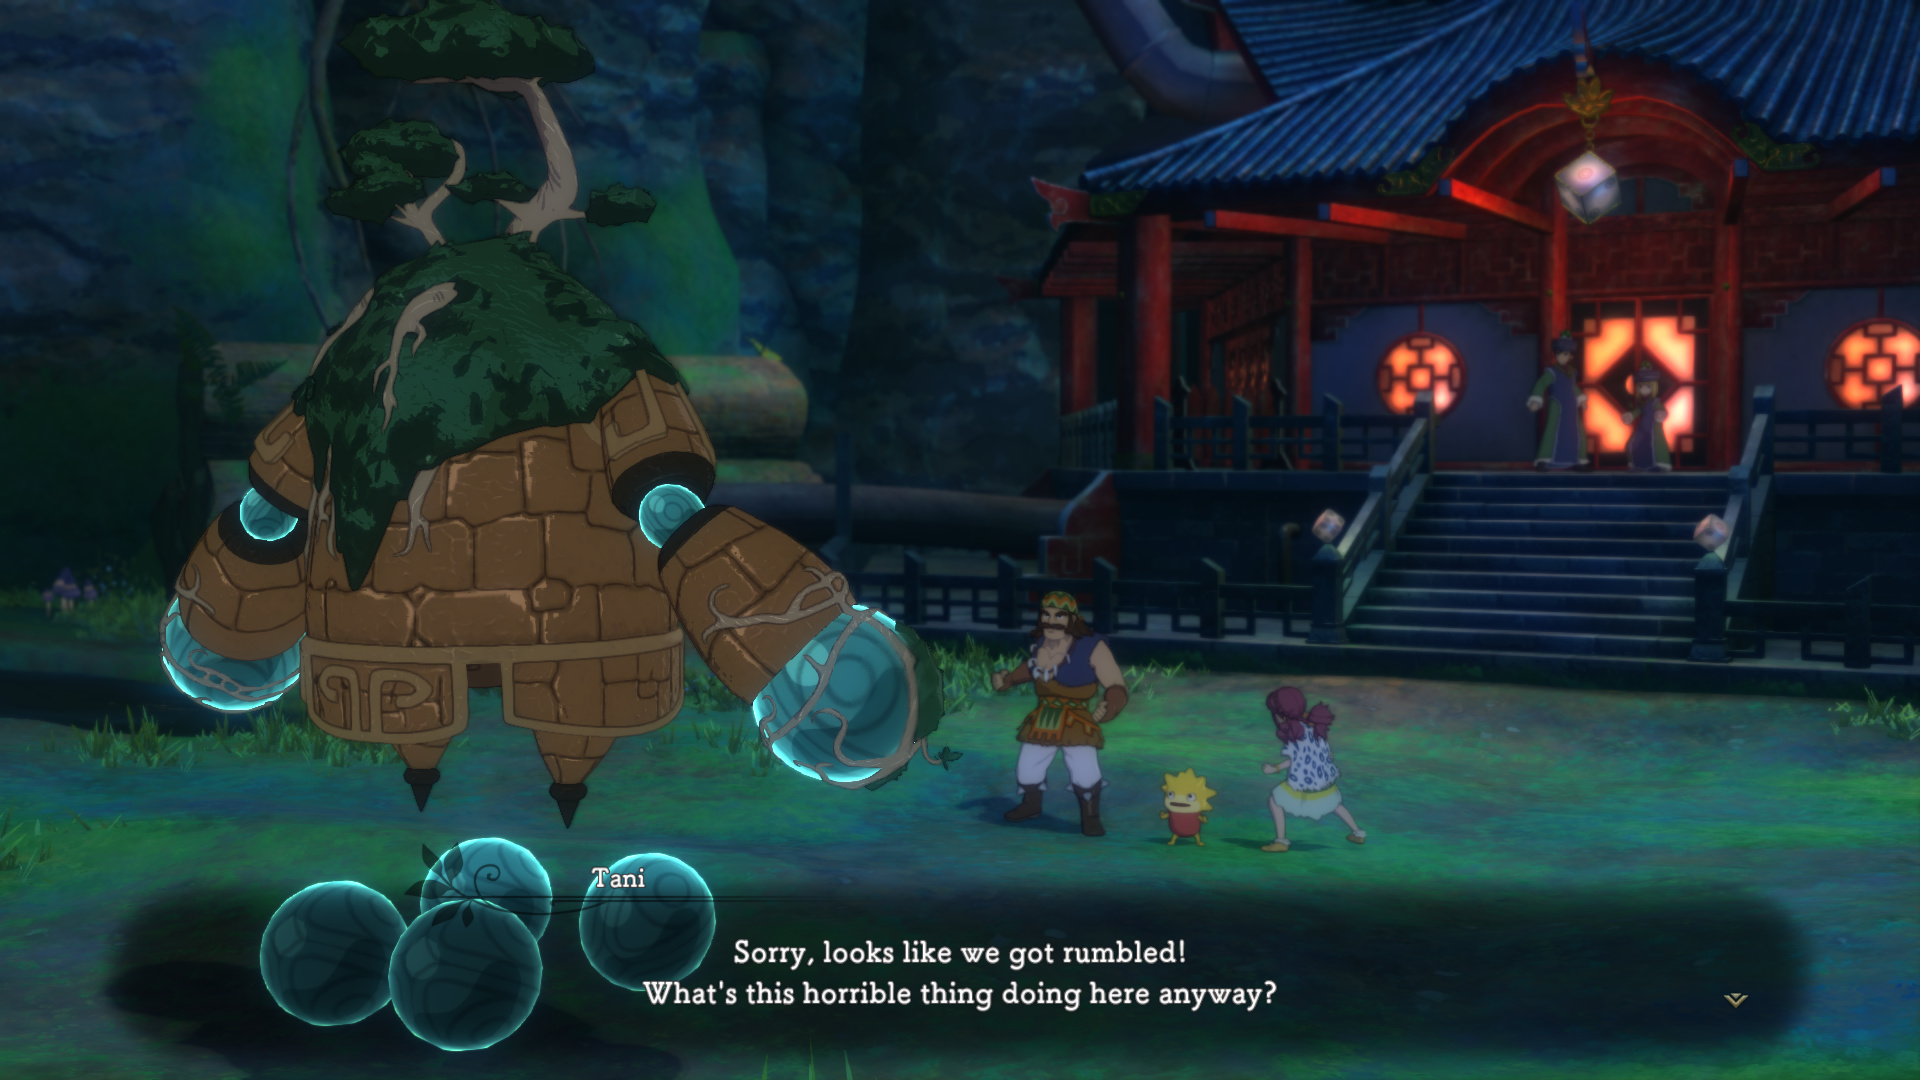
Well, shit. This is why I said you want to equip Evan with your second-best (or best) gear before you go into the factory - we are required to use Evan and Roland for this fight.

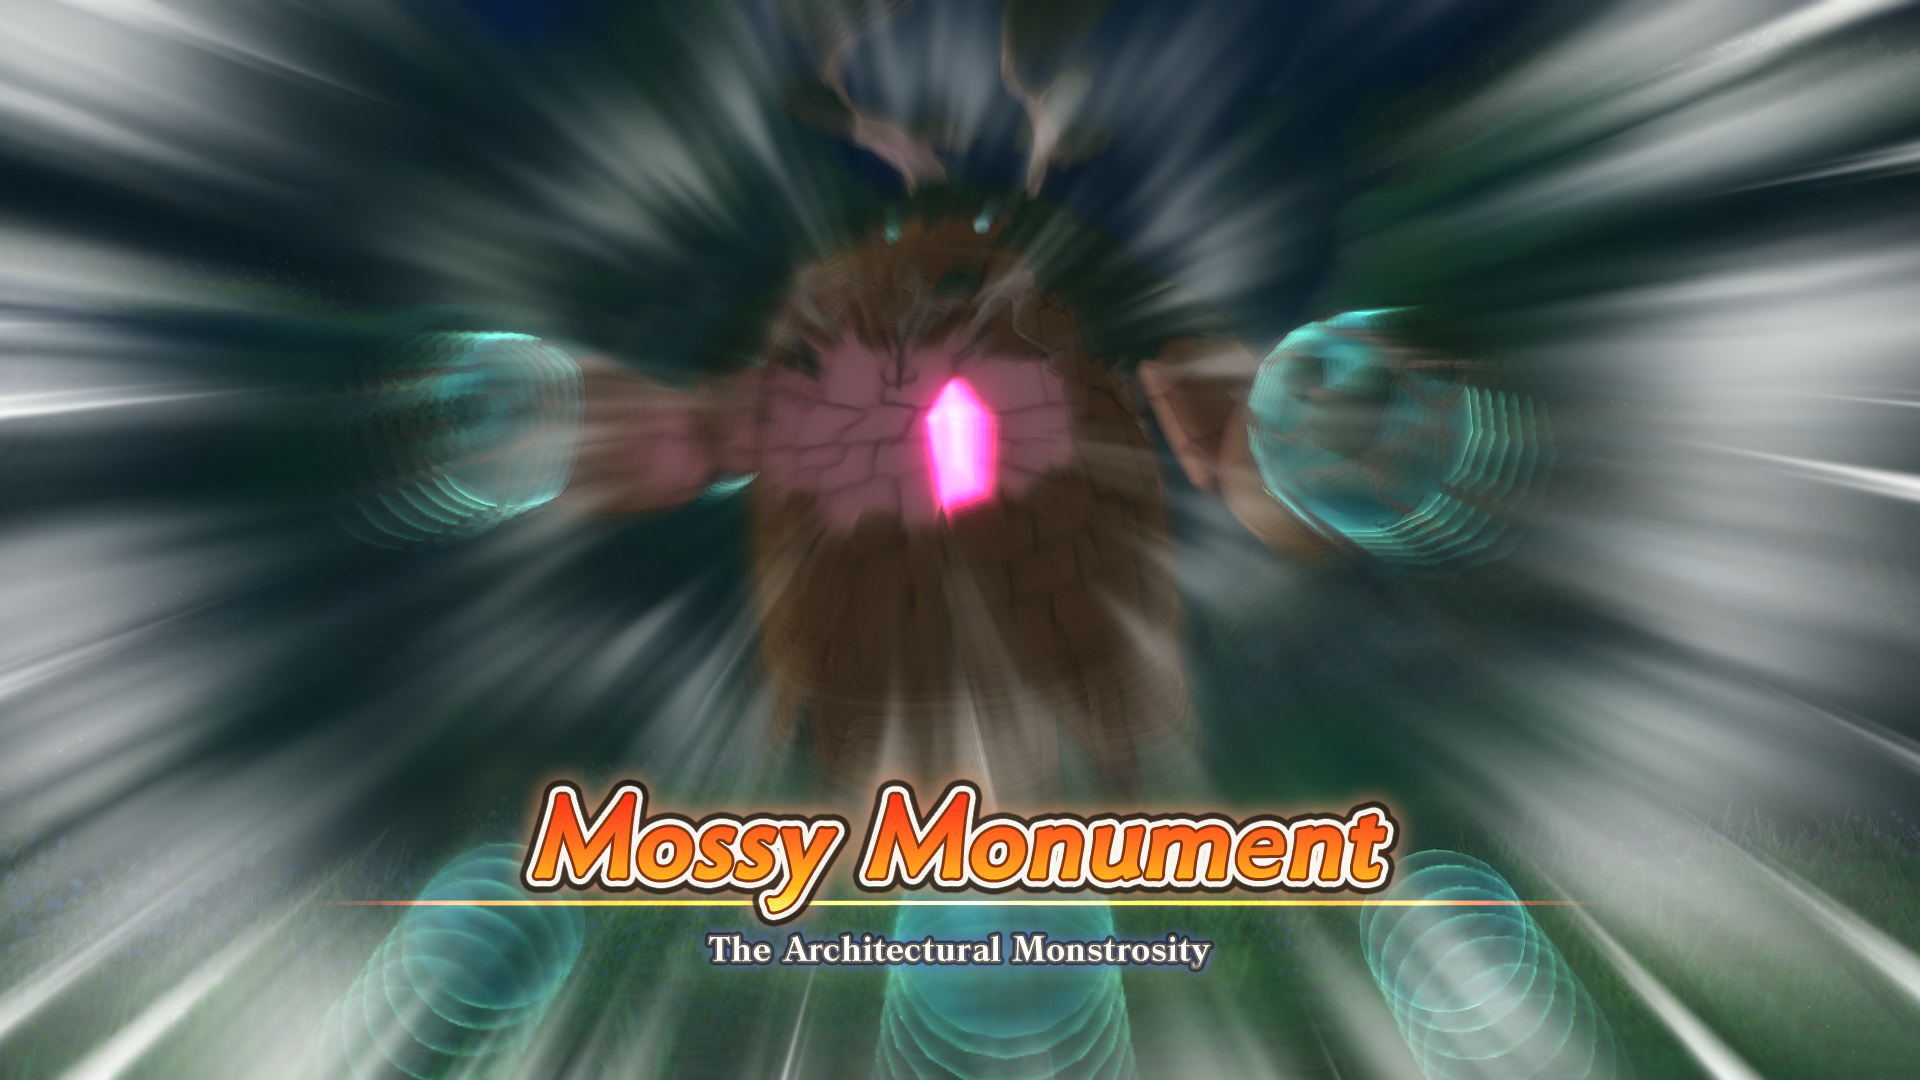
Meet the Mossy Monument. This is essentially a mini-boss: we’ll encounter a bunch of them as regular enemies soon enough.
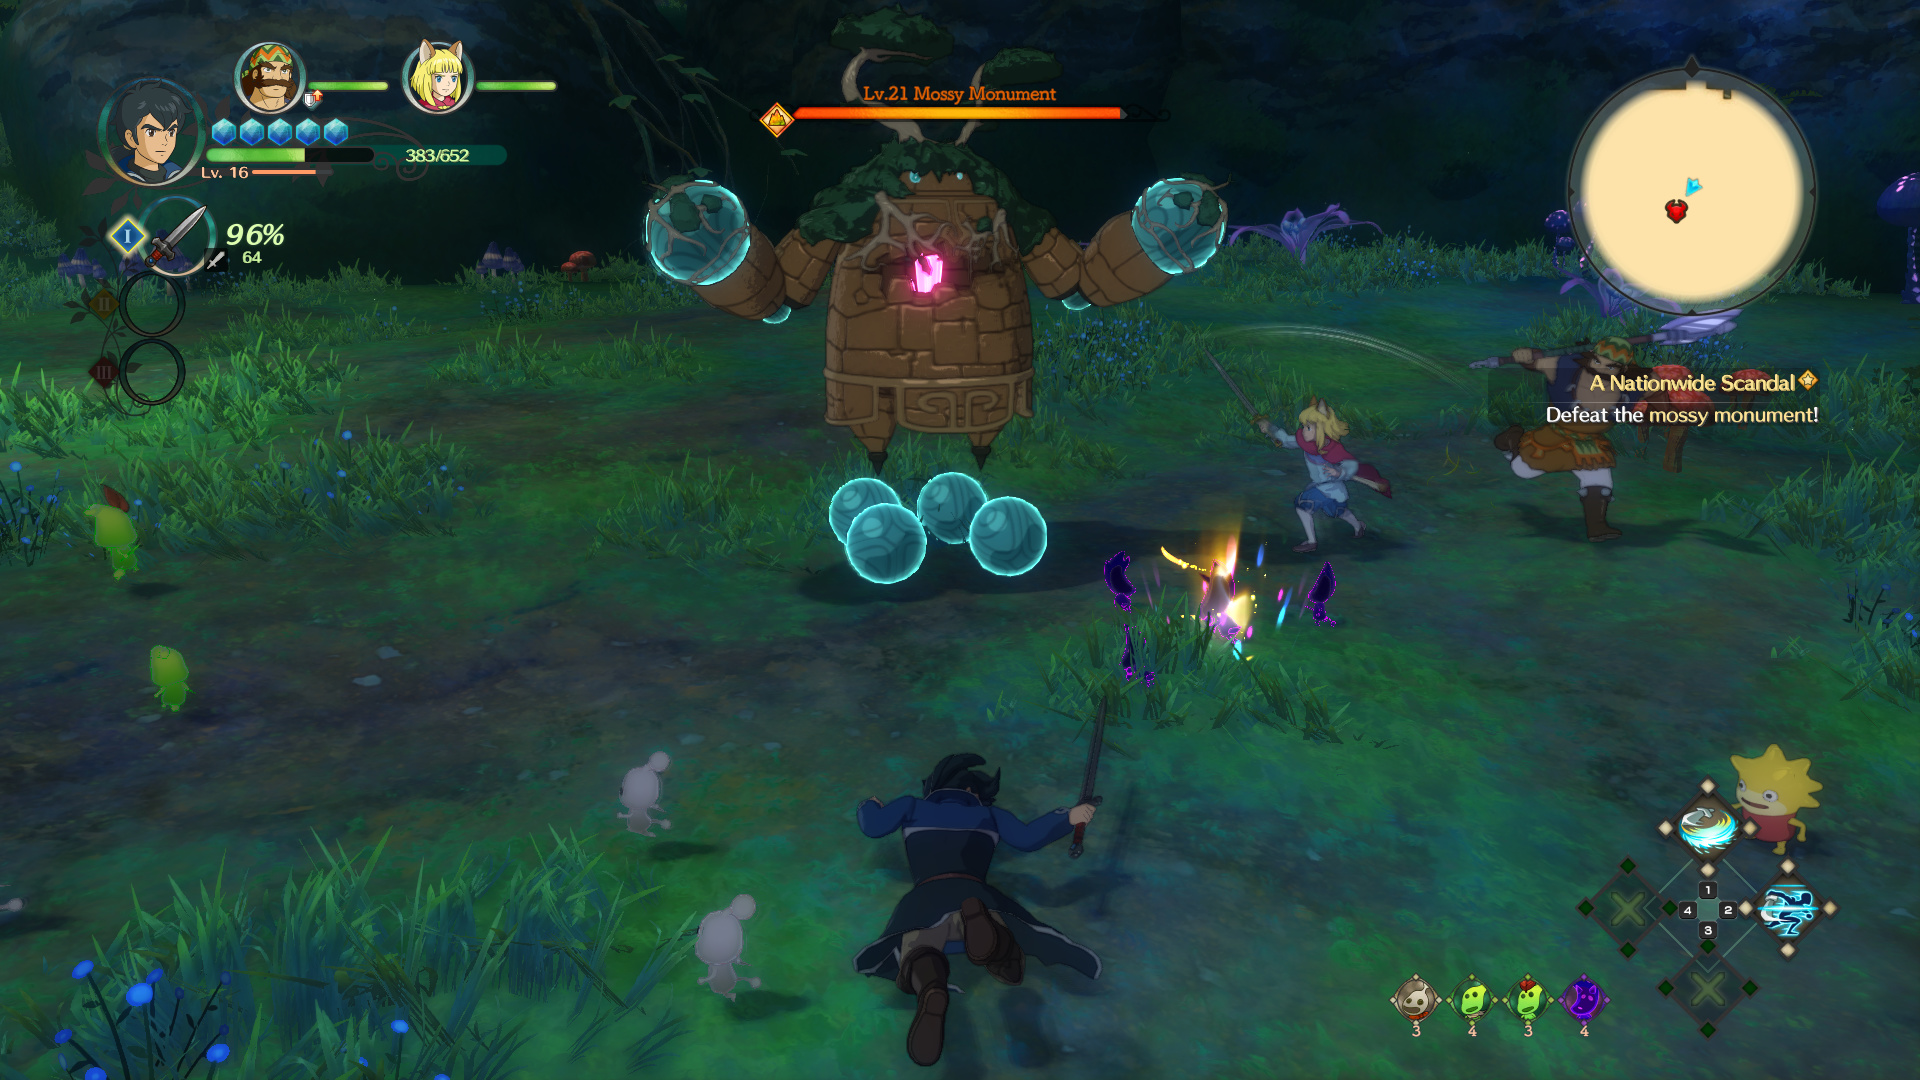
Now, those of you following the LP closely might realize I forgot to do one very important thing before fighting this boss.
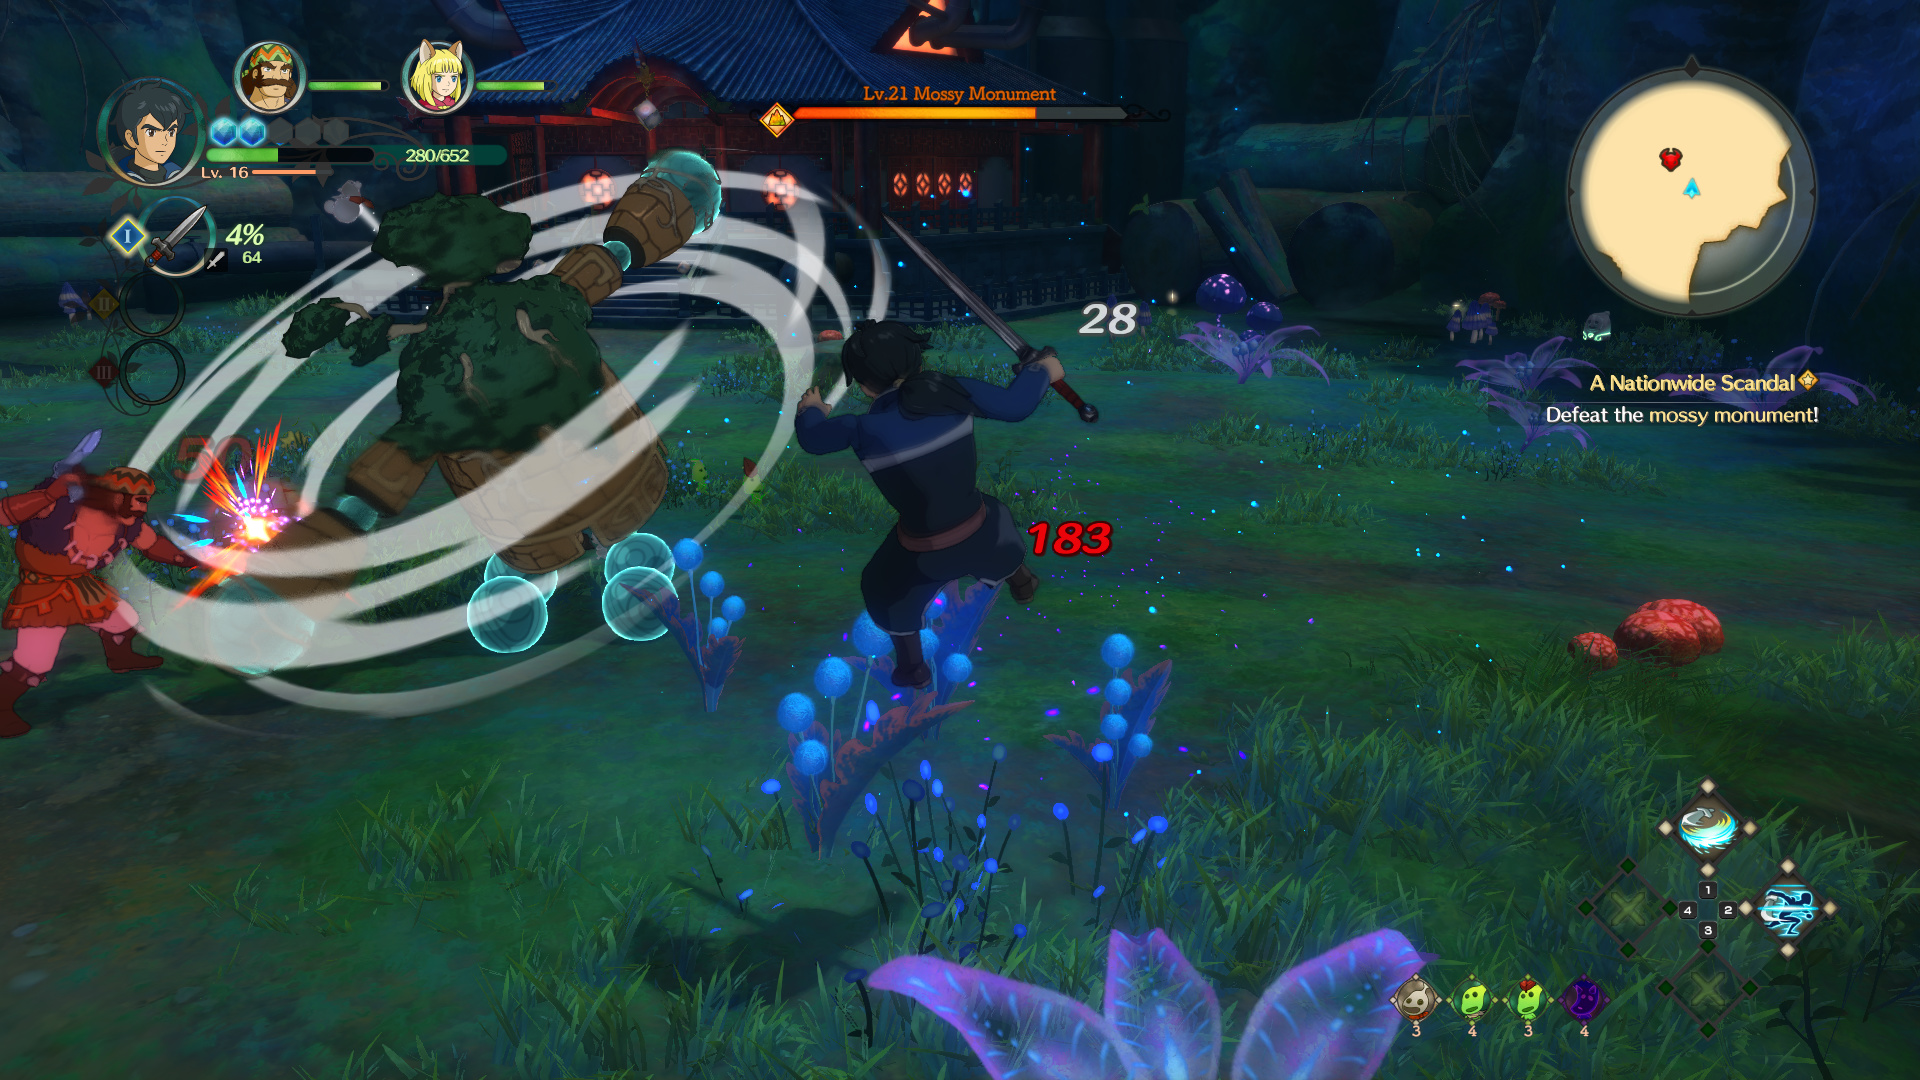
That’s right, I forgot to take it off Extreme difficulty. Whoops. This enemy type is easily one of the most annoying in the game. Most of the time, it’s either doing a puncho combo or spinning around and punching shit, meaning that it is very difficult to get MP back.
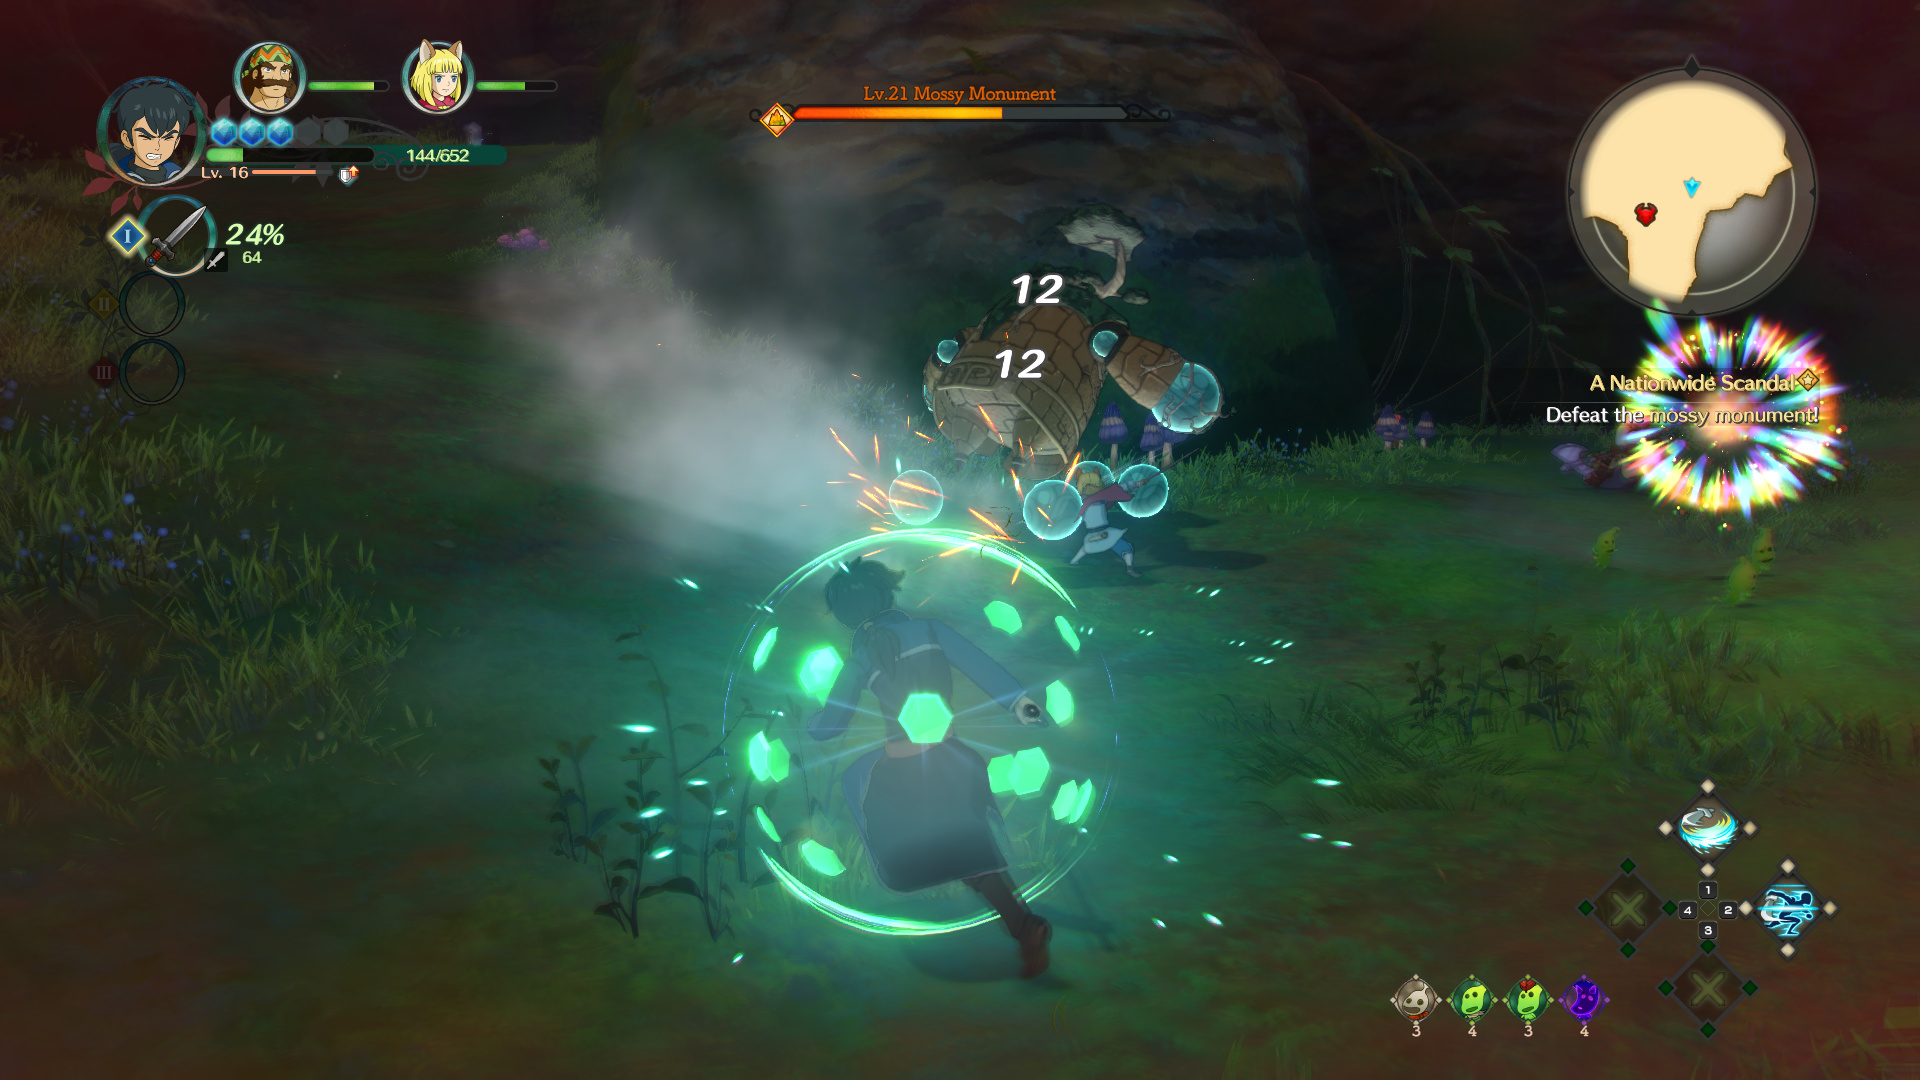
I spent most of my time getting exploded until Roland and Evan died, at which point I quit out and reloaded on Normal.

Here’s a video of the Mossy Monument fight, not that anyone is going to watch it. After the fight..
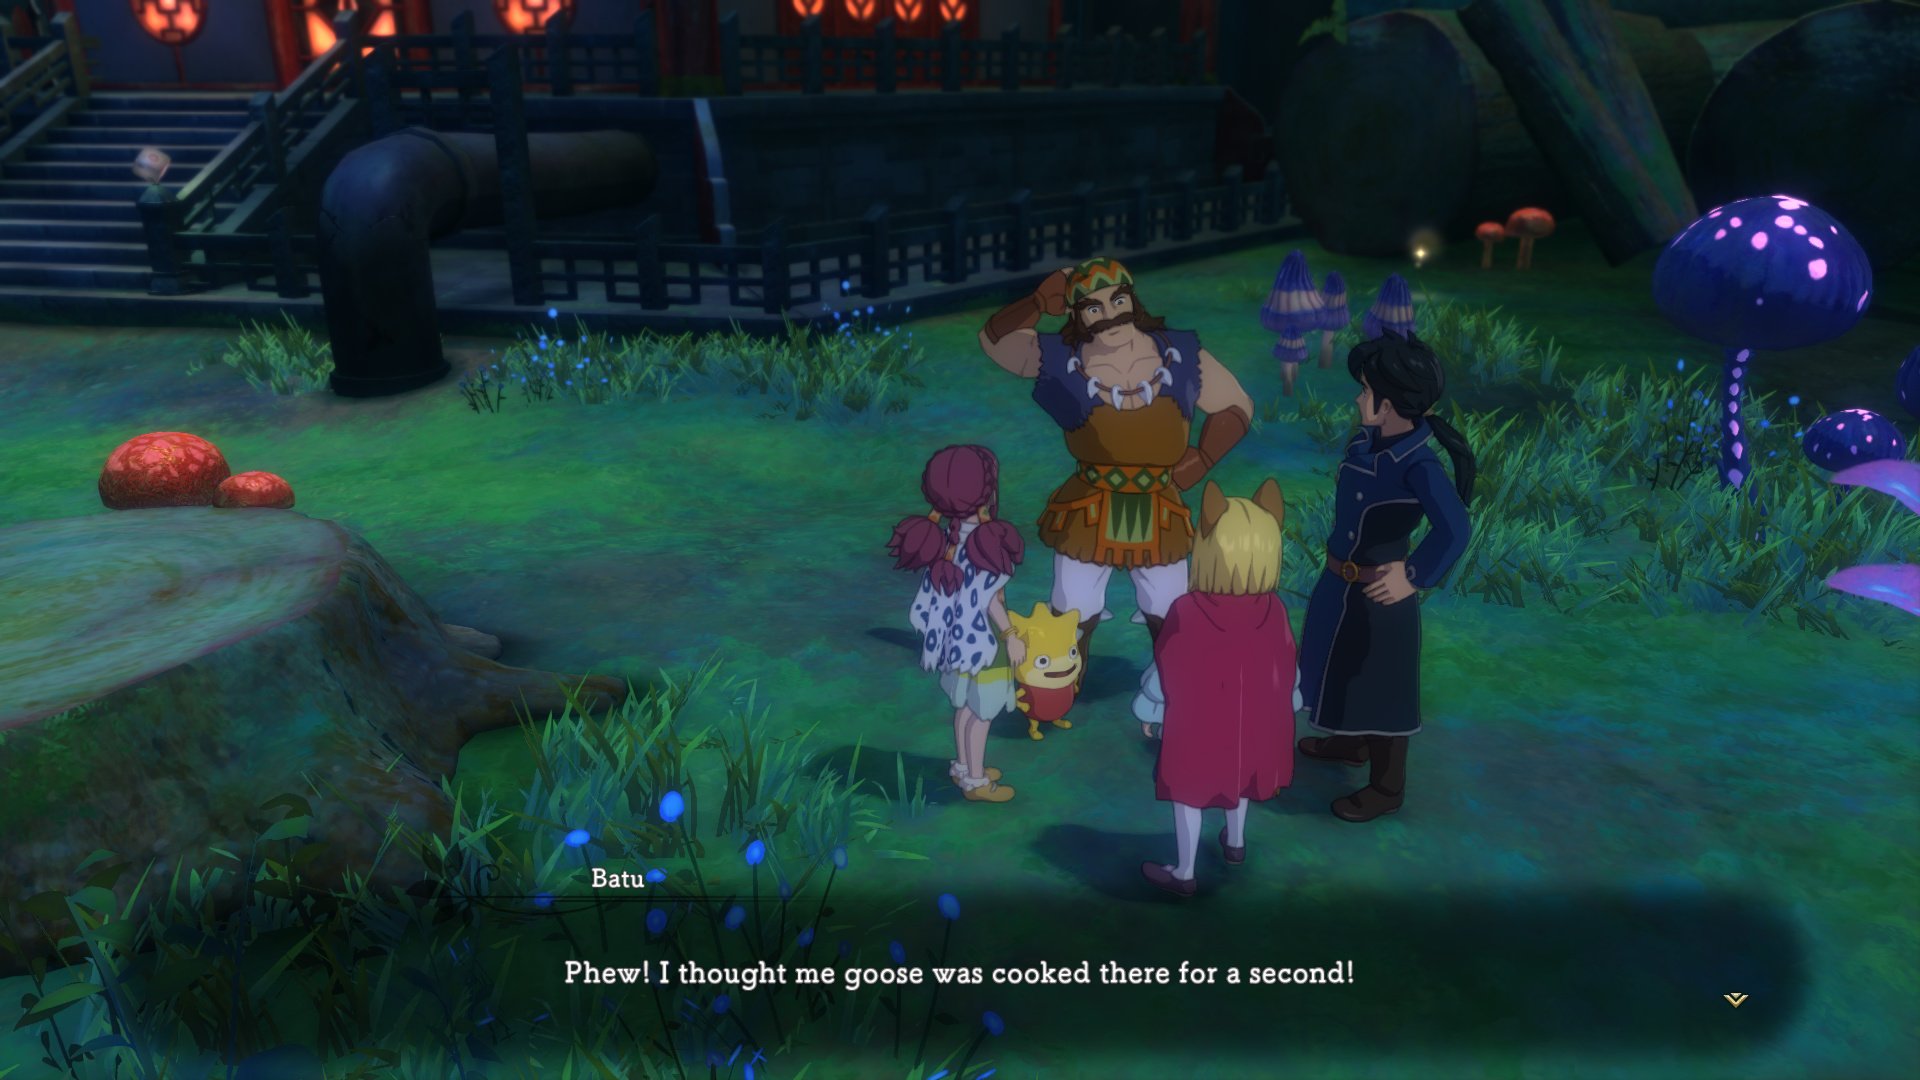
![]() : “Looks like the people in the factory didn’t notice either. We got lucky there.”
: “Looks like the people in the factory didn’t notice either. We got lucky there.”

 : “Yes! We found the device Pugnacius uses to control the die’s movement!”
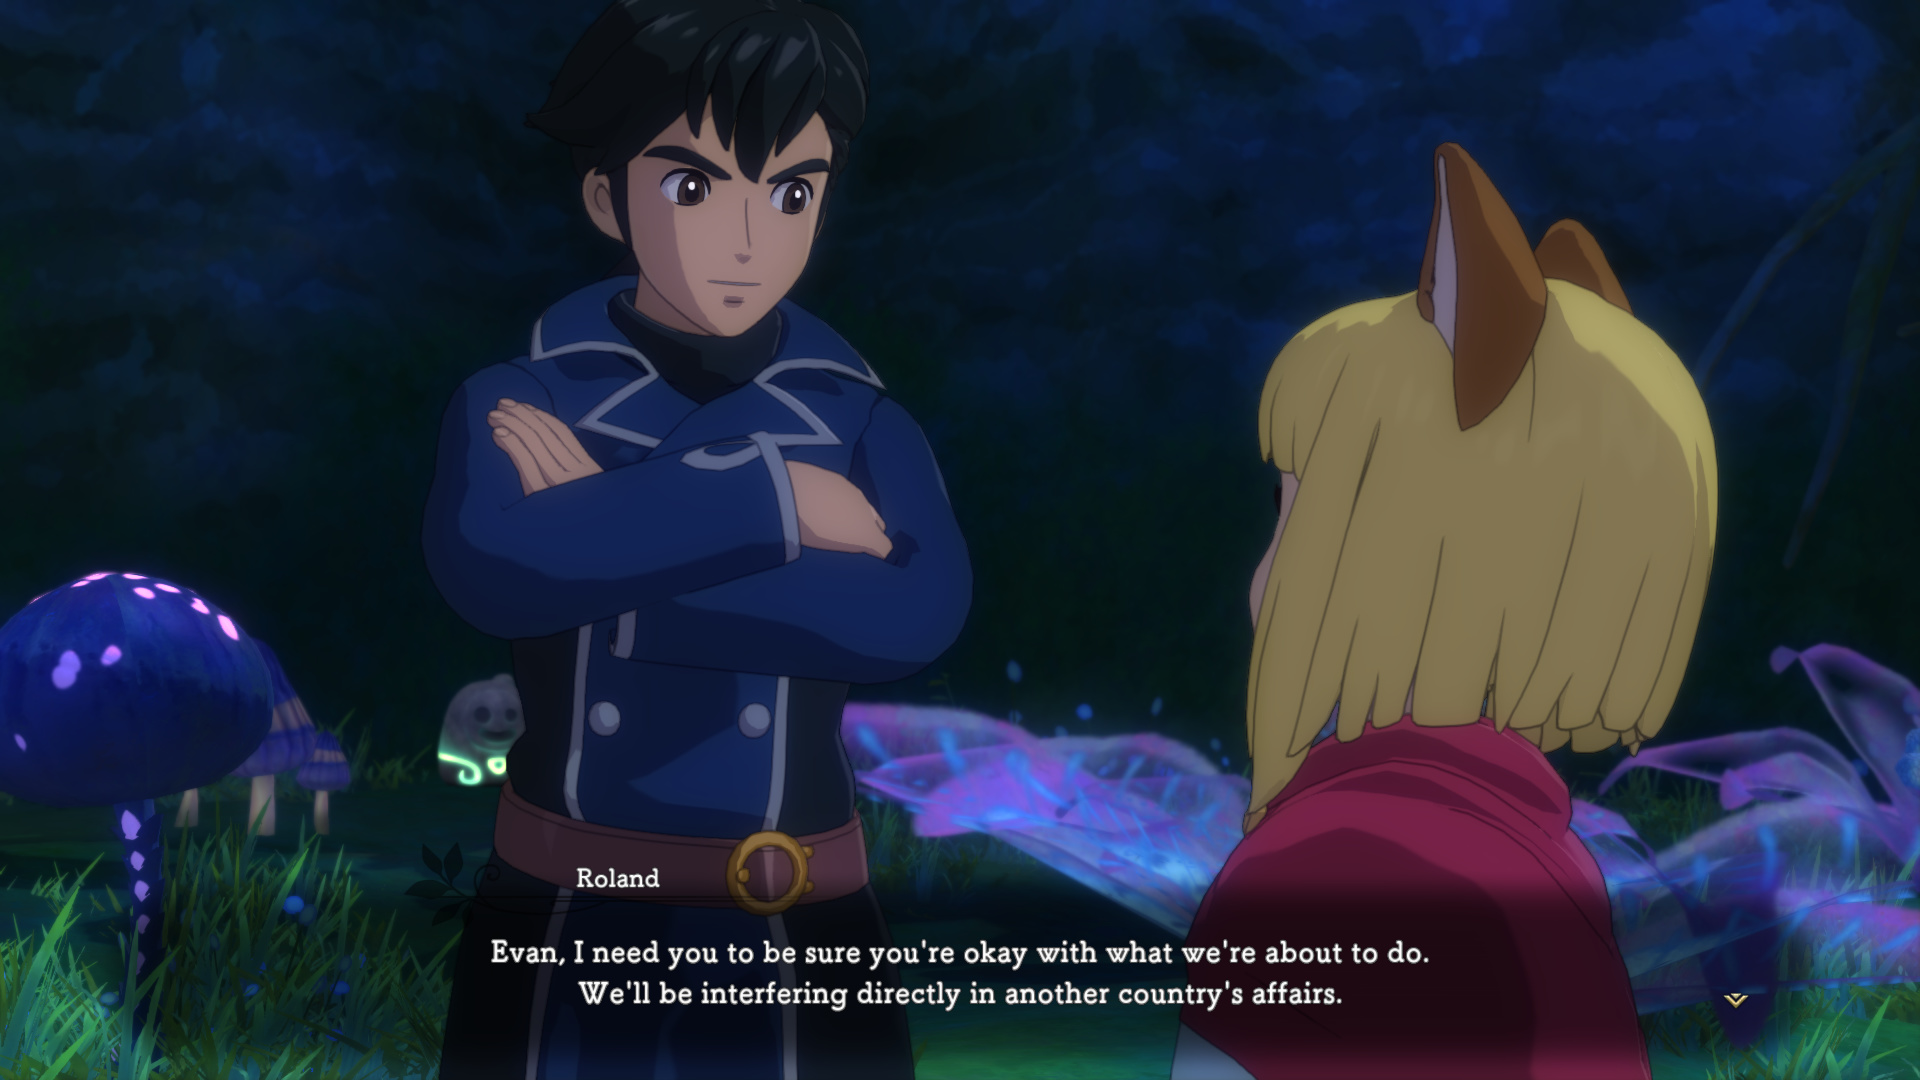
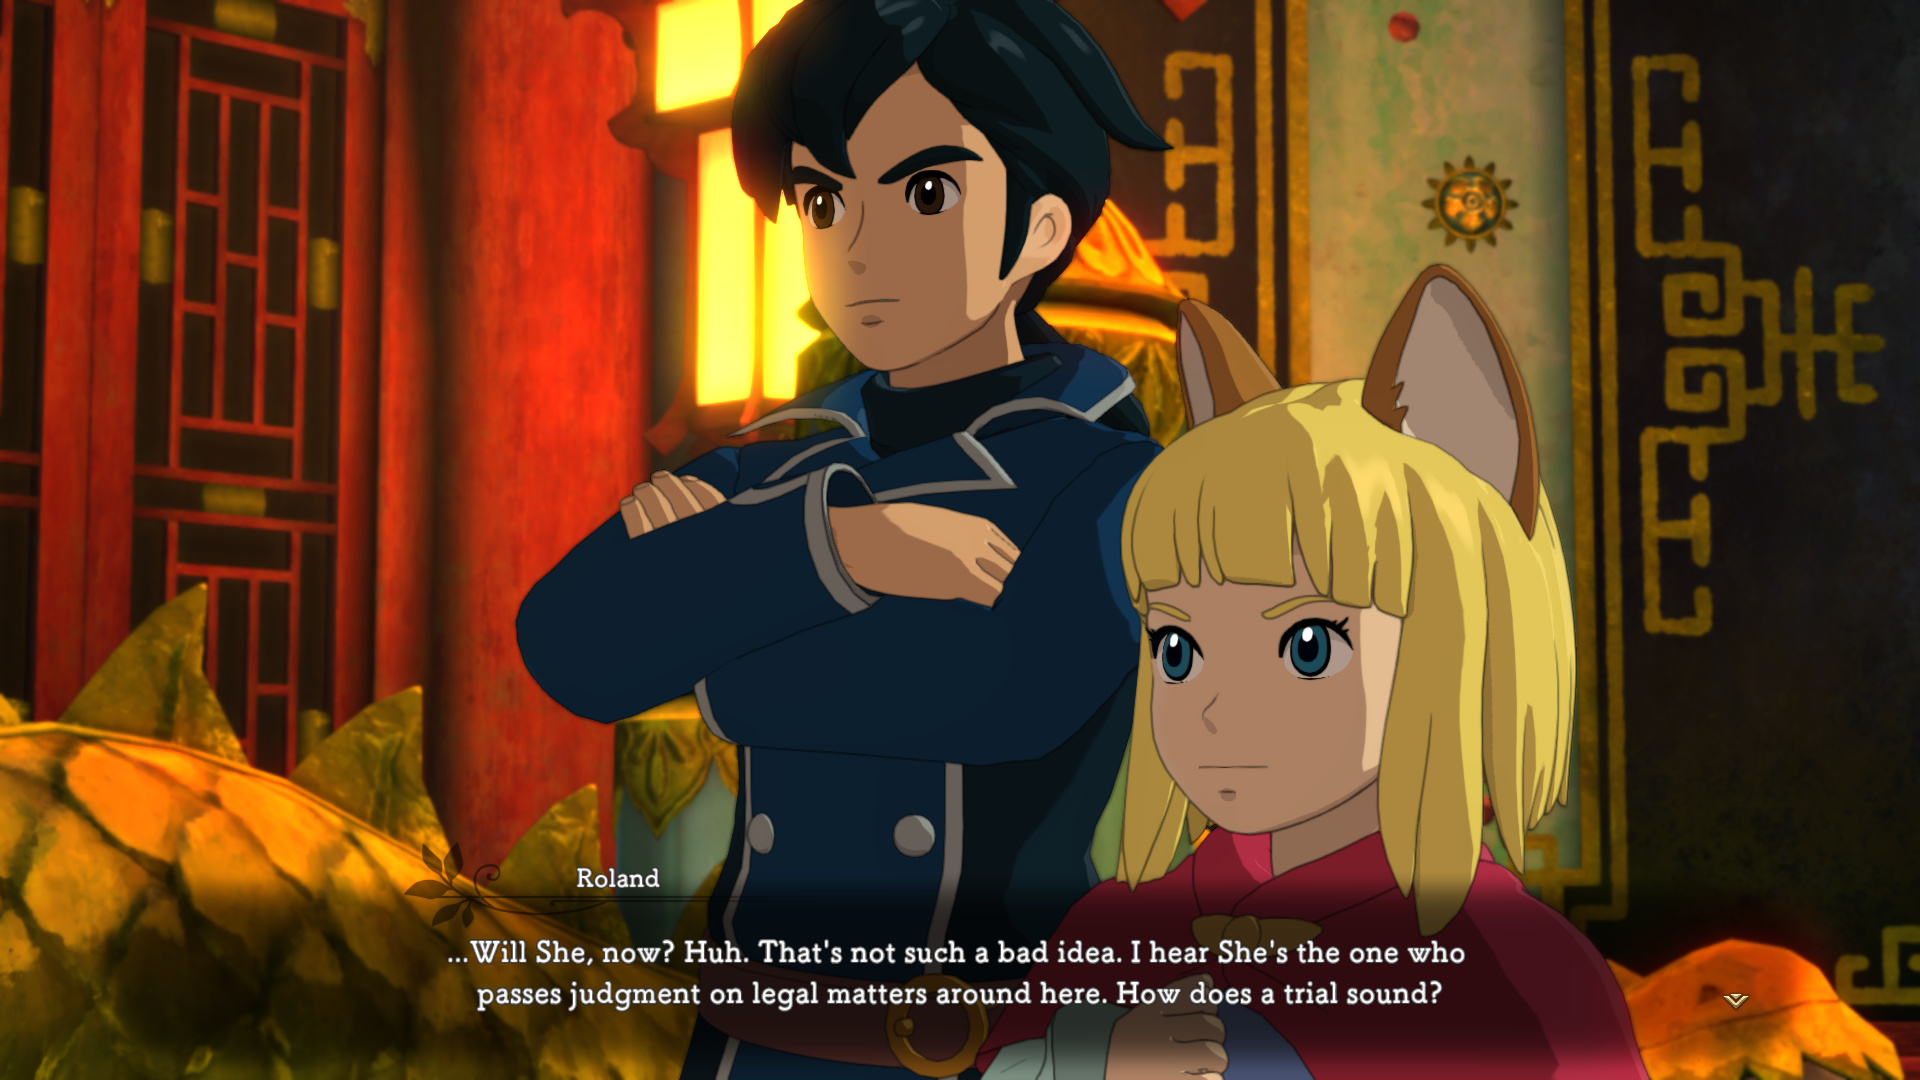
So, this is actually completely out-of-character for Roland, and I’m wondering if the writers added this in specifically to address how incompetent Roland looks as a leader.
: “If it doesn’t go well for us, things could get ugly. And if they go really badly, you could be making an enemy of an entire nation. Are you willing to take that risk?”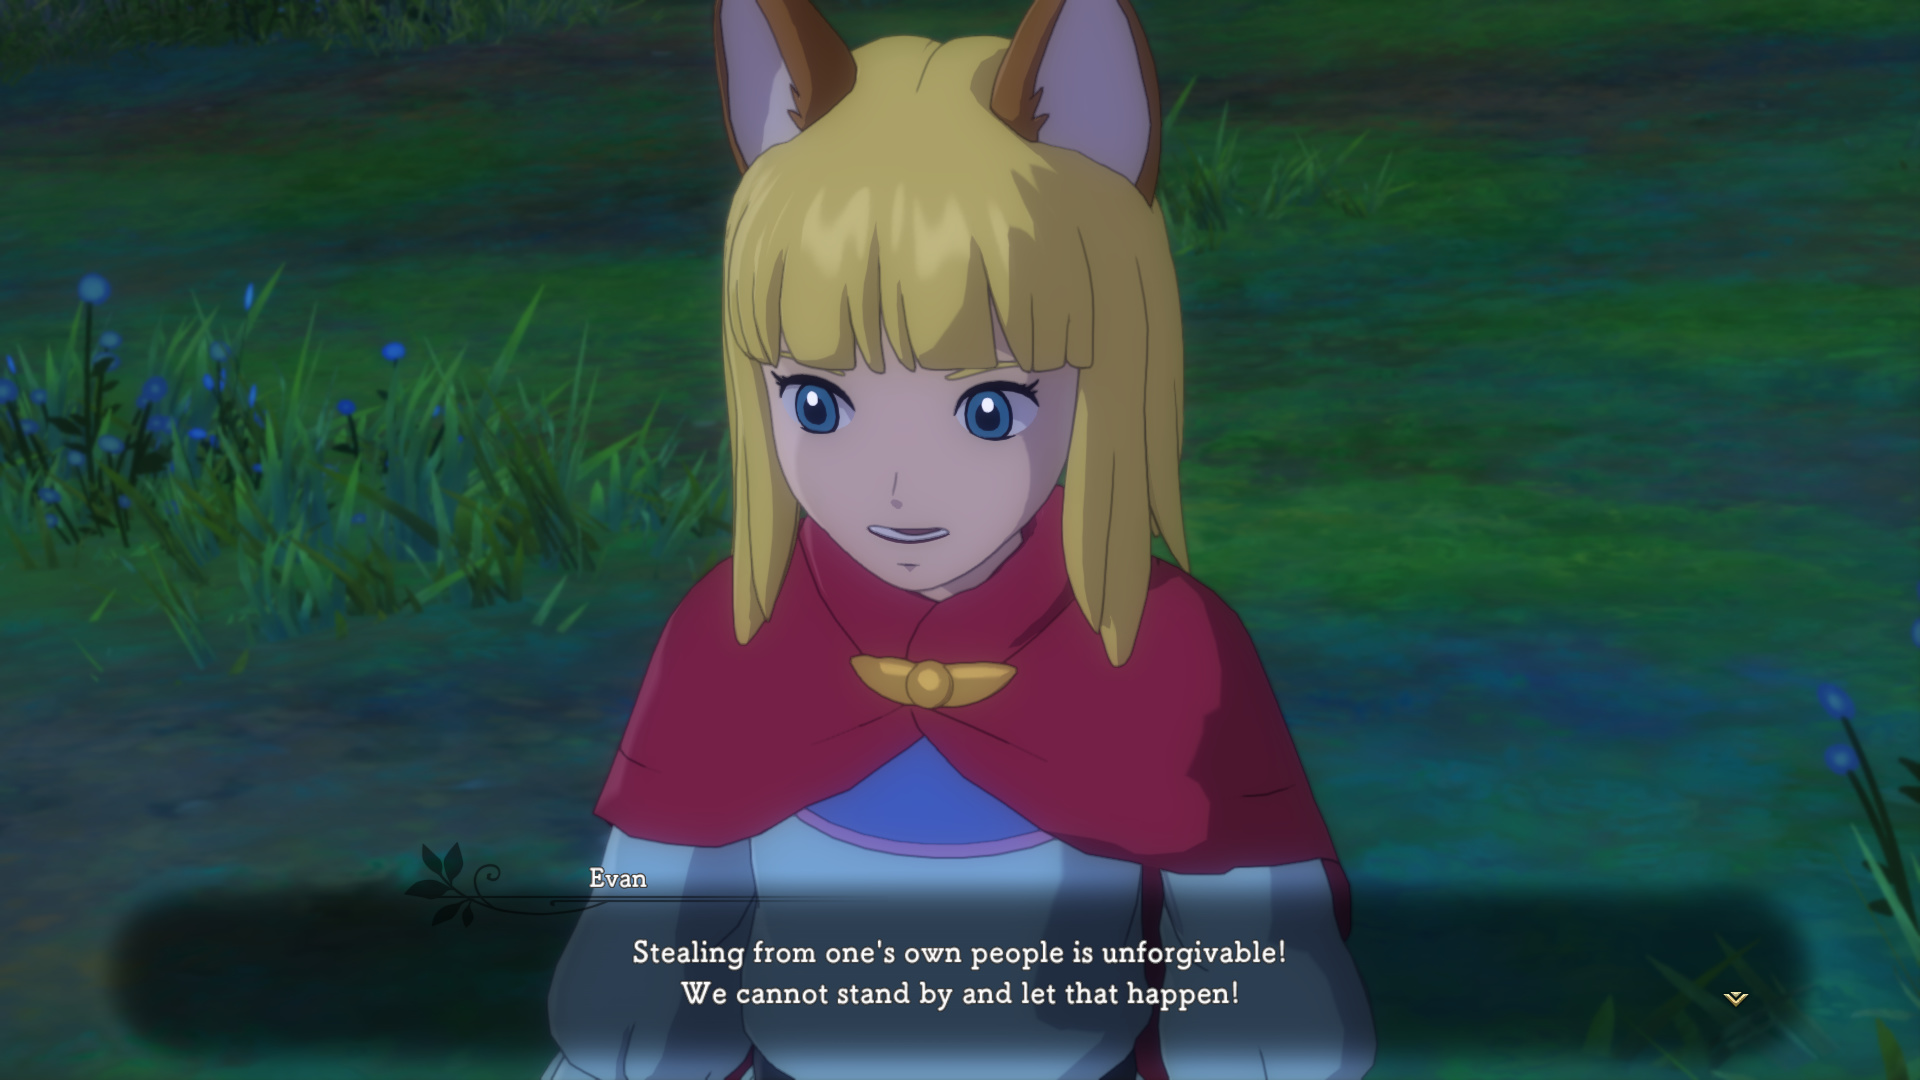
: “We have to give the people of Goldpaw their country back!”
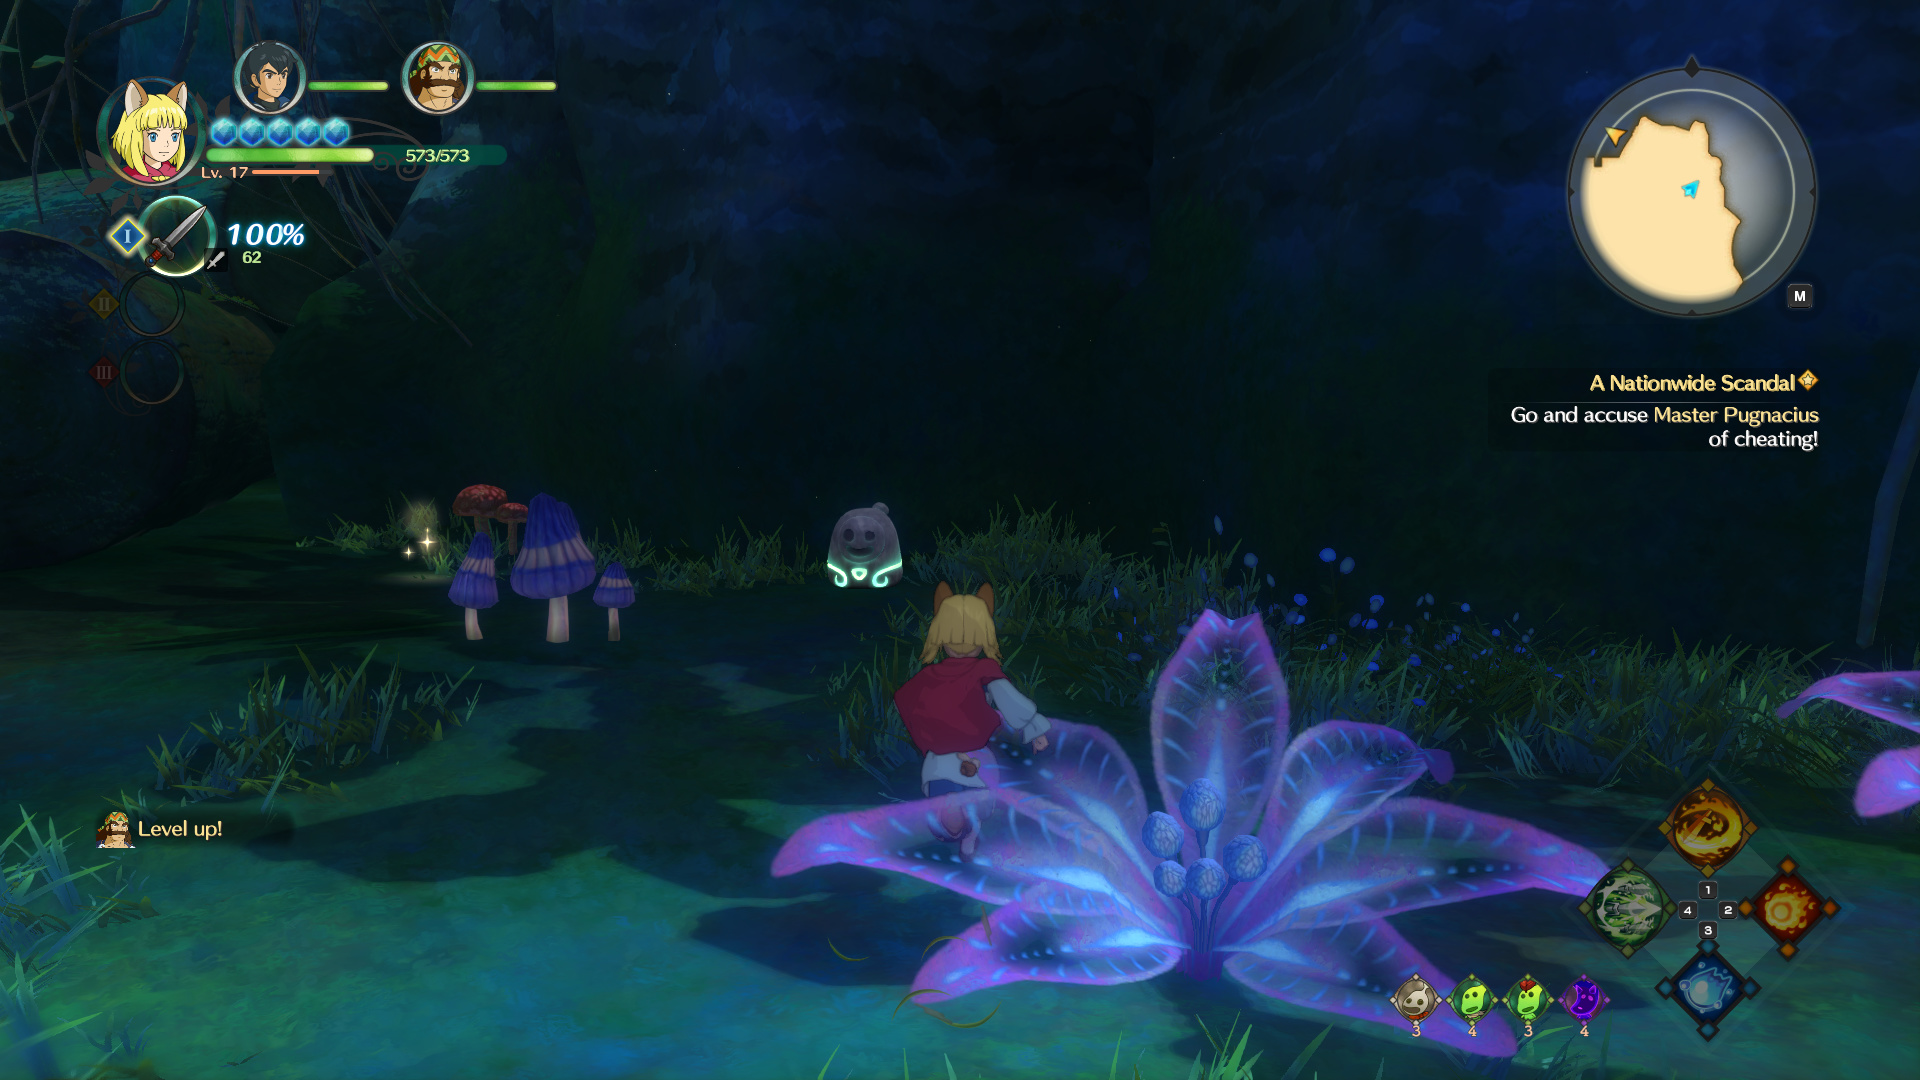
Before we leave, there’s a Higglestone here that we can get fairly easily.

This gets us our first water-element higgledy, which is useful because it automatically applies a defense down debuff to all enemies. It absolutely sucks for anything else.
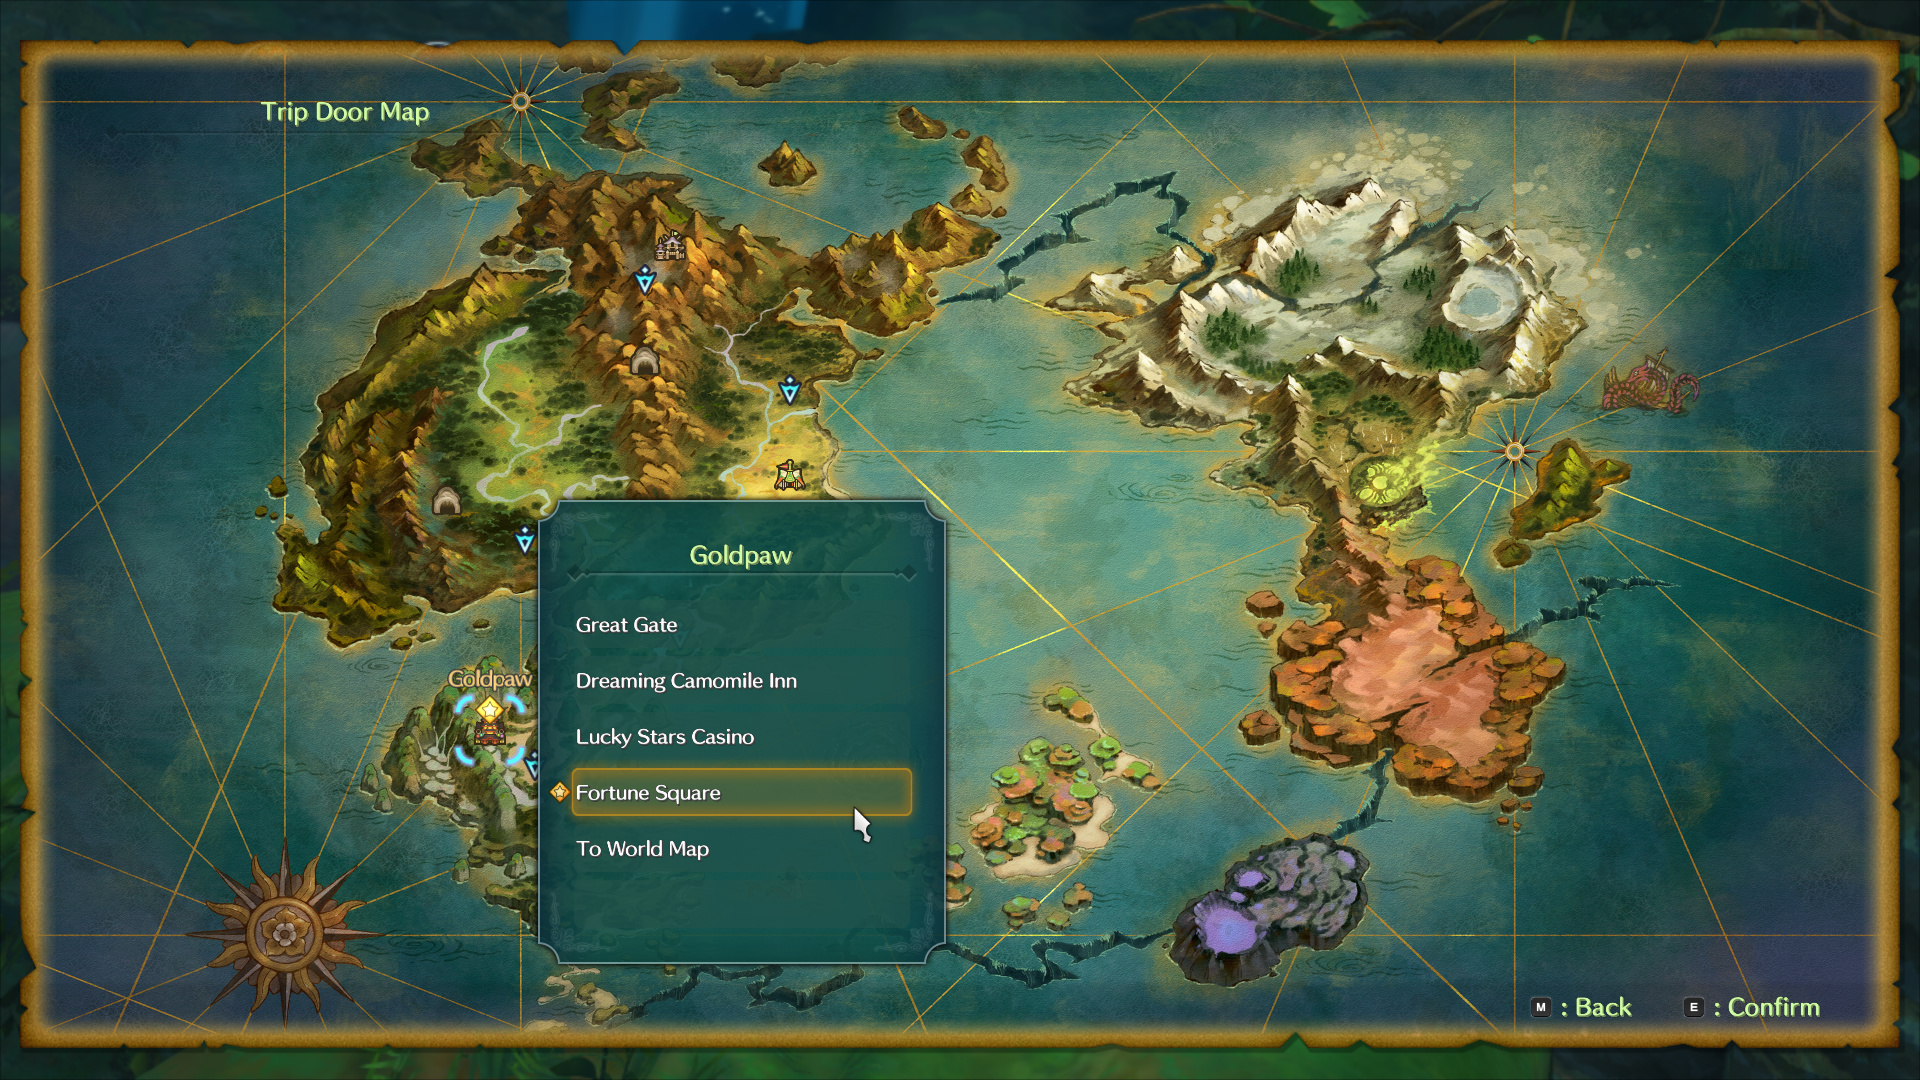
We might as well just warp right back to Goldpaw.
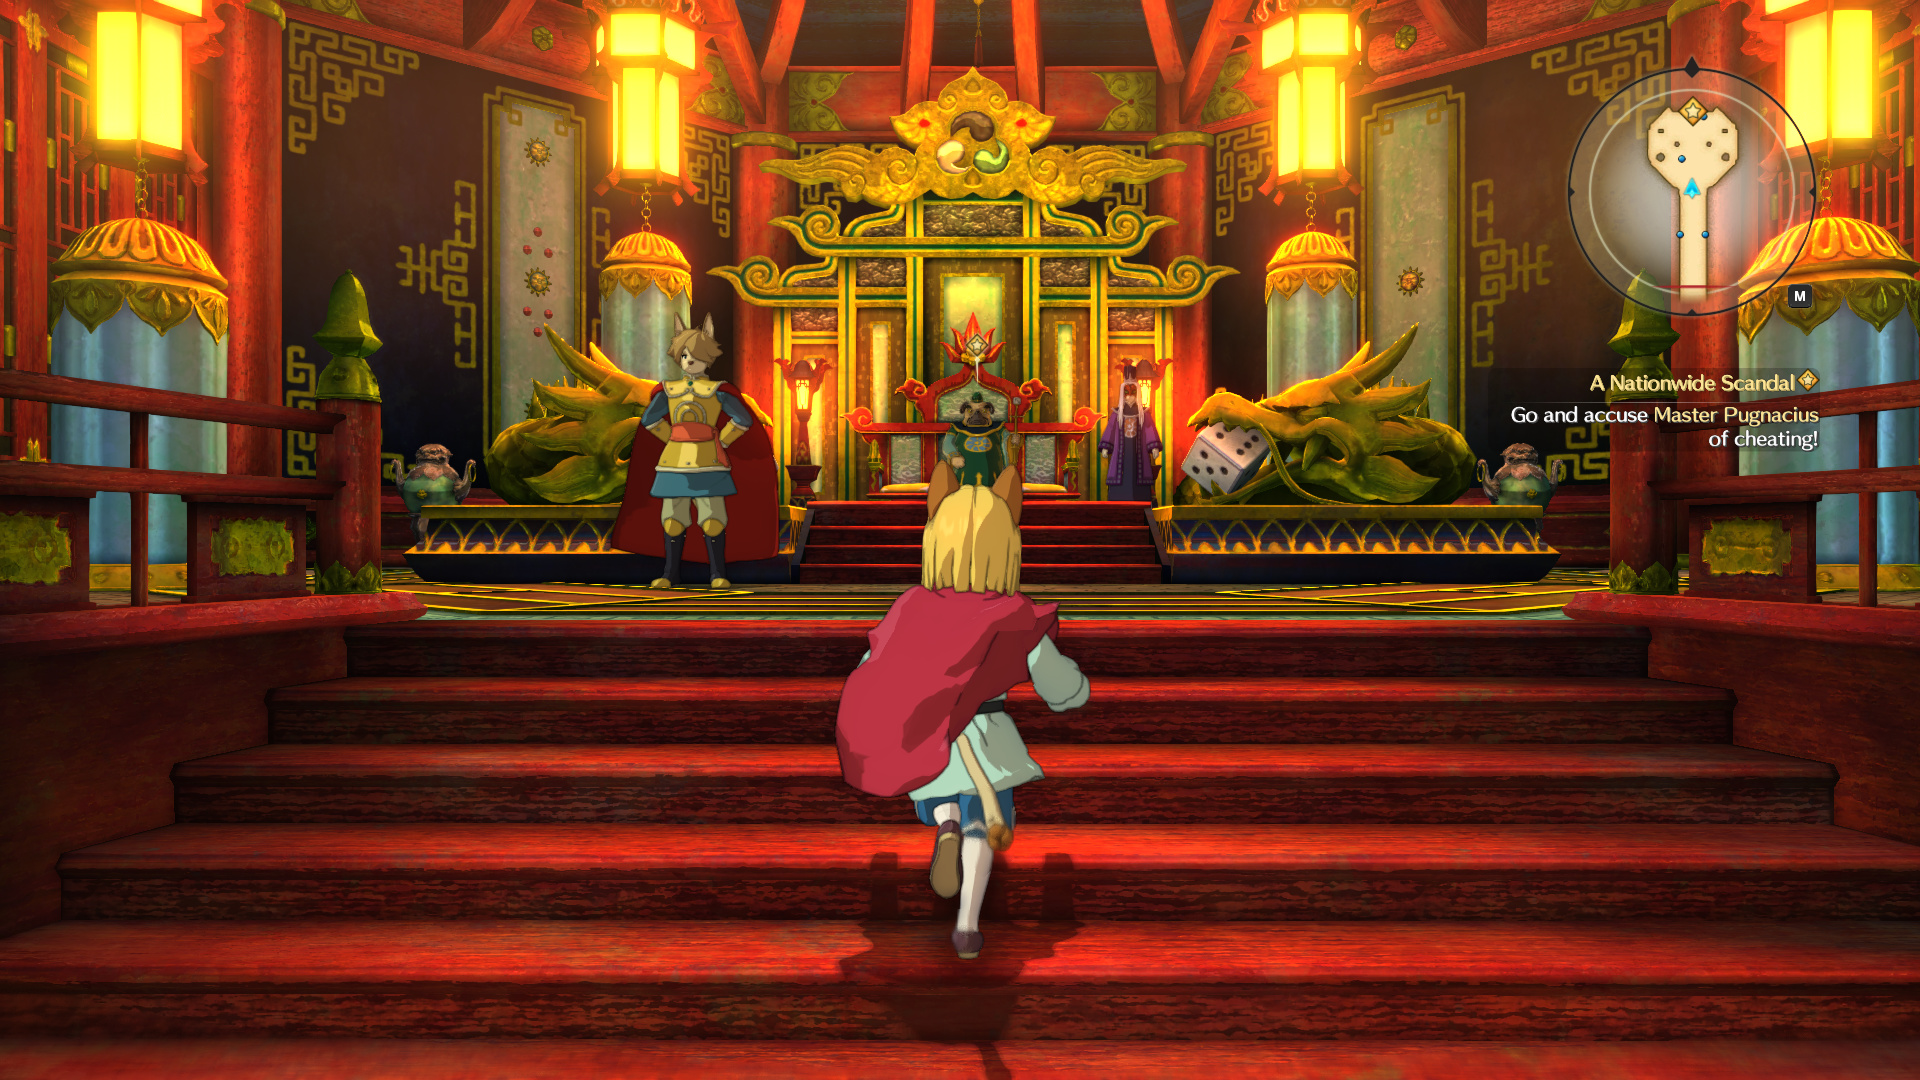
: “Master Pugnacius! You have deceived Niall and your own people! The very people you’re supposed to serve!”
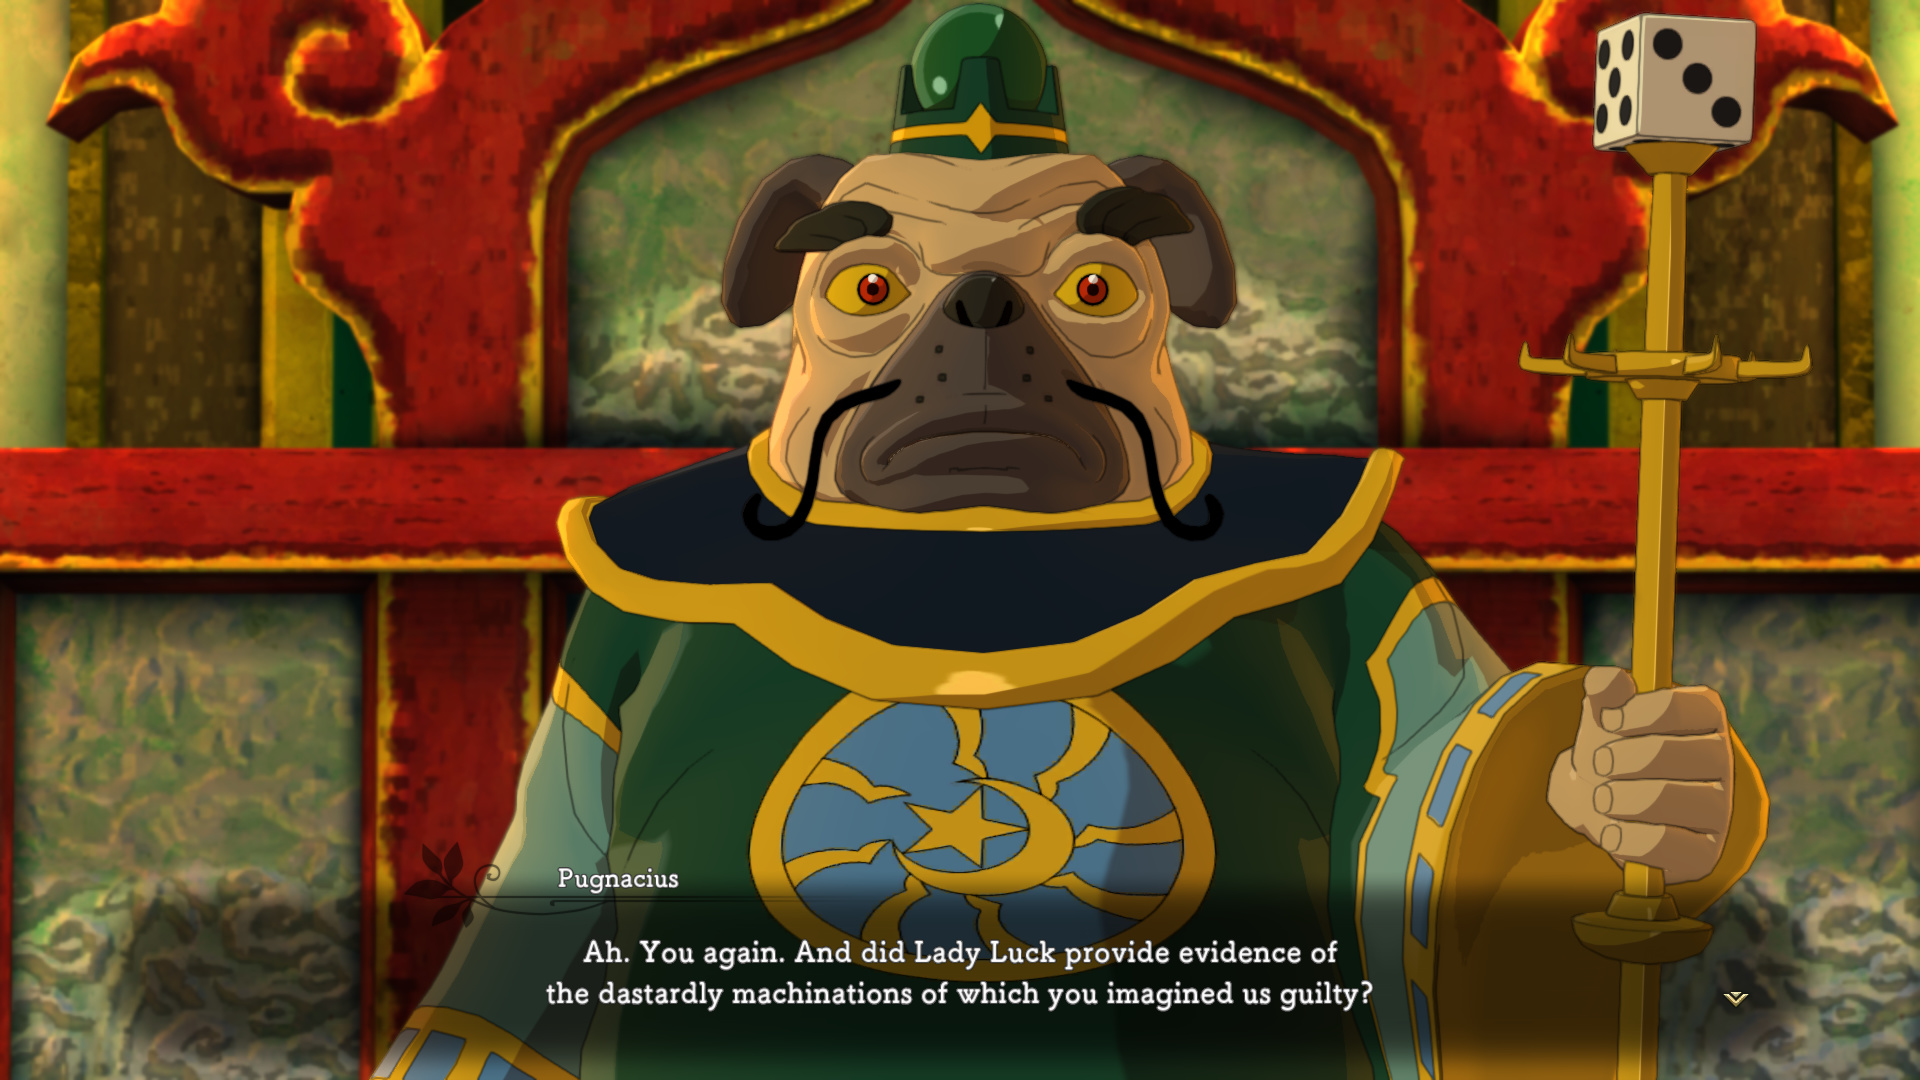
![]() : “More wild accusations? And where is your proof, hmm?”
: “More wild accusations? And where is your proof, hmm?”
![]() : “Did you find evidence of trickery? Some ingenious device hidden inside Lady Luck, perhaps?”
: “Did you find evidence of trickery? Some ingenious device hidden inside Lady Luck, perhaps?”

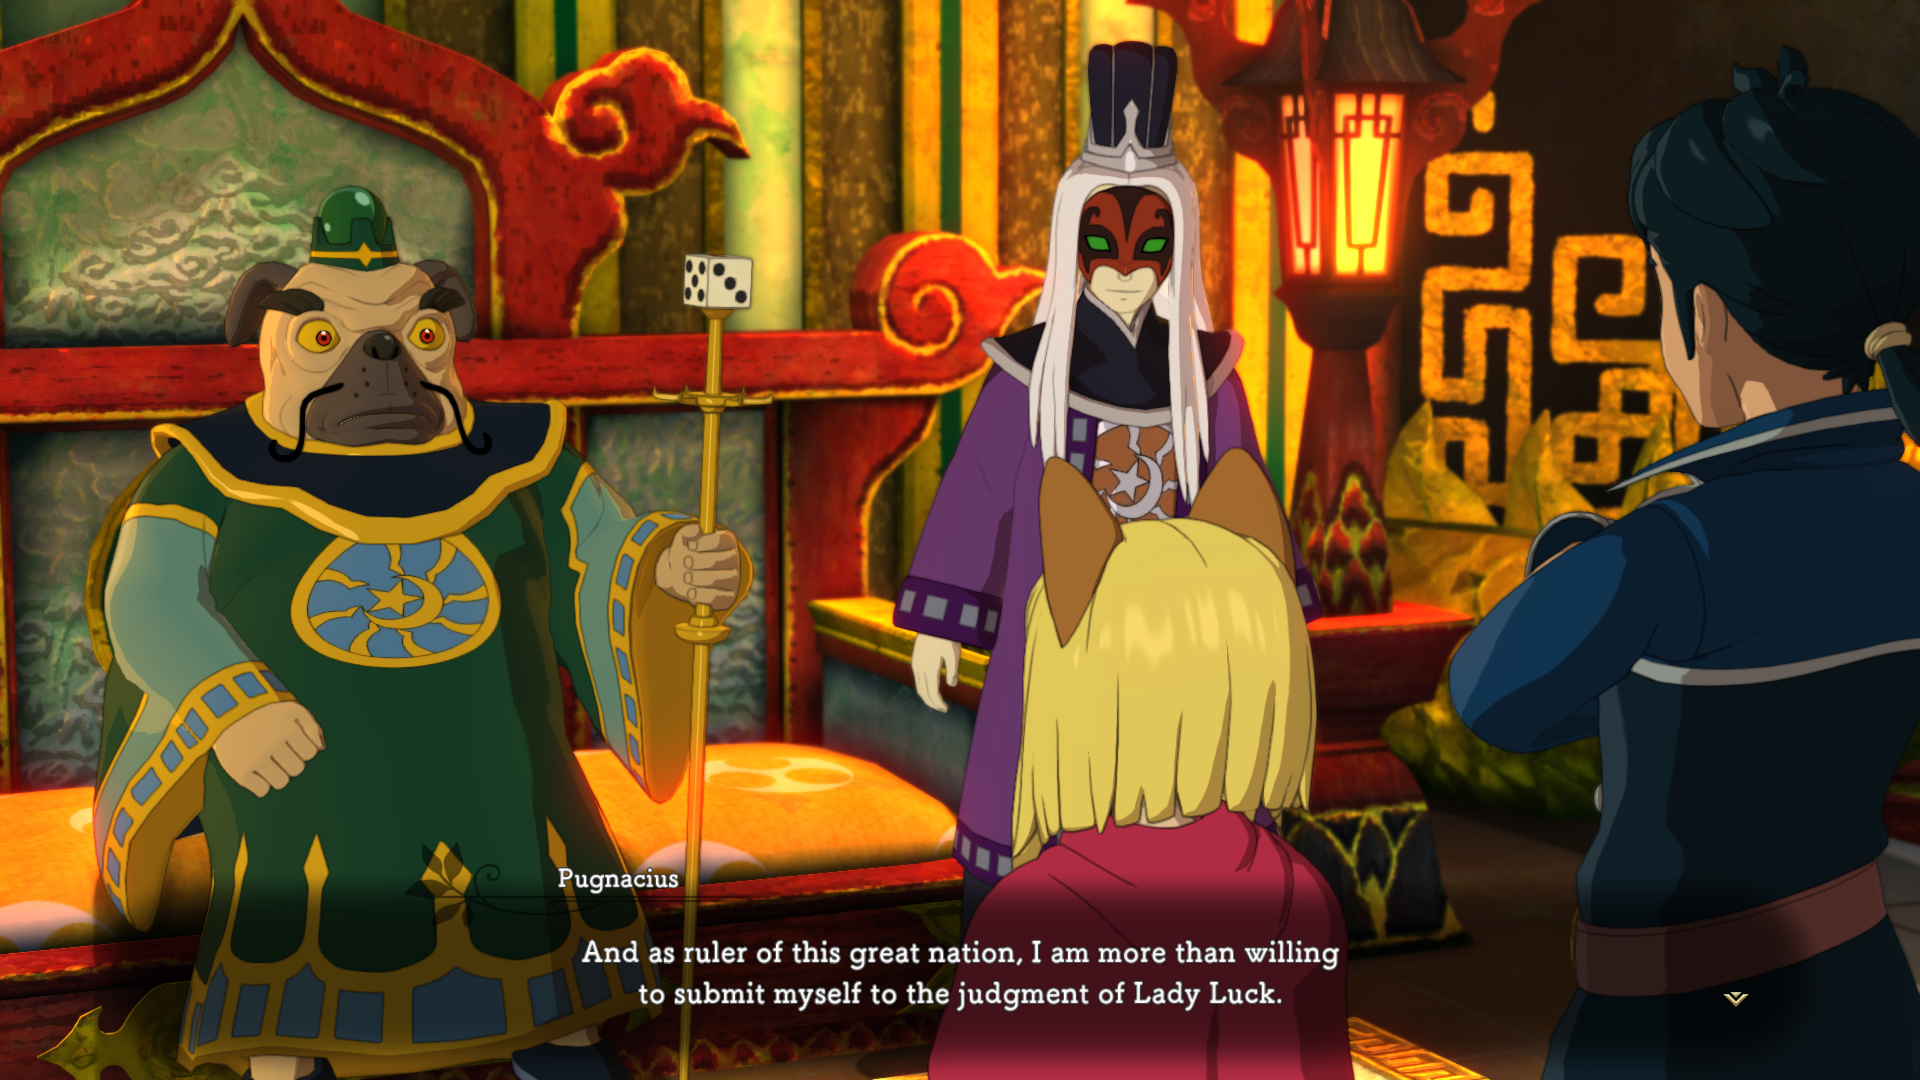
![]() : “There is no ‘act’ to drop. I am innocent, as the Mistress of Fortune herself will attest.”
: “There is no ‘act’ to drop. I am innocent, as the Mistress of Fortune herself will attest.”
![]() : “Hm. It sounds like a very fine idea indeed. Yes, this is the way of Goldpaw. All matters of state, be they legal, political, or otherwise, are decided by a roll of the dice.”
: “Hm. It sounds like a very fine idea indeed. Yes, this is the way of Goldpaw. All matters of state, be they legal, political, or otherwise, are decided by a roll of the dice.”
I know there have to be people at Level 5 who have played the Ace Attorney games, because that is more or less exactly what this sounds like, specifically Spirit of Justice on the 3DS.
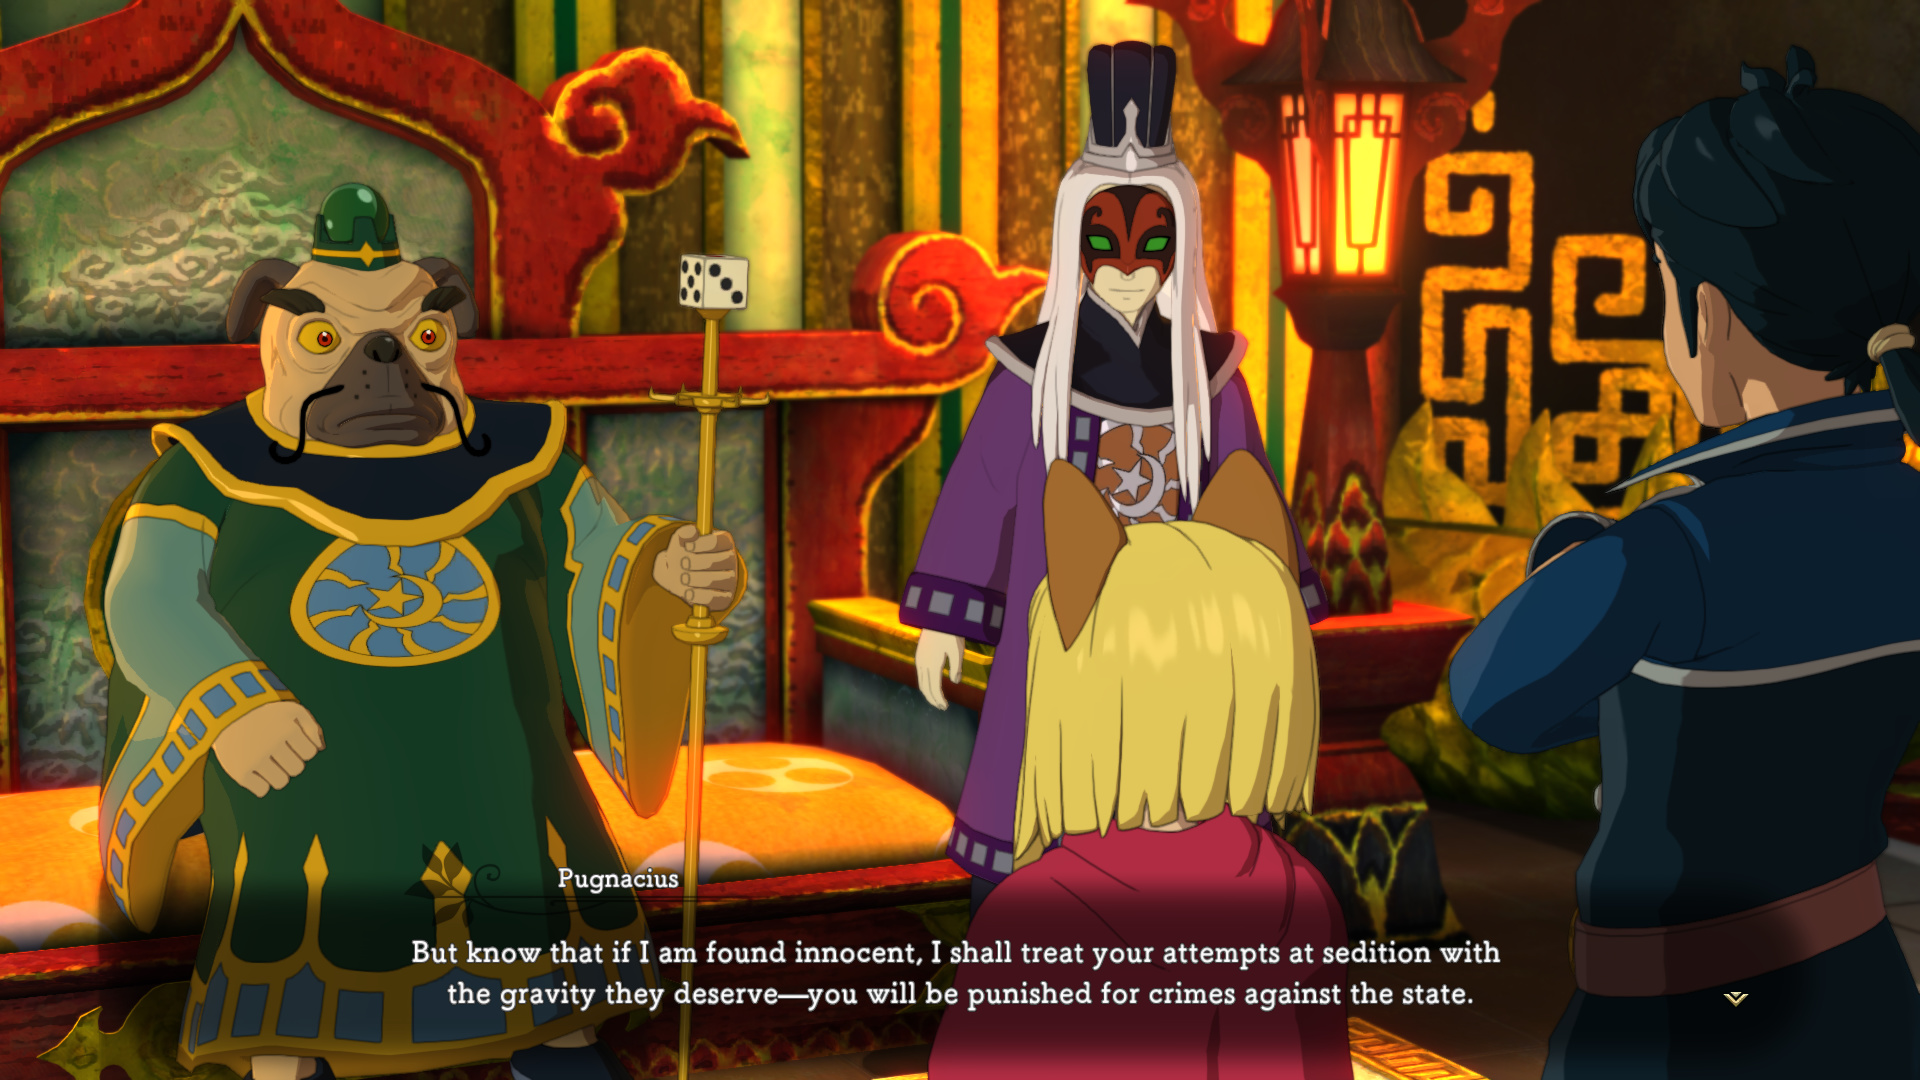
![]() : “Do you accept my terms?”
: “Do you accept my terms?”
: “We do!”
Next update, we’ll have ourselves a sham of a trial, followed by a sham of a bossfight.